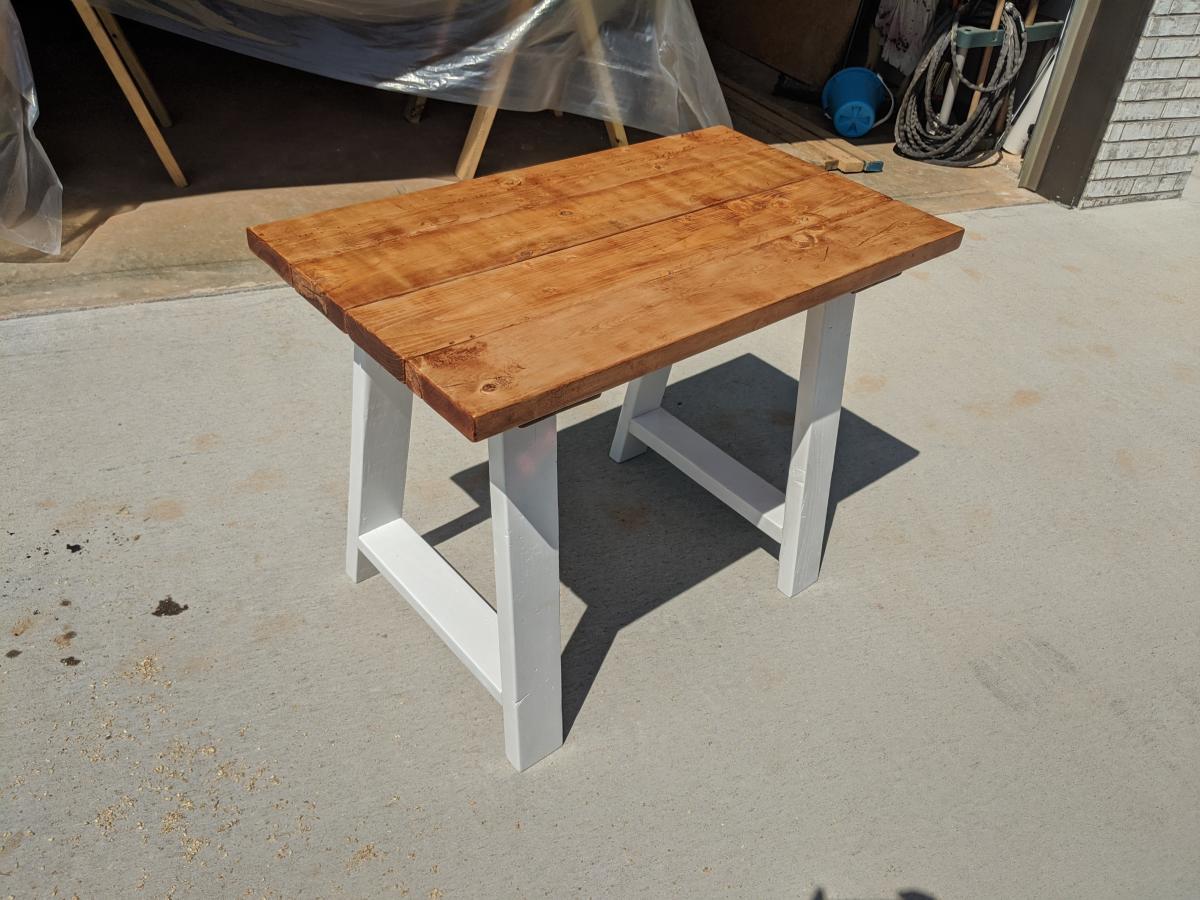
Simple Small Trestle Desk
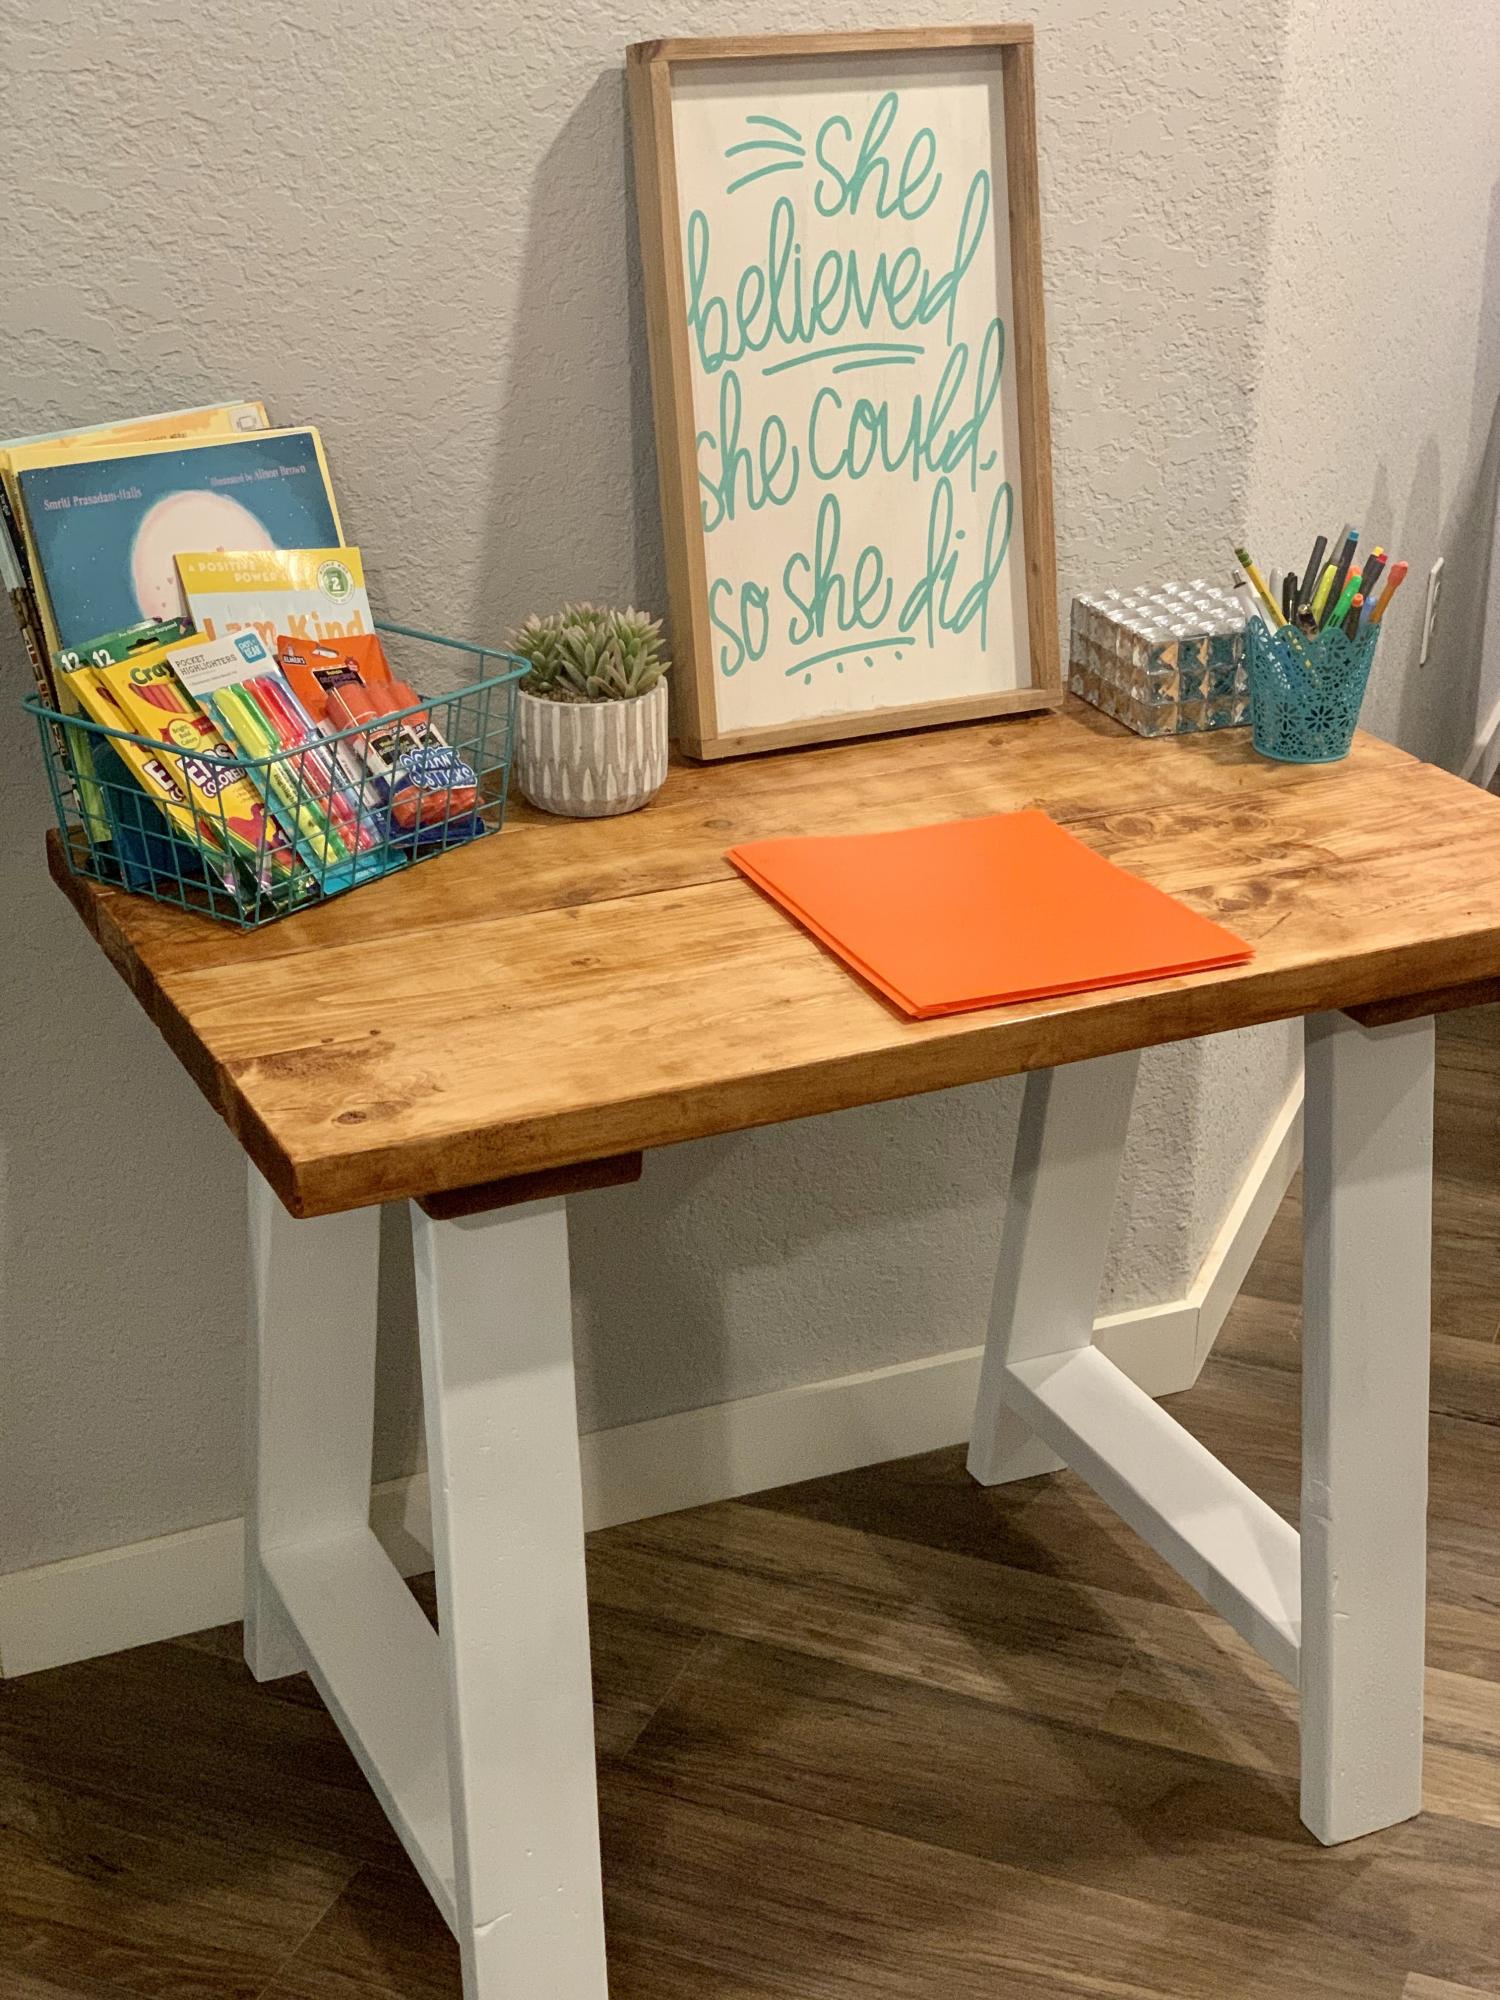
Made this desk for someone who's kid had to do virtual classes due to COVID-19. Quick and easy plans.
Built from Plan(s)
Recommended Skill Level
Beginner
Made this desk for someone who's kid had to do virtual classes due to COVID-19. Quick and easy plans.
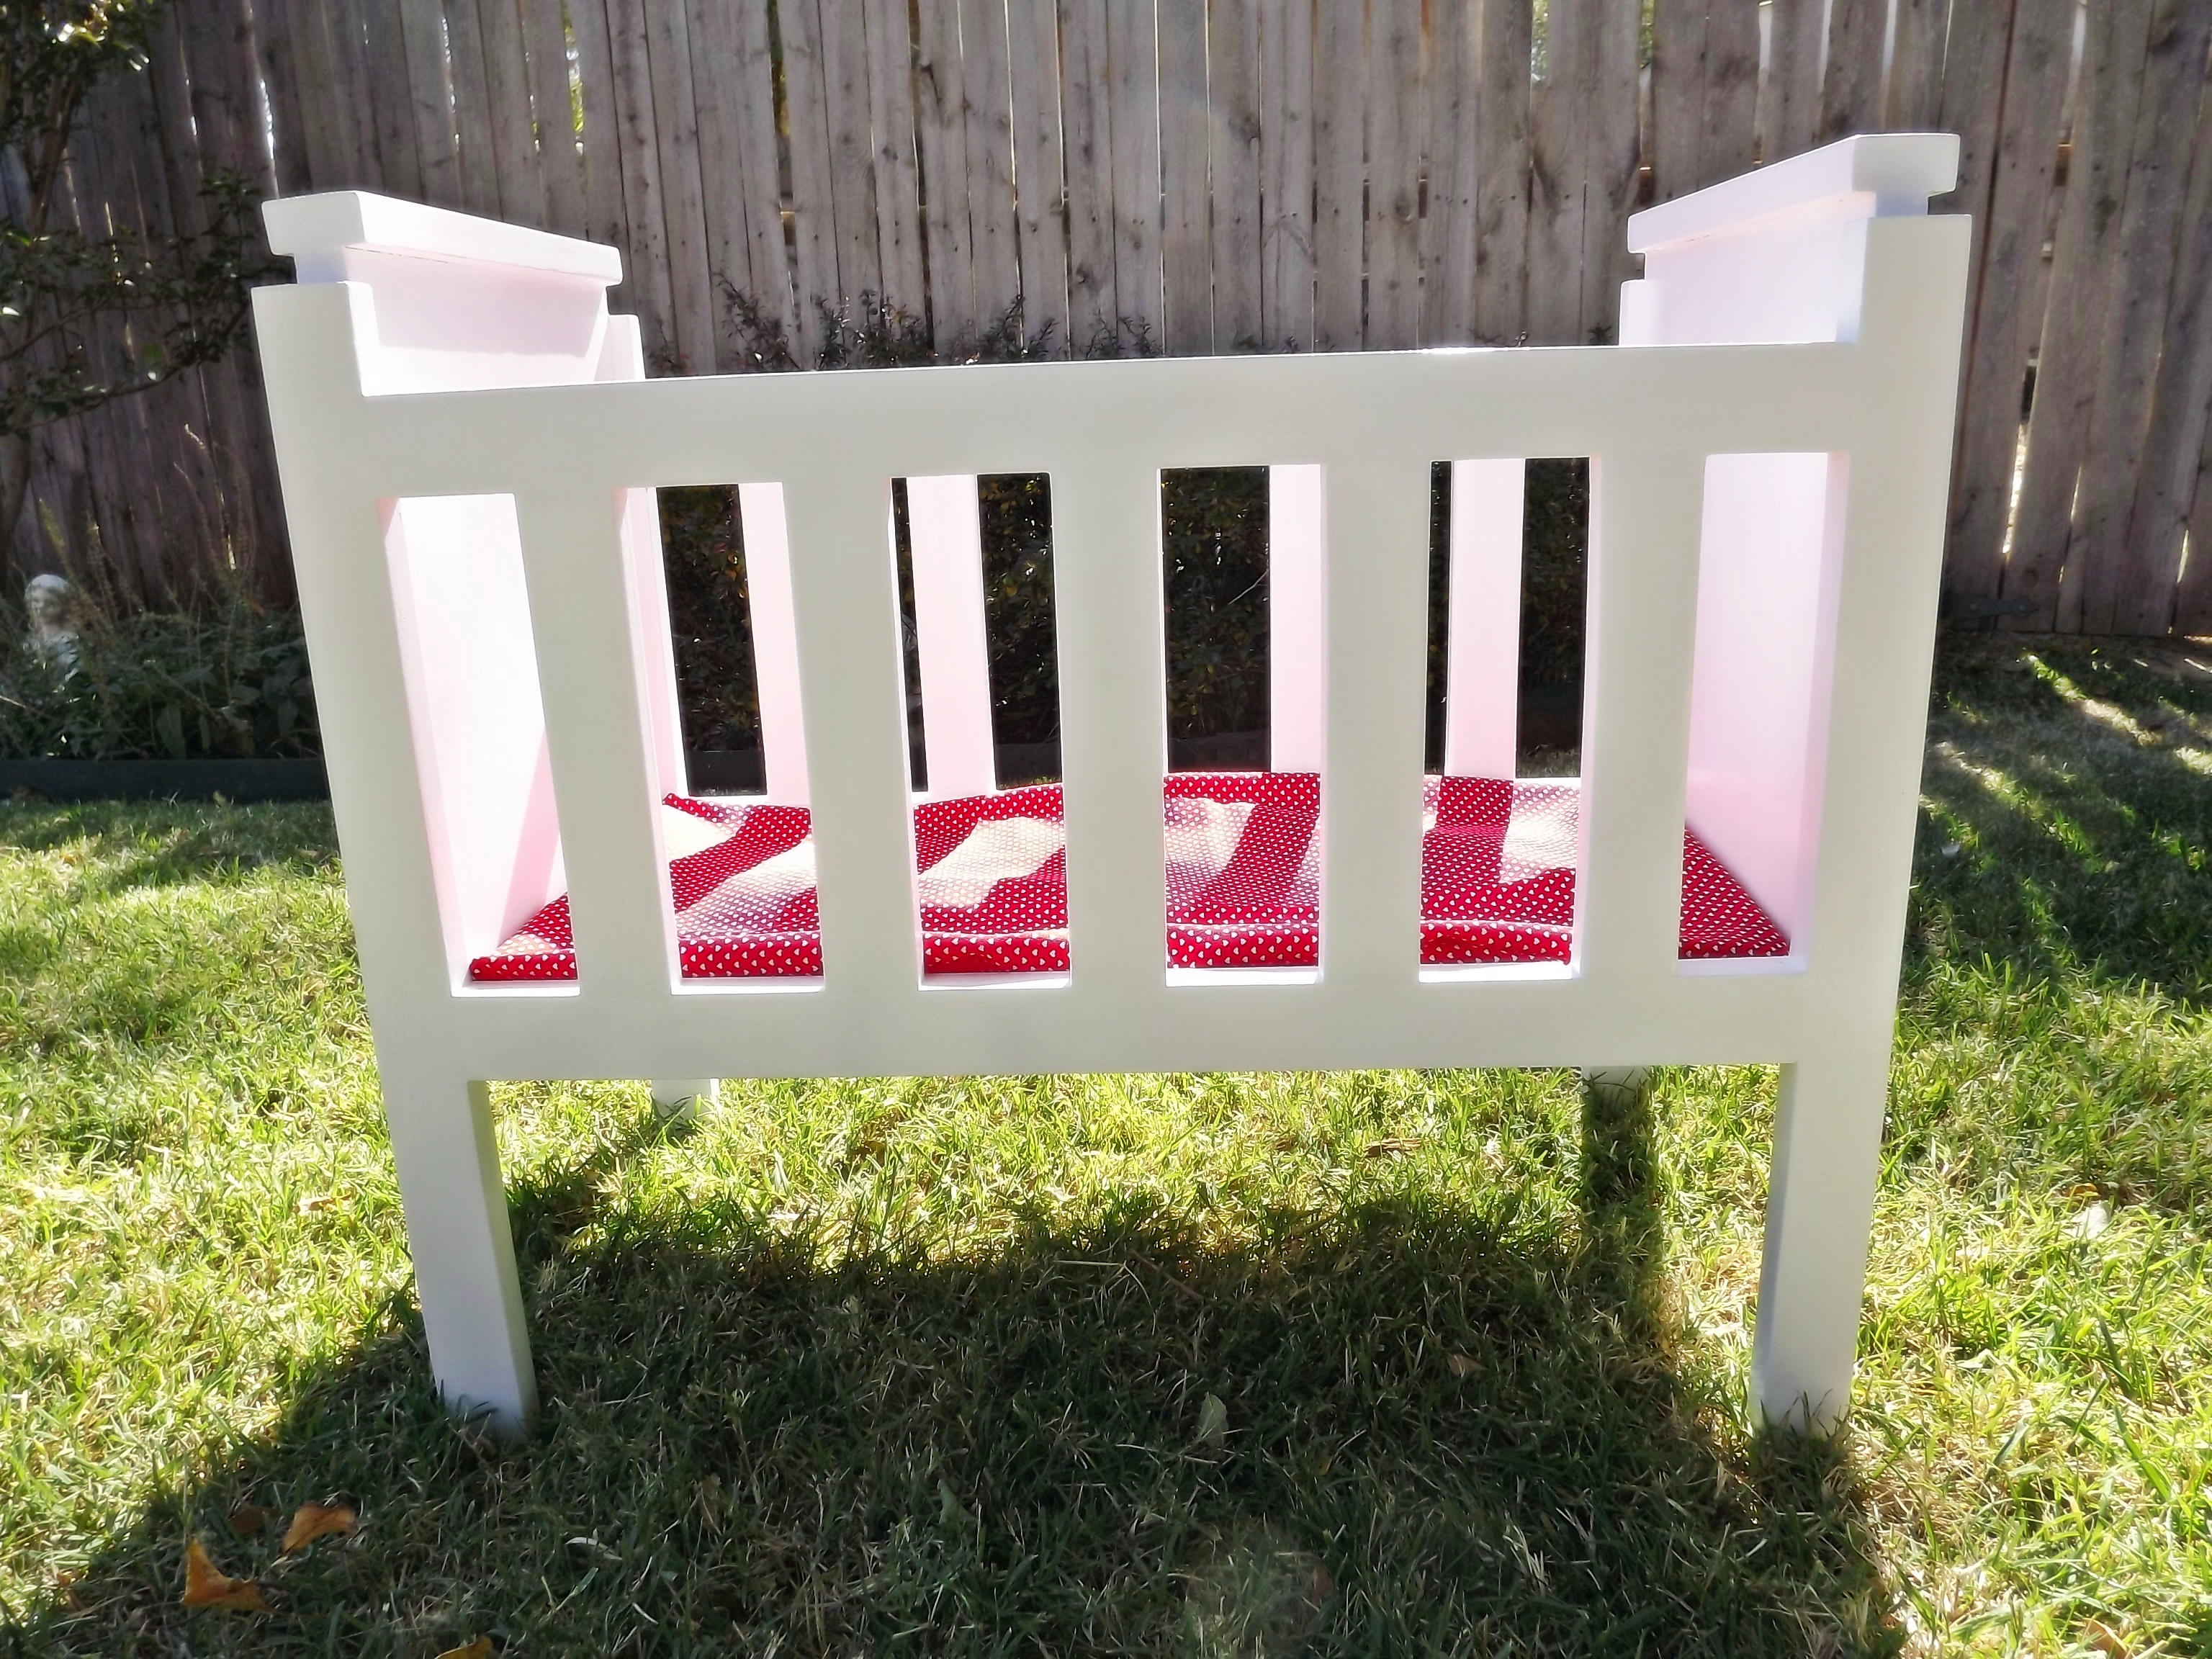
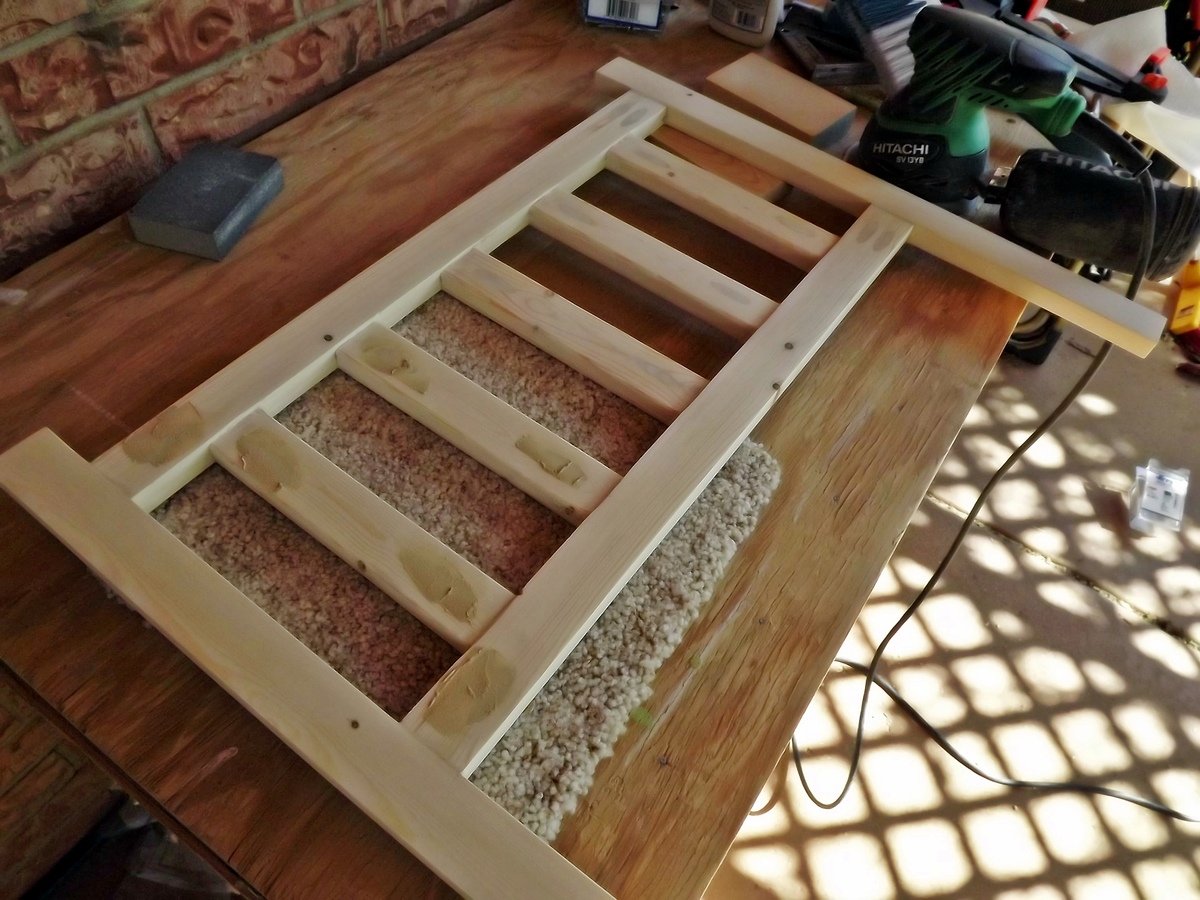
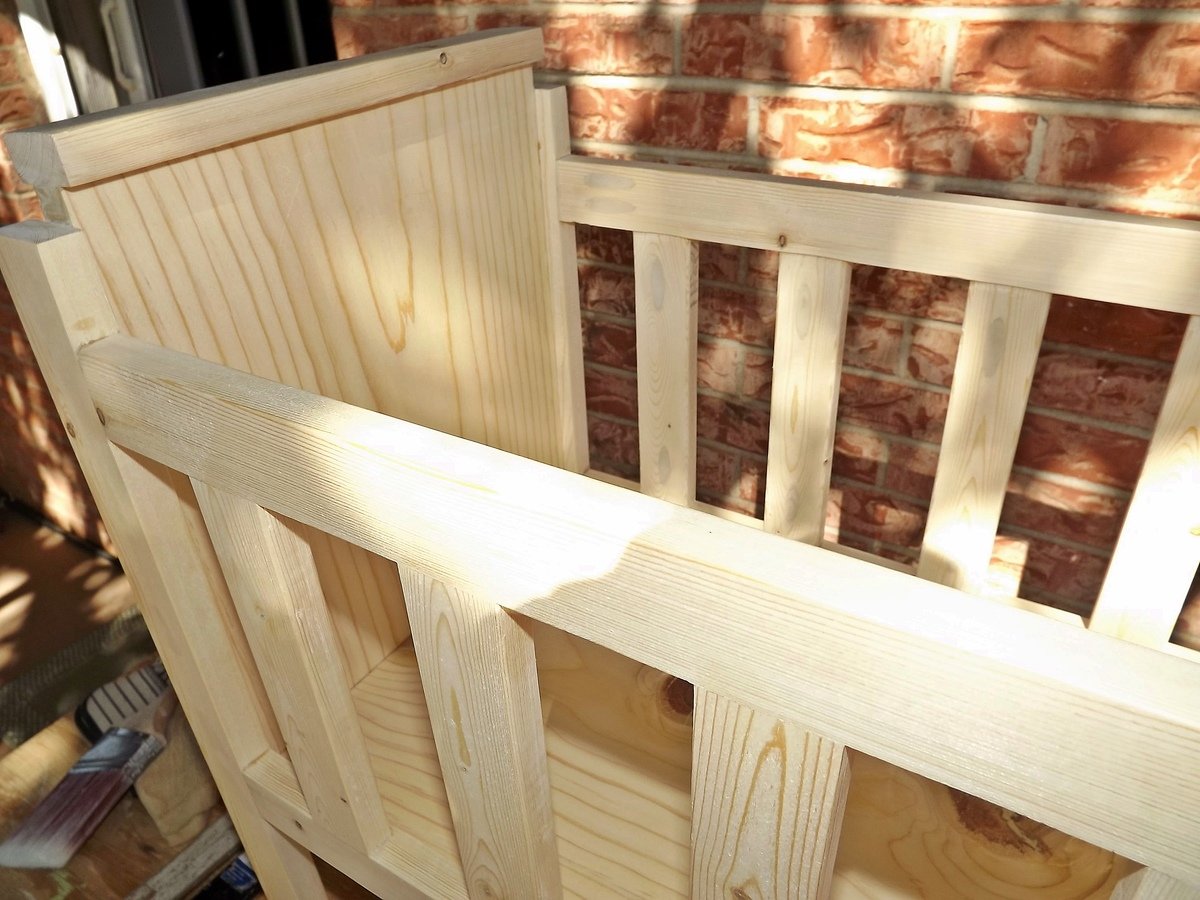
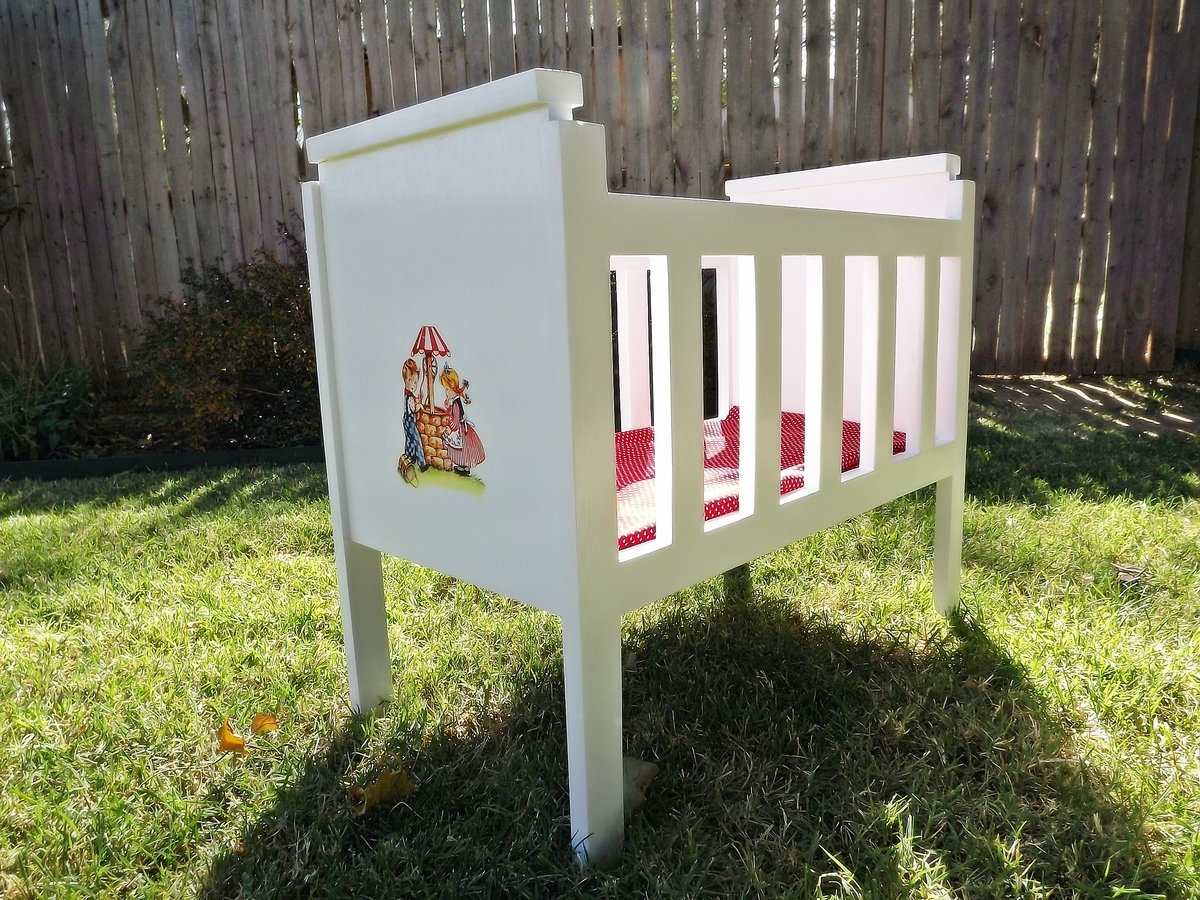
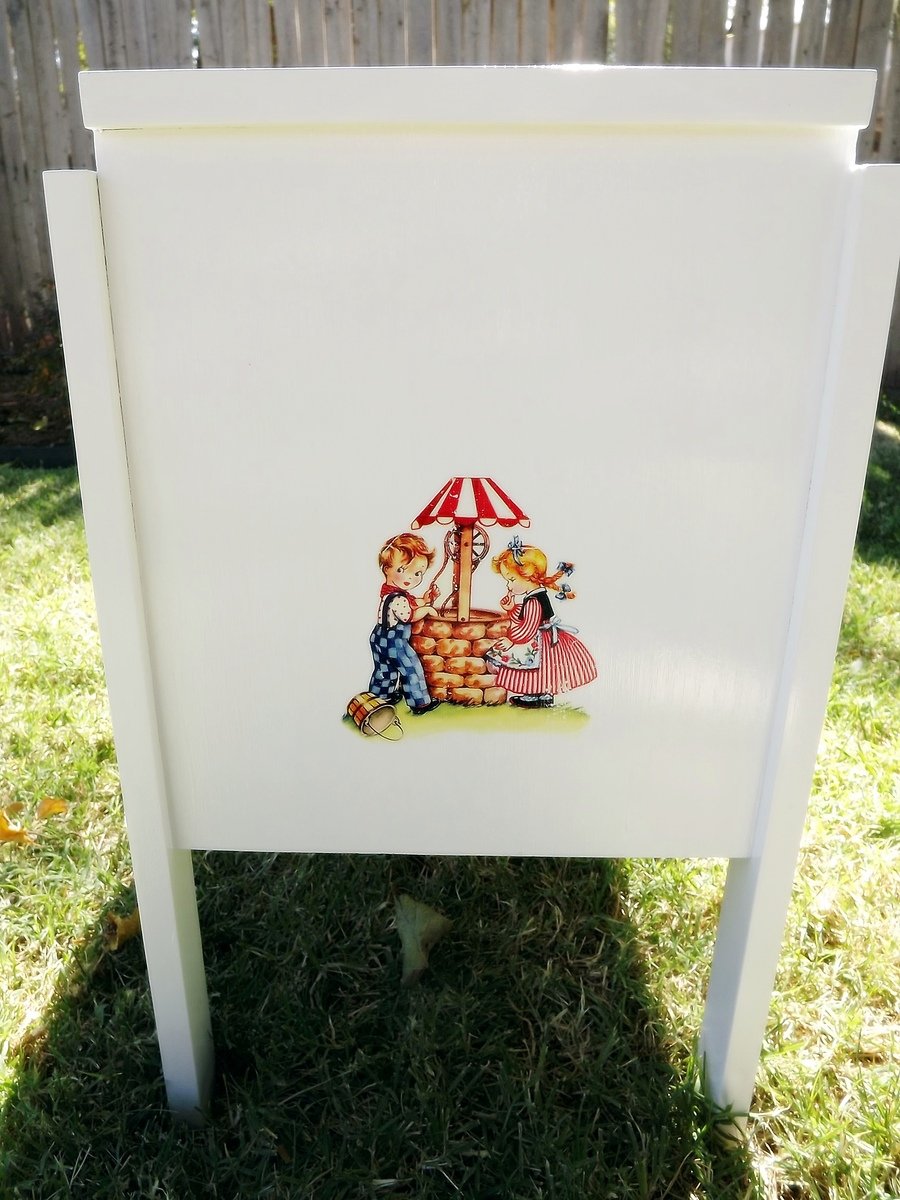
This doll crib is for another grandniece who loves both her baby boy and girl dolls, hence the Jack and Jill decal. This bed is modified from the Fancy Doll Crib plans using 1 x 2 for the side rails instead of dowels, and also a flat top. It is also larger than the plans: 21" long and 20" legs. My sister found a vintage J & J fabric piece which we plan to use as the mattress cover.
I said this is a day project but it takes me several days in between other activities, and I am very slow and methodical. (I also make sure to fill in all of the pocket holes with wood filler, usually two "coats" to get them perfectly level with the surrounding wood. After painting, it's very hard to tell where the fasteners are unless you know where to look.) It would take most people much less time than I. This is my 5th doll bed, and I have at least one more to go.
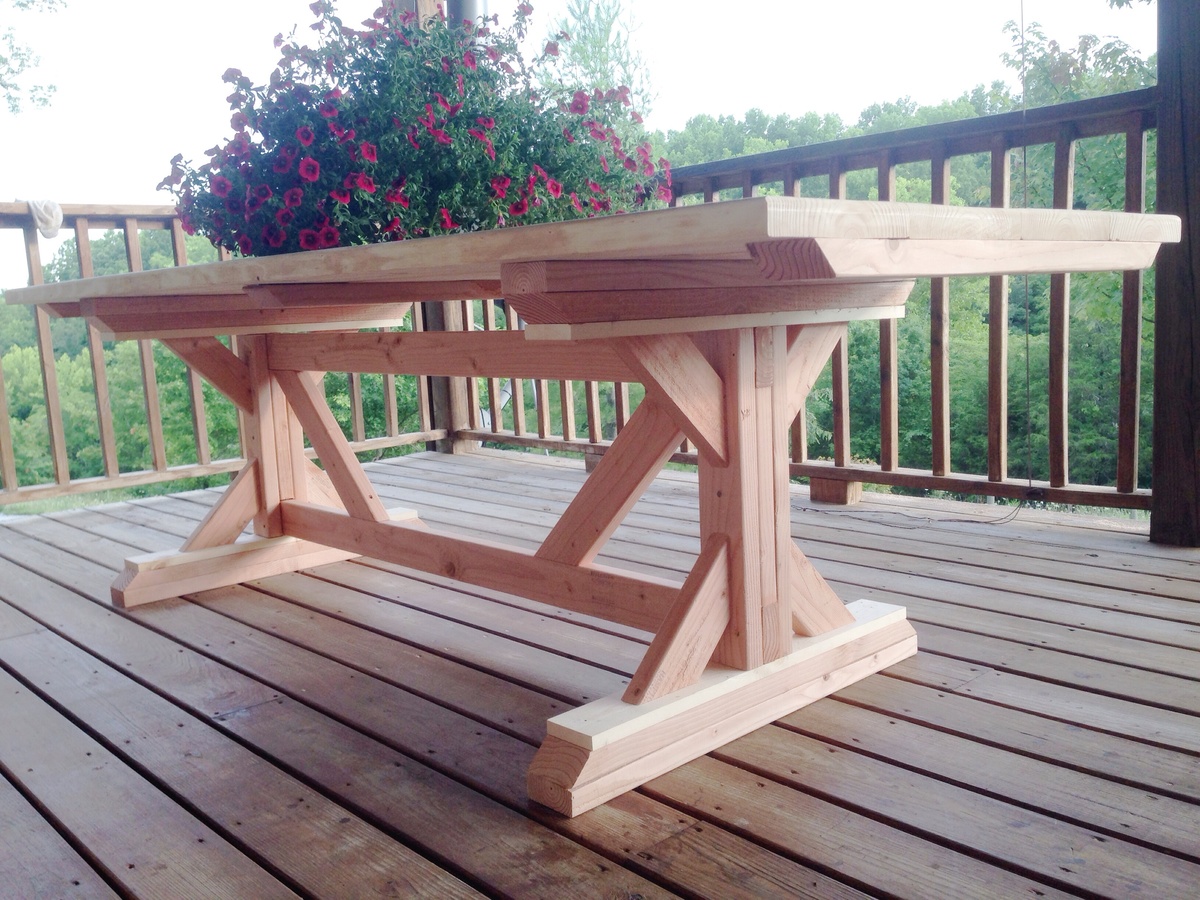
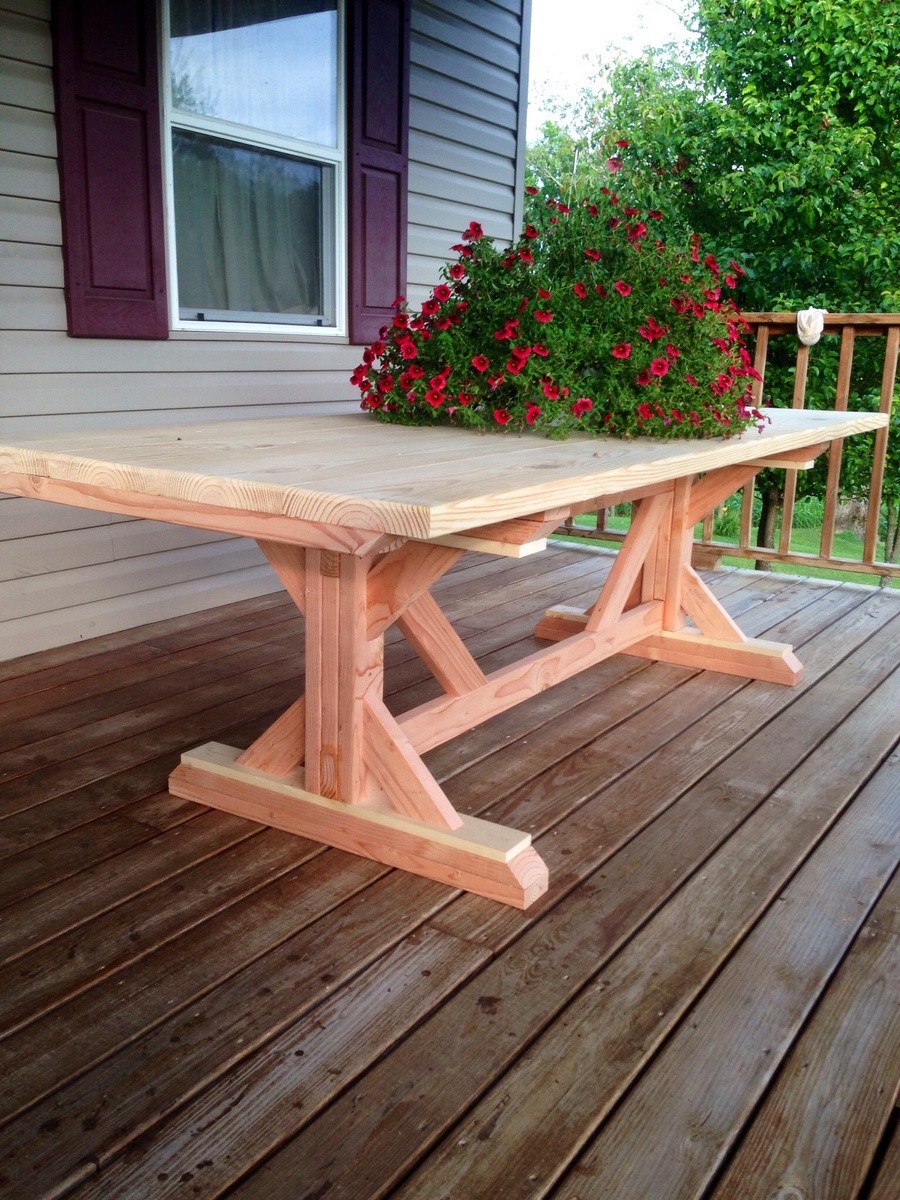
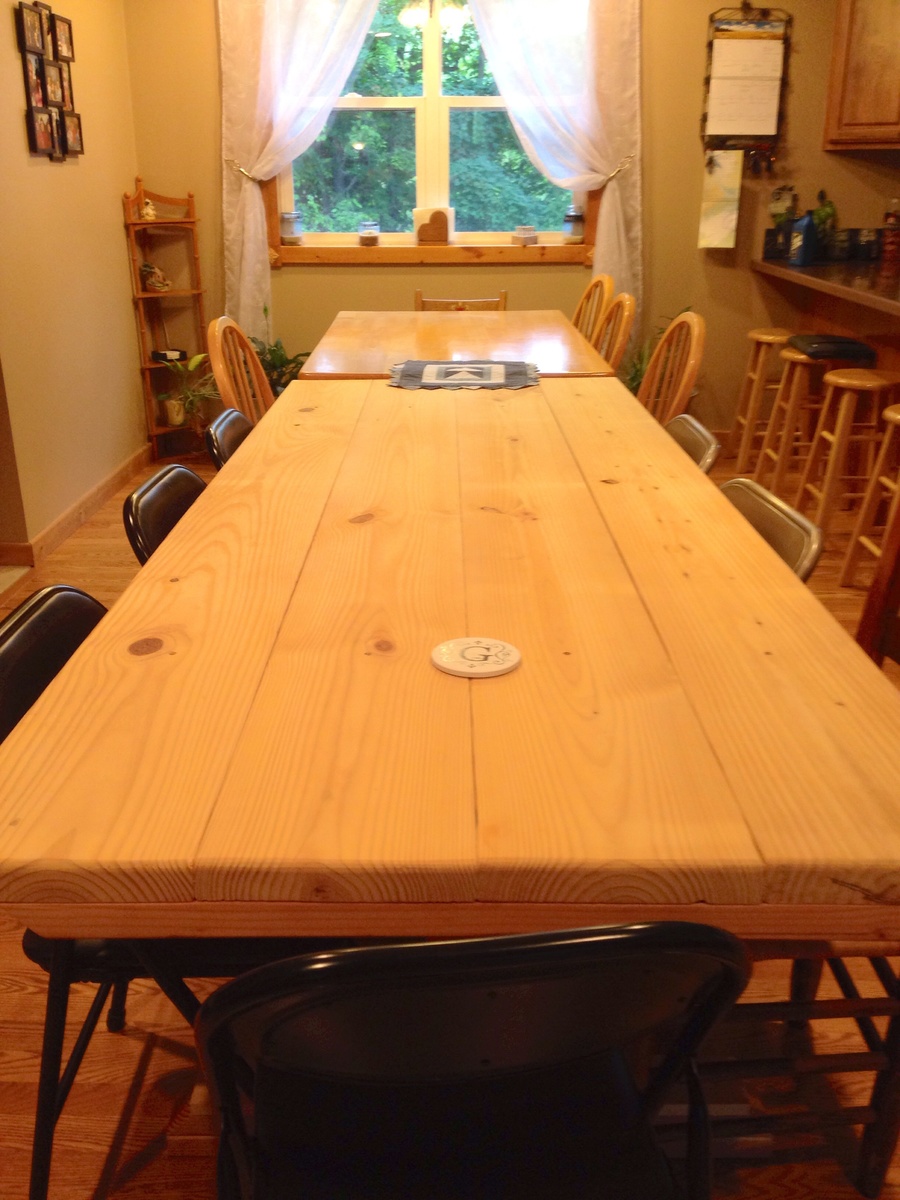
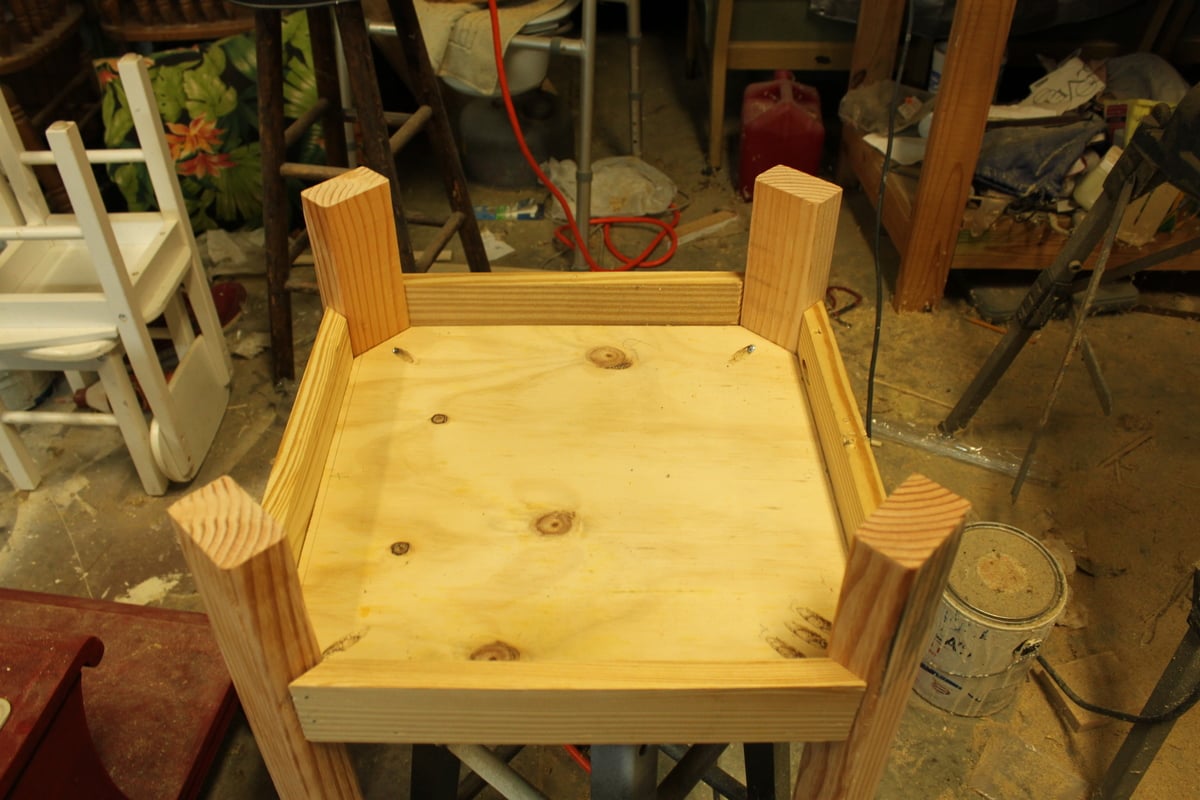
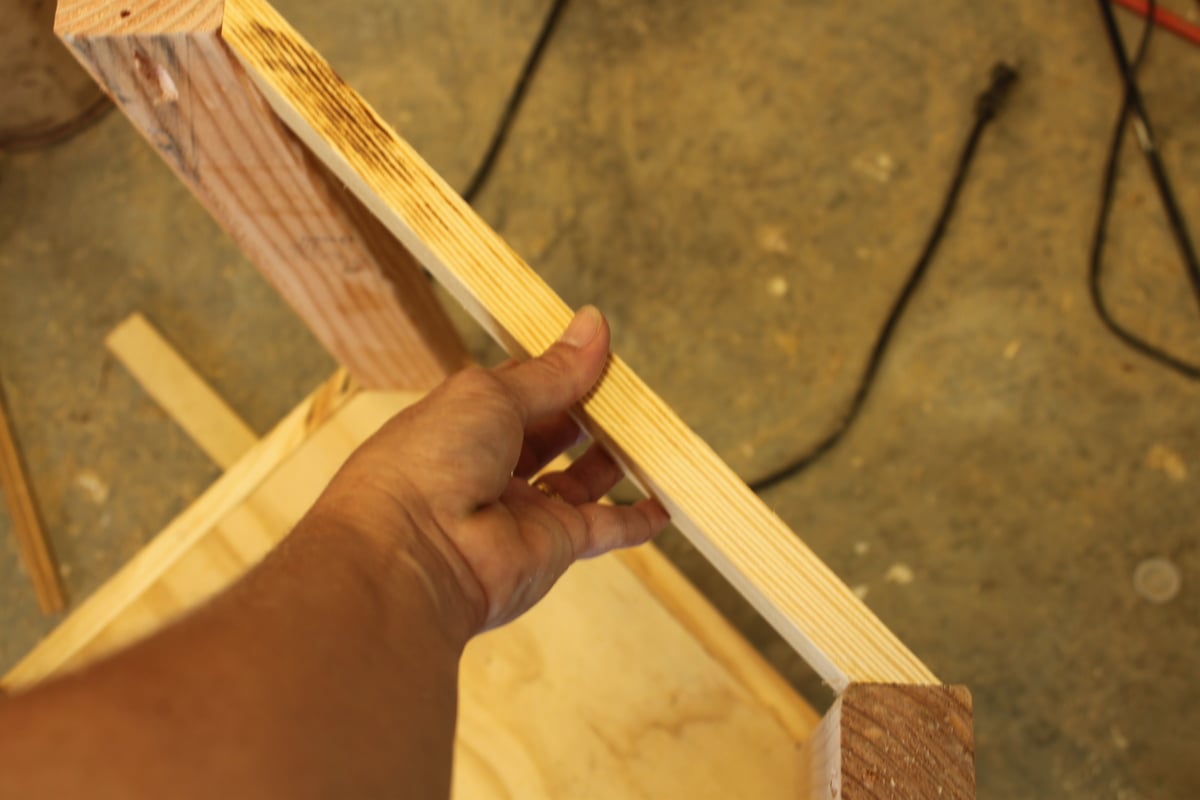
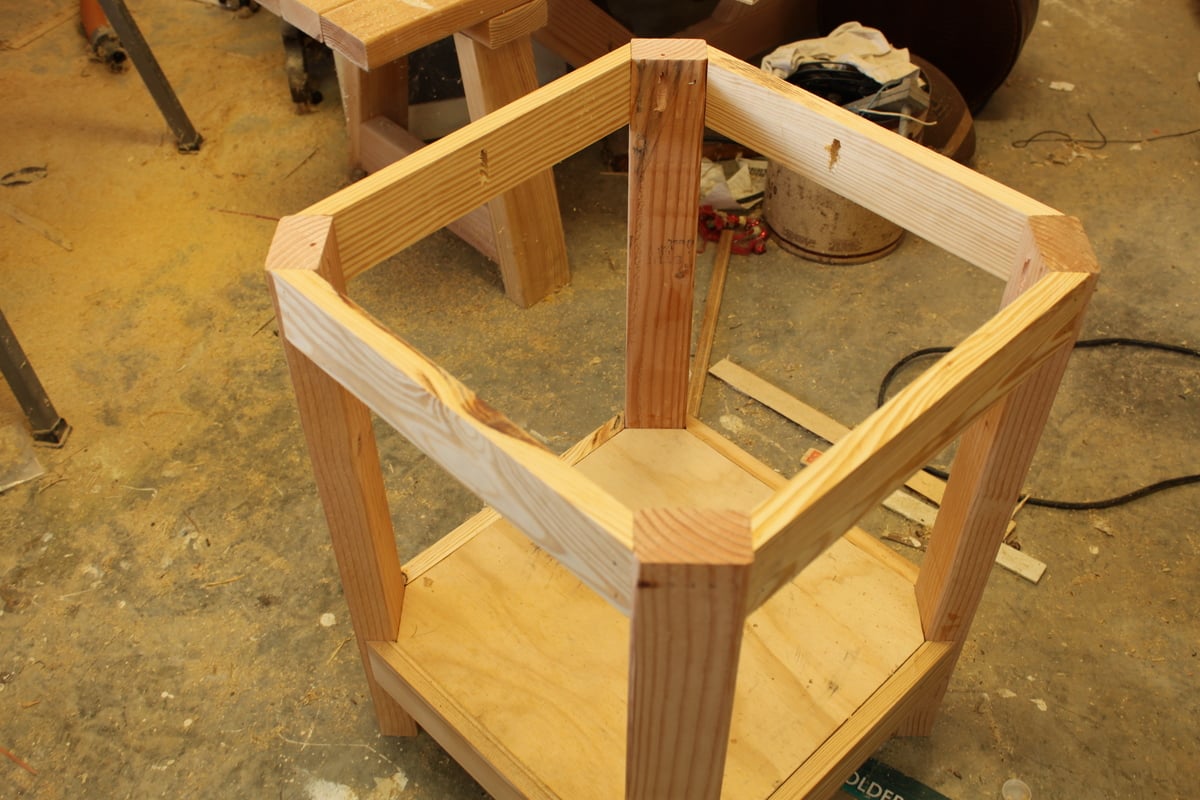
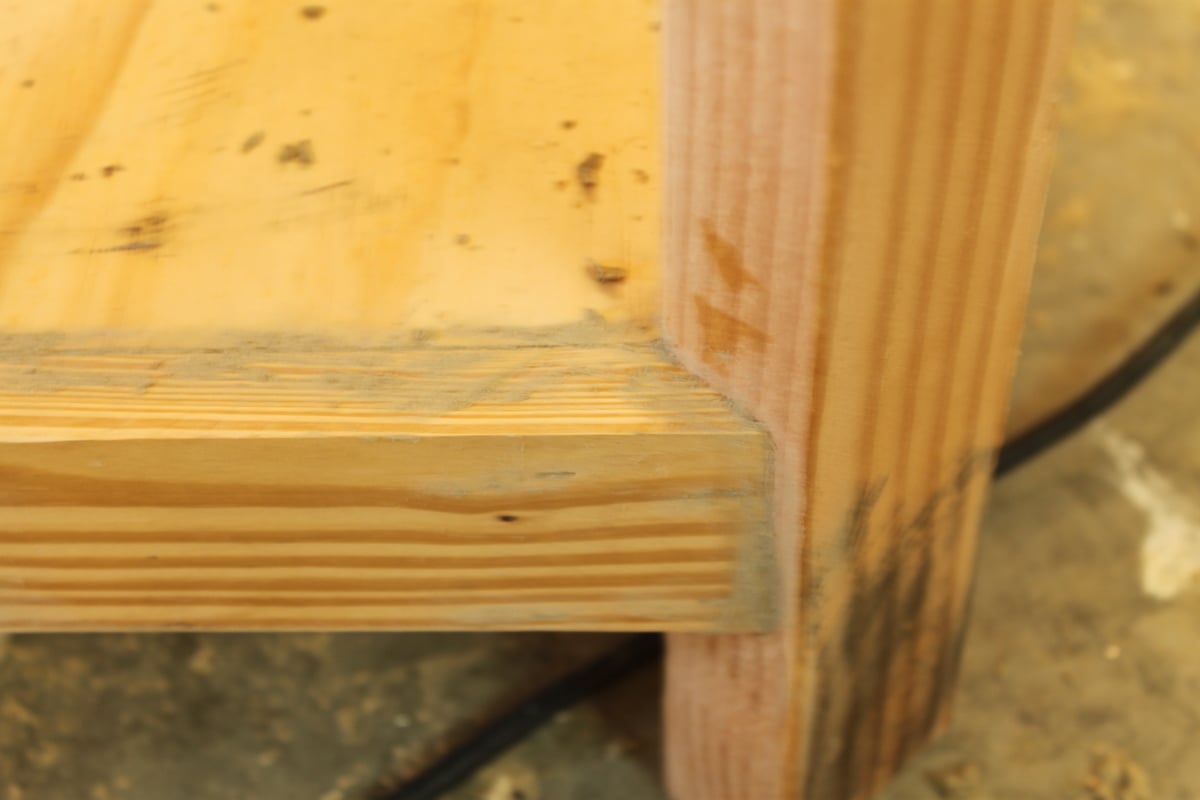
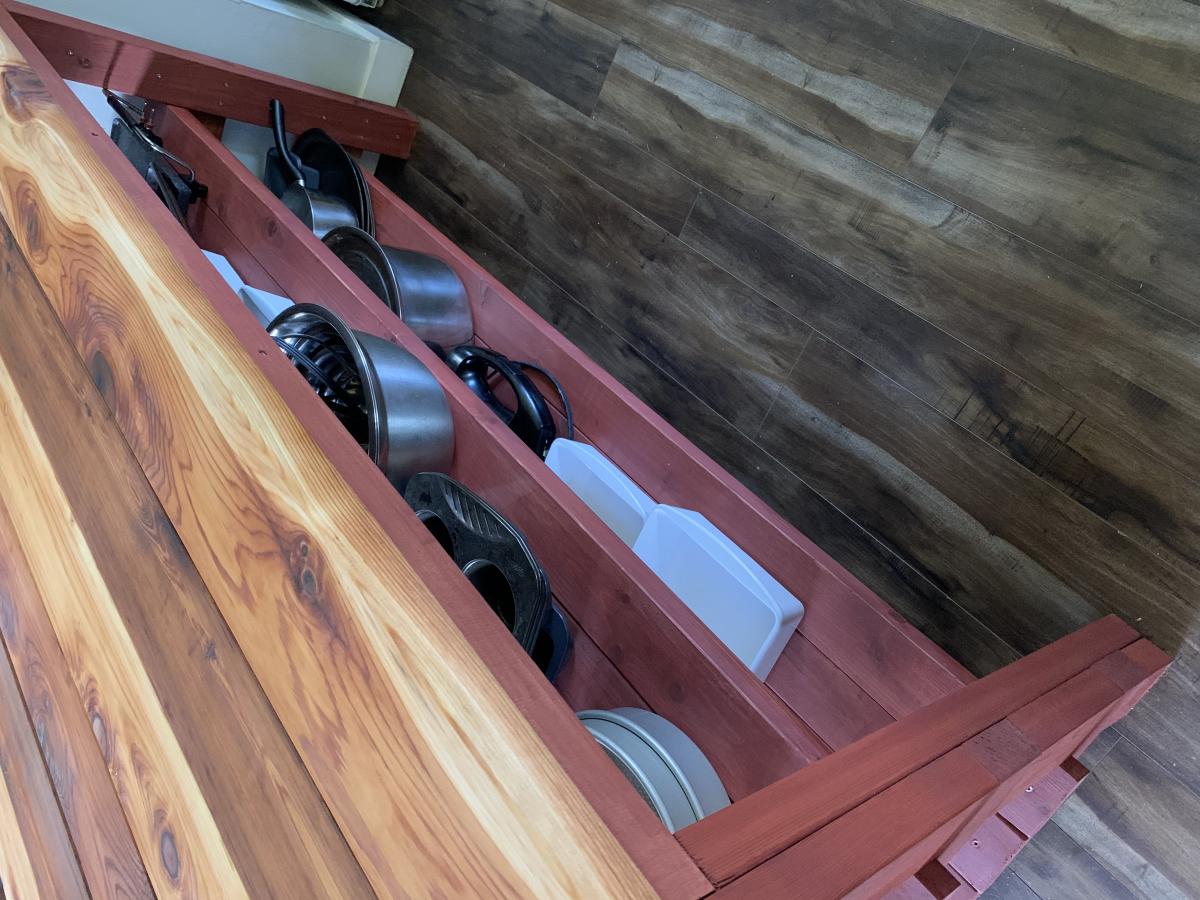
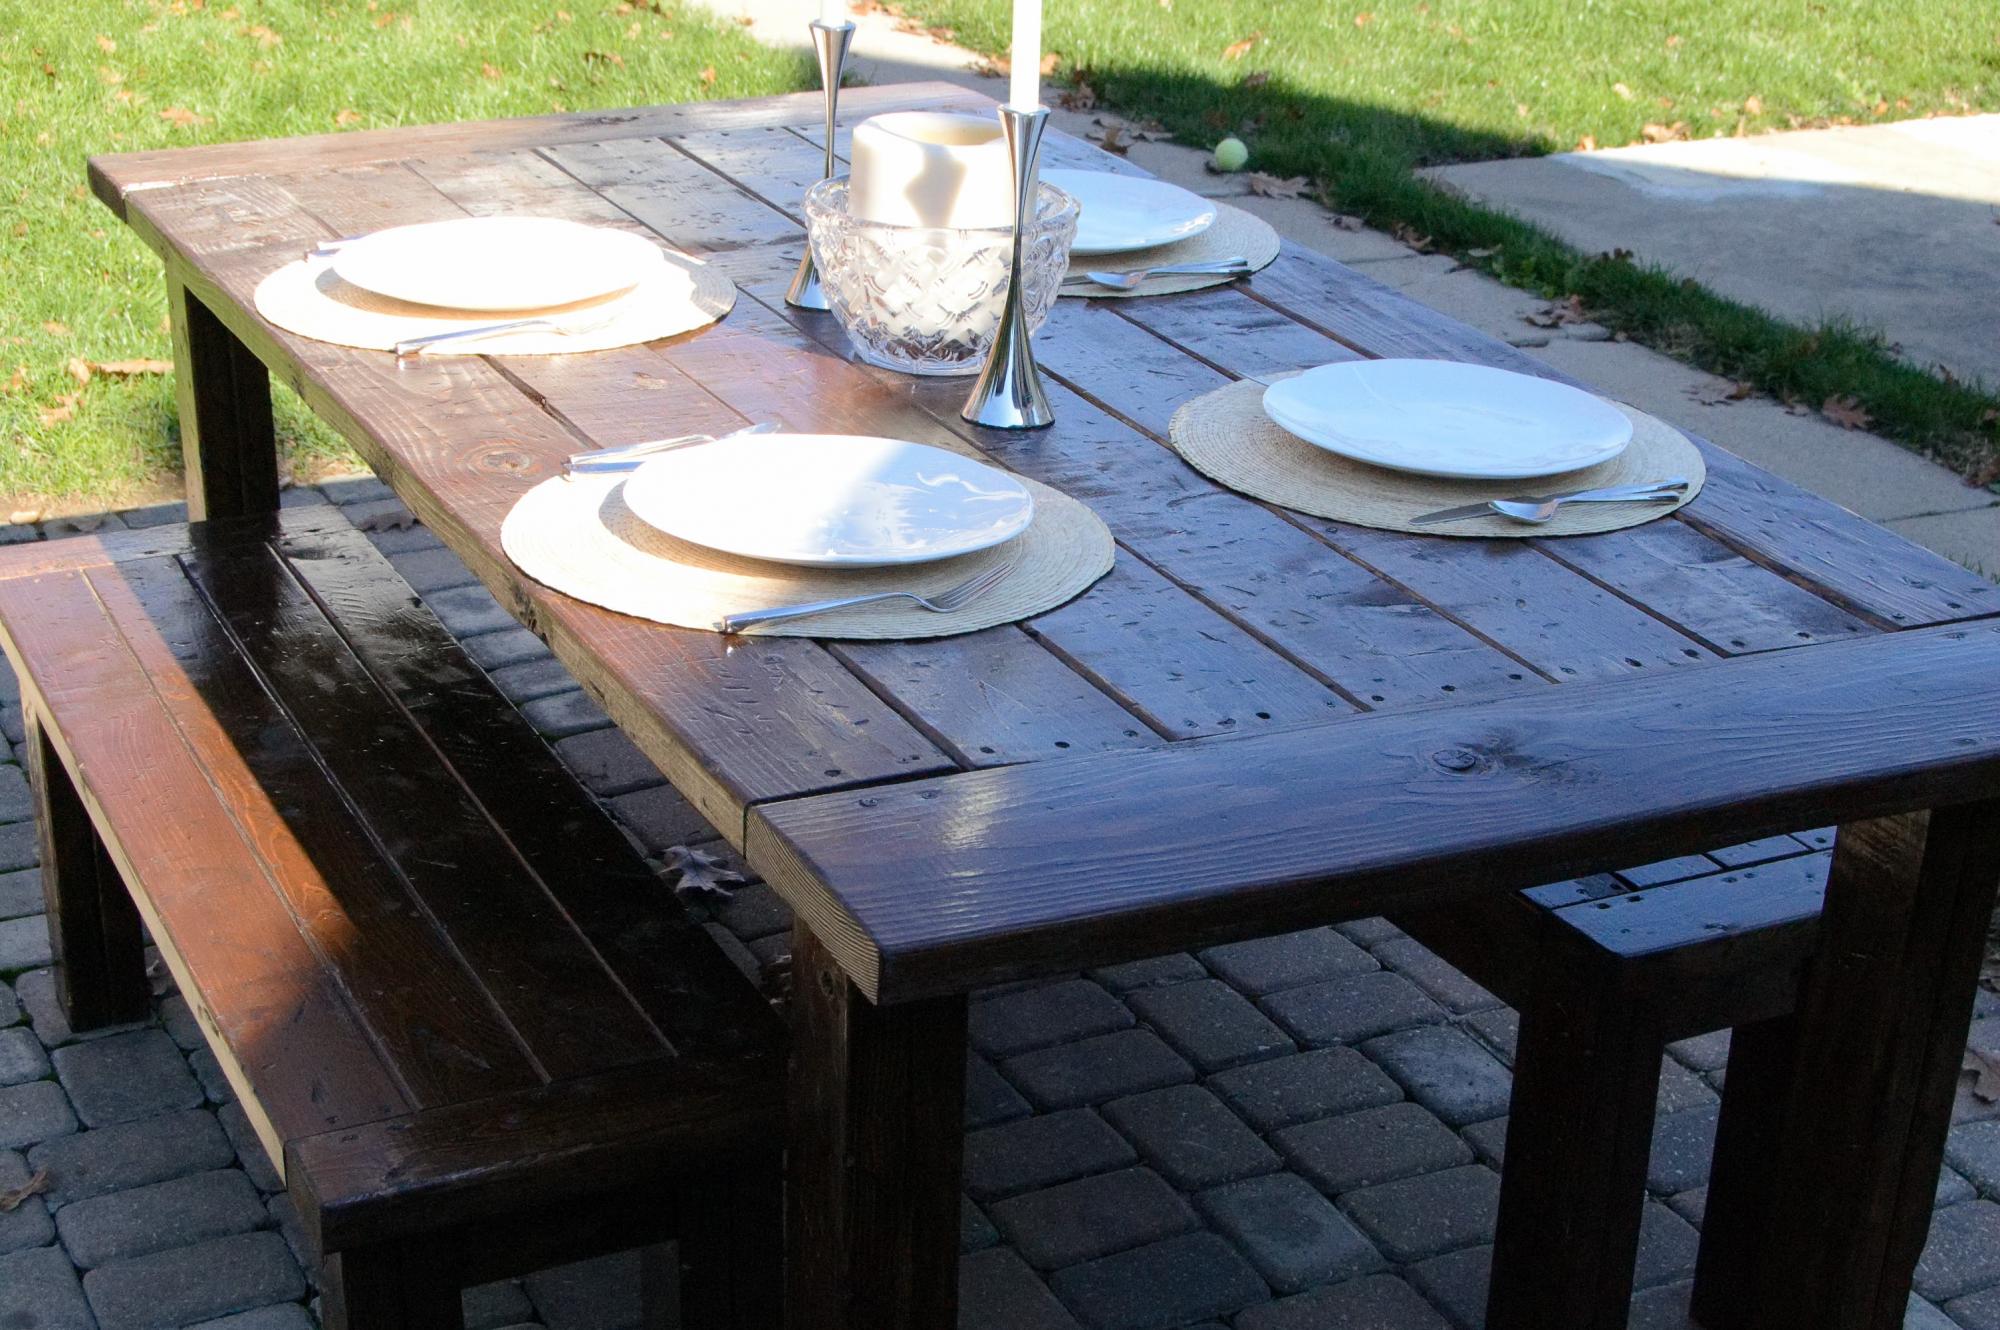
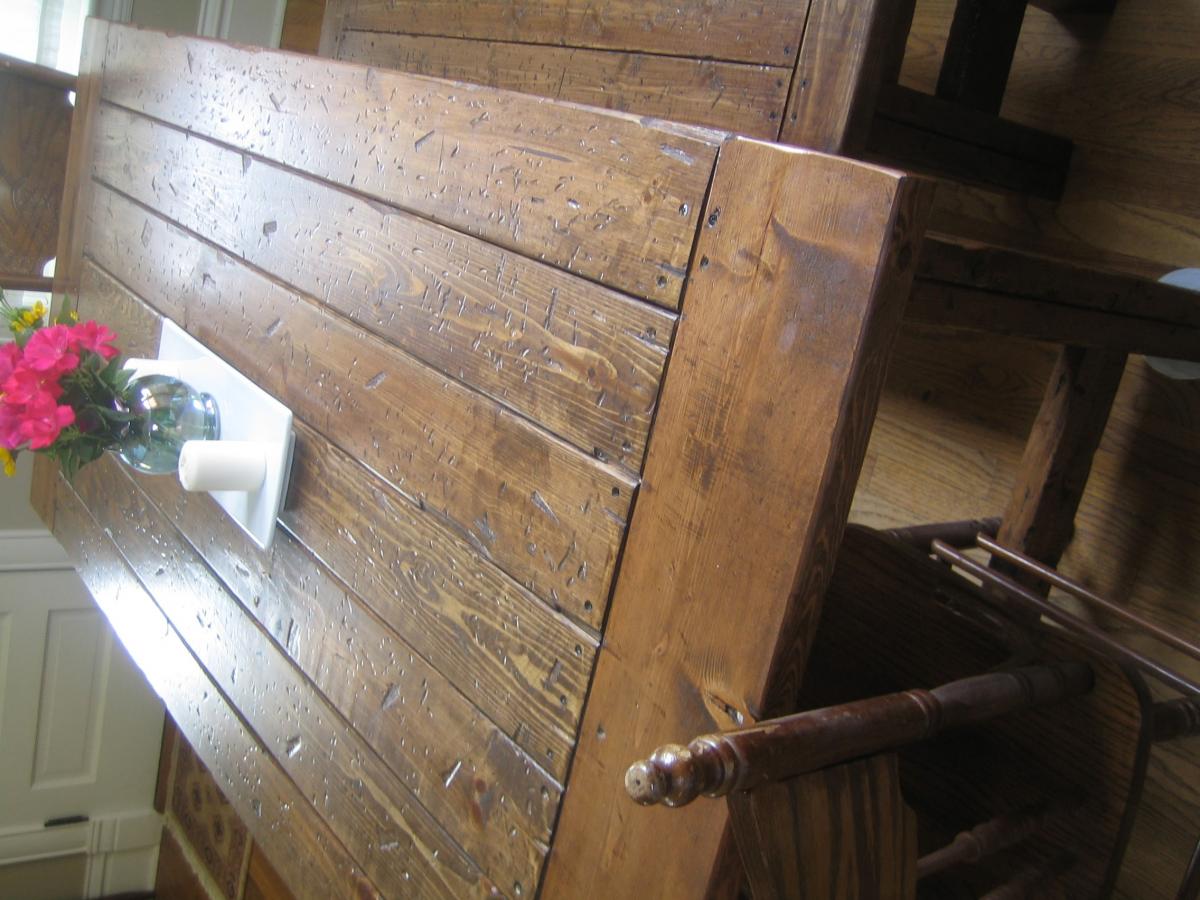
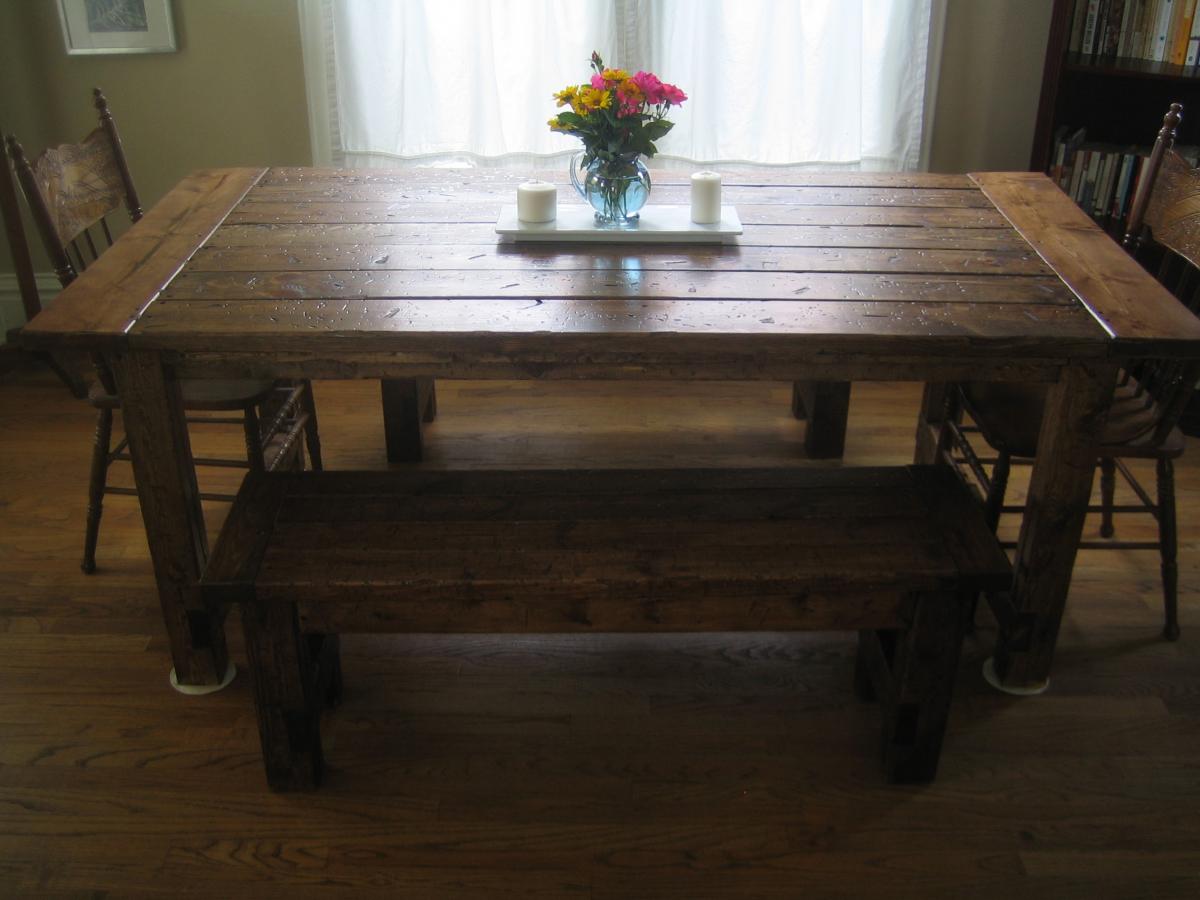
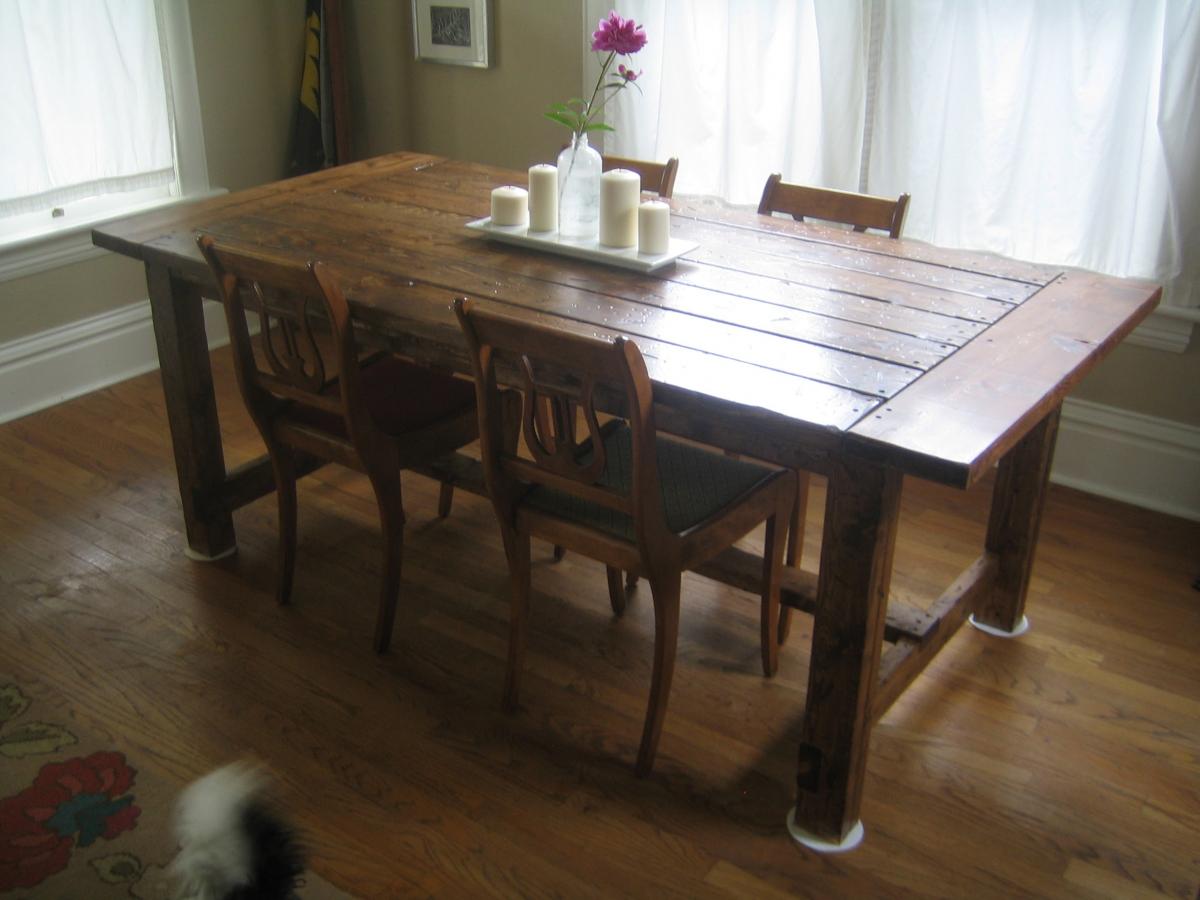
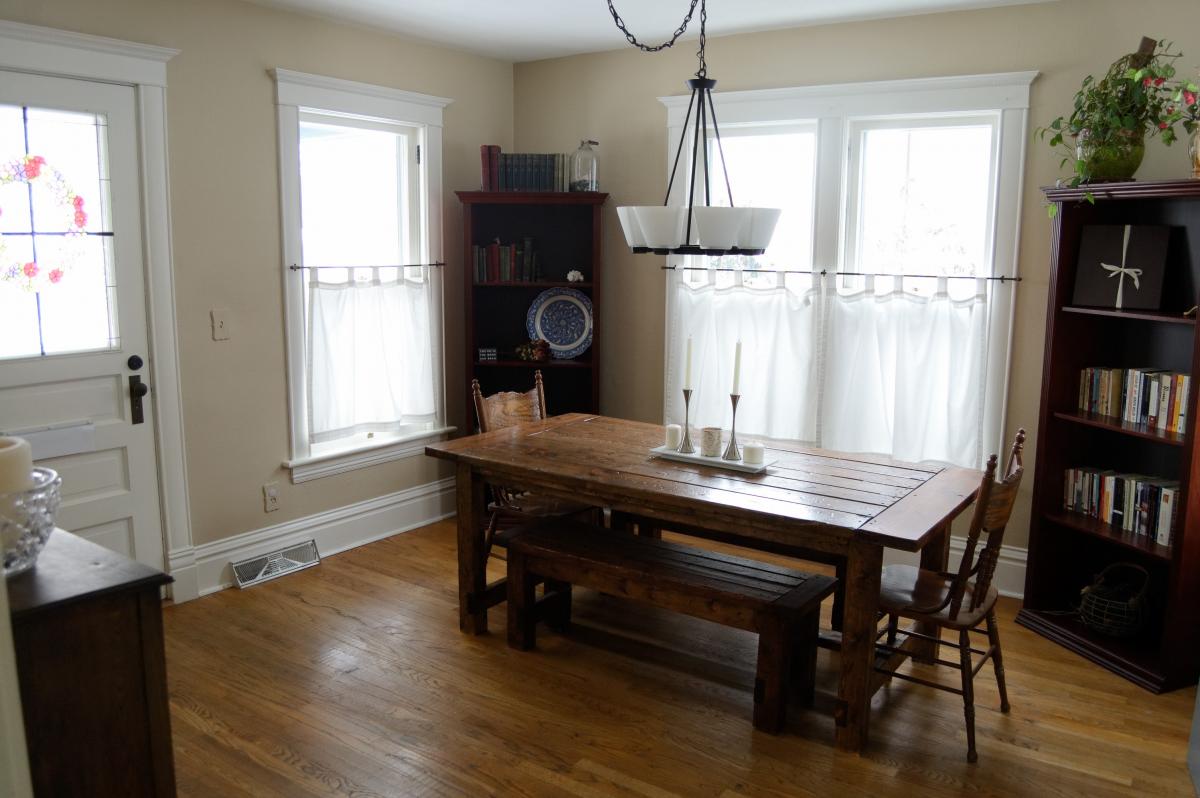
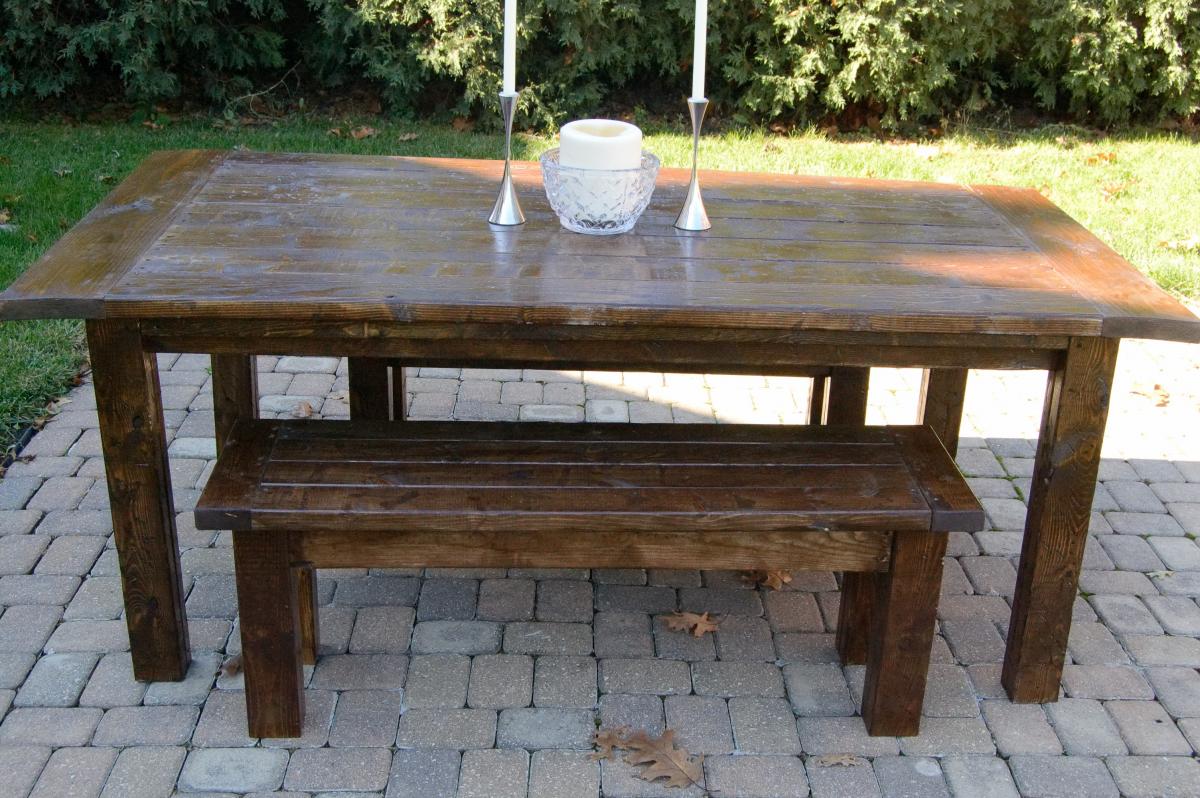
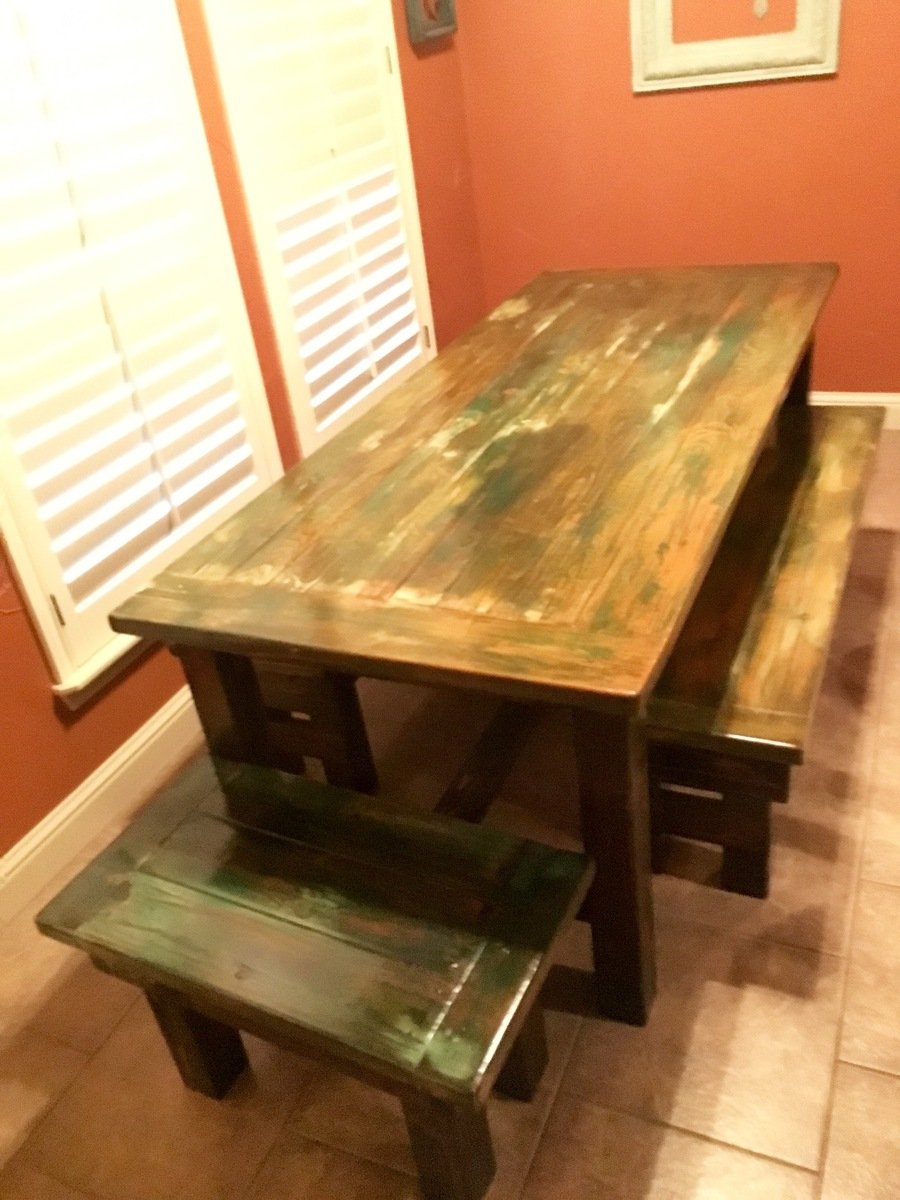
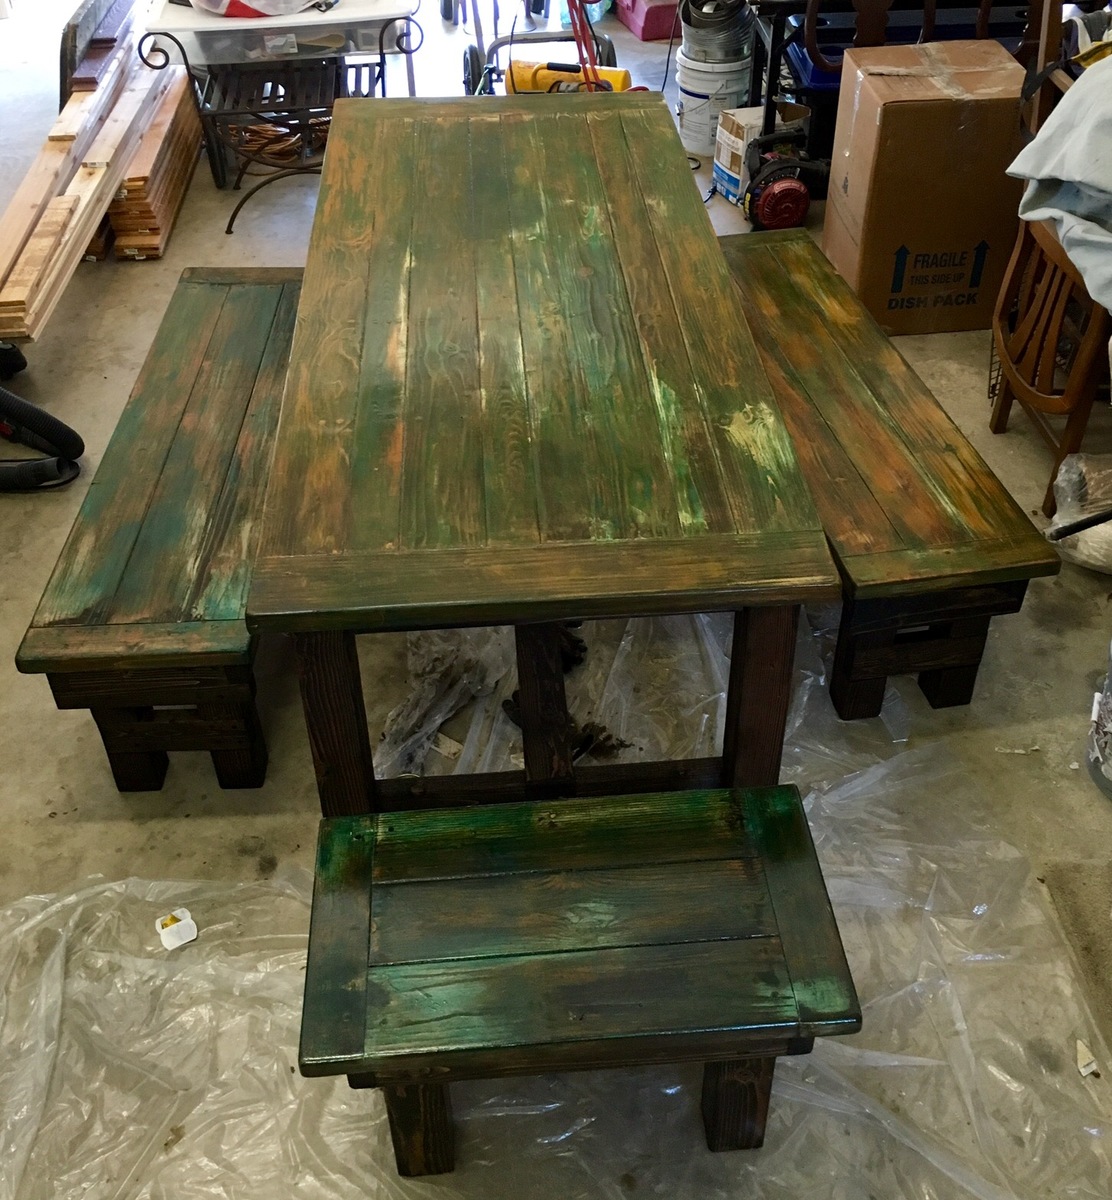
I followed the plans pretty closely. As you can see, I added an extra 2X4 inside the uprights. This gave me room to mortise the 2X4s that run under the table top. Very sturdy and useful. The third pic shows when we used this table for a birthday party. Matched up exactly with our dining room table! It only took one extra 2x4 to make the alterations.
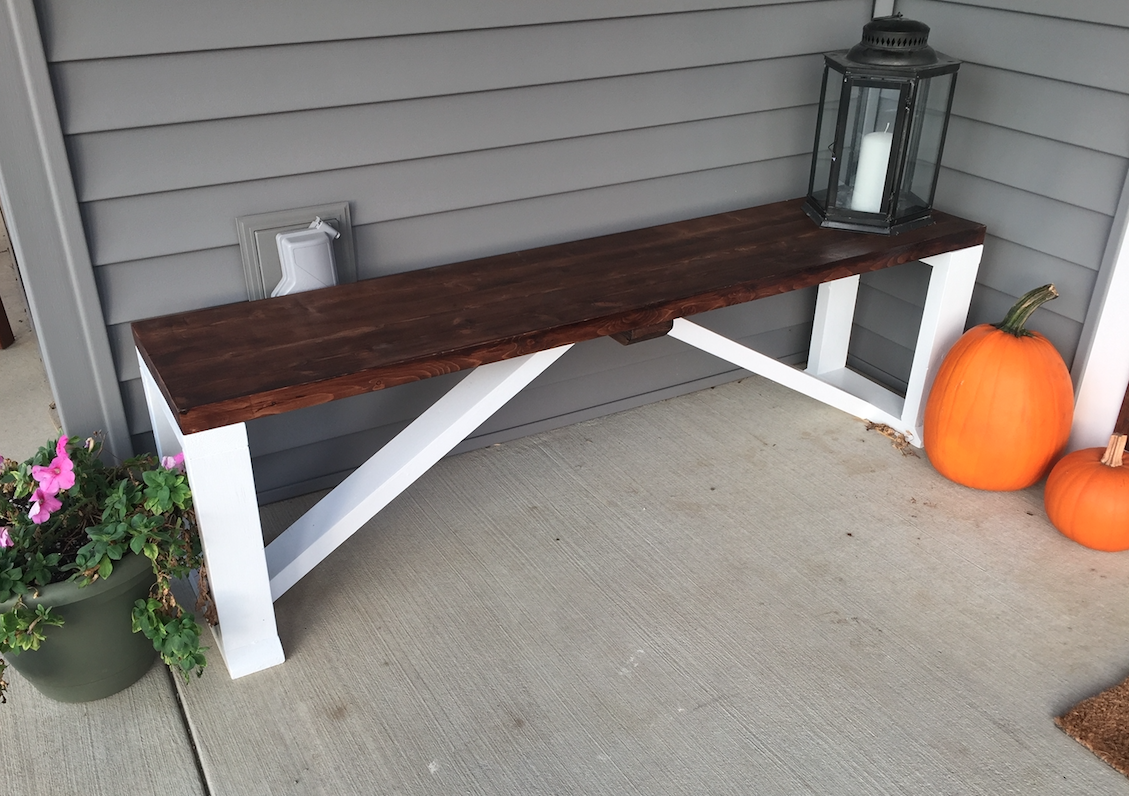
My wife has been asking me for quite some time to build her a bench for the front porch. I finally found some time to make one. I looked at a lot of different benches on Pinterest, YouTube and other websites and I presented the options to her, and she liked this design the best. She only had one request and that was for the top to match the front door and the frame to be white. I have a step-by-step video of how I made the Farmhouse Bench (Click Here) to see the video.
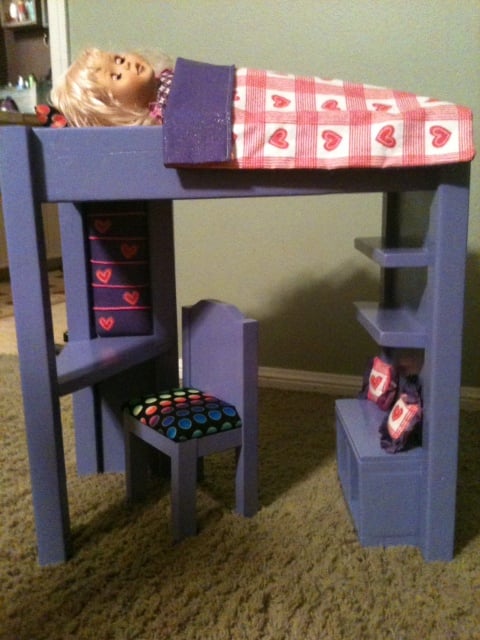
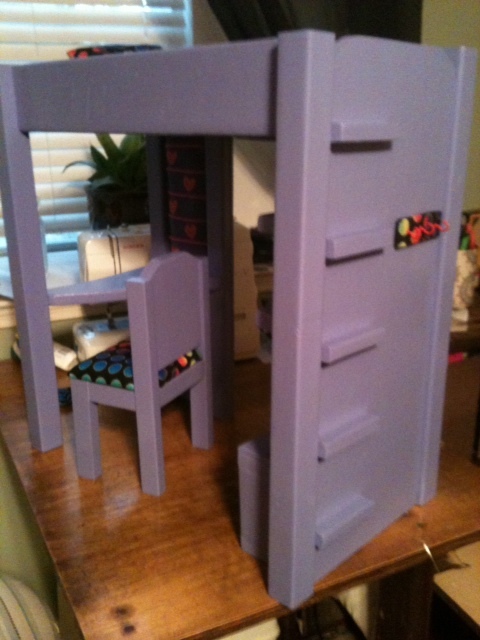
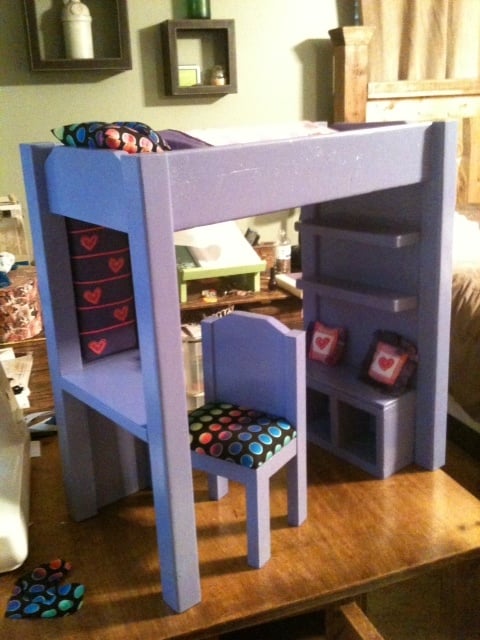
My niece wanted the purple AG loft bed for her doll. Since, the one online is $225 and back ordered until December...I came up with this one for free! I used scrap wood and fabric that I had left over from other projects. The bed has a built in desk top, shelves, cubbies, ladder, bulletin board, and coat hooks. It took me a couple of hours to build the bed and the chair and about an hour to sew the comforter and pillows. The painting took a little longer because I was out of purple spray paint! grrrrrrr!
Thu, 11/08/2012 - 17:50
Do you have a time frame when you plan to post your plans? My daughter wants one of these for Christmas and was going to get started trying to reverse engineer based on photos. Then decided to check internet and found this! Would love to get plans do not care if scanned pieces of paper. Thank you!
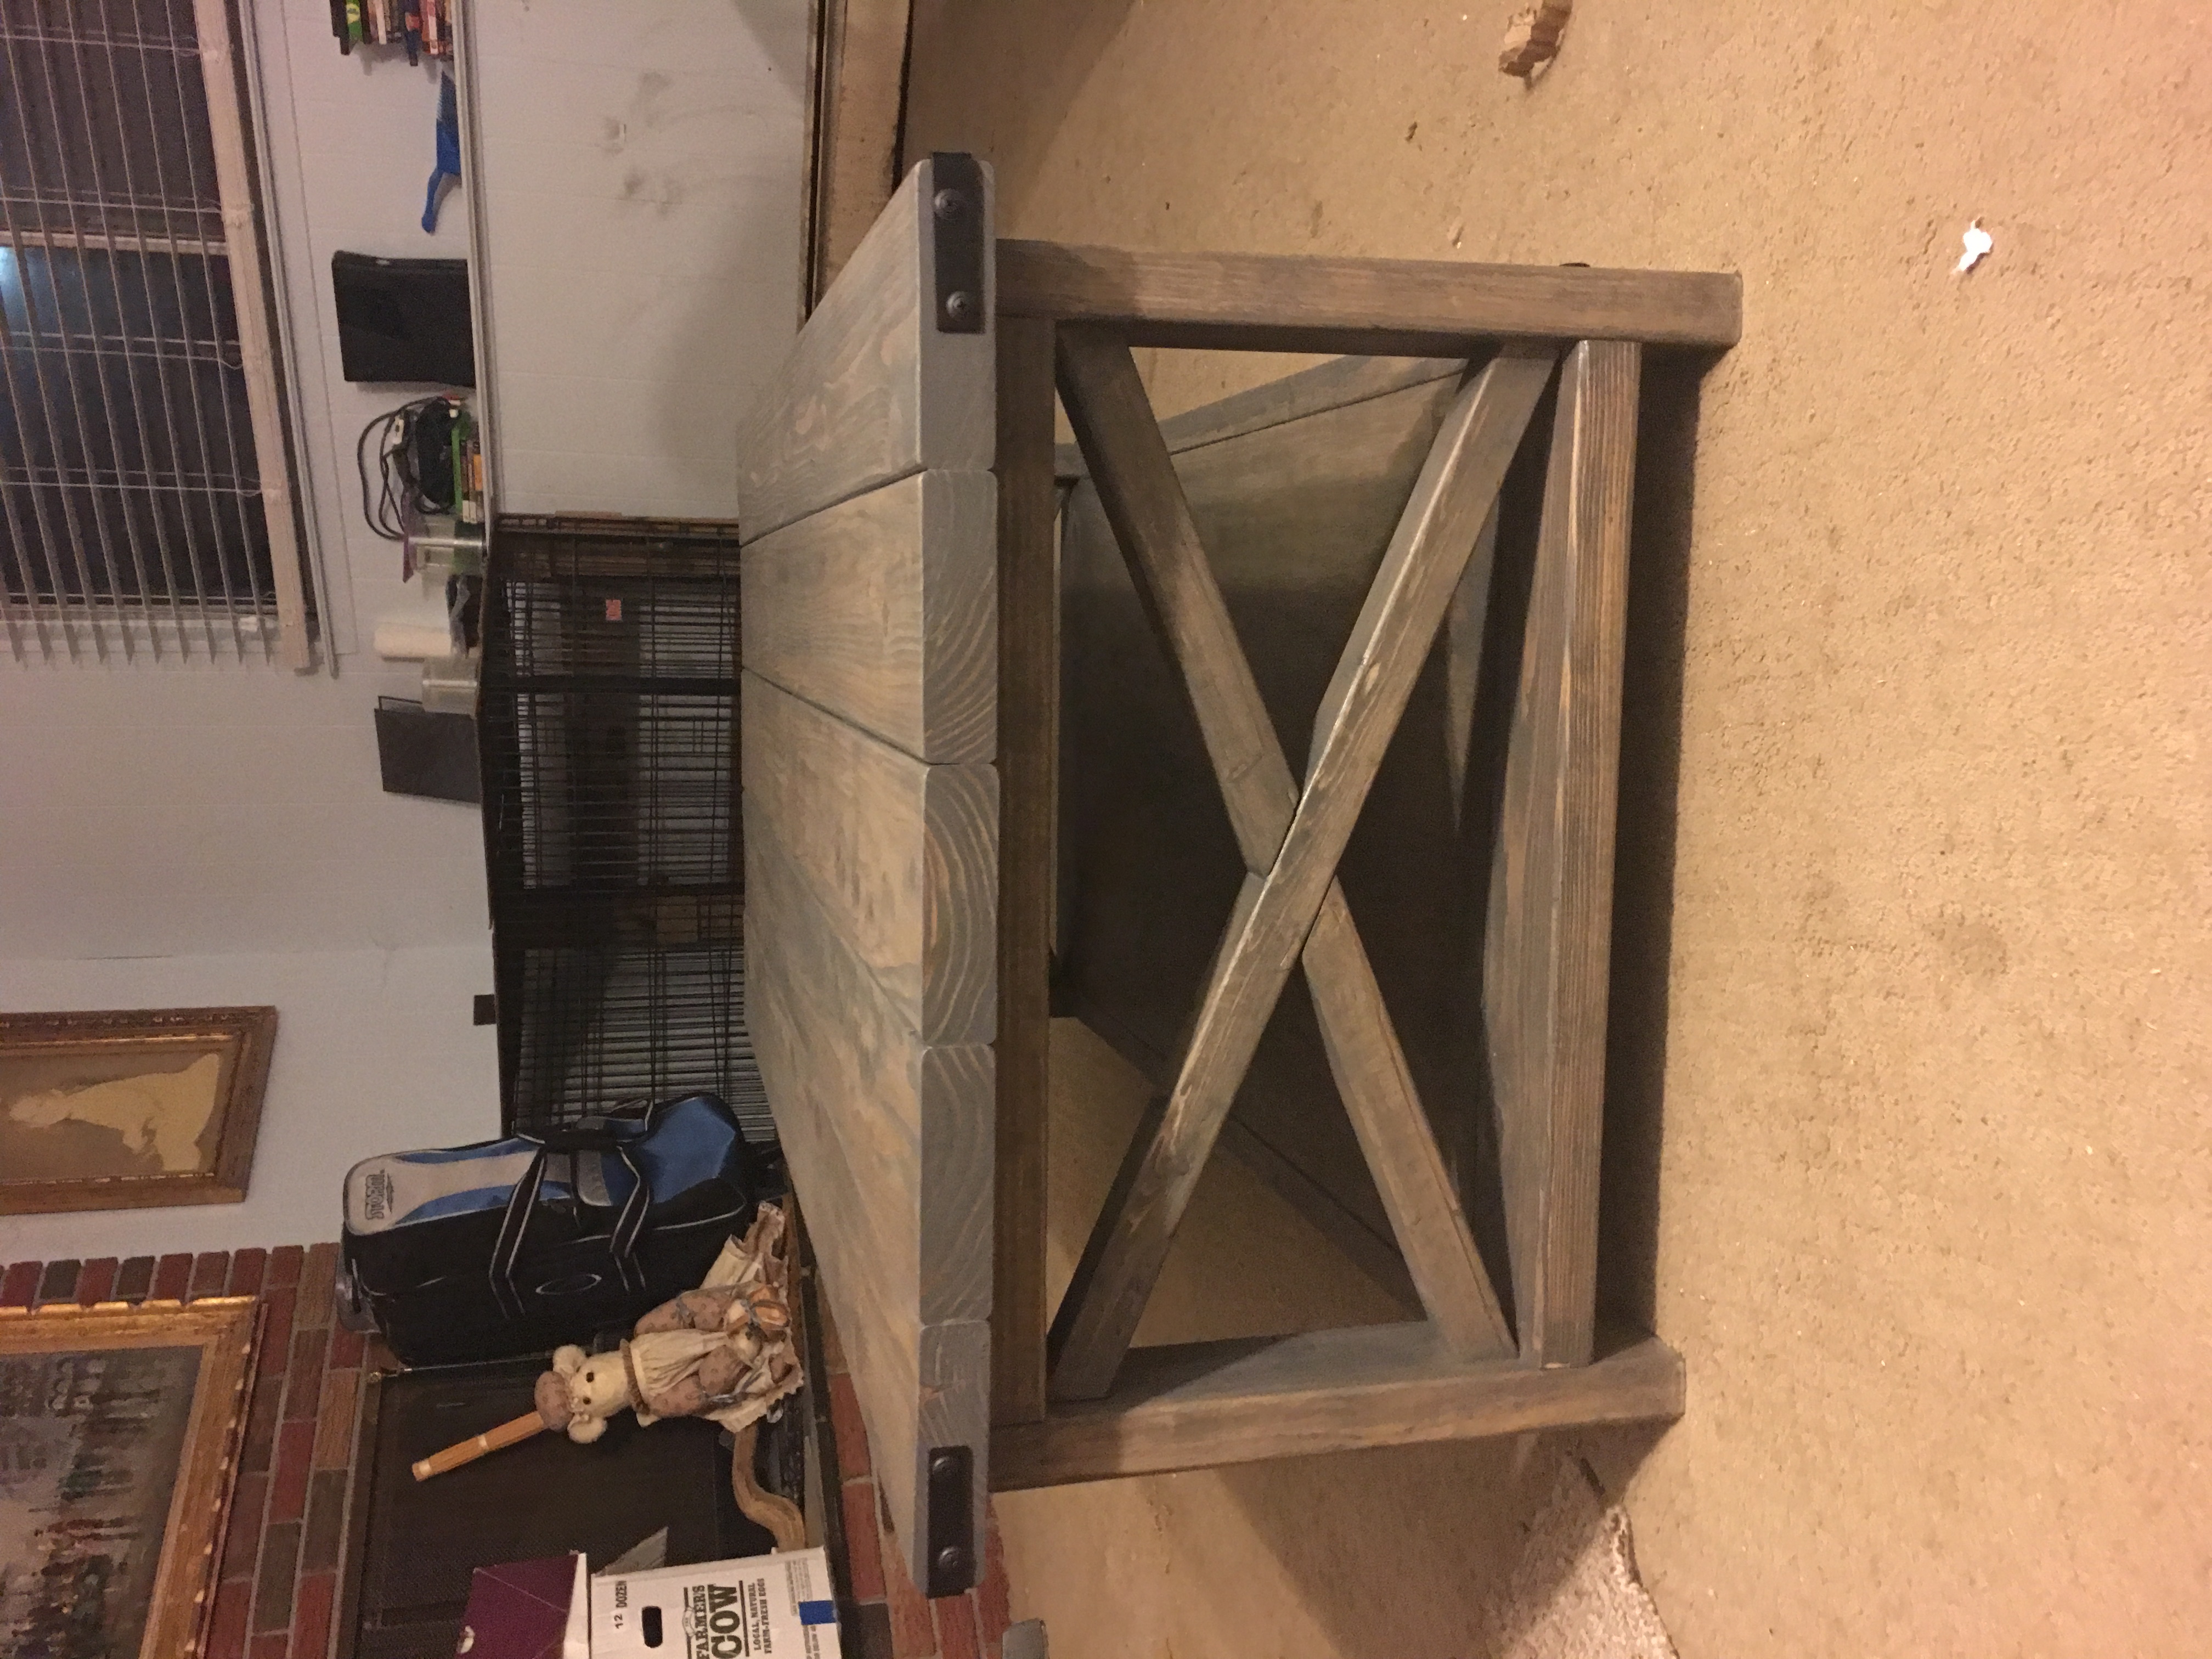
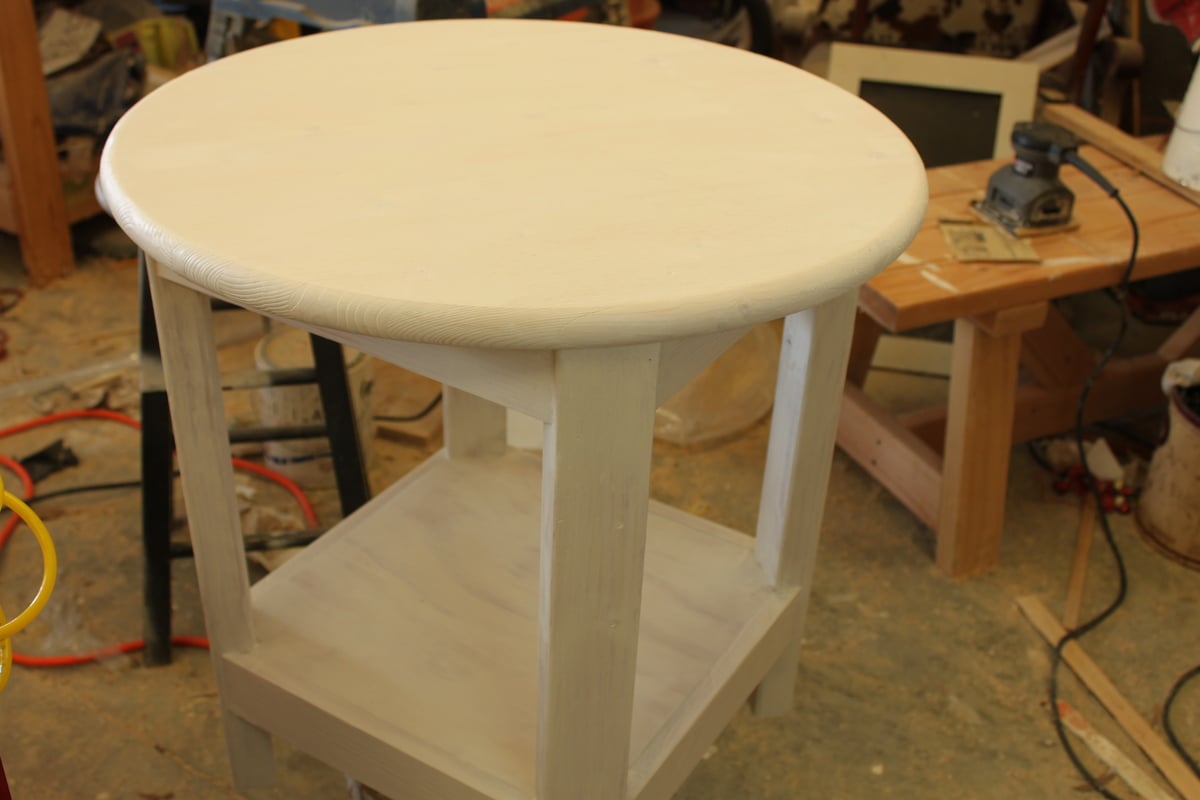
This is the third time I built this table. Everyone who has it loves it because it is the "perfect size". This last build was someone not as rustic, so I opted a premade round table top. This probably added $15 to the project but saved at least an hour.
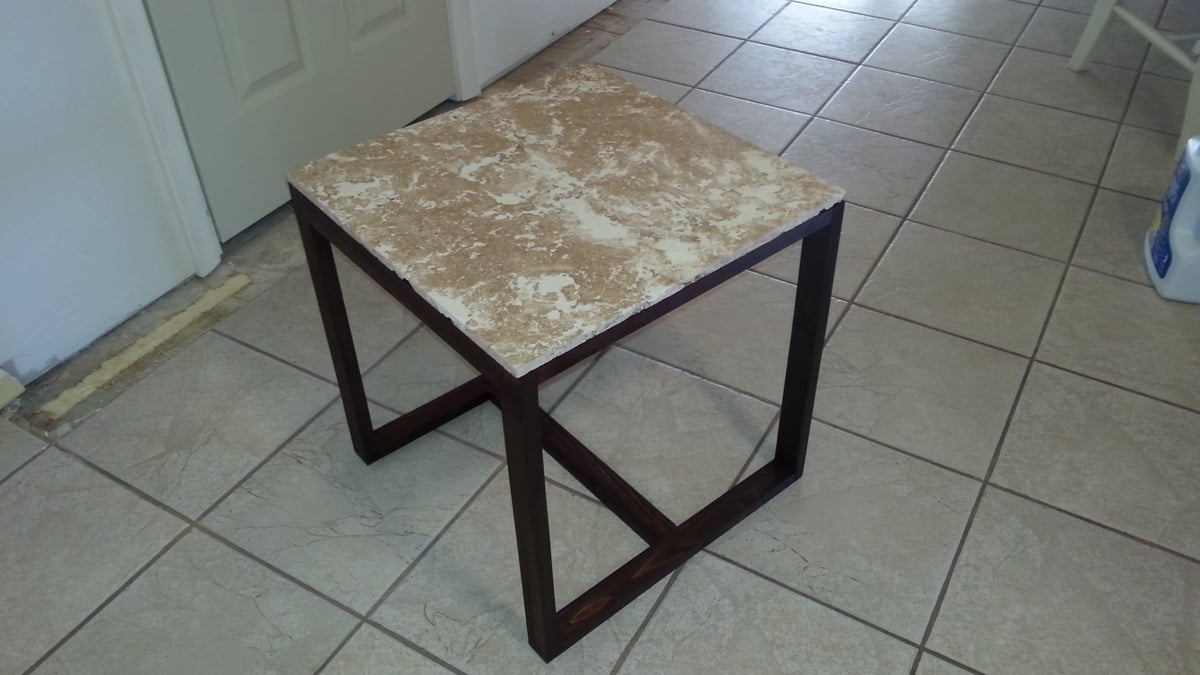
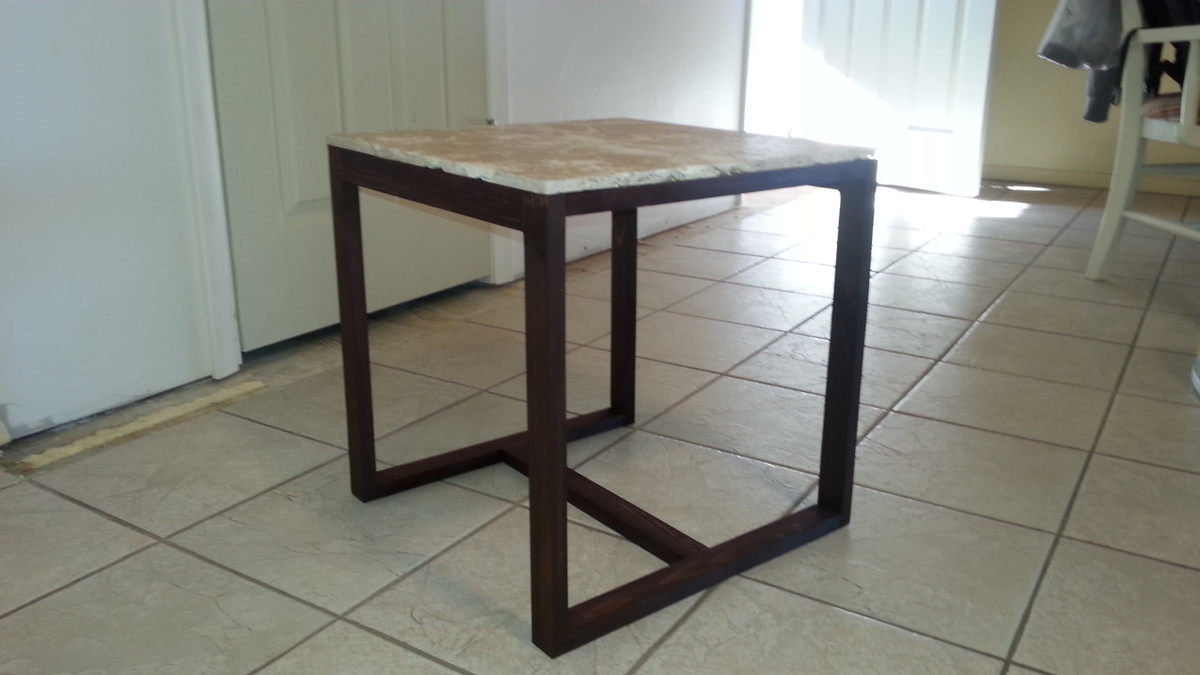
I really liked the sleek design of the concrete topped patio table. I needed a plant stand for an epic boston fern on my front porch, so I modified this design to use 1x2 cedar and topped the stand with a piece of travertine tile. I like the way it turned out. It's winter here, so no front porch photo, only a sad photo in our kitchen which we are in the process of remodelling.

5 8’ 2x4s were not enough. I could not figure out how to get the needed cuts from 5 boards. We had to go back and get more (a 3 hour round trip) which didn’t help with keeping costs down.
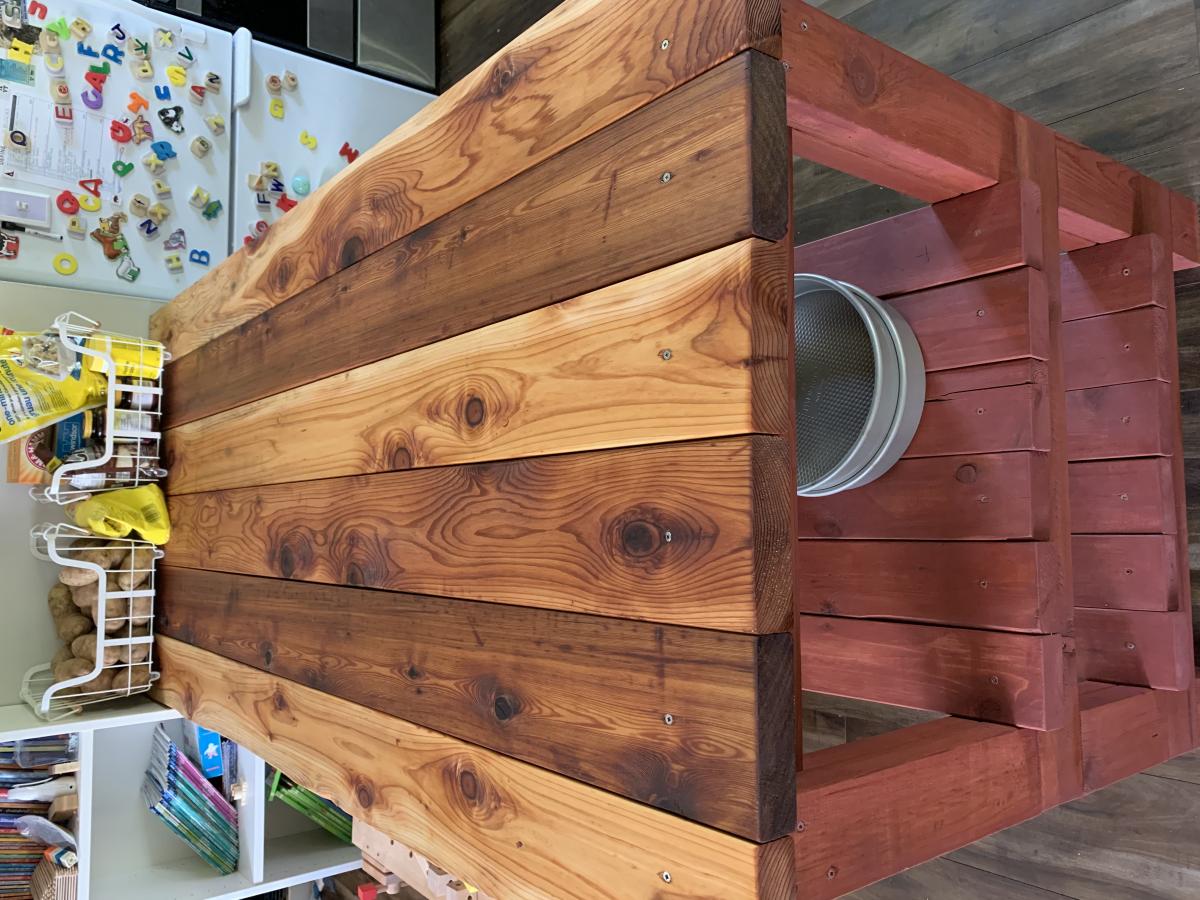
I’ve wanted this built for a looong time and finally roped my husband into building it for me. We used cedar. 2x8s weren’t available so we substituted for 2x6s. We have 6 of those boards across the top, making a few inches of overhang on either side. I liked it just as it was so I didn’t trim the ends of the shelf boards.
The top is stained with pure tung oil for waterproofing. The frame and shelves are painted with milk paint stain. 2 coats of this left it pink until a light coat of tung oil brought out the nice darker colour. Waiting for the tung oil to dry killed me because I wanted to be able to use it right away.
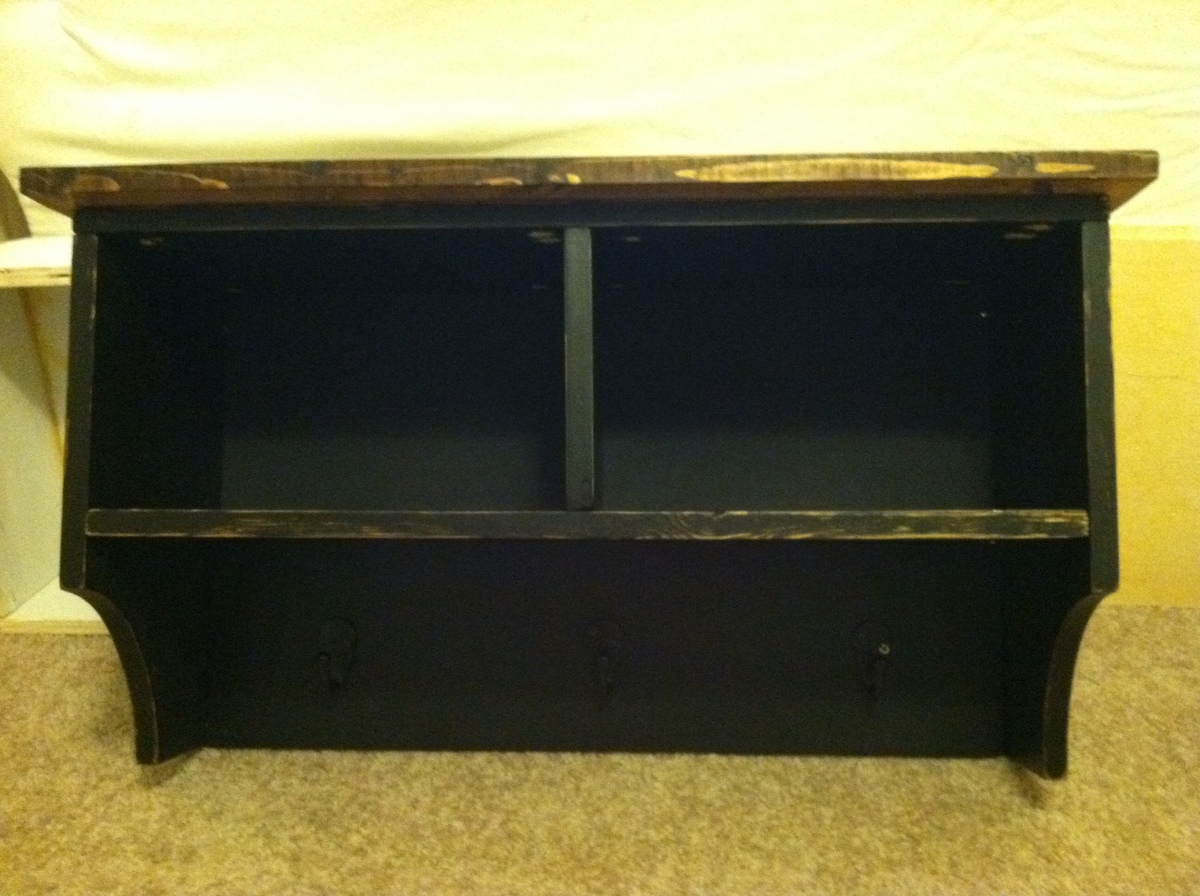
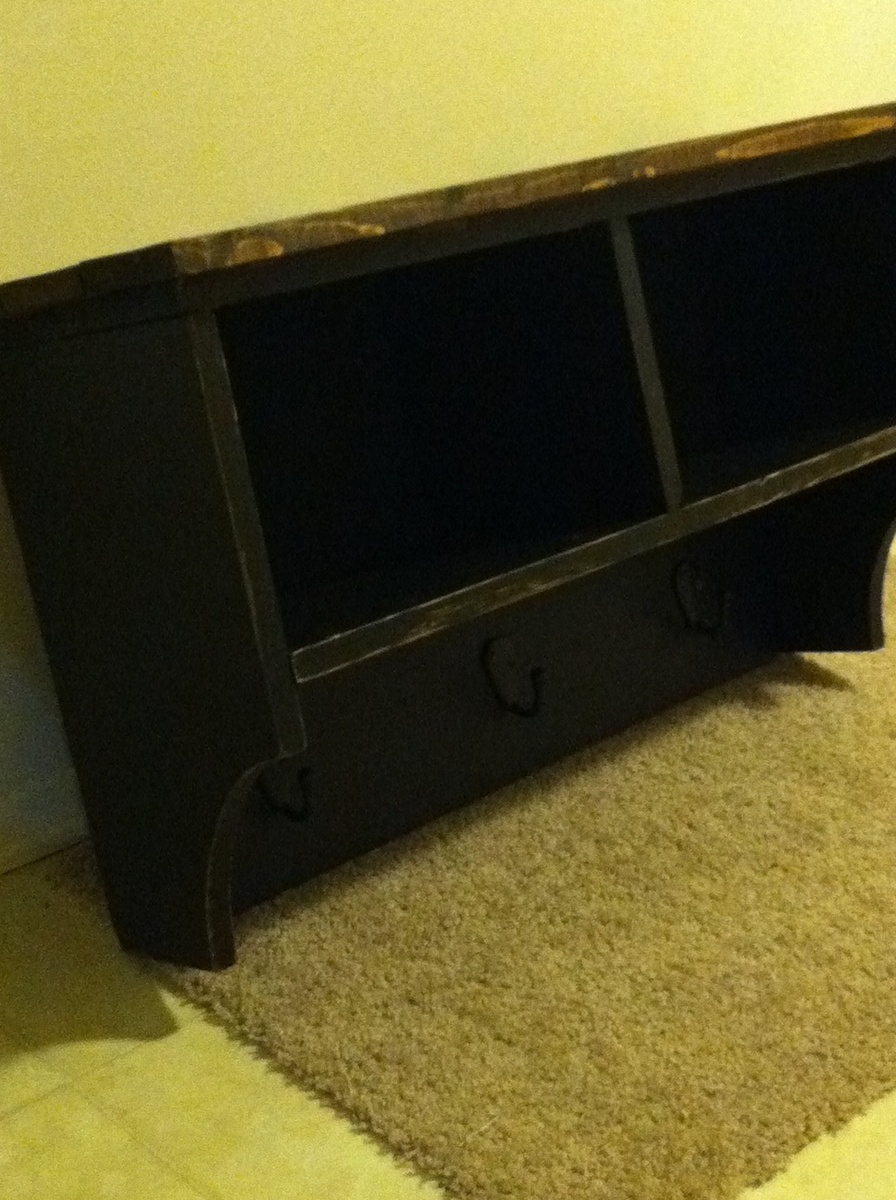
I have been wanting to build an entryway cubby for some time now and was excited to see these plans in the book! (Awesome job, by the way!). I modified the plans to fit my entryway space and also used all wood left over from other projects. I added the wood top too. Now I just have to figure out how to hang it!
I'm actually in the process of finishing the Apothecary media console so I used this project to test out the finish I was thinking about using.
Paint: Behr Premium Plus in Beluga, Flat finish
Wood stain: Minwax Dark Walnut, 2-3 coats (I did pre-condition the wood before staining)
Poly: Rustoleum Ultimate Soft Touch Matte
I love the Rustoleum soft touch poly-it dries so beautifully.
I did glaze the edges, too.
I'm planning to build the bench next and finally my entryway will be organized (hard with a 2 1/2 year old!)
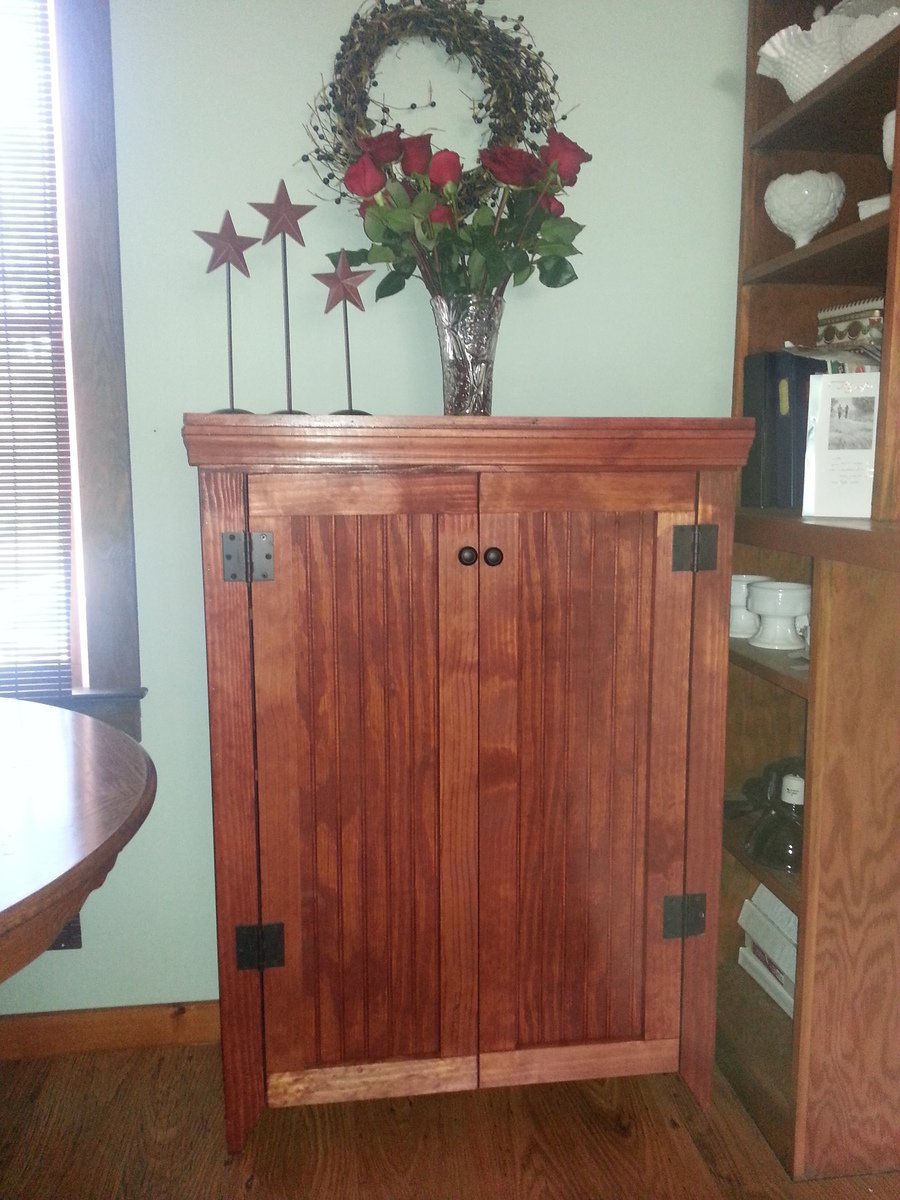
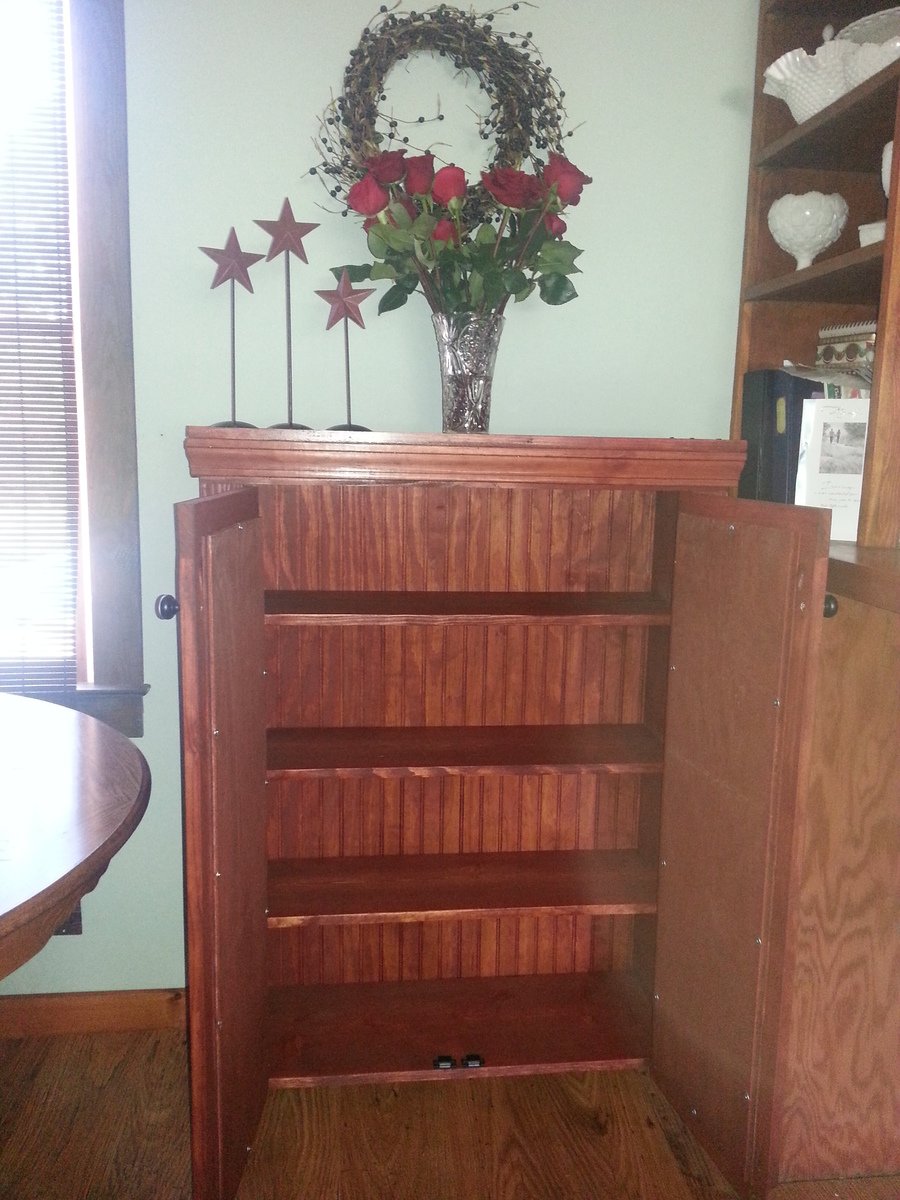
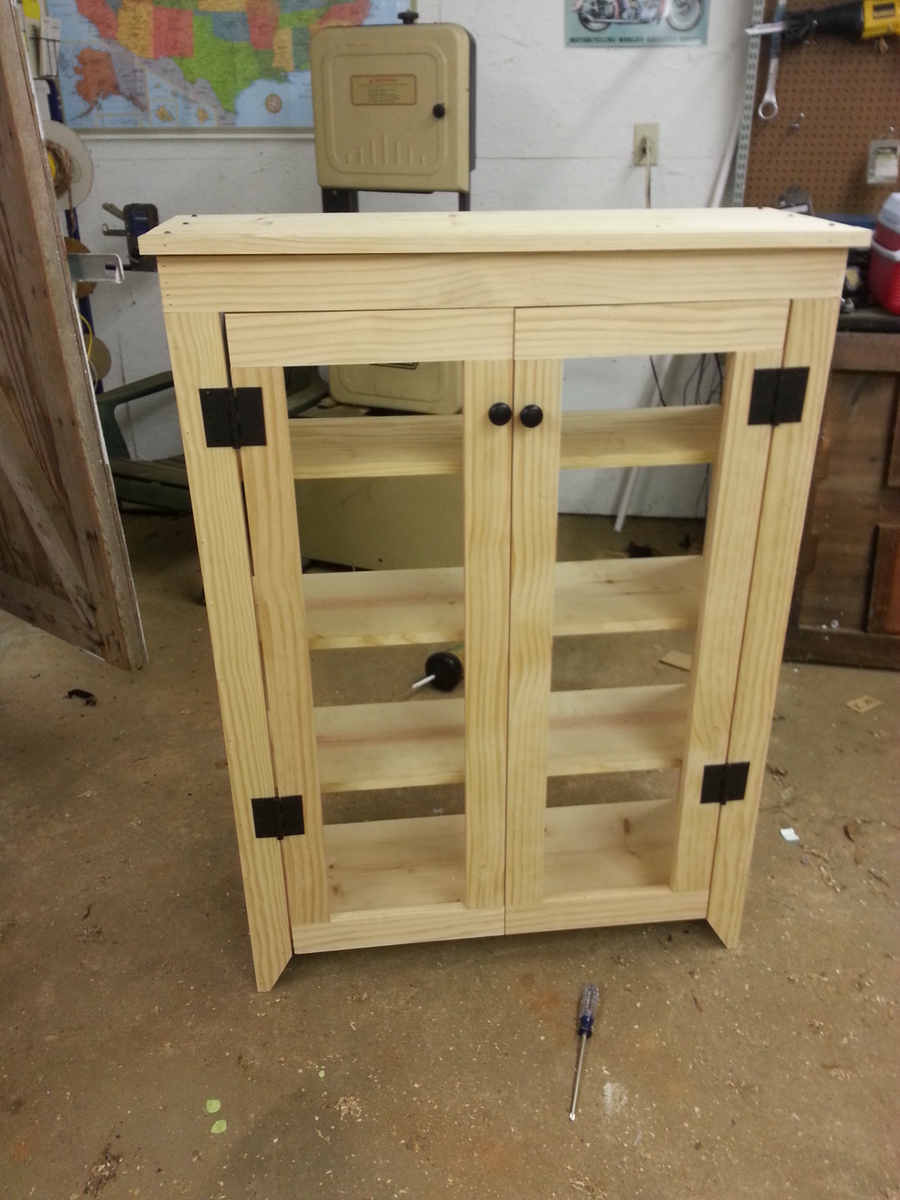
This is the result of my interpretation on Patrick's Jelly Cubbard. Unless the cut
list has been updated there are some corrections that need to made. The rails
at 11" are too short. I adjusted for this by making them 14" and my rails run the
entire length of the door tops. If you prefer to have interior rails then the stiles
must be changed. The easiest fix for me was the rails. It took me around 9
hours to complete however my shop was already set up for this project. Each
station was ready for all of the cuts and my pocket hole jig was already set. I
spent minimal time sanding as I wanted to have a bit of a rustic look and I
wanted the stain to have sharp contrasts in the color over different sections of
the woodgrain. I used knotted pine for for the 1x12's and knotless for the front
and shelves. I used beadboard paneling for the back and the panels on the
doors attached with 1" screws. The hinges were purchased right off the shelf
from instock items in a big box store as were the pulls that are a close match
in color. I added magnets at the bottom to keep the doors closed. I also added
a piece of simple molding around the top.
I will be doing another one of these to which I will add punched tin panels to
the front doors. I really enjoyed this project and other than the cut list causing a
minor hiccup everything was spot on.
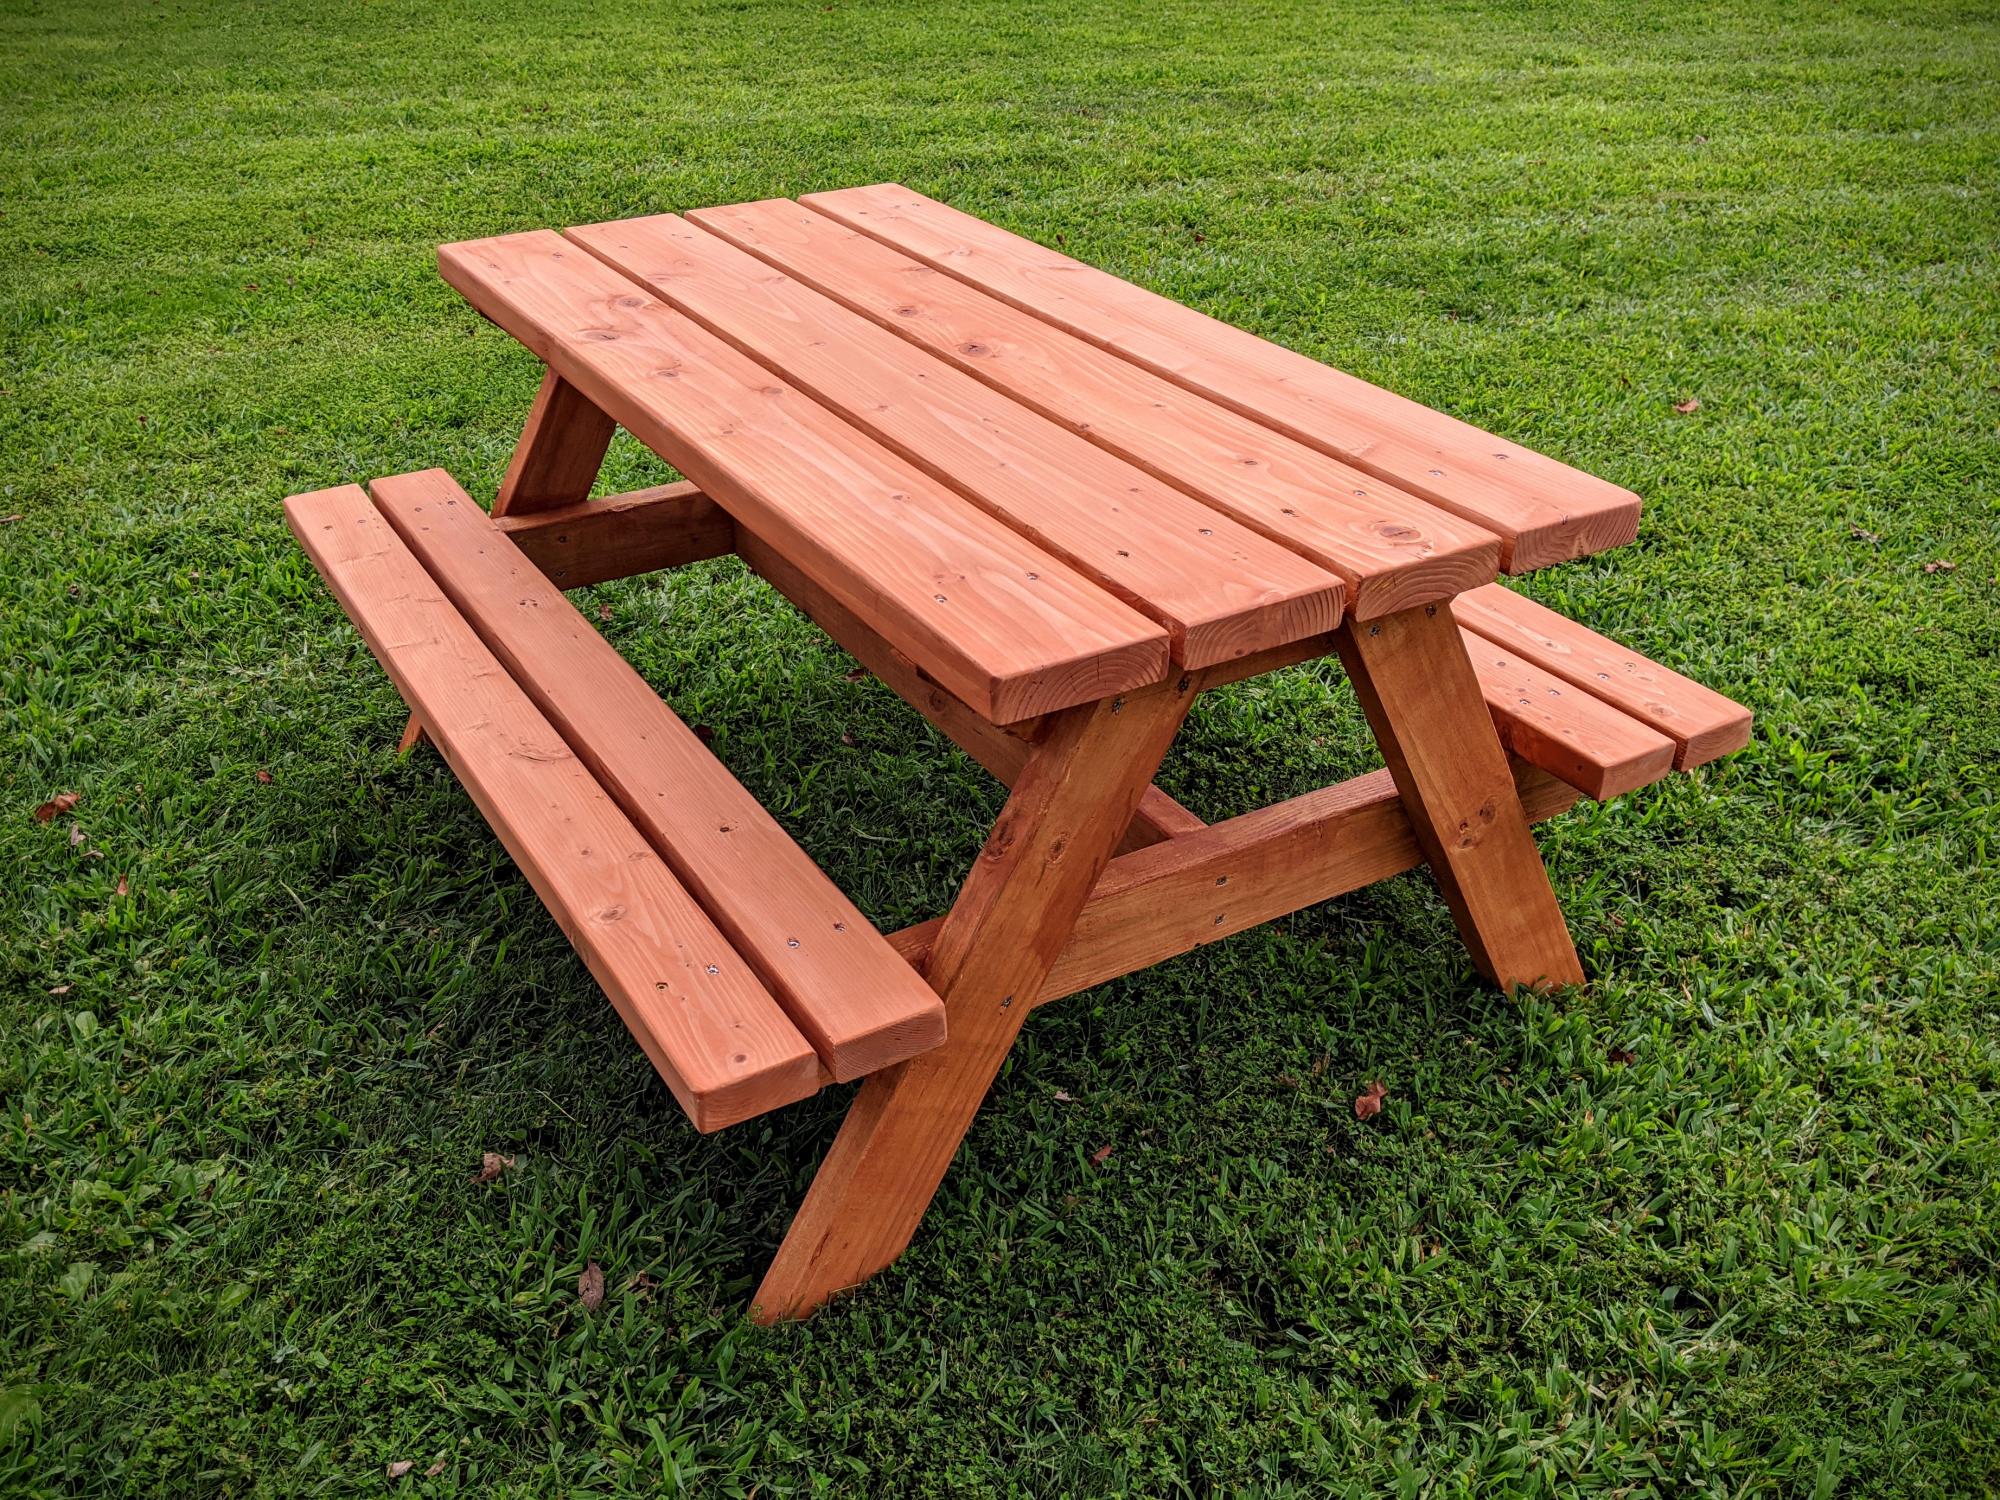
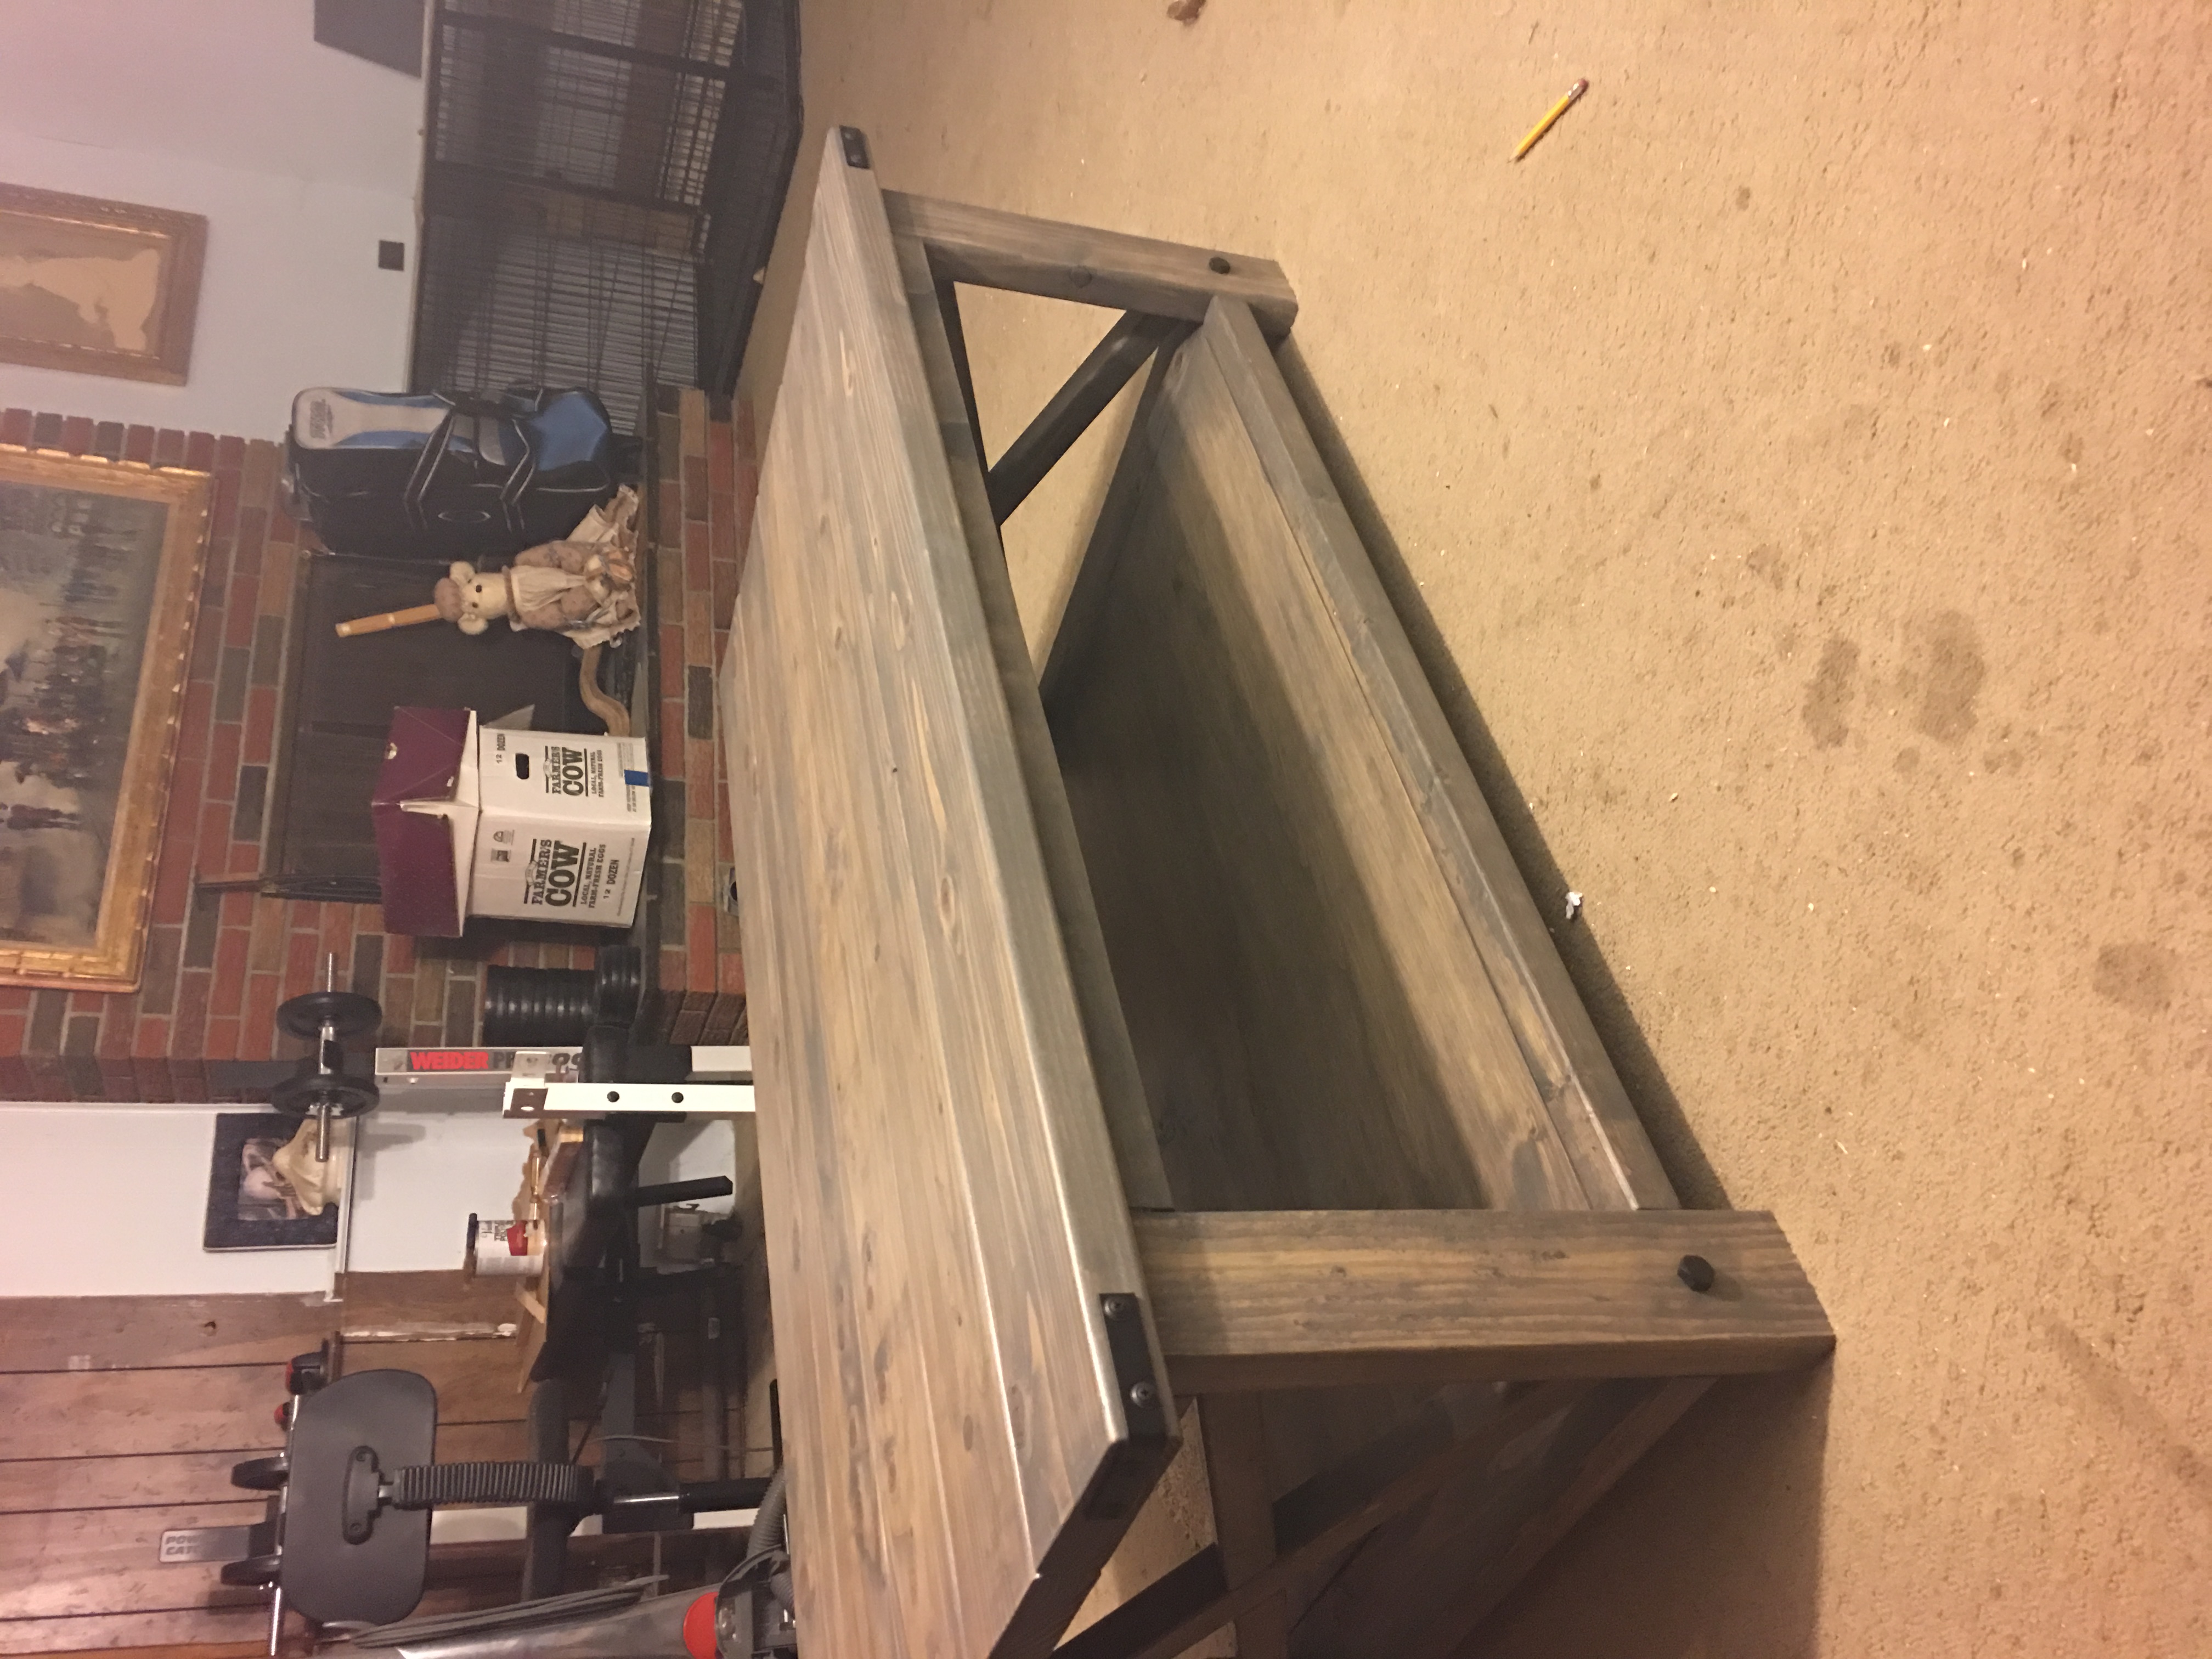
Built using Ana Whites plans for a Bigger Kids Picnic Table. Used pressure treated 2x4 for frame (legs and supports), 2x4 and 2x6 pine (fir) for table top and bench. Finished with Cabot's semi-transparent redwood stain and sealer.
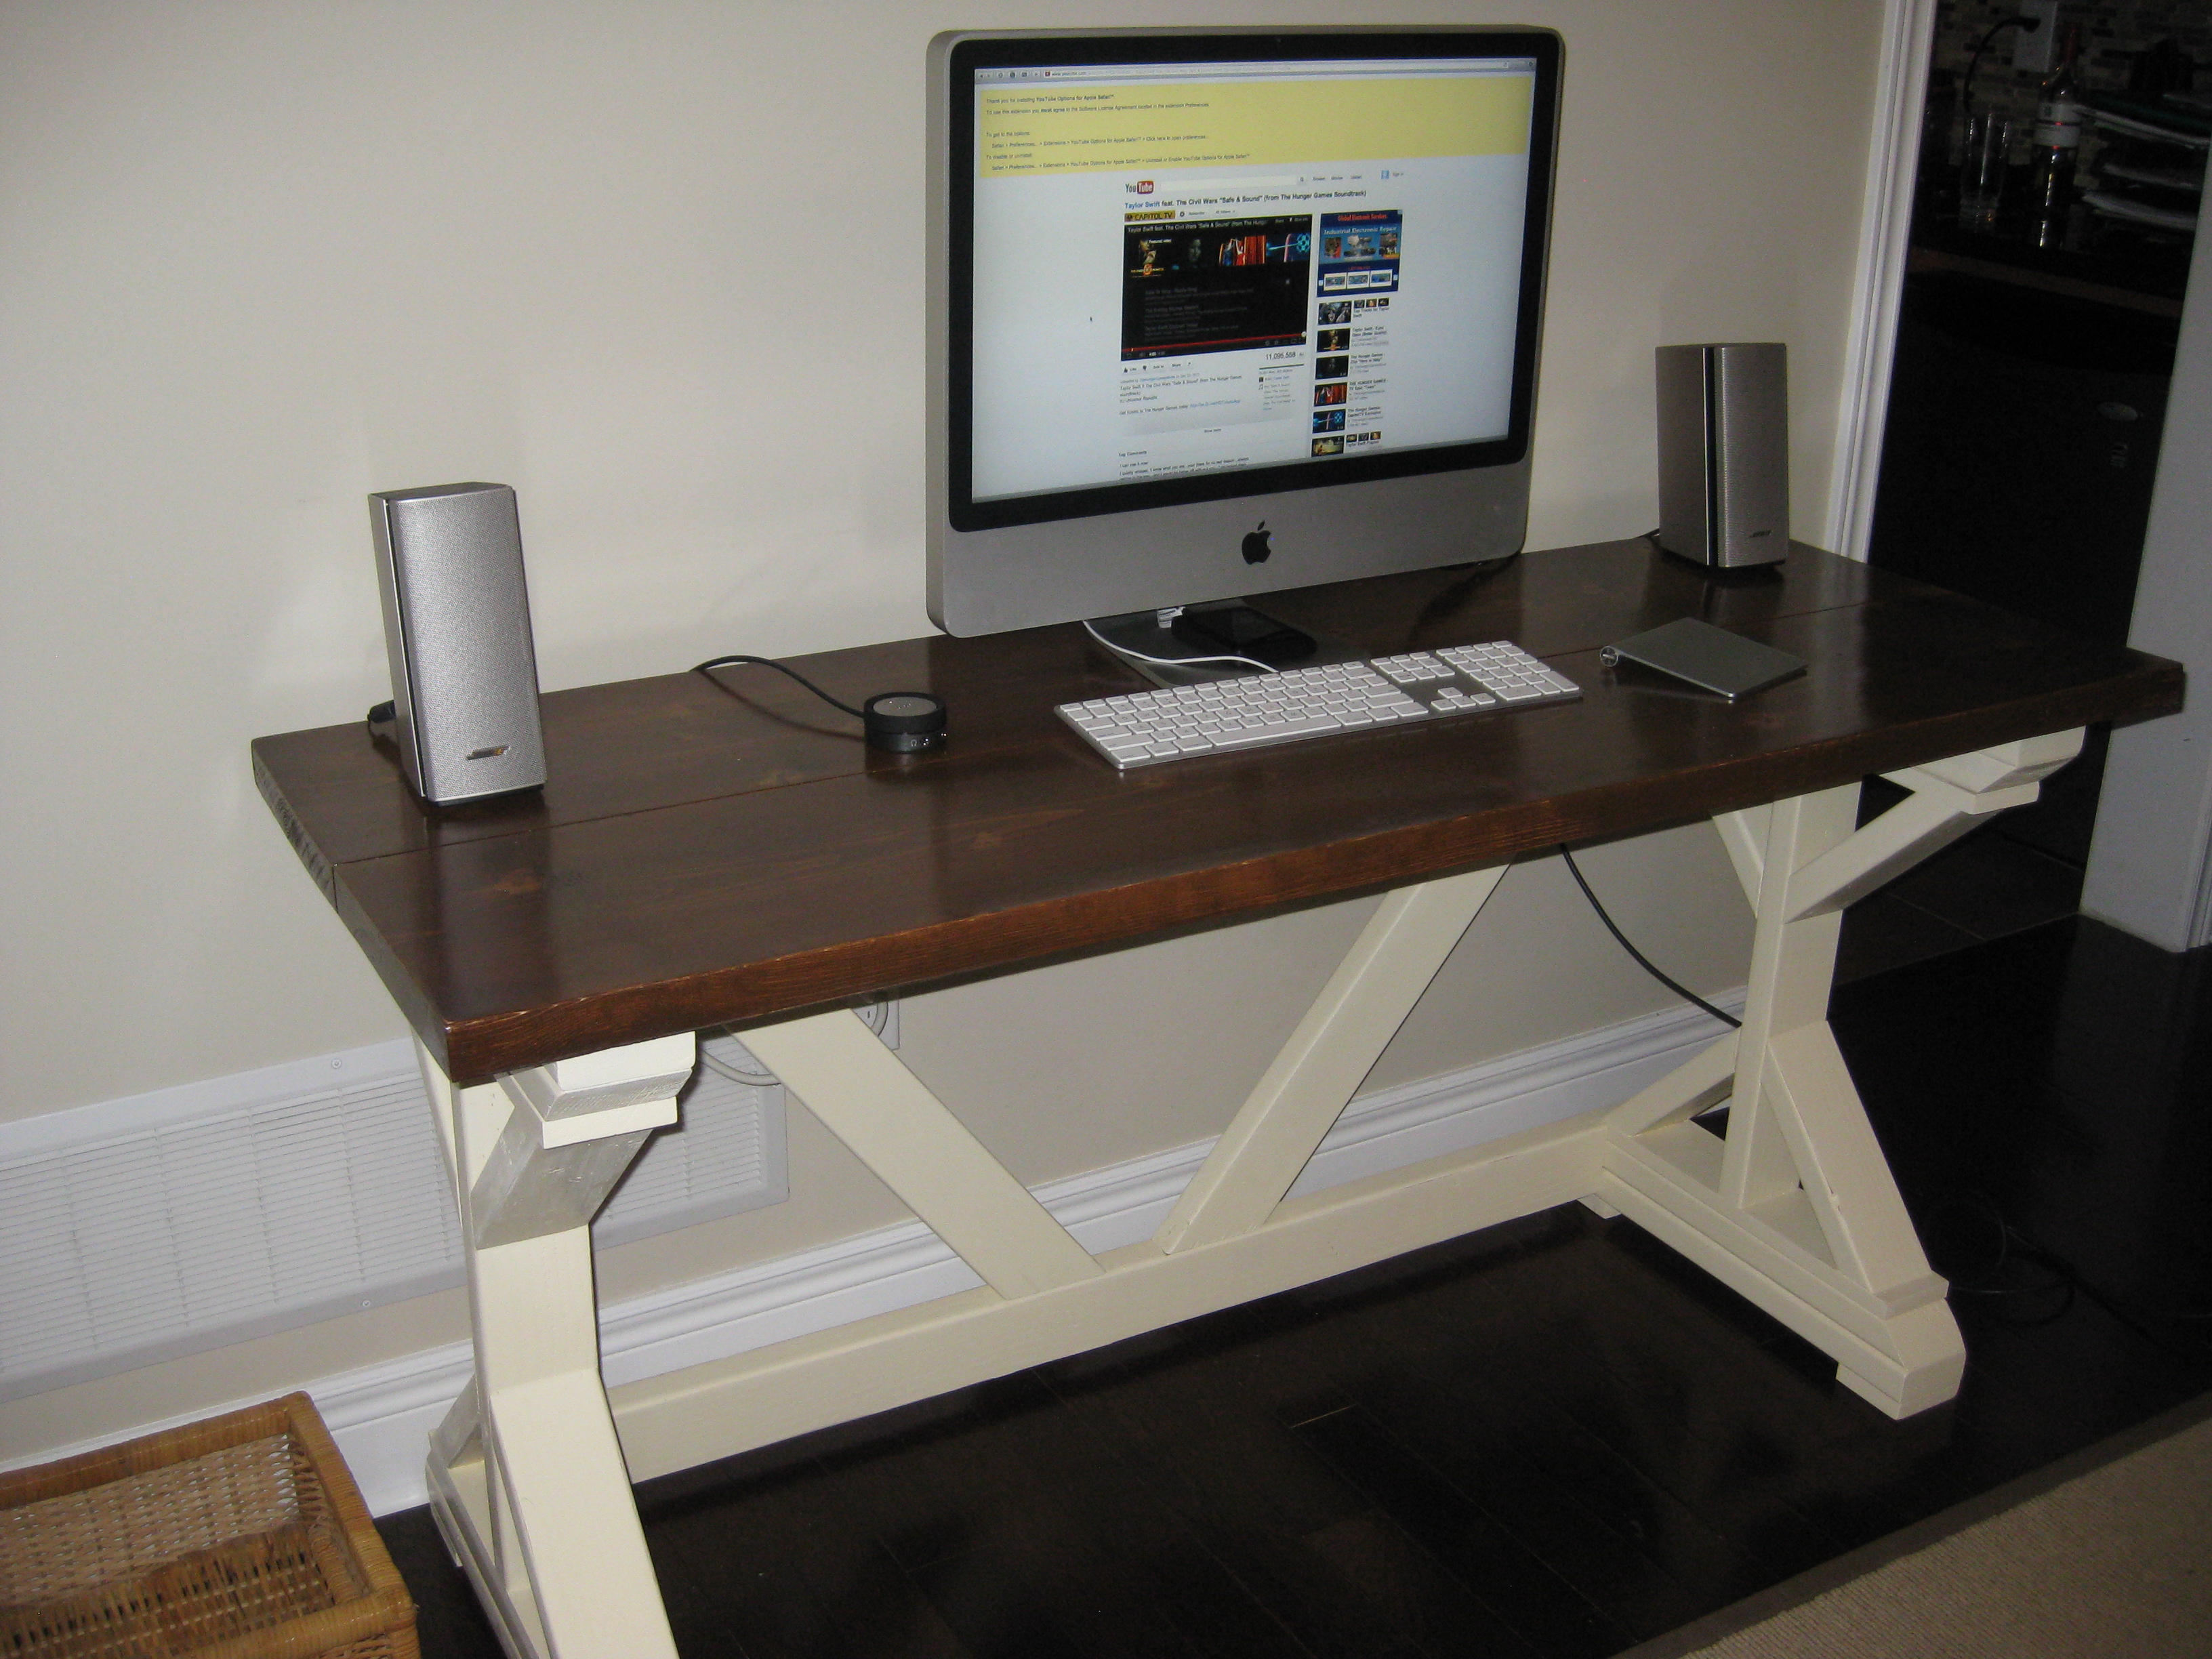
easy project especially since I asked the guys at the hardware store to cut my pieces to length and I cut the angles with my new sliding compound miter saw. Since I reduced the length of the desk to 5 feet, the angles and length of the cross supports in the back changed drastically and had to be played with to get it right. I also added a hidden shelf between the 2 support 2X4's to hide all the cable for the computer. I just used scraps for the hidden shelf. Nothing more unattractive than a bunch a cords and cables hanging behind. Worked great and I should have taken pictures as the build was happening.
Thu, 11/08/2012 - 06:07
The desk looks wonderful! I am curious what color of paint and stain you used? I am wanting to build a coffee table and that is the combination of paint and stain I like!

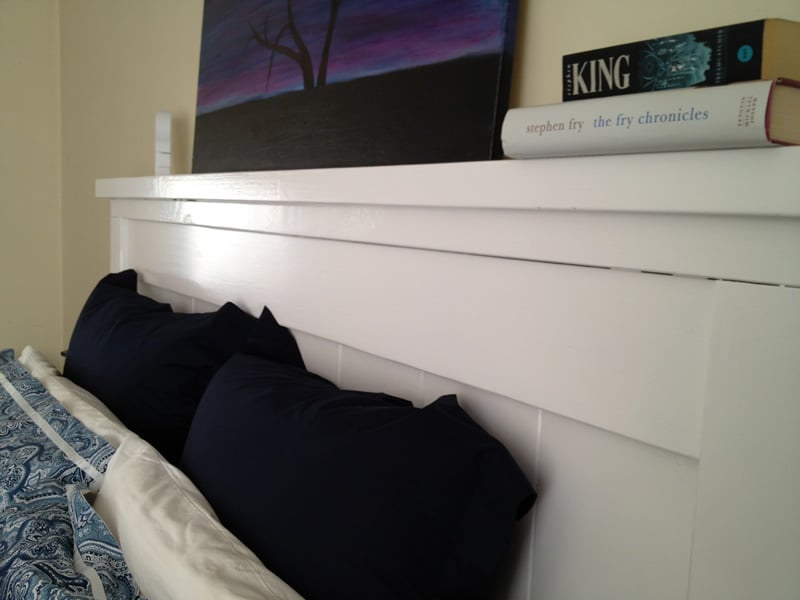
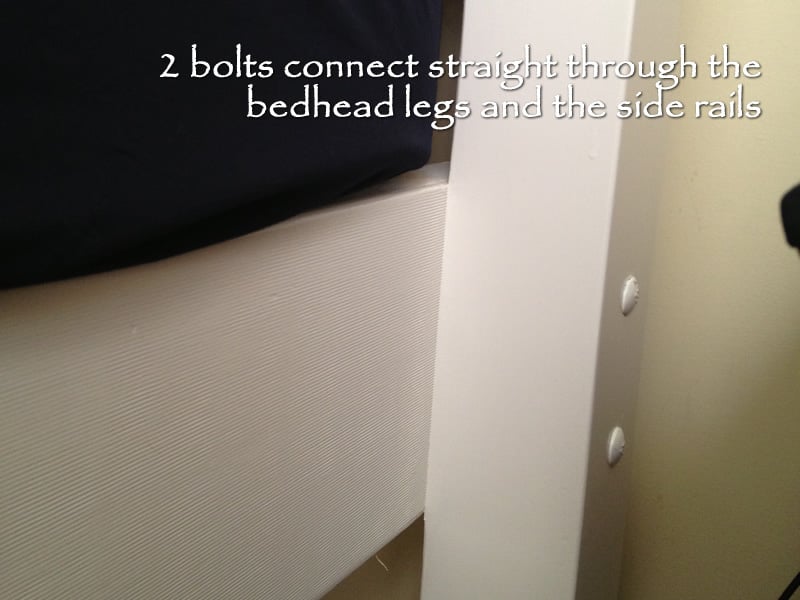
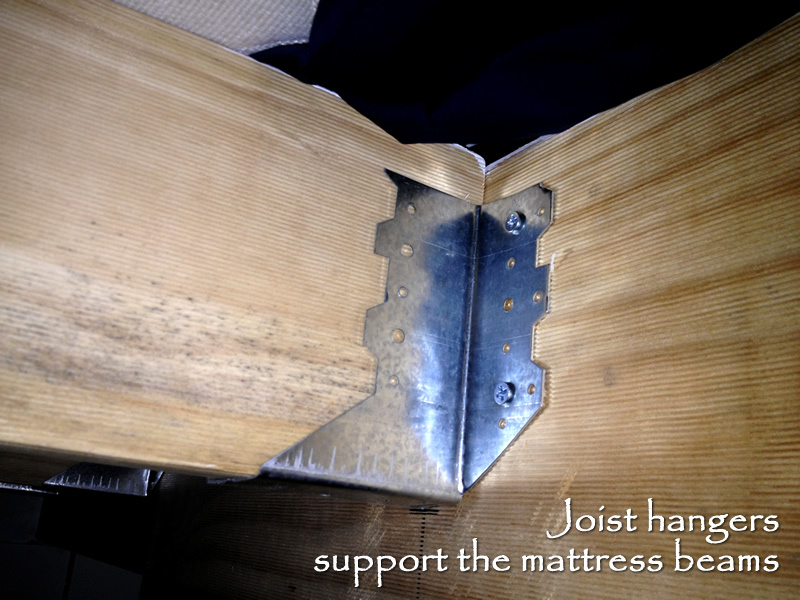
I have wanted to build this bed for a very long time. I finally bit the bullet, stopped procrastinating and just got on with it and thank god I did. It was actually easier than I thought. It just about built itself! I built this bed taller than the plans called for. I used joist hangers to support the mattress beams. The joist hangers were attached to the inside of the siderails and the mattress beams just slot into them for easy removal. The most time consuming part about this build was the painting. It is extremely sturdy. This bed will last a life time.

This was a relatively simple job and saved hundreds of dollars versus buying a new one in the store. Distressed the wood myself and modified the plans to fit our space. Minimal tools and woodworking skills were needed. A big shout-out to Ana White for the DIY plans.
🍒 Here is a video I shot to show the final project➔ https://youtu.be/tnskR5J-8Mo
Good luck!
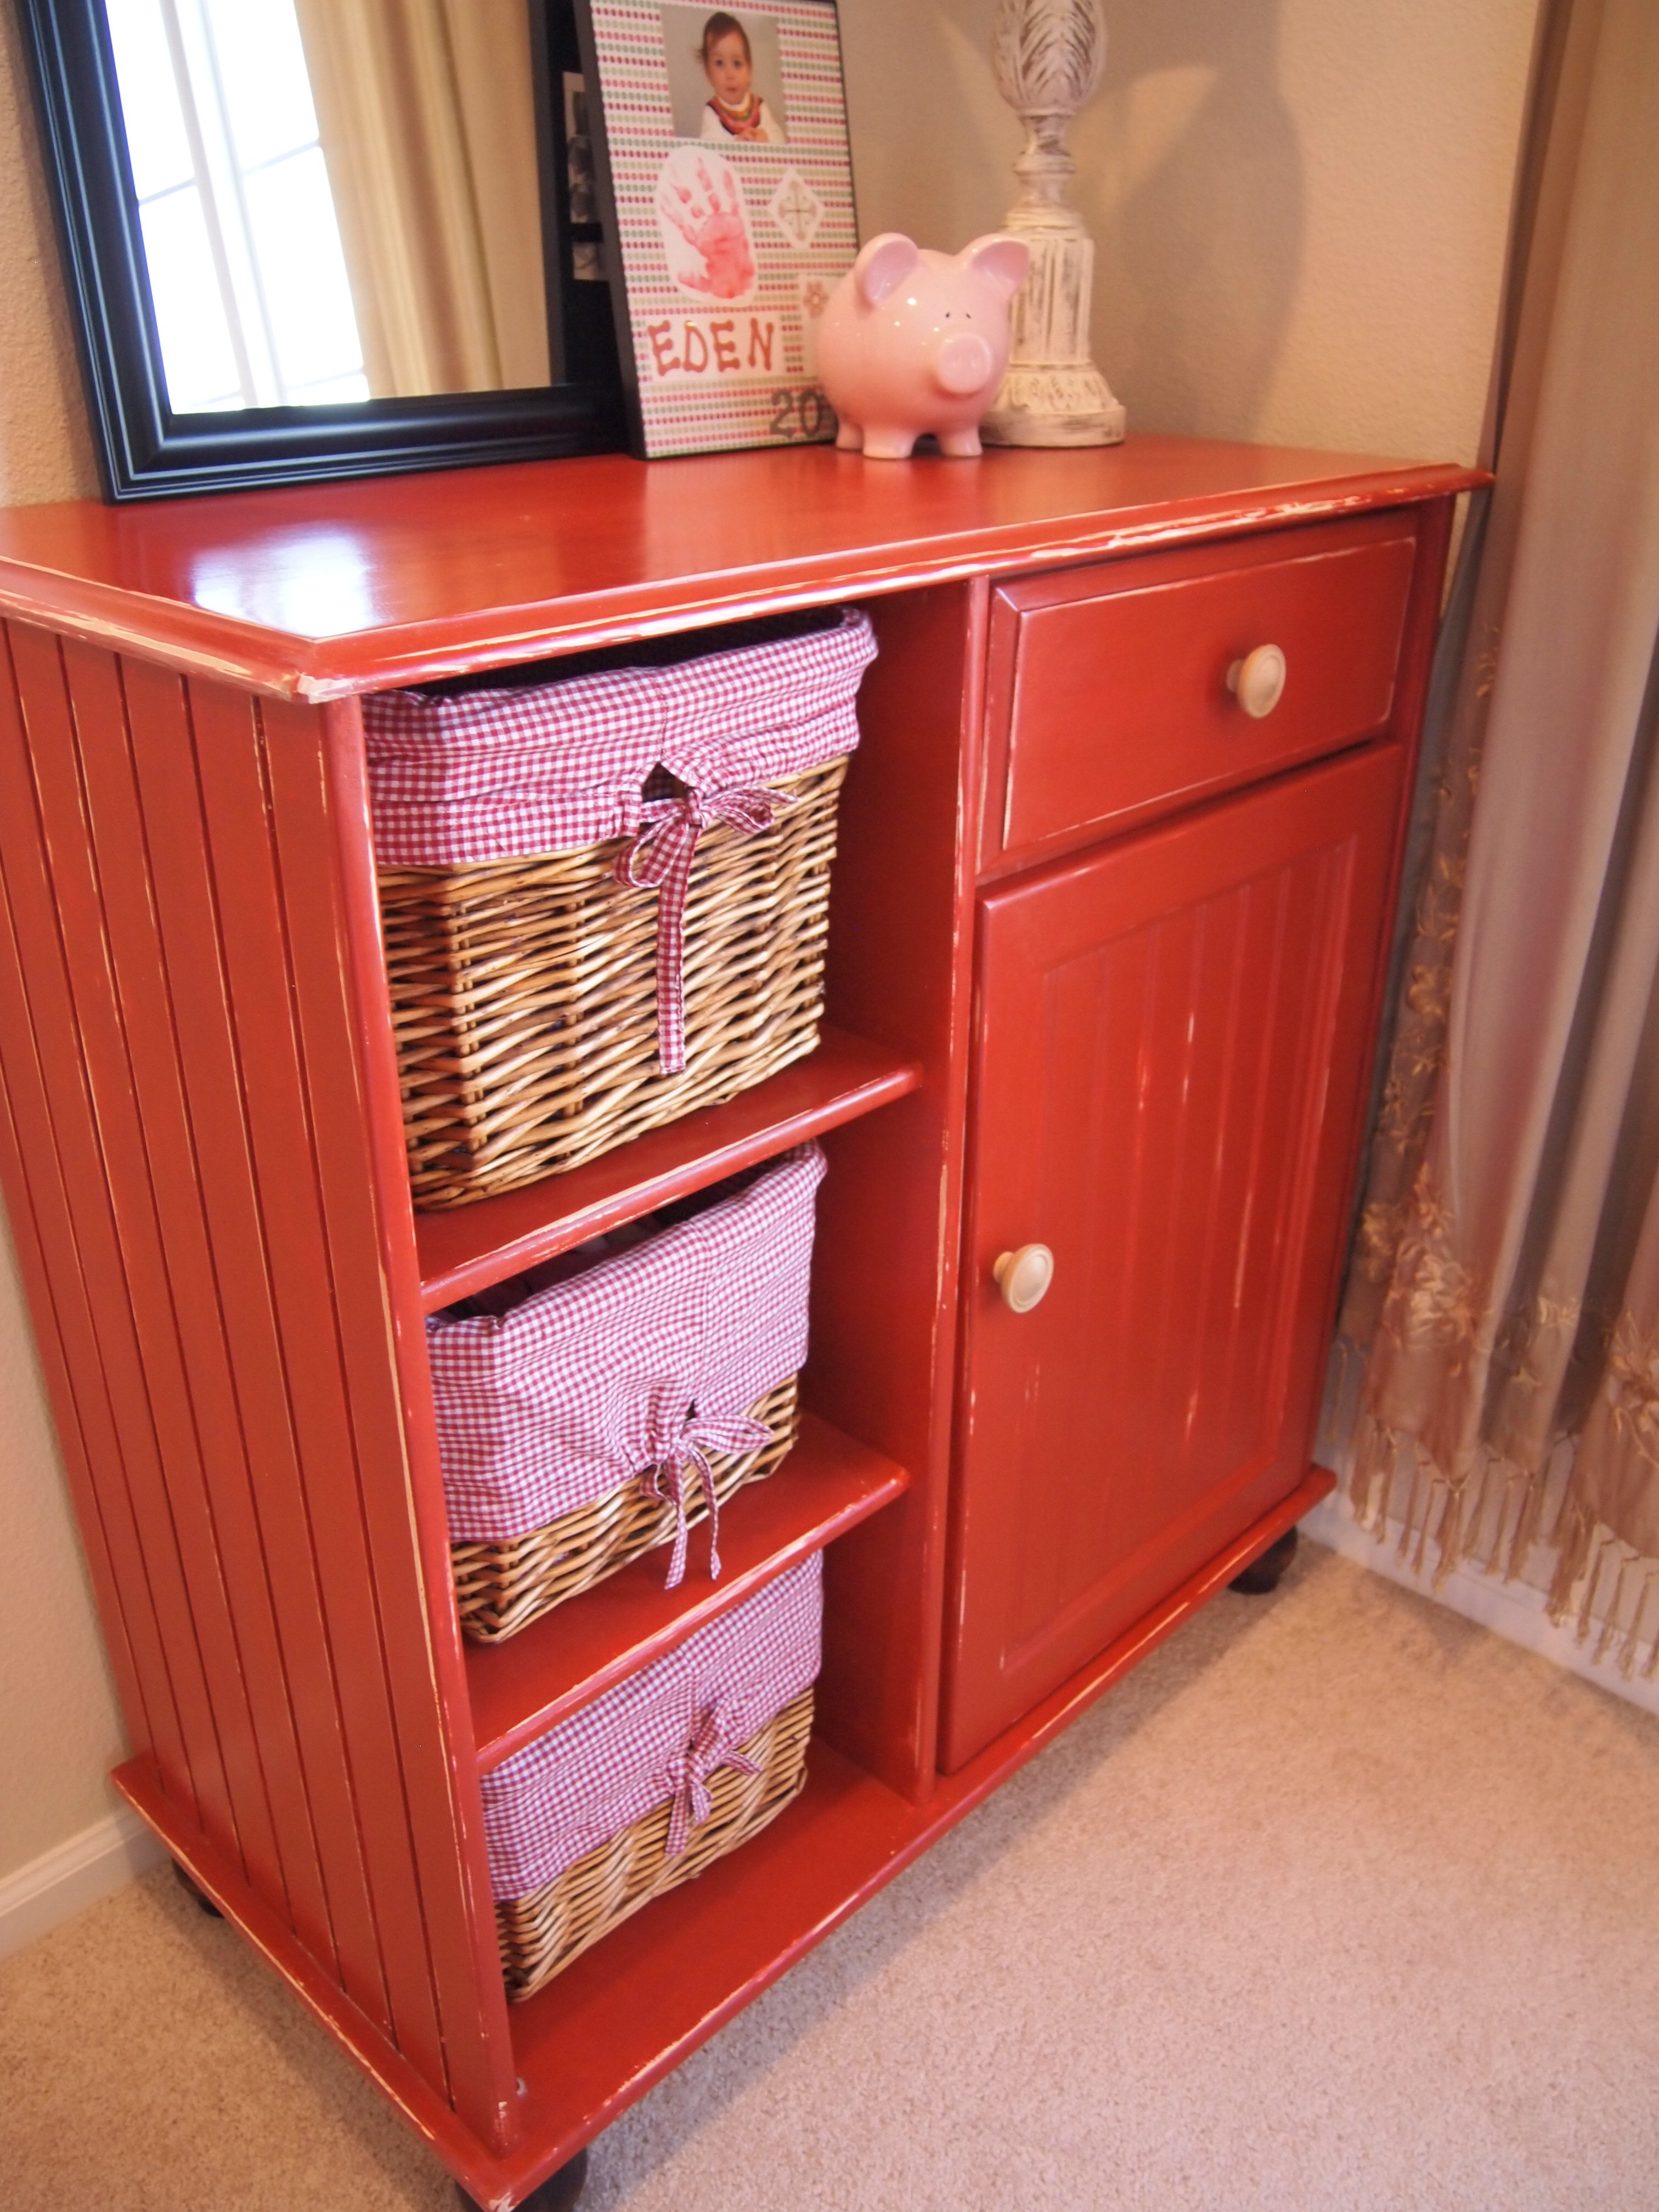
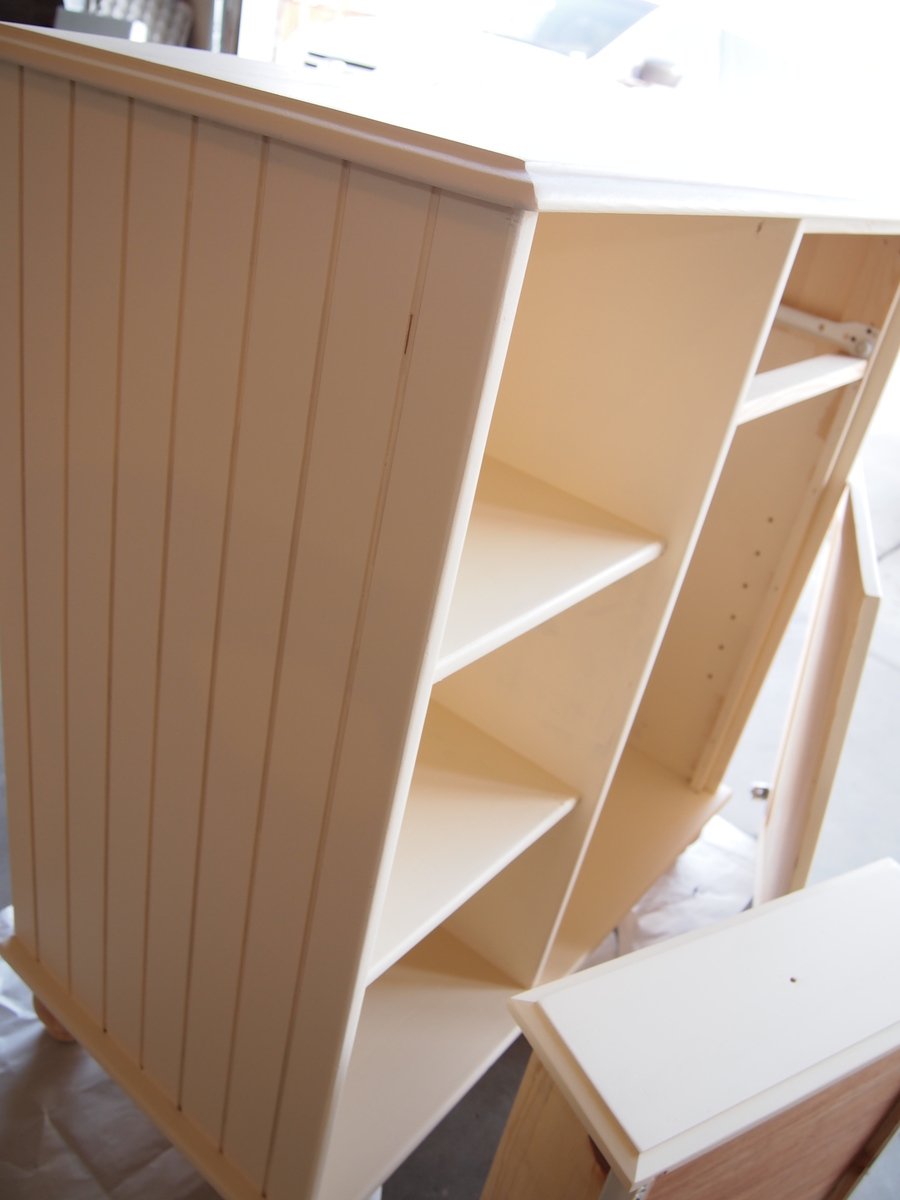
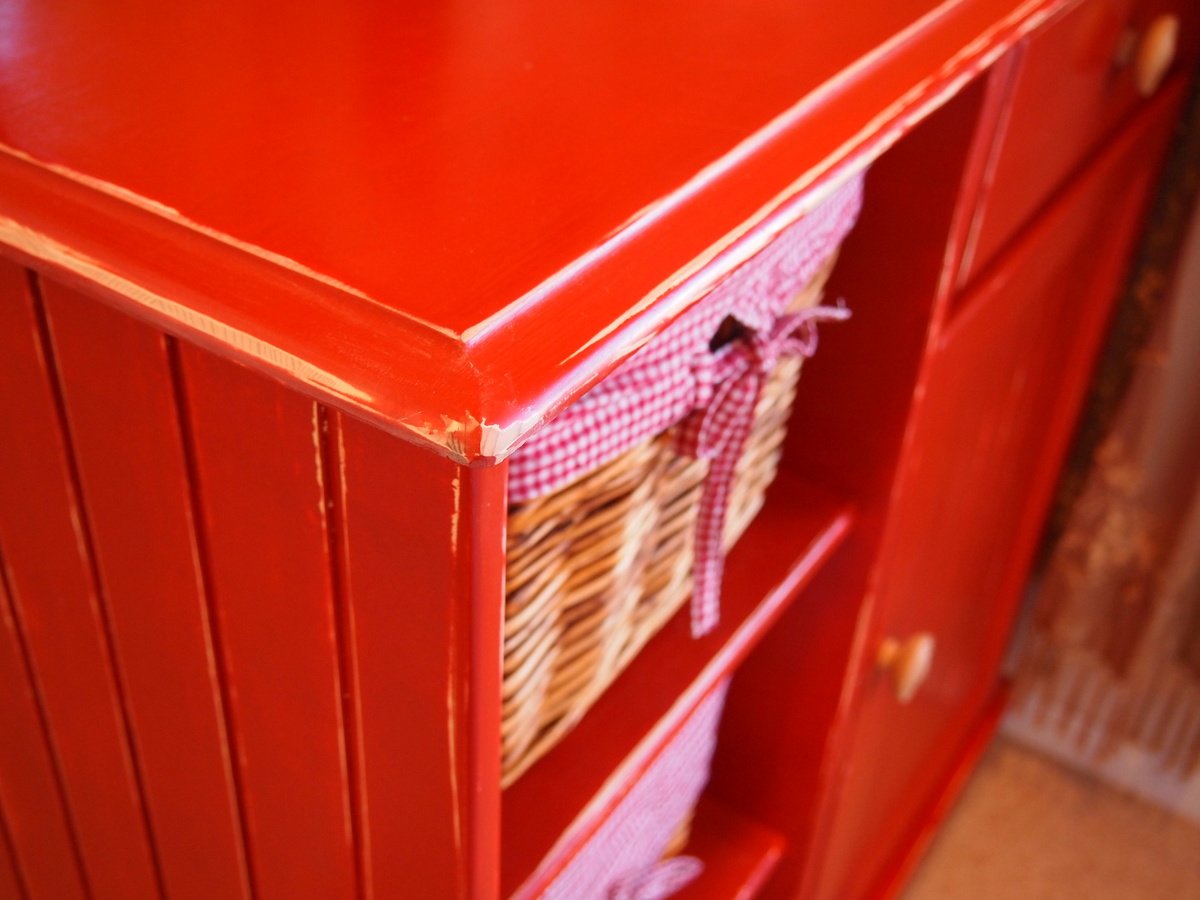
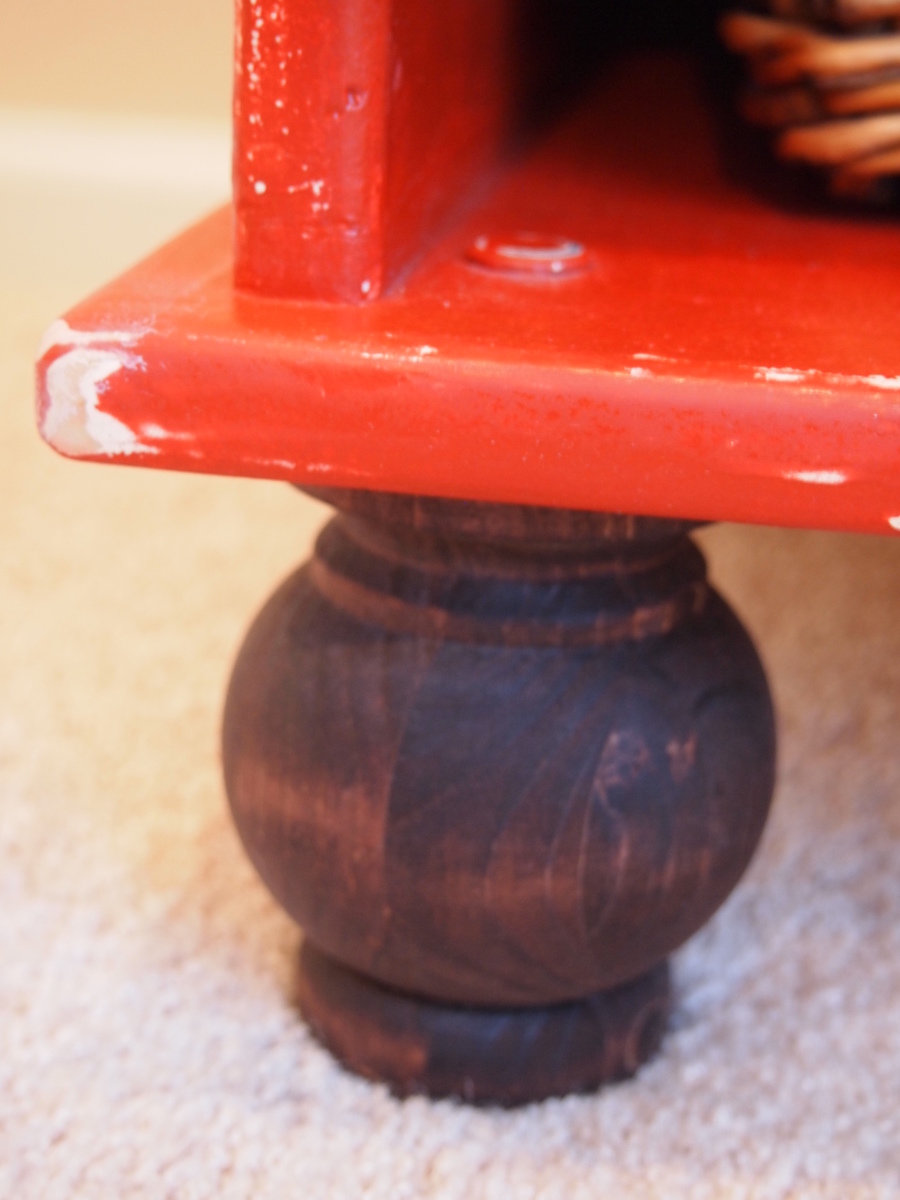
I bought an unfinished dresser from a local furniture refinisher - on clearance. It was intended as a changing table as I was preparing the nursery for our first child (about 5 1/2 year ago). Finally, 5 years and another baby (who is now 3) later, I finally decided to do something with it. So, please note that I did NOT build this piece from scratch. Rather, it was more a finishing project. It was unfinished pine. I failed to capture the "before" photo. Inspired by the Farmhouse Console and the Antique White project, I decided to tackle a distressed look.
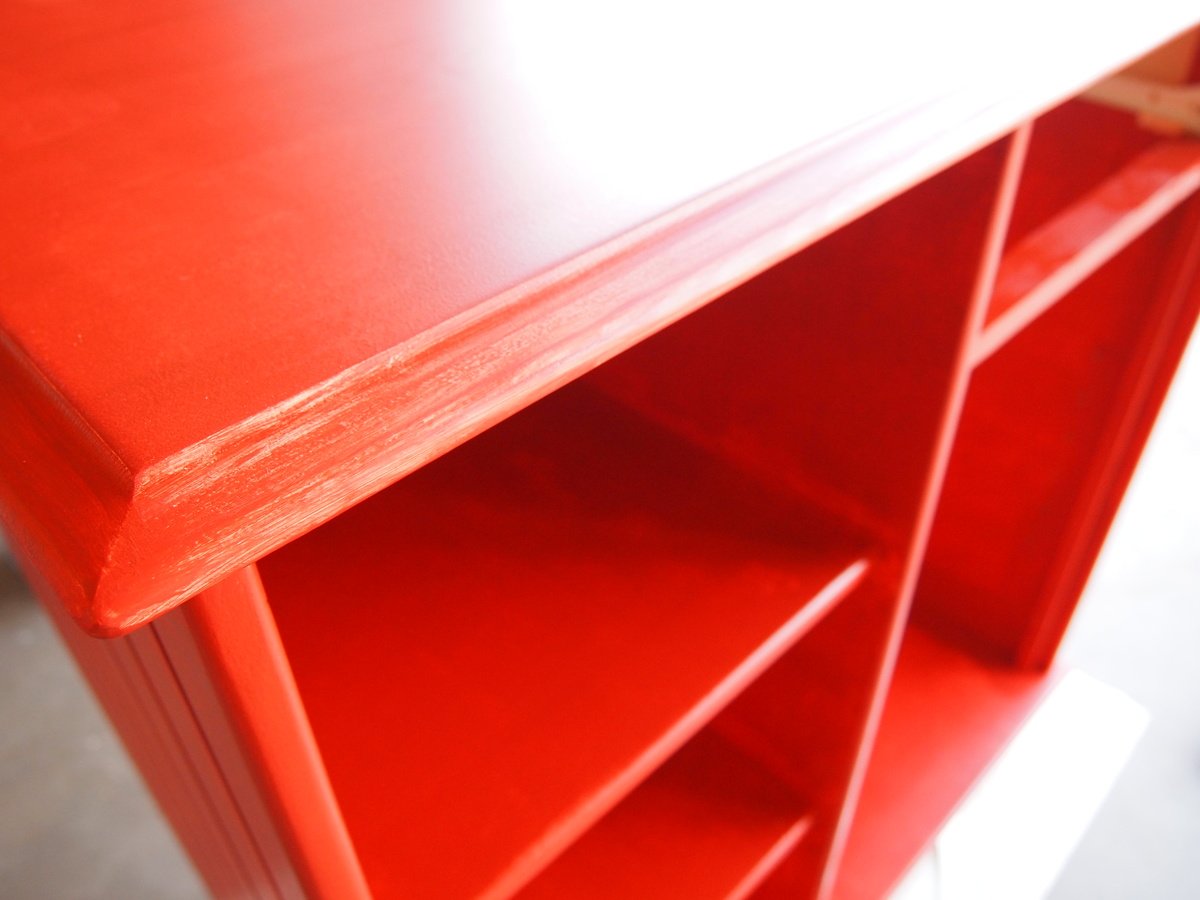
I sanded between each coat, and focused on areas that would naturally be worn. The end result was essentially some areas of bare wood showing through, and other areas where the base color shows through.
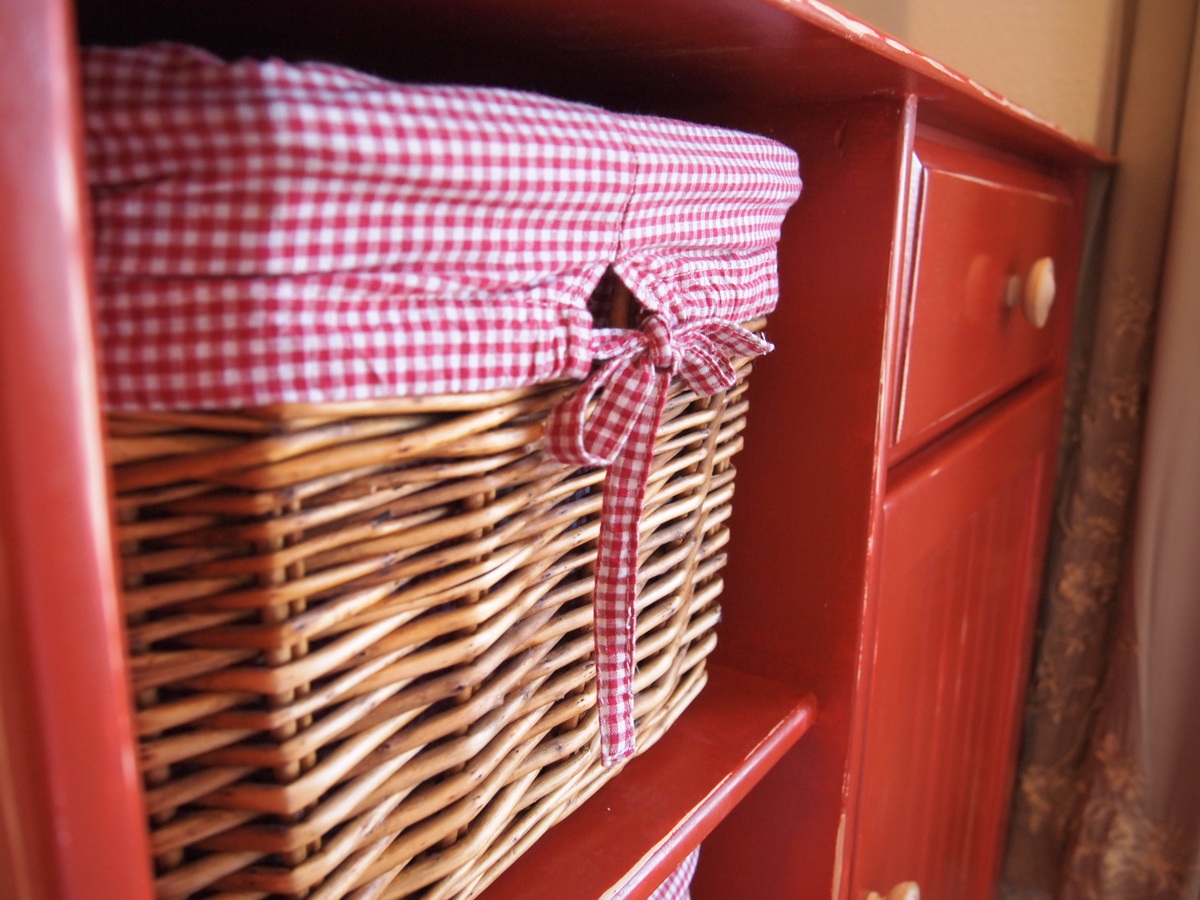
I don't remember where the baskets came from, but they fit perfectly and the red-checkered pattern matched nicely. It turned out to be such a cute addition to my daughter's room, and I think it will be a piece that will grow with her.
Mon, 11/12/2012 - 11:06
I'm very impressed with your recycled changing table--beautiful finish on a piece that will indeed grow with your daughter. The piece itself reminded me of the recycling console (pp. 86-91) in Ana's new book. Your finish would look awesome on that plan, too.
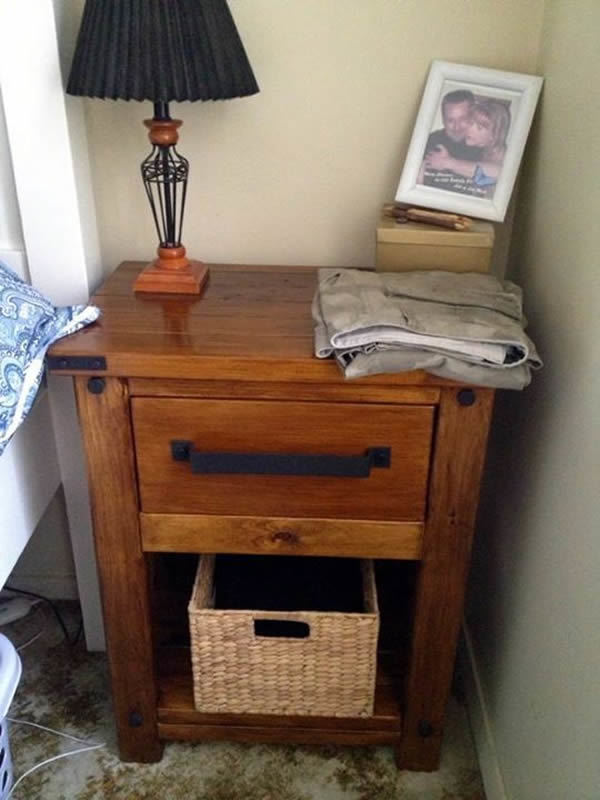
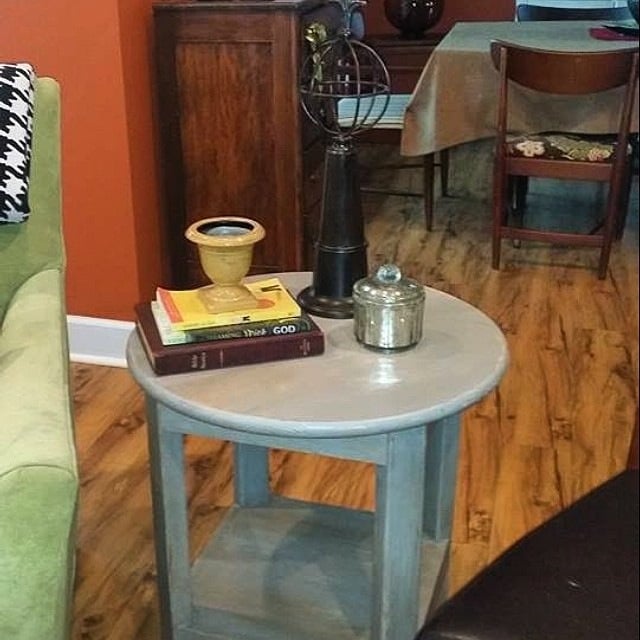
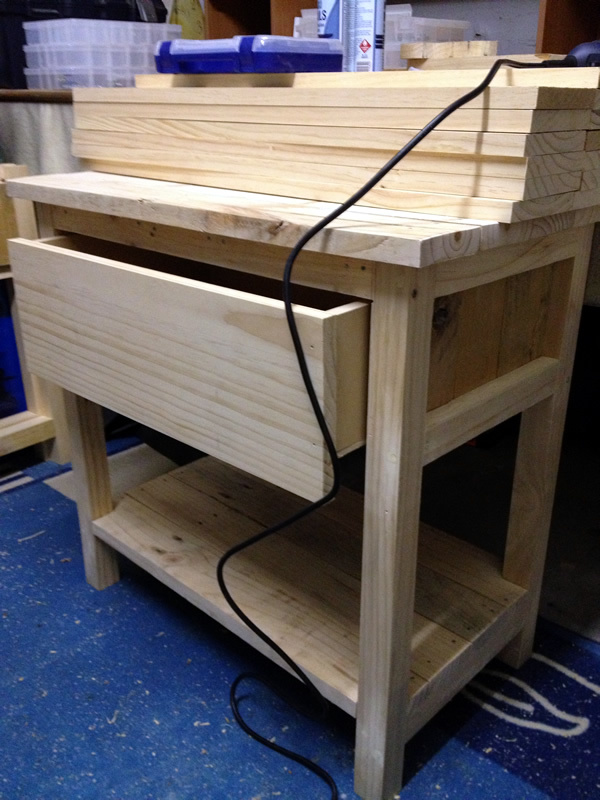
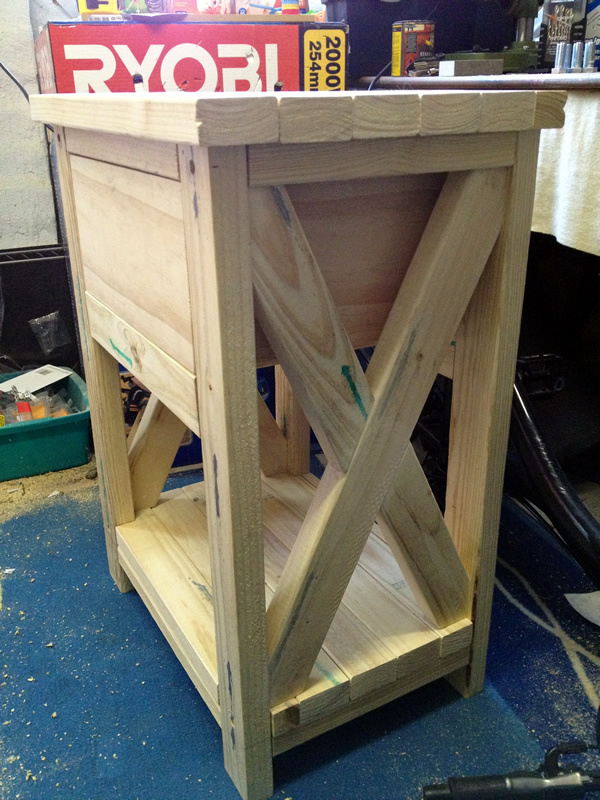
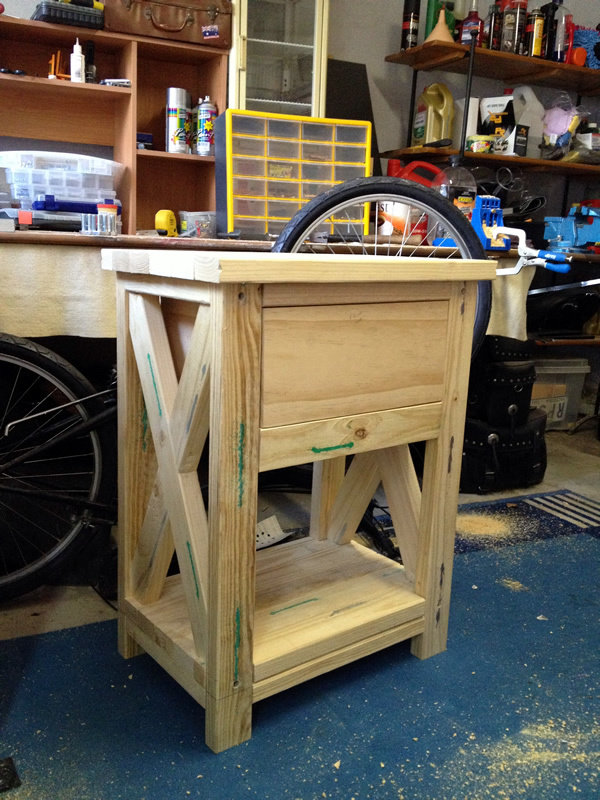
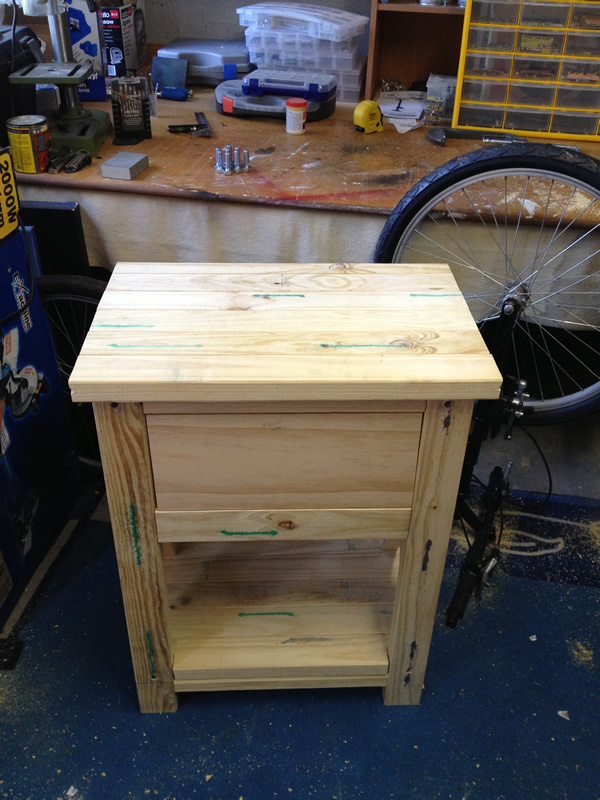
I needed to build a bedside table to go with my farmhouse bed and I wanted to make one that was not matchy matchy with my other one and it also needed to look a little more manly.
I used new chunky pine for this build.
I couldn't find the right handle for this so I bought a steel strip from Bunnings and bent it into shape and drilled holes to attach it to the drawer. I bashed the steel strip with a hammer to make it look more rustic and battered.
The bolts on the legs are purely for decoration.
I think I managed to make a manly looking bedside table and it goes really well with my farmhouse bed and bedside table.
This was my first attempt to build a table . I'm very pleased with the outcome.
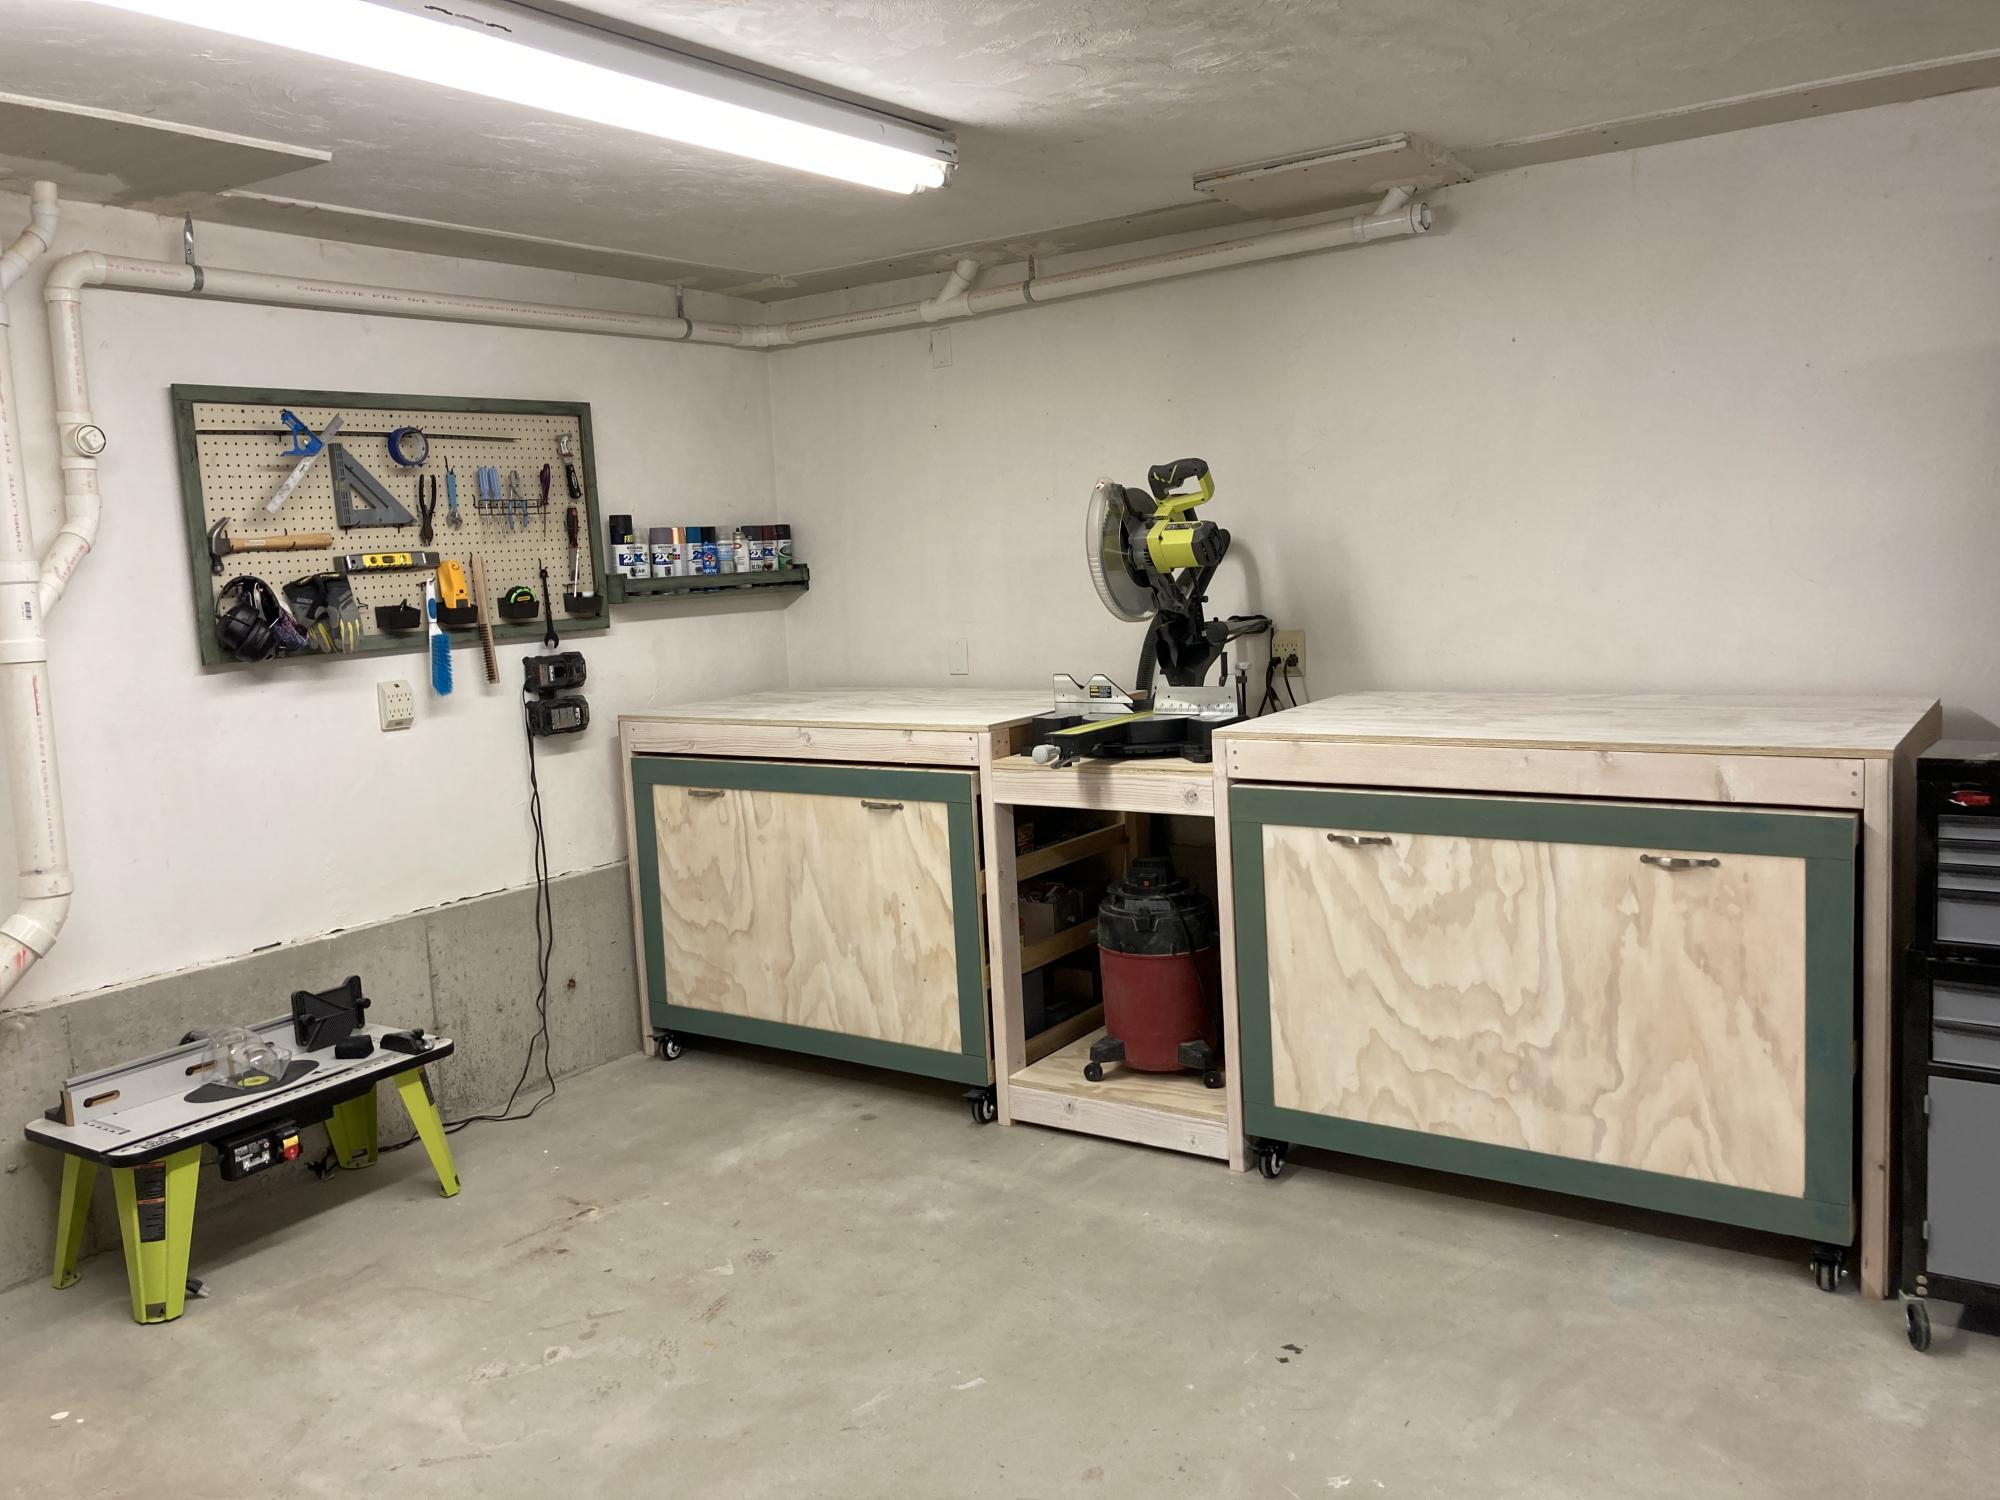
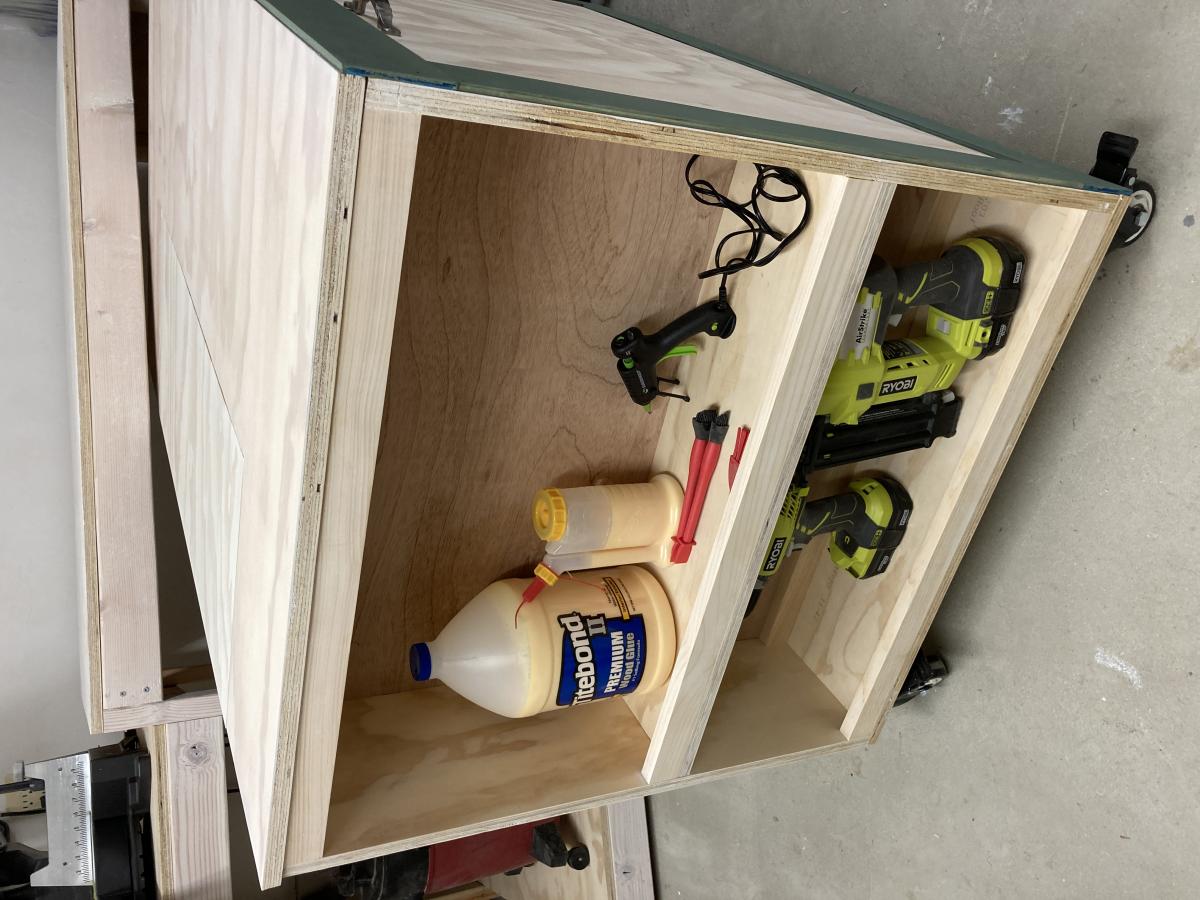
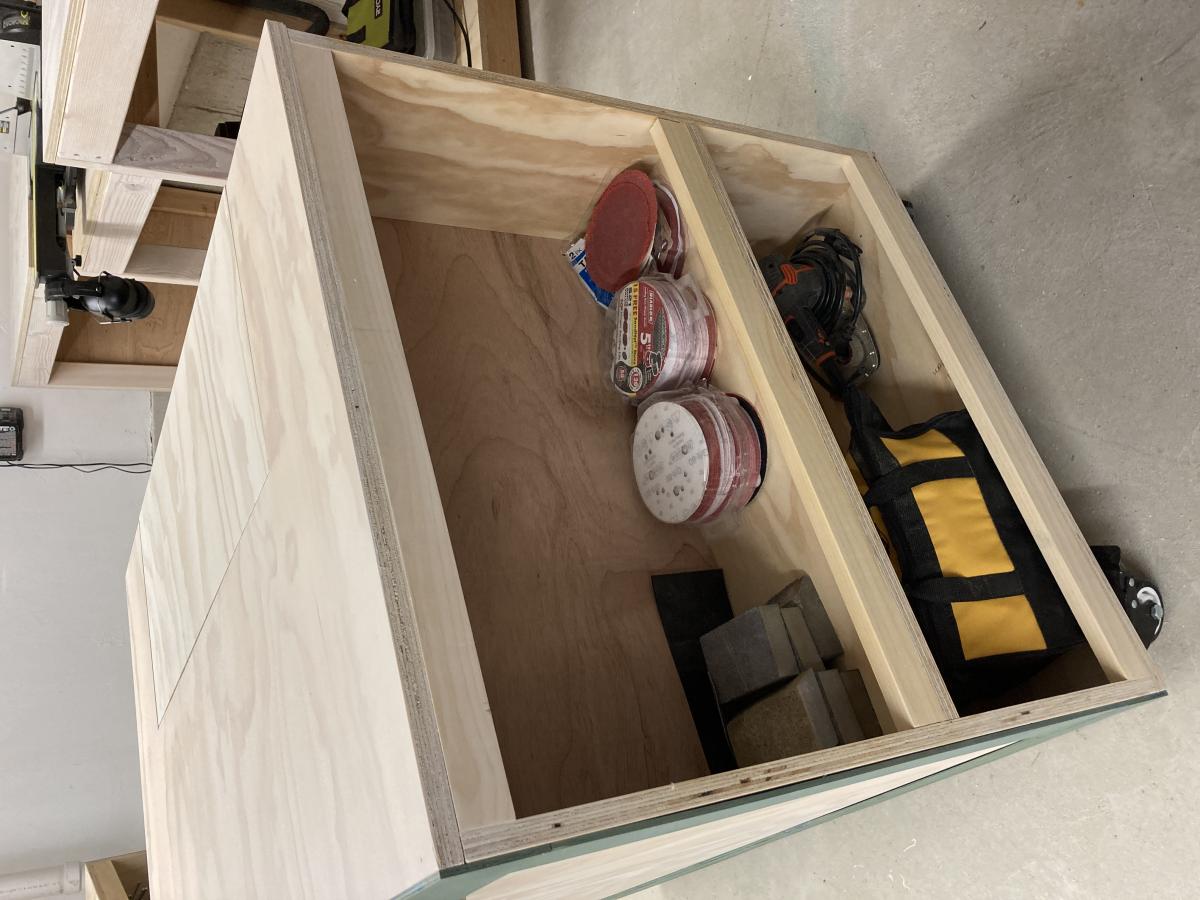
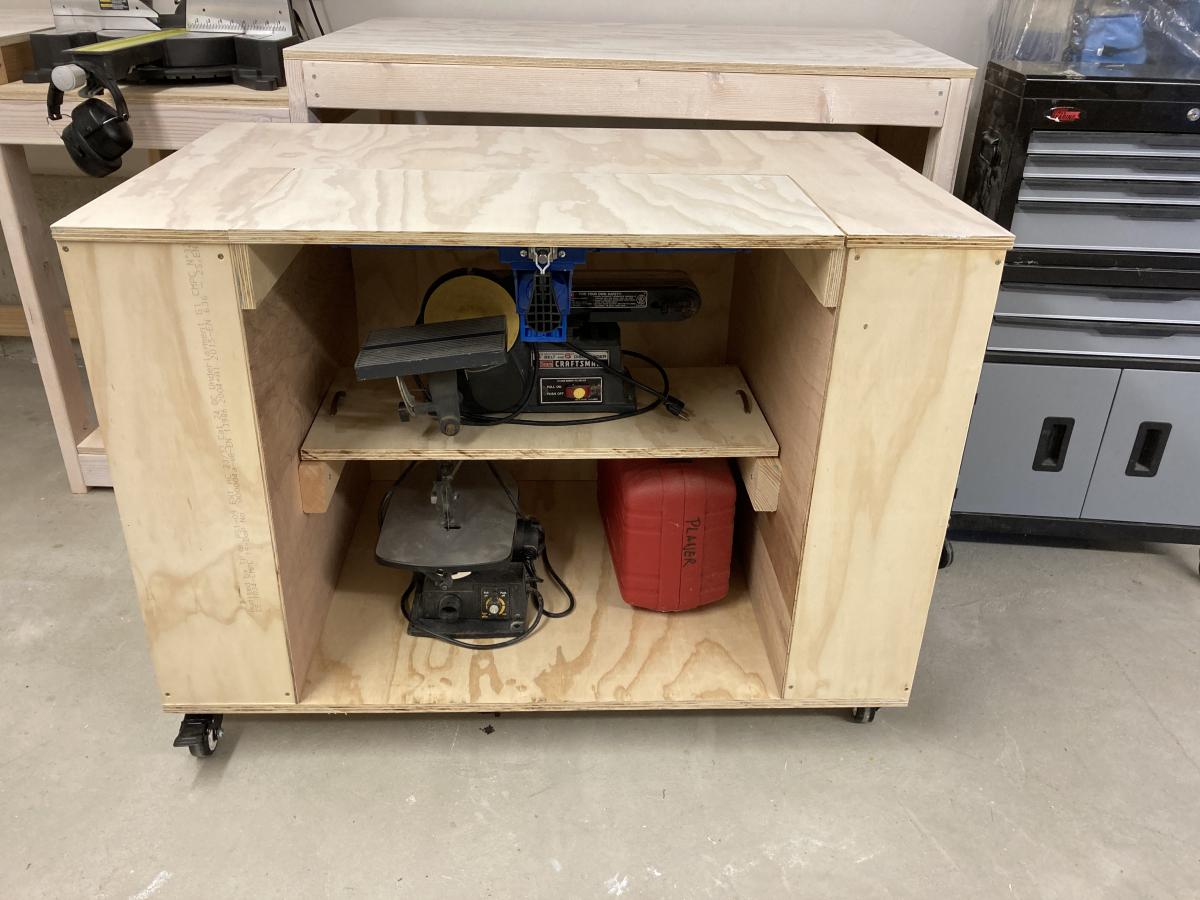
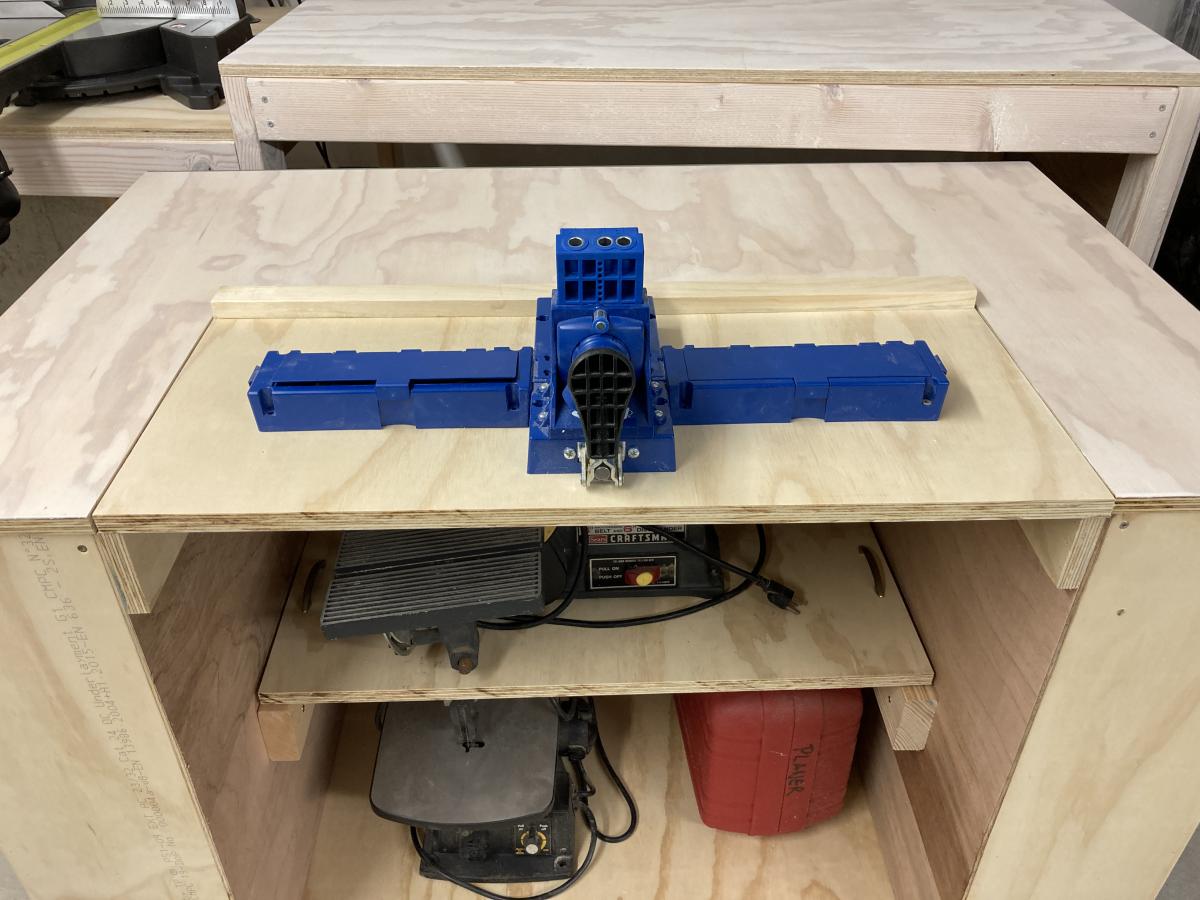
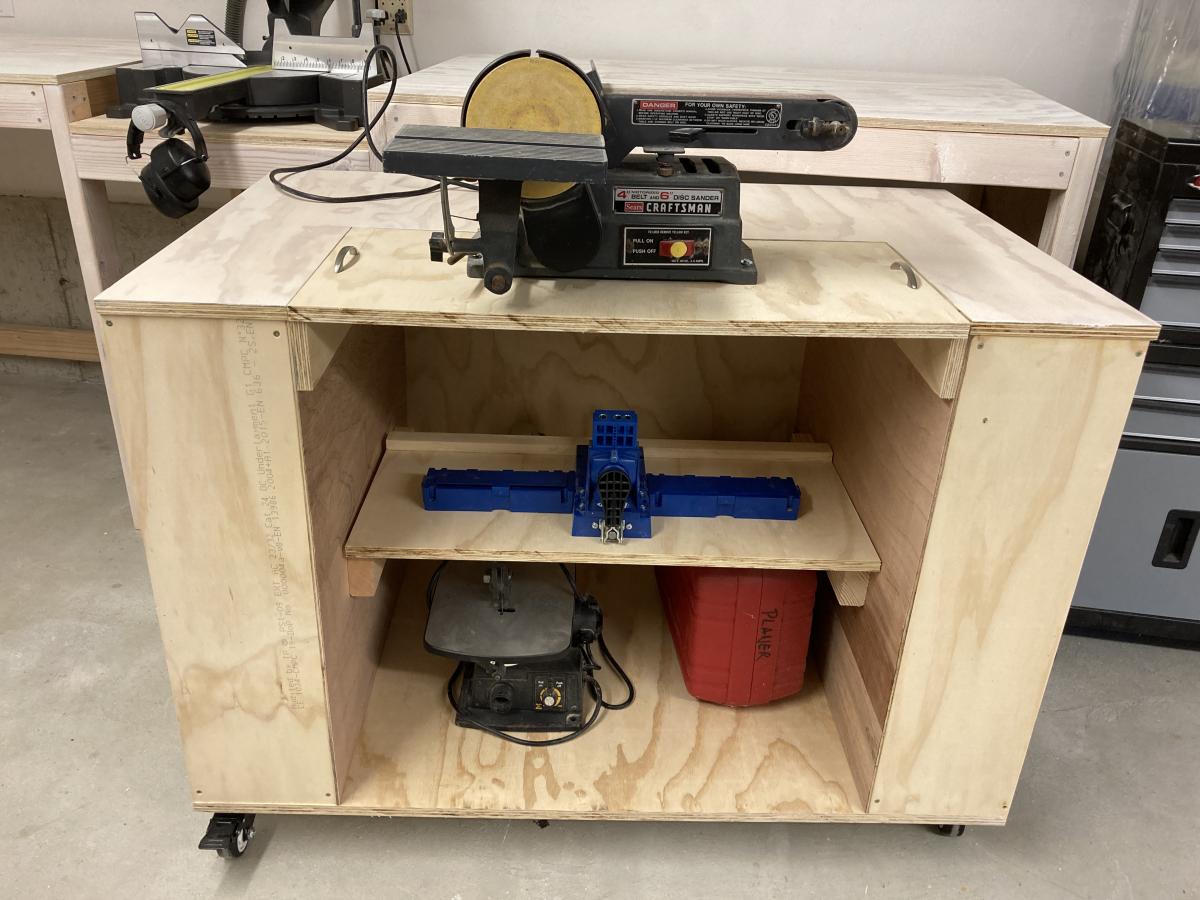
When I first saw Ana's Ultimate Work Bench I was blown away. I *had* to make this. I love how neat the garage looks when everything is put away.
I had to make a few extra cuts in order to allow room for my table saw fence, but other than that the only thing I did differently was to pretty it up using a white gel wood stain that I sealed with finishing paste. I also added trim using the leftover 1/4 inch plywood.
Thank you for being such an inspiration, Ana. I love your plans!
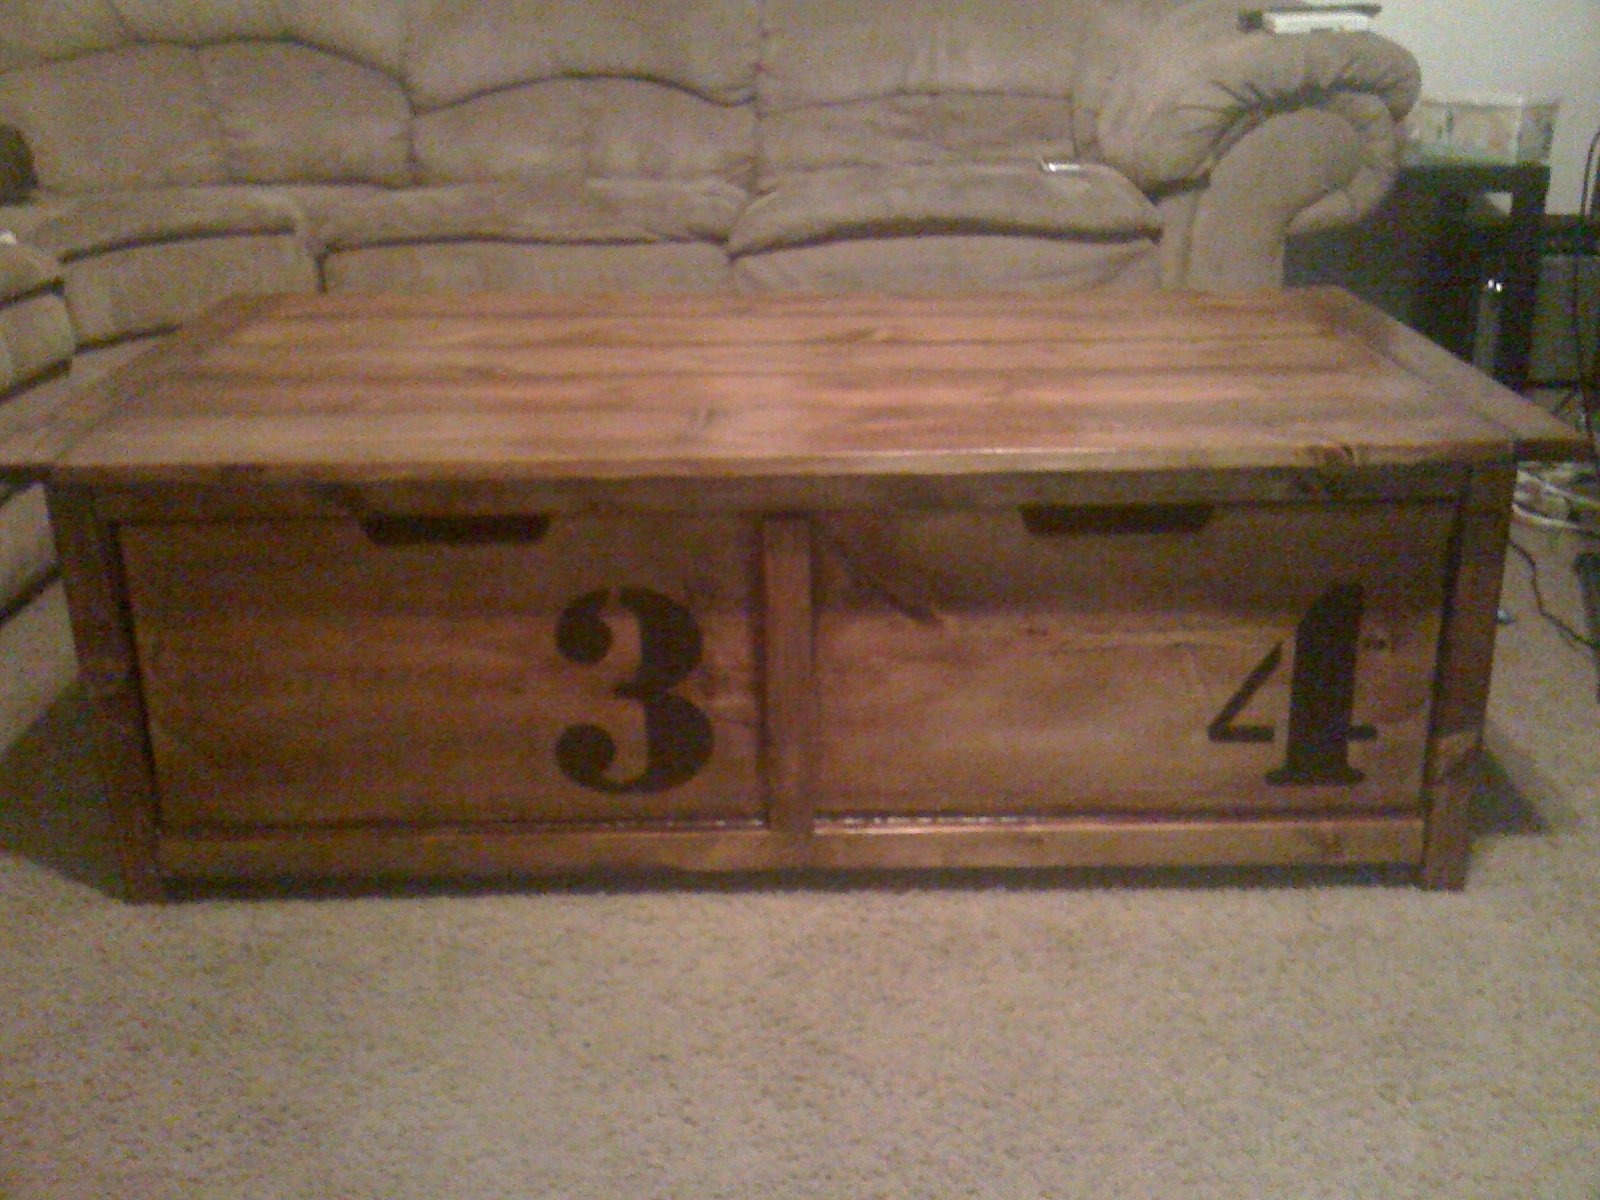
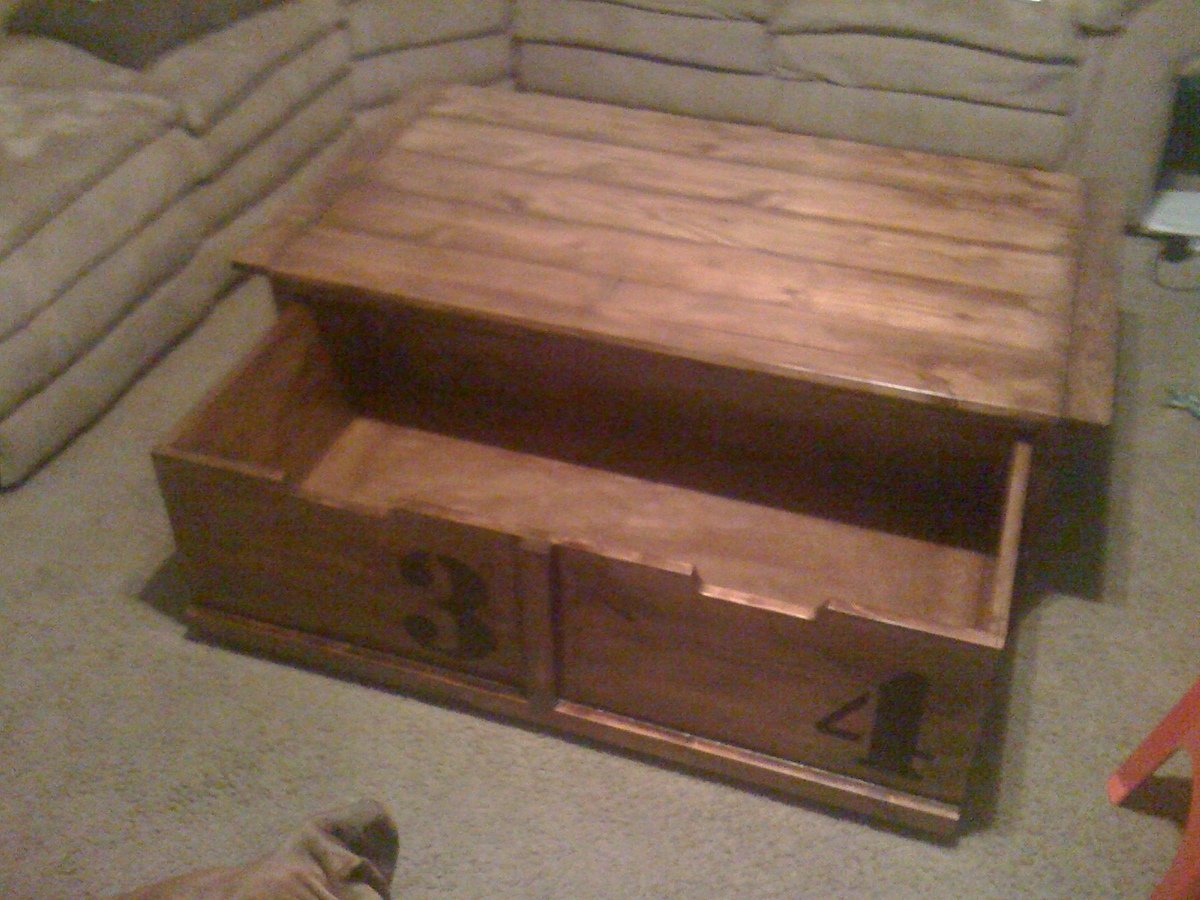
This was one of my first projects that I completed all be myself. I've done lot's of furniture with my dad but never alone. It went pretty smoothly just following the plans. I even used the Kreg jig for the first time and I love it! I completed in about two or three months working on the weekends for a few hours when I could. I was also working on refinishing my son's trundle bed so I'm not really sure how long it took me to finish. Sorry for the poor quality photos, I'm terrible at taking pictures.
Fri, 11/16/2012 - 11:21
I love how the darker areas look on your table. I tried for that look when I made mine but couldn't get it right. I will have to try again next time. Congrats on your first solo project:-)
Fri, 11/16/2012 - 20:22
thanks, I didn't wipe any of the stain off, I just blended it in to the rest of the board.