Community Brag Posts

Paoli Patio Furniture Made Easy

Submitted by Anonymous (not verified) on Tue, 08/30/2016 - 13:48

A huge thanks to Ana, her inspirational blog, and her clear and easy-to-follow plans for convincing me that I could take on and complete this project. I had lots of fun doing it!

Estimated Cost
$500 with pillows
Estimated Time Investment
Week Long Project (20 Hours or More)
Finish Used
2-in-1 stain and sealer (natural cedar color)
Recommended Skill Level
Beginner

DIY Kids Seesaw on the Cheap!

The seesaw is like a dinosaur: the extinct relic of the playground, still held in awe by kids the world over. No longer available to the public in its original form, the original seesaw is the perfect DIY project. My older daughter had been asking for one for a couple of years, and after finding the plans on Ana White’s website I was able to build one cheaply for about $50 in wood and screws. This was the perfect weekend project, and I was able to use up some leftover paint and fabric to create this nice addition to our yard.

Check out my blog post about this seesaw here:
http://sandiegocountypropertymanagement.com/diy-kids-seesaw/

Built from Plan(s)
Estimated Cost
$50-$75
Estimated Time Investment
Weekend Project (10-20 Hours)
Finish Used
Behr exterior flat paints.
Recommended Skill Level
Intermediate

Comments

Play Deck/Fort

Submitted by seeca13 on Sun, 06/01/2014 - 10:06

I wanted to build a structure for the kids to play in, but not include a playhouse. I used the playhouse deck design and made it slightly smaller (6 feet by 8 feet). The "roof" is removable to provide shade when it's sunny. It's just PVC and a tarp - pretty simple, but it does the job. I used treated posts and untreated lumber for the rest of it. I painted everything in my garage before assembling it. Once all of the wood at been painted, but came together pretty quickly!

Estimated Cost
$300 (including screws and paint)
Estimated Time Investment
Weekend Project (10-20 Hours)
Finish Used
Thompsons deck stain
Recommended Skill Level
Intermediate

Industr

Submitted by Anonymous (not verified) on Fri, 09/02/2016 - 18:29

I followed the basic Industrial Cart plans, but made it 36" high instead of 24"ish. We wanted a countertop type of space for tea/coffee and a shelf big enough for cereal boxes.

Lessons learned: Treatign (sanding/staining/sealing) the wood takes the most time, and regular wood fill is ugly - next time I will try to find transparent fill or leave the suface uneven.

Built from Plan(s)
Estimated Cost
$110. More than half of it was nice casters, and I had to use 4 pieces of 48" aluminum to get the heigh twe wanted
Estimated Time Investment
Weekend Project (10-20 Hours)
Finish Used
Golden Oak + Spar Urethane
Recommended Skill Level
Starter Project

Easy Locker Room Benches

I was asked to build a bench for our high school softball team room and used these plans to build the support. I was planning on building it exactly as it was in the plans, but a kind soul donated some poplar plywood mdf for the top, making it a smoother and more polished finish. I added some accent trim along the wall. Finished it off with school color (navy blue) on the legs and a clear satin lacquer finish on the bench. Love how it turned out!


Pallet Book Shelves

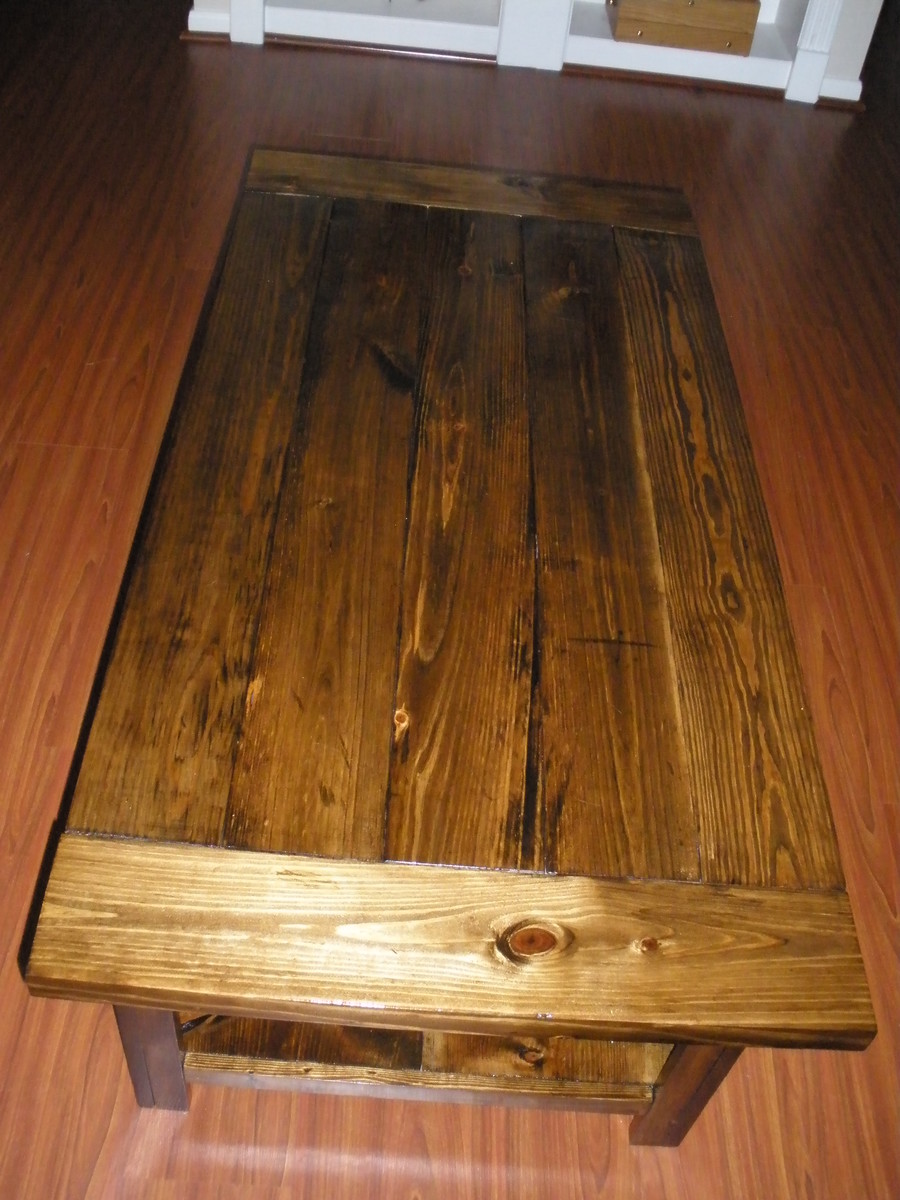
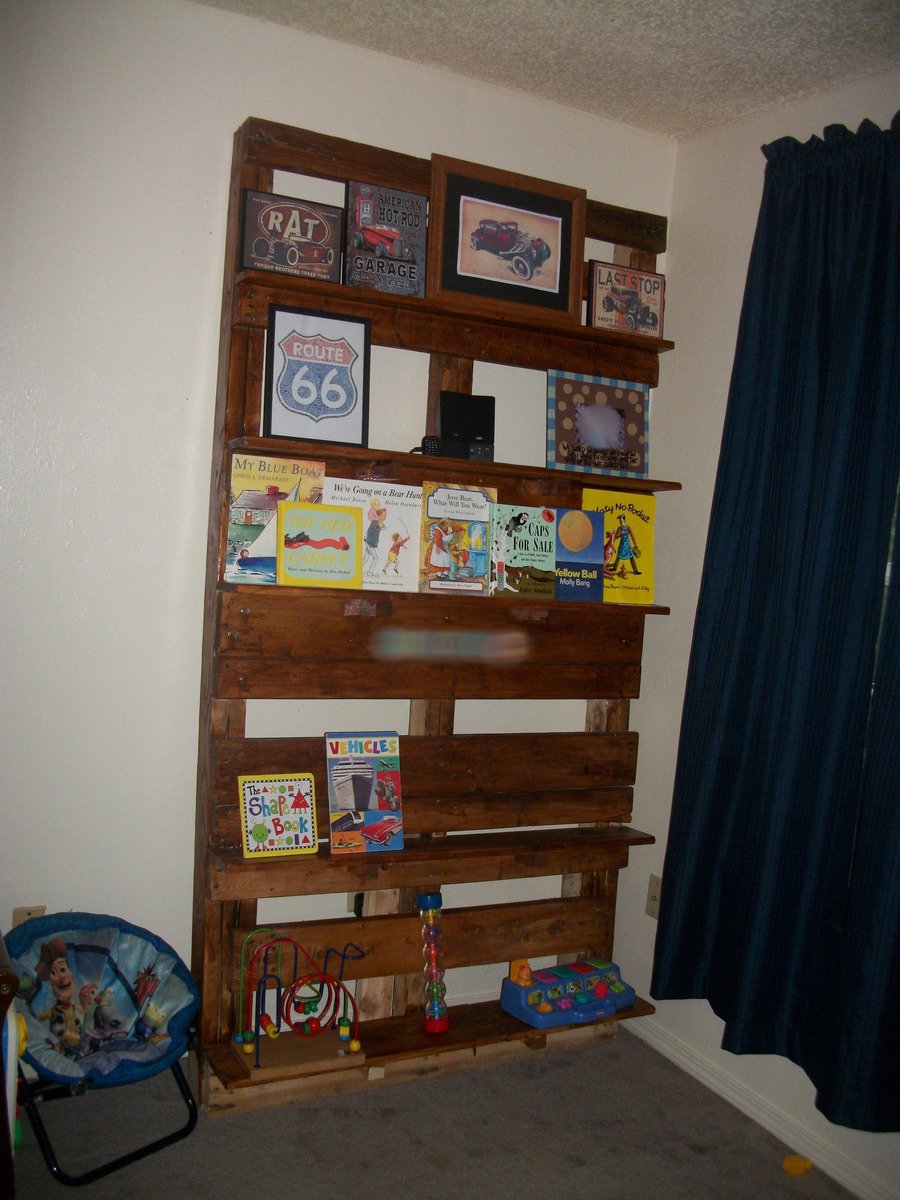
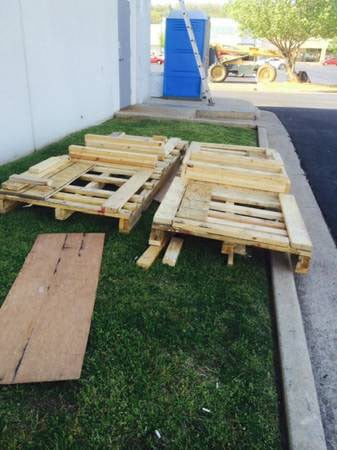
I found an ad in the Craig's List free section advertising two pallets on a first come, first serve basis behind the new pizza place near our apartment. I talked my dh into going a checking it out and there was one left when we got there. These pallets were HUGE! Nine feet long! It hung a good 3 feet over the end of the tailgate on my husband's truck! The manager of the pizza place wandered out while we were loading up and told us that their new pizza ovens had been delivered on the pallets. Cool story to tell our son about his bookshelves!

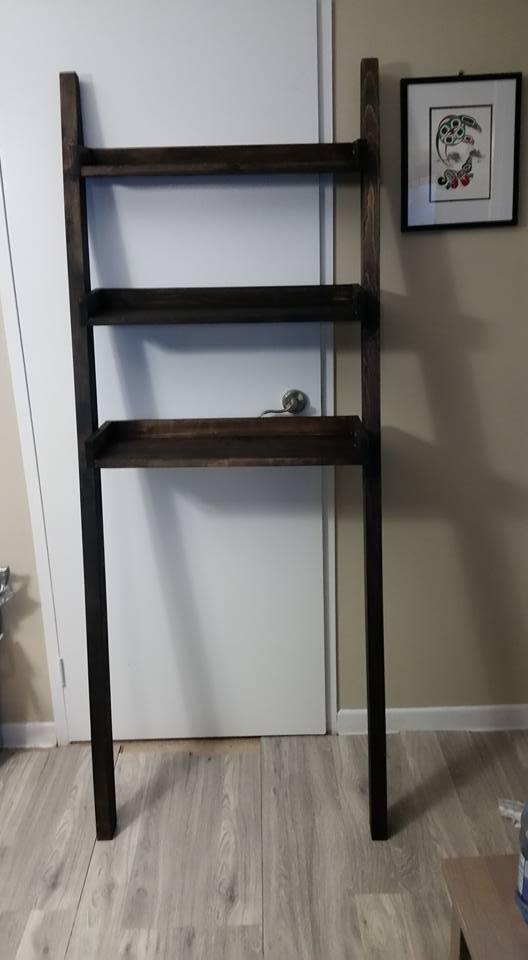
We got the pallet home after a quick stop at Lowe's for a crow bar. Dh taught me how to use a crow bar to remove the excess wood used to stablize the pizza oven on the pallet during shipment. I also learned that they use an insane amount of nails to put these things together! After pulling off about 40 pounds of useless scrap wood (literally, 40 pounds, these suckers were HEAVY!) I used some of our own scrap boards from other projects to make the shelves. We live in an apartment complex. People wandering by all day asked what I was doing. Even dh didn't understand exactly what I was trying to do but he went along with it and helped when I needed extra hands.

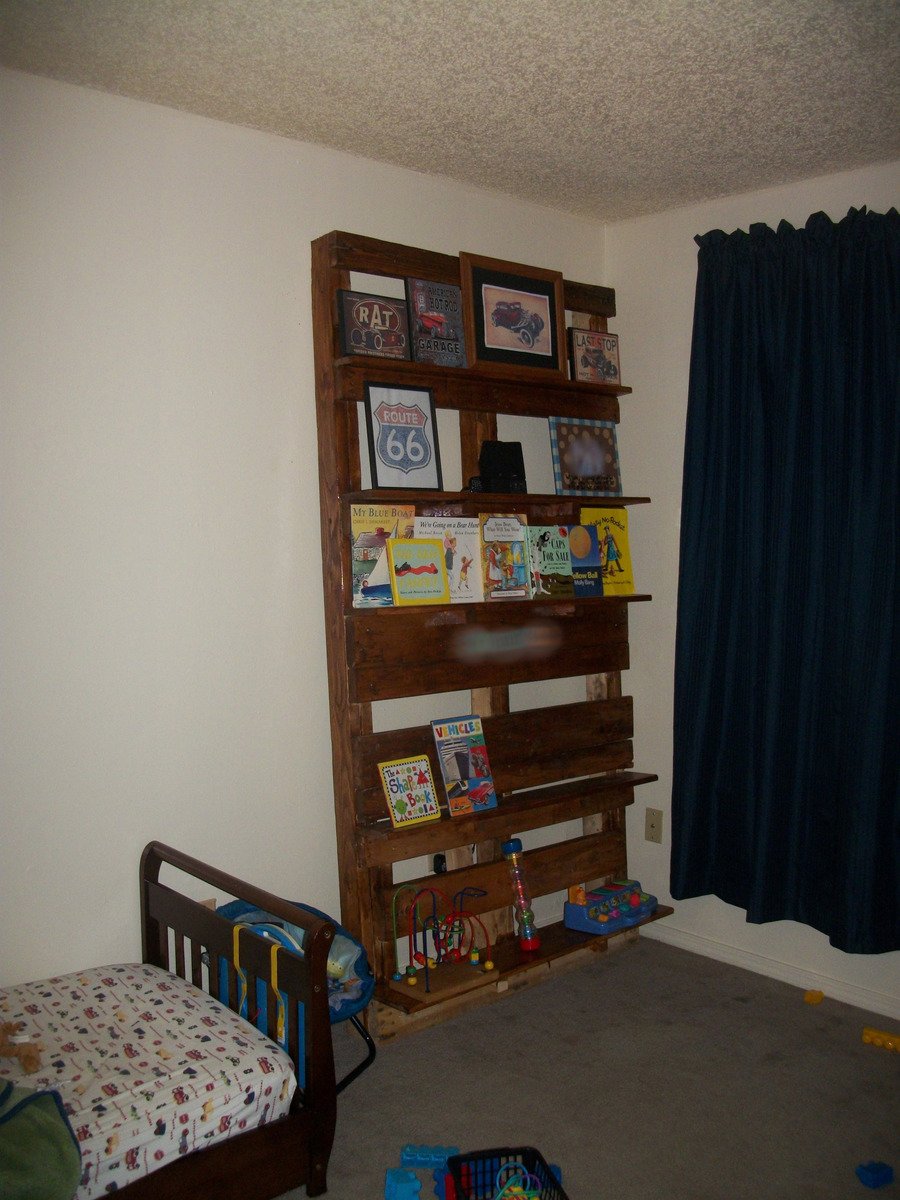
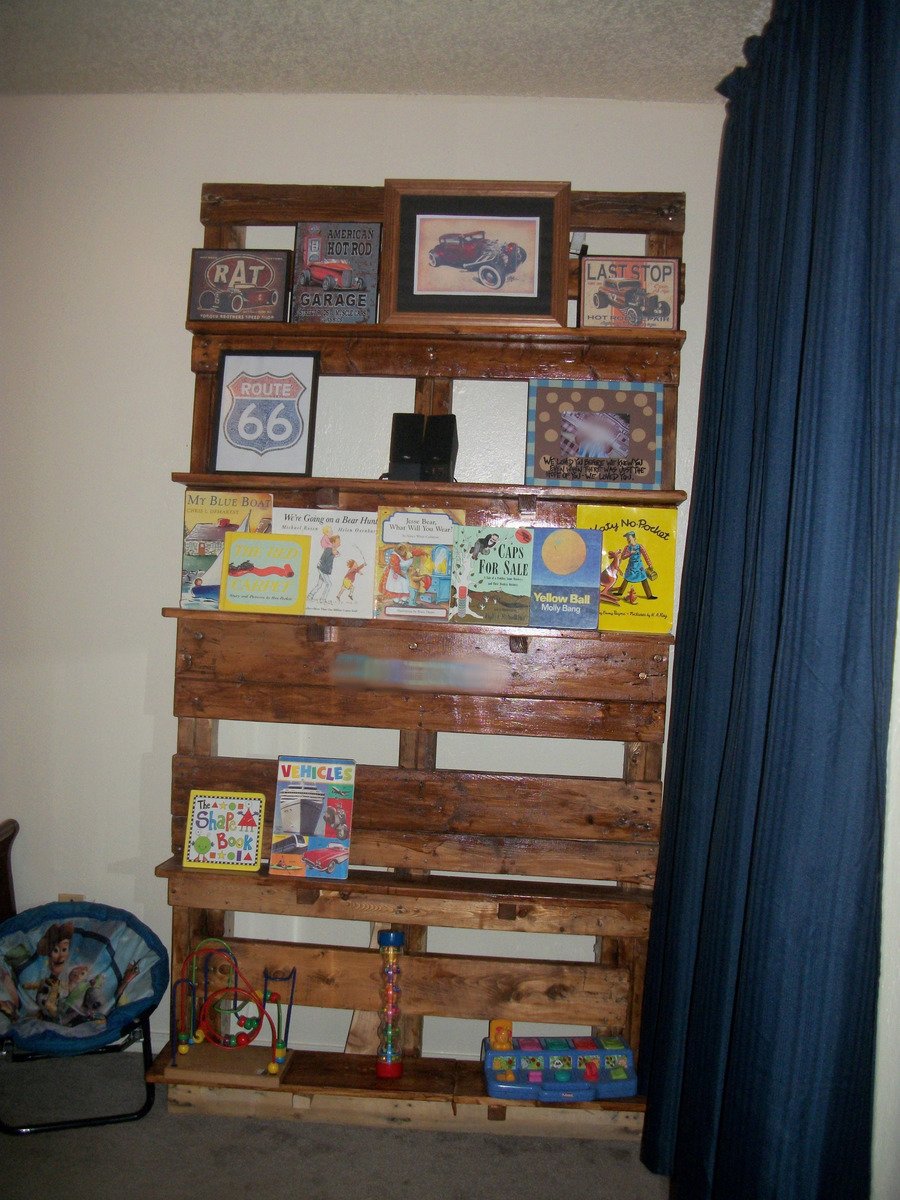
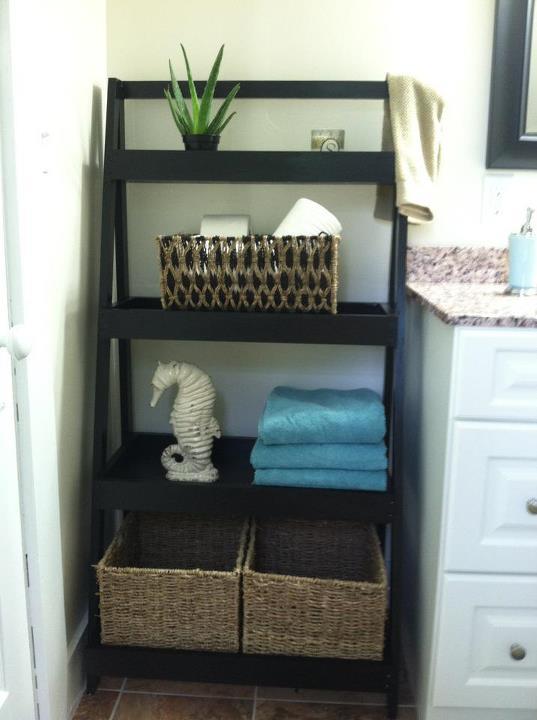
After getting it all put together, I used some left over poly-and-stain-in-one that we had left over. I got most of it stained with that but then I ran out. I haven't gotten around yet to getting some more. That will be the only cost associated with this project, the rest was free. Oh and the letters used for my son's name on the shelves. I blurred it out in the picture but I used dollar store vinyl letters to put his name on the shelf.

We anchored the shelf to the wall, it's stable and sturdy but I never doubt the ingenuity of a small child and even with the 40 pounds of wood we removed from this sucker, it is still H-E-A-V-Y!!!! Since it's going in a toddler's room I figured better safe than sorry. I went to Lowe's and asked for earthquake straps and I was told that we don't get earthquakes around here so they don't carry them.... I had to explain to her that earthquake straps also keep small children from toppling heavy furniture and she said they might have something in the childproofing area. They did have furniture straps as they called them in the childproofing area. Note to self: we no longer live in an earthquake prone area, people look at you like you've lost your mind if you want to strap your furniture down in case of earthquakes or curious small children.

Built from Plan(s)
Estimated Time Investment
Weekend Project (10-20 Hours)
Finish Used
MinWax PolyShades in Antique Walnut
Recommended Skill Level
Beginner

Simple Step Stool

This is a simple wooden step stool I built for my daughter using some wood I had around the house. I wanted to build a small stool that was easy for her to carry around and access items that she needed. 

Estimated Cost
$30
Estimated Time Investment
Weekend Project (10-20 Hours)
Recommended Skill Level
Intermediate

Modern Outdoor Chairs

Submitted by tiacobazzi on Wed, 06/17/2020 - 15:31

My husband built these for our little deck!!! They turned out AMAZING!! The plans were so easy to follow! I am so happy with how they turned out and can't wait to build our next Ana White design!! THANK YOU!!!

Built from Plan(s)
Estimated Cost
$60 for both chairs and table!
Estimated Time Investment
Afternoon Project (3-6 Hours)
Finish Used
Outdoor stain
Recommended Skill Level
Beginner

Comments

ladybug'13

Wed, 06/17/2020 - 20:38

He did a great job! They're beautiful! May I ask where you got the cushions? I'm thinking of making a few of these myself and would like recommendations :)

Modern X Tables

Submitted by Anonymous (not verified) on Fri, 03/22/2024 - 07:59

Coffee table and matching end tables for our TV room. Love how they turned out.

Amber Jensen-Veney and hubby Tyler Veney

Family Organization

Submitted by red98dawg on Mon, 08/13/2012 - 09:39

I loved the post from Lady Goats on the PB inspired daily system and the modifications from debandtom25!
I knew this was an answer to clean up our counter, before items even make it to the counter this is right at the door when you walk in our house!

I didn't use a picture frame but used plywood with molding of my choice for the "frame." I selected paint at Home Depot and just purchased the sample paint in three different colors. The wording was done on a computer and used as a stencil (cut the letters into contact paper, stuck contact paper on and painted).

Estimated Cost
$35
Estimated Time Investment
Day Project (6-9 Hours)
Finish Used
Purchased the sample paint in three different colors, will post colors later.
Final coat in Rust-Oleum clear gloss.
Recommended Skill Level
Beginner

Comments

Treated Outdoor Beverage Table

Submitted by Niemann04 on Wed, 06/04/2014 - 12:03

This project was inspired by the post I found on Ana-White.com however I changed some of the dimensions and cut list to make it my own. I built one of these for my Mother and her and her friends keep talking about it to this day.

Estimated Cost
$145.00
Estimated Time Investment
Afternoon Project (3-6 Hours)
Finish Used
Outdoor entertaining
Recommended Skill Level
Beginner

Comments

Sliding Door Console

Submitted by Anonymous (not verified) on Tue, 09/06/2016 - 10:42

Our own mix for the sliding door console.  Stained the entire unit with Jacobean stain, then light grey chalk paint.  Distressed with 150/220 grit and waxed.  Top and shelves are Jacobean with 4 coats of satin polyurethane.  Absolutely love how this came out.  Roughly $300 spend at home depot on all supplies.  Wife and I finished in about 17 hours this weekend.

Estimated Cost
300.00
Estimated Time Investment
Weekend Project (10-20 Hours)
Finish Used
Light Grey Chalk paint
Jacobean Stain
Satin Polyurethane
Recommended Skill Level
Intermediate

Painters shelf

Submitted by Krissymia on Fri, 08/17/2012 - 06:47

Whew! I am a total novice. I have never used a saw in my life, but with a little bit of instruction from my husband i was able to do it almost completely on my own. Even as a beginner i could have finished it in a full day, but i was trying to work on it during my daughters naps so it took almost a week!

Recommended Skill Level
Intermediate

5th Project - Tilt Out Trash Can

This was my fifth project and it went pretty well. I ended up having to trim a little off the top of the door after I had it assembled because I wasn't paying attention to detail and built it to fit the back opening. It was pretty simple to size it down, though. I finished it off with some leftover black paint that I used for the top of my workbench last summer. Super happy with the way it turned out!

Estimated Cost
$50
Estimated Time Investment
Day Project (6-9 Hours)
Finish Used
Behr black
Recommended Skill Level
Beginner
Back