Double trash can cabinet
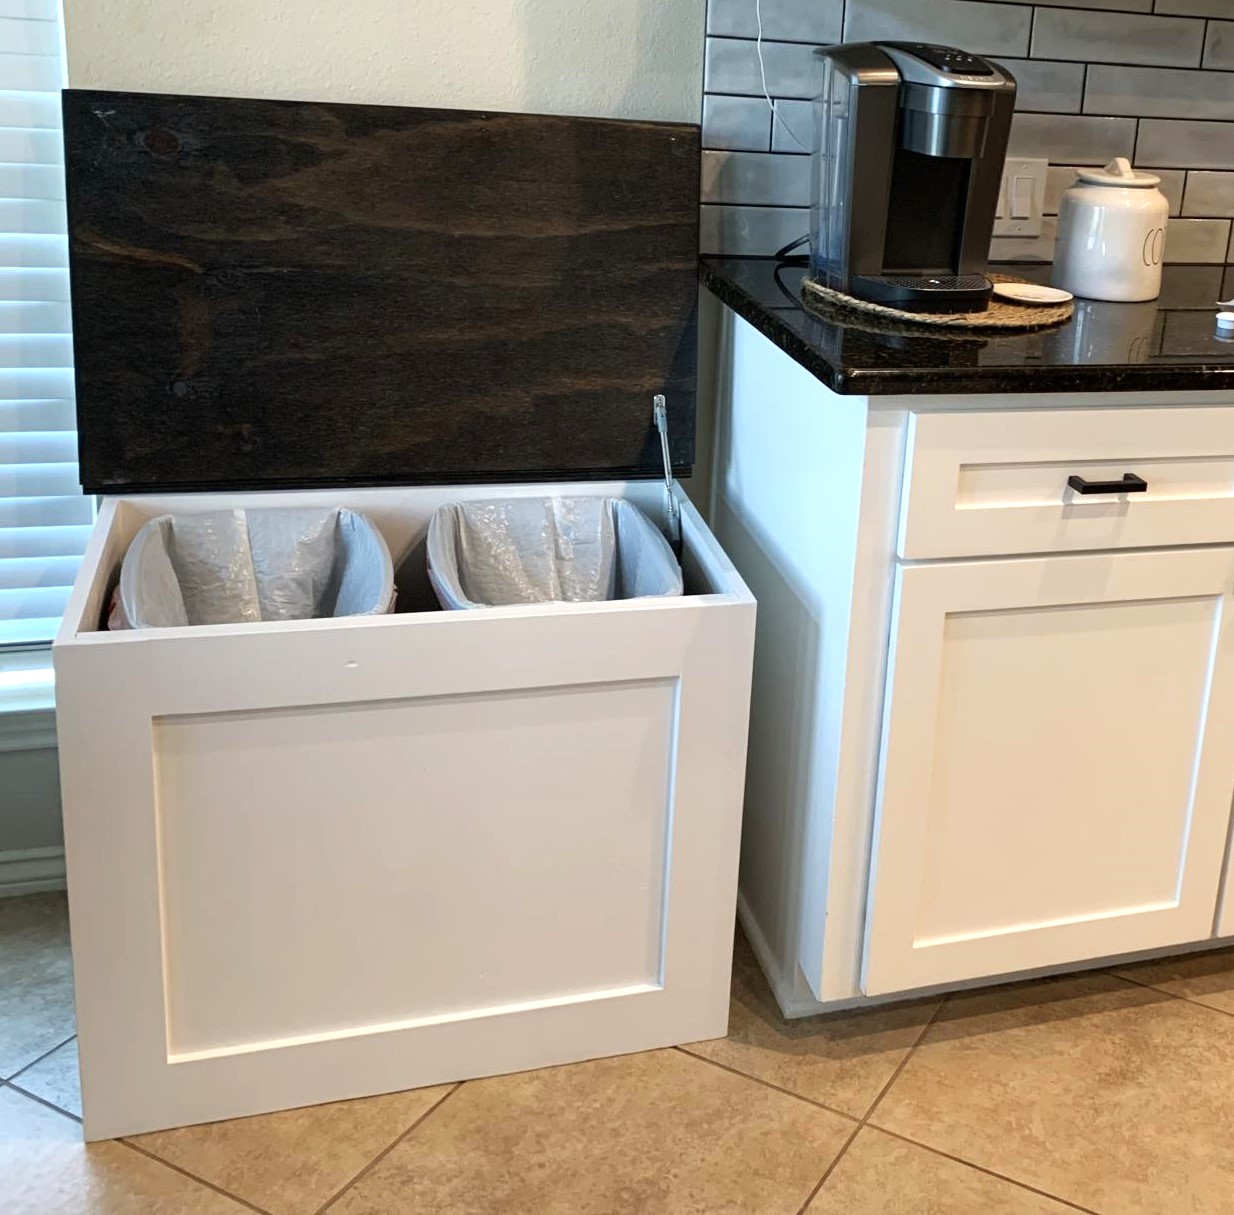
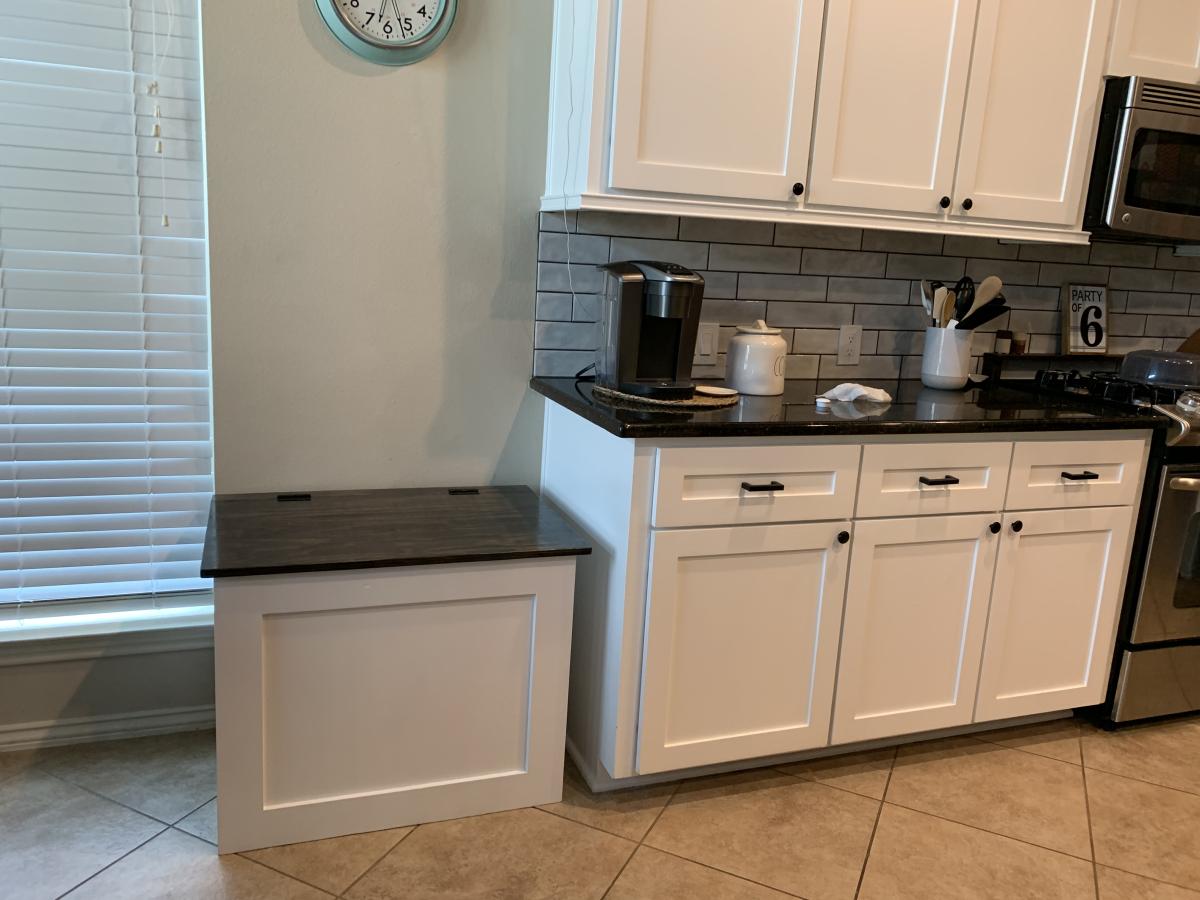
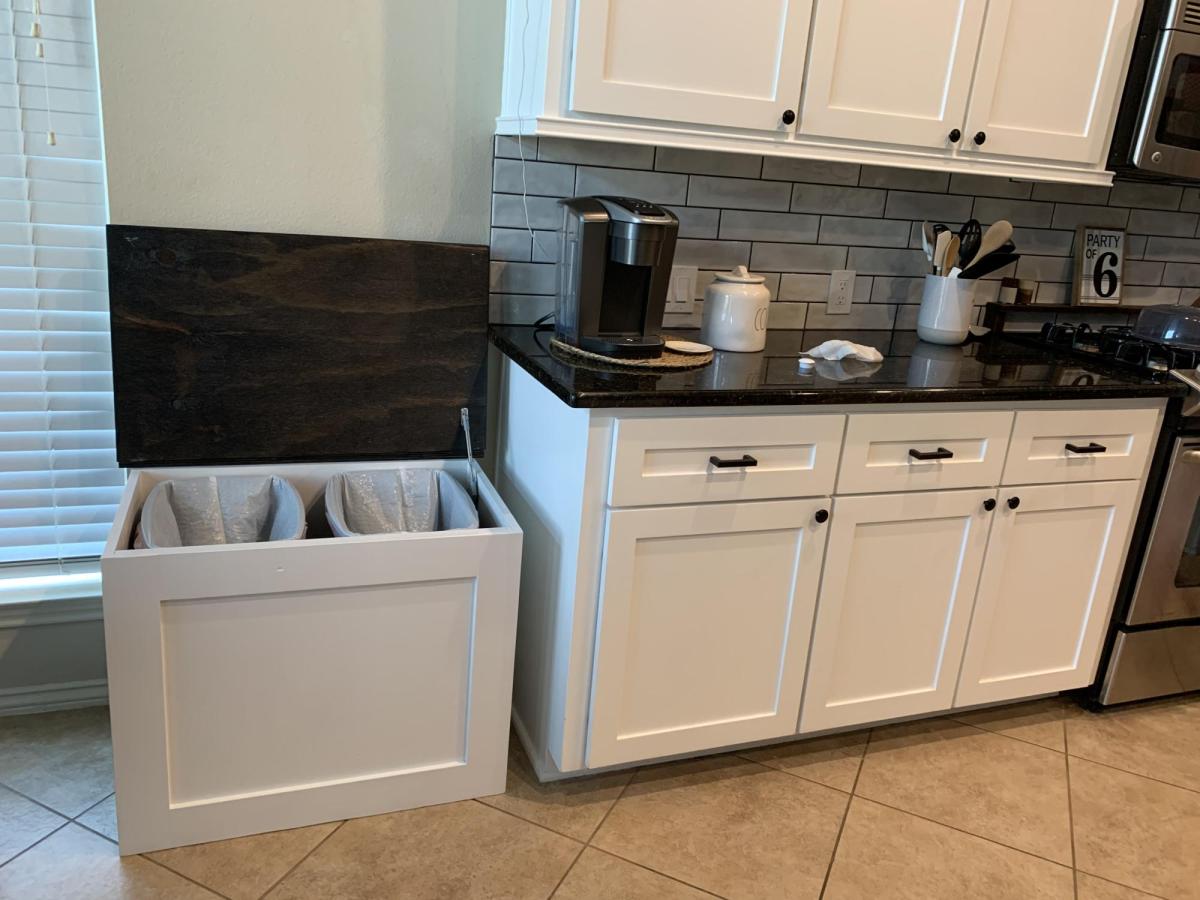
Double trash can cabinet made of plywood. Included soft close hinge. Holds 2 13 gallon cans.
Built from Plan(s)
Double trash can cabinet made of plywood. Included soft close hinge. Holds 2 13 gallon cans.
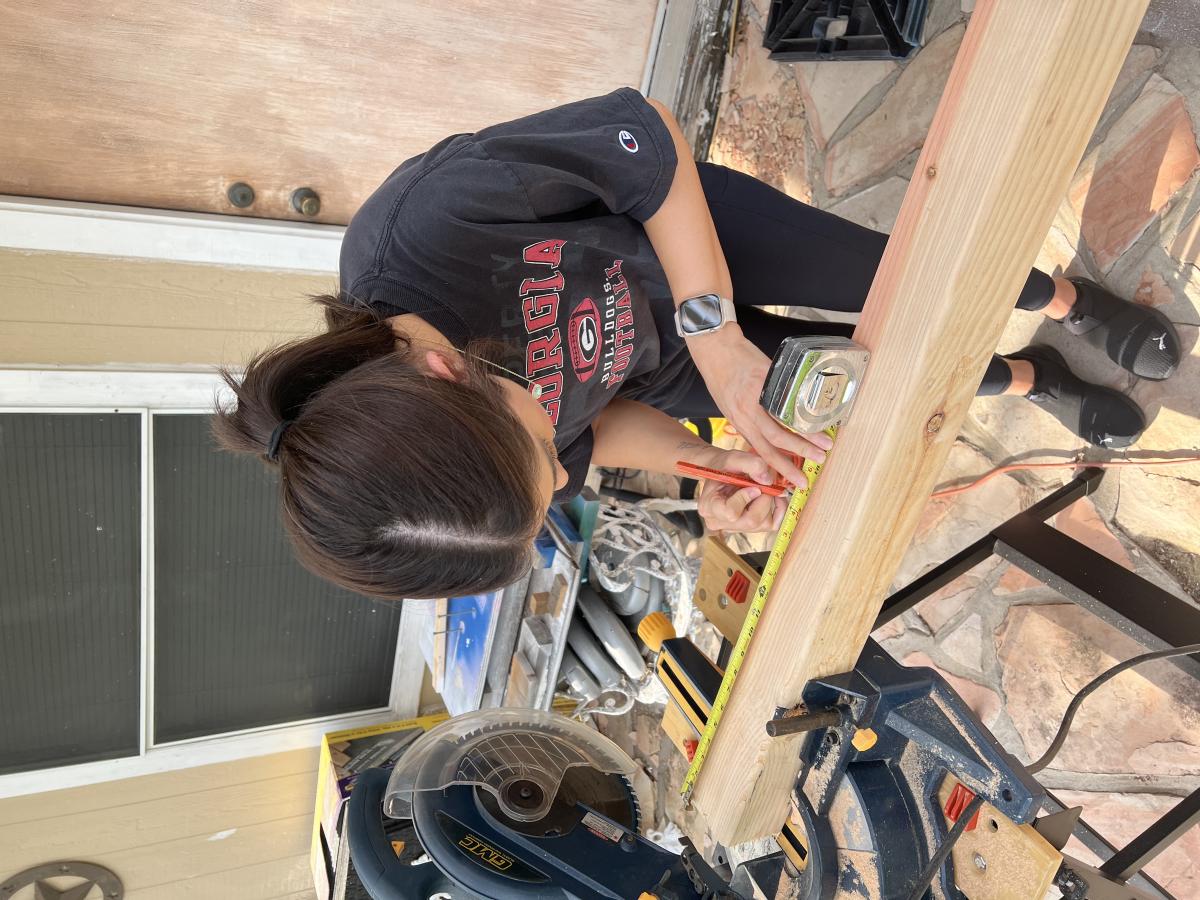
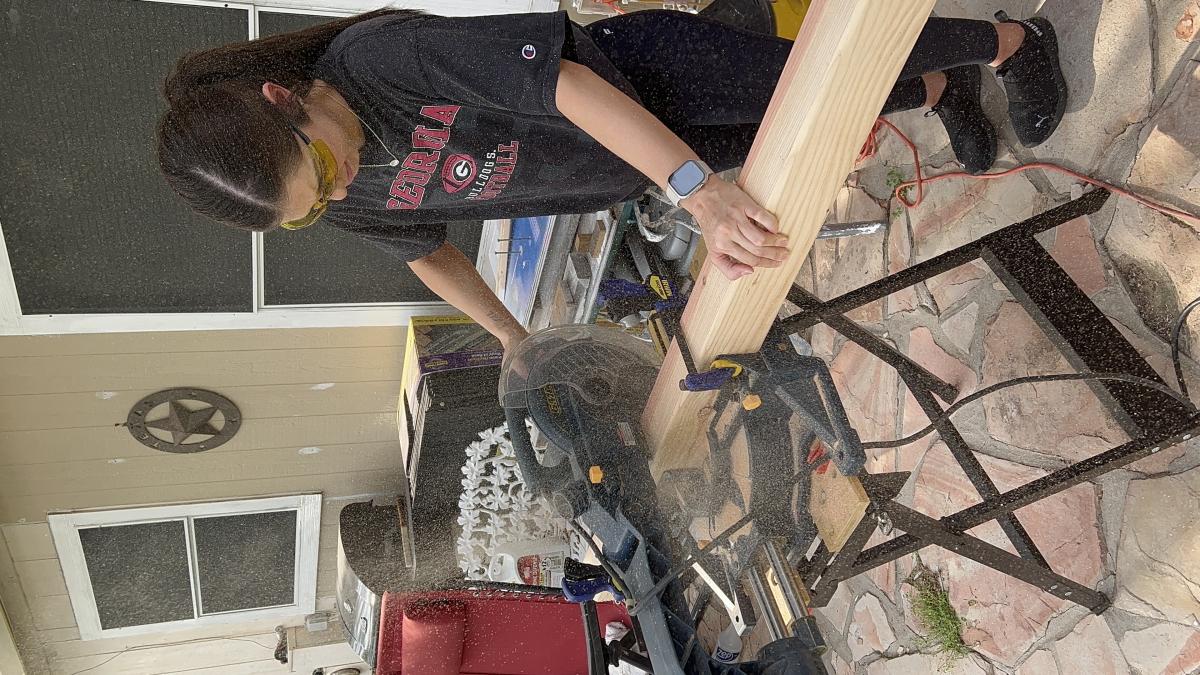
I looked ALL OVER for a bedside table that met my demands and my budget. It did not exsist. I found the Farmhouse Bedside Table and fell in love with it! It was definately a more tricky build, and my husband and I learned ALOT about what we know and what we don't know about tools, wood, angles, measurements, etc. But it was a fun project to do together and I just LOVE how it turned out! We definately surprised ourselves on this one! Only about $35, not too shabby! Only piece of advice would be to measure and cut as you go- some of the measurements didn't work out for us (not sure why...) but we were glad we didn't cut them ahead of time! We measured everypiece and double checked it. But we are new to work working, so cut at your own risk :)
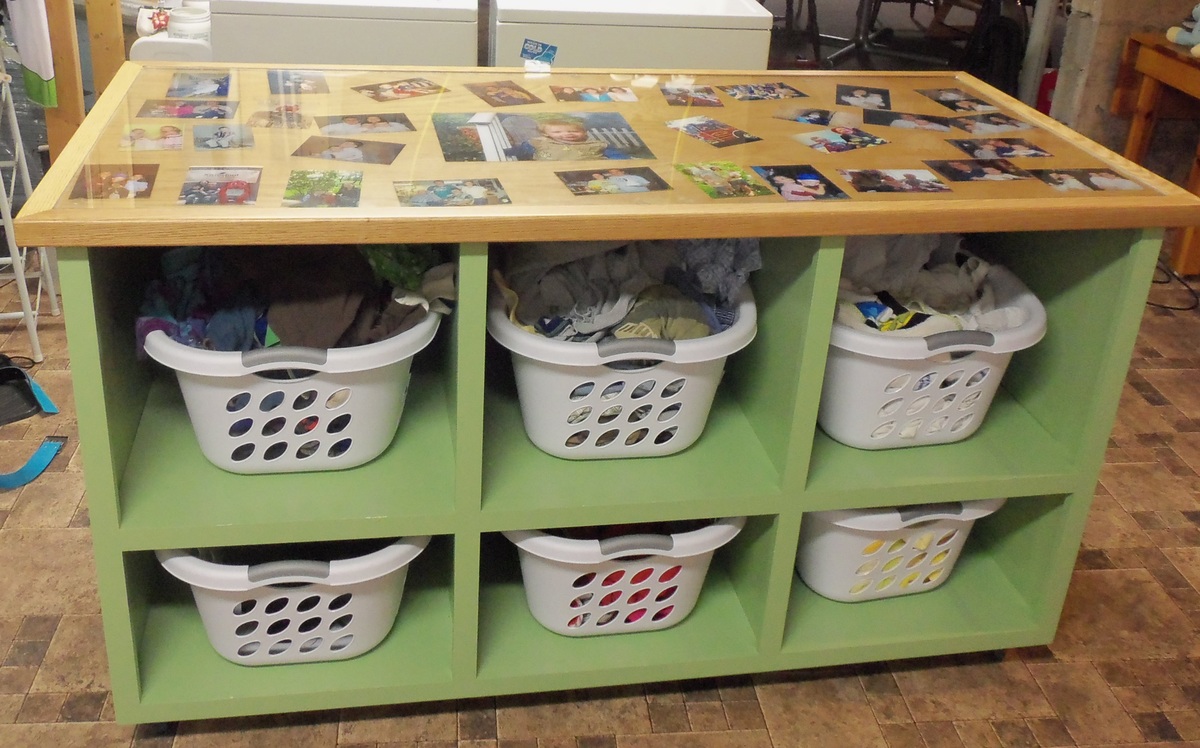
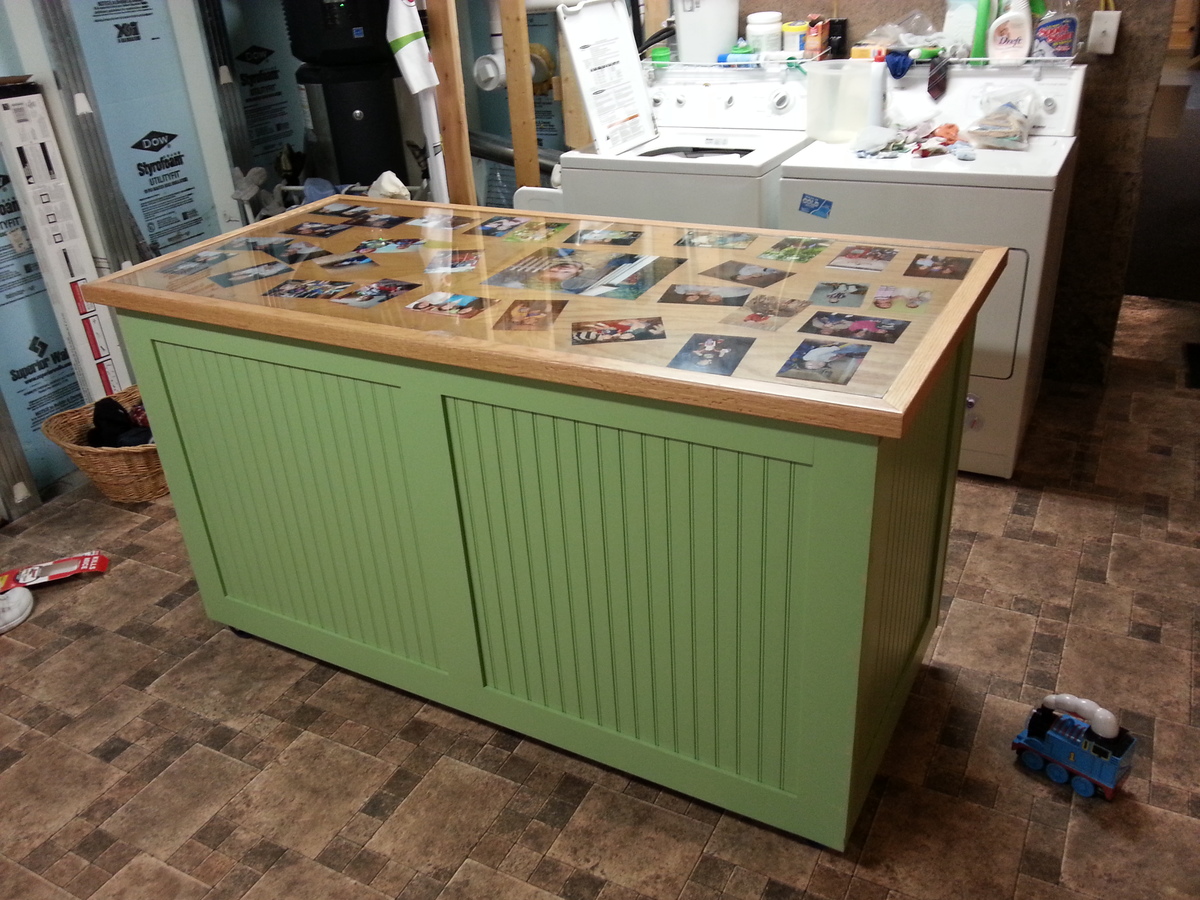
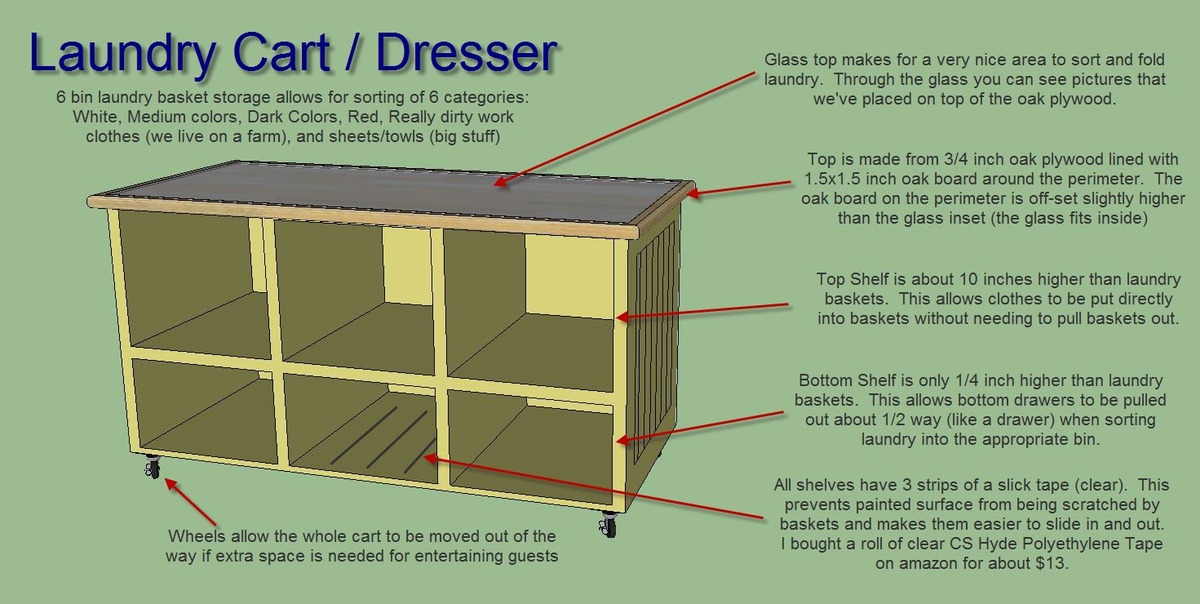
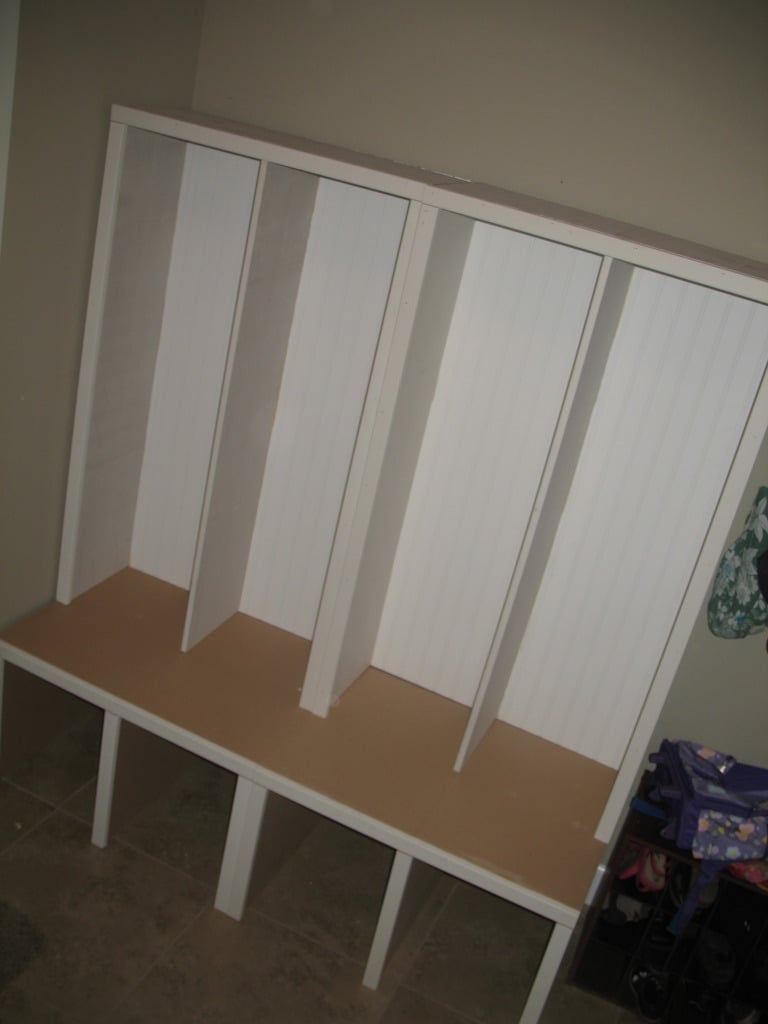
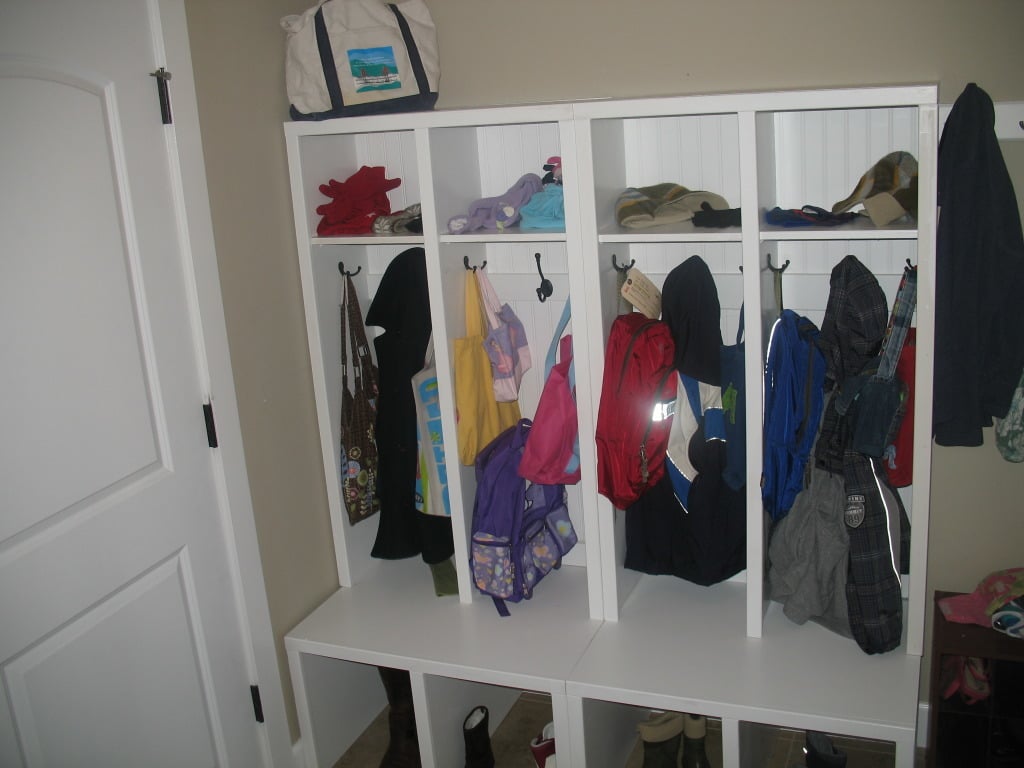
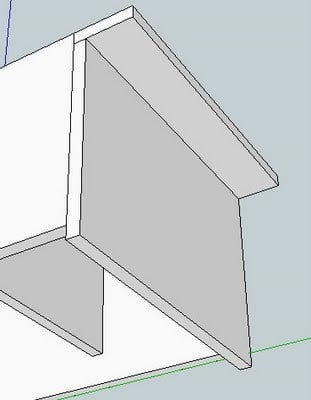
This is my take on the Laundry basket dresser. I started with the idea based on many photos I found on this site, but made some updates/improvements (well they are improvements in my mind anyway). Please view the last picture that has text for explanations of the "features" of my design.
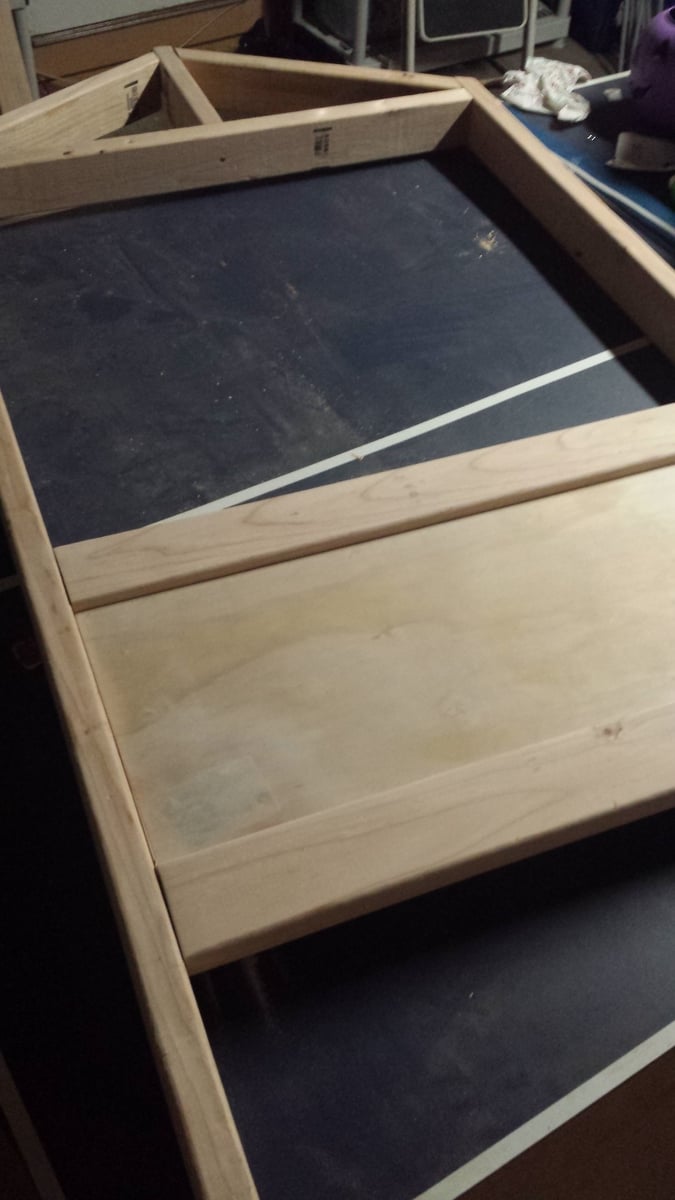
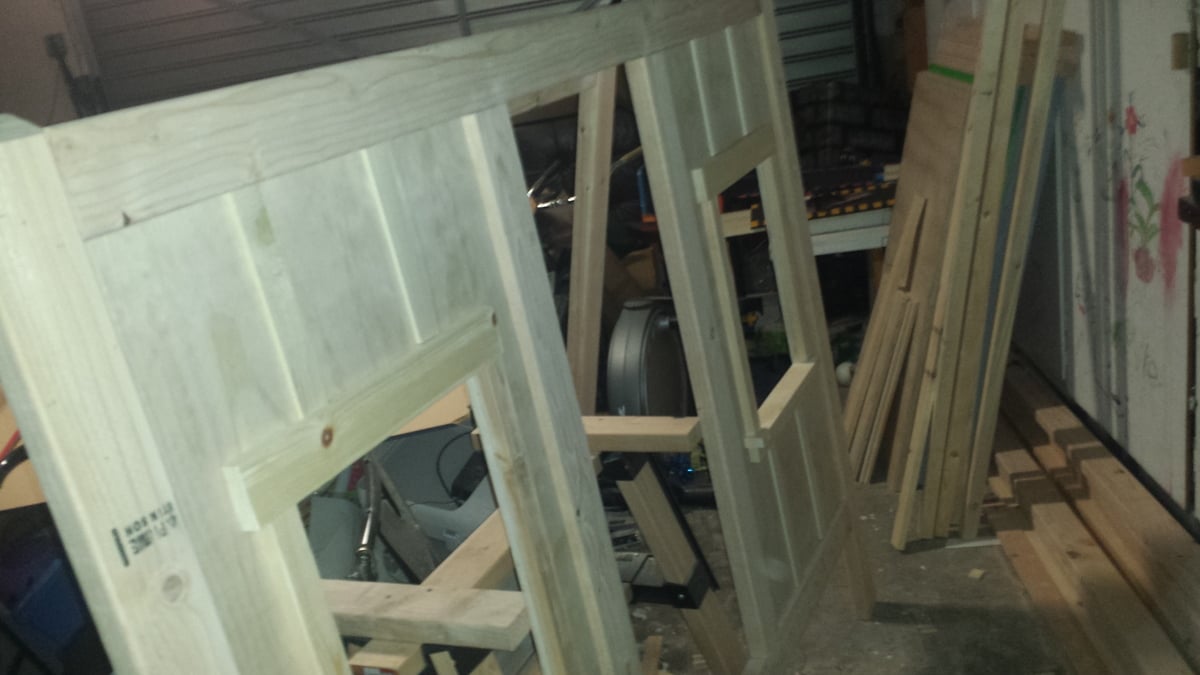
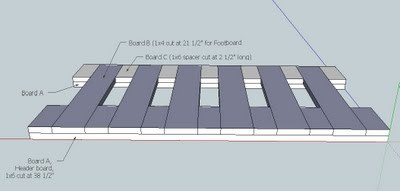
I did some quick drawings in Sketchup, and then did some work in the workshop. I don't have exacting plans on the exact measurements, but you'd probably need to tweak for the size basket you plan to use.
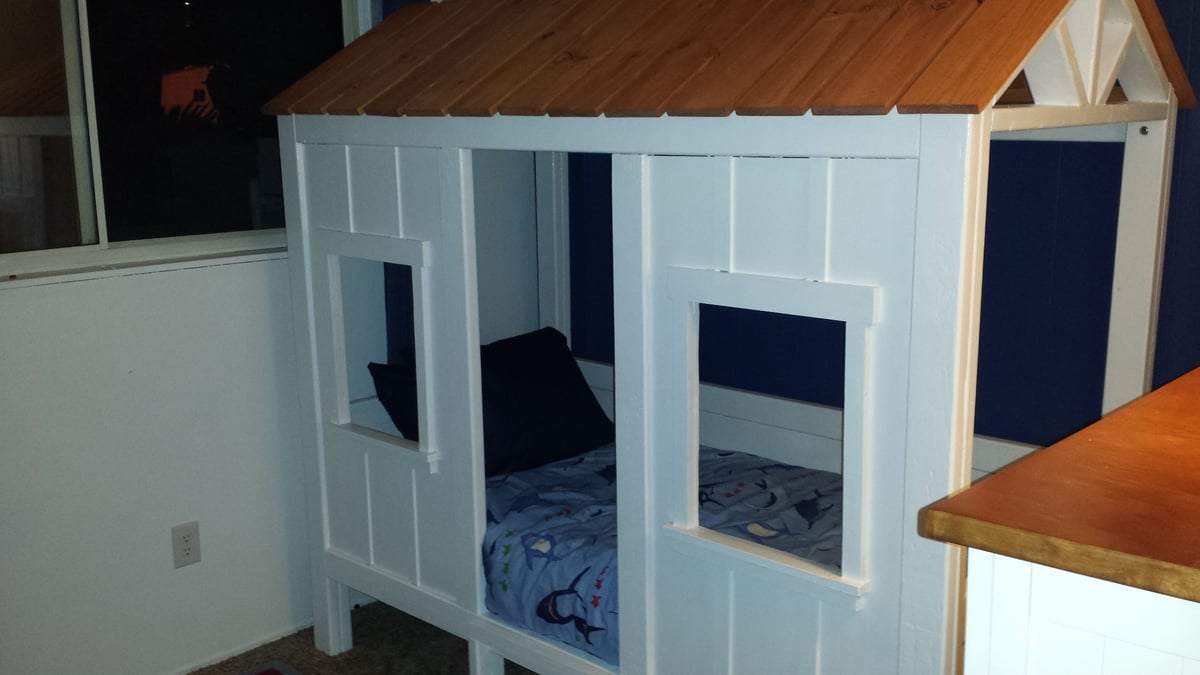
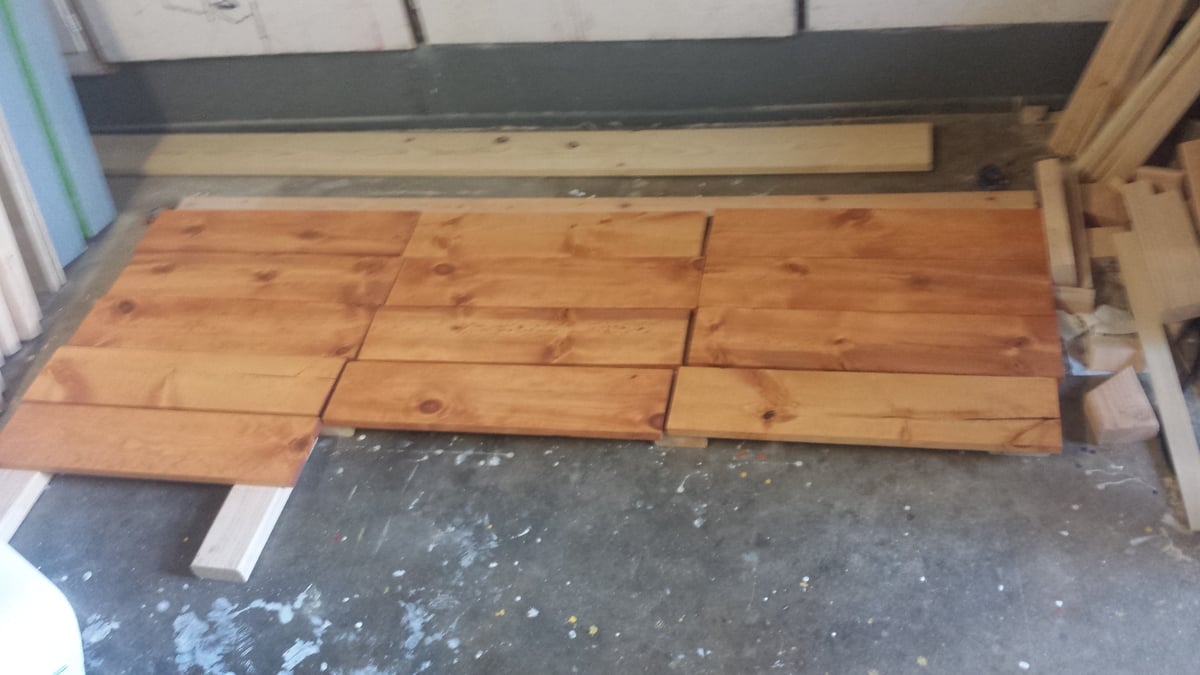
I built this for my son's beach room. We stained the roof to match his dresser and built him a ladder as well.

I love the ease of your plans.

Wed, 08/28/2019 - 12:29
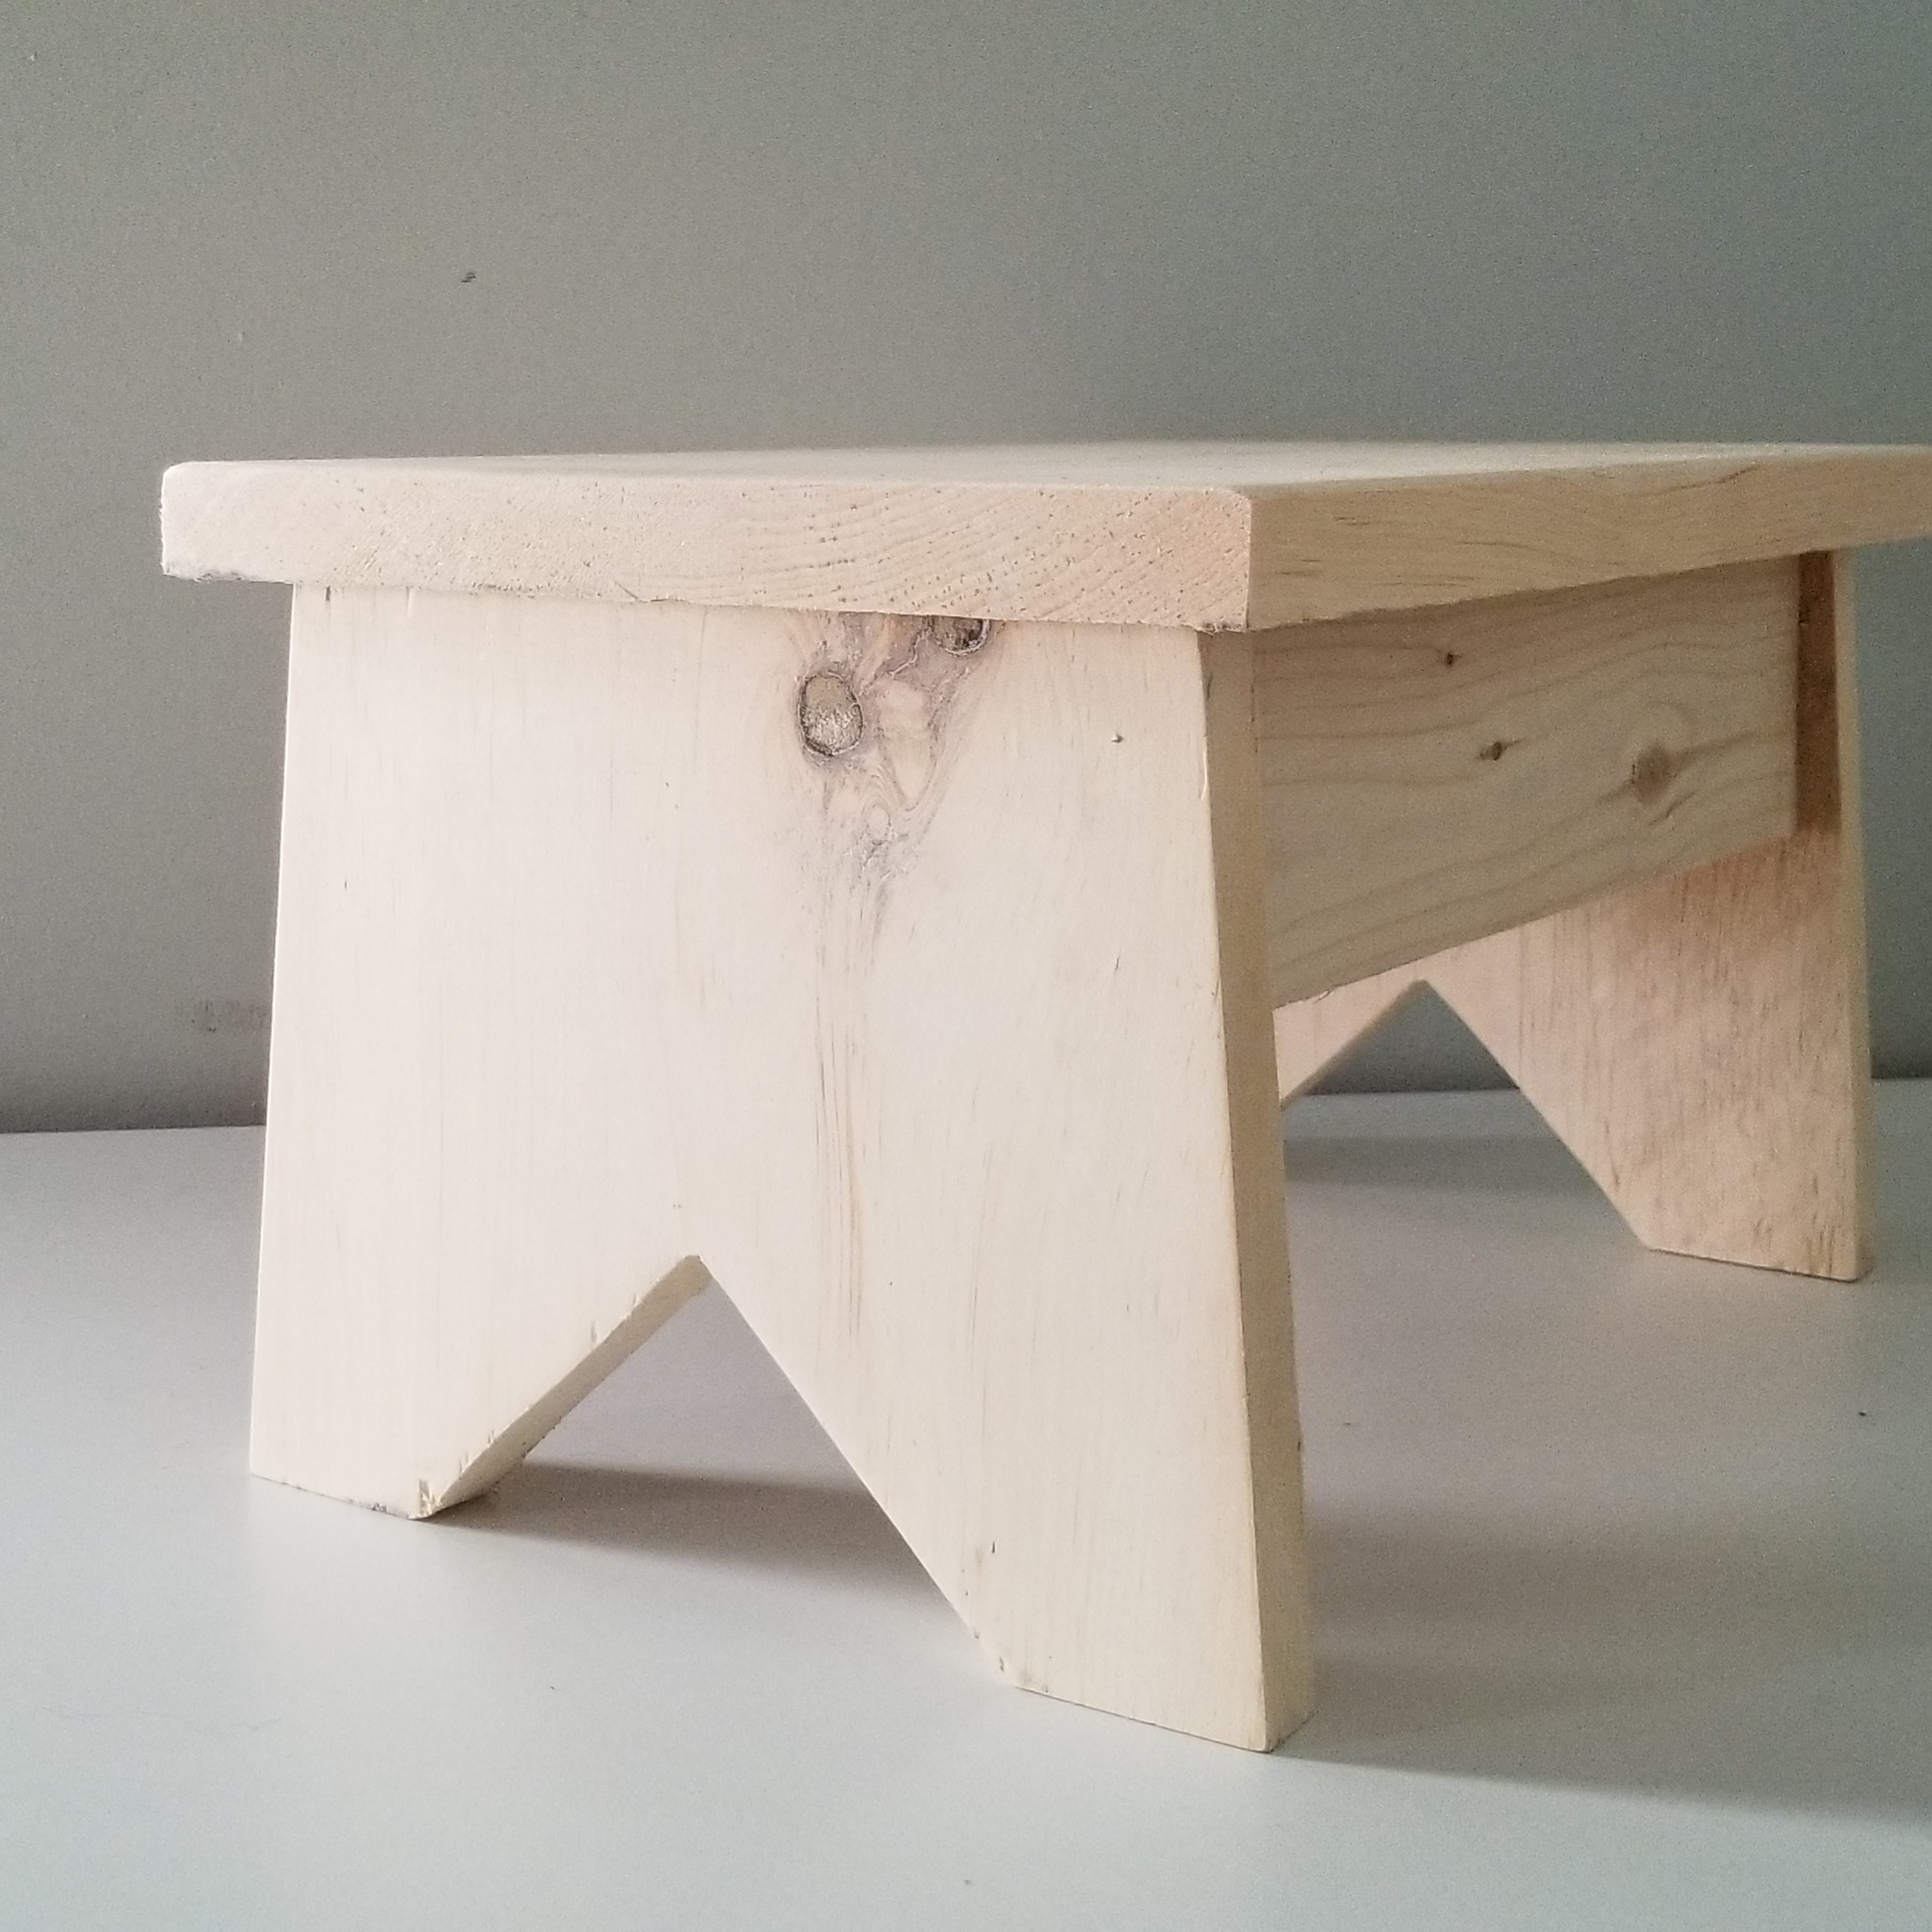
Thank you! Great job! This is one of my favorite step stool plans too, glad to see you built it!
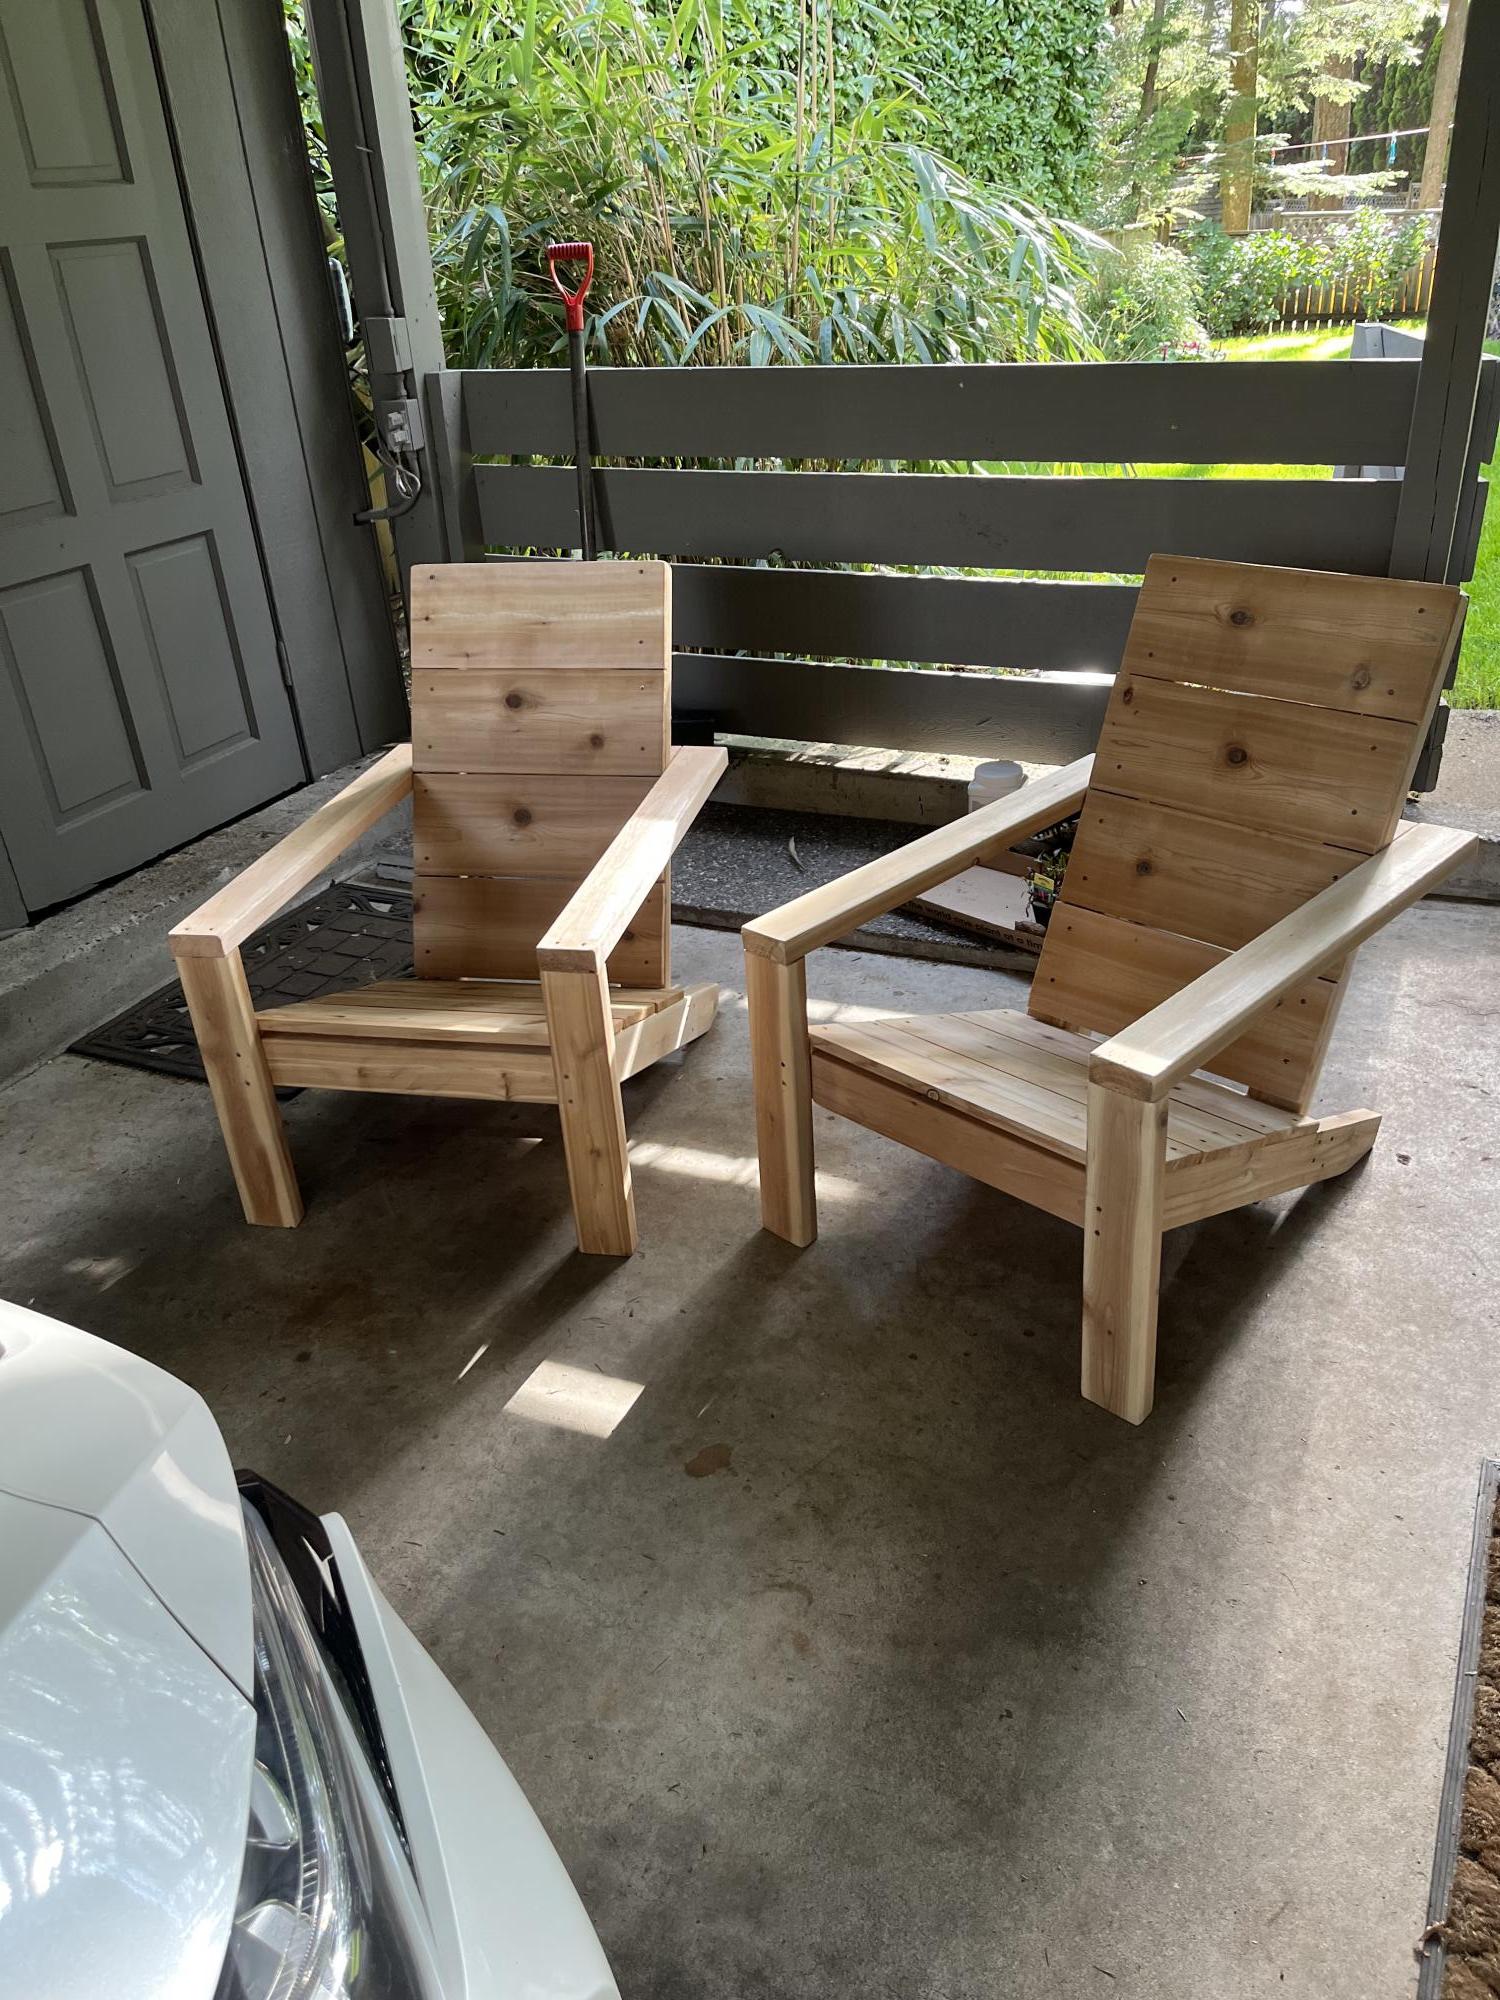
Finished the second chair using Kreg holes fir the arms
Cedar looks good I think
Mon, 05/08/2023 - 10:59
The cedar looks great, thanks for sharing your beautiful build!
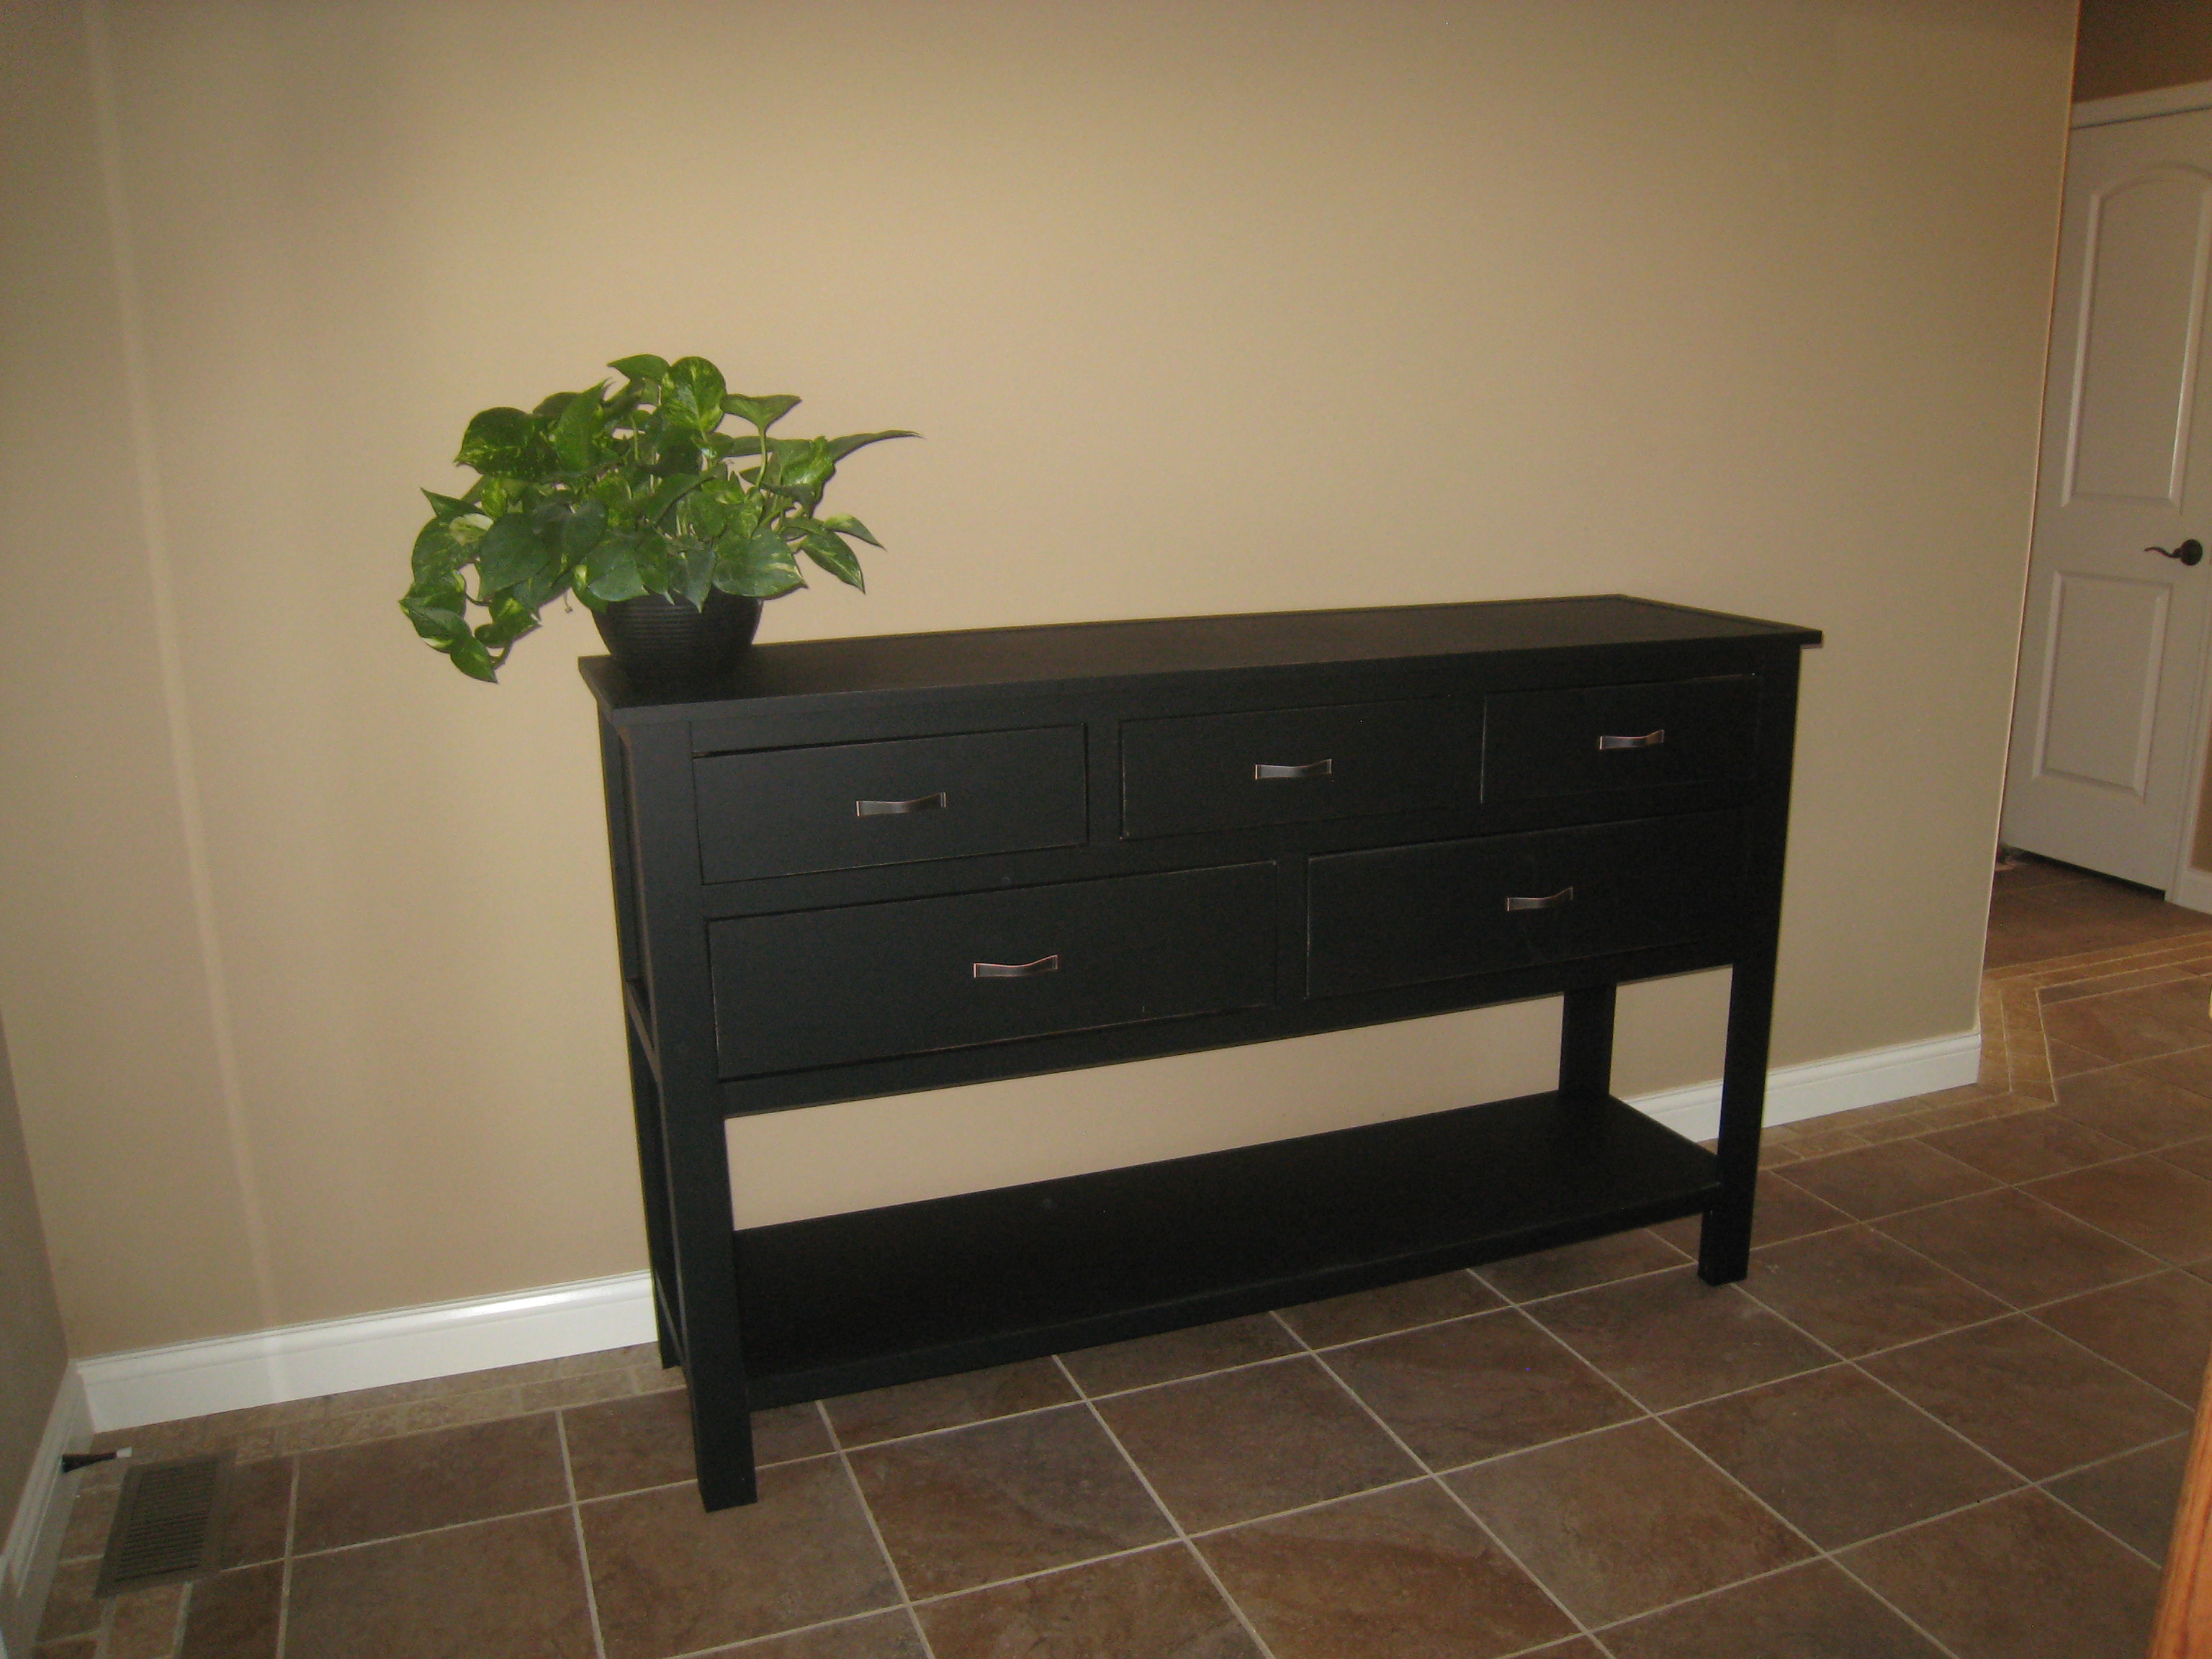
I needed some furniture for the entryway and made this dresser. All it needs now is a few accessories! Thanks Ana.

Fri, 01/06/2012 - 12:00
I love this. I would love to build this, but modify it to be more narrow. I am afraid to do both. I don't have the confidence yet to modify or tackle drawers. Yikes. Going to have to bit the bullet one of these days!
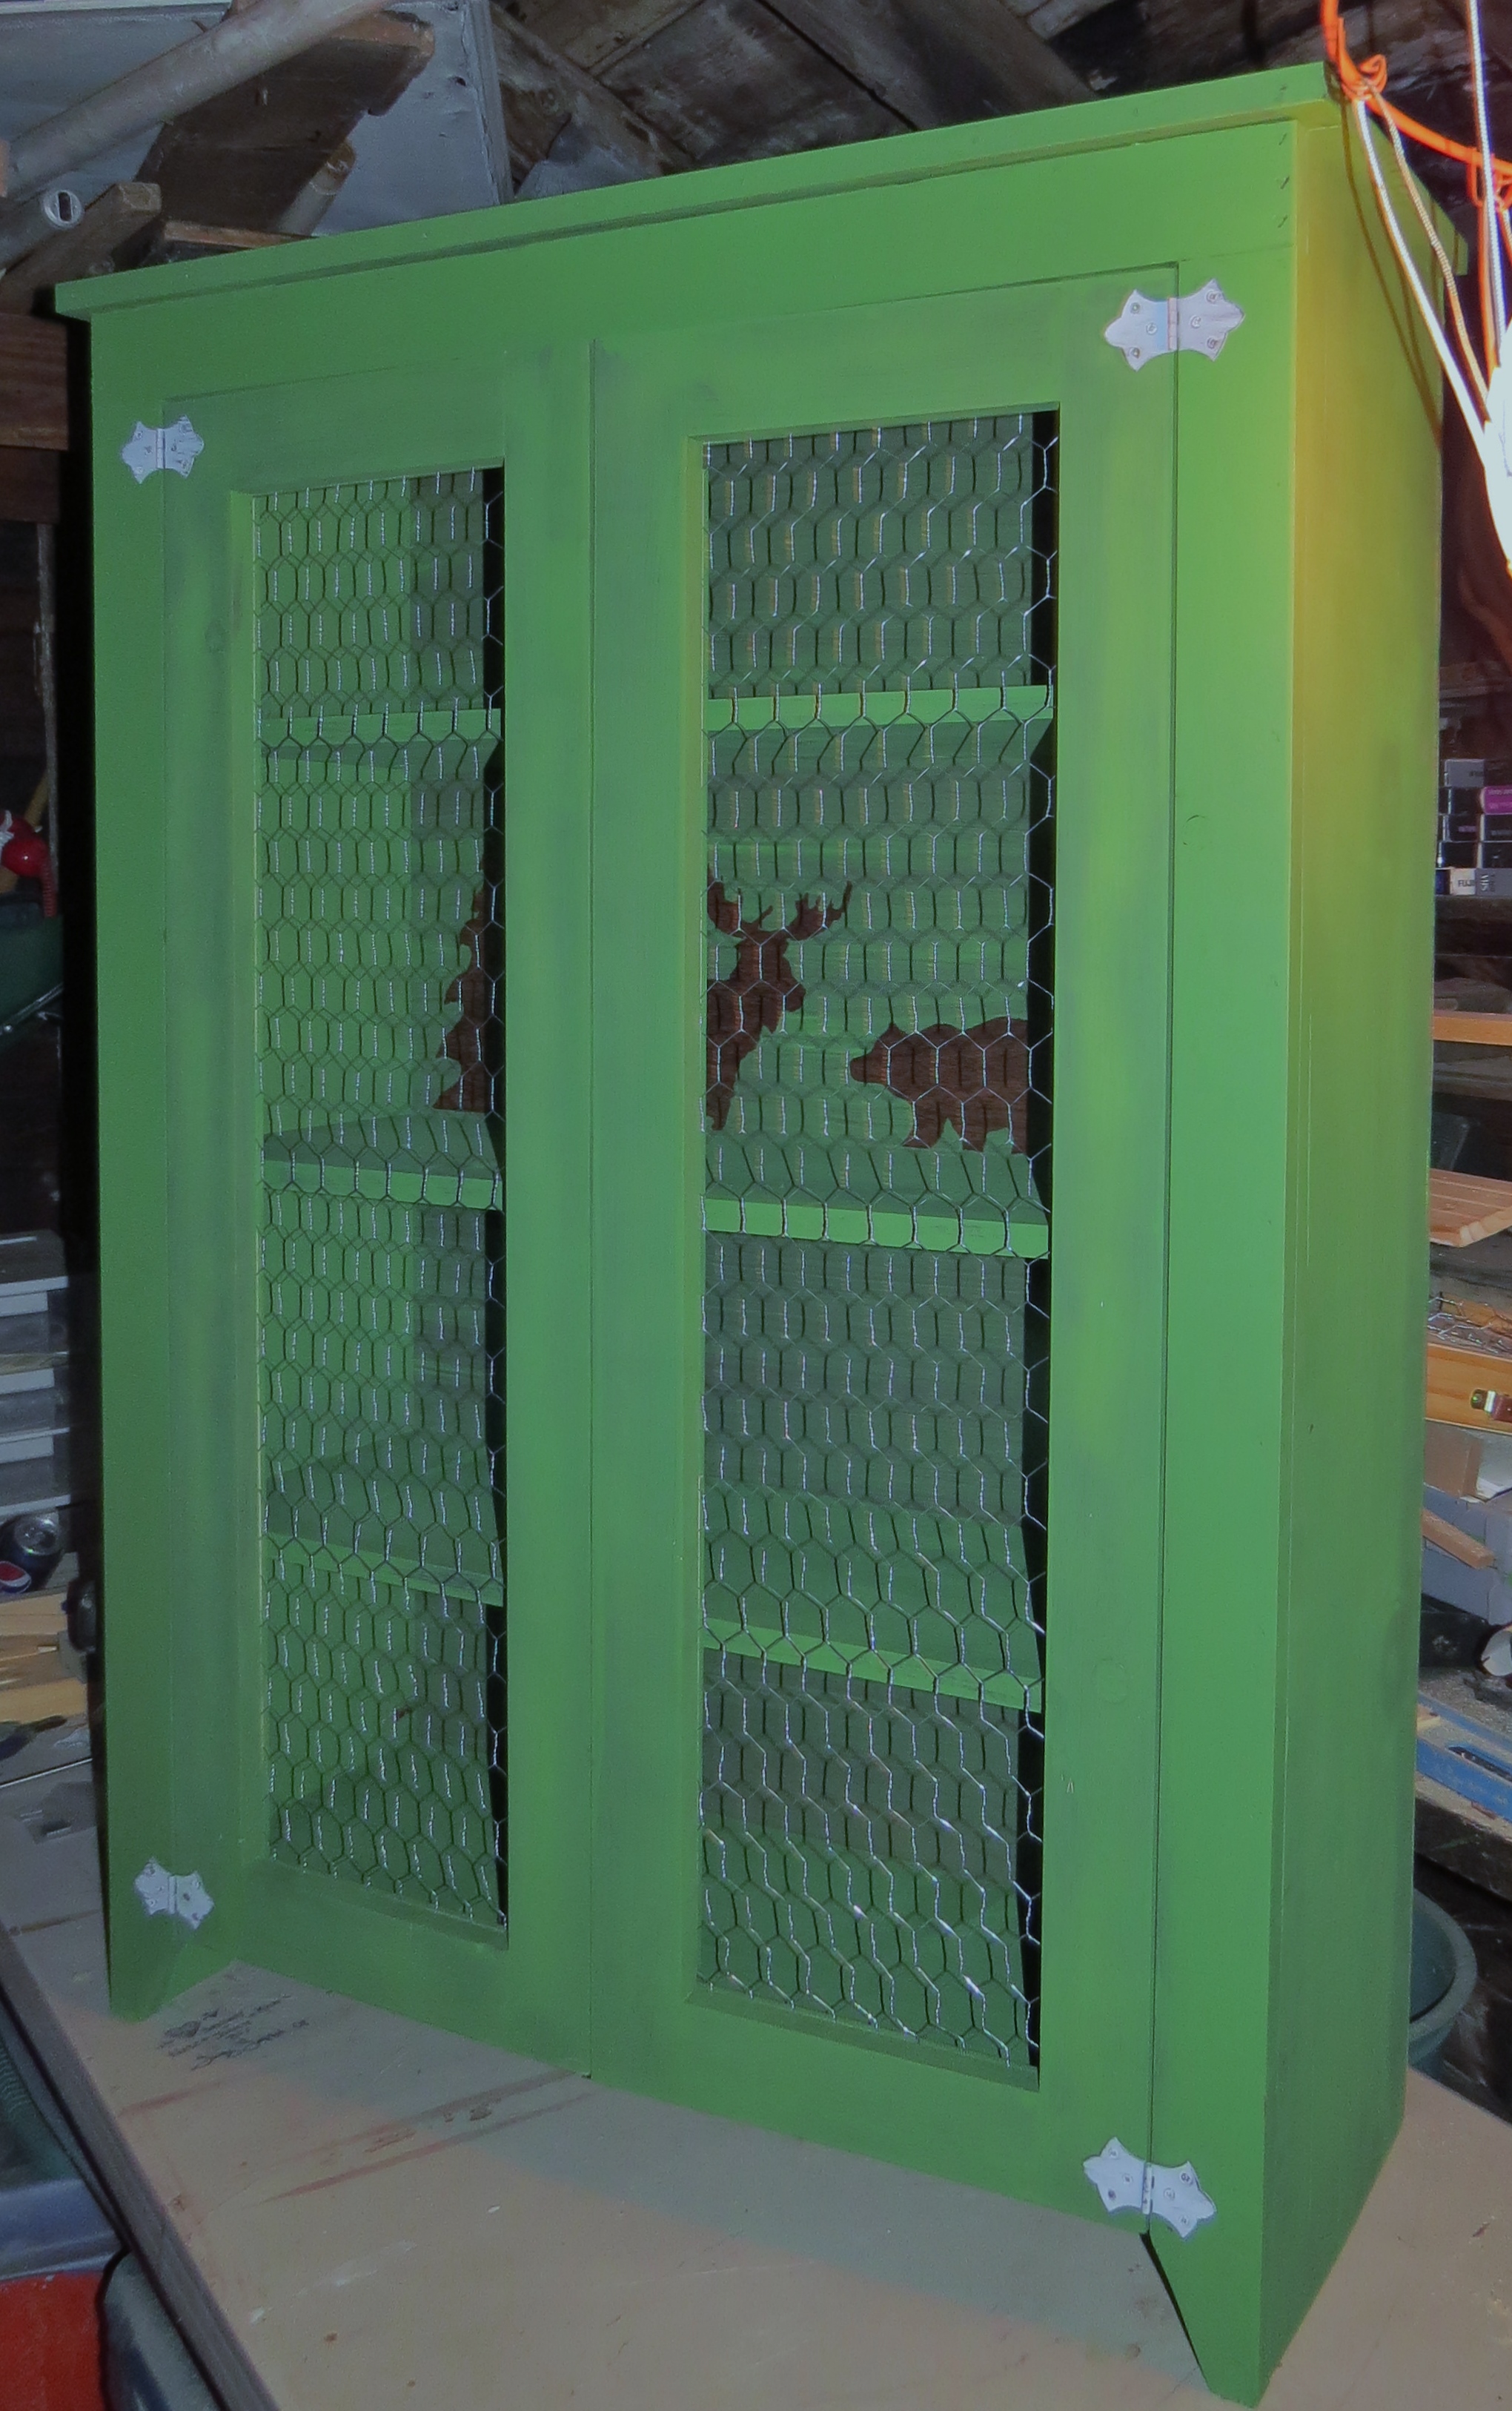
My mom as always wanted a jelly cabinet and there's one for sale at a local antique barn so when I saw the plans I knew exactly what I could get her for Christmas. The plan measurement's were a little off so I ran it through Google sketch-up to get the exact cuts I'd need and to play around a little with the plans. I used chicken wire for the doors and they came out better than expected. For a finishing touch, my mom loves black bears and moose, so I decided to include them in the final design. I went with free drawing them on contact paper and cutting them out and using them as a stencil, I love how they look. Overall it was a fun project. I just need to distress it a little and seal it with poly and it should be better well done.


Sat, 11/23/2013 - 16:29
I couldn't get the link to work in the actual form, but it's Patrick's Jelly Cupboard ... http://ana-white.com/2011/12/plans/patrick039s-jelly-cupbard
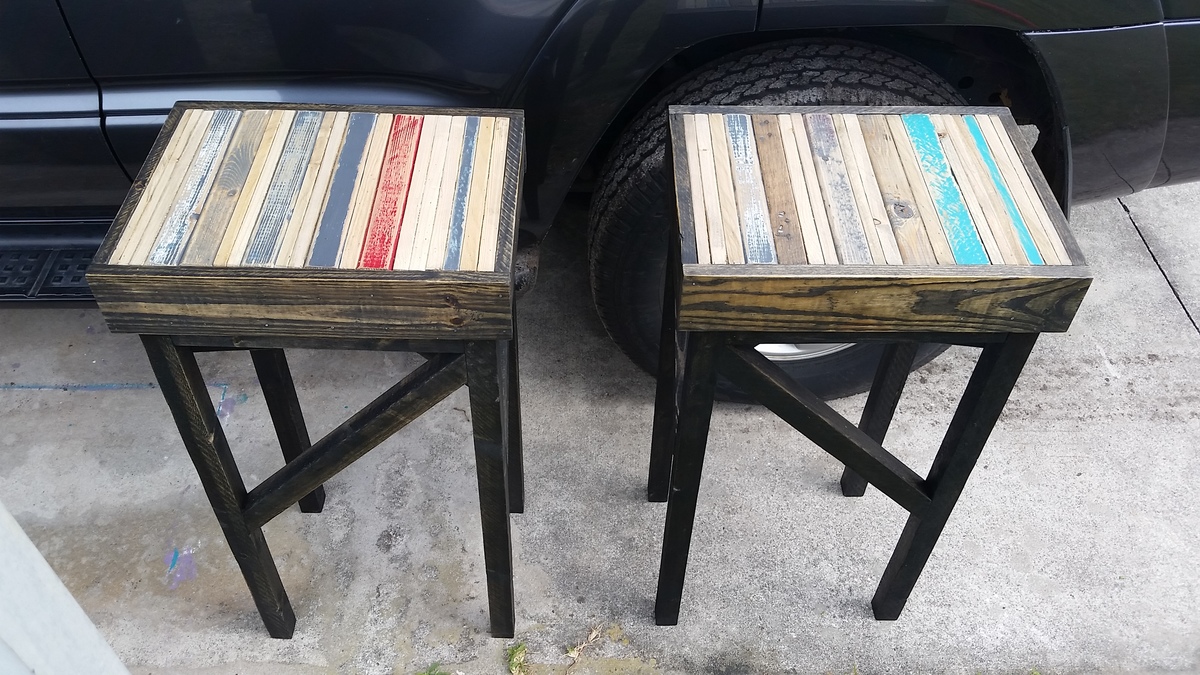
Wife wanted me to throw out all the scrap wood I had lying around. Instead I made some killer barstools. Fun look.
This was my first project in about 10+ years, so it's not perfect. Thanks to my oldest son who bought me a compound miter saw for Mother's Day and a few of my hubby's tools. My son's and I completed this project over the weekend. Looking forward to our next team project.
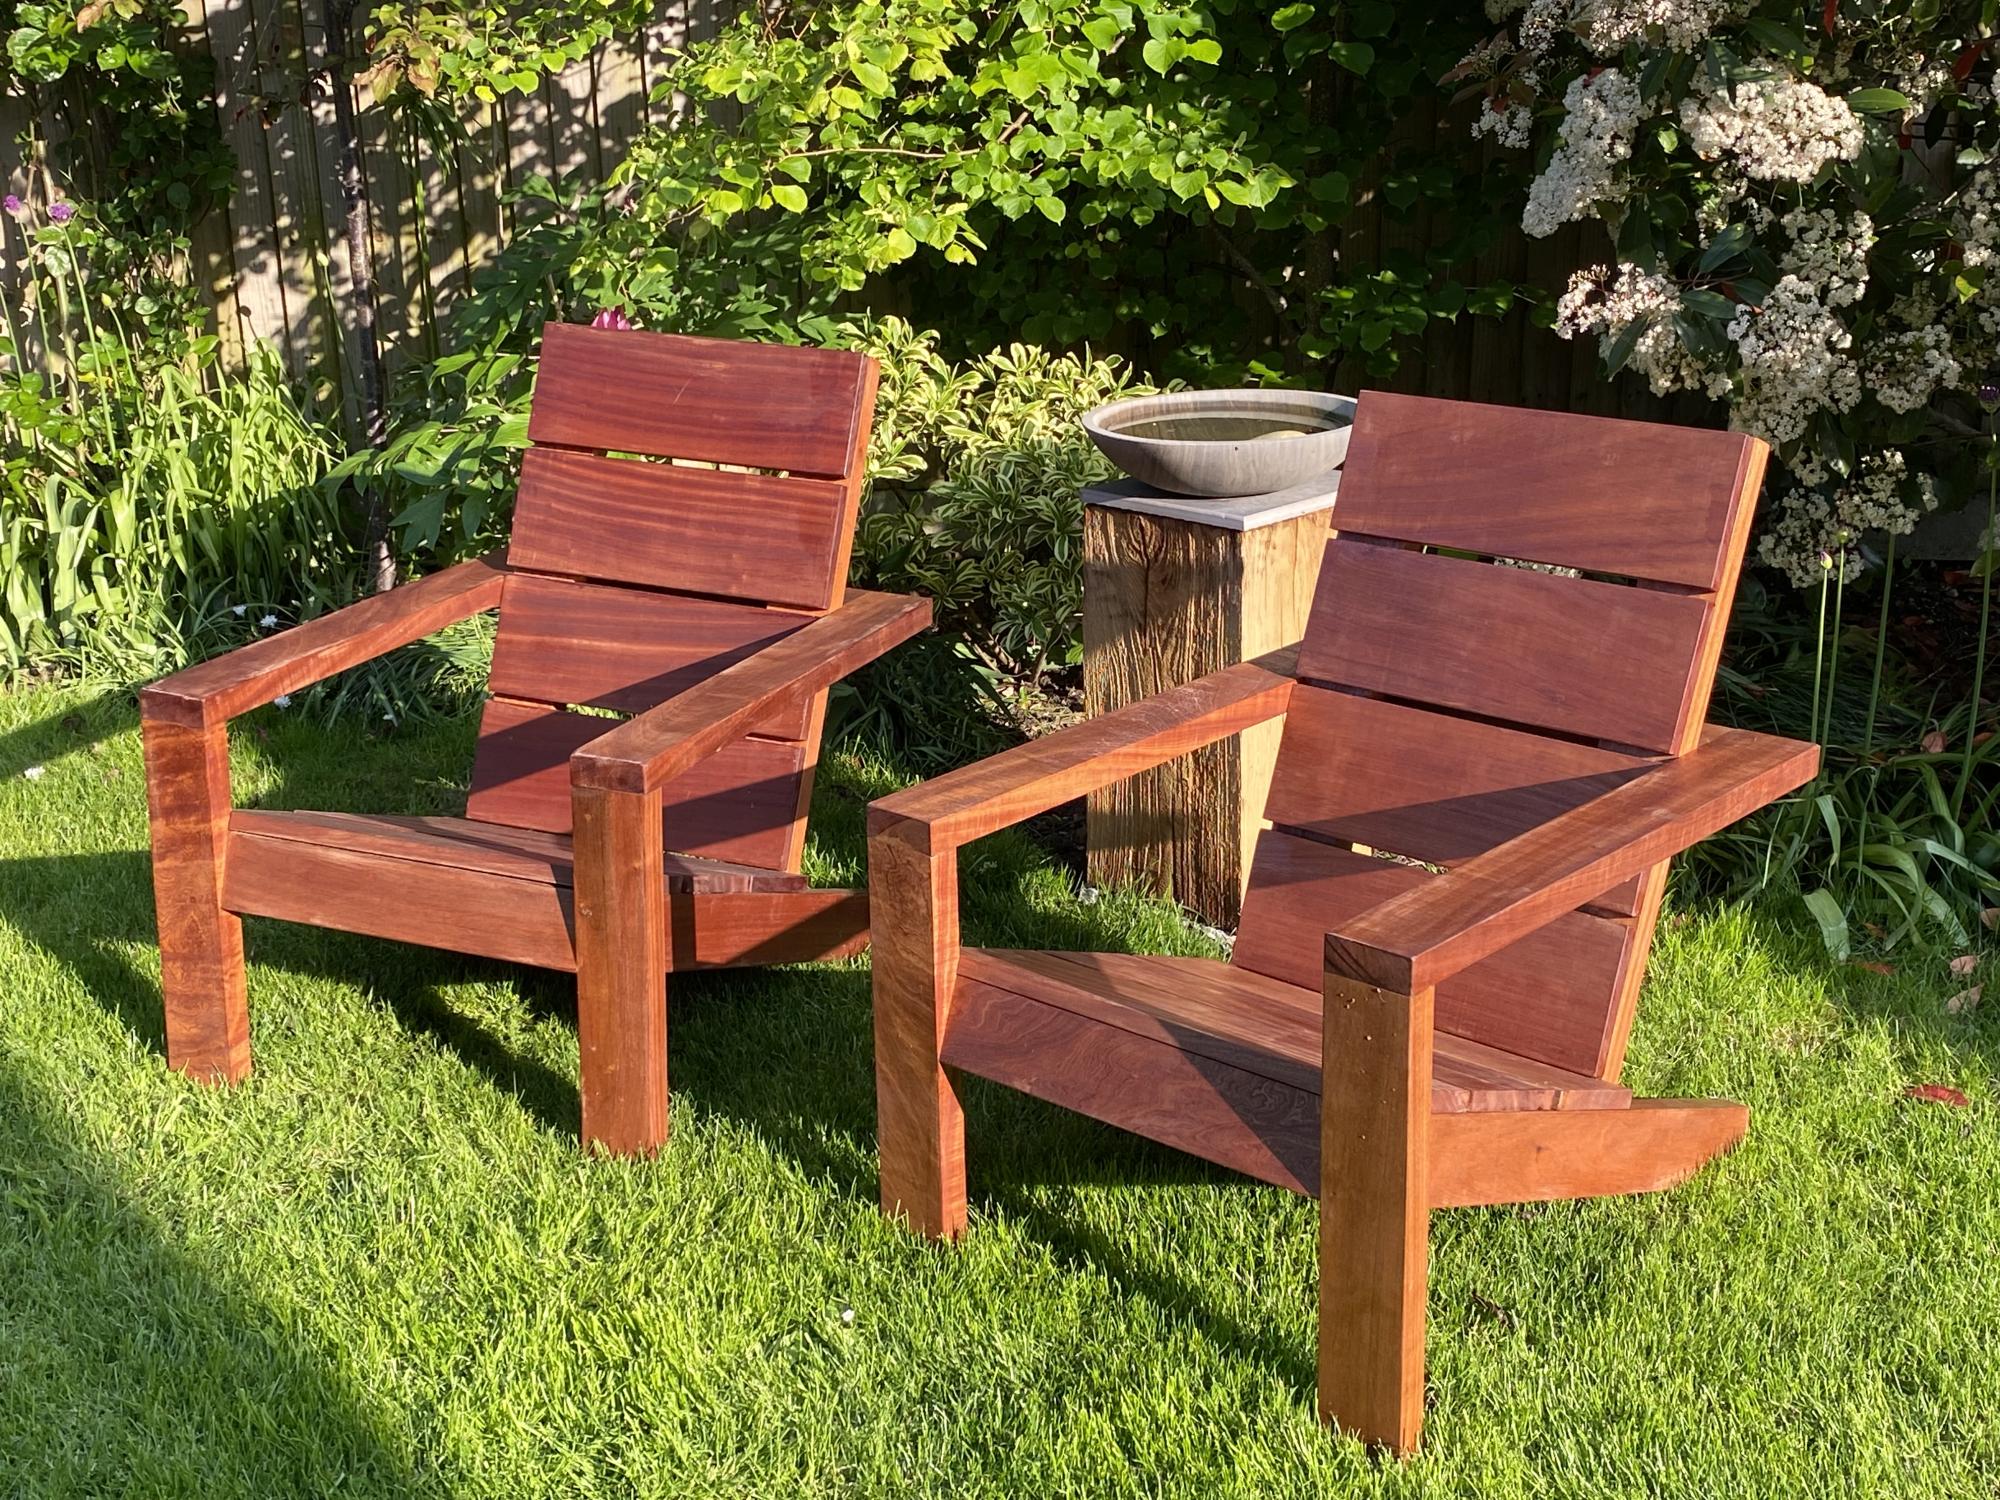
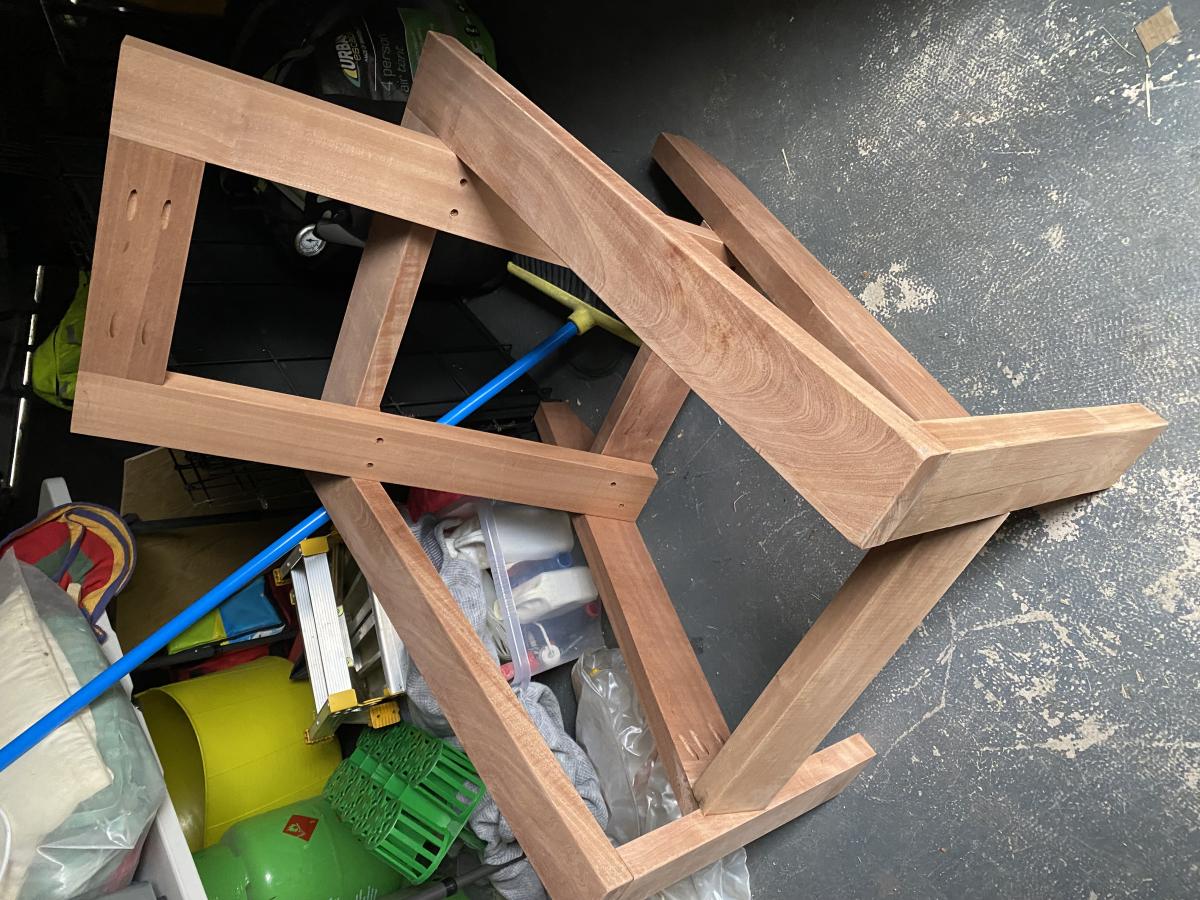
Loved design so decided on hardwood and no visible screw heads….. took a while but loved the result
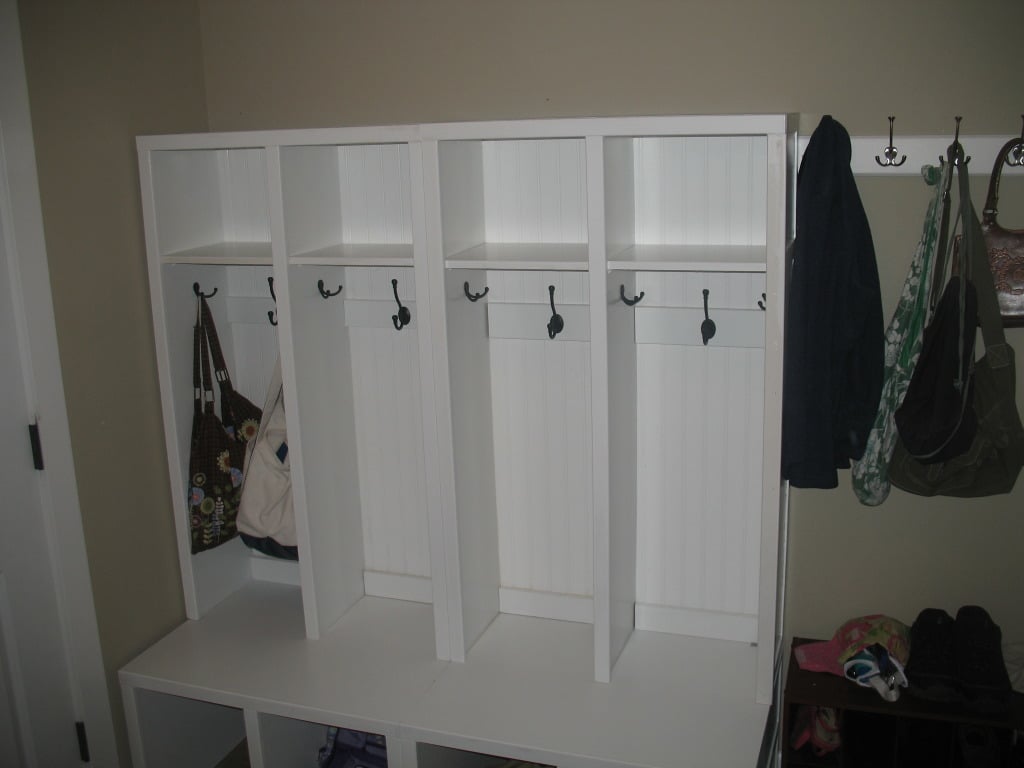
This was a much faster build than we anticipated, thanks to easy to work with MDF and pre-finished bead-board backing. Had all the wood pre-ordered on line from Lowe's made pick up super easy - and then they did all the cuts for us!
Sun, 01/08/2012 - 15:12
Looks great! I have a goofy question -- can you specify the cuts you want made when you order online, or do you get it at the store, take it back to the saw and have them cut it then?
In reply to Quick question -- by Margaret Kubiszyn (not verified)
Sun, 01/08/2012 - 17:07
No, you have to go back to the cutting area and do those. I wouldn't want to trust them to do them just right, though. I like to watch and help measure if need be. There's nothing worse than having your cuts off by a 1/4 inch or more!
Sun, 01/08/2012 - 17:08
I don't think that you can specify cuts in your online order, just the boards. But we picked it up with a sheet of paper specifying how each board should be cut.

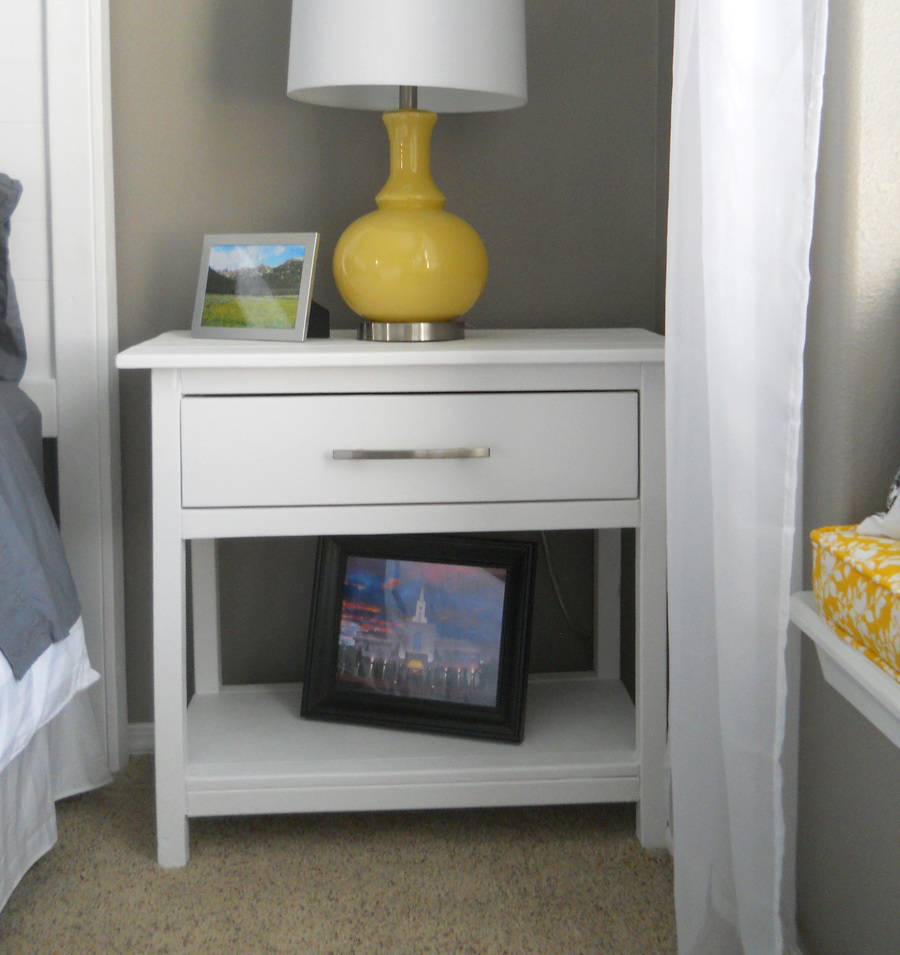
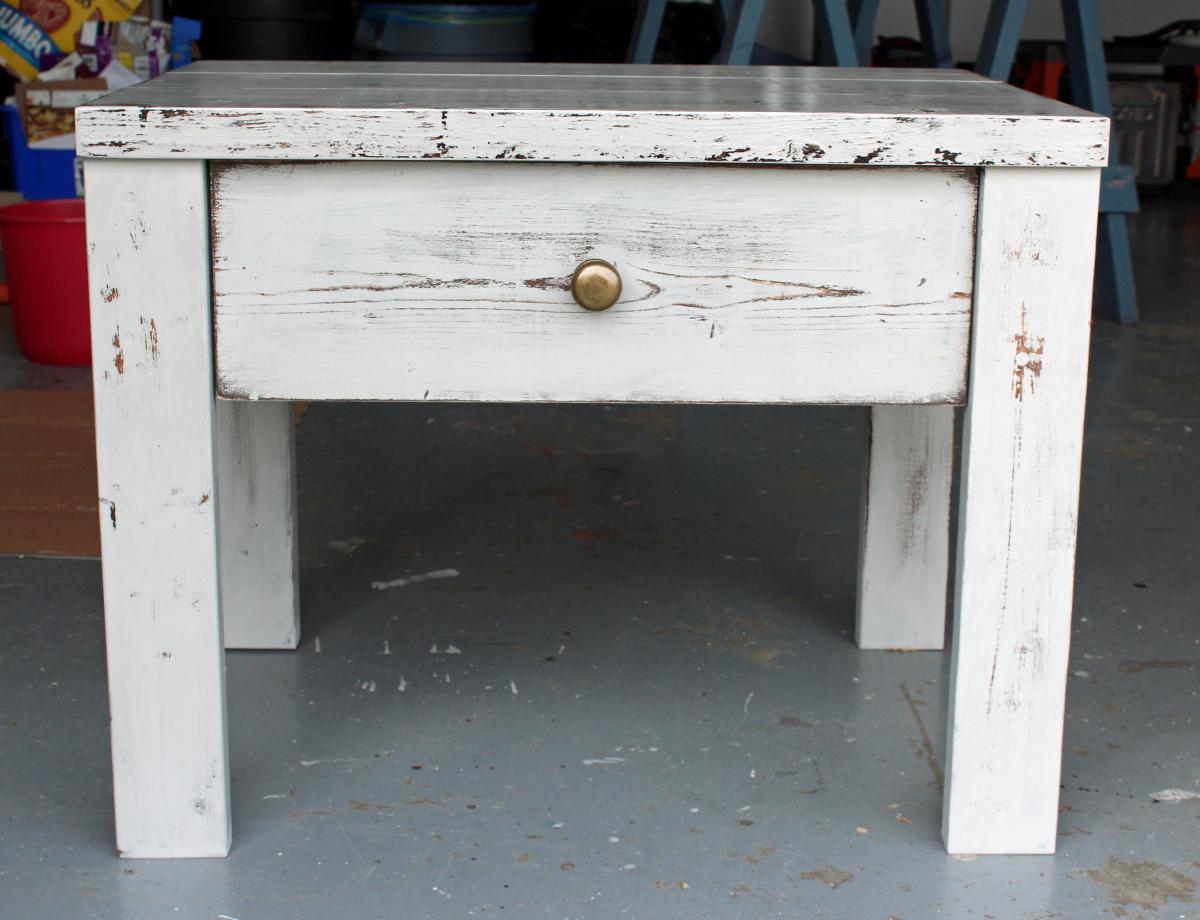
Nightstands are expensive. I don't have money. So, I thought I would build one. I kept this one rustic looking by not filling the holes but I did sand quite a bit. Just not enough to remove the printing on the boards, I think it looks good when it's got finish on it.

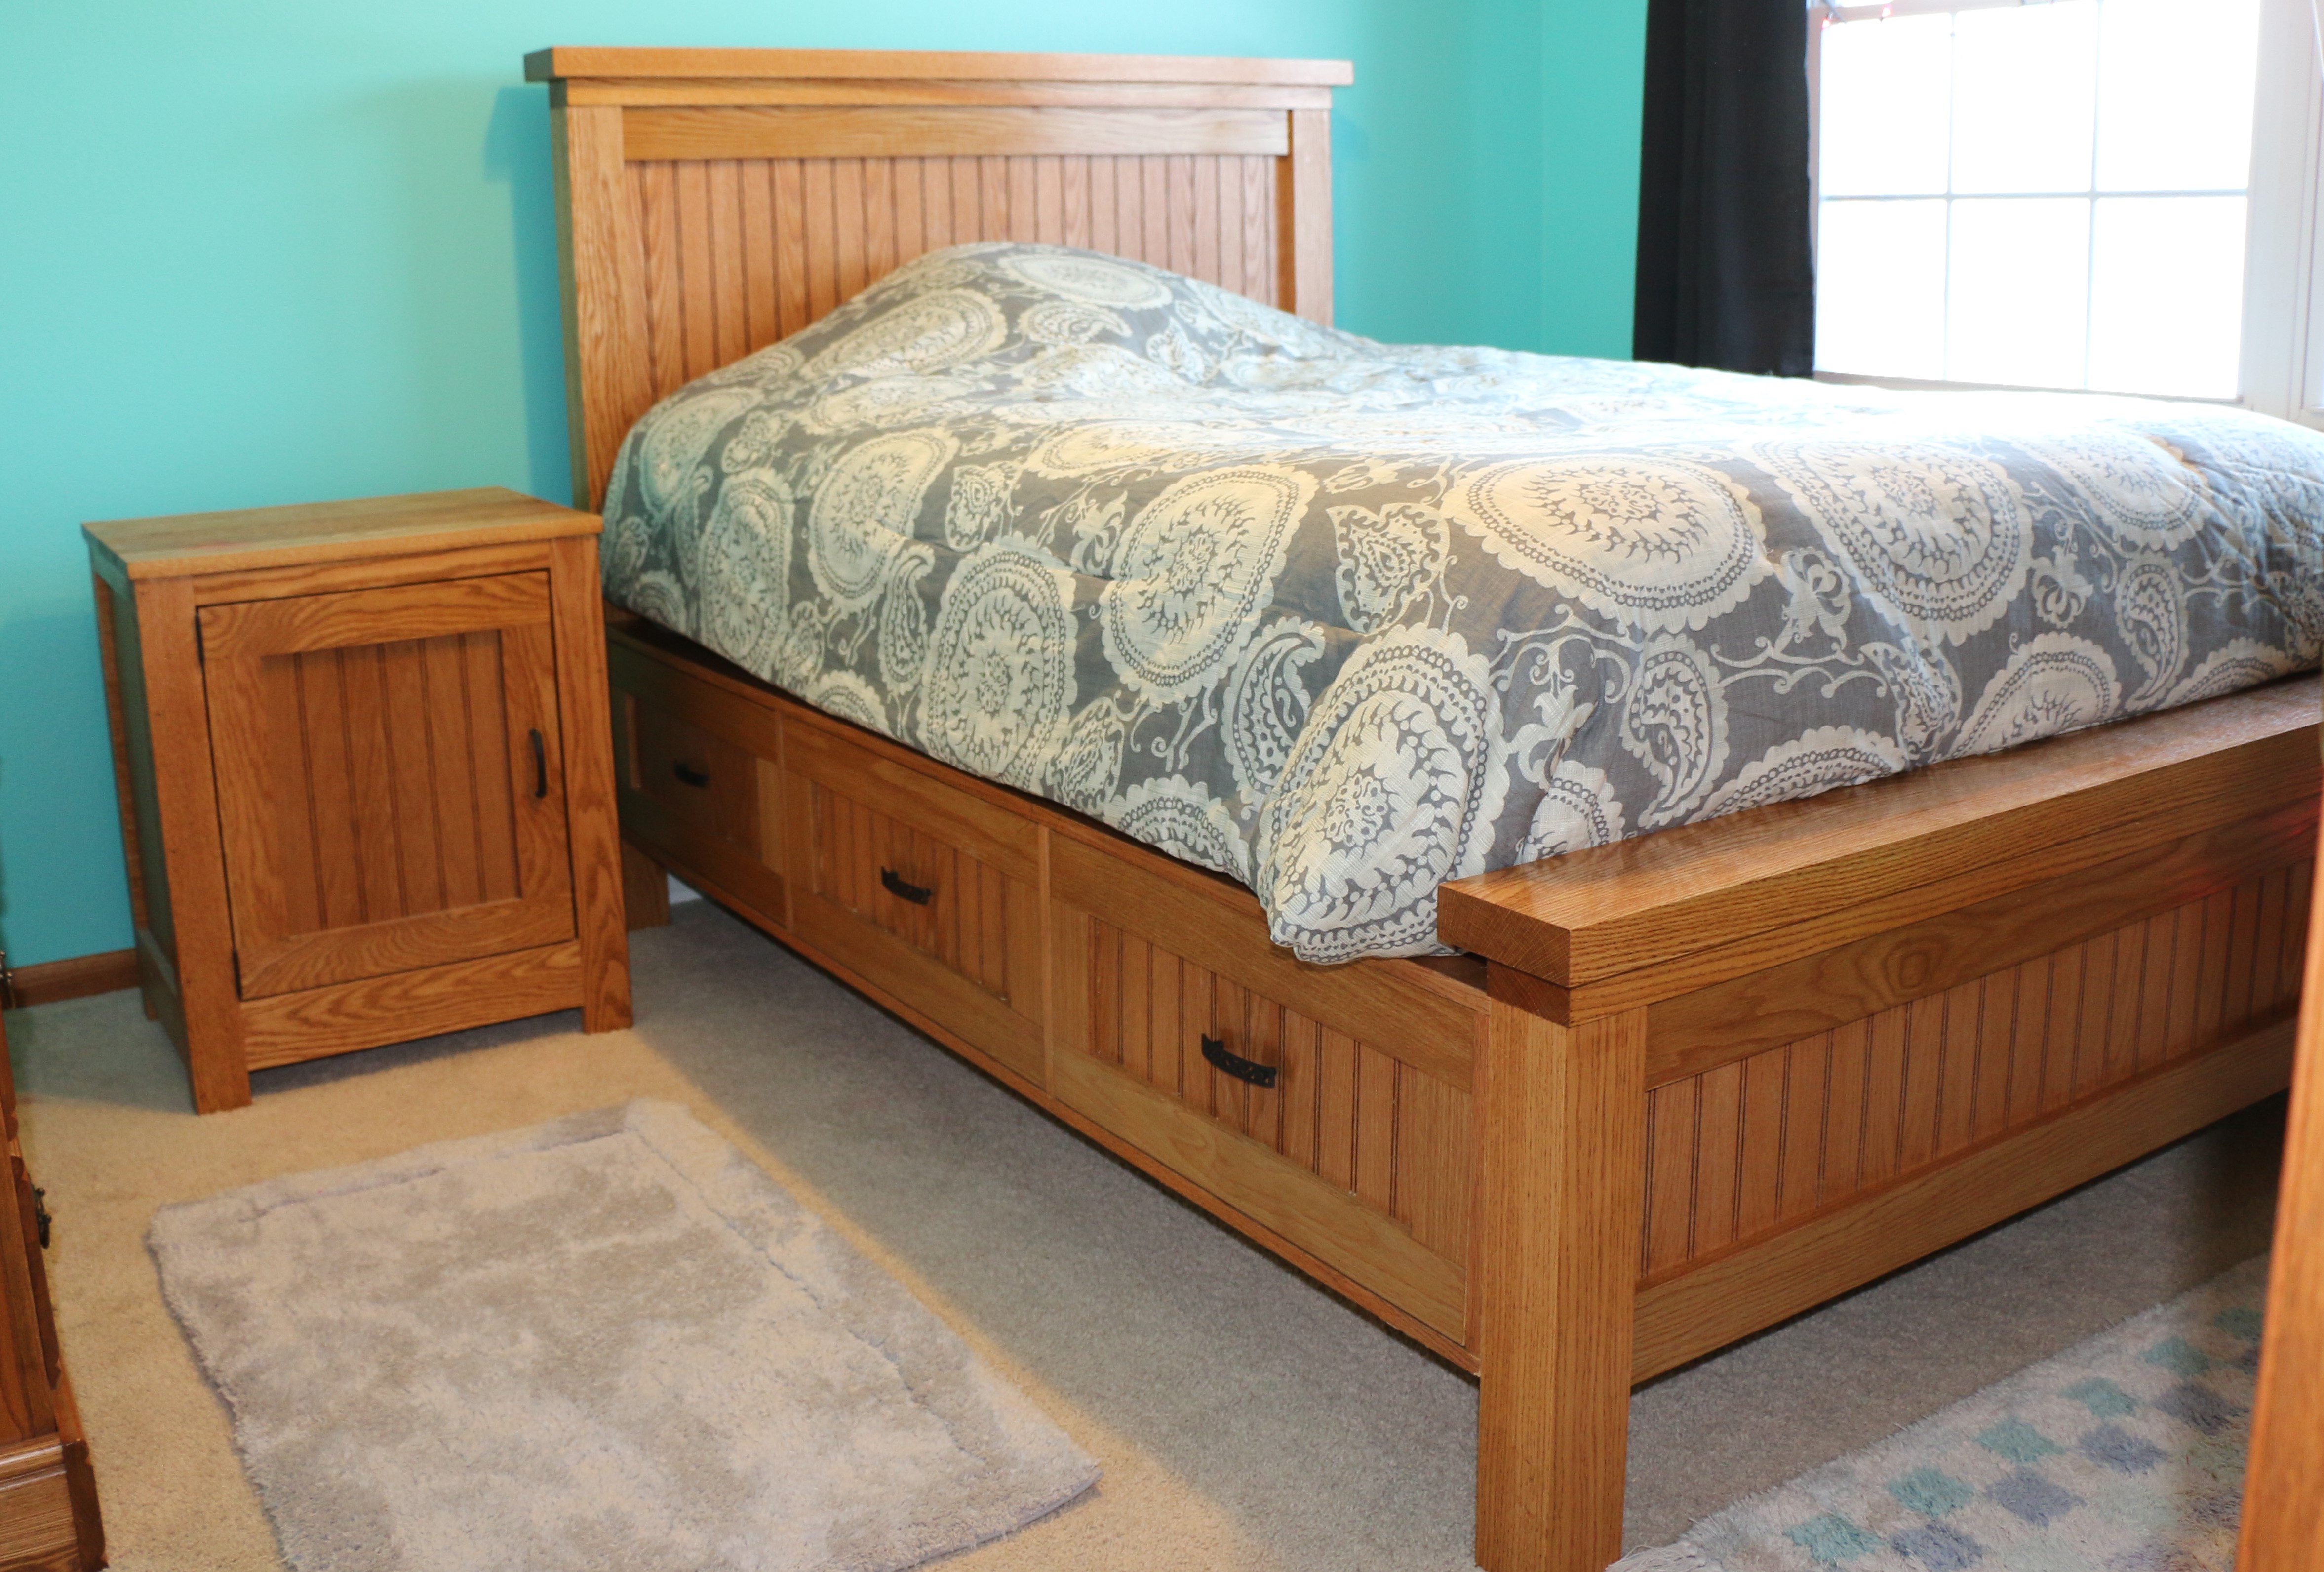
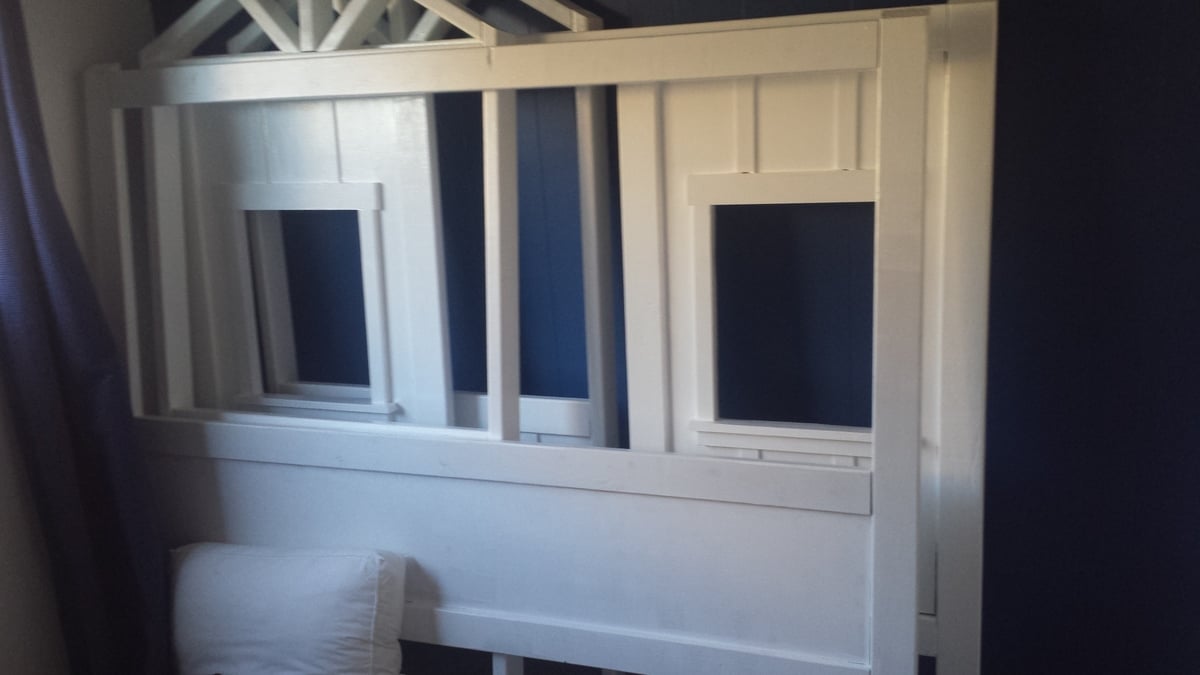
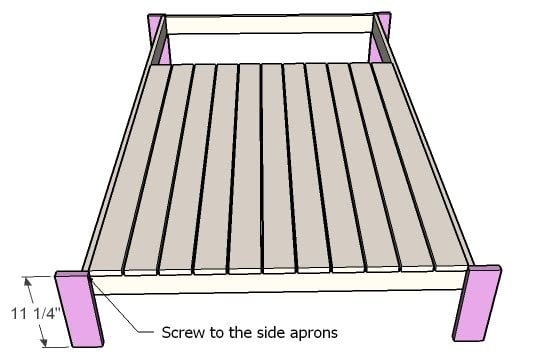
I modified the queen size bed to a full and adjusted the dimensions of the bed accordingly. I used solid oak for the headboard posts and top boards. I used oak beadboard to match the Kentwood night stand I previosly made.
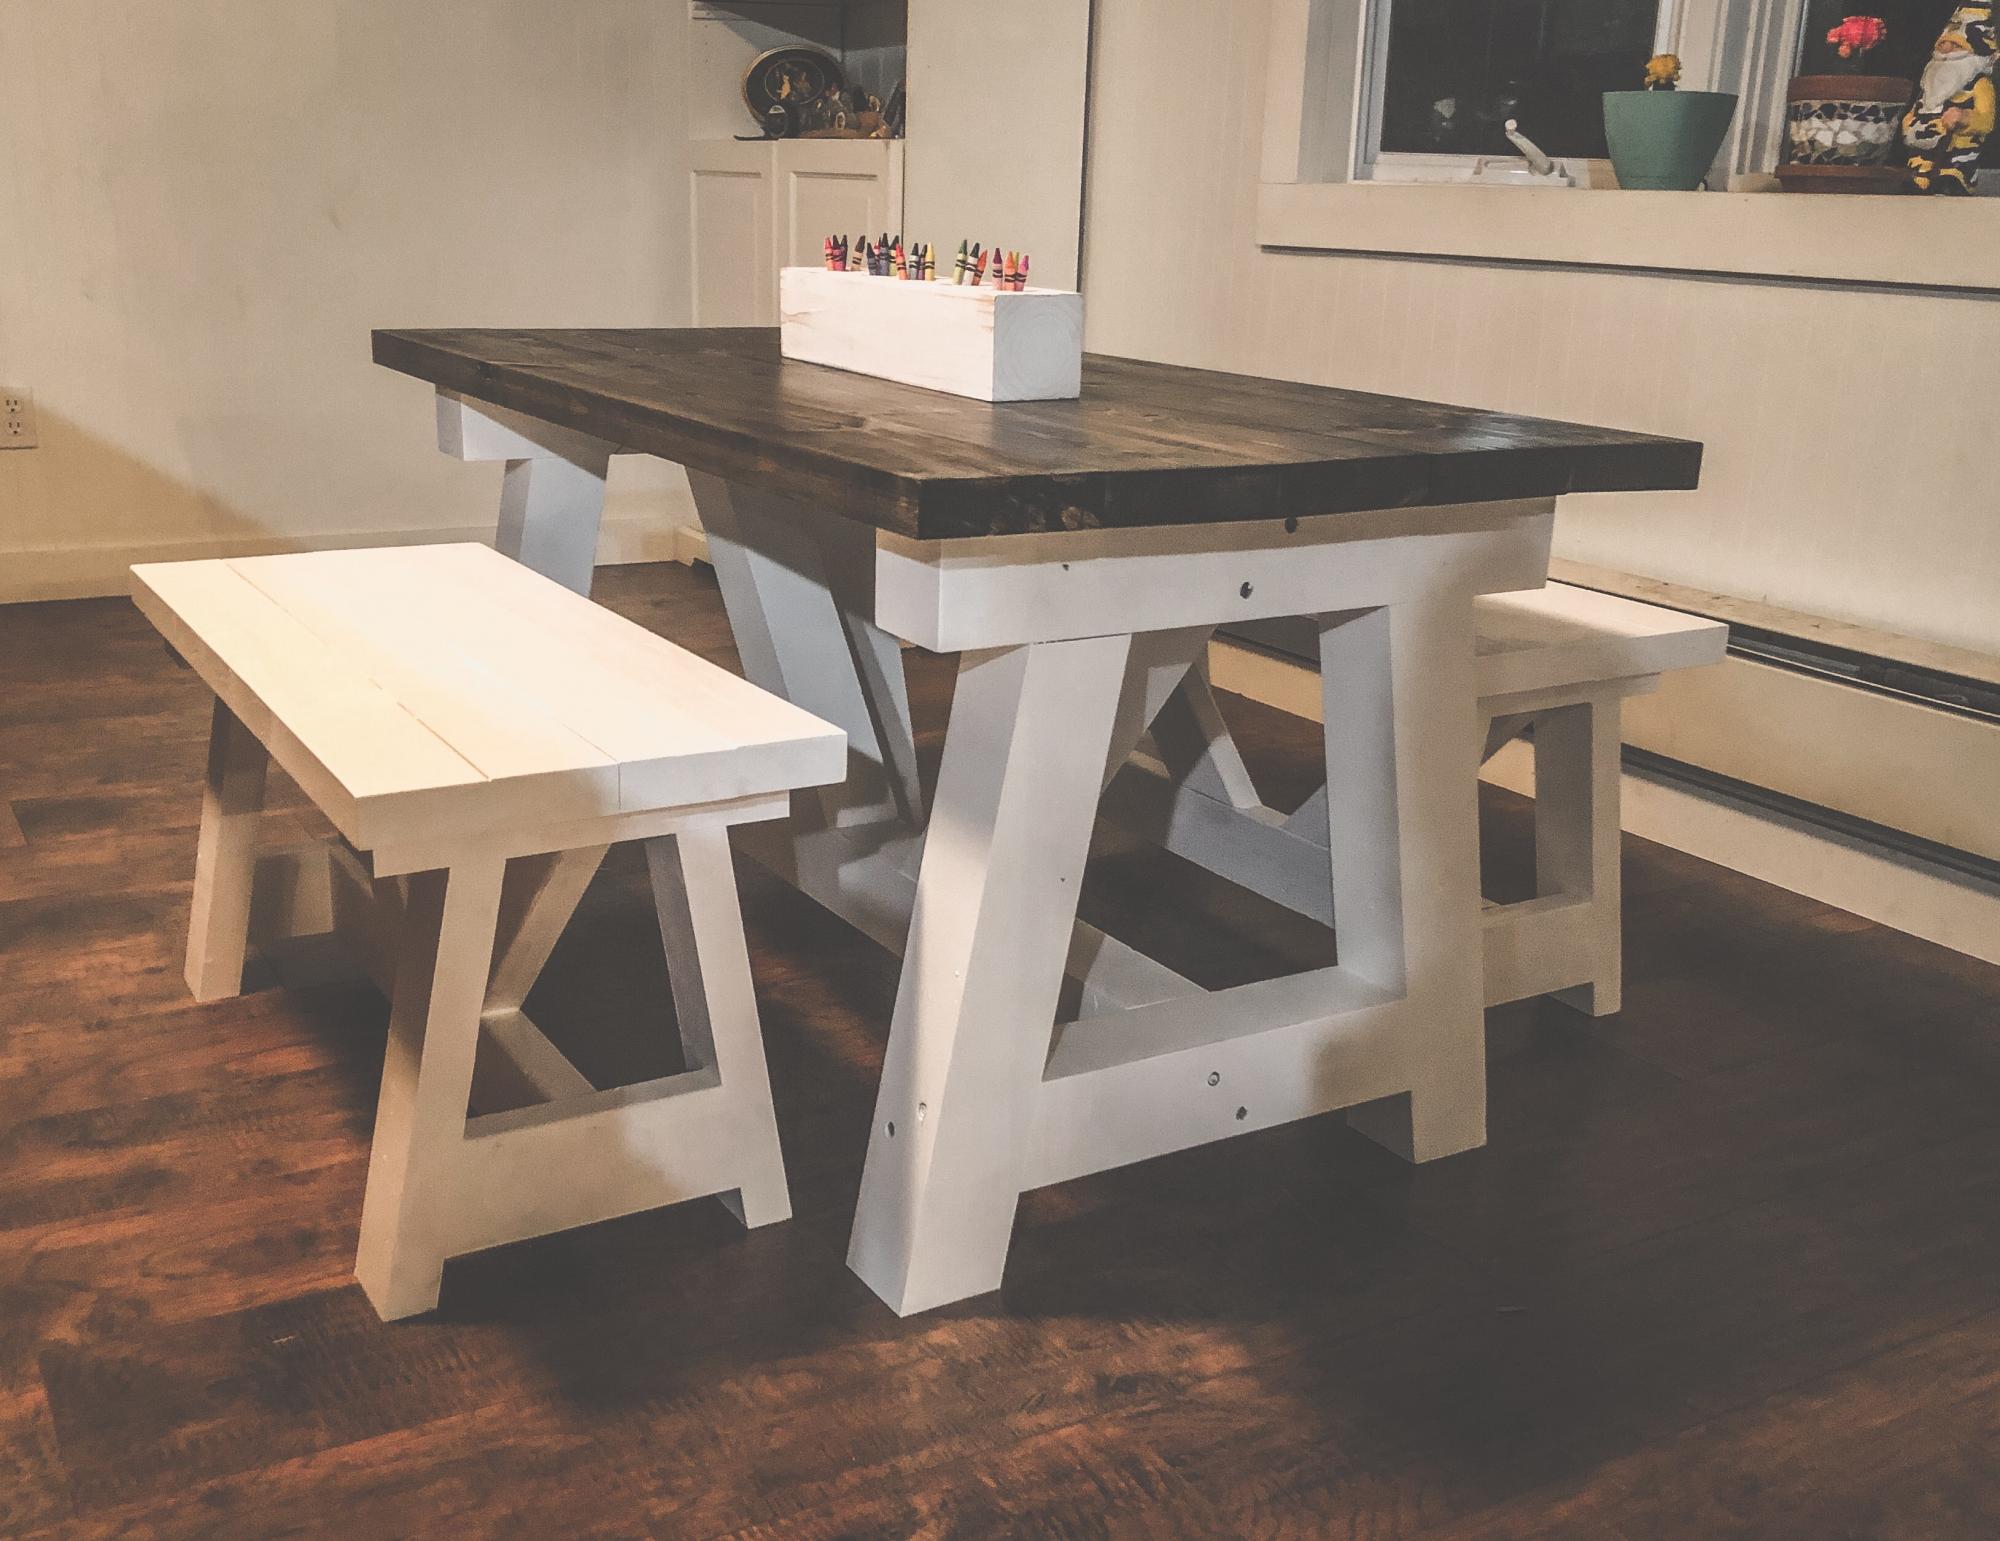
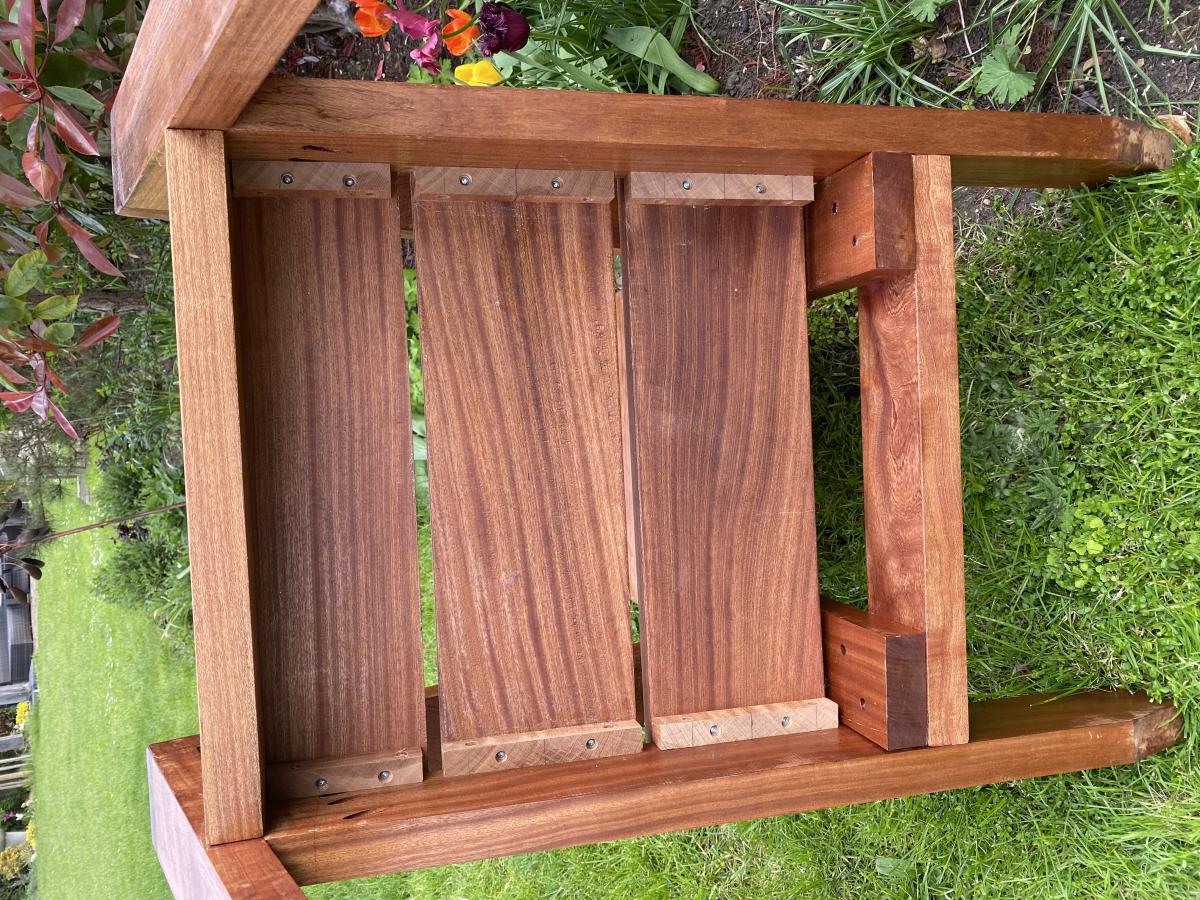
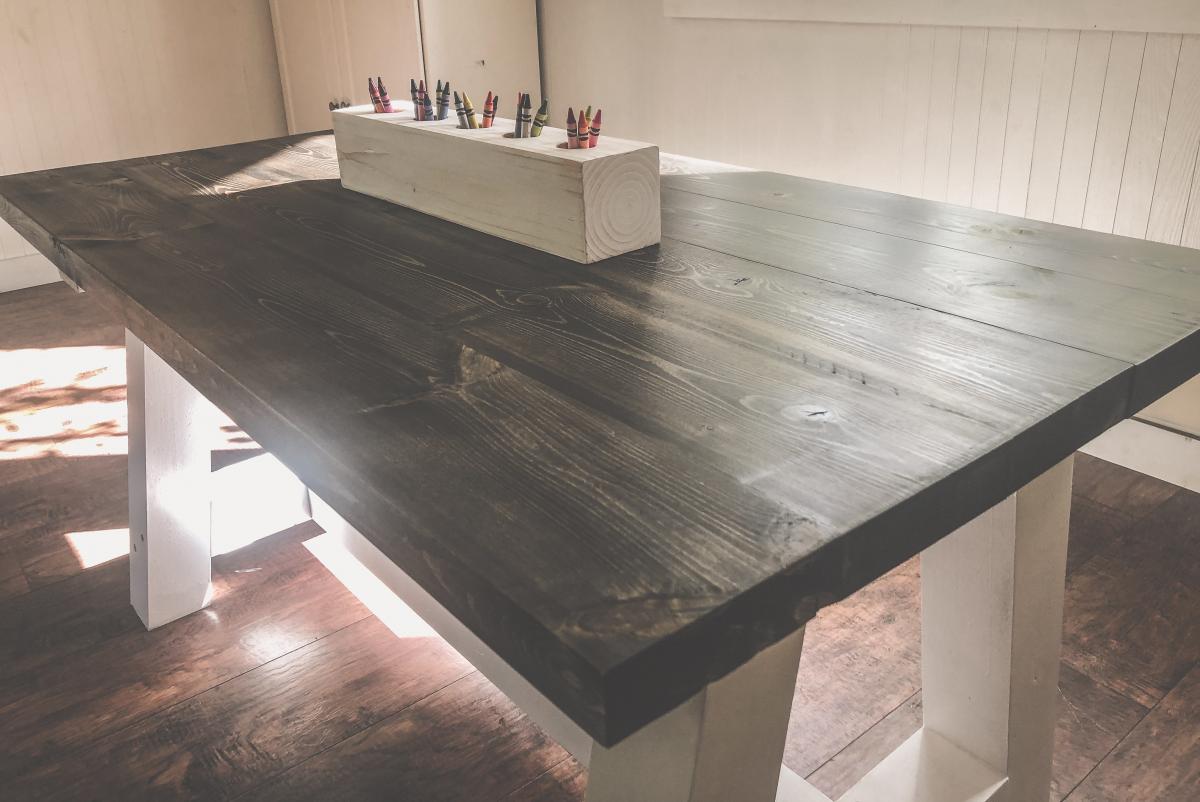
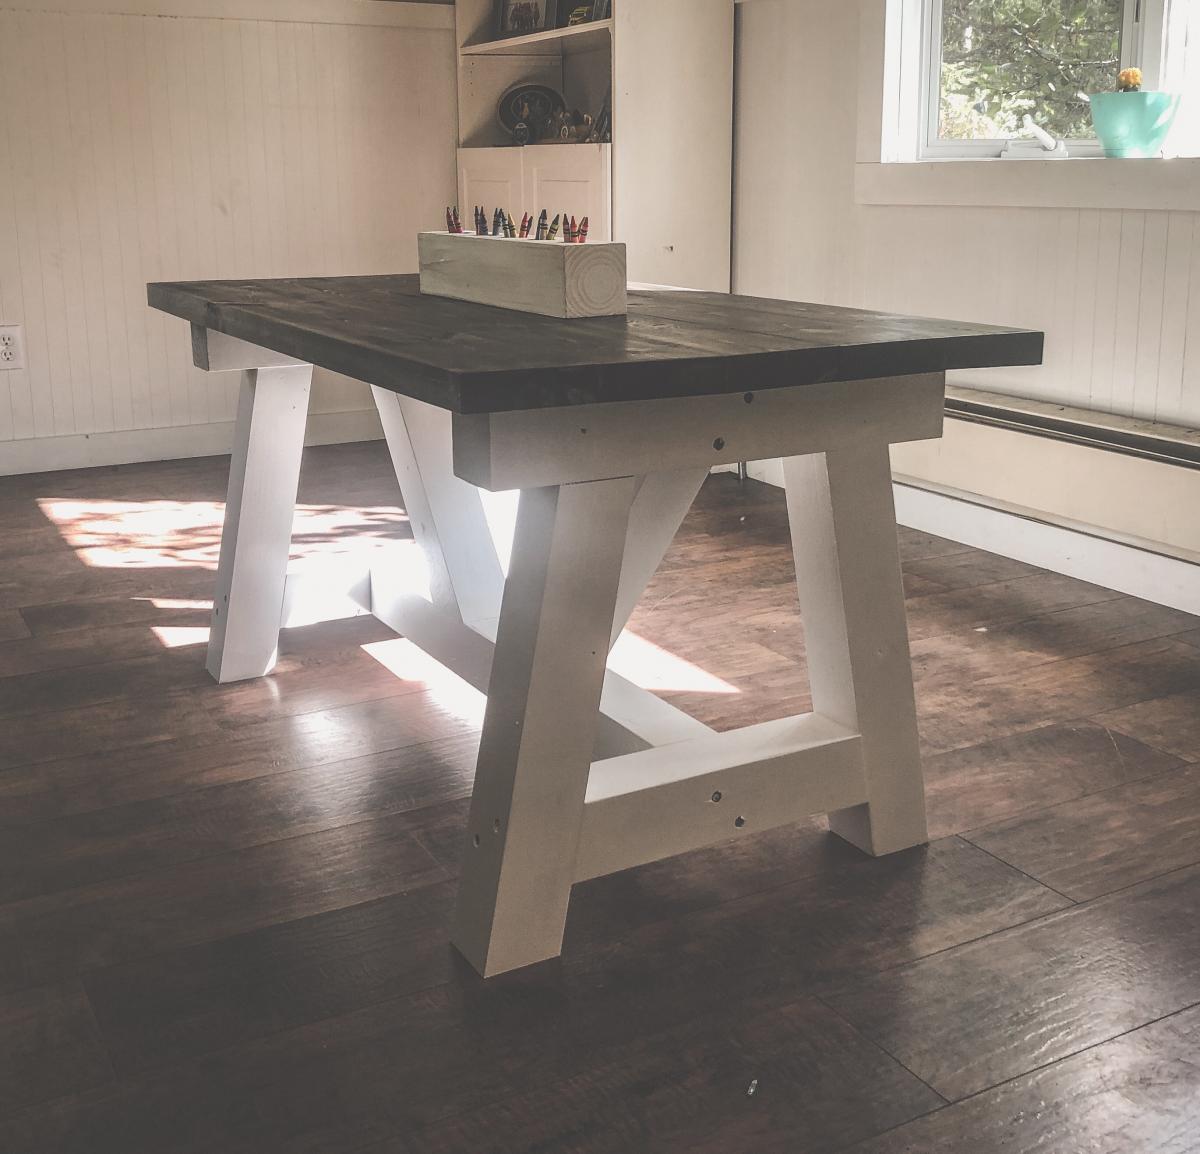
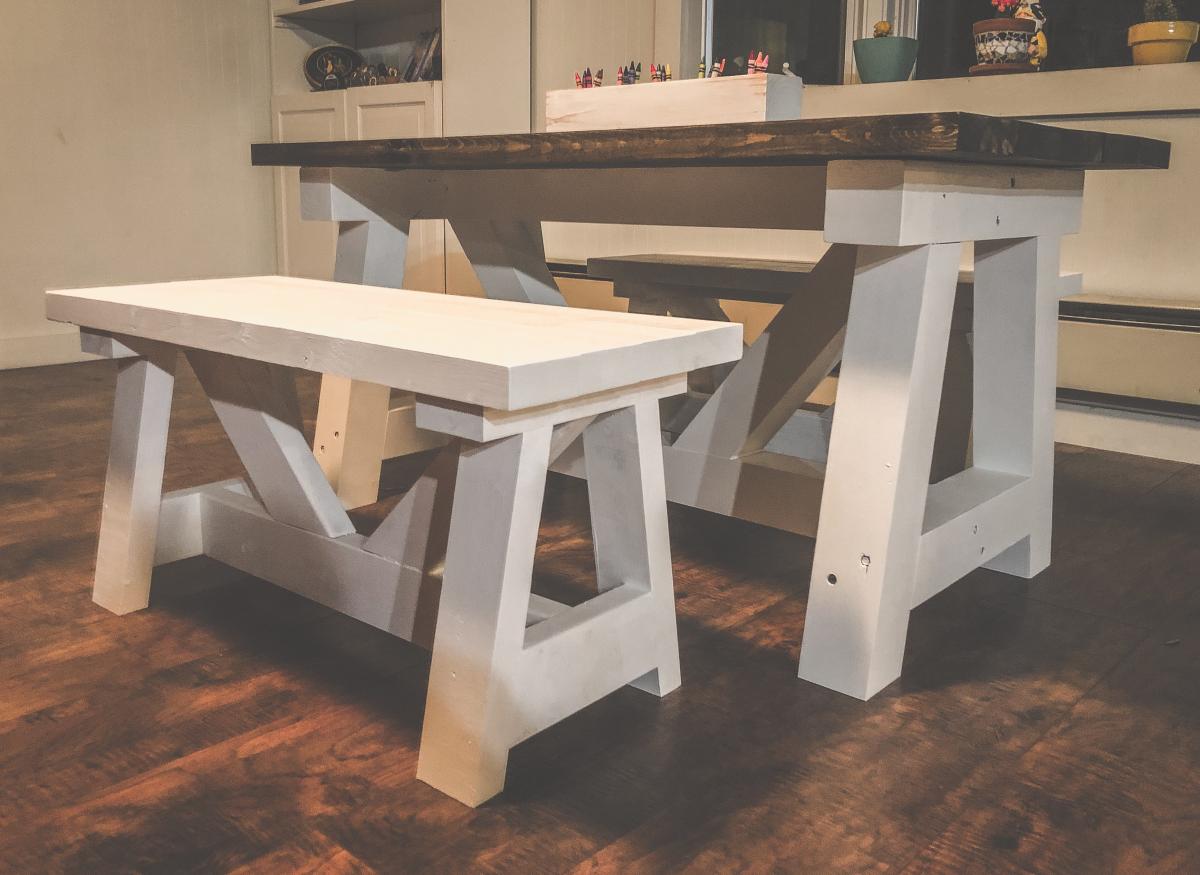
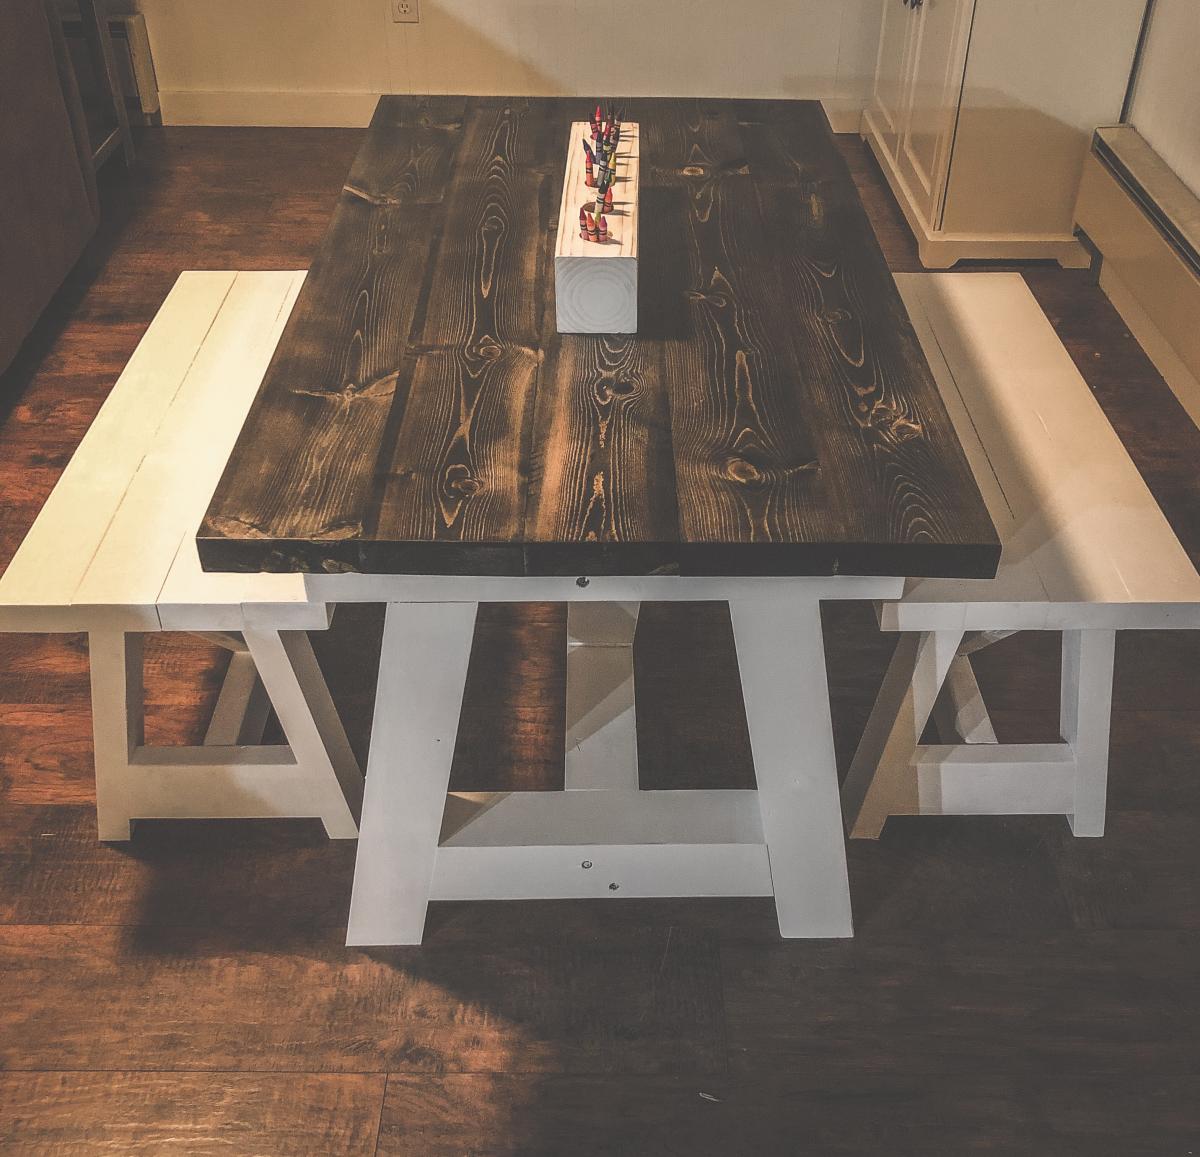
A friend asked for a kid sized farmhouse table and I knew immediately what plans I wanted to modify! The 4x4 truss table is my favorite go to table because it is extremely solid, easy to build and looks so nice! I know this table will hold up to the wear and tear of 4 kids for years! I also modified the 2x4 truss benches to match. They are the same style but not as chunky as the 4x4 truss bench plans.
Dimensions for table are 24”h x 24”w x 48”L
benches 16”h x 13.5”w x 33”L

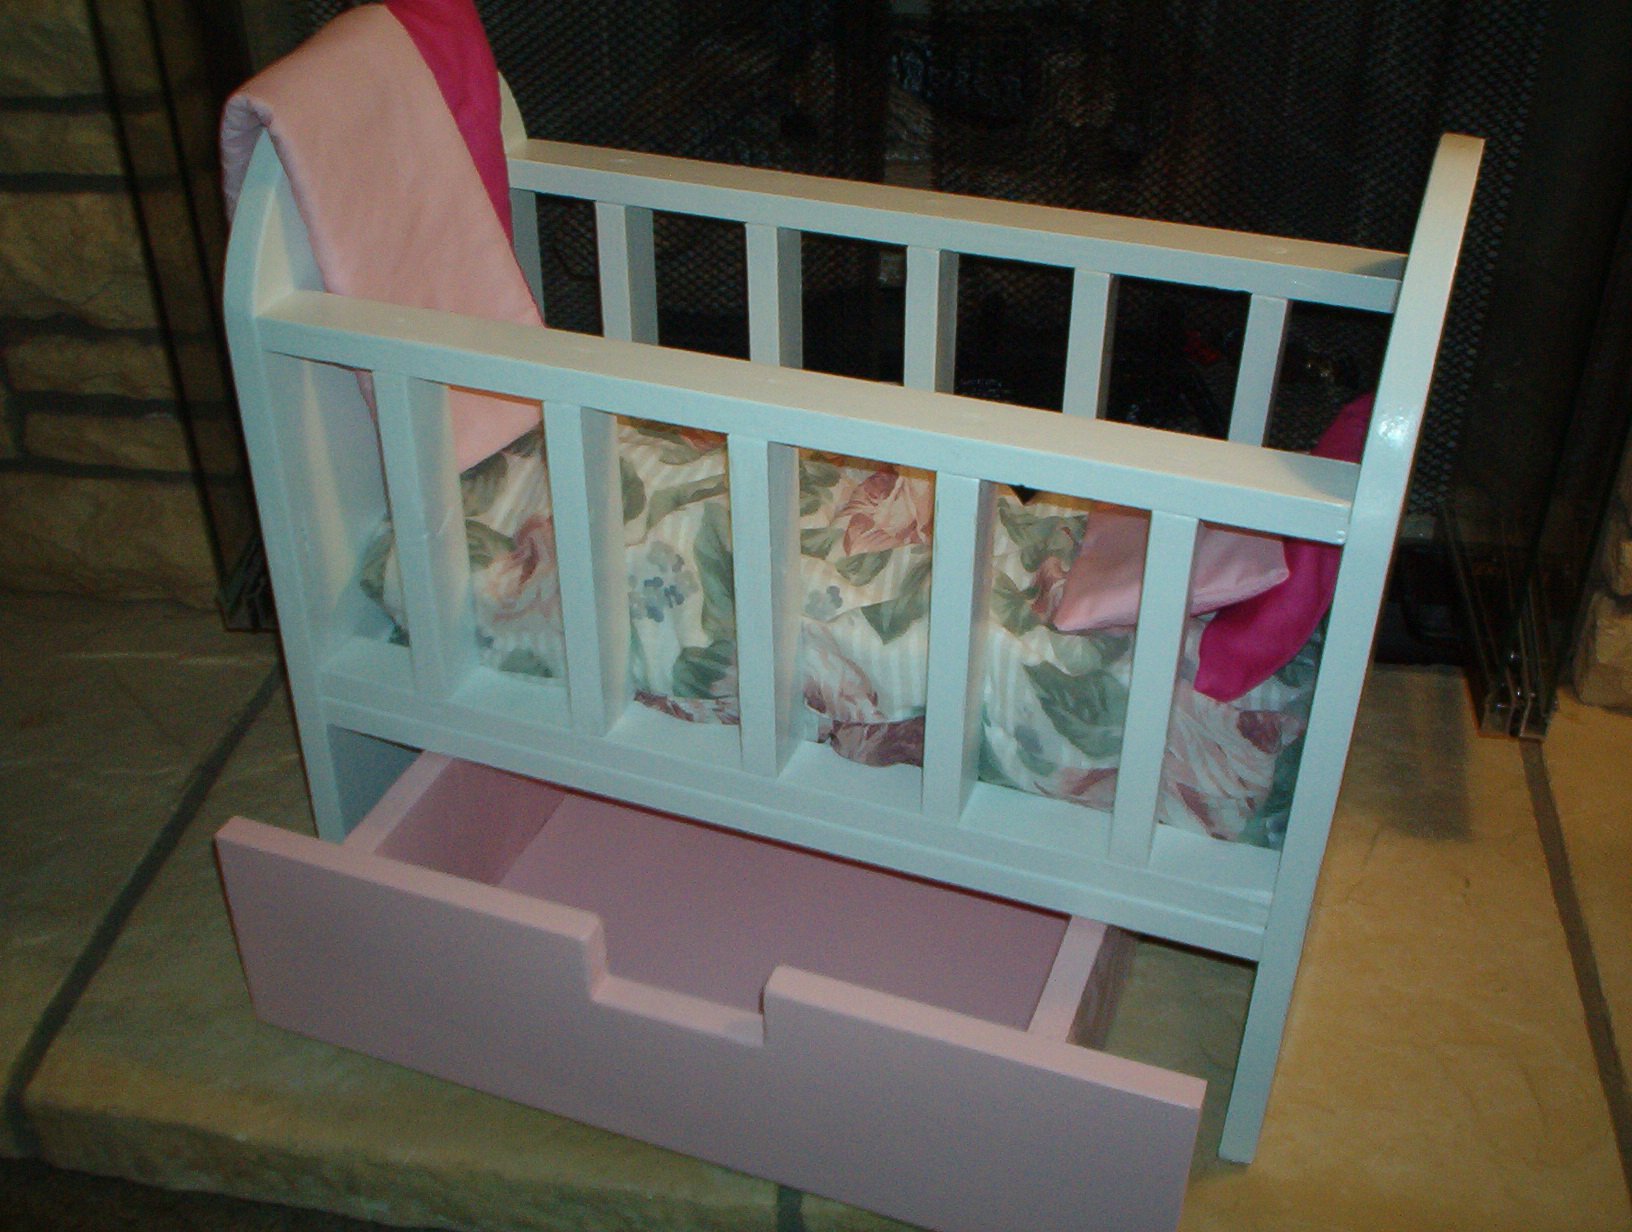
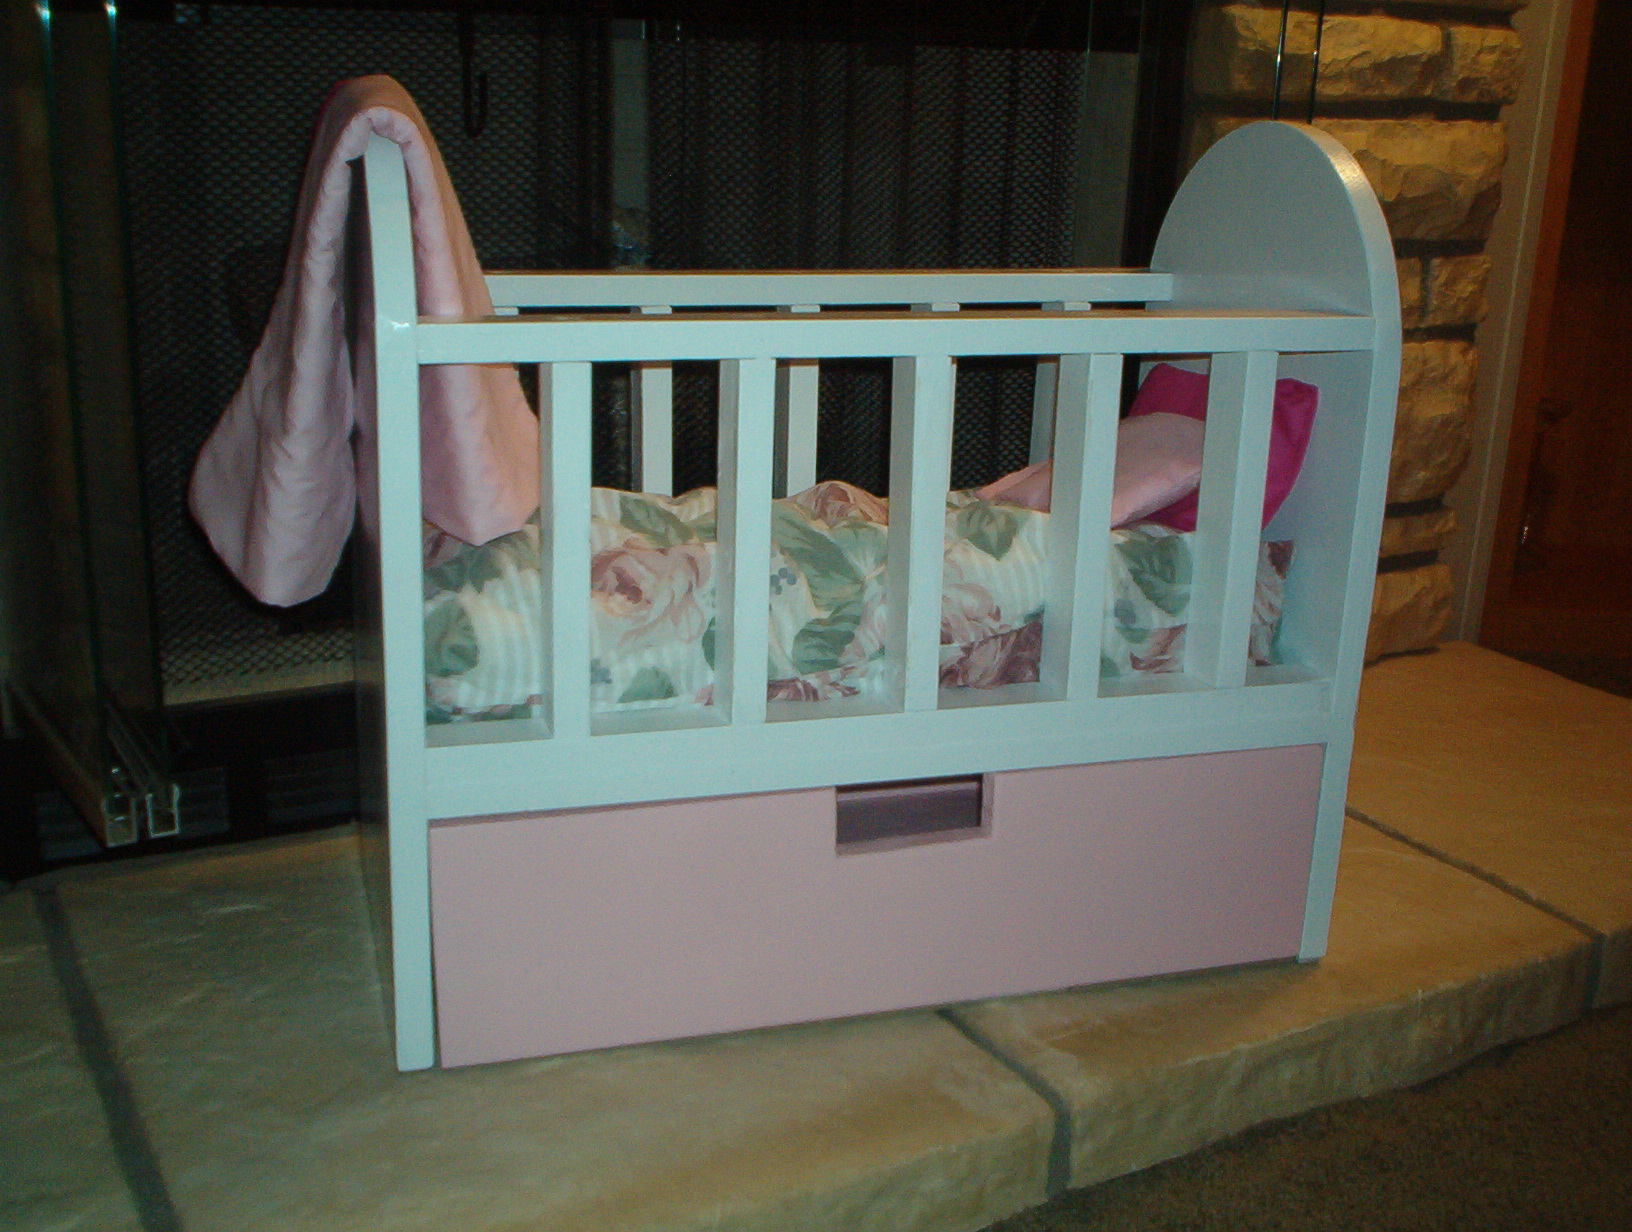
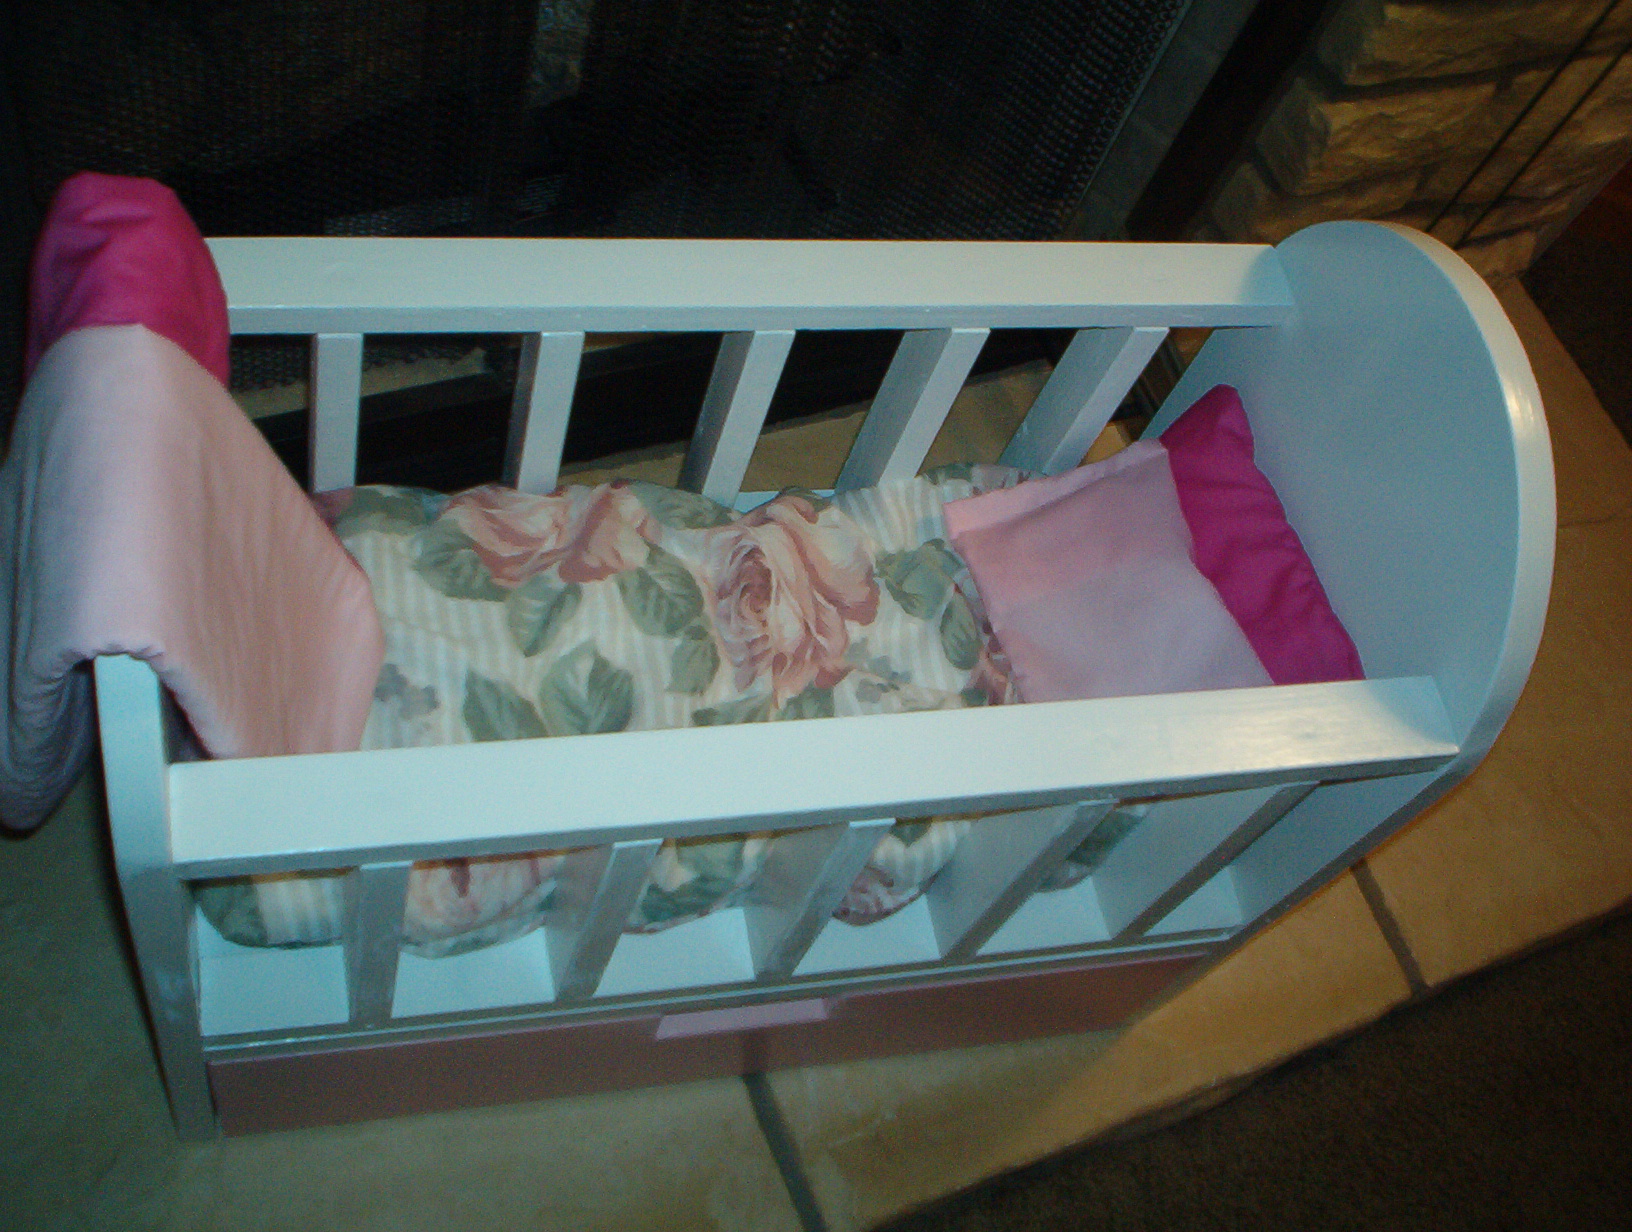
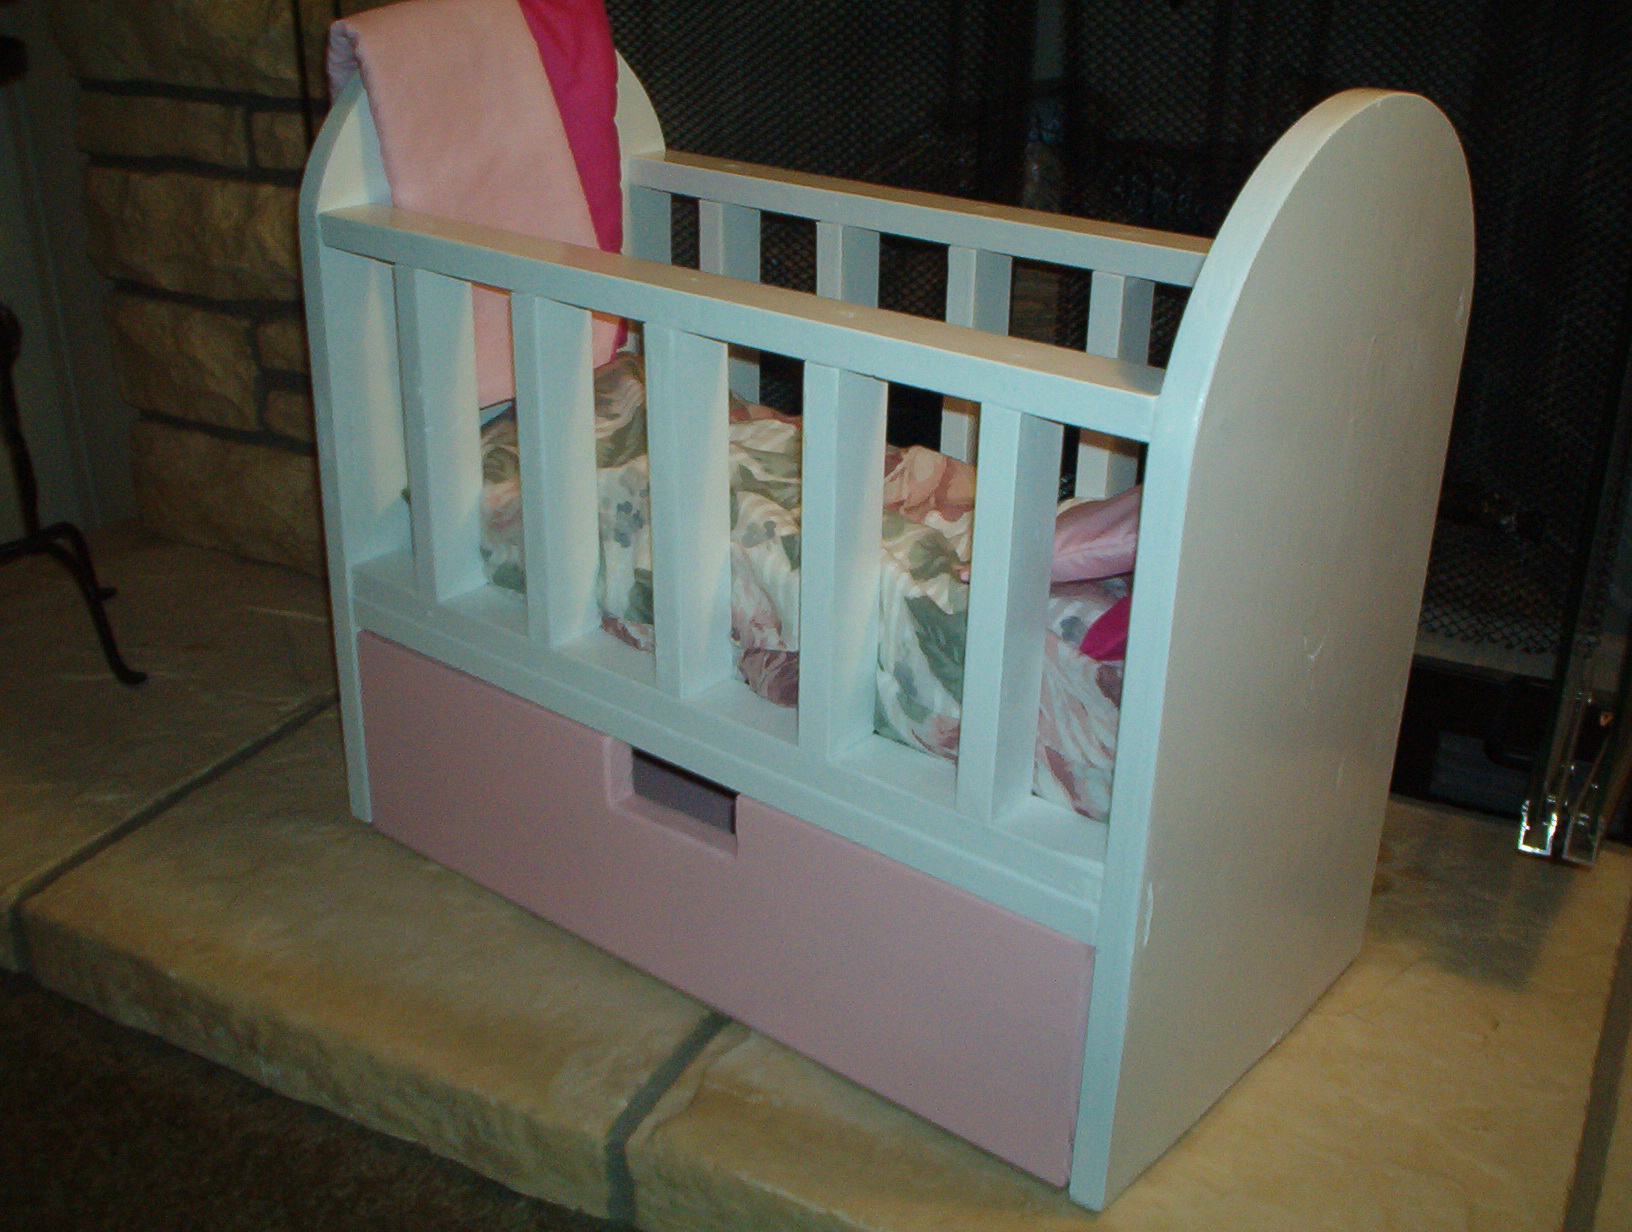
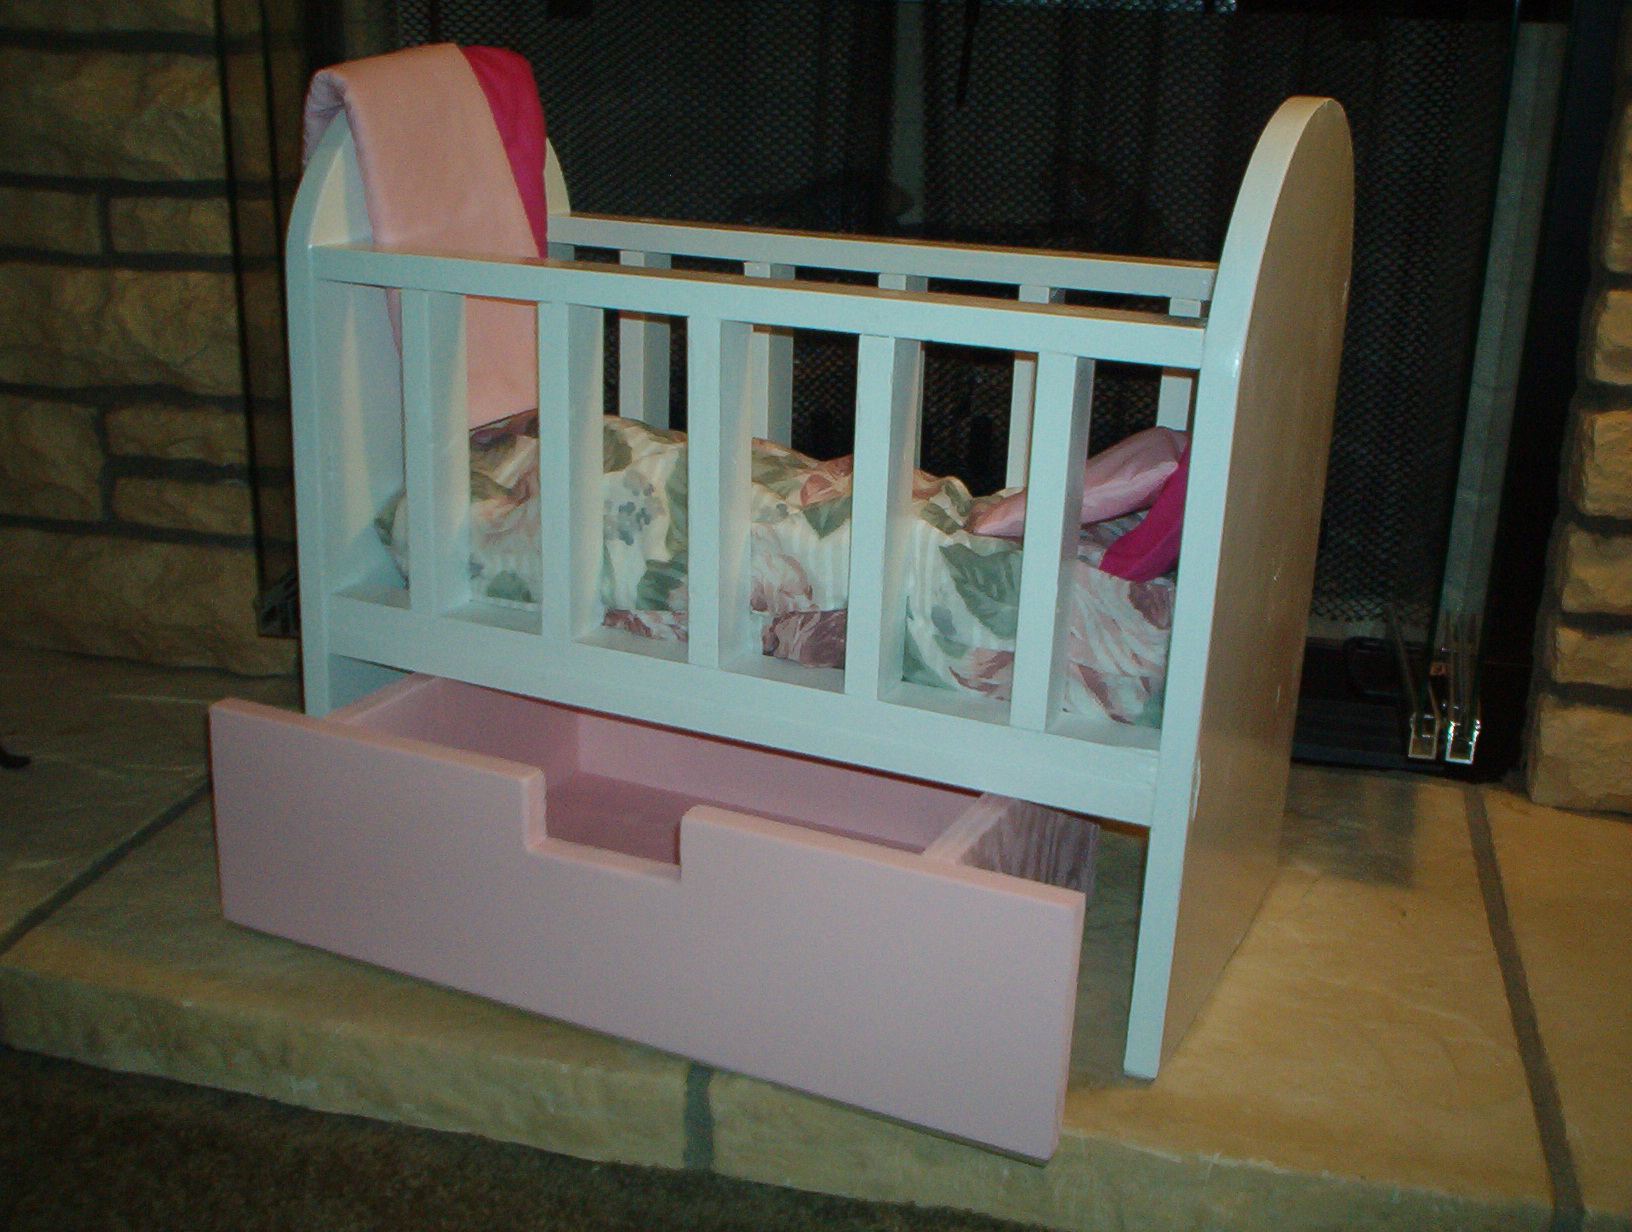
I did it! Using your plans I made the doll crib. I had to improvise on the drawer as the drawer in the plans was to tall to go under the bed and I had already put it together before checking. Oh well. I also made the mattress, reversible blanket and 2 pillows for the bed. As this was my first woodworking project I am so proud of how well it turned out. Thank you Ana for this site. It is amazing and I am HOOKED.
Tue, 01/10/2012 - 21:52
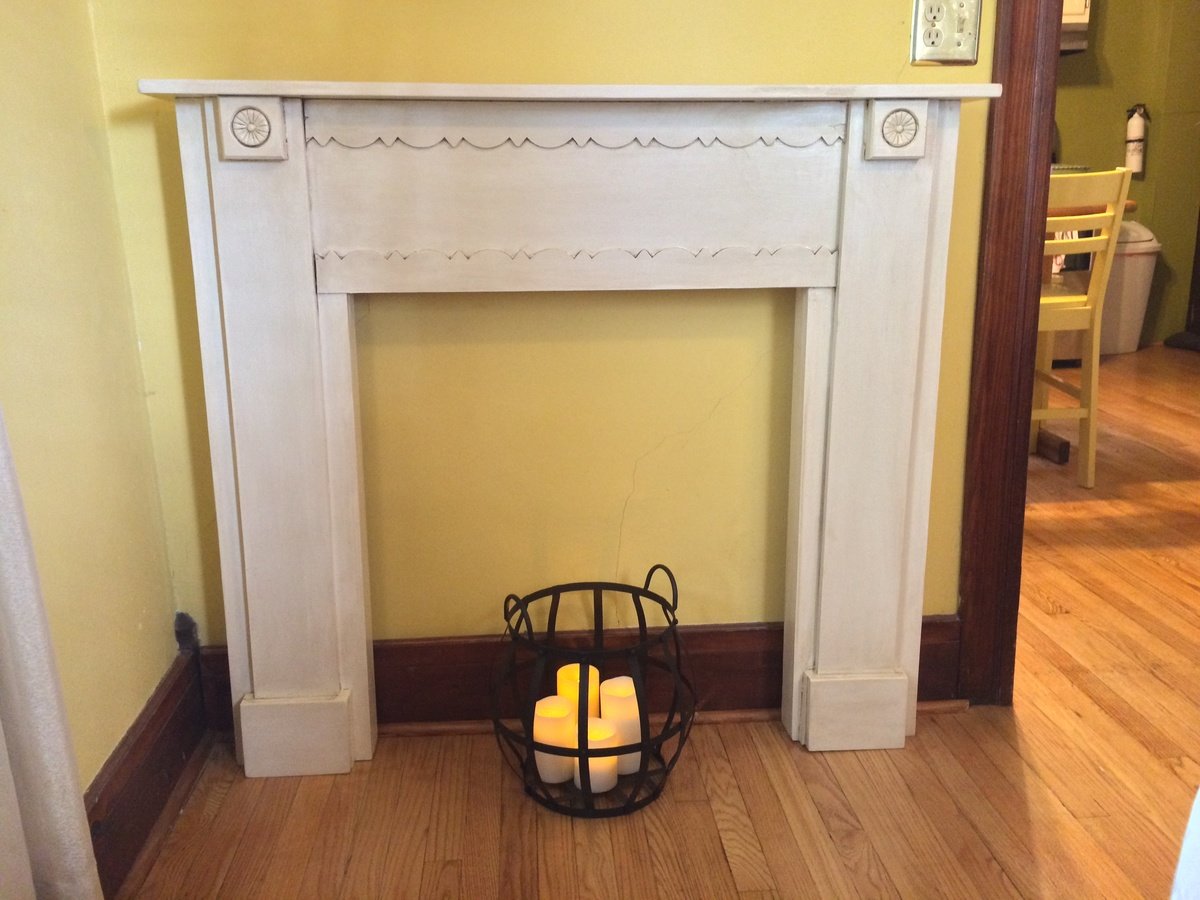
The drawer isn't out of line, it is just my hearth is uneven. LOL
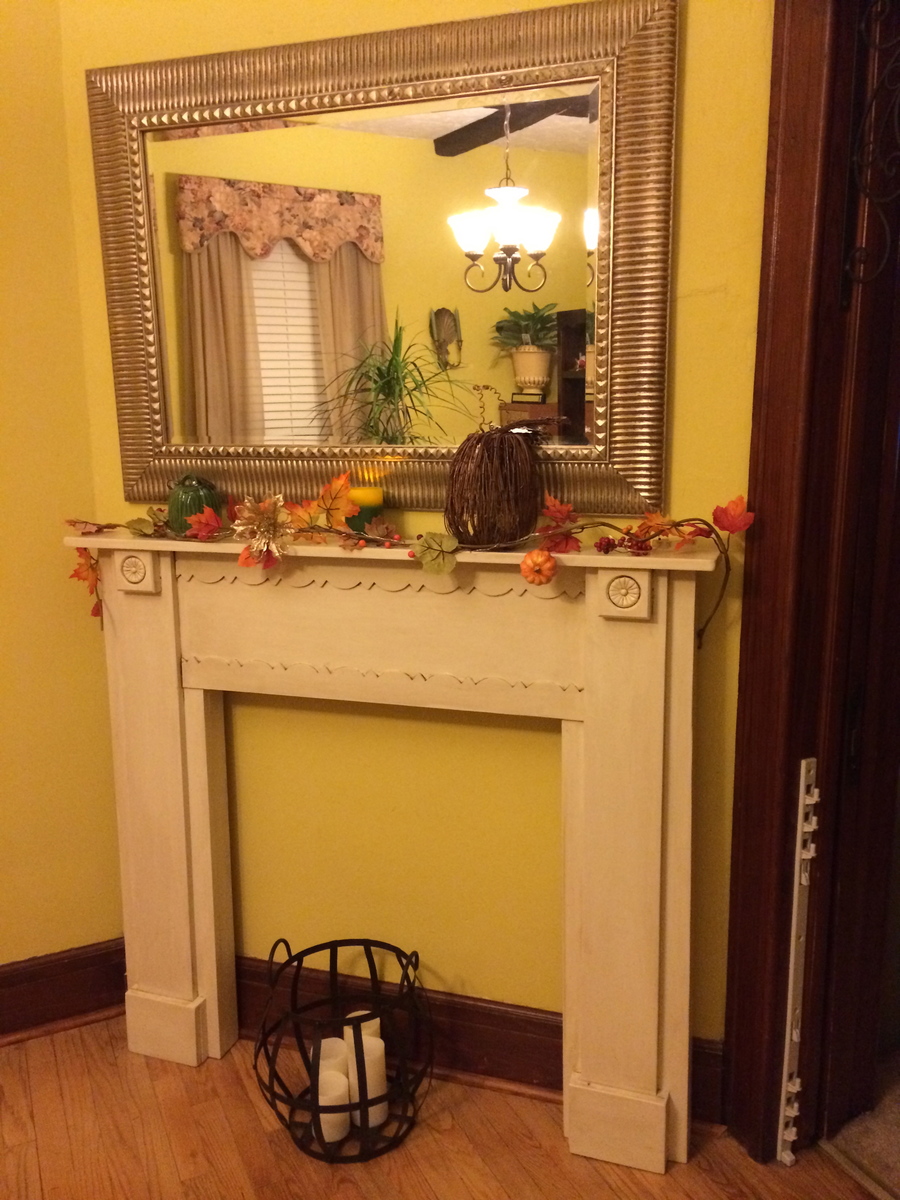
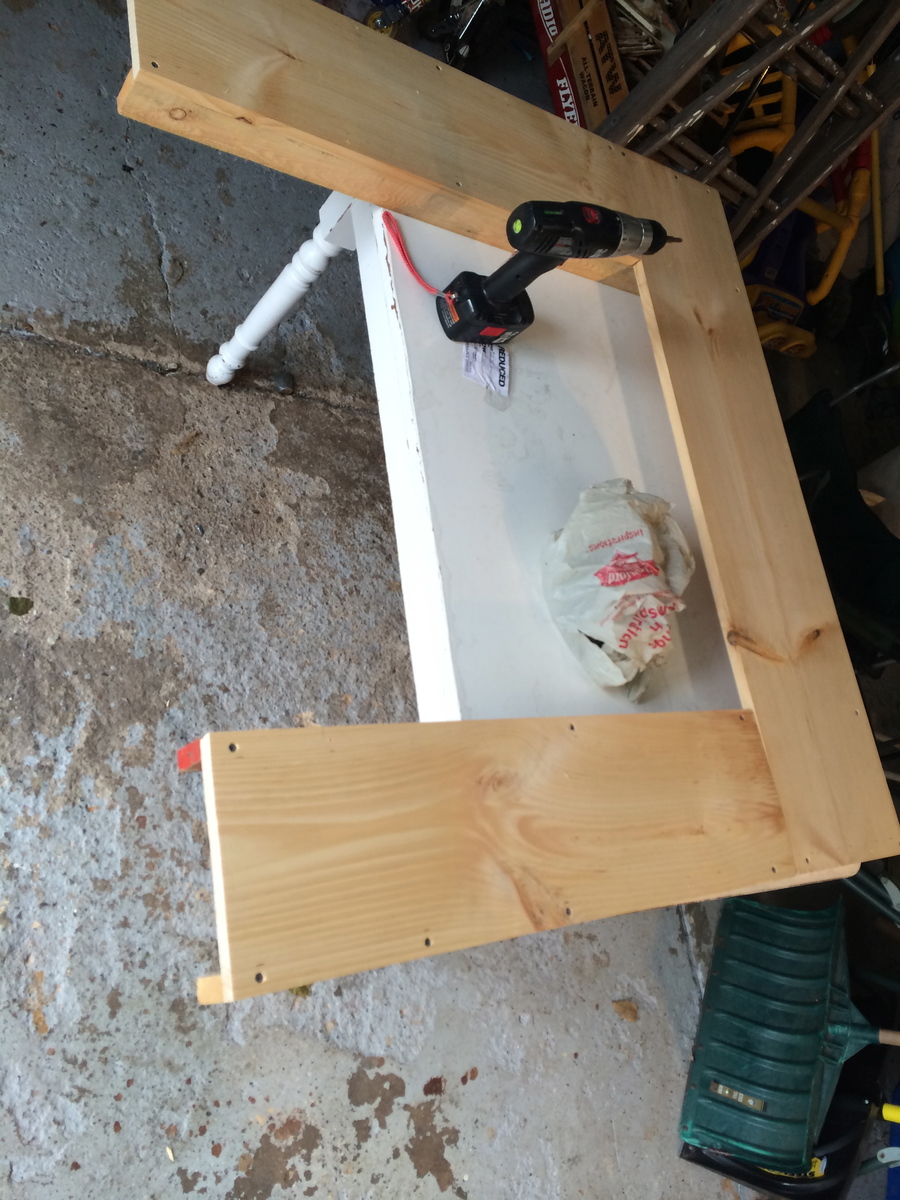
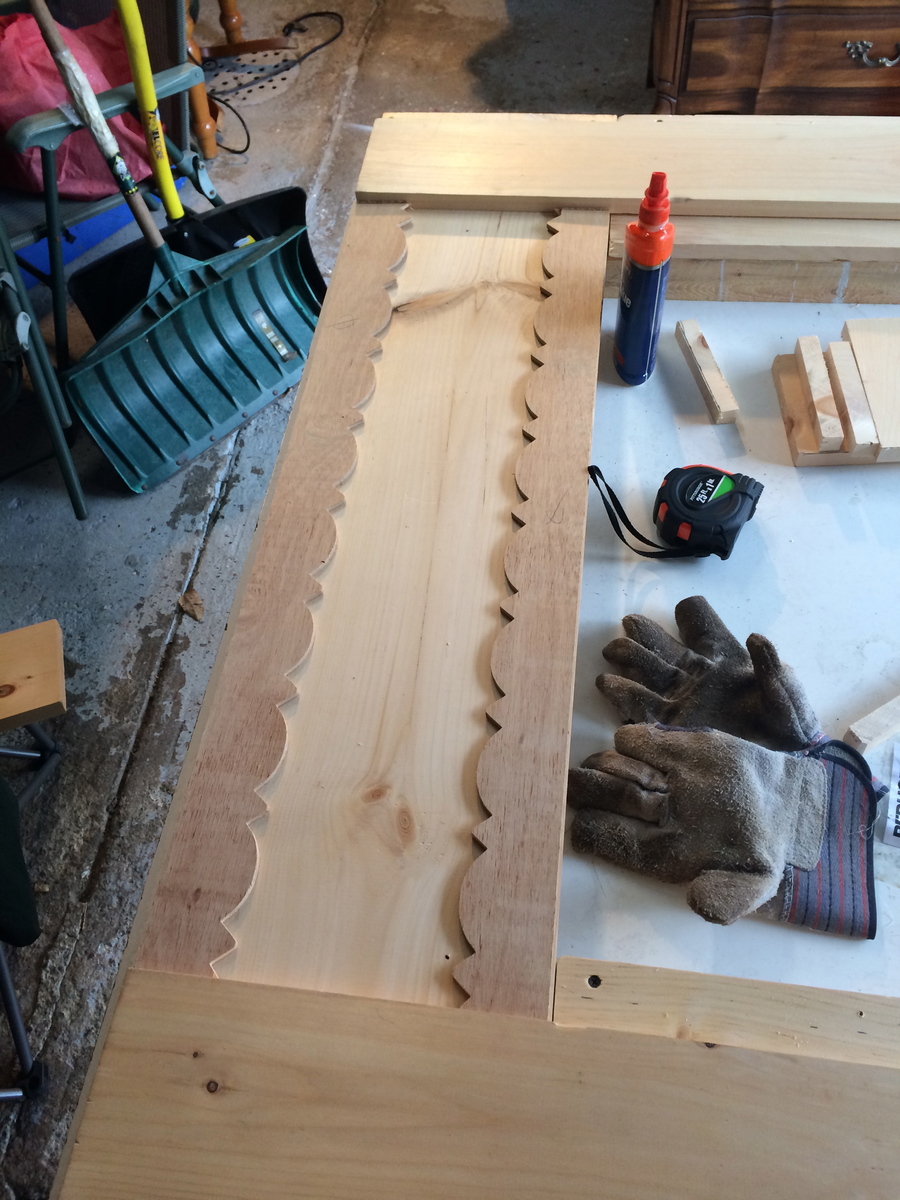
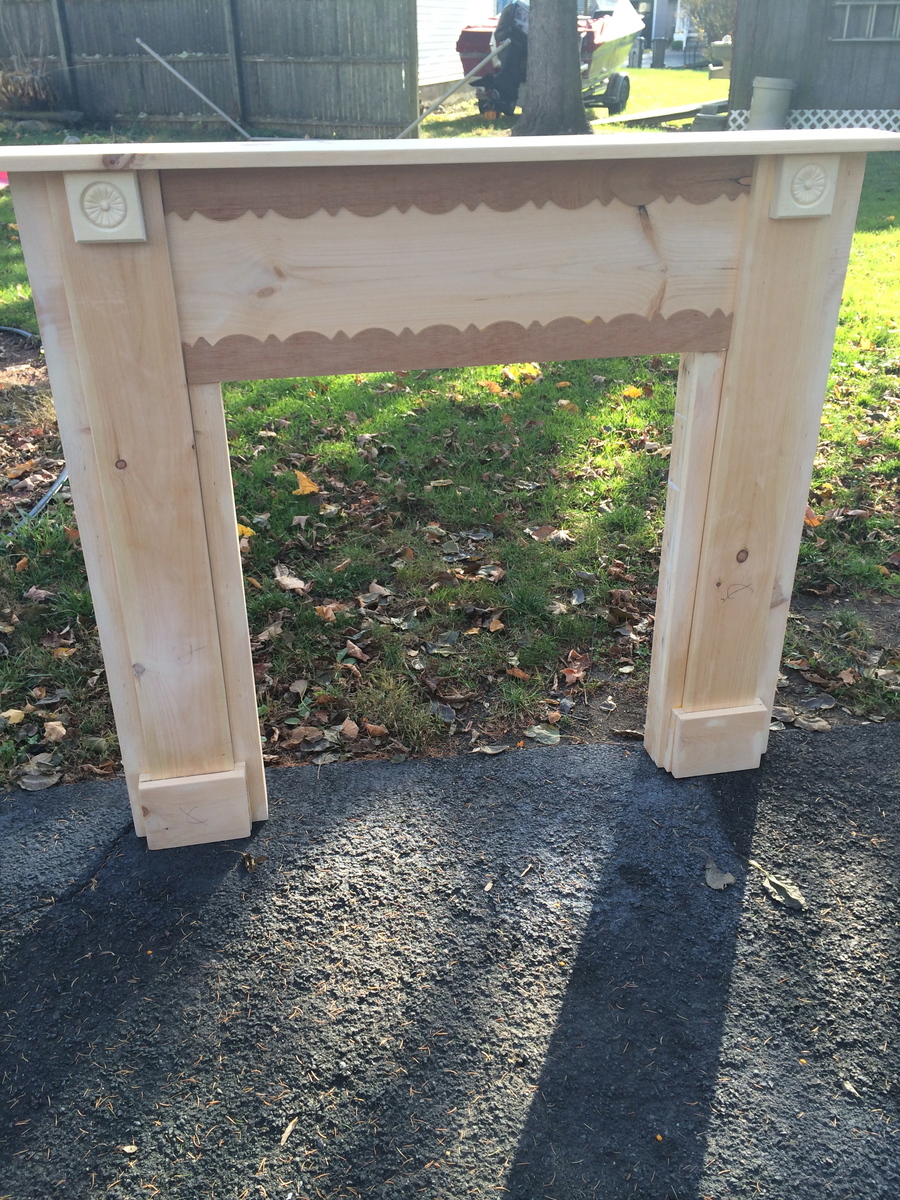
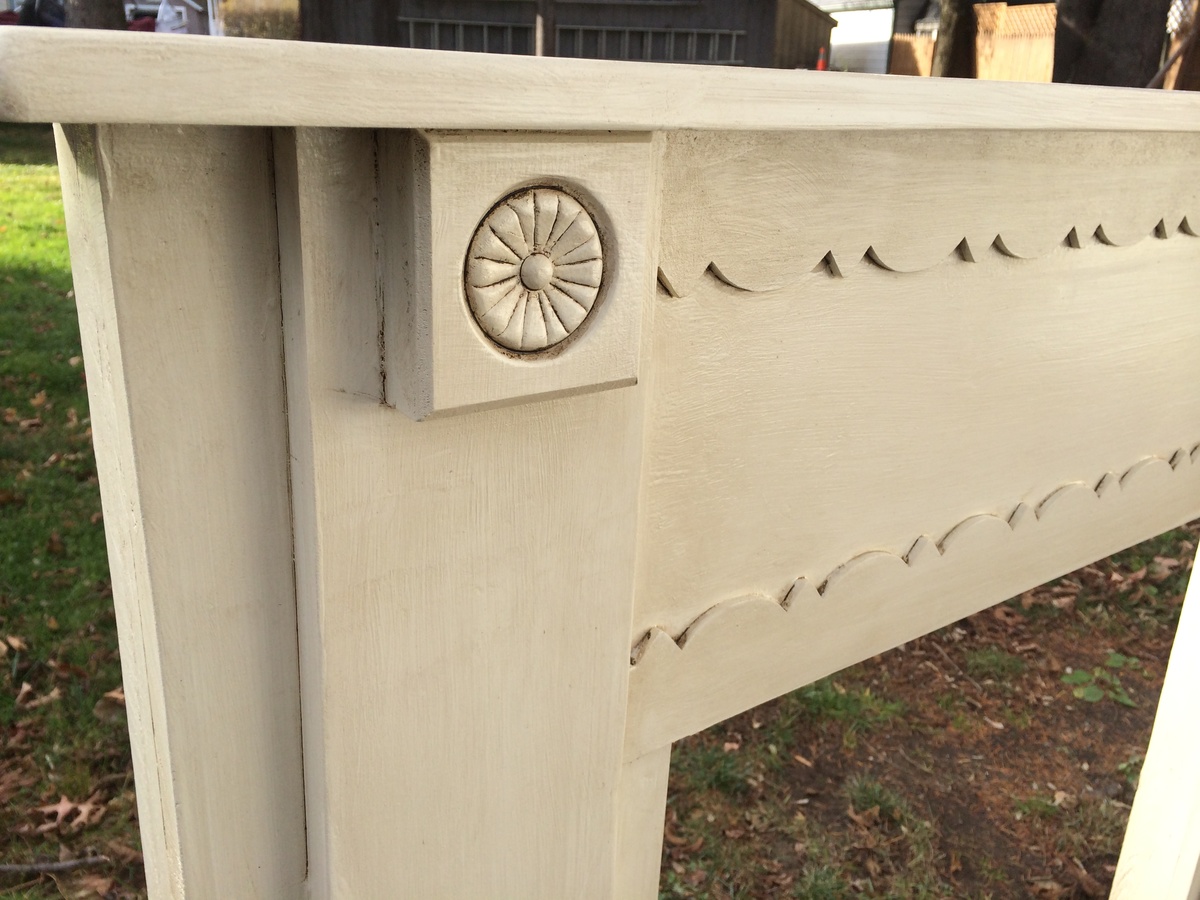
After looking online for something to make a fireplace to hang my kids stockings, I came across Anna's! WOW her instructions and plans seemed very simple to follow and so I did. I made minor adjustments based on what I had on hand but I followed her plans to the t. Thank you Anna, you inspired me!

Sat, 11/30/2013 - 10:22
You did a great job on this! The paint finish looks beautiful, and I love the scalloped decorations and rosettes!
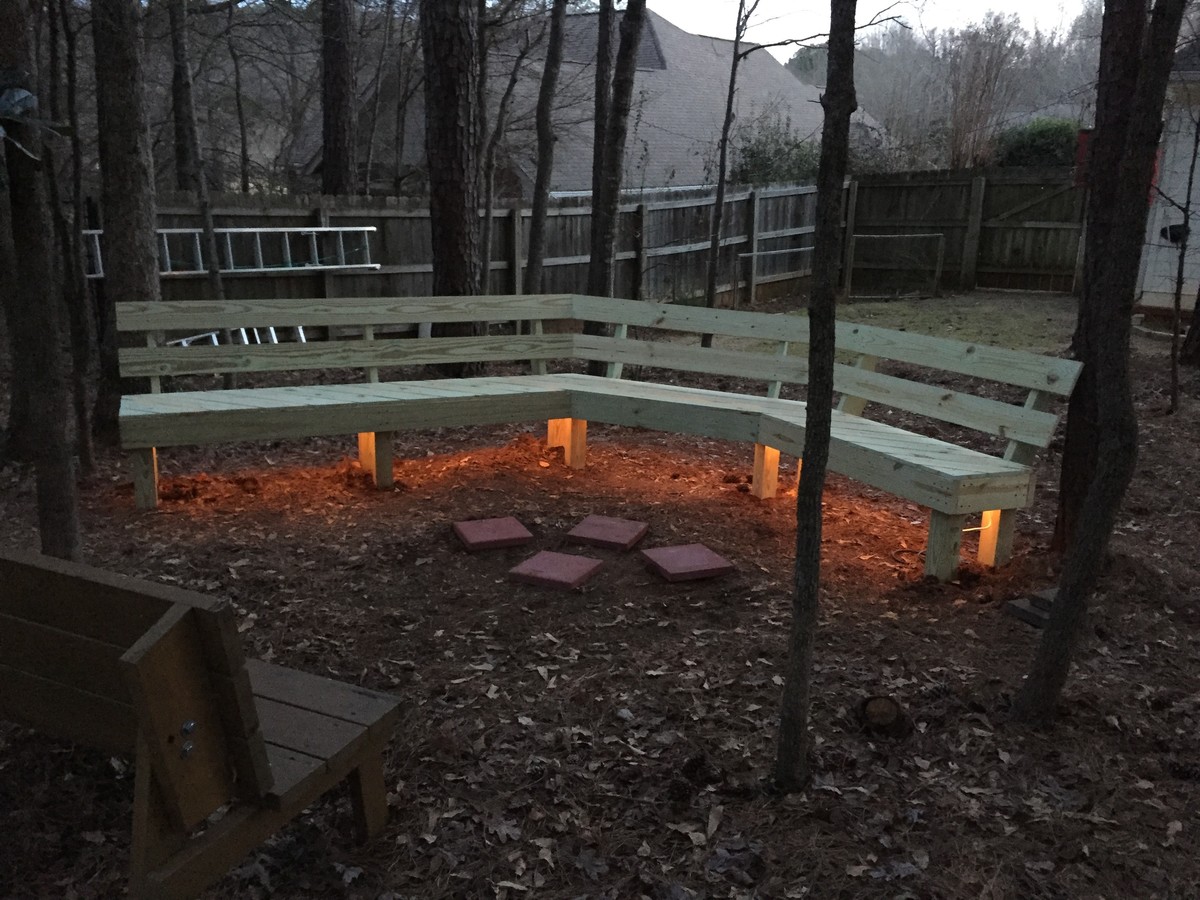
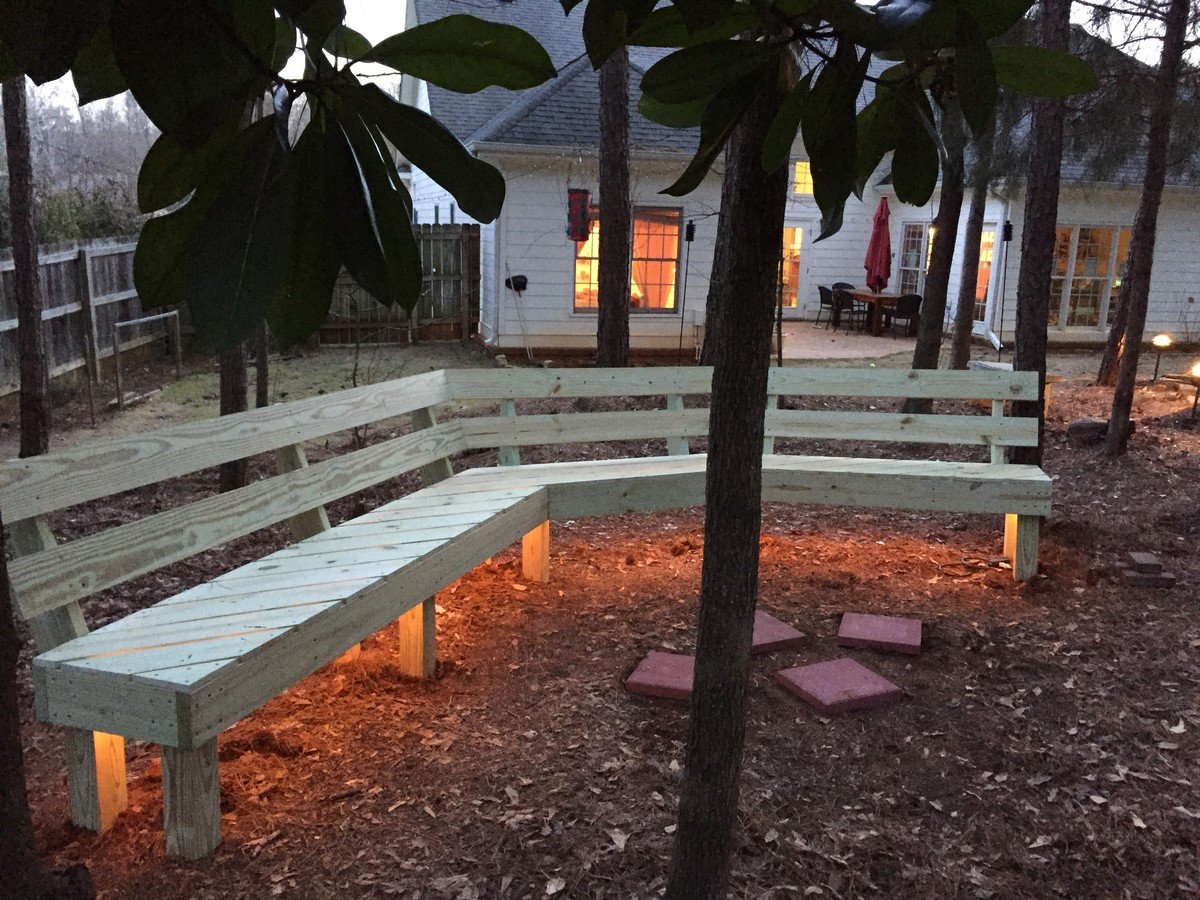
Modified the plans slightly to make a bigger bench, especially on one end. Added rope lights underneath for a cool effect.

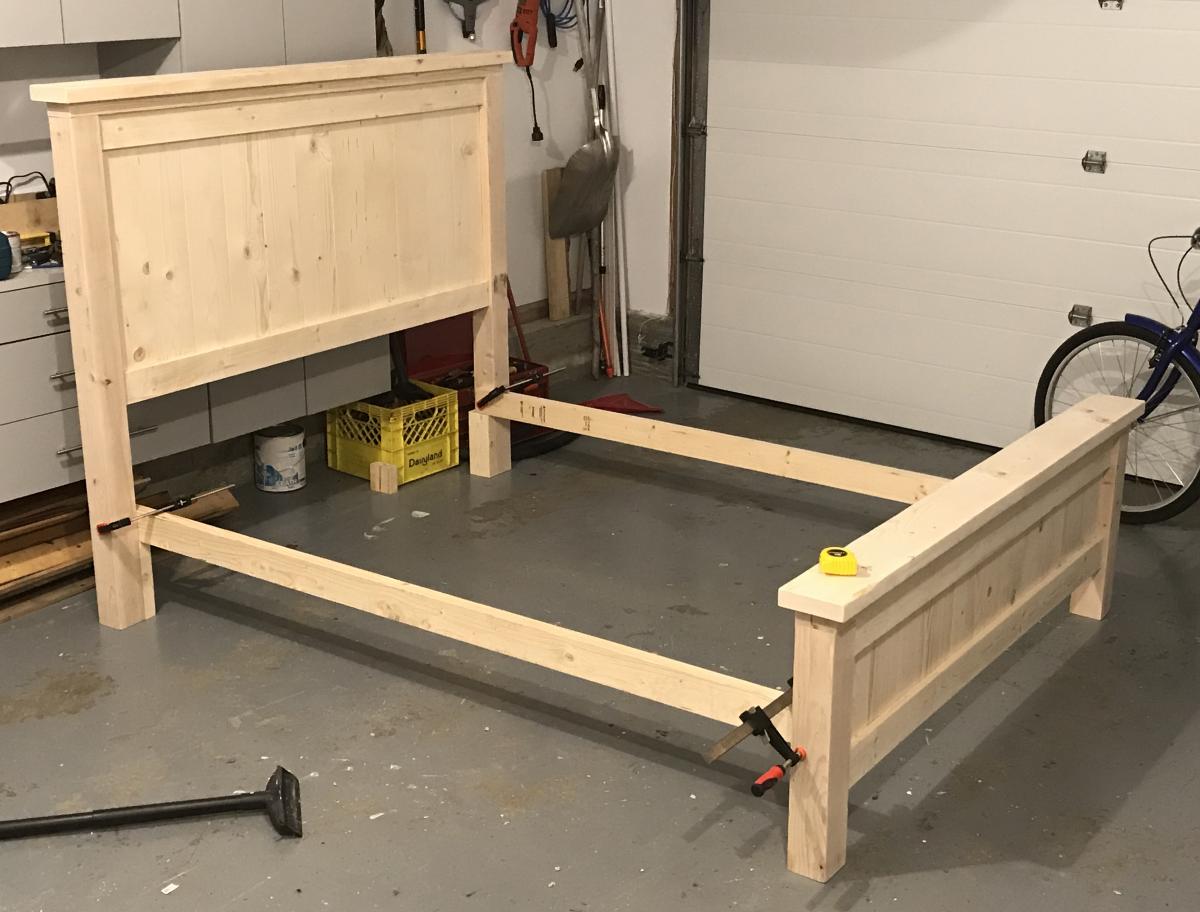
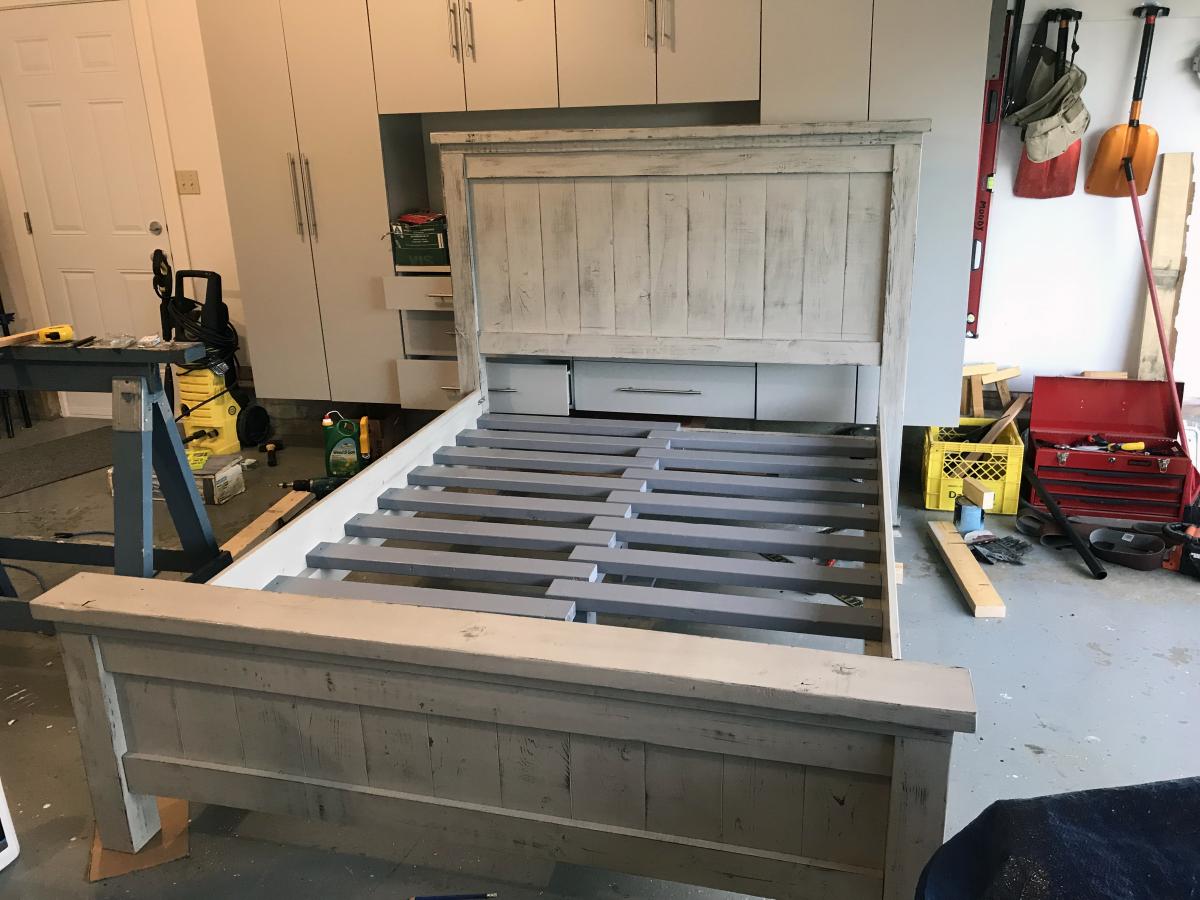
A friend of mine wanted a new queen bed in a rustic, weather grey look. I have built many projects from Ana's site and decided on the Farmhouse Bed. The plans were perfect and building the bed didn't take me long. The time consuming part was the finish. I really wanted an old, weather wood look so the entire bed and night tables were first stained with a dark Kona stain. Once this dried I applied two coats of a watered down (50:50) light grey paint. The thinner paint made it easier to sand. Once this was completely dry I used a medium grit sanding sponge and selectively sanded everything. This took a while. Once complete I carefully cleaned all pieces and then applied three coat of semi-gloss varathane. The bed is incredibly solid with the 2 x 4 slats and will last a few generations. As always great plans from Ana.
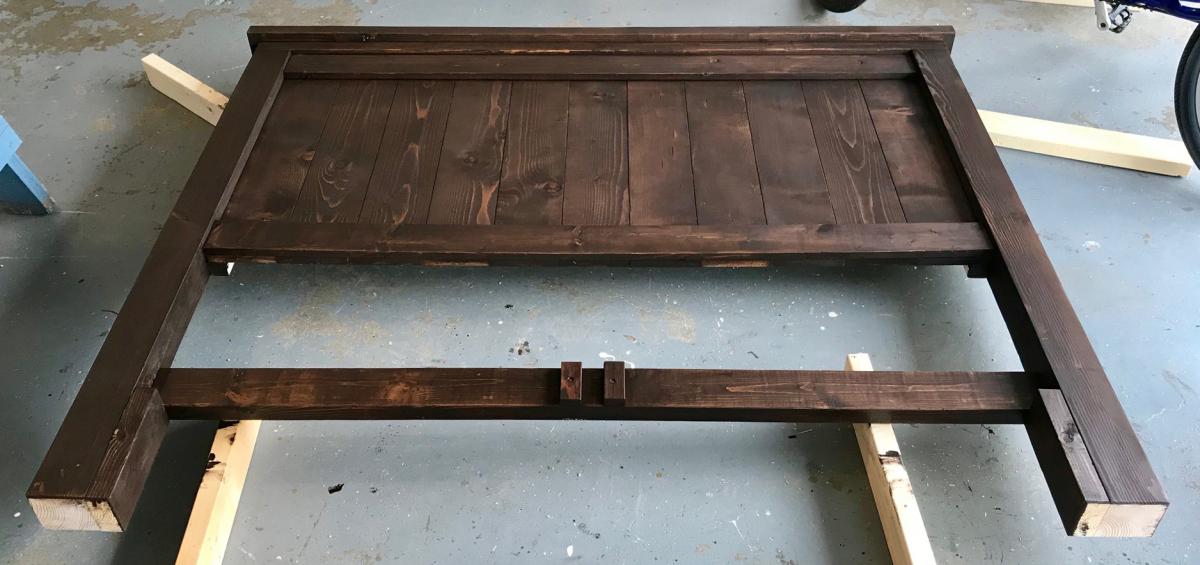
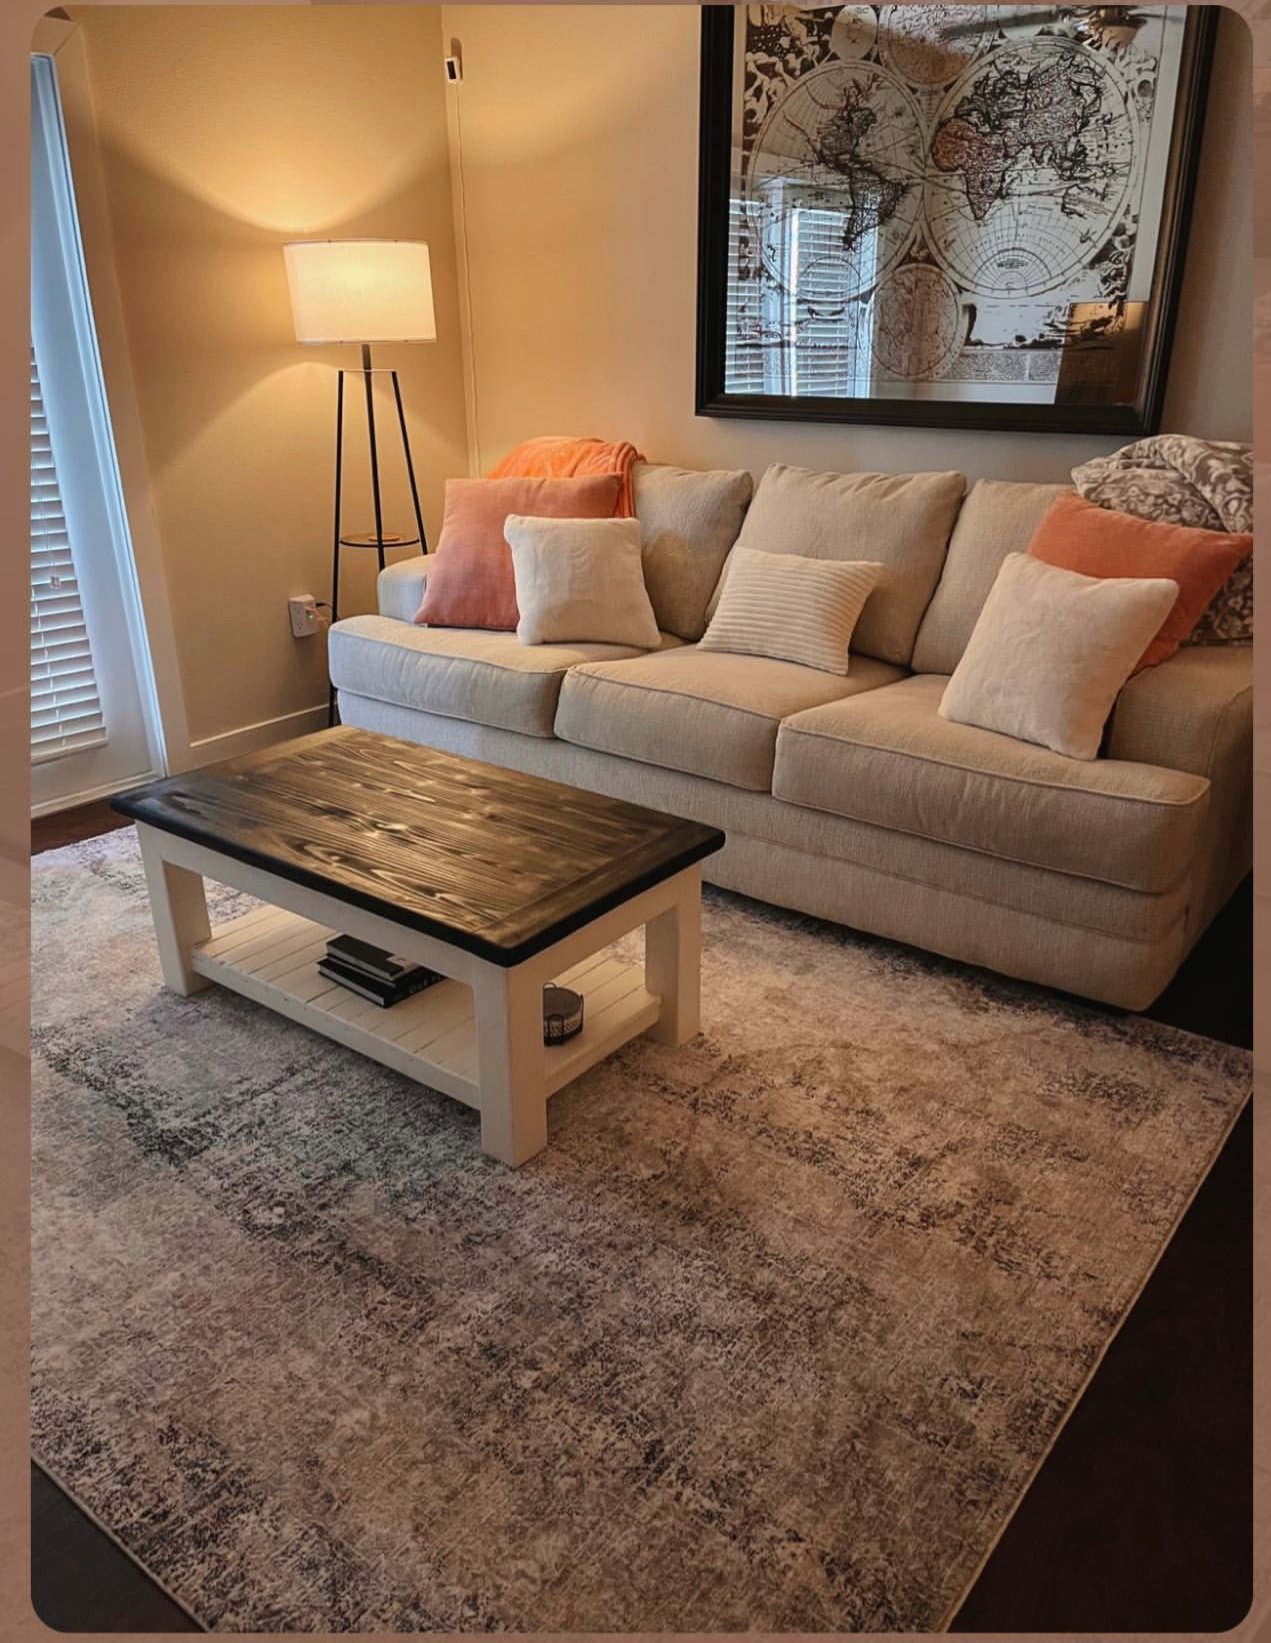
Tweaked the Tryde Coffee table plans to fit daughters desired look with added magazine shelf and appropriate dimensions. Weekend project turned longer due to top color changes and re-sanding off stain a couple times. Settled on Ebony stain and ivory paint bottom. Love the plans from Ana White.
Tue, 05/30/2023 - 16:14
Thank you for sharing, it looks fabulous in her space!
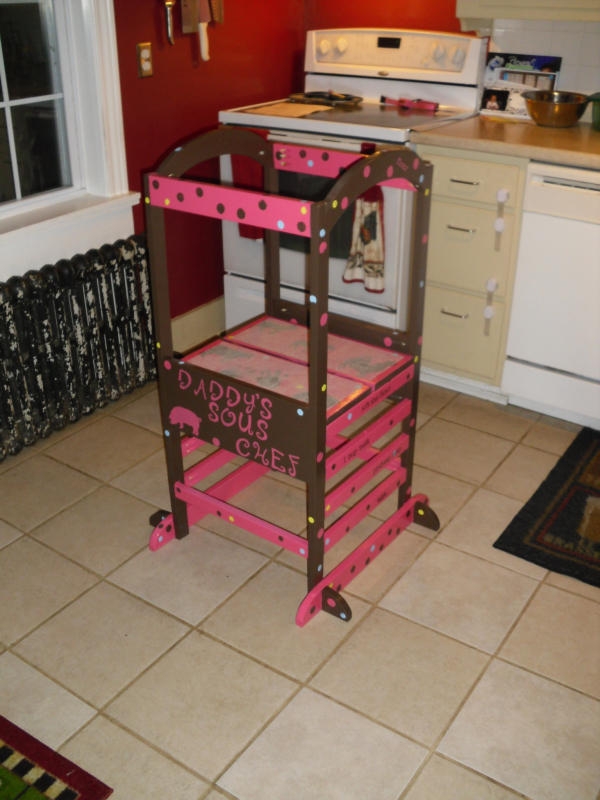
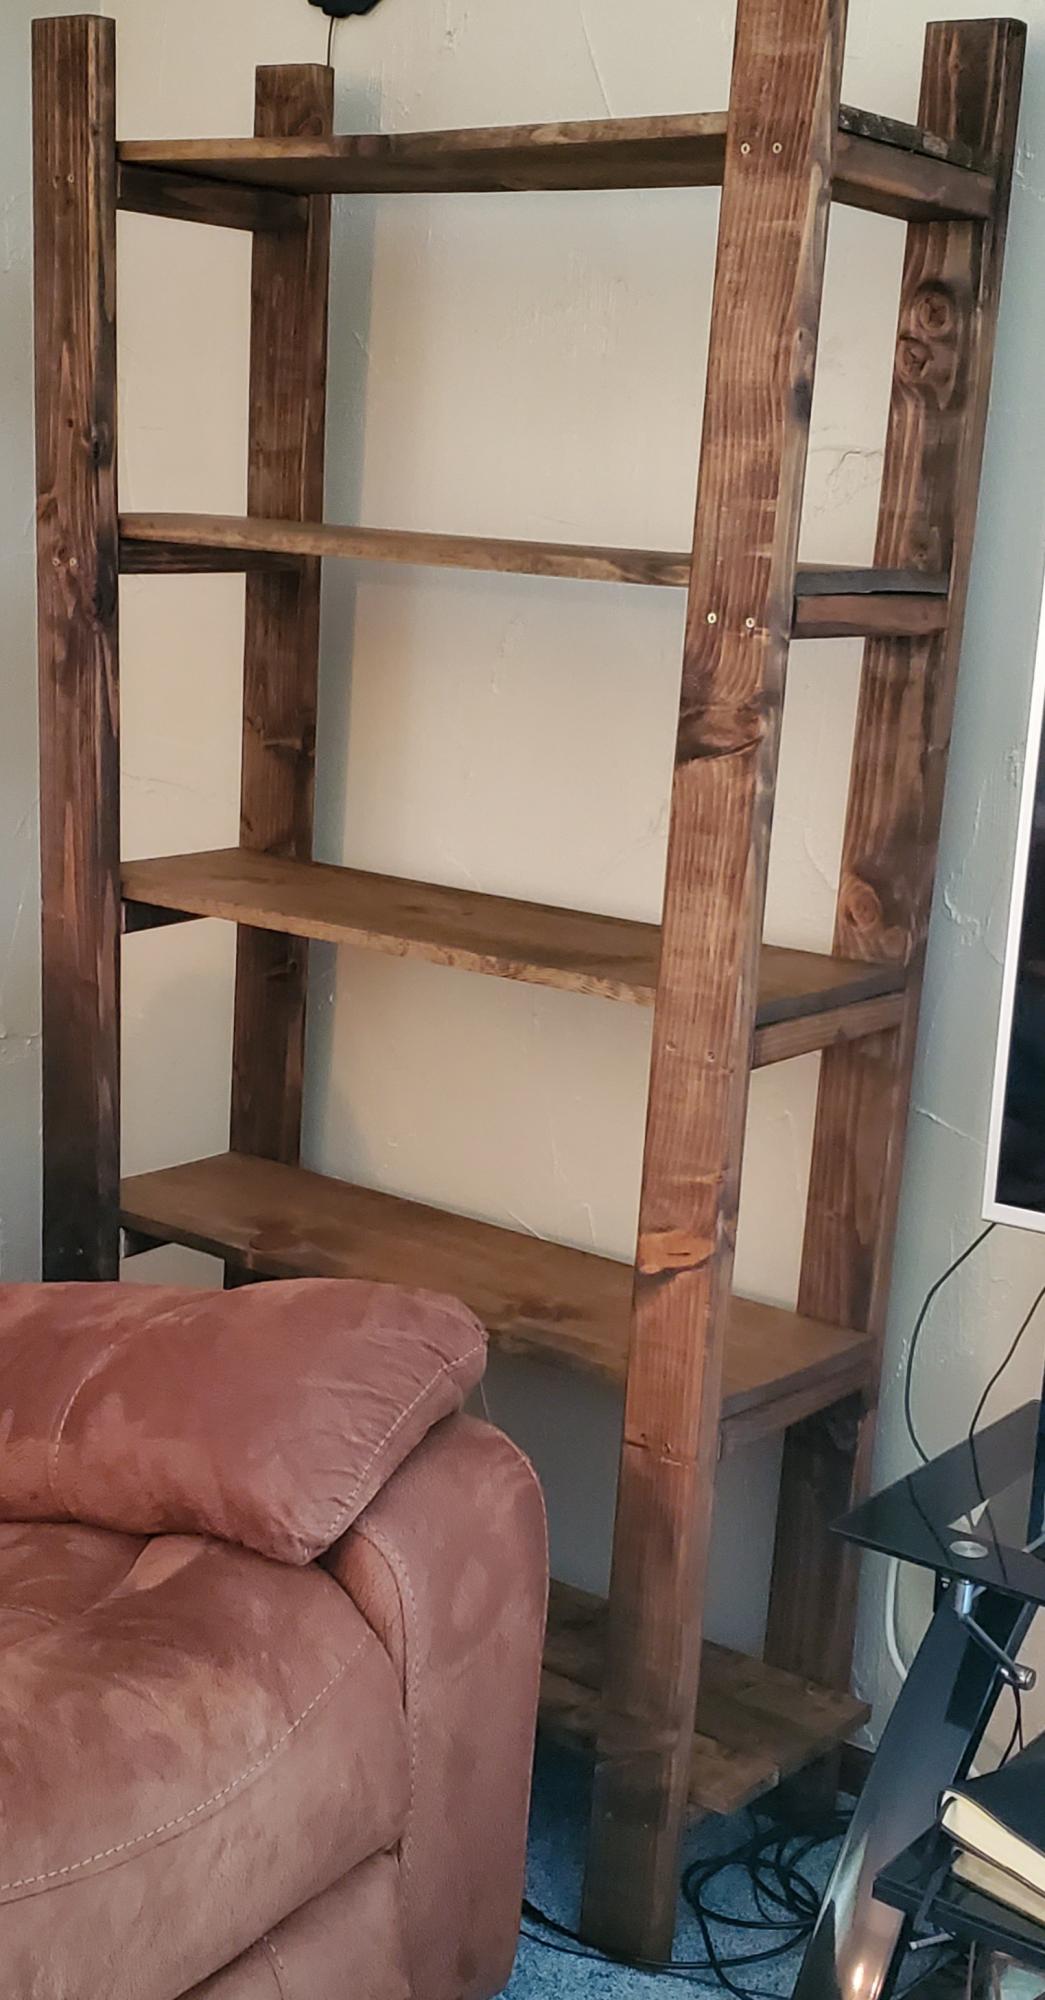
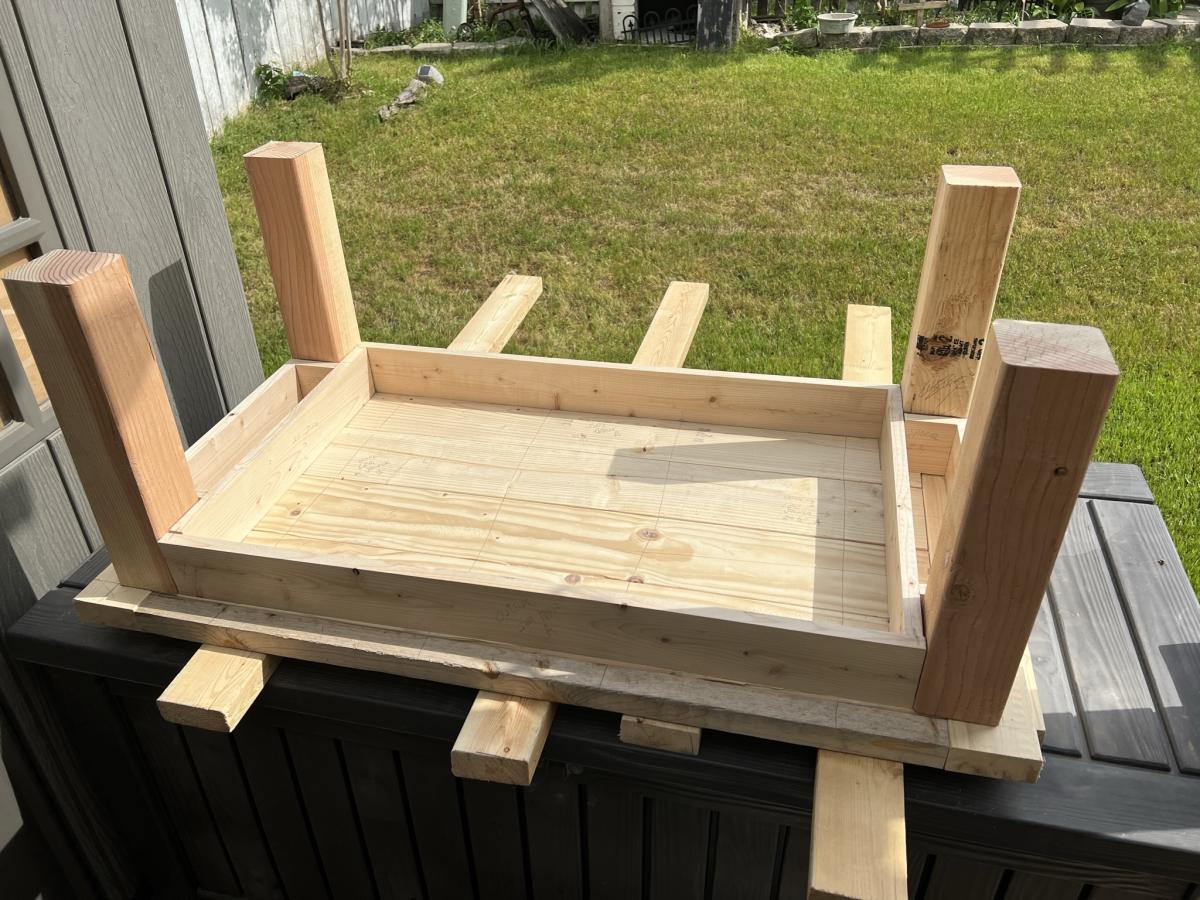
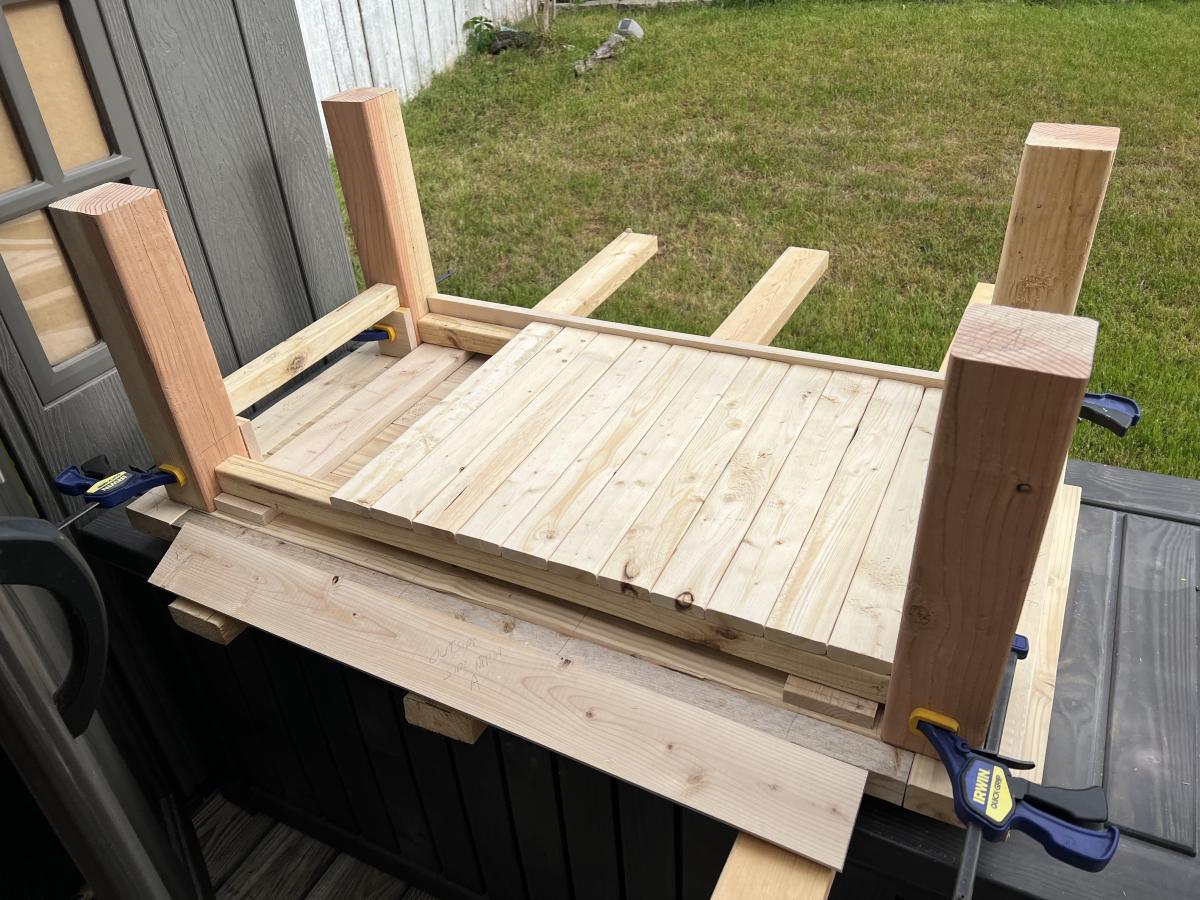
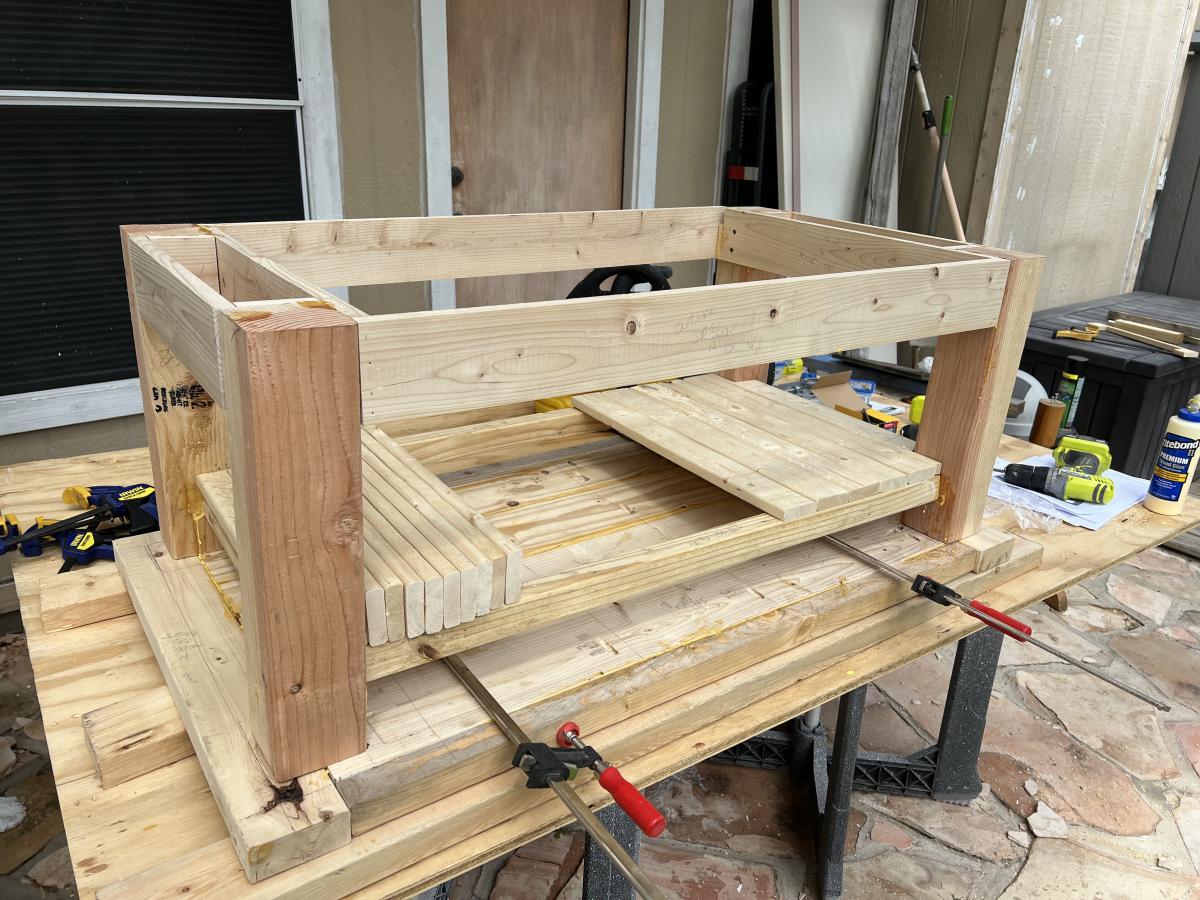
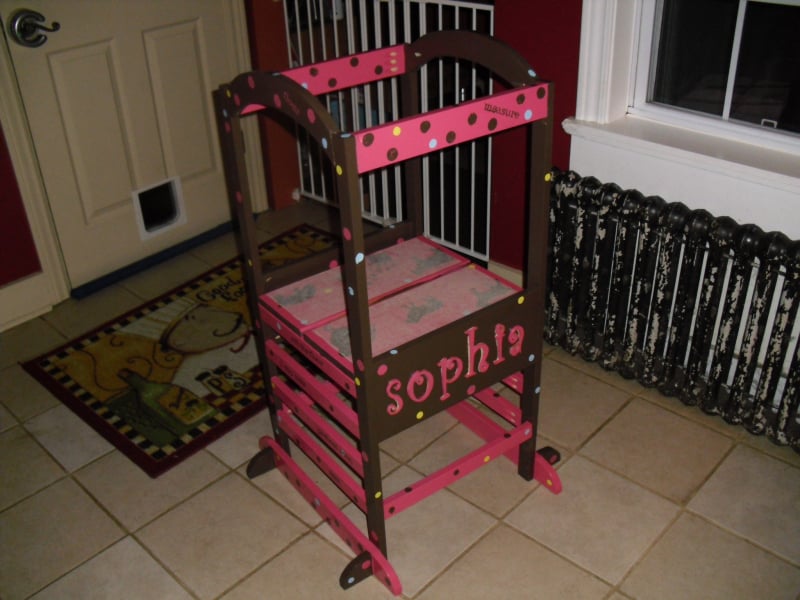
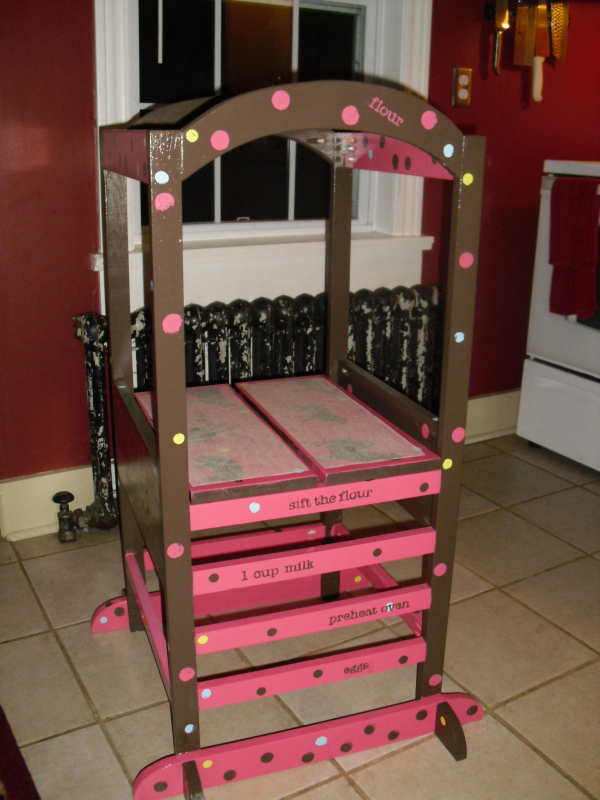
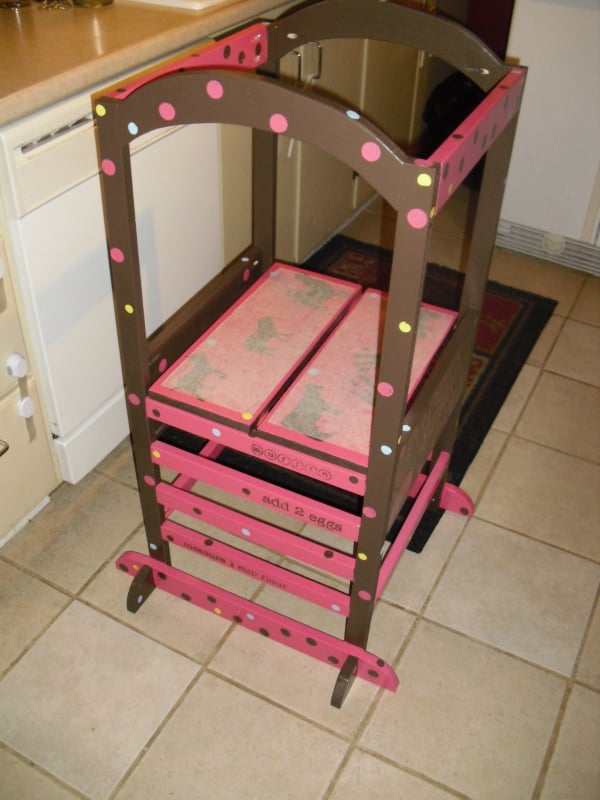
My first project build from Ana-white.com. My wife had been looking at these towers online for a while until we saw they were upwards of $200 online... So I was like, "I'm sure I could make one.". So I found Ana's website, and here it is... My 19 month old daughter loves it, she climbs in and out of it with no problems, she calls it "uppy". This is my first of many projects to come from this very helpful site. The plans are all so helpful and very detailed. Thanks Ana!


Comments
Ana White Admin
Fri, 05/05/2023 - 07:24
Nice Trash Bin!
So much better than a regular garbage can! Thanks for sharing your version, it looks fabulous.