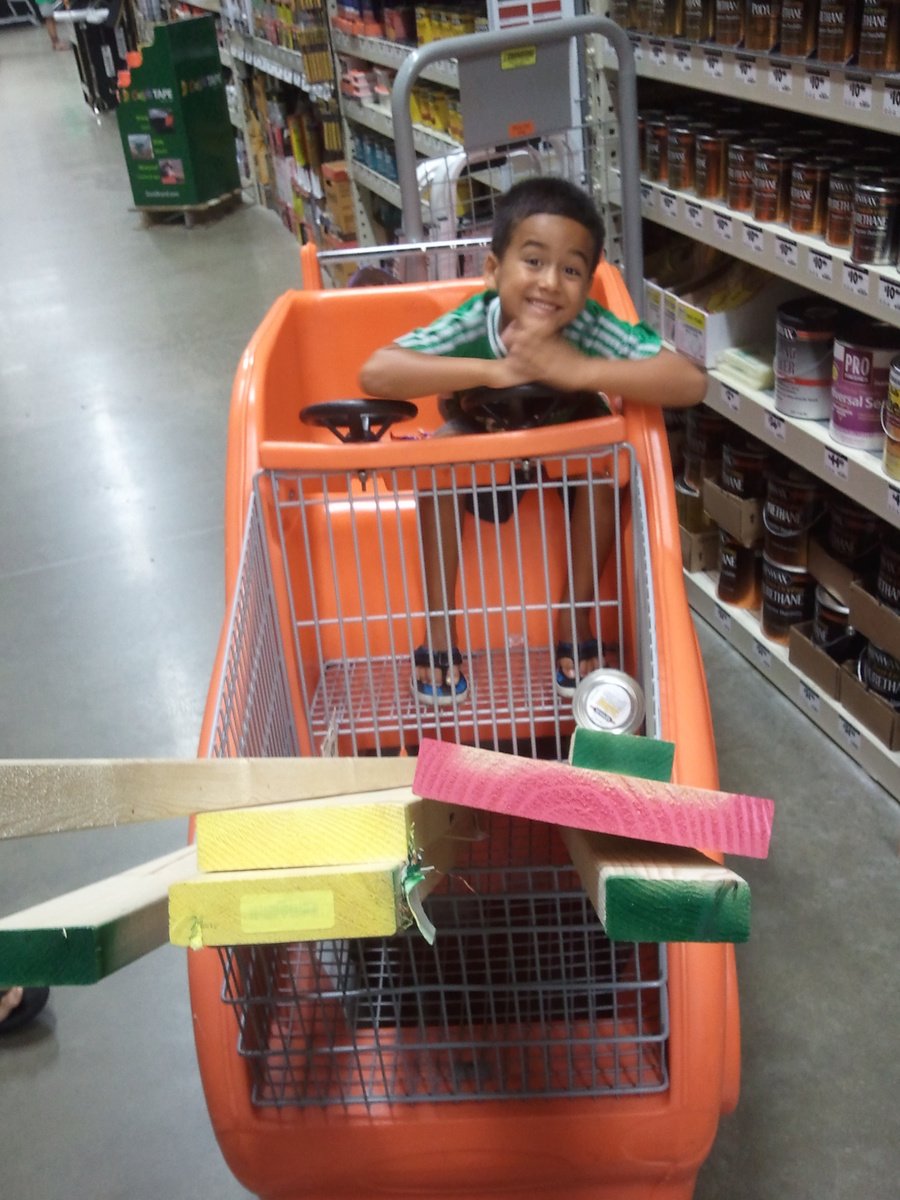
Sliding Door Console
Sliding Door Console!
by Cathy
Built from Plan(s)
Sliding Door Console!
by Cathy
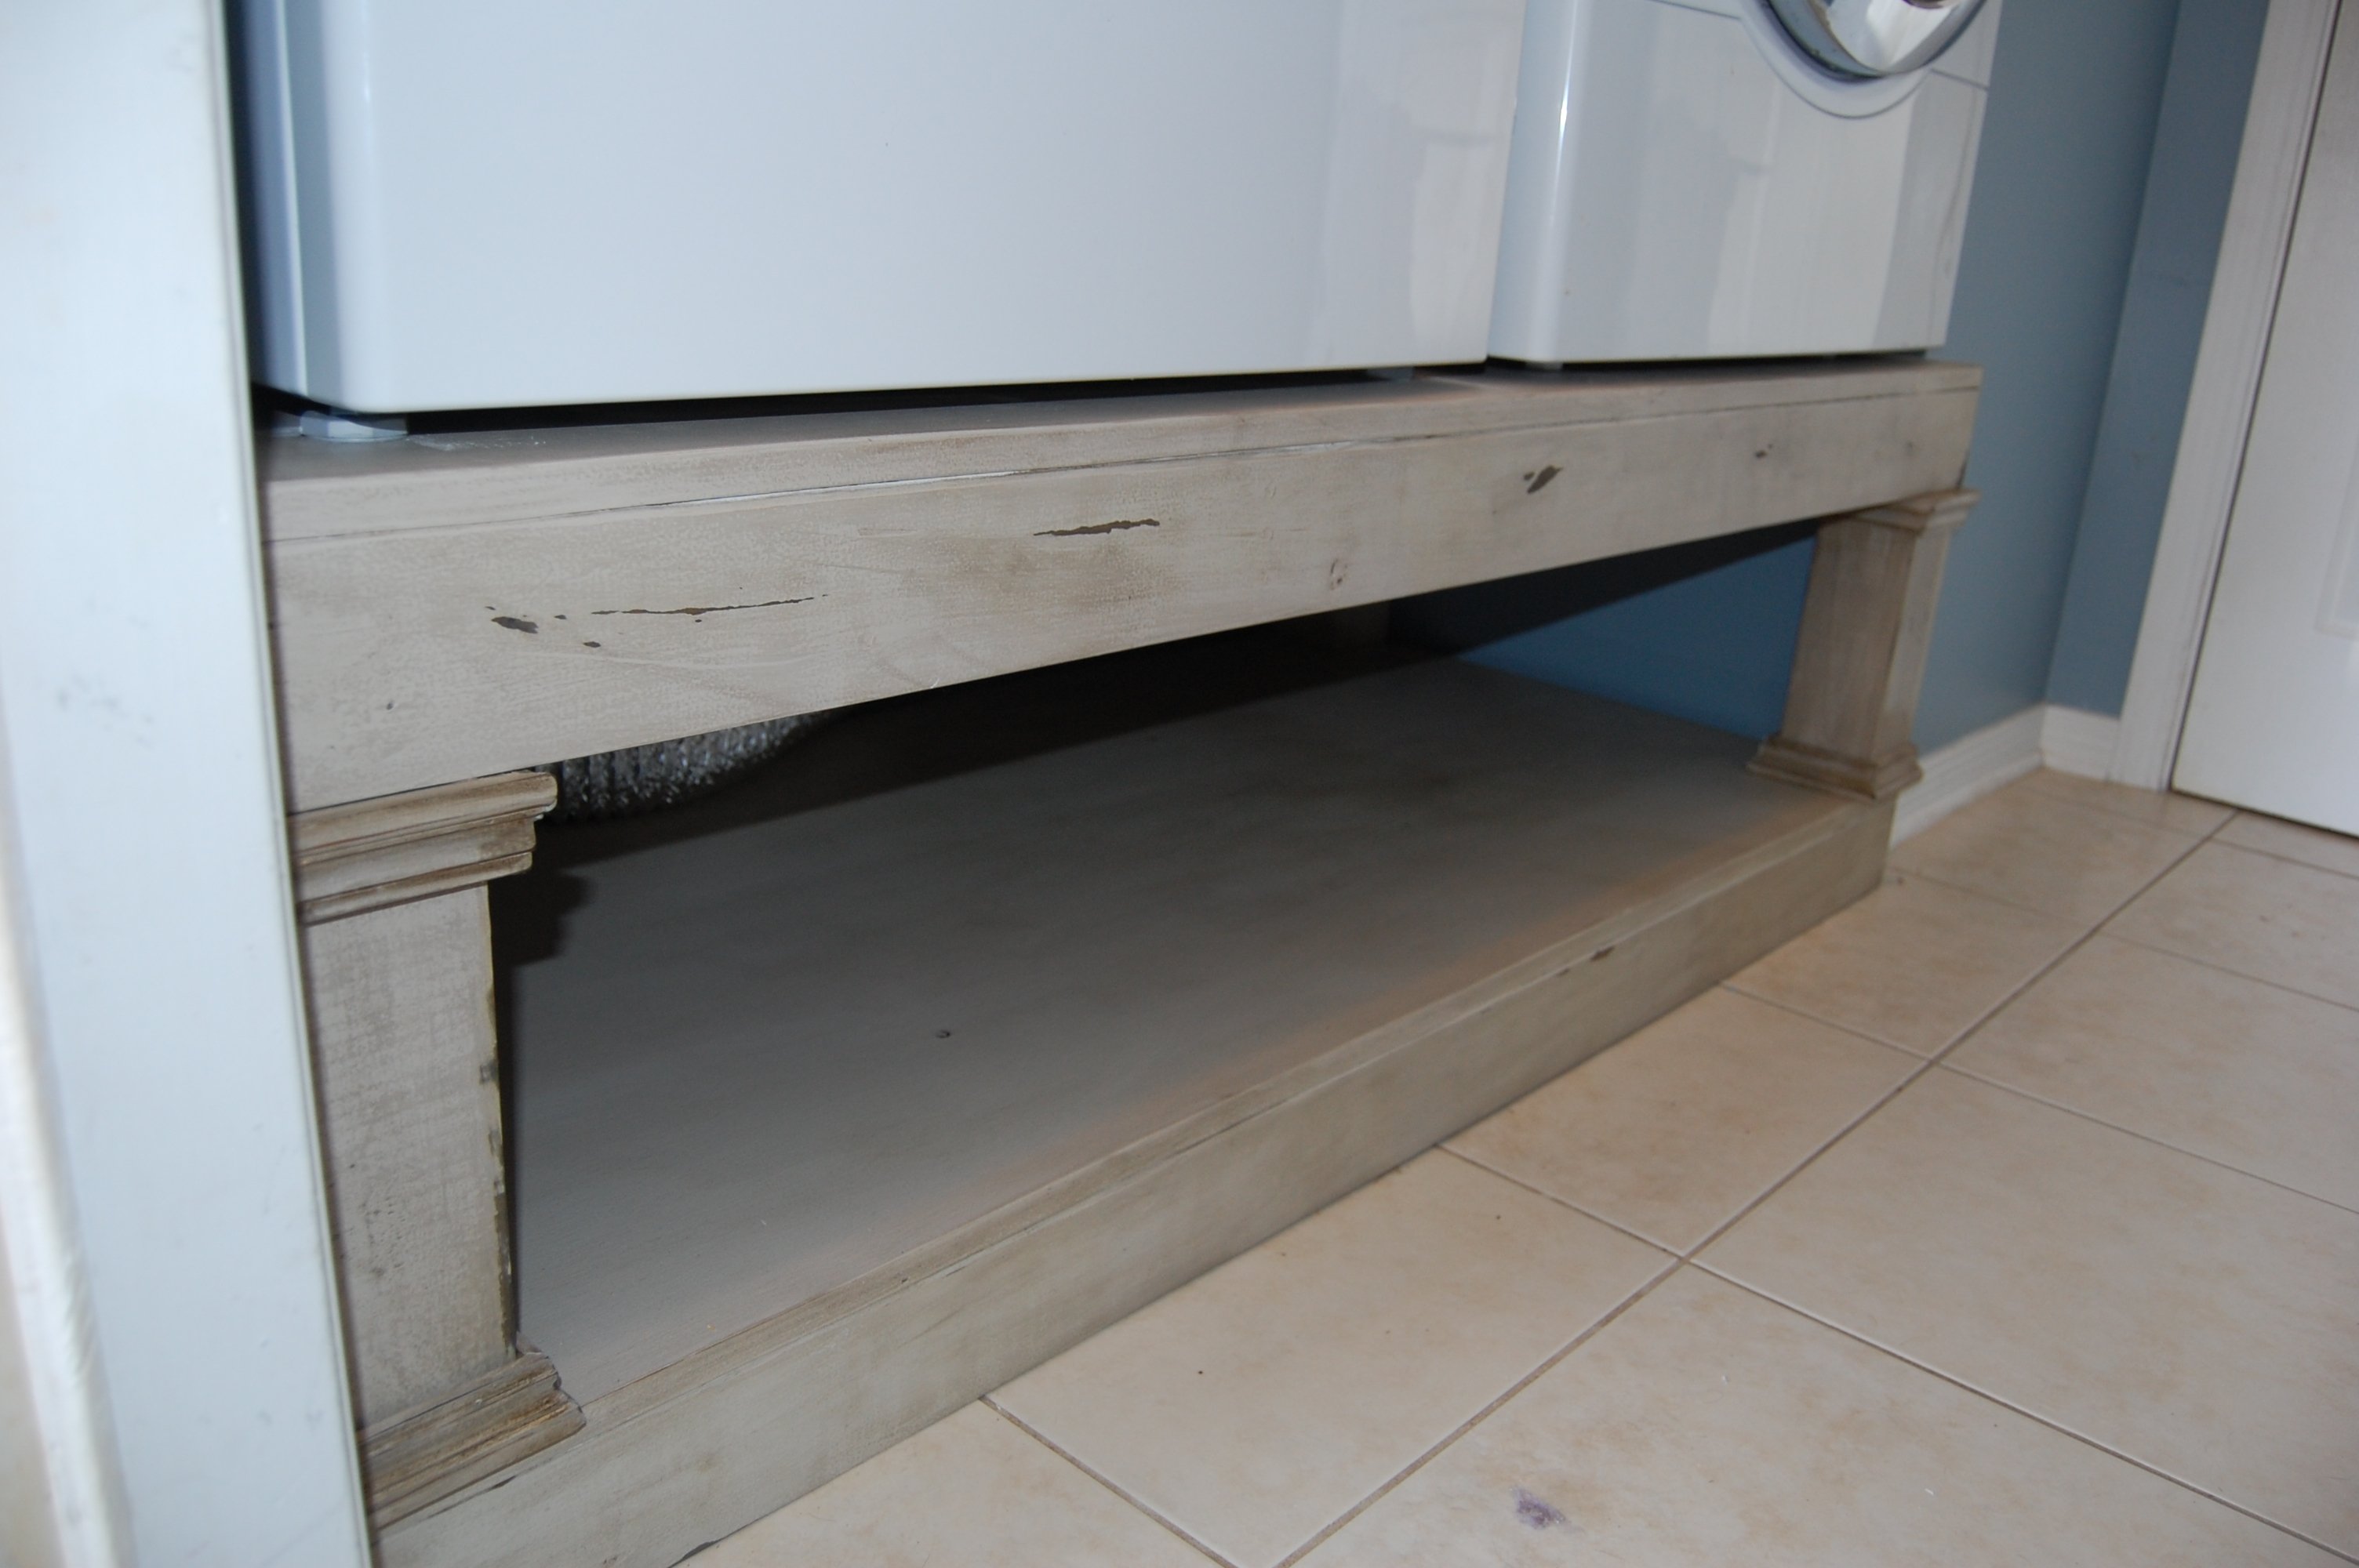
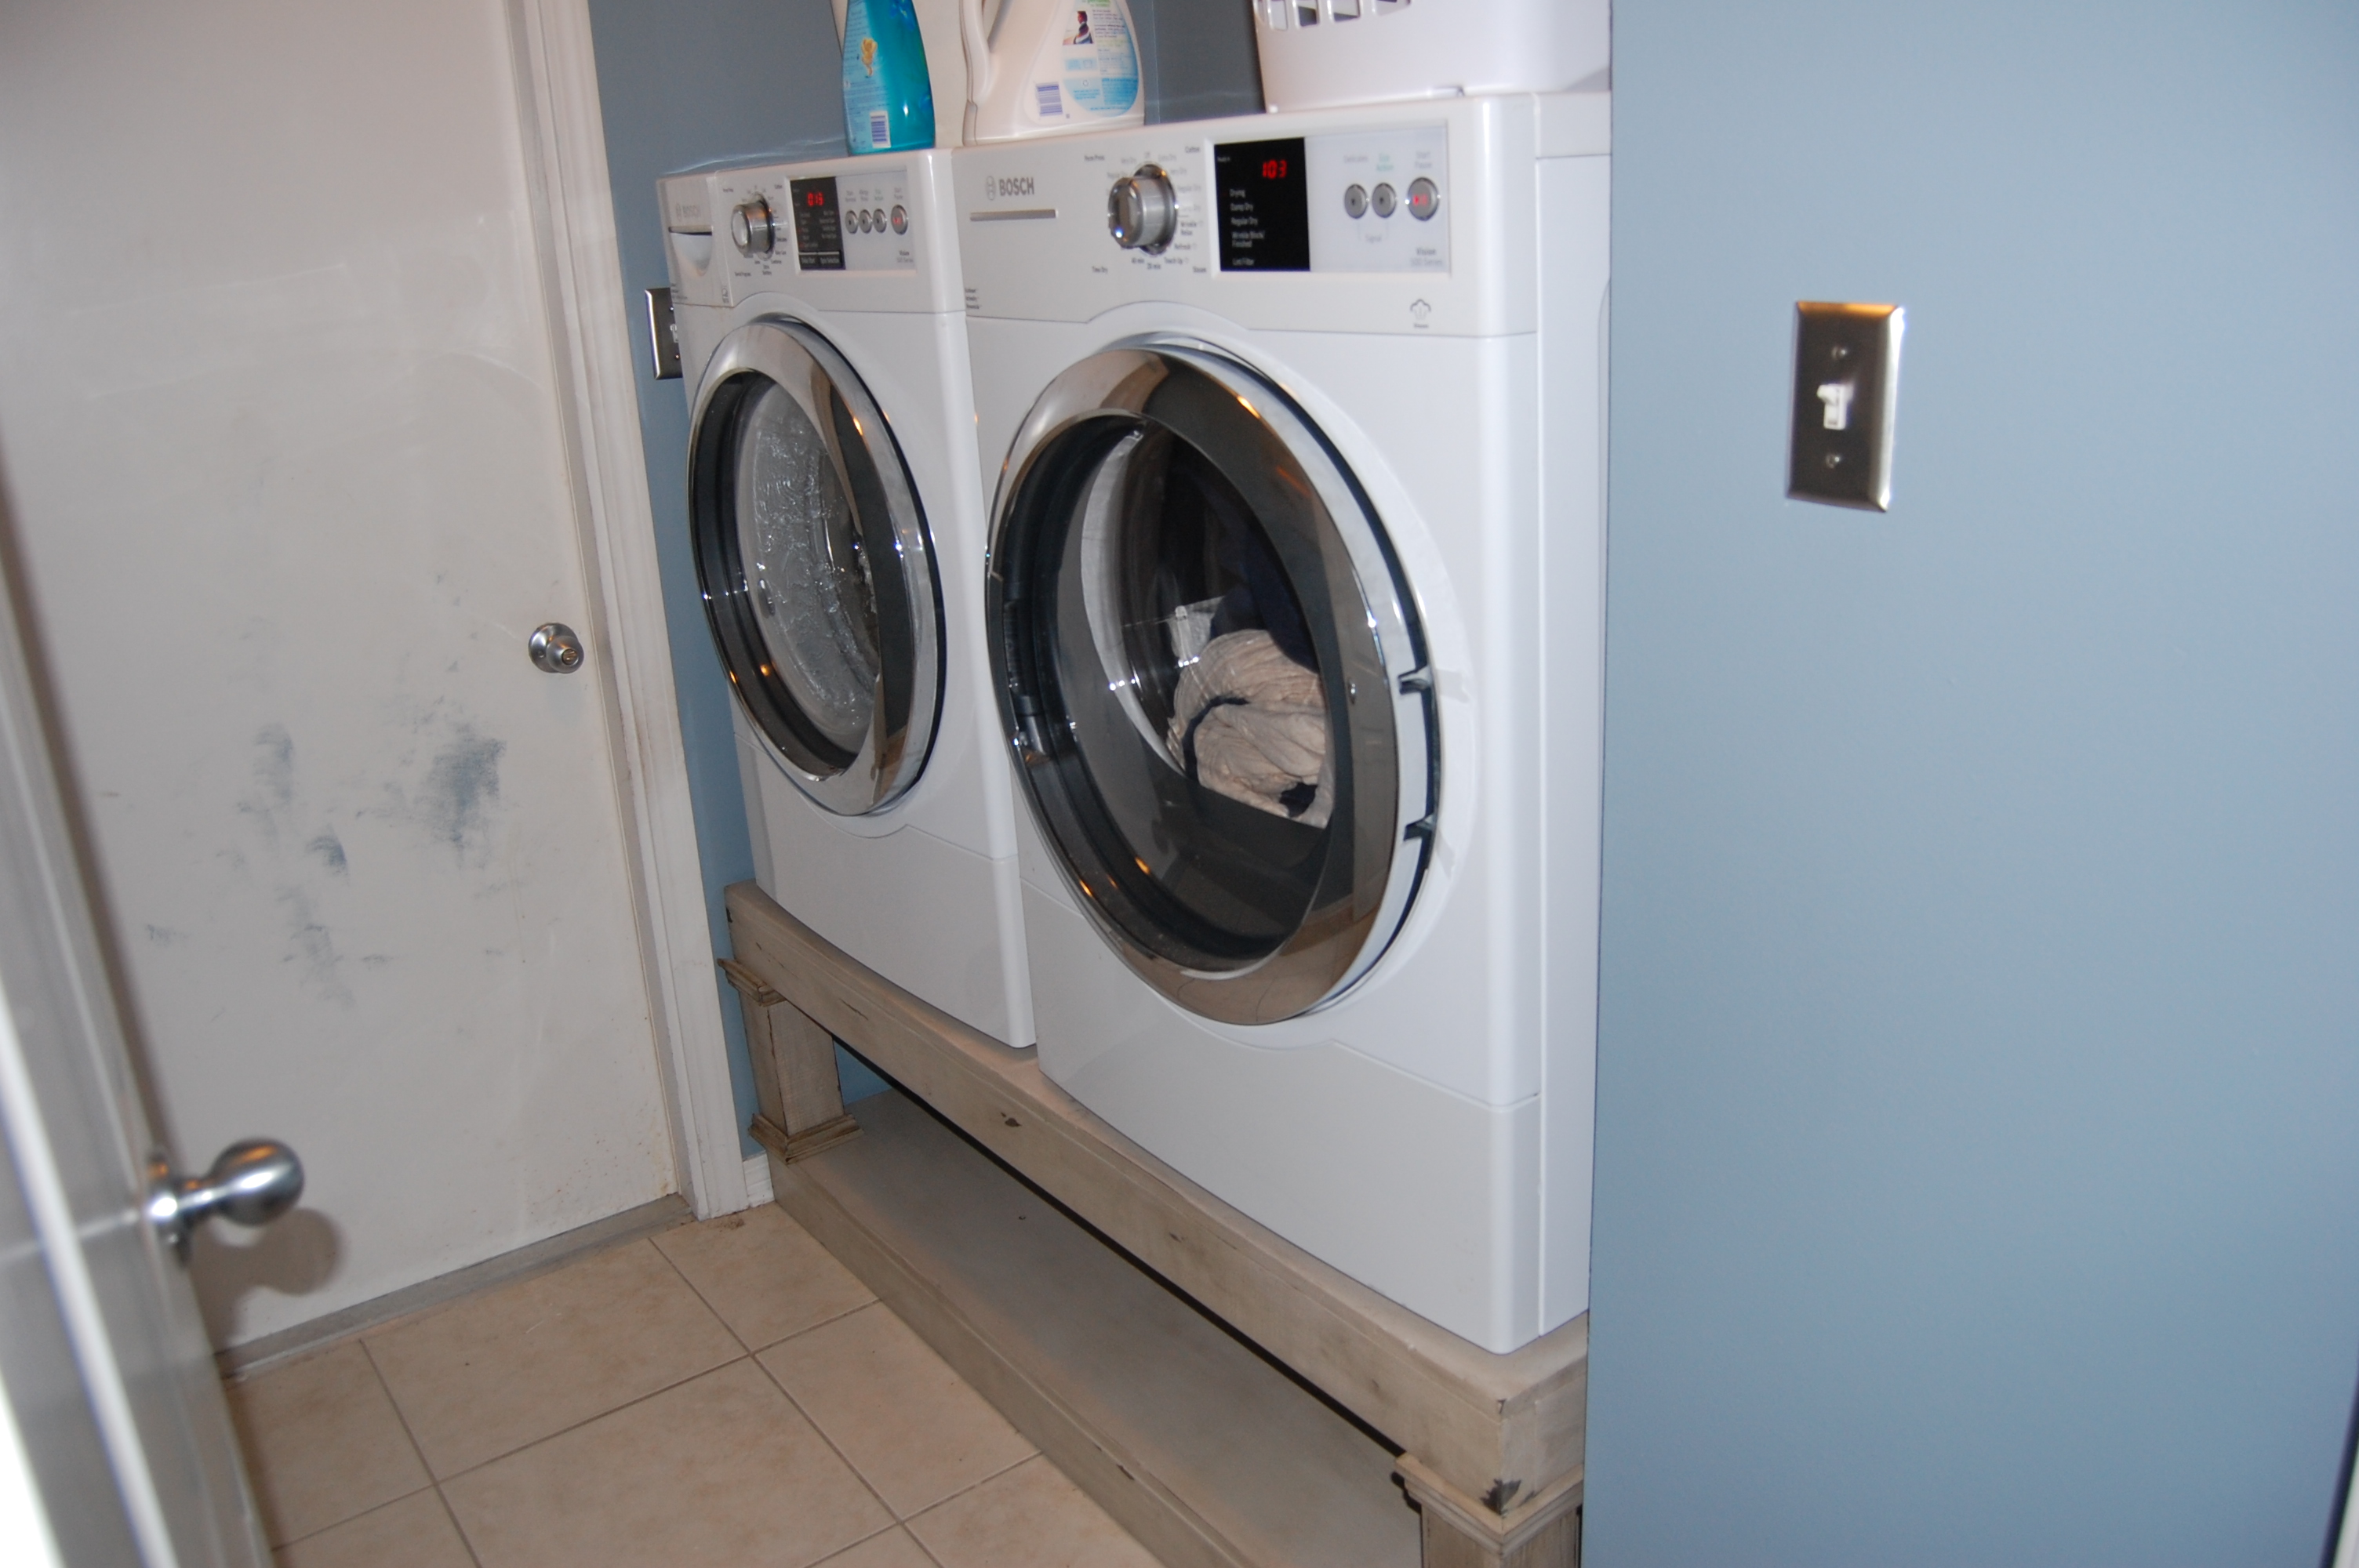
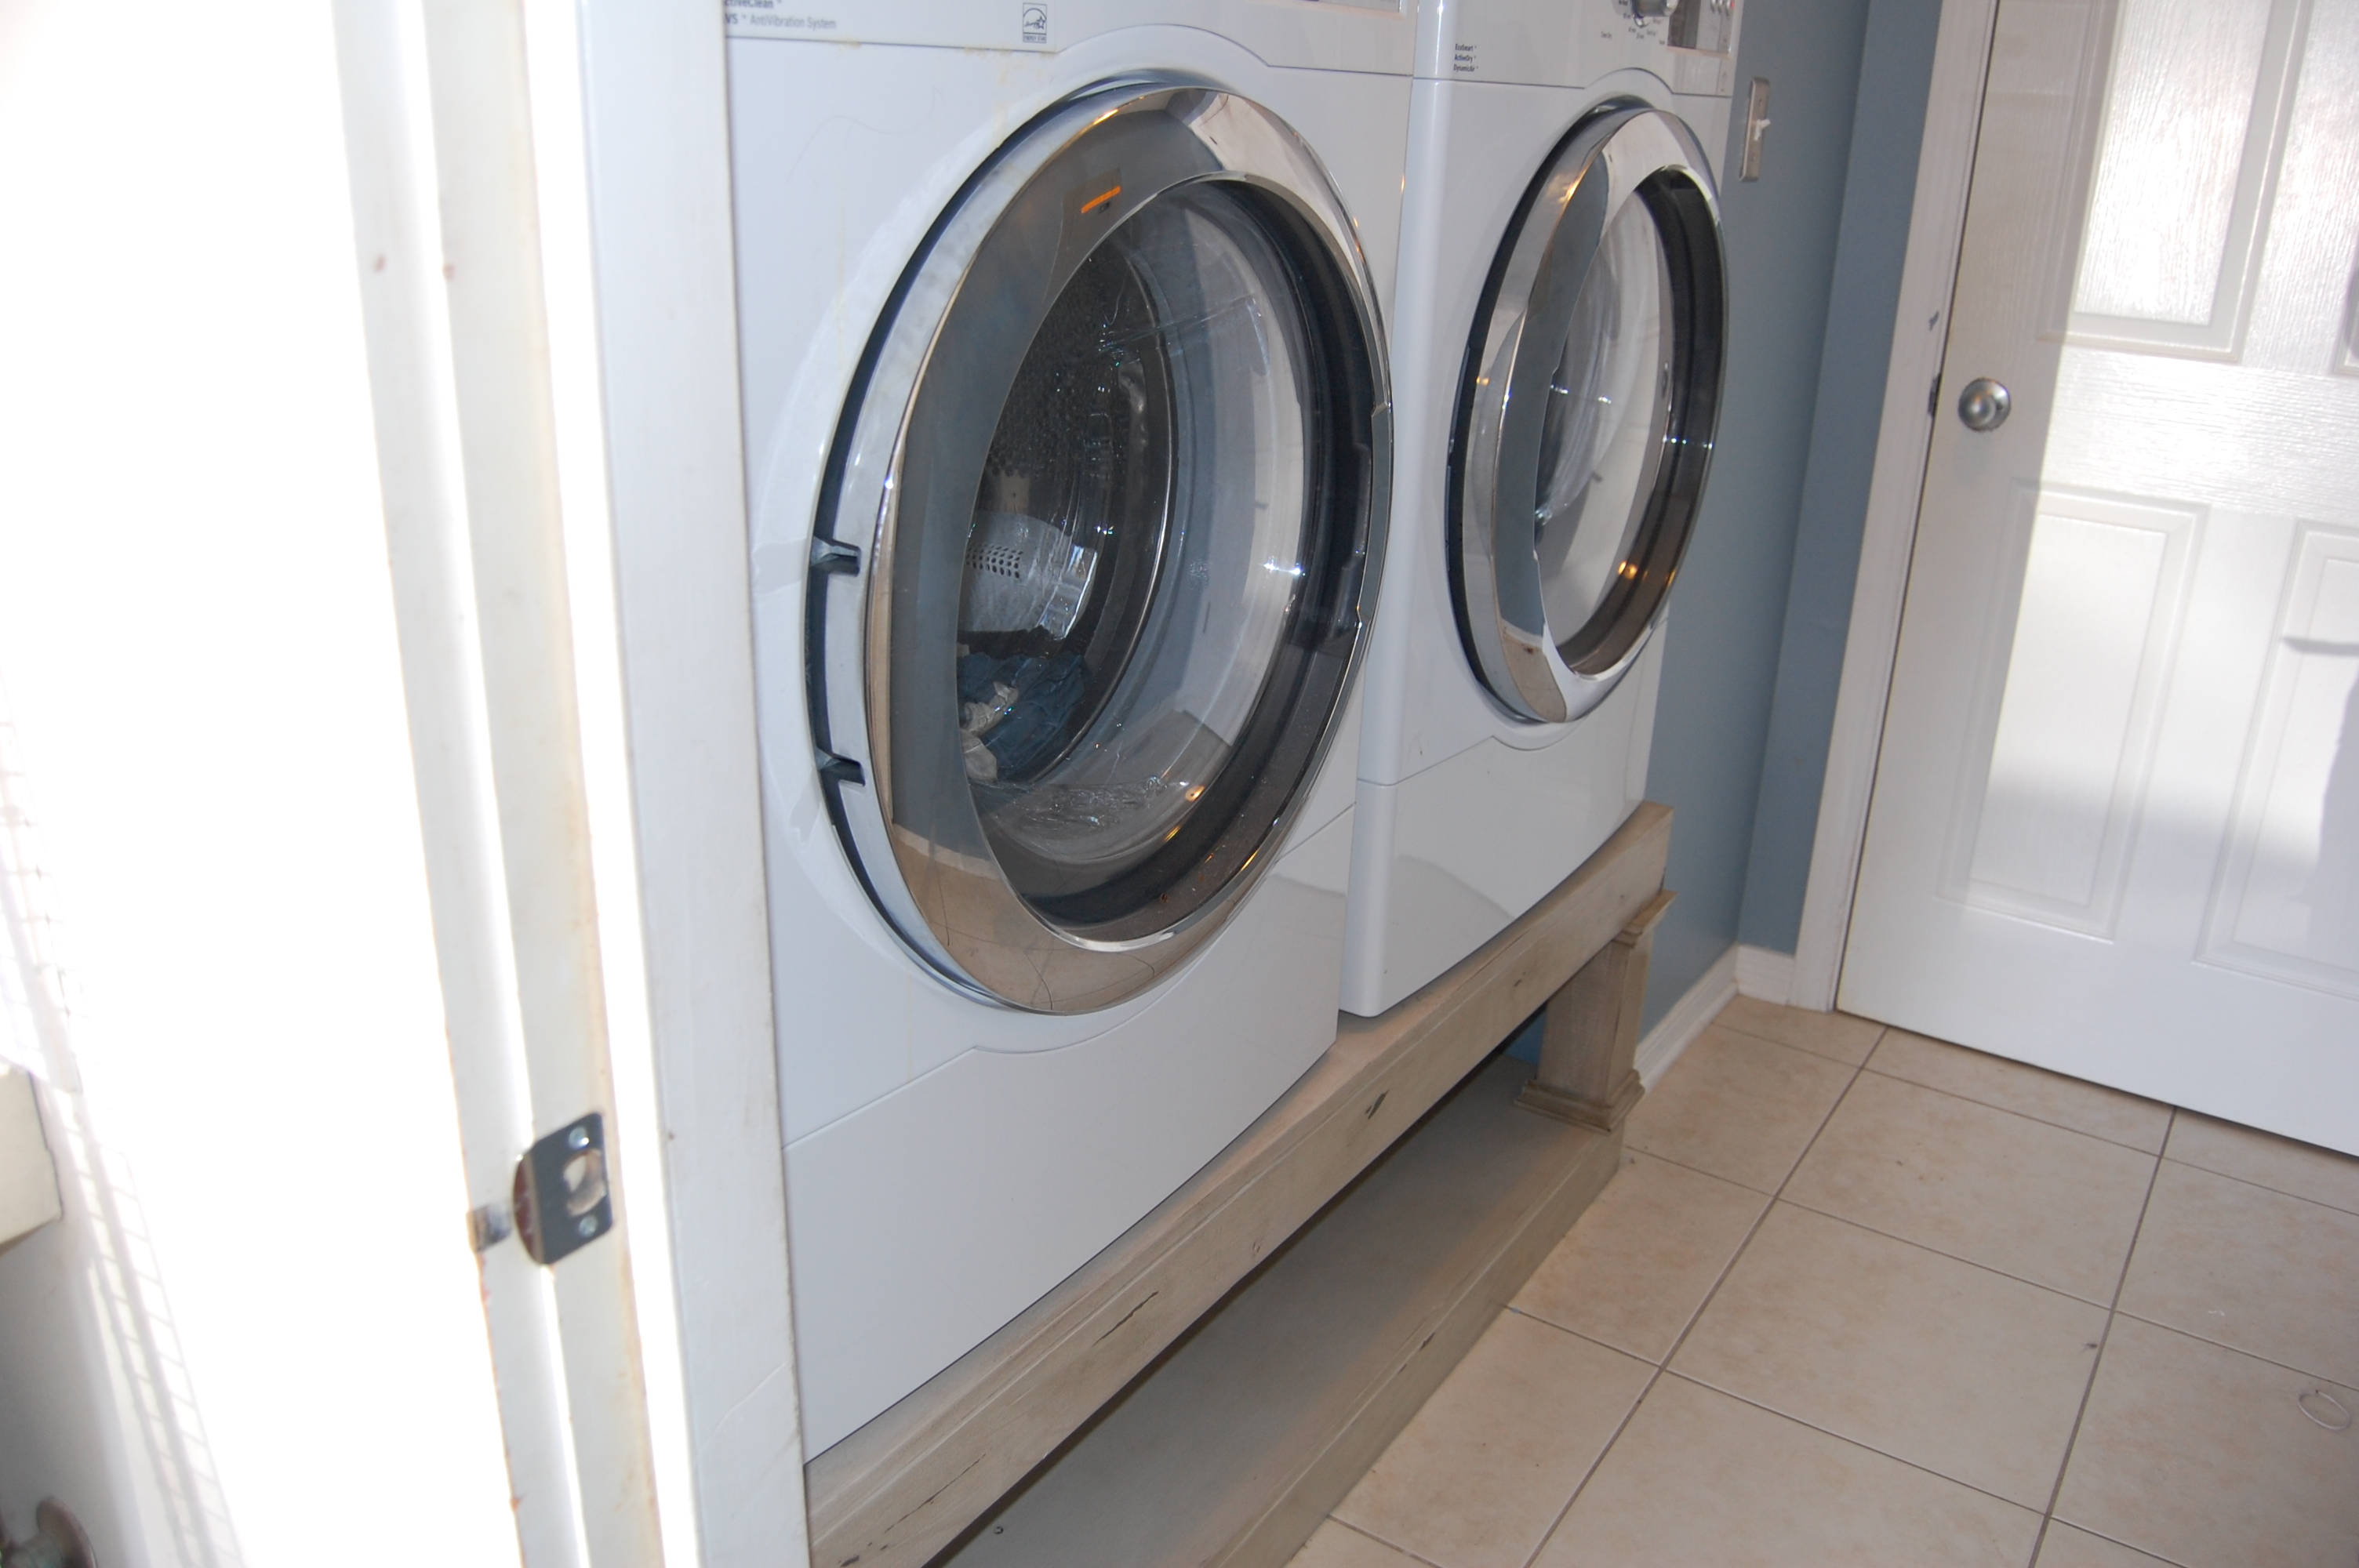
I feel in love with these plans as soon as I saw them, but didn't have front loading washer at the time. So...I talked hubby into buying me a new house, which meant I had to have new washer and dryer, now I have my pedestal..and I LOVE it. It was soo easy to build. The hard part was getting heavy washer on it, thankfully hubby and teenage son are strong!
Thu, 07/14/2011 - 10:32
Good job. And I love how you finally got your pedestal! My daughter fell in love with this, too. It's on my build list for my next visit!
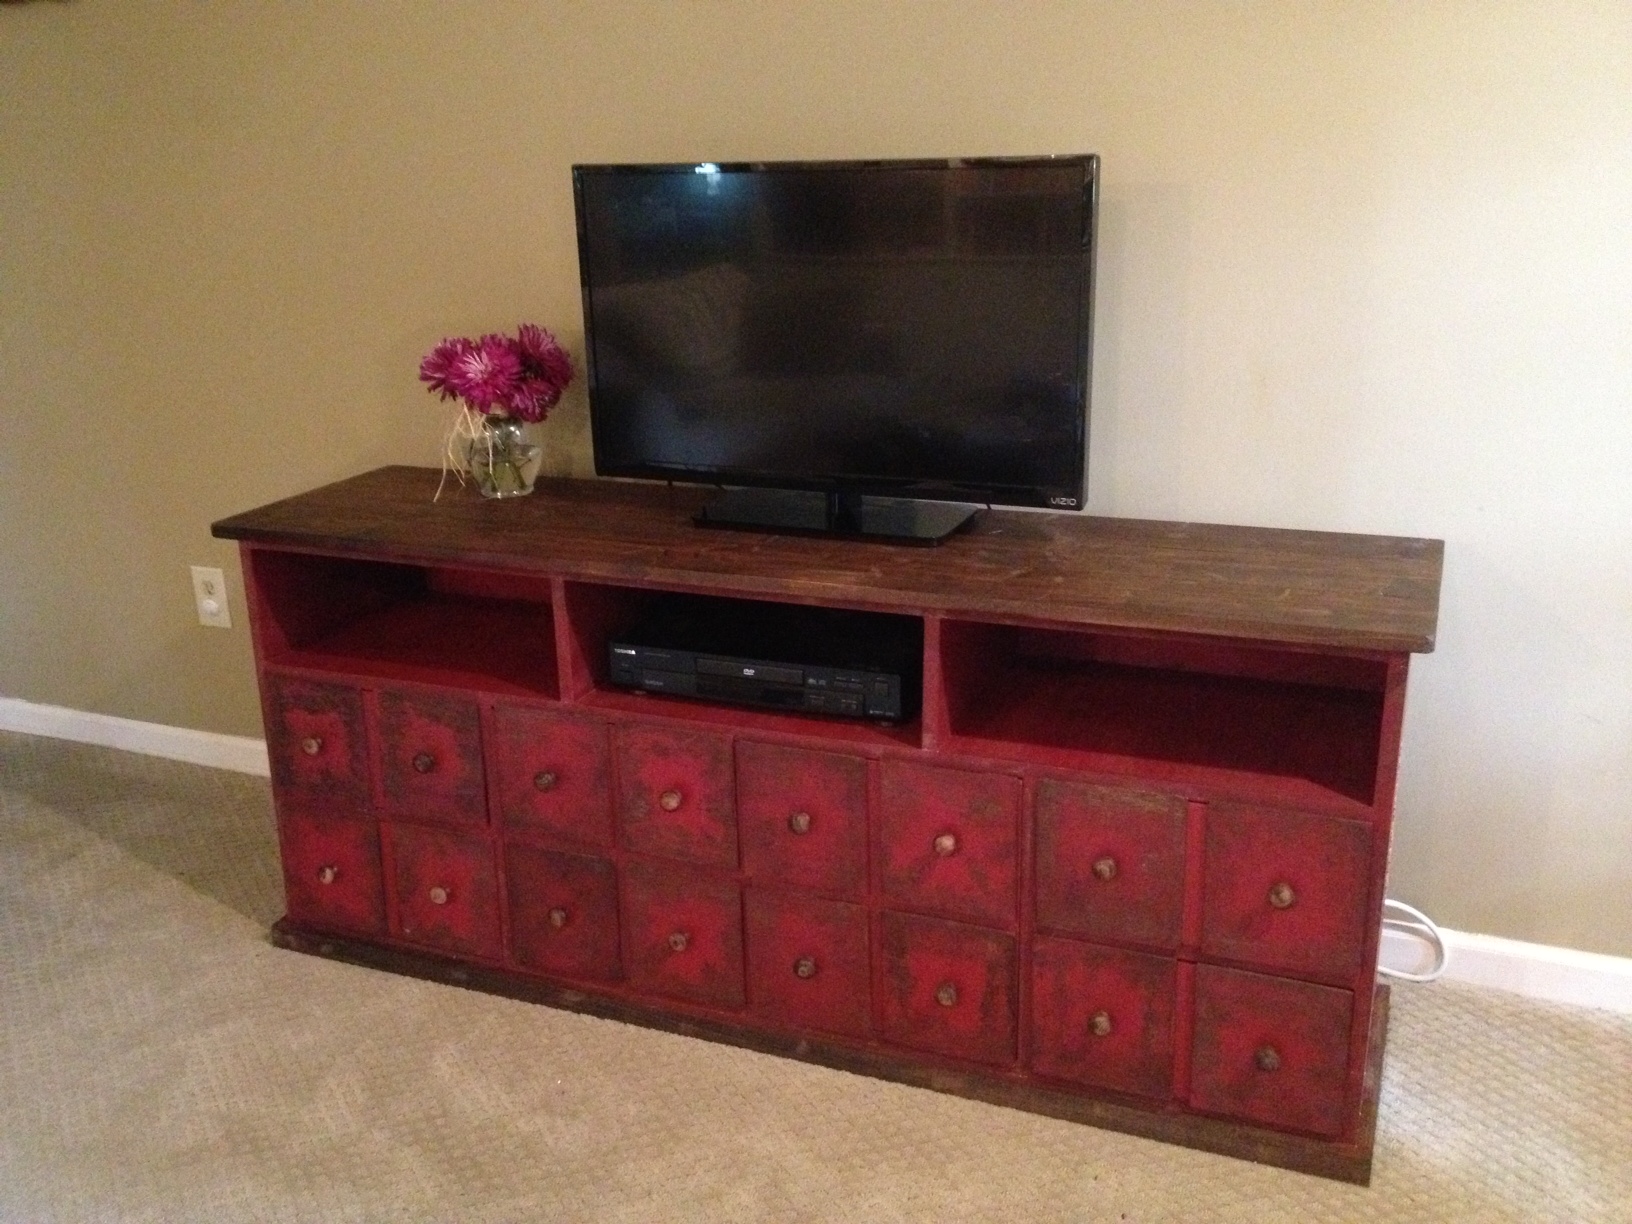
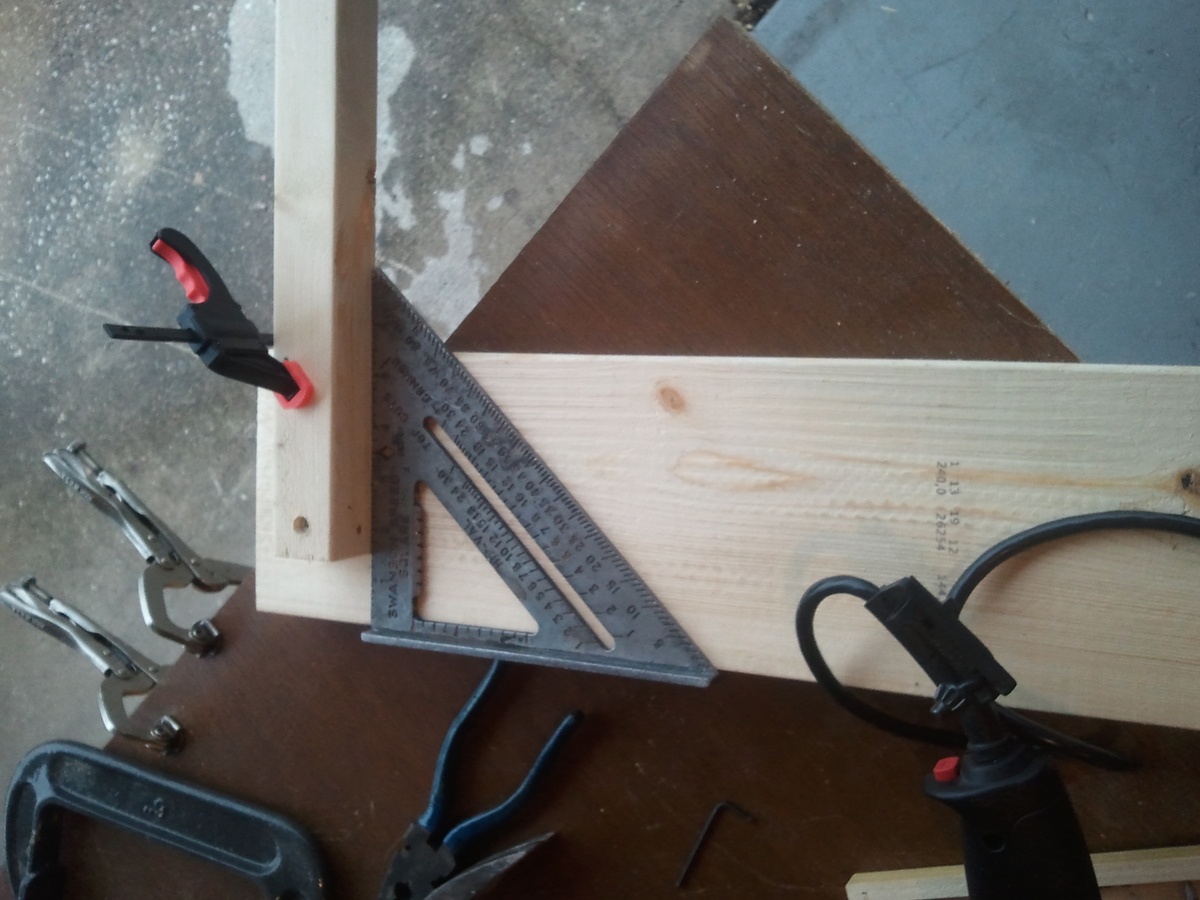
Apothecary Media Console Table. No modifications to plans.
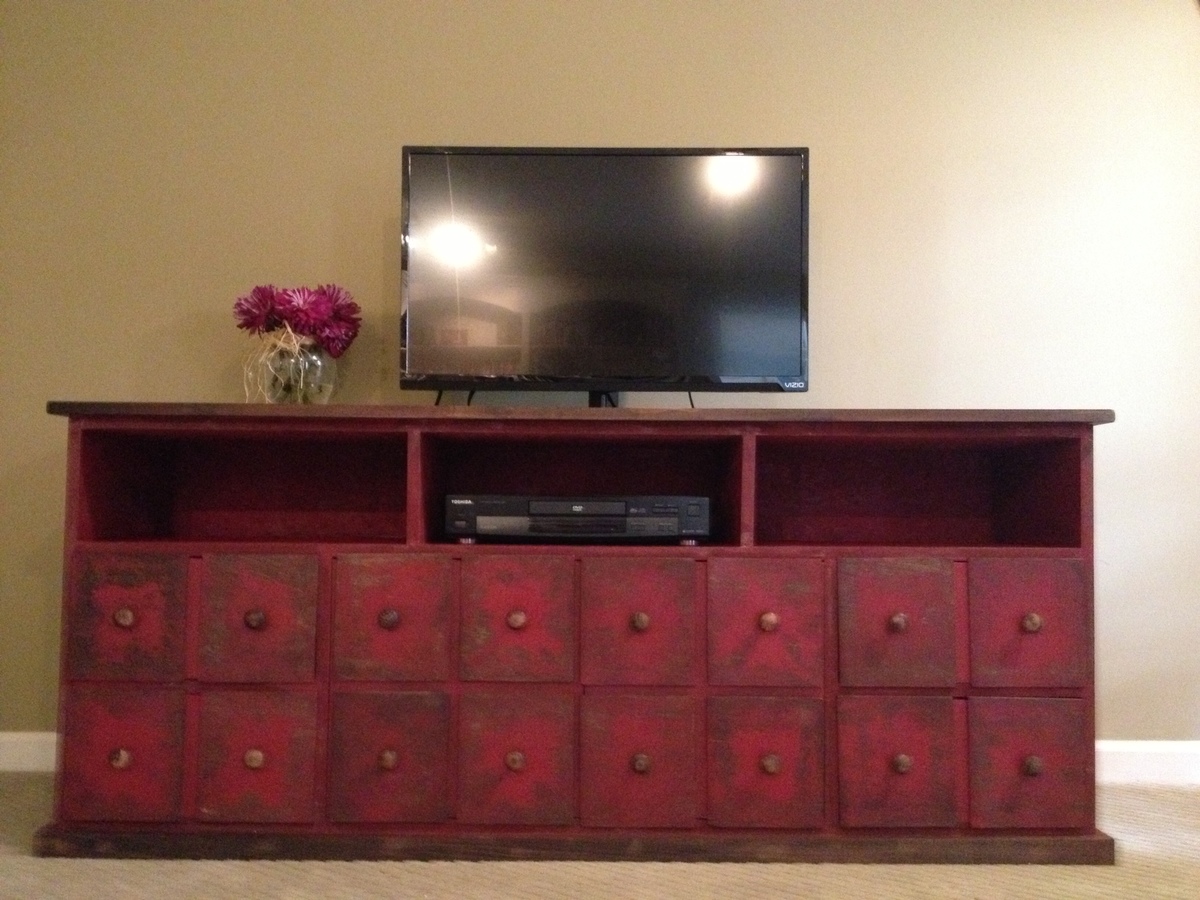
I had trouble with the angled cuts not fitting perfectly. I have a circular saw, not a table saw or miter saw, so I had to measure with a protractor and mark, then try to follow my lines exactly. Tedious, but I like the table. It is mad heavy though!
I am so grateful to you as I have learned a lot from your videos. I get the true inspiration from your videos and explanation.
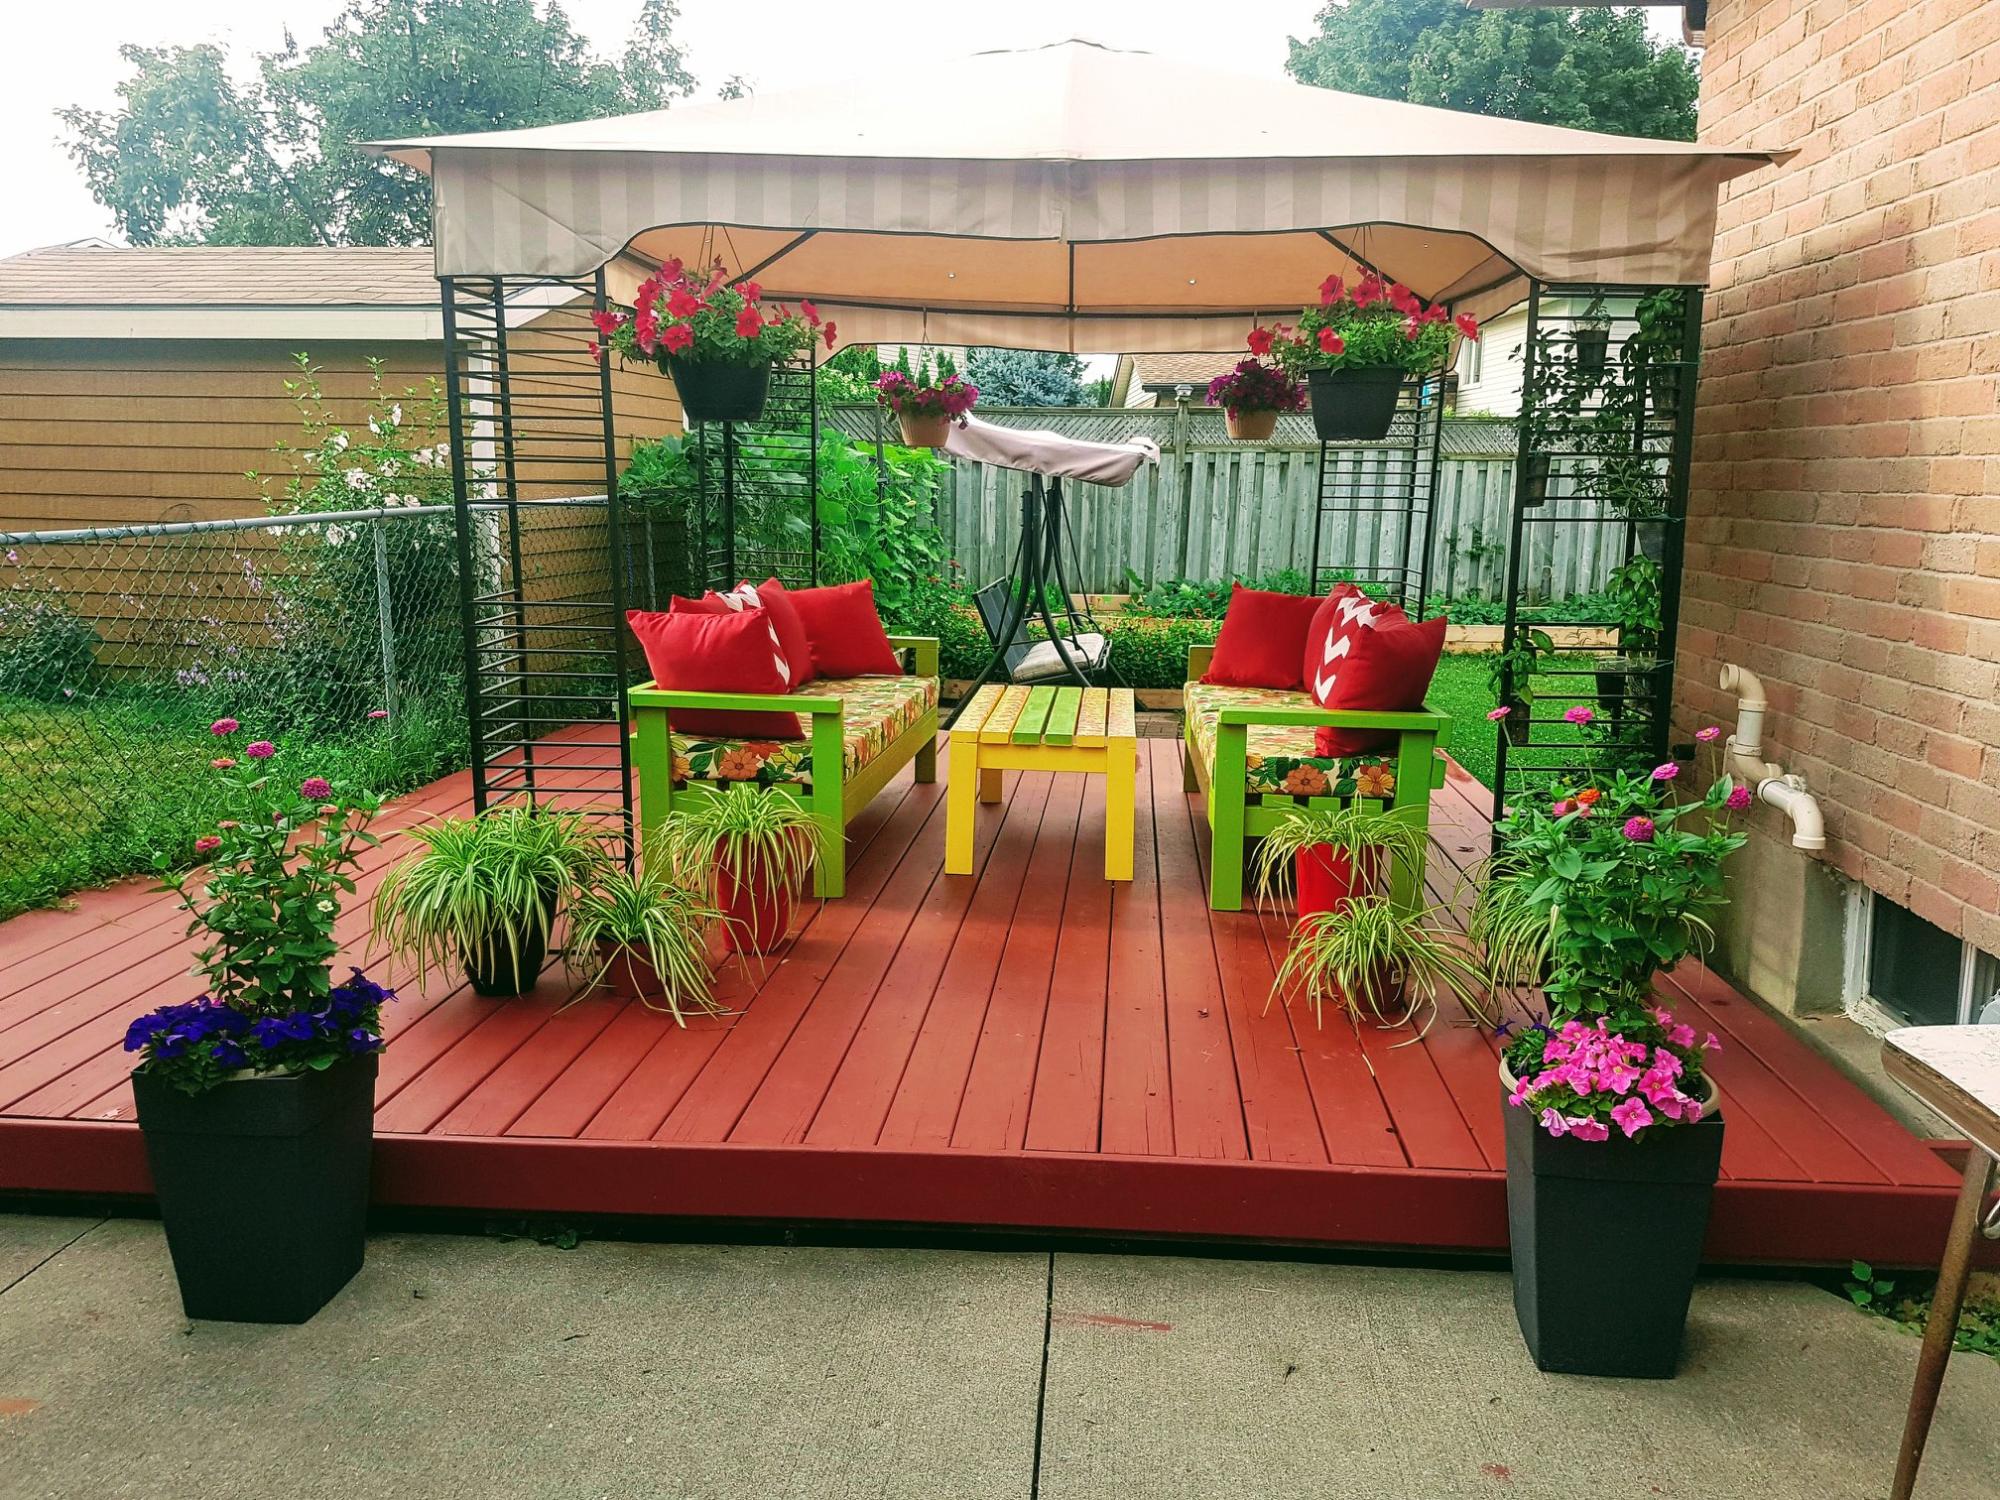
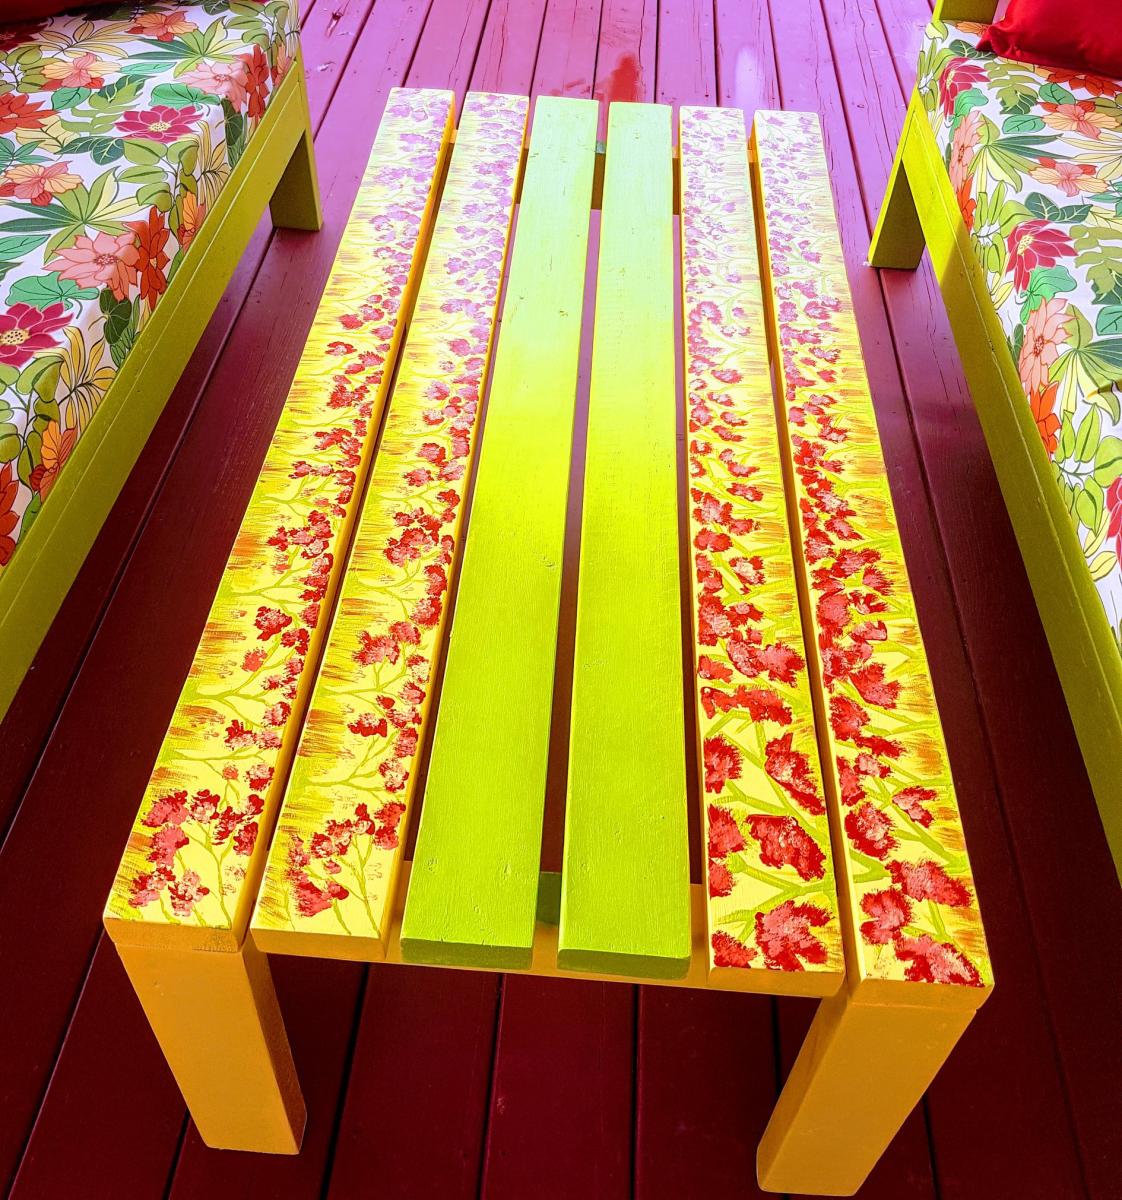
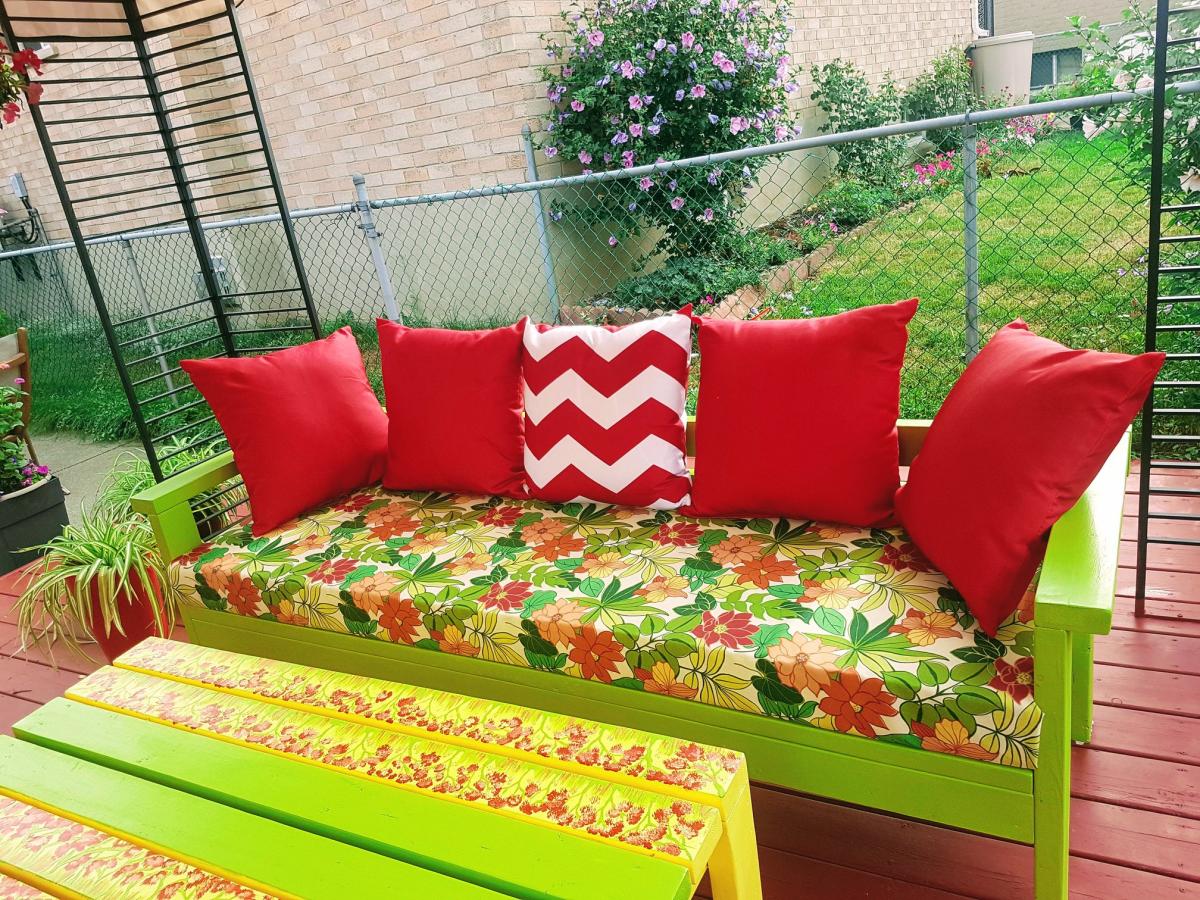
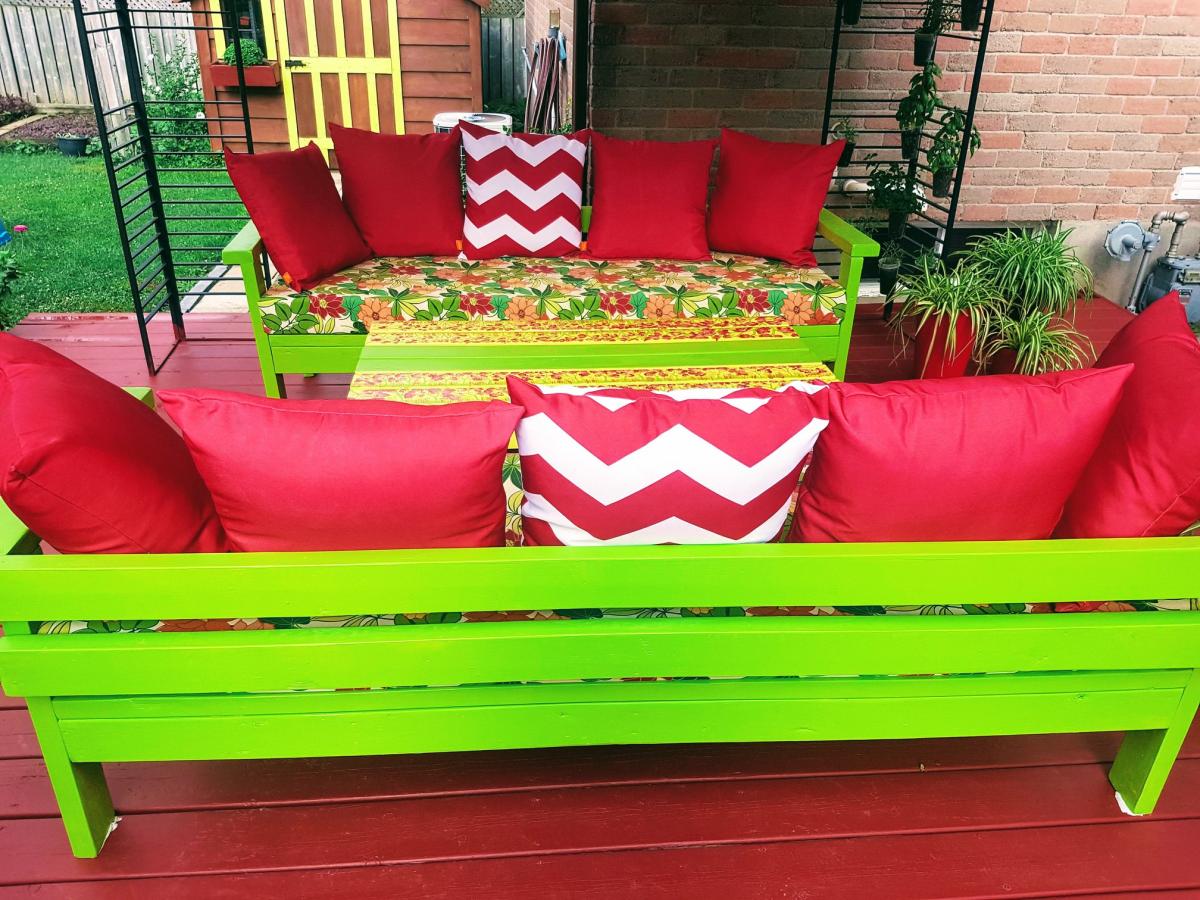
During the pandemic, I was taking my classes online which gave me some extra time and I built two out door sofas and a coffee table. The sofa is from the home depot website and the table is again from hoe depot website but it was you who built it/
Dr. Akhter
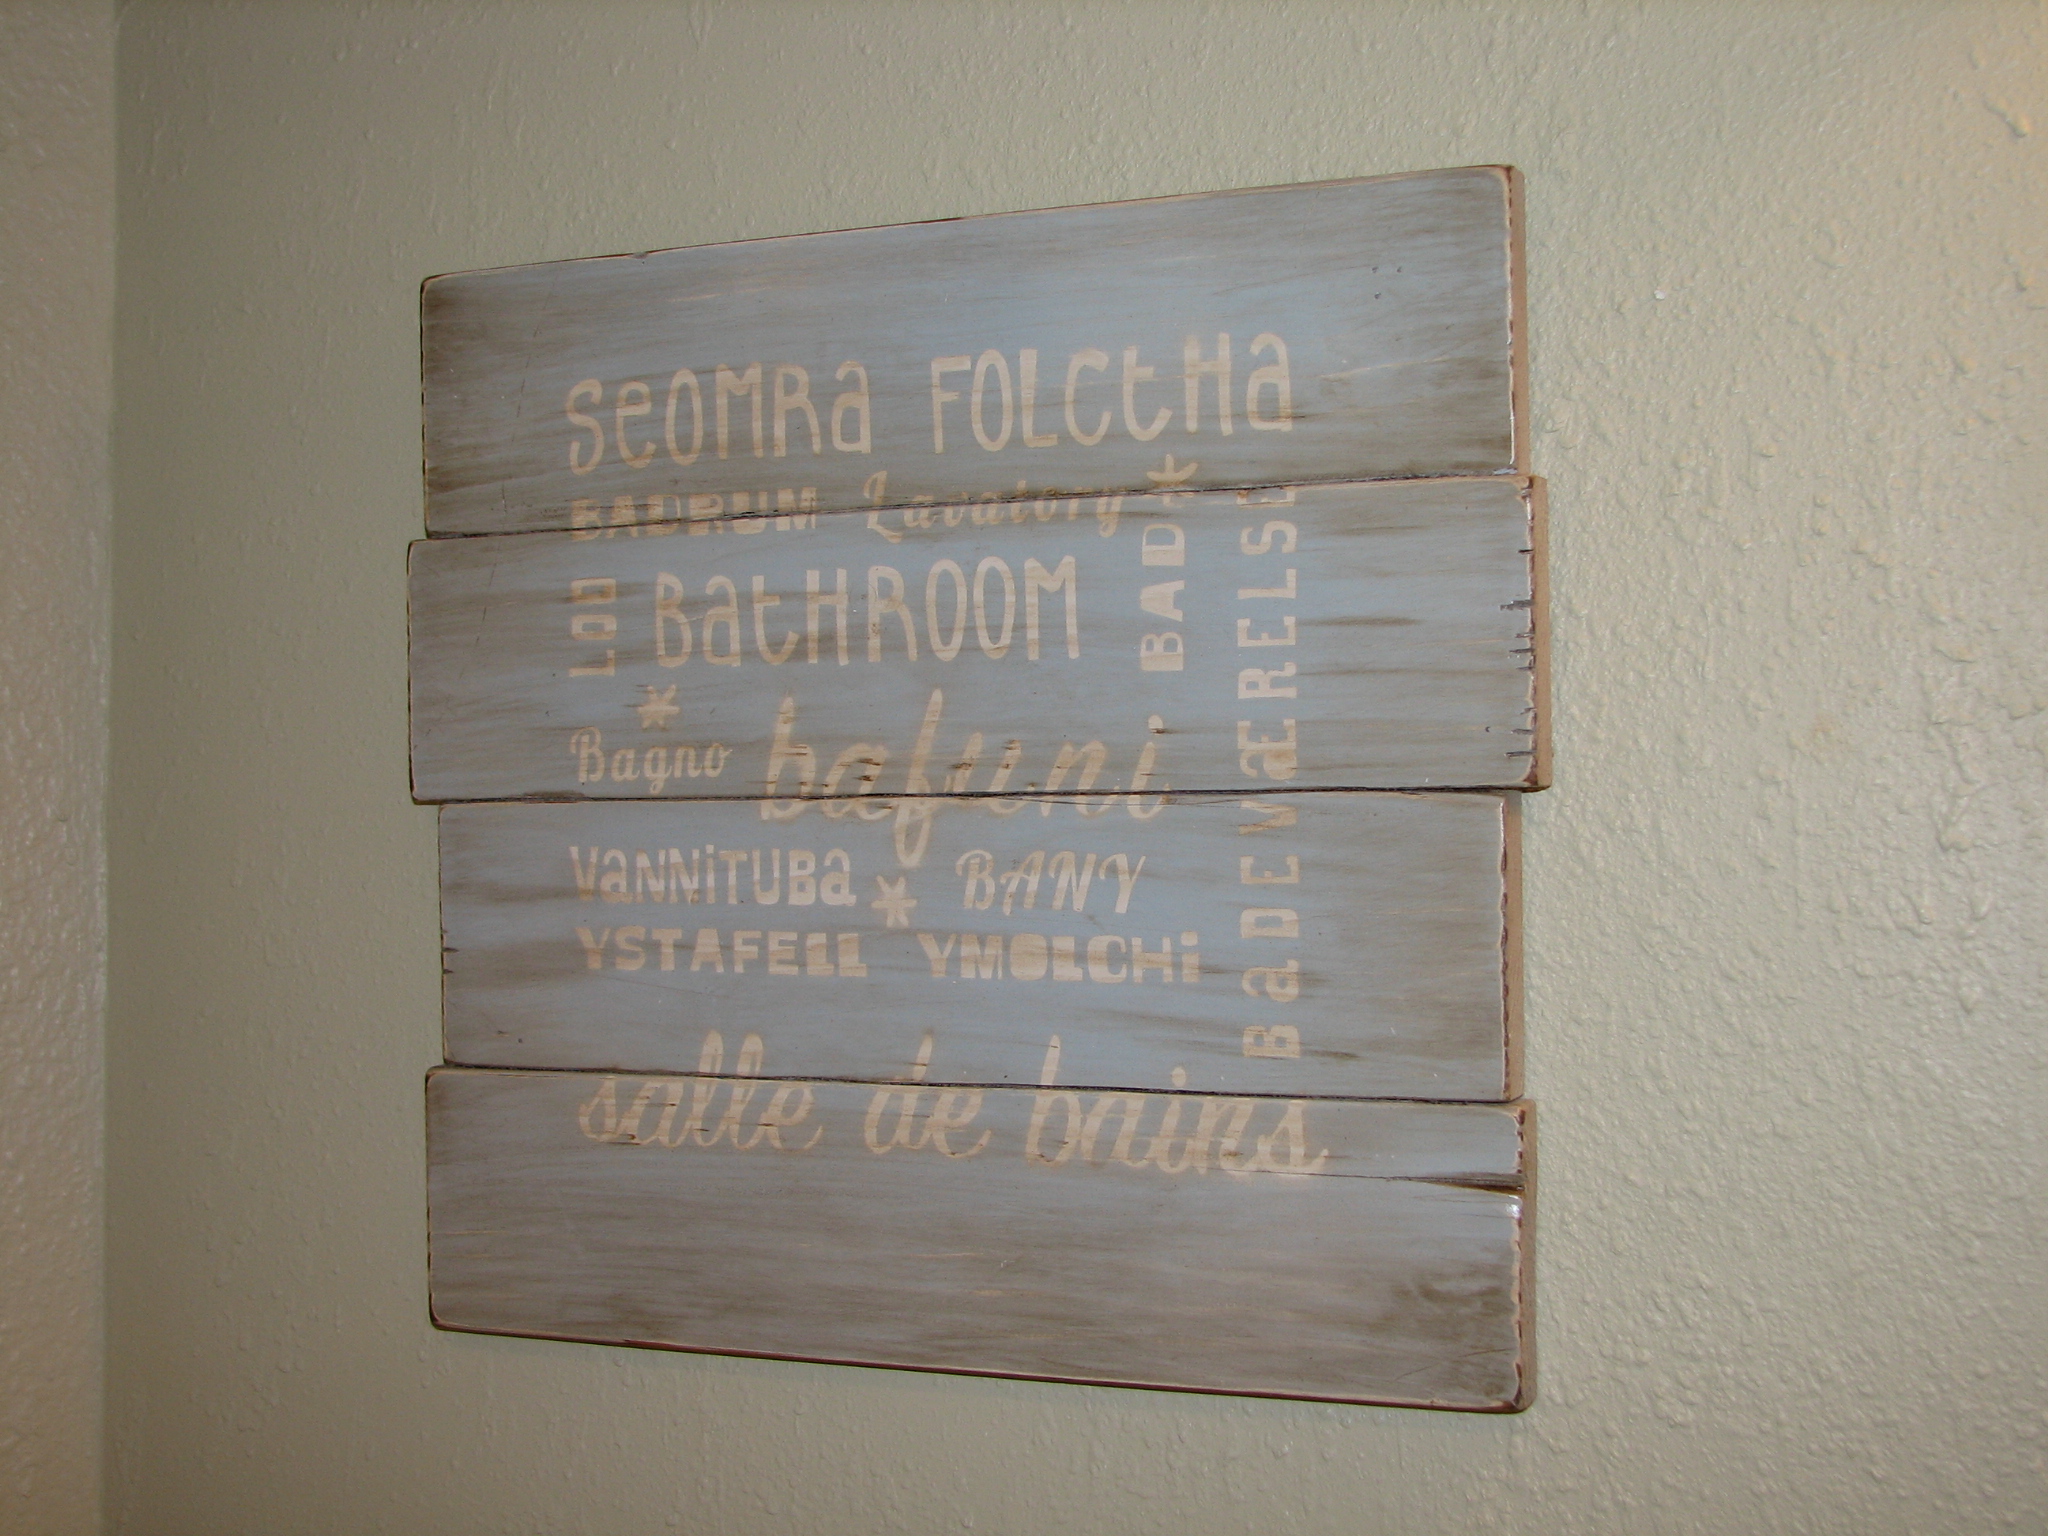
I've been wanting to create some bathroom decor....here it is!
Thu, 06/30/2011 - 17:14
I love it. How did you put the words on it? I does not look painted.
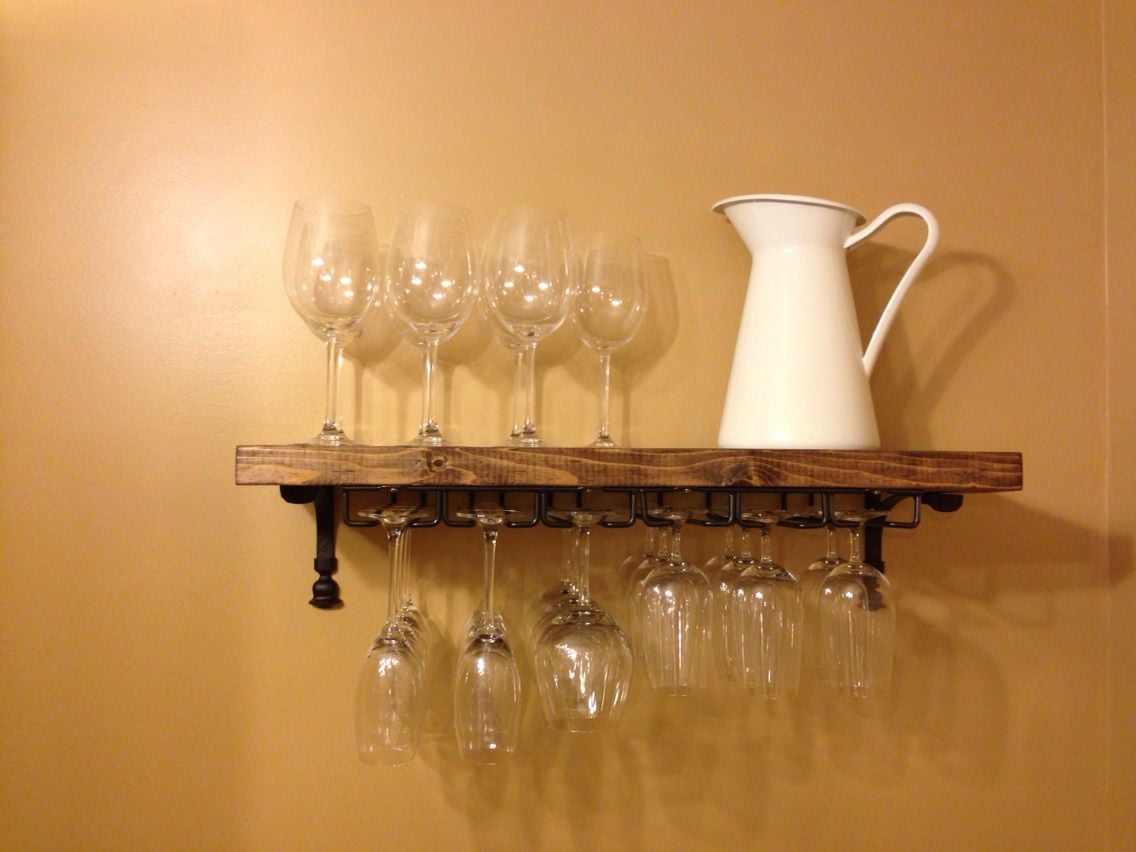
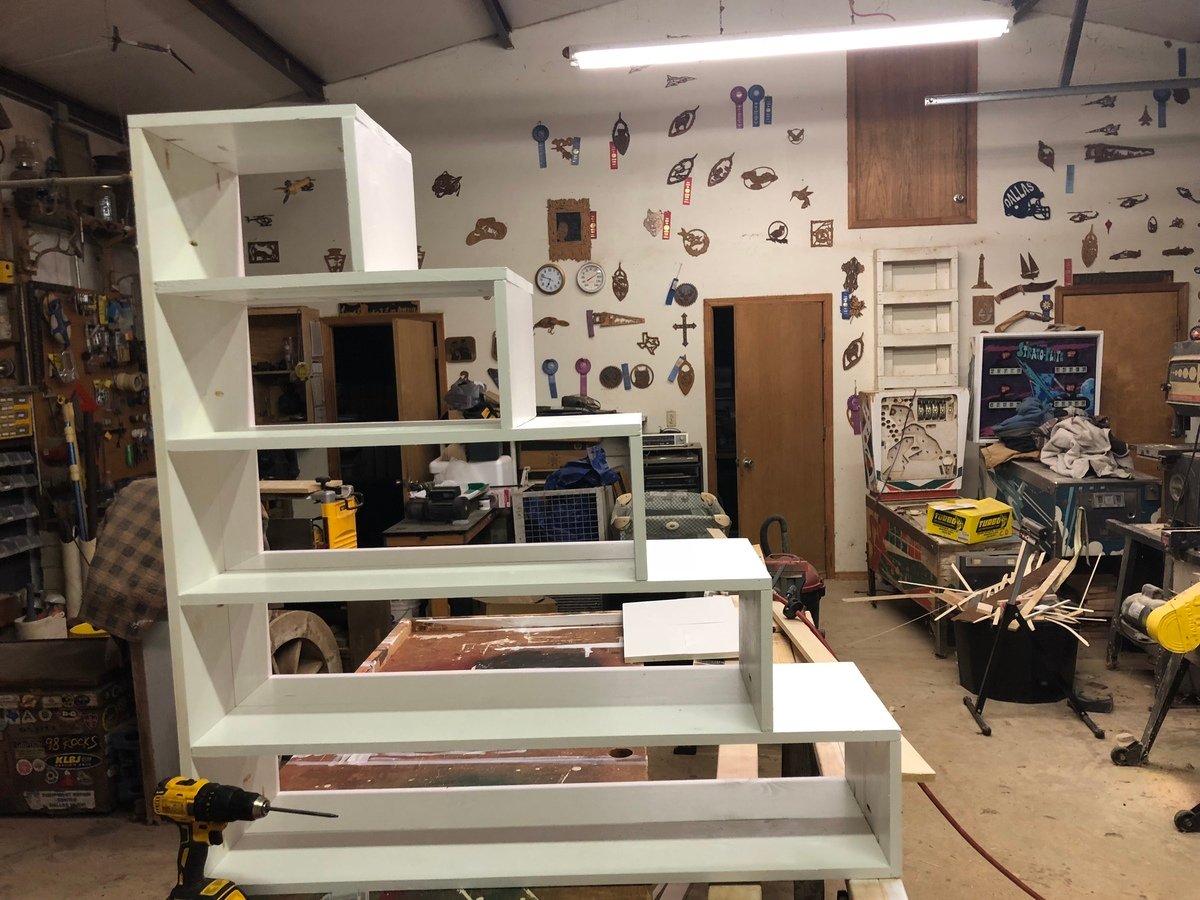
I made this after seeing the Rustic Wood Entertaining Shelves on the Pottery Barn website. I fell in LOVE with the wine glass rack, but $80 was way too much for me. I had some leftover 2x6s in the garage, so I Kreg jigged them together to make the shelf. I found some under cabinet mount wine glass racks at Bed Bath & Beyond for $10, so I bought them and spray painted them with Rustoleum oil rubbed bronze, and attached them to the bottom of my shelf. I found some shelving brackets at Home Depot and used those to hang the shelf on the wall. I could not be more proud of my wine glass rack/shelf!
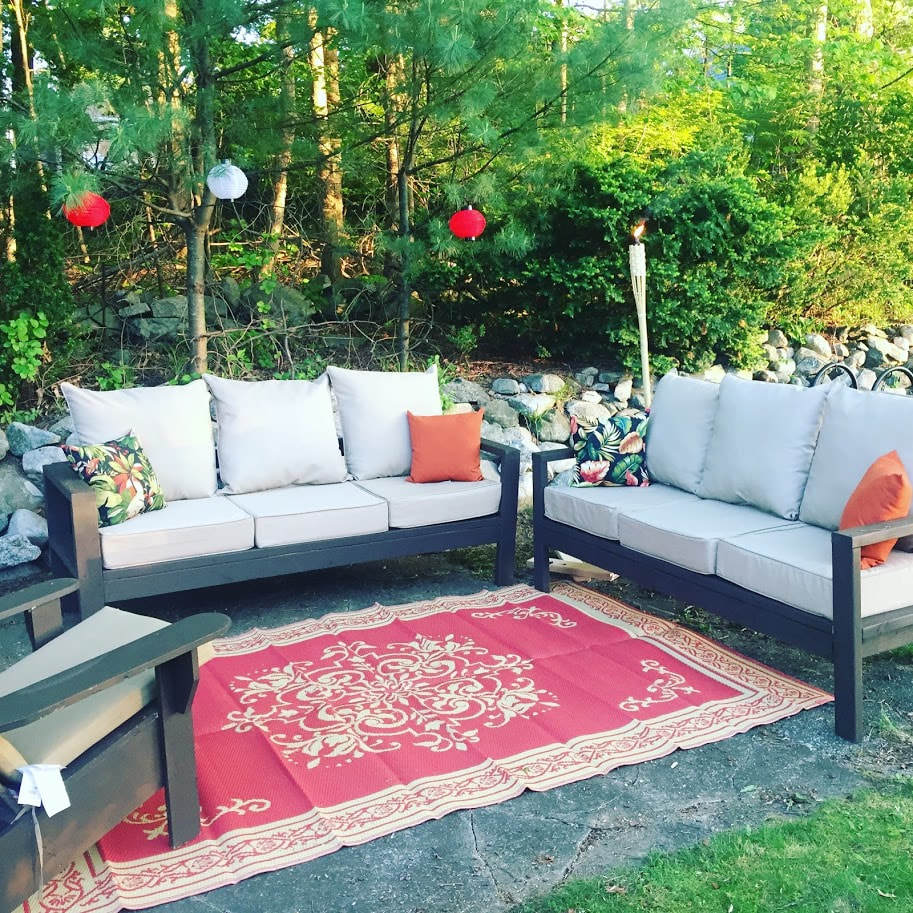
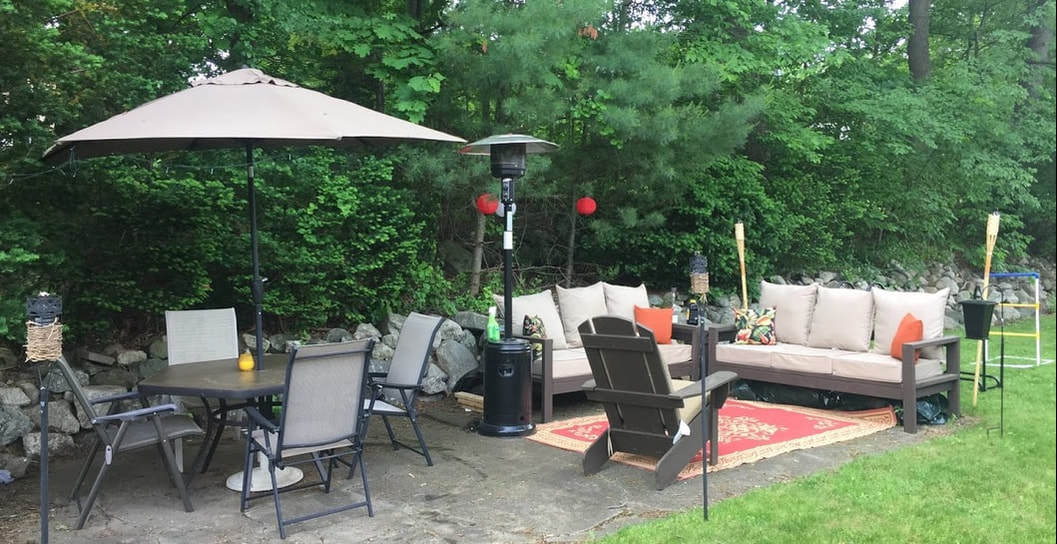
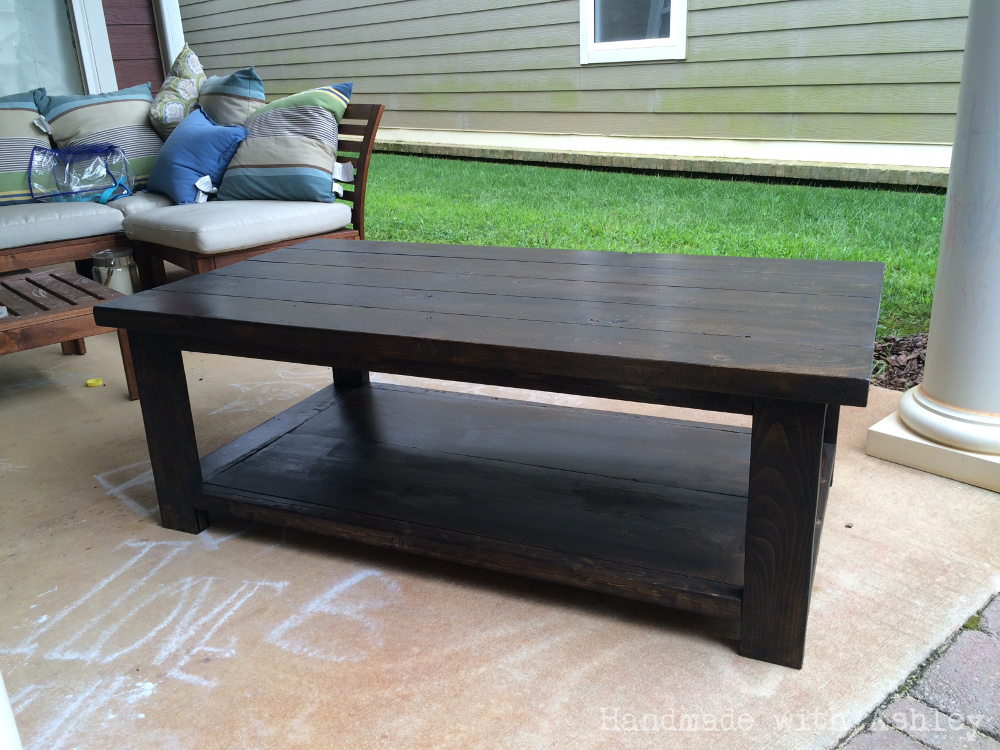
I actually made these a year ago and finally got around to blogging/brag posting. This was the very first DIY furniture I ever attempted. In fact it's what introduced me to Ana White and got me inspired to start my blog! I saw outdoor couches at Pottery Barn that I loved but were way out of my price range, especially because I wanted two. This project could not have been easier. It took me two afternoons, one for each couch, but now that I know what I'm doing I could put them both together in a few hours. They held up with heavy usage all summer. I'm so excited I took a chance on these plans!
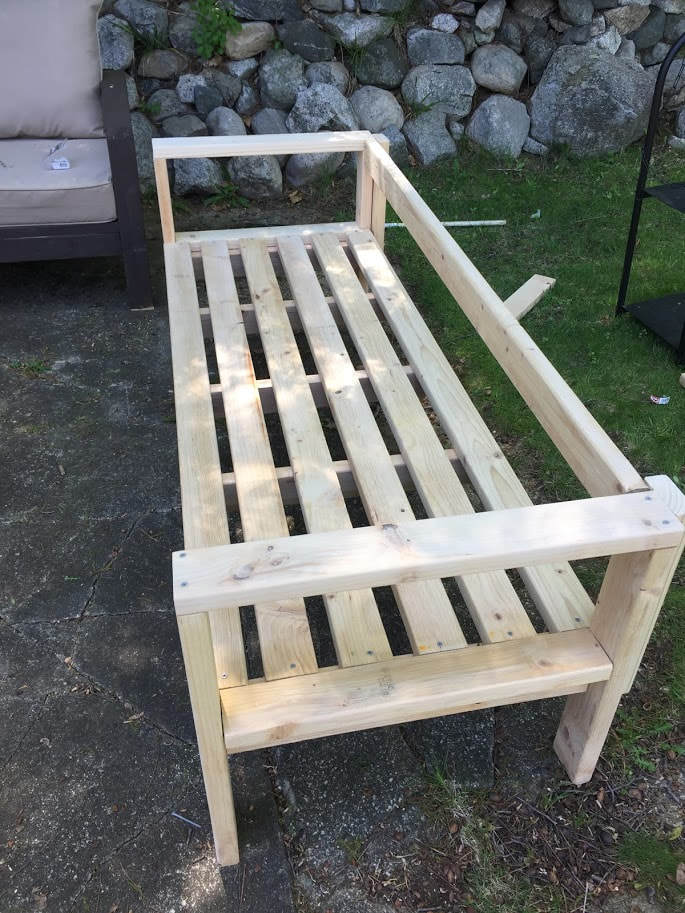

Tue, 06/05/2018 - 14:49
What a lovely first project! Looks like it's holding up well! I love the dark finish!
Thanks so much for sharing a brag post, can't wait to see more from you!
Ana
Wed, 12/05/2018 - 06:00
Thank you Ana! I've gone on to build a few more of your projects and I can't believe how much I'm learning following your plans and videos. You have have been a game changer. I didn't think we could afford to update our house in a meaningful way, but through your site I've been able to add pieces that are quality, affordable, and most of all meaningful. I hope more women get invovled in woodworking, you have made it so accessable. Plus, powertools are fun! Thanks for all you do!!
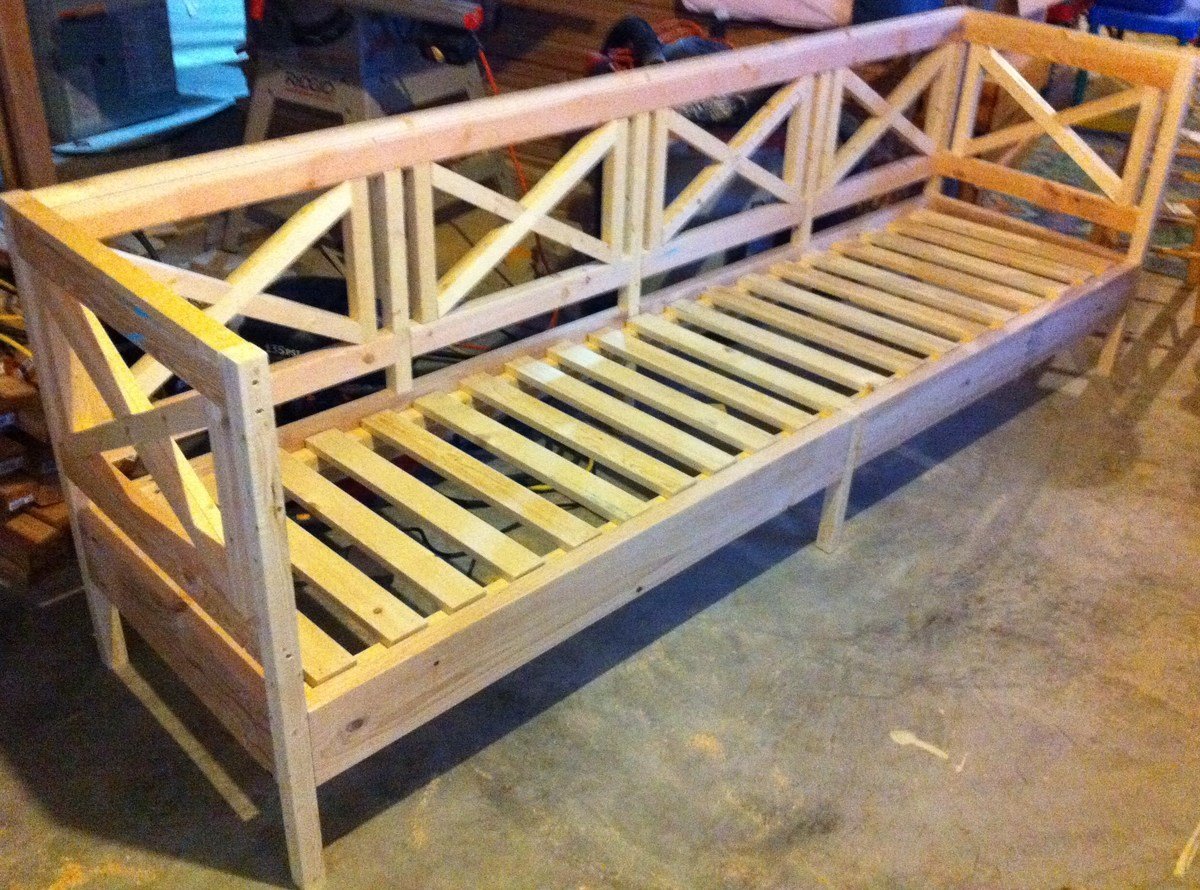
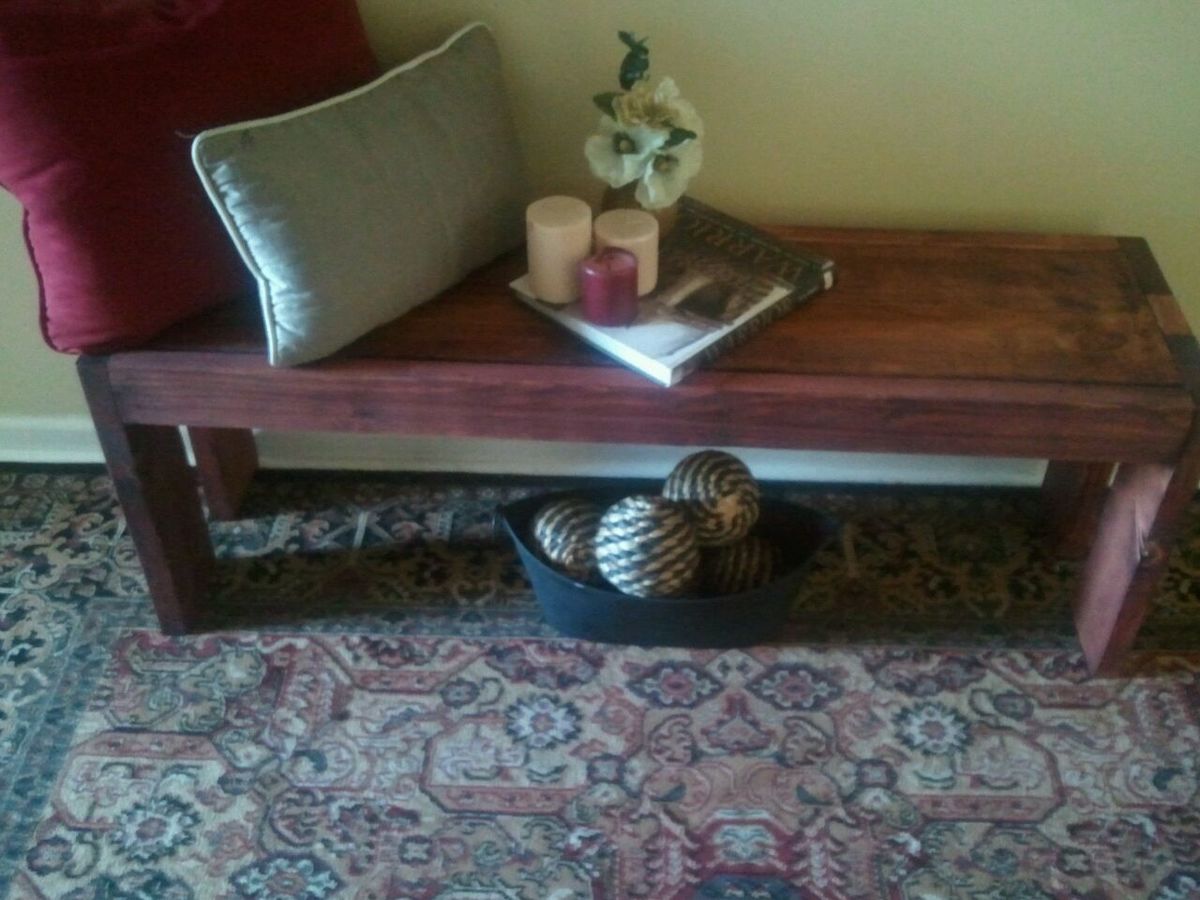
I started giving much needed attention to my deck and found Ana's plan for this bench. I modified it slightly to make it longer (for four seats instead of three).
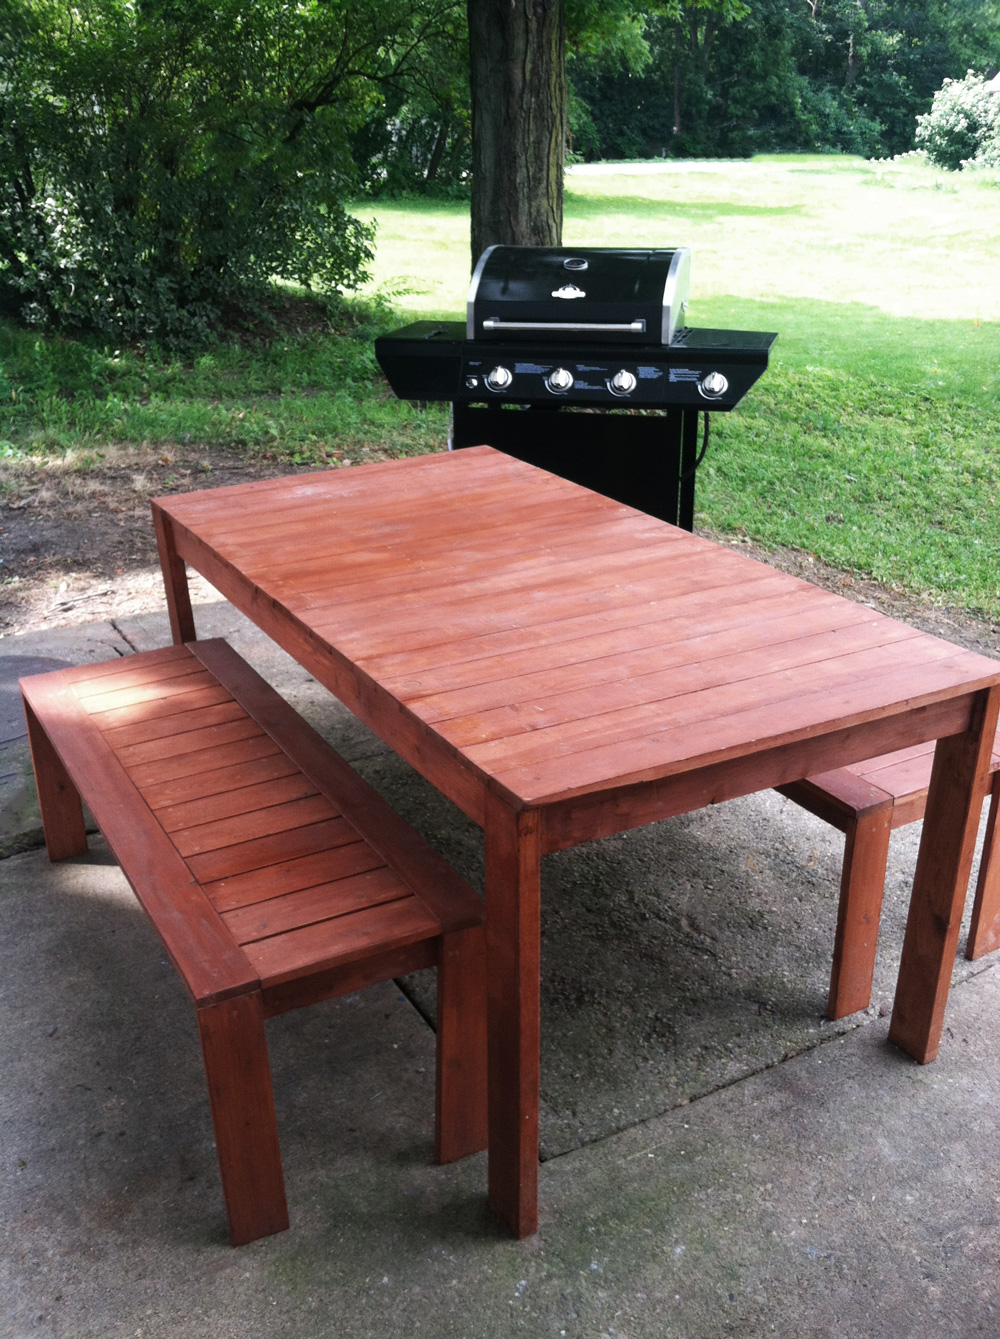
My husband followed the plans Ana-White provided to make me this. I love it! We're also going to make the chairs in the future. To check out additional photos of this table and other home projects we've tackled please take a look at my blog, Our Up House Love.
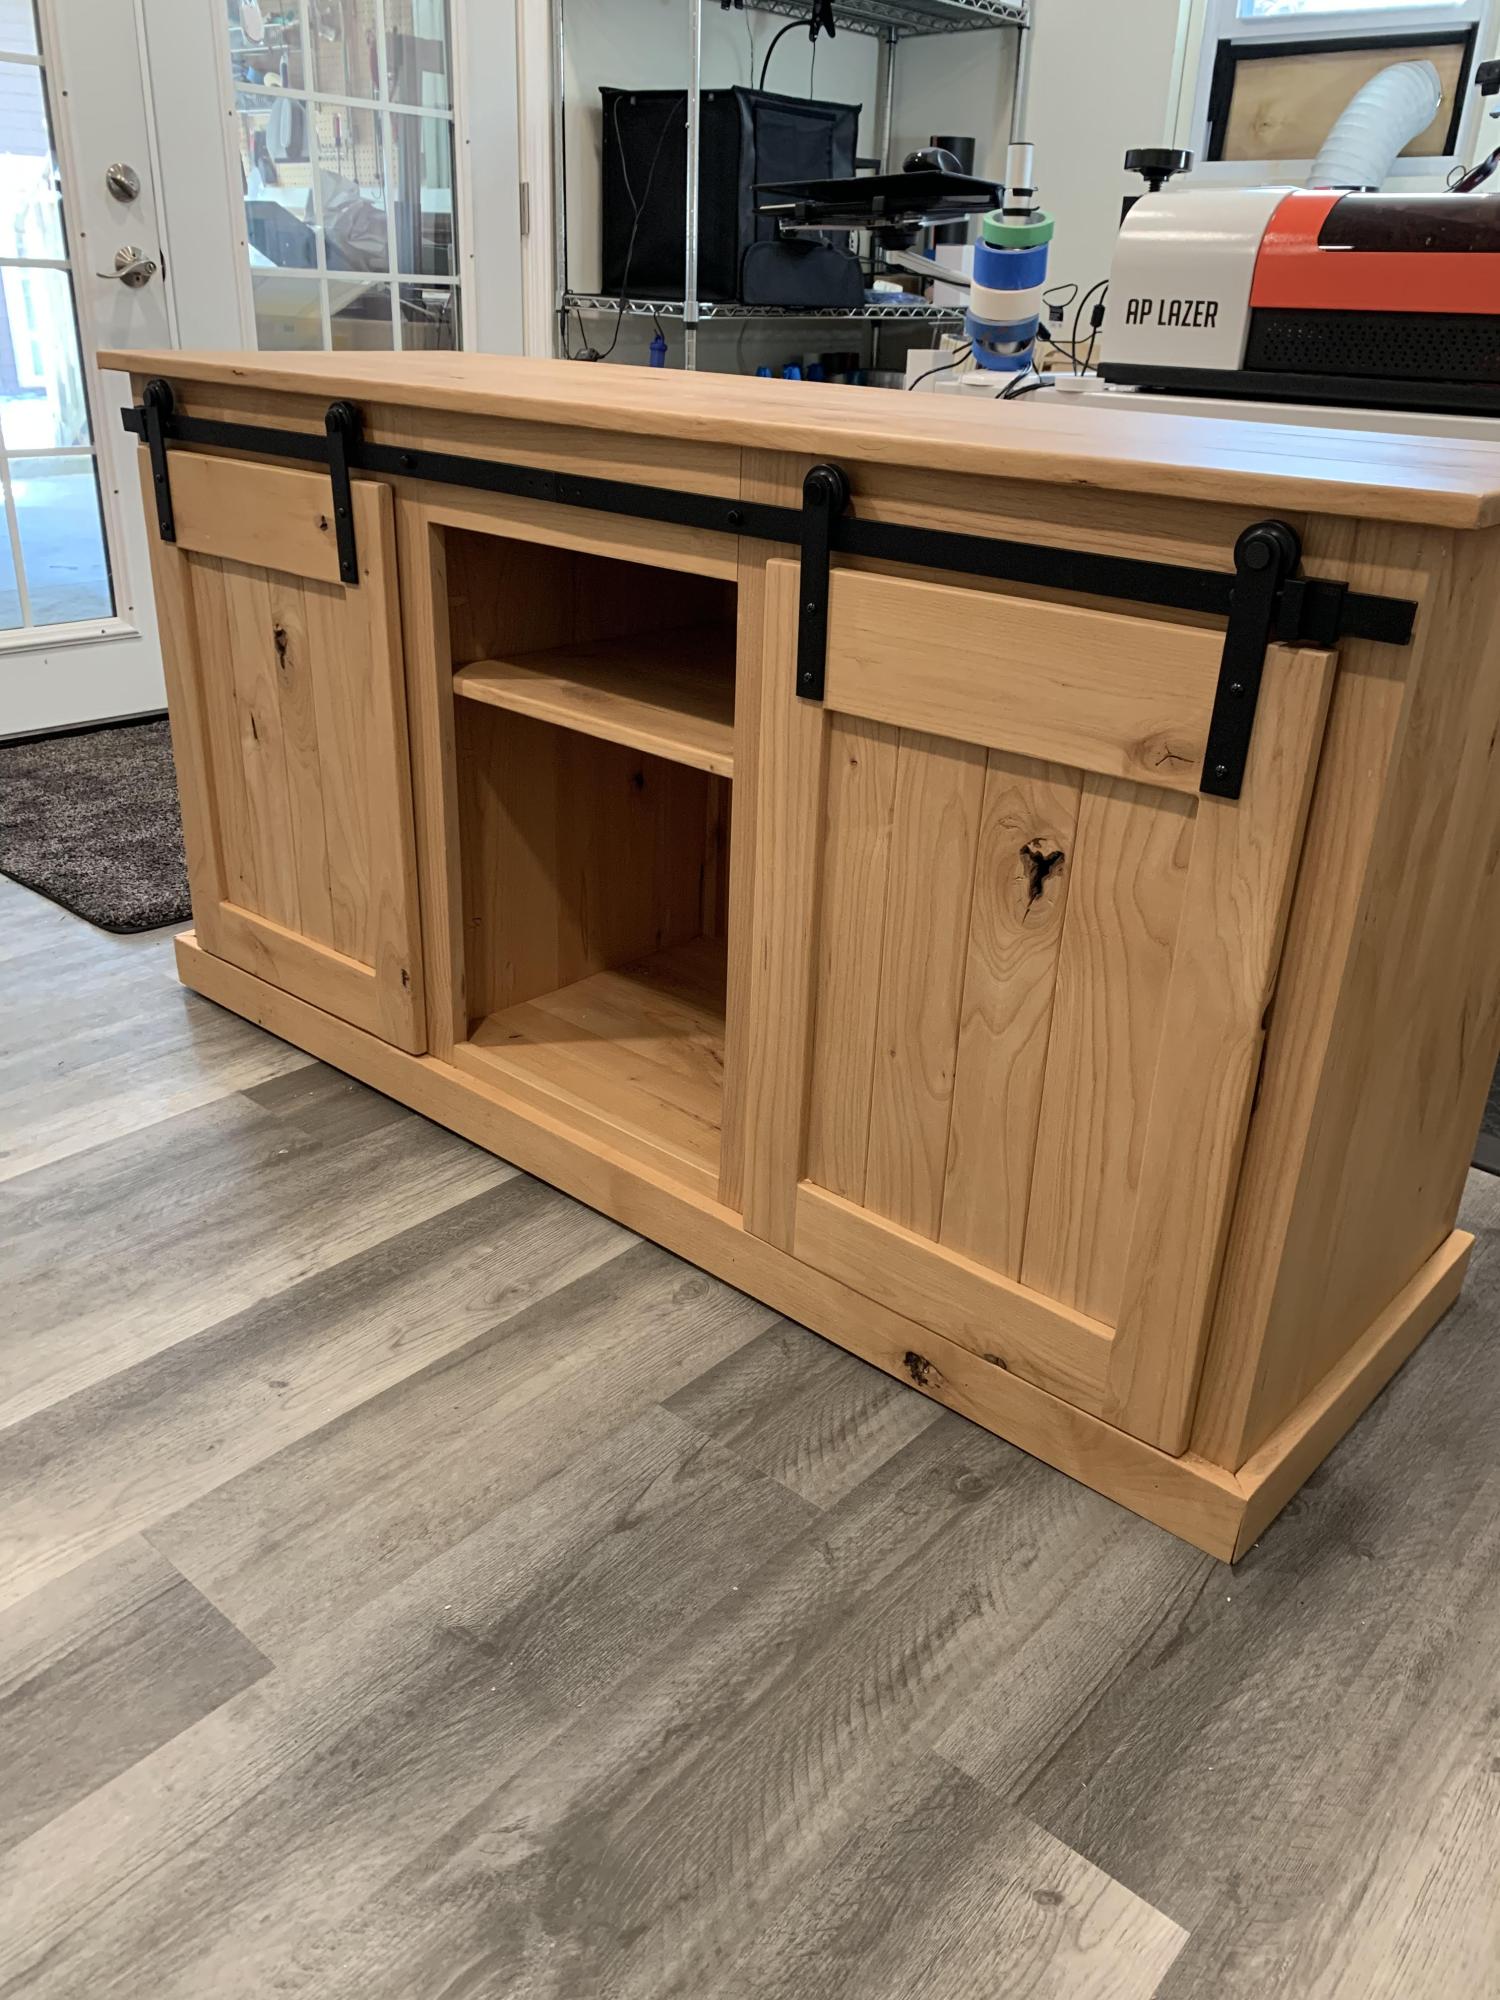
My sister came to me with a picture of a coffee table. She wanted to build it! Together we spent a weekend building the Rustic X Coffee table. She is a little disappointed with how dark the stained turned out, but I actually really like the color! She has found a new hobby in woodworking and I really look forward to building new projects with her. Next up, she wants a new tv stand. :)
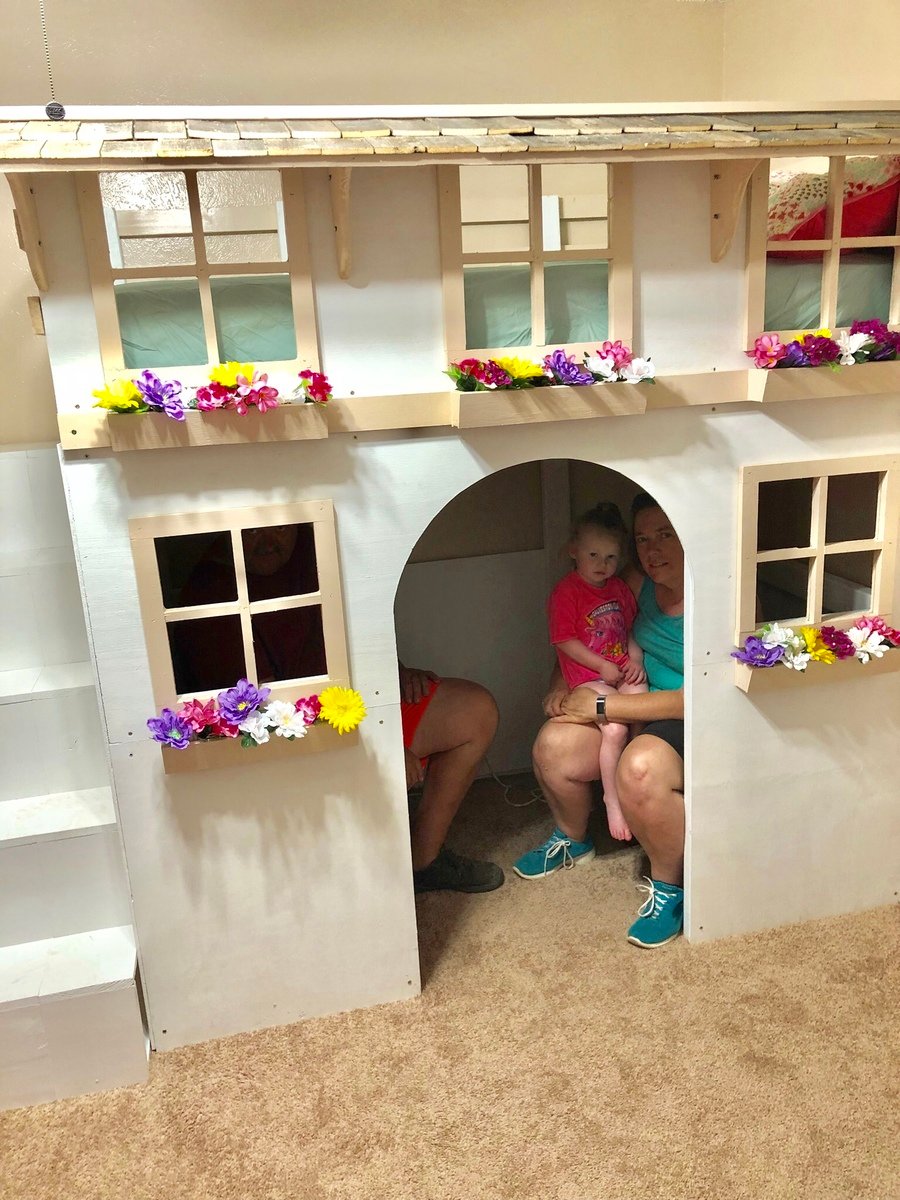
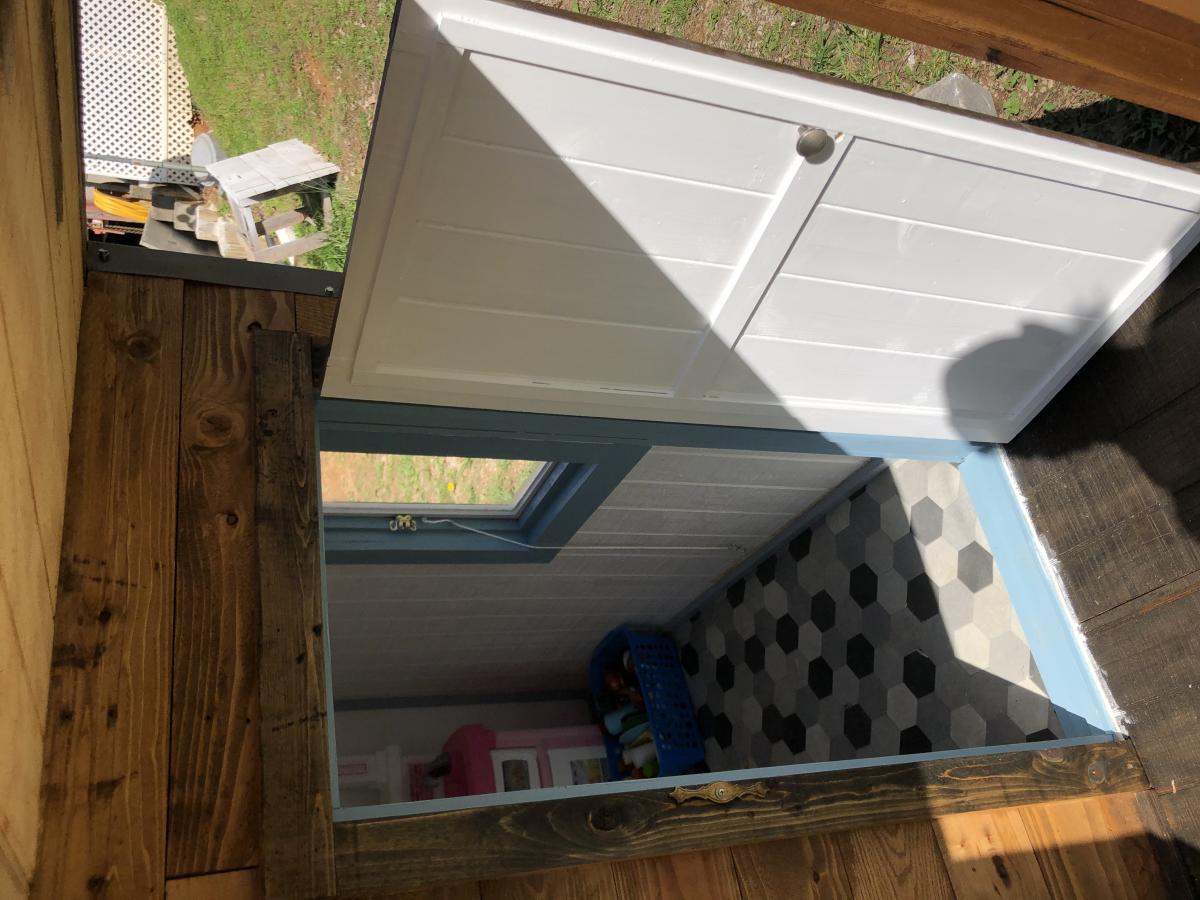
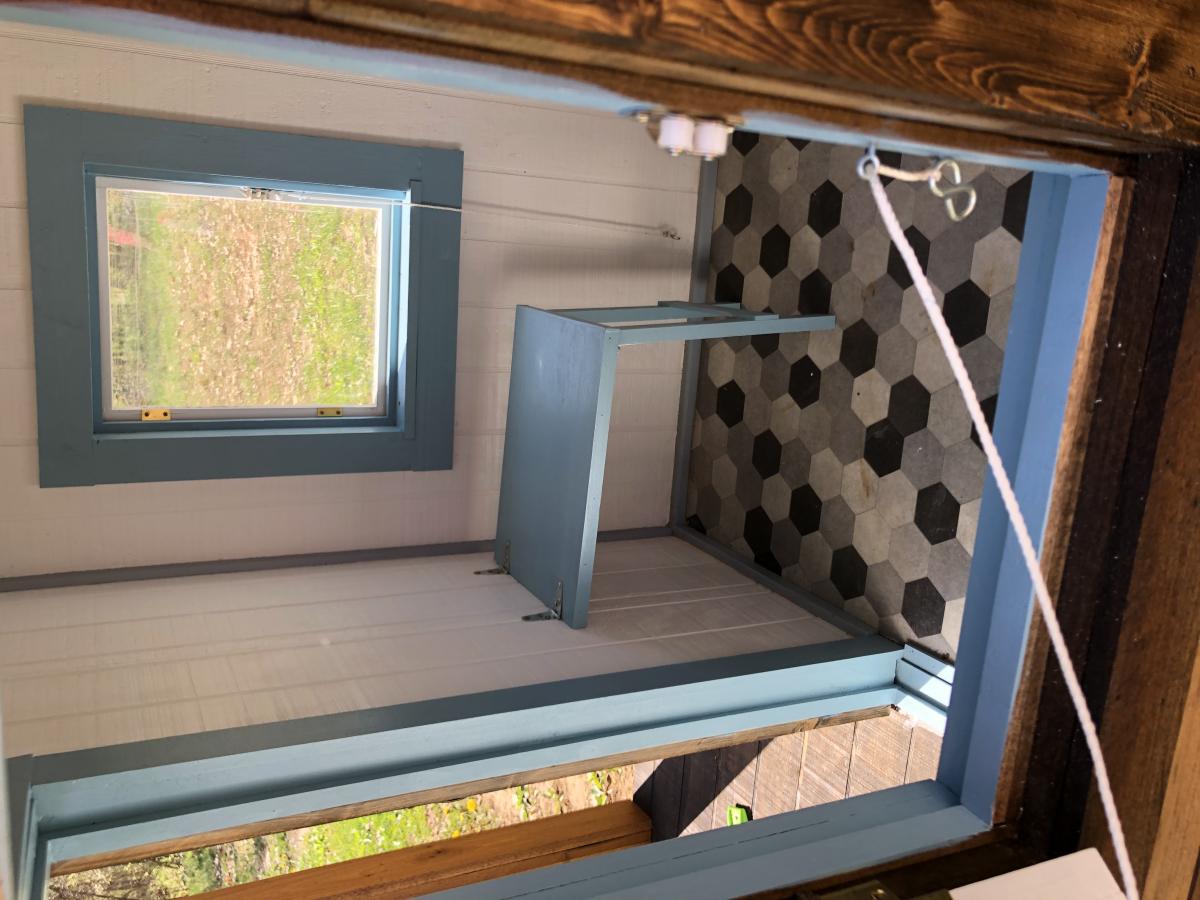
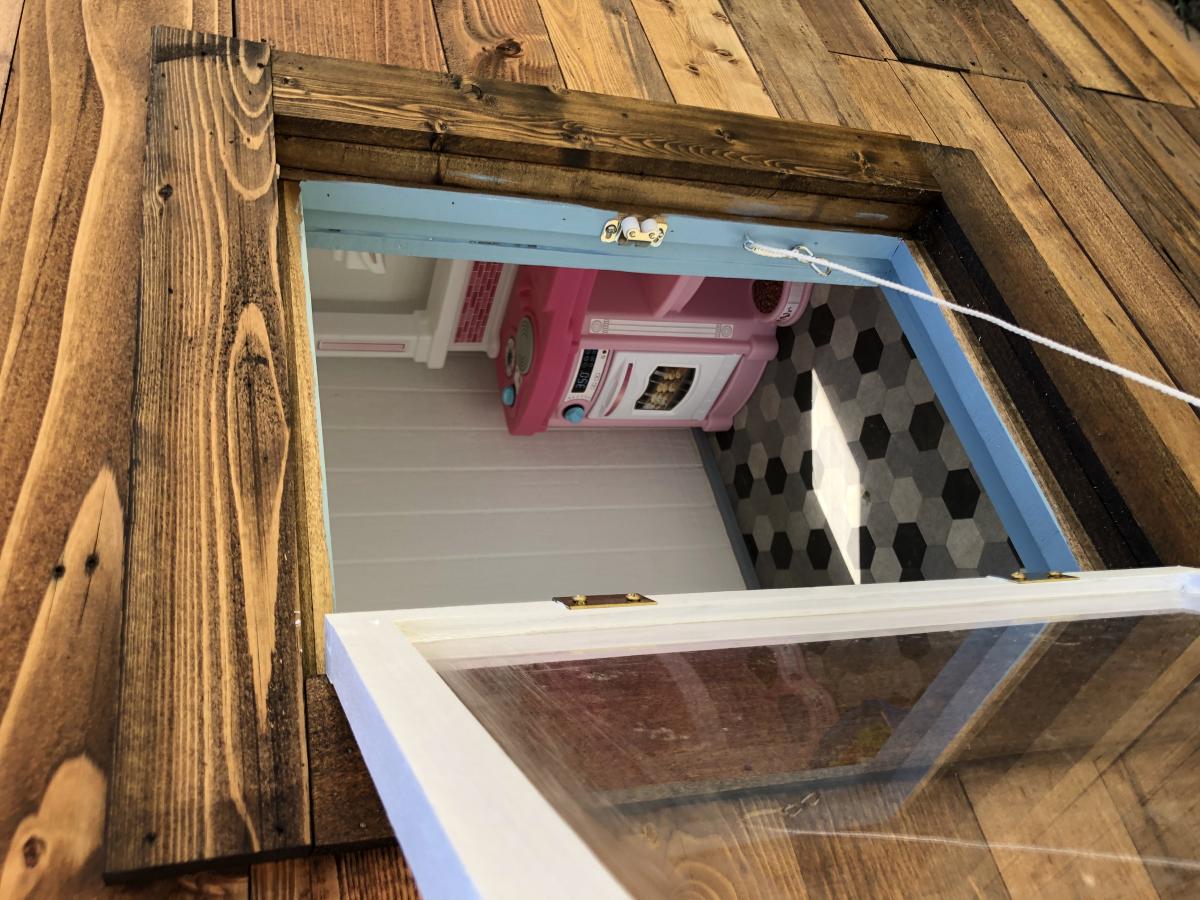
I used the surf bed plan and put a plywood face on the front and added the roofline, windows and flower boxes. The steps double as a bookshelf.
Thu, 06/14/2018 - 11:32
This is adorable! Glad you used the surf bus plans - those plans are so easy - smart to just add your own front too it! Very much appreciate you sharing a photo. Great job!
I built this playhouse for my great granddaughter out of pallet lumber and the 2x4’s from the pallets. I just designed it as I built it.
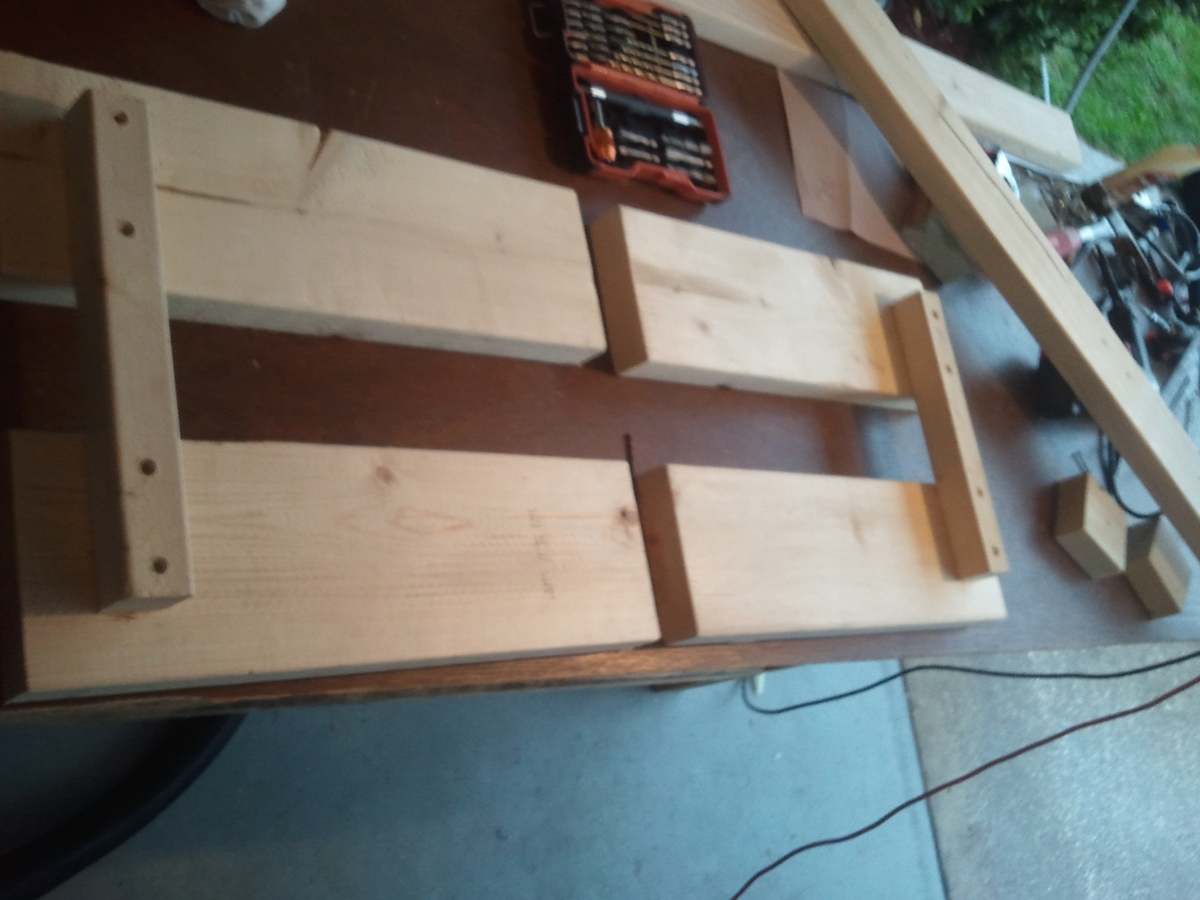
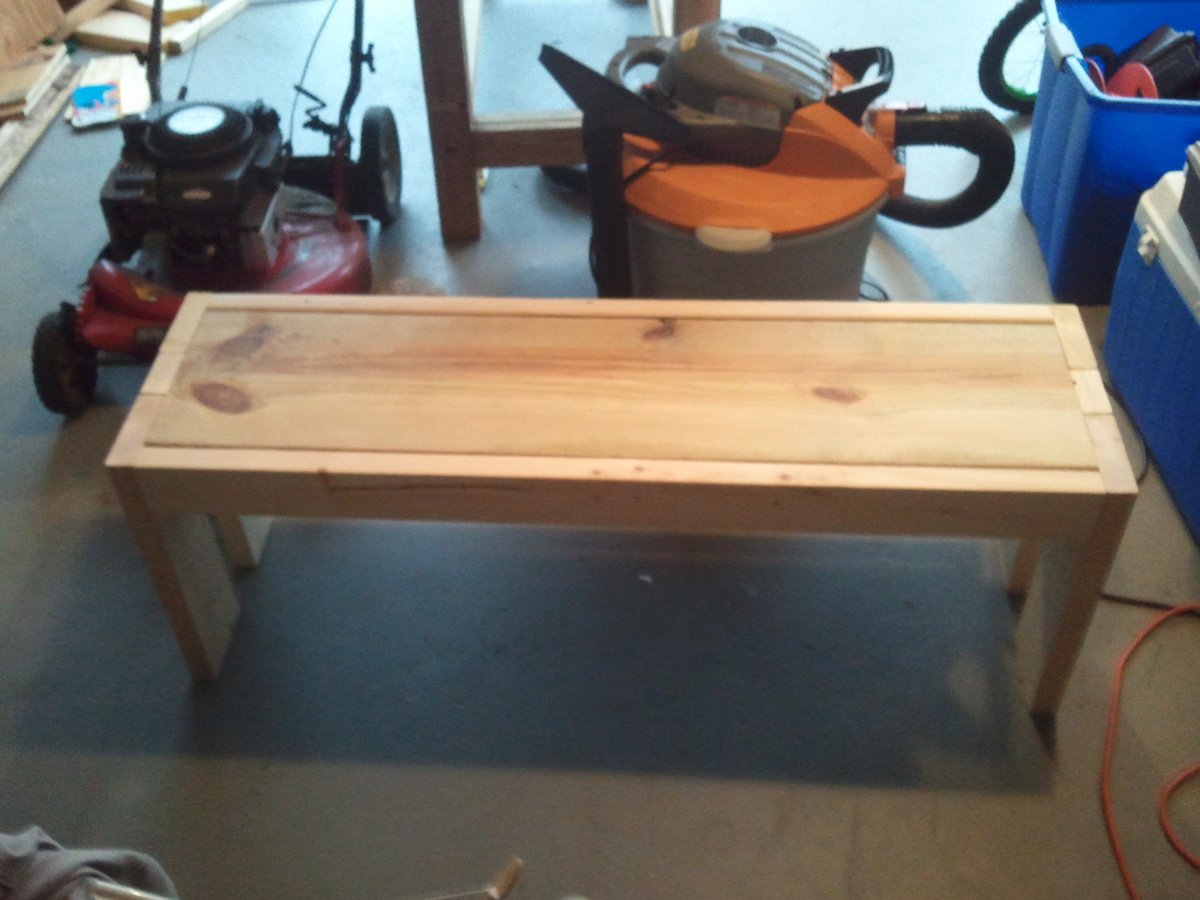
This is my first build from Ana’s plans. First I had to build the work bench in order to have something sturdy to work on. Thanks to home depot it was very inexpensive to build. I didn’t use wood conditioner and now I wish I had. I also used a 2 in 1 stain and seal. In retrospect would have used stain and then a varnish. All and all I’m very happy with the look and the stability. Even though I built it in my garage while its 94 degrees here in Florida I still enjoyed the project.

Mon, 07/25/2011 - 05:36
Wow great looking little bench. Thank u for all of the procedure pictures it makes it so much better to visualize. Will try to make this with the hubs.
Mon, 10/24/2011 - 21:37
Hi, thanks for the feedback. Let me know how yours turns out.
Sat, 08/20/2011 - 15:22
Awesome! Thanks for posting the in progress pictures, very helpful.
Fri, 09/23/2011 - 05:14
Hey - thanks for this inspiration! This might be my first bench project too!
Mon, 10/24/2011 - 21:40
Thank you for positive support. I hope to see your projects soon. Email me with any questions or to show me your projects. Ill be waiting.. [email protected] good luck
Took a Saturday to make this project. Loved the plans!


Sun, 08/11/2013 - 20:50
I'm amazed by 1 day projects and the builders, like you, who pull them off! =D It must have been an incredible feeling to built it and bring it the same day.
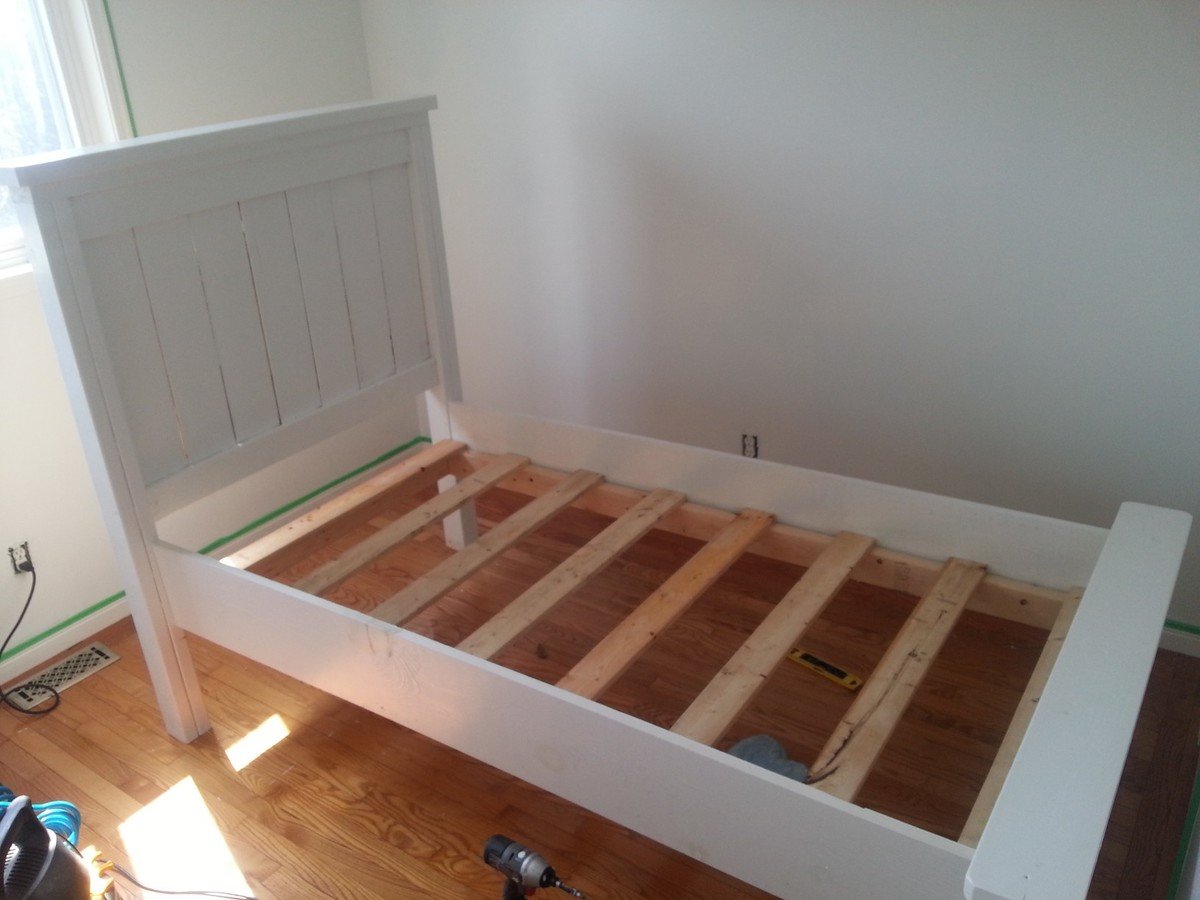
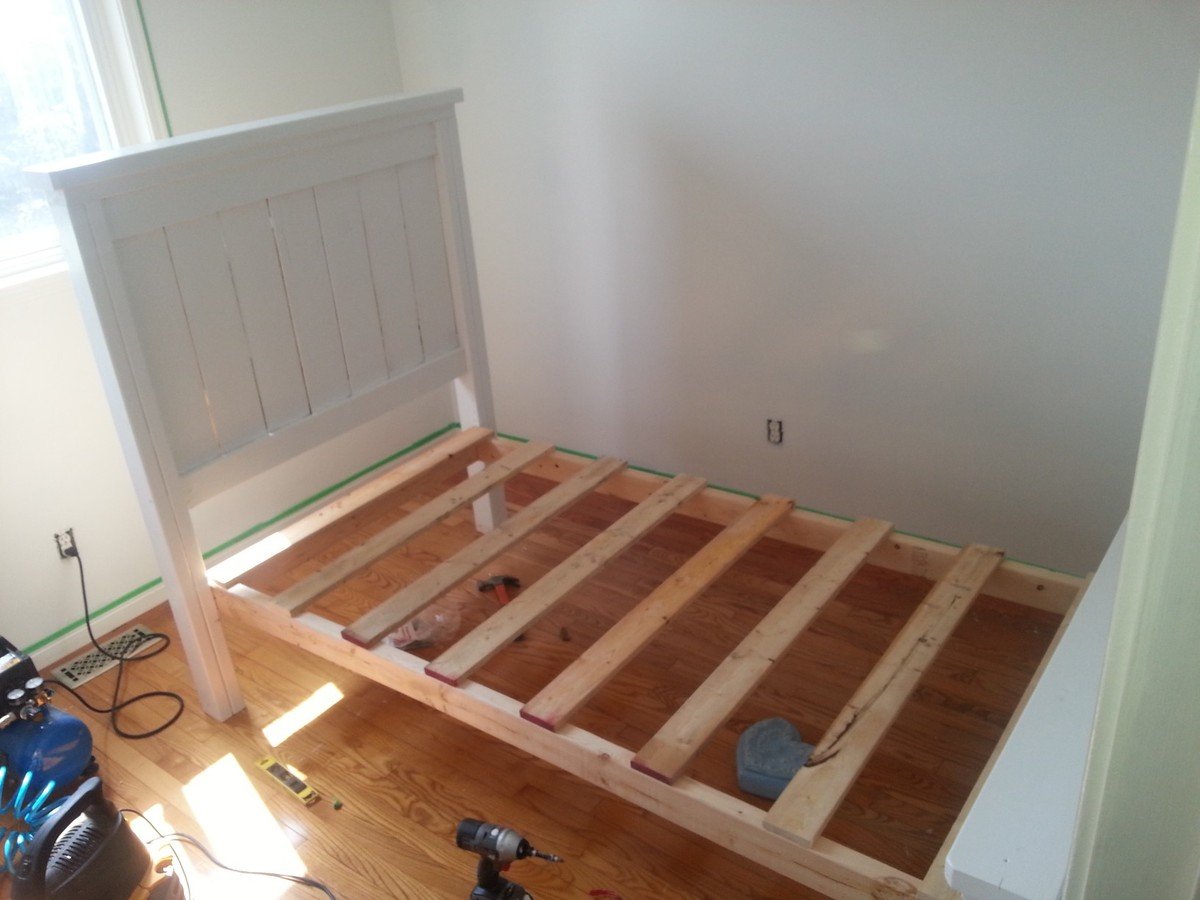
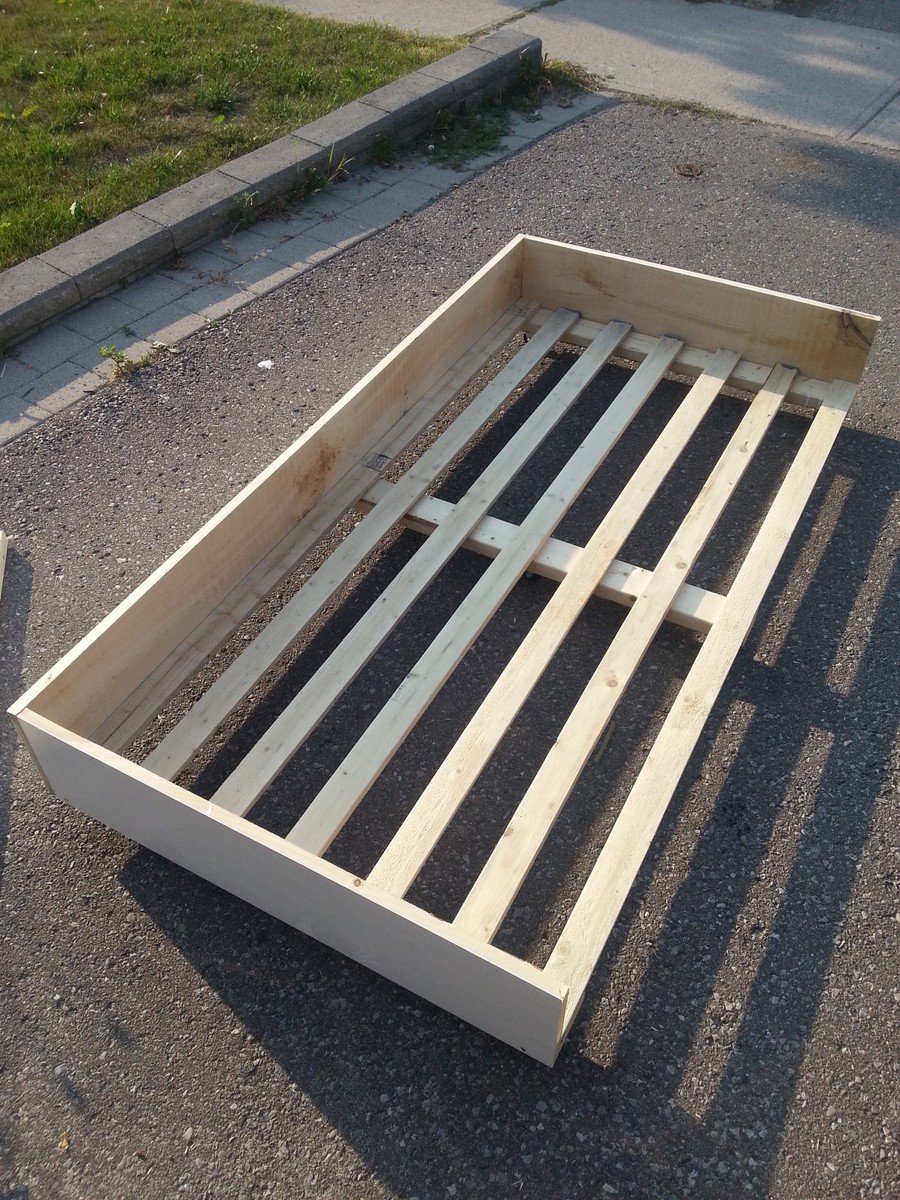
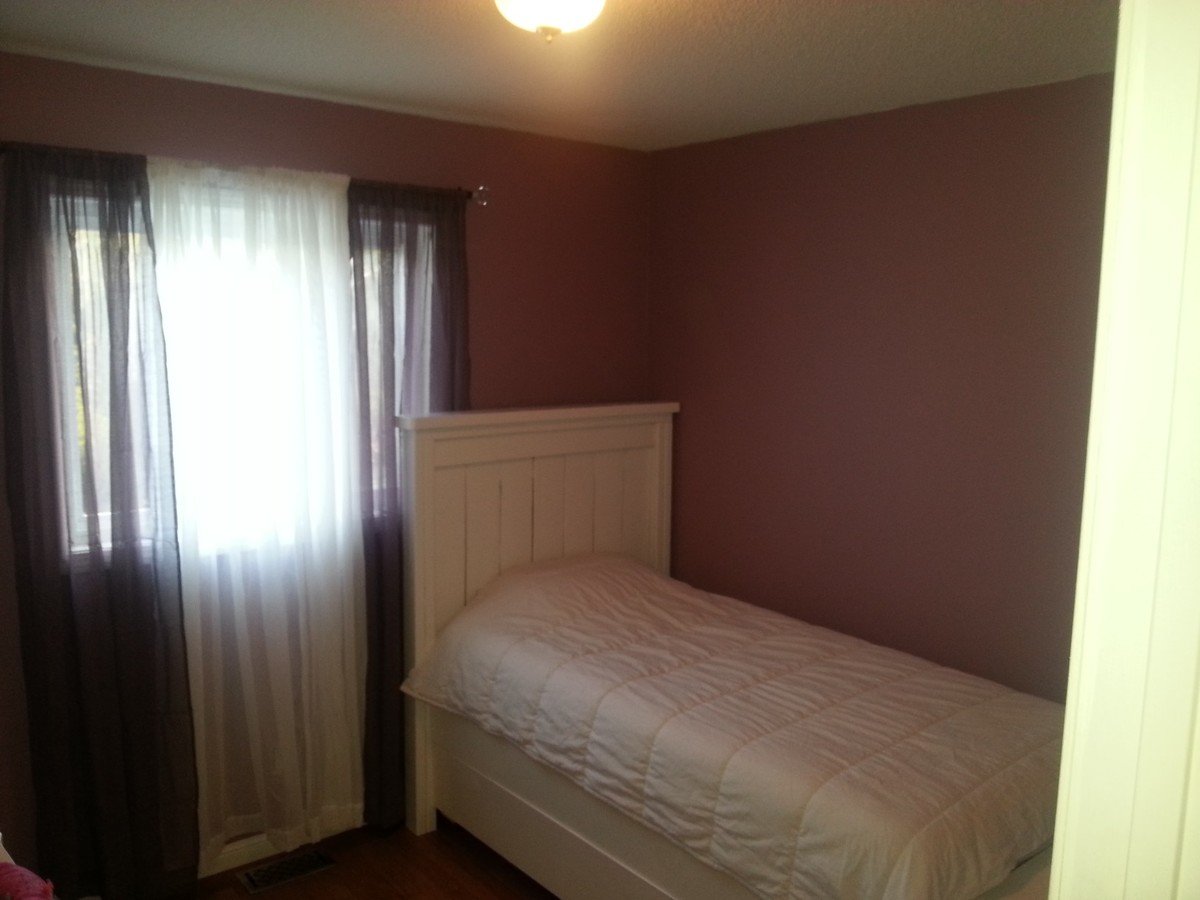
Took the farmhouse plan and added a Trundle. Was initially going to build two farmhouse beds for my two girls, but thought adding the Trundle would free up some much needed floor space. The girls love it!


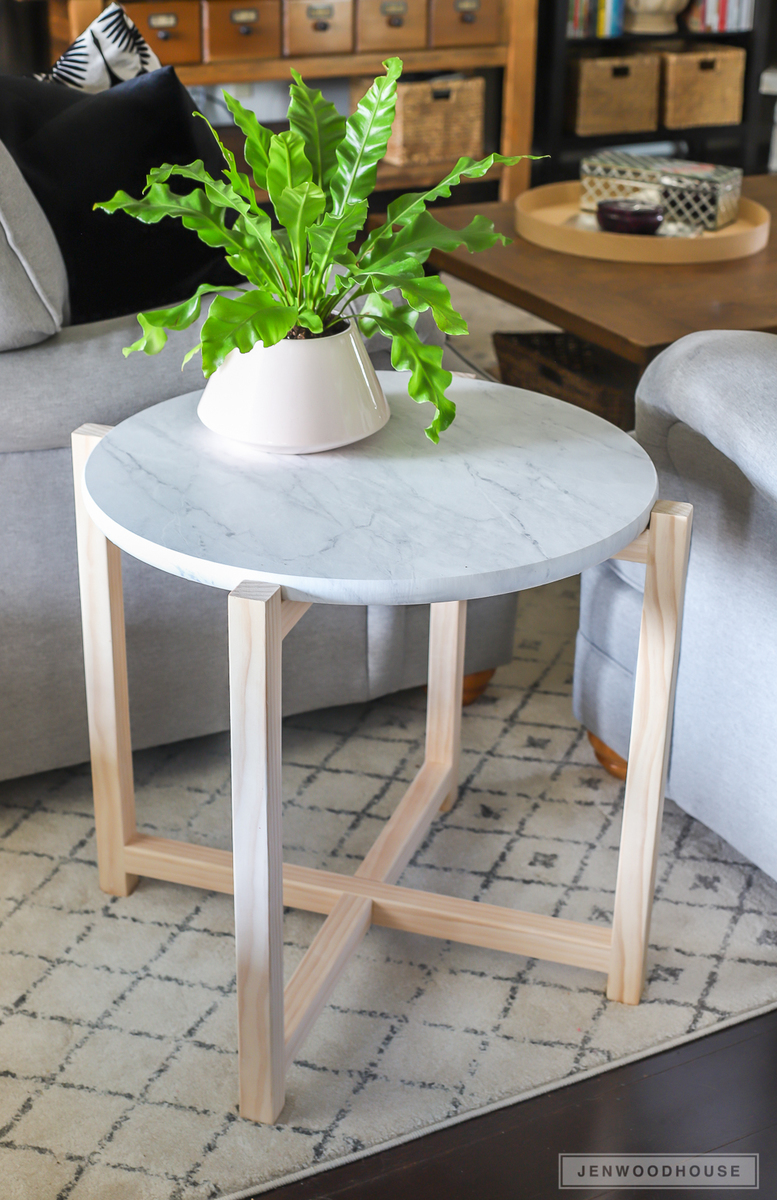
Hi friends!
Jen Woodhouse here from The House of Wood.
Take a good look at this round marble side table. Would you guess that isn’t real marble? It’s contact paper! Yep. It’s true. We’ve been wanting to put a table here between our sofas for months now, so I’m thrilled to have this project finally crossed off the list. This sleek side table cost about $50 to make!
I built this table in about 3 hours – the super simple yet sleek, modern design is beginner-friendly so if you’re wanting to tackle your first project, this is a great one for you.
Be sure to tag me @jenwoodhouse if you share photos of your build on social media. I'd love to see it!
You can get all the details for this build on my website jenwoodhouse.com.

Tue, 10/03/2023 - 14:40
Thank you so much for your help, I am learning a lot at least. I for one have learned a lot from this.
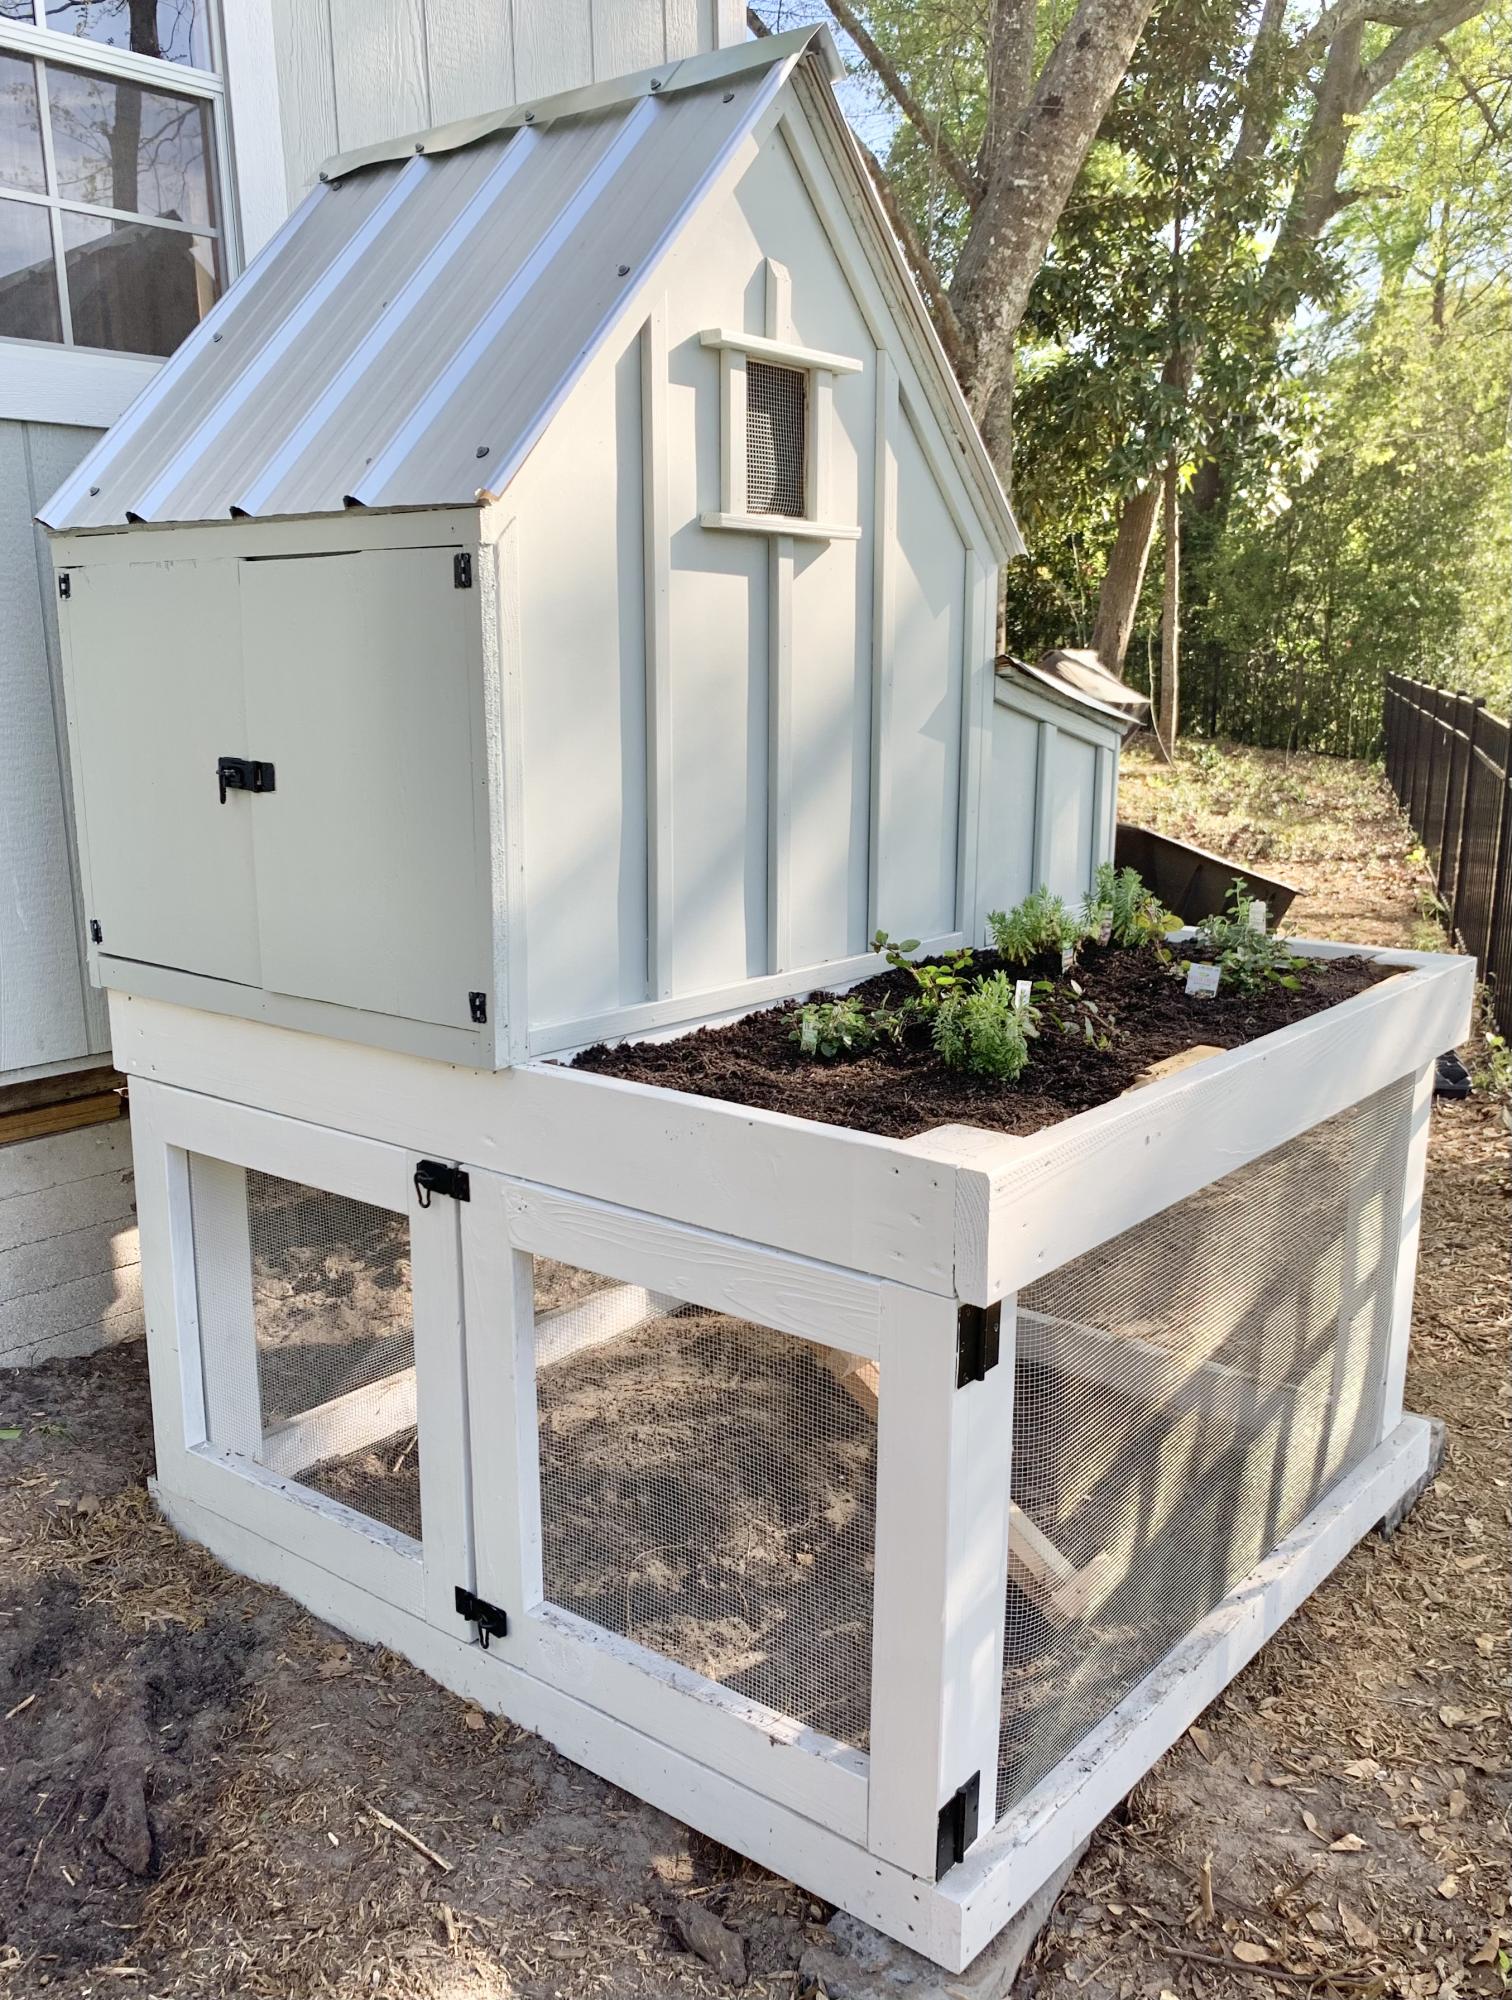
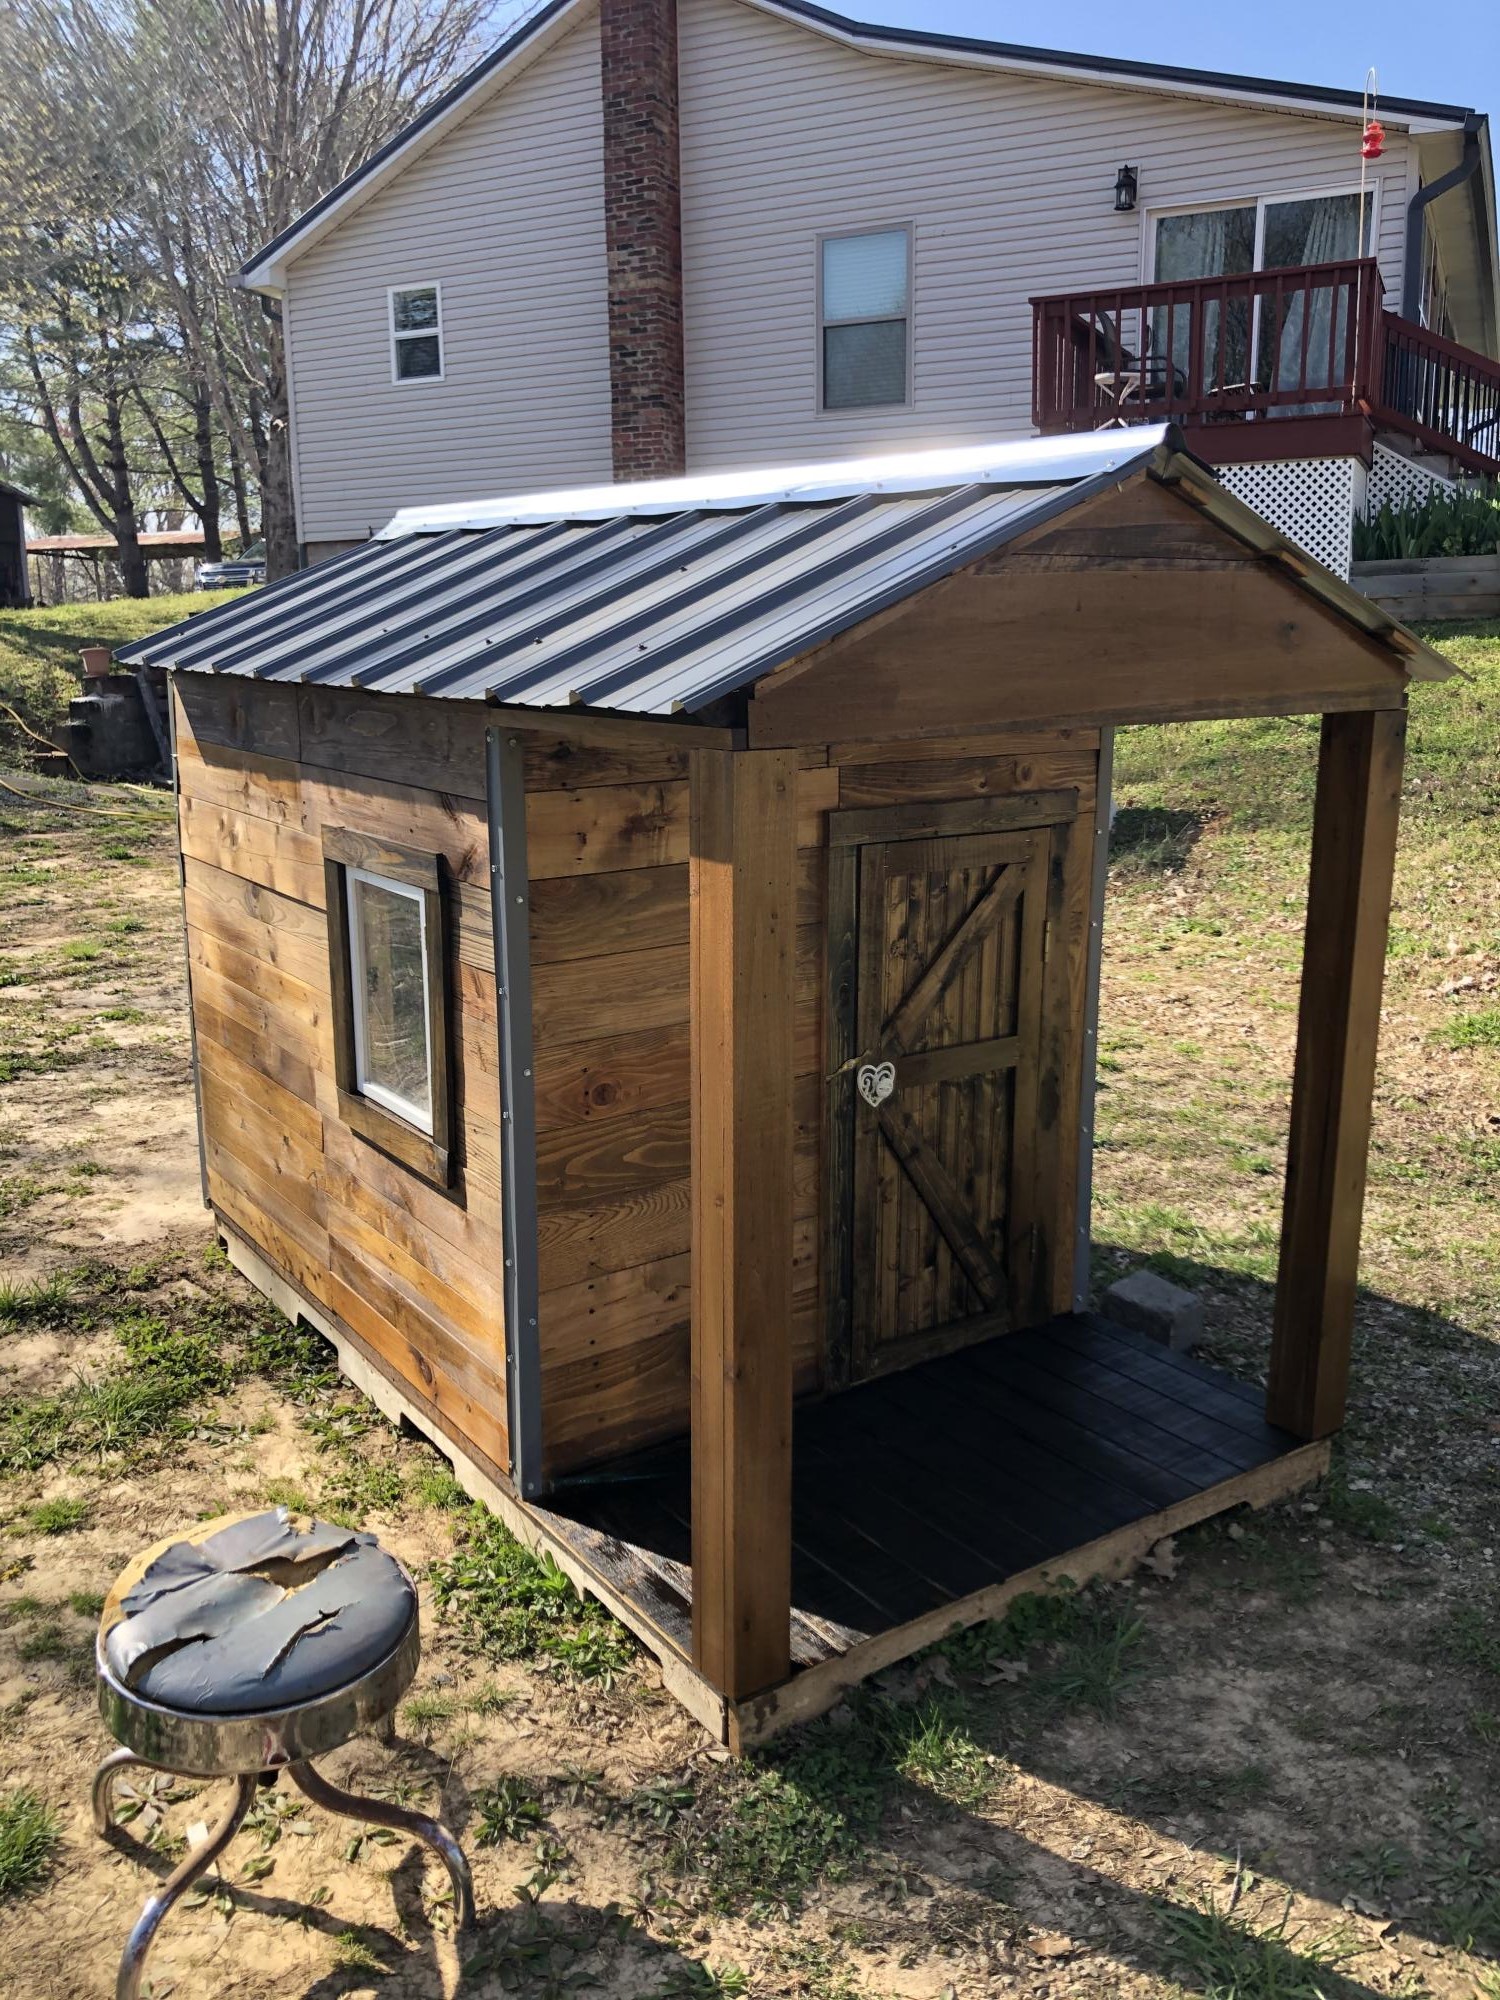
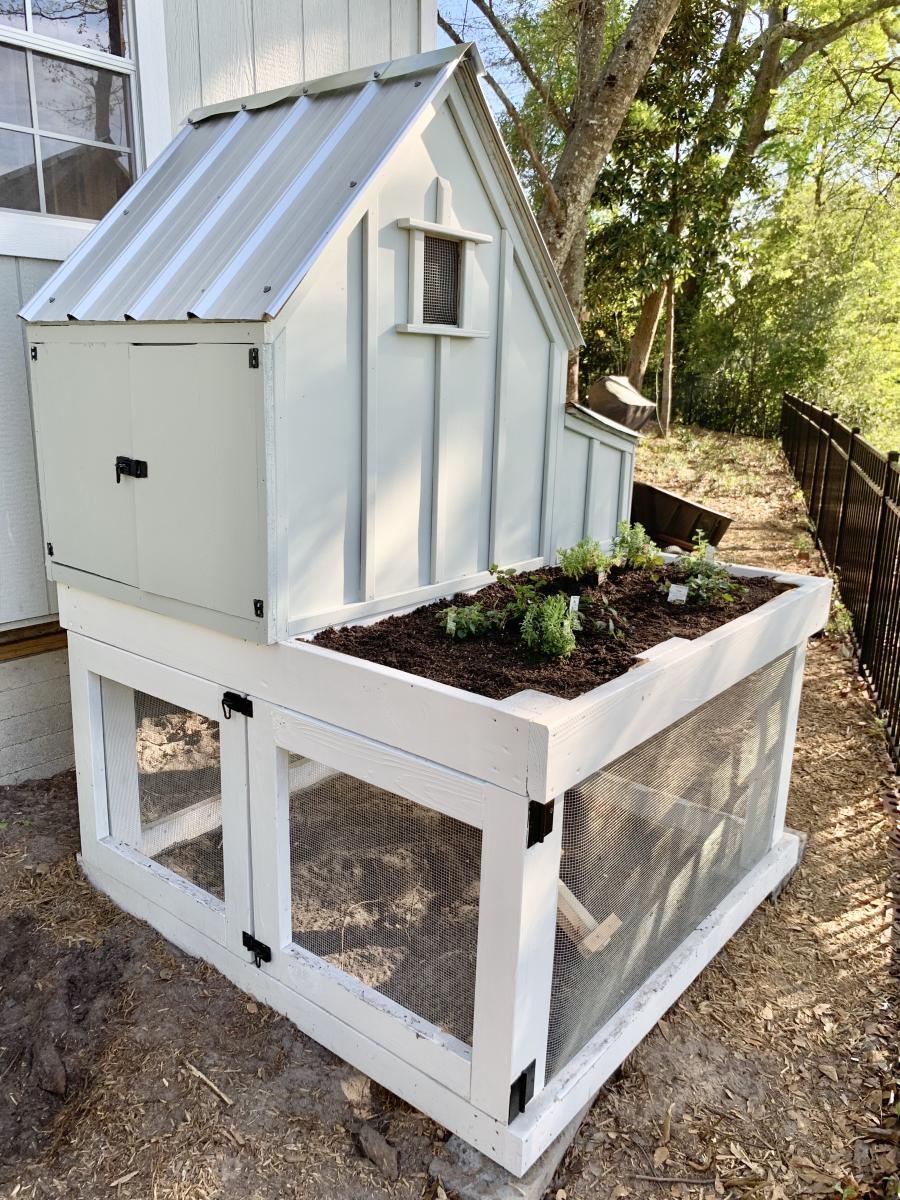
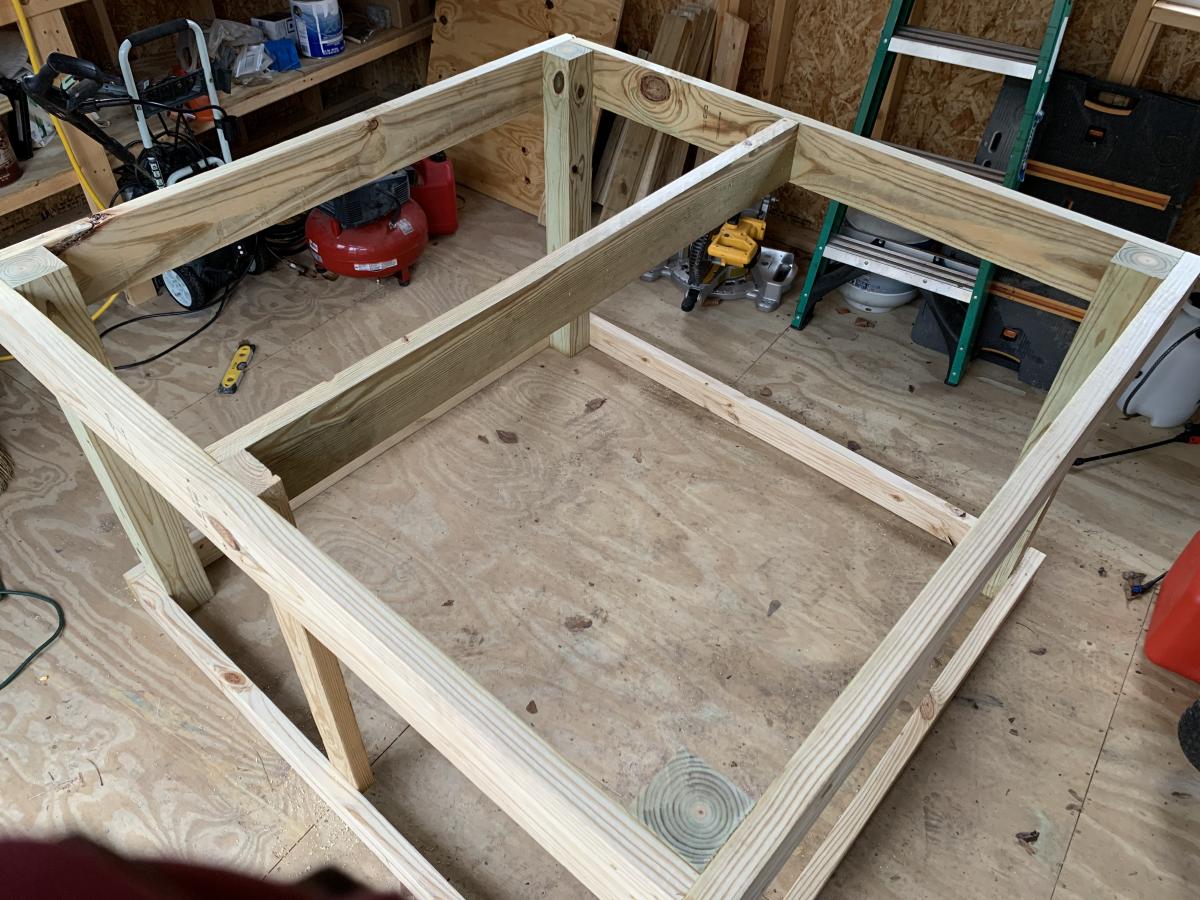
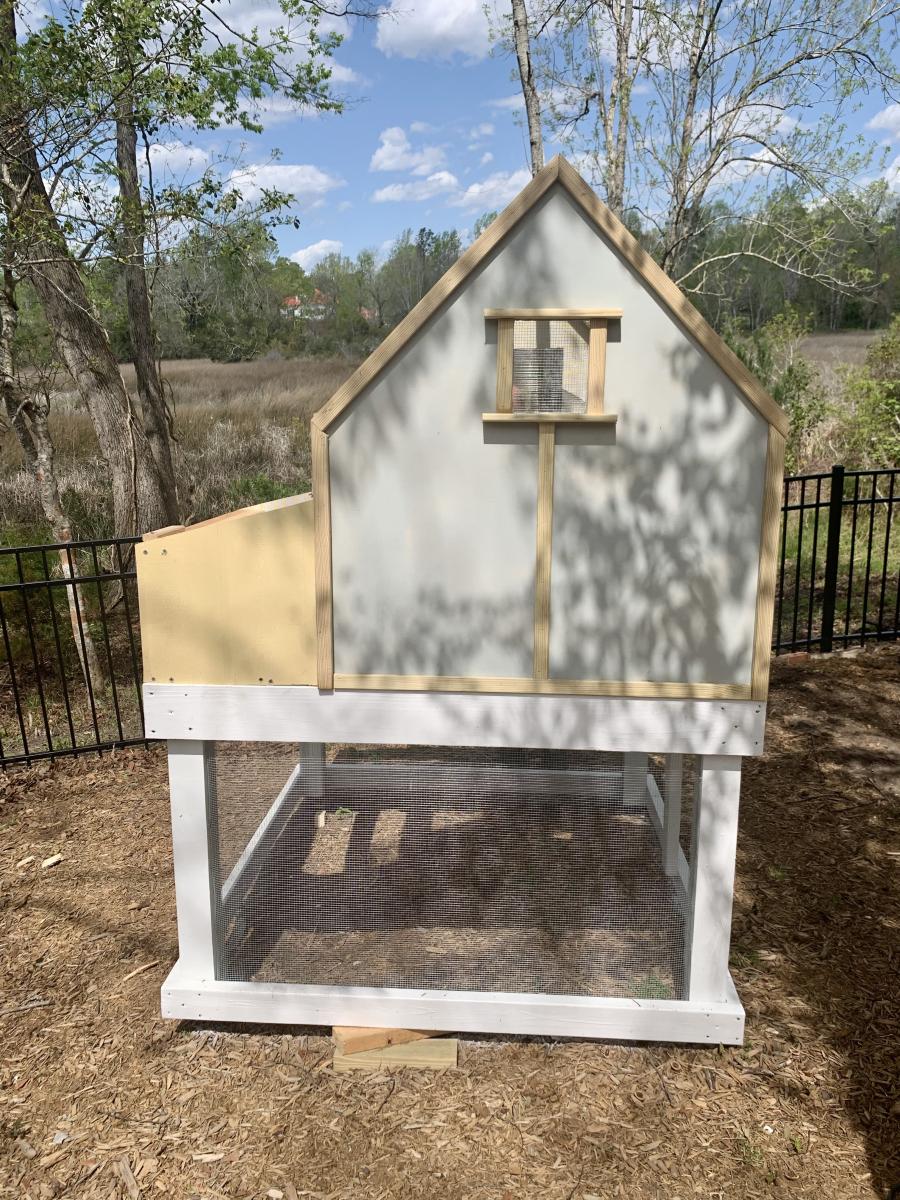
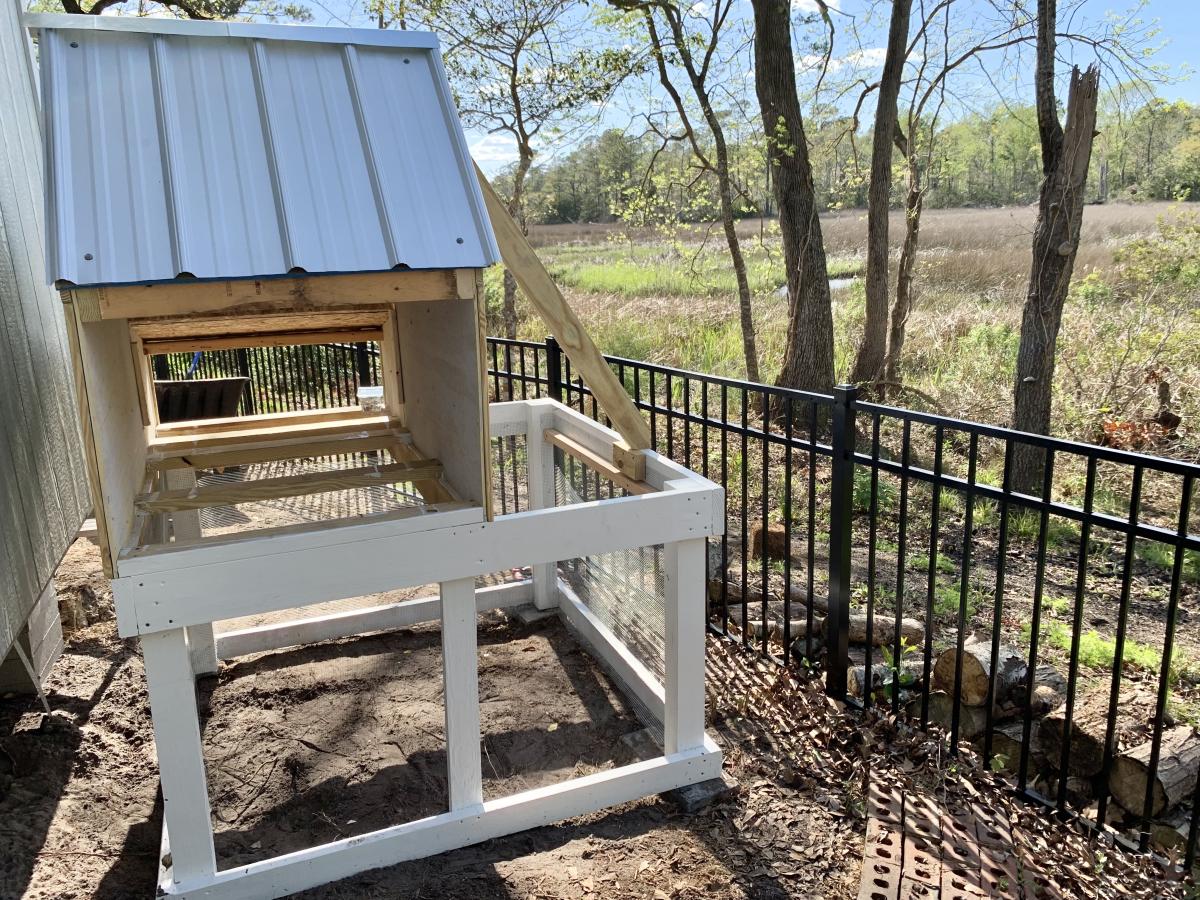
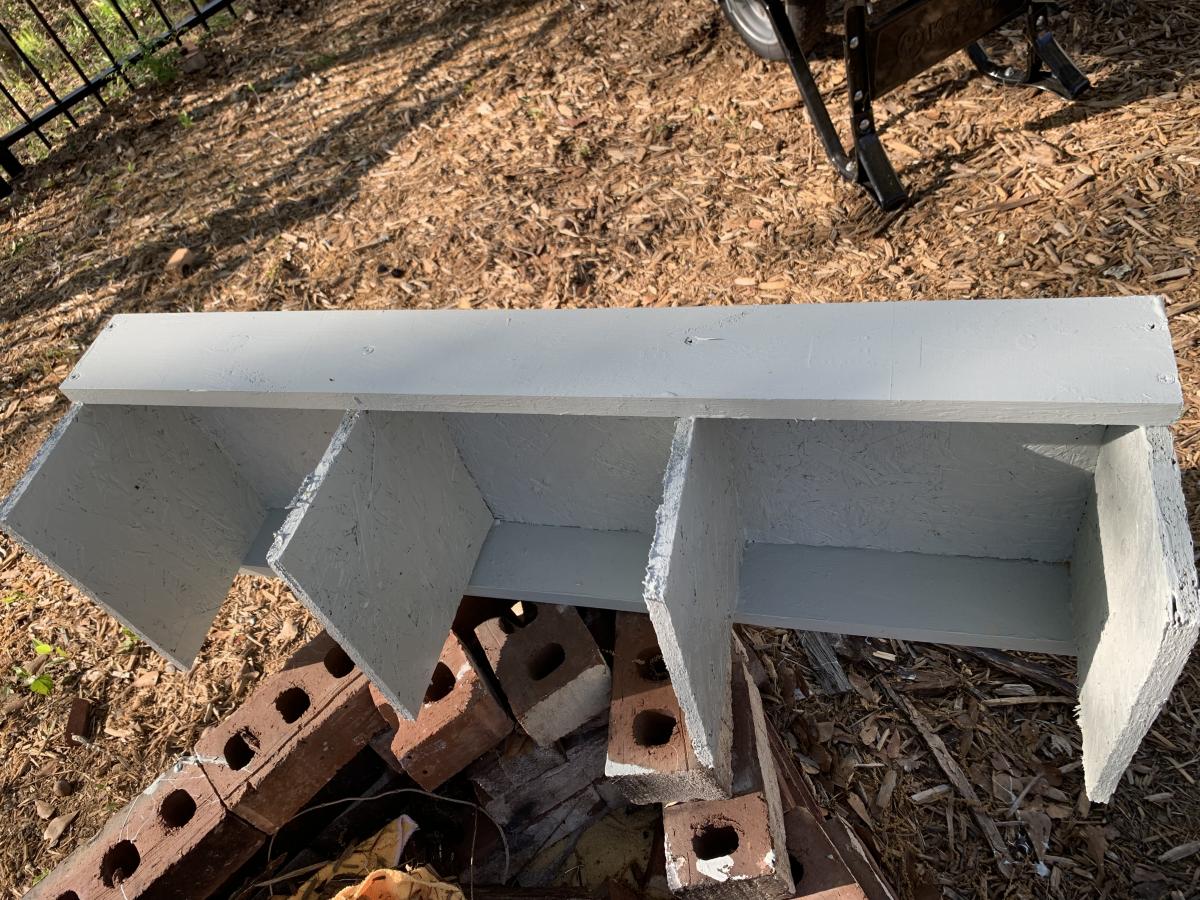
My husband and I had so much fun building this for our ladies! We had some material leftover from the build of our house so we made a few adjustments. I’ve included progress pics because we found others very helpful during our build. We also added hardware wire and brick at the base to predator proof (not pictured).
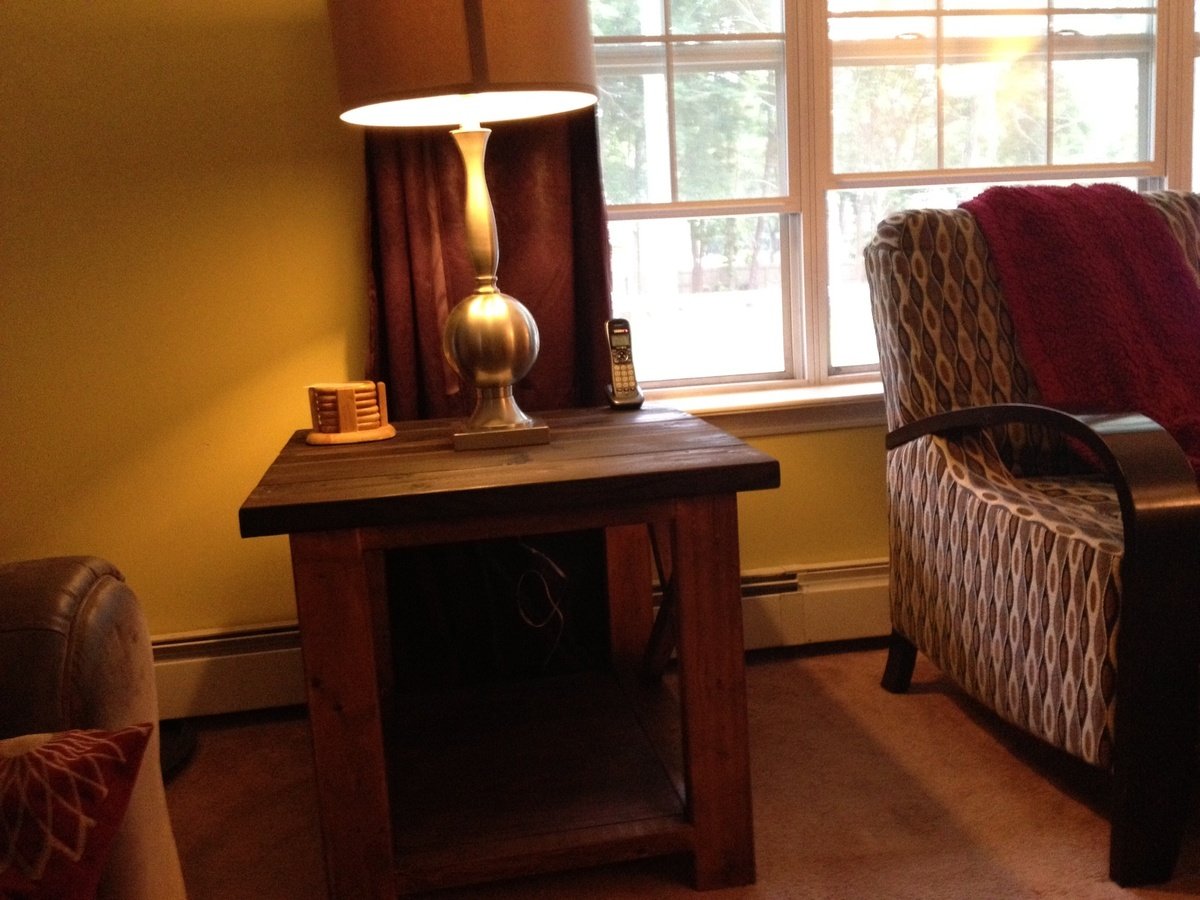
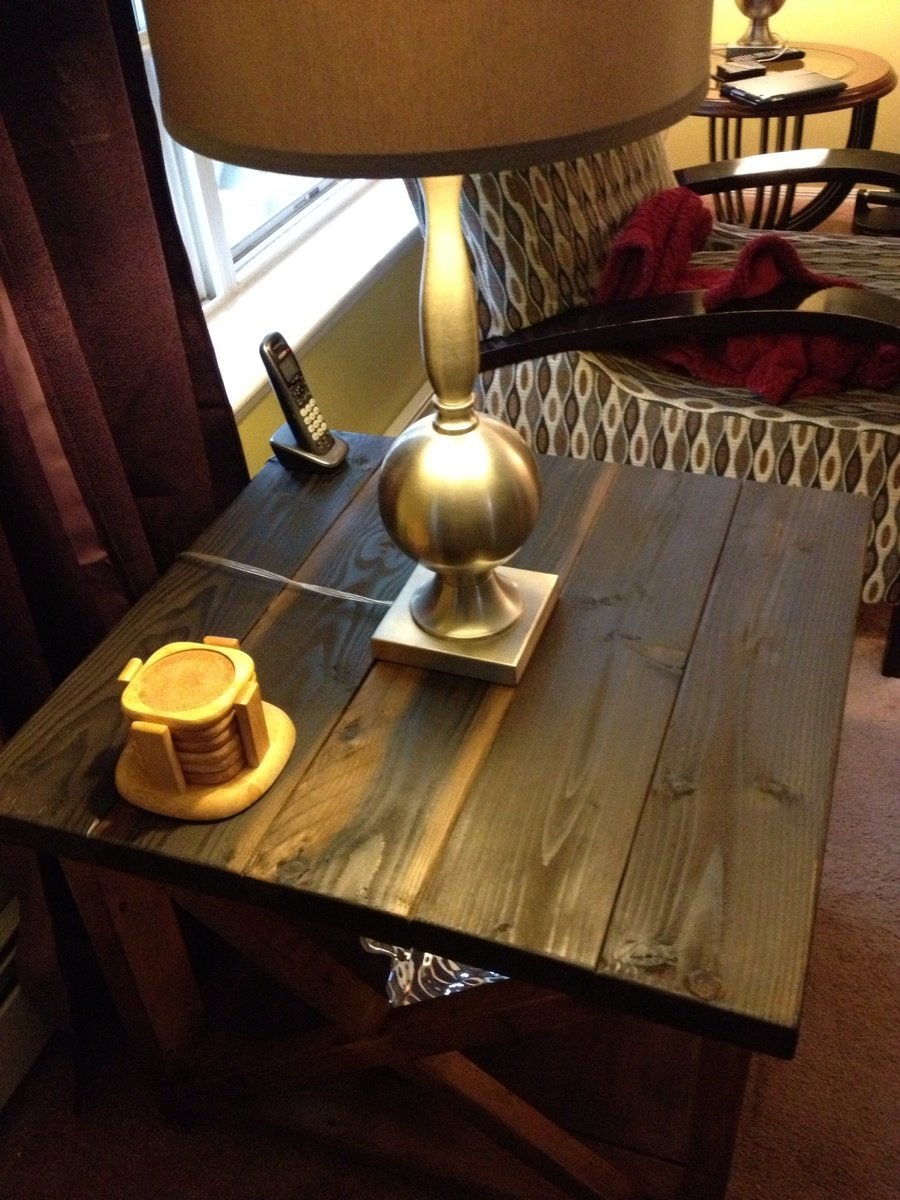
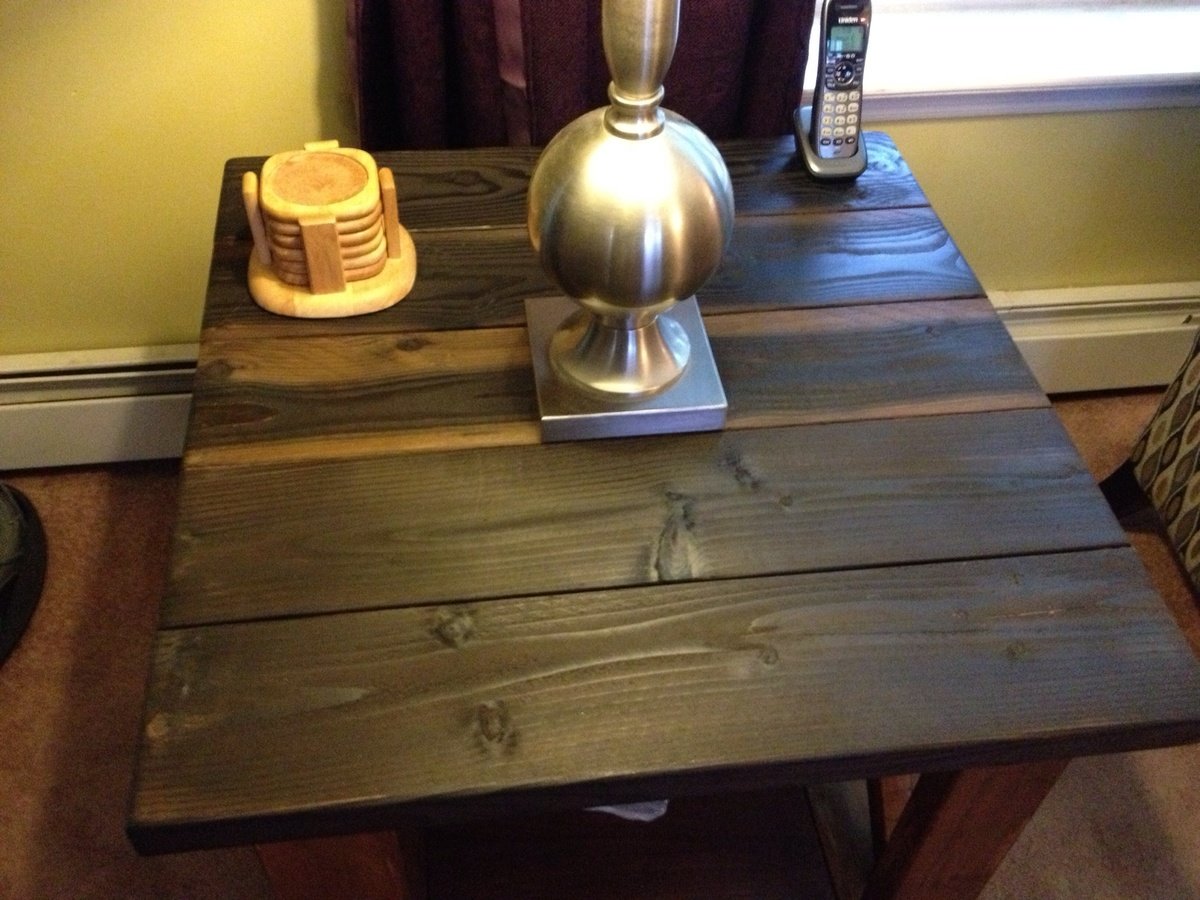
This table was quite simple to build. The hard part was the sanding and the painting/staining. It is sturdy. I also like that I can sand or touch up stain if it is ever damaged. Most store bought tables don't have that ability since the table top is usually a veneer.
Step by Step Summary on my blog - http://thequaintcottage.blogspot.com
Sat, 07/09/2011 - 18:47
Your paint job for the legs is awesome. I went to your blog to look at the whole process. Great work. The colors for the legs and top go together beautifully. Wonderfjul job! :) J
Sun, 07/10/2011 - 17:45
Thanks! I really didn't know if all the colors were necessary or if it would turn out how I pictured it in my head, but I just posted a close up pic of the finished leg and hints of the colors show. It is as close to I could get to weathered boards without waiting years to make them.
In reply to plans by grandeb3660
Sat, 09/03/2011 - 18:22
I added the plans to my blog, the link is above.
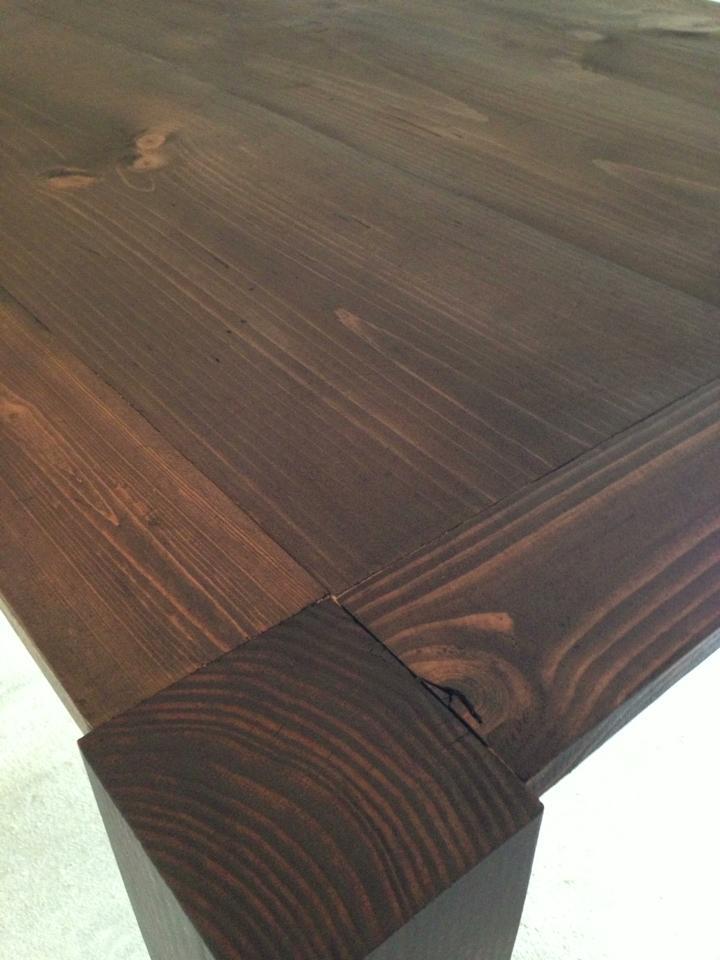
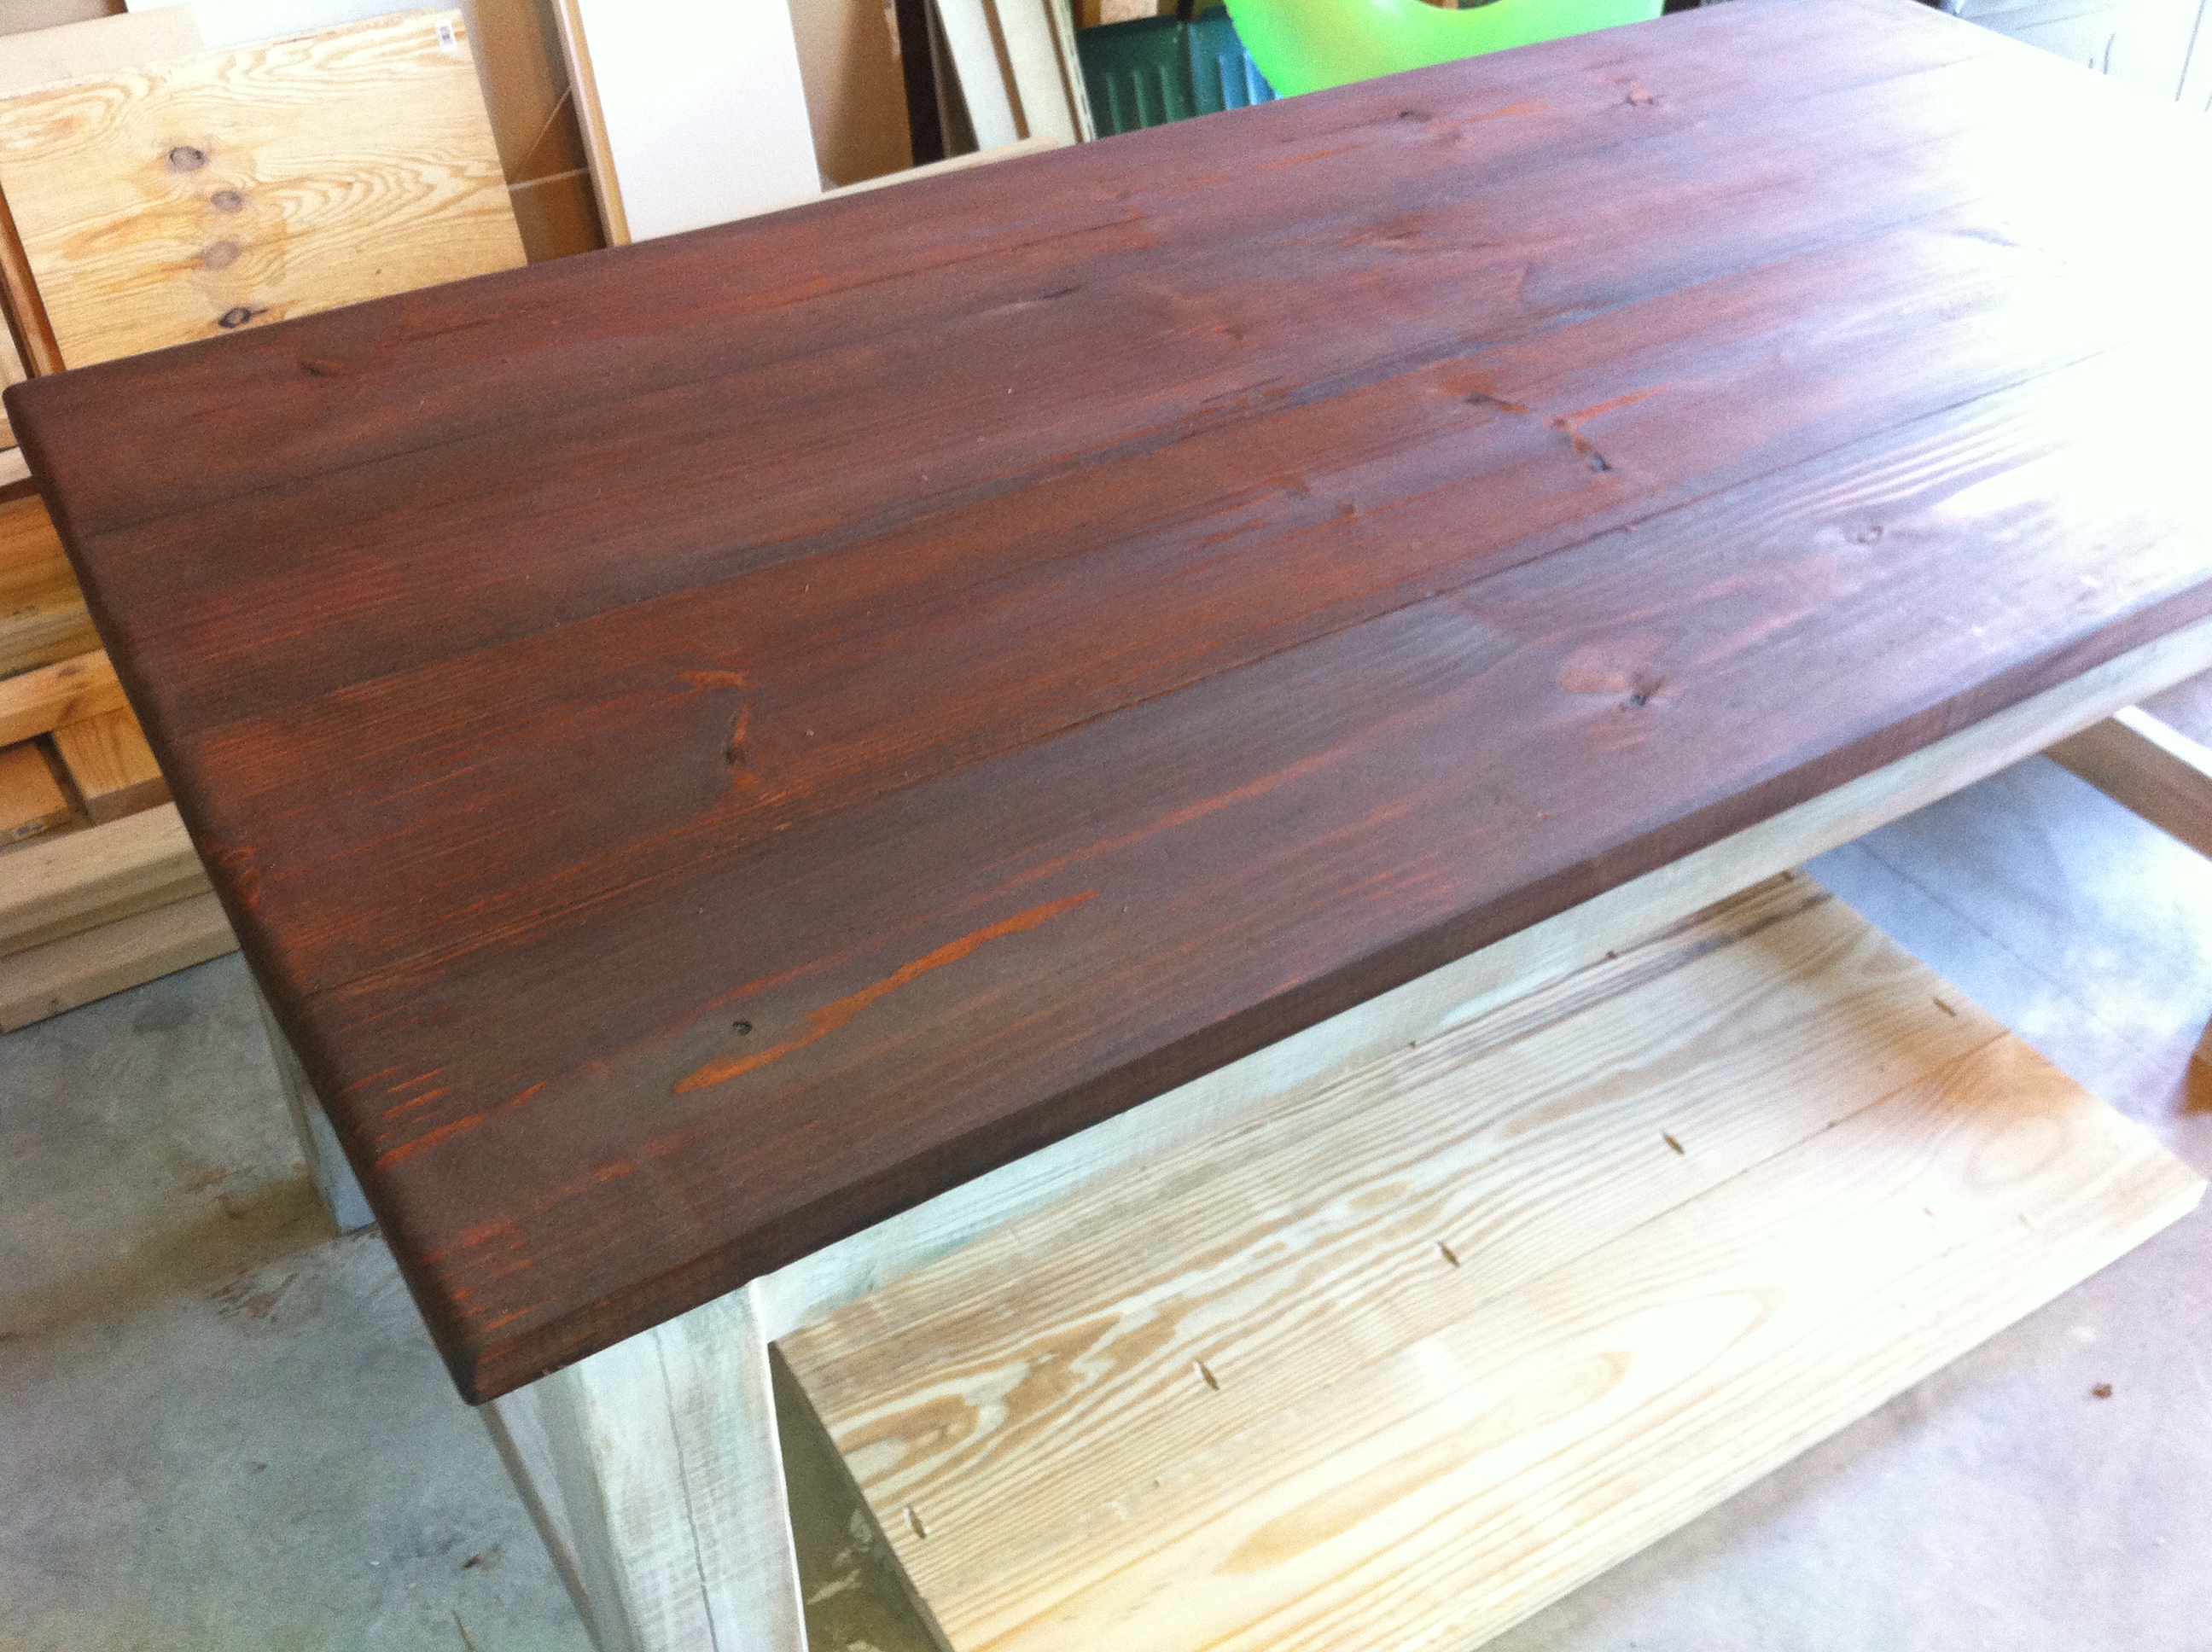
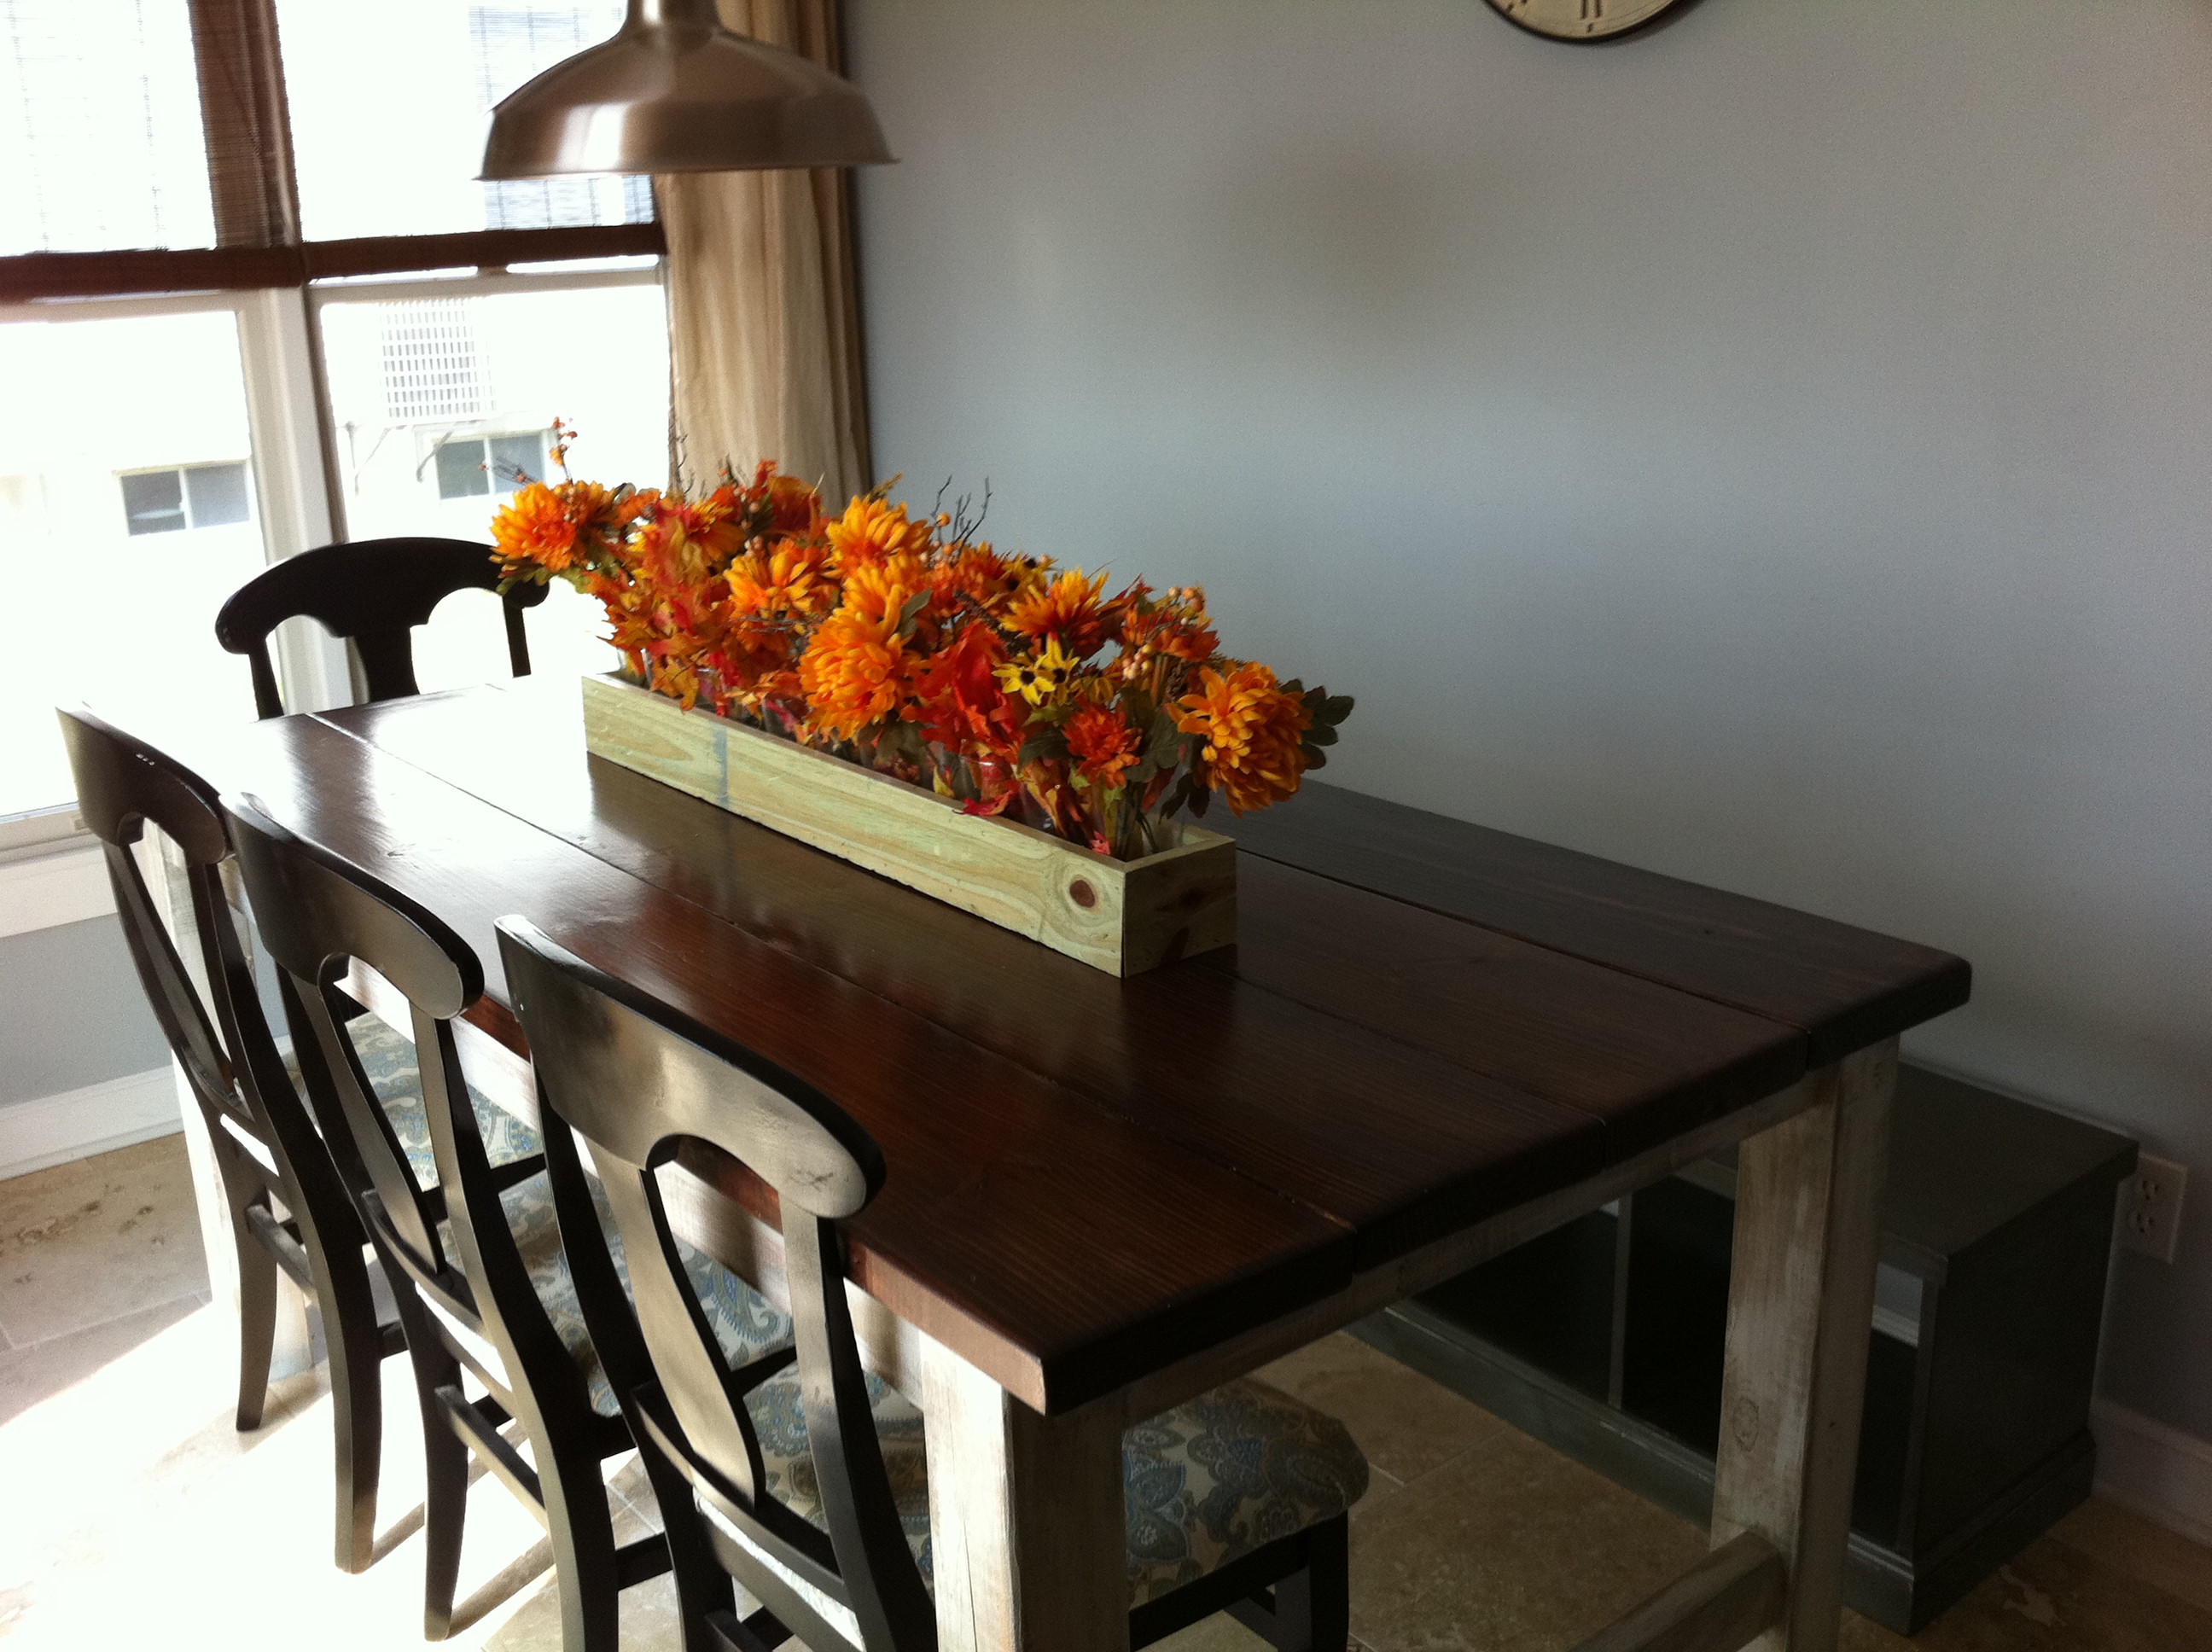
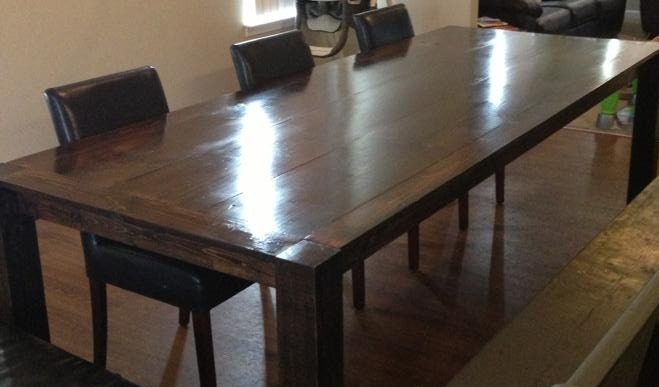
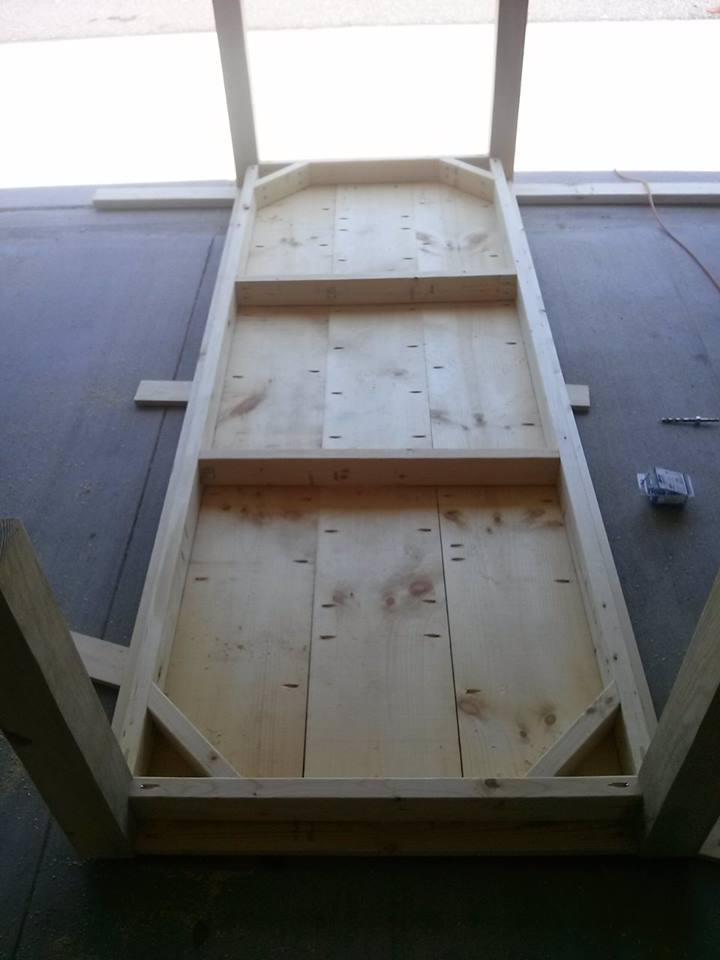
We needed a Dining table to fit our growing family and our friends. Combined ideas from the iTable, Farmhouse and Big Ur table plans. Used 8ft boards so with the breadboards it measures roughly 8ft 7in long. Rustoleum Kona stain. Only took the weekend to build. Thanks Ana!
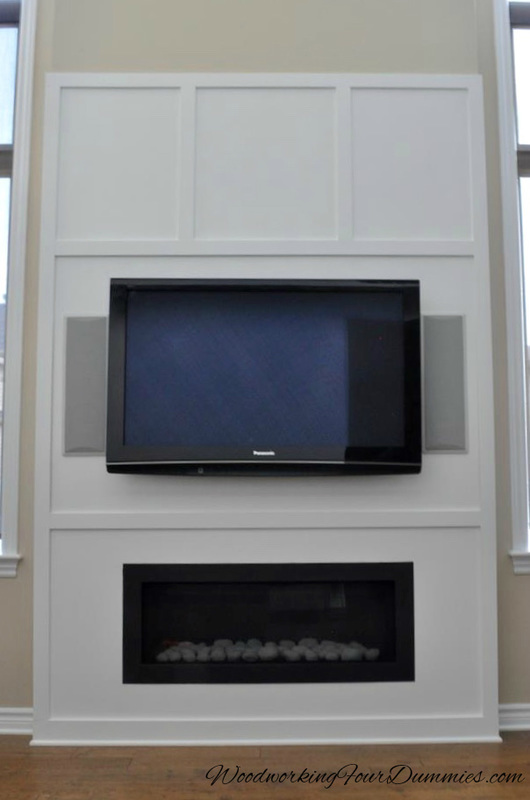
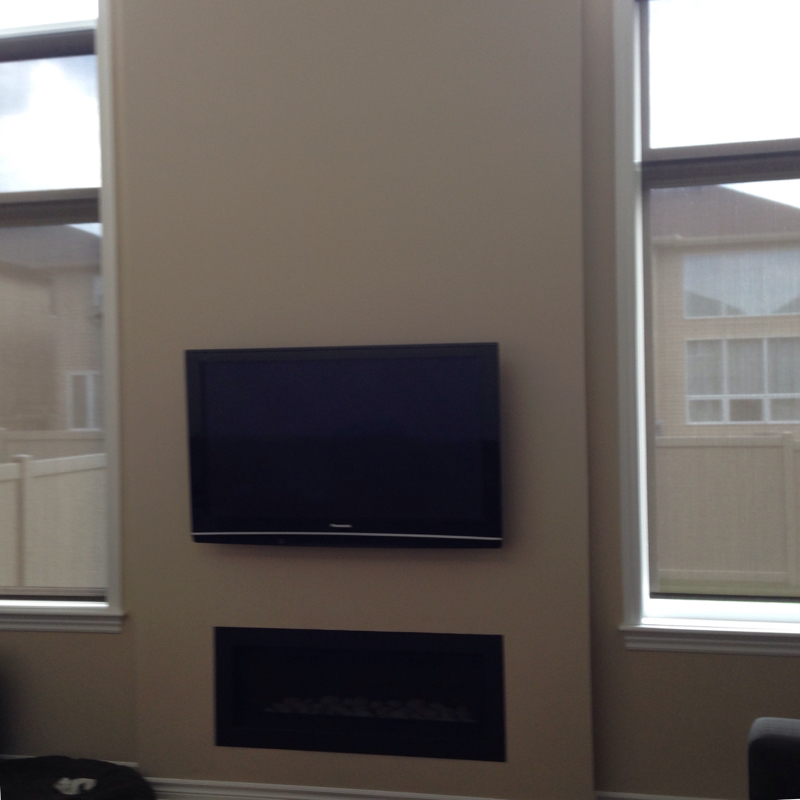
Our fireplace wall was quite plain to say the least. We thought about stone, tile but then ended up doing a simple and inexpensive board and batten wall. This is a simple DIY project, we kinda made up the pattern as we went.
More details on my blog - http://www.woodworkingfourdummies.com/blog/board-and-batten-fireplace
Cheers,
Ian