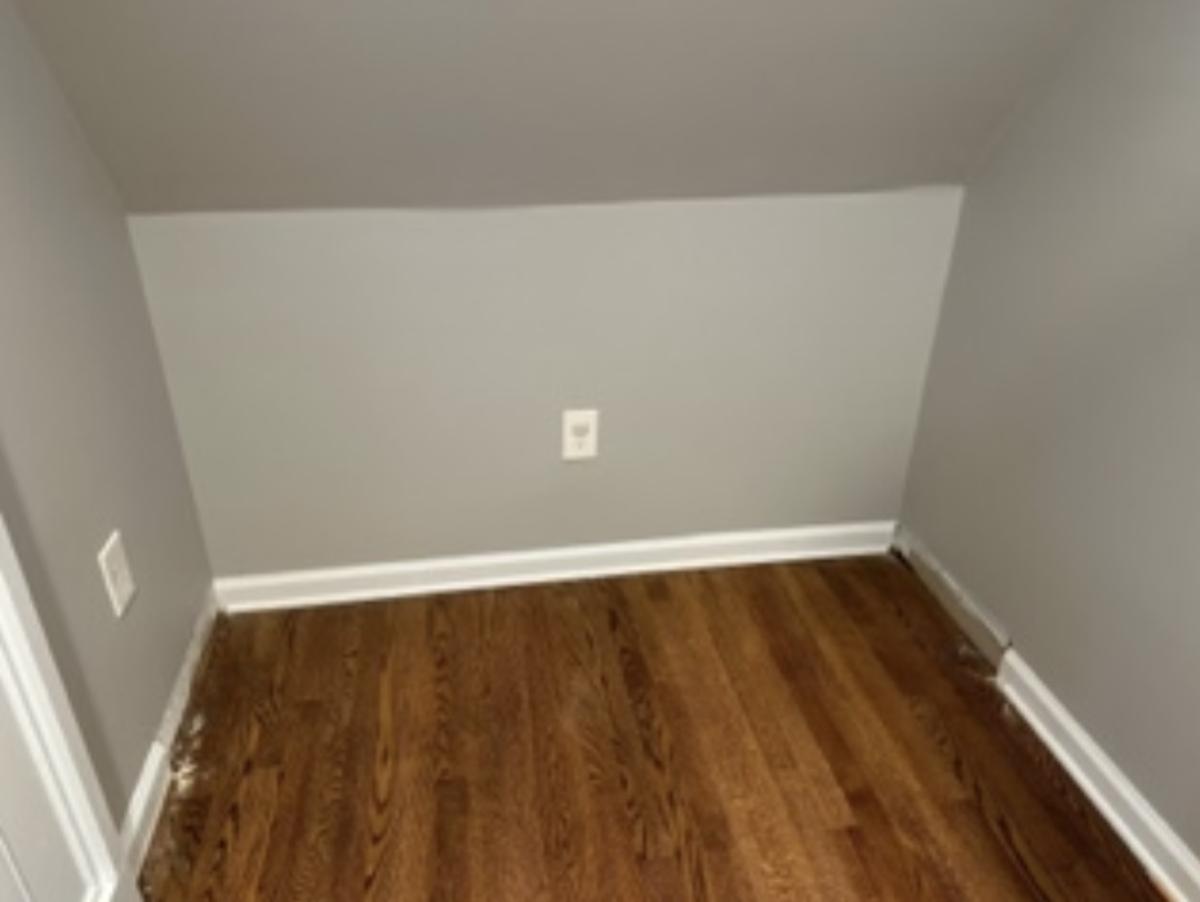
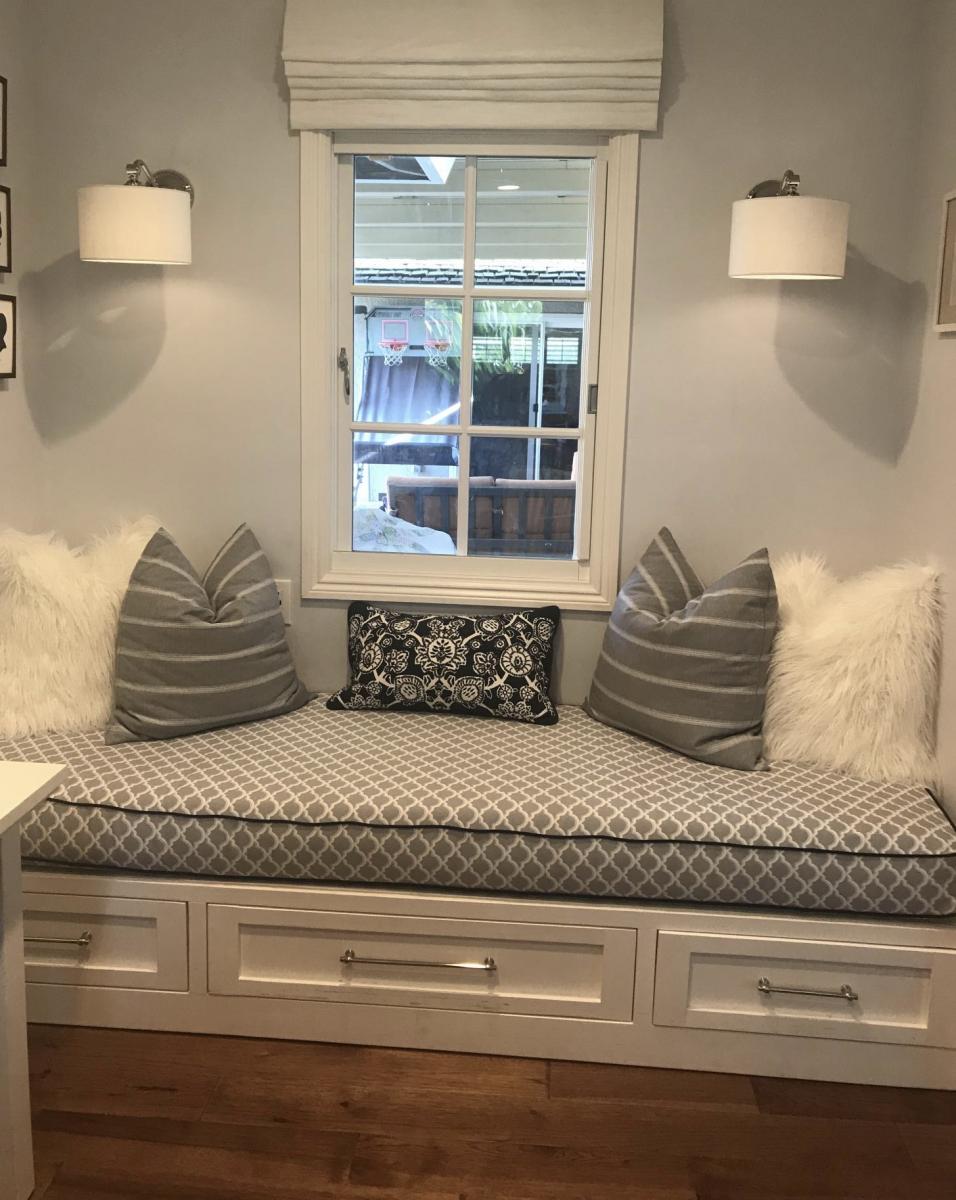
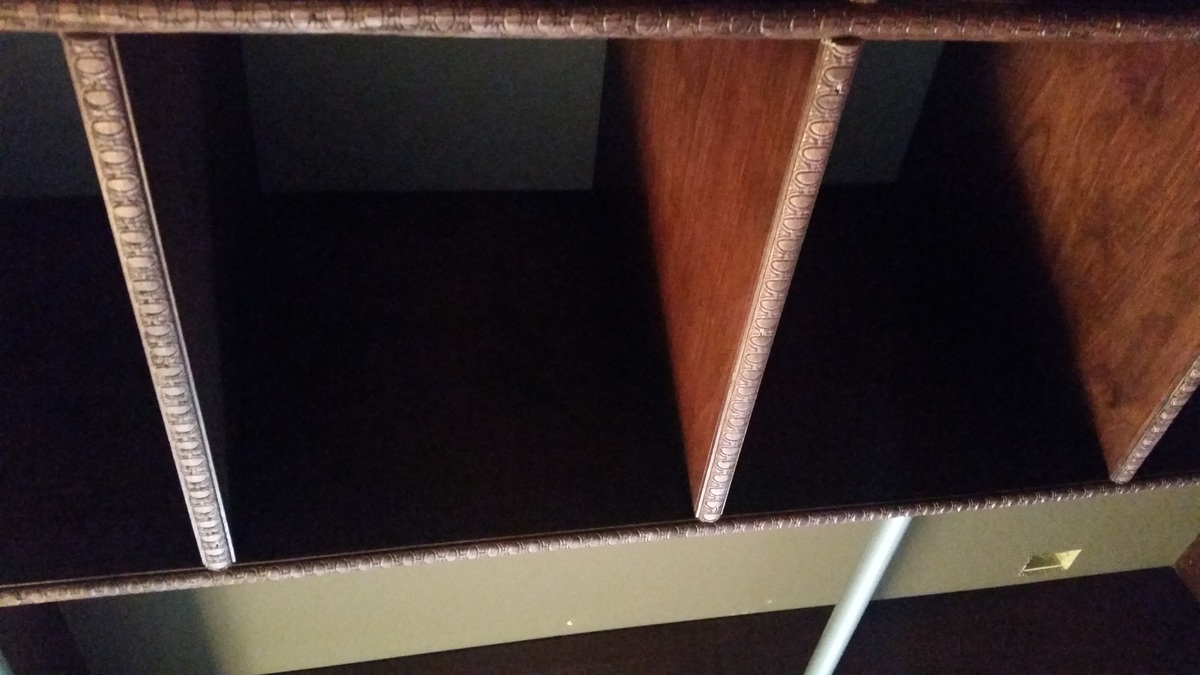
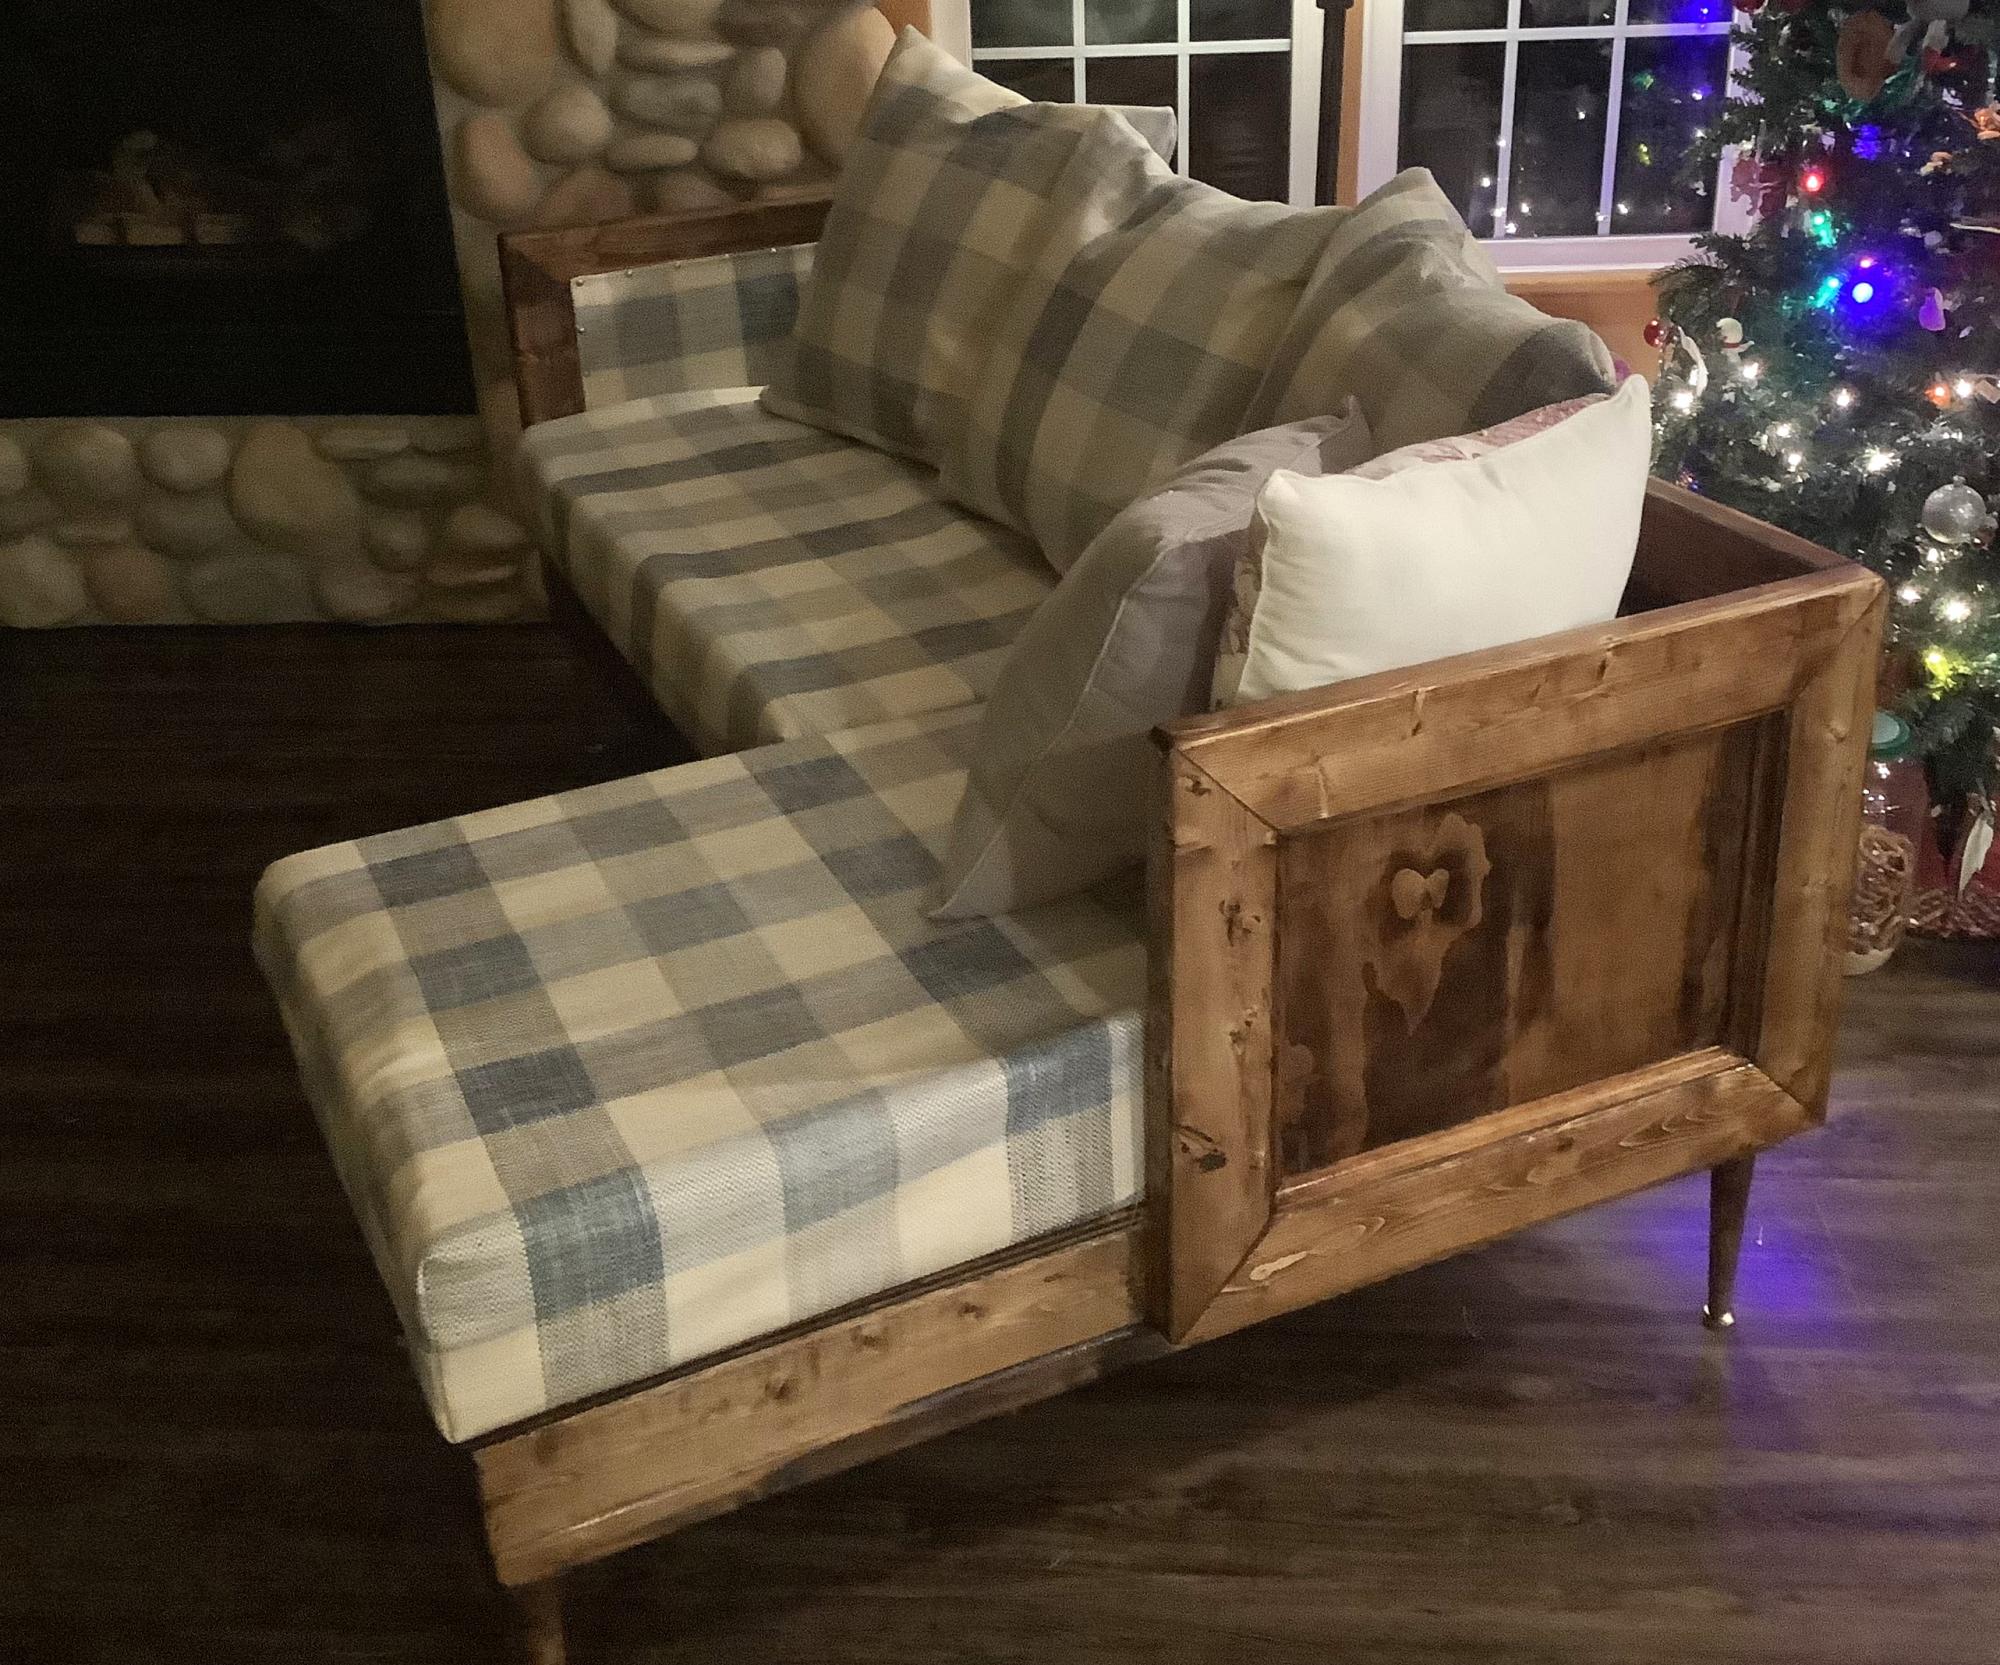
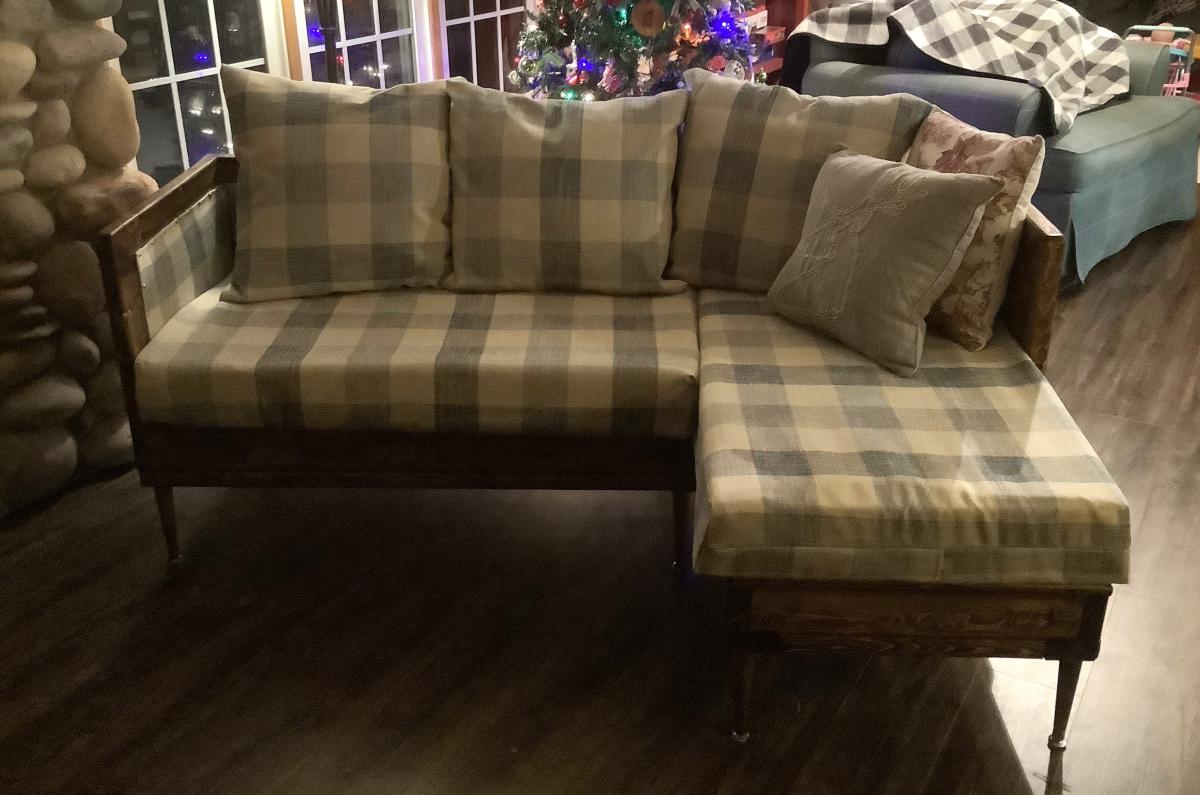
Home Gym Yoga Nook

Exercise/Yoga nook. Built using the base plans from Ana's Shoe Bench Front with Hidden Storage and Easy to Build Floating Shelves.
Built from Plan(s)
Exercise/Yoga nook. Built using the base plans from Ana's Shoe Bench Front with Hidden Storage and Easy to Build Floating Shelves.
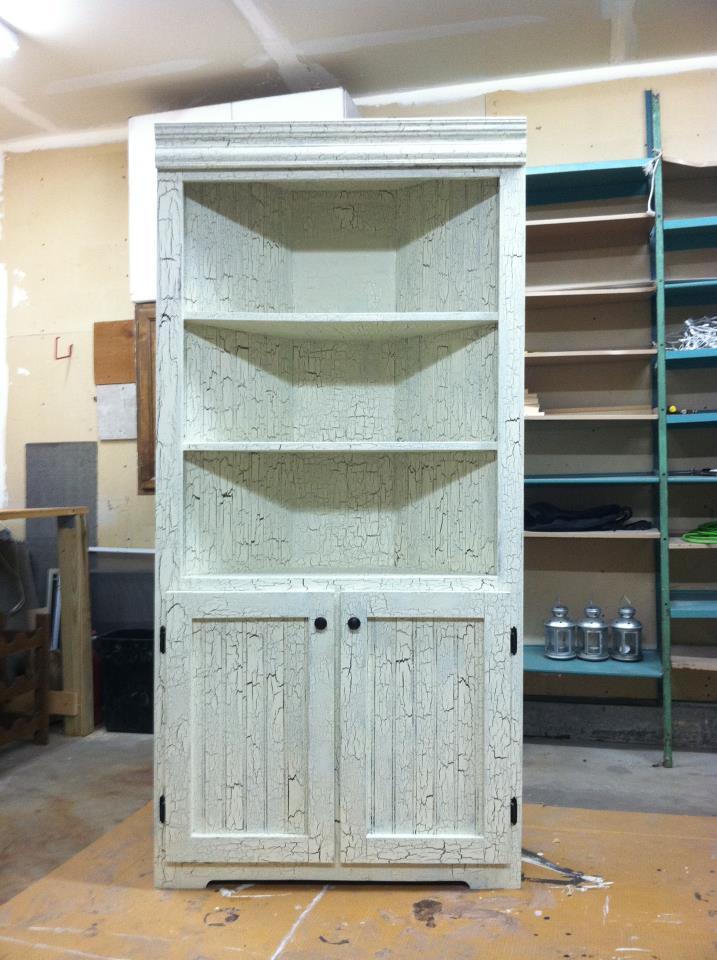
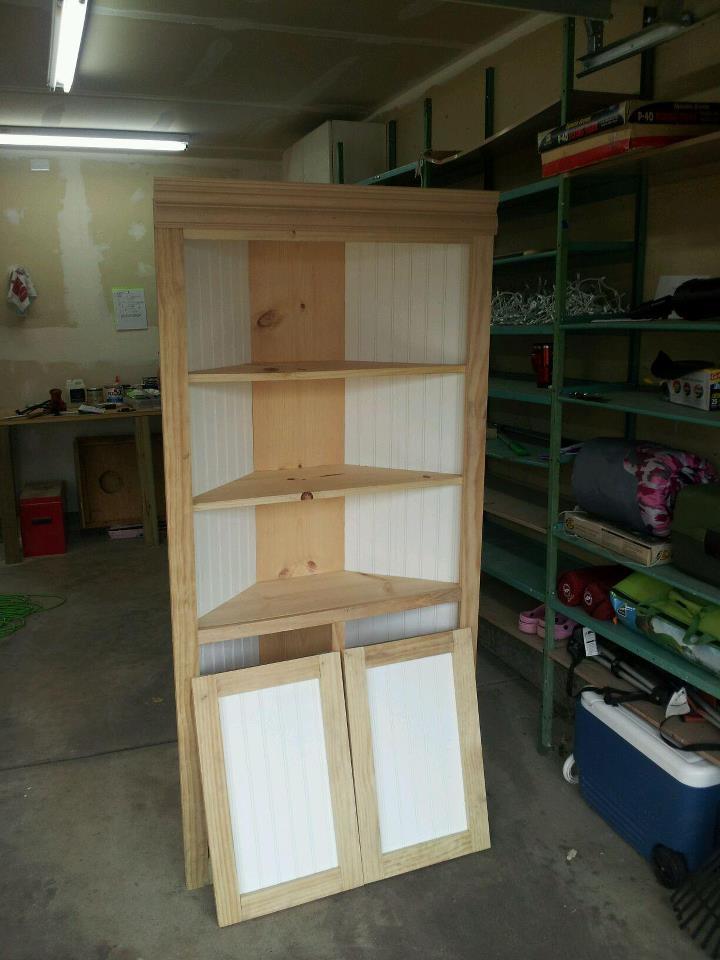
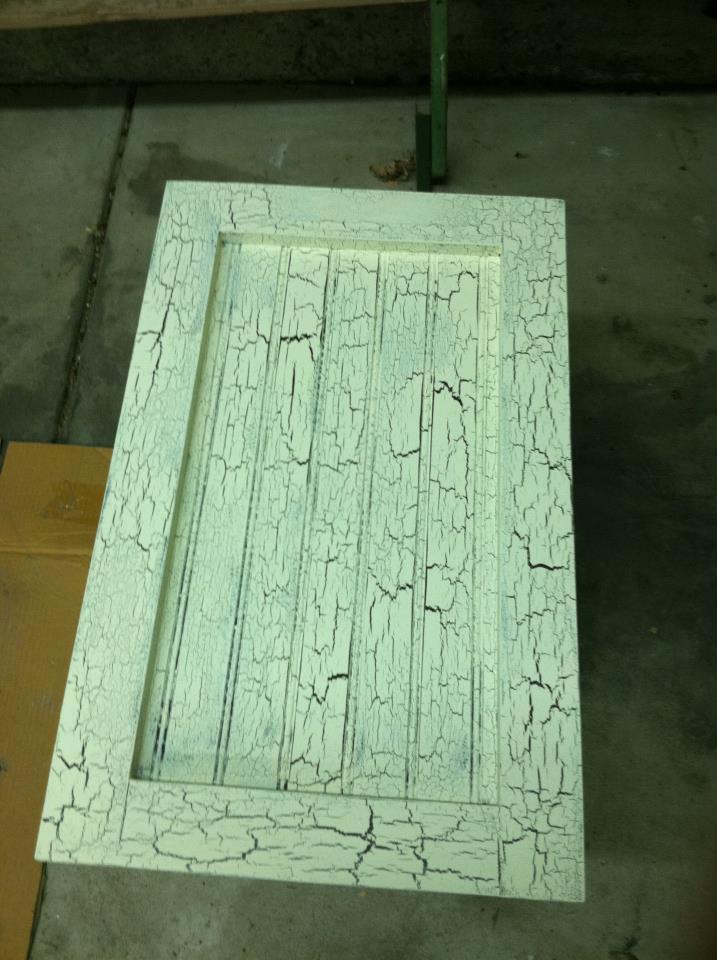
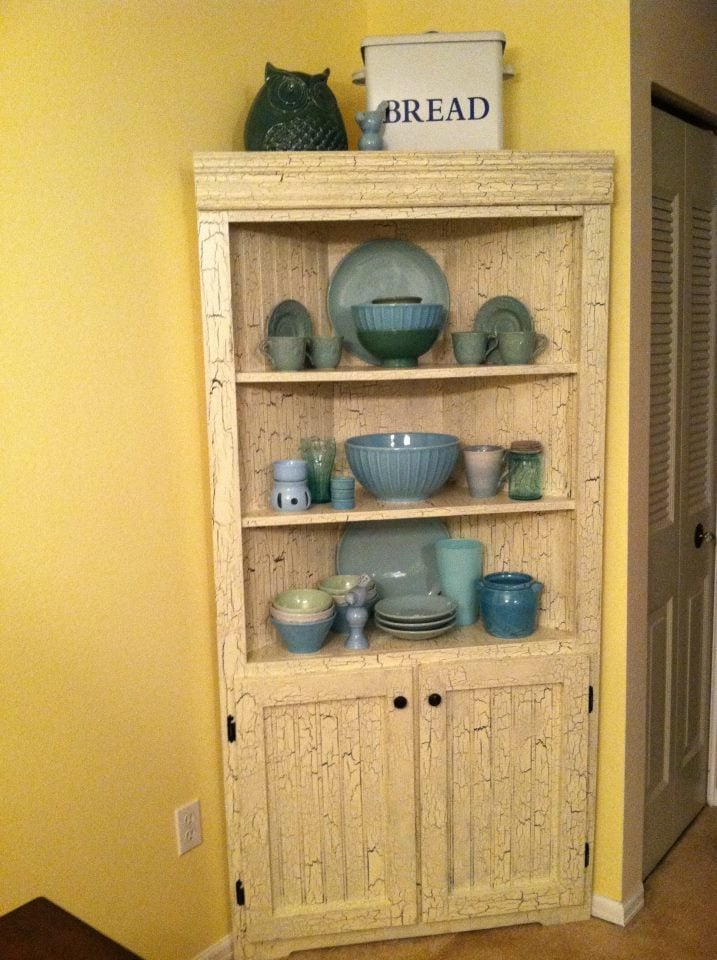
This was my first project. It took me a weekend to build and prime. Since I chose to use a crackle finish, waiting time between coats extended the total time to one full week. My husband and I were supposed to make this hutch together, but I became obsessed and did most of it alone! I adjusted the size a bit to make it larger, so I could fit big pieces on shelves and in cabinets. Thanks for the plan Ana!!

Fri, 04/13/2012 - 14:47
Wow, this is sooo beautiful! The finish is just awesome. My Hubby hates to paint, and he saw this multi-step finish and said you must have the patience of a saint! :) Congrats on such a stunning first project!
Mon, 10/01/2012 - 23:33
Very Nice! What did you do to make it "bigger"...did you make it deeper or wider? Just curious, because I would like to try and make a bigger version as well. Did you still cut the shelves on each side at a 45 degree angle? Thanks!
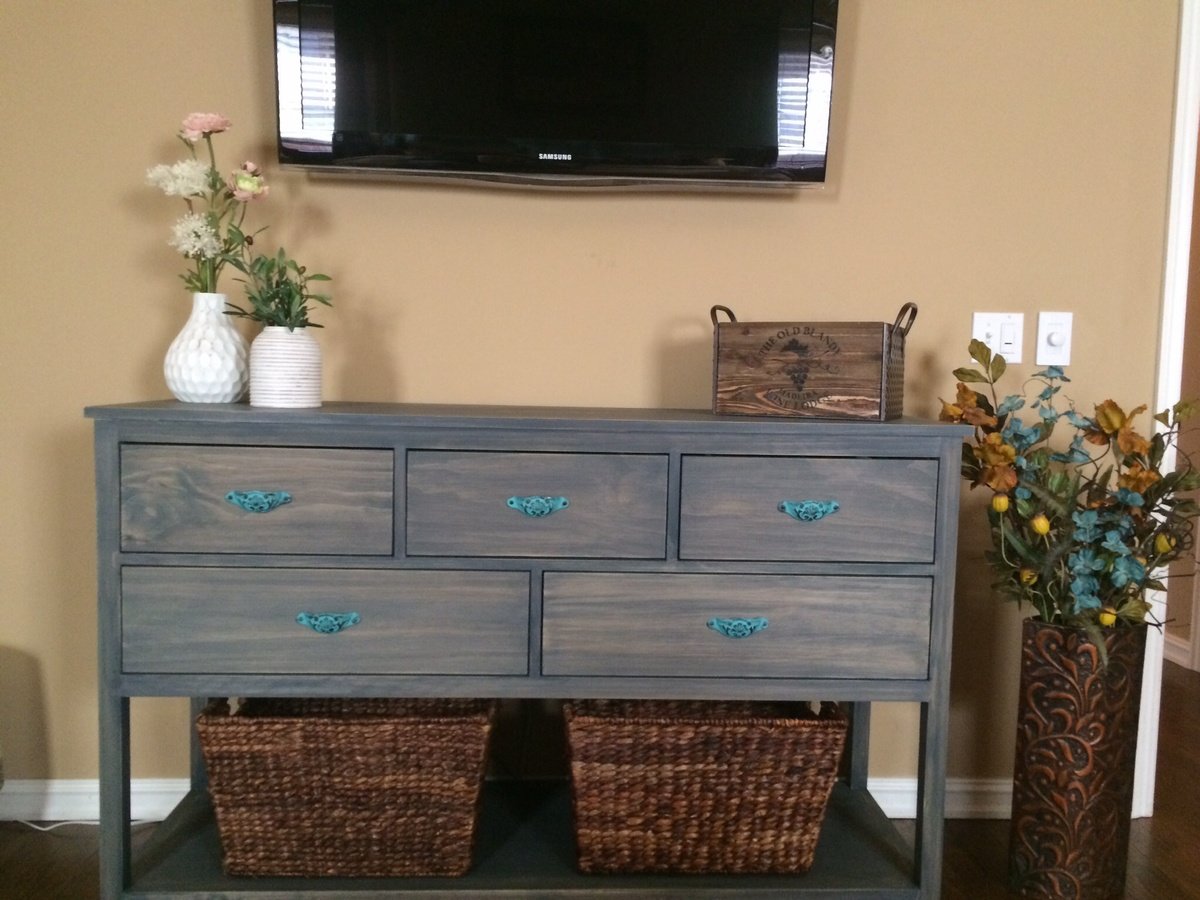
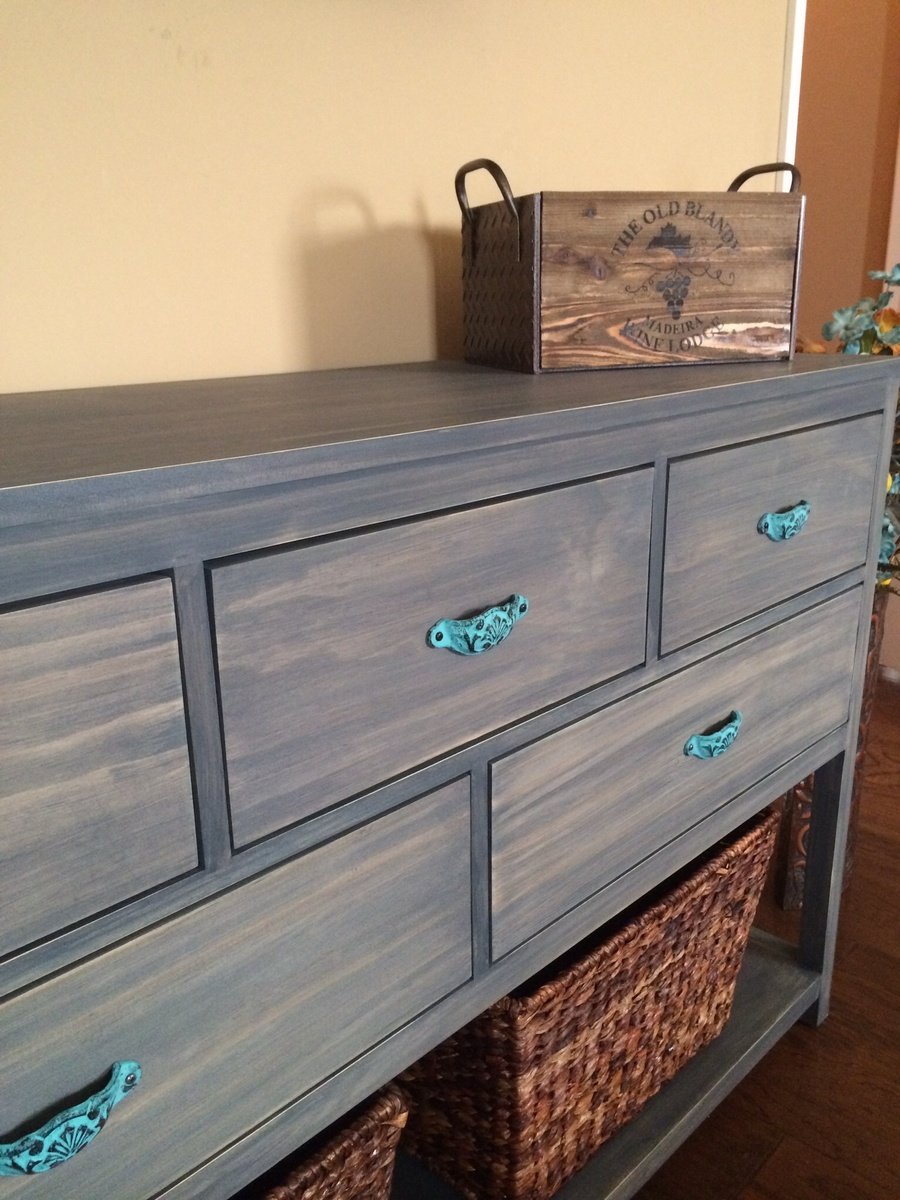
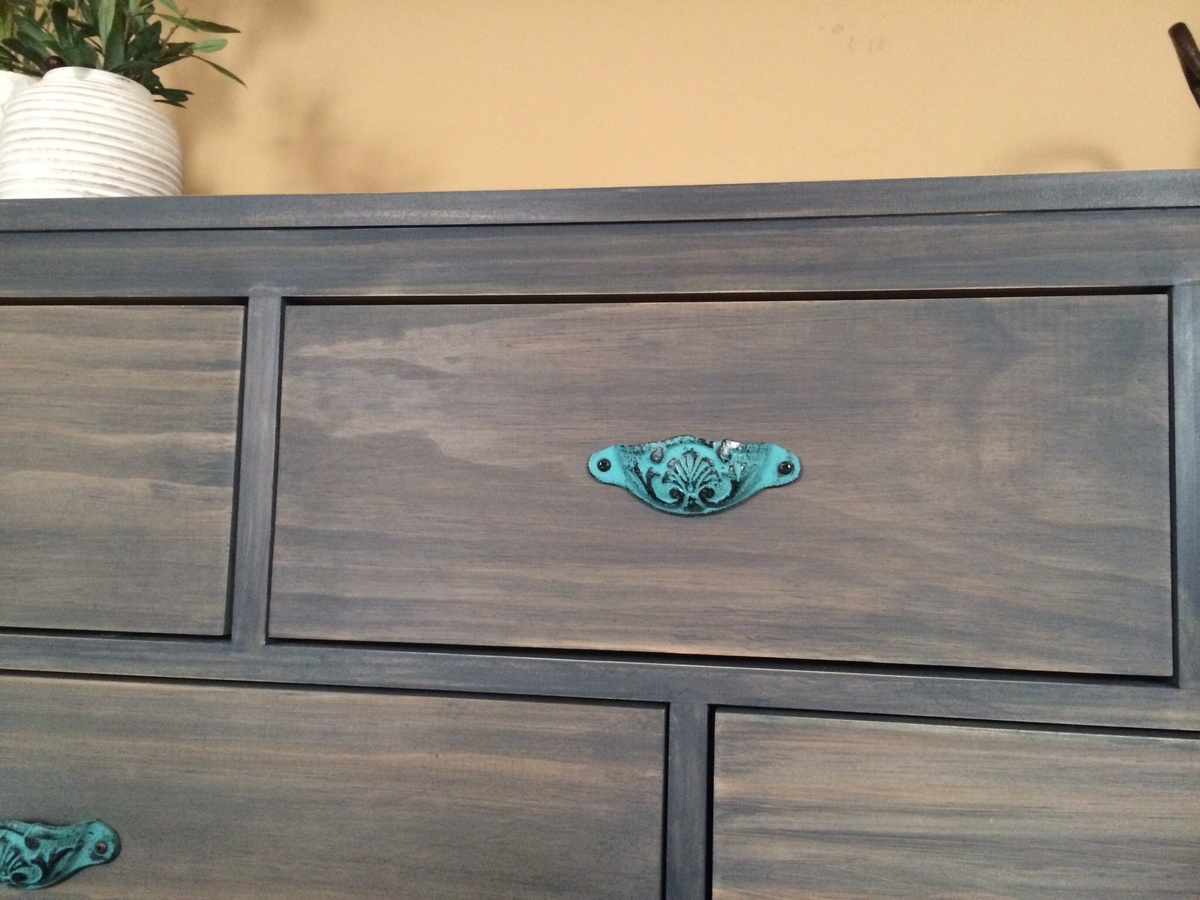
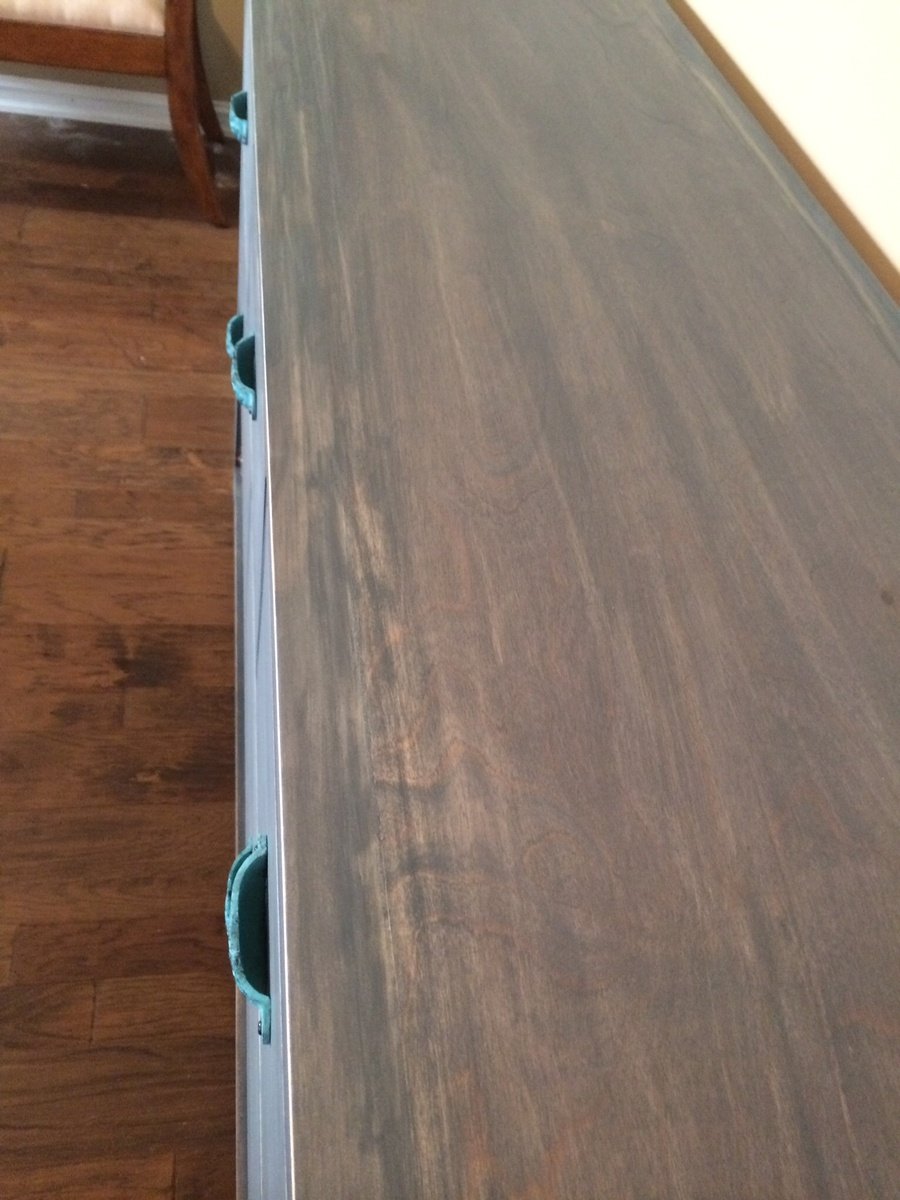
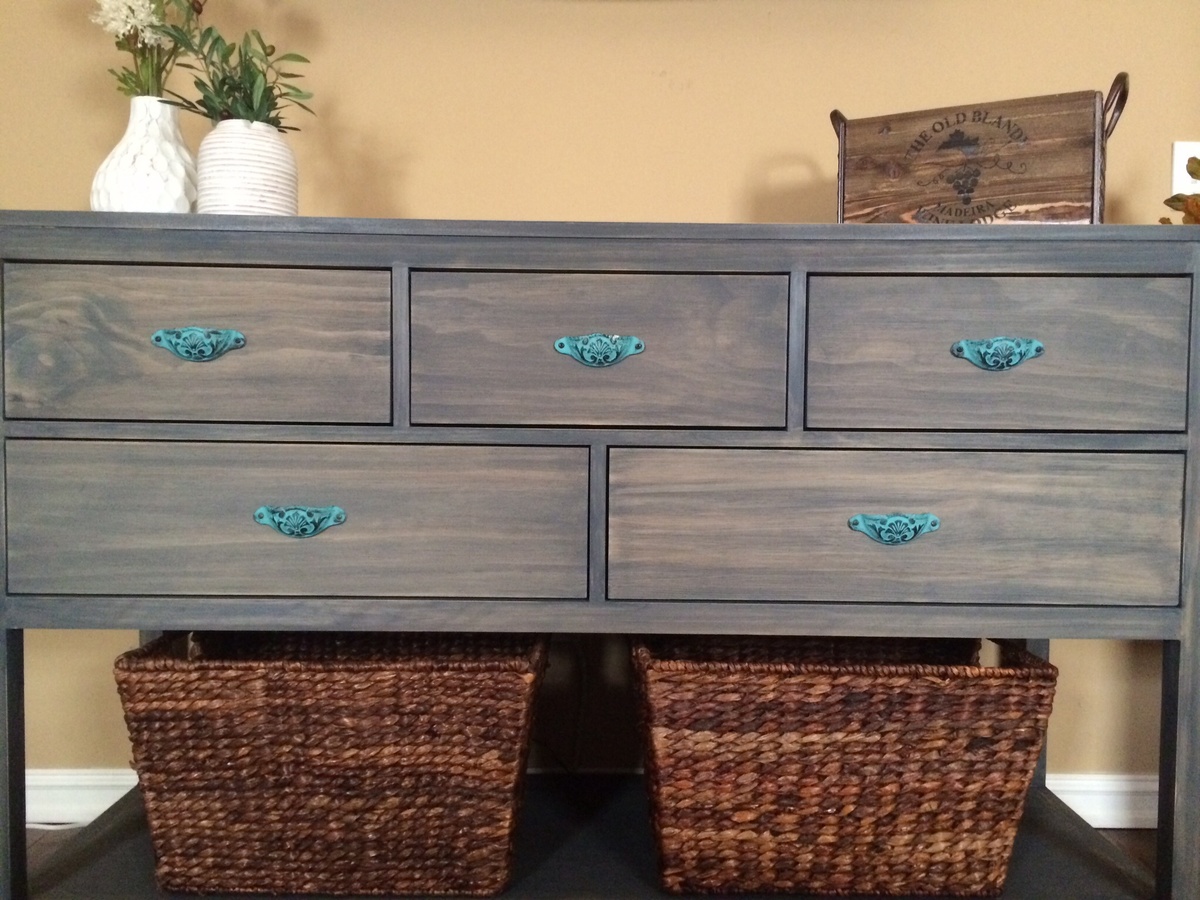
Wide cabin dresser from pine, charcoal grey wood stain, soft-close drawer slides, and turquoise hardware.

Tue, 01/28/2014 - 08:07
I absolutely love the finish and the turquoise handles! So pretty!
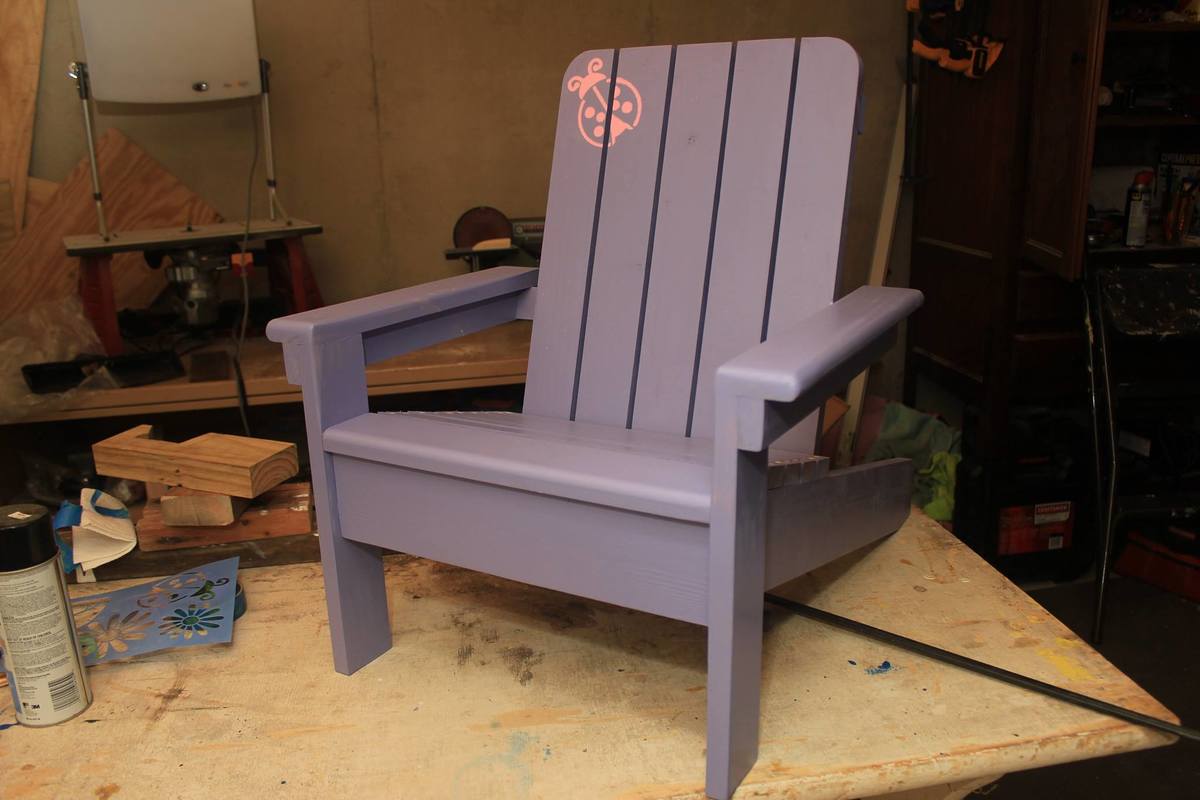
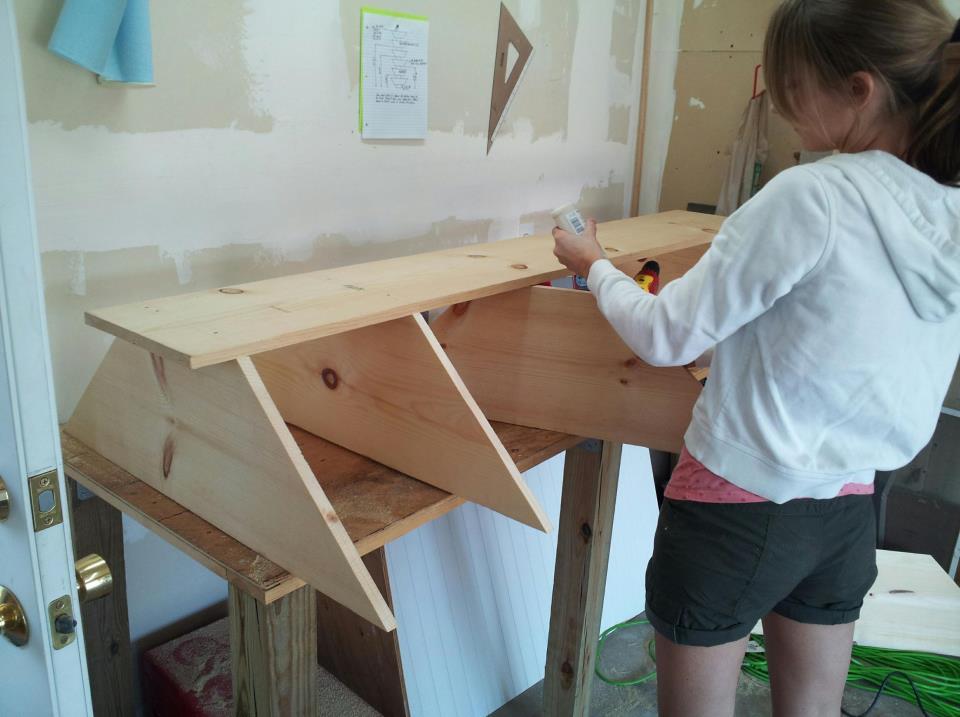
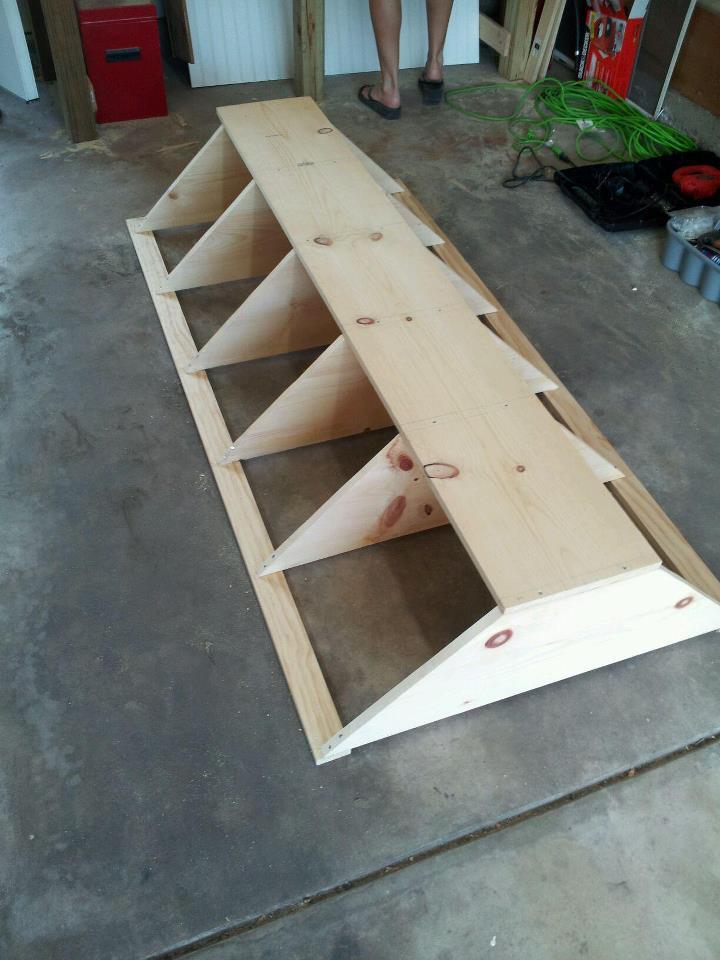
This was a true joy to build. I plan on making at least three to four more of these. Couple tips I learned though: I used pocket hole screw where I could to prevent drilling so many holes that would need to be filled: Ft board, Rear boards, and a couple others. Also I routed the edge of the very front board where the child's legs will be dangling from, as well as the inside/outside edges of the arm rests. Smoother the better I thought with little kids. Lastly, I painted all the boards and then put it together as recommended. However, I would go through the plans and only paint the surfaces that you know will either touch and will be difficult to get to or sides that won't be drilled out; unless you don't plan on filling the holes and painting over them. It will save you paint and time if you plan out what sides of what boards you'll paint first than doing them all at once.
First attempt at trying this.
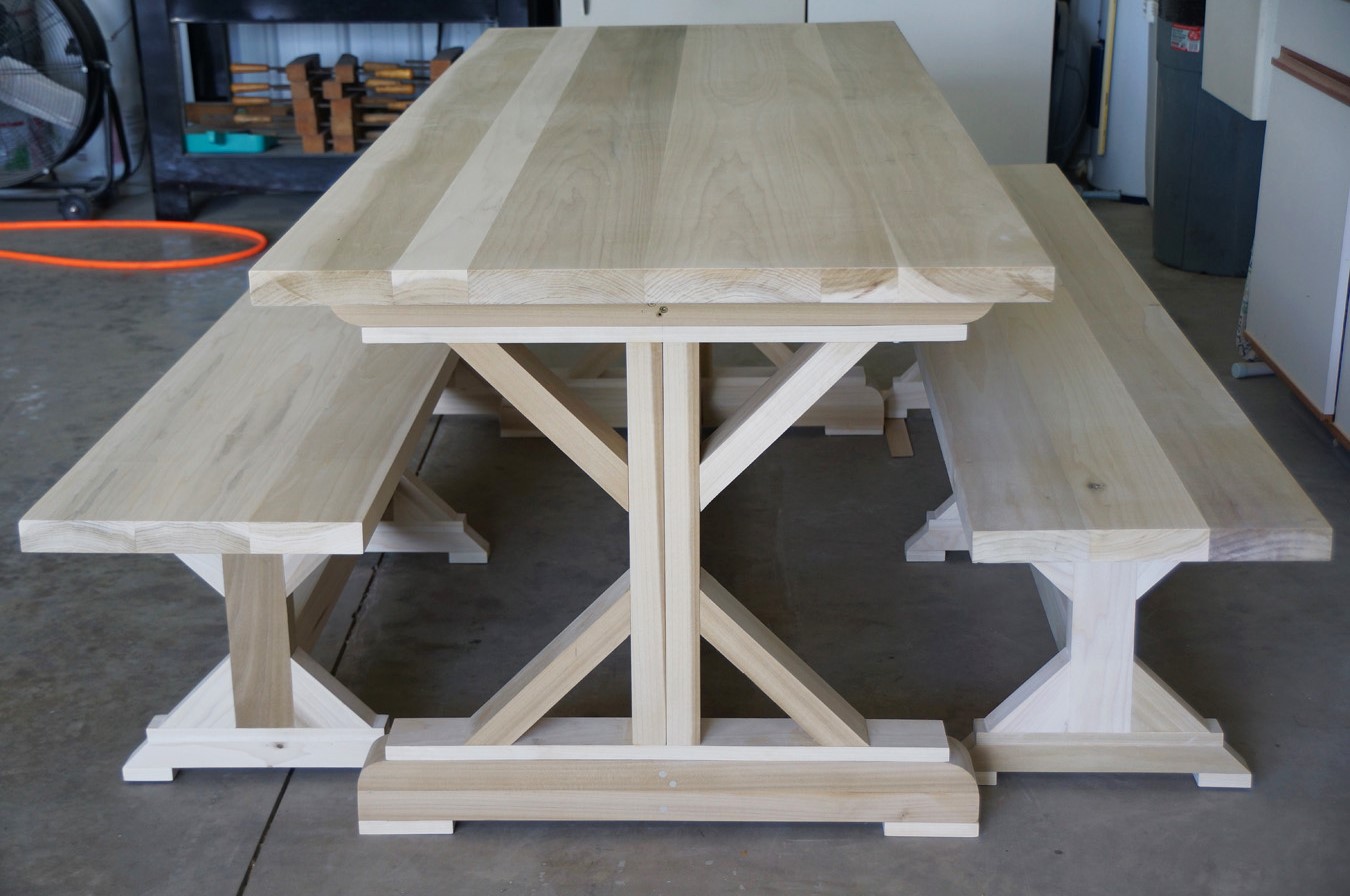
Farm Table 2 benches. Wood is Poplar
David Bellamy 89
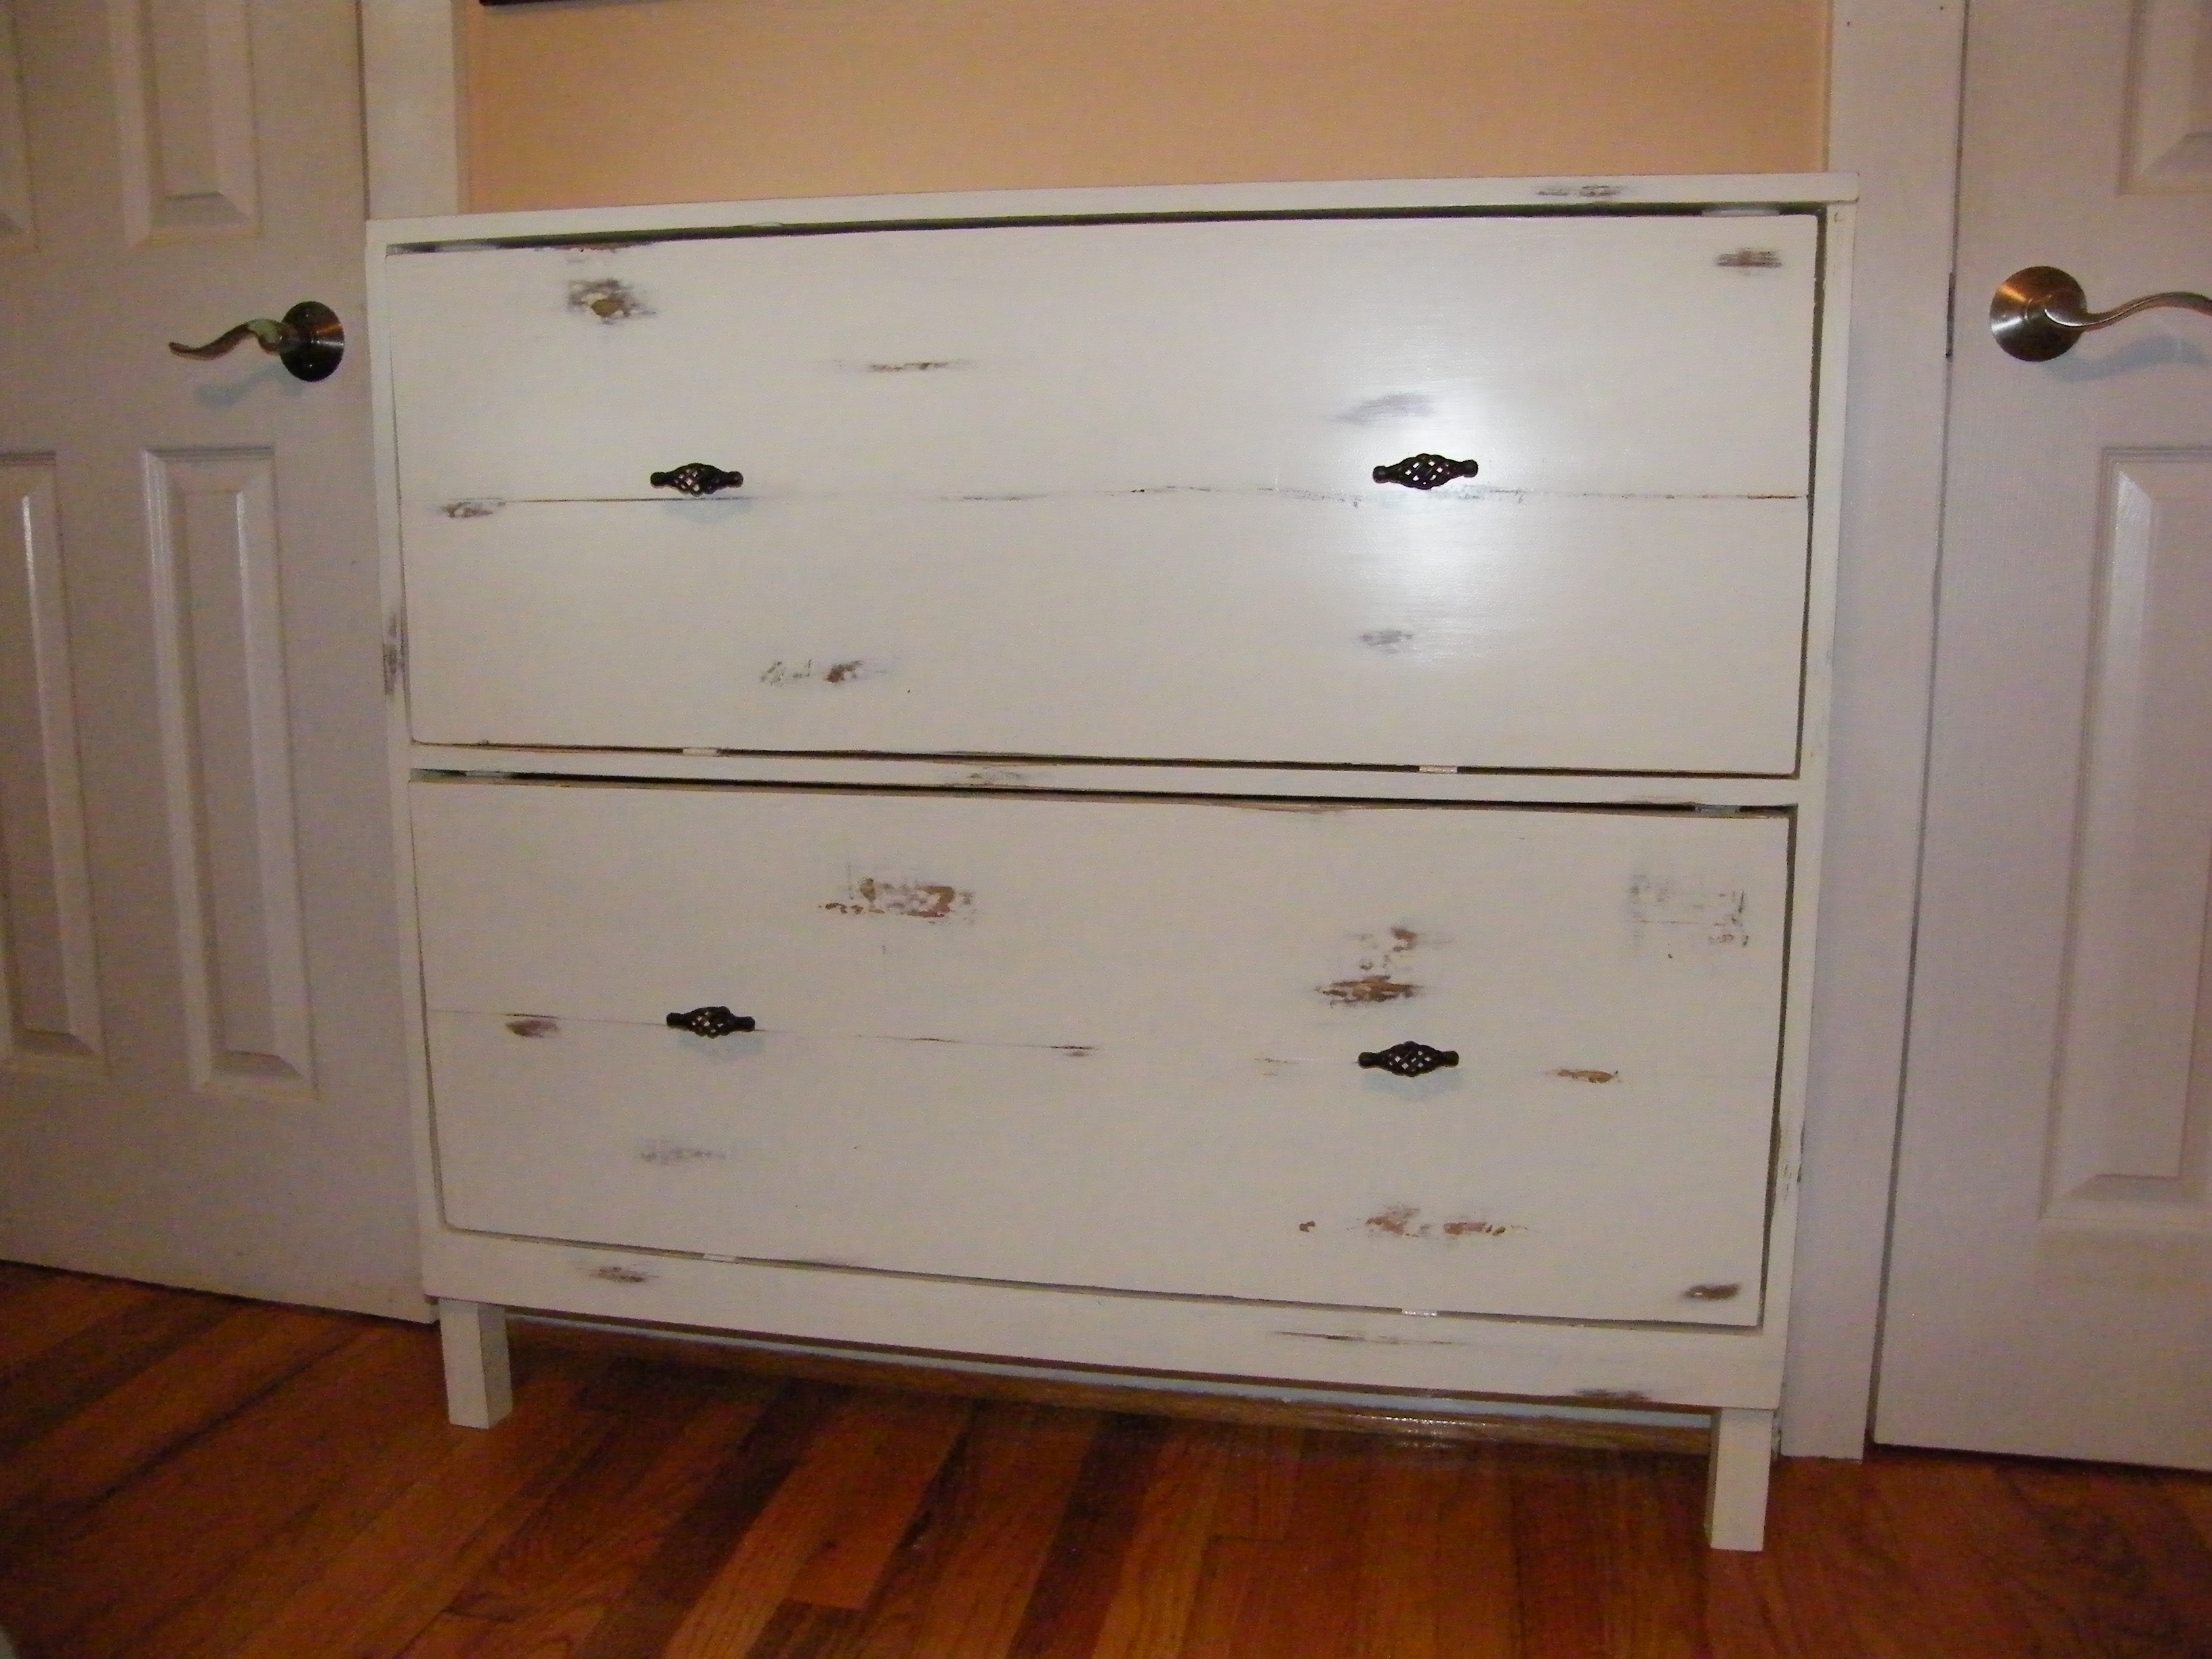
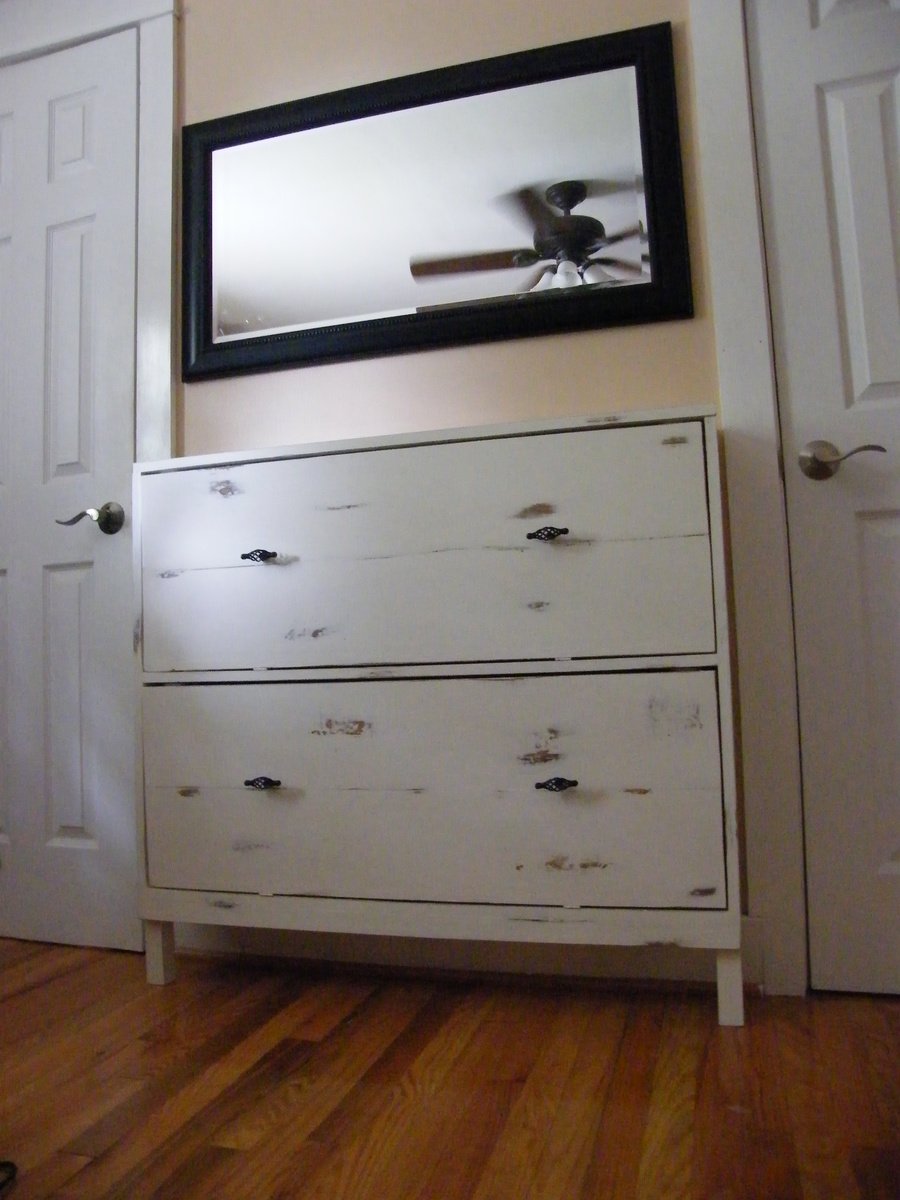
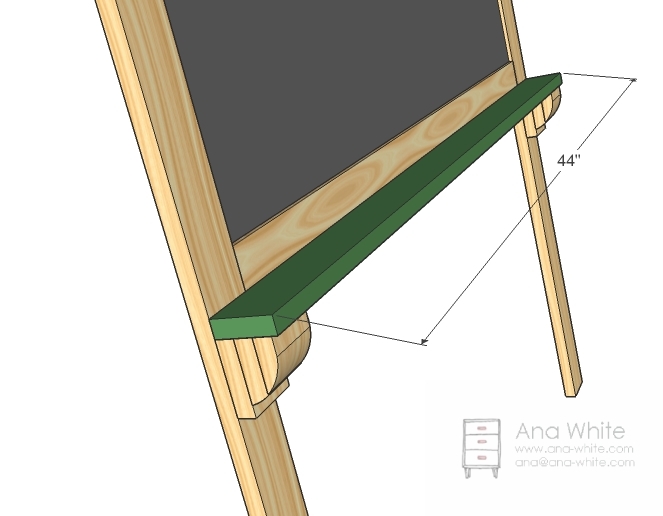
I know that Ana says not to do this as your first project but I couldn't help myself! We needed shoe storage BAD!! This project was not bad but did take my husband and I about 3 weeks to build. It had nothing to do with the difficulty just scheduling conflicts. We needed somewhere to house all of my husbands shoes and something that would not take up much space because the only spot we had to put it in our bedroom was between the bathroom door and my husbands closet door. We used Ana's plan for the shoe dresser but did had to modify it to fit the 44" spot we had to work with. The 1x8's that we used were only 7 1/4 instead of 7 1/2 but my husbands size 12 shoes fit without a problem! I can't wait to start our next project! Thanks Ana!
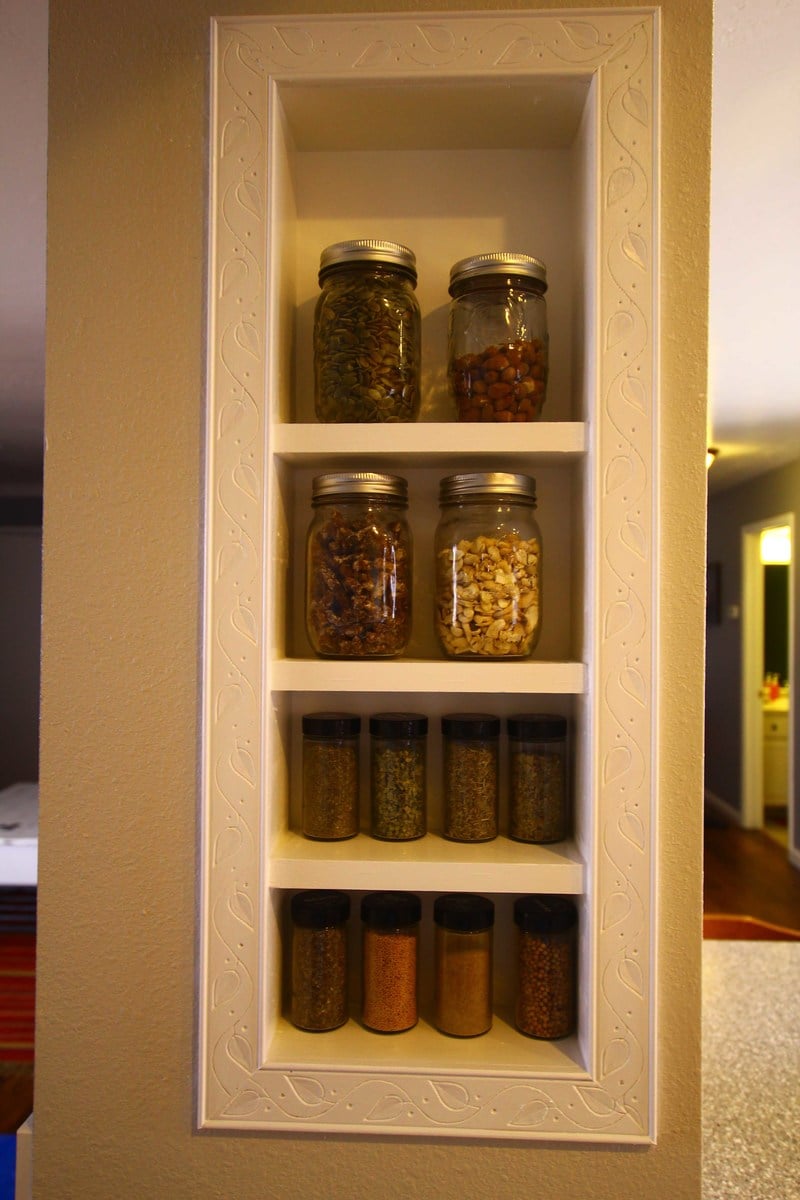
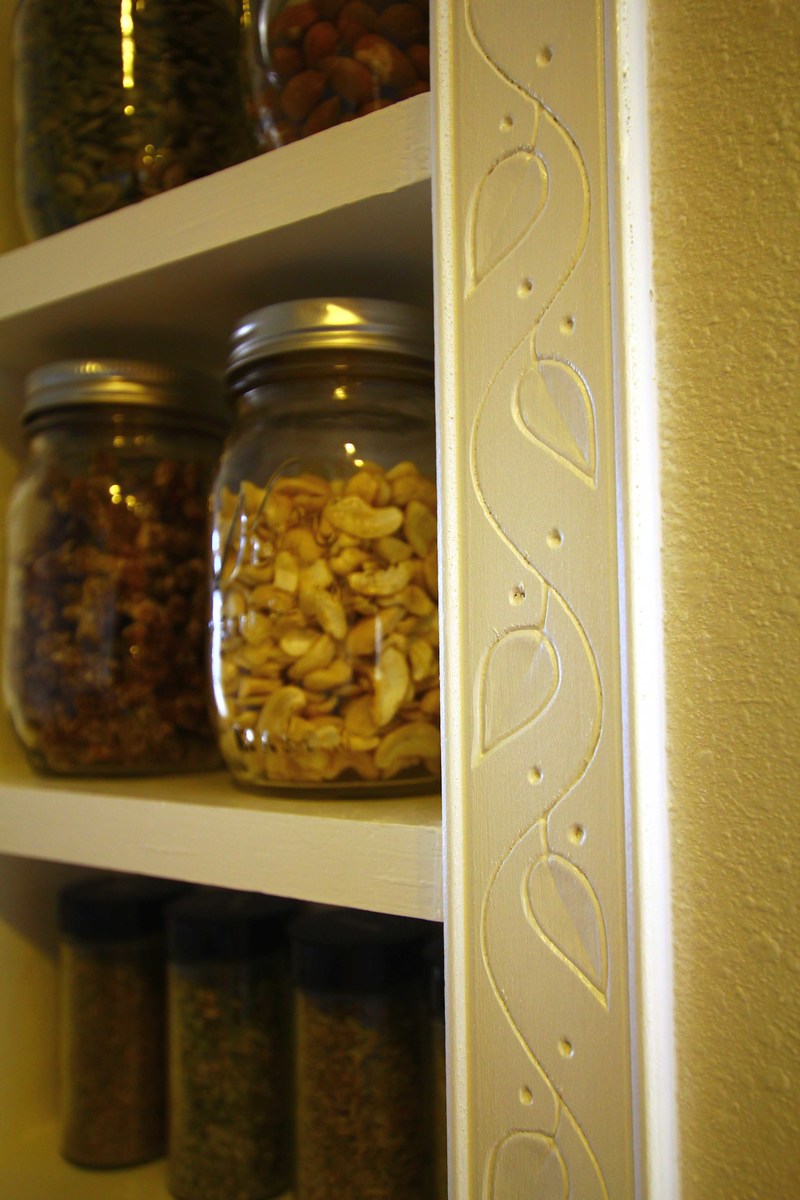
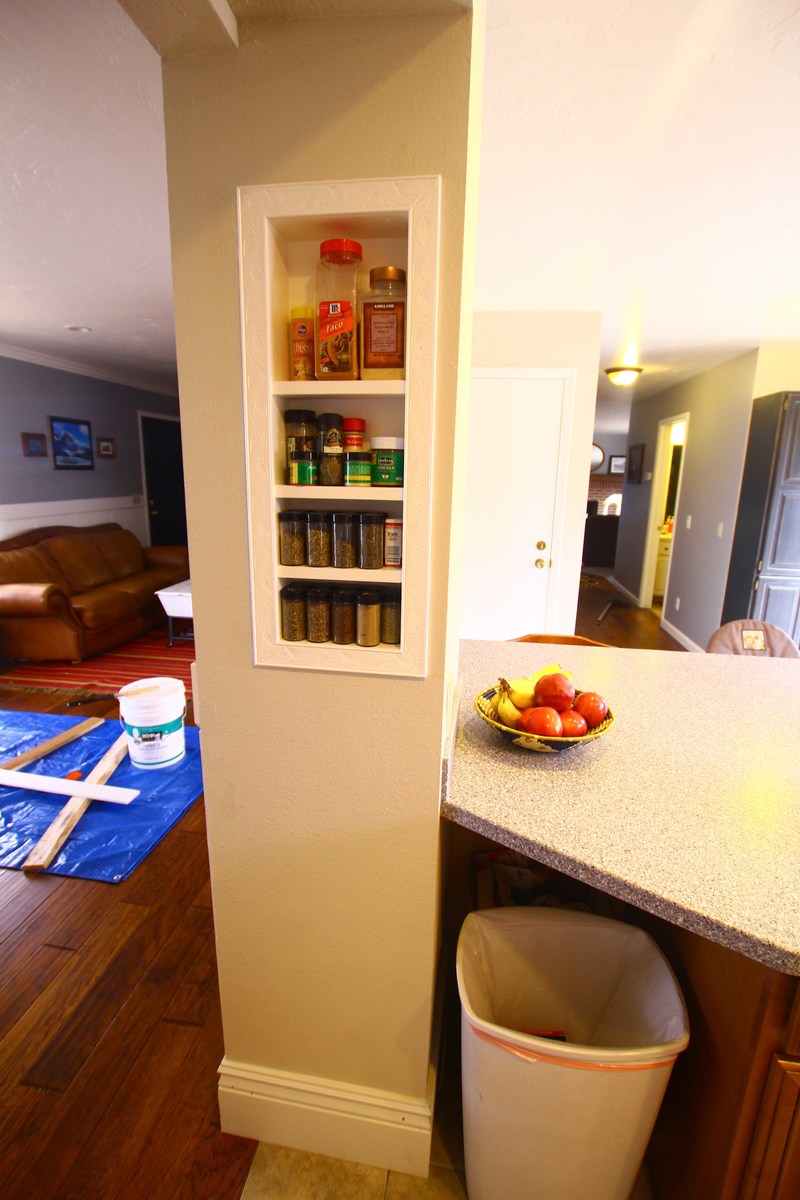
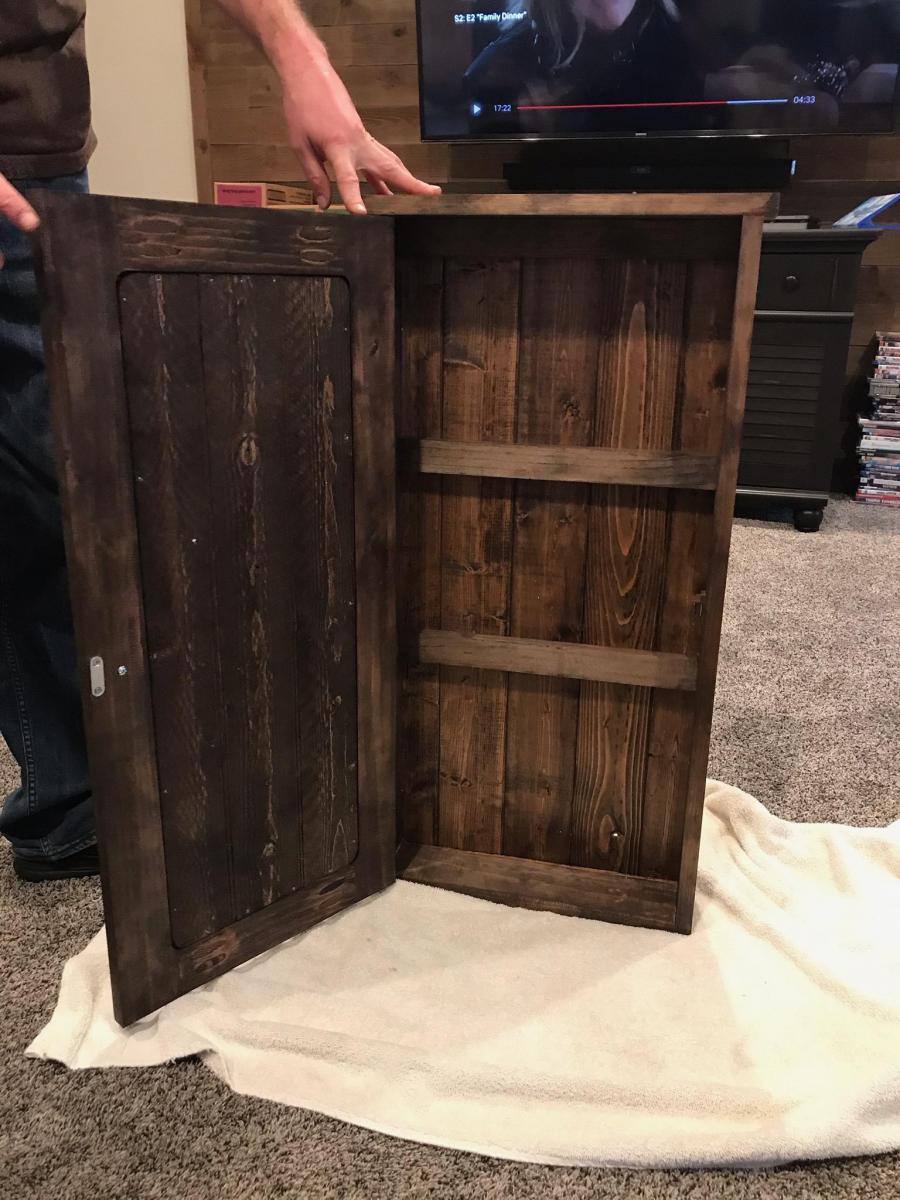
I followed the spice rack plans but put this right inside my wall and added a face frame. I love the detail in the carved wood!
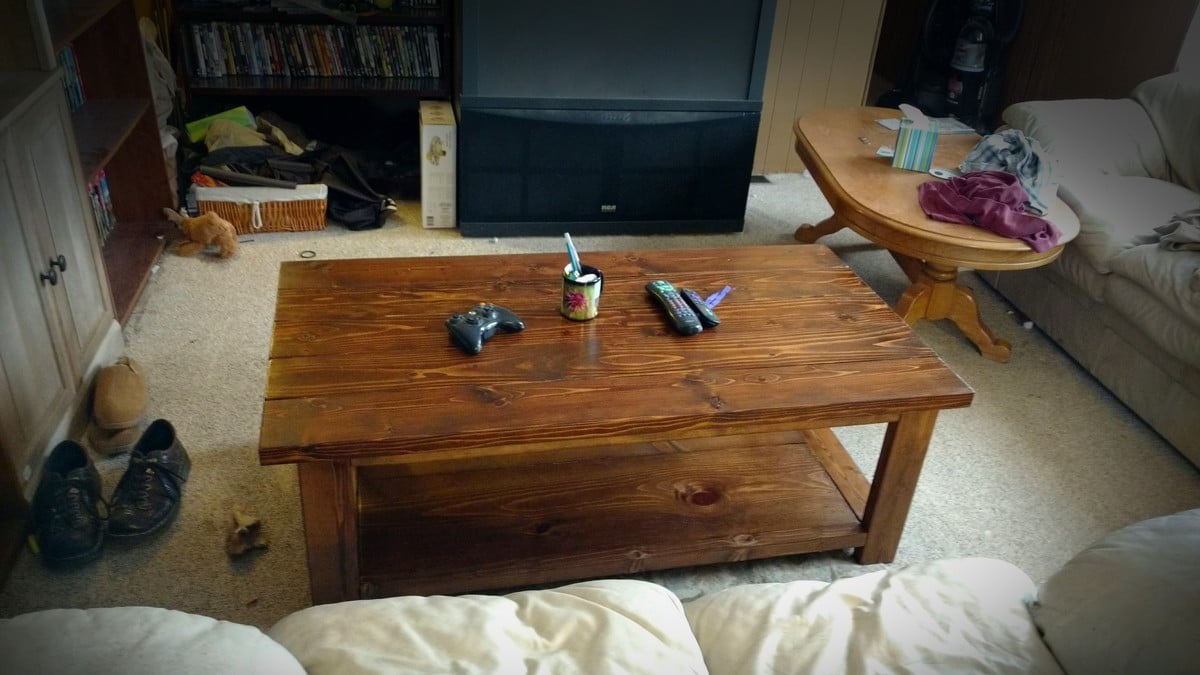
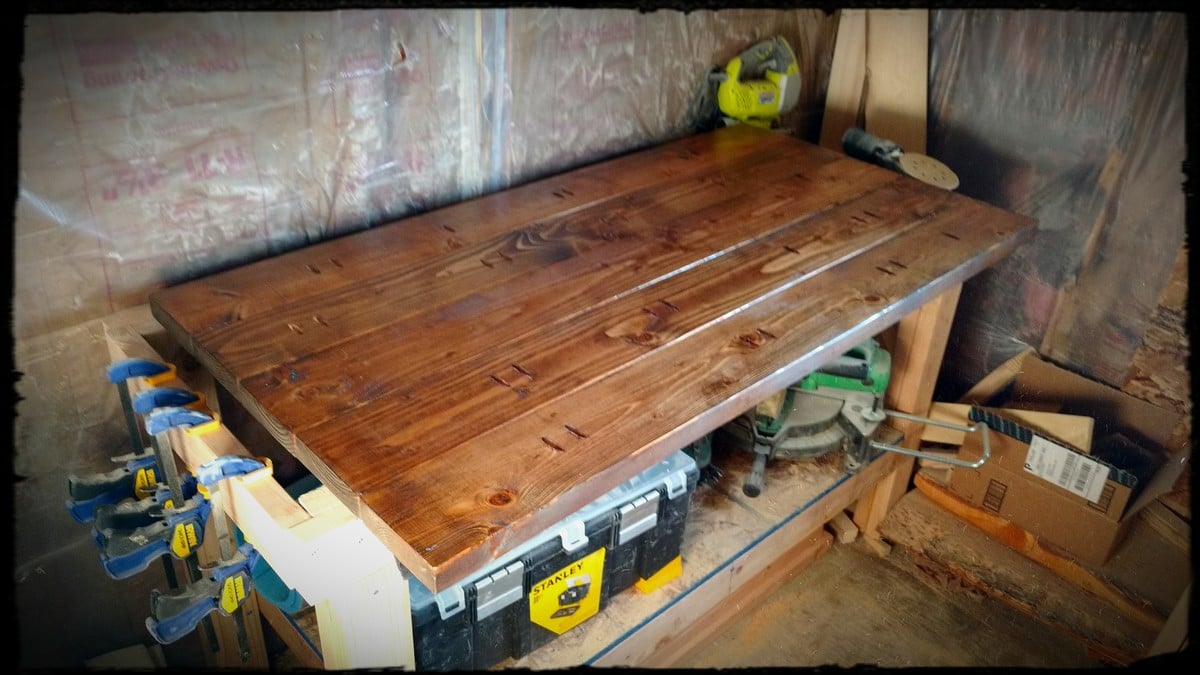
This was my 4th build, and only took a few weekends to do, working on it a few hours at a time each day. Pretty easy, though I didn't include the X braces on the sides due to miscutting them (just got the angles backwards). I used Minwax Provincial and Minwax polyurethane. Excuse the mess in the photos.

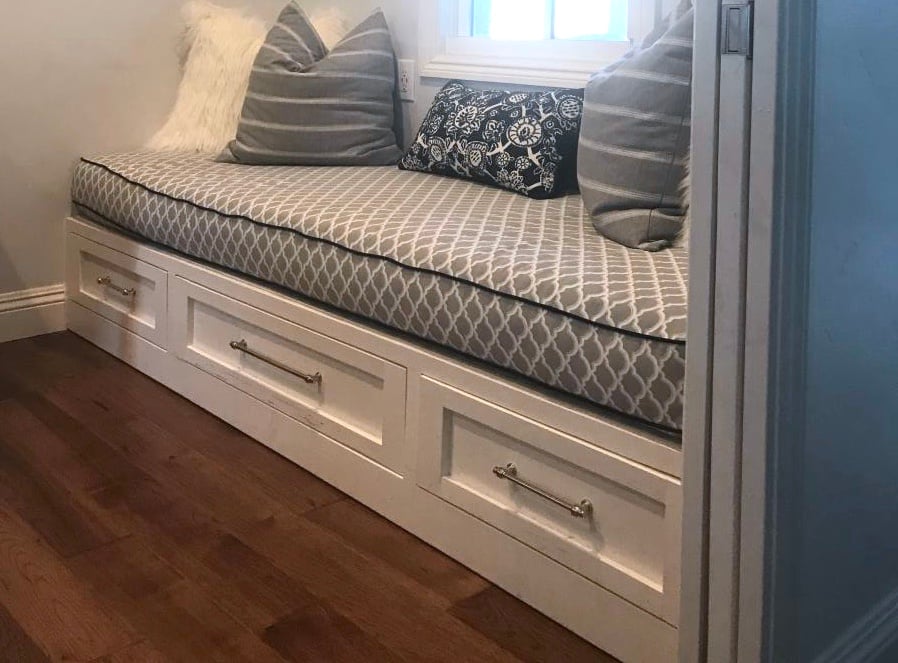
Ana White, you inspired me! My husband bought me a miter saw for Christmas but I was too afraid to use it for all of my woodworking dreams...and then I found your blog!
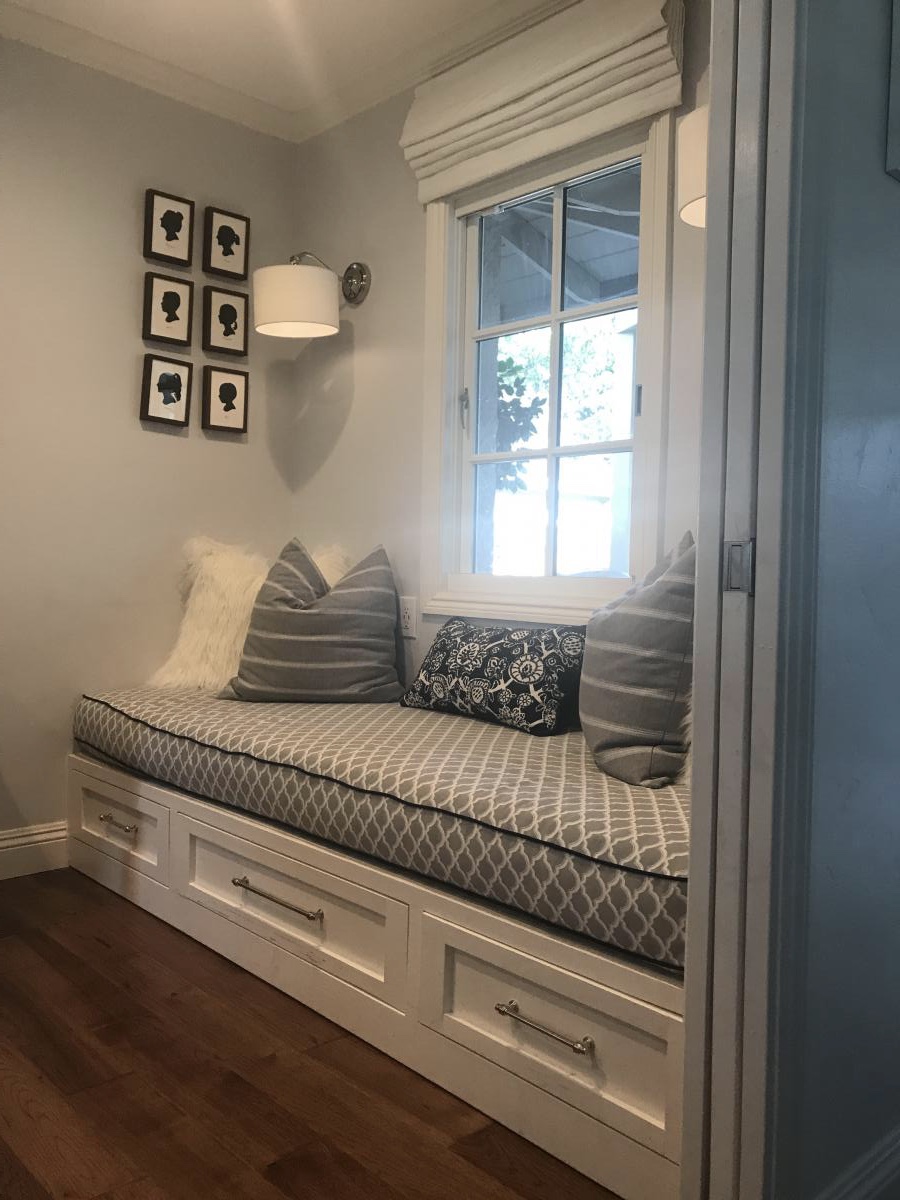
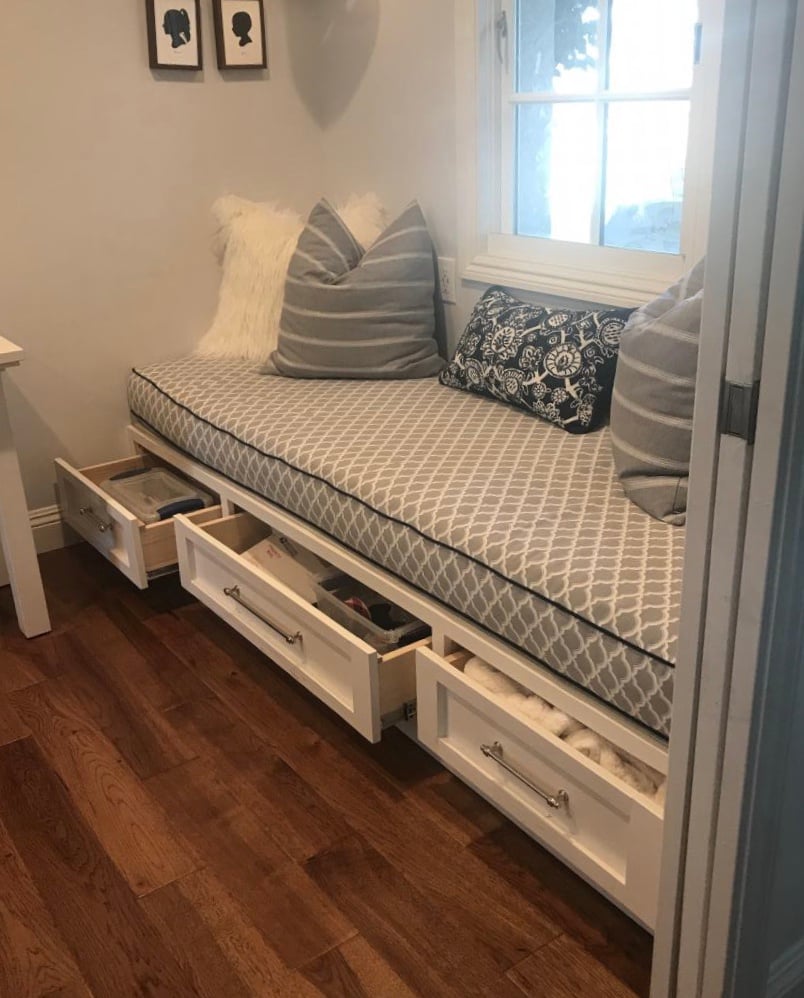
I am a mother of six young kids but I watched your videos over and over and I reworked your plans to fit our little build-out and voila! We are beyond thrilled with the results! We have a new bed for overnight guests and a great reading nook for 2-3 people at a time!
Thank you for empowering women in the BEST way. My husband was there to help me with the heavy lifting and to cheer me on when I needed it. But if I hadn’t found you, I’m not sure I would have tackled it in the first place. Thank you and God bless your family!!

Sat, 03/14/2020 - 14:11
We are building a bed for my son with drawers. Would you mind giving the dimensions of the drawers you mad? Thank you
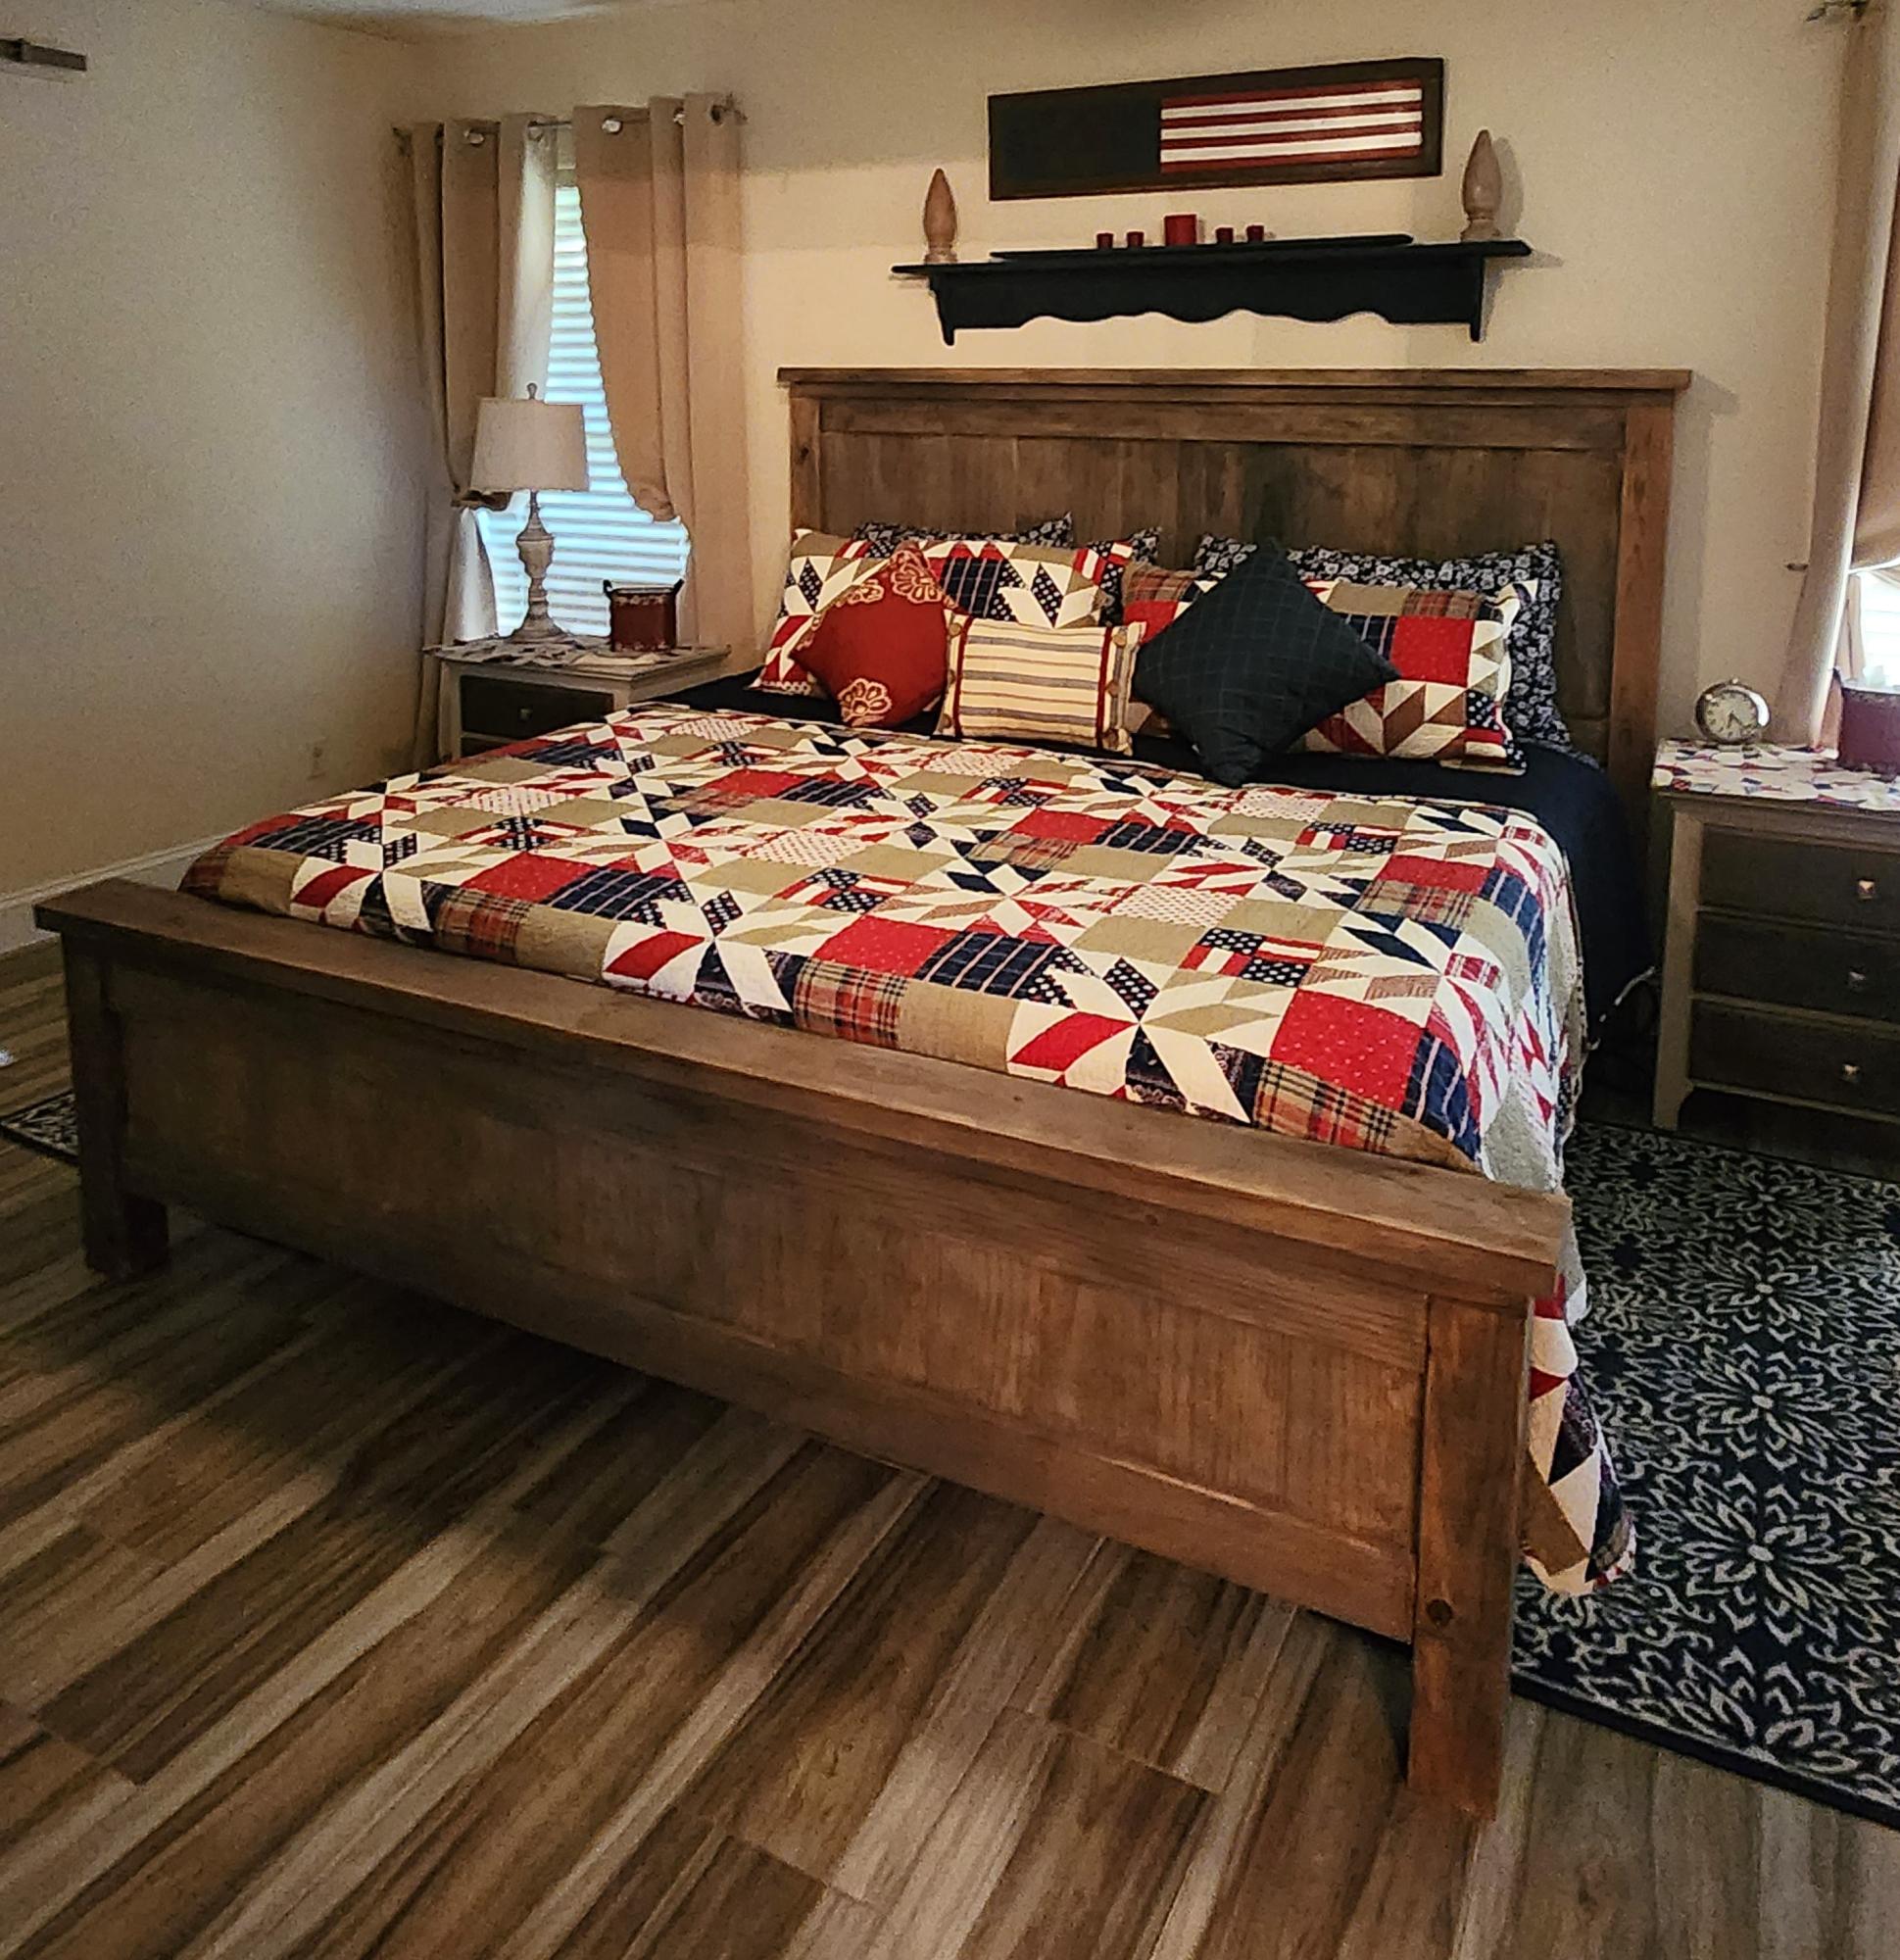
My brother (the carpenter) hates pocket holes! So to get him to help me with your farmhouse bed no pocket hole bed plan was a dream come true! It took us a few weekends but it came out so awesome. I could never buy a bed of this quality anywhere without spending a fortune. Thanks Ana!
Lisette Riveira @lkr0nes
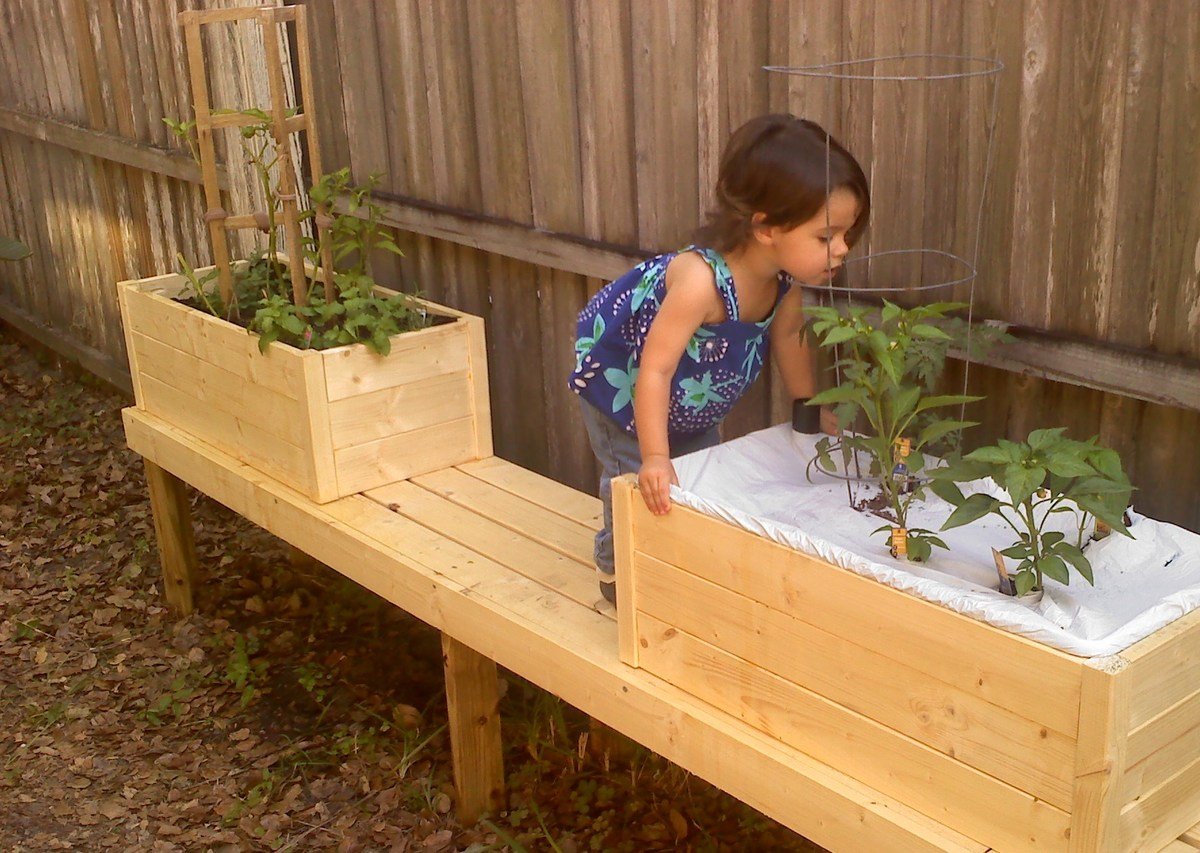
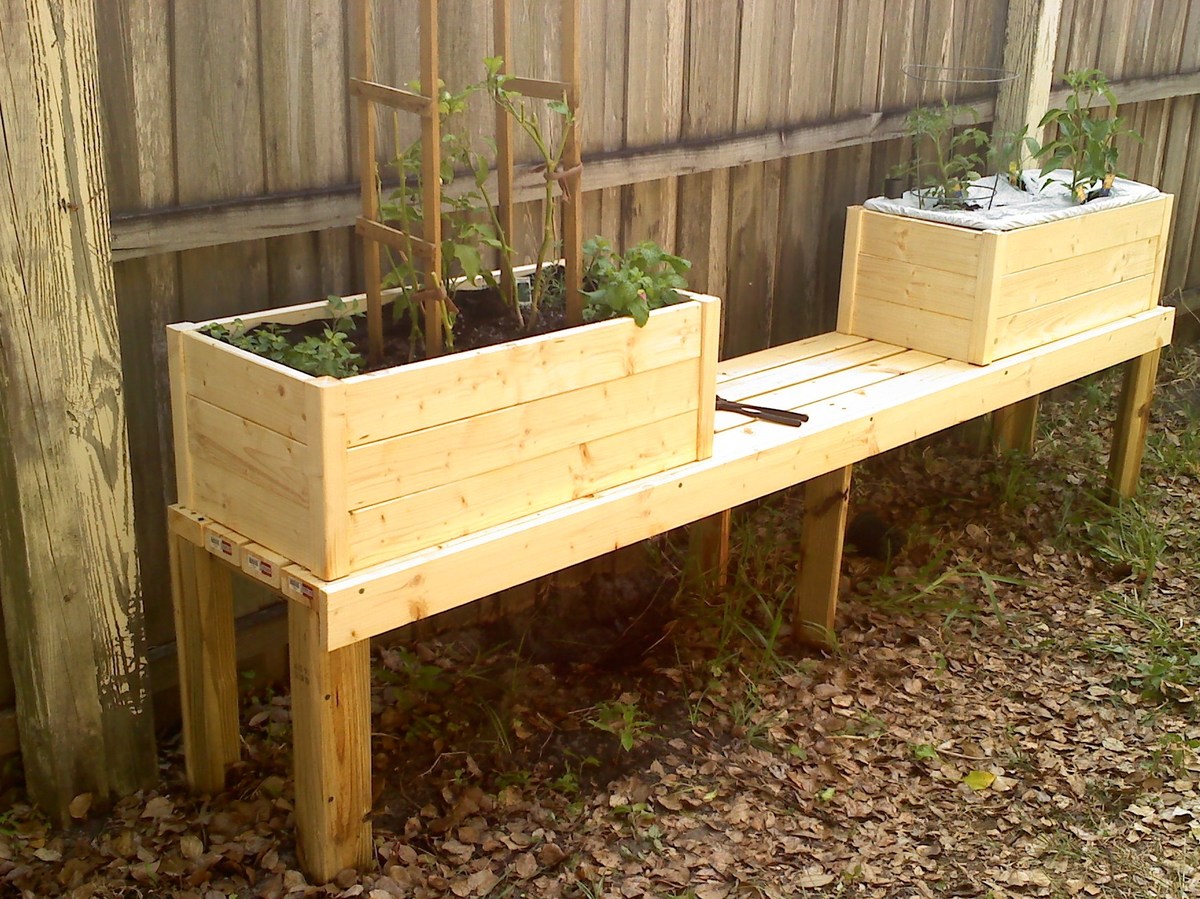
I took the design of the planter and stretched it to accomodate an "Earthbox" (which is 29 x 13.5x 11 inches) to see if I could boost the results of my little garden. Both planters were made the same size so that if I'd like, next season ,I can use two Earthboxes.
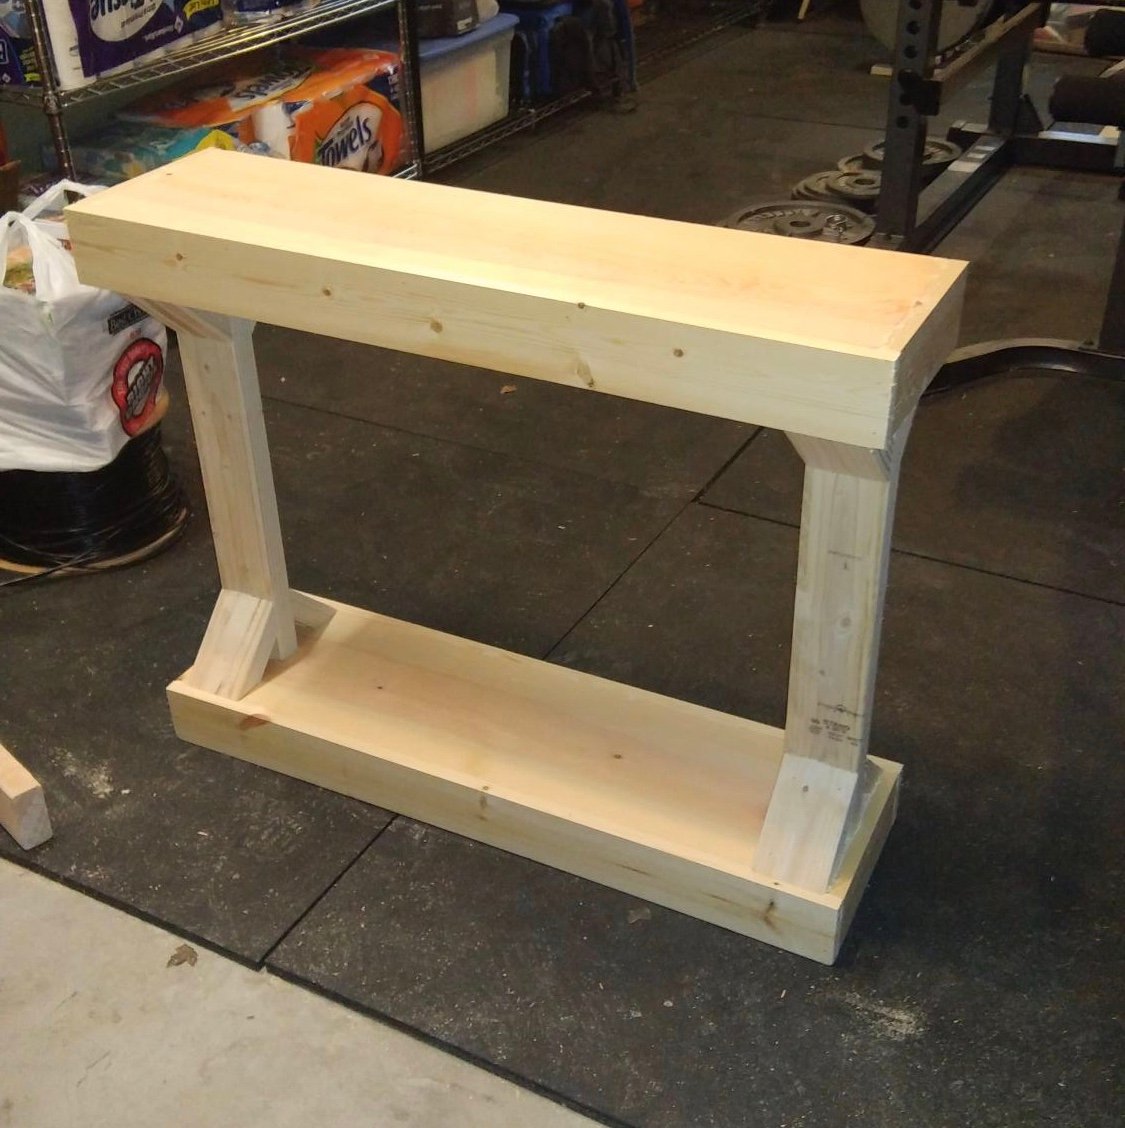
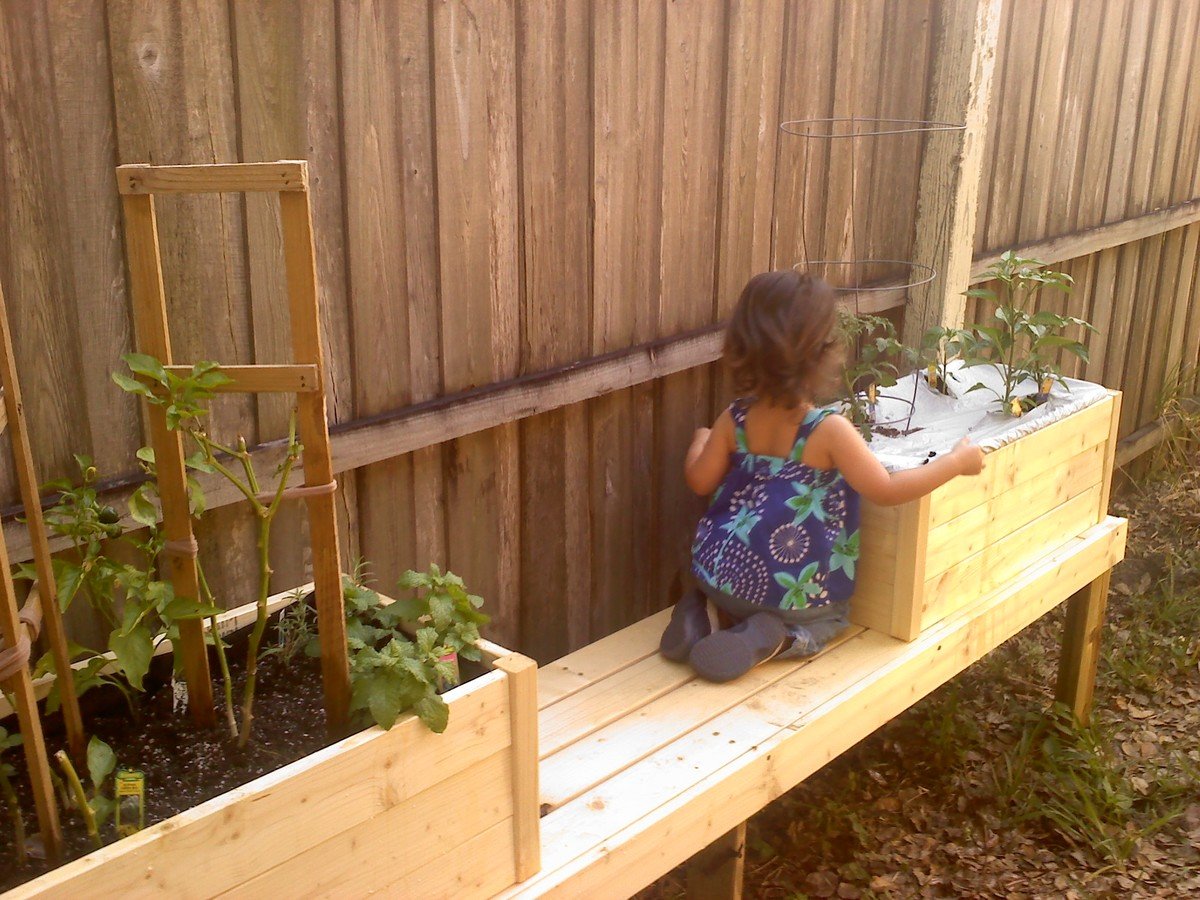
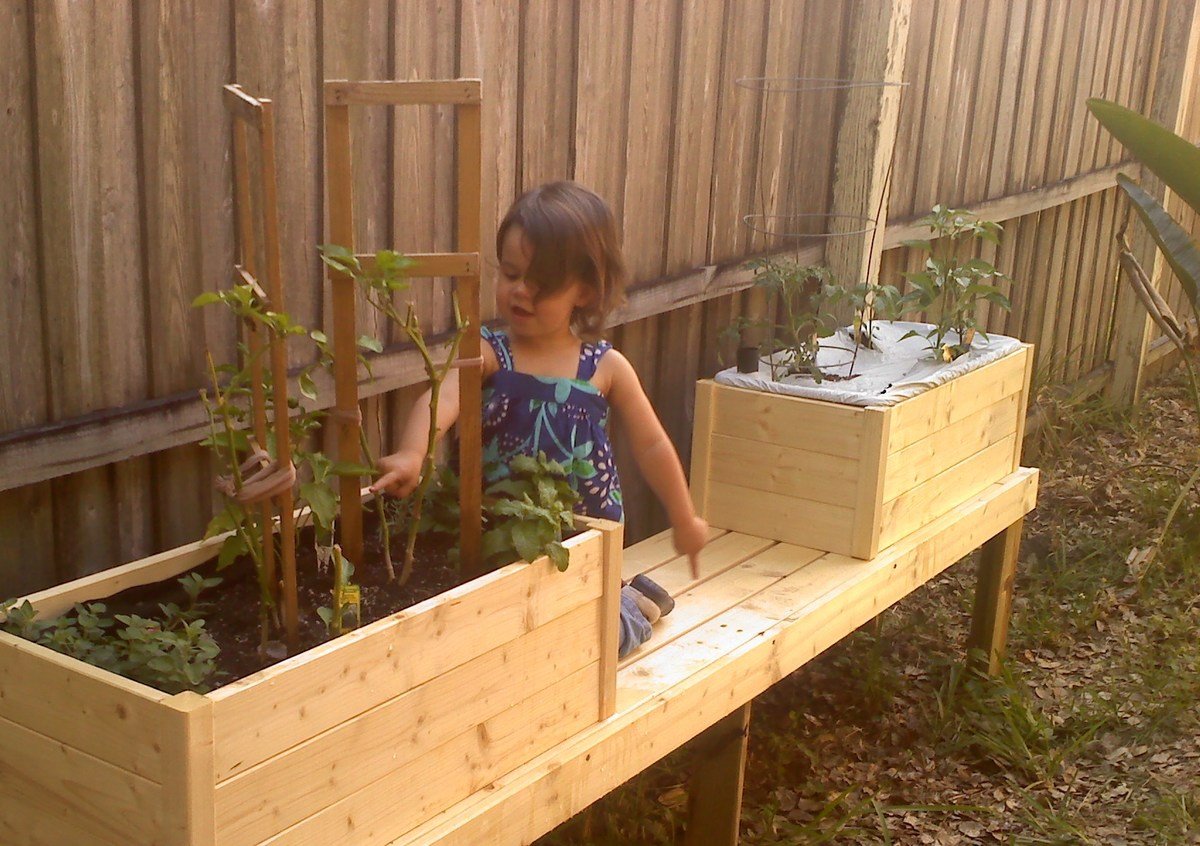
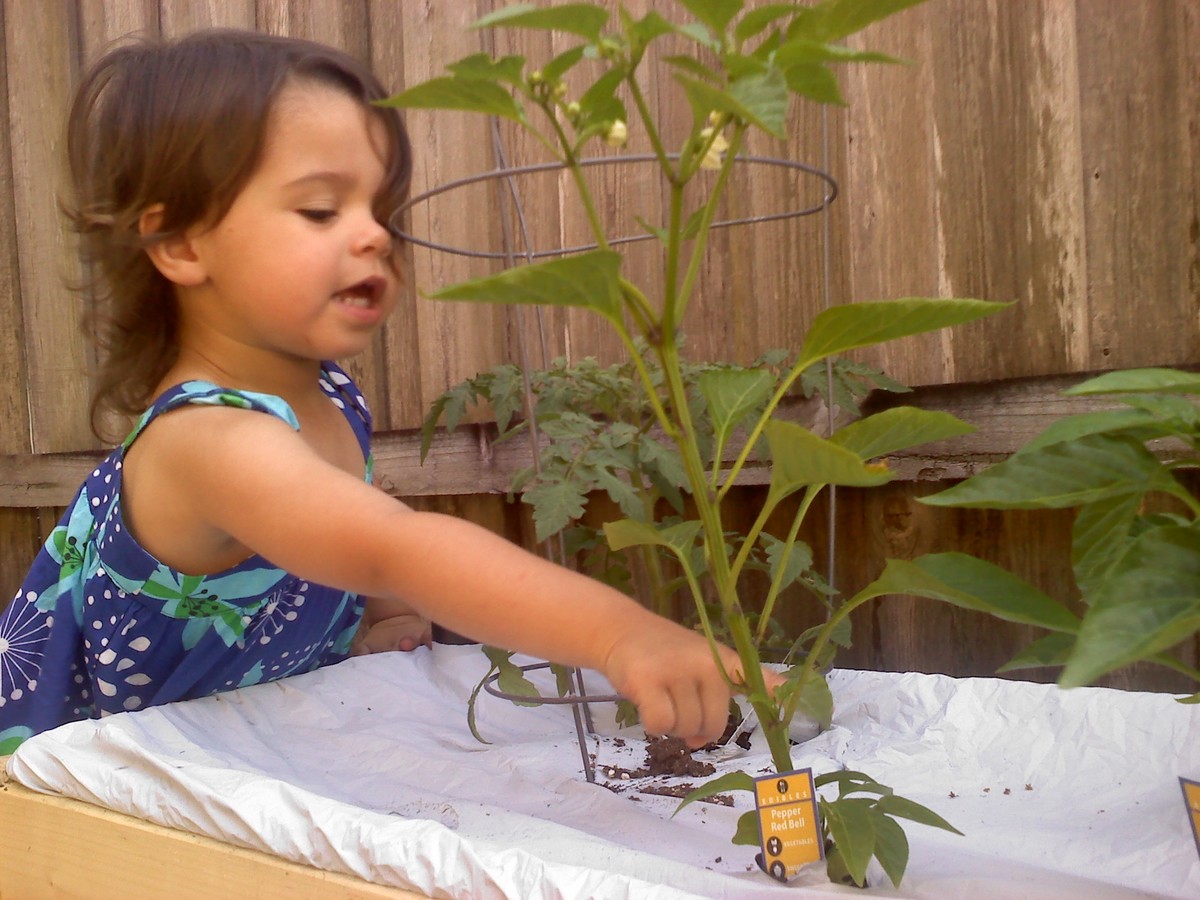
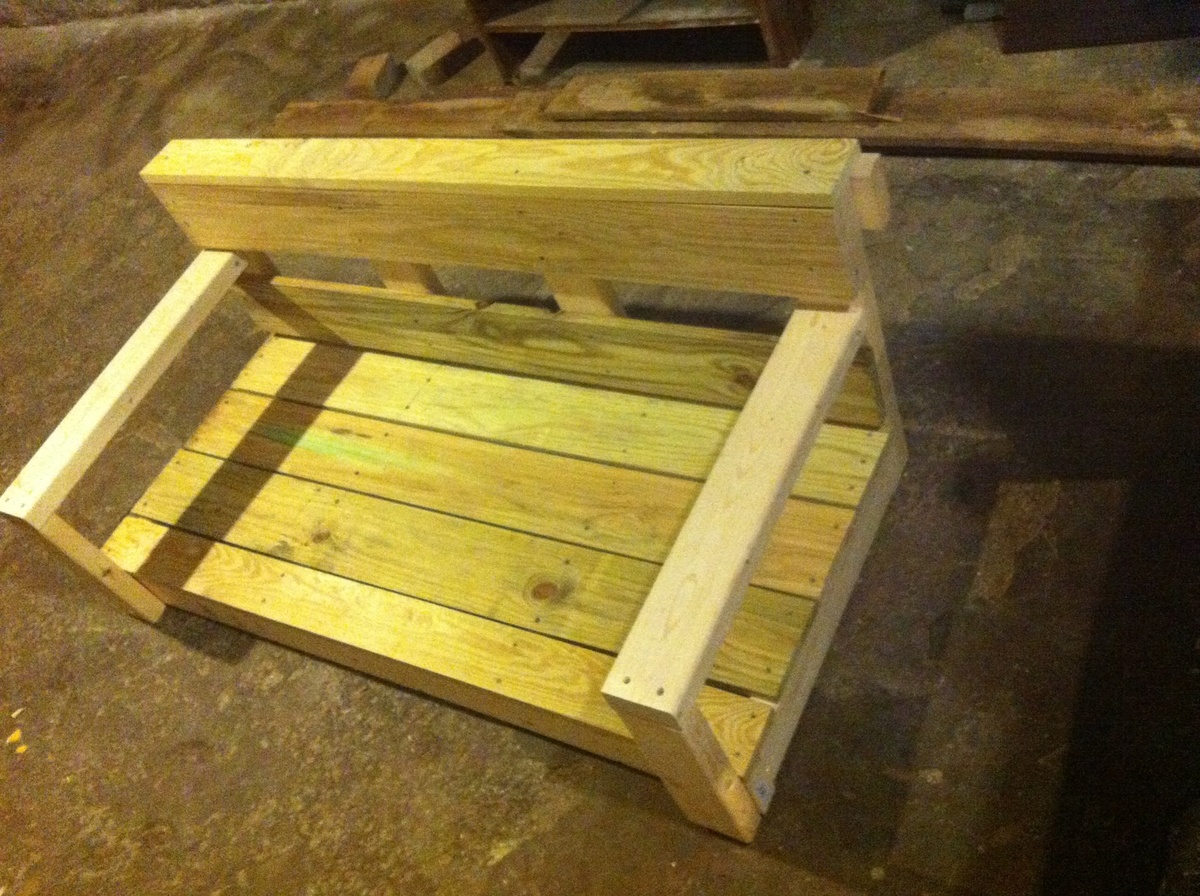
The bench was built to keep out bunnies, our Husky, give us a place to put down the bowl when picking from the garden and lastly to give Georgia a place to climb up and get a better view or help. It is made using some treated 2x6's for legs aand support and untreated 2x4's for the actual benchtop.
I'll add a protective finish (and missing trim on both ends) to the bench part later this week when I have some toddler free time at home :)

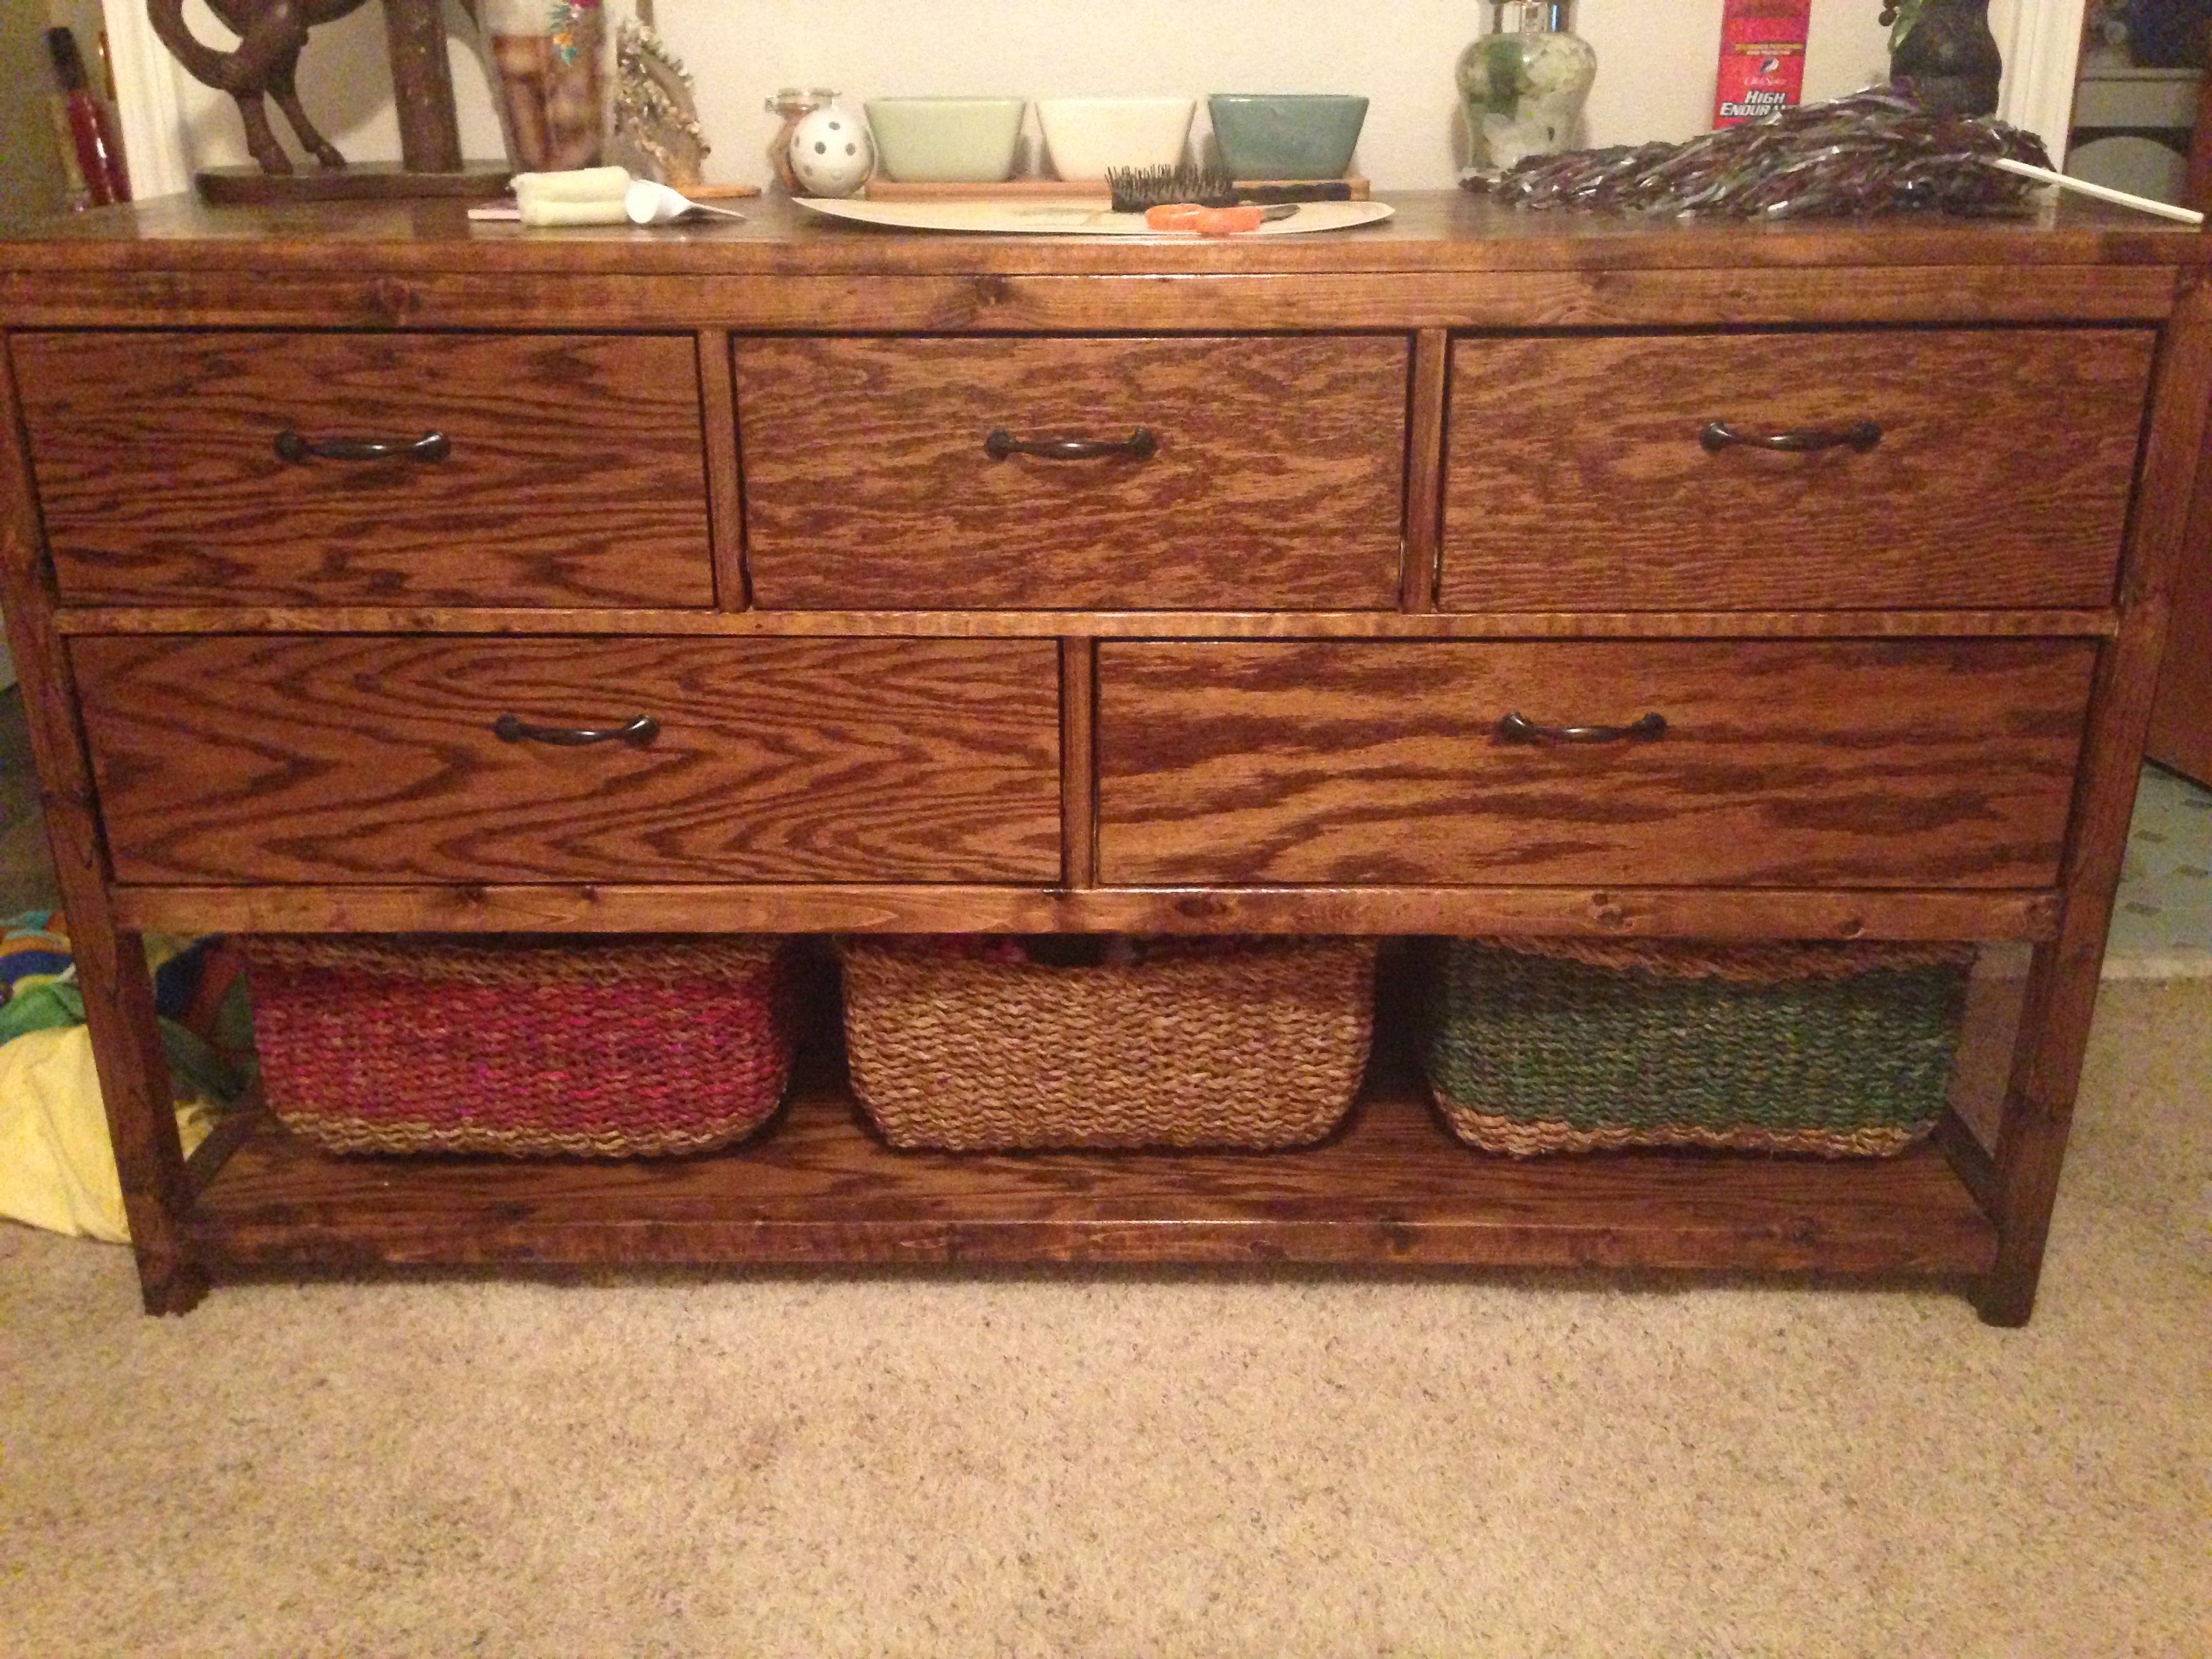
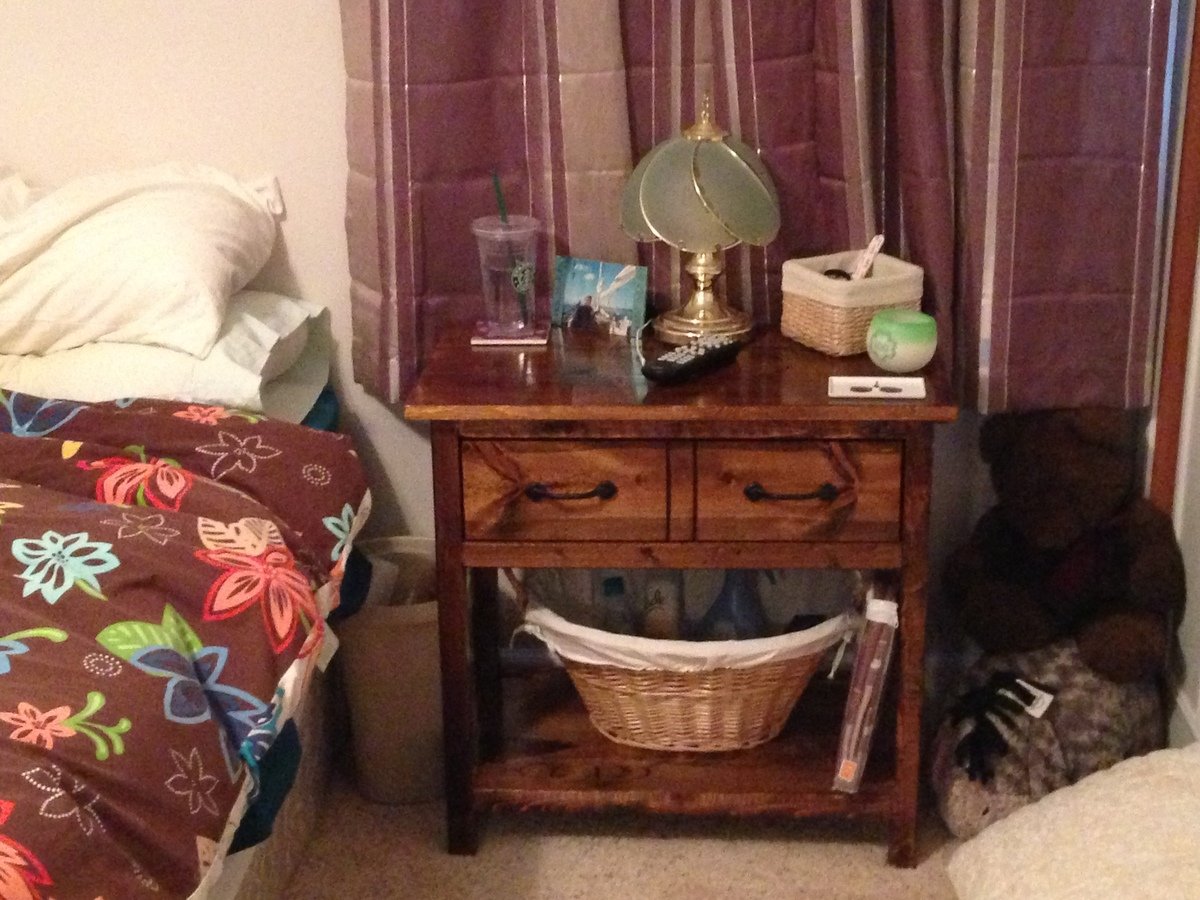
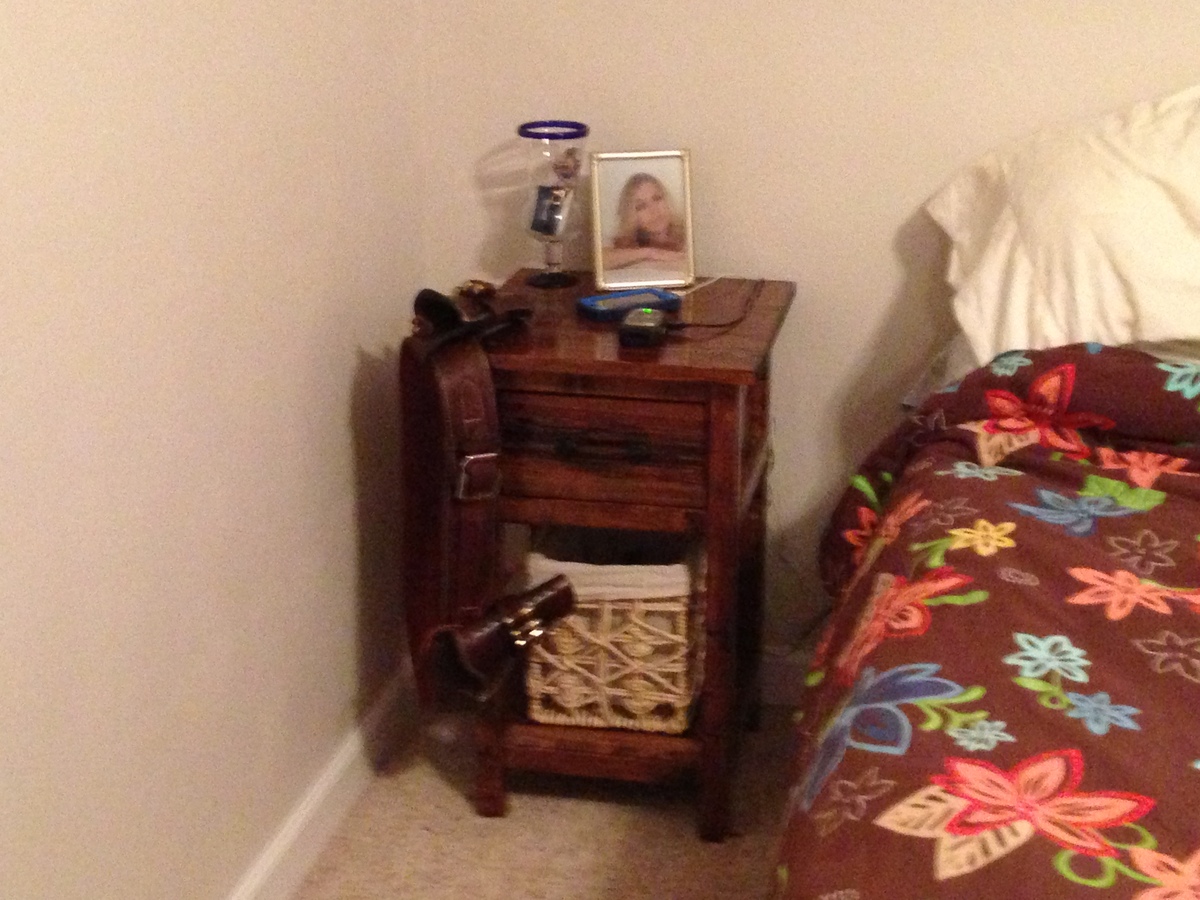
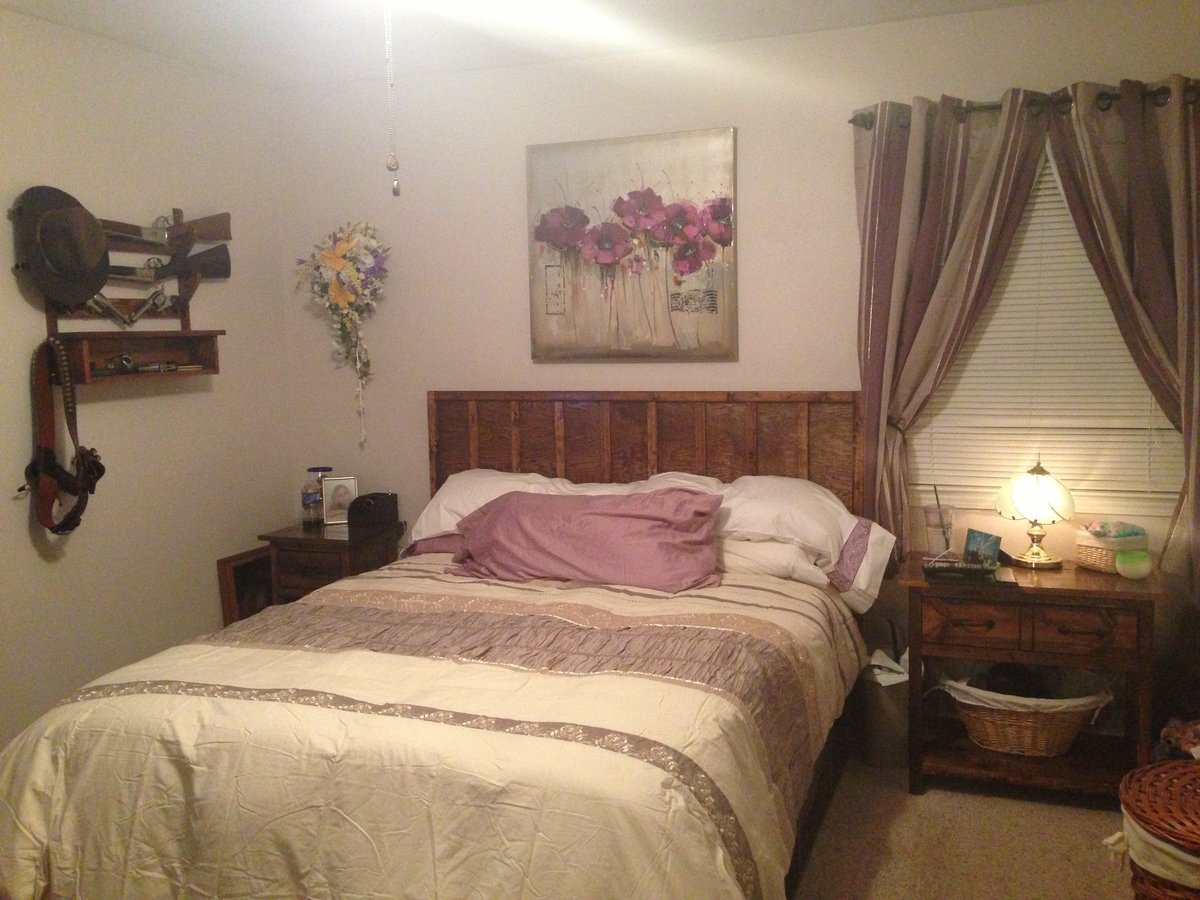
This was my first big project...I wanted to get rid of the store-bought bedroom set that overwhelmed our small room, but I still needed to keep all of the storage space it provided. I started small with the Farmhouse Nightstand, then moved to a double size nightstand. I couldn't stop once I got rolling! The most challenging was the dresser, but I have no complaints! It was a wonderful challenge. Lastly, I made a queen platform storage bed - it has open cubbies underneath with baskets for drawers. I couldn't be happier or prouder of how this came out, our bedroom looks 10 times bigger! I've always been a do it yourself kind of gal - but I surprised myself with this one!
The tables were quick to build, they can both be done in a day. The dresser was a weekend project as was the bed. The finishing has to be done over several days. I'd say this could be done over a week if you have the time. I did this over 3 weekends and finishing in the evenings after work.
Fri, 01/31/2014 - 20:47
Your farmhouse bedroom looks awesome! Looks like you used all your available space beautifully and to its best advantage. And the finish is gorgeous! Great project!

Fri, 01/31/2014 - 22:46
You did a great job and I love the finish!! Im looking at building the dresser soon.
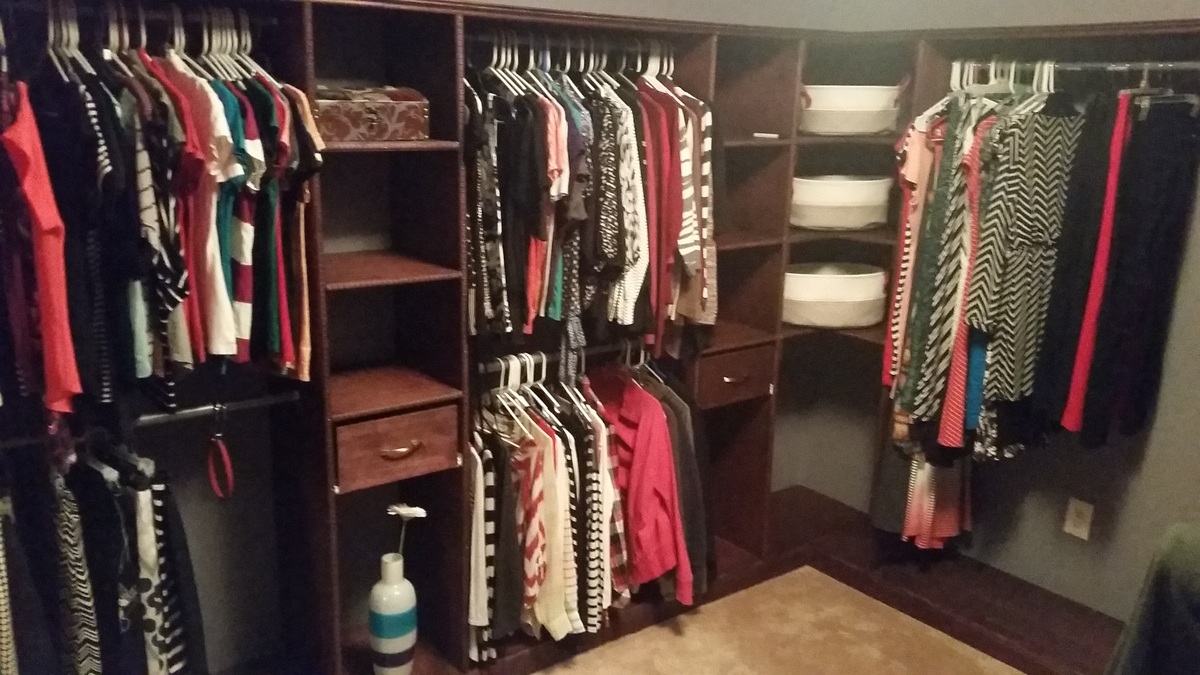
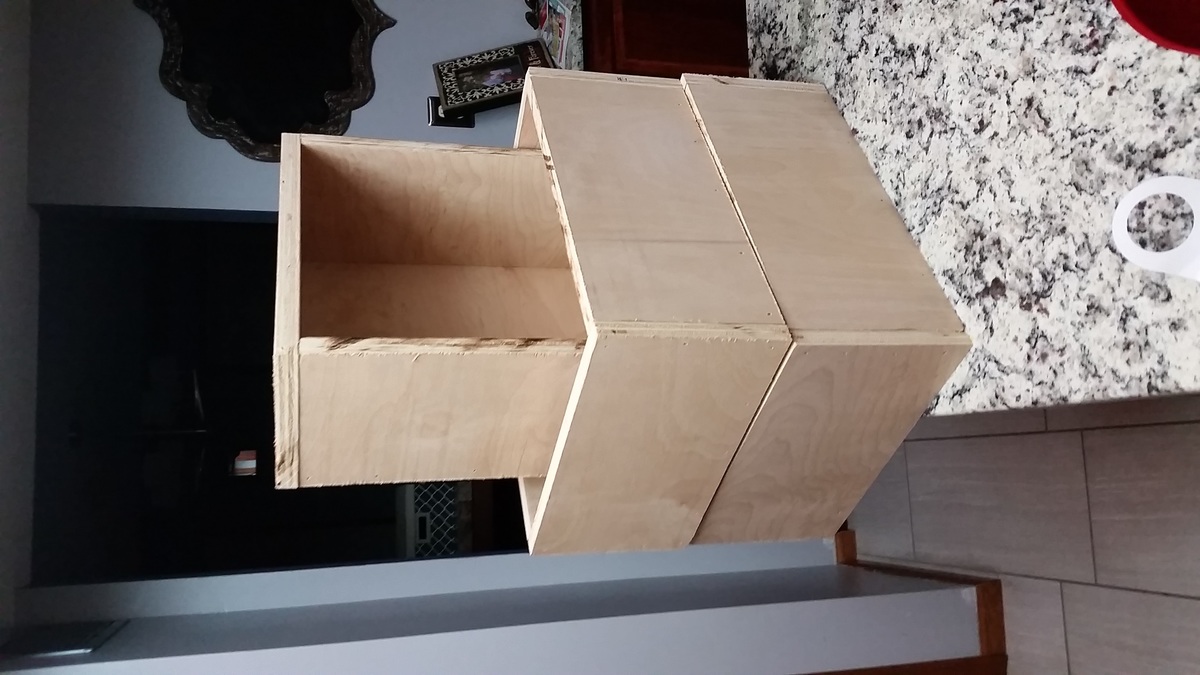
I thought I'd wait and take these glorious after photos once I was done - but nevermind that idea. Here are some pictures of progress, start to finish. I still plan to build some shoe cubbies for the towers so that my wife has a little more shoe-room.
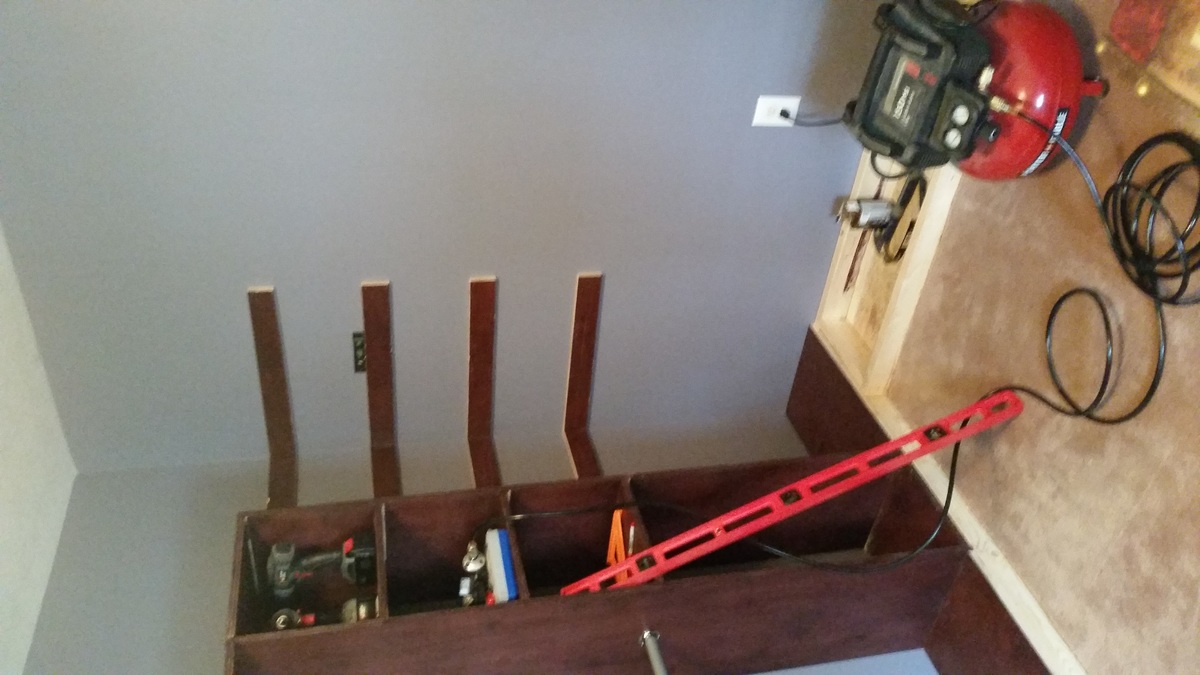
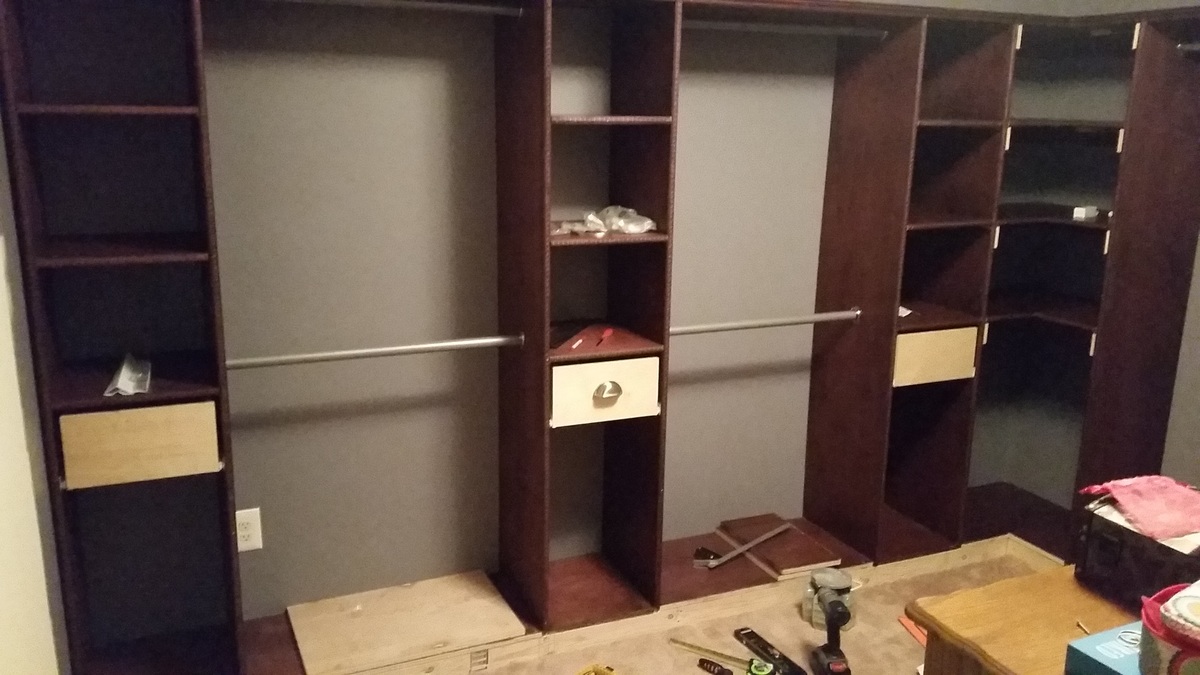
We have a 5th bedroom directly off the master with a double door entrance where the 5th bedroom's closet would have been. The room had been an office for the previous owner and my wife decided it would be a perfect closet for her. I followed the plans quite closely for the towers. I wish I had considered my 8+ foot ceilings and just built the towers taller because 1) storing stuff on top will look messy, and 2) The hanger rods aren't spaced quite well enough for longer clothing. Because of this, I had to build her another hanger on the other side of the wall, which increased the complexity of the project (corner shelves, more wood, more staining, more finishing, etc). In the end, I think it turned out great. I will walk through the process very quickly.
That is pretty much it. I think I have about $500-600 in it. Probably 60-70 hours. If I did it all over again, I could do it better and faster and on the same budget. As noted in the plans, SQUARE is the most important thing. I had to fix all the tower shelves once I had them mounted to the wall because they just were not level/square enough.

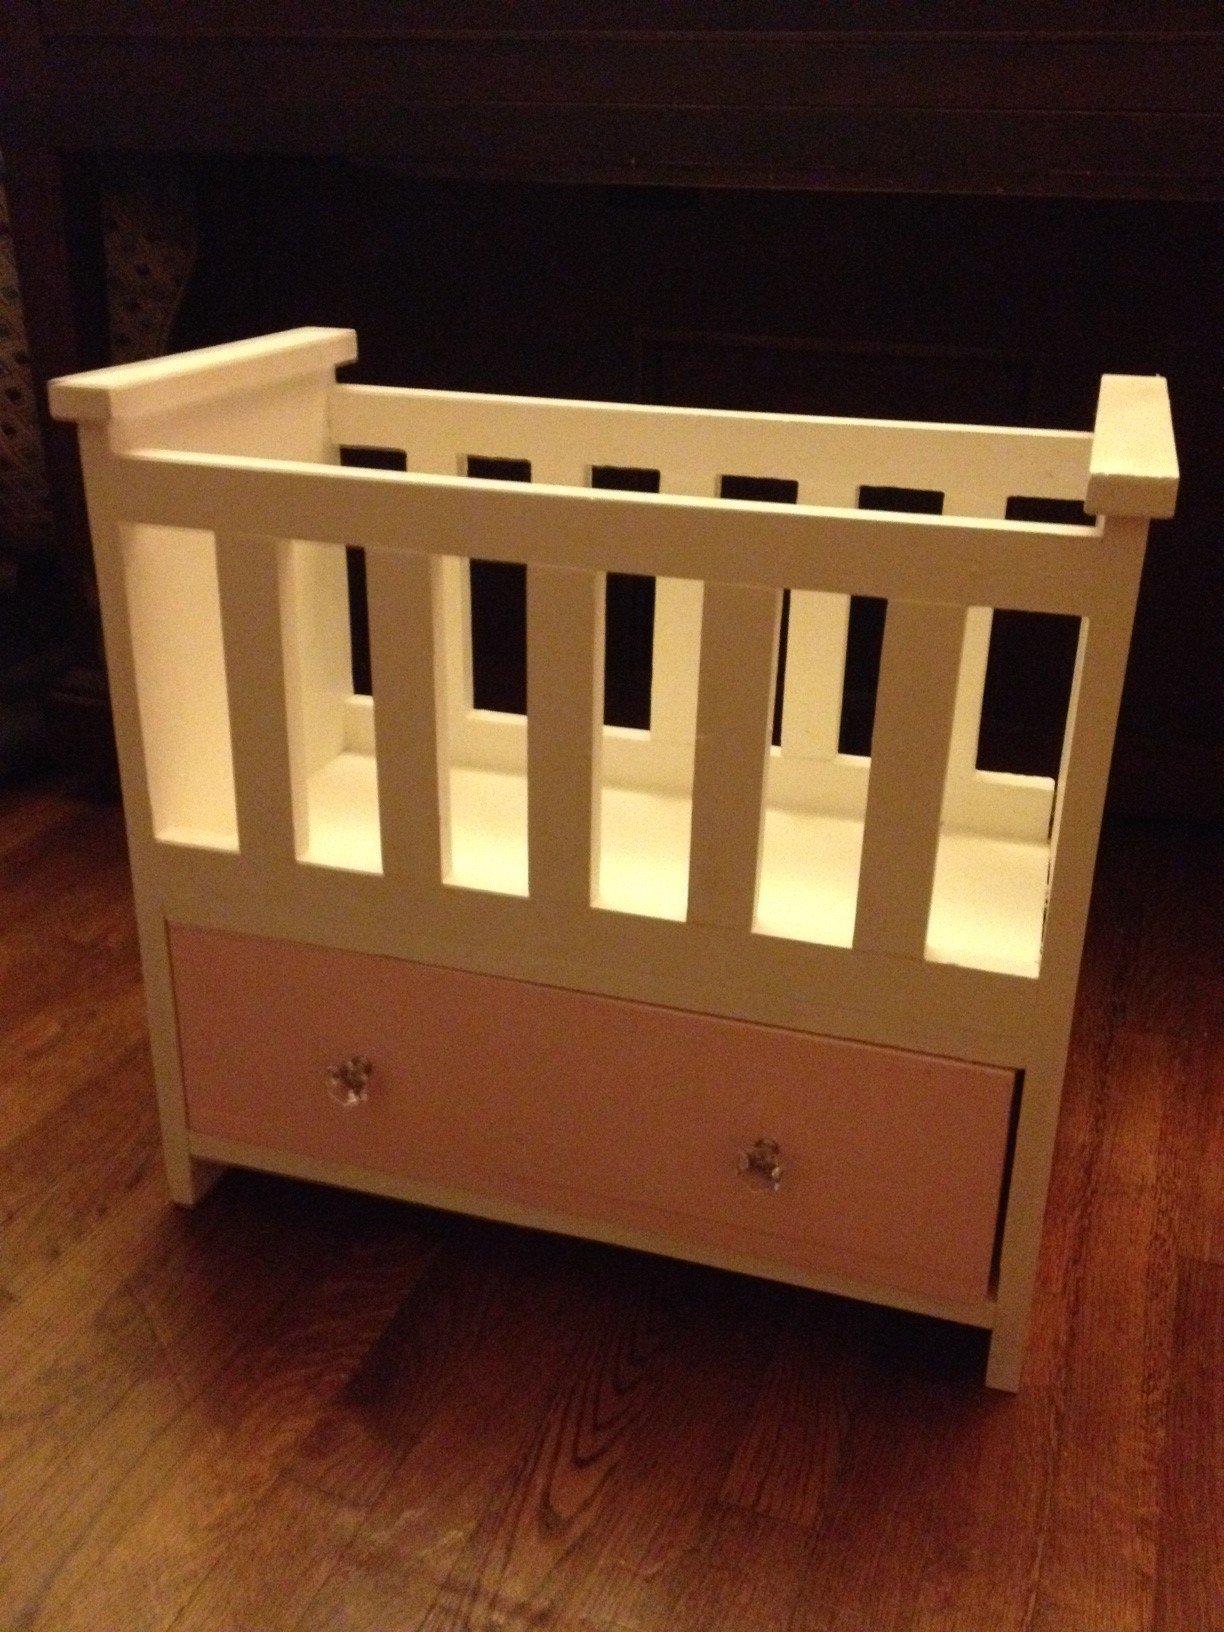
Made this based on the Oliva's Doll Crib plans with changes to the shape of the top of the ends (to better match my daughter's crib), taller end pieces (about 2 inches), and a shelf under the drawer. To keep the drawer from falling out, I built the crib as usual, then turned the crib upside down, and screwed two rubber stoppers to the front of the underside of the crib bottom. I then put the drawer in place, placed the bottom shelf, and then screwd it in through the bottom (which is on top right now because the whole thing is upside down). I also put in some spacers so that the drawer doesn't get stuck, squished between the bottom of the crib and the shelf.
Mon, 09/10/2012 - 15:49
Can you tell me the measurements of wood you used? Piece by piece?
Thu, 11/15/2012 - 16:05
I really did just follow the plan that Anna made. The ends, the tallest solid pieces of wood that I added length to, are about 21 inches long. Ana had them at 18 or 19 inches long. Everything else was the same.
I was shopping for a porch swing for my 1924 Four Square home and I couldn't find any to my liking...I stumbled across this web site on Shanty2Chic's Blog via Pinterest....and I am thrilled by what I have found!
Attached is a photo of the swing I built. I need to finish sanding, filling in the holes and then paint it. I will post a pic of the hanging on my front porch once the weather breaks.
The only deviation in the plan design is that I made the back 2x4 50' long so I could attach eye bolts to support the back. If you have scrap lumber, it would have cost me hardly anything.
Think spring!!
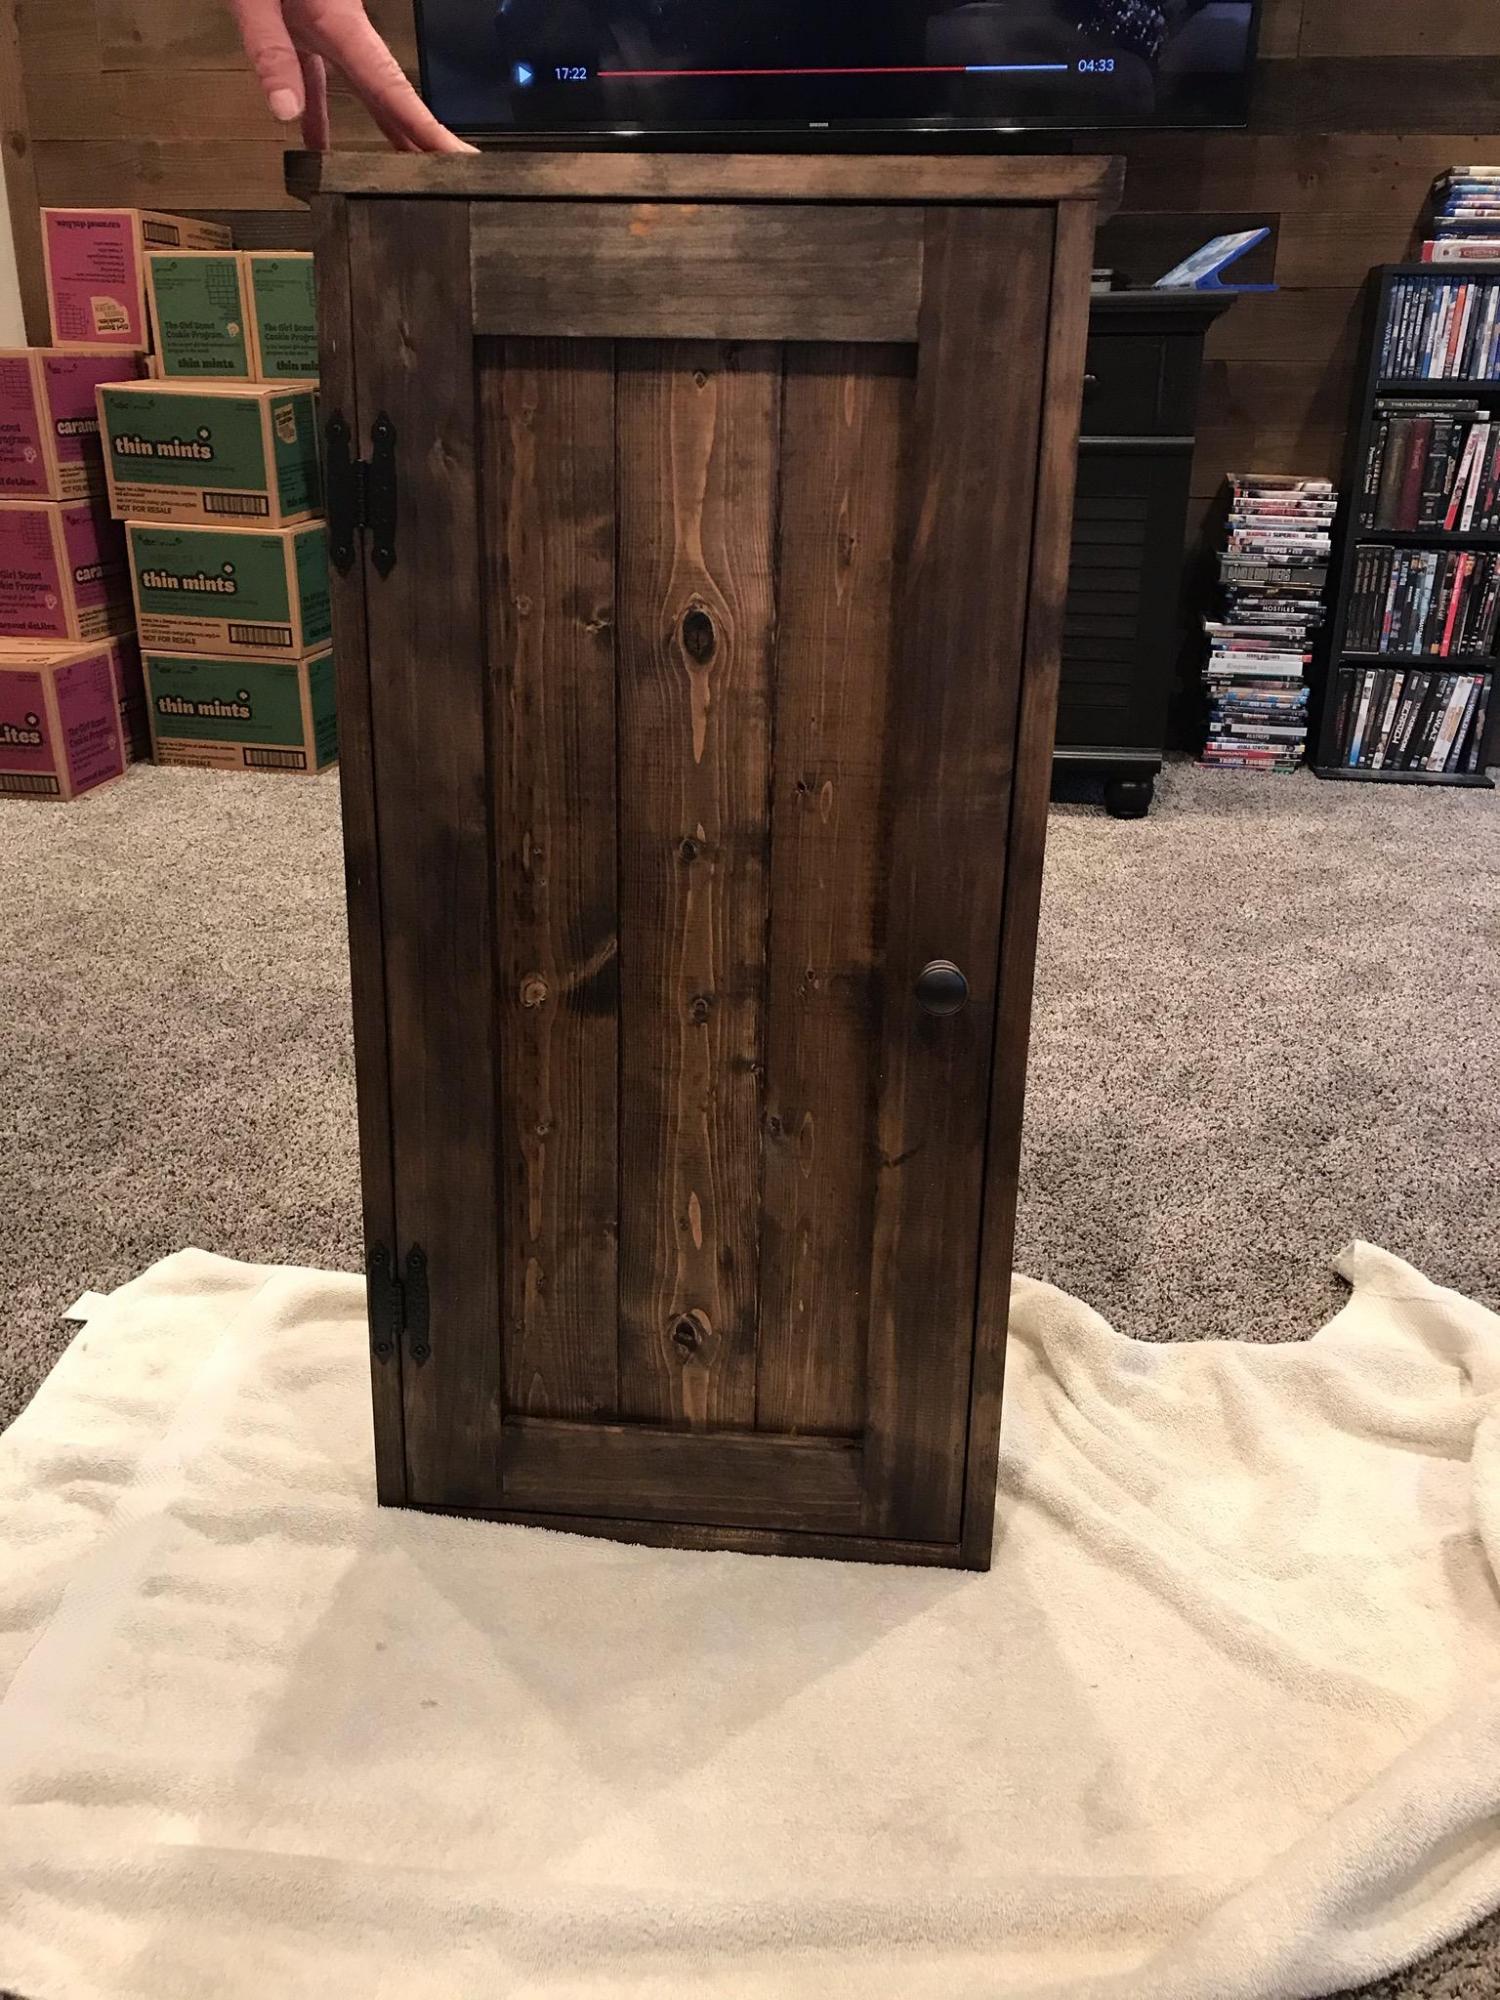
The plans were simple to follow. Made some small changes, used some pine wood wall paneling from Lowes. The pine paneling was used on the back and door. Both were inset with a routed step the same thickness as the panels.
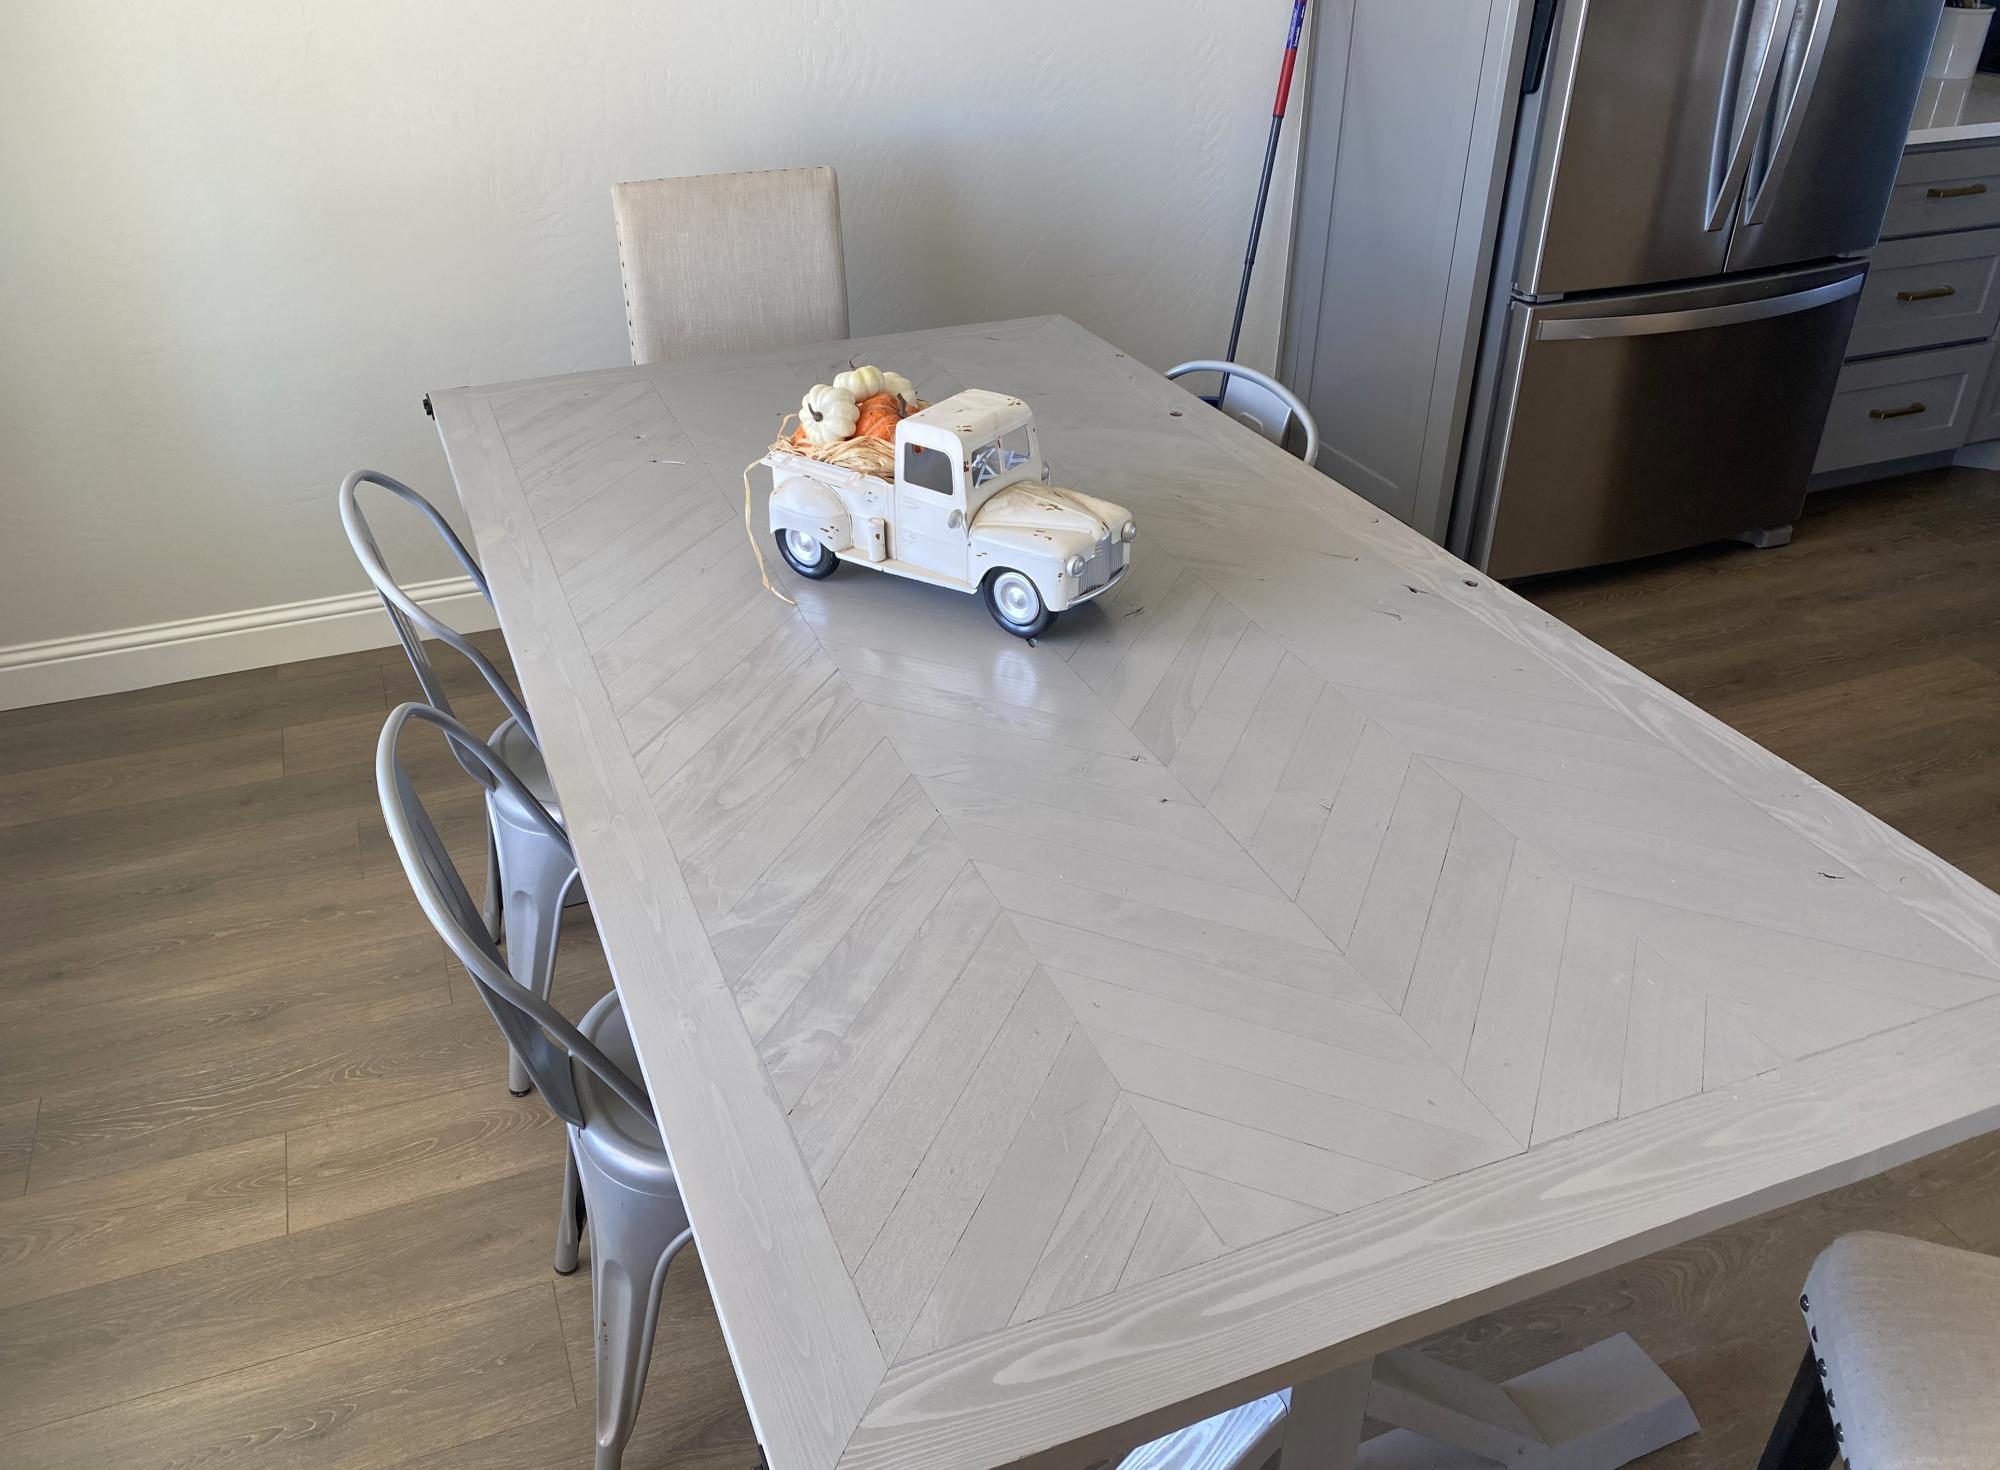
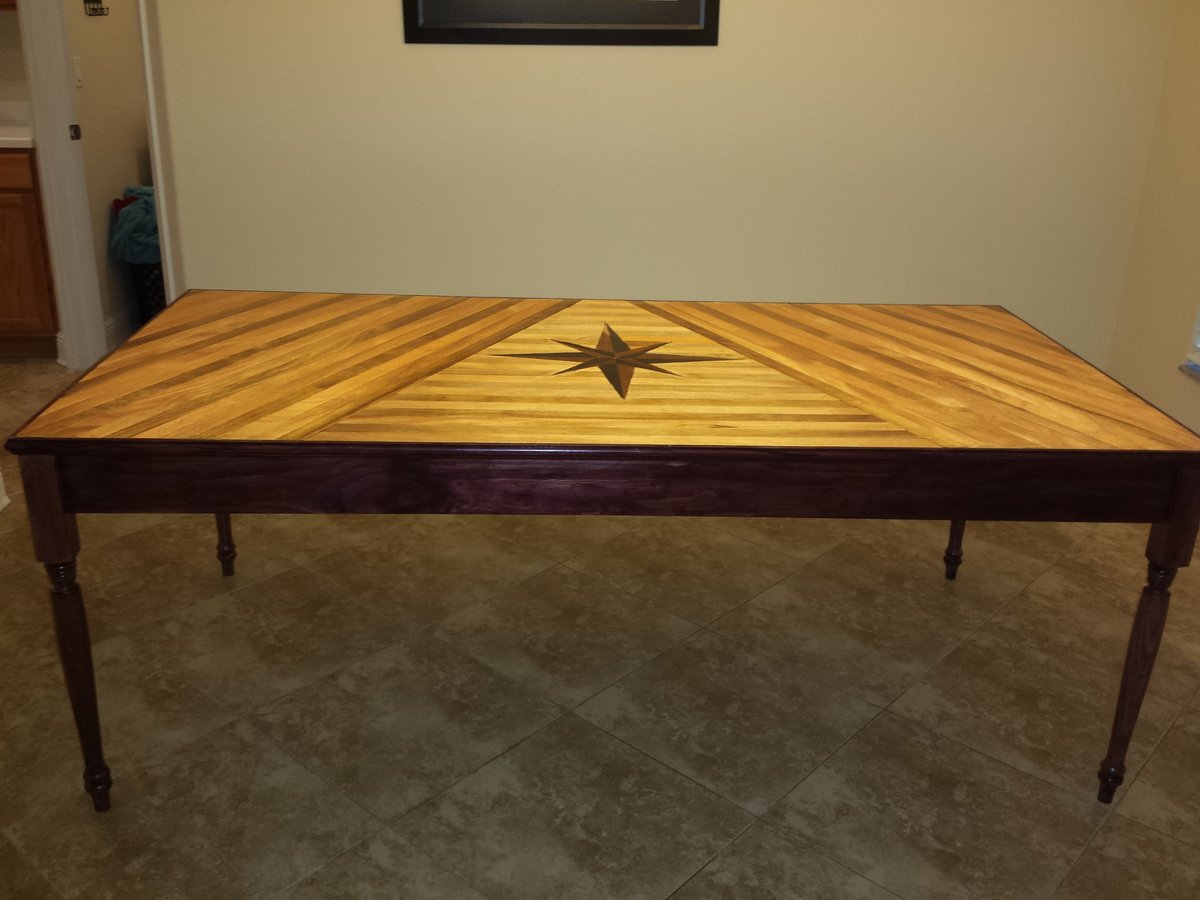
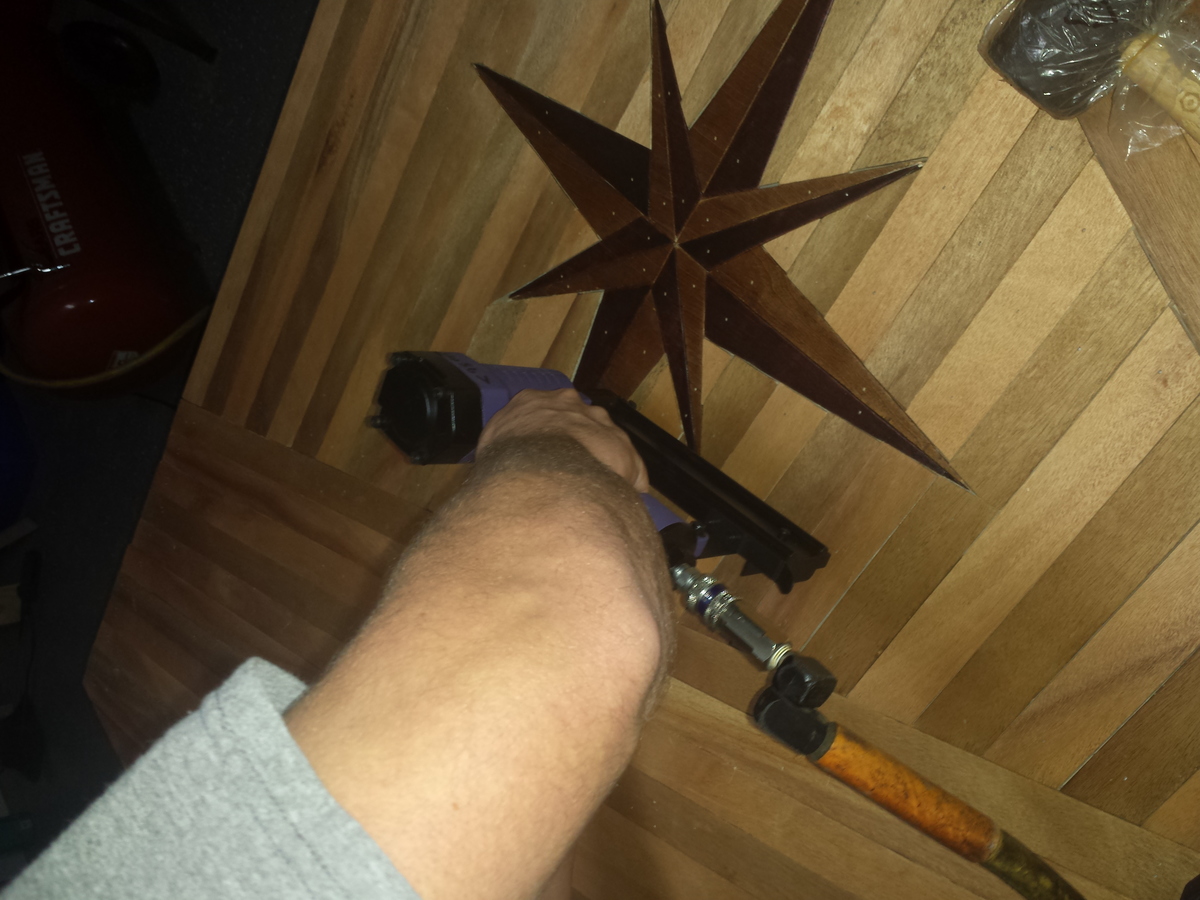
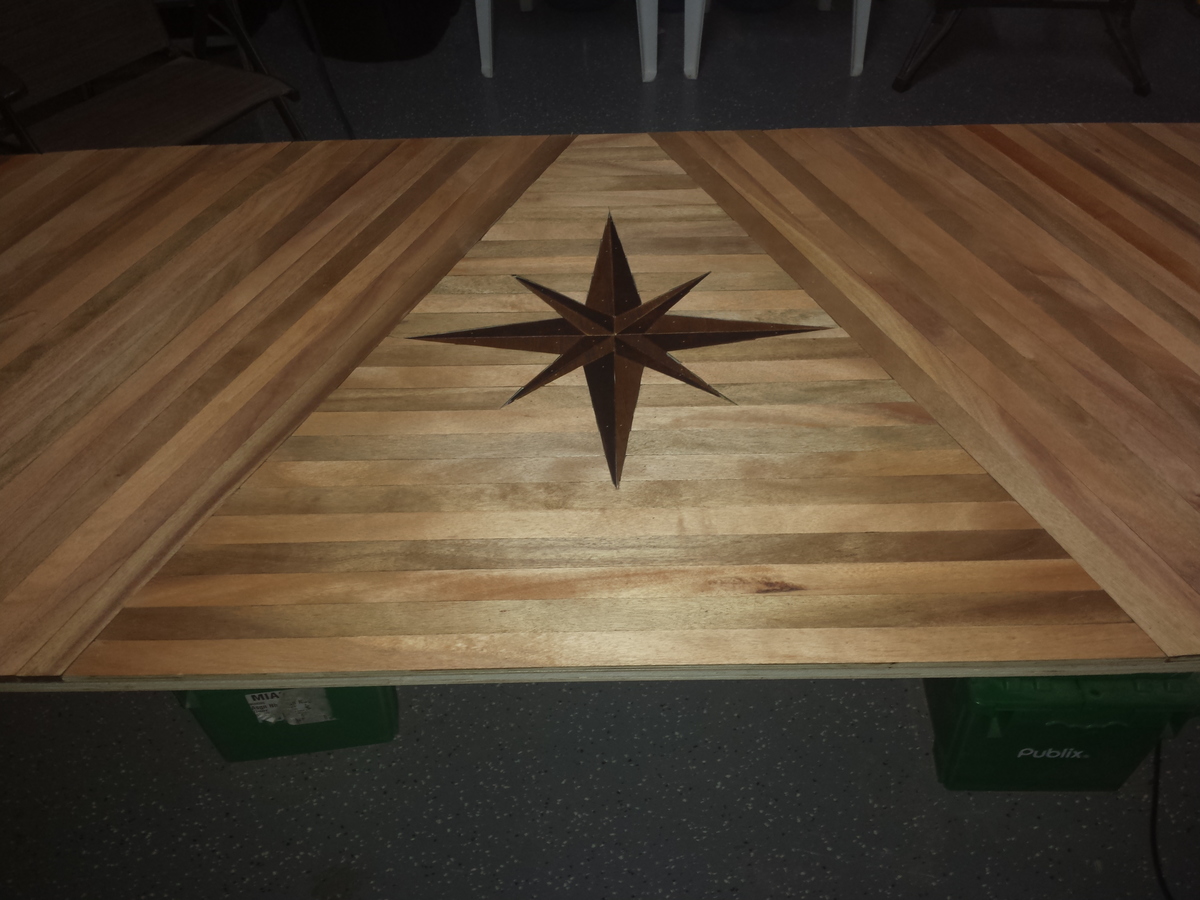
Chevron table made with Knotty Alder inlay and pine frame.
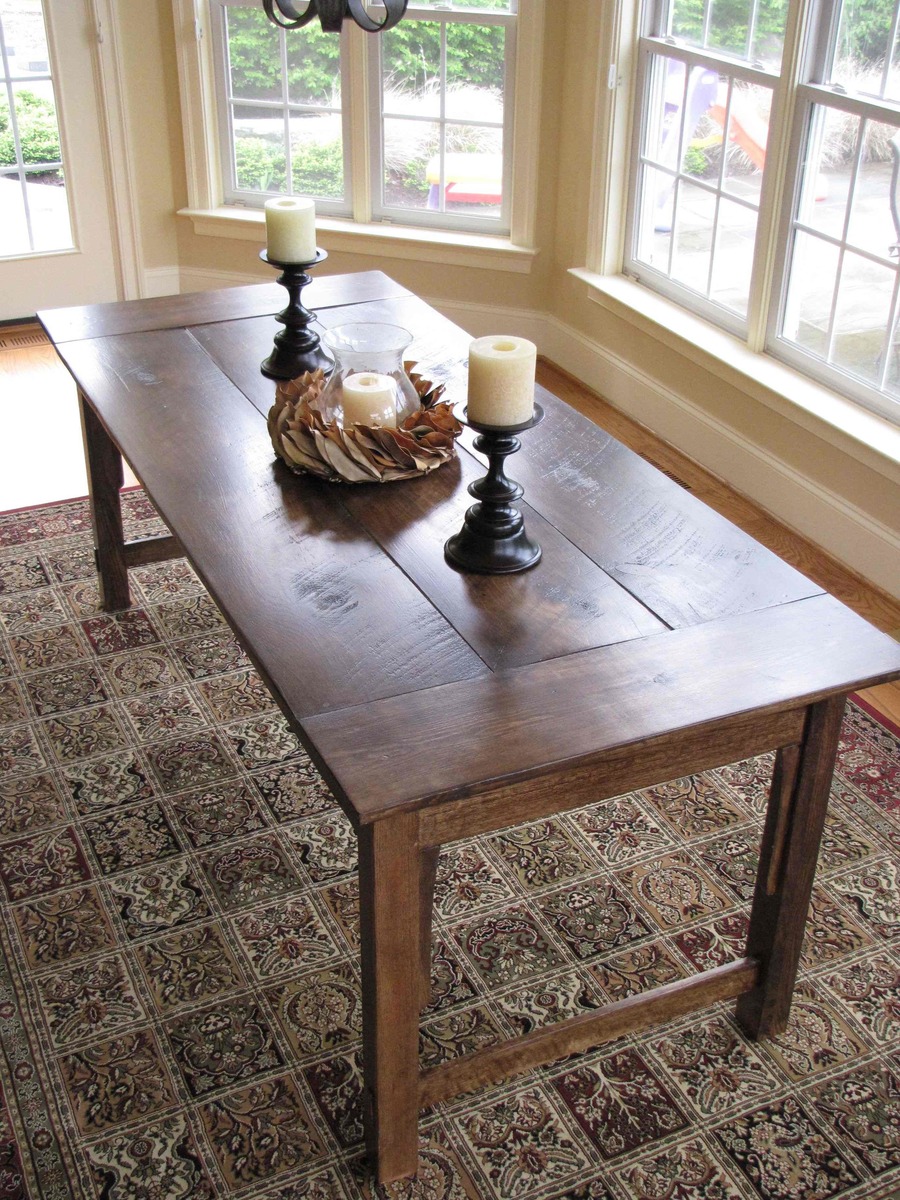
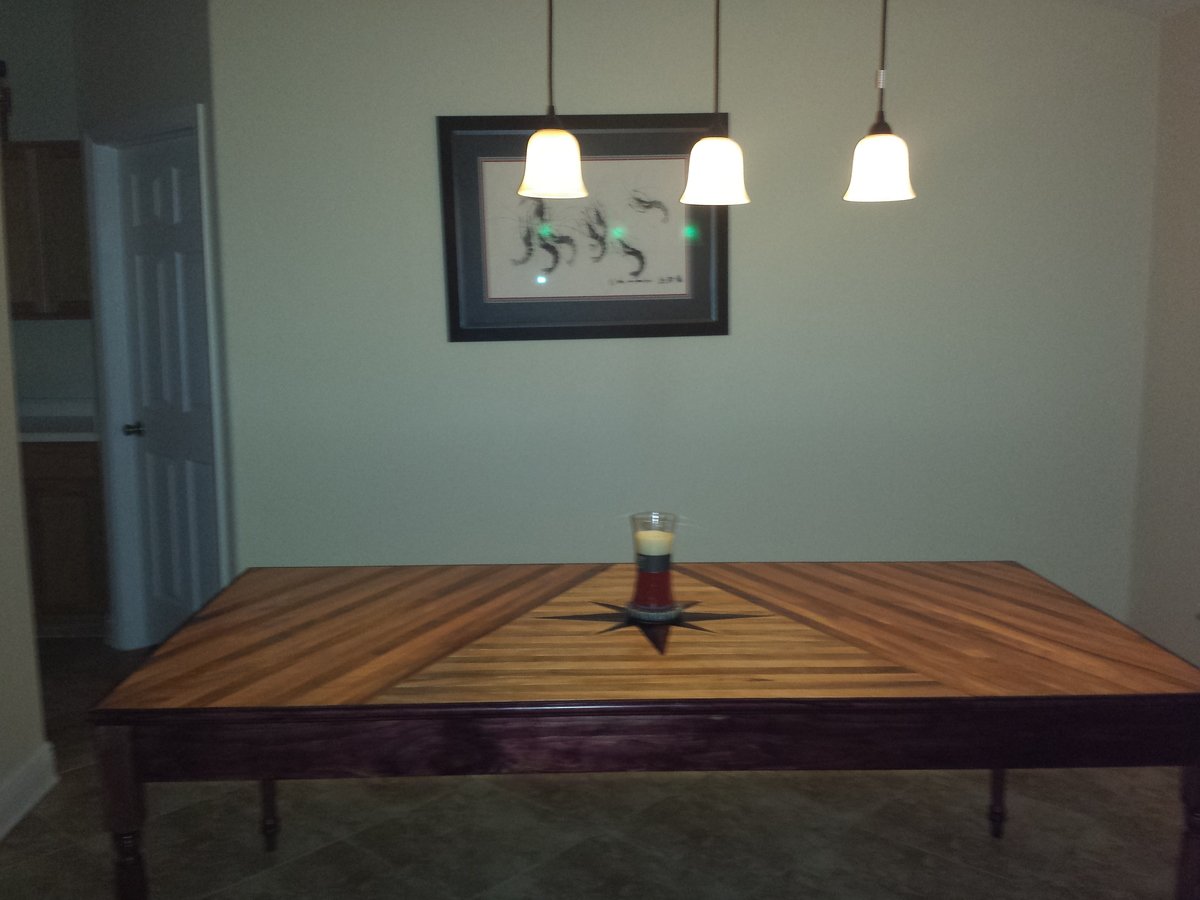
Since I am in the middle of a divorce, my ex- took my dining room furniture. I decided instead of buying something new, or getting a hand me down, I would build a new table. The wood top was made of 3 wood planks from my sister in laws hardwood flooring leftovers. It was sooo fun to make this. The stain was a mix of Minwax Providence and Ebony 3 to 1 mix appx. I did not add the bottom wood piece, as I did not think it needed it, it is plenty strong without it. I am working on the bench and chairs now. This has been by far my most fulfilling project ever. Enjoy!

Tue, 04/24/2012 - 09:55
I think you came up with a great solution to your dining room problem. As a victim of the "ex furniture snatch" myself, I also decided to build my own instead of buying. It was quite the confidence boost! Love the table with the wider boards. I also didn't use a stretcher for my Farmhouse Table, and it's held up perfectly for over a year now.

In reply to Looks great! What size did by whitney_smith
Tue, 04/24/2012 - 16:53
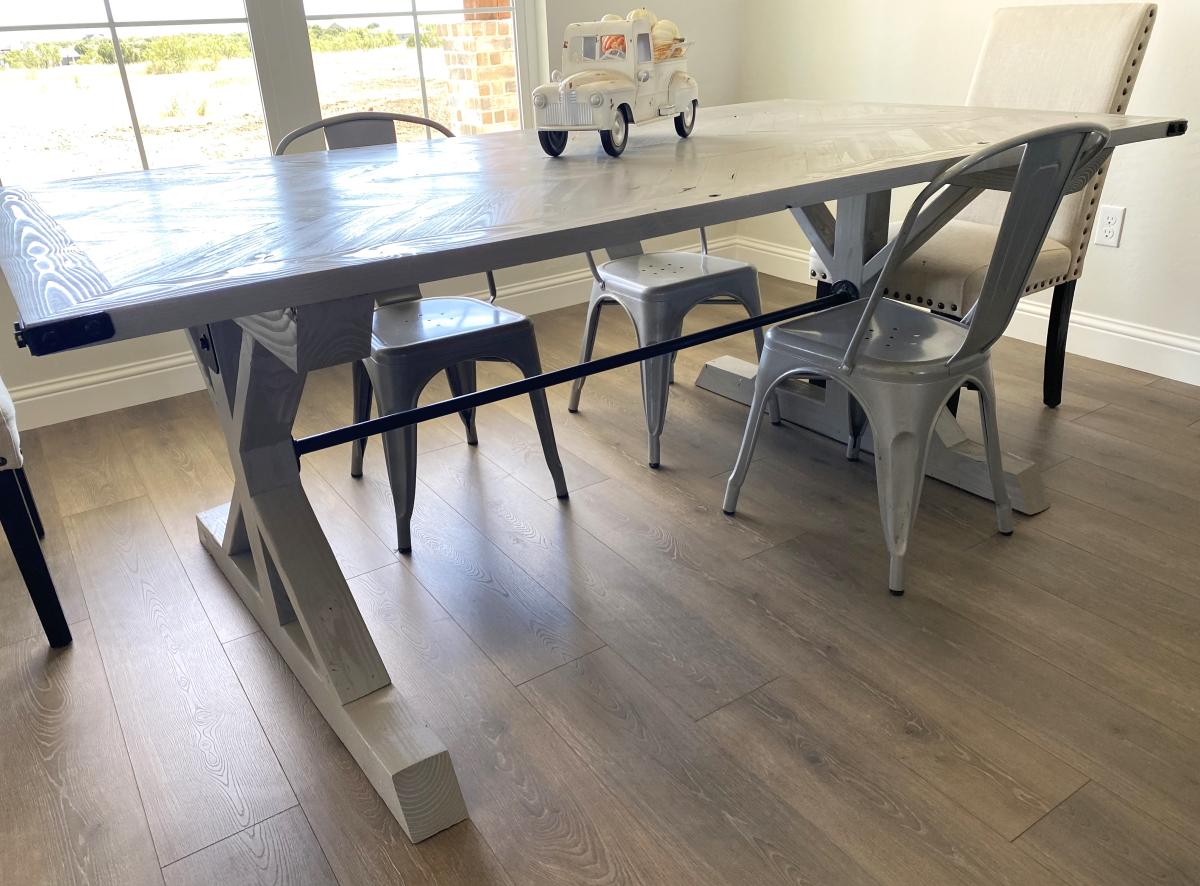
The finished size is 36x 85x32 high. It may be about 1/2- 1 inch too high, but I custom made the bench for it and am repurposing some bar height swivel chairs to size as well. Thanks for the compliments
Thu, 09/27/2012 - 08:38
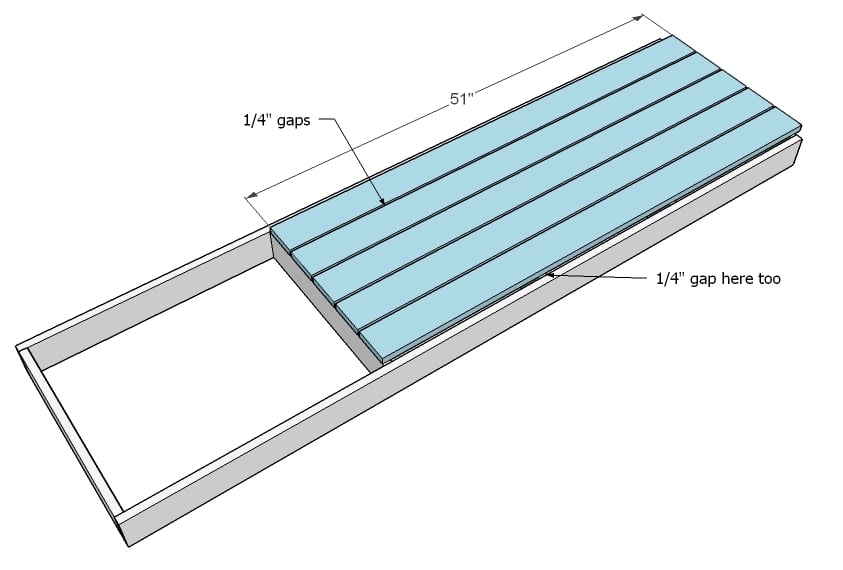
I am looking to do the same design with the larger boards in the middle. What size are the boards running vertically on the ends? 1 x 6?
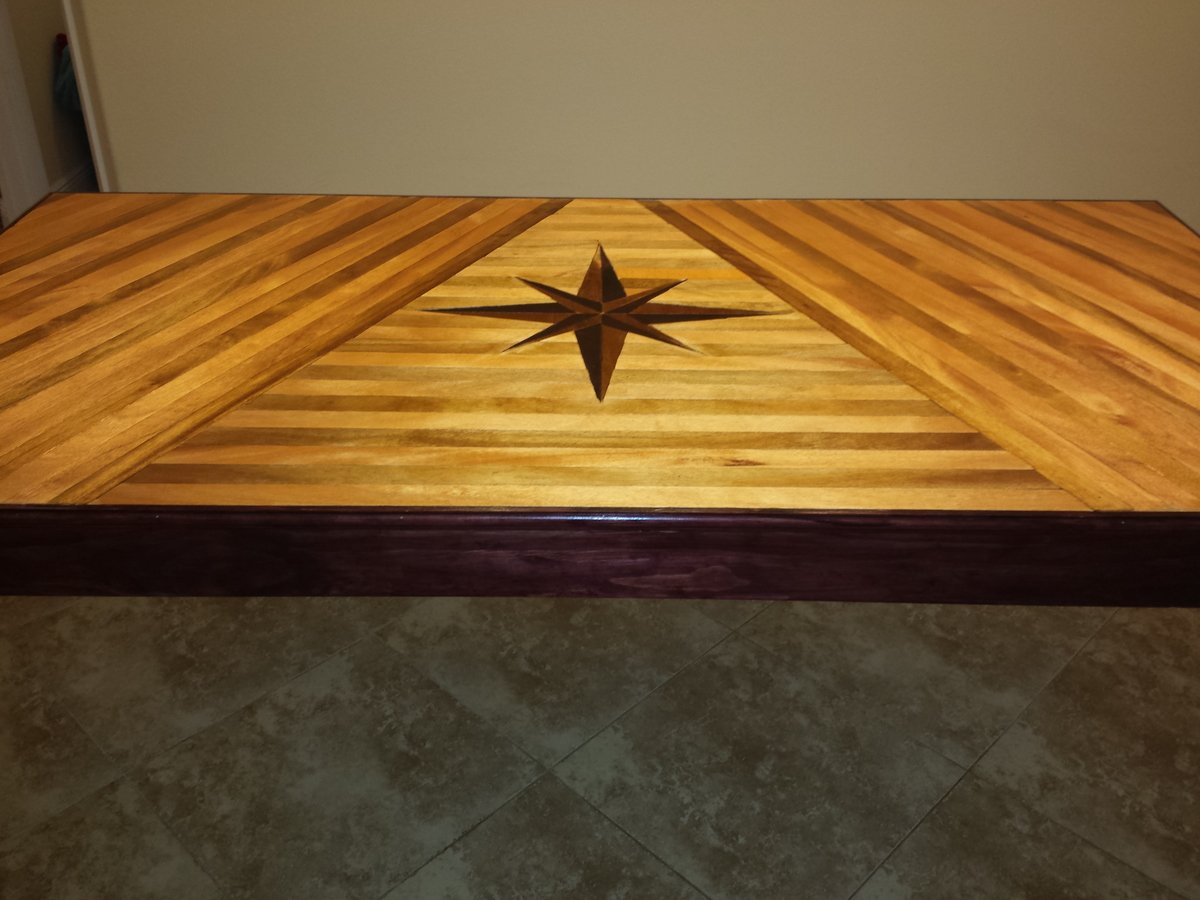
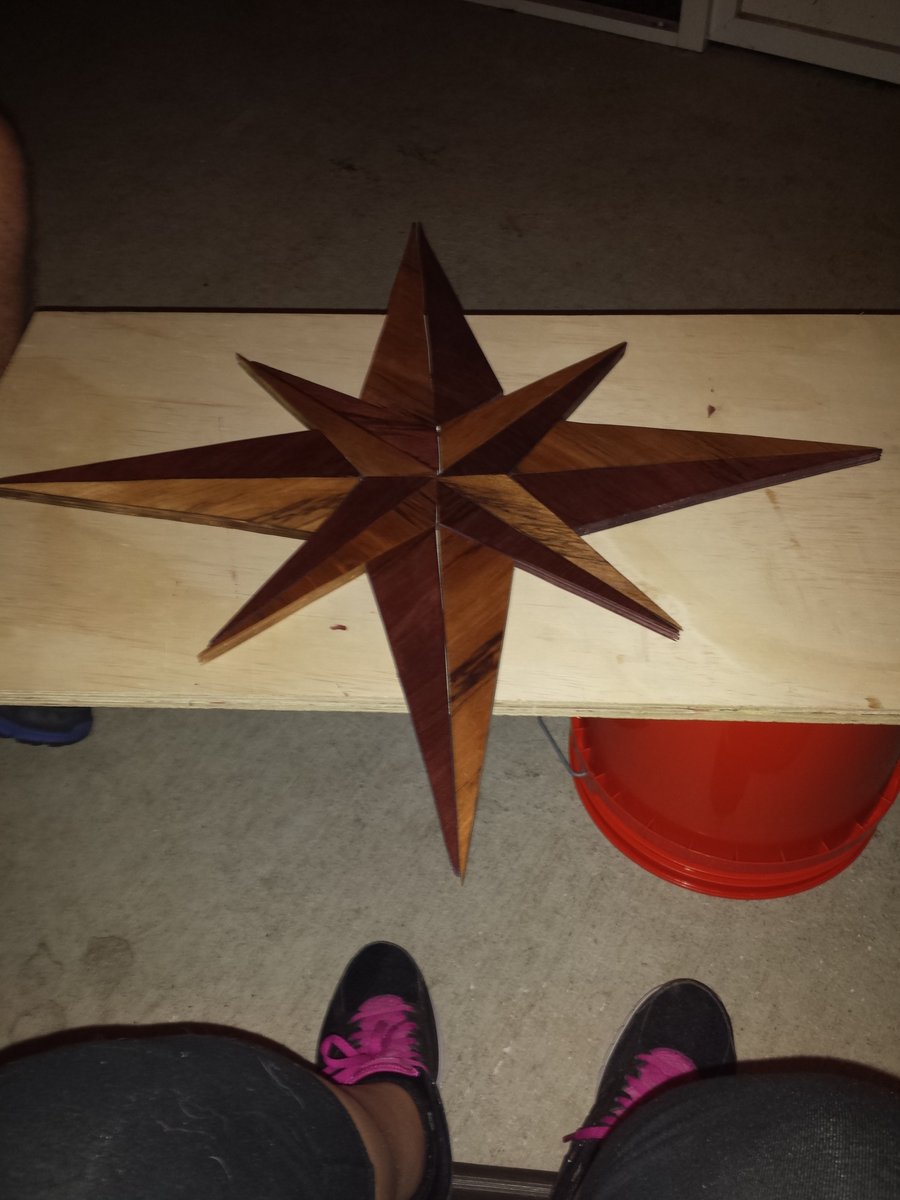
Compass rose dimensions: 22×22 (90 degree cross) tilt 45 degrees 16×16 (90 degree cross) then connect lines with a ruler, start with the 16" lines connect from outer point to 2" from center of the 22" crossed lines, once that star is complete make lines from point of the 22" lines to 2 1/2" down side of star adjacent to that point (hint: it's much easier to look at a picture of a compass rose while trying to sketch it). Cut sizes should turn out to be: 8- 9"×7"×2 1/2" triangles and 8- 8"×7"×2" triangles (hint: we had best results using a table saw to make all the cuts)...


Comments
Ana White Admin
Thu, 09/07/2023 - 11:10
Yoga Nook!
Love it, thank you for sharing, it looks so good!