Farmhouse table
Farmhouse table
Built from Plan(s)
Farmhouse table

Tools Used:
Jigsaw, Hammer & Sander.
FIRST Project! Made this for my brother who works out at home and uses his bed as bench when he lifts weights. tsktsk. It took me 2 days, on and off to finish this. :))
Thanks Ana for the plan. I learned a lot and I can't wait to try and build your other plans. :)
I made this from the kitchen island plans, but added a countertop. It's really sturdy and cost about $65 in materials. I love it.
I basically just followed the plans on this site. it is really a pretty simple build but it helps to have a second person and it is very time consuming.
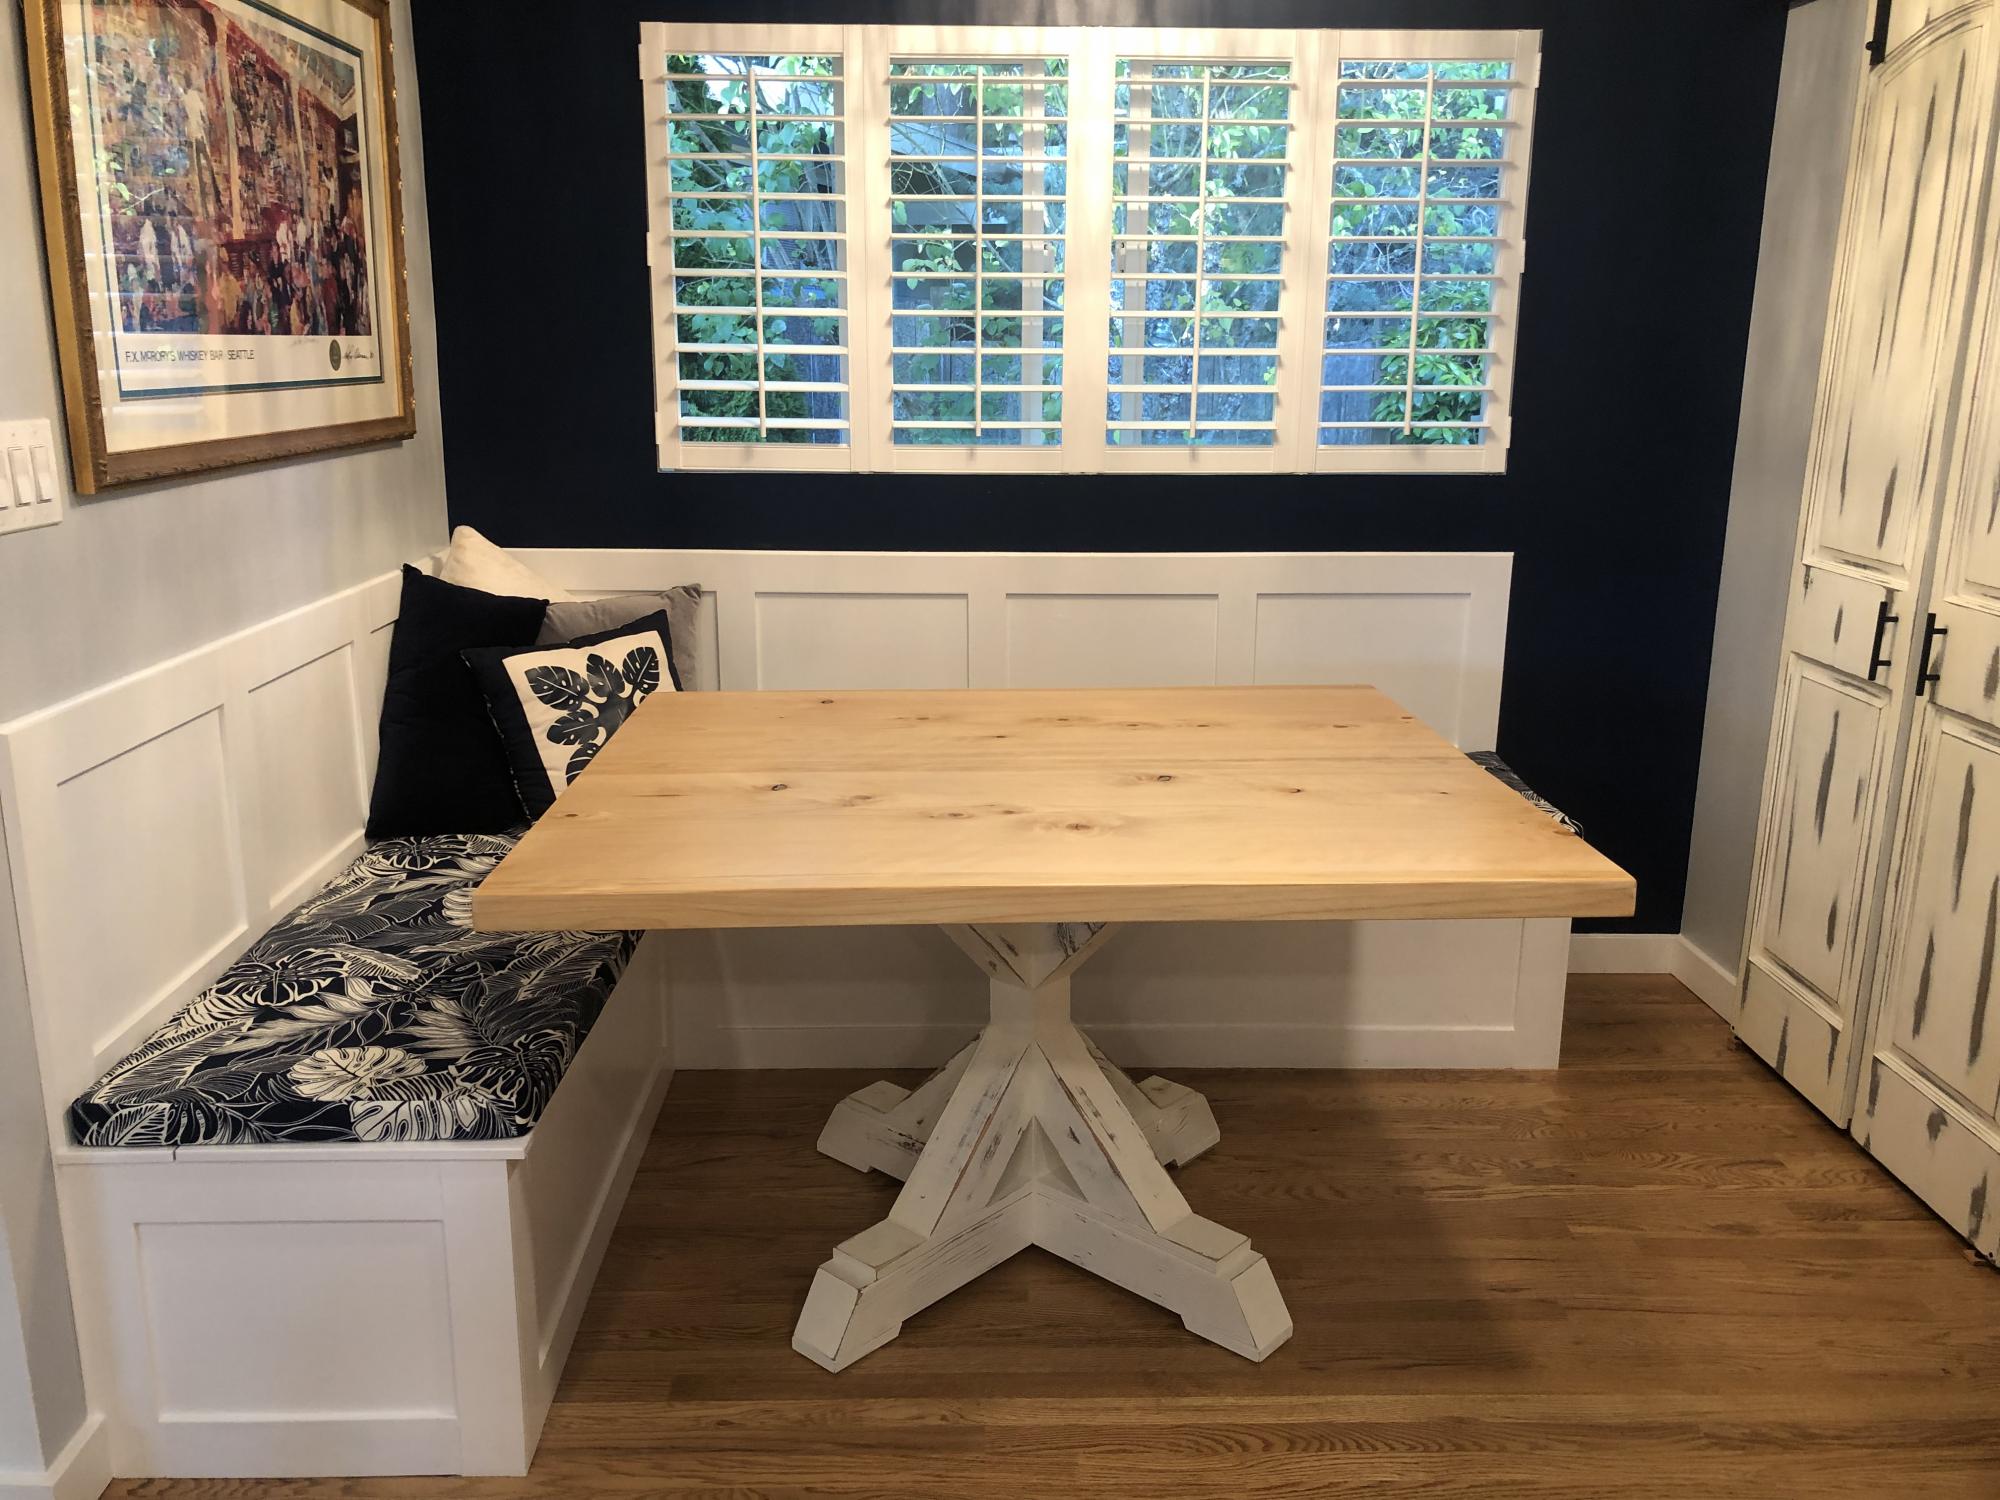
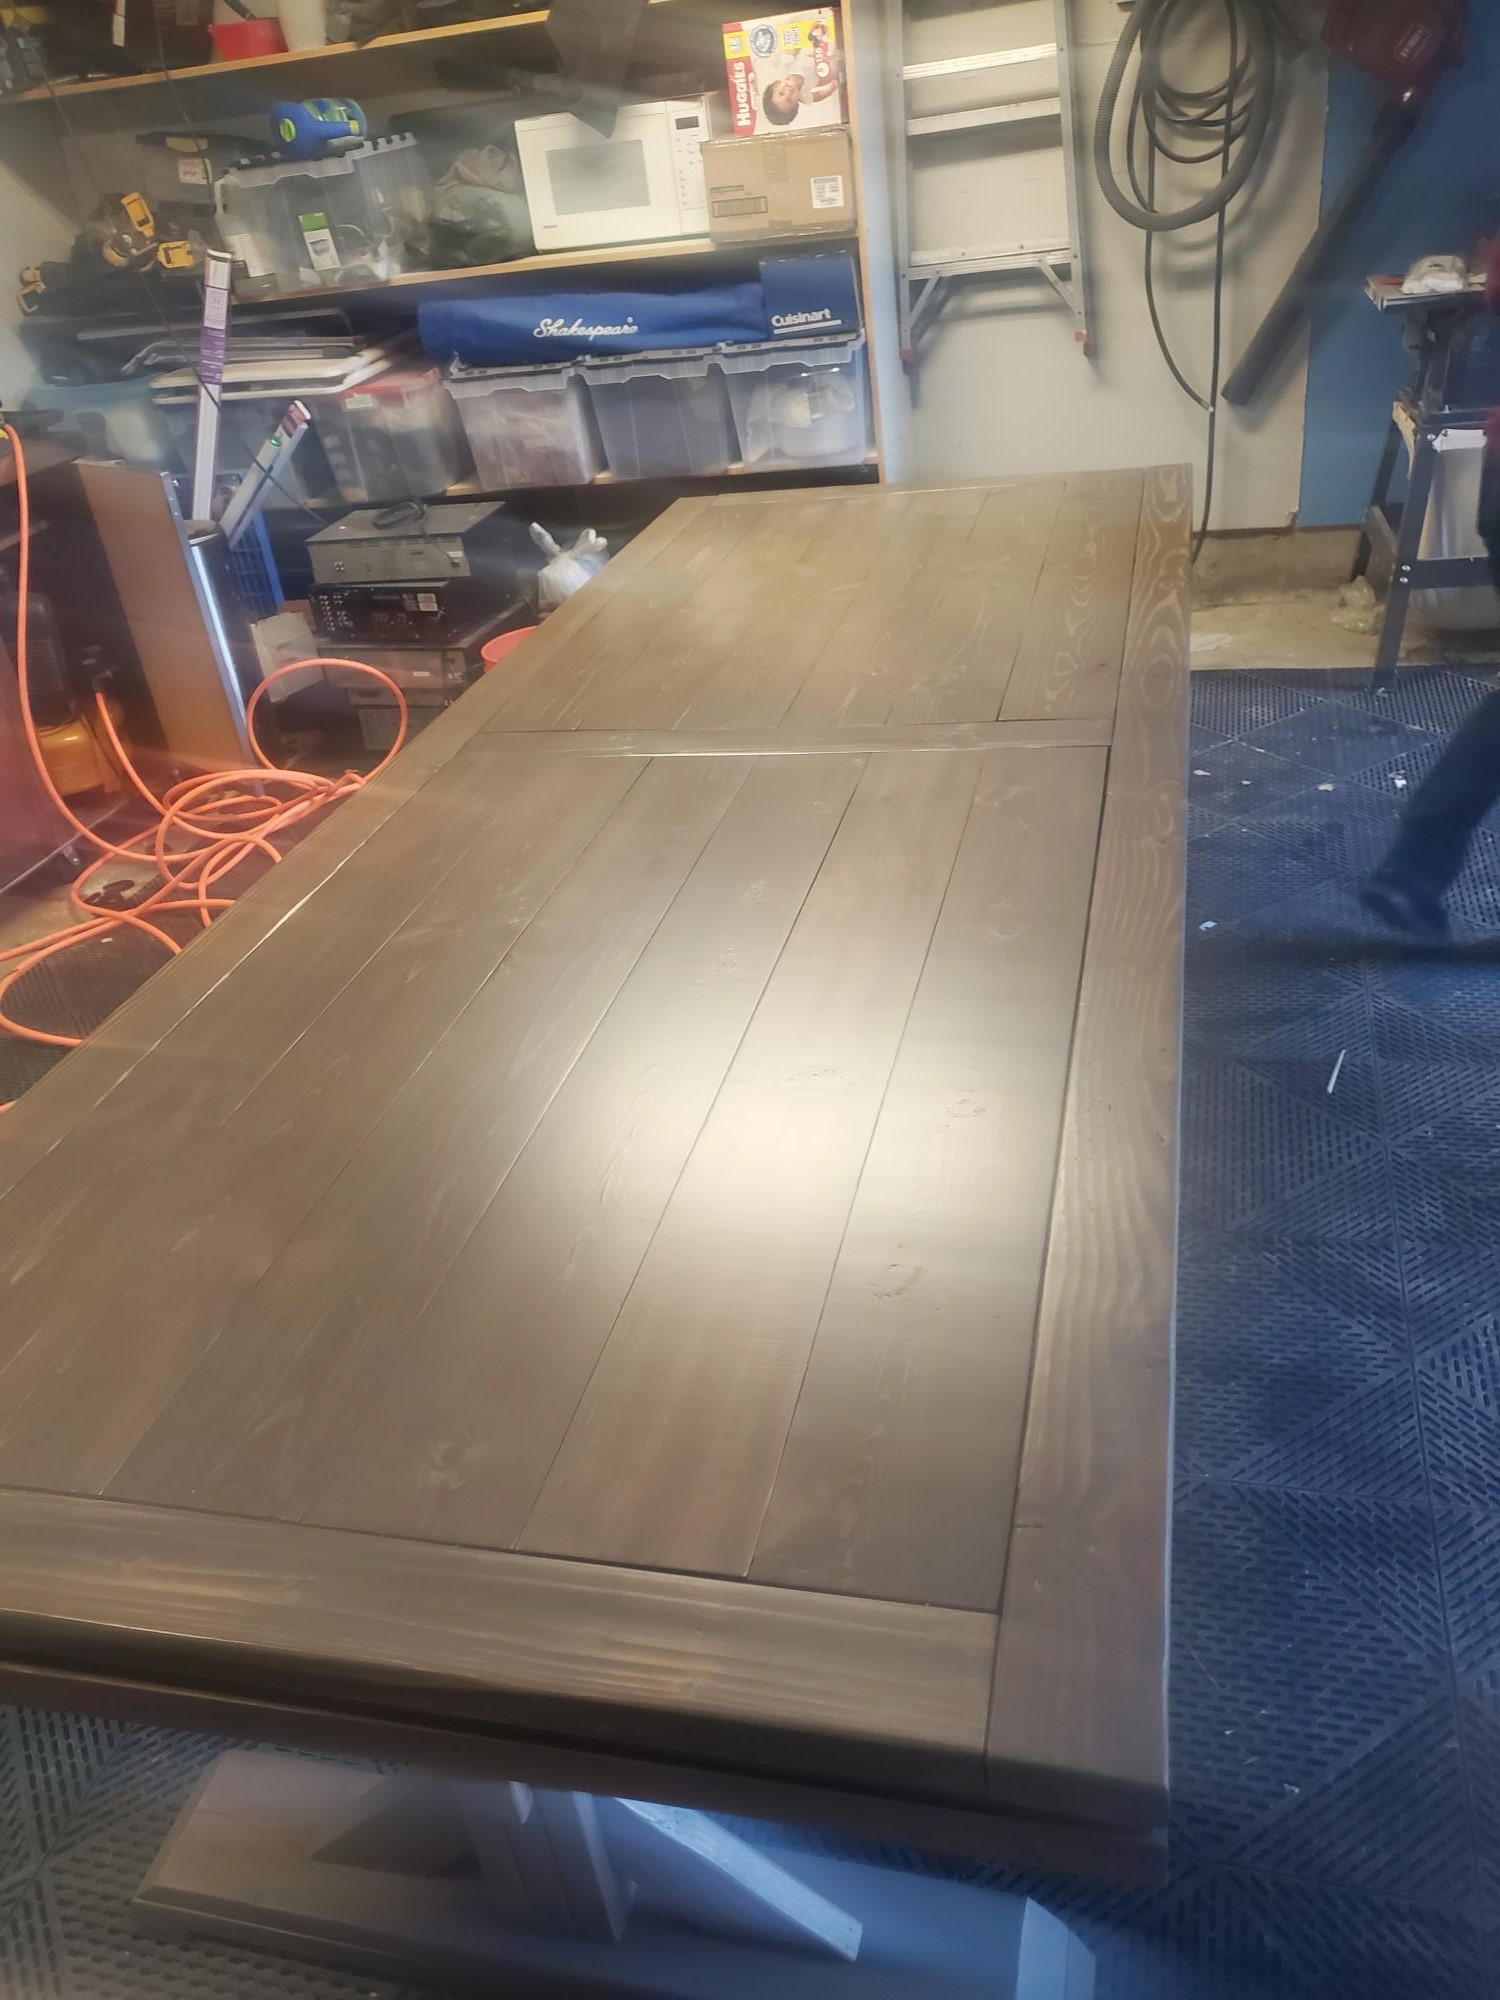
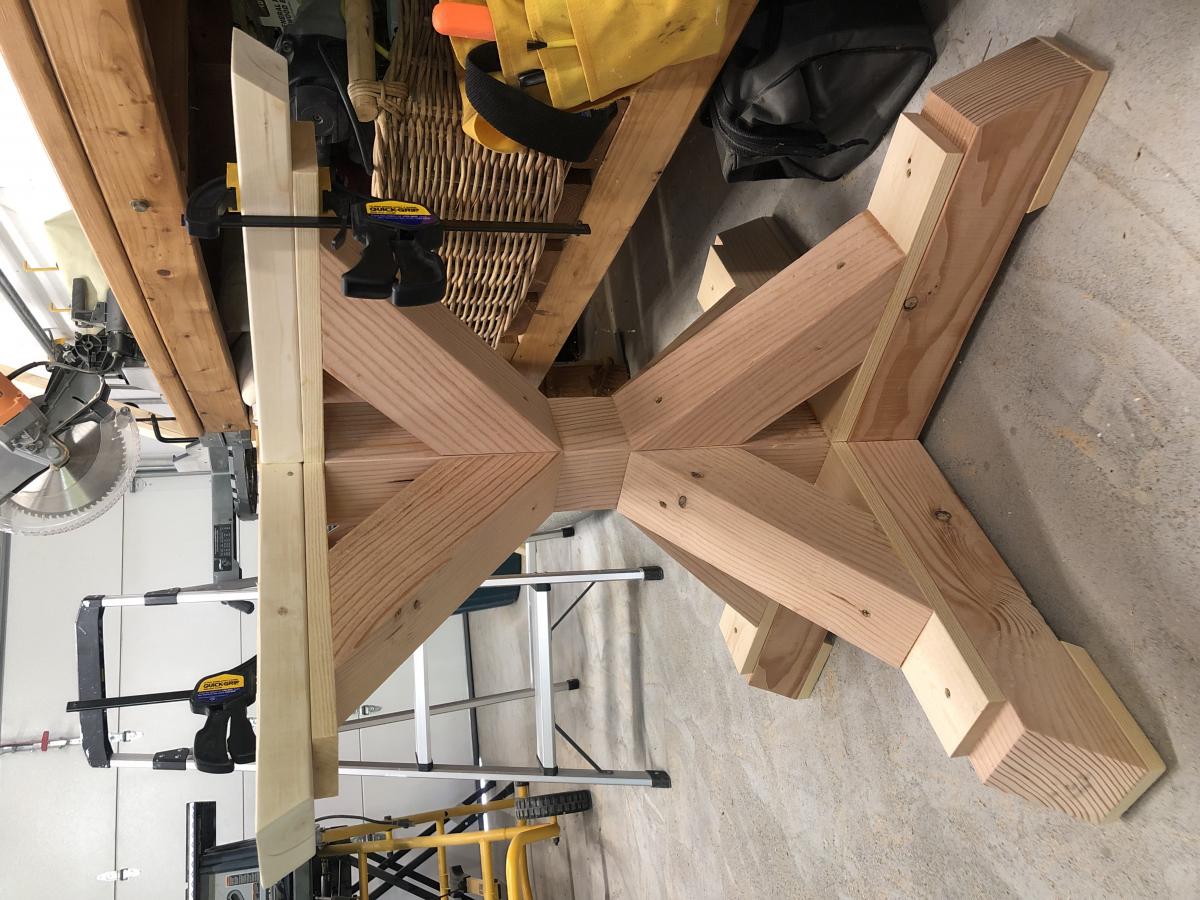
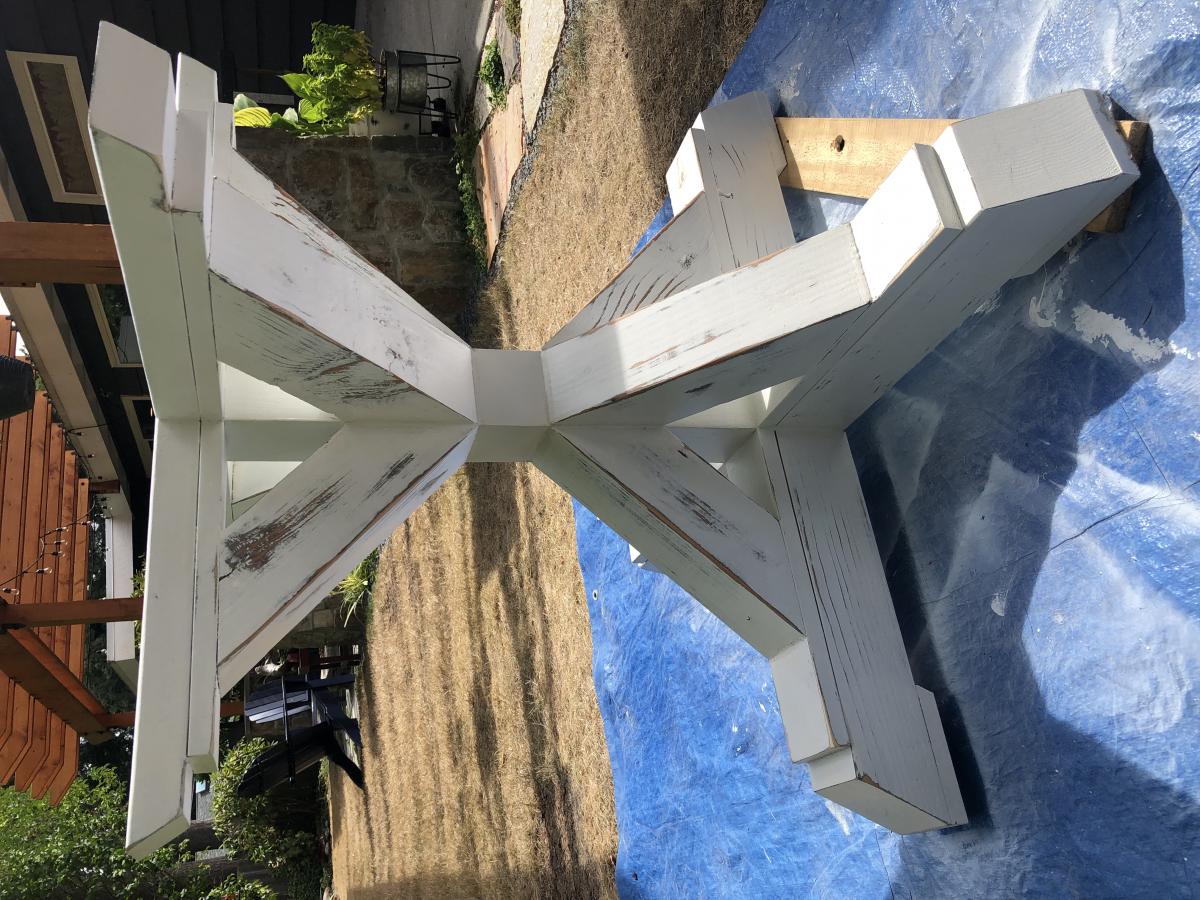
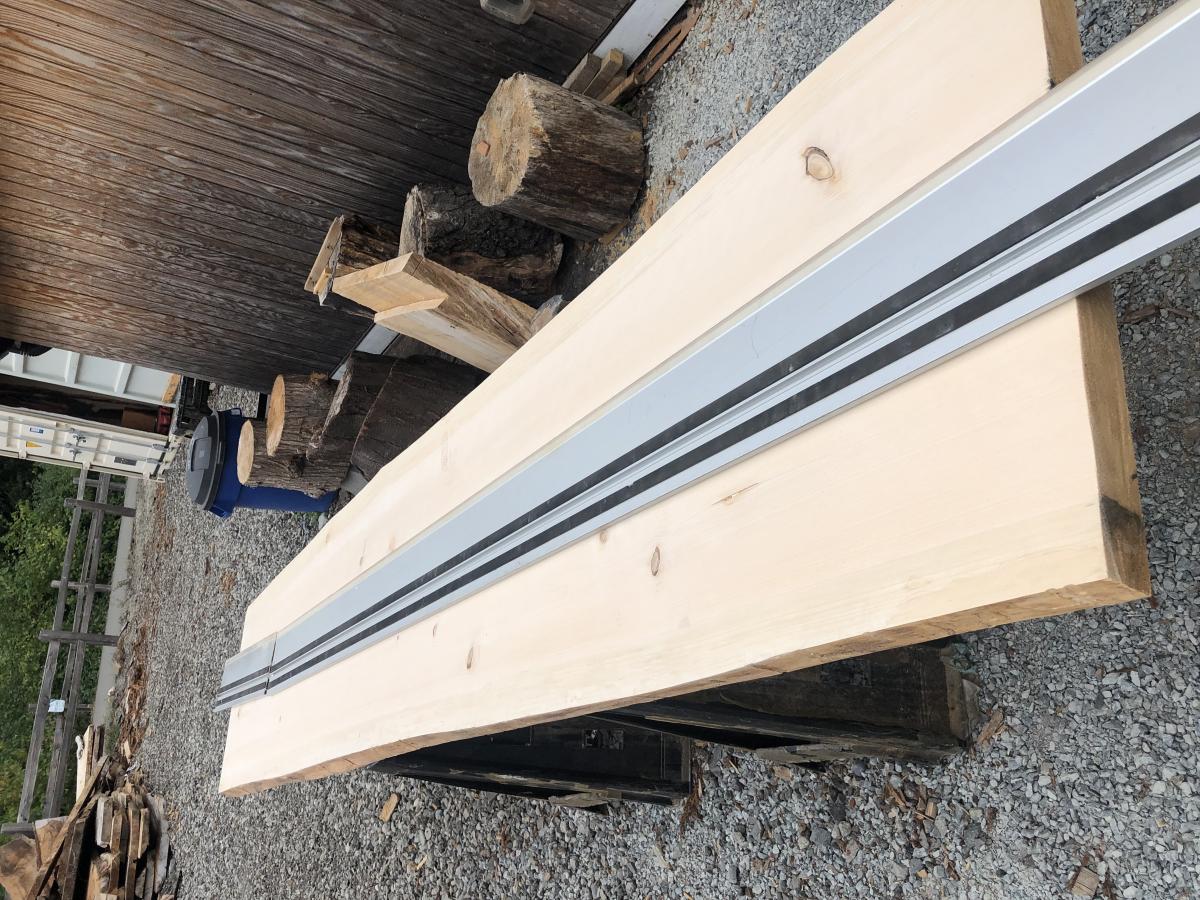
I used Anna Whites DIY plans to build the base for our dining room table. Then I went to my “wood guy” RV and picked up a beautiful piece of hinoki wood for the top. Love it 😍
Although advance, the pedestal plans were very straightforward and easy to follow. Made me look like a pro.
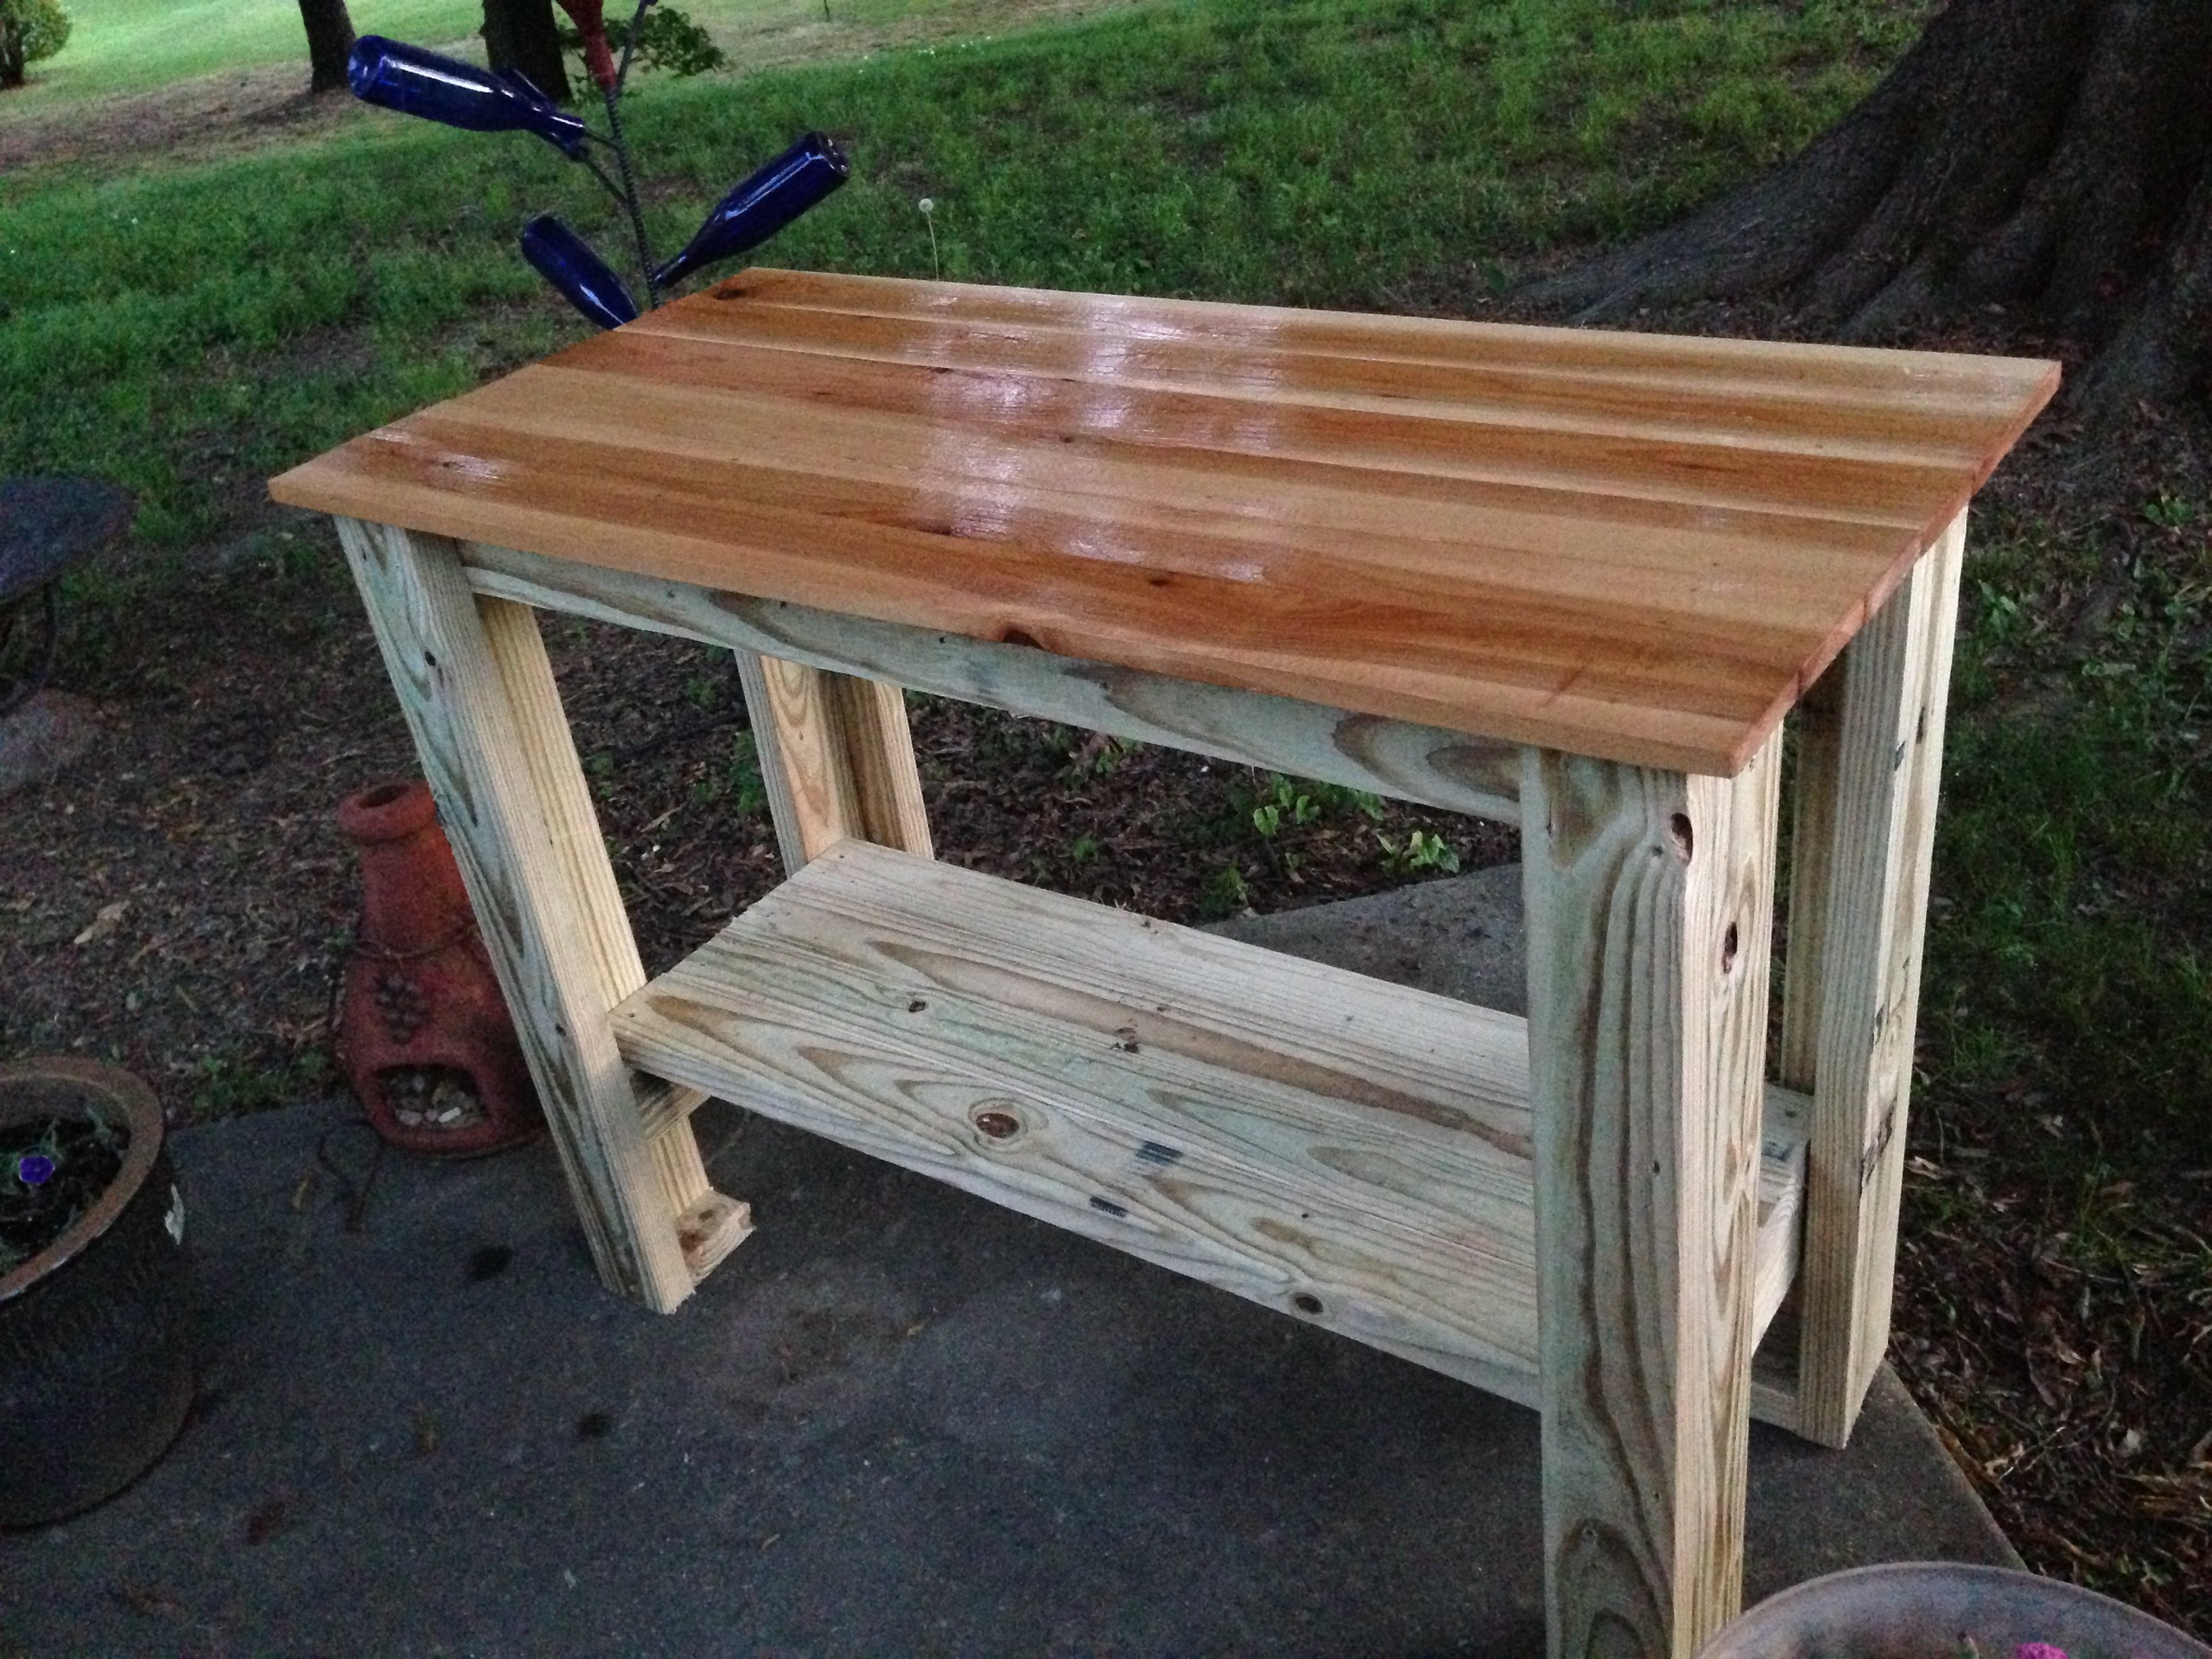
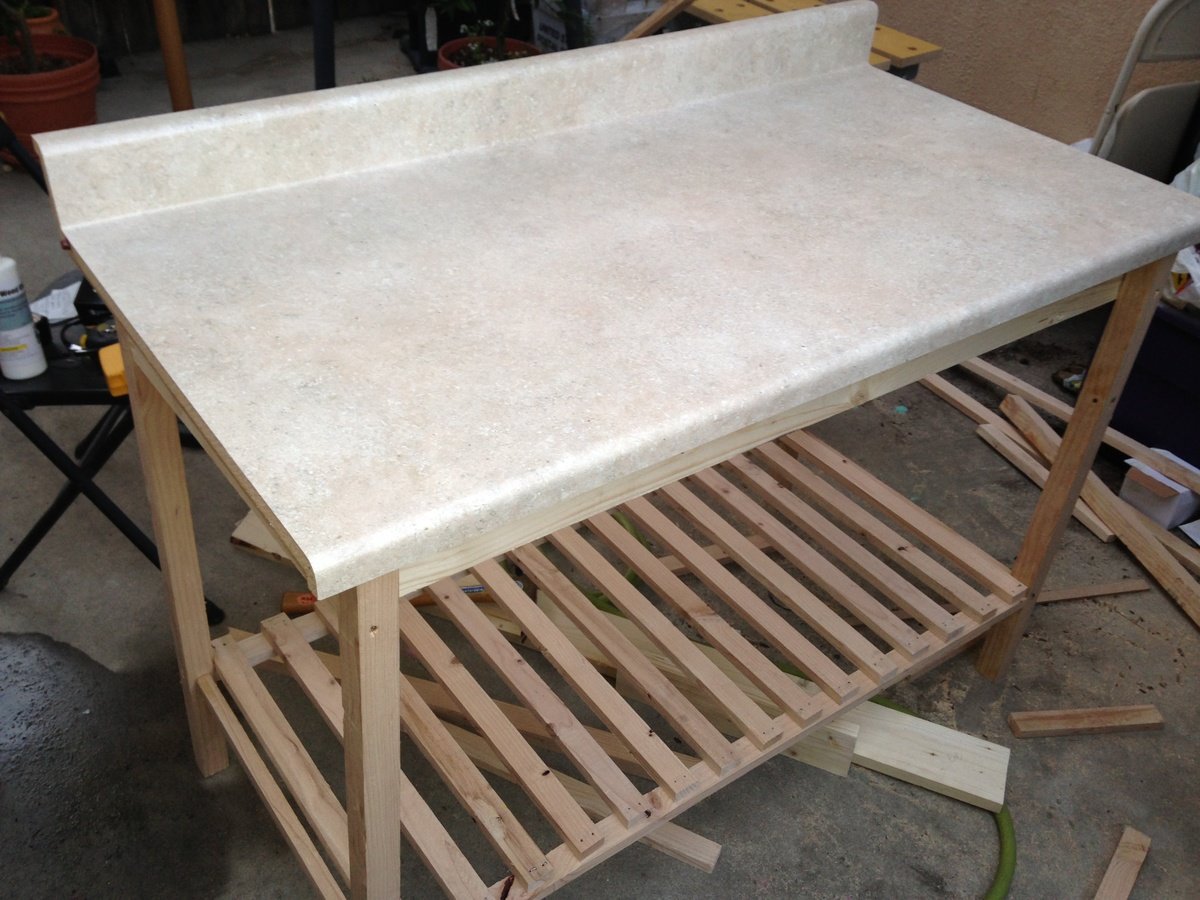
Needed a table for food prep with my grill and found your plans! I used treated lumber for the base and nice cedar planks for the top. The treated lumber had a whiter than usual color which made the base really pop out. I put a nice pecan stain on top and a few coats of poly so the BBQ sauce wouldn't stain it! This was so easy, literally took 2-3 hours to build, stain and poly was done over the next few days. Ready for my next ana-white project. Thanks for posting these plans.

Wed, 07/09/2014 - 16:24
I was looking on Pinterest and found this table. It was exactly what I was looking for. You inspired me to go out and buy a miter saw and some wood and make the table. It turned out wonderful. It now has a permanent place on my patio and gets used when I grill mostly. I was hoping to be able to upload a photo but don't see the option to do so. Anyway, I want to say thanks for the great plans/instructions.
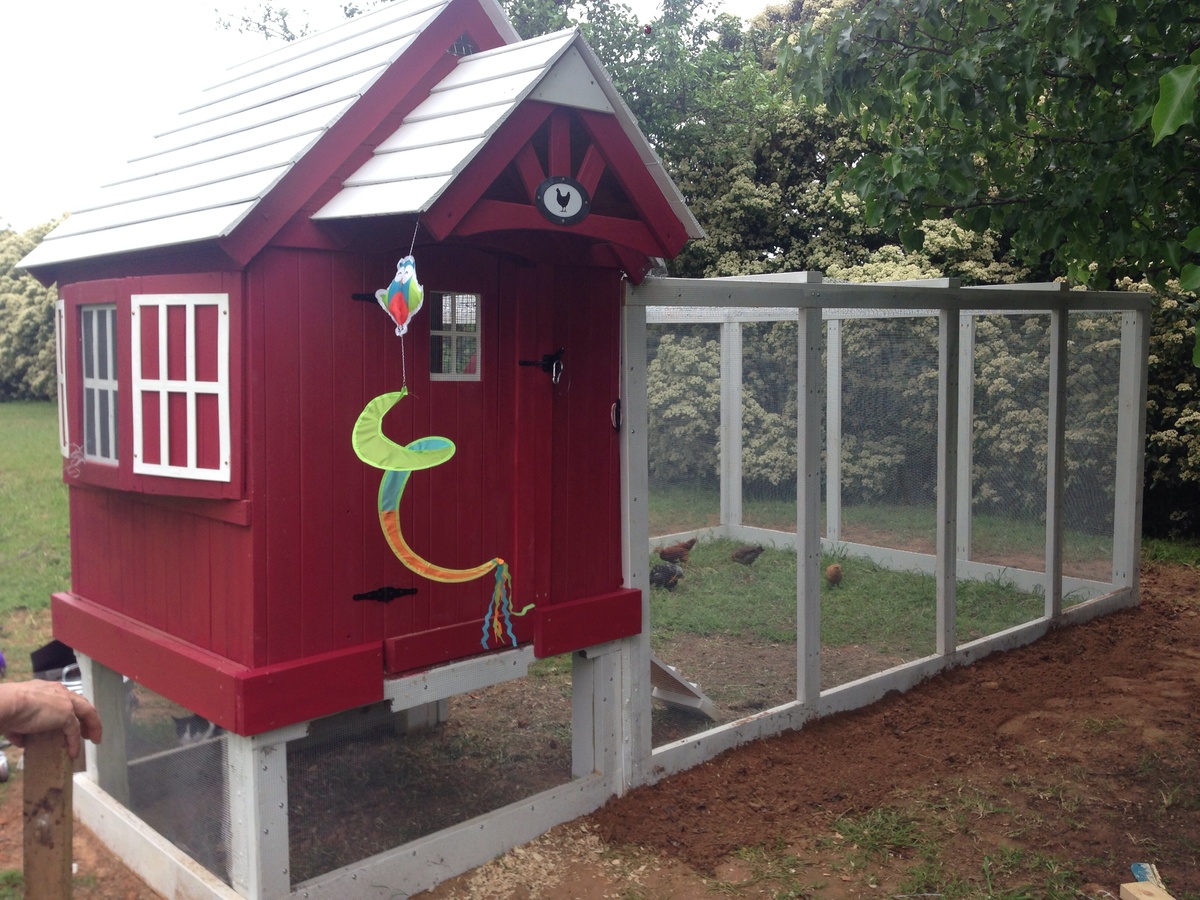
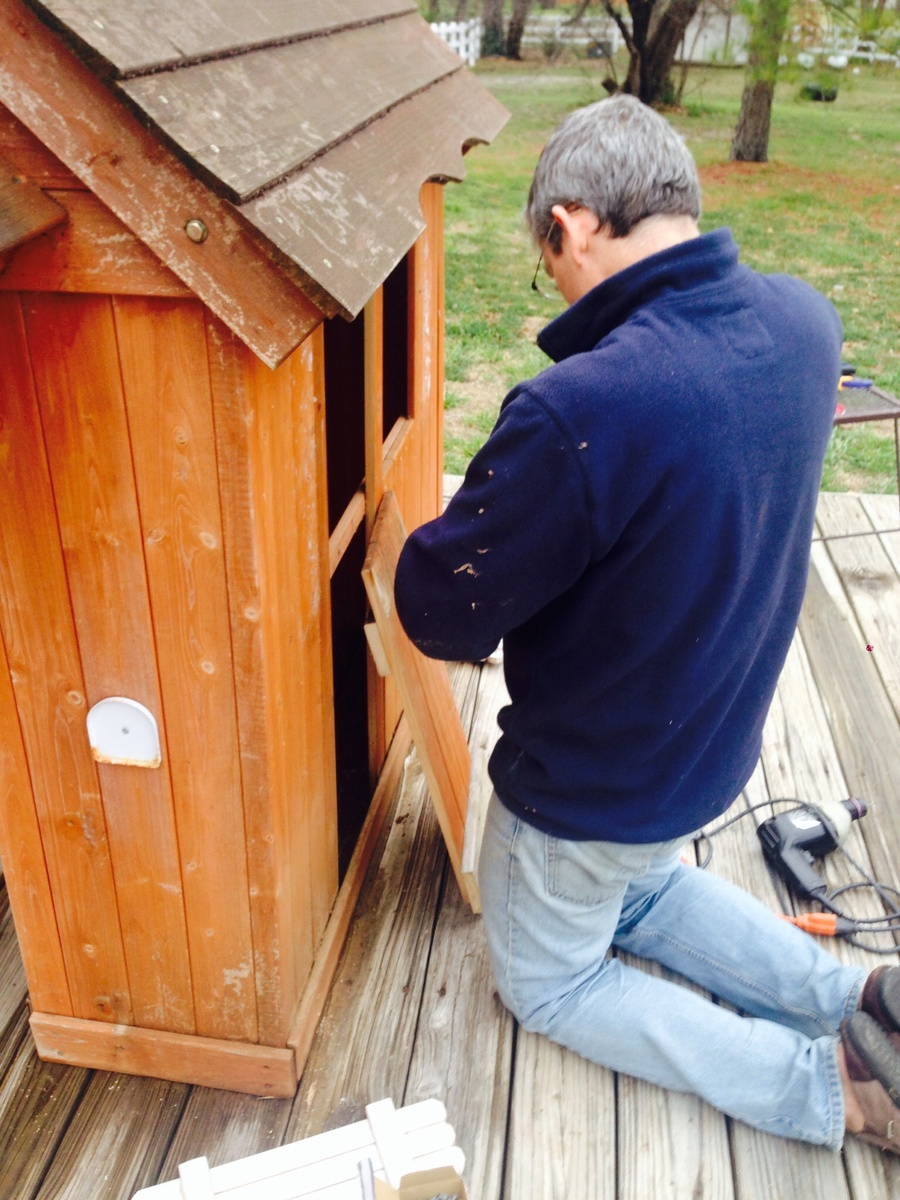
We built this coop from an existing playhouse and used Ana's plans to build the run! So easy and turned out perfectly!
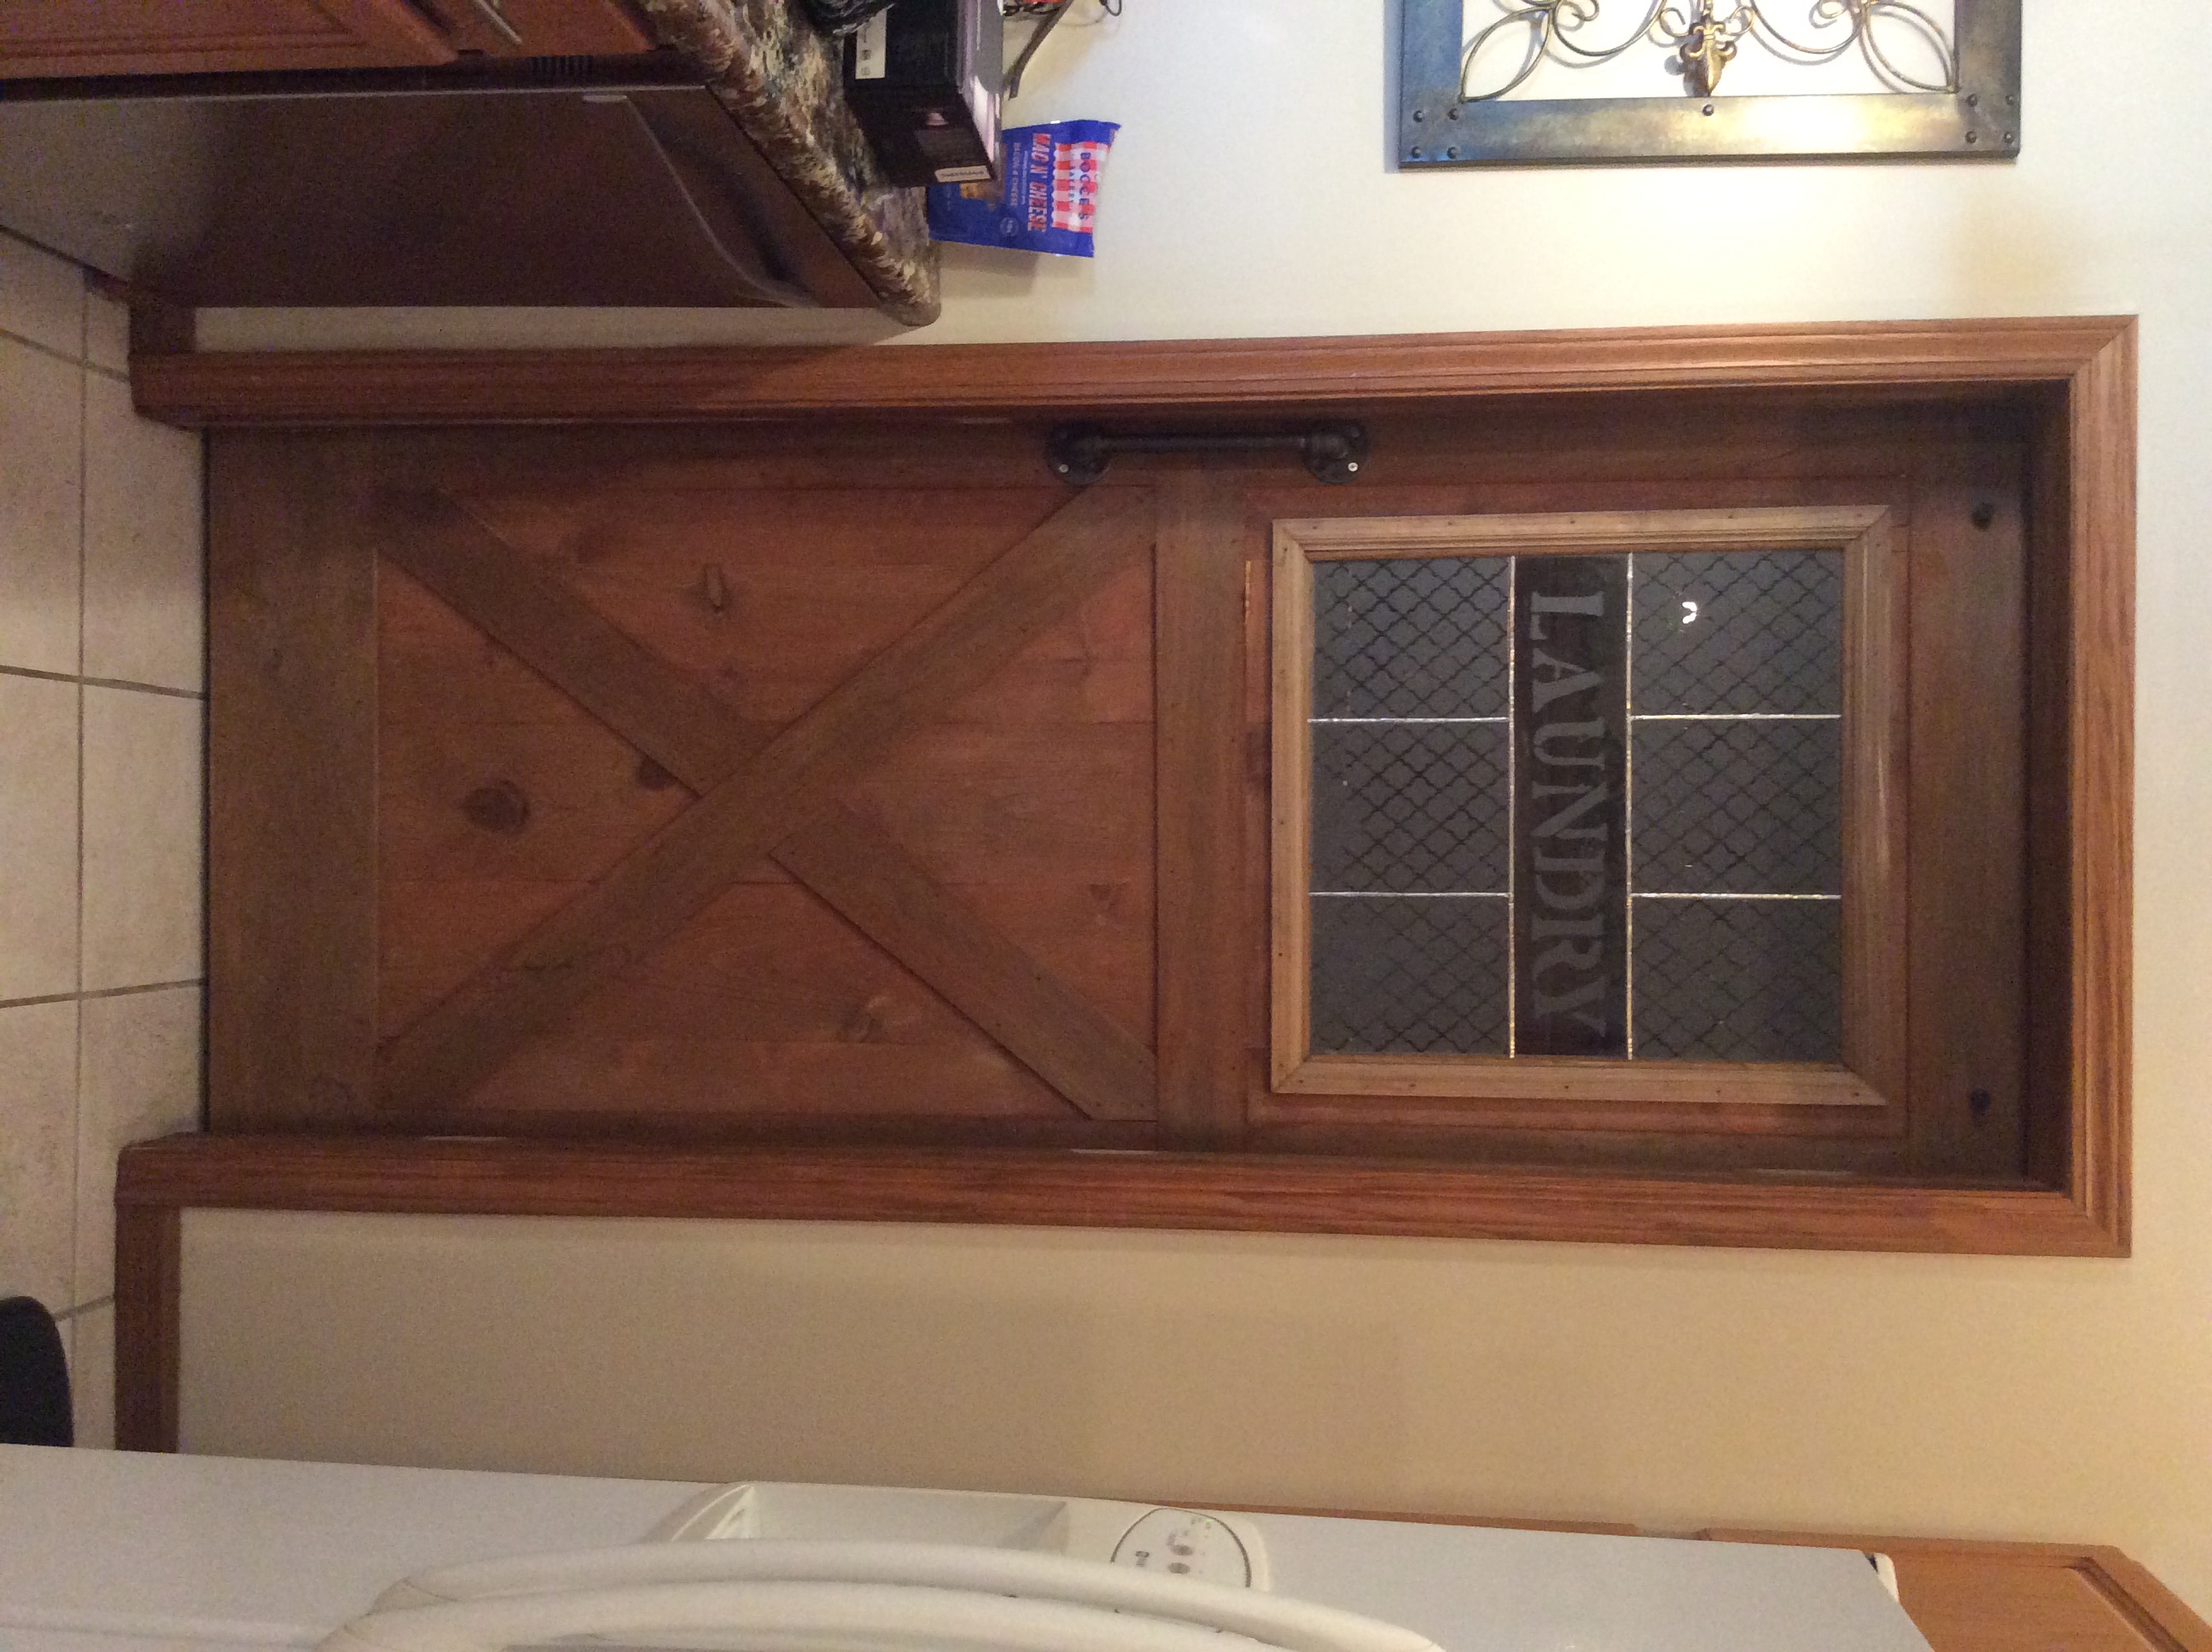
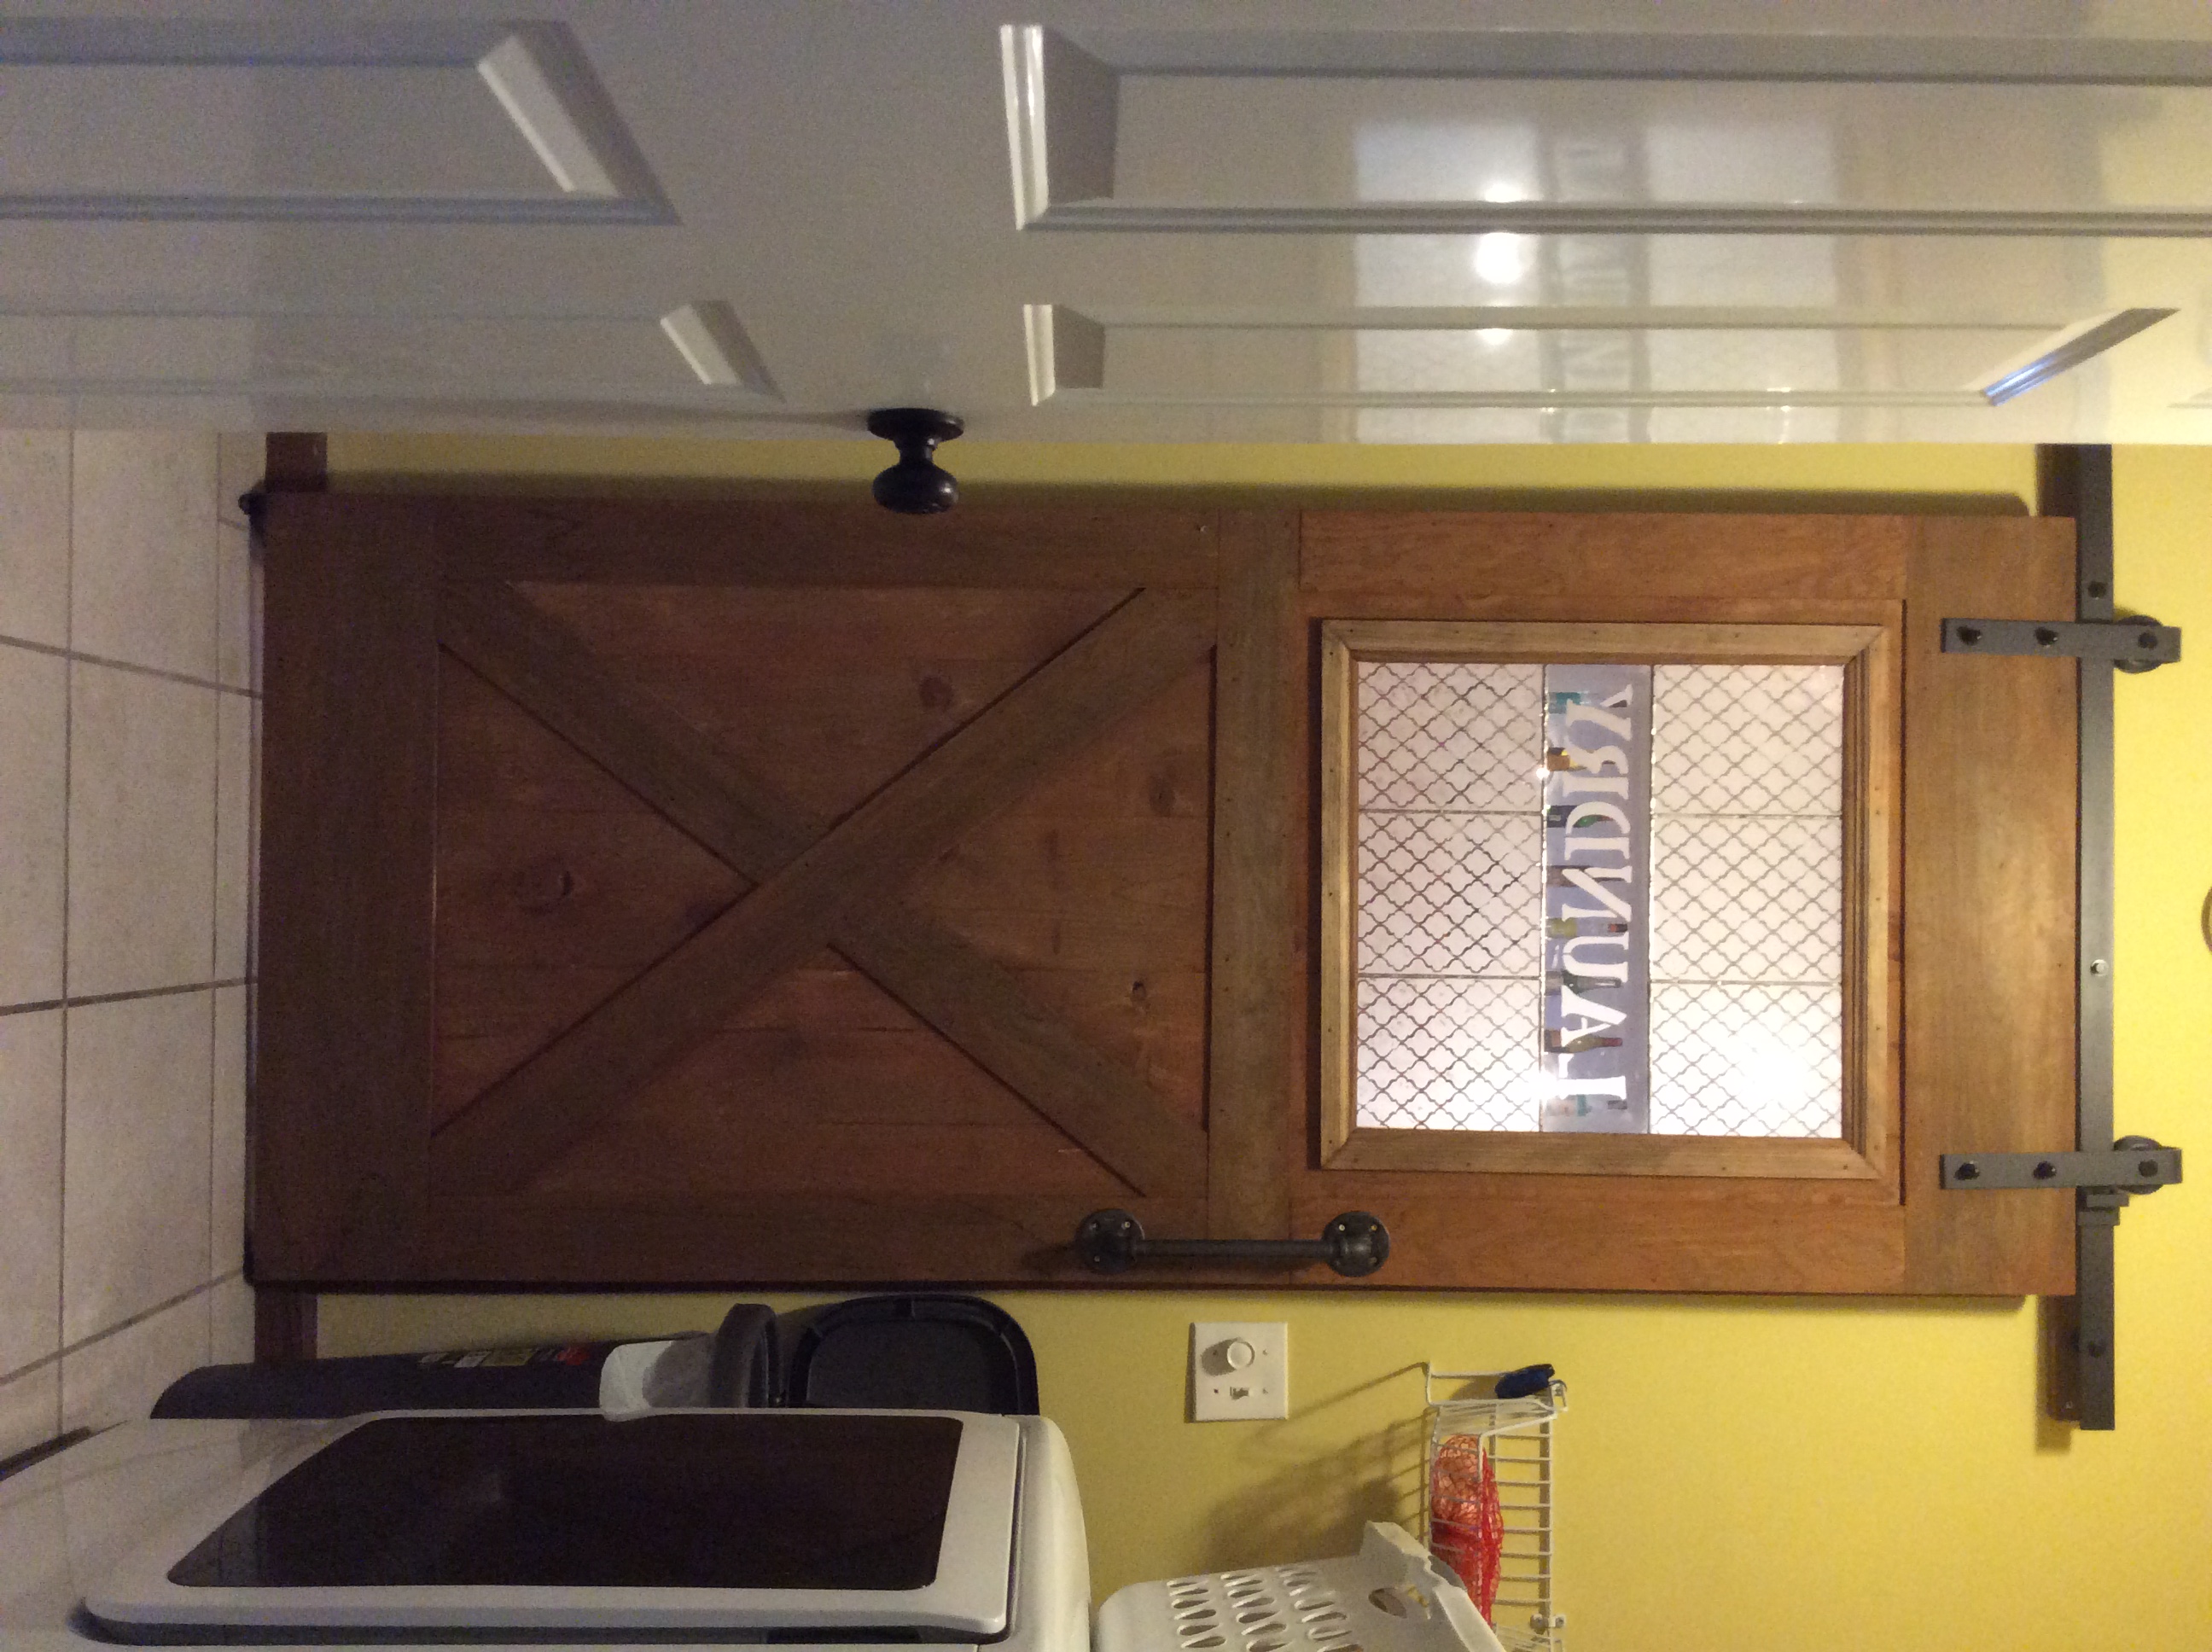
Sliding door to my laundry room with etched, stained glass window
We were thrilled with how this turned out. The plans were spot on!
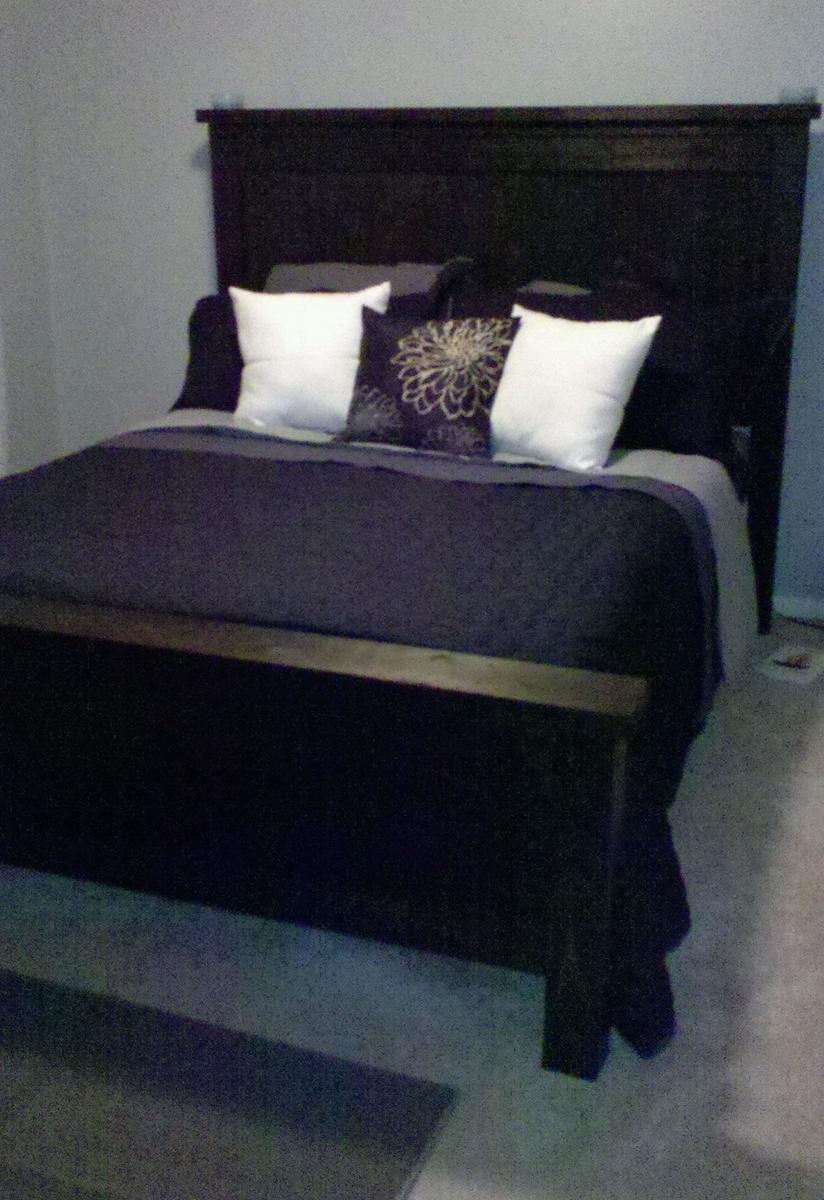
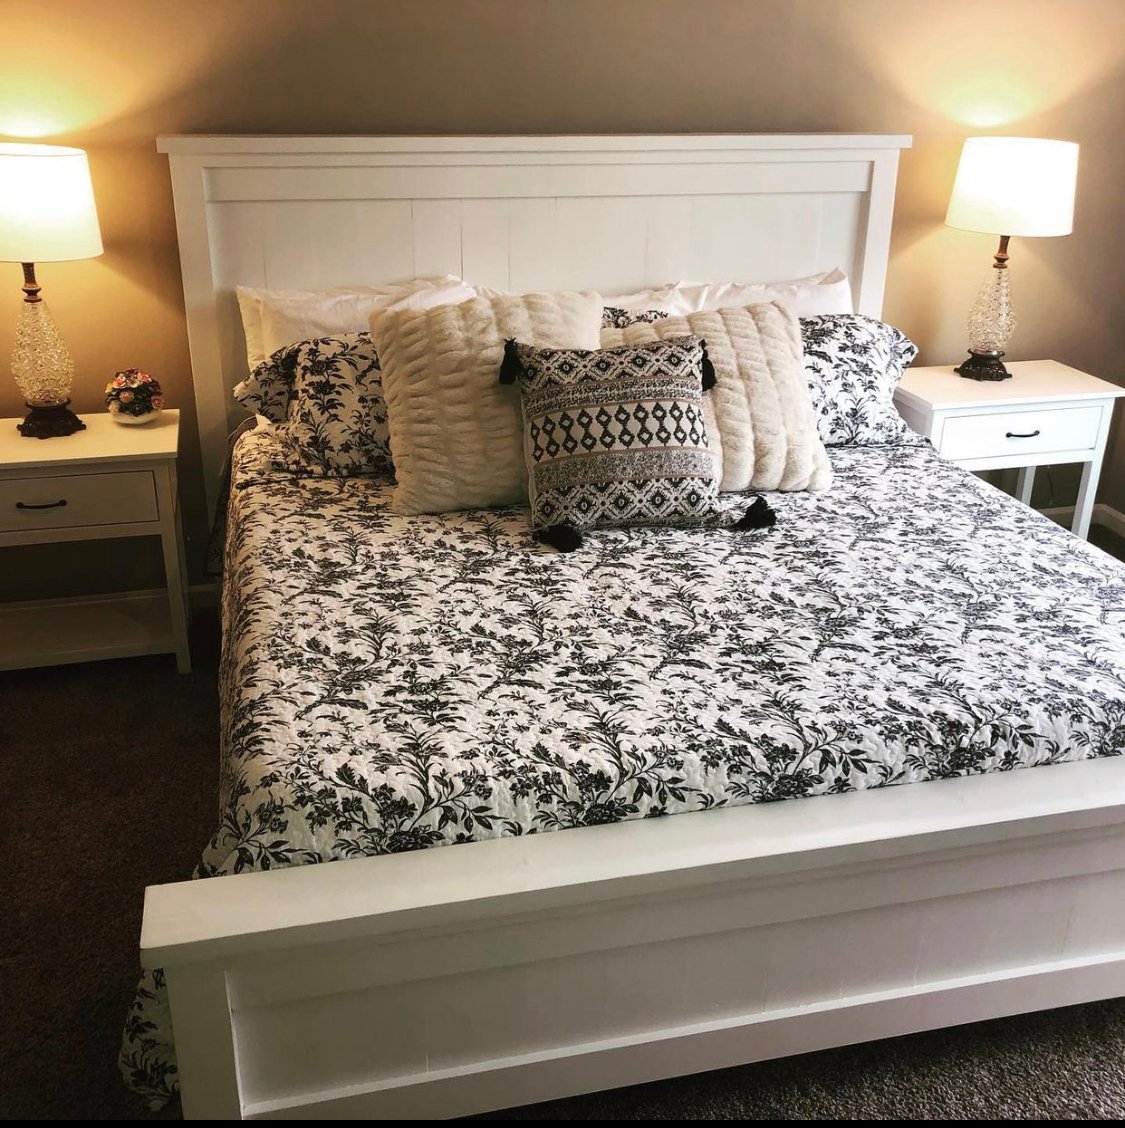
Our fifth build.
Built from rough pine.
Modified for 1x2s in both panels.
Footboard is stacked a little different because silly me got carried away and cut a board, before it was time to cut, and cut it too short. Oooops. Still works though. And looks superb I think.
We did not screw the joists vertical, and through the sideboards. I cut 1 inch pieces off the scraps from the joists, and mounted them from the inside, then laid the joists thick side up, and screwed them down into the mounted pieces.
For step by step instructions, and details on where to buy everything, see my blog. I blogged each step of the way. It took us a month to build this due to life obstacles and bad timing on baby naps, but you should be able to do it in one good afternoon.
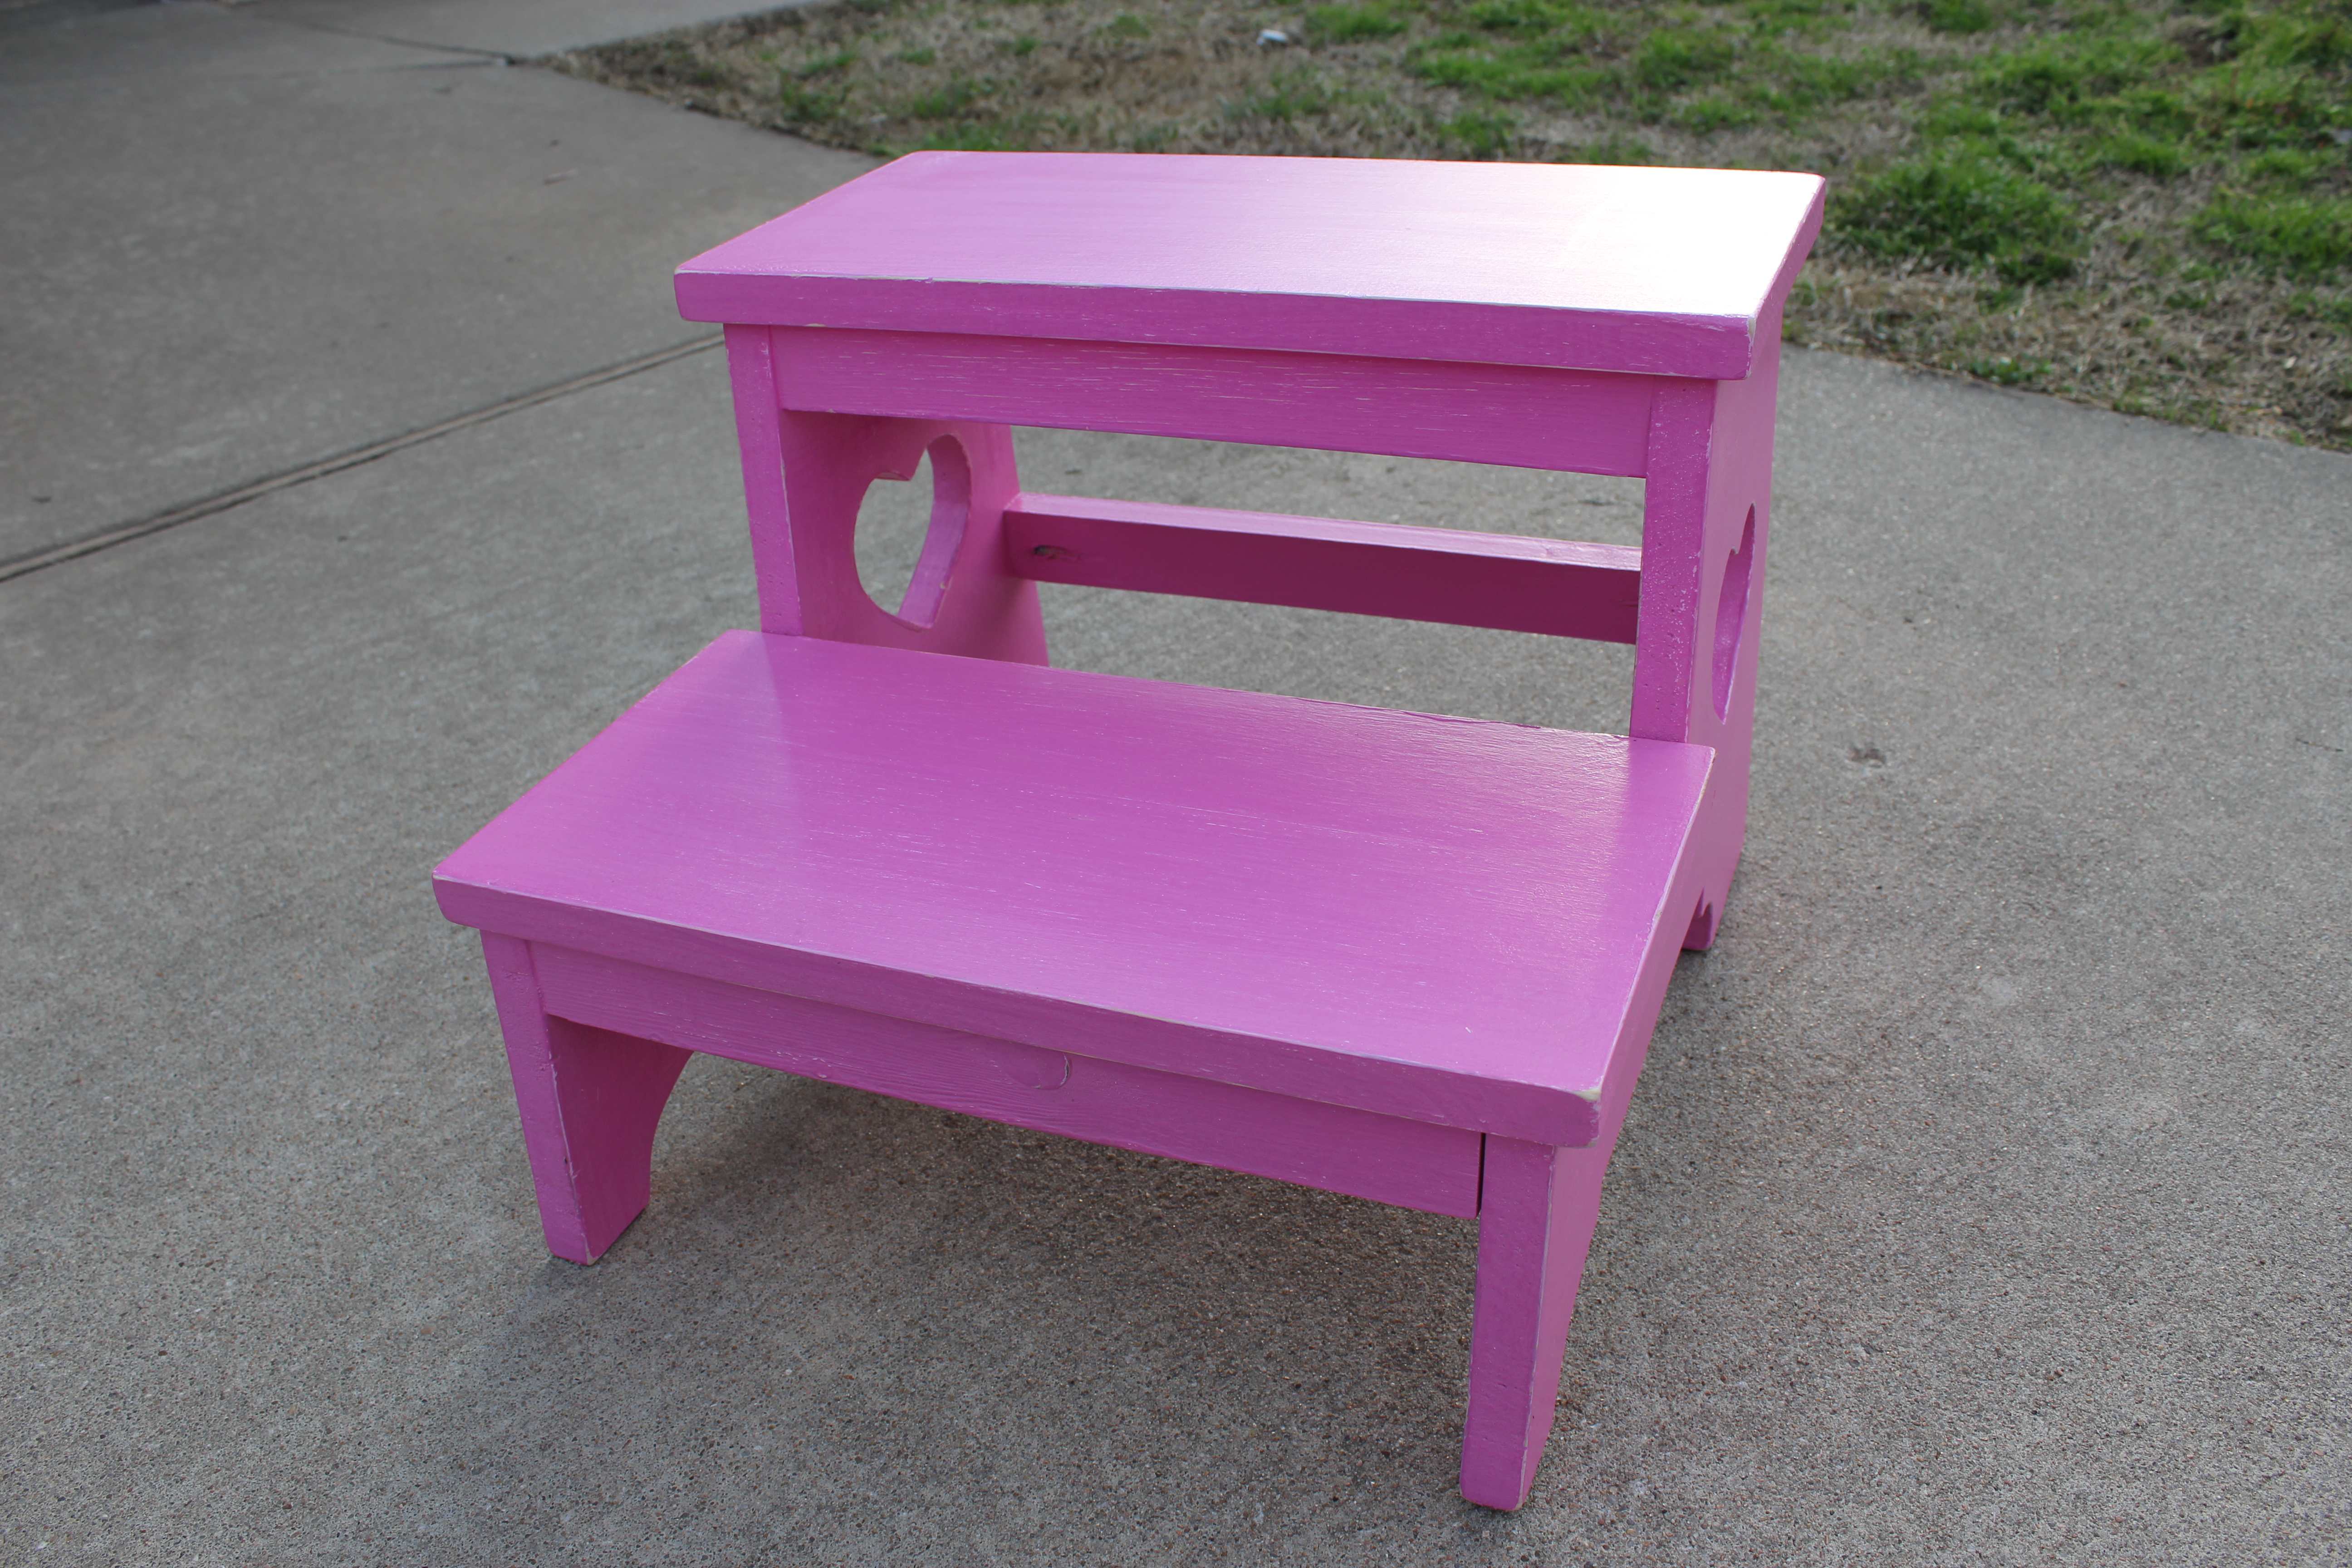
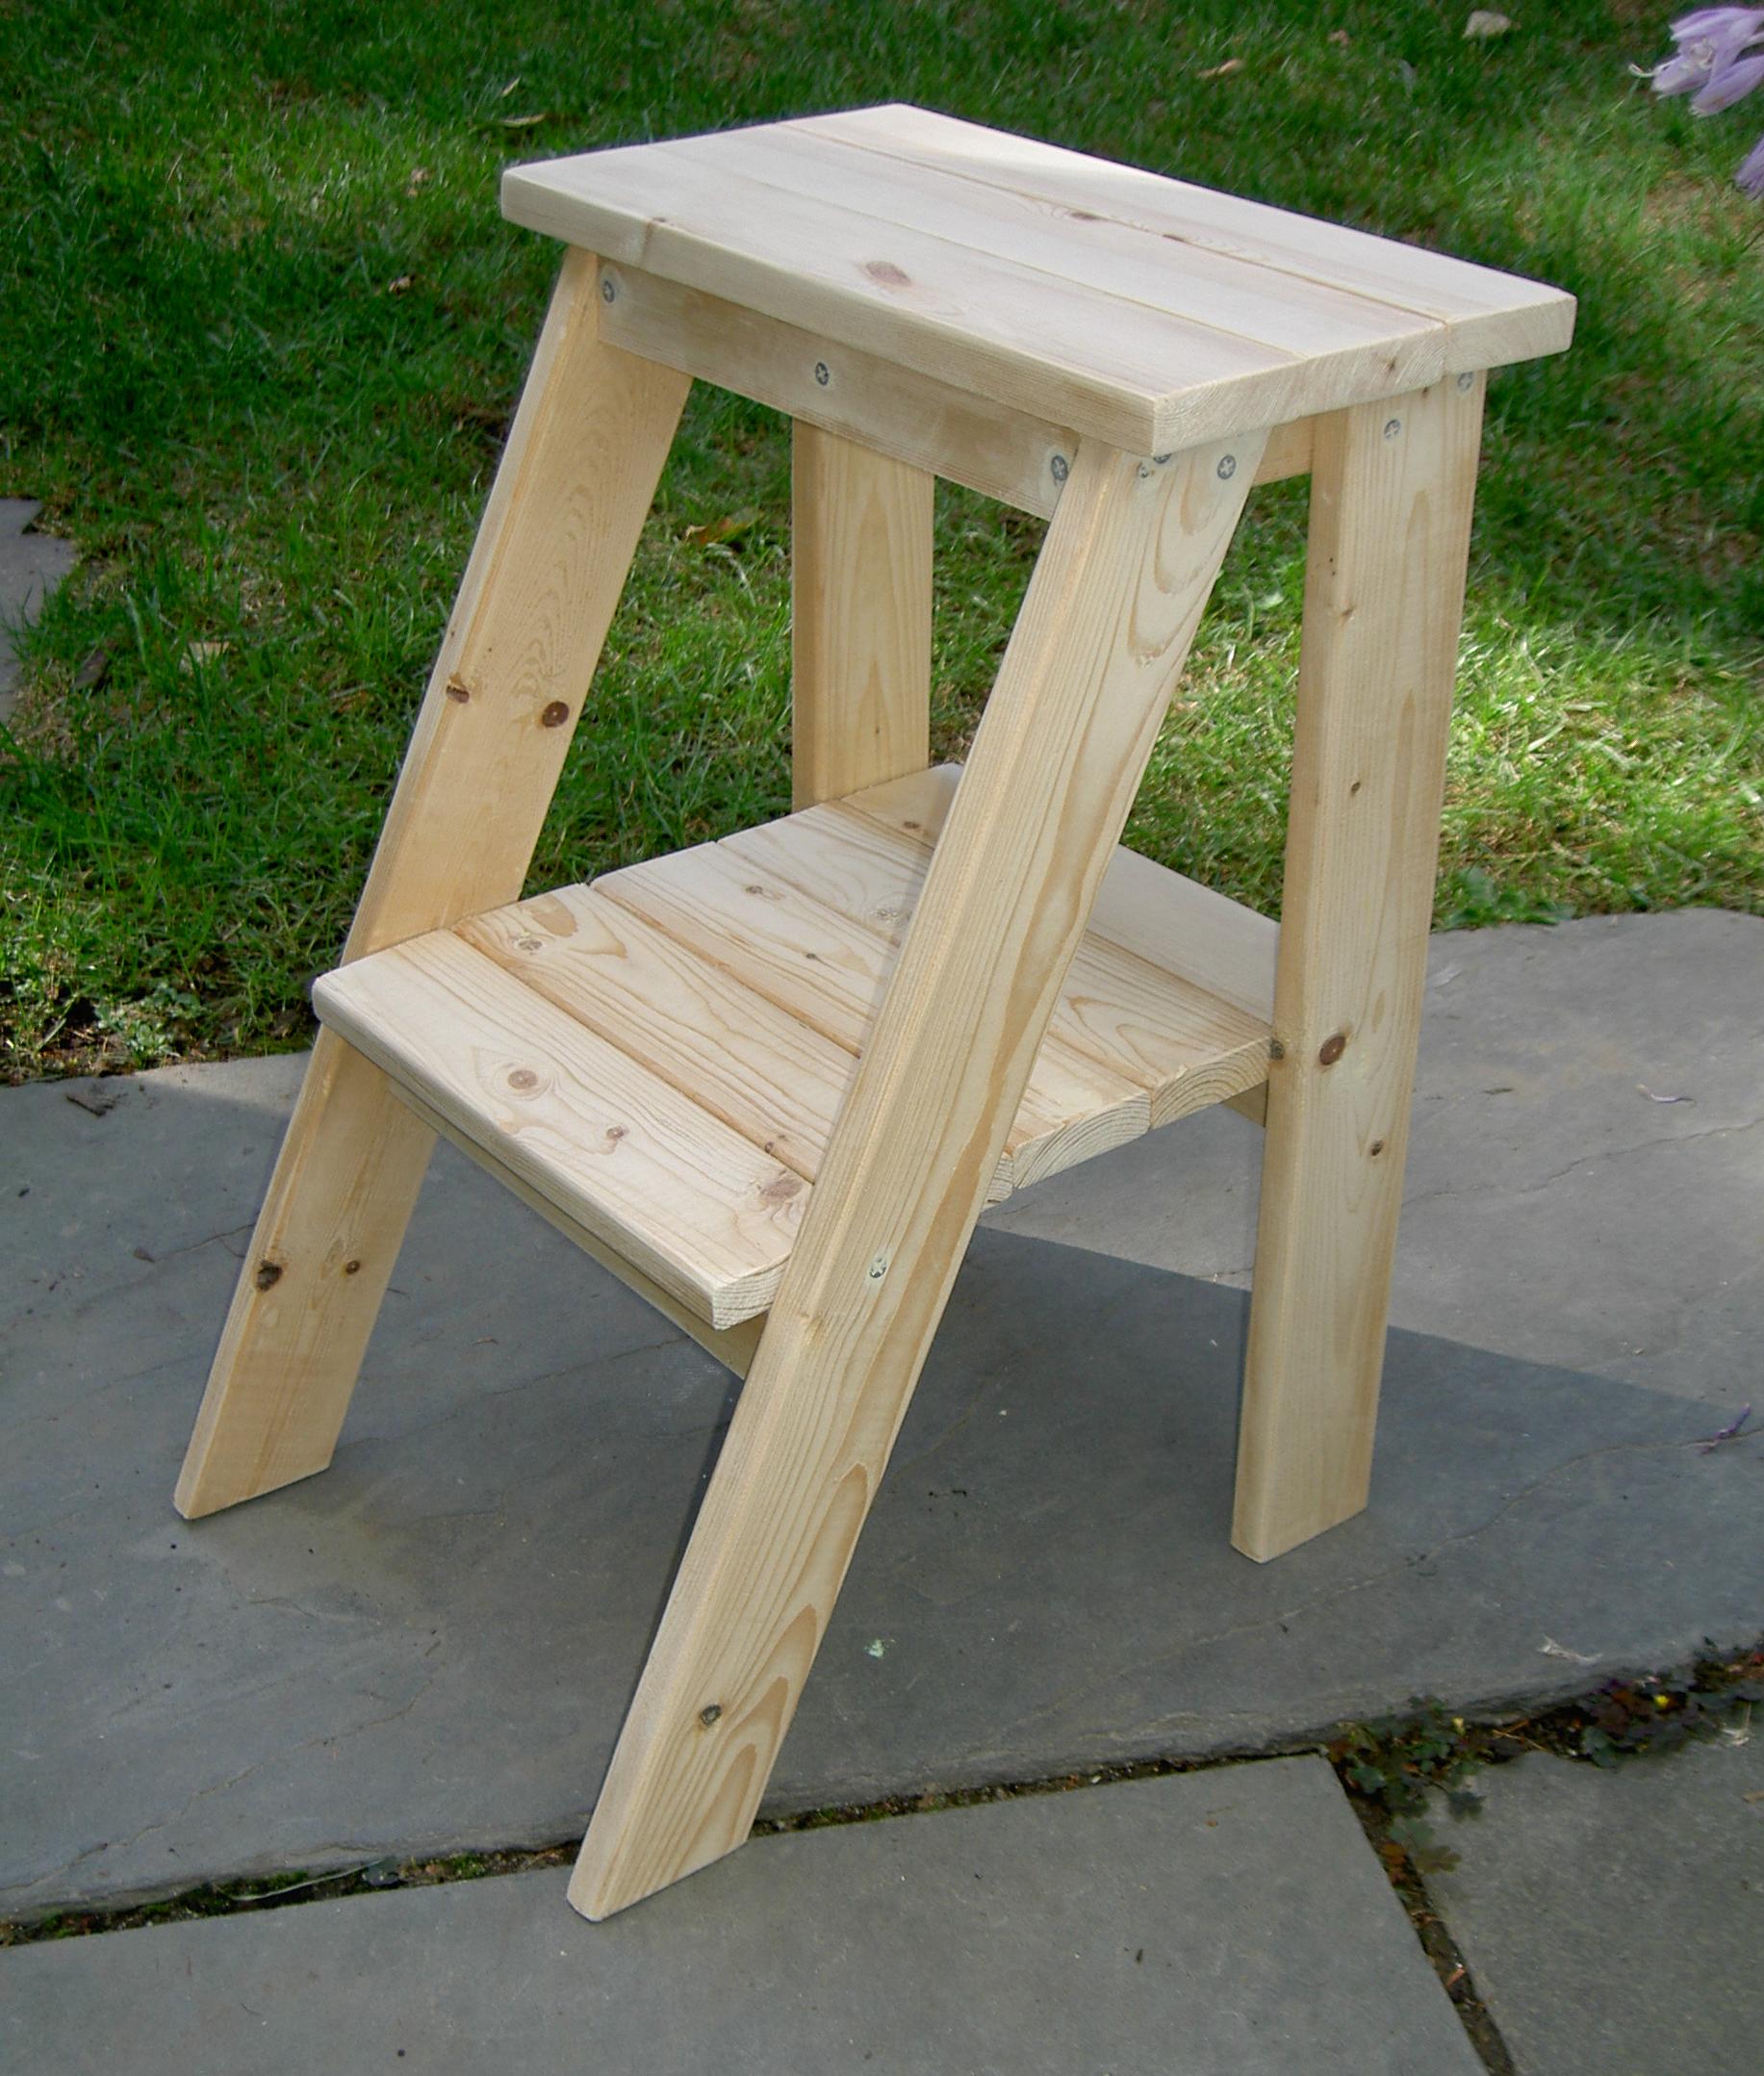
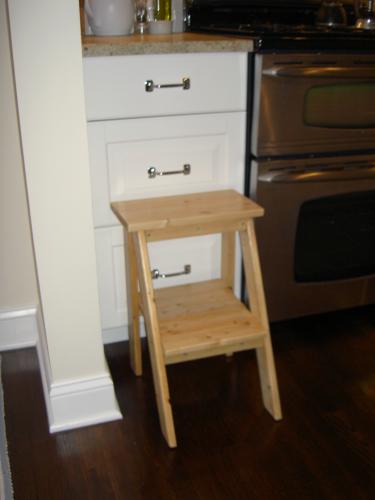
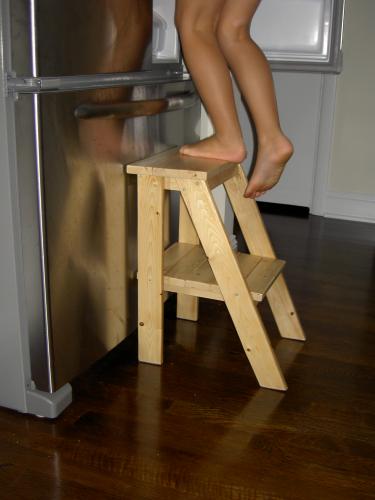
I made this awesome step stool for my daughter to be able to reach things a little bit better. It works perfectly. And the heart adds the perfect touch, don't you think?


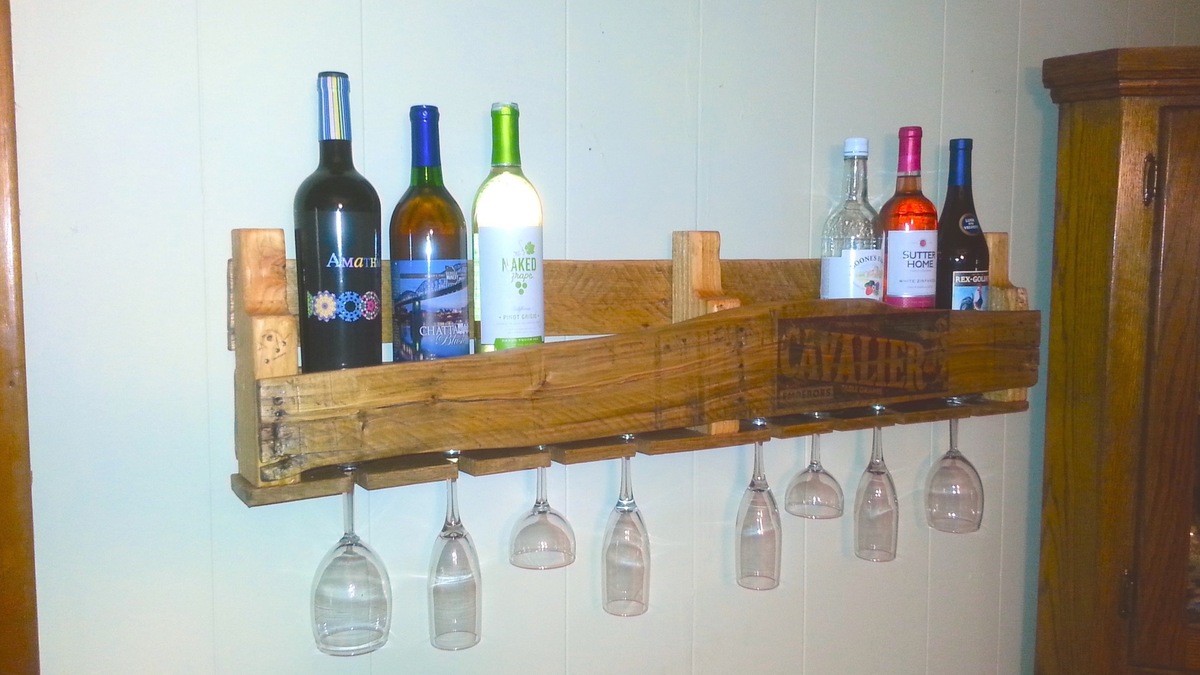
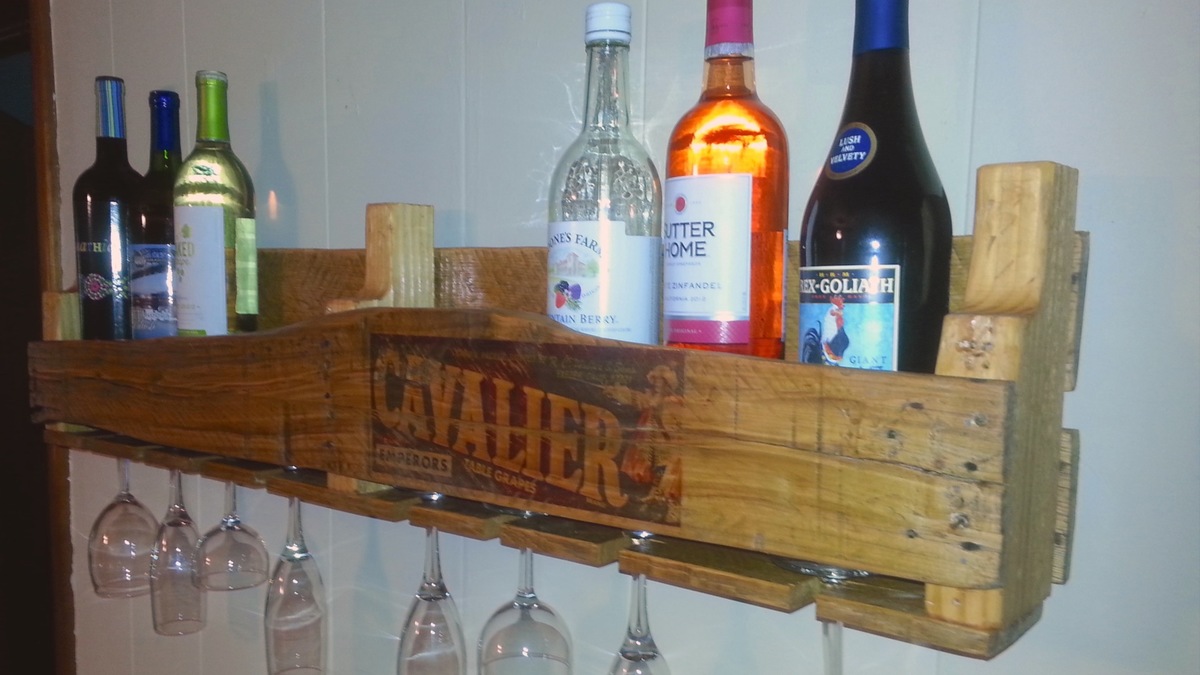
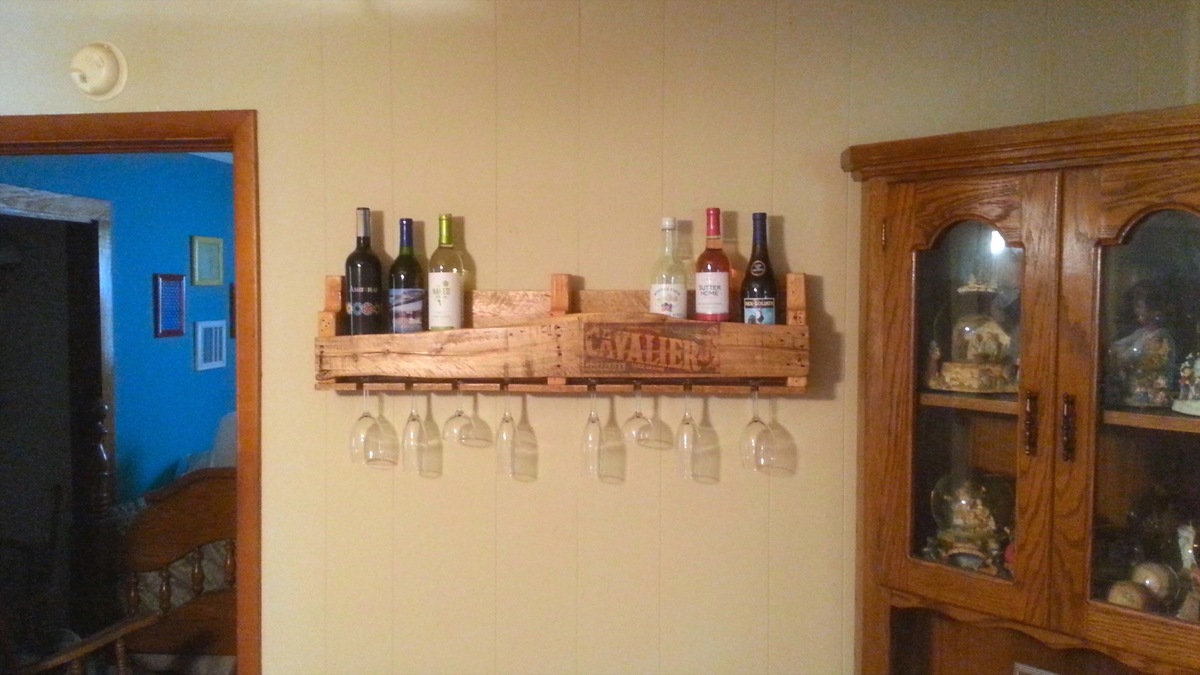
This week's project was a wine rack that I built for my aunt.
Blog: http://www.lanebroswoodshop.com/2015/04/pallet-wine-rack.html
YouTube Video: https://www.youtube.com/watch?v=NUB6UEaLXtE
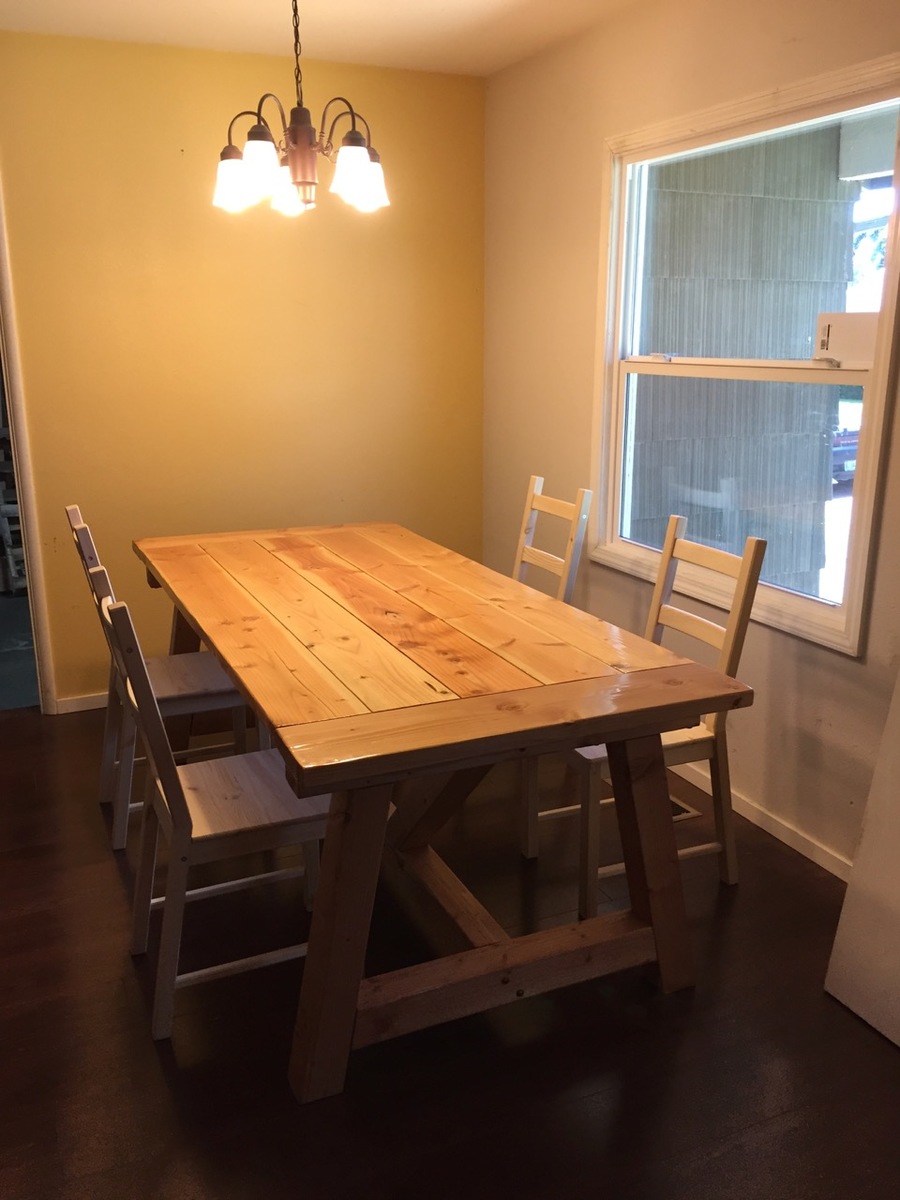
This is the dining room table I built for my house. It was based on the 4x4 truss beam table plans I found here on Ana's website. I opted against stain, and decided on a clear polyurethane finish to highlight the wood's natural beauty. I've had this table for over a year now, and it has withstood the rigors of young children quite nicely. Thanks Ana!
Sincerely,
Ron Floyd
Portland, OR
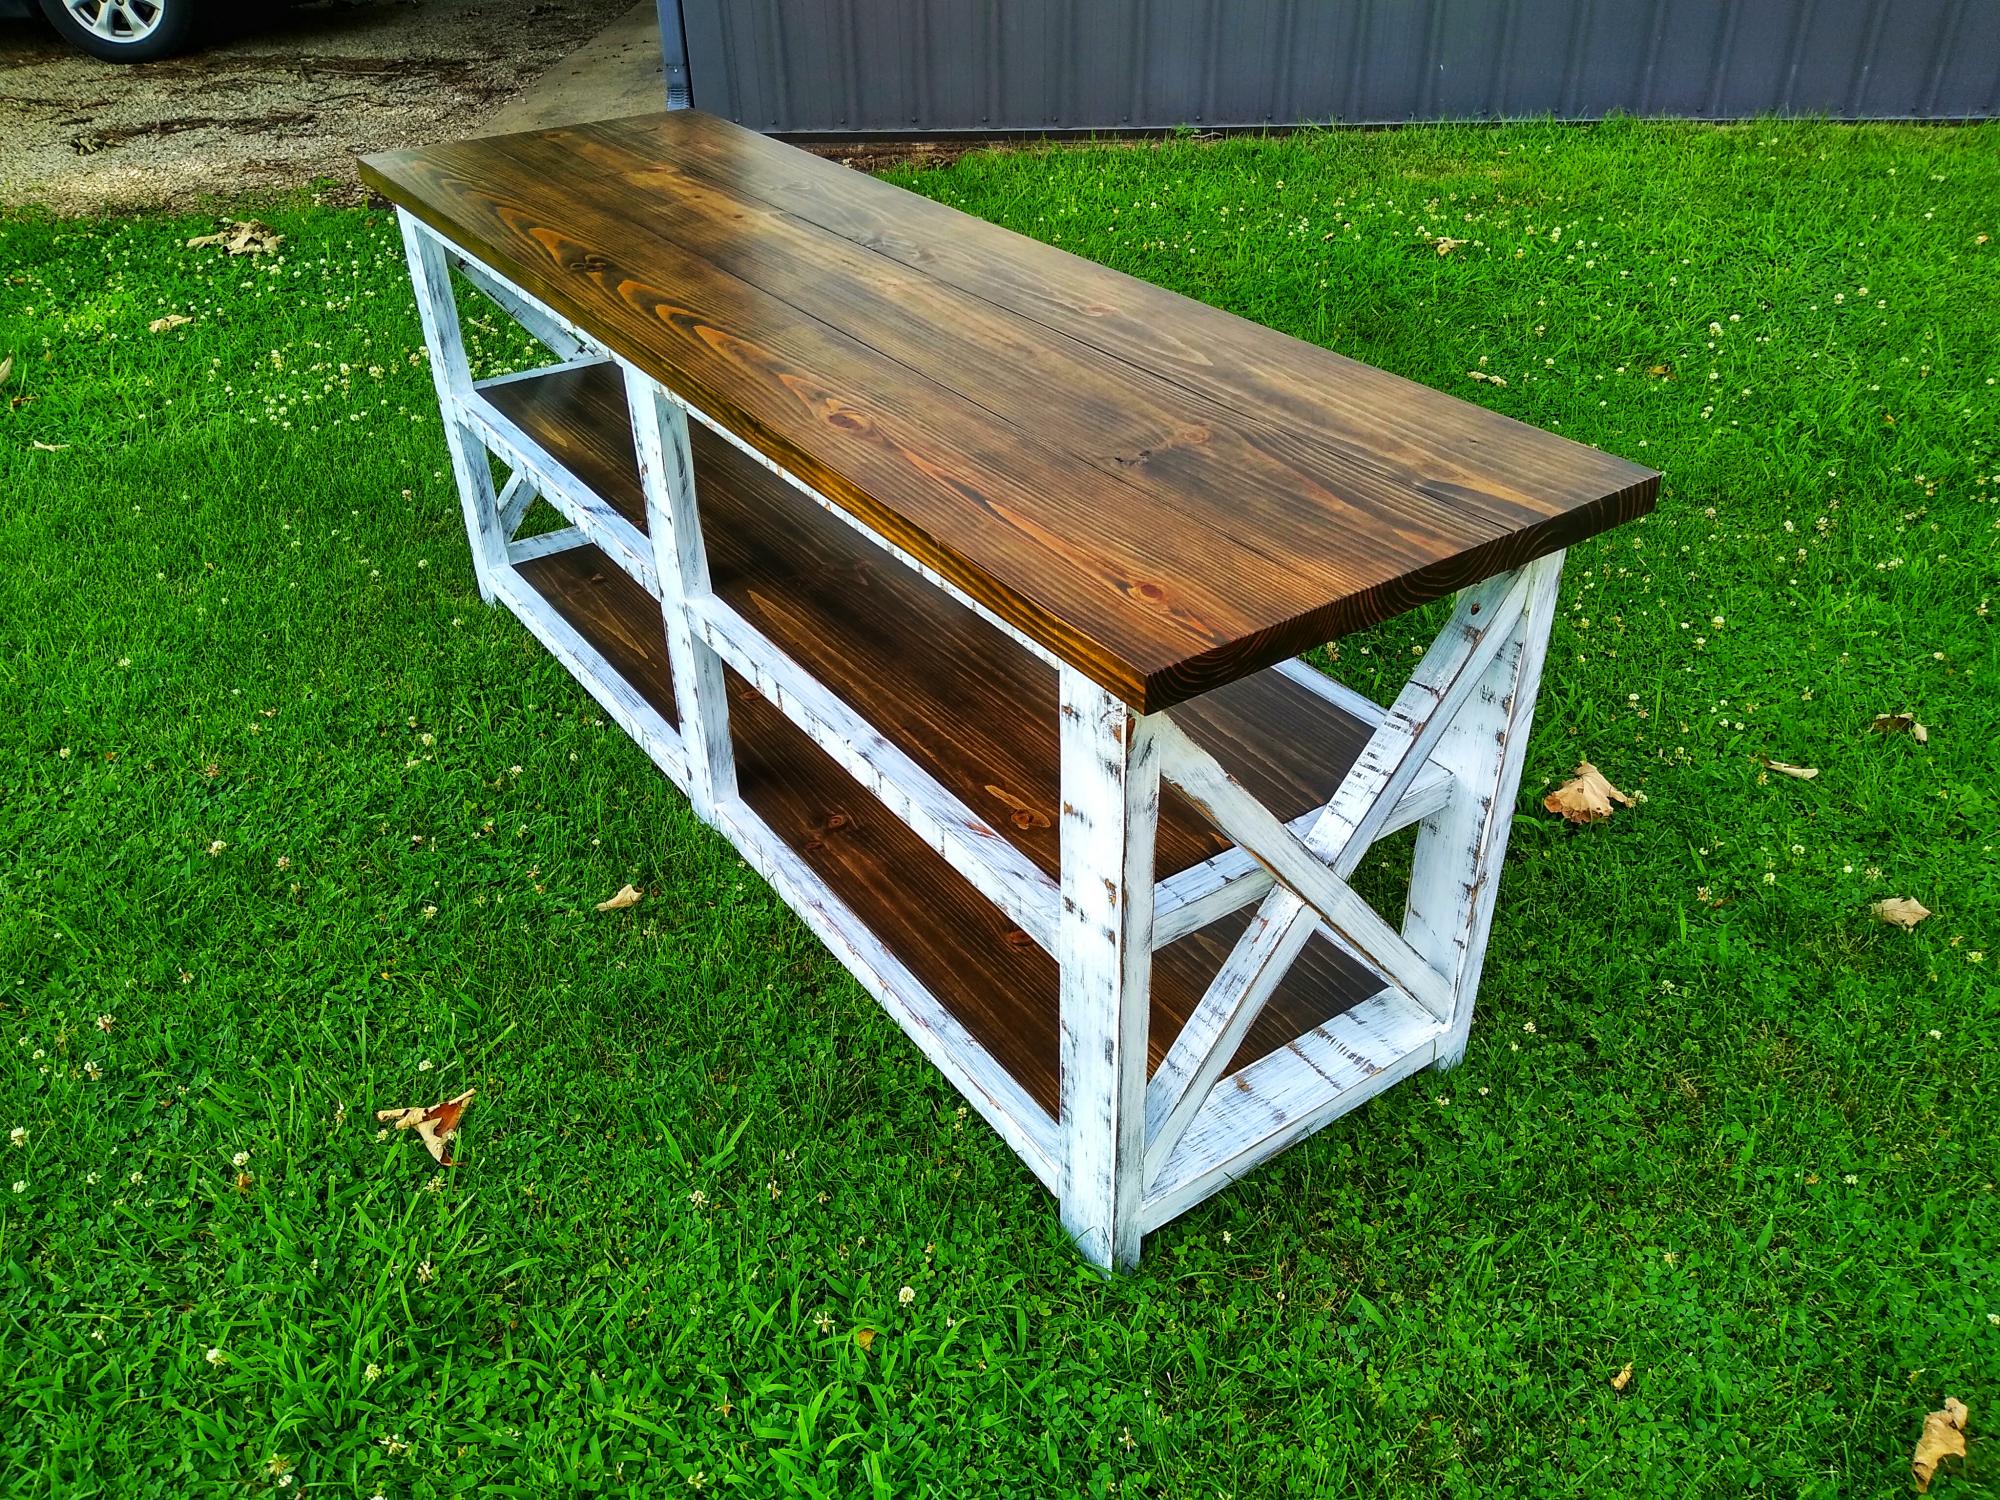
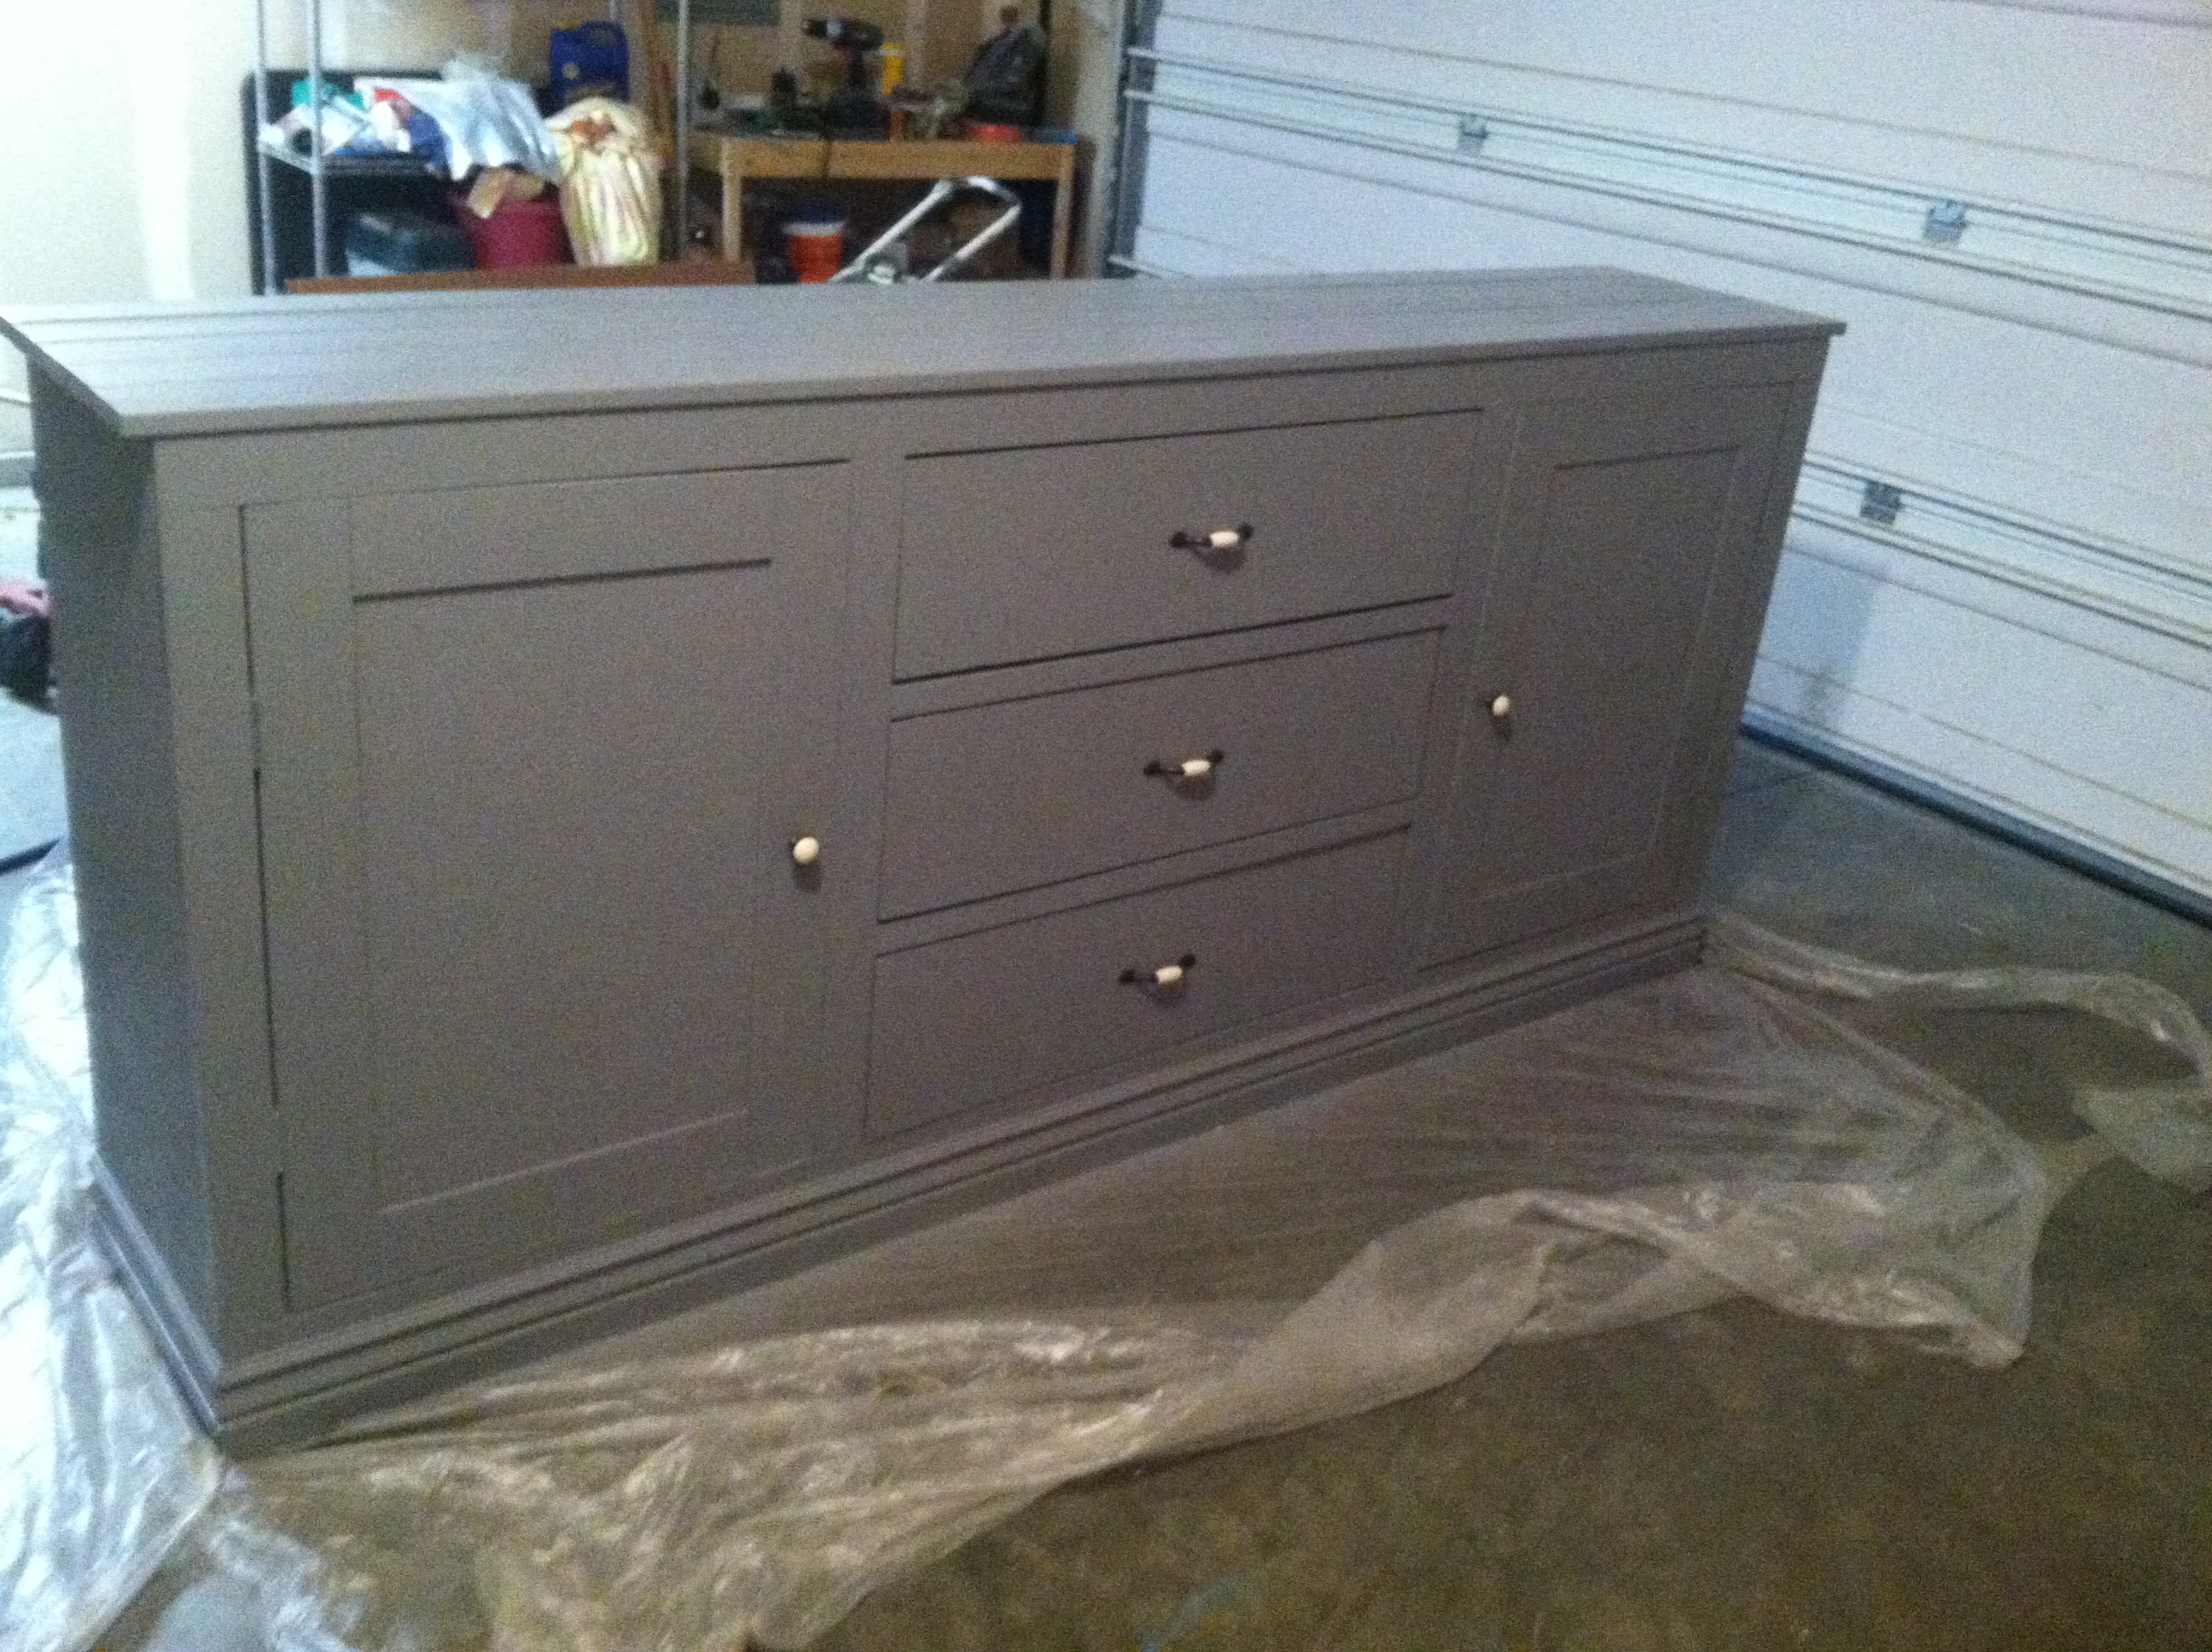
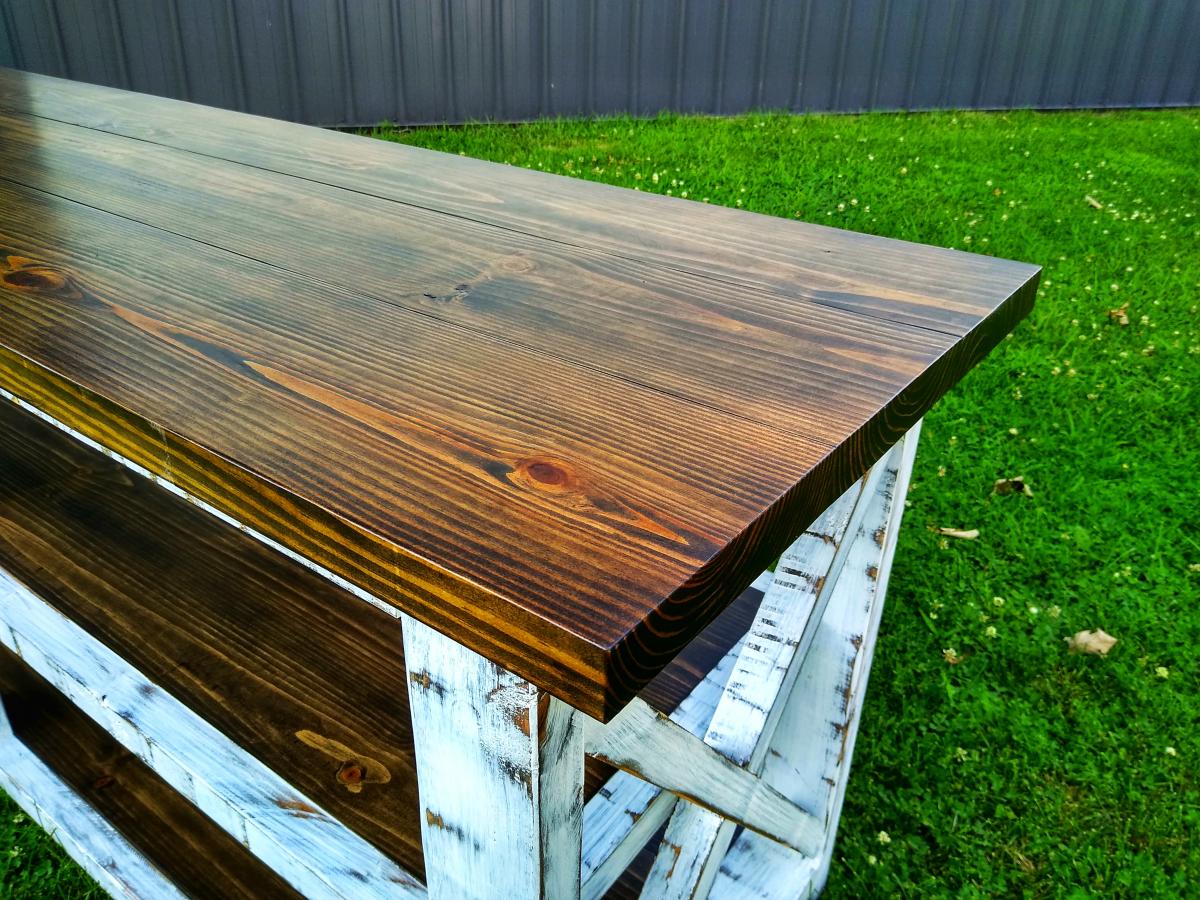
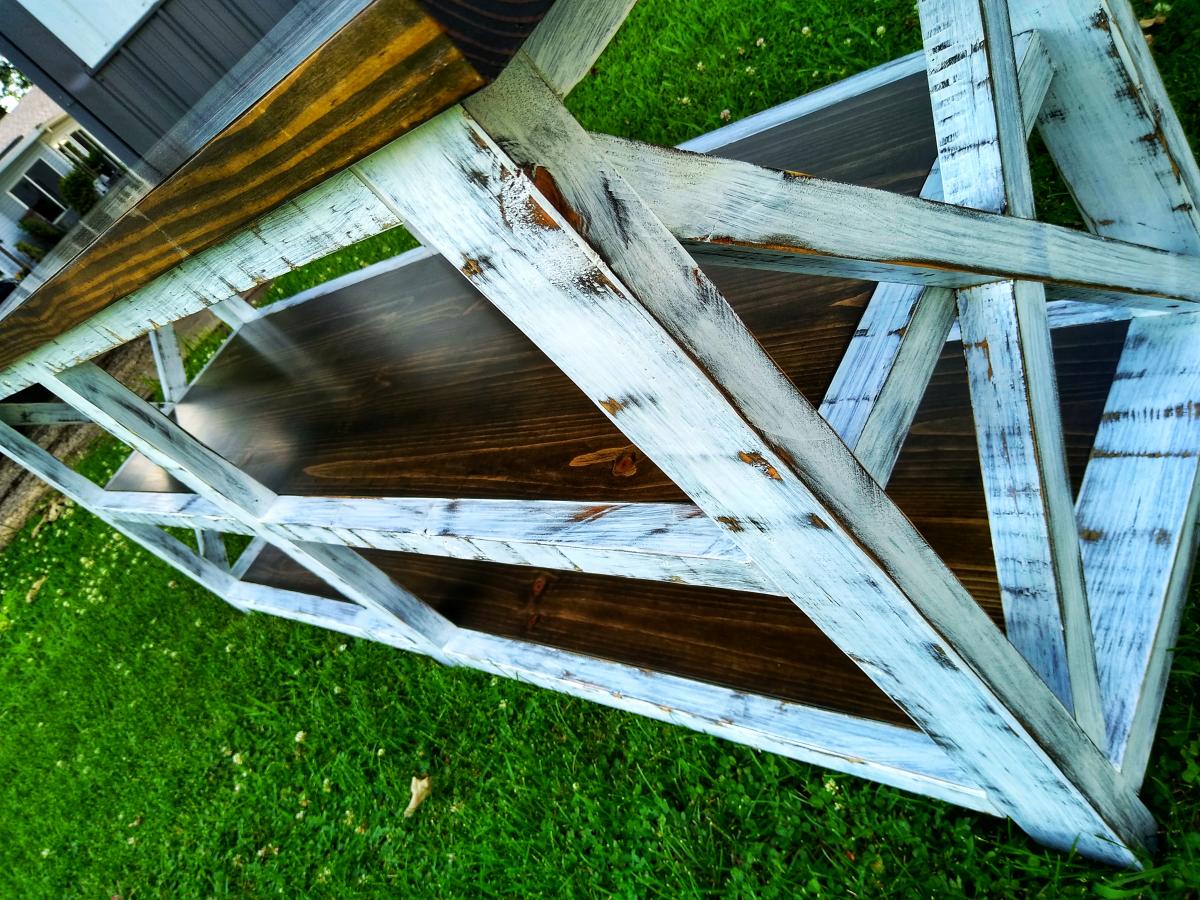
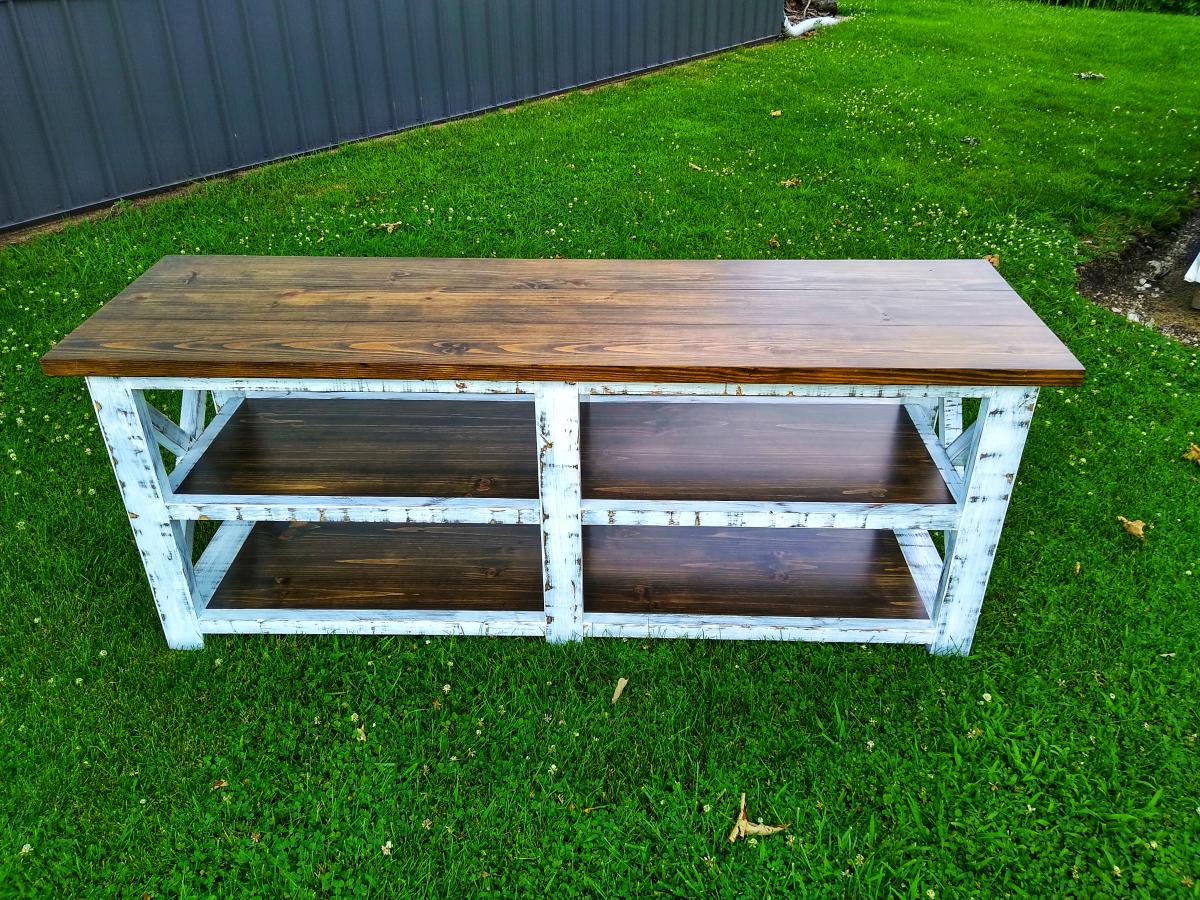
I was commissioned to build this console table along with a couple “Rustic X” bookshelves. The finish is distressed white and True Browns stain.


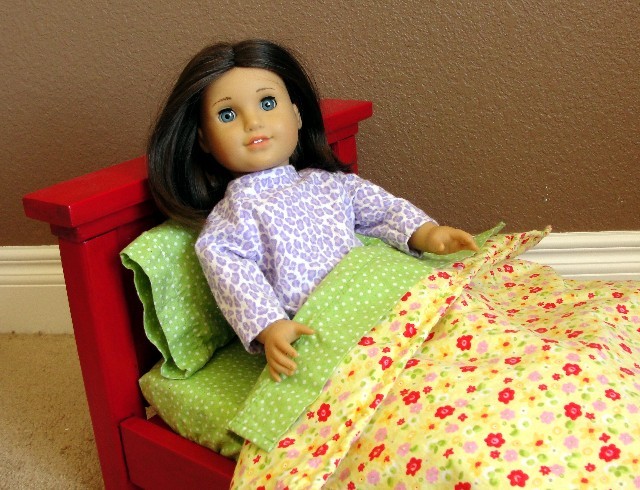
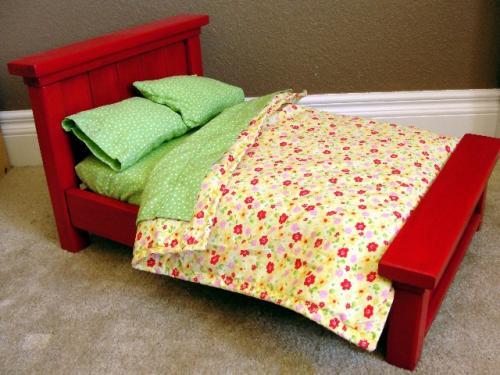
I love this little farmhouse bed. I made it for my daughter for Christmas. It is spacious for one doll and cozy for two.

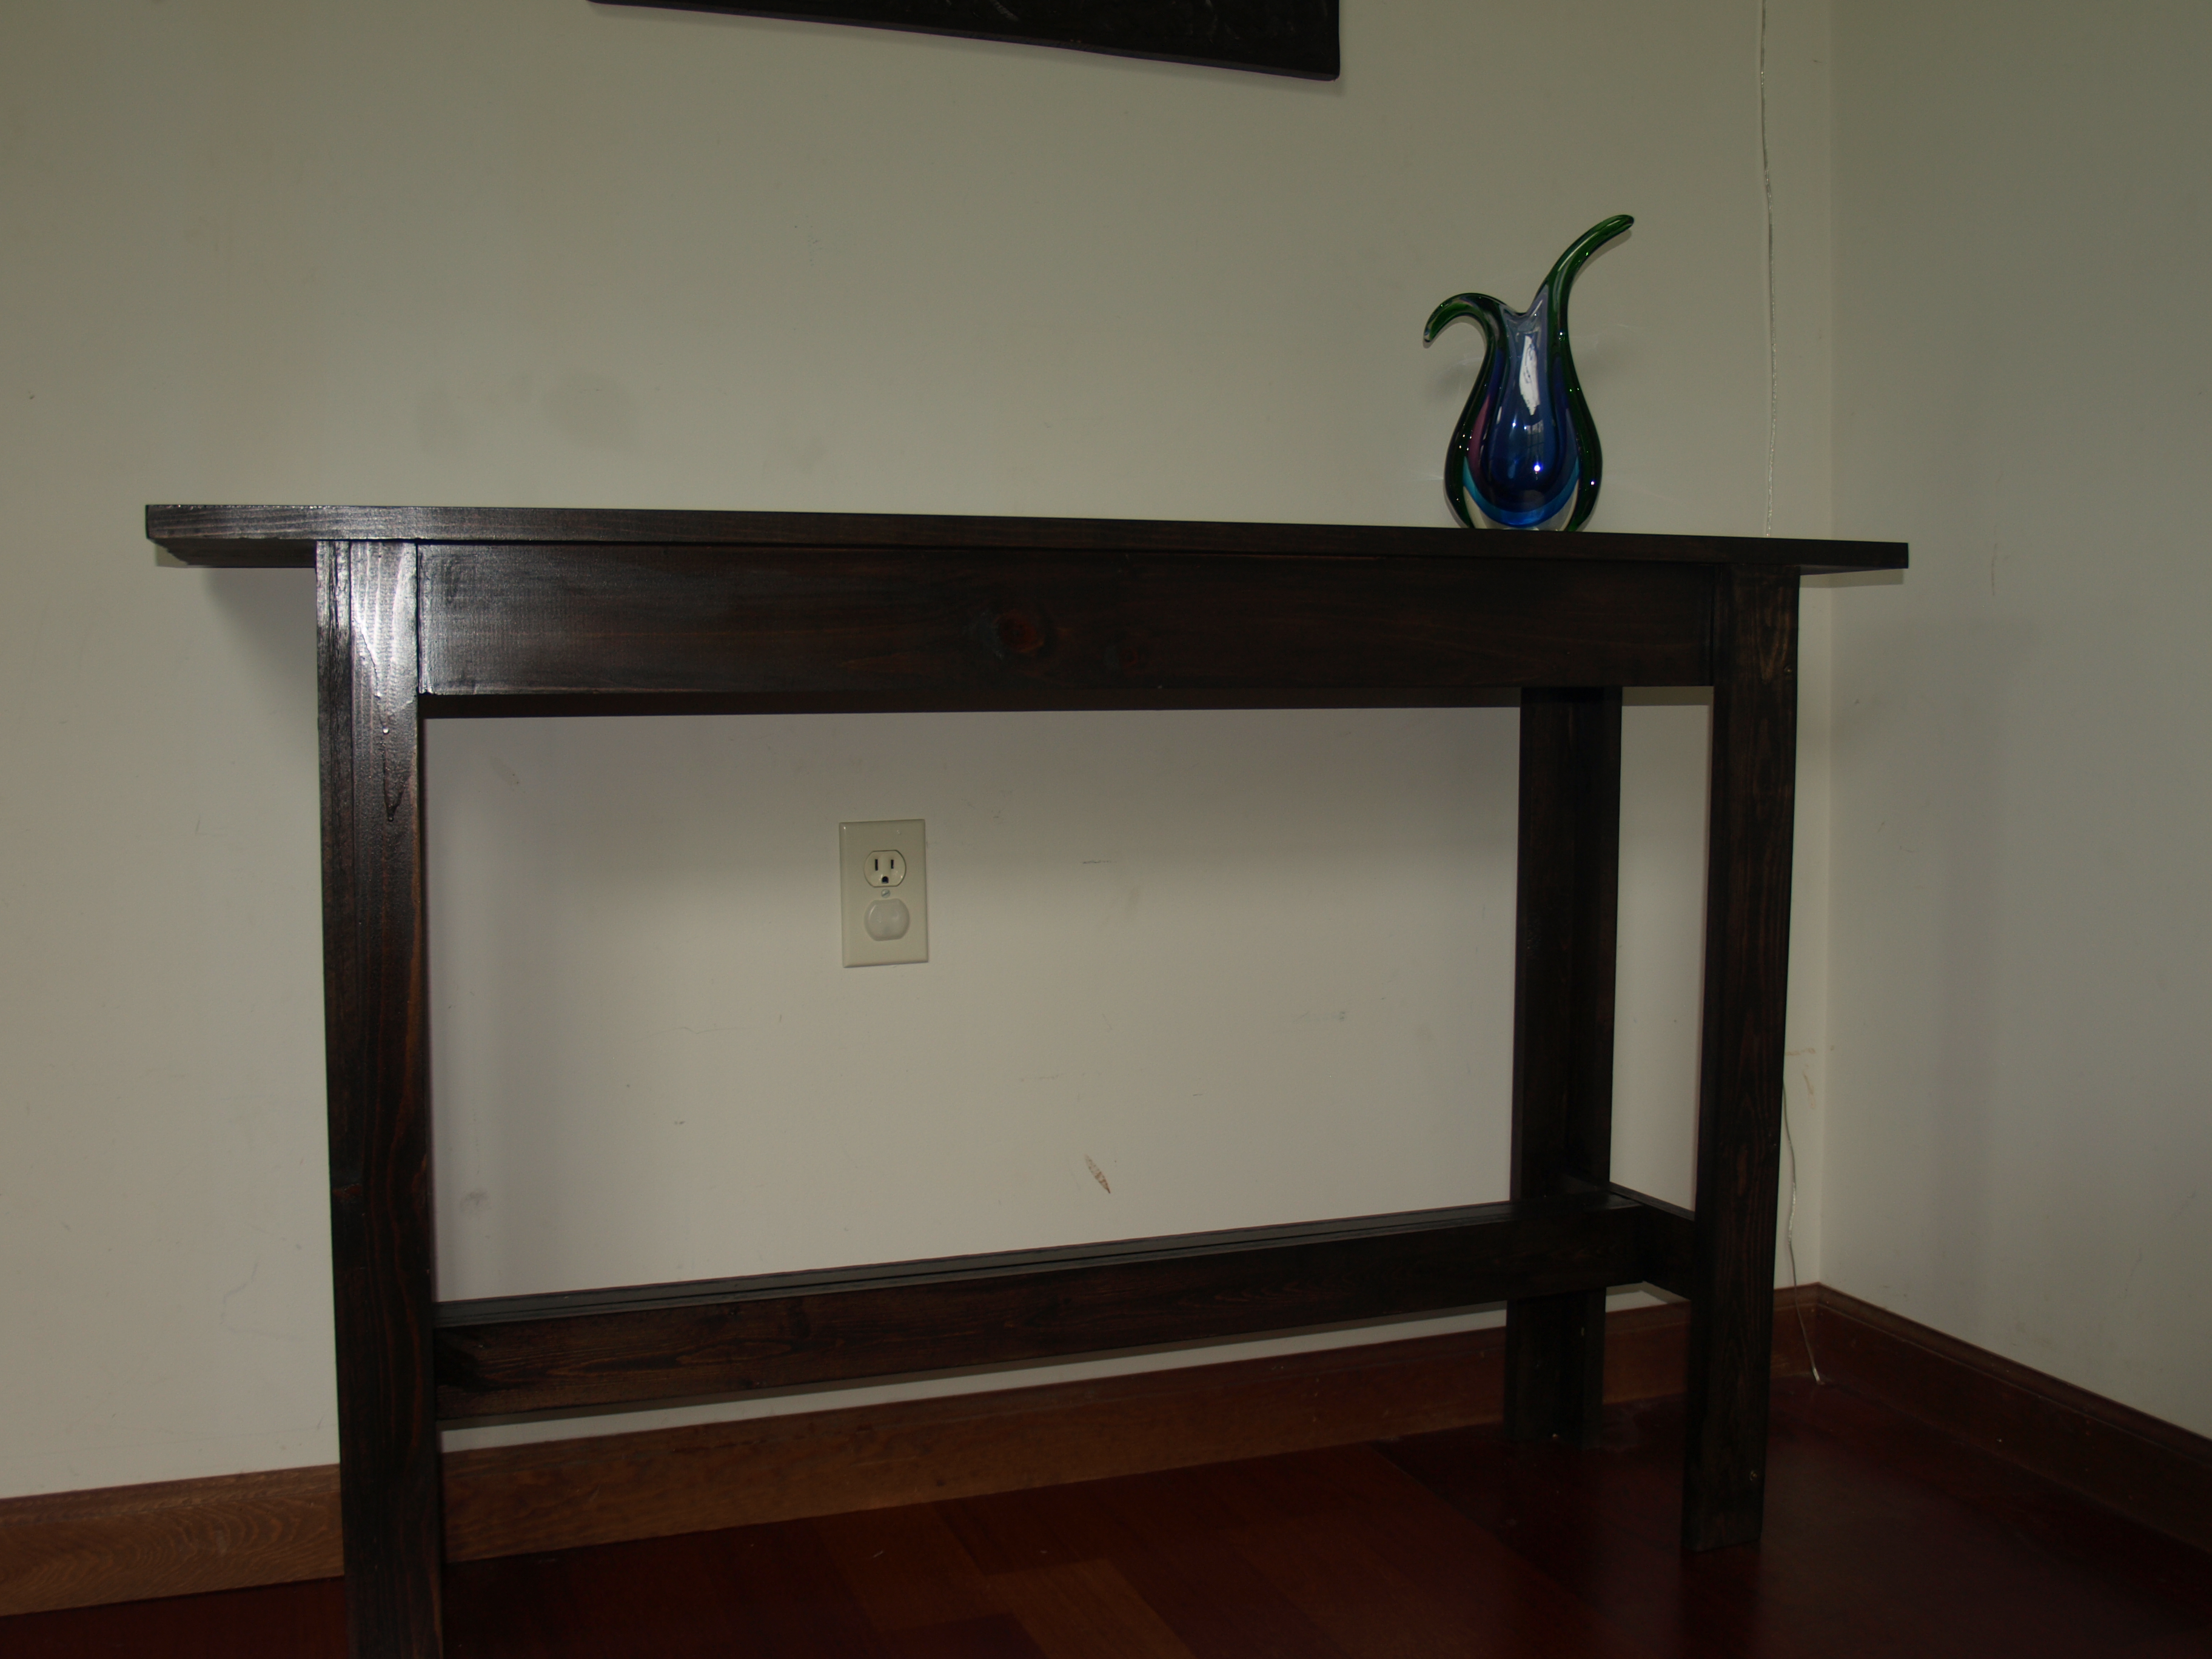
This was our first project. The directions were easy to follow. We used wood screws to put this project together as I do not have a nail gun. My five year old was in charge of the electric screwdriver. I just used 1 peice of wood for the table top and diagonally screwed into it from the bottom. It took us a few days to complete as when you are working with a little one, everything takes quite a bit longer. This was the perfect project for us to work on together! My husband requested a table to put next to the hottub so he could put his drink on it, but I don't want this to move outside! Maybe I'll have to make another one. :)

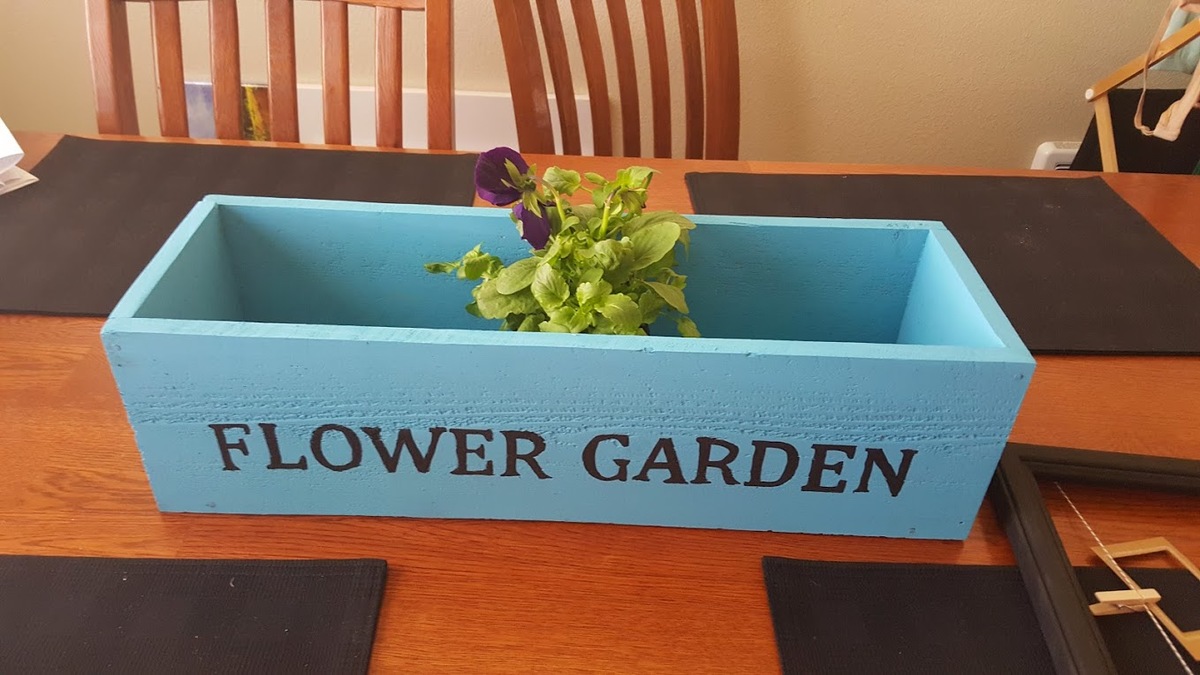
My version of the Herb Garden Planter.
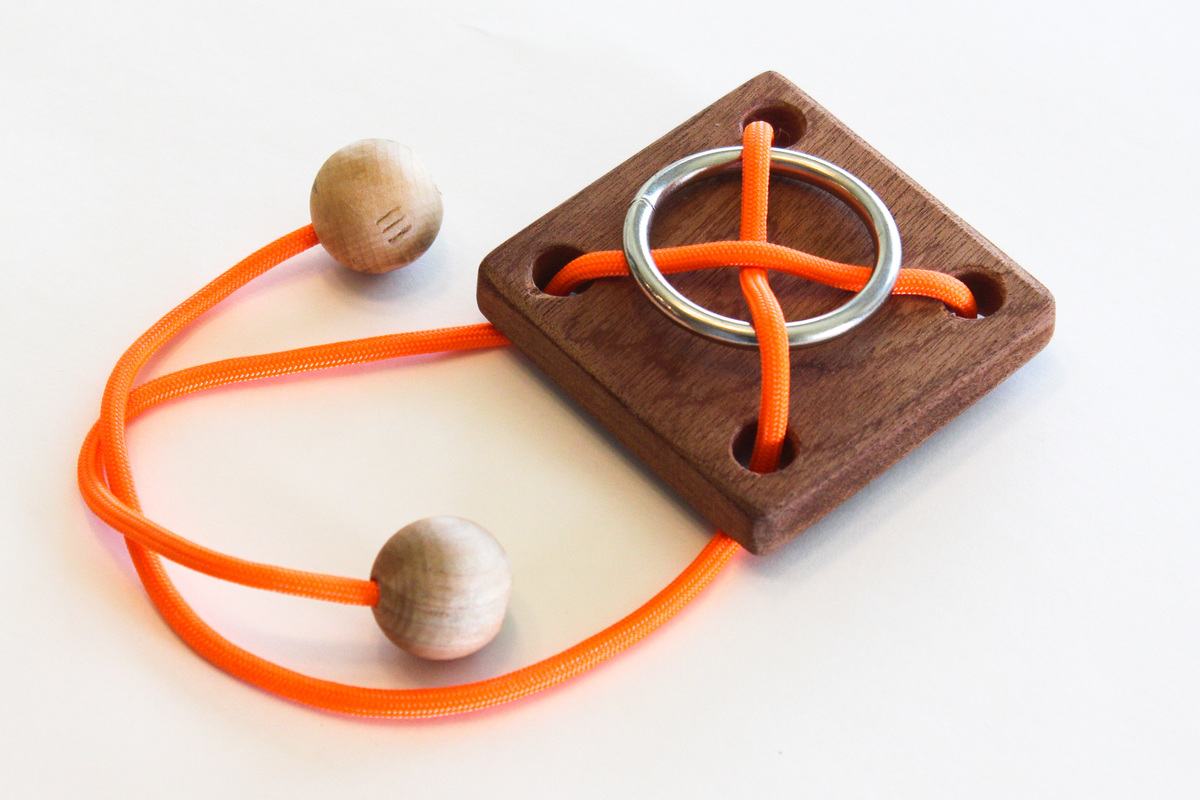
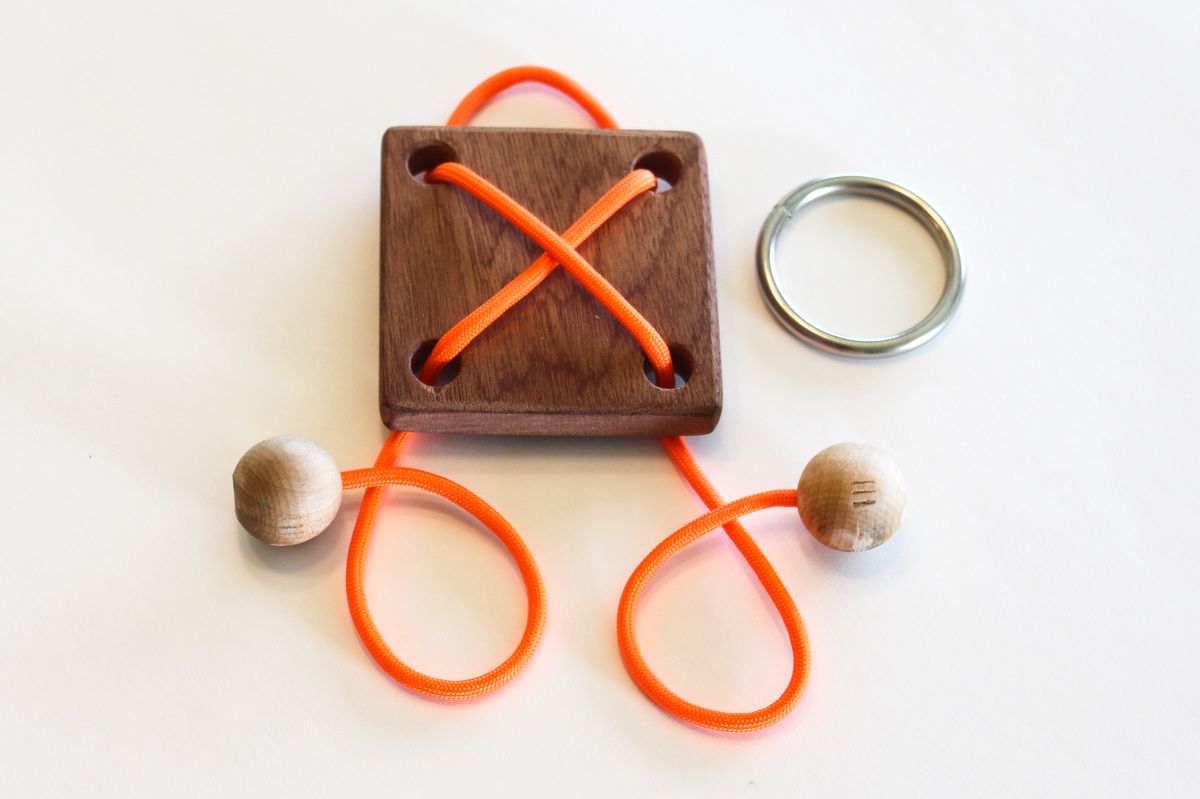
This is a really easy project to make. The goal is to separate the ring from the puzzle. Refer to the solution video if you can't figure it out.
Build Instructions:
https://www.instructables.com/id/Rope-Ring-Puzzle/
Solution:
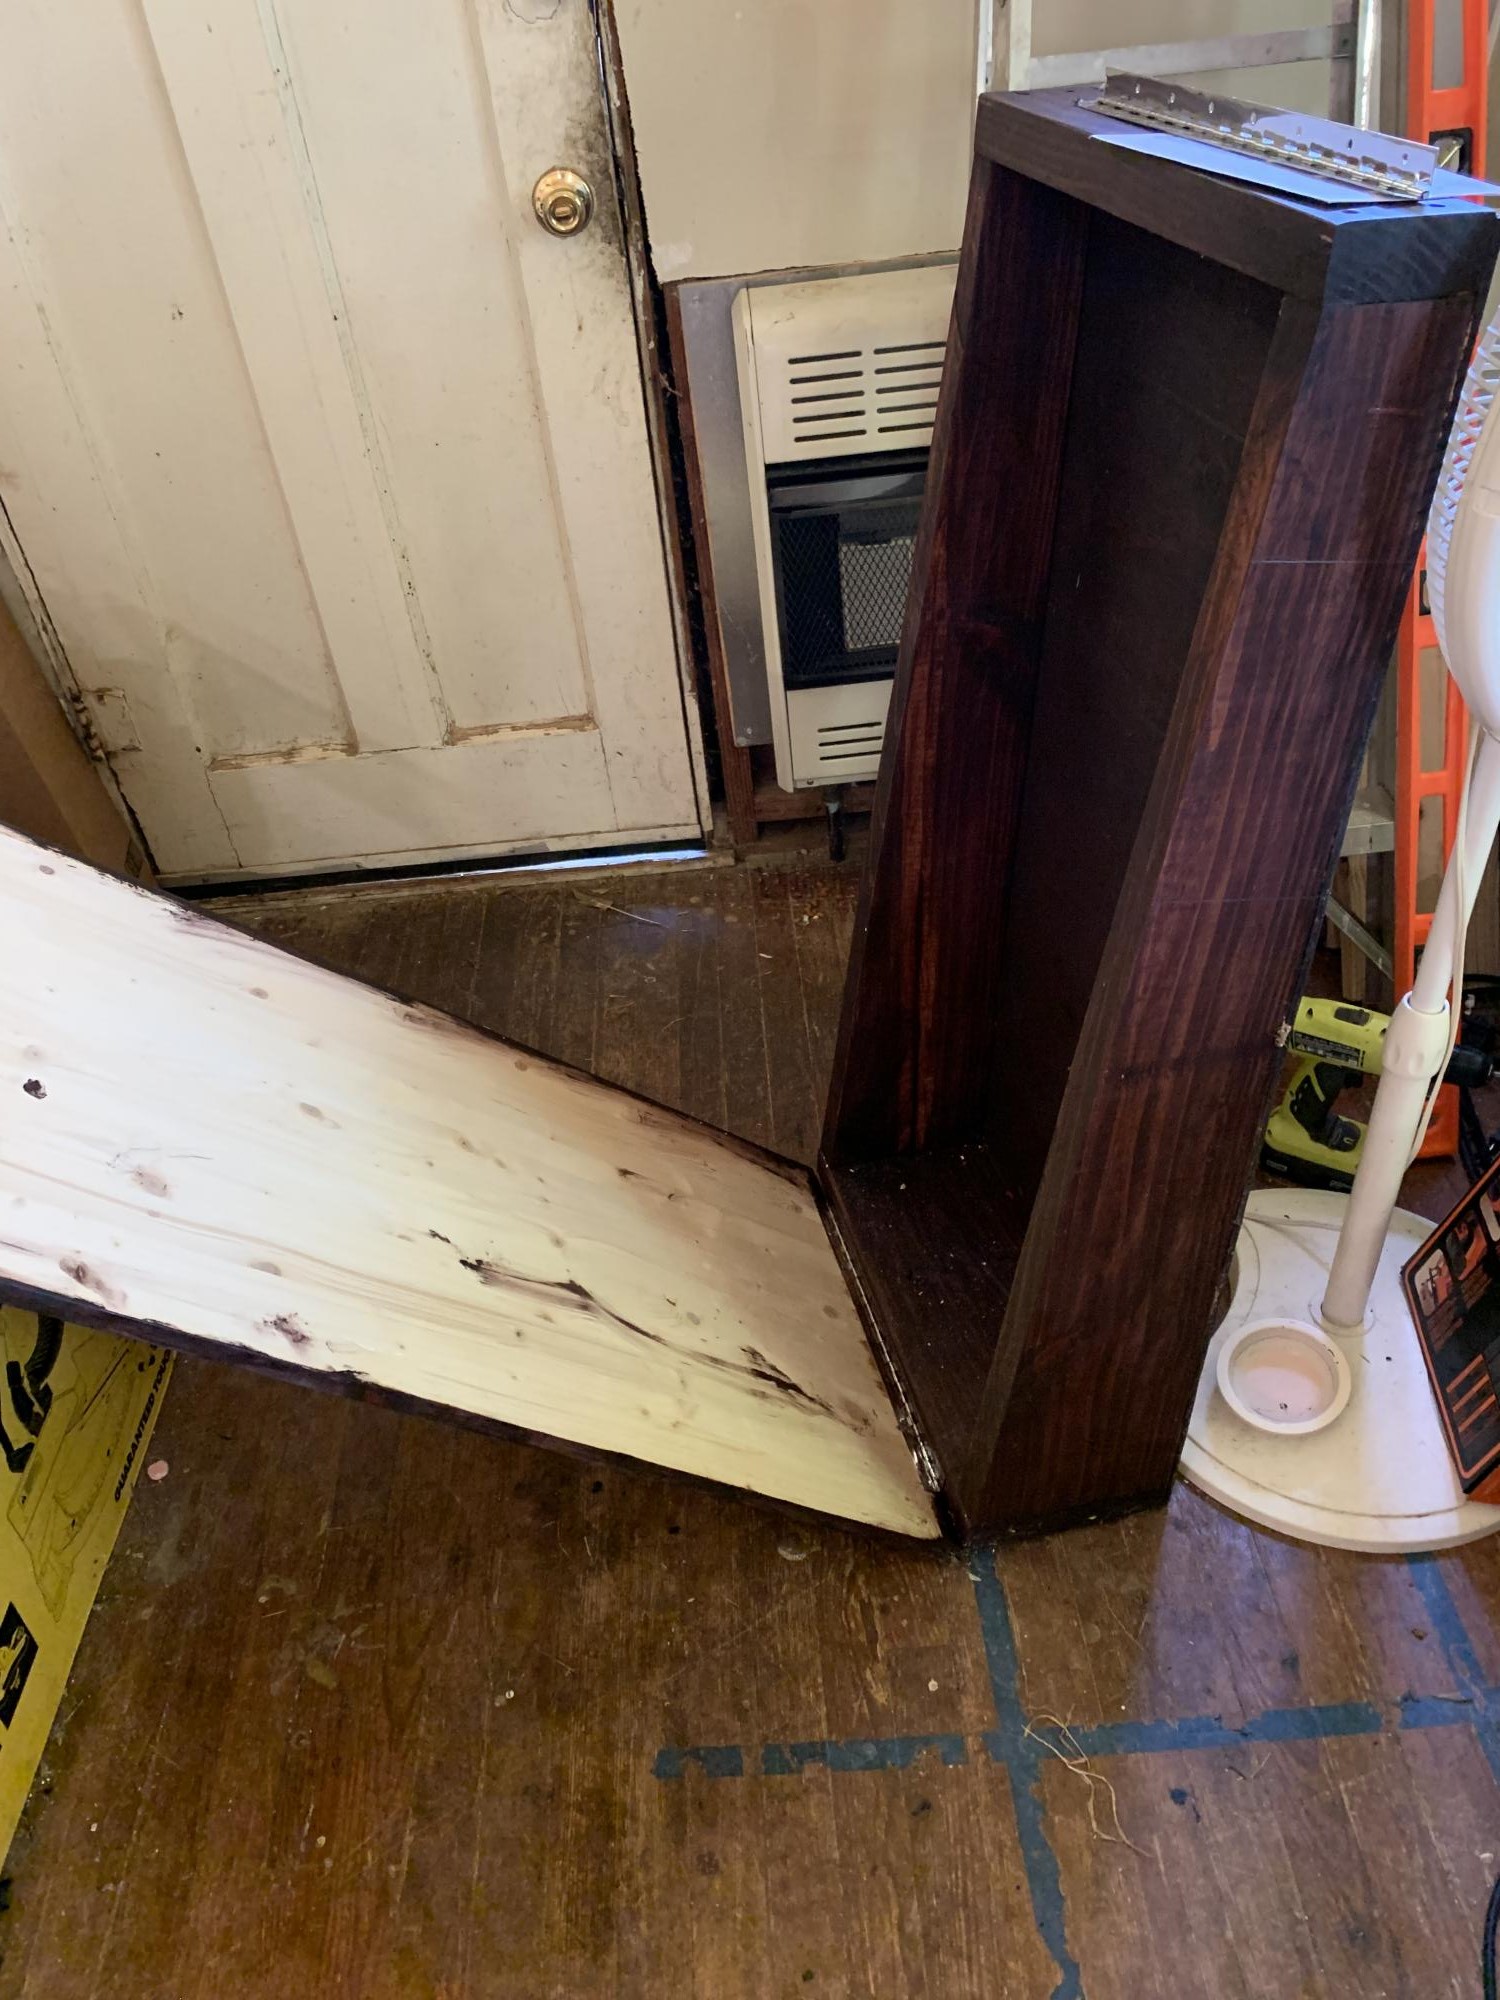
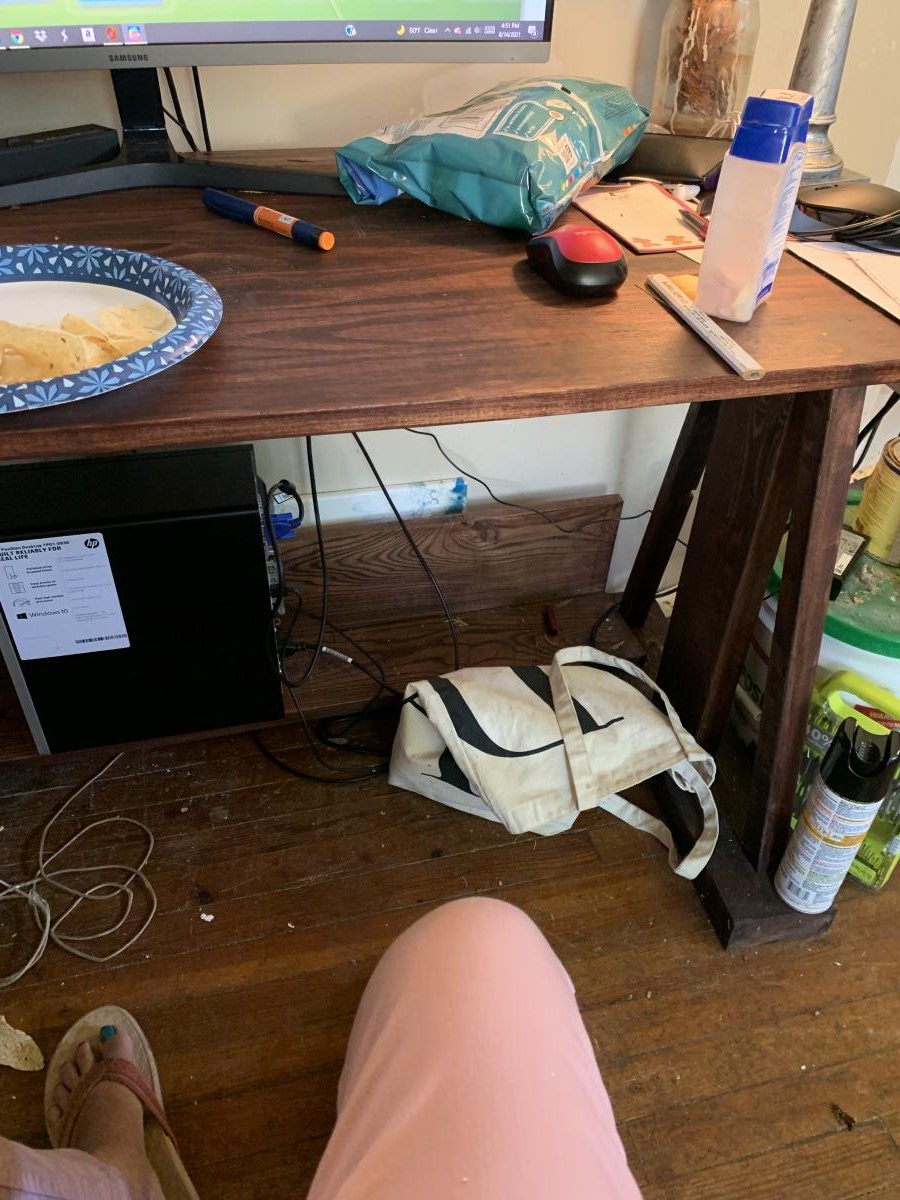
This is my desk. It’s working out great. I’m thinking of adding a small drawer for stuff. Thanks for the design.
The other picture is the desk I’m building for my grandson. I’m painting the desk top. Still have to add the legs. I had to modify the size as his space in his bedroom is limited. I get confused putting the piano hinge on. Again thanks for your help. I love all your work.
Comments
Ana White Admin
Mon, 10/04/2021 - 16:34
Very pretty!
Thank you for sharing, that looks amazing!