Outdoor chairs
Super easy and looks beautiful on the porch. Surprisingly comfortable!
My husband built this sectional from Ana's outdoor seating plans. Overall, it was a simple and easy project for our spring break. The paint is Glidden's Water Chestnut all cushions are from Garden Ridge. We love it!
Until now I've been doing the majority of my project cuts with my $30 jigsaw. Yes, it took about ten times as long as yes it was not quite as accurate so I ended up putting more time into sanding to clean things up after but I just didn't feel comfortable using the circular saw.
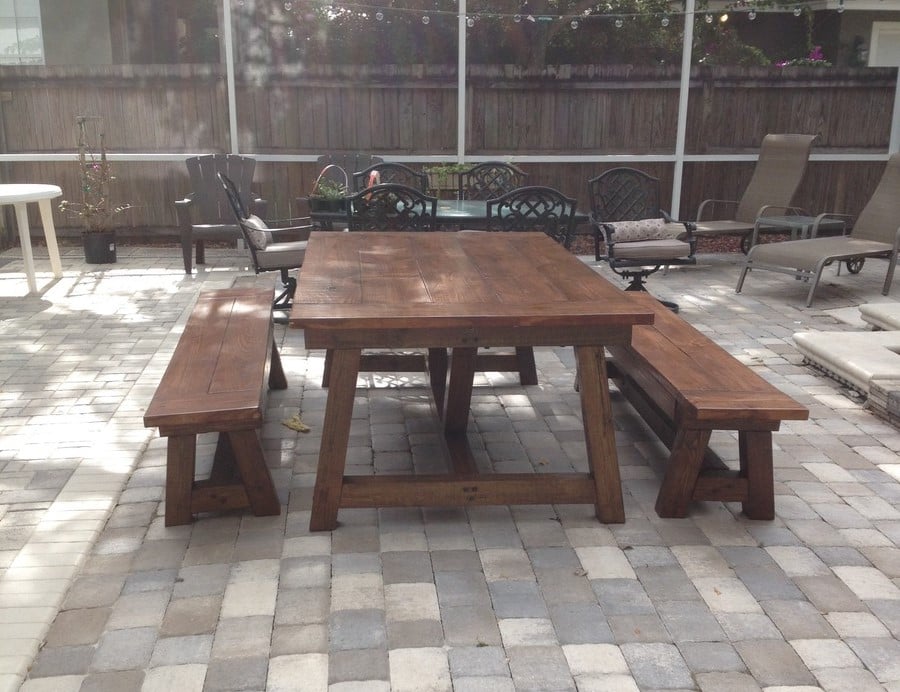
Well, I've got a list a mile long of things I'd like to build so it's time to put on my big girl panties and get comfortable with the circular saw. So...I read a ton of tips and tricks online and saw a number of different guides.
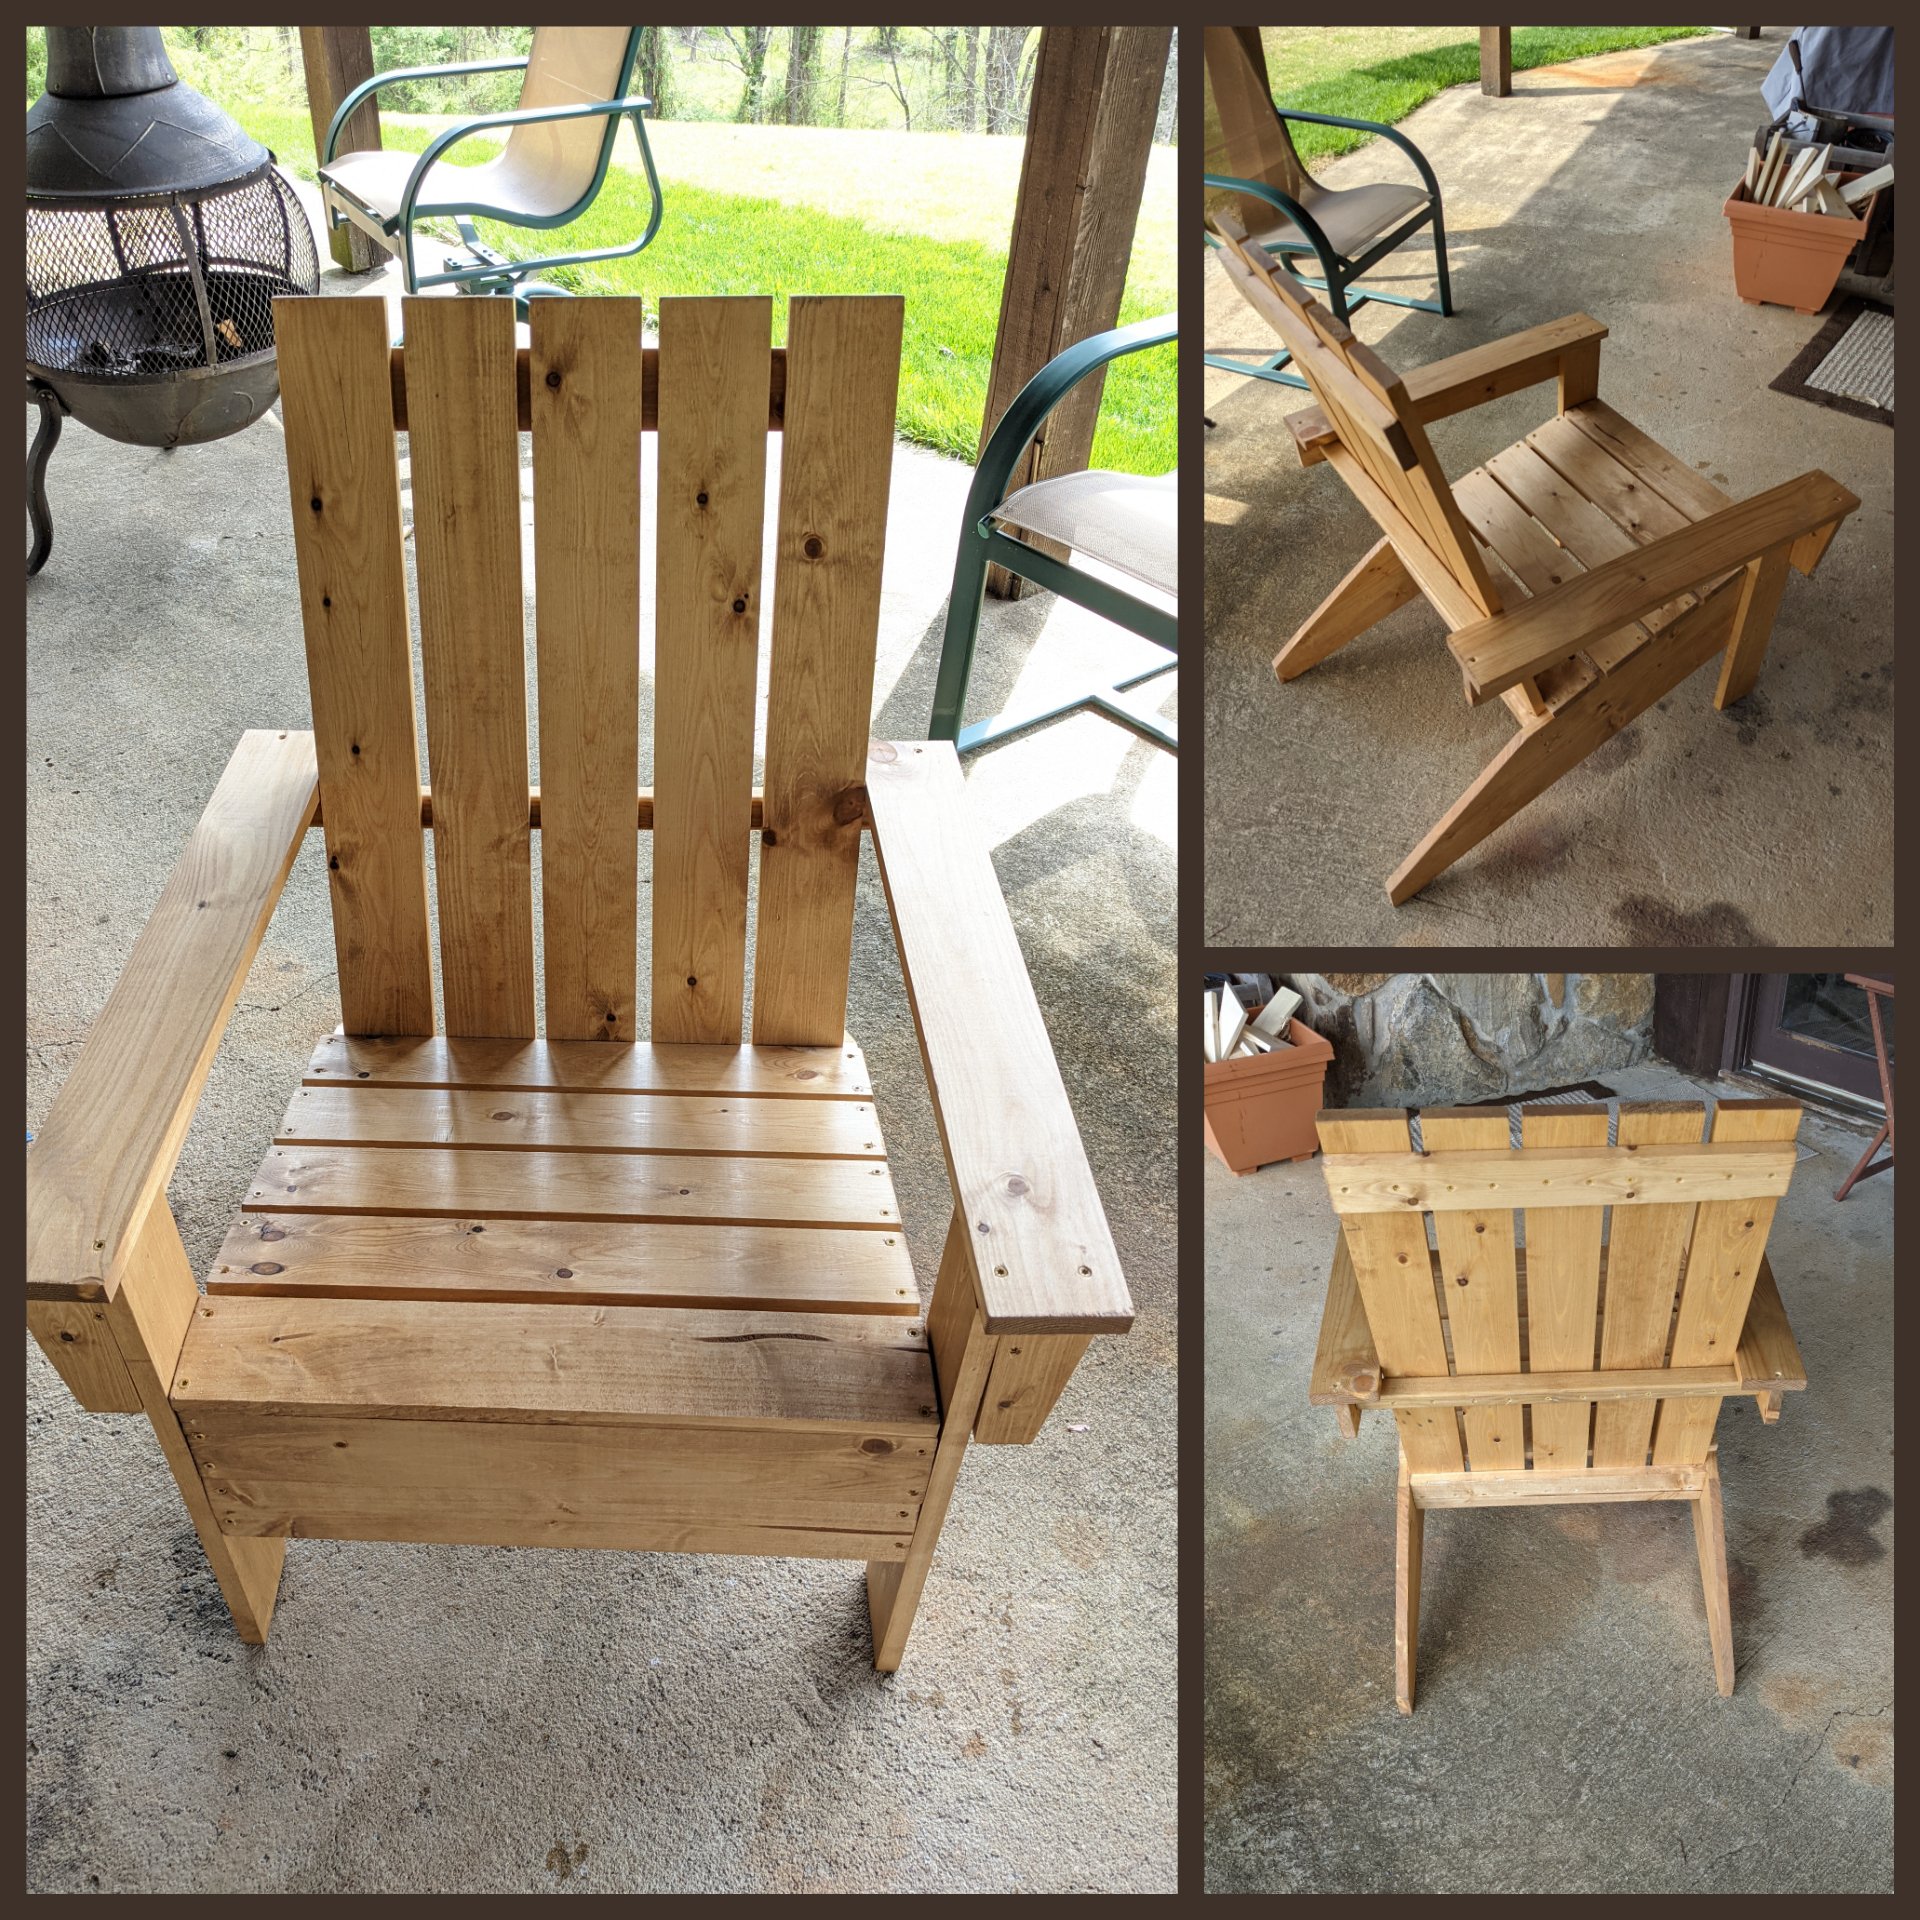
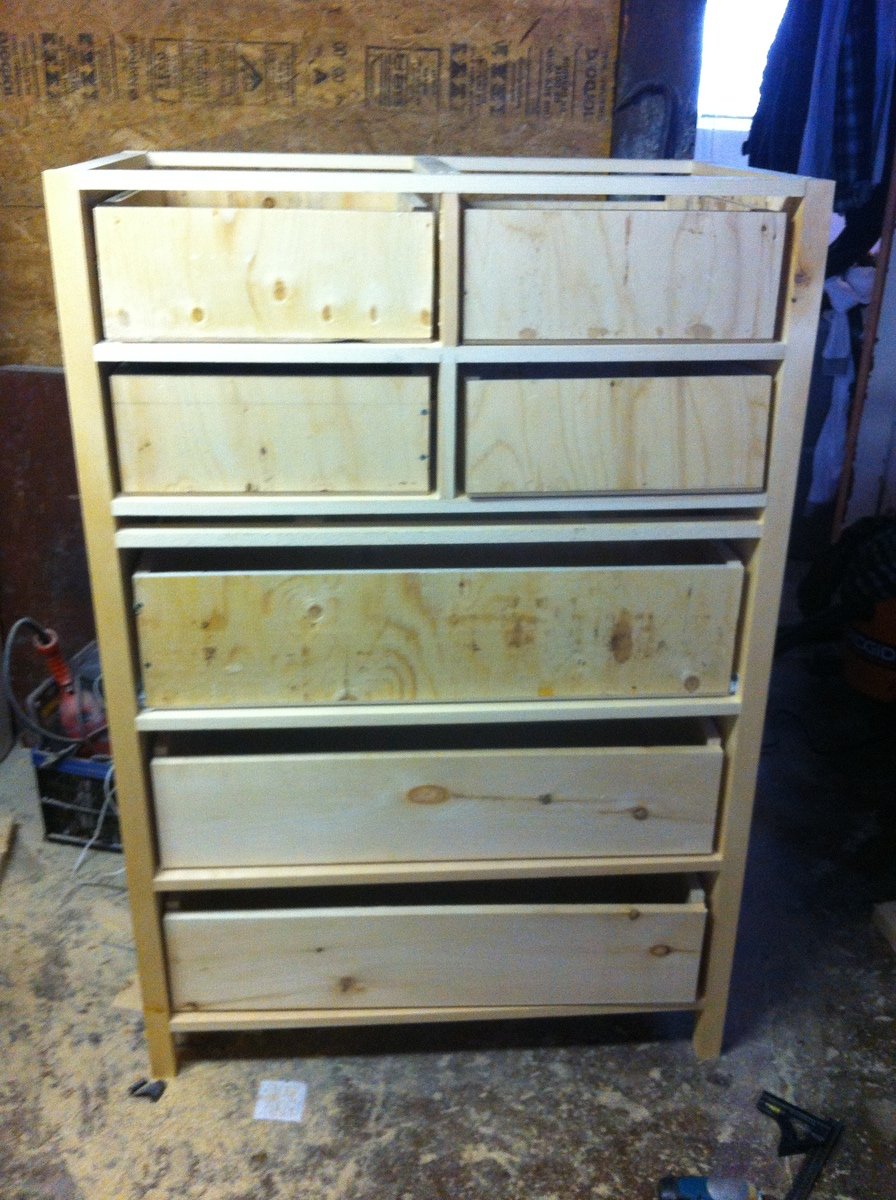
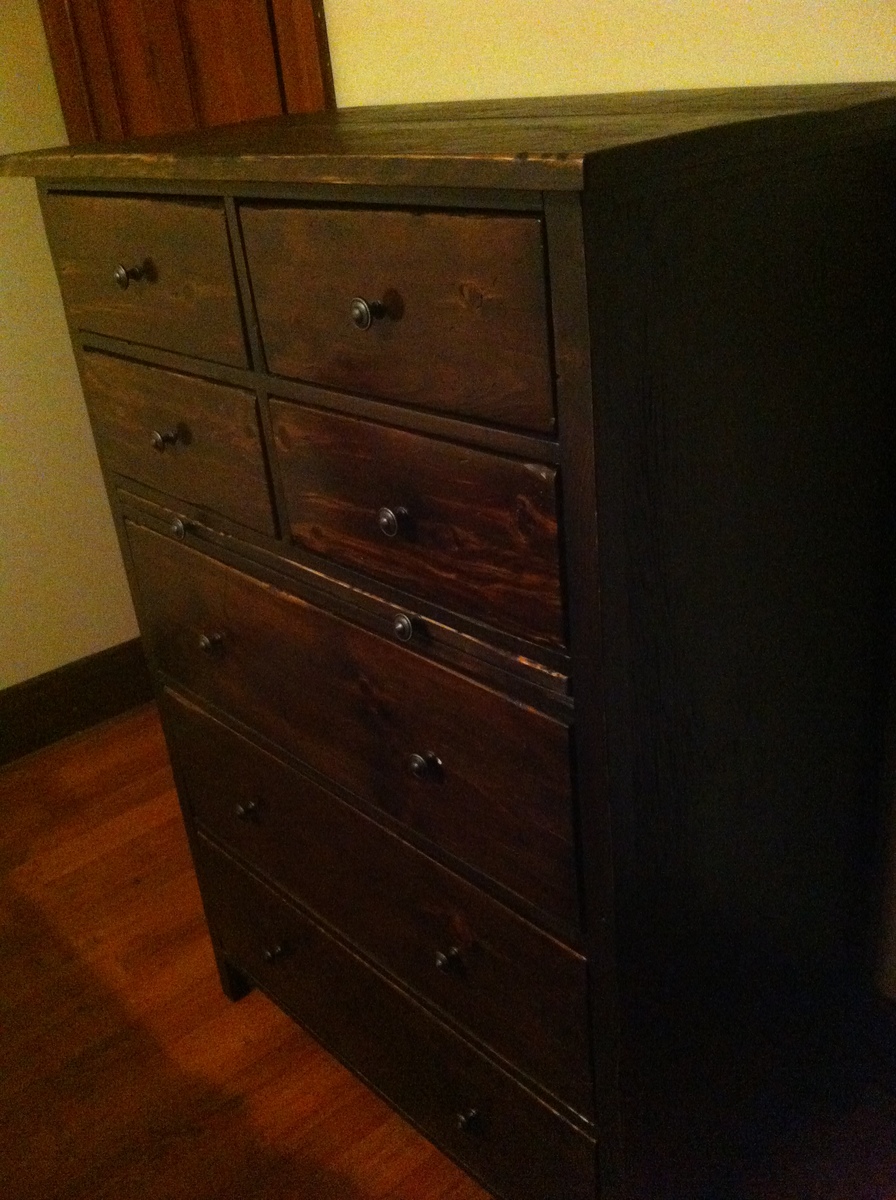
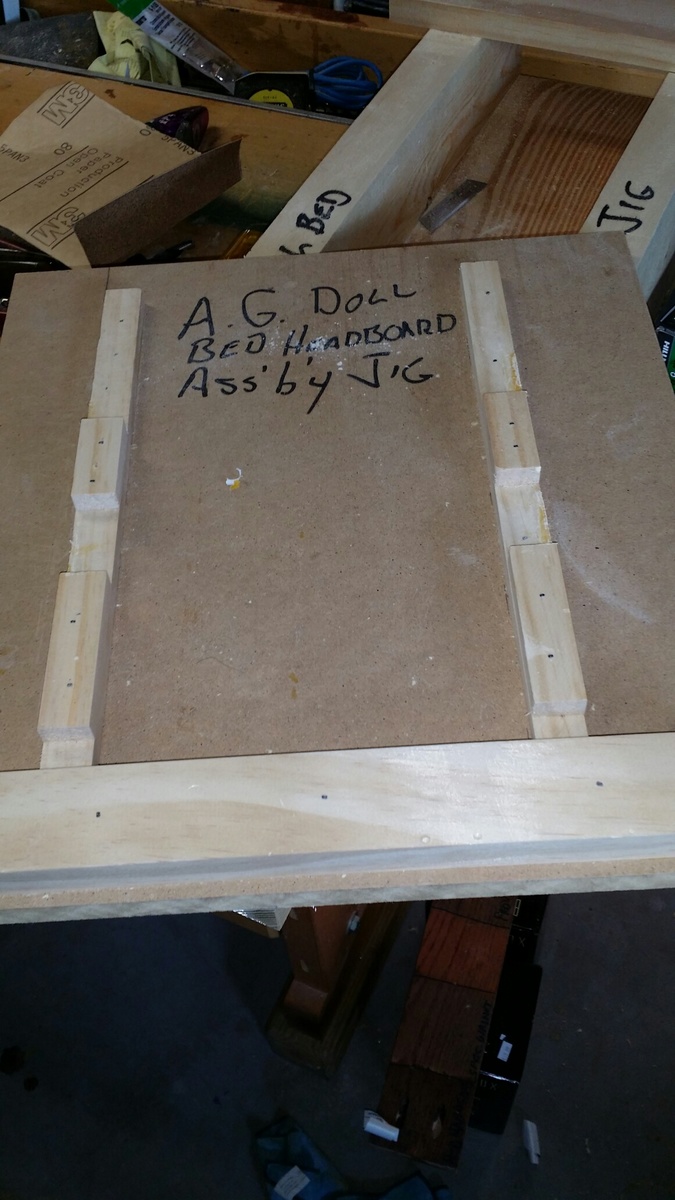
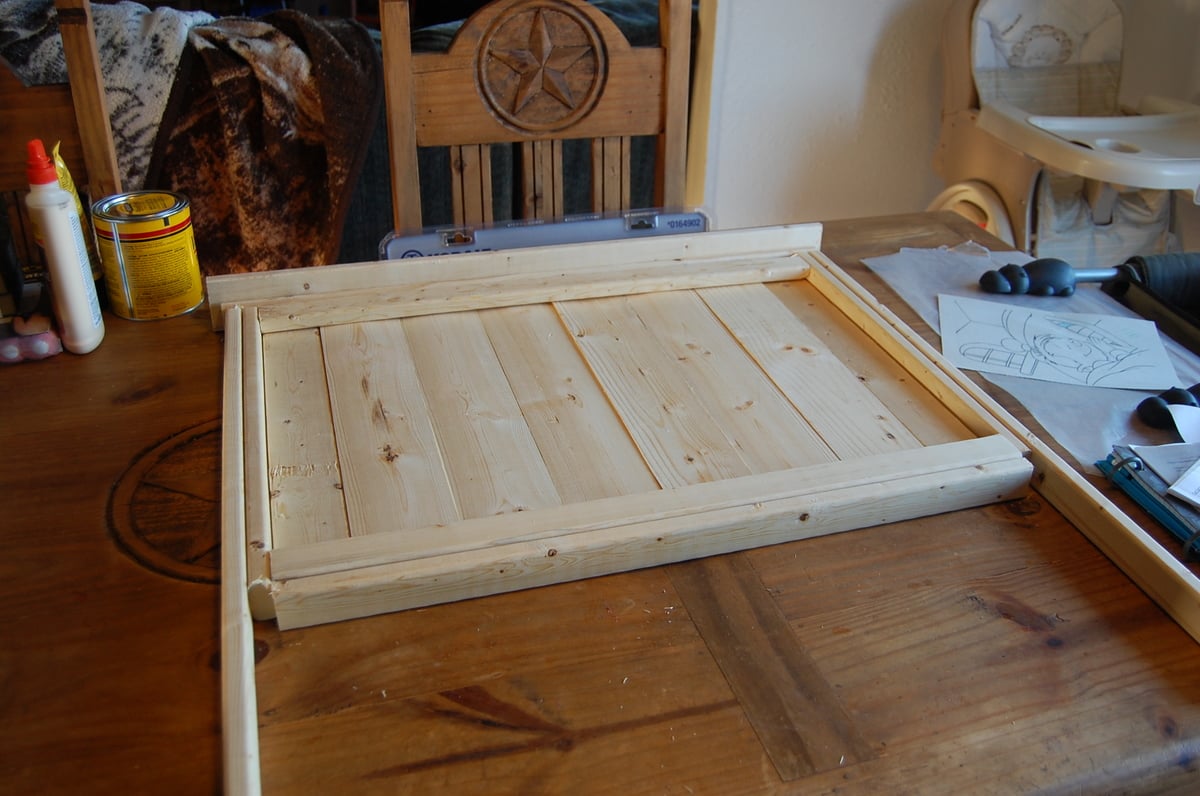
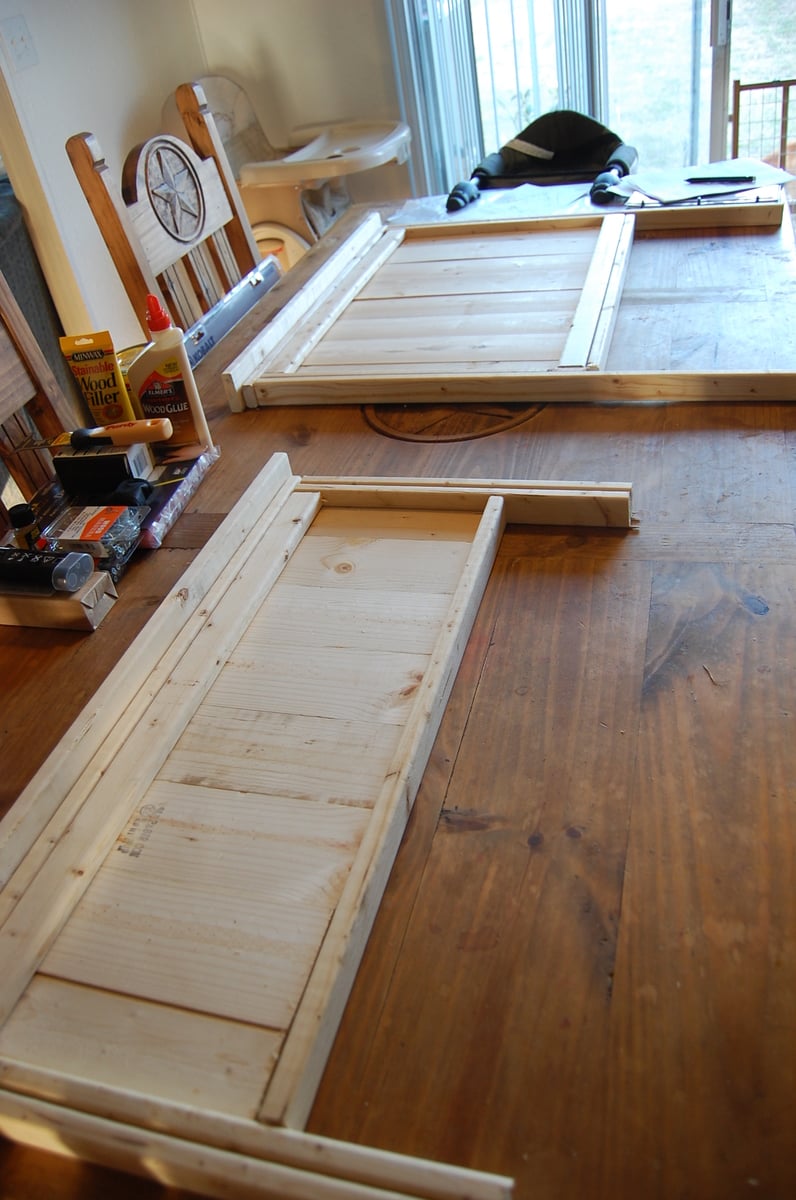
Taking a little from a few different pictures of guides and using the scrap wood from an old dresser, I put this together. I clamp it to the top of my work table and go to town. I love it and now feel comfortable using the circular saw. I'm sure it's helped me make more accurate, straighter cuts than I would otherwise have made too.
Fri, 01/23/2015 - 07:12
By using this jig, you are losing the full potential of your blade depth. A speed square would work just as well as this system and provide you with a full blade depth worth of cuts. I've seen systems like this before but really only useful for ripping long lengths of plywood/MDF/etc and not for cross cuts. I'm not trying to knock the way you do wood work, simply providing others with an alternative and easier way.
Fri, 01/23/2015 - 12:39
You're absolutely right that by using this I'm limiting the depth of my cuts to some degree. I have used the speed square as well and it's definitely a great tool that I'll use more in the future. The jig just offers me a little control until I grow more comfortable with the circular saw. Just an option for other newbies like me who might be apprehensive about using the circular saw.
A friend asked me to make a headboard for him as he couldn't find anything online or in store that he really liked.
I was up for the challenge and always love working with wood to make new and exciting things so, challenge accepted.
This was my first attempt at a headboard and I think it turned out pretty nice.
Knotty pine face with a cedar frame.
Looking forward to my next project!
I made this table smaller to fit in my entryway. Fun project, got my son and husband involved. Love how it turned out.
We were finding the wall behind our couch difficult to decorate. The couch is nine feet long, so everything we put up lacked the scale the couch demanded. I decided to build a reclaimed wood shelf to go behind the couch. The shelf is 6.25 inches deep, so is perfect for displaying items without losing space in the living room.
I followed the No Sew Cayden Nailhead Bar Height Stool but added 2 more inches to the height. I also left off the foam and leather to have a more Rustic look. I used a burn tool found at Hobby Lobby to burn the logo that was traced on to bar stool tops. It an easy build and the stools came out to less that $40 a piece. These took me a few weeks to completely finish but I had 6 of them built within a day. The burning and the staining took the longest but these are easy enough to build in a weekend.
I used the plans for the 4x4 truss beam table to make this version with a concrete top.
This potting bench was exactly what I was looking for. Ana's materials list and cut list were perfect. The instructions were simple and precise which all made the project easy. I used white pine with a deck stain and sealer. Cedar or pressure treated lumber might last longer, but cedar was expensive and PT was too heavy. So I kept it simple and I'm sure with the deck sealer this bench will last for years. I used pocket screws and wood glue which made the bench extremely sturdy.
I love this desk! My husband loves it too. He was surprised to come home from work one day and find it sitting in the office. Cutting the notches for the shelves was tricky. I bought the cheapest jigsaw from Home Depot, which would have been ok had I bought a decent blade to go with it. The blade it came with was terrible, but after much trial and error, and power sanding, it all worked out. I'm really happy with the finish. In person, it looks like the pit of an avocado, which is exactly what I was hoping for.
Thu, 03/21/2013 - 20:46
Beautiful! It looks like something out of a home decor magazine!
I used the ideas of many and added my own as well, with the bottom shelf and 30 degree edge cuts on legs and bottom edge of table top. I constructed this in two separate parts, frame and inserts. I stained the the gray and brown parts separately then finished assembly and clear coated. I used nine 2x4x8' and one 1x8x6'. Table top is 60" x 22". I had to use one piece of 2x6 and rip to 4" wide. This filled the 1/2" gap I was left with on the gray part of table top.
Mon, 02/02/2015 - 14:26
I really like the contrast with the colors. You did an outstanding job of making this piece a one of a kind. Very, very nice.
Mon, 03/12/2018 - 12:41
Did you happen to have a support for the bottom shelf? This is exactly what I'm wanting for my entry way! Awesome job and love the colors!
Built this over the course of a week, but could have been done in a weekend if I didn't have three young ones. My husband is military and we move often, so it is built to be broken down into three large pieces. Used these http://www.rockler.com/5-surface-mounted-bed-rail-brackets to attach the rails to the head board and footboard. This bed is a tank and doesn't move at all! We are in love with the way it turned out!
I made the first adirondack chair, then decided to modify slightly to include drink holders for the second chair. Super easy to make and the instructions were very clear and concise. The cuts were straight forward except for the stringers, which had very specific drawings to follow. I sanded to round the edges and stained the first coat before assembly.
I just finished building this dresser and i am very very happy with it. I got the plans from the design confidential http://www.thedesignconfidential.com/2012/03/free-diy-furniture-plans-b… This dresser took me over a month to do from start to finish i mostly just worked on it during the weekends. I have a small work area so there was only so much i could do at once. This dresser is very sturdy and strong, I am willing to bet this will be in the family for many years to come. If I had a router I would have loved to have made the drawers out of solid pine (instead of plywood) and made dovetail joints. I used The kreg jig to build them and there still awesome either way.
This was my first table I built, very happy I found these plans. The legs were pressure treated 4x4's which made it very heavy one I put it all together. Thanks for the plans Ana!
Loved making the Weatherly for the back porch. Extended it out to be a four seater on the long side and 3 seater on the short. Finding a deal on the cushions is the key (I didn't).
Did make a jig for the X back to make them more exact and consistent.
I used Ana's camp loft bed plans. Built it directly in the room since I had the kiddo's with me and hubby working late couldn't help carry pieces upstairs. Built this "big girl" bed for my three year old and she loves it. Hubby and Bro-in Law got the mattress and it was a little high for the plans, so I have since added a foldable side rail for extra security. Plans worked great as is, no changes made.
My granddaughters requested beds for their multiple American Girl dolls. I found this project and it looked like it would be fun to make. Well, the girls have friends so the order soon totalled 19 beds. After making a prototype I realized this would be time consuming and the results erratic if I didn't fashion some jigs for constructing the beds. The jigs added speed and precision to the project. Also, after building a few and puttying the screw countersinks, I tried connecting side rails to the head and foot boards using pocket screws. This works great..Pictures of the jigs are attached.
My friend and I made this together and it was my first time using the Kreg pocket hole system. I was very impressed. The base of the piece is pine finished with a white-wash stain so the grain is still visible. The top is a restored piece of walnut finished with a simple clear coat of polycrillic. Thank you so much for the design idea! My friends love it in their living room!
We tweaked the Ana White Barn Door bookcase plan for a bathroom linen closet, made it a hair too wide (it was soooo close), and decided to use this for board games instead. It's PERFECT for storing long games like Monopoly, as well as puzzles, cards, and more. I decorated it with vinyl cut with my Cricut to give it that "game night" feel.
The project ended up being fairly time consuming because painting the shelf took a lot of time... if I did it again, I'd probably use a paint sprayer. I just don't have a great space for spraying furniture builds.
This is a cross between the Farmhouse toddler bed plans and the Brookstone storage bed. My youngest son's bedding was all western stuff that I had made and wanted a bed that did it justice. We combined the headboard from Brookstone with the Farmhouse plans. I think it looks pretty good considering it was our first project!