Community Brag Posts

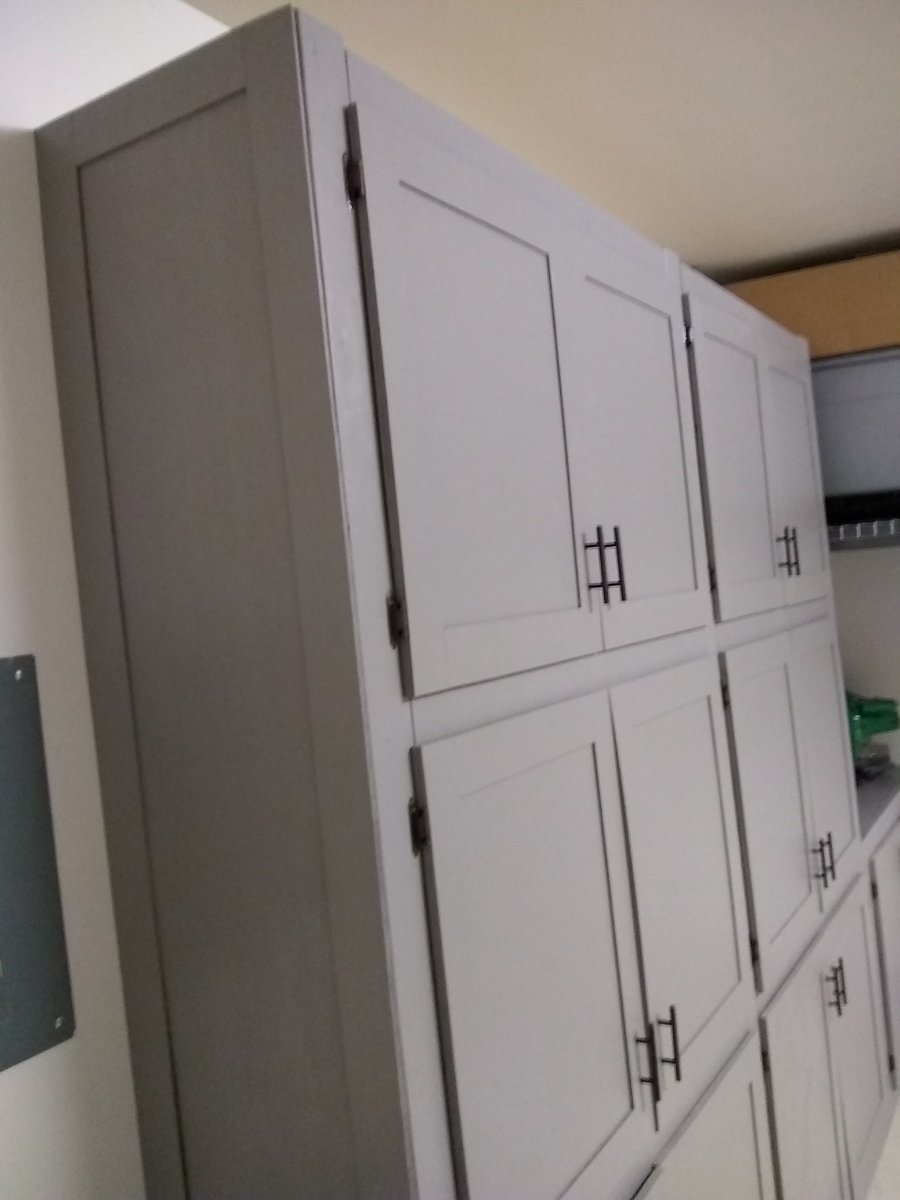
Garage shelves with doors
Submitted by CarolinaL on Thu, 01/11/2018 - 03:59

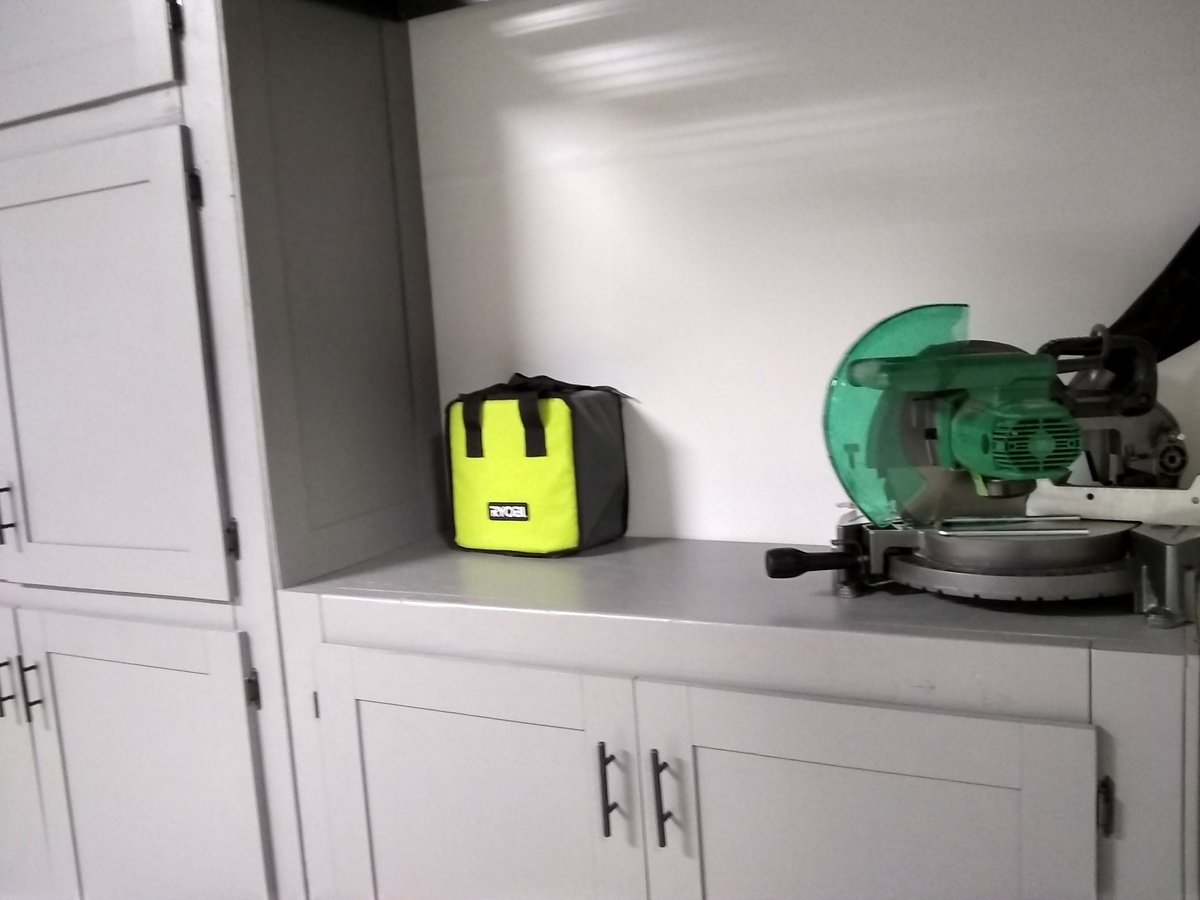
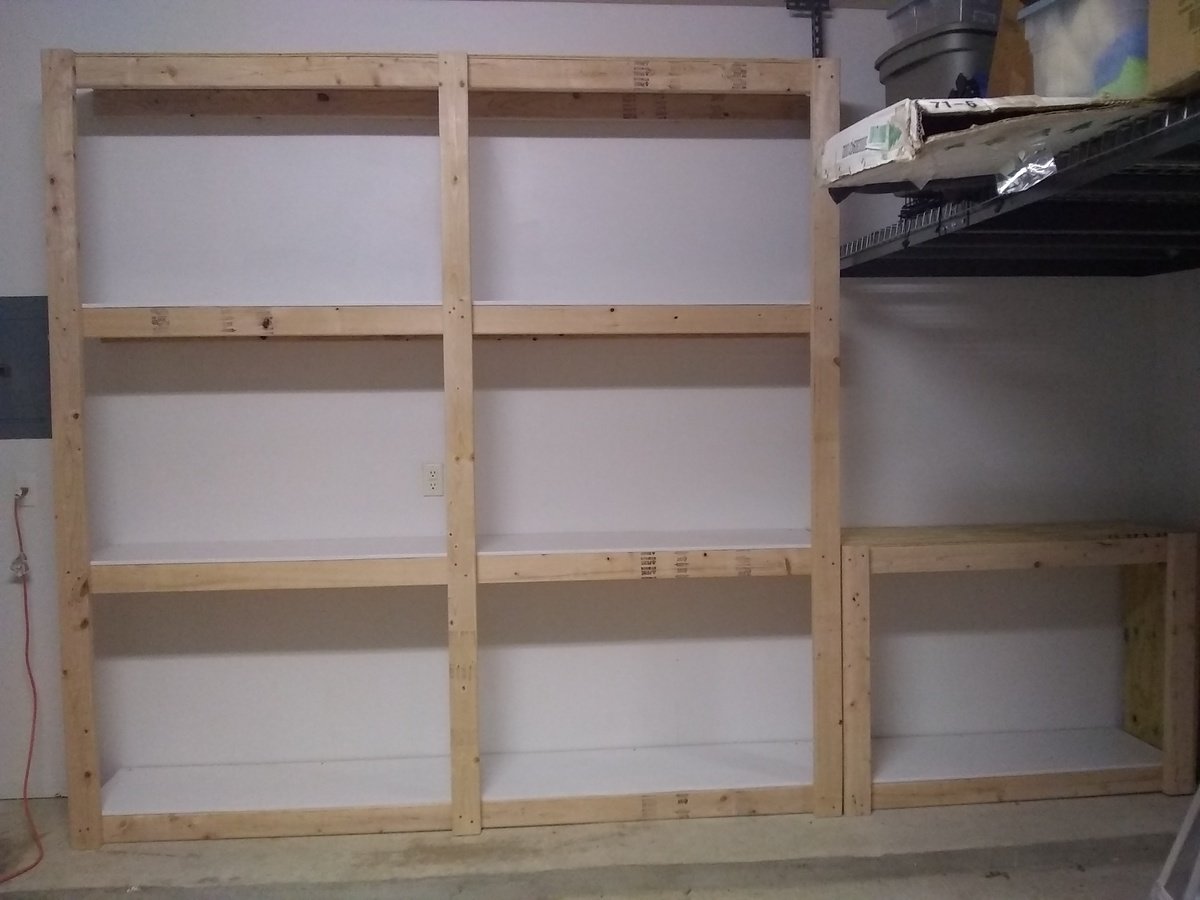
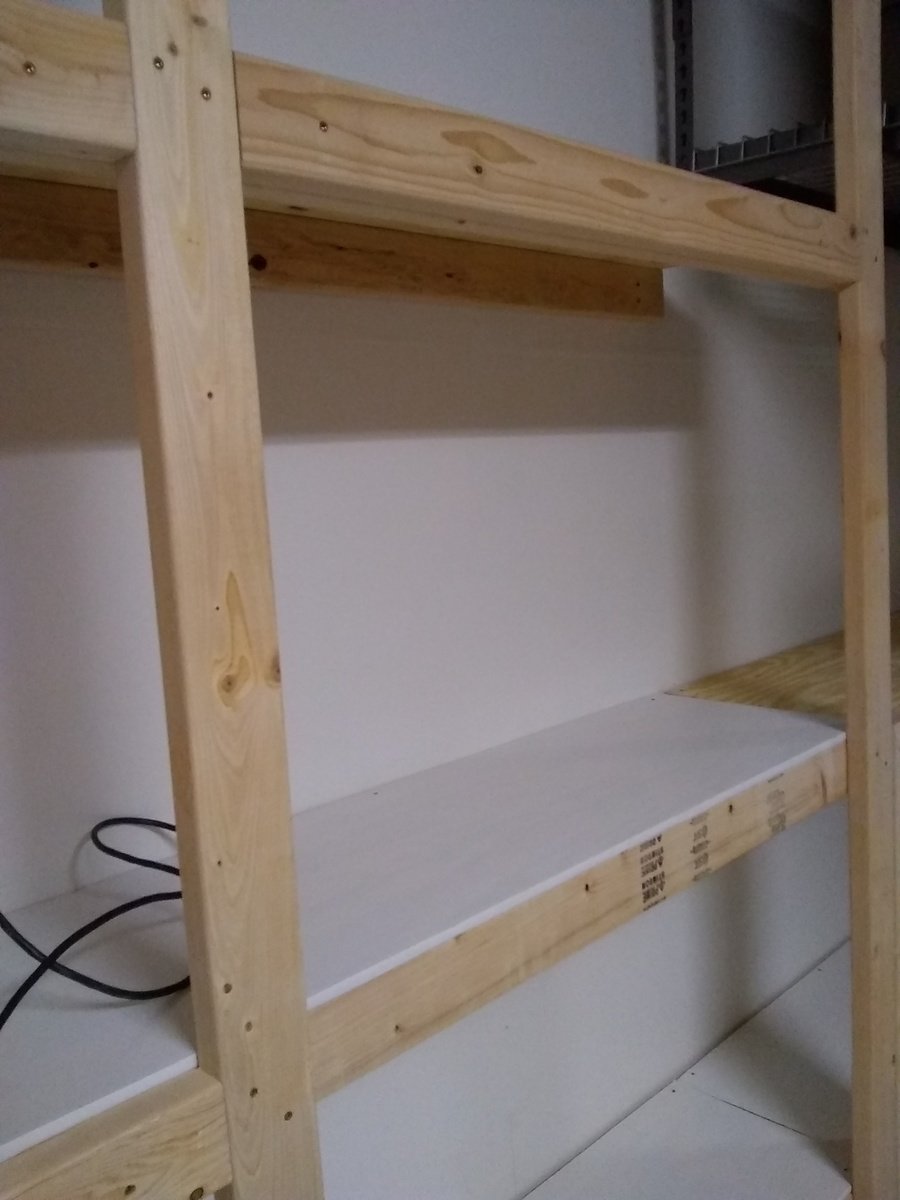
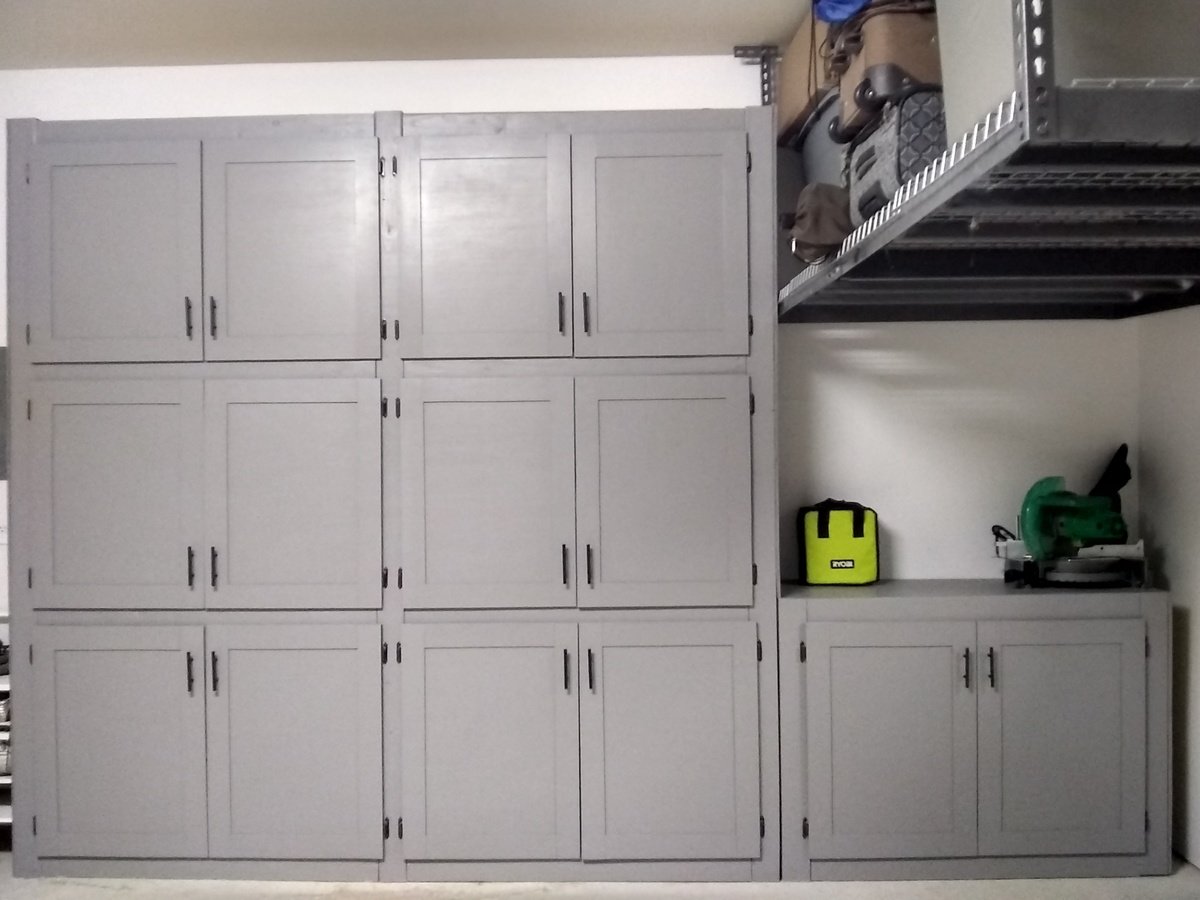
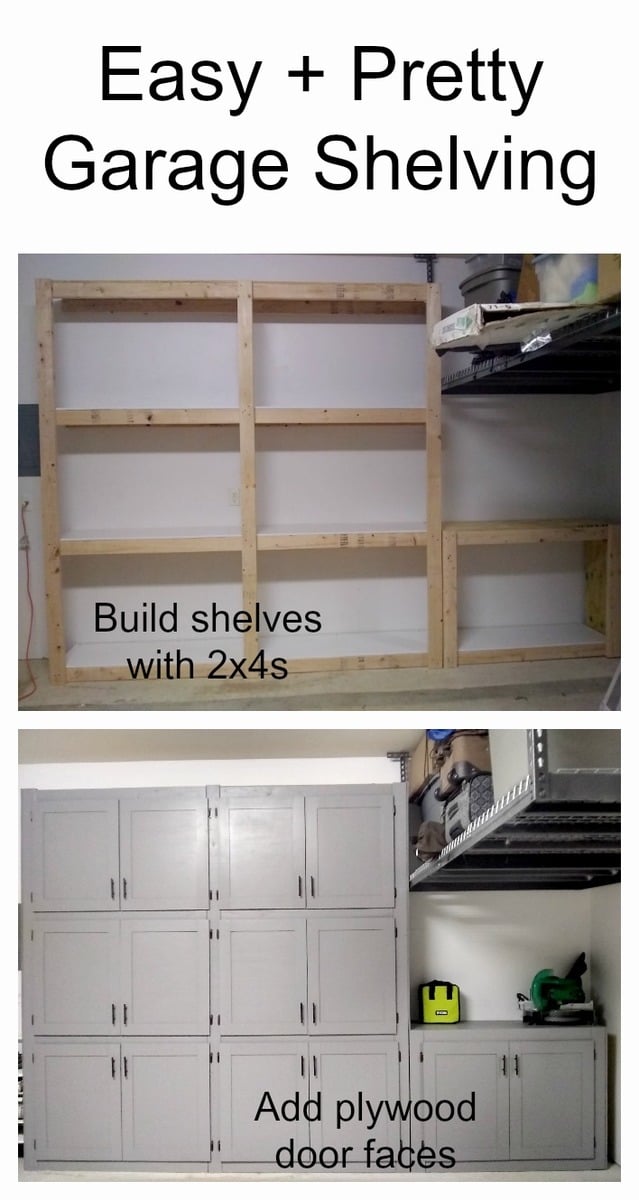
I have been wanting garage cabinets for a long time but couldn't afford them. When I saw these shelves I knew it would be easy to add side panels and create doors for the sections. The size is 8'x8' with the 4'x3' under the ceiling rack. I put a 2"x4" in the middle to divide each section, measured and cut doors from 5mm lauran plywood. I also cut the stiles and rails from the same material to give it interest but mainly to make it thicker to avoid warping as much as possible. I added 2"x4" to create a facing for the doors to rest on. Also used overlay hinges to simplify the hanging as much as possible. I was able to follow the design plan and the only thing I did was add a shelf at the bottom. The cleats were definitely not necessary, it's very sturdy. 

Making the doors

The first thing is to learn how to measure for cabinet doors. There are plenty of sites and YouTube videos showing how to correctly measure. If you are doing the same type of doors like I have, with no middle divider, then be sure to pay attention how to correctly measure for those instead of a single door.

The easiest way to make the doors will be getting 1/2 in sanded plywood and use a table saw to cut each door to size. Skip the shaker style trim and put the hardware on and be done. Make sure the hinges will be able to hold the weight of the door.

Unfortunately, I didn't have a table saw but I did have a router and a jig saw, and found a great video on YouTube on how to use a router to cut straight edges without a table saw. I measured out one door and used that outline to cut two identical doors. It turned out that each section was slightly a different width so I had to do two at a time. However, if you have a circular saw you can rig it to make a table saw and make a guide to rip the doors. It all depends on what tools you have available to you.  

I have a compact plunge saw and was able to cut the 3 inch strips for the shaker style with it. Honestly, that was the most tedious part and most time consuming by far. That also had to do with the fact that because the plywood is only 5mm thick I cut strips for both the front and the back to make it over 1/2 inch thick to help minimize warping and give the hinges something to grab.  

I used the miter saw to cut the stiles and rails to size and a 23 gauge nailer with 1/2 nails and glue to get them on the door. I glued and nailed the front and the back of each side at the same time because the nails are a bit longer than two pieces of plywood. I then turned it over and nailed the other side. The great thing about using a 23 gauge is that I didn't have to fill any holes because they are so small you can hardly see them at all. 

The last thing is to use your sander to ensure all of the pieces are even. I used a 60 grit and then followed it with a 220 where needed. 

If you want to avoid cutting the strips but still want to have the shaker style, Home Depot sells 1/4 thick Polystyrene flat moulding that will add vertially no weight to the door but the cost can easily add up if you have a lot of doors.

Lastly, if you are wondering why I got such thin plywood that ended up creating more work. The reason is because I wanted to save money on hardware and I didn't trust the inexpensive hinges I got off eBay would hold a heavy door for many years.
 

Estimated Cost
About $300 not including some tools I needed to buy anyway.
Estimated Time Investment
Week Long Project (20 Hours or More)
Finish Used
Interior satin
Recommended Skill Level
Beginner

Comments

Outdoor Sectional

Submitted by KristenP on Thu, 06/06/2019 - 18:00

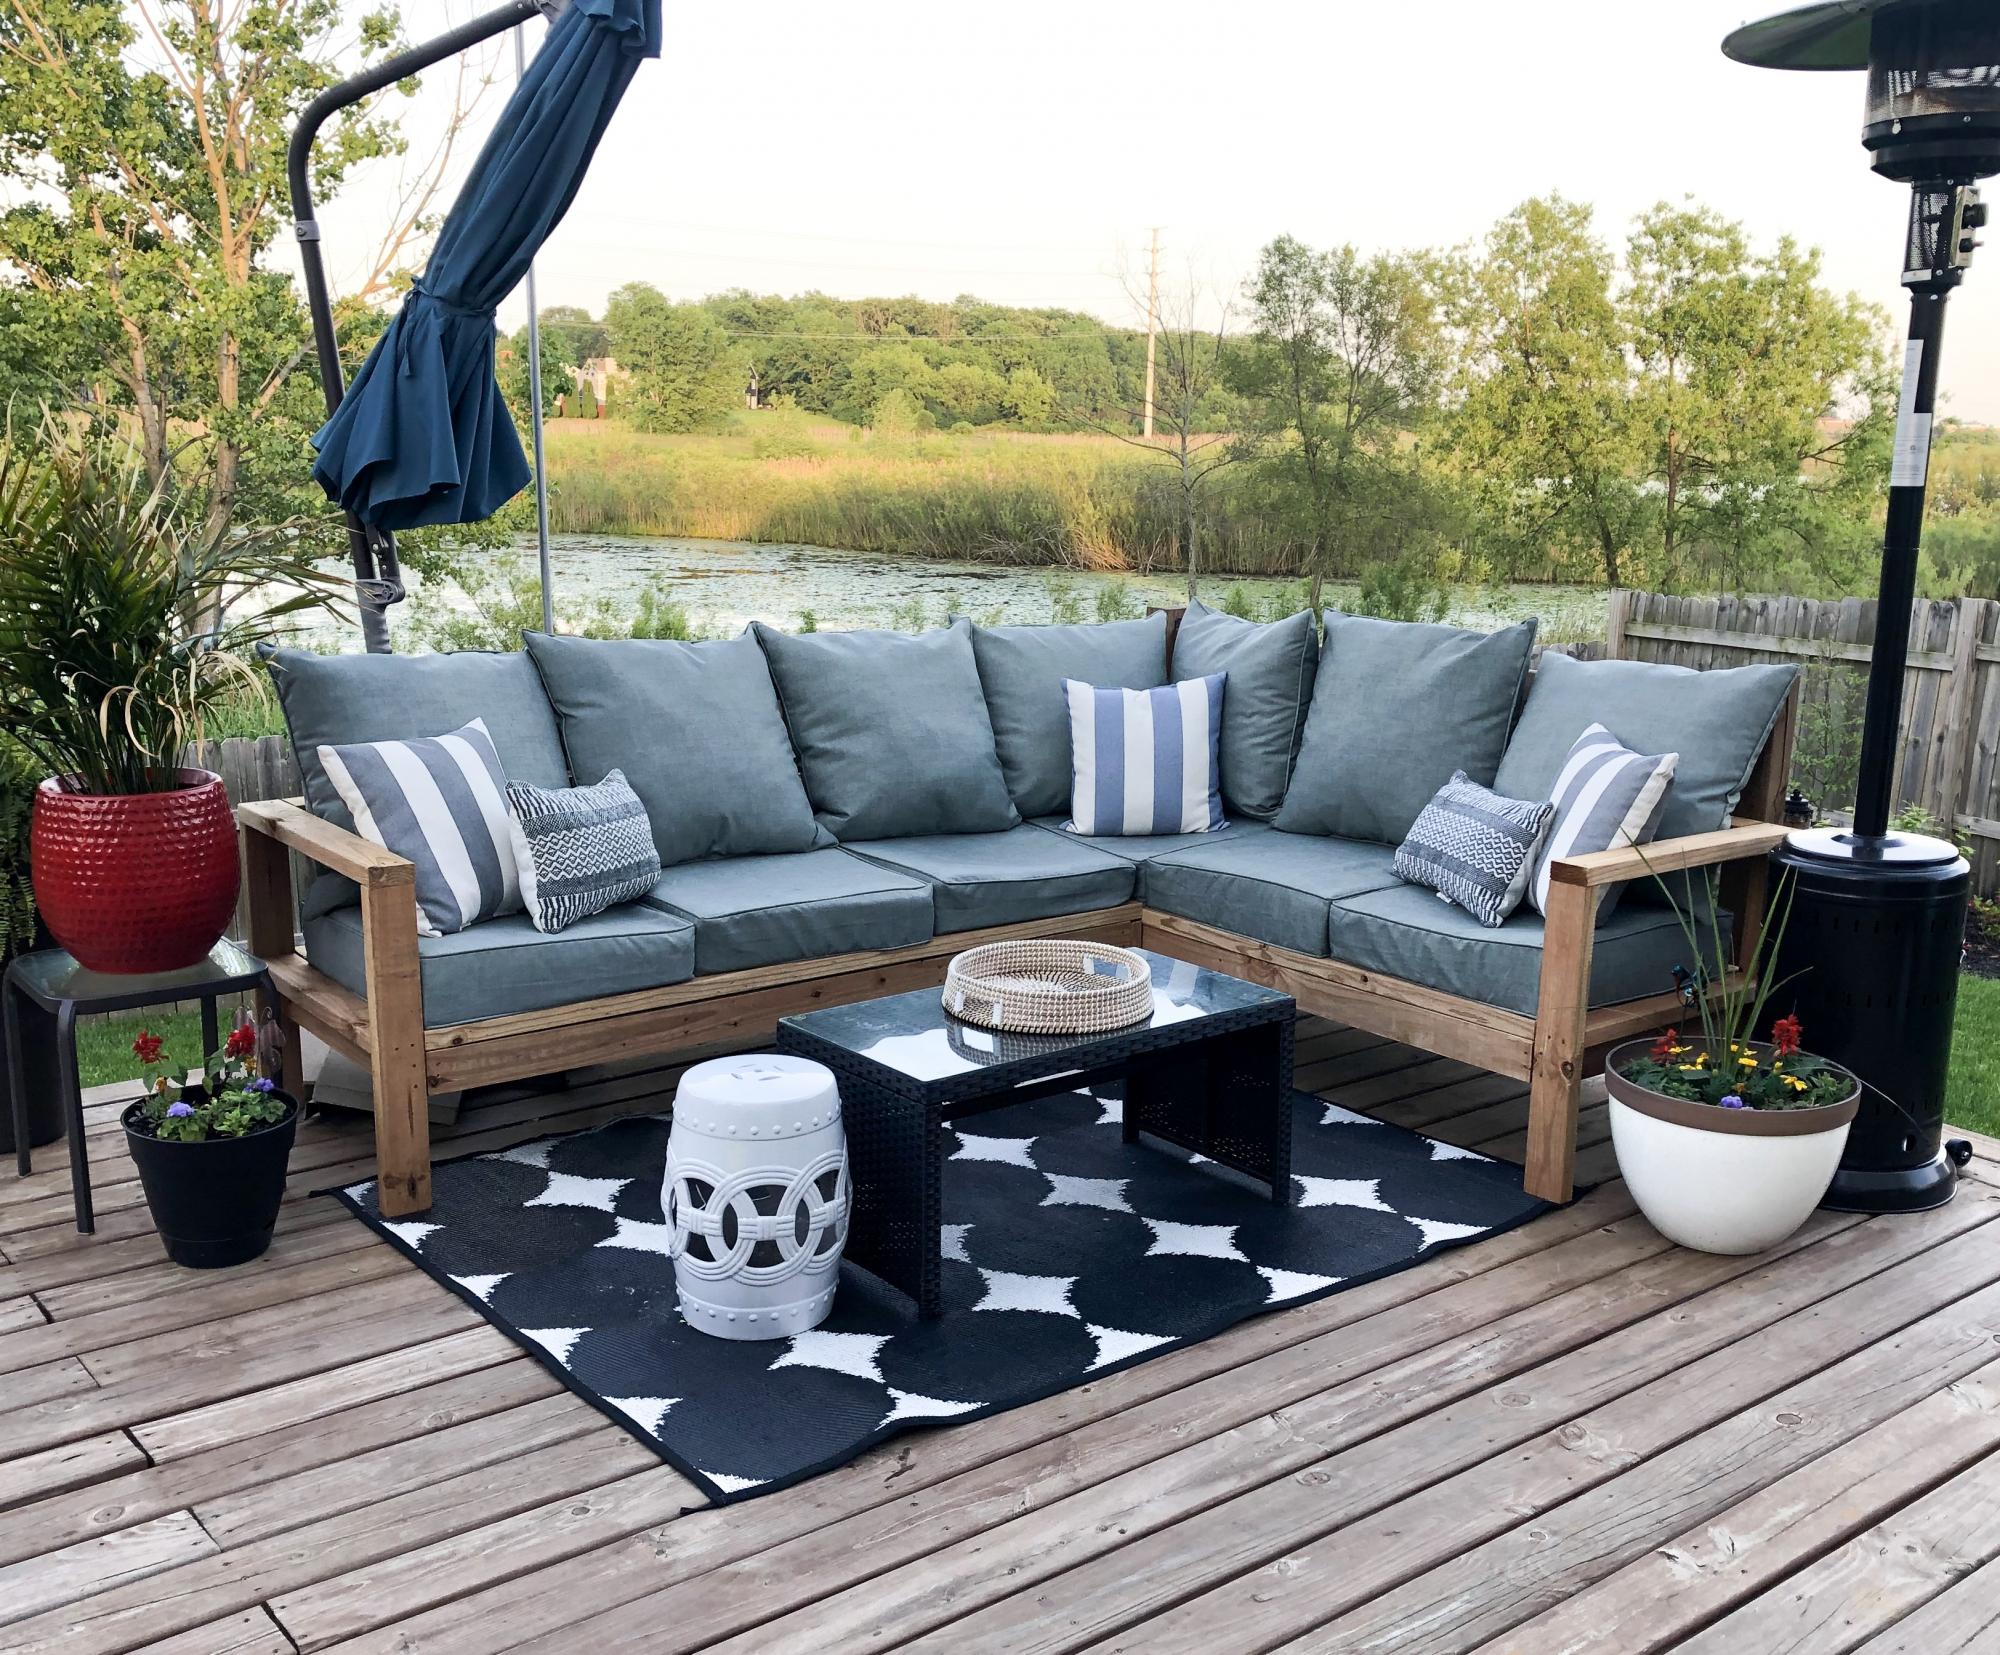
We built Ana’s outdoor sectional in a few hours and it’s made a huge impact on our deck! It saved us so much money but looks like a high end piece! Thank you for the simple and structured plans!

Estimated Cost
$200
Estimated Time Investment
Afternoon Project (3-6 Hours)
Finish Used
Cedar Stain
Recommended Skill Level
Beginner

Comments

My Simple Outdoor Lounge Chair with 2x4 modification

I modified this chair with 2x4's as the base and 2x2 for decoration on arms, this is prior to sanding and finishing

Built from Plan(s)
Estimated Cost
$15-$20 dollars, depending on local lumber prices and finishing options.
Estimated Time Investment
An Hour or Two (0-2 Hours)
Finish Used
Unfinished
Recommended Skill Level
Beginner

Comments

RandyW

Sat, 06/13/2020 - 16:33

I always take my sander to the sharp edges and round them off

Sandbox with built-in seats in our playhouse

Submitted by Anonymous (not verified) on Thu, 09/10/2020 - 10:55

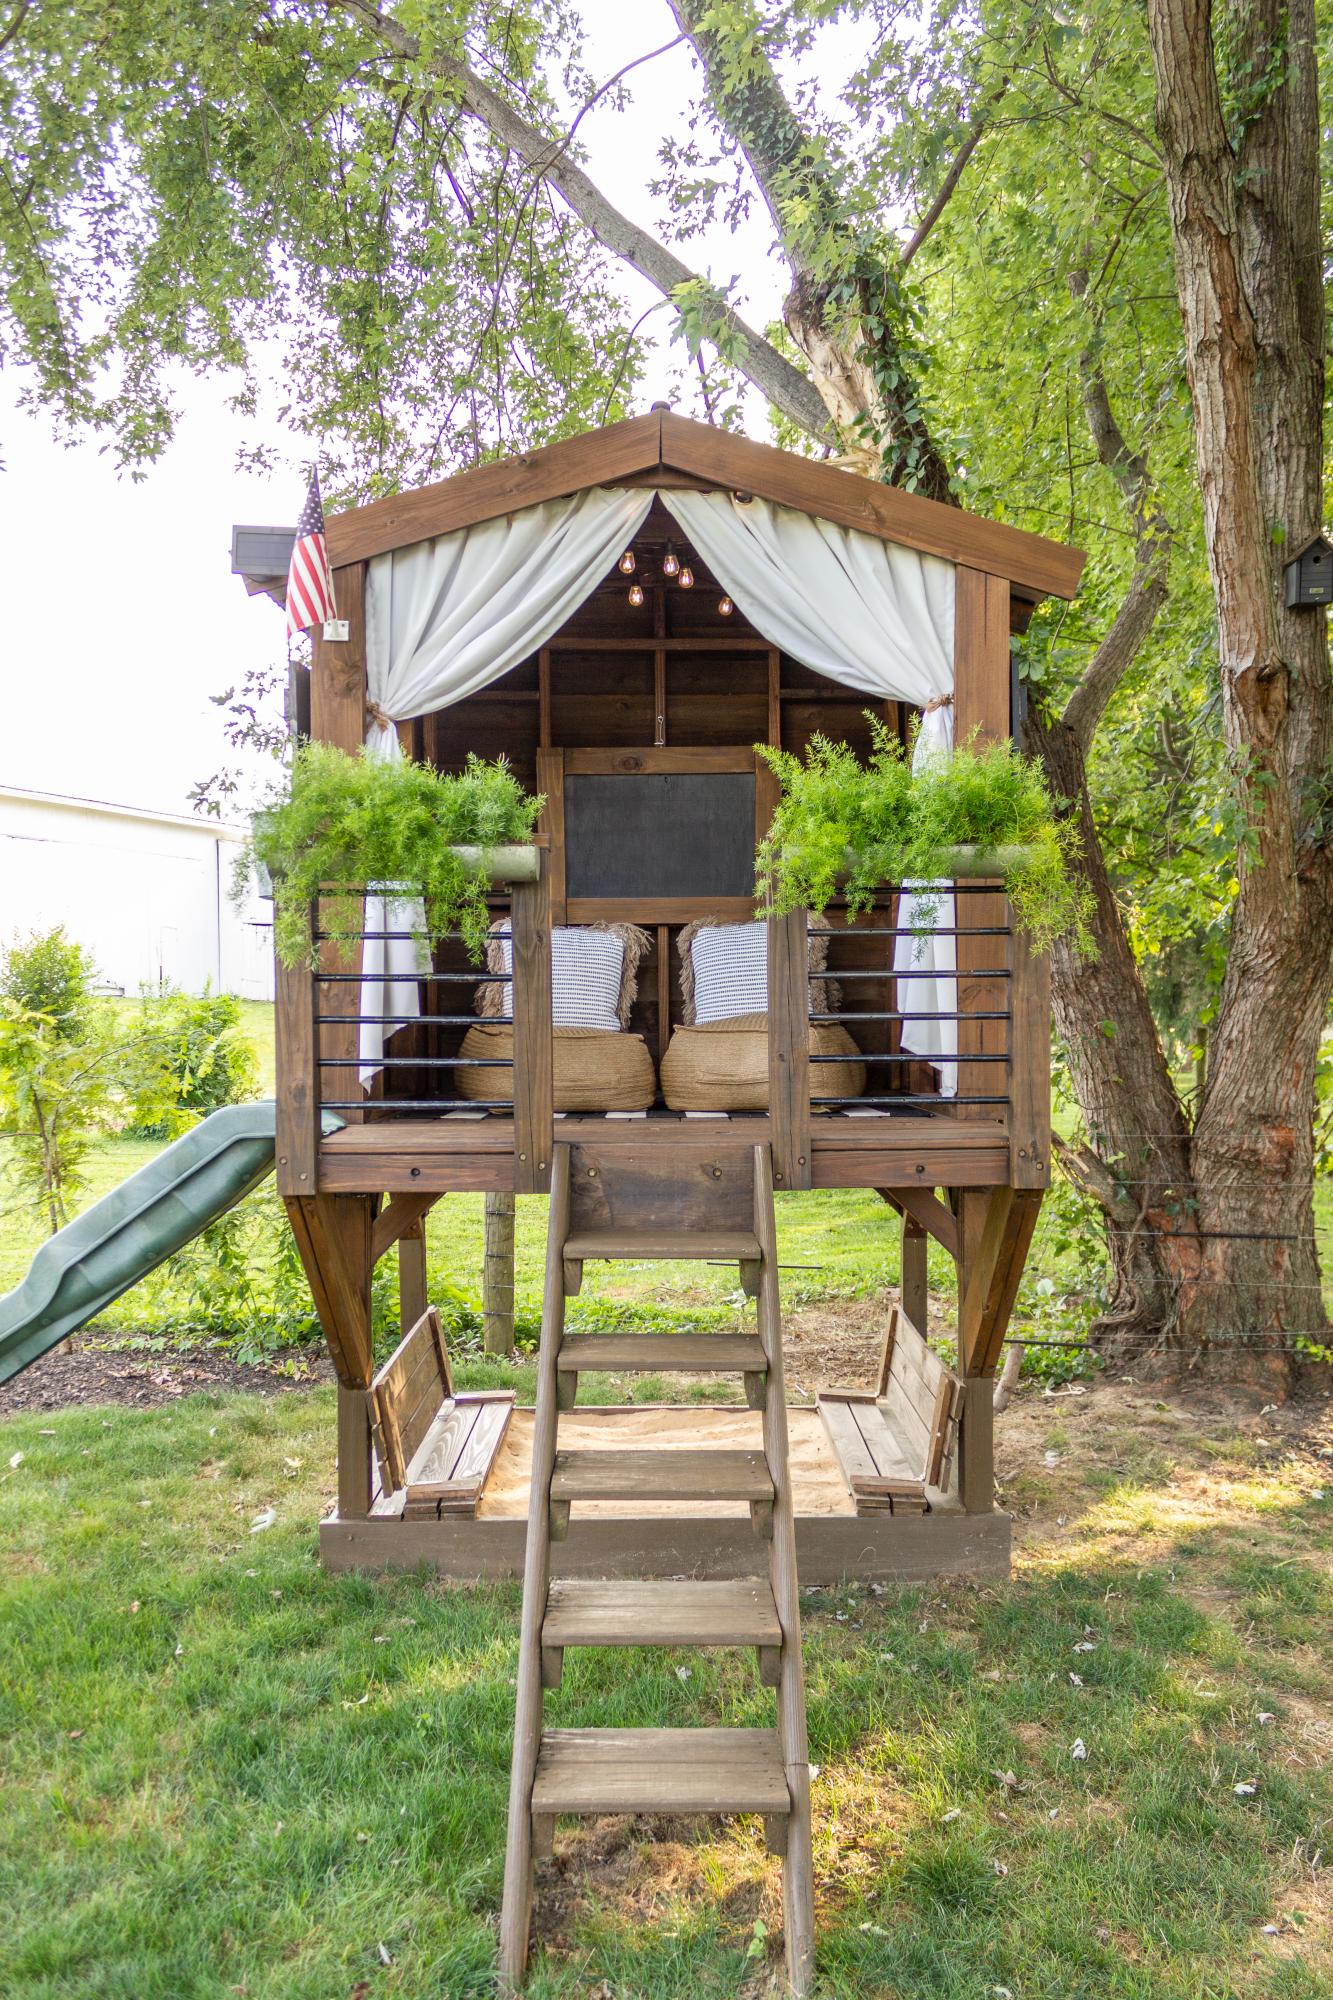
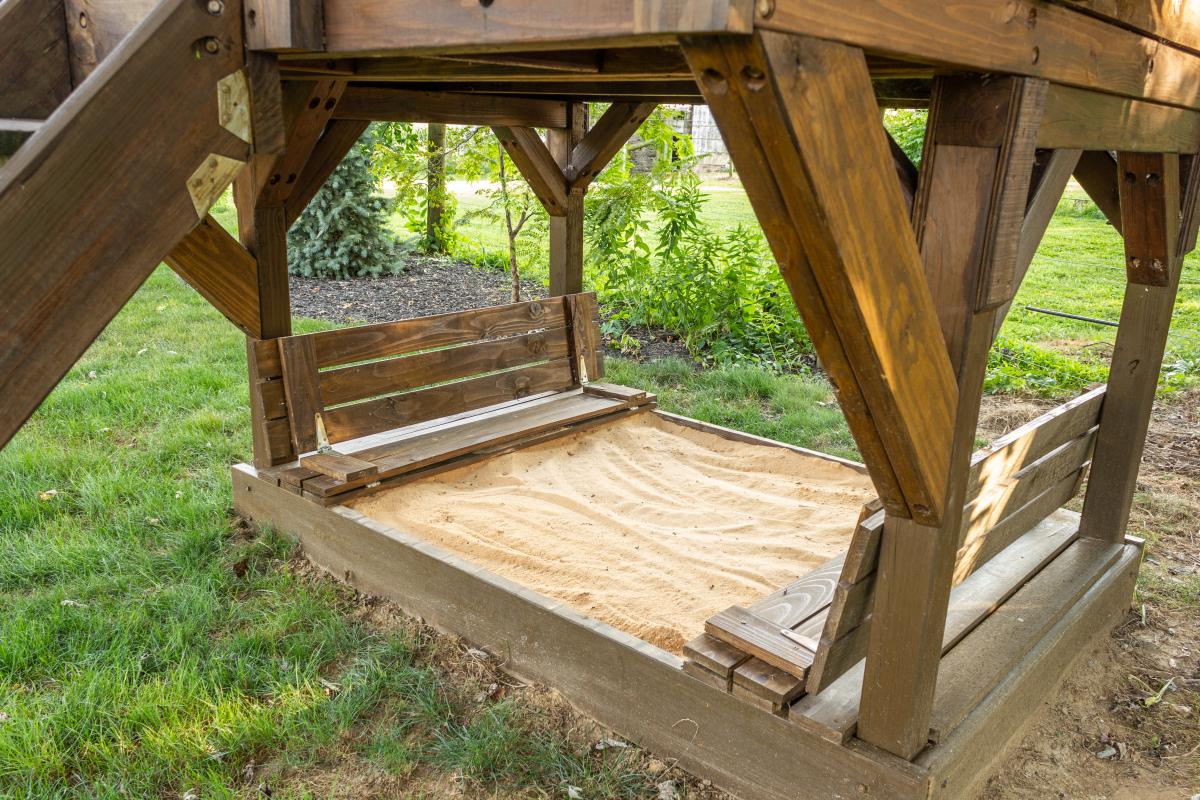
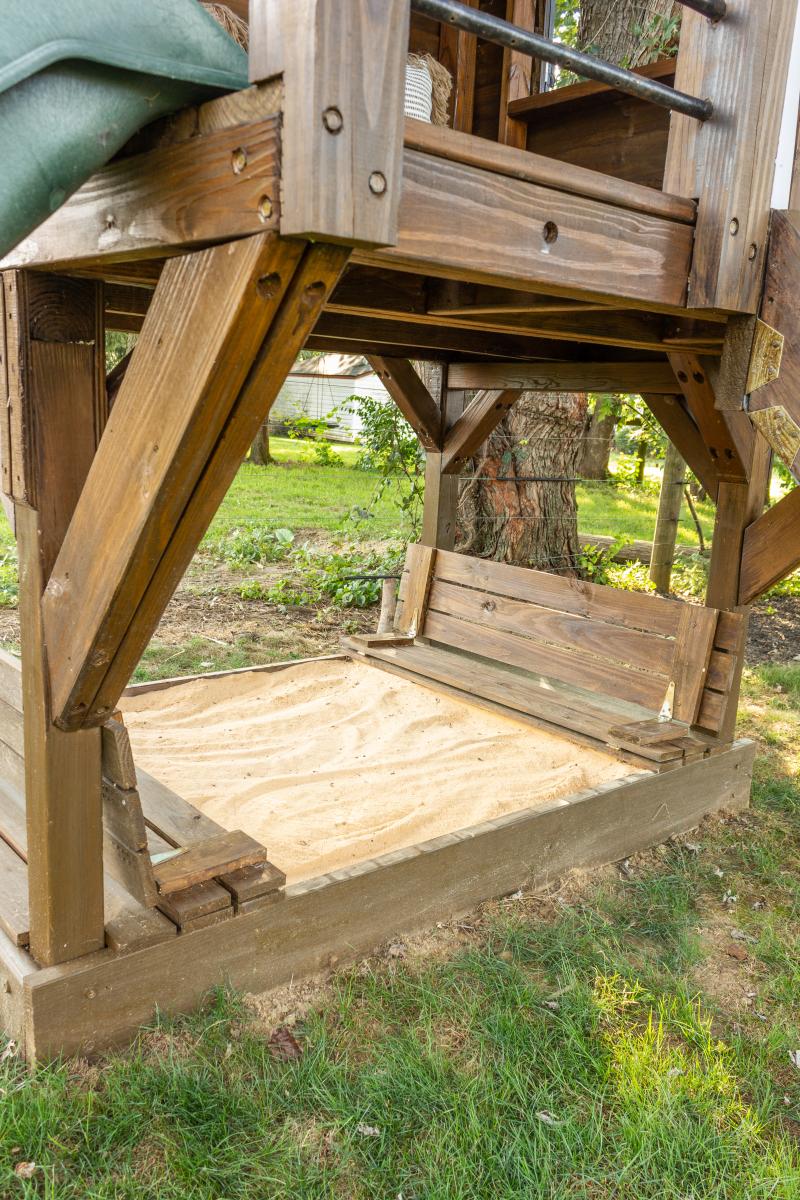
The base of our playhouse felt like the perfect spot to use the sandbox plan with built-in seats. The bench seats actually fold flat to create a lid for the sandbox when it’s not in use. I followed Ana’s plans exactly and used the list of materials she provided. The only modification I made was eliminating the back supports. It was not necessary for me to add the back supports since we have the playhouse posts to support the back of the bench.

Built from Plan(s)
Estimated Cost
$60
Estimated Time Investment
Afternoon Project (3-6 Hours)
Finish Used
Stain
Recommended Skill Level
Beginner
Seasonal And Holiday

patio living room - modified from modern chair plan

Submitted by herbsuprb1 on Wed, 06/12/2019 - 09:09

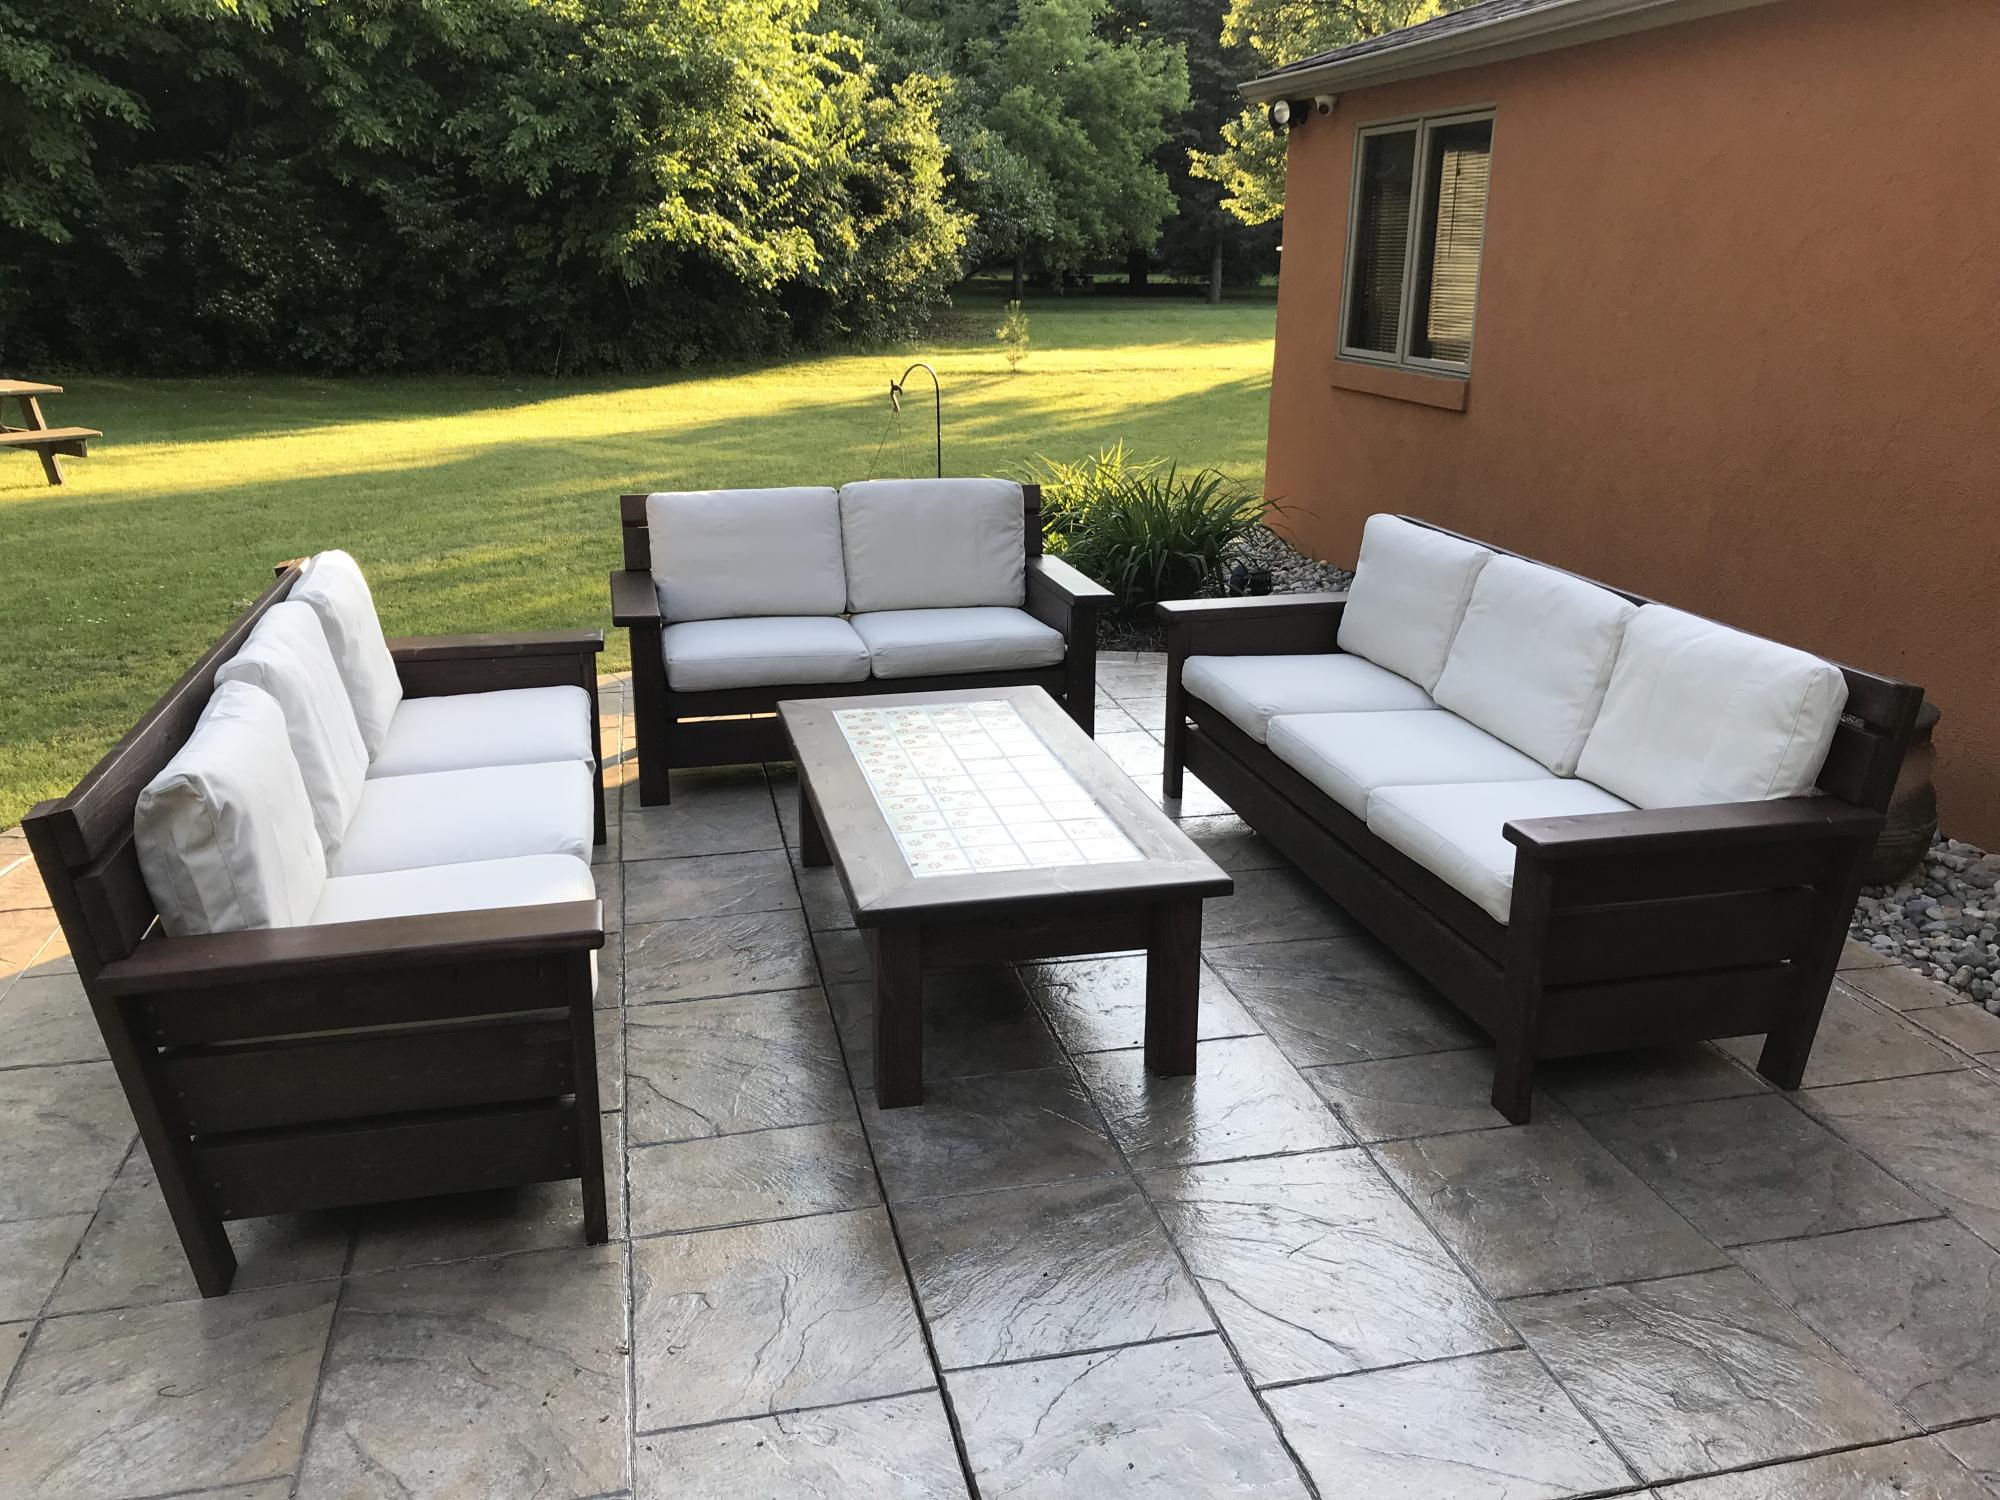
I created two sofas, a love seat and a table by modifying the modern chair.  I added a back extension, tipped the back back 10 degrees, and angled the seat platform down a few degrees.  Considered doing Adirondack arms, but my wife preferred the rectangular shape.  The table is a variation of the 2x4 patio table (base construction similar), but we substituted pine 4x4 legs for the 2x4s, and implemented a 2x6 "picture frame" around Mexican tile on top.

I used pocket screws to attach the arms to the sides, and also to hide screws on the table "picture frame".

All-in-all, I would say this is an elegant-looking patio set that should last quite a while.  Very solid, very heavy to move around (my only complaint).

We plan to add some colorful throw pillows.


Estimated Cost
This project was created from a Menard's metal siding trim "shipping crate" that they refused to take back on return - so the many 16 foot 2x6s came to me for free. With hardware, stain, sanding pads and the pocket screw jig, I would guess I have about $300 there. The cushions were somewhat expensive, but are built to last - got those from Ikea - "Duvholmen" and "Folsom" haha - 24 1/4" x 24 1/4" cushions, 24 1/4" x 16" back pillows. Those were about $65 (per SEAT) .. so 8 for this project ($520). The cushions only come in this light tan, or medium/dark grey.
Estimated Time Investment
Week Long Project (20 Hours or More)
Finish Used
Behr semi transparent outdoor stain (Padre Brown). First sofa was assembled then stained (mistake). The other pieces were cut, sanded 60/120 and stained. Arms were additionally sanded with a 320 grit prior to staining. Stained all pieces two coats with small roller, then brushed over. Assembly after staining produced a cleaner look on the stained finish.
Recommended Skill Level
Beginner

Comments

DIY Barn Door From 2x6 Boards

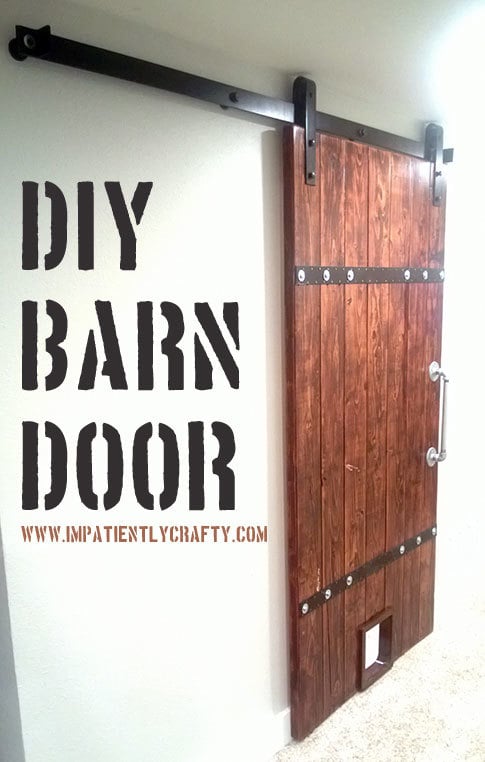
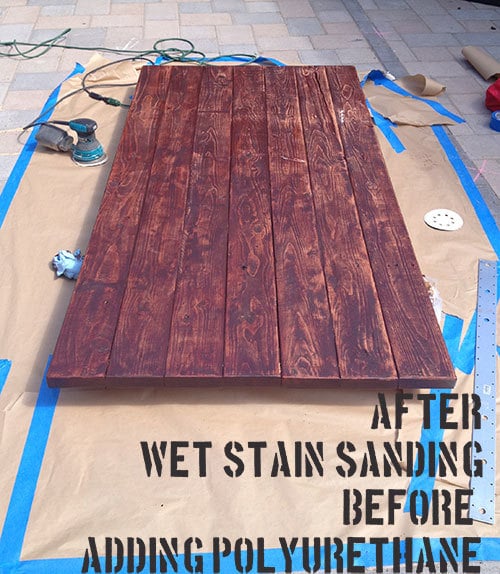
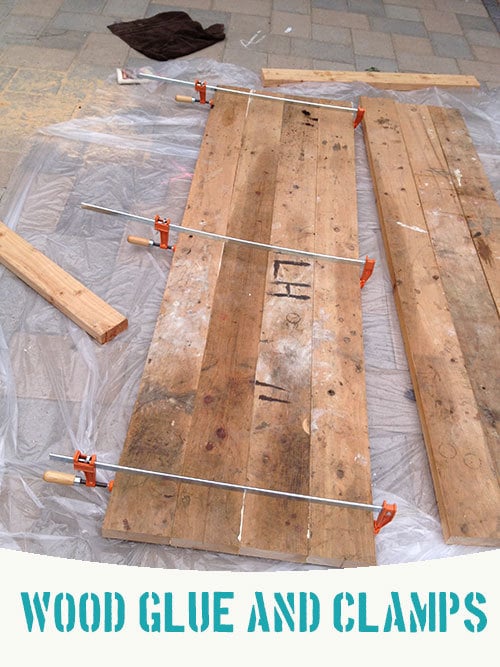
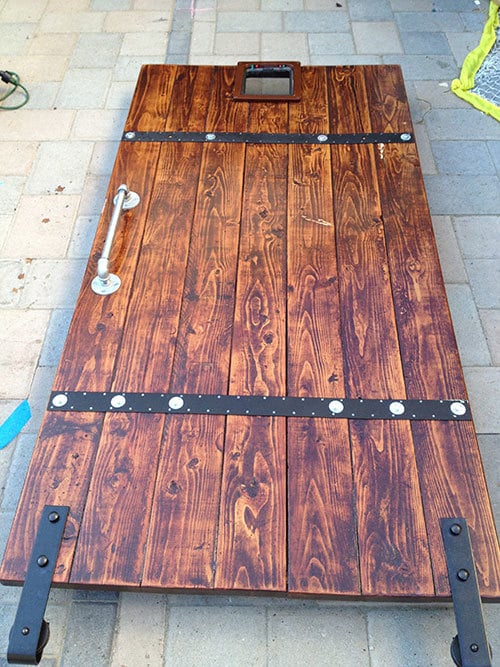
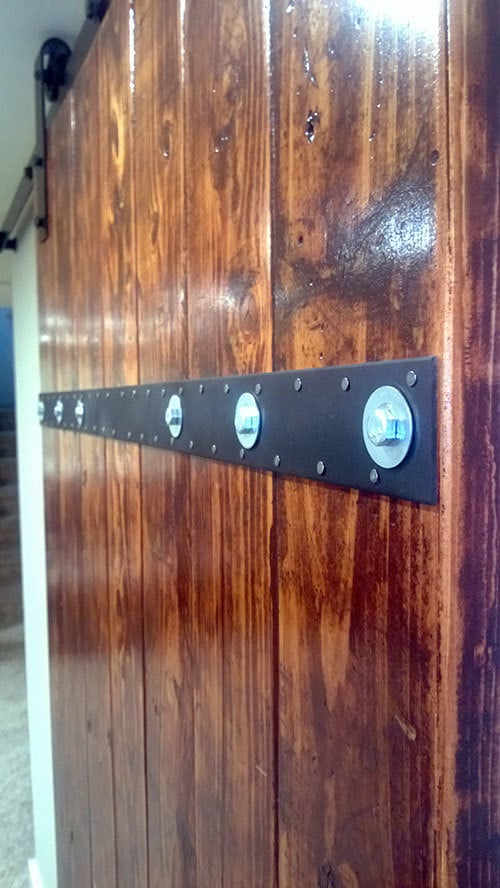
I made his Barn door out of the wood that was left in our garage when we moved in. Using (7) 2x6 boards and adding stain sanding and hardware, it became a super functional industrial rustic (is that a design style LOL) door! (I added a cat door to for our cat ;))

Estimated Time Investment
Afternoon Project (3-6 Hours)
Finish Used
Rustoleum summer oak, varathane cabernet, flat black spray paint, and polyurethane semi gloss. I have the full tutorial on my blog and am more than happy to answer any questions ;)
Recommended Skill Level
Beginner

Comments

Shoe Dresser

Submitted by Anonymous (not verified) on Sat, 04/01/2017 - 08:26

We used the shoe dresser instructions with some modifications to make it longer

Built from Plan(s)
Finish Used
Stain, polyerthane, chalk paint and wax
Recommended Skill Level
Advanced

lawn and garden shed

Submitted by brittanyj on Wed, 08/19/2015 - 13:17

Needed a shed to store bikes and mowers, etc, so I'd have more room in the woodshop : )  I made a lot of modifications to the plan to fit my space and make it much larger.  The completed size is 7 foot tall at the peak, 6 feet deep and 5.5 feet wide.  I made it as a 3 sided shed, using the wall as the 4th to save on cost, increase air flow, and make the exterior house wall accessible.  I also made an egress in the back of the shed in order to get behind the shed if needed. 

Instead of roofing shingles, I opted for ribbed metal sheets and one clear sheet in the middle to make a skylight, so there would be light in the shed.  This is my favorite part of the project.  It was a huge pain to attach the roofing from a ladder with very limited access, but it looks great and I love the light coming in.  We have very little rain in CA, so I'll have to wait until winter/rainy season in order to test out its waterproofing. 

Since the shed sits between the house and the neighbors block wall fence, and I wanted to use as much of the space as I could, I decided to design the shed to have the side wall against the house rather than the back wall, as shown in the plan.  This took a large amount of modifications, but with careful planning and measuring, it can be done.  This also meant blocking off access to behind the shed, so I cut an egress in the back wall and added hinges so you can lift the back cut out panel, and rest it on a stop block attached to the fence behind it in order to have access.  That's what woodworking is about- problem solving.  Love it. 

As you can see by the full shed picture, it fits a large amount of stuff- 2 adult bikes, mower, edger, trimmer, chainsaw, hedge trimmer, garden tools, shovels, etc, with plenty of room for more.  I now have a free corner in my garage that I've already filled with a DIY rolling workbench and more pegboard space for tool hanging.  Woodshop increased space= happy Brittany. 

I should also mention that building the frame and adding the pickets was quite a quick and easy job.  The hardest and most time consuming part was the roof (I didn't have metal cutting tools), rolling each very heavy wall to the site (I was alone) and the previous 2 weeks in which I built the paver patio the shed sits on.  Hard work, but worth it.  I love it!

Built from Plan(s)
Estimated Cost
$280
Estimated Time Investment
Week Long Project (20 Hours or More)
Recommended Skill Level
Intermediate

Comments

brittanyj

Mon, 01/25/2021 - 13:15

It has been incredibly useful for storing! One thing about the skylight- Over time the sun has warped it and there is now a hole and crack there. So I wouldn't plan on the clear roofing being a long term solution- I will be replacing it with either thicker clear roofing or 2 layers.

DIY Greenhouse Project -Added elevated raised beds & temp/humidity control

Submitted by Anonymous (not verified) on Sun, 07/05/2020 - 09:09

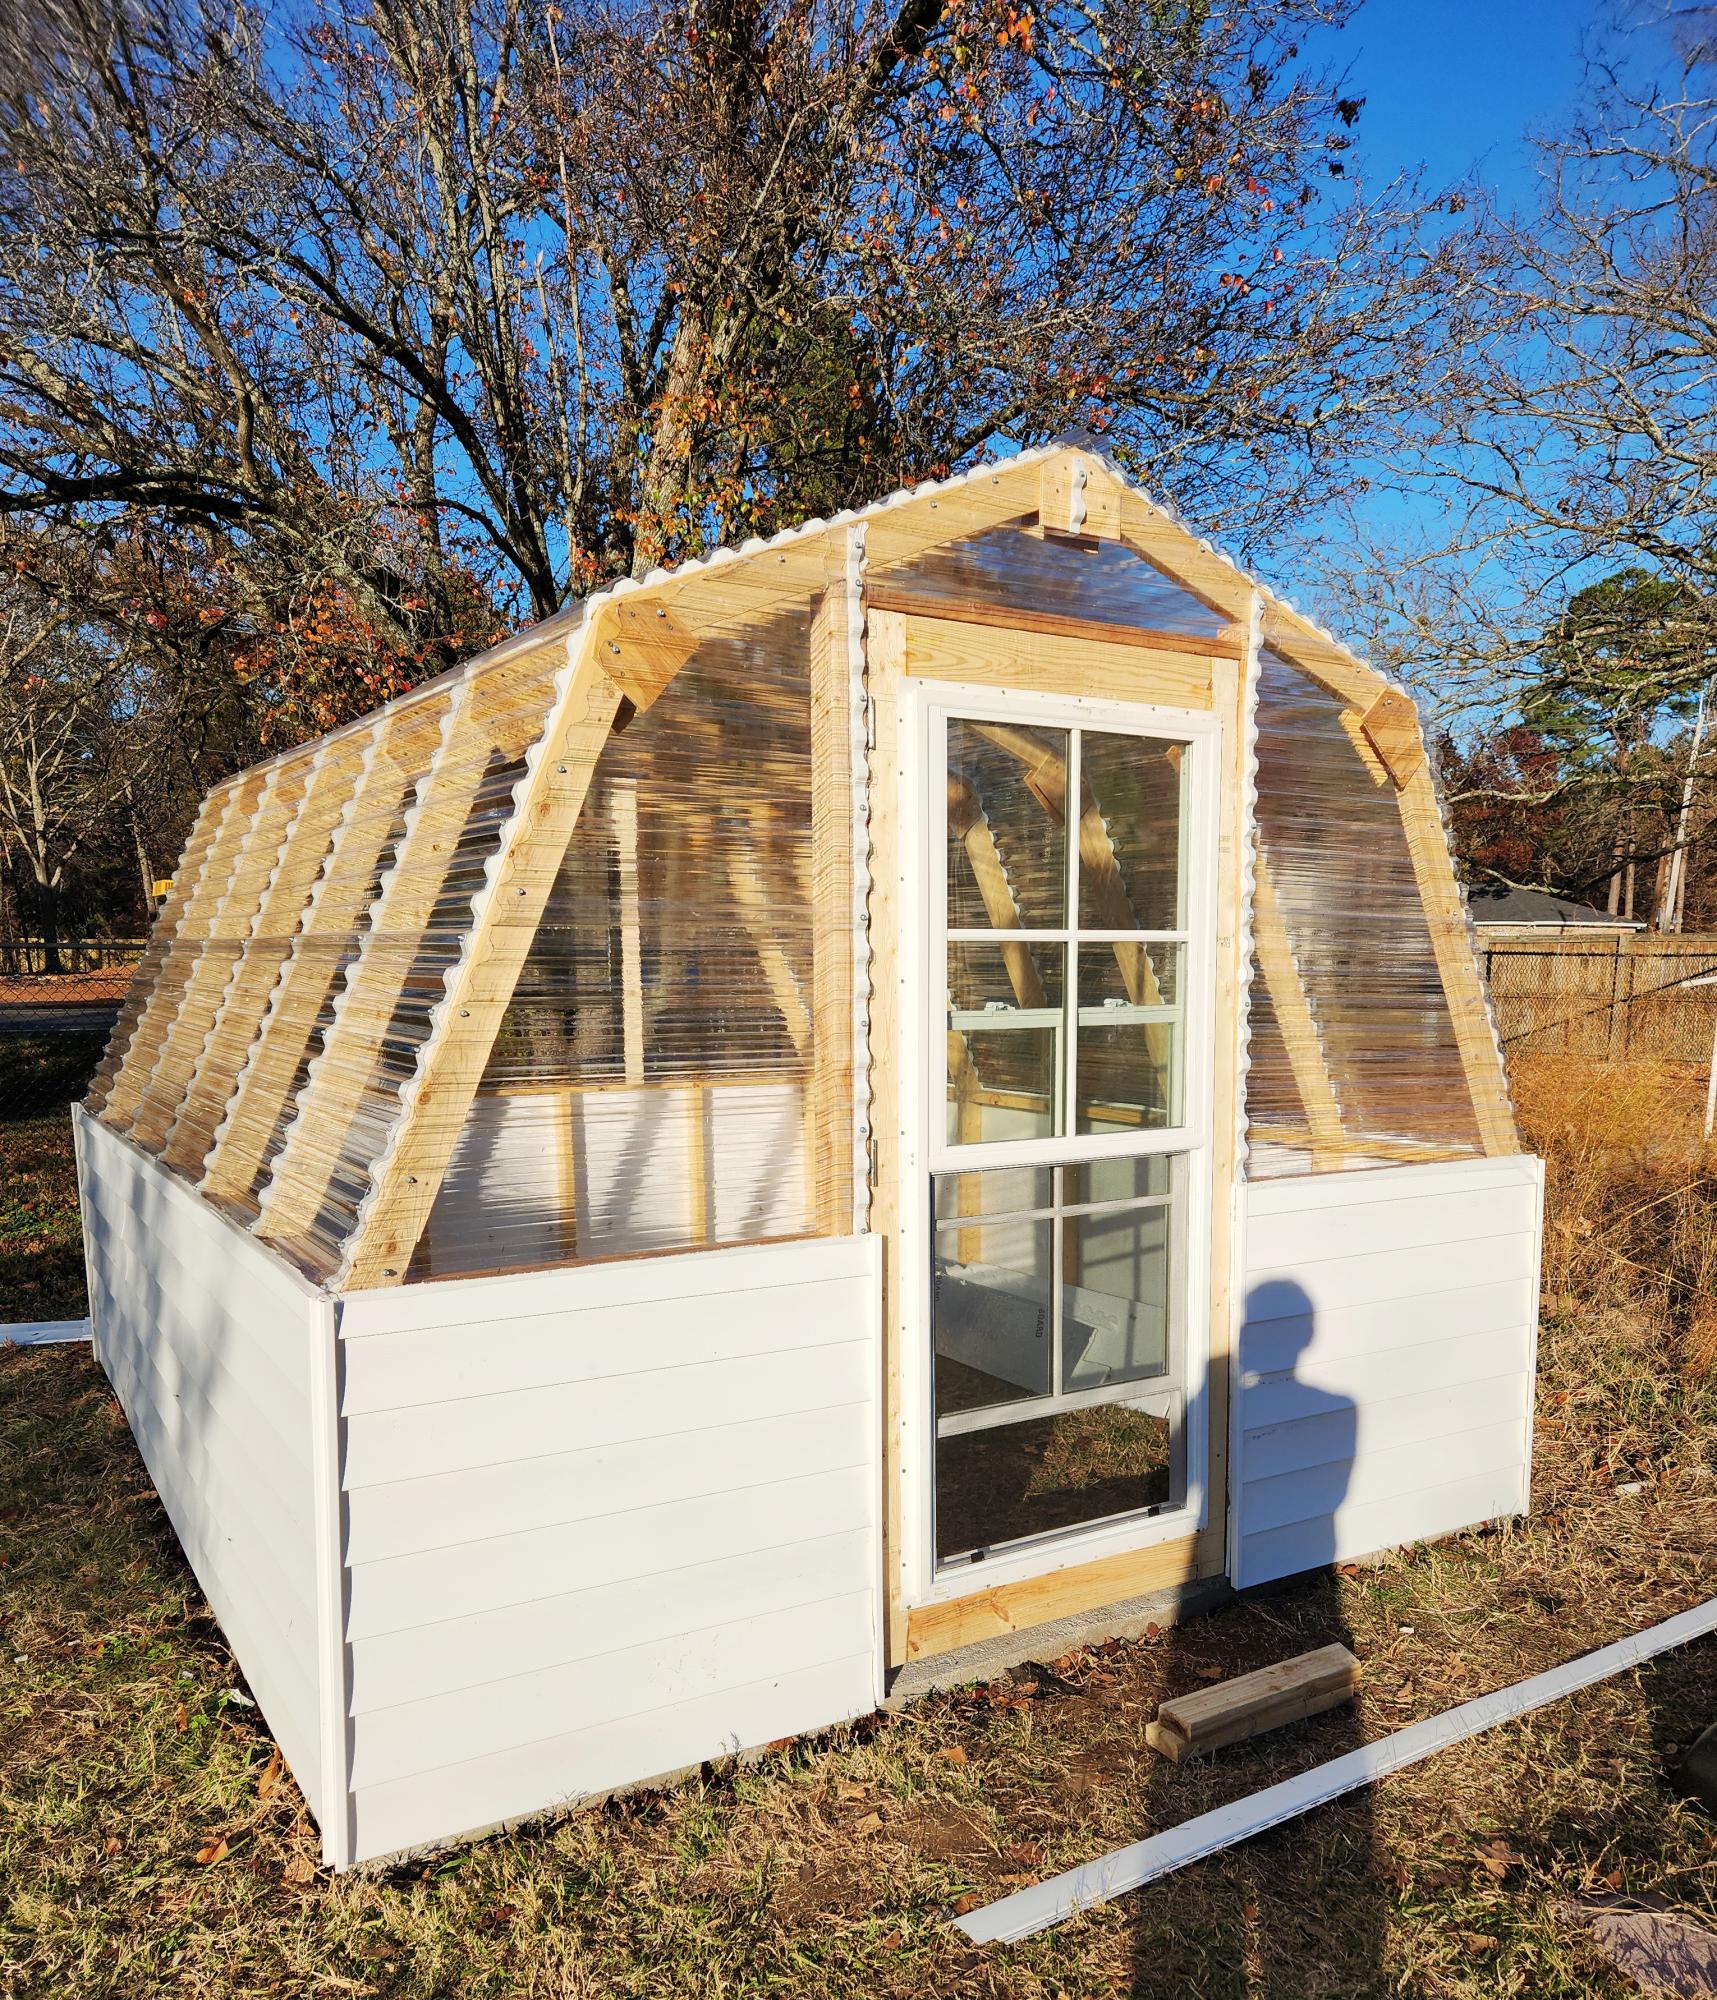
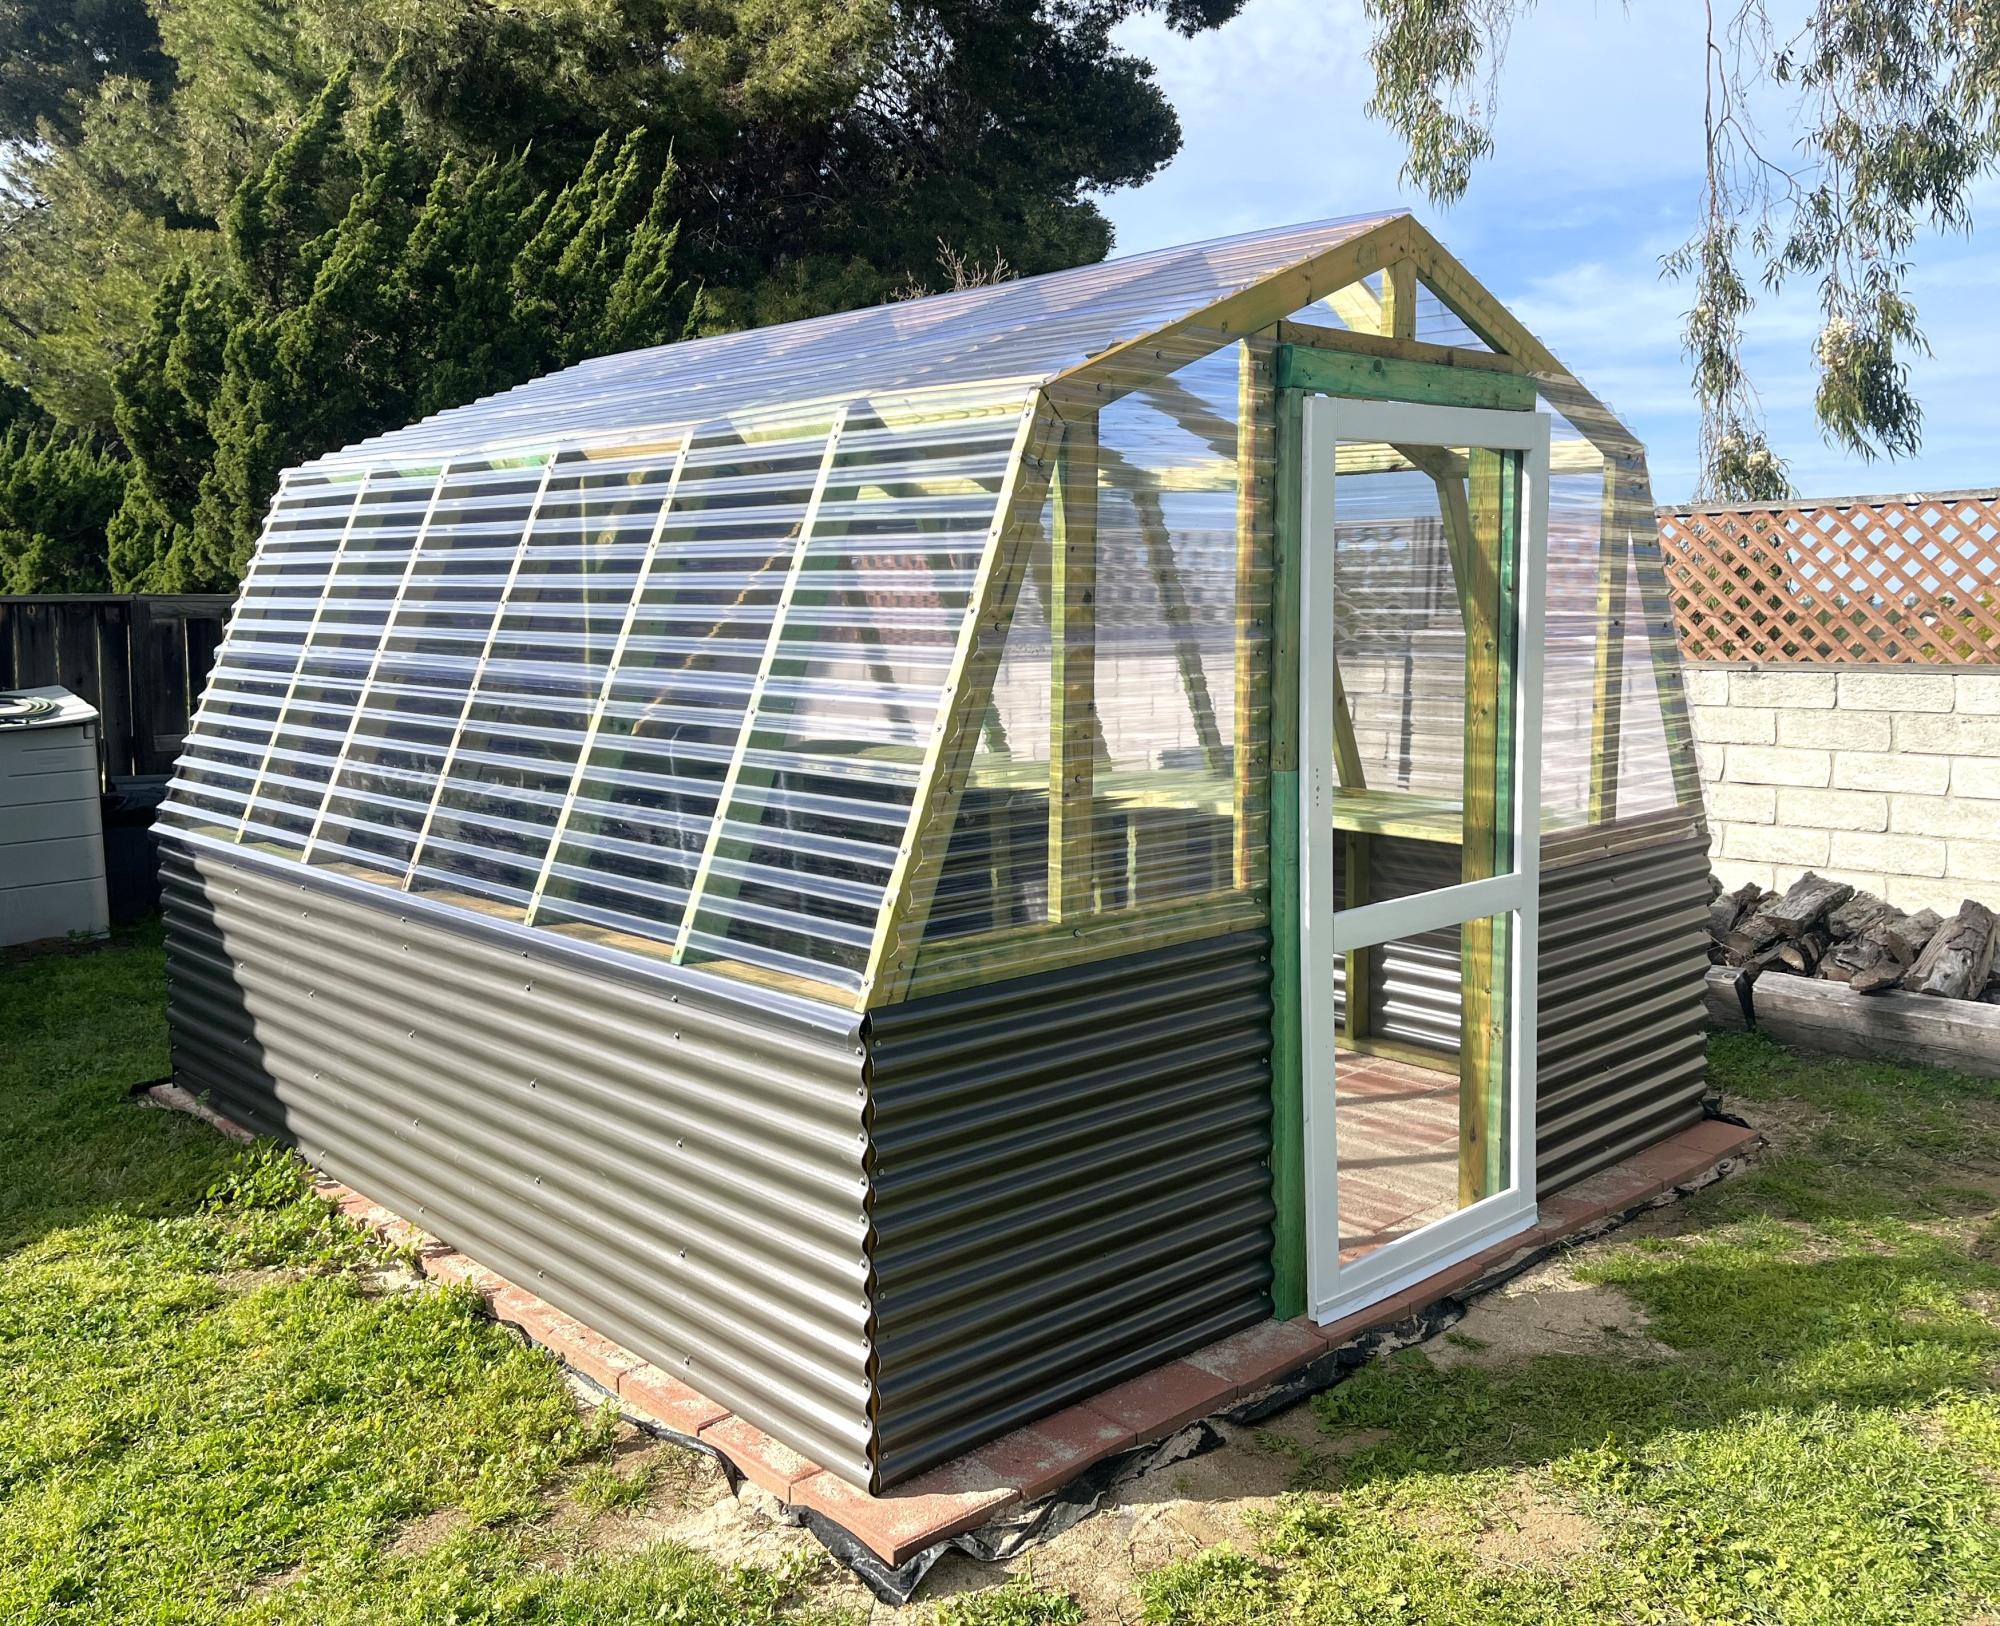
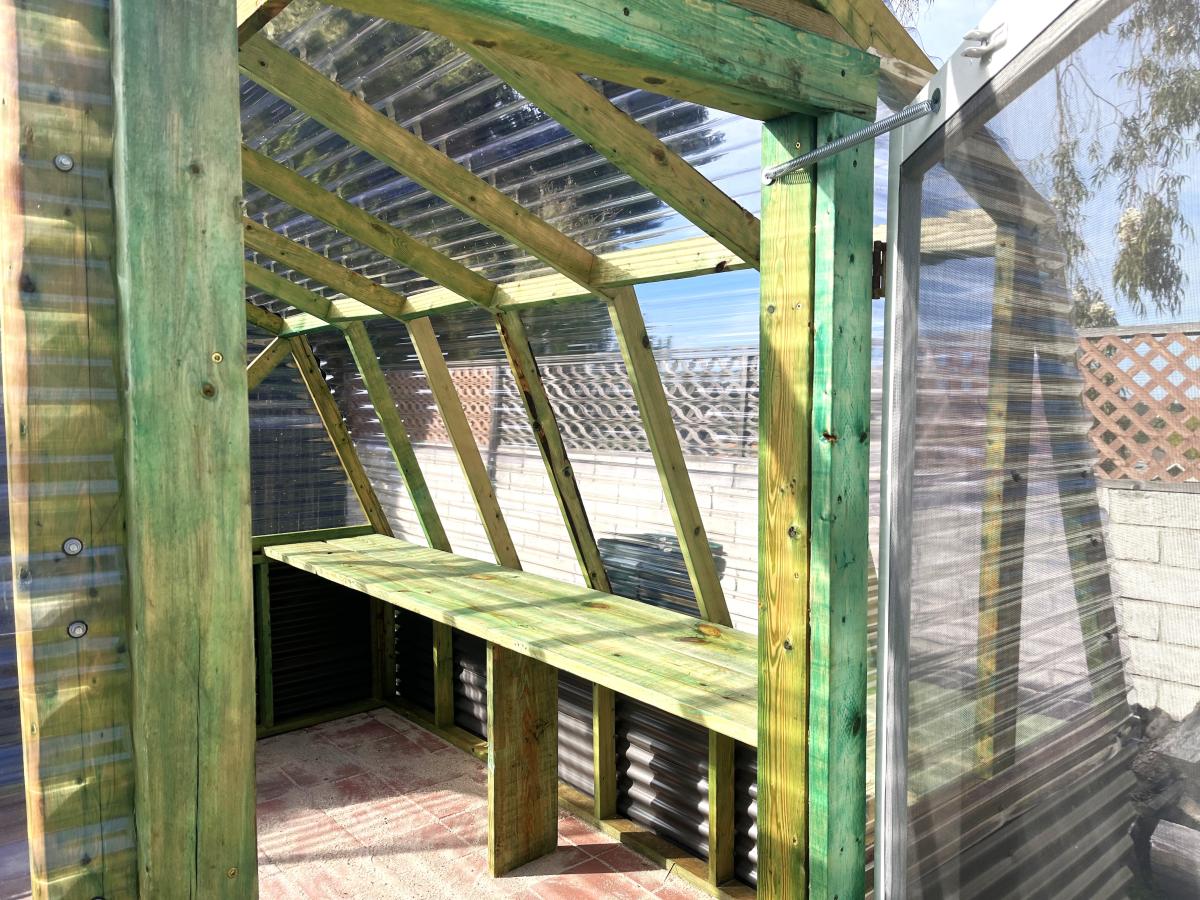
We loved this greenhouse plan from AnaWhite and wanted to be able to grow in 3 seasons so we modified the design to include humidity & temperature control & 18" deep elevated cedar beds inside with 4x4 posts for support and trellis option. We added electricity in order to have a lighted workspace and the ability to put in a circulating fan to control mold and fungus. We added 2 work tables (2x2') on the inside of the door left and right side door in order to do seed trays & store supplies. This was a wonderful project for my husband and my plants inside are doing incredibly well compared to my outside garden beds here in zone 5. Products used:

Foundation
We had a landscape company come and scape/dig a platform and then fill/compact with crushed rock
My husband then used rebar driven into a 4x4 frame in order to secure the frame to the ground and create a base upon which to build the greenhouse

Active ventilation
AC Infinity Cloudline T8 Inline duct fan
Air king range hood wall cap 8" on the bottom outside of the greenhouse wall for air intake + flex 8" duct to the fan itself
Shelter logic autovent automatic shelter vent kits (1 on each side of the front wall) in order to allow air intake from the bottom back of the greenhouse under the elevated beds to flow to the front of the greenhouse and out
Circulating fan- Hurricane wall mount fan 16" - this fan has 3 speeds with tilt function and small mounting bracket

Soil - sourced 3 yards of 50/50 loam/compost from local landscaping supply
60% loam
30% organic compost
10% organic topsoil + perlite

Soil beds
-cedar frame 2 feet wide along sides, 3 feet wide on the back wall
-galvanized metal roofing with holes drilled into it for drainage
-landscape cloth lined

Built from Plan(s)
Estimated Cost
$2000
Estimated Time Investment
Week Long Project (20 Hours or More)
Finish Used
None
Recommended Skill Level
Intermediate

Comments

bushy99

Wed, 09/09/2020 - 13:09

Thanks for that update! I was wondering how to vent this project, as Green houses need the ventilation. Good to know dollar amount also. Great photos.

bushy99

Wed, 09/09/2020 - 13:09

Thanks for that update! I was wondering how to vent this project, as Green houses need the ventilation. Good to know dollar amount also. Great photos.

bushy99

Wed, 09/09/2020 - 13:09

Thanks for that update! I was wondering how to vent this project, as Green houses need the ventilation. Good to know dollar amount also. Great photos.

Sandbox with Benches

Submitted by cscottrun on Mon, 04/13/2015 - 10:33

We altered the original plan by enlarging the sandbox (approx 5' x 6') which made for wider benches that can comfortably seat an adult.  The benches and back rests are three boards deep instead of two.  We added 2x12 supports under the benches for additional support, as well as another 2x4 support in the middle of the backrest.

Built from Plan(s)
Estimated Time Investment
Day Project (6-9 Hours)
Finish Used
None
Recommended Skill Level
Beginner

Comments

Seasonal And Holiday

Tailgate Bench

Submitted by K Brown on Wed, 07/02/2014 - 14:38

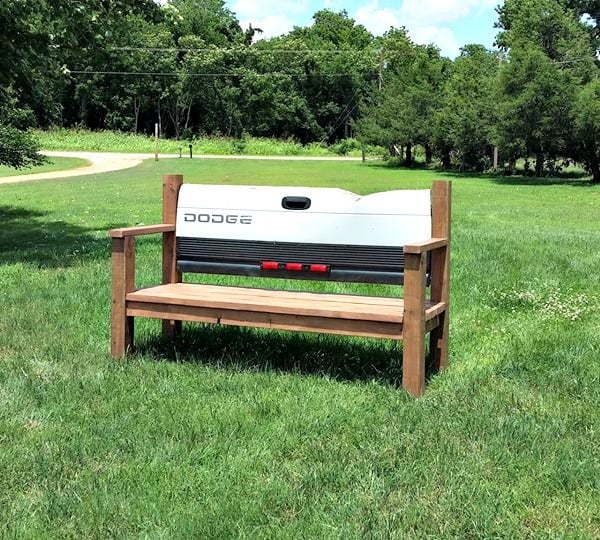
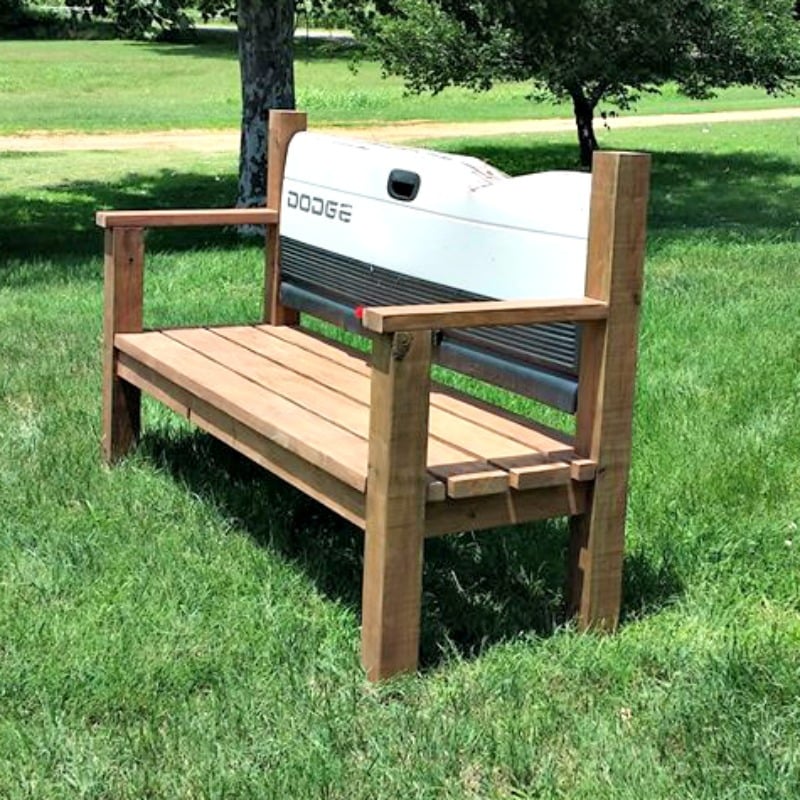
I want to give a big THANK YOU!! to Ana. I found your website a few years ago when I wanted to move my toddler to a big girl bed. Since then I have built several things but this is the first that I have shared on the site. Long story short this is a bench that I made for my father in law for Father's Day. It was a pretty simple build that I believe came together pretty well. Next, a tailgate bench for my own dad for Father's Day. Luckily he doesn't mind that it will be late.

Built from Plan(s)
Estimated Time Investment
Weekend Project (10-20 Hours)
Finish Used
Behr Premium Weatherproofing Stain in Valise
Recommended Skill Level
Beginner

Simple Bunk Bed

Submitted by jmartell10 on Sun, 06/27/2021 - 09:34

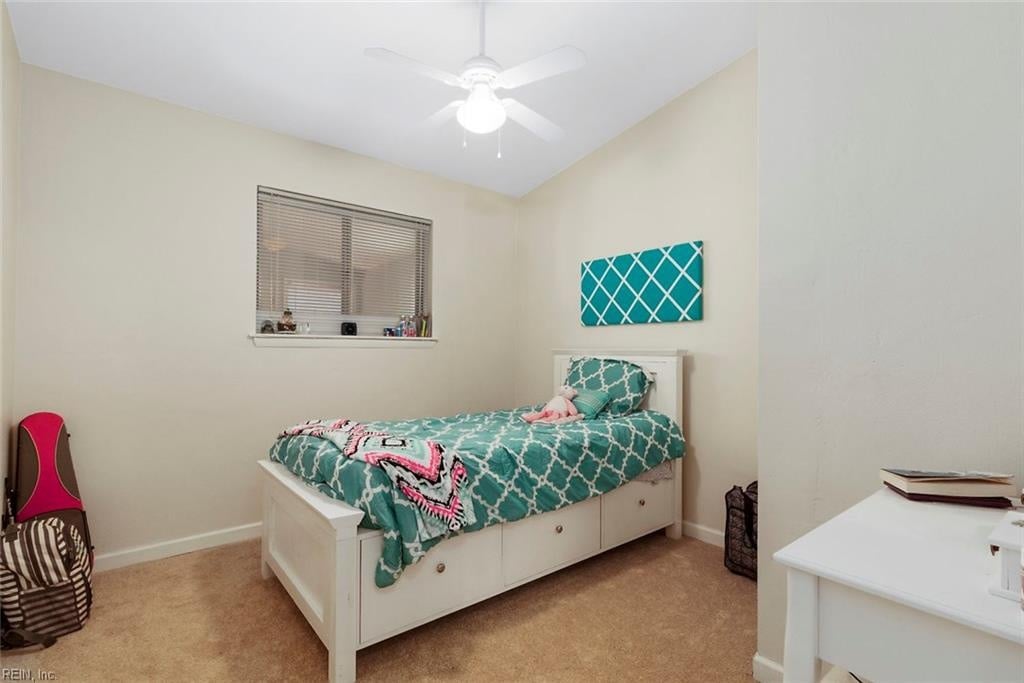
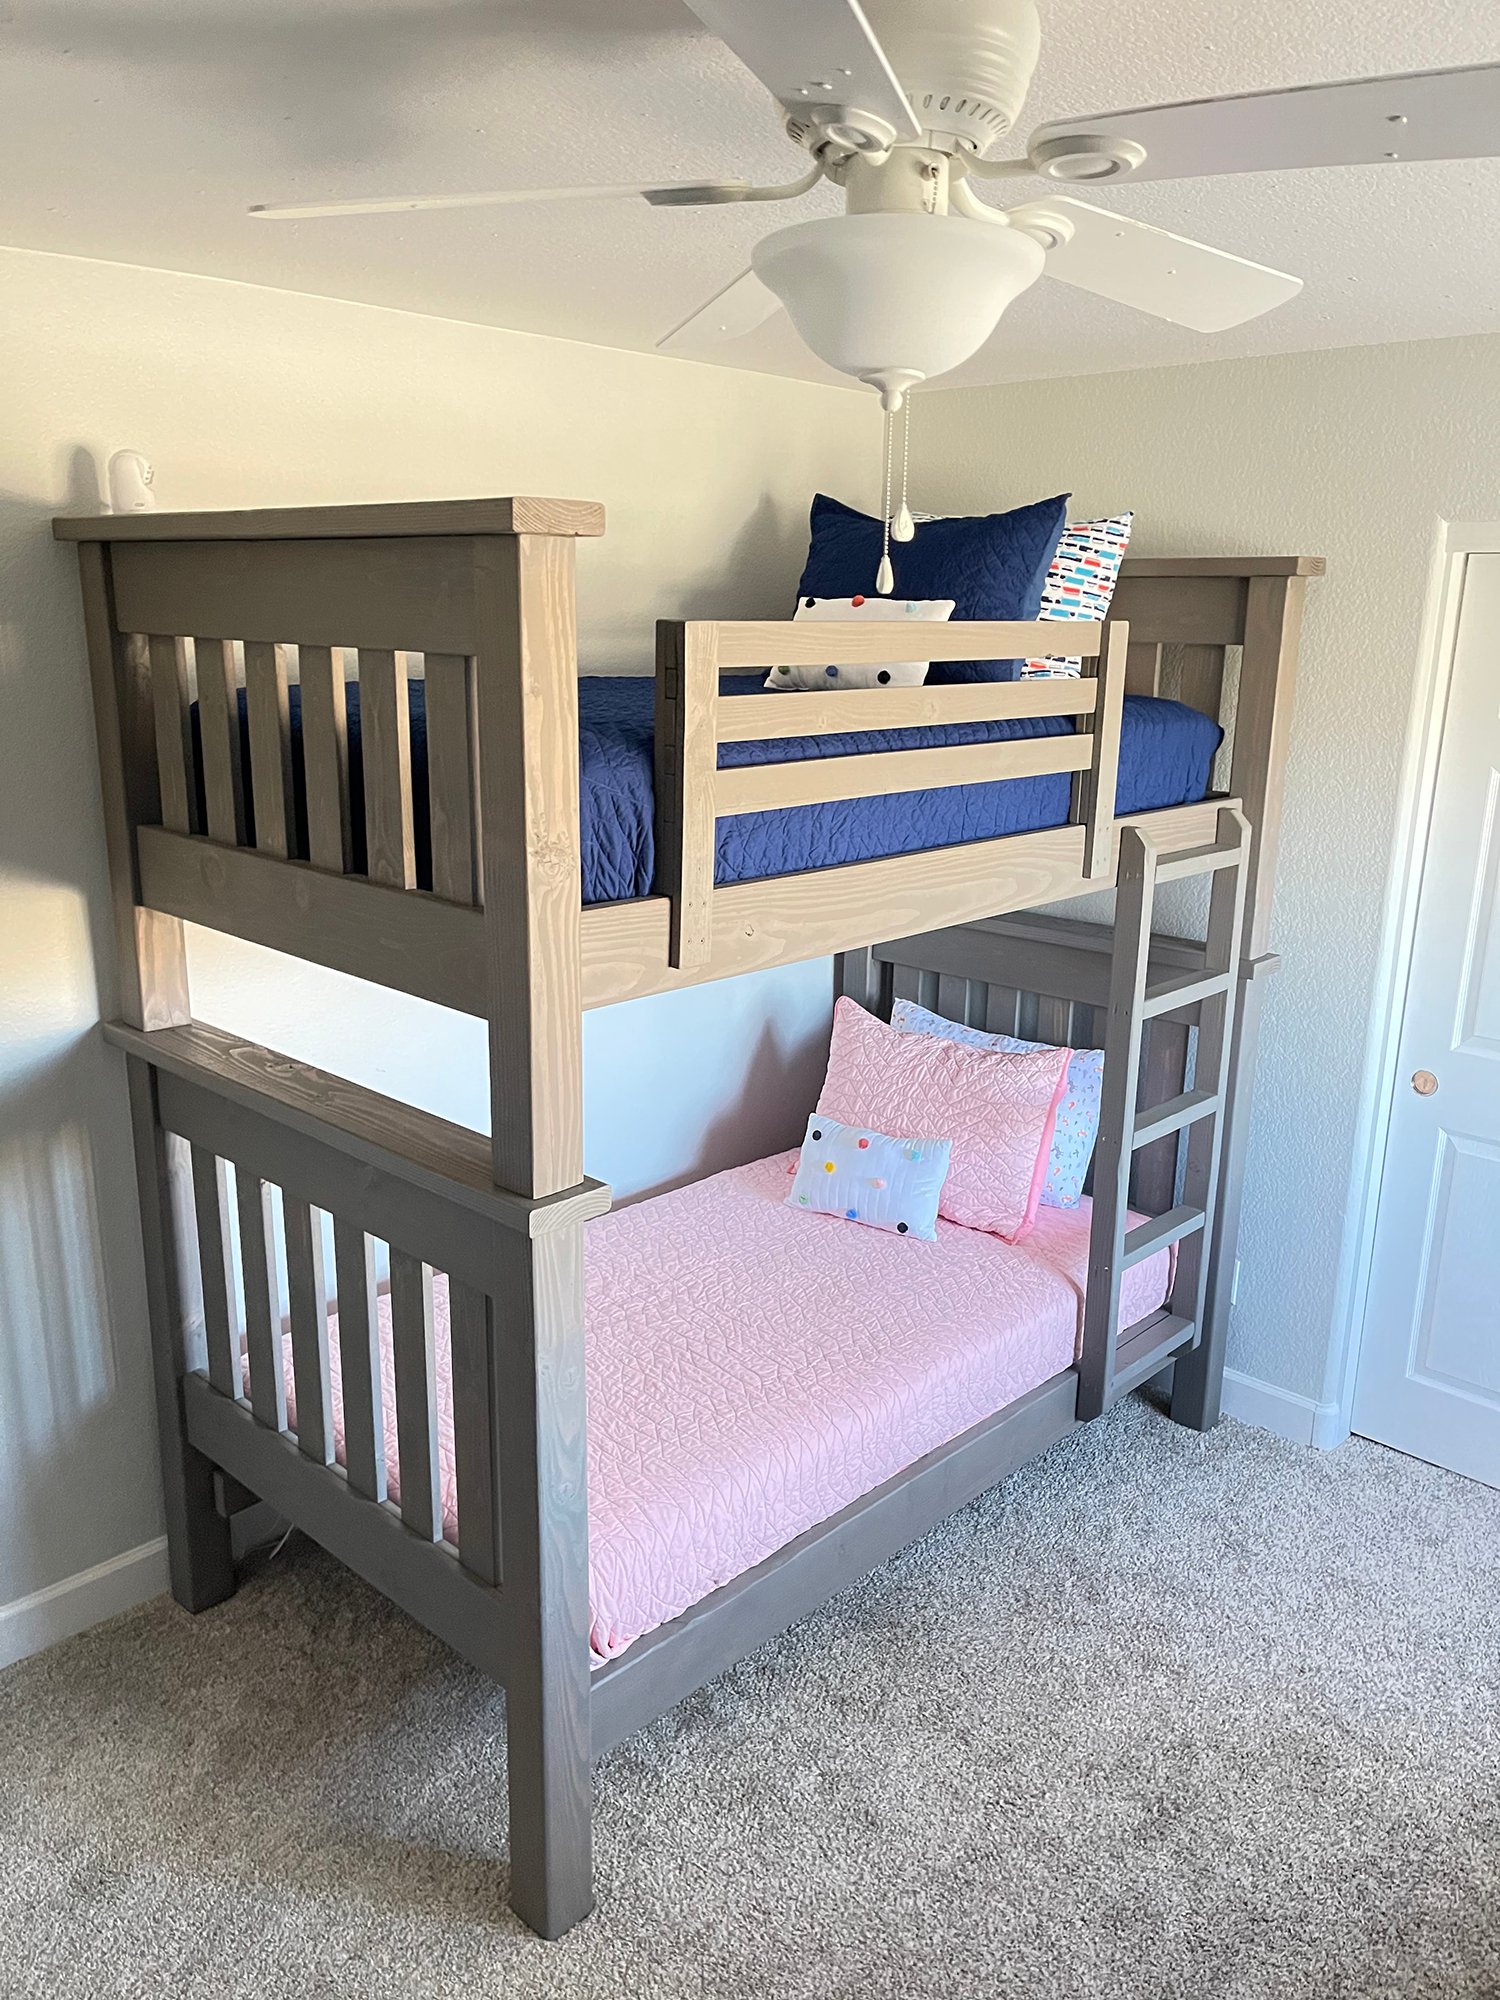
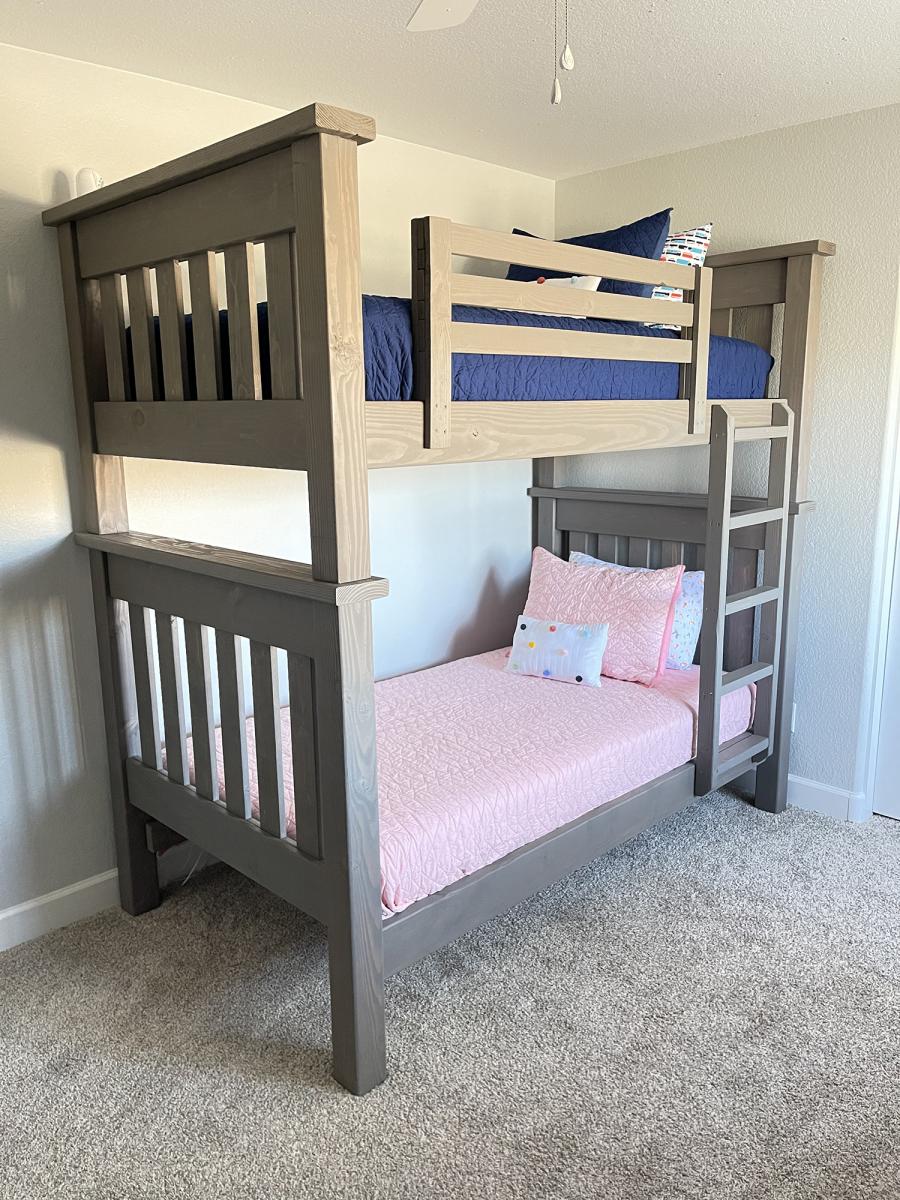
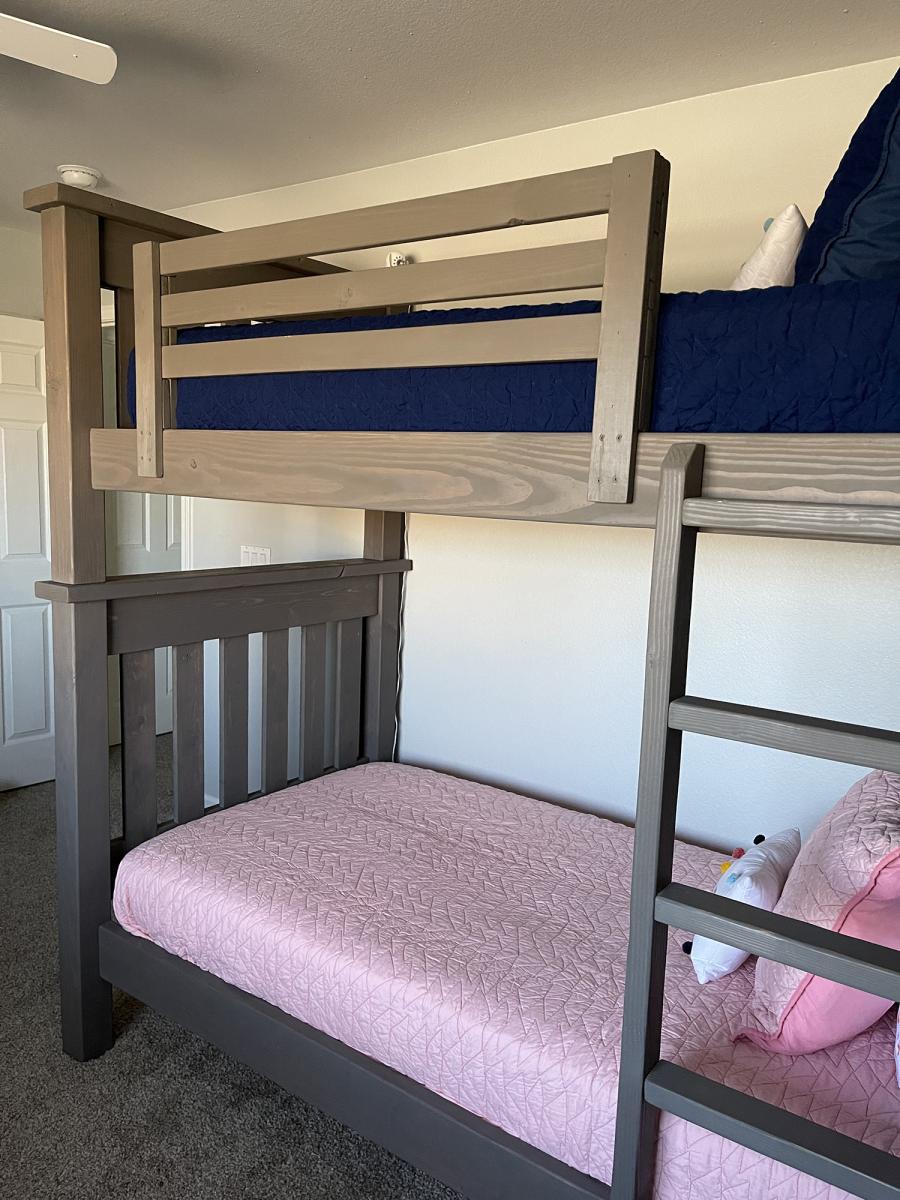
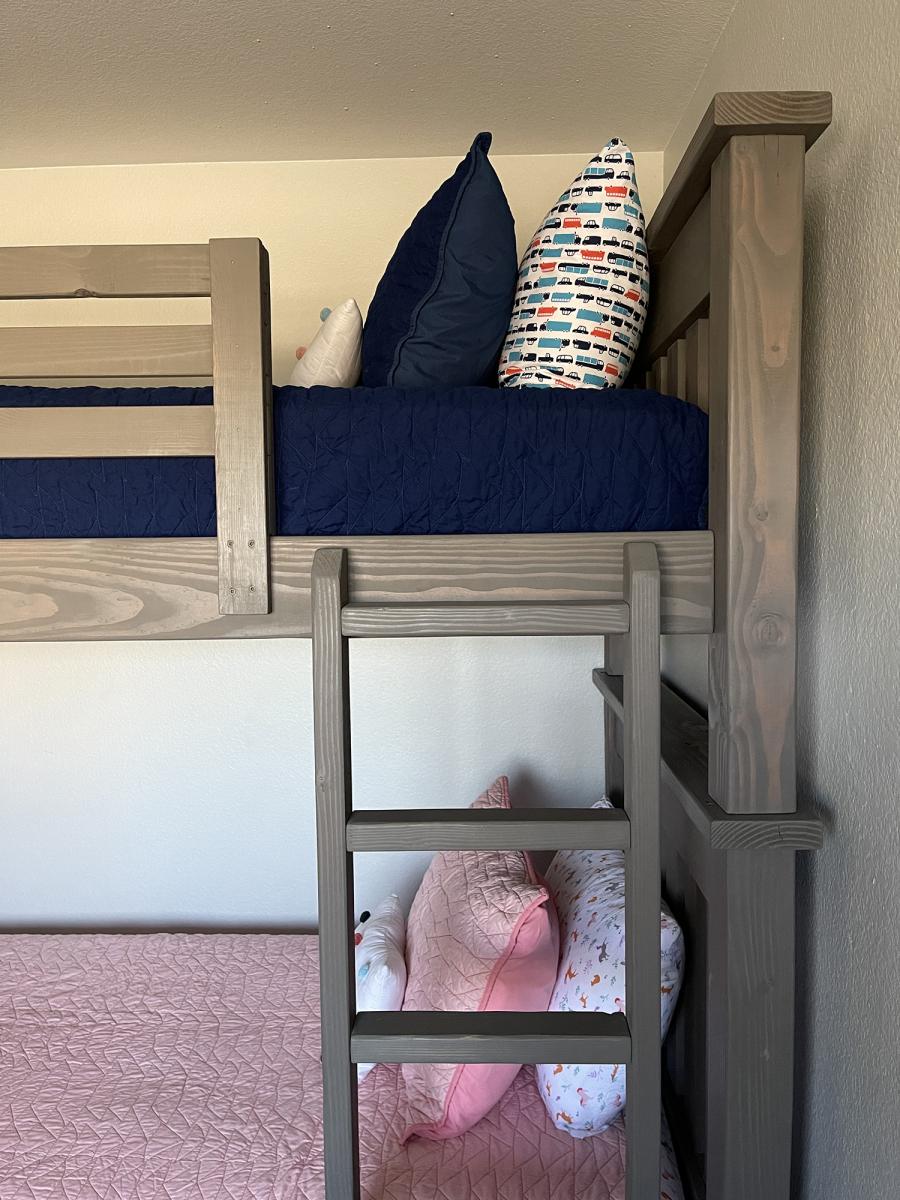
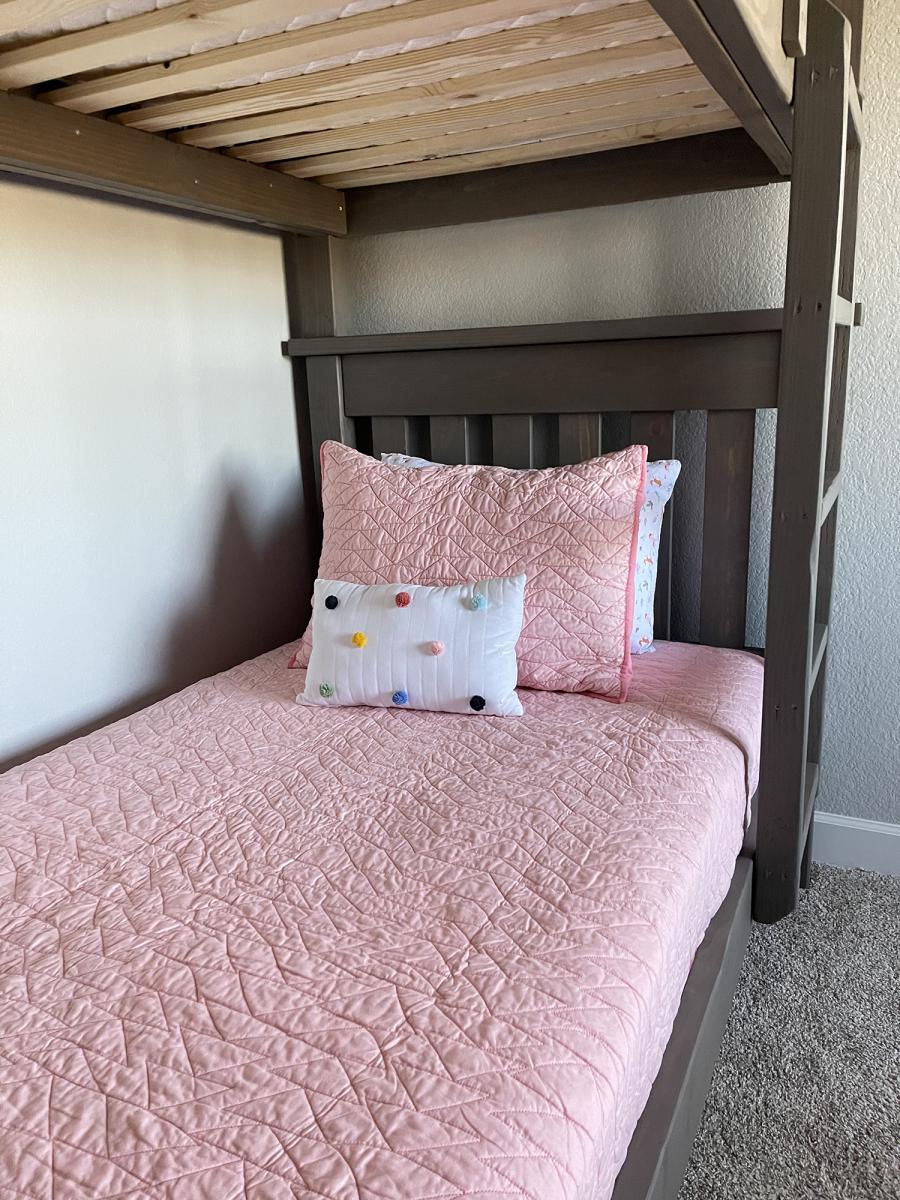
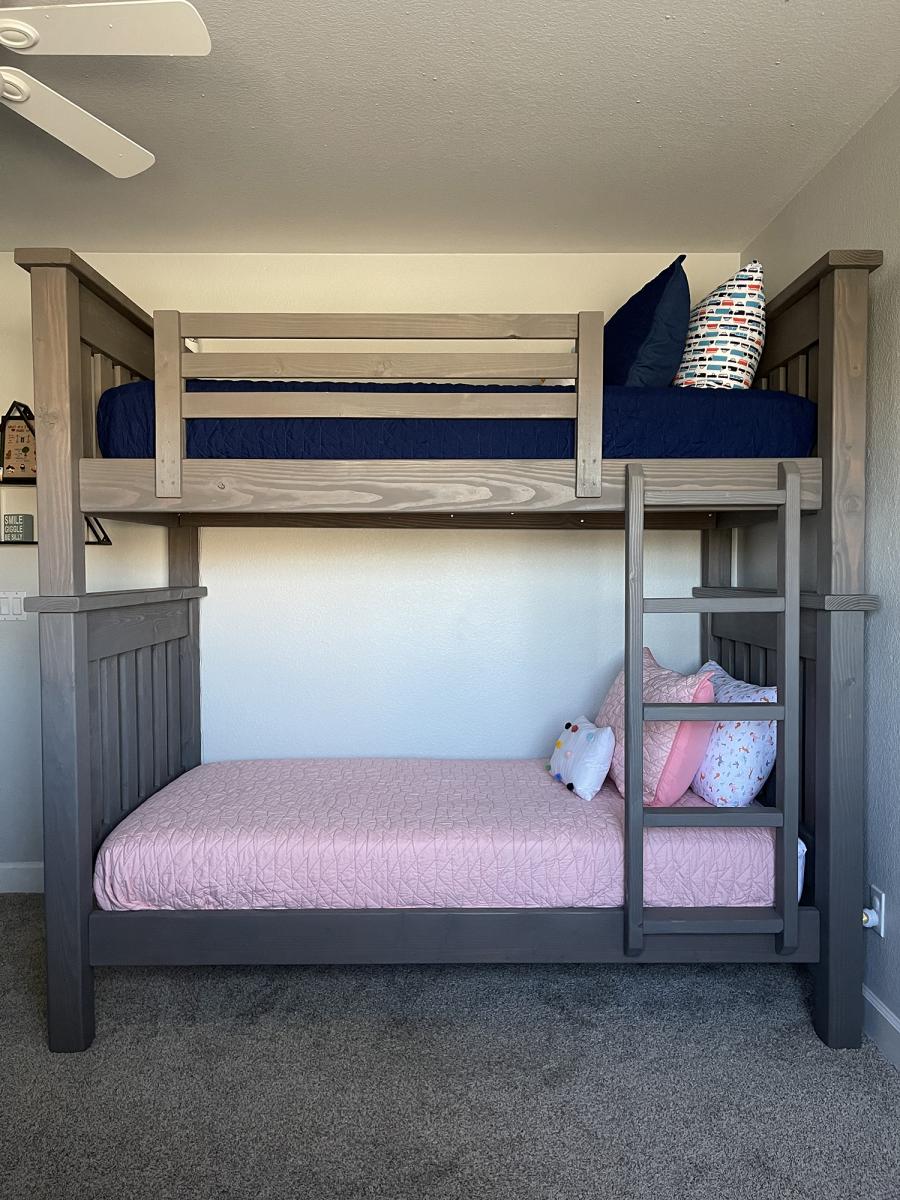
I searched high and low for the perfect bunk beds to buy for my four-year-old son and two-year-old daughter when our third child was on the way. We wanted something that had enough clearance between the top and bottom bunks so my husband and I could comfortably sit on the bottom bunk with our kids to read books before bed and it was nearly impossible to find a pre-made bed that fit that requirement in our price range. I was excited to find this plan because it looked like the perfect fit and we could modify it to meet our needs.

I built and stained most of the parts of the bed (while six months pregnant :P) and my husband did the final assembly. It took us about two weeks from start to finish since we could really only work during naptime and bedtime. We stained them with Behr water-based stain in Classic Gray. I love the way they turned out and they are super solid and heavy. My kids love them too.

Estimated Cost
$500
Estimated Time Investment
Week Long Project (20 Hours or More)
Finish Used
Behr water-based stain in Classic Gray
Recommended Skill Level
Beginner

Comments

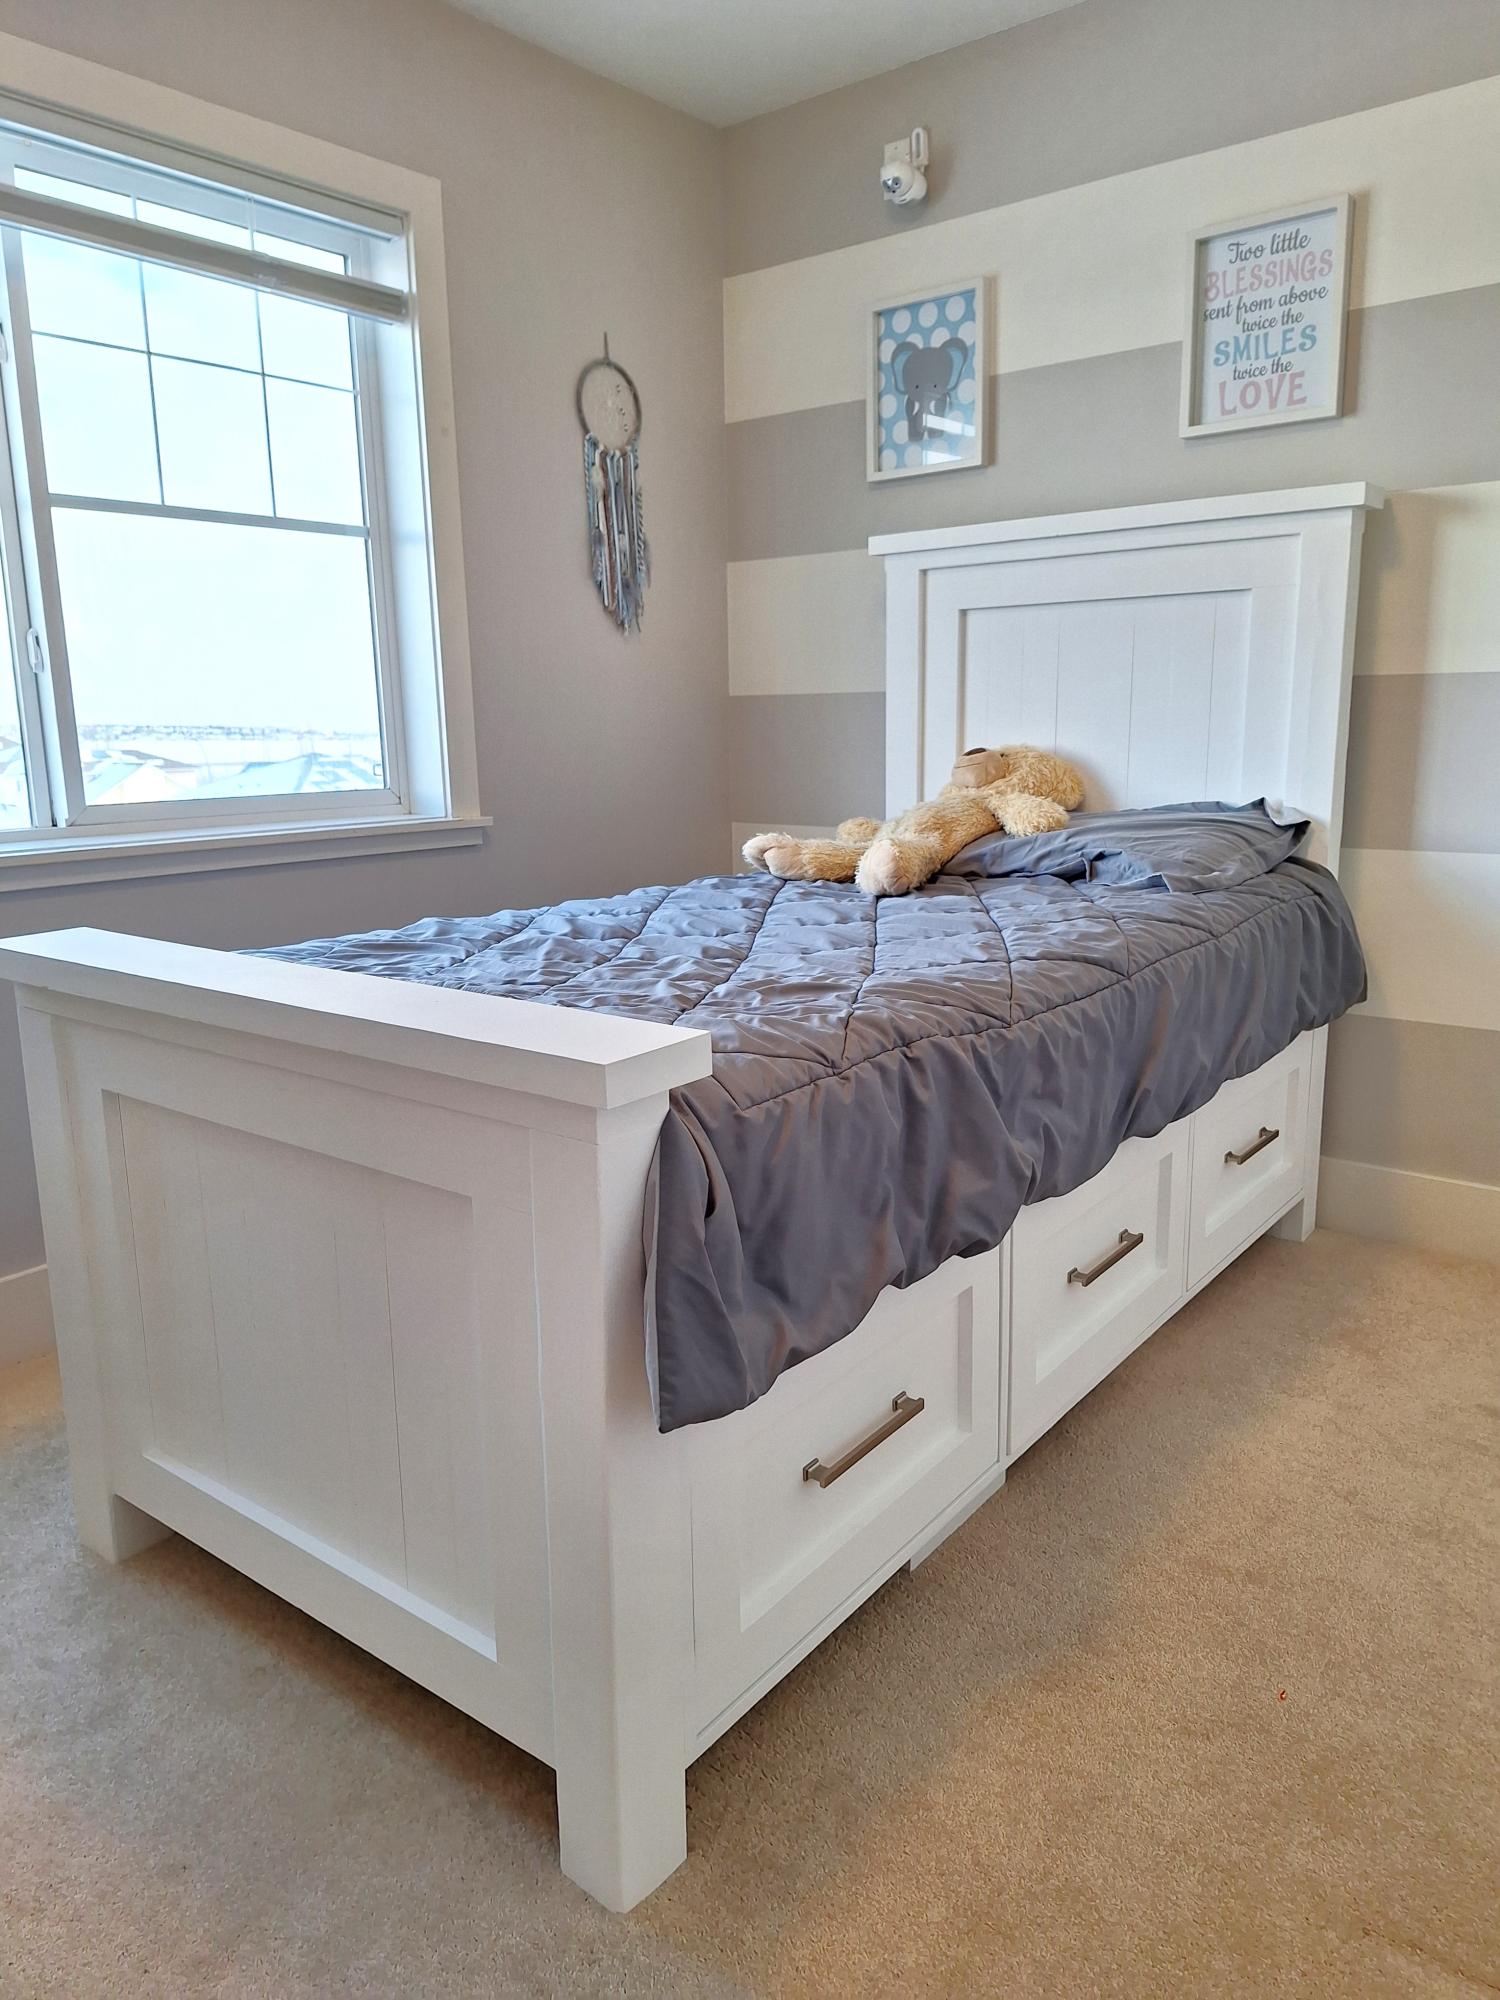
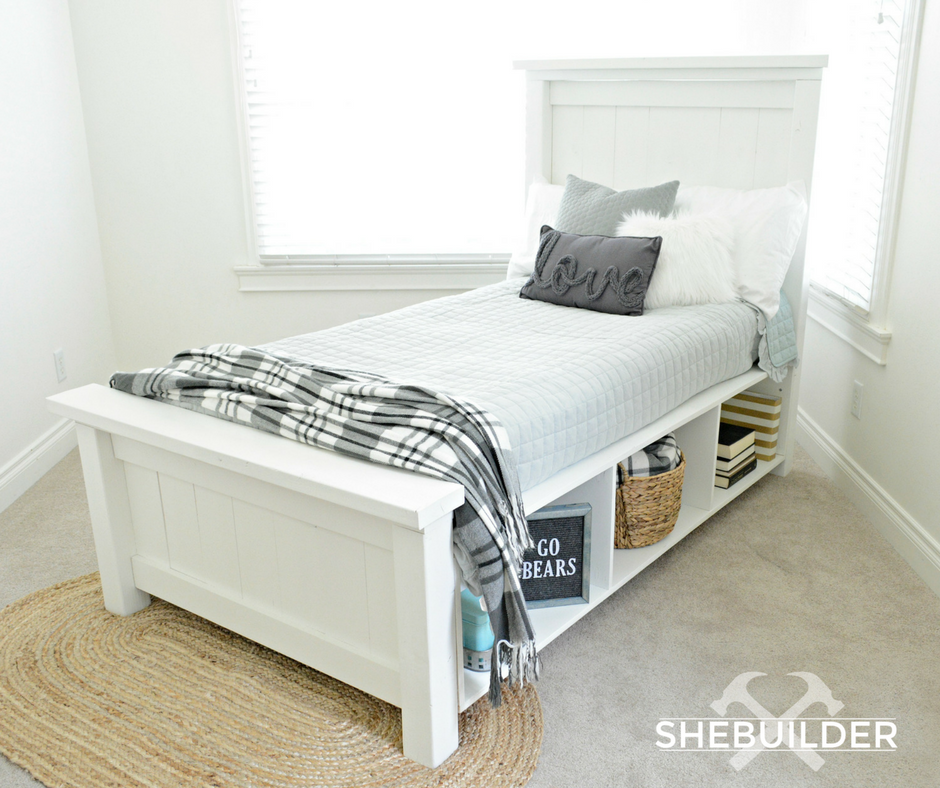
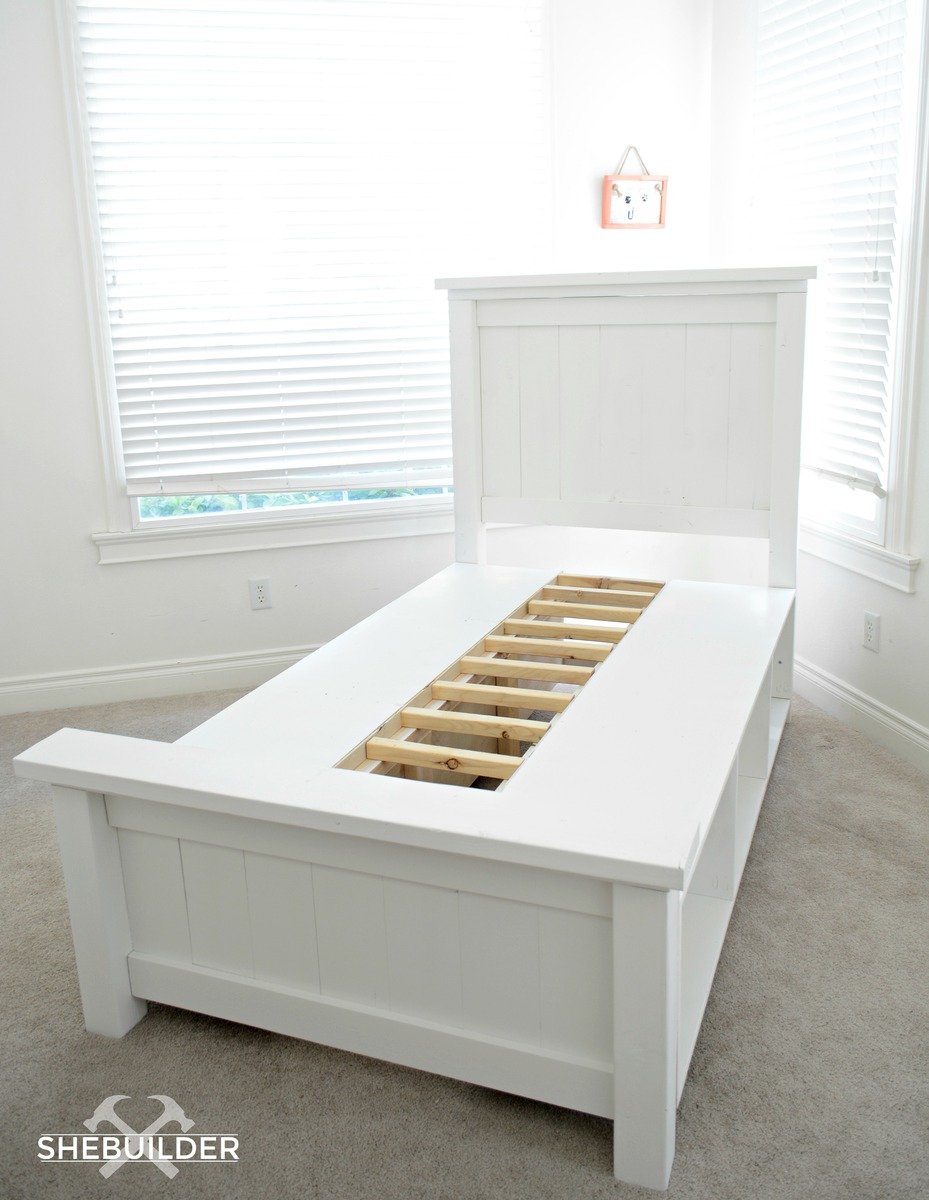
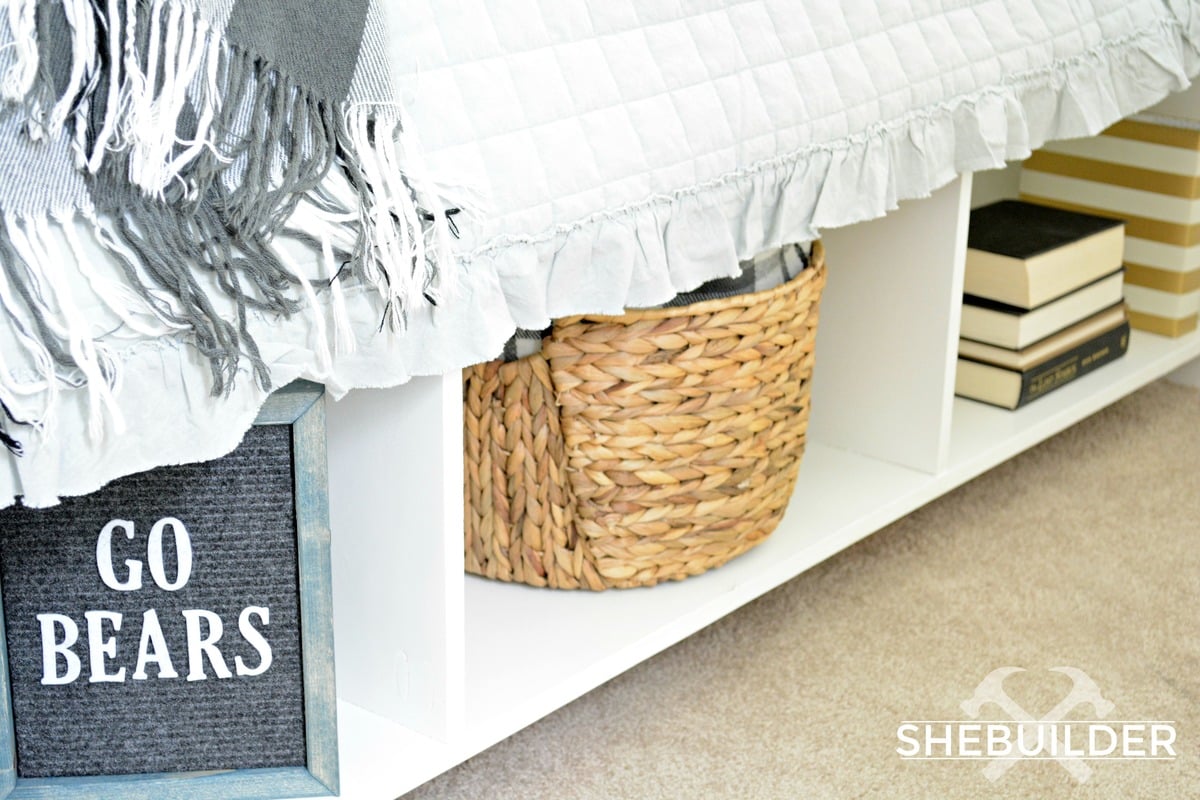
Traditional Farmhouse Bed with Storage

Hello, fellow makers! 

I really enjoyed this build - it was a challenge for me, but in the end, I'm thrilled with the results!

I modified two of Ana's plans to come up with this storage bed and I share more pictures of the process and how I finished this project over on my blog Tinsel + Wheat.

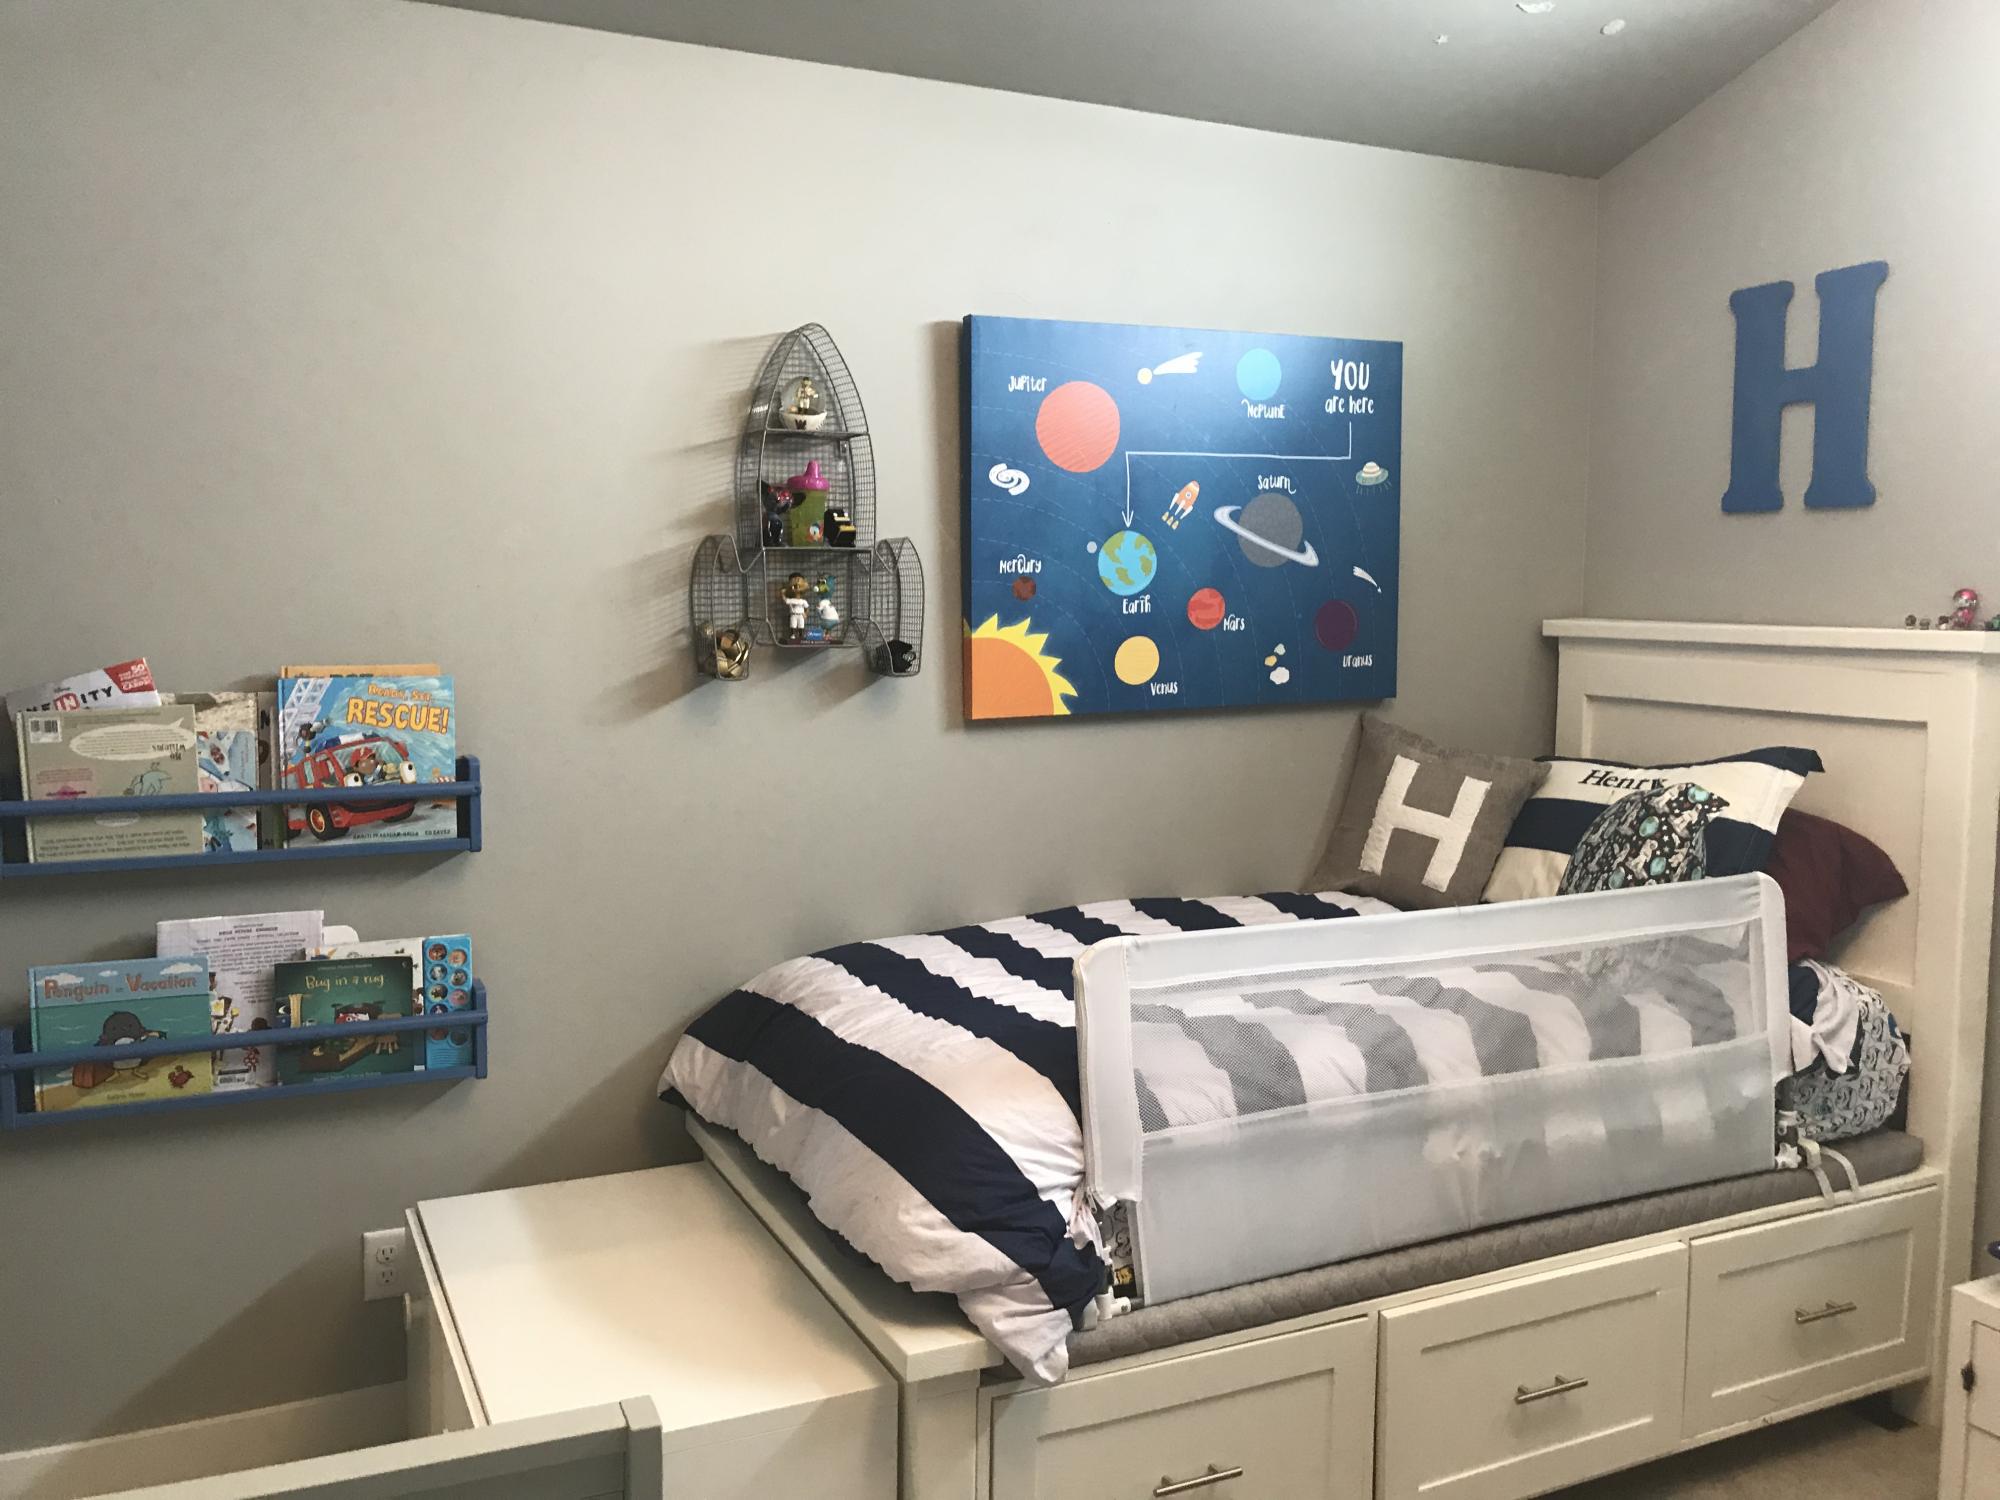
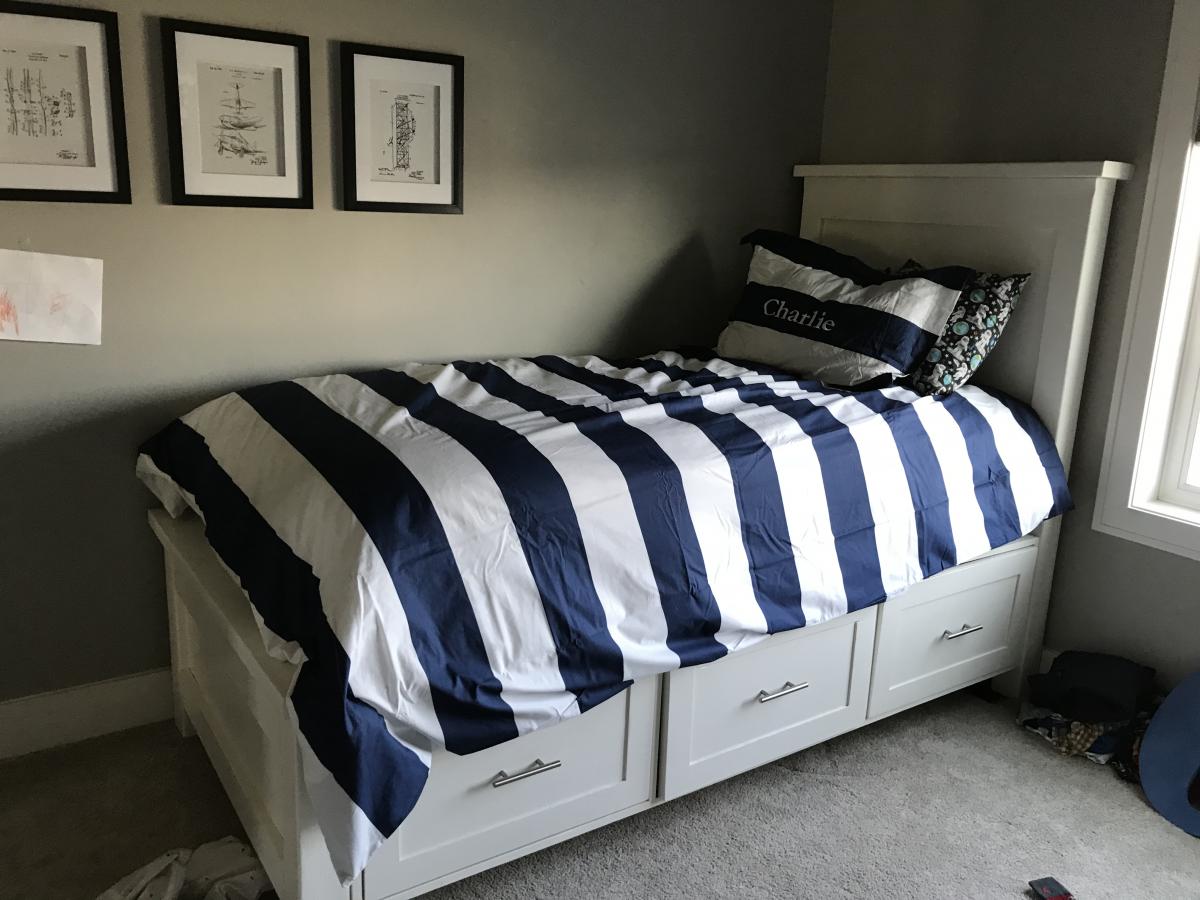
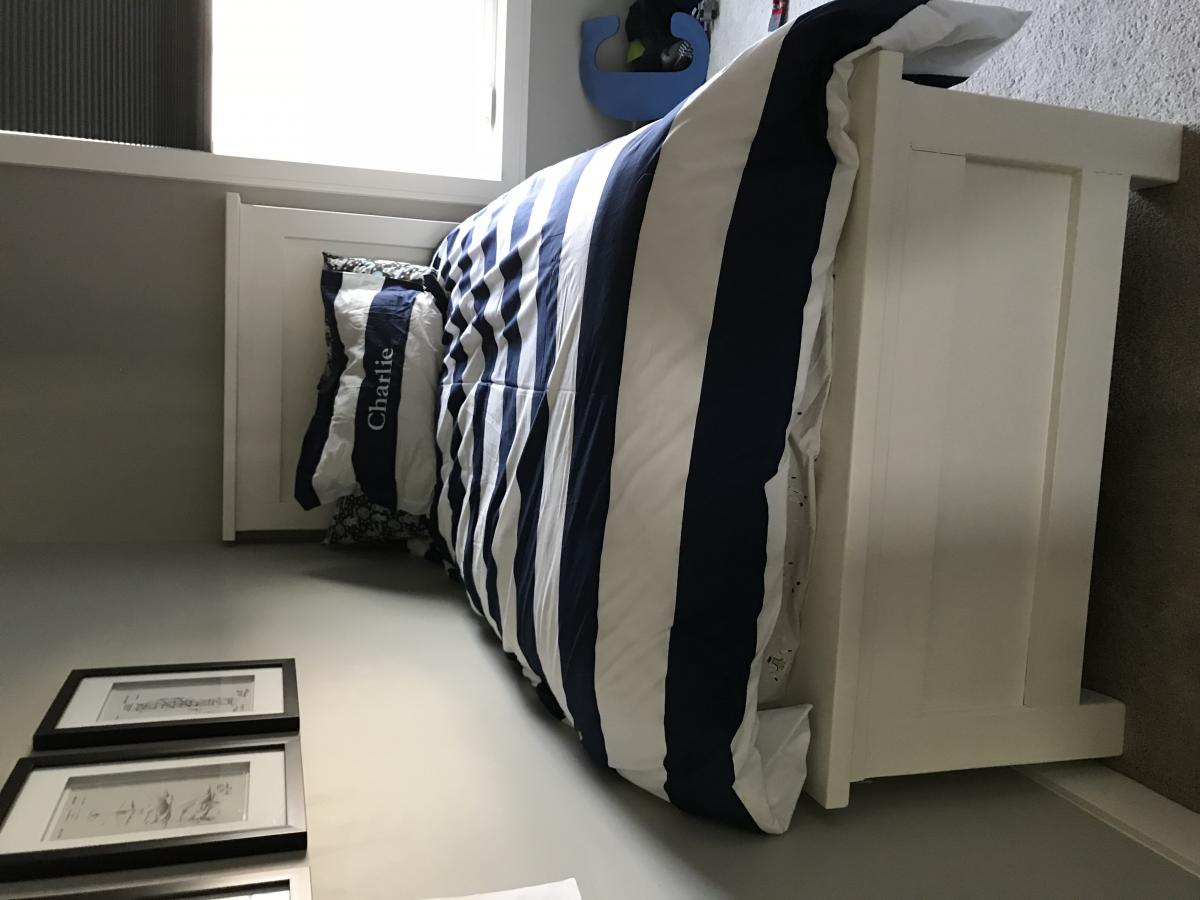
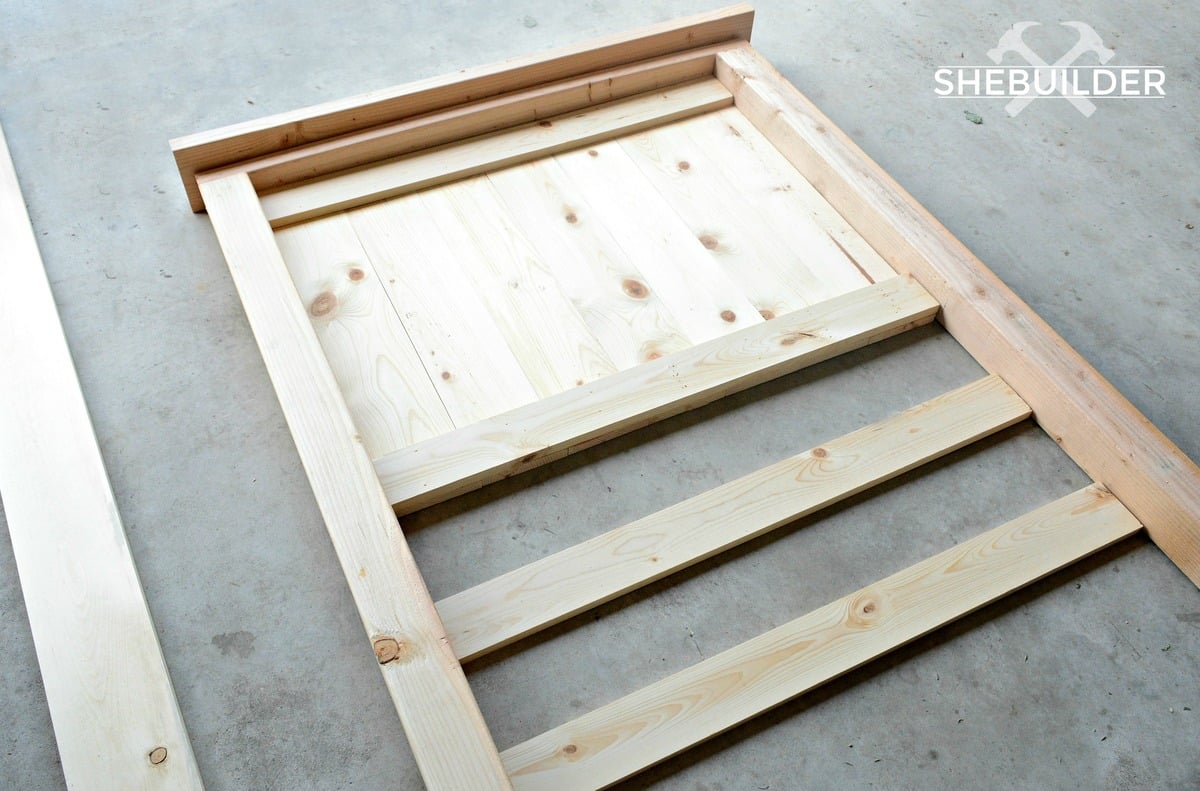
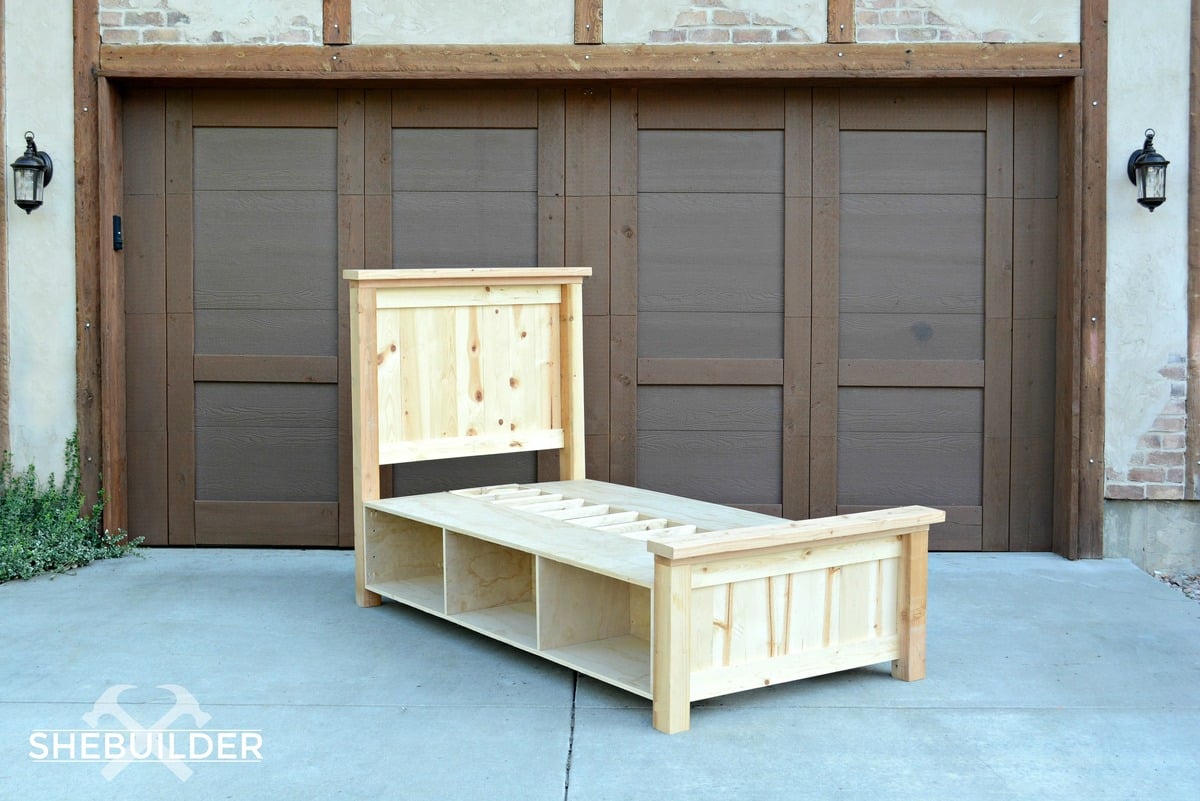
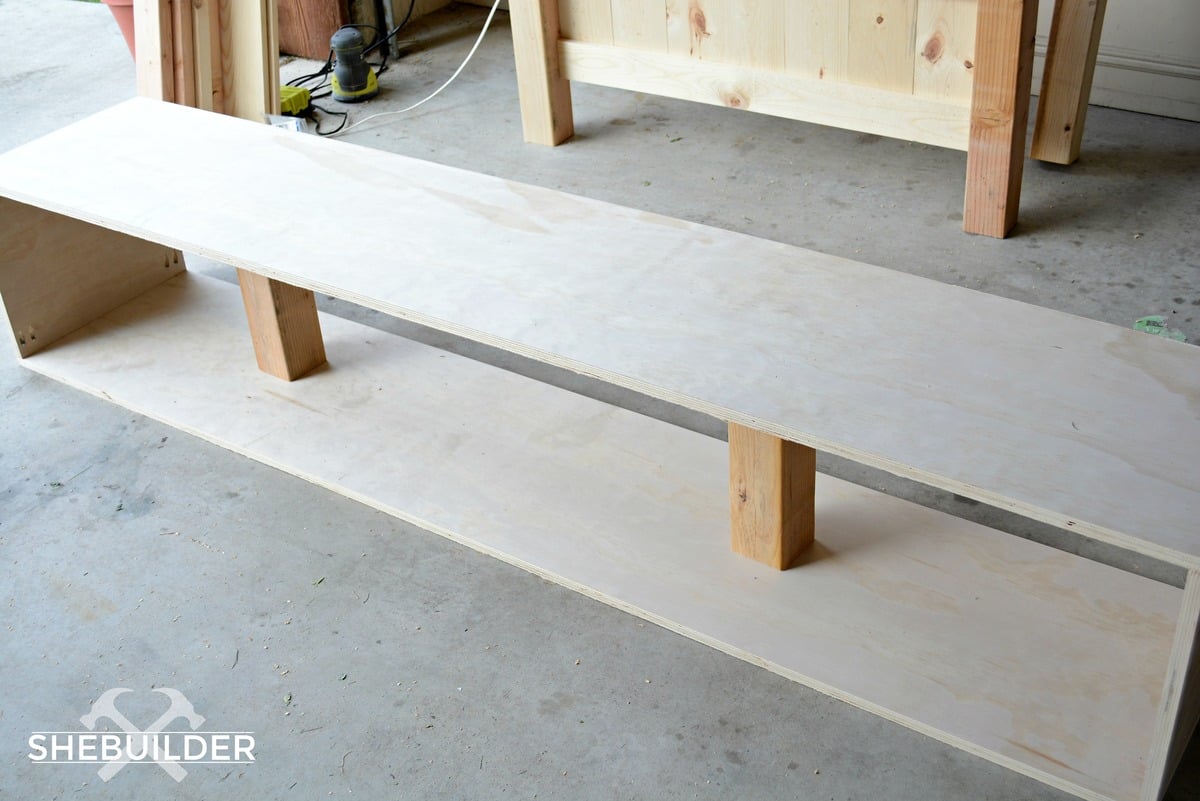
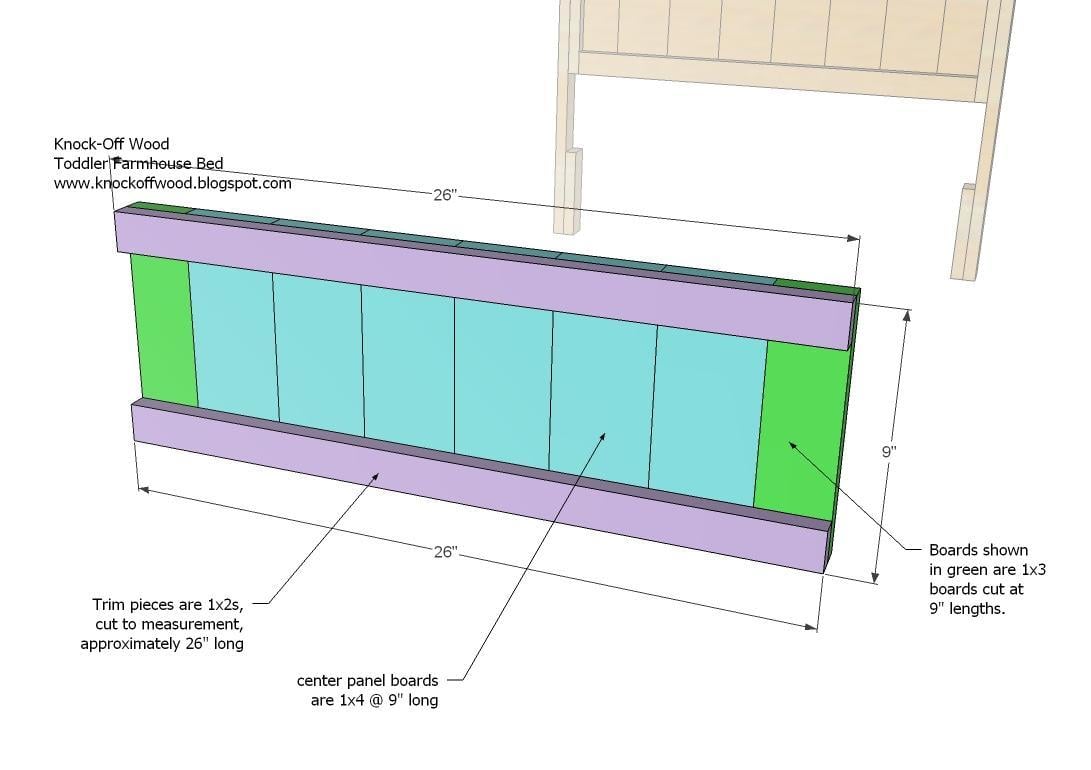
I used the Twin Bed Farmhouse plans to create the headboard and footboard, which turned out beautifully, but because of the storage base needing to be installed flush with the edges of the 4x4 posts - this made the bed a little wide for a standard twin size mattress. I don't mind the extra 2.5" of base on each side of the mattress but if you decide you would rather have the mattress edges match right up to the bed you will need to subtract one of your center 1x6 panels from both the headboard and footboard. This will give you the perfect size headboard and footboard for this build.

So grateful to Ana for these plans!  

Happy building!

Miranda


Estimated Cost
$200
Estimated Time Investment
Day Project (6-9 Hours)
Recommended Skill Level
Intermediate

Comments

vstroud

Sat, 03/02/2019 - 10:02

Might you have the lumber shopping list for the storage boxes to go with this modified Twin Farmhouse with storage bed? I looked at you personal website but you just have the cut list for them not lumber list. Desperate  need to purchase my wood Monday.Thank you so very much!

Cedar Planter Outdoor Speakers

Submitted by Hoosierdoc on Fri, 06/10/2016 - 10:53

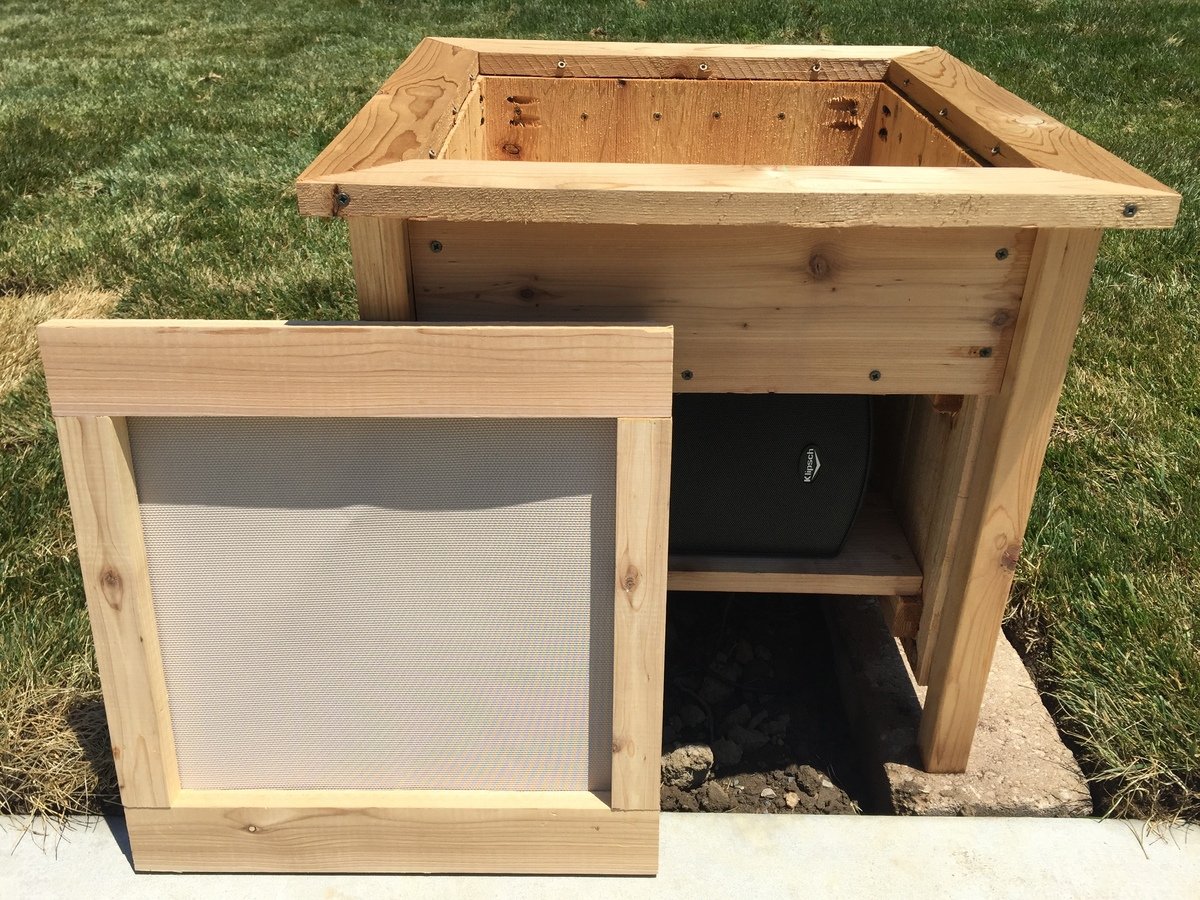
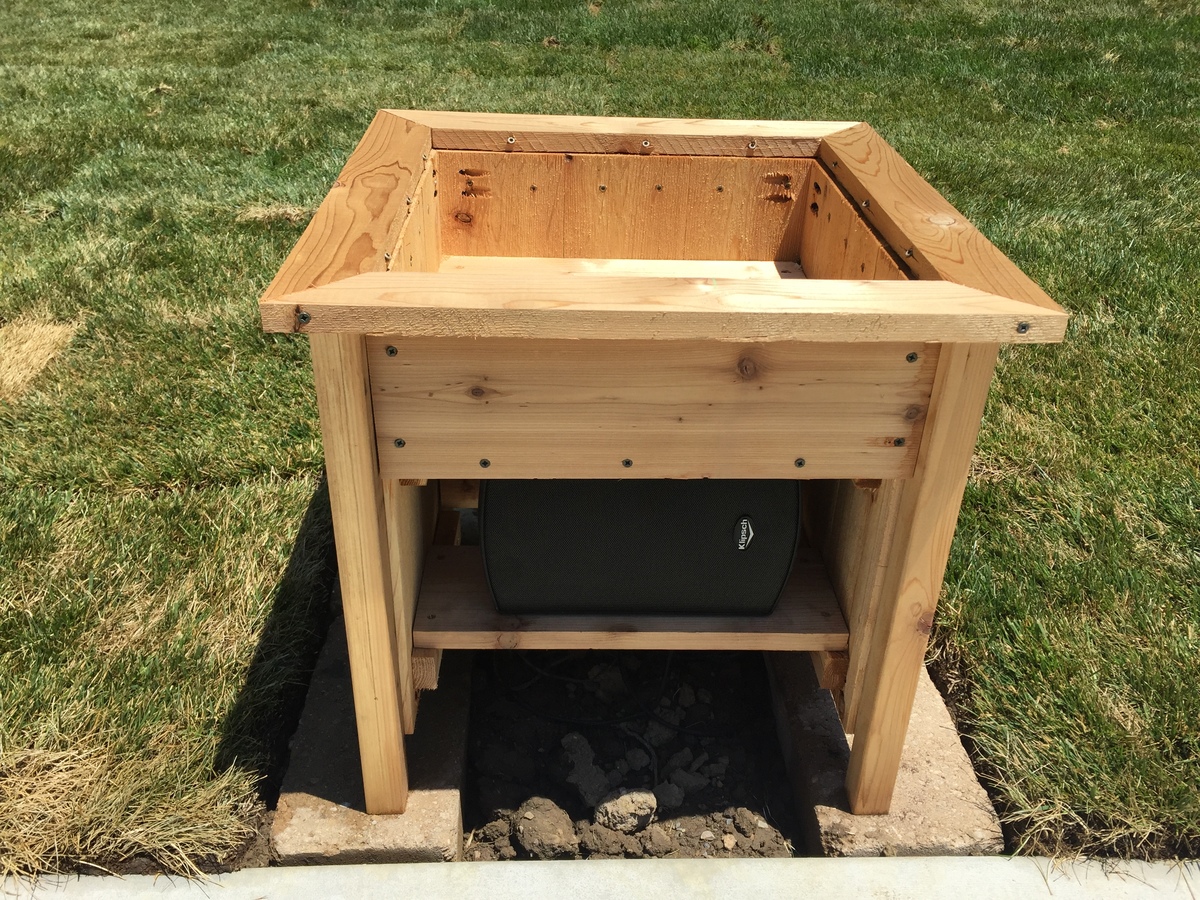
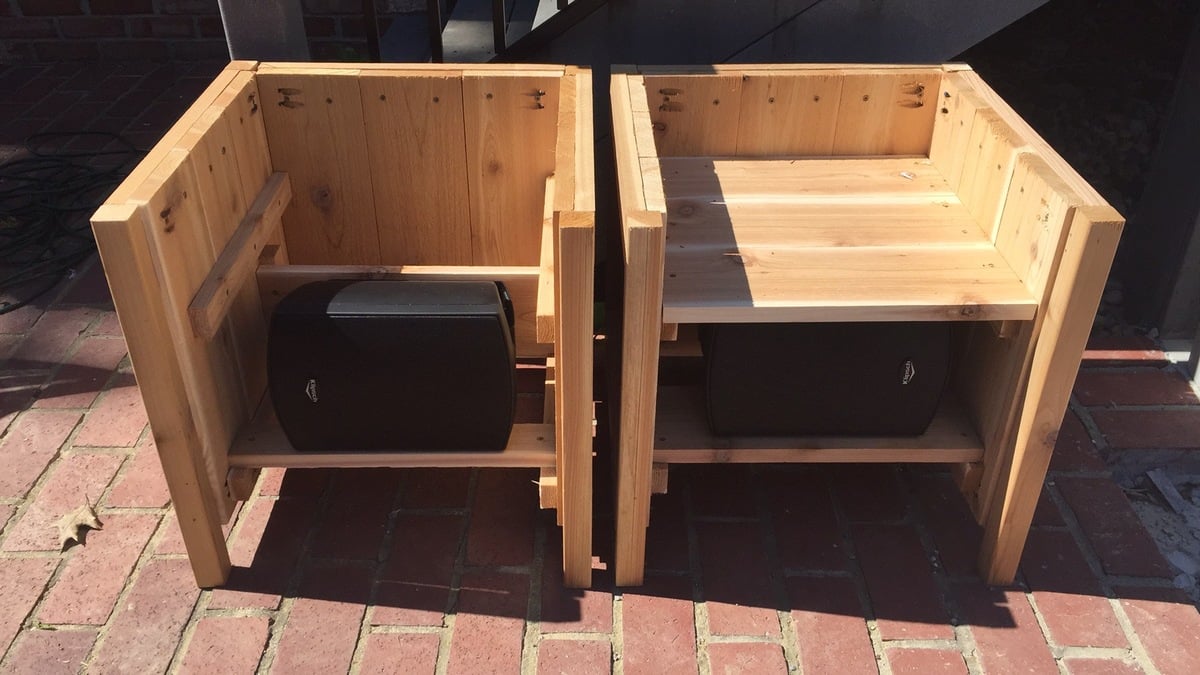
We just put in a pool and I needed something to hide a pair of outdoor speakers. I used Klipsh AW-525 speakers.

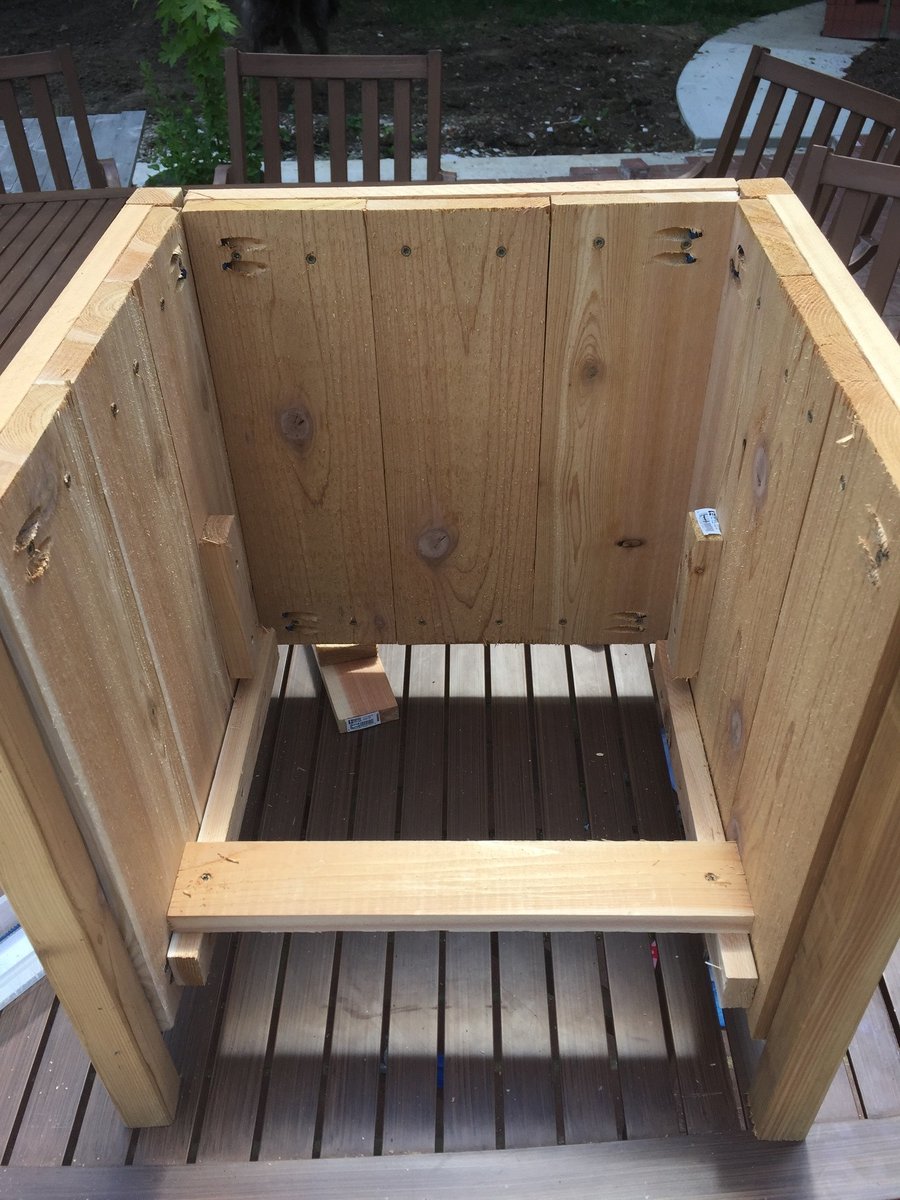
Basically I raised the bottom of the planter enough to fit the speaker under and had to add a few framing pieces to secure the speaker mount to. The mount attaches to a vertical board and the weight rests on a horizontal board. The wiring comes up from below.

The front panel uses vinyl mesh from Sailrite.com to hide the speaker but allow sound out. Imm planning to hang it with magnets if it doesn't distort sound too much.

Built from Plan(s)
Estimated Time Investment
Afternoon Project (3-6 Hours)
Recommended Skill Level
Beginner

Comments

Chicken Coop

Submitted by Elloh on Tue, 08/11/2020 - 11:05

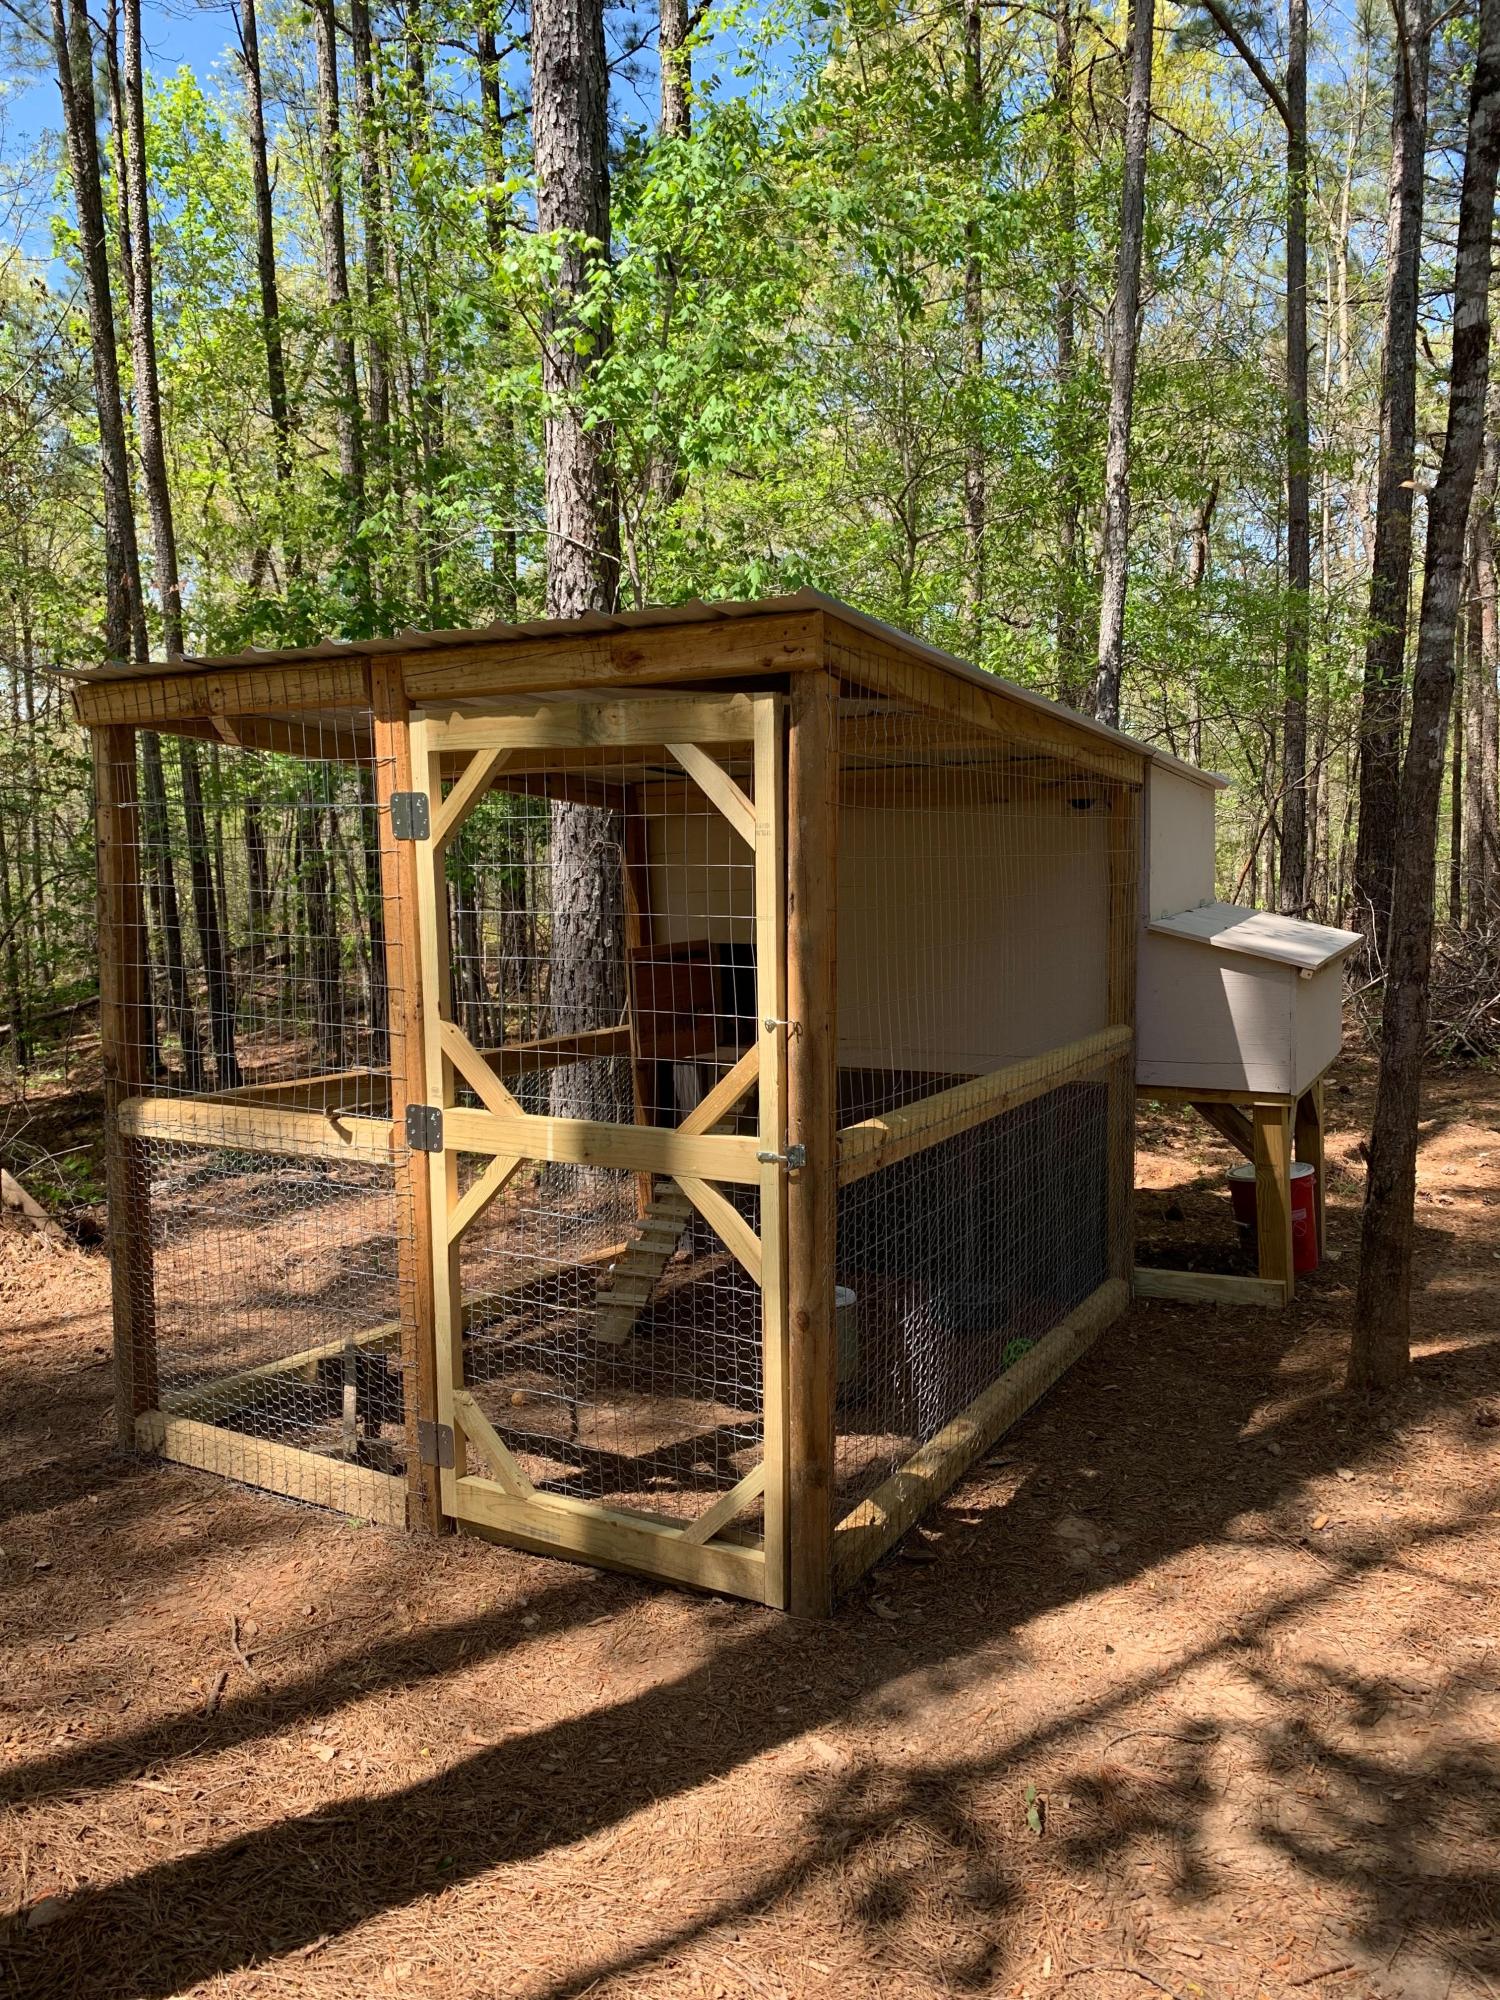
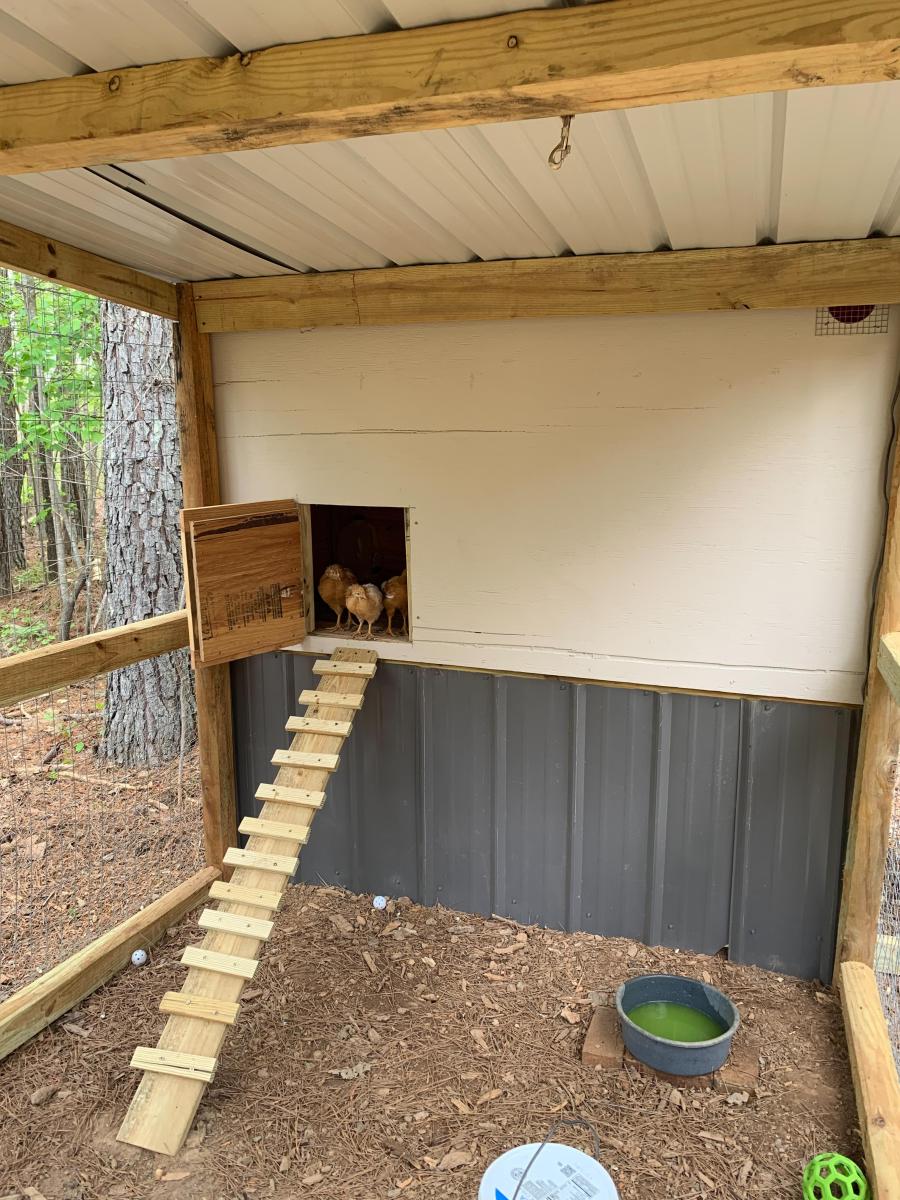
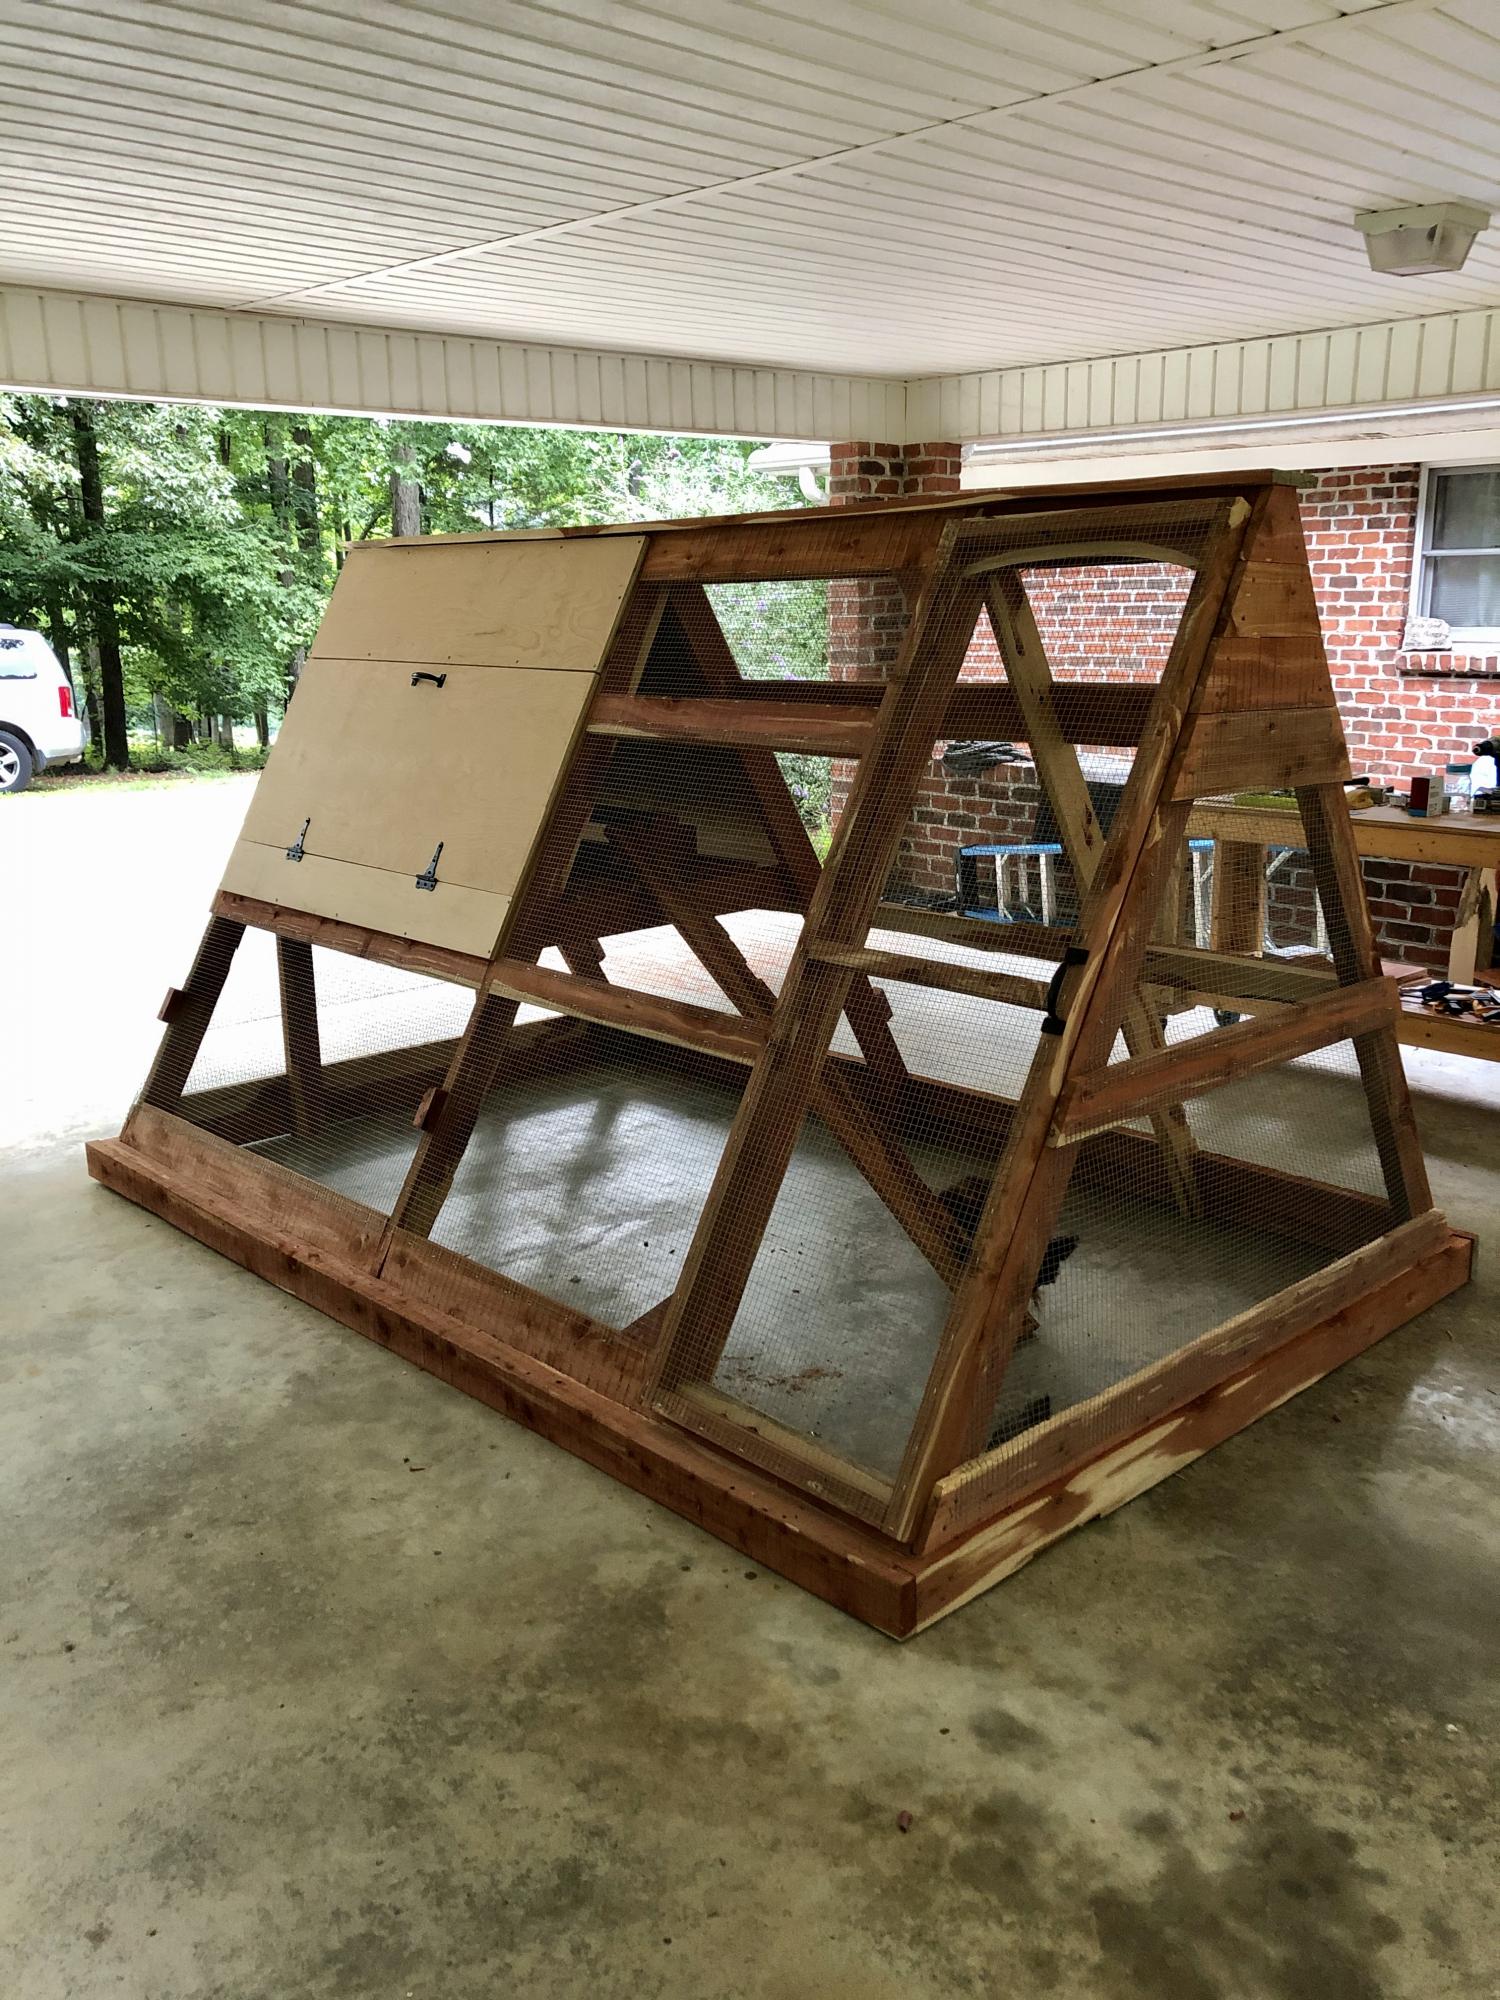
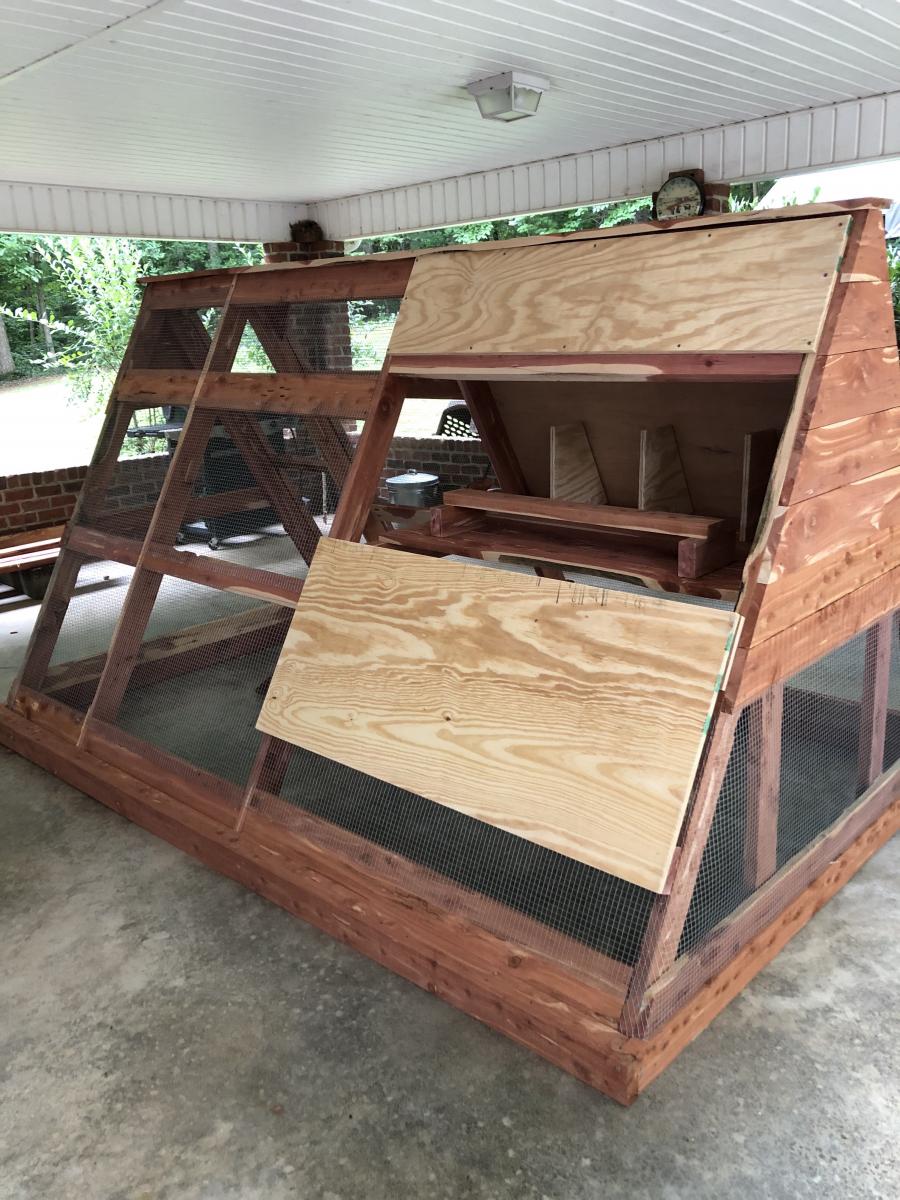
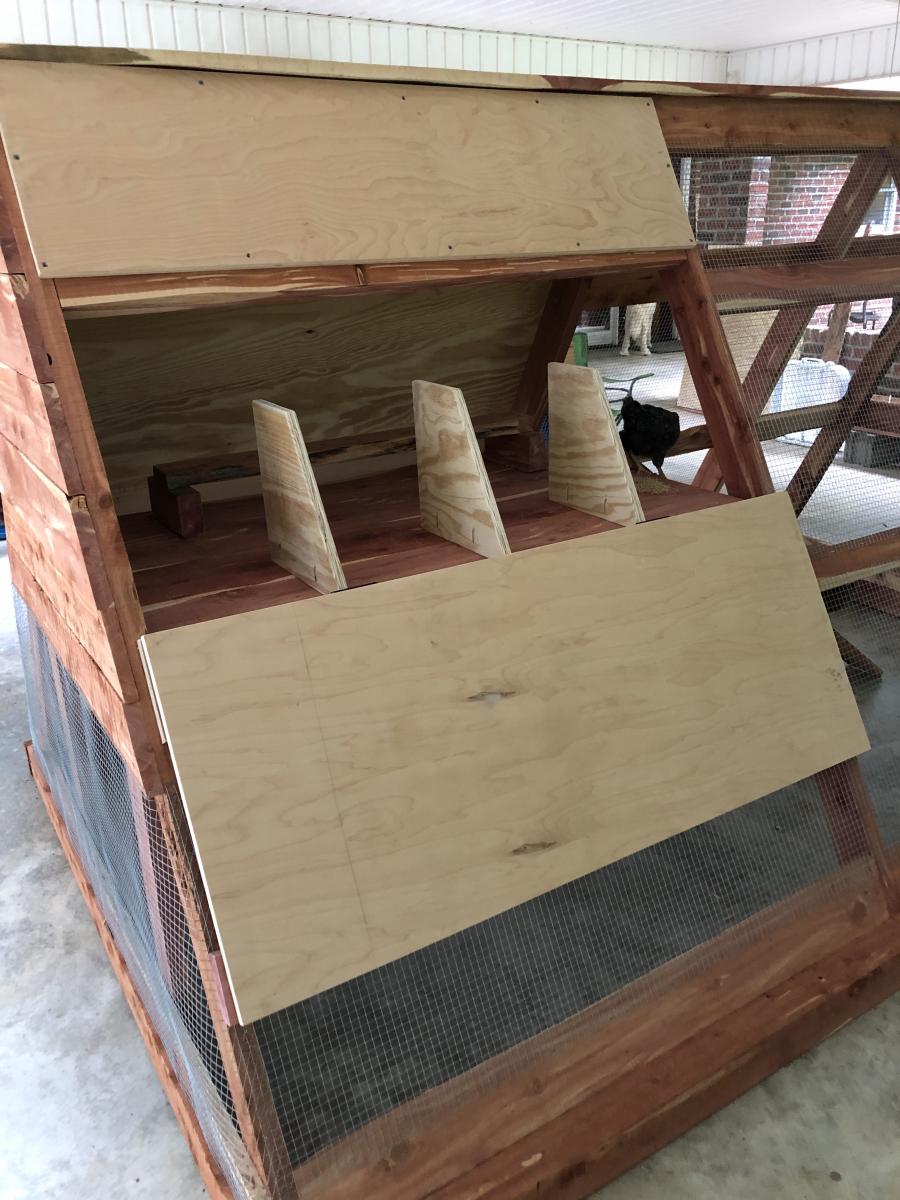
This was my biggest build yet and these plans along with being able to see a few brag posts with modicifactions made this project less intimidating. I extended the coop in order to add a walk in door. The drop down doors on both sides will give plenty of access and help with cleaning. I've added door latches to all the doors since putting it in place. My dad provided the cedar so that greatly reduced my costs. This project took about six days to complete. The fun part was getting it out of my carport : ) This was built for my daughter's chickens and she is thrilled with it. So am I! Thanks for the plans Ana!

Estimated Cost
Hardware, screws, hardware cloth and plywood - around $150
Back