Community Brag Posts

Dog/Baby Gate

Submitted by advanlente on Sat, 03/28/2020 - 11:53

Inspired by Ana White's $25 Wood Baby Gate (https://www.youtube.com/watch?v=cPV6XfheqgA), I needed a gate for my miniature schnauzers. They loved going into the basement unattended ... and well ... potty accidents happen without me being the wiser. So, I modified the hardware used, and so far so good! The puppies and my little nieces and nephews are protected. 

Surf Shack Bunk Bed (Using Club House Bed Plans)

Submitted by Anonymous (not verified) on Sun, 08/28/2016 - 21:39

We decided to follow the Club House bed plans, but we added another bunk below. We did this by adding a foot to the height and duplicating the slats and ends etc. My boys absolutely love this bed! We actually enjoyed building it. I can't wait to try more Ana White plans - they were so easy to follow and it's so satisfying having made something cool from scratch.

Built from Plan(s)
Estimated Cost
$200
Estimated Time Investment
Weekend Project (10-20 Hours)
Finish Used
One part water to two parts white paint
Recommended Skill Level
Intermediate

Reclaimed Wood Headboard, Double Size (Cedar Siding)

Made with leftover lapped cedar siding from our woodshed, plus a few pieces of reclaimed 1x4 and some new 1x3.  Wanted it to be navy, and it is.

Estimated Time Investment
Day Project (6-9 Hours)
Finish Used
Navy blue satin paint. Don't - I repeat - don't prime with white primer, if painting a final dark color! It took 4 coats of navy to completely cover the primer. Either skip primer or have it tinted closer to the final color. Should have known better.
Recommended Skill Level
Beginner

Shoe cabinet!

Submitted by JMasters on Thu, 01/26/2017 - 13:43

Created my own version out this plan. 

Built from Plan(s)
Estimated Cost
$80
Estimated Time Investment
Weekend Project (10-20 Hours)
Recommended Skill Level
Intermediate

Big Kids Picnic Table

Submitted by gsnpbc on Mon, 04/24/2017 - 10:00

My son and I made this table this weekend in just a couple of hours with no problems. The directions were clear and easy to follow. Thank you for sharing them with us.

Built from Plan(s)
Estimated Cost
$40
Estimated Time Investment
An Hour or Two (0-2 Hours)
Recommended Skill Level
Beginner

Apothecary Jeans Dresser

Submitted by vendo on Wed, 05/19/2021 - 18:27

I used Shelf Help for the plywood pieces and a mash up of Ana's plans for the rest. I shared a video on my family page for steps used here https://www.youtube.com/watch?v=urFoX5j4J0s

Estimated Cost
250
Estimated Time Investment
Weekend Project (10-20 Hours)
Recommended Skill Level
Beginner

I doubled the recipe and built a table that seats 12!

Submitted by JMRojas on Fri, 03/06/2015 - 14:07

I used the Farmhouse Table plans and just extended the measurements to build an extra-long outdoor table that seats 12.


Estimated Cost
$250
Estimated Time Investment
Weekend Project (10-20 Hours)
Finish Used
Tea, vinegar, and steel wool
Recommended Skill Level
Intermediate

Comments

Console Table

Submitted by wangbw on Sun, 06/11/2017 - 15:32

Quick and easy to follow plans.  Only issue I ran into was that my miter saw only cuts up to a 50° angle.  I set up a jig to hold the 2x2 perpendicular to the saw and set the miter to 30°.  Viola, easy 60° angles!  Pic attached for reference.


Built from Plan(s)
Estimated Cost
$80
Estimated Time Investment
Afternoon Project (3-6 Hours)
Recommended Skill Level
Beginner

Modern Loveseat and Couch

Submitted by Anonymous (not verified) on Sun, 09/26/2021 - 12:00

We were looking for outdoor furniture big enough for our whole family and friends but everything we looked at was over $5000 and really not well made. Ana to the rescue.
We built 2 loveseats and created a couch by doubling the dimensions.
We built the whole thing out of redwood so total wood was about $1000
The cushions were from Overstock and Lowes, approx $300.
There was a too much wiggle room with the cushions so we made a built-in frame to hold them in place. If we built another I would have cut the width down slightly.
We placed a 4X4 and another 2X4 on top of the back to provide more support.
All in all, love the way it turned out.

Seasonal And Holiday

4x4 Truss beam table and bench

Submitted by Anonymous (not verified) on Mon, 10/04/2021 - 13:42

The plans were very easy to follow for non avid woodworkers. We decided to upholster the seat on the bench.

Built from Plan(s)

Comments

Paper Roll Dispenser

Submitted by vendo on Wed, 11/17/2021 - 10:44

This took me about 20 minutes! I love the look of it and that it can just be left out when the kids aren't doing art. A great little item to add to keep the kids busy and inspired. I made a couple of mods from the plan. I used glue and nails instead of pocket holes and I did that bottom board flat instead of on it's side. I also used a little bigger dowel, and bought two rolls of paper on Amazon for $14.I'm giving this to my daughter for her birthday with some fun art supplies, so I think it's a great gift idea for any occasion for those crafty people out there!

Built from Plan(s)

Comments

Monika

Tue, 04/02/2024 - 06:09

Sometimes, when working with papers, you might need to convert file formats, right? So, I recently came across this website https://pdfflex.com/webp-to-png It's super handy for converting. It's been a real time-saver for me, especially when I need to tweak documents for printing or sharing. I'd desided to share in case it helps someone else out there too!

Convertible picnic table

Submitted by ClemTanya on Tue, 06/18/2013 - 19:43

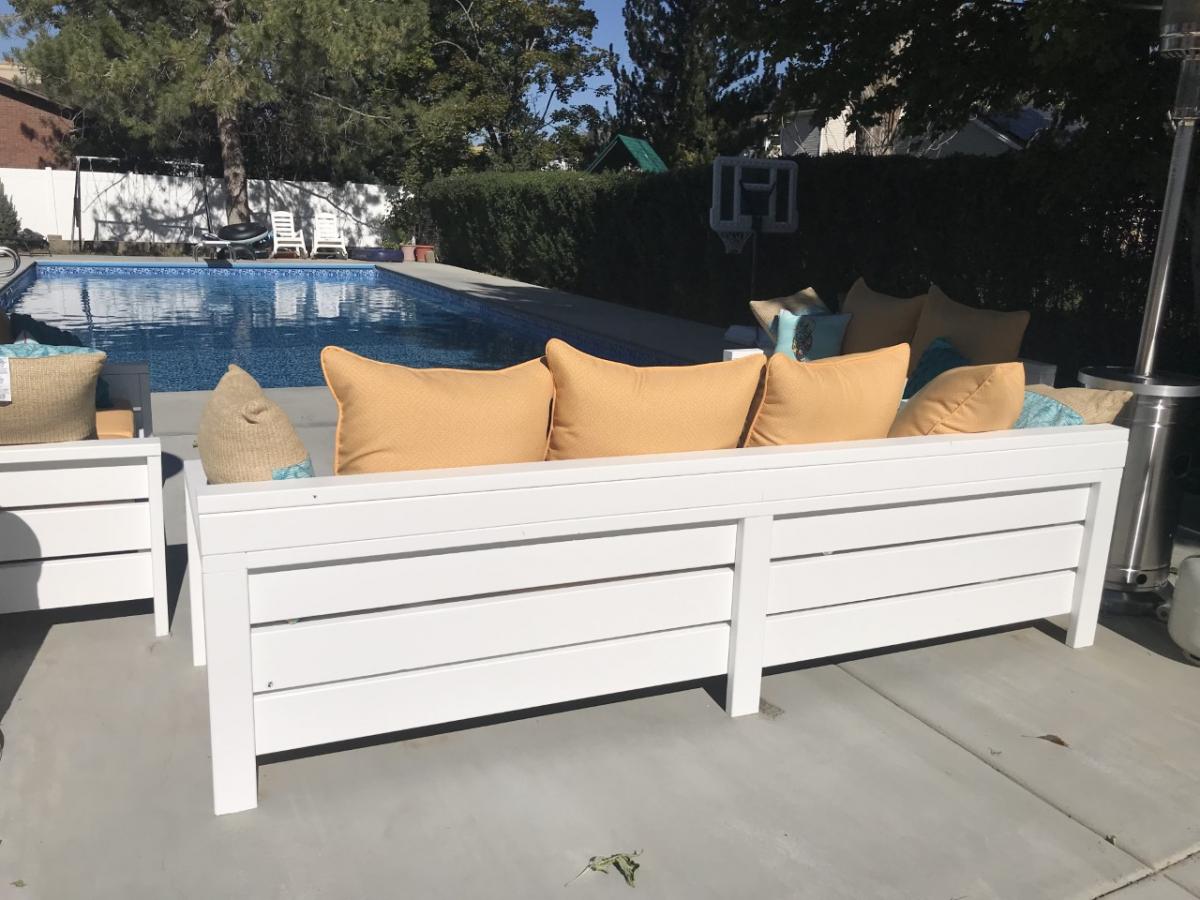
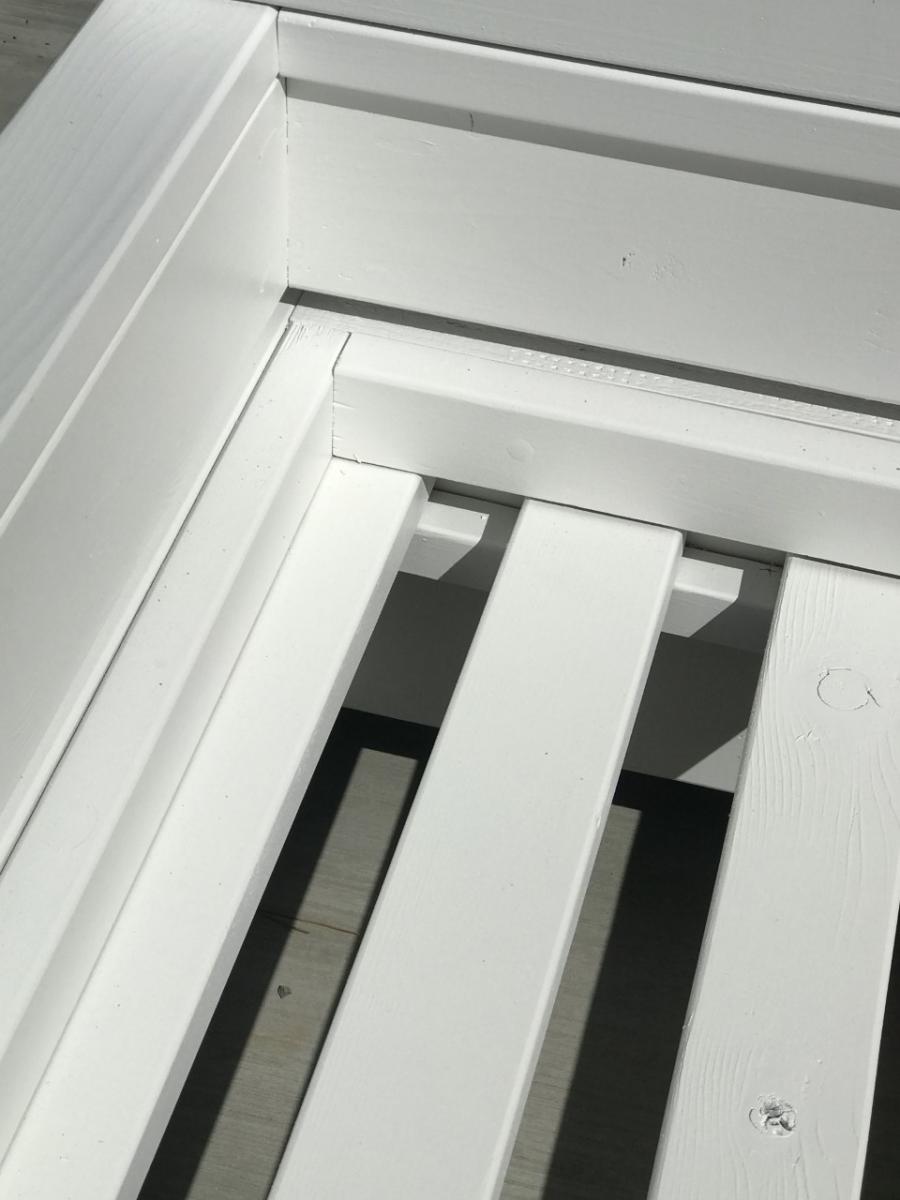
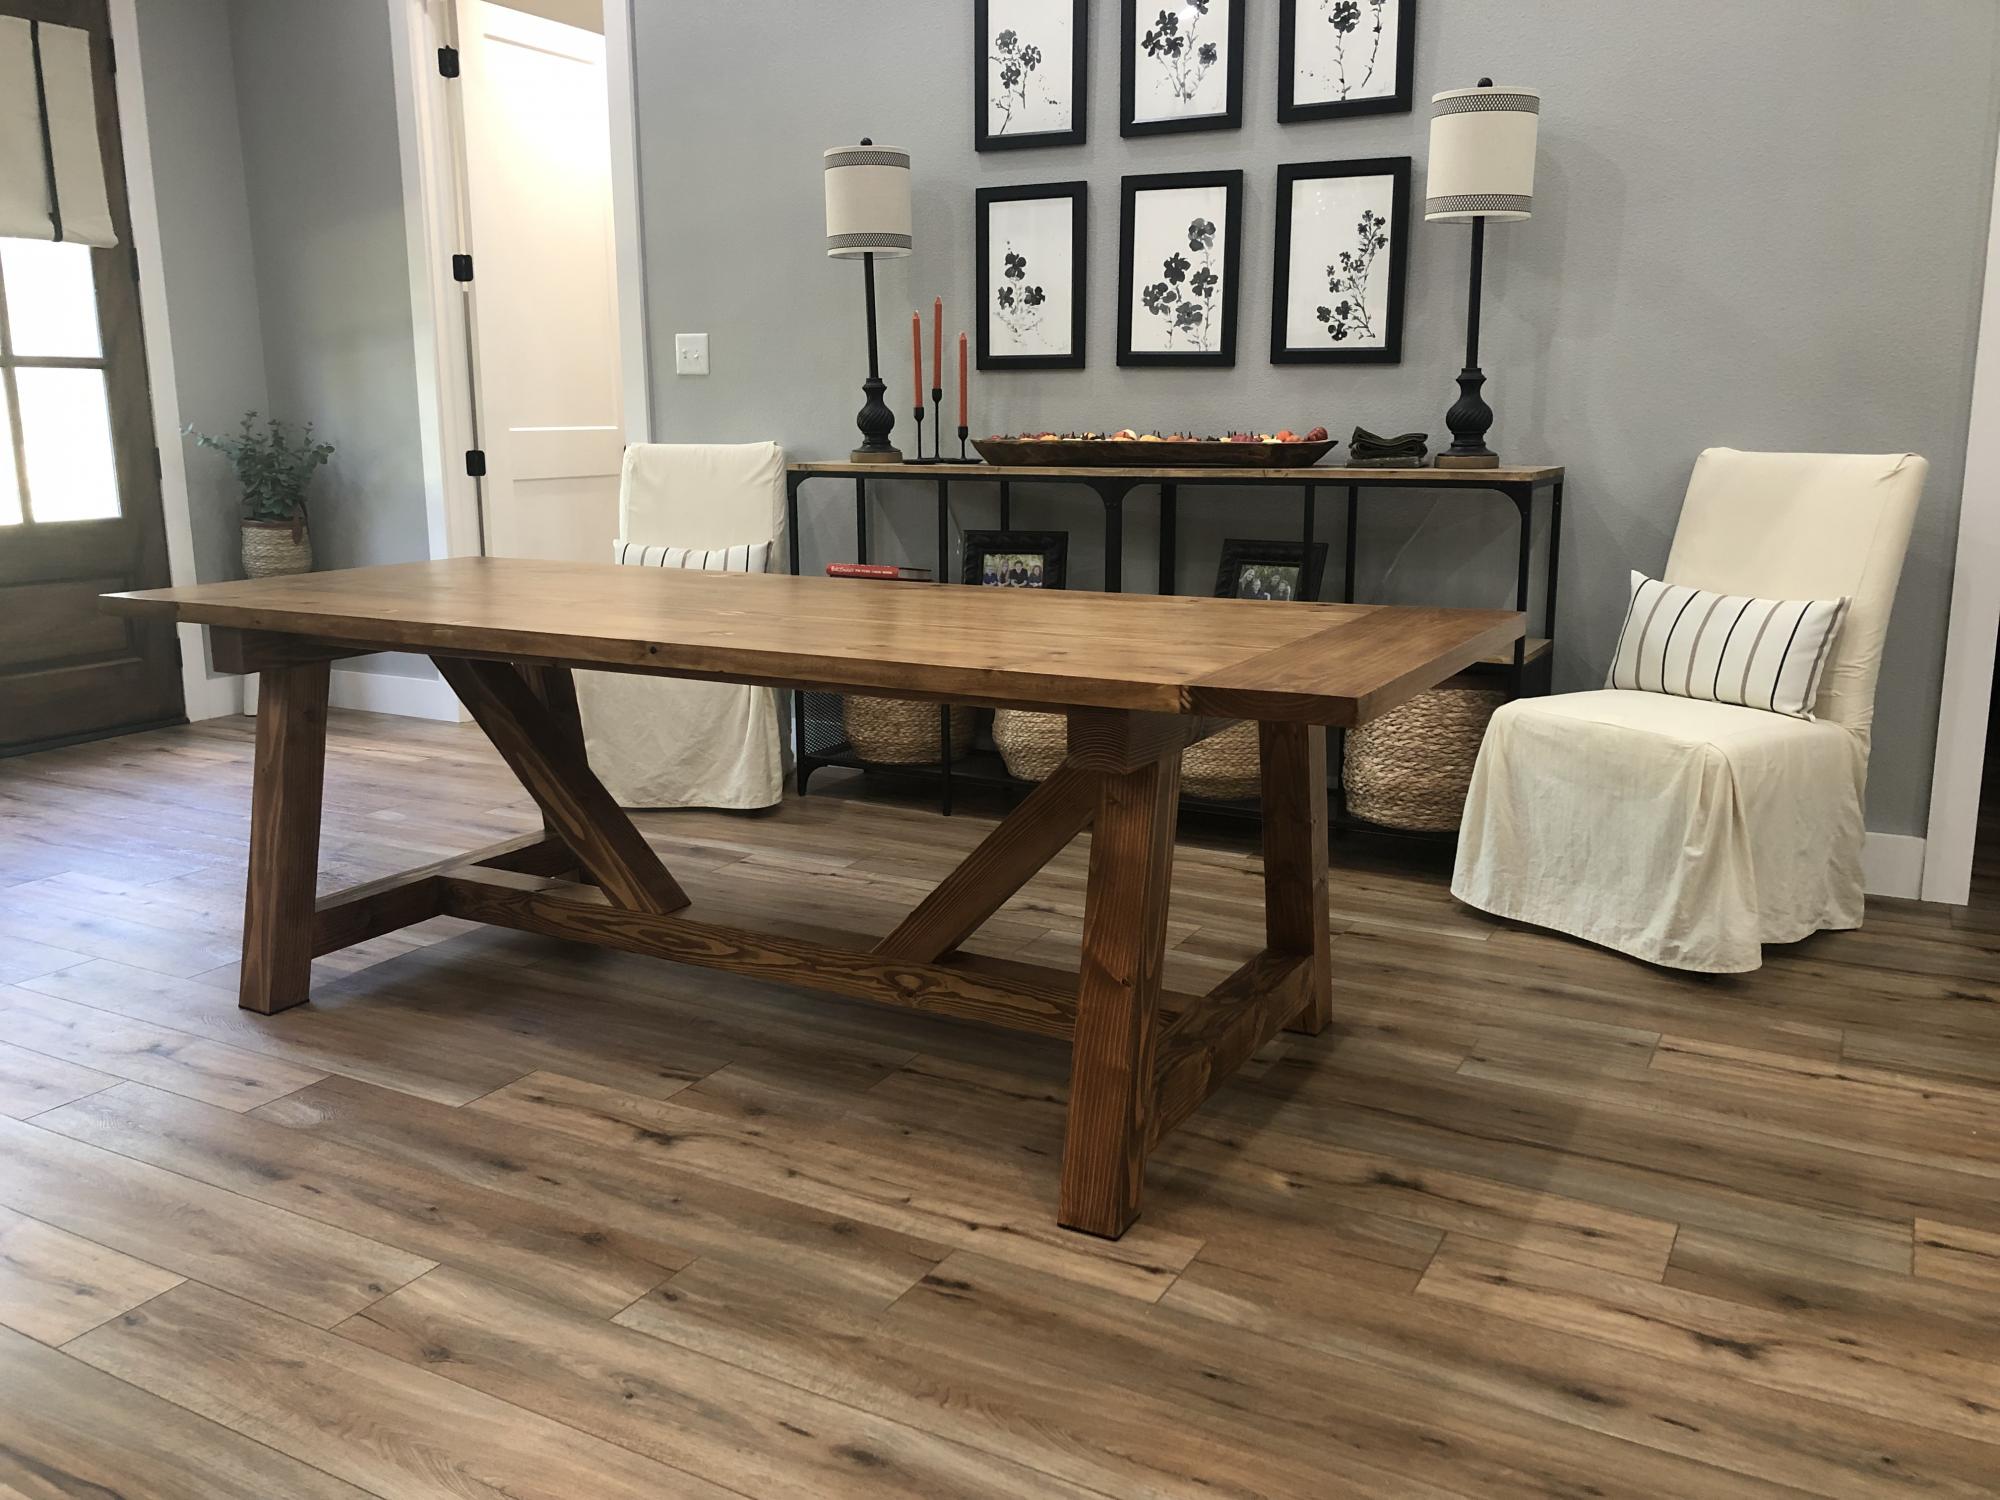
I built this table with the dimensions described in the original plans, but made a slight modification by using my Kreg Jig to add pocket holes for attaching the tabletop and seat boards from below rather than drilling down through the top. I'm never really happy with the way a finish comes out after using wood filler, plus not having to fill holes saves a step in the finishing process (which is the really arduous part of the job for me). I also like the sturdiness of the Kreg joints.
This was my first project using the Kreg Jig in an application that didn't have the location for the pocket holes specified, so for the first bench I followed right along with the plans and just detached the drill guide and clamped it to my project to drill the pocket holes as I went along. For the second bench I was familiar with where all the holes should be drilled, so I was able to quickly mark off the location and pre-drill all the pieces assembly line fashion. The second one practically flew together.
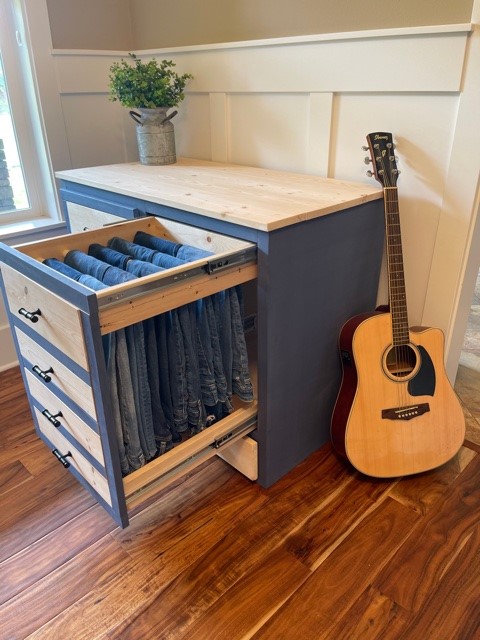
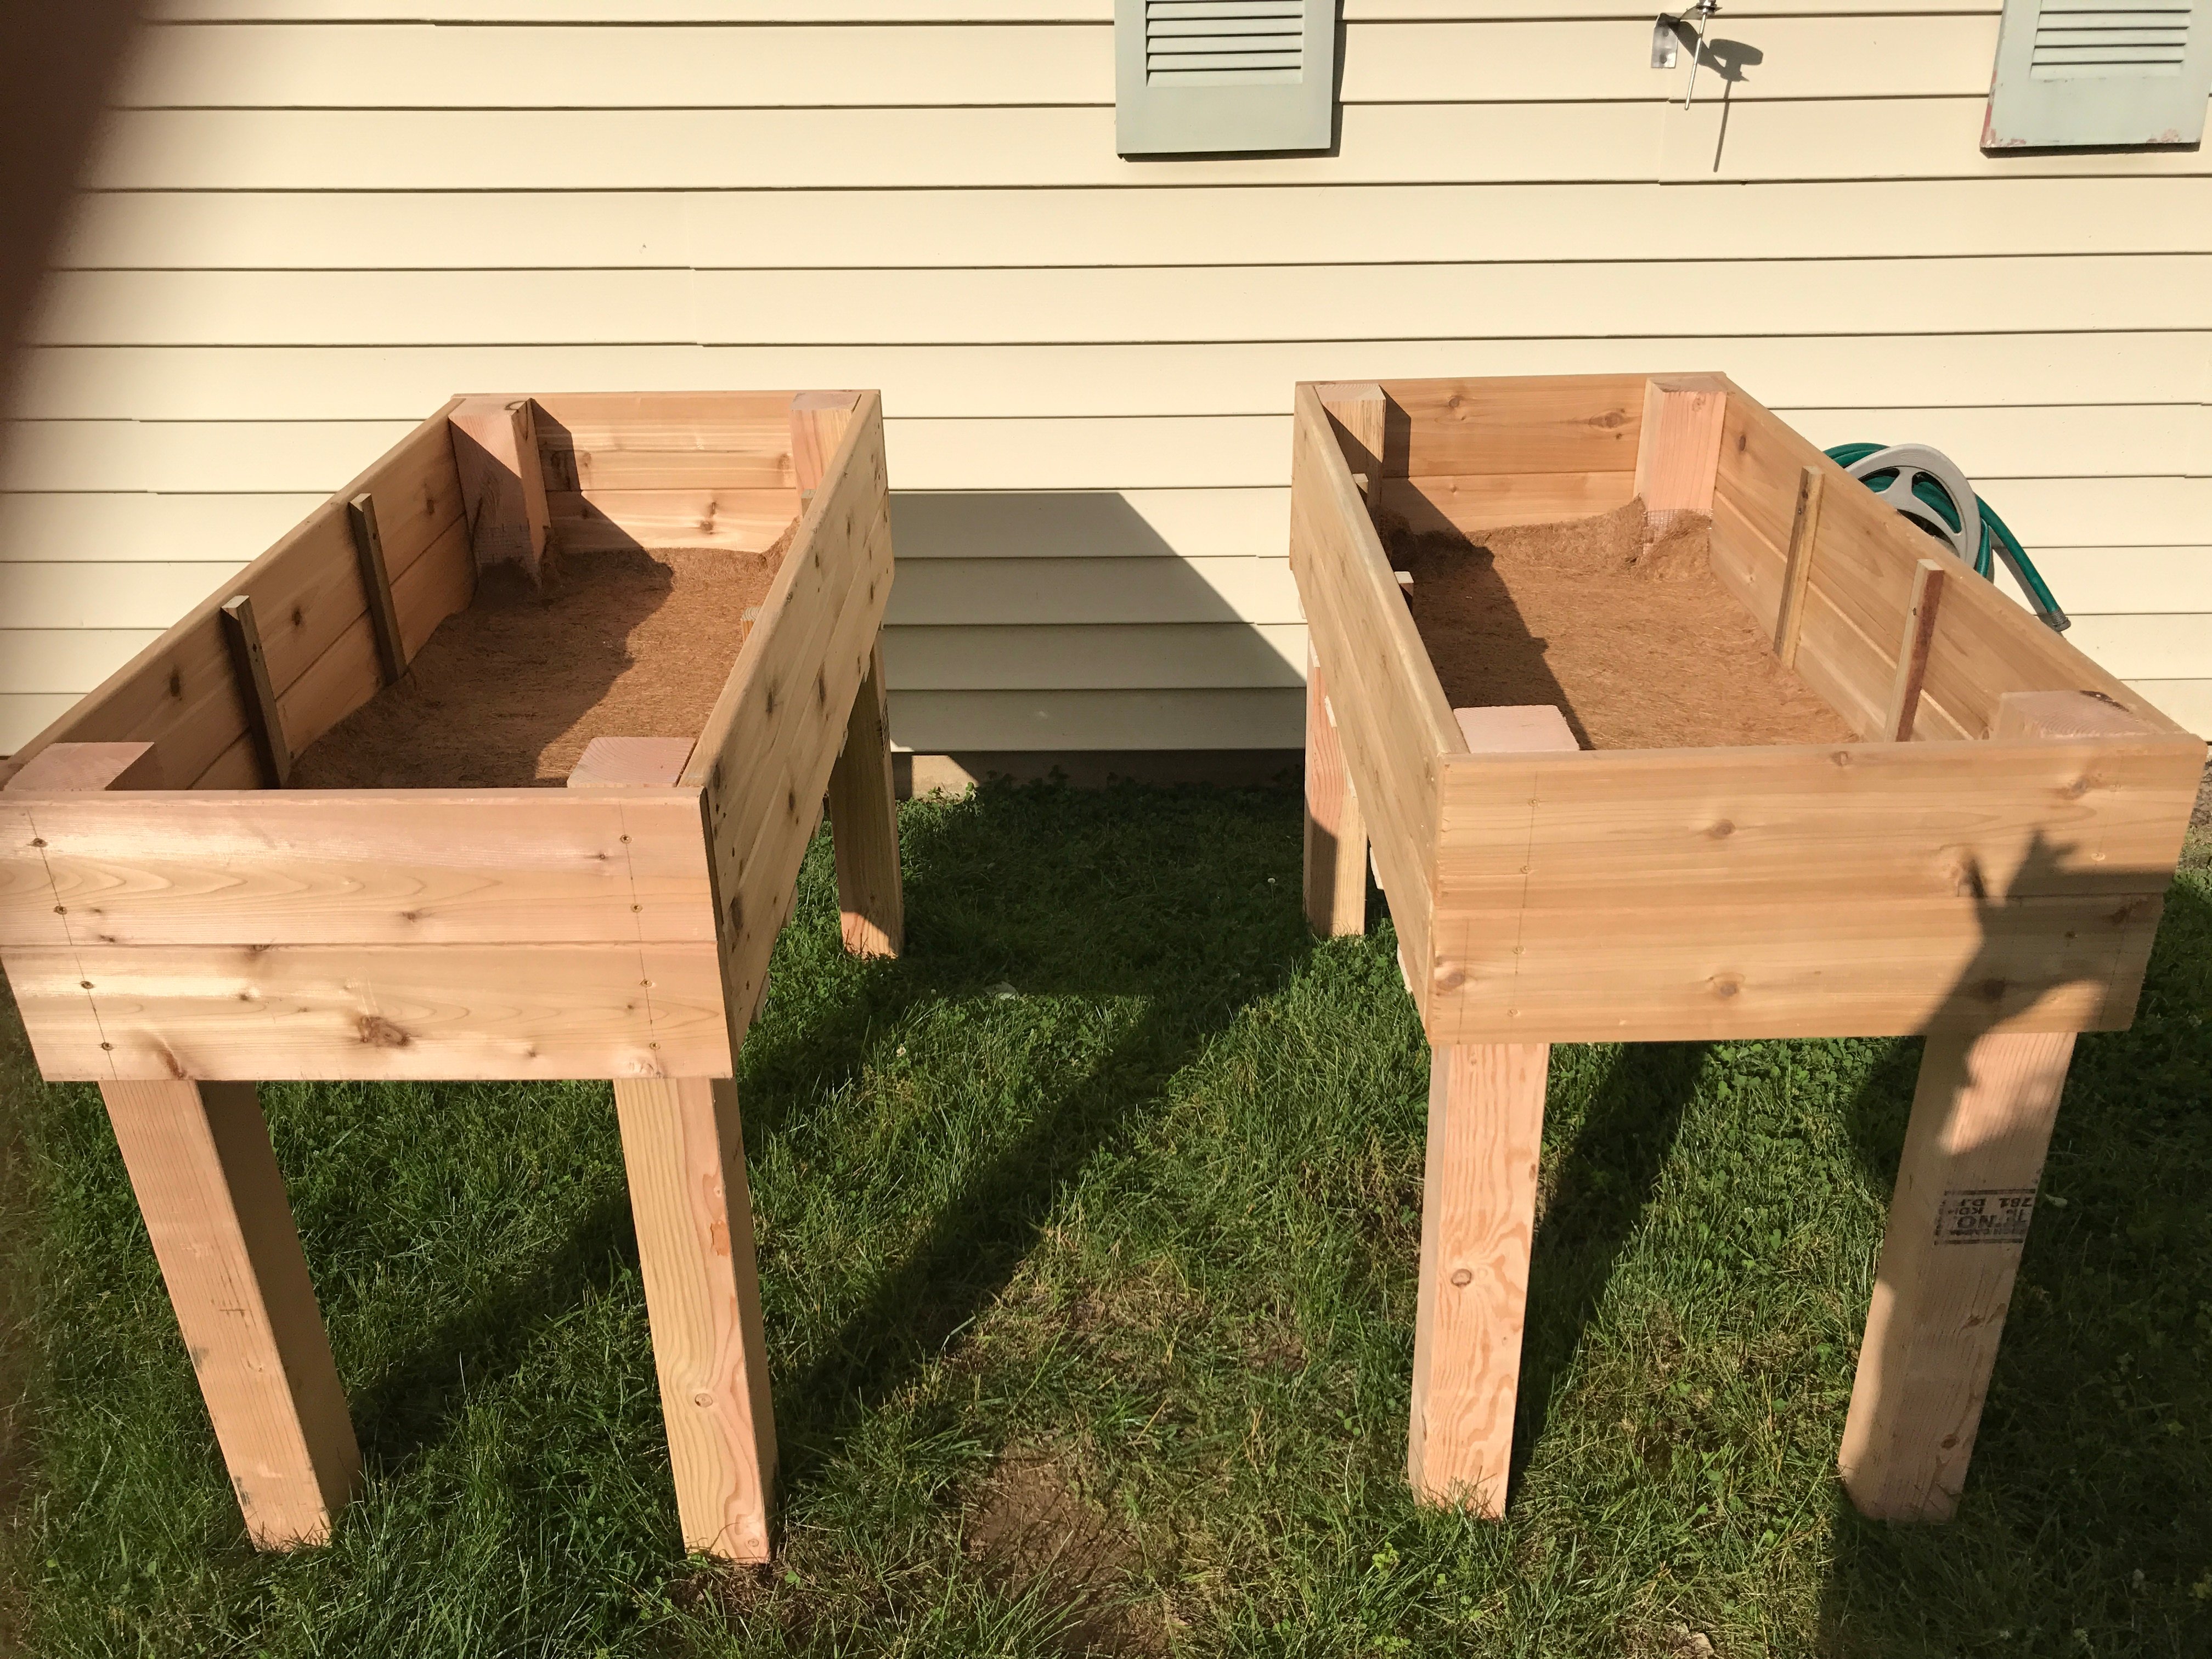
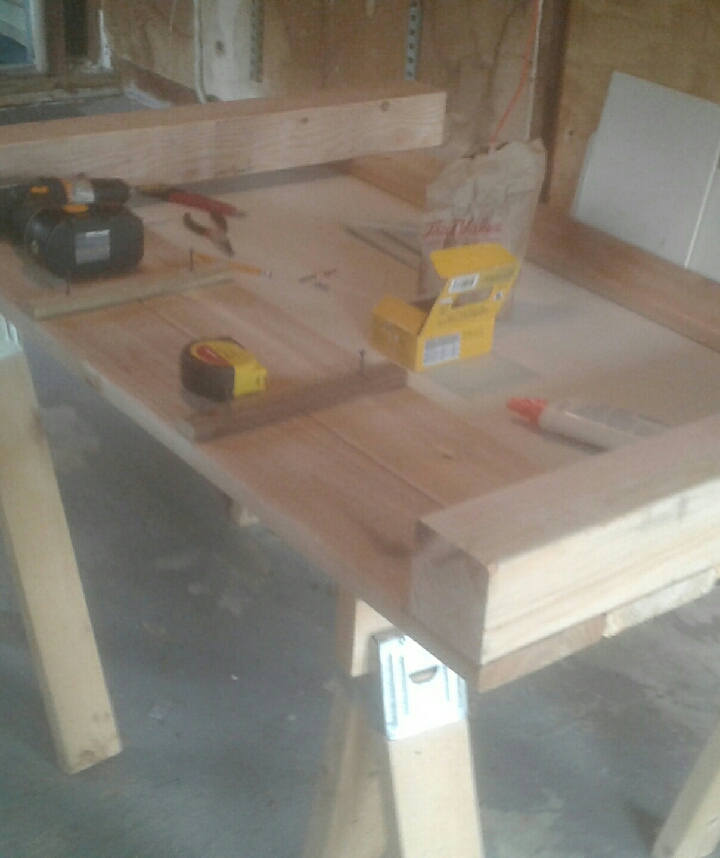
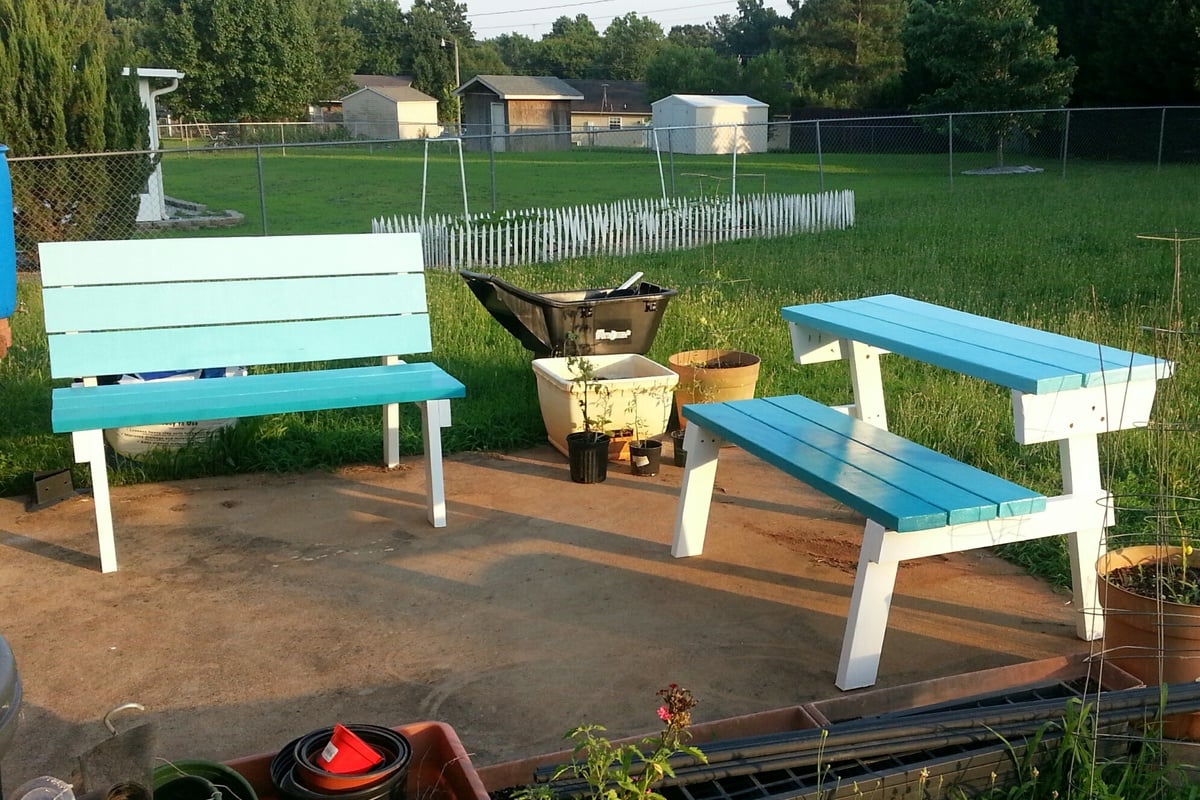
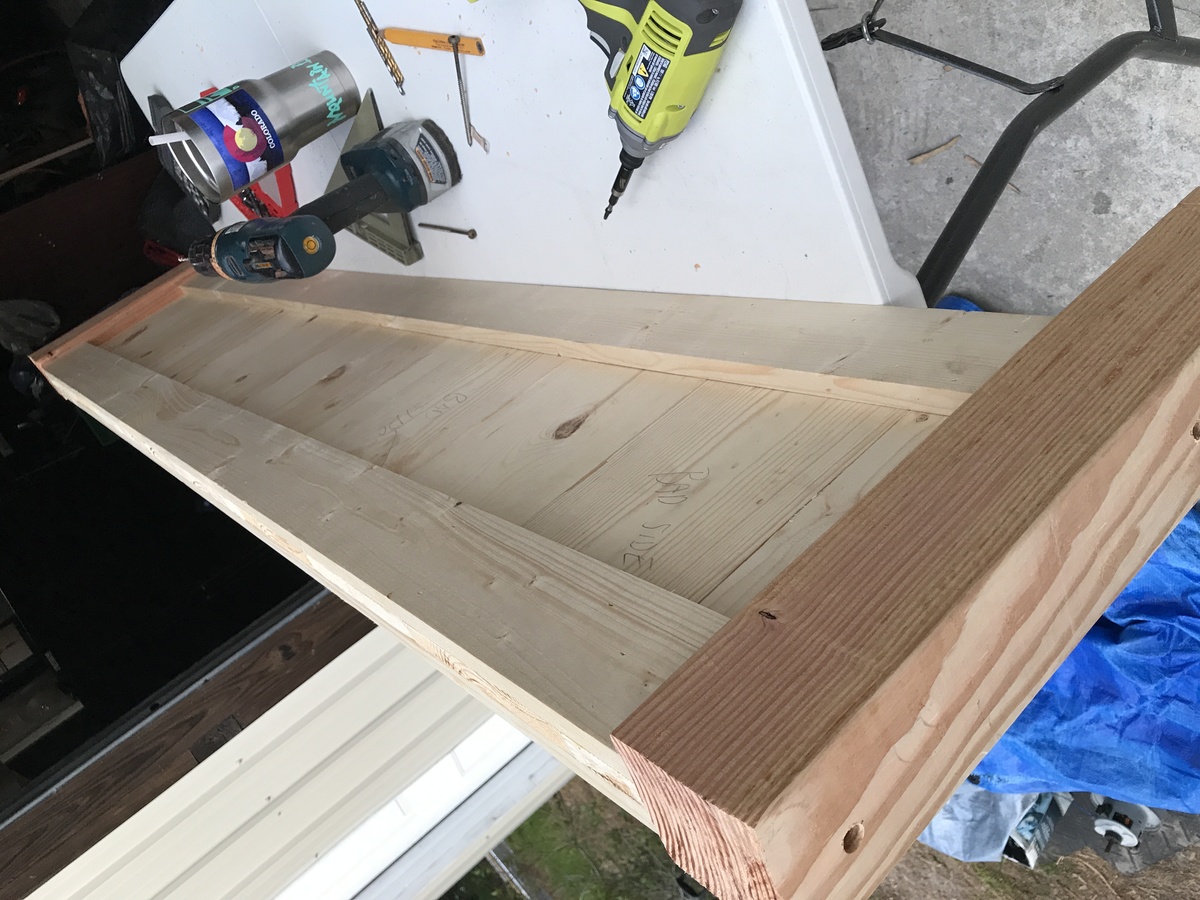
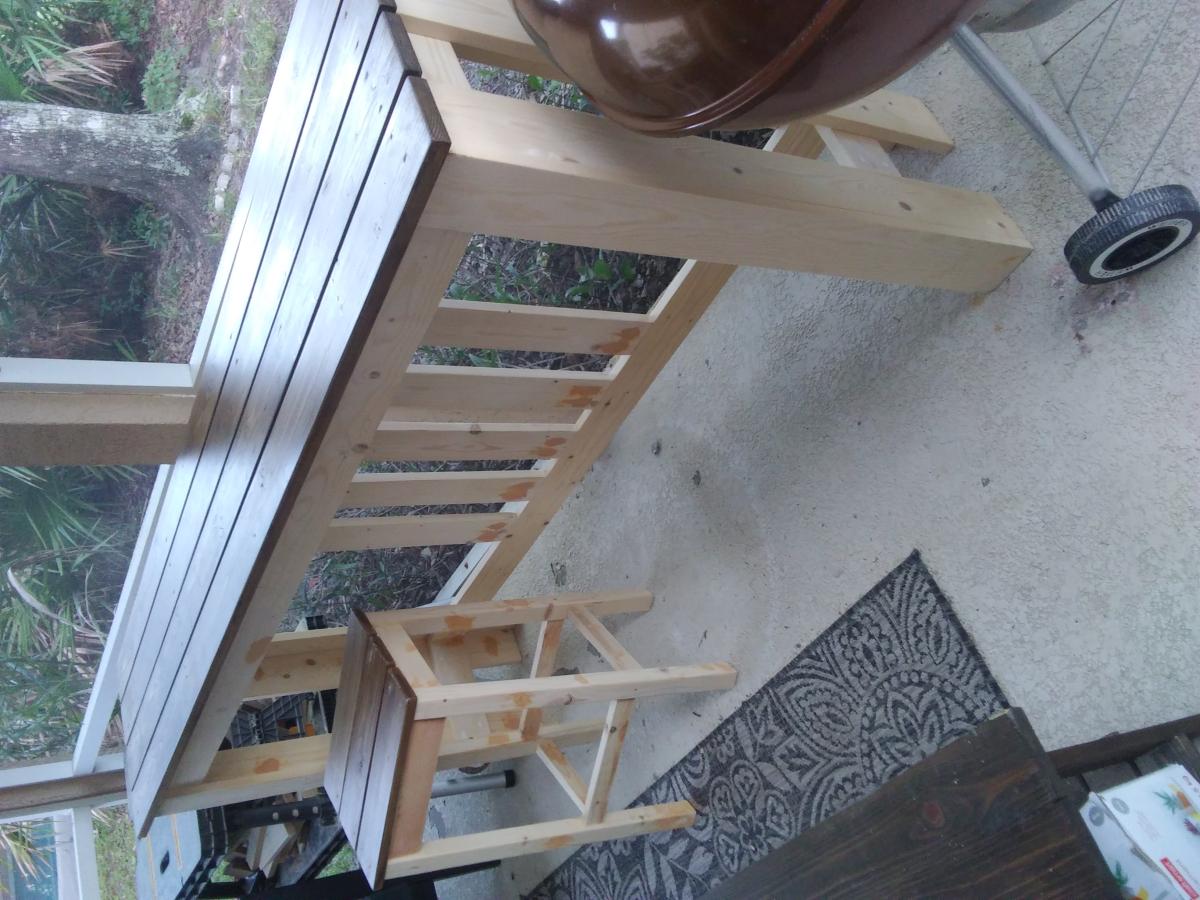
If you want to use this method, you will be drilling your pocket holes in the boards labeled "seat support" and "tabletop support" (there are 2 of each of these pieces for each bench/half table). You can mark the position of the tabletop boards on the tabletop supports and drill your pair of pocket holes to correspond roughly to the center of where each board will be (so 6 holes in each of the 2 pieces labeled tabletop support for each bench). Nearly the same process for the seat supports, but remember that the holes to attach the outermost seat board won't be centered because of the location of the front leg. I chose to add a couple of pocket holes through the front leg board as well for extra sturdiness in case it gets picked up by that outermost seat board when the bench/table is getting moved. I have included a picture of the pre-drilled pocket holes to help clarify the above directions.
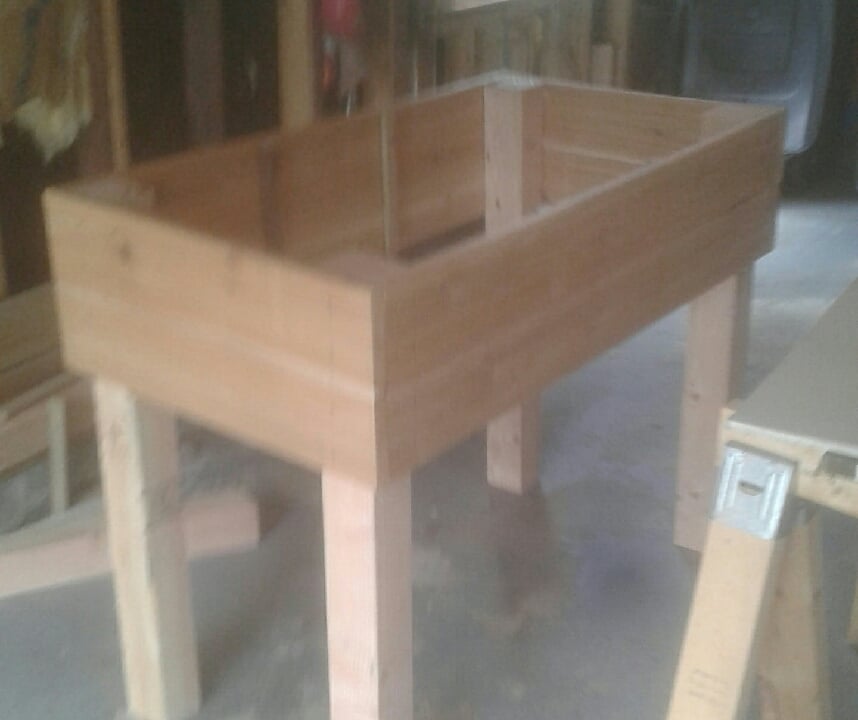
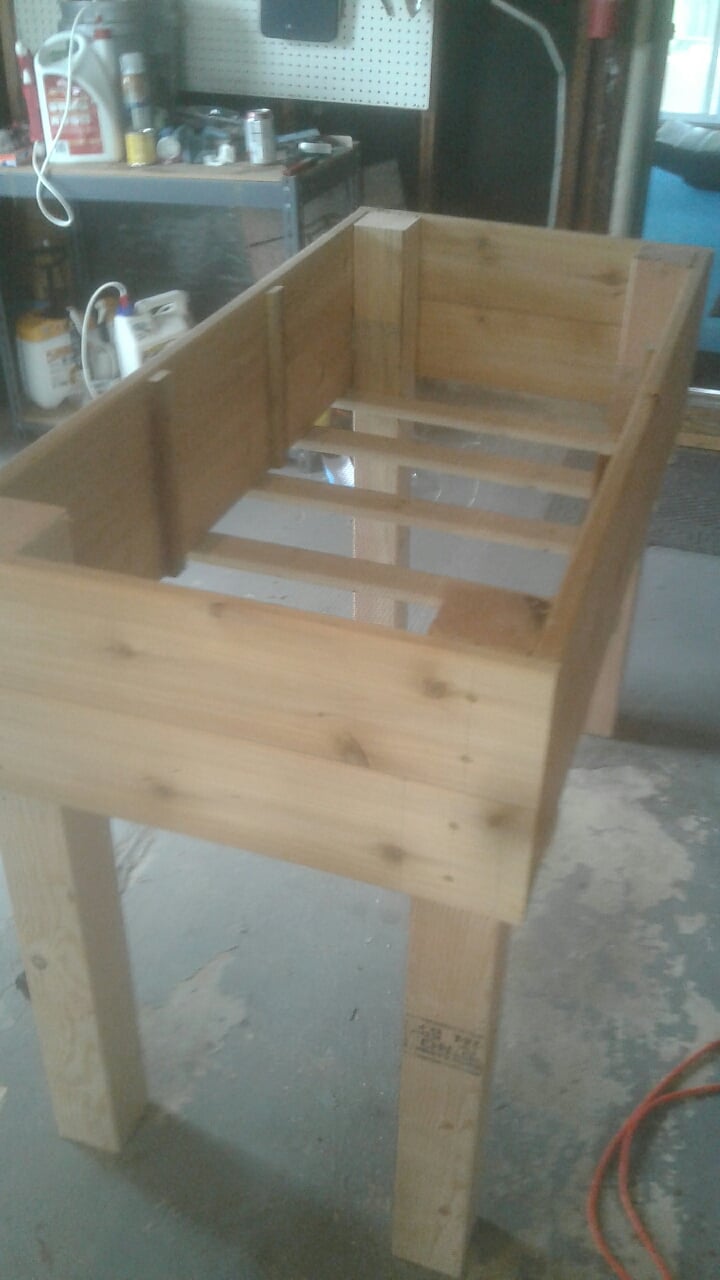
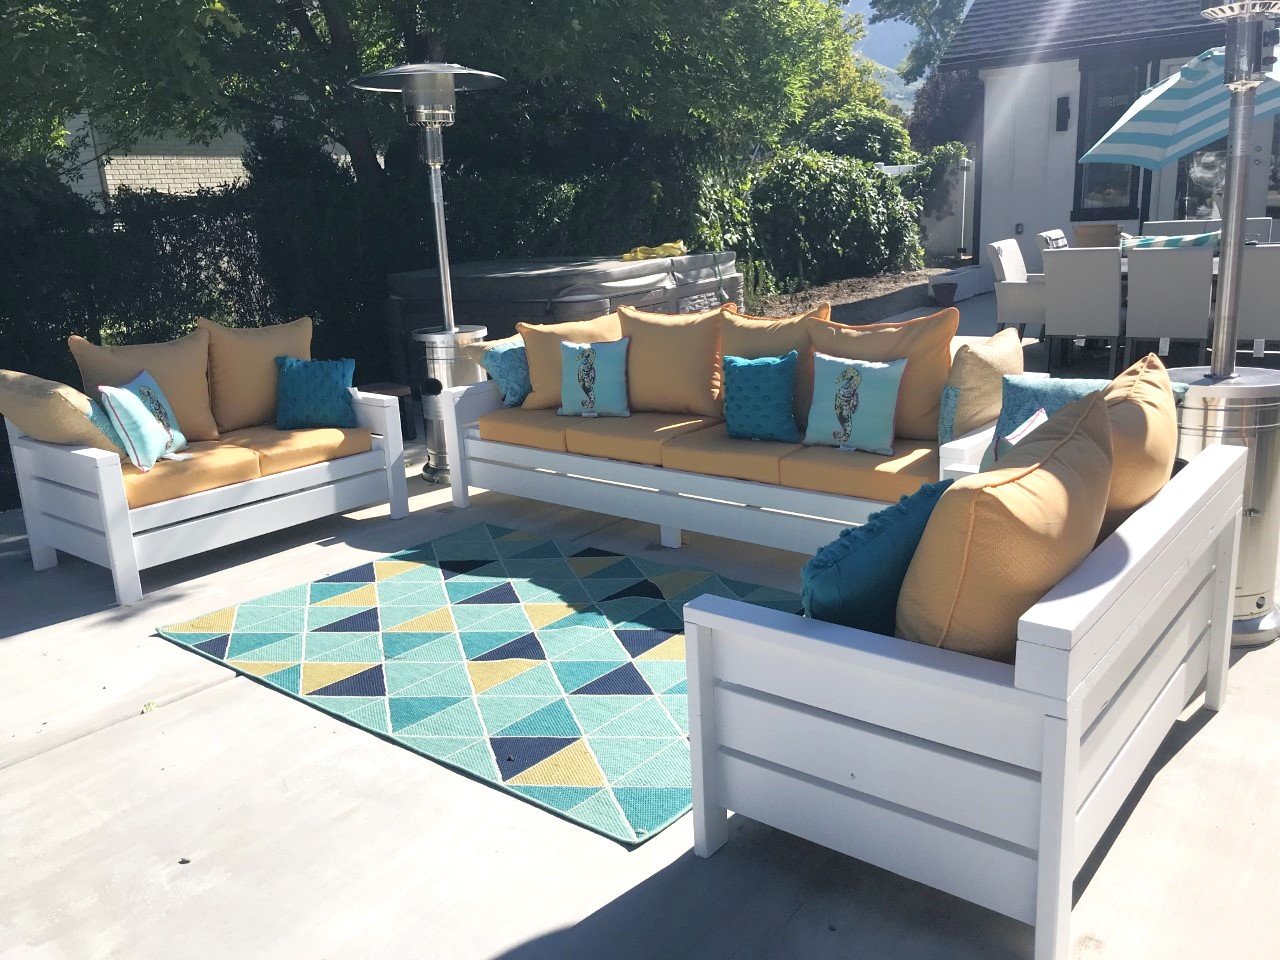
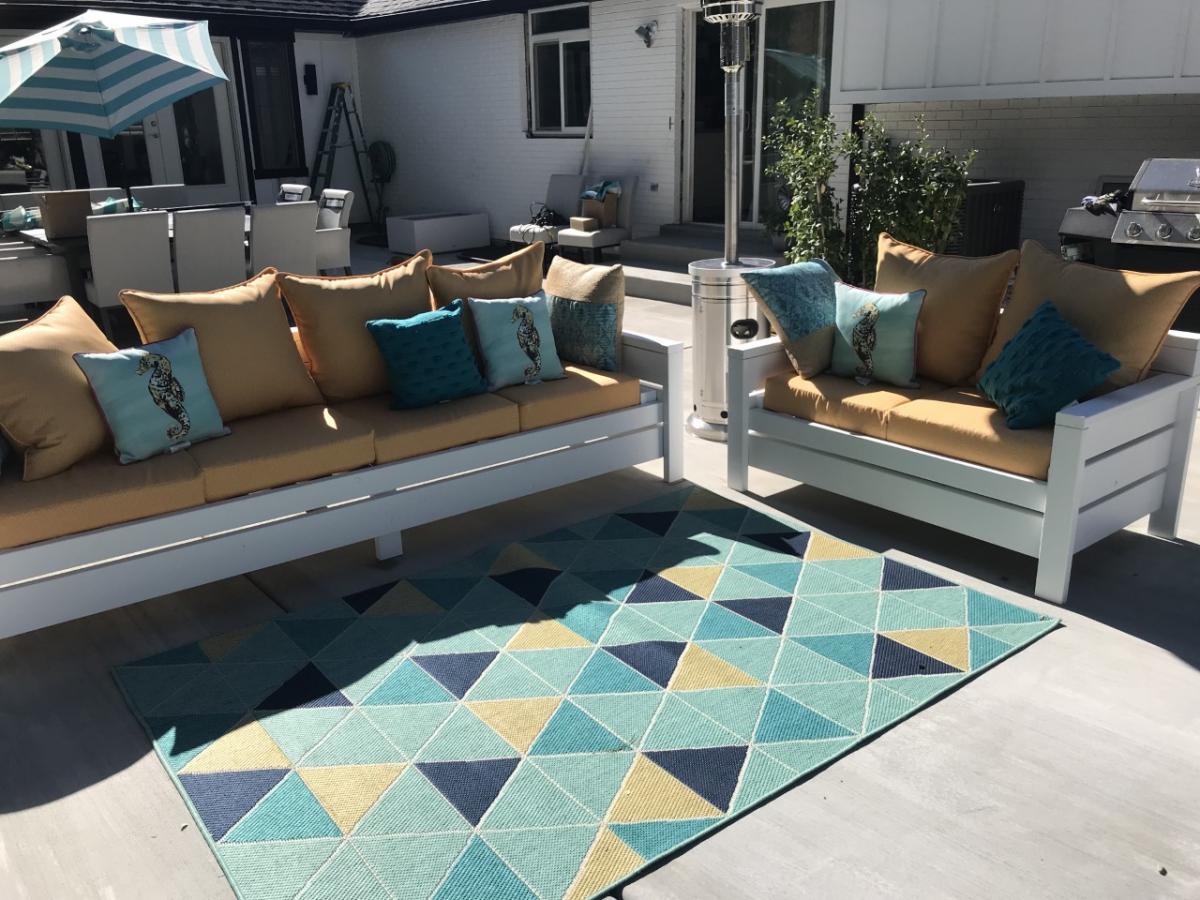
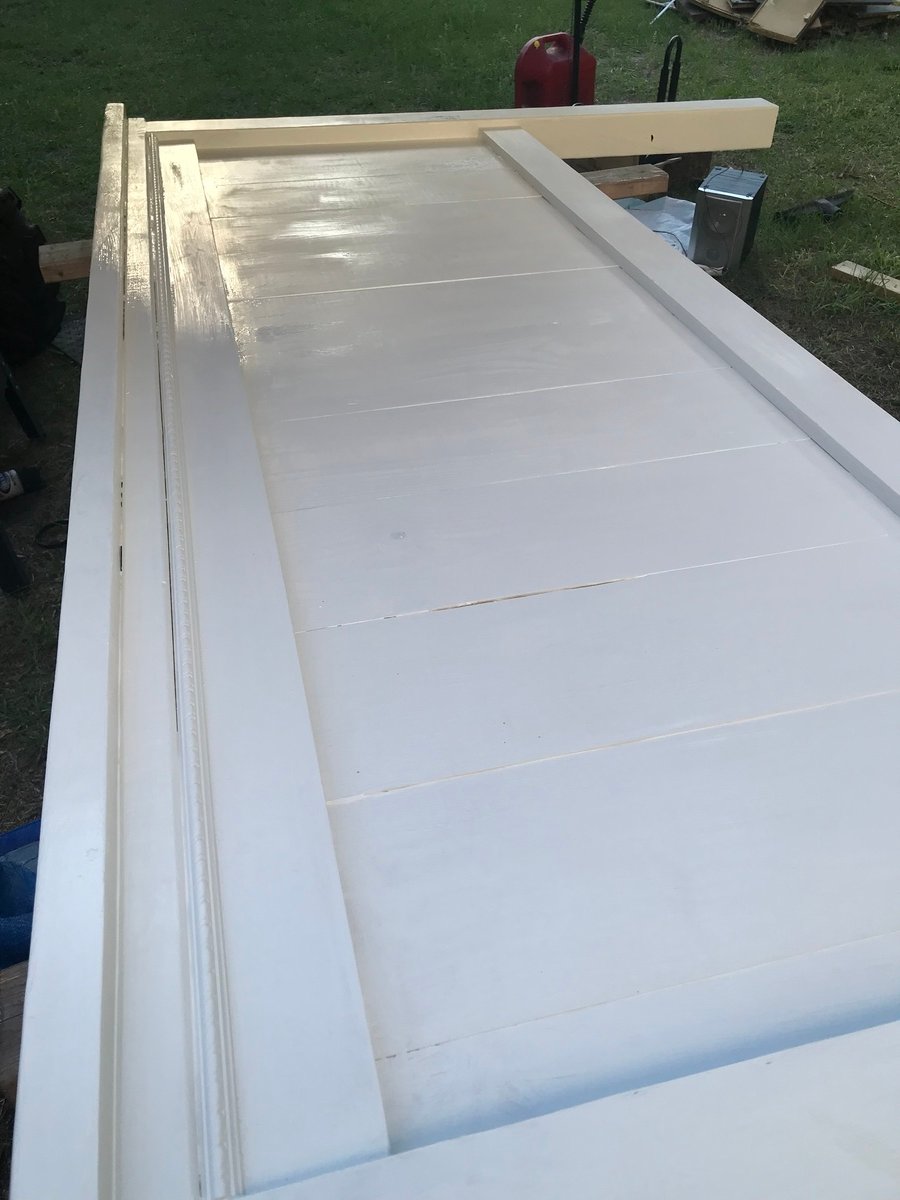
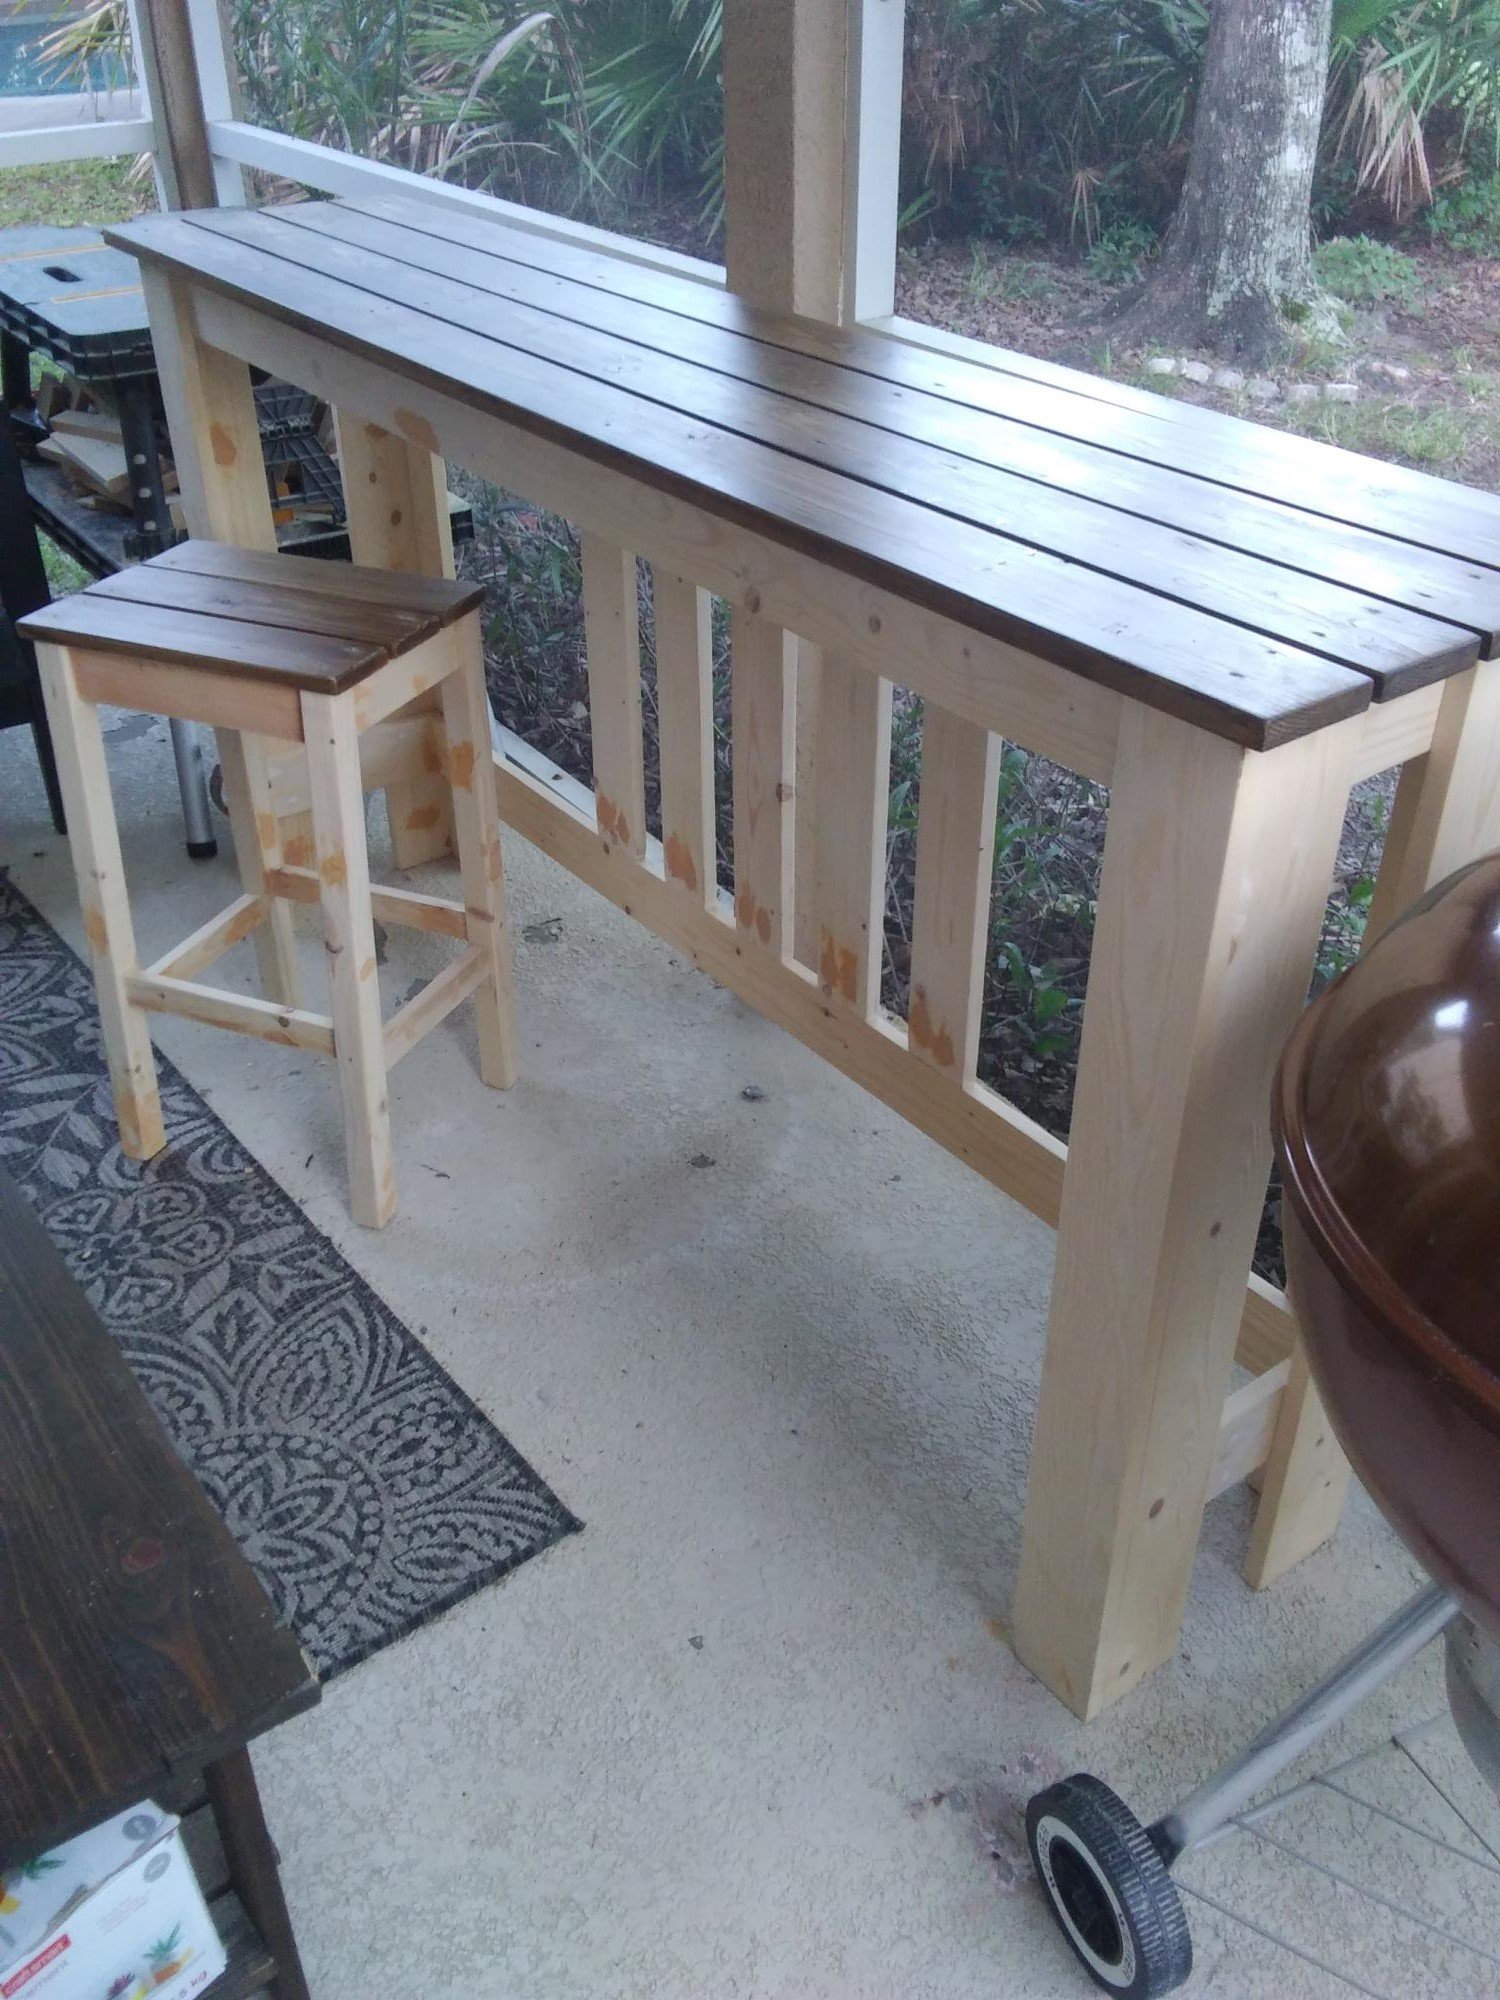
The build itself can definitely be classified as a beginner project and easily manageable by one lady (although it would be really nice to have a buddy to help move the finished bench...I had to take the tabletop back off mine to move it from my "workshop" (carport) around to my patio). In terms of time, the build for both benches could easily be completed in an afternoon; I ranked it as a weekend project because of the finish. The tabletop and seat boards each have 4 coats of an exterior semigloss paint and I custom blended the colors so that each board gets progressively darker as you go down the bench. I was inspired by the ocean, with the water getting darker as you go deeper and deeper. As you can see from my photos, I rushed headlong into the first bench and put it together unfinished (I was more concerned about figuring out the placement of the pocket holes than the finish.) For the second one I pre-drilled my pocket holes, then put on 2 coats of base coat and 1 coat of color (on seat and tabletop boards) before assembly, saving only the finish coat on the colored boards and touchups on the white boards for after assembly. I definitely recommend the second method.
I worked on the project over a couple of weekends and evenings because of weather and time constraints, but under the right conditions it could be completed in a weekend or even maybe a long day (especially with a second painter and in good paint drying weather). I'm really happy with the final product and I've already been enjoying the comfy bench seat for reading.

Estimated Cost
$100 (including finish)
Estimated Time Investment
Weekend Project (10-20 Hours)
Finish Used
Exterior semigloss paint: 2 coats of self priming base coat (Valspar Duramax) and an additional 2 coats of color that I custom mixed into 6 shades on the bench seats and tabletops. The darkest shade on the outermost seat board is called Monterrey Bay Teal from Valspar. I mixed the five additional colors with white in 15% by volume increments. (If you want to get really, really specific, I started with a quart of the teal and made 100 grams of each of the 5 blended colors and this was almost the perfect amount to put 2 thick coats of color on all sides of each of the seat/tabletop boards.)
Recommended Skill Level
Beginner

Comments

Bedzilla

Submitted by pmarchino on Sat, 02/17/2018 - 19:28

We had bought a house in New Mexico that was sadly lacking for closet space, as well as square footage for furniture. I was looking at Ana White's website, and saw the plans for the Farmhouse storage bed. It was good, but needed some steroids. I got out the calculator, and started upsizing EVERYTHING. What happened was, BEDZILLA!! King sized bed with 12 giant drawers. I also added lighting to the headboard for reading. It was a blast to build, and I was very pleased with, and proud of the finished product. 

Estimated Cost
Good question!
Estimated Time Investment
Week Long Project (20 Hours or More)
Finish Used
Minwax Polyshades Pecan
Recommended Skill Level
Intermediate

Golf Club Locker

Utilized the plan for the Locker Book Shelf-Full Size and modified it a bit to convert to a golf club locker. Definitely keeps all the clubs, shoes, and accessories organized and eliminates the clutter. My wife loves it, course she added the baskets, which makes it look awesome!

Actually this is how I stumbled upon Ana White's website. I was looking high and low for a plan for golf club lockers, and found Ana's website as part of the process. Best google search I've ever done!

Built from Plan(s)

Comments

I did it!!!

Submitted by nolechik on Wed, 05/16/2018 - 19:45

This was my first Ana White project and it turned out beautifully if I do say so myself! 

Estimated Cost
$140
Estimated Time Investment
Weekend Project (10-20 Hours)
Finish Used
Painted white then wiped (with old t-shirt) on a darker color to create distressed look.
Recommended Skill Level
Beginner

Comments

Twin Fancy Storage Bed

I built my girls' beds using two of Ana's plans. I used all whitewood boards for the construction. It took a few hours to build both beds and I love the result! I used my brad nailer and gorilla glue for both the headboard and bed base. I also used drywall screws (my fav) to attach the bottom bed pieces. You can see more details at http://www.shanty-2-chic.com/2011/01/beds-finished-well-almost.html !

Estimated Cost
Under $100 for each bed
Estimated Time Investment
Weekend Project (10-20 Hours)
Finish Used
Two coats of custom cream color you can find in my blog post above. I use Whizz 4" rollers on almost all furniture painting... LOVE.
Recommended Skill Level
Beginner

Outdoor Bar Table and Stool

Submitted by Titus2000 on Thu, 06/09/2022 - 14:38

I love this bar table! I needed something long and narrow for our small patio - just deep enough to fit a plate and a drink, or a laptop, and long enough to fit three stools, so I modified Ana's dimensions. Also, living in Florida, we occasionally need to bring our furniture inside for hurricanes, so I made it a lighter by using 1x3s and 1x4s instead of 2x or 4x4s. I still need to paint the bottoms a cream color and build two more stools, but I already use it a lot. Thanks Ana! (The photo was upright on my computer, but I didn't see how to rotate it once it was uploaded)

Comments

Cottage bedroom bookcase

Submitted by yhaas on Thu, 10/29/2015 - 20:42

I used 1 x 10s to make the bookcase a little shallower, and left the back open. Thanks for the great plan.

Built from Plan(s)
Estimated Cost
$100
Estimated Time Investment
Weekend Project (10-20 Hours)
Finish Used
Varathane diamond finish water-based polyurethane, satin.
Recommended Skill Level
Beginner
Back