Community Brag Posts

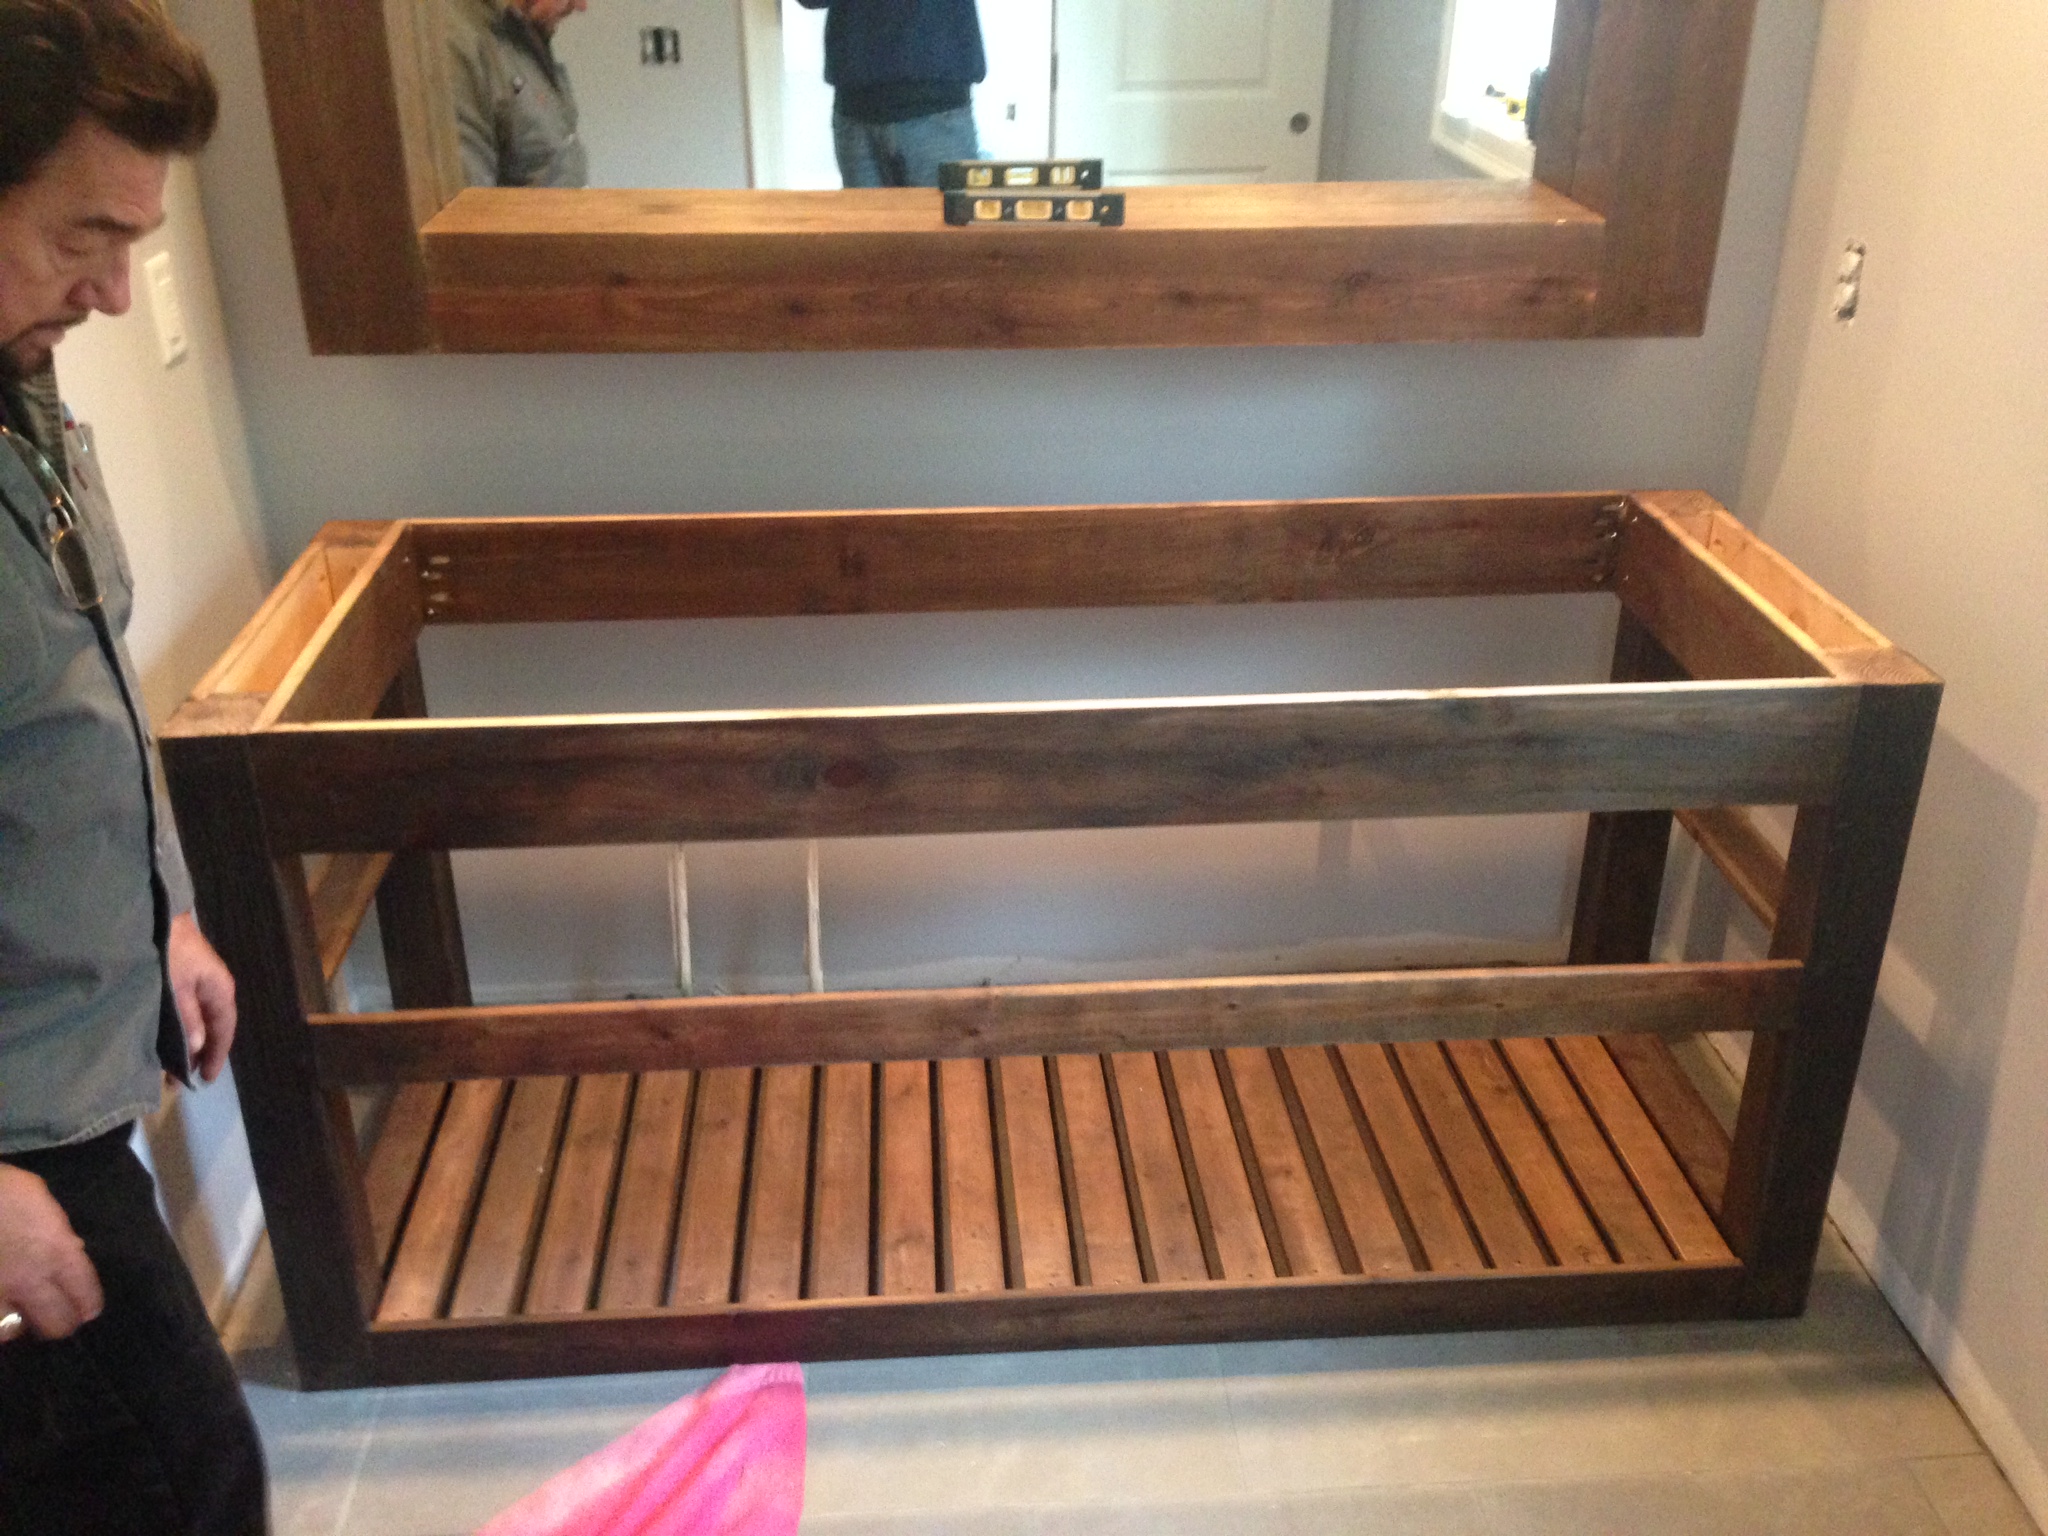
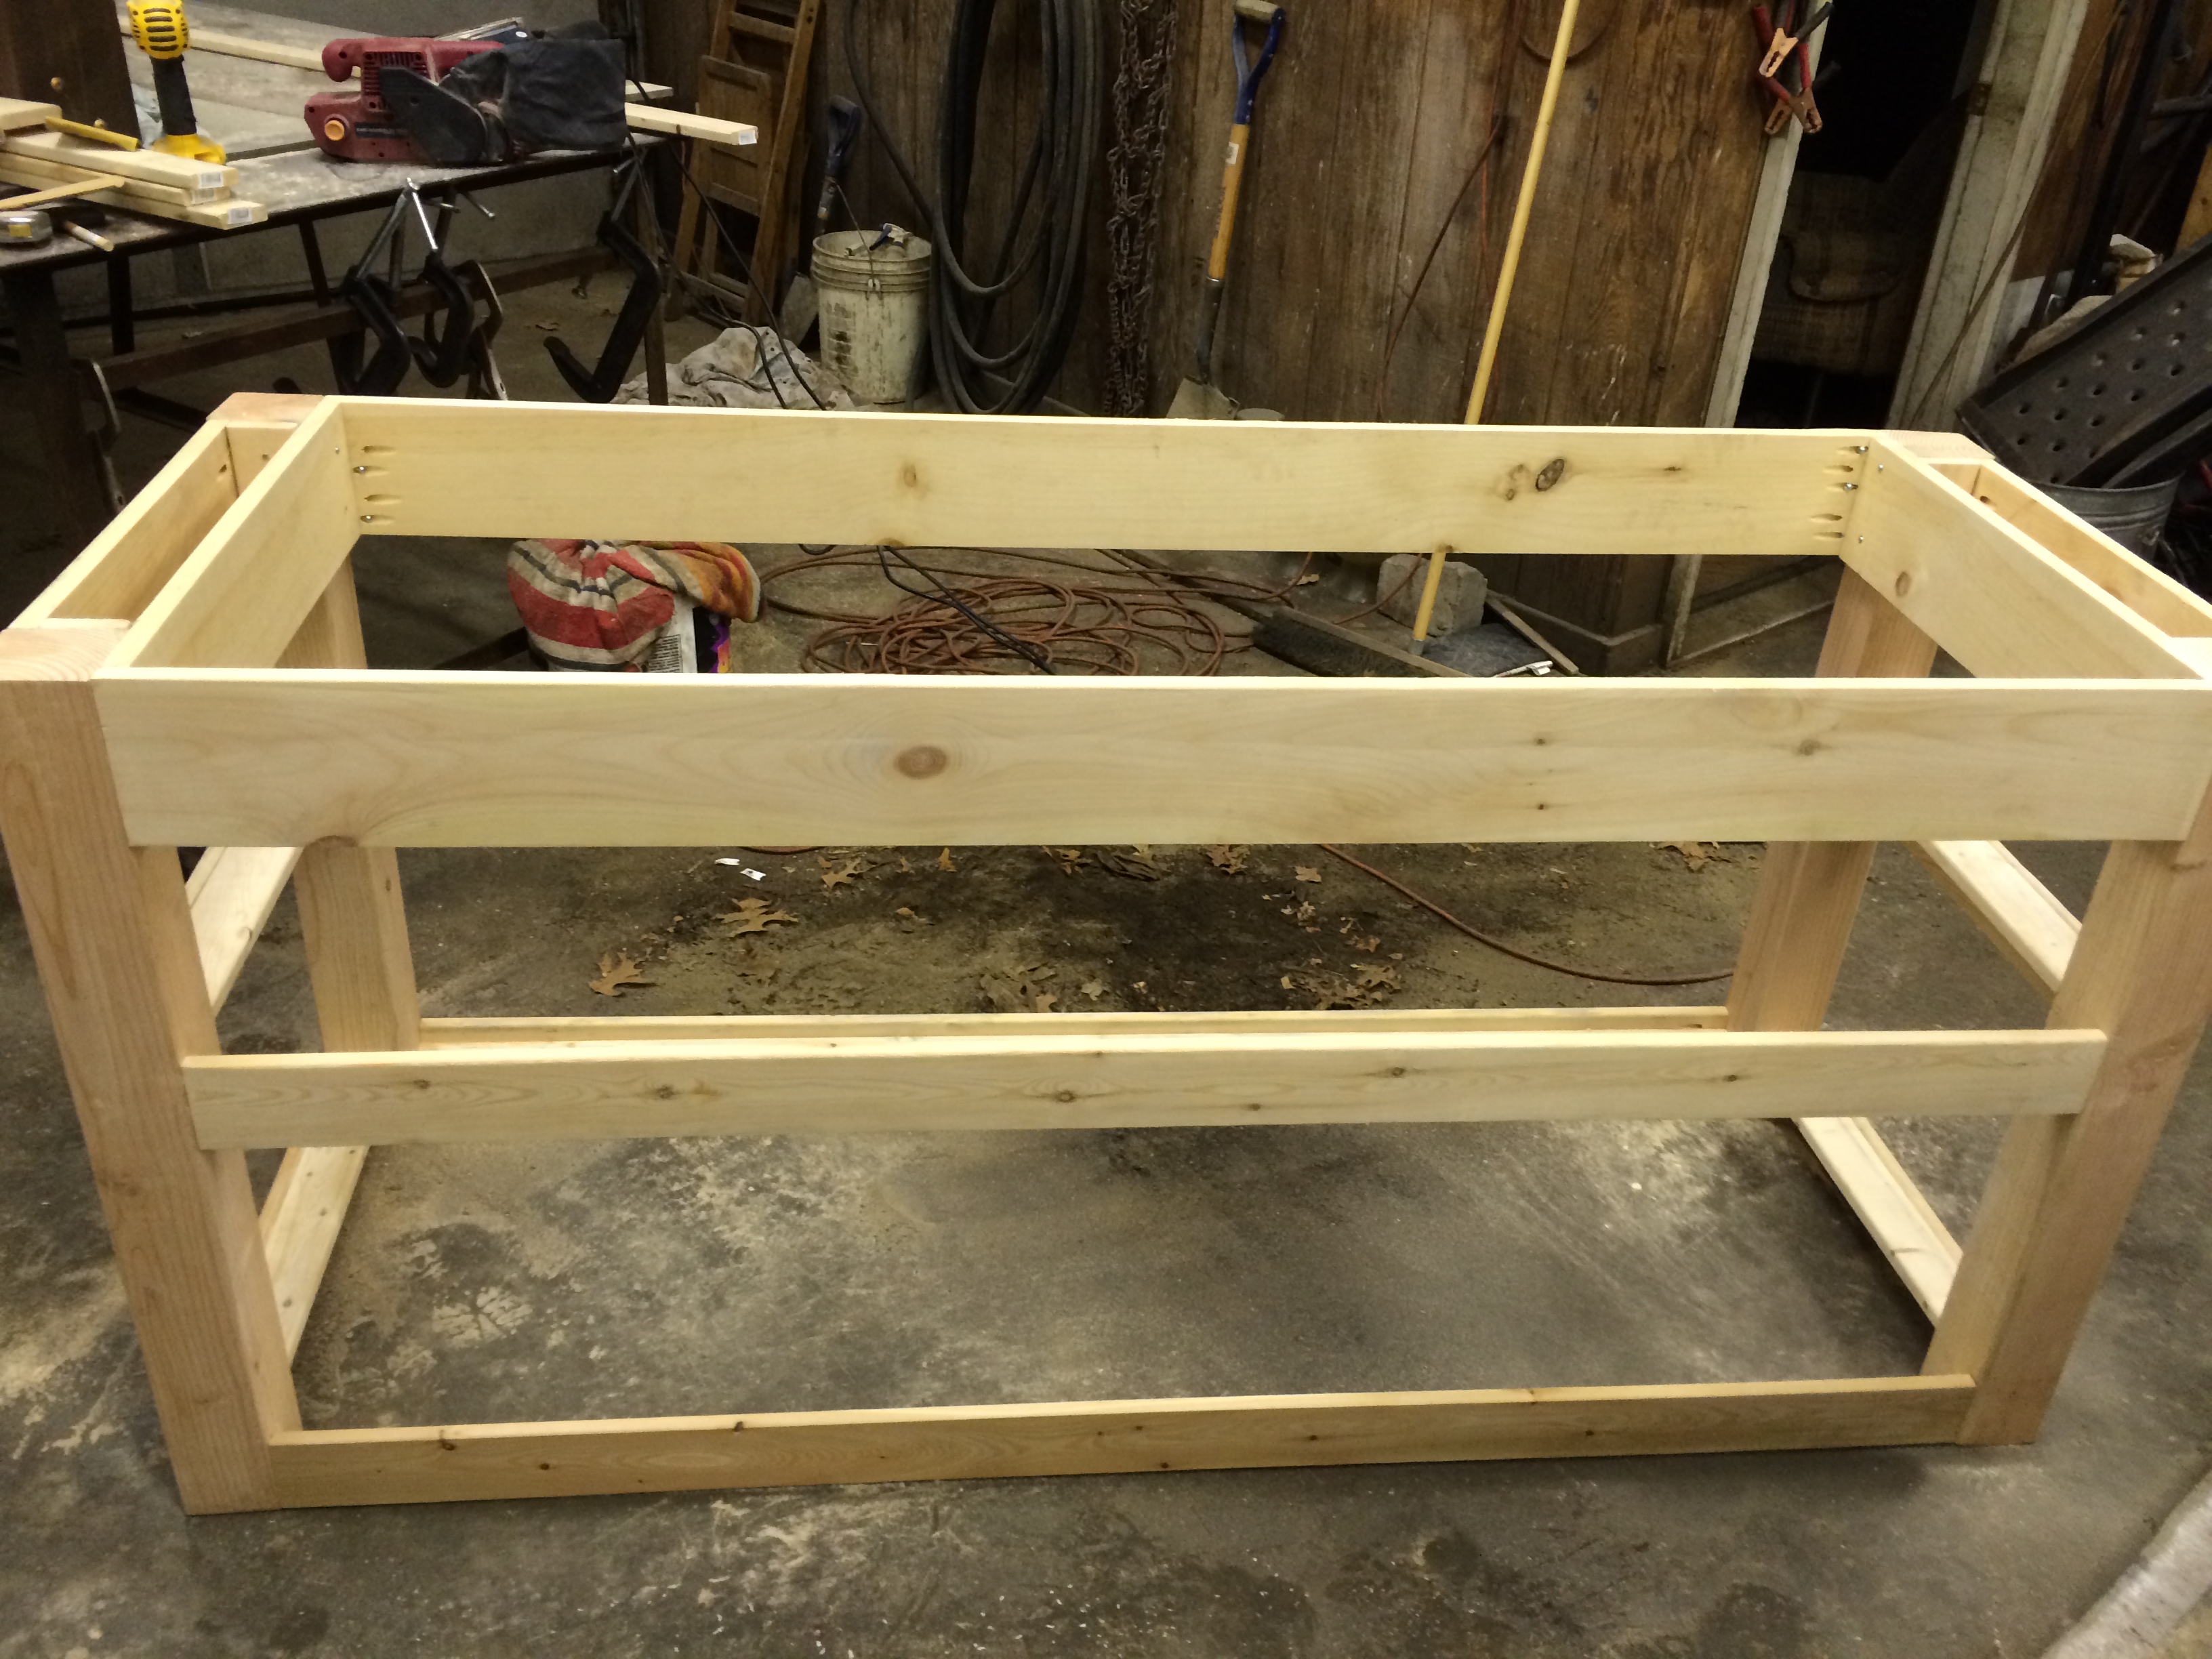
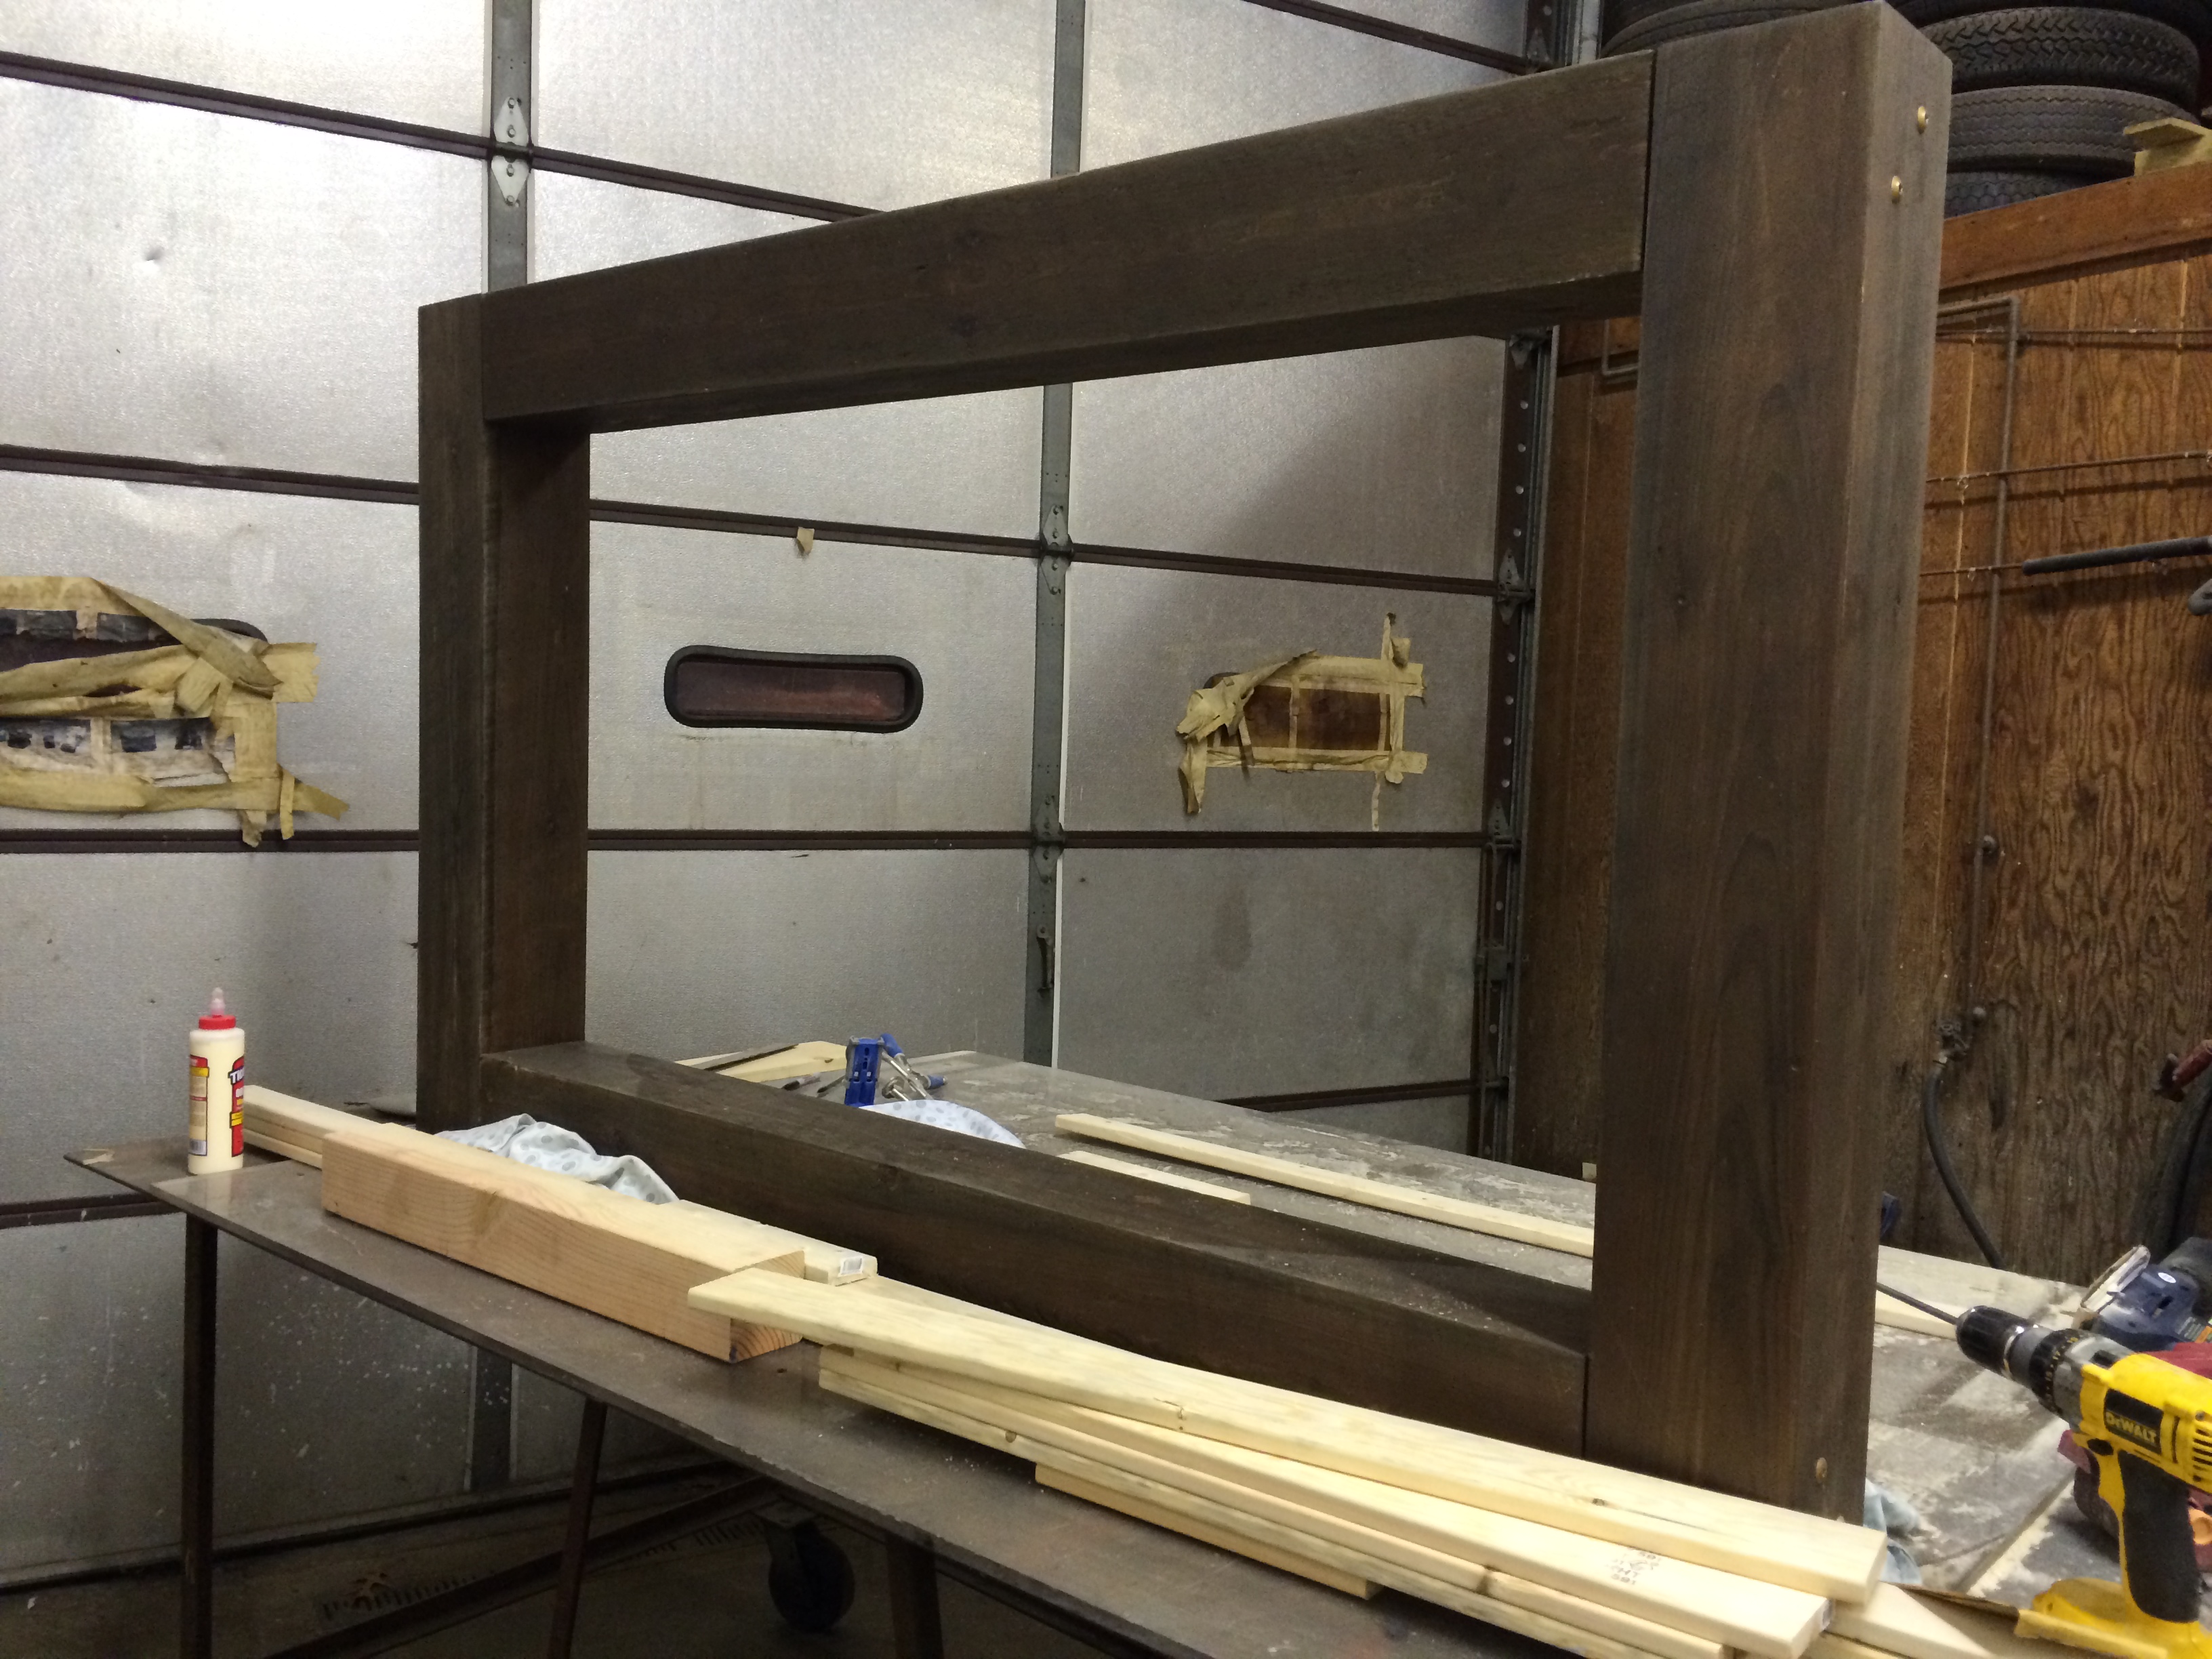
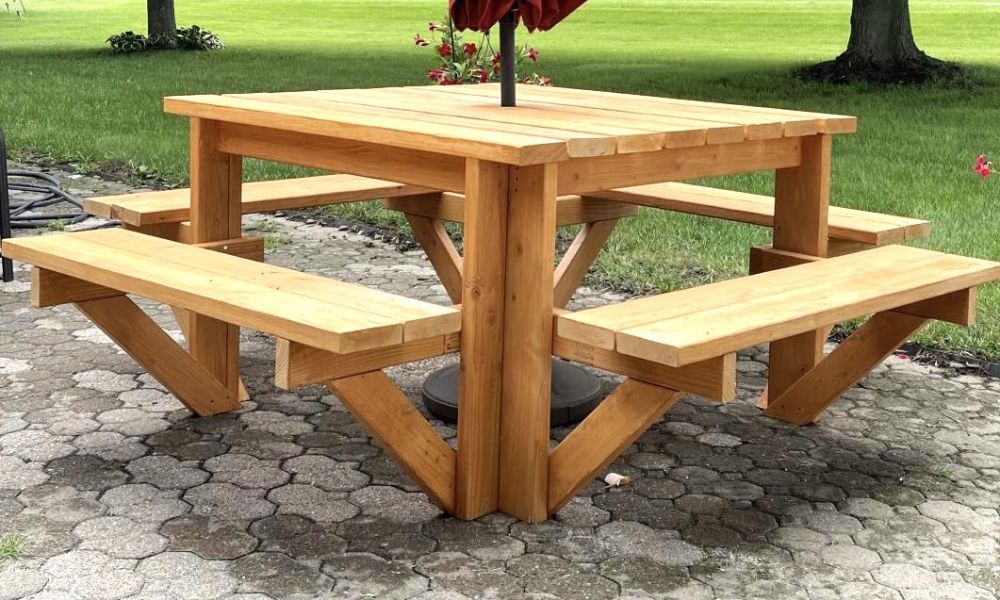
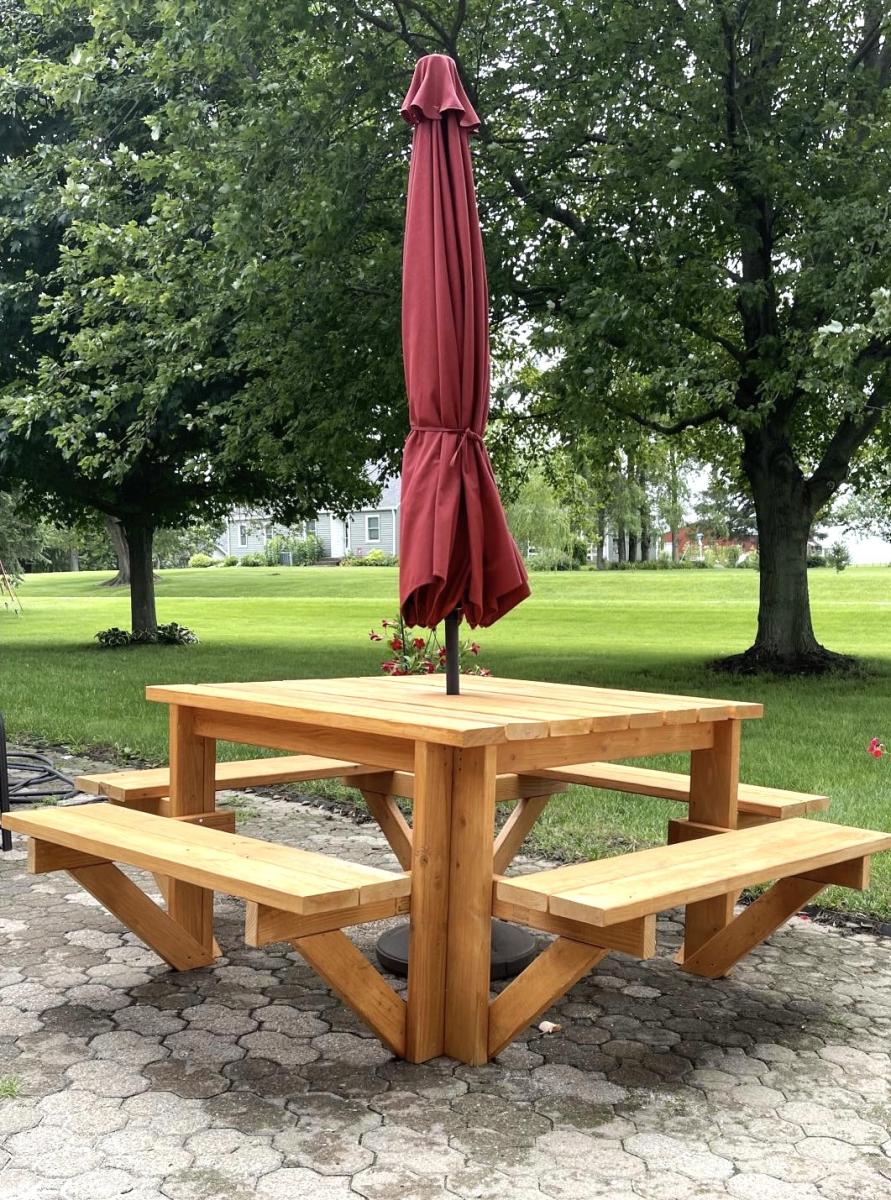
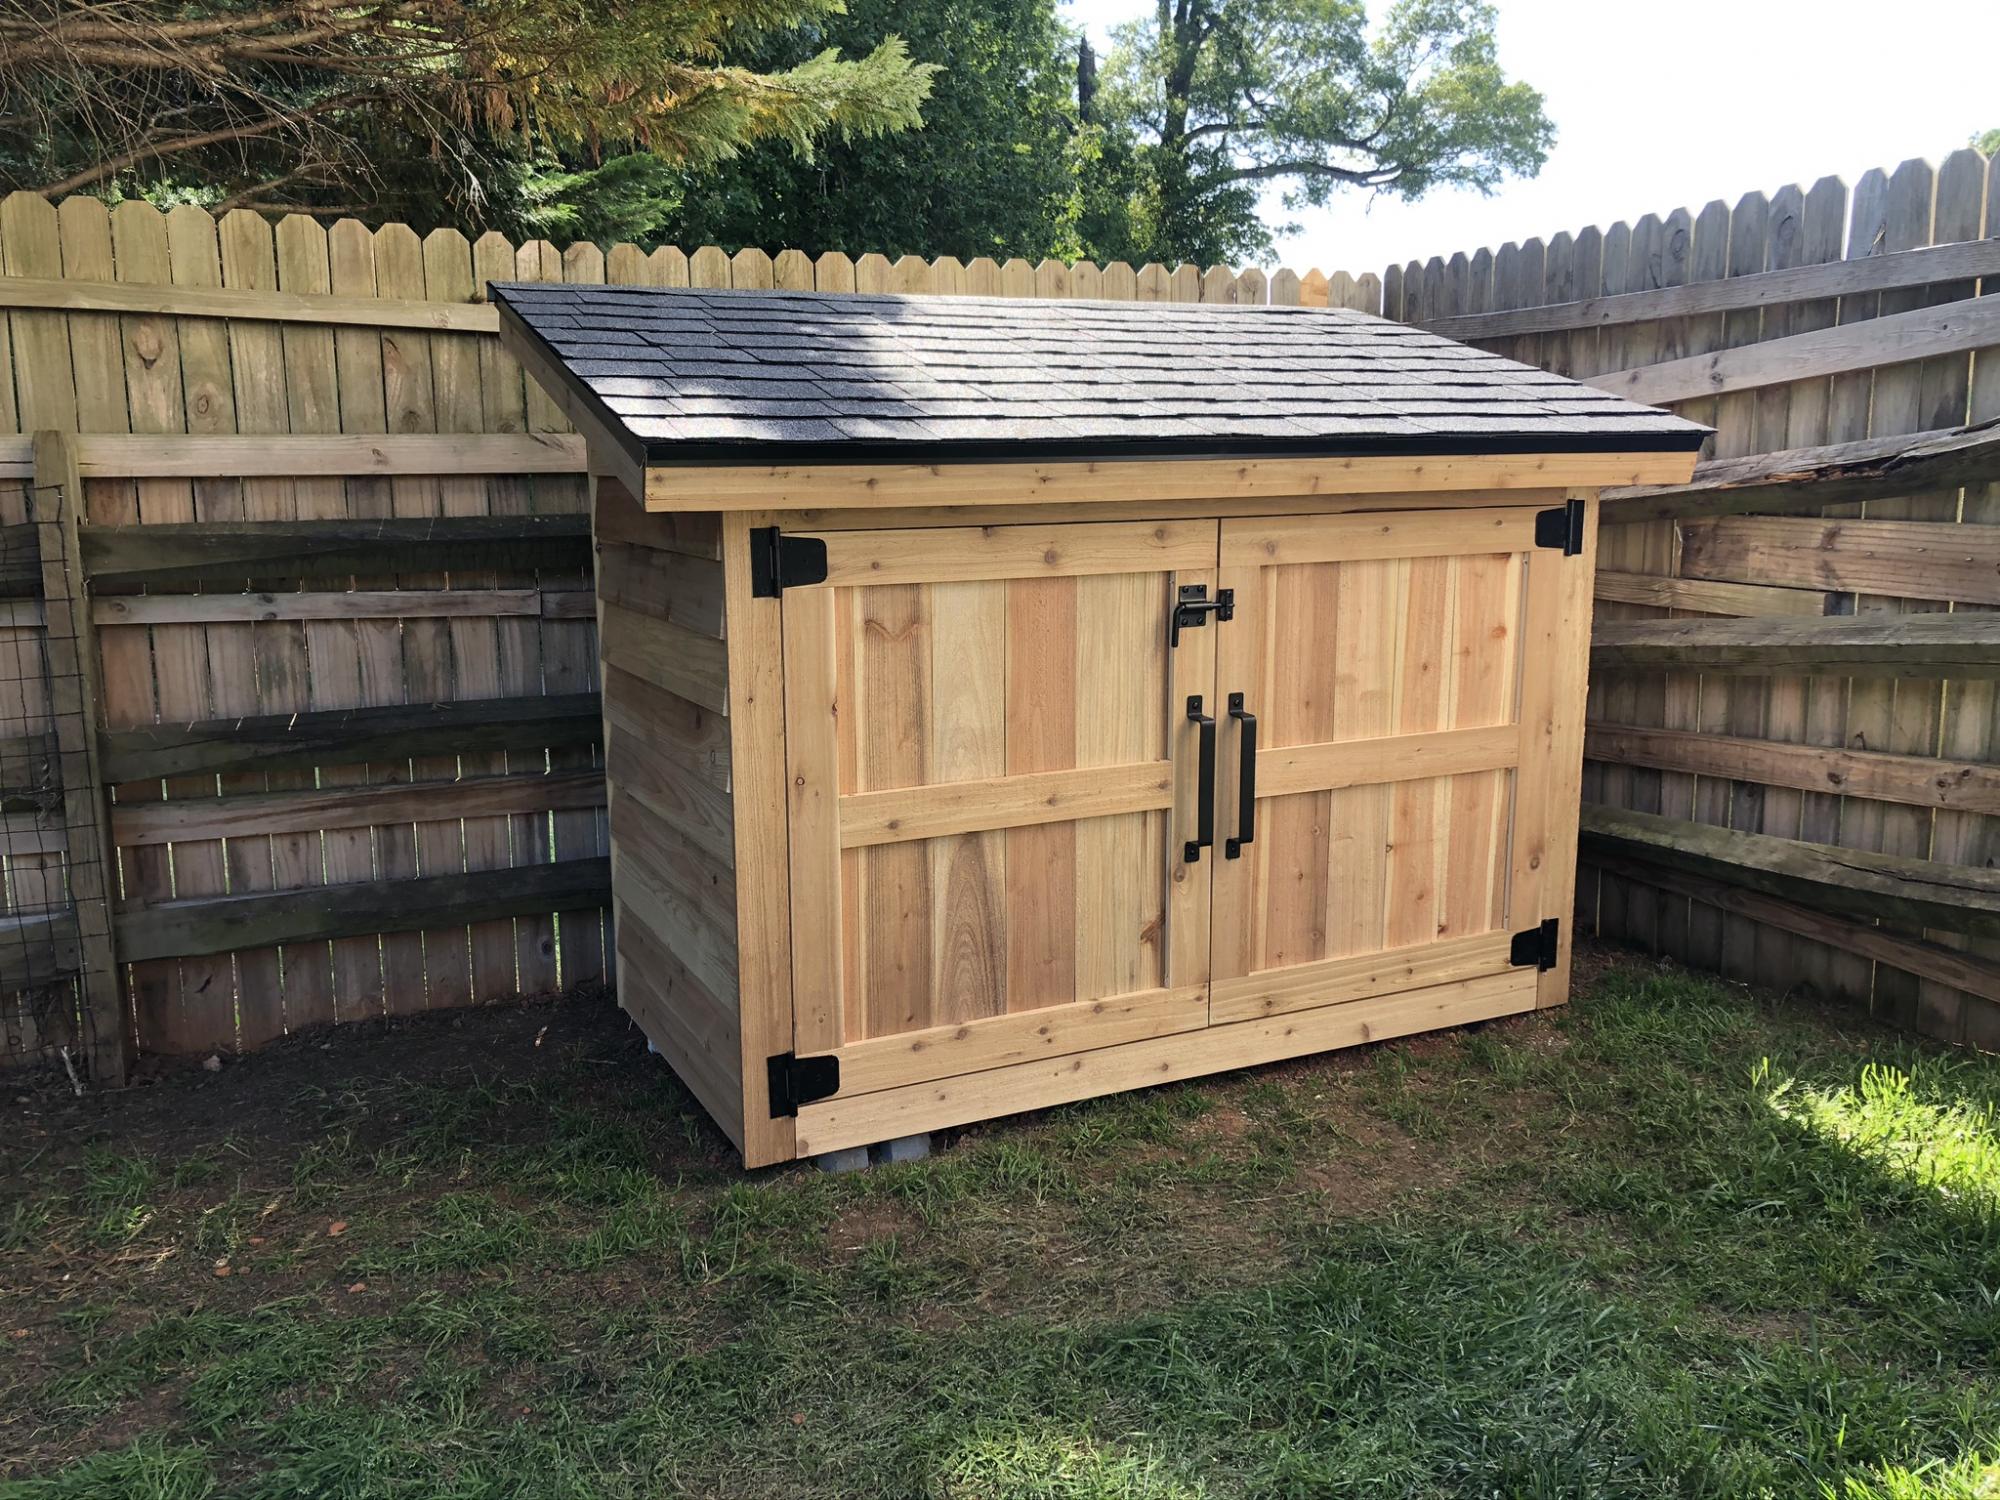
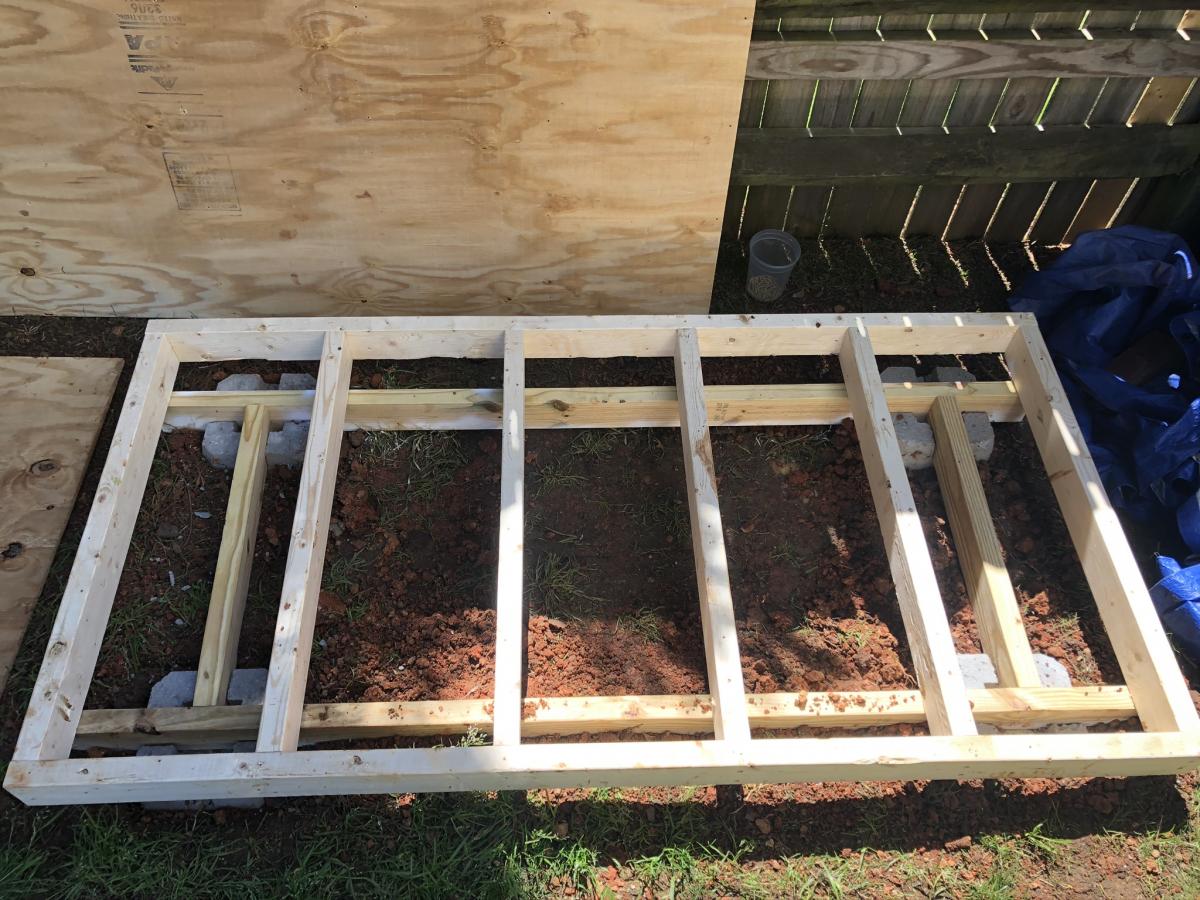
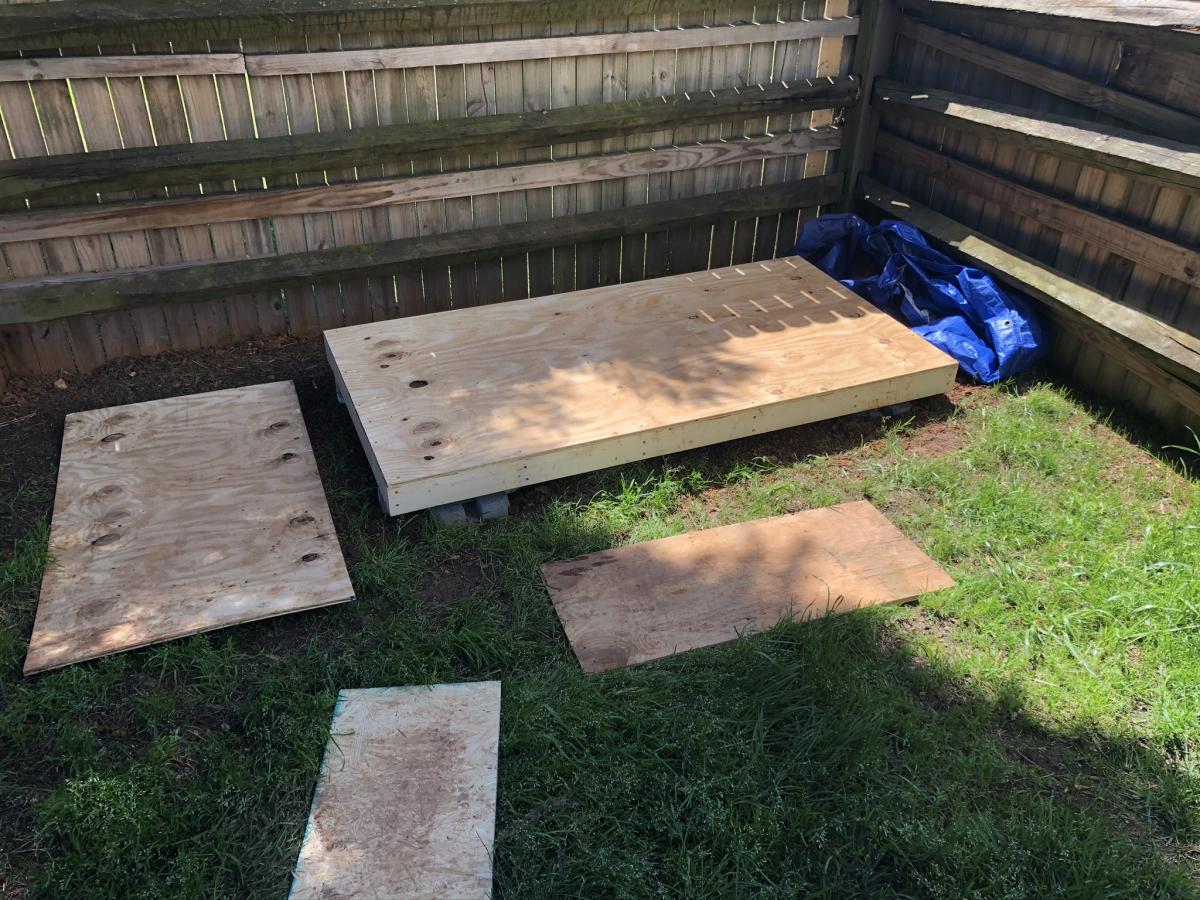
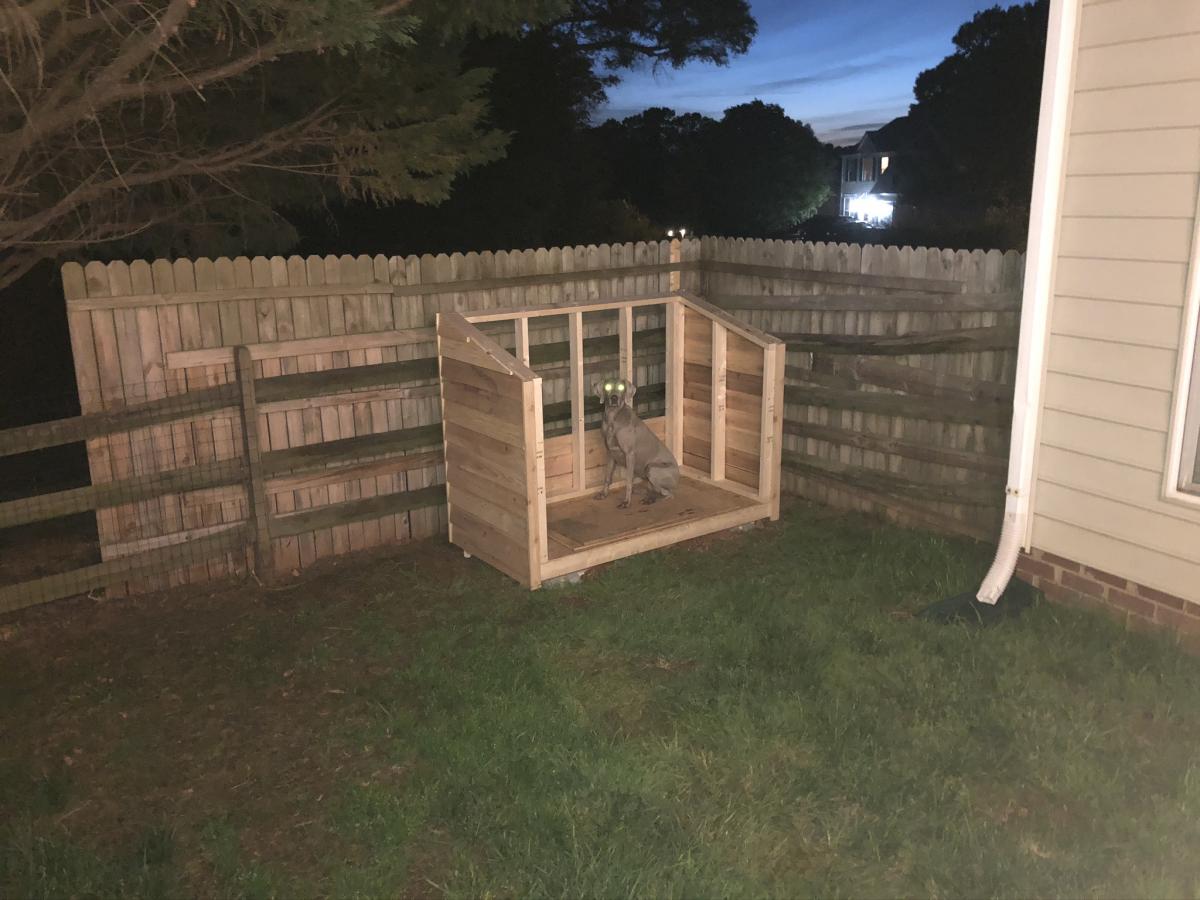
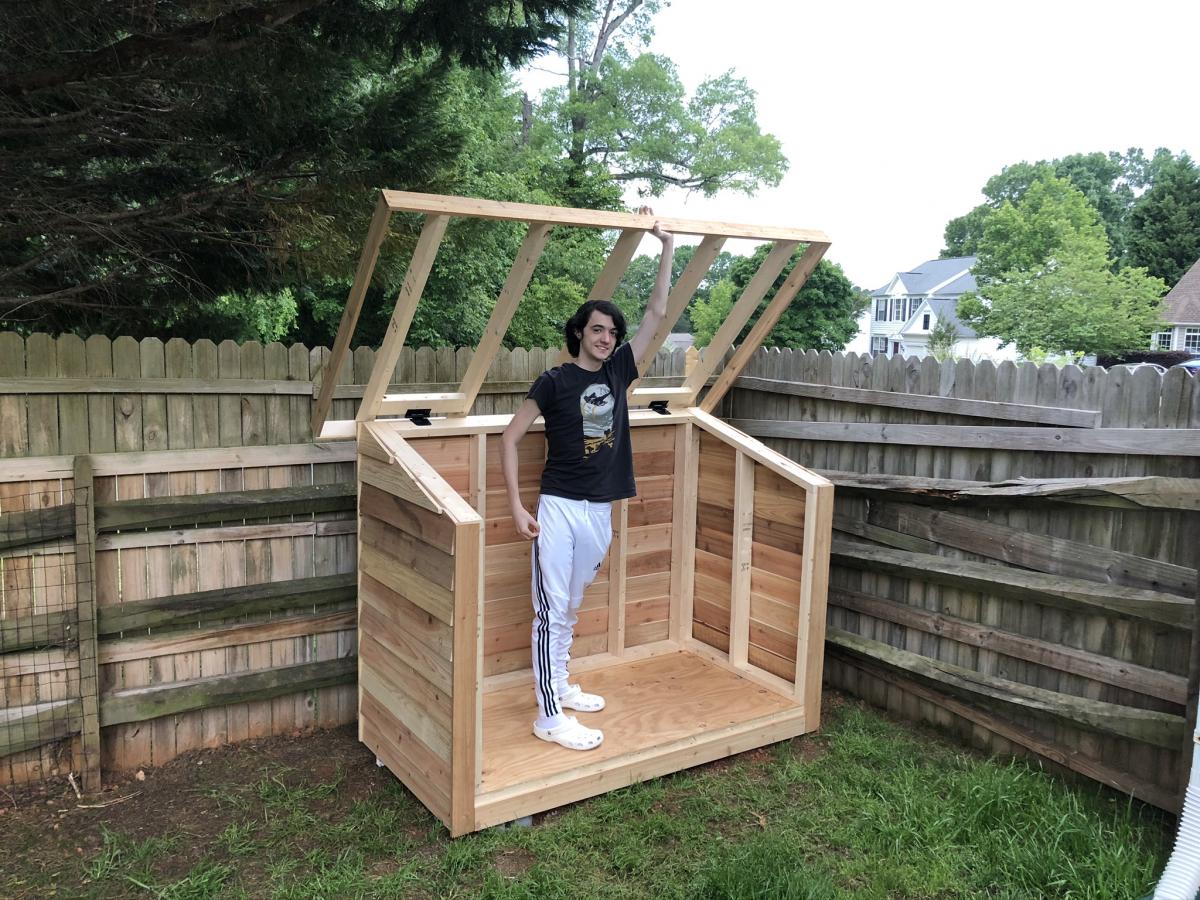
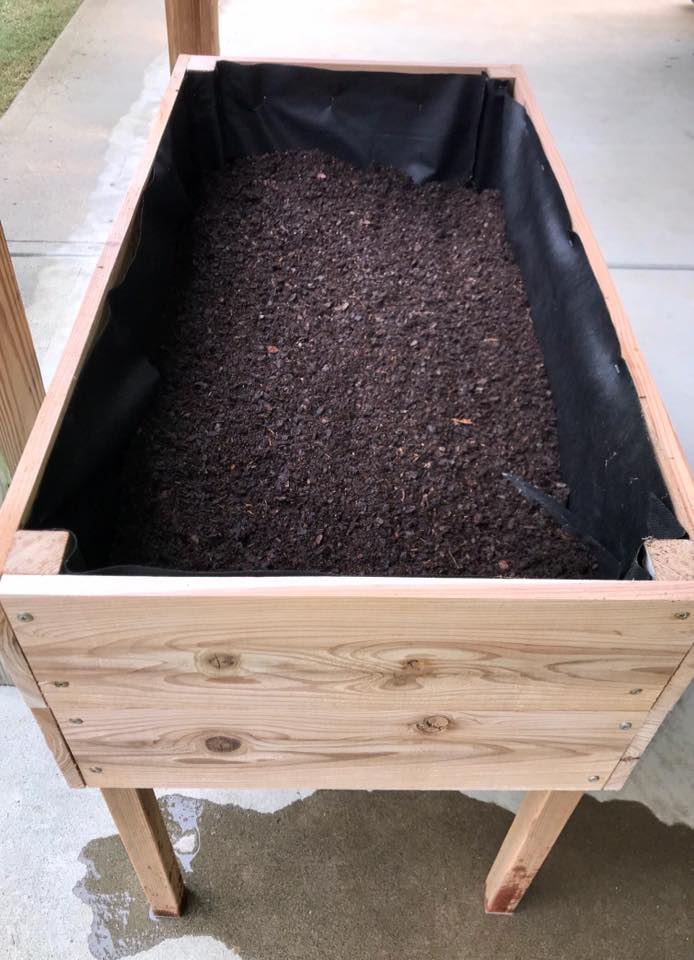
Grandkids built Cedar Planter

Submitted by atlayank on Sun, 07/26/2020 - 18:22

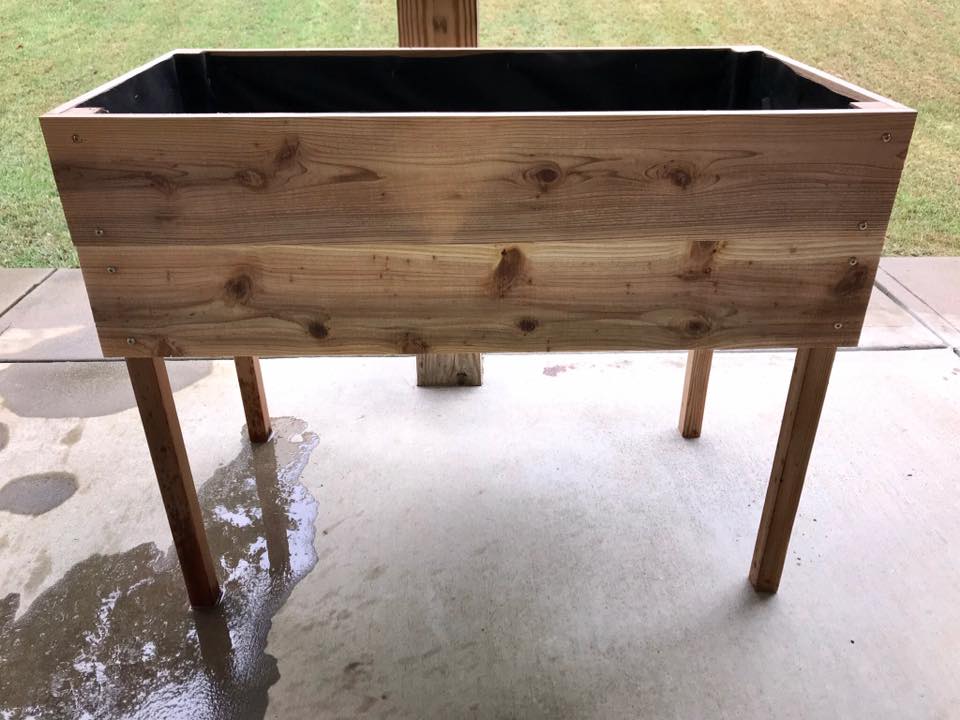
Two of my grandsons built this cedar planter after I did the cutting of the wood. They did all the measuring and put it together very nicely!

Built from Plan(s)
Estimated Cost
15
Estimated Time Investment
An Hour or Two (0-2 Hours)
Finish Used
Natural
Recommended Skill Level
Starter Project

XL Modern Craft Table

I modified this plan so I could have 4 total work areas. Total Size: 48" x 96"

Built from Plan(s)
Estimated Time Investment
Weekend Project (10-20 Hours)
Finish Used
White paint to match walls and trim (SW Alabaster)
Recommended Skill Level
Intermediate

Comments

briannamcelfresh

Tue, 09/08/2020 - 19:42

Is there anyway you can share these plans with me!? I drew out some plans for an identical table but I think my cuts may be off! It would be so helpful.

Ultimate work bench

Submitted by markmart74 on Fri, 06/16/2017 - 18:44

Tablesaw, router, fliptop mitersaw, and dust collection workbench. 

Recommended Skill Level
Intermediate

Comments

Tall Bedroom Dresser

Had a blast with this project and am getting more confident with drawer slides. I built a matching dresser that is much shorter and wider. It can be found here: http://www.ana-white.com/2018/08/DIY_furniture/bedroom-dresser

Estimated Cost
$150-$200
Estimated Time Investment
Weekend Project (10-20 Hours)
Finish Used
Varathane Weathered Wood Accelerator, Varathane Poly
Recommended Skill Level
Advanced

Comments

hutchingslv

Thu, 08/12/2021 - 15:35

Any way to get a copy of these plans? I really like the look and want to give it a shot. Have to make a few of these if all goes well for all my boys.
Thanks

Adirondack Chairs with Foot Rest

Submitted by Anonymous (not verified) on Sun, 07/30/2023 - 14:45

Great set of outdoor chairs with foot rest!


RG Design & Build

Comments

My Simple Outdoor Lounge Chair with 2x4 modification

I modified this chair with 2x4's as the base and 2x2 for decoration on arms, this is prior to sanding and finishing

Built from Plan(s)
Estimated Cost
$15-$20 dollars, depending on local lumber prices and finishing options.
Estimated Time Investment
An Hour or Two (0-2 Hours)
Finish Used
Unfinished
Recommended Skill Level
Beginner

Comments

RandyW

Sat, 06/13/2020 - 16:33

I always take my sander to the sharp edges and round them off

Rustic Bookcase

Submitted by kristyzed on Sat, 02/15/2014 - 10:35

I wanted to build a piece for my living room that I could add onto later with other matching pieces. This was perfect since it has the matching coffee table, side table, and console table. It was my first time making angle cuts, and not tricky like I thought it would be. This is a very solid piece and fits in nicely with my decor.

Built from Plan(s)
Estimated Cost
$120
Estimated Time Investment
Day Project (6-9 Hours)
Finish Used
Stained with Minwax's Espresso stain.
Recommended Skill Level
Beginner

Comments

dbraa

Mon, 04/13/2015 - 18:24

Knotty Pine 2x boards aren't available here. Could you provide more specifics about what you used for each type of board?

Slatted double vanity - FINALLY finished!

I was a bit over my head with this one but I am so far very happy with the project. It is not quite finished. The marble was installed last week and we are awating the plumber to come back to hook up the sinks. I will install the second slatted shelf once the plumbing is in. Will post finished pictures soon. The mirror is made from 6x6 posts from the lumber yard. We had a friend cut them to size using a band saw. We made the mirror frame based on a picture I found on Houzz.com. The mirror glass was something I picked up off of craigslist for next to nothing and removed from the original frame. It is HEAVY (~200lbs) and attached to the wall with metal brackets. We purchased the sinks/faucets on ebay. 


Estimated Cost
For the vanity alone: $200-250
Estimated Time Investment
Weekend Project (10-20 Hours)
Finish Used
I used Hilary's vinegar/steel wool solution to age the wood, then sanded and finished with the vermont natural coatings polywhey in satin.
Recommended Skill Level
Intermediate

Comments

Square Picnic Table Project

This was a great summer project. The table looks great and it was any easy build. Doesn’t get any better than this. I added a hole in the center of the table for my umbrella and used the longer screws for more frame stability.

Built from Plan(s)
Estimated Cost
$200.00
Estimated Time Investment
Day Project (6-9 Hours)
Finish Used
Used semi transparent cedar tone stain. Lightly sanded edges and surfaces. Applied stain with a brush before assembly.

Comments

Seasonal And Holiday

Guitar Workbench

Submitted by Anonymous (not verified) on Fri, 02/17/2023 - 06:54

I built this 6' workbench for your garage or workshop but converted it to a guitar workbench for a local music store. I added a felt fabric top so his technician could repair guitars without scratching or damaging his instruments. Painted it black to give it some flair. Check out my other work at www.customwoodcreations48.com

Built from Plan(s)

Comments

Bookcase Dollhouse

We built this for our daughter's 6th birthday! Love how it turned out :D  As you can see we opted to leave the plywood backing off for the time being so she can use it as a doll house and play on both sides. When she grows out of the doll house phase we will either convert it to a book shelf, donate, or sell in a yard sale ... so many options!

Built from Plan(s)
Estimated Cost
$74 wood & white paint
Estimated Time Investment
Afternoon Project (3-6 Hours)
Finish Used
One quart semi-gloss white paint (2 coats) bought at Walmart. Pink and green colors were left over paints from when we painted the walls in our home.
Recommended Skill Level
Beginner

Comments

Great weekend project...the "love swing"

Submitted by Don Ellery on Mon, 05/19/2014 - 15:49

A great weekend project...the "love swing"! I used the plan from Ana for the swing seat and added two arm rests from left over 1x6, rounded them off and sanded.

I cobbled together an A-frame to hang everything, made from five 8 foot 4x4s and two 8 foot 2x6s laminated together for the stretcher. Assembled with 1/2" galvanized carriage bolts and hung with 1/4" chain.

Definitely going to want a good miter saw for the A-Frame angles (the top ones are a bit tricky to get everything lined up)

Love it! Thanks for another great plan Ana..and of course..Shanty2Chic!

Built from Plan(s)
Estimated Cost
$200 ish..including the A-Frame... the hardware and chain can be pricey!
Estimated Time Investment
Day Project (6-9 Hours)
Finish Used
Behr exterior weatherproofing stain - Chocolate.

Just 2 thin coats, dries fast...second coat can be applied later the same day.
Recommended Skill Level
Beginner

Comments

Carpenters Daughter

Mon, 12/12/2016 - 17:09

Could you please post the plans to build the a frame as well? I really love what you did and would like to copy it! Great Job!

Don Ellery

Wed, 07/19/2017 - 11:31

Hi! I wish I could, but I didn't take any notes on the angles or lengths when I made this and I left it with the house when we moved. 

Modified Simple Rolling Bar Cart

I honestly think Ana is a mind reader. Whenever I need plans for a particular piece of furniture, they magically appear on her site. Of course if she was a true mind reader, everything will be exactly as I need it requiring no modifications. That's what makes her plans so amazing. I can build bigger and better because I've learned to modify her plans to fit my current needs.

This Cart was no exception. I had to make mine a few inches deeper and change the height of the legs and it was a piece of cake. I put this together in less than 2 hours and finishing was easy too.

I did a blog post all about what I did differently including how I constructed a towel bar instead of the pipe. Check it out at www.thepursuitofhandyness.com

Built from Plan(s)
Estimated Cost
$25 Depending upon the type of casters used
Estimated Time Investment
Afternoon Project (3-6 Hours)
Finish Used
Oil Based Primer & Rustoleum Painters Touch Spray Paint in Paprika Satin
Recommended Skill Level
Starter Project

Do-It-All Mobile Workbench

Submitted by JL Hurst on Wed, 11/28/2012 - 11:02

The need for a proper workbench in my garage/shop is a must, but. So is space! I already have a fold down workbench I’ve made with ¾ inch pipe & a door, but. I just need something that can handle all my tools. So, I stumbled upon these plans from the Family Handyman & couldn’t find a reason why this wouldn’t work in my shop. It has room for storage, can easily accommodate my tools & most importantly fold up to store. Easy to build too! Make sure you read all the plans first as some of the materials could be pricey, but well worth it. Technically it’s taken 2 months to build this bench, as I operate on a firefighter/teacher’s budget & during the holiday season no doubt. I ordered all the shelf standards & brackets through Amazon, $210.00 for those alone, but they hold so much weight to support your tools I figure it’s worth it. The rest materials (wood, screws) were purchased at Home Depot for around $150.00. The plans called for ¾ inch ply & it was $45.00 per sheet. However they did have a smaller thickness for $22.00 per sheet & was only a 1/32 inch thinner. I plan on topping all my surfaces with some ¼ inch tempered hardboard later on so I knew it would work. That also left me adjusting my screw size to mount my brackets. Due to the reduction in thickness of the plywood all my #8-1 inch screws needed to be adjusted to ¾ inch so to not screw through the ply. I also hit the molding isle to nab some pieces to use as furring strips to use under the shelves before attaching the brackets. This way I can sand each strip to match before mounting to make sure it lined up flat with the center top. One more thing; where it says “drill 1/8 inch hole in brackets make sure you use 1/8 inch pop rivets. I barrowed a pop rivet gun & was handed some rivets as well. Popped two & they had to be trashed because the rivet size turned out to be 5/32. So I stepped up in drill bit size & it all worked out. As I said, I’ll be topping it with some ¼ inch hardboard. I also plan to run it’s own electrical with an outlet on each post. I hope you all enjoy & this can help!

Estimated Cost
$350.00
Estimated Time Investment
Weekend Project (10-20 Hours)
Recommended Skill Level
Beginner

Comments

Rusty Cottage

Thu, 11/29/2012 - 07:03

This is by far the best workbench I have ever seen!!! Thanks for sharing. And excellent choice of table saw and miter saw.

JL Hurst

Thu, 11/29/2012 - 14:59

If I had it to do over I'd had gotten the contractor grade portable saw from Dewalt. The smaller version I have is the same 10" saw, but. It's maximum rip capasity is only 16. The other will at least rip a sheet of ply in 1/2.

Thanks for the kind words on the bench! I hope everyone that may find this valuable will. The plans came out of a 2005 issue & were hard to find on the internet.

uniquetrio2000

Thu, 07/04/2013 - 18:28

I love this work bench and would love to build it but i cant find them. Could you post them or email them to me please. uniquetrio2000 [at] gmail [dot] com

phantom1

Tue, 06/02/2015 - 05:39

I built this bench 3 years ago and I couldn't be happier. The portability, space savings and functionality make it wonderful!

StepFar

Mon, 01/08/2018 - 14:44

Am I missing the actual plans for this. I downloaded the pdf but it doesn't have the build plans apart of it.

Short version of cedar shed

Submitted by Anonymous (not verified) on Sat, 05/16/2020 - 14:35

We wanted a shorter version, so that it would hide behind this fence. I just needed somewhere to store lawnmower, wheelbarrow, and a few yard supplies. I started putting the roof on hinges, but the gas struts couldn't support the 170 pound roof. So it's fixed in place (stronger structure anyway). That's why I went with 2x4's for the framed walls instead of 2x2's.

Built from Plan(s)
Estimated Cost
600
Estimated Time Investment
Weekend Project (10-20 Hours)
Finish Used
Not yet finished, will get to that.
Recommended Skill Level
Intermediate

Comments

Second Project: table saw/ miter saw work bench

Submitted by jamesjill on Sat, 01/30/2021 - 20:34

Used part of the Ultimate Roll Away Workbench with Miter Saw Stand to just build one of the roll-away workbenches to work with my miter saw and table saw. I'm very happy with how it turned out.

Recommended Skill Level
Beginner

Comments

Rustic X Farmhouse Coffee Table with Storage

Submitted by Anonymous (not verified) on Sun, 02/05/2023 - 08:54

This project was made from reclaimed wood from my office where they had built a temporary safety railing out of 2x4s and 2x6s. I added a compartment for storage. The top is stained in a classic grey. I painted the body in black followed by white. I then sanded the body to allow the black to bleed through for a distressed look.

Comments

Shoe Dresser

I had this space in my mudroom that was a perfect spot to make a custom shoe dresser. I adjusted the plans I found on this website to custom make storage for shoes. Now this weird little space is functional.

Built from Plan(s)
Estimated Cost
80
Estimated Time Investment
Day Project (6-9 Hours)
Finish Used
Rustoleum chalk paint Serenity Blue, classic grey and special walnut Minwax
Recommended Skill Level
Intermediate

Comments

6 drawer dresser

Made this dresser for my newest Grand daughter. Turned out pretty nice. A few mistakes for sure!!! But I am proud and its functional. Worked on it off and on for a month.

Estimated Cost
About 400$
Finish Used
Polyshades grey (pain in the butt to use)
Recommended Skill Level
Intermediate

Comments

Back