Outdoor chair frames and coffee table

I built a set of chairs and a coffee table for our newly designed outdoor area. These look amazing and people love sitting on them and hanging out outside our house.


Built from Plan(s)
I built a set of chairs and a coffee table for our newly designed outdoor area. These look amazing and people love sitting on them and hanging out outside our house.
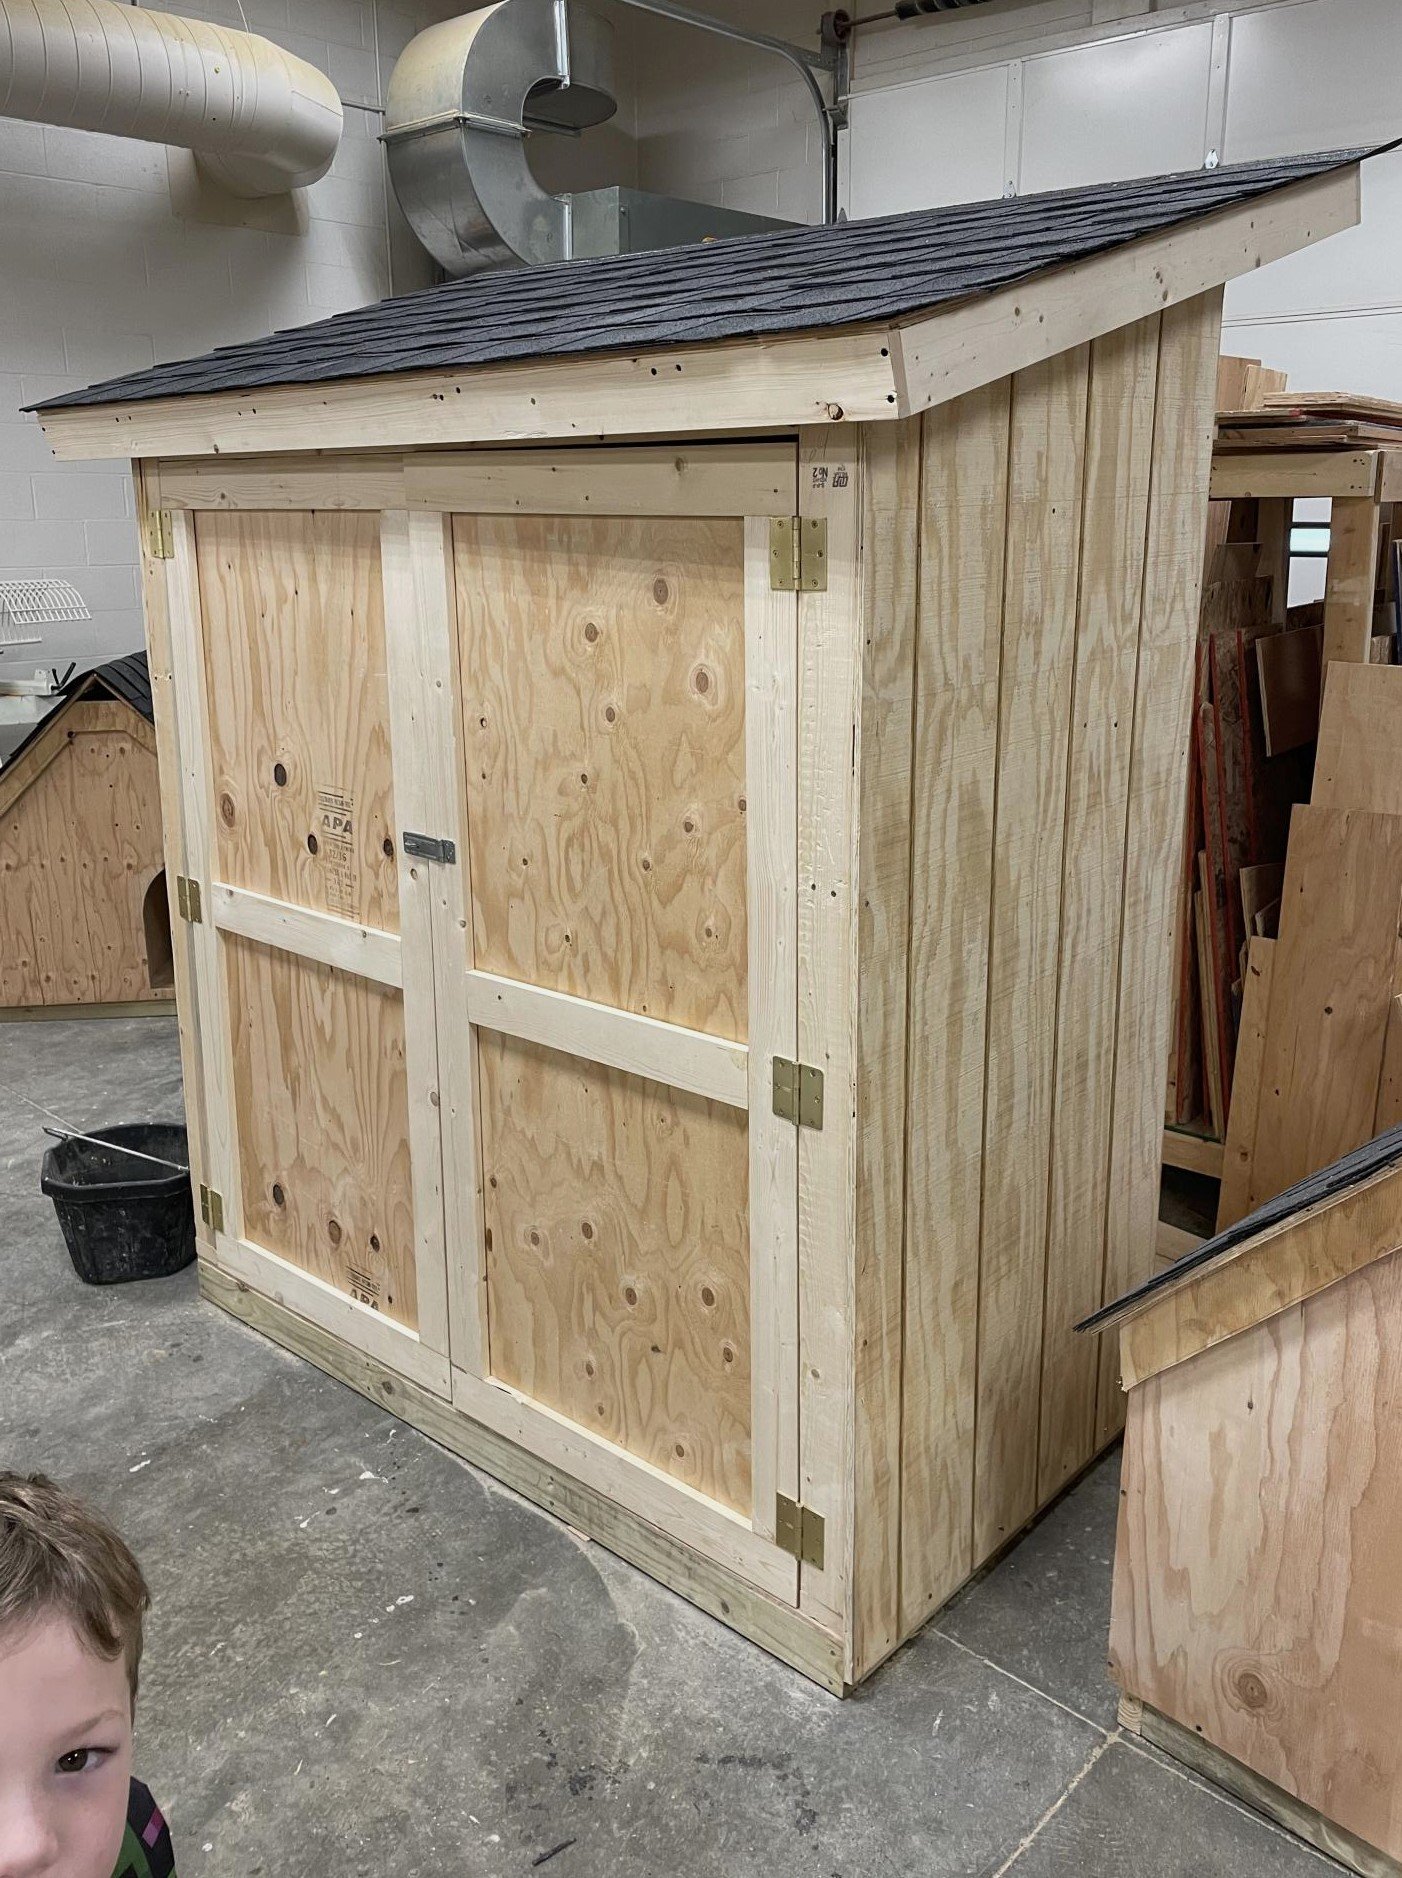
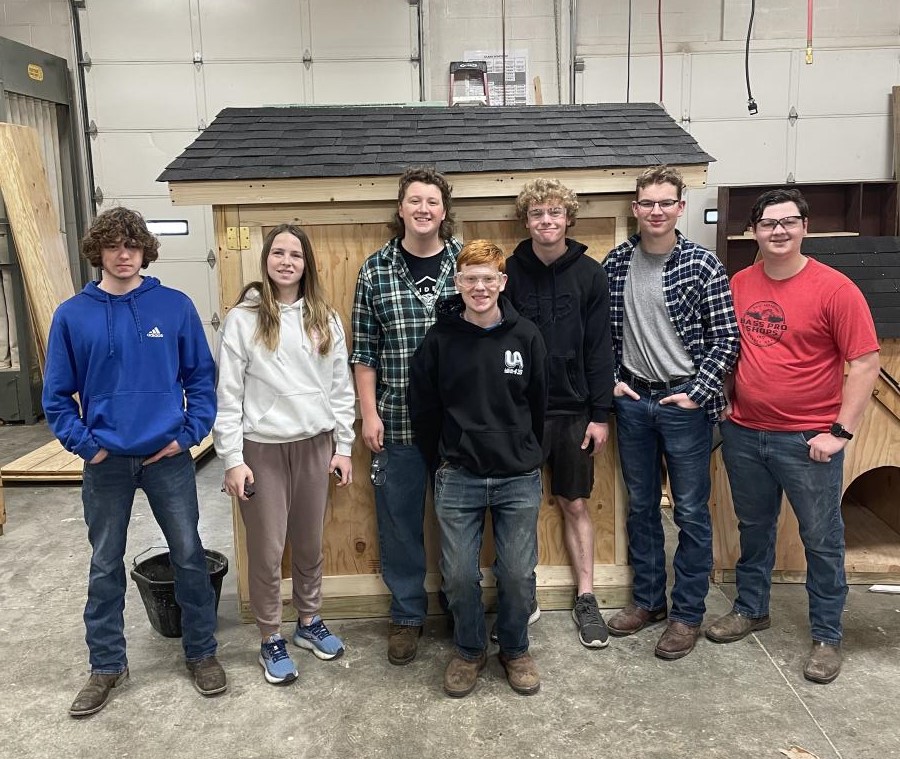
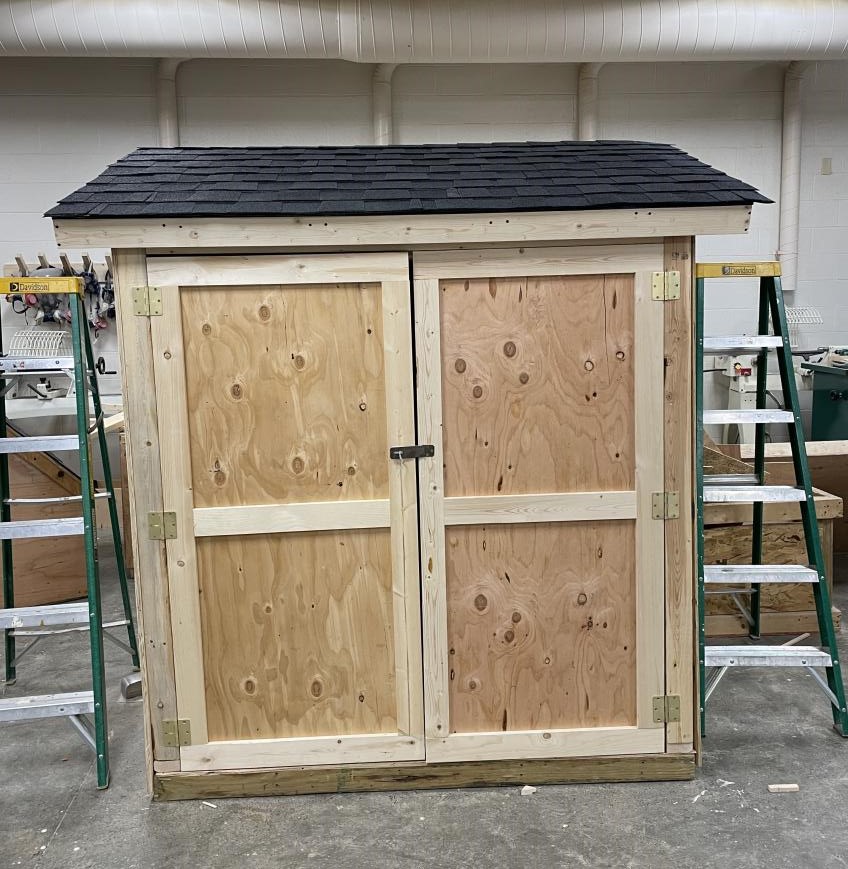
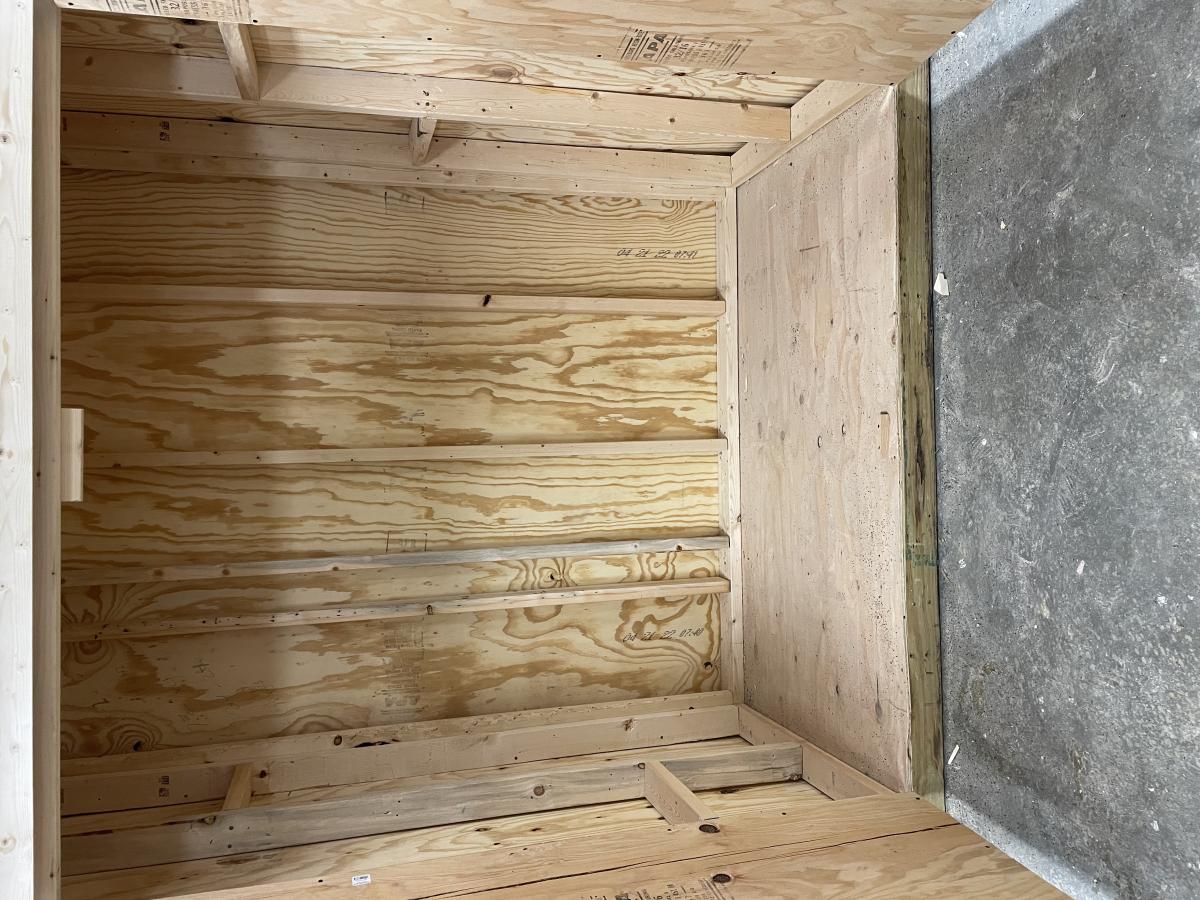
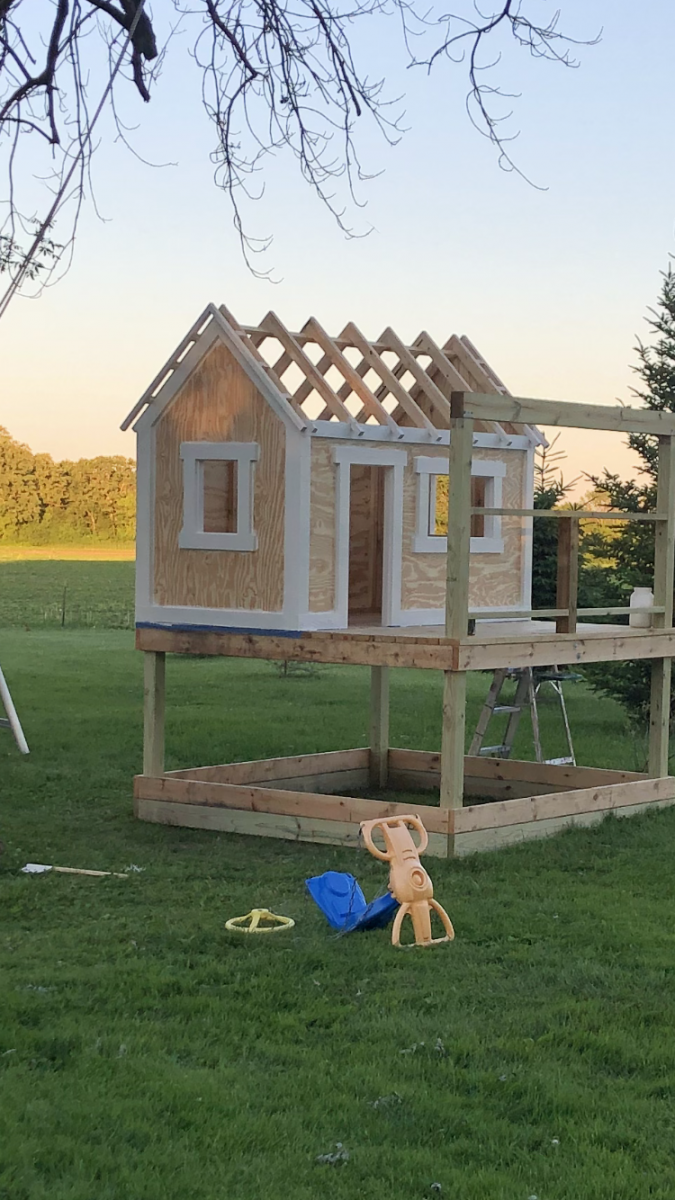
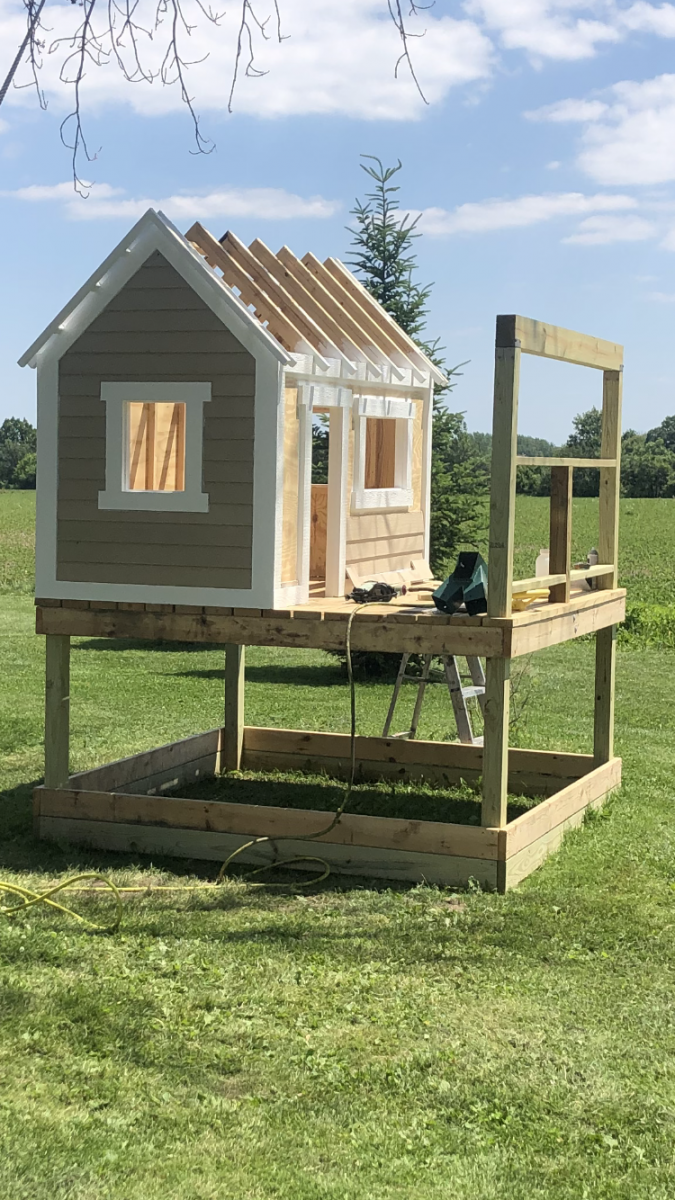
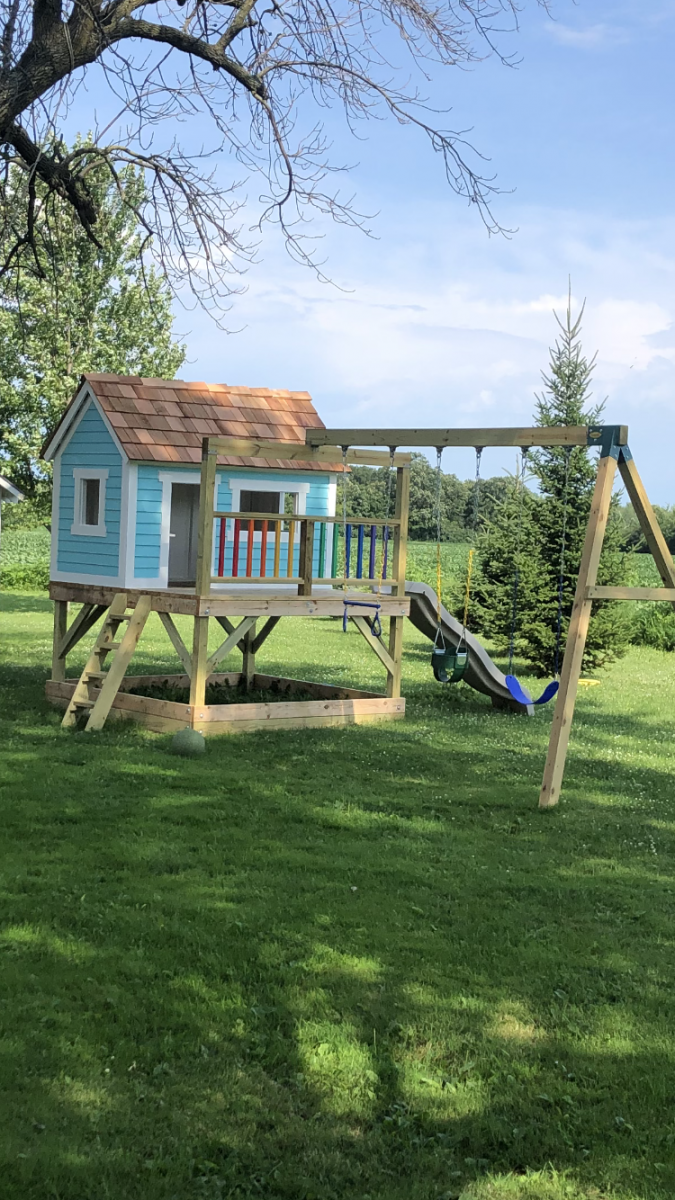
I’m a first year teacher of construction class at Waterloo High School in Illinois. We recently used your Small Cedar shed instructions with some modifications for a class project. It’s a bear getting cedar right now, so we used T1-11 for the outside and 2x4 for the frame.
Sat, 03/25/2023 - 09:14
Very fun and job well done! Thank you for sharing.
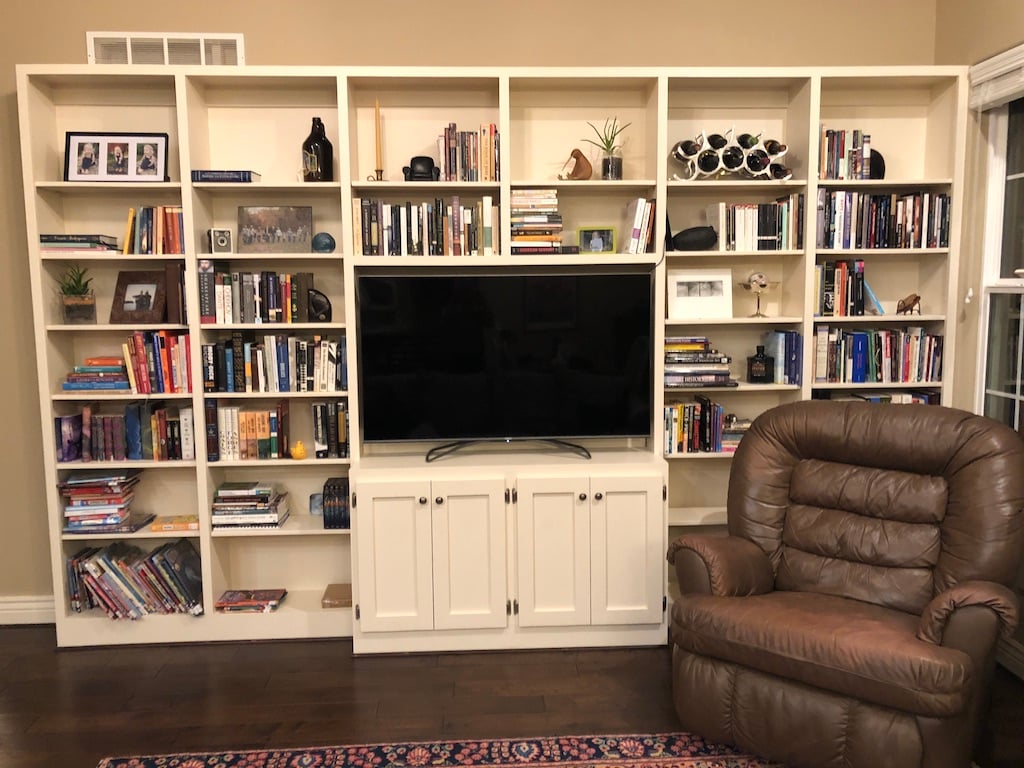
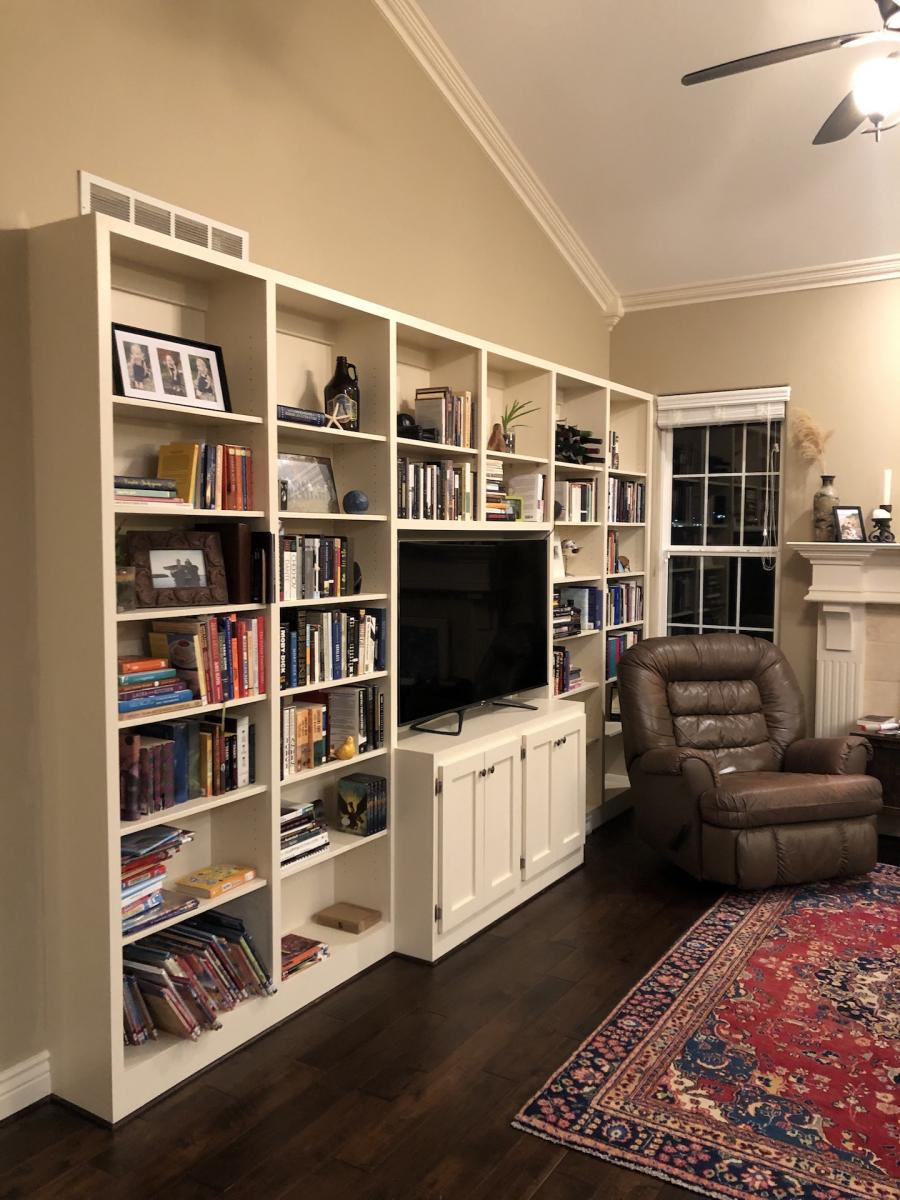
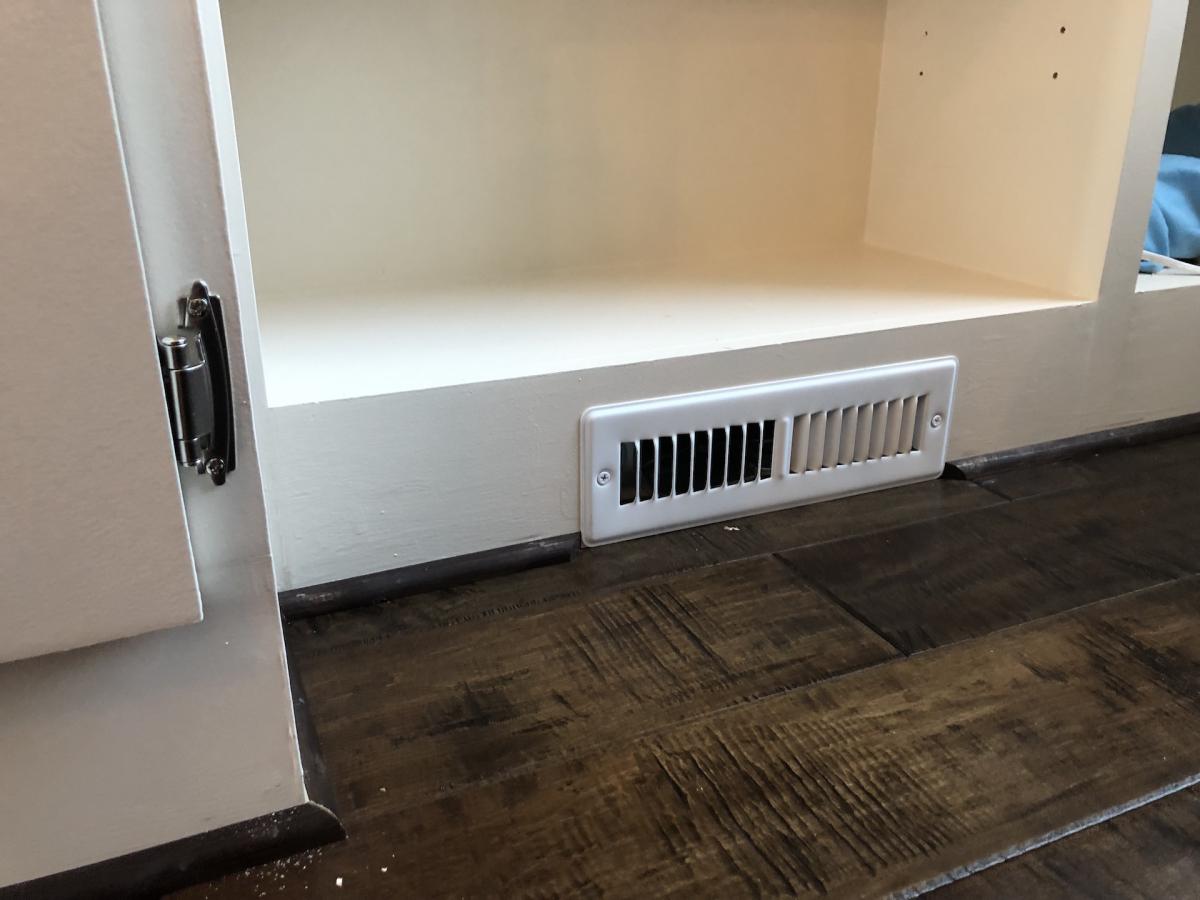
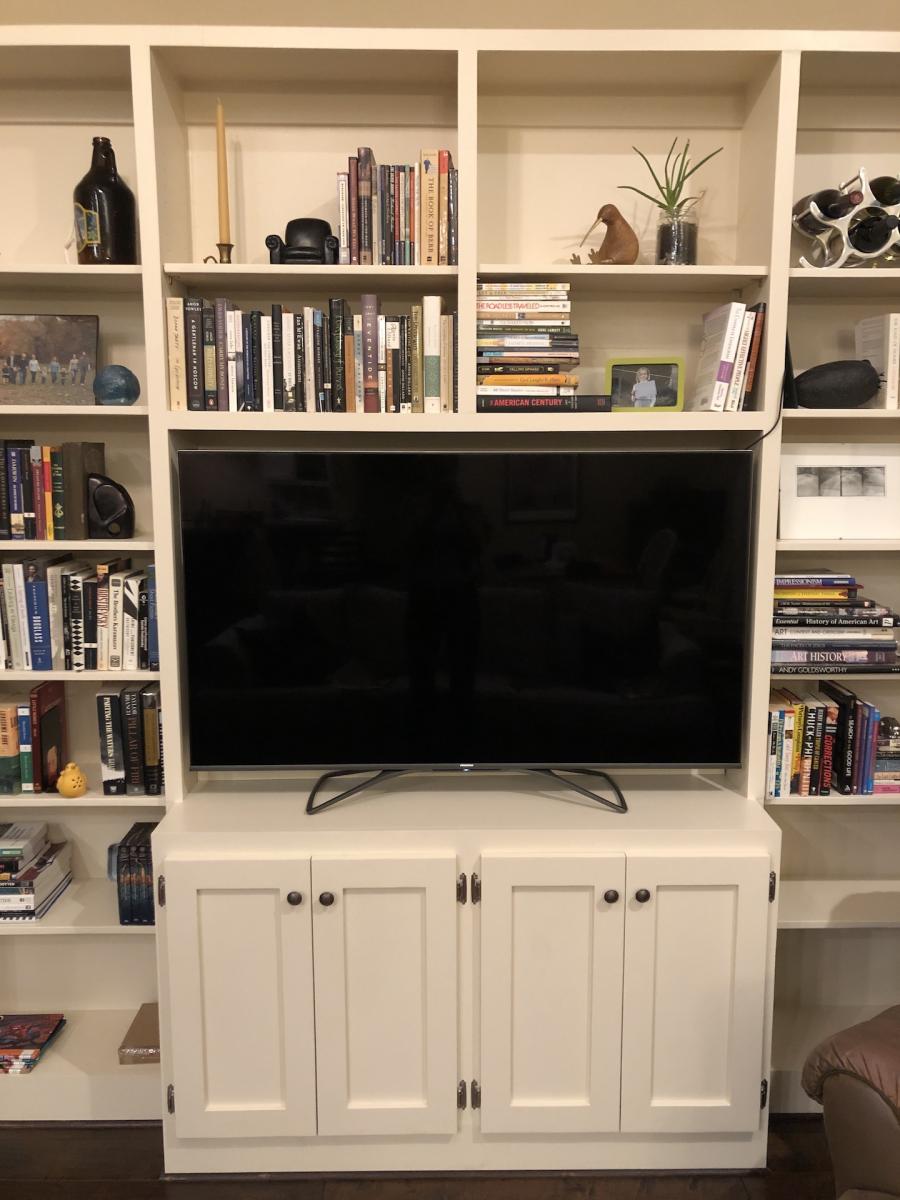
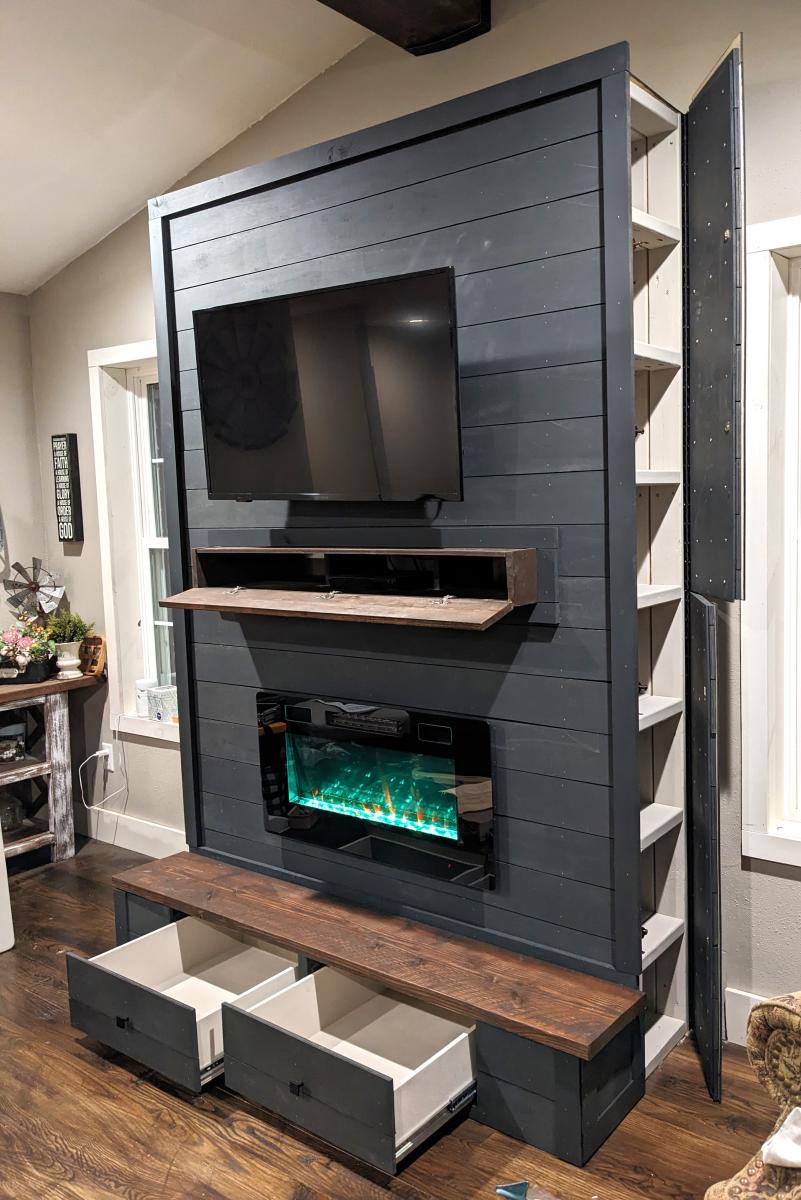
I built this project in 6 separate pieces before installing it in our home. I pulled the baseboard and attached it to the wall to give it a built-in feel. For the majority of the project, I used 3/4" plywood with the exception if 1/4" plywood for the back of the shelves as well as the centers of the cabinet doors. For the trim, I used select pine boards. I had to work around an airconditioning vent that was in the floor. I was able to divert it to run out the bottom of the bookcase.
This build is loosely based on the Willy Bookcase. I actually found another brag post on the Willy Bookcase that was immensely helpful in constructing my project. I'm so grateful for the brag boards! Instead of fixing all of the shelves like the Willy, I used a Kreg shelf pin jig to make the shelves adjustable. The shelf that lines up with the TV is fixed for stability.
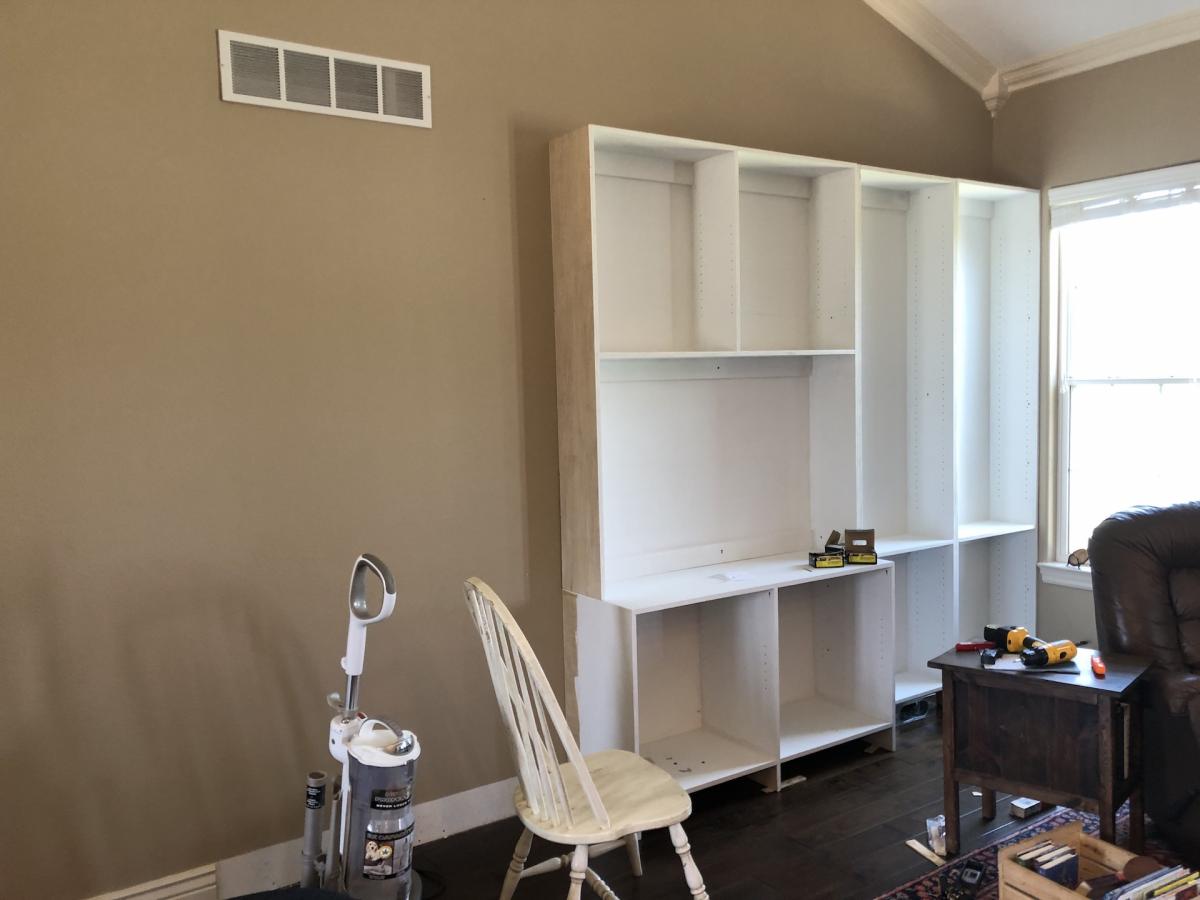
The estimate below covers all of the wood, paint, screws, hardware, etc. For fun, I'm including an in progress photo to illustrate the process. Thanks for looking!
Also, a note - this is a relatively easy project, however, I listed it as "intermediate" because of the cabinet doors. They definitely made it more complicated!
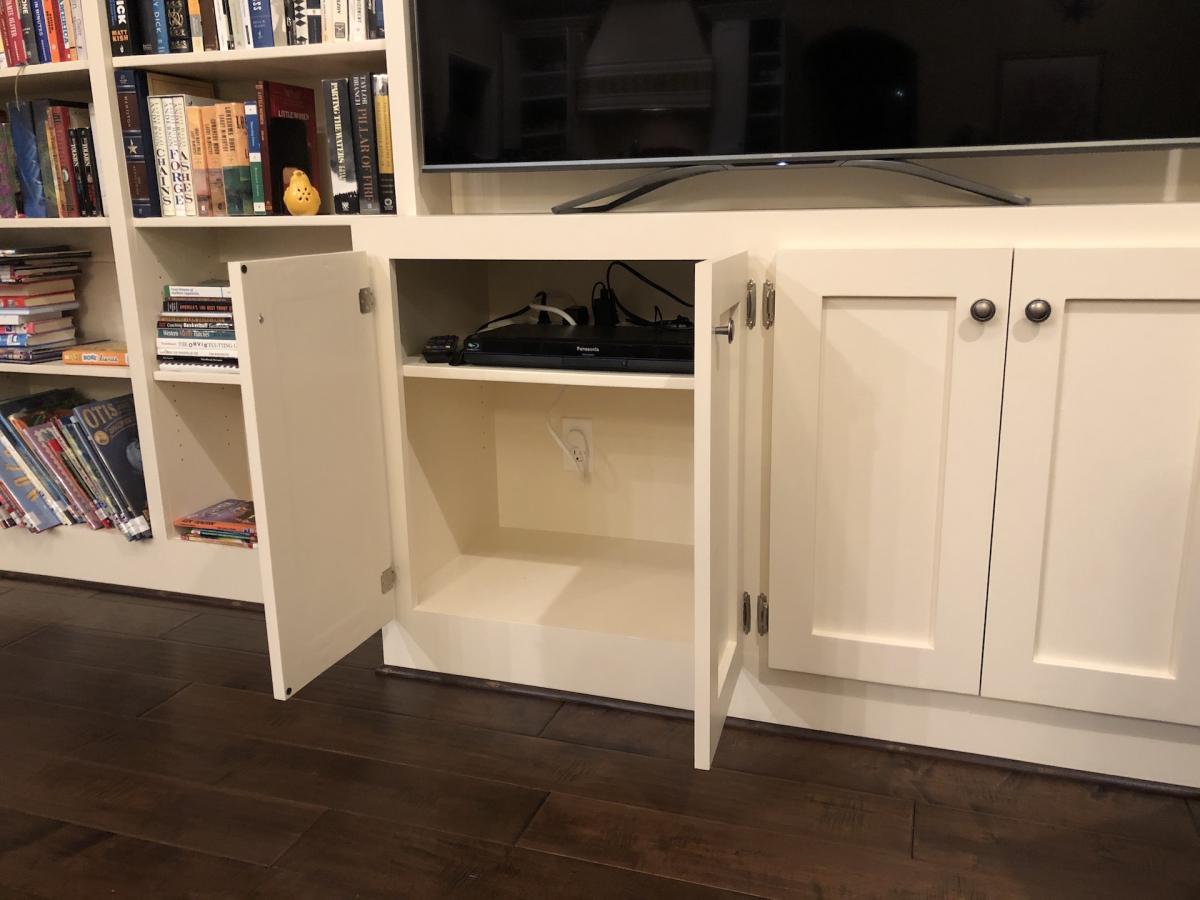
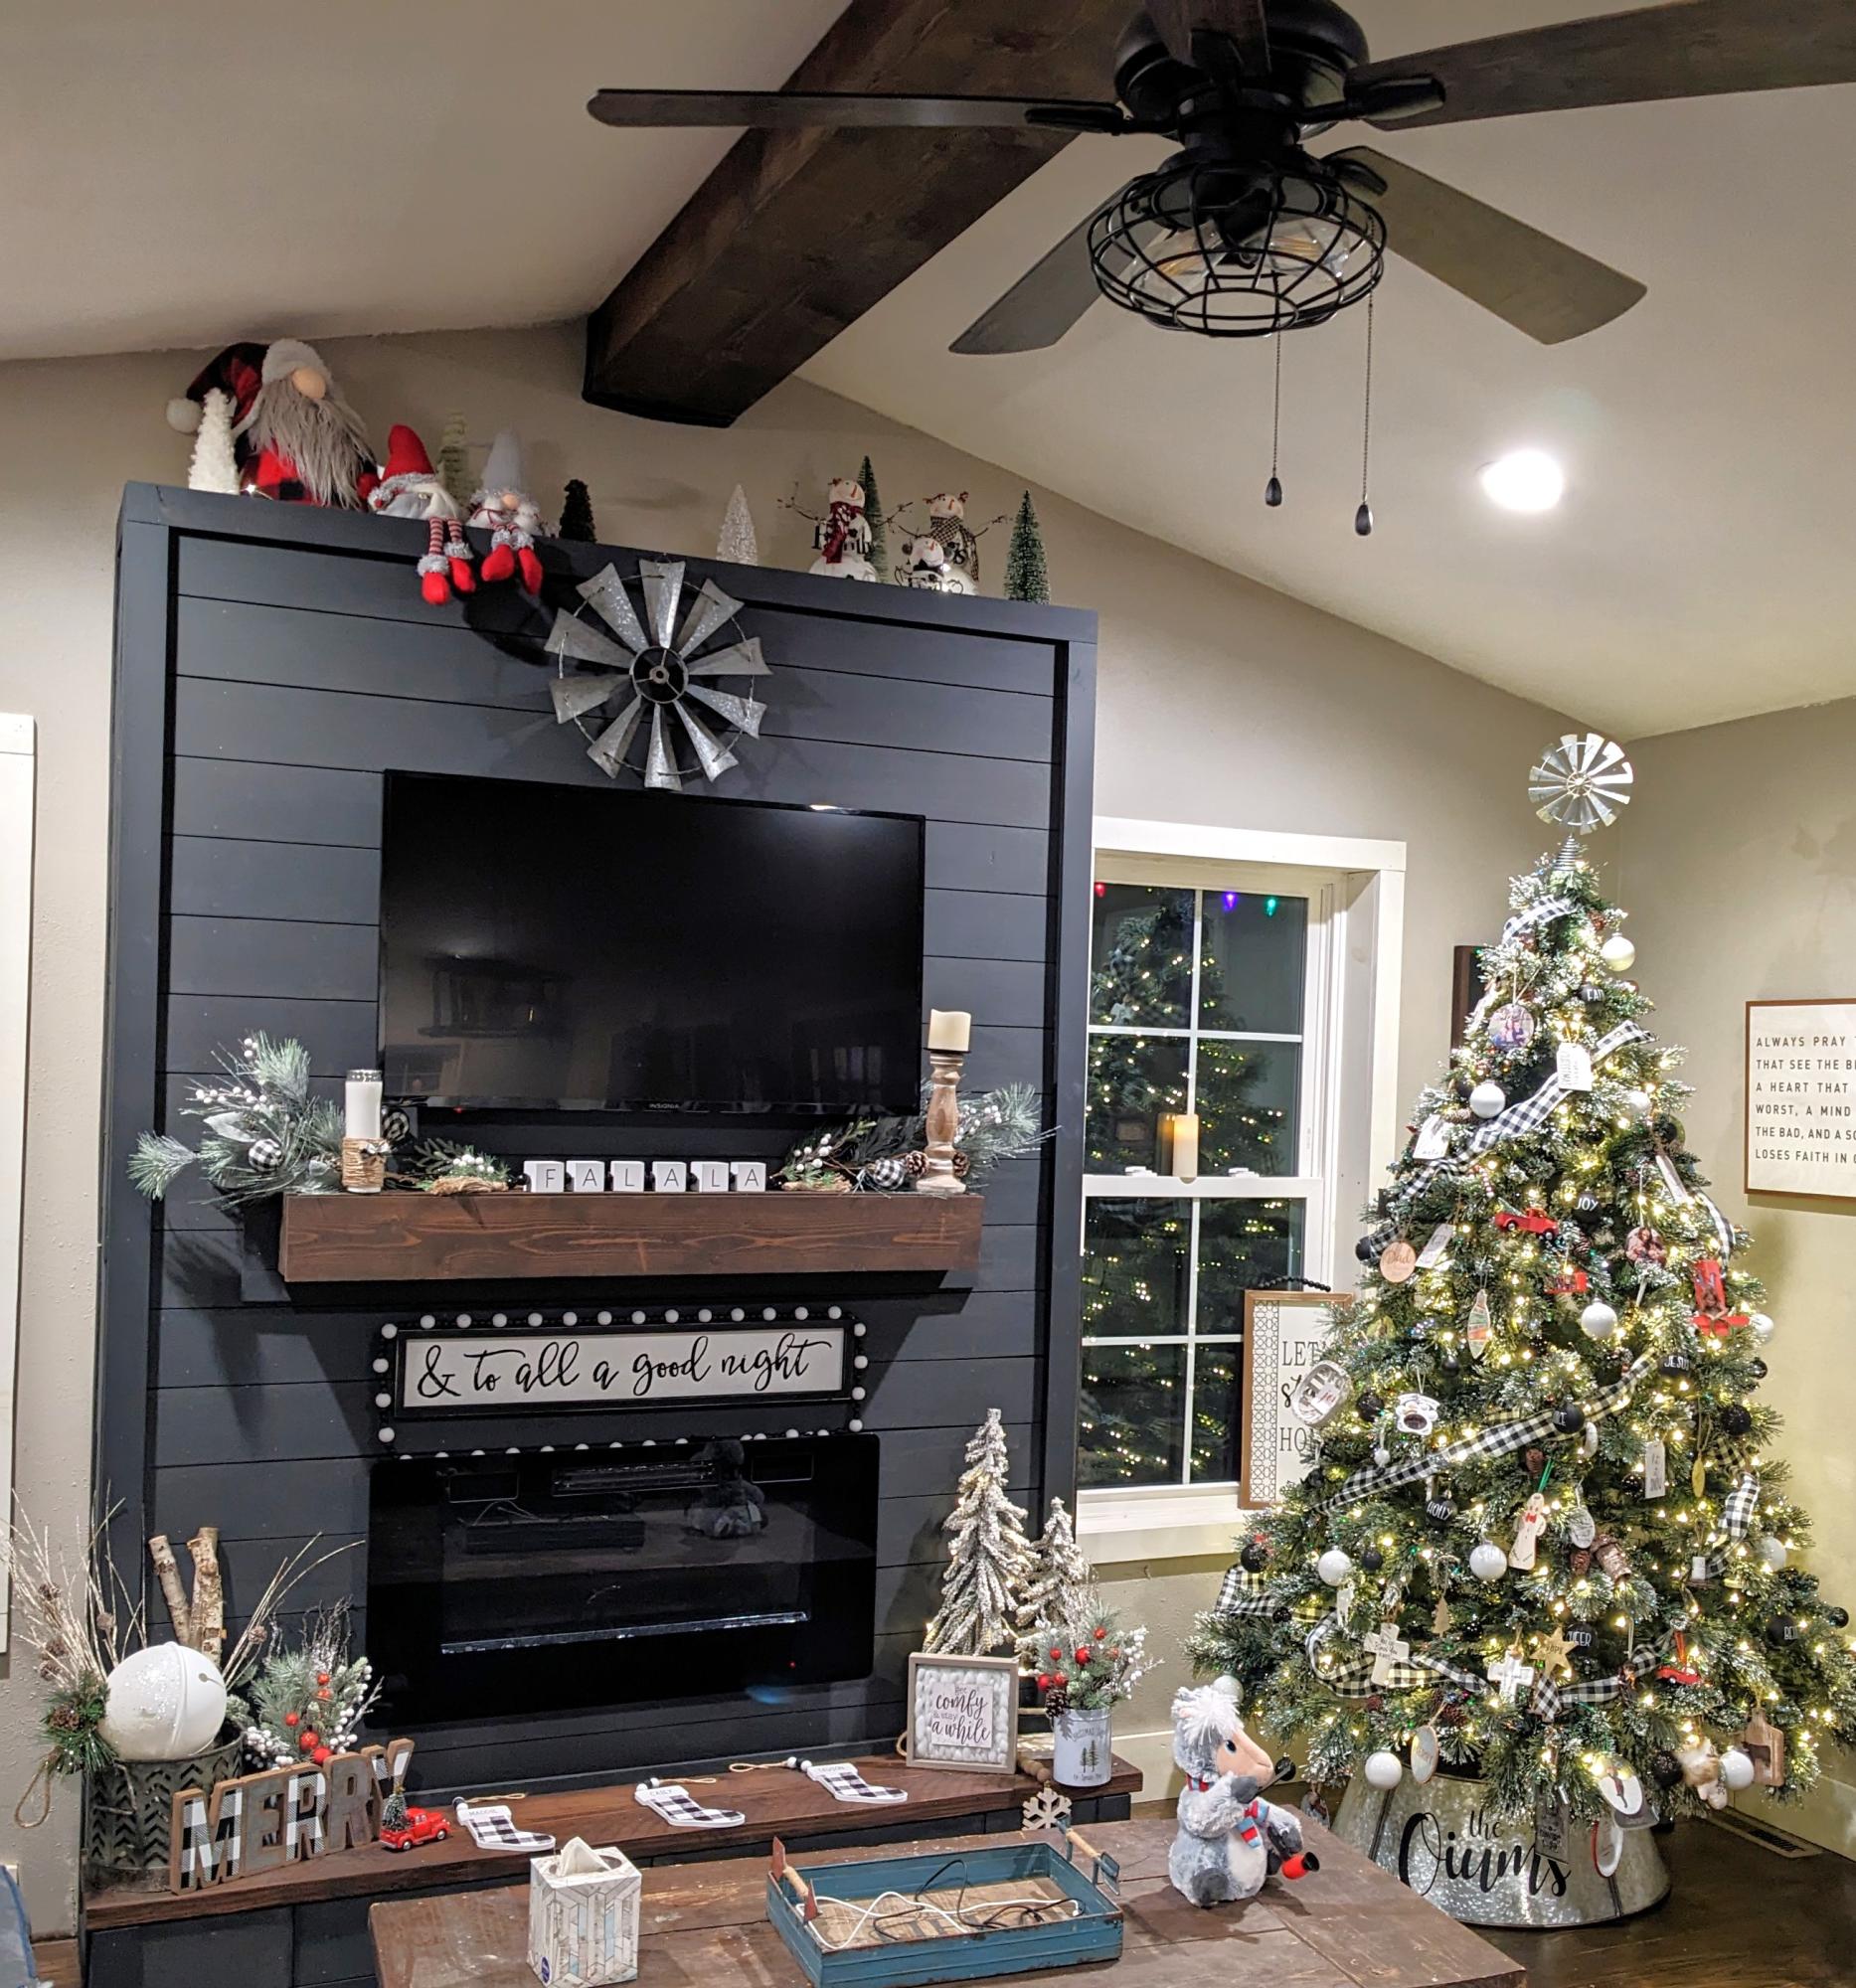
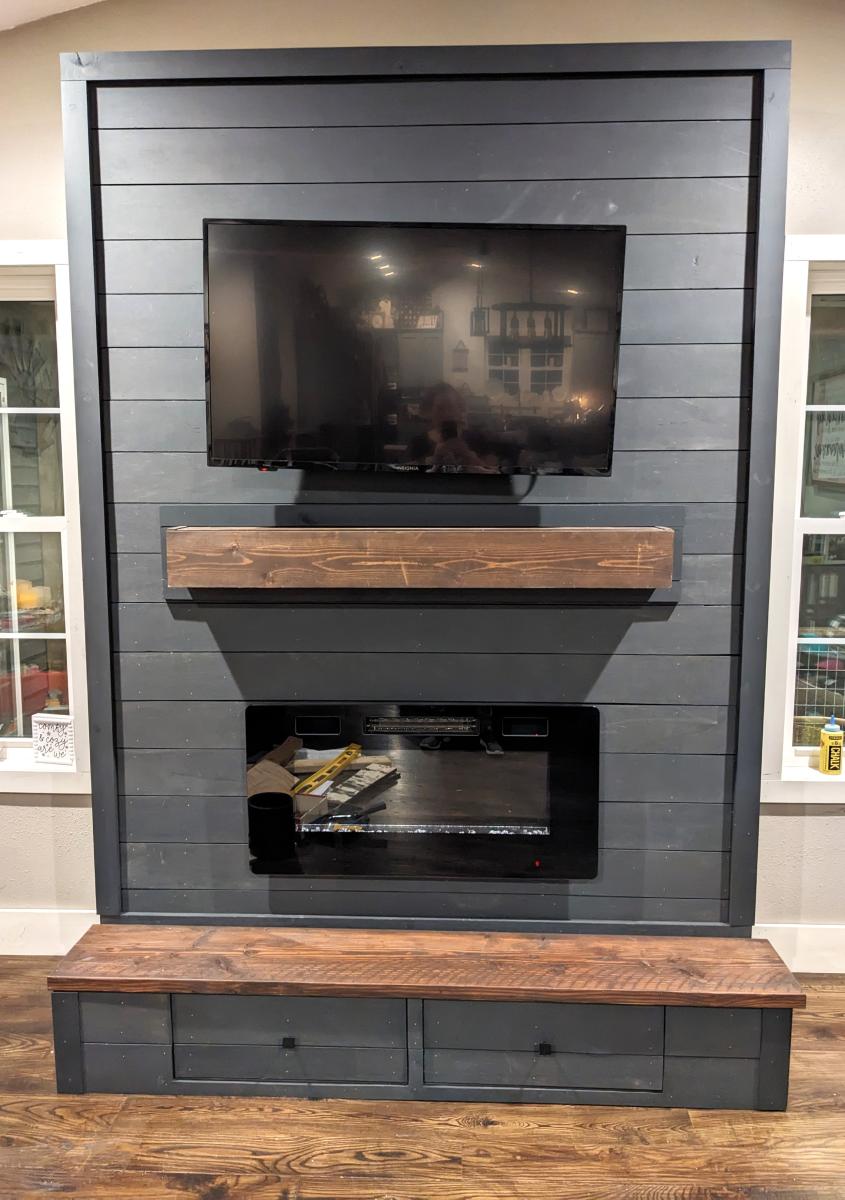
Modified plans to include game storage drawers, a flip open mantle for DVD player and hidden charging port, and hidden cupboards on both sides for DVD storage. I scoured the Internet for months before drawing this up to fit my space and tackling all on my own! I love it and all of my other Ana White inspired projects!
Casey O.
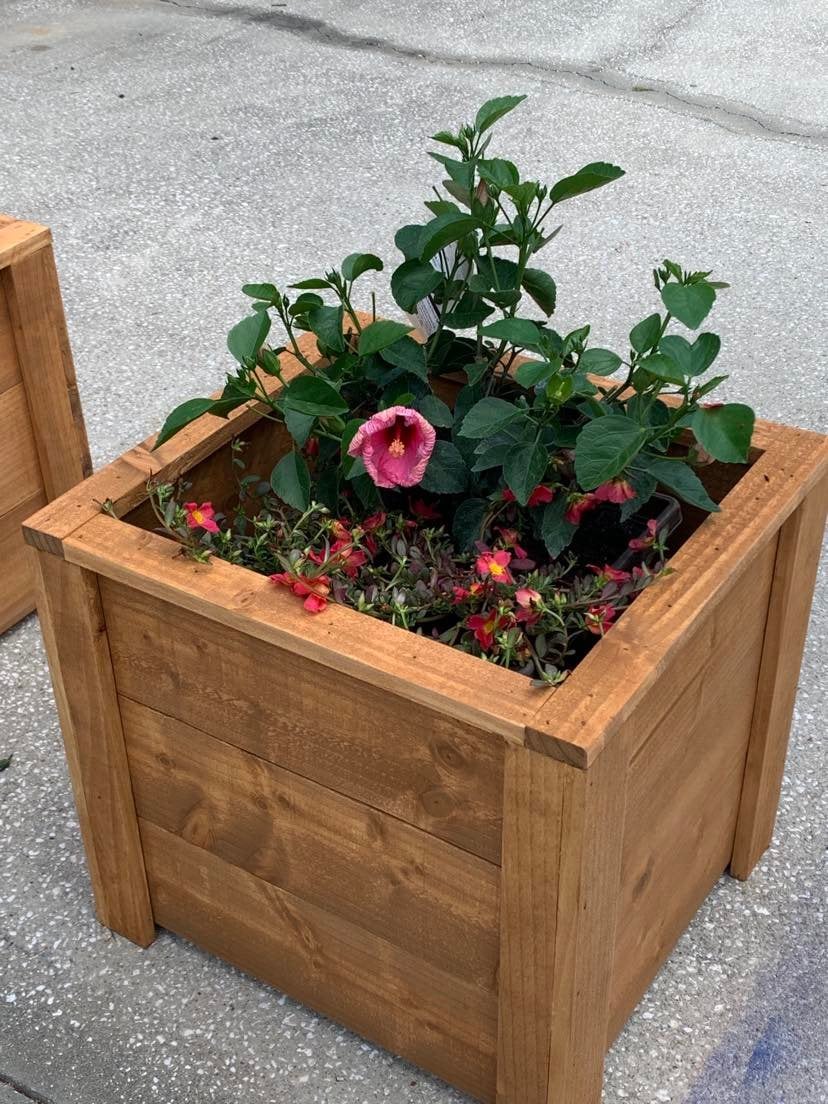
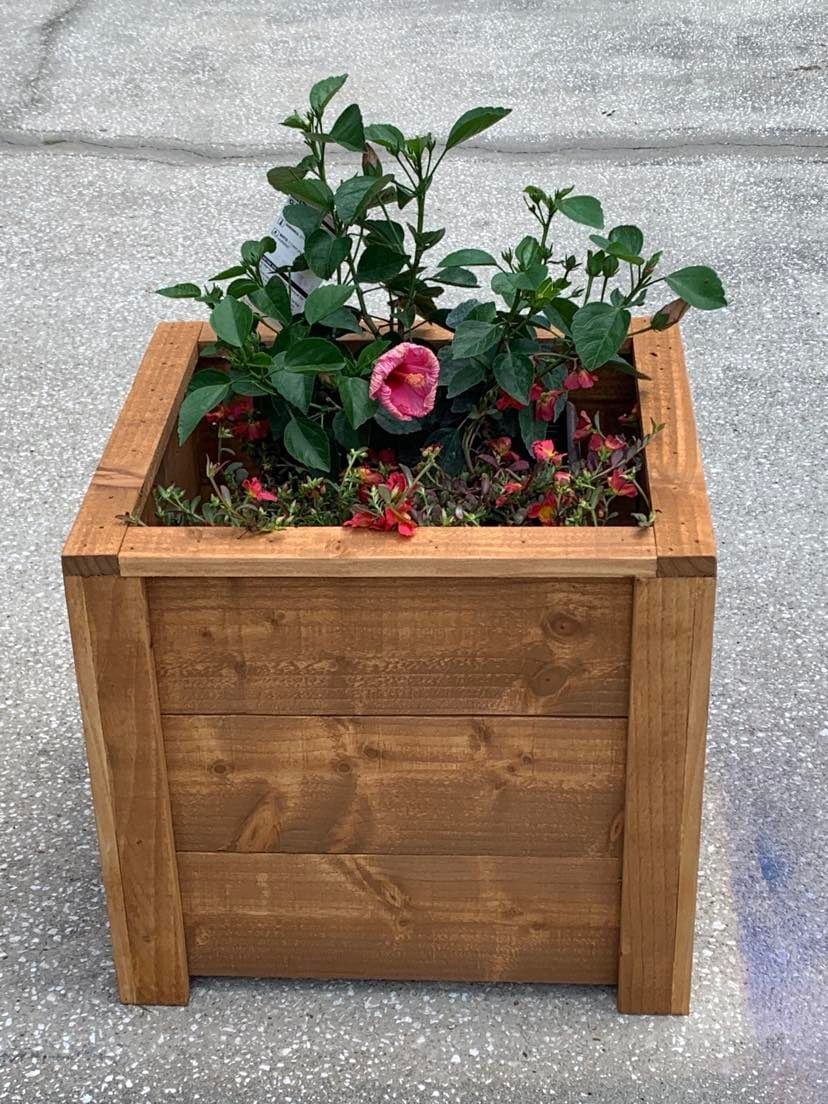
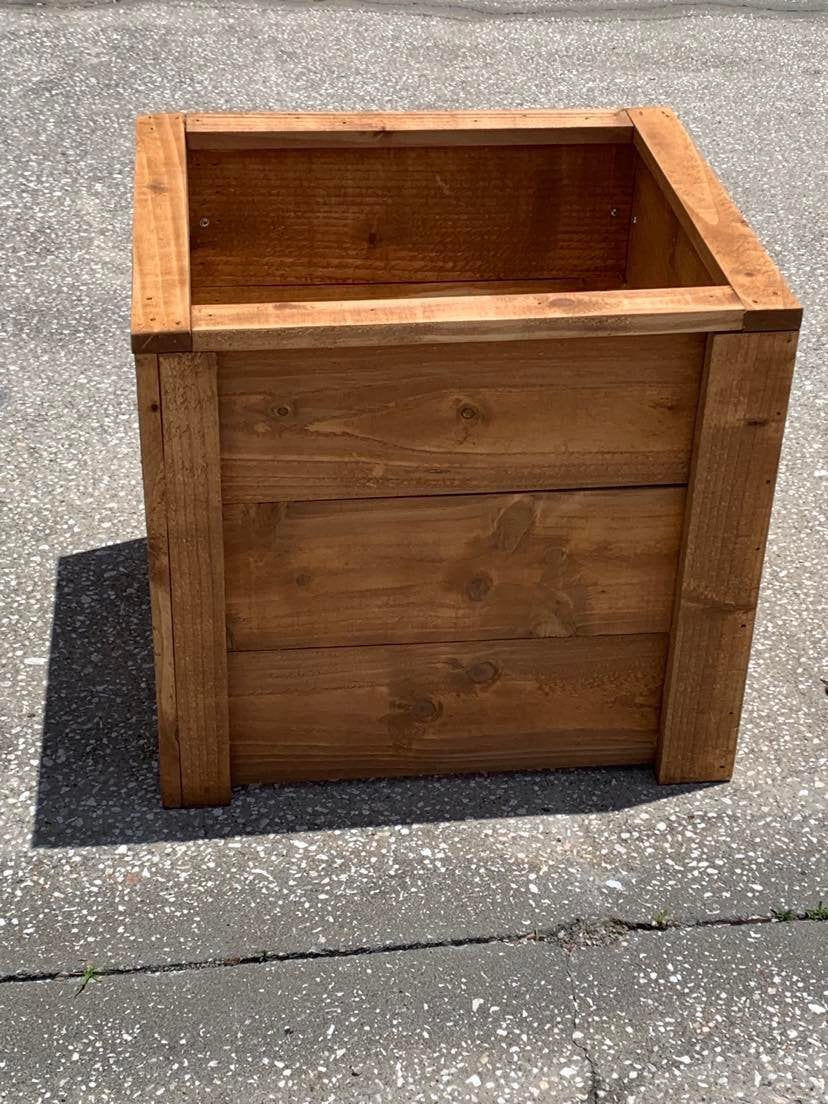
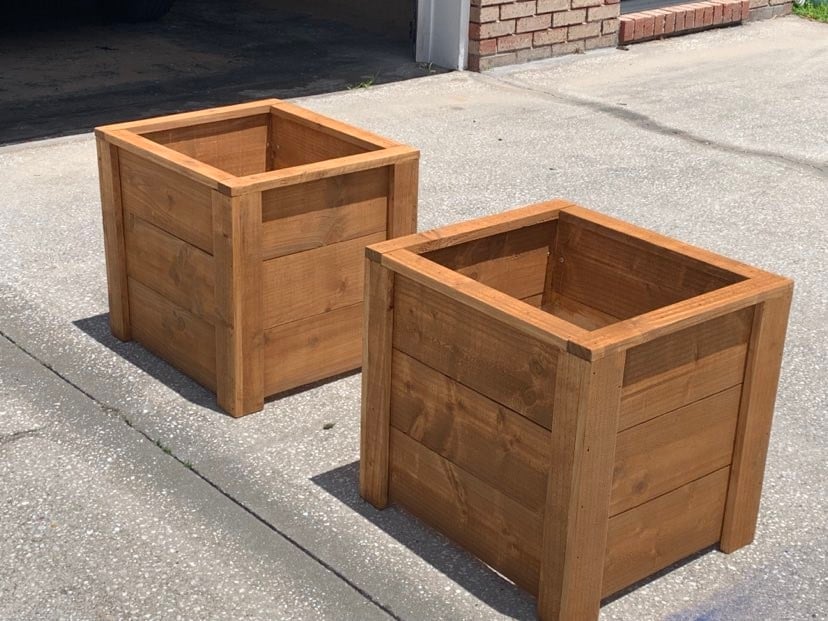
Thanks Ana, I built your planter box, actually built 2 of them, one for each mom. The were a huge hit and I already have people asking me to build them one.
So loved building this planter box. Thanks for all you do for your fellow woodworkers!
Dale G
Callahan, FL
Tue, 05/10/2022 - 07:05
Love these, wonderful idea for a mother's day gift, thank you for sharing!
It took a while to come together and made several modifications but it is a great coop and was a major selling point of the house when we were relocated. I had added a main tray under the roosts and a door to srape the poop out. This made keeping the coop clean very easy.

Used square laundry baskets instead of regular rectangular baskets. The square ones aren't as deep but are a bit taller so I had to modify the plans. I added a backsplash and some wooden tags to the baskets to designate them for certain colors. I also added some decorative trim and finished the bottom in a gray stain and used white chalk paint for the top.


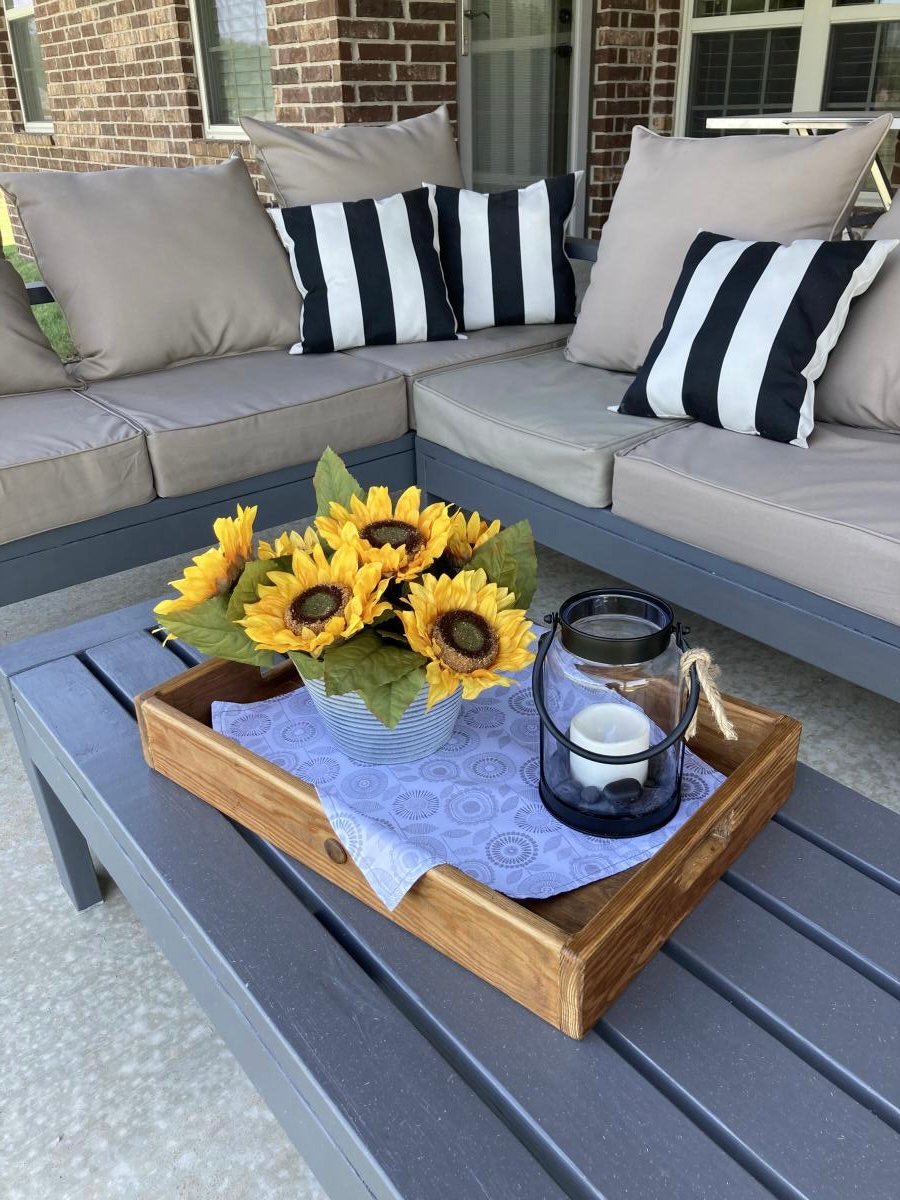
Made the outdoor sectional. The coffee table was made out of left over pieces!

Wed, 10/02/2019 - 09:54
So smart to make the coffee table out of the spare pieces.
Looks amazing!
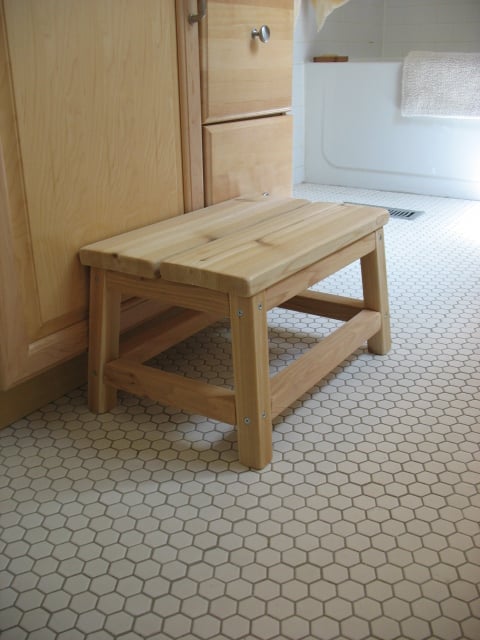
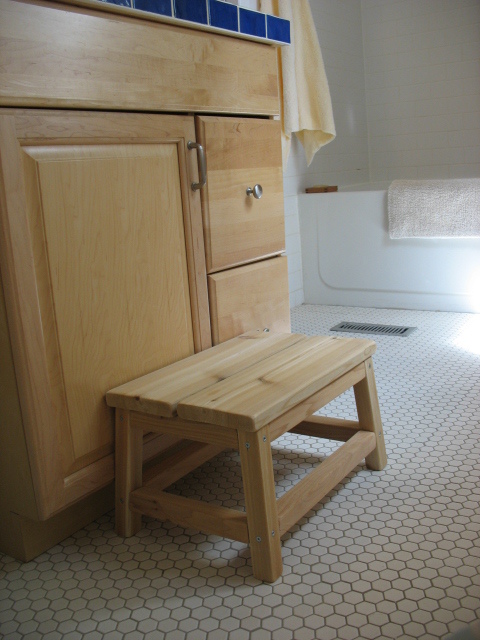
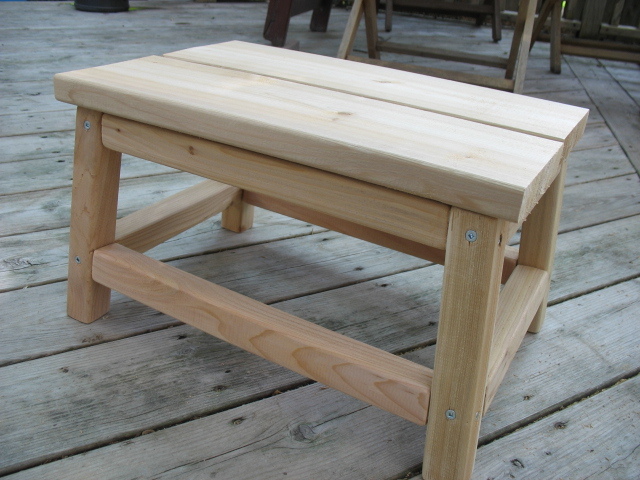
After searching the town high and low for a 10" high wooden stool, I decided to make one. Ana had the perfect stool pattern to modify for our needs - A little shorter, a little wider.....et Voila!
It's the perfect height for little ones to reach the taps in the bathroom, as well as helping out in the kitchen from time to time. And, the cedar smells wonderful.
Finished height: 10"
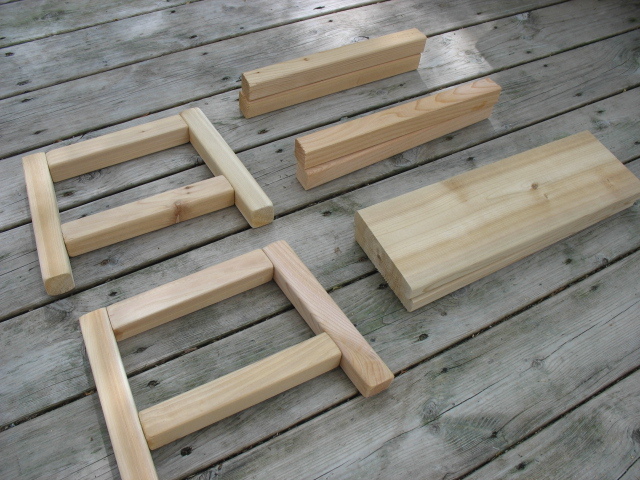
Top measures: 11.25" x 16.5" (2 boards, cut 16.5" long + a space in the middle)
Footprint: 12.375" x 17.375"
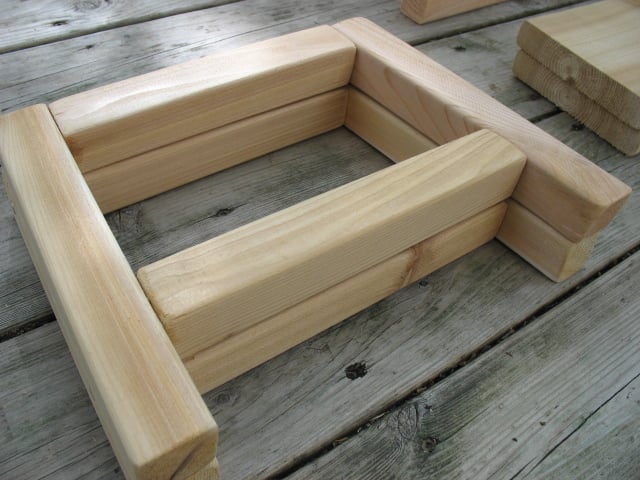
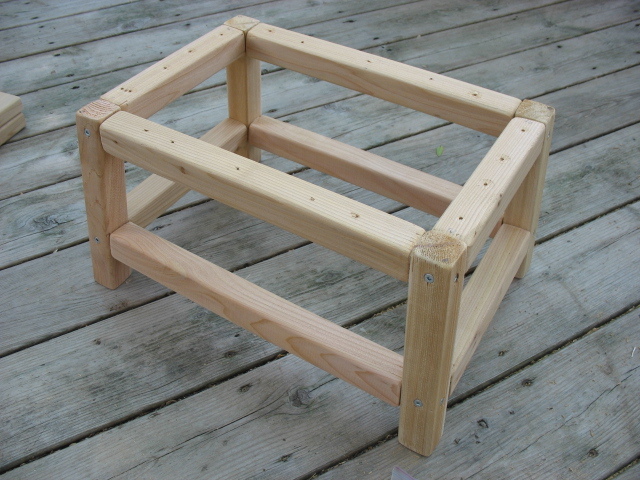
I also lined up the rails (instead of staggering them), similar to the Harriet Higher Chair plans. The joint will be weaker, but I prefer the cleaner lines on such a short step stool.
Thanks Ana for the great plans!
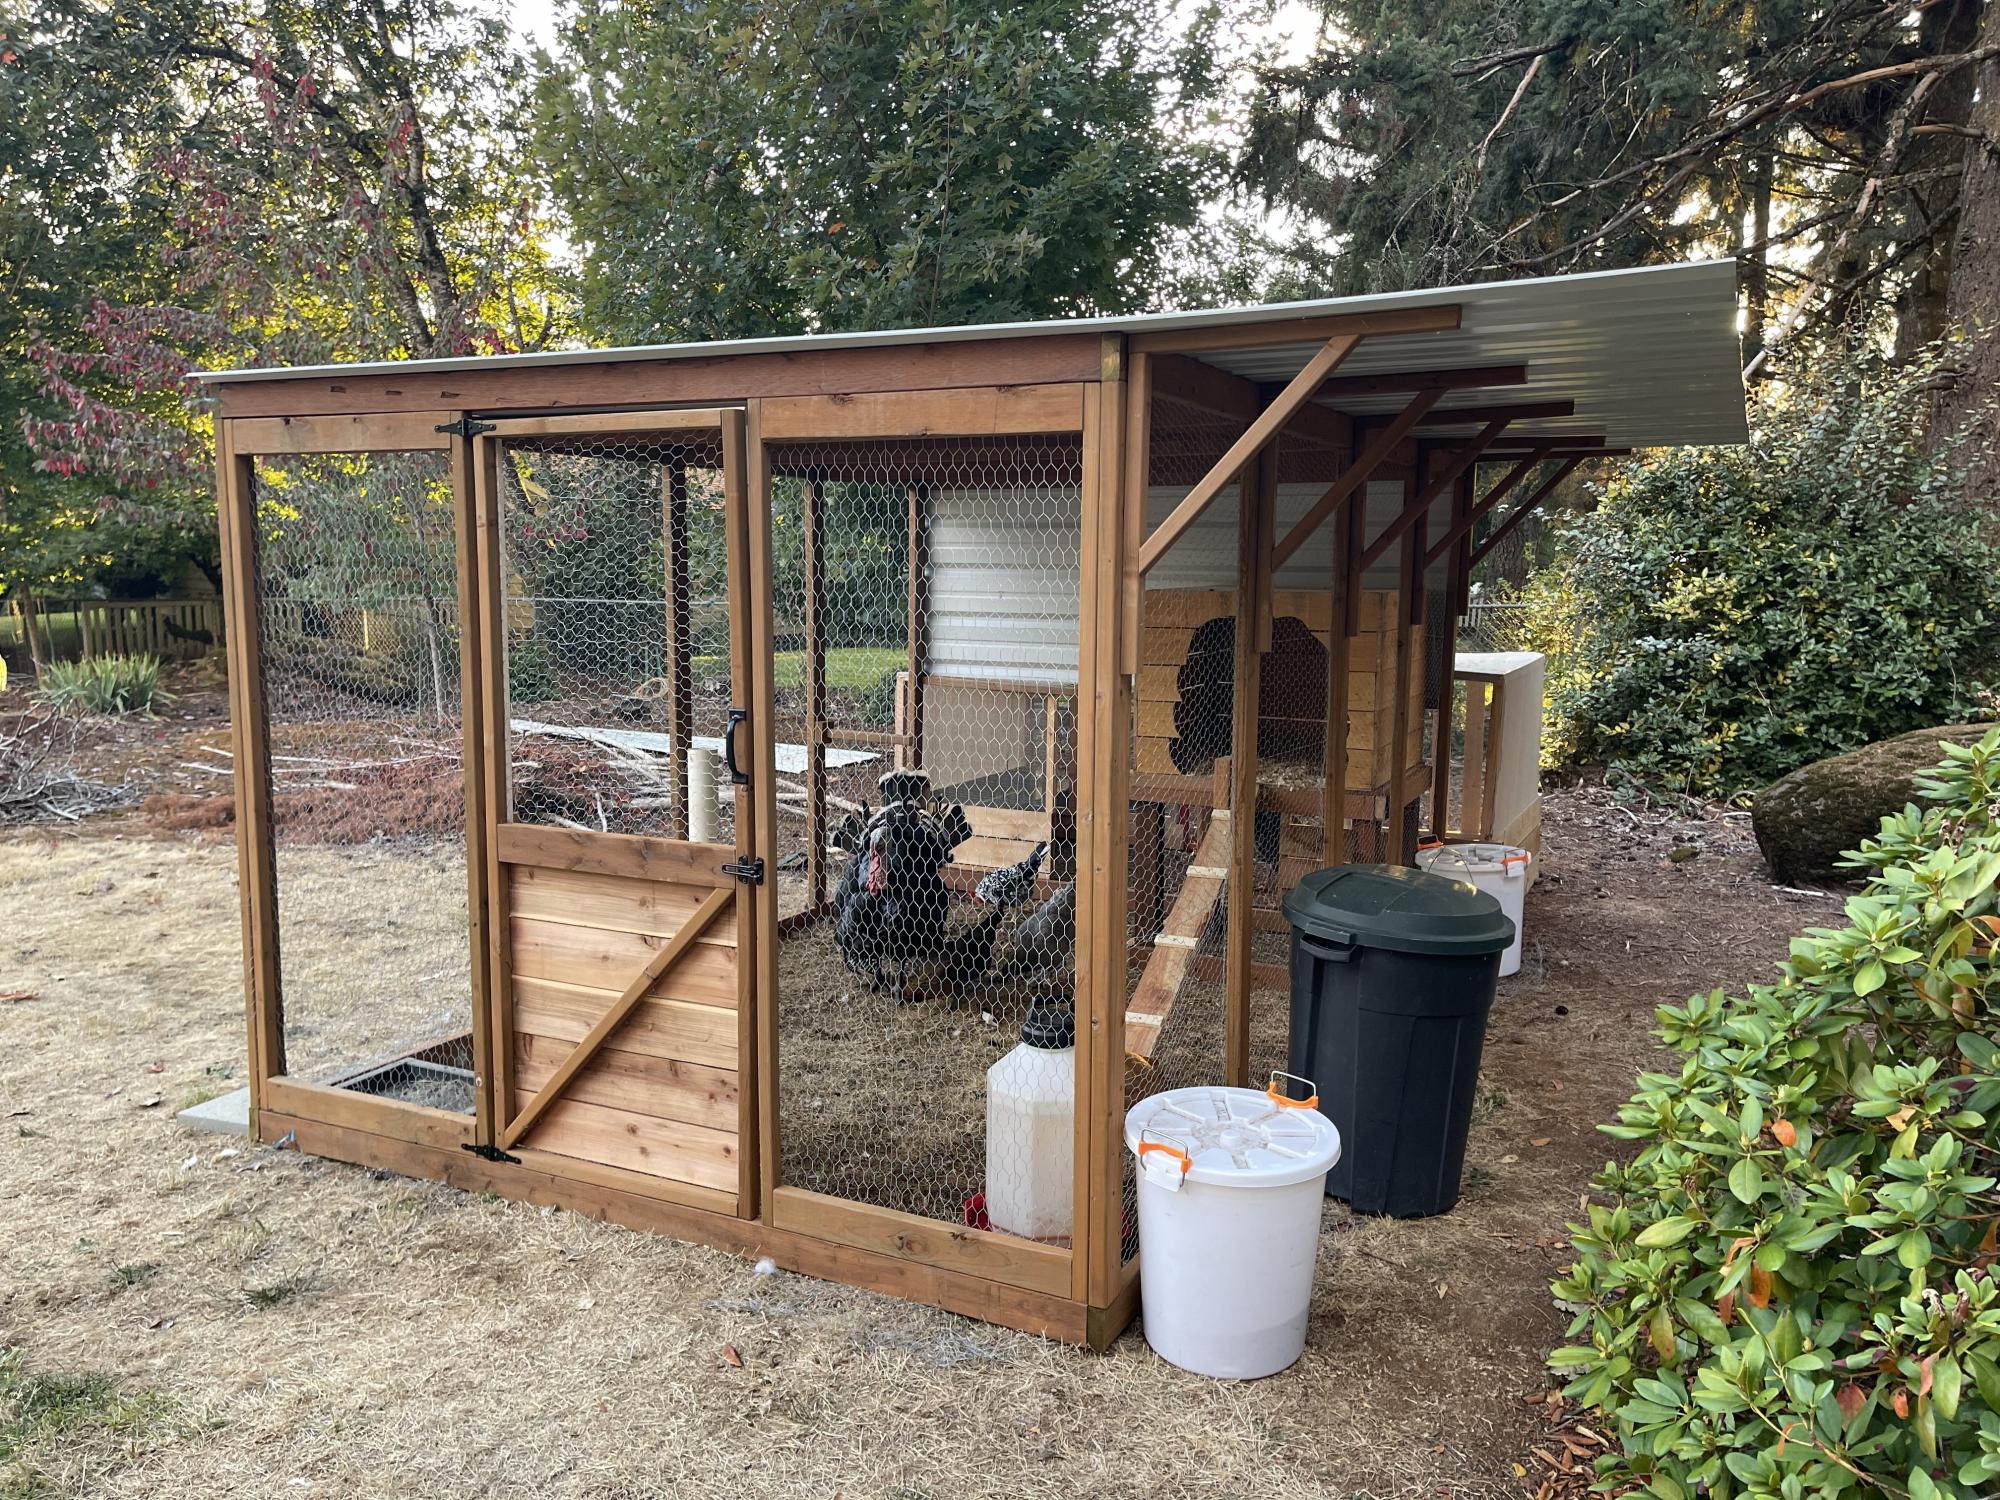
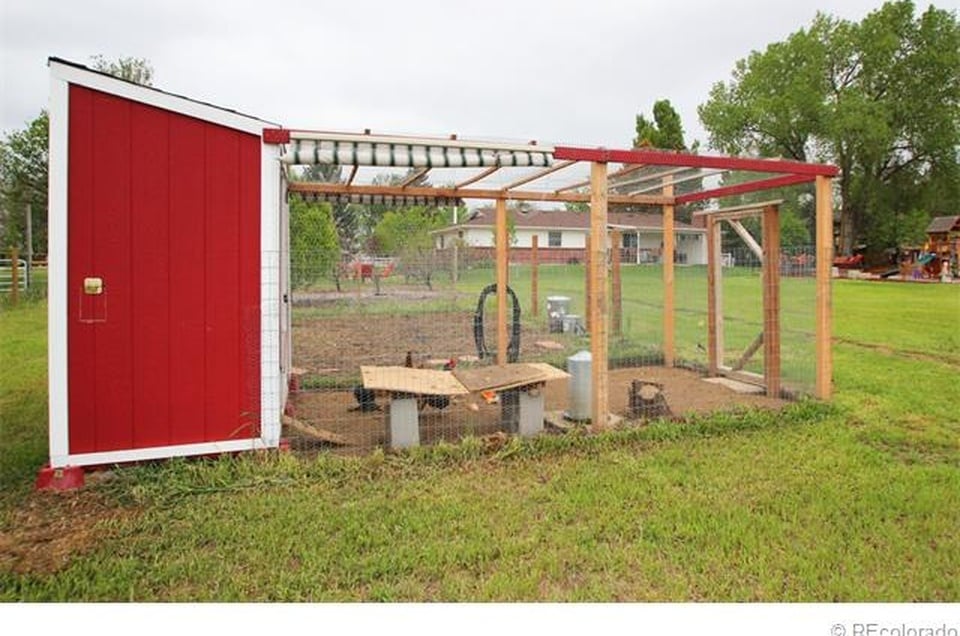
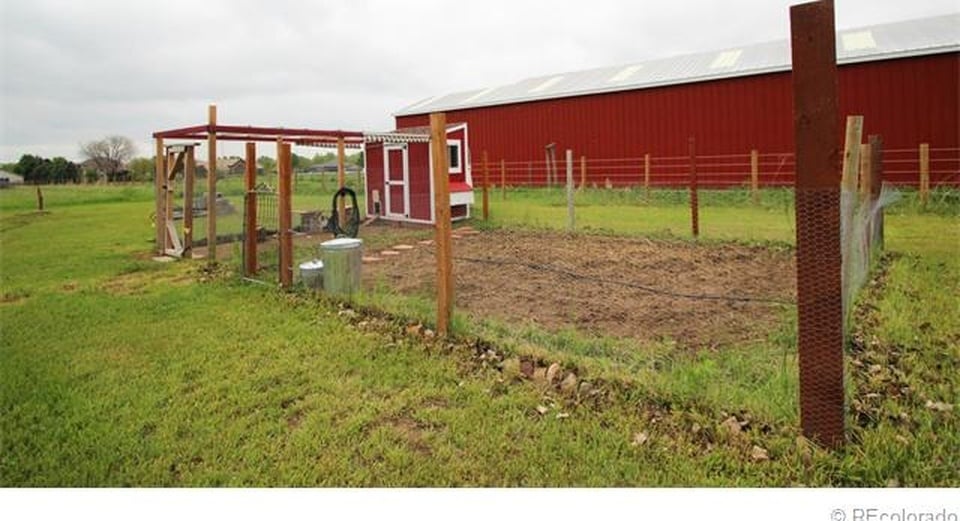
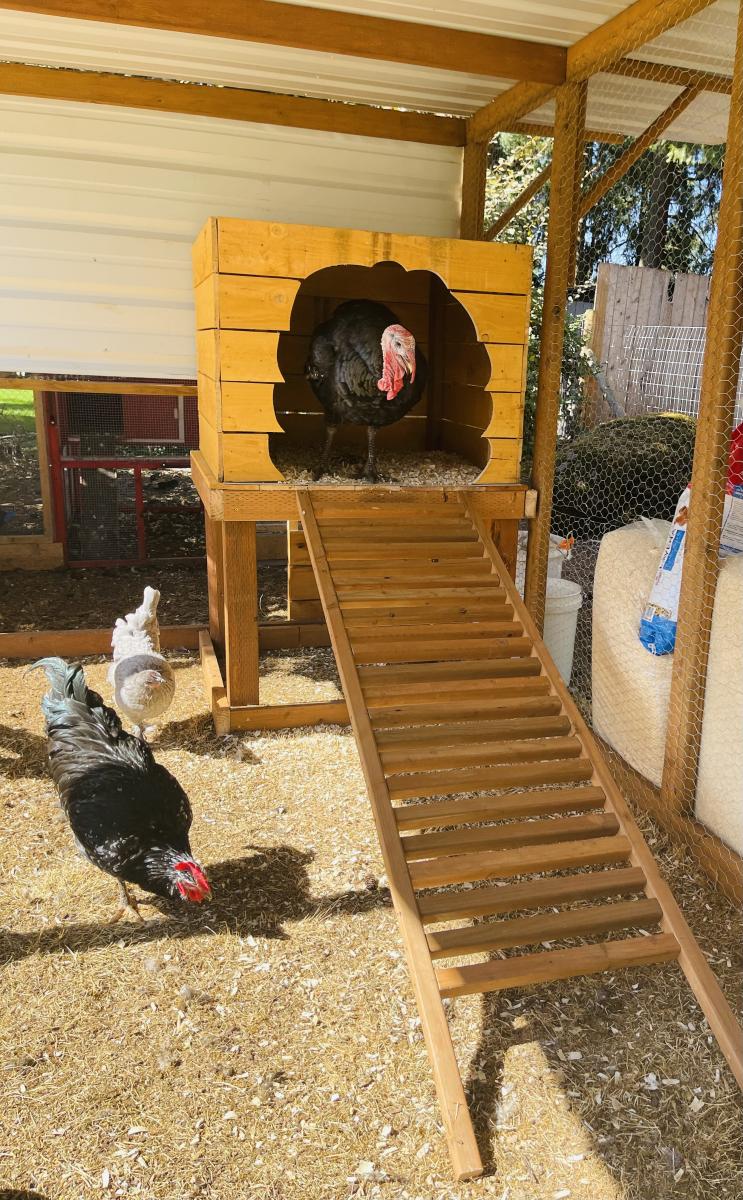
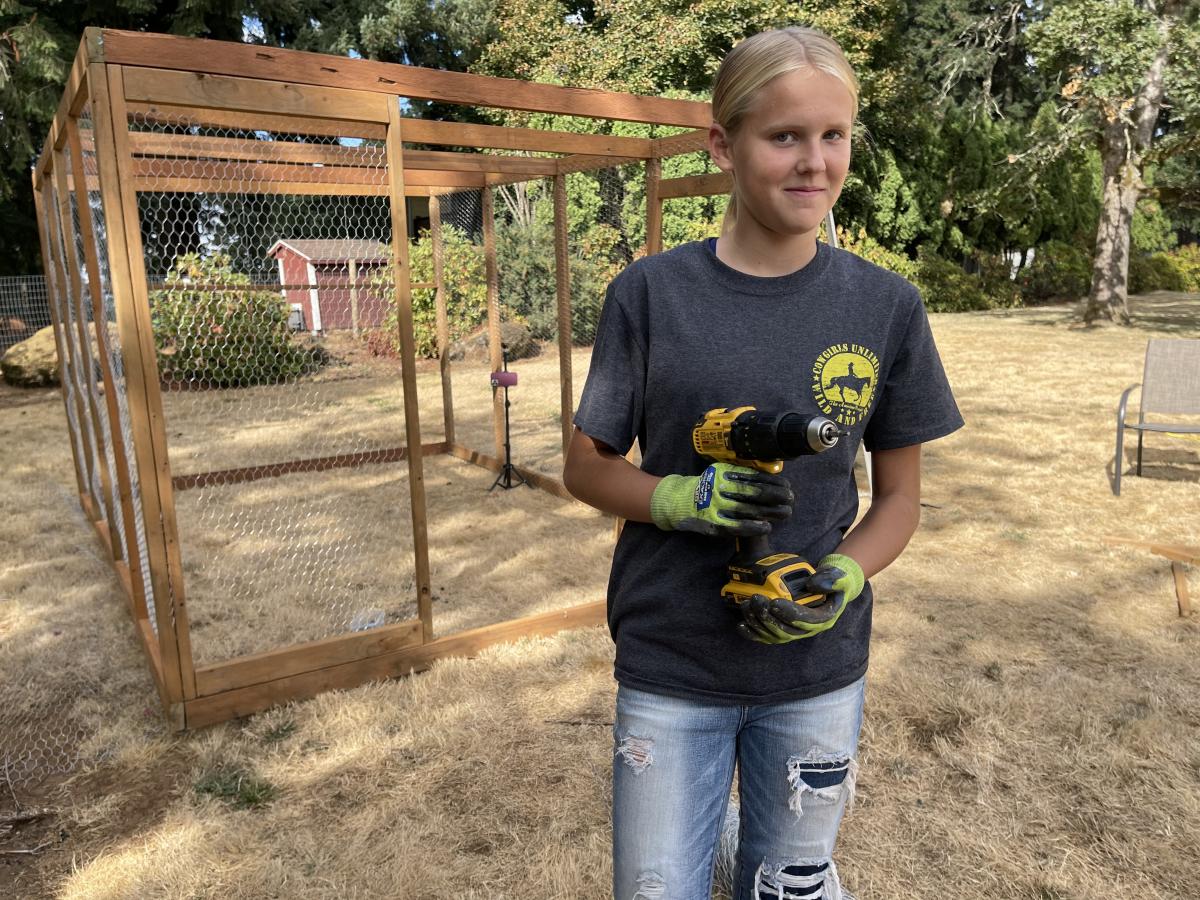
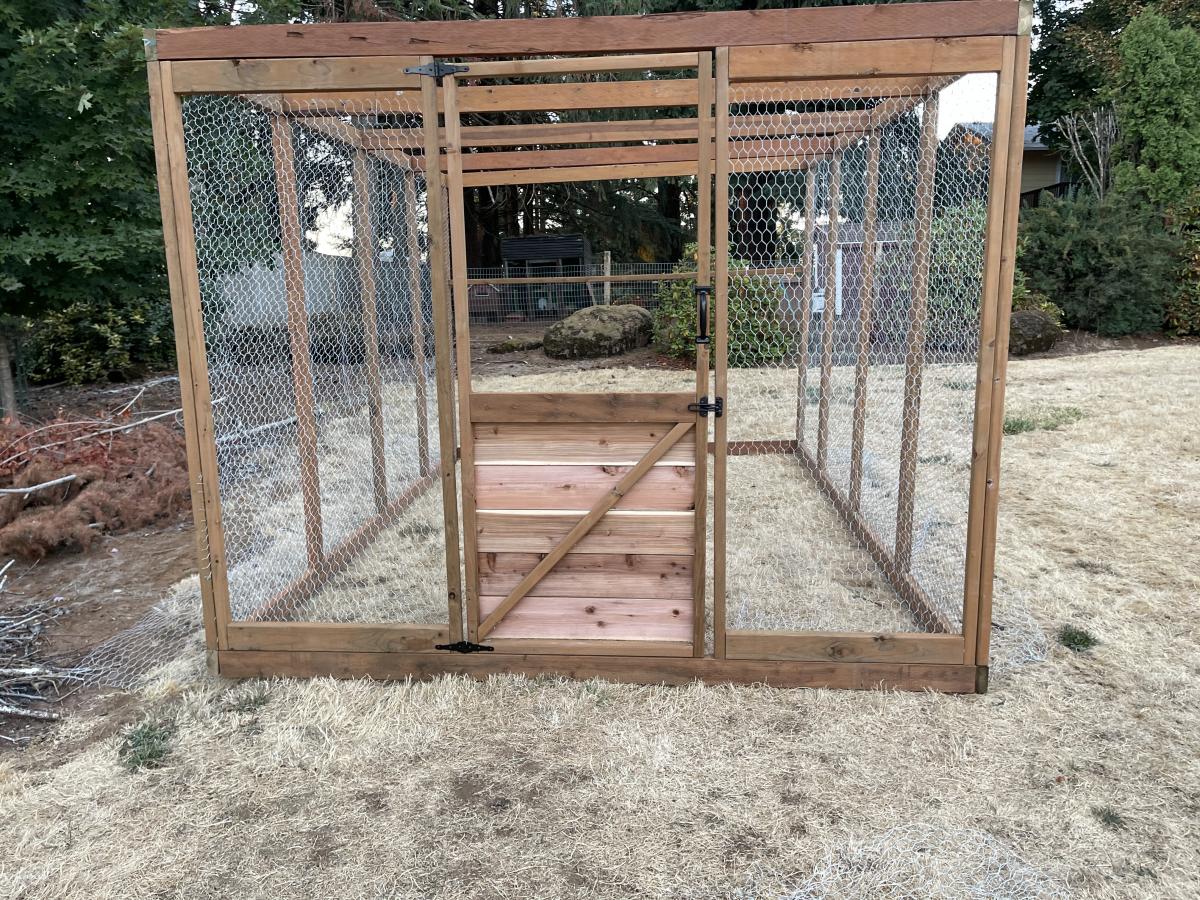
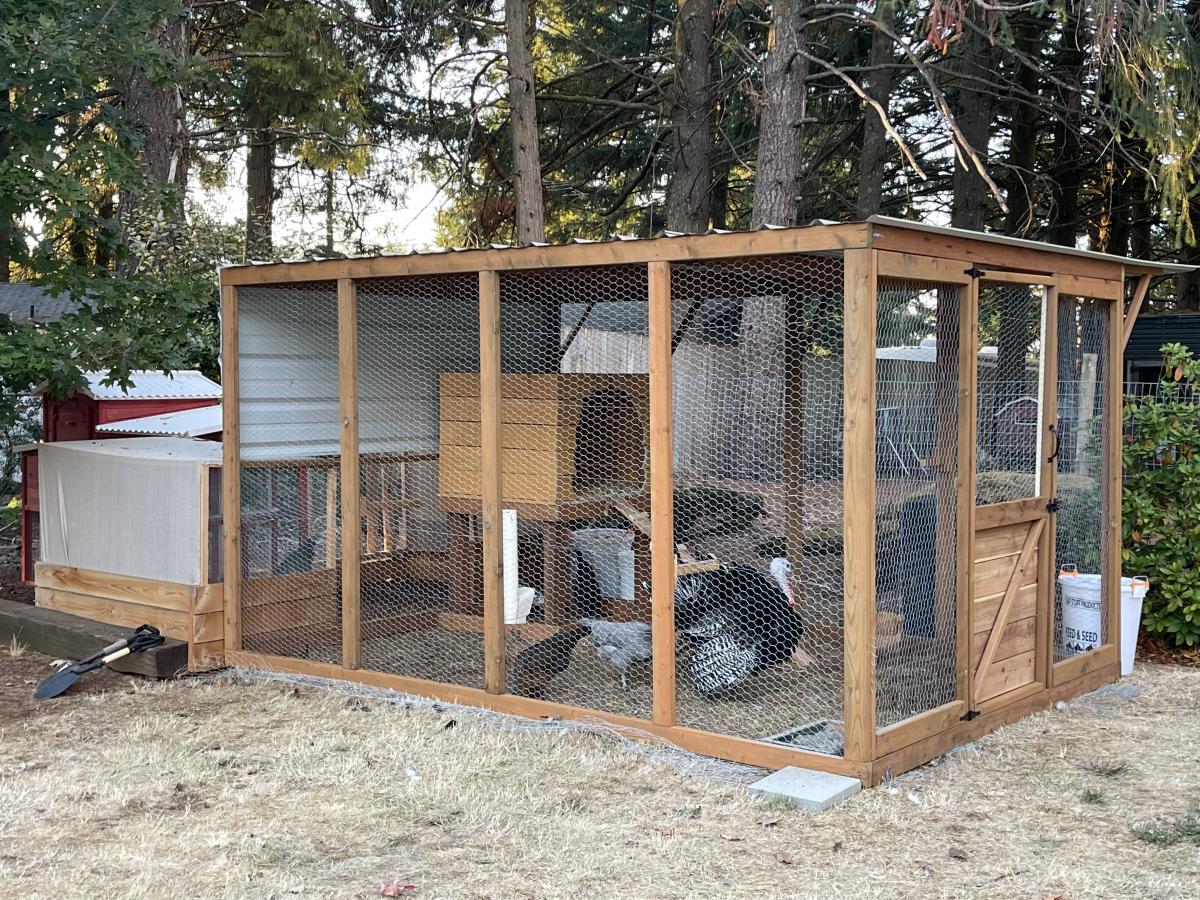
My daughter helped me build this enclosure. We used Ana's chicken run plan, but just made it taller so we could walk in easily. We added an overhang to store food and pellets under, for the supports we used Ana's easy shelves angle support plan, and finally we used the playhouse base plan for the base of turkeys house. All plans used are linked below. We ran the chicken wire out under the structure and still need to bring in some large rocks or pavers, but so far no issues with predators. Turkey was getting too big to fit in the smaller coop, so we decided to have fun with his house and used cedar fence pickets and some treated 2x4's, built a box and jig sawed the shape of a turkey. As you can see in the first photo the ladder for turkey wasn't big enough, all the other chickens were in his house, lol. So I beefed up the ladder and he happily can put himself up at night now:) Overall a super successful project, I wasn't sure what to do with the top and just at that point, the neighbor walked over and offered the metal, talk about a huge win and the perfect solution! We attached the run to the previous smaller structure and now they have so much more room and are laying like crazy:) Finally, I think this would make a great dog kennel as well...
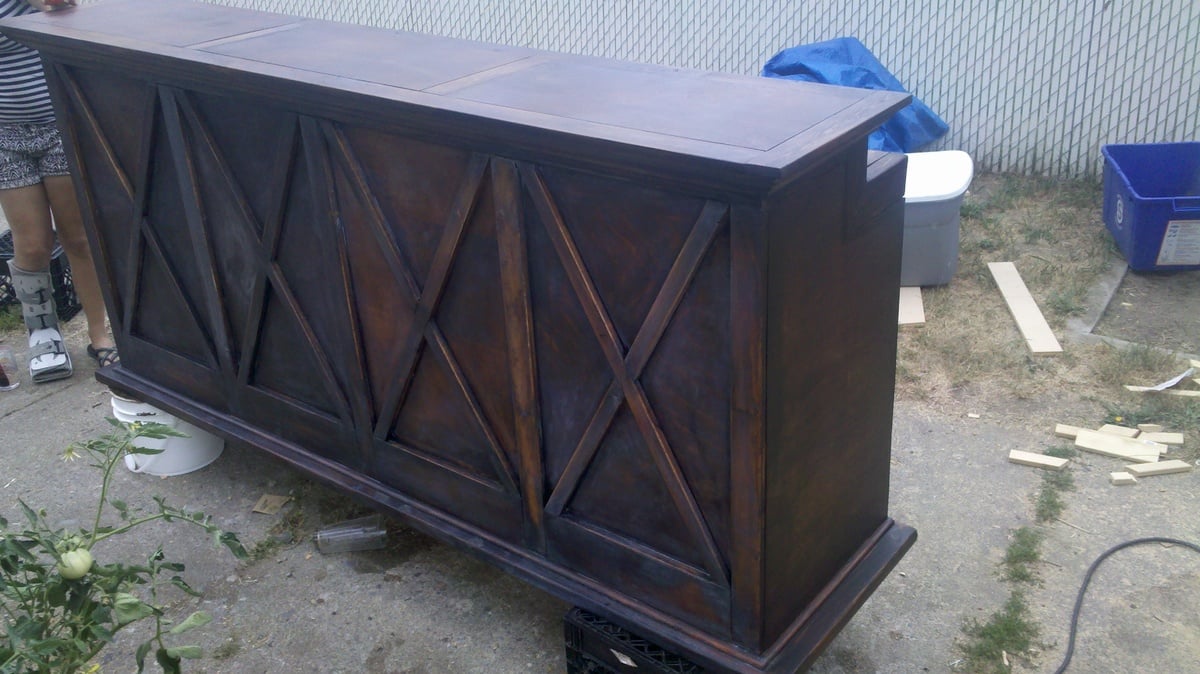
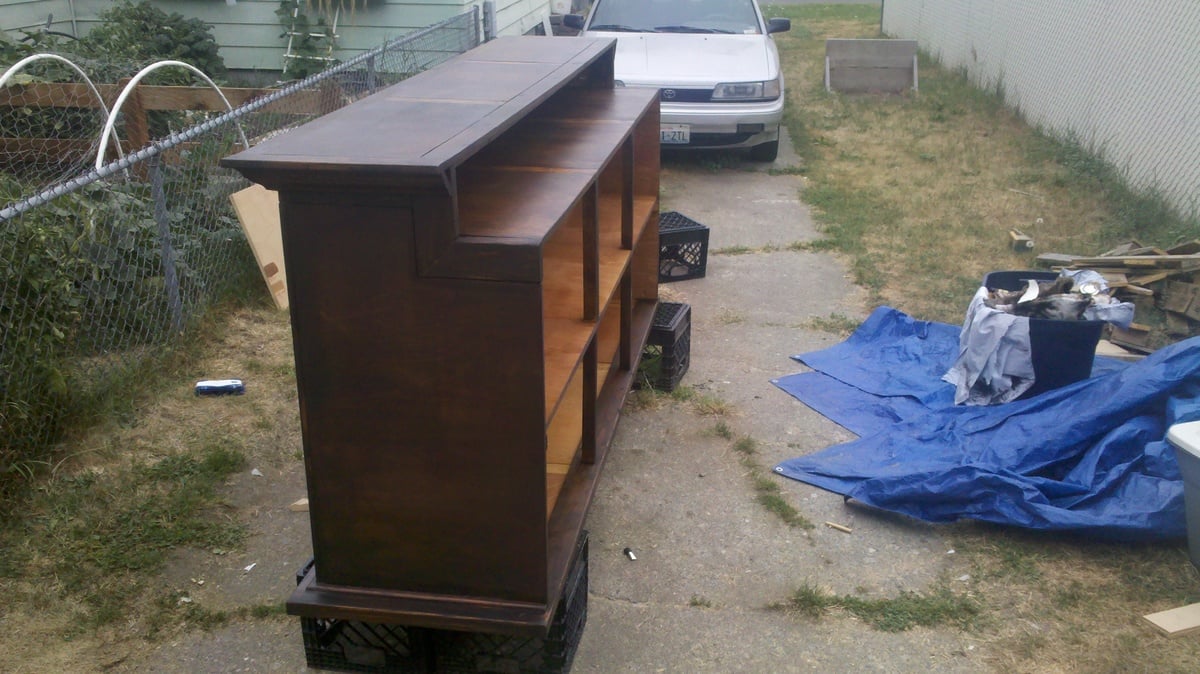
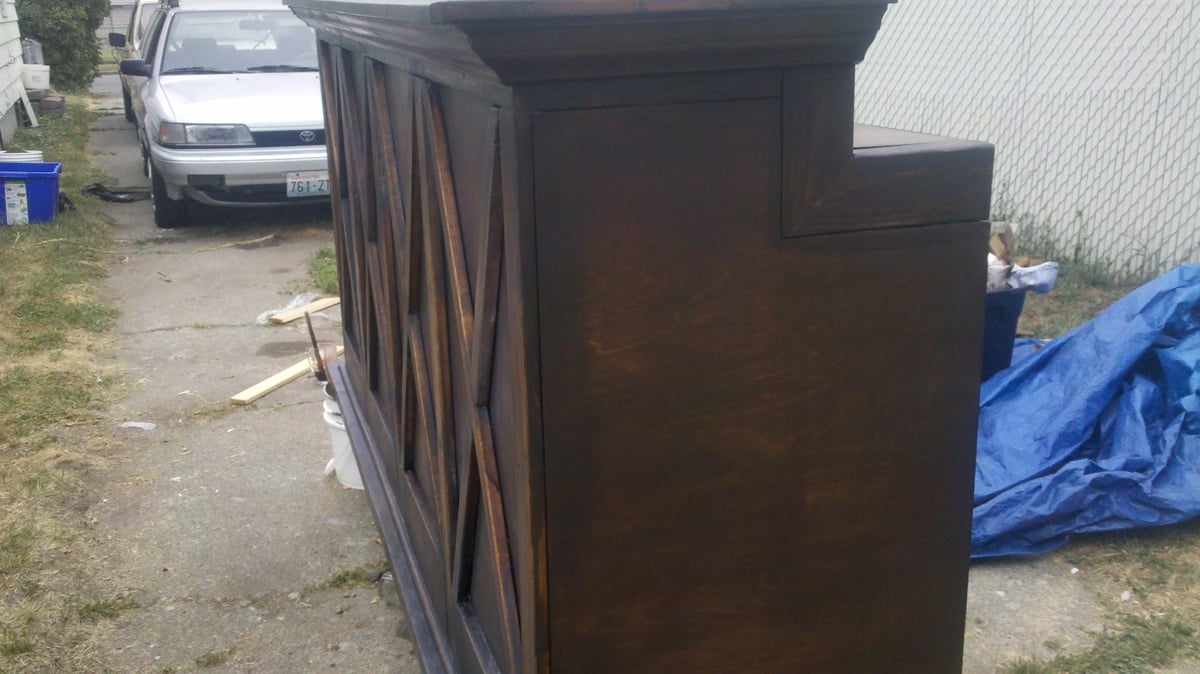
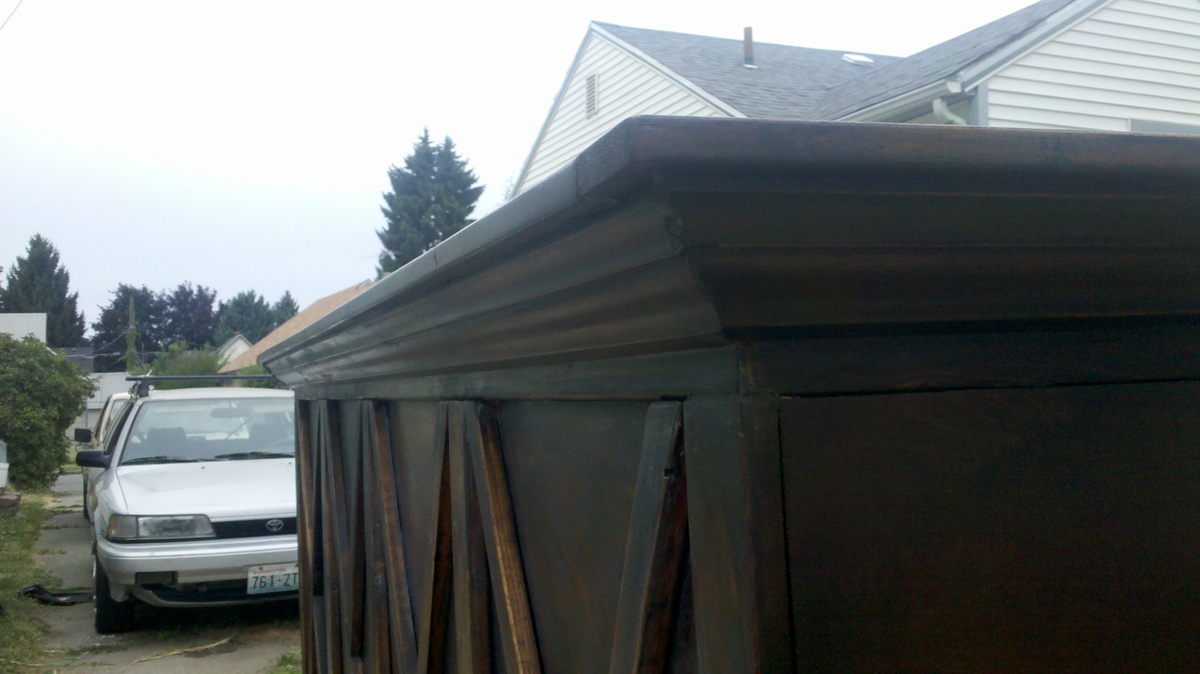
This is our first original design! We had a request for a custom bar/retail counter for my mother in law's children's re-sale store and this is what we came up with! After we found a ridiculously awesome deal on 3/4 inch hardwood plywood (the only down side was that it was already cut into 2ft by 4ft pieces) we quickly got to work. Using our trusty Kreg Jig we turned 4 pieces of plywood into one large piece to create the front of the bar. From there we attached 1x3s and 1x2s to cover any seams that were caused by the different plywood pieces.
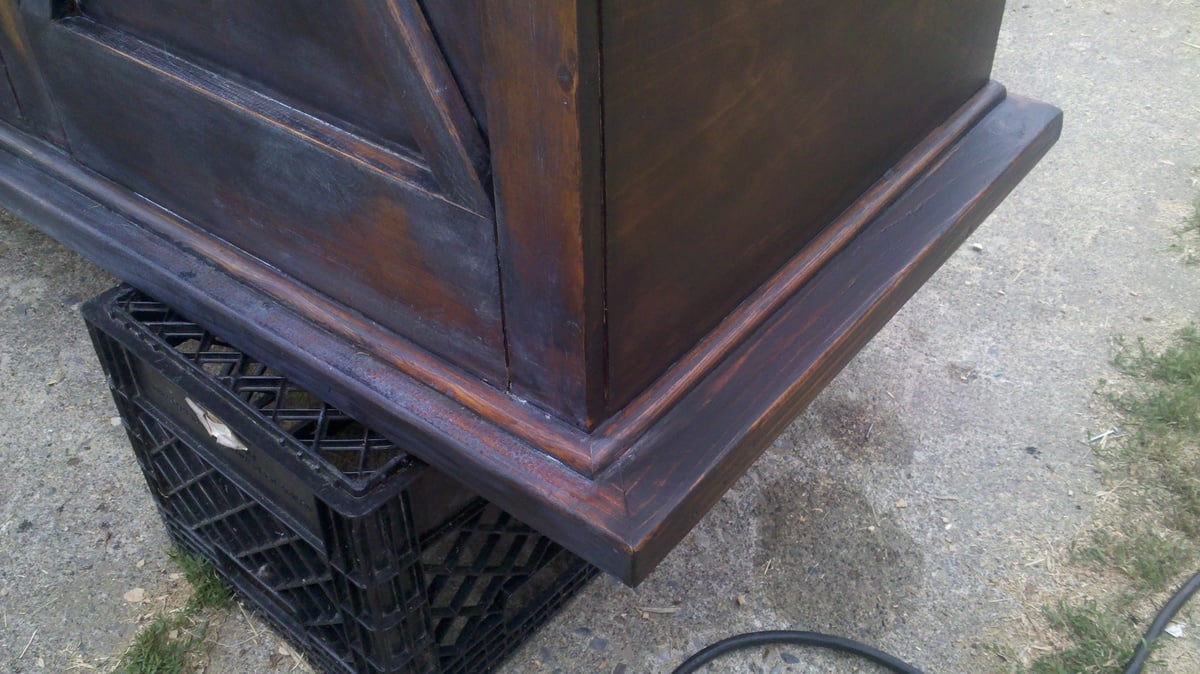
The finish was kind of a struggle but I love how it turned out in the end. It looks like the piece was made 100 years ago and definitely has a lot of soul. I started with Early American but it made the wood too red. So from there, I layered on Kona stain, lime wax, and dark wax and this is how it turned out! Which was not exactly what I was going for, but I LOVE it!
We are so happy with how it turned out. It is being picked up by its new owner tonight and I'm soooo sorry to see it go. We're happy that the piece will be functioning beautifully in the store with TONS of storage in the back. We're very proud of this one.
oh and it cost us about $130 for all lumber and finish materials.

Thu, 08/15/2019 - 12:41
Wow!!! This is amazing! I'd love to draw up plans if you are open to that!
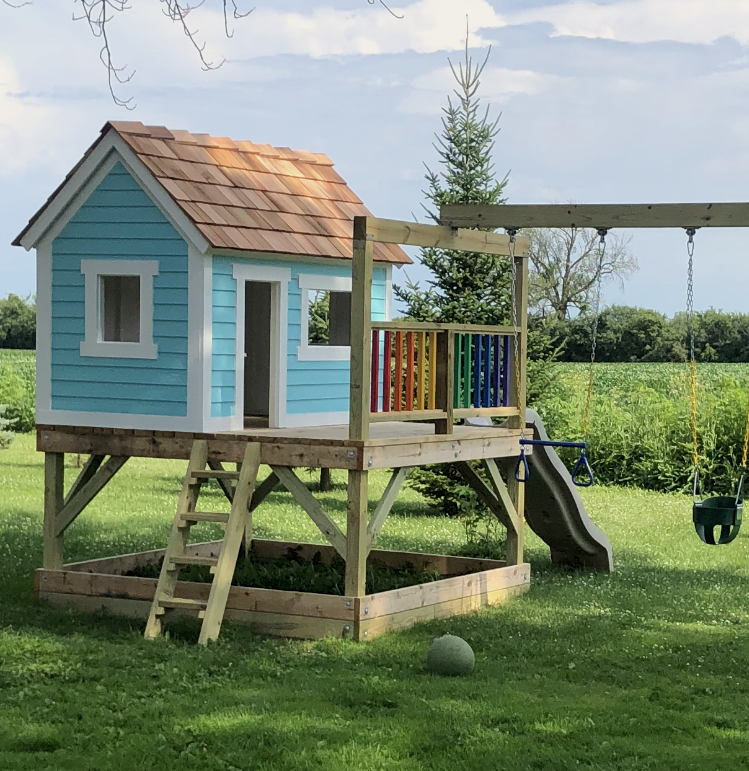
I used the basic framing plan for the project, but extended roof overhangs, added engineered siding / trim and cedar shake roofing. I put 2x4 bracing on for the platform.
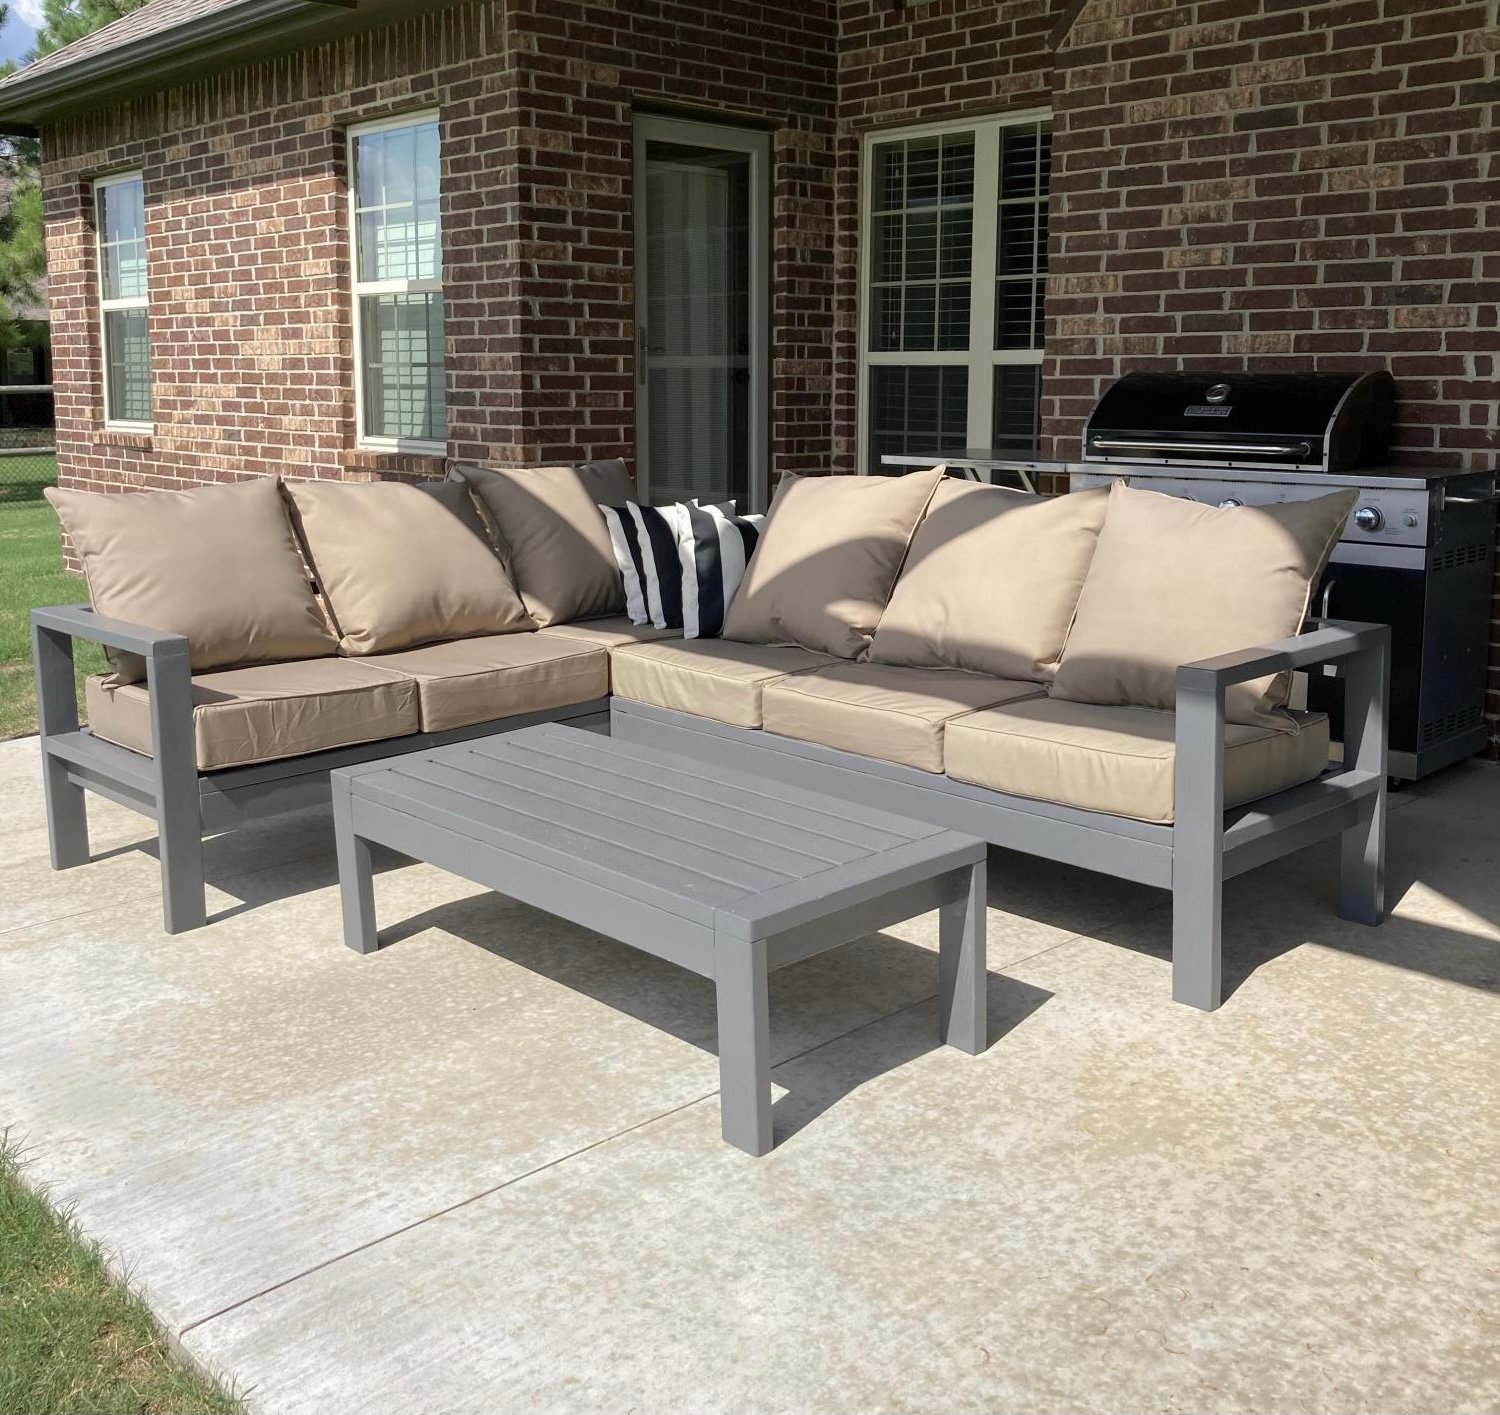
I wanted sturdy seating for my patio. Ana White had the perfect plans for my L shaped seating and coffee table. It was simple to put together and we love it!
Made 2 of these for my coffee shop in Puerto Rico. Easy instructions. Thank you!
Javiel Cardona
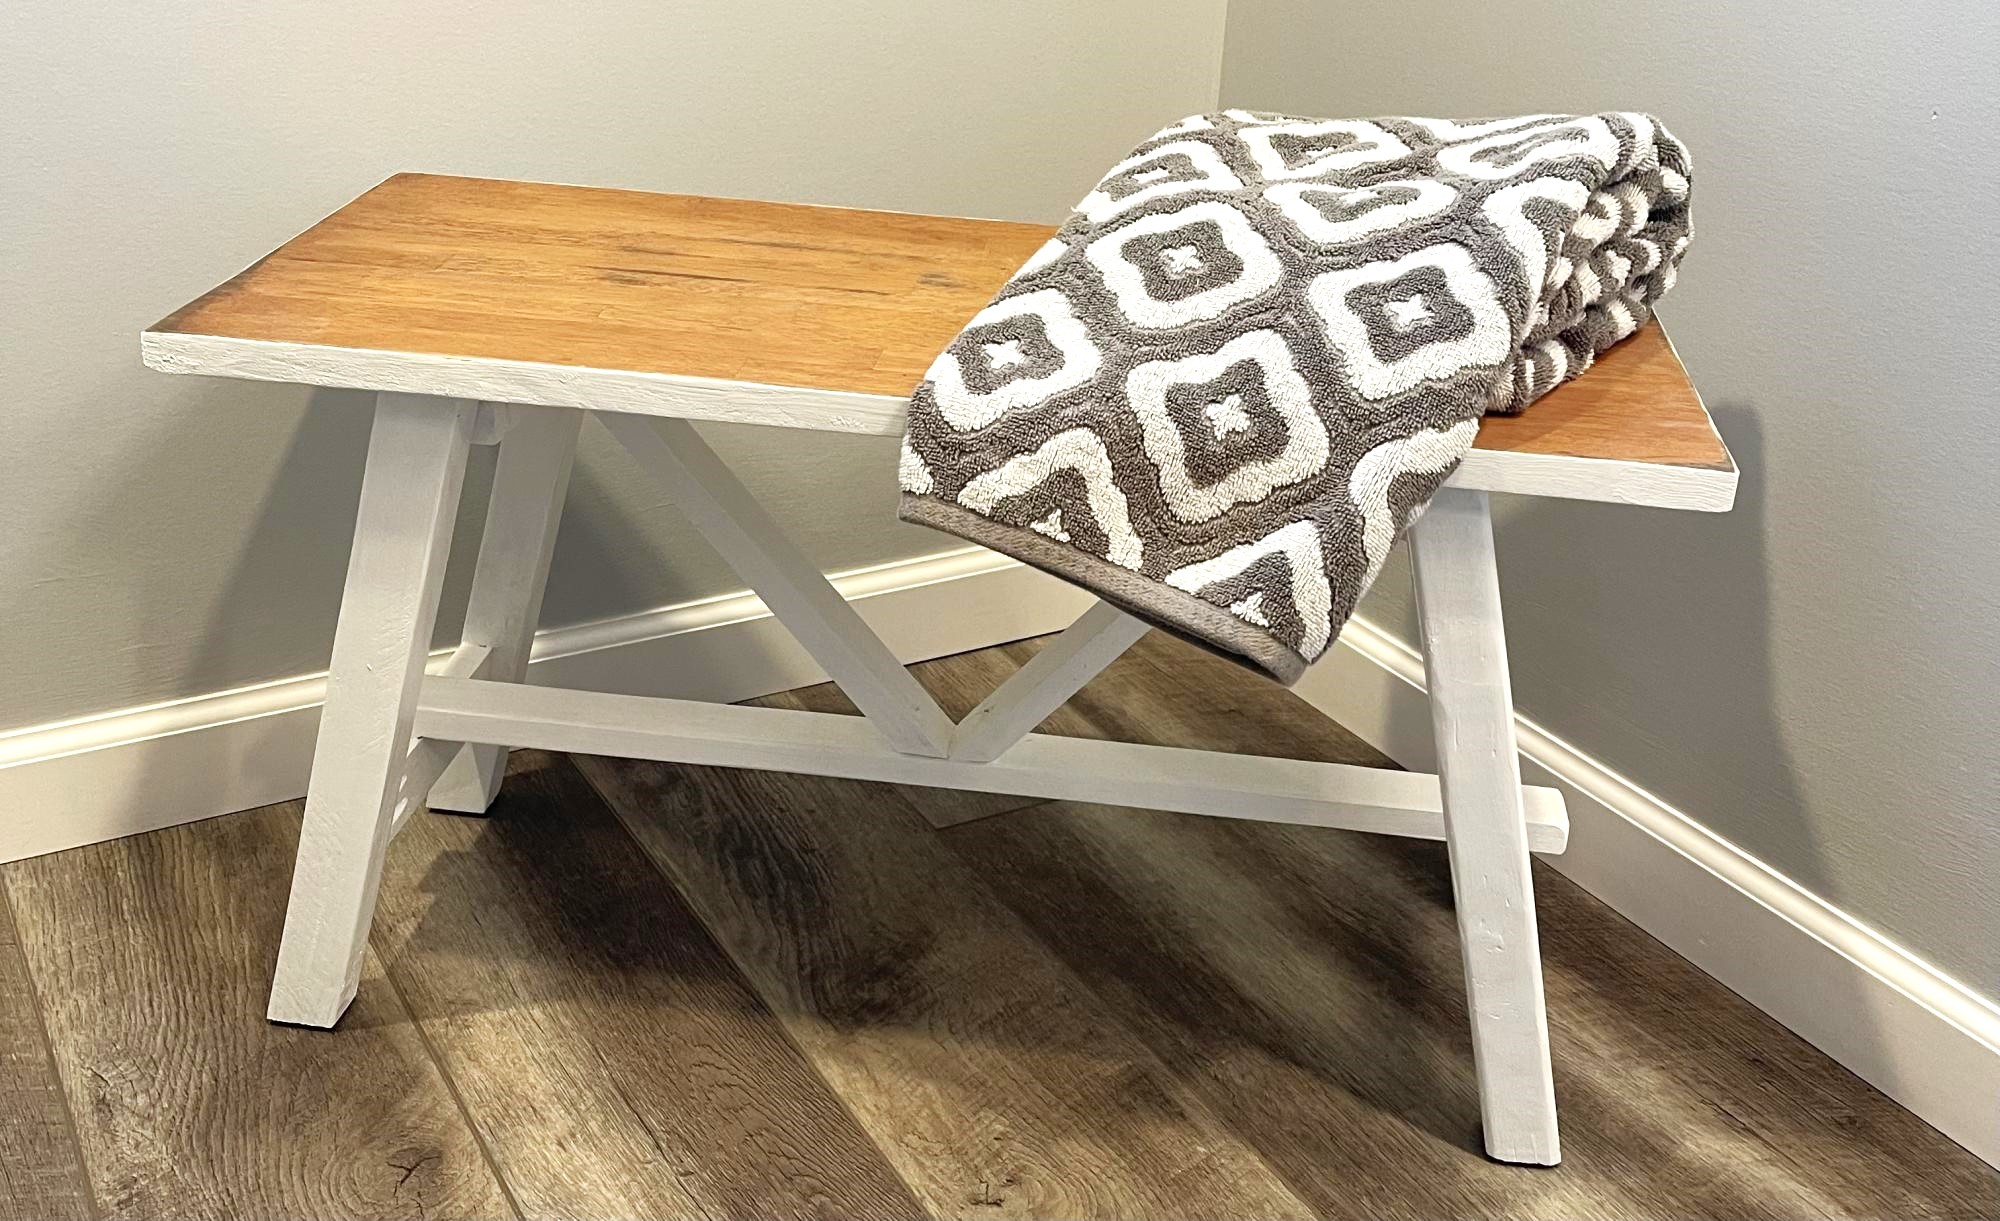
I used Ana’s plan to build this great bench for the Master Bathroom. It works out great!
Sun, 09/04/2022 - 12:52
I really like the two tone finish, thank you for sharing!
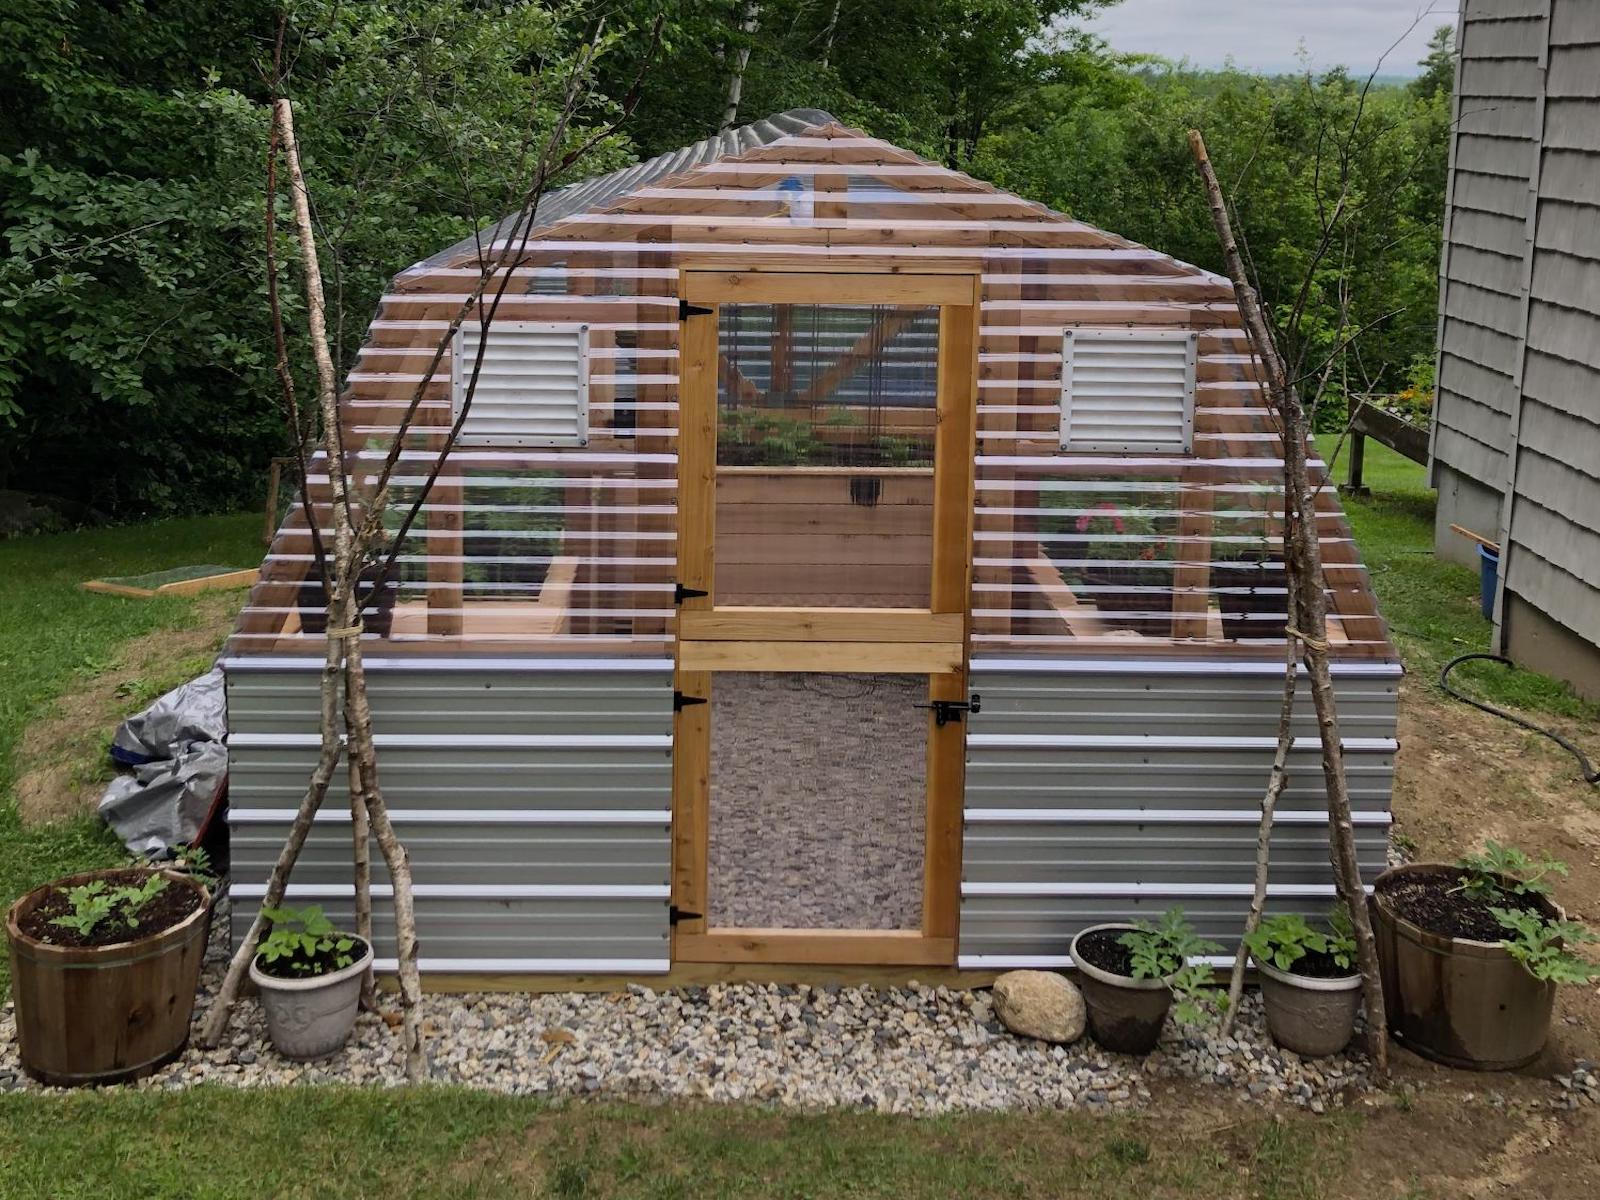
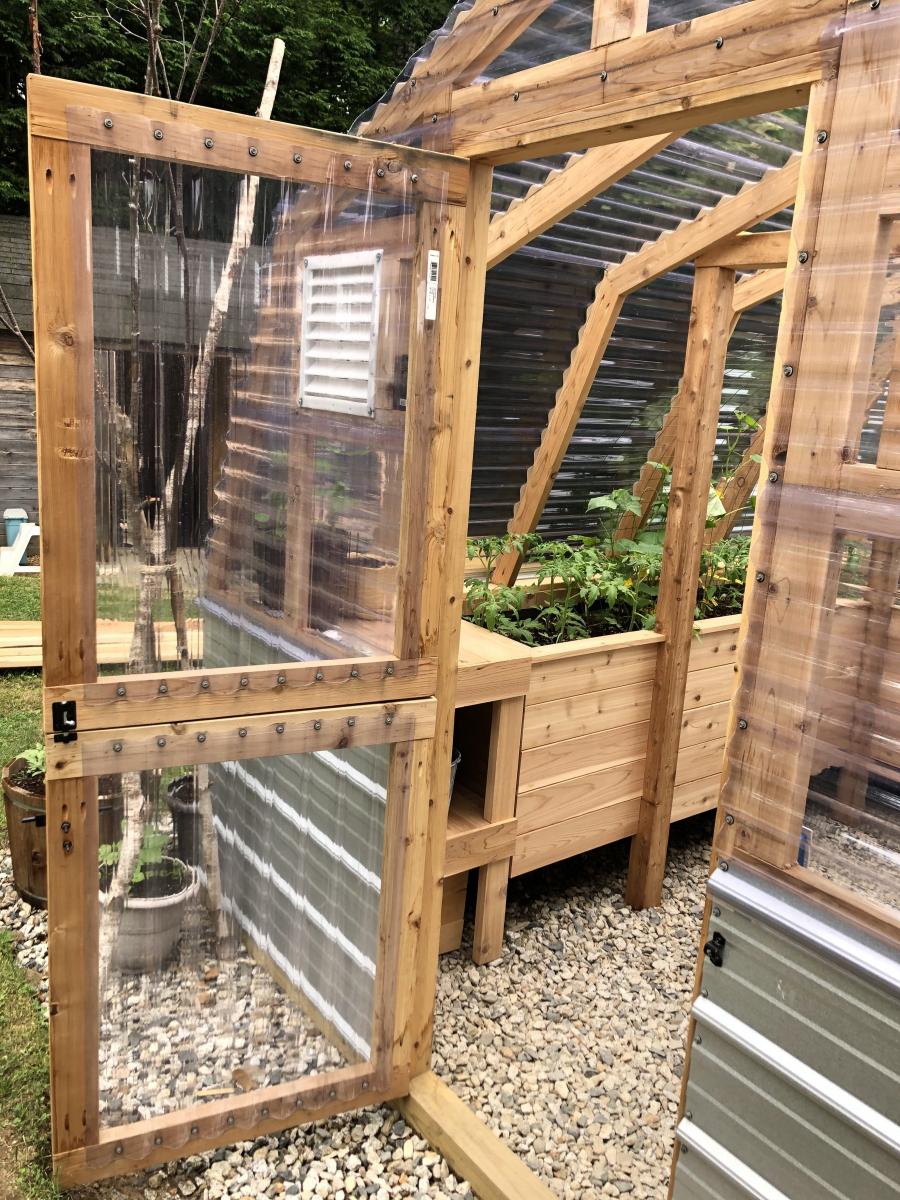
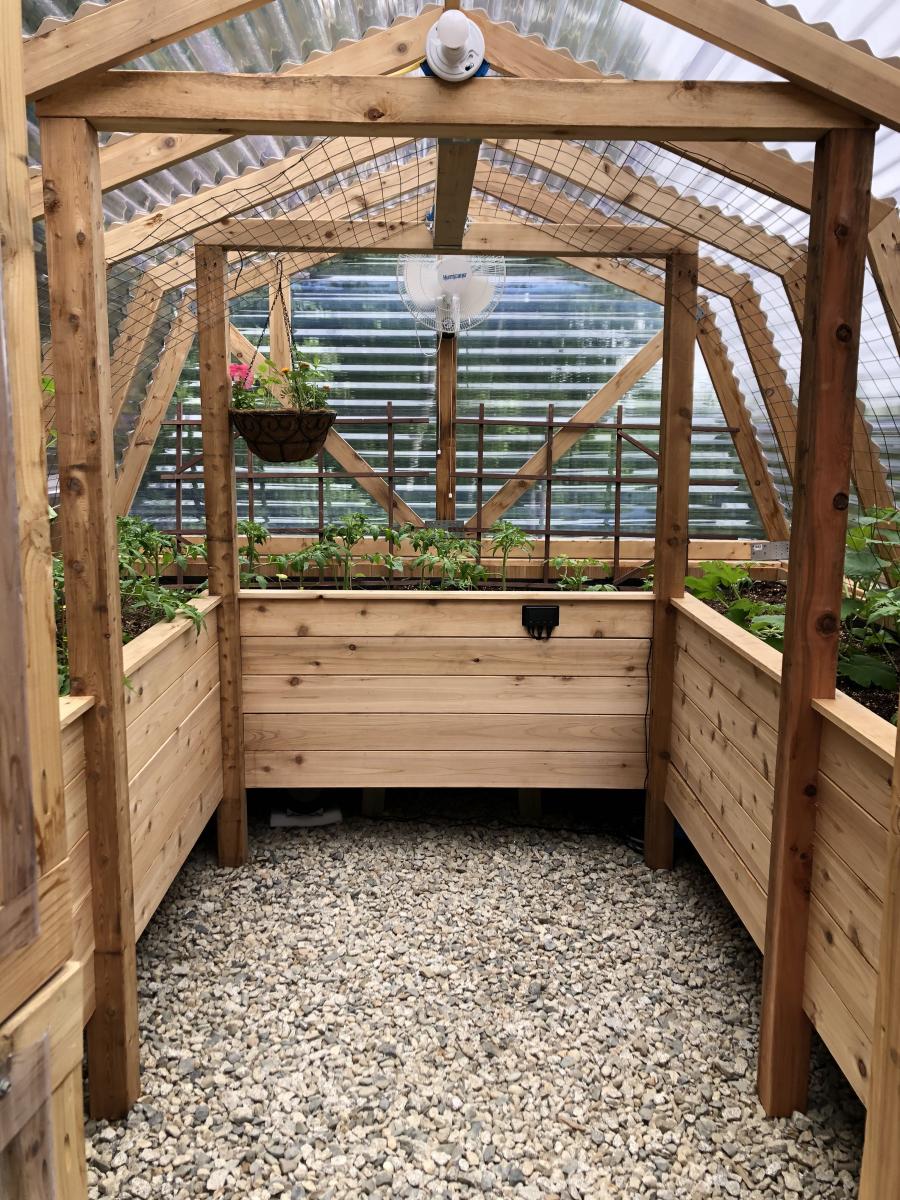
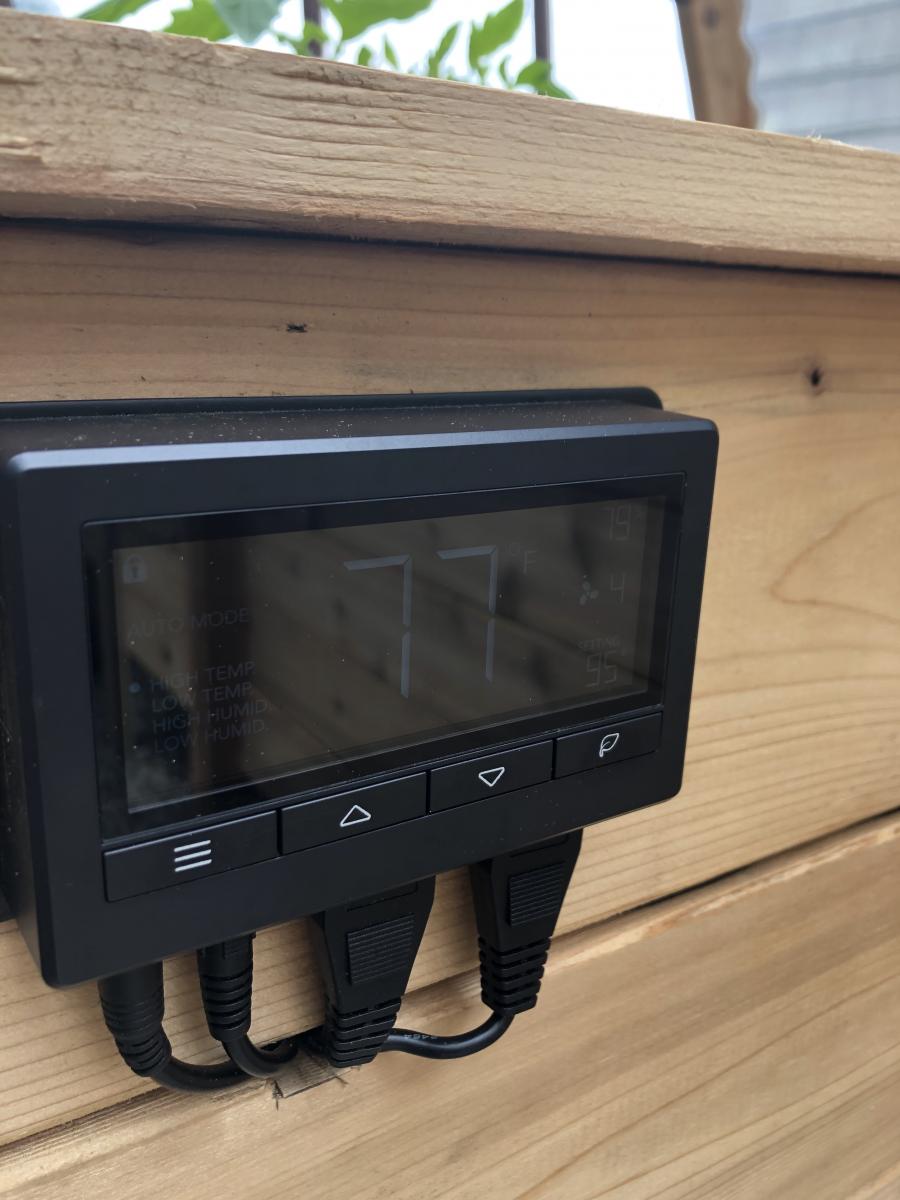
We loved this greenhouse plan from AnaWhite and wanted to be able to grow in 3 seasons so we modified the design to include humidity & temperature control & 18" deep elevated cedar beds inside with 4x4 posts for support and trellis option. We added electricity in order to have a lighted workspace and the ability to put in a circulating fan to control mold and fungus. We added 2 work tables (2x2') on the inside of the door left and right side door in order to do seed trays & store supplies. This was a wonderful project for my husband and my plants inside are doing incredibly well compared to my outside garden beds here in zone 5. Products used:
Foundation
We had a landscape company come and scape/dig a platform and then fill/compact with crushed rock
My husband then used rebar driven into a 4x4 frame in order to secure the frame to the ground and create a base upon which to build the greenhouse
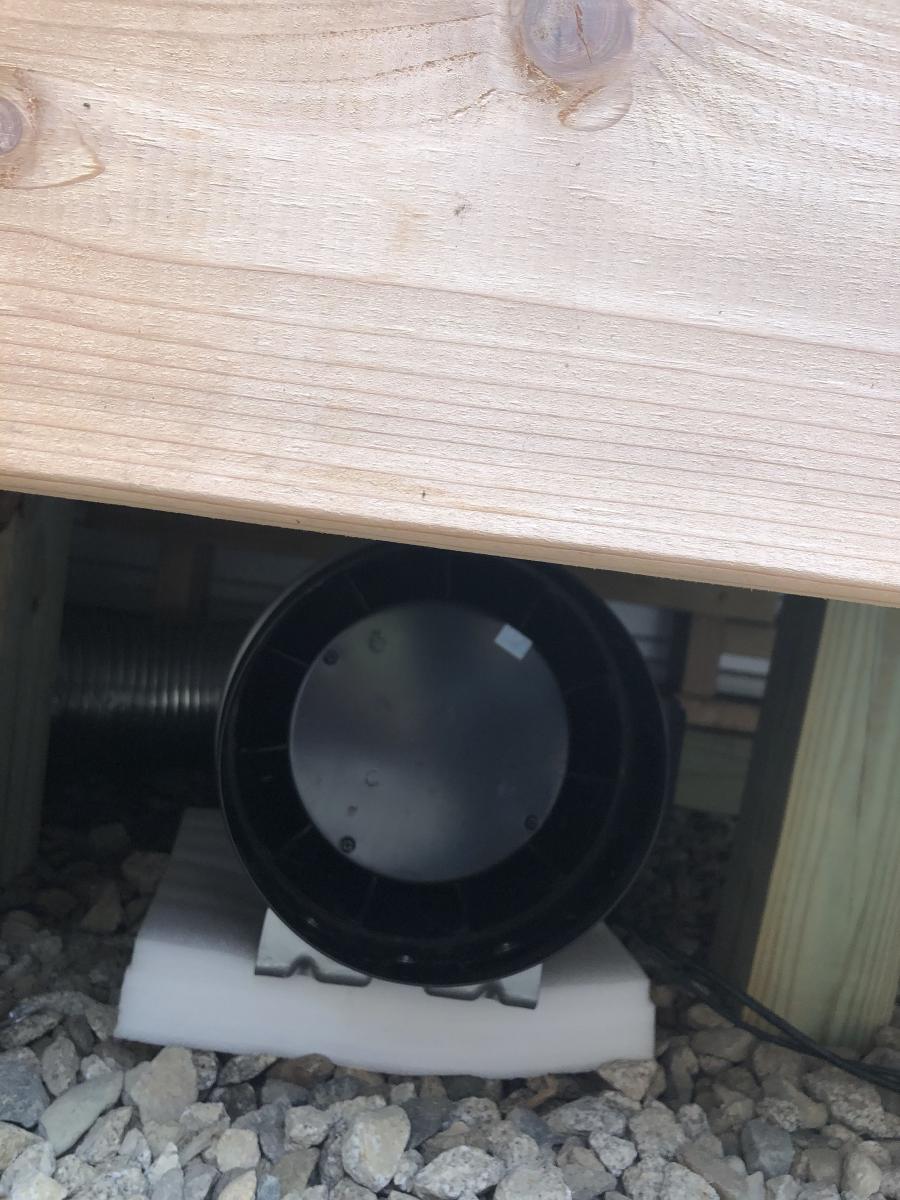
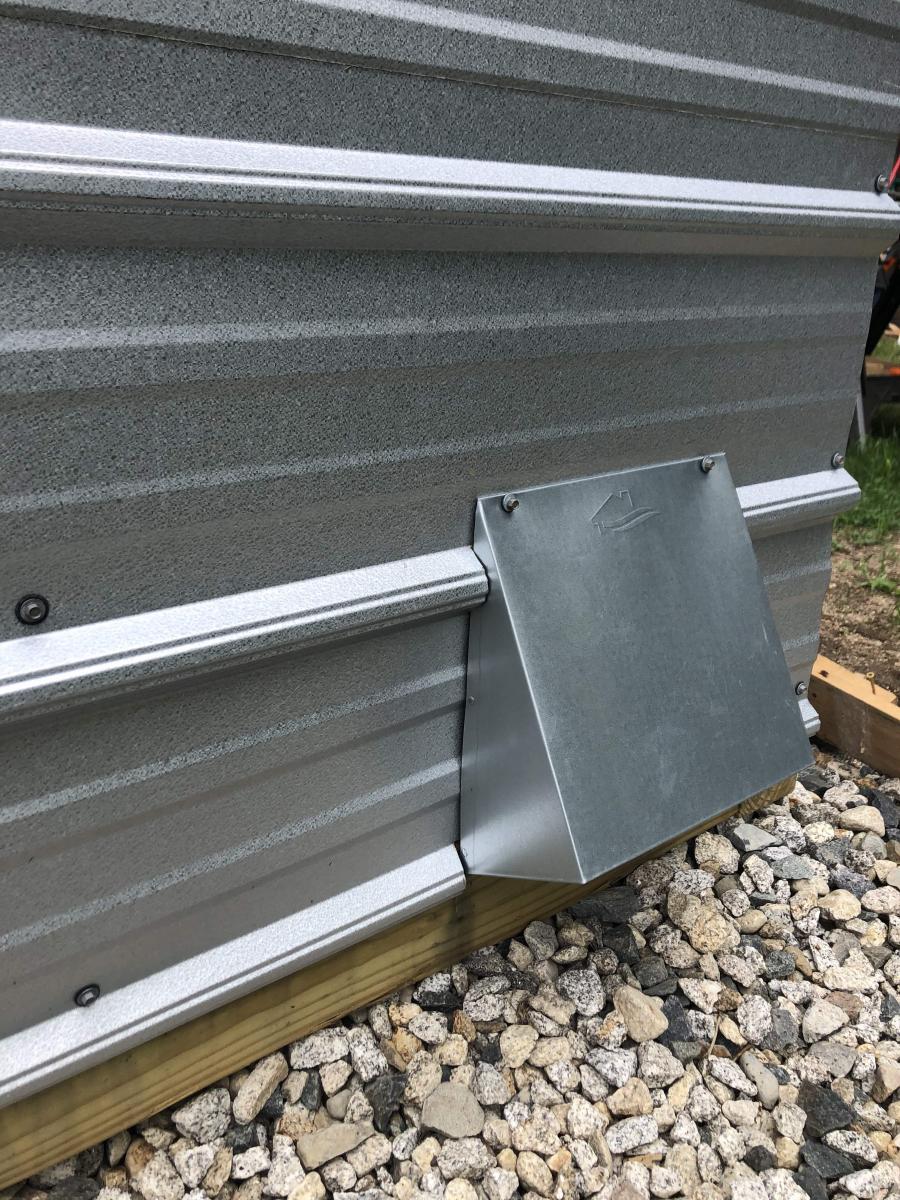
Active ventilation
AC Infinity Cloudline T8 Inline duct fan
Air king range hood wall cap 8" on the bottom outside of the greenhouse wall for air intake + flex 8" duct to the fan itself
Shelter logic autovent automatic shelter vent kits (1 on each side of the front wall) in order to allow air intake from the bottom back of the greenhouse under the elevated beds to flow to the front of the greenhouse and out
Circulating fan- Hurricane wall mount fan 16" - this fan has 3 speeds with tilt function and small mounting bracket
Soil - sourced 3 yards of 50/50 loam/compost from local landscaping supply
60% loam
30% organic compost
10% organic topsoil + perlite
Soil beds
-cedar frame 2 feet wide along sides, 3 feet wide on the back wall
-galvanized metal roofing with holes drilled into it for drainage
-landscape cloth lined
Wed, 09/09/2020 - 13:09
Thanks for that update! I was wondering how to vent this project, as Green houses need the ventilation. Good to know dollar amount also. Great photos.
Wed, 09/09/2020 - 13:09
Thanks for that update! I was wondering how to vent this project, as Green houses need the ventilation. Good to know dollar amount also. Great photos.
Wed, 09/09/2020 - 13:09
Thanks for that update! I was wondering how to vent this project, as Green houses need the ventilation. Good to know dollar amount also. Great photos.
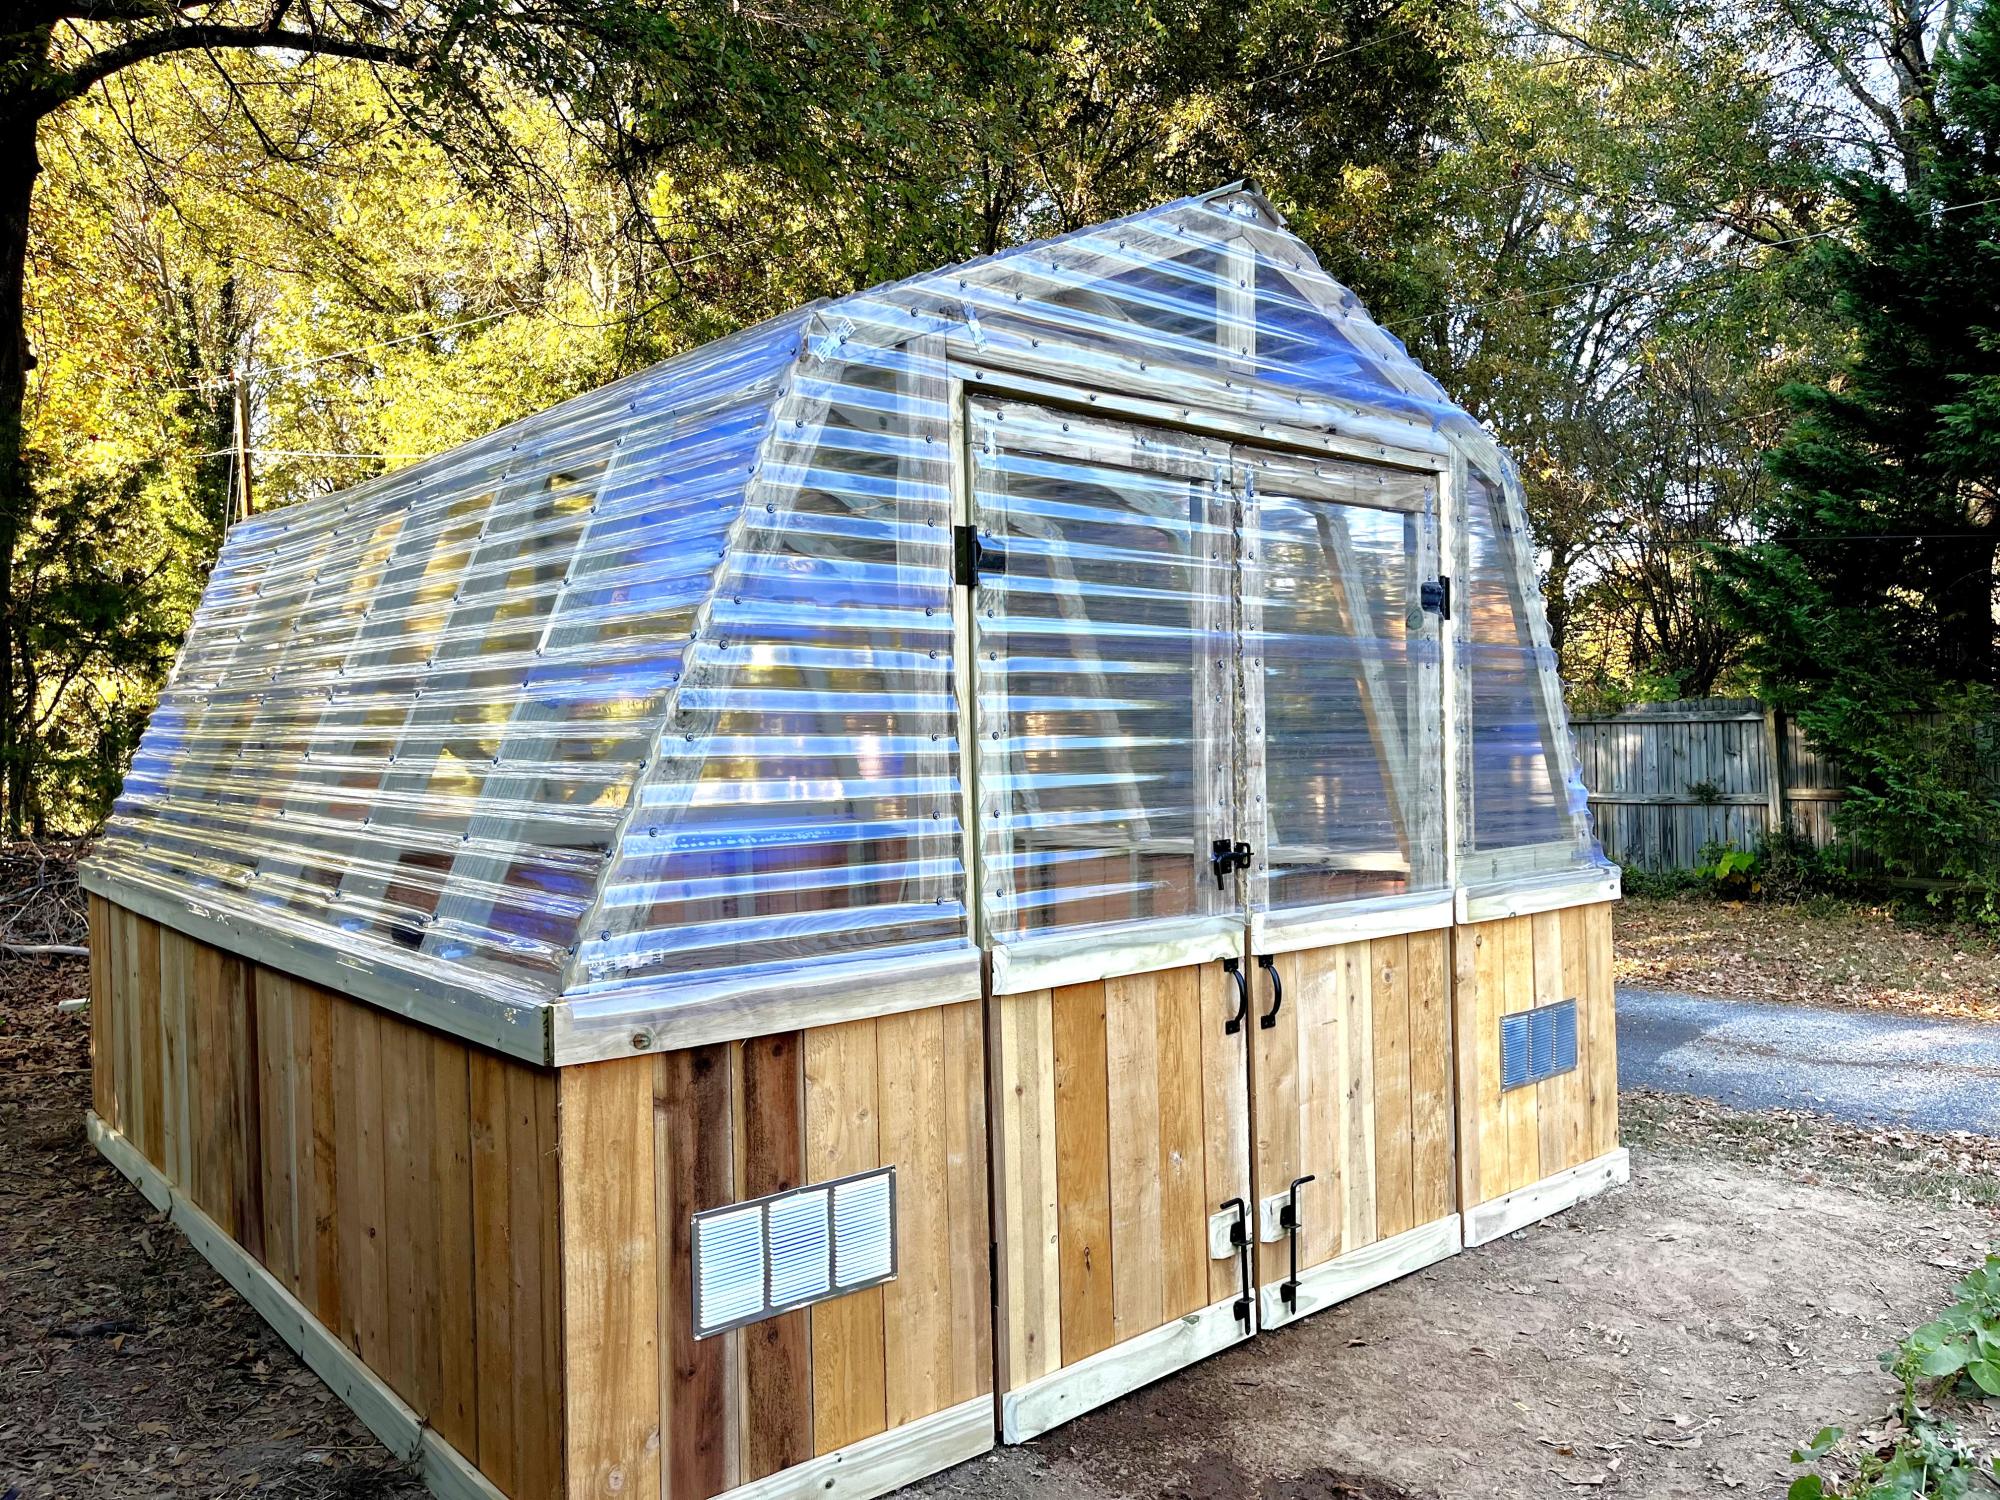
I loved this plan so much but I really wanted double doors so we made a few modifications to fit them. Can’t wait to build out the interior and start growing! Thank you for the amazing plans!
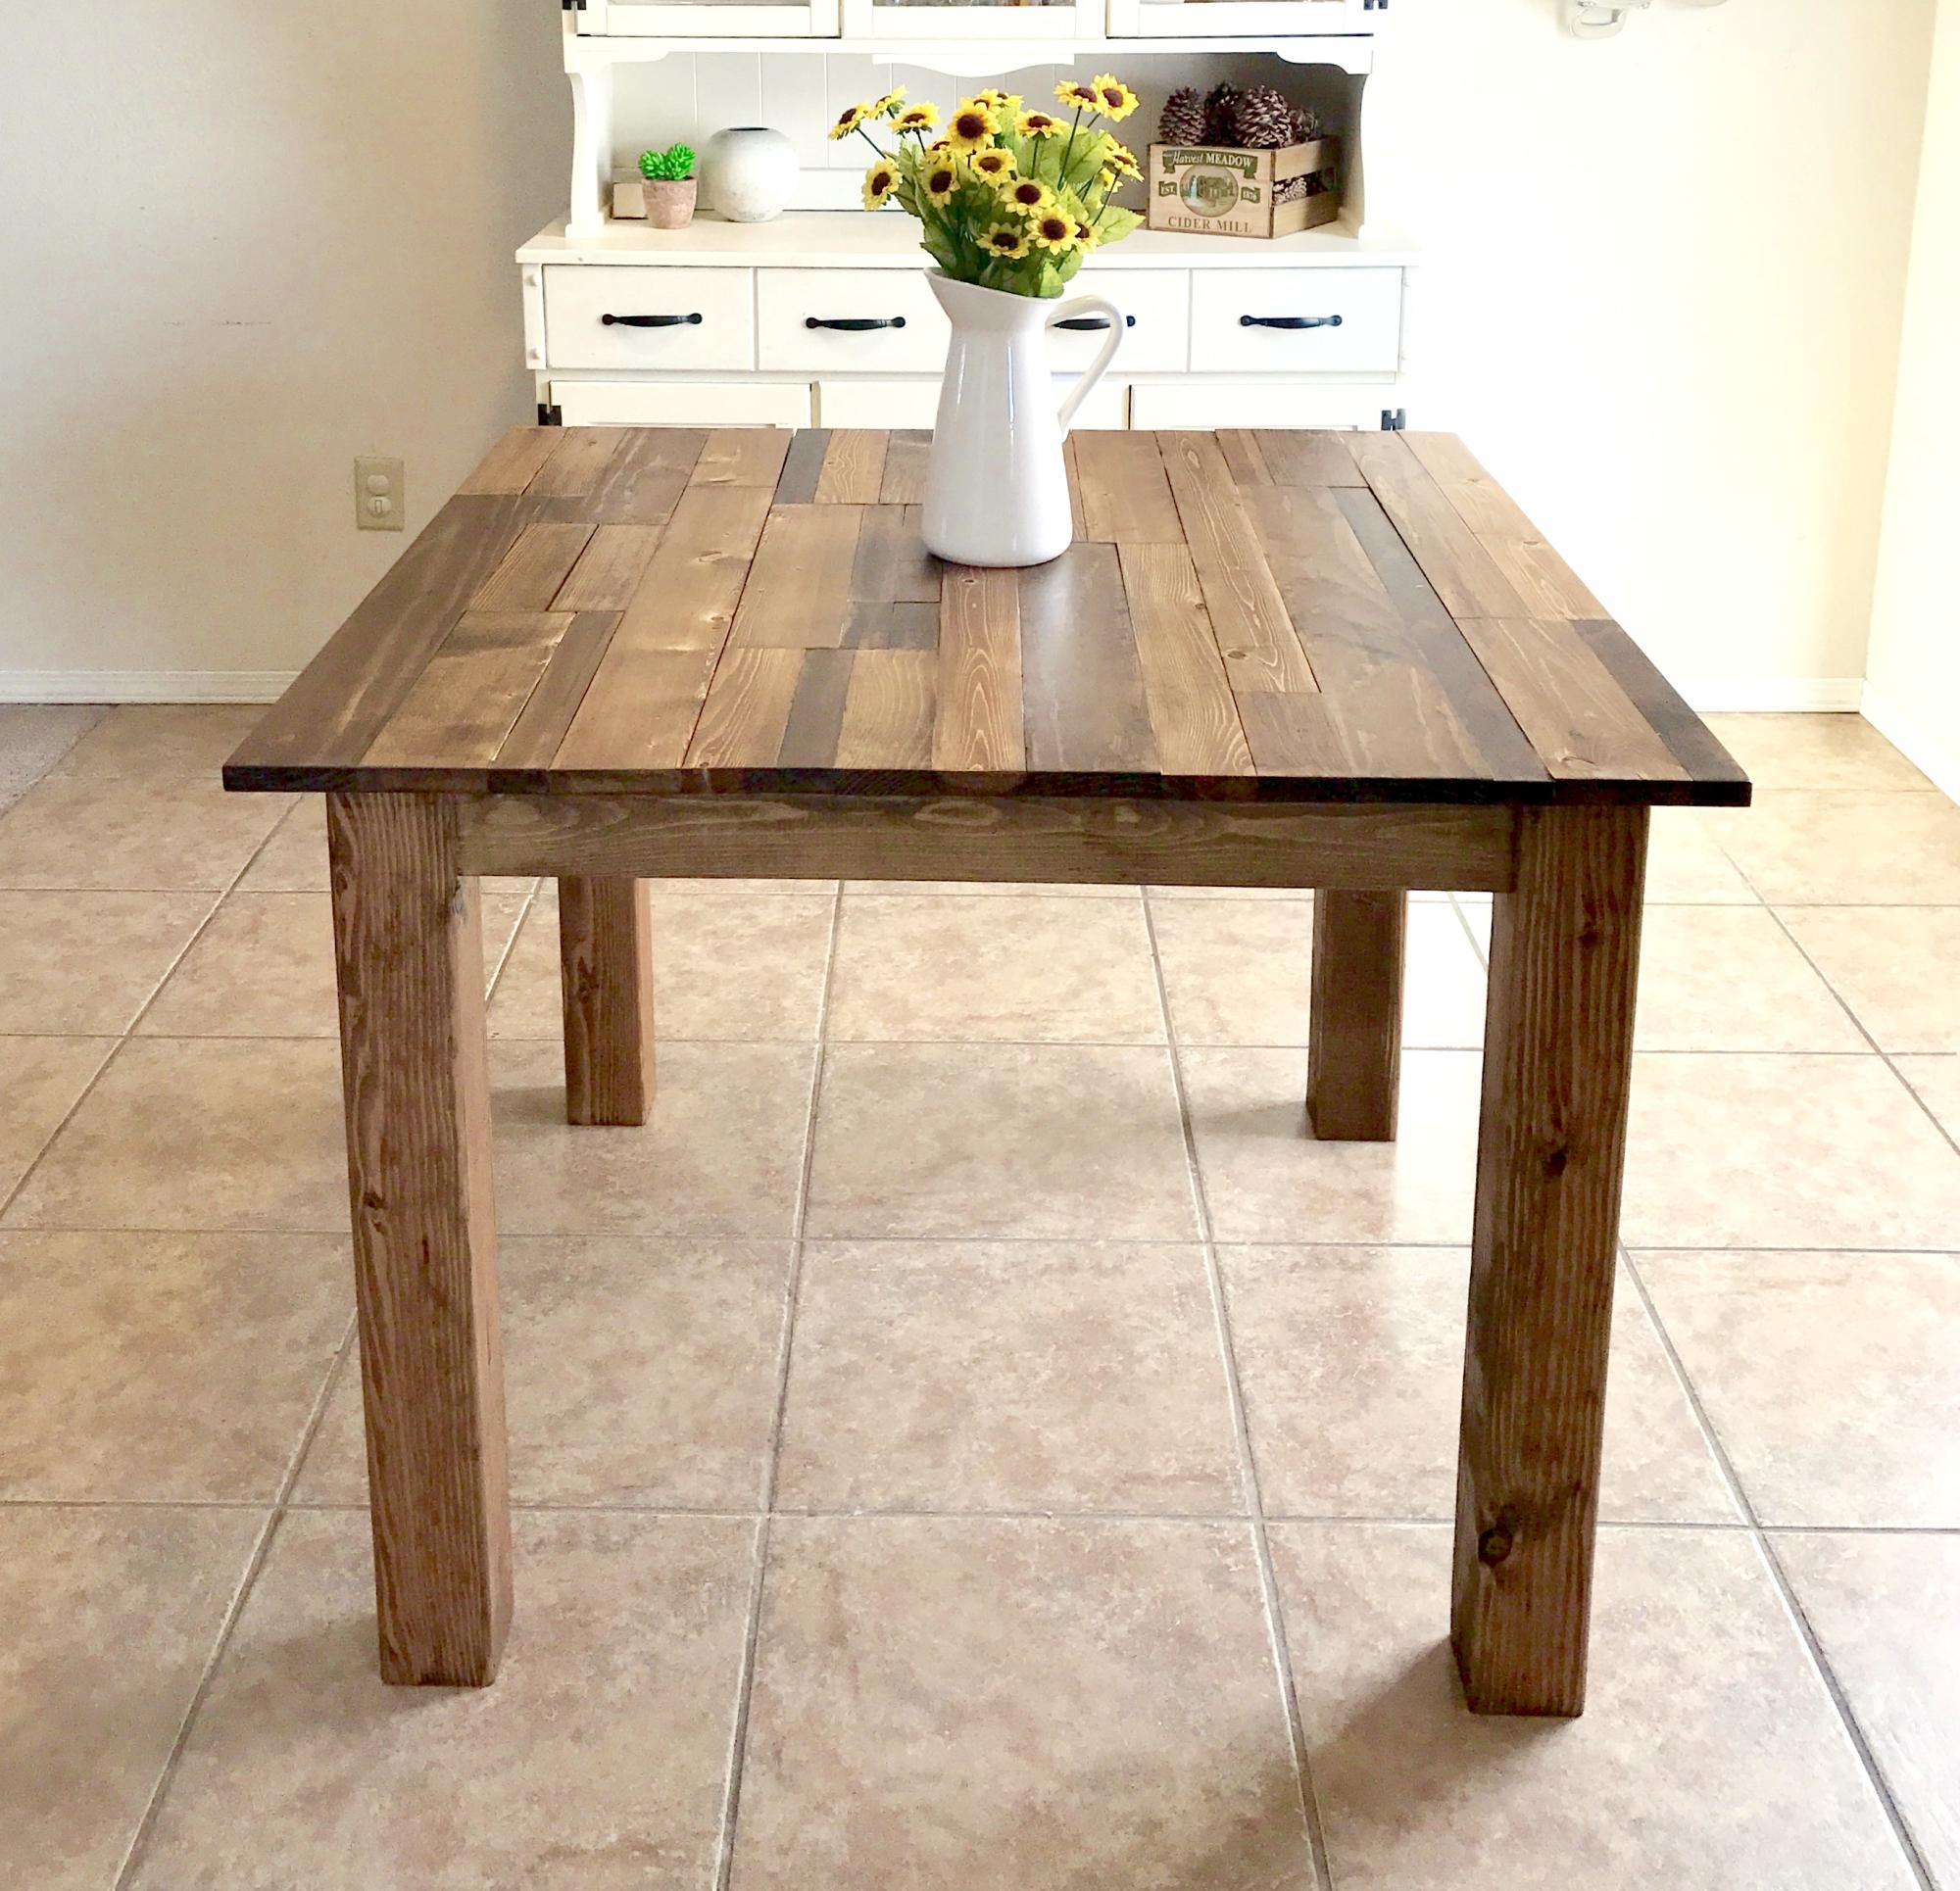
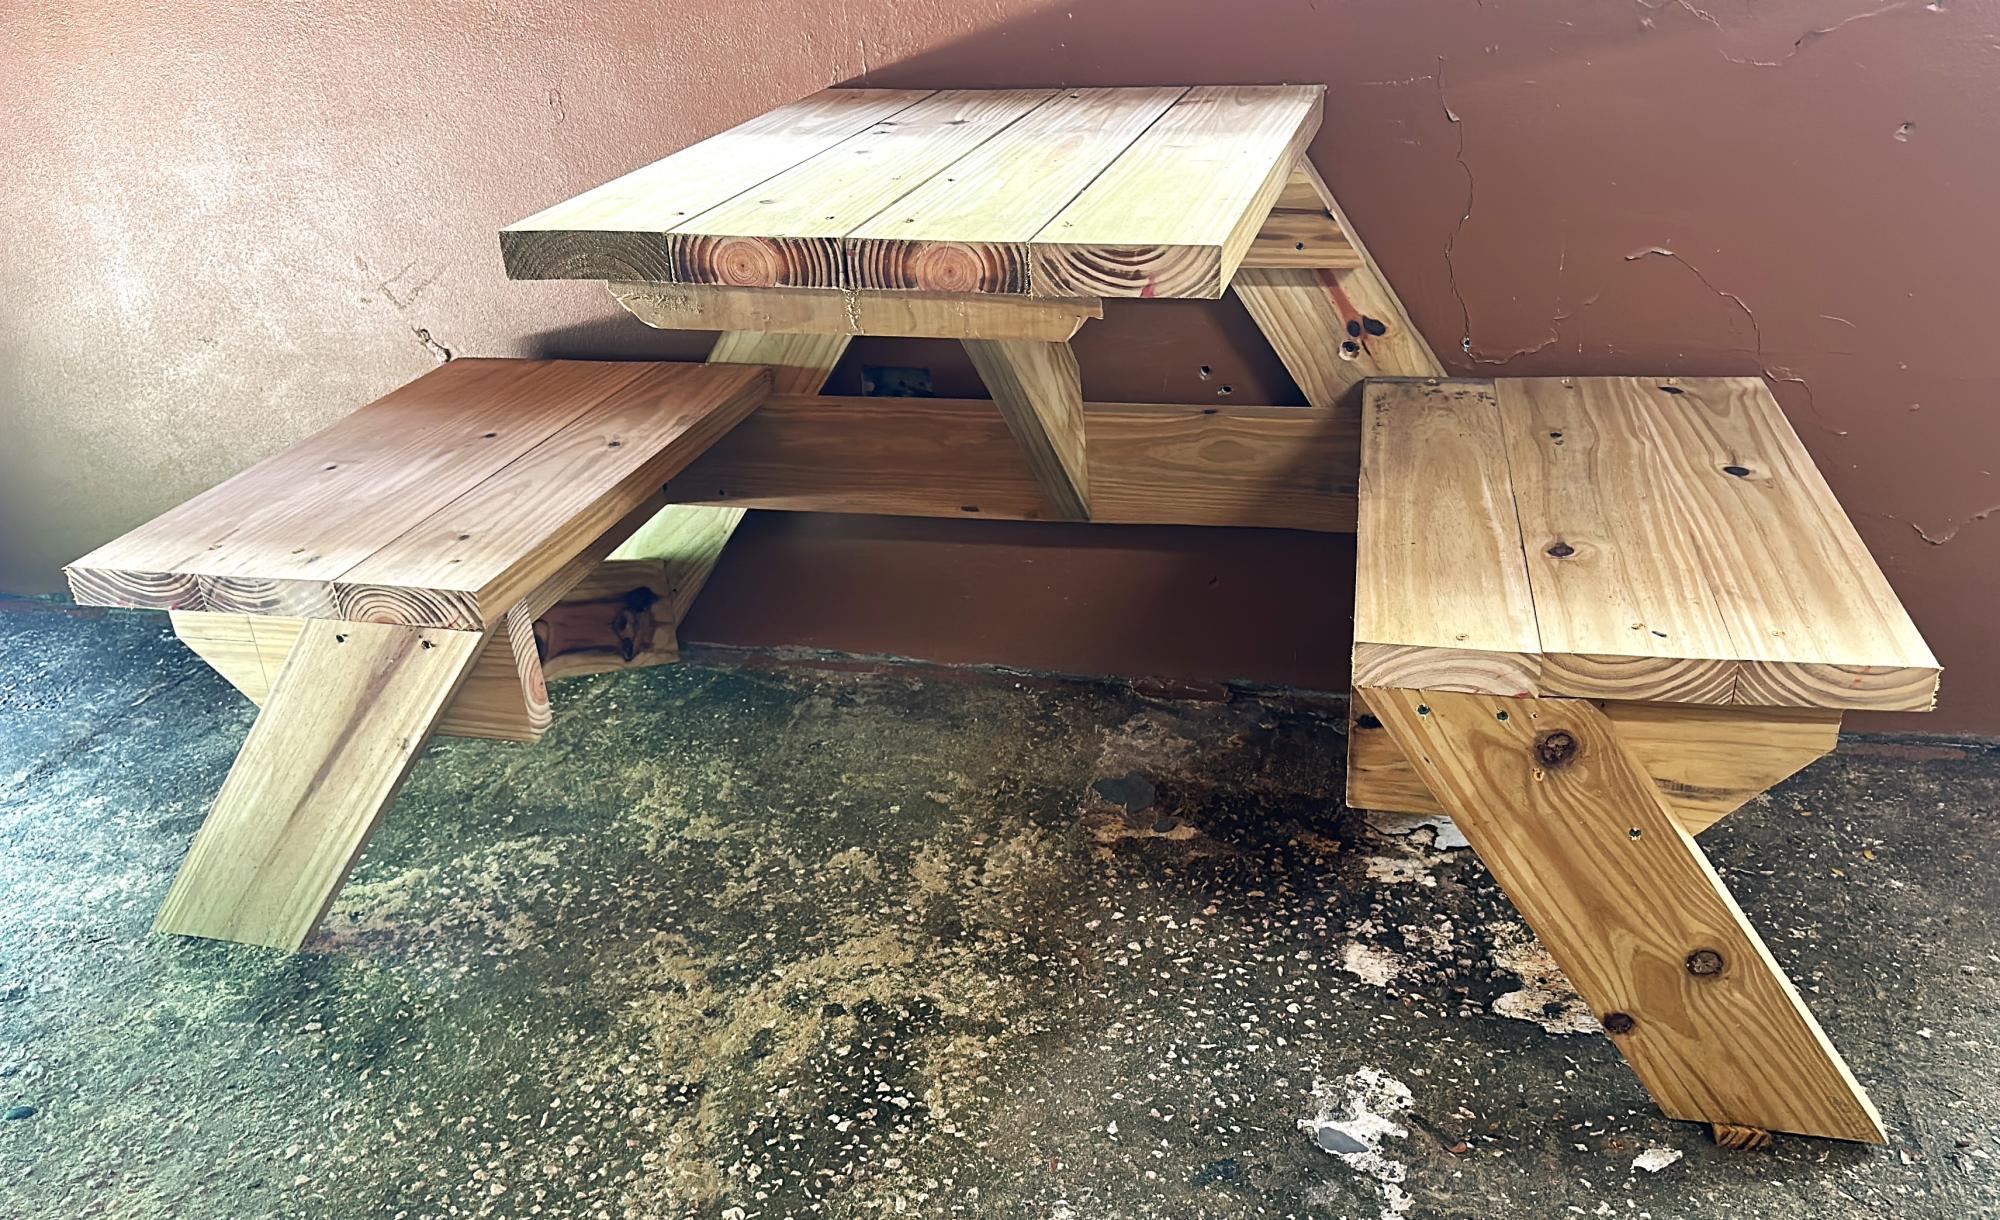
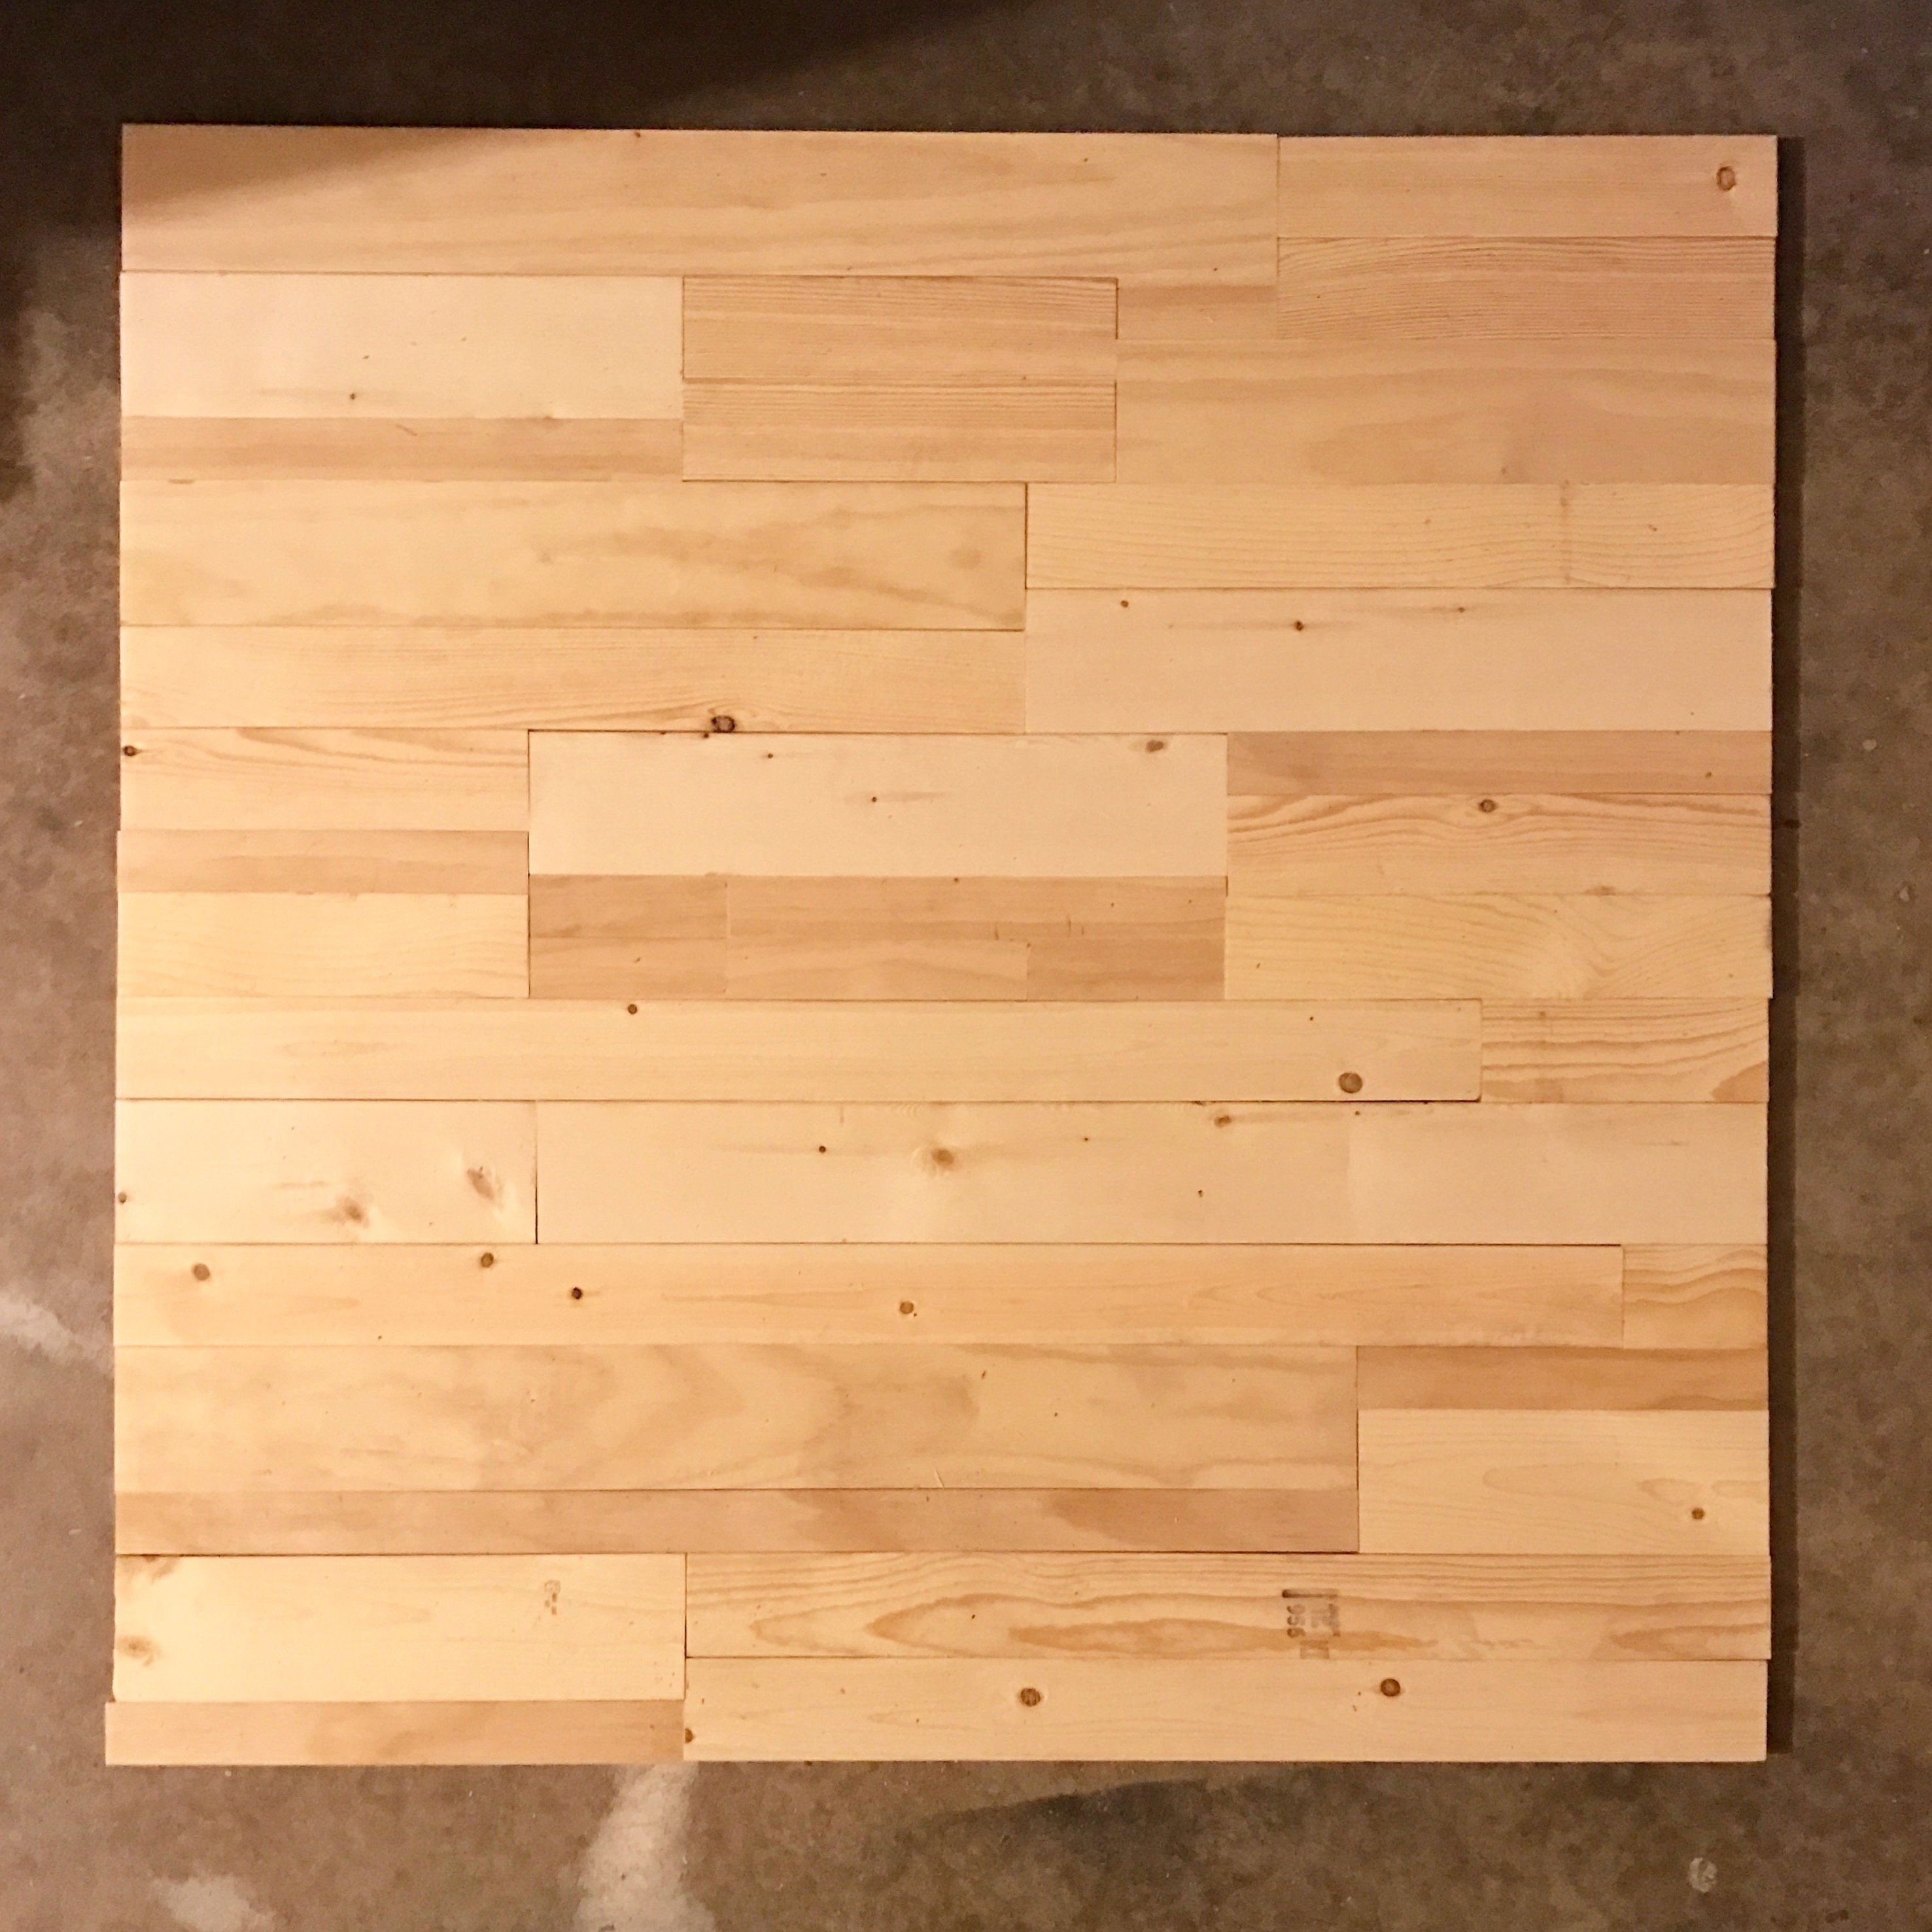
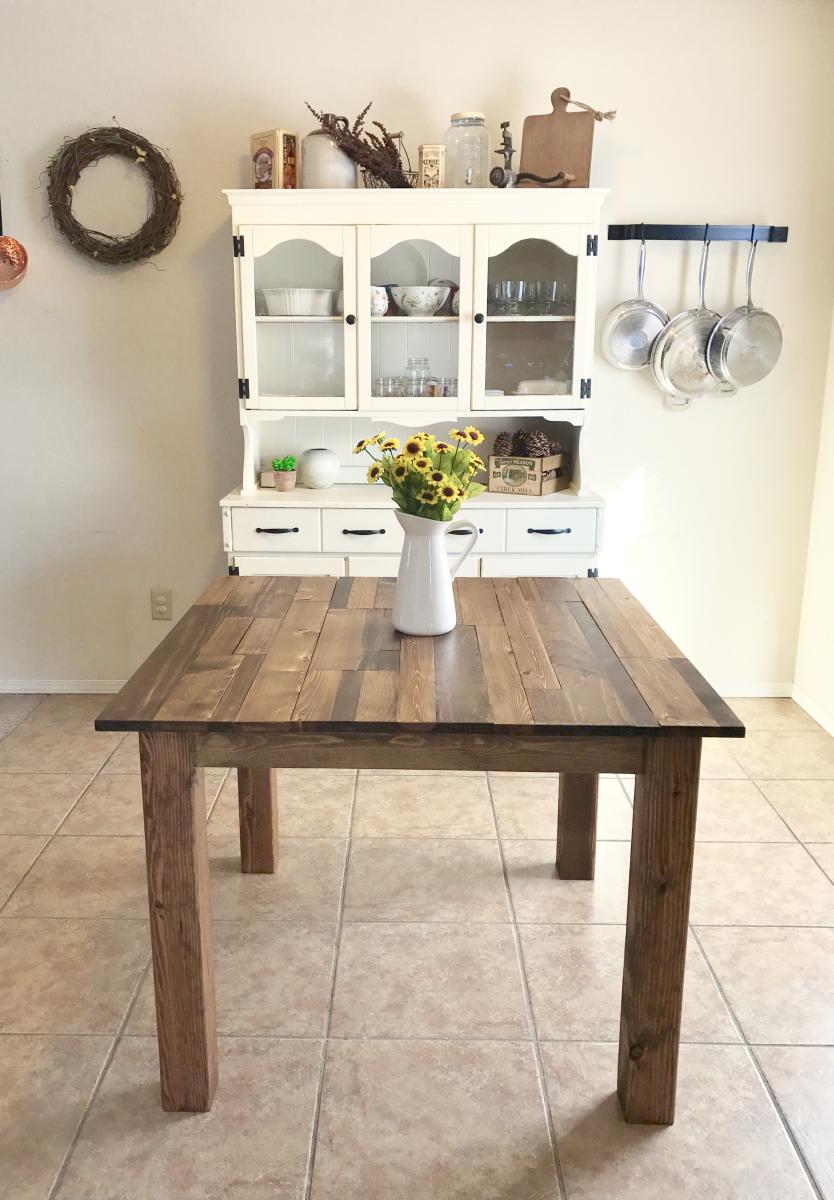
I built this table for a friend who wanted a rustic, plank-top kitchen table. She wanted a square table with 4x4 legs. Since I don't have clamps, I used pocket holes and wood glue for the table top. Also, I only have a 7&1/4" miter saw, which means the 4x4s were too thick to cut. So I made one cut in the legs, then flipped them and made another. It worked! :) I sanded down the sides of the table top with 80 grit. They needed to be evened up since some of the planks were a little longer than others. I back braced underneathe the top with (3) 1x3s. Then, I sanded all over with 120, vacuumed, then wiped it down with a damp towel. Fun build!!
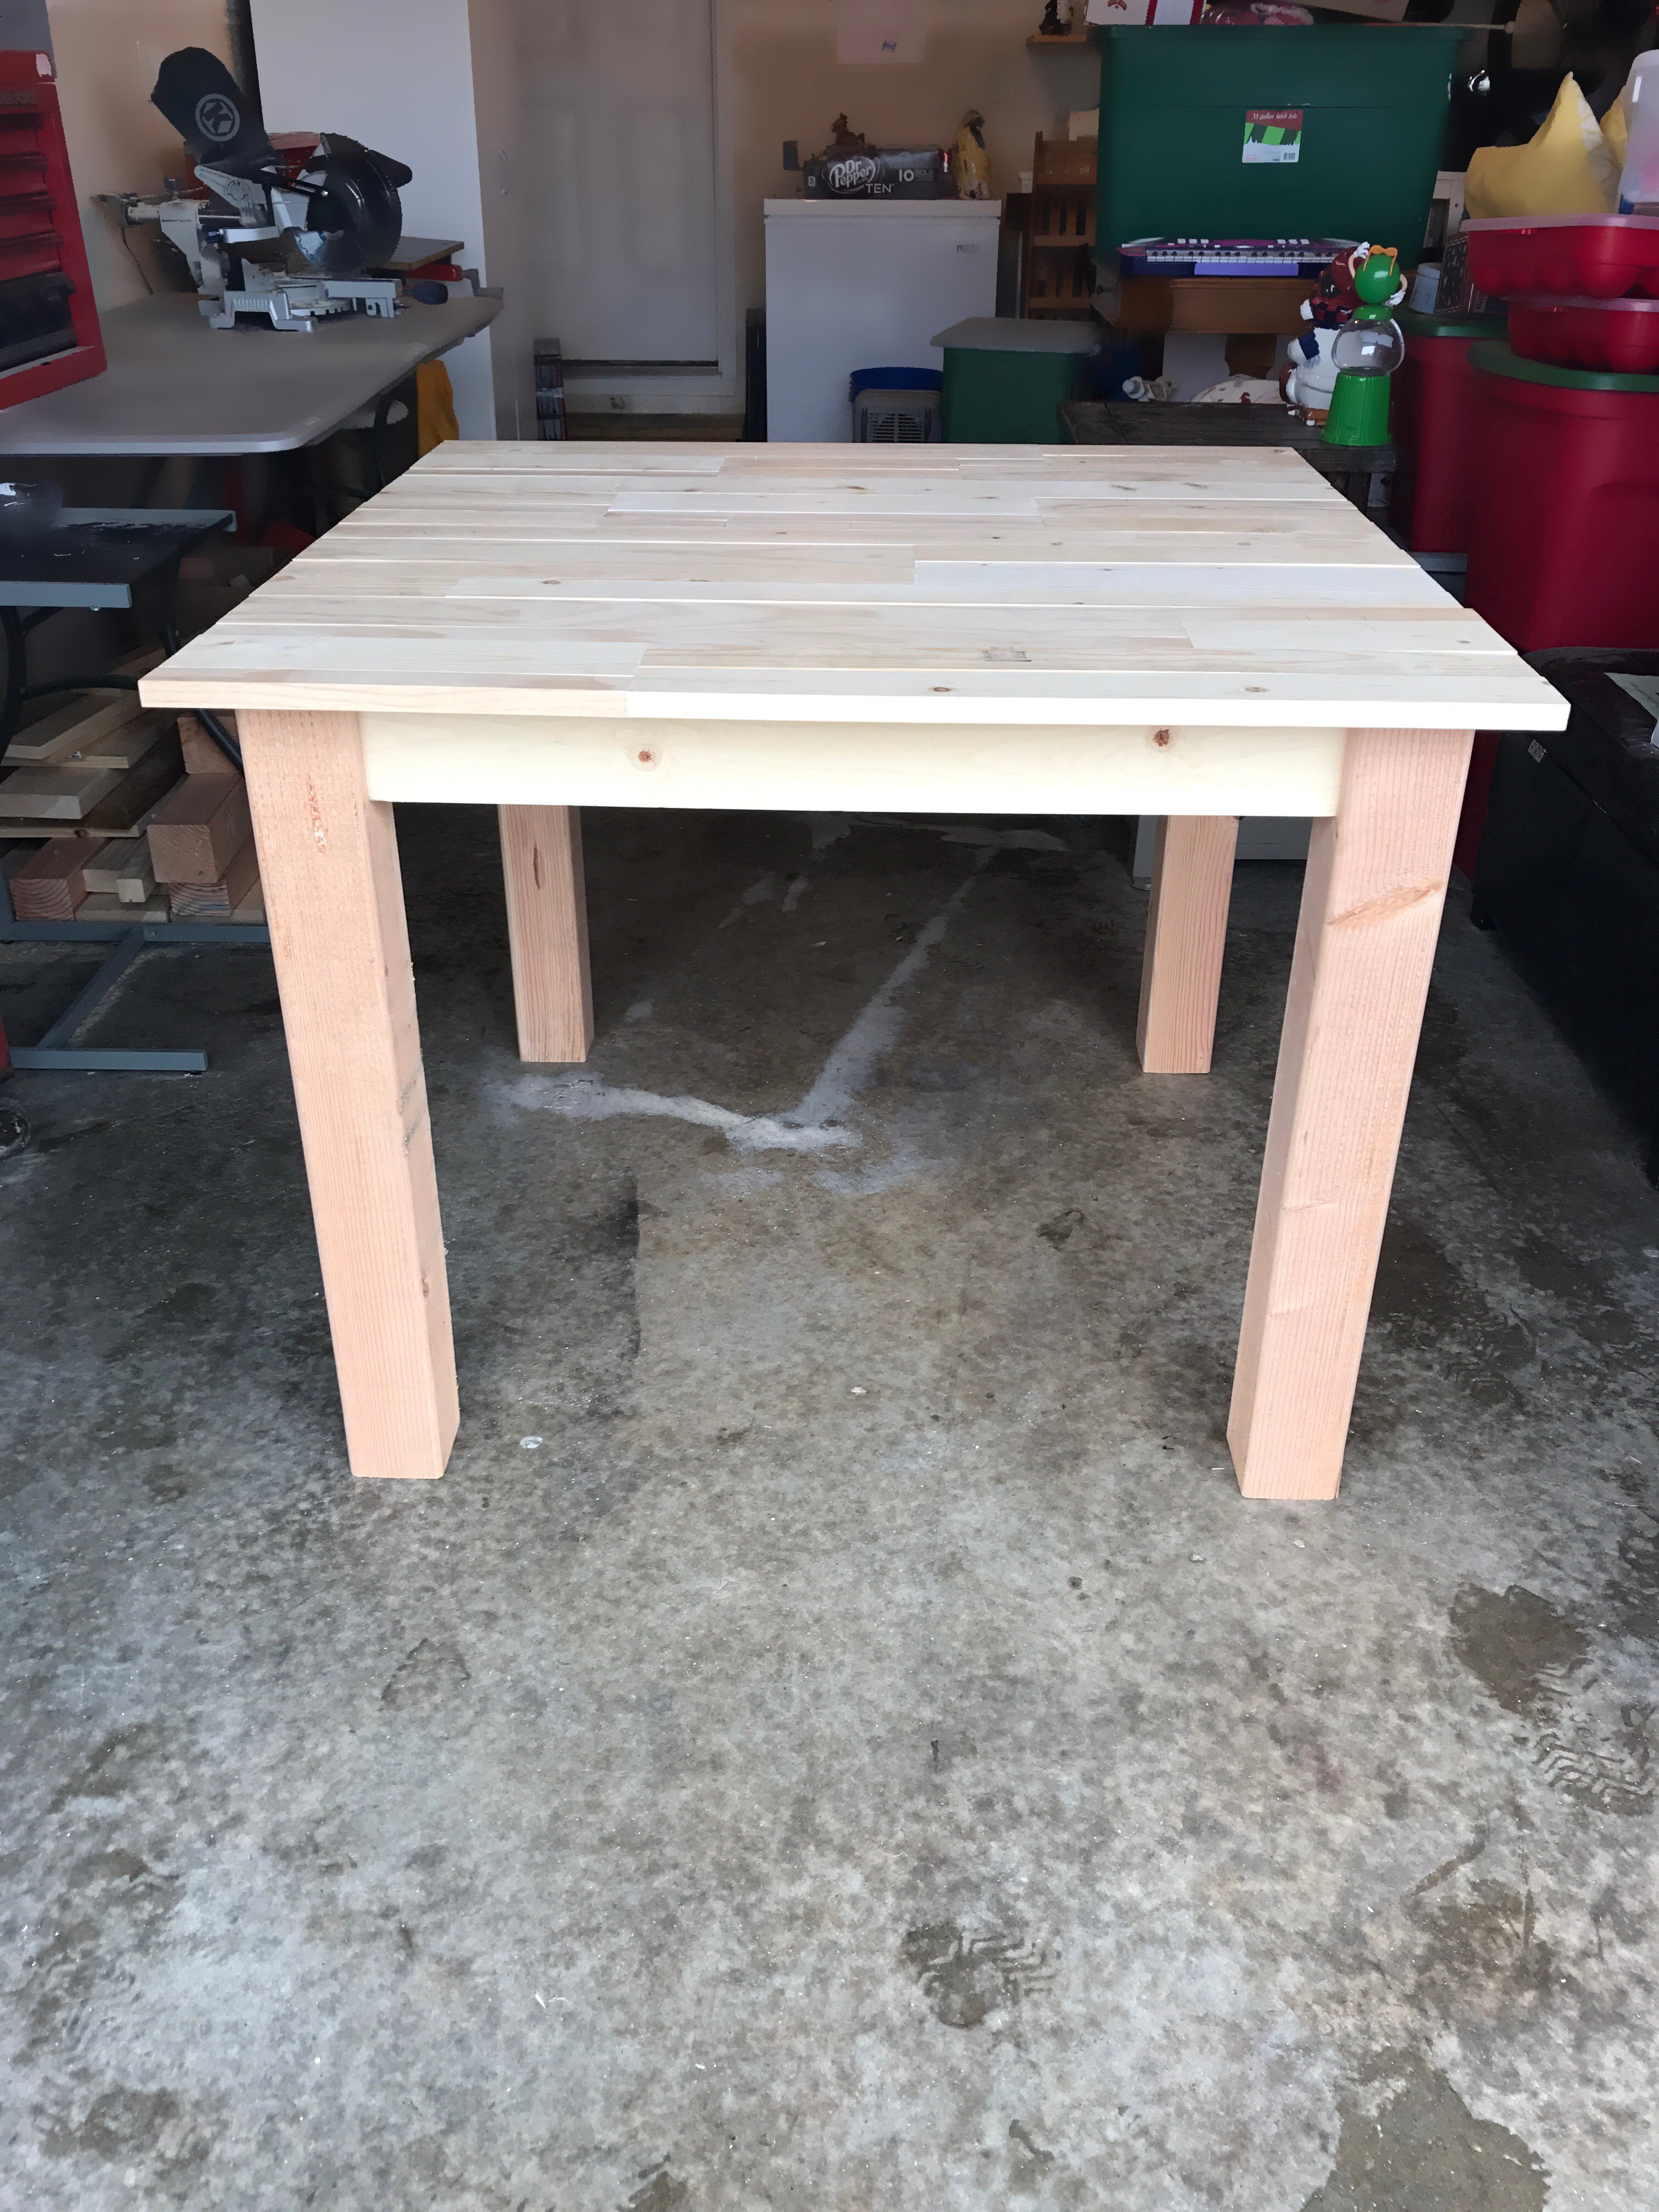

This was an easy project to complete in an afternoon that does not require any advance woodworking skills

Wed, 11/26/2014 - 12:19
This project looks even better than mine! I love look with paint! Well done!
Wed, 12/10/2014 - 09:41
This is my second completed project with plans and ideas from your website. Thanks for your good work!
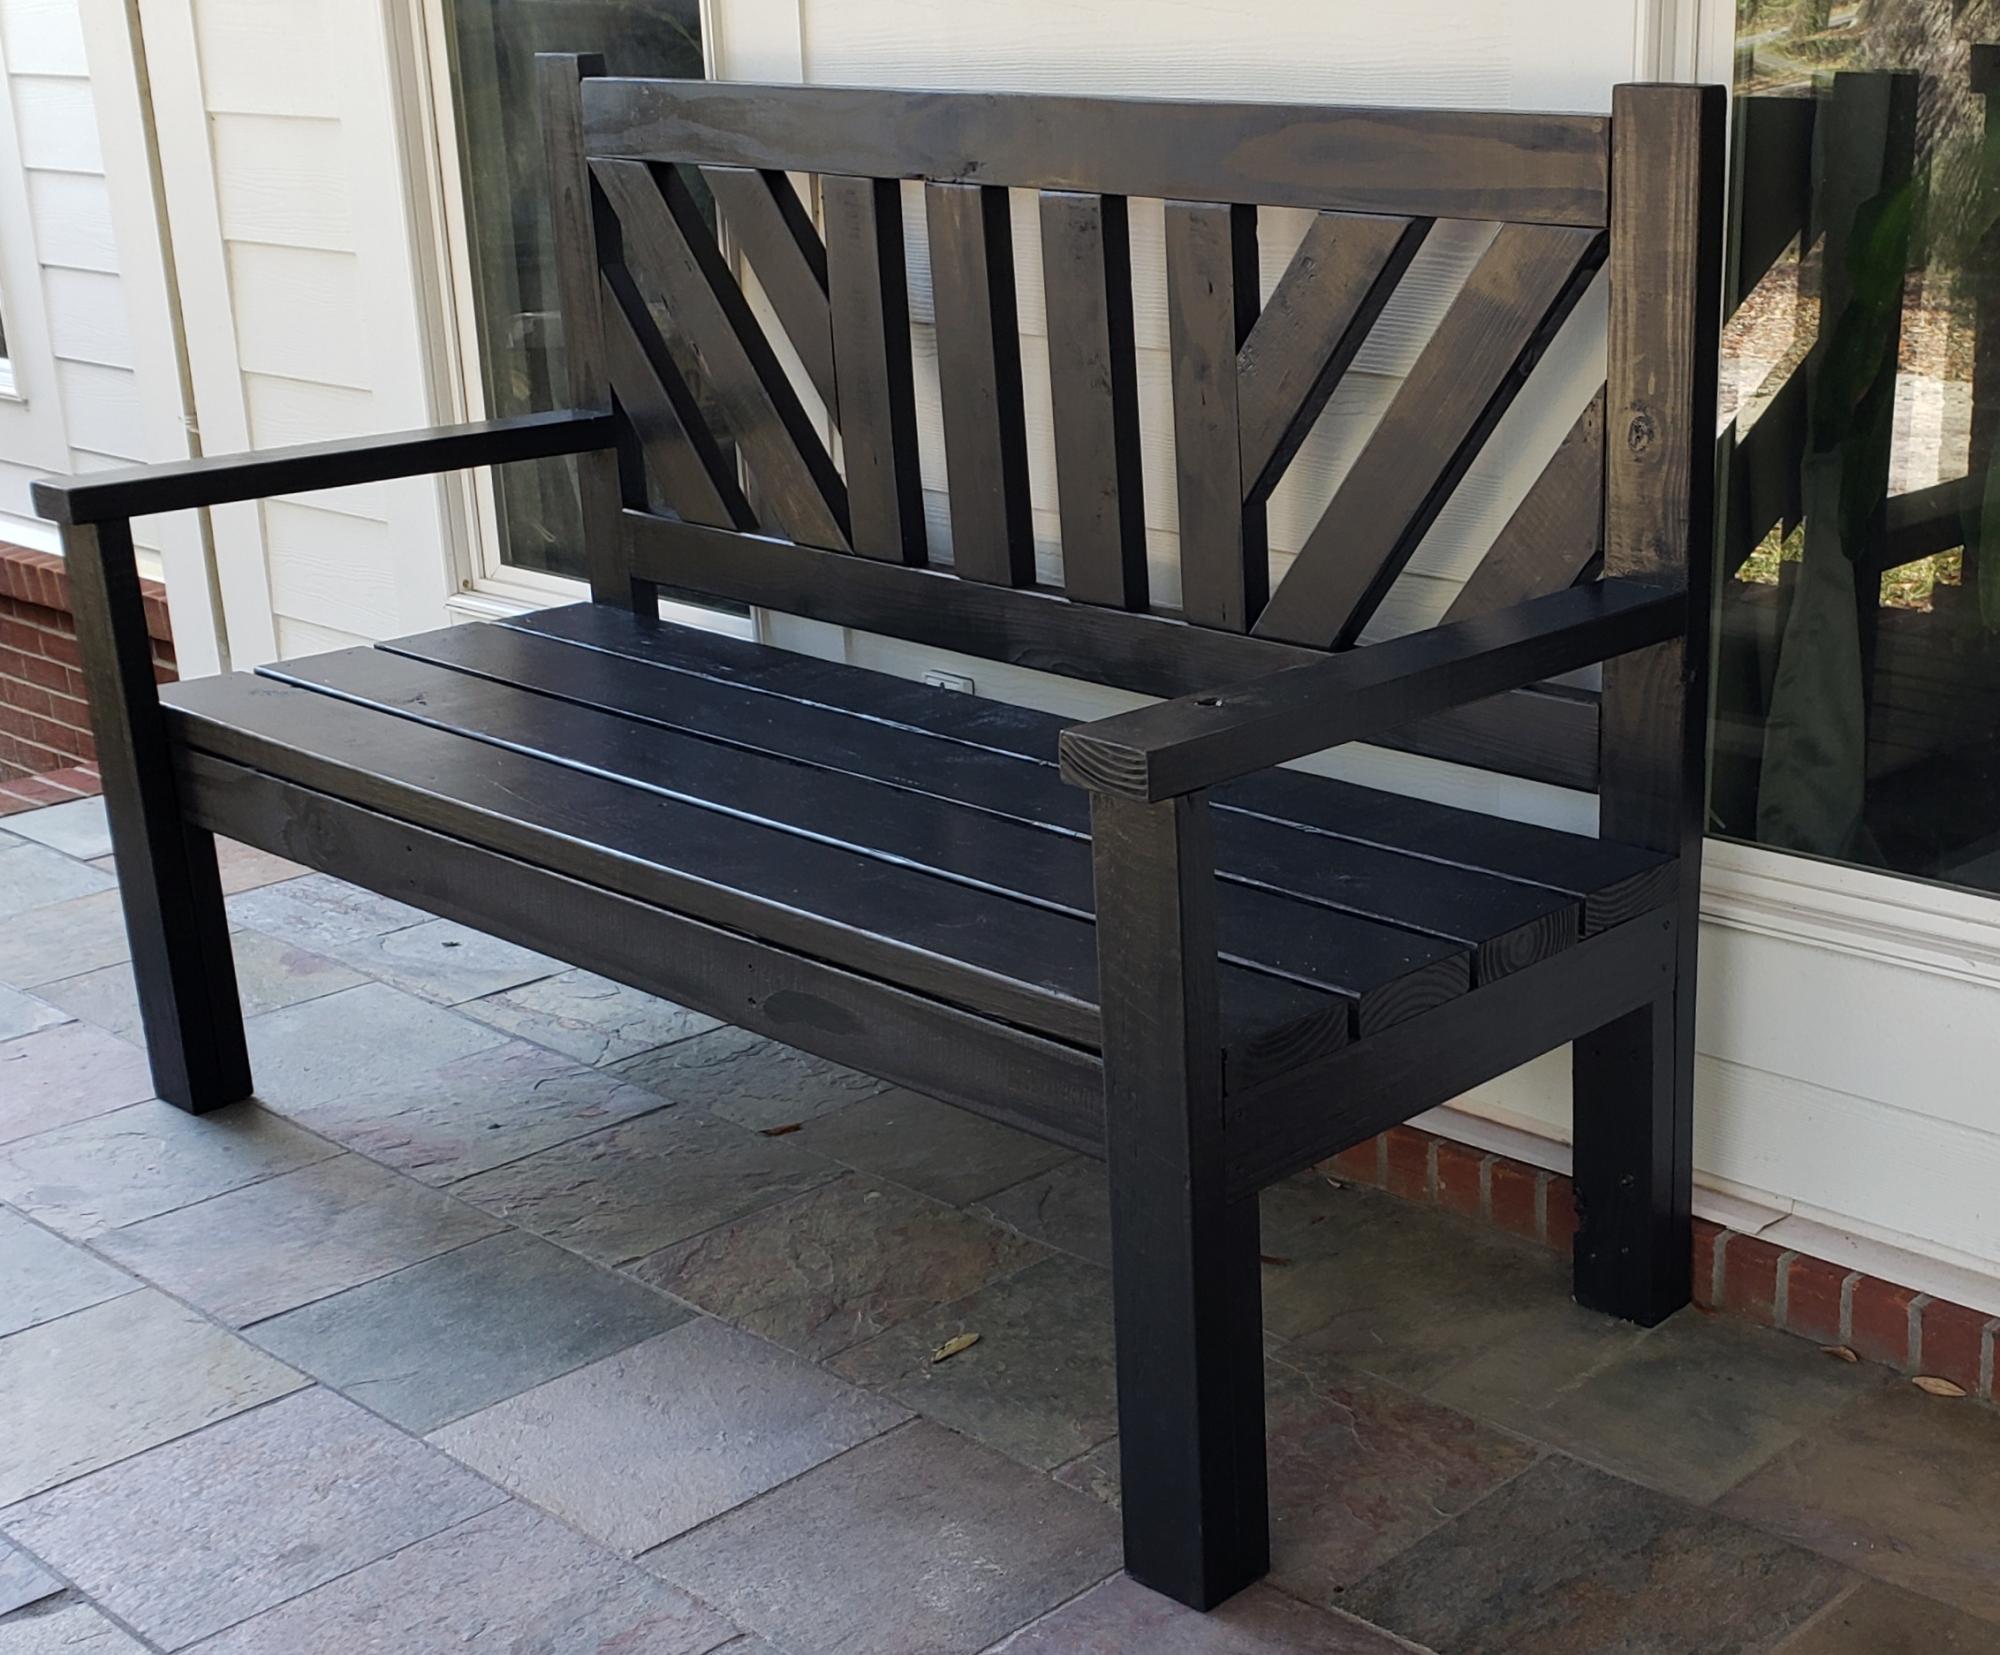
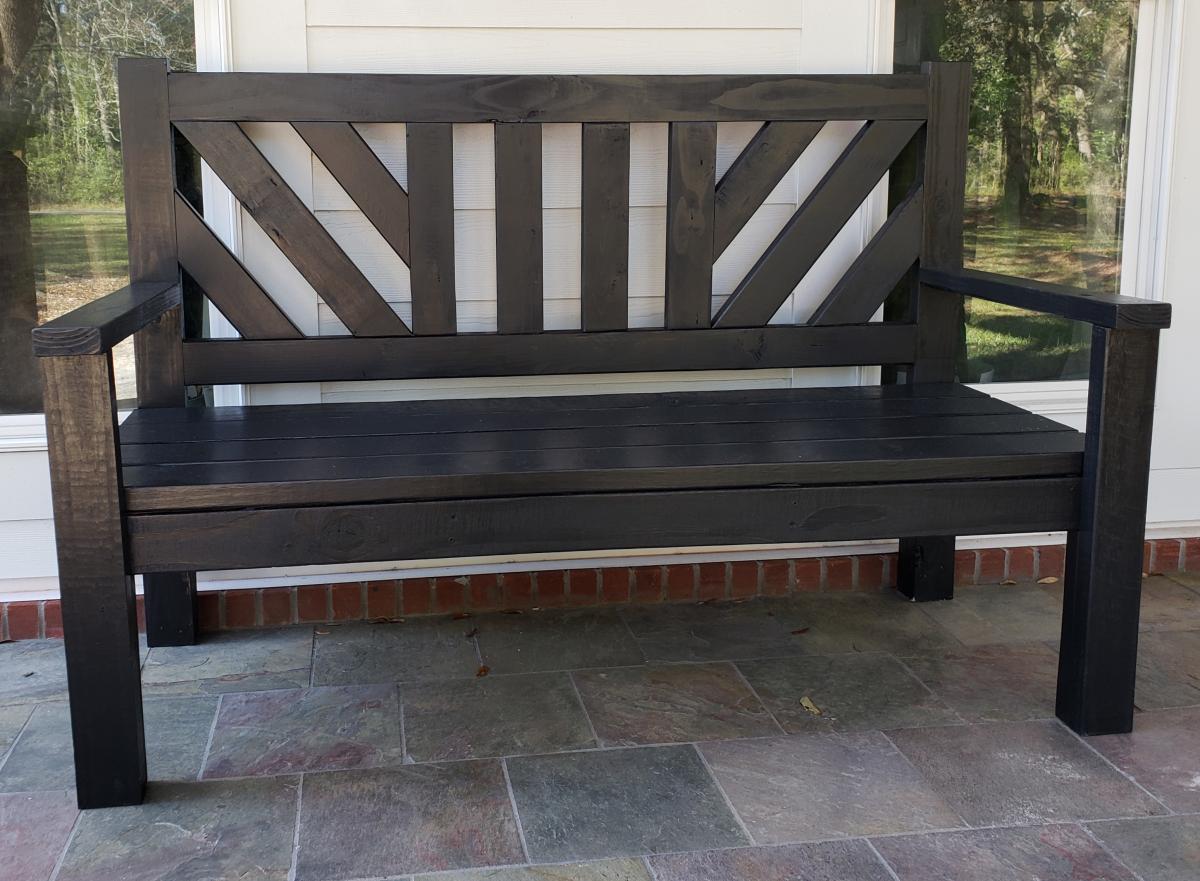
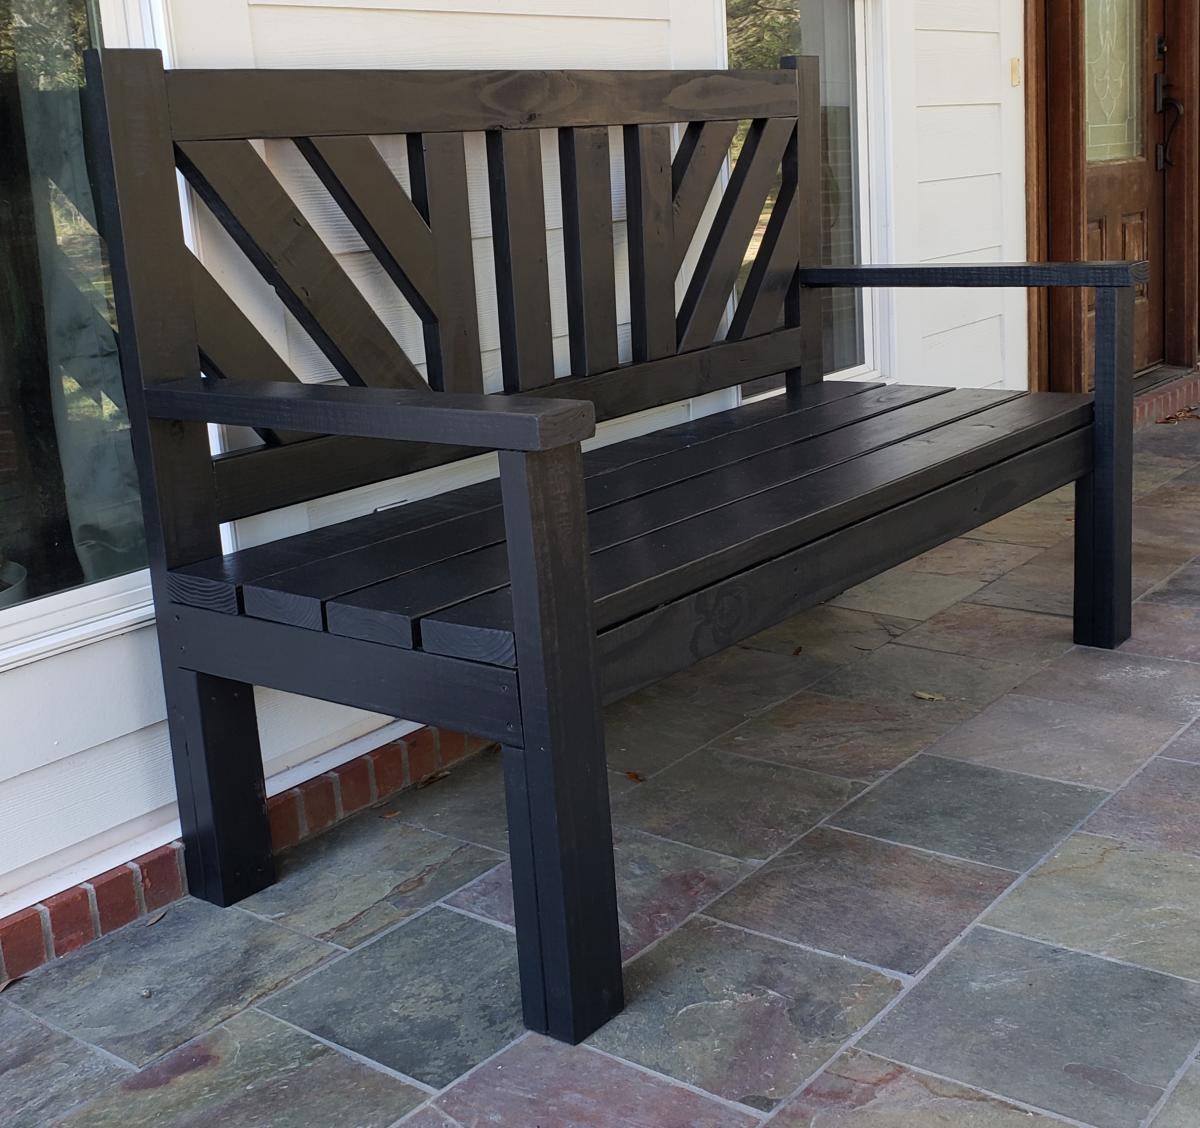
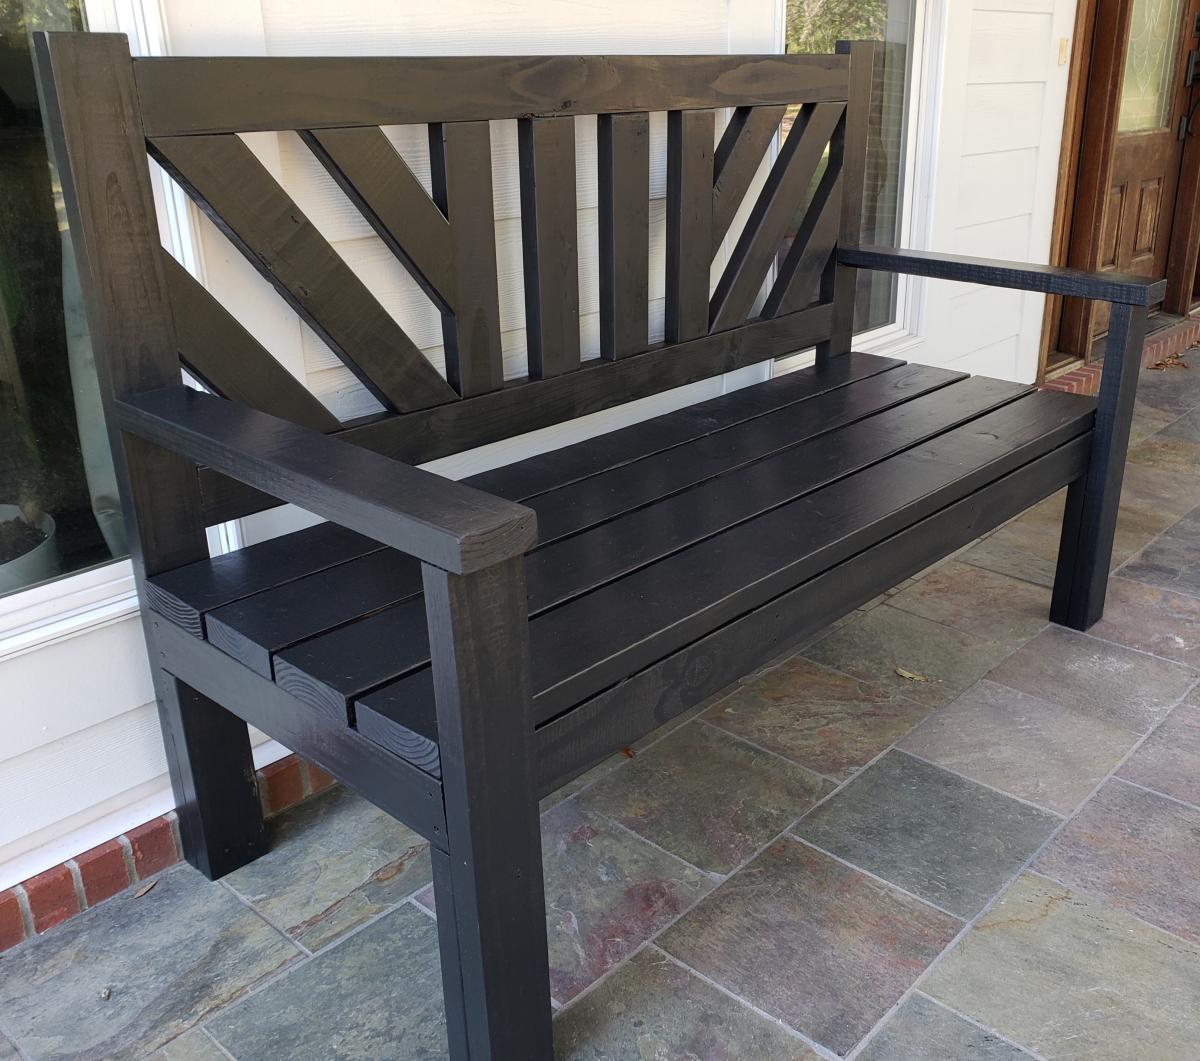
I used untreated pine for this project and painted with benjamin moore exterior paint.
I modified the back a little and I love how it turned out. I also added an extra brace against the back of each leg that fits under the seat for more support.
Very easy to build. I love the plan.


Comments
Ana White Admin
Tue, 01/10/2023 - 09:59
YAY!
Love the set, well done!