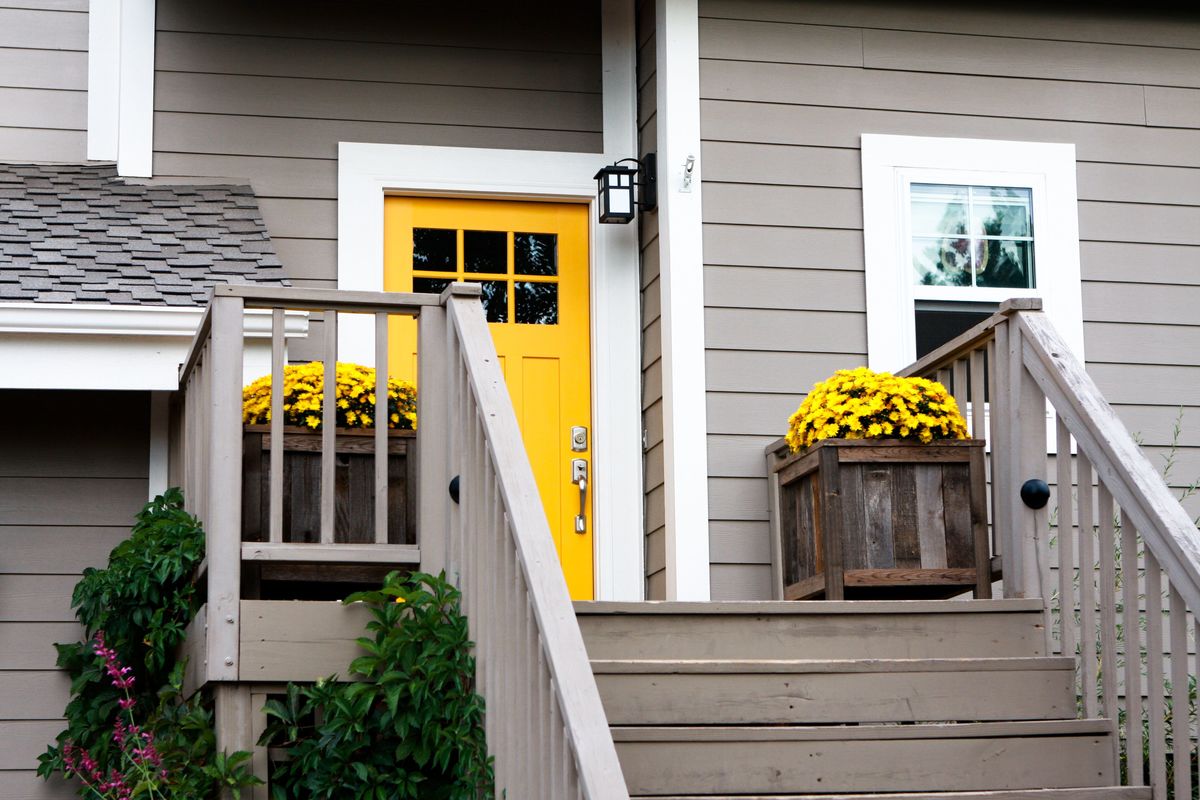
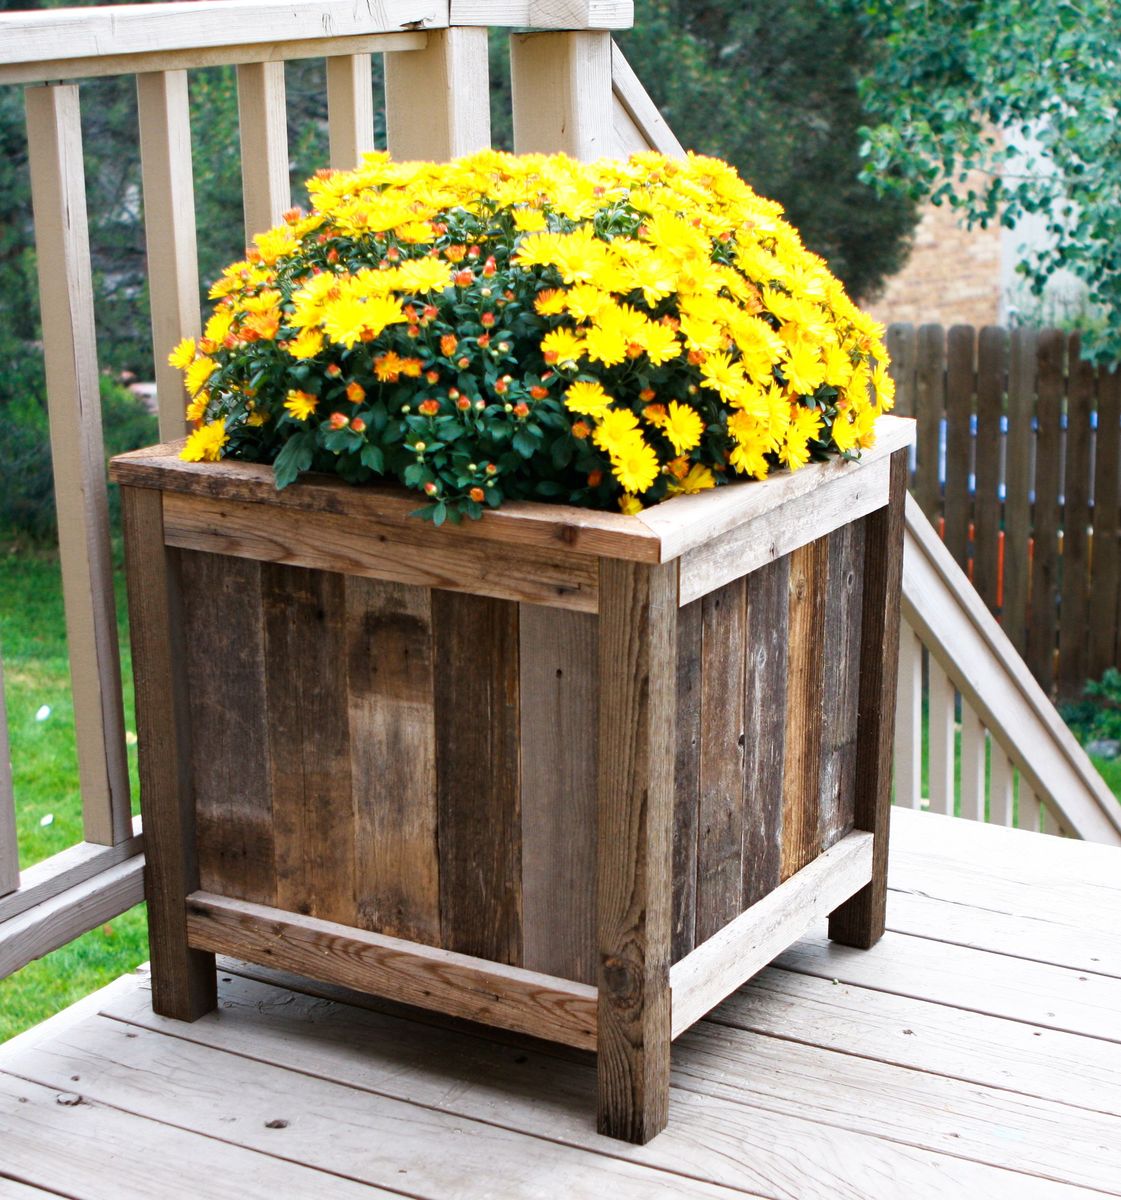
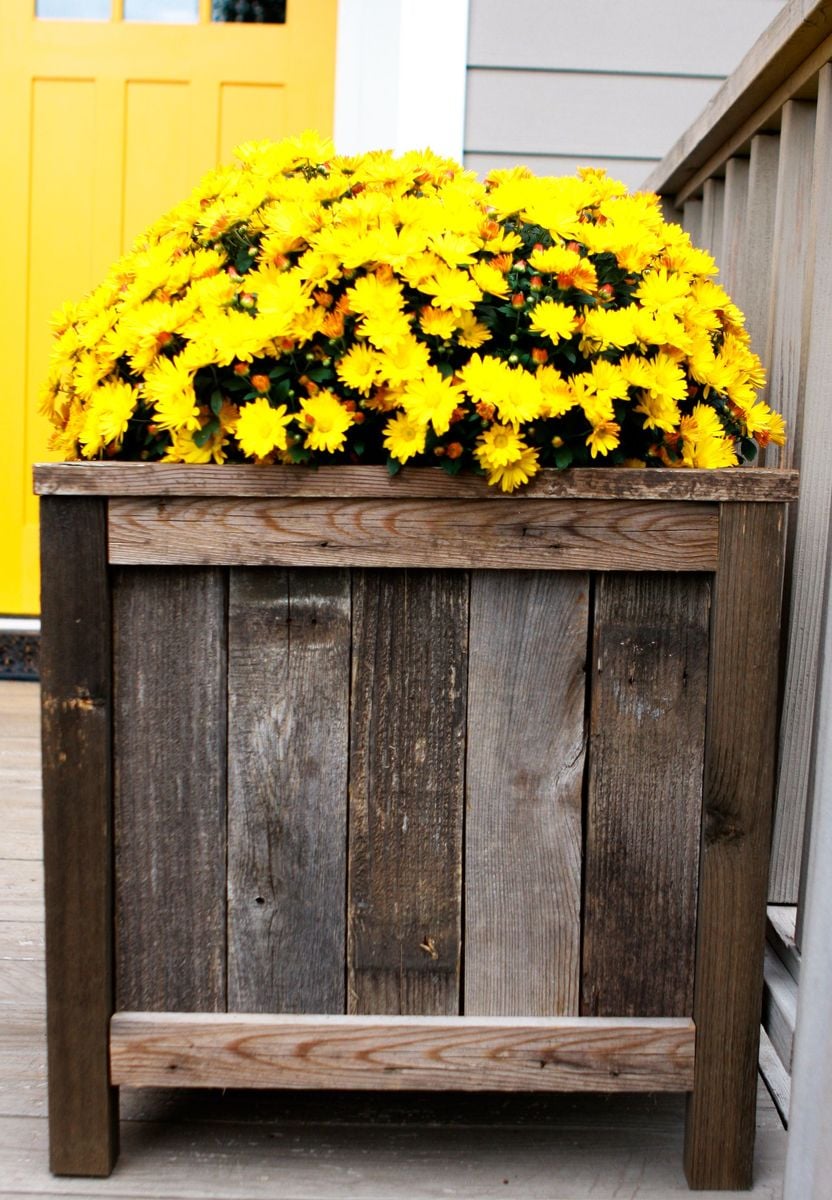
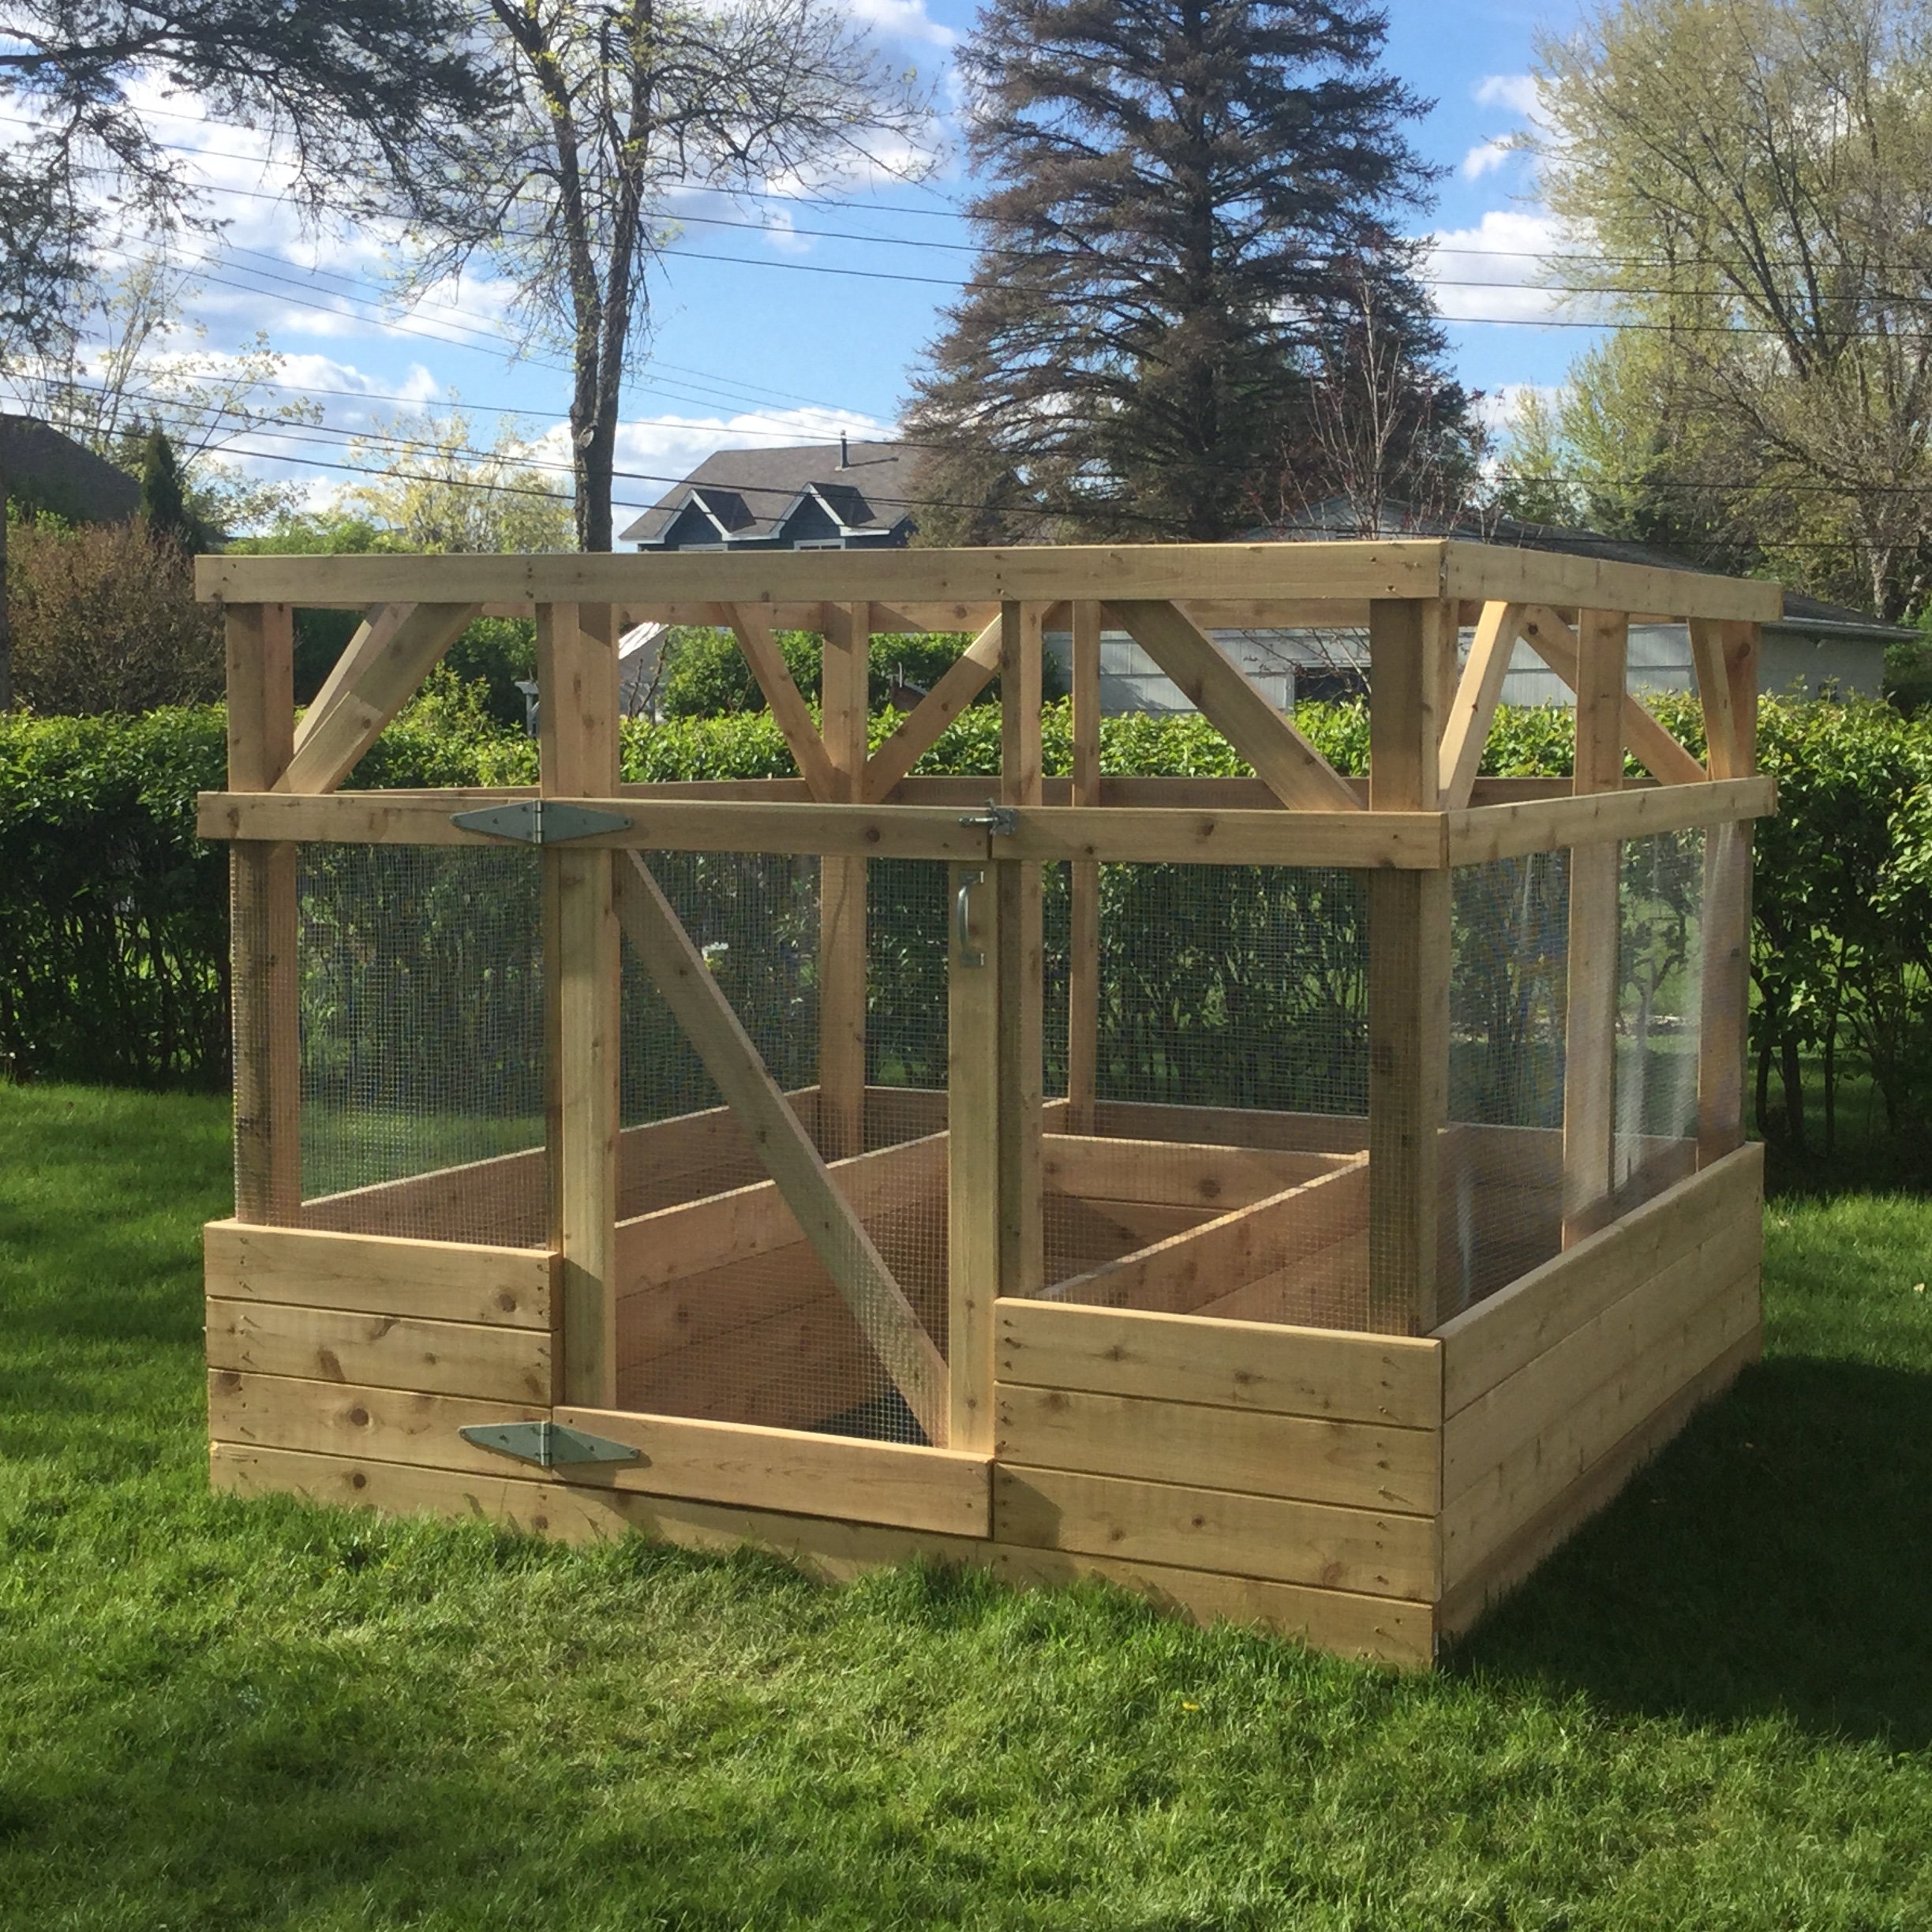
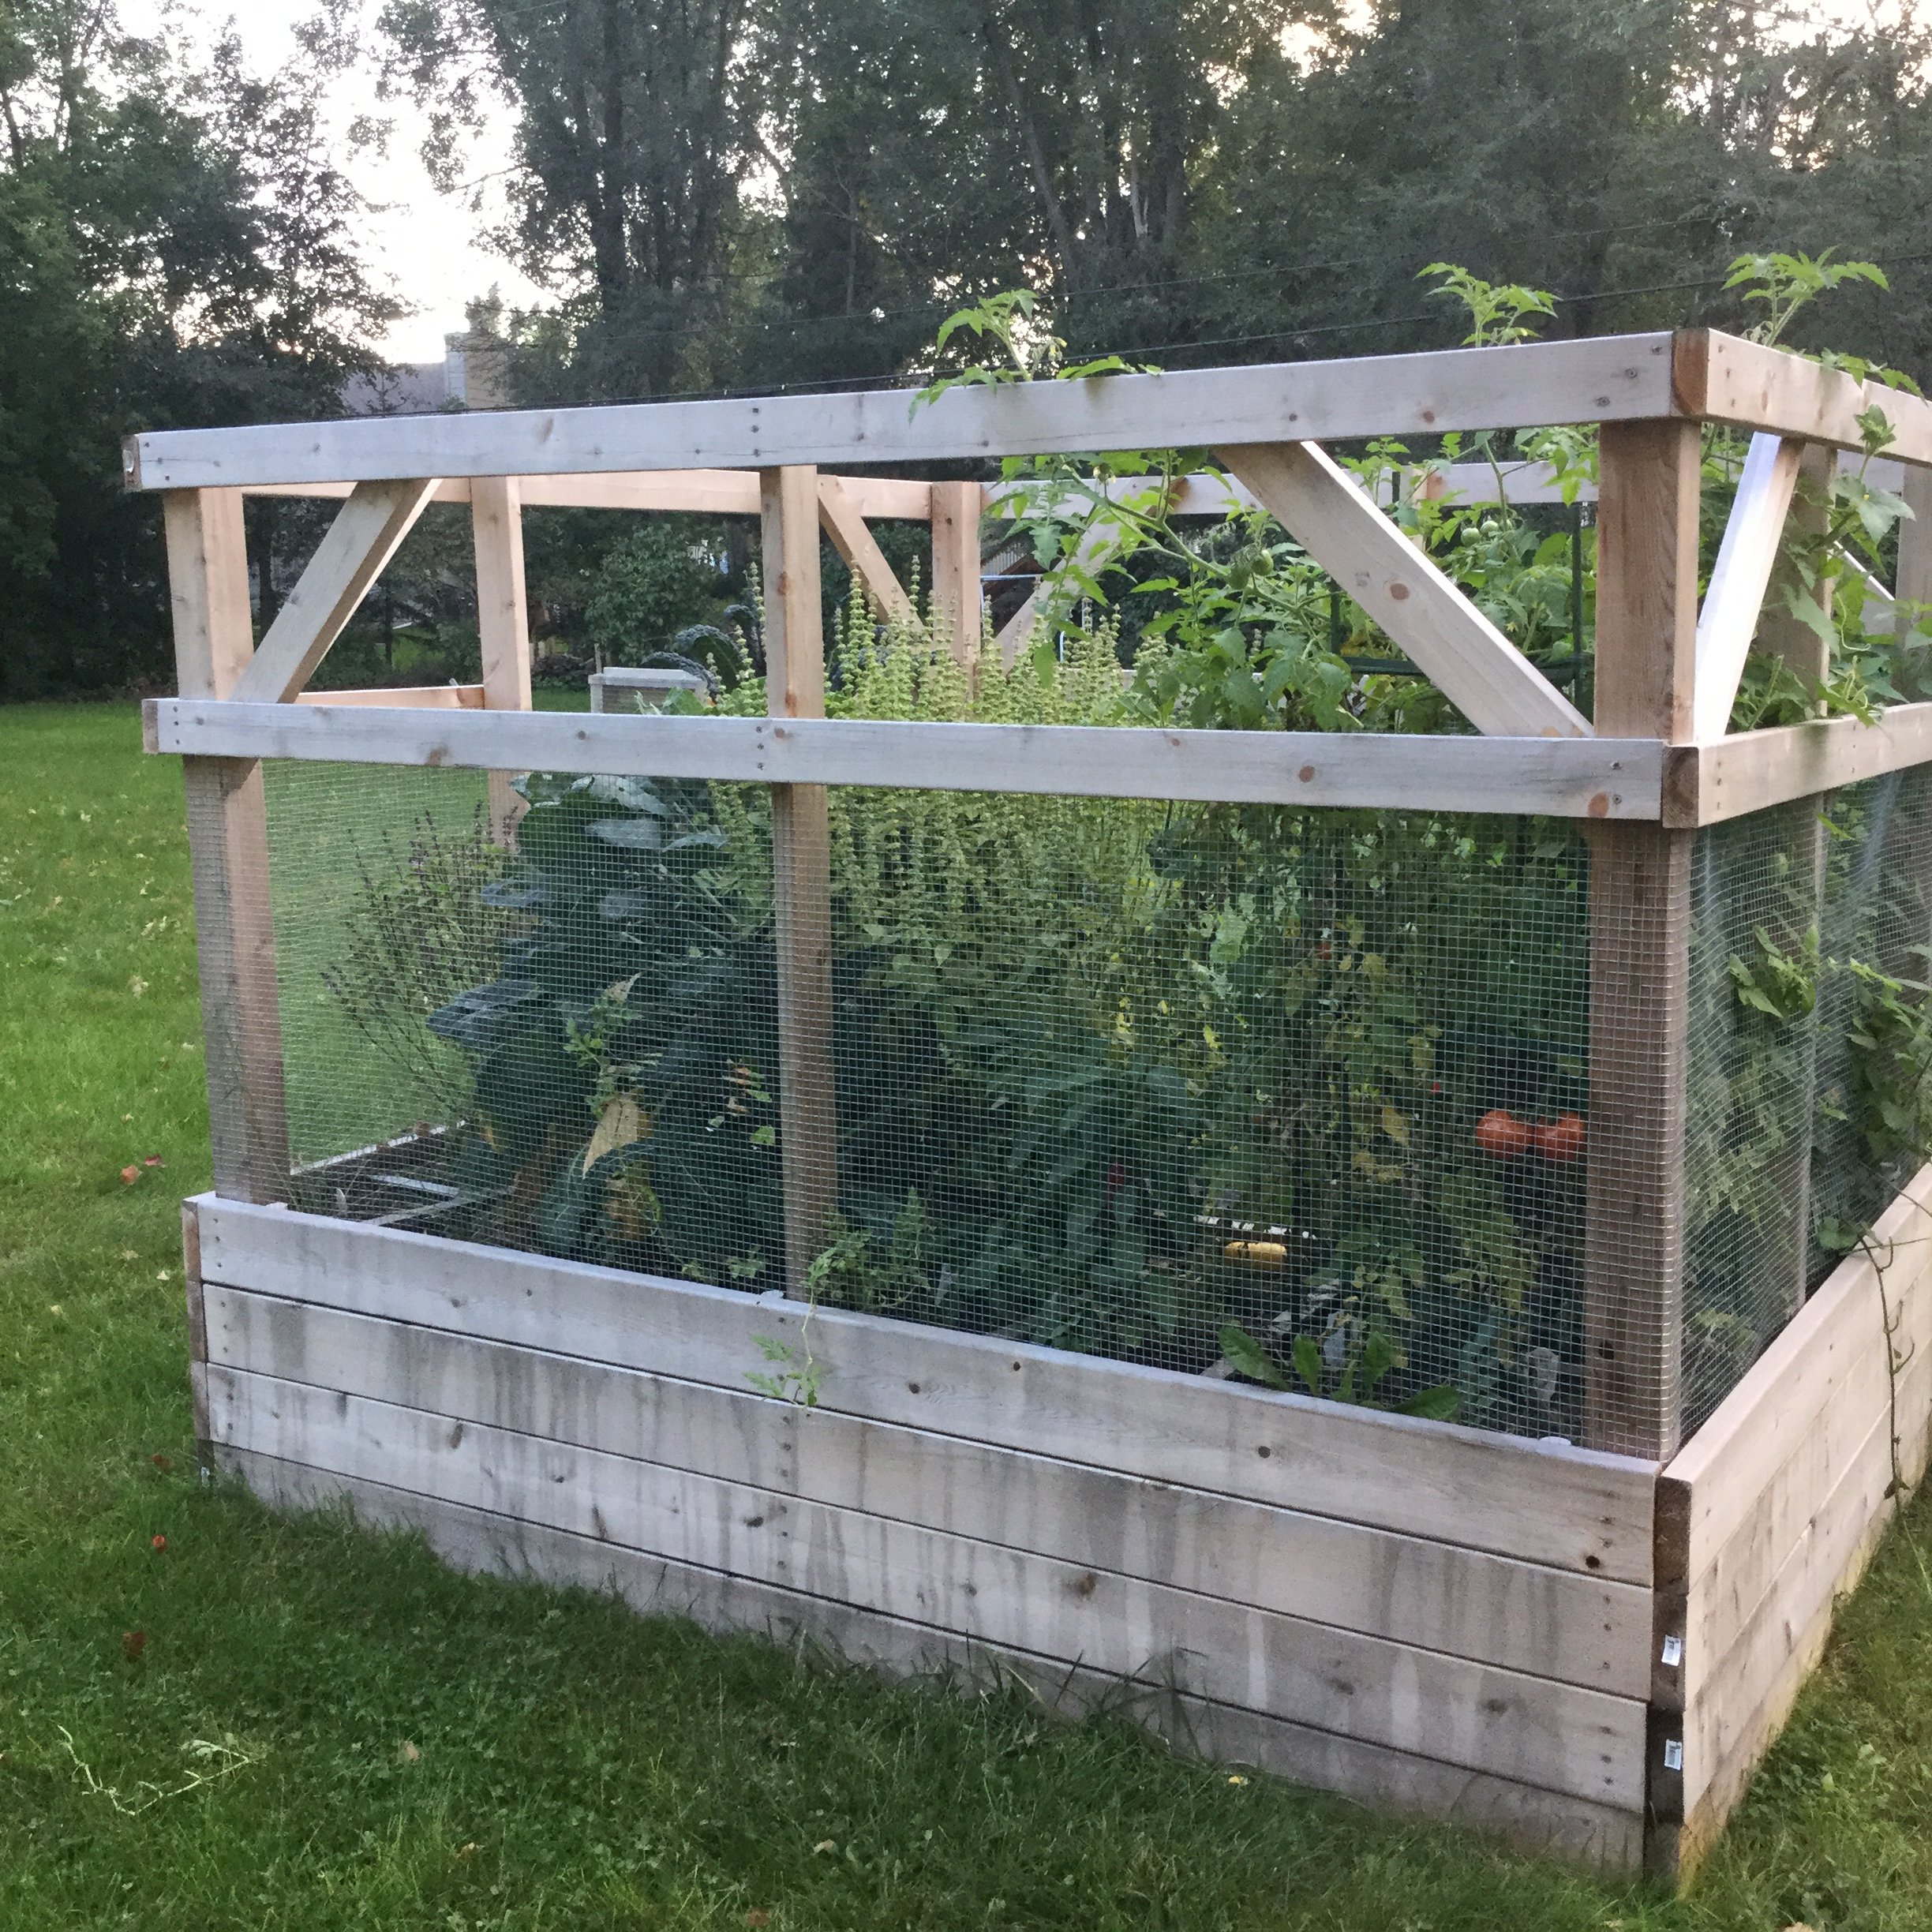
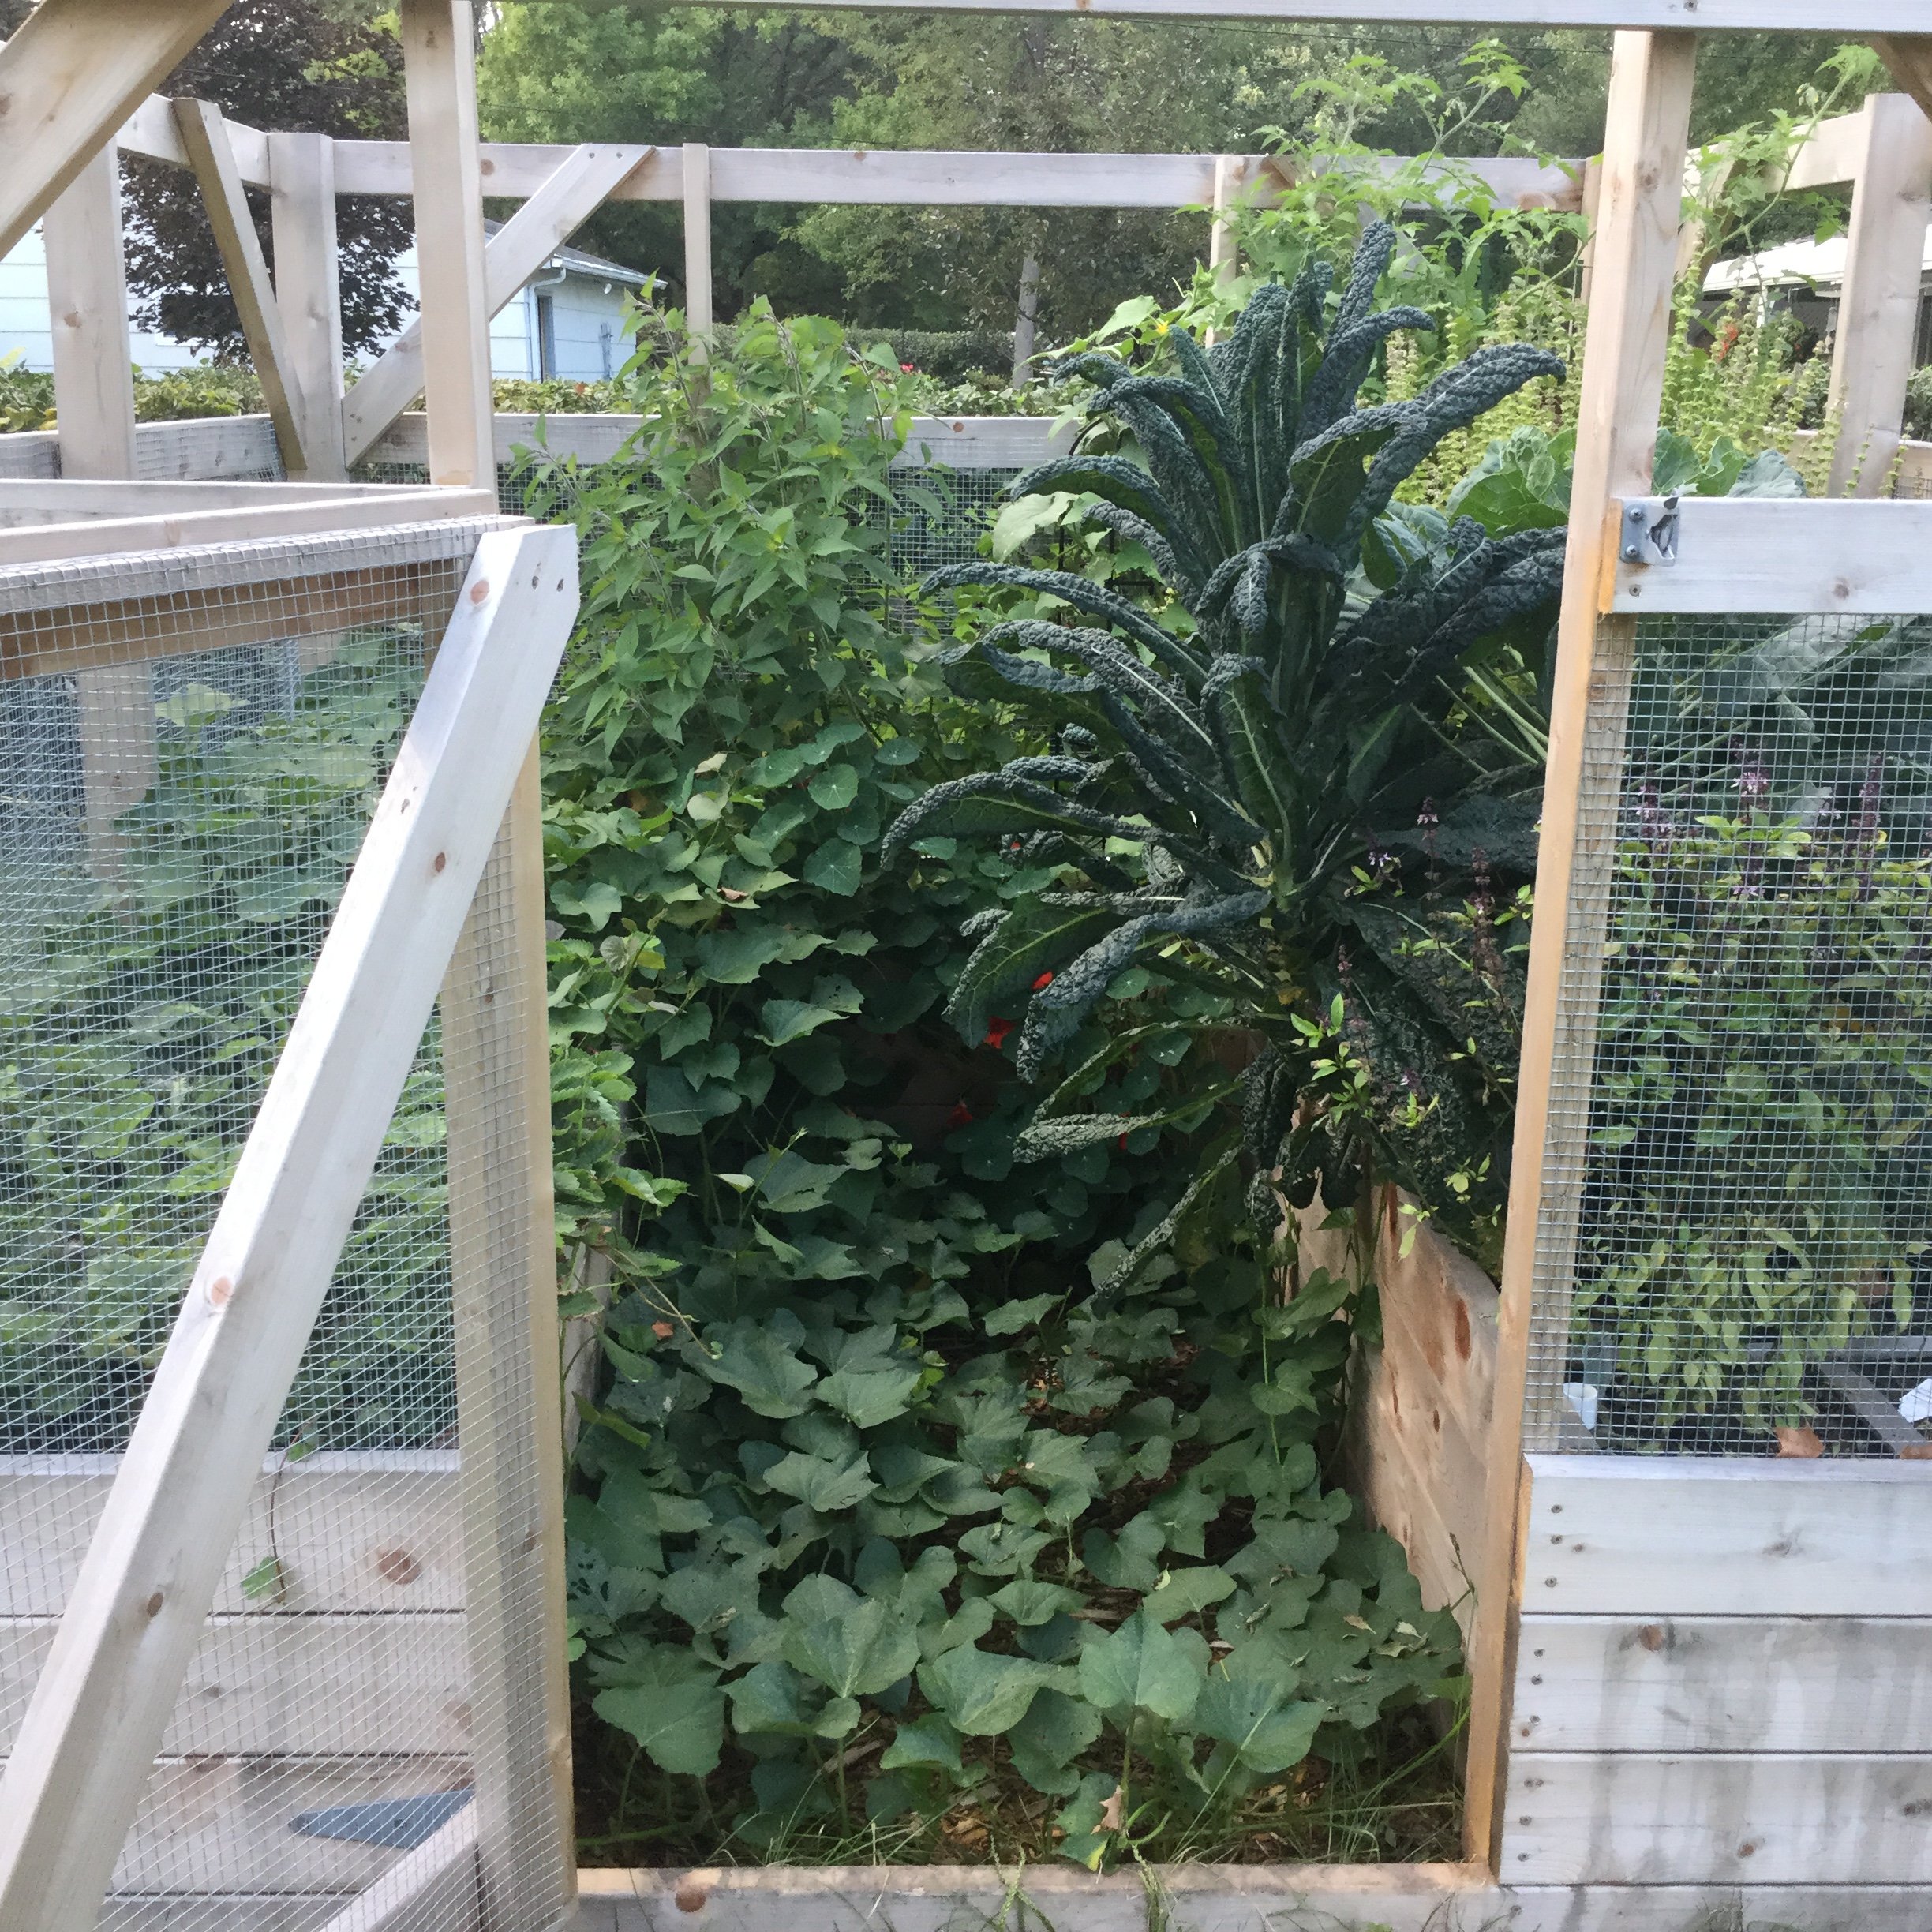
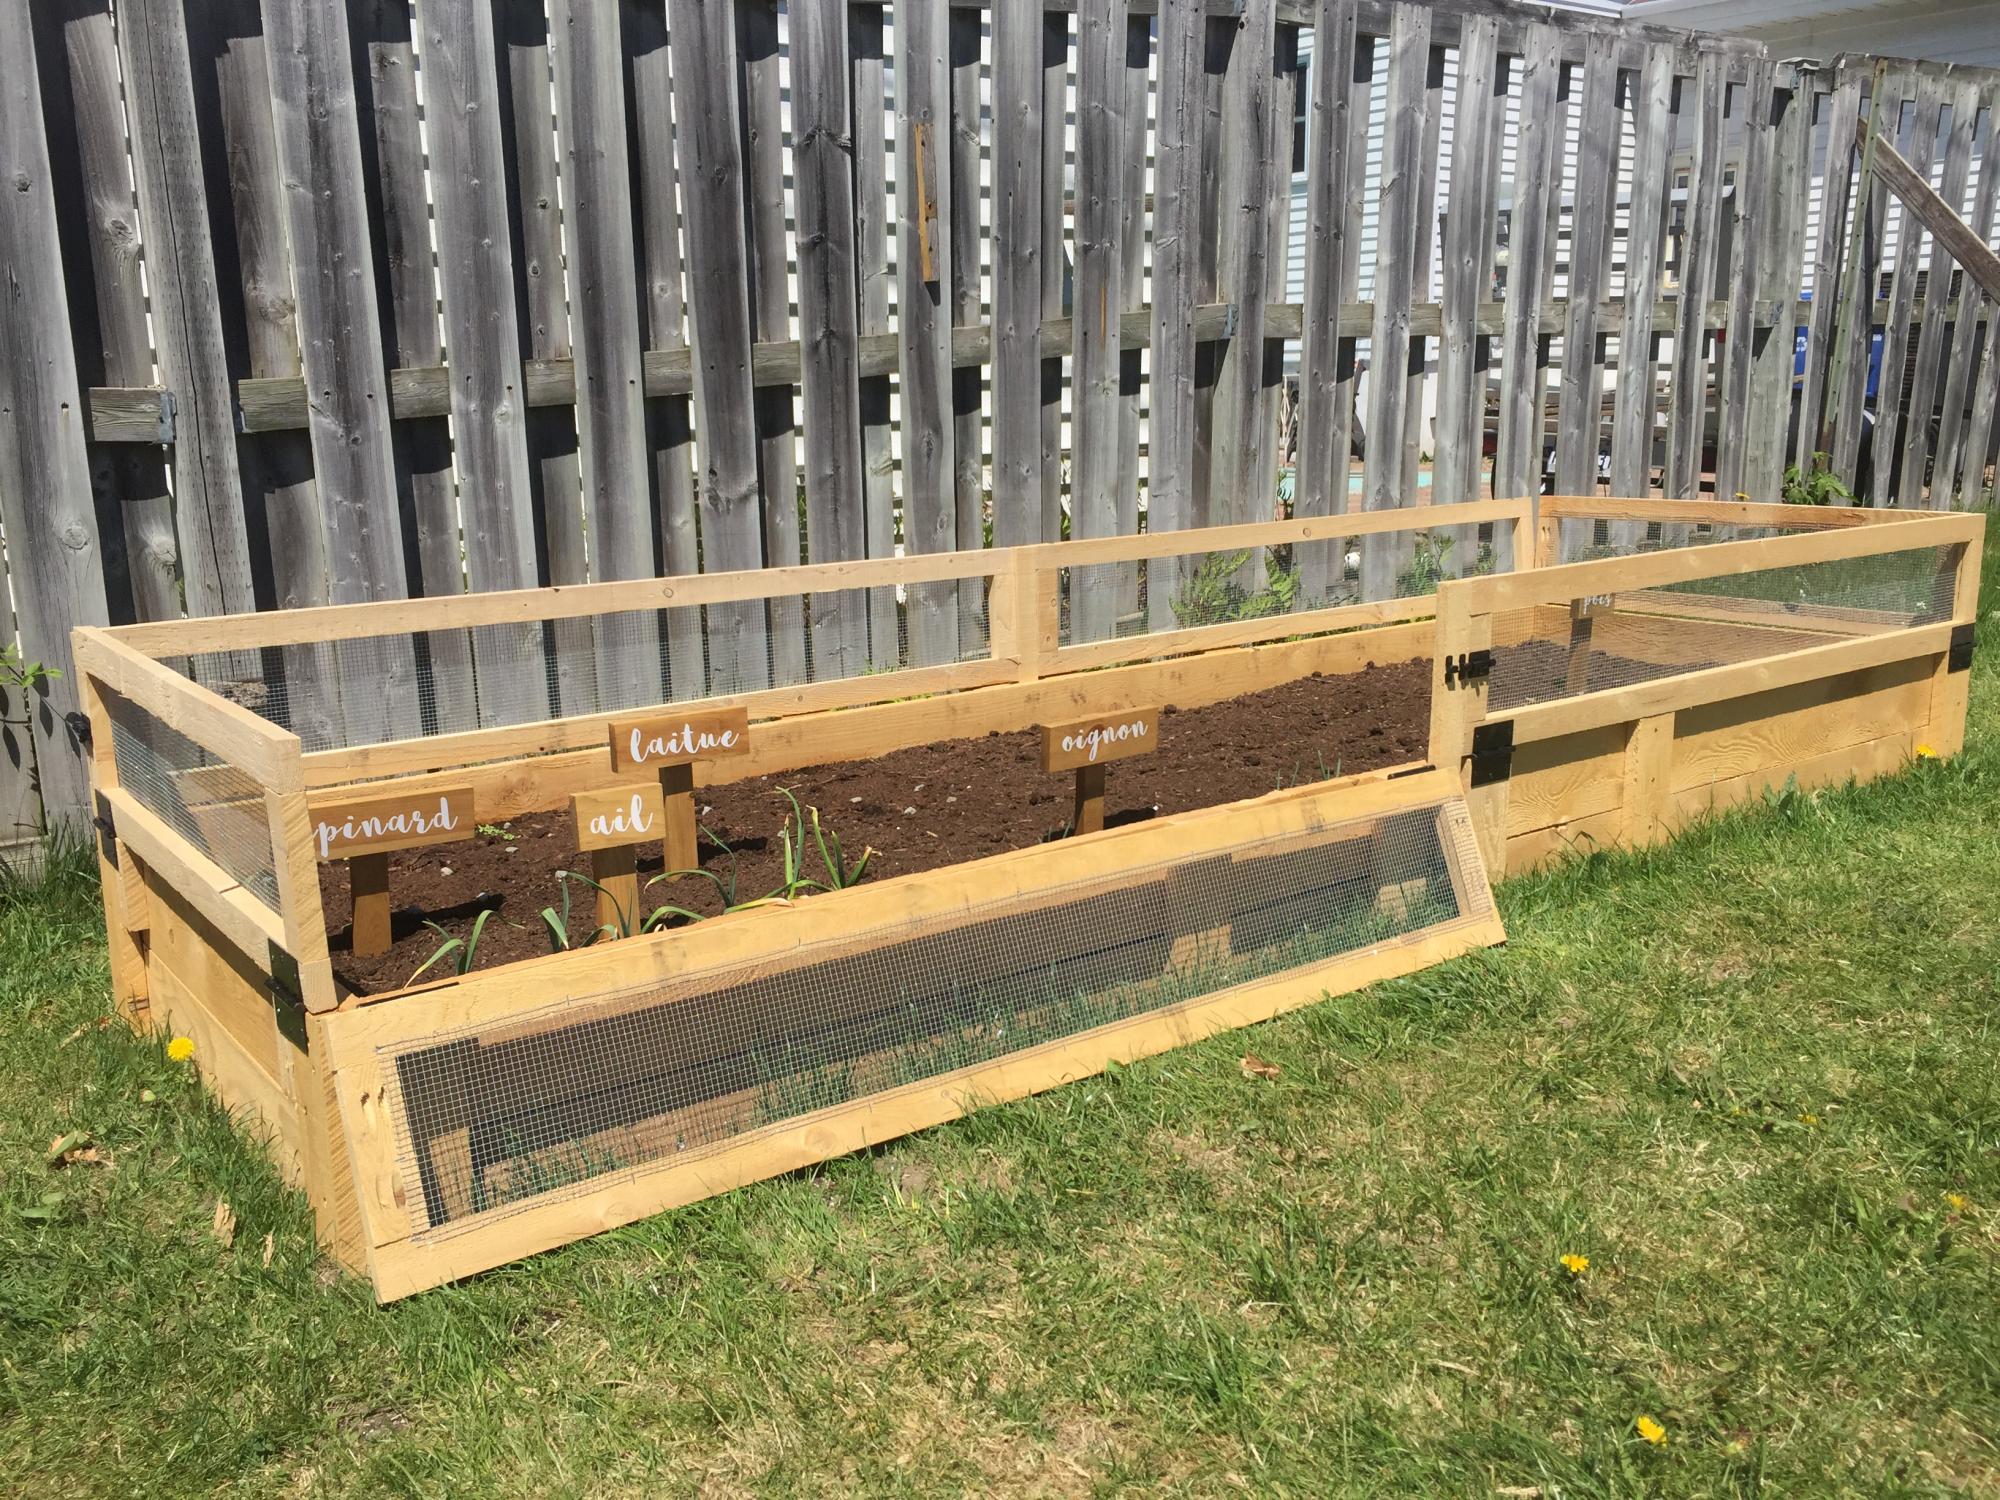
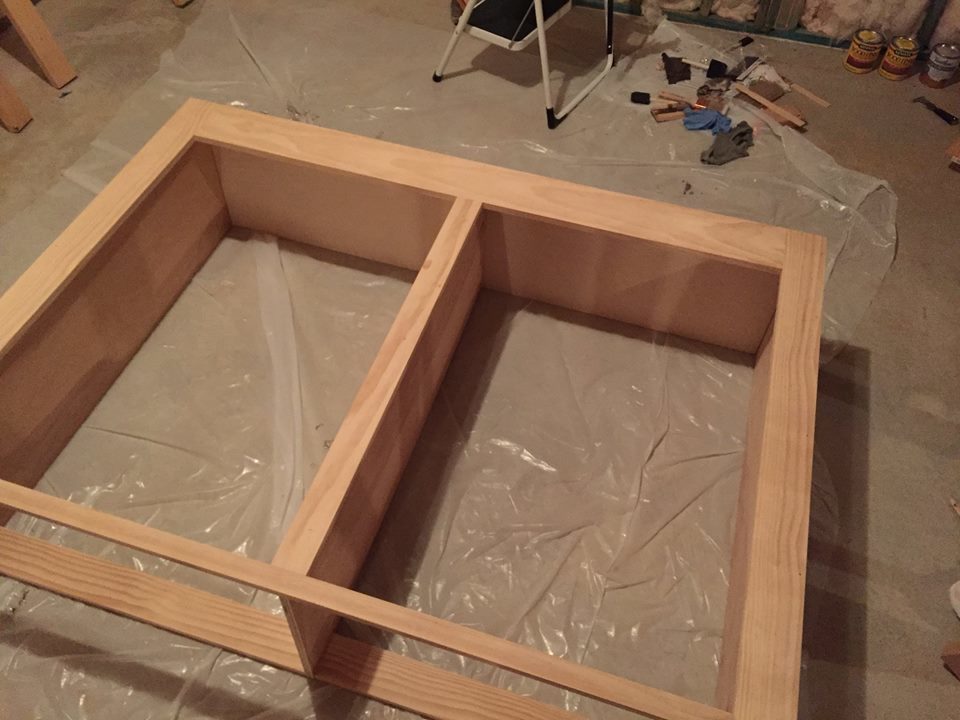
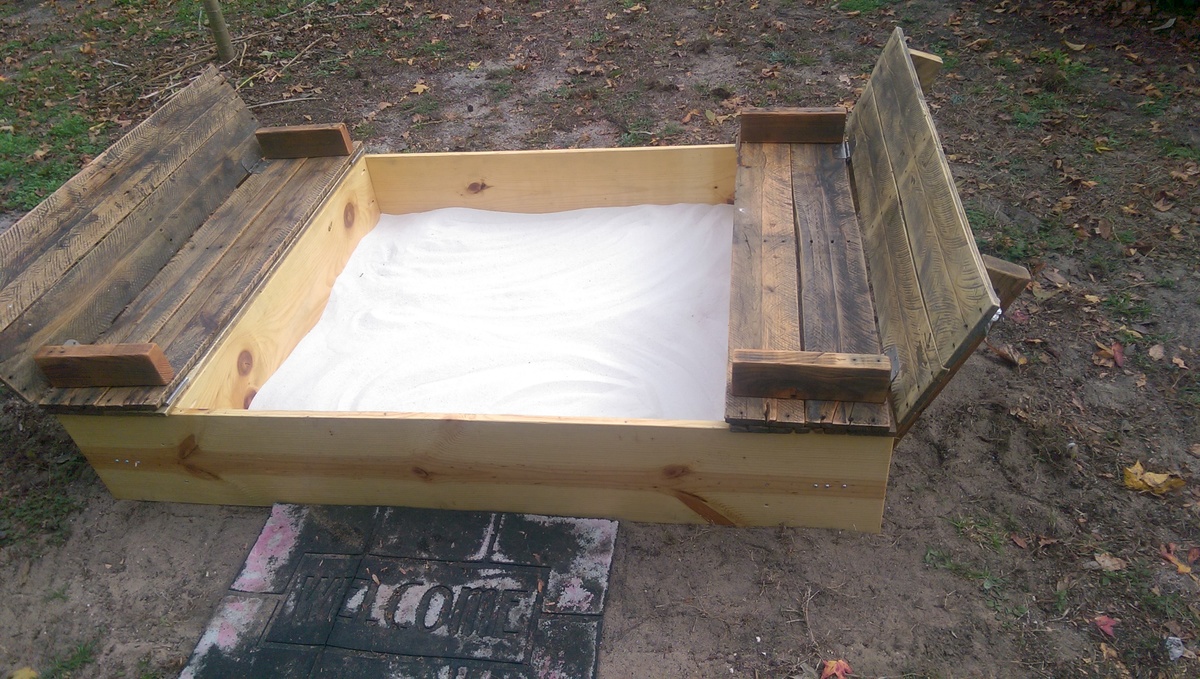
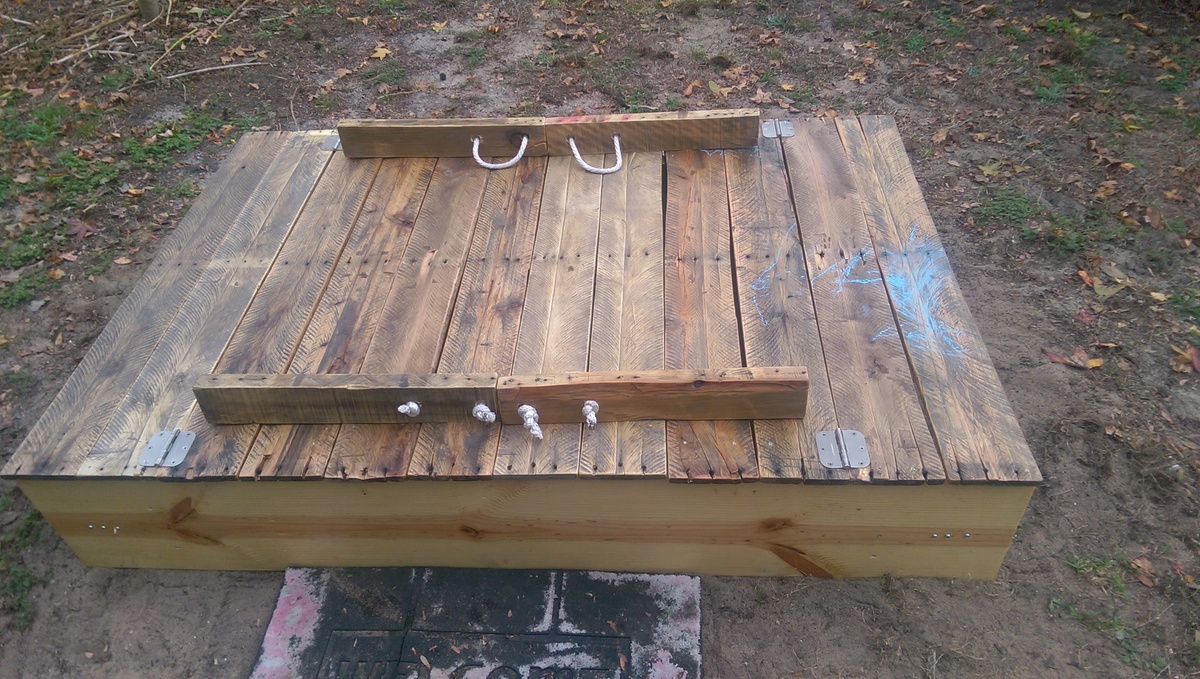
Cedar Planters made from Reclaimed Fence Pickets
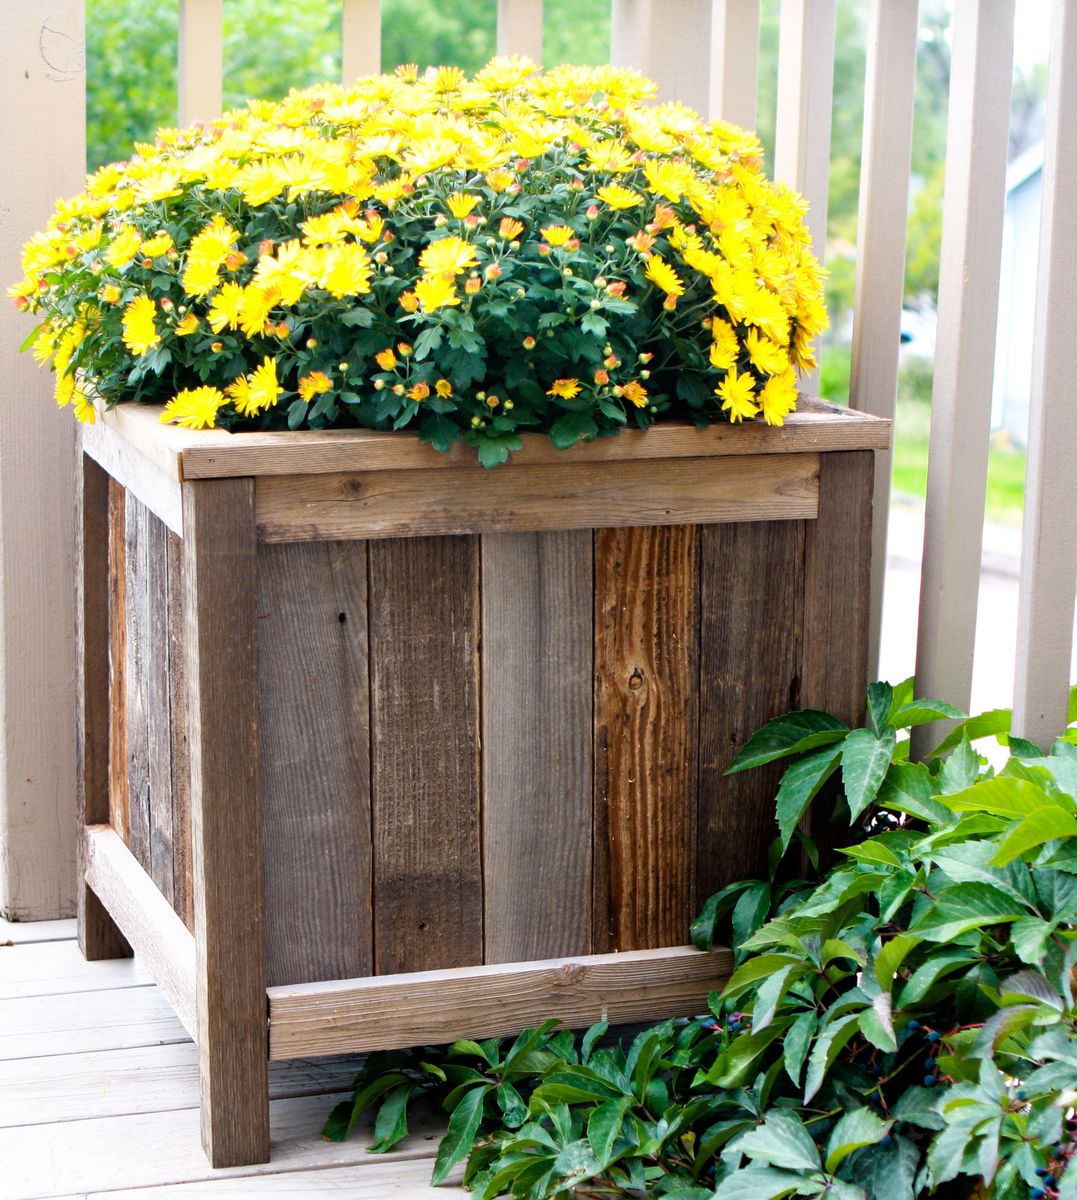
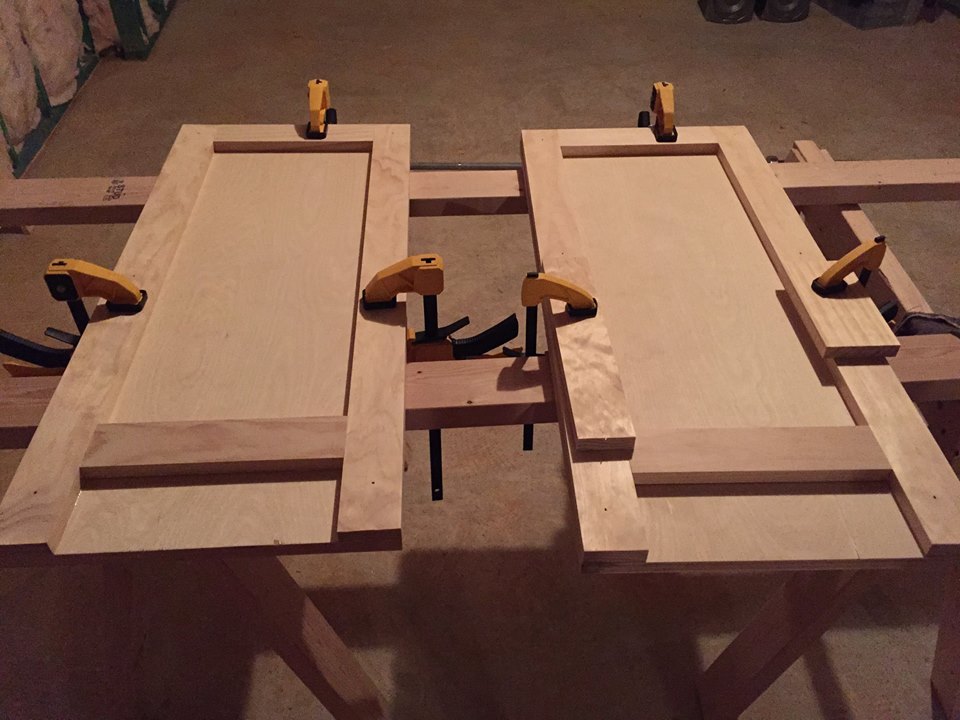
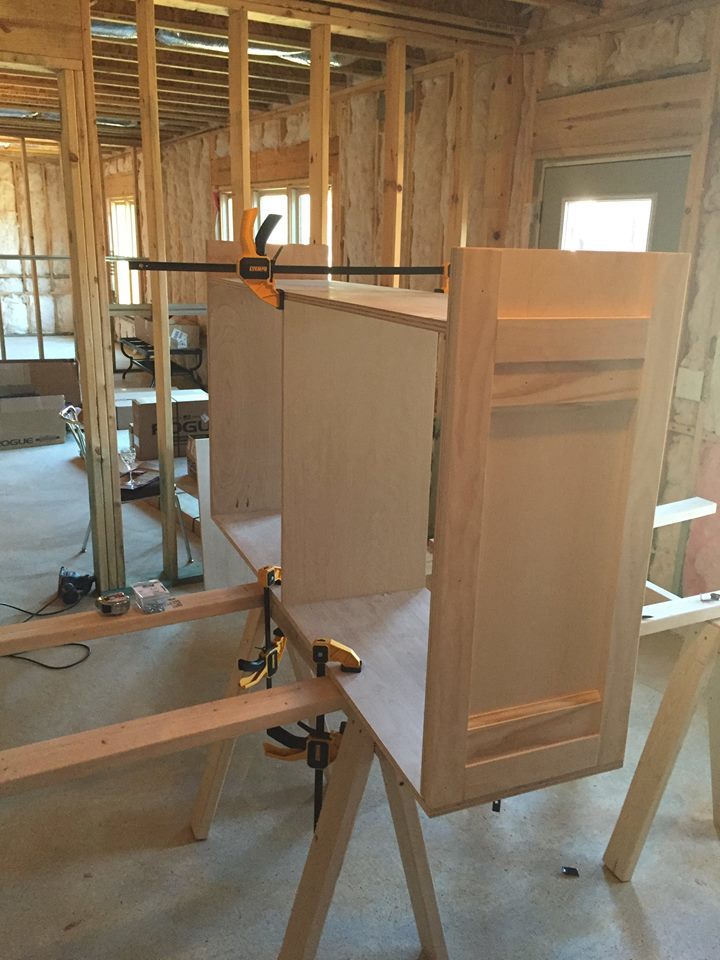
I built Ana's under $20 cedar planters for free. Or, almost free! I had to buy some more wood glue, but I had some of the wood on hand and took some from a friend's pile of old fence wood. It took me about five hours to build both planters from start to finish. See the blog link below for more info.
Pin For Later!

Built from Plan(s)
Estimated Cost
Free
Estimated Time Investment
Afternoon Project (3-6 Hours)
Finish Used
Oxidized the new cedar 2x4s with steel wool/vinegar (http://thefriendlyhome.blogspot.com/2012/07/how-to-oxidize-wood.html). Other than that, no finish.
Recommended Skill Level
Beginner


Comments
Drspear98
Tue, 09/08/2020 - 16:12
This is great. I just tore…
This is great. I just tore down my old fence and have tons of old cedar pickets. I want to make some planters for my new patio.