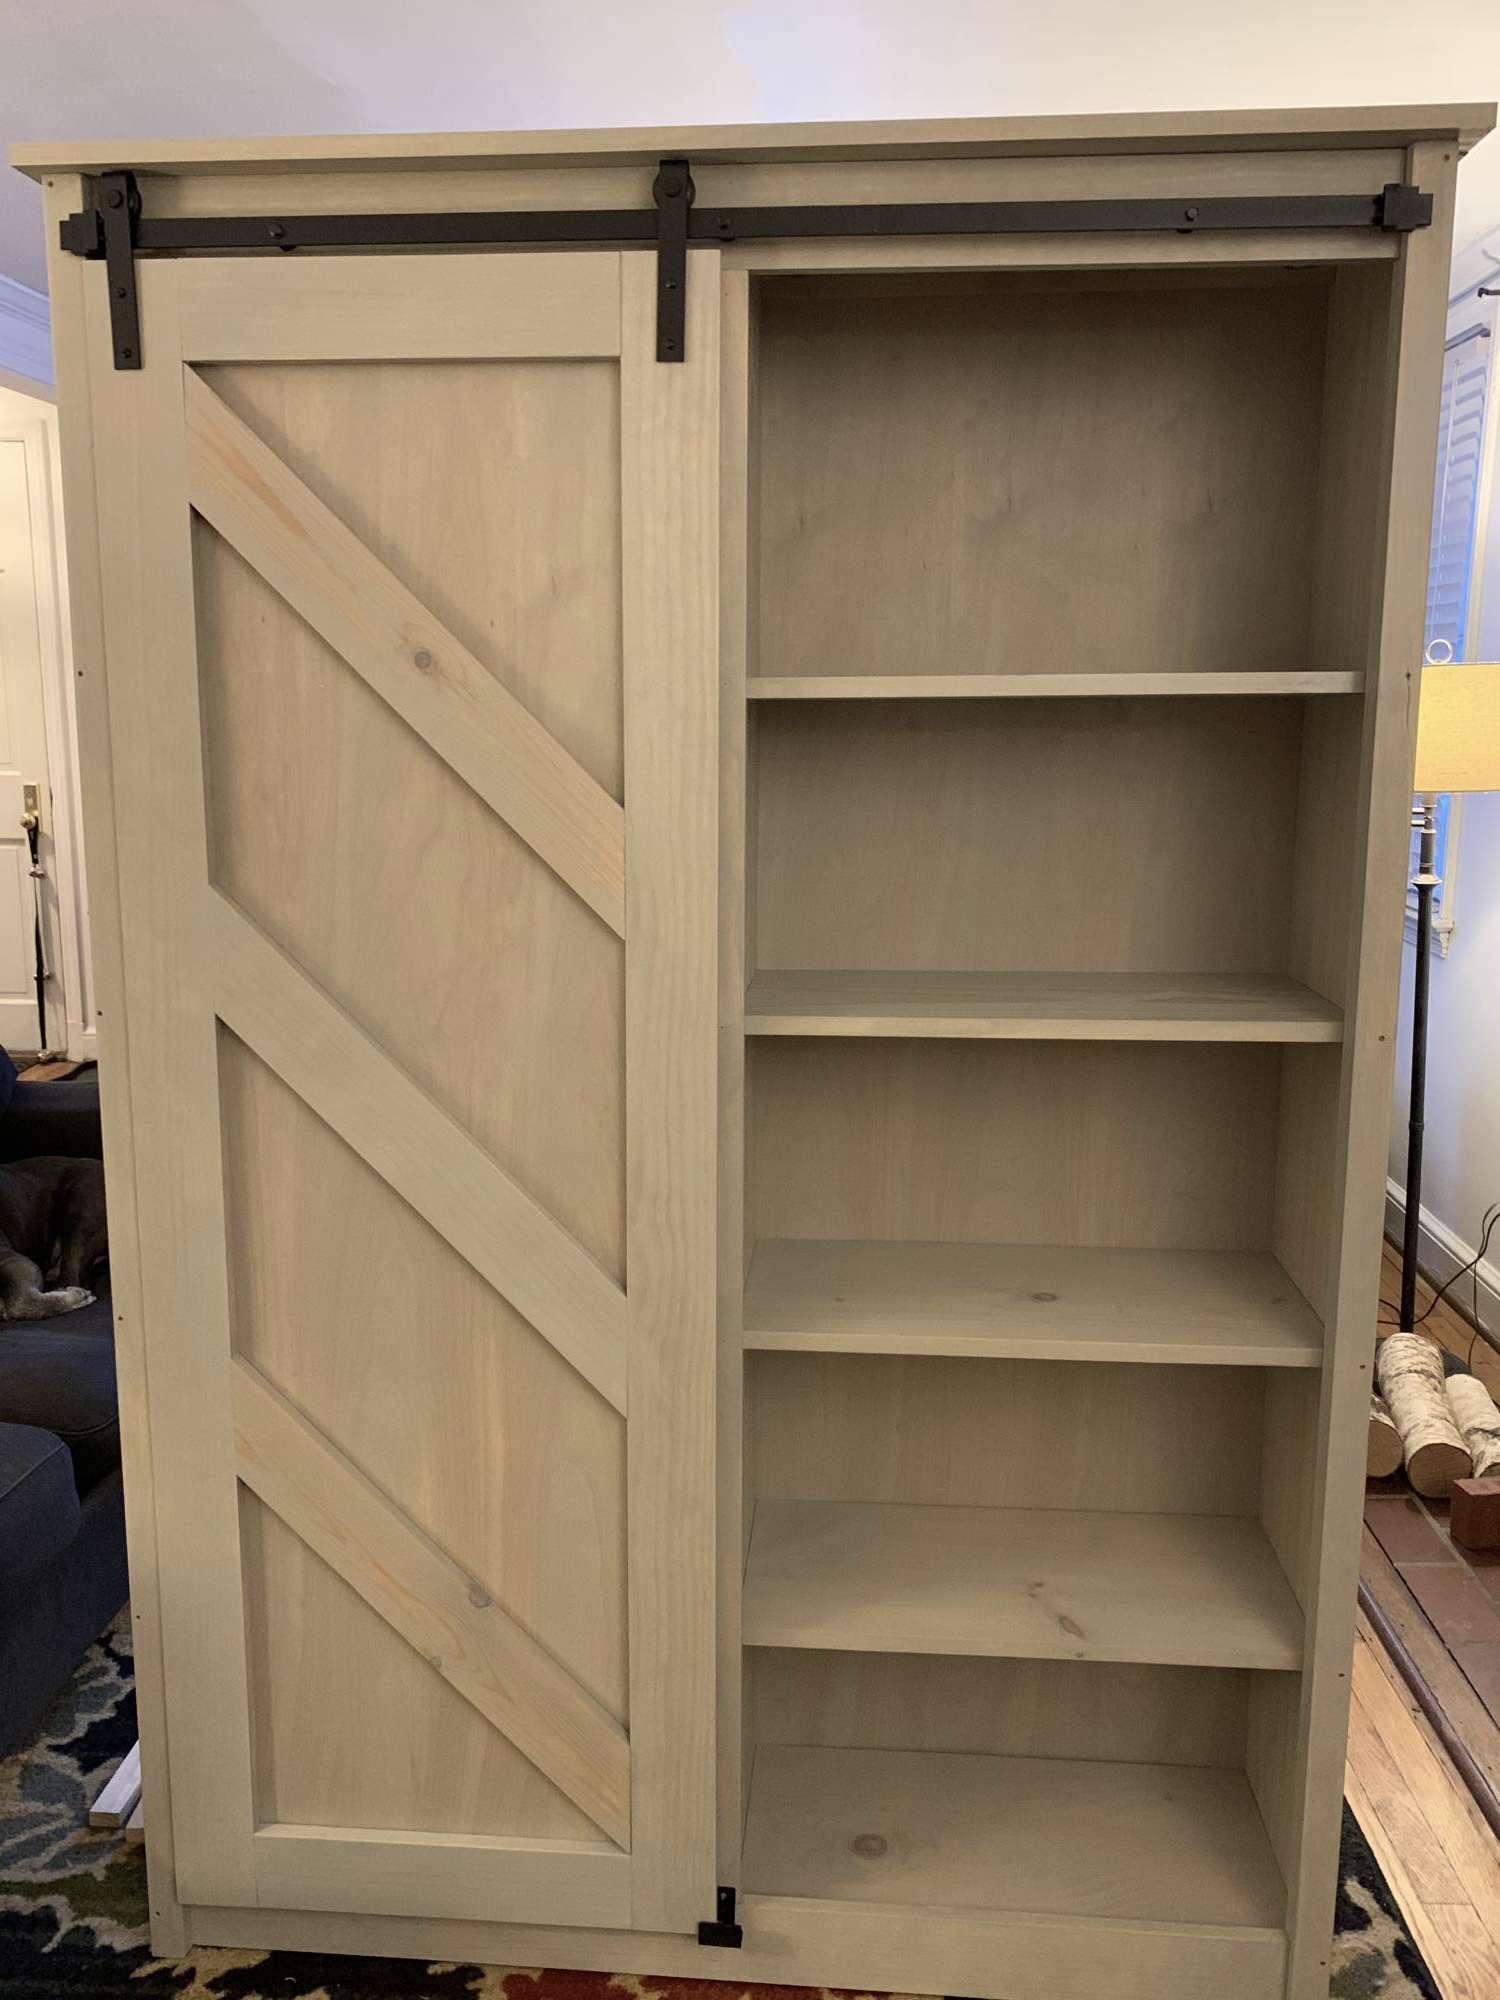
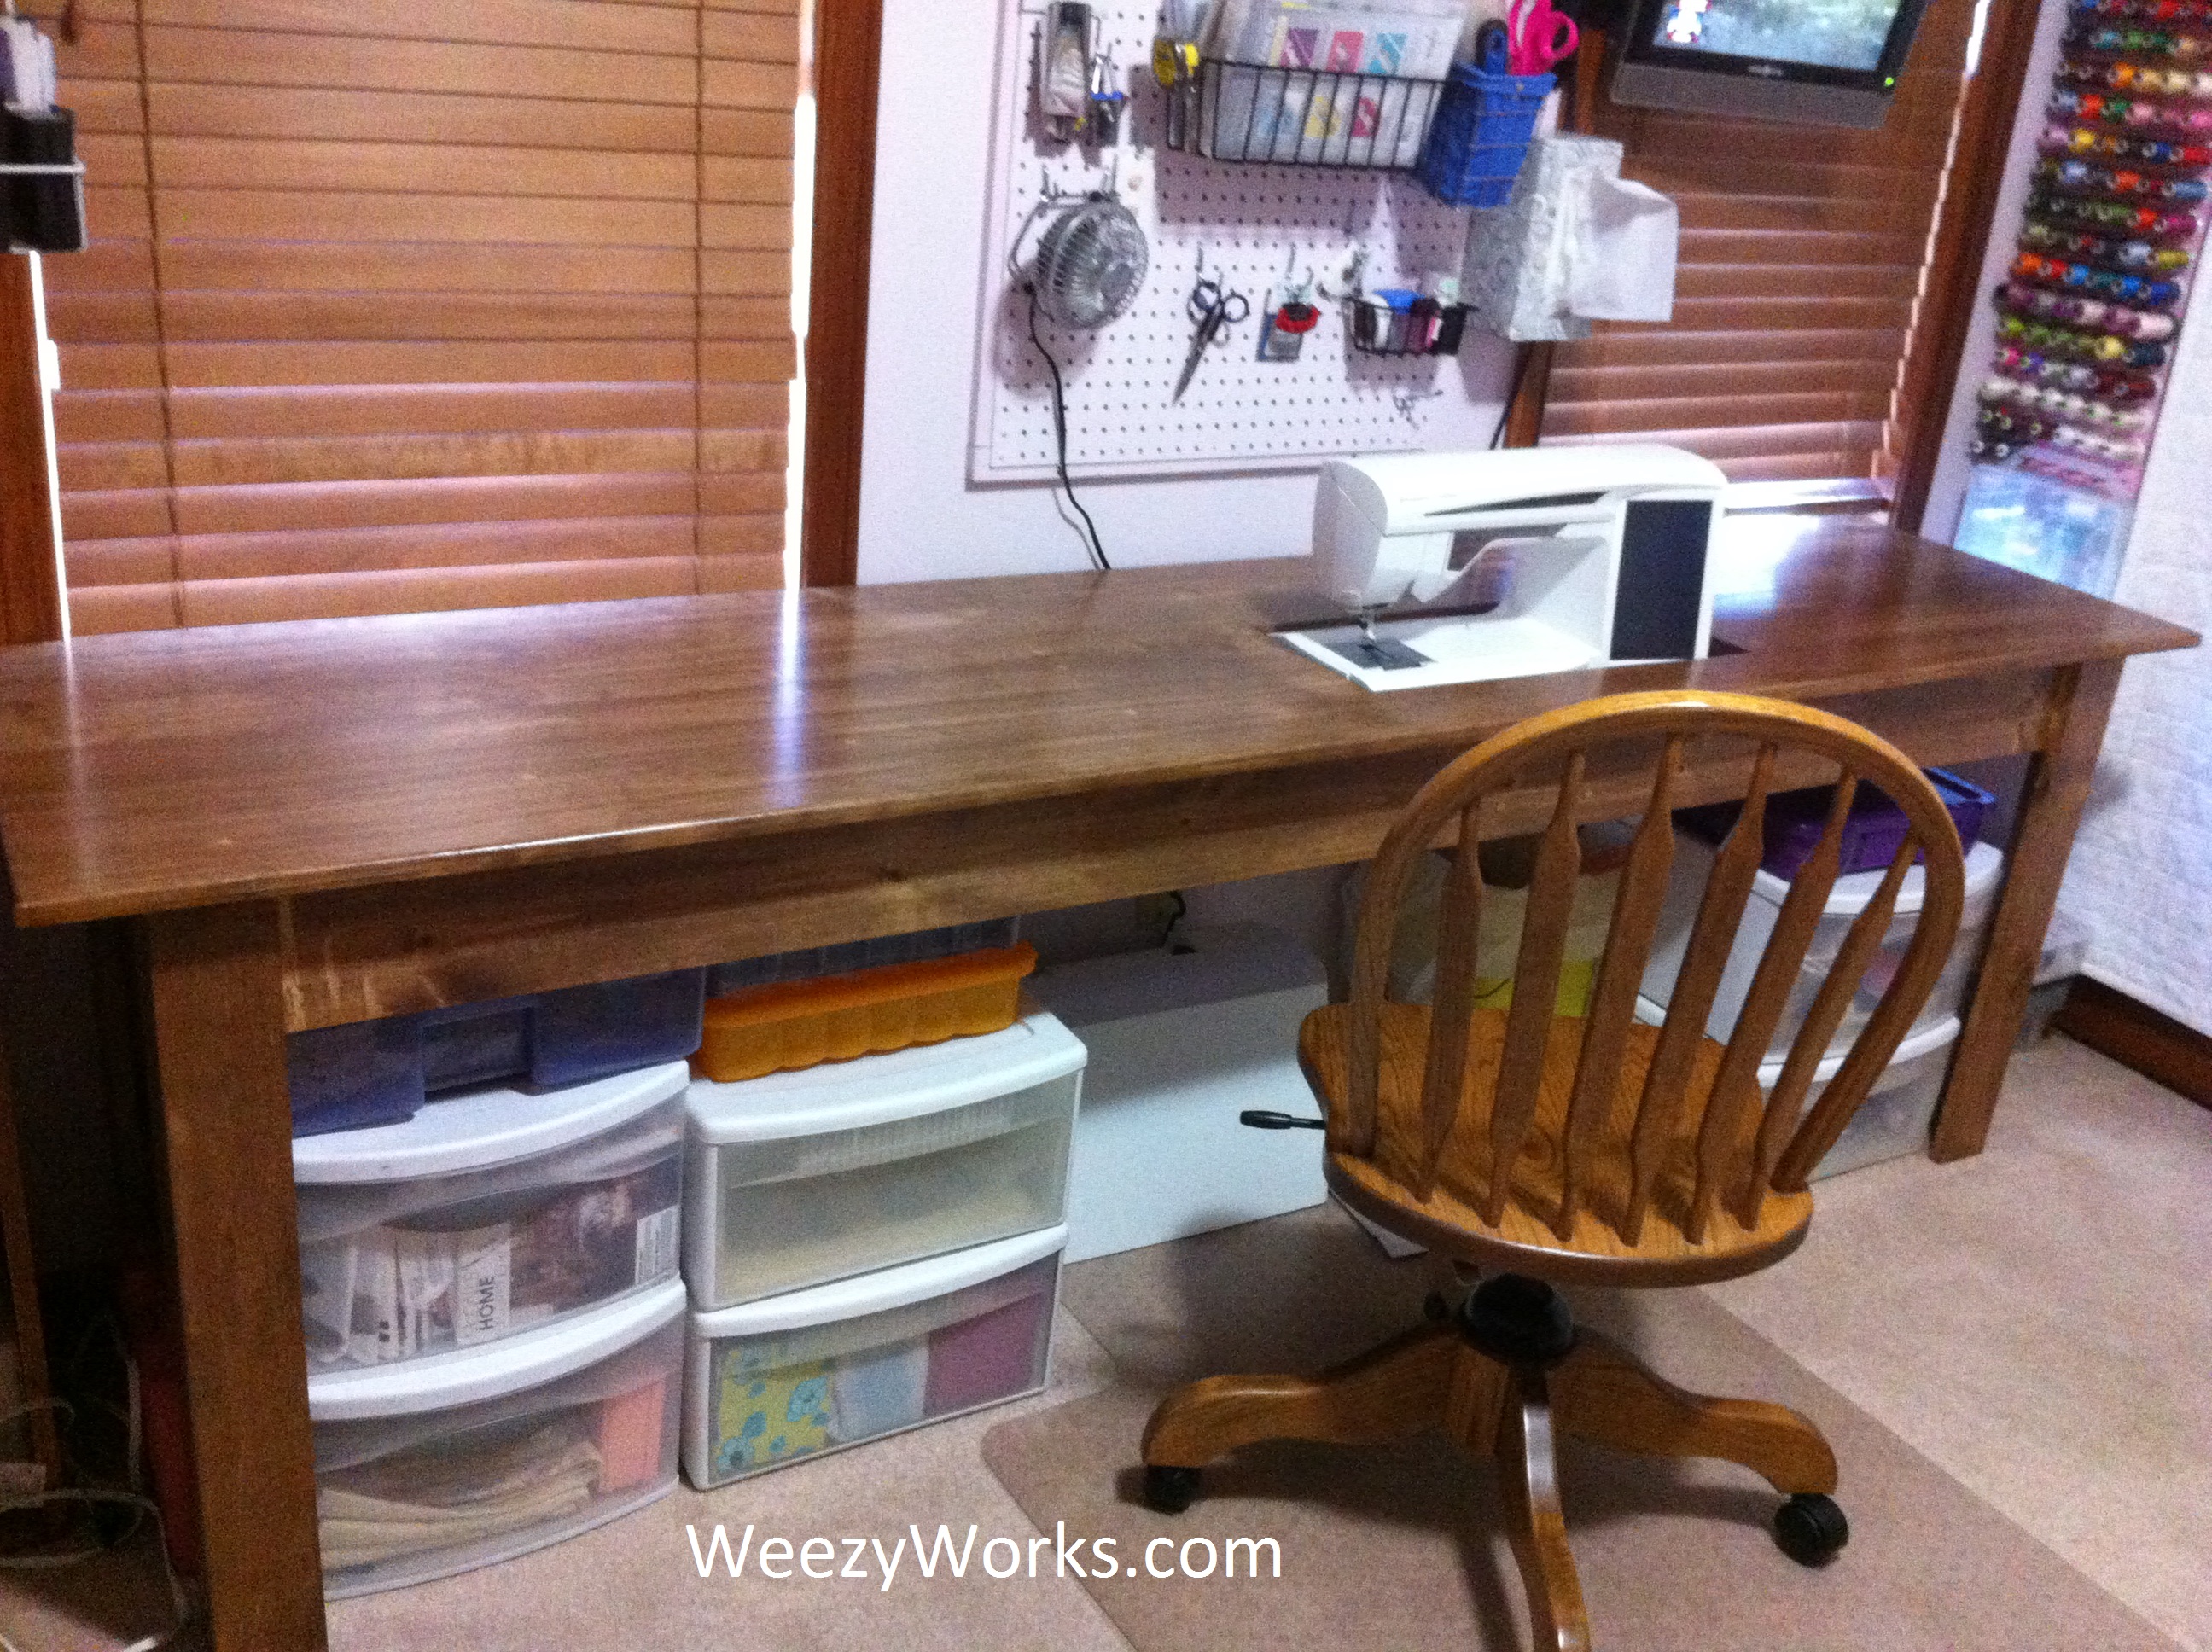
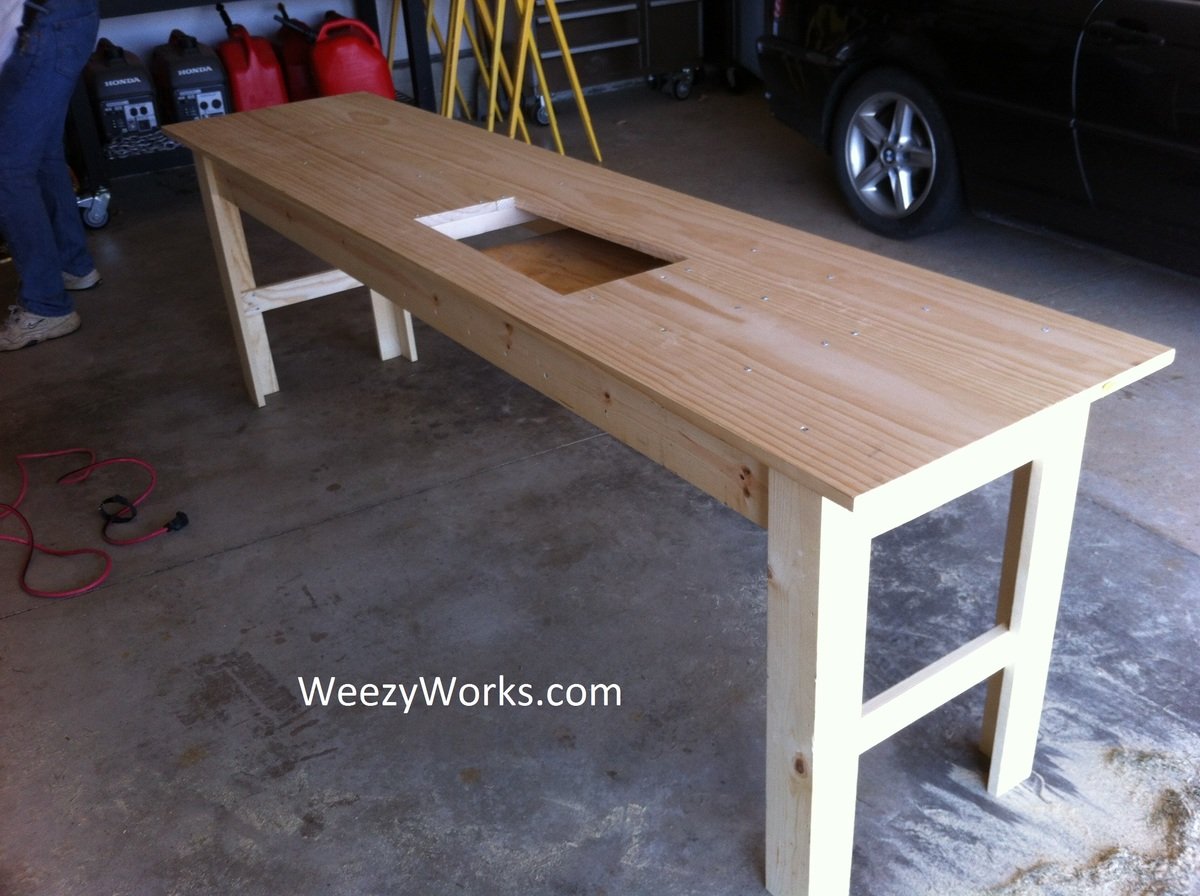
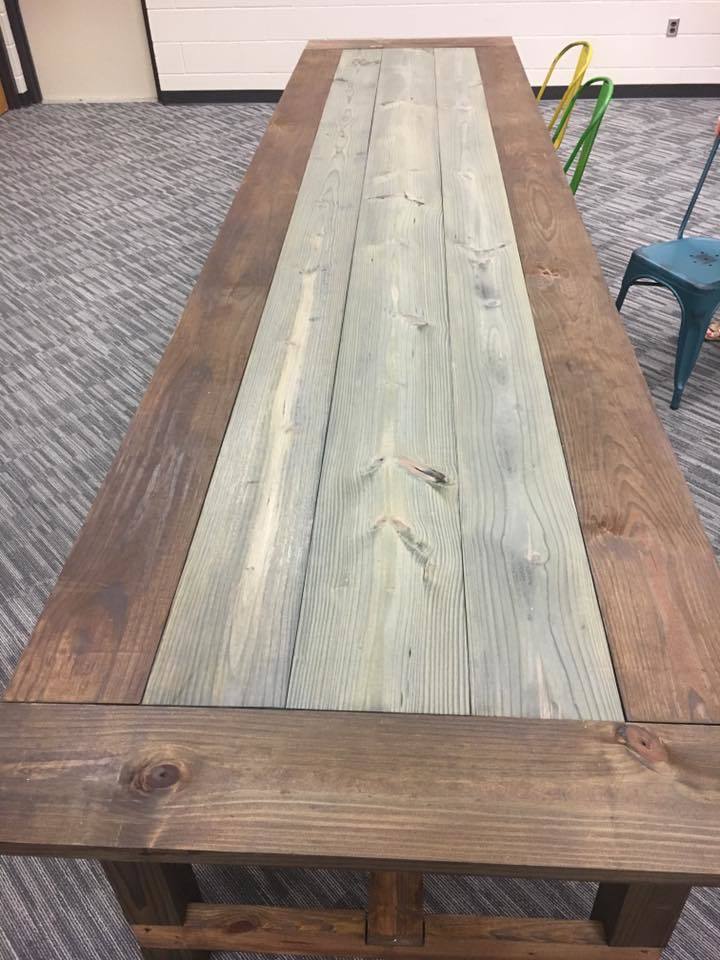
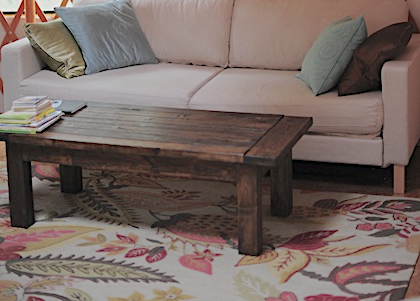
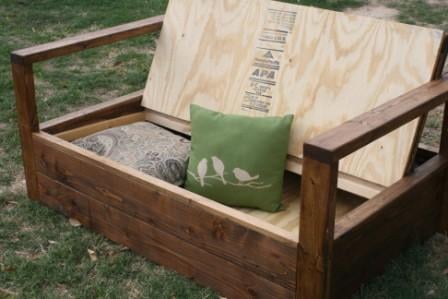
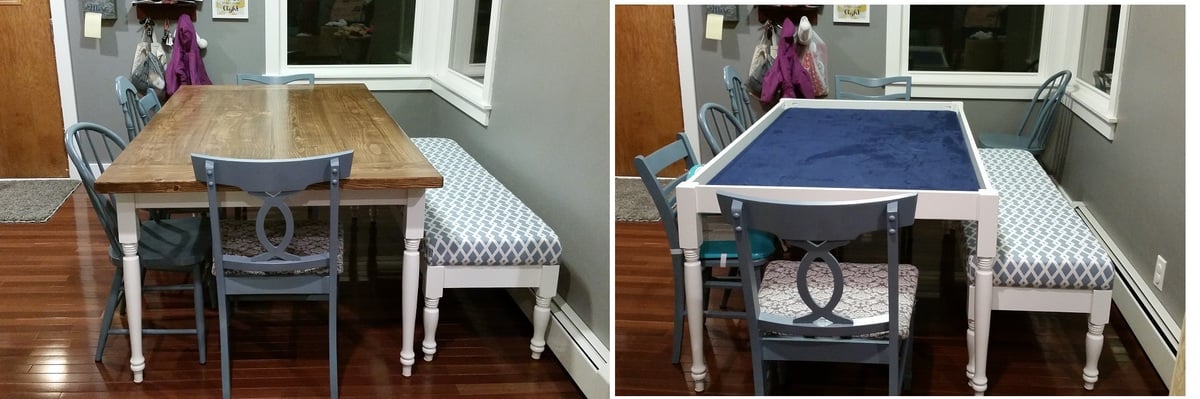
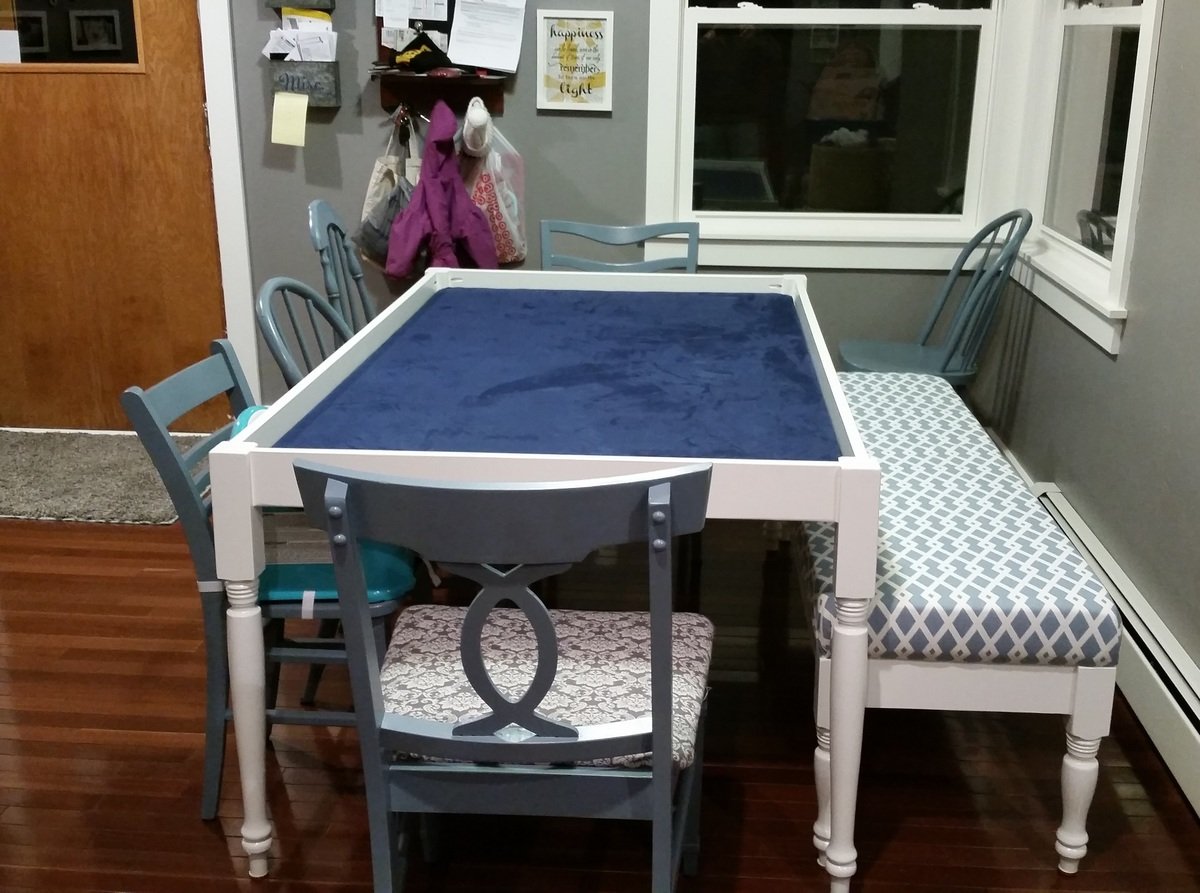
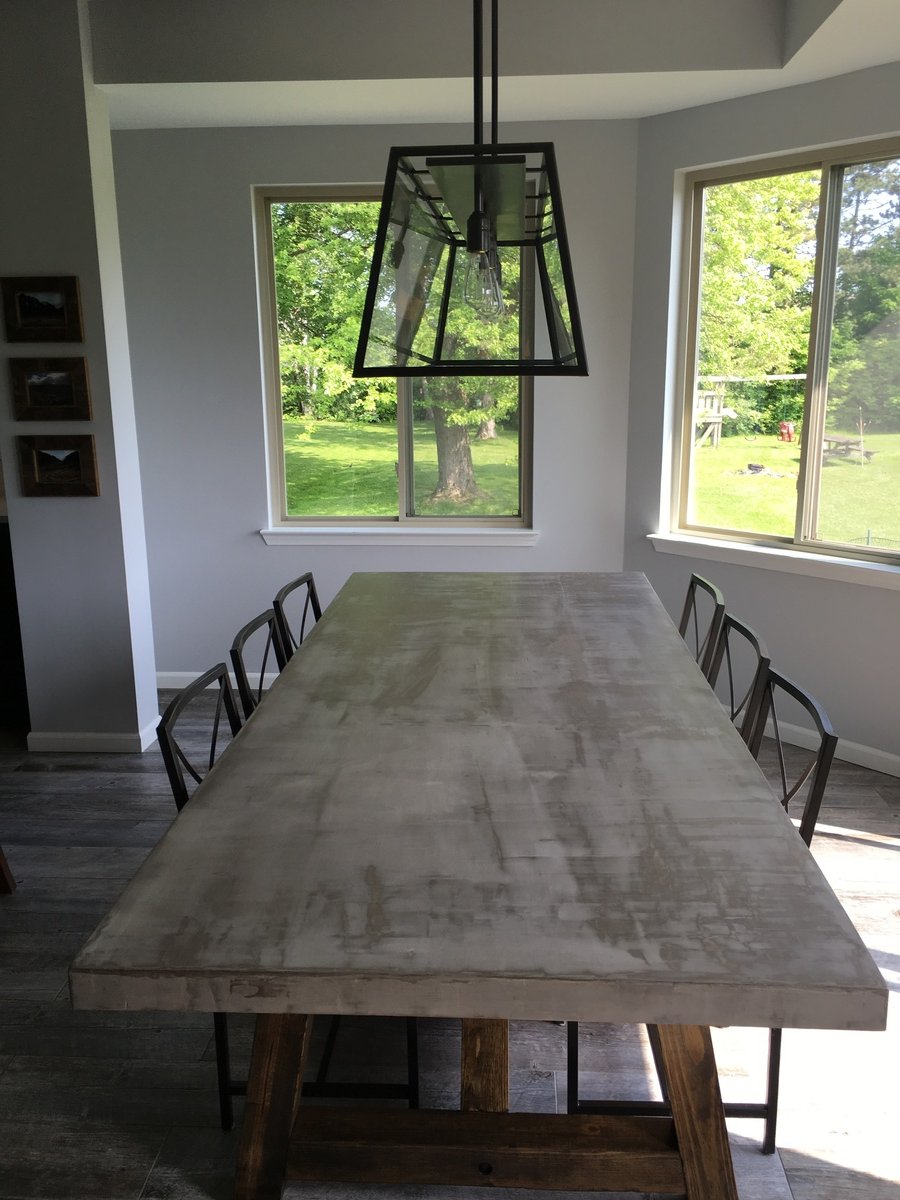
Cement top modification
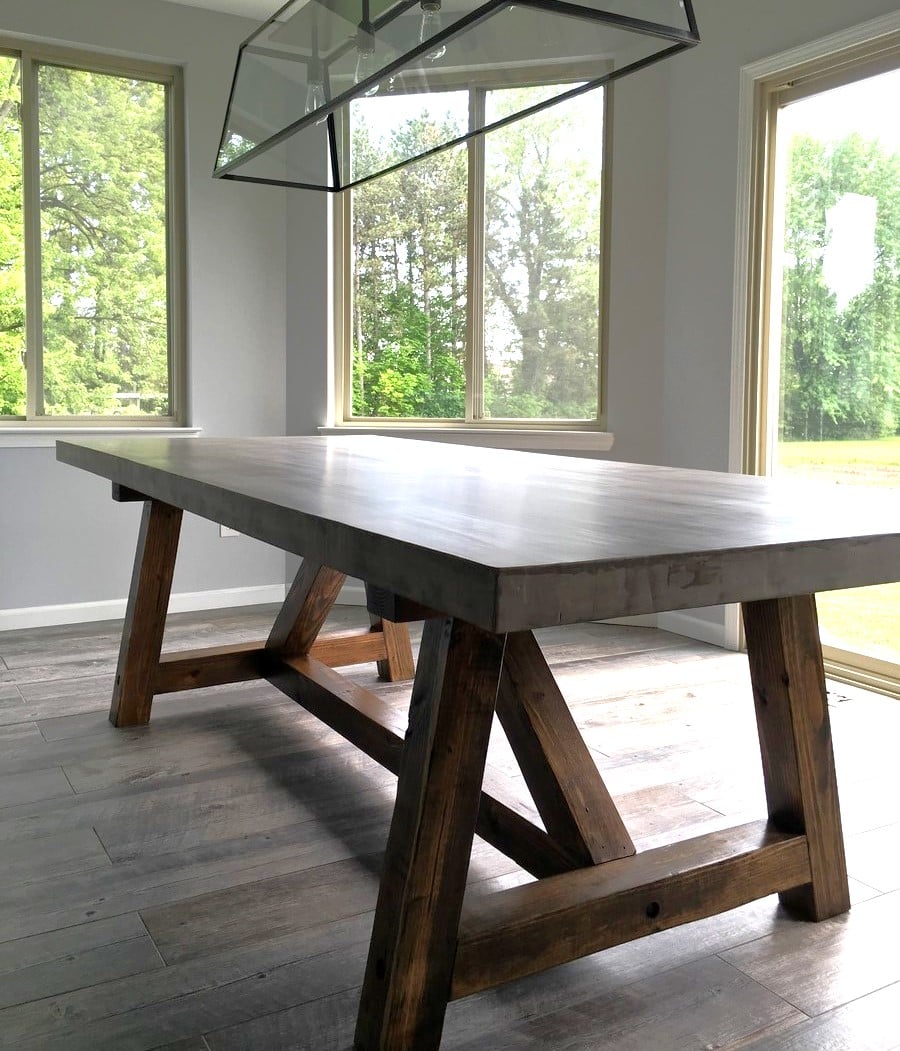
Instead of a wood top I used 2x 3/4" sheets of plywood plus 1/2" backer board to create a thicker top and used Ardex feather finish cement in 4 coats sanded and finished with Mexeseal sealant, recommended 4 coats of semi-gloss plus 2 coats of satin to get a matte finish (recommended by manufacturer) I followed the concrete countertop blog from "Young House Love" but used a different sealant when I contacted the safe coat manufacturer and they recommended their Mexeseal product.
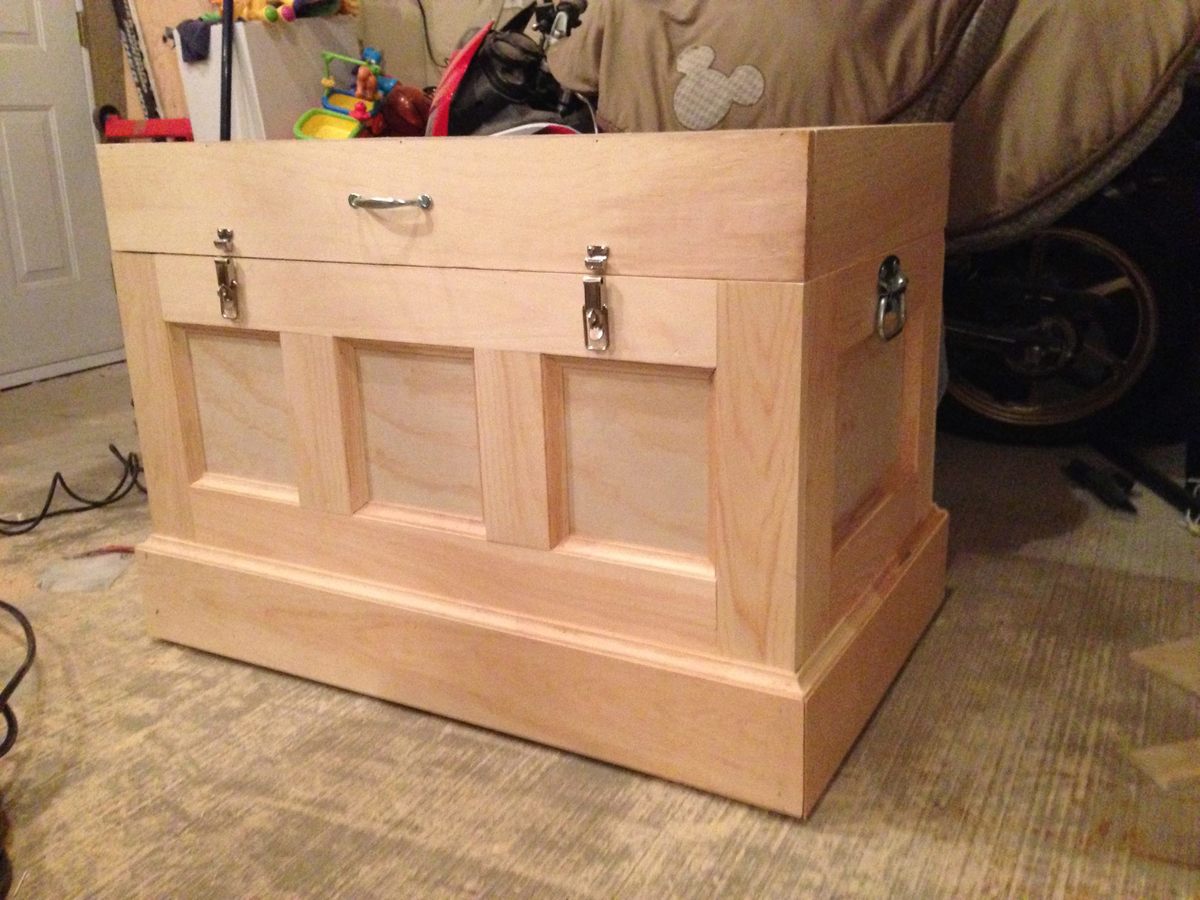
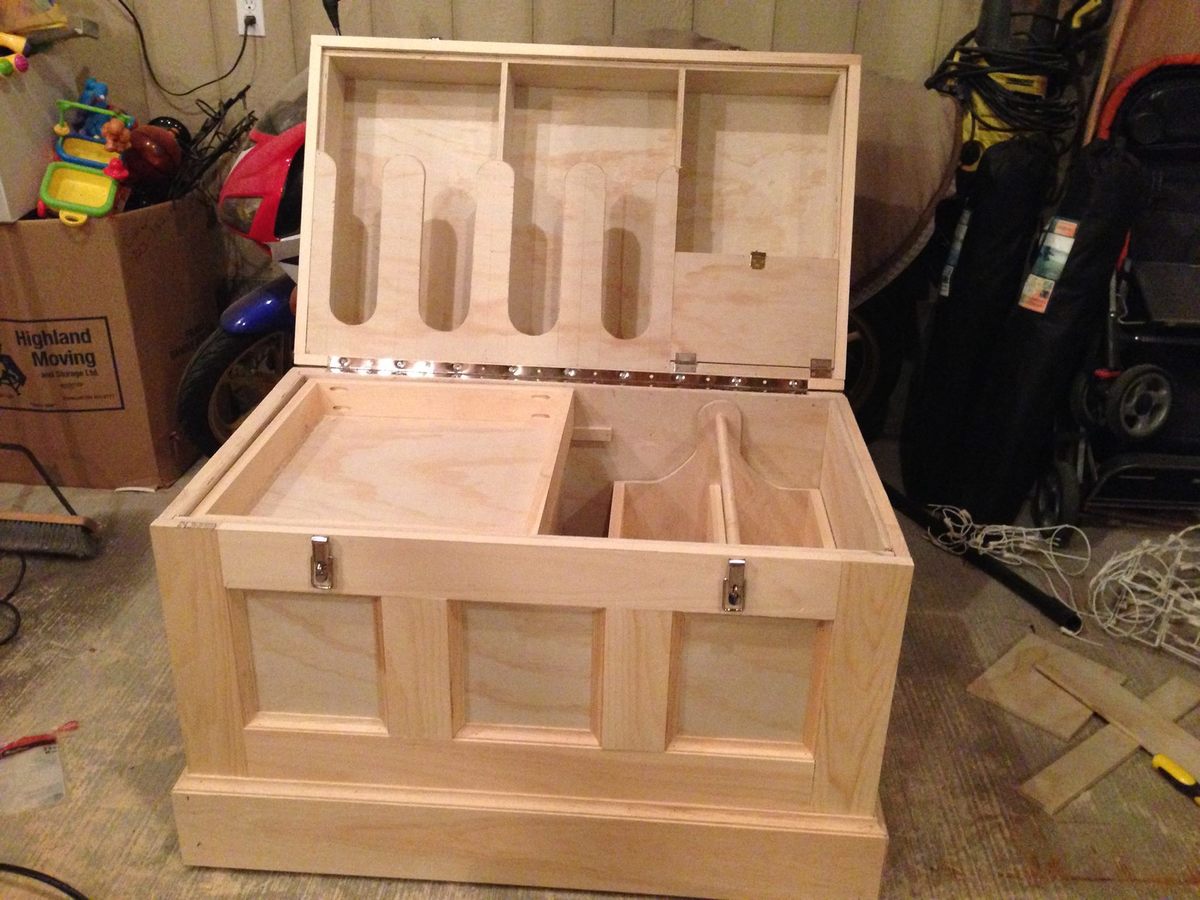
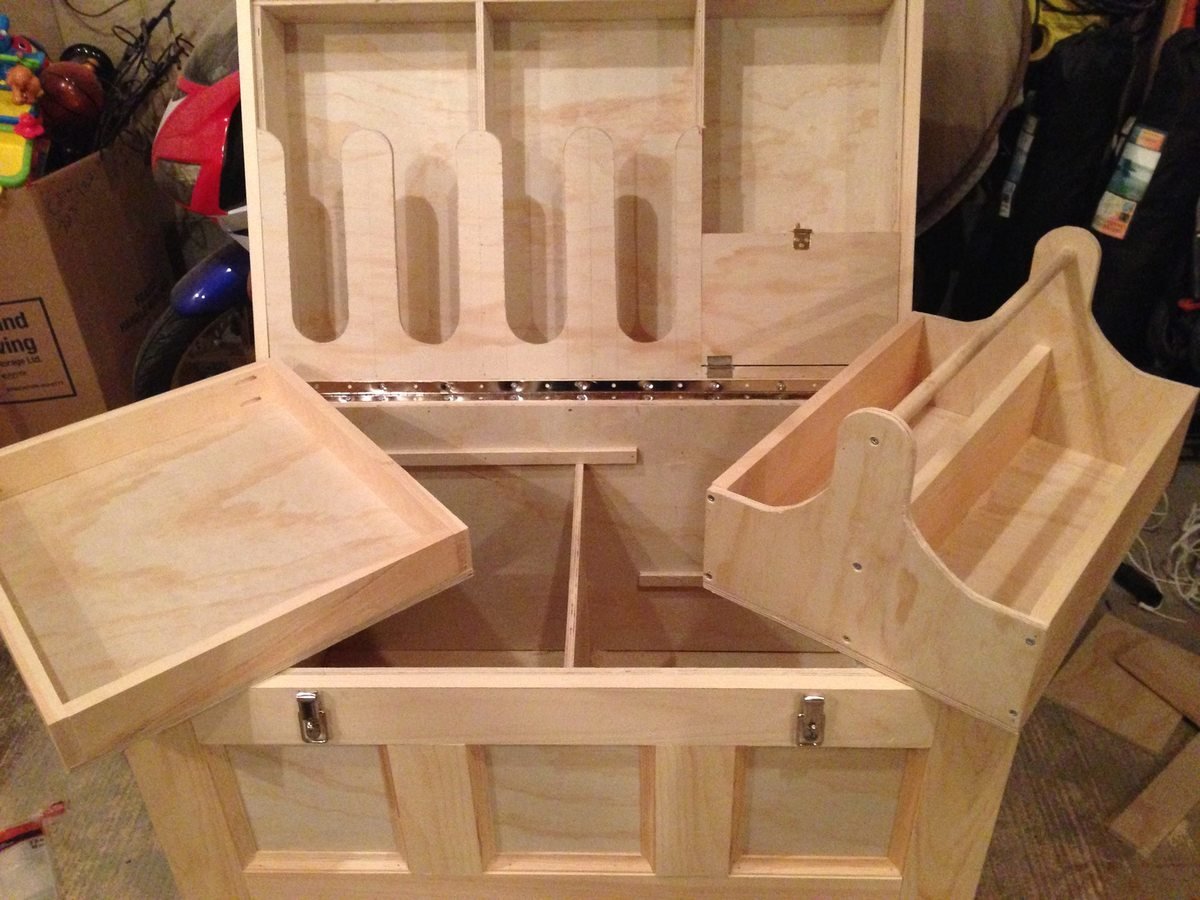
Built from Plan(s)
Estimated Time Investment
Week Long Project (20 Hours or More)
Finish Used
Ardex Feather Finish Cement
Safe coat Mexeseal Sealant (4 coats semi-gloss plus 2 coats satin for a matte finish)
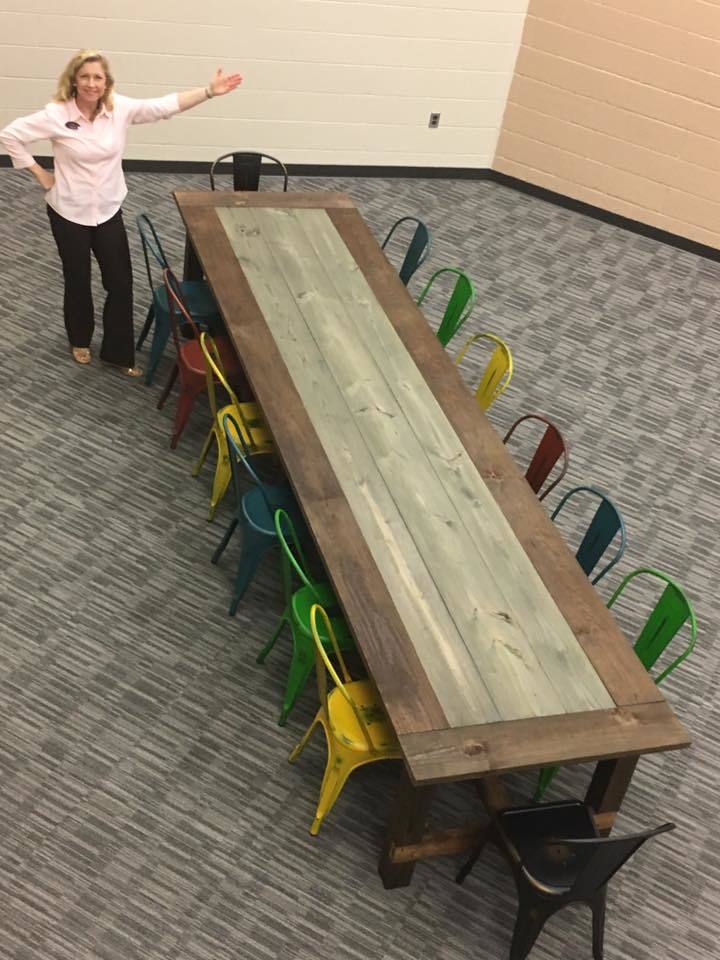
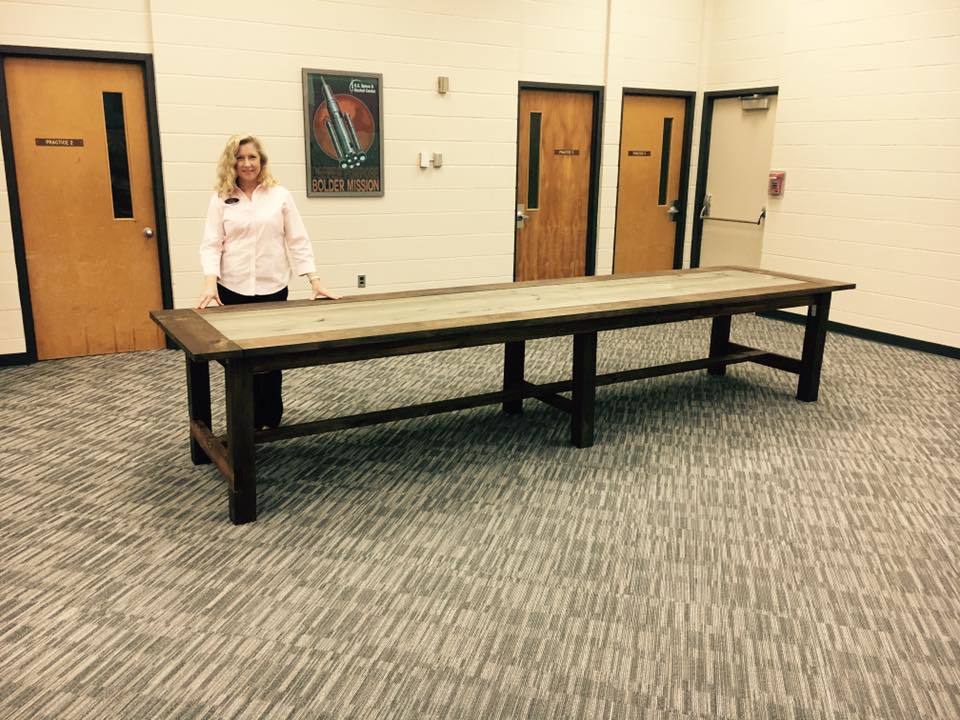
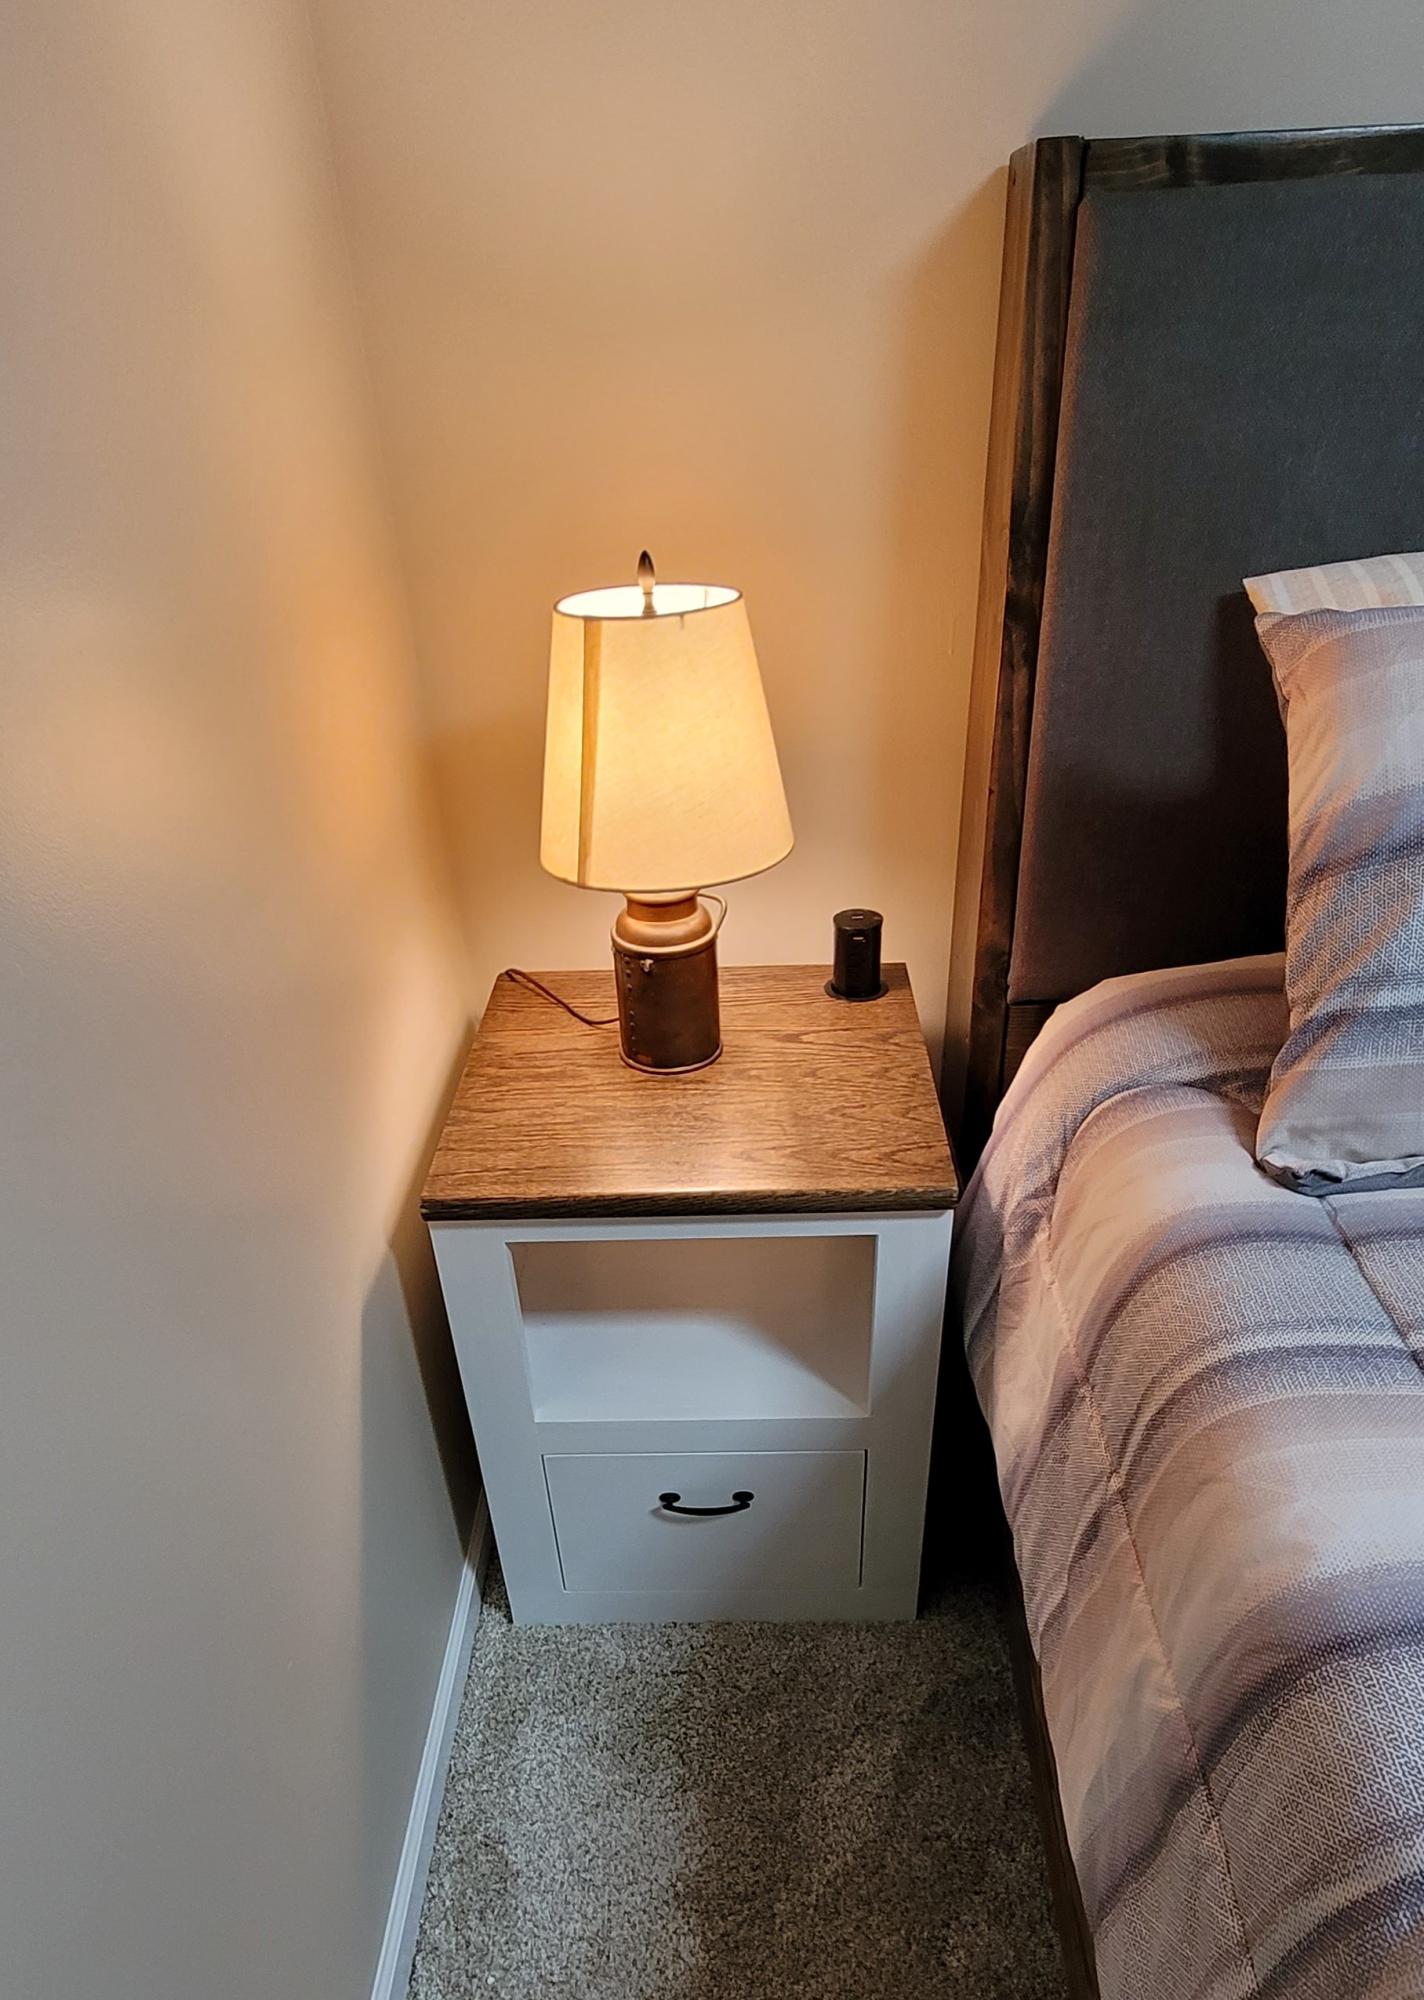
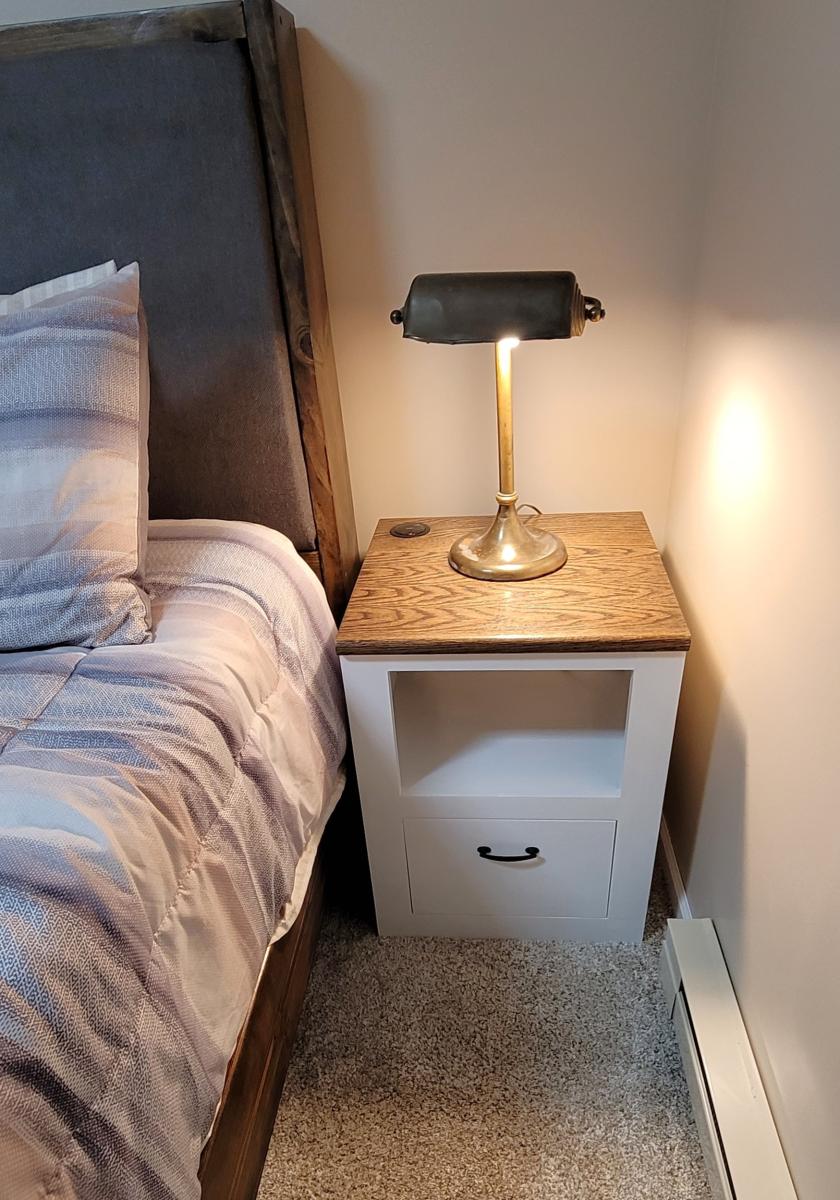
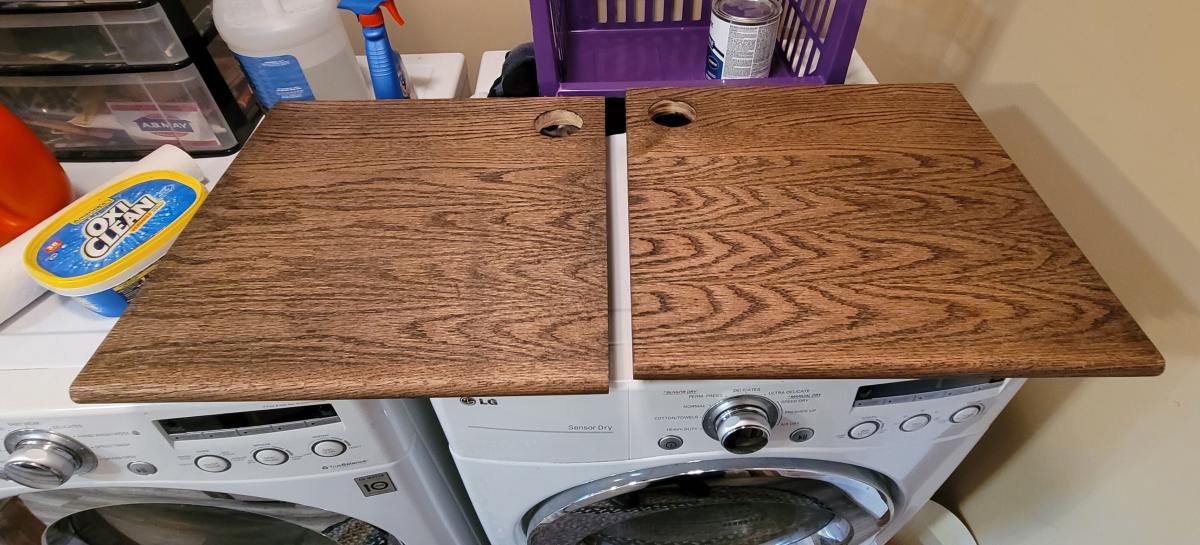
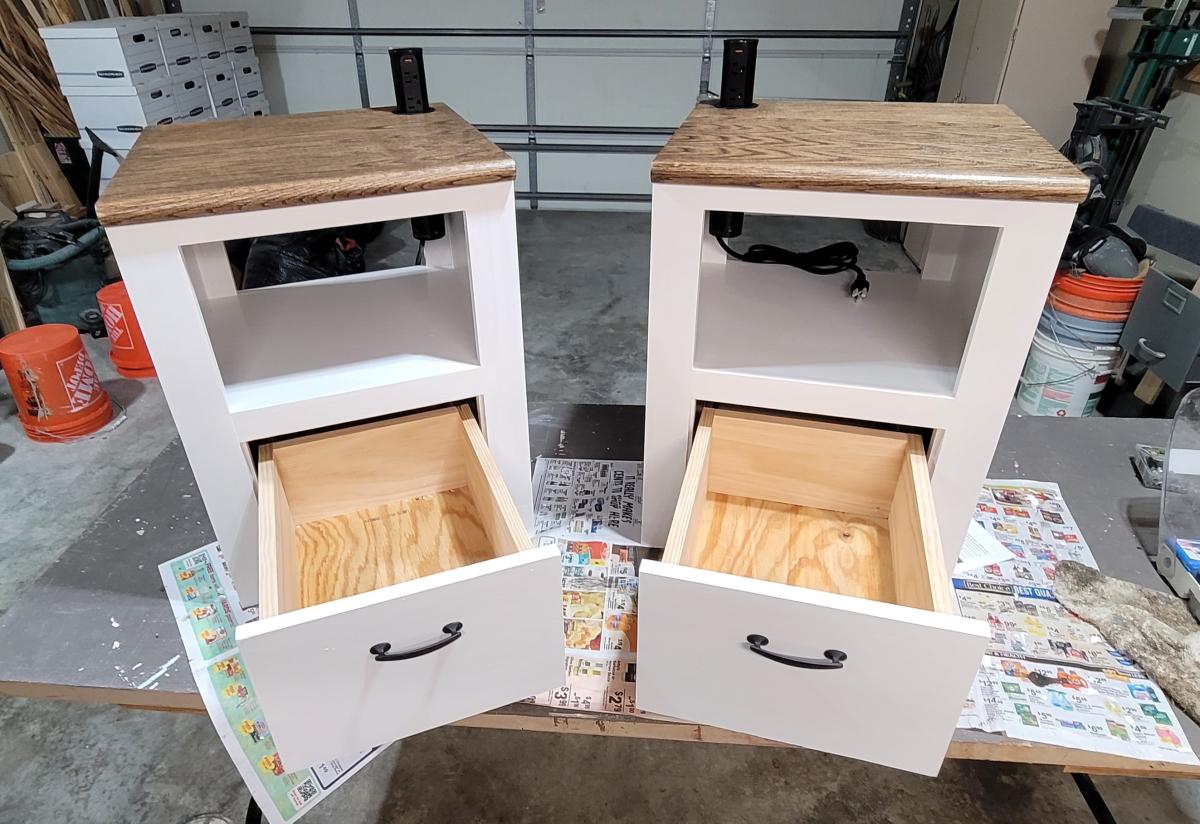
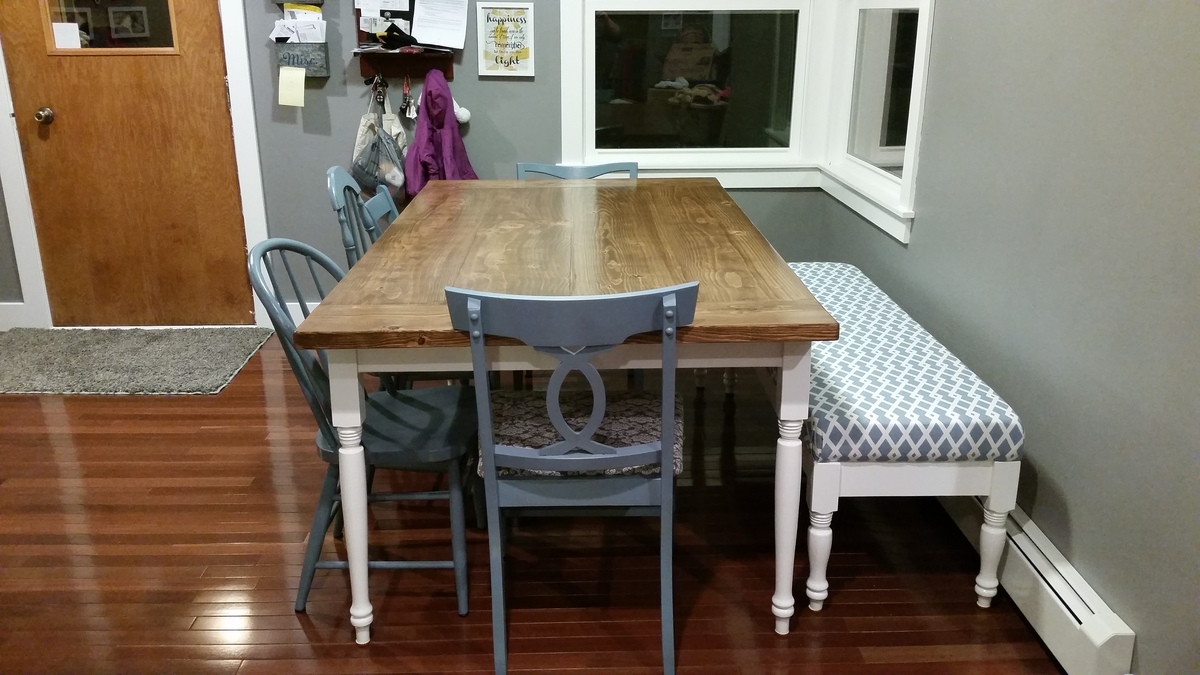
Stain on base: Minwax weathered oak and dark walnut
Poly on base: 2 coats of Minwax satin poly
Safe coat Mexeseal Sealant (4 coats semi-gloss plus 2 coats satin for a matte finish)
Stain on base: Minwax weathered oak and dark walnut
Poly on base: 2 coats of Minwax satin poly
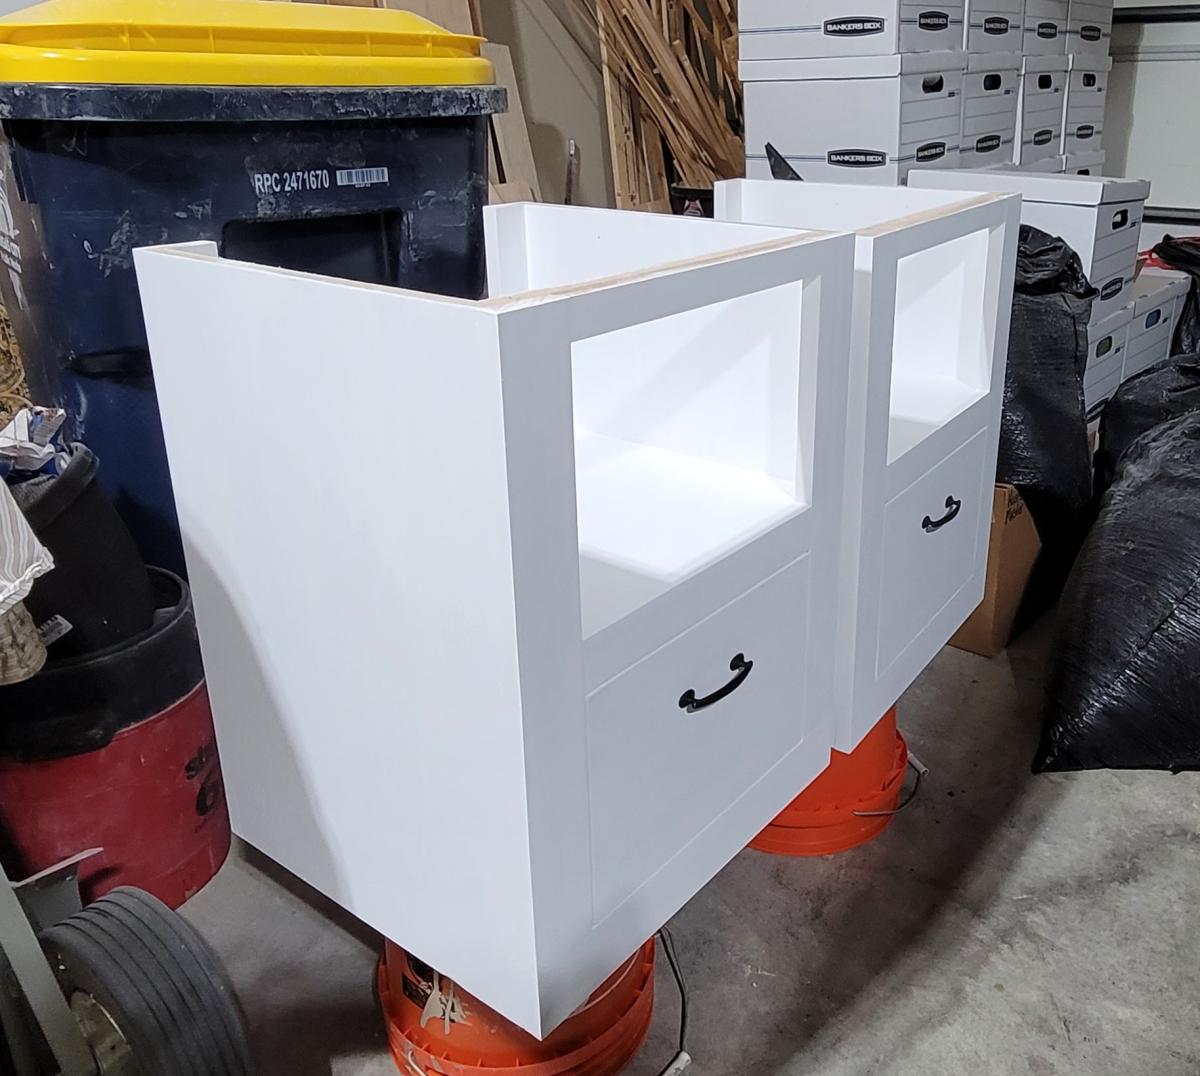
Recommended Skill Level
Beginner