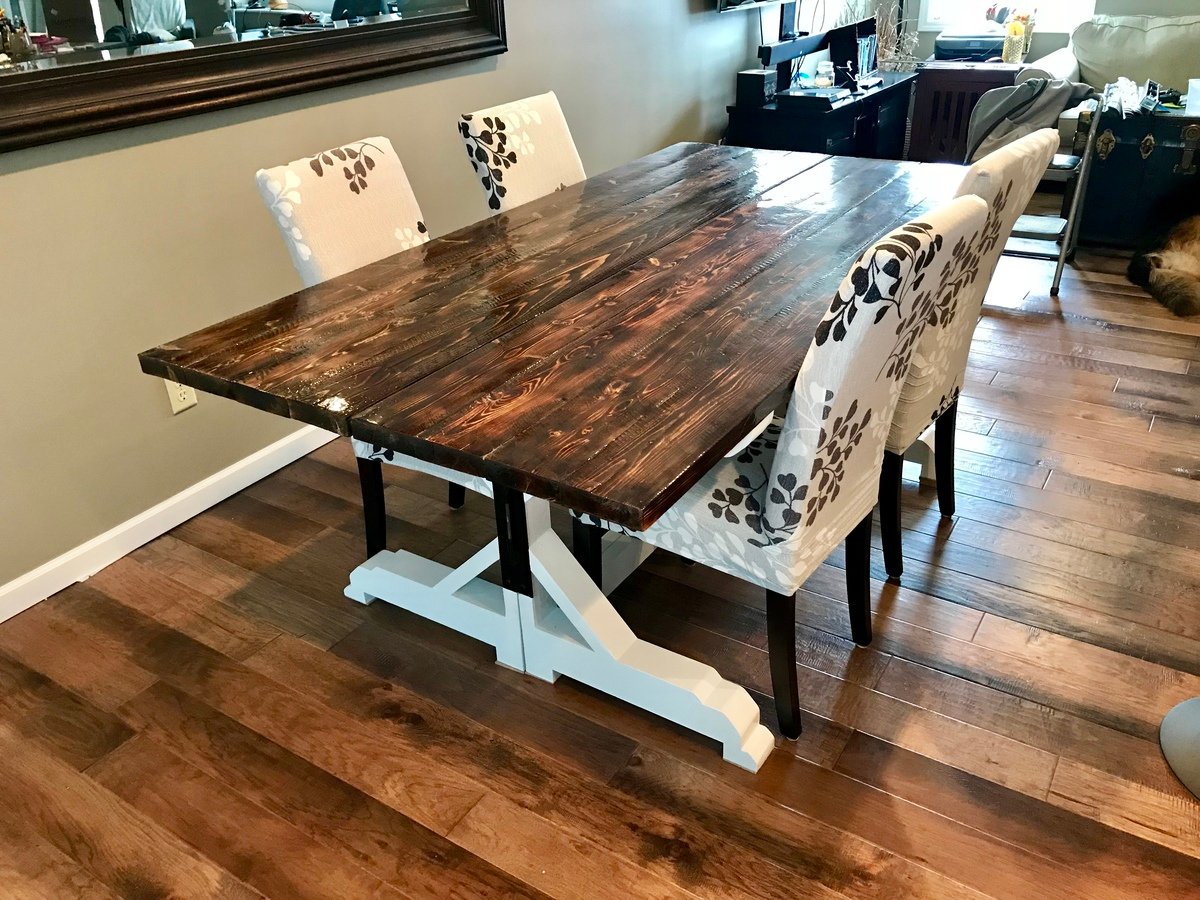
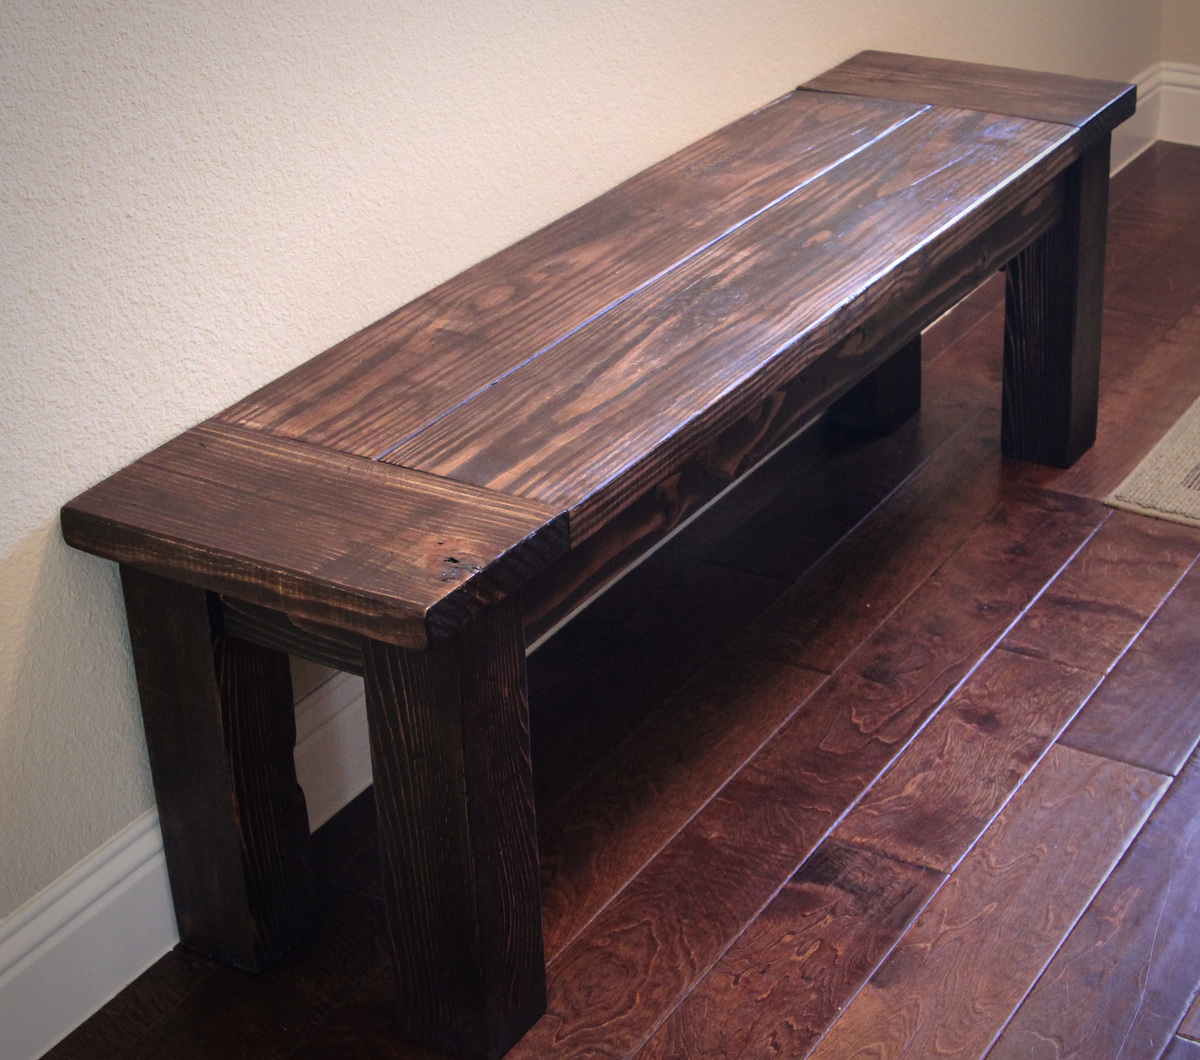
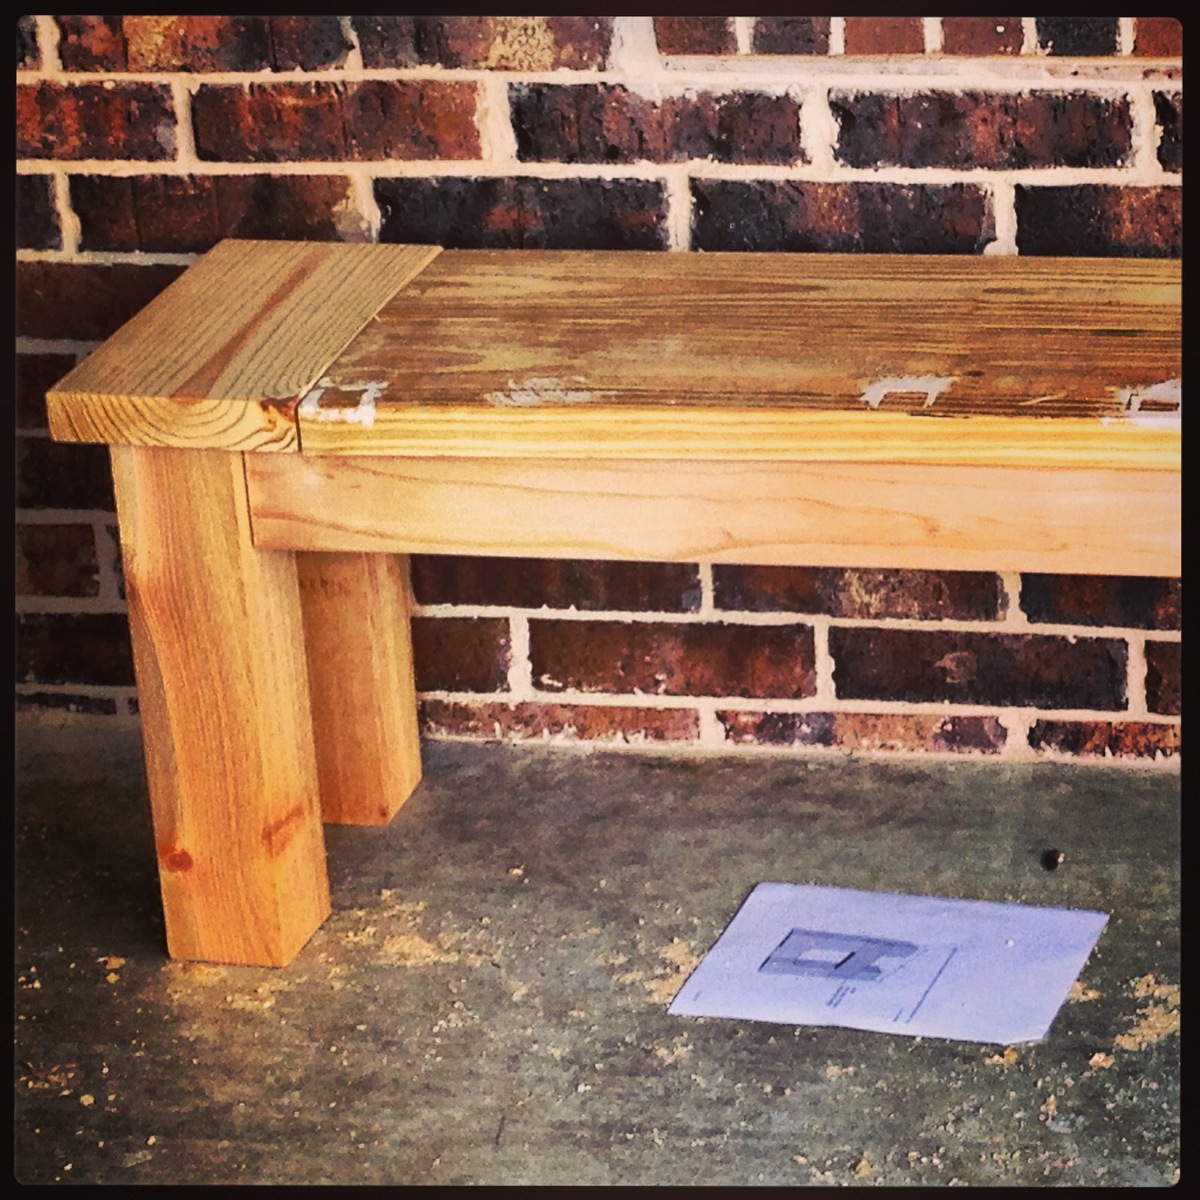
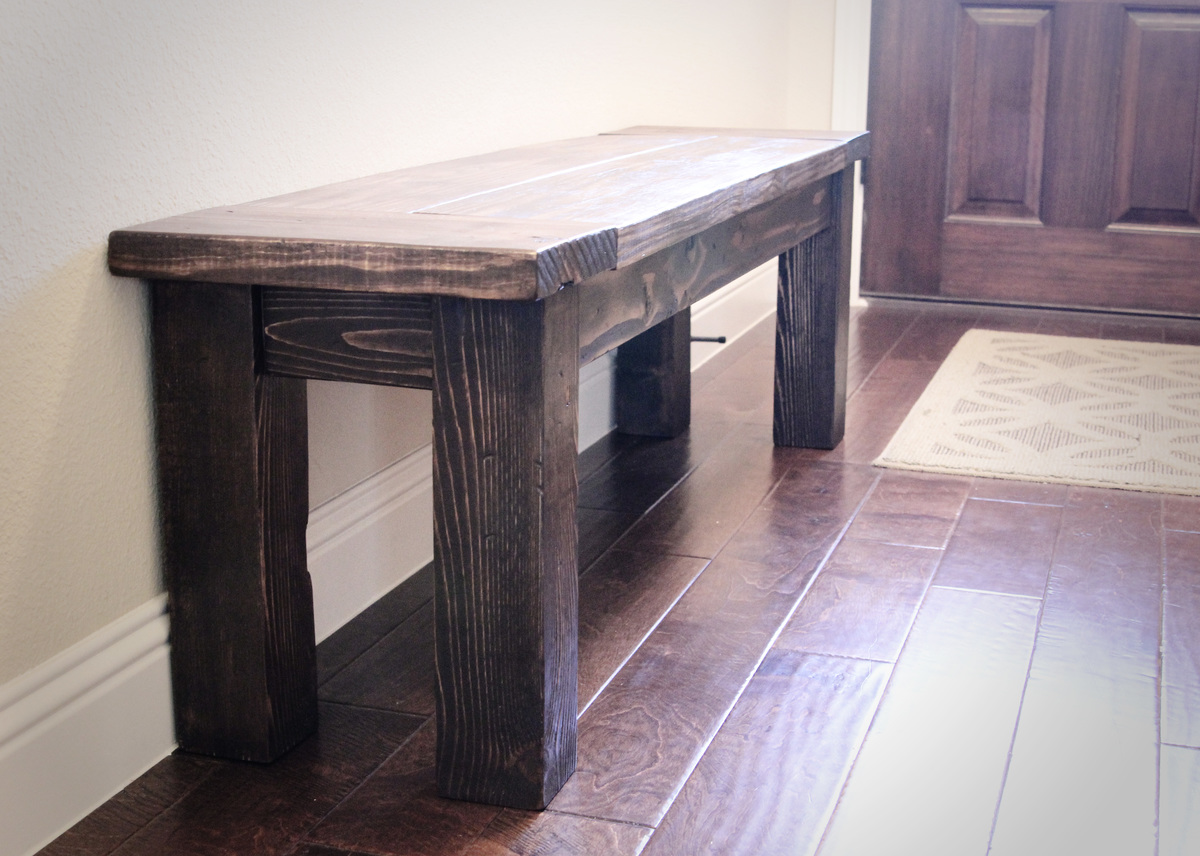
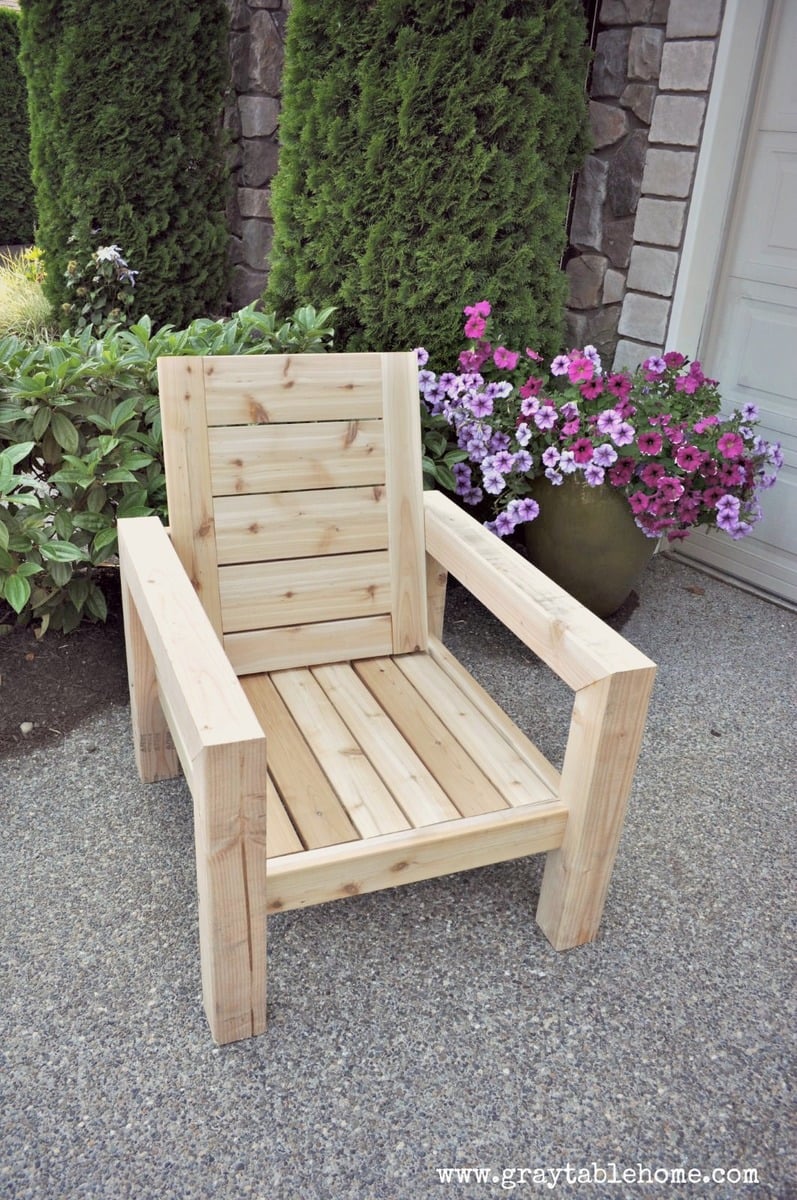
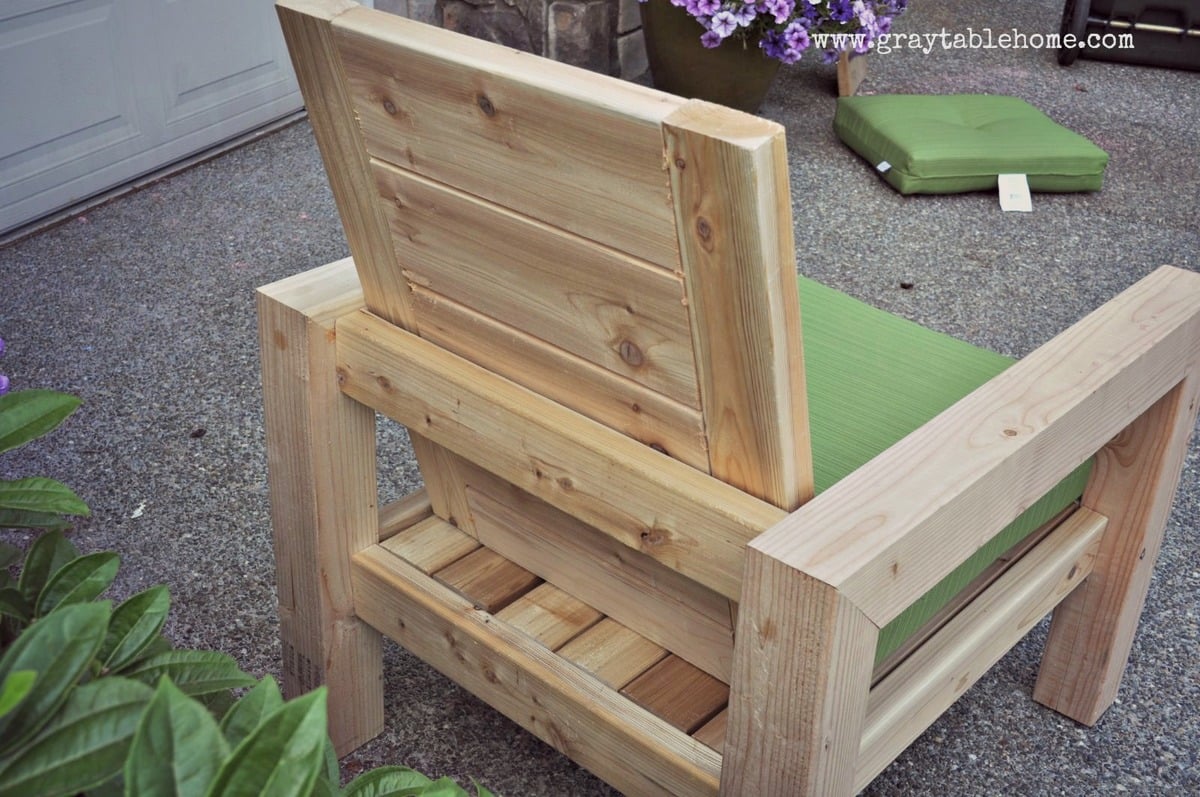
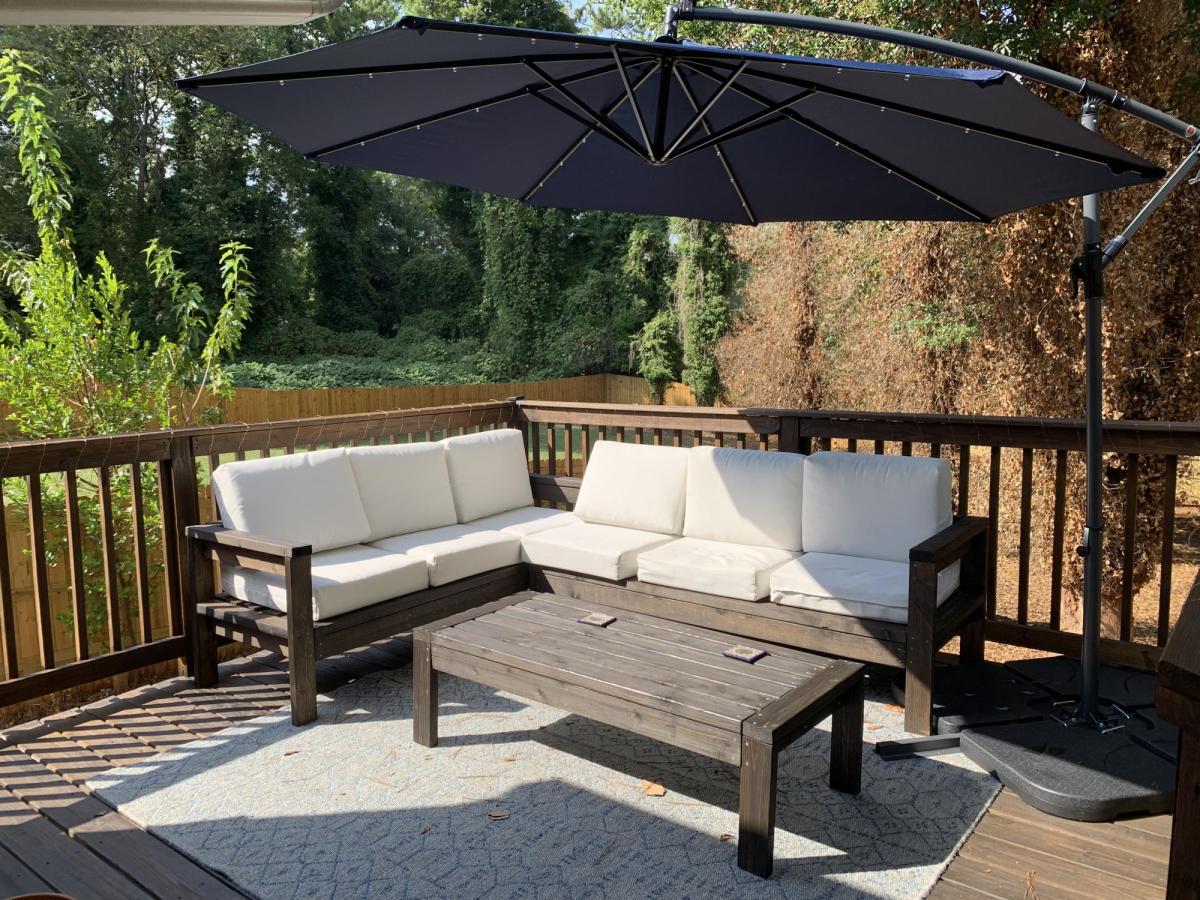
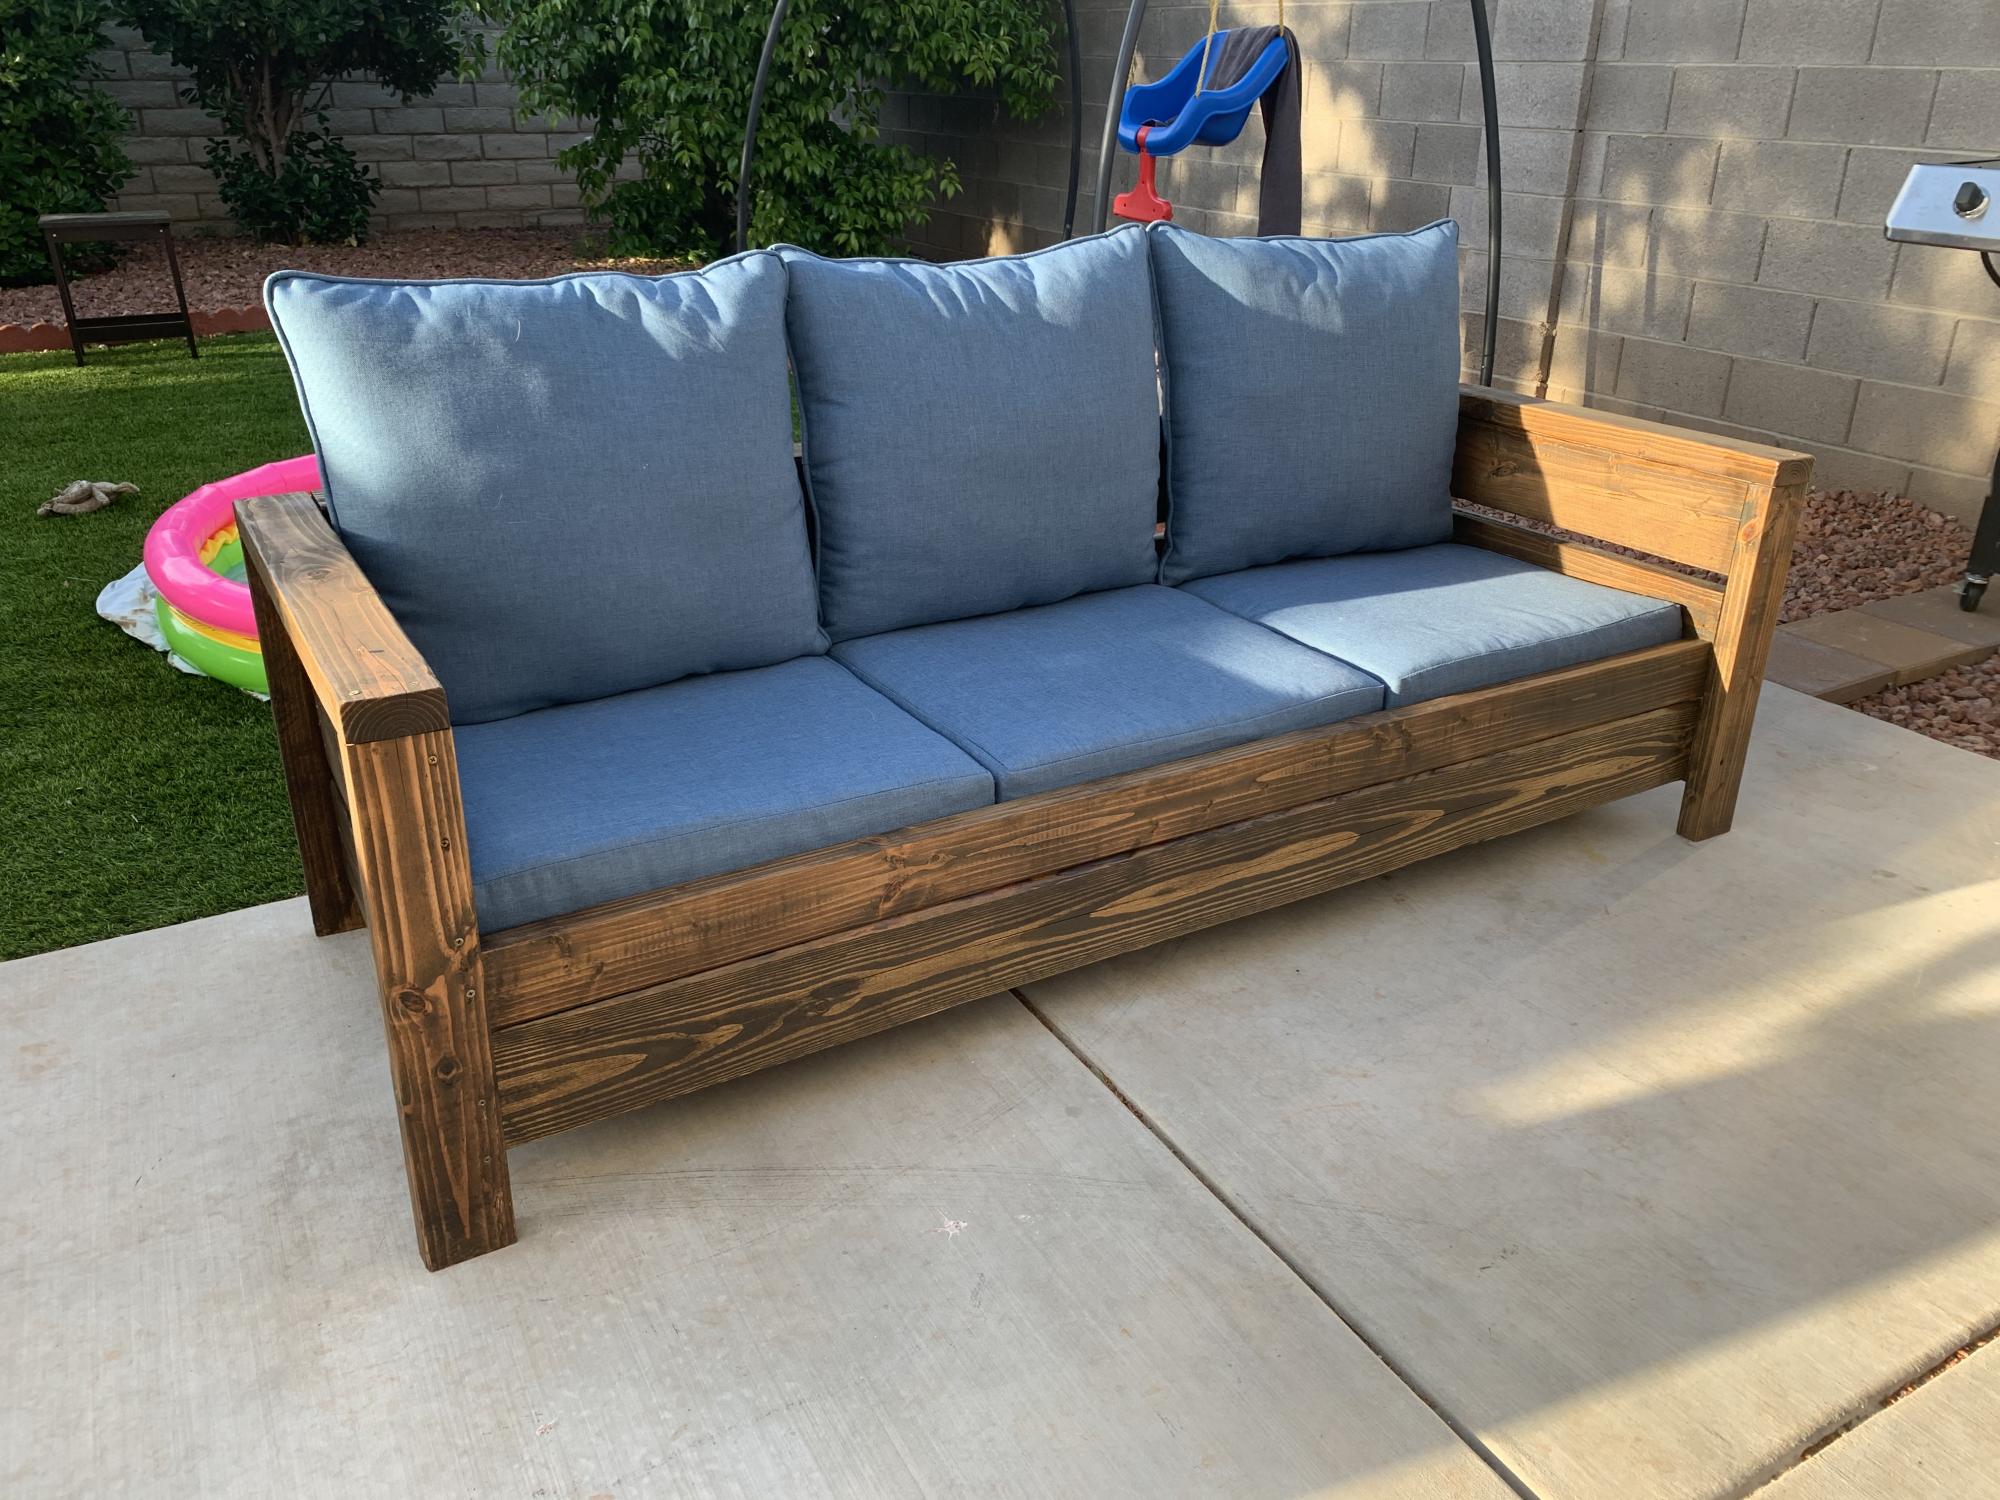
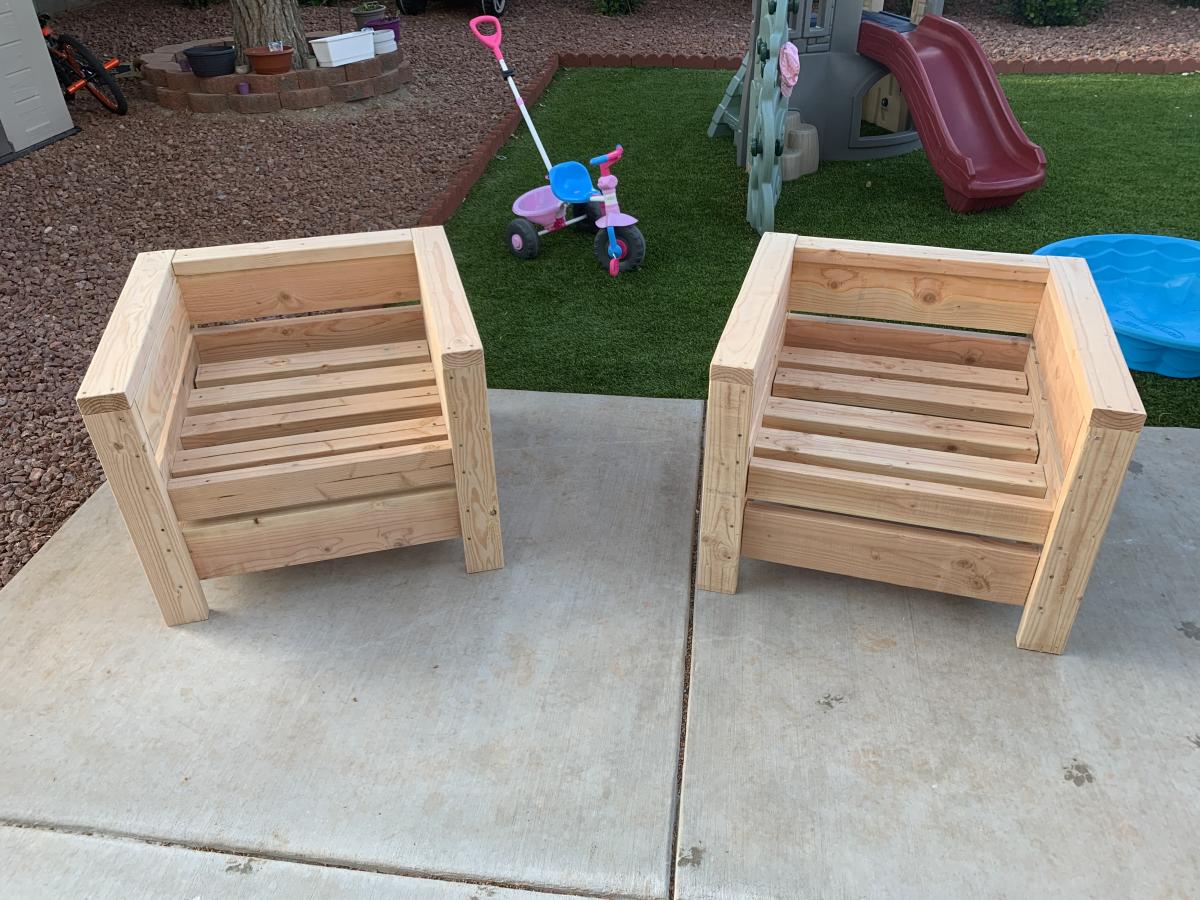
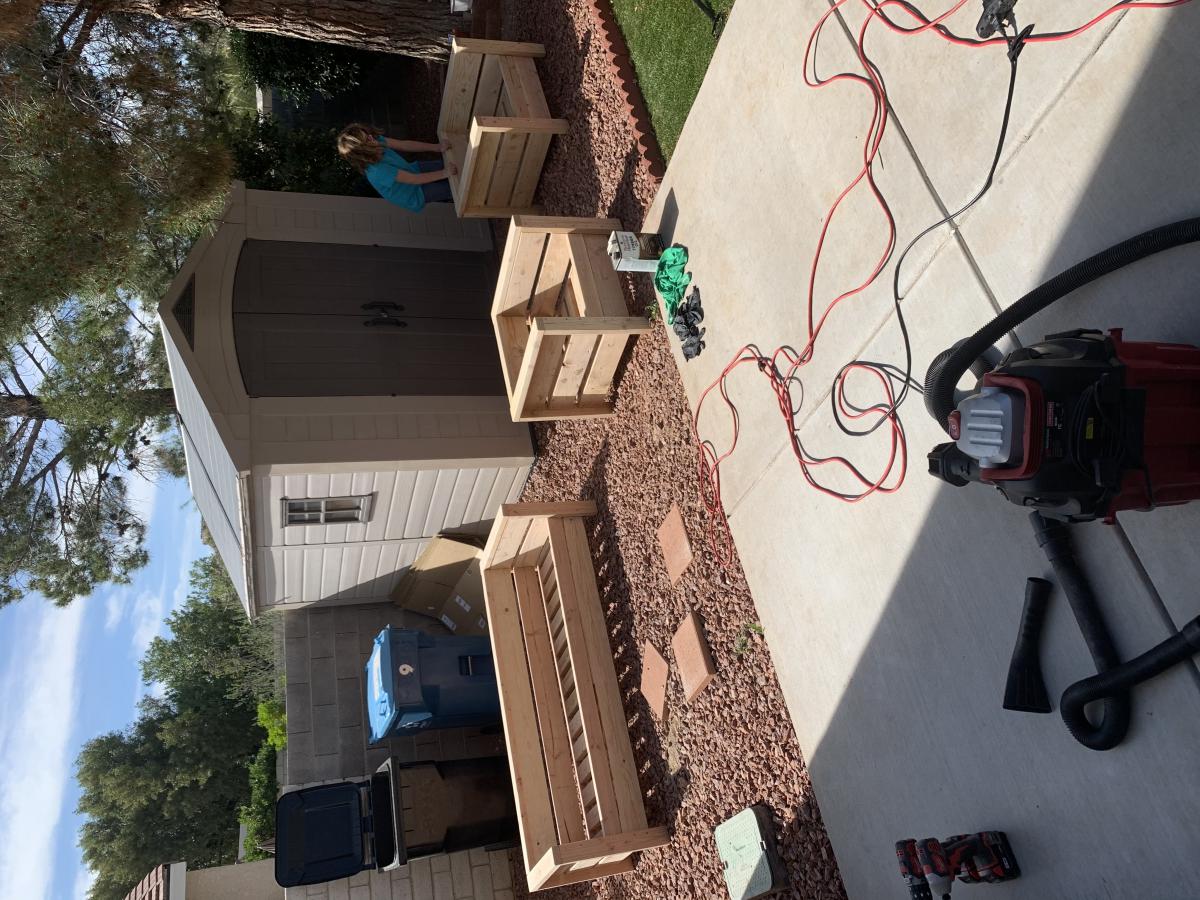
Rustic Console Project
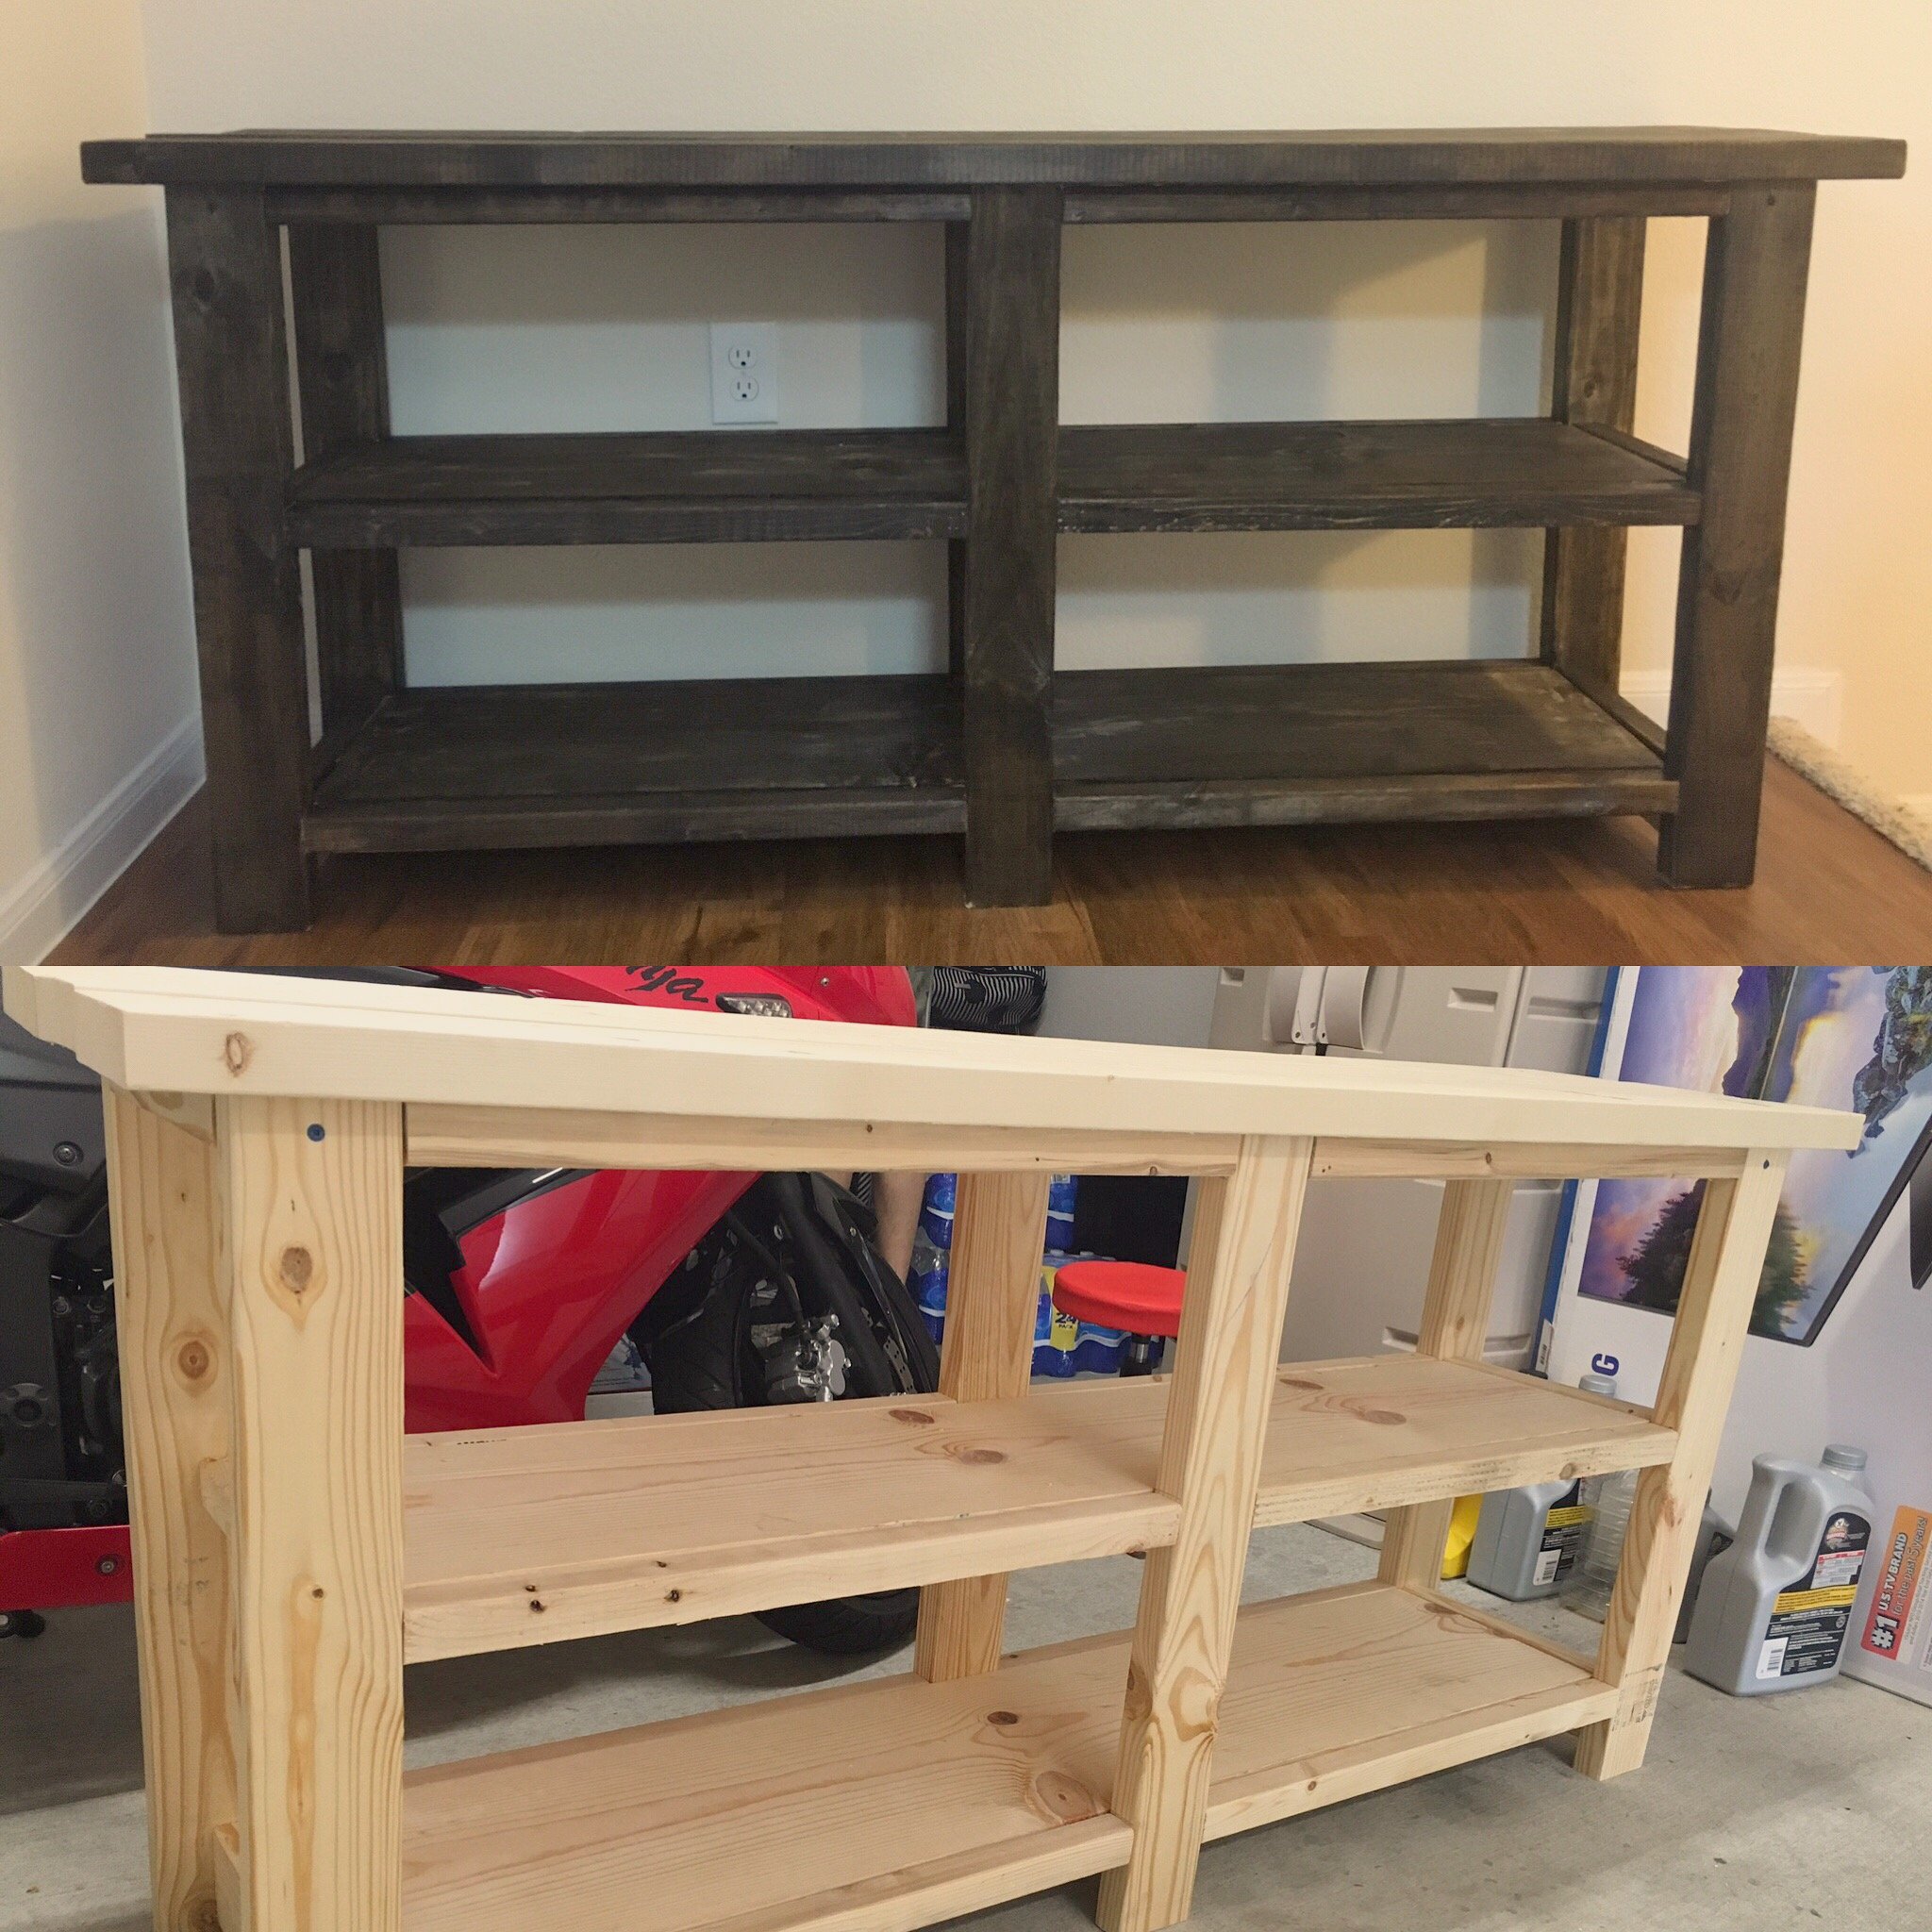
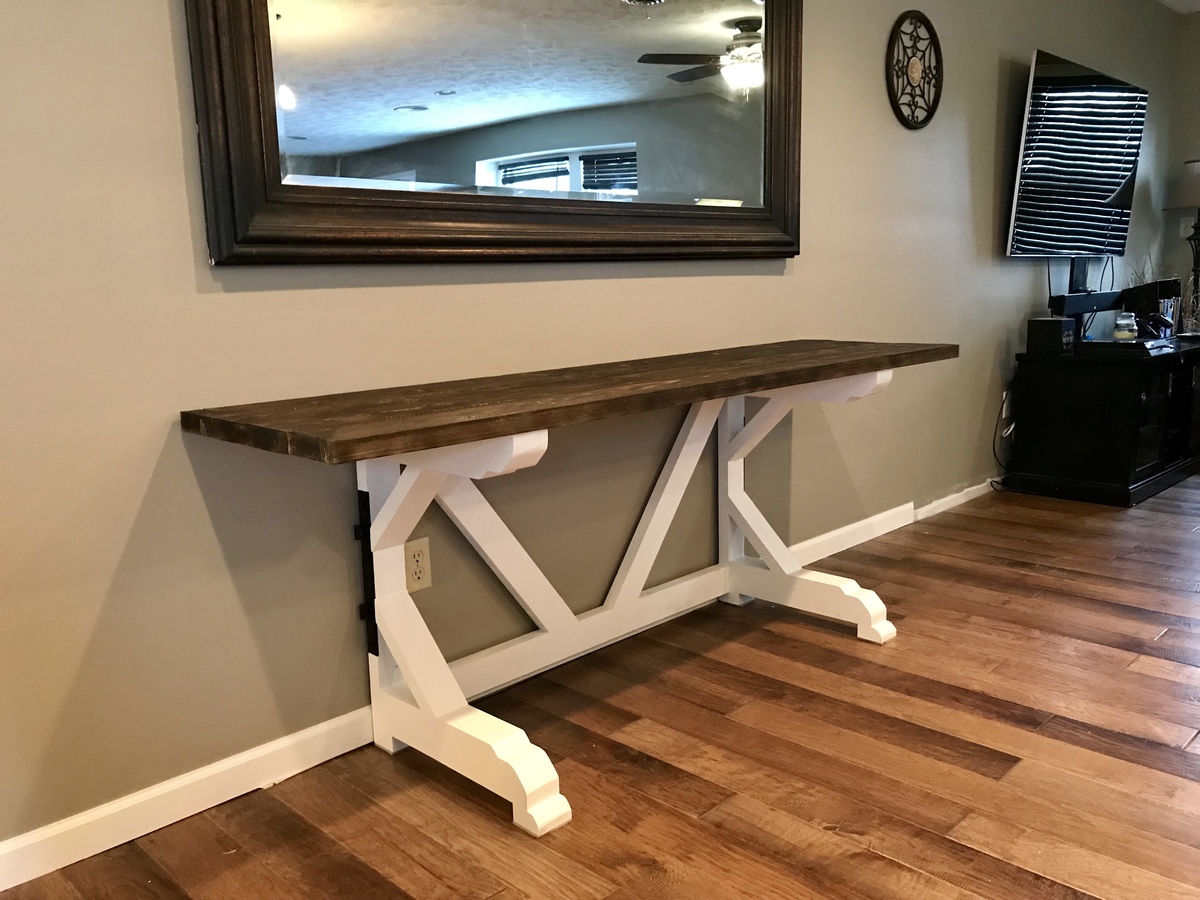
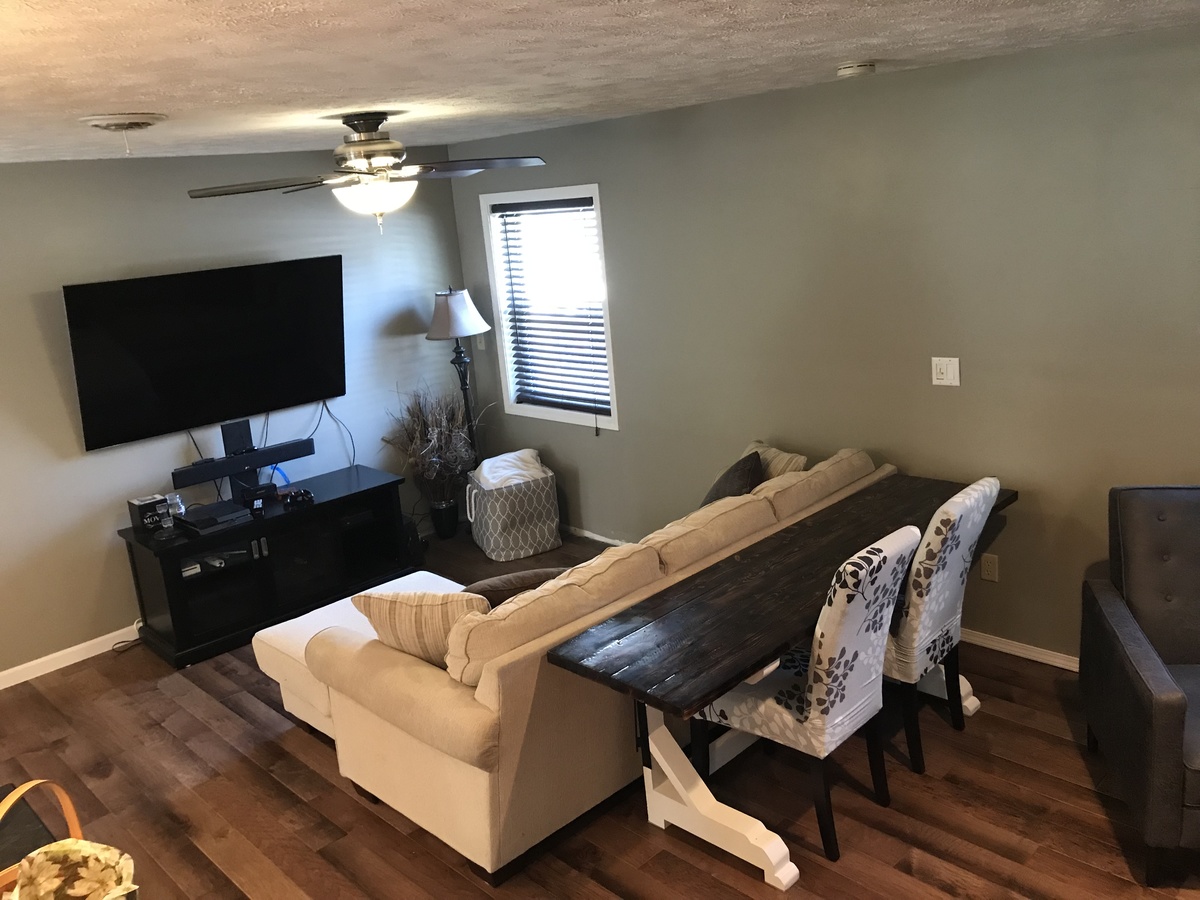
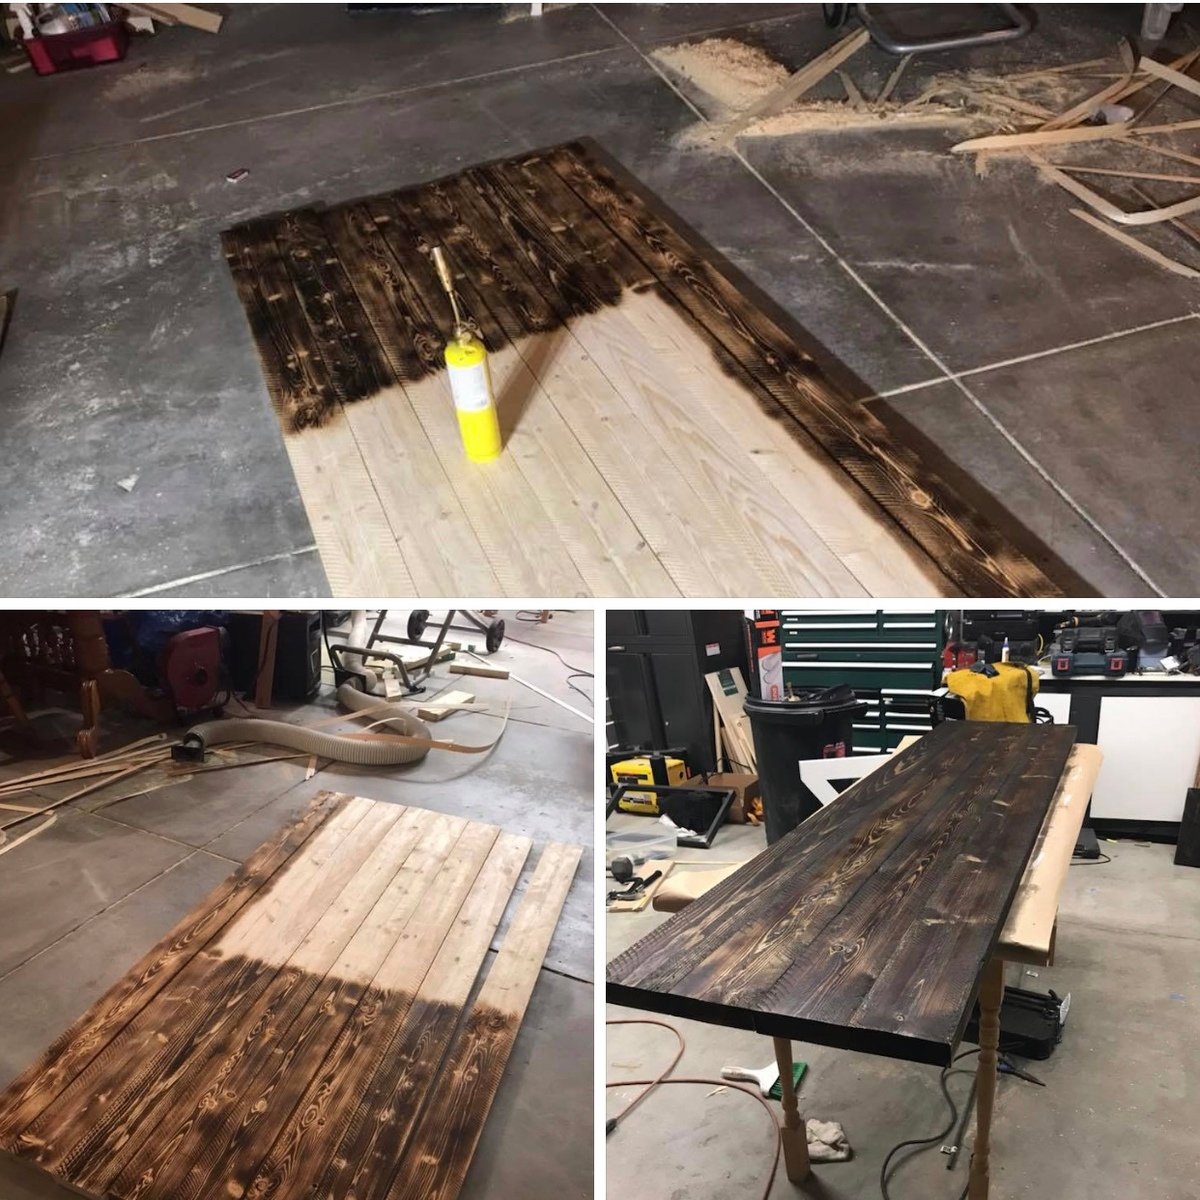
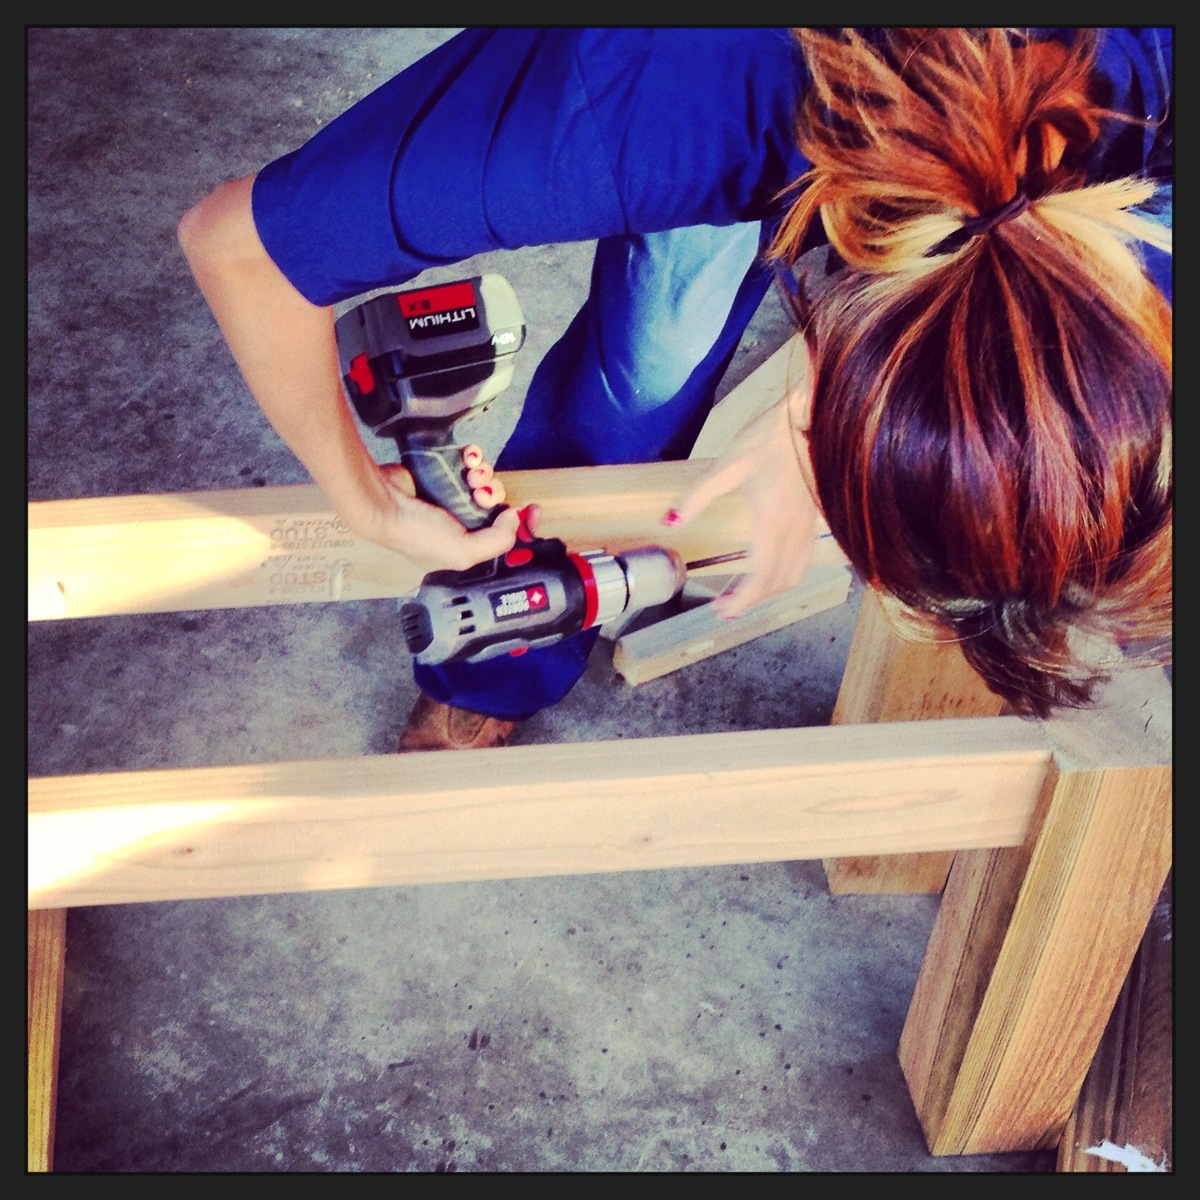
This was my first project building something from this site. I absolutely love it! We didnt add the X's because the miter saw was at my dad's house, which I was kind of sad about, but I think it still looks good. Not too bad for mine and my husbands first build!
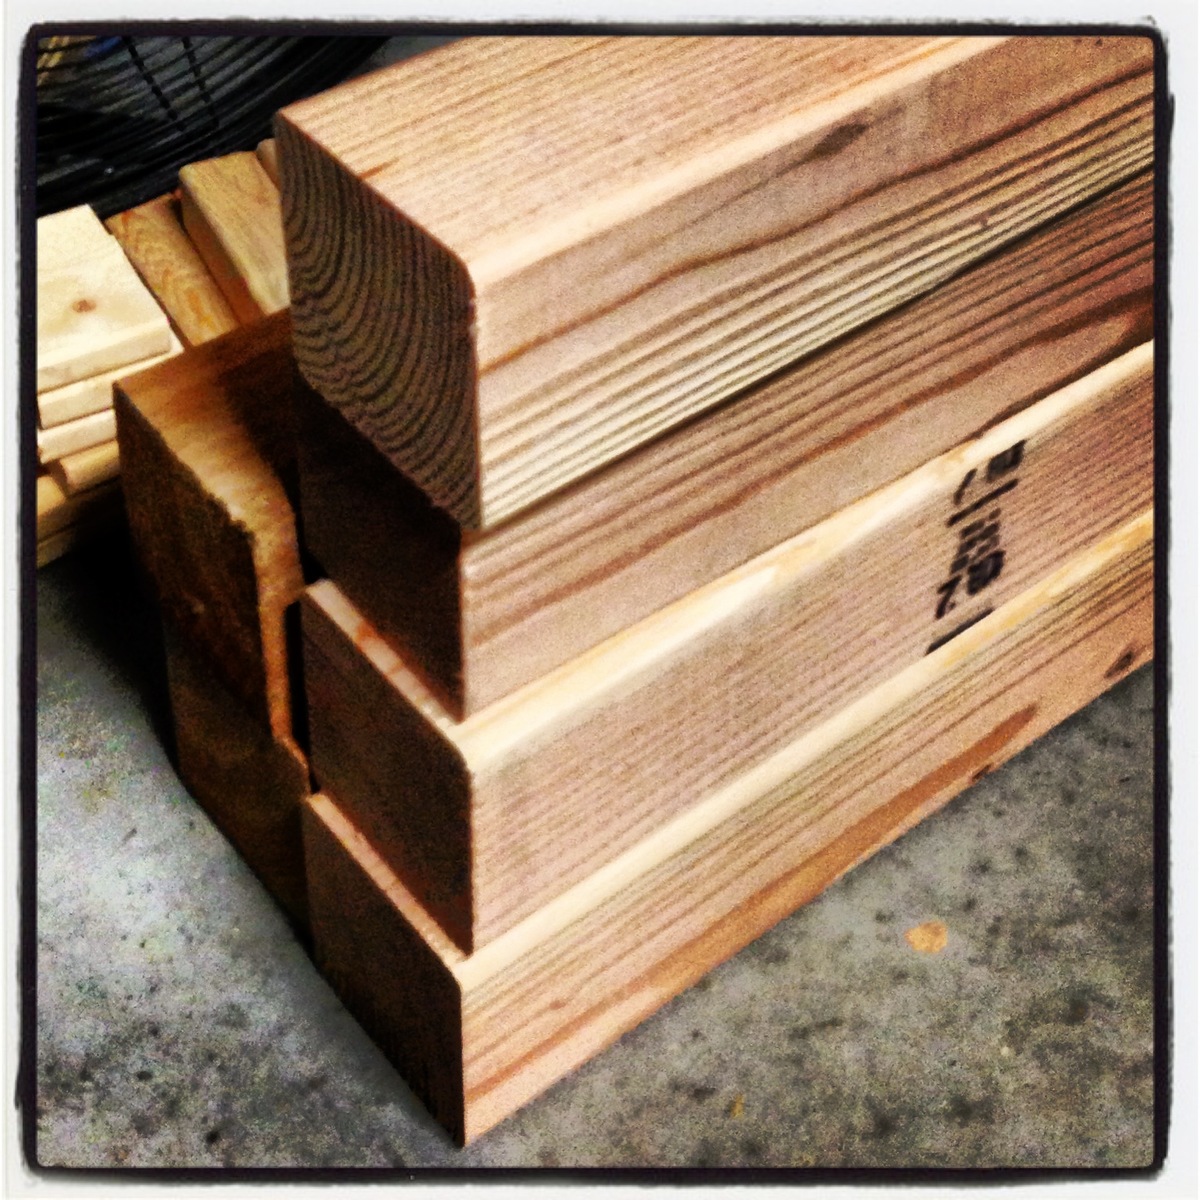
Built from Plan(s)
Estimated Cost
$75
Estimated Time Investment
Weekend Project (10-20 Hours)
Finish Used
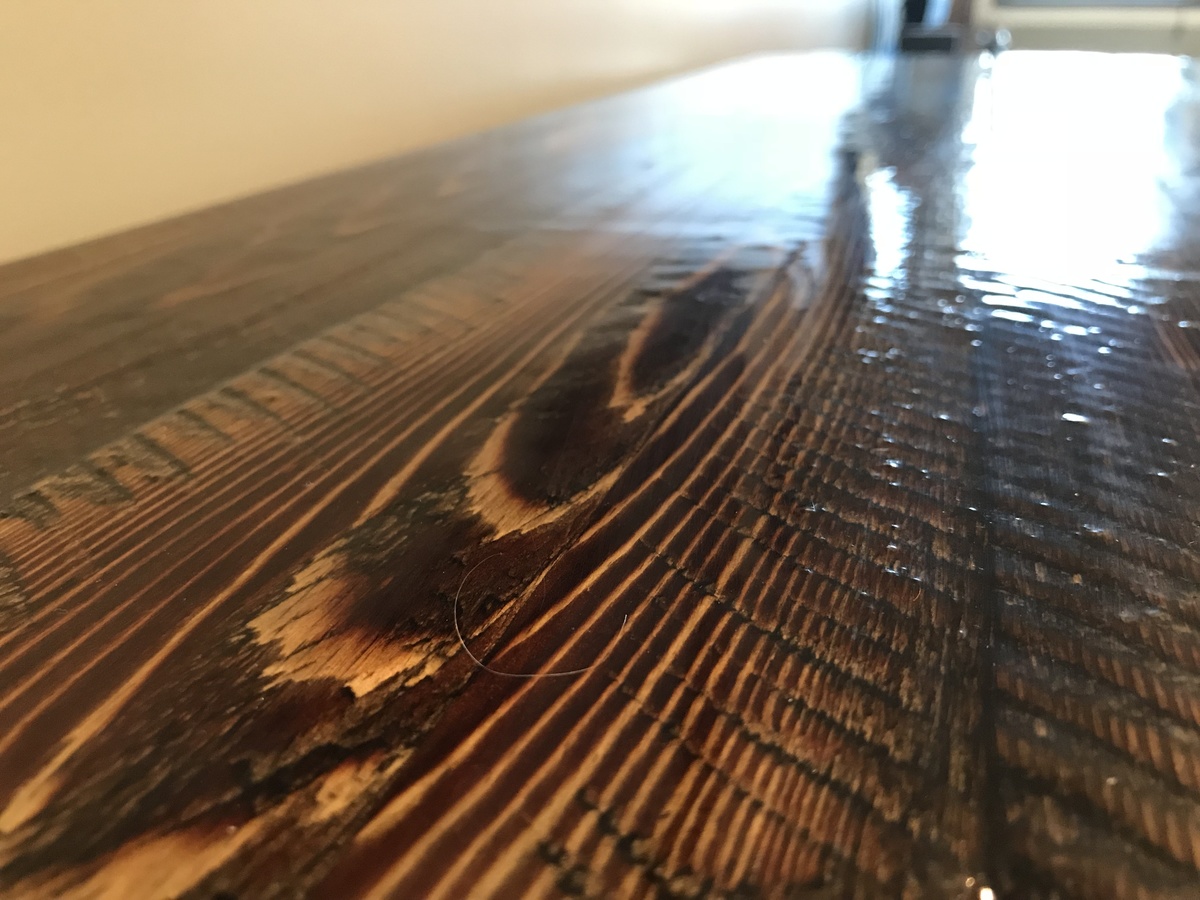
Minwax Jacobean
Recommended Skill Level
Beginner