Community Brag Posts

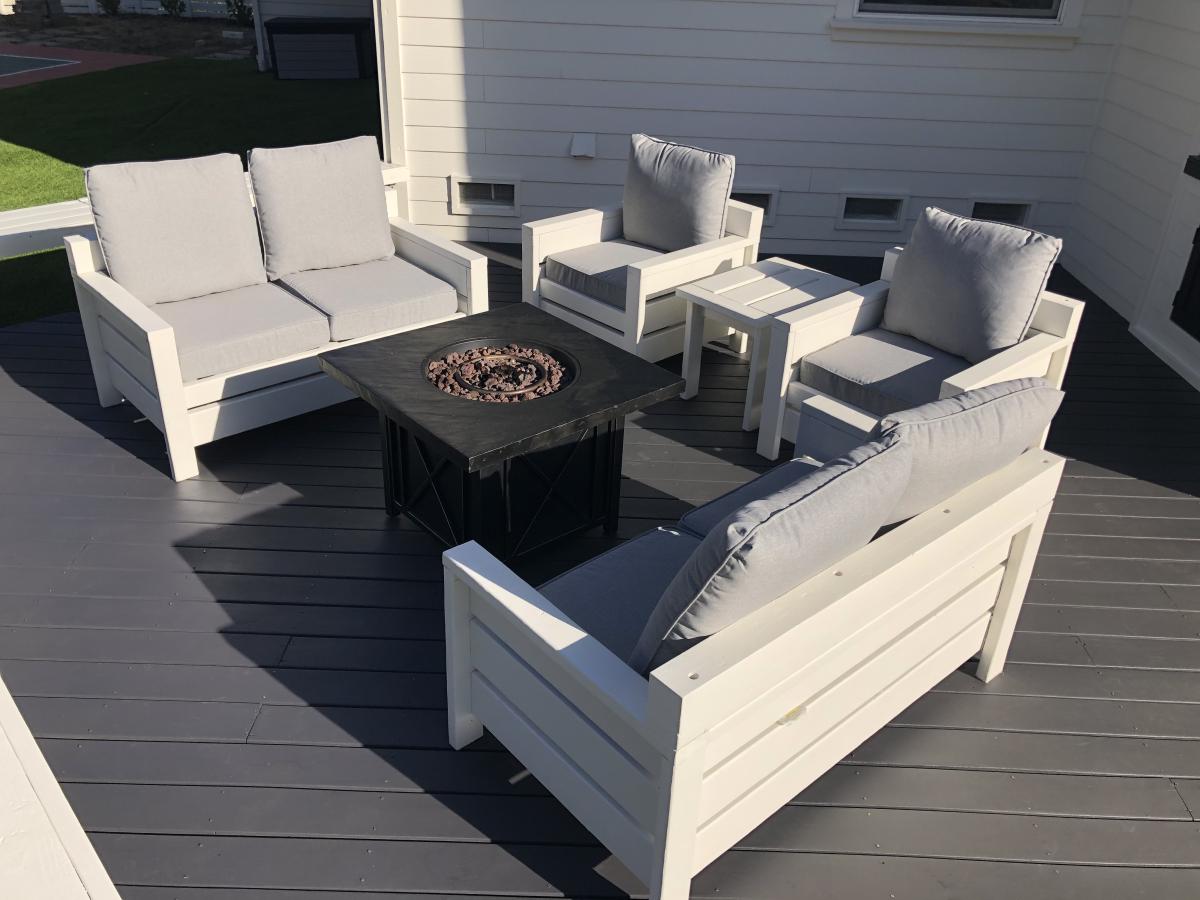
Modern Outdoor Collection

Submitted by Anonymous (not verified) on Tue, 10/27/2020 - 16:06

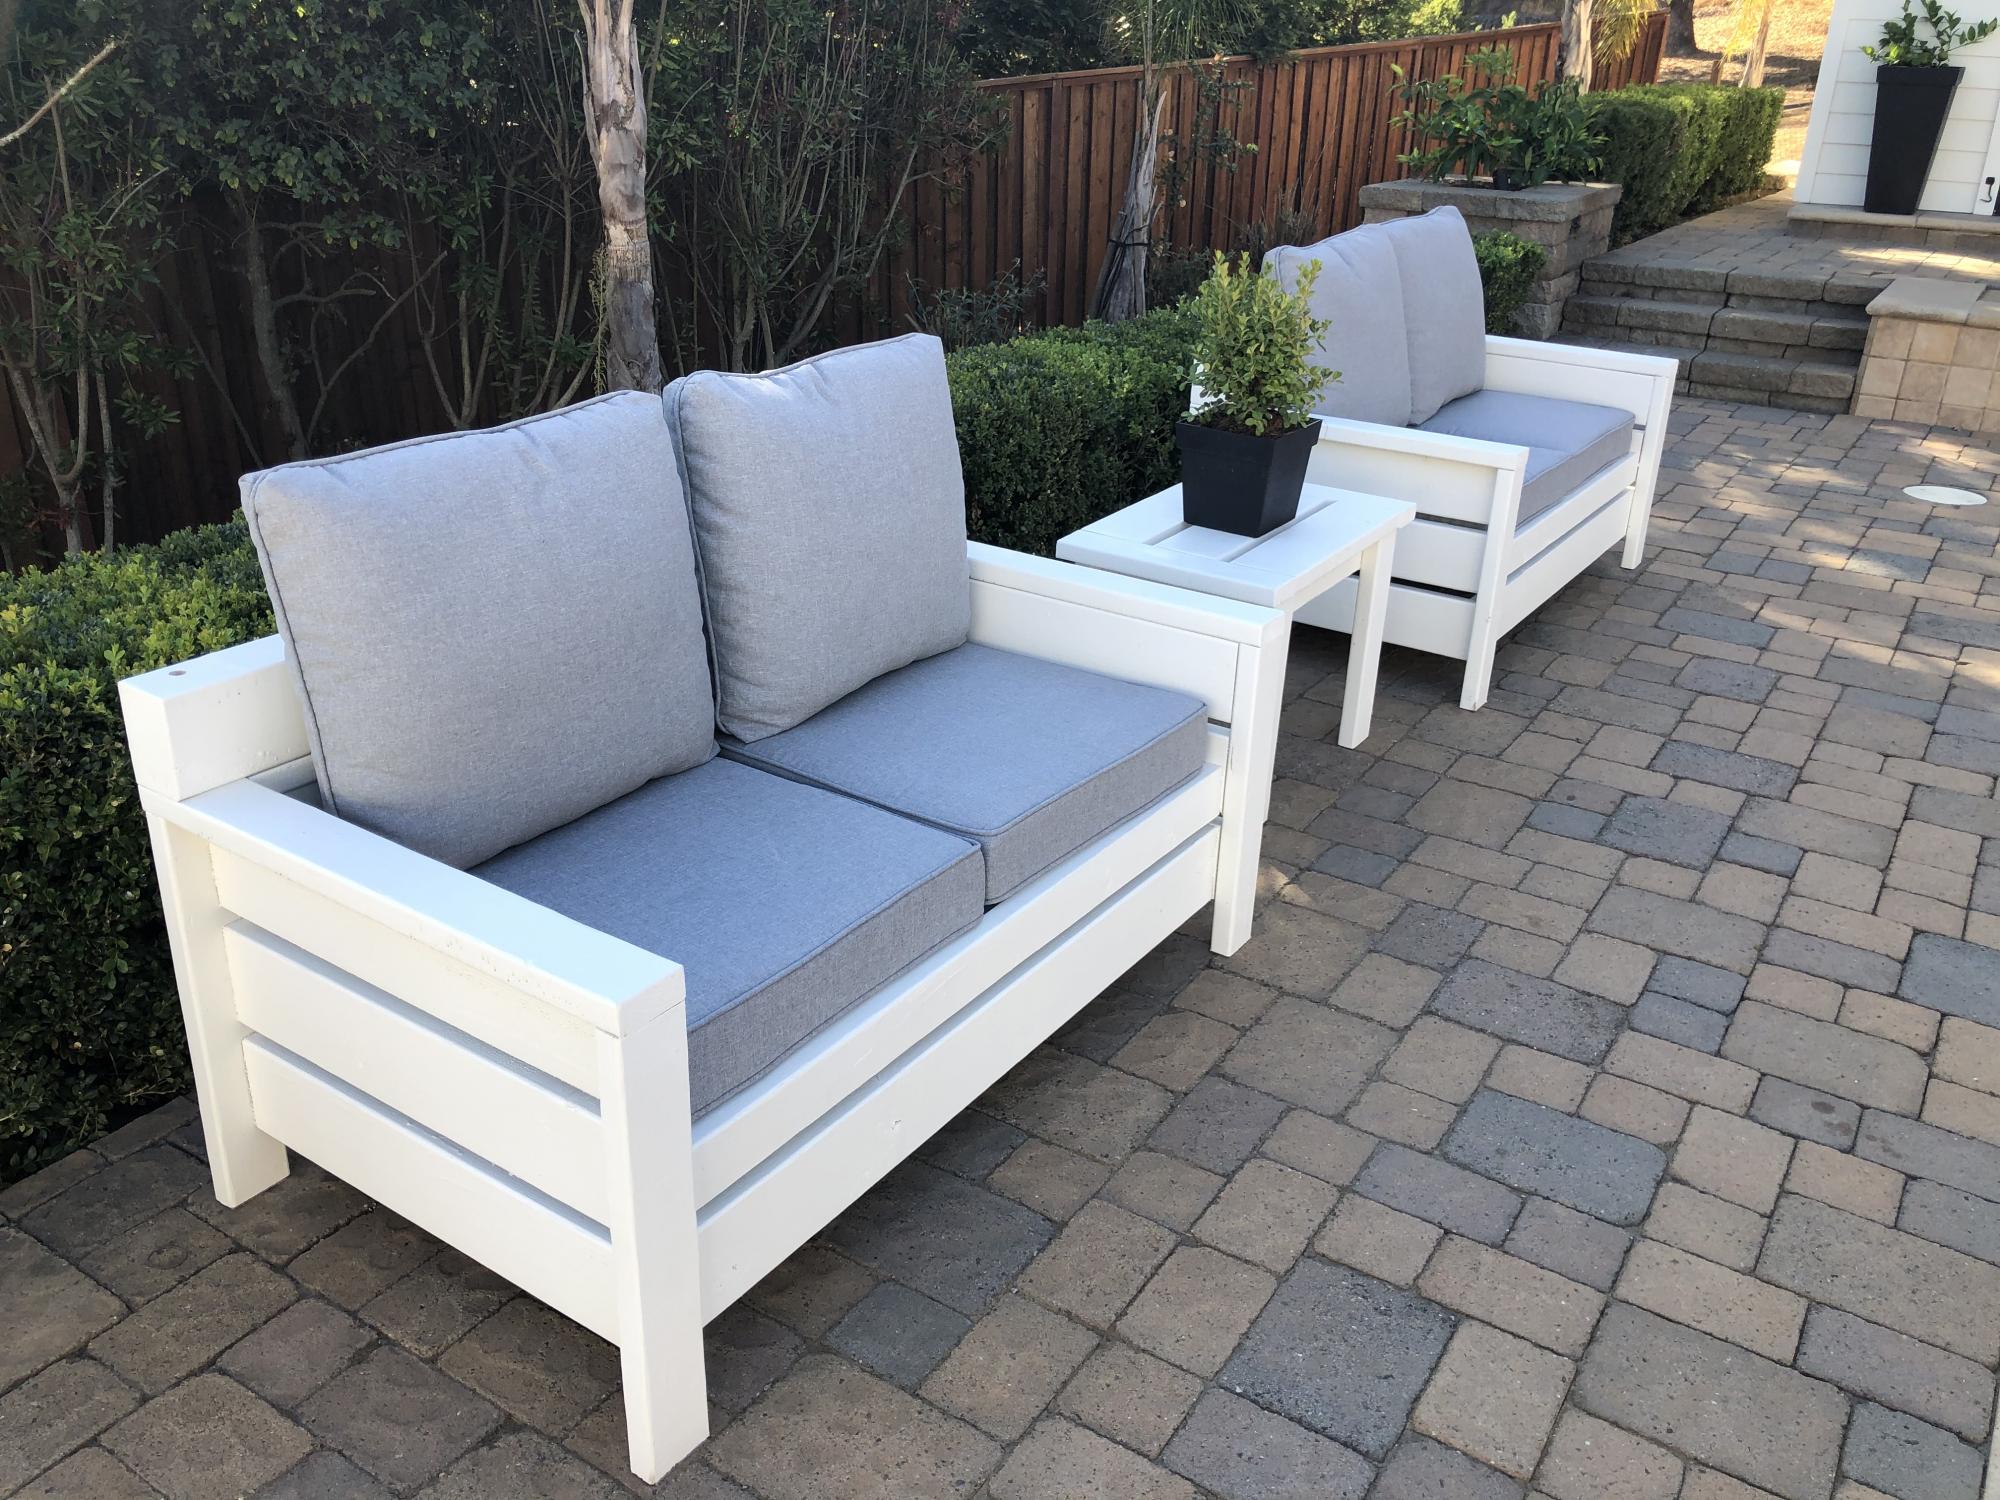
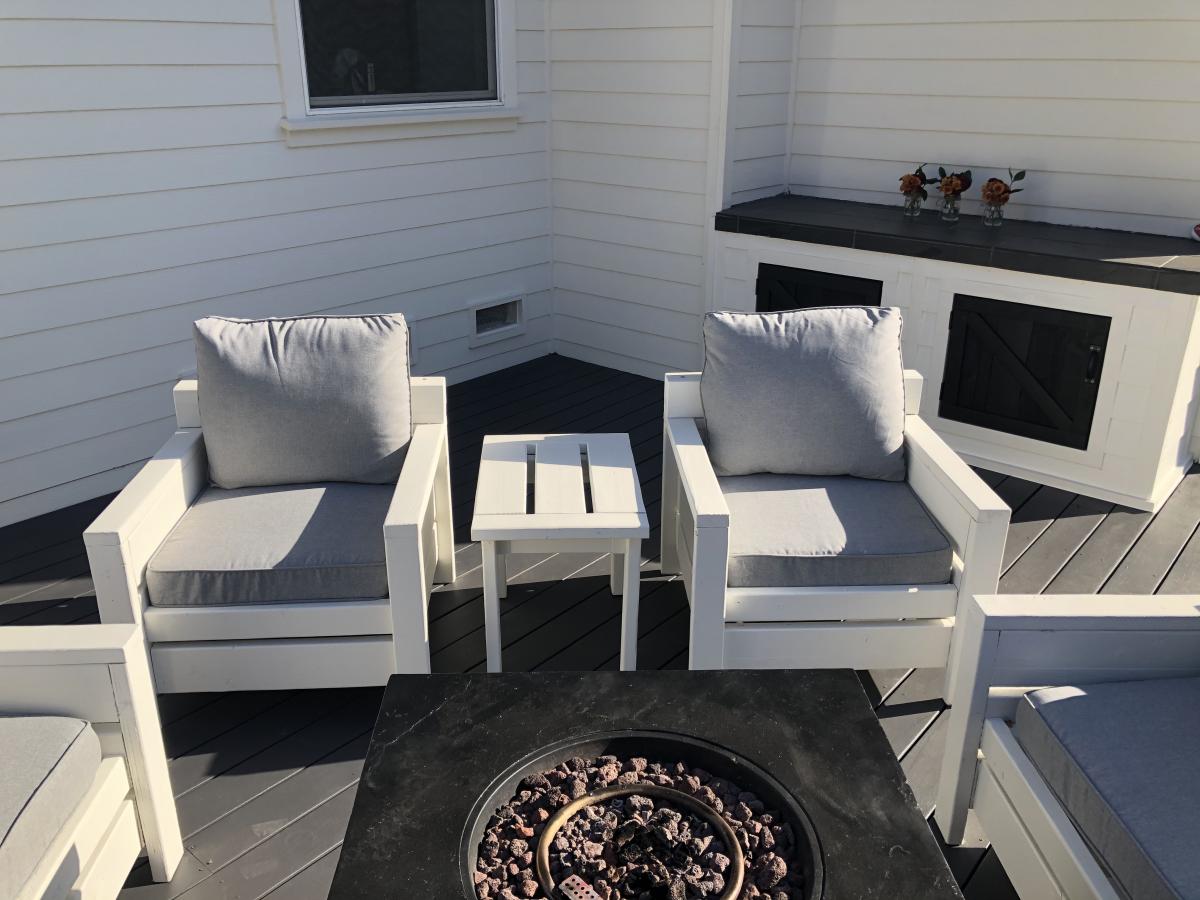
Great plans - thanks so much! Started with two chairs, and kept going...

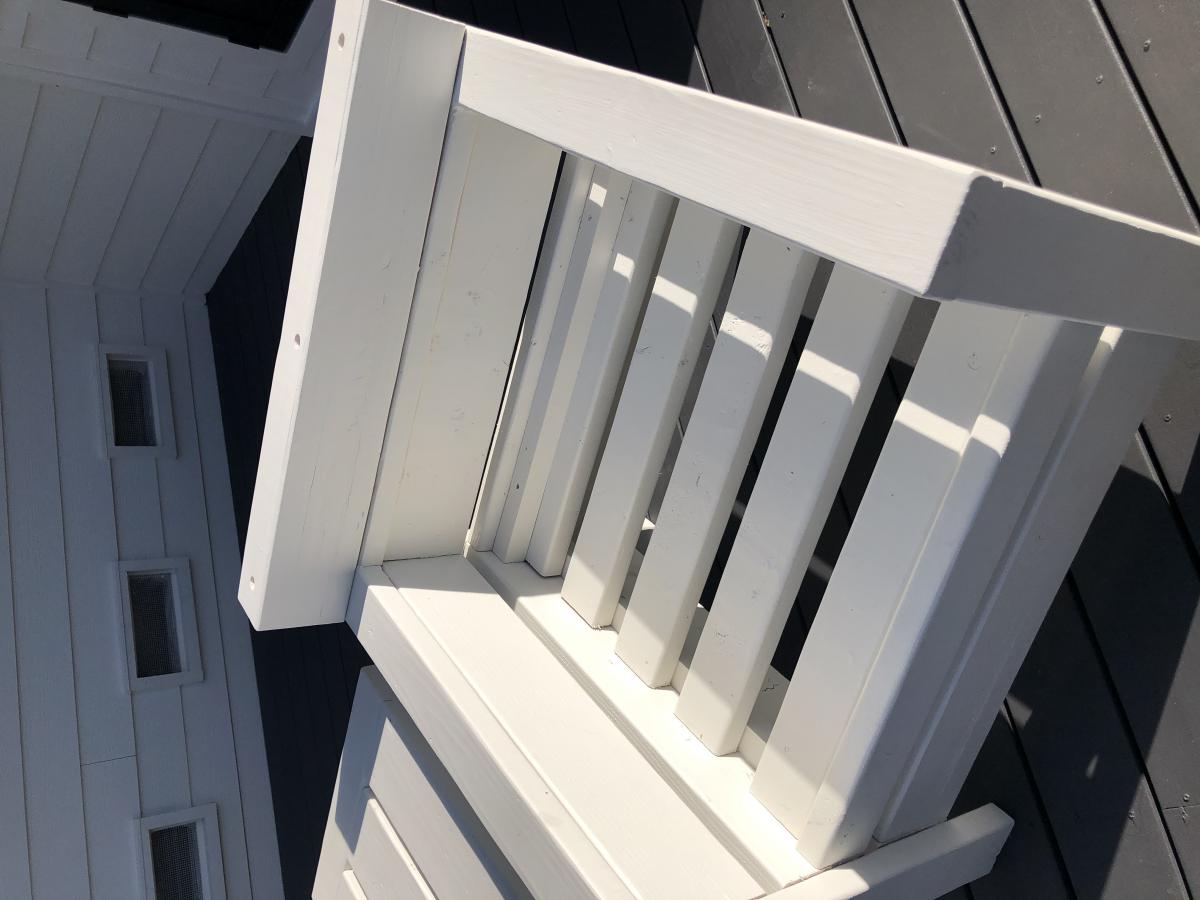
MODS: Once built, we felt there wasn't enough back support, so added a 2x4 then 4x4 on top. Also added a 2x2 in back of the seat bed, so our 25" x 25" seat cushions didn't float around.

Recommend paint gun vs. painting by hand.

Estimated Time Investment
Weekend Project (10-20 Hours)
Finish Used
Two coats of Behr waterproof stain + sealer (BM swiss coffee)
Recommended Skill Level
Beginner

Comments

Seasonal And Holiday

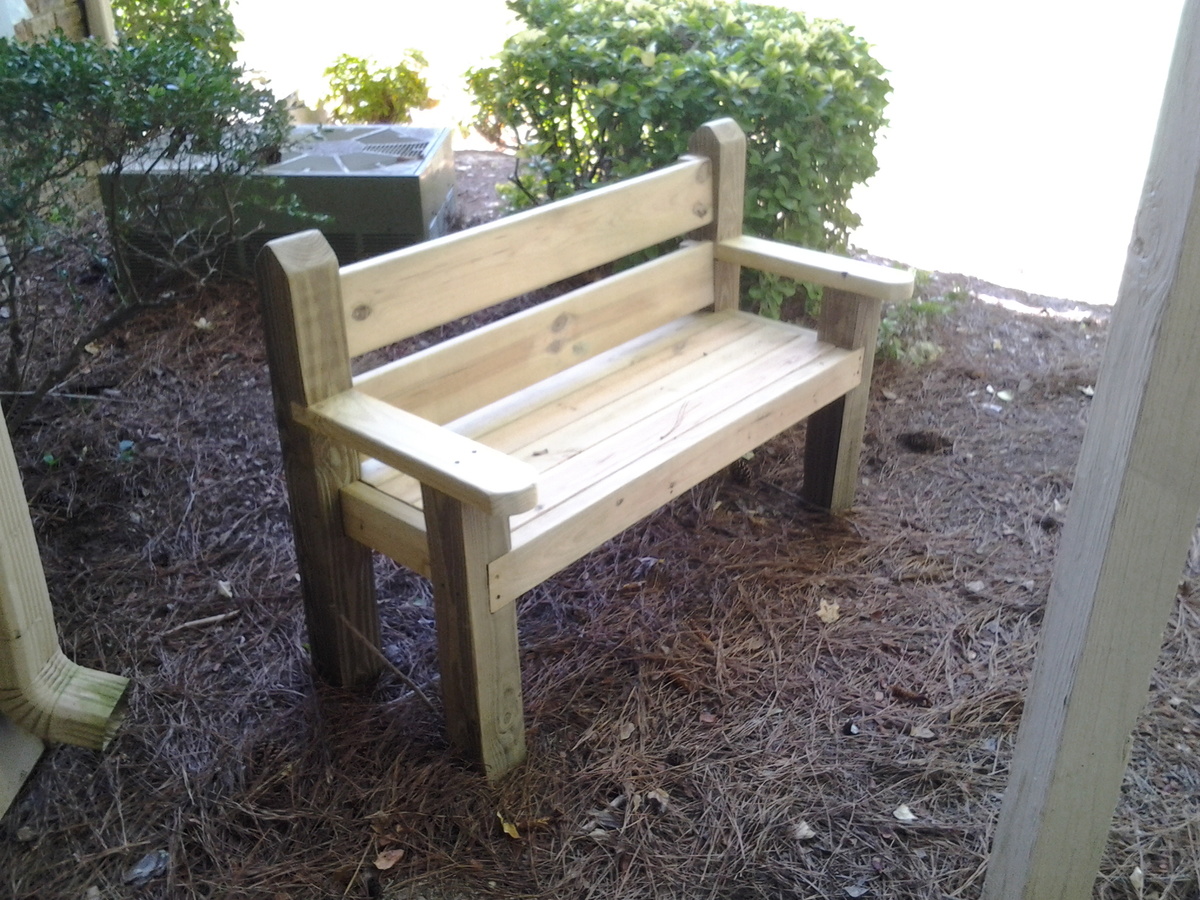
Garden bench

Submitted by jsosebee on Sat, 11/01/2014 - 18:59


What goes here?

Estimated Cost
$45.00
Estimated Time Investment
Day Project (6-9 Hours)
Finish Used
None
Recommended Skill Level
Beginner

$235 Weatherly Pergola

This is the first time I've ever taken on a project of this scale. The pergola is 12 x 11, and I was able to get it all done for $235 by having Lowe's price match a lumber yard in the next town over. I skipped out on the fancy base covers because I'll eventually make those pretty with limestone stacking rock - and because the lumber for those alone would cost about $121.
Once the treated lumber seasons, I'll stain it a darker color.

Built from Plan(s)
Estimated Cost
$235
Estimated Time Investment
Weekend Project (10-20 Hours)
Recommended Skill Level
Beginner

Comments

Cedar Boxes

Submitted by drowland on Sat, 07/09/2011 - 07:18

We built these before we saw these plans, but they are pretty much the same... We added the chicken wire to keep the rabbits (and our dog) out of the garden. We added the owl to keep the birds out. We've gotten a ton of tomatoes, onions, and bell peppers so far. Next year, we'll add a few more beds. We also added the verticle garden to take up less space, but its not deep enough. We'll make the next one deeper.

Estimated Cost
$30
Estimated Time Investment
An Hour or Two (0-2 Hours)
Finish Used
none
Recommended Skill Level
Starter Project

Comments

KatieO (not verified)

Sat, 07/09/2011 - 20:11

Wow! LOVE IT! I love the taller posts so you can incorporate the chicken wire! I SOOOO needed to do something like that this year. Also, the vertical garden boxes are BRILLIANT! LOVE IT!

drowland

Thu, 11/17/2011 - 07:59

We ended up getting a ton of tomoatoes and green peppers from the garden boxes. We've actually built a couple more. We'll probably double again before next spring. We're looking at adding more veggies.

We now have ton of stuff planted for the fall...

Guest (not verified)

Tue, 03/13/2012 - 10:46

How did you build the upright planter boxes? Do you mind explaining the building process/design? I really want to plant this in my yard!

colton's mom (not verified)

Tue, 04/03/2012 - 06:19

i love the vertical boxes. I am just trying my hand at the world with a green thumb and could use as much advice as possible about how to make as well as to line the boxes or not to line them. All advice appreciated!

berman (not verified)

Fri, 11/23/2012 - 21:53

Hi, my name is berman. I found you pin from my pinterest and your box garden is so great. I am a newbie in this field and so interested to build garden in my house. If i can ask you some question, could you please to answer that?

cheers,
berman

Seasonal And Holiday

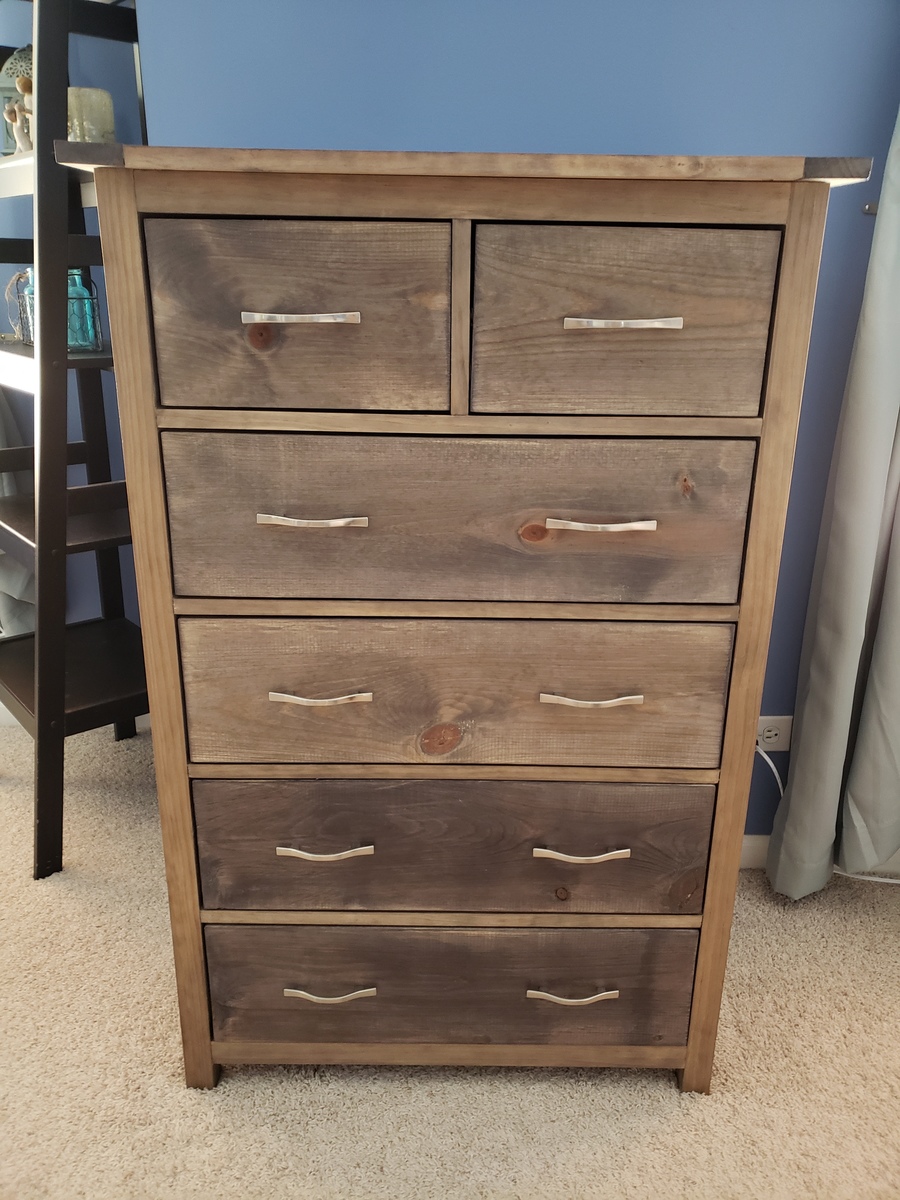
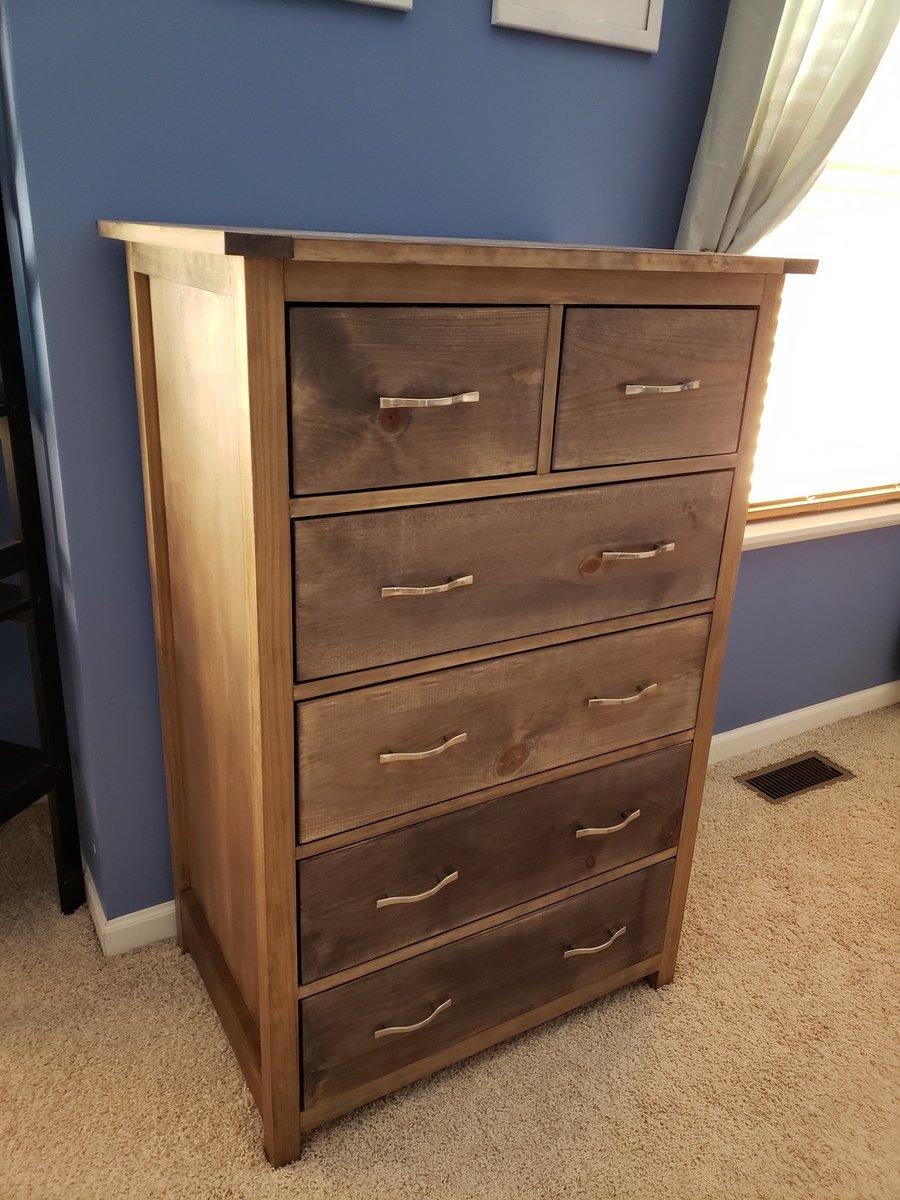
Tall Bedroom Dresser

Had a blast with this project and am getting more confident with drawer slides. I built a matching dresser that is much shorter and wider. It can be found here: http://www.ana-white.com/2018/08/DIY_furniture/bedroom-dresser

Estimated Cost
$150-$200
Estimated Time Investment
Weekend Project (10-20 Hours)
Finish Used
Varathane Weathered Wood Accelerator, Varathane Poly
Recommended Skill Level
Advanced

Comments

hutchingslv

Thu, 08/12/2021 - 15:35

Any way to get a copy of these plans? I really like the look and want to give it a shot. Have to make a few of these if all goes well for all my boys.
Thanks

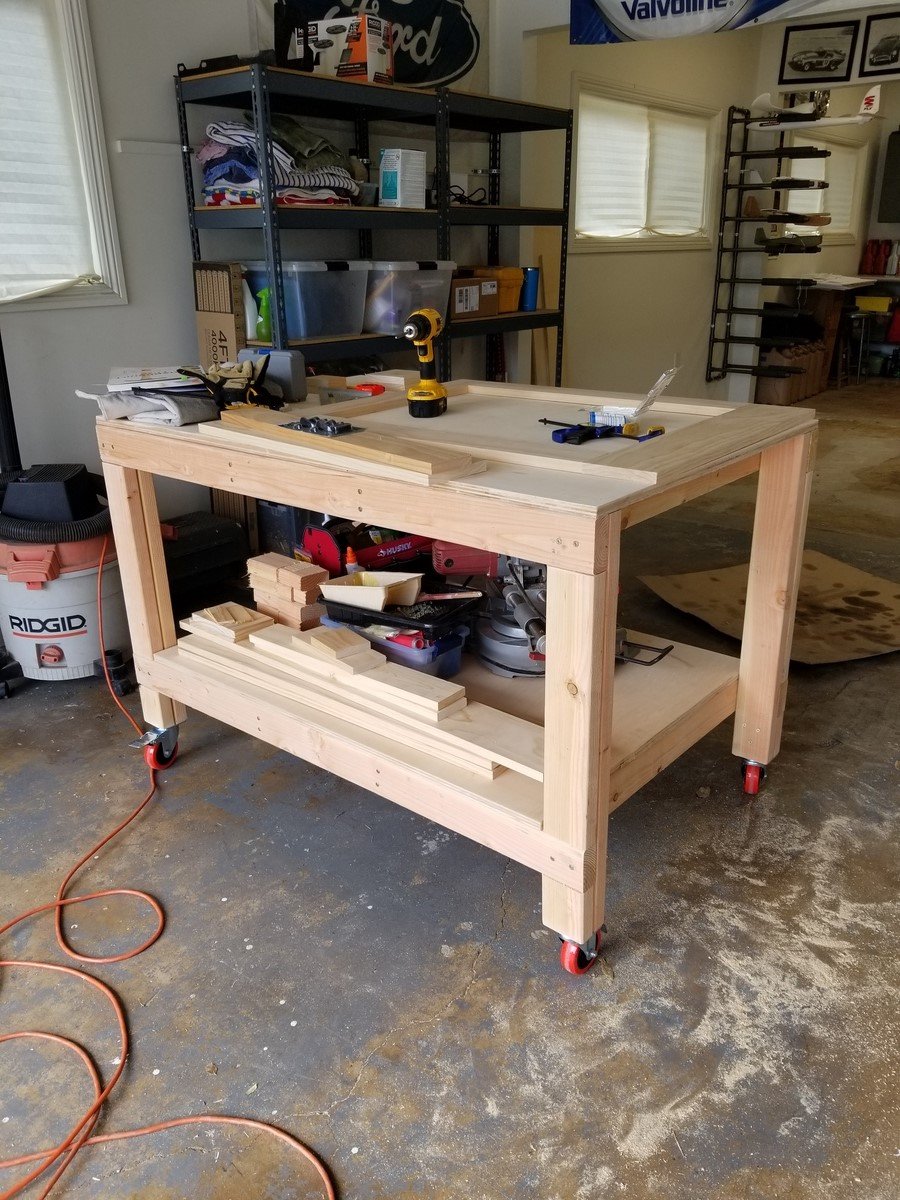
Workbench modified with casters

Submitted by ogie287 on Tue, 04/02/2019 - 20:06

I love this workbench! I added casters so I can move it around the garage, outside, wherever it's needed. I just took 4 inches off the bottom of the legs. My hubby is admiring my handy work and planning on making one for himself.

Estimated Cost
$130
Estimated Time Investment
Afternoon Project (3-6 Hours)
Finish Used
None
Recommended Skill Level
Beginner

Comments

JBeecher

Wed, 01/25/2023 - 14:31

Love this with the casters! So beautiful. I'm new here and wondering at what point you took 4 inches off the legs. Did you build the table and then just cut off the legs? Or did you adjust the measurements of the cuts? Thanks in advance! :)

JimCoz516

Mon, 01/30/2023 - 02:32

The overall height of a 4-inch caster wheel is a little over 5 inches with the mounting bracket, so that also needs to be taken in to consideration. 2nd photo shows the overall dimensions, but to me the bracket and brake area appear to be a bit more than 1.03 inches. https://amzn.to/3DkMKzB
I think the best bet would be to have and measure the overall wheel height, prior to measuring and cutting the lumber.

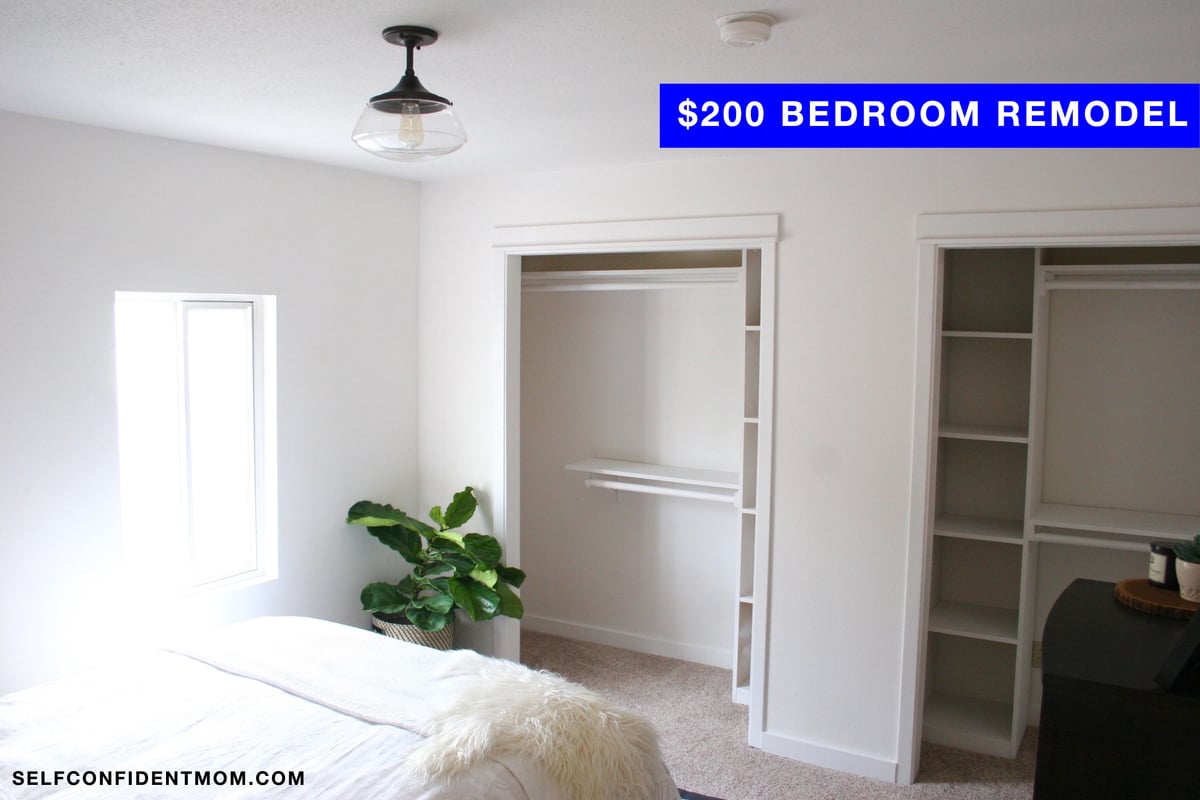
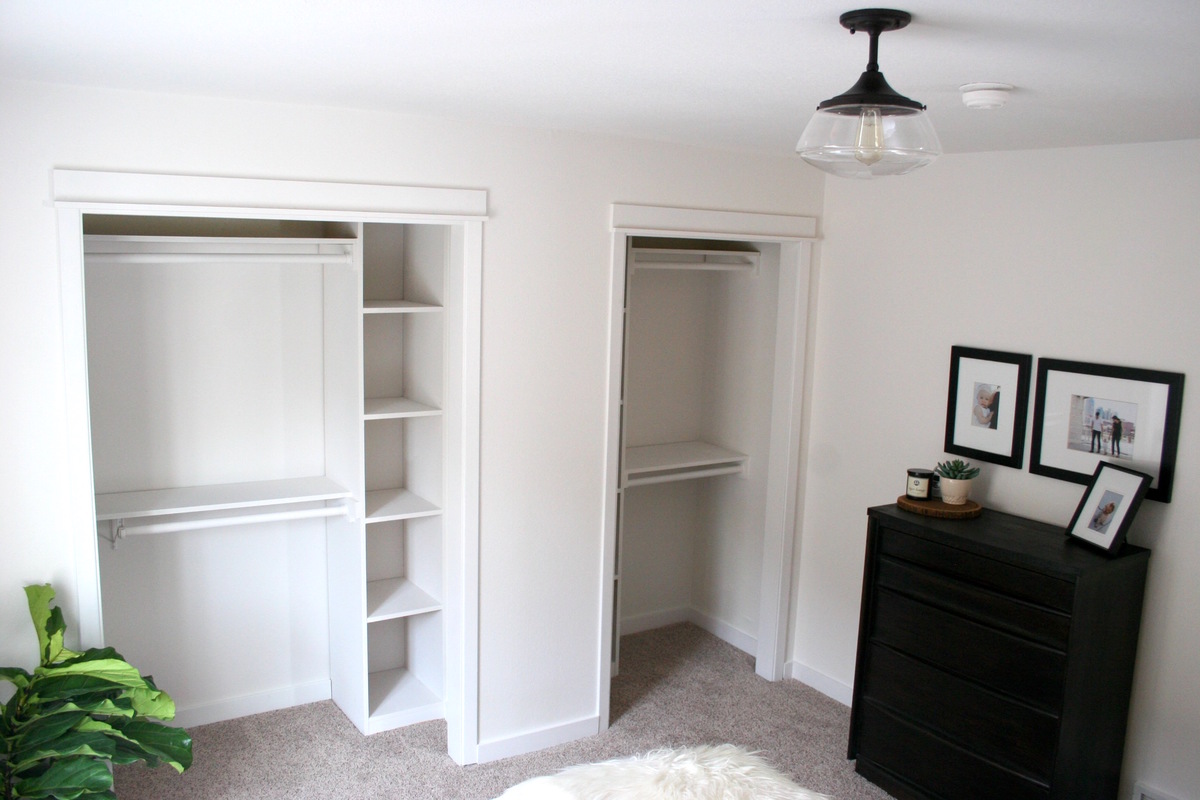
Bedroom Remodel

Submitted by Anonymous (not verified) on Thu, 01/21/2016 - 18:35

We had 2 empty closets in our 100 year old home. The custom shelves took a day to build and have worked amazingly for our organization.

Built from Plan(s)
Estimated Cost
$200
Estimated Time Investment
Weekend Project (10-20 Hours)
Recommended Skill Level
Starter Project

Round Side Tables

Submitted by Anonymous (not verified) on Fri, 06/16/2023 - 18:39

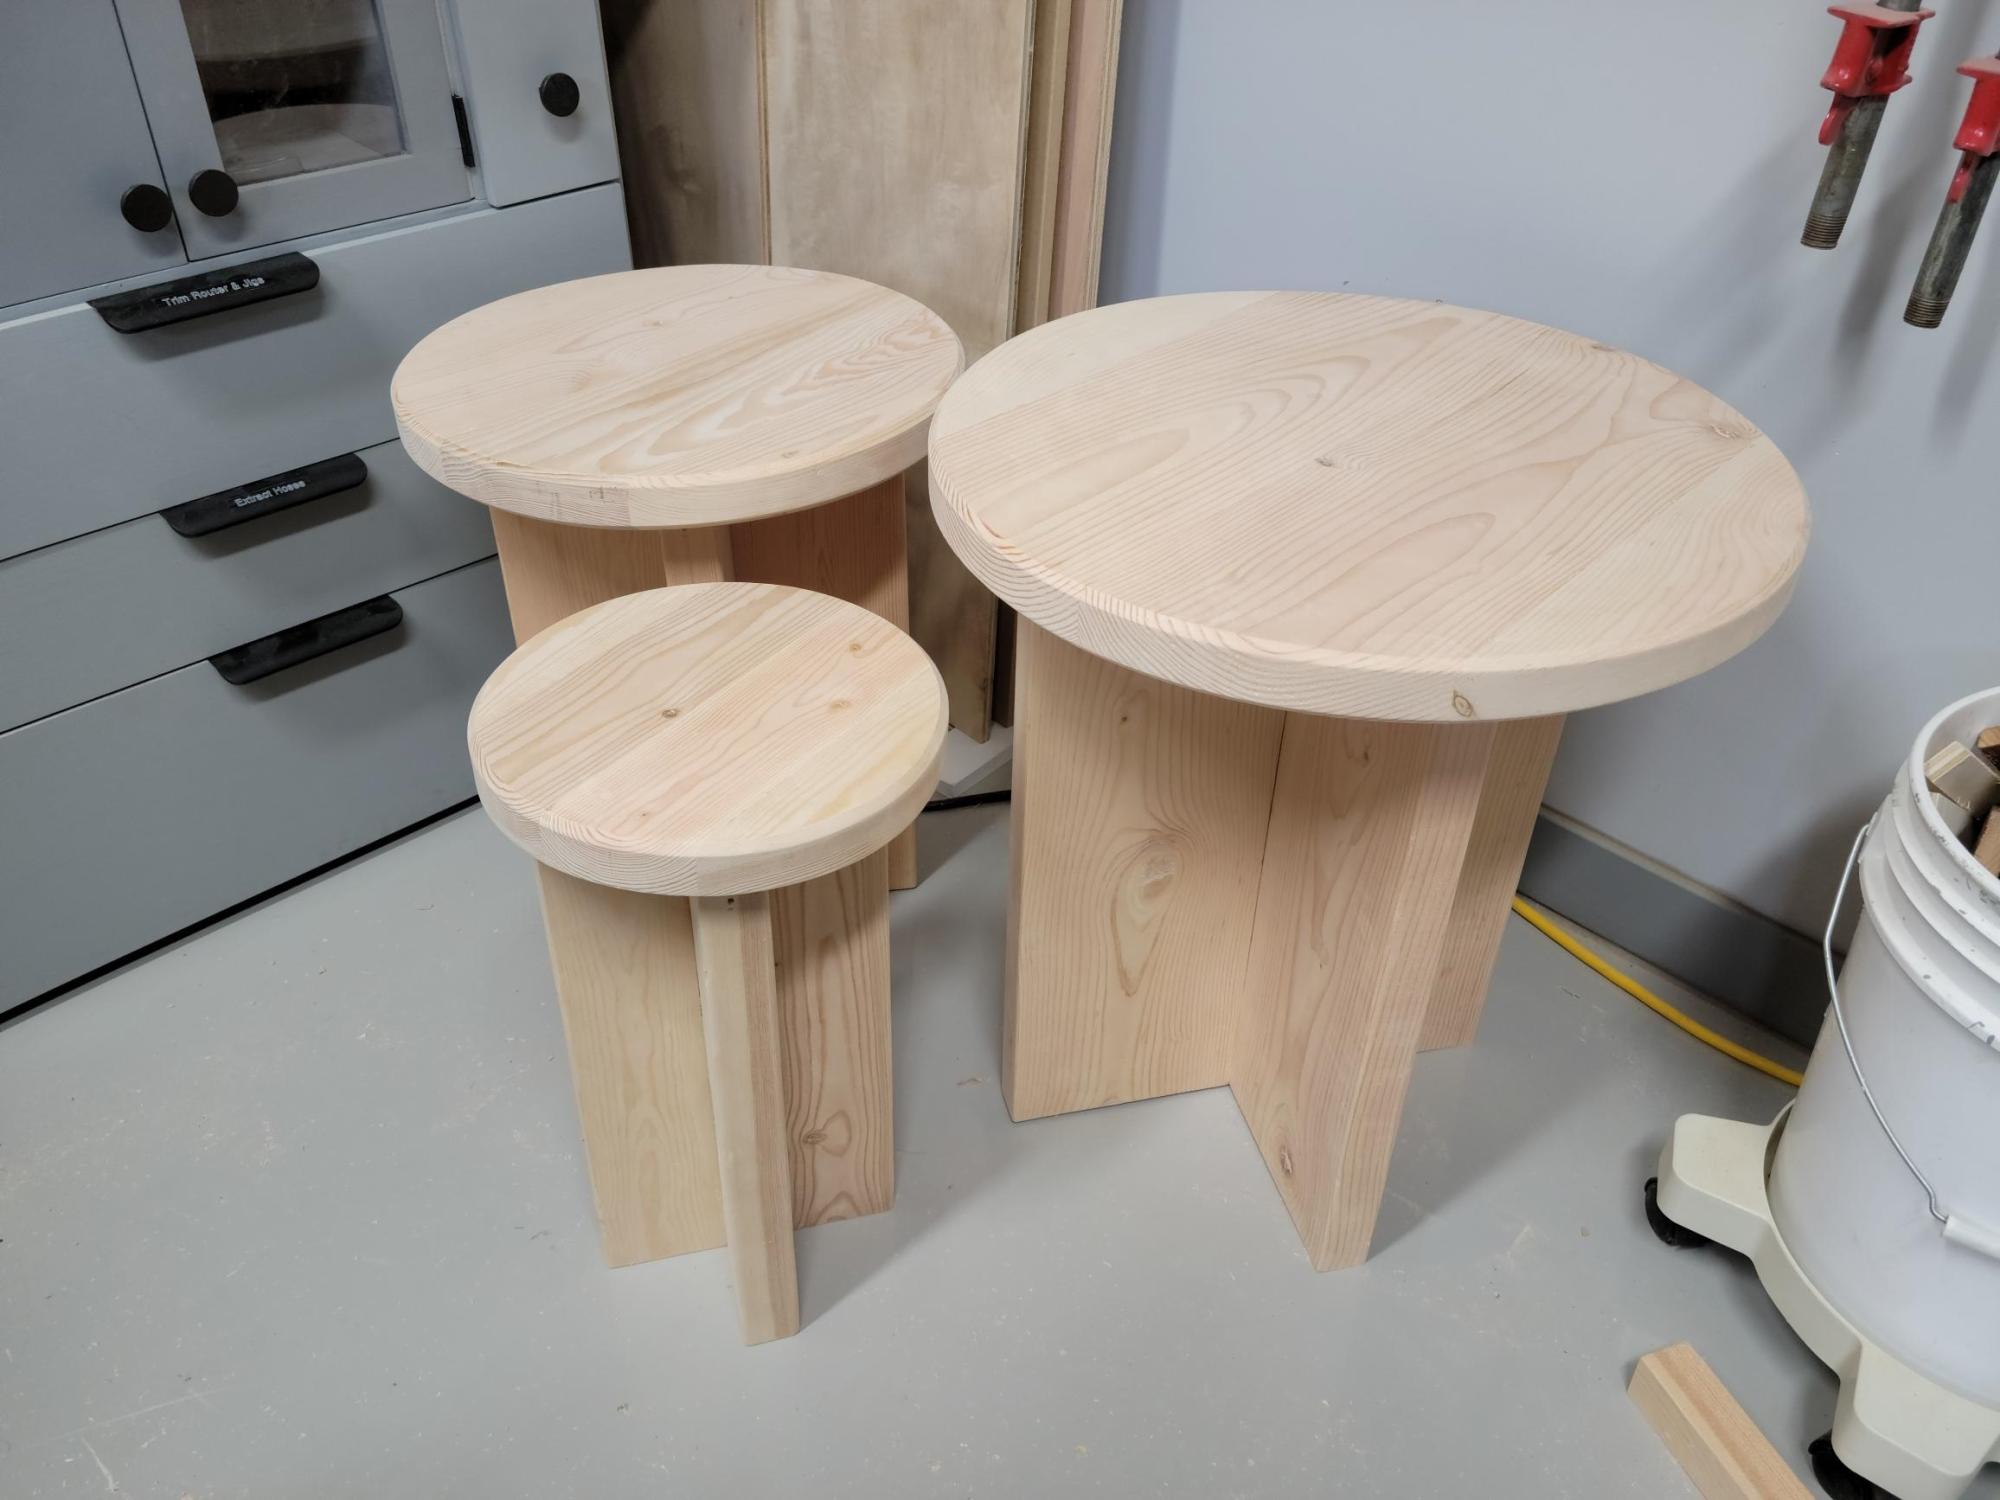
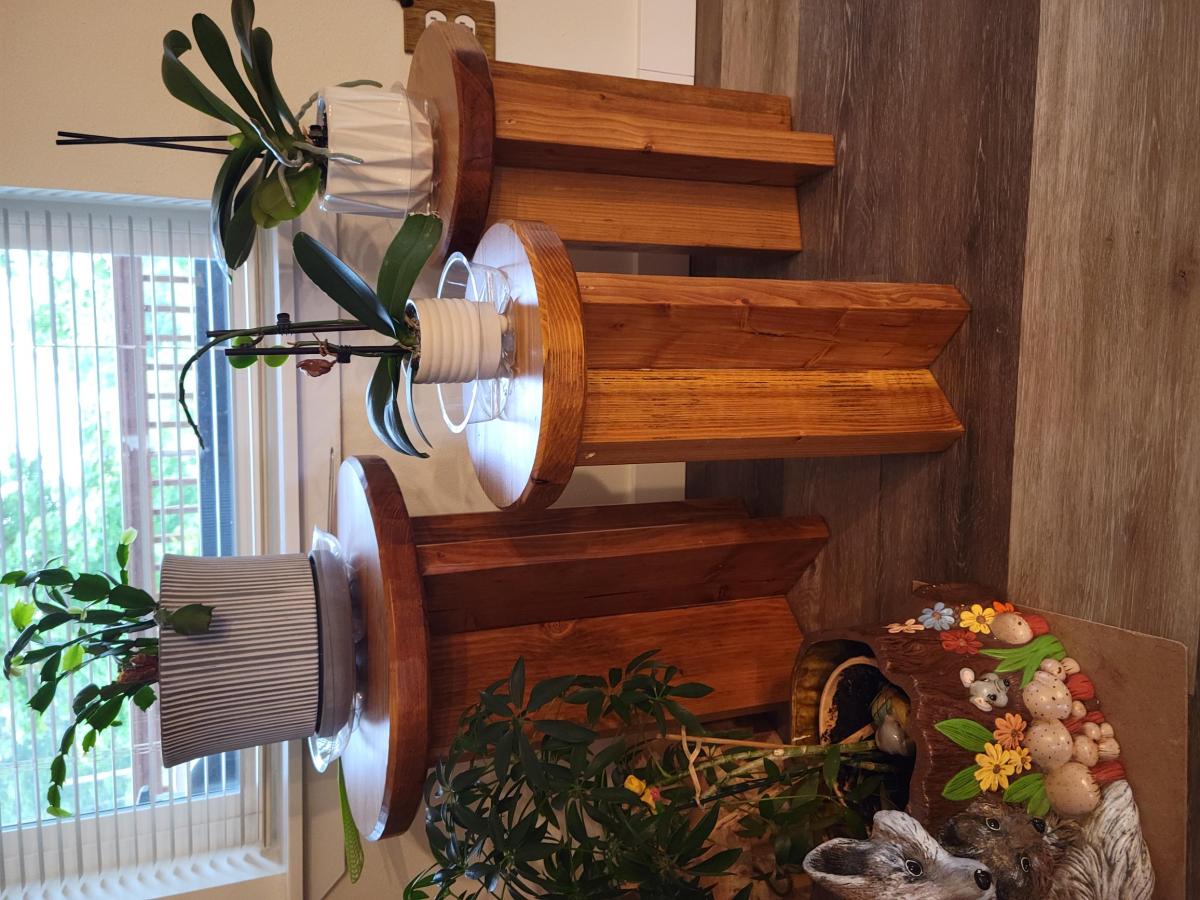
I first made a set of these for my wife to use on the deck. She liked them so much that she's using them in the living room! (Second photo.) These were made from rough lumber left over from a building project so took a fair amount of time to cut and prep. I don't have a planer so the belt sander outside was put to good use. Then, to make them them fit well, I recut the sides, and rather than pocket holes I glued them into a plank before cutting the rounds with my table saw. That also gave me a tight flat top.

Her friend saw them and wanted a set, so here they are. Again I recut the sides and glued them to create a smooth plank. This time I used the router and a circle jig to cut the tops, giving me a much nicer finish. They will be stained mahogany and finished with multiple coats of polyurethane.

The large one I simply upsized from the original plan, roughly scaled. It is 22" tall, made with 2x8 lumber selected and purchased at the box store. My wife's friend is totally delighted with them! Thanks Ana for the inspiration.

Built from Plan(s)

Comments

Farmhouse Daybed with Storage Drawers Twin

Submitted by jburns2013 on Fri, 12/27/2013 - 16:05

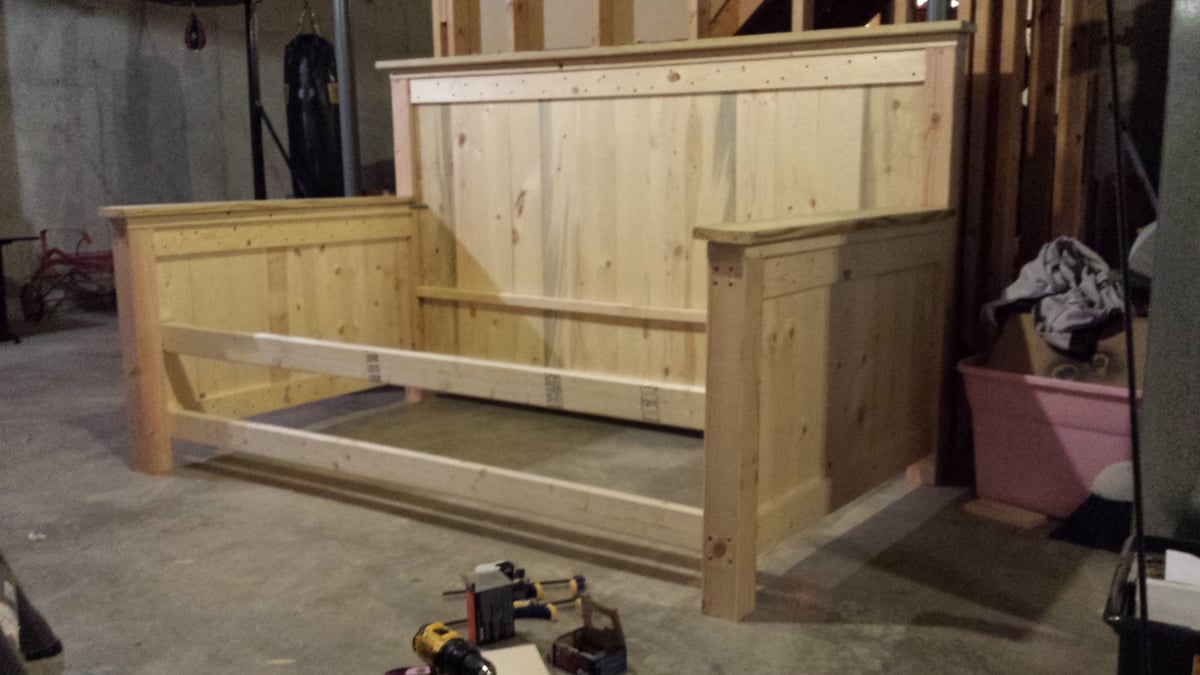
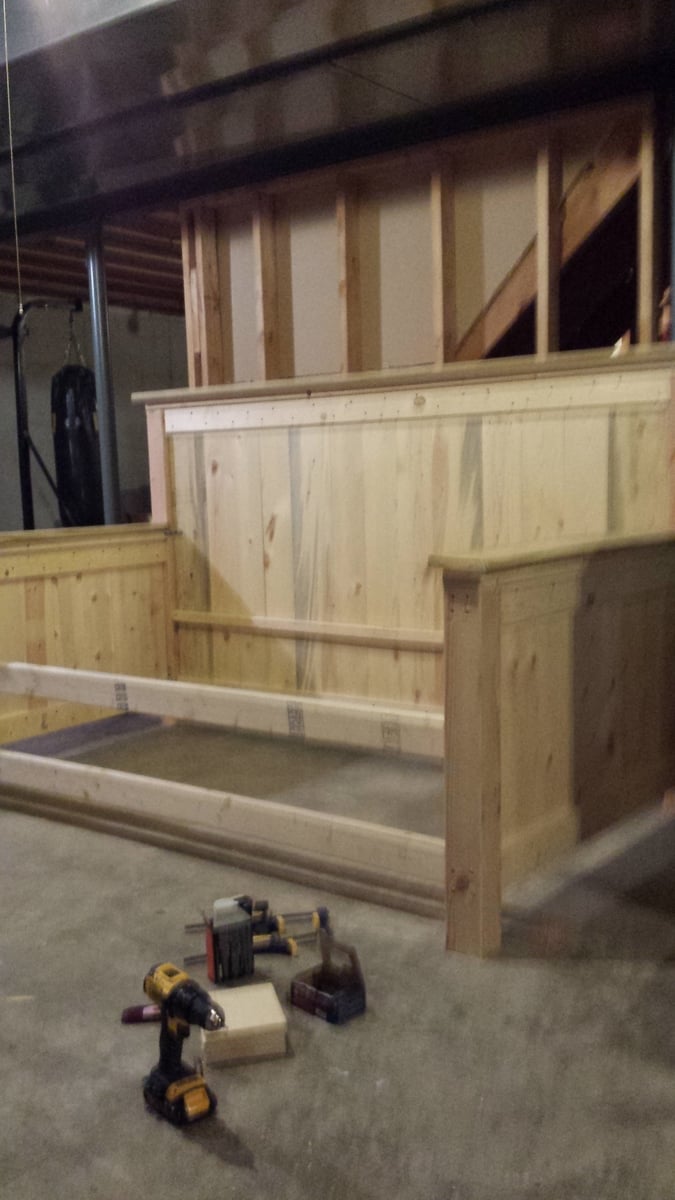
This daybed was modified from the Farmhouse bed plans. I am still finishing the drawers, sanding, putty and paint.

Estimated Time Investment
Day Project (6-9 Hours)
Finish Used
Will finish with white wash paint and poly
Recommended Skill Level
Intermediate

Comments

lneese

Fri, 01/22/2016 - 09:07

This looks amazing! Do you happen to have a picture of it finished? What about the plans and supply list? I am wanting a bed with drawers just like this for my daughters room. 

Kimberly Carew

Sat, 03/10/2018 - 20:24

Do you have the details about this build? I would love to build this for my daughter this week. 

What would it take to add a railling to it?


Thank you for sharing all of your amazing work. 

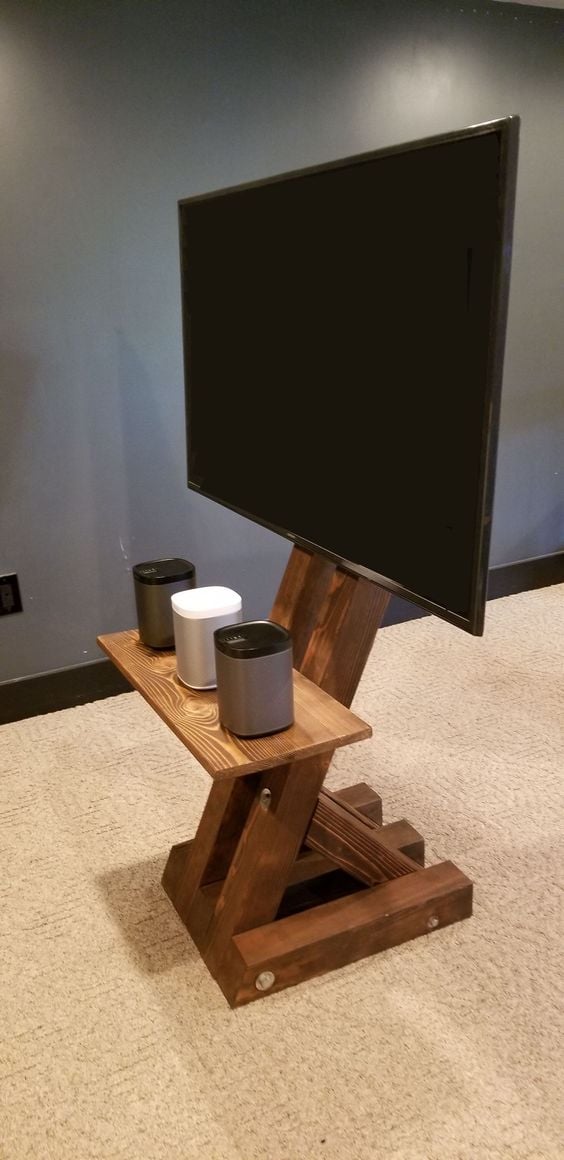
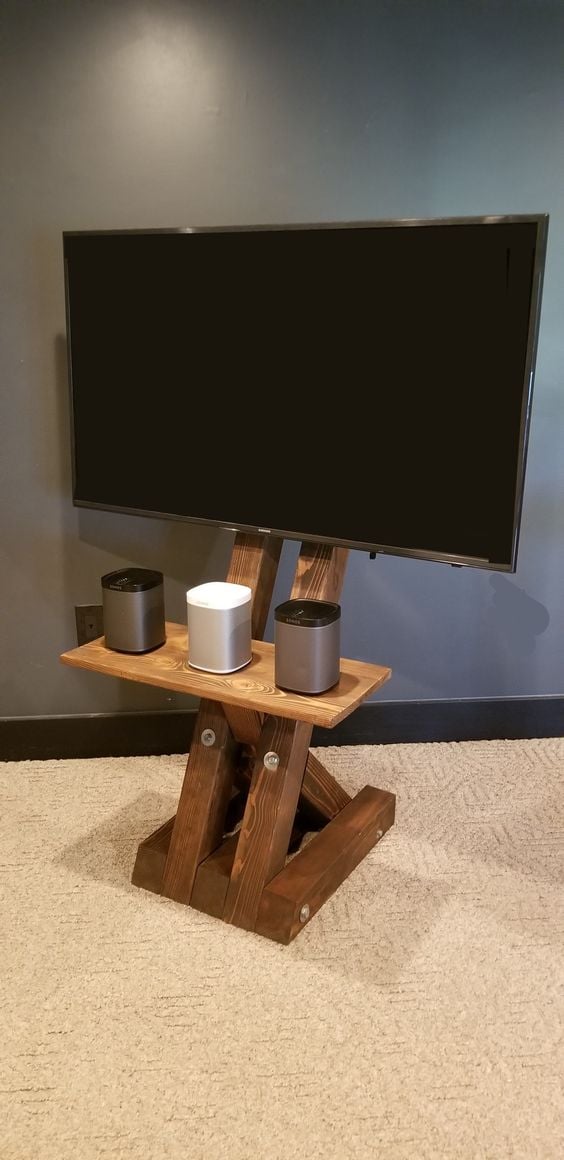
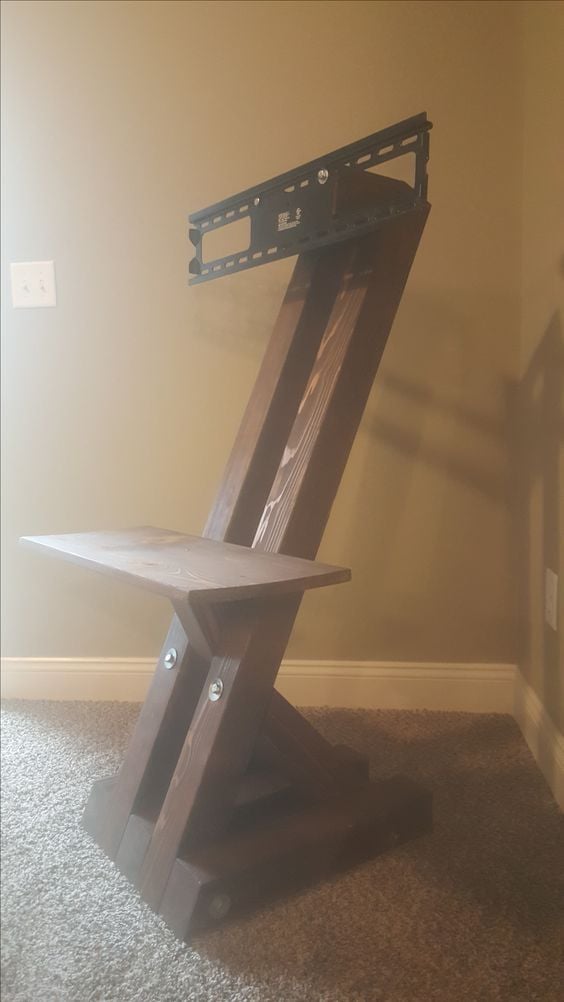
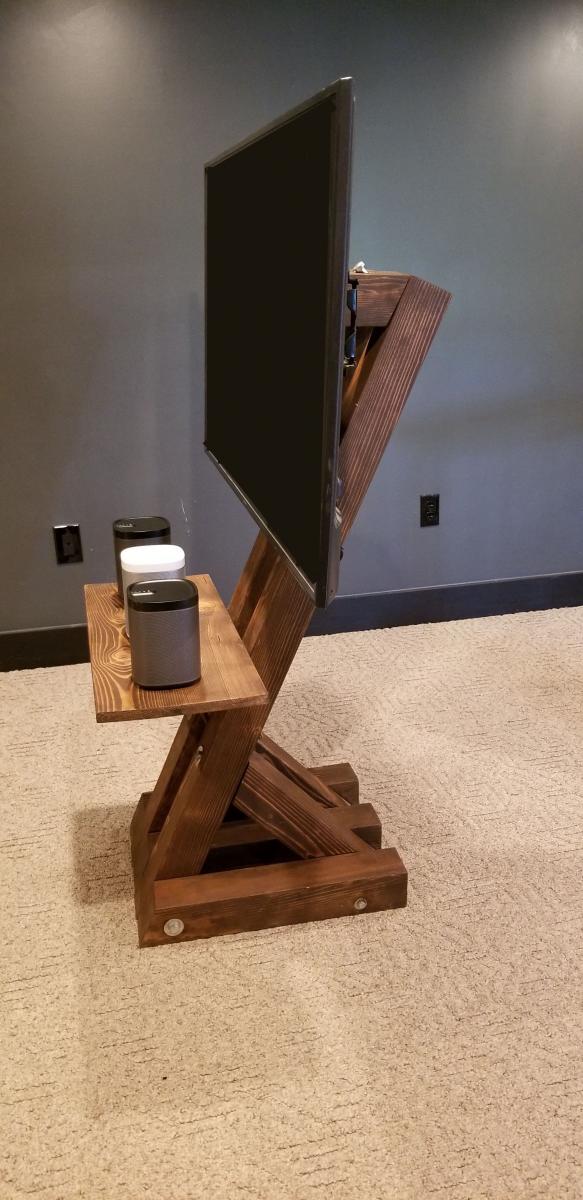
The Gíaffe TV Stand

Submitted by Anonymous (not verified) on Thu, 02/06/2020 - 09:55

The Gíaffe Free Standing TV Mount. Handcrafted and engineered to use its center mass to deliver strength and balance for tv sizes 30-60". Display your television without detracting from your home's decor. The Gíaffe Free Standing TV Mount is the perfect solution and its rich finish will be perfect for any house/office room.

Estimated Cost
$109
Estimated Time Investment
Day Project (6-9 Hours)
Finish Used
Stain - Dark Walnut - Varathane - 2 Coats
Finish - Water Based Polyurethane - Varathane - 3 Coats
Recommended Skill Level
Intermediate

Comments

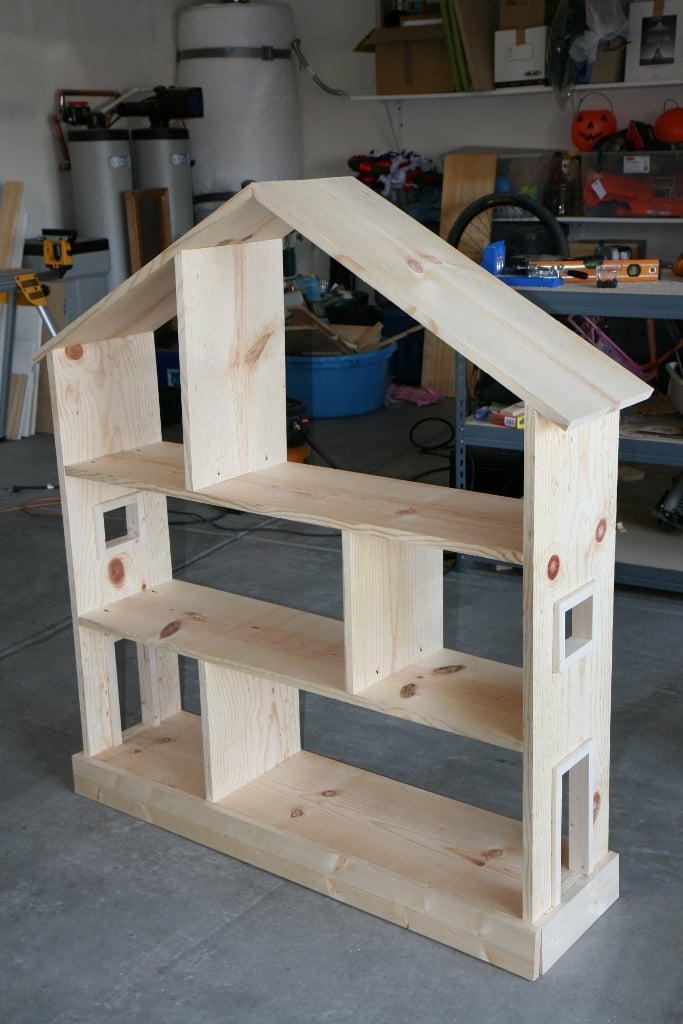
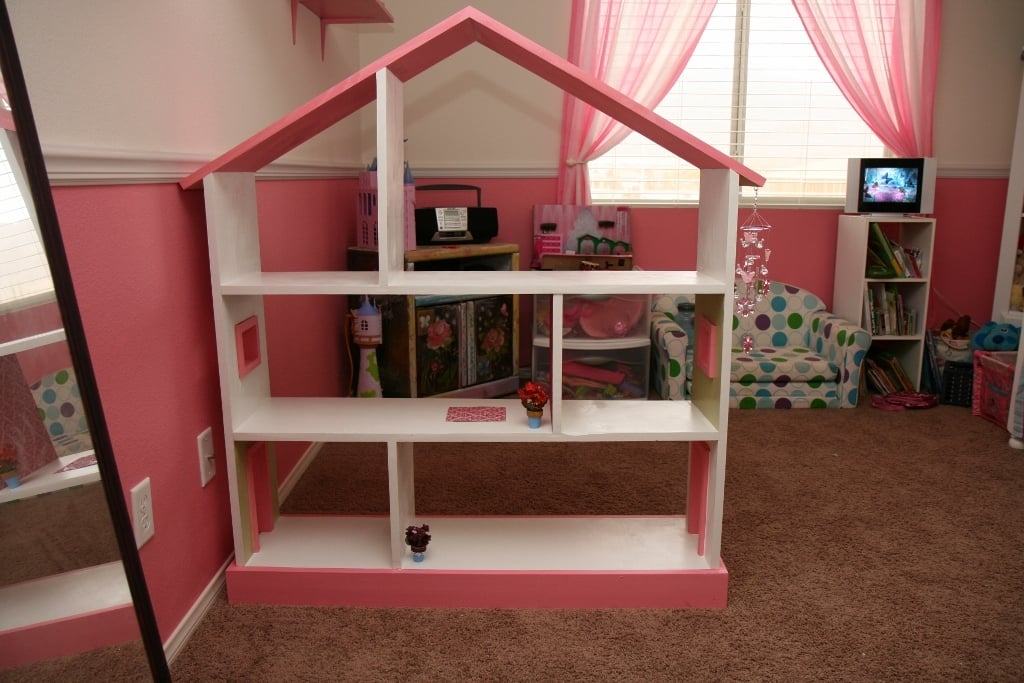
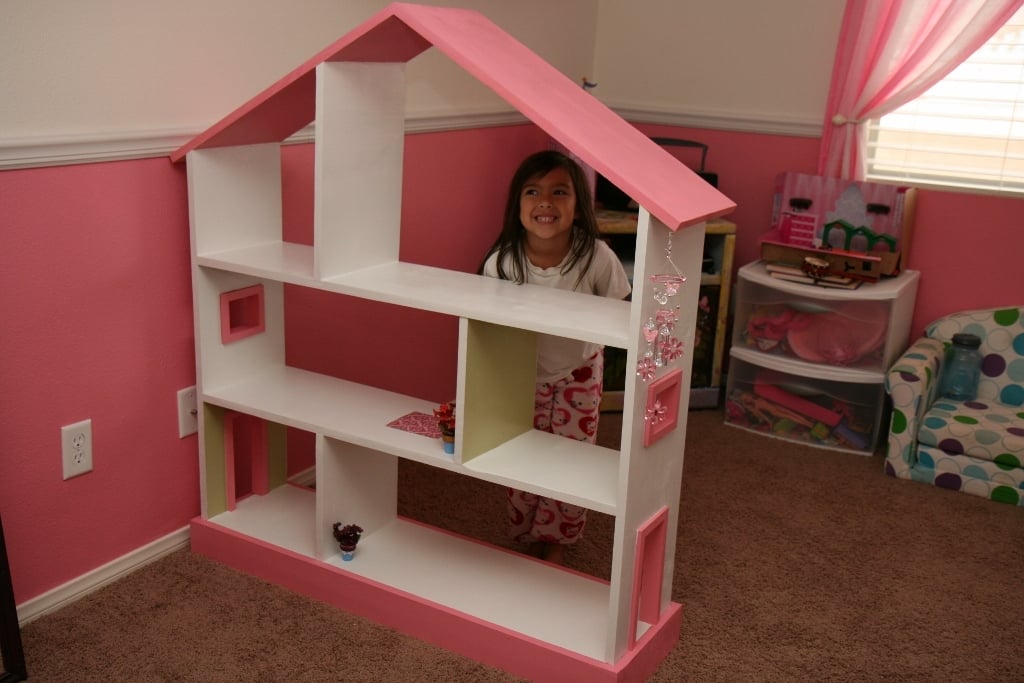
Bookcase Dollhouse

We built this for our daughter's 6th birthday! Love how it turned out :D  As you can see we opted to leave the plywood backing off for the time being so she can use it as a doll house and play on both sides. When she grows out of the doll house phase we will either convert it to a book shelf, donate, or sell in a yard sale ... so many options!

Built from Plan(s)
Estimated Cost
$74 wood & white paint
Estimated Time Investment
Afternoon Project (3-6 Hours)
Finish Used
One quart semi-gloss white paint (2 coats) bought at Walmart. Pink and green colors were left over paints from when we painted the walls in our home.
Recommended Skill Level
Beginner

Comments

Garden Tool Storage

Submitted by Anonymous (not verified) on Sat, 06/13/2020 - 13:36

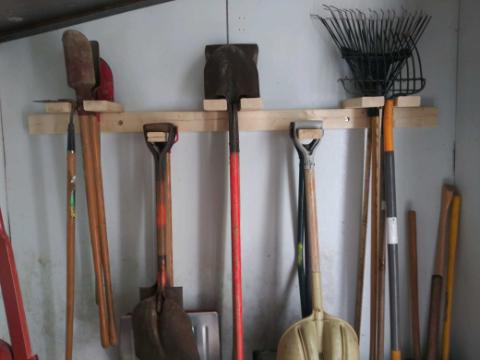
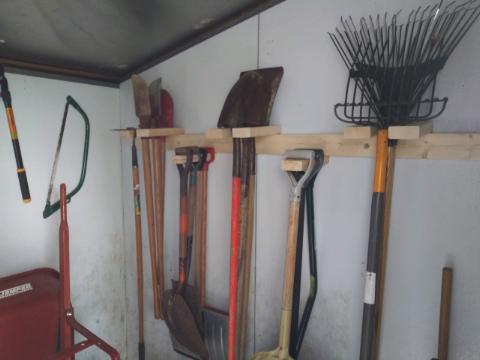
Great project and super easy! Made such a difference in organizing our tool shed. I modified one of the handles because several of my tools would not fit over the 2x4. I also had a challenge hanging it in my shed due to the metal sheeting for walls, but the build itself was very easy. No more messy tool shed! :) As an organization freak, like Ana, this makes me so happy!!!!

Built from Plan(s)
Estimated Cost
None - had all the materials on hand
Estimated Time Investment
An Hour or Two (0-2 Hours)
Finish Used
none
Recommended Skill Level
Starter Project

Crib for Baby #3

Submitted by Anonymous (not verified) on Mon, 10/17/2016 - 20:05

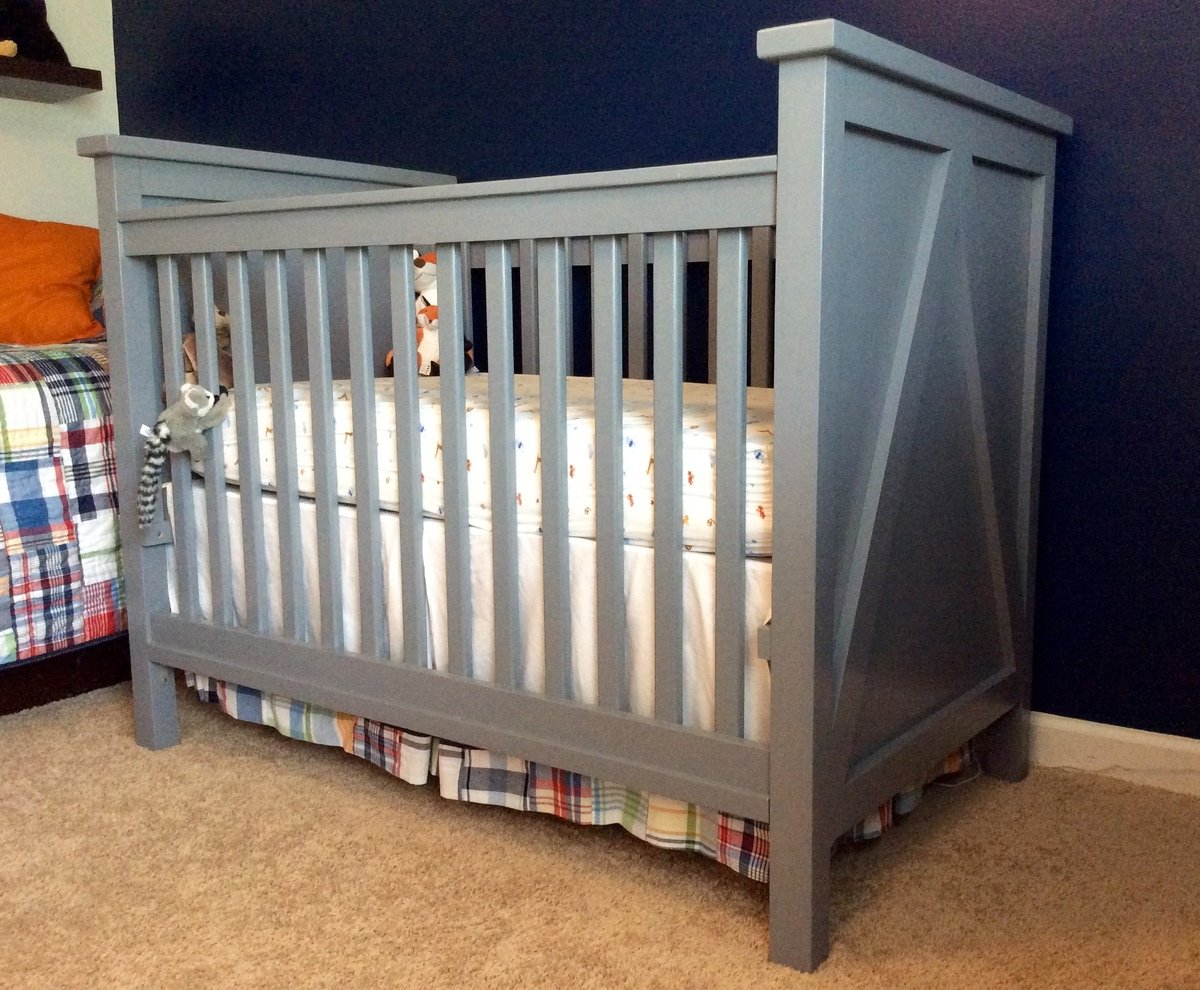
     My husband and father-in-law built this crib over many weekends. They decided against using pine since it is soft. Instead they used maple and the materials cost far more than the $50-100 estimate. The finished project is beautiful and is lovingly referred to as the bomb shelter because it is so sturdy and heavy. 

     They made it so the mattress could be raised and lowered as well as easily converted into a toddler bed. They used the crib mattress as a starting point to adjust the plans to ensure there would be no gaps between the sides of the crib and the mattress. 

      They used a router to put a dado at the top and bottom of the sides so the slats fit into the slot instead of just butting against the top of the rail in order to minimize the number of nail holes and create a nicer fit. They used one solid piece of maple plywood at the ends of the crib because there is a lot of temperature variation where we live resulting in a lot of expansion and contraction and they wanted to make sure that didn't cause any gaps.  

Estimated Cost
$450
Estimated Time Investment
Week Long Project (20 Hours or More)
Finish Used
Minwax Water Based Wood Stain - Slate (white tint base). After the maple was well sanded the pores in the wood got clogged up and it didn't stain well. It took a lot of coats. It would have worked better on a more porous wood. We were concerned about the finish being baby safe so we went with a water based stain.
Recommended Skill Level
Advanced

Cedar planter and 3 tier planter

Submitted by Anonymous (not verified) on Tue, 08/04/2020 - 17:48

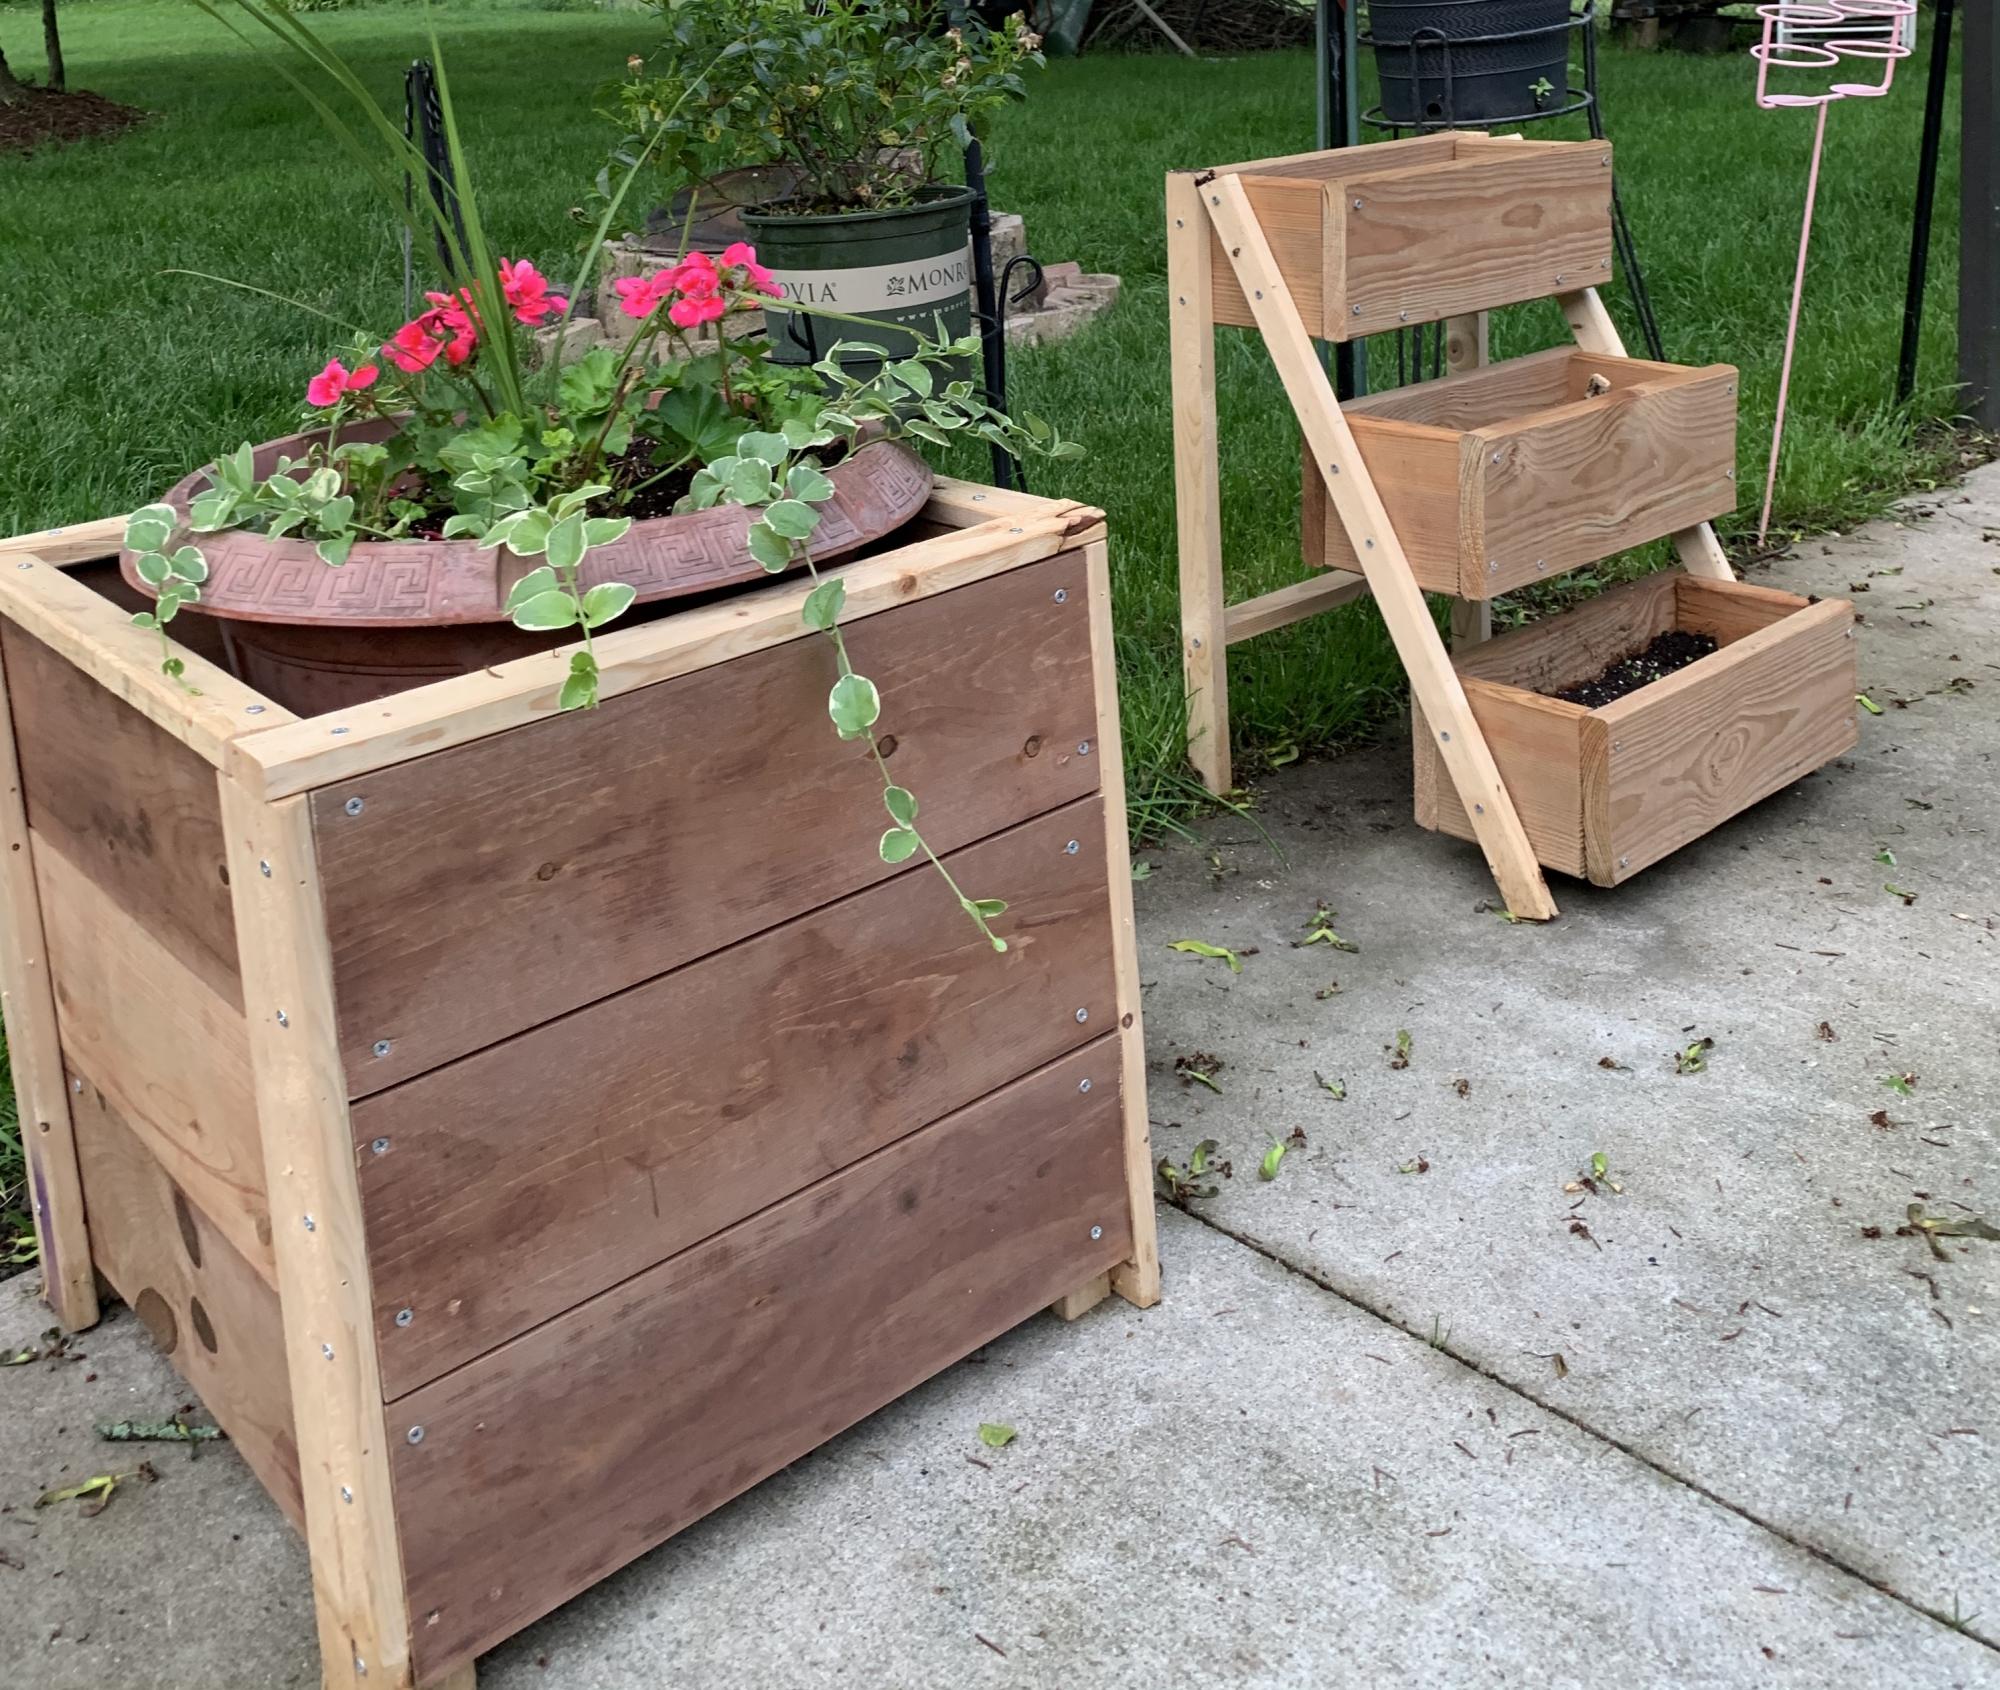
My very first attempts at wood working. My new COVID-19 hobby 🥰

Estimated Cost
20.00
Estimated Time Investment
An Hour or Two (0-2 Hours)
Recommended Skill Level
Beginner

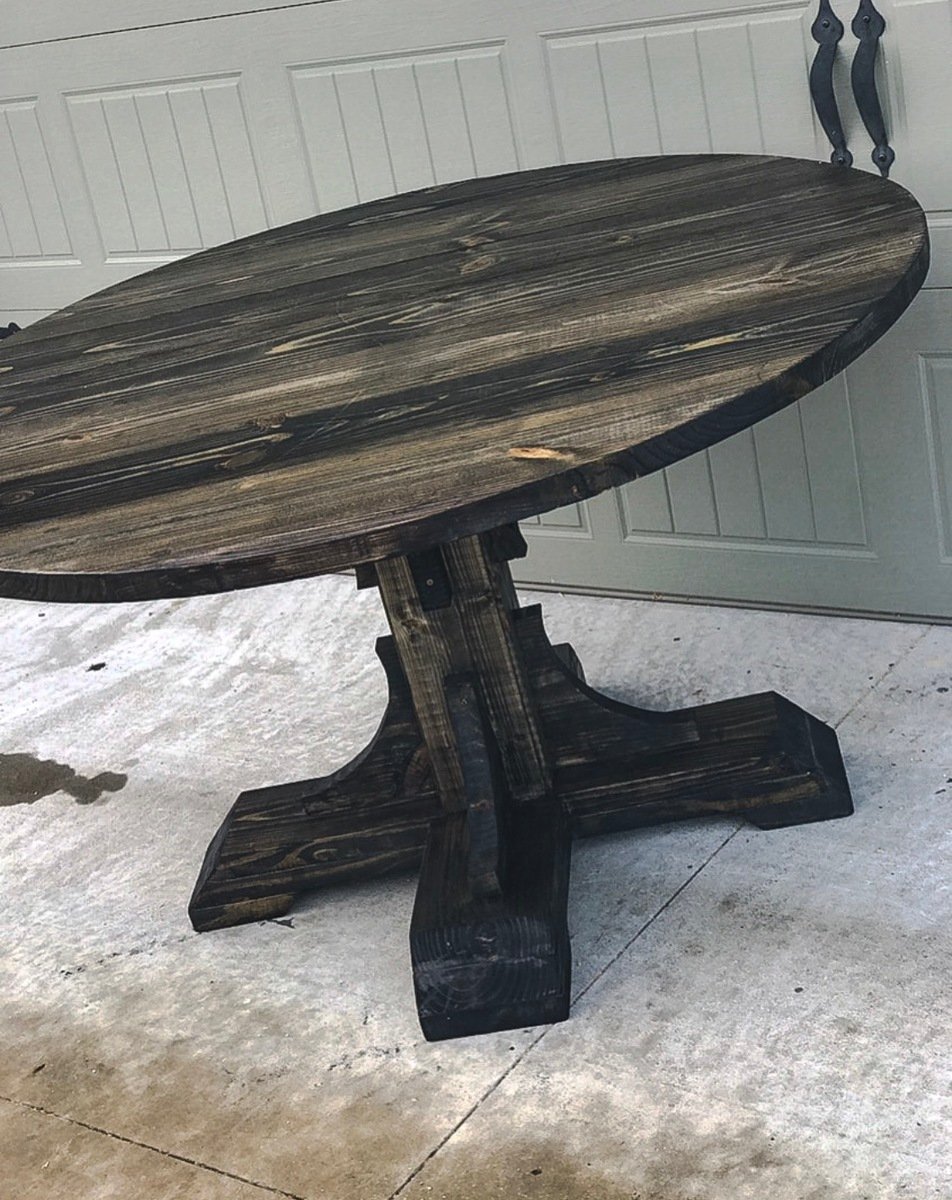
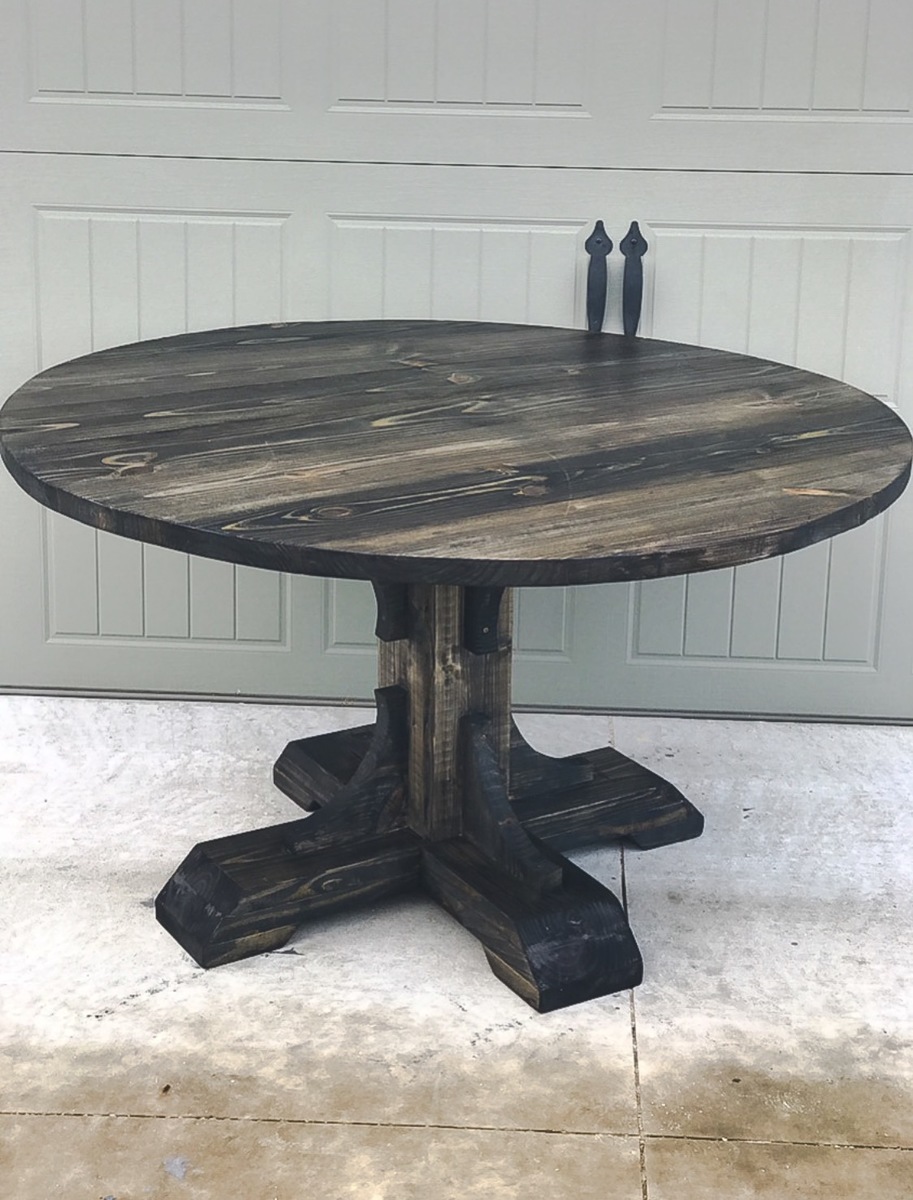
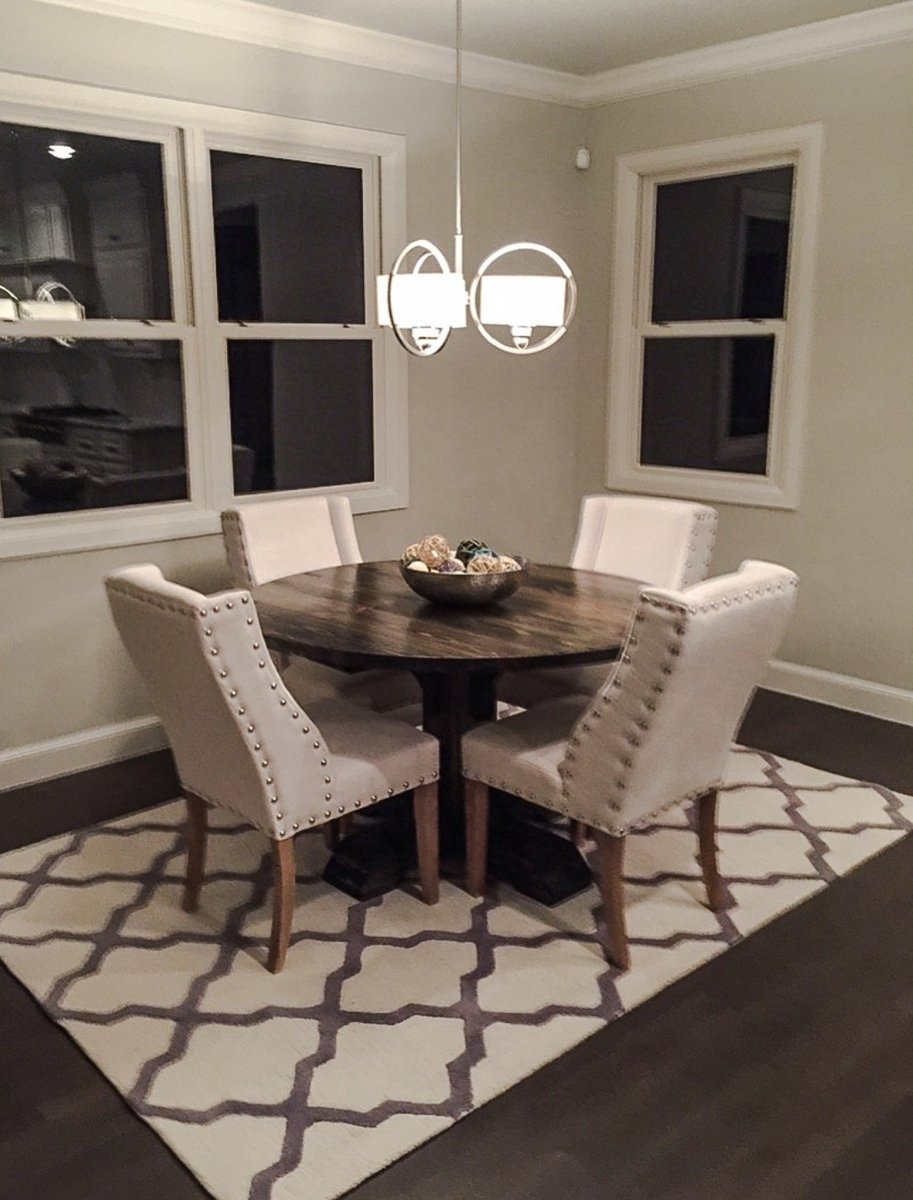
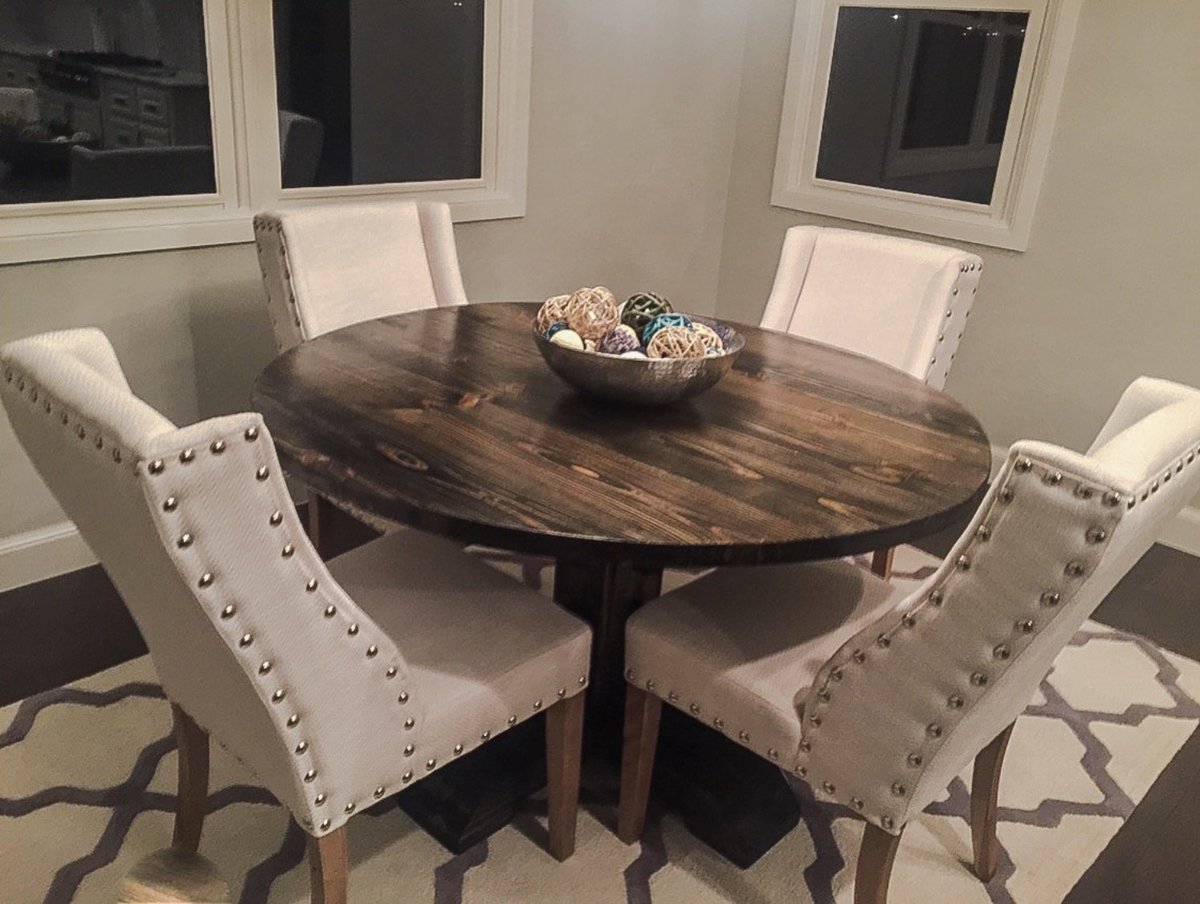
54" Round Pedestal Table

This was such a fun build. Instead of the square table top I opted for a 54" round table top and I also altered the plans for the base. I upped the size for each board used to give it a chunkier look ( Ex: instead of 2x4s, I used 2x6s and so on)

Estimated Cost
$110
Estimated Time Investment
Weekend Project (10-20 Hours)
Finish Used
1 Coat Minwax - Wood Conditioner
1 Coat Minwax - Ebony
3 Coats Minwax - Polycrylic
Recommended Skill Level
Intermediate

Comments

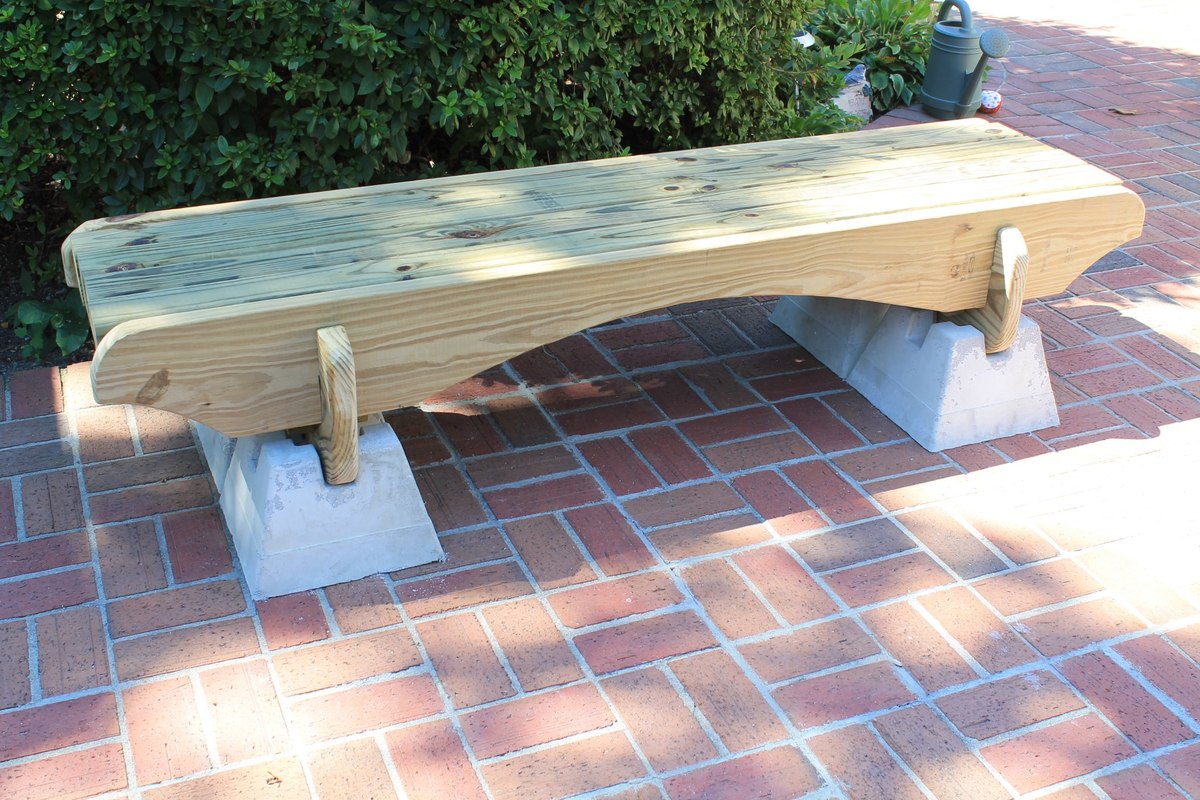
Asian inspired outdoor bench (no screws!)

Submitted by jennibee on Sat, 09/13/2014 - 14:47

This is made by using treated lumber and concrete deck piers. The genius of this bench is that there are no screws. It fits together like a puzzle and sits on concrete deck piers. I left it untreated for a bit and decided to let the piers stay gray. The original plans called for the piers to be stained black and a stain to be applied to the wood. I wanted to post this as inspiration but will add the link to the template for the wood pieces at a later time. 

Estimated Time Investment
Afternoon Project (3-6 Hours)
Finish Used
I have future plans to use simple decking stain in a cherry color for the wood part and black concrete stain for the concrete deck piers.
Recommended Skill Level
Beginner

Industrial Shelf Unit - Basement Storage

Submitted by zakdat on Mon, 02/20/2017 - 07:39

With six people in our household, we were in desperate need of easily accessed storage for our off season clothes/gear.  This ended up being a perfect solution.  We customized shelf heights to fit the bins that we use for storage as well as made an area for our cat box (at the bottom right).  It's such a relief to finally have everything tucked away but easy to get at when we need it. 

Built from Plan(s)
Estimated Cost
$300 Canadian
Estimated Time Investment
Weekend Project (10-20 Hours)
Finish Used
Minwax Puritan Pine
Recommended Skill Level
Intermediate

Comments

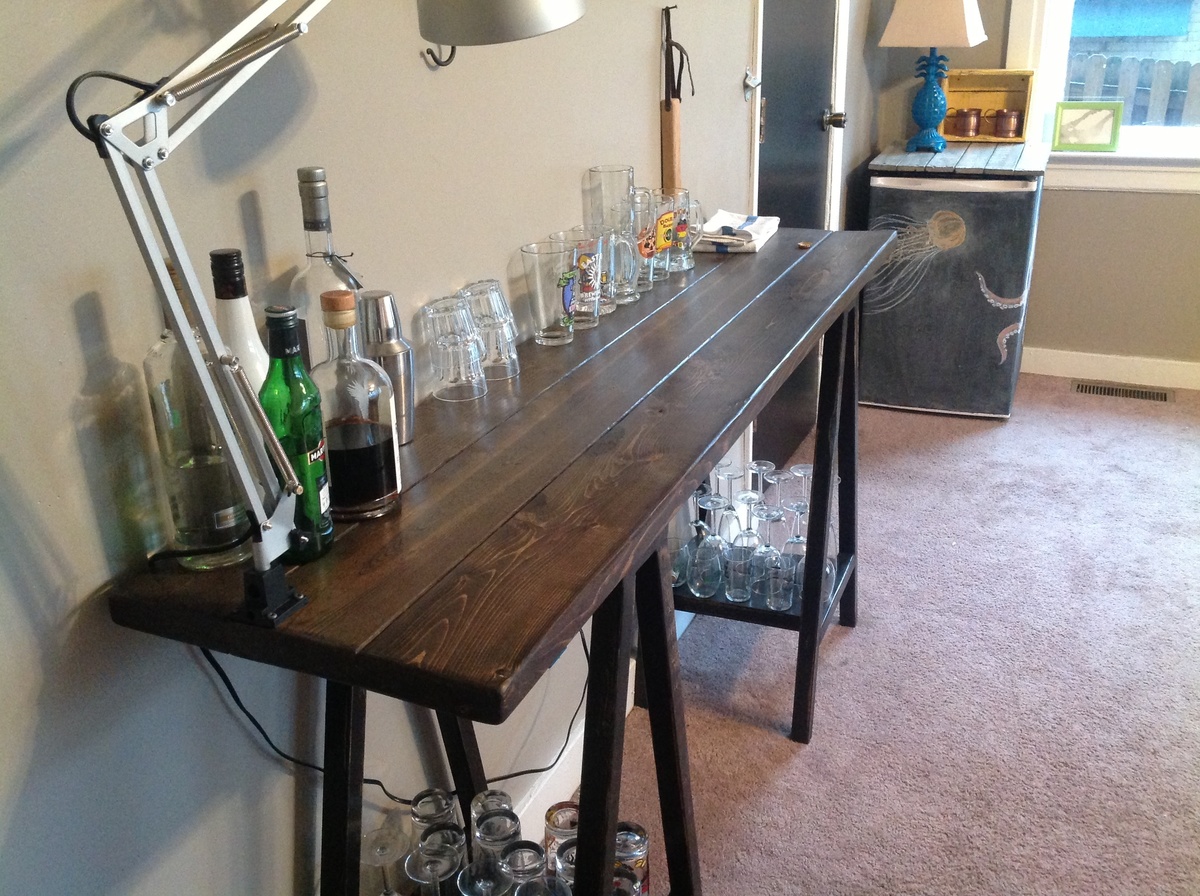
Simple Sawhorse table 36" height

Submitted by AlexWS on Thu, 02/28/2013 - 13:46

Like many others have mentioned, I wanted a 36" high table so I could use it as a bar. Ana mentioned that it would be too wide at 15 degrees so perhaps 10, after busting out some trigonometry I found that 10 degrees would give you about a 16" base and 15 would give you a 24" base. So, 12.5 degrees it came to be if you want a 20" base.

Many have said it takes 4 2x2's, that definitely holds true with this modification.

Here are my measurements, otherwise the cuts and assembly are the same as the original:

All angles are now 12.5 degrees rather than 15.

The legs are 33 3/4" from end to end

The outside edges of the legs should come to 20 1/4" wide for the base.

The stretcher will stay the same 13 3/4" on the bottom length, just cut at 12.5 degrees.

The stretcher is now 7 3/8" up from the ground, I found it was easiest to measure 7 1/2" up along the inside of the legs and line the bottom of the stretcher up at this mark.

And that's it!

A tip I used was clamping 4 2x2's together to get all the legs even, this only works if you have a sliding compound miter saw. I also recommend doing the straight cuts first and then leave the saw set at 12 1/2 degrees until you finish the project, this will keep cuts consistent.

Other modifications I made were to shorten the depth to 16 1/2" and use 2x6's for the top, I needed a narrow table in the room. I also made the depth of the sawhorses only 15 inches so the top would have a 3/4" overhang in front and back, I think this cleaned up the look some.
Built from Plan(s)
Estimated Cost
Less than $50 for wood, paint, stain and screws
Estimated Time Investment
Day Project (6-9 Hours)
Finish Used
Minwax Jacobean oil based stain for the top. The sawhorses are painted black, sanded and then rubbed with Minwax Jacobean.Minwax finishing paste for the whole thing.
Recommended Skill Level
Beginner

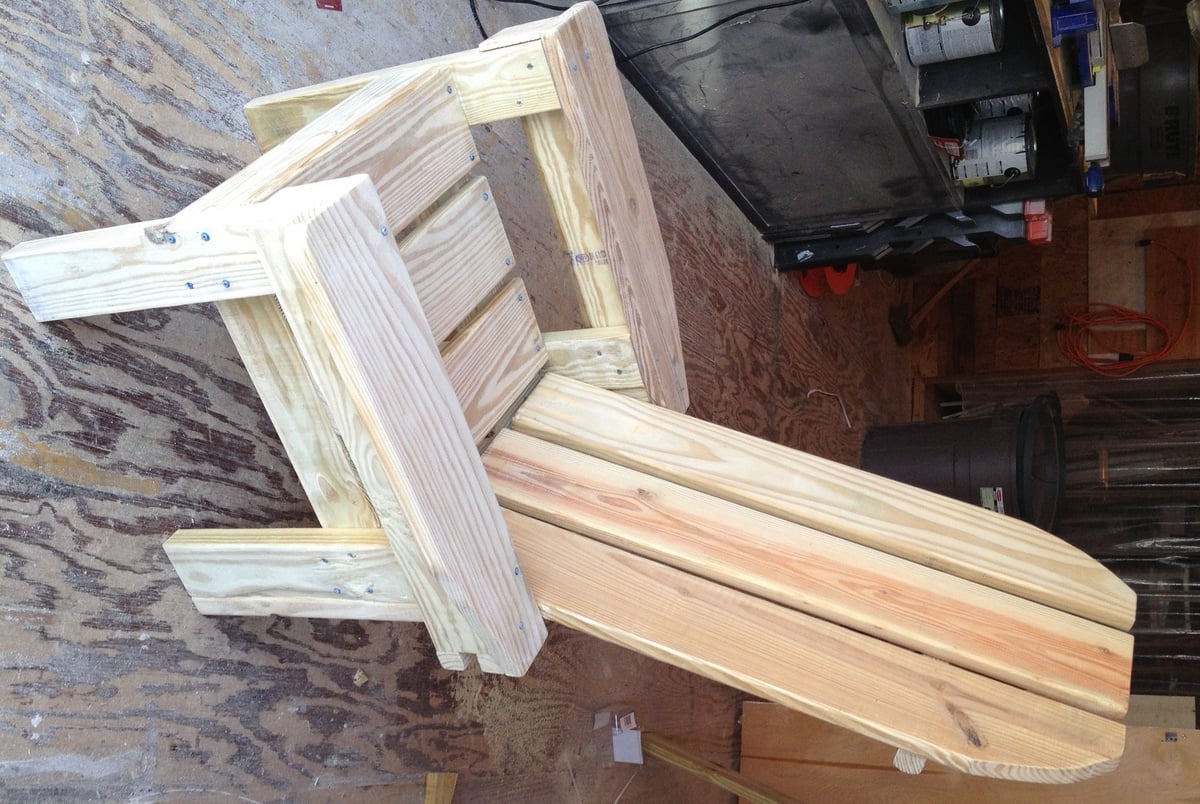
Adirondack Chairs

Submitted by JoanneS on Thu, 04/25/2013 - 18:12

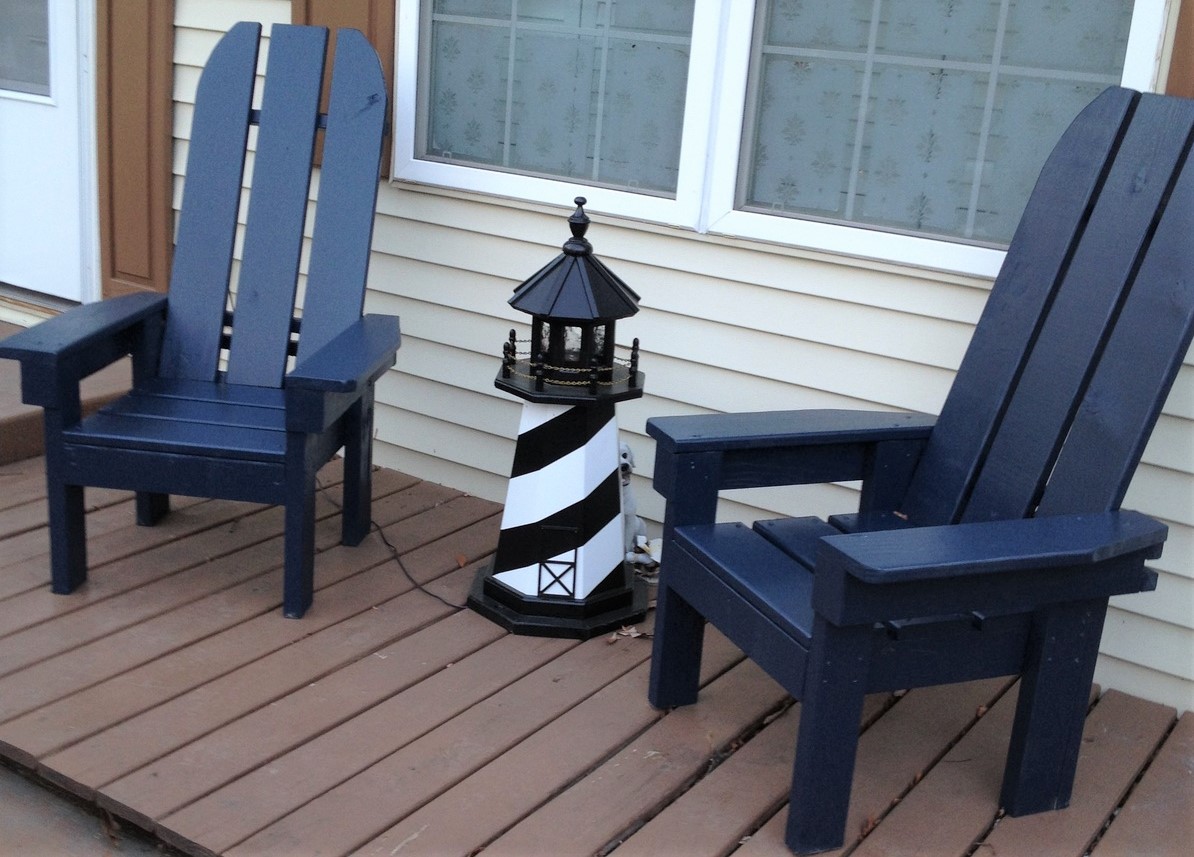
These sturdy chairs are a wonderful replacement for plastic deck chairs! They are nice and heavy, and won't blow over in a storm! This project is a mix of Ana's Adirondack Chairs and the Simple Outdoor Lounge Chair. I combined ideas from the two plans to use the extra lumber we had left over from an outside project from last year. Left-over lumber included some 2x4 for the bottom frames, some 5/4 decking board for the seat, back, and arms, and a few balusters at the back. Most of the lumber was left over, so I only had to spend $20 for 2 boxes of Kreg screws and 2 pc 5/4 x 8 decking board. Finished with some left over exterior latex semi gloss paint. This was a fun weekend project - built the chairs on one day, and finished the sanding and painting the next day. My next project is a little outdoor table to go with them, and I have a few scraps left over to use for that. These chairs have received lots of compliments, and we've given Ana's web site name to several admirers. Ana, thank you for your wonderful plans!

Estimated Cost
$20
Estimated Time Investment
Weekend Project (10-20 Hours)
Finish Used
Ace Royal exterior semi-gloss paint in navy blue (left over paint from about 5 years ago, was color-matched, so it doesn't have a name).
Recommended Skill Level
Beginner

Comments

mepaganjr

Sun, 09/28/2014 - 10:46

I don't see any plans for this chair.  Is it possible to get them?

JoanneS

Sun, 09/28/2014 - 18:15

Hi Mepaganjr,

I used the plan for the Simple Outdoor Lounge Chair

http://ana-white.com/2010/05/plans/simple-outdoor-lounge-chair

as my guide for the seat part, and the slant of the back,

and used Ana's Adirondack Chair

http://ana-white.com/2010/05/furniture-plans-adirondack-chair-ana.html

as the inspiration for the tall chair back and front legs.  I did several adjustments to fit the mixture of sizes of 2x and 5/4 scrap wood that I had available.   I traced a paint can lid to make the curve on the top of the chair backs.
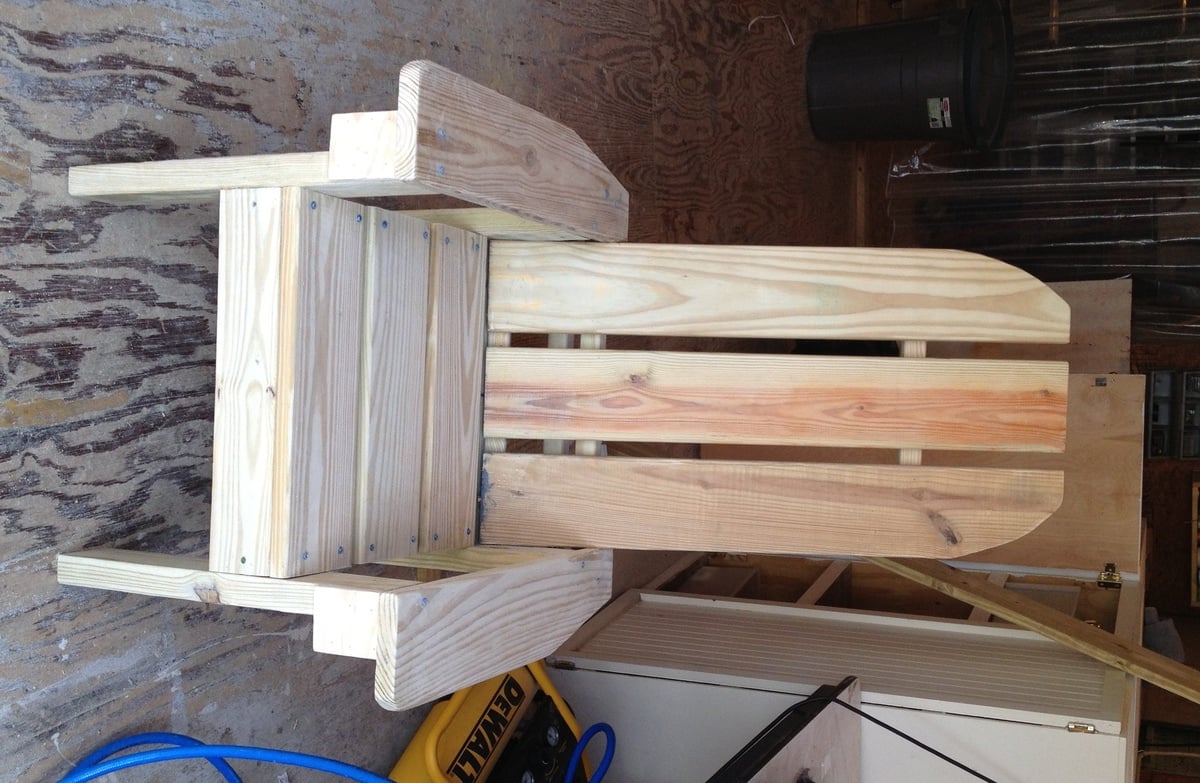
A great plan that has a similar seat and legs is the Adult Adirondack Chair, which is in Ana's book, The Handbuilt Home, on page 174.  That's a great plan because it only uses six 1x4's an one 1x2.  If I hadn't been using up the mixed scrap lumber, I would have used the Adult Adirondack Chair plan.  

Happy building!  :)  Joanne

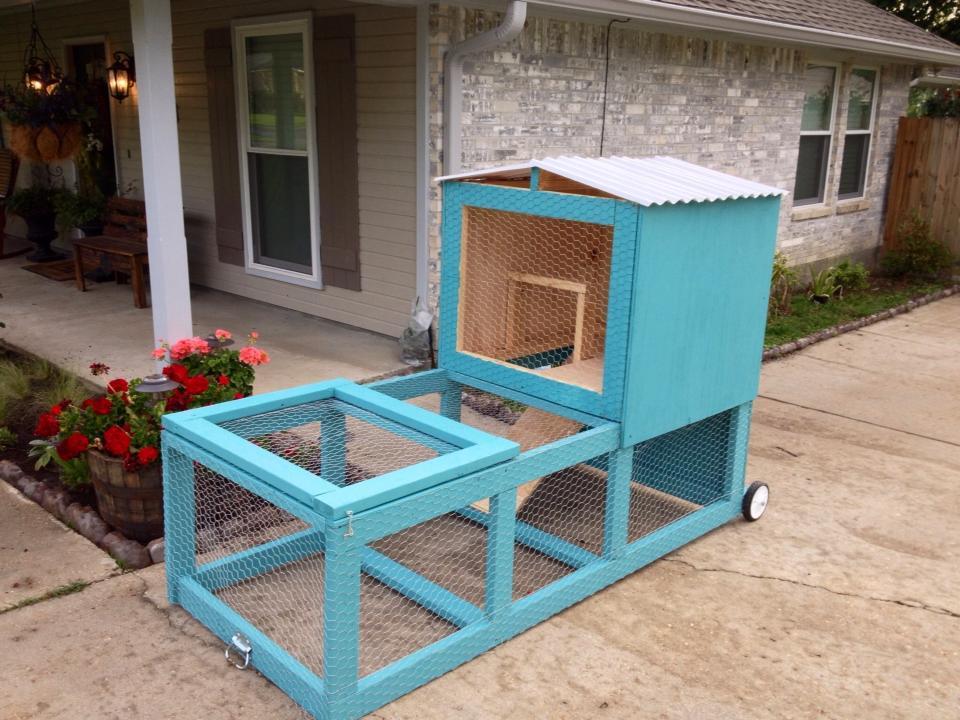
Chicken Tractor

Submitted by Cliffhorn on Thu, 05/02/2013 - 07:26

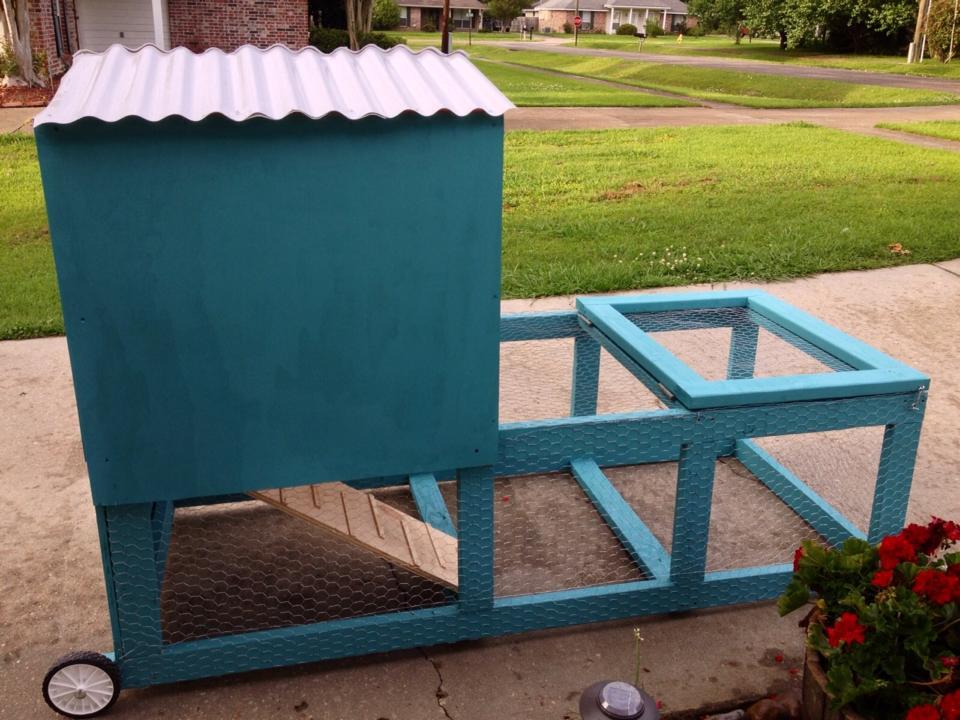
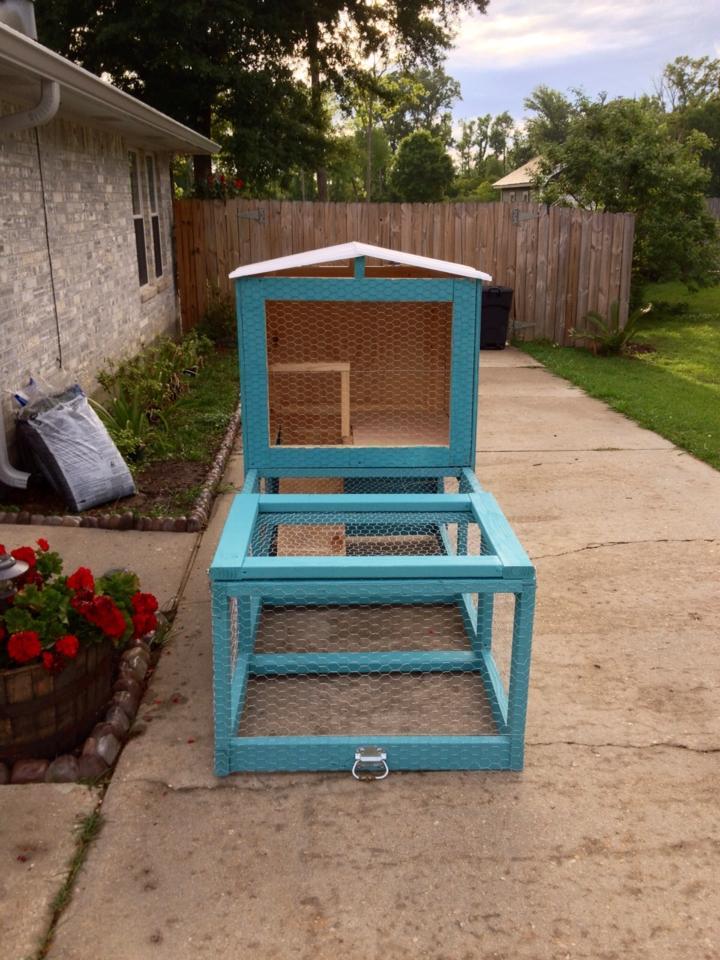
A friend of mine got two baby chicks and needed something for them to live in. She also wanted to be able to move it around the yard so they could have freah grass to be on. It uses 2x4s, 3/4 plywood, chicken wire, and plastic roofing. It was a fun build.

Estimated Time Investment
Day Project (6-9 Hours)
Recommended Skill Level
Starter Project

Comments