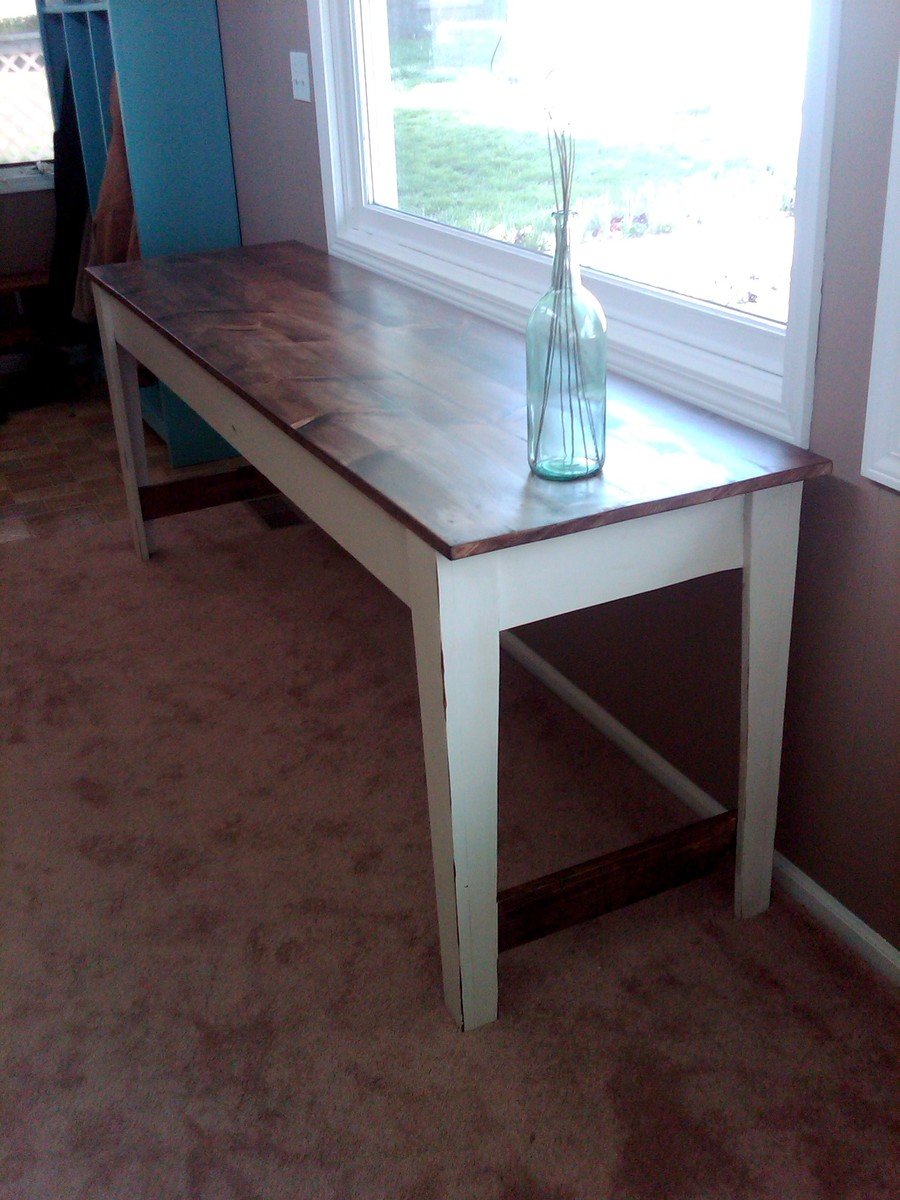
Farm/Trestle Coffee Table
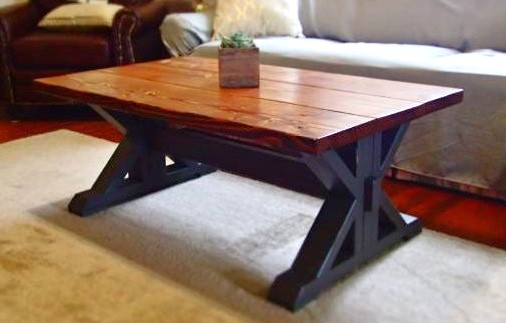
Trestle coffee table
Built from Plan(s)
Estimated Time Investment
Day Project (6-9 Hours)
Recommended Skill Level
Beginner
Trestle coffee table
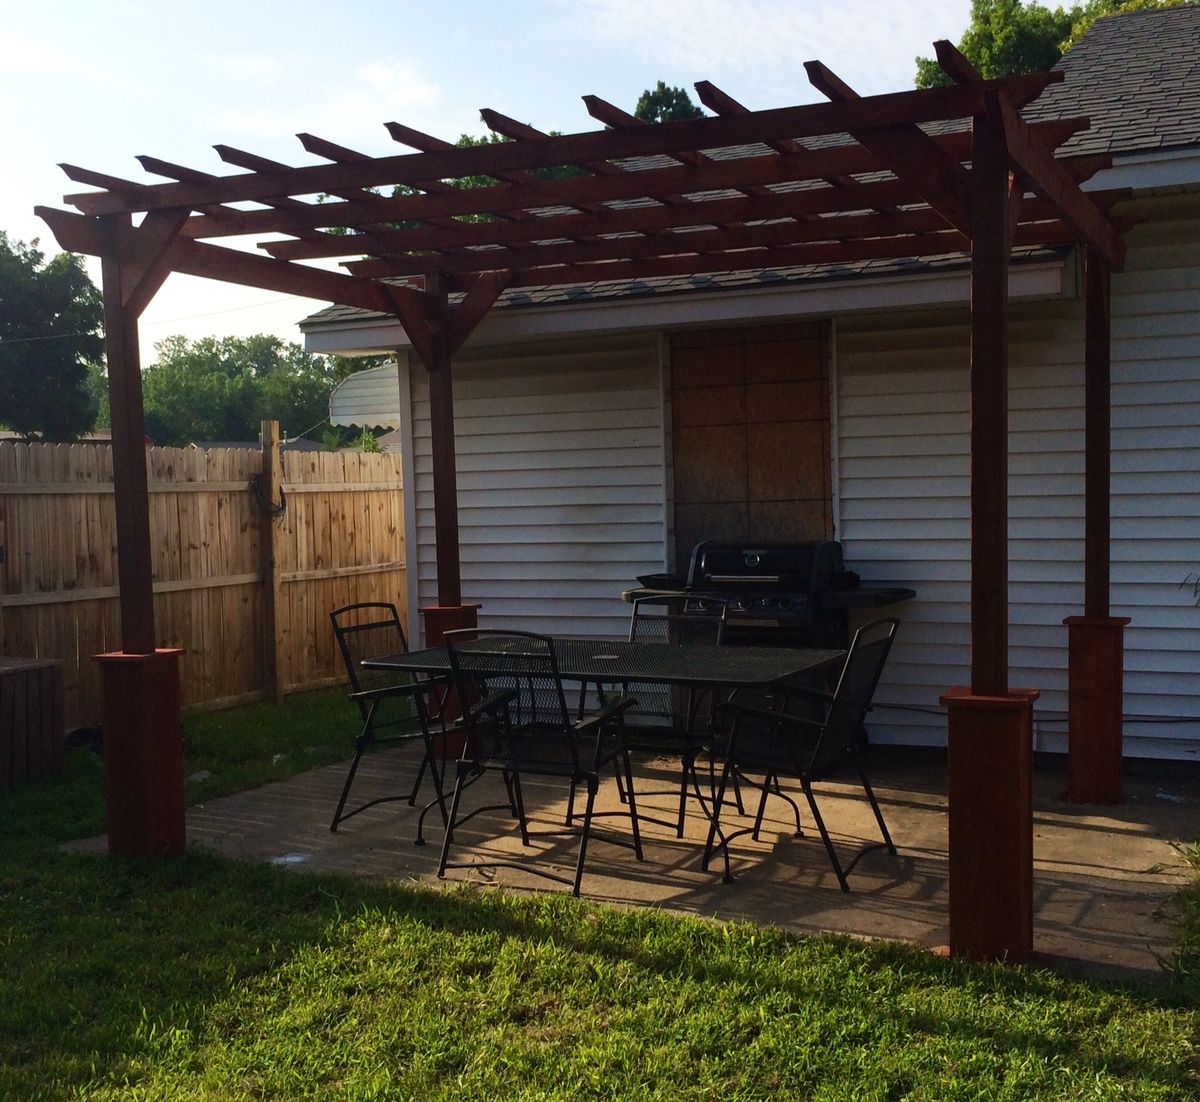
First pergola build. Plans were very easy to follow and it turned out great!
Wed, 07/09/2014 - 20:54
It looks wonderful! Did you cement the posts into the ground?
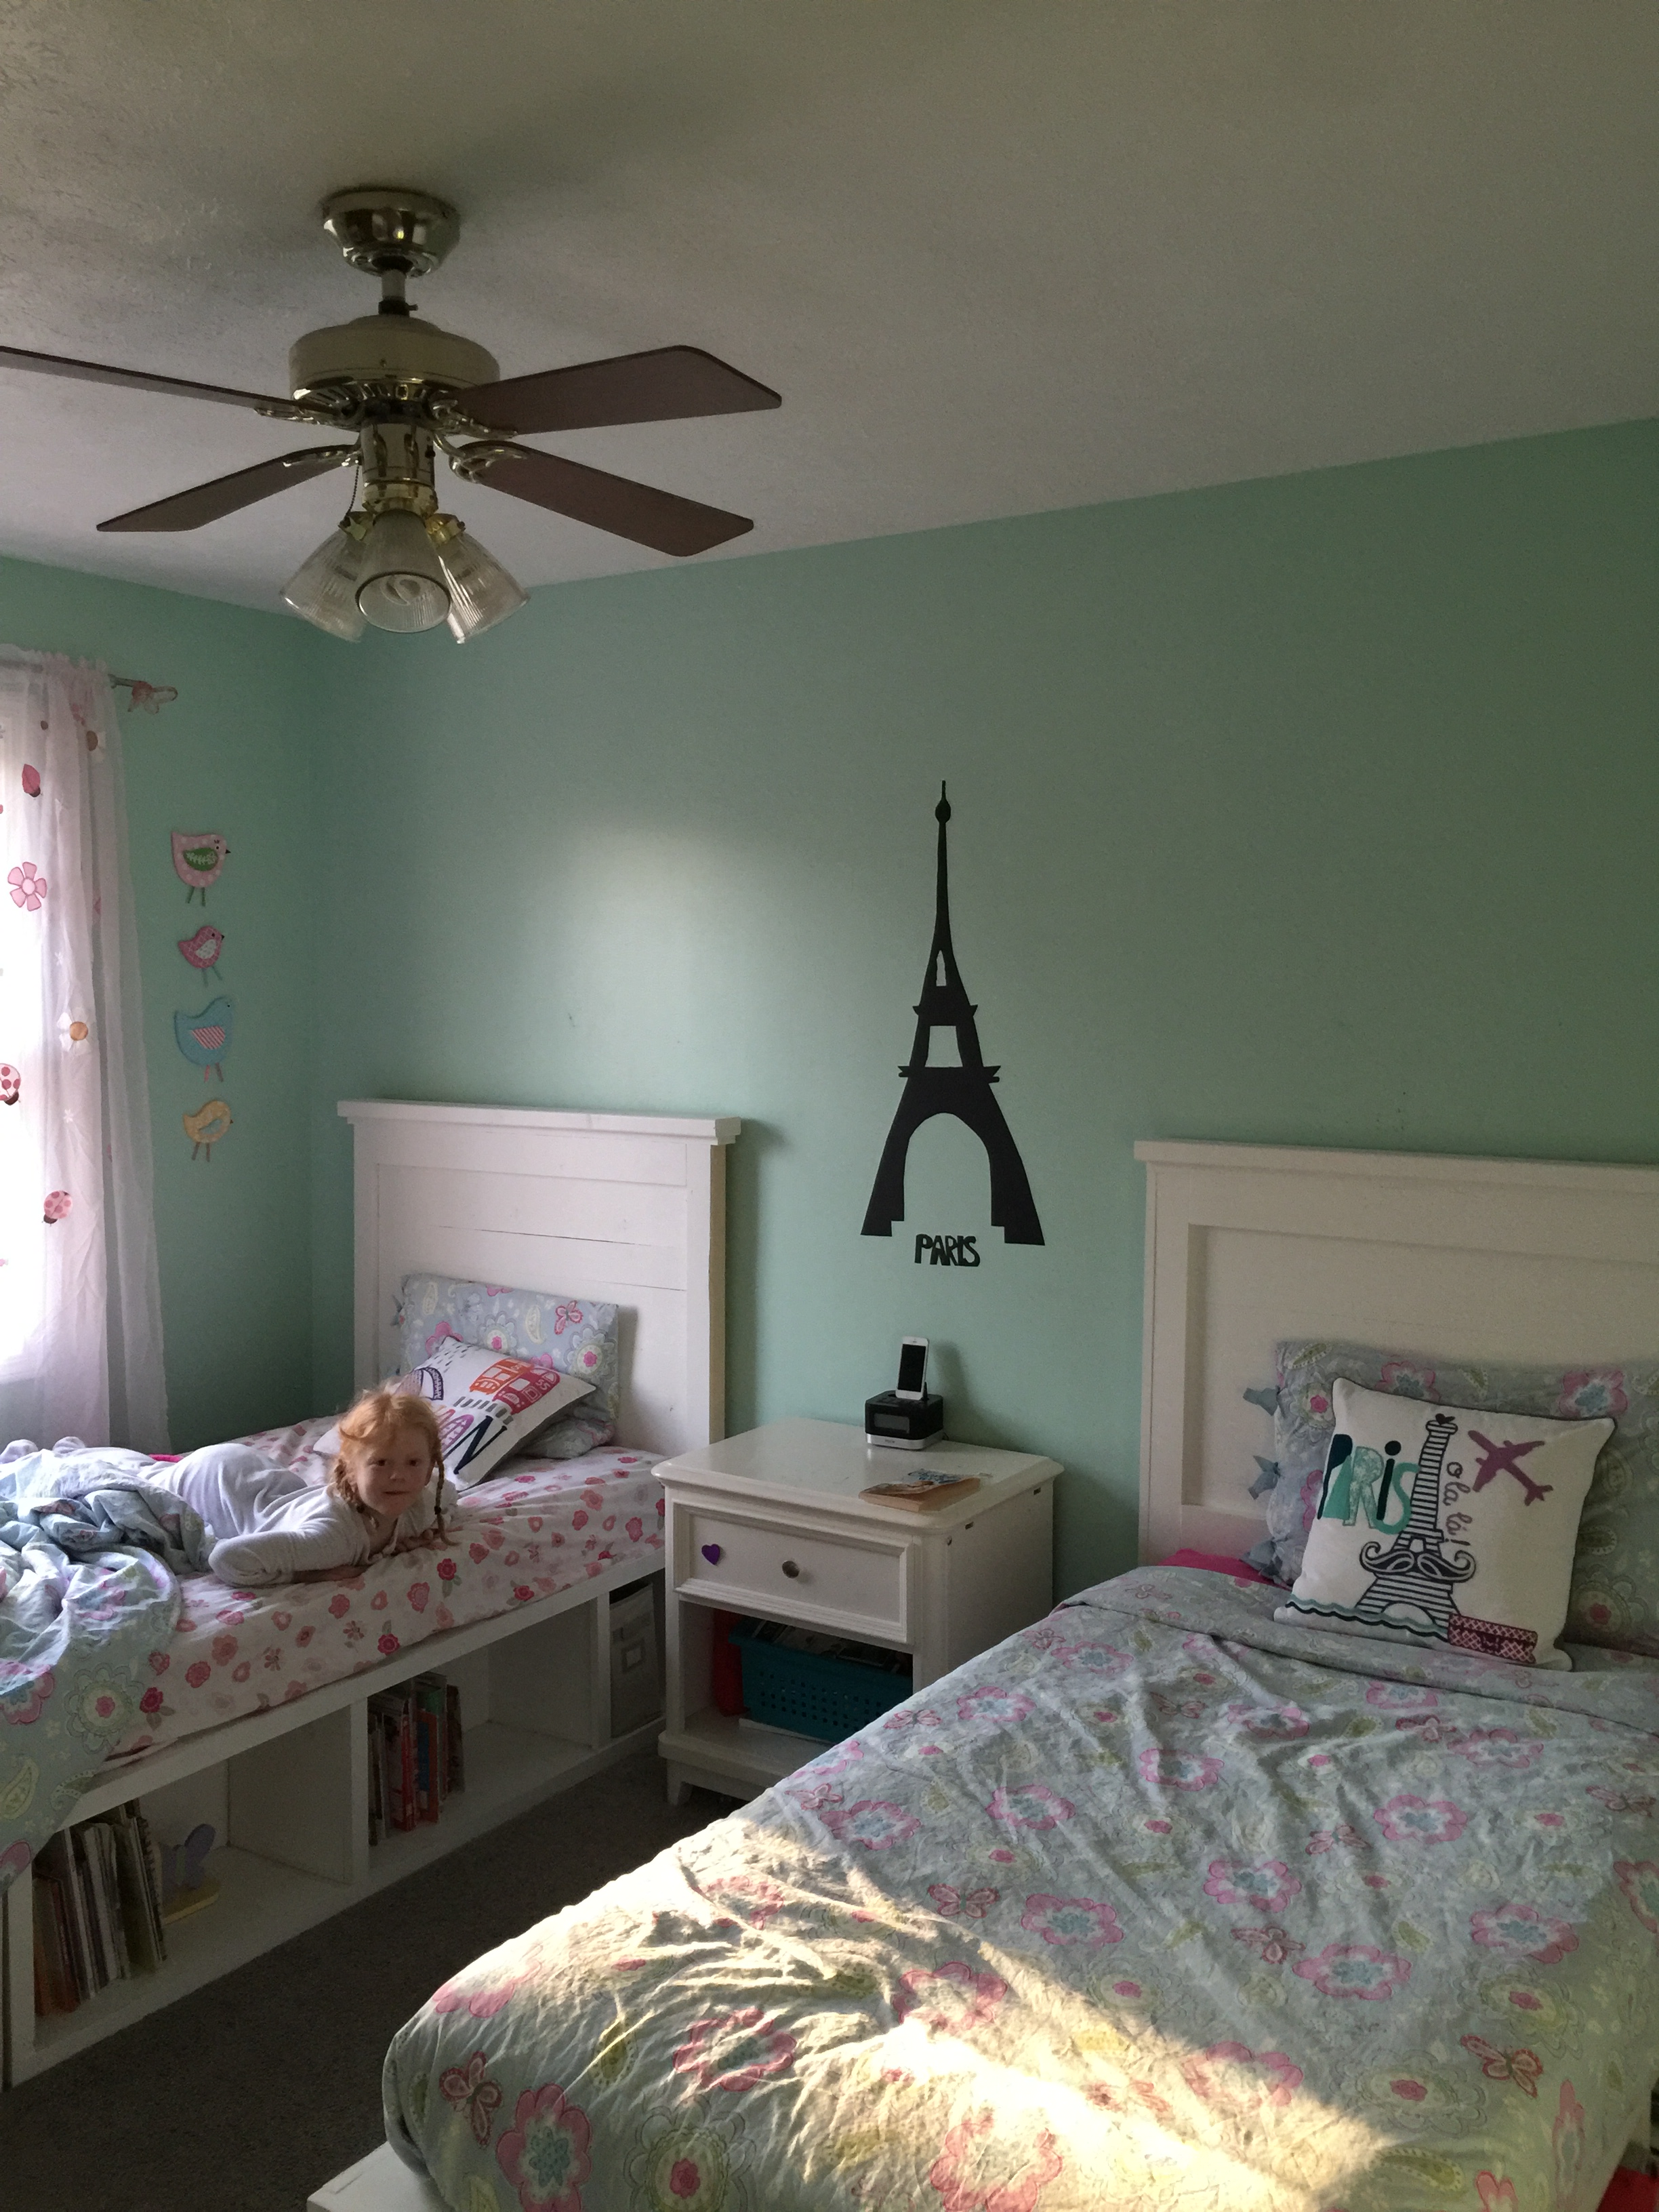
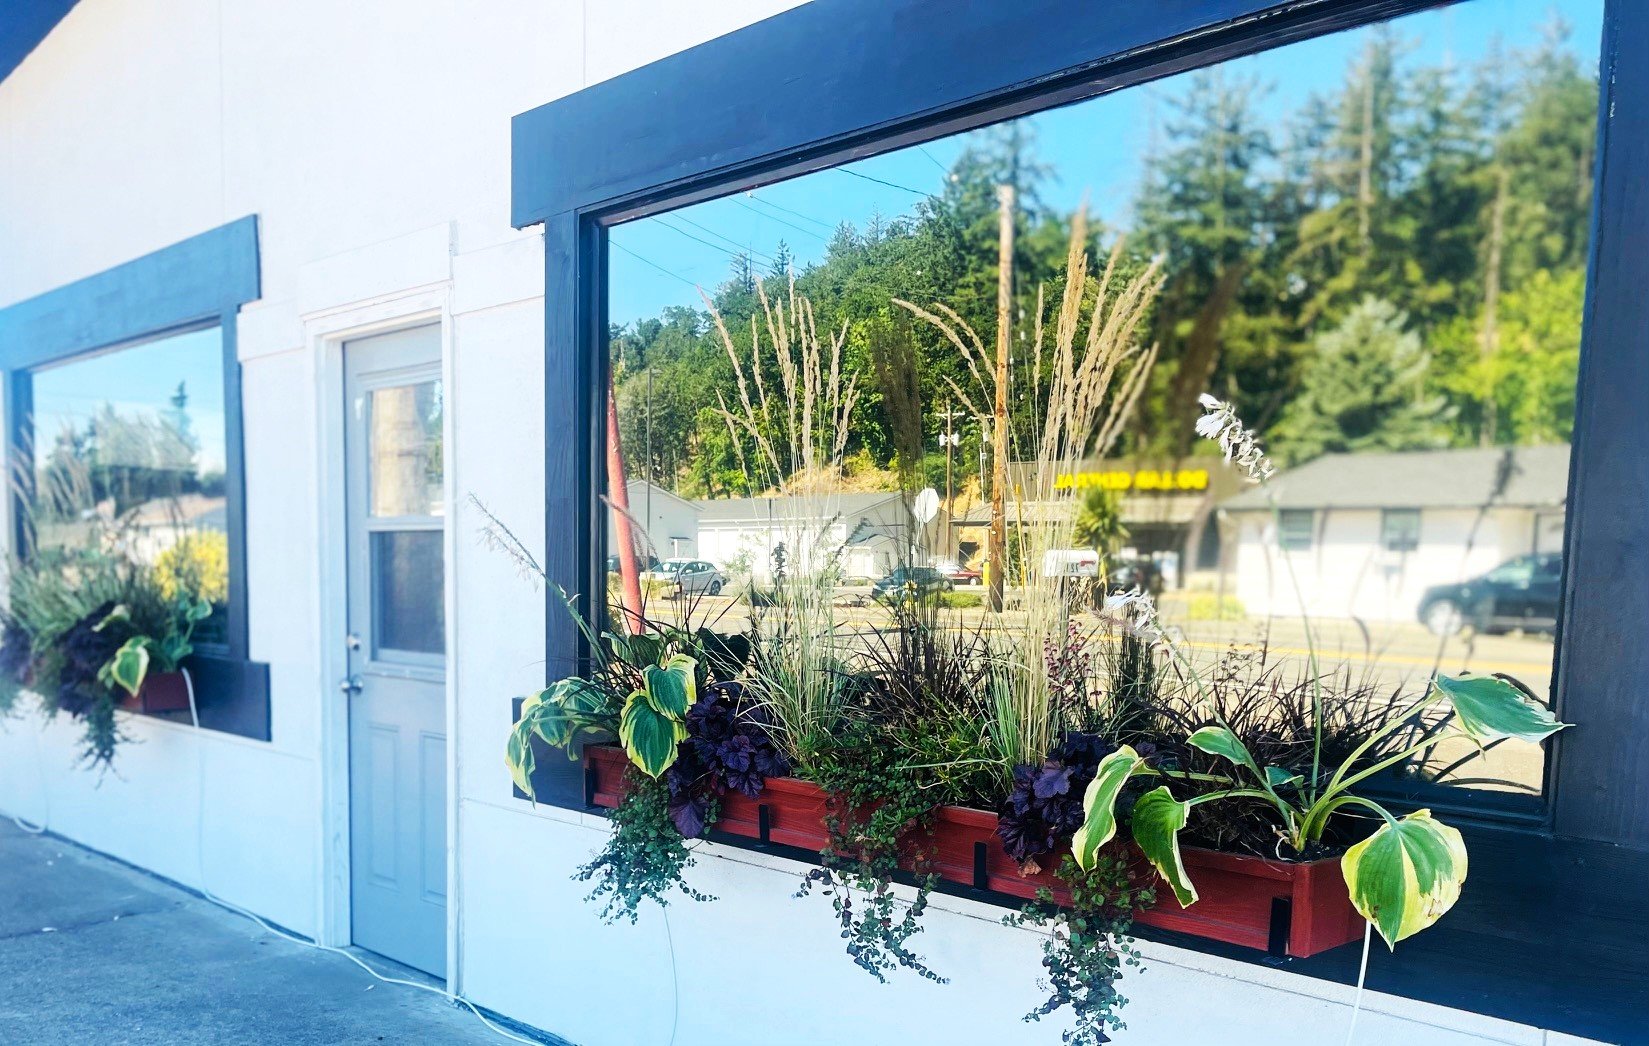
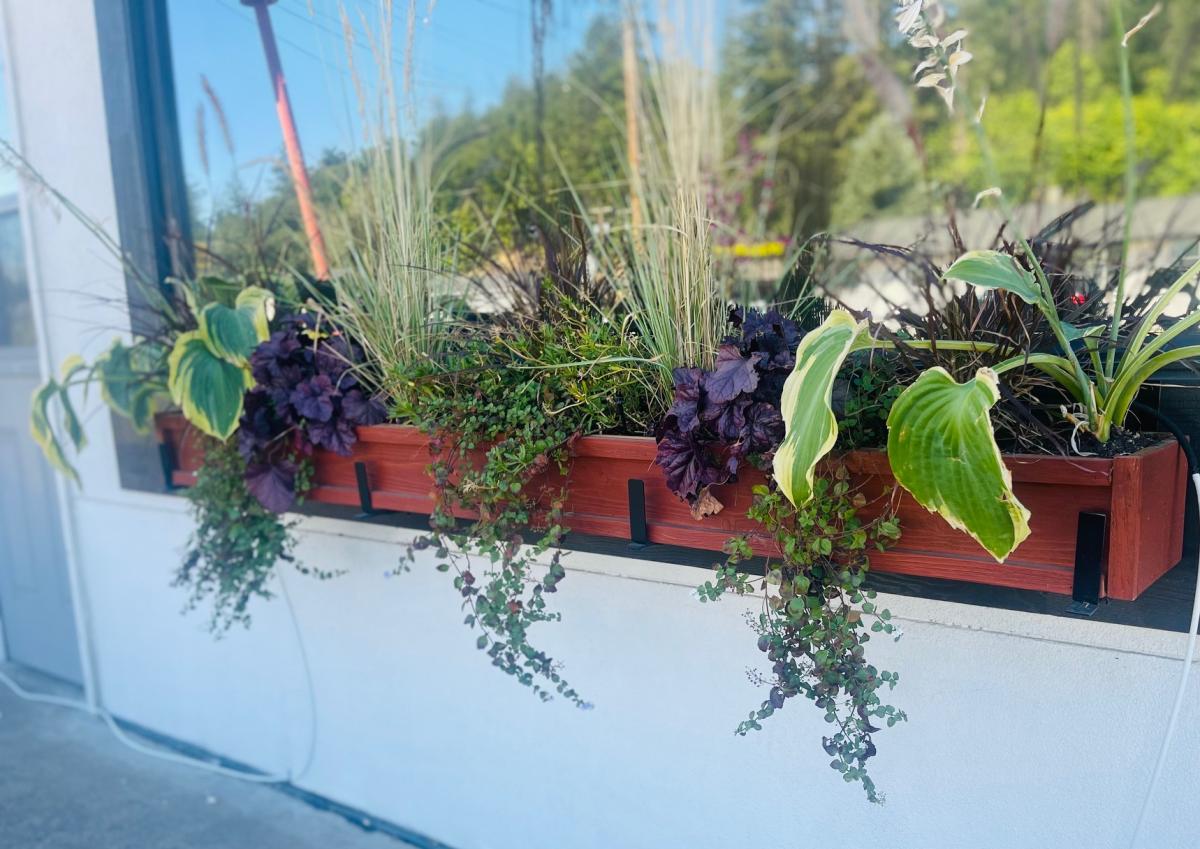
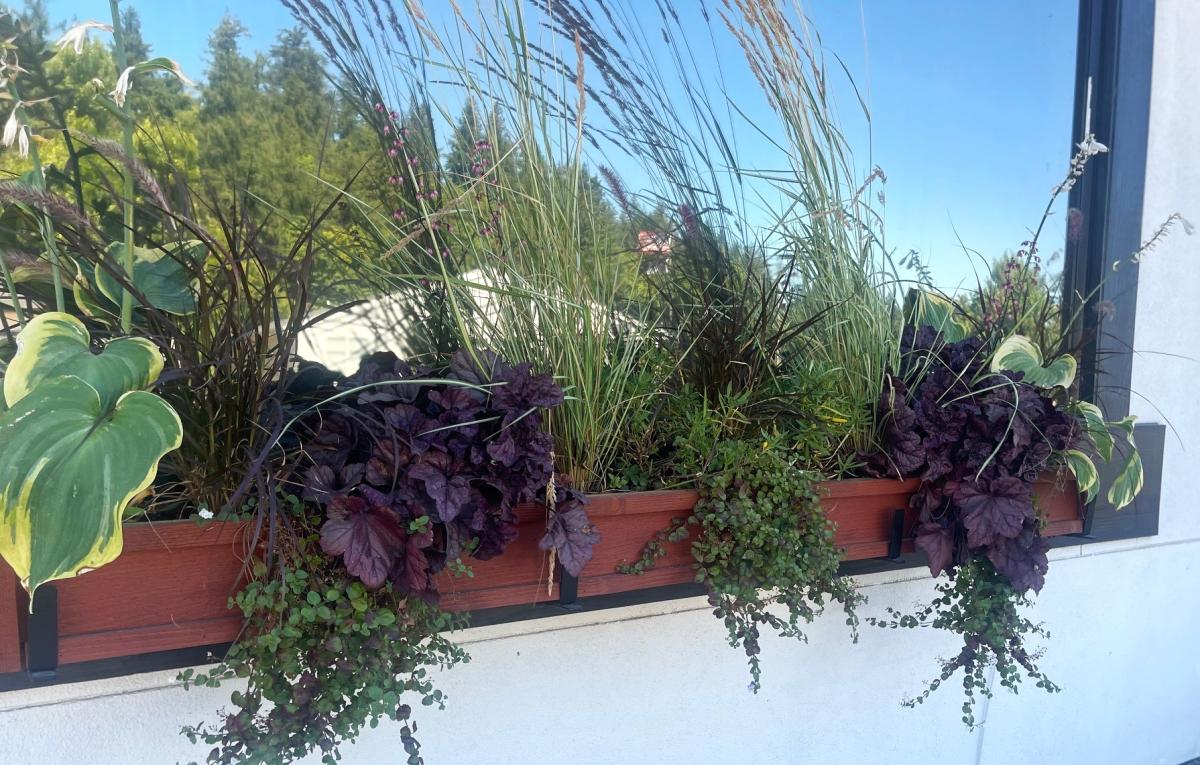
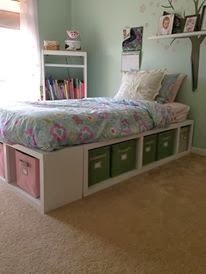
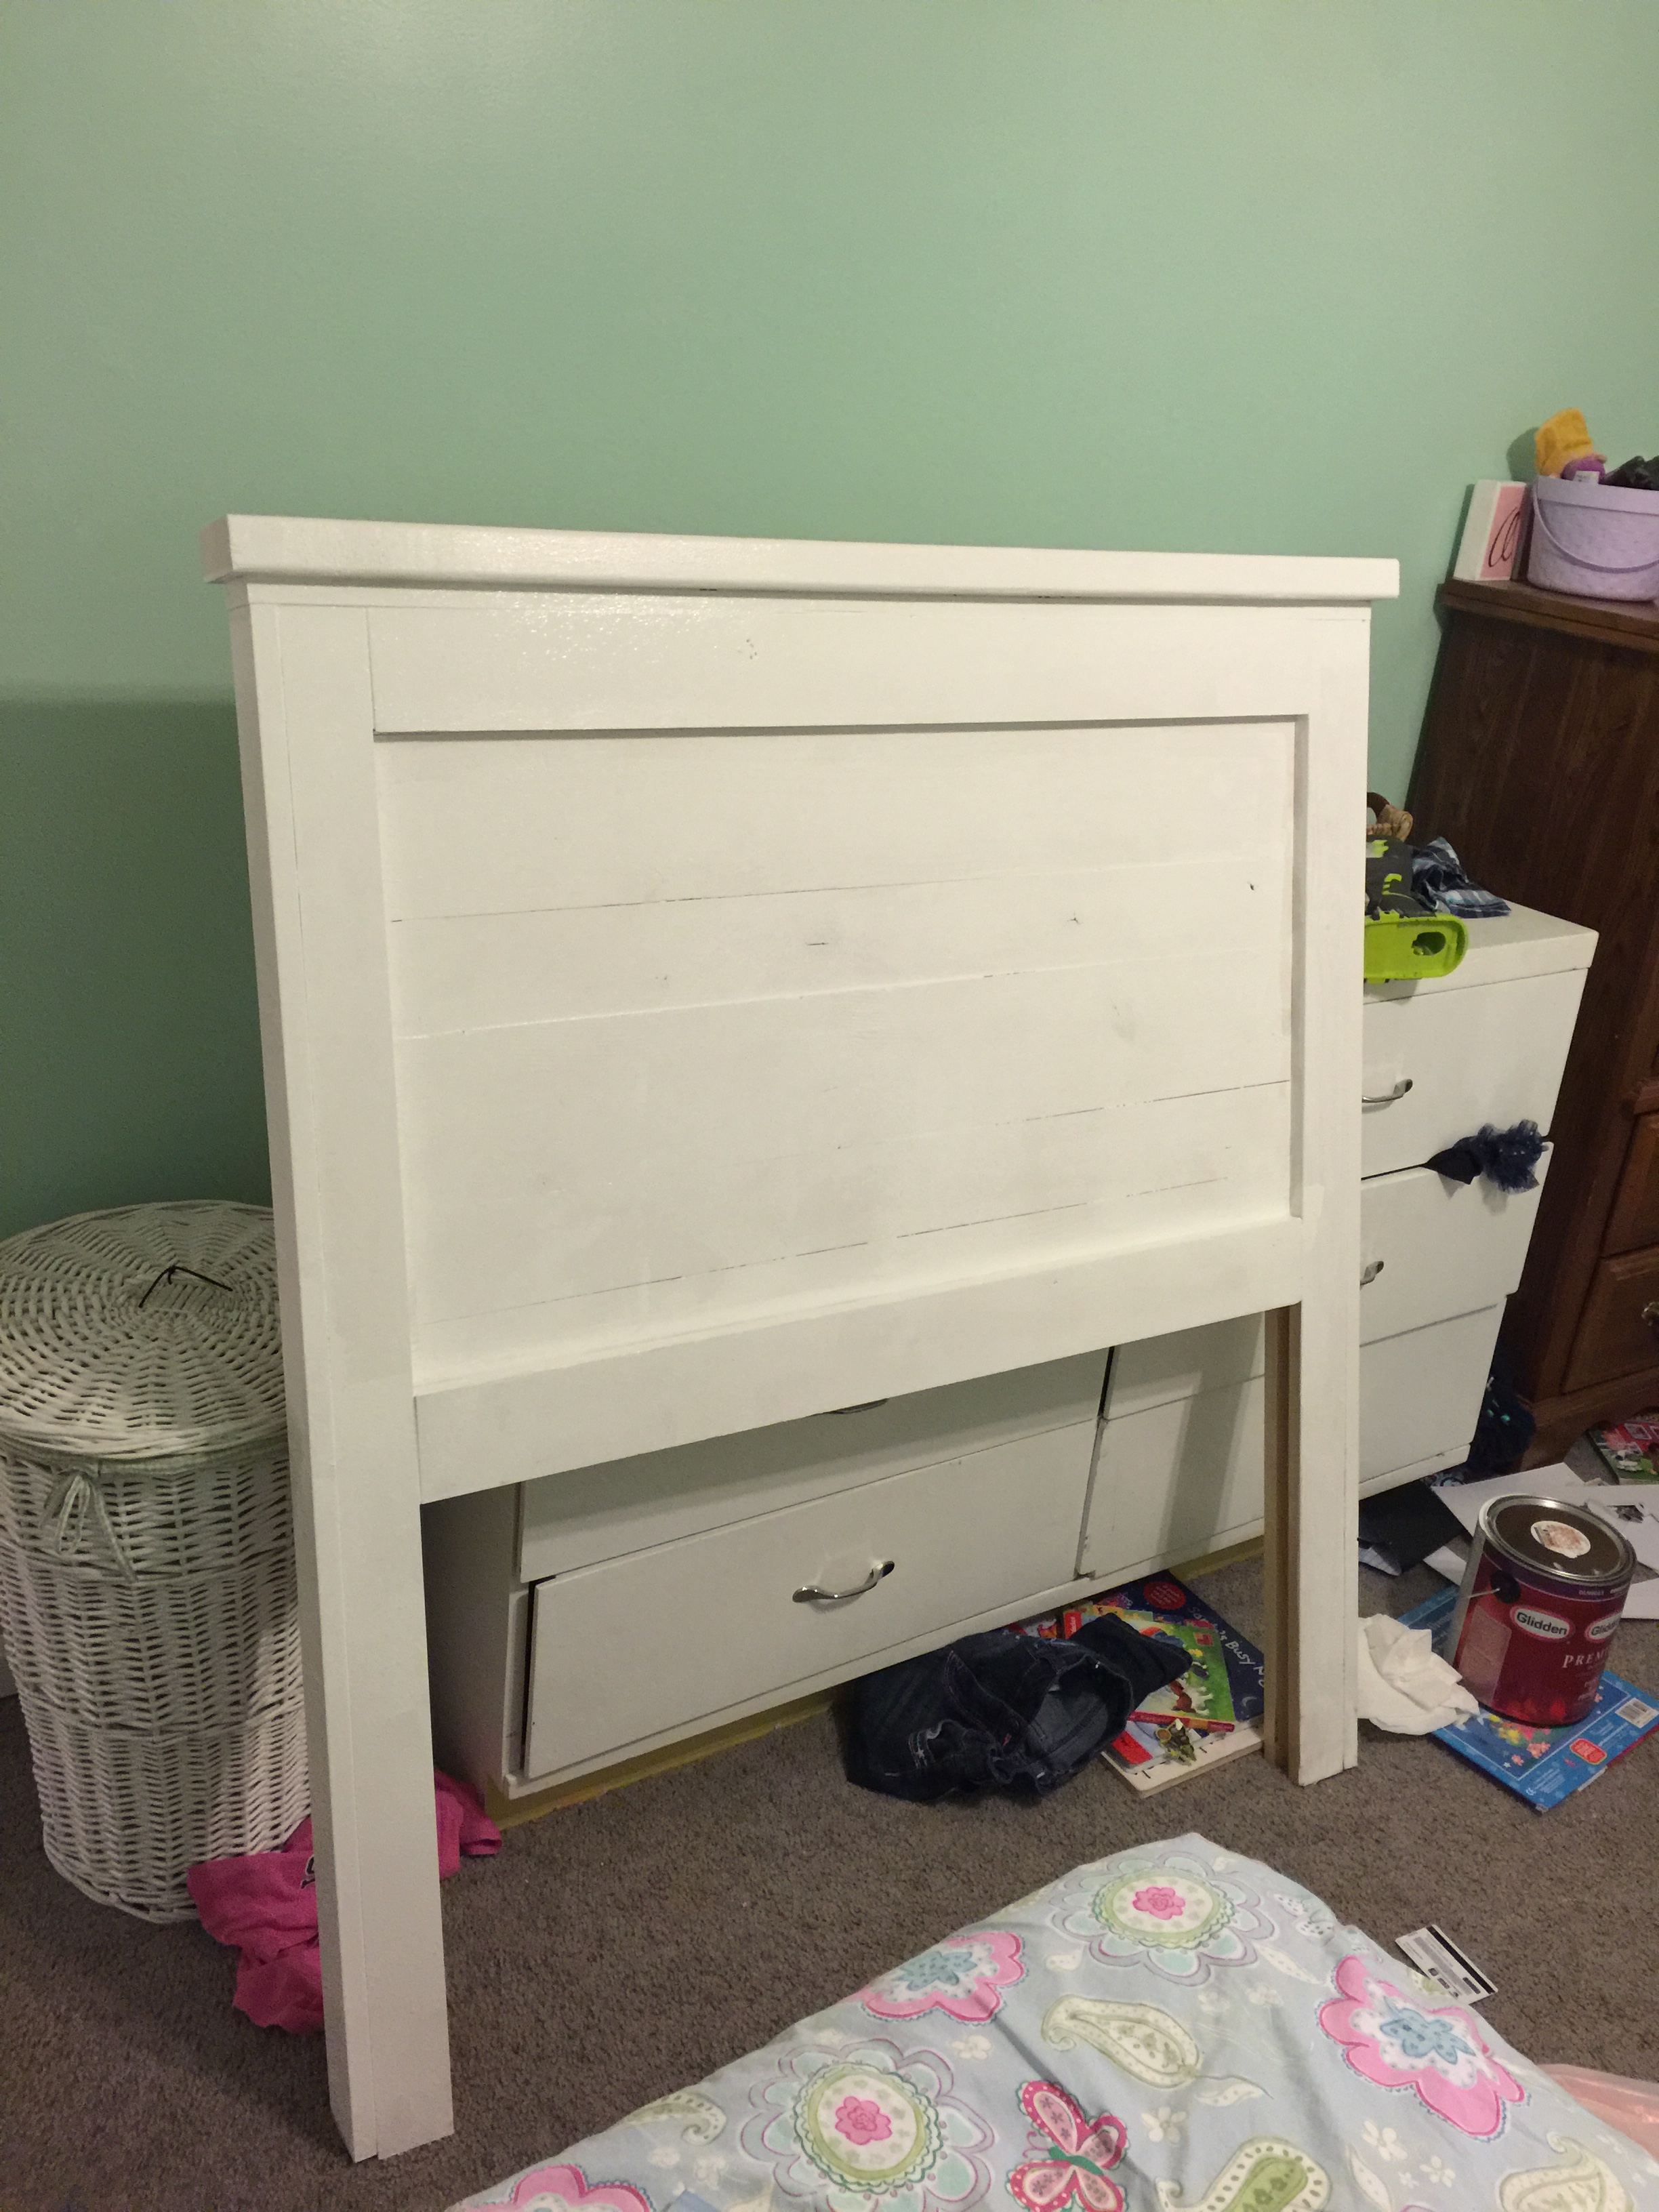
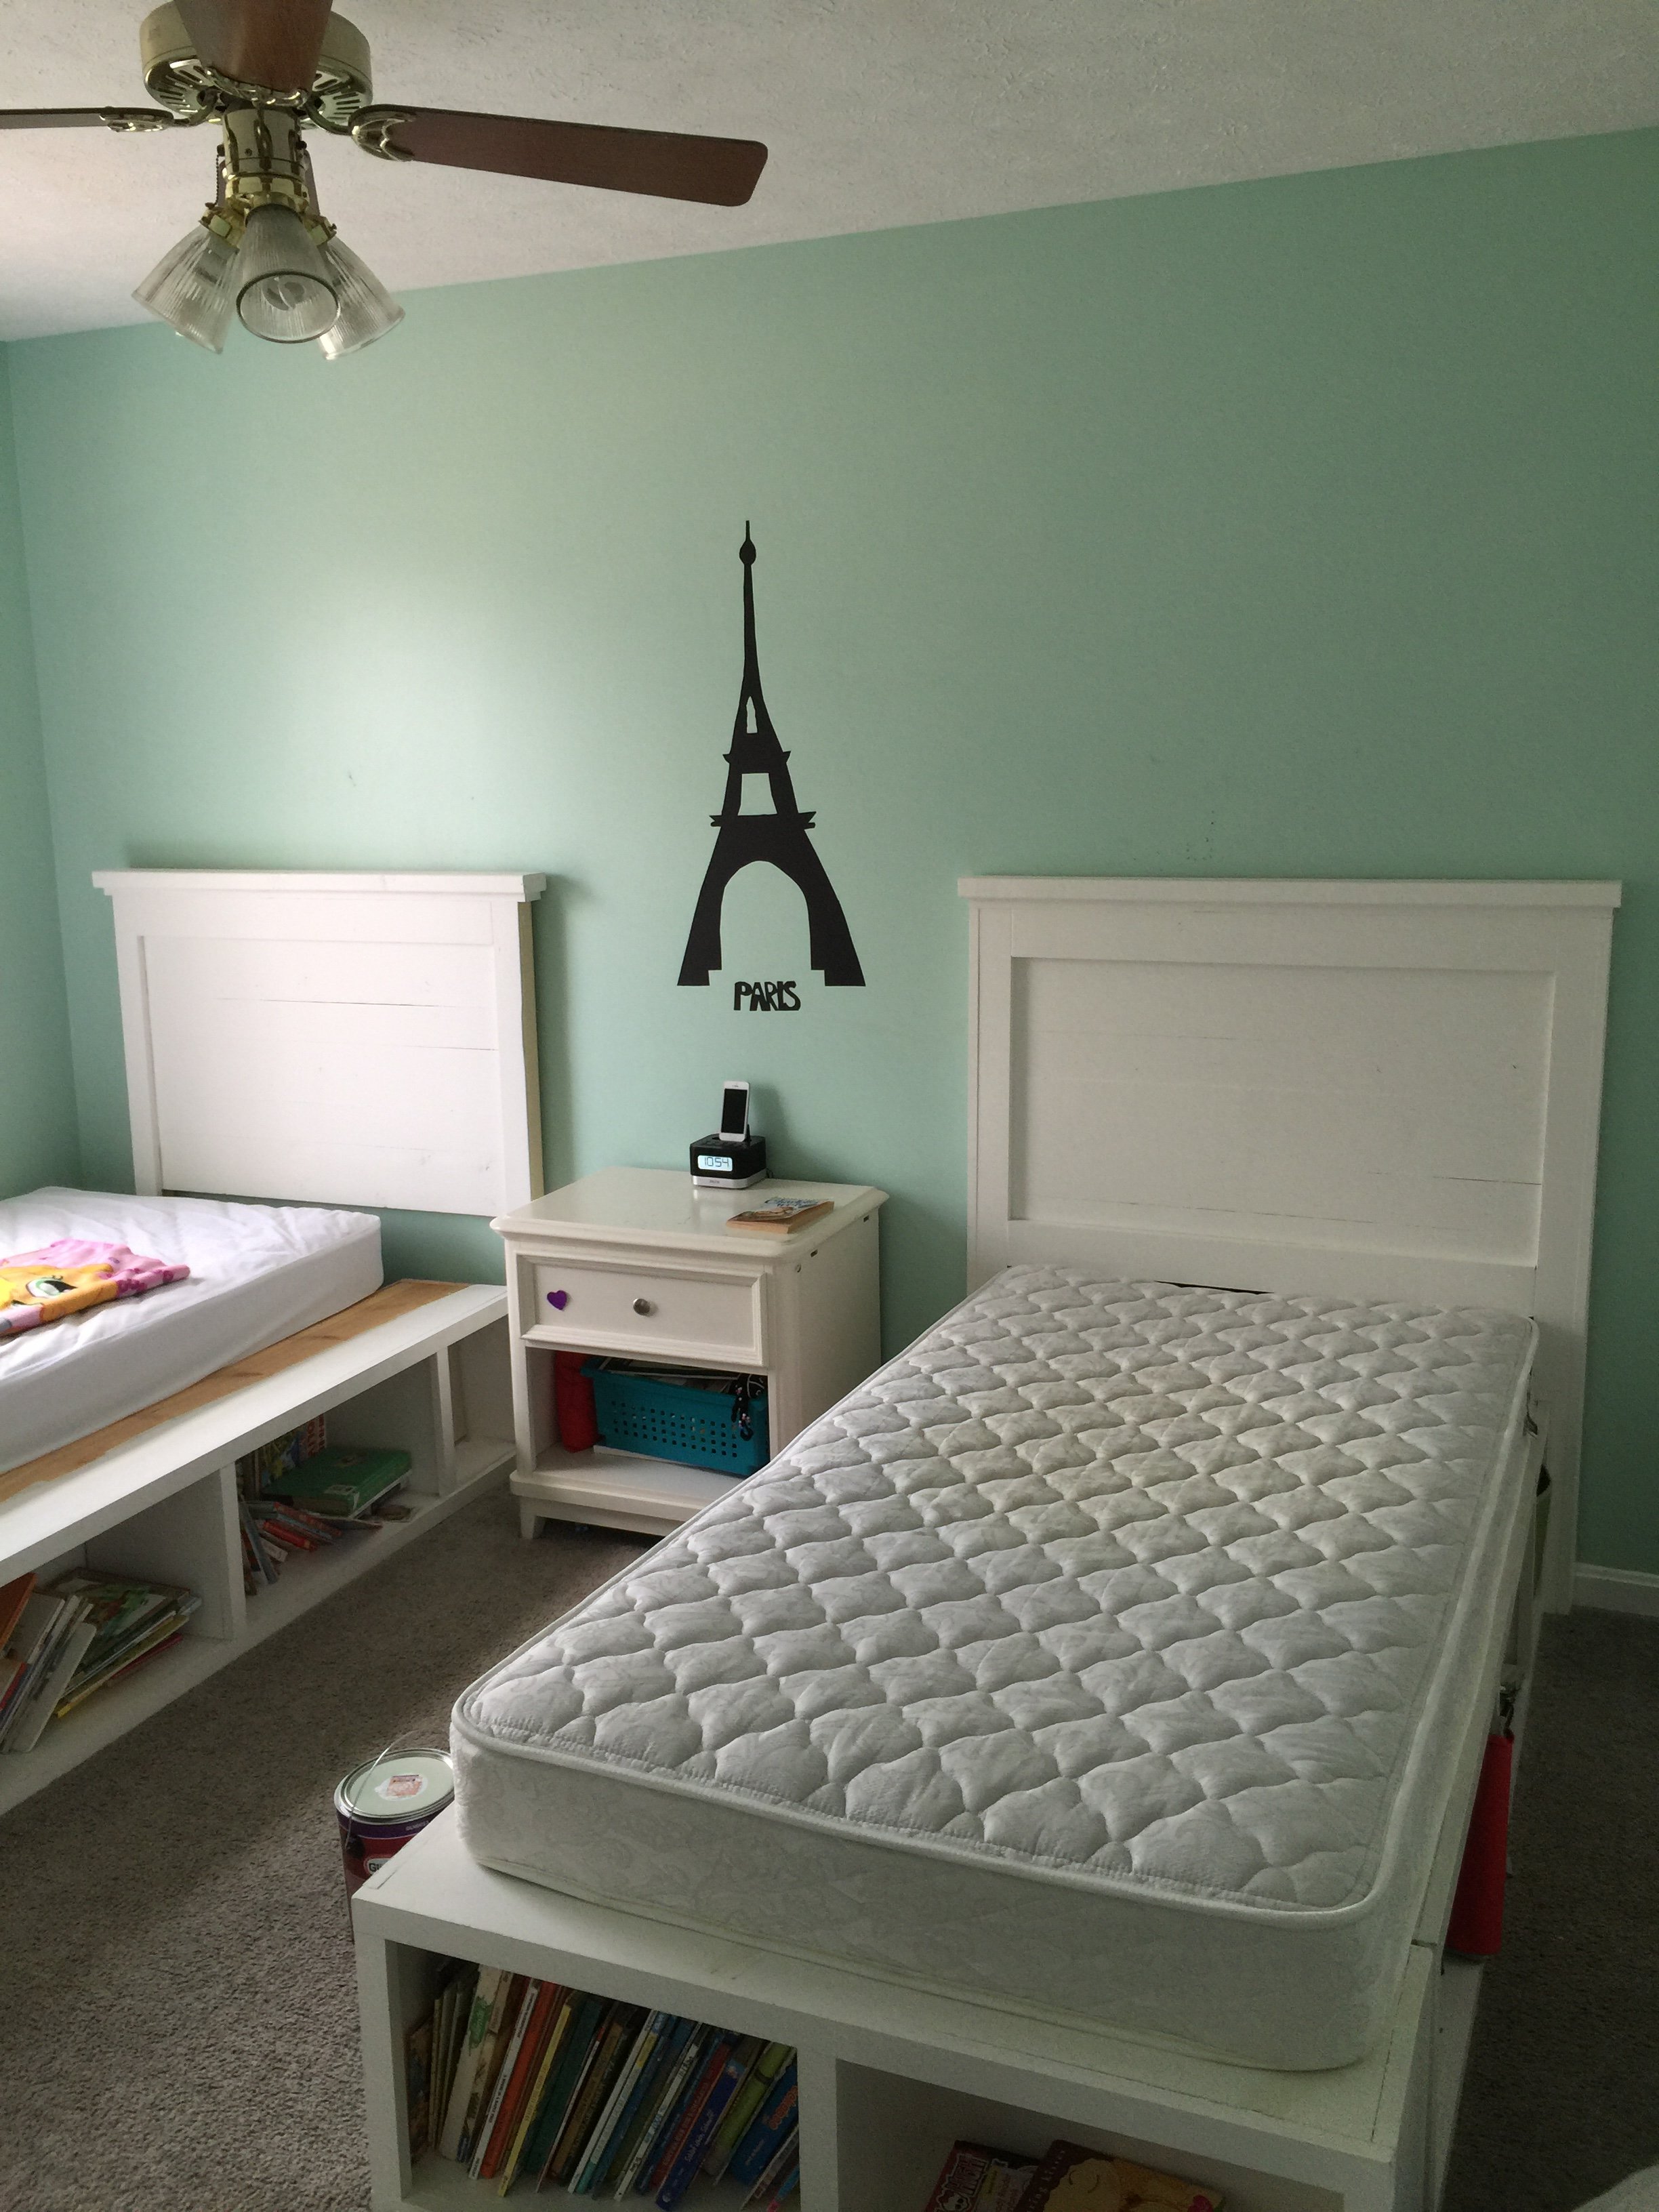
This was really my first build and it stemmed from not being able to find the kind of beds I wanted for my girls. My brother helped me cut the wood and assemble the first one and my husband and I did the second together. It was so rewarding to make them and I love how they turned out! You can store so much and they are sturdy pieces. My girls love them too. (bedding is from Pottery Barn) I would stay this is a beginner's project. You don't need any specialized tools. it was a lot of fun and now I'm it itching to buy a Kreg Jig so I can complete many more projects!
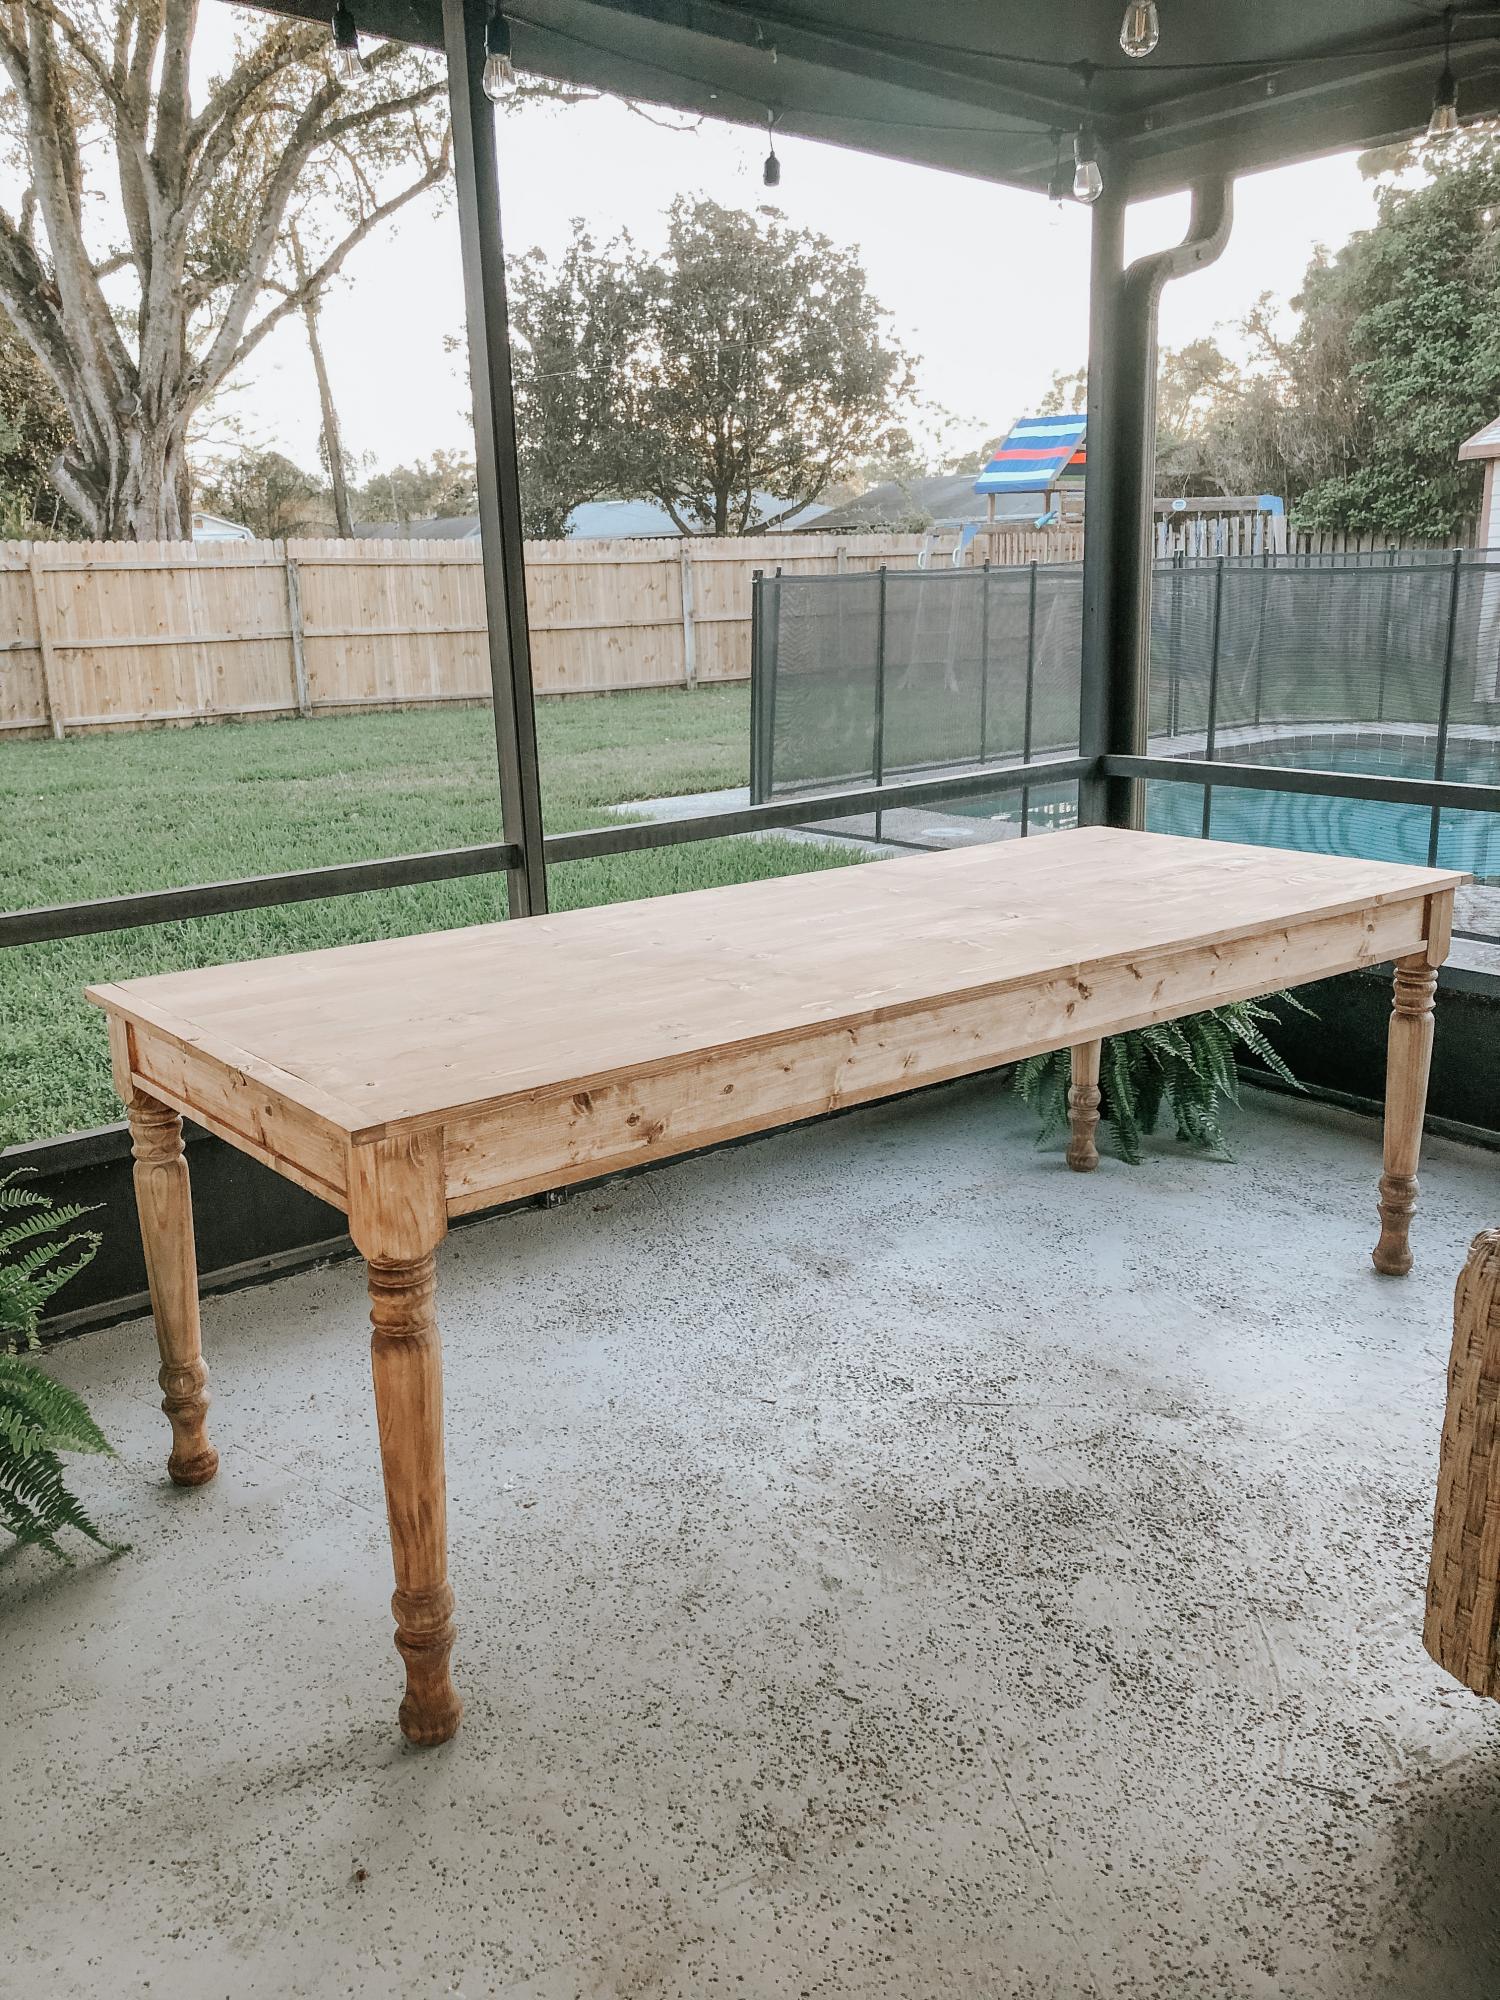
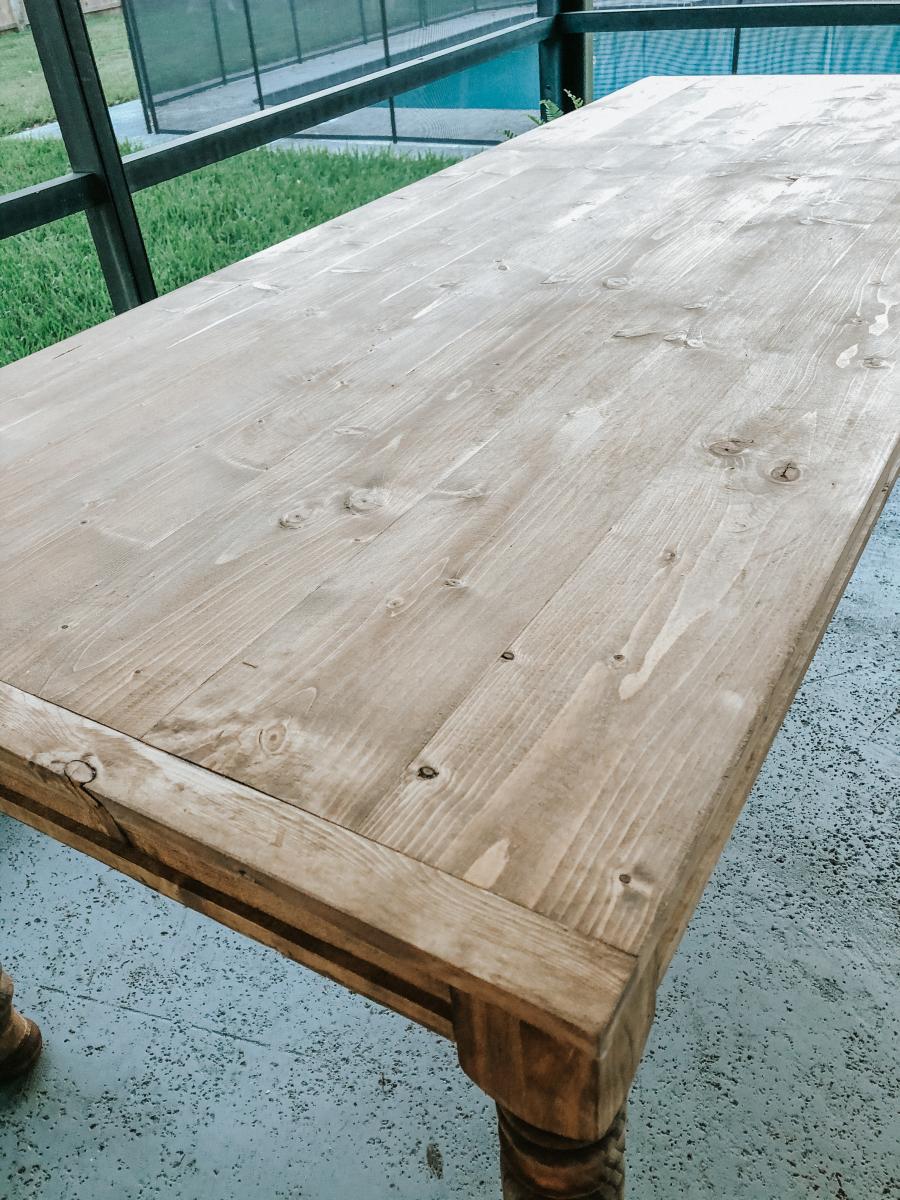
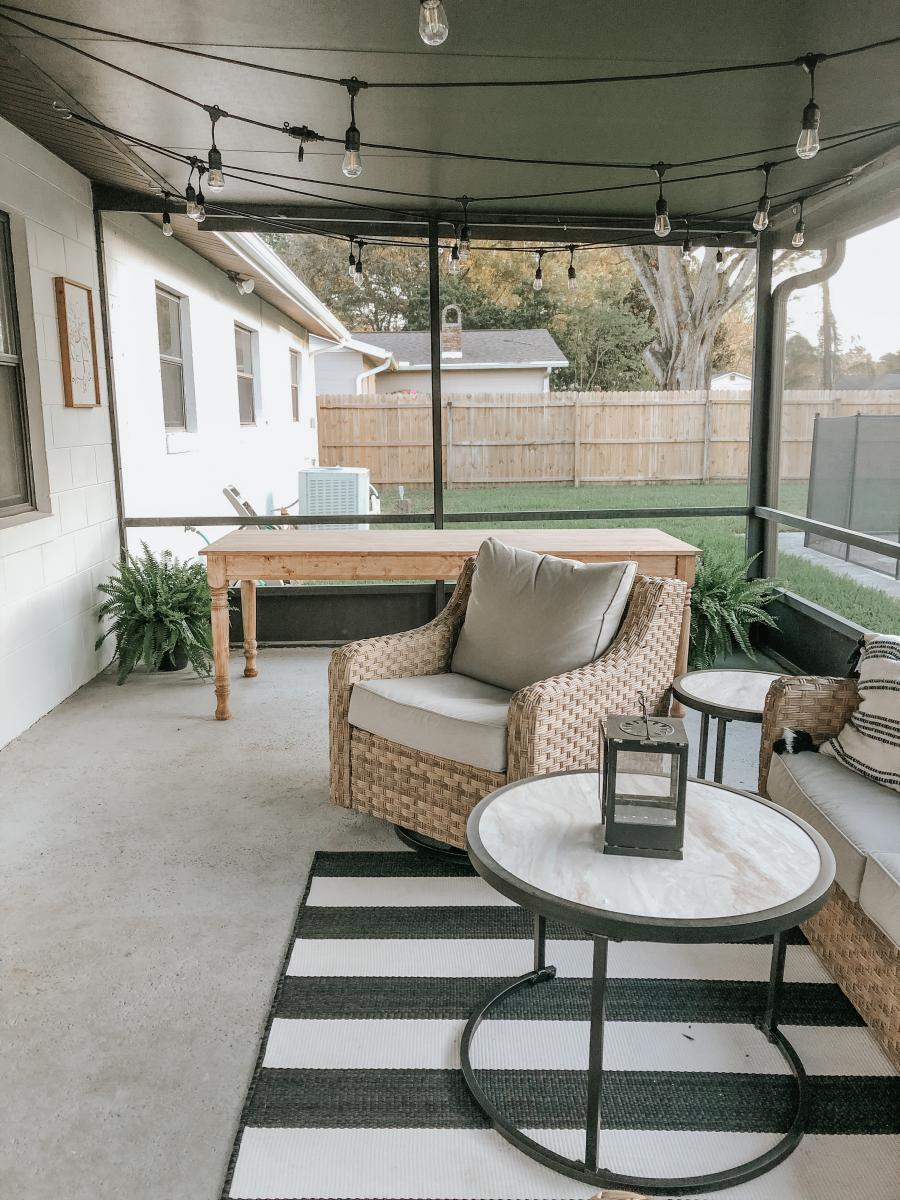
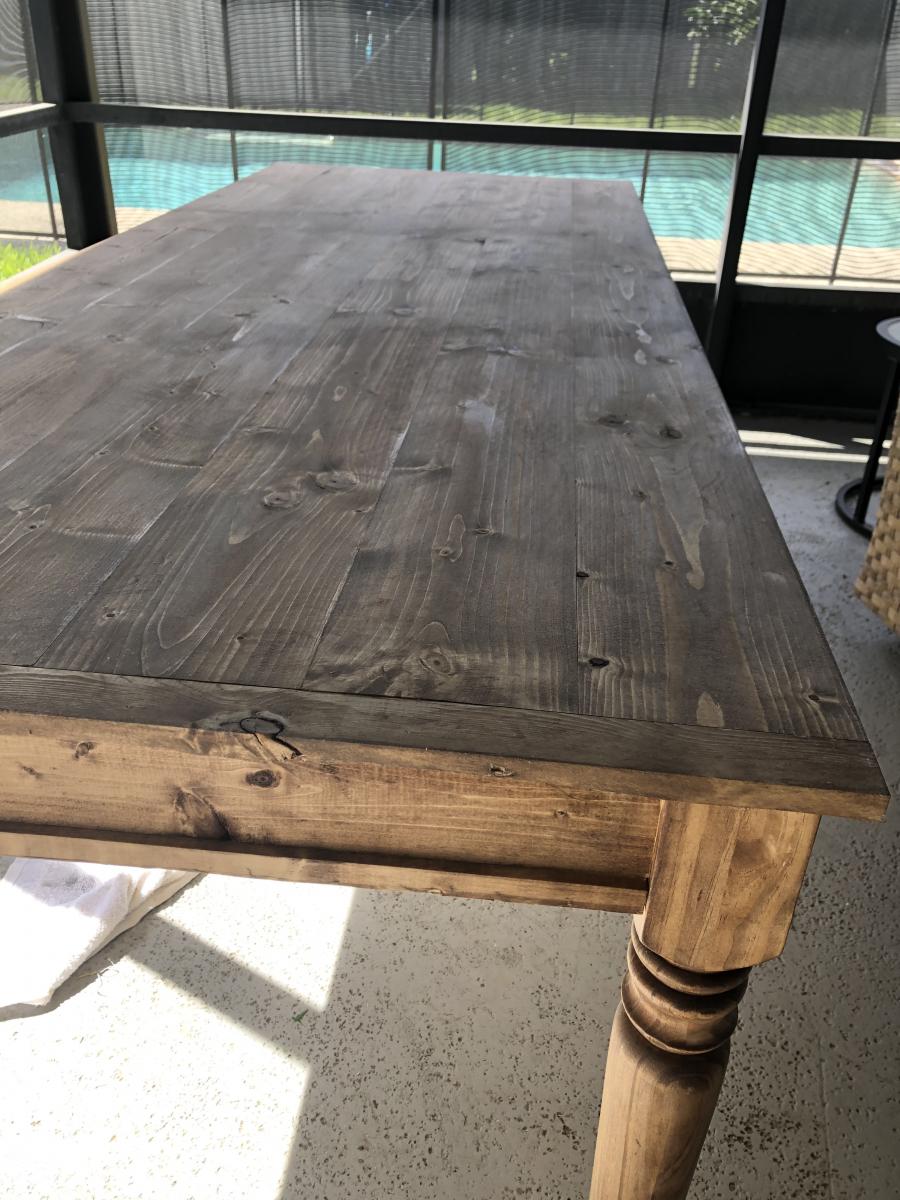
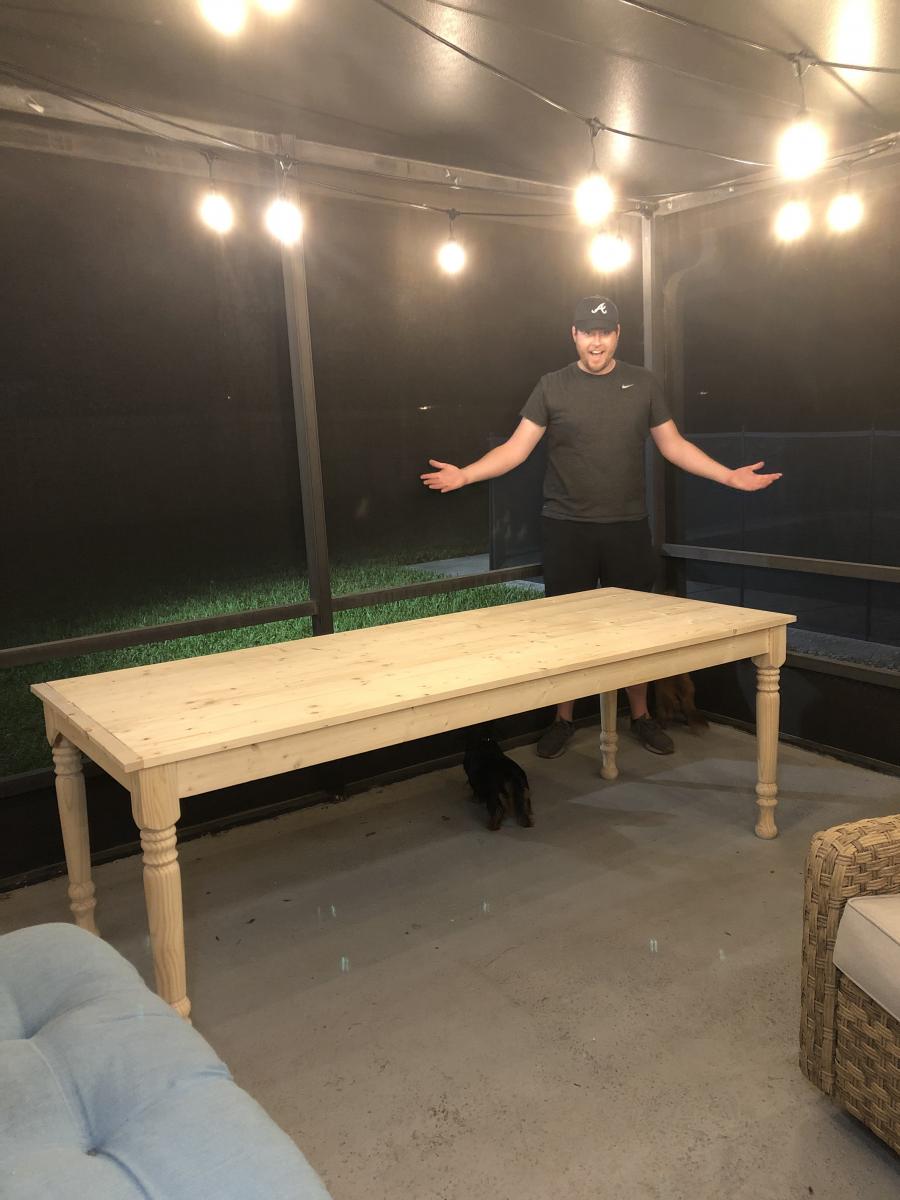
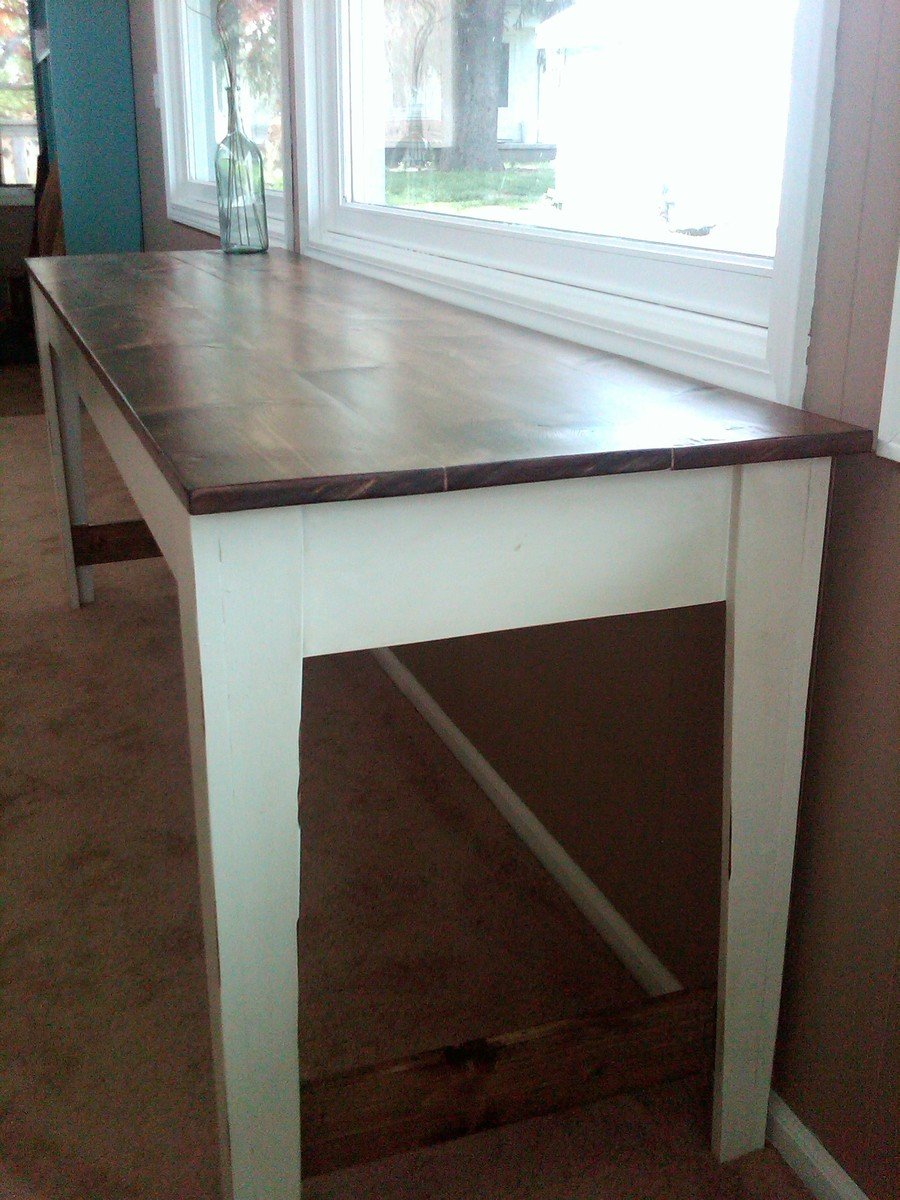
My wife and I were wanting a large outdoor farmhouse table that looked stylish, and like it could have been bought at Pottery Barn or another high-end furniture store. We found this plan that Ana white had made "Small Old English Style Farmhouse Dining Table". We often host groups from our church and will have 15-20 people on our patio or around our pool area, so we needed a bigger table... I just made some modifications to make it longer (7ft) in length to better fit our space and allow for more people to sit.
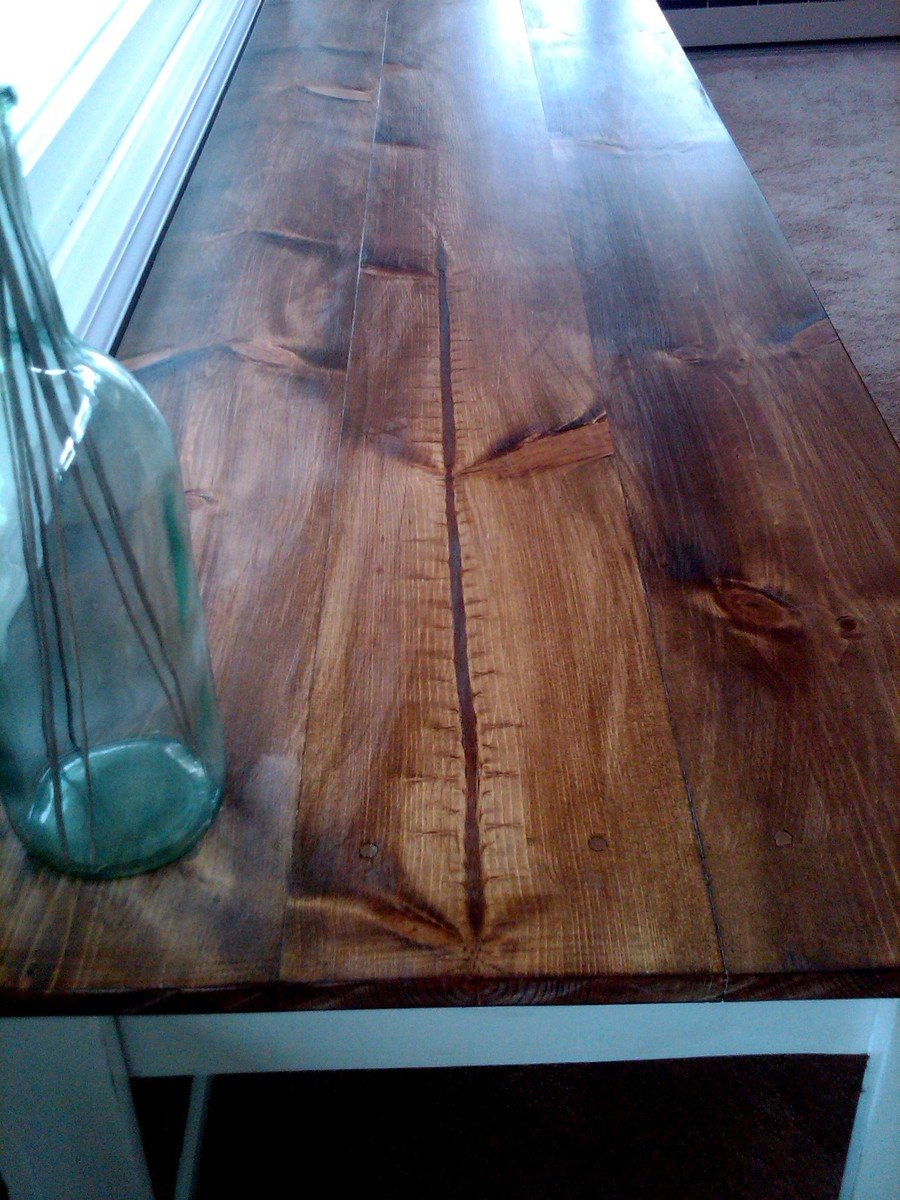
To make this plan longer, I simply adjusted the cut-list on the long 1x2s, 1x4s, and 1x6; and added a crossbar to prevent the longer tabletop from sagging. I also added the diagonal corner struts to make the table a little sturdier.
Adjusted Shopping List:
4 - 1x2 @ 8ft
5 - 1x4 @ 8 ft
6 - 1x6 @ 8ft
Waterproof 1 1/4" Kreg screws (for outdoor use)
Minwax Weathered Oak
Minwax Vintage Grey
Adjusted Cut-List
• 2 - 1x2 @ 26.5"
• 2 - 1x2 @ 76.5"
• 2 - 1x2 @ ~33.25"
• 2 - 1x4 @ 26.5"
• 2 - 1x4 @ 76.5"
• 4 - 1x4 @ 7.25" w/ 45º miter (diagonal corner supports)
• 1 - 1x4 @ ~28" (Crossbar - I forget the exact measurement)
• 6 - 1x6 @ 82"
For seating we just bought some inexpensive farmhouse weather resistant chairs from Walmart:
https://www.walmart.com/ip/Yaheetech-Metal-Dinning-Chairs-Stackable-Cof…
Tue, 03/02/2021 - 08:46
Love the to see the increased length on this plan. thanks for sharing!
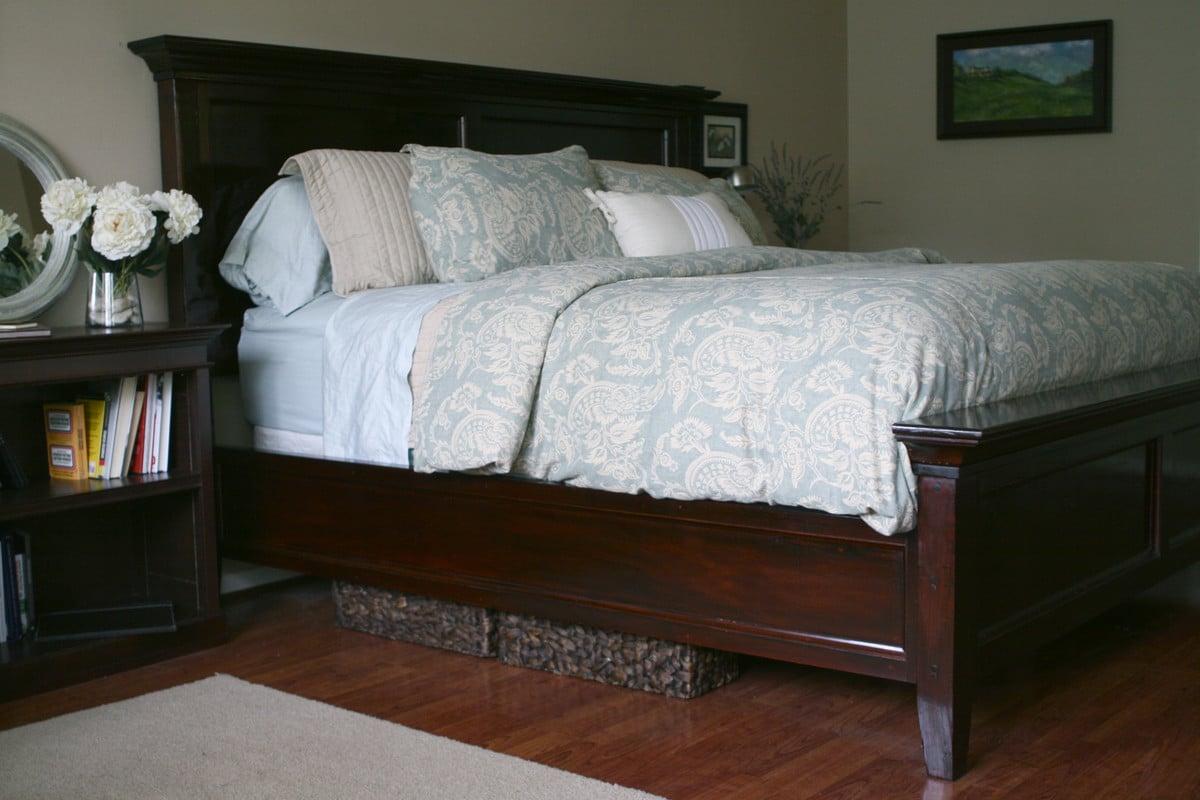
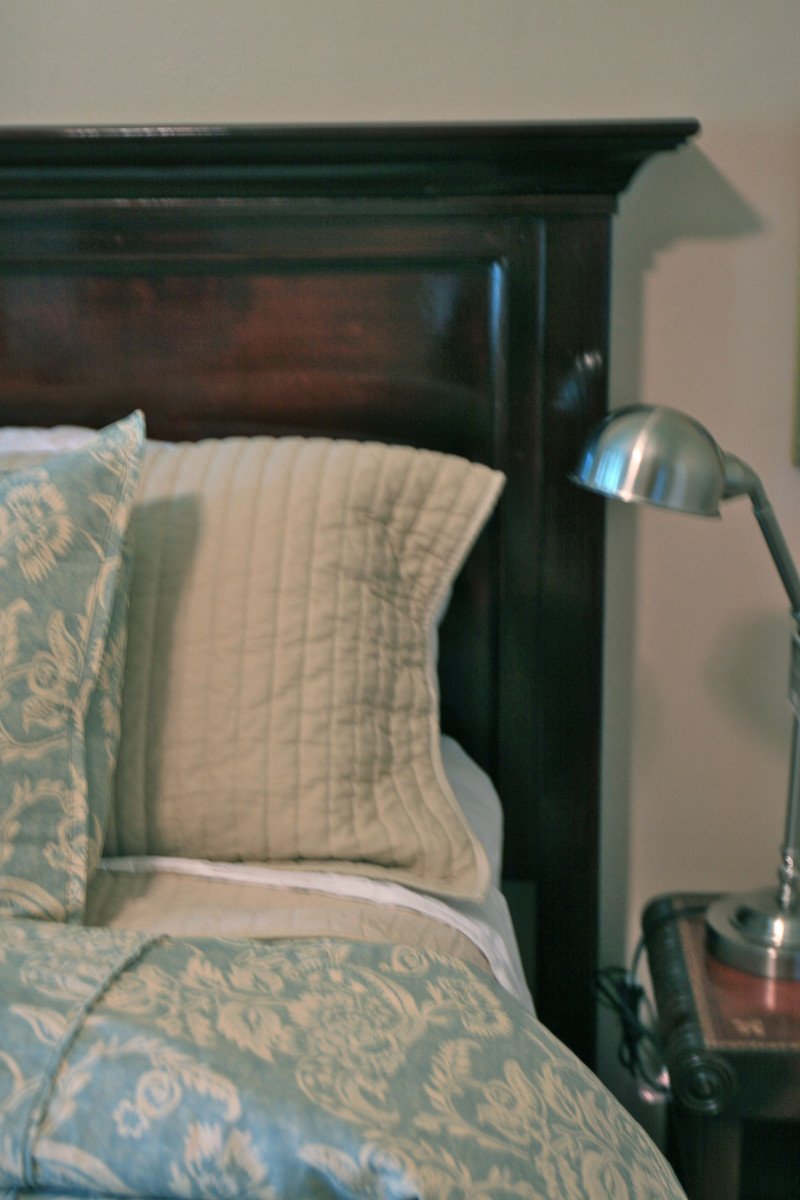
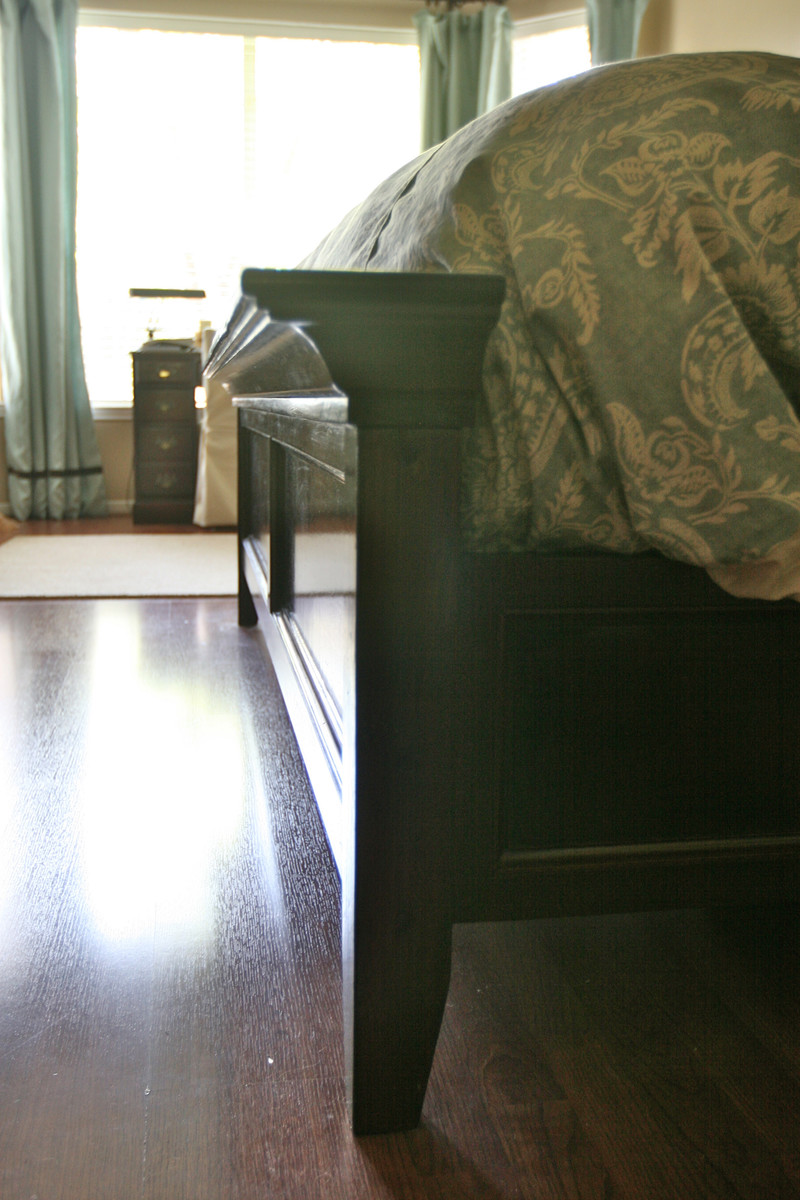
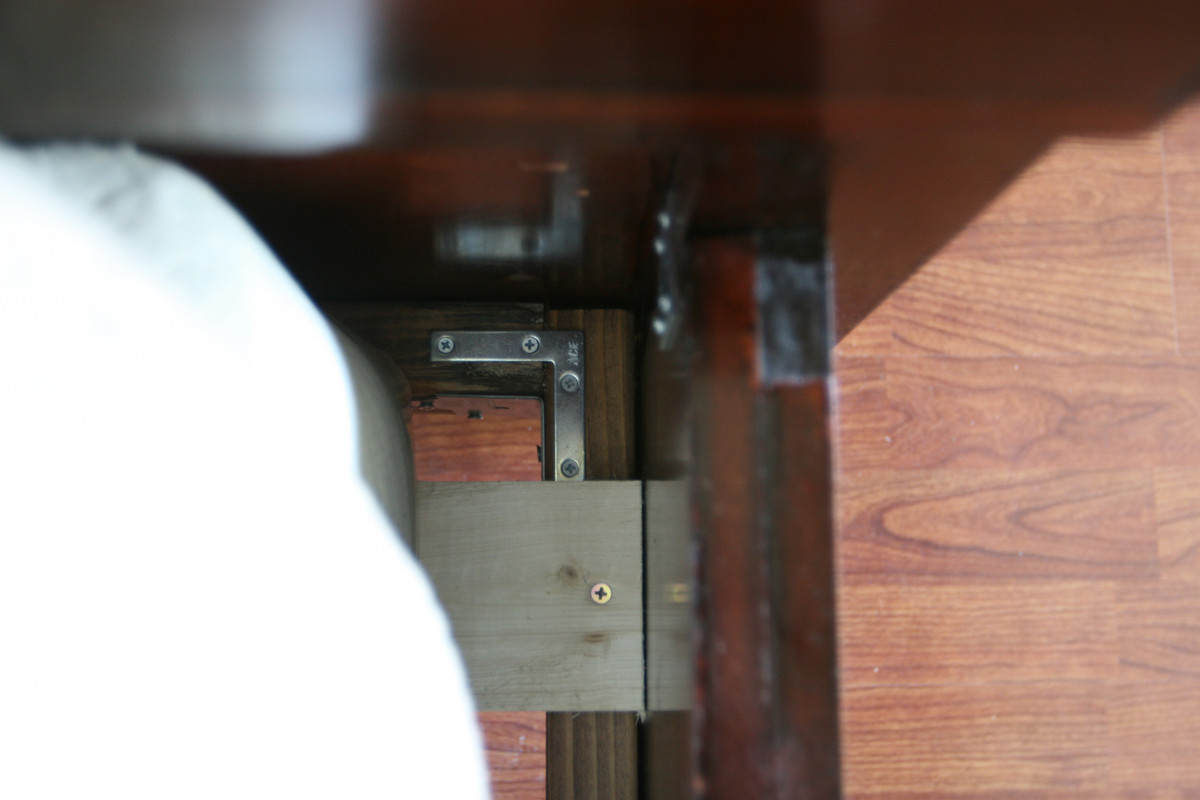
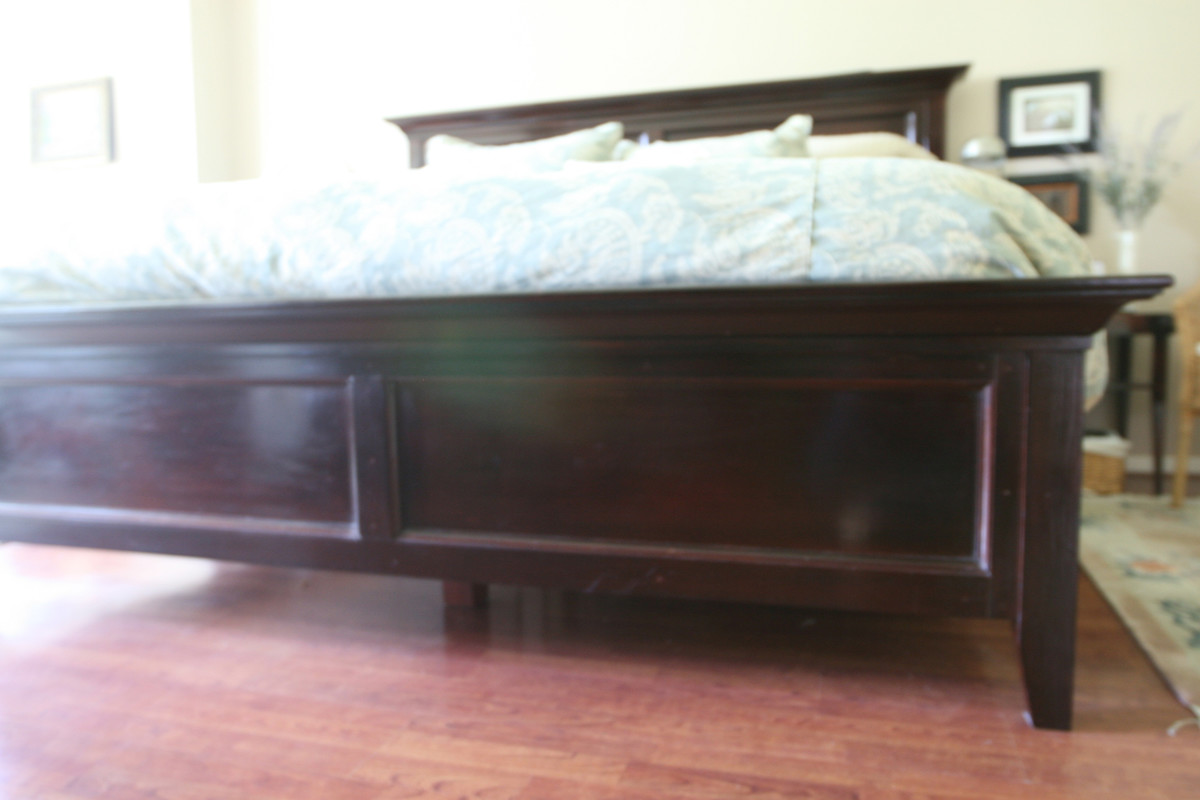
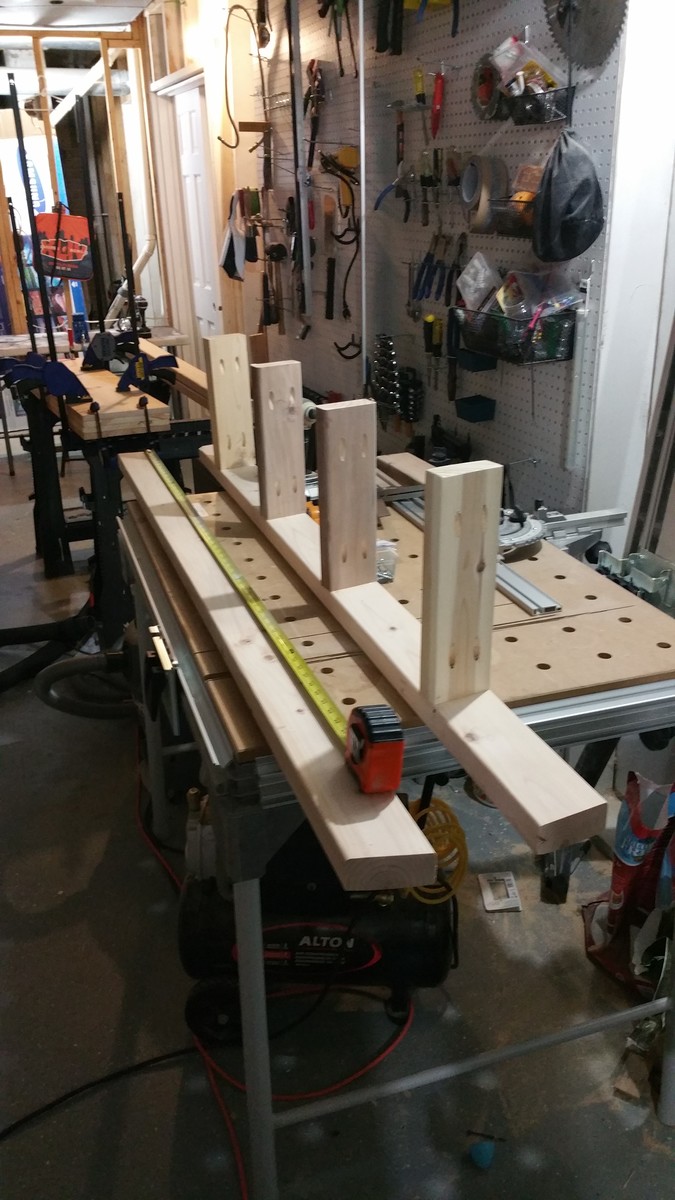
This was our first project. My husband and I took the Farmhouse bed plans and modified them to look more like the Hudson Bed from Pottery Barn. This is a King size bed with removable side rails and under bed supports so that it can easily be collapsed for moving.

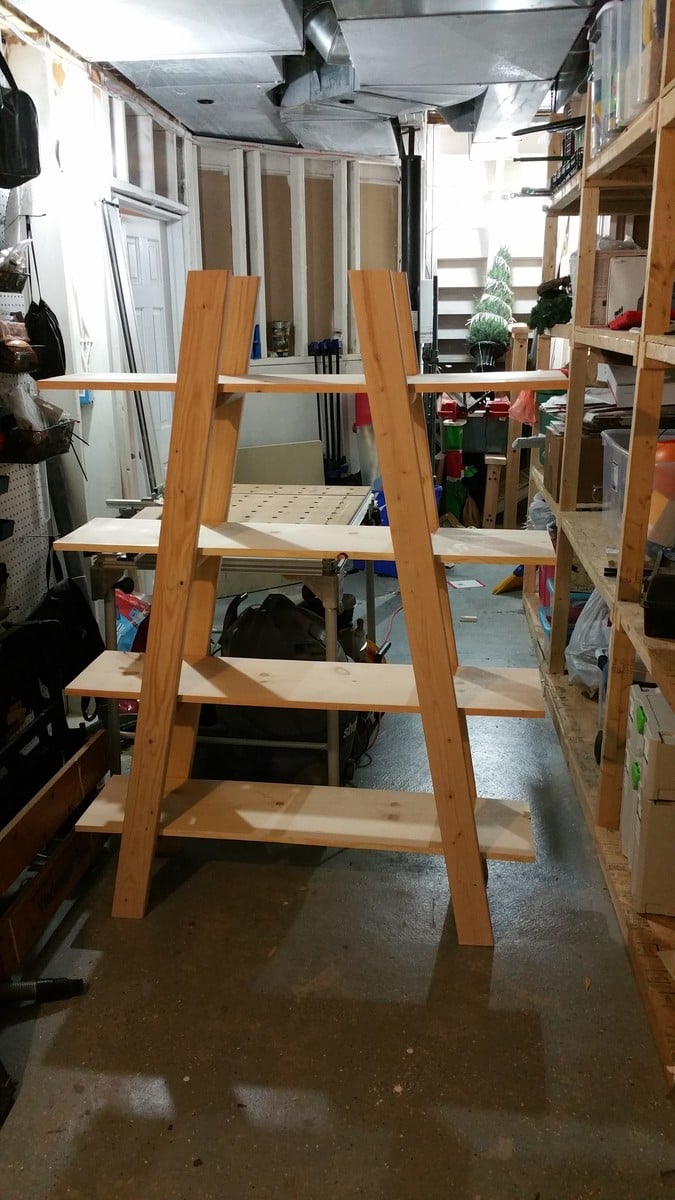
Friends of mine are having a girl and needed a bookshelf for the nursery. Loved the simplicity of this design and wanted to see in an antique white finish. Great plans and design.
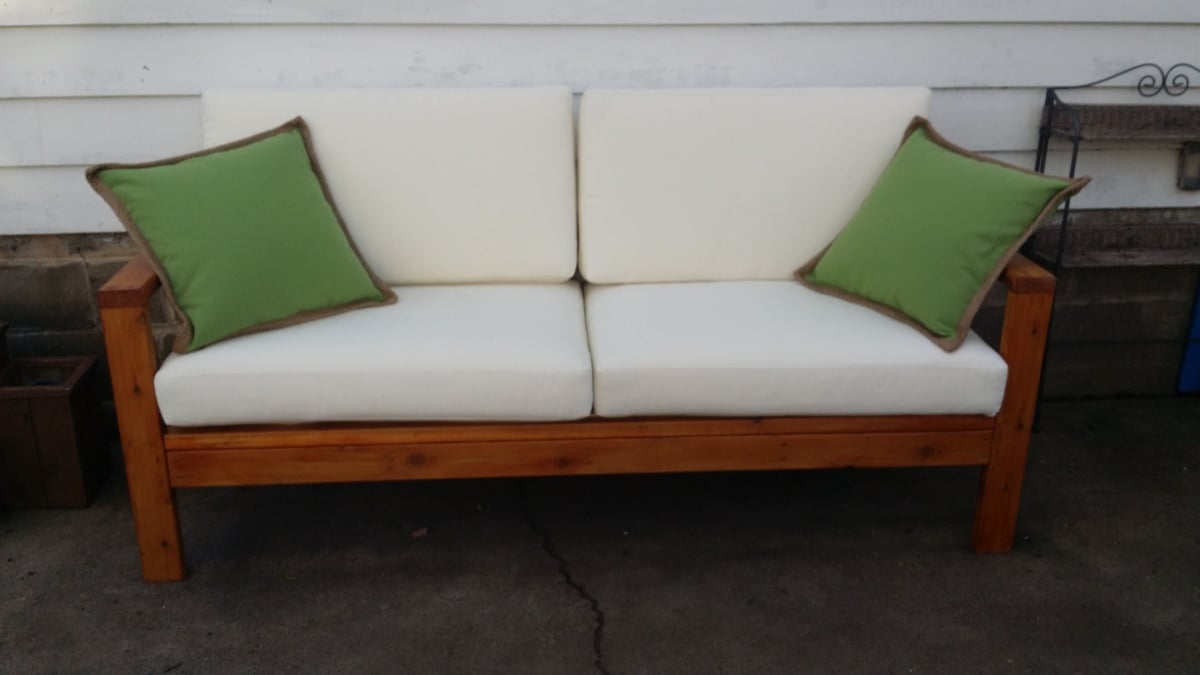
Easy to build 2-3 hours. Weather proofed because did not want grey cedar in a few years. Liked the color of weather proofing but color continued to leak off. Polyed and sanding eventually stopped the leaking if colors. Scored pottery barn cushions 50% in the winter + 15% new email customer. Still $150... bought some pillows from pottery barn on sale for another $60. All in all looks awesome! VERY easy build. The rest ($$) is what hurts... Test any weatherproof in you use first before using.
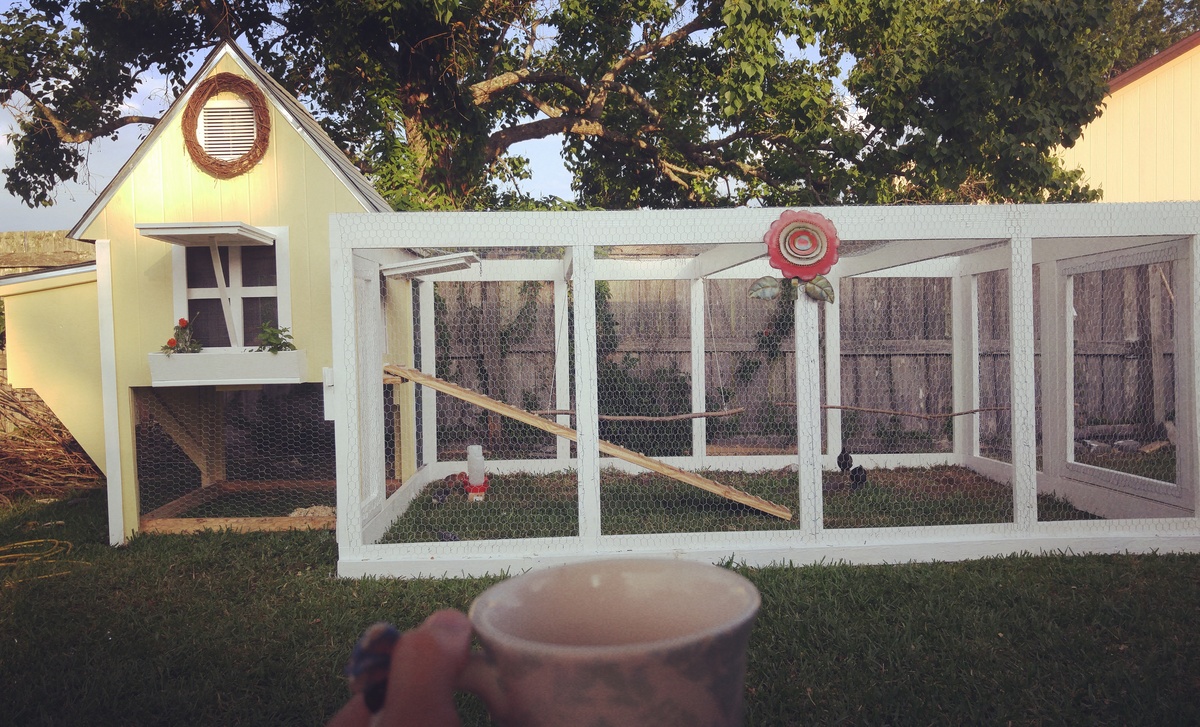
My husband bulky this coop from pallets and used Ana White's chicken run plans. Took us a weekend to build the run.
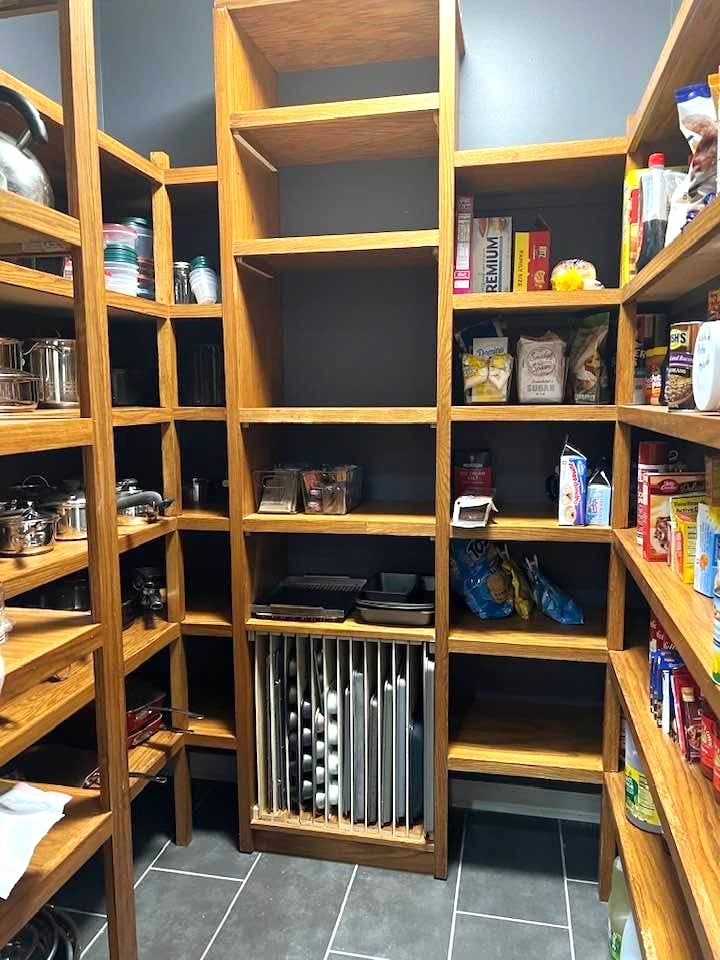
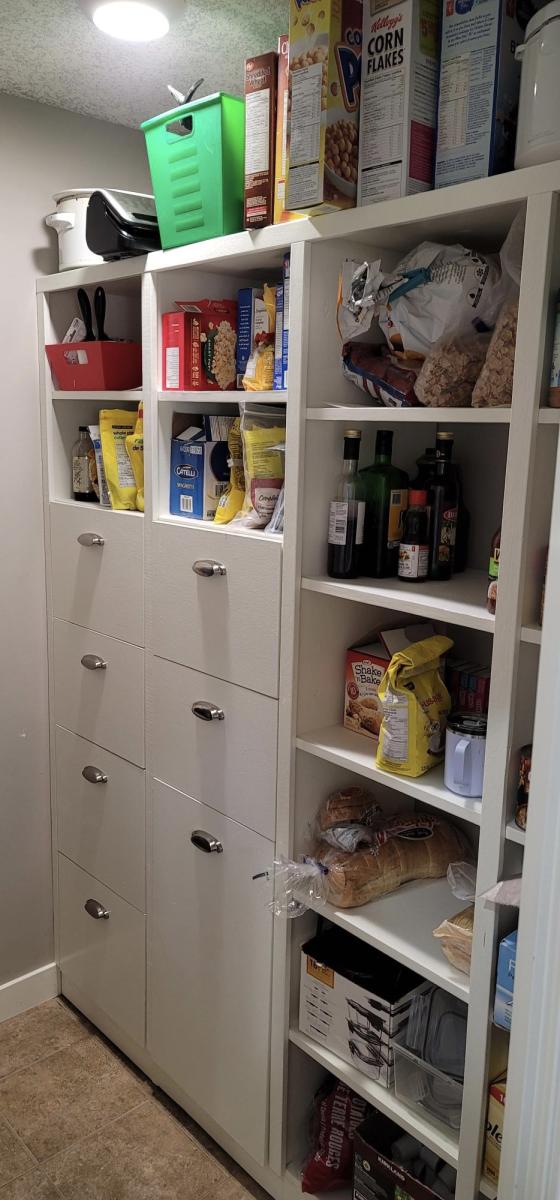
Built new shelving in our 6' x 6' pantry using red oak plywood shelving and 2" x 2" red oak corner shelf supports and red oak 1" x 2" trim. Used plans modified from Ana White site.
Pat Edwards, Ashland City, TN
Sat, 11/18/2023 - 12:47
Thanks for sharing, it looks great! Love the custom baking sheet storage:)

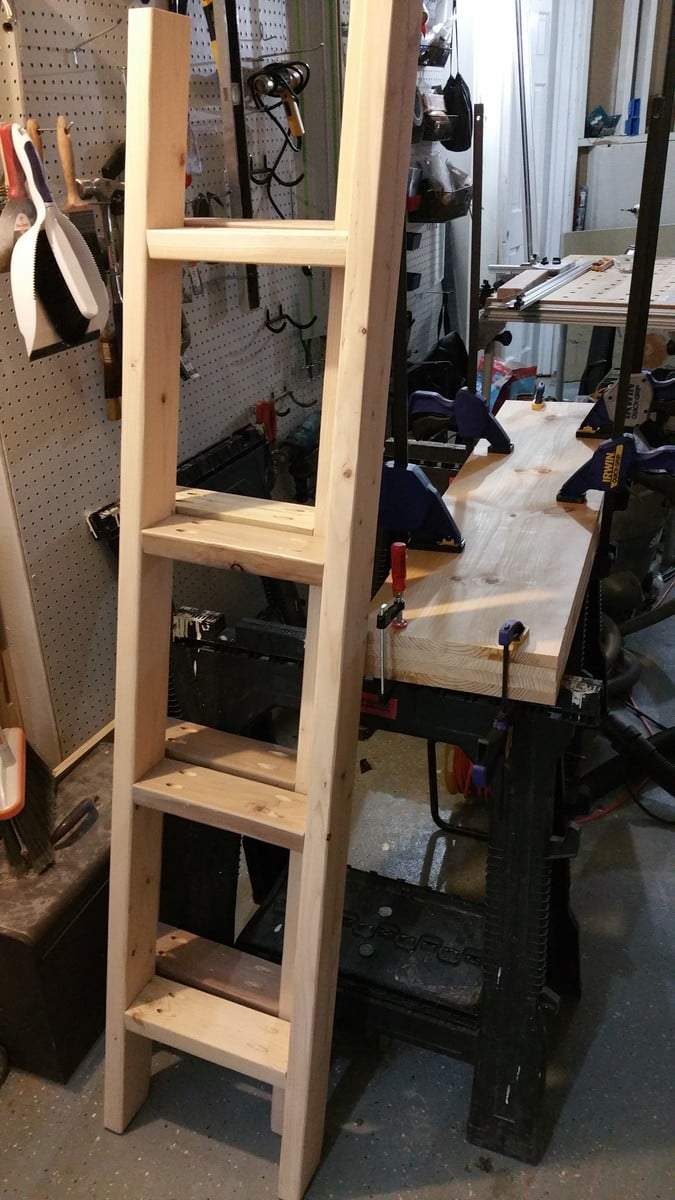
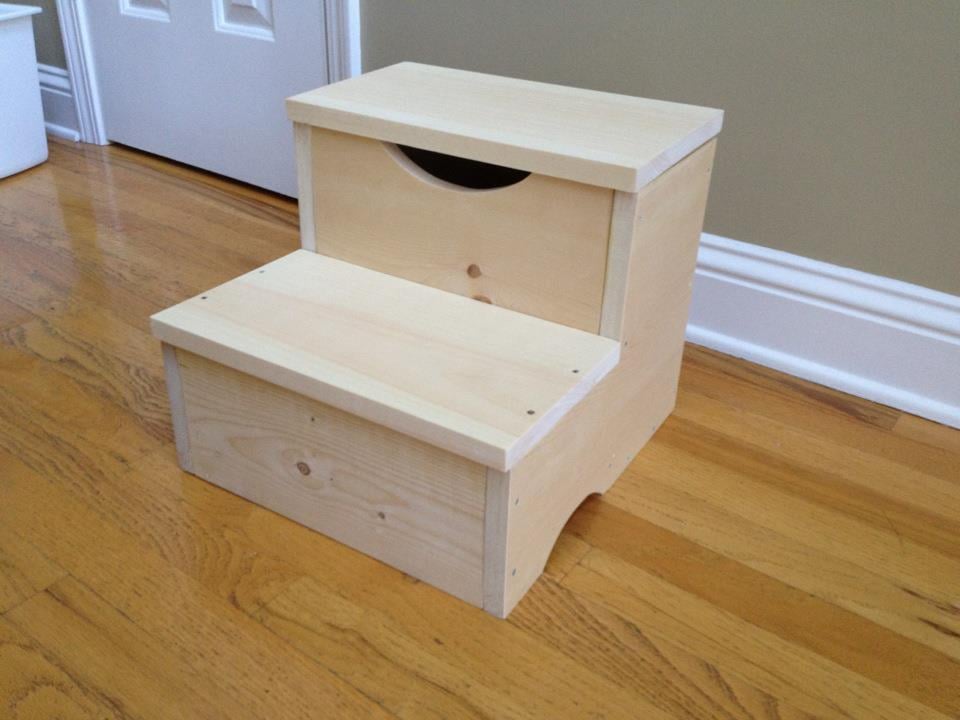
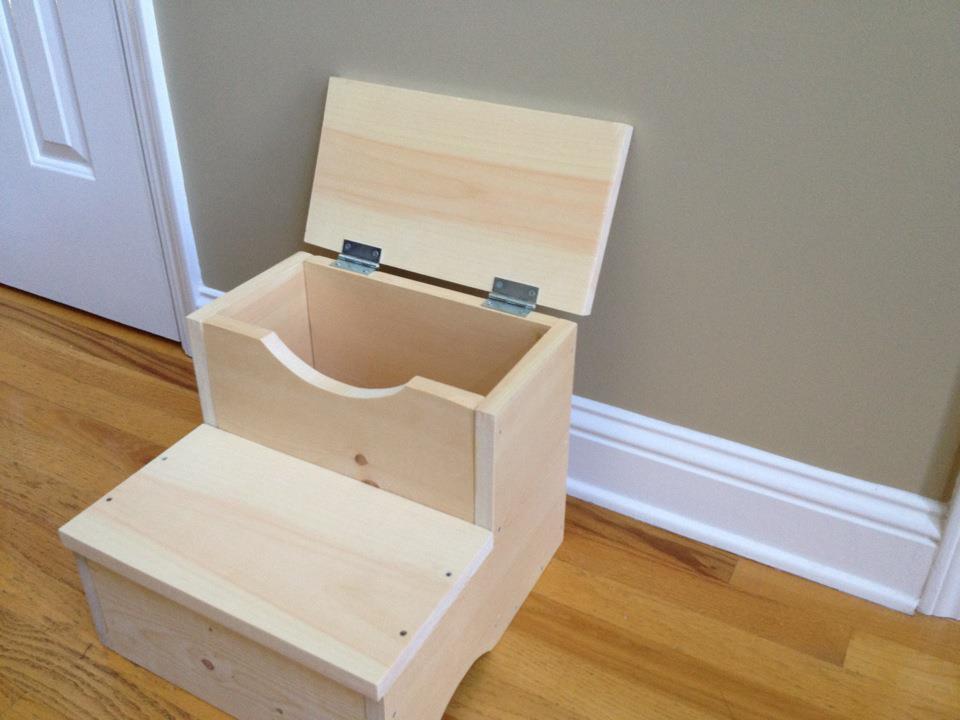
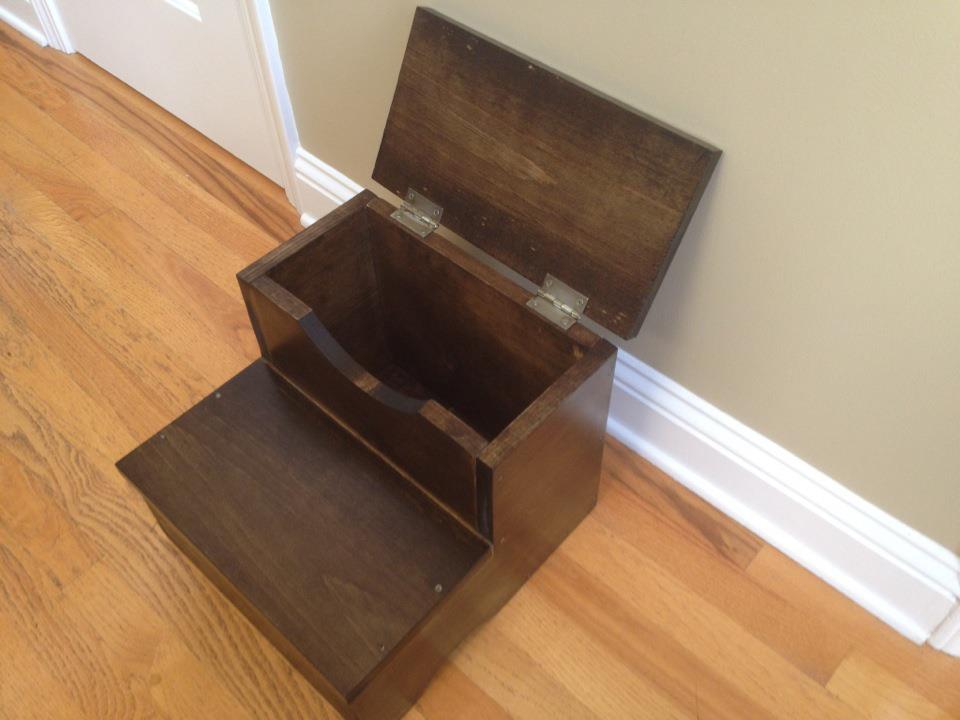
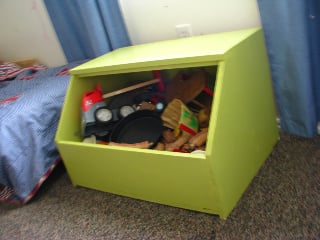
We moved my 3 year old son into his big boy room with a queen bed; it was a little tall for him so it was difficult for him to get in the bed so I set out to find a step stool. They were between $60-$80 and there was no way I was going to spend that kind of cash…..so that is how I found Ana’s site!
I built this with no problem and even got to know my jig saw a bit better.

Well, I started with one chair and finished with a full set. Not bad for a first timer. Definitely room to improve. Little tip if you're going to make this amazing set... raise the backs as they are too low with thicker cushions. I built a casing to go on top after the fact. Pretty happy with how it all turned out. Thanks Ana for the plans... now onto the next project!


Fri, 04/28/2023 - 08:41
Very nice workmanship. I'm curious as to how comfortable they are with the straight 90* backs? Let me know please at [email protected]. Again nice workmanship.
Fri, 04/28/2023 - 08:41
Very nice workmanship. I'm curious as to how comfortable they are with the straight 90* backs? Let me know please at [email protected]. Again nice workmanship.
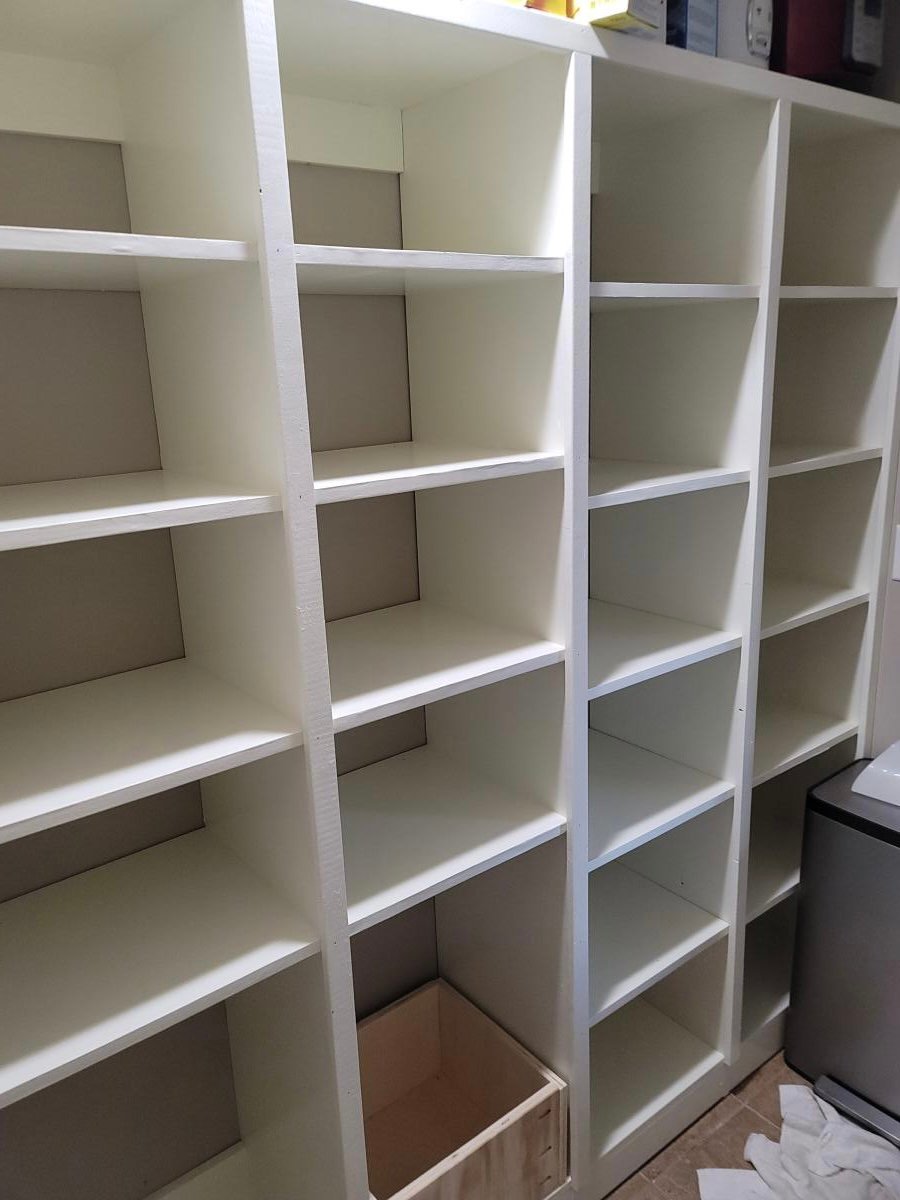
Kitchen pantry project using 3/4" plywood and using Anna's shelfhelp spreadsheet to get my dimensions. Added drawers including one large for recycling. I wanted to add another large drawer beside the recycling drawer for garbage but my wife nixed it stating she didn't want to have dripping greasy garbage in her hand and try and open the drawer...so she won that one.

This is my favorite build so far! When I saw the plan I pretty muh obssesed over it for weeks until I finally gave in and here it is!
I must confess...I have no where to put it haha. I don't care, I saw it and had to have it.


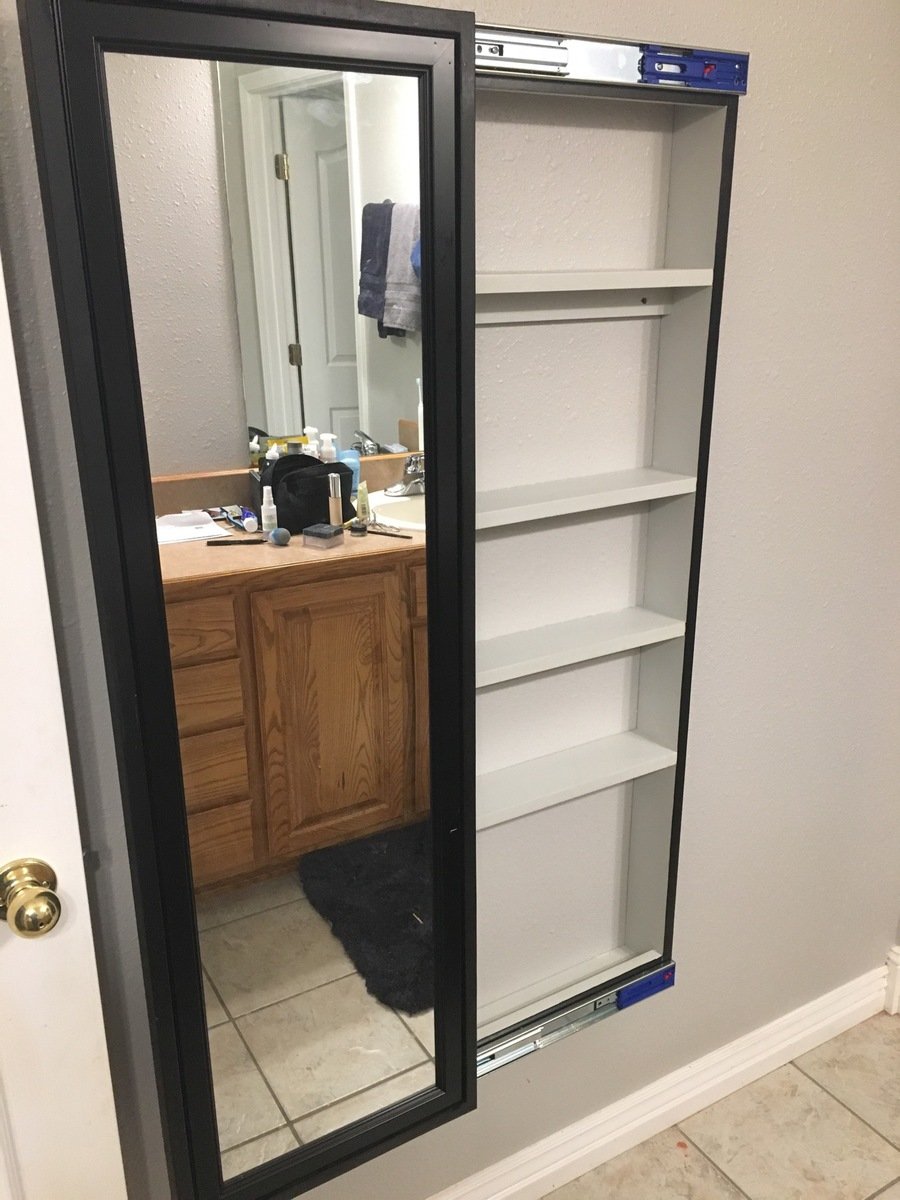
I built this for my daughter after building a ladder shelf for my kids bathroom. It took more time to install and adjust the drawer slides and paint the project.
Sat, 09/07/2019 - 03:32
Hi mltdblack
Really nice finish on the cabinet.
It looks like there’s molding on top of your mirror.
Did you buy a mirror with a frame or buy molding and put it on over the mirror?
What molding did you use an how did you secure it?
What size mirror did you use? Thanks
Fri, 01/07/2022 - 14:14
I am so sorry. This is the first I am seeing your question. The mirror came with a frame and I carefully nailed thru the frame to attach with my 18 gauge nailer. I bought the mirror at Lowe’s and I believe it was 15.5” x 50”. Also, I used full extension soft close drawer slides.
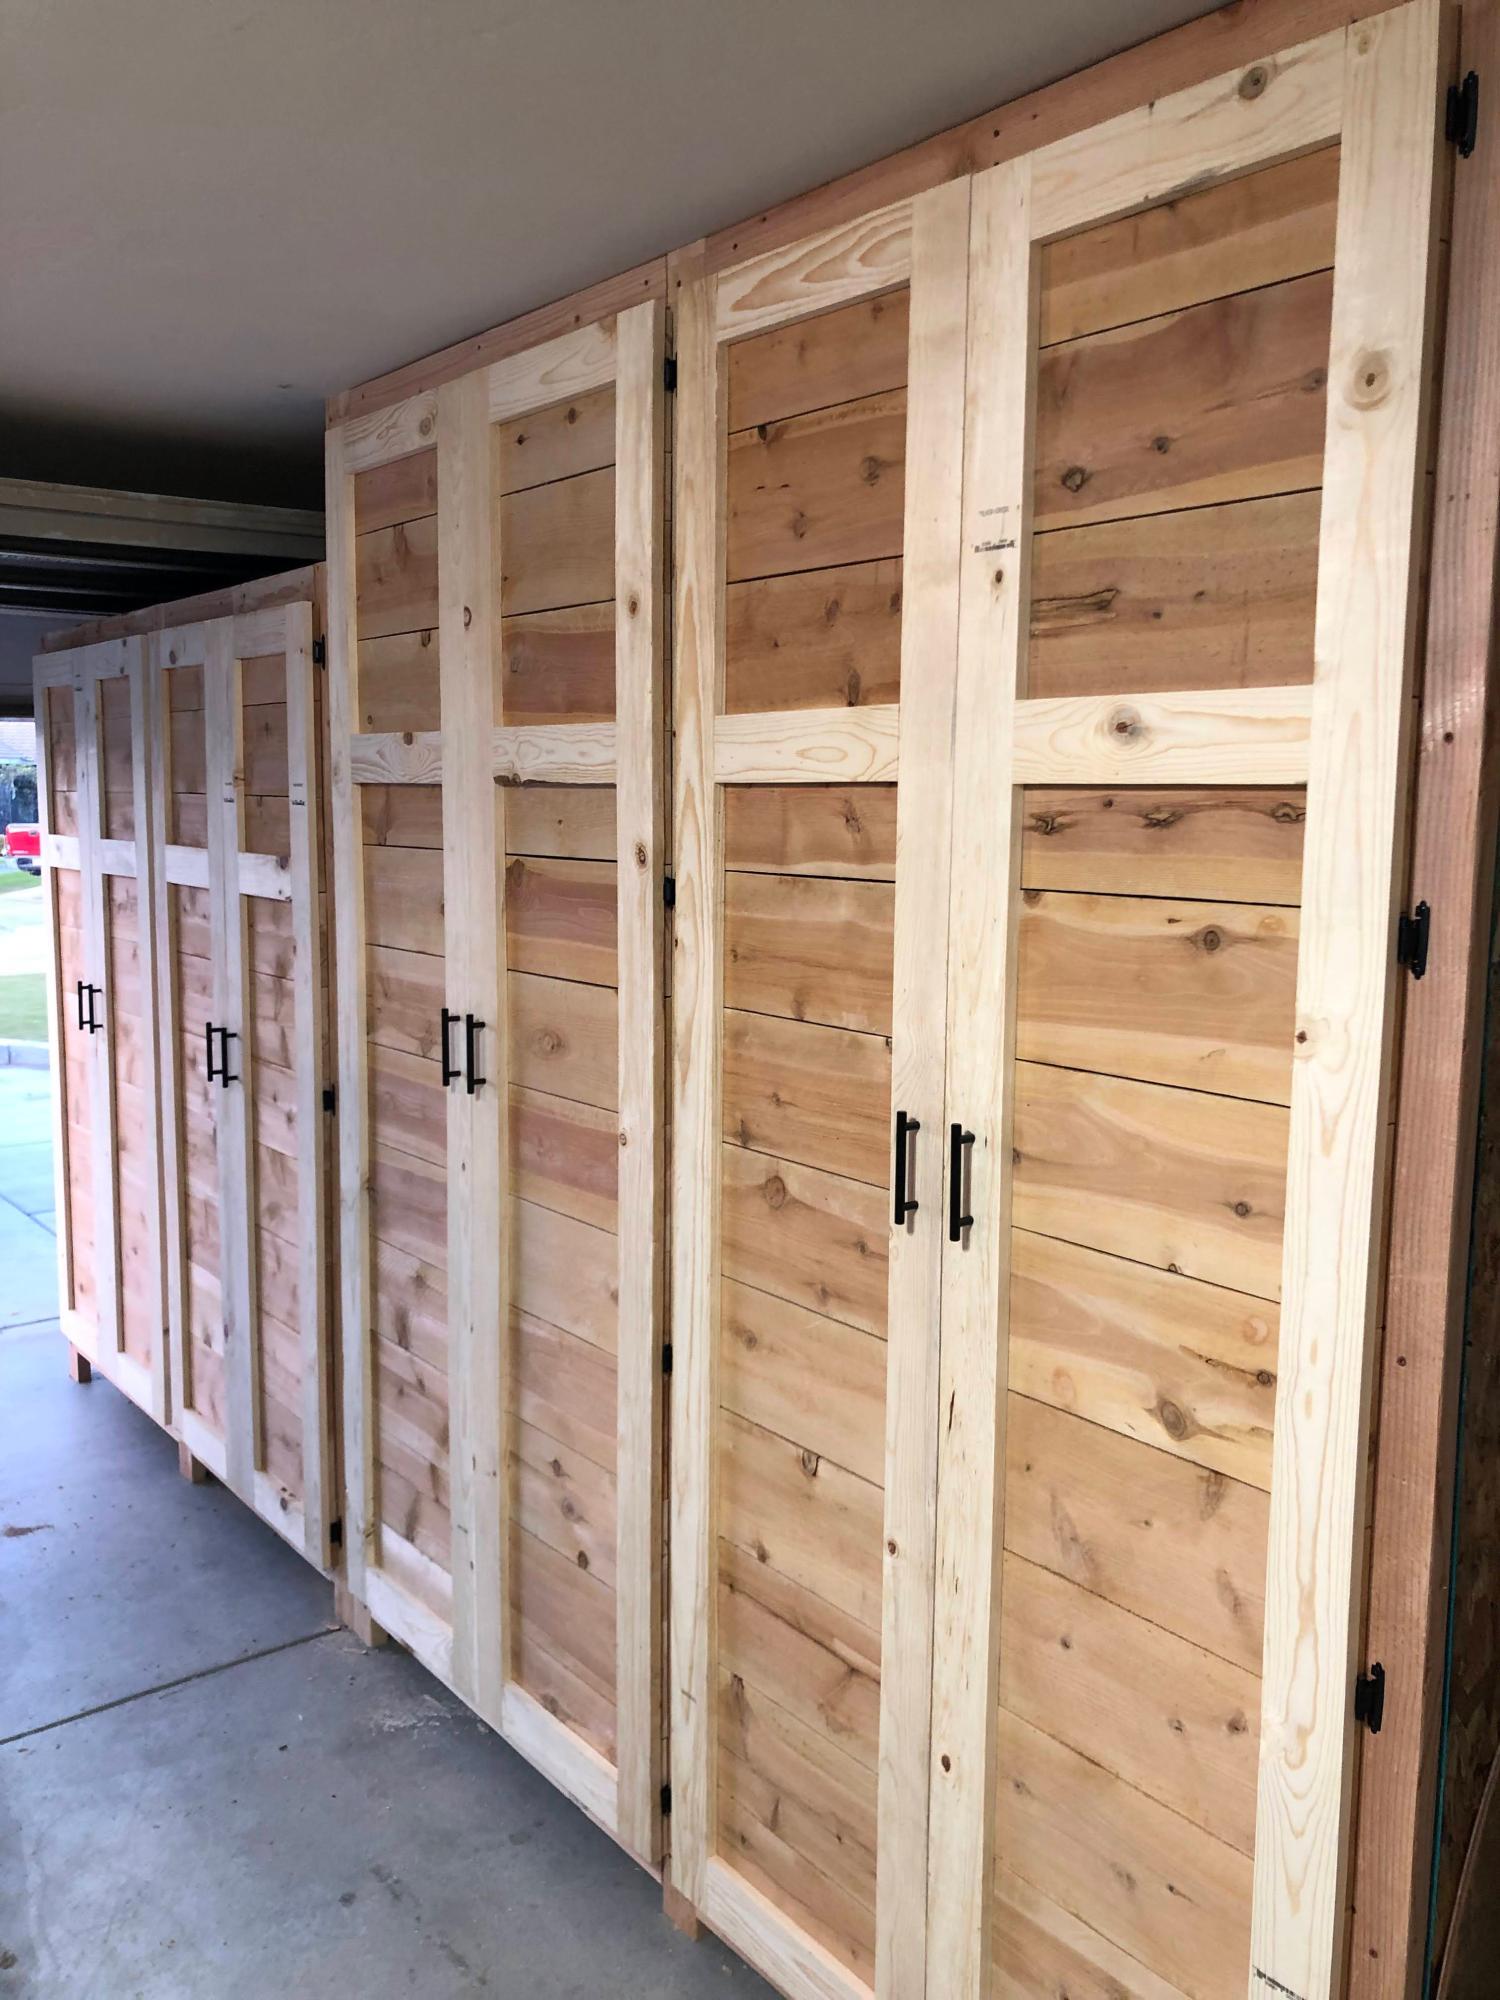
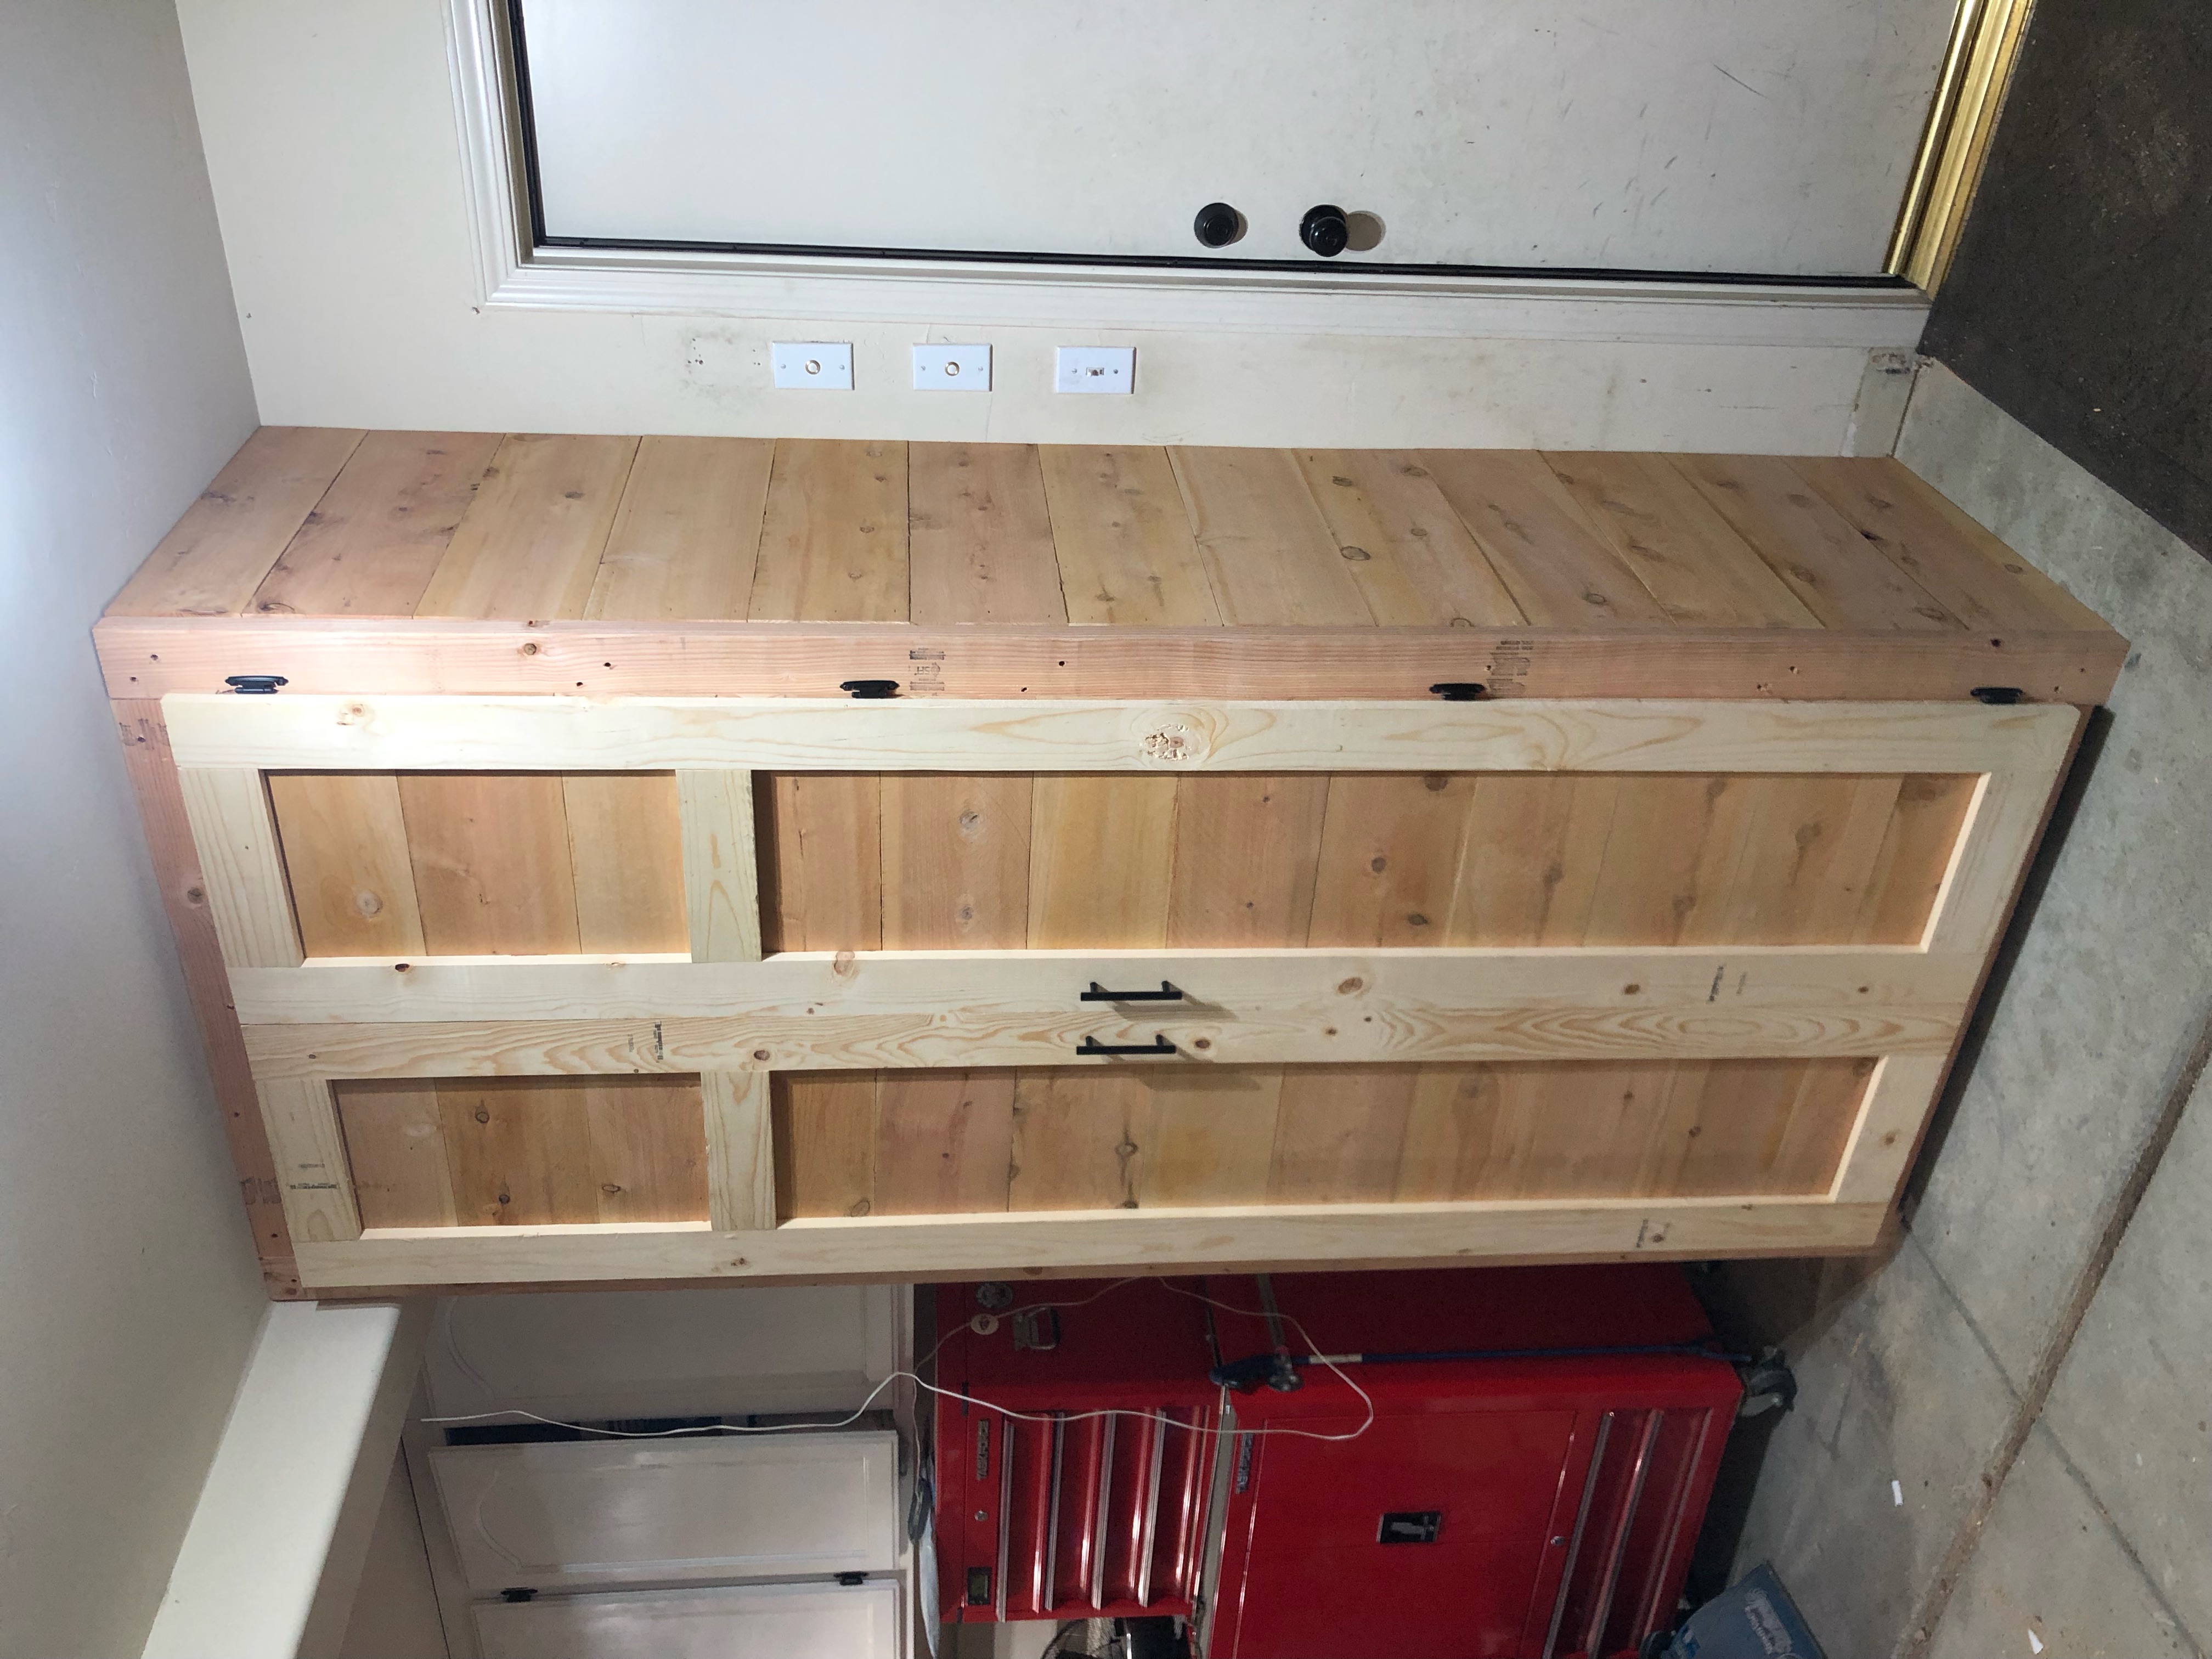
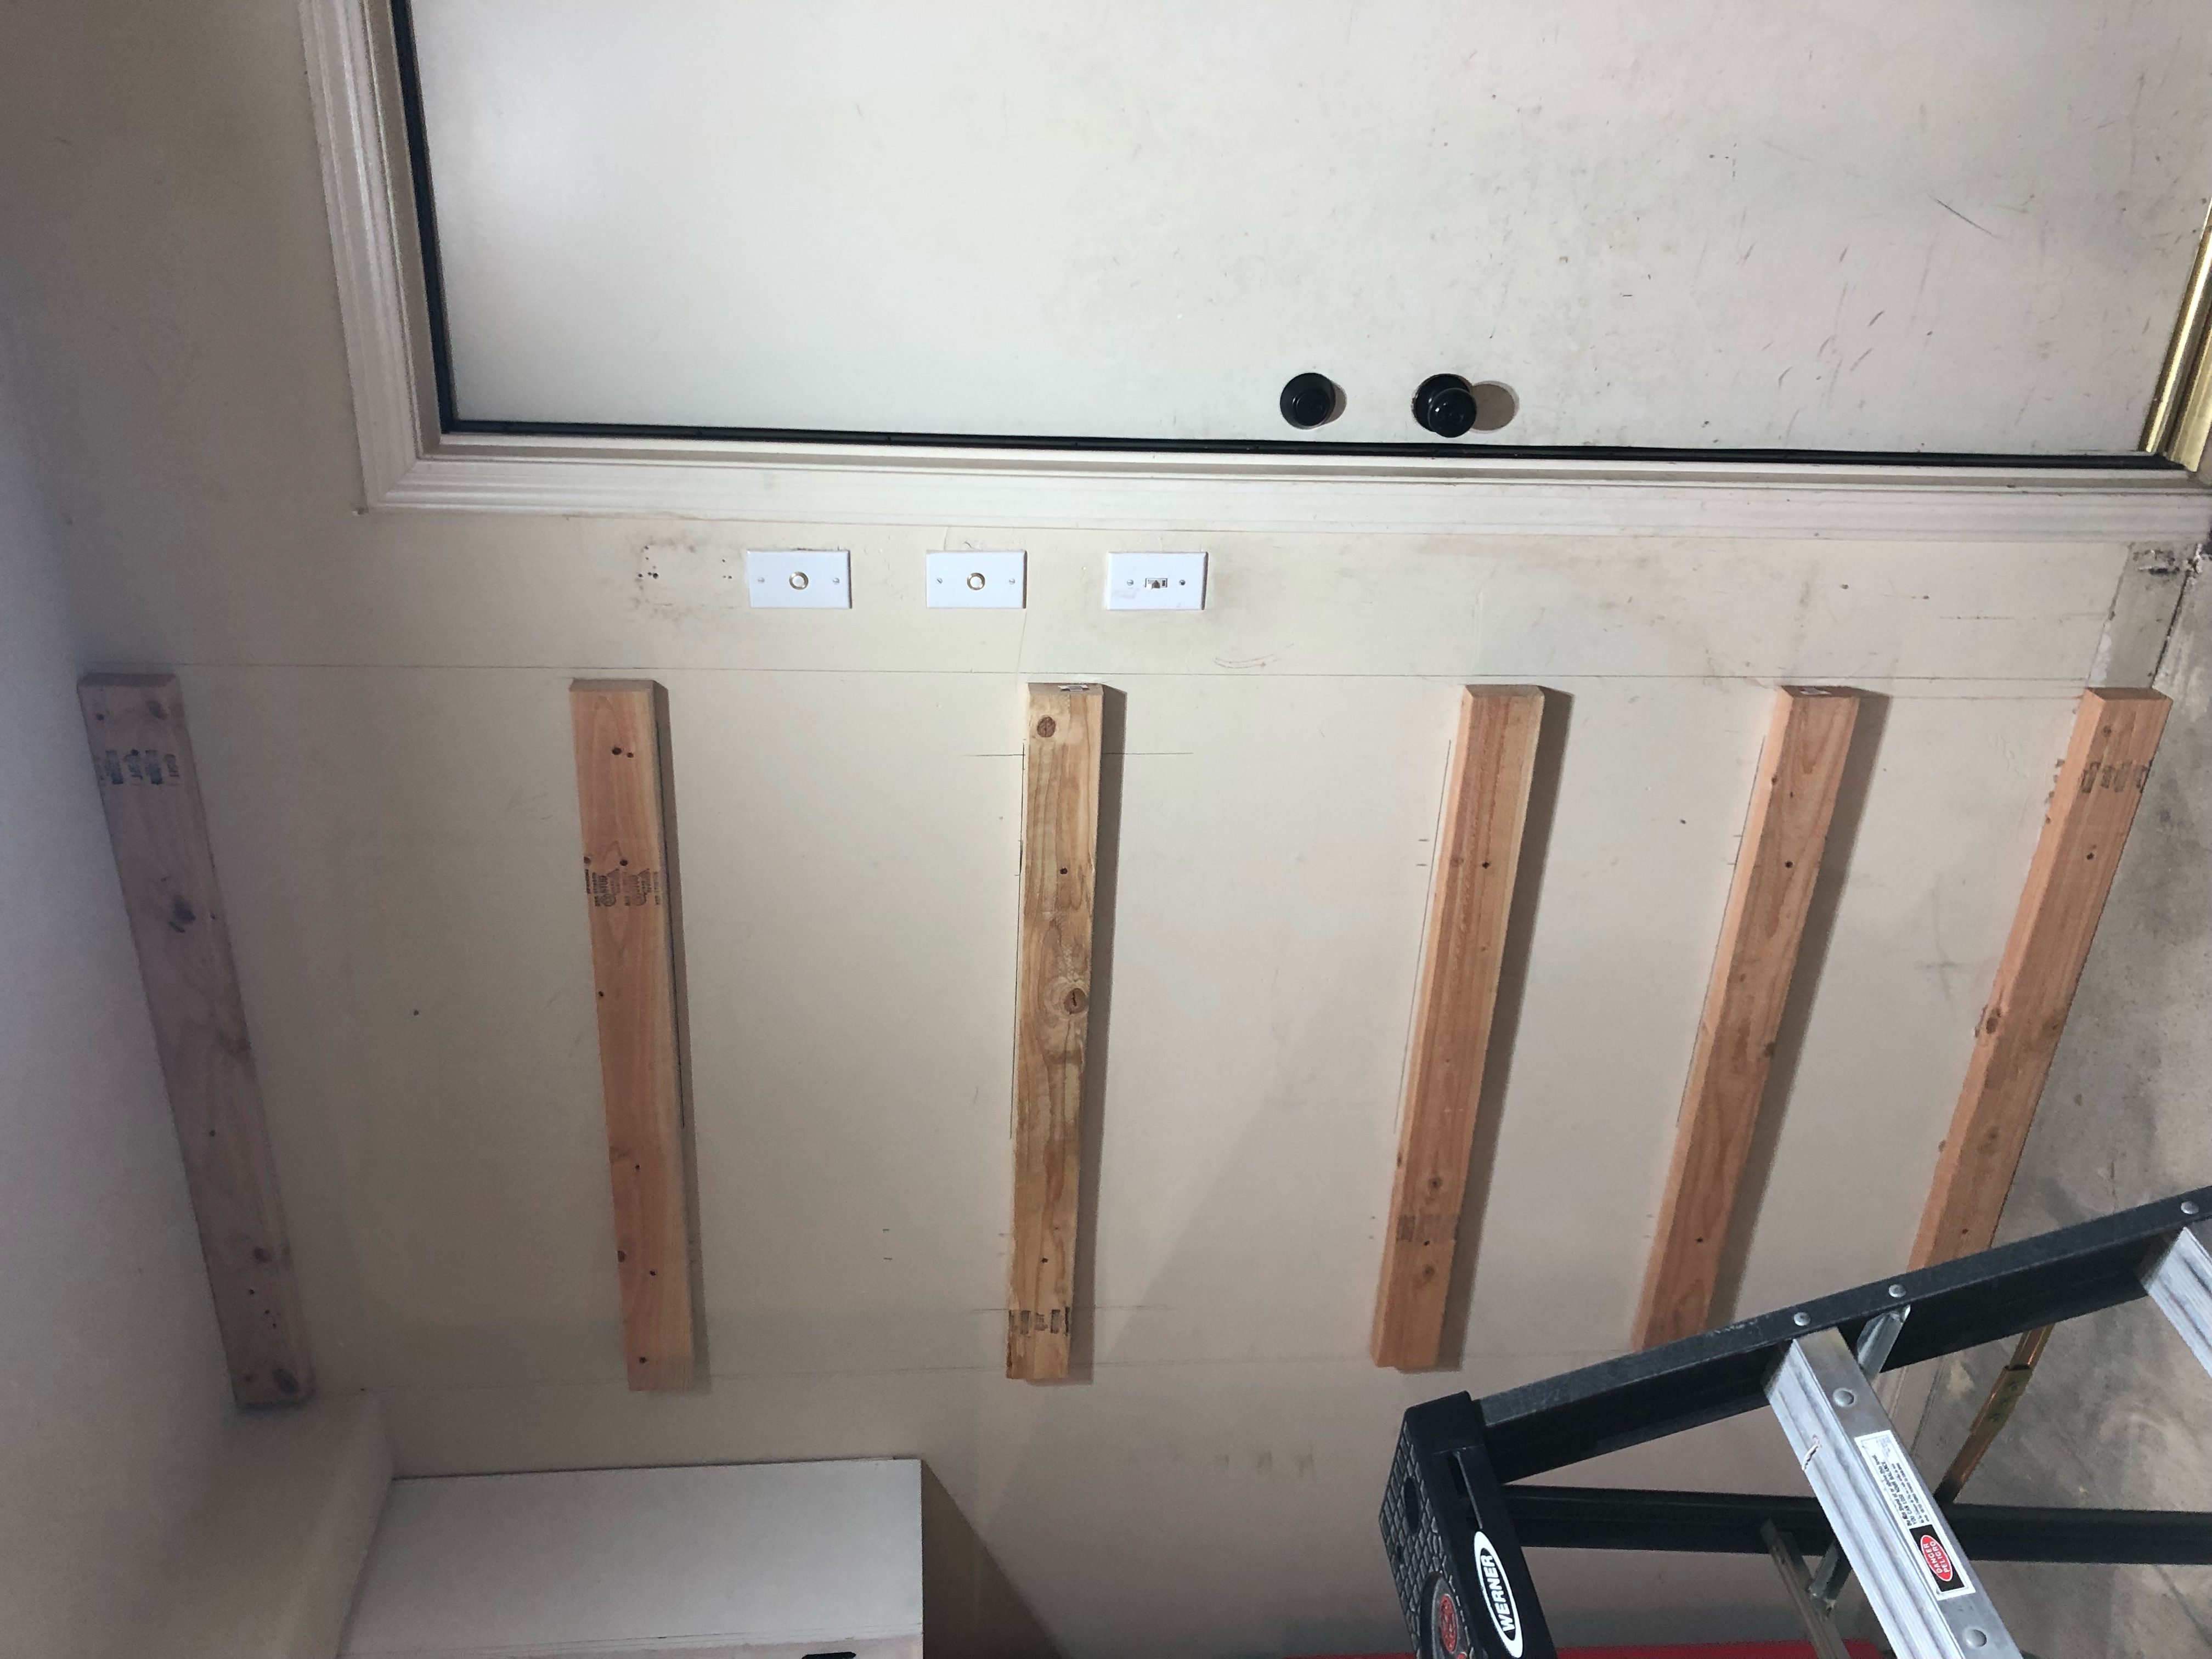
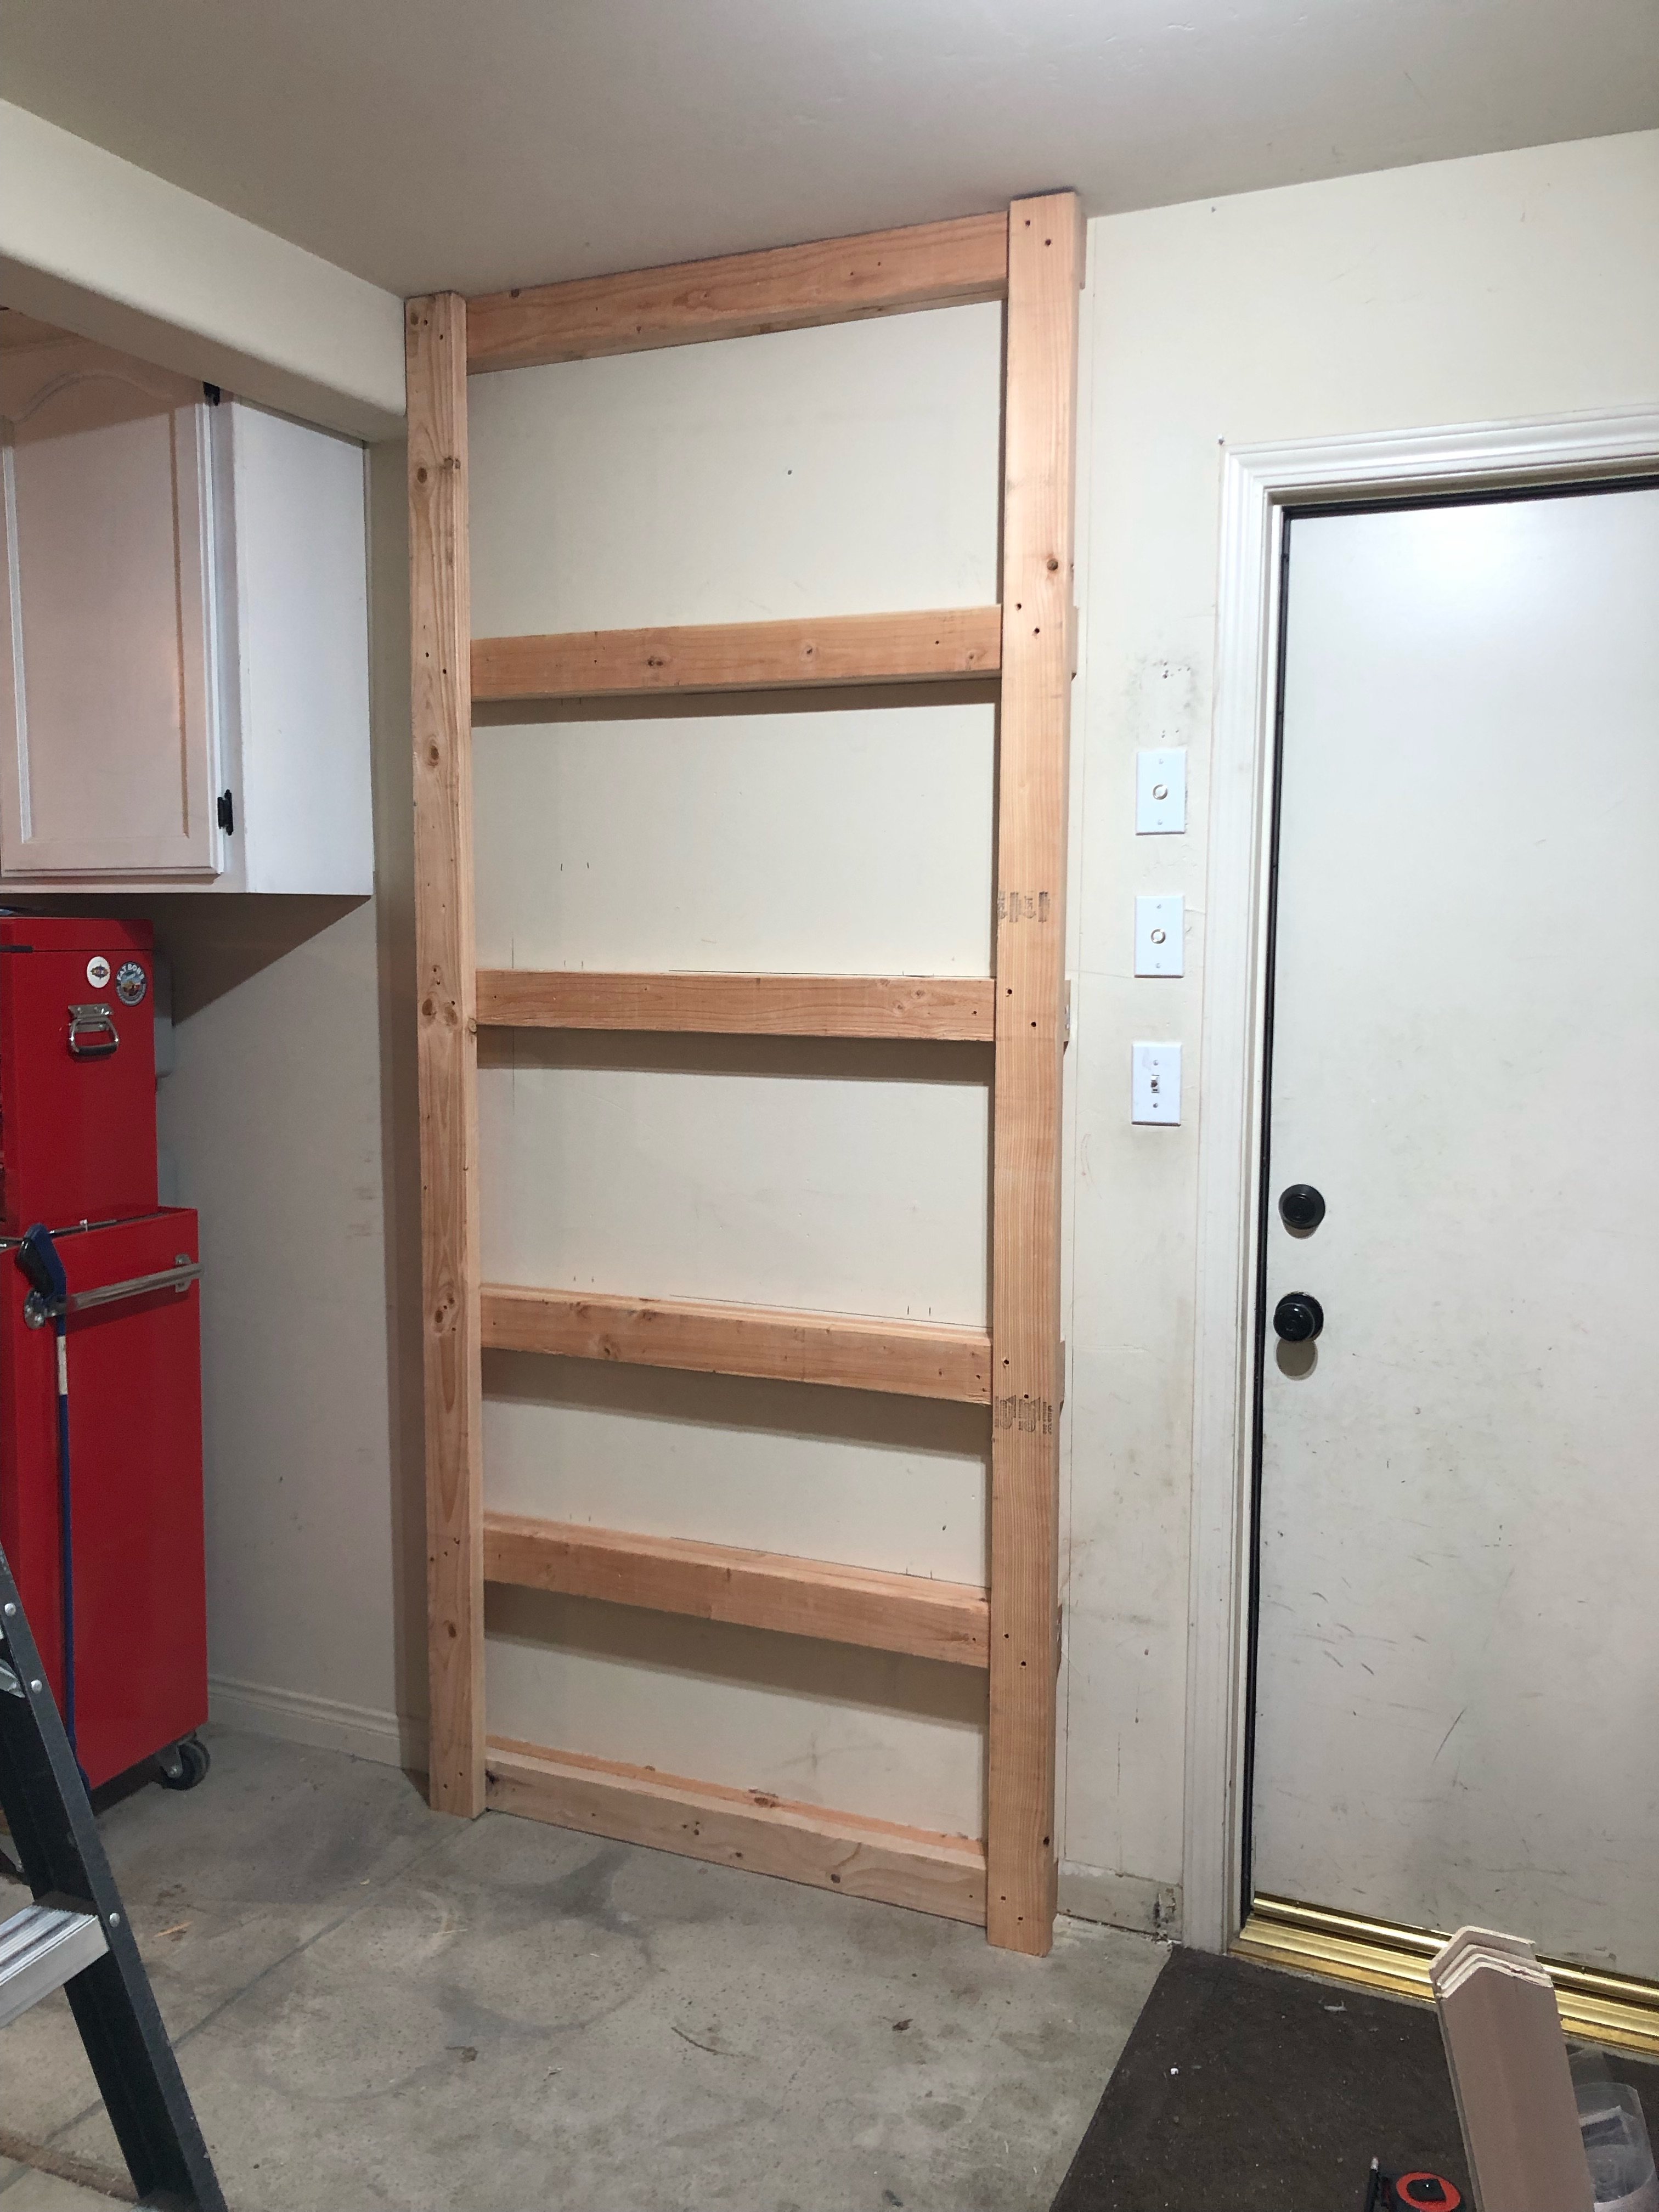
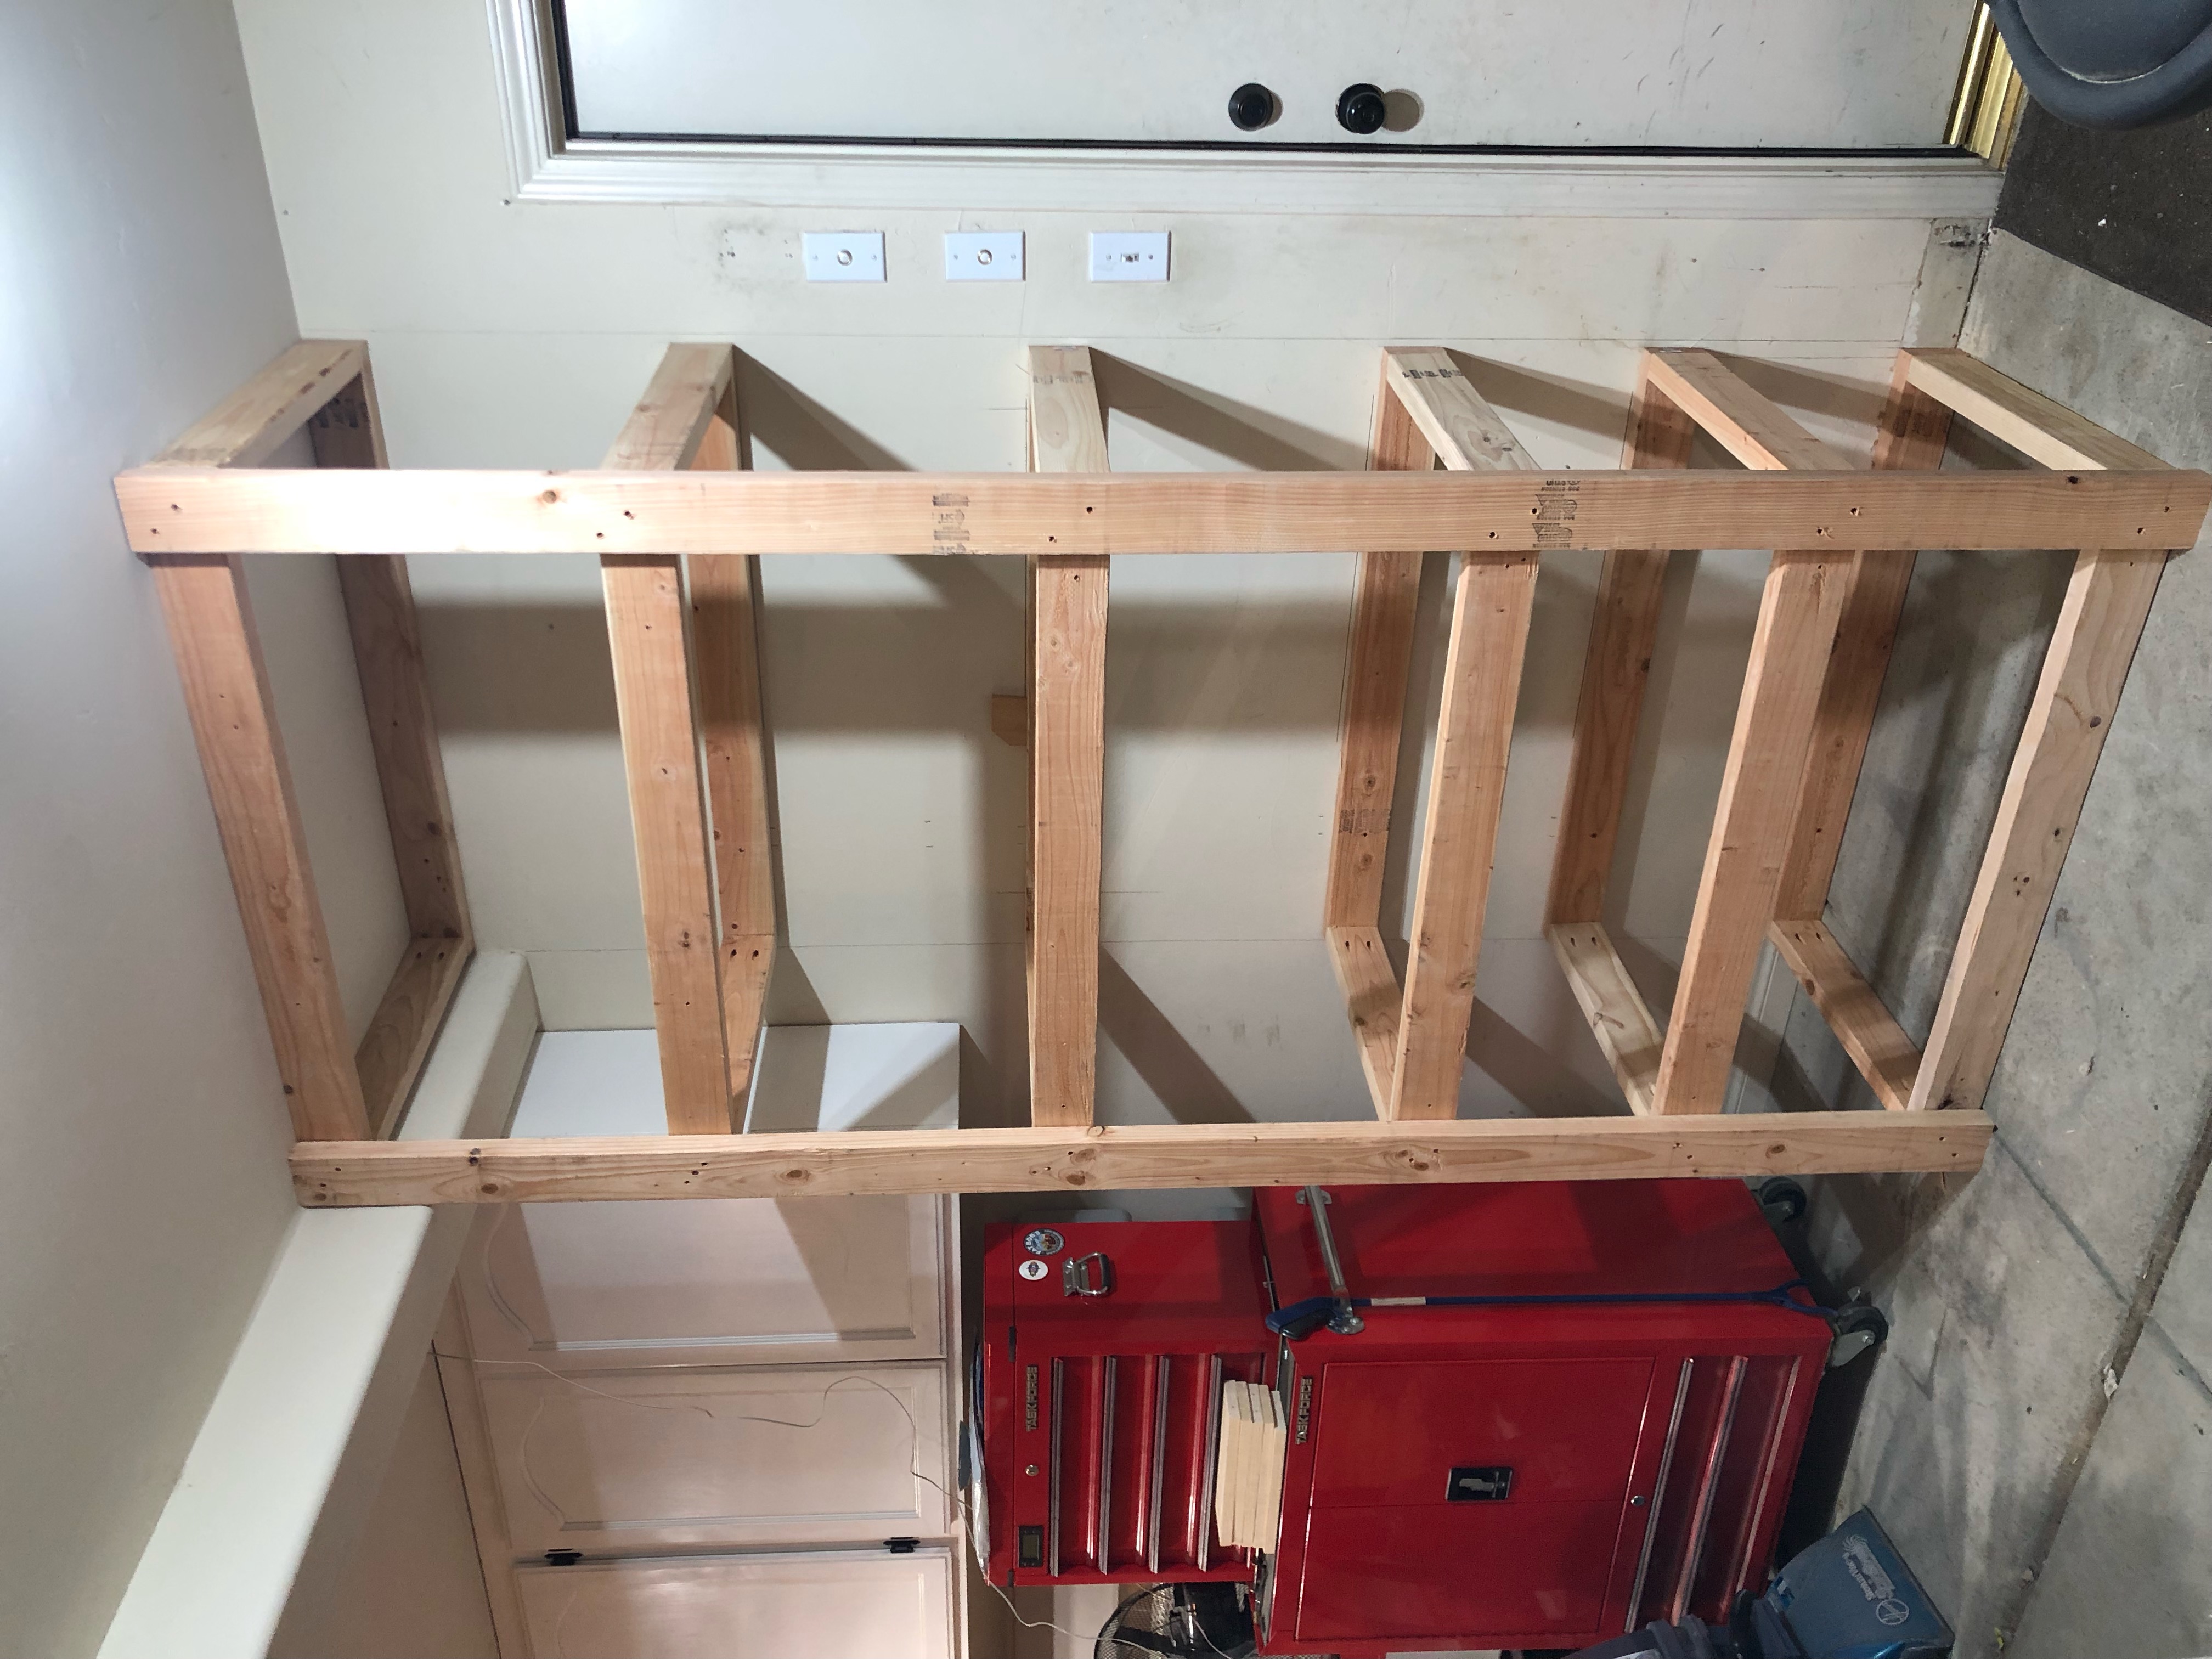
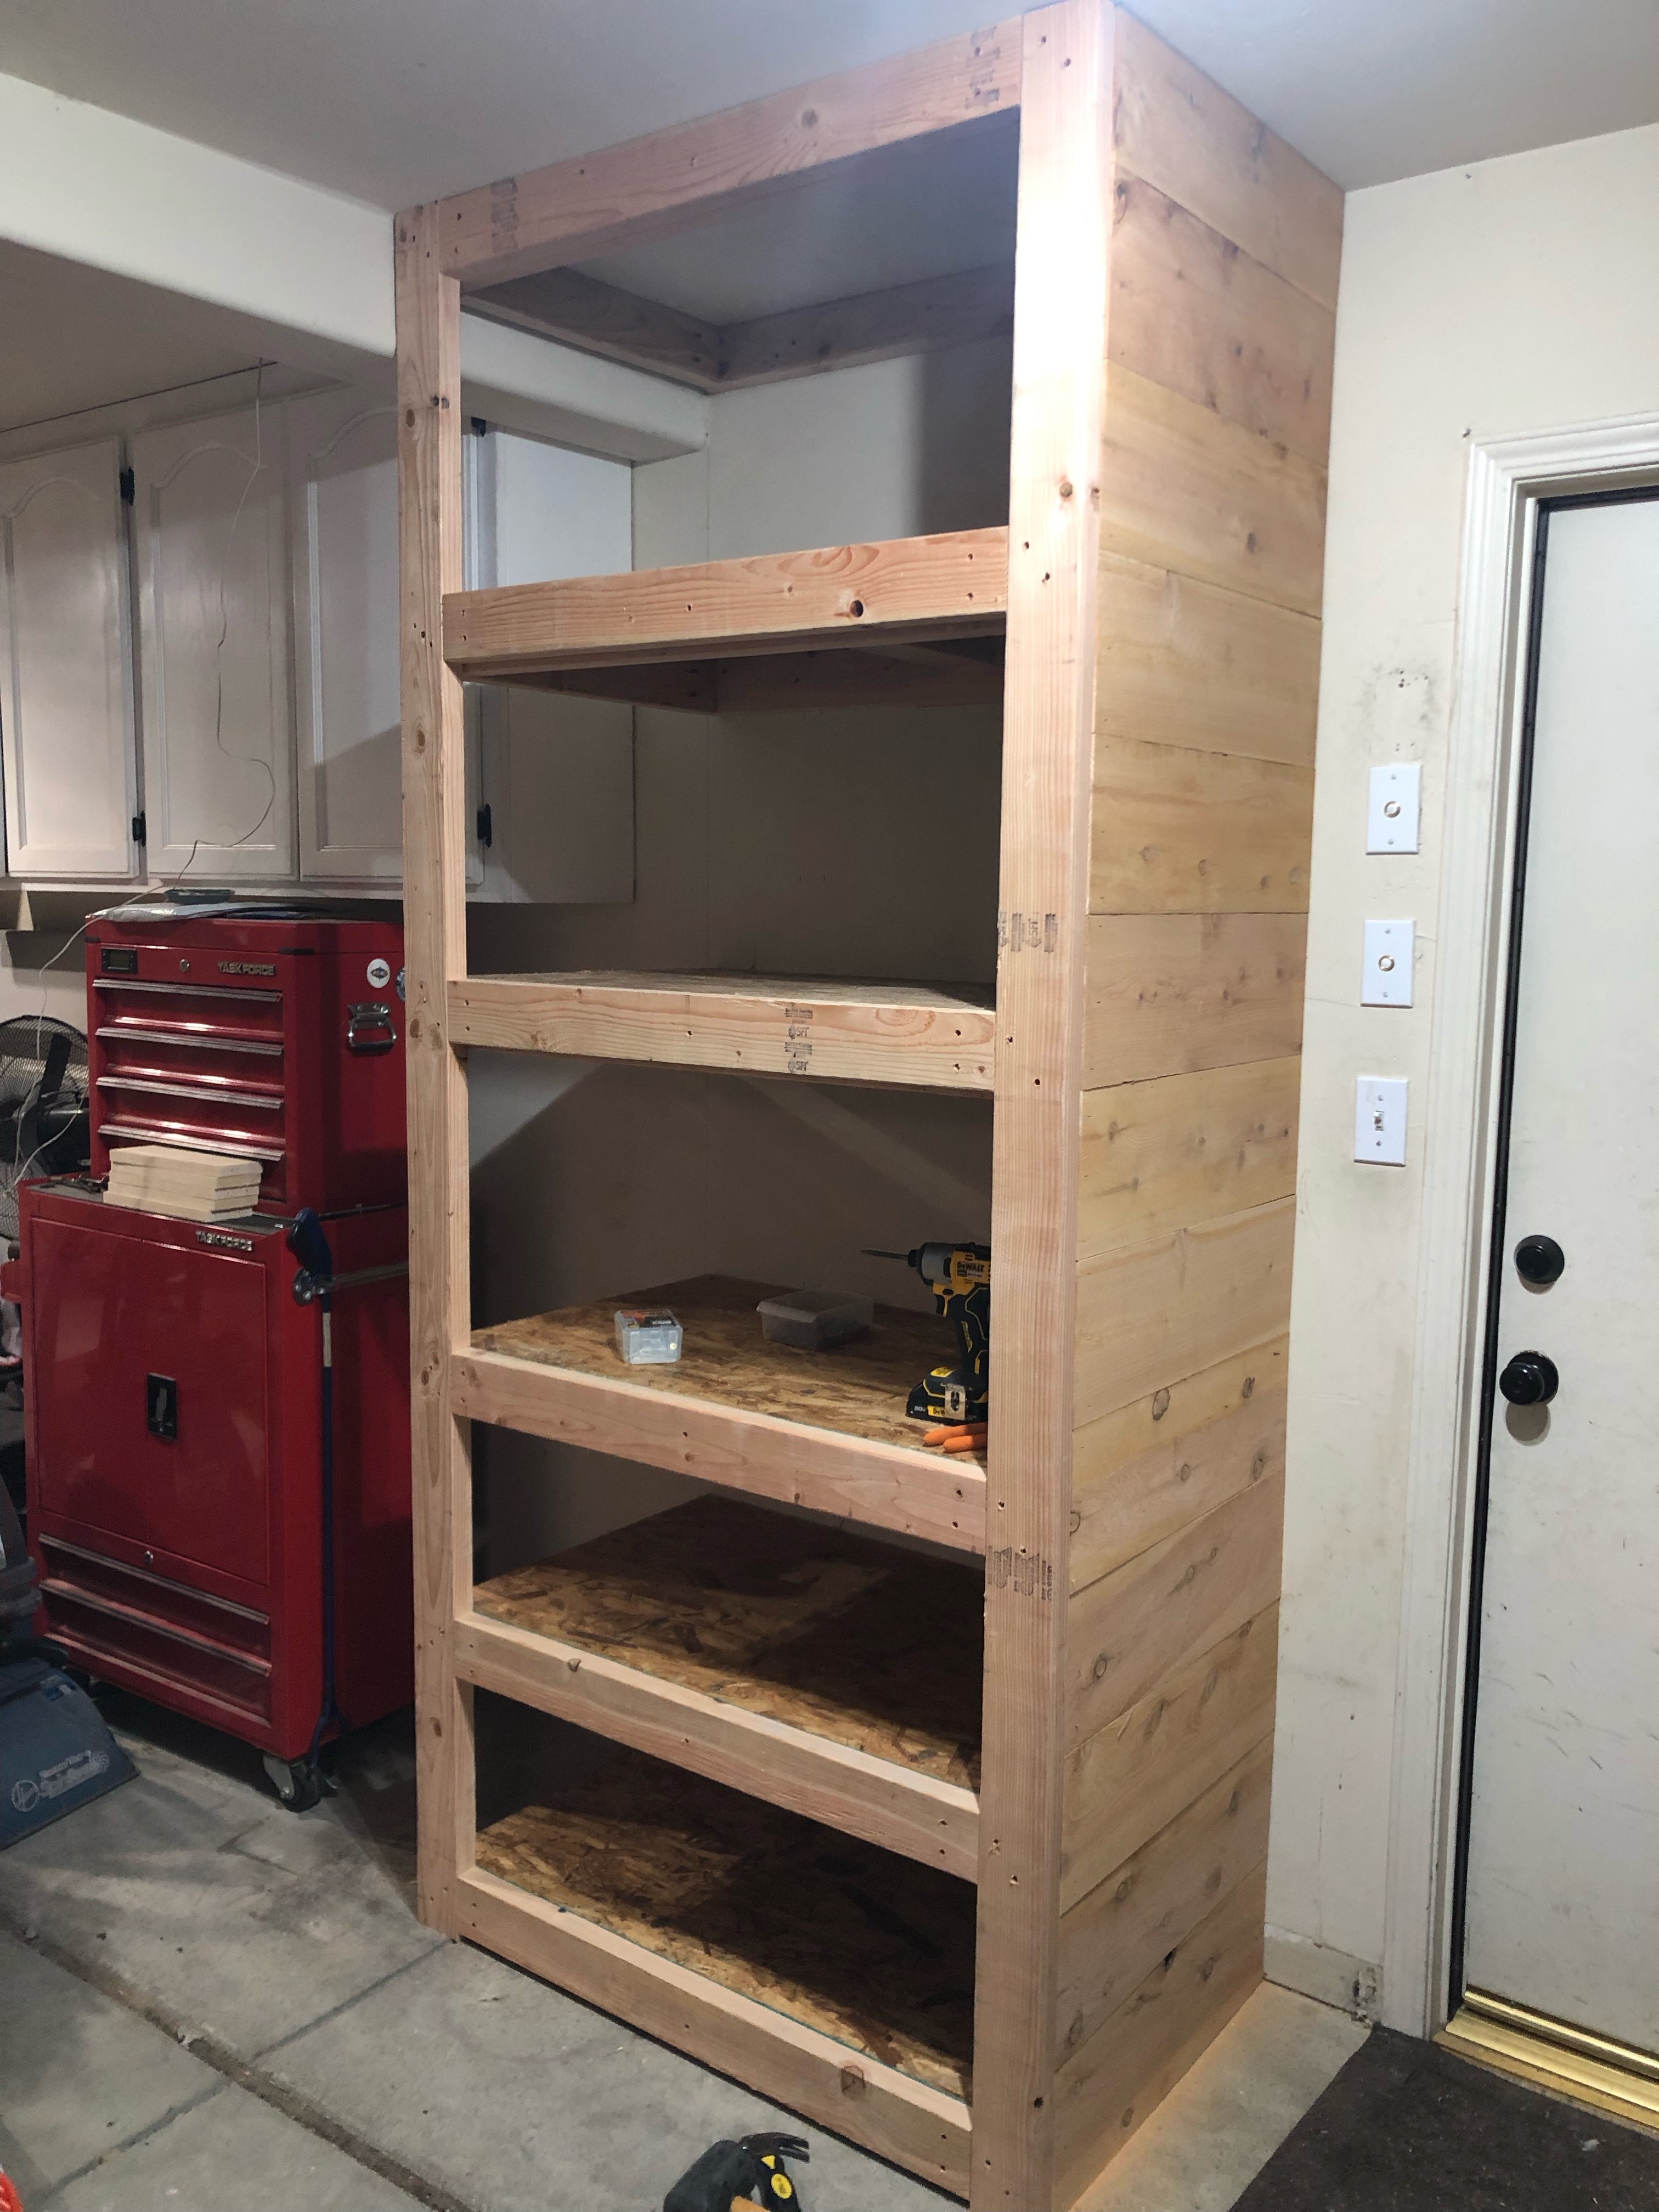
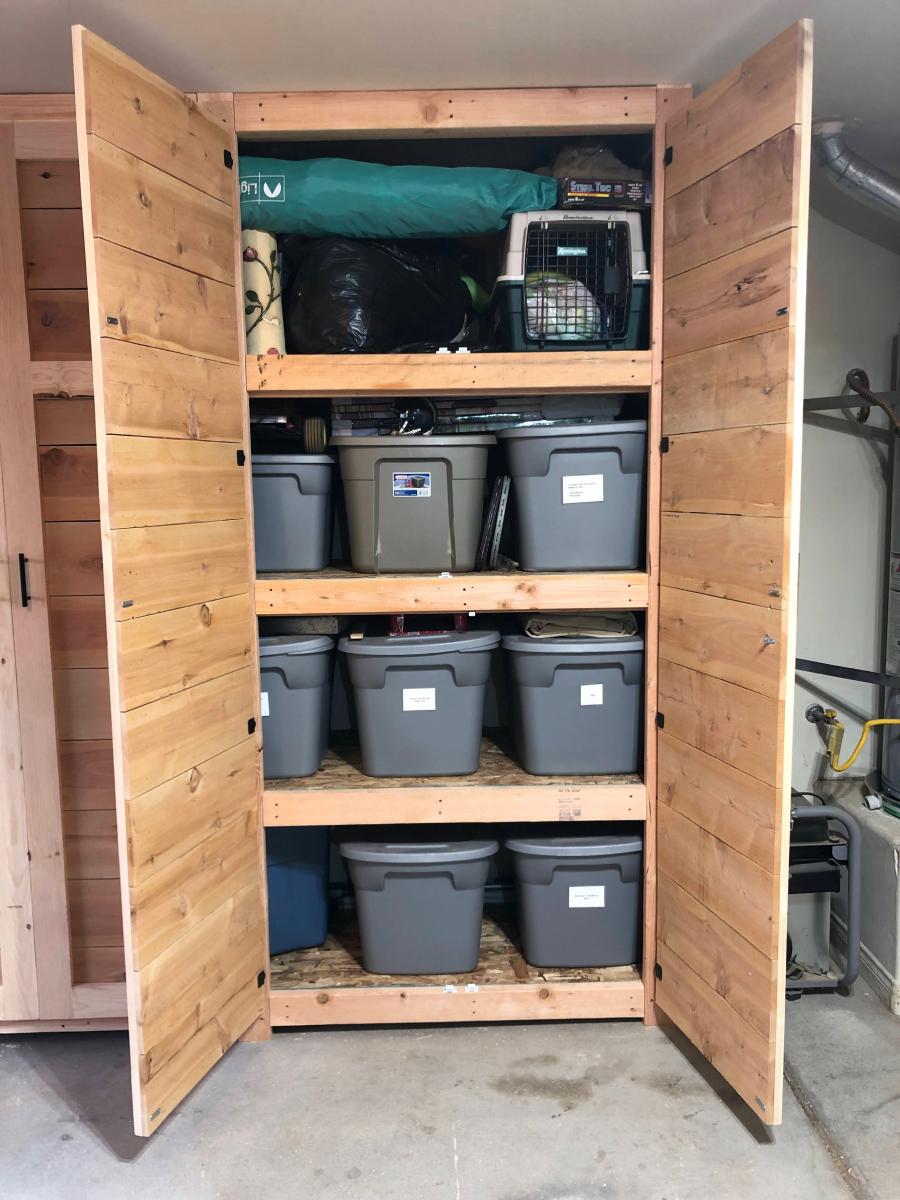
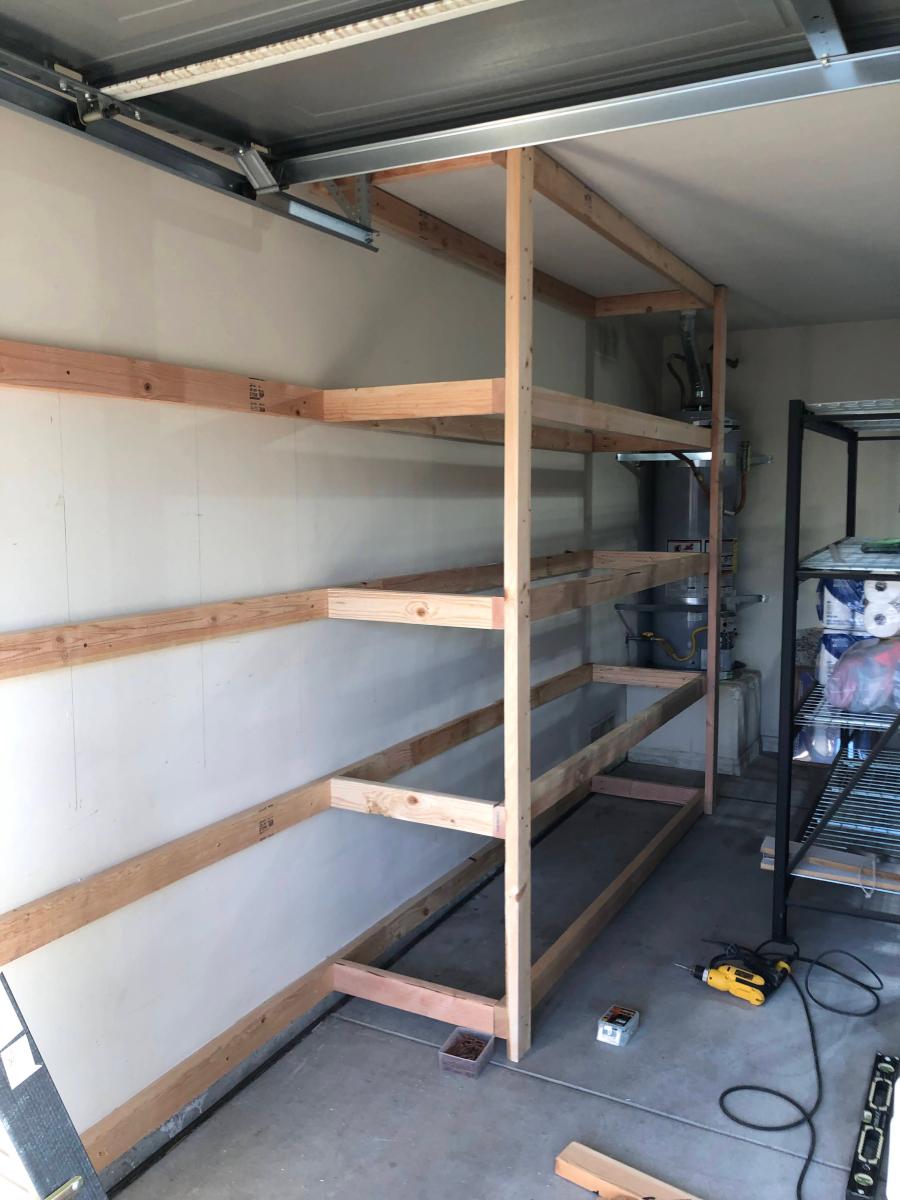
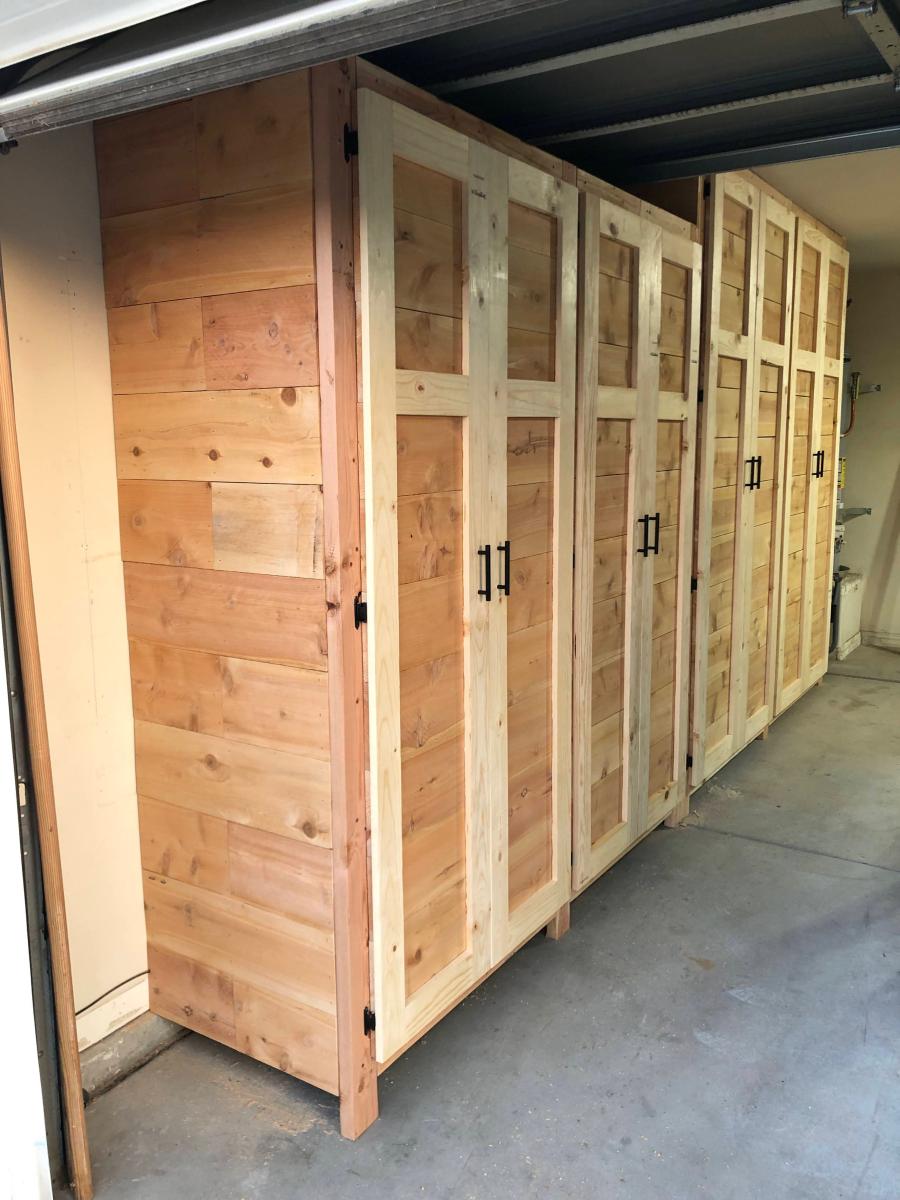
Garage Shelves Plan with Added Doors - Built and shared by Jeremy Doyle

I built a set of chairs and a coffee table for our newly designed outdoor area. These look amazing and people love sitting on them and hanging out outside our house.


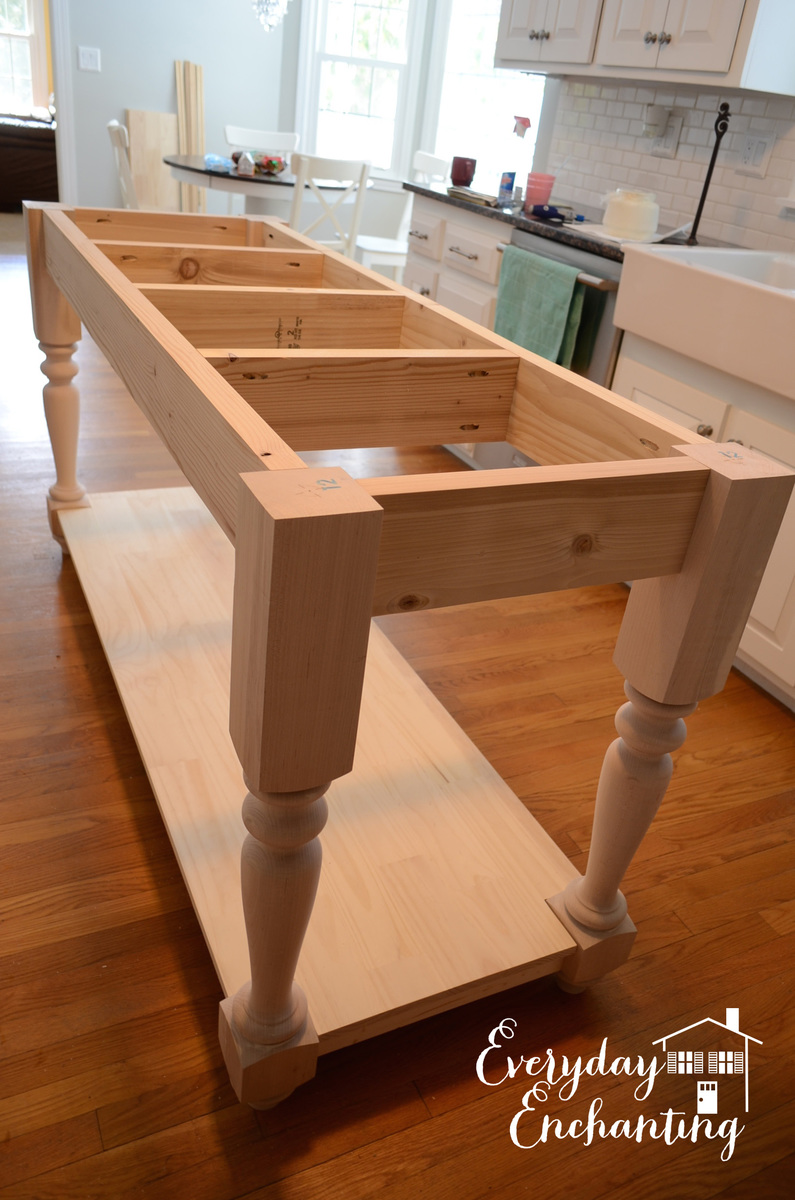
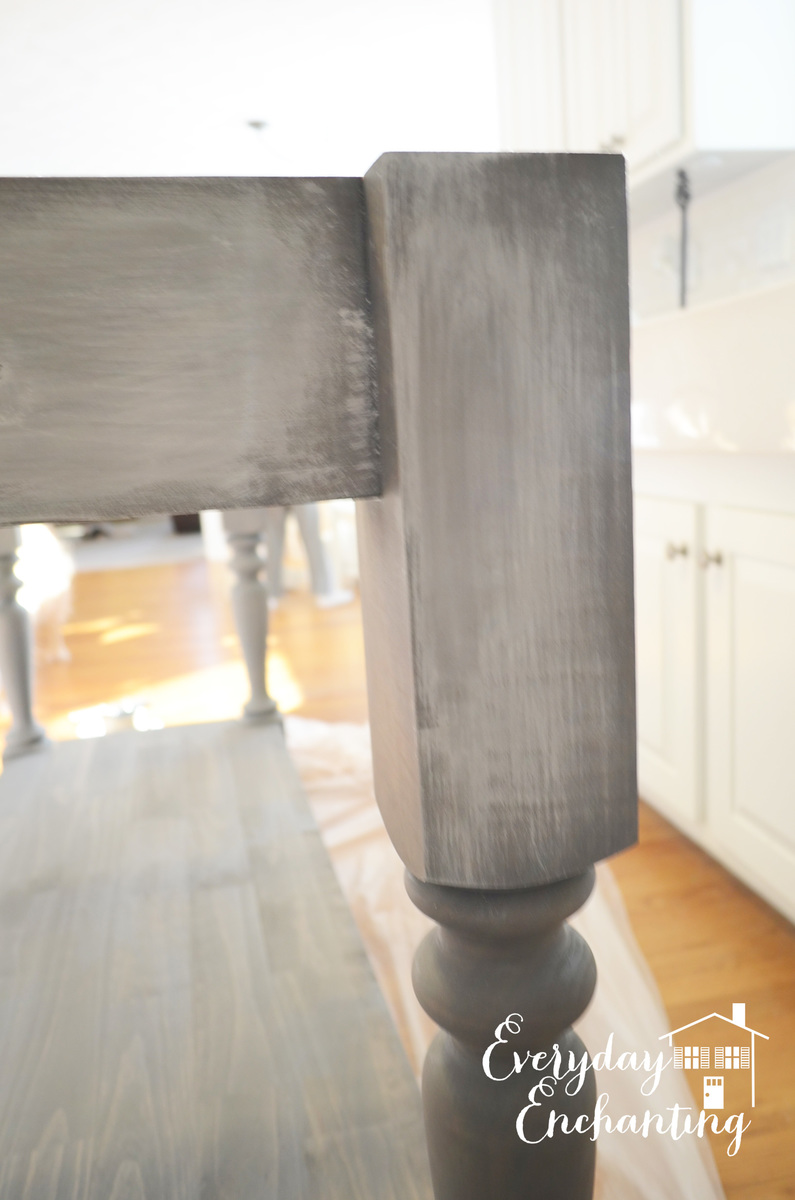
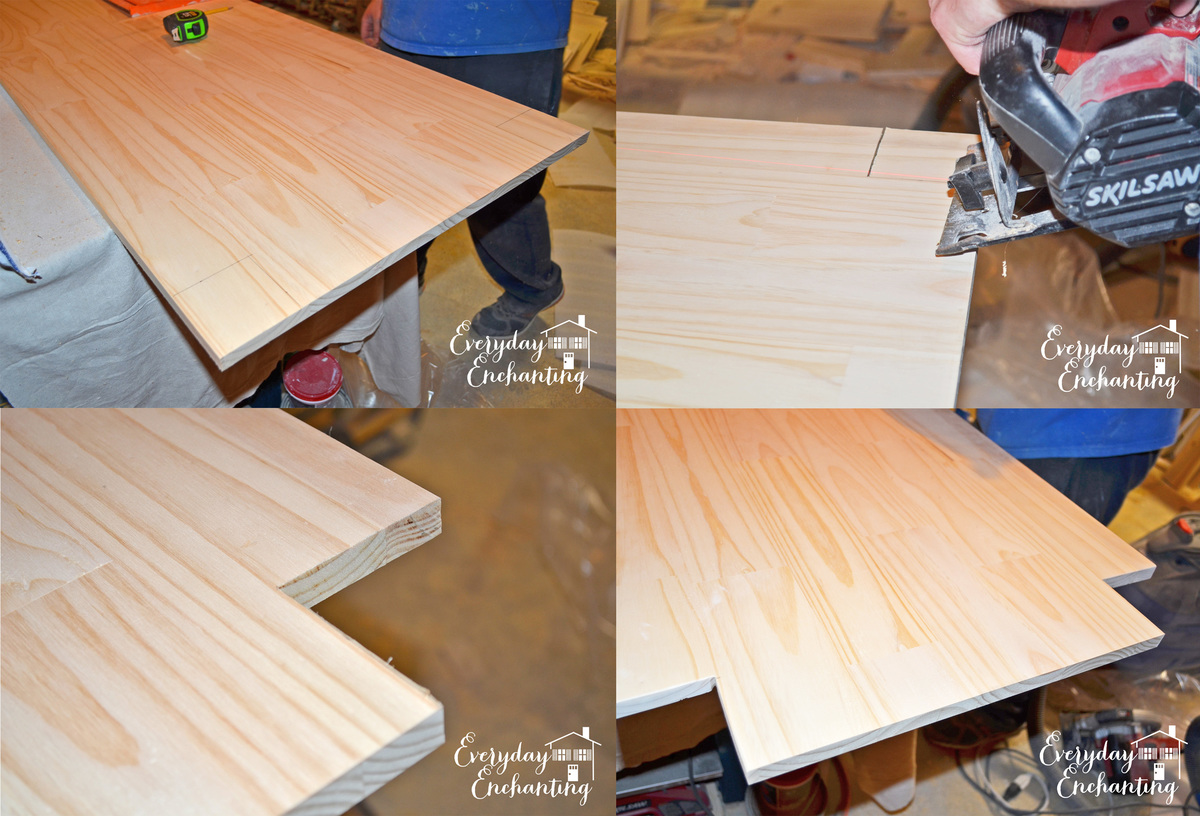
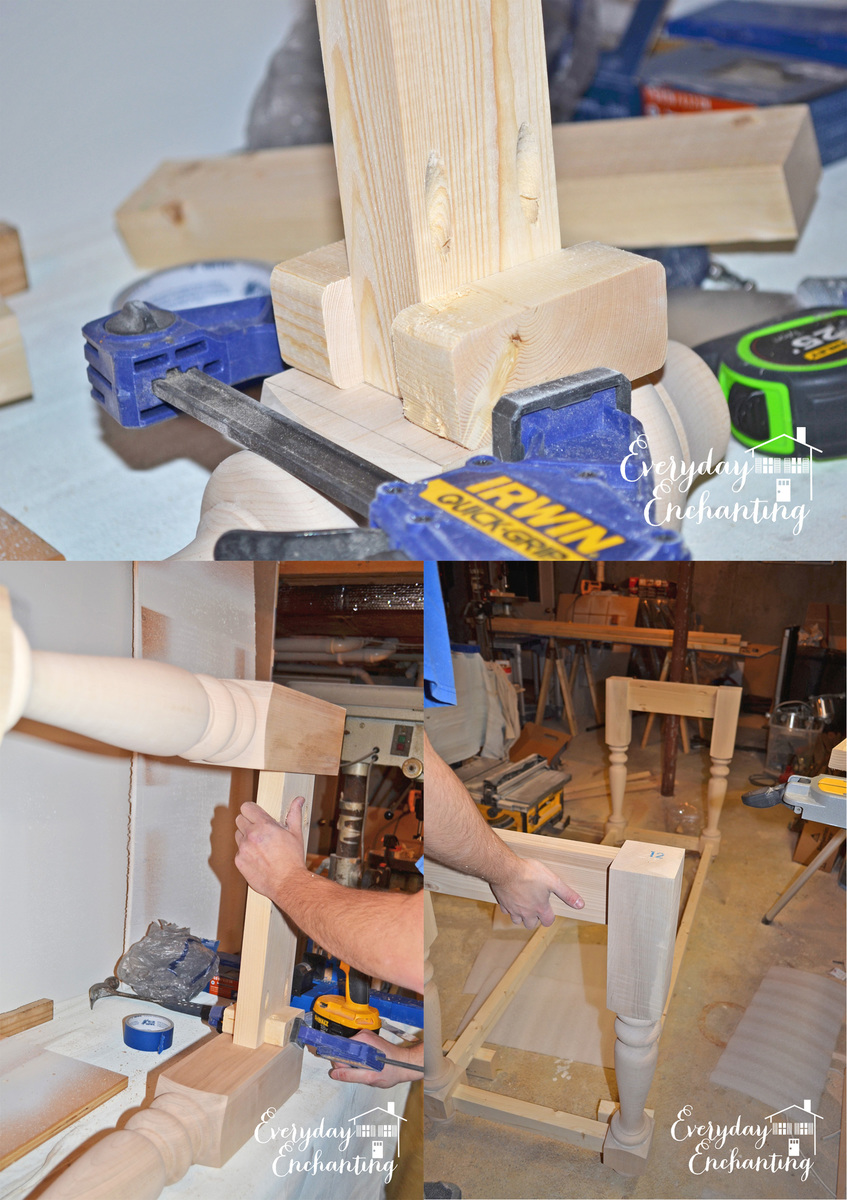
Today I’m sharing this unexpected addition to our kitchen! Everything about the construction of this furniture-style kitchen island seemed to be charmed. There is usually a lot of trial and error that goes on behind the scenes during our projects- but everything seemed to just kind of fall in to place. We enjoyed it while it lasted, since we know it won’t be that easy again! ;) Without a real plan for the island, we found the beautiful marble slab on Craigslist for a steal. While the slab was having it’s edges finished, I began comparing island legs. The ones I decided on came from Osbourne Wood, they are called The Grand Harvest Island Posts. I liked the chunky style in order to support the heavy marble. We are so so happy with the quality of the legs that we plan on using this company for all future furniture building projects. For the specifics on how to build the island, we were a bit stumped. We were just kind of going to wing it. Then, when I was daydreaming about a completely unrelated project, I stumbled across the kitchen island plans in Ana‘s book The Handbuilt Home. The dimensions were almost perfect for the slab! We modified the plans slightly- we didn’t need casters, and our island needed to be a bit narrower than the plan in the book, and we swapped out the 2×4′s for 2×6′s in some places- but the length was perfect, so we were still able to use most of the materials list (a huge time & money saver!) to maximize yields. We ordered a Kreg Jig, like Ana recommended, and I have to say- I love it! This island was so much fun to build and finish- and it makes a huge statement in our DIY renovated kitchen!


In reply to Charming is right! by Ana White
Fri, 02/28/2014 - 07:57
Thank you so much Ana, and you are very welcome! Thank you for the wonderful plans :)
Fri, 02/28/2014 - 08:00
Thank you! To attach the marble, we used silicone caulk per the recommendation of the fabricator who finished the edge for us. I hope that helps!!
Mon, 03/03/2014 - 17:24
Unbelievable! Great accent to the kitchen. You mentioned you used both pine and maple... can you specify which parts were pine v. maple? Beginner here... Thanks
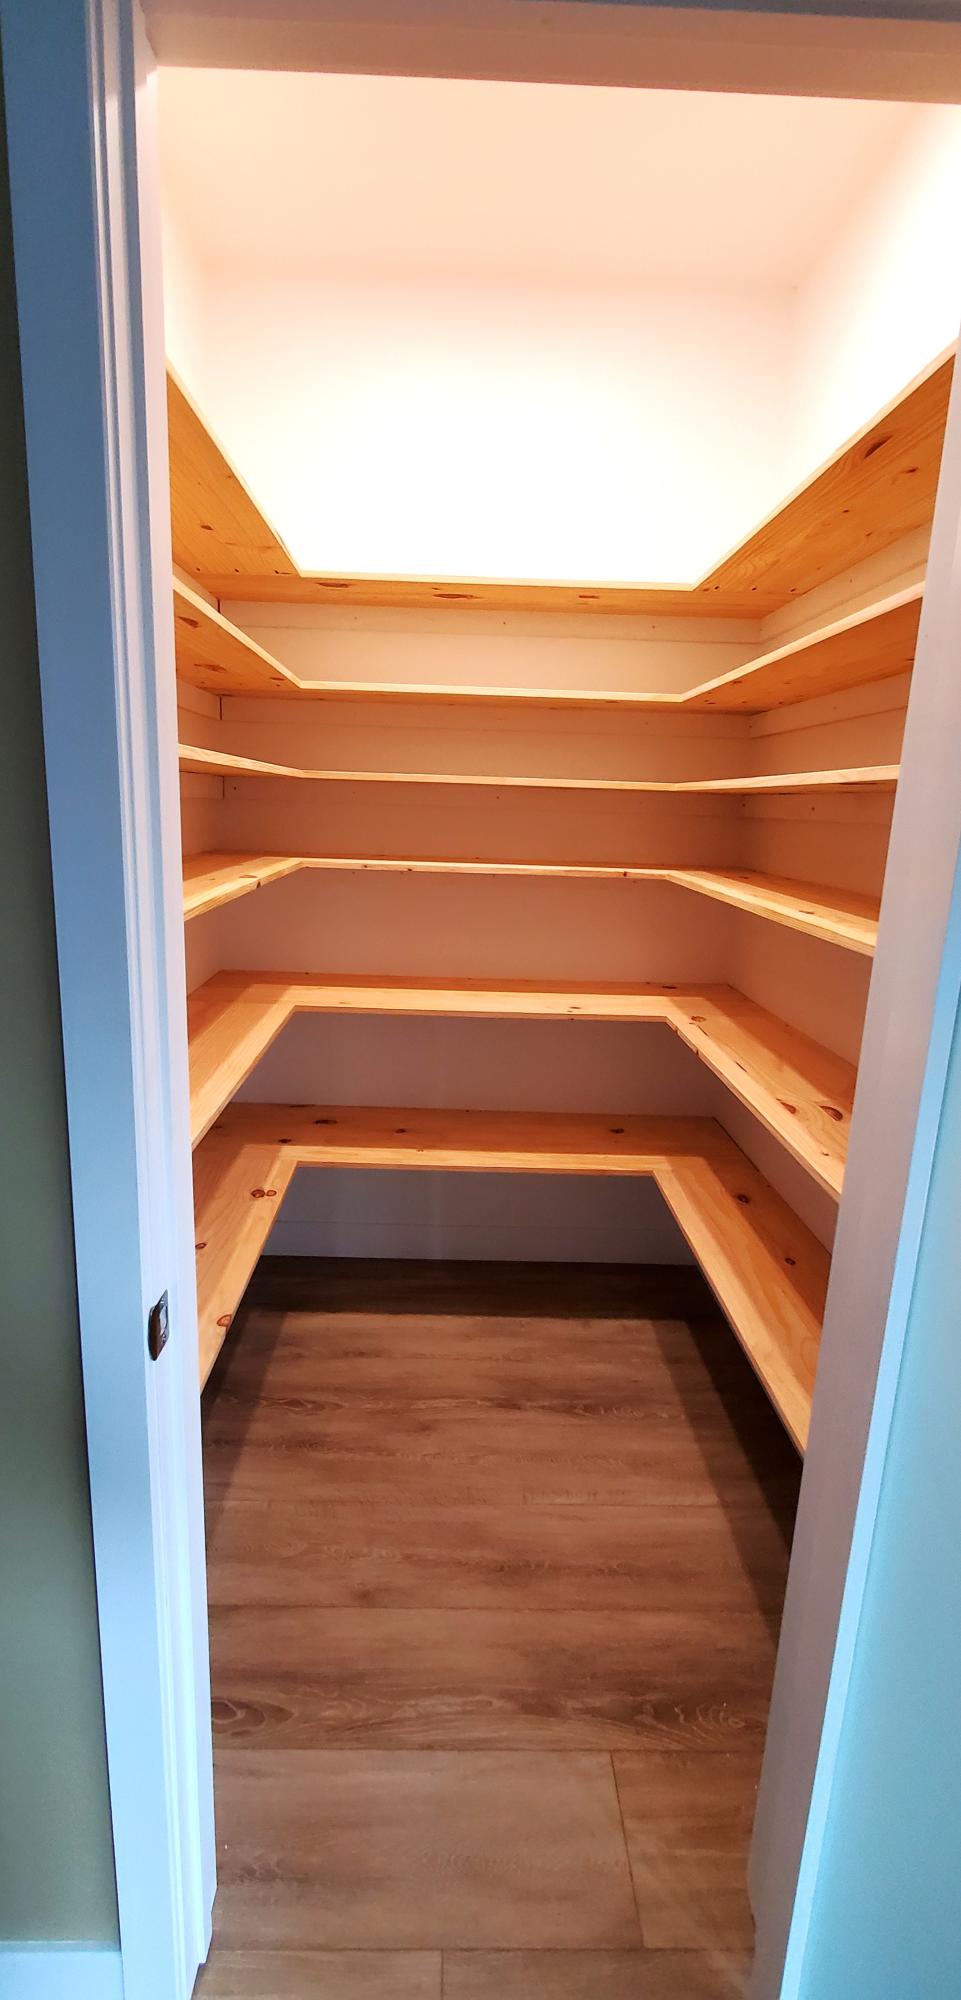
Built in 5ft x 5ft pantry using pine panels as they were available in the widths we needed. Inspired by your pantry build video, thank you.
Rob Worsnop

Modified with a high back and modern adirondack arms.
The base of the chair is built exactly to the plan except that the arms are done in a modern adirondack style.
The back was made independently to fit inside the base and then attached to the plan base.
Very comfortable but very heavy chair even without the modified back.
Not stained yet obviously.
Cushions are hard to find I think I would make it slightly smaller next time and maybe even find the cushions first and alter the plan to fit.


Tue, 06/09/2020 - 09:11
Stained with Saman: Urban Grey mixed with some left over brown 4:1 and now has a companion side table
Wed, 06/24/2020 - 07:33
Do you have the plans for the table you built? Im a brand ne beginner. I am trying the modern outdoor chairs and live this table with them.
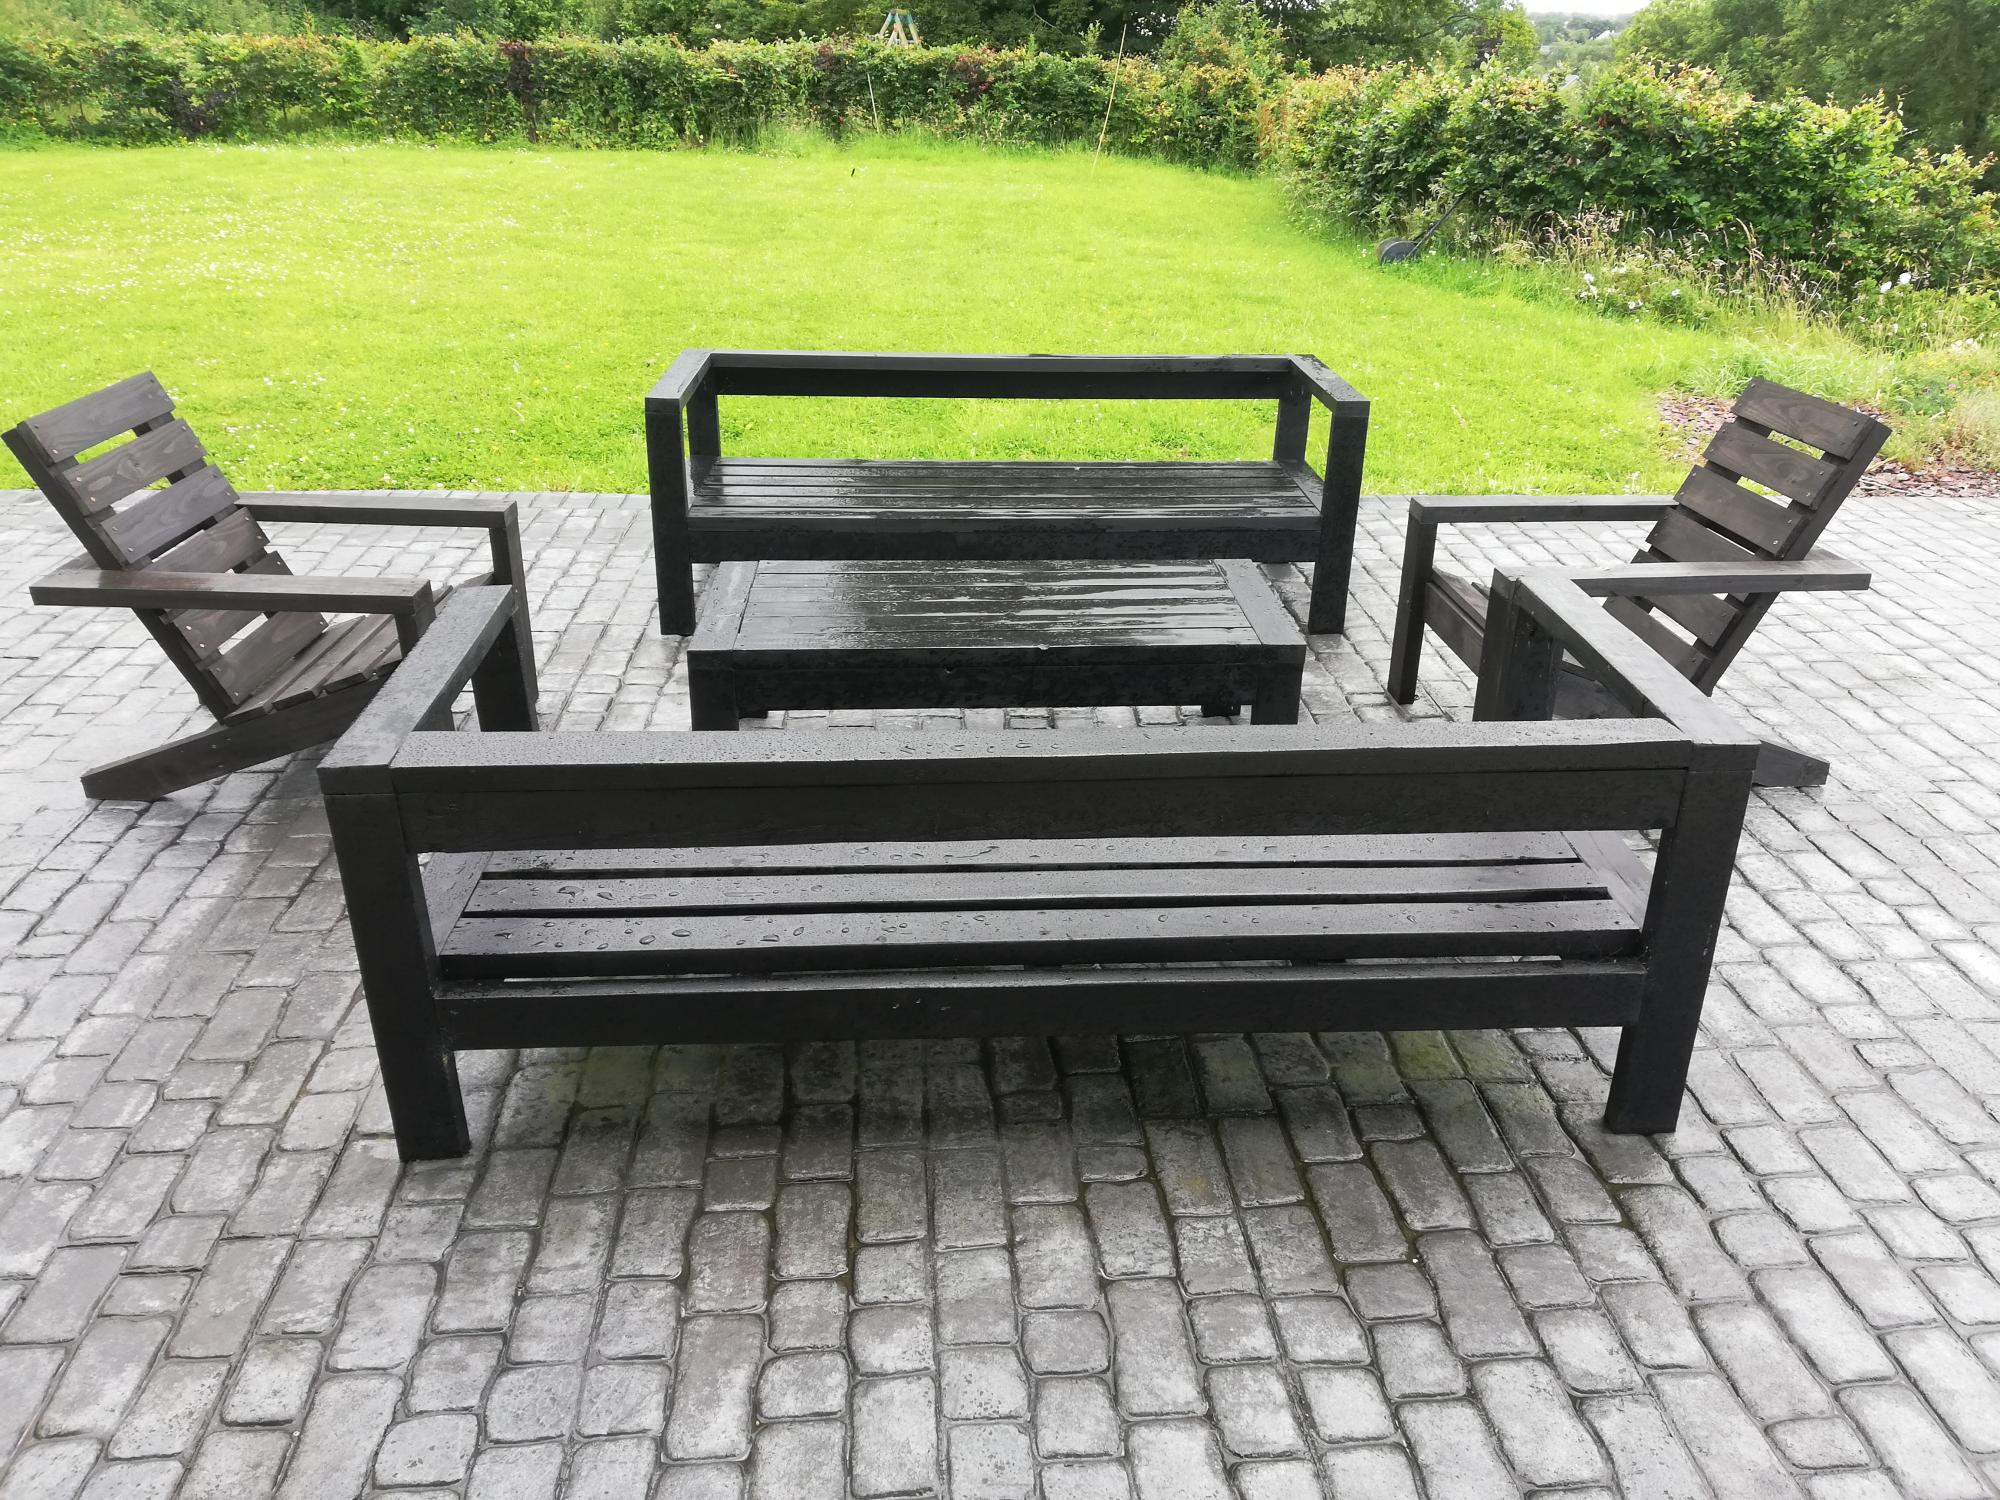
Thanks Ana for your great plans... Unfortunately it hasn't stopped raining since we finished the armchairs! All we need now is the sun :)
We used 4x1 for the seats to match the outdoor sofas.