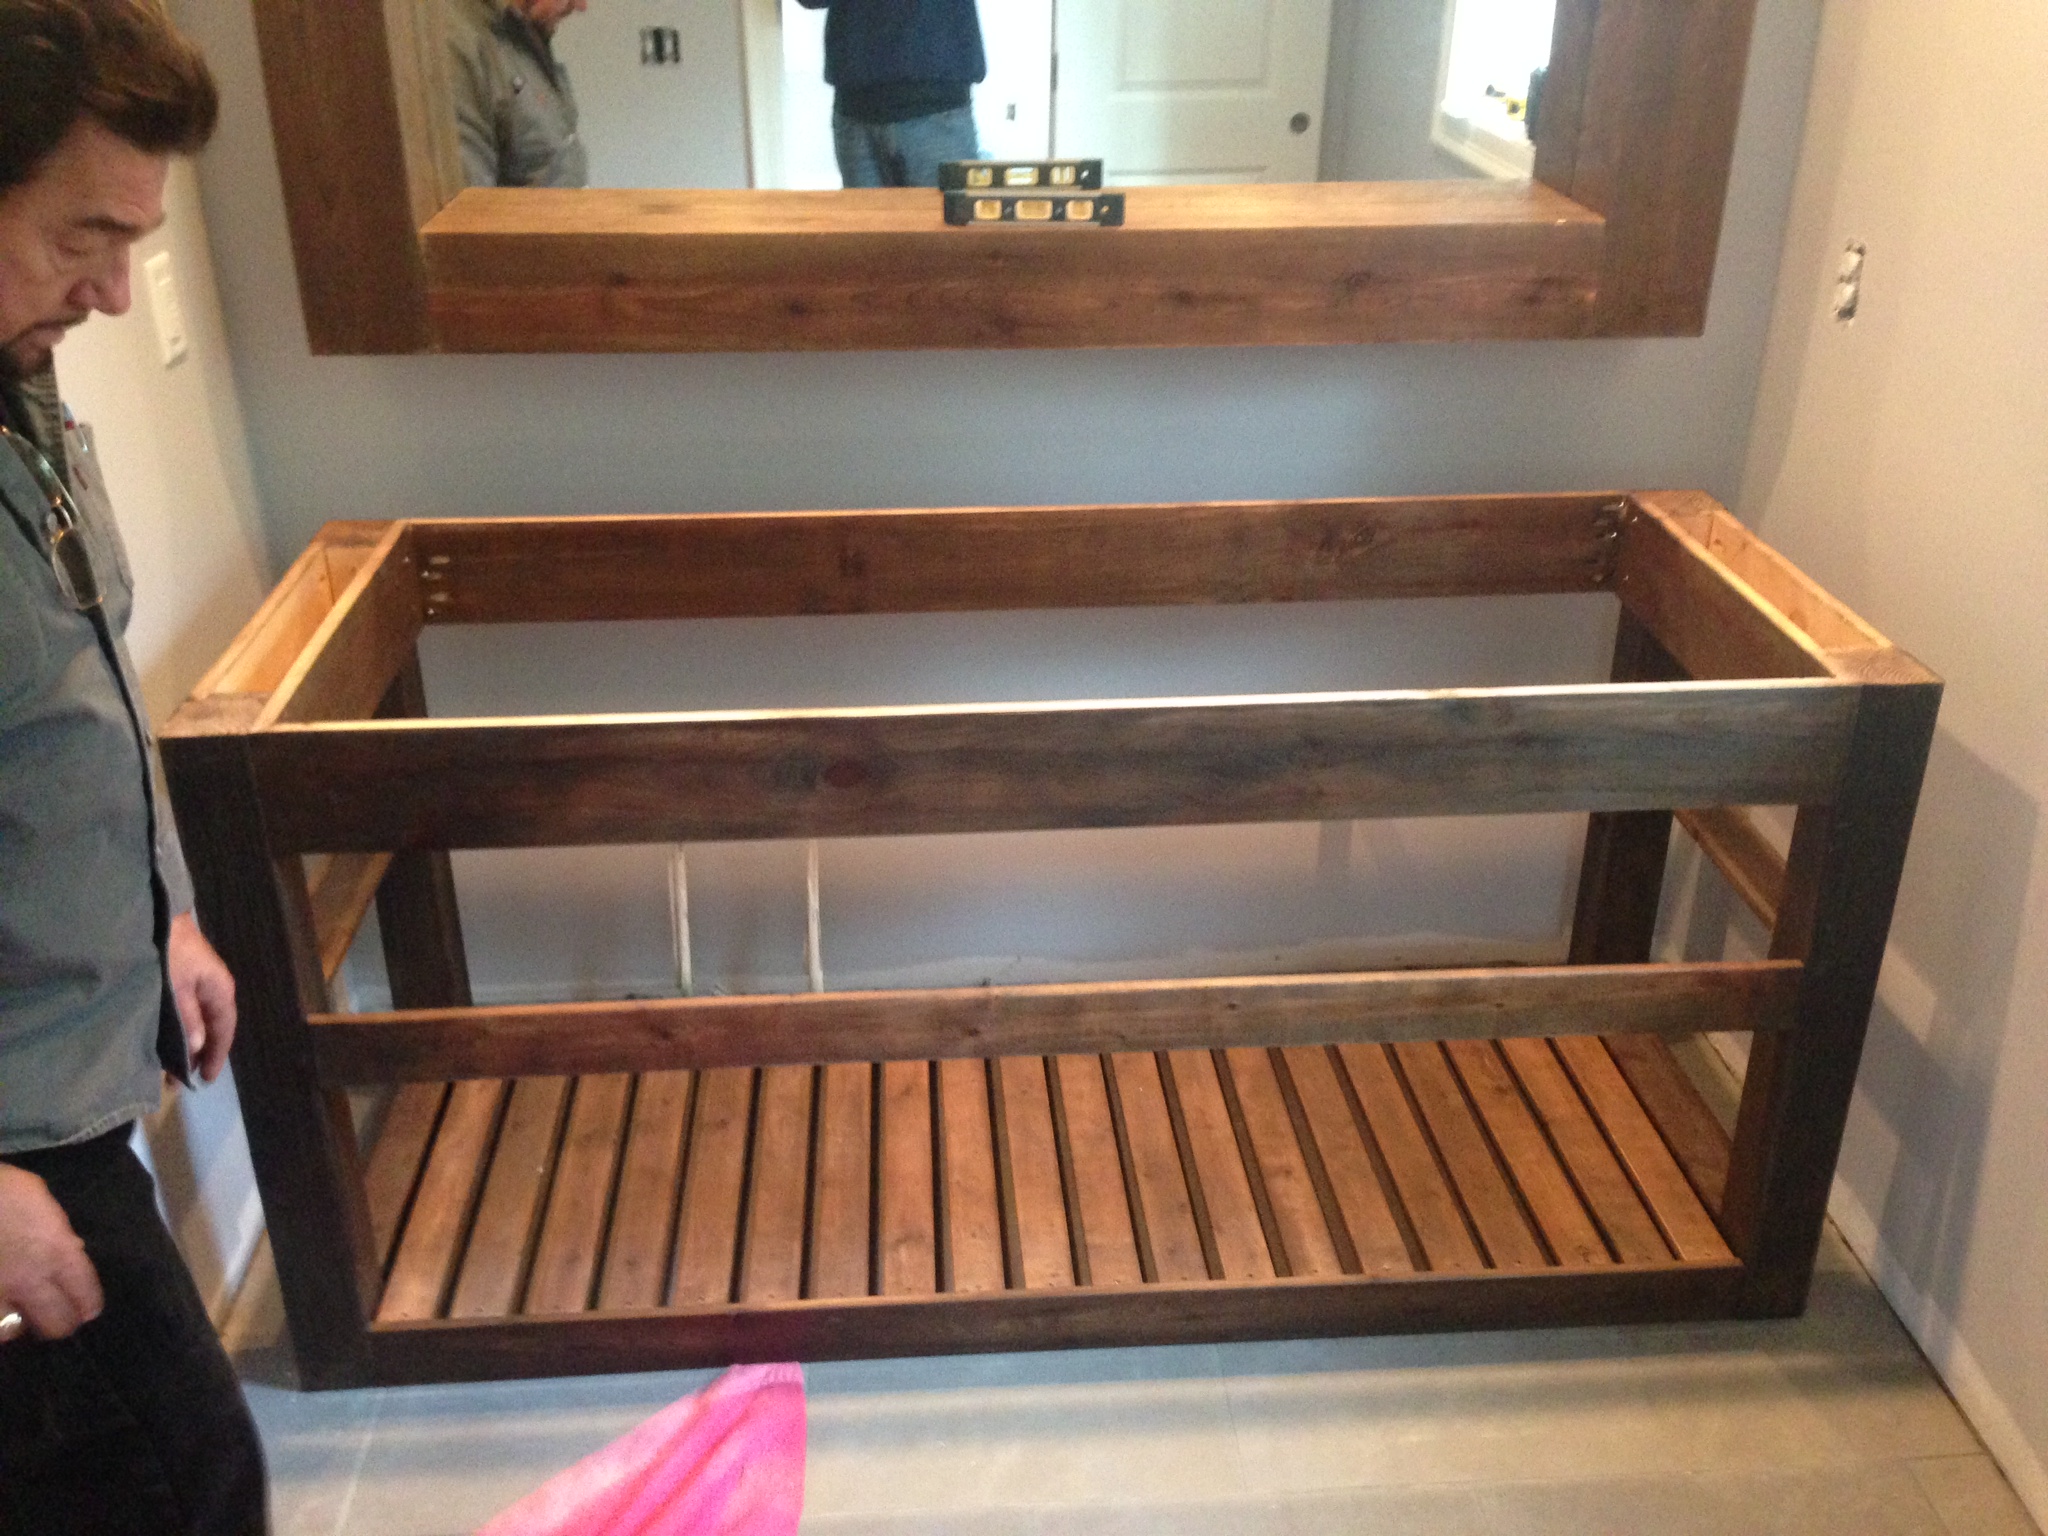
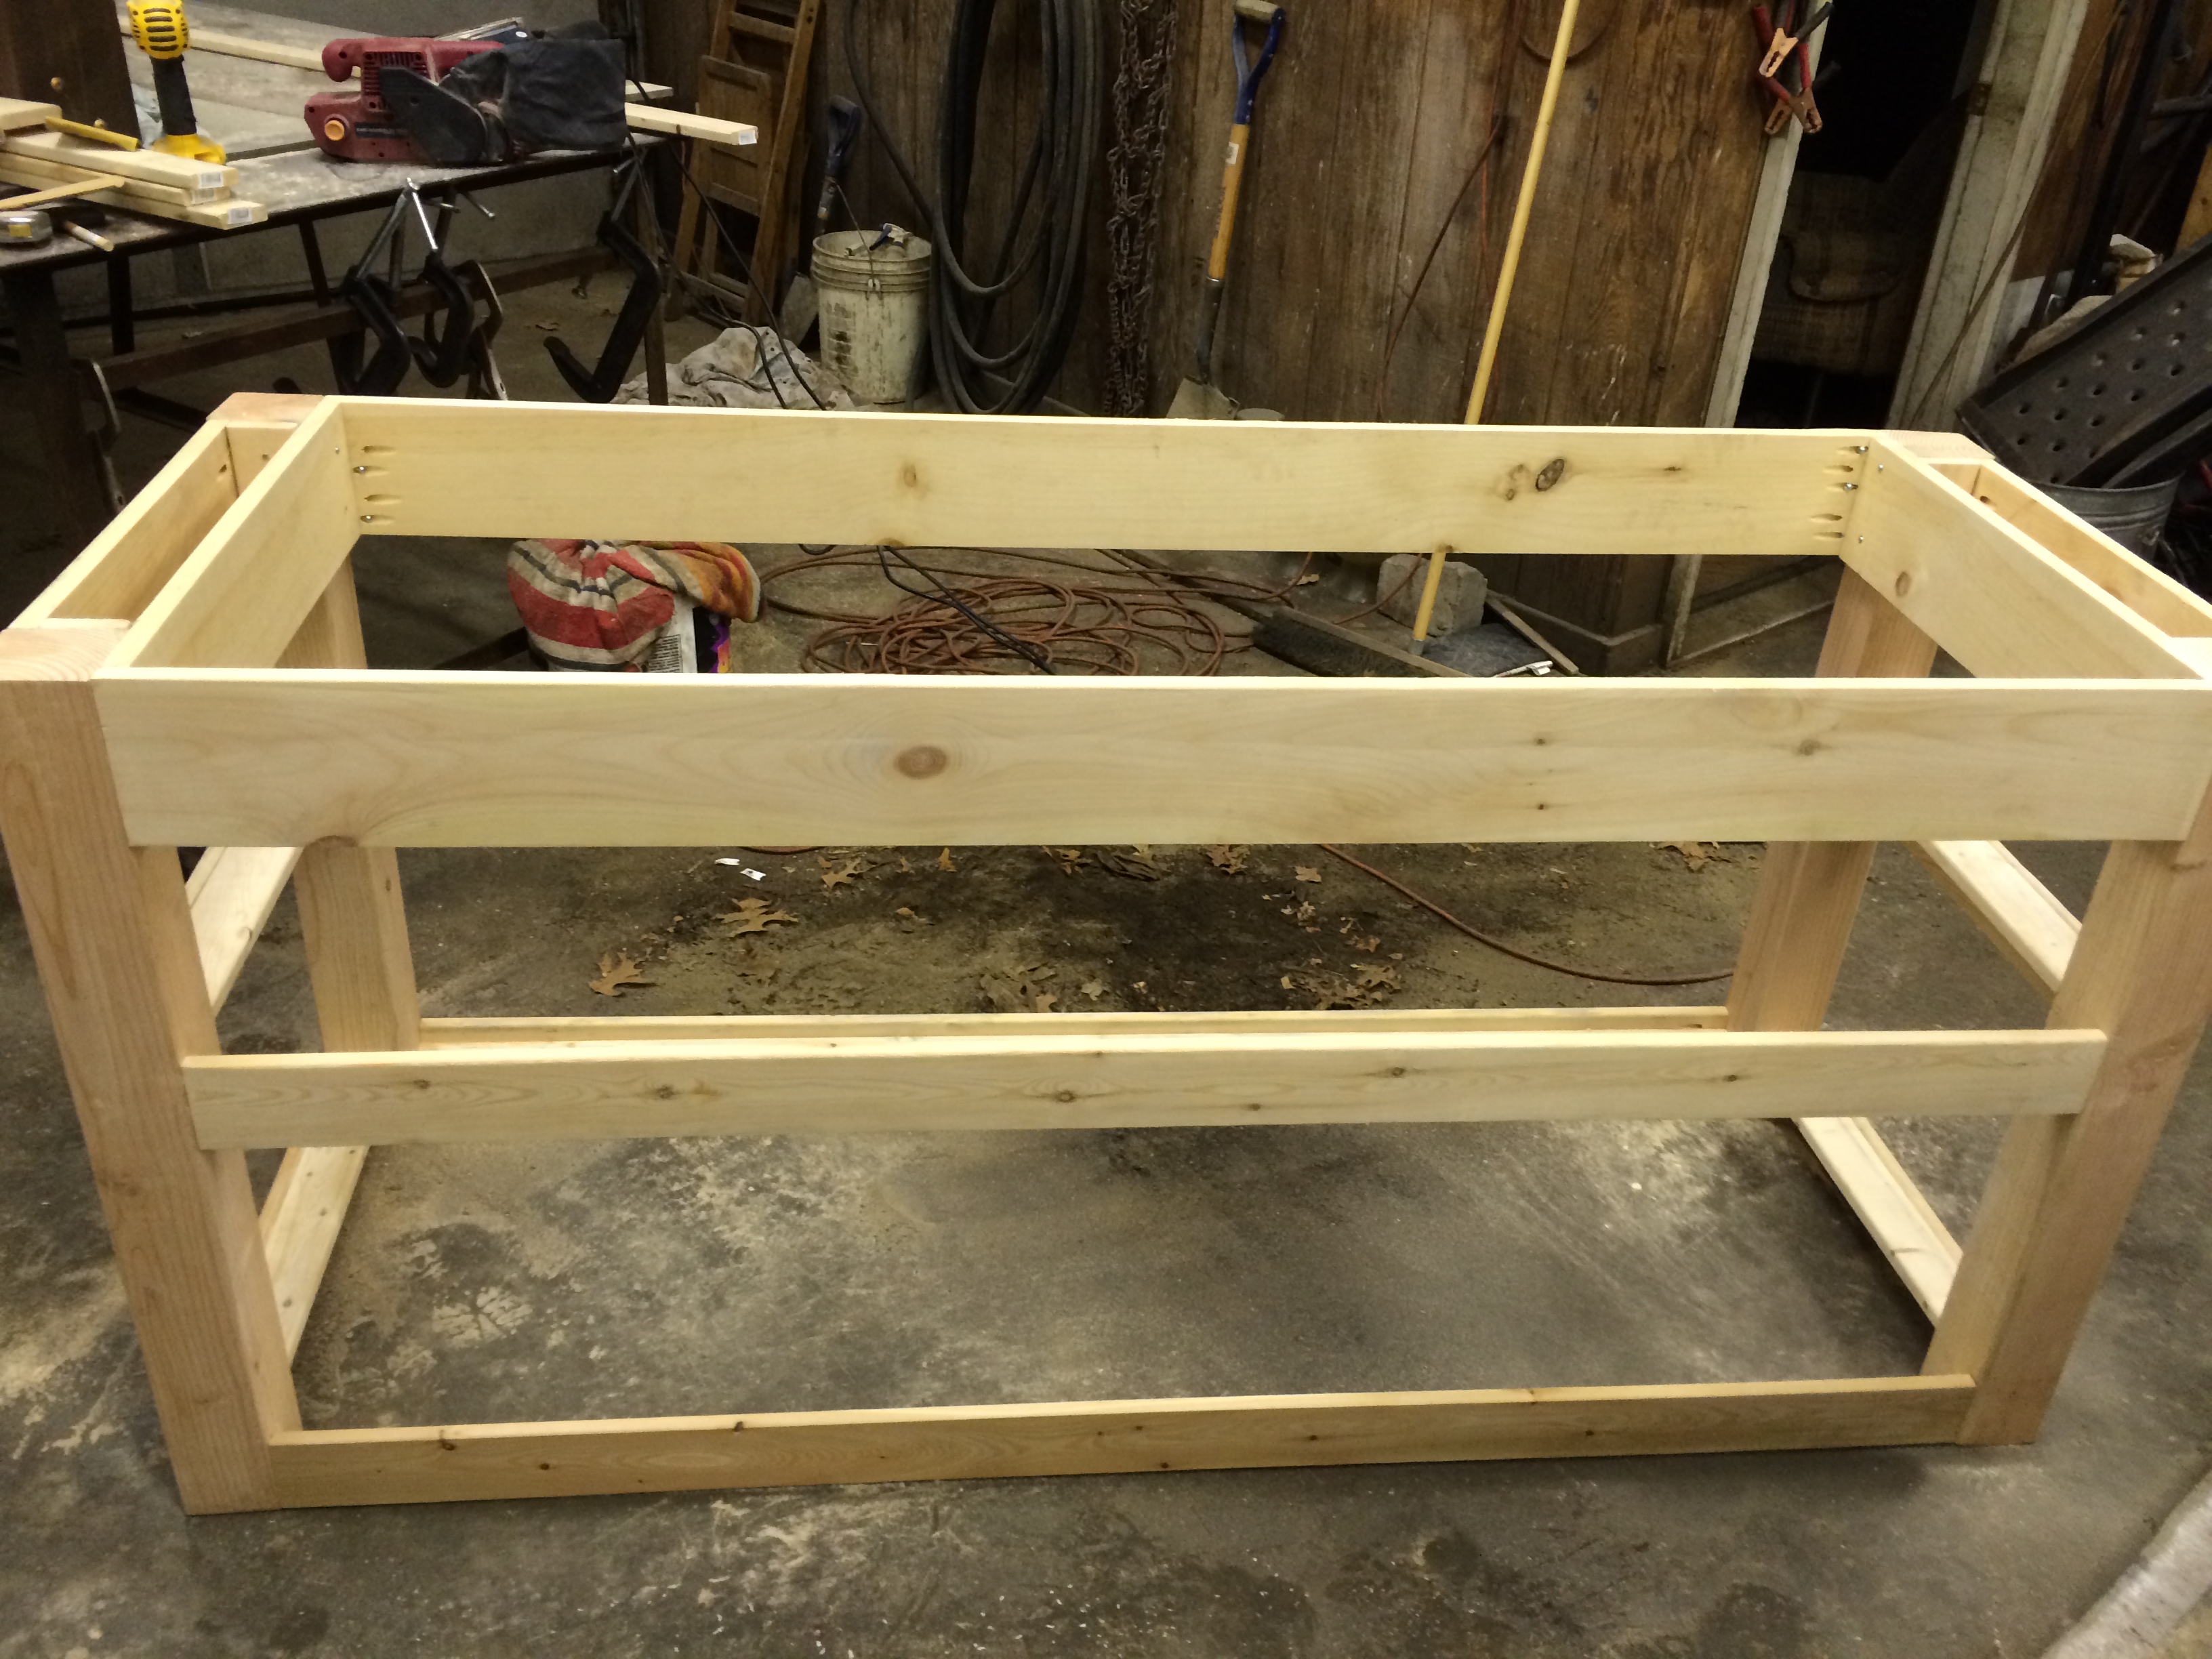
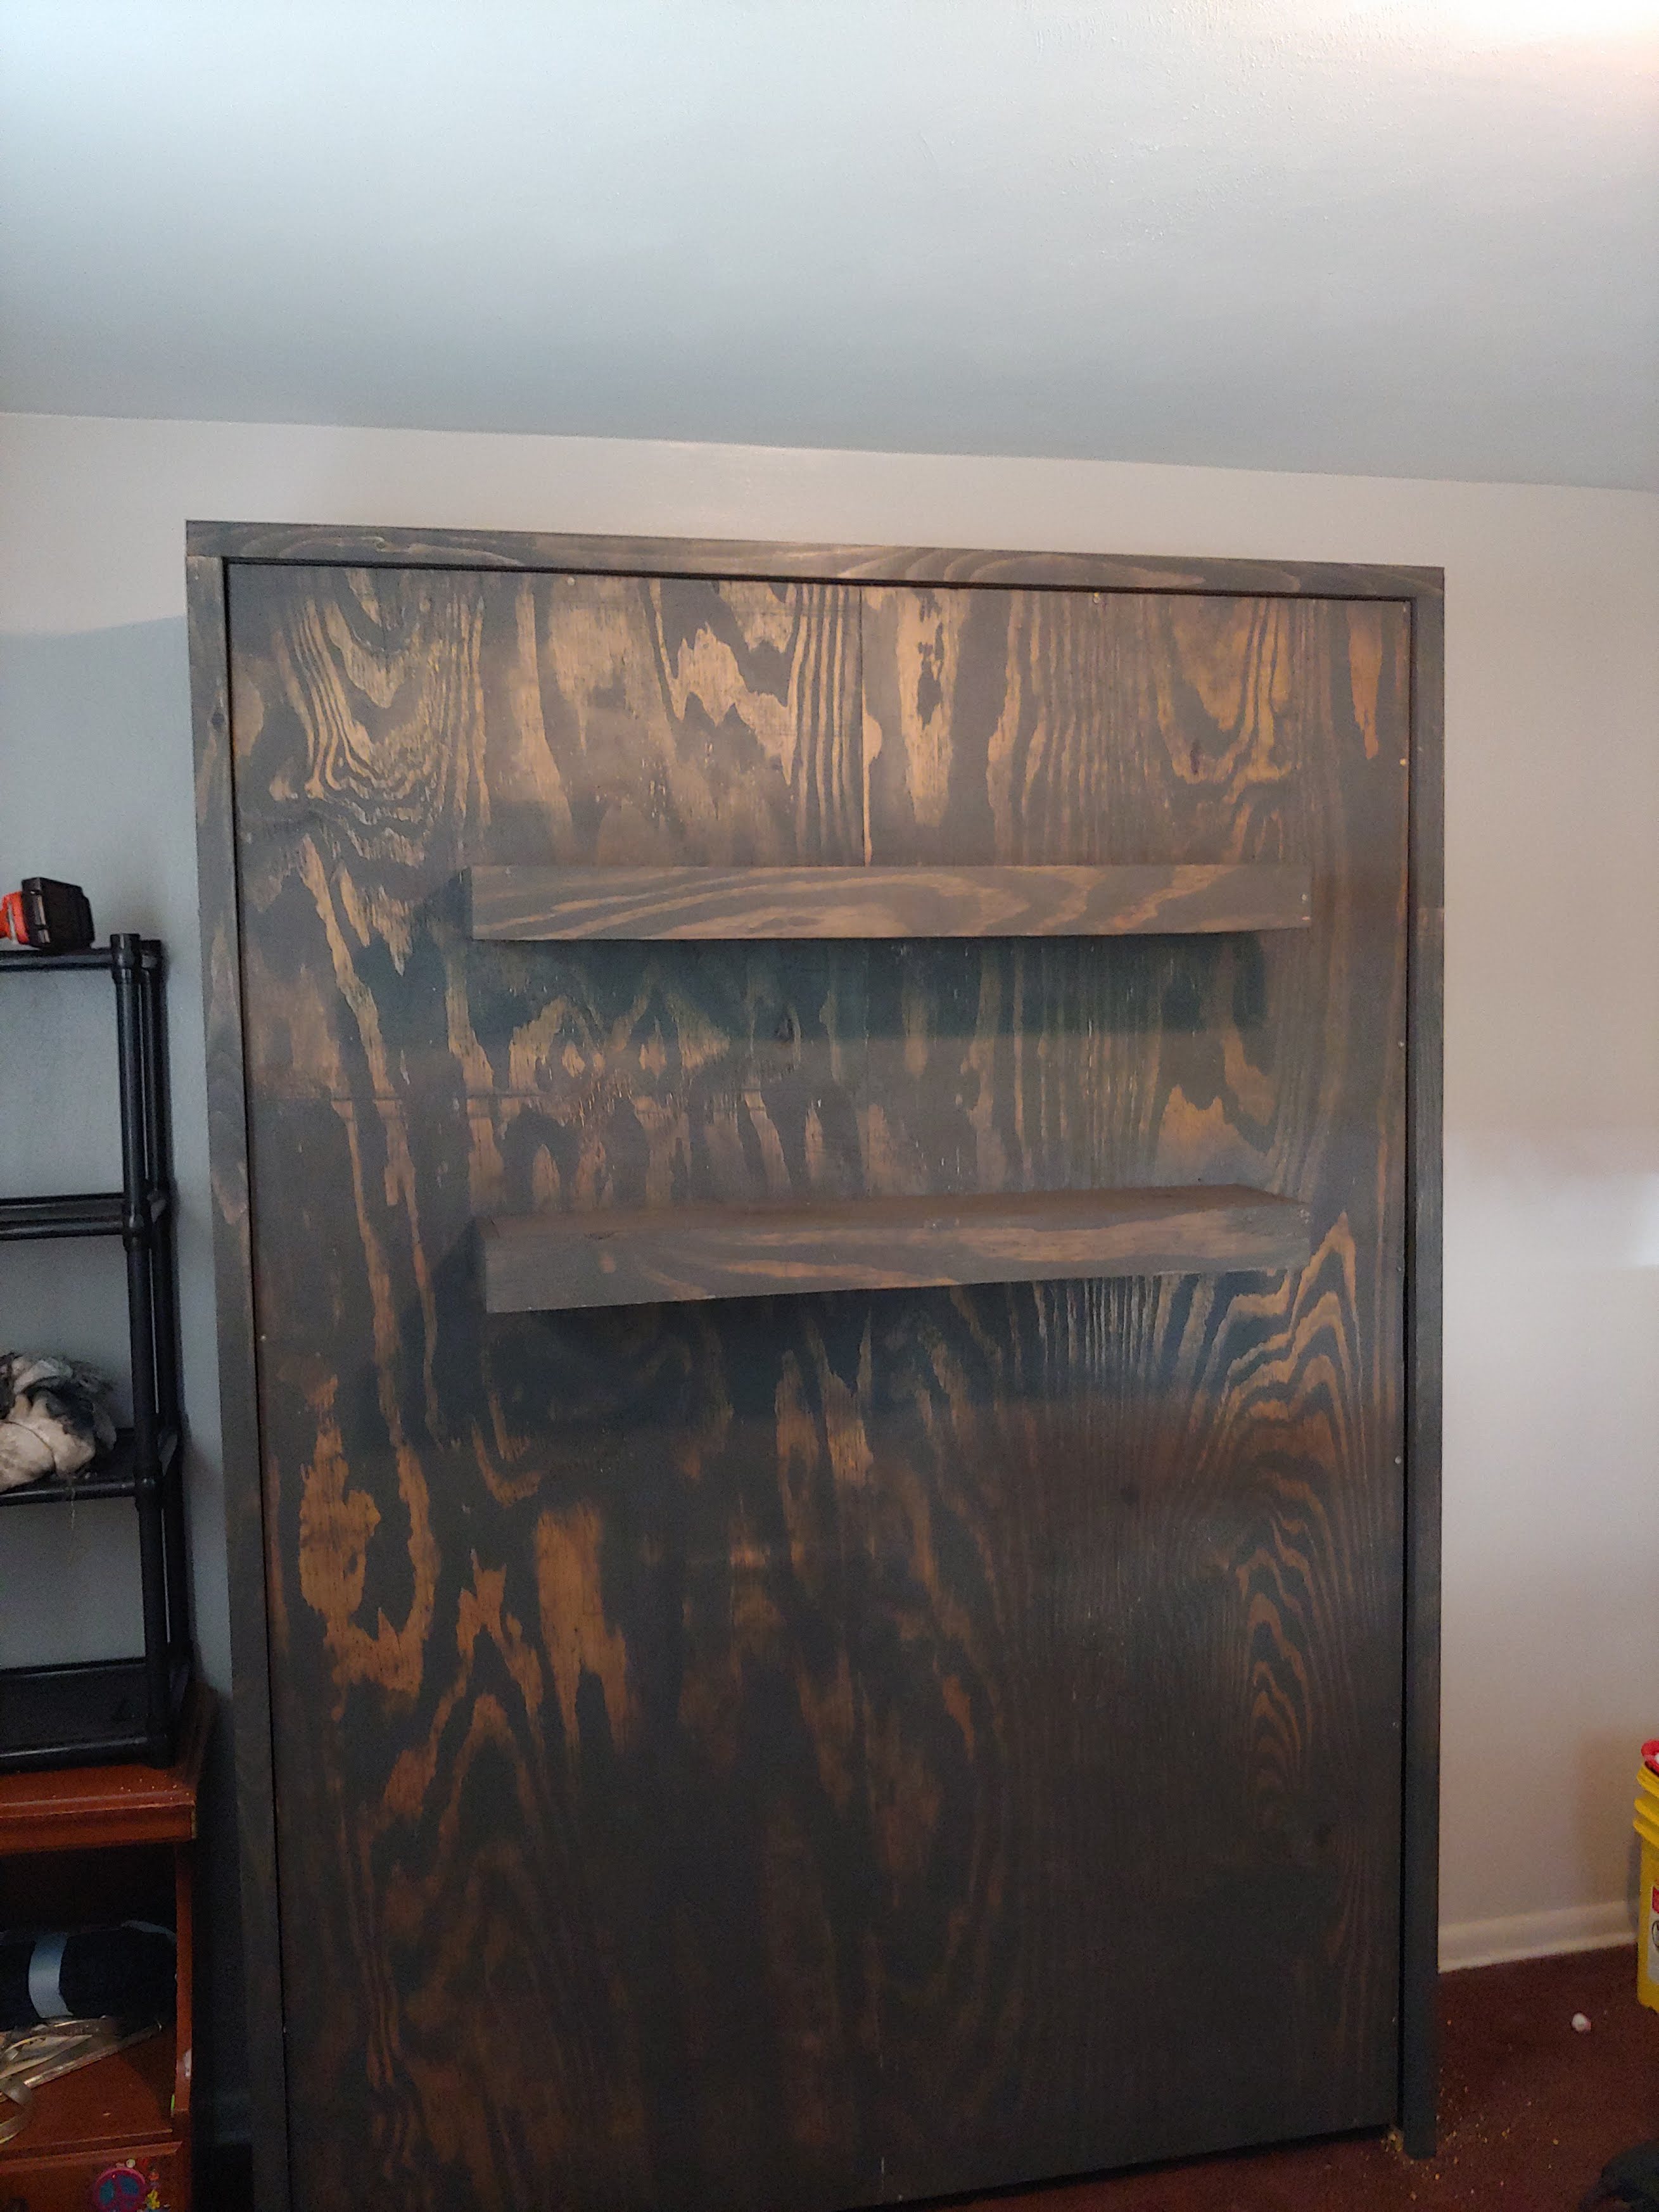
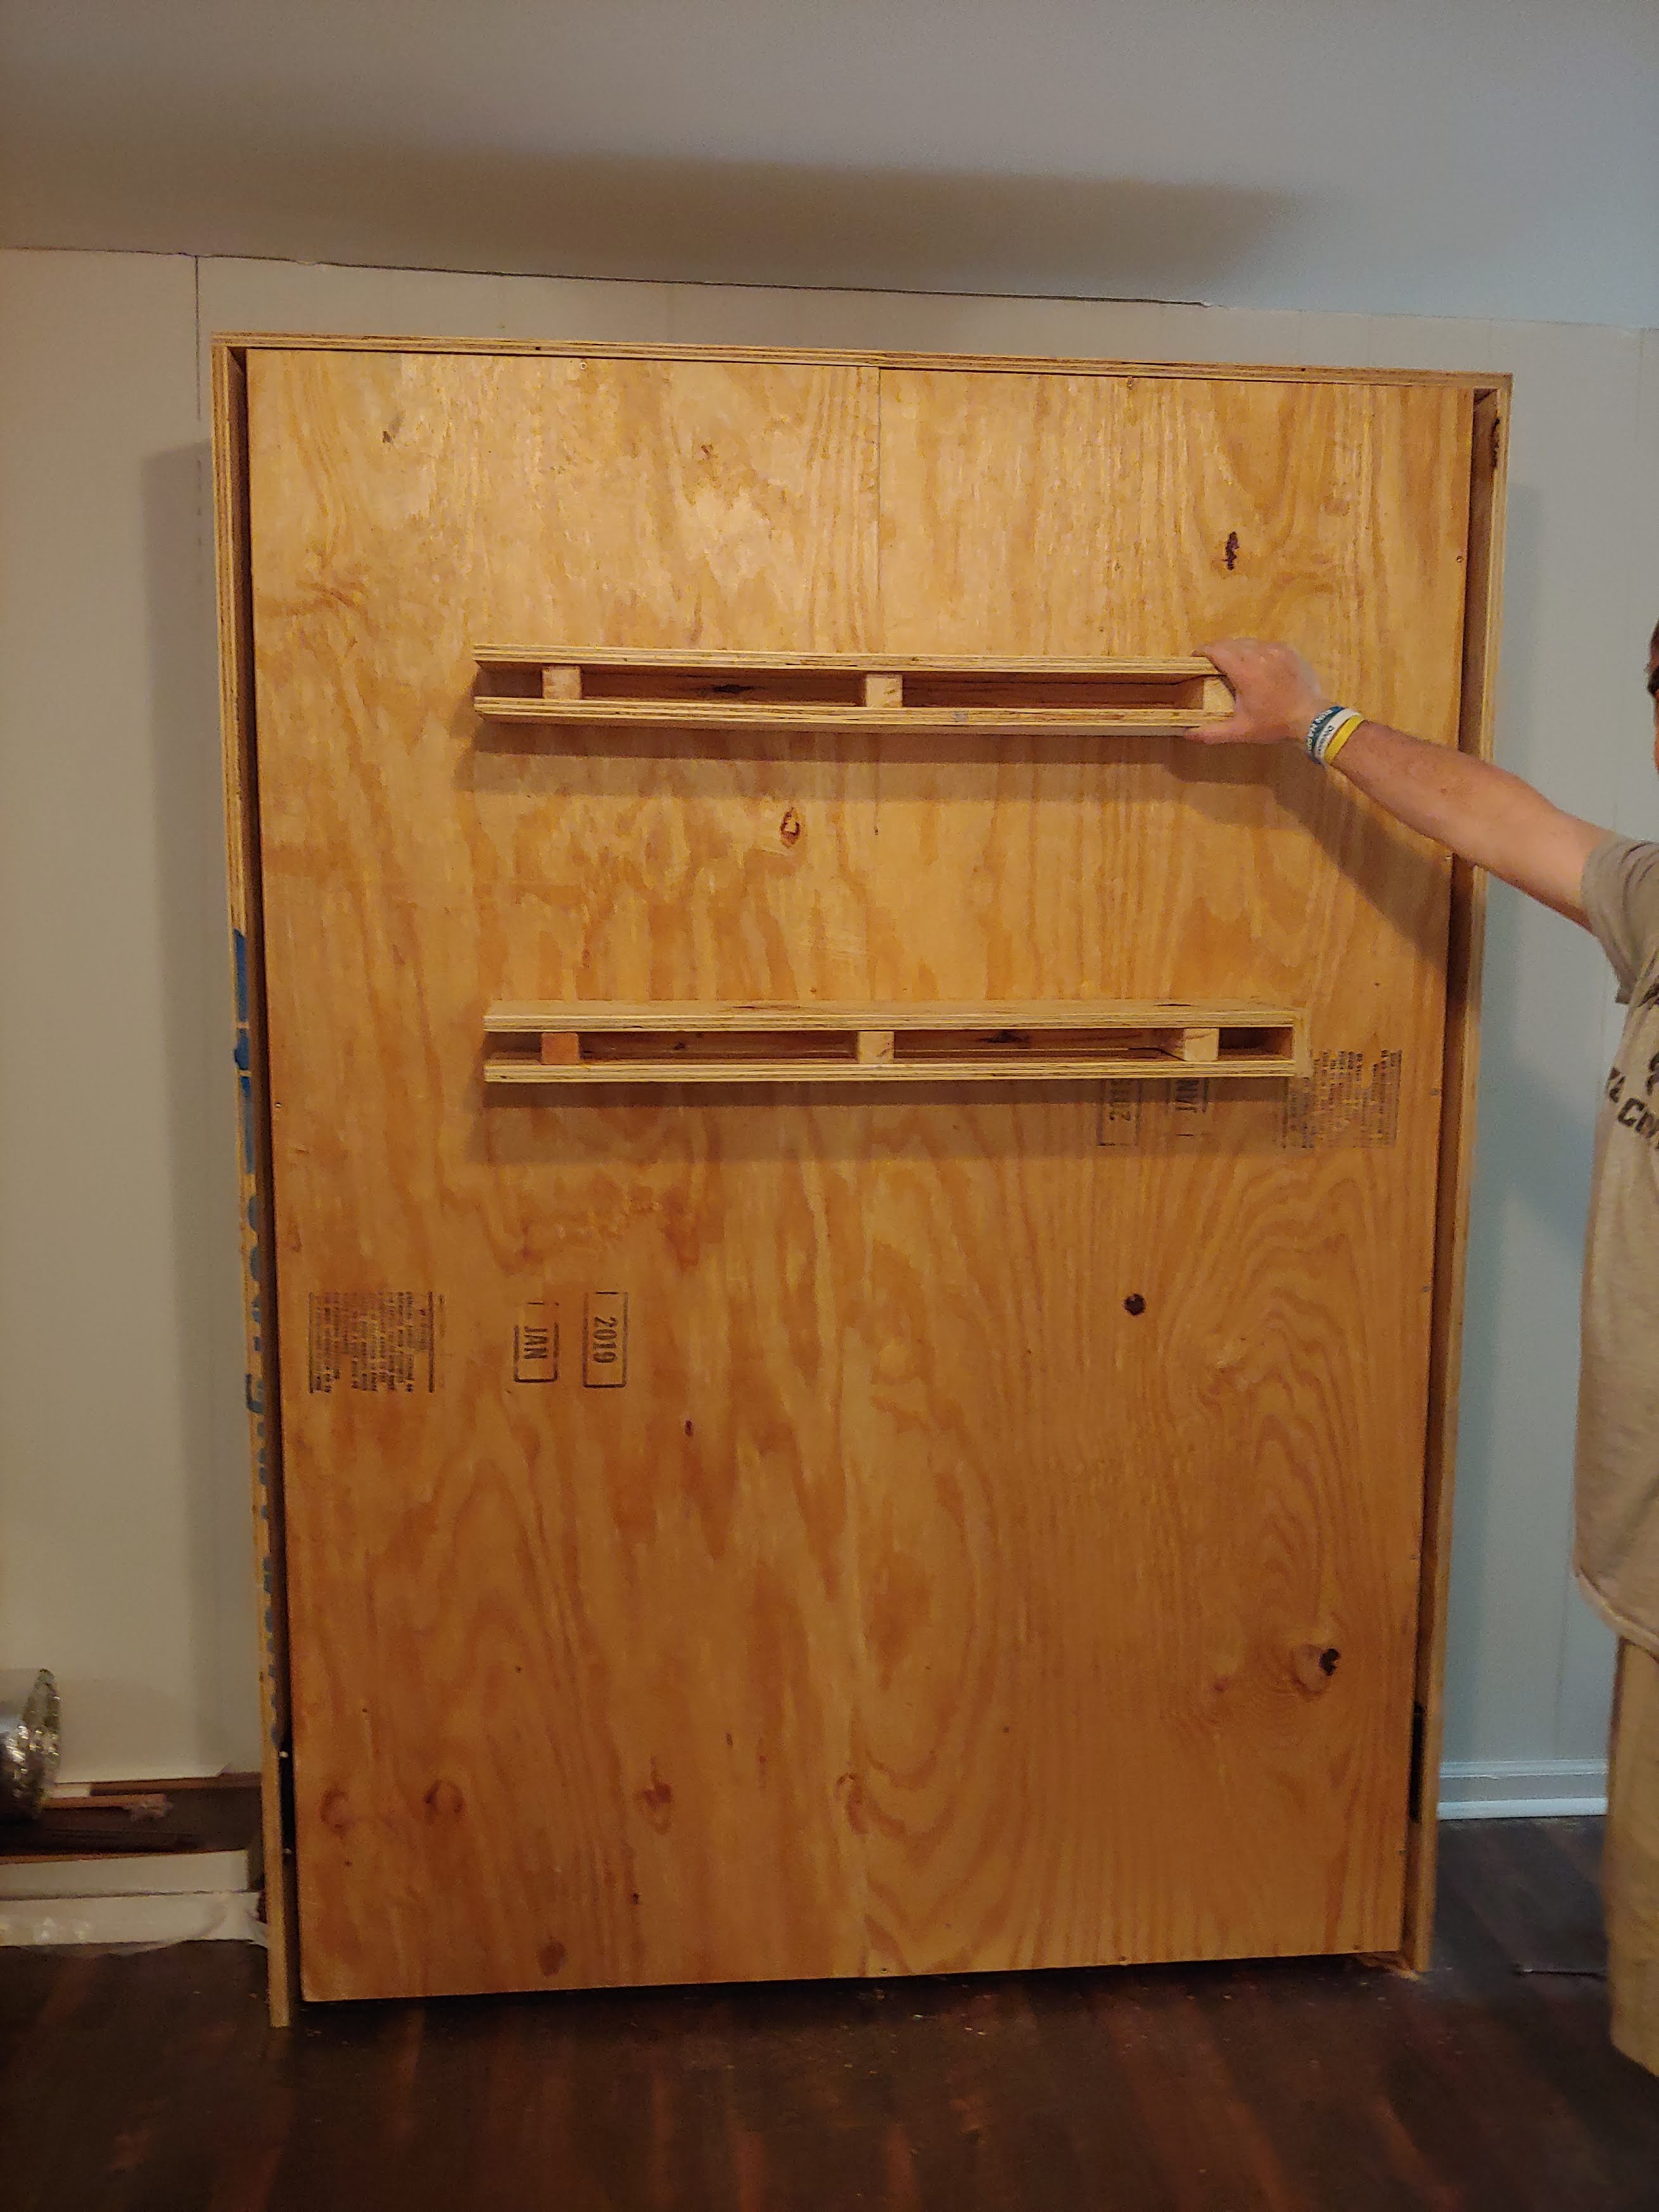
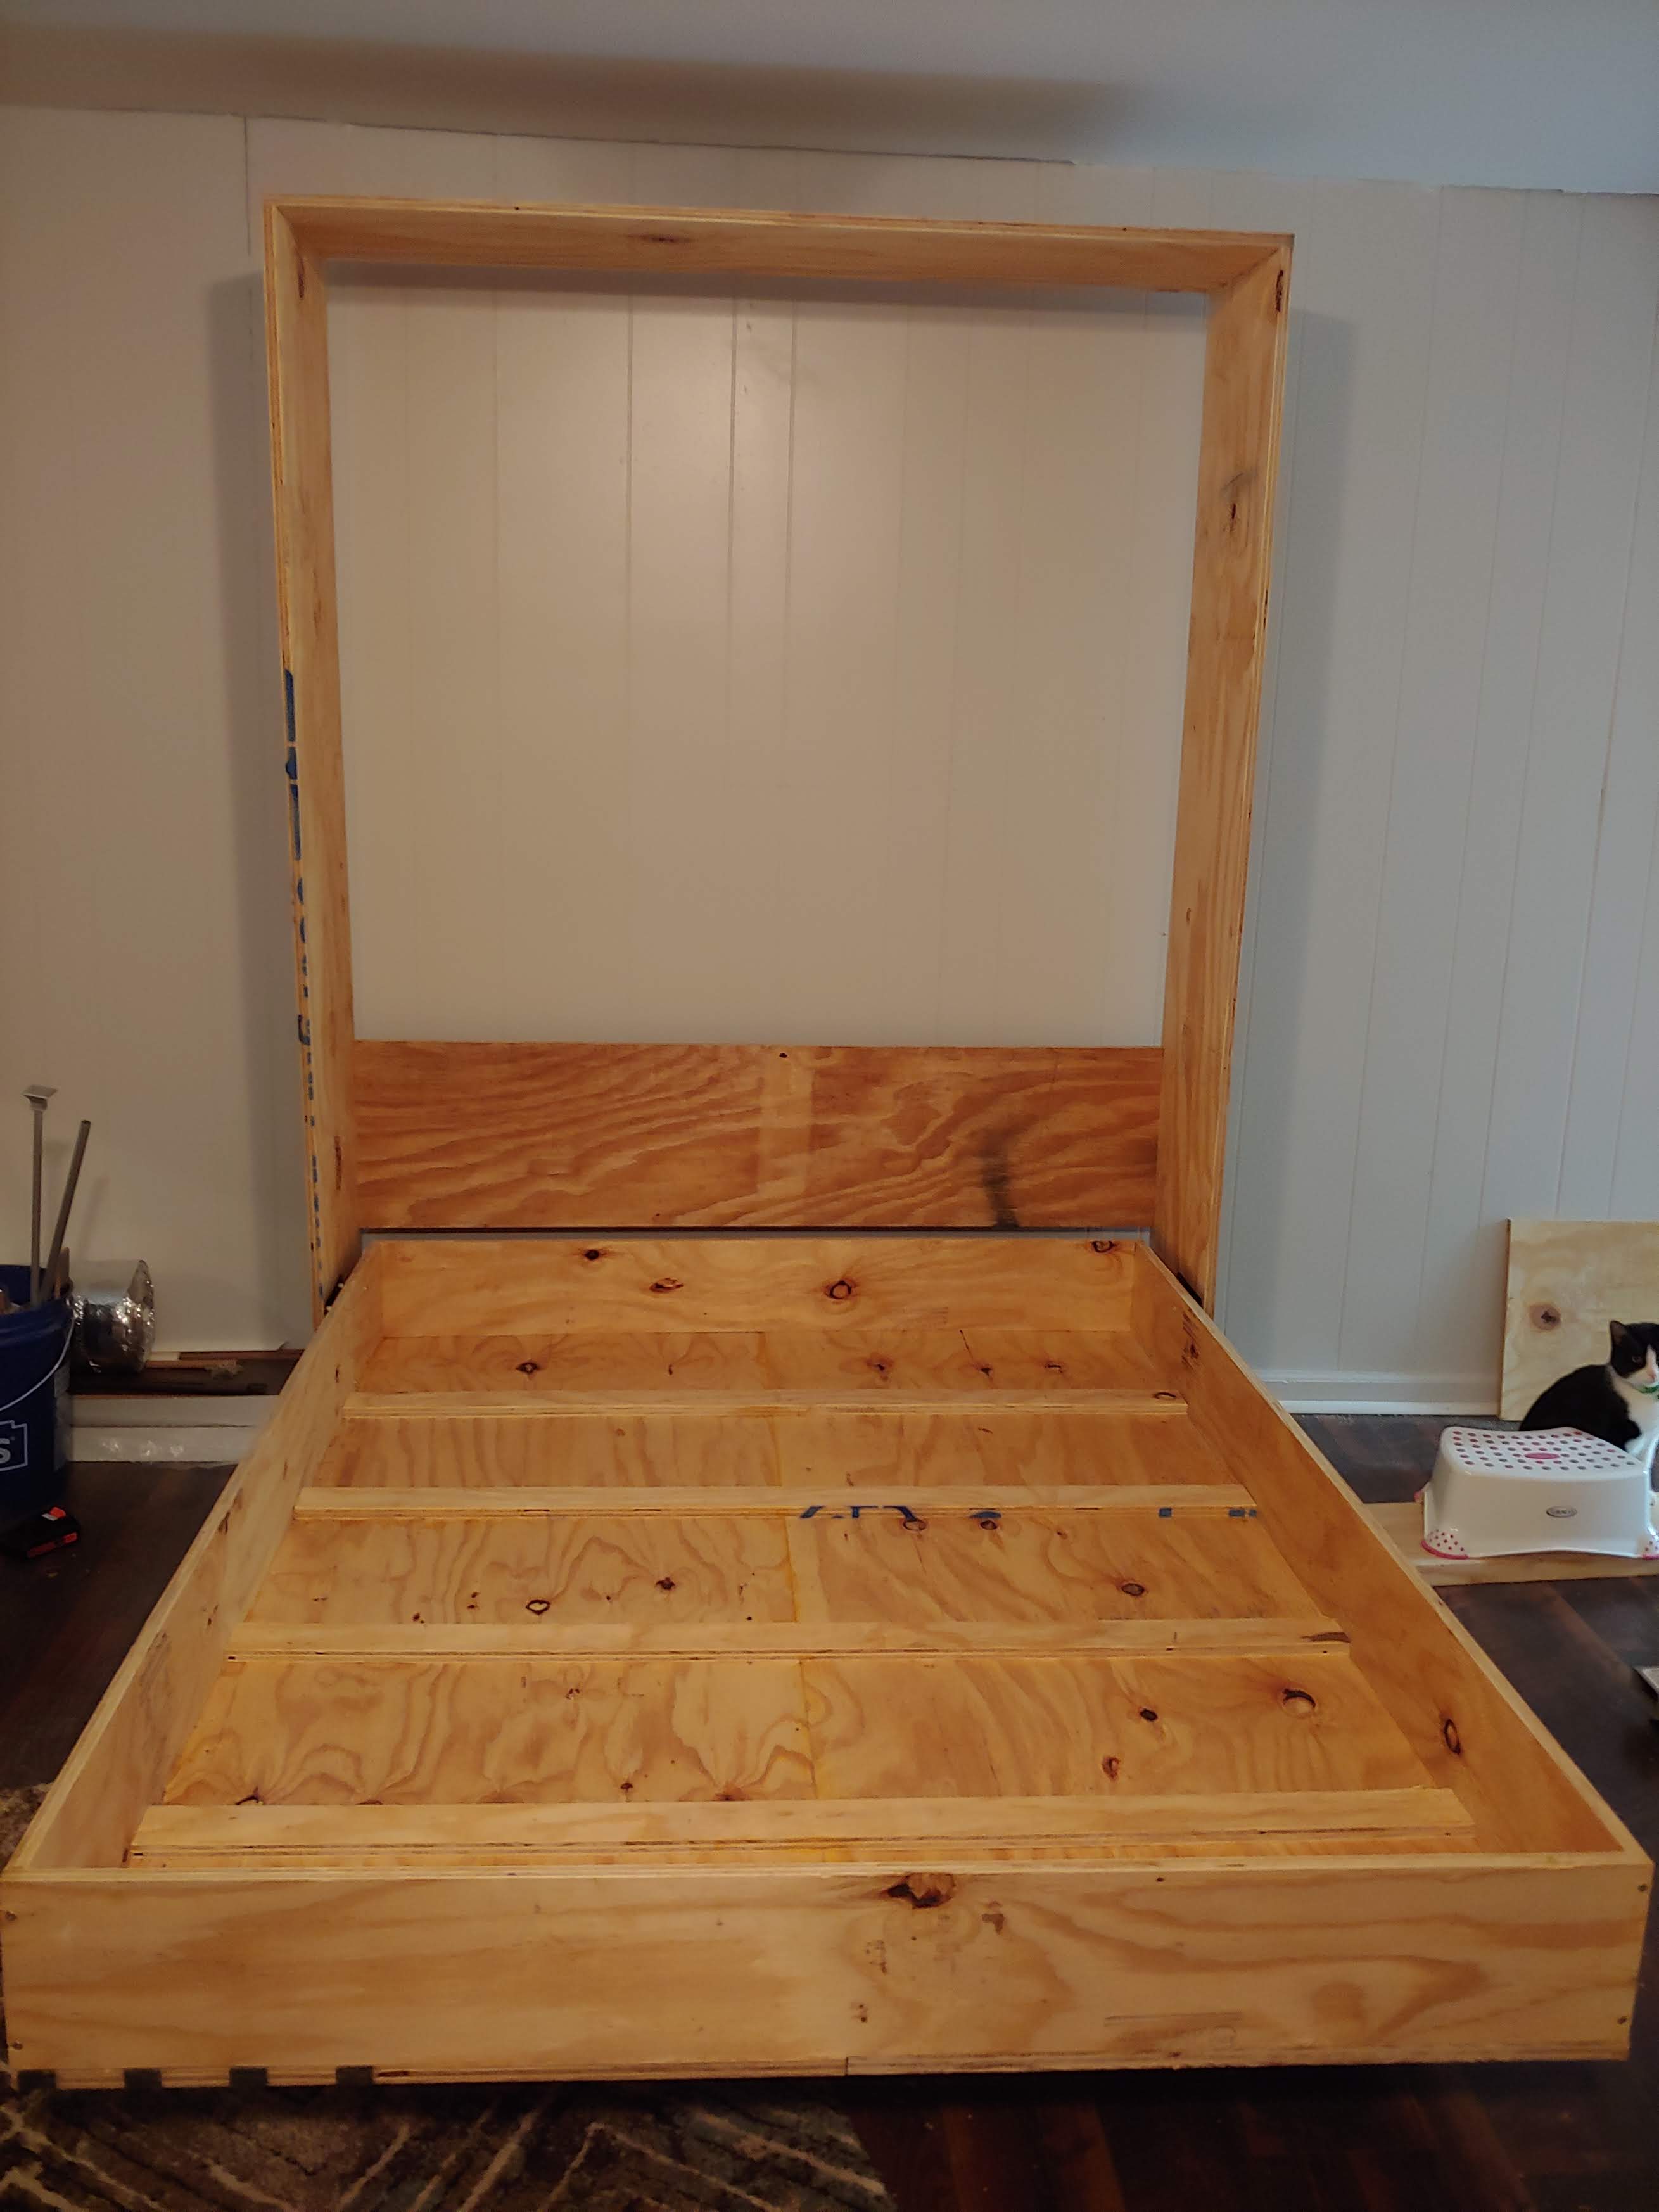
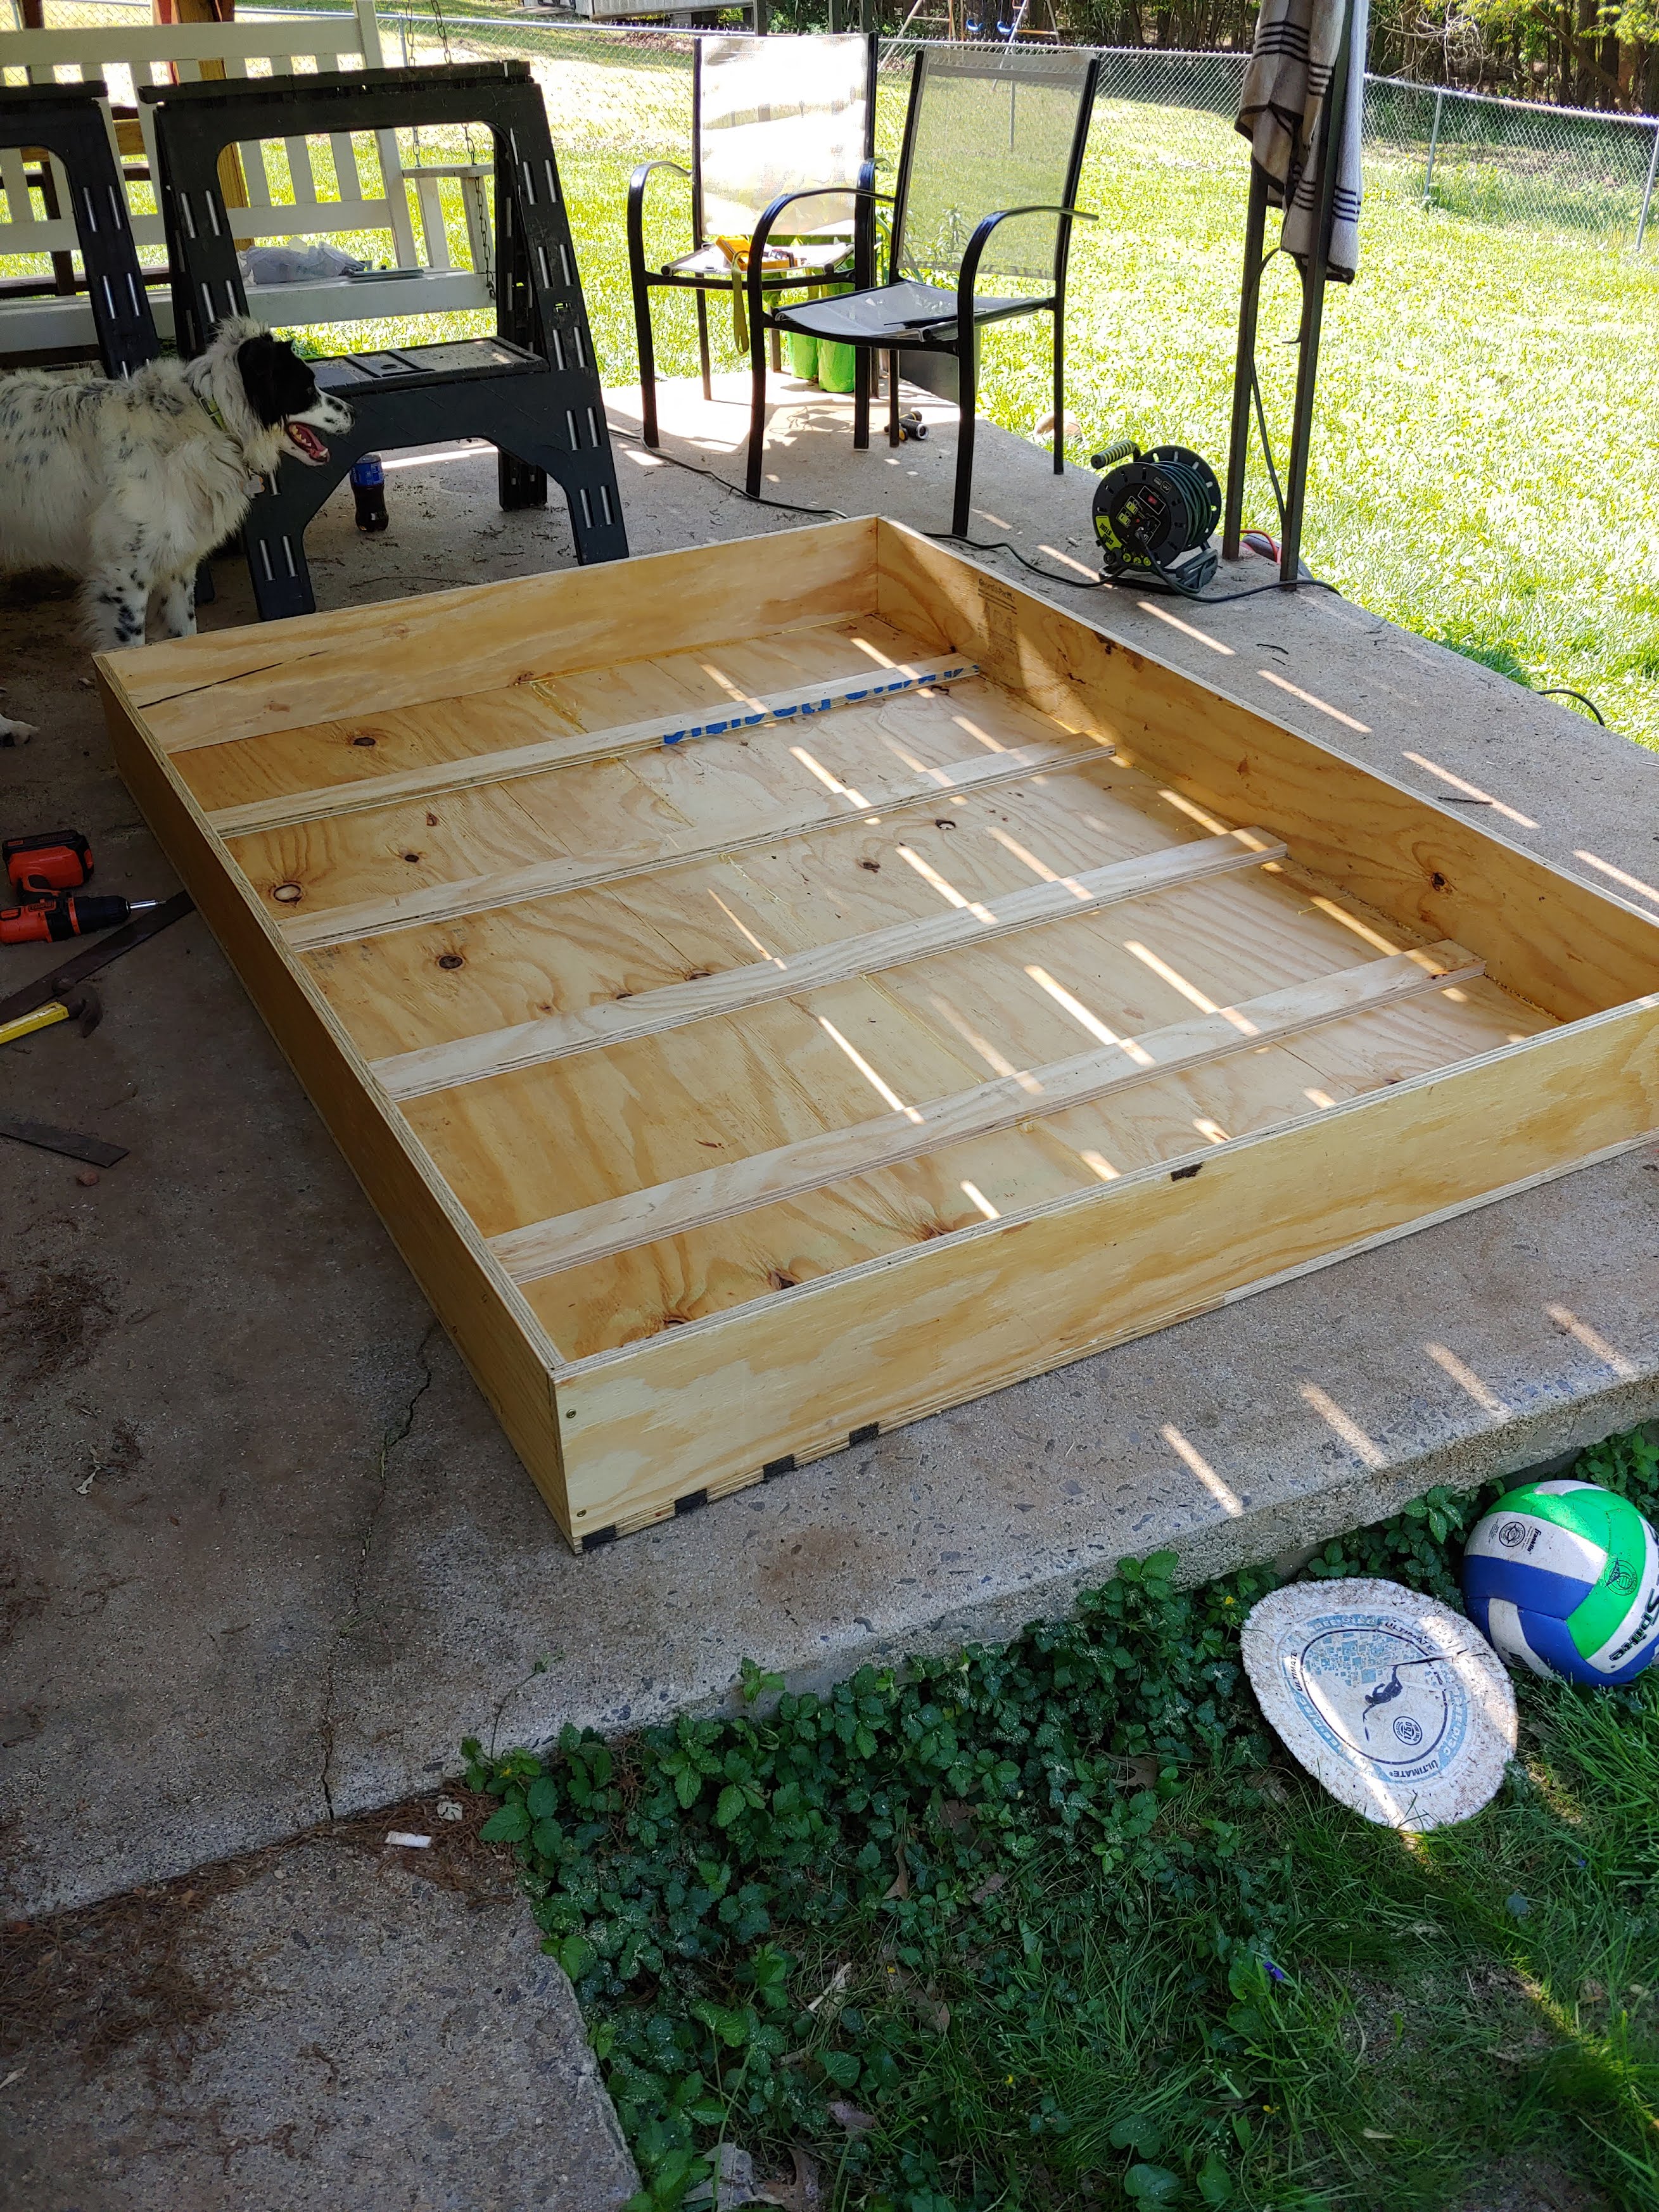
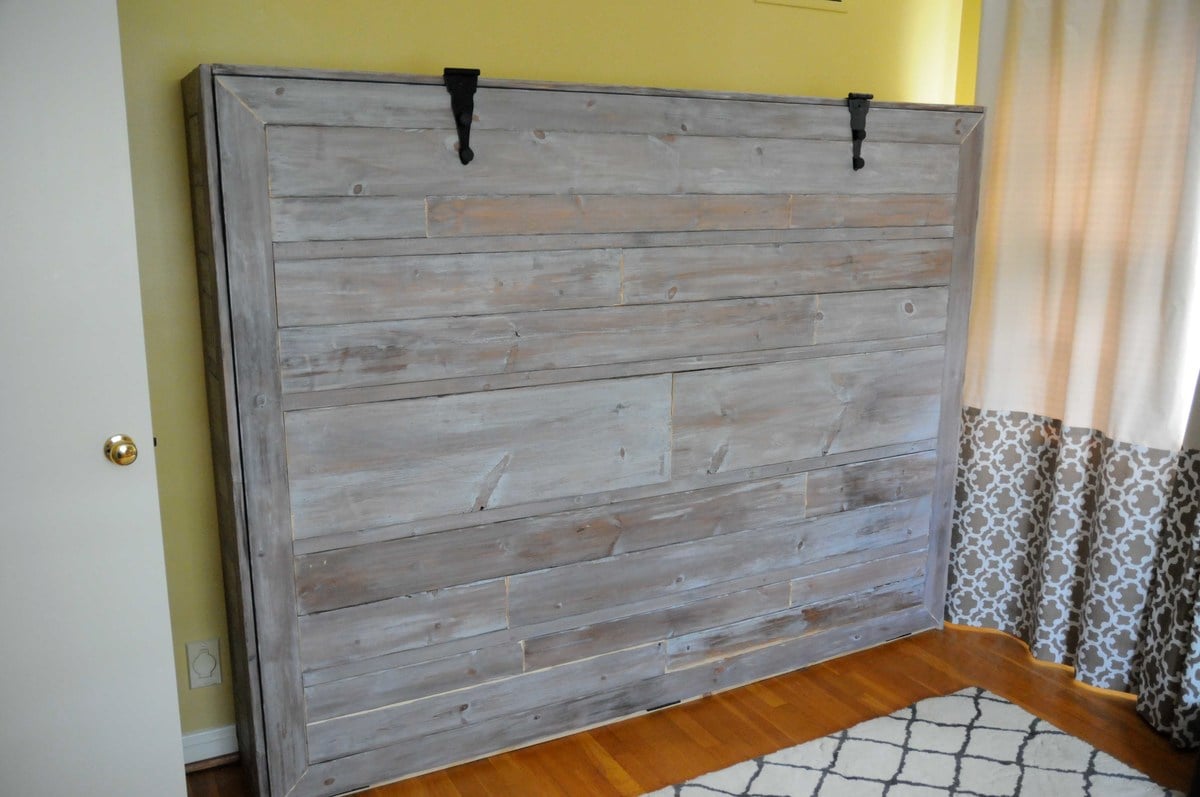
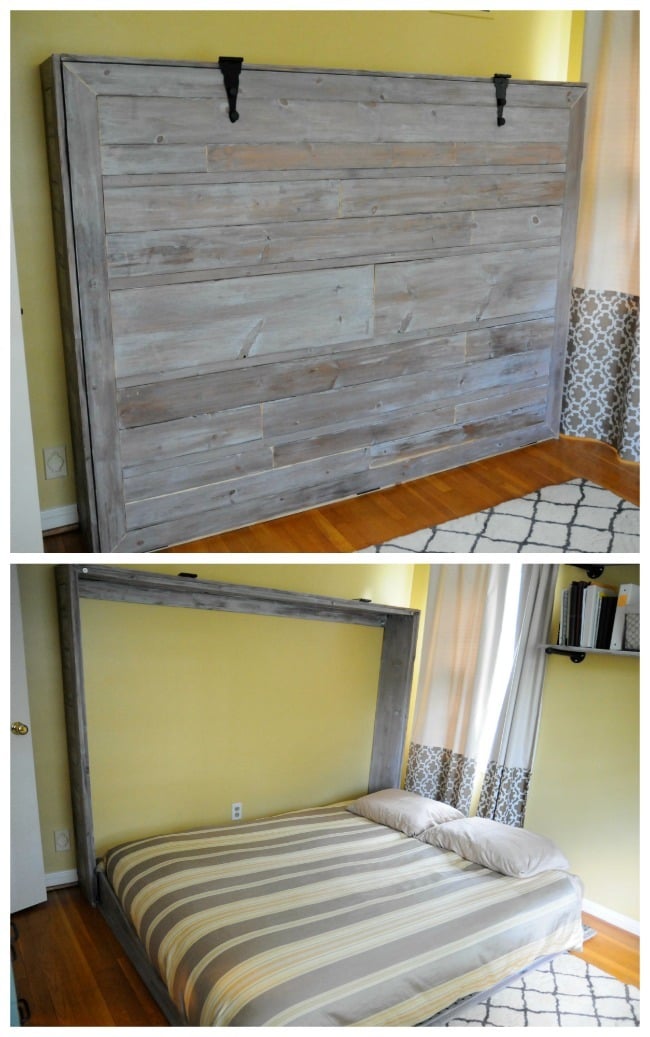
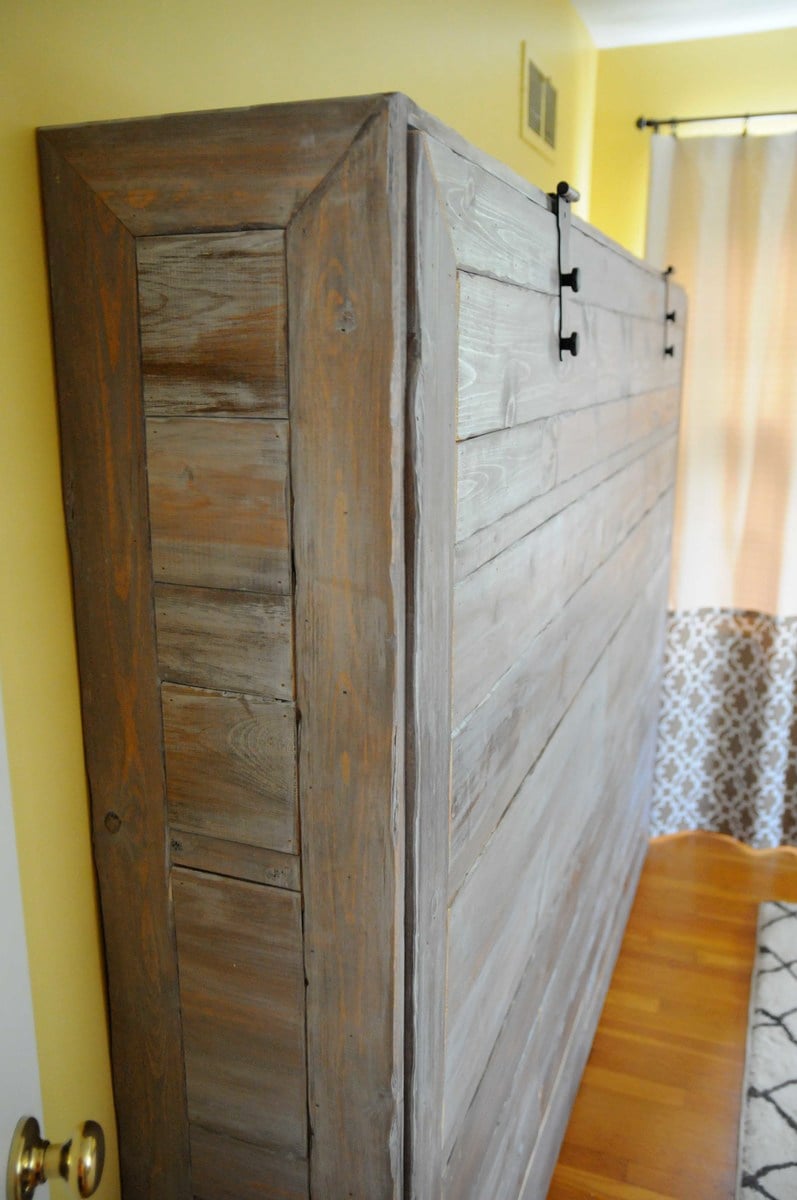
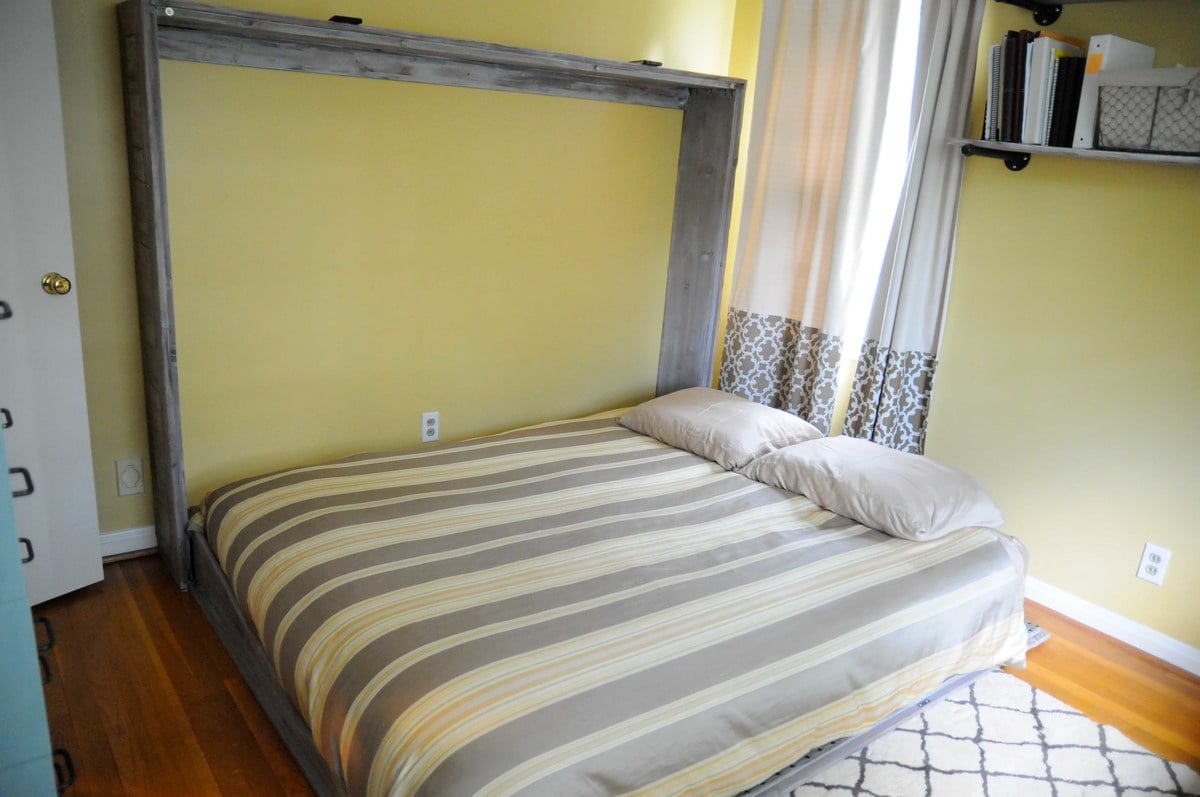
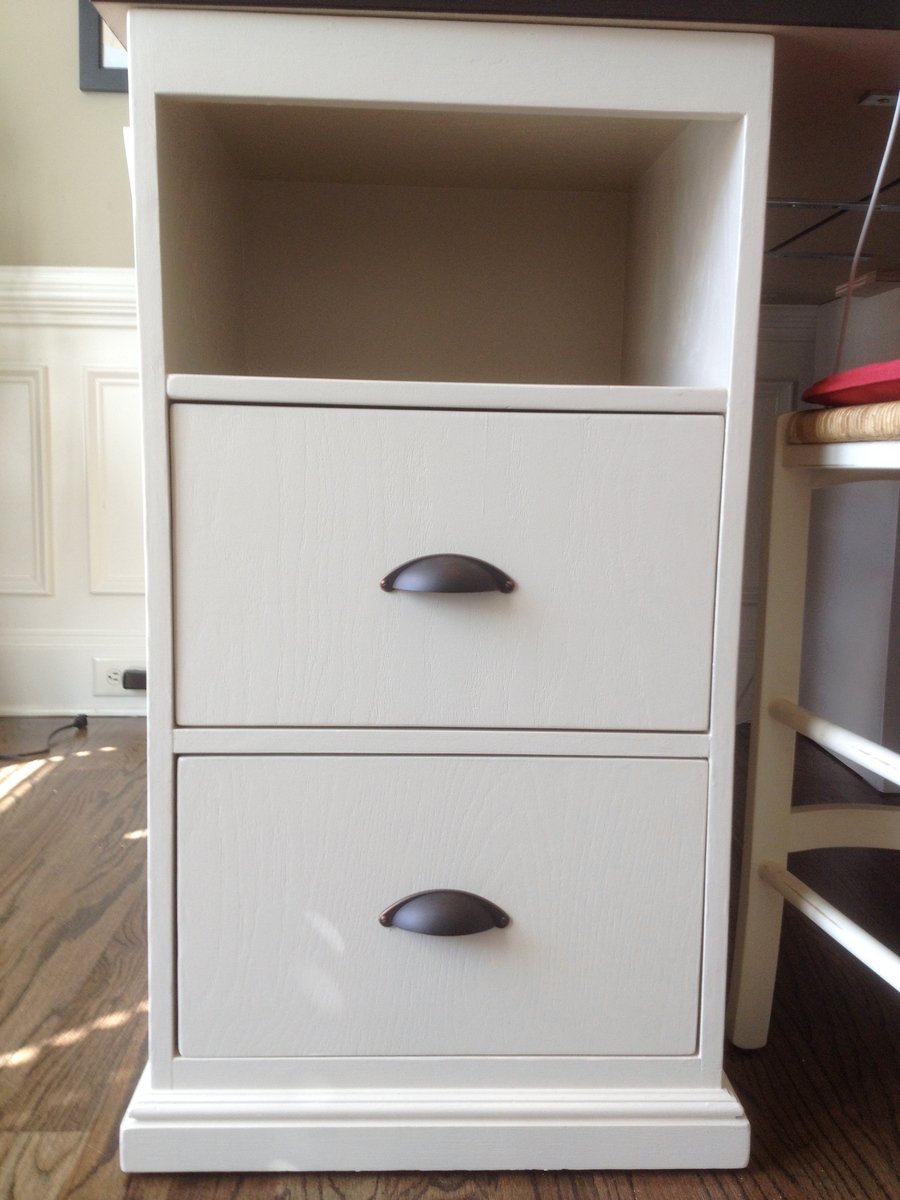
Slatted double vanity - FINALLY finished!

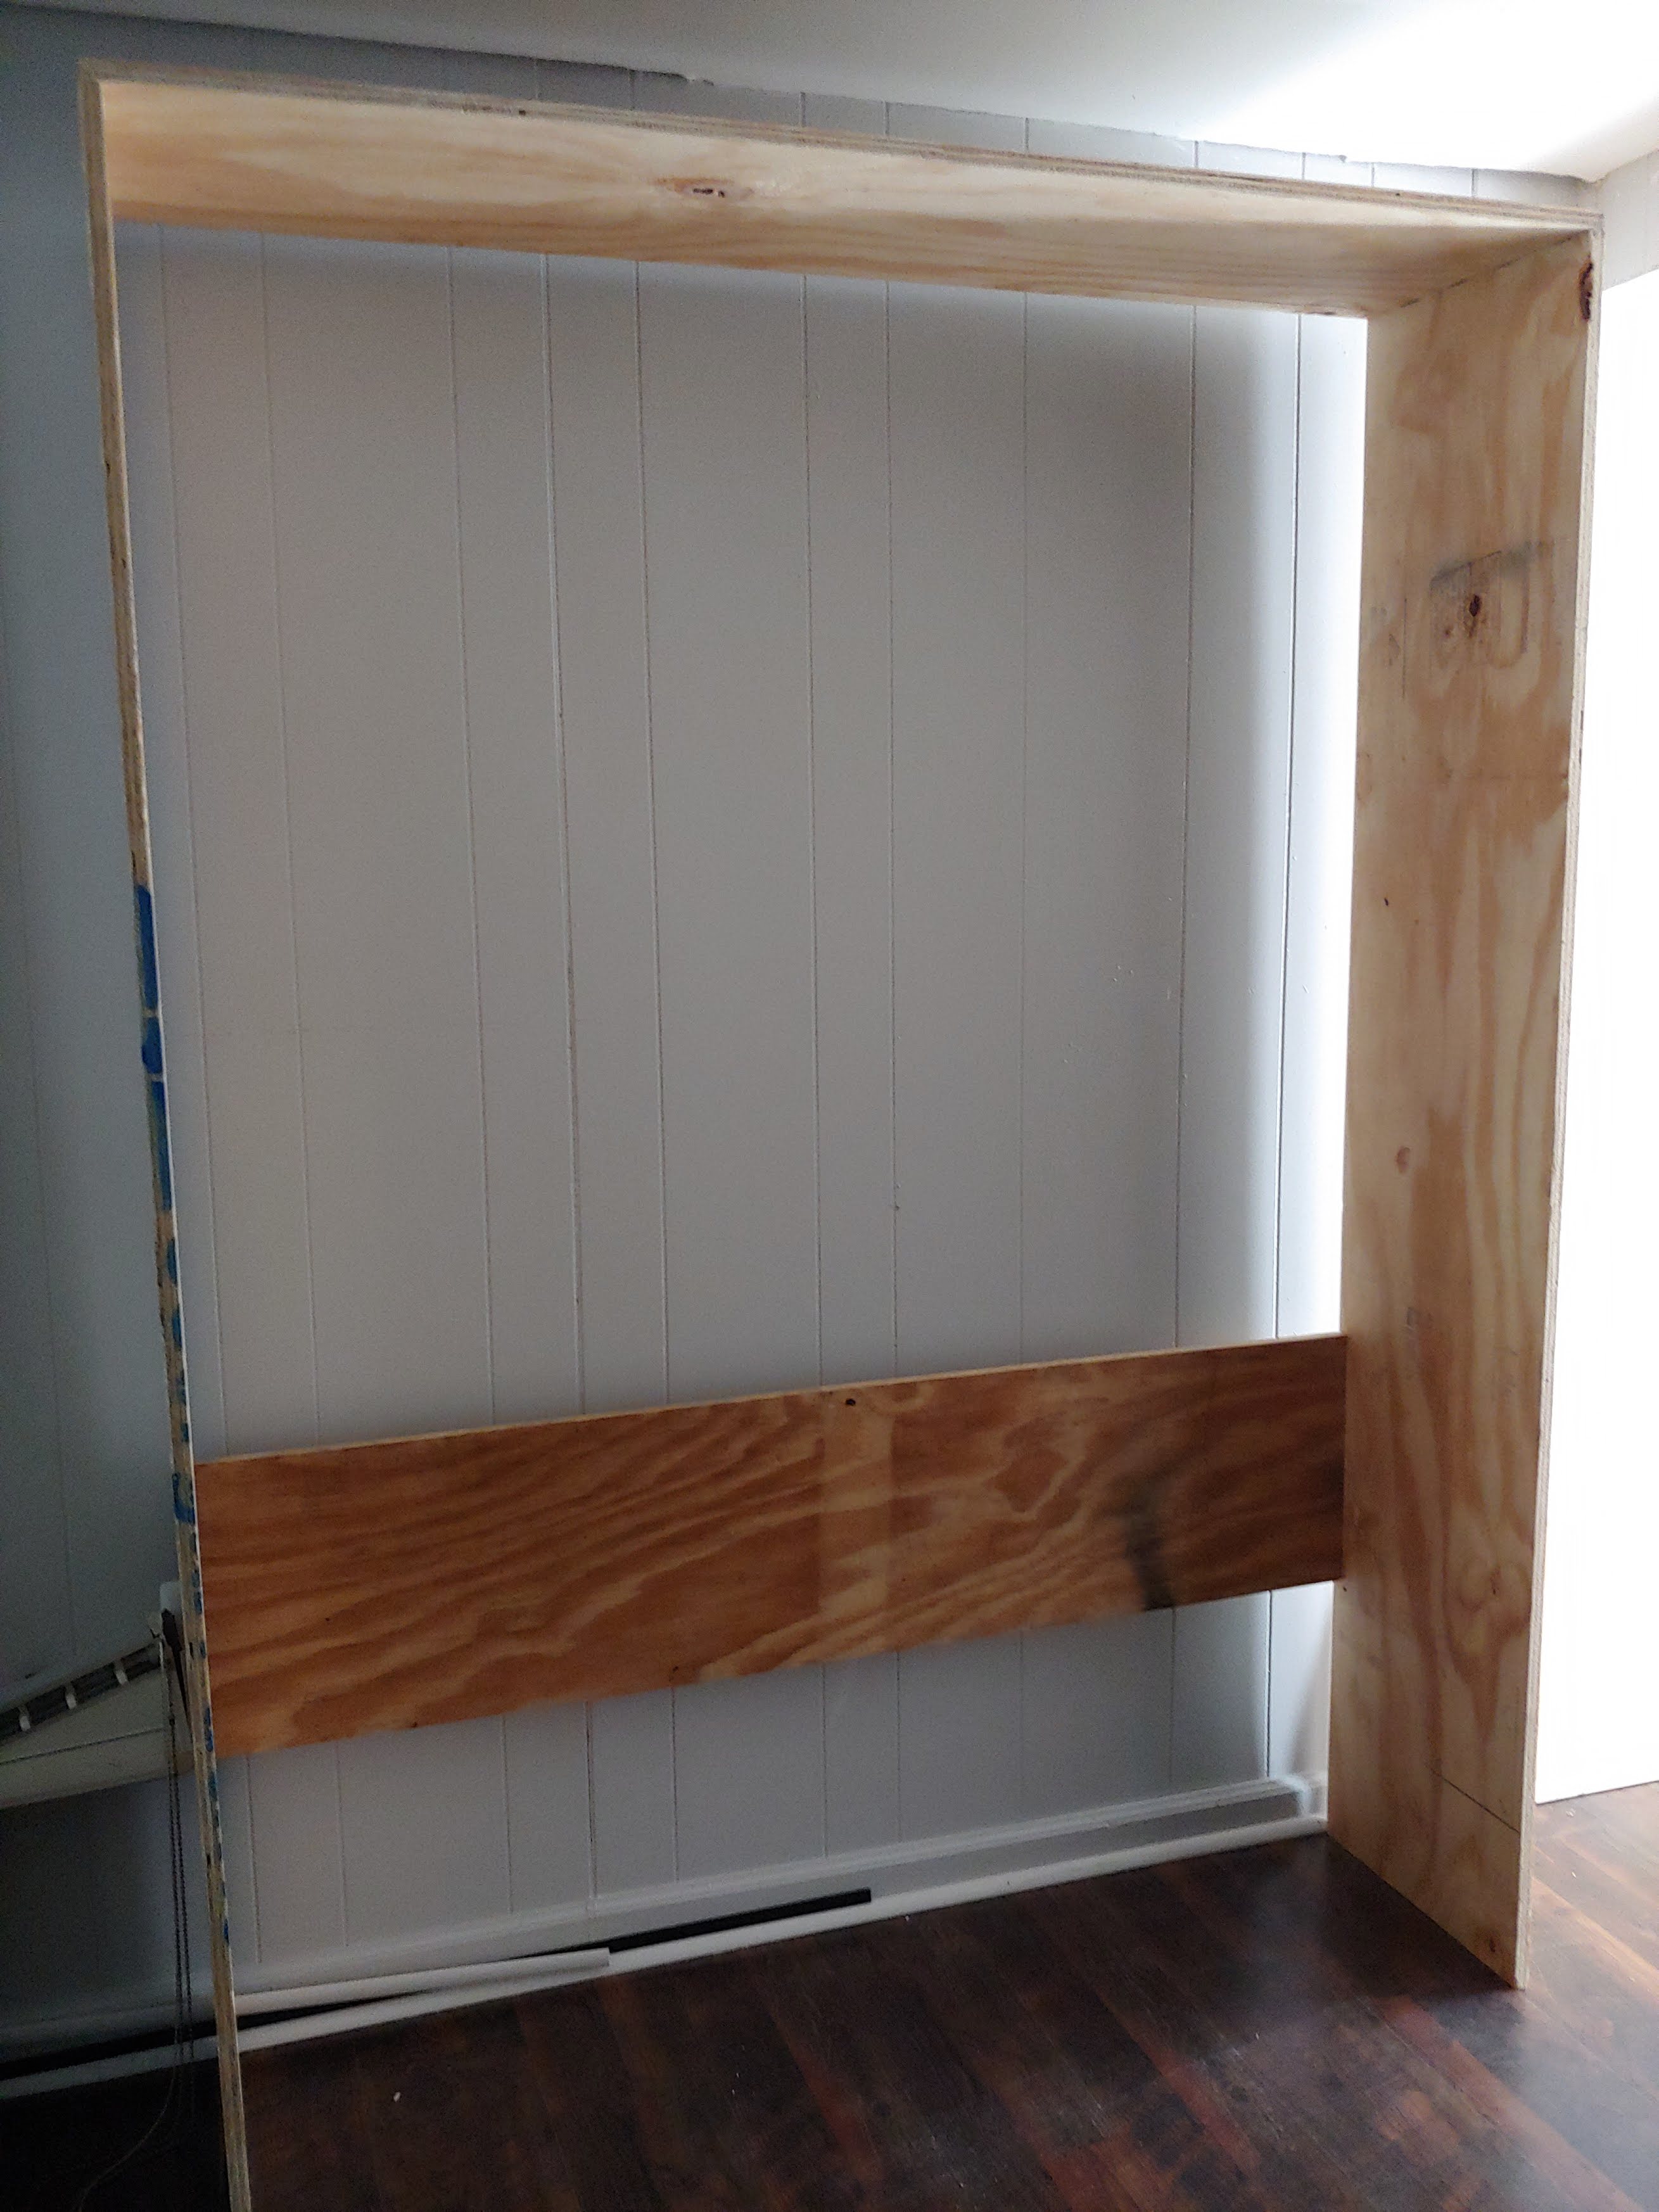
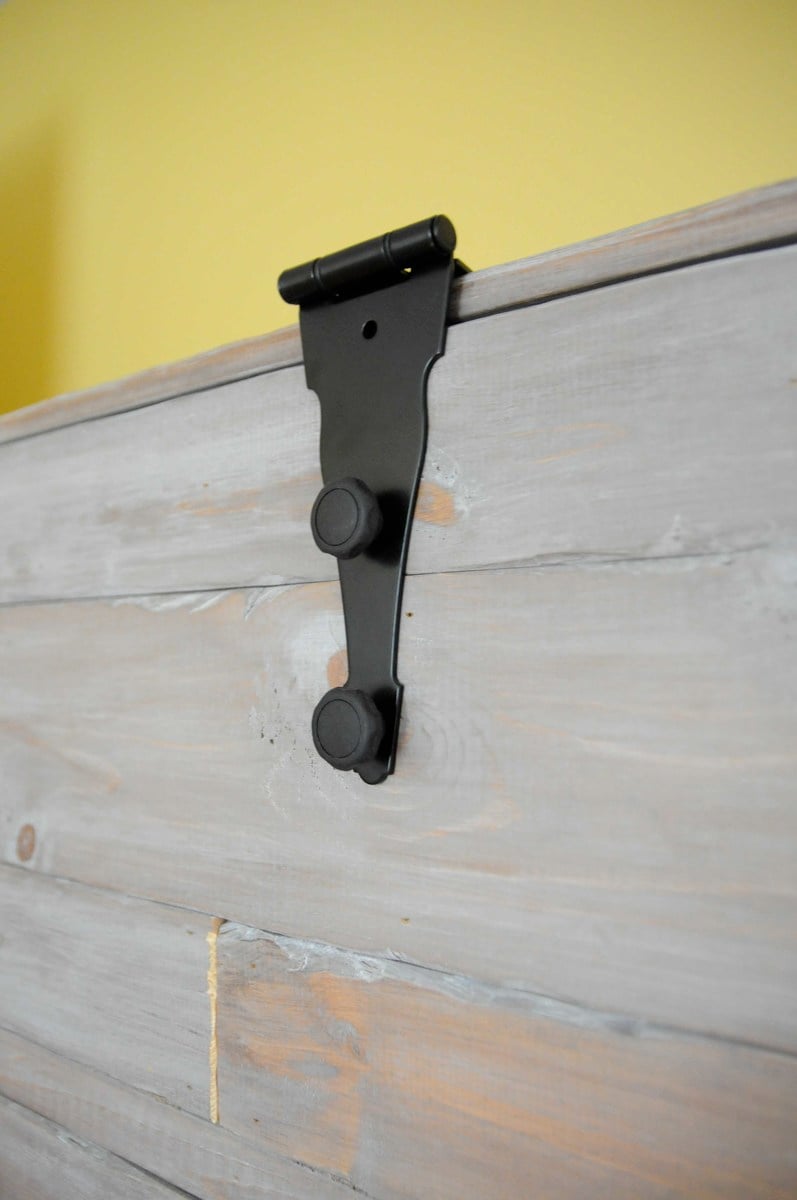
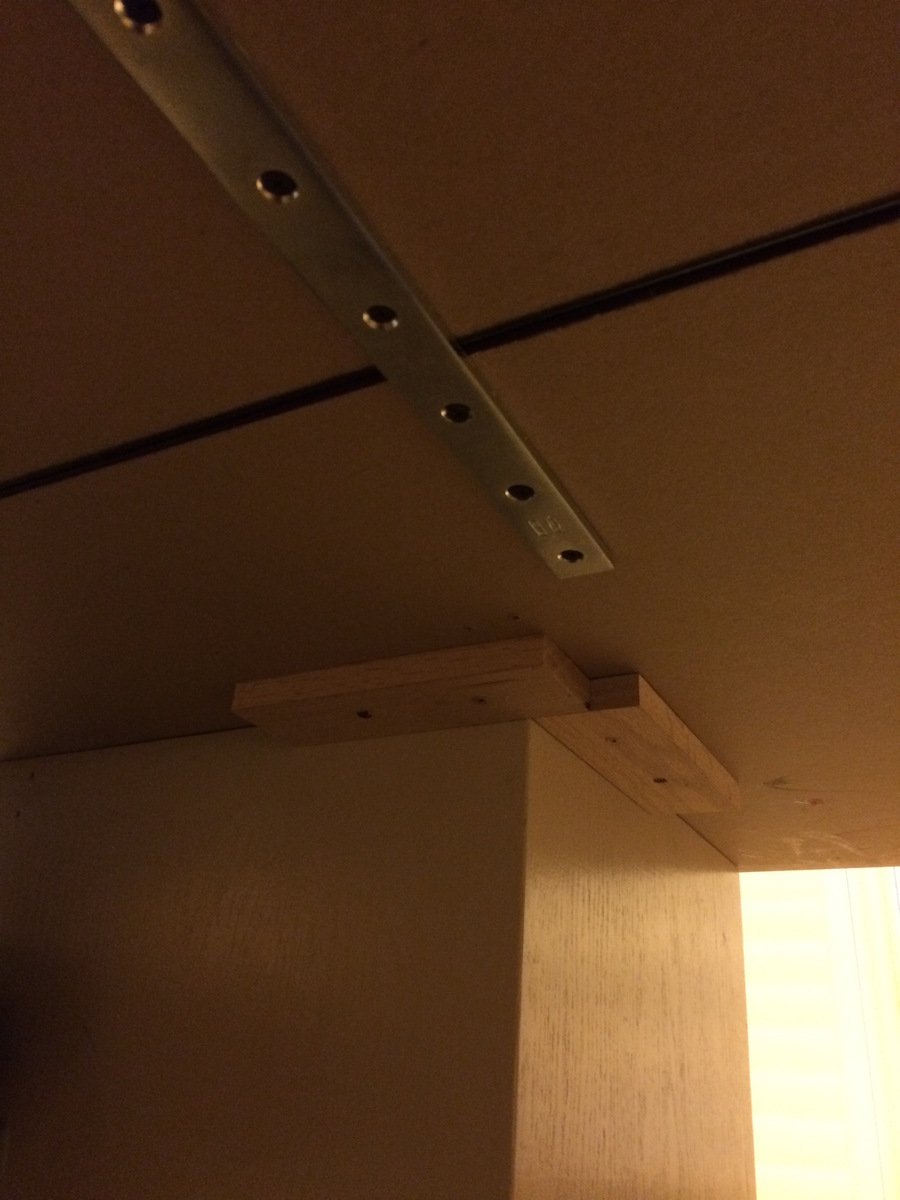
I was a bit over my head with this one but I am so far very happy with the project. It is not quite finished. The marble was installed last week and we are awating the plumber to come back to hook up the sinks. I will install the second slatted shelf once the plumbing is in. Will post finished pictures soon. The mirror is made from 6x6 posts from the lumber yard. We had a friend cut them to size using a band saw. We made the mirror frame based on a picture I found on Houzz.com. The mirror glass was something I picked up off of craigslist for next to nothing and removed from the original frame. It is HEAVY (~200lbs) and attached to the wall with metal brackets. We purchased the sinks/faucets on ebay.
Built from Plan(s)
Estimated Cost
For the vanity alone: $200-250
Estimated Time Investment
Weekend Project (10-20 Hours)
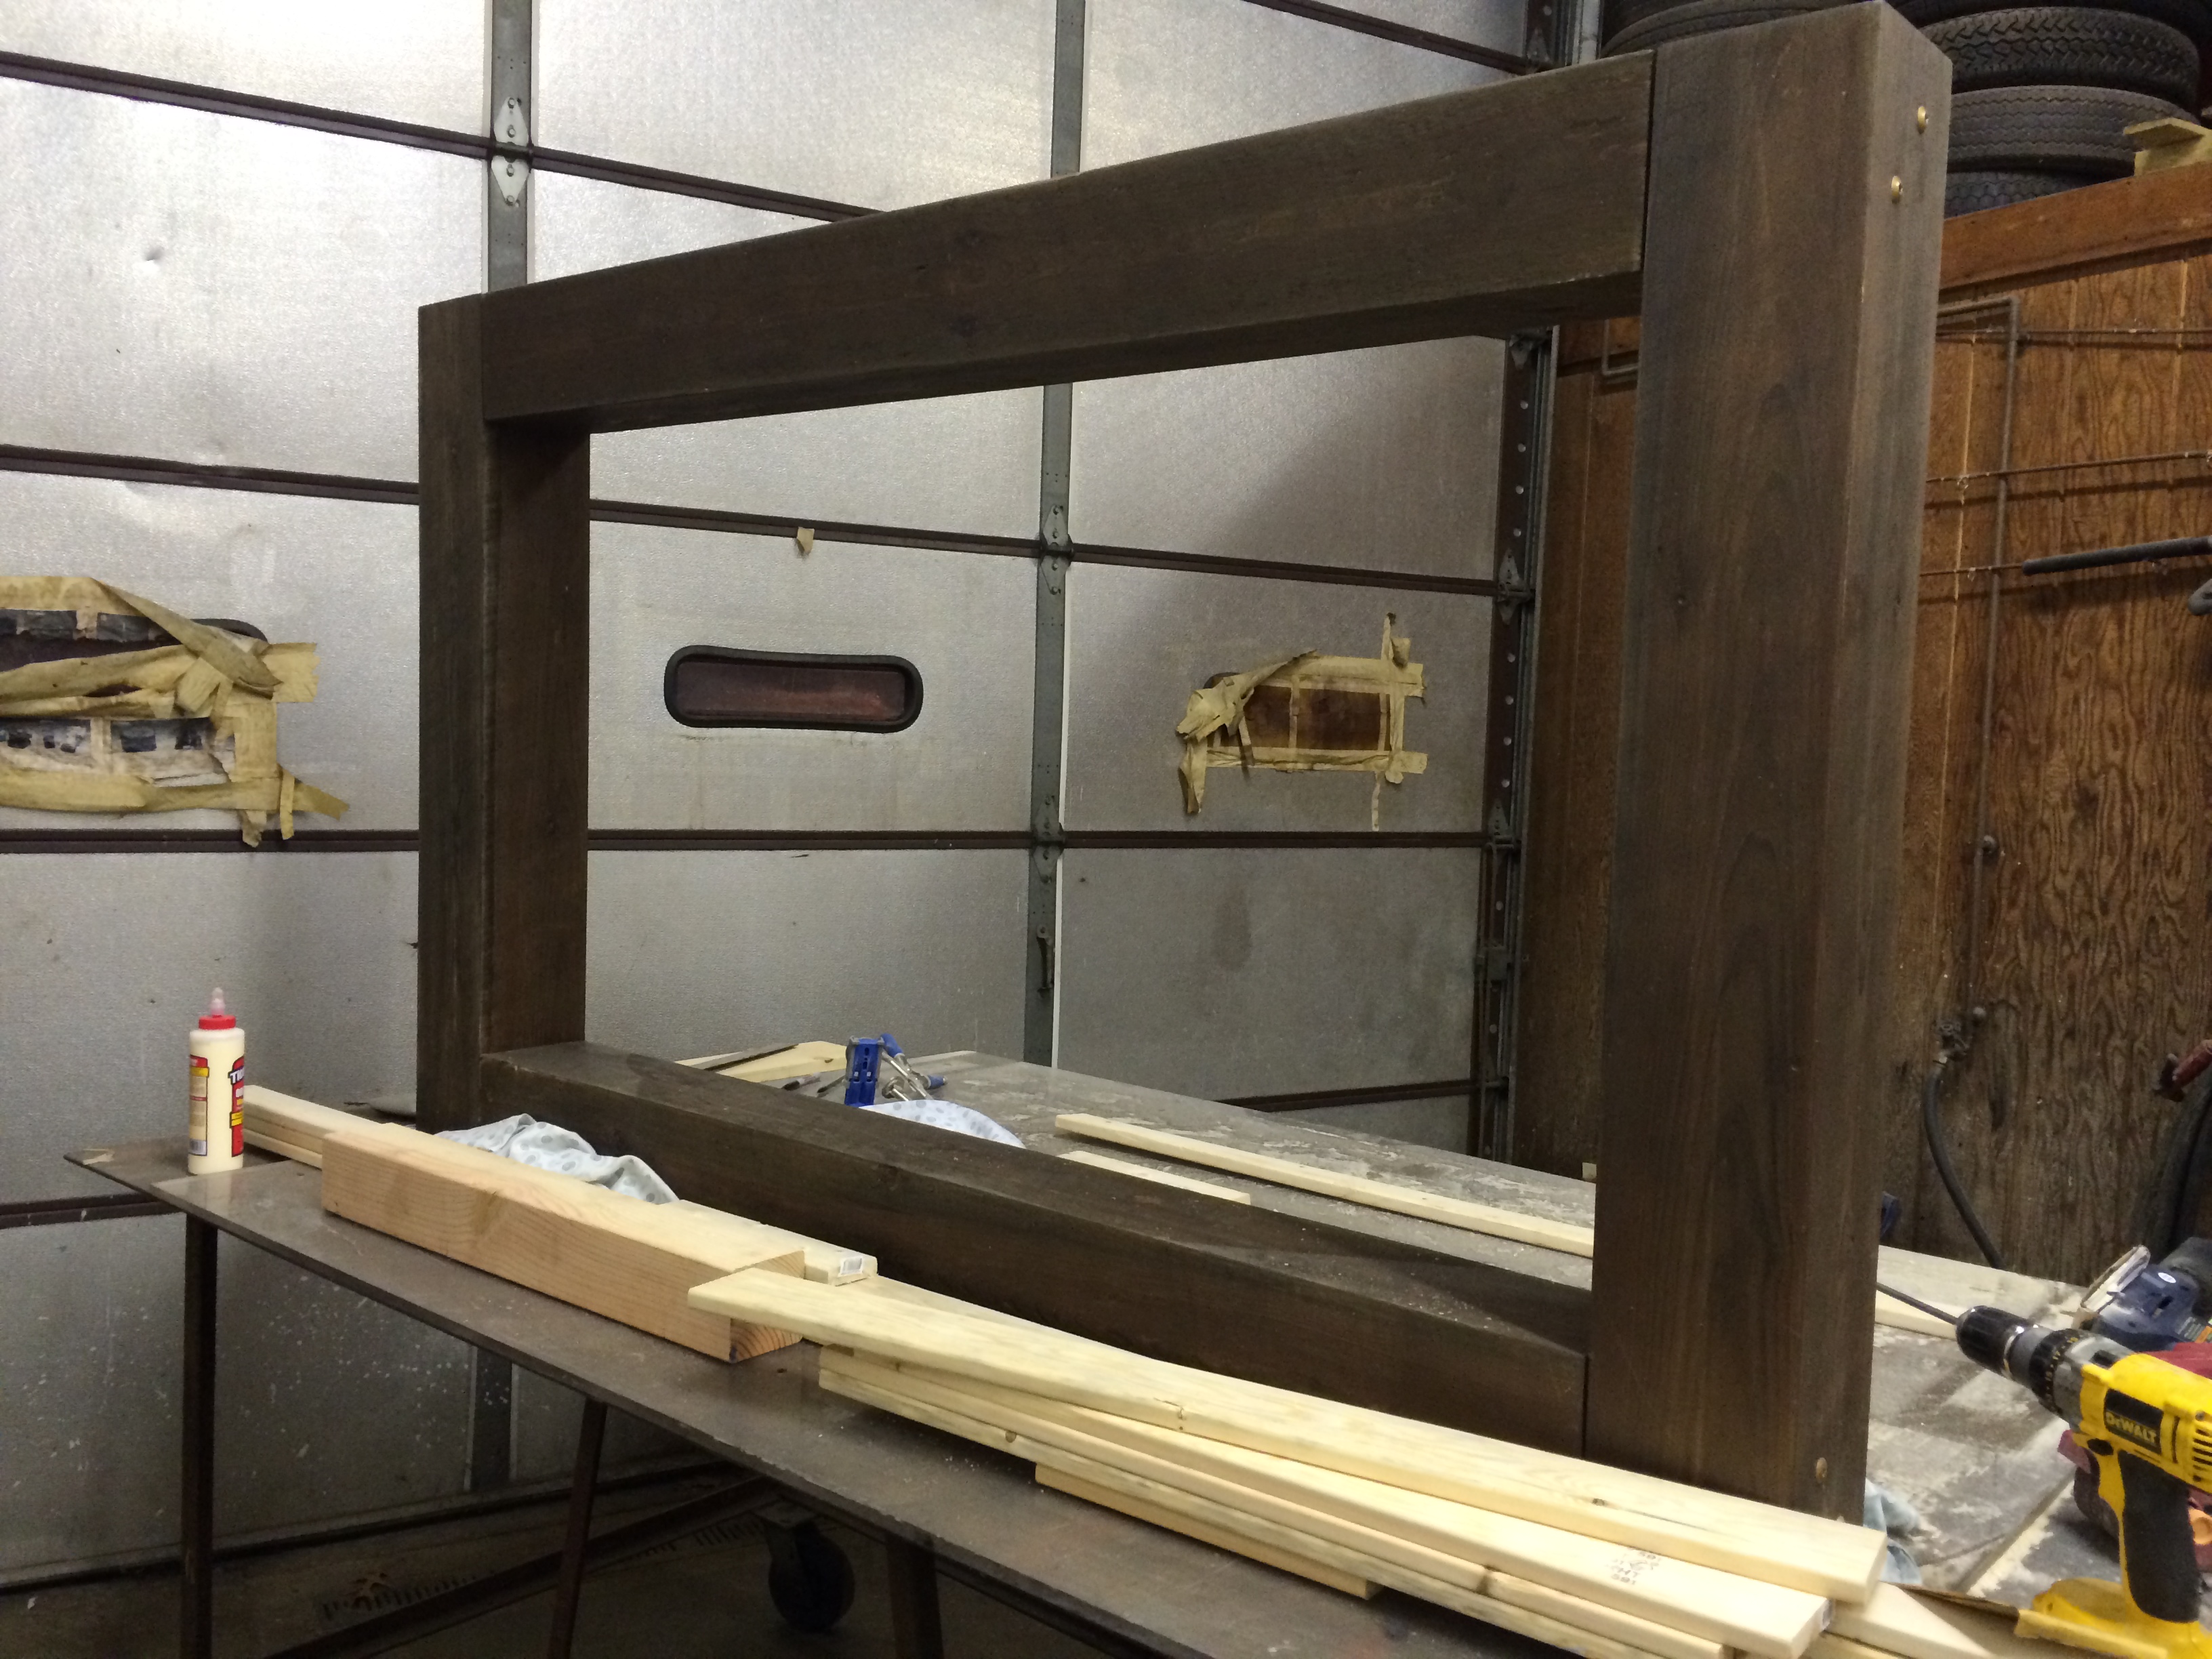
Finish Used
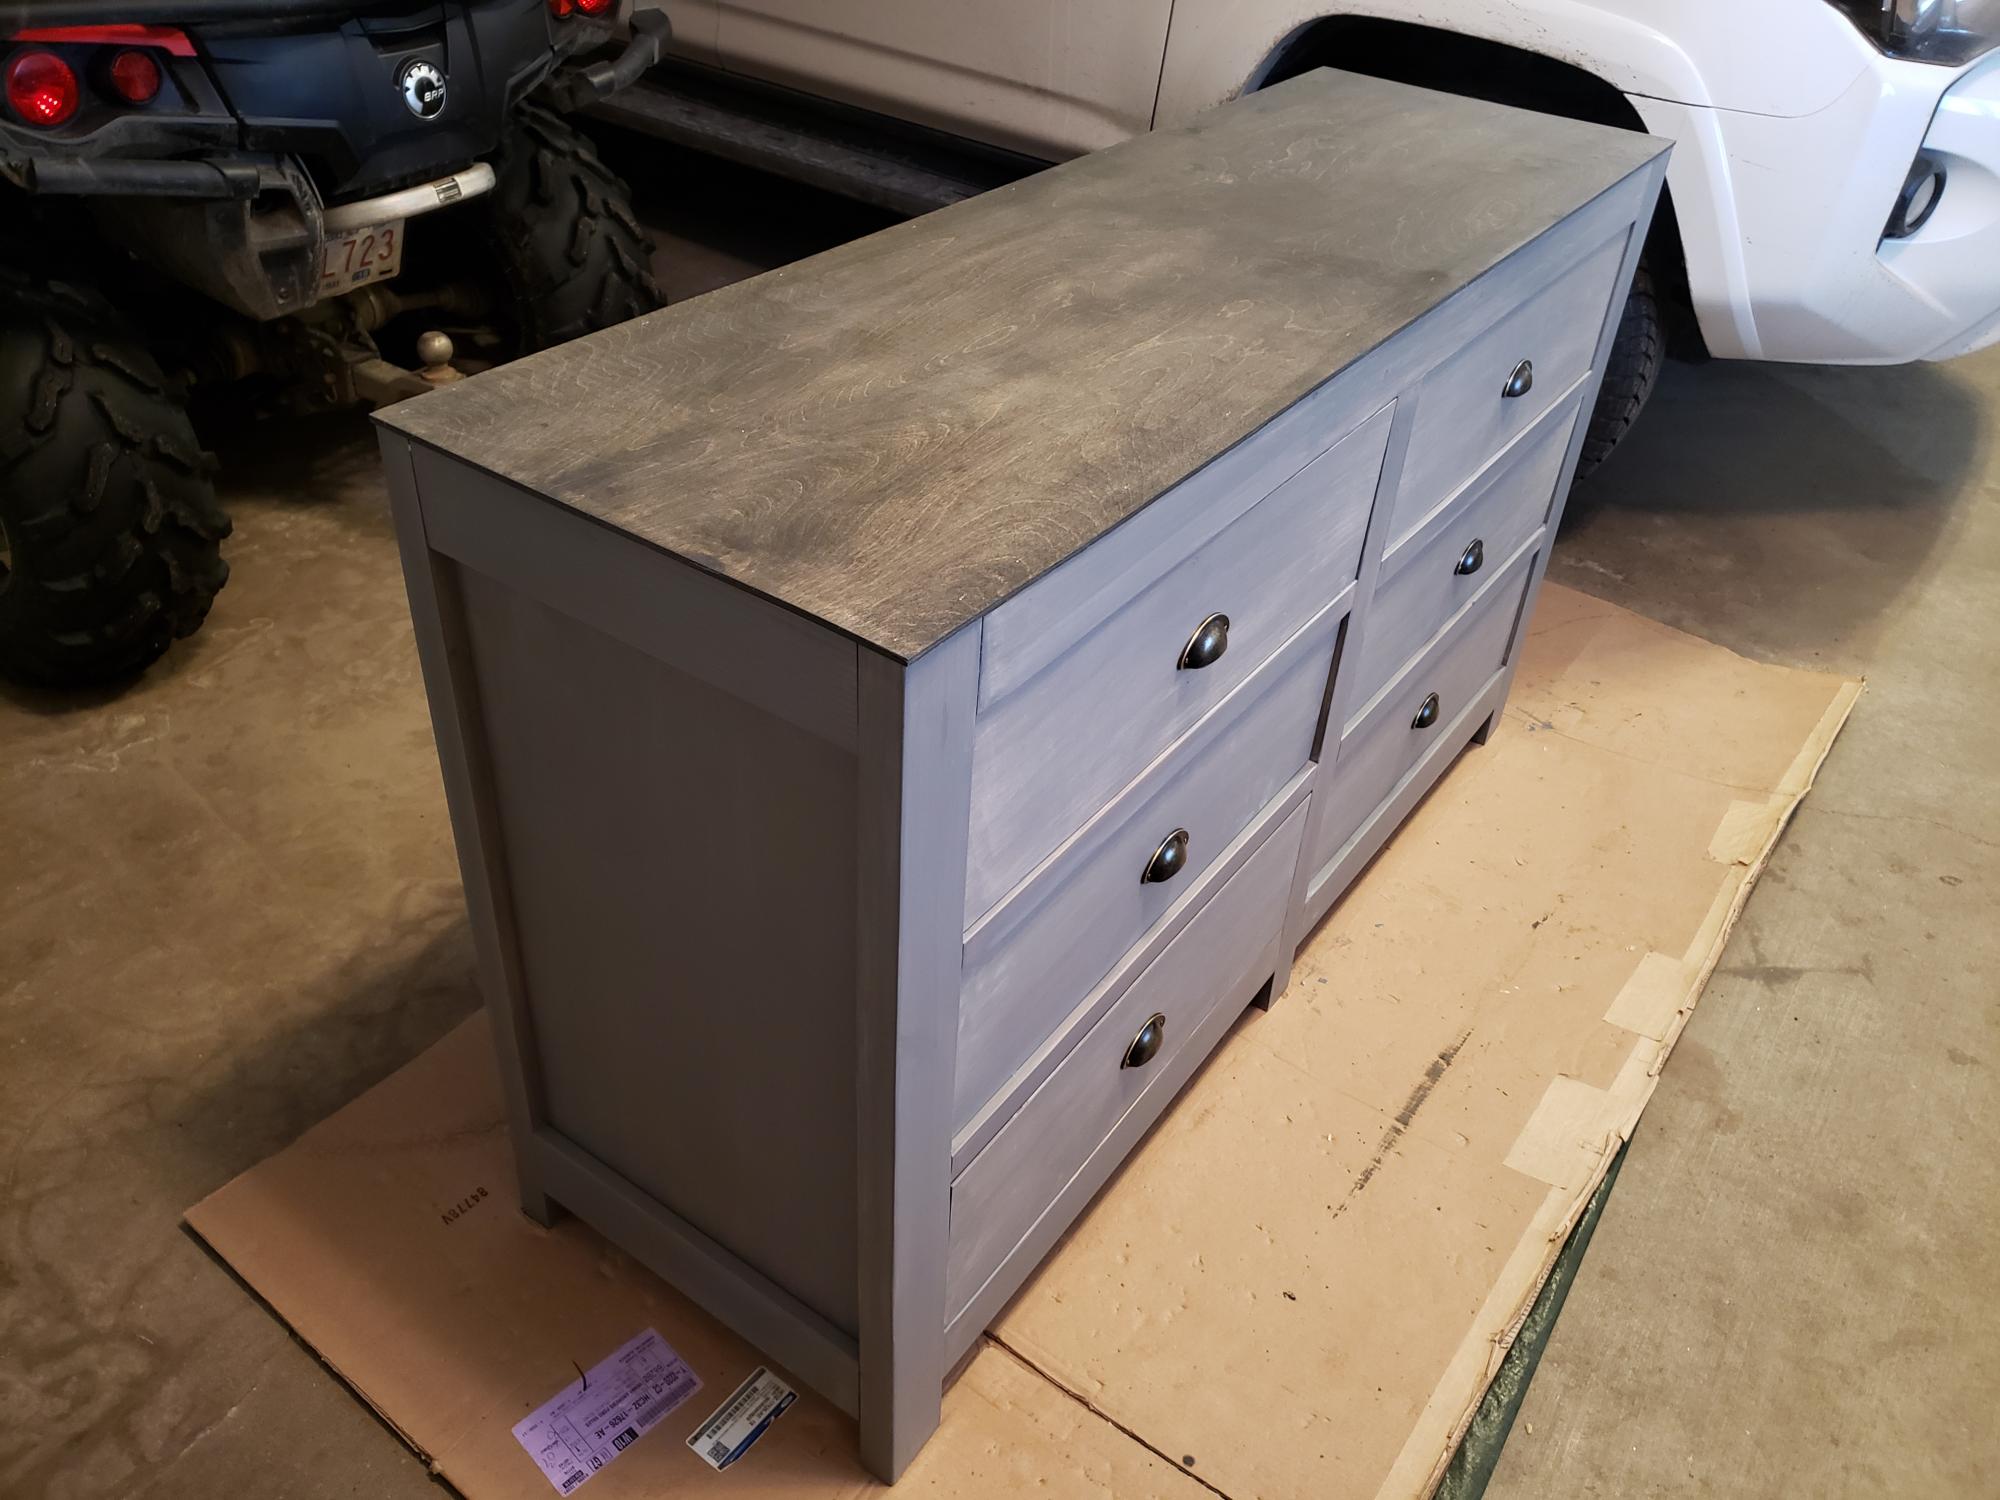
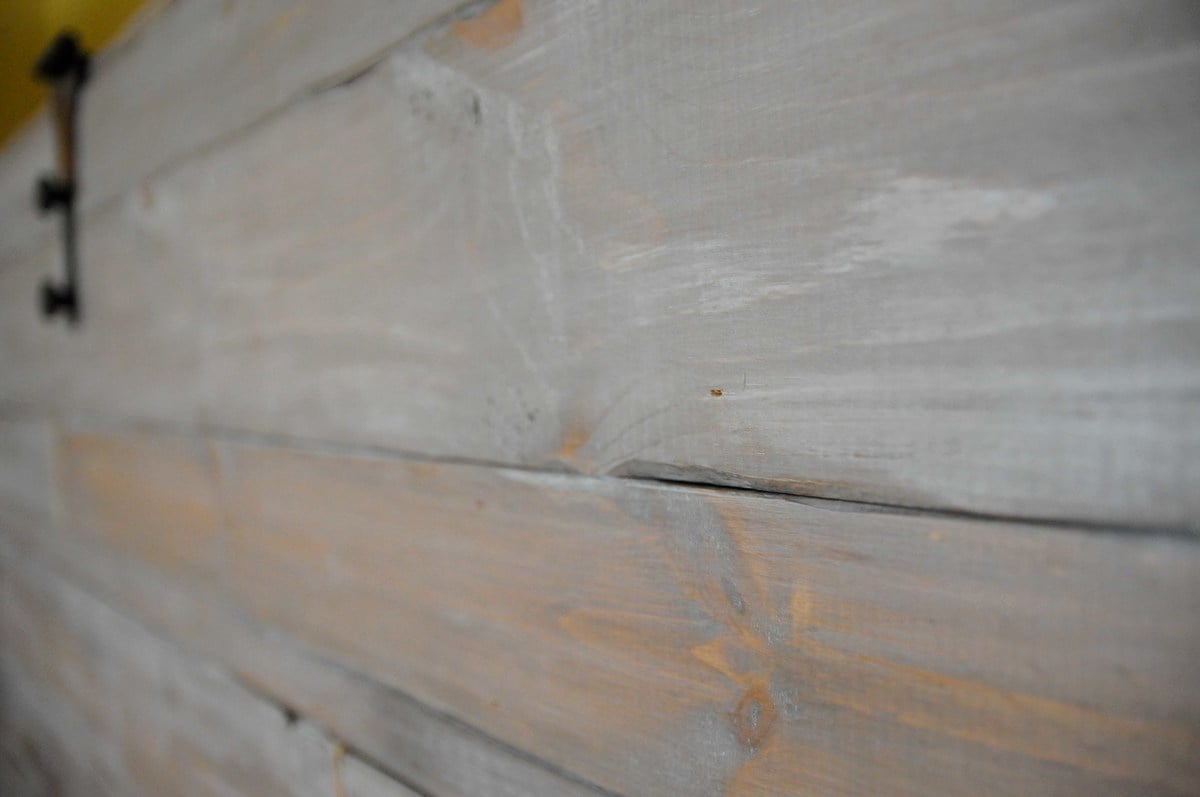
I used Hilary's vinegar/steel wool solution to age the wood, then sanded and finished with the vermont natural coatings polywhey in satin.
Recommended Skill Level
Intermediate


Comments
Calmly
Thu, 02/12/2015 - 15:52
Beautiful
This very beautiful, great job!
In reply to Beautiful by Calmly
moderncountryvet
Sun, 02/15/2015 - 08:18
Thank you!
Thank you!
Ana White
Mon, 02/16/2015 - 13:14
Wonderful! Love it! Thanks
Wonderful! Love it! Thanks for showing us the steps too!
In reply to Wonderful! Love it! Thanks by Ana White
moderncountryvet
Tue, 03/31/2015 - 14:18
Thank you Ana! It's finally
Thank you Ana! It's finally done, yay!