Community Brag Posts

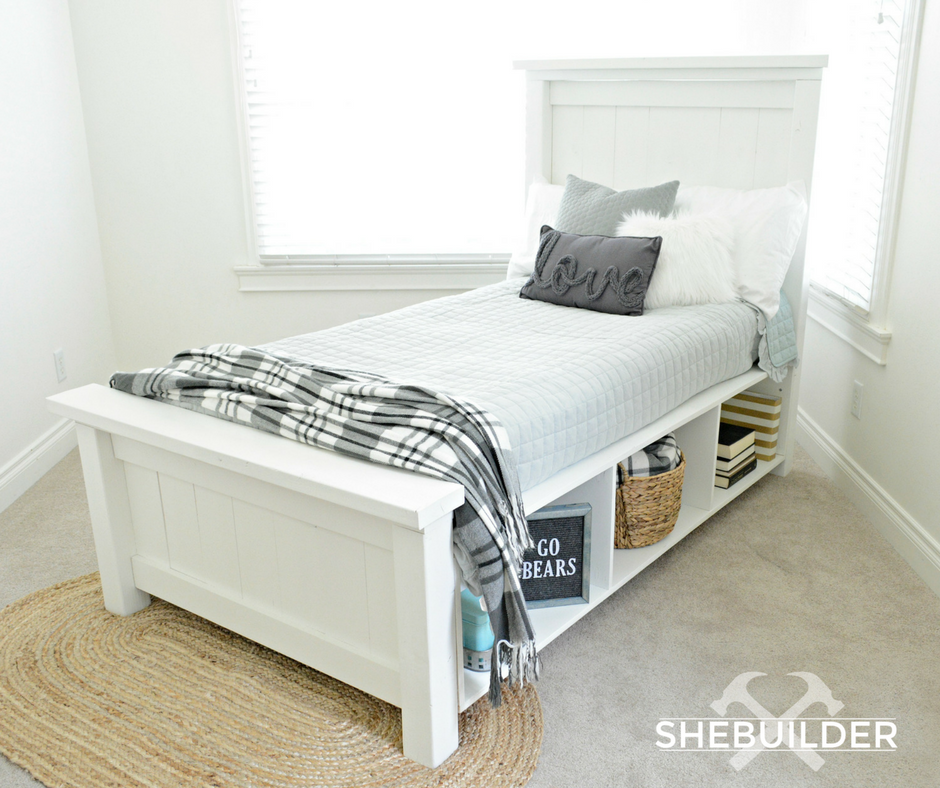
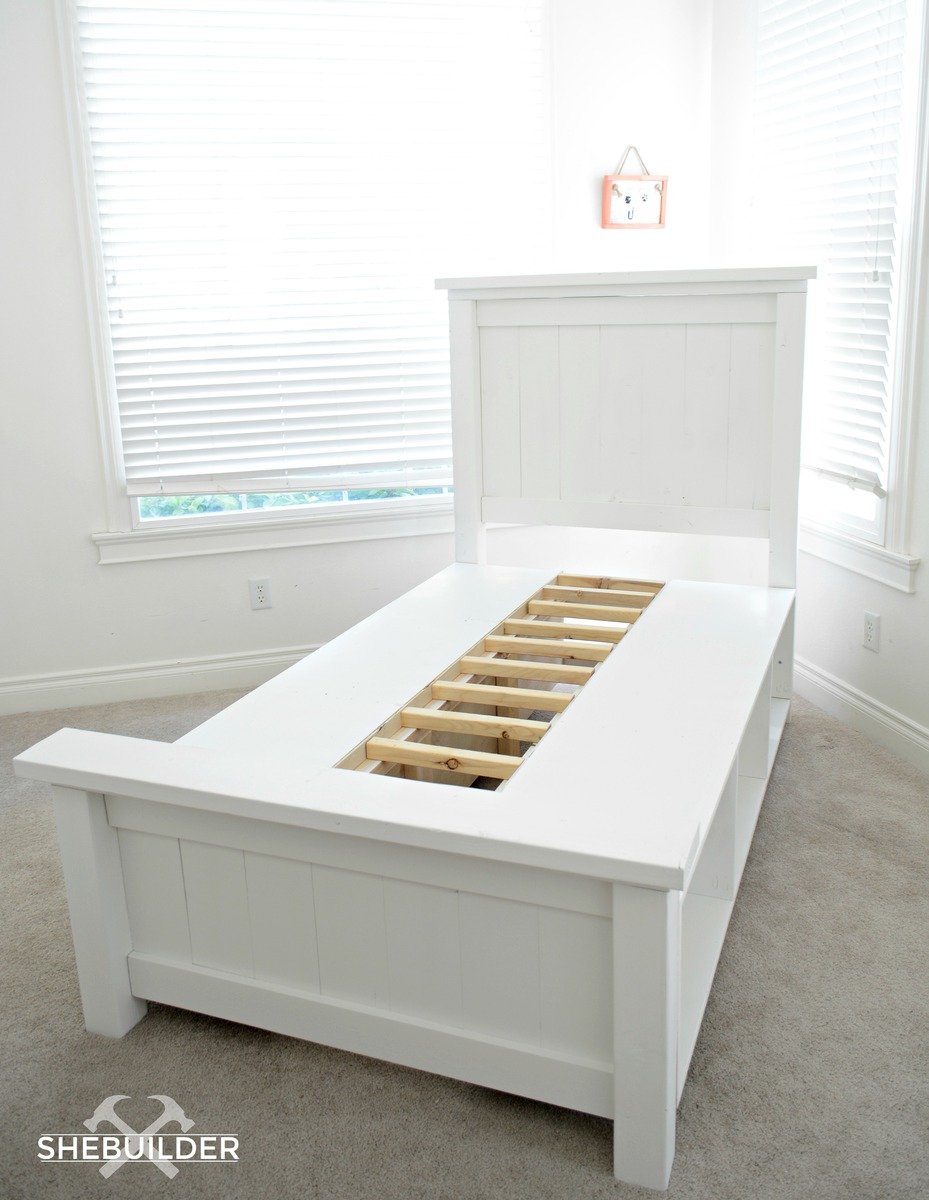
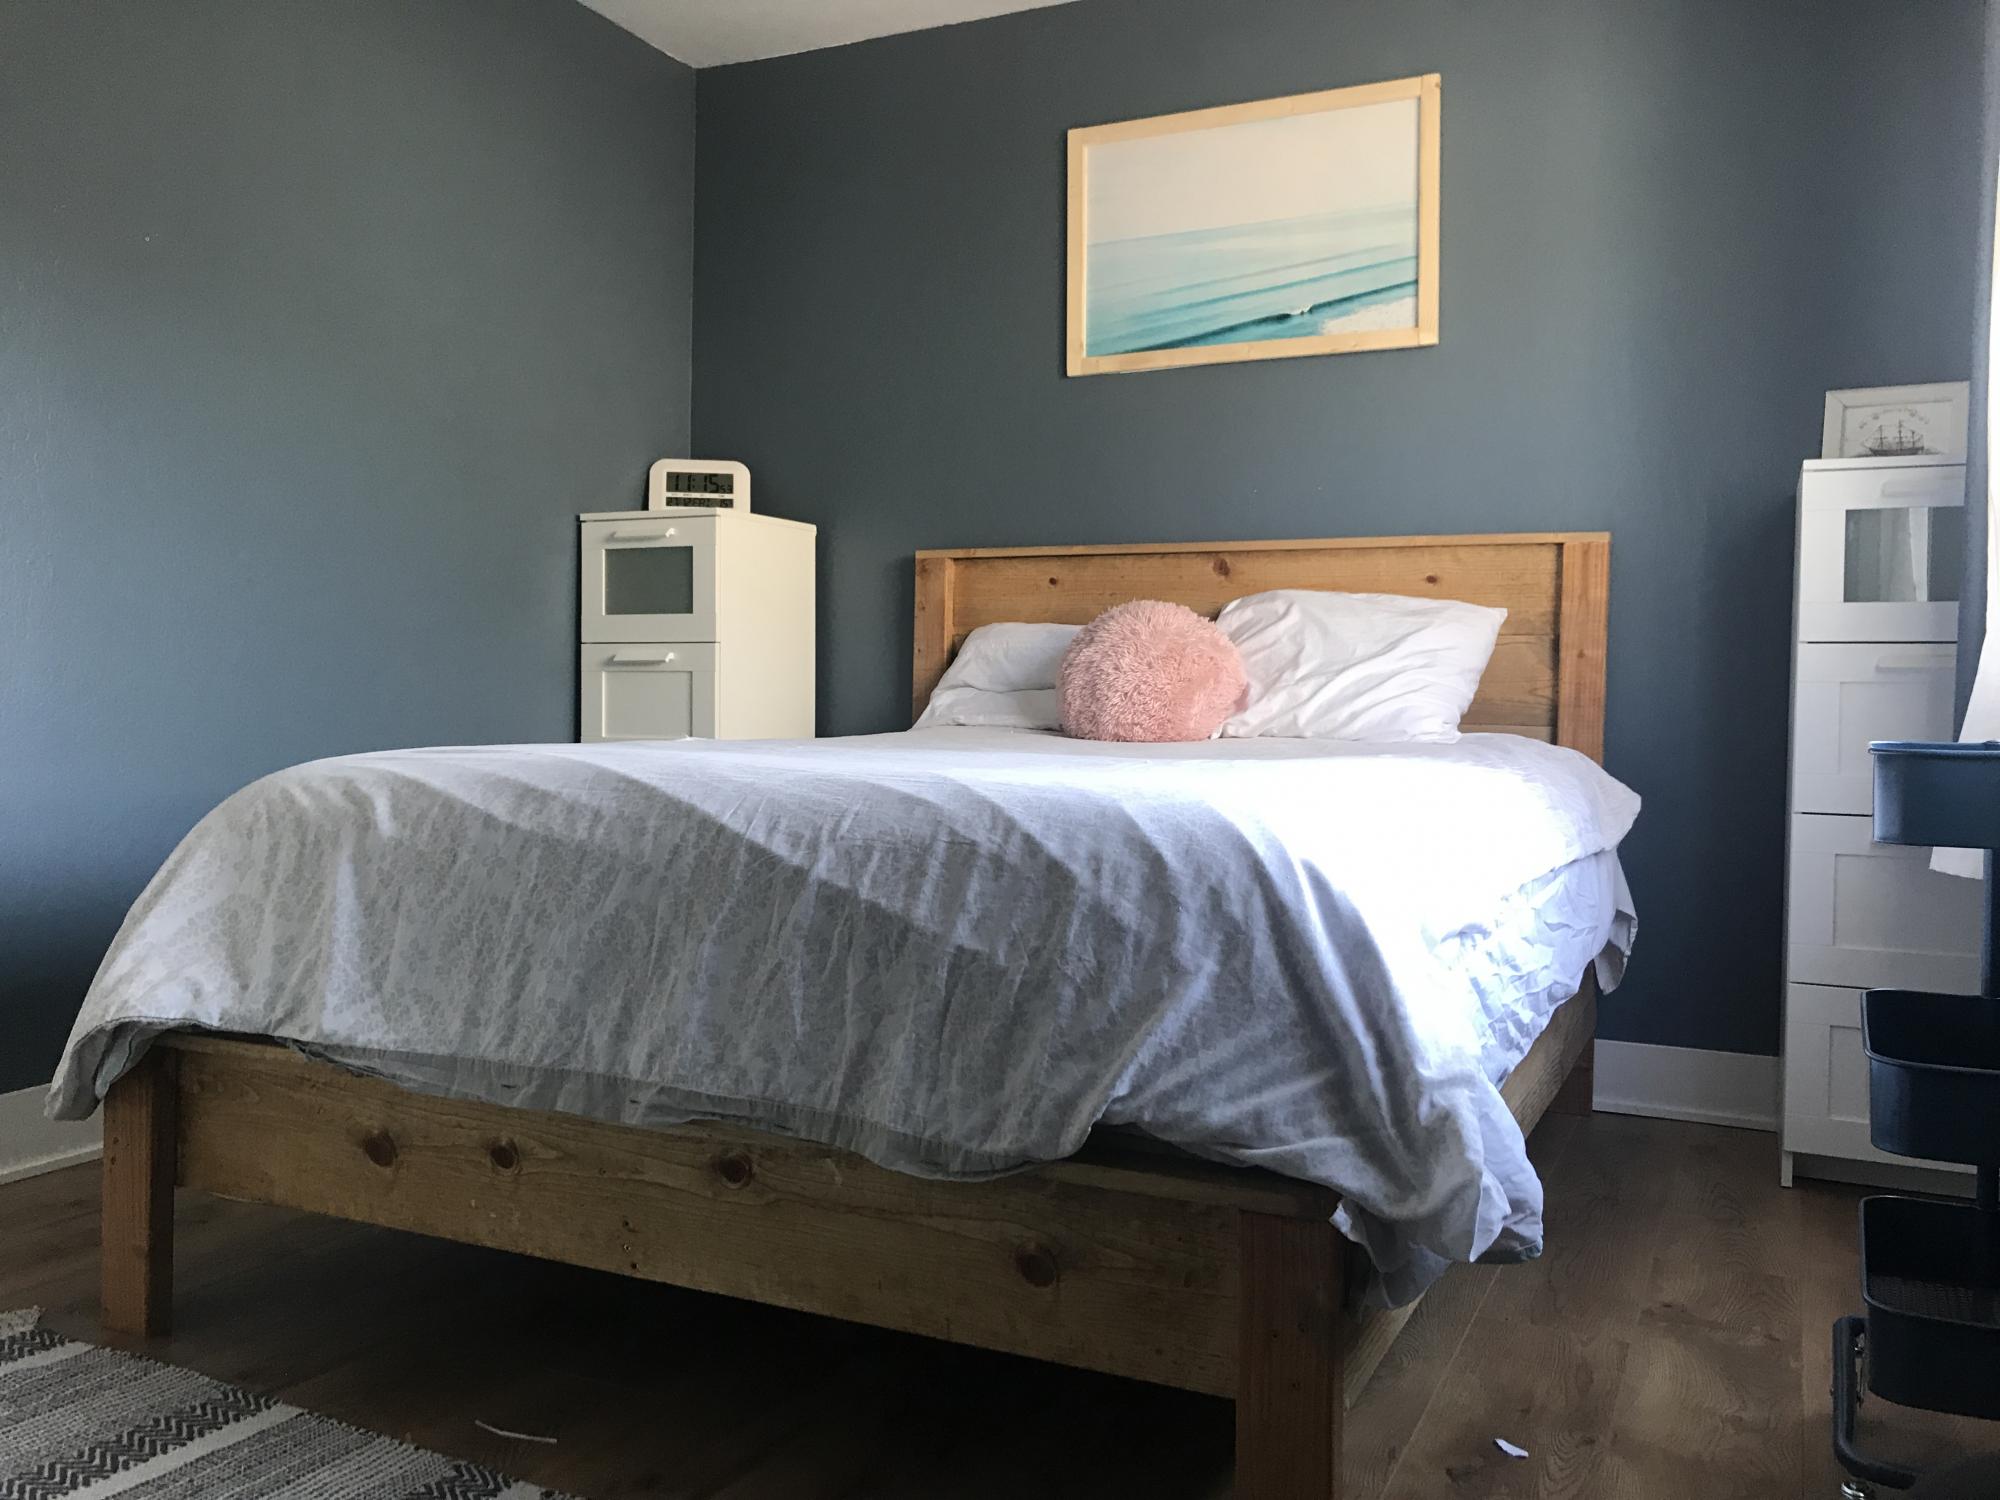
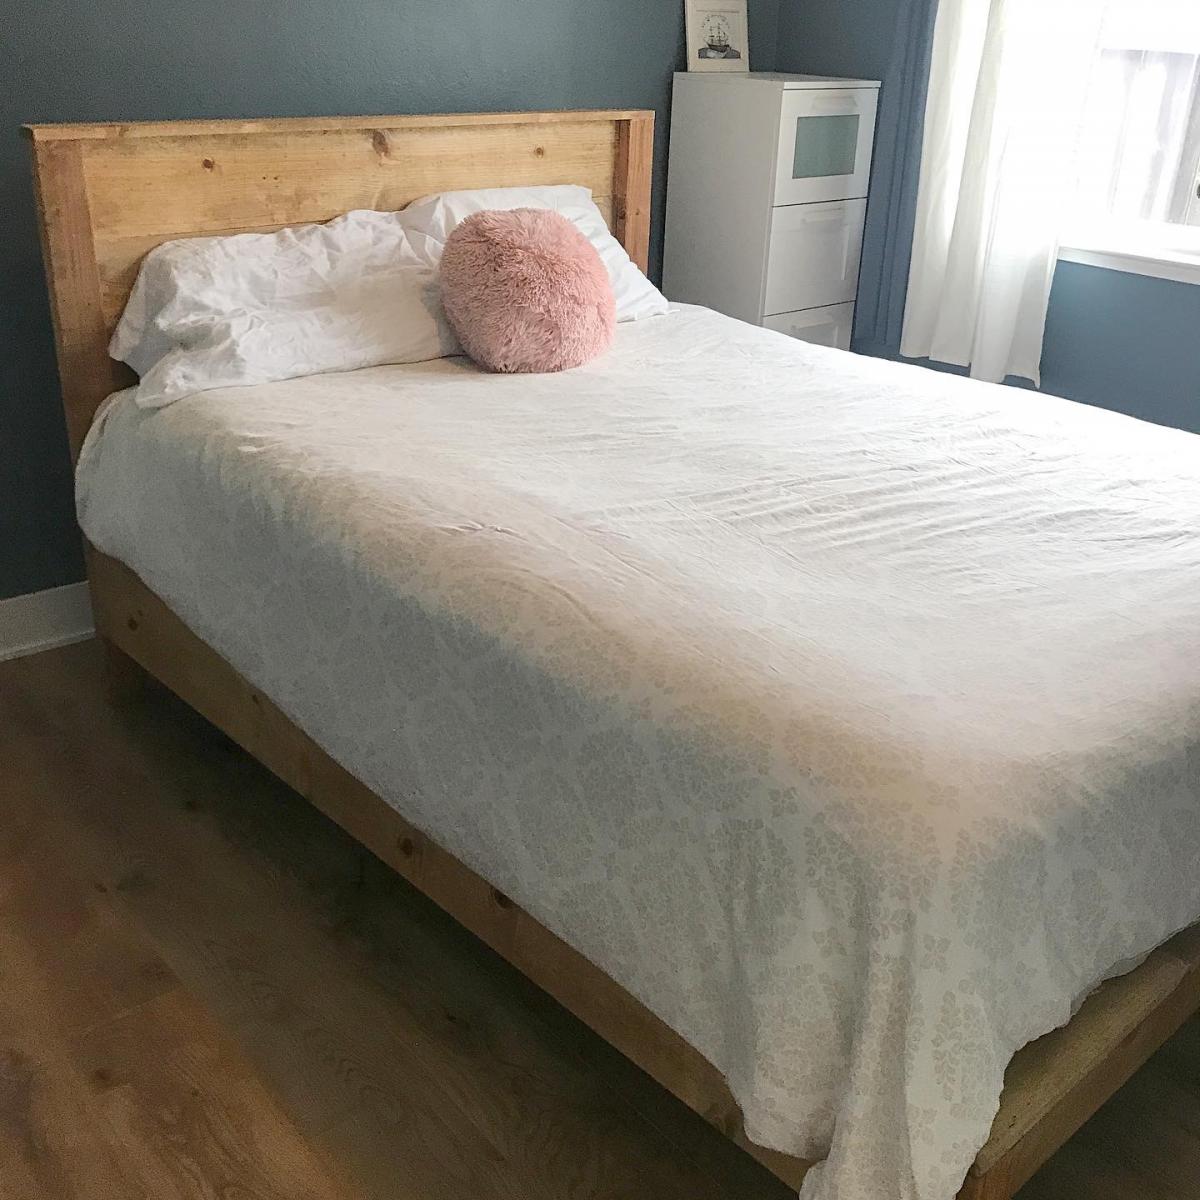
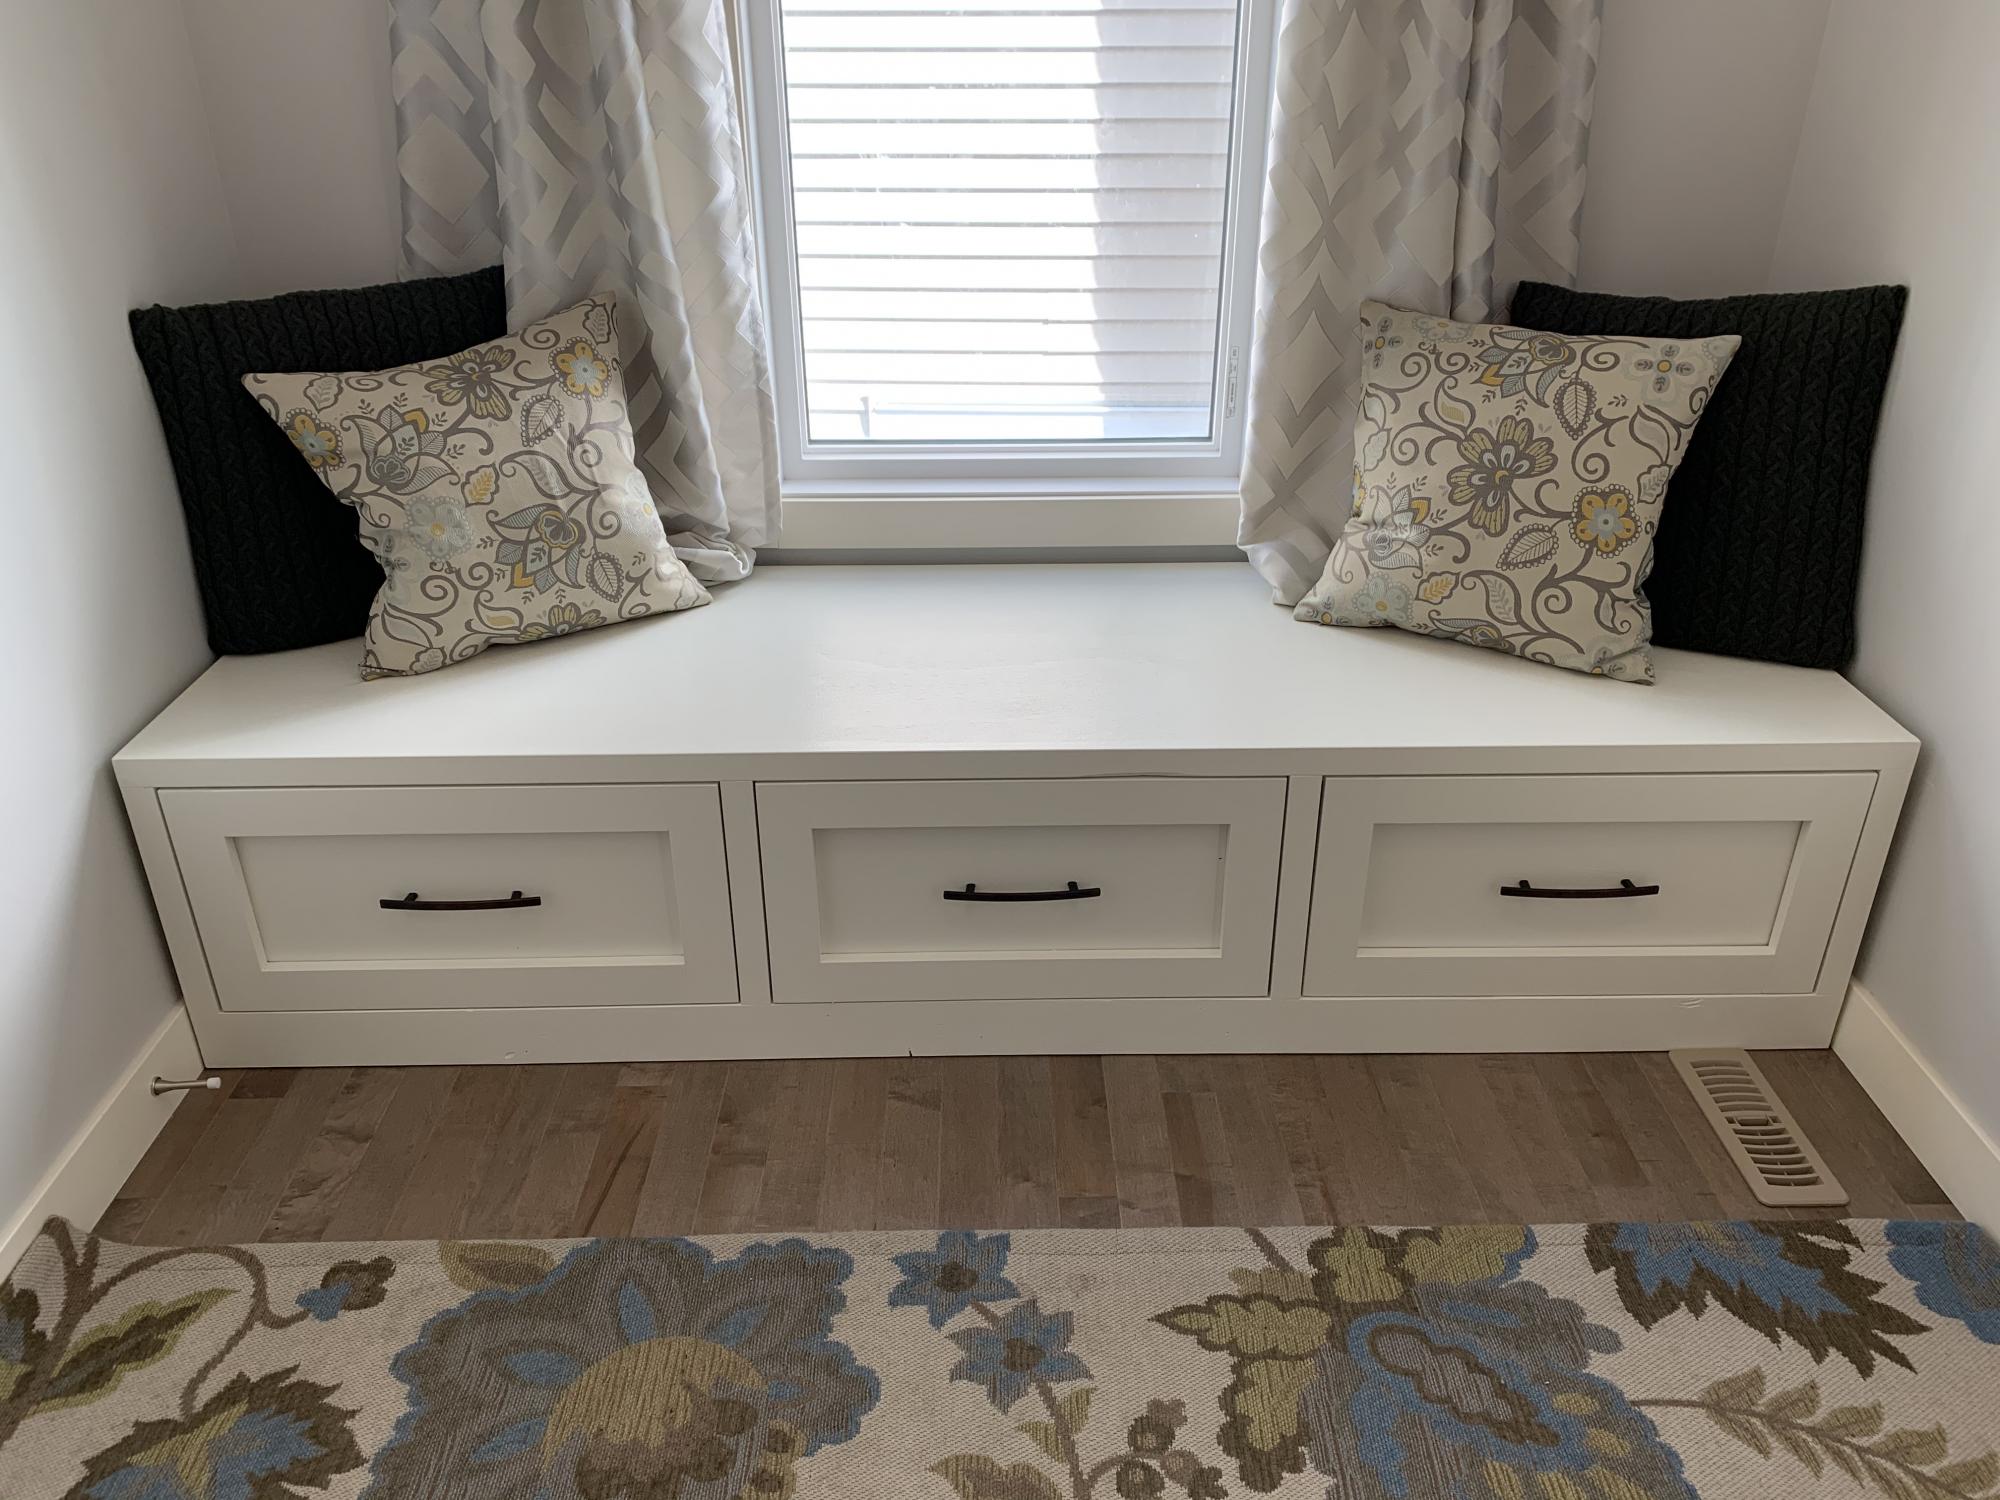
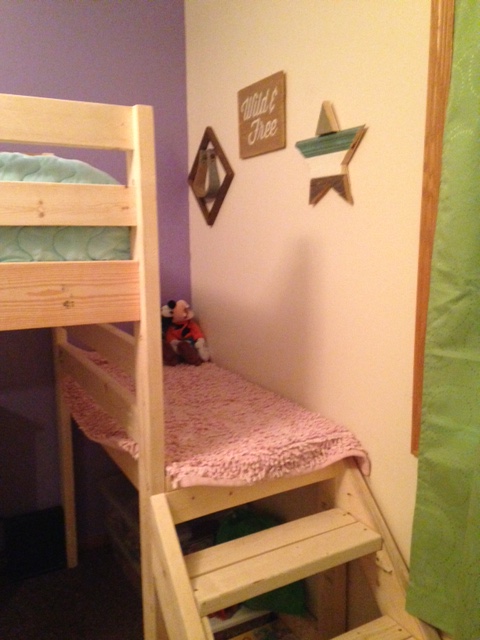
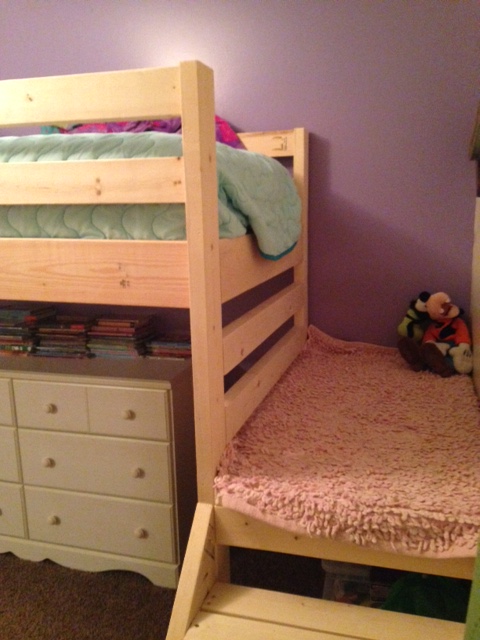
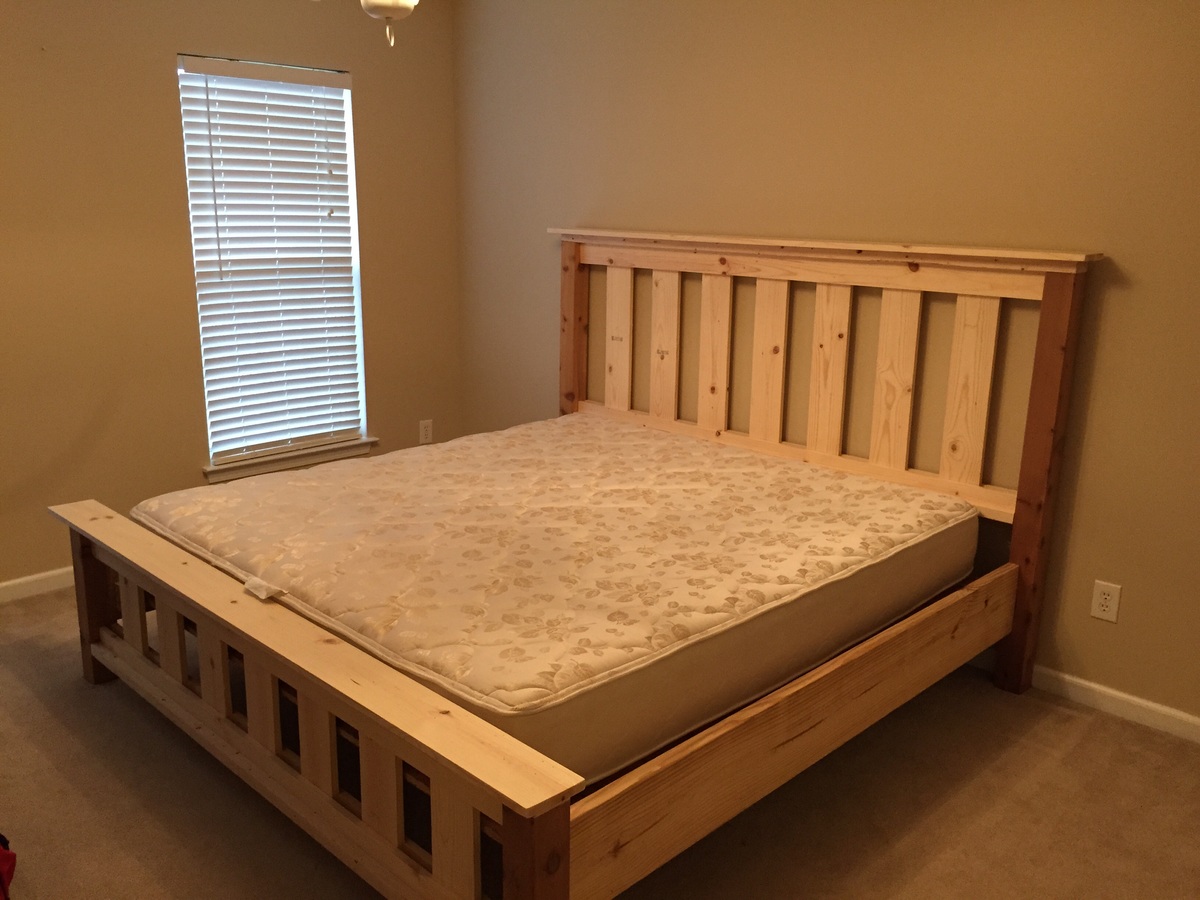
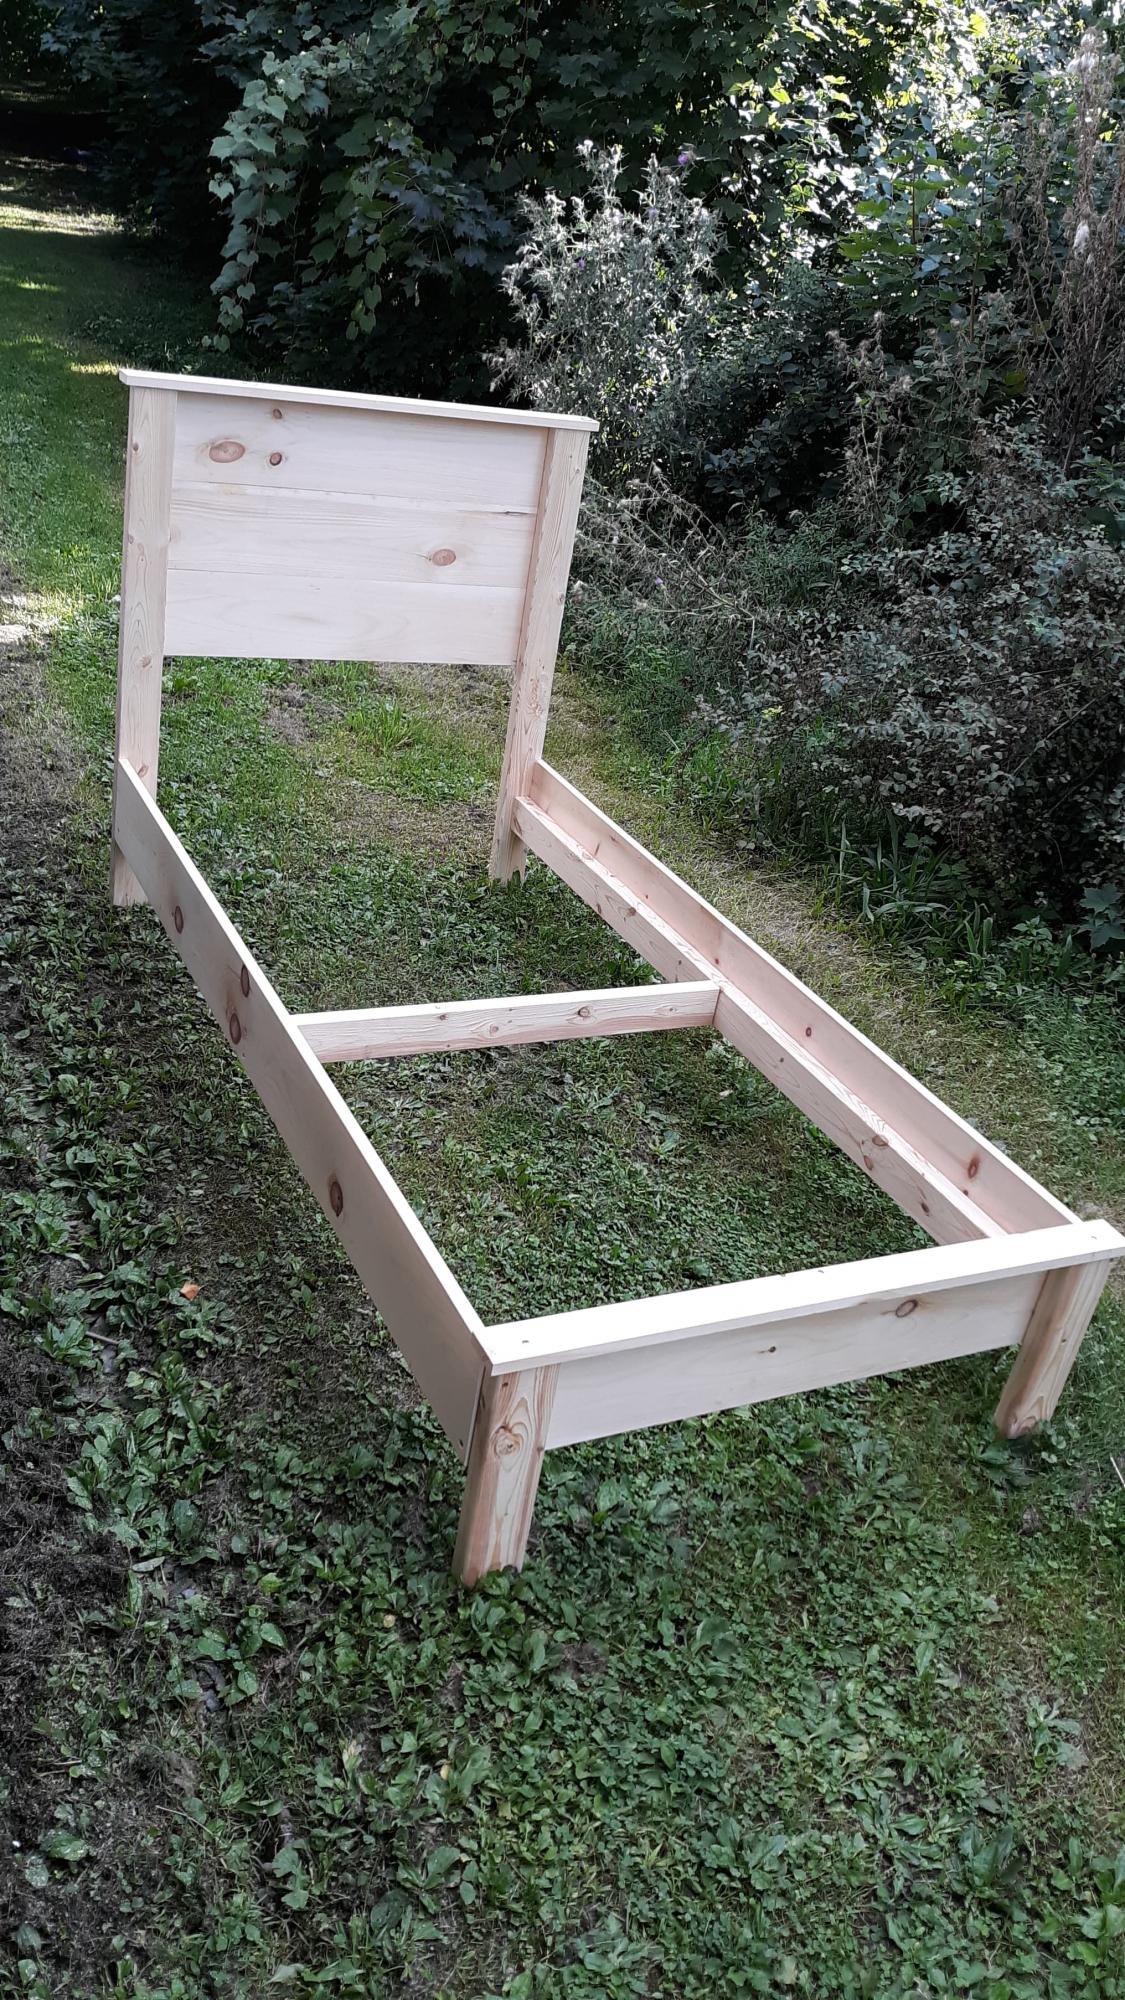
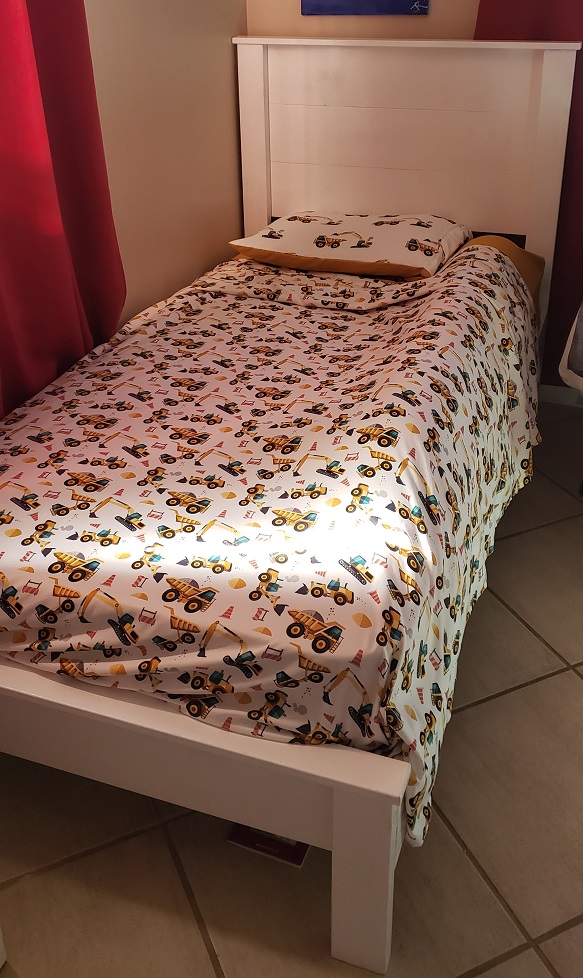
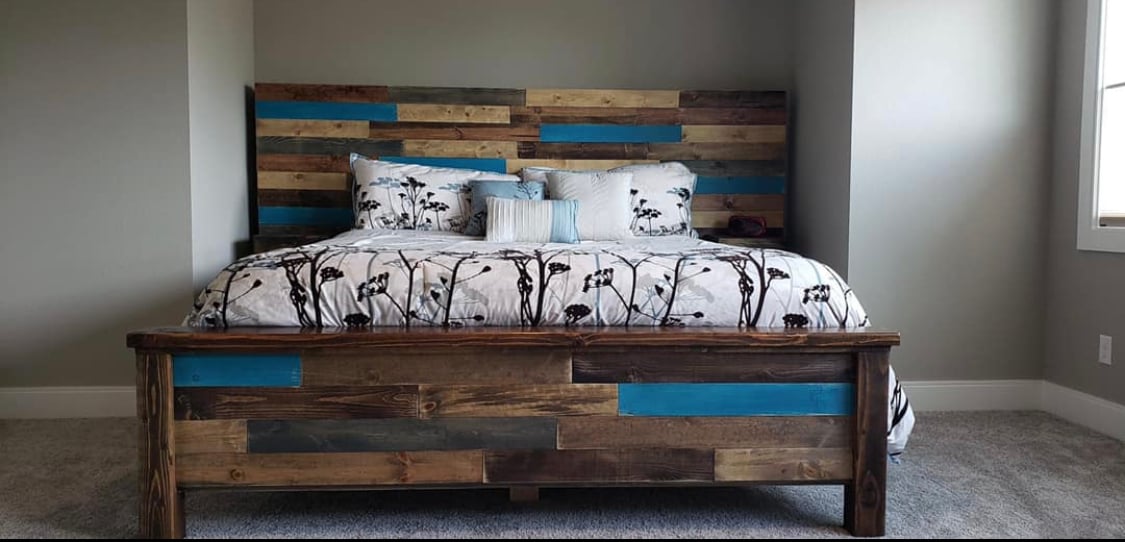
Traditional Farmhouse Bed with Storage

Hello, fellow makers! 

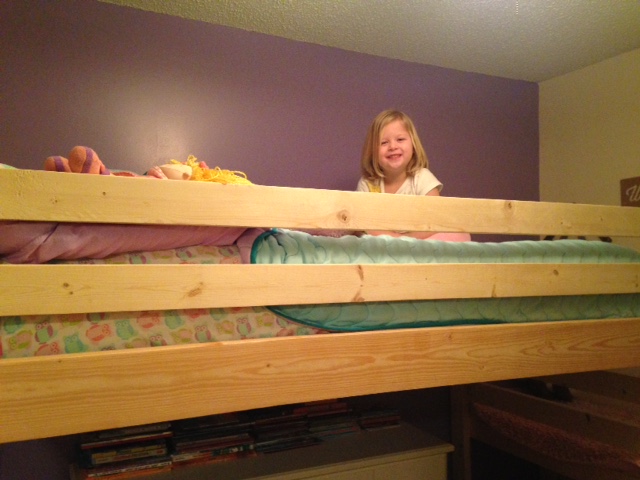
I really enjoyed this build - it was a challenge for me, but in the end, I'm thrilled with the results!

I modified two of Ana's plans to come up with this storage bed and I share more pictures of the process and how I finished this project over on my blog Tinsel + Wheat.

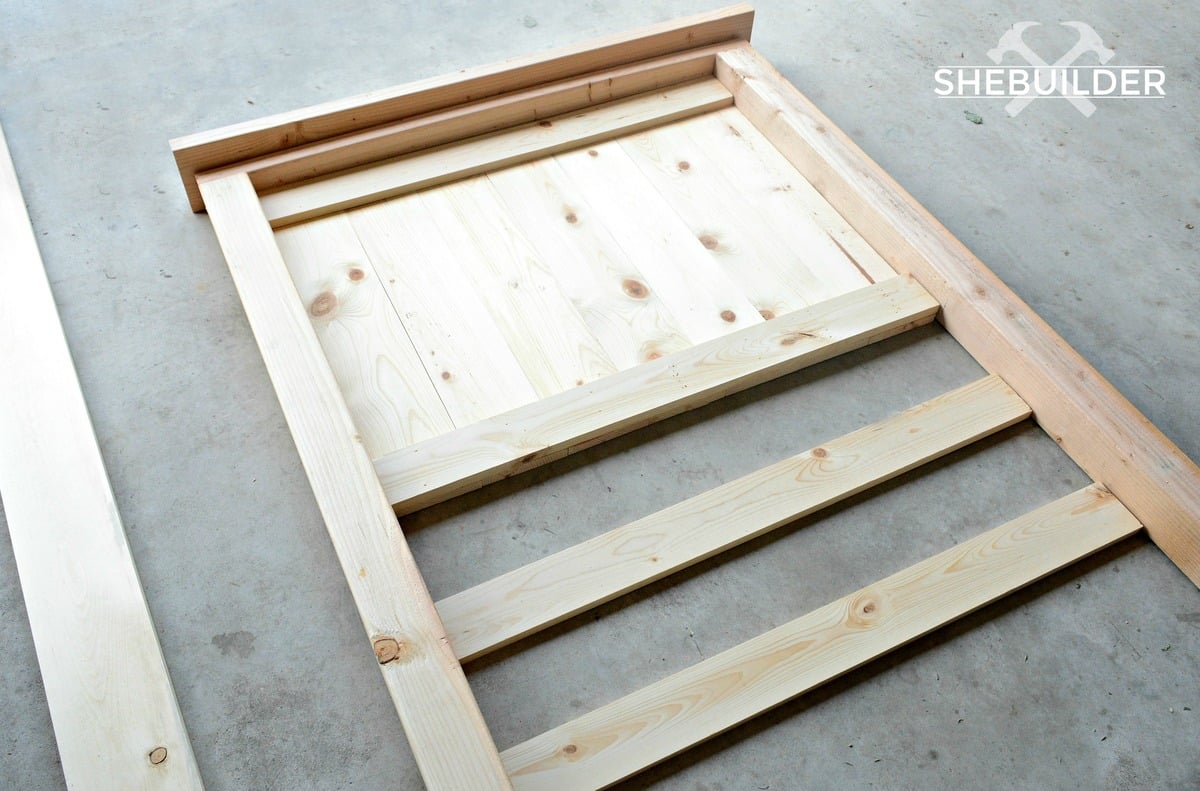
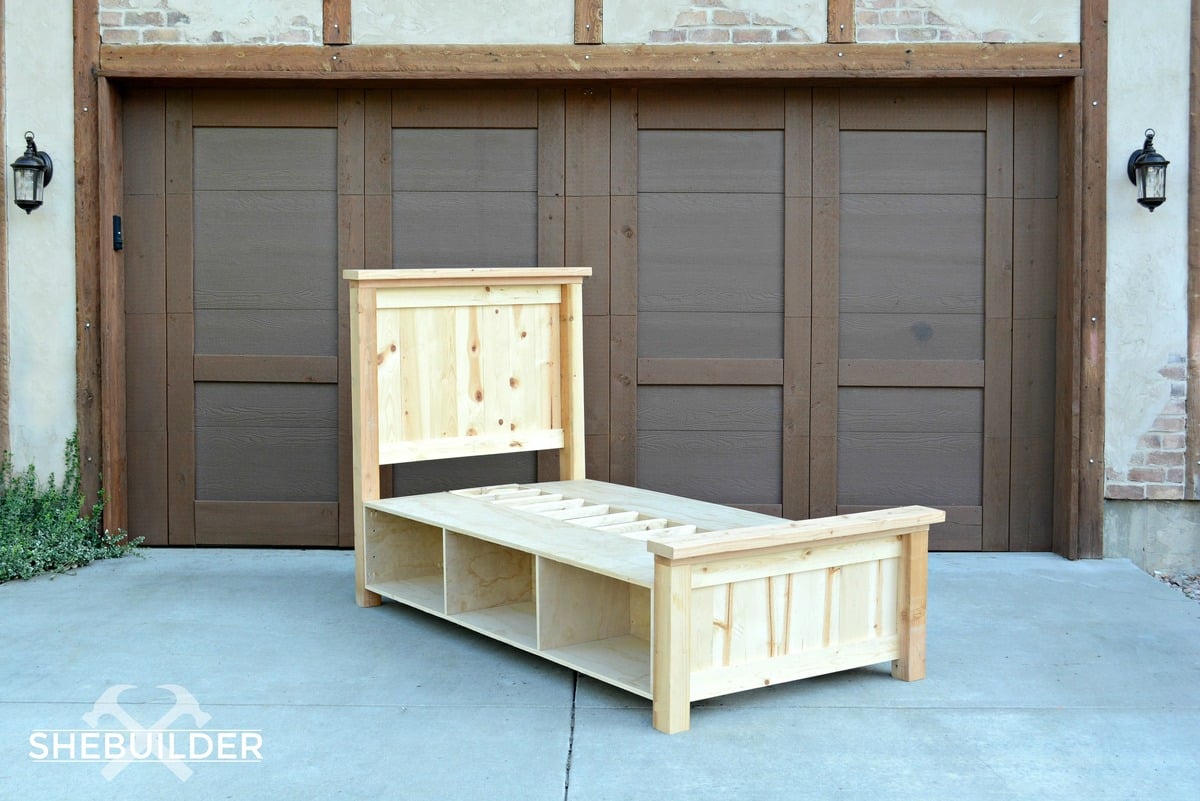
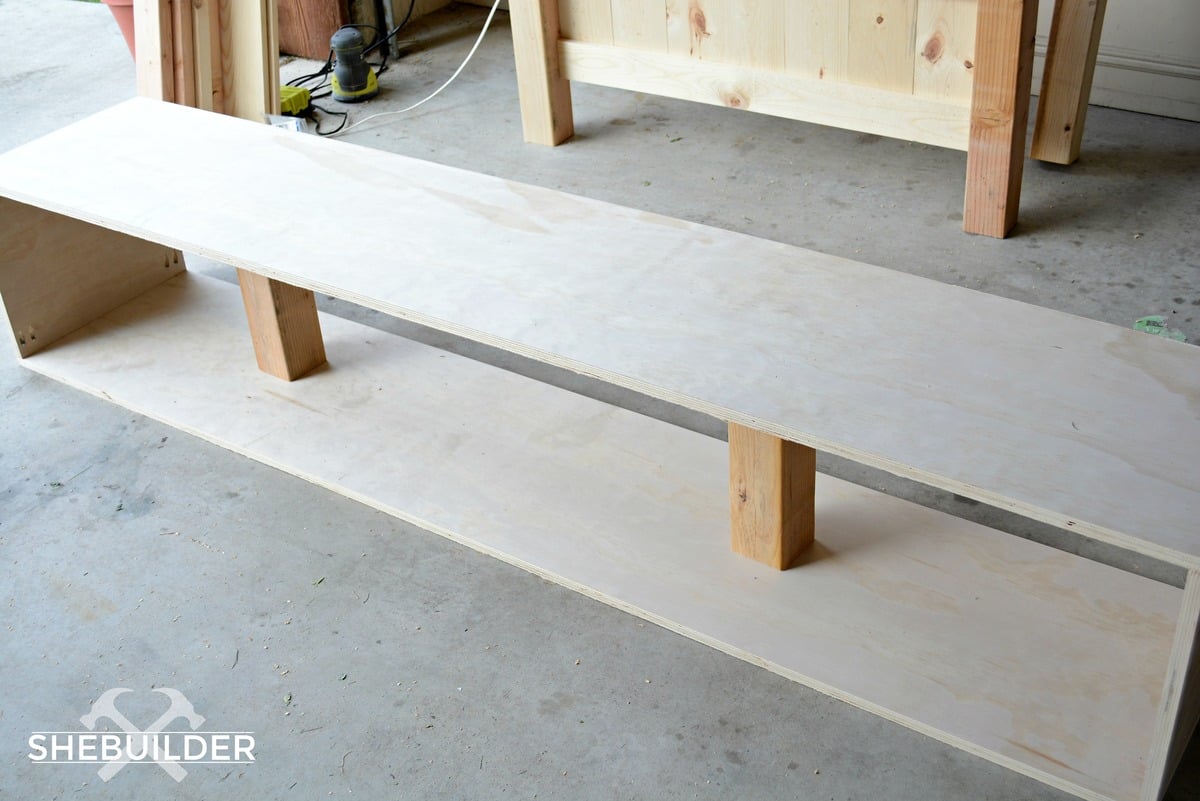
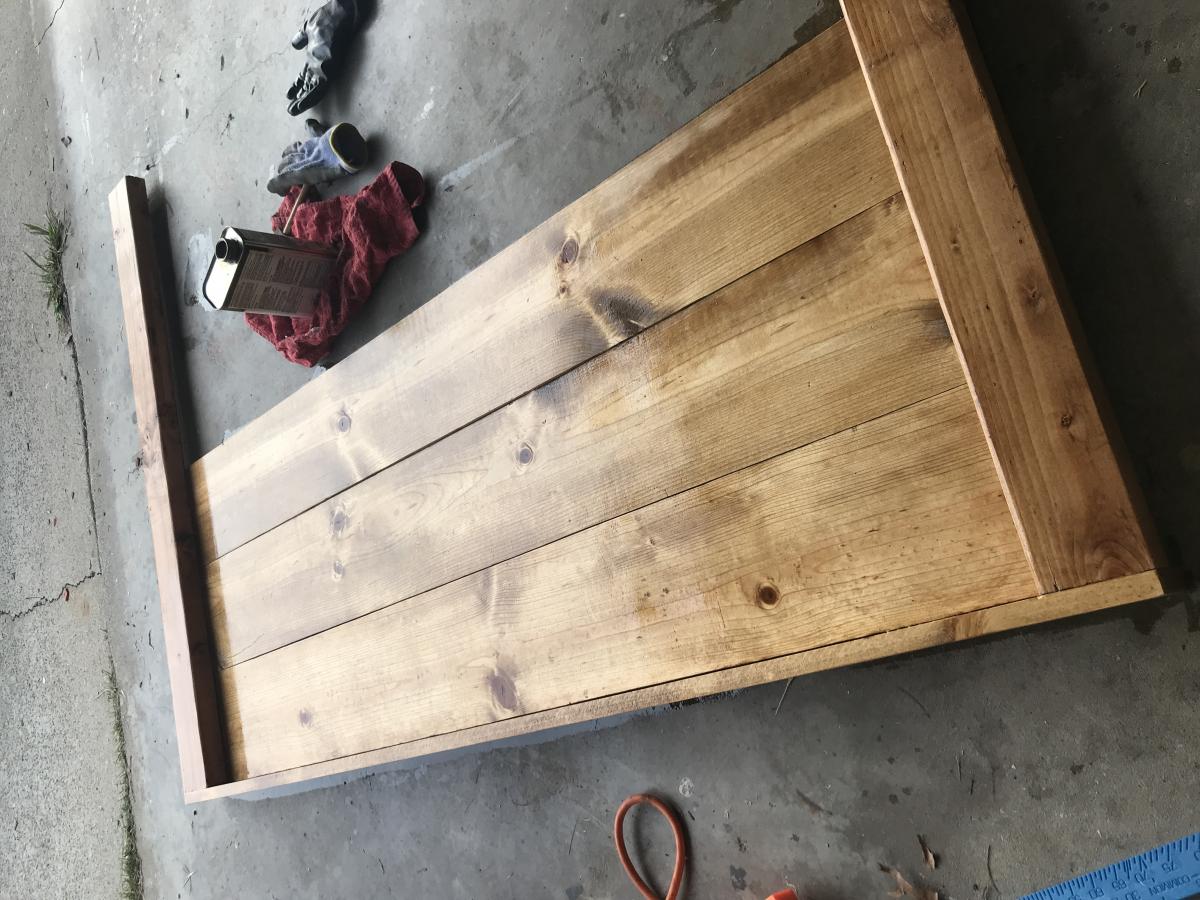
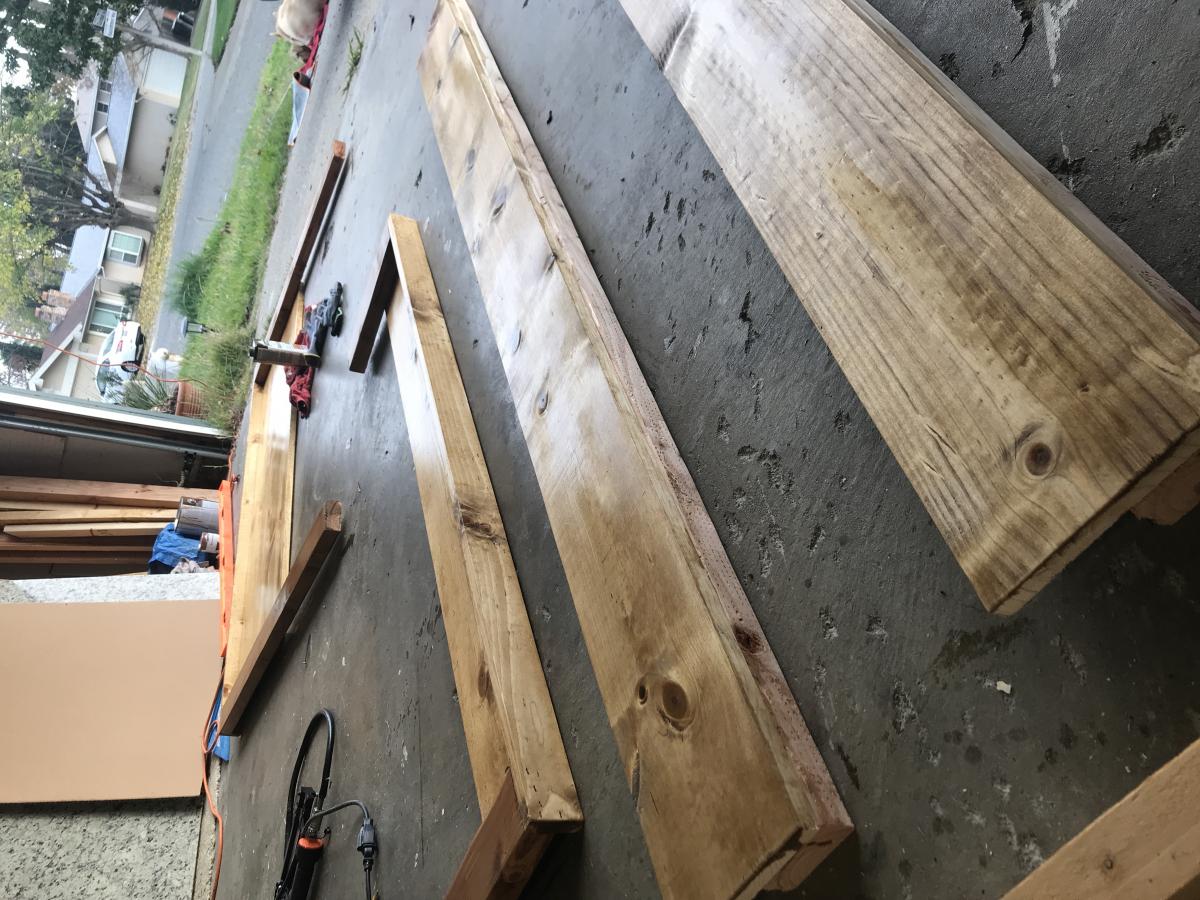
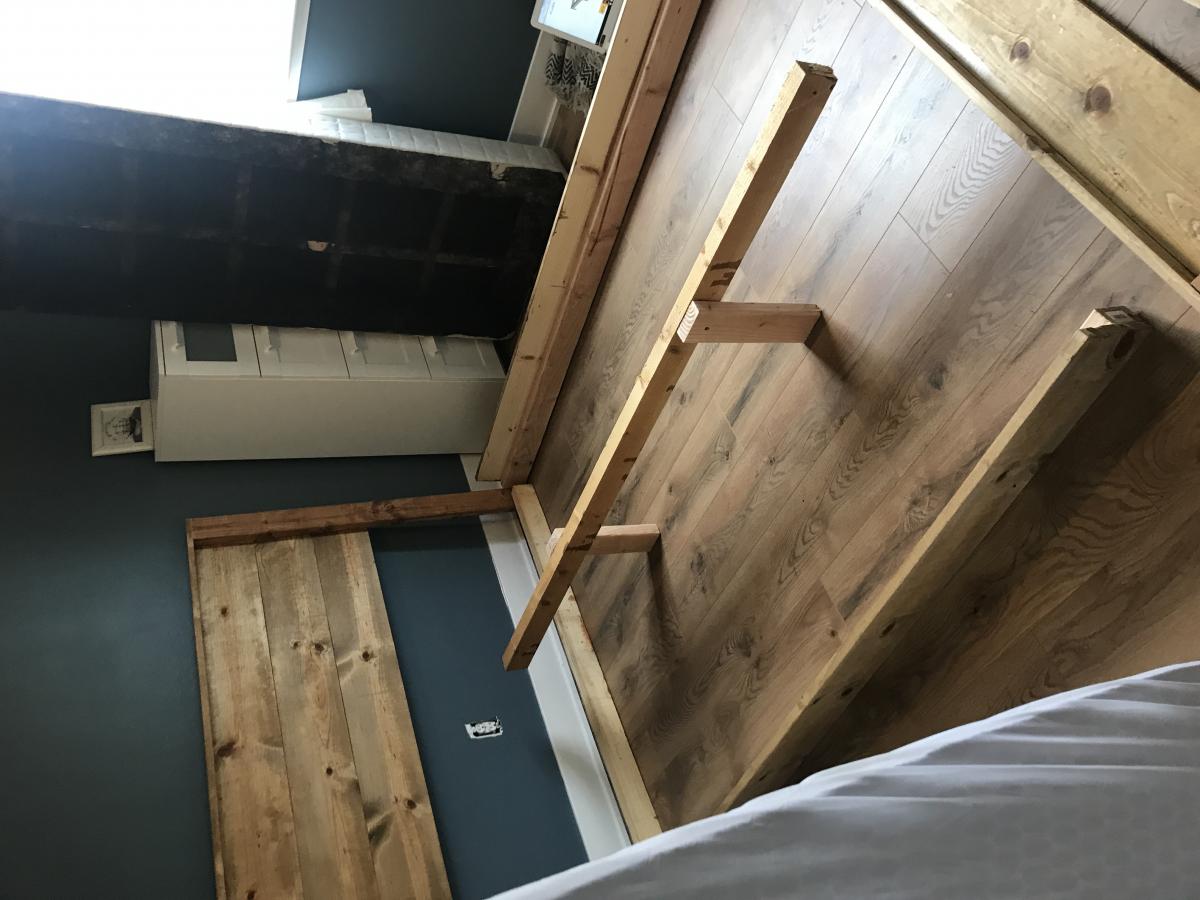
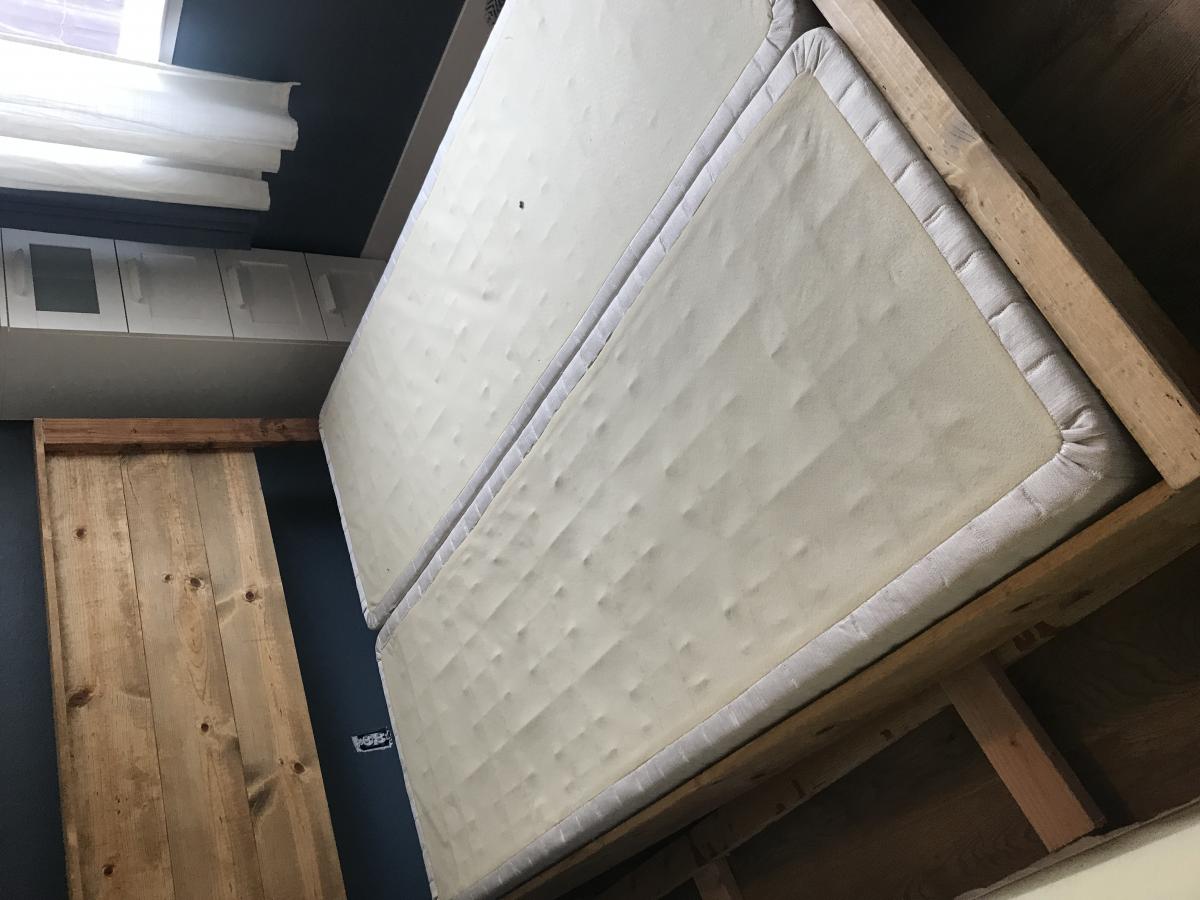
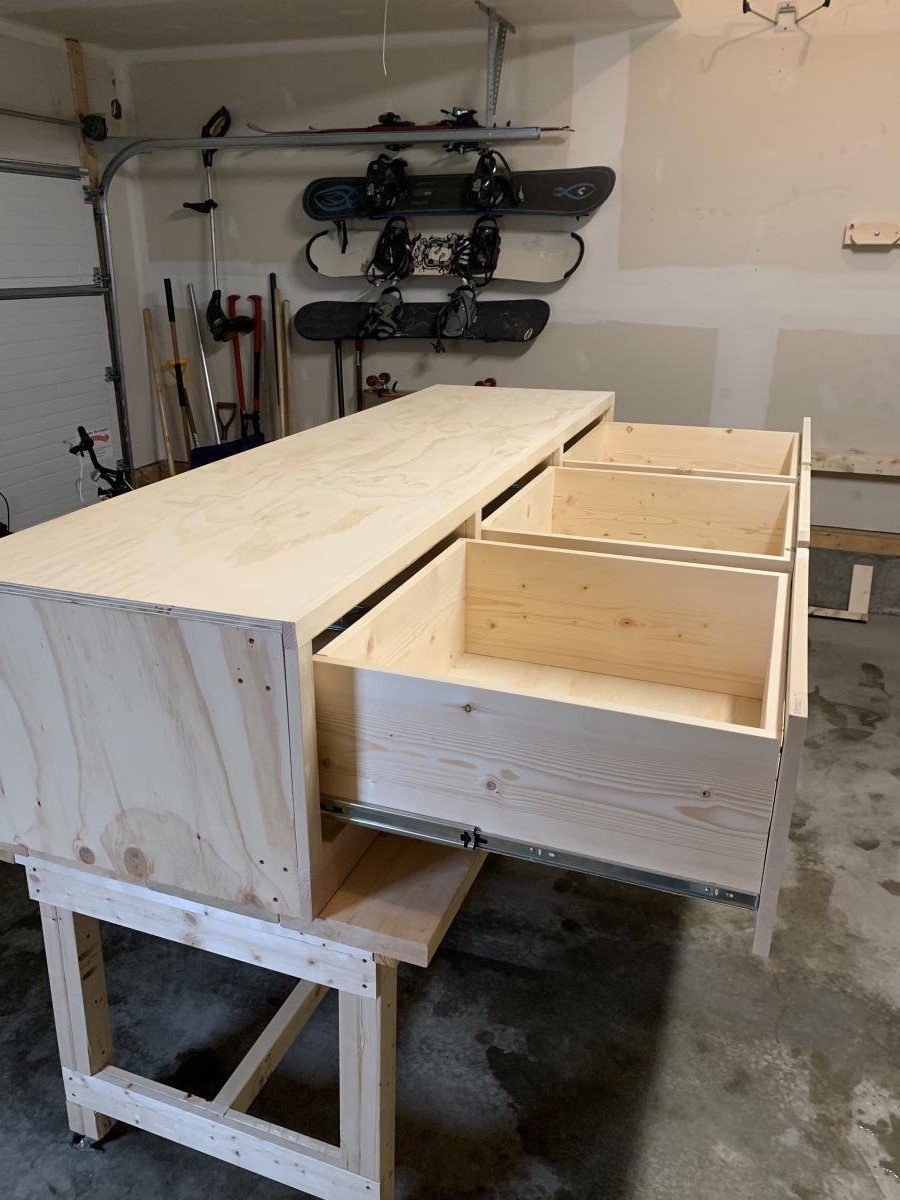
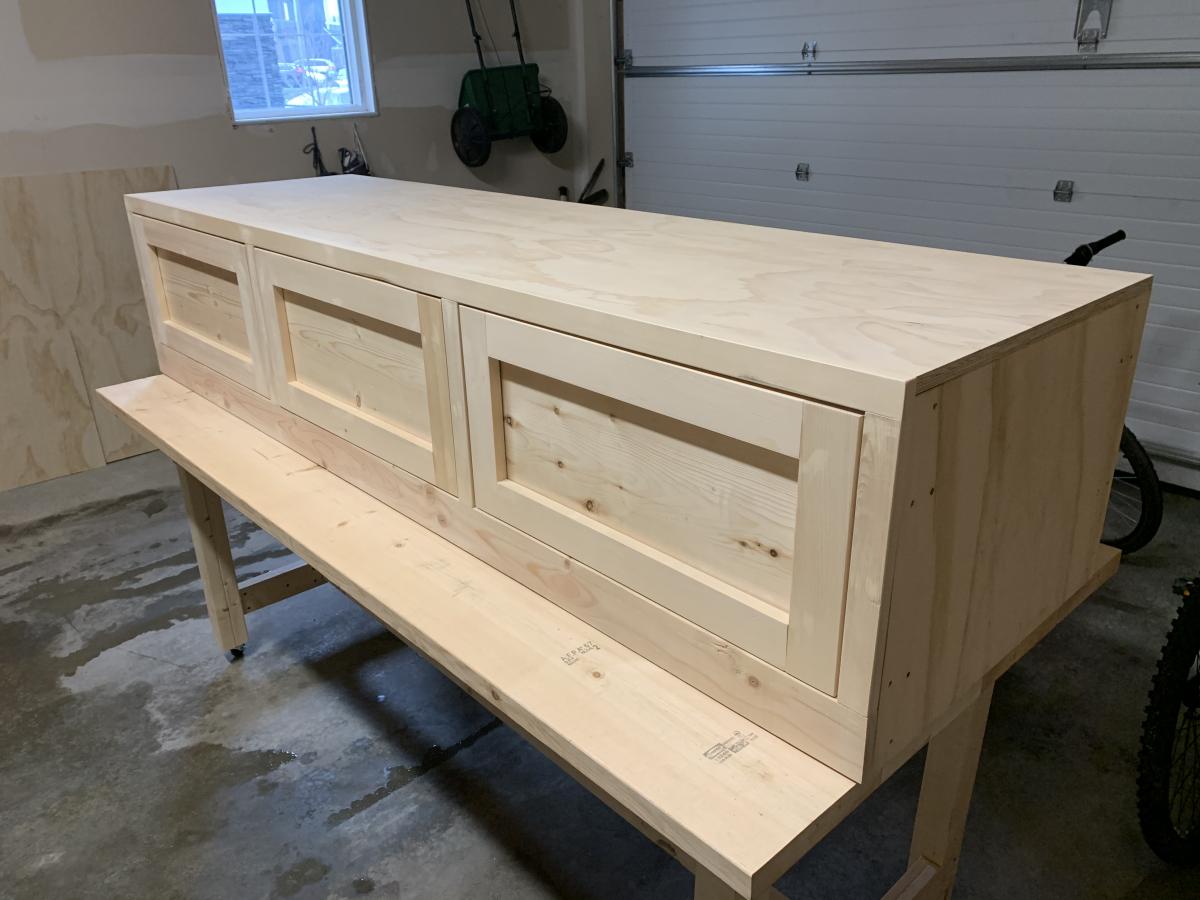
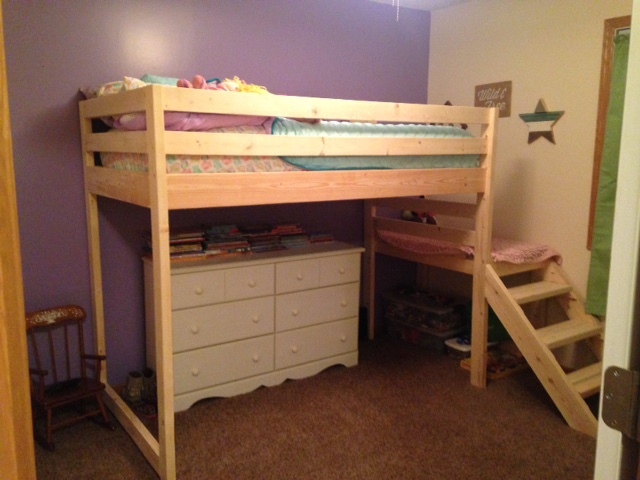
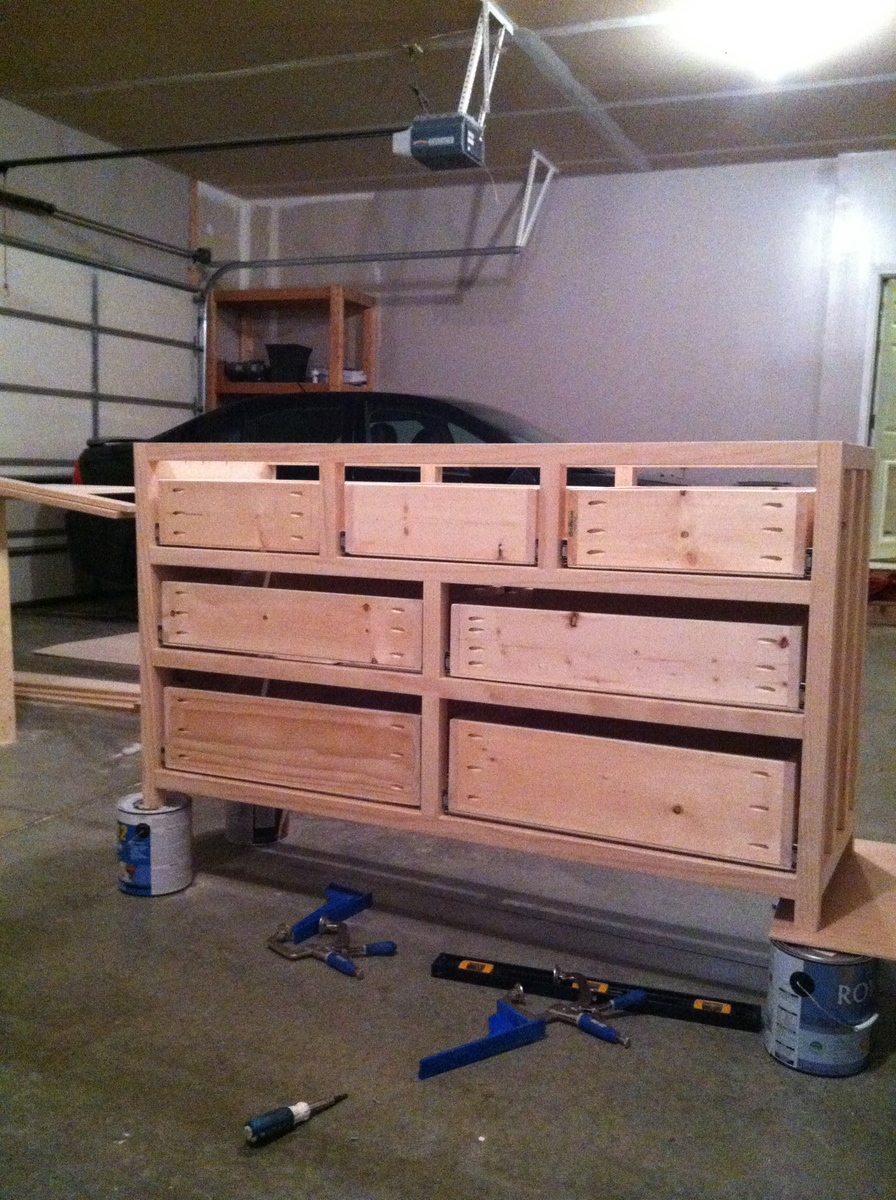
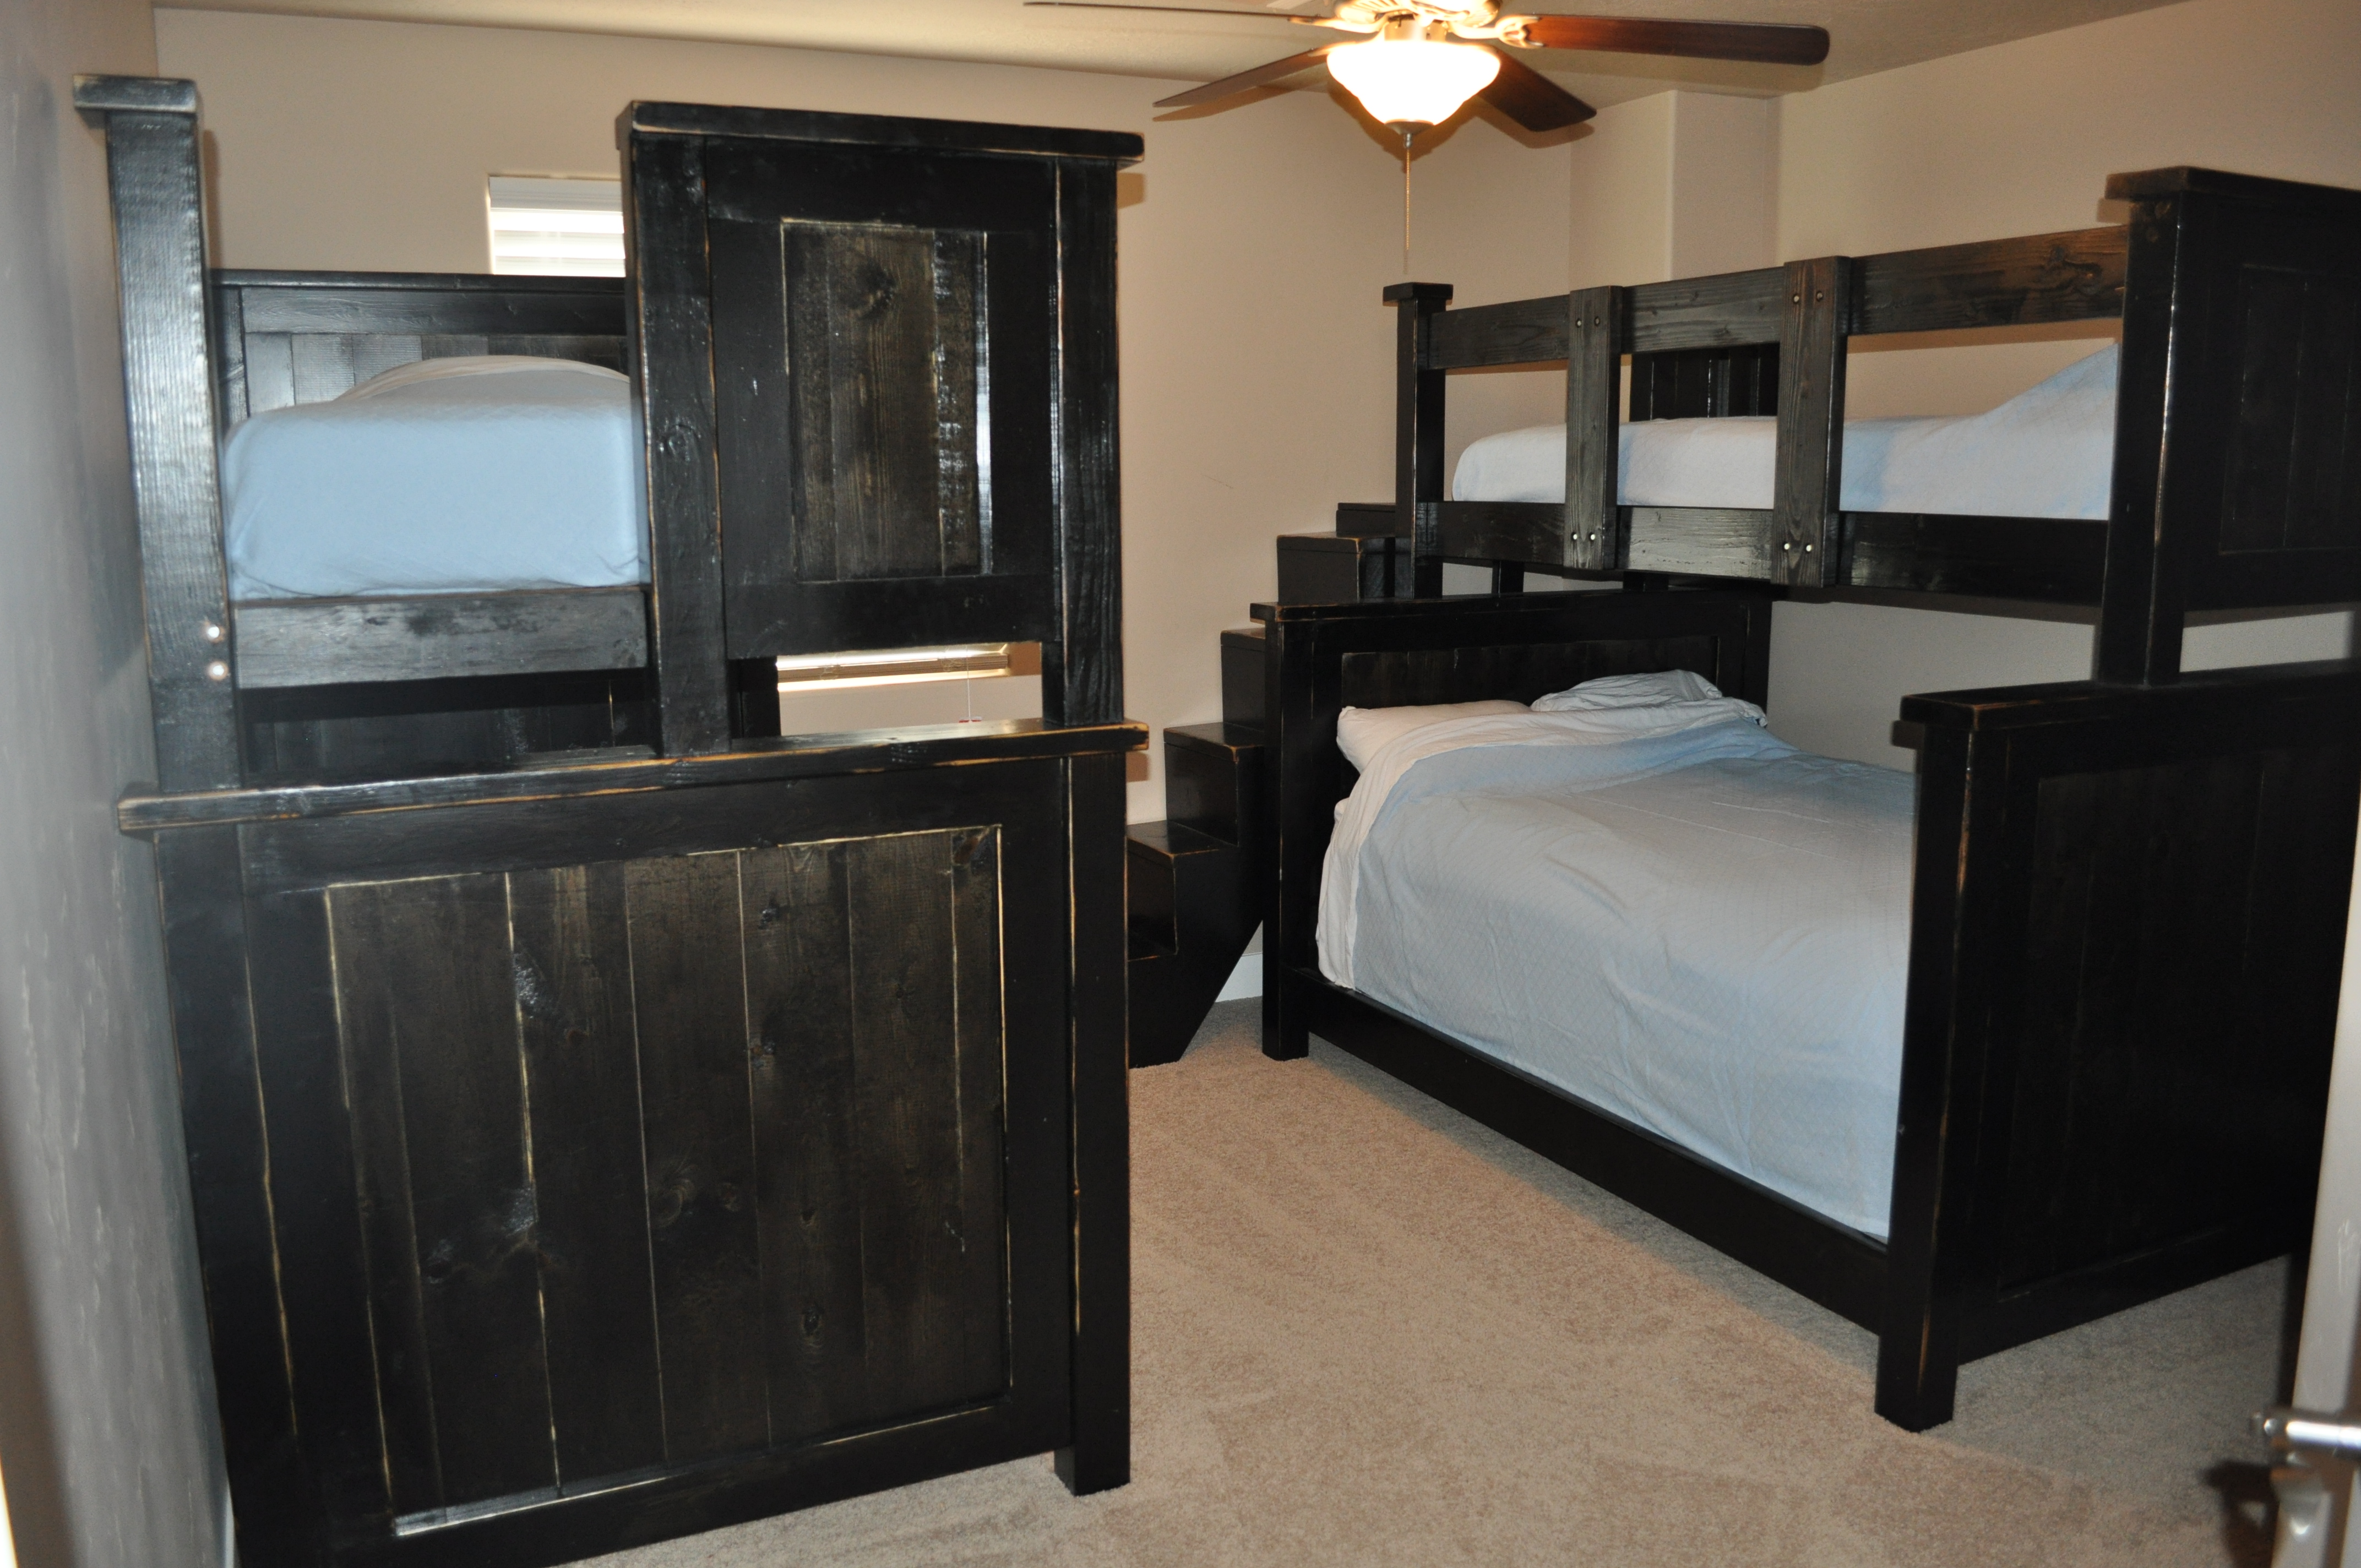
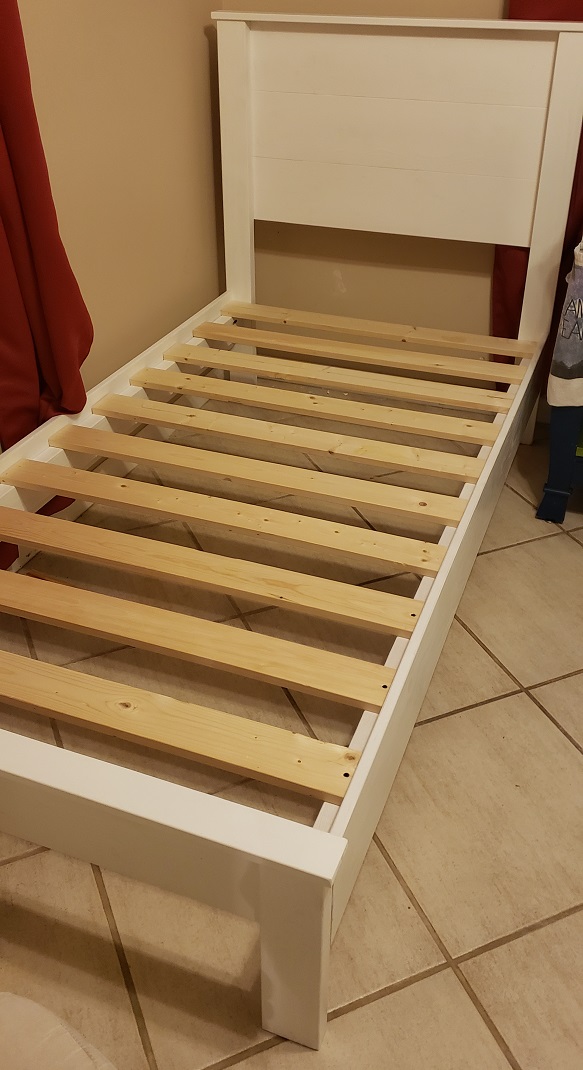
I used the Twin Bed Farmhouse plans to create the headboard and footboard, which turned out beautifully, but because of the storage base needing to be installed flush with the edges of the 4x4 posts - this made the bed a little wide for a standard twin size mattress. I don't mind the extra 2.5" of base on each side of the mattress but if you decide you would rather have the mattress edges match right up to the bed you will need to subtract one of your center 1x6 panels from both the headboard and footboard. This will give you the perfect size headboard and footboard for this build.

So grateful to Ana for these plans!  

Happy building!

Miranda


Estimated Cost
$200
Estimated Time Investment
Day Project (6-9 Hours)
Recommended Skill Level
Intermediate

Comments

vstroud

Sat, 03/02/2019 - 10:02
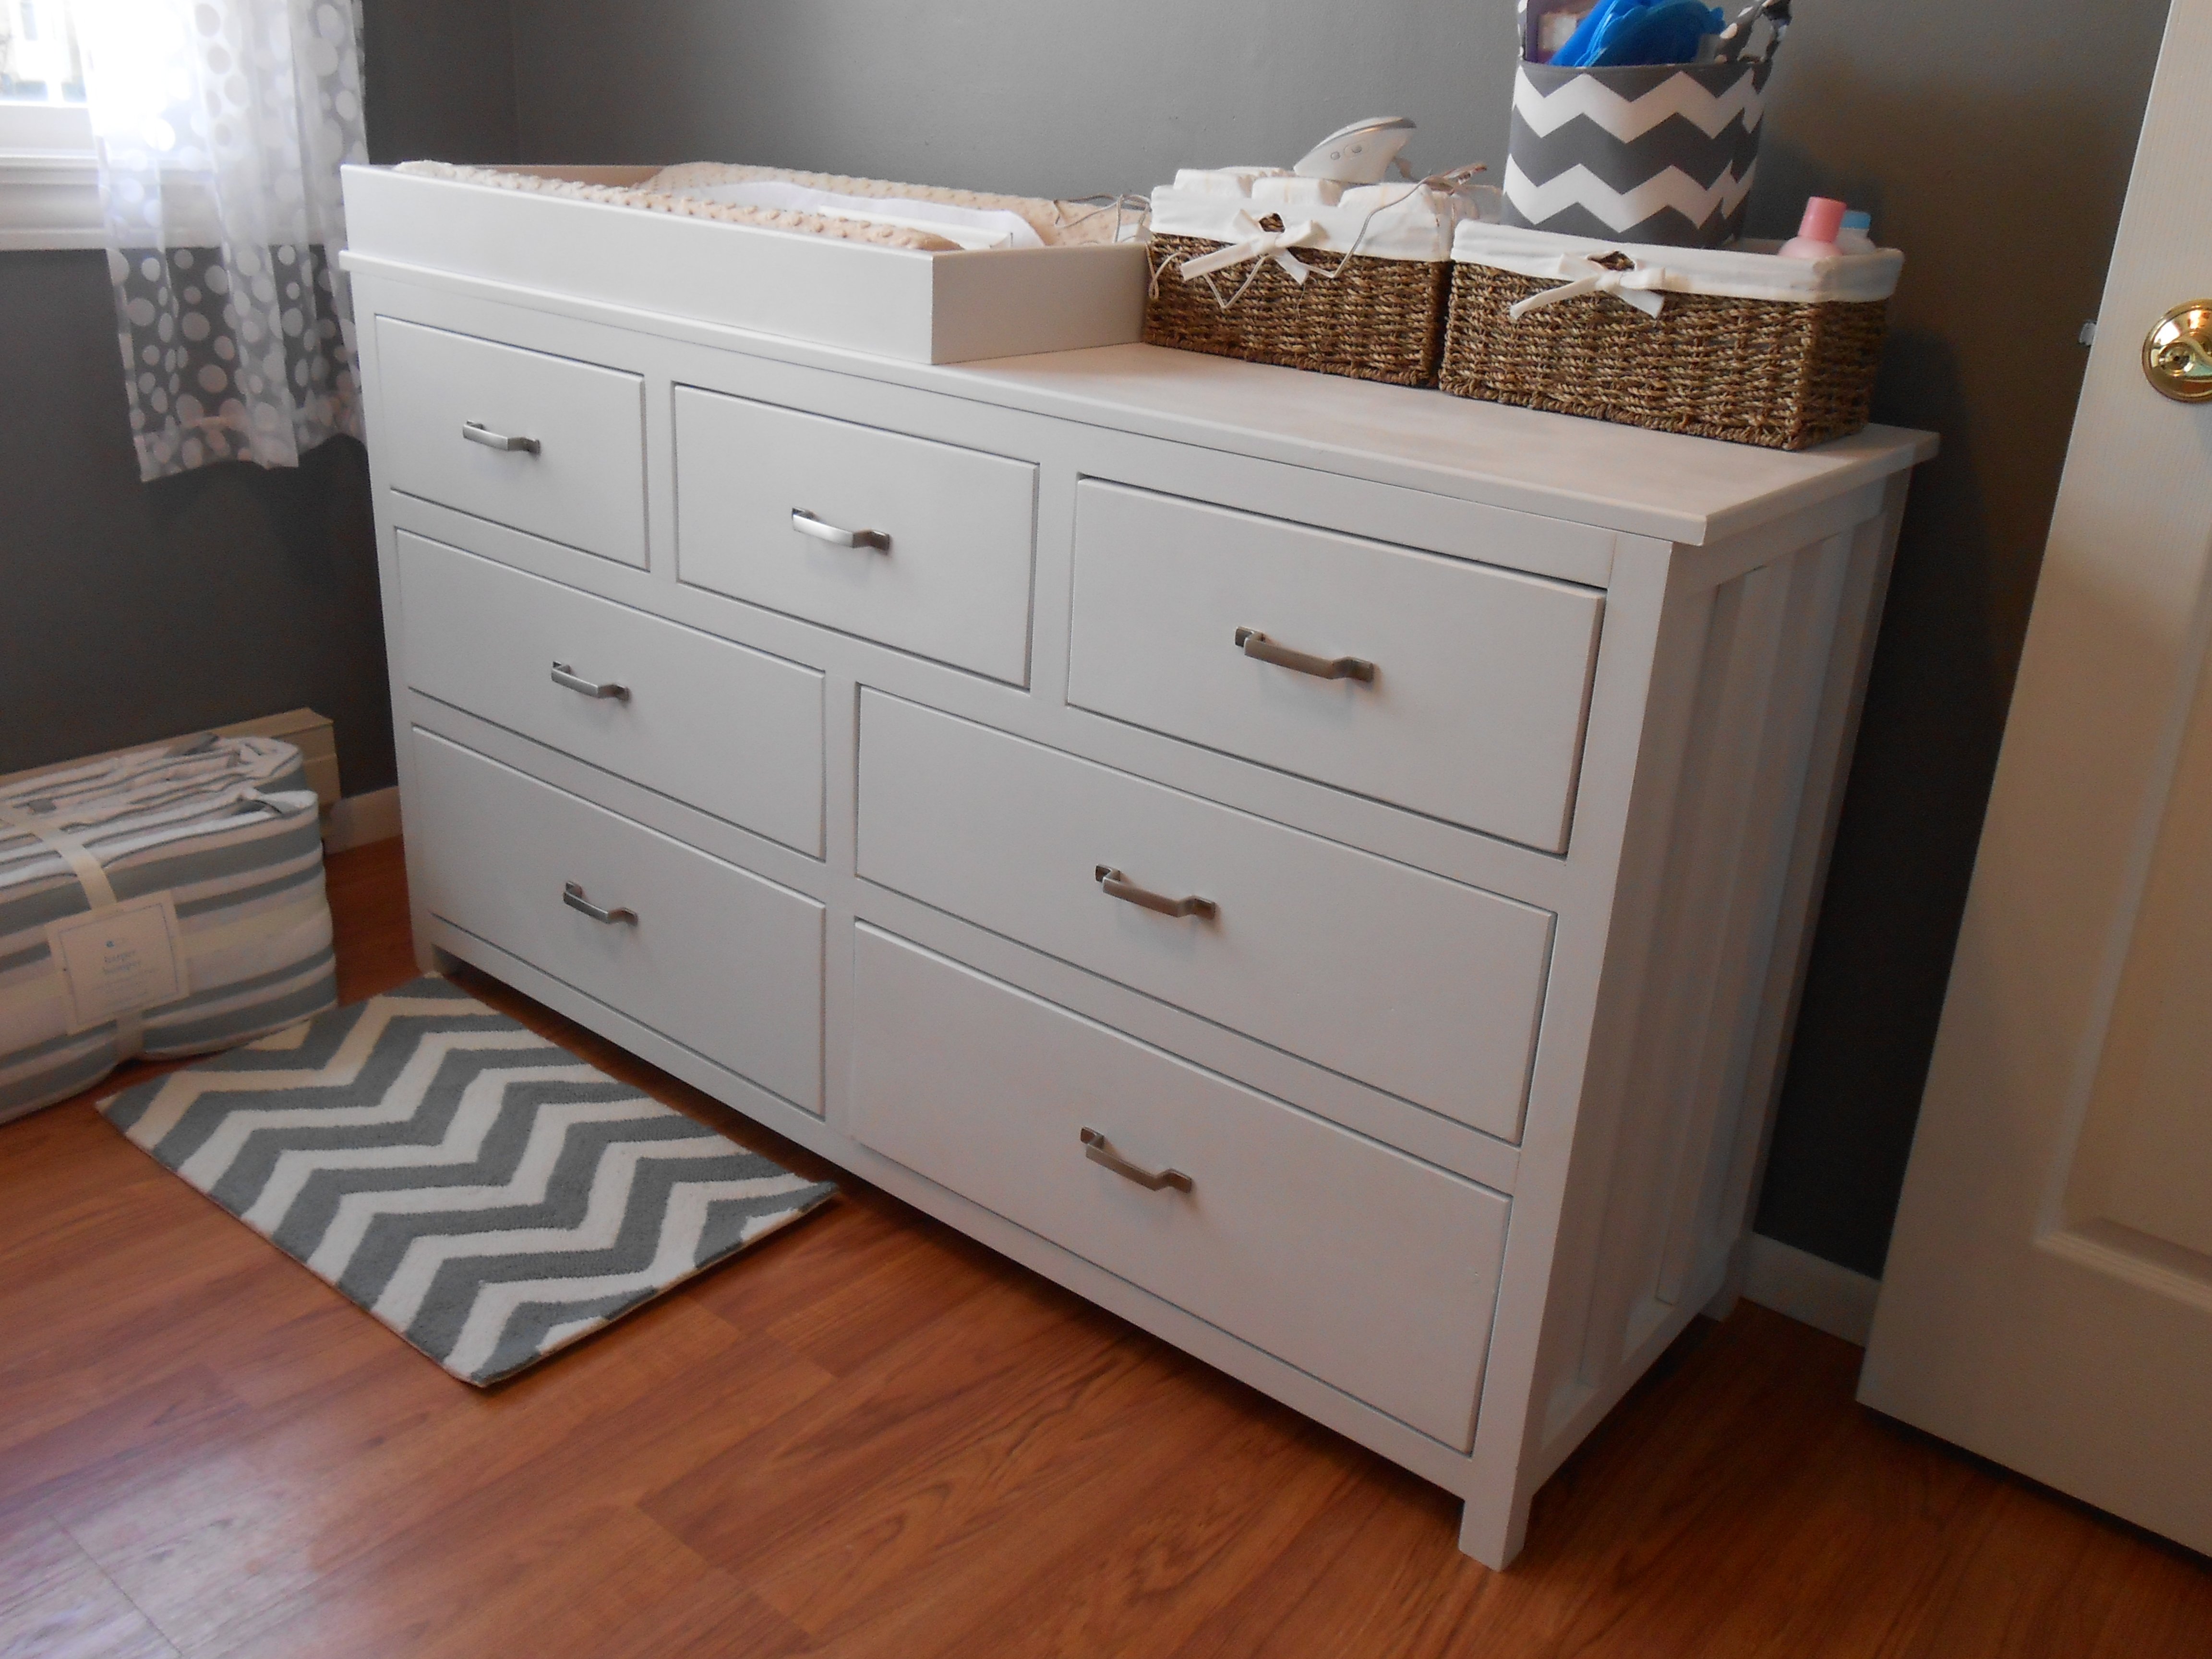
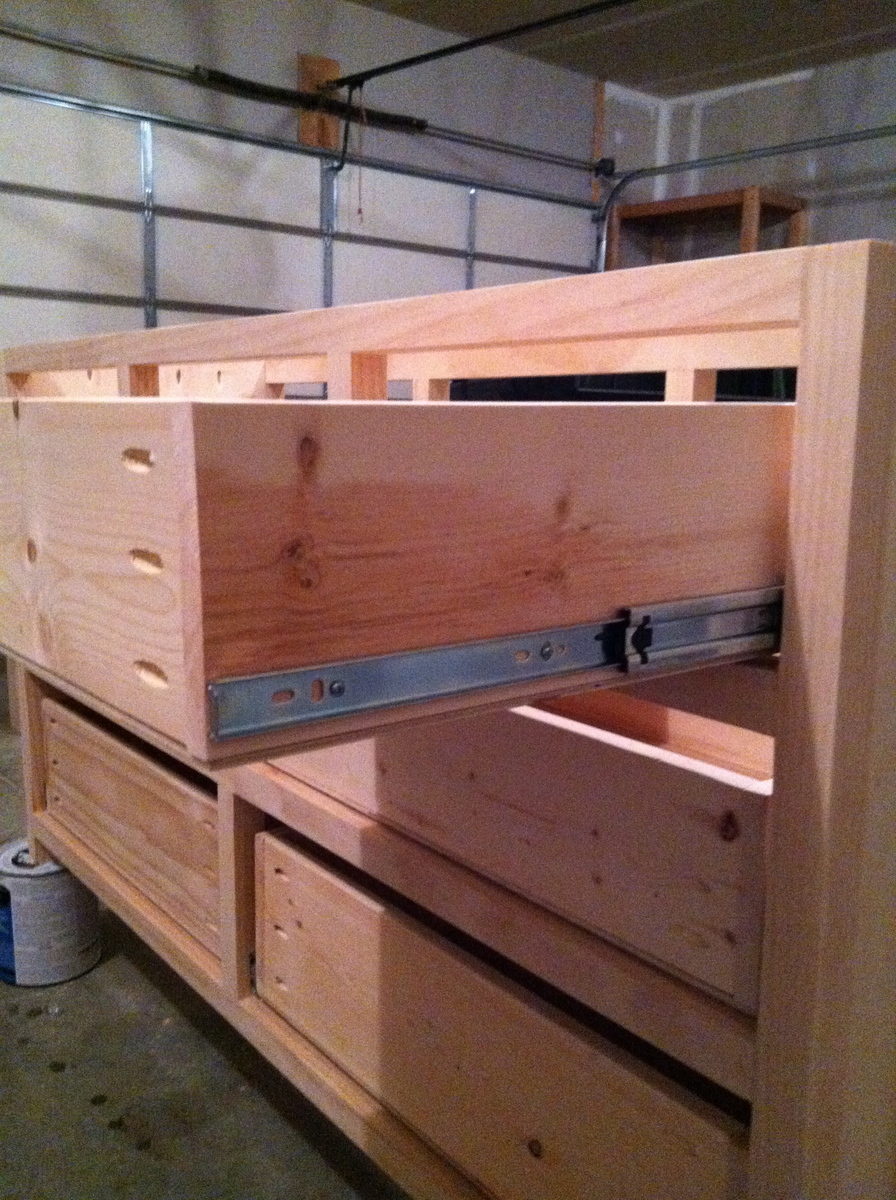
Might you have the lumber shopping list for the storage boxes to go with this modified Twin Farmhouse with storage bed? I looked at you personal website but you just have the cut list for them not lumber list. Desperate  need to purchase my wood Monday.Thank you so very much!

Outdoor hangout using 2x4 and fence boards

Submitted by sylvialh on Sun, 06/16/2019 - 18:13

Bought enough lumber for one sofa but ended up using old fence boards for the  decking so had enough lumber to make the sectional and a shortened coffee table. 

Great way to save some cash even if u have to buy the fence posts. 

Added a reinforcing piece to the one armed sofa between the legs using a kreg jig to stabilize the legs a bit more. 

Waiting on my foam from Amazon to finish off this project!

Used inspiration from the beer/wine cooler patio table and made the middle of the table removable to add a buck underneath later. 

Note the 5 year old patio set, also an ana white project from back in the day!

Super quick build!

I did find that the measurements for customizing it for your cushion size seemed about 1.5 inches too big for all the depth pieces so I sized down but I haven't received my foam yet so maybe I'm wrong but Smth to think about. I didn't want my cushions to slide around so I took that into consideration when building. 

Estimated Cost
60$ CAD for the high density foam for each sofa (3x24x72) plus throw cushions for the back.

11 2x4x10 - cost varies depending on cedar or PT
Fence boards were reused

Outdoor Fabric to cover the foam
Estimated Time Investment
Afternoon Project (3-6 Hours)
Finish Used
None yet
Recommended Skill Level
Beginner

Modern Craft Table *tweaked*

Completed Modern Craft Table! We tweaked the plans a bit because I was looking for a larger table top. The top now measures 48" x 76". We simply did this by adding an extra set of cubbies to the other side of the shelves. Absolutely LOVE how this turned out! All I need now is 4 counter height stools built and lots of shelves to complete my craft room! Will be sure to post those once they are completed!

Built from Plan(s)
Estimated Time Investment
Weekend Project (10-20 Hours)
Finish Used
Ultra White Latex Paint
Recommended Skill Level
Beginner

Comments

Ana White

Thu, 11/17/2011 - 01:10

Darn I was so excited to see you craft table! I apologize that your brag post did not show images. If you can send me images at knockoffwood(at)gmail.com I'd be happy to post. Thanks so much for submitting a brag post. Ana

Guest (not verified)

Sun, 03/04/2012 - 07:31

I LOVE LOVE LOVE your craft table. I want one! Looks like my husband wil have to get busy! Thanks for sharing!
Kristina
Houston, TX

Kimmy (not verified)

Tue, 03/20/2012 - 17:51

Is this the pic of the one you did ?? I am wanting a bigger table top too. I have waited years for just the right table and this is it.

Kimmy (not verified)

Tue, 03/20/2012 - 17:51

Is this the pic of the one you did ?? I am wanting a bigger table top too. I have waited years for just the right table and this is it.

Kimmy (not verified)

Tue, 03/20/2012 - 17:54

Is this the one you made ? I want a bigger table top as well. But I don't see the extra cubbies.

Kimmy (not verified)

Tue, 03/20/2012 - 17:54

Is this the one you made ? I want a bigger table top as well. But I don't see the extra cubbies.

naildoctors

Tue, 05/29/2012 - 00:05

This is great!! I am planning something similar, but what is your idea or the plan you used for the middle support to keep it from sagging over time? My idea is to run another cubby in the middle from side to side. What do you think?

Laura Mulholland (not verified)

Mon, 01/21/2013 - 09:54

I love the modern craft table, just what I have been looking for, do you share instructions, dimensions, etc.? thanks, Laura

HapETexanGal

Thu, 05/12/2016 - 15:14

I'm loving this and would love to have FIL build it for me but the plans look like its for the regular modern craft table but not the tweaked?  Also is there support for the middle?  Can you send me a link for the tweaked supply list please, can't seem to find it.  Love what you do!

Lean-To Shed

Submitted by Anonymous (not verified) on Fri, 03/24/2023 - 13:17

I’m a first year teacher of construction class at Waterloo High School in Illinois. We recently used your Small Cedar shed instructions with some modifications for a class project. It’s a bear getting cedar right now, so we used T1-11 for the outside and 2x4 for the frame.

Built from Plan(s)

Comments

Panel bed with box springs

Submitted by Kait14 on Mon, 12/30/2019 - 12:36

I built this bed for a guest room. Easier than I expected and took 2 days! I used watco danish oil in medium walnut. I was able to save some $ by using two twin box springs that I already owned instead of adding slats. I modified the height of where the box springs sit by lowering the cleat 2” and shortening the legs on the center support by 2” as well. It worked perfectly! 

Estimated Cost
75
Estimated Time Investment
Weekend Project (10-20 Hours)
Finish Used
Watco Danish oil medium walnut
Recommended Skill Level
Beginner

Corner Media Console

Submitted by craw4dz on Thu, 02/27/2020 - 10:39

We had just moved into our new house and were using an end table for our TV stand I just didn't like it.  I found this and modified it so it's shorter and fits in our room better.  I also opted to not put doors on it and use it to display items instead.  This was a relatively easy build and I'm learning new things with every build I make.  It took about 2 days to complete not including filling holes/paint/stain.  I love it, it looks so great in our room and I am planning on building end tables to match as well as replacing our buffet with movies in it to match also.  Thanks for the easy-to-follow plans!

Built from Plan(s)
Estimated Cost
$45
Estimated Time Investment
Weekend Project (10-20 Hours)
Finish Used
Whatever white paint I had on hand (haha) and Varathane Kona with a satin poly for the top.
Recommended Skill Level
Beginner

Fireplace Mantle with Drawers and Hidden Storage

Modified plans to include game storage drawers, a flip open mantle for DVD player and hidden charging port, and hidden cupboards on both sides for DVD storage. I scoured the Internet for months before drawing this up to fit my space and tackling all on my own! I love it and all of my other Ana White inspired projects!

Casey O.

Seasonal And Holiday

Bench with soft-close drawers for Front Entry

Submitted by drickstan on Tue, 08/11/2020 - 10:43

We needed a bench to fill the space in our front entry and provide some storage for seasonal gear. We couldn't find anything to buy that would work for us, so when my wife found these plans, I had to try it! Couldn't be happier with the results. We widened the bench by a foot to 84" to fill the space. Basically, it just made each drawer 4" wider. Everything else was built to plan. The most expensive thing was the soft-close 24" drawer slides (~$100). As soon as you go above that 24" depth, they get pricier! It was also tricky to get the drawers to catch properly on the soft-close mechanisms, but I made sure to take the time to get it right before closing it all in. Now I just open and close the drawers for the pure satisfaction of it! I used premium pine plywood for the top and I find it still doesn't give that smooth finish I like, even after sanding. I think I'll create a new top out of joined knotty pine planks later and just attach it to the top.

Built from Plan(s)
Estimated Cost
$300 CAD
Estimated Time Investment
Week Long Project (20 Hours or More)
Finish Used
Primer and pearl finish paint.
Recommended Skill Level
Intermediate

Camp Loft Bed

Submitted by JenMack on Mon, 01/30/2017 - 06:39

Love this bed plan and design! Spend Friday evening cutting wood (about an hour) and most of Saturday sanding, adding pocket holes and assembling. It looks HUGE when you put it in the room, my hubby was like....ummmm..... ;-) but once everything was put away its perfect. My 4 year old I think said "its so amazing mom" about a dozen times. She ASKED to sleep in. HA! Parent win.

Estimated Cost
$65 for lumber
Estimated Time Investment
Weekend Project (10-20 Hours)
Finish Used
None
Recommended Skill Level
Beginner

Nursery Dresser

I made this dresser for my sister's nursery. The room is fairly small, so she wanted a changing table on top of the dresser to save space. We also added a third row of drawers.

Estimated Time Investment
Week Long Project (20 Hours or More)
Finish Used
Satin white paint
Recommended Skill Level
Intermediate

Comments

dbwalk

Sun, 11/23/2014 - 05:35

I like how you modified the plans to make it have two more drawers.  I'm looking forward to doing this very soon for my twin daughters.  I was just wondering how the dimensions on the right and left sides were changed?  Also, does this seems to carry the extra weight of the drawers OK?

Corner Shelf for Nursery

Submitted by wojo1 on Thu, 05/16/2013 - 07:21

Super Easy.. I like it better without the doors. Recommend getting a KREG Jig. I have the Jr and it was perfect for this project.

Built from Plan(s)
Estimated Cost
$130
Estimated Time Investment
Afternoon Project (3-6 Hours)
Recommended Skill Level
Beginner

Comments

Farmhouse Bunkbeds with Stairs

Submitted by Yodannos on Sun, 06/09/2013 - 13:19

We have a rental unit and decided to fill one room with 2 sets of bunk beds. One is a twin over a full. The other is a full over full. Due to a duct running through one corner, and limited amount of space, I decided to build a set of stairs on the 17" gap. I used the simple bunk bed plans, but modified it to the style of the farmhouse. Also, I changed several of the heights of the foot/head boards. The full over full will have a ladder coming off the end and is in progress.

Estimated Cost
$450
Estimated Time Investment
Week Long Project (20 Hours or More)
Finish Used
Minwax Ebony Stain. Satin Polyeurethene.
Recommended Skill Level
Intermediate

Paper Roll Dispenser

Submitted by vendo on Wed, 11/17/2021 - 10:44

This took me about 20 minutes! I love the look of it and that it can just be left out when the kids aren't doing art. A great little item to add to keep the kids busy and inspired. I made a couple of mods from the plan. I used glue and nails instead of pocket holes and I did that bottom board flat instead of on it's side. I also used a little bigger dowel, and bought two rolls of paper on Amazon for $14.I'm giving this to my daughter for her birthday with some fun art supplies, so I think it's a great gift idea for any occasion for those crafty people out there!

Built from Plan(s)

Comments

Monika

Tue, 04/02/2024 - 06:09

Sometimes, when working with papers, you might need to convert file formats, right? So, I recently came across this website https://pdfflex.com/webp-to-png It's super handy for converting. It's been a real time-saver for me, especially when I need to tweak documents for printing or sharing. I'd desided to share in case it helps someone else out there too!

Farmhouse bed

Submitted by jphbgsu on Sun, 09/06/2015 - 19:48

The project went relatively well. Had to readjust in order to fit our king. I used 2x4s and 2x4 joist hangers to support the mattres. 

Built from Plan(s)
Estimated Cost
300.00
Estimated Time Investment
Week Long Project (20 Hours or More)
Finish Used
Rustoleum ebony stain and satin polyurethane.
Recommended Skill Level
Beginner

Bed made to order - Twin XL

Submitted by kjoslyn78 on Sun, 12/22/2019 - 10:40

My daughter has a twin XL bed, which we had been unable to find a frame for since getting it. After 2 years of her mattress and box springs on the floor, this plan came out and a plan was hatched to get it made. The biggest change we needed to do different from the twin plans was to make the side rails and the side rail cleats 5" longer to accommodate the XL length. We also added a middle support to keep the side from bowing out, and the cleats are at the bottom of the siderails, as we are using a boxpsring and mattress. 

Estimated Cost
$110
Estimated Time Investment
Weekend Project (10-20 Hours)
Finish Used
I dont remember what we finished with, but the kid spilled half the can in the grass :)Photo is after sanding, and before finish
Recommended Skill Level
Beginner

Comments

amymarie02

Mon, 03/28/2022 - 09:47

Hi do you have the measurements and what to buy for this bed frame? We also have a twin xl mattess and cannot find a frame anywhere

Kids Twin Bed

I built this for my second son who was tired of "being in jail", he's almost 3.  His older brother is now jealous!

Was a nice easy build - the hardest part was paint spraying for the first time!  I would cut the slats pieces about 1/4" smaller to give a bit more wiggle room when lining up the pieces, and make sure to keep the headboard and footboard square when lining up.

The cost was higher for me being in the Bahamas. I used fir for the frame and spruce for the planks, why, I thought it would save some money but didn't really.

I used pocket holes to attach the bed rails to the headboard and footboard.

Estimated Cost
$250
Estimated Time Investment
Day Project (6-9 Hours)
Finish Used
Wonder-Tones interior primer/paint
Recommended Skill Level
Beginner

Purple chicken ark w/ retractable wheels

Submitted by Anonymous (not verified) on Sat, 05/07/2016 - 16:59

We worked on this project on and off for a couple weeks.  60 degree angles were the hardest part.  Decided against adding upper coop floor to minimize cleaning.  Coop will only be used seasonally.  End coop is very heavy, so wheels were a must.  Scoured internet and found simple retractable lever design with bolts to adjust wheel height.  Very happy with project, thank you Ana!

Estimated Time Investment
Weekend Project (10-20 Hours)
Recommended Skill Level
Intermediate

Kind bed

Submitted by Anonymous (not verified) on Sun, 02/16/2020 - 22:07

King bed hand made made with 1by4 pine boards

Estimated Cost
200
Estimated Time Investment
Day Project (6-9 Hours)
Recommended Skill Level
Intermediate

Comments

Cedar Planter Outdoor Speakers

Submitted by Hoosierdoc on Fri, 06/10/2016 - 10:53

We just put in a pool and I needed something to hide a pair of outdoor speakers. I used Klipsh AW-525 speakers.

Basically I raised the bottom of the planter enough to fit the speaker under and had to add a few framing pieces to secure the speaker mount to. The mount attaches to a vertical board and the weight rests on a horizontal board. The wiring comes up from below.

The front panel uses vinyl mesh from Sailrite.com to hide the speaker but allow sound out. Imm planning to hang it with magnets if it doesn't distort sound too much.

Built from Plan(s)
Estimated Time Investment
Afternoon Project (3-6 Hours)
Recommended Skill Level
Beginner

Comments

Back