Community Brag Posts

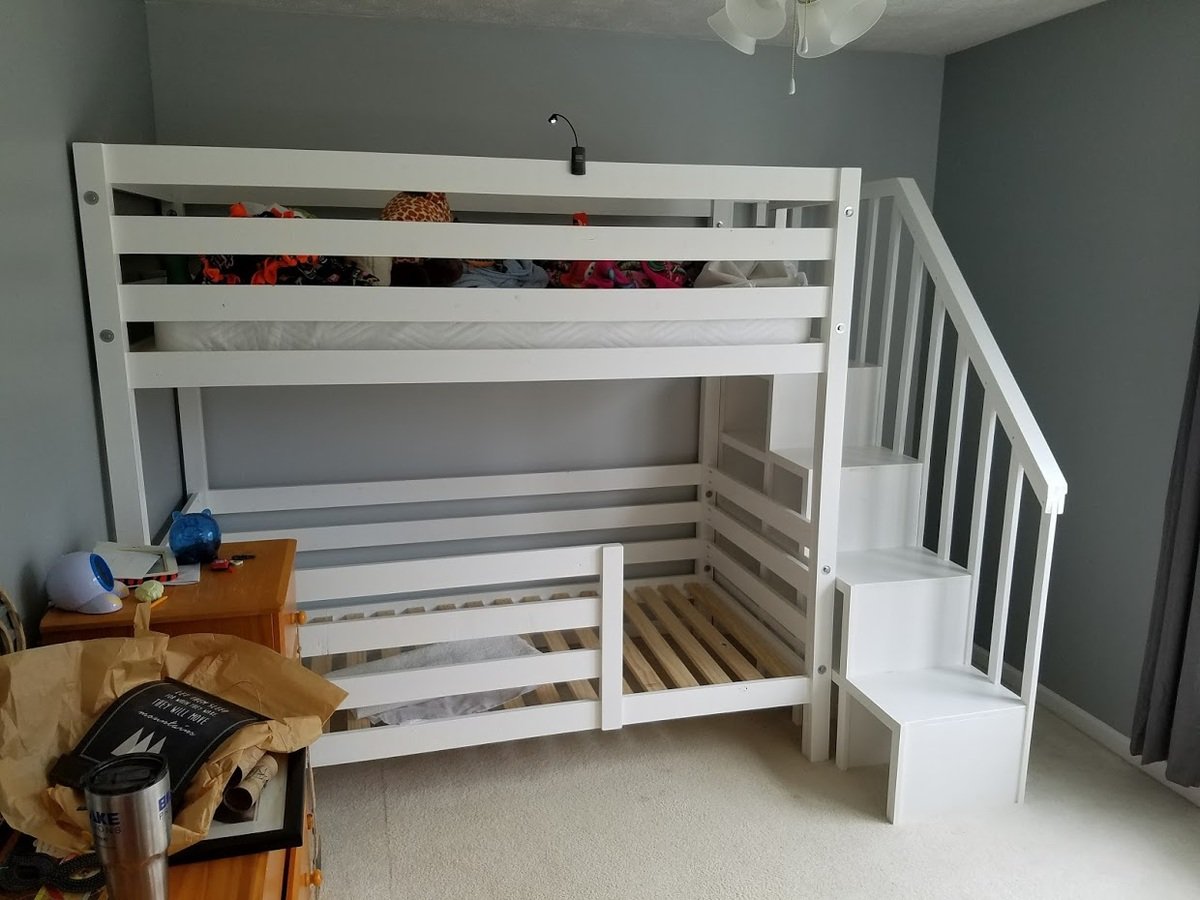
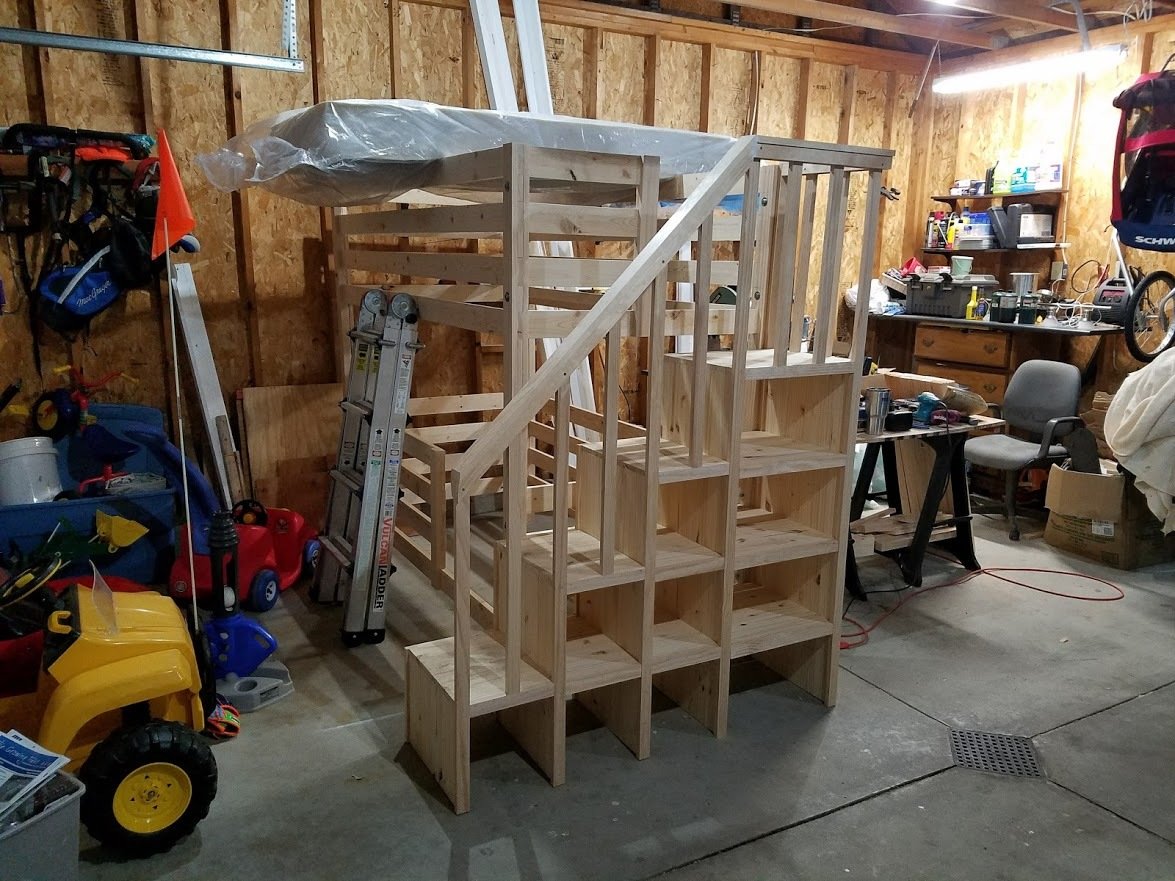
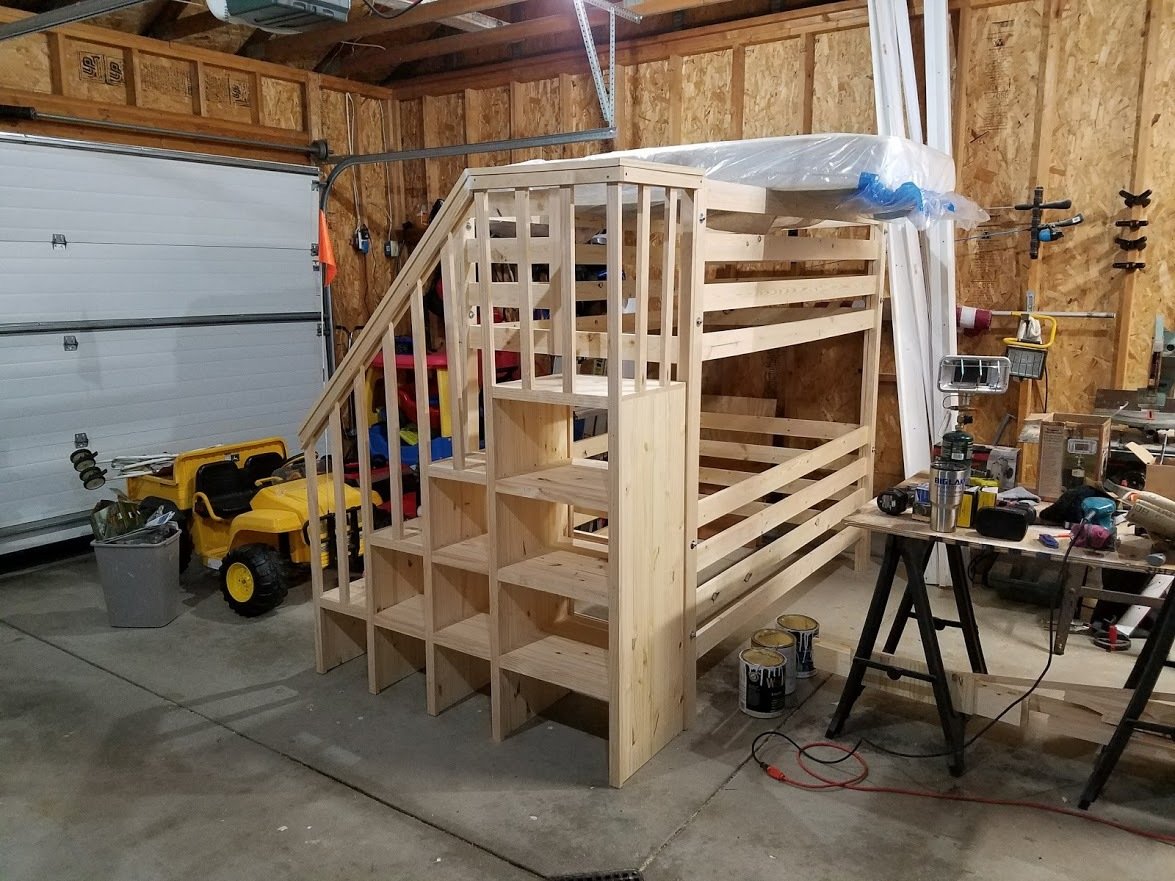
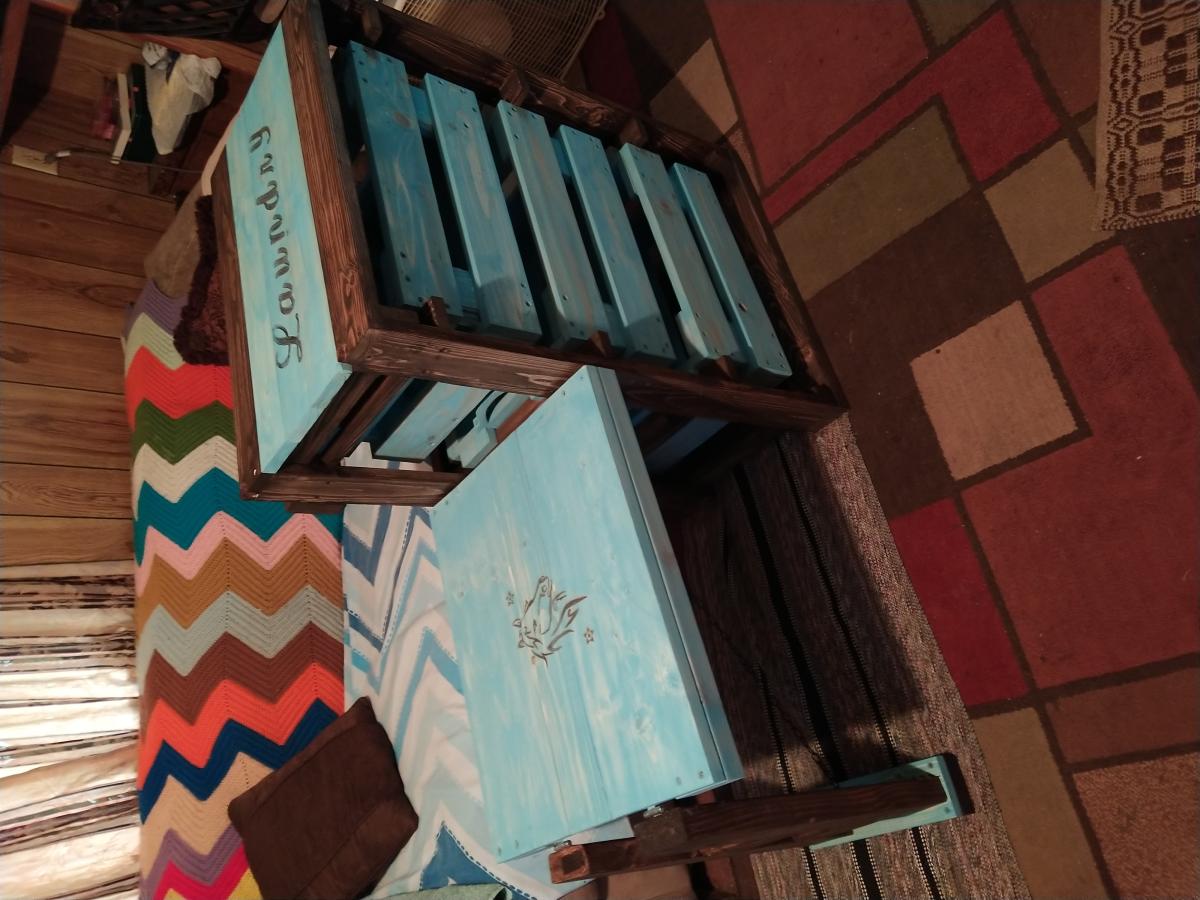
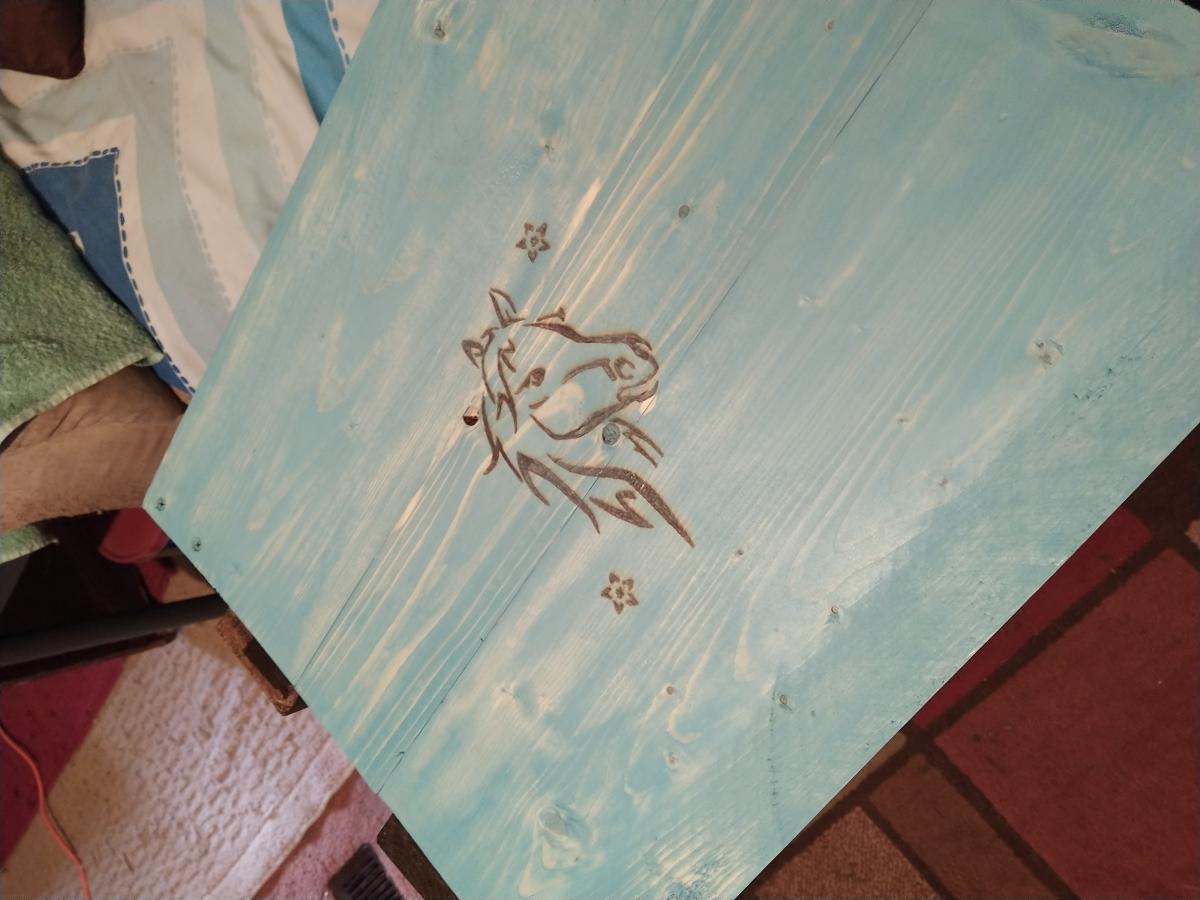
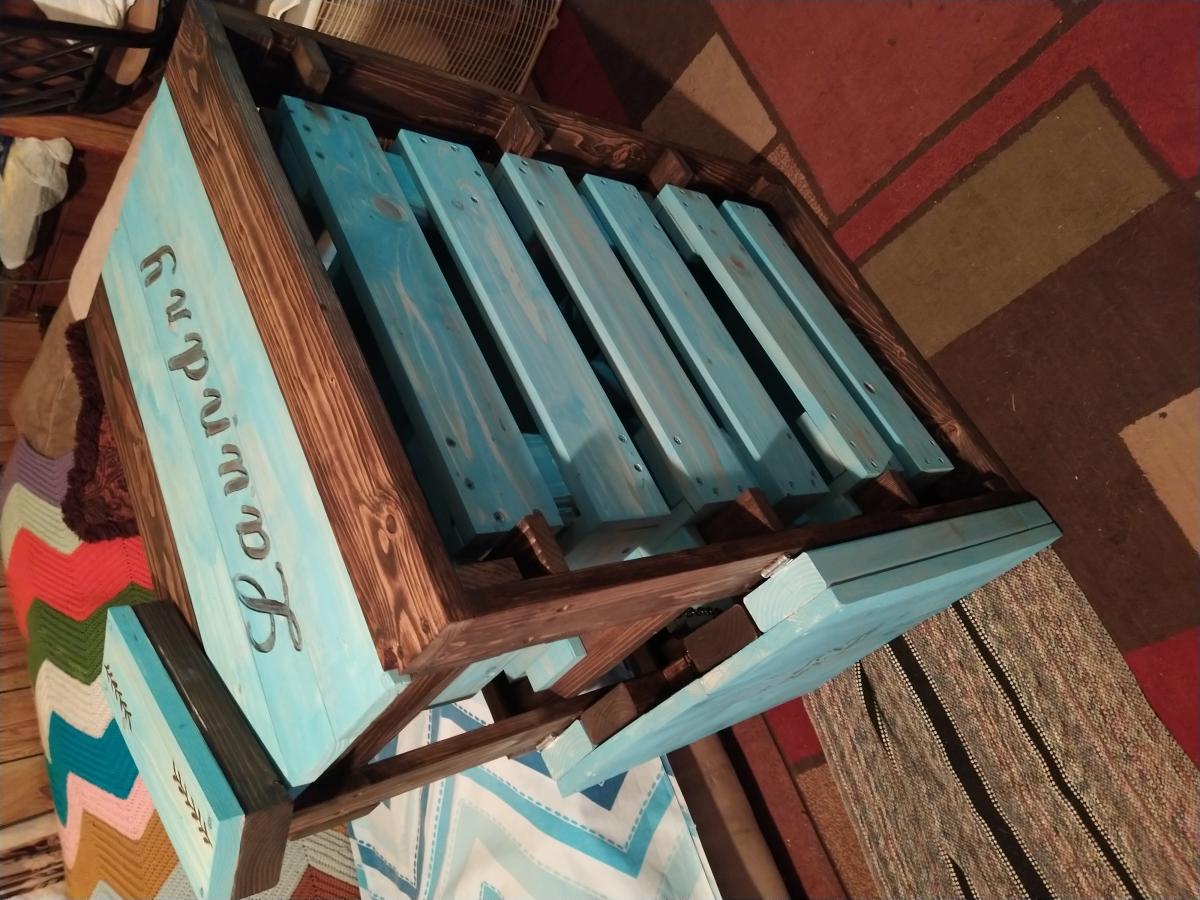
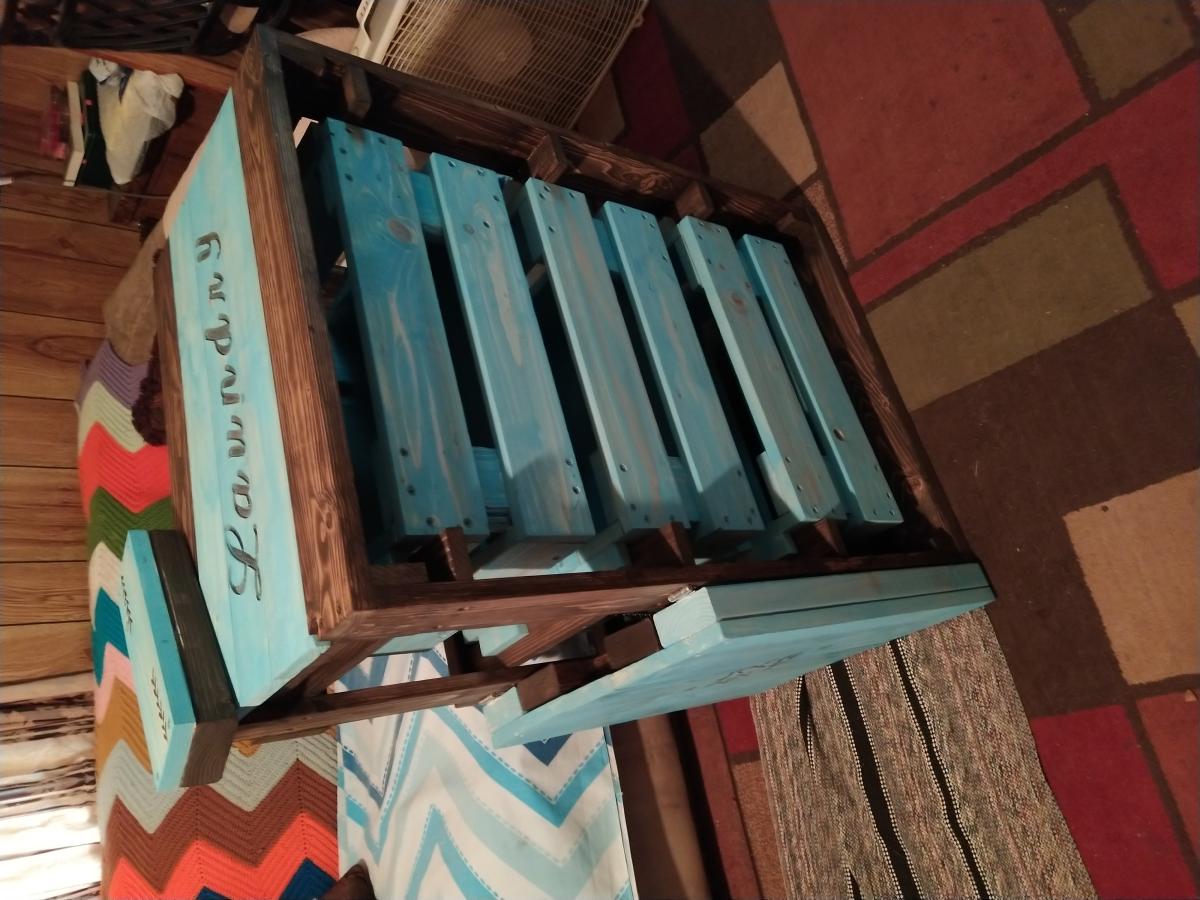
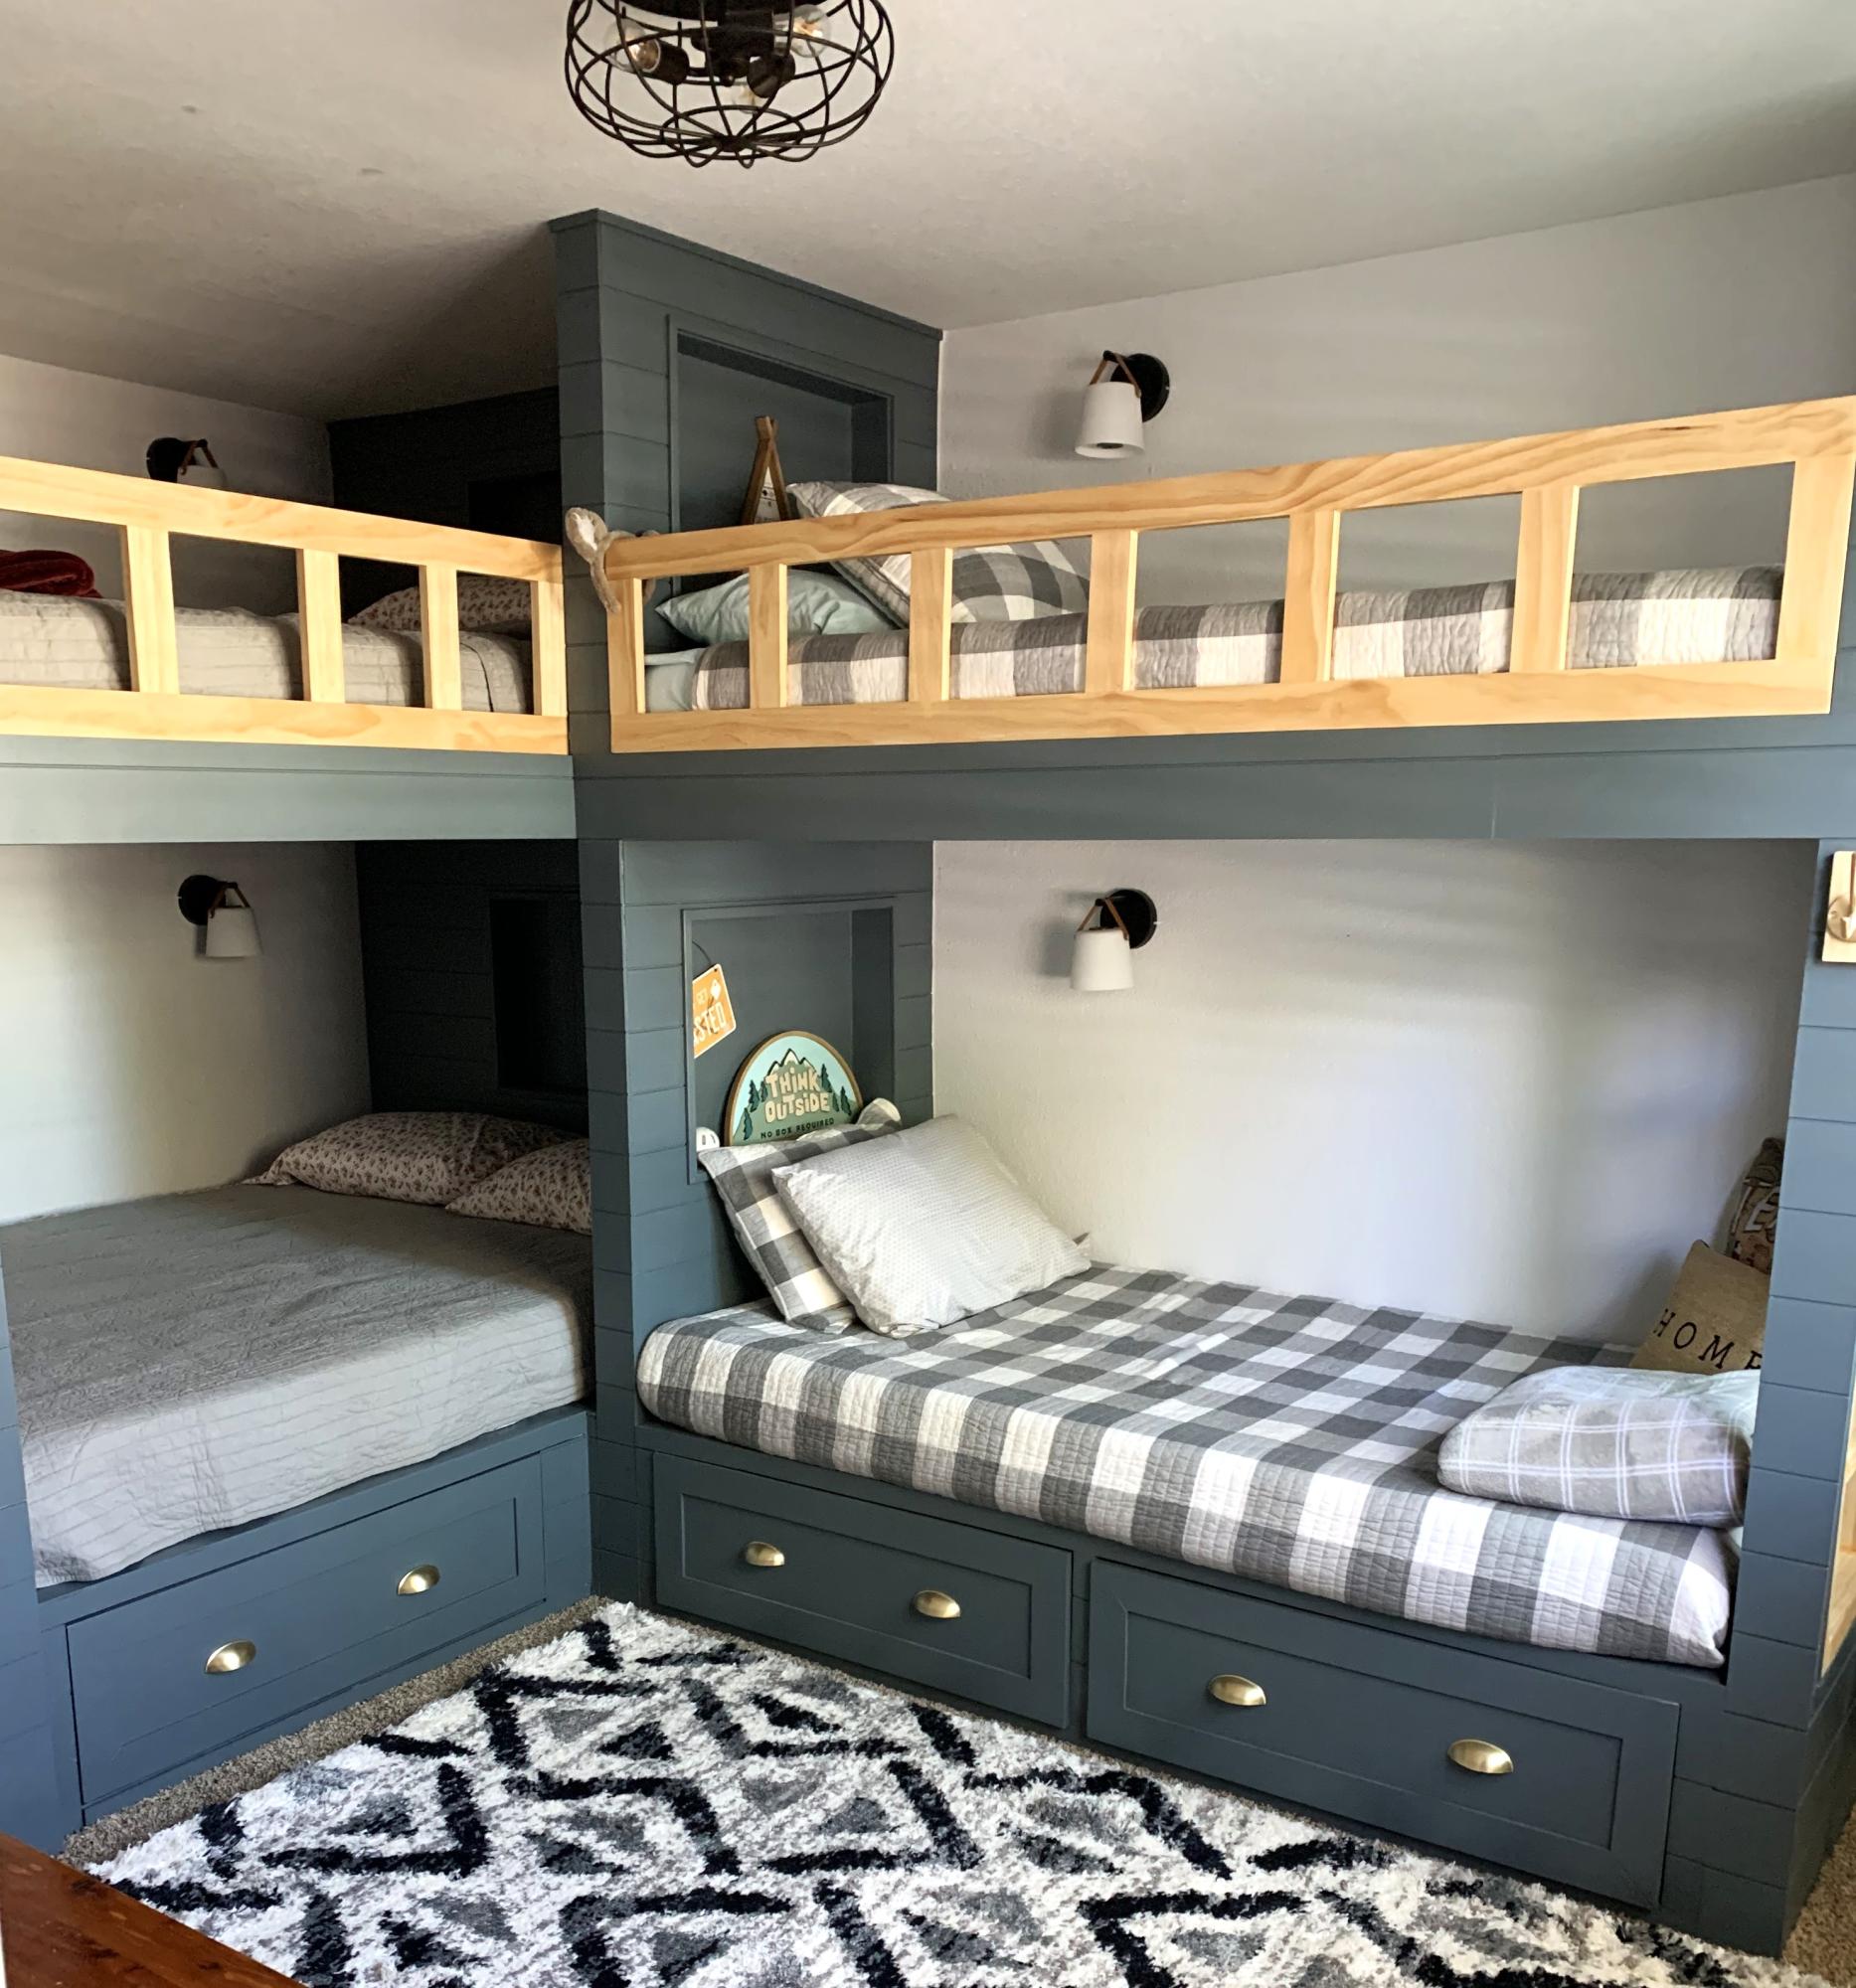
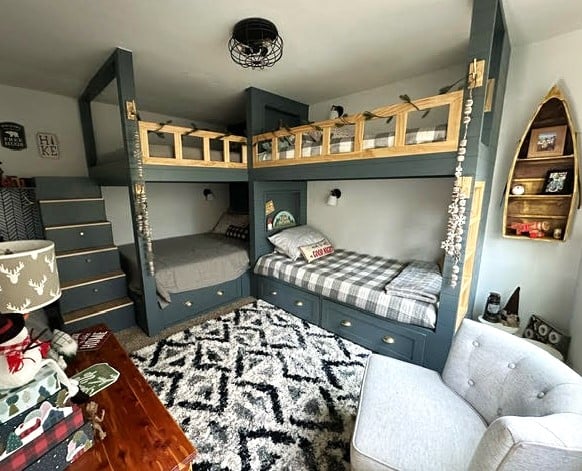
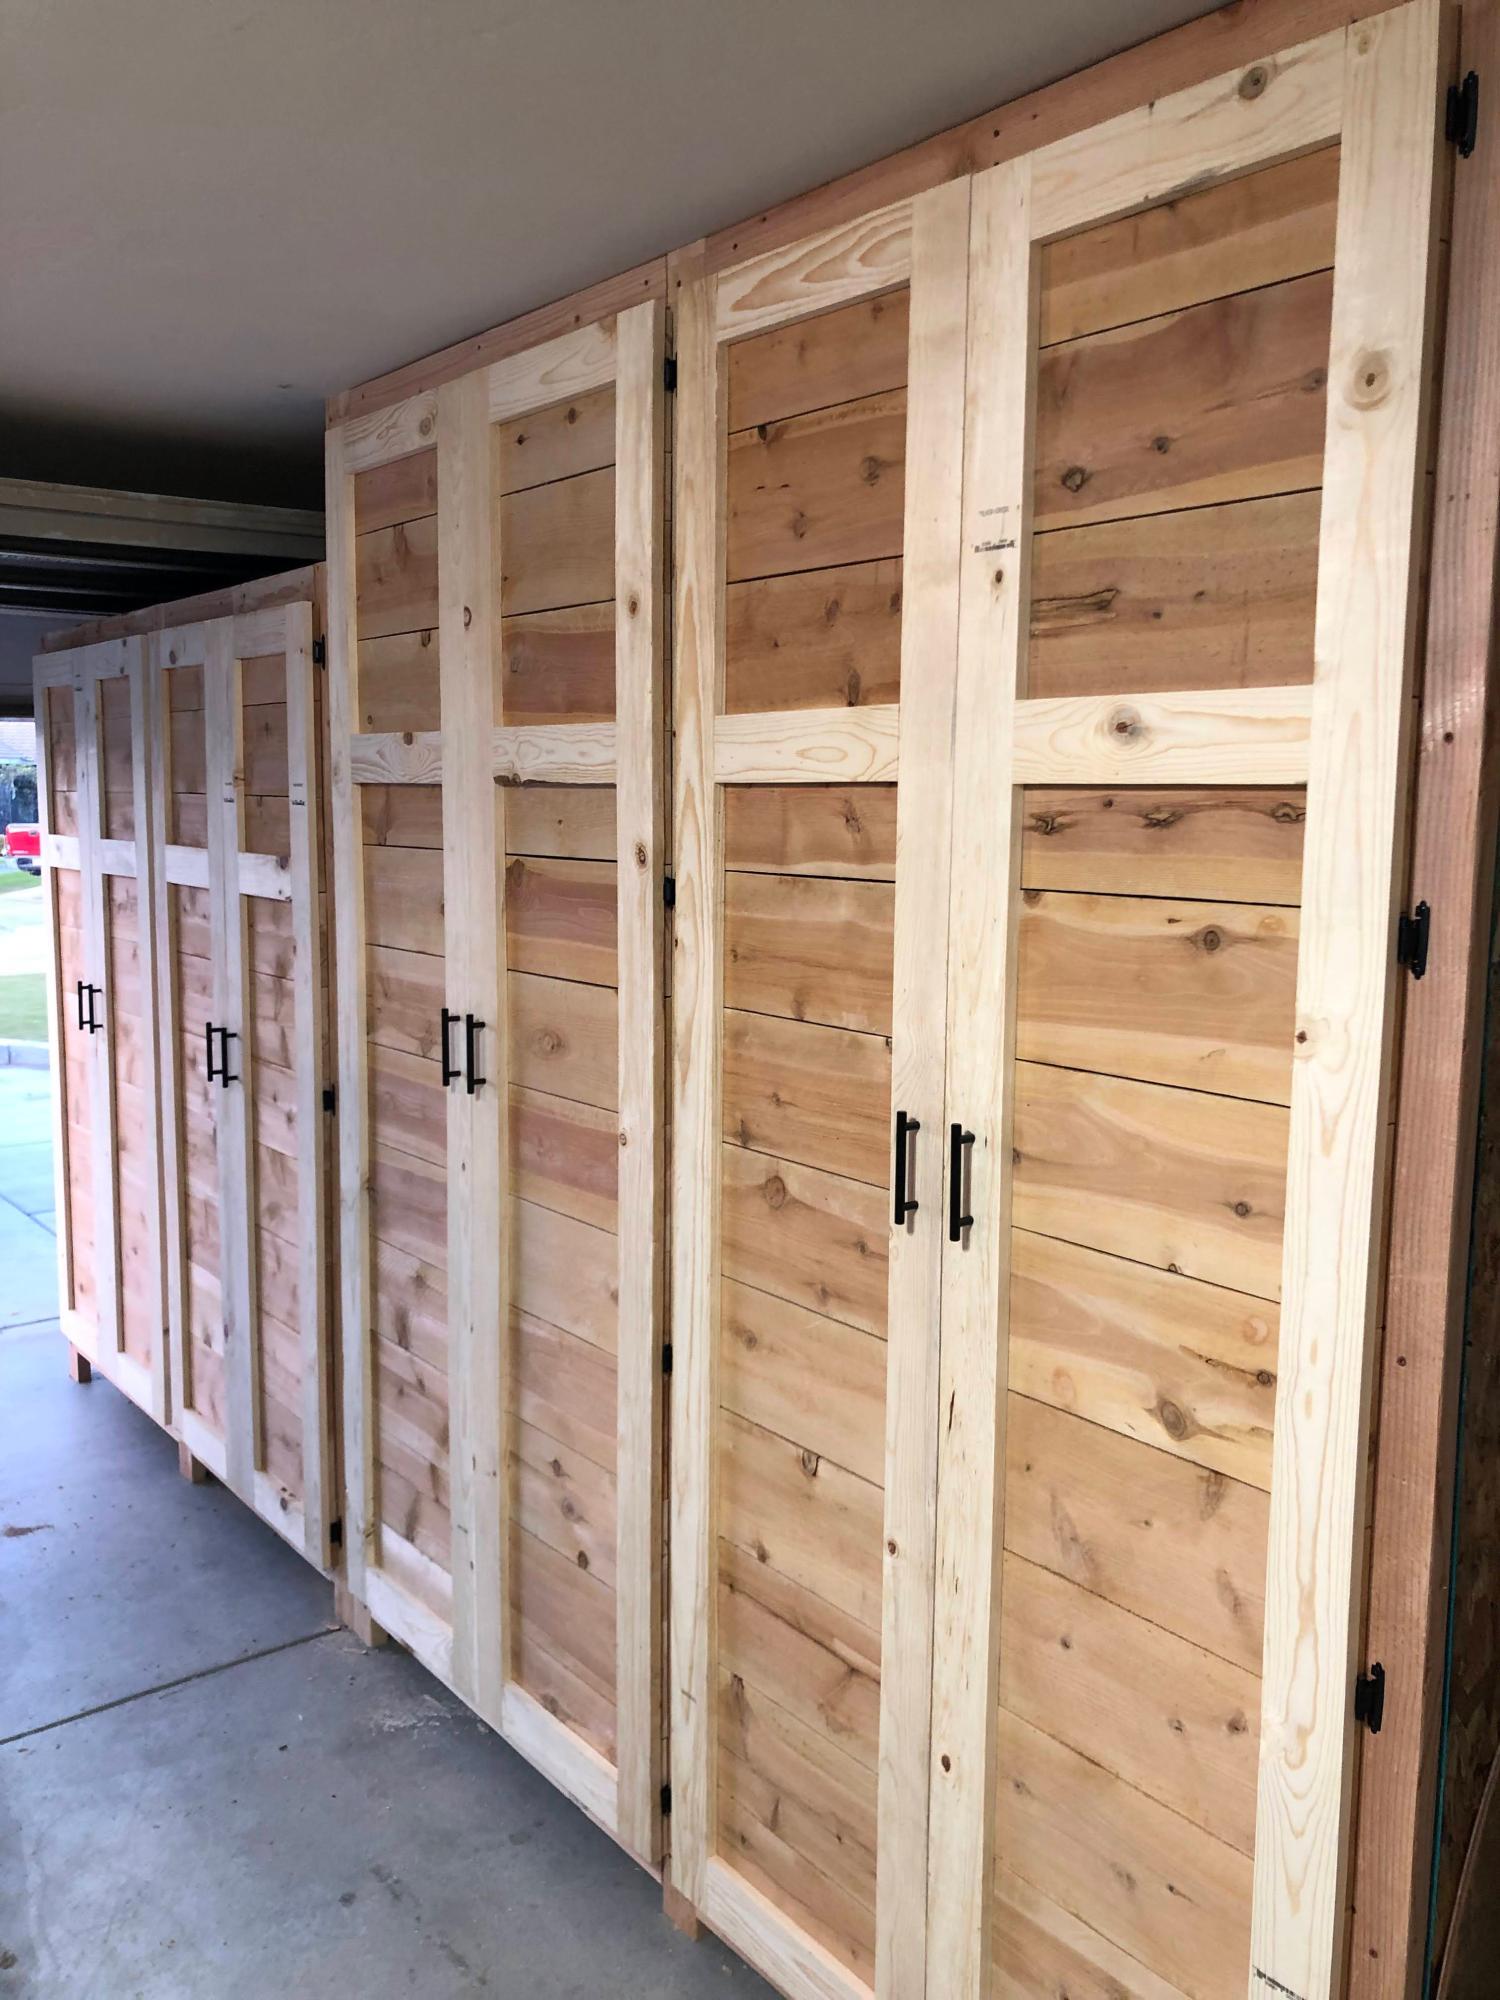
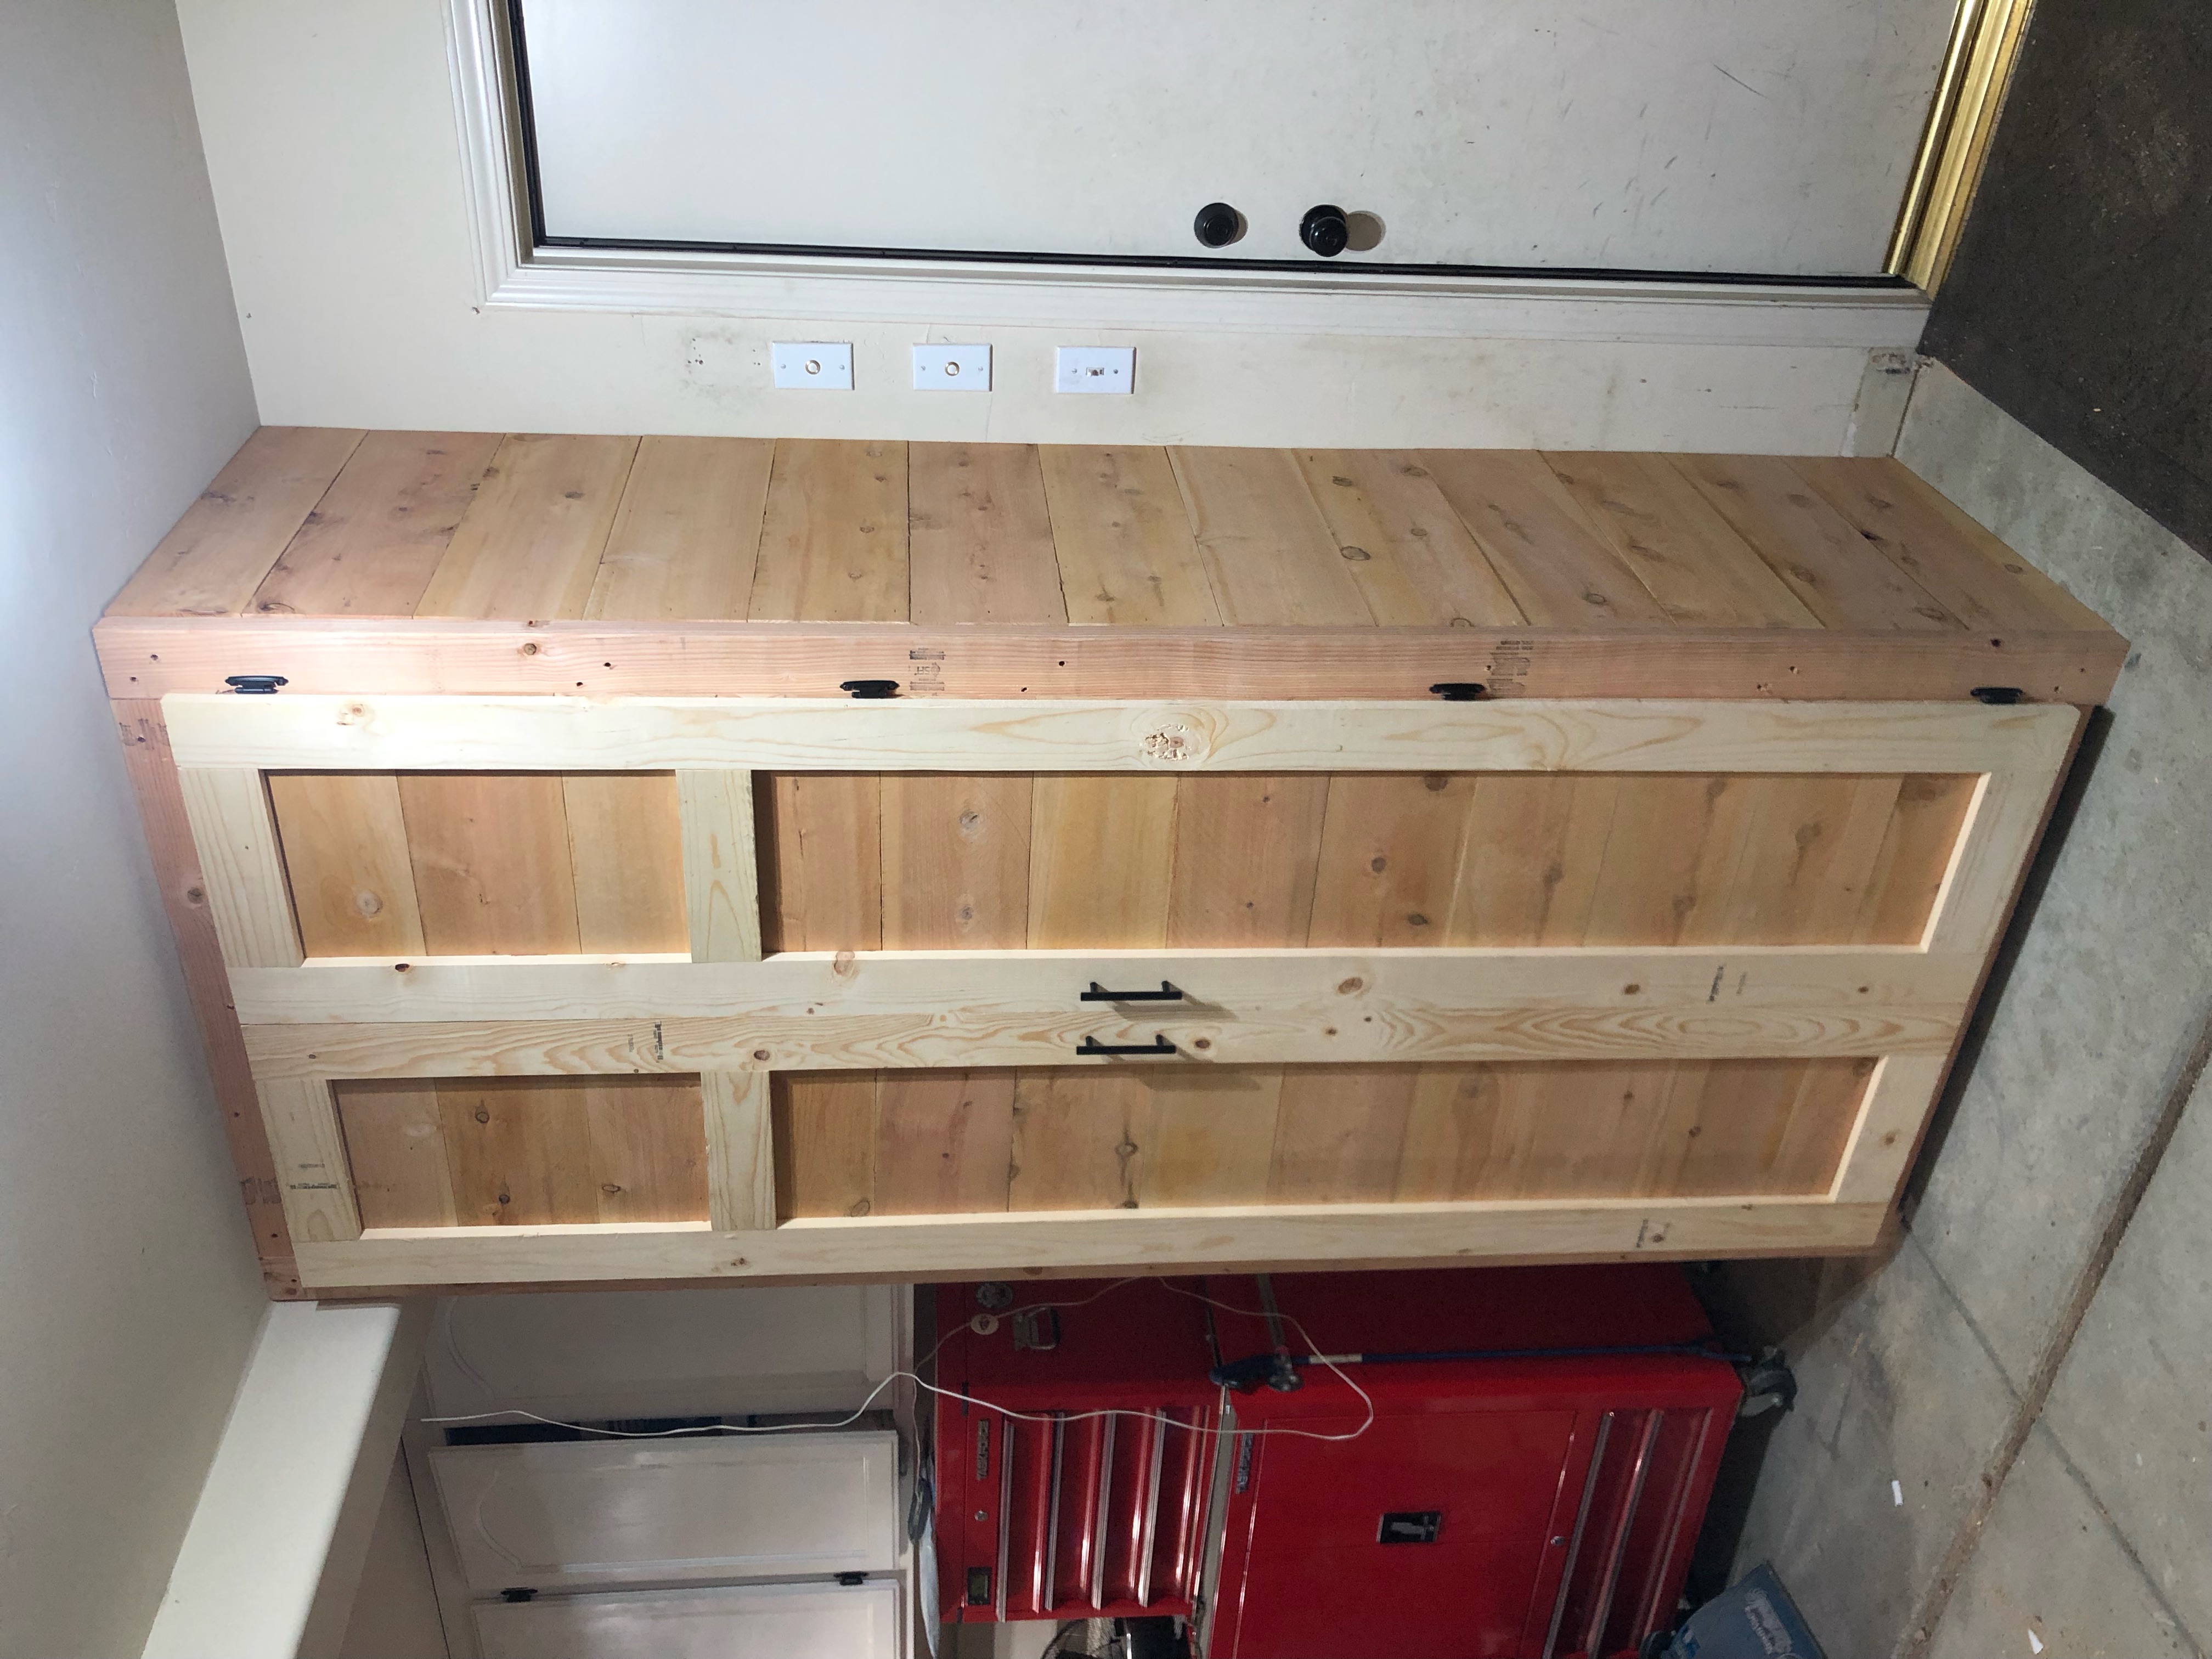
Twin storage bed, but with extra storage!

Submitted by bdrez33 on Thu, 04/08/2021 - 08:15

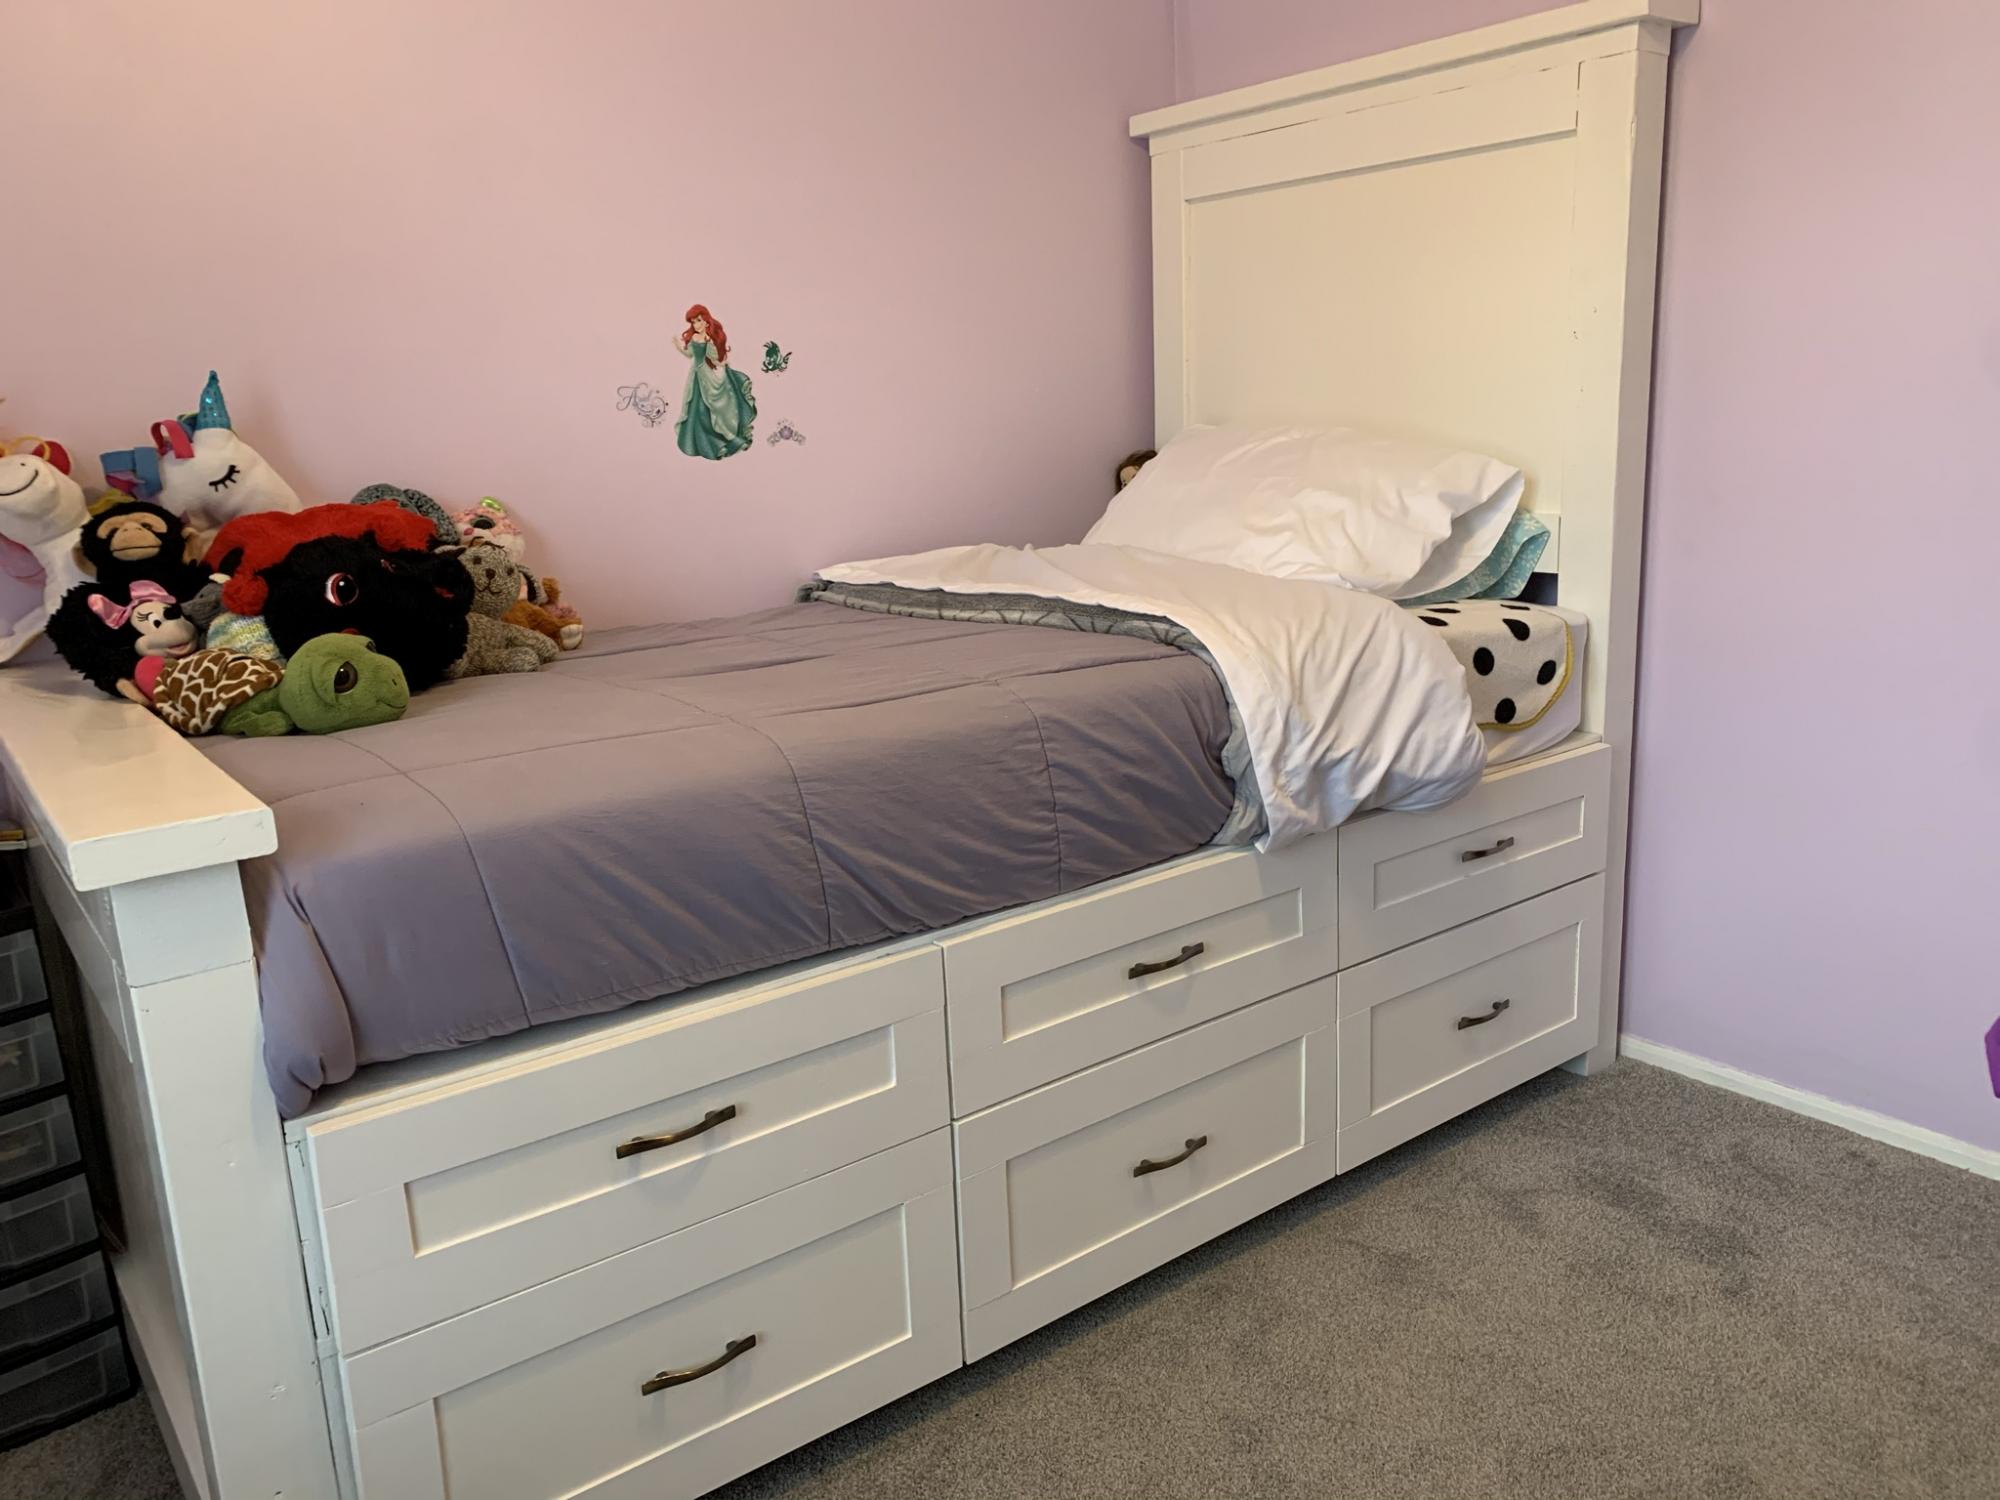
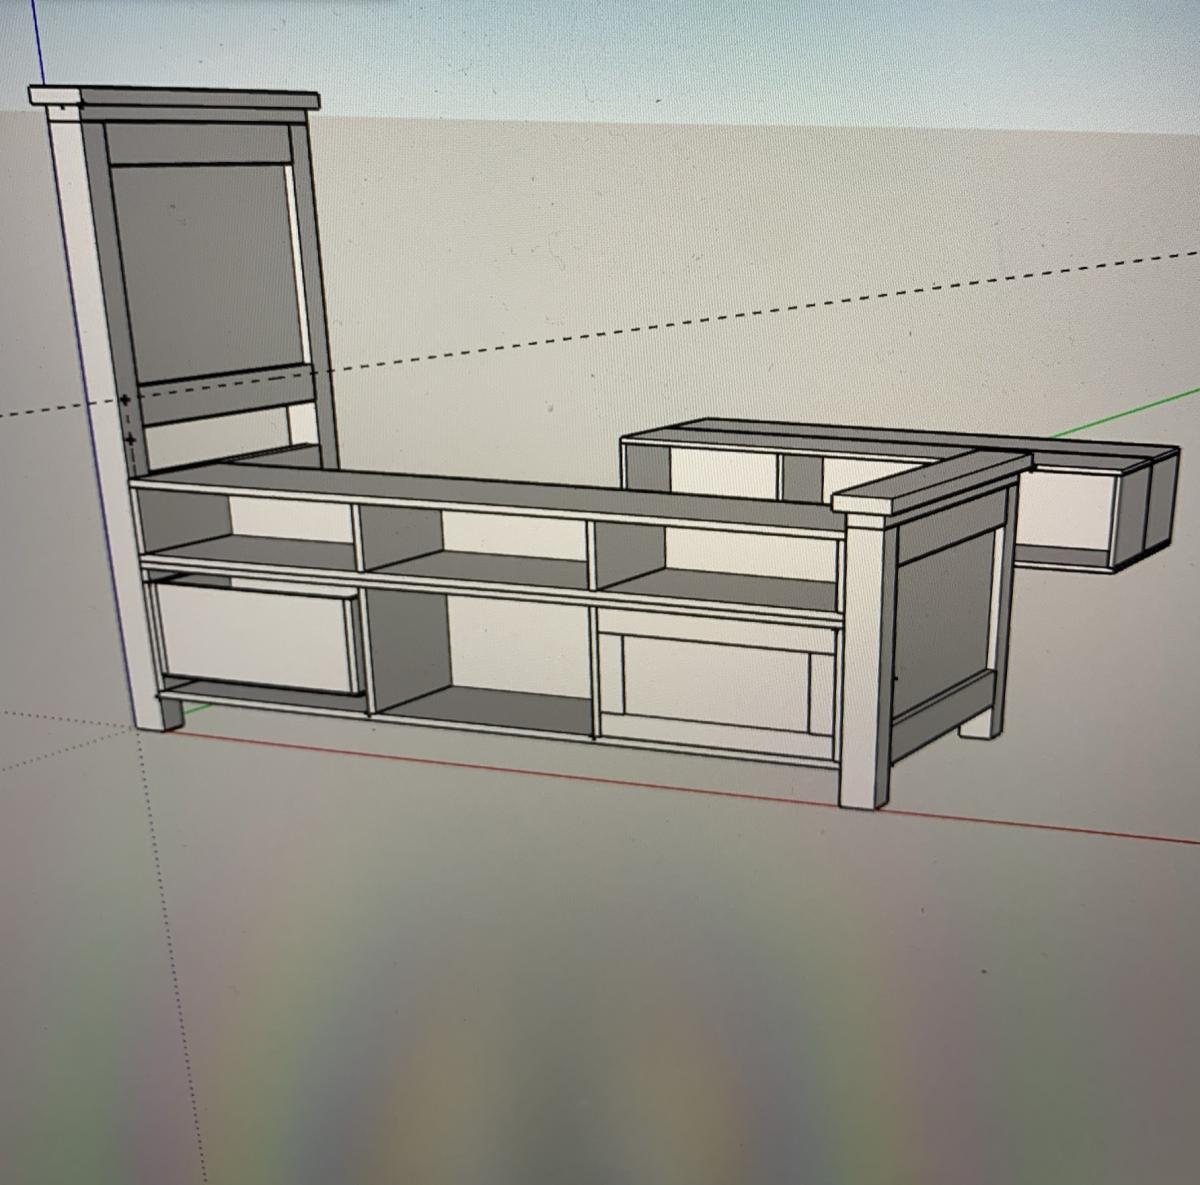
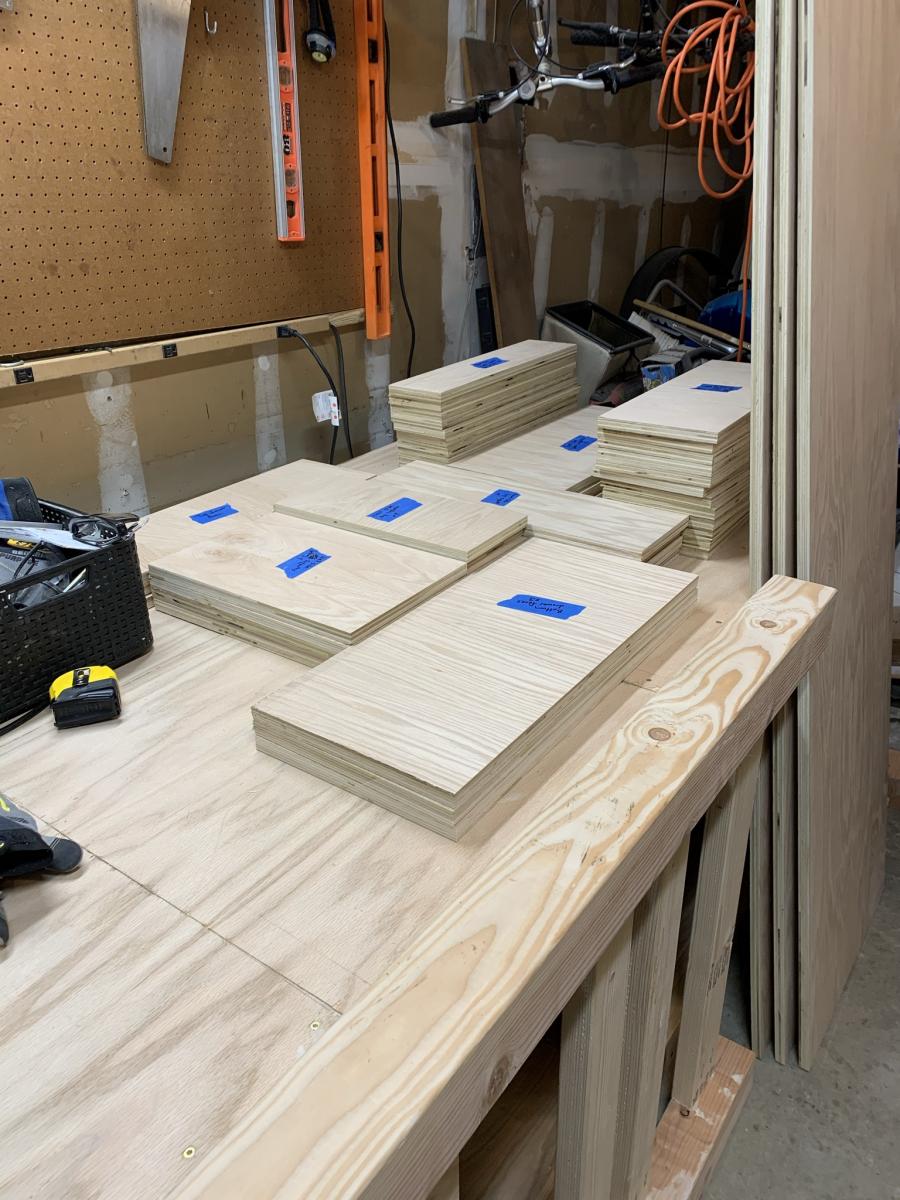
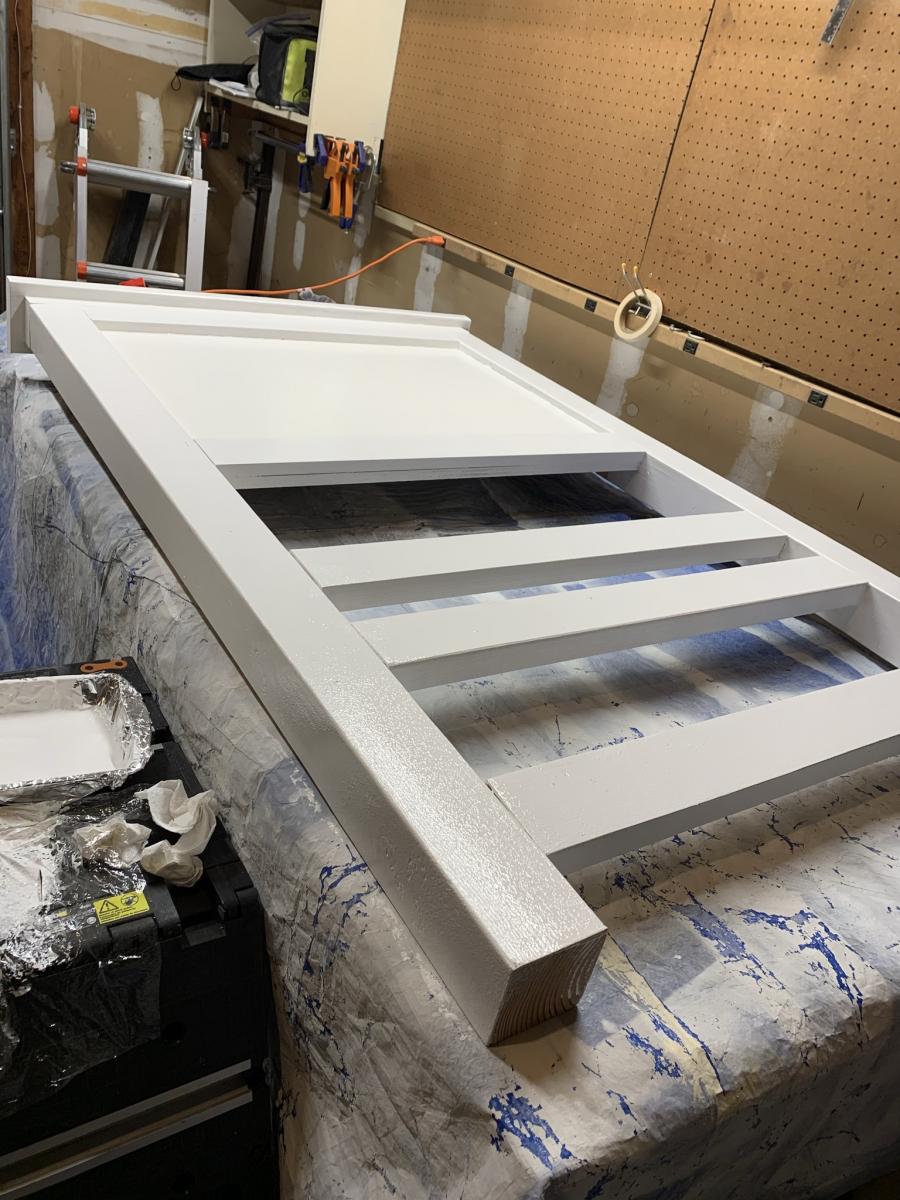
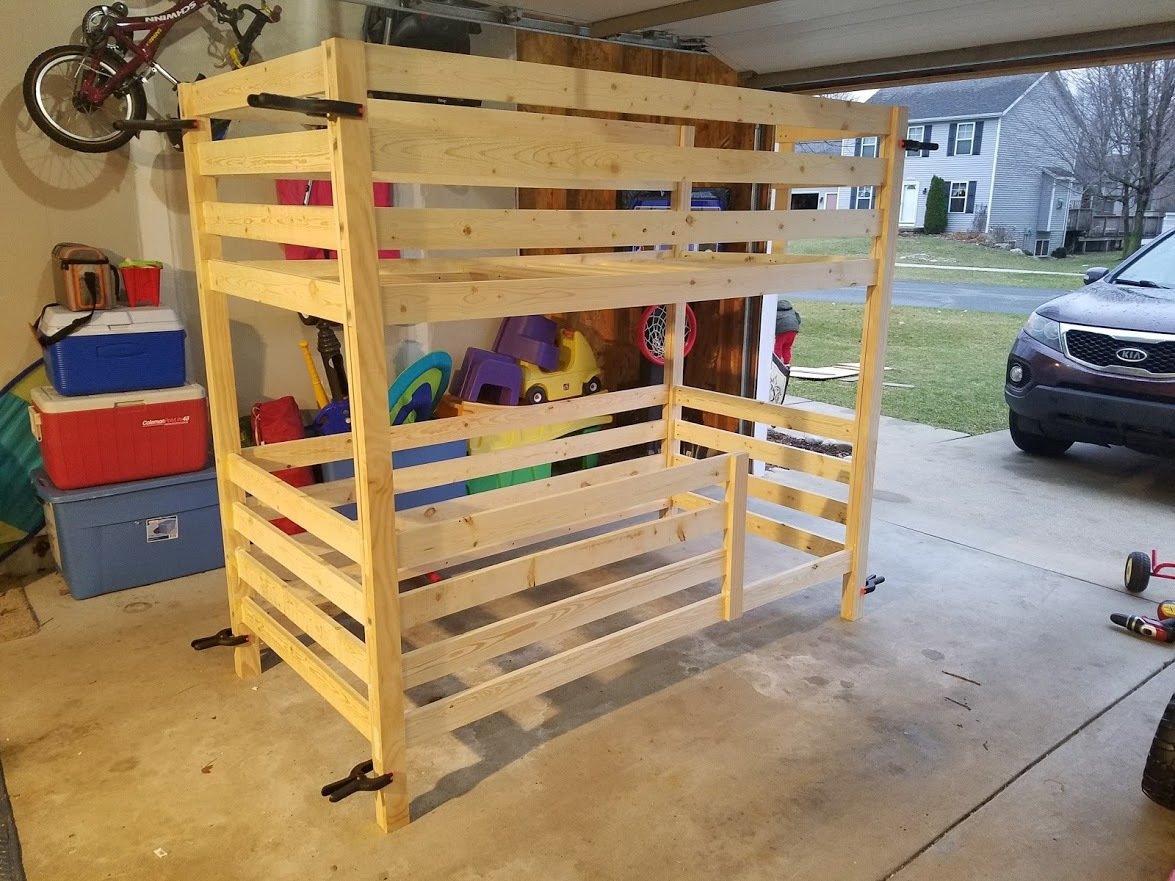
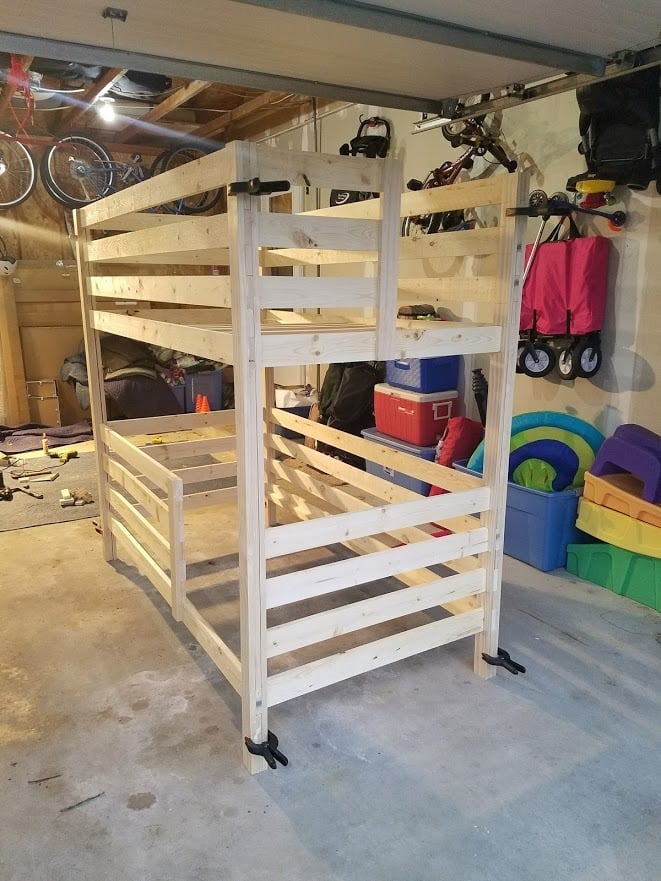
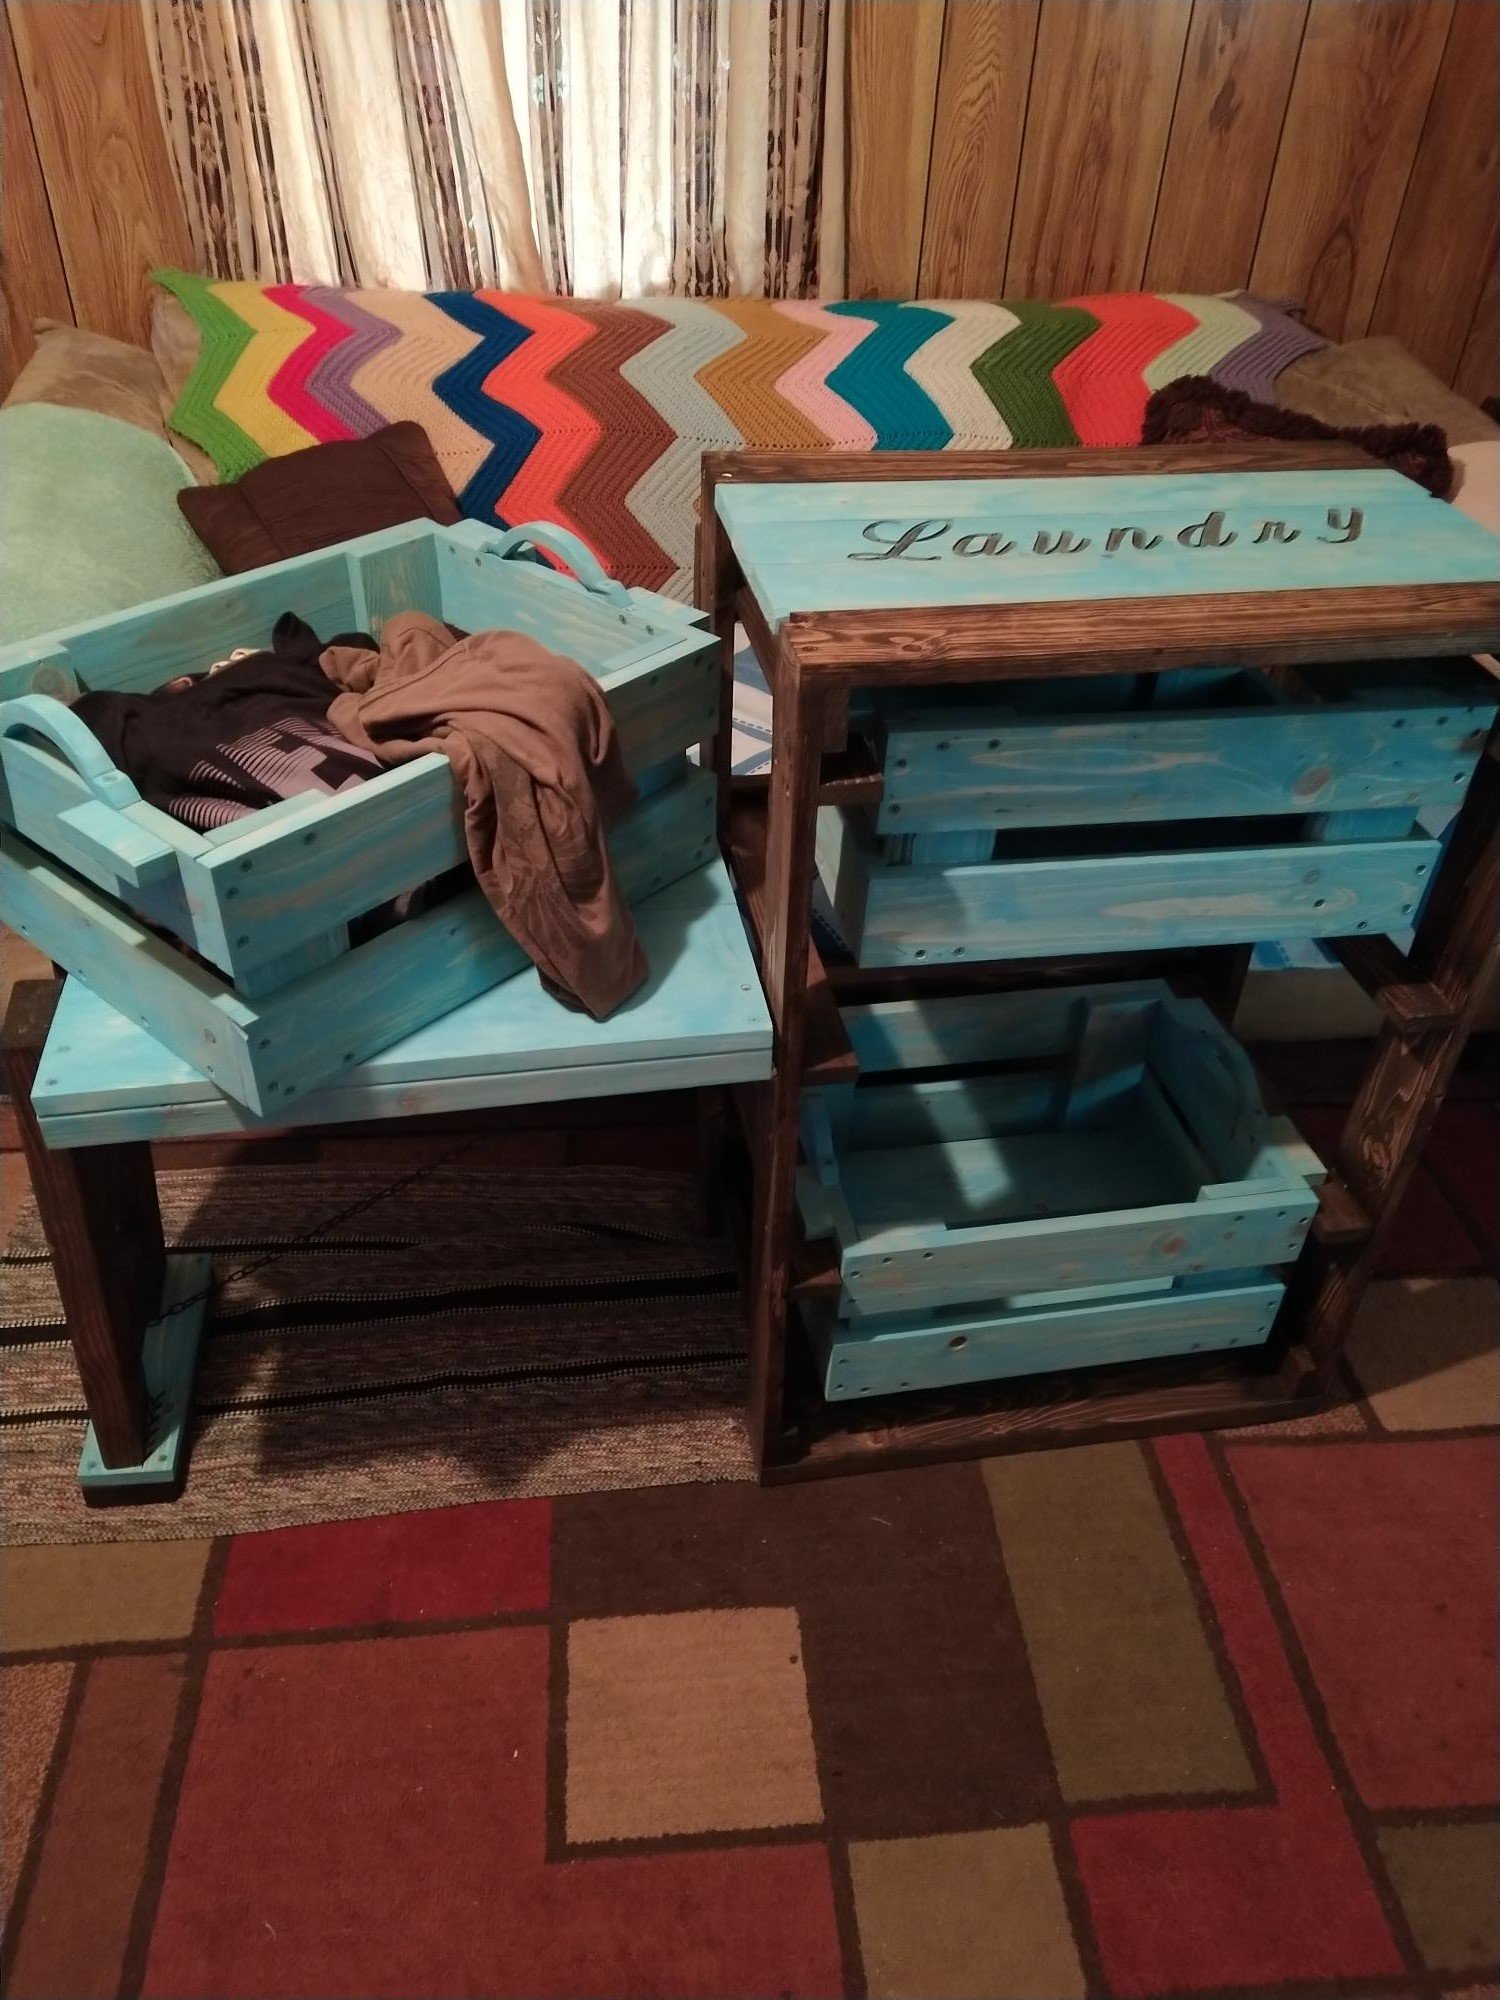
I just finished this bed and wanted to thank Ana White for the plans and directions. I didn’t understand the purpose of the gap between the storage cabinets so I extended the drawers making them deeper. This makes more sense to me rather than having dead space under the mattress. Who couldn’t use more storage?!? I also decided to make a second layer of drawers, so the bed is raised much higher. It was a bit of a challenge, but using the plans from Ana and SketchUp helped me plan. The bed looks amazing and my 6 year old loves the space she has not without a dresser in the room. Thanks, again!

Estimated Cost
$450
Estimated Time Investment
Week Long Project (20 Hours or More)
Finish Used
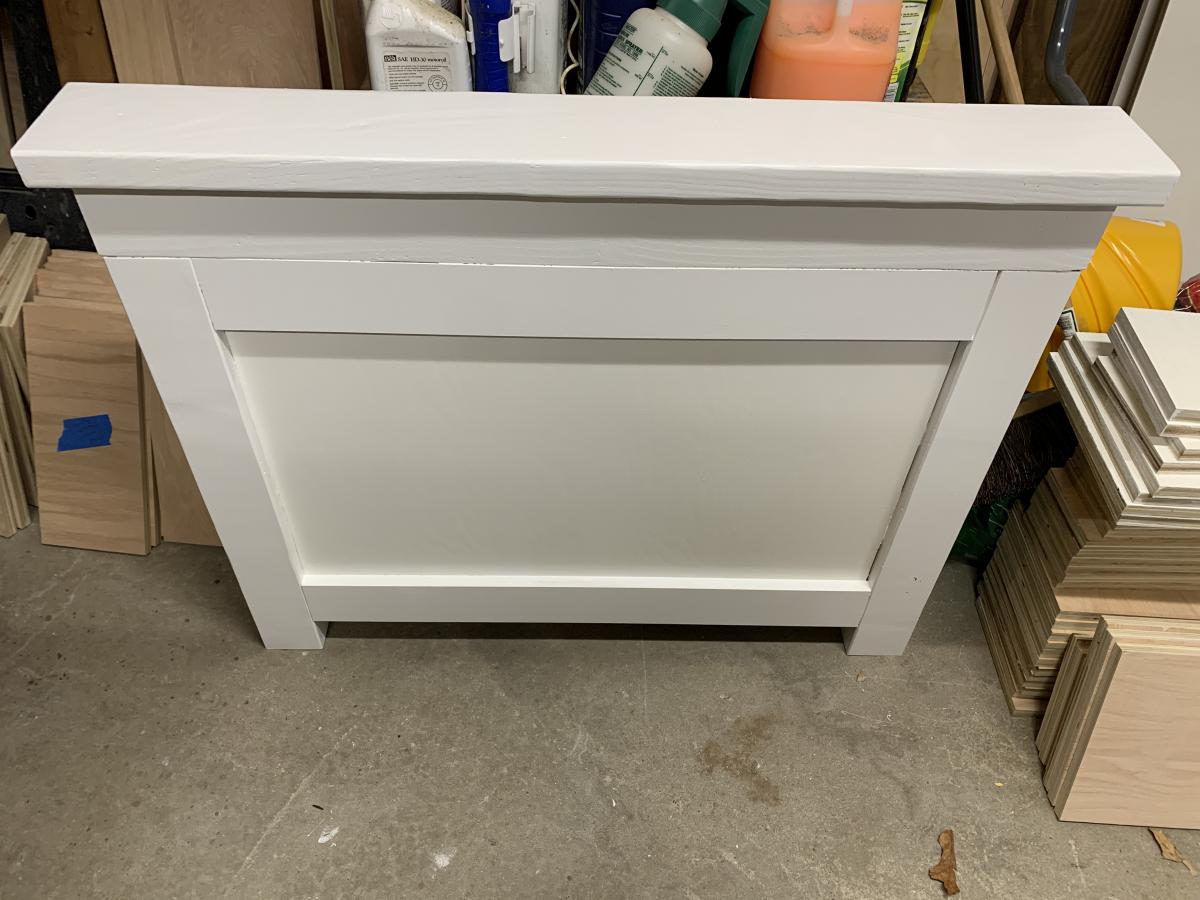
Semi-gloss white paint
Recommended Skill Level
Advanced

Comments

Classic Bunk Beds Re-Imagined With Stairs

Submitted by edeboode on Mon, 04/03/2017 - 07:57

I modified the plans for the Classic Bunk beds by making them 74" tall instead of 63" and added a fourth slat all the way around to add more protection from potential falls.  I created one opening in the front for my youngest to get into the bottom bunk, and built slats about 2/3's across the front to act as a gaurd rail. I created another opening on the side for my oldest to get into the top bunk with stairs instead of ladders to again prevent falls.  I had to modify the Sweet Pea stairs to accomodate for the extra height in the bunk beds, simplified the railings, and I created each cubby to be big enough to use cloth storage totes that were 11x11x11.  Sanded the whole bed and stairs so the corners and edges were all rounded and smooth, and put two coats of white Deck and Porch paint to stand up to the the boys running up and down.  I used brackets to secure the stairs to the bed, and sixteen 3" bolts to bind the bed together.  Precut and drilled 17 slats for each bed seperated them 2" apart.  Spent a few hours every night during the week measuring, cutting, glueing, drilling and assembling the bed and stairs.  Spent an entire weekend sanding and painting.  Very happy with the way these beds turned out.  Overall cost of the project including the paint was around $400.  

Estimated Cost
$400
Estimated Time Investment
Week Long Project (20 Hours or More)
Finish Used
Porch and Deck Paint
Recommended Skill Level
Beginner

Comments

8 foot long truss style farm bench

Submitted by Bigherd on Wed, 04/21/2021 - 05:01

I had a friend that loved the 48" long truss style farm bench. However, she wanted one 8' long. I modified the "2X4 Truss Style Farm Bench" and came up with this design. As you can see, she want a very specific stain color combination.

Built from Plan(s)
Estimated Cost
$80
Estimated Time Investment
Week Long Project (20 Hours or More)
Finish Used
stains and Minwax Polycrylic
Recommended Skill Level
Beginner

Comments

Custom Pallet Laundry Basket!!!

Submitted by Anonymous (not verified) on Fri, 04/15/2022 - 15:43

I told the love of my life about how Ana had a really cool laundry basket shelf, and asked her if she wanted one. Of course she said yes, so I made her one! I added a few twists to mine as you can tell, but the actual shelf itself is completely from her design!

Comments

Barbecue/BBQ Quick Built-in

This was just a standard BBQ with an attached folding table. I used a combo of Ana's plans to add a little character and style to the BBQ and it made a huge difference in not only the BBQ, but also the backyard. 

Estimated Time Investment
Weekend Project (10-20 Hours)
Finish Used
Golden Oak
Recommended Skill Level
Beginner

Comments

mdwstgrl

Mon, 05/23/2016 - 12:29

Hello:  Very interested in which plans you used to build the BBQ Built In. Thank you.

I used the corrugated polycarbonate to cover the greenhouse I made from a chalet style Sun Country Greenhouse Plans. Thanks for the idea.

Submitted by Anonymous (not verified) on Sat, 03/09/2019 - 06:34

I saw the barn shaped greenhouse plan but preferred a regular roof pitch. I did however incorporate the corrugated polycarbionate as a covering. I find it odd that you guys installed the polycarbonate horizonitally instead of vertically.

Anyway thanks for the info on polycarbonate.

Built from Plan(s)
Estimated Cost
Using cedar framing... 9 x 16' @ $3000 +/-
Estimated Time Investment
Week Long Project (20 Hours or More)
Finish Used
Behr
Recommended Skill Level
Intermediate

Comments

hauxy

Tue, 09/01/2020 - 17:47

Love this! I really prefer the roofline on your greenhouse. Did you modify Ana's design, or did you get plans from another site? Would love to replicate your design if possible-very elegant.

Seasonal And Holiday

Butcher Block Modern Box Frame Coffee Table and Console Table

While staging my most recent flip house, I needed some accent tables for the living room.  I picked up a butcherblock countertop at IKEA, then created two end tables and 1 coffee table.  I loved Ana's simple design, and I thought it was a great balance to the warm butcherblock top.  Thank you Ana for a great plan as always!

Estimated Cost
<$100 for all 3 tables! The countertop cost $75.
Estimated Time Investment
Afternoon Project (3-6 Hours)
Finish Used
White semigloss on leg frames
Recommended Skill Level
Beginner

Comments

Console Table

Submitted by kcragun on Sat, 08/16/2014 - 21:36

The Tryde Console table was the inspiration piece. Used kreg jig to join the top boards and connect the legs and aprons. The bottom stretchers were similar to the Farmhouse table plans. I plan on using this outside for a grilling table. I am not going to apply a finish - I want to see how the wood changes when exposed to the elements - hopefully it gets a nice Restoration Hardware-type finish.

Estimated Time Investment
Weekend Project (10-20 Hours)
Finish Used
No finish
Recommended Skill Level
Intermediate

Rustic Outdoor Chairs

Submitted by Anonymous (not verified) on Mon, 03/04/2024 - 11:53

Seen these plans a couple years ago and finally have gotten around to making a set. This was a fun and really easy to follow set of instructions and I think they turned out really nice.

Jeff, with LaBrie Family Woodworking LLC

Seasonal And Holiday

Screen door with built in dog door

Our old screen door wasn't cutting it anymore, so I built a new one, and to kill two birds with one stone, I included a built-in dog door. Now I just need to find the motivation to close off the old dog door.

I have the plans to build this screen door with a built-in dog door posted via the blog link below for anyone interested.

Estimated Cost
80
Estimated Time Investment
Afternoon Project (3-6 Hours)
Finish Used
white exterior paint
Recommended Skill Level
Intermediate

DIY twin bed

Submitted by Anonymous (not verified) on Fri, 02/01/2019 - 01:04

Fun and easy. Bed is extremely sturdy. I used pocket screws for all four corner connections.

Built from Plan(s)
Estimated Cost
$125ish.
Estimated Time Investment
Weekend Project (10-20 Hours)
Finish Used
Varathame early American stain, with clear satin poly.
Recommended Skill Level
Beginner

Pantry Door Spice Rack

Submitted by HR Dad on Wed, 09/02/2020 - 18:11

First I had to flip the pantry door from opening into my small pantry to opening out. Doing this allowed me to utilize back of the door for this spice rack. Frees up quite a bit of space in our cabinets, drawers and pantry for other items. Substituted braided picture frame wire for the wood dowels; still keeps all items secure on the shelves but also allows for more flexibility when dealing with canister sizes that are very close to the amount of space in between shelves. Already had the paint from doing some baseboards as well as quarter inch ply. So, final cost was for 1x4's and 1x6's coming out to about $30

Built from Plan(s)
Estimated Cost
$30.00.
Estimated Time Investment
Weekend Project (10-20 Hours)
Finish Used
Equal parts Behr Premium Plus Semi-gloss interior and Minwax Polycrylic Clear Satin
Recommended Skill Level
Beginner

Closet shelving for sloped ceiling.

Submitted by kellystern on Mon, 01/09/2023 - 16:22

I used Ana’s Shelf Help Configurator to build these shelves for a deeply sloped ceiling. None of those well known Closet Organizer Companies could come up with a decent plan for this closet and they charge a small fortune.

Comments

IKEA Hack 6" Tray Cabinet

Submitted by Matty3481 on Thu, 01/07/2016 - 16:30

I'm happy to share with everyone my IKEA hack 6" tray cabinet.

I found a 24" cabinet box in IKEA's As-Is section and took it home for half price ($23)!  I would have preferred plywood, but my table saw is a little small and cutting large sheets of plywood is a little scary.  When I deconstructed the cabinet, it sustained some damage (as its particleboard), so if you try this at home, be careful!  I ended up changing the depth to 22" in order to cut off the damaged piece, but that shouldnt be noticeable with average trays and cutting boards.  

I used Ana's 6" tray cabinet plan and modified the dimensions a little for my planned space.  It still needs the back, face frame and door (which will be a replacement drawer front from the cabinet manufacturer).  I plan on building the face frame at the time the cabinets are installed, since this will go in between the 36" corner easy-reach and the 36" sink base.  Once its done, I'll post updated pics!

Estimated Cost
$30 (cabinet and an aluminum straight edge tool to help me cut straight lines with my Dremel).
Estimated Time Investment
Afternoon Project (3-6 Hours)
Finish Used
Face frame will be painted to match factory cabinets
Recommended Skill Level
Intermediate

Just a beginner! Second Project

Submitted by Rifka on Tue, 06/21/2016 - 18:35

Great first project!

Built from Plan(s)
Estimated Cost
$20
Estimated Time Investment
Afternoon Project (3-6 Hours)
Finish Used
Annie Sloan chalk paint with clear wax.
Works great for outside too.
Recommended Skill Level
Beginner

Big Boy Toddler Loft Bed!

You can see the final project here: http://crabandfish.blogspot.com/2012/10/lil-archers-bed-its-done-its-do…

It was time for our son to move to a big-boy bed! We looked at tons of plans, but none were quite what I wanted. In the end, fish modified plans for Ana White's Camp Loft Bed with Stair. We wanted to make it a bit shorter because we only have 8' ceilings and there is a ceiling fan in the room. We spent about $80 for the lumber and invested in a kreg jig as well. The bed is stained with Minwax Golden Oak. We bought a 10" deep twin-sized foam mattress for the bed - if you are adding a coil mattress and boxspring, the bedside rails would definitely need to be higher.

Our son LOVES it! He is almost three and is easily able to navigate the stairs, which I don't believe will become too "baby-ish" as he grows older. If they do, the steps can easily be removed from the frame without losing structural integrity.

The underbed area has a great "cool" factor - we hang blankets to create forts, and it has become a place our son gravitates to for reading, playing, anything!

Estimated Cost
$100 for lumber and stain. Also invested in kreg jig.
Estimated Time Investment
Week Long Project (20 Hours or More)
Finish Used
Minwax Golden Oak
Recommended Skill Level
Beginner

Comments

Back