Community Brag Posts

DIY Greenhouse Project -Added elevated raised beds & temp/humidity control

Submitted by Anonymous (not verified) on Sun, 07/05/2020 - 09:09

We loved this greenhouse plan from AnaWhite and wanted to be able to grow in 3 seasons so we modified the design to include humidity & temperature control & 18" deep elevated cedar beds inside with 4x4 posts for support and trellis option. We added electricity in order to have a lighted workspace and the ability to put in a circulating fan to control mold and fungus. We added 2 work tables (2x2') on the inside of the door left and right side door in order to do seed trays & store supplies. This was a wonderful project for my husband and my plants inside are doing incredibly well compared to my outside garden beds here in zone 5. Products used:

Foundation
We had a landscape company come and scape/dig a platform and then fill/compact with crushed rock
My husband then used rebar driven into a 4x4 frame in order to secure the frame to the ground and create a base upon which to build the greenhouse

Active ventilation
AC Infinity Cloudline T8 Inline duct fan
Air king range hood wall cap 8" on the bottom outside of the greenhouse wall for air intake + flex 8" duct to the fan itself
Shelter logic autovent automatic shelter vent kits (1 on each side of the front wall) in order to allow air intake from the bottom back of the greenhouse under the elevated beds to flow to the front of the greenhouse and out
Circulating fan- Hurricane wall mount fan 16" - this fan has 3 speeds with tilt function and small mounting bracket

Soil - sourced 3 yards of 50/50 loam/compost from local landscaping supply
60% loam
30% organic compost
10% organic topsoil + perlite

Soil beds
-cedar frame 2 feet wide along sides, 3 feet wide on the back wall
-galvanized metal roofing with holes drilled into it for drainage
-landscape cloth lined

Built from Plan(s)
Estimated Cost
$2000
Estimated Time Investment
Week Long Project (20 Hours or More)
Finish Used
None
Recommended Skill Level
Intermediate

Comments

bushy99

Wed, 09/09/2020 - 13:09

Thanks for that update! I was wondering how to vent this project, as Green houses need the ventilation. Good to know dollar amount also. Great photos.

bushy99

Wed, 09/09/2020 - 13:09

Thanks for that update! I was wondering how to vent this project, as Green houses need the ventilation. Good to know dollar amount also. Great photos.

bushy99

Wed, 09/09/2020 - 13:09

Thanks for that update! I was wondering how to vent this project, as Green houses need the ventilation. Good to know dollar amount also. Great photos.

Garden Bench!!

Submitted by Nathan1342 on Mon, 08/06/2012 - 12:09

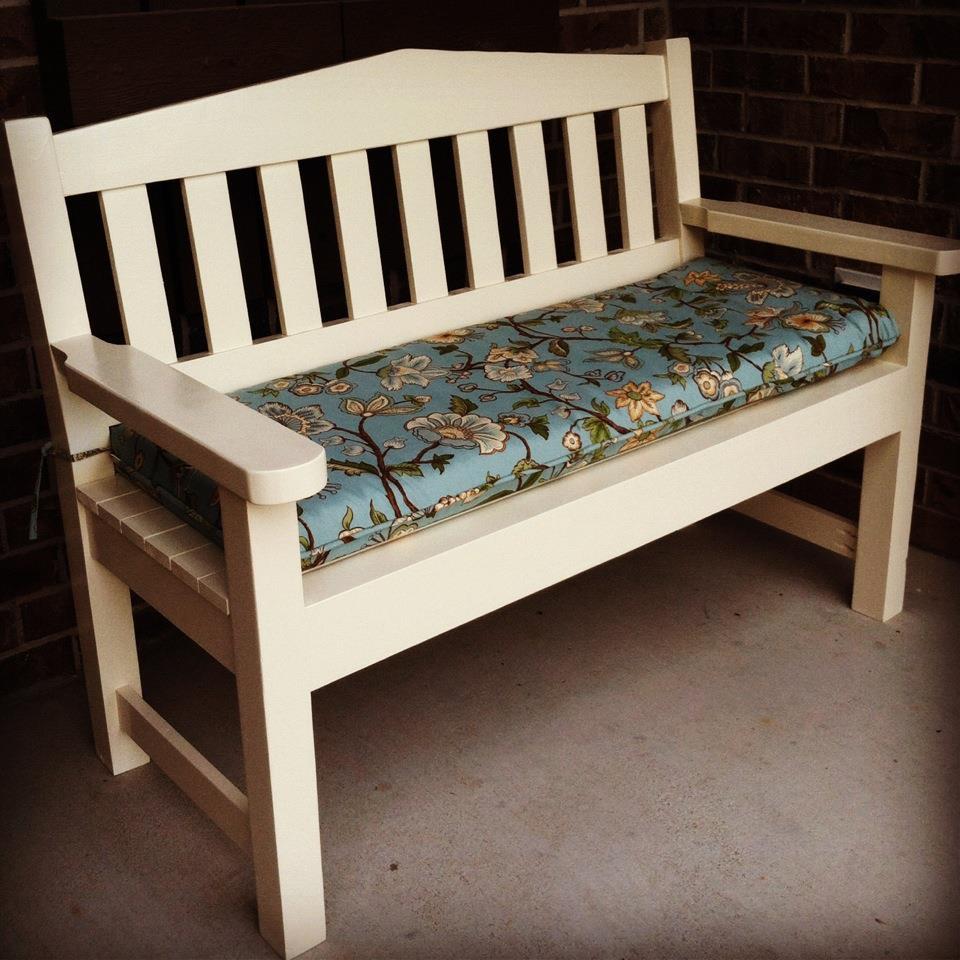
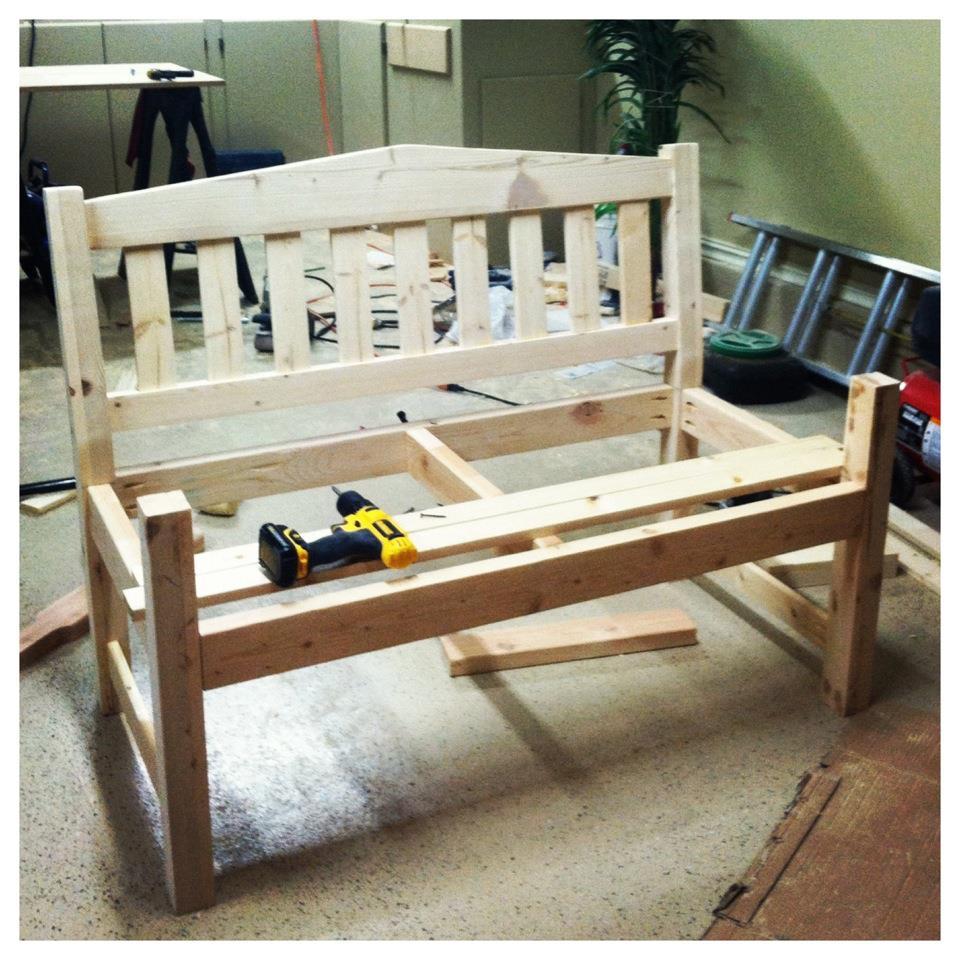
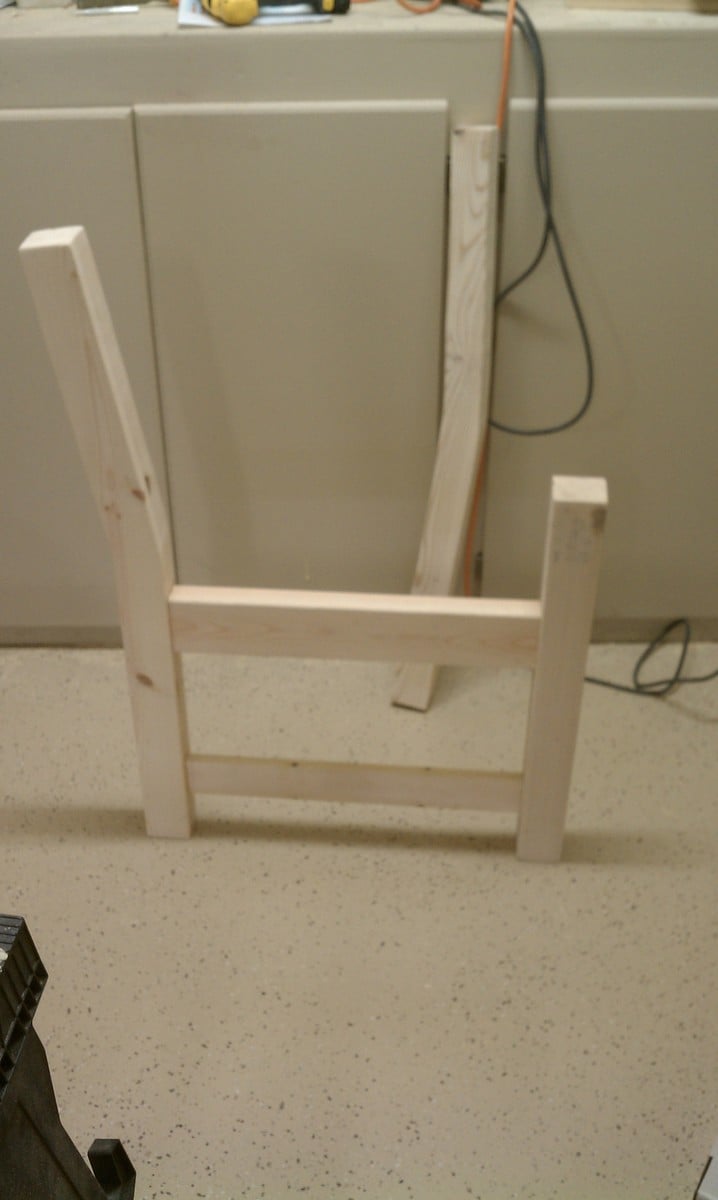
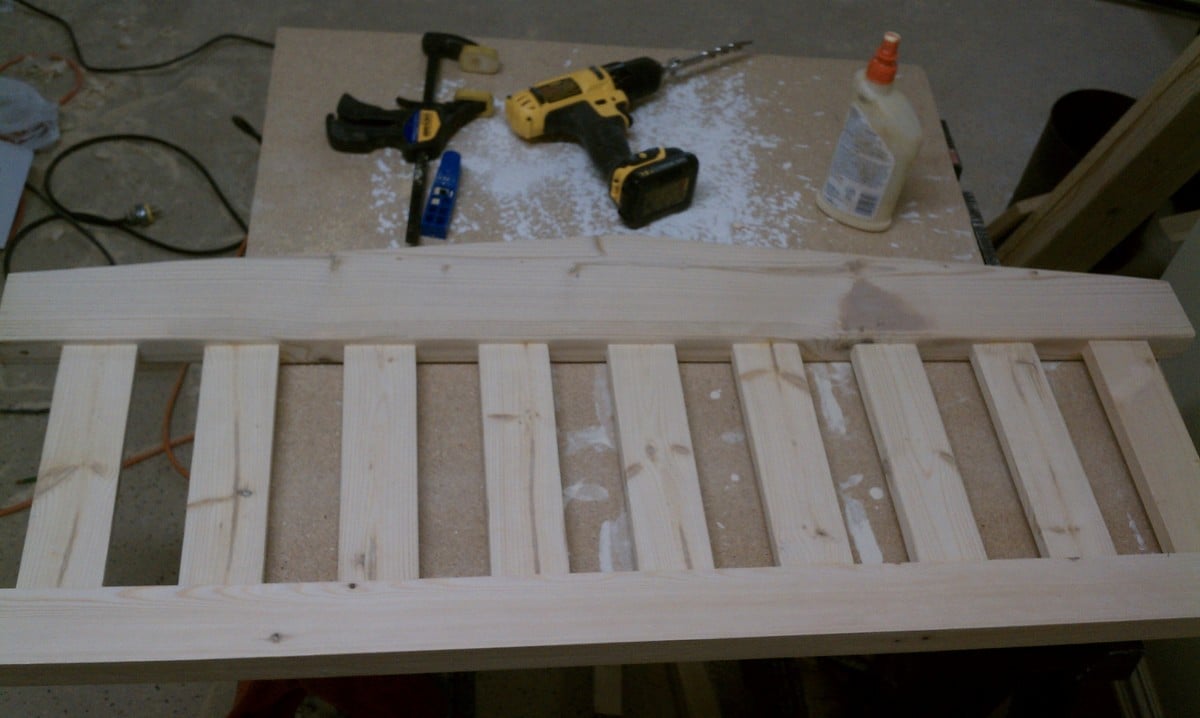
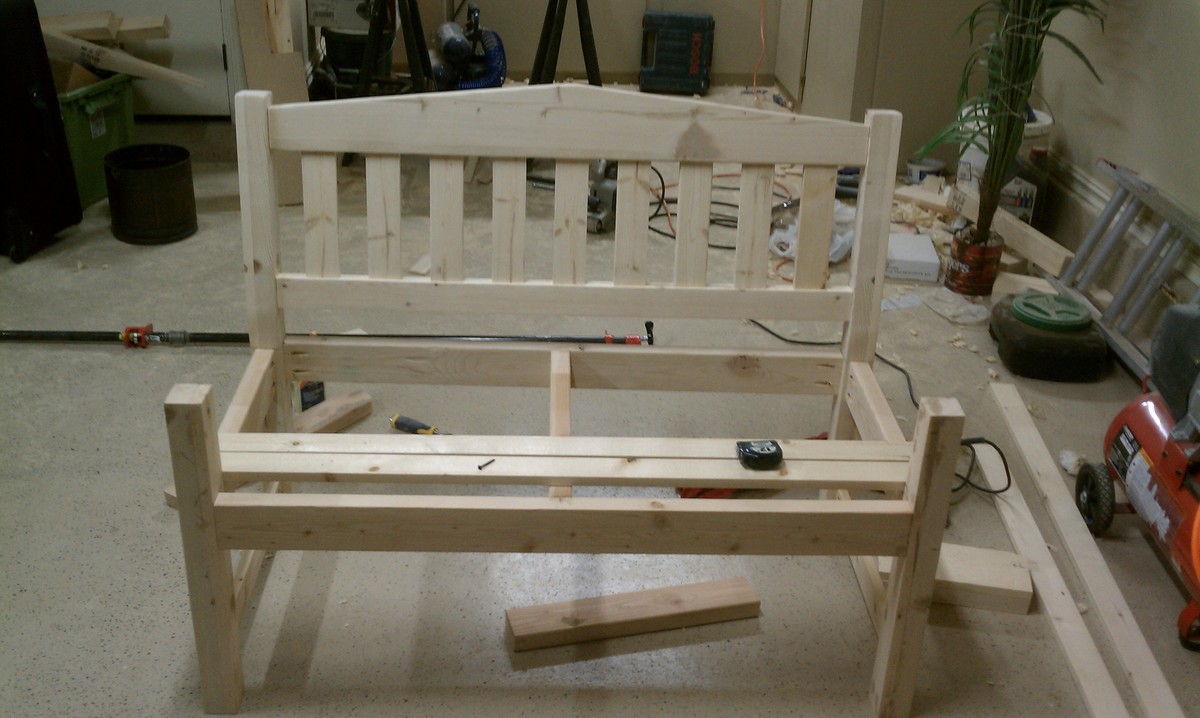
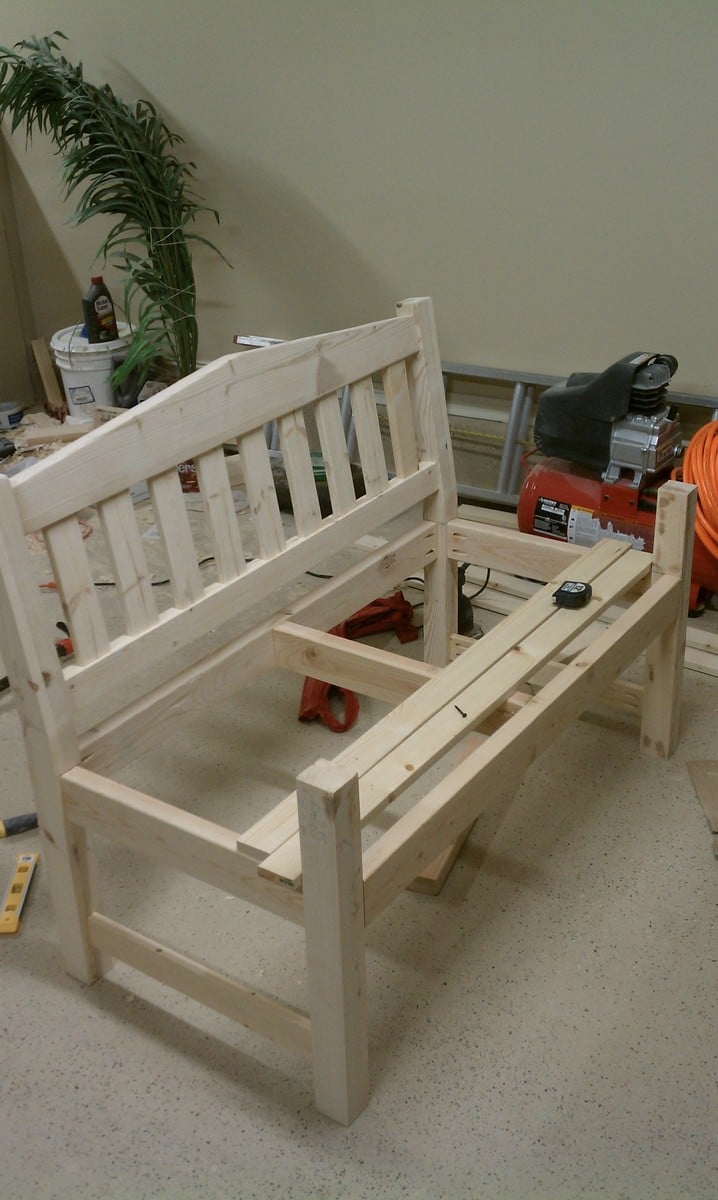
I built this for my wife for an anniversary present. She had wanted a garden bench for some time but the ones that she wanted were between $500-$700 which is ridiculous for this type of bench. So, I did a search on here for garden benches but there weren't really any plans for them and the few brag plans were not really the type of bench I was looking for. I printed off a few pictures of benches that I liked and got to work. The front and back legs a 2x6 and a 1x6 glued together and then cut to be straight. I wanted something thicker then just a plain old 2x6. If I had to do this again though, I would have just glued 3 1X6's together. The reason being, is that 1x6's usually do not have a rounded edge and a 2X6 does. So needless to say when you glue them together you have a nice little gap on either side. Without a table saw to take this off, its pretty difficult to get a straight cut. But I ended up getting it right after sweating for a few hours in the garage. The bench stands 36 inches high, 48inches wide and about 18 inches deep. The seat height is right at 18in also.

In the unfinished pictures I actually had the depth being 24 inches. After sitting on it though it was just way to deep. So I pulled it apart, made the adjustments and its now much more comfortable to sit in.

If anyone has any questions or wants more details feel free to drop me a line!

Thanks!

Estimated Cost
85
Estimated Time Investment
Weekend Project (10-20 Hours)
Finish Used
Oil based acrylic paint
Recommended Skill Level
Beginner

Comments

Torwart13

Tue, 06/16/2015 - 11:25

So legs are about 2 1/4" square? Are the seat supports 2x4's? Back cross pieces 2x4? Slats 1x4"?

smz1919

Wed, 06/17/2015 - 12:39

how did you get the curve on the back legs?

In reply to by smz1919

Nathan1342

Fri, 06/19/2015 - 13:34

I glued a 2x6 and a 1x6 together to get the thickness. Now that i have a table saw and a jointer this entire process would have been much easier but after getting it to look like one solid piece i just outlined the slant i wanted and cut it using a jig saw.
smz1919

Fri, 06/19/2015 - 20:17

So the back slats are just glued in place right? I wonder if it would be easier to use a biscuit joiner or not

Mikeyw221

Sun, 10/23/2016 - 17:46

on the back legs how high up did you go before you started cutting the angle? and was it around 15 degrees fromt he edge?

SawdustMaker21

Wed, 05/26/2021 - 08:32

Hi Nathan
Love the look of the bench. Would you have a list of material requirements. I intend to make a bench like this and would like to know the measurements of the top back spar (the shaped one).
Here in the Uk our timber yards do not always supply the same cuts as the US so I need to have some idea of the pieces I need
Many thanks

Cedar Planters made from Reclaimed Fence Pickets

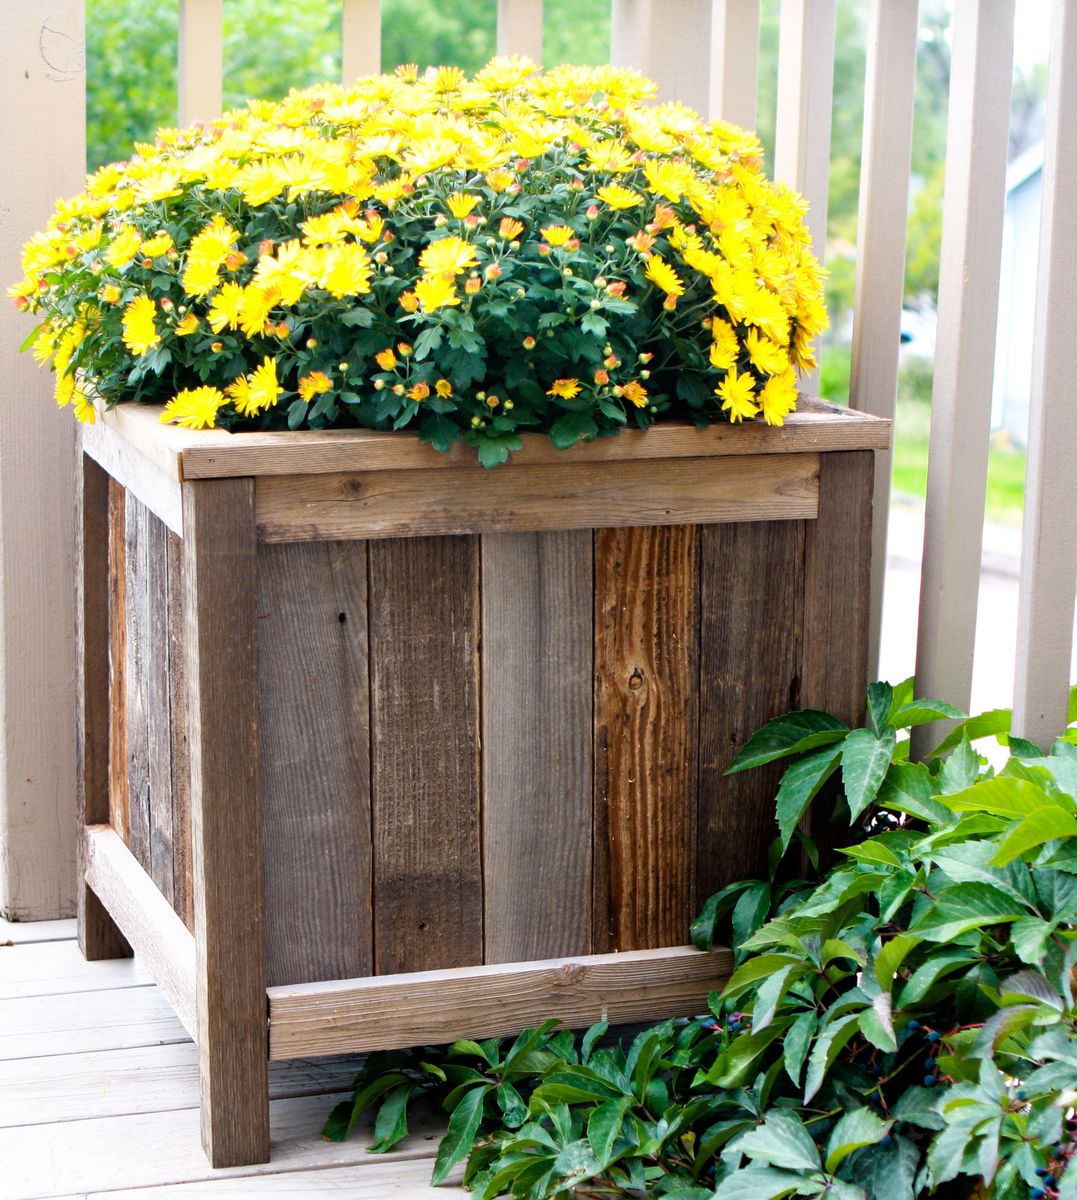
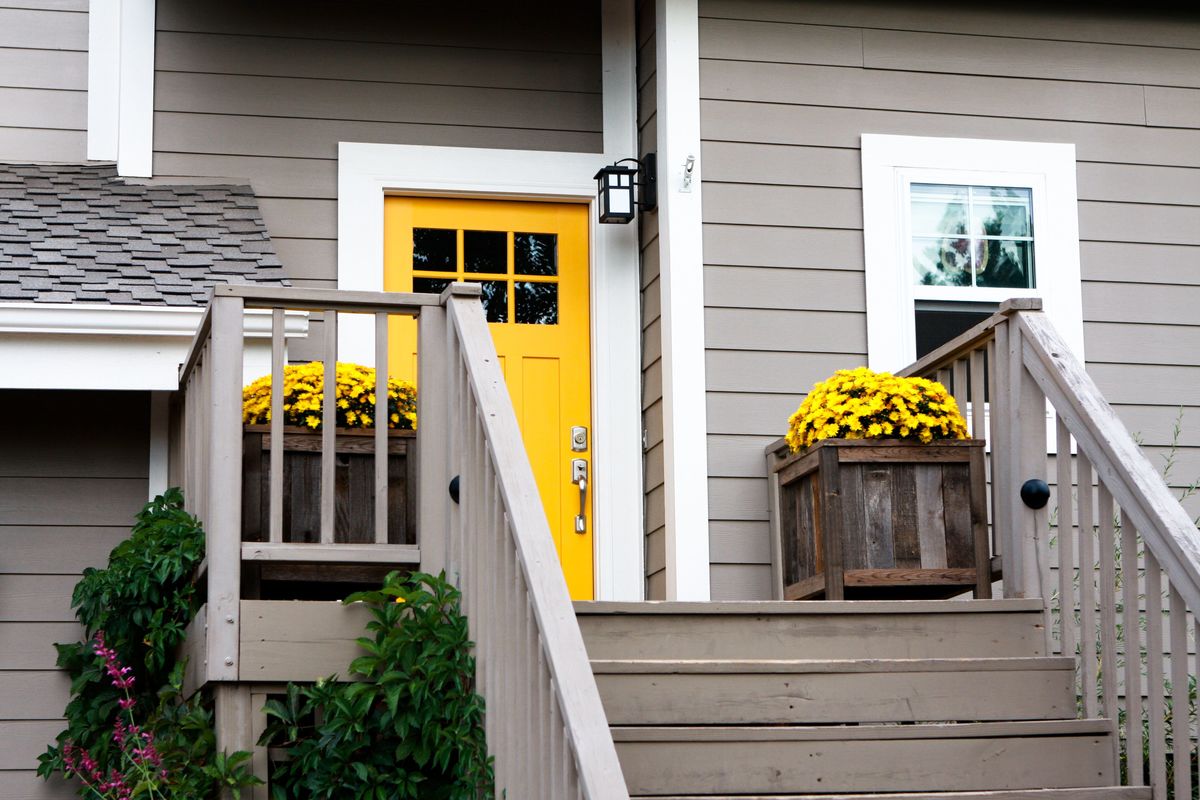
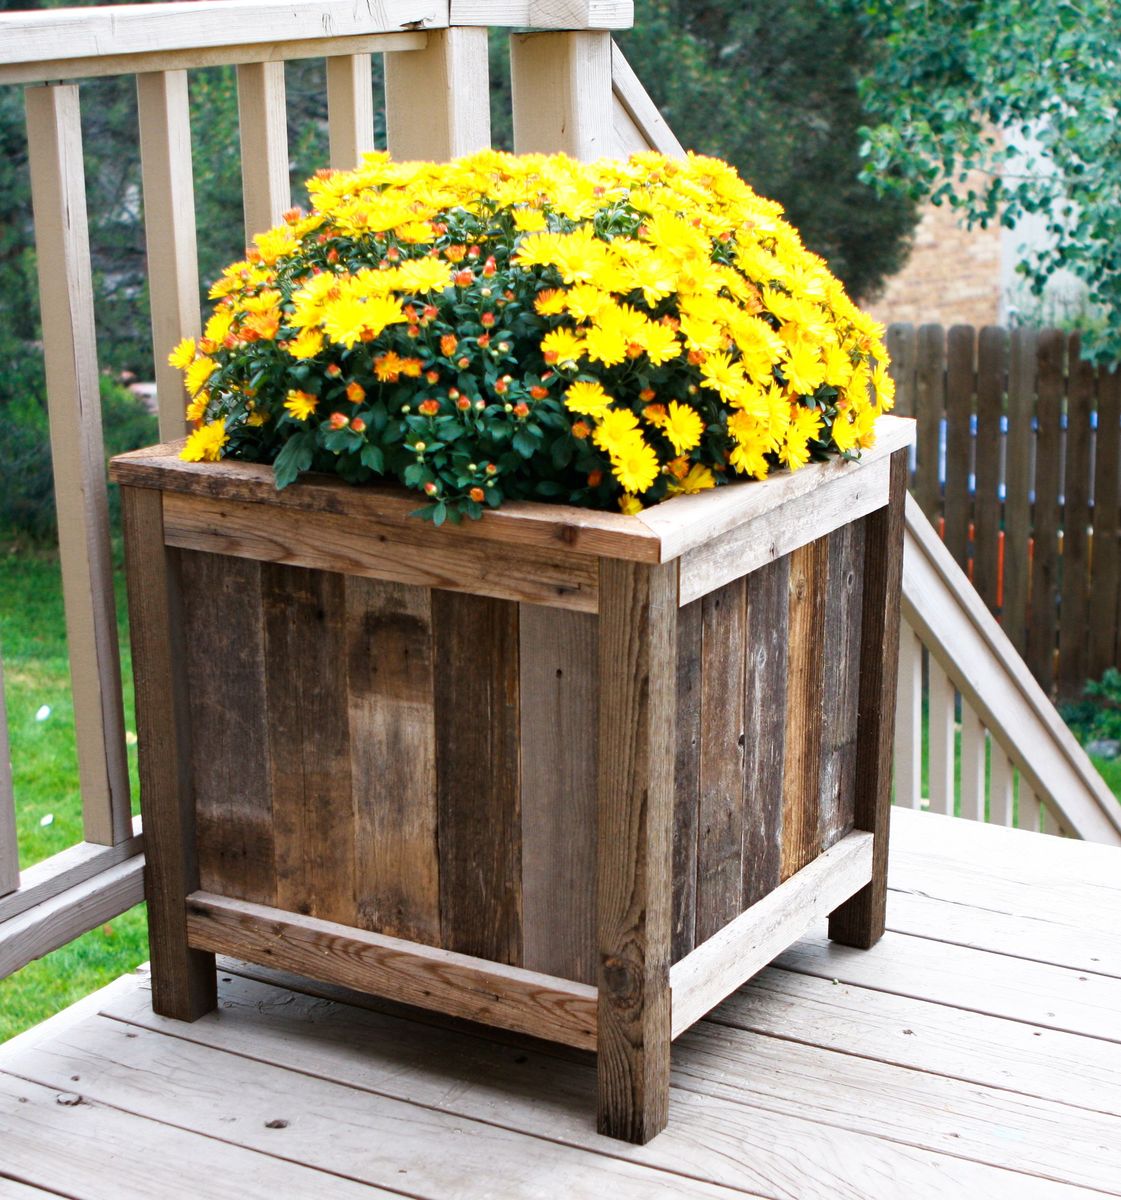
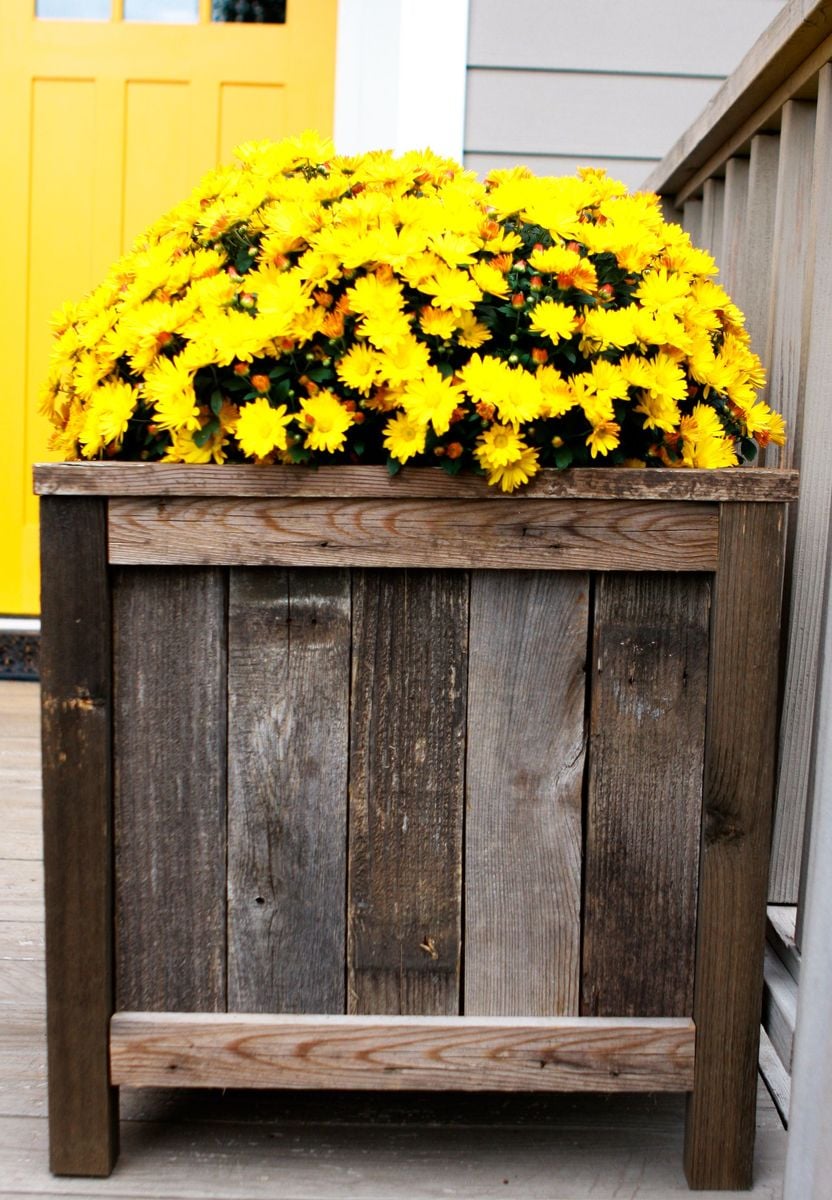
I built Ana's under $20 cedar planters for free. Or, almost free! I had to buy some more wood glue, but I had some of the wood on hand and took some from a friend's pile of old fence wood. It took me about five hours to build both planters from start to finish. See the blog link below for more info.


Pin For Later!

Cedar Planters made from Reclaimed Fence Pickets

Built from Plan(s)
Estimated Cost
Free
Estimated Time Investment
Afternoon Project (3-6 Hours)
Finish Used
Oxidized the new cedar 2x4s with steel wool/vinegar (http://thefriendlyhome.blogspot.com/2012/07/how-to-oxidize-wood.html). Other than that, no finish.
Recommended Skill Level
Beginner

Comments

Seasonal And Holiday

Bar Height Farmhouse Table / Benches

Submitted by Anonymous (not verified) on Tue, 11/15/2016 - 12:07

I wanted to say thank you for the inspiration.

I took the general idea, made it bar height and my own preferred size and beefed it up by doweling together the top pieces.

Given the size, I made the top removable with threaded inserts as well as the removable support beams below.

For the benches, I wanted something sturdy and a look that was similar to the table.  I added in a nickel support rod for the foot rest for both strength and a nice look.

All in all this project took a lot of time, probably more so with my perfectionist ways and wanting to  make the finish perfectly smooth.  It's like glass, which I just love against the dents and dings of the wood.

Some of the challenges were wood that warped.  After putting together the bench tops, the wood warped quite a bit, nothing that a few clamps couldn't undo but a pain nonetheless.

Using black stain really brought out a nice look and I'm taking that same look to the new trim and door that are going into the dining area as well.


I've not seen a bar height (not counter height) table in a full dining table size before, it's what I wanted and I couldn't be happier with the results.   Was it worth all of the time?   That's hard to say, I really love it, but it took a long time to get it to be exactly what I wanted it to be.

Thanks!


Estimated Cost
$180 in lumber, $200 for stain/poly/sandpaper/steel wool/Kreg jig/screws. $20 for furniture screws that look sharp and allow the table base to be easily disassembled. Another $20 for threaded inserts and machine bolts to hold the top to the base.
Estimated Time Investment
Week Long Project (20 Hours or More)
Finish Used
Ebony Minwax oil based stain and Satin Poly.
Pre-stain, one coat of stain, wipe after 5 min, three coats of poly using steel wool (00) between each coat.
Recommended Skill Level
Intermediate

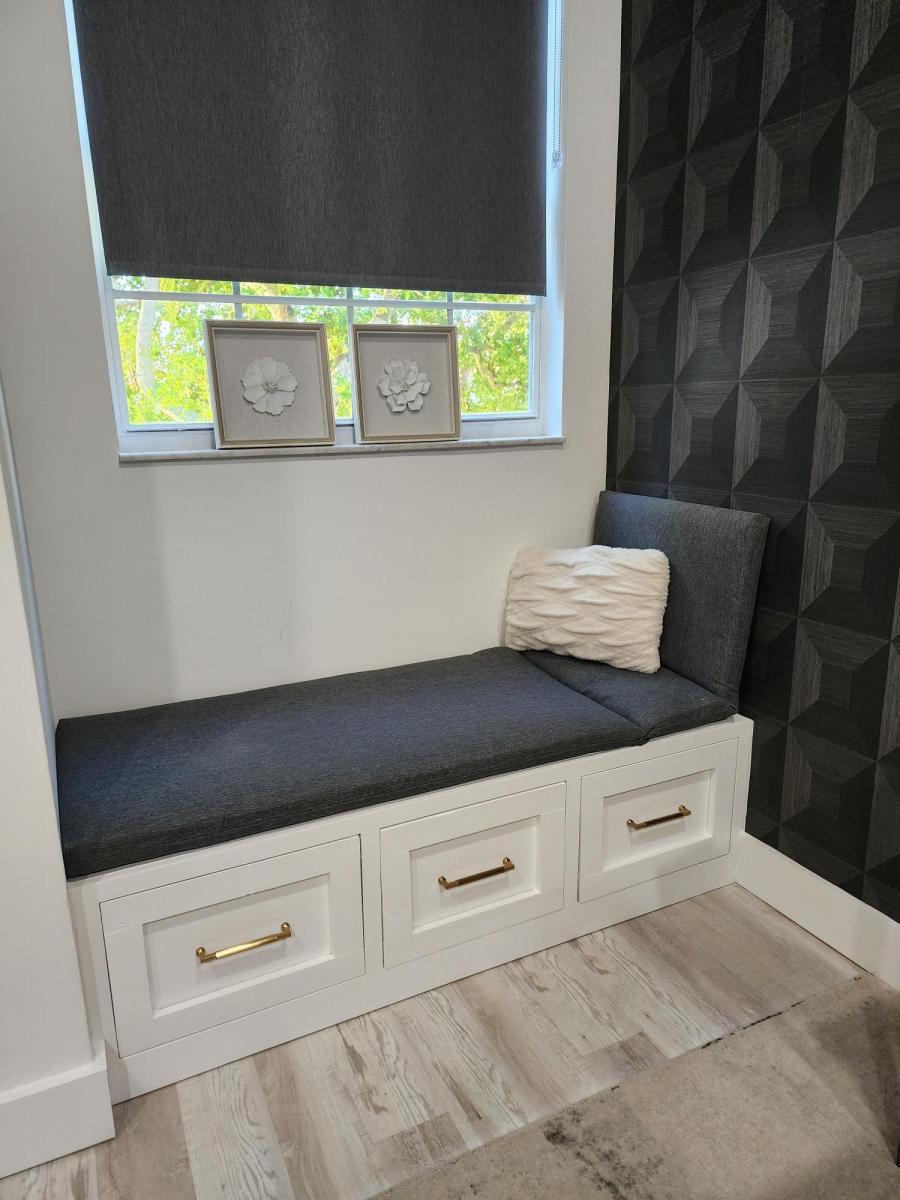
Bench with soft-close drawers for Front Entry

Submitted by drickstan on Tue, 08/11/2020 - 10:43

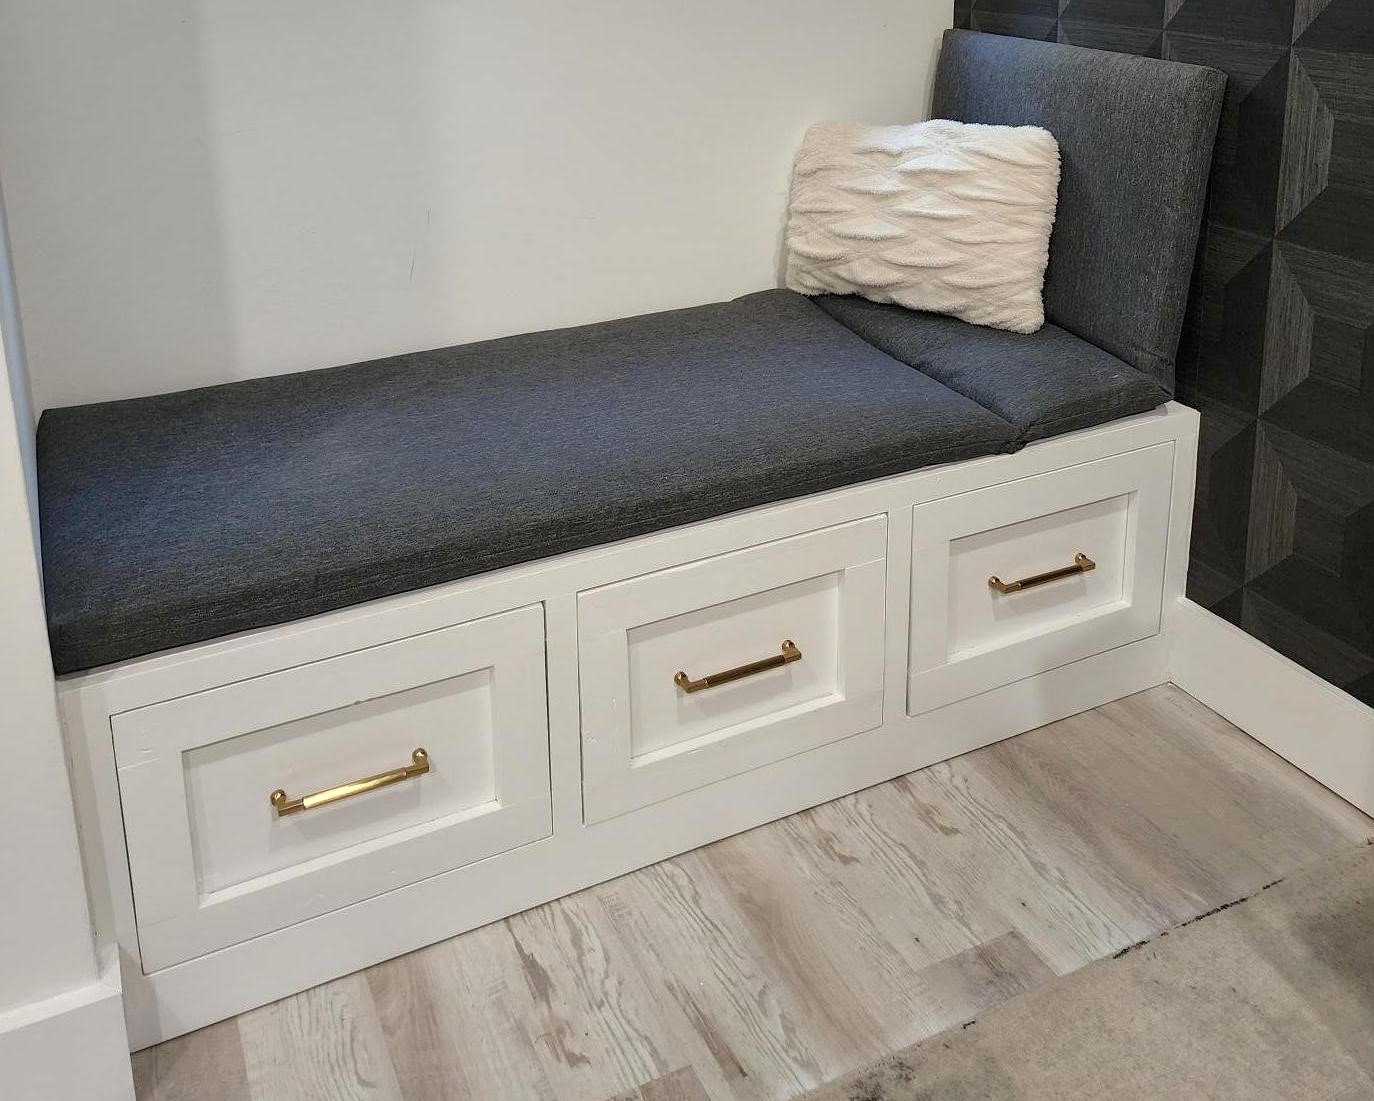
We needed a bench to fill the space in our front entry and provide some storage for seasonal gear. We couldn't find anything to buy that would work for us, so when my wife found these plans, I had to try it! Couldn't be happier with the results. We widened the bench by a foot to 84" to fill the space. Basically, it just made each drawer 4" wider. Everything else was built to plan. The most expensive thing was the soft-close 24" drawer slides (~$100). As soon as you go above that 24" depth, they get pricier! It was also tricky to get the drawers to catch properly on the soft-close mechanisms, but I made sure to take the time to get it right before closing it all in. Now I just open and close the drawers for the pure satisfaction of it! I used premium pine plywood for the top and I find it still doesn't give that smooth finish I like, even after sanding. I think I'll create a new top out of joined knotty pine planks later and just attach it to the top.

Built from Plan(s)
Estimated Cost
$300 CAD
Estimated Time Investment
Week Long Project (20 Hours or More)
Finish Used
Primer and pearl finish paint.
Recommended Skill Level
Intermediate

My Mom's King Fancy Farmhouse Bed

Submitted by thehallway on Fri, 10/26/2012 - 08:28

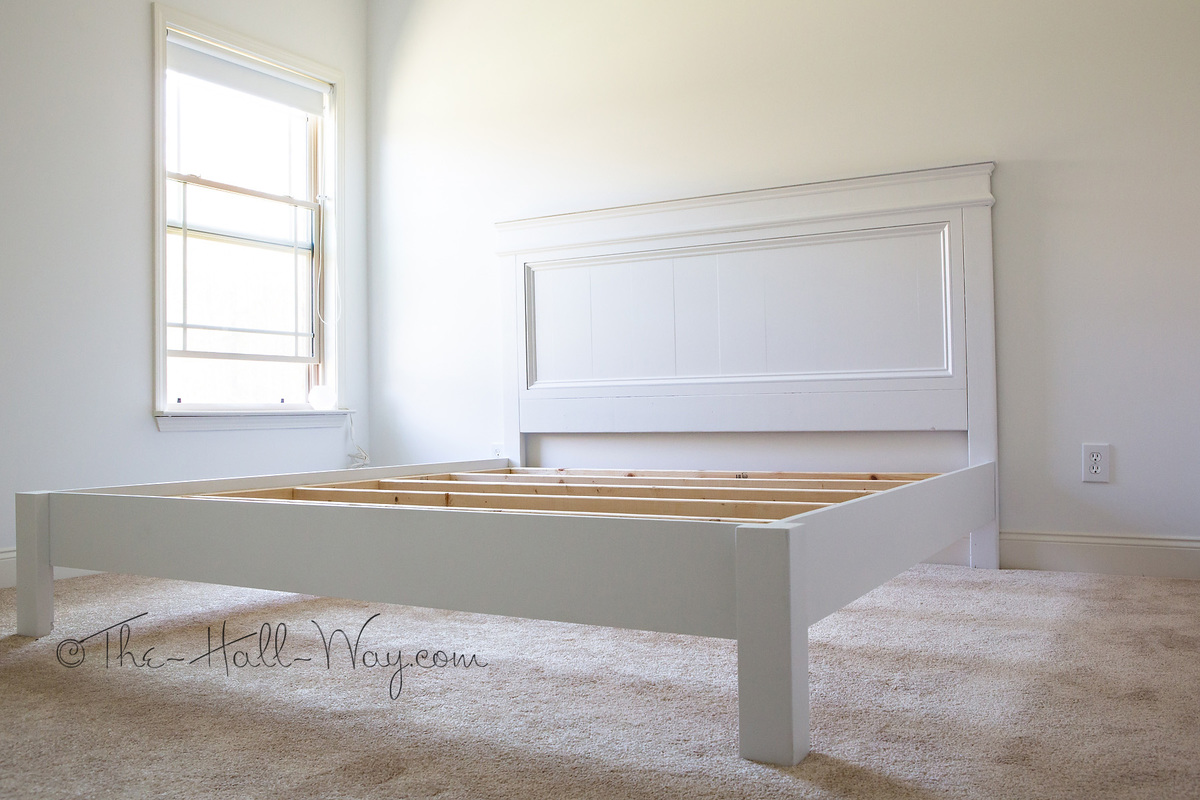
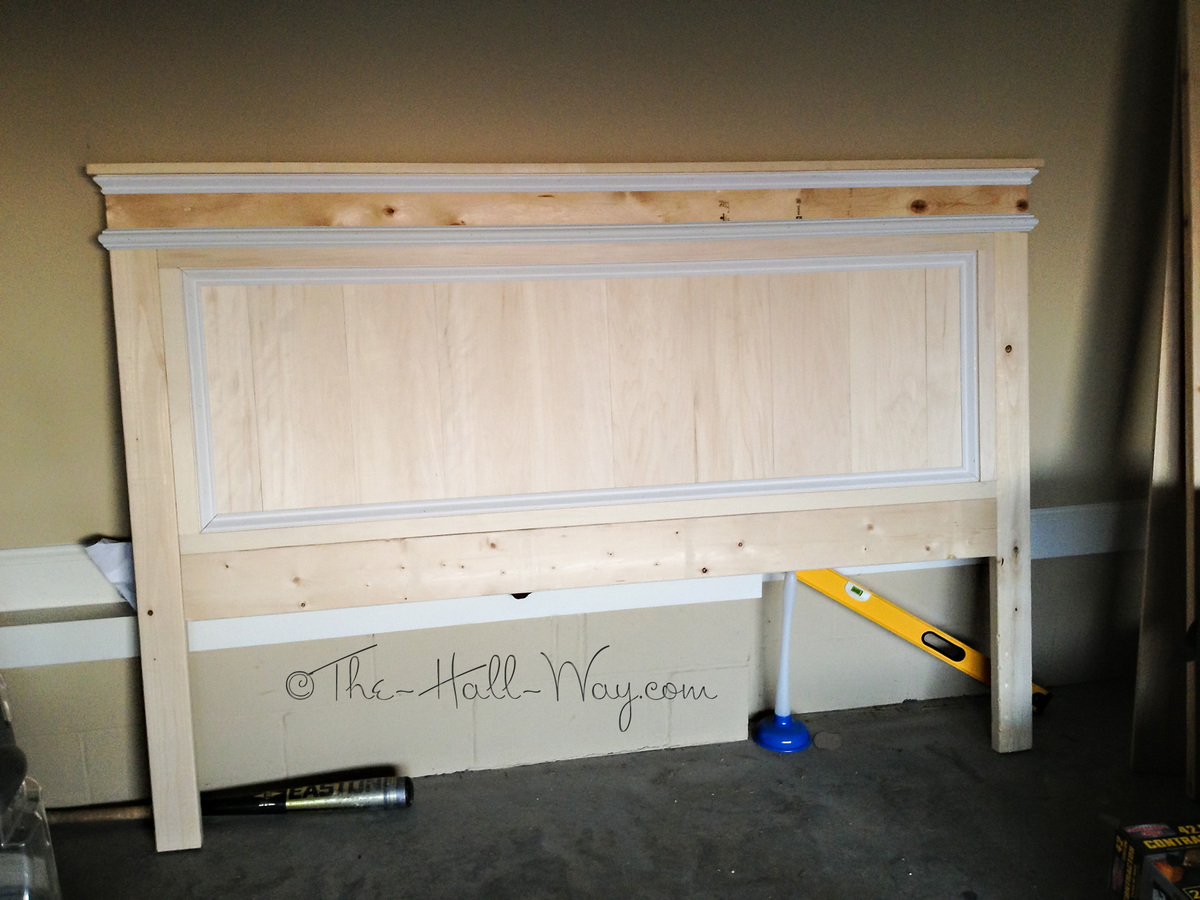
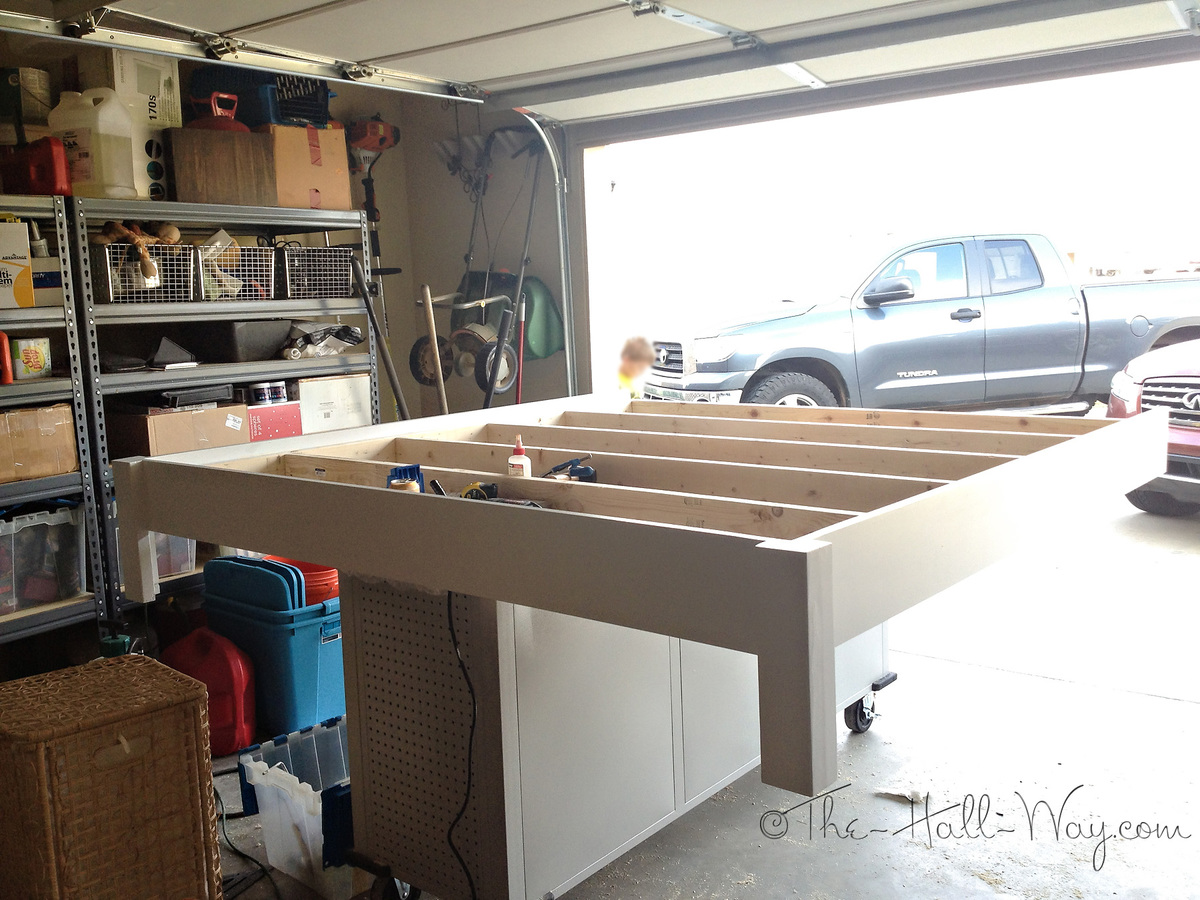
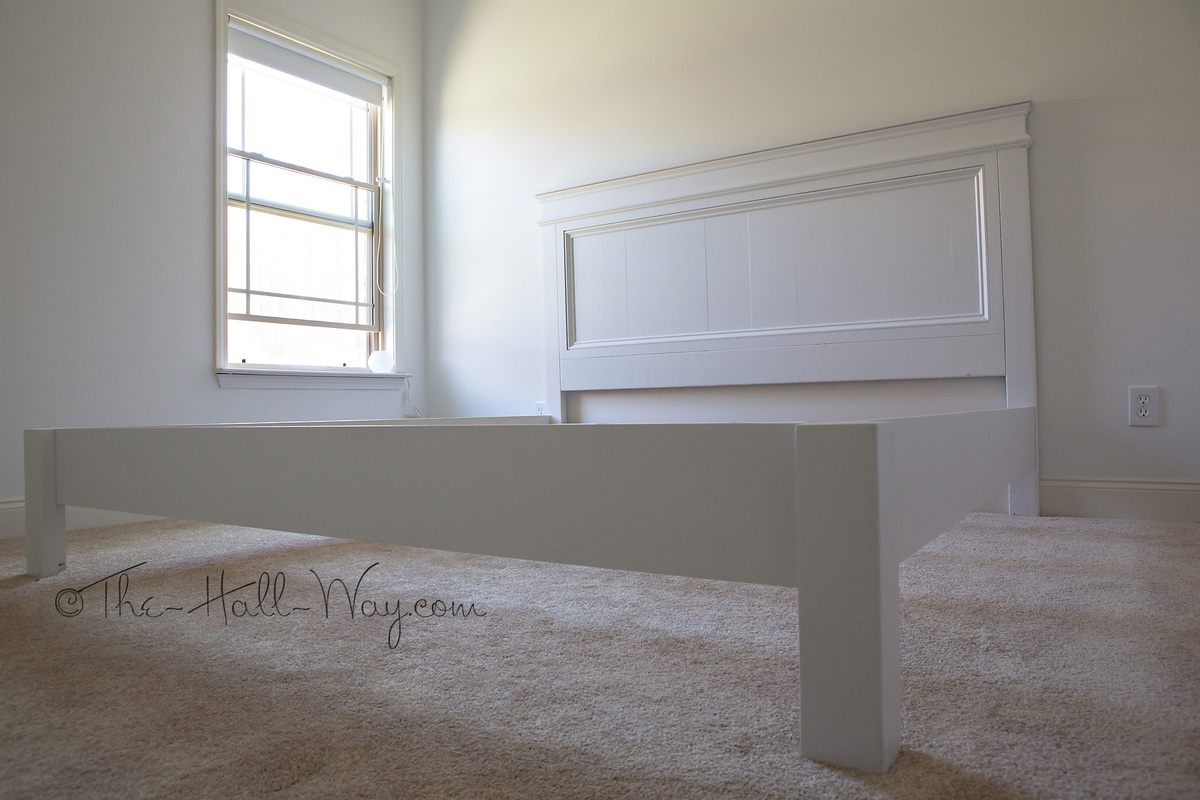
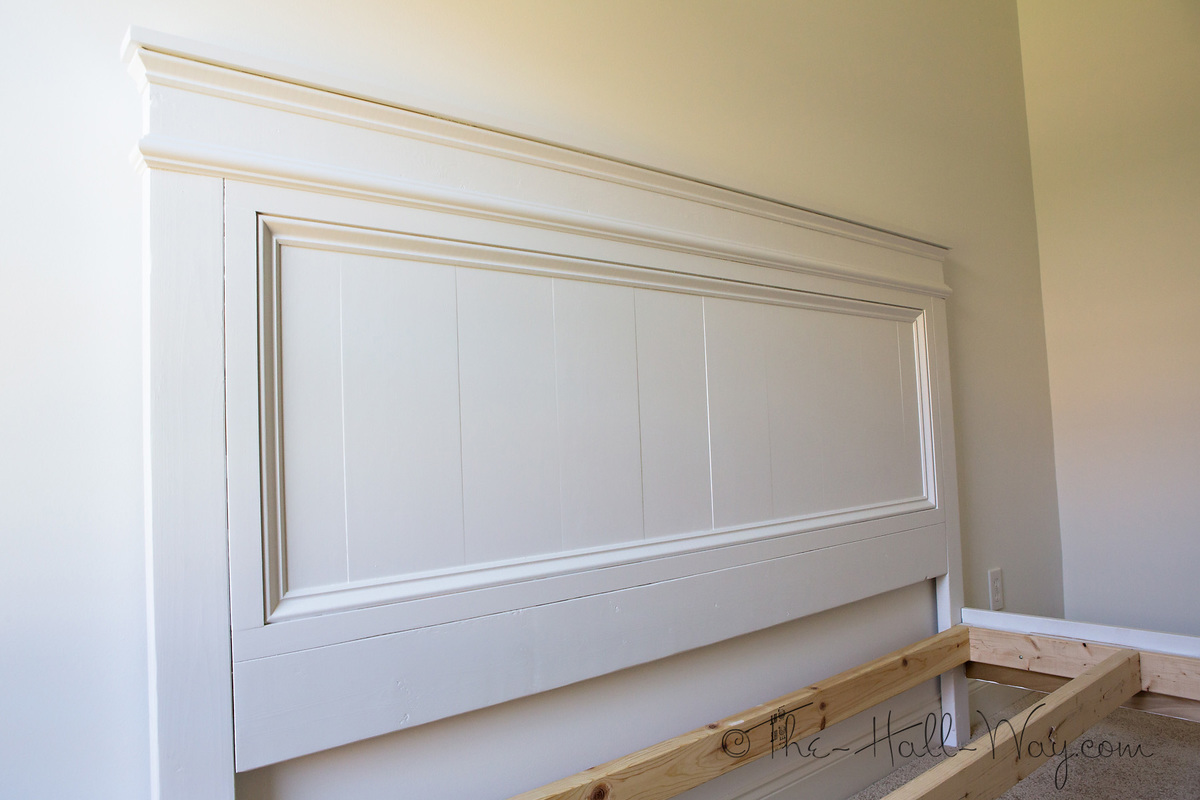
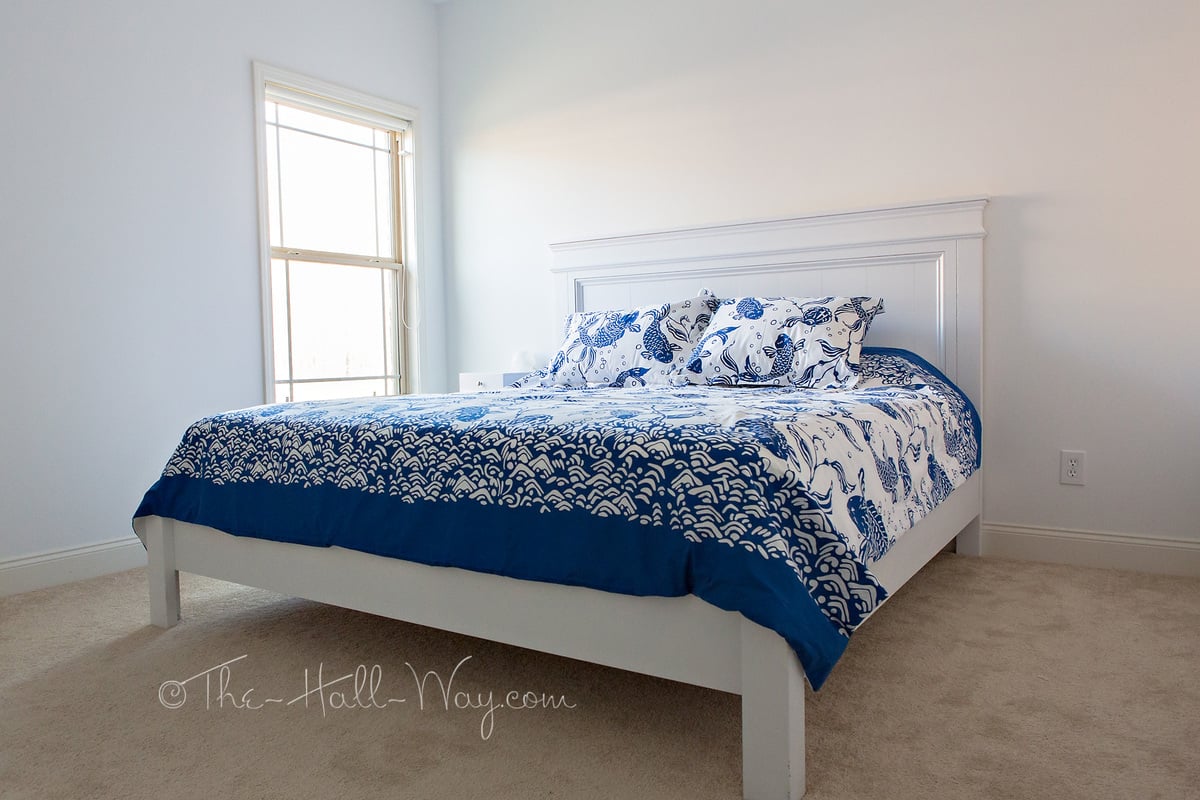
I built this bed for my parent's guest room at my sister's house. It is very similar to a bed mom had been wanting. They wanted a king size so I had to do some modifications to the original plan - primarily adding 16" to all width measurements. I also used 10 - 1x8s for the headboard panels. That made the panels slightly too wide, so I had to rip a little bit off the 2 end panels.

The hardest part of the project was getting it in her house! The legs made it about 1/4" too wide to fit it thru the door. We were about to remove the legs (which would have been a disaster since they were glued, screwed and painted on) when we finally figured out the right angle to squeeze it in. I had to touch up the paint in a few spots once we got it in position, but that was much better than having to remove legs and put them back on. We still need to get plywood for the mattress to sit on and I'm going to add a middle leg for extra support since it's a king. I will probably eventually build nightstands to go with it. Overall, I'm pretty happy with how it turned out since this is my largest and "fanciest" project so far.

Estimated Cost
~$250
Estimated Time Investment
Weekend Project (10-20 Hours)
Finish Used
Valspar Satin Latex Enamel in White
Recommended Skill Level
Intermediate

Comments

bran2511

Tue, 04/09/2013 - 12:41

I really love this bed, however, being military we move quite often. Is there a way that you would recommend I could alter it so that it can be broken down a little to make it easier for moving? Thank you much :D

bran2511

Tue, 04/09/2013 - 12:41

I really love this bed, however, being military we move quite often. Is there a way that you would recommend I could alter it so that it can be broken down a little to make it easier for moving? Thank you much :D

jlouki01

Sat, 08/24/2013 - 18:31

I just posted a brag post with this bed in black. I will see if I can upload a photo of how I built this bed for very easy break down. I looked at all the brackets etc.. with this being built out of pine I was not 100% confident in the Rockler / Wood craft brackets. I used a forstner bit and a 4.5" bolt with some washers.

Modern Farmhouse Bed Frame

Submitted by SofiaTaz on Thu, 01/06/2022 - 23:15

I love how this bed frame turned out! Everywhere that has stain is cedar and the rest is all scrap spruce. Thanks for another great plan Ana!

Built from Plan(s)

Comments

My First Project

Submitted by Anonymous (not verified) on Wed, 05/24/2023 - 05:04

My very first woodworking project and could not have done it without you!!

Mistakes were made and lots was learned but pretty happy with how it turned out in the end.

Built from Plan(s)

Comments

Shoe Dresser

Submitted by Anonymous (not verified) on Sat, 04/22/2017 - 13:52

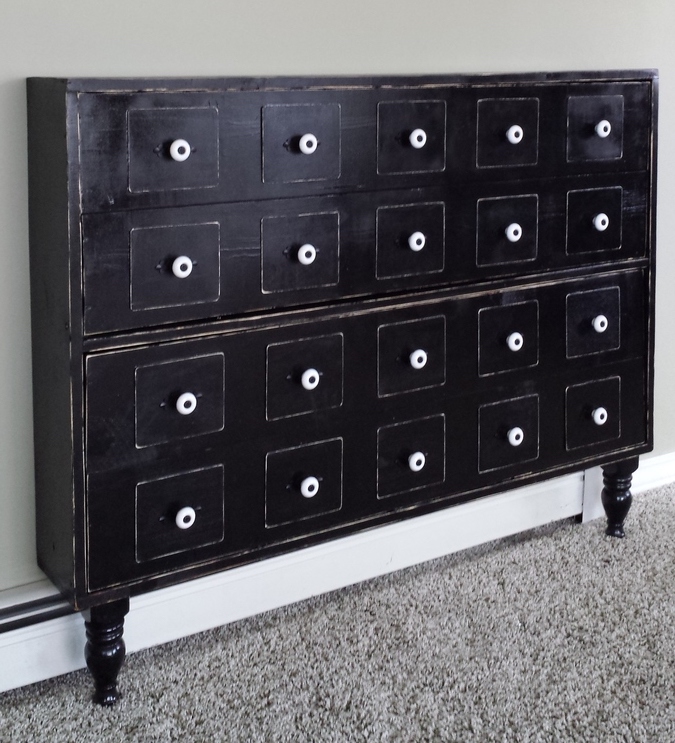
Loved this project!  We had an old headboard so my wife came up with the idea to cut off the top posts and use them as legs.  

Built from Plan(s)
Estimated Cost
125
Estimated Time Investment
Day Project (6-9 Hours)
Recommended Skill Level
Intermediate

Tryde Media Center

Submitted by kendaves on Thu, 04/05/2012 - 21:24

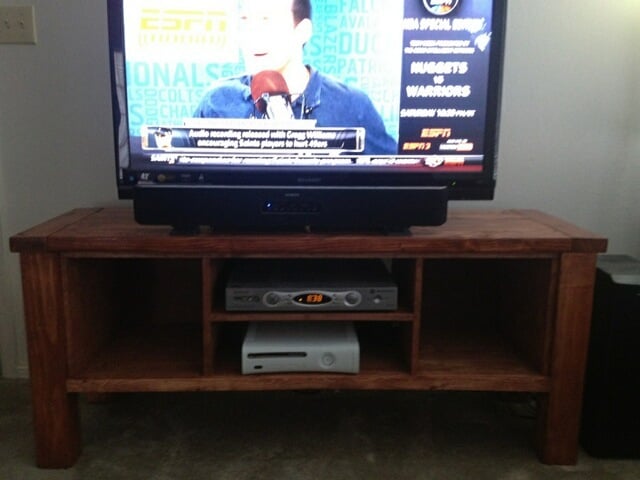
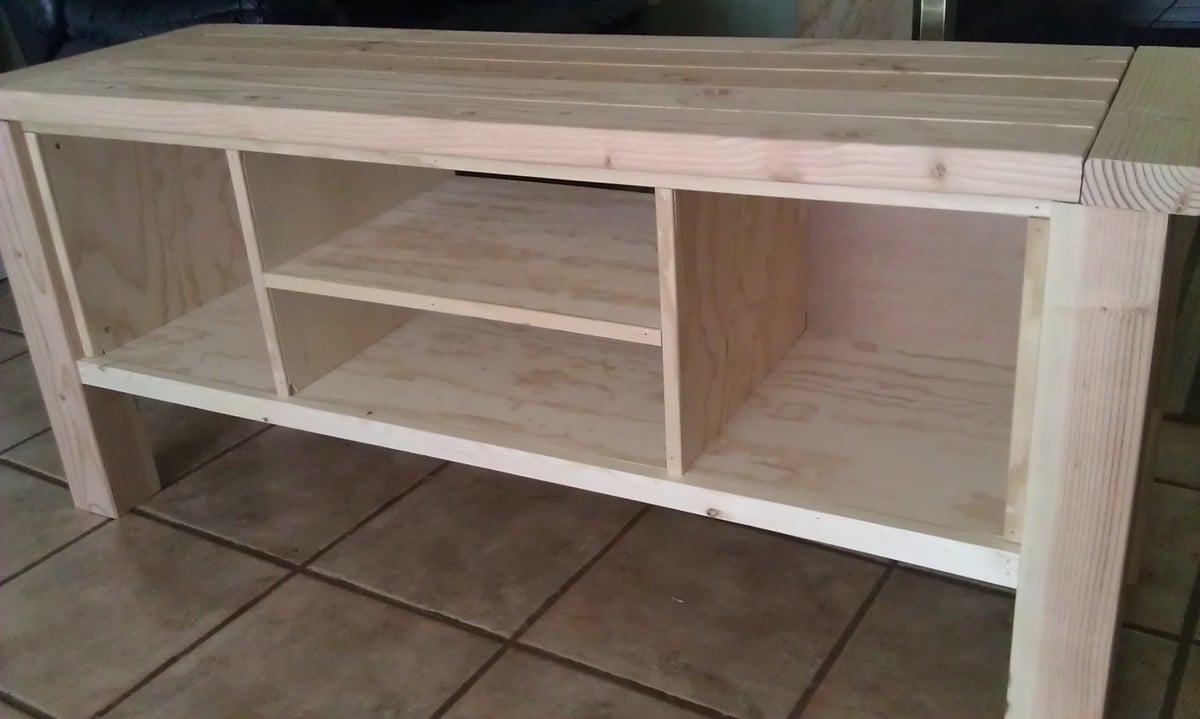
I had just built the Tryde Side Table and it was so easy I gave a shot at this project. Took about 4 hours to build and is a really sturdy, good looking entertainment center. The only thing that I did not like that I would change is an overlap of the tabletop in the front. There is an overlap on both ends but not in the front. Other than that, I really like the outcome.

Estimated Cost
$75 - $100
Estimated Time Investment
Afternoon Project (3-6 Hours)
Finish Used
Natural Stain
Recommended Skill Level
Intermediate

Farm house entertainment center

Submitted by LPJunky on Sun, 05/24/2020 - 22:36

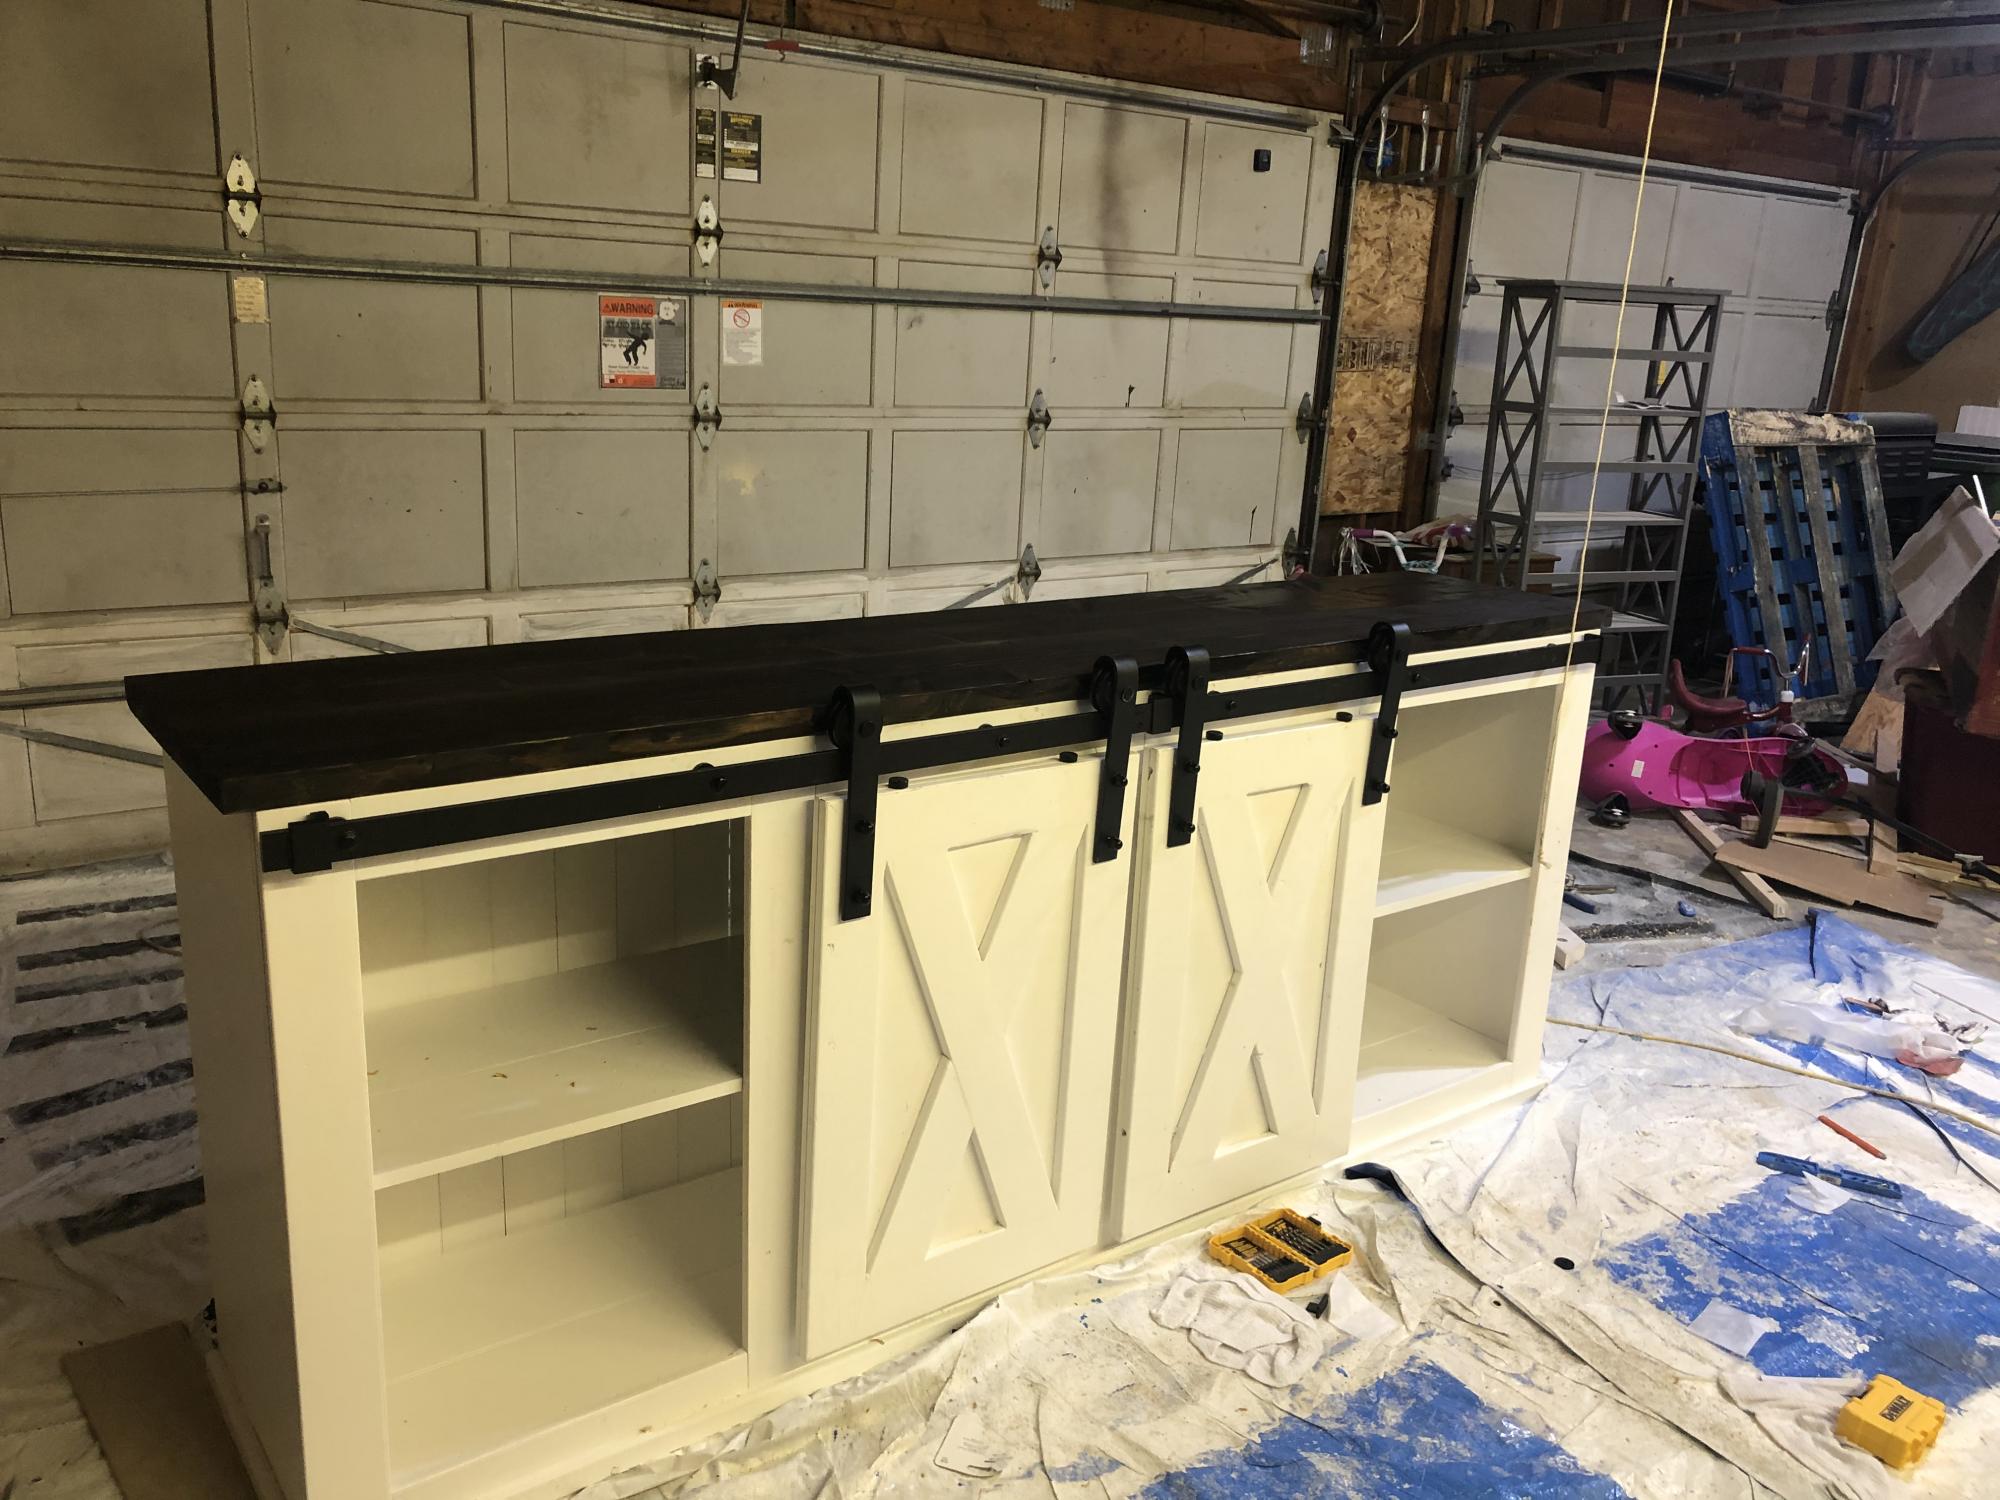
My one of my first projects. Followed the plans here, https://www.ana-white.com/woodworking-projects/grandy-barn-door-console

Doors are 1x4 frame on 1/2” plywood and got the hardware from amazon

WINSOON 8FT Antique Double Sliding Barn Door Hardware Roller Track Kit Black, 4-18FT for Choose https://www.amazon.com/dp/B014SMIWTQ/ref=cm_sw_r_cp_api_i_bH1YEb890KWDF

A little beefy but worked. Had to trim the track a little bit to fit the build.

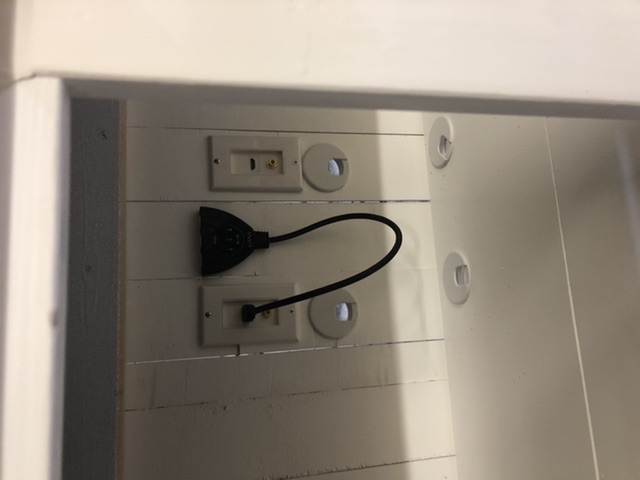
Also added hdmi/coax ports for easy plug ins. And an hdmi splitter since our tv only had 2 inputs.

Overall very happy with the outcome on this one

Estimated Cost
300
Estimated Time Investment
Weekend Project (10-20 Hours)
Recommended Skill Level
Intermediate

Playset Addition

Submitted by Derek S on Wed, 06/10/2020 - 08:27

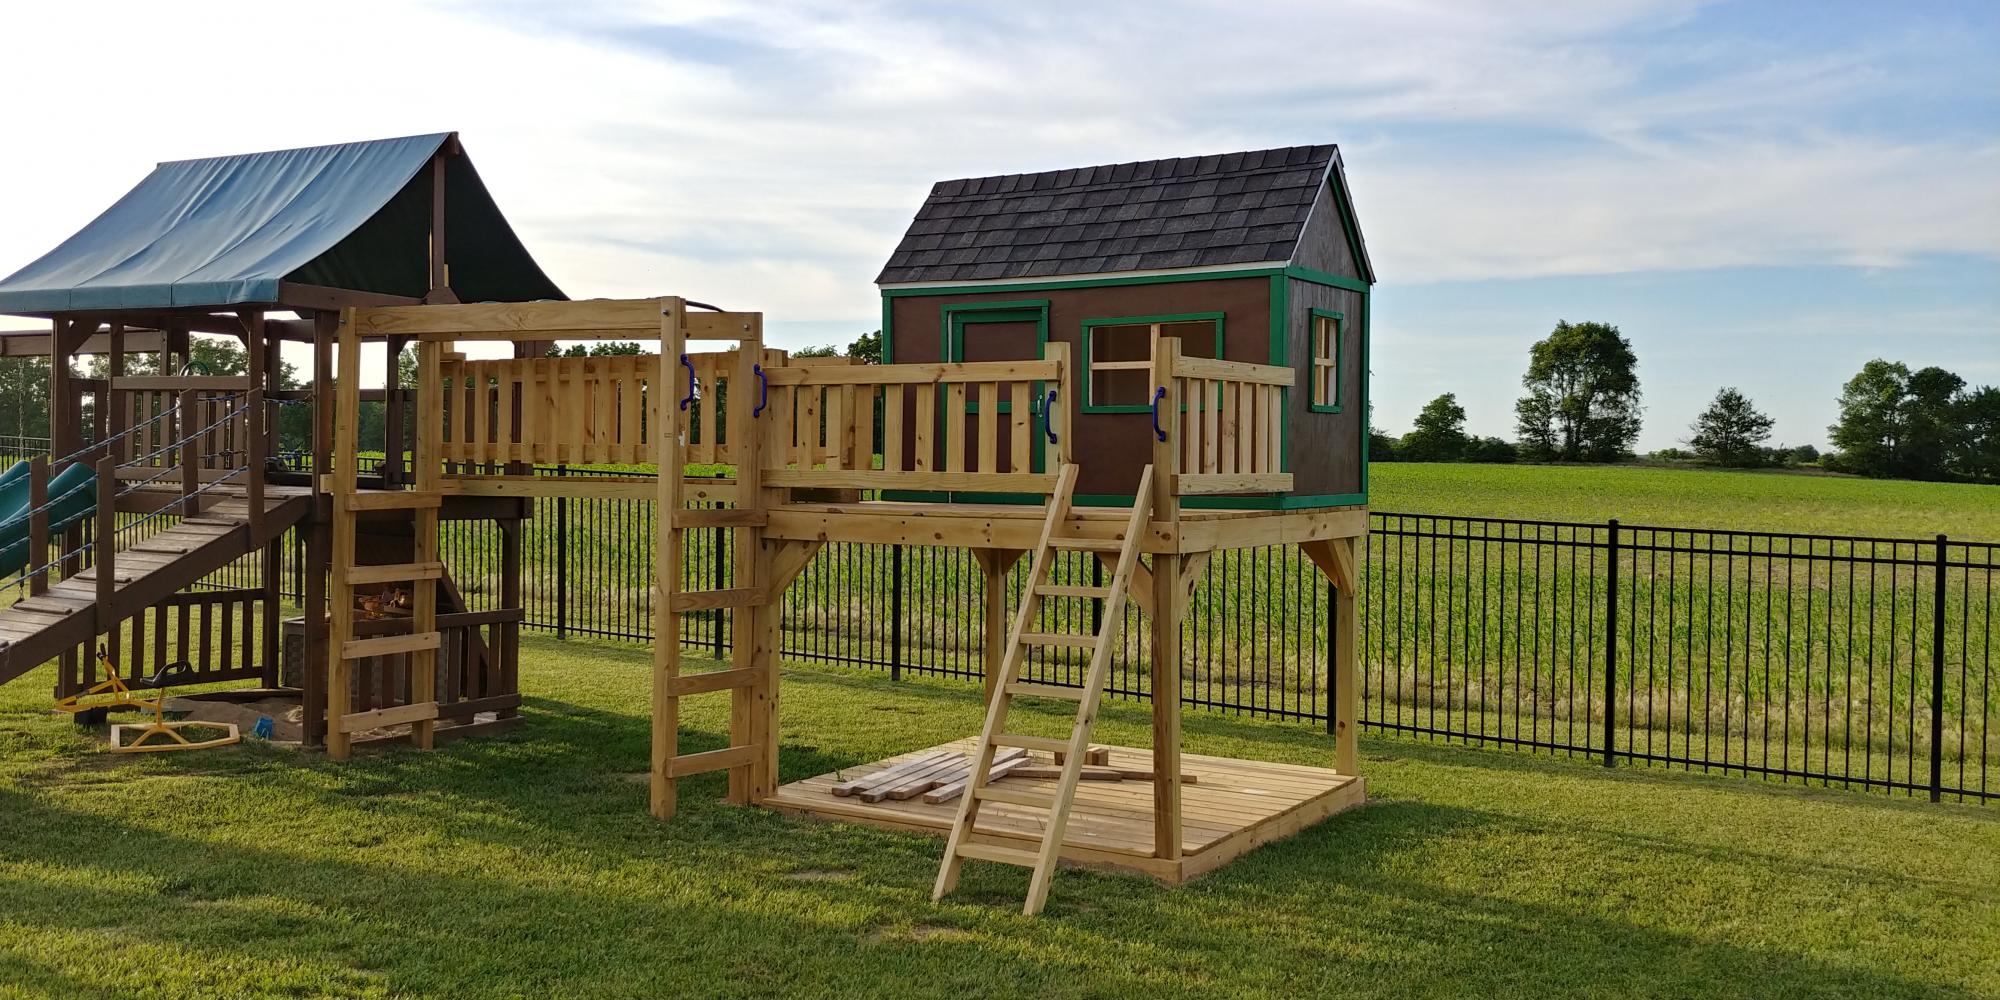
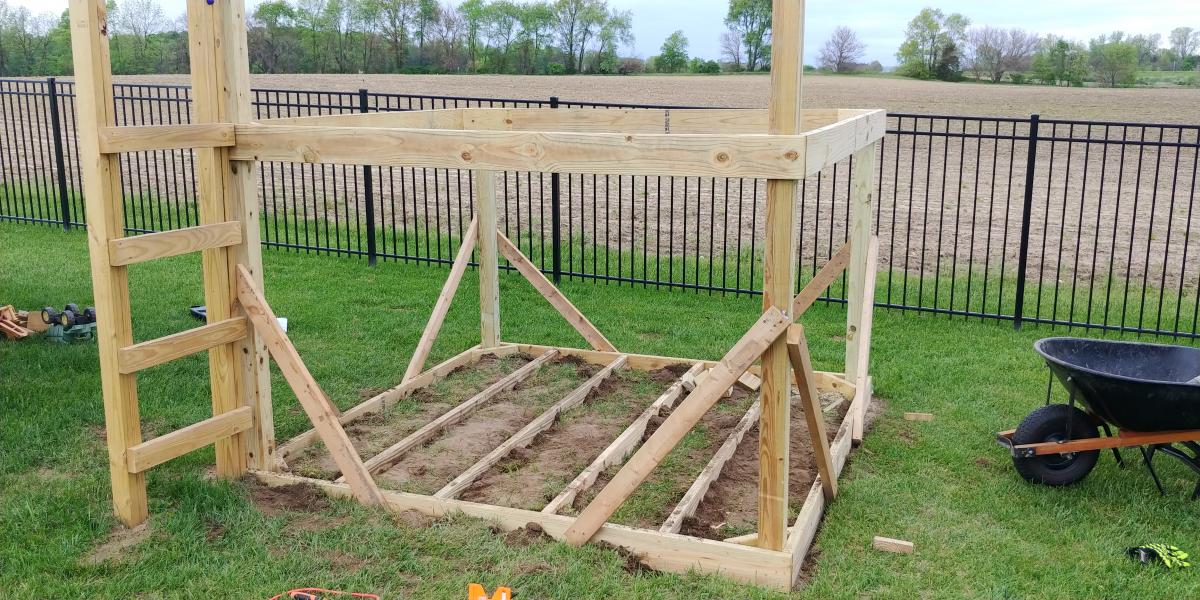
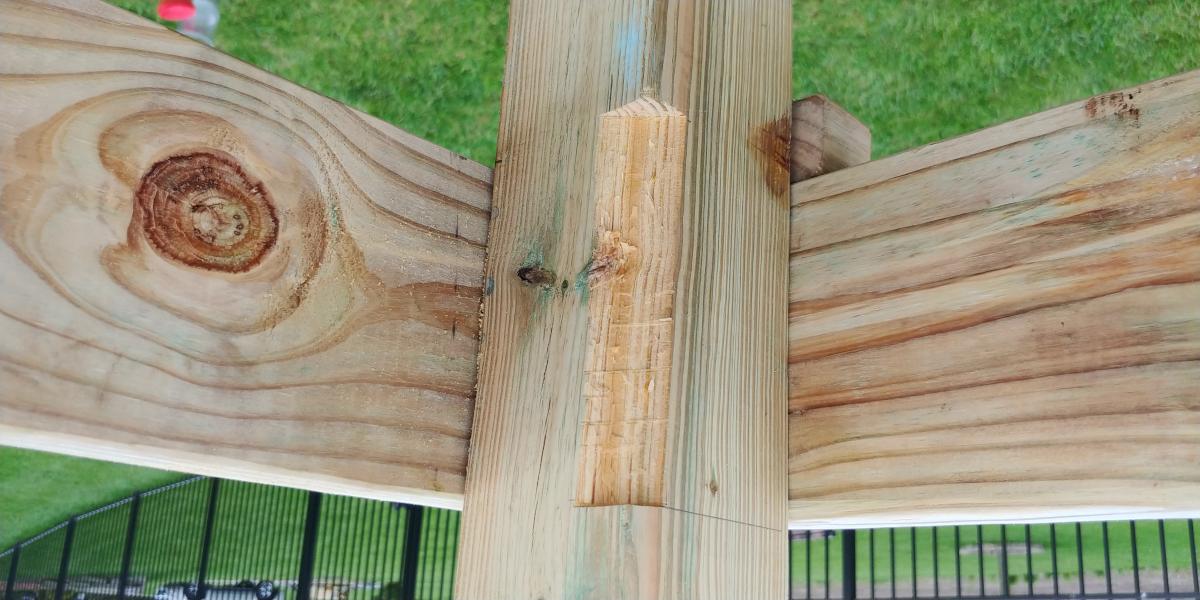
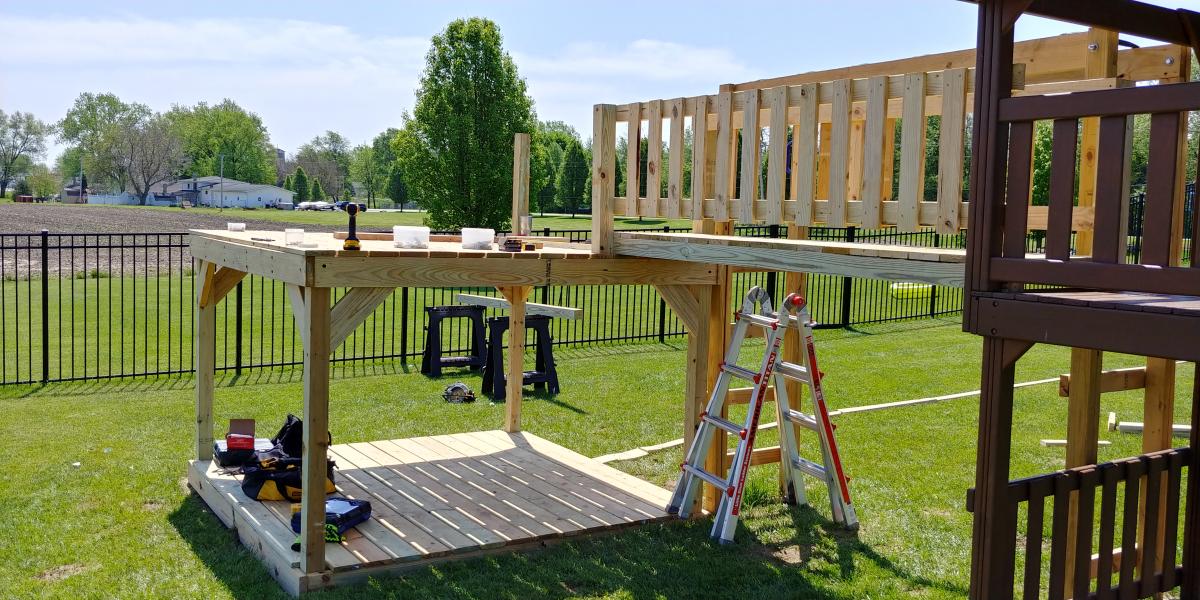
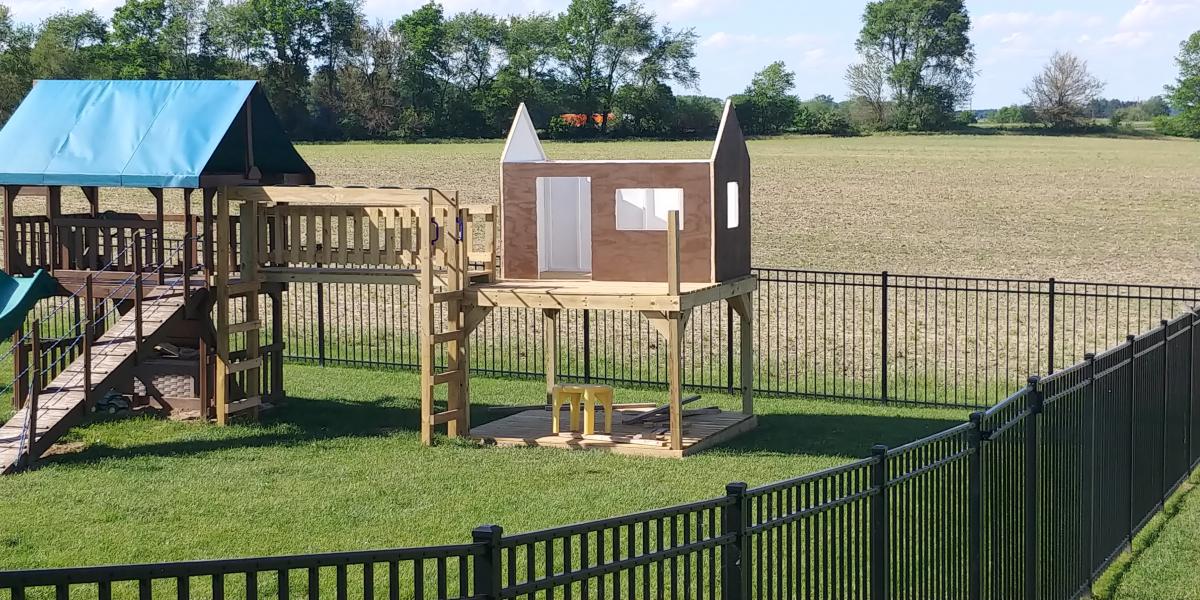
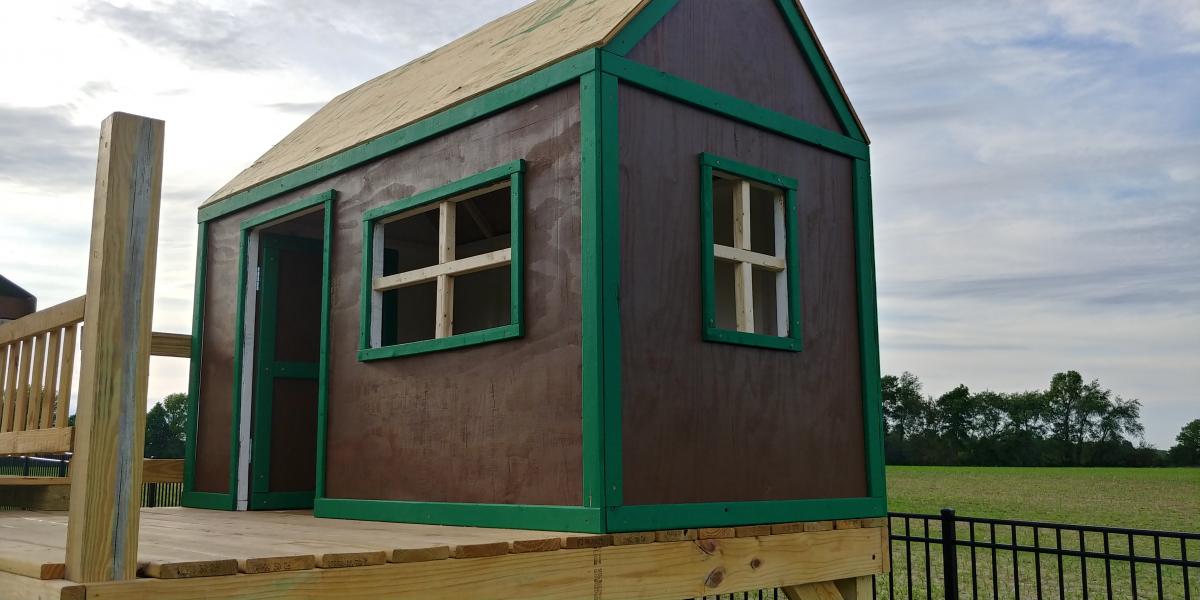
Decided our old play set needed an addition, landed on these plans of Ana's. Sat on them and mulled them over for months. Once the wife said something about adding on to it I made the purchases needed. Connected the two platforms with a bridge. I used 4"x4"x10' for the runners, same boards as the decking for the platform of the bridge(5/4"x6"), 2x4's and 1x4's for the railing. If you look at the 3rd photo, I had to chisel out the 4x4 post to get the 2"x6"x12" support to fit correctly. This should measure 2"x6"x13". Another change I made was to cut the bottom and top trim pieces longer on the front and back sections so that the trim would cover the framing of the gable end walls (see last photo). my son wanted windows so I faked in some windows with scrap 2x2's. I used 2x6's as supports from the 4x4's to the 2x6 framing (see photo 3) I added the monkey bars about a month before deciding to do the platform/deck and playhouse. The ladder is based loosely off of a couple of plans I found online. I was able to do all of this work myself except for the roof. Need my dads help to lift the plywood, he then helped me with the rest of the roof.

Estimated Cost
$1000
Estimated Time Investment
Week Long Project (20 Hours or More)
Finish Used
I used a dark wood stain fore the house, green exterior paint for the trim and white exterior paint for the interior of the house.
Recommended Skill Level
Intermediate
Seasonal And Holiday

2x4 Essential Adirondack Chair

Submitted by mricks1960 on Mon, 11/16/2020 - 11:31

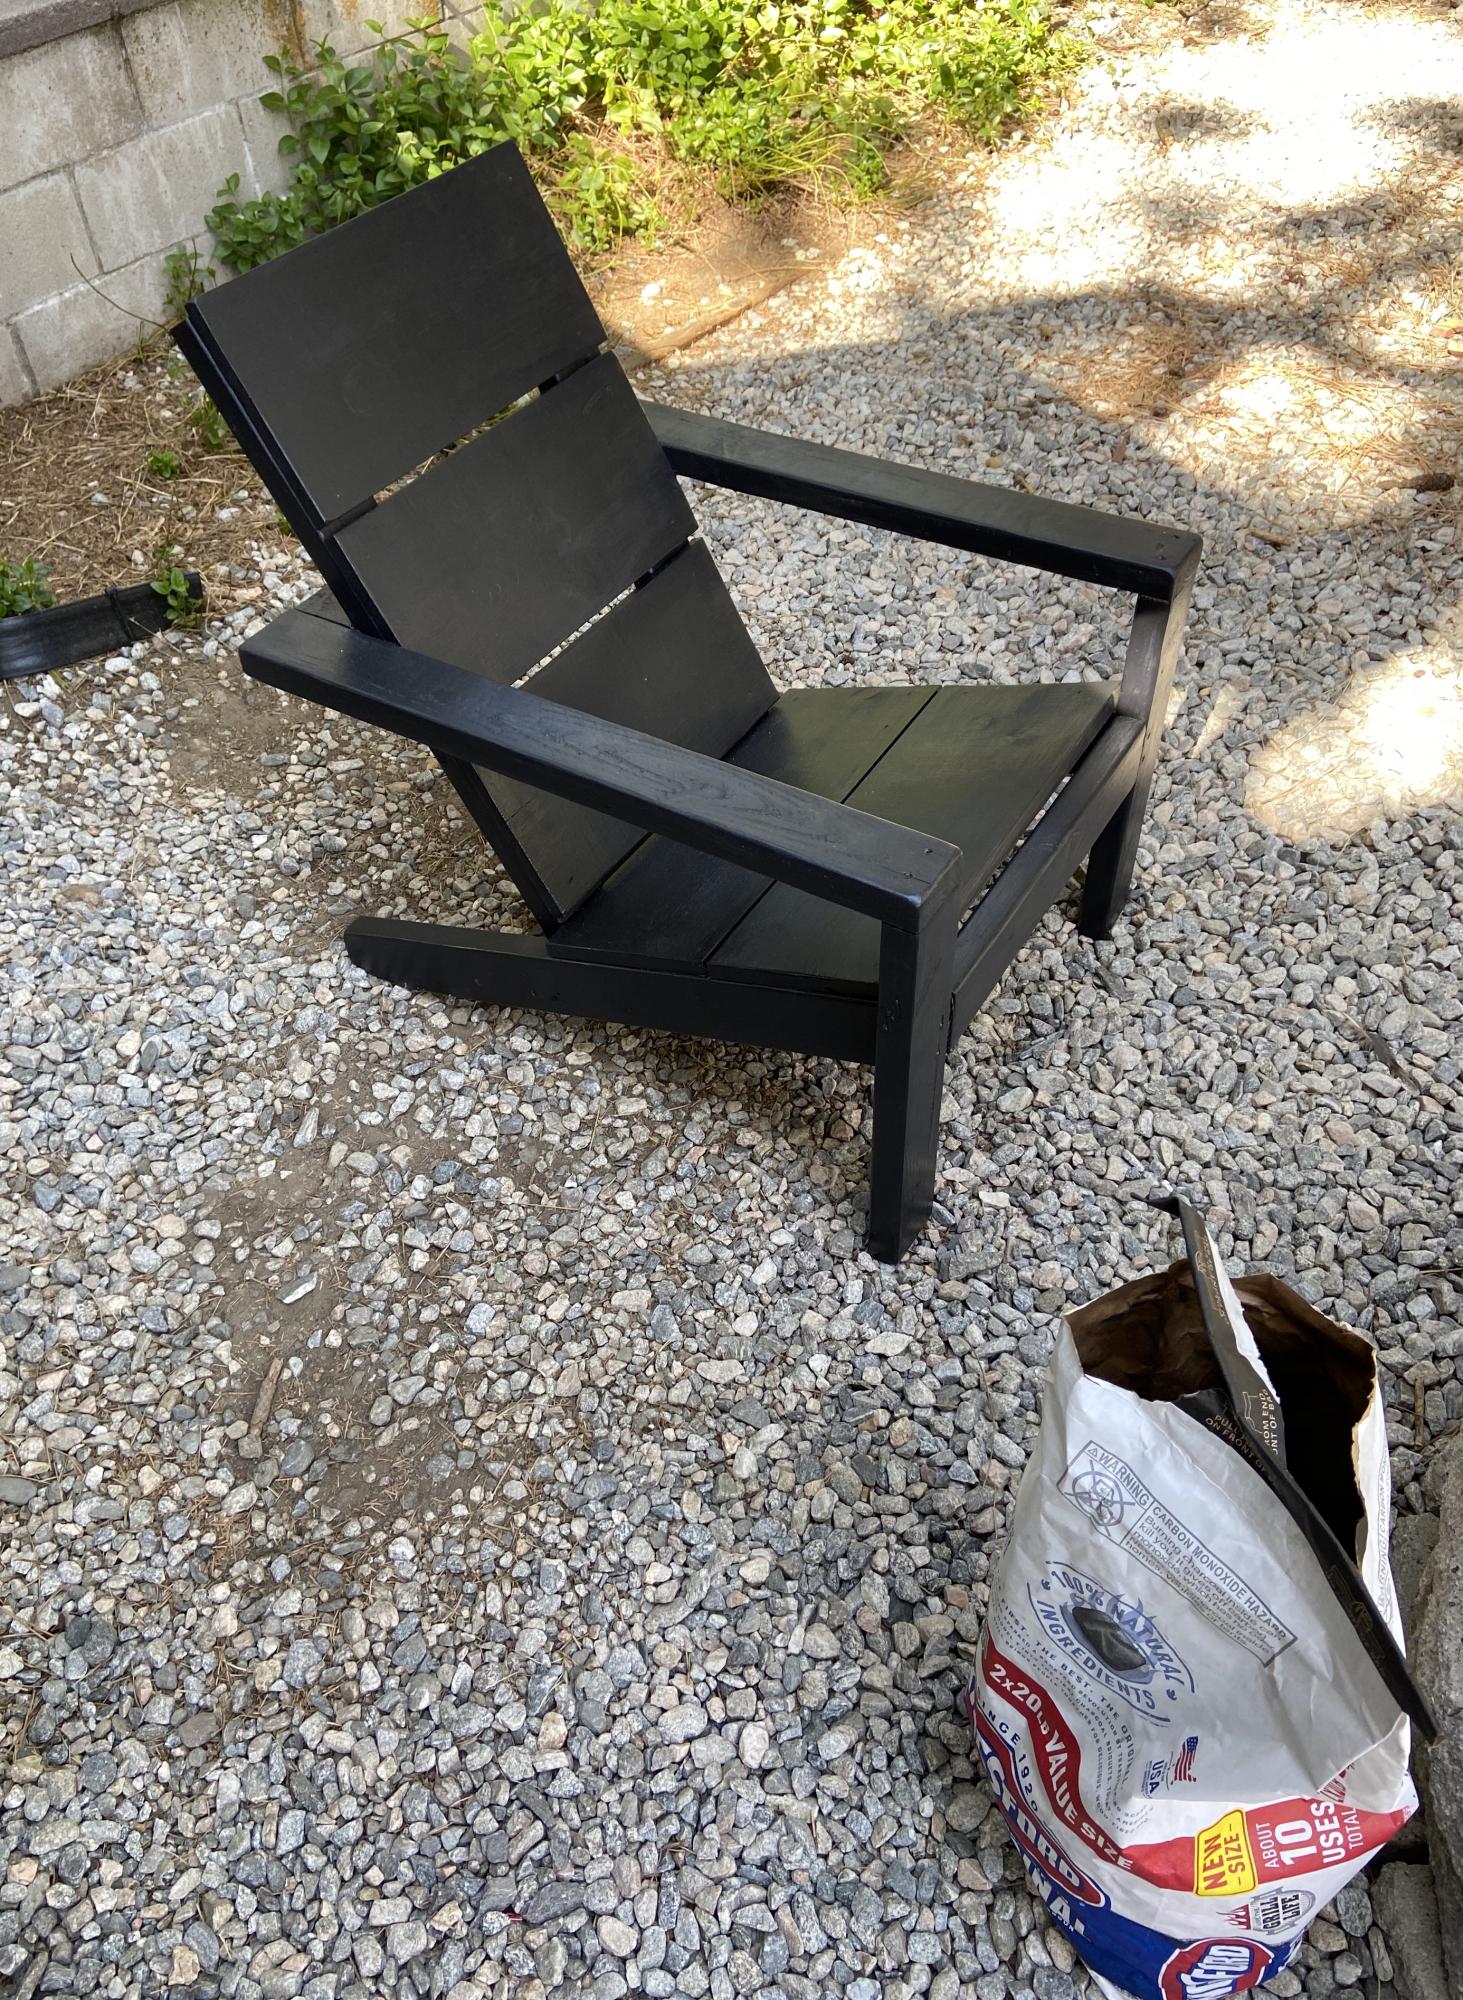
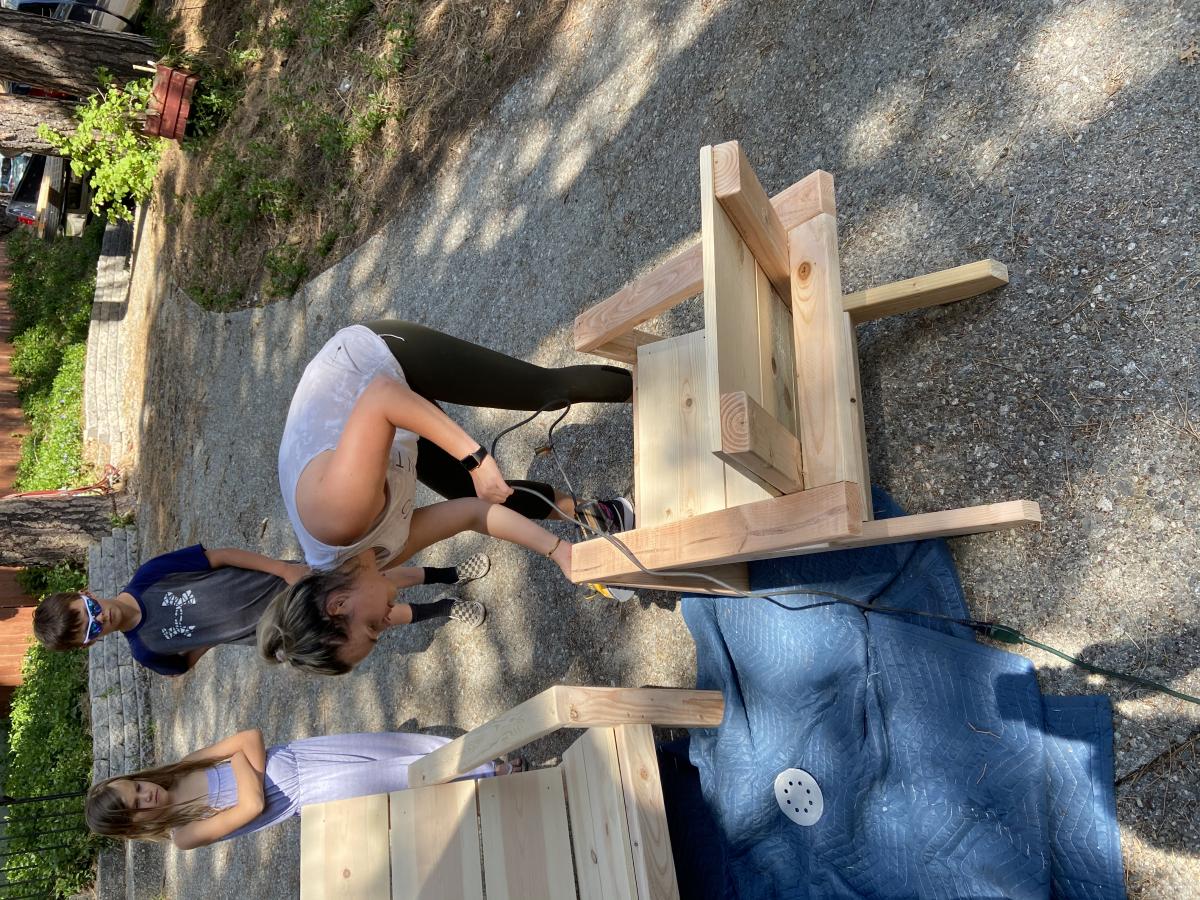
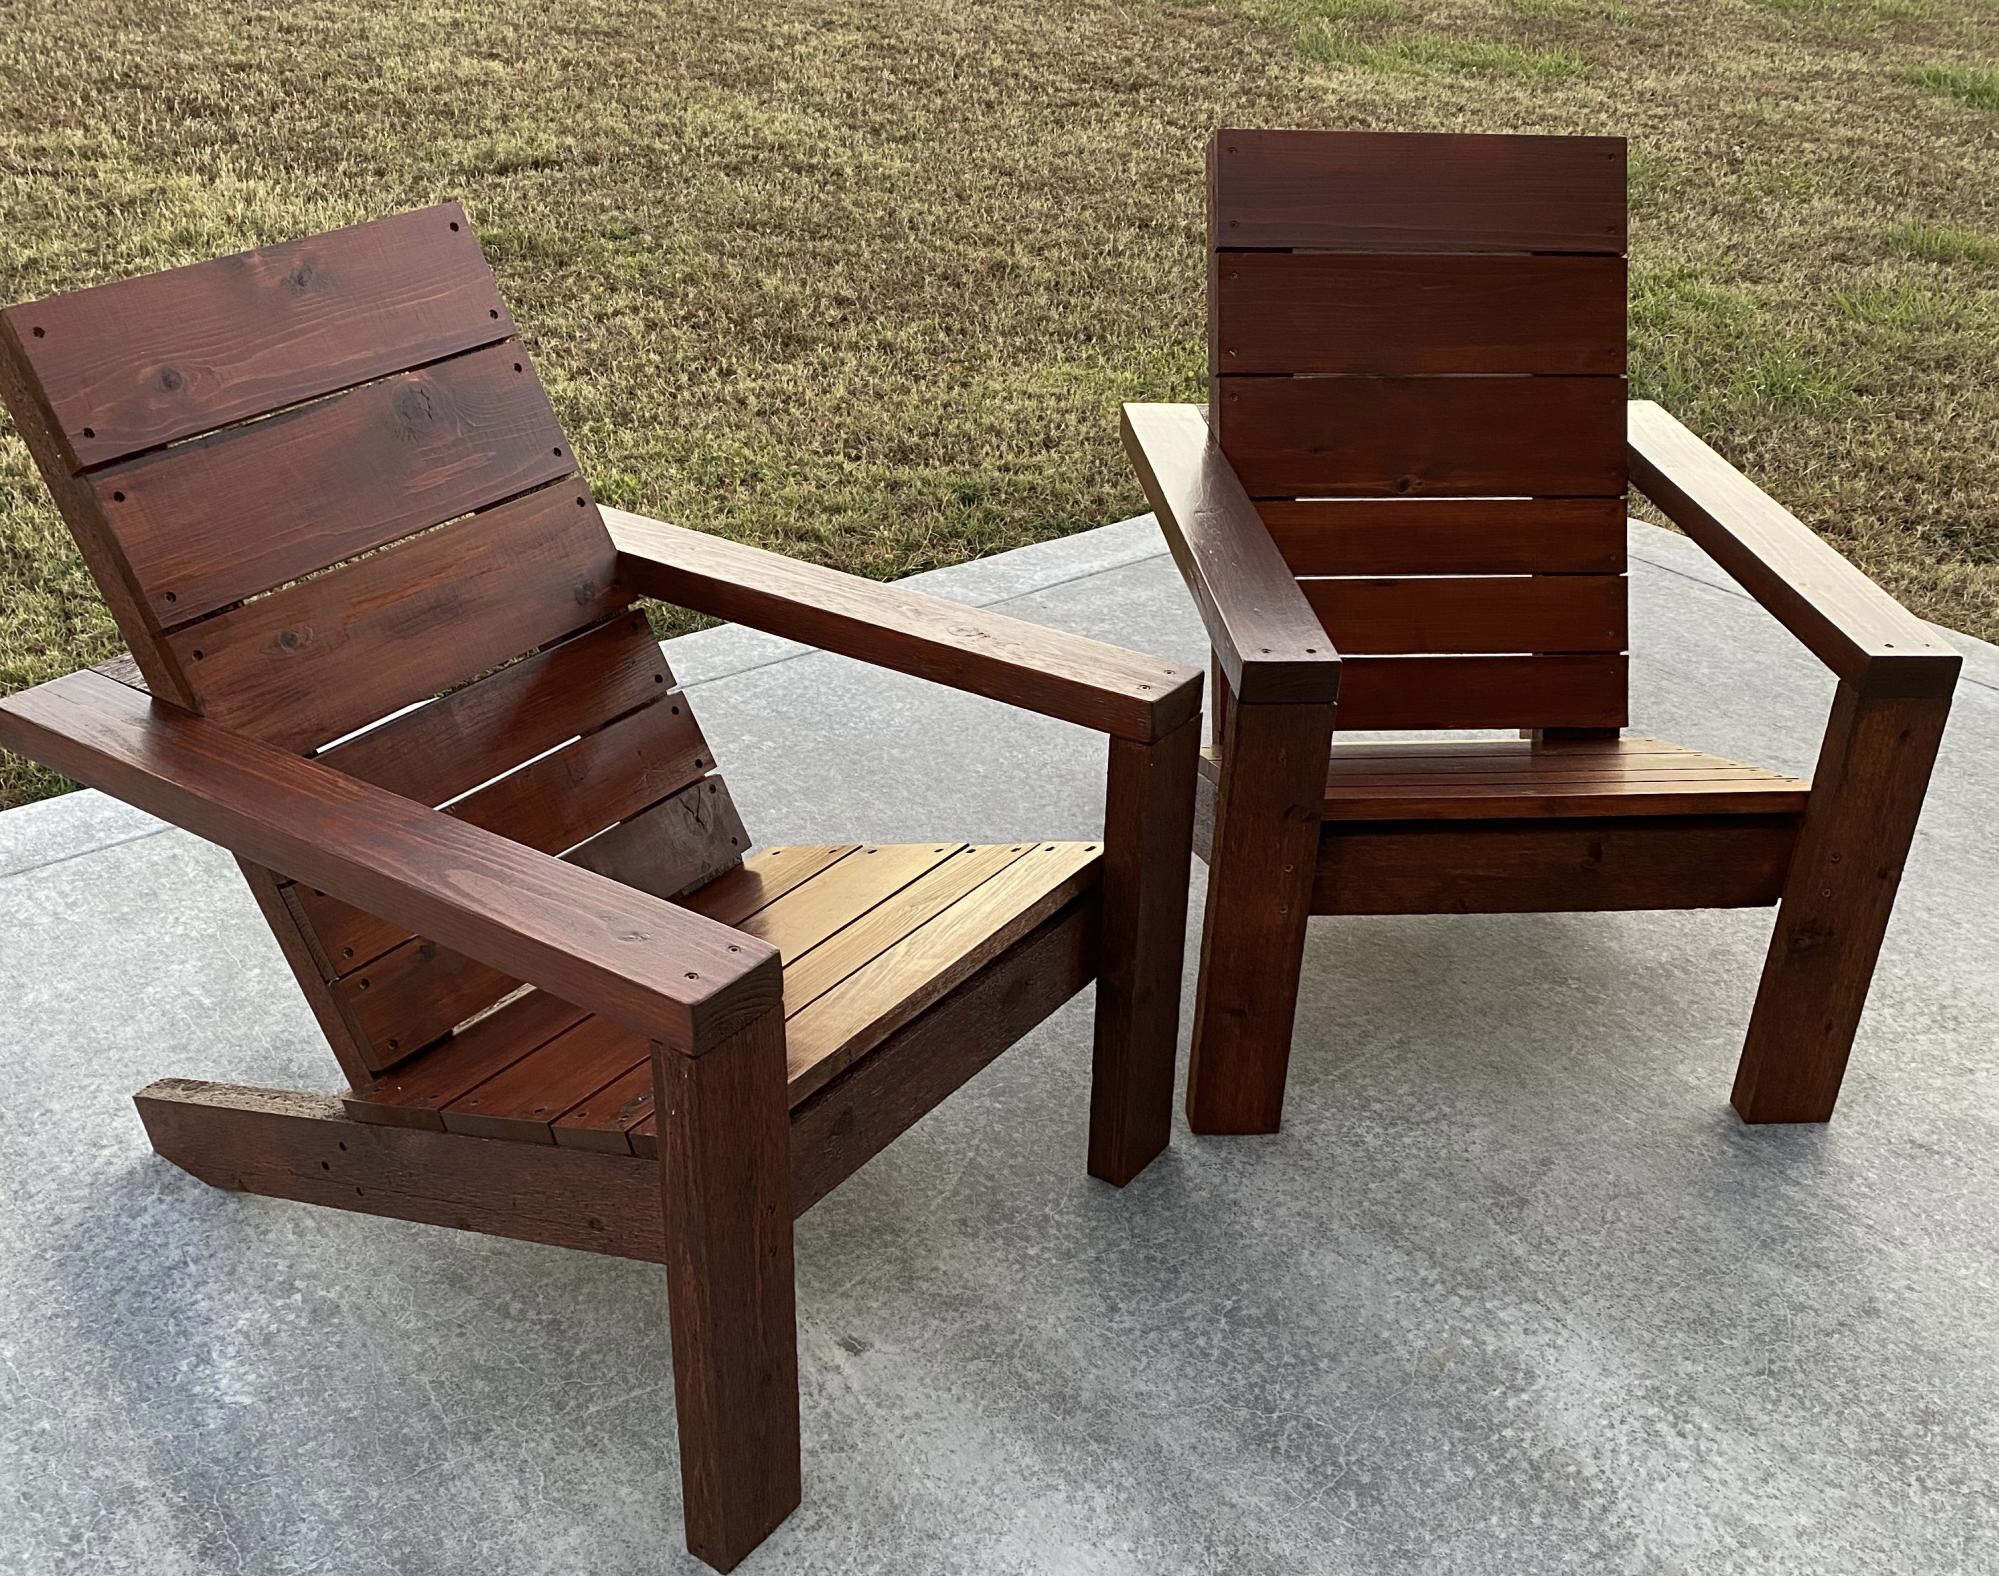
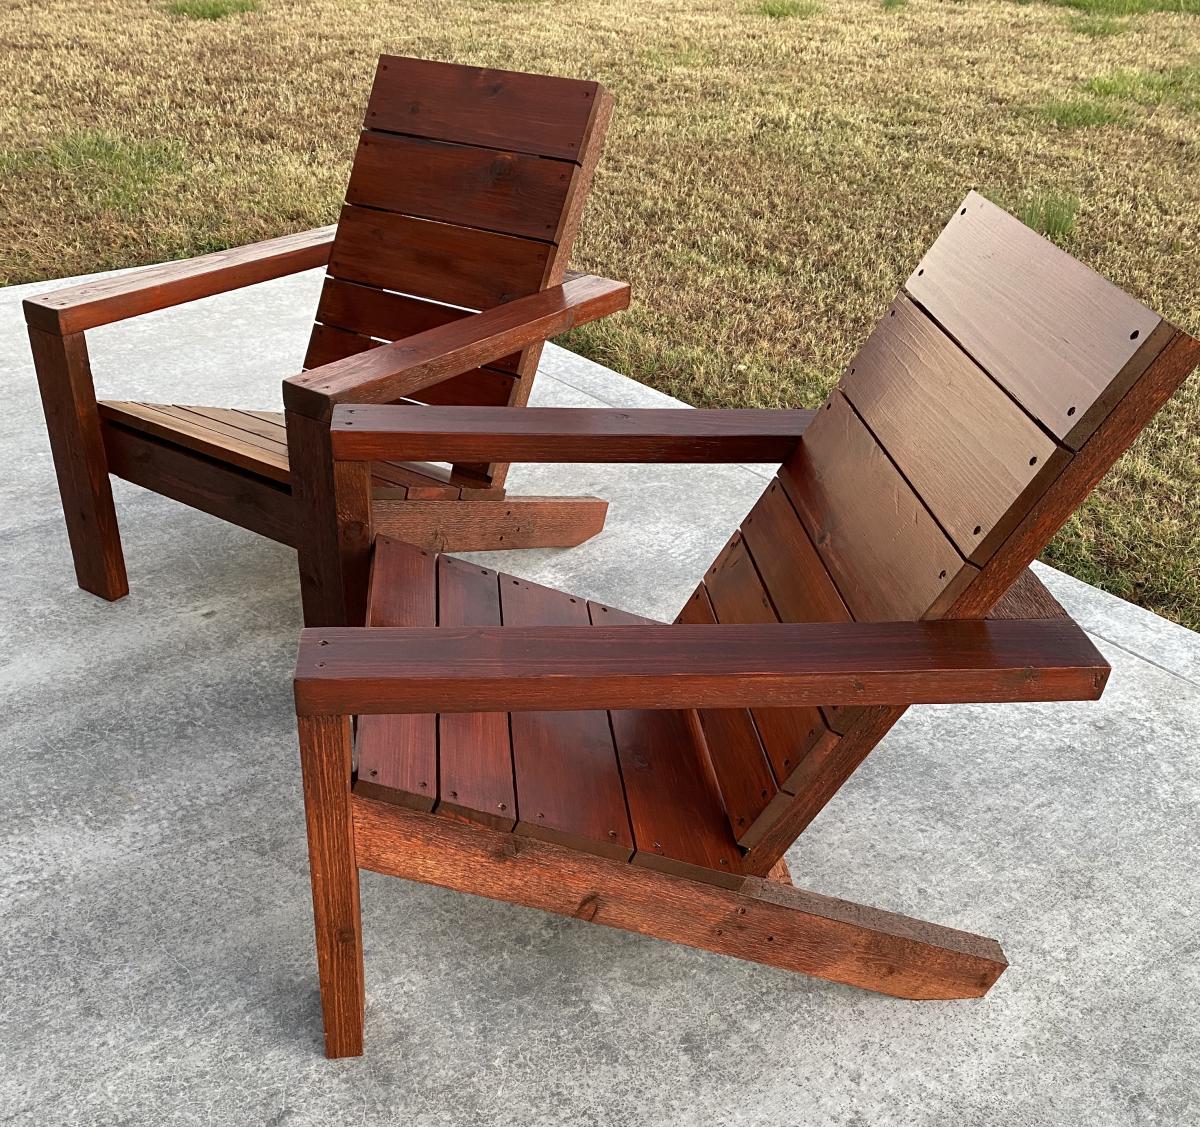
I used Western red cedar to build my chairs. The build was a little more expensive but well worth it. The chairs were stained with Cabot’s Australian Timber Oil ( Jarrah Brown). Thanks for the plans Ana, your site is awesome and you do a great job! Mark


Comments

Laundry Station

Submitted by Anonymous (not verified) on Mon, 02/27/2017 - 10:03
We followed these plans, but instead of building two cabinets, we combined them with one side in the middle. We also used pine planks on top. The sides are painted with chalk paint, and the top is finished in dark wax. 
Built from Plan(s)
Estimated Cost
$200
Estimated Time Investment
Afternoon Project (3-6 Hours)
Recommended Skill Level
Beginner

Comments

Pantry Shelves

Submitted by DIYAZMOM on Wed, 12/29/2021 - 09:03

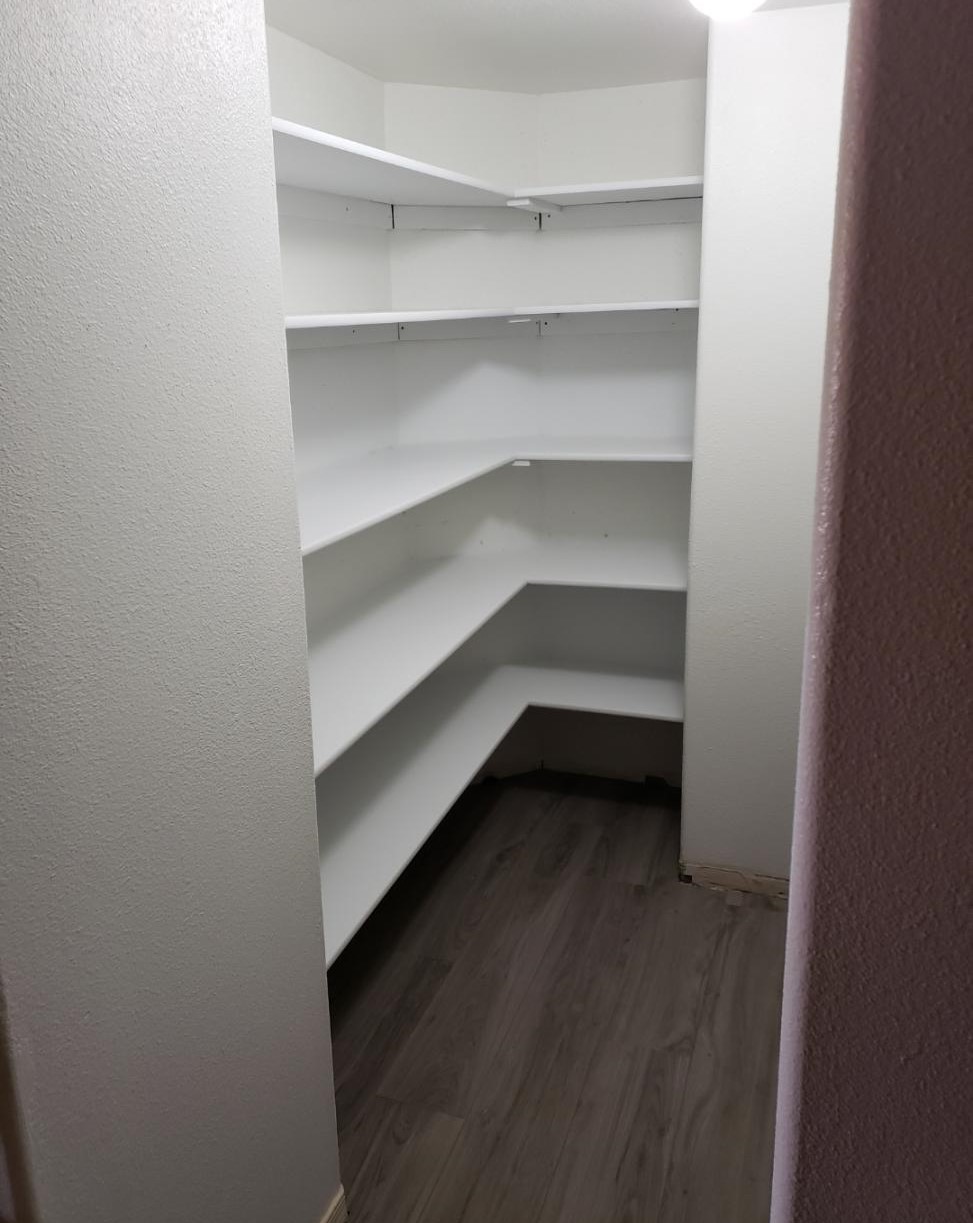
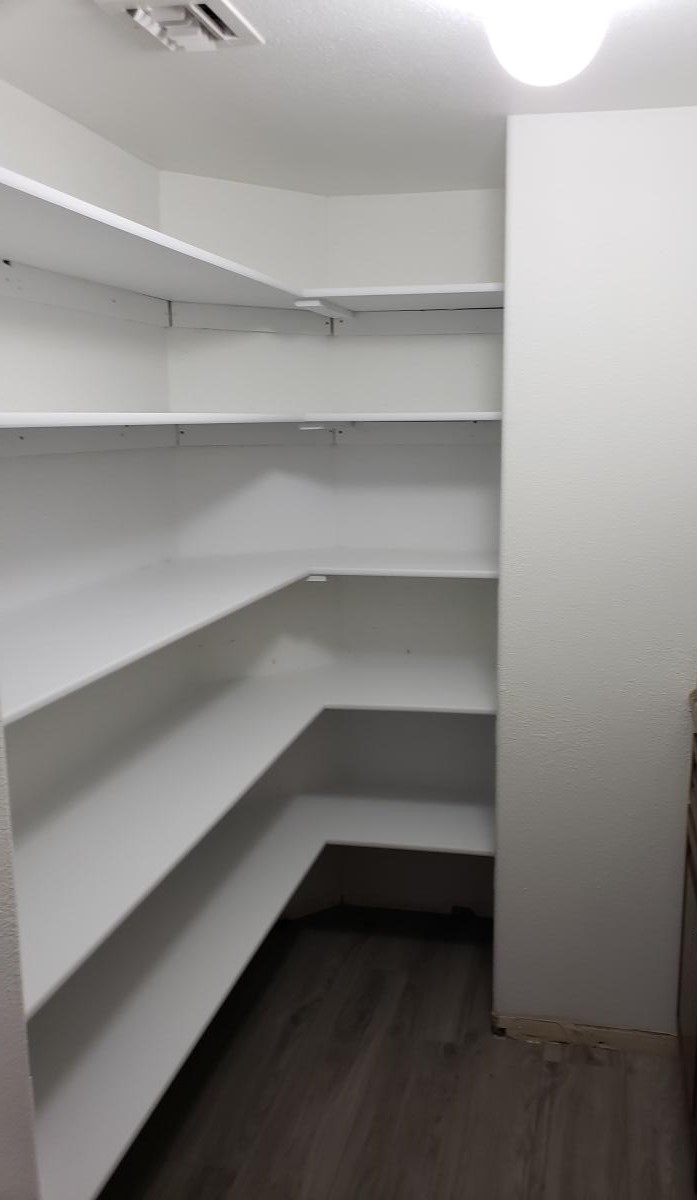
We enclosed an unused wet bar and then I built the shelves to make it into a pantry.

Built from Plan(s)

Comments

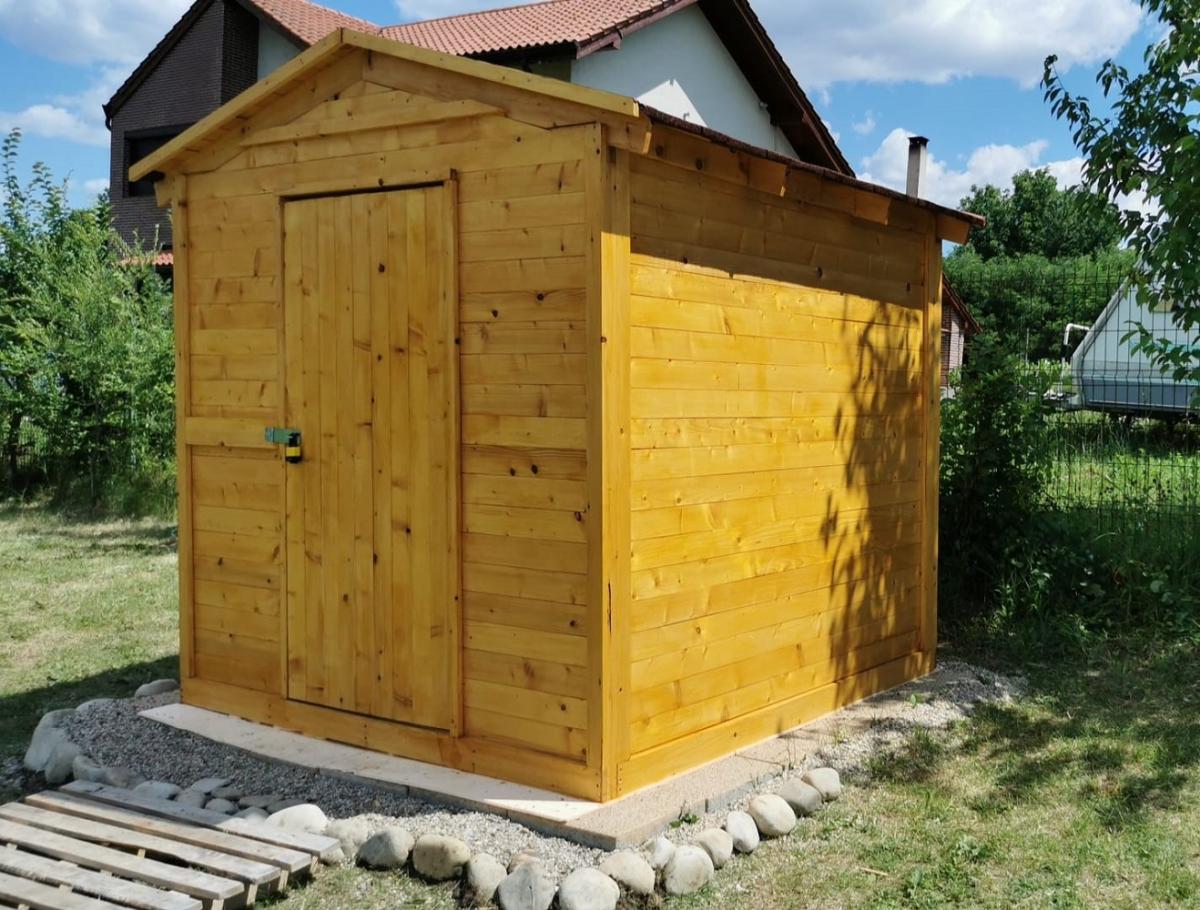
Wooden garden tools storage shed

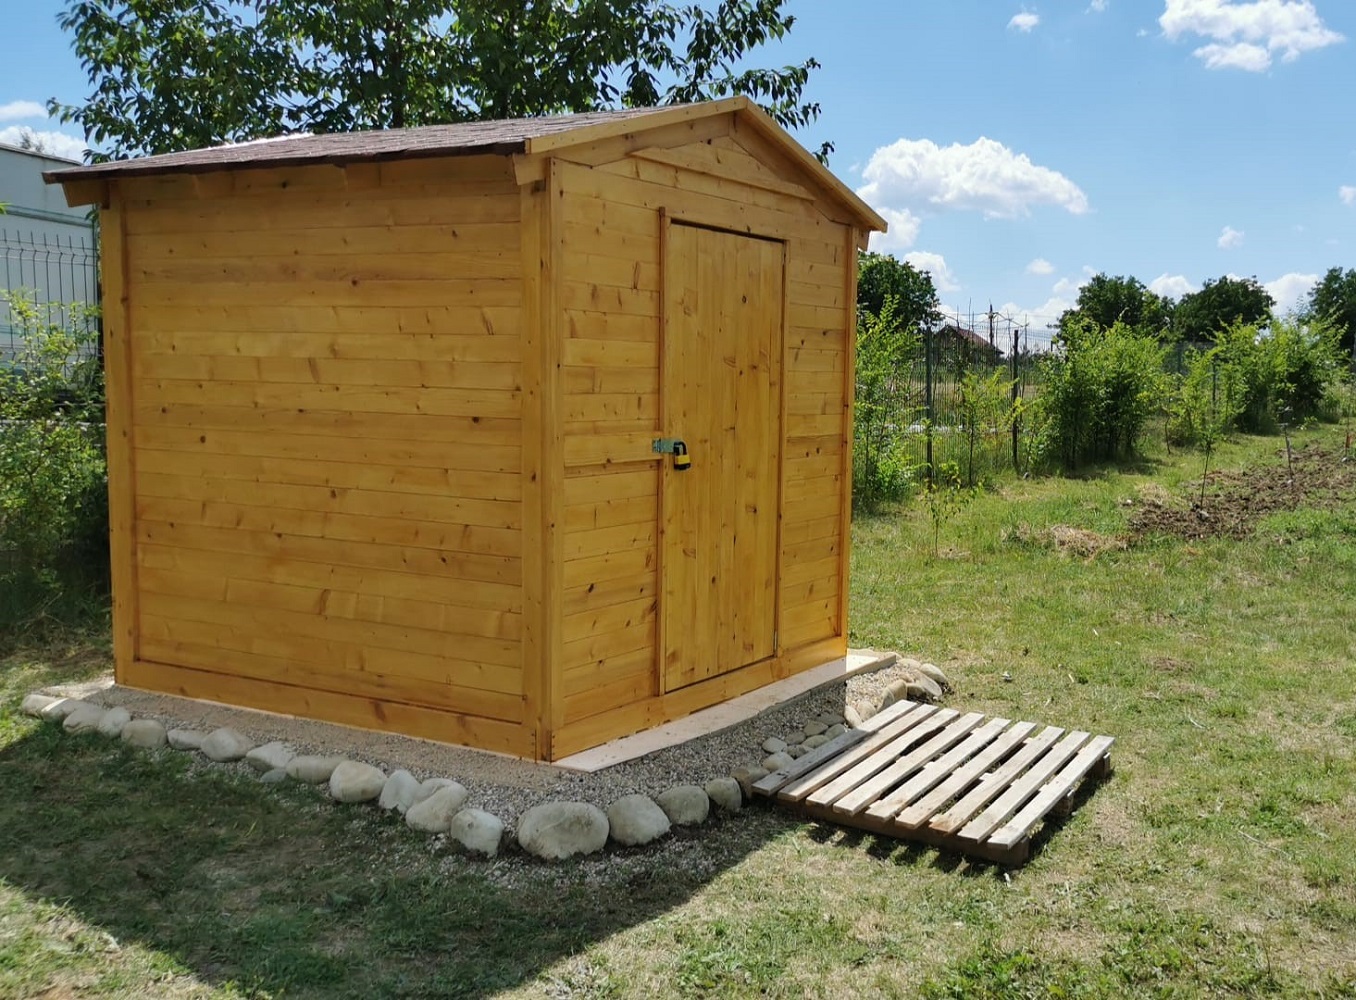
Our last project was building a tiny garden tools storage shed. We used only 1 x 4 boards. We don't have any plans, but you can watch the entire building process on our YouTube channel. We are very proud of the way the project turned out.

Built from Plan(s)

Comments

Seasonal And Holiday

Workbench

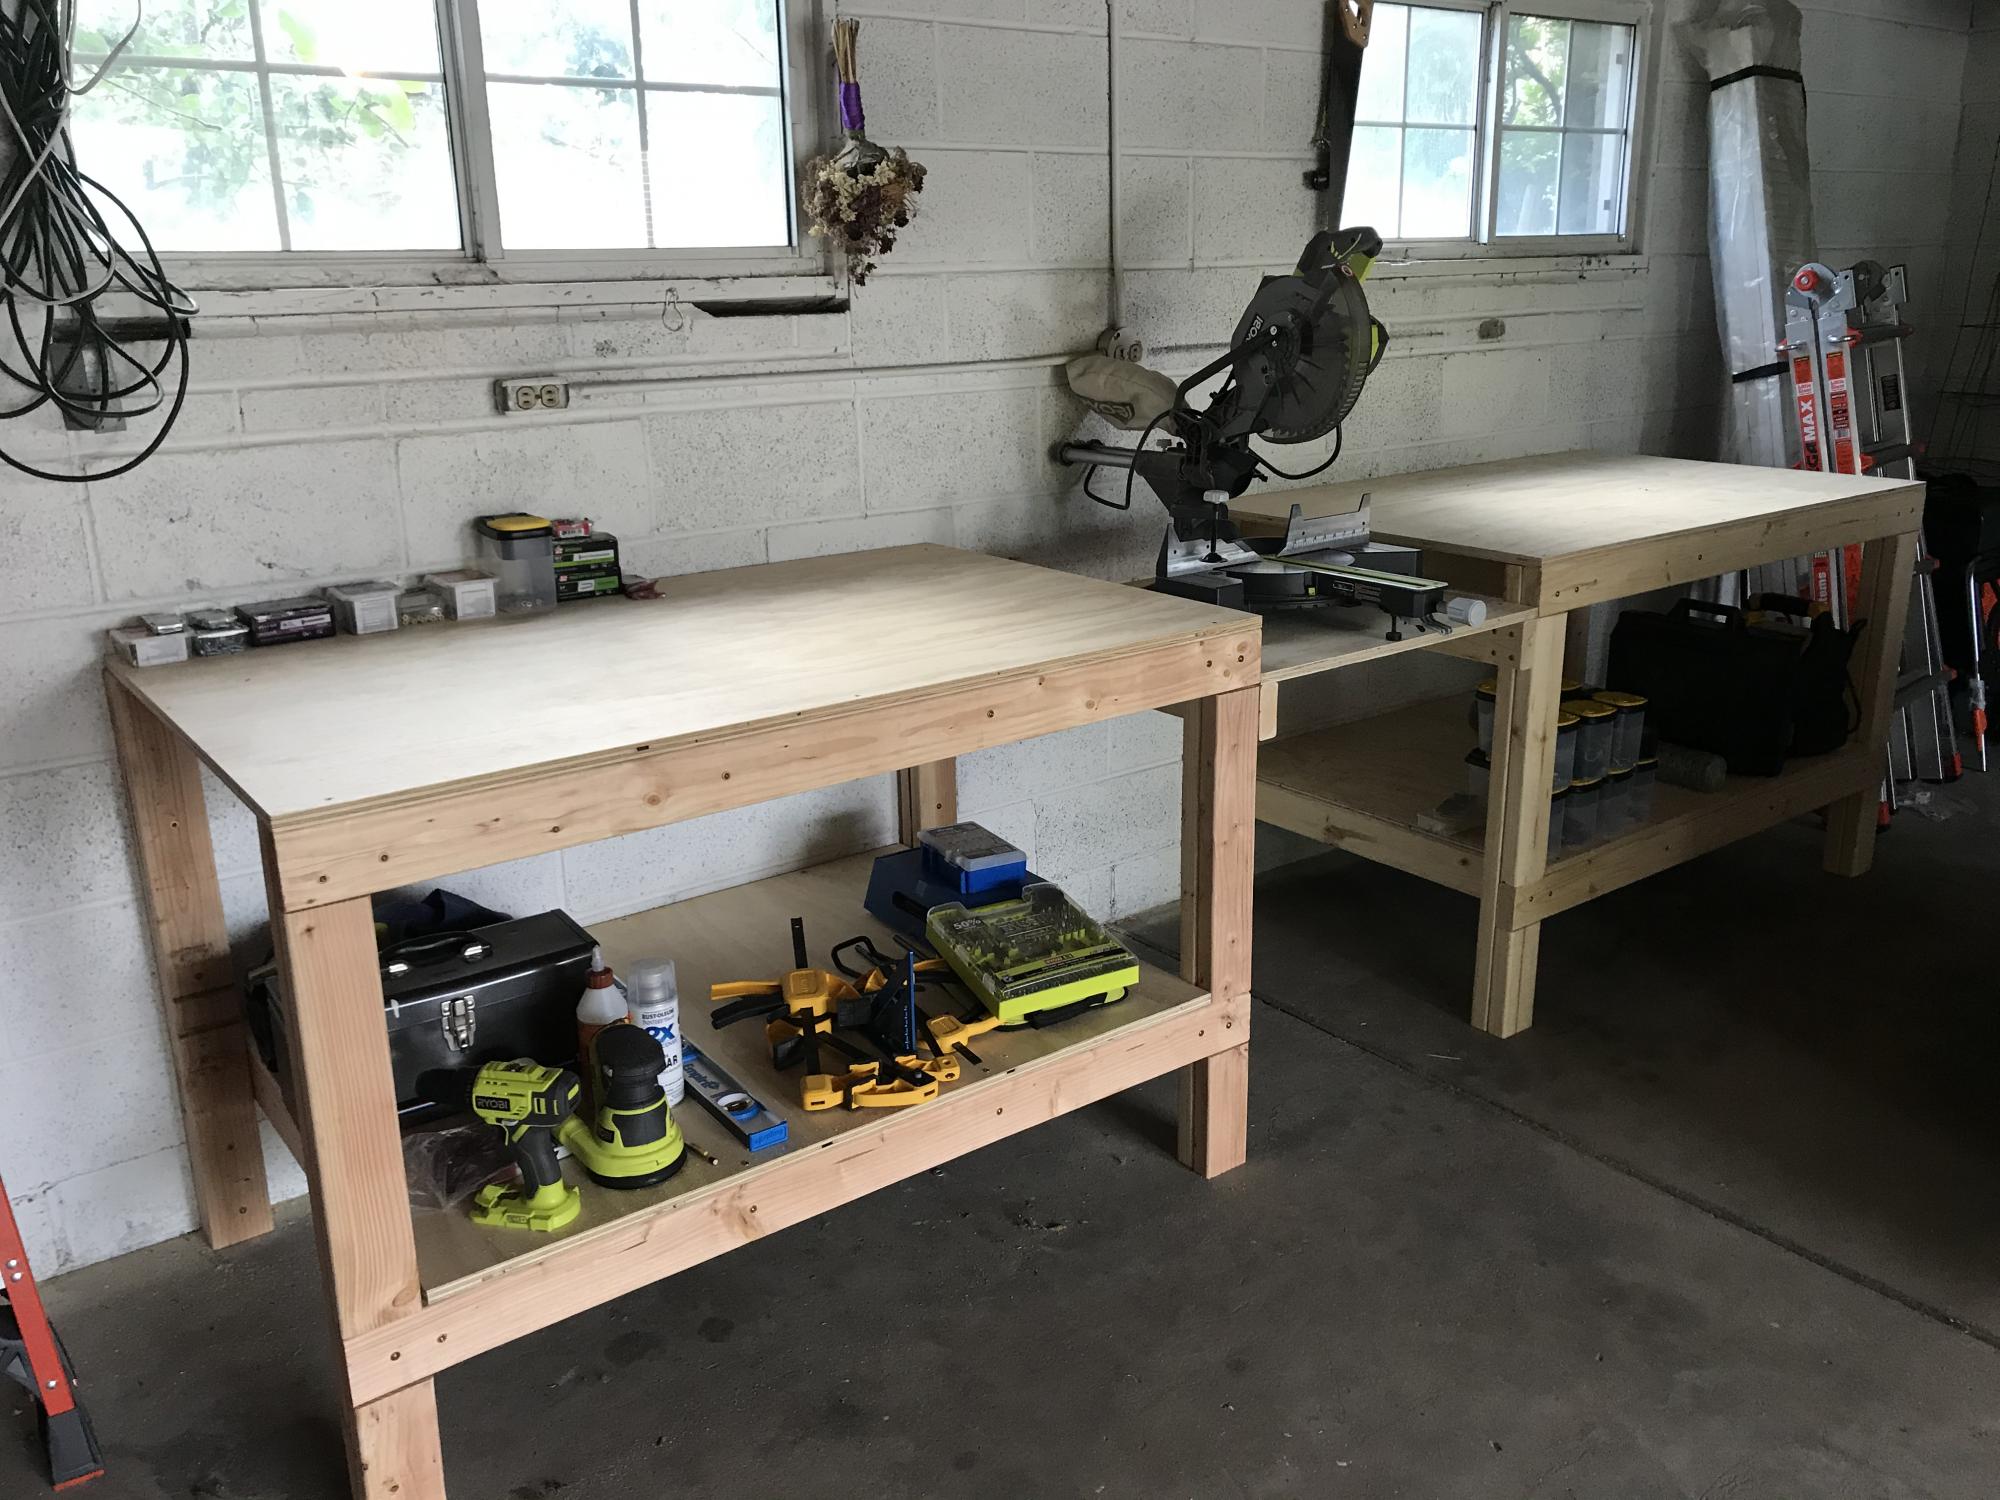
Submitted by Ulrike on Sun, 06/21/2020 - 09:37

Built 2 of the workbenches for our garage. The plans made assembly very easy and quick. We had Home Depot cut the plywood to size.

Estimated Time Investment
Afternoon Project (3-6 Hours)

Comments

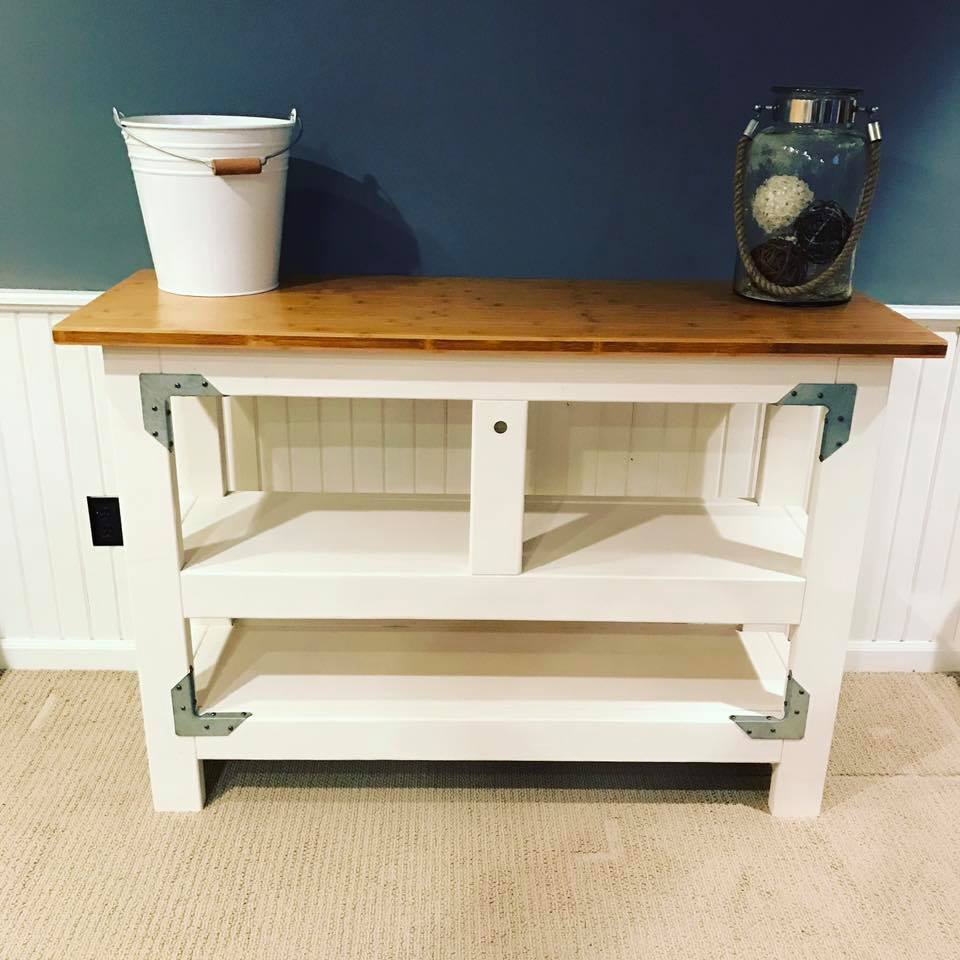
Kitchen prep table

Submitted by Anonymous (not verified) on Sat, 01/14/2017 - 13:37

I borrowed a few ideas from multiple plans to make this prep station for a kitchen with very few countertops. I really like the strong tie hardware and I purchased a bamboo benchtop from Home Depot to finish it off.

Estimated Cost
$90
Estimated Time Investment
Weekend Project (10-20 Hours)
Finish Used
2 coats of satin white paint
Recommended Skill Level
Beginner