Community Brag Posts

Red, White, and Blue Coop

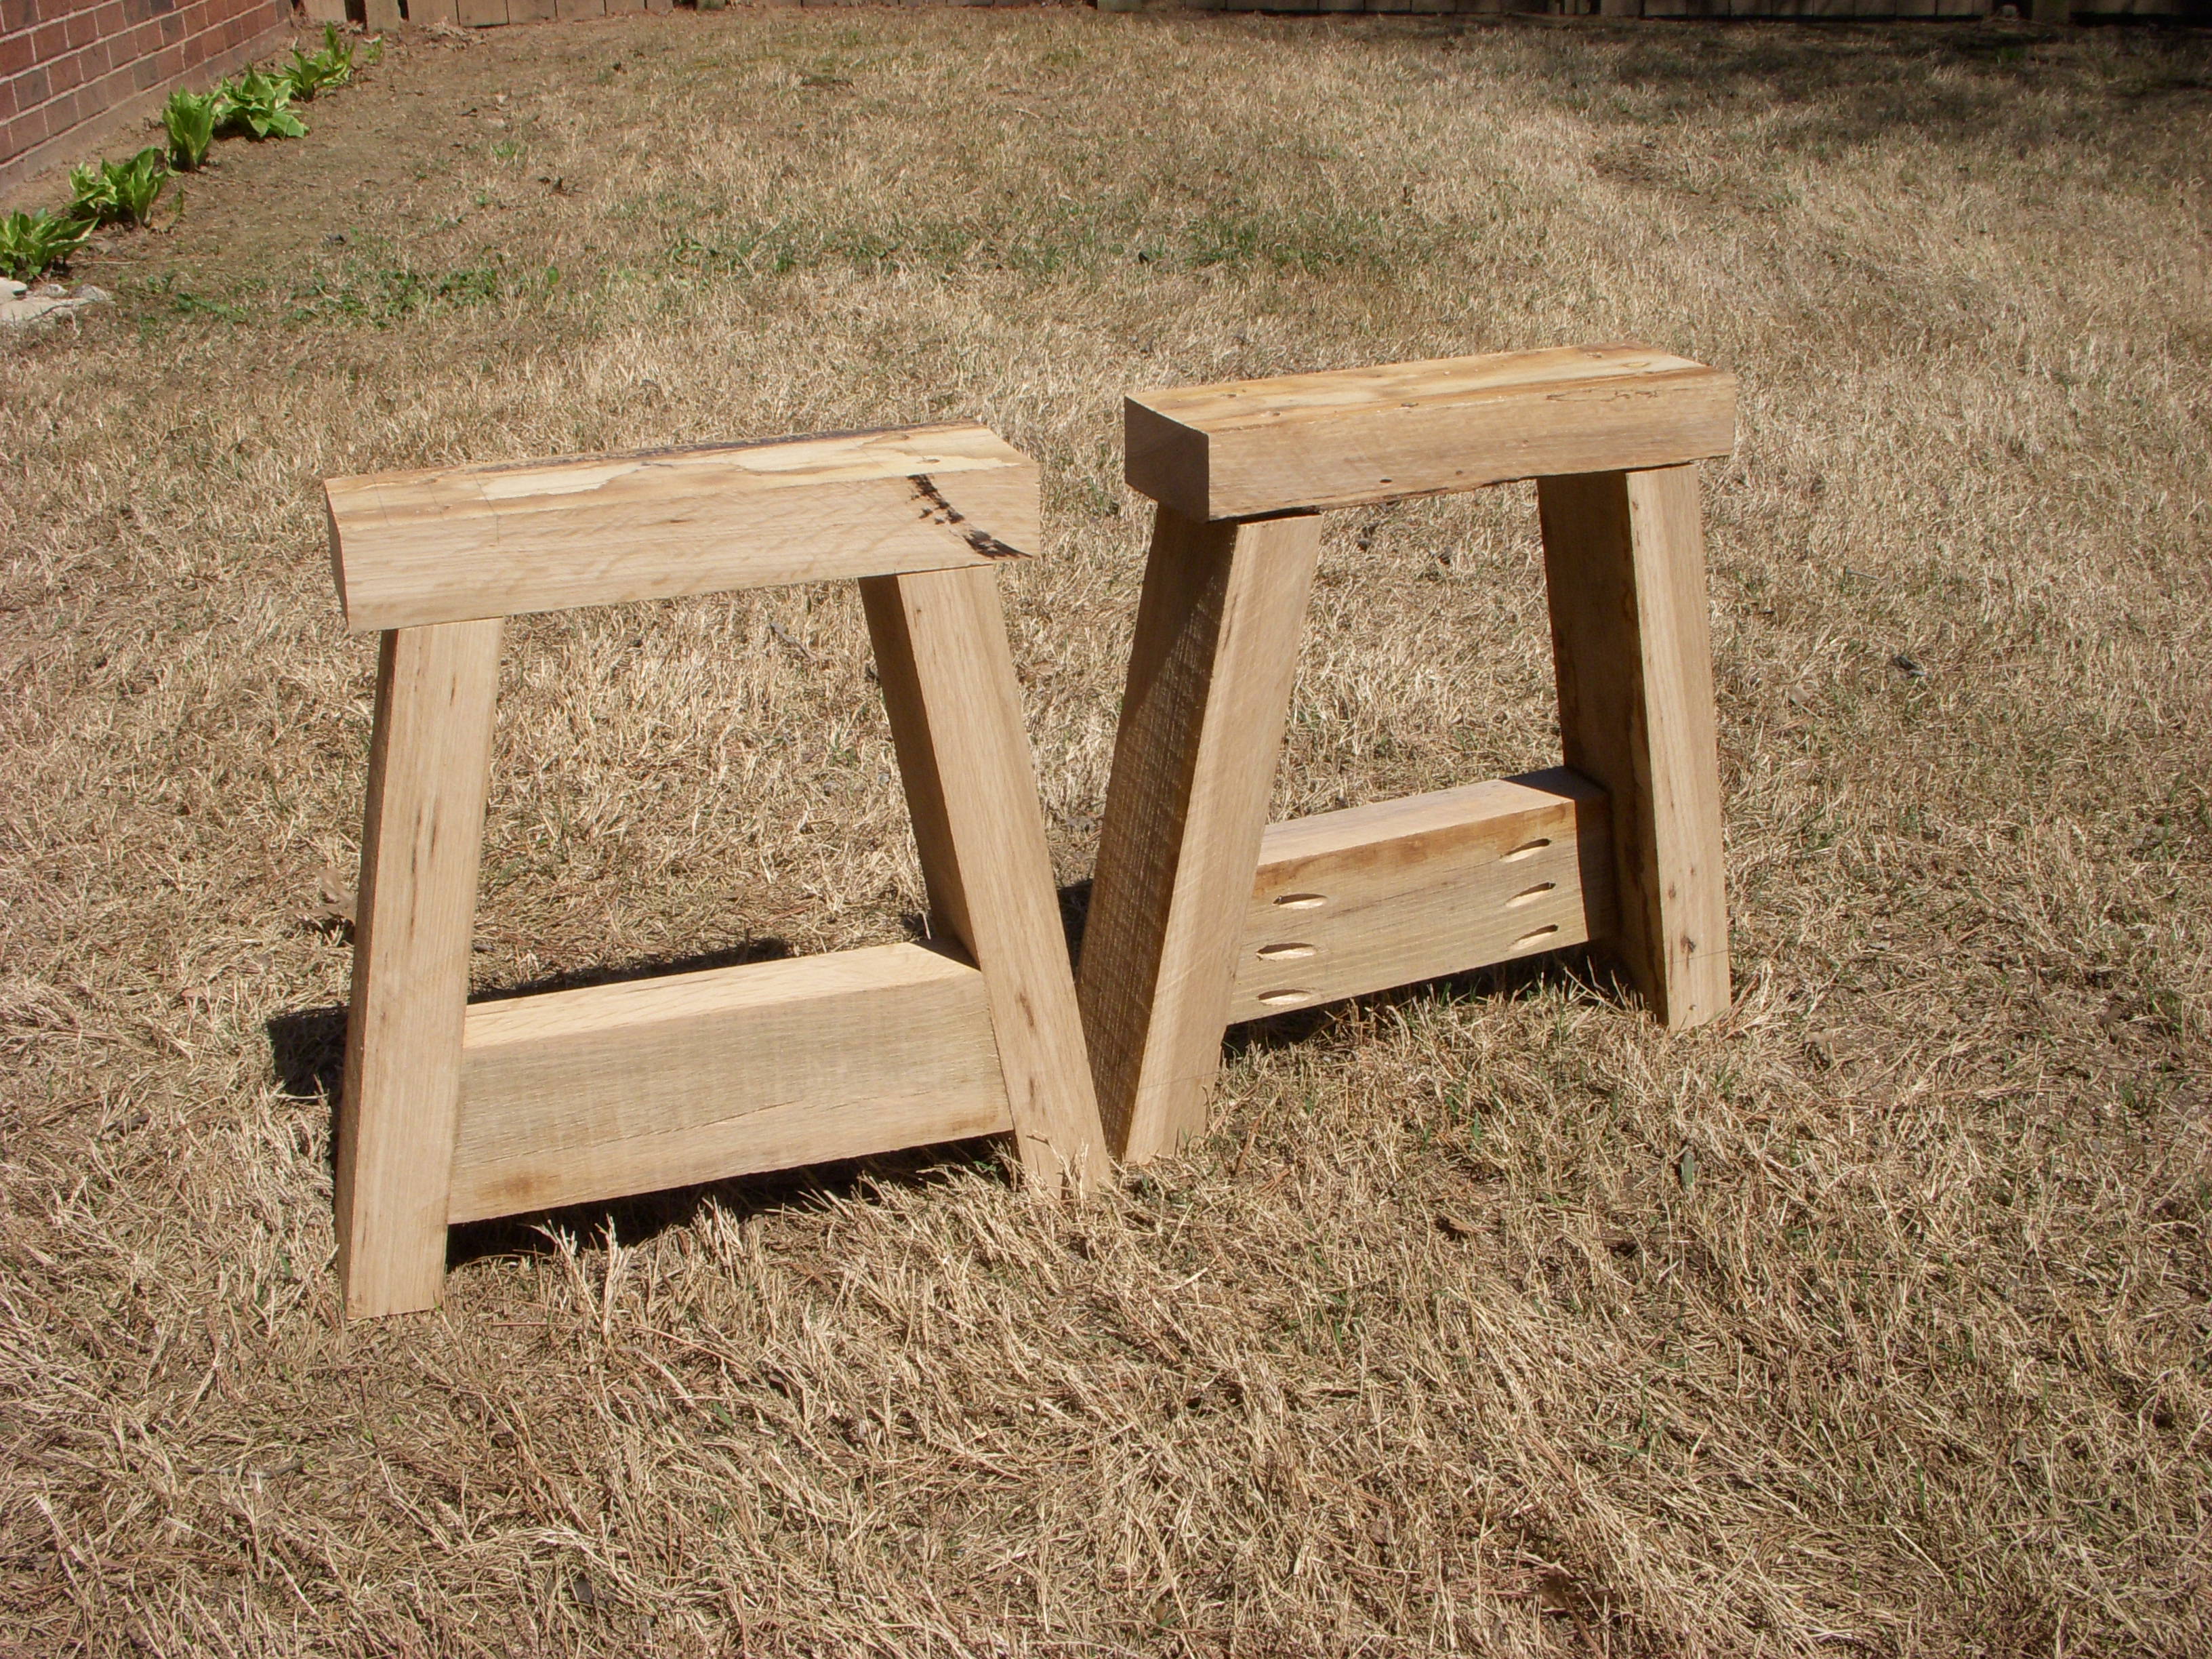
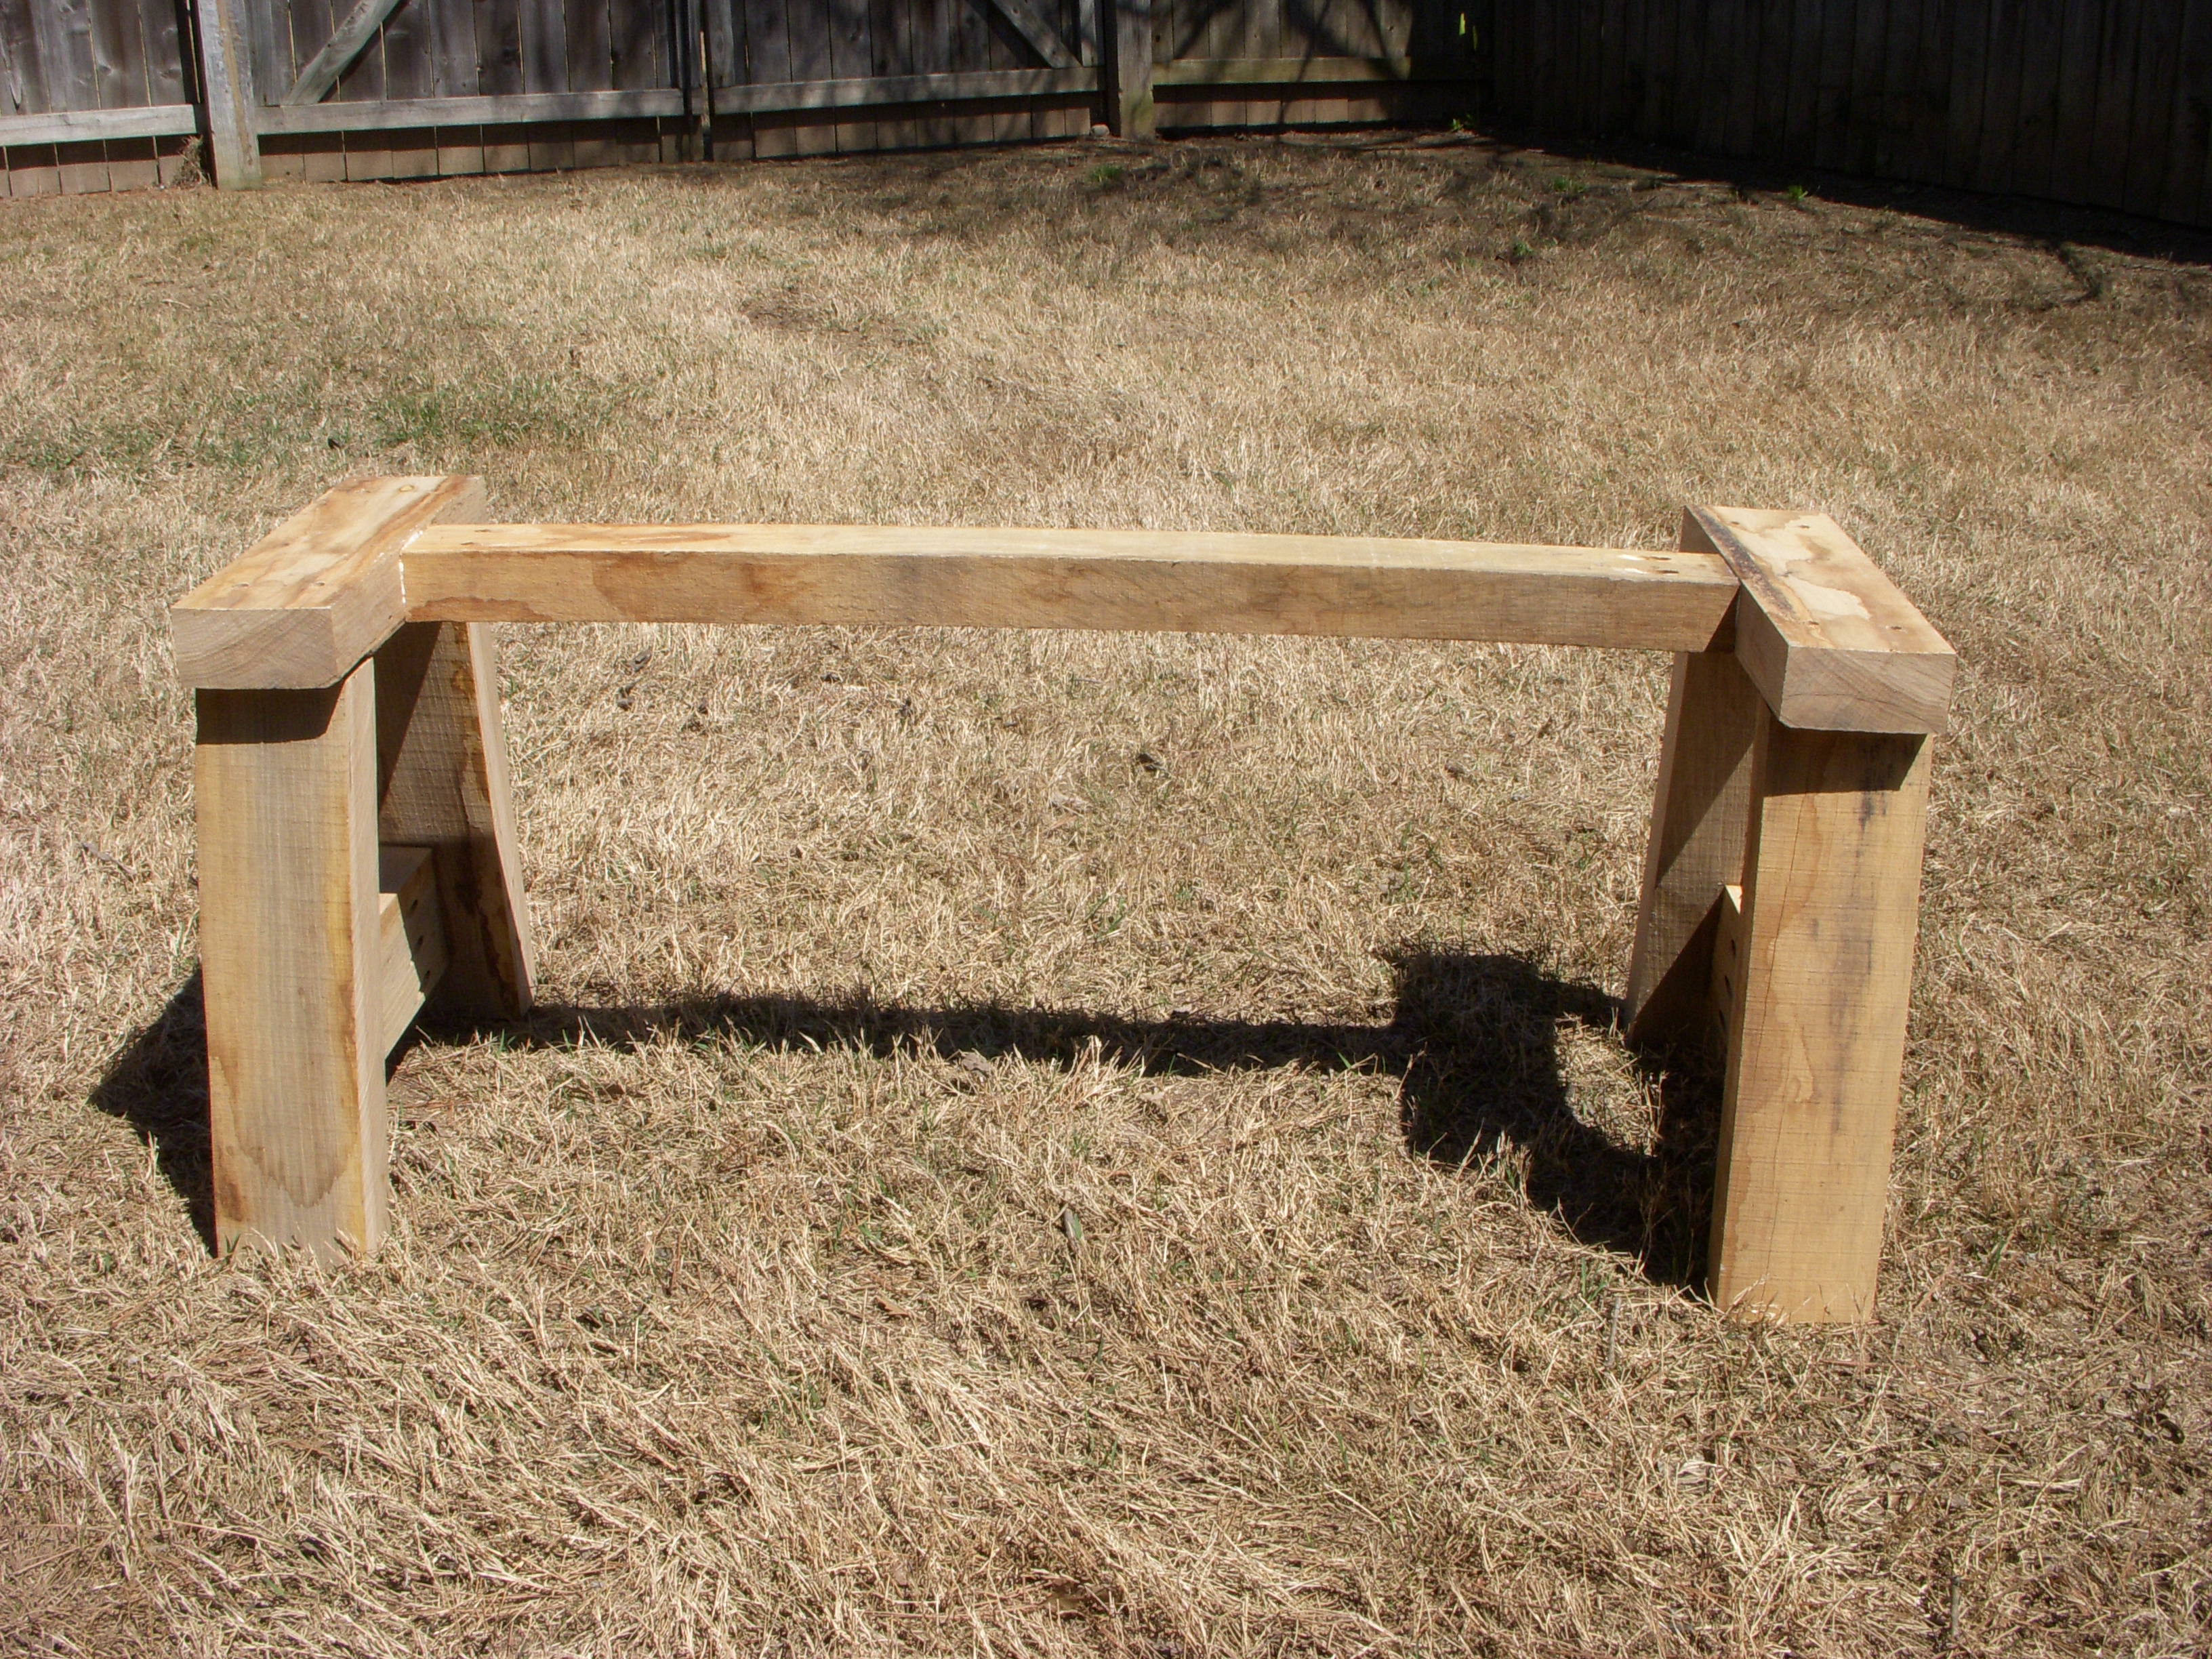
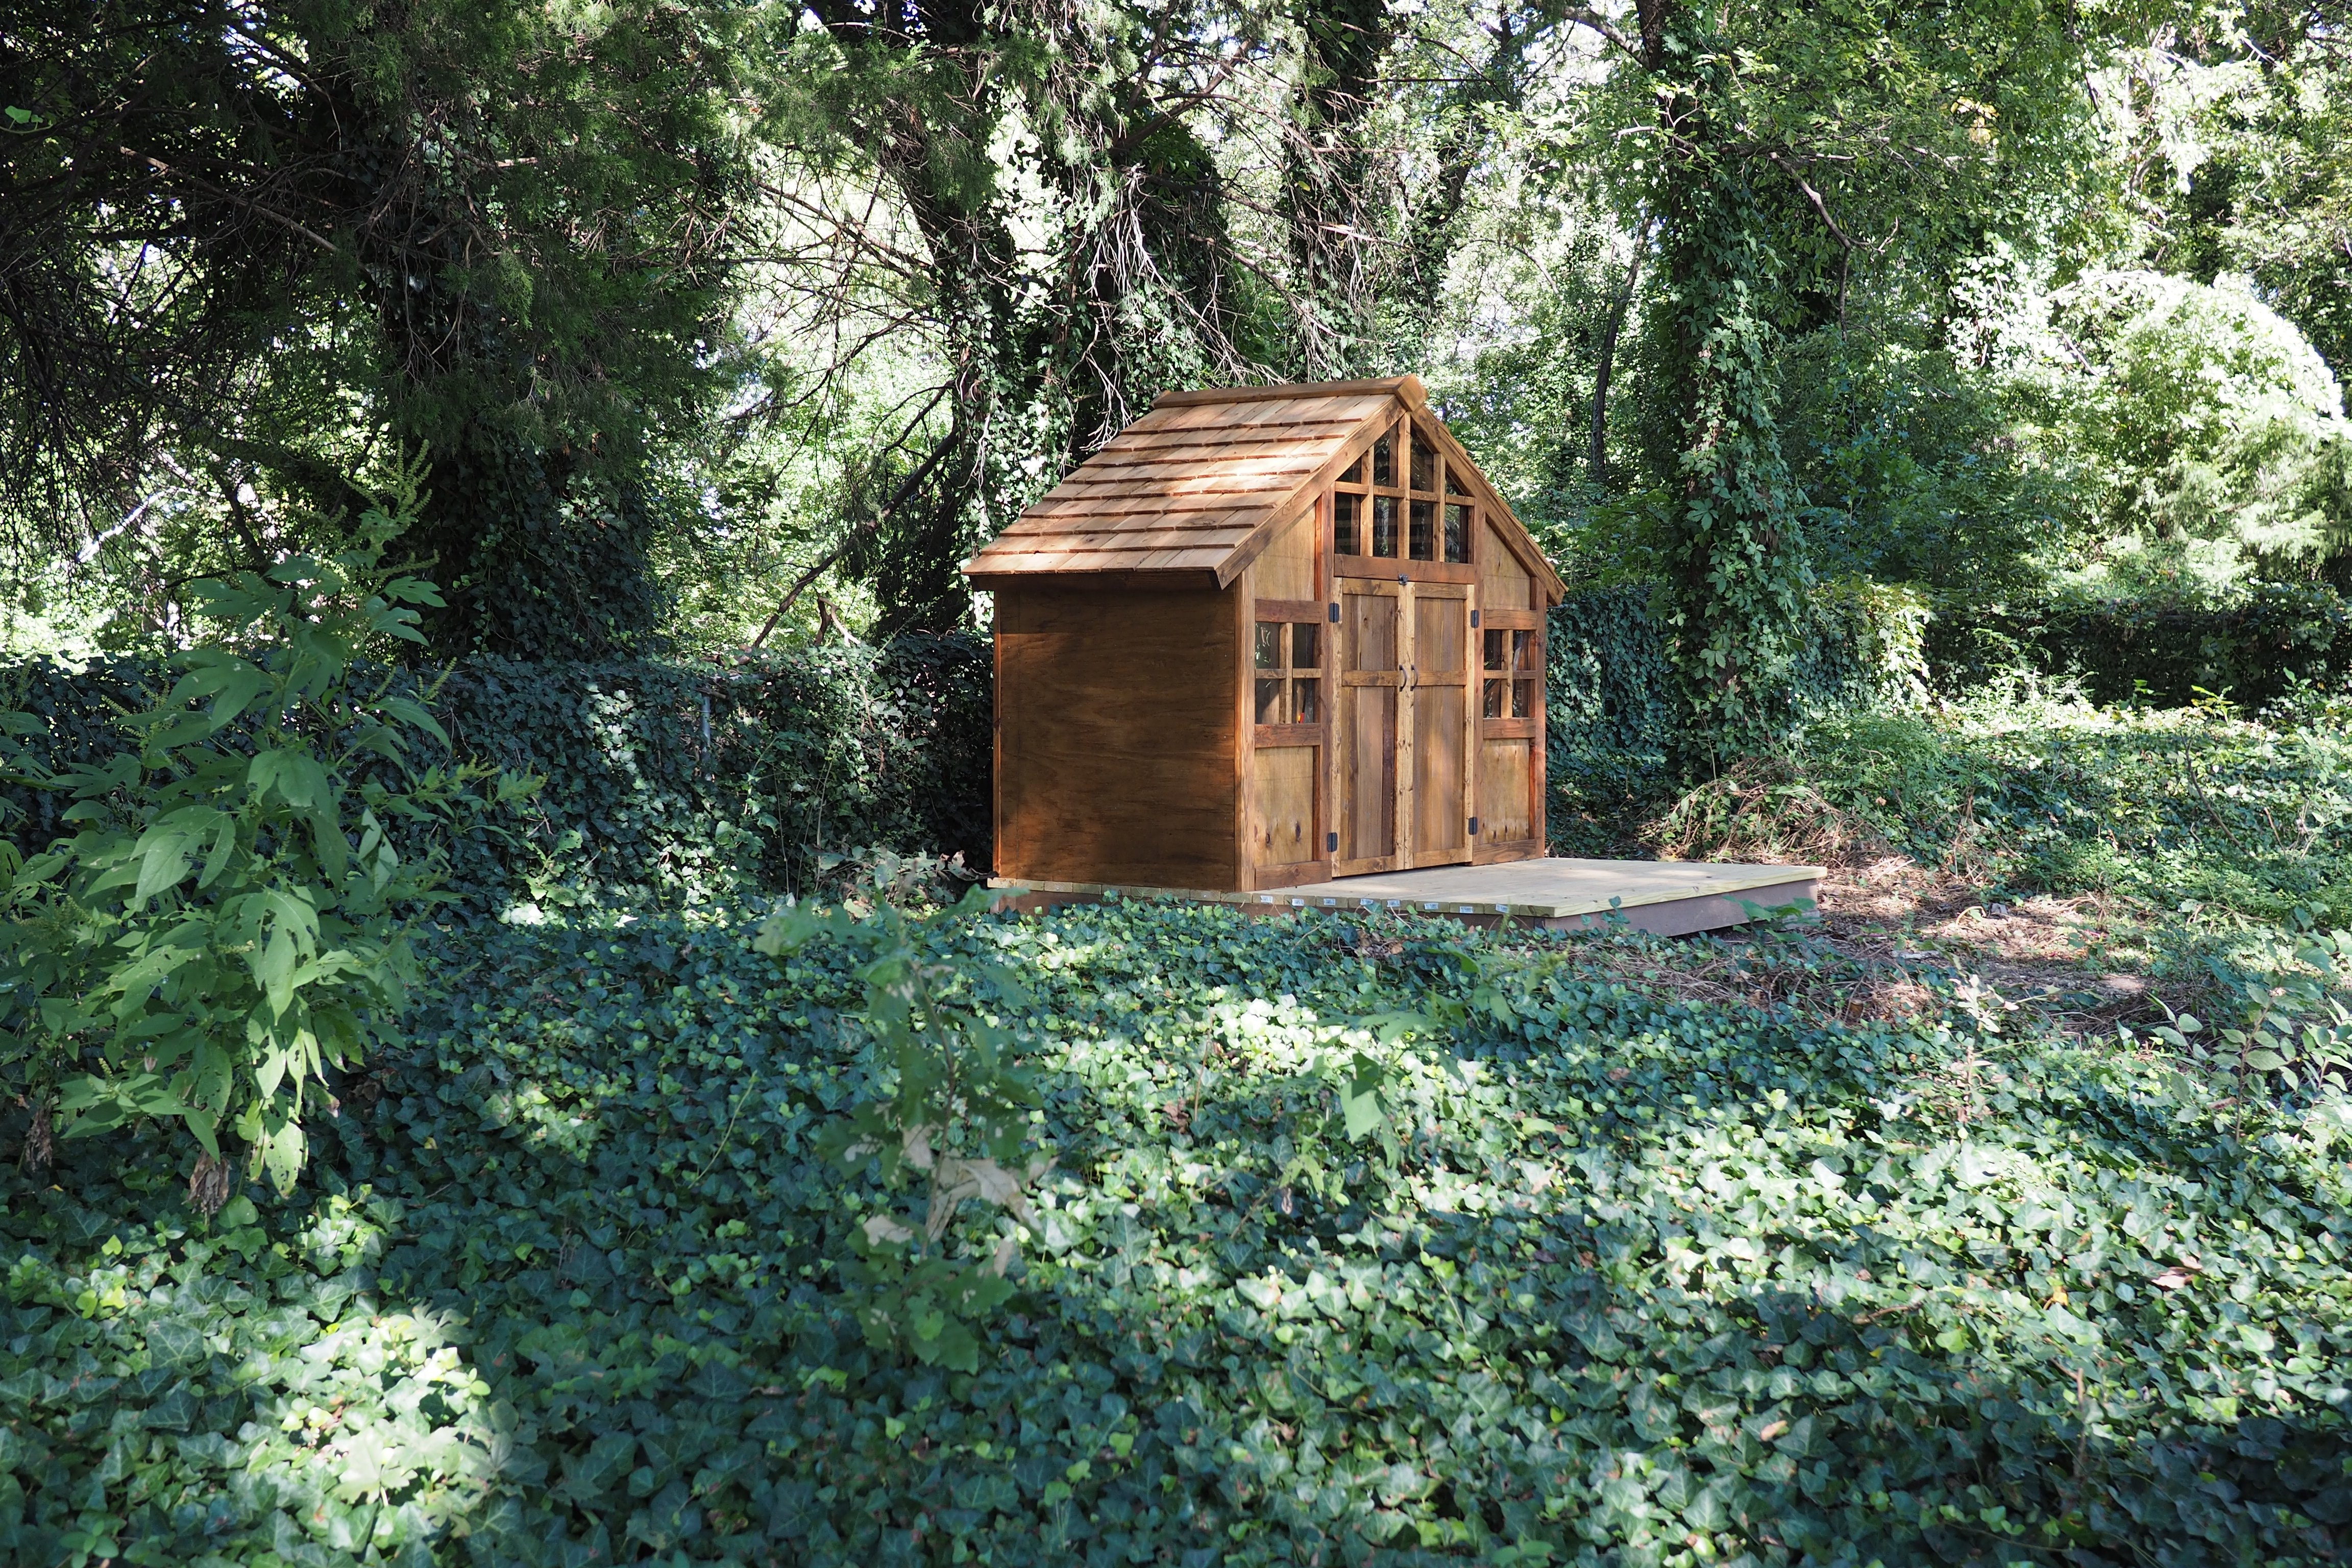
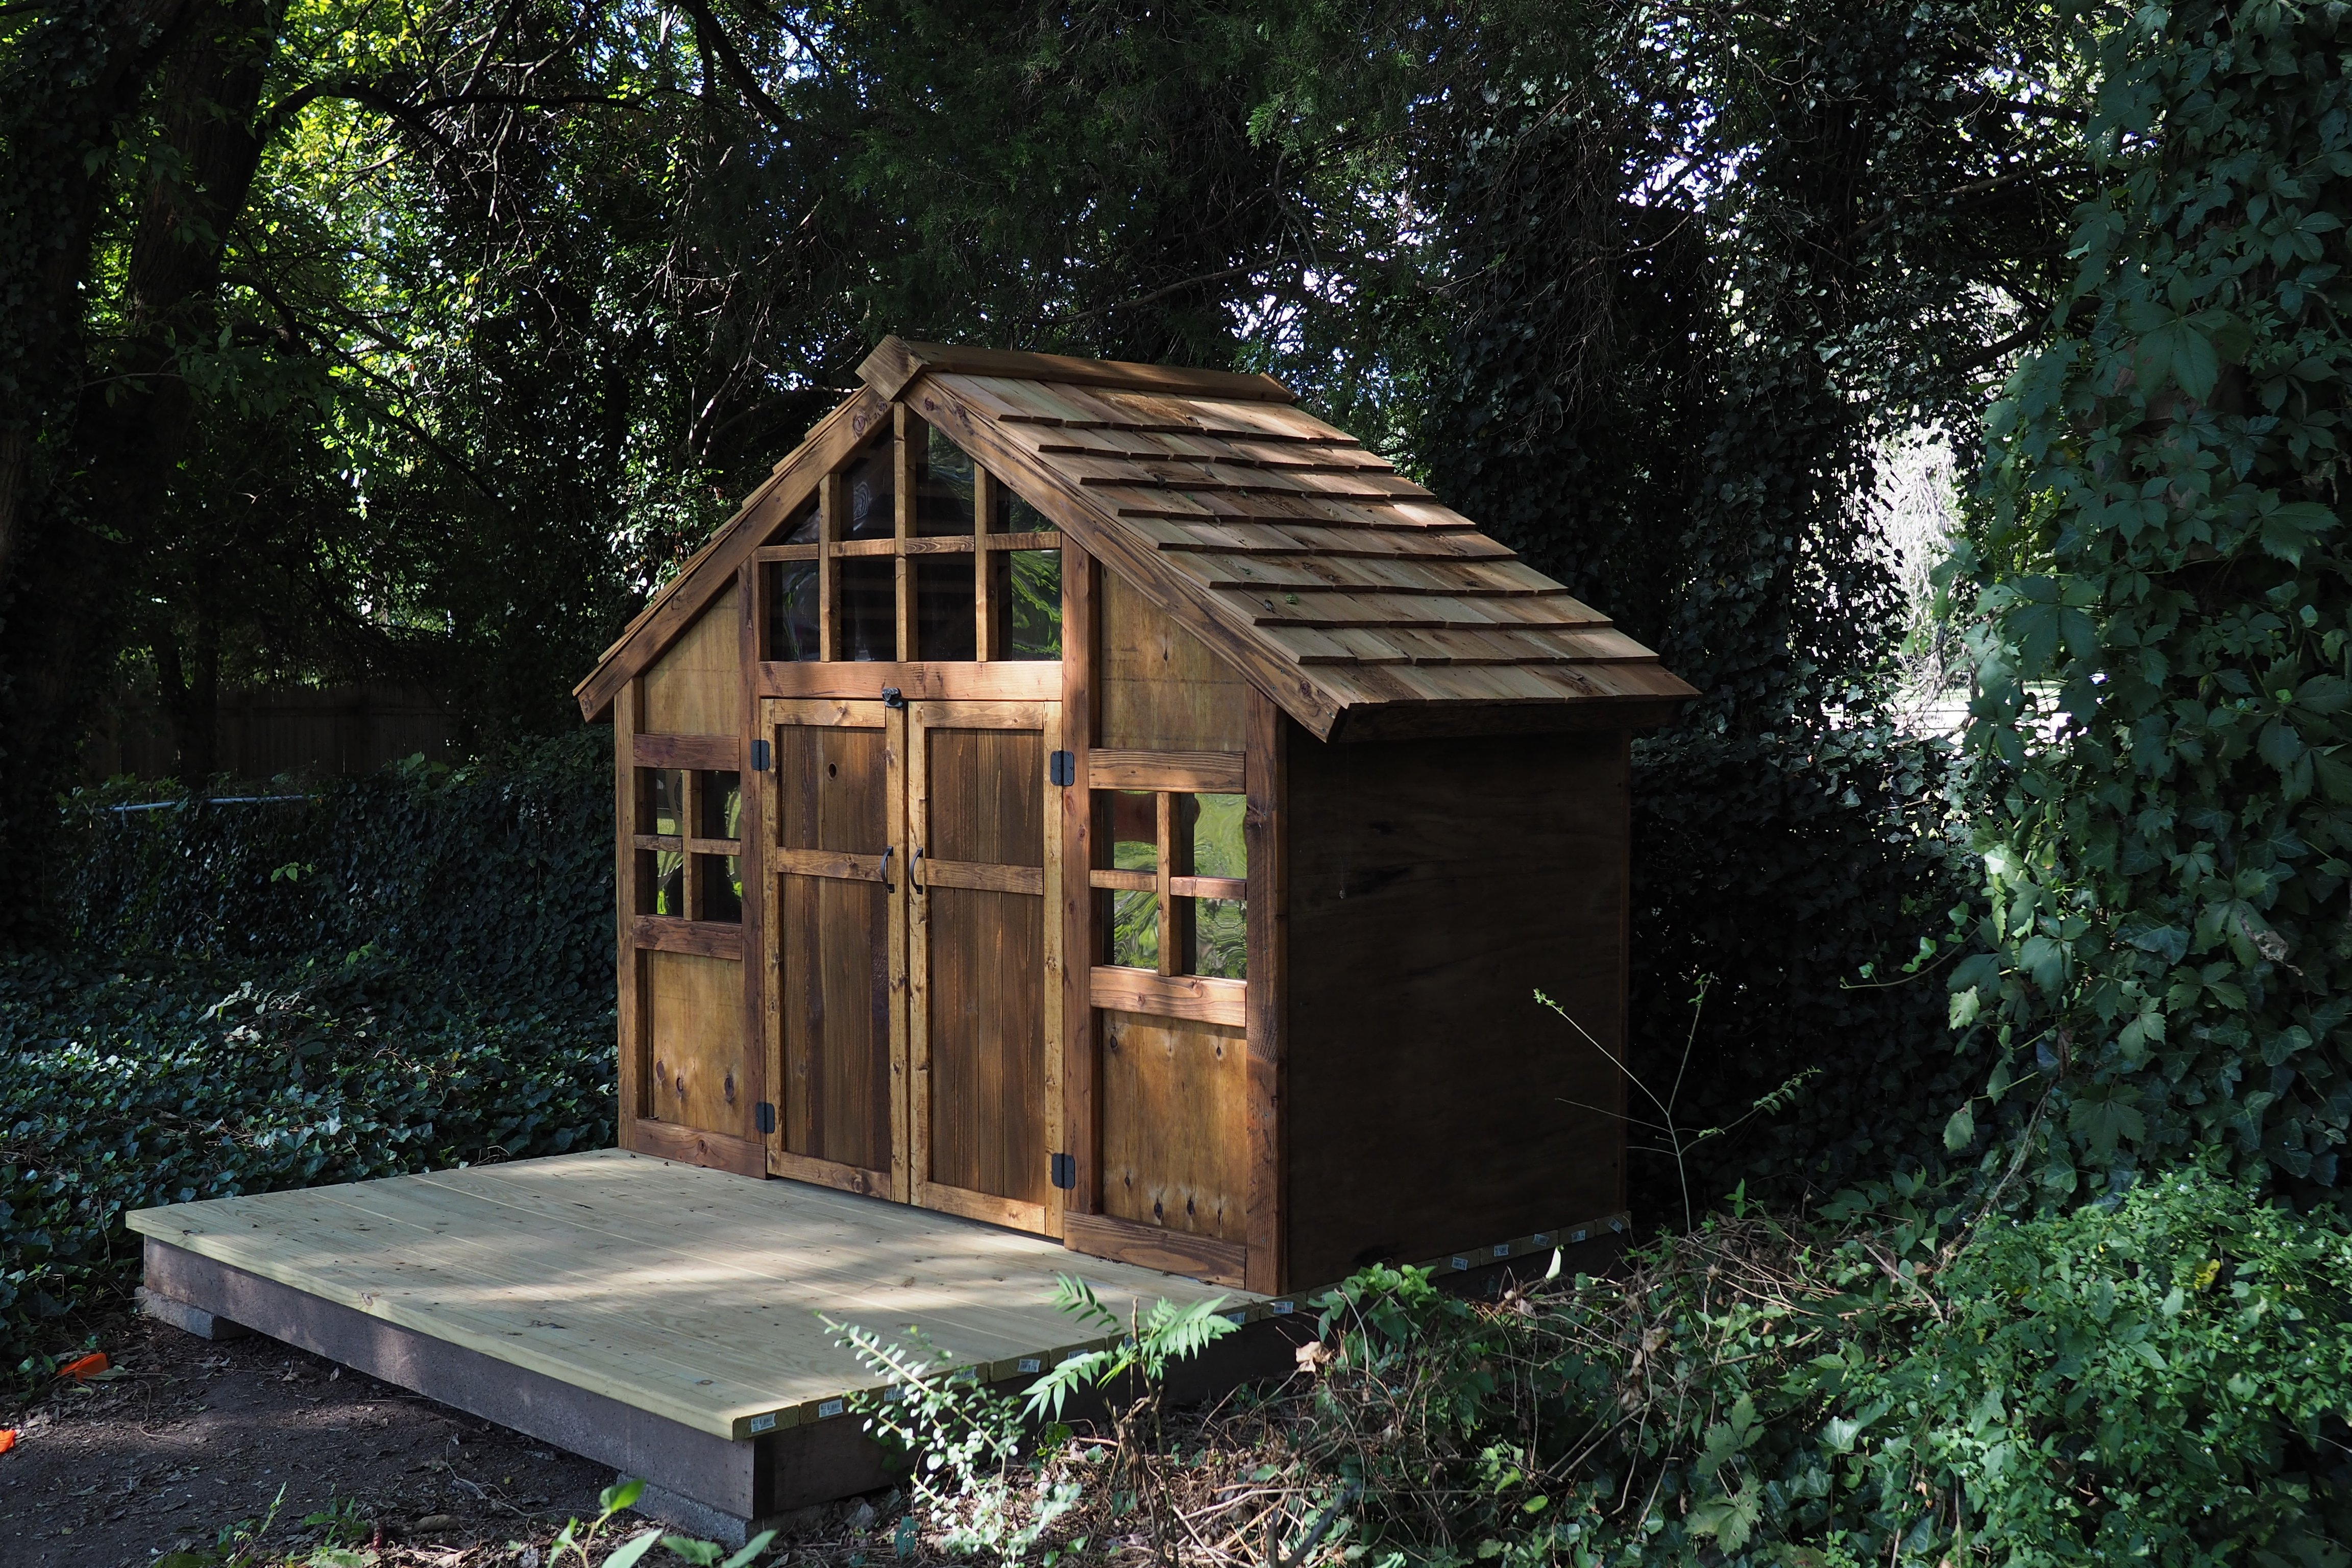
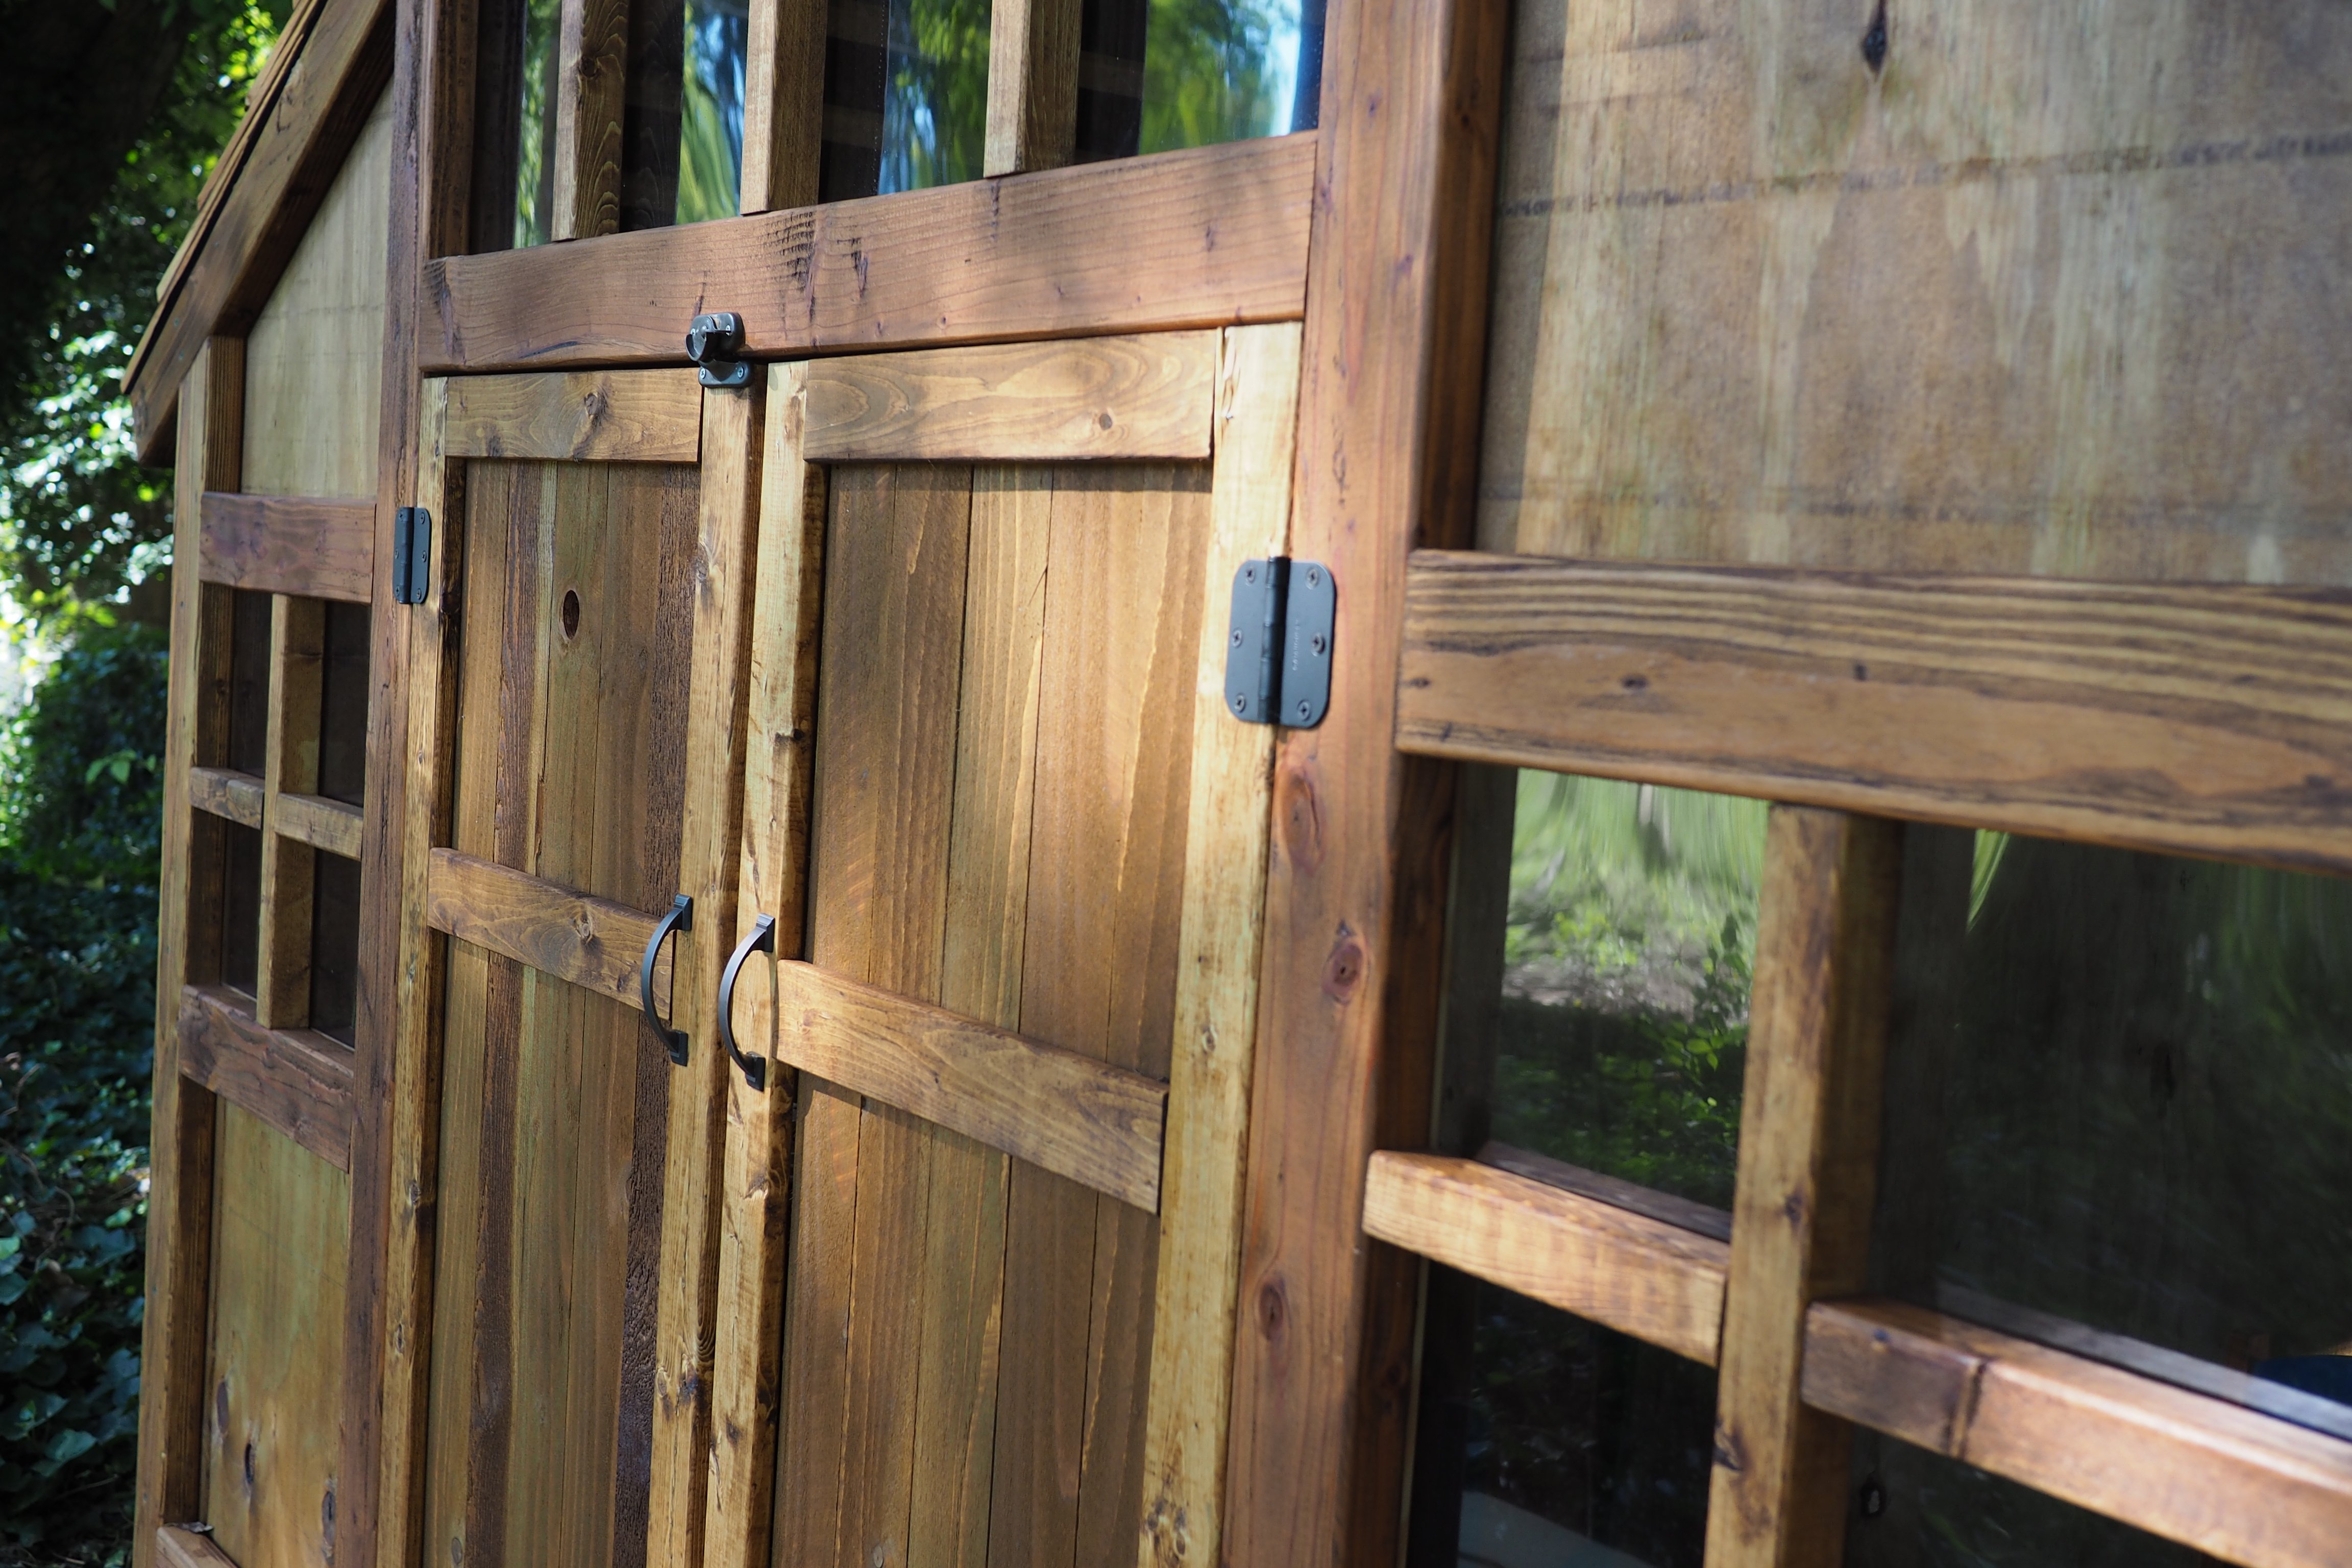
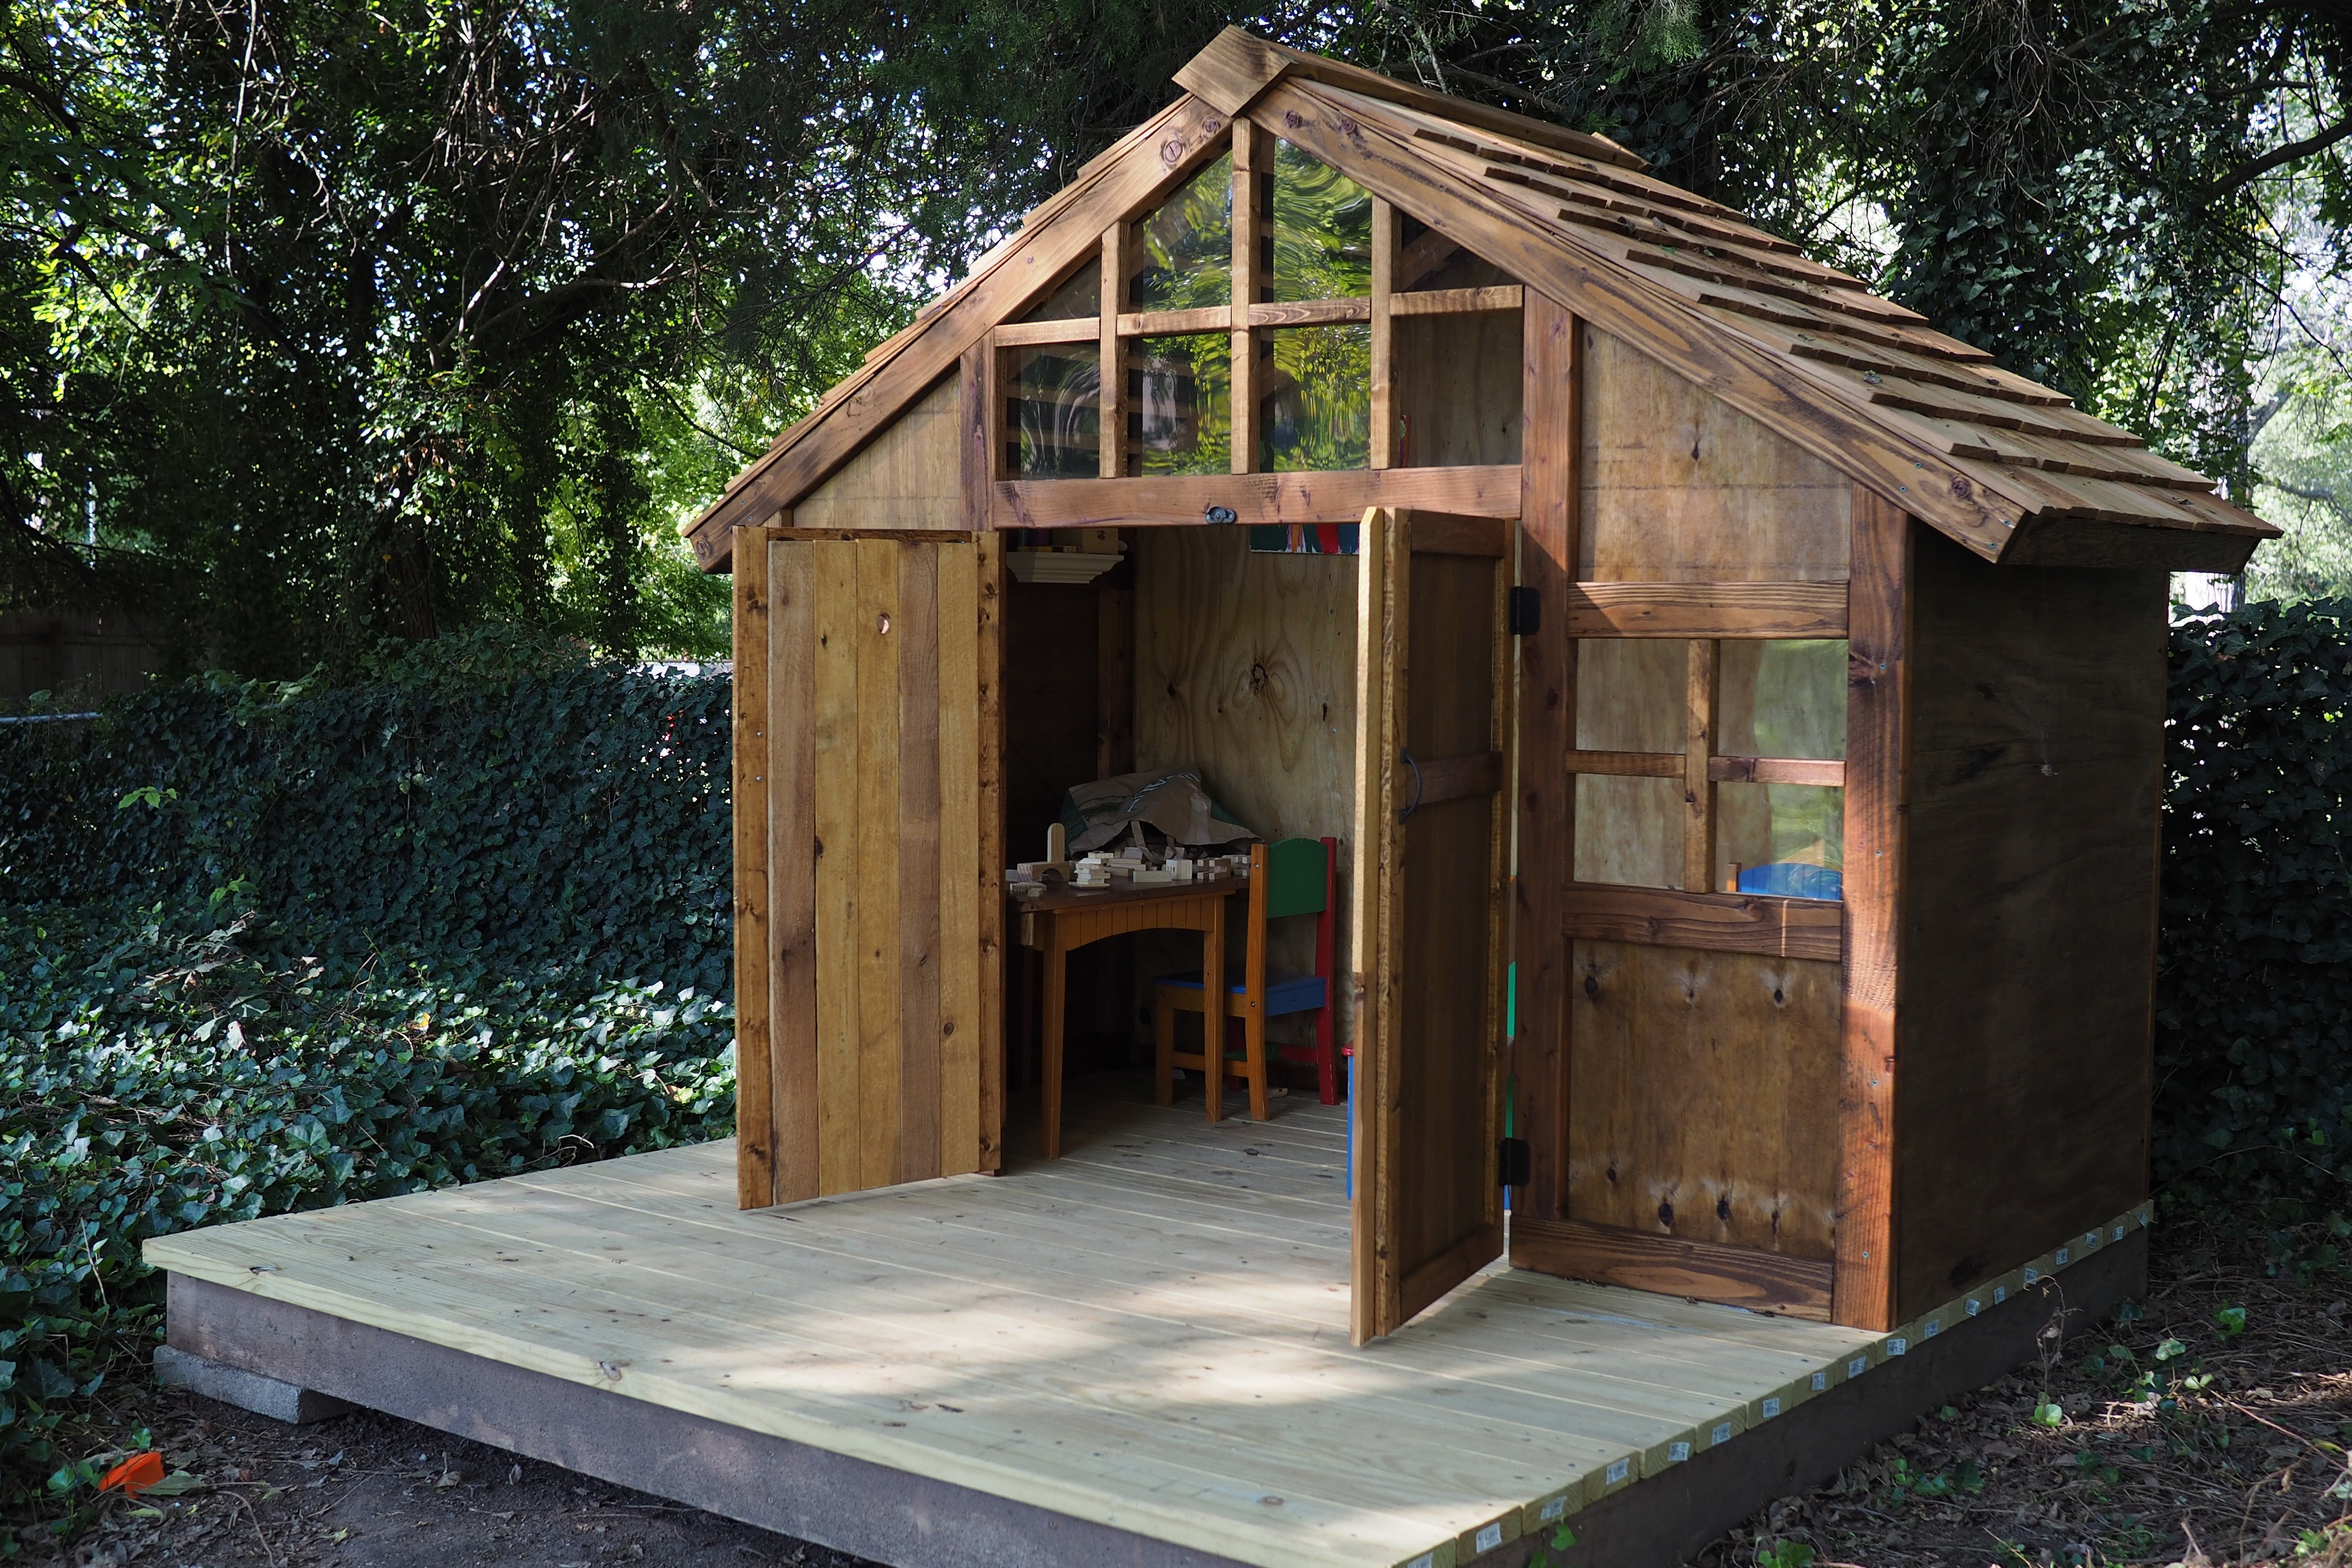
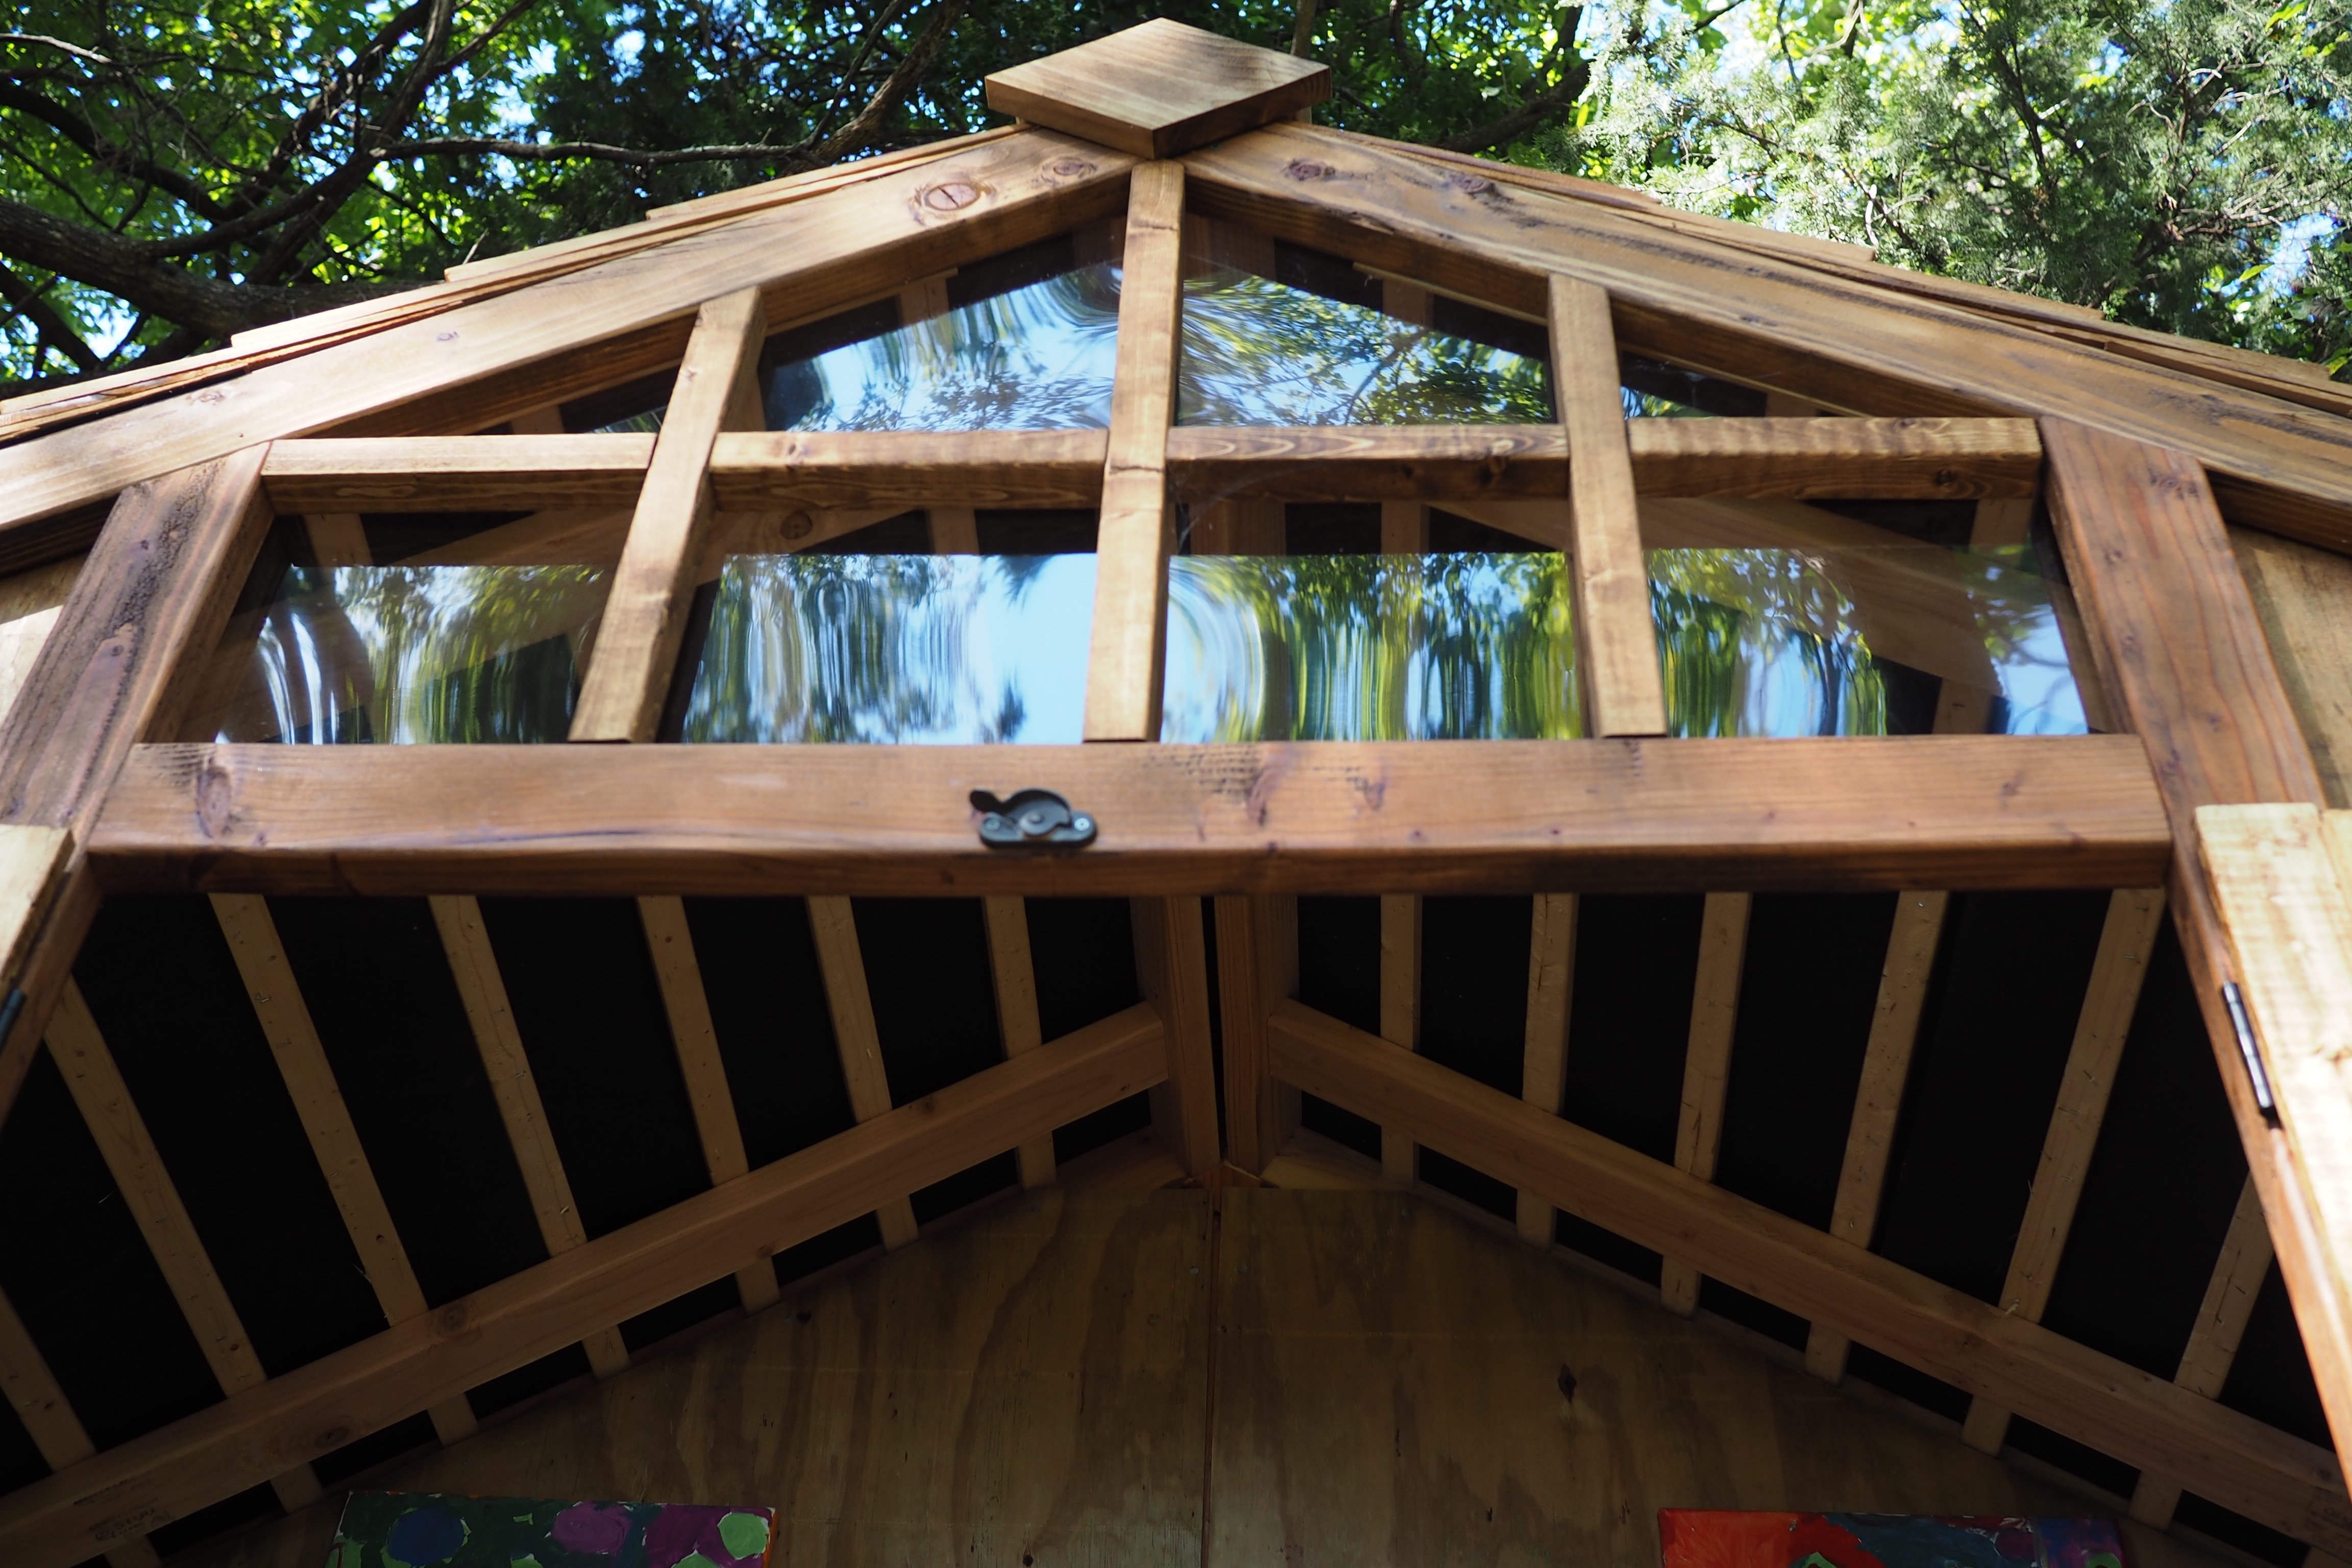
We built this A-frame chicken coop using the plans from Ana White. We modified them a bit to include a front door, a solid front wall, and 8-foot untreated cedar fence boards (cut in half) for the loft floor instead of plywood. We also used hardware cloth instead of chicken wire since racoons are a problem where we live, and they have been known to reach through chicken wire to grab at hens. Instead of being able to open both sides of the top of the coop, we only put doors on one side just to make the building process a little simpler. The hardest part of building the whole coop was cutting the 60* angles on the 2"x4" trusses. Our cuts are not exactly perfect, so the nodes (meeting points of the 60* angle cuts) are a little rough, but we plan on covering this with a roof cap eventually. More photos and details are on my blog: http://littlefarmbigcity.wordpress.com/2013/06/29/red-white-and-blue-co… -kate

Built from Plan(s)
Estimated Cost
$175 with hardware cloth, paint, front door, and solid front wall
Estimated Time Investment
Weekend Project (10-20 Hours)
Finish Used
Paint (only on the exterior of the coop and coop ramp)
Recommended Skill Level
Starter Project

Comments

yurra-bazain

Thu, 07/04/2013 - 02:51

I love this! Makes me want to build one for my neighbor's hens with your touches in mind; perhaps in the near future. :)

Seasonal And Holiday

Horizontal Murphy Bed

Submitted by Anonymous (not verified) on Sun, 07/09/2023 - 17:49

We are remodeling our 3 bedroom house into a 4 bedroom. In doing so, my youngest is getting the smaller room. We decided to go with a Murphy bed to allow more play time space. I do not particularly like the fact that this bed doesn’t sit off the ground but overall love the simplicity of making it. We turned it horizontal and just love the overall product. I can mot wait to make something else from this site!

Tams

Whitney's Turned Leg Farmhouse Table

I worked up the plans in my head for about a year before my mother finally got around to having me build her 10 foot farmhouse table. That's right, this bad boy is TEN FEET LONG! And it was one of the simplest things to construct!. I used 8 foot 1x8's for the length of the table (used 4, making the table 29" wide) and 1x12's for the breadboard ends. We also splurged and purchased turned legs for $15 a piece at Blue. It really made the table extra special. Totally cost, with finishing supplies came in under $150.

Things I would change if/when I do a table of this size again:
1) I would never make a BB end so large again. I would stick to a 1x6 or smaller. With such a large size we worry about children putting too much pressure on the ends.
2) I will make the legs removable. It was a bear trying to get this table into the house. Thankfully the width was just narrow enough!
3) I won't tackle this in the winter months! Construction of the table took only a few hours but finishing in freezing temps took weeks waiting for warm-ish temperatures.

Built from Plan(s)
Estimated Cost
Less than $150
Estimated Time Investment
Weekend Project (10-20 Hours)
Finish Used
Sand, sand, then sand some more! 2 coats of Minwax Mahogany Gel Stain. 2 coats of poly on legs/base. 4 coats of poly on table top with 0000 steel wool sanding between coats
Recommended Skill Level
Intermediate

Comments

Easy to Build Workbench

Submitted by Anonymous (not verified) on Wed, 09/06/2023 - 09:09

I was wanting a work bench for my outside shed to work on occasionally and help keep organized. This is the first piece of furniture I have built totally on my own! The plan was easy. I sized it down a little with no problem. I'm a little off on a couple of the cuts but will practice more! Overall, thrilled and extremely proud of it!

Lori B

Providence Bench - Heavy Timber Version

Submitted by sawduster on Sat, 10/28/2017 - 15:37

My wife saw the examples of the Providence Bench on this website and thought we could use one on our front porch.  We had some heavy lumber from a huge pin oak tree that we had taken out of our yard, and that was used in the construction.  In one of the attached photos, you can see the cross-section dimensions of the two top boards are 6-3/4" x 3-1/4".   The legs, main beam, and angle braces are rough cut, full dimension 2 x 4's.  Due to the lumber dimensions not being the same as standard commercial lumber, I had to vary the dimensions slightly.  Because of the dense, thicker lumber, construction took longer than it would of had I used pine or other softer wood.  I used a Kreg jig attachment to drill the holes for the screws.  We painted it with Sherwin-Williams 1021 Hi-Tech Black exterior grade acrylic paint.  The final weight is about 105 pounds.

Built from Plan(s)
Estimated Cost
Less than $100; I used lumber from a tree that was removed from my yard, and a friend with a sawmill milled the lumber at minimal cost.
Estimated Time Investment
Week Long Project (20 Hours or More)
Finish Used
Sherwin-Williams 1021 Hi-Tech Black exterior grade acrylic paint.
Recommended Skill Level
Intermediate
Seasonal And Holiday

Fireplace Wall Remodel

I needed a solution to my shelving problem. I wanted something clean looking, modern, and white to flank both sides of my fireplace. Count on Ana White to come up with a plan. Within seconds of sitting down to surf her site, I found that perfect plan to build four floating shelves.

Built from Plan(s)
Estimated Time Investment
Day Project (6-9 Hours)
Recommended Skill Level
Intermediate

Cedar Garden Shed

We needed a way to get all of the lawn & garden stuff out of our garage and organized. I found Ana's plans for the Small Cedar Shed & adjusted them to fit our space. We used 2x4s as our studs & added front walls on the sides. Our shed measures 9.5'x30". We had a concrete slab poured for our foundation. We are experienced DIYer's but had never taken on a project of this scale from scratch. This project was much easier than I was anticipating, and we were able to complete it in one weekend! Similar shed kits were way more expensive and not the size that we were looking for. Thank you so much for the inspiration!

Built from Plan(s)

Comments

Seasonal And Holiday

Craftsman Style Playhouse

Submitted by aerialc on Fri, 10/02/2015 - 11:57

I mainly followed ana's plans for this playhouse. Instead of a plywood roof I used cedar shingles. I also added plexiglass to the windows.

Built from Plan(s)
Estimated Cost
$450, including deck.
Estimated Time Investment
Weekend Project (10-20 Hours)
Finish Used
Ready Seal - Dark Walnut
Recommended Skill Level
Intermediate

Comments

Barn Door Laundry Room Cabinets

Submitted by Ana White on Sat, 03/09/2019 - 19:58

Built by Kelly Flood Gugliemoni, shared on Facebook.

Sliding barn door hardware is DIY, cabinets are DIY - tutorials linked below.


Comments

Livb528

Fri, 03/06/2020 - 16:52

This looks like the exact width of my laundry room. (Tiny!) Is there a way I can find out the dimensions?? And possibly the plans? This is so beautiful and my laundry room needs some help! 

Bird Houses

I love this pattern of Ana's! My husband and I made these together. We have 3 very tall pine trees close together, planted by my Mum 50 years ago; one for each child. Now a cedar bird house for each tree. An extra for our cottage in Garden of Eden, Nova Scotia.

Thank you for sharing this pattern Ana.

Darlene & Garry

Estimated Time Investment
Day Project (6-9 Hours)
Recommended Skill Level
Starter Project

Mission Style Side Table

Submitted by Anonymous (not verified) on Mon, 04/29/2024 - 09:36

Red oak mission-style side table with deer footprint inlays, golden oak stain.

Bob Zink

Daughters blue Playhouse

Submitted by rysos81 on Thu, 07/23/2020 - 08:55

I used the basic framing plan for the project, but extended roof overhangs, added engineered siding / trim and cedar shake roofing. I put 2x4 bracing on for the platform.

Estimated Time Investment
Week Long Project (20 Hours or More)
Recommended Skill Level
Intermediate
Seasonal And Holiday

Basement Storage

Submitted by Anonymous (not verified) on Tue, 12/27/2016 - 11:44

Thanks for the instructions! Here's my version. I haven't built much of anything before, but I needed it in my basement to handle kids' stuff. My version is 18 feet long. I combined a 12-foot and 6-foot 2x4 to get that length, which meant less cutting, which I had done at Lowe's (for free). I used the 6-foot 2x4s throughout the shelf to ensure it was strong (in other words, I didn't want a 12-foot "section" and a weaker 6-foot "section" added on).


I was able to get everything in my car but the ride home was slow. I also had to use my egress window to get the 12-foot boards in the basement.


Total cost for me was about $170 including a couple boxes of screws and wood glue. I could've easily spent double the cost on store-bought shelving. Thanks for the plans!

Estimated Cost
$170
Estimated Time Investment
Day Project (6-9 Hours)
Finish Used
None
Recommended Skill Level
Starter Project

Custom Modern Chicken Coop

Submitted by Anonymous (not verified) on Wed, 08/30/2023 - 08:49

I made this coop twice as wide like Ana suggested since I have 4 chickens and wanted to make sure there was some extra wiggle room in case “chicken math” got the best of us. I made a nesting box to mount on the outside. I also used plywood for the sides like Ana did in the video. I installed a Run Chicken automatic door that opens at sunrise and closes at sunset. I added some hasps and clasps to make sure all my doors would close tightly. I put hardware cloth across the top before installing the roof panels. I stapled and buried hardware cloth around the perimeter for predator protection. I also spray painted the hardware cloth flat black so that it would be easier for us to see inside the coop. I stained the rest of the wood with Varathane Semi-Transparent stain, color “Carbon Gray.” I also added some roosts and cedar shingle siding for some extra protection during our New England winters at to match our house. Working 2-4 hours a day, off and on, with a bum shoulder and weak hands, this took me about a week! Thanks for the great plan, Ana!

Built from Plan(s)

Comments

Seasonal And Holiday

Bench

Submitted by Shellipsm on Sun, 11/04/2012 - 19:22

I chose to make the simple bench 2" shorter, and upholster it, using 4" foam and fabric.

Finish Used
black paint
Recommended Skill Level
Intermediate

Comments

Firewood Shed using Round Posts and 2x4s

Submitted by tommybo76 on Mon, 04/15/2013 - 15:50

I used the basic design principles from Ana's site but decided to use 3.5x6.5 round fence posts (purchased at my local Tractor Supply Company) for a different look plus they are a little cheaper than 4x4 posts. I also used pressure treated 2x4s for some added strength and perhaps longer durability. I used Ana's cedar fence pickets idea for my roof (these pickets are used as walls on one of the other shed plans on this site). I didn't need a very robust roof as my firewood shed sits underneath the deck which provides a lot of protection from the rain. I attached the structure using 3 inch deck screws and the roof with 1.5 inch deck screws (nails would have been more than adequate for the roof but I had the screws on hand).

I did run into some problems due to my design changes. Most of my issues involved attempting to square up the round posts which are much closer in shape to a jagged stick than dimension lumber such as a 4x4 post. If I had to do it over again I would not have used the round posts. Constant tweaks and adjustments to the posts significantly delayed my build time and frustrated me at times. I was just barely able to wedge my woodshed in between the 2 deck posts which actually came in handy as I was able to secure the shed to the deck posts with 3 inch screws...making the shed very solid! The final issue I discovered after loading up my wood shed. The 2x4s at the bottom of the structure began to sag. I fixed this by using my floor jack to raise them up and placed 8 inch tall 4x4s underneath (2 in the front and 2 in the back).

Overall I'm happy with the way it turned out and I really love all the plans on this site...GREAT ideas!!

Built from Plan(s)
Estimated Cost
$90
Estimated Time Investment
Day Project (6-9 Hours)
Recommended Skill Level
Beginner

Queen Murphy Bed

Submitted by Jenga on Sun, 12/06/2015 - 12:59

Not too bad of a project but had to a good bit of guess work so I could changed the plans for a queen size bed and flip in on its side.

Estimated Cost
$200 if you already have the bed
Estimated Time Investment
Week Long Project (20 Hours or More)
Finish Used
White Paint and laminate flooring left over from the floor.
Recommended Skill Level
Beginner

Comments

Arilie

Sun, 05/29/2016 - 18:50

Good evening!

I am new at wood working, and would be very interrested in knowing the different measurements you changed to get from a twin to queen murphy bed. If it is posted on this page, I tried but couldn't find it. Thank you for your help. Have a good day.

Marie-Julie

2 Person Picnic Table

Submitted by Anonymous (not verified) on Fri, 07/14/2023 - 12:45

Made 2 of these for my coffee shop in Puerto Rico. Easy instructions. Thank you!


Javiel Cardona

Comments

Seasonal And Holiday

Pantry Cabinet

Submitted by JoanneS on Mon, 03/05/2012 - 16:57

Pantry cabinet, with lots of room, Ana-inspired. We combined ideas from the Momplex kitchen, simple armoire, and benchmark storage, and we are super pleased with how this turned out. We built it in 2 pieces, attached together and then secured to the base and wall studs so it’s a ‘built-in’. Then we added lots of trim and painted to match the dining room. The opening at the left is large enough to fit pretty much any size microwave, and there’s a dedicated outlet behind it in the opening. The shelves are spaced wide enough apart for tall cereal boxes, tall bottles, and chip bags to stand upright. Overall finished cabinet size is 48" wide and 95 3/4" tall. This took us several days to complete. Since the doors are tall and kind of heavy, we added the Blum cabinet door dampeners from Rockler (these things really work!). Ana, thank you so much for the inspiration. I don’t think we would have tried this if it wasn’t for you. We love our new pantry!

Estimated Cost
$600
Estimated Time Investment
Week Long Project (20 Hours or More)
Finish Used
Ace Royal semi-gloss in Wishbone (front and bottom side), and in Crushed Peanut (upper side). We did 3 coats, sanding in between coats.
Recommended Skill Level
Intermediate

Comments

Debi_G (not verified)

Wed, 03/07/2012 - 00:05

Fantastic!

yogashell

Sat, 07/21/2012 - 07:44

It looks amazing! What a great idea to add it as a built-in. Nice modification for the microwave.

Back