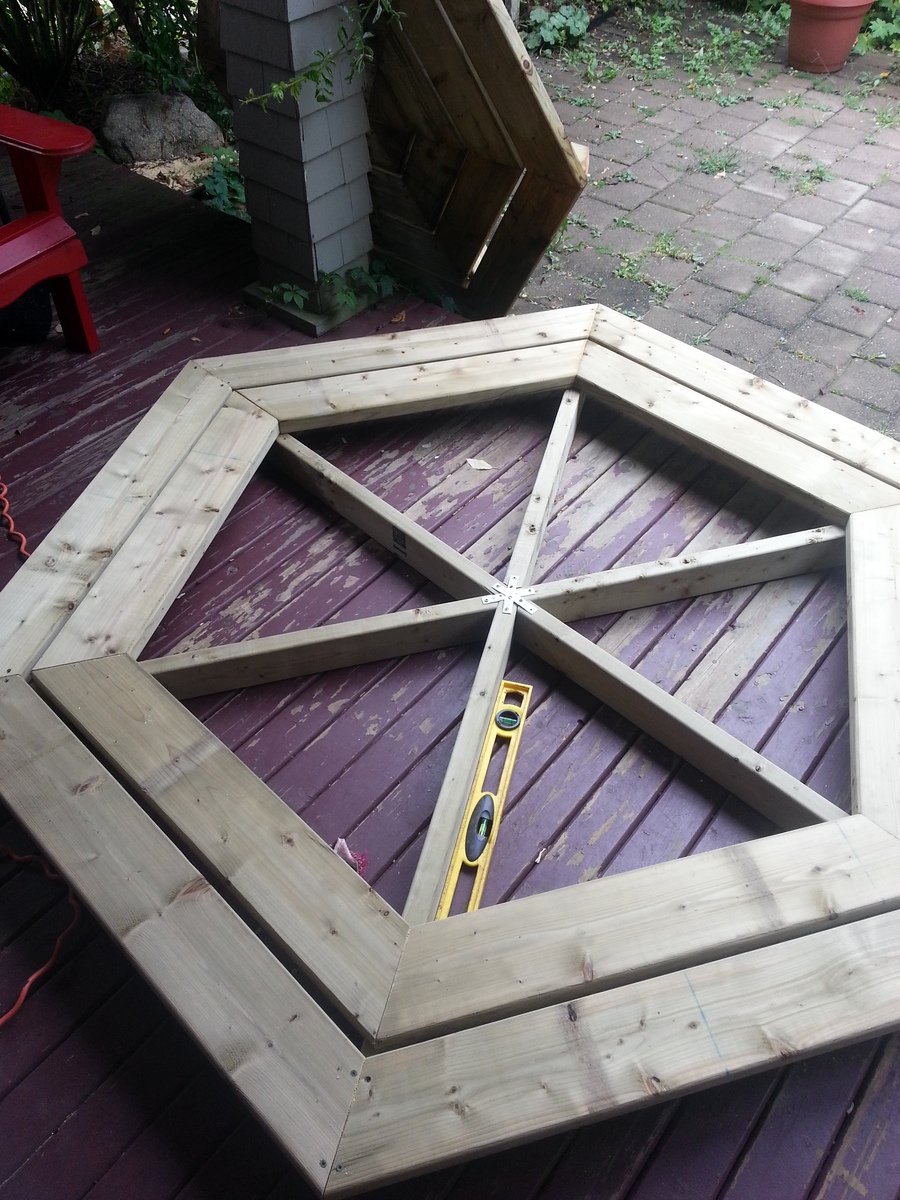
Modern Adirondack Chairs
My daughter and my first project .. thank you for the easy plans and YouTube tutorials! Onward and upward ...
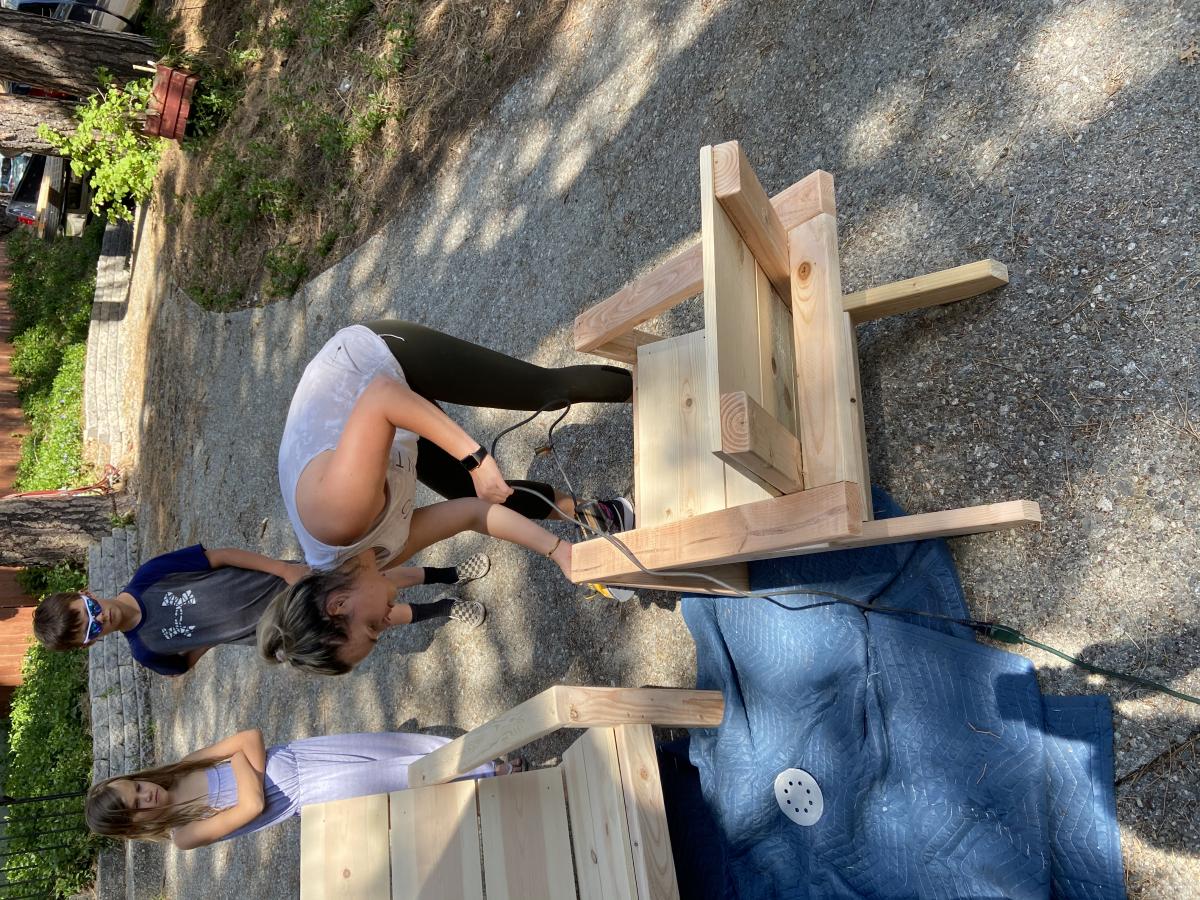

My daughter and my first project .. thank you for the easy plans and YouTube tutorials! Onward and upward ...


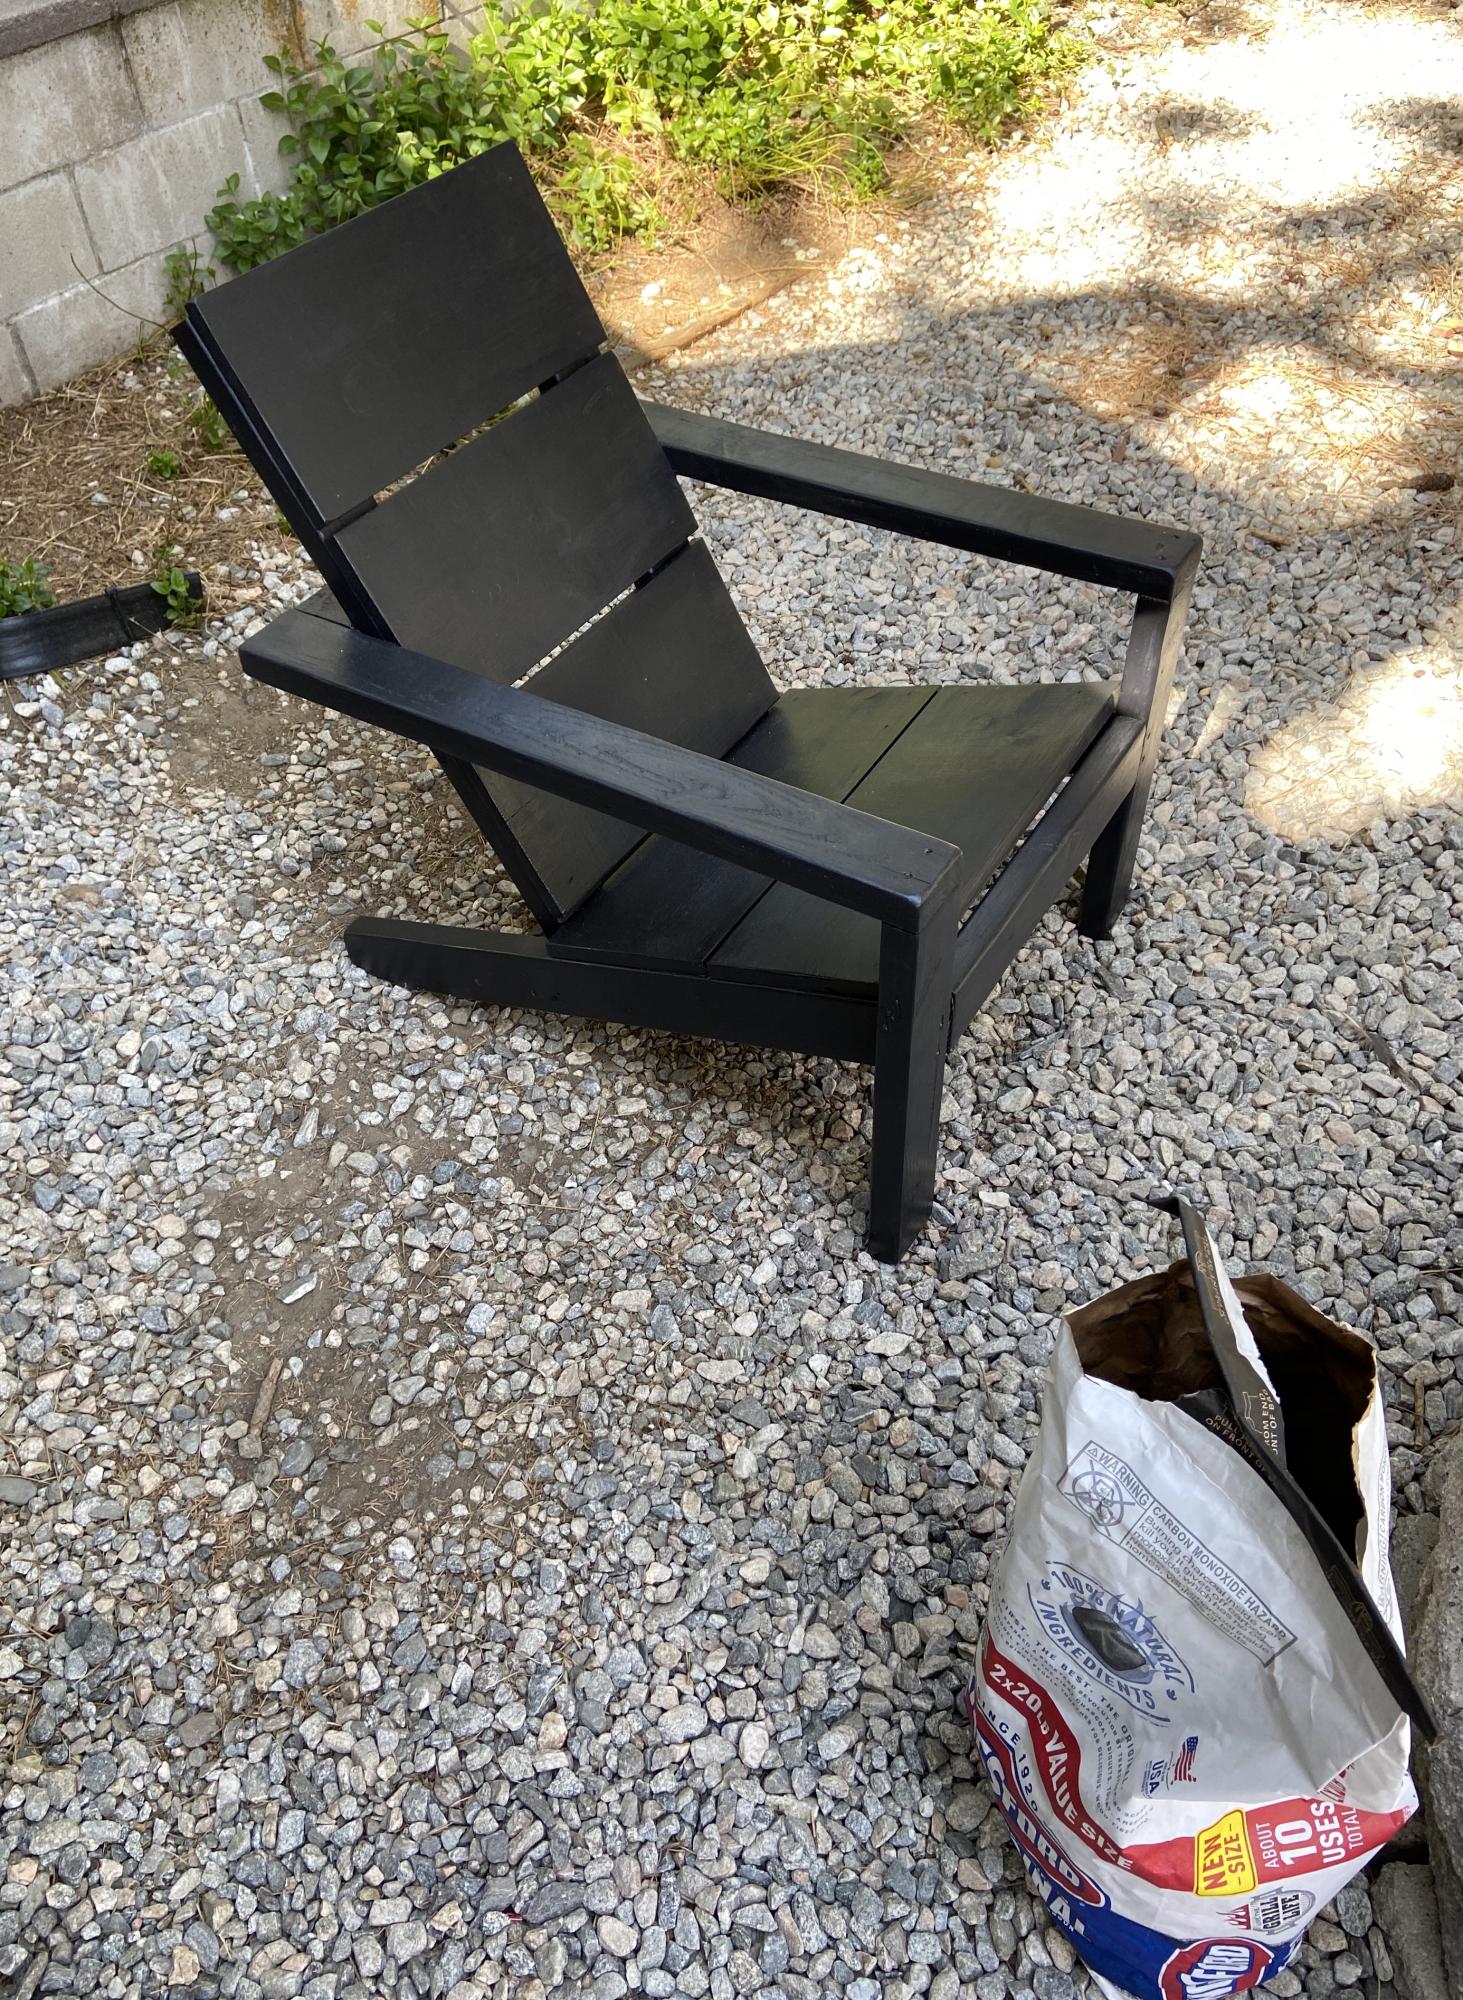
Well, I started with one chair and finished with a full set. Not bad for a first timer. Definitely room to improve. Little tip if you're going to make this amazing set... raise the backs as they are too low with thicker cushions. I built a casing to go on top after the fact. Pretty happy with how it all turned out. Thanks Ana for the plans... now onto the next project!


Fri, 04/28/2023 - 08:41
Very nice workmanship. I'm curious as to how comfortable they are with the straight 90* backs? Let me know please at [email protected]. Again nice workmanship.
Fri, 04/28/2023 - 08:41
Very nice workmanship. I'm curious as to how comfortable they are with the straight 90* backs? Let me know please at [email protected]. Again nice workmanship.

Thank you for the easy and fun bench plan.
It was really easy to install.
Even my 2 little daughters had fun (-:


Thu, 04/24/2014 - 08:06
I love the finish you did on the bench. Thanks for sharing!
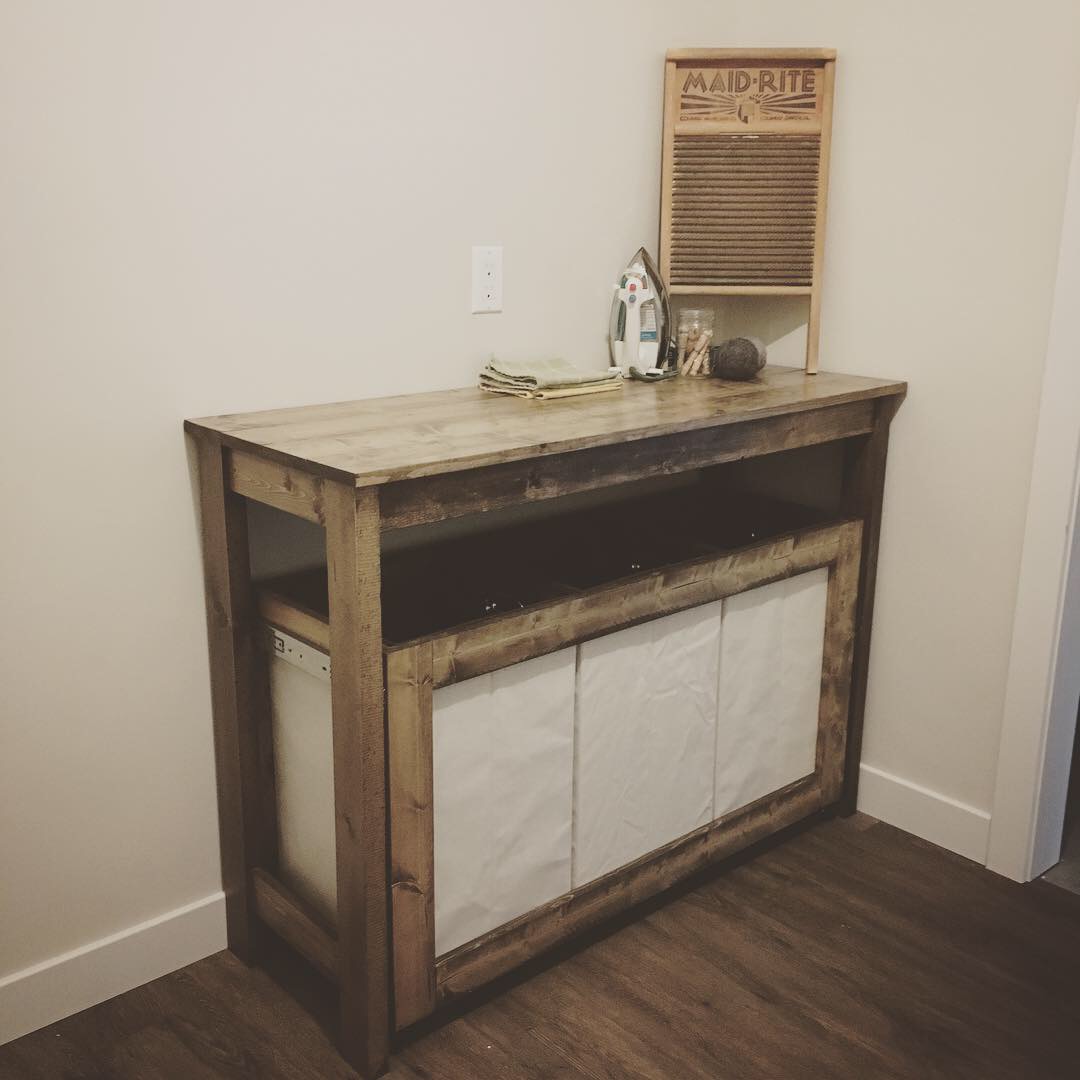
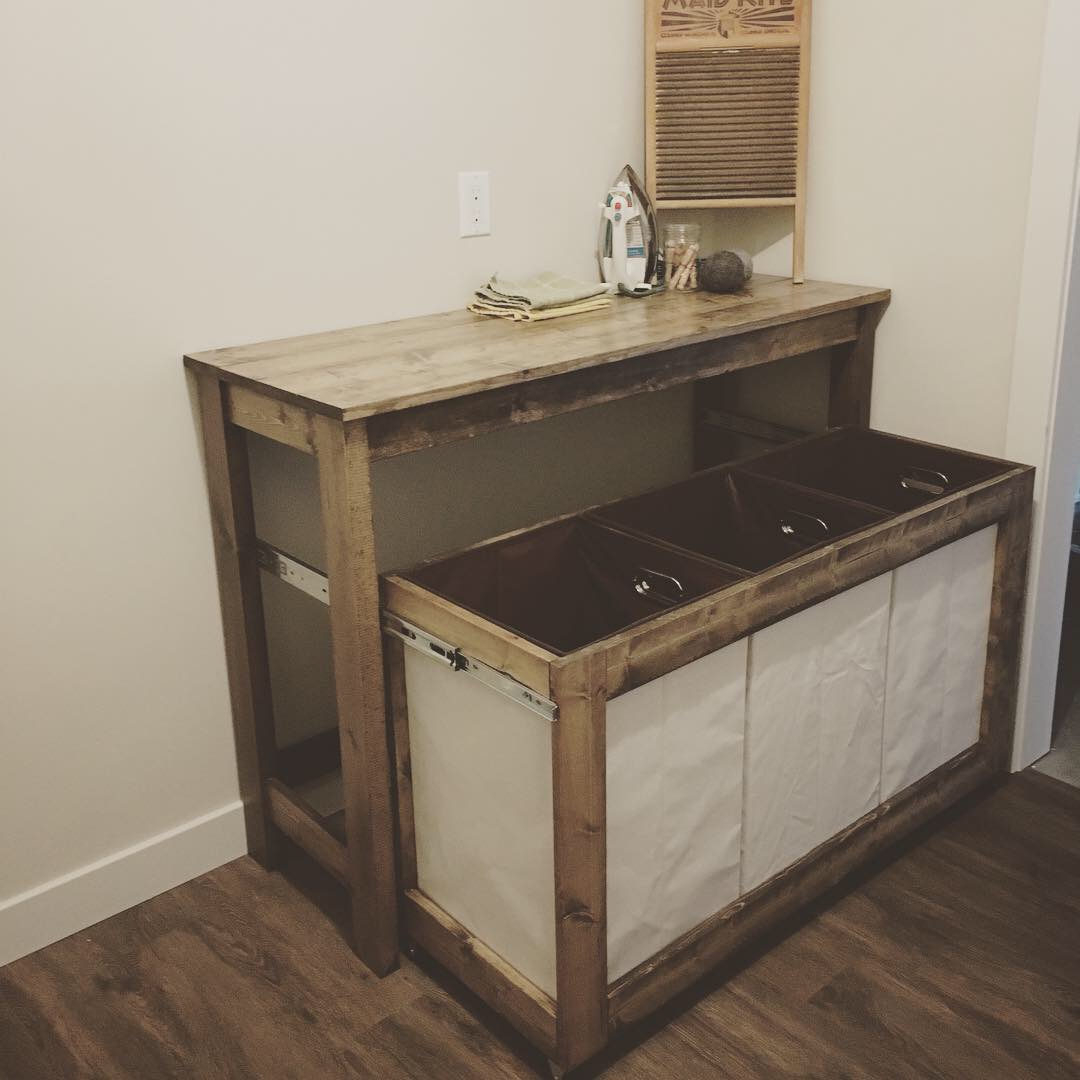
This plan was a lot of fun!! I have been wanting a laundry sorter for some time now and this one fits in my laundry room perfectly!!
The pull out works awesome!!
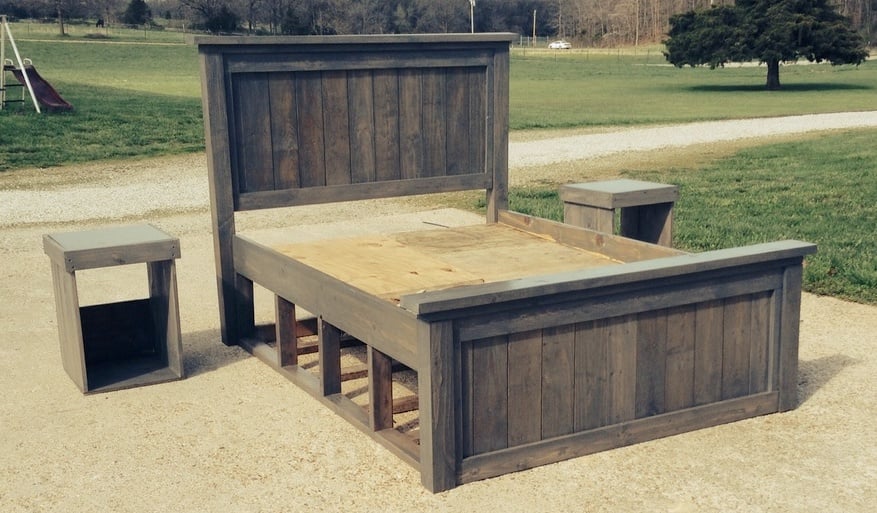
Started with the farm house queen bed and changed the plans. I made the head/footboards 3 inches taller and took the panelling on the footboard all the way to the floor. I made storage underneath the bed and night stands. I'm using old apple crates for the storage. I made the night stands with the crate in it too to match the bed. I used a single piece of 18x18 ceramic tile for the top of the nightstand. The set is stained Minwax classic grey. I used a mixture of wood. Oak and pine, surprisingly it stained good and matched up. The crates aren't in the pictures yet. We have an older house with small rooms so the storage is perfect. The grey finish looks good for the old wood look with newer wood used
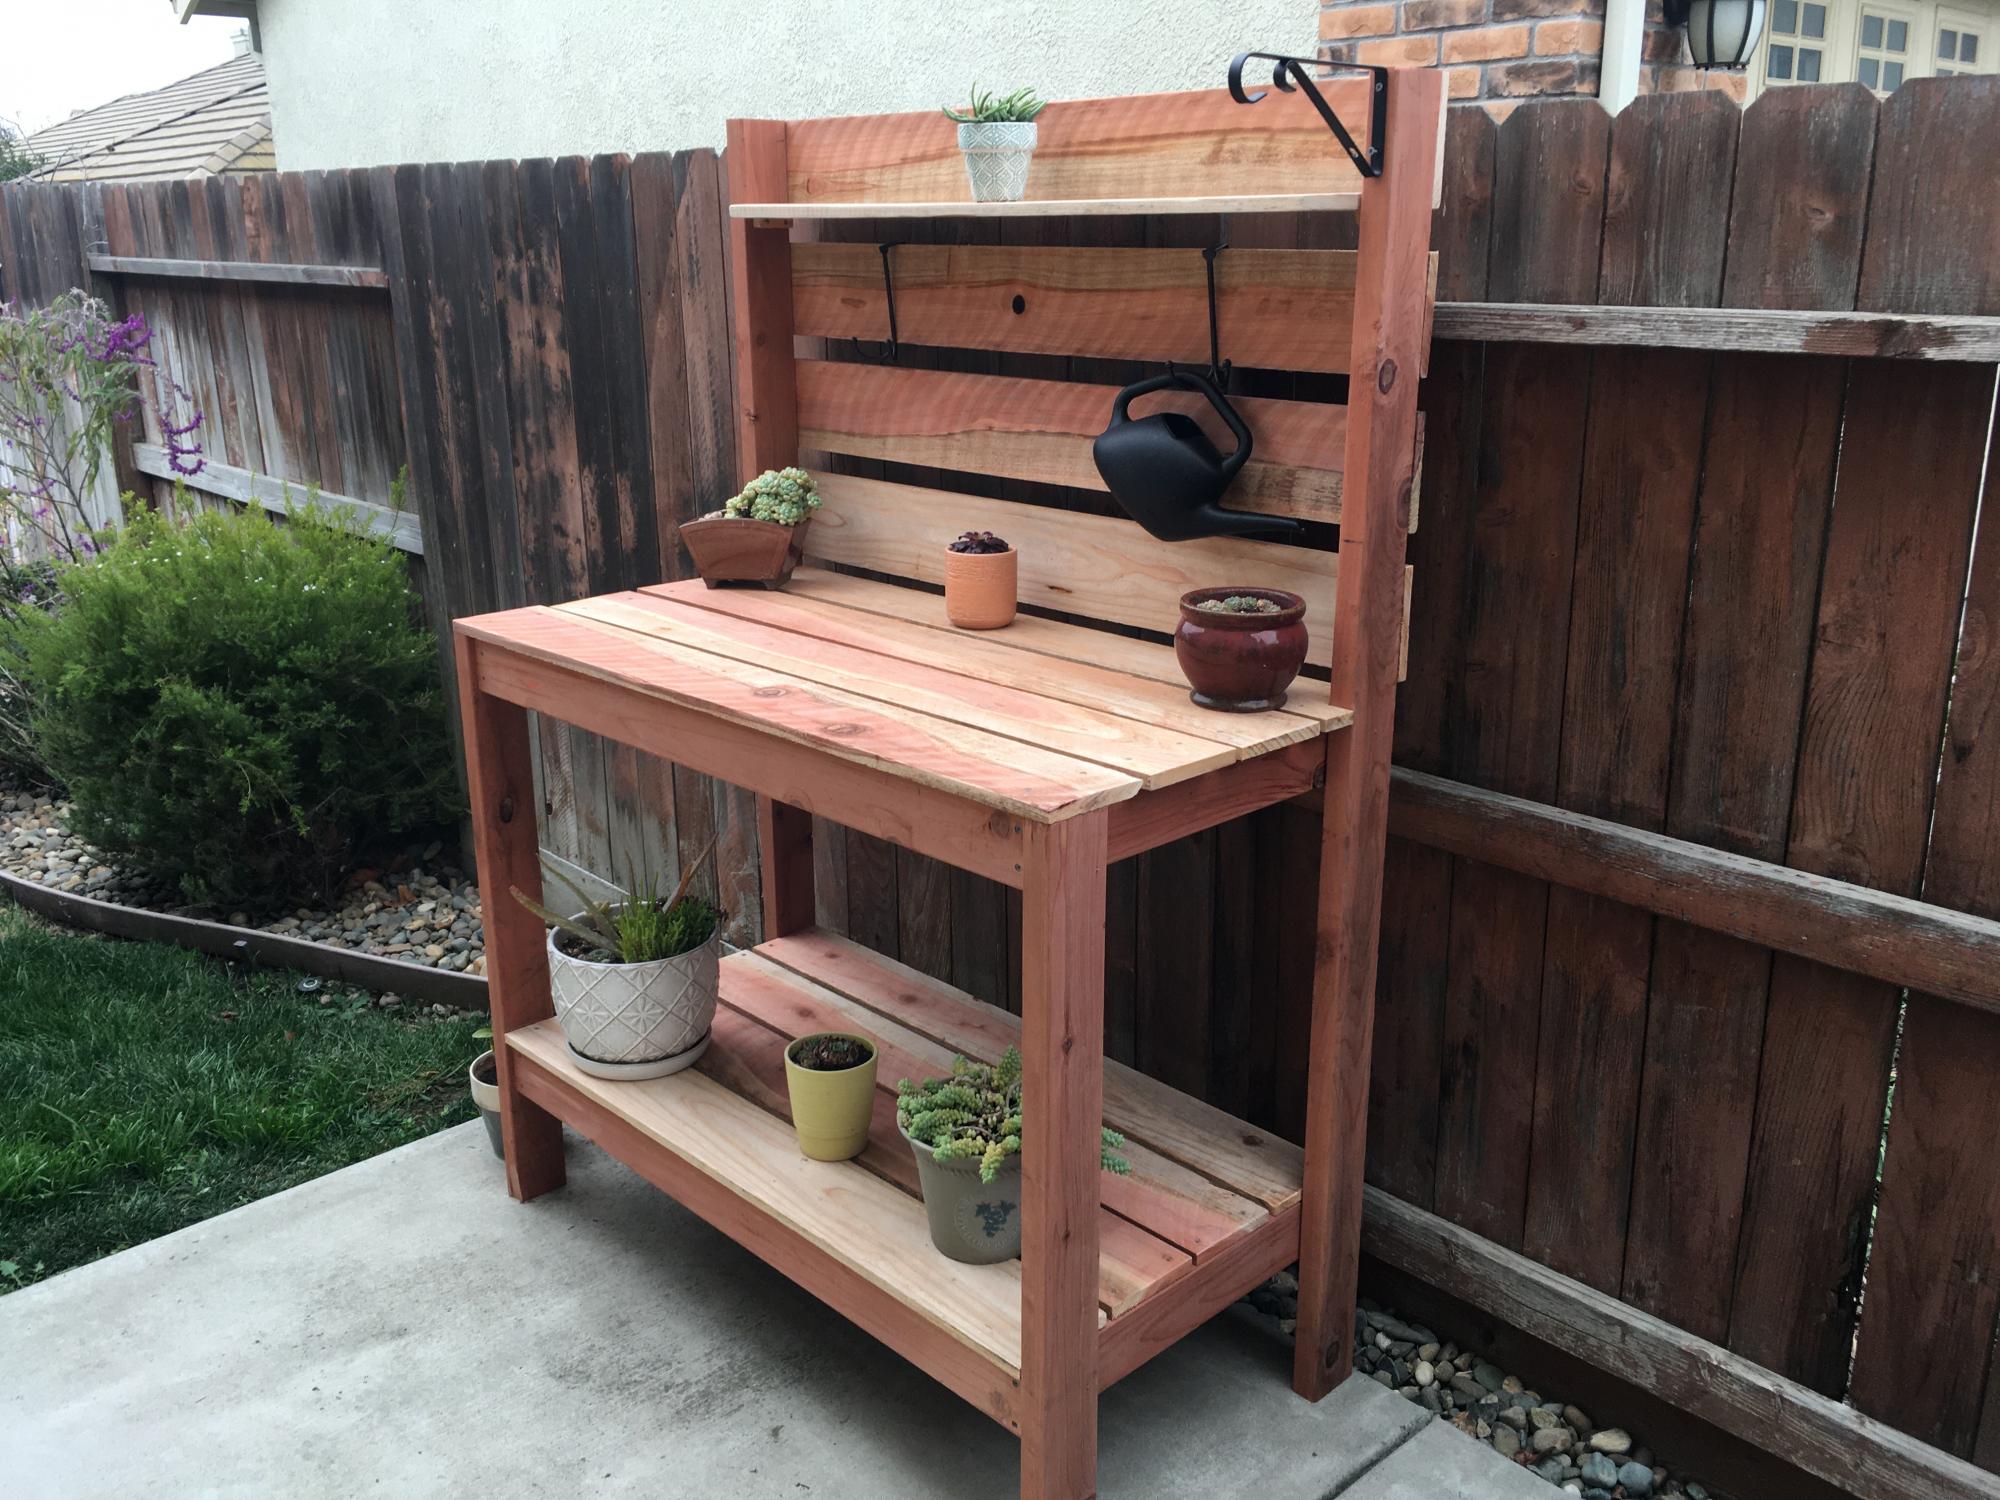
I used redwood lumber, 2x4s and 1x6s only. I wanted the bench to be a little taller so I used 2x4x10s for the legs to make work surface 38” high and total height 66”. To get the most out of the 8’ 1x6s I made the bench 48” wide. I also had to adjust the depth since I did not use 1x4s. And finally, I sanded the 1x6s because they were rough sawn.
Very fun project! Once I figured out the adjusted cut list the whole project came together in a matter of a few hours.
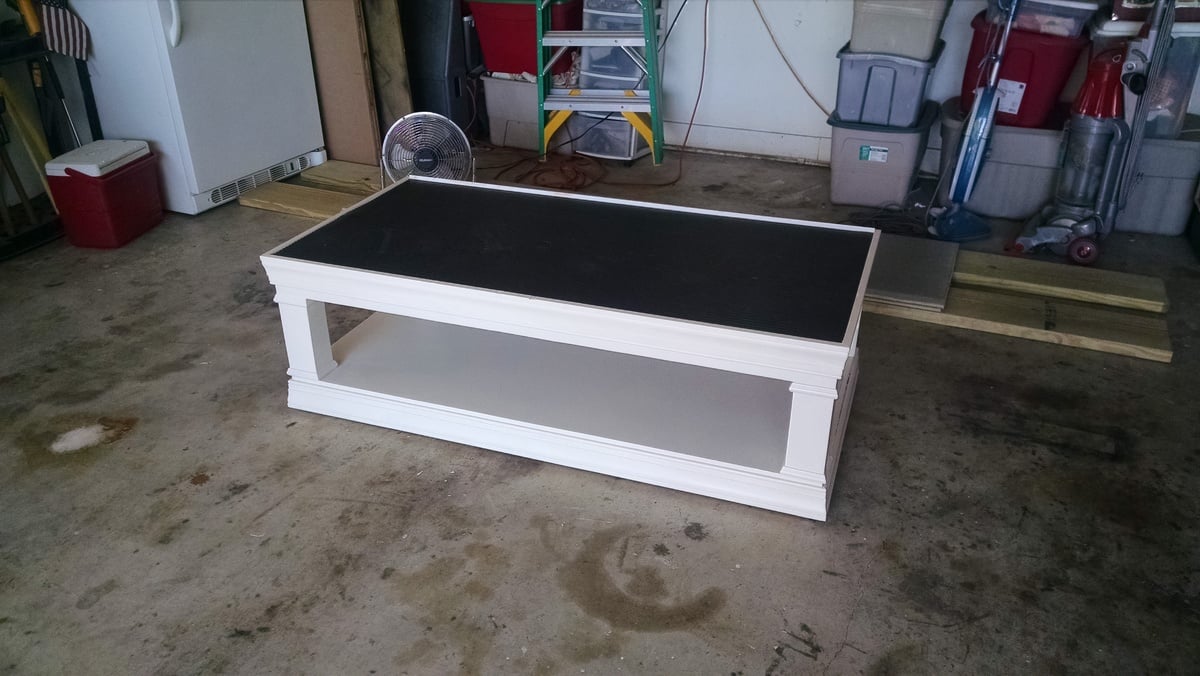
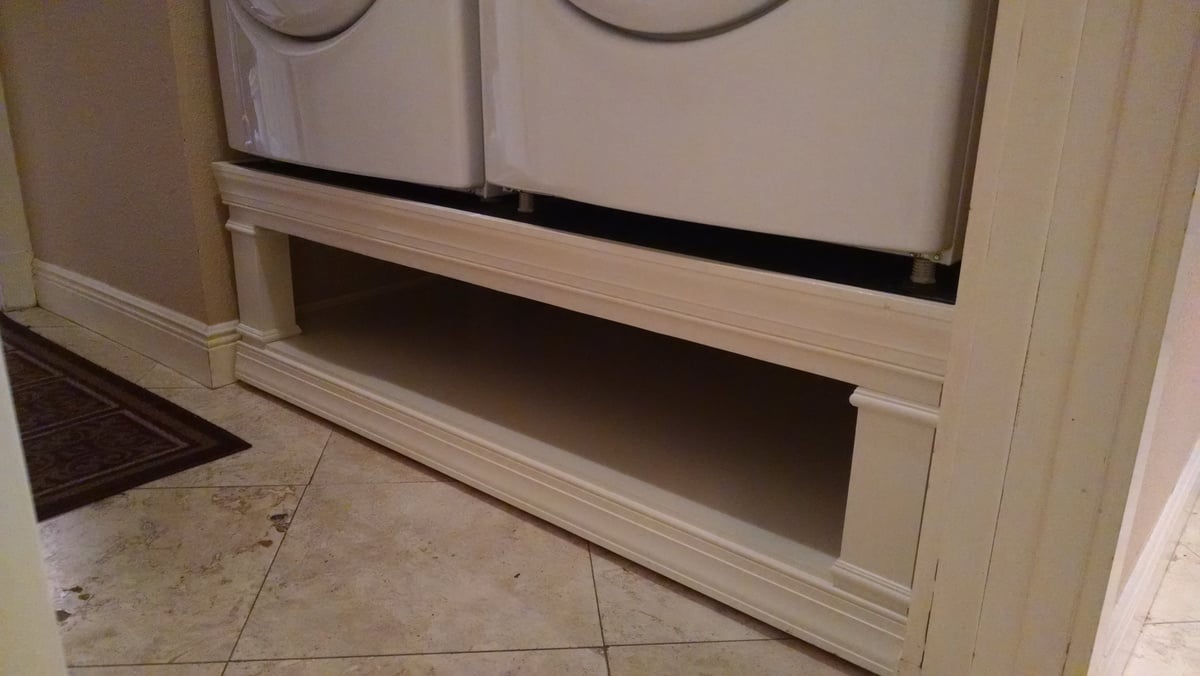
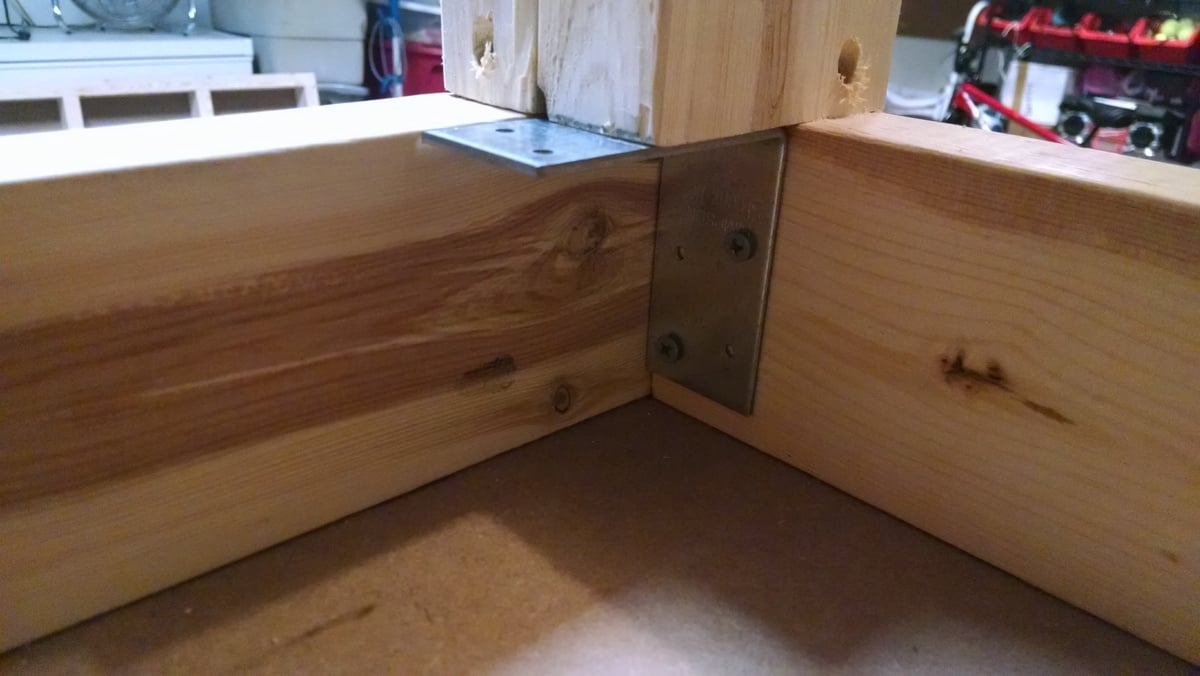
I ended up making three sets of these pedestals this month!
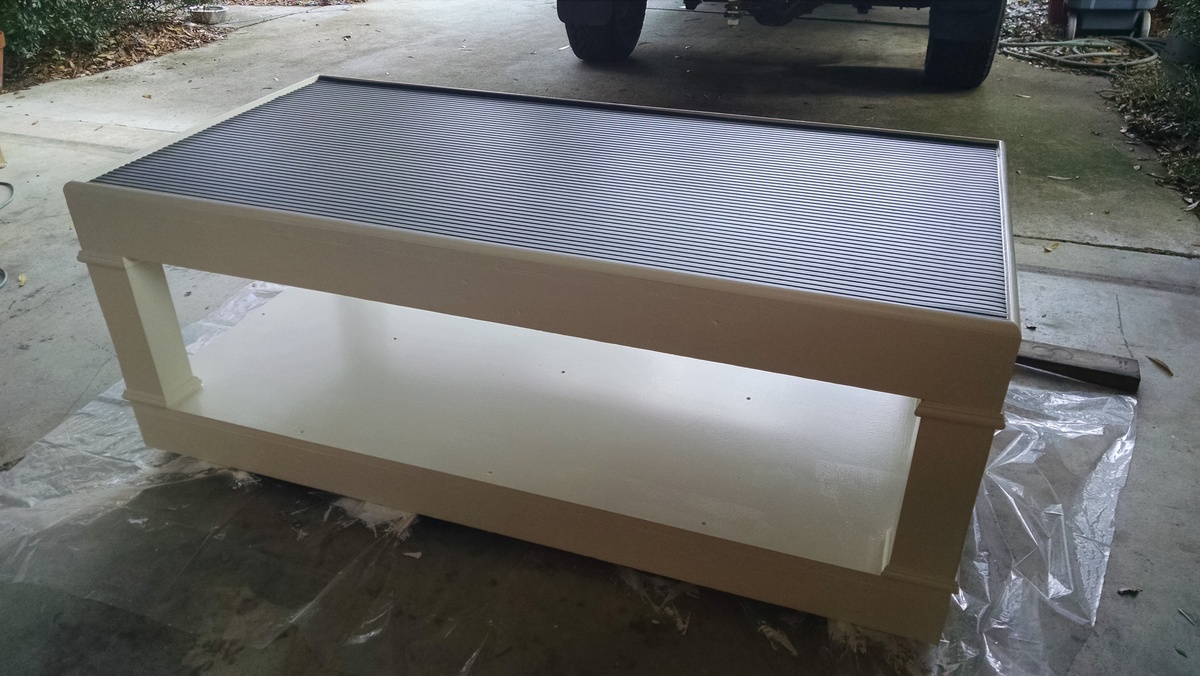
One set was for my In-laws, one for a friend and finally one for us. The two sets I gave away have a 12.5" opening underneath to accomodate two laundry baskets stacked inside each other for a total of six which is pretty good for most households. Our pedestal could only have a 9" opening due to the overhead cabinets in our laundry room so the shelf will not accomodate standard laundry baskets which is kind of a bummer.
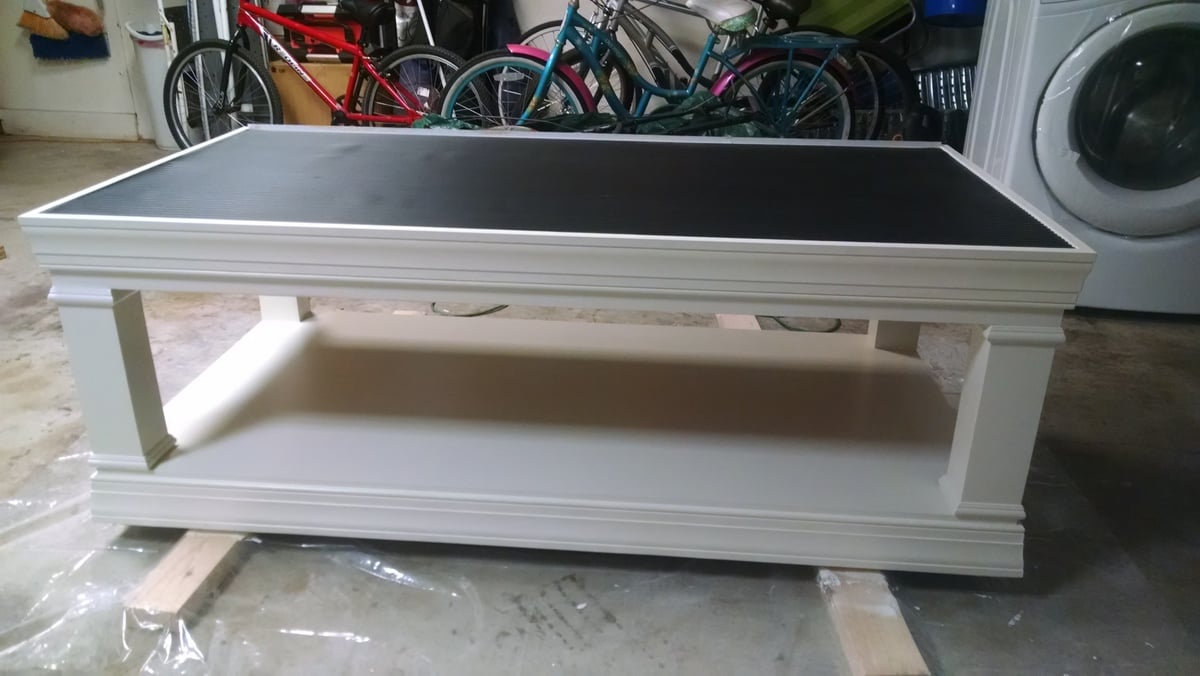
I kept one pedestal fairly minimalistic because it's going into a laundry room off an outside patio, I added a bit of quarter round trim all the way around the top edge to act as a guard rail just in case the washer or dryer tries to travel off the platform.
The other two I trimmed out identically they just have different post heights to fit the space they are intended for. I used a little more trim than on the first pedestal, I believe it's window sash trim. Just as on the first pedstal I wanted a guard rail of sorts so I left the window sash trim with about a 1/4" reveal on the three visible sides and used quartter round on the back.
I used a very heavy black rubber runner I found at Home Depot which is sold by the foot on top of each pedestal as an additional water barrier and vibration dampner. I think this finished it off and really works well, I'm very glad I decided to add that.
My version was inspired by Ryans modification of the original plan so thanks to Ryan and Ana for these awesome pedestals, my wife, In-laws and friend love them!
Wed, 06/29/2016 - 14:17
Glad I could help. Yours turned out great. I should have thought of creating more than one while I was doing it. Every time someone sees them, they ask me to make them one. Ain't nobody got time for THAT! :)
Sun, 01/29/2017 - 17:29
Thanks for sharing the detailed information of your builds. It's been a while since you built, have you noticed any sagging? They look solid!
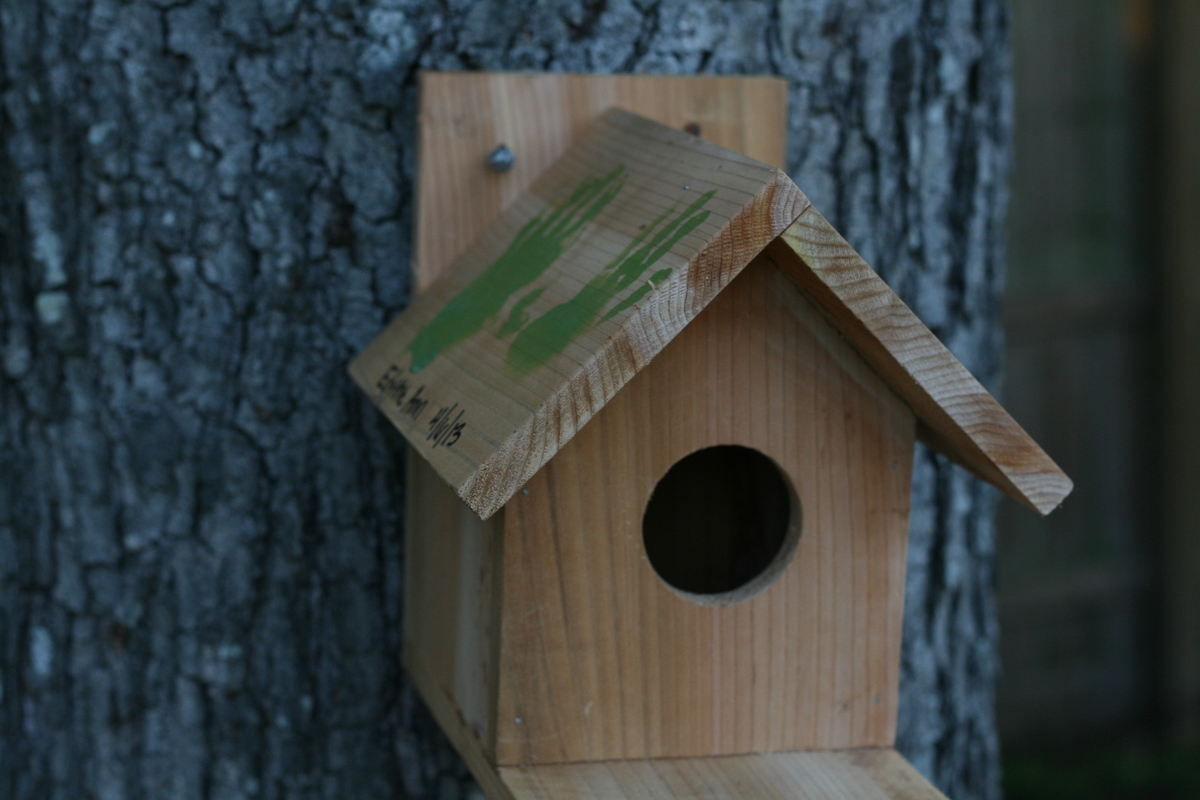
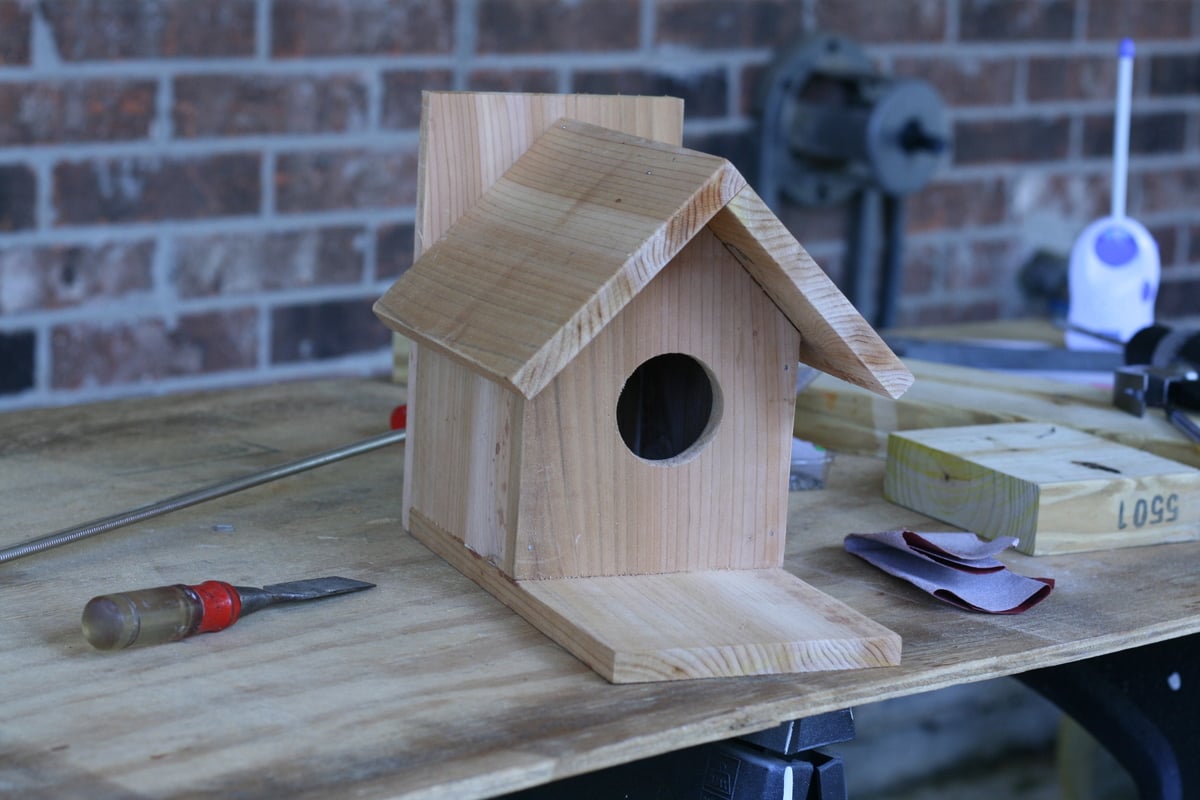
My very first project using the Compound Miter Saw. Easy Cuts. Easy assembly. Cost was about $1.50. I think I am going to make kits (as suggested in the sister plan) for a couple of birthdays coming up!
I wanted to make a large porch swing but just couldn't find the exact design. I wanted to be able to stretch out and take a nap but also be able to have a back to lean against. Most plans that I found were just basically a box you could put a mattress in and then hang. So I found Ana's plan for a basic daybed and chopped off the legs and raised the back just a little. It's perfect!! Thanks Ana. The plans were very simple to follow. This is my first project and I think it turned out great.
Sat, 07/26/2014 - 07:37
Looking forward to do one like this !
Do you still have the measurement for the back you have raised ?
Really nice !
Thanks :-)
Sat, 09/20/2014 - 16:33
Thanks! The height of the back and sides is 28 inches.
Tue, 11/18/2014 - 17:38
We made the bed and it looks awesome! Thanks for making the plans easy to follow and providing the picture, which was a fantastic reference. I do have a question for you in regard to how you hung the beg. We would like to hang this from our porch, but can see that we simply have 2x4 roof trusses. We are concerned that the weight of the bed (pretty heavy) plus mattress and support plus a person may be too much. Any additional information you could provide on how you hung the swing would be greatly appreciated! Thanks!
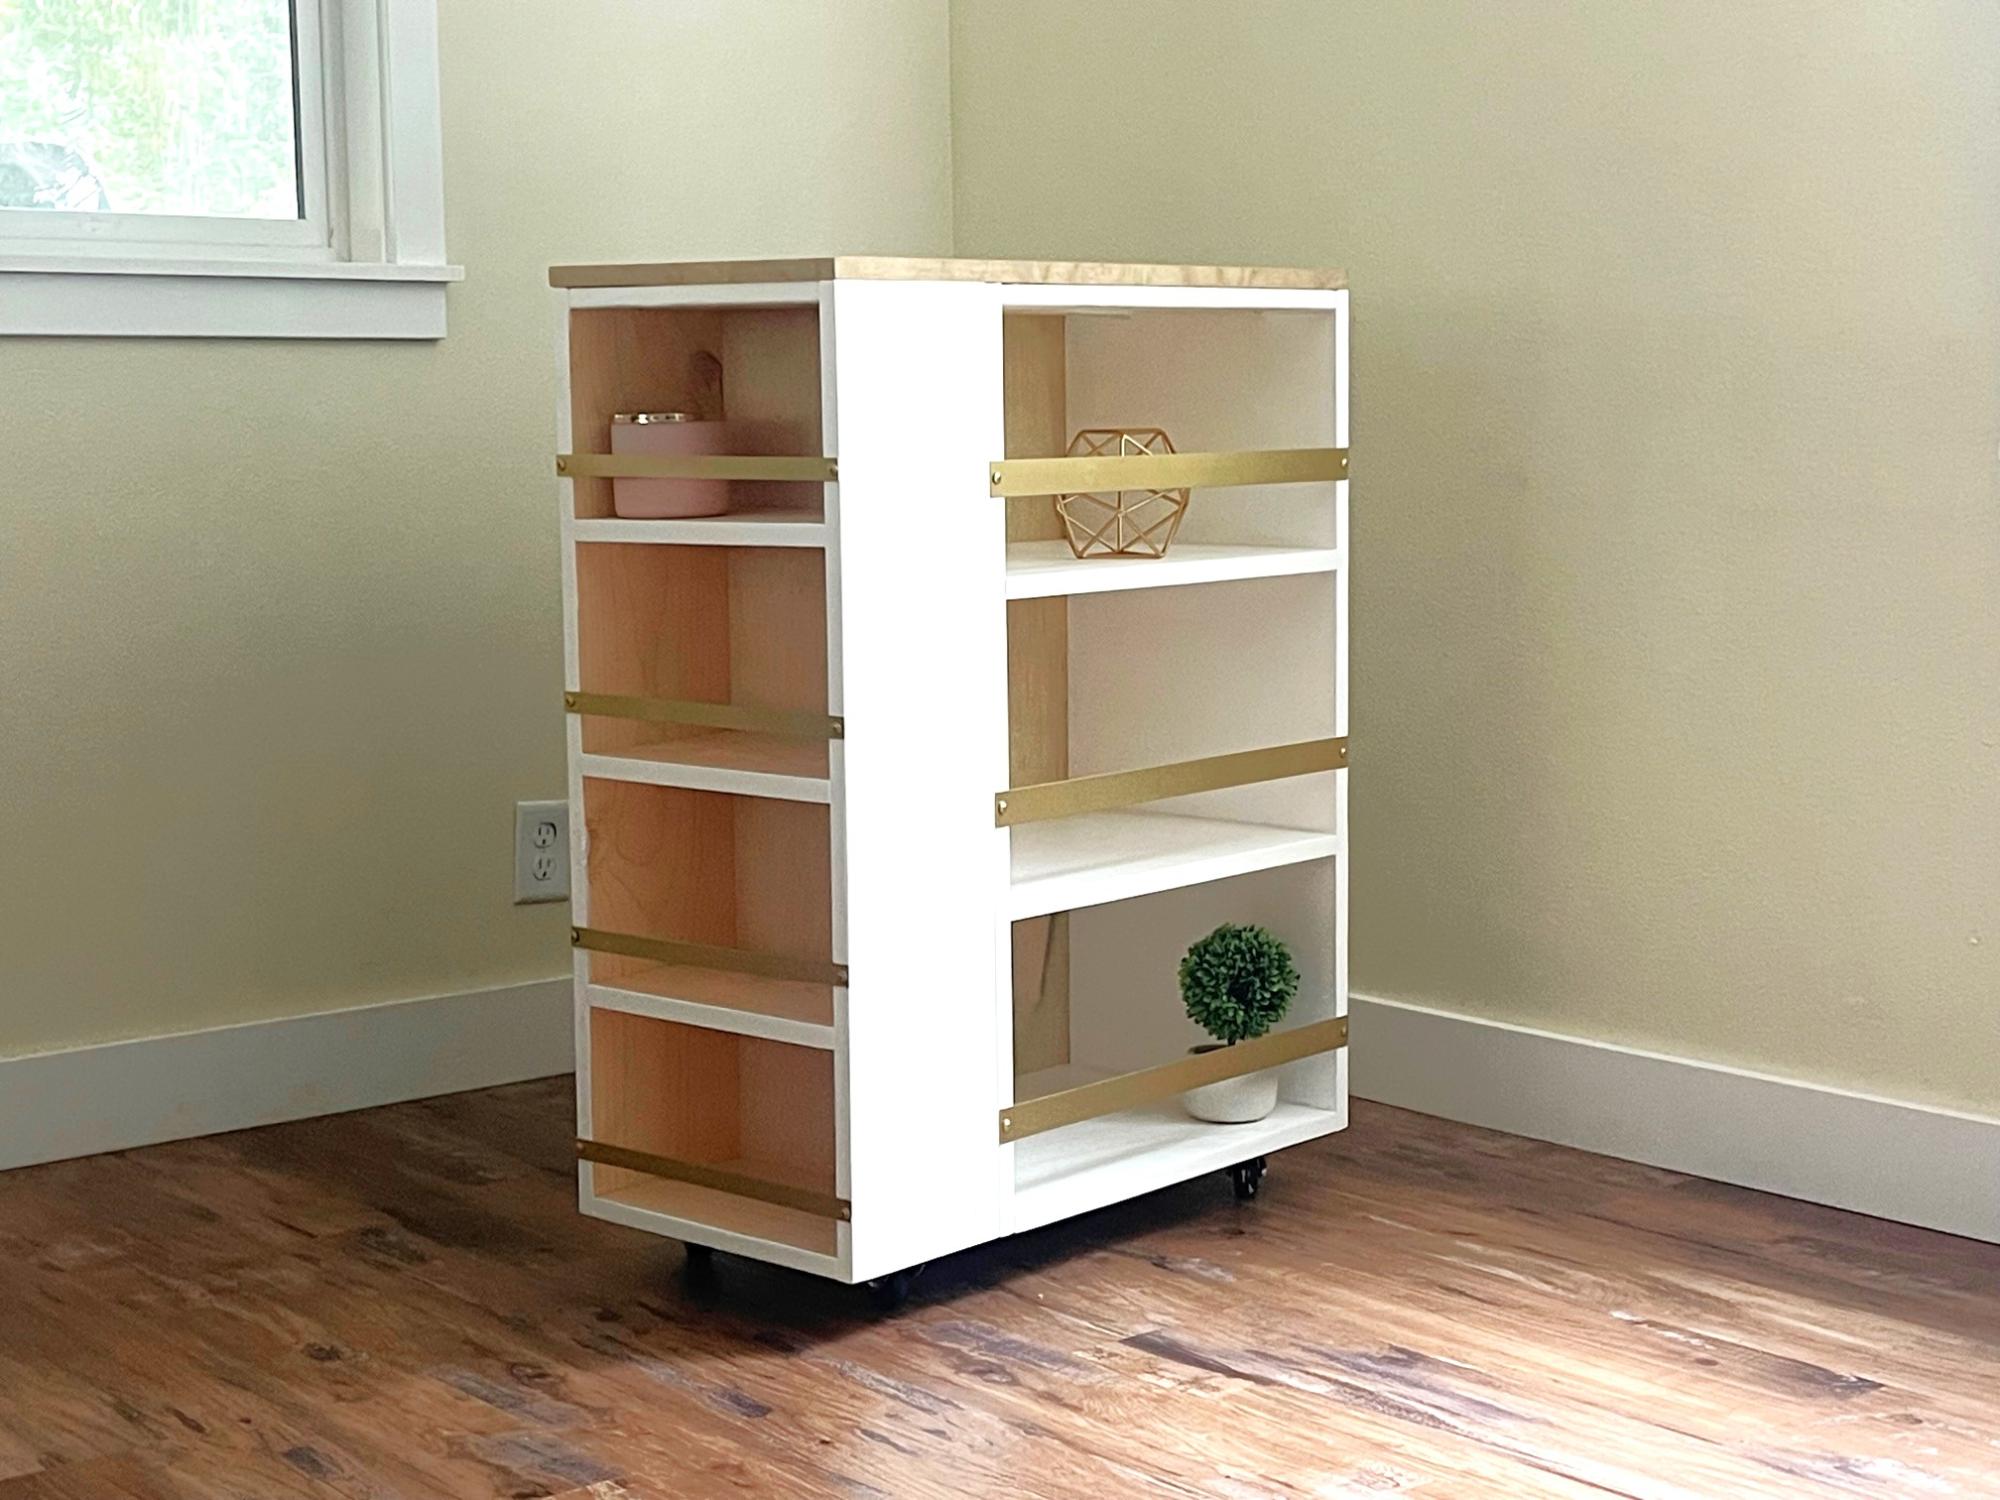
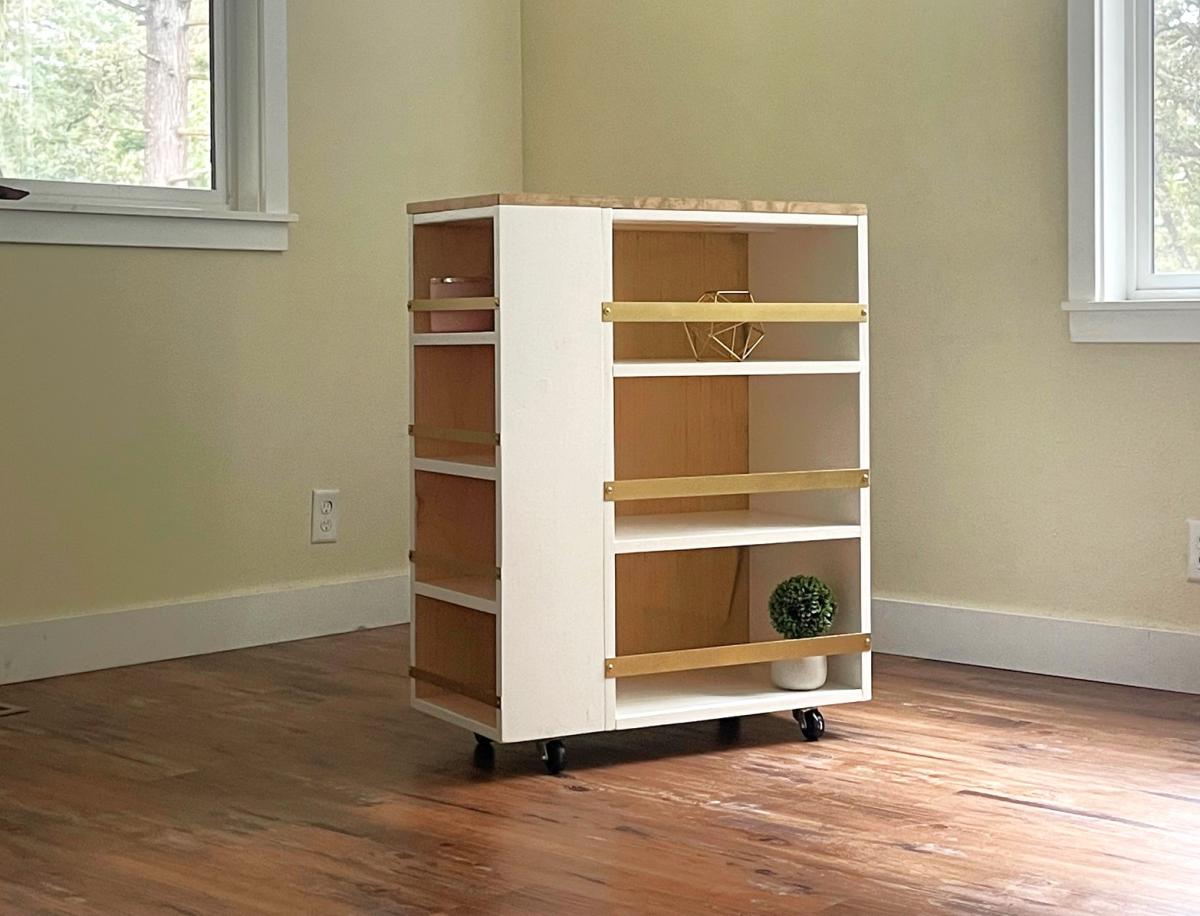
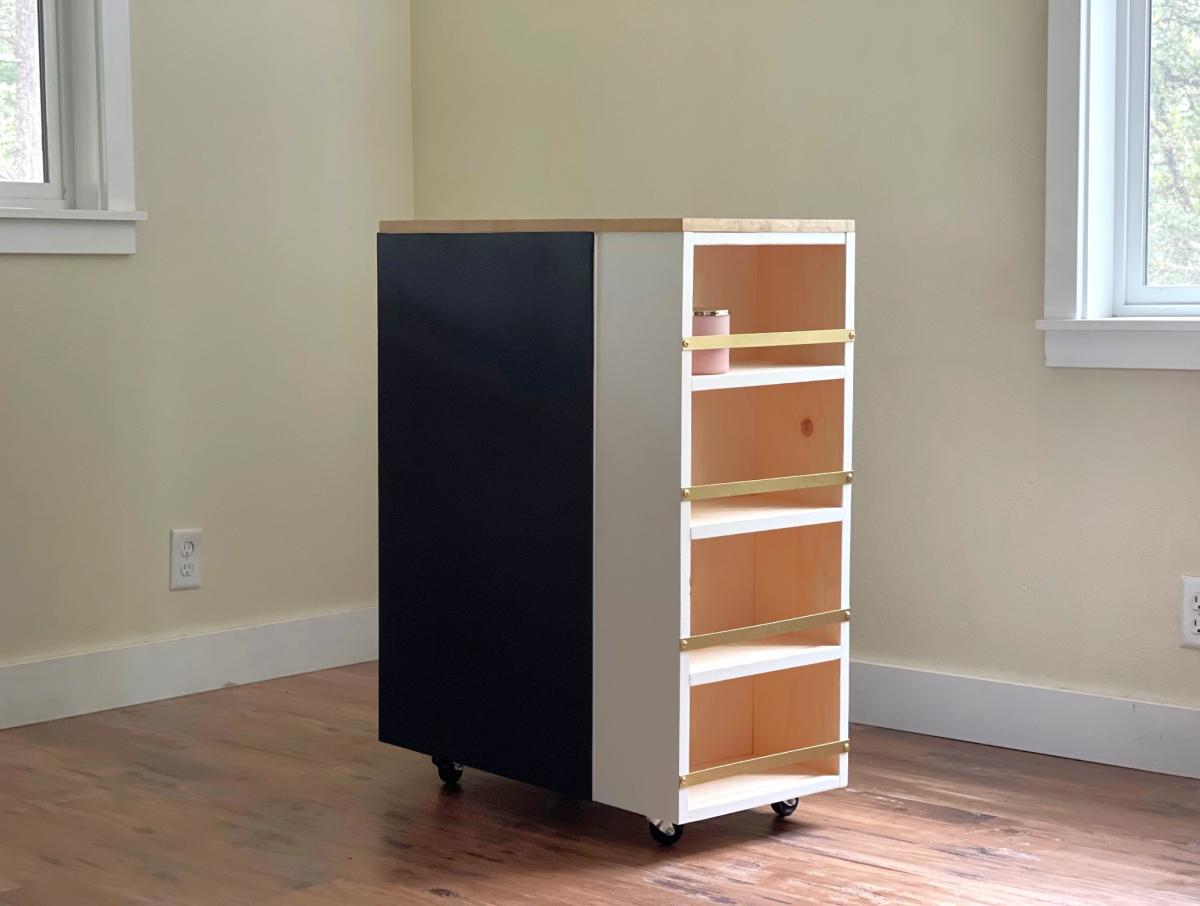
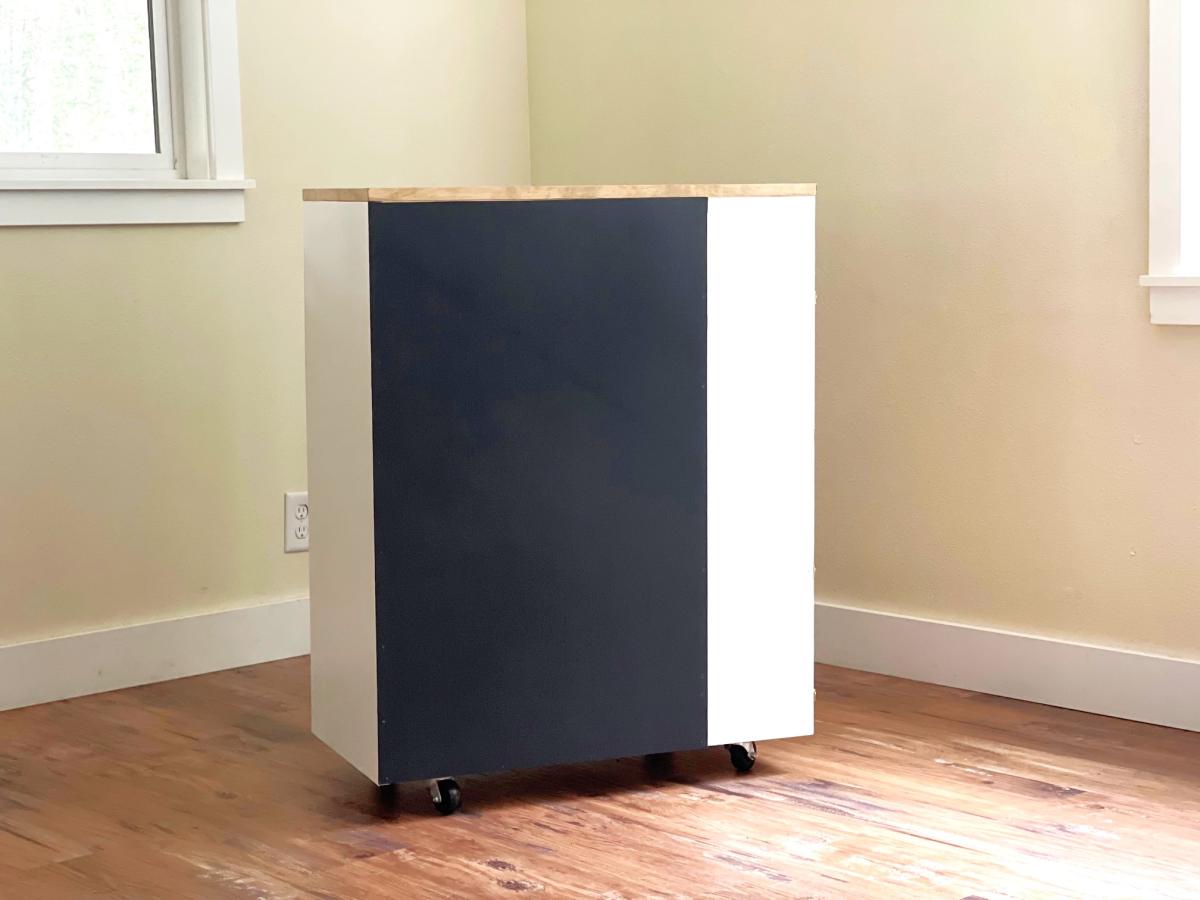
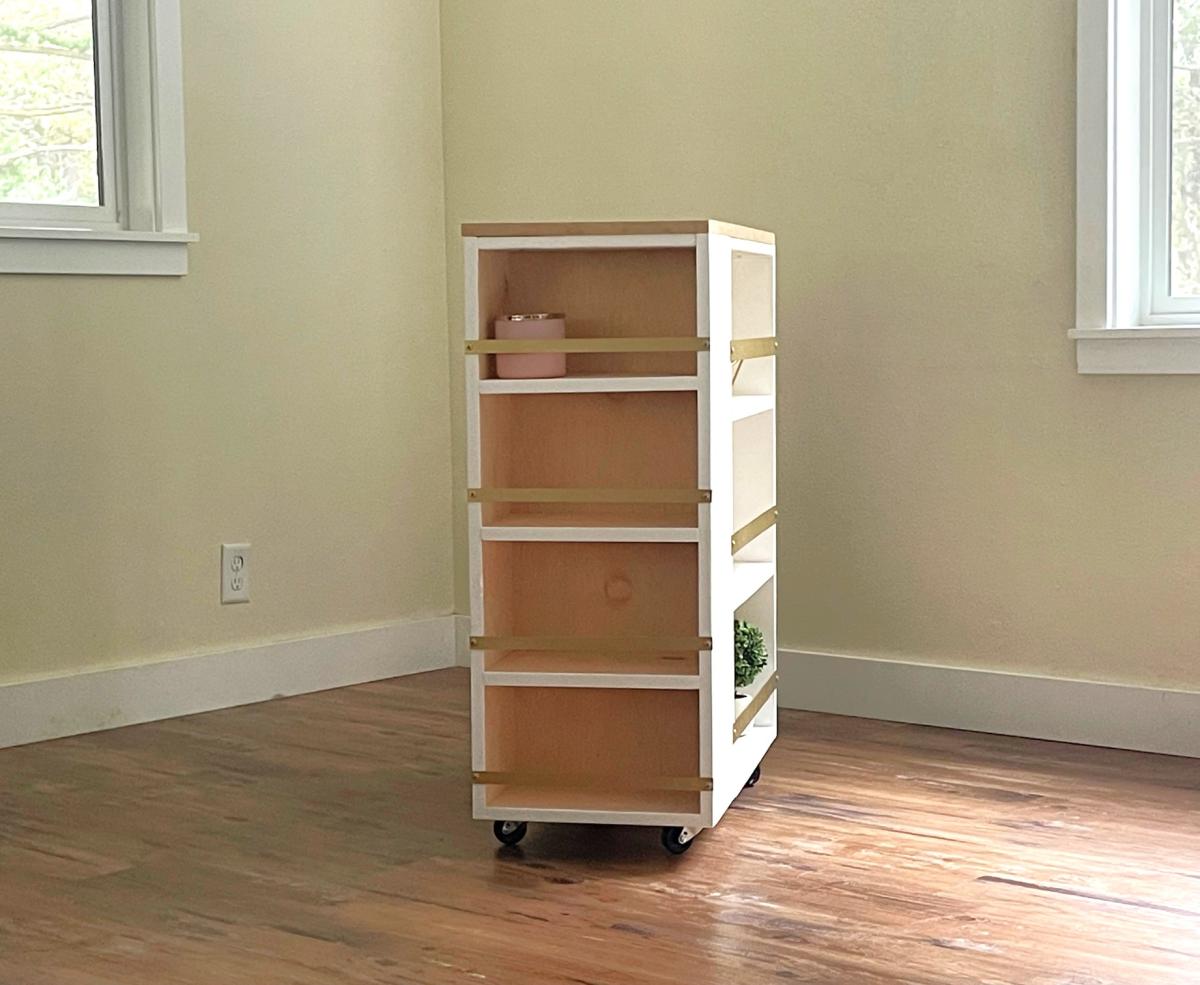
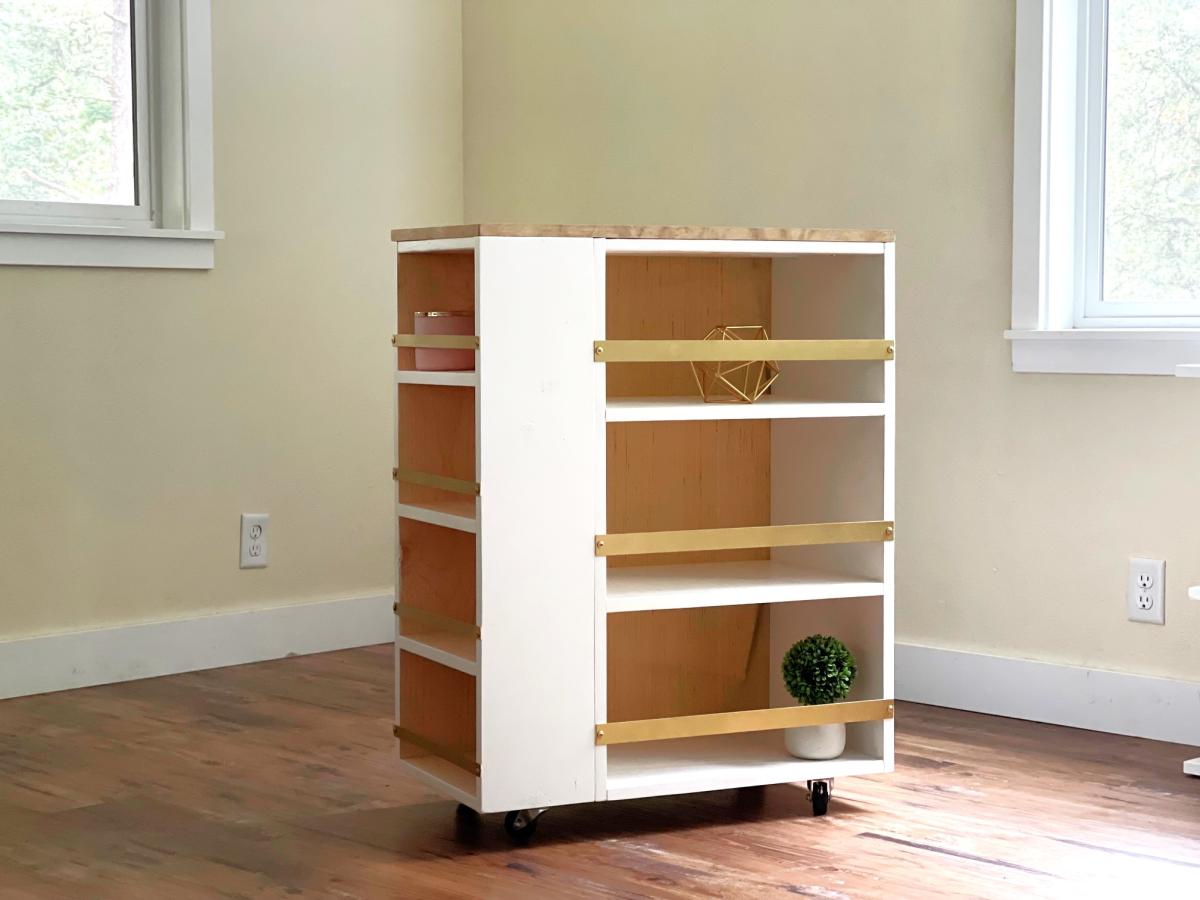
I was asked to build something for my daughters varsity basketball team room. There wasn't a lot of extra space, so this is what I came up with. I wanted to give parents a place to set treats or leave an inspirational message. I was inspired by Ana's modern craft table plans. The smaller bookshelf measures 14" wide by 33 1/4" high (using a 1x8), the larger bookshelf measures 21" wide by 33 1/4" tall (using 3/4" plywood), with a 3/4" plywood top and 2" casters, it's a nice 36" counterheight. I used edgebanding for the top and front exposed plywood edges. I used aluminum flat bar (spray painted gold) to the shelves adding a decorative element as well as to help keep items on the shelves. The back is 1/8" panel spray painted with chalk paint. I added some bay supports at the top of each bookshelf to attach the top from underneath. I'm happy with the results!

Inspired by Ana White's $25 Wood Baby Gate (https://www.youtube.com/watch?v=cPV6XfheqgA), I needed a gate for my miniature schnauzers. They loved going into the basement unattended ... and well ... potty accidents happen without me being the wiser. So, I modified the hardware used, and so far so good! The puppies and my little nieces and nephews are protected.
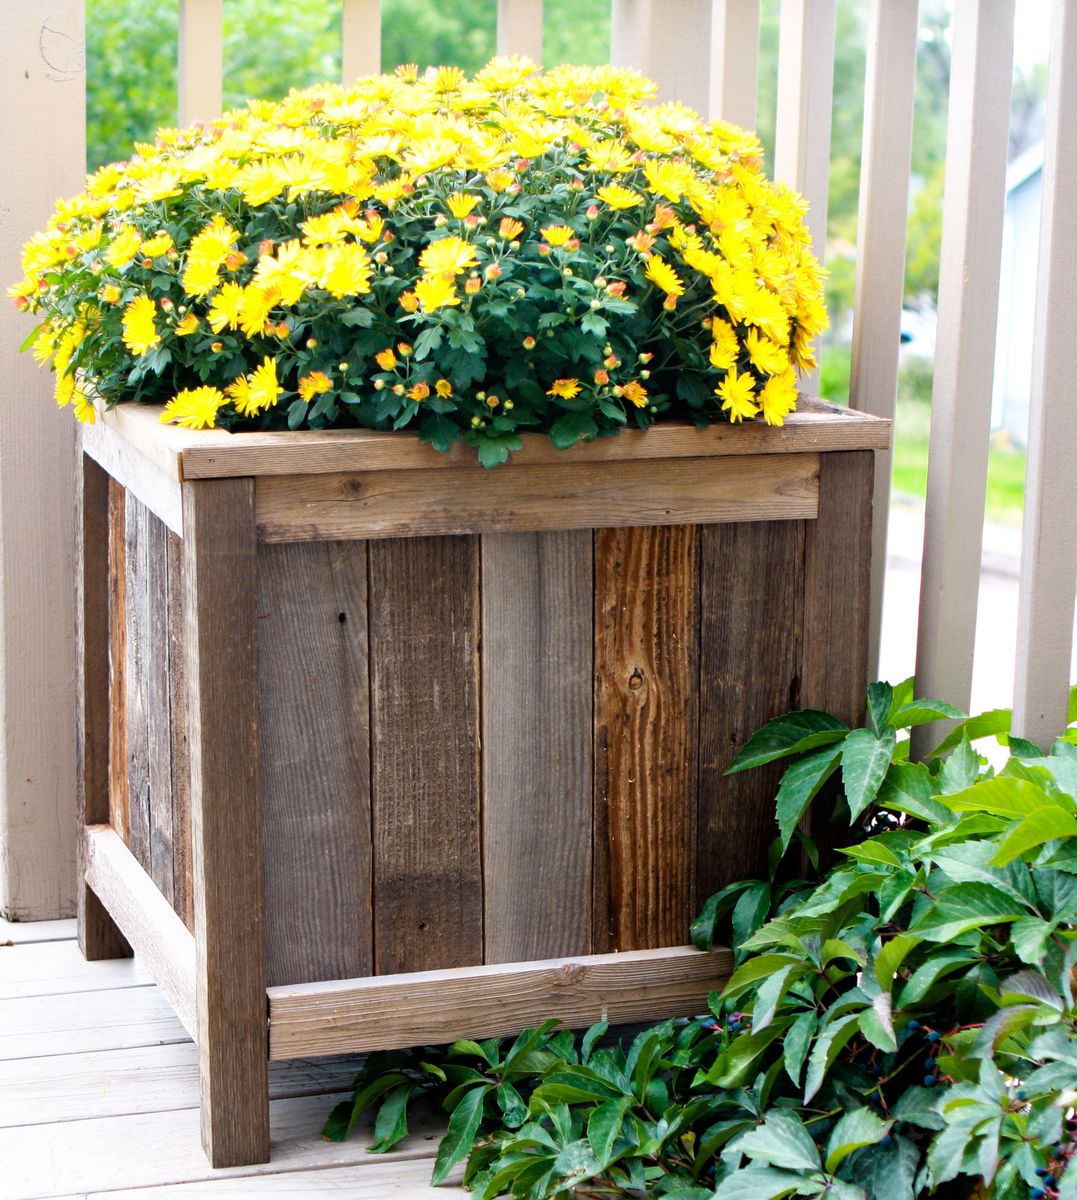
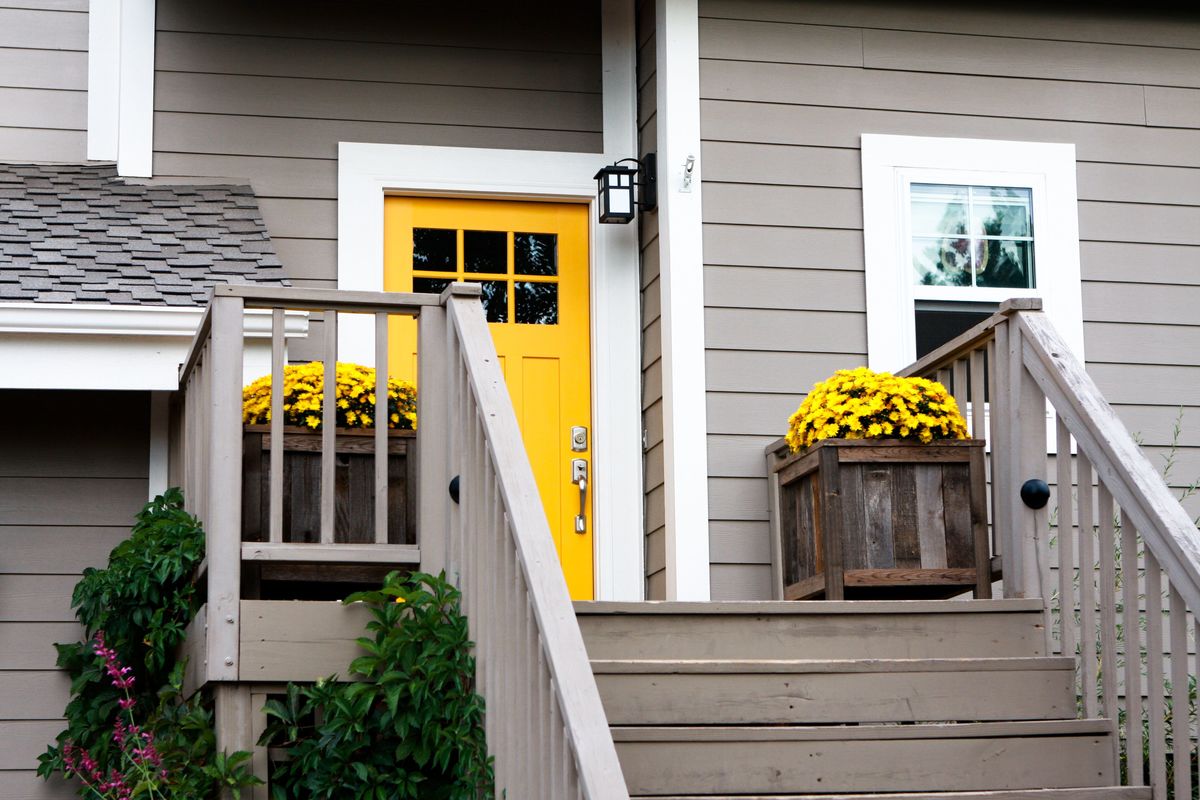
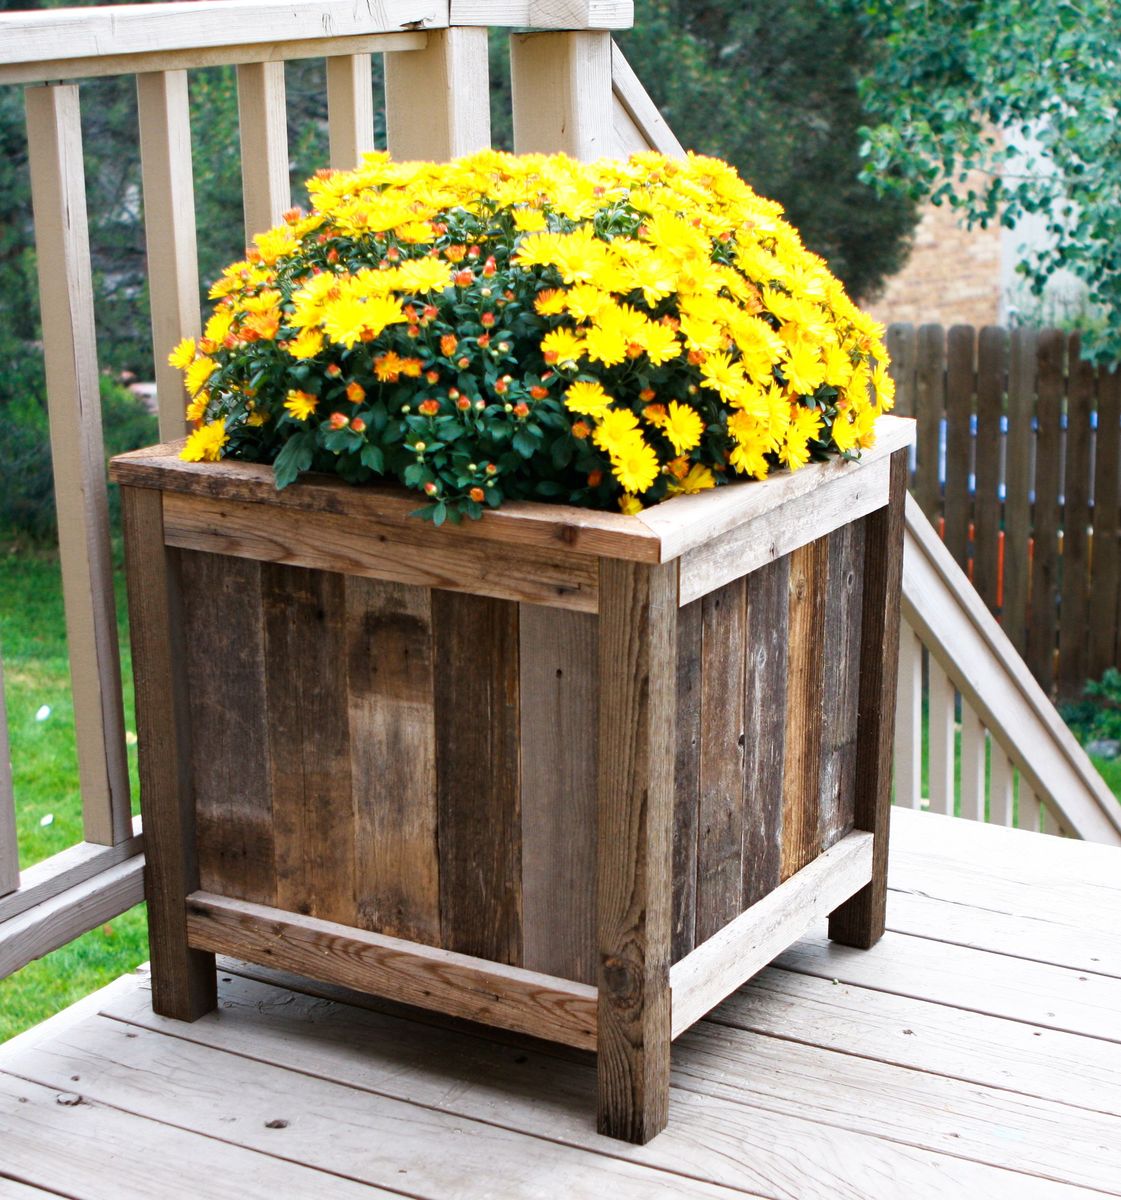
I built Ana's under $20 cedar planters for free. Or, almost free! I had to buy some more wood glue, but I had some of the wood on hand and took some from a friend's pile of old fence wood. It took me about five hours to build both planters from start to finish. See the blog link below for more info.

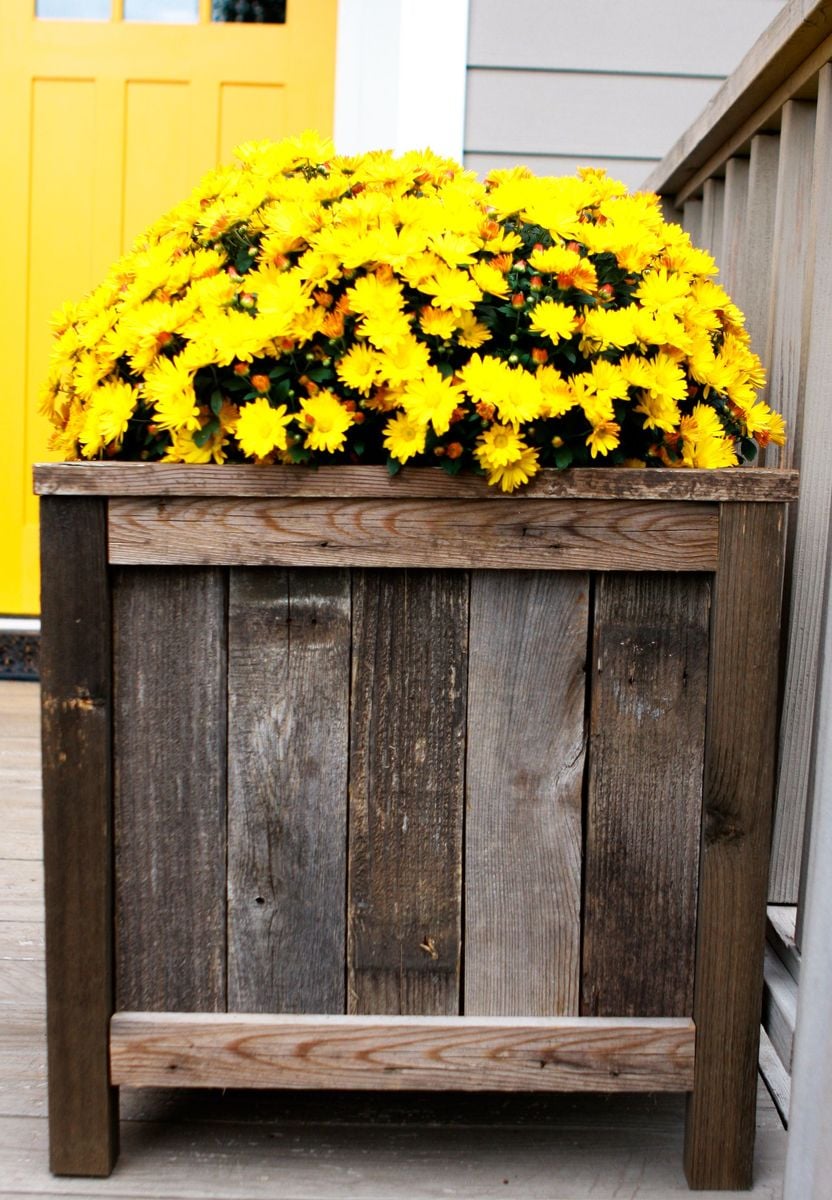
Tue, 09/08/2020 - 16:12
This is great. I just tore down my old fence and have tons of old cedar pickets. I want to make some planters for my new patio.
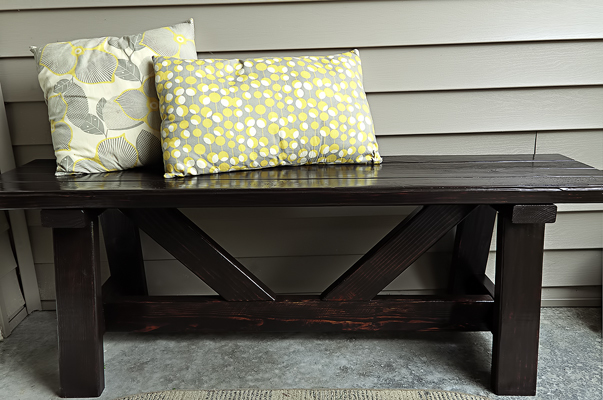
This project was quick and simple. Just keep in mind and pay attention to the plans where they state "bevel" or "miter". There is a difference!
This project was free to me as we have a huge amount of 2x4 studs left over in our garage from a previous project so I should be able to do the table and another bench for free as well.
It went together within a few hours as the cuts are easy.
Working on the camp loft bed now with some mods to add a stationary bed beneath and more height for my girls room.
Overall great build.
I stained it with one coat of Kona. I did let the stain sit and barely wiped it off that is why it ended up being very dark which is the look I was going for. I then finished it off with 4 coats of polycrylic clear in high gloss which dries very fast and does not yellow.
Sat, 10/13/2012 - 17:03
I'm hoping for this to be my first project!! How do i get the plans ??
Sat, 12/08/2012 - 20:05
I just found the plans for the Providence Bench on this site good luck...http://ana-white.com/2012/04/plans/providence-bench
Wed, 11/14/2012 - 21:56
I'D LOVE TO MAKE THIS PROJECT FOR MY ENTRANCE HALL...! THANK YOU FOR SHARING!!
H. C.
Fri, 11/23/2012 - 10:49
There is a clickable link above where it says "Blog Link: Build a Providence Bench"
Sat, 12/08/2012 - 20:07
Here are the plans for the Providence Bench on this site good luck...http://ana-white.com/2012/04/plans/providence-bench
I wanted to say thank you for the inspiration.
I took the general idea, made it bar height and my own preferred size and beefed it up by doweling together the top pieces.
Given the size, I made the top removable with threaded inserts as well as the removable support beams below.
For the benches, I wanted something sturdy and a look that was similar to the table. I added in a nickel support rod for the foot rest for both strength and a nice look.
All in all this project took a lot of time, probably more so with my perfectionist ways and wanting to make the finish perfectly smooth. It's like glass, which I just love against the dents and dings of the wood.
Some of the challenges were wood that warped. After putting together the bench tops, the wood warped quite a bit, nothing that a few clamps couldn't undo but a pain nonetheless.
Using black stain really brought out a nice look and I'm taking that same look to the new trim and door that are going into the dining area as well.
I've not seen a bar height (not counter height) table in a full dining table size before, it's what I wanted and I couldn't be happier with the results. Was it worth all of the time? That's hard to say, I really love it, but it took a long time to get it to be exactly what I wanted it to be.
Thanks!
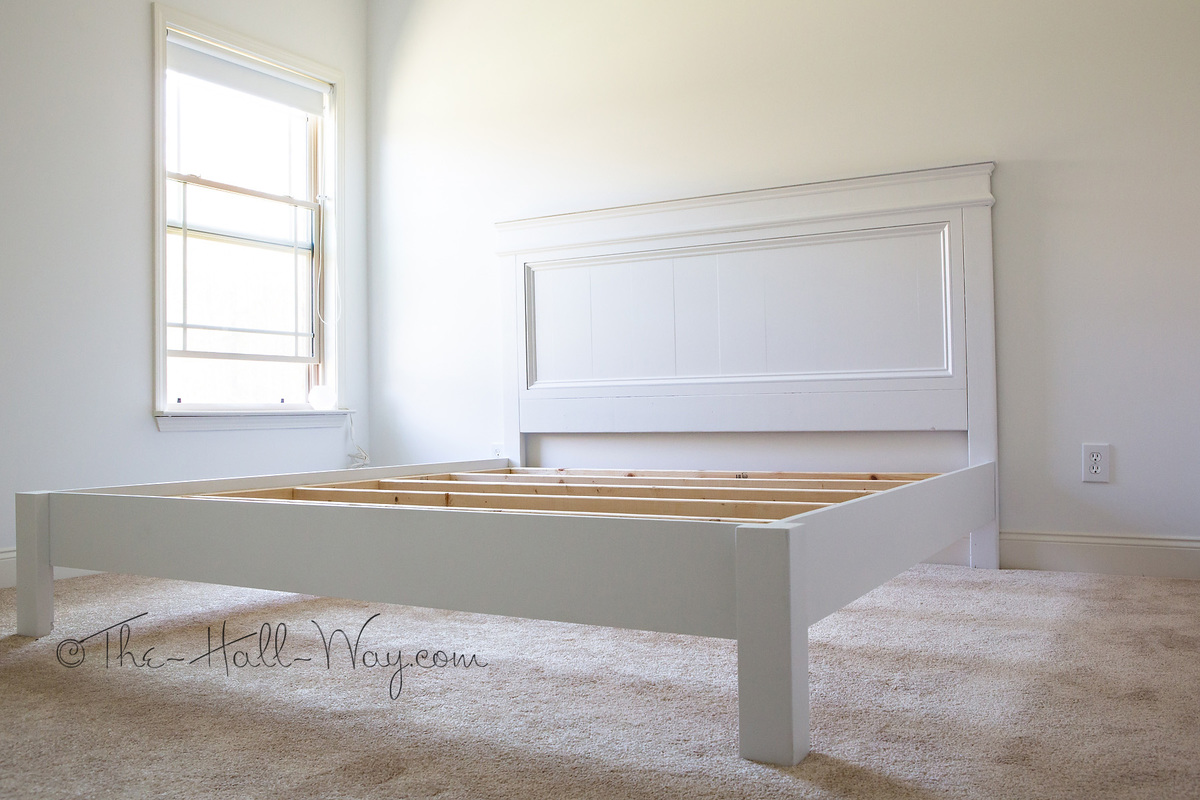
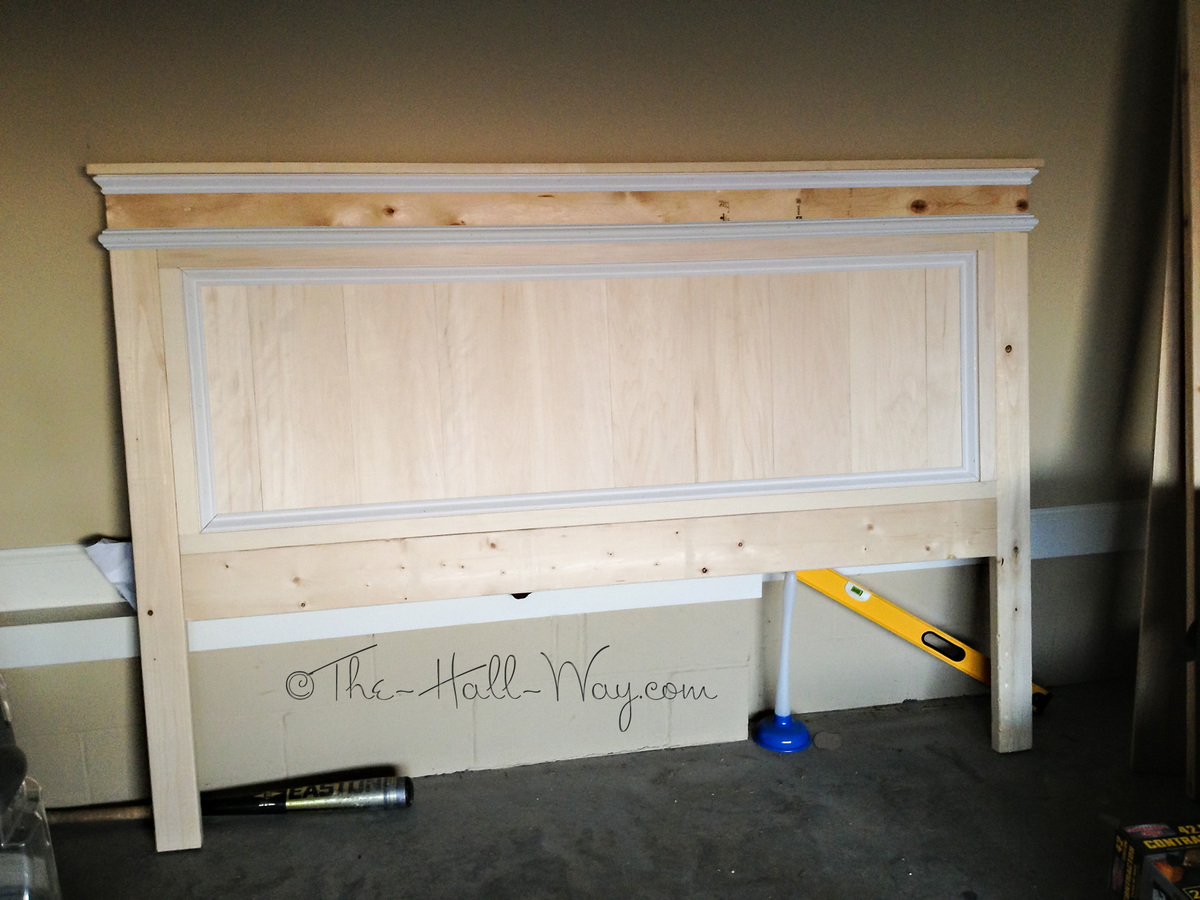
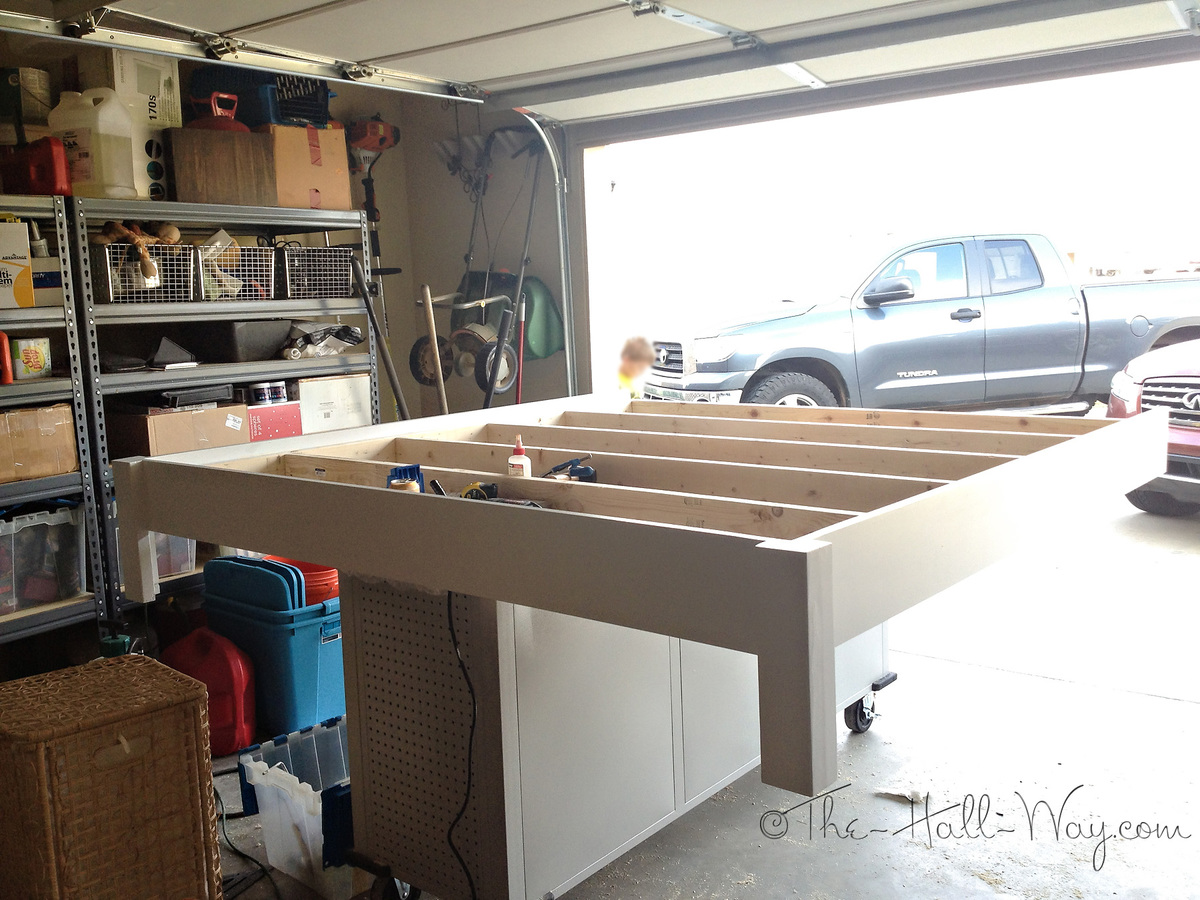
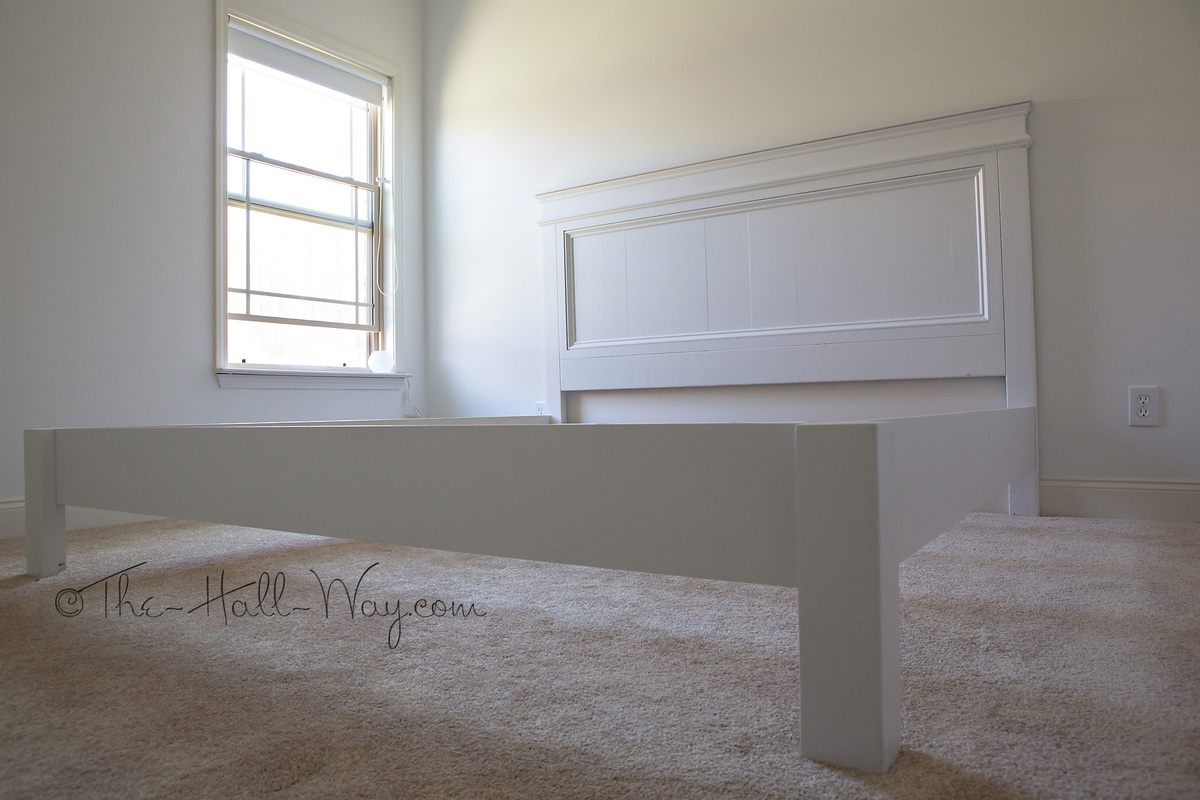
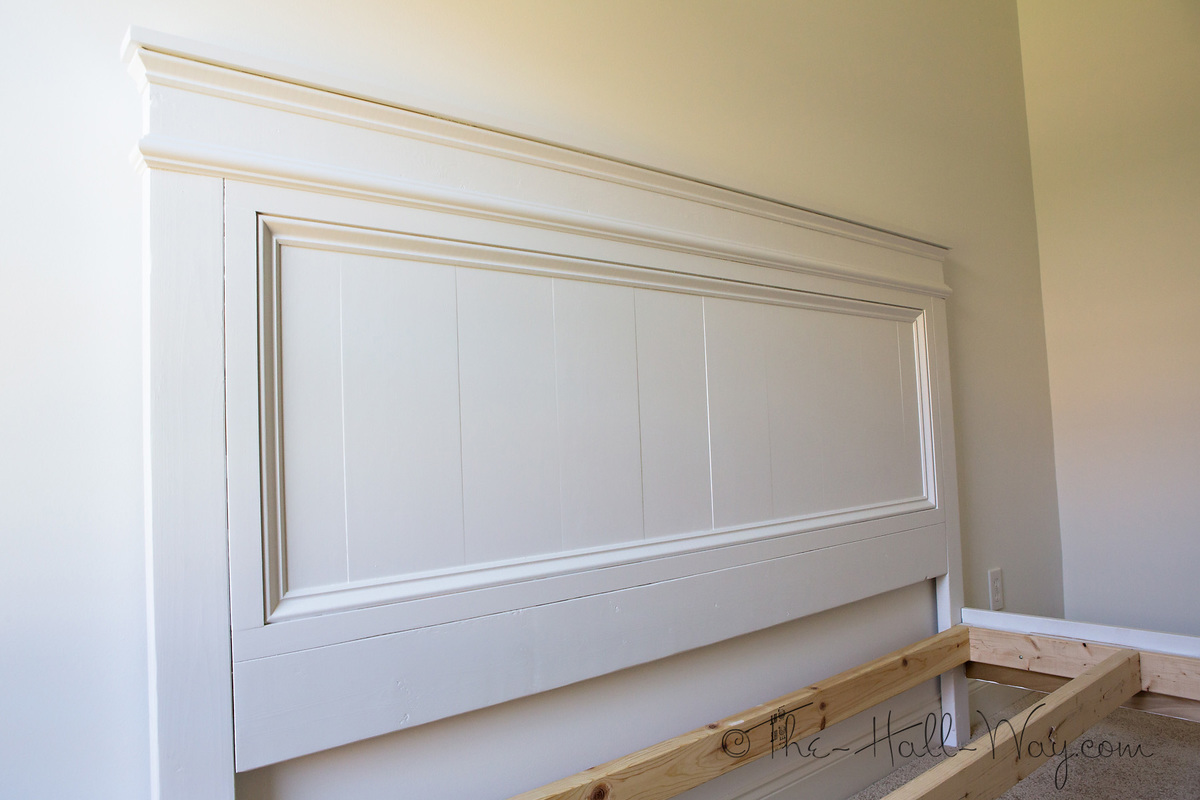
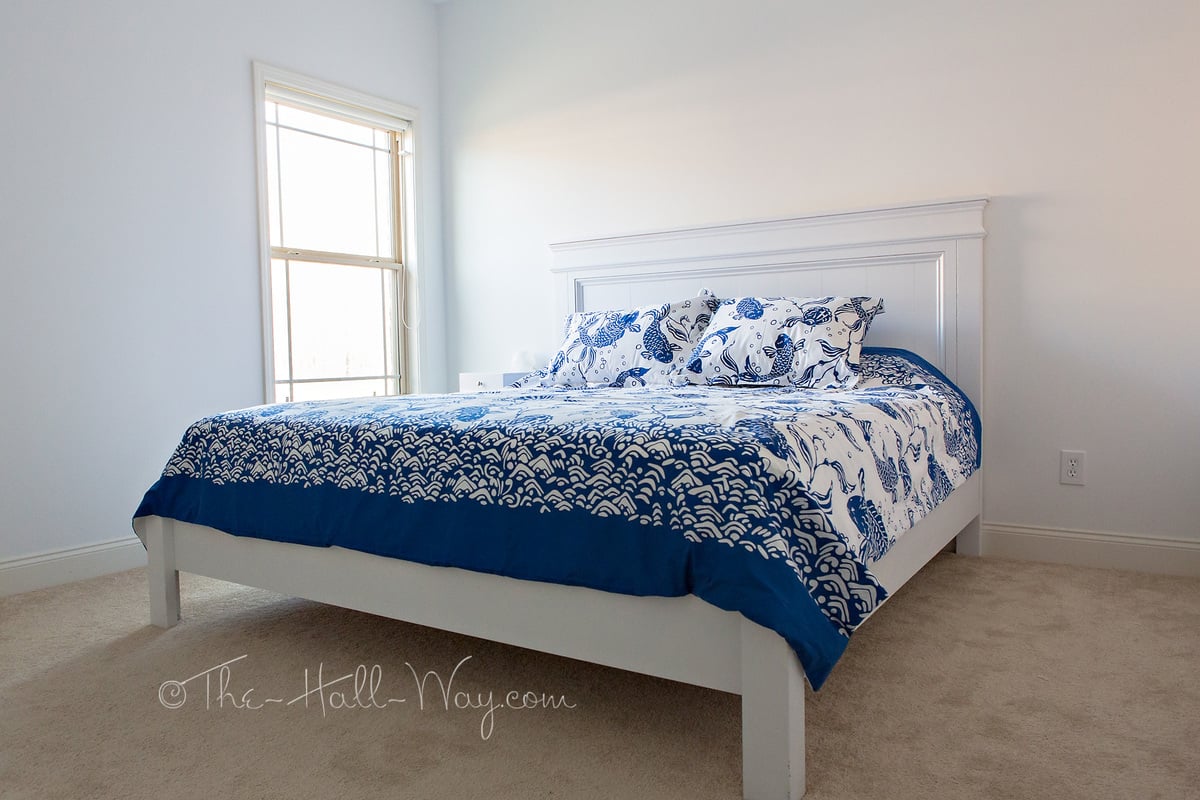
I built this bed for my parent's guest room at my sister's house. It is very similar to a bed mom had been wanting. They wanted a king size so I had to do some modifications to the original plan - primarily adding 16" to all width measurements. I also used 10 - 1x8s for the headboard panels. That made the panels slightly too wide, so I had to rip a little bit off the 2 end panels.
The hardest part of the project was getting it in her house! The legs made it about 1/4" too wide to fit it thru the door. We were about to remove the legs (which would have been a disaster since they were glued, screwed and painted on) when we finally figured out the right angle to squeeze it in. I had to touch up the paint in a few spots once we got it in position, but that was much better than having to remove legs and put them back on. We still need to get plywood for the mattress to sit on and I'm going to add a middle leg for extra support since it's a king. I will probably eventually build nightstands to go with it. Overall, I'm pretty happy with how it turned out since this is my largest and "fanciest" project so far.
Tue, 04/09/2013 - 12:41
I really love this bed, however, being military we move quite often. Is there a way that you would recommend I could alter it so that it can be broken down a little to make it easier for moving? Thank you much :D
In reply to How to alter for easy moving? by bran2511
Tue, 04/09/2013 - 14:29
For easy moving I can not recommend the highly enough. You attach them to the side rails and the head and foot of the bed and instead of screwing the whole bed together it just locks into place. They are THE BEST! http://www.rockler.com/m/product.cfm?page=11
Tue, 04/09/2013 - 15:59
Attach the sides to the headboard and footboard with bed rail brackets so you can knock the bed apart to move
http://woodworking.rockler.com/search#w=bed%20rail%20brackets&asug=&sli…
There is even a bracket for the center rail of a king-sized bed.
Tue, 04/09/2013 - 12:41
I really love this bed, however, being military we move quite often. Is there a way that you would recommend I could alter it so that it can be broken down a little to make it easier for moving? Thank you much :D
Sat, 08/24/2013 - 18:31
I just posted a brag post with this bed in black. I will see if I can upload a photo of how I built this bed for very easy break down. I looked at all the brackets etc.. with this being built out of pine I was not 100% confident in the Rockler / Wood craft brackets. I used a forstner bit and a 4.5" bolt with some washers.
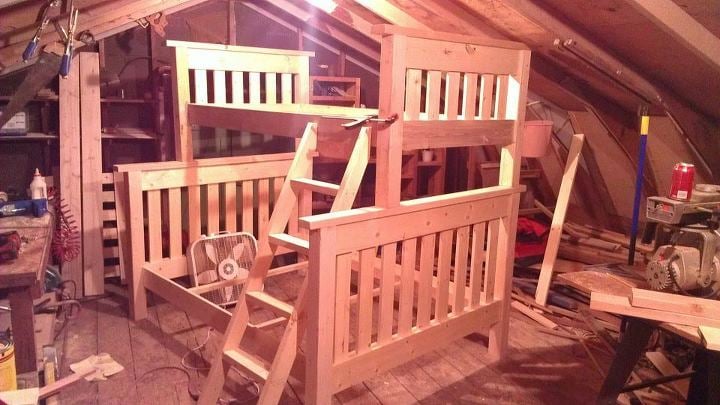
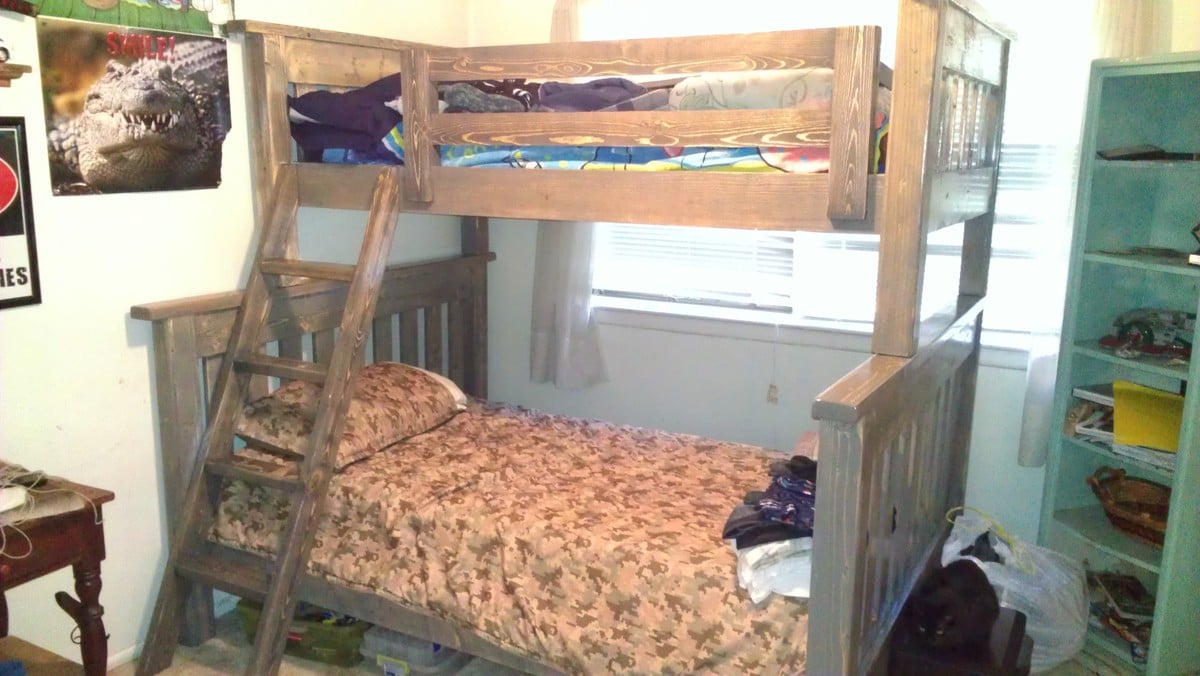
Created my own version out this plan.
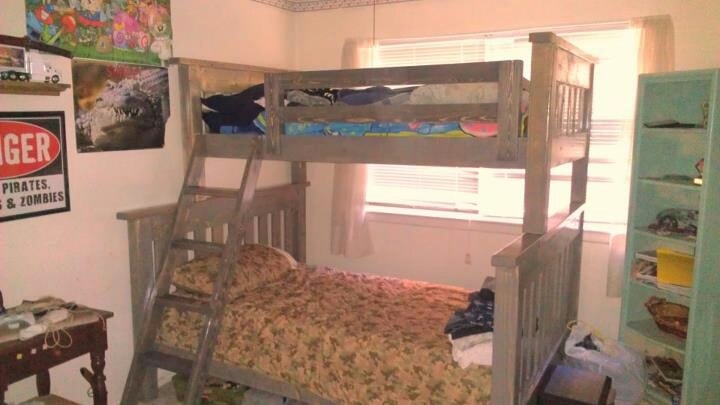
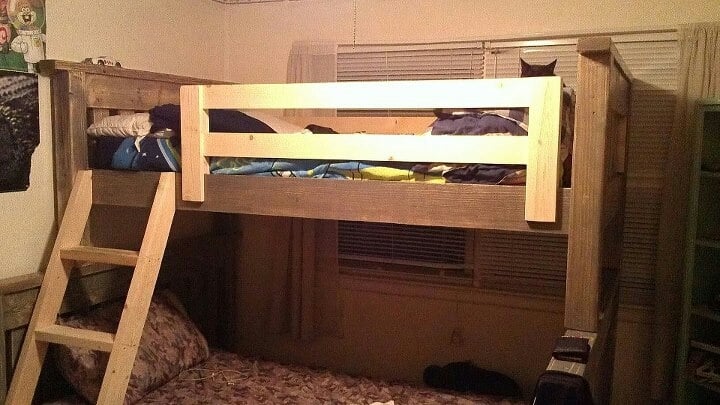
The twin beds that my boys were using took up way too much space in their small room so after much looking I found the Ana White site and this plan. The bed I made is per plan except for the addition of the side rails that slip fit onto the sides. When we change the sheets on the top bunk we just slip off the rail and stand on the lower bunk. We've had my two boys and three nephews all on the bed playing Xbox and it is rock solid!
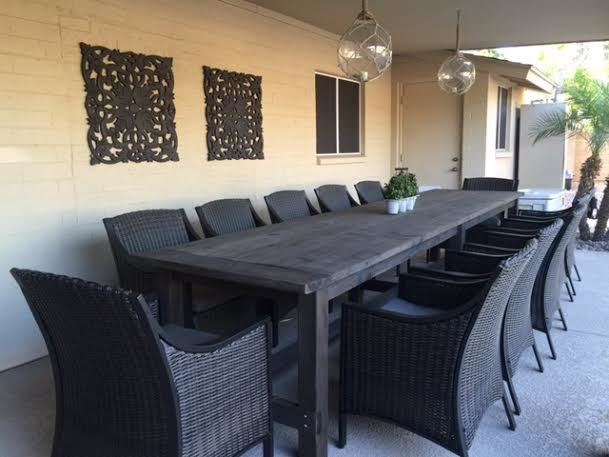
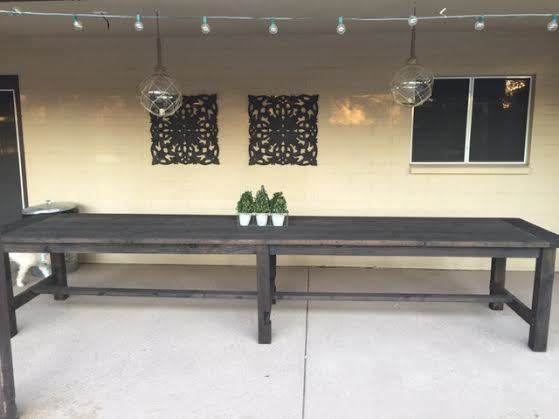
I used the Farmhouse Table plans and just extended the measurements to build an extra-long outdoor table that seats 12.

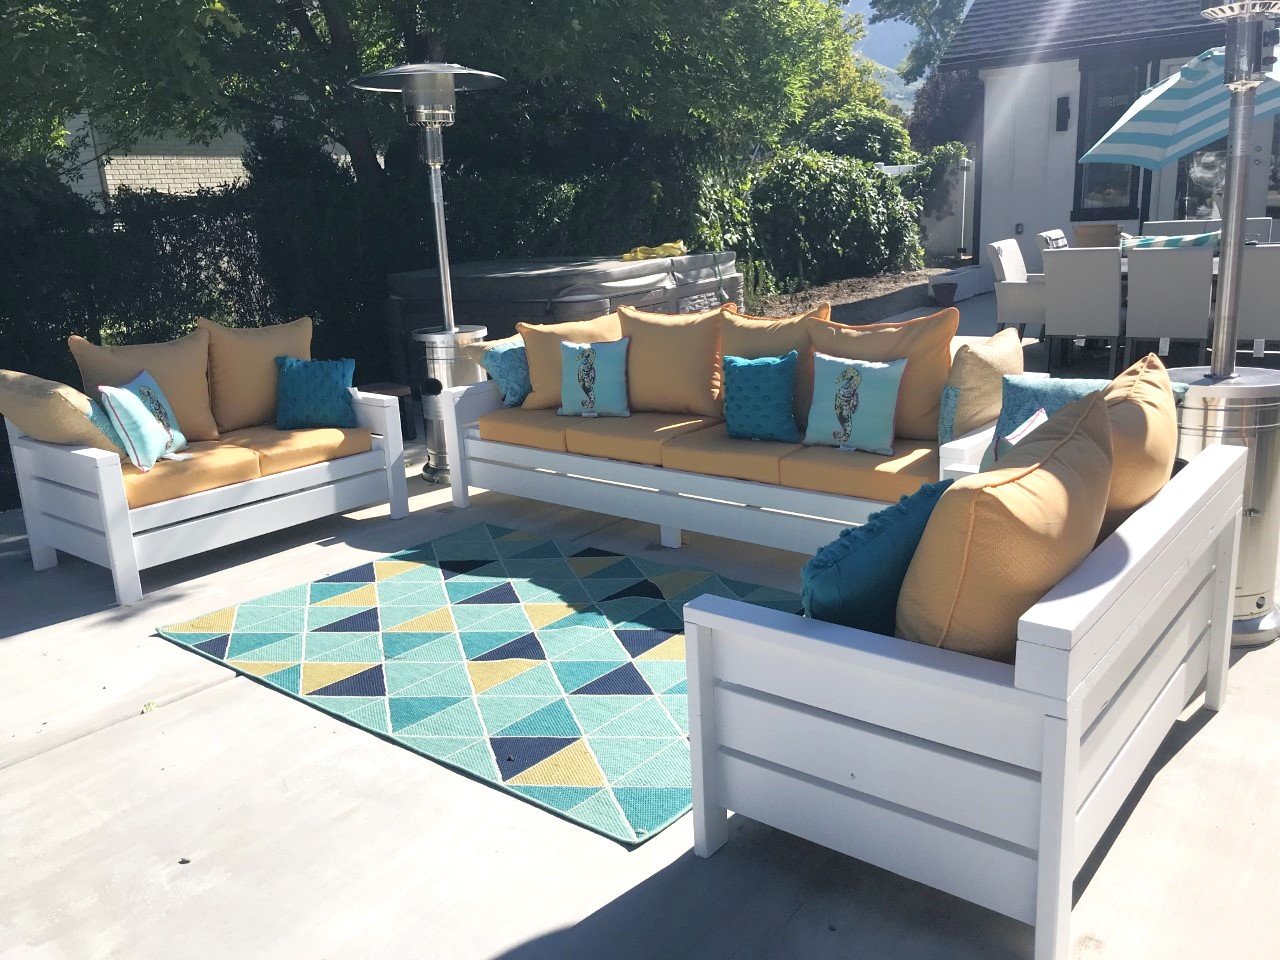
We were looking for outdoor furniture big enough for our whole family and friends but everything we looked at was over $5000 and really not well made. Ana to the rescue.
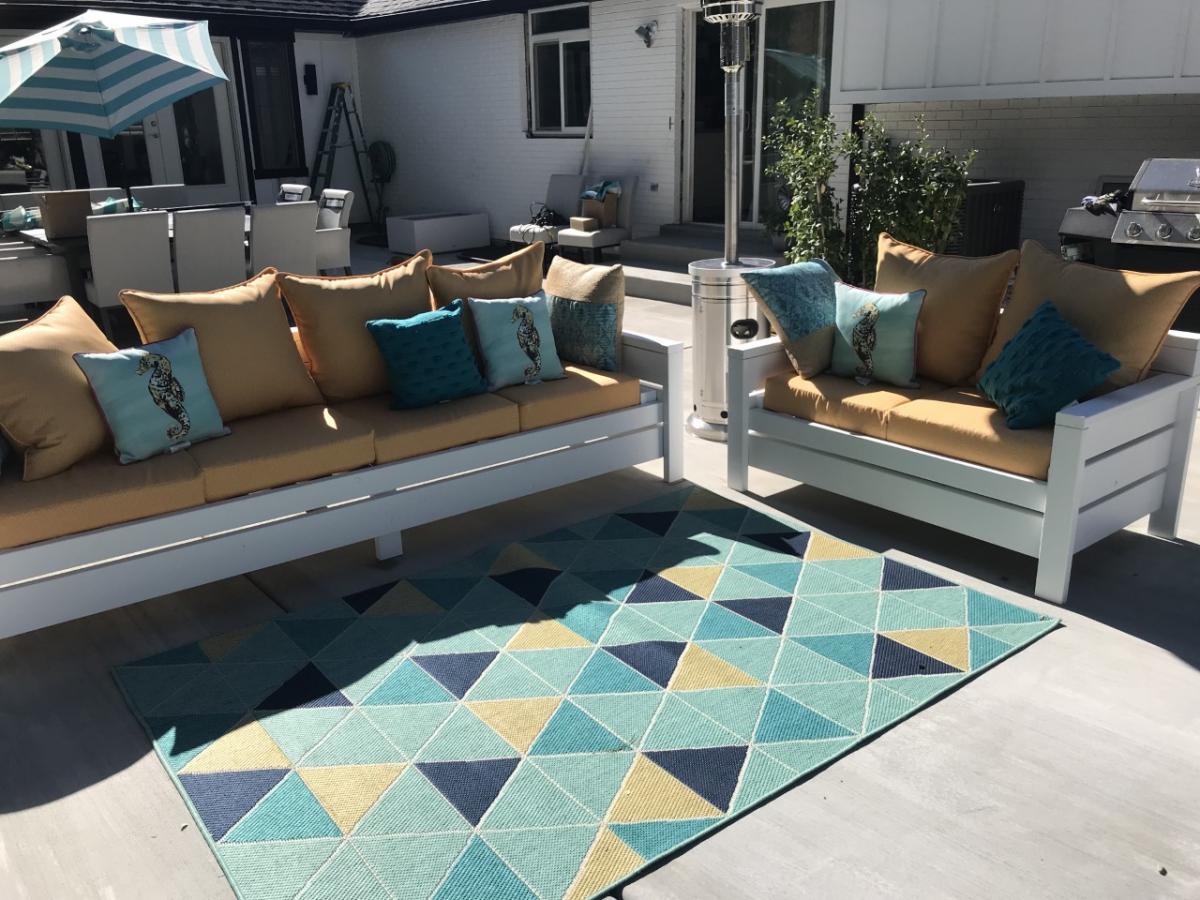
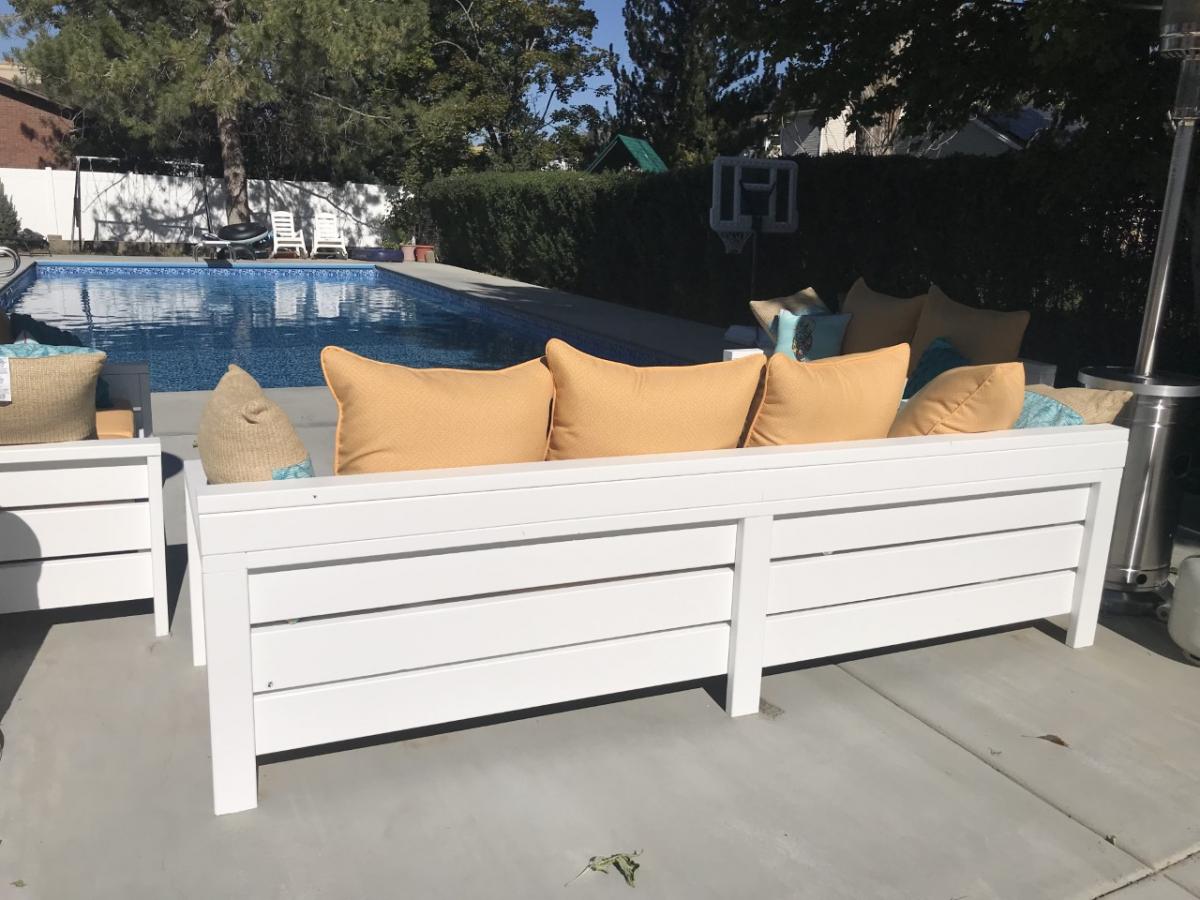
We built 2 loveseats and created a couch by doubling the dimensions.
We built the whole thing out of redwood so total wood was about $1000
The cushions were from Overstock and Lowes, approx $300.
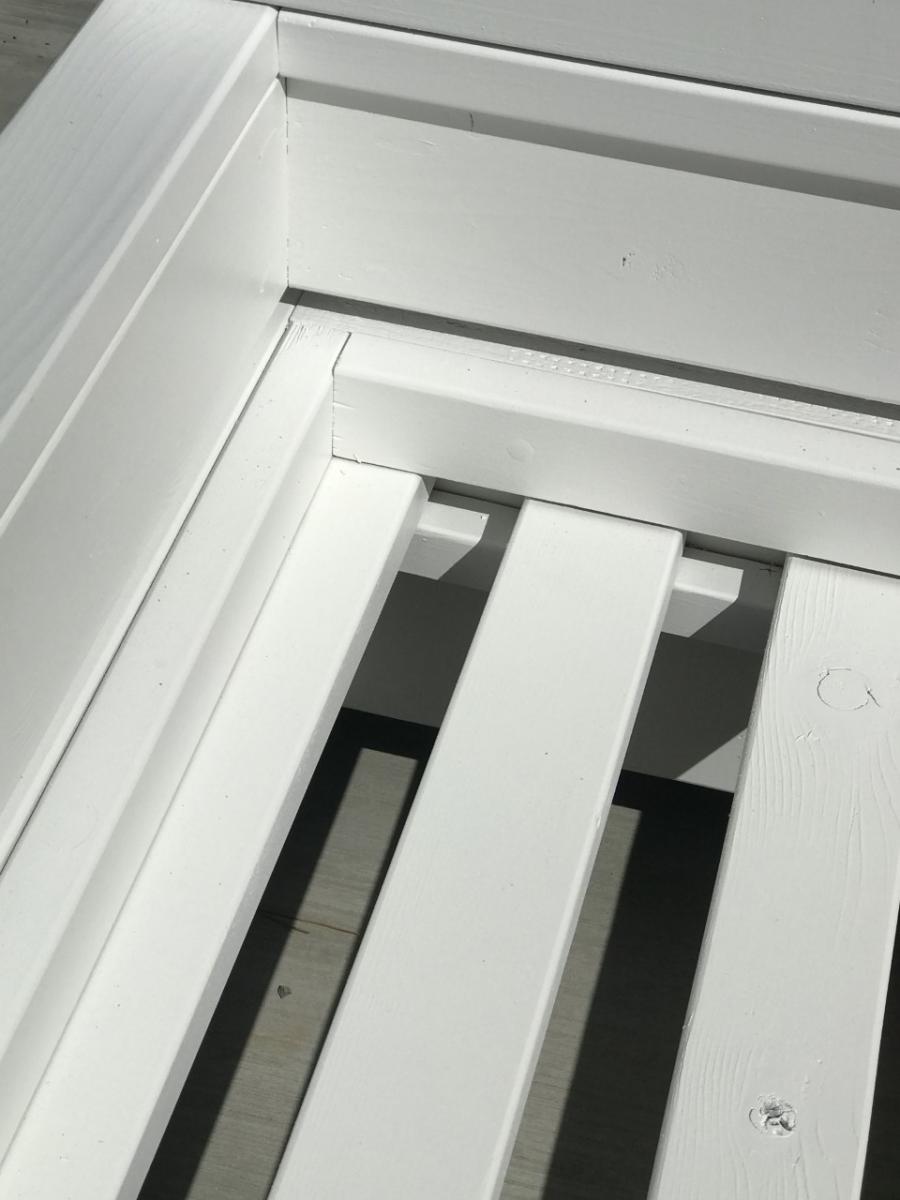
There was a too much wiggle room with the cushions so we made a built-in frame to hold them in place. If we built another I would have cut the width down slightly.
We placed a 4X4 and another 2X4 on top of the back to provide more support.
All in all, love the way it turned out.
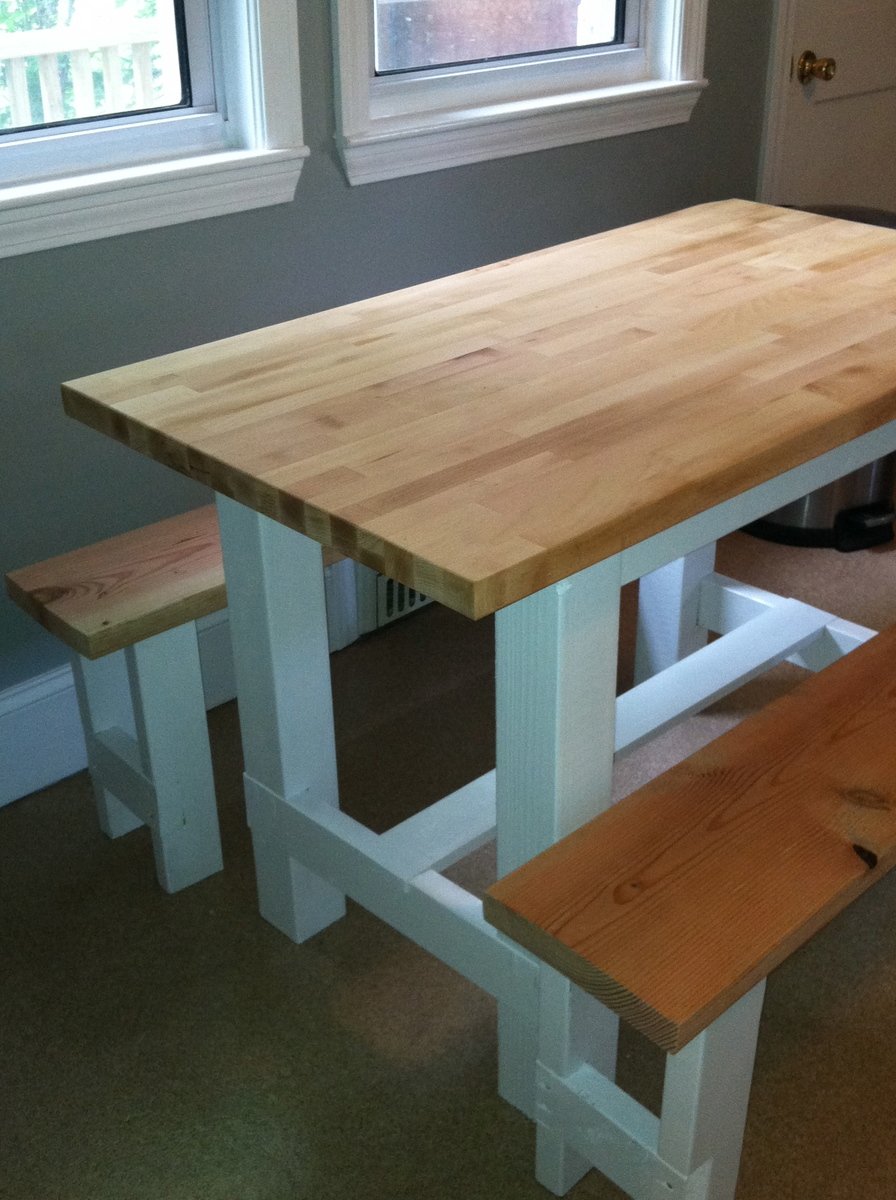
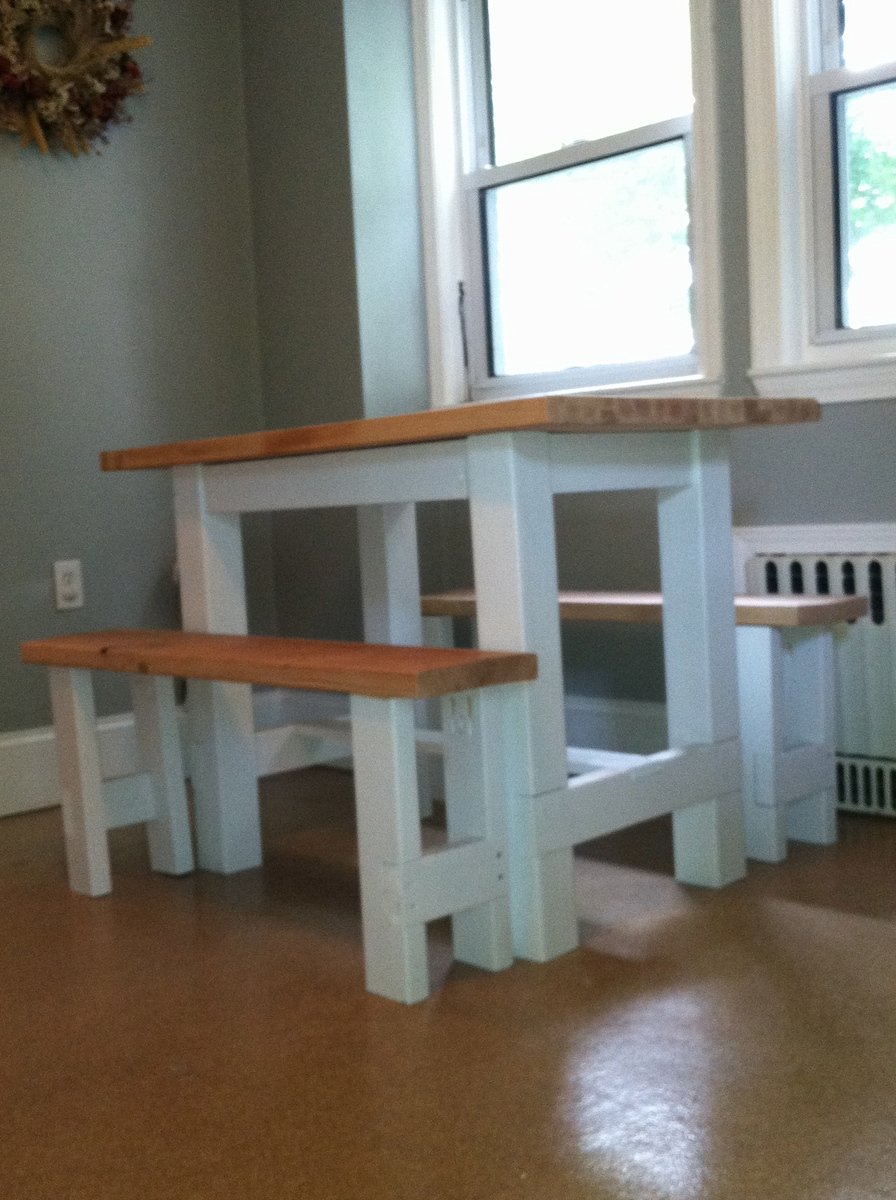
We are selling our house and needed a small table for the corner of our kitchen. Since we had leftover butcher block after replacing the countertops, I modified the Farmhouse Table and bench plans. The piece worked perfectly in the space and the house sold immediately after our open house.
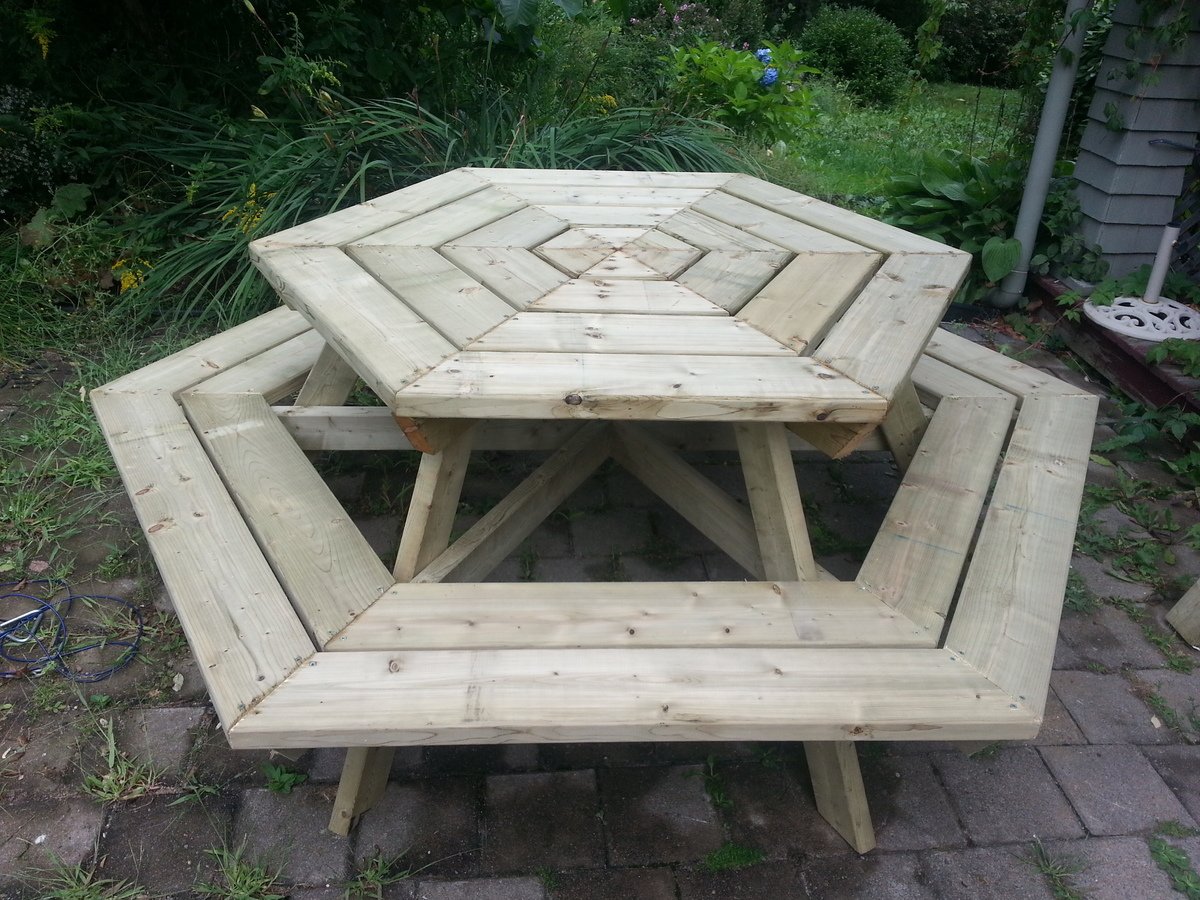
Very finicky to assemble, but love the finished product!
