Community Brag Posts

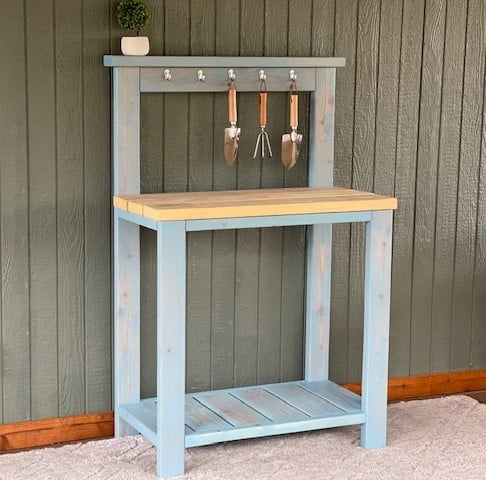
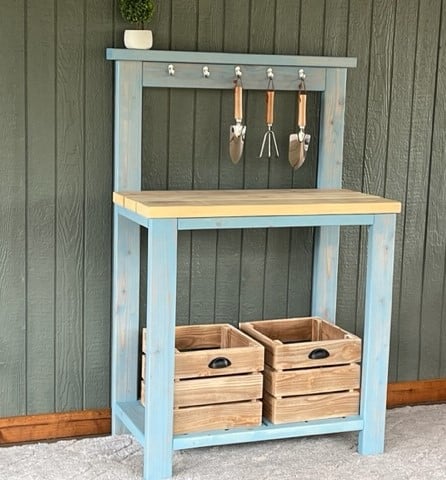
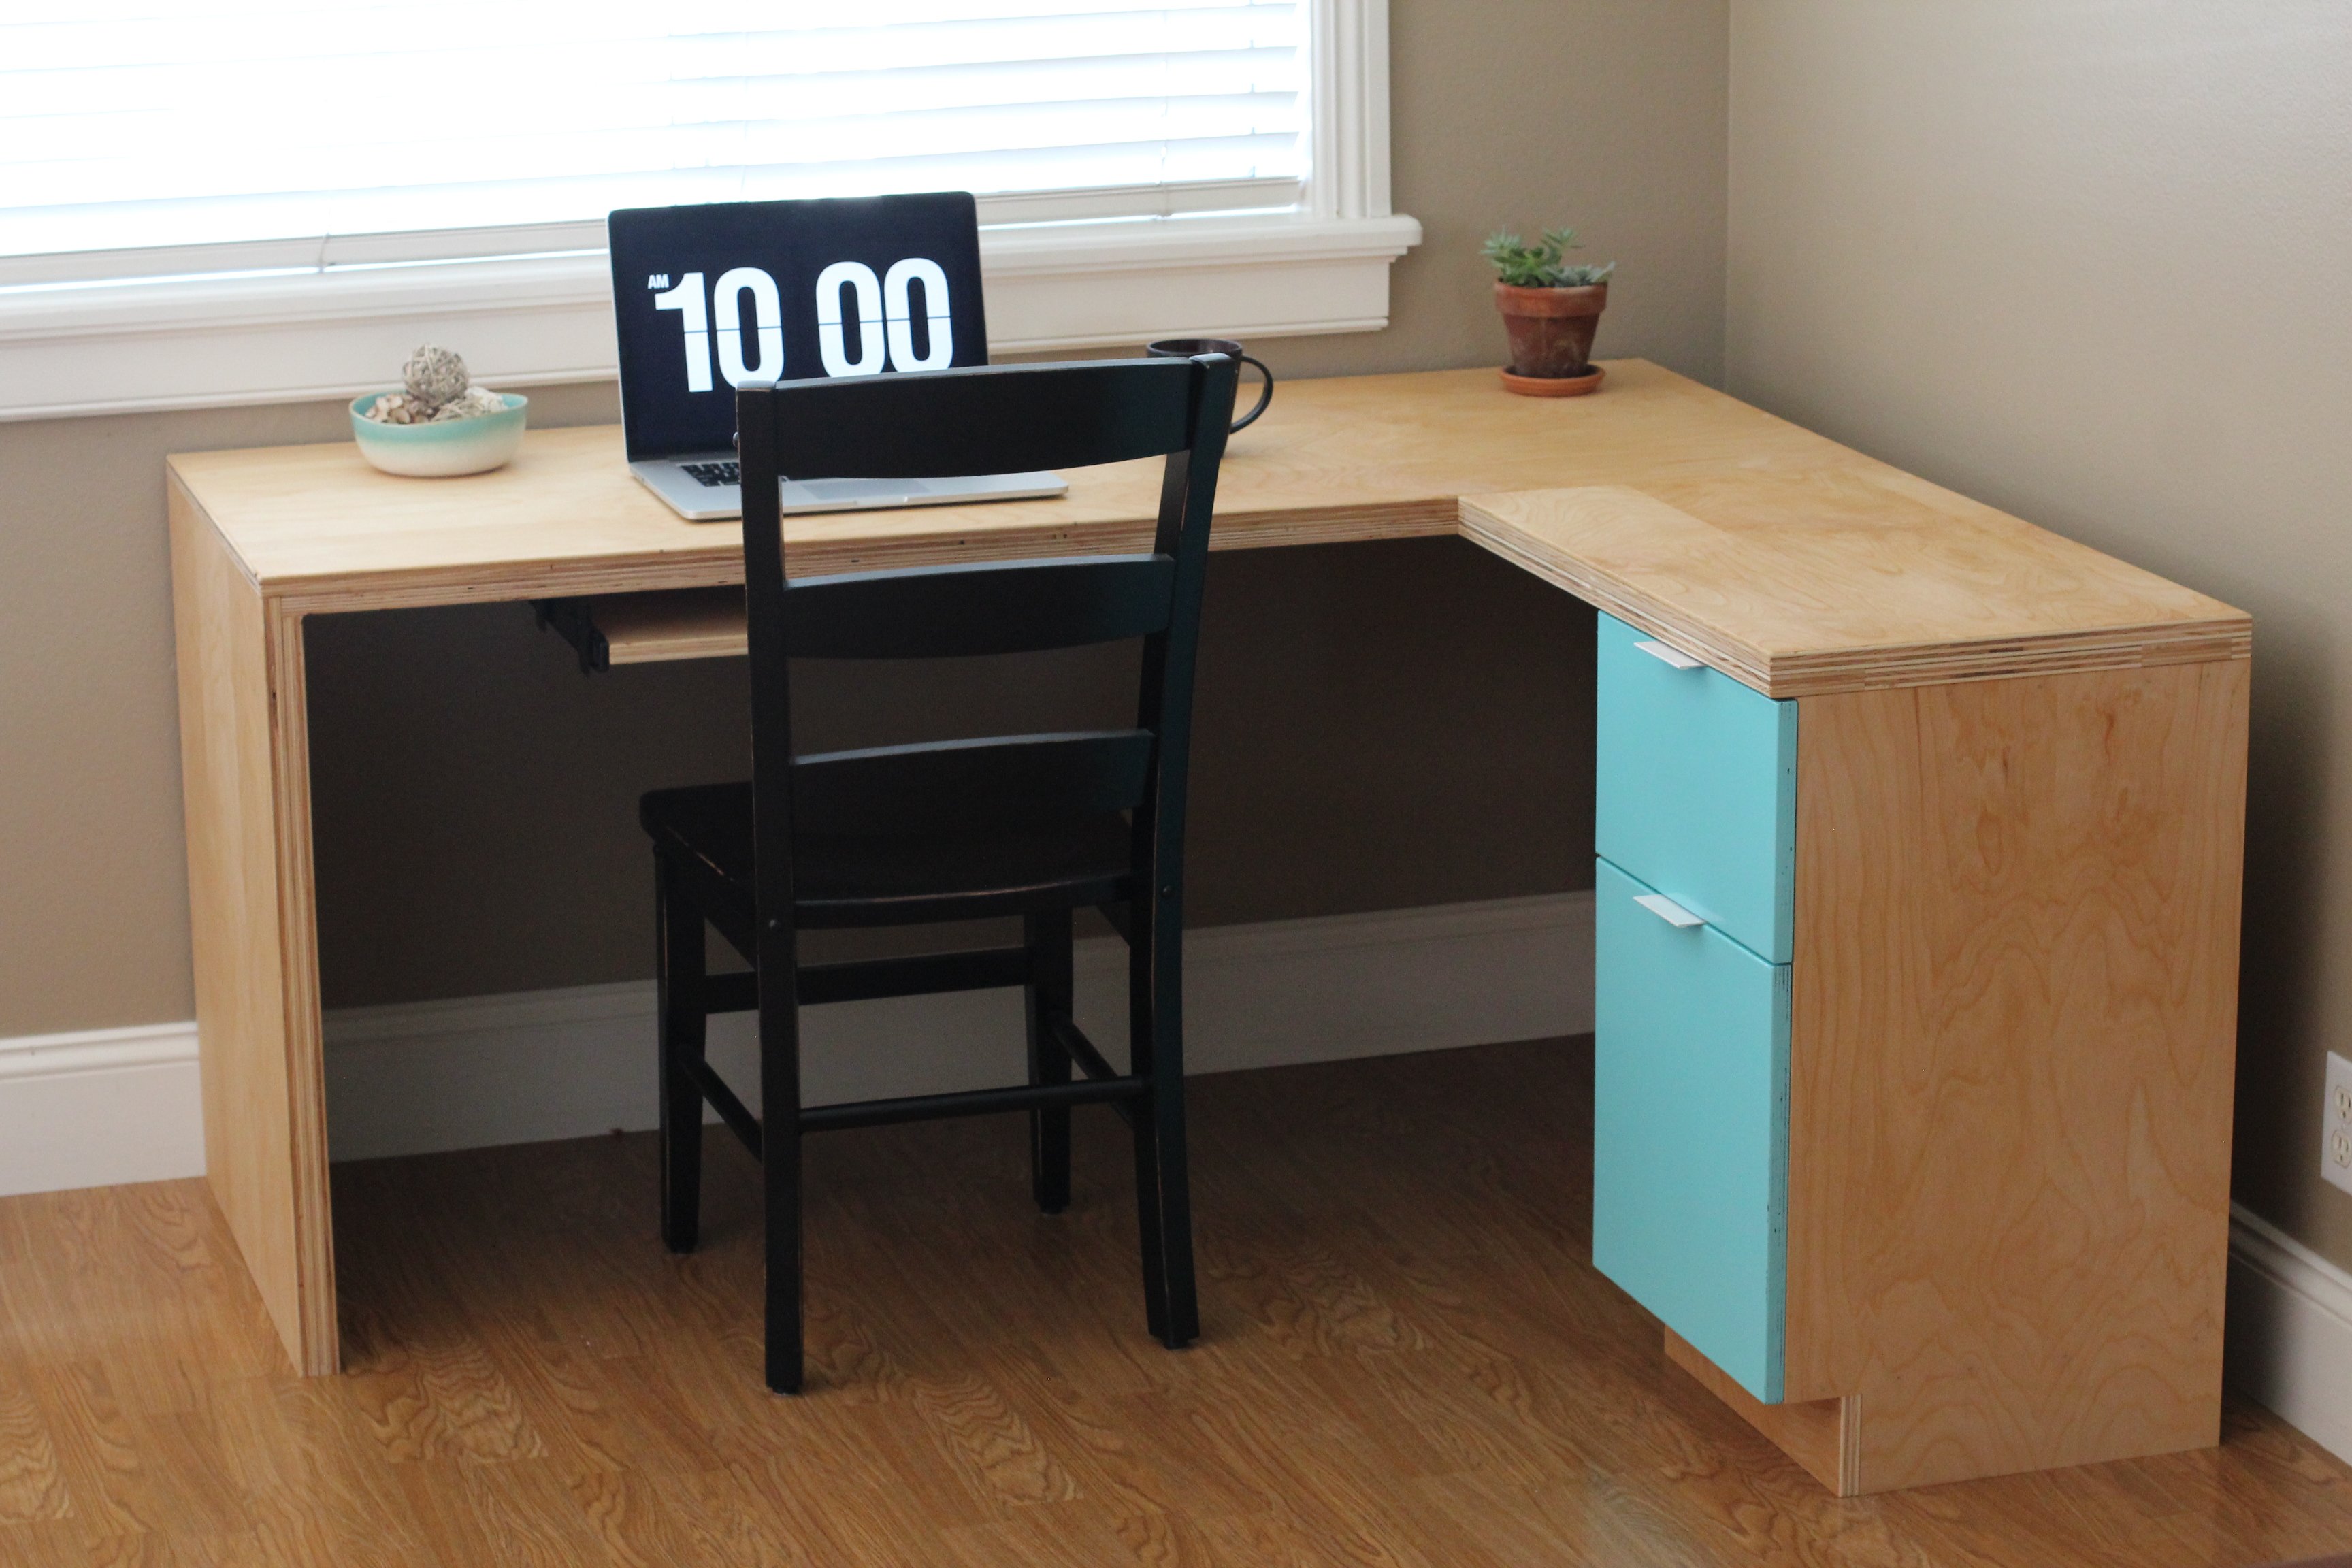
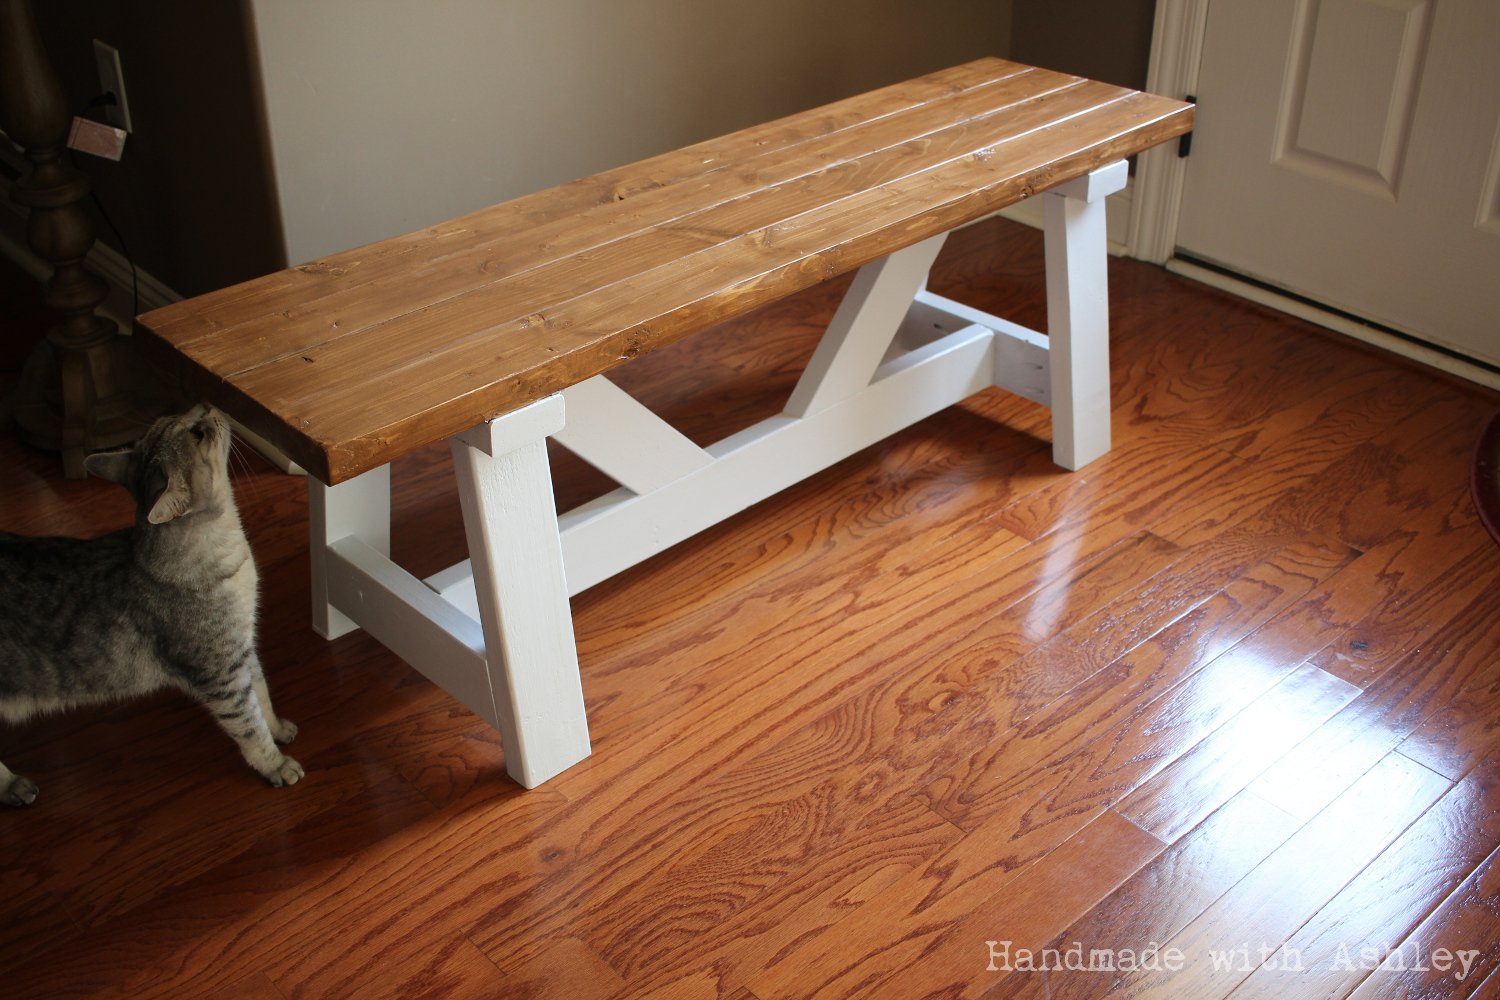
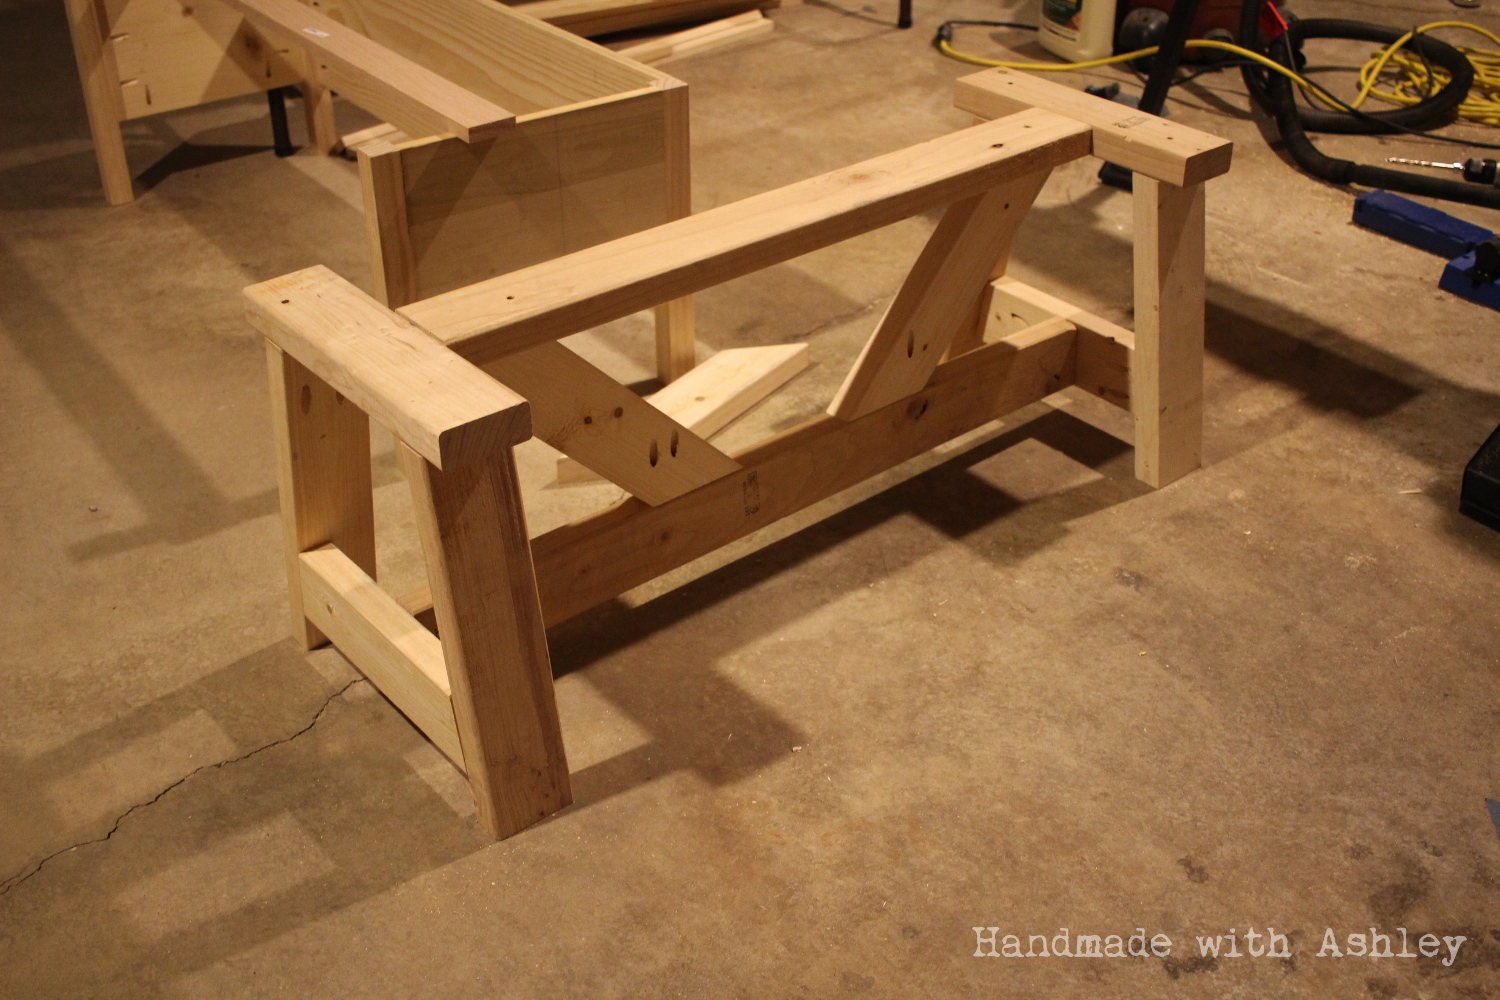
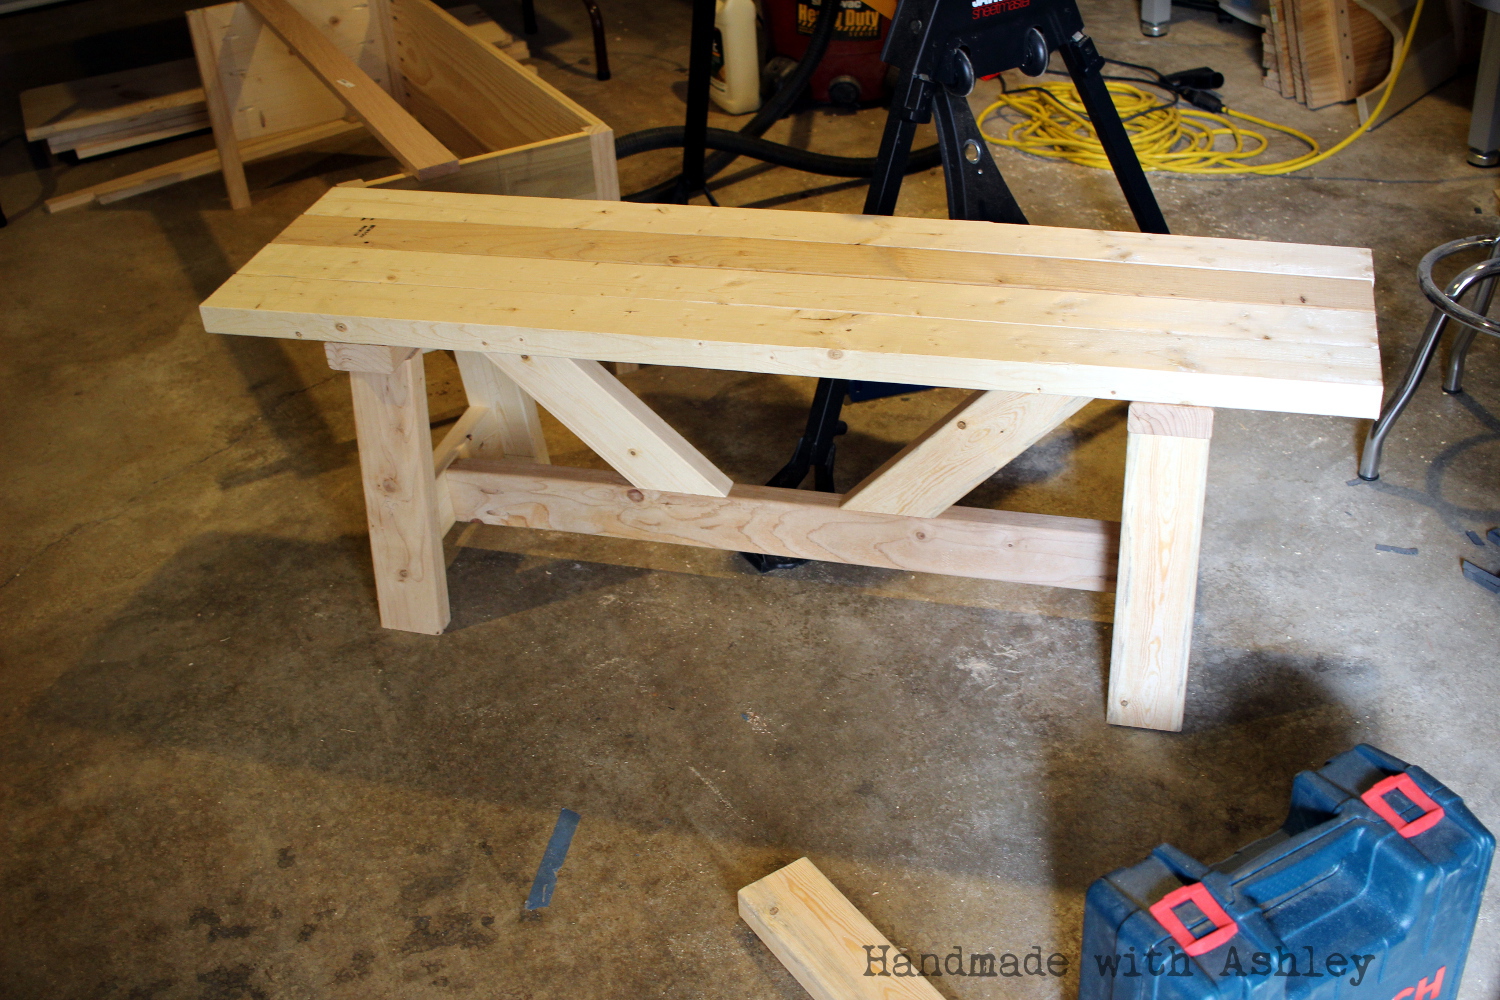
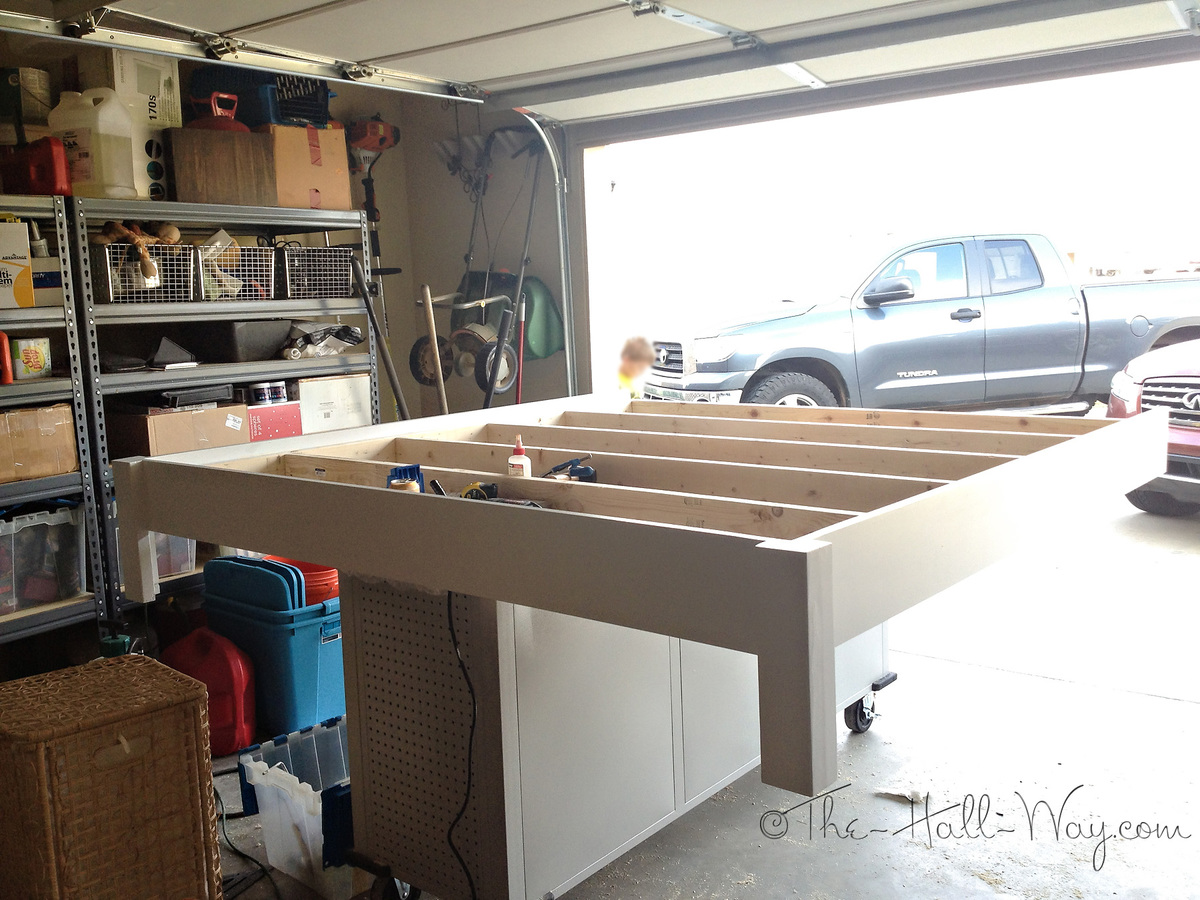
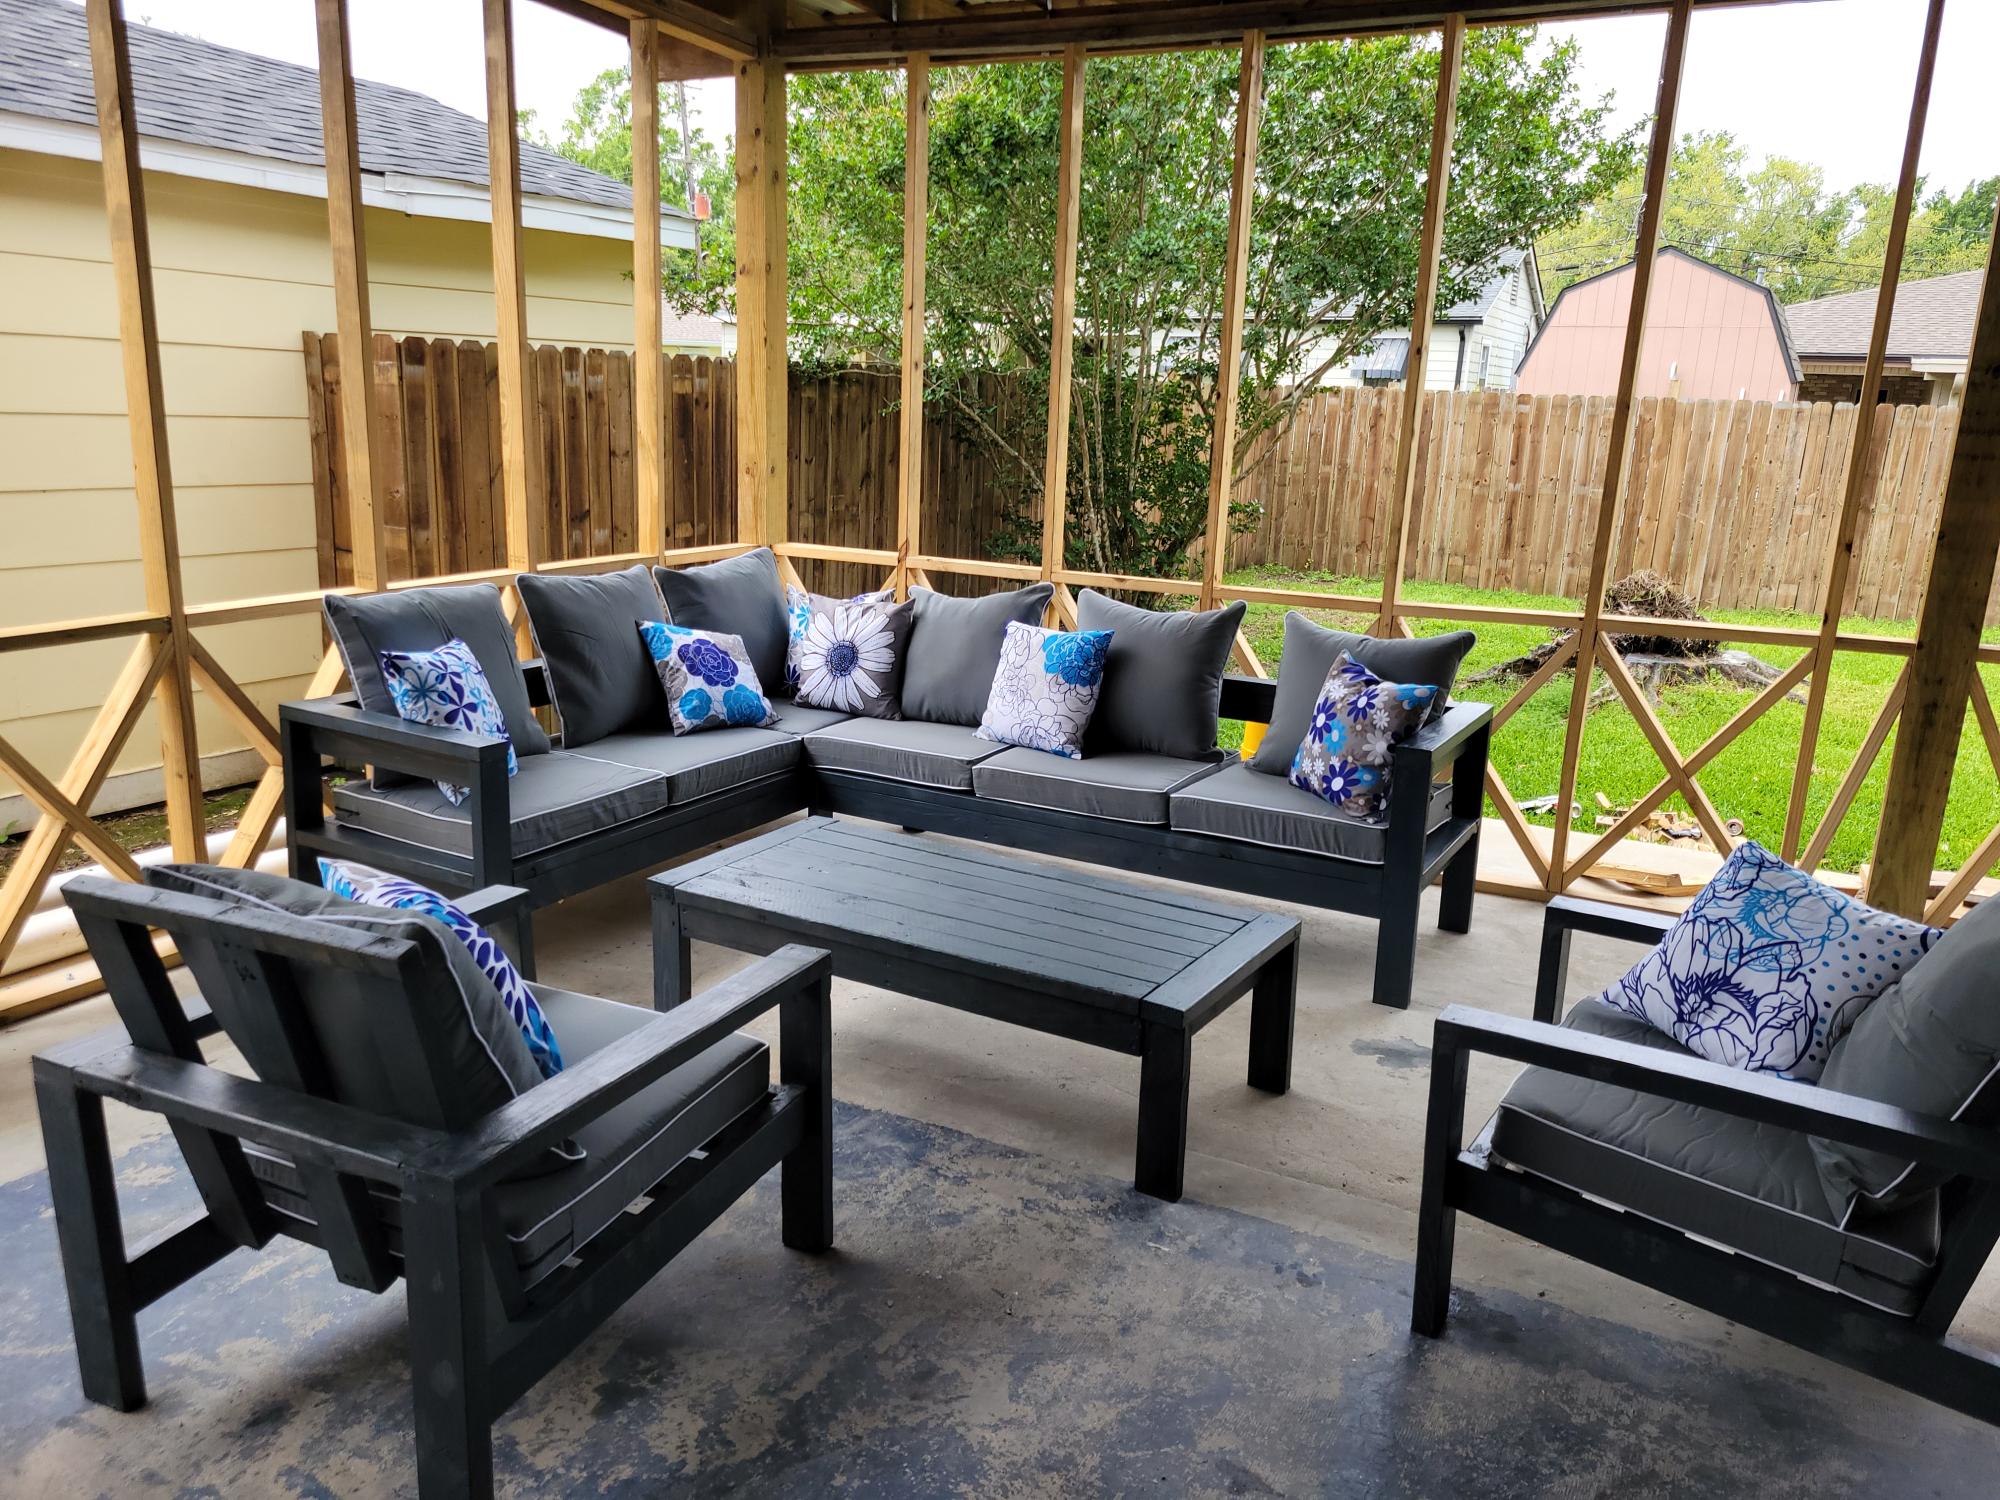
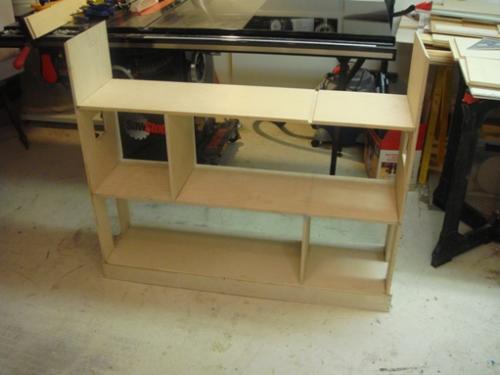
In love with my new miter saw stand and work benches

Submitted by seahawklvr on Fri, 11/27/2020 - 05:58

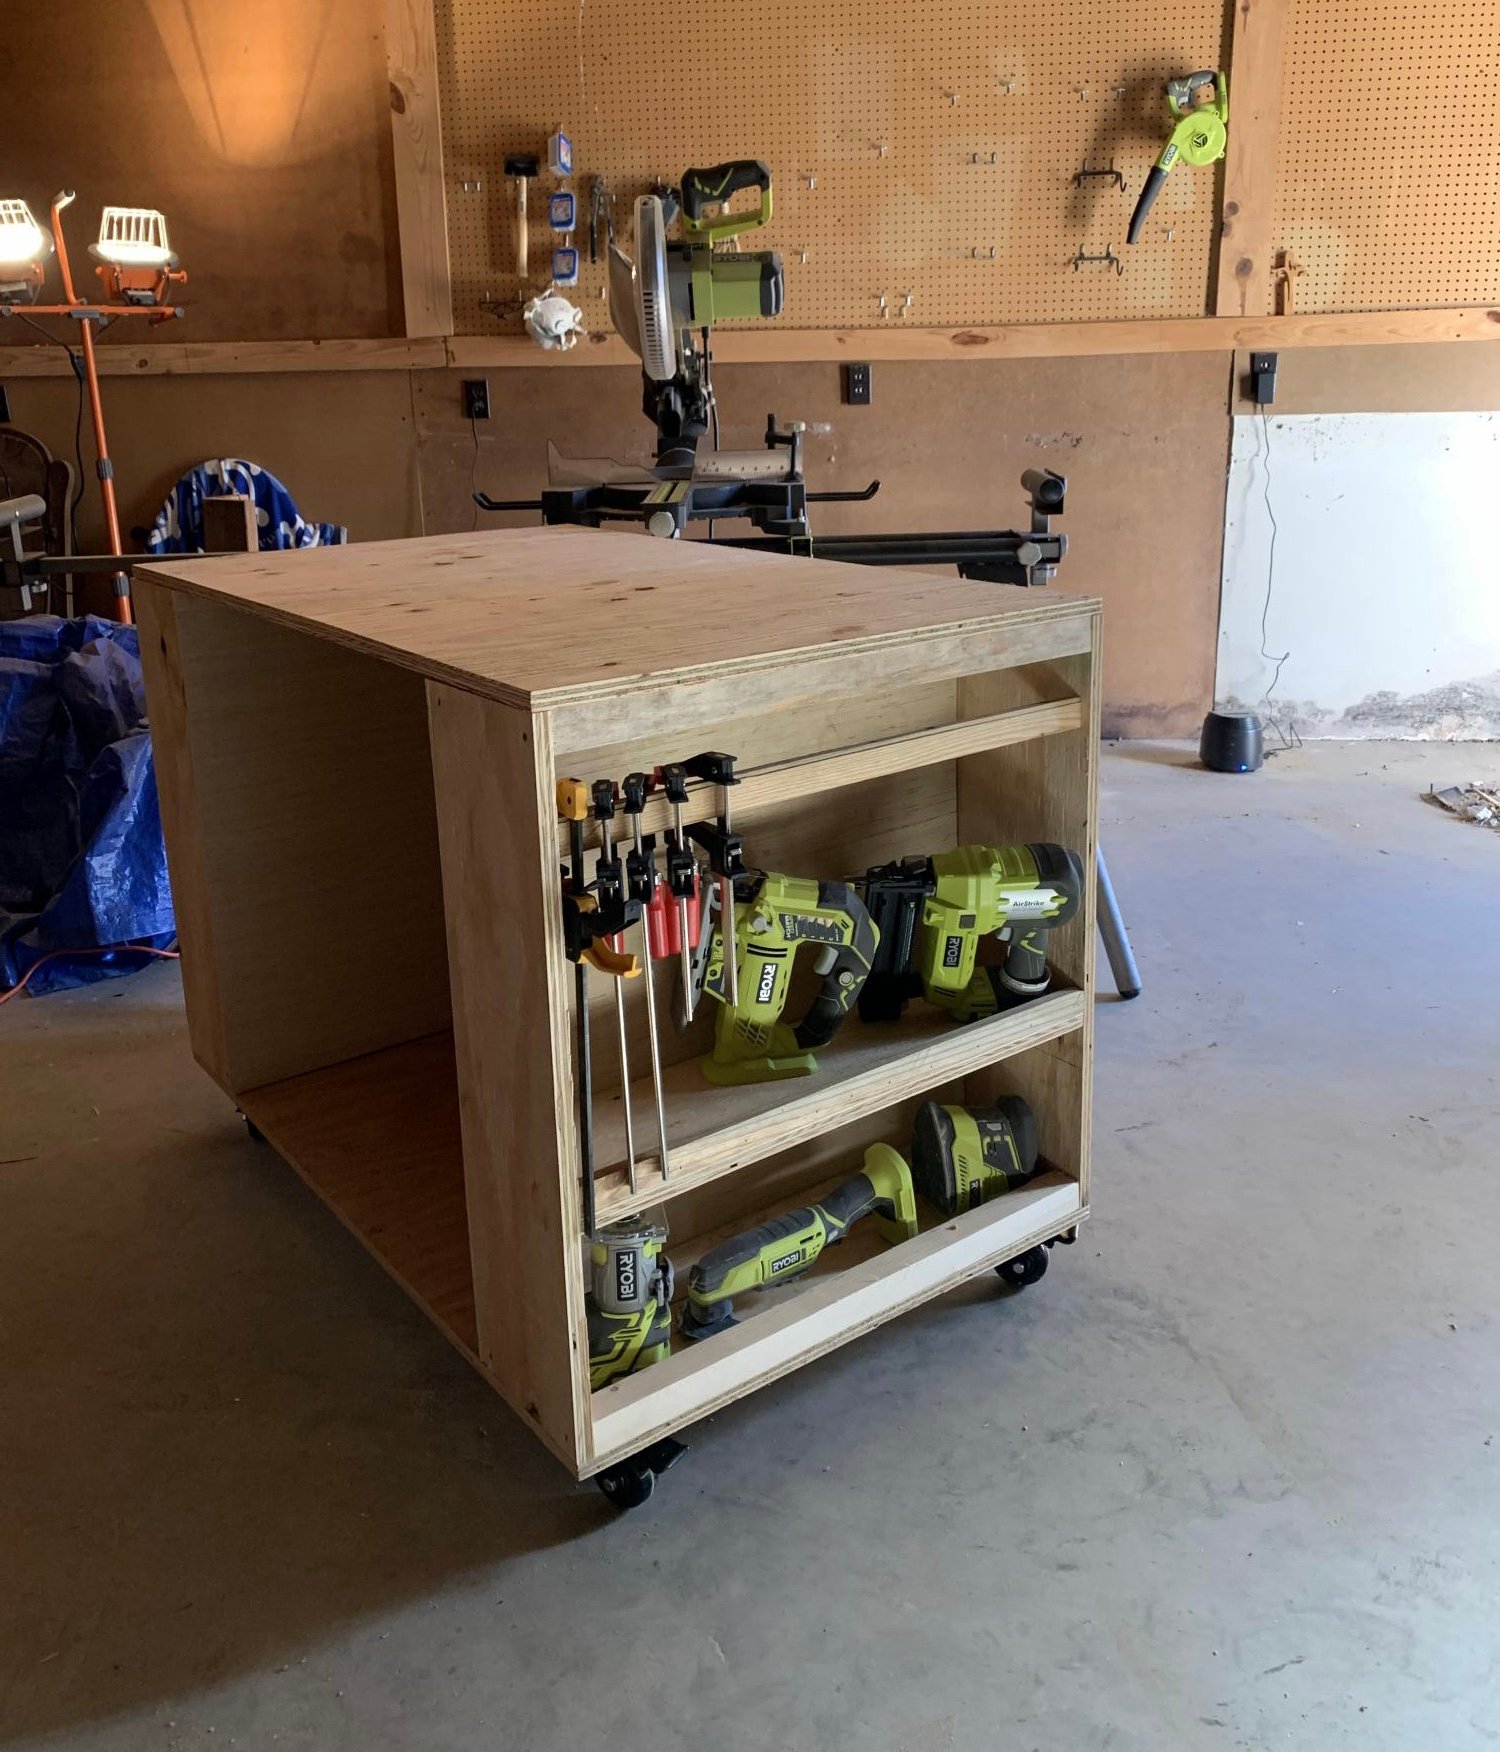
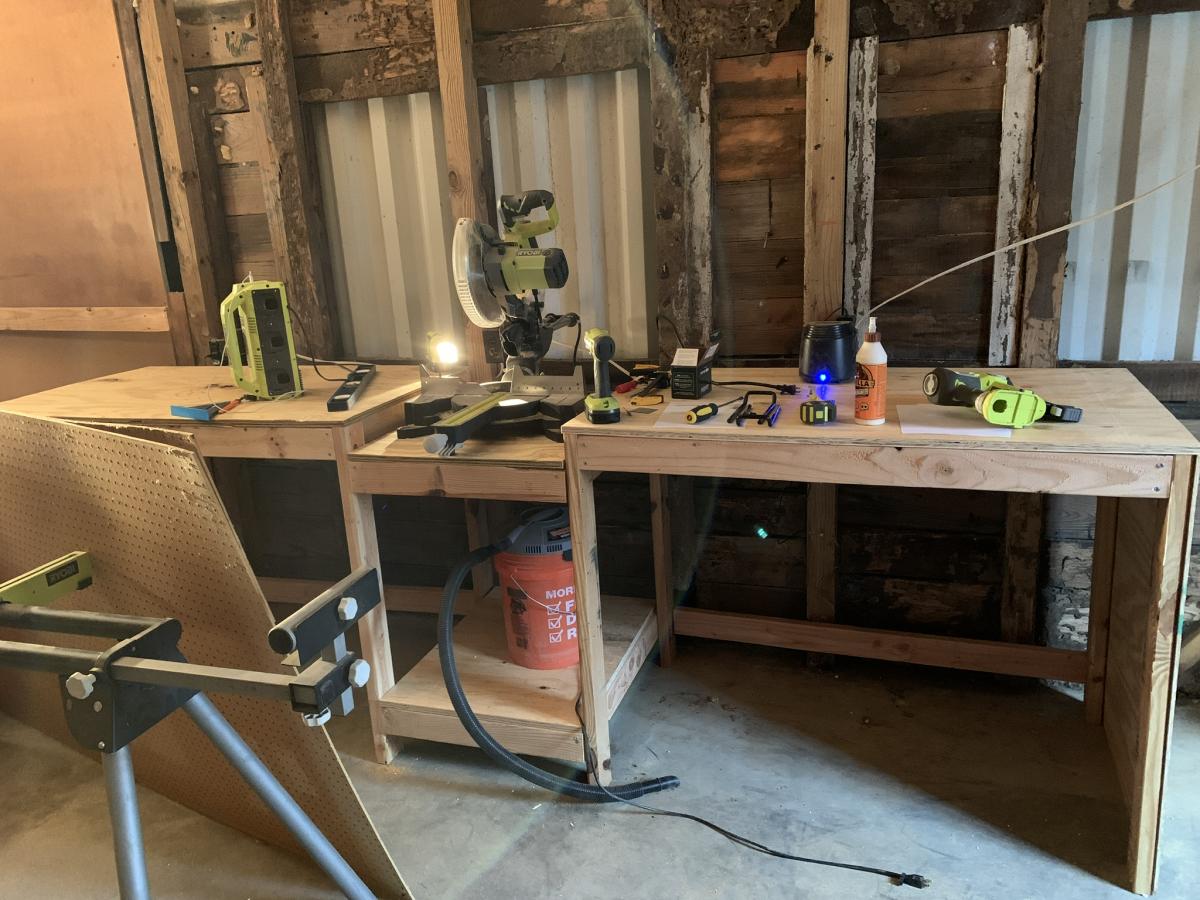
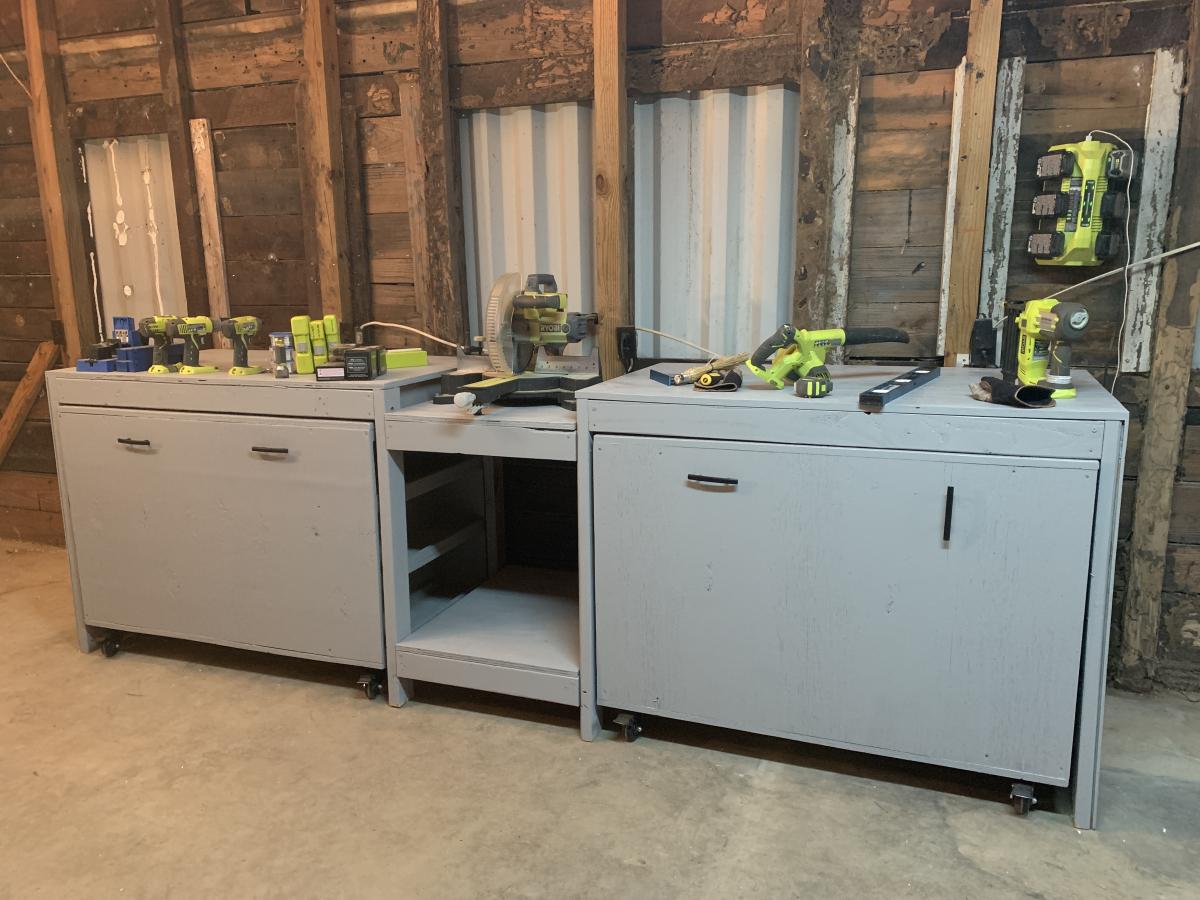
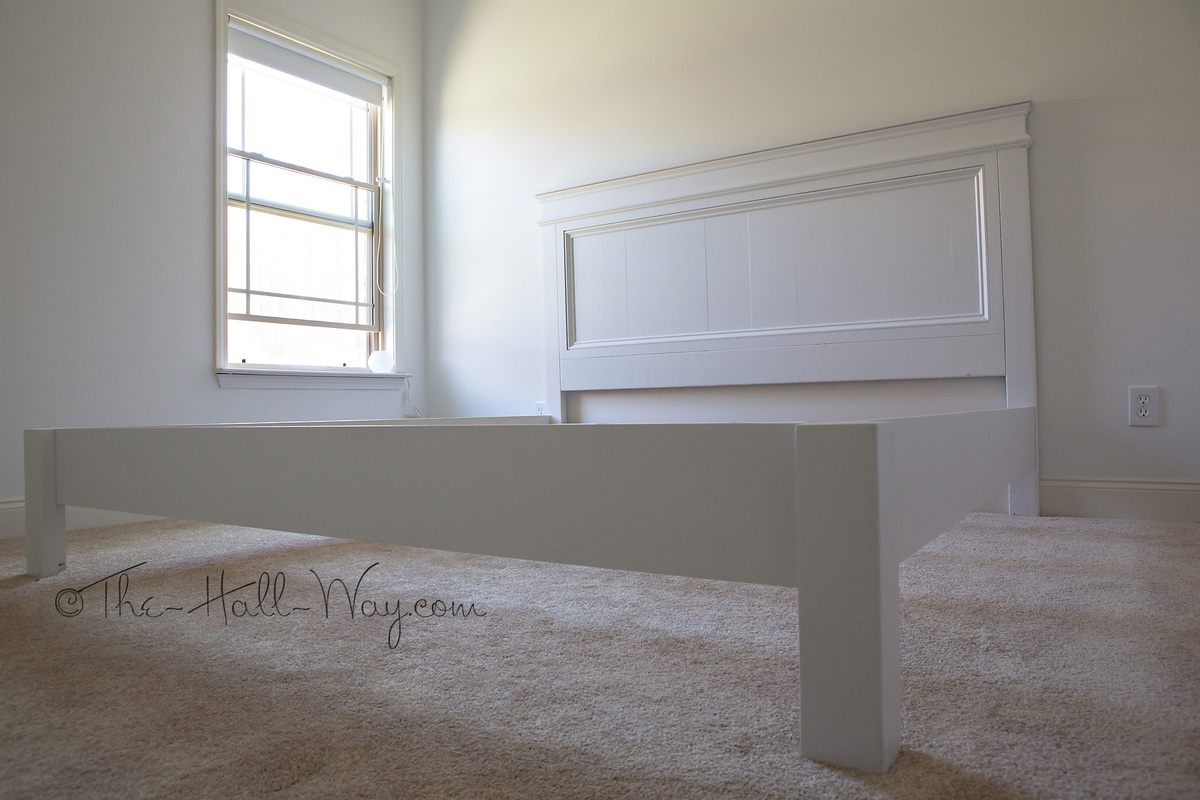
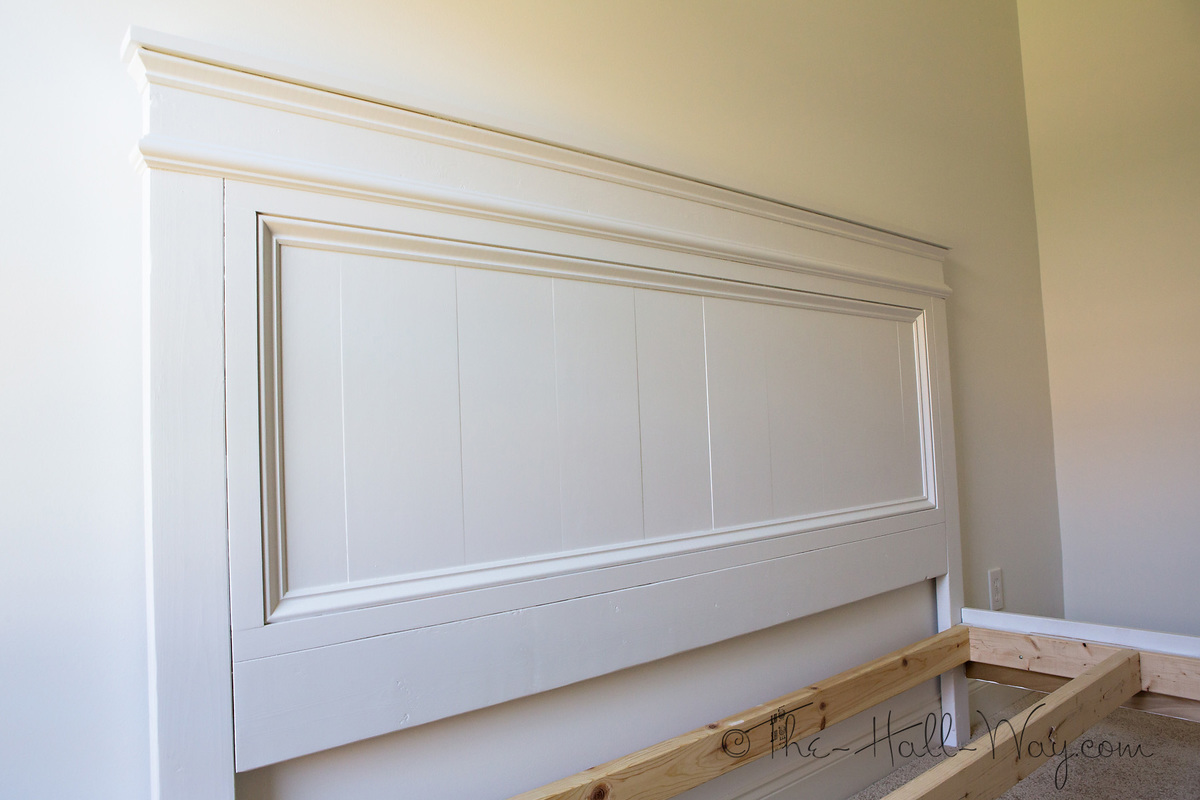
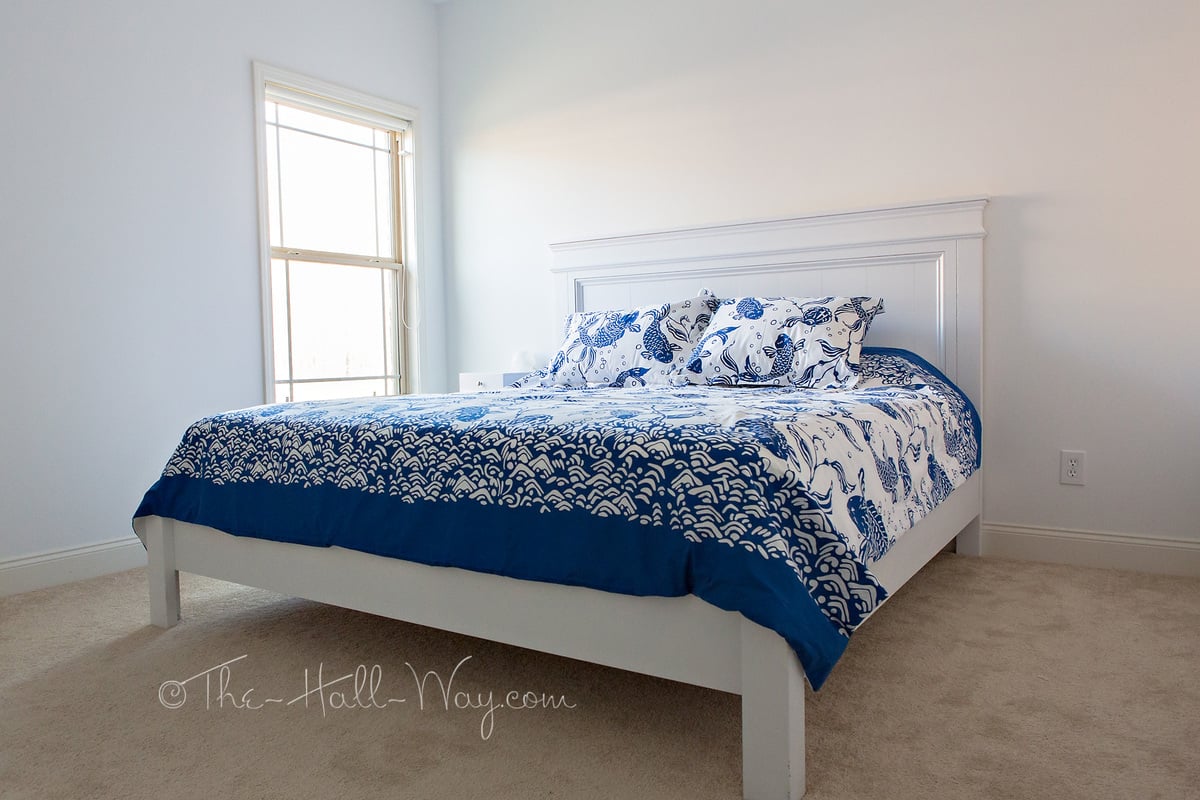
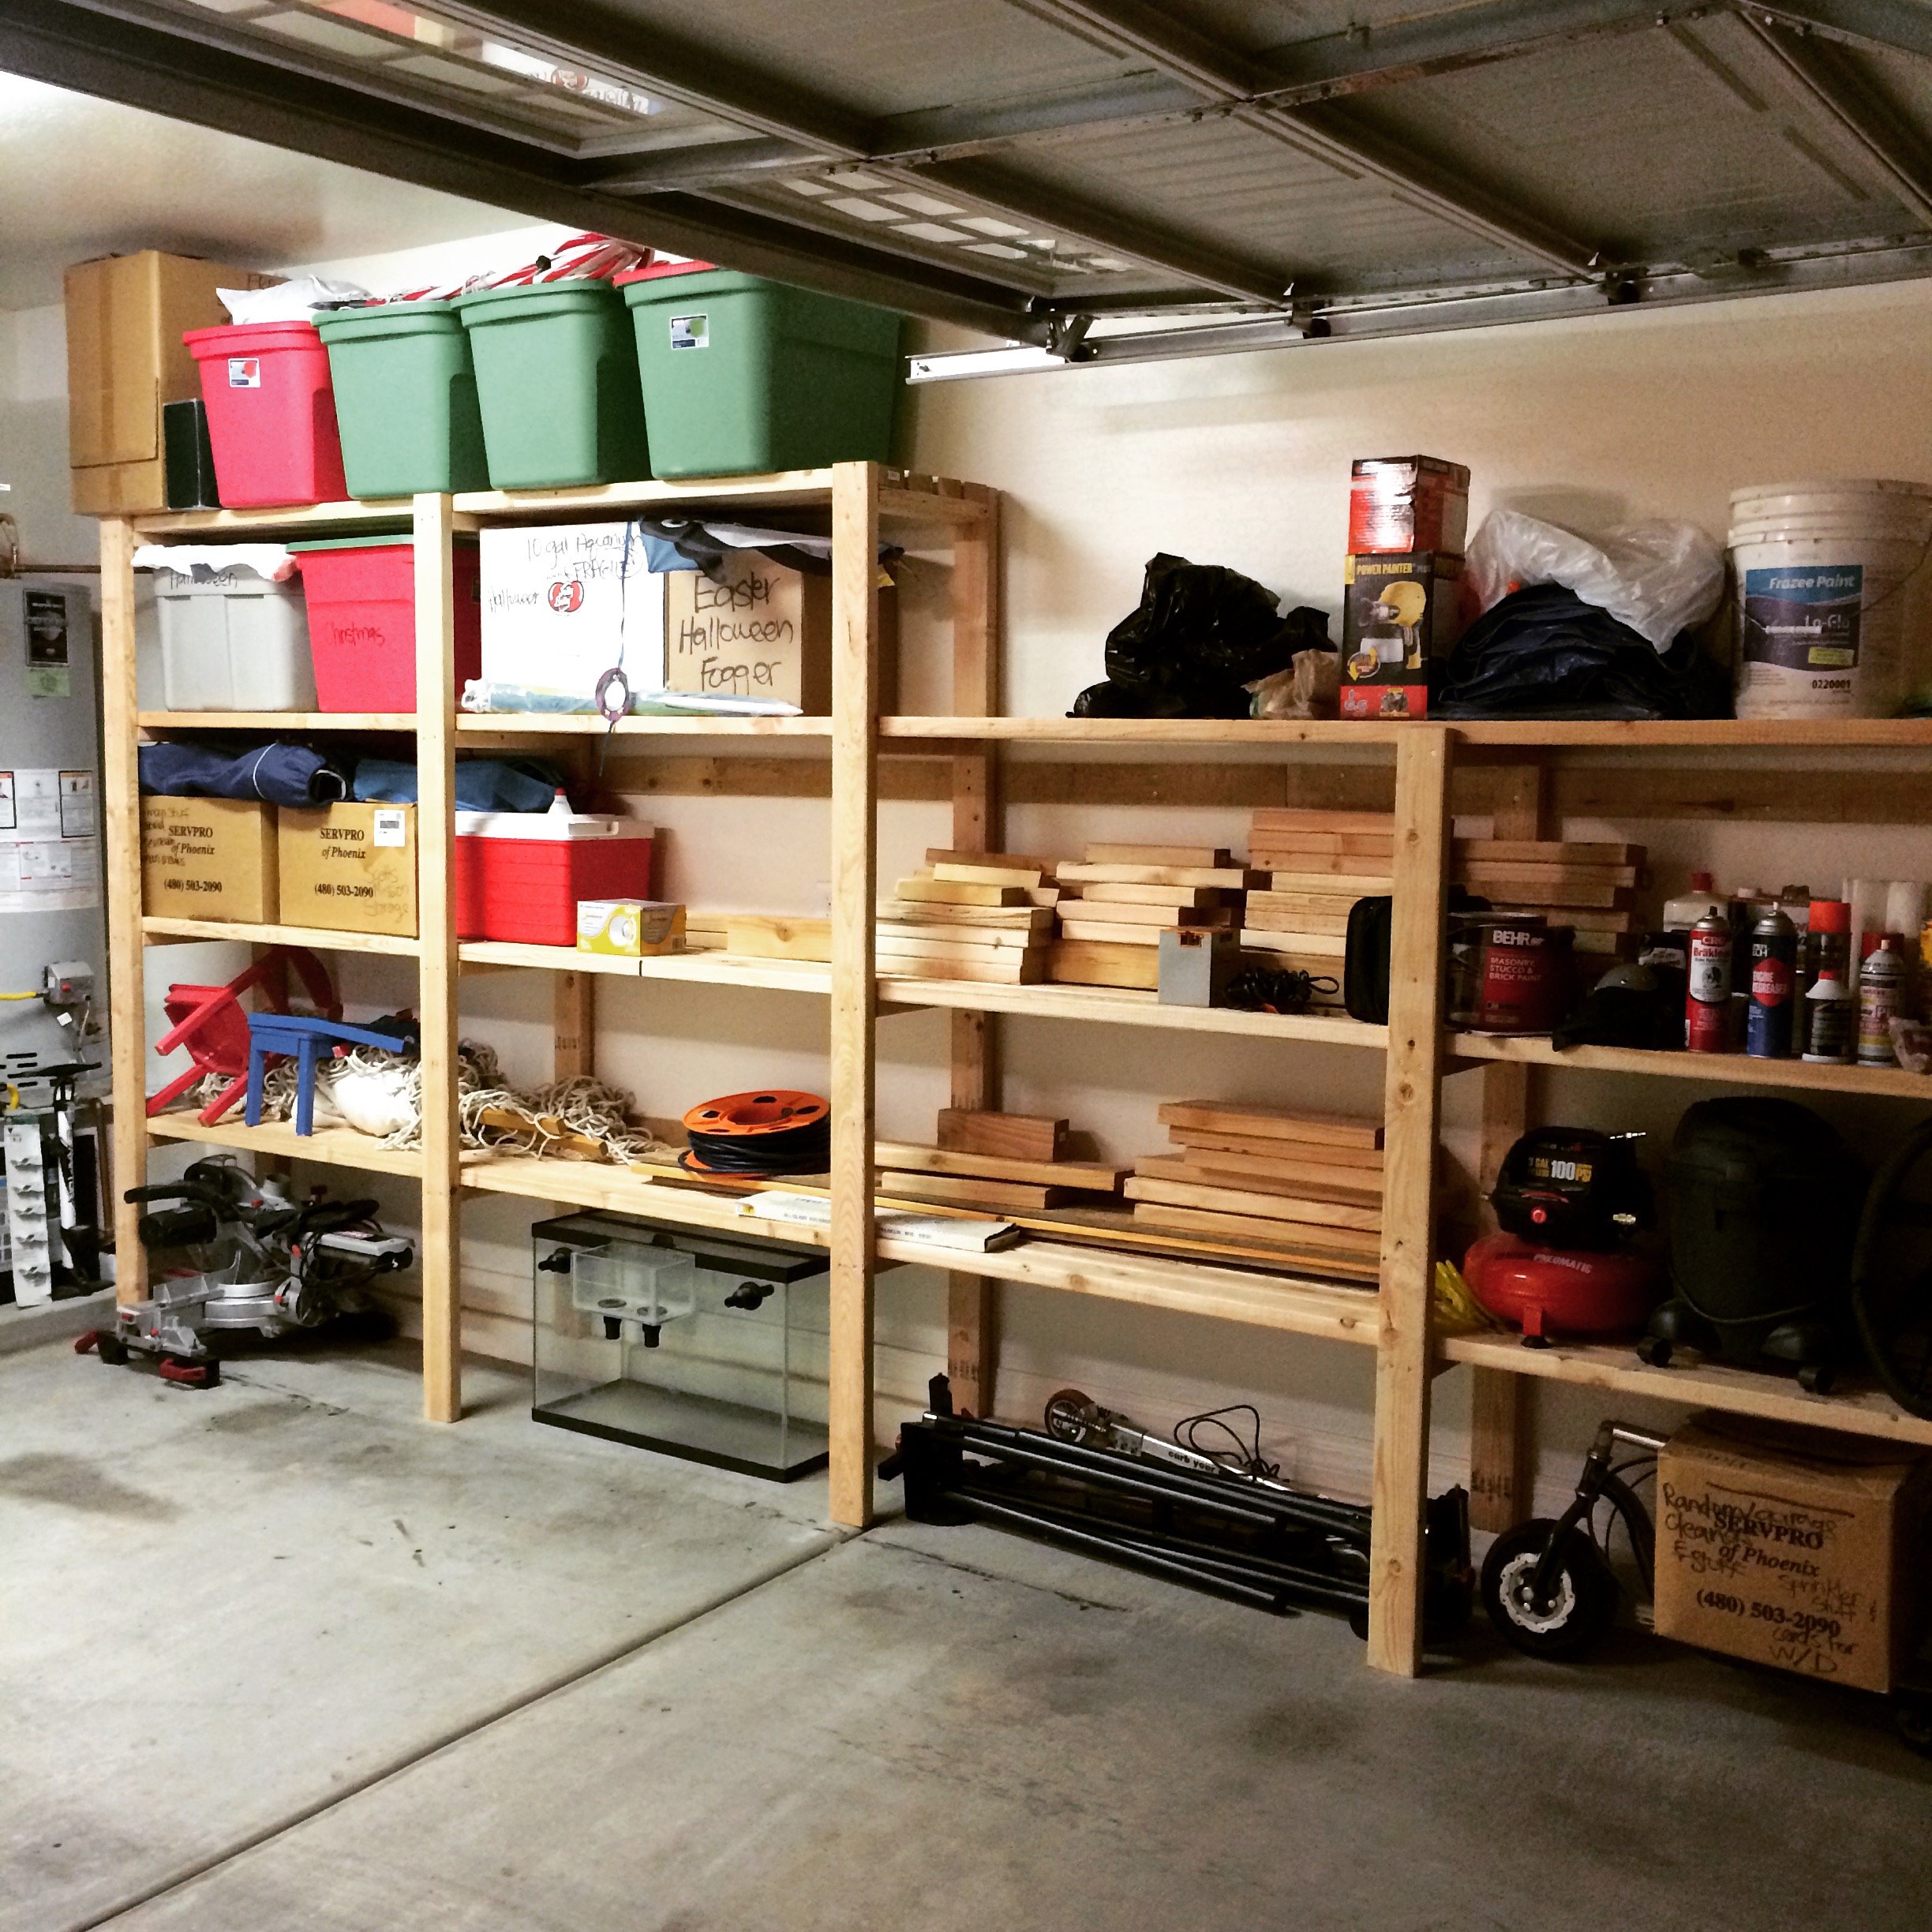
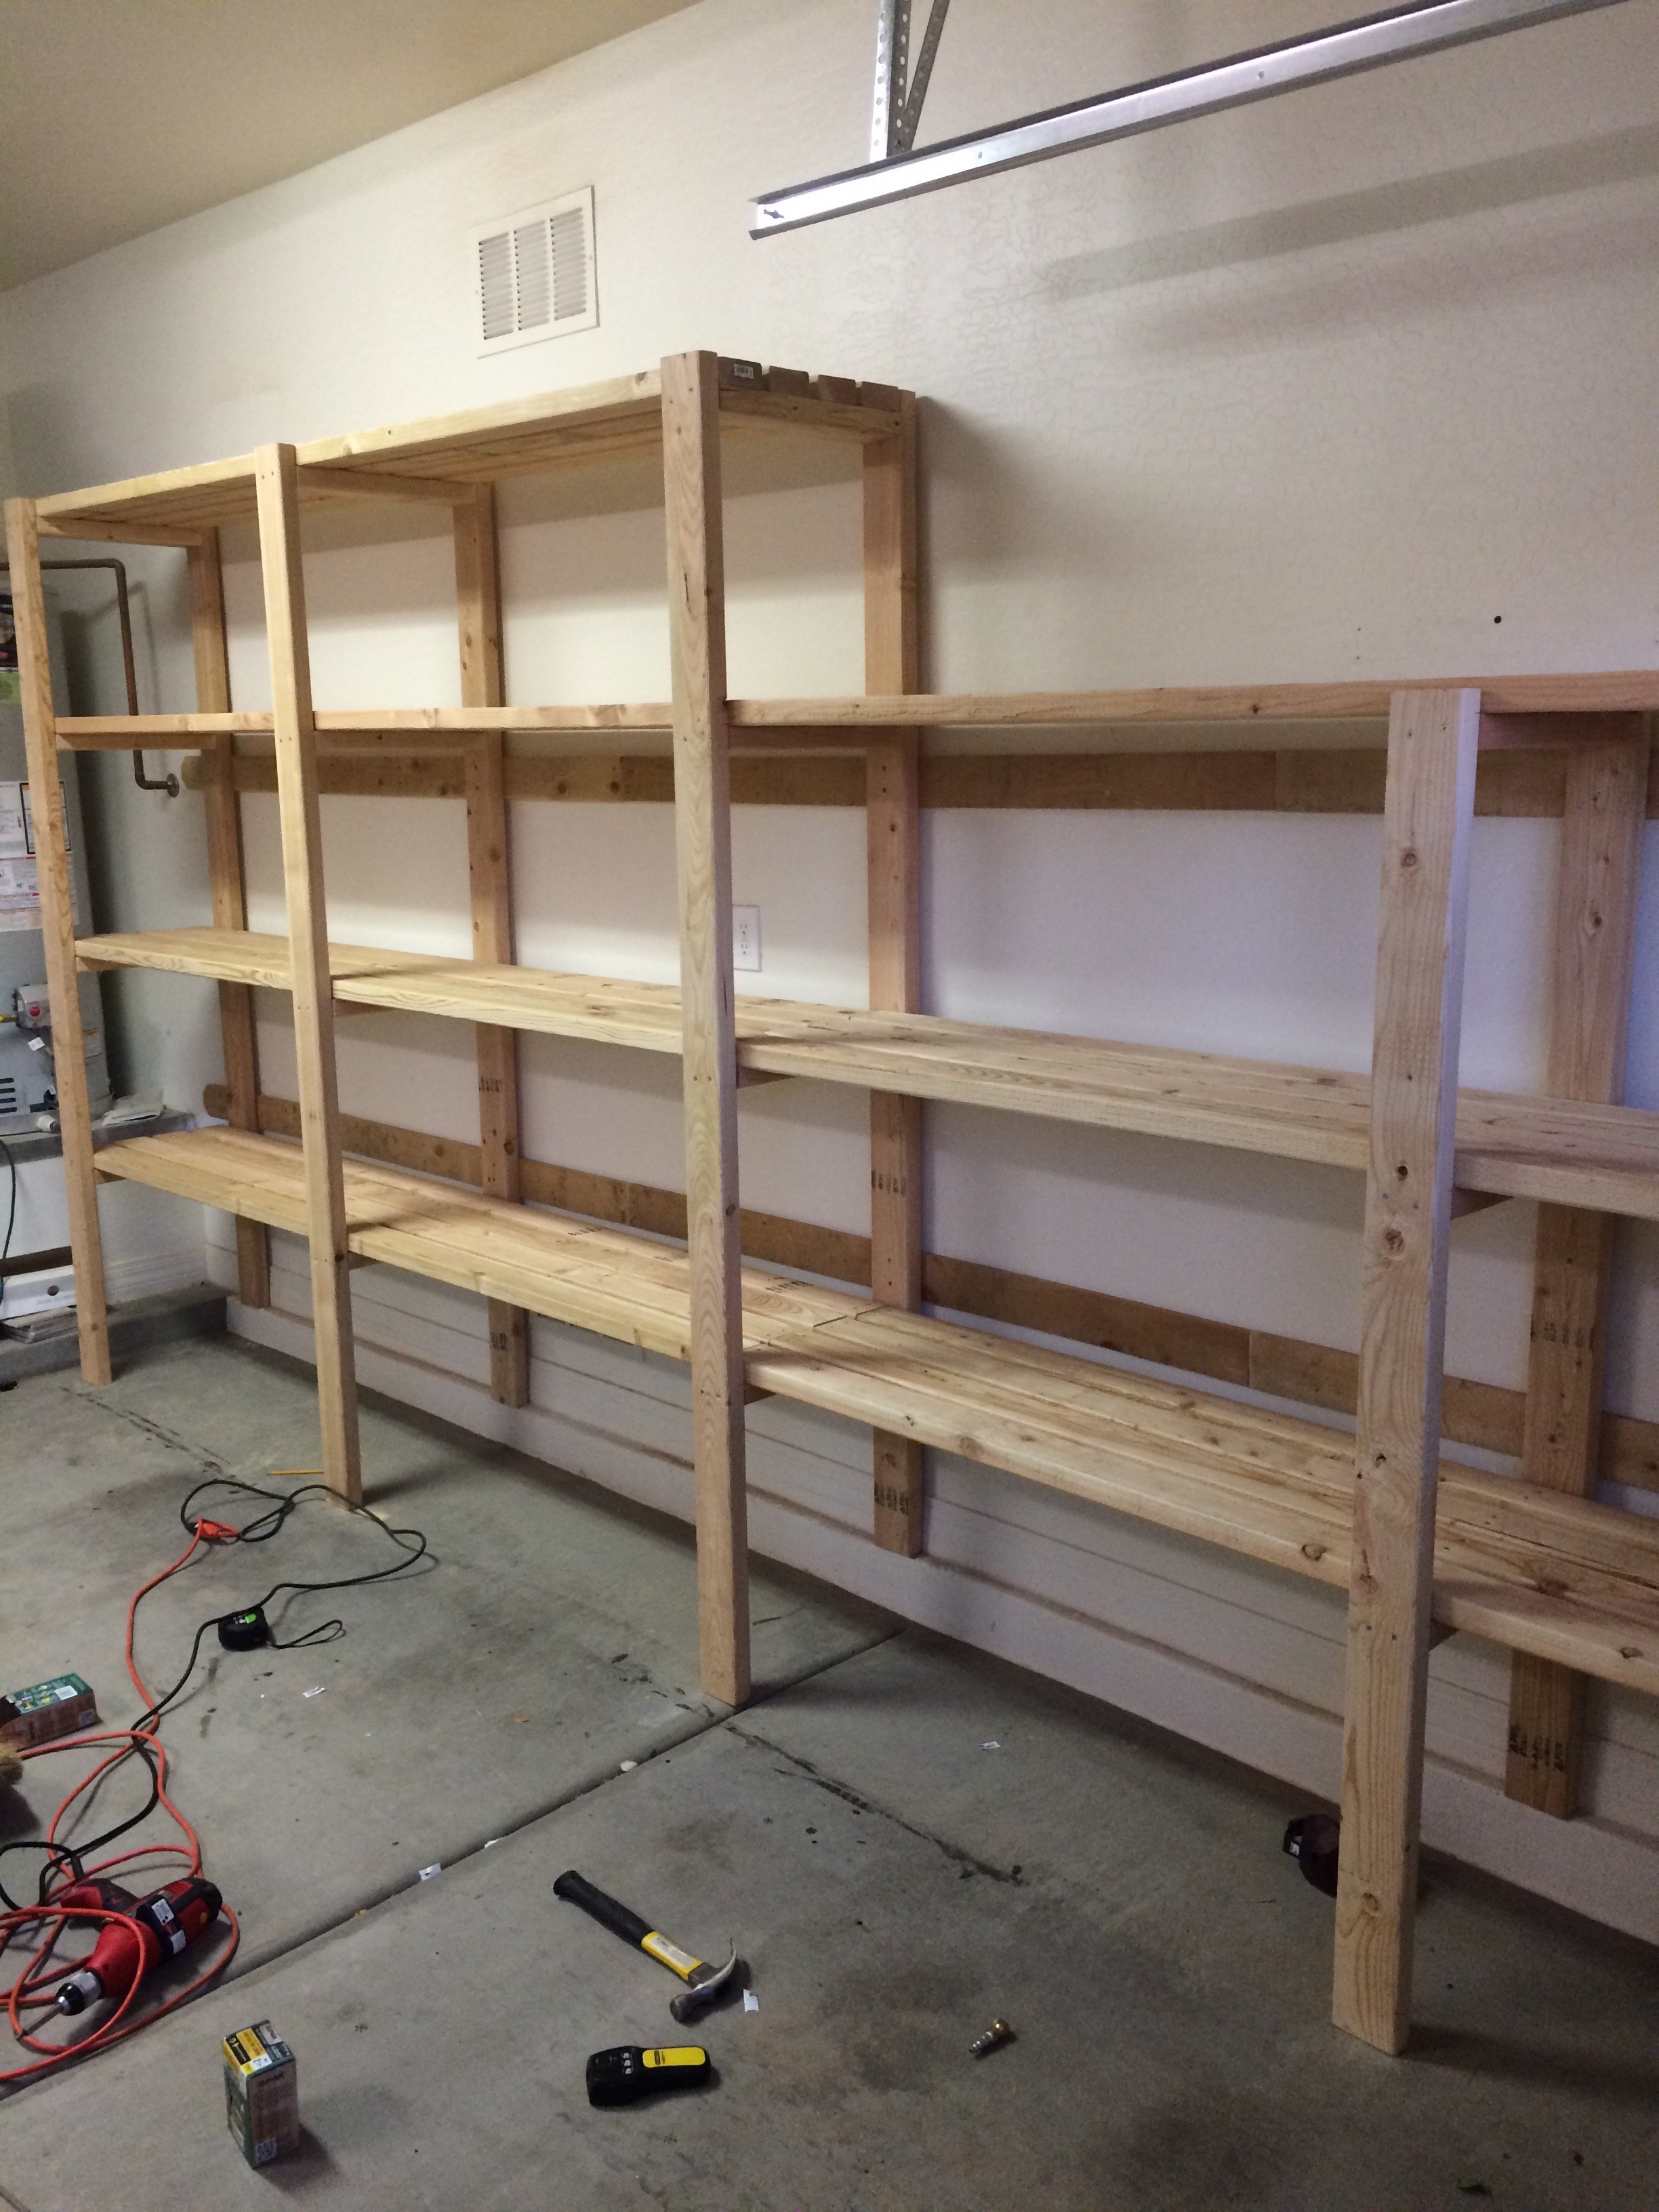
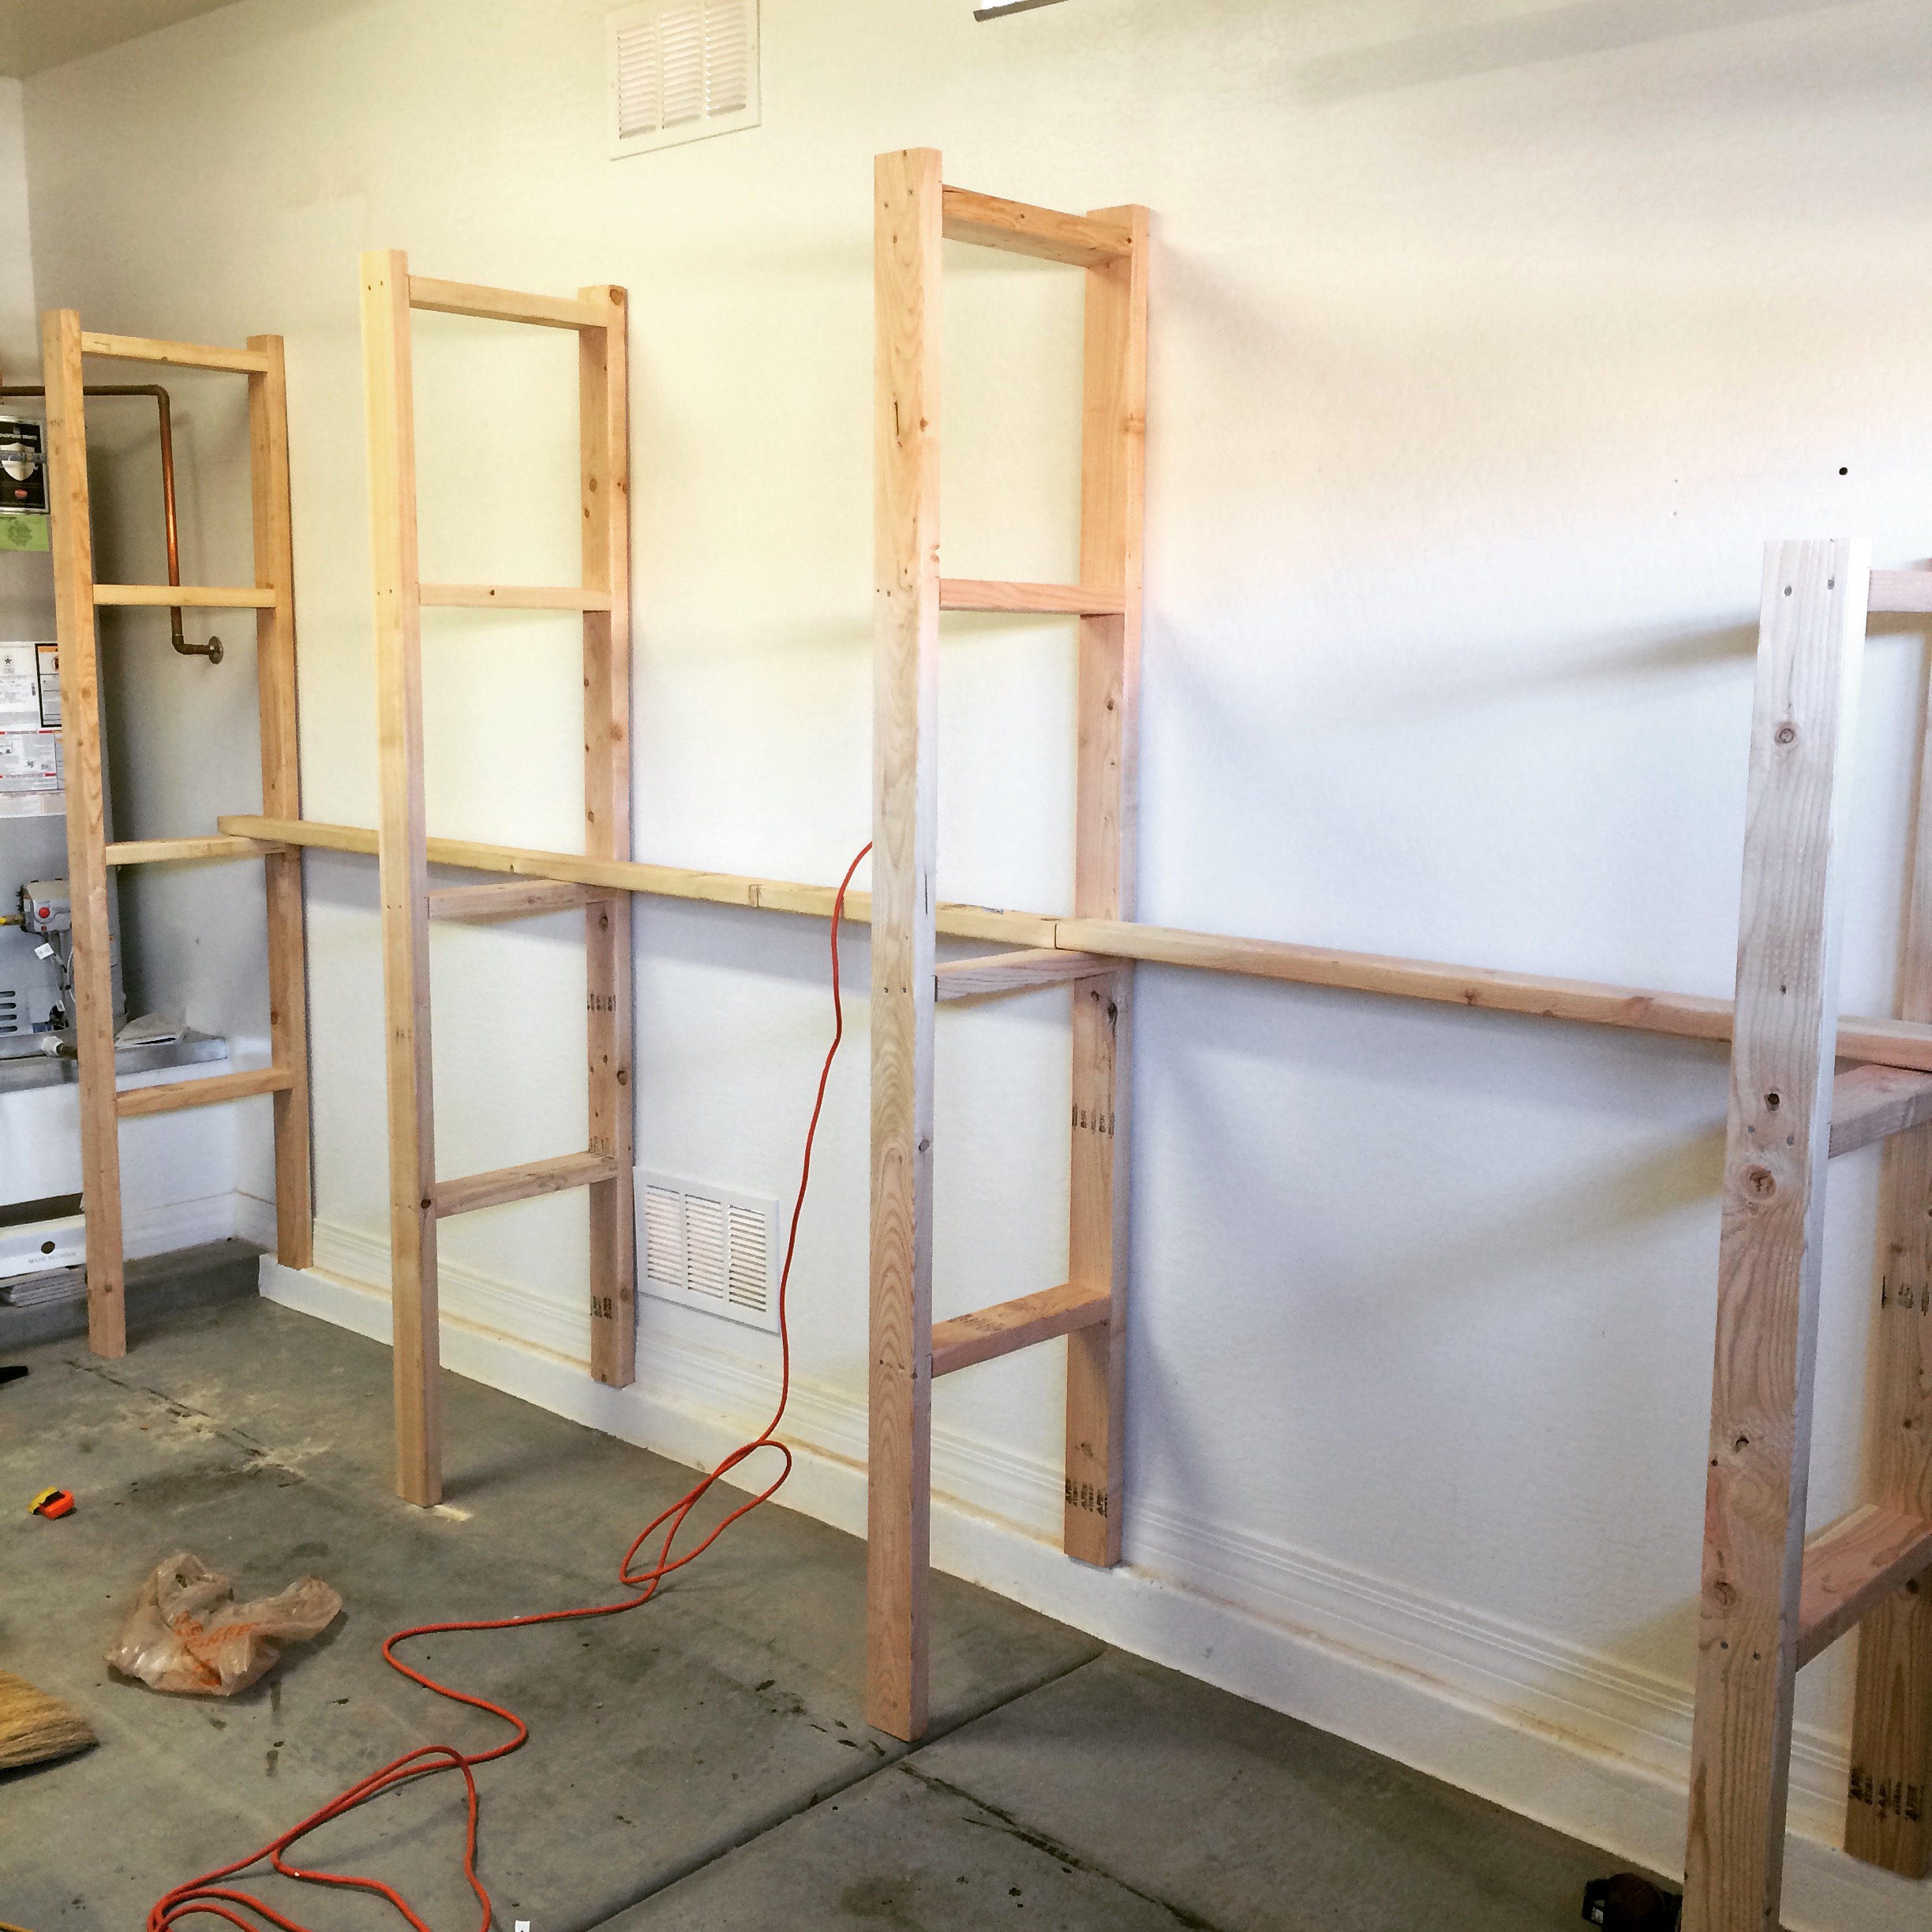
We purchased a fixer up house that requires a complete gut but the property came with a detached shop! I quickly realized I needed to get the shop cleaned up and organized so it would be easier and more efficient to work on projects for the house. I am a beginner as far as I am concerned and even though this was rated as an intermediate level build, as long as you take your time, it’s definitely doable for a beginner. The plans called for staples but since I just had a Brad nailer, I just used that and it worked fine. I did have one fail, and that was that I had a 1x2 to hang my clamps on but I placed it too far near the outside of the mobile work bench and when I went to store the work bench under the miter stand, the clamps prevented it from sliding in so I had to reposition it. Other than that, it was perfect and as soon as I save up for my Ryobi table saw then I will position it on one of the work benches. Because of the raise in the cost of lumber dut to COVID, the cost was probably twice as much as it should’ve been but I still feel I couldn’t have purchased a huge miter saw station and two mobile work stations for less than I spent on building this. Besides, I can be proud that I built this myself!

Estimated Cost
$325
Estimated Time Investment
Weekend Project (10-20 Hours)
Finish Used
Behr Marquee #MQ6-22 Gateway gray in satin enamel
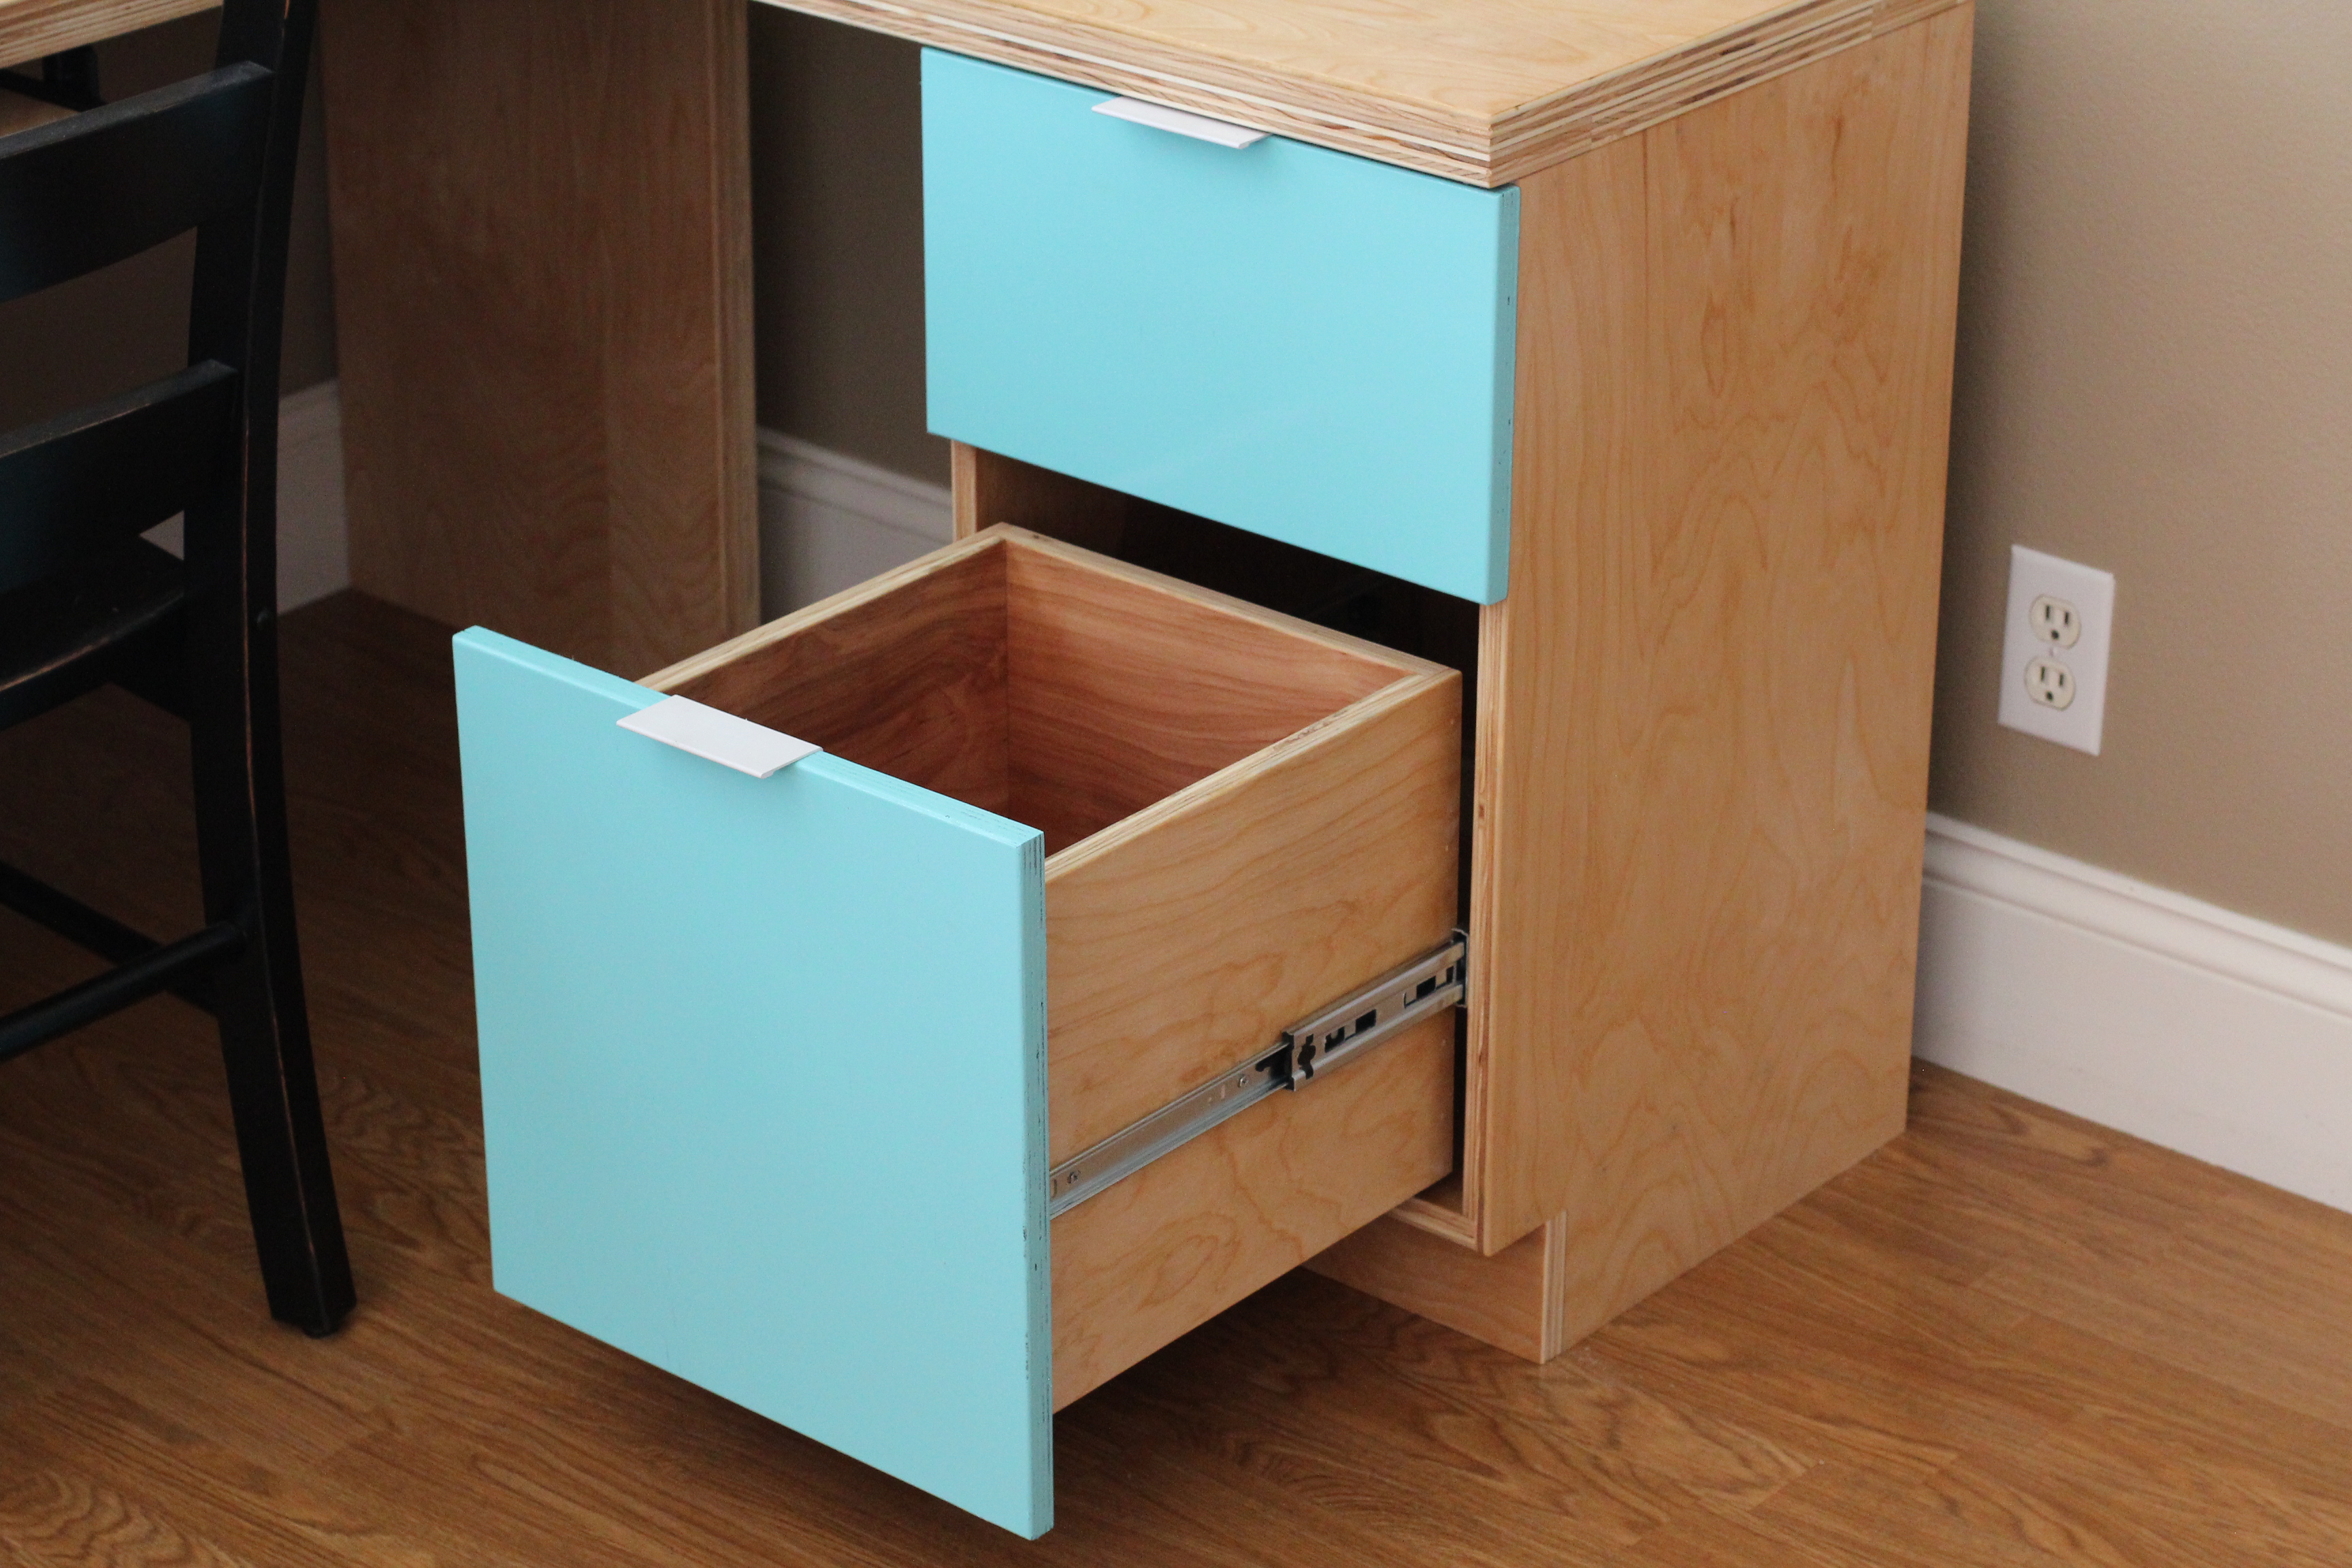
I found it more cost effective to purchase a 6 pack of handles vs purchasing 4 individual handles. Now I have two spares for a project down the road.
The Caster Wheels were Moogiitools 3” locking from Amazon and were @$50 for 8 wheels. Very smooth and heavy duty
Recommended Skill Level
Beginner

Comments

Sandbox with Benches

Submitted by cscottrun on Mon, 04/13/2015 - 10:33

We altered the original plan by enlarging the sandbox (approx 5' x 6') which made for wider benches that can comfortably seat an adult.  The benches and back rests are three boards deep instead of two.  We added 2x12 supports under the benches for additional support, as well as another 2x4 support in the middle of the backrest.

Built from Plan(s)
Estimated Time Investment
Day Project (6-9 Hours)
Finish Used
None
Recommended Skill Level
Beginner

Comments

Seasonal And Holiday

Compact Potting Bench

Submitted by vendo on Wed, 02/01/2023 - 12:43

I used Ana's Farmhouse Potting Bench plans and modified it to be more compact and left out the x detail. I built it for under $40 in material. 

Modifications for Shopping and Cut List - Construction and placement is same as Ana's original plan, so make sure you look that over.

Shopping List 

3 - 2x6x8

3 - 2x4x8

1 - 2x2x8

Cut List

FOR 2 Legs
4 2x6 @15.5"
2 2x4 @34.5"
2 2x4 @54"
(cut the 34.5 and 54 out of 1 board and repeat)

2x2 Cross Supports
3 2x2@28"

2x4 Cross Supports
2 2x4@28"

Center Tabletop Support
1 [email protected]"

Bottom Slats
4 [email protected]"

Tabletop Boards
3 2x6@36"

Top Cap Board
1 2x4@37" leaving 1/2" overhangs

VIDEO OF THE BUILD PROCESS

Built from Plan(s)

DIY Greenhouse Project -Added elevated raised beds & temp/humidity control

Submitted by Anonymous (not verified) on Sun, 07/05/2020 - 09:09

We loved this greenhouse plan from AnaWhite and wanted to be able to grow in 3 seasons so we modified the design to include humidity & temperature control & 18" deep elevated cedar beds inside with 4x4 posts for support and trellis option. We added electricity in order to have a lighted workspace and the ability to put in a circulating fan to control mold and fungus. We added 2 work tables (2x2') on the inside of the door left and right side door in order to do seed trays & store supplies. This was a wonderful project for my husband and my plants inside are doing incredibly well compared to my outside garden beds here in zone 5. Products used:

Foundation
We had a landscape company come and scape/dig a platform and then fill/compact with crushed rock
My husband then used rebar driven into a 4x4 frame in order to secure the frame to the ground and create a base upon which to build the greenhouse

Active ventilation
AC Infinity Cloudline T8 Inline duct fan
Air king range hood wall cap 8" on the bottom outside of the greenhouse wall for air intake + flex 8" duct to the fan itself
Shelter logic autovent automatic shelter vent kits (1 on each side of the front wall) in order to allow air intake from the bottom back of the greenhouse under the elevated beds to flow to the front of the greenhouse and out
Circulating fan- Hurricane wall mount fan 16" - this fan has 3 speeds with tilt function and small mounting bracket

Soil - sourced 3 yards of 50/50 loam/compost from local landscaping supply
60% loam
30% organic compost
10% organic topsoil + perlite

Soil beds
-cedar frame 2 feet wide along sides, 3 feet wide on the back wall
-galvanized metal roofing with holes drilled into it for drainage
-landscape cloth lined

Built from Plan(s)
Estimated Cost
$2000
Estimated Time Investment
Week Long Project (20 Hours or More)
Finish Used
None
Recommended Skill Level
Intermediate

Comments

bushy99

Wed, 09/09/2020 - 13:09

Thanks for that update! I was wondering how to vent this project, as Green houses need the ventilation. Good to know dollar amount also. Great photos.

bushy99

Wed, 09/09/2020 - 13:09

Thanks for that update! I was wondering how to vent this project, as Green houses need the ventilation. Good to know dollar amount also. Great photos.

bushy99

Wed, 09/09/2020 - 13:09

Thanks for that update! I was wondering how to vent this project, as Green houses need the ventilation. Good to know dollar amount also. Great photos.

Flip Down Desk

Submitted by vala41 on Fri, 02/08/2019 - 14:21

This was just what I needed! My daughter started homeschooling and we needed a place to neatlly contain her school stuff. I had her working at the kitchen table next to me, but it still felt like it lacked the school atomosphere. I removed the area for the paper holder and instead added a few support scraps to hold her folders and books upright. 

It did take me awhile to get the support hinges placed correctly (I almost gave up and went with a rope or chain) but I finally got them placed correctly after placing a pencil mark on where they could lie correctly open and closed - seriously this took me awhile because just when I thought I had it, the brackets when closed would be to deep for the desk or when I placed it it correctly inside when open it wasn't 90 degrees. 

The only thing I wish was that I had made it slightly shorter, because when it is open it is a little hard for her to reach the top shelf, but its not to bad and that is the height my scrap bead board was and I was to lazy to cut it =) 

I had a magnetic clasp left over from another project and that has worked well to keep it closed nice and tight, I also used some foam board I had lying around for the back so that her things were not tapped/pinned on my wall. I choose the bead board on the front because A: it is what I had lying around and B: it is in my dining room so I wanted it looking a little nicer.

I had everything on hand excpet for the support brackets which cost me 2 something each at Lowes. YAY for projects under $10 bucks! Thank you so much Ana!

Built from Plan(s)
Estimated Cost
Had scrap wood, hinges, magnetic clasp and paint on hand. Only paid around 6 bucks for the support hinges.
Estimated Time Investment
Day Project (6-9 Hours)
Recommended Skill Level
Starter Project

Comments

Outdoor chair frames and coffee table

I built a set of chairs and a coffee table for our newly designed outdoor area. These look amazing and people love sitting on them and hanging out outside our house.

Comments

Seasonal And Holiday

Planters!

Submitted by Anonymous (not verified) on Fri, 04/14/2023 - 03:50

These planters are exactly what we needed to warm up this blank siding! The smaller planters are made from pine, the larger from cedar.

Comments

Seasonal And Holiday

Red Oak Truss Table

Submitted by Anonymous (not verified) on Sun, 01/14/2024 - 19:03

Used red oak lumber with ash grey rubio monocoat. The tabletop is 90"x40" and I made the base 64" long in order to place a chair at each end of the table.

Ashely Shook


Built from Plan(s)

Best Chairs Ever!

Submitted by Anonymous (not verified) on Tue, 06/09/2020 - 18:16

I made these modern Adirondack chairs for our business in Anchorage. GREAT and easy to build design by Ana - we upgraded the arms to tapered 2x6 and they're awesome!

Garden Bench!!

Submitted by Nathan1342 on Mon, 08/06/2012 - 12:09

I built this for my wife for an anniversary present. She had wanted a garden bench for some time but the ones that she wanted were between $500-$700 which is ridiculous for this type of bench. So, I did a search on here for garden benches but there weren't really any plans for them and the few brag plans were not really the type of bench I was looking for. I printed off a few pictures of benches that I liked and got to work. The front and back legs a 2x6 and a 1x6 glued together and then cut to be straight. I wanted something thicker then just a plain old 2x6. If I had to do this again though, I would have just glued 3 1X6's together. The reason being, is that 1x6's usually do not have a rounded edge and a 2X6 does. So needless to say when you glue them together you have a nice little gap on either side. Without a table saw to take this off, its pretty difficult to get a straight cut. But I ended up getting it right after sweating for a few hours in the garage. The bench stands 36 inches high, 48inches wide and about 18 inches deep. The seat height is right at 18in also.

In the unfinished pictures I actually had the depth being 24 inches. After sitting on it though it was just way to deep. So I pulled it apart, made the adjustments and its now much more comfortable to sit in.

If anyone has any questions or wants more details feel free to drop me a line!

Thanks!

Estimated Cost
85
Estimated Time Investment
Weekend Project (10-20 Hours)
Finish Used
Oil based acrylic paint
Recommended Skill Level
Beginner

Comments

Torwart13

Tue, 06/16/2015 - 11:25

So legs are about 2 1/4" square? Are the seat supports 2x4's? Back cross pieces 2x4? Slats 1x4"?

smz1919

Wed, 06/17/2015 - 12:39

how did you get the curve on the back legs?

In reply to by smz1919

Nathan1342

Fri, 06/19/2015 - 13:34

I glued a 2x6 and a 1x6 together to get the thickness. Now that i have a table saw and a jointer this entire process would have been much easier but after getting it to look like one solid piece i just outlined the slant i wanted and cut it using a jig saw.

smz1919

Fri, 06/19/2015 - 20:17

So the back slats are just glued in place right? I wonder if it would be easier to use a biscuit joiner or not

Mikeyw221

Sun, 10/23/2016 - 17:46

on the back legs how high up did you go before you started cutting the angle? and was it around 15 degrees fromt he edge?

SawdustMaker21

Wed, 05/26/2021 - 08:32

Hi Nathan
Love the look of the bench. Would you have a list of material requirements. I intend to make a bench like this and would like to know the measurements of the top back spar (the shaped one).
Here in the Uk our timber yards do not always supply the same cuts as the US so I need to have some idea of the pieces I need
Many thanks

Modern Adirondack Chairs & Outdoor Side Table

Submitted by j_bowman on Sun, 04/11/2021 - 11:35

These modern Adirondack chairs were my first wood working project ever and they turned out awesome! I wanted to build a small table to complete the set and Ana’s new side table plans were exactly what I was looking for. I am truly amazed at how easy these projects were to make and how great they look on our front patio. Ana’s step-by-step plans make it so simple. My wife and I can’t wait to build some more of these projects for our backyard lanai and pool area.

Finish Used
General Finishes Red Mahogany stain
Spar Urethane

Comments

Seasonal And Holiday

L-shape Modern plywood desk

I constructed this desk all from birch plywood. It features a pull out keyboard tray, modern drawer finger pulls, and full extension drawer slides. The plywood was finished with a hand-rubbed danish oil for a natural wood appearance.

Estimated Cost
$150.00
Estimated Time Investment
Afternoon Project (3-6 Hours)
Finish Used
danish oil
Recommended Skill Level
Starter Project

DIY Providence Bench

Hooray! I recently finished building a dining room bench. For this project, I used the Providence Bench plans by Ana White. I started this project in May, and two months later it is finally complete! I am really happy with how the bench turned out! It is pretty sturdy and makes for a nice addition to the dining room!

Built from Plan(s)
Estimated Time Investment
Weekend Project (10-20 Hours)
Finish Used
ECOS Paint Woodshield Stain in Pine Needles and their Satin varnish
Rust-Oleum White Semi-Gloss
Recommended Skill Level
Beginner

My Mom's King Fancy Farmhouse Bed

Submitted by thehallway on Fri, 10/26/2012 - 08:28

I built this bed for my parent's guest room at my sister's house. It is very similar to a bed mom had been wanting. They wanted a king size so I had to do some modifications to the original plan - primarily adding 16" to all width measurements. I also used 10 - 1x8s for the headboard panels. That made the panels slightly too wide, so I had to rip a little bit off the 2 end panels.

The hardest part of the project was getting it in her house! The legs made it about 1/4" too wide to fit it thru the door. We were about to remove the legs (which would have been a disaster since they were glued, screwed and painted on) when we finally figured out the right angle to squeeze it in. I had to touch up the paint in a few spots once we got it in position, but that was much better than having to remove legs and put them back on. We still need to get plywood for the mattress to sit on and I'm going to add a middle leg for extra support since it's a king. I will probably eventually build nightstands to go with it. Overall, I'm pretty happy with how it turned out since this is my largest and "fanciest" project so far.

Estimated Cost
~$250
Estimated Time Investment
Weekend Project (10-20 Hours)
Finish Used
Valspar Satin Latex Enamel in White
Recommended Skill Level
Intermediate

Comments

bran2511

Tue, 04/09/2013 - 12:41

I really love this bed, however, being military we move quite often. Is there a way that you would recommend I could alter it so that it can be broken down a little to make it easier for moving? Thank you much :D

bran2511

Tue, 04/09/2013 - 12:41

I really love this bed, however, being military we move quite often. Is there a way that you would recommend I could alter it so that it can be broken down a little to make it easier for moving? Thank you much :D

jlouki01

Sat, 08/24/2013 - 18:31

I just posted a brag post with this bed in black. I will see if I can upload a photo of how I built this bed for very easy break down. I looked at all the brackets etc.. with this being built out of pine I was not 100% confident in the Rockler / Wood craft brackets. I used a forstner bit and a 4.5" bolt with some washers.

Loving These Shelves

Submitted by woody311 on Thu, 01/15/2015 - 18:51

I changed the plans a little bit to add on the extra shelf on top as well as making the shelves an inch narrower than the plans. The project was actually pretty easy and really only took me about a days worth of work.

Estimated Cost
$160
Estimated Time Investment
Day Project (6-9 Hours)
Finish Used
None
Recommended Skill Level
Beginner

Comments

Adirondack chairs

Submitted by Anonymous (not verified) on Mon, 10/04/2021 - 15:15

I made five of your 2 x 4 Adirondack chairs. Well I started with one and then my wife wanted four more after she saw how it turned out. We absolutely Iove them and they are easy to make! Thanks Ana!

David Knight

Comments

DIY Learning Tower / Kitchen Helper

Our little one may be happily playing independently but the second I go to make dinner she demands to be held and refuses to be put down, making cooking impossible. To help keep her occupied but still involved I've been eyeing a learning tower / kitchen helper on Amazon for months now, but at $200 it just wasn't in our budget. My sister-in-law had made a learning tower from a plan by Ana White and suggested I try to make one too. I was unsure at first, I've never made anything more complicated than a birdhouse, but I decided to give it a go!

Please see my blog post for additional photos and lessons learned during this project.

Built from Plan(s)

2x4 Sectional , table, and chairs

Submitted by Anonymous (not verified) on Fri, 04/14/2023 - 04:57

Your easy to follow 2x4 proje ts turned out amazing. My outdoor set is complete. The chairs, also, came from your plans. I built all of it by myself in one weekend. Thank you

Comments

Our first project

Submitted by Delilah on Tue, 02/14/2012 - 18:53

I was looking for plans to build a table like this and found Ana's site.

Estimated Cost
100
Estimated Time Investment
Weekend Project (10-20 Hours)
Finish Used
Minwax Early American and Satin Poly
Recommended Skill Level
Starter Project

Comments

Delilah

Fri, 02/17/2012 - 19:26

I would make the bench first if I could do it again--good practice. You can't fit a lot of people around it but it is good for a small space.

anandereson (not verified)

Mon, 04/30/2012 - 04:55

How did you fasten the tabletop to the base? Did you screw it from under and attach along every cross beam? Or screw from the top and fill the holes with putty? All the way across or just on the ends...this step in the directions is very vague...

American Girl Doll Horse Stable

My two dauirlghters wanted a stable to protect their beloved American Girl Doll Horses.

Estimated Time Investment
Weekend Project (10-20 Hours)
Finish Used
None
Recommended Skill Level
Intermediate

Comments

tazmama

Sun, 10/18/2015 - 19:55

Hello Scott, 

The links provided for the AG horse stable does not work or exist. I probablly cannot create one like you did because I don't have wood working tools but if you have the pics available somewhere I may be able to do a rough version for my daughter. It pains me to buy a horse she wants knowing she won't use it much but it's on her xmas list! :) 

Christina

Back