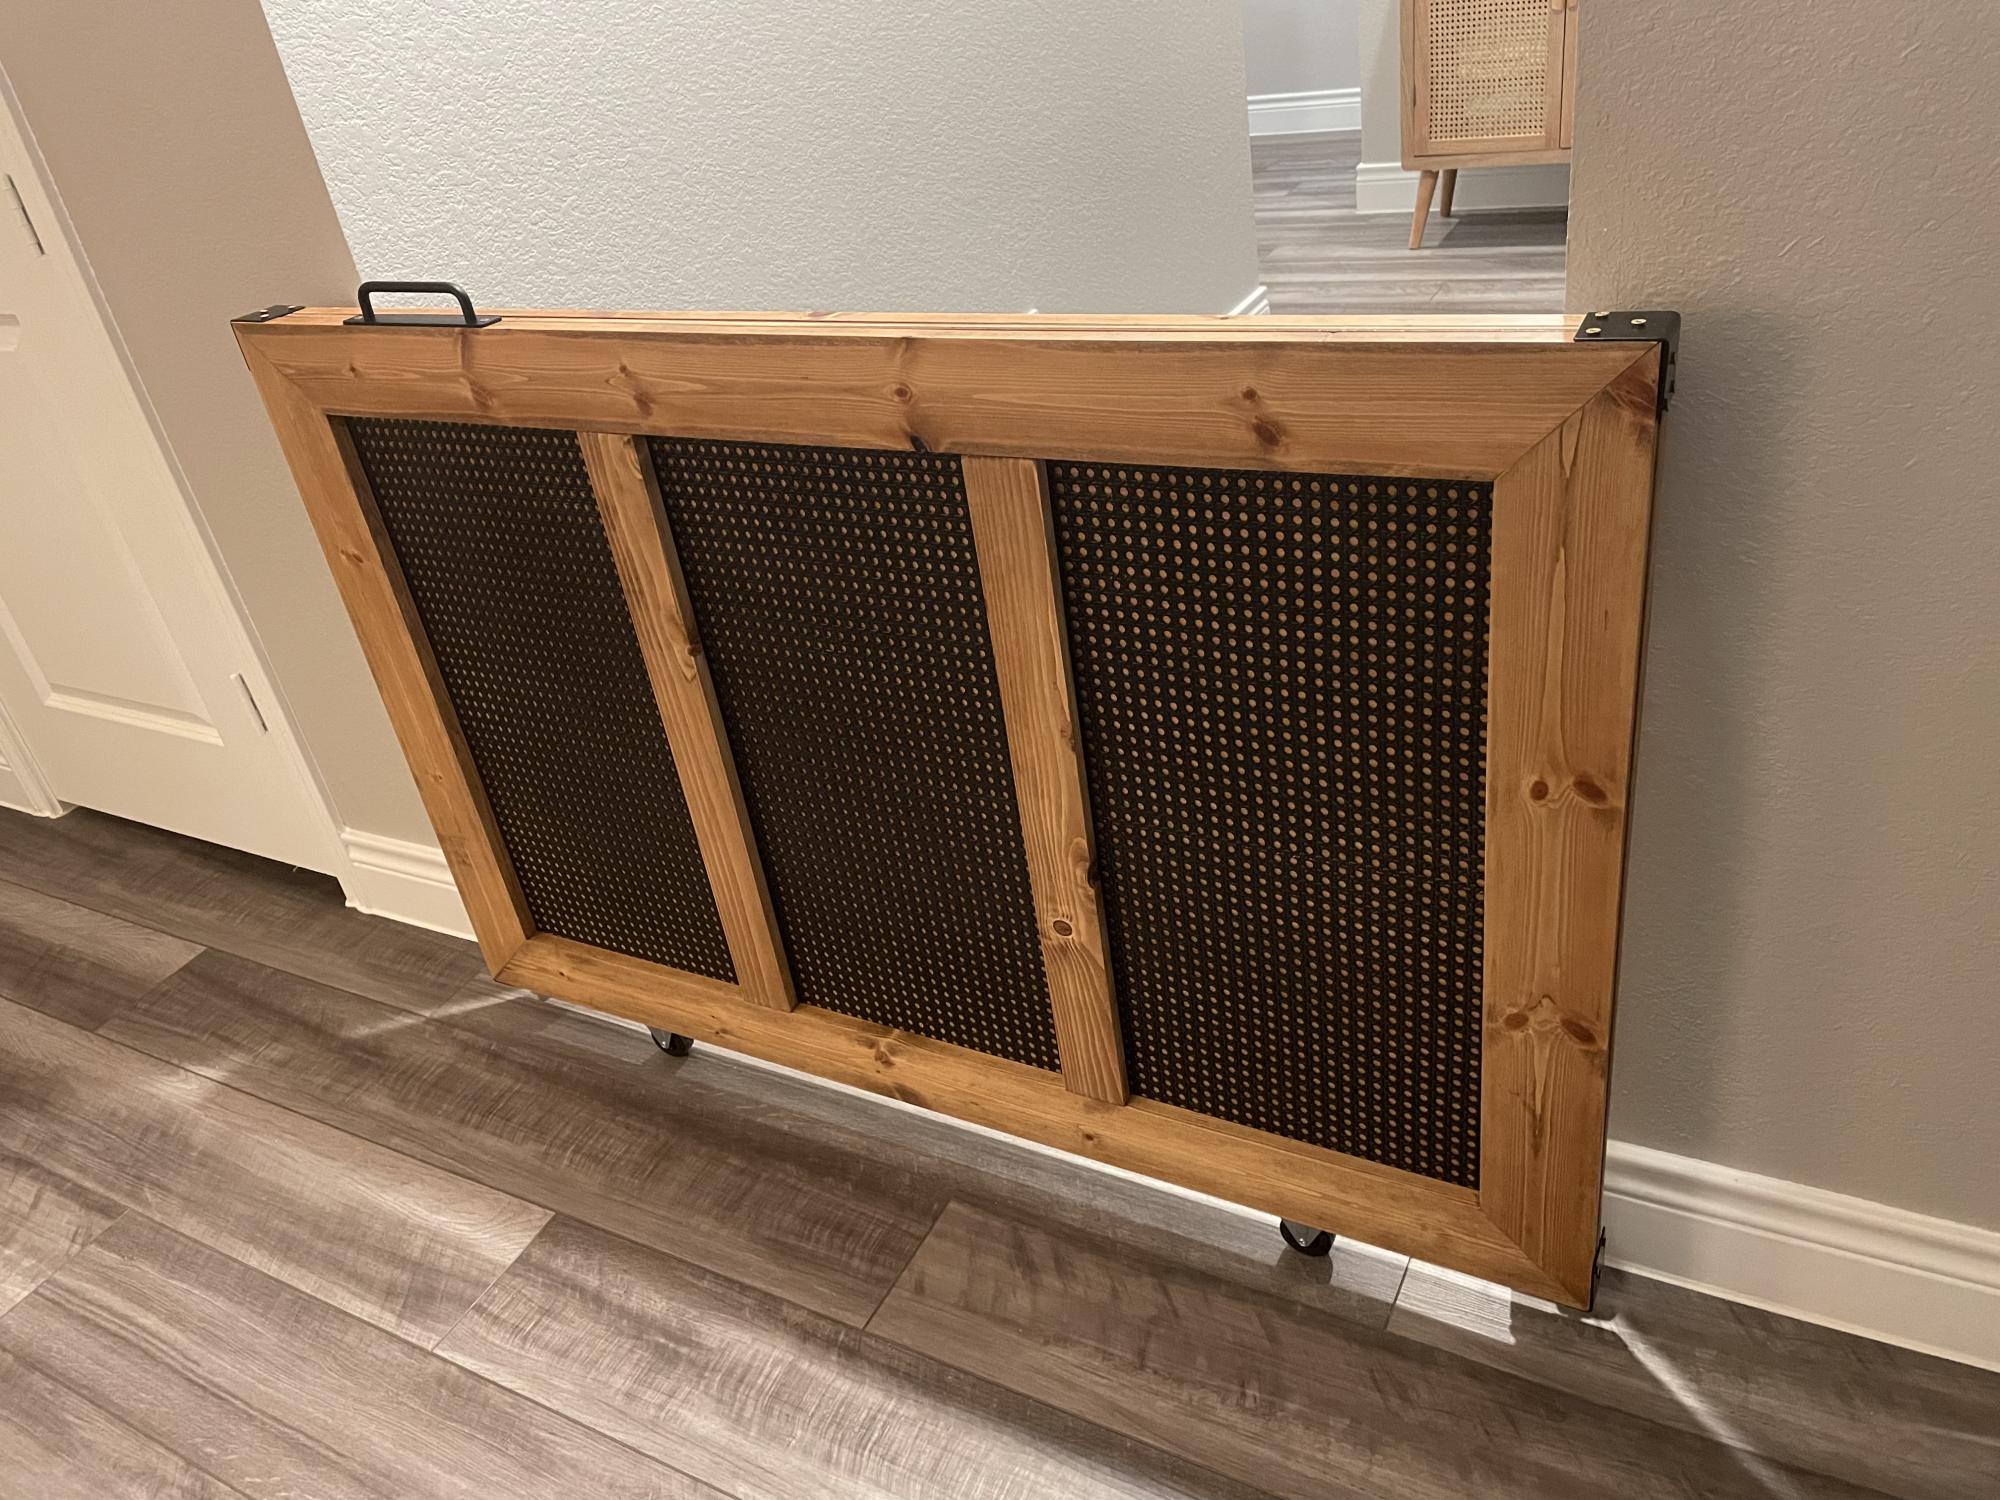
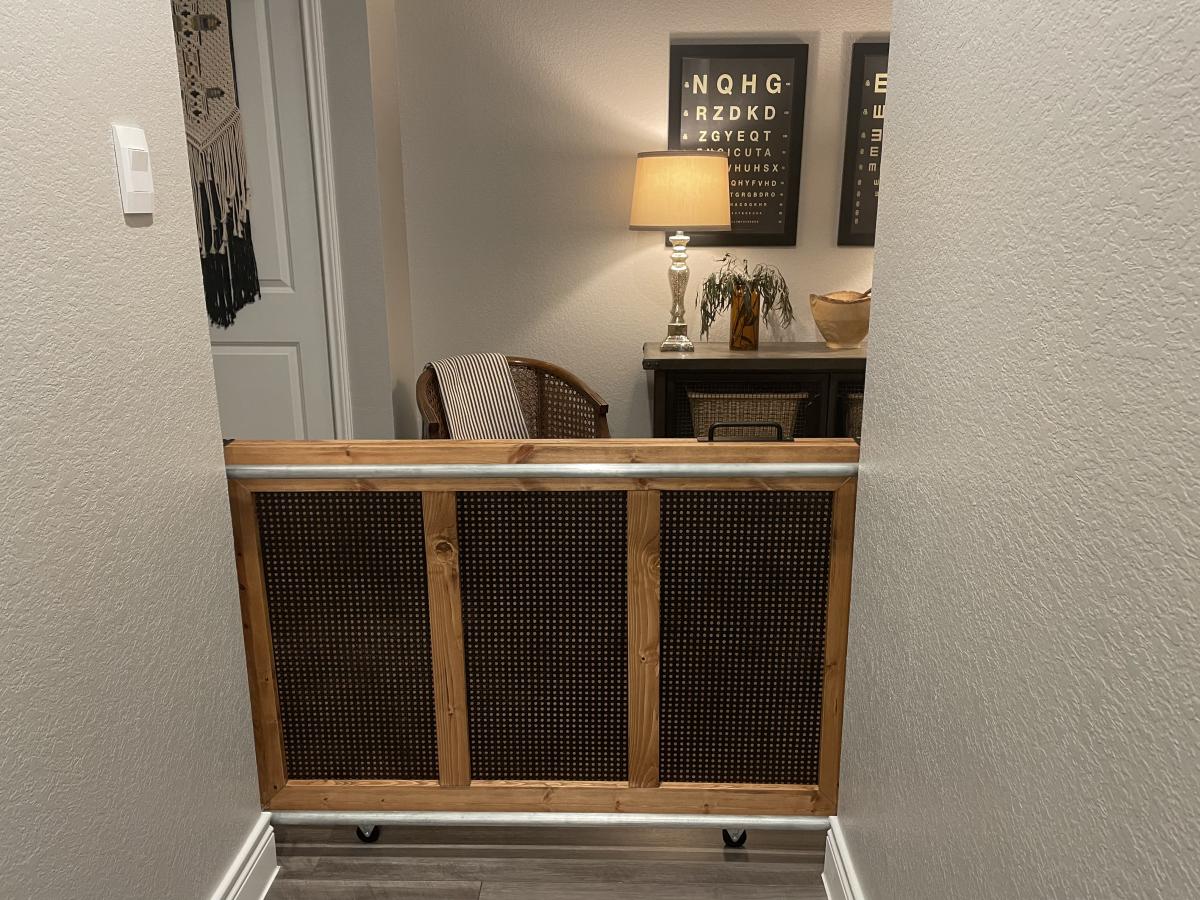
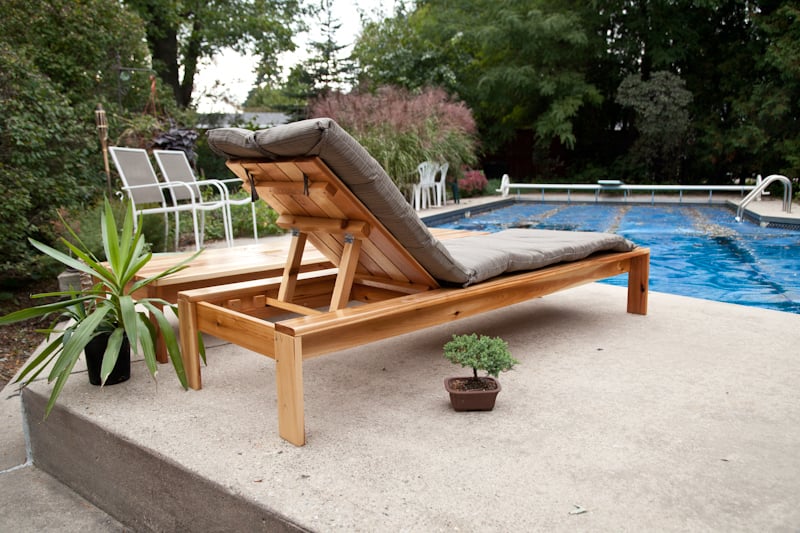
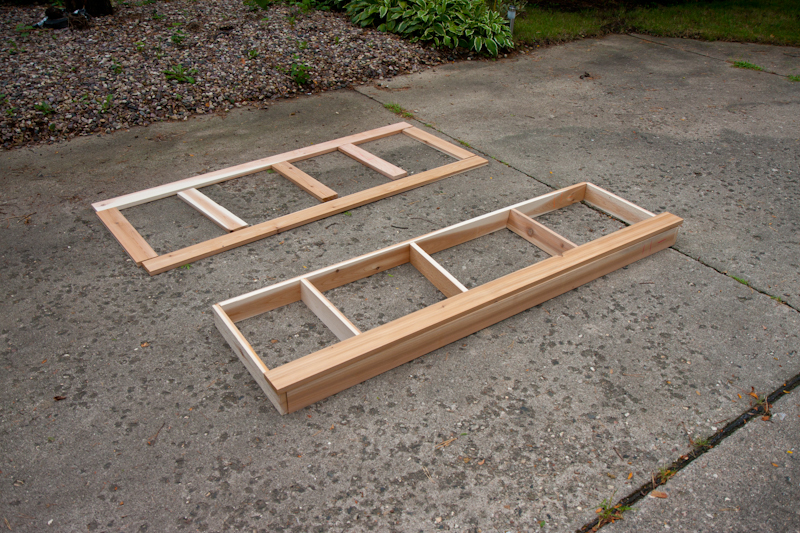
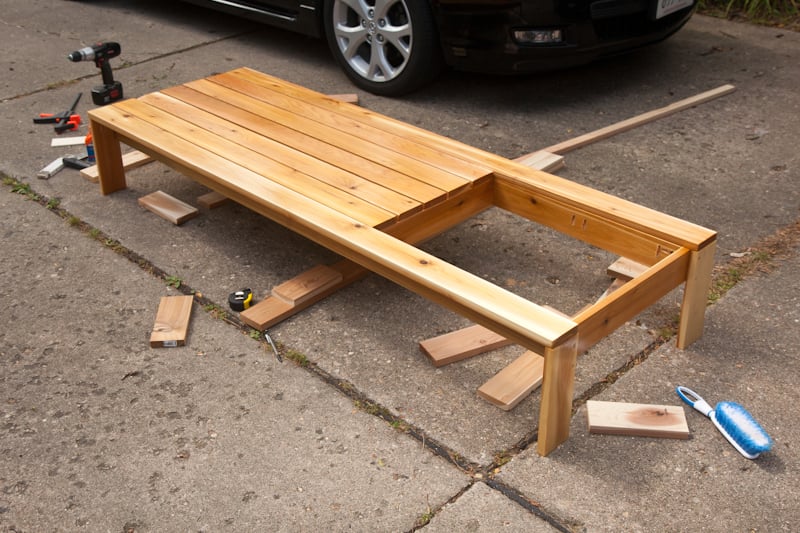
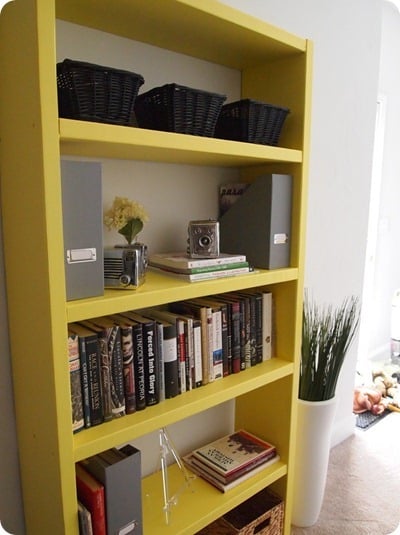
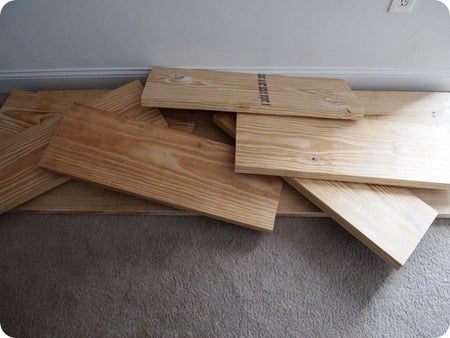
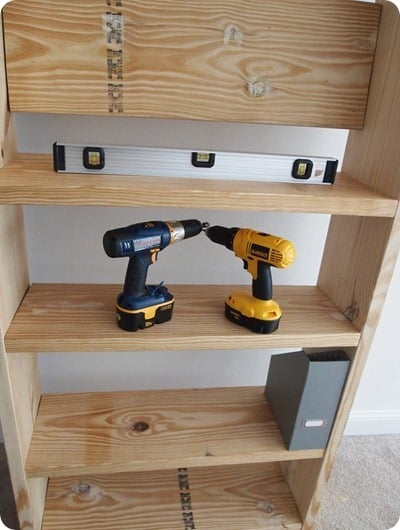
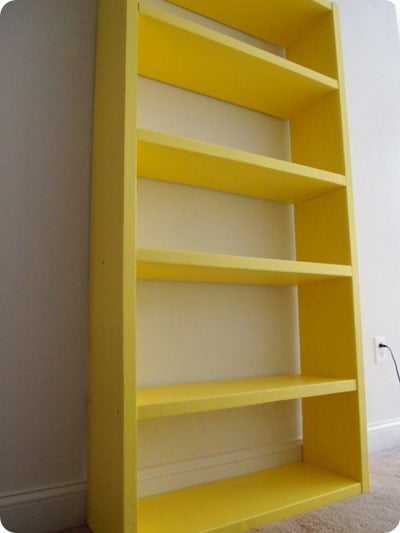
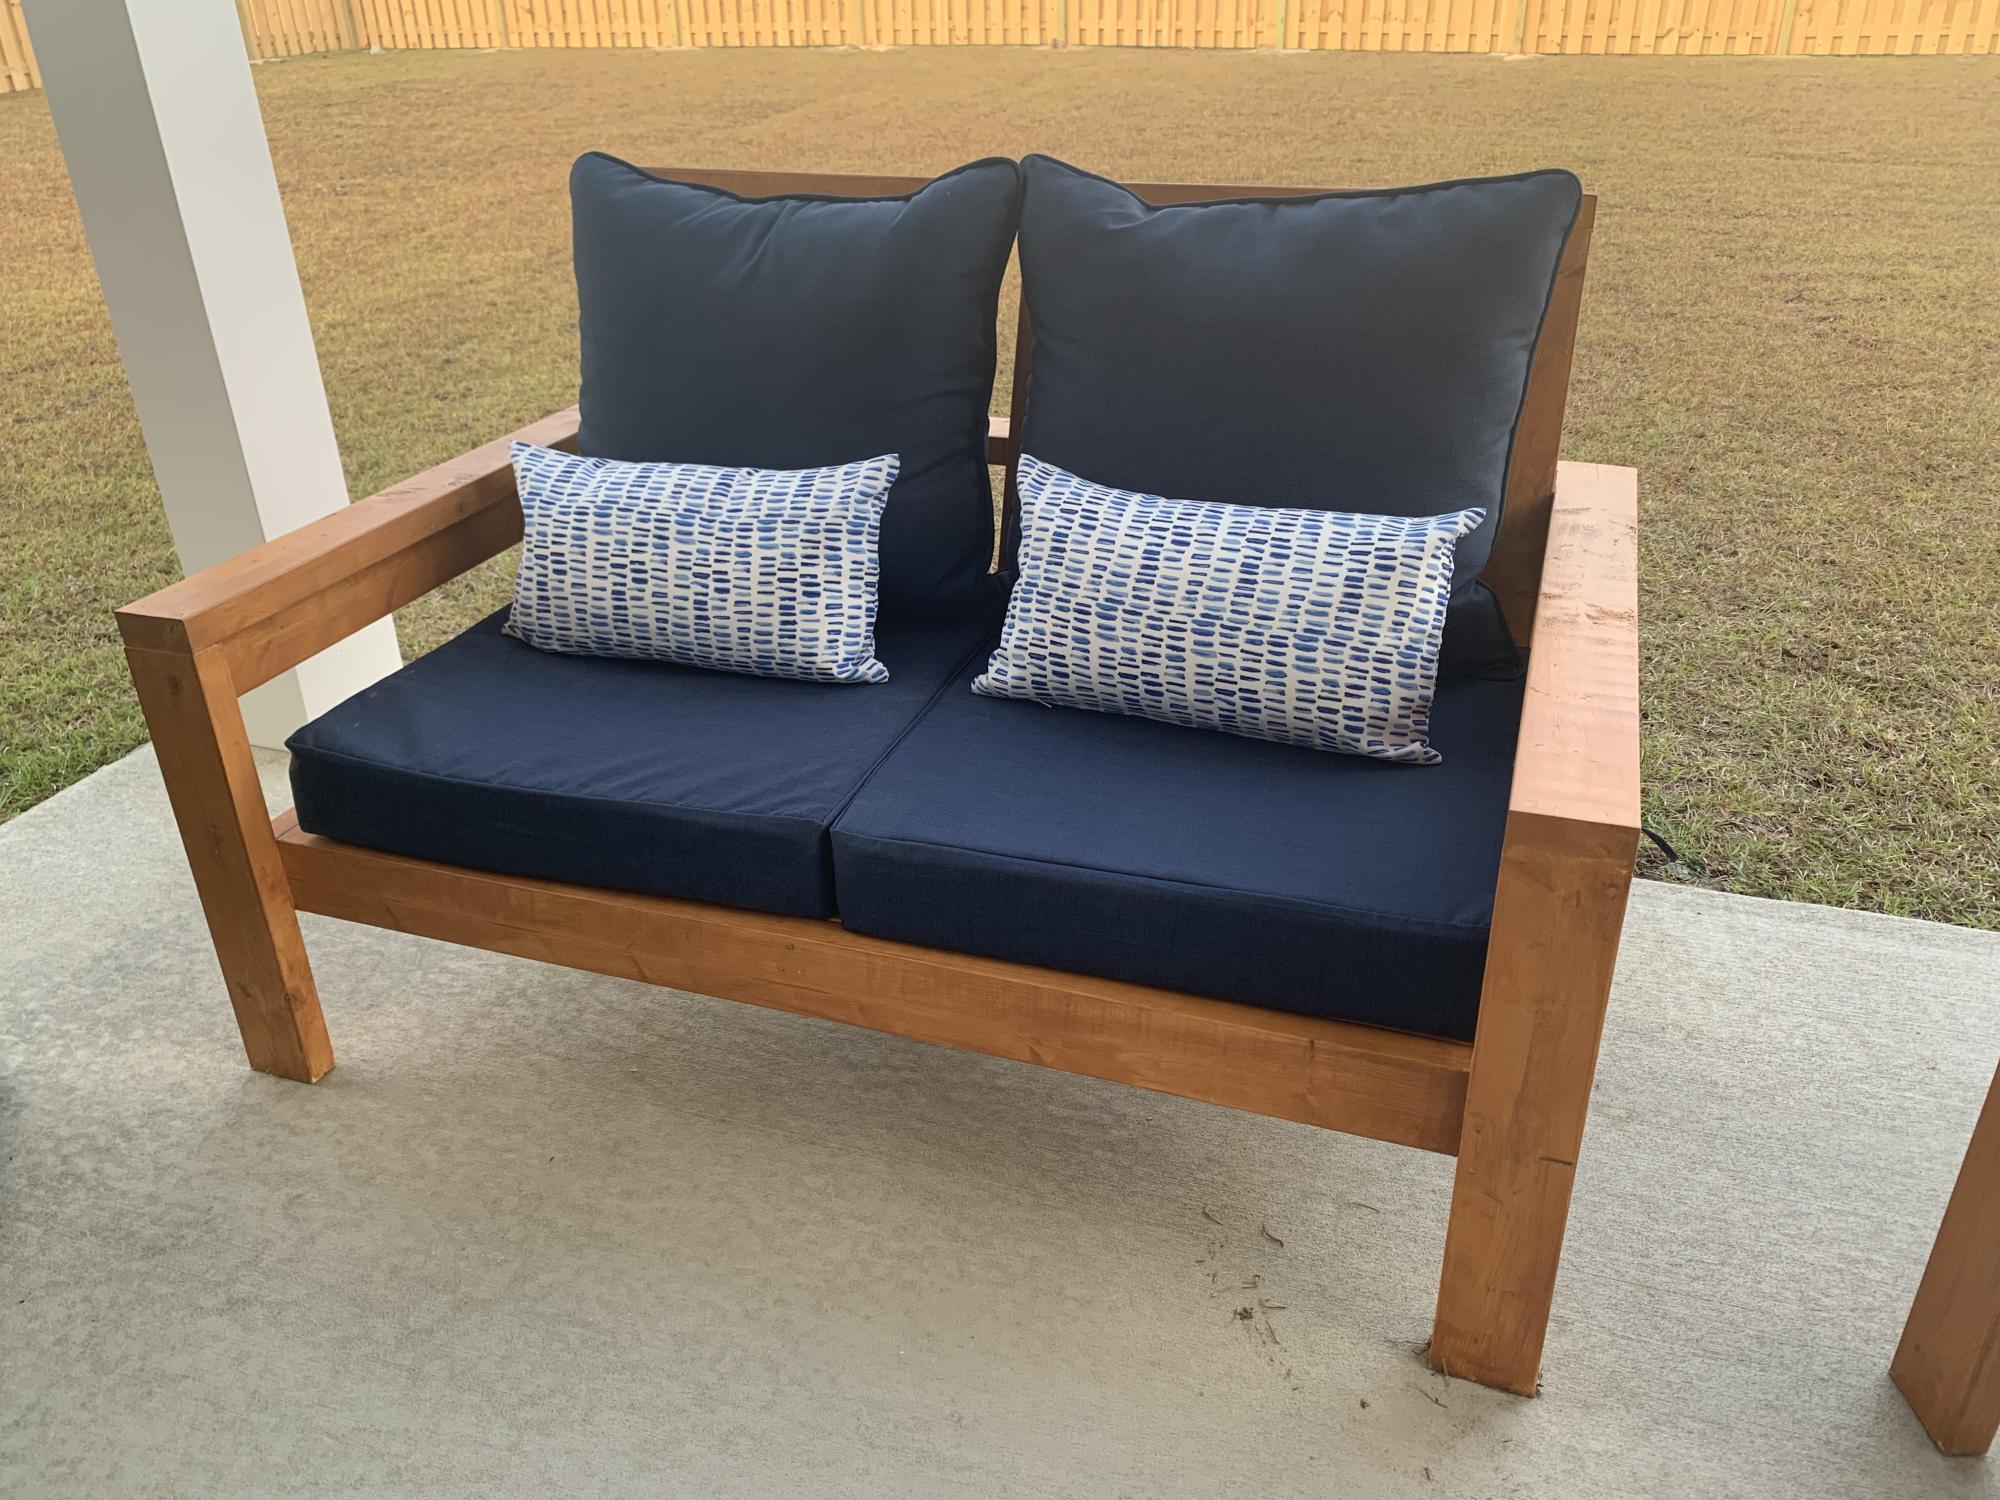
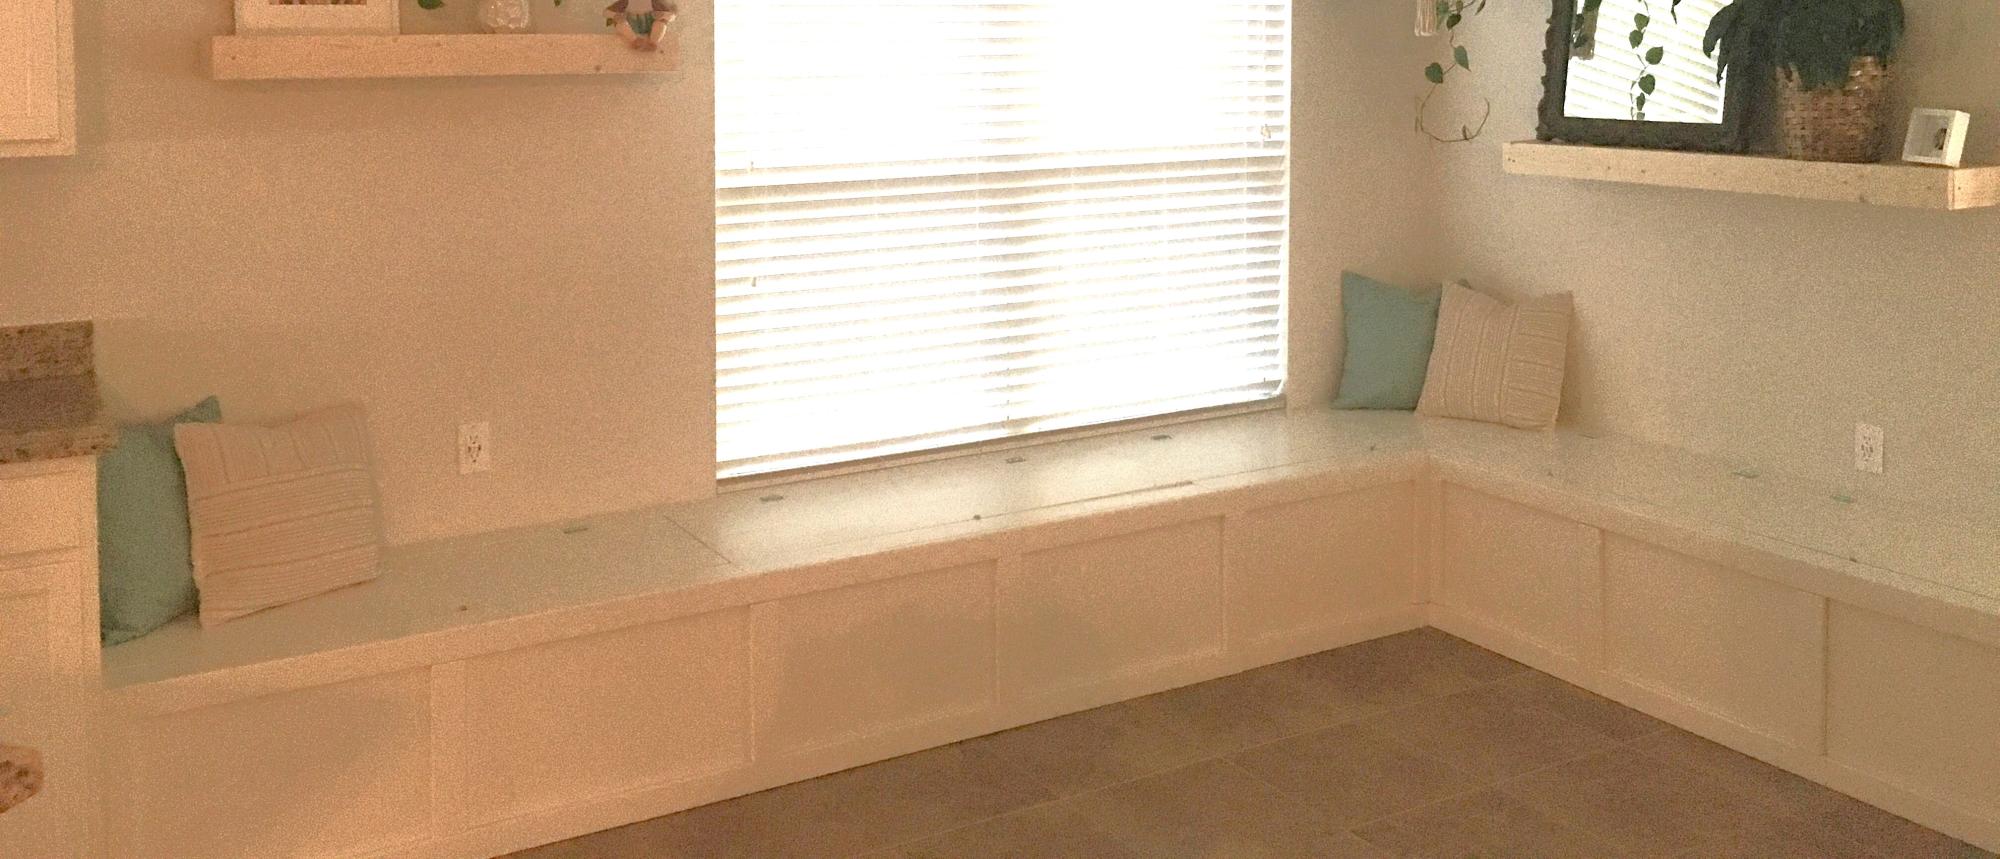
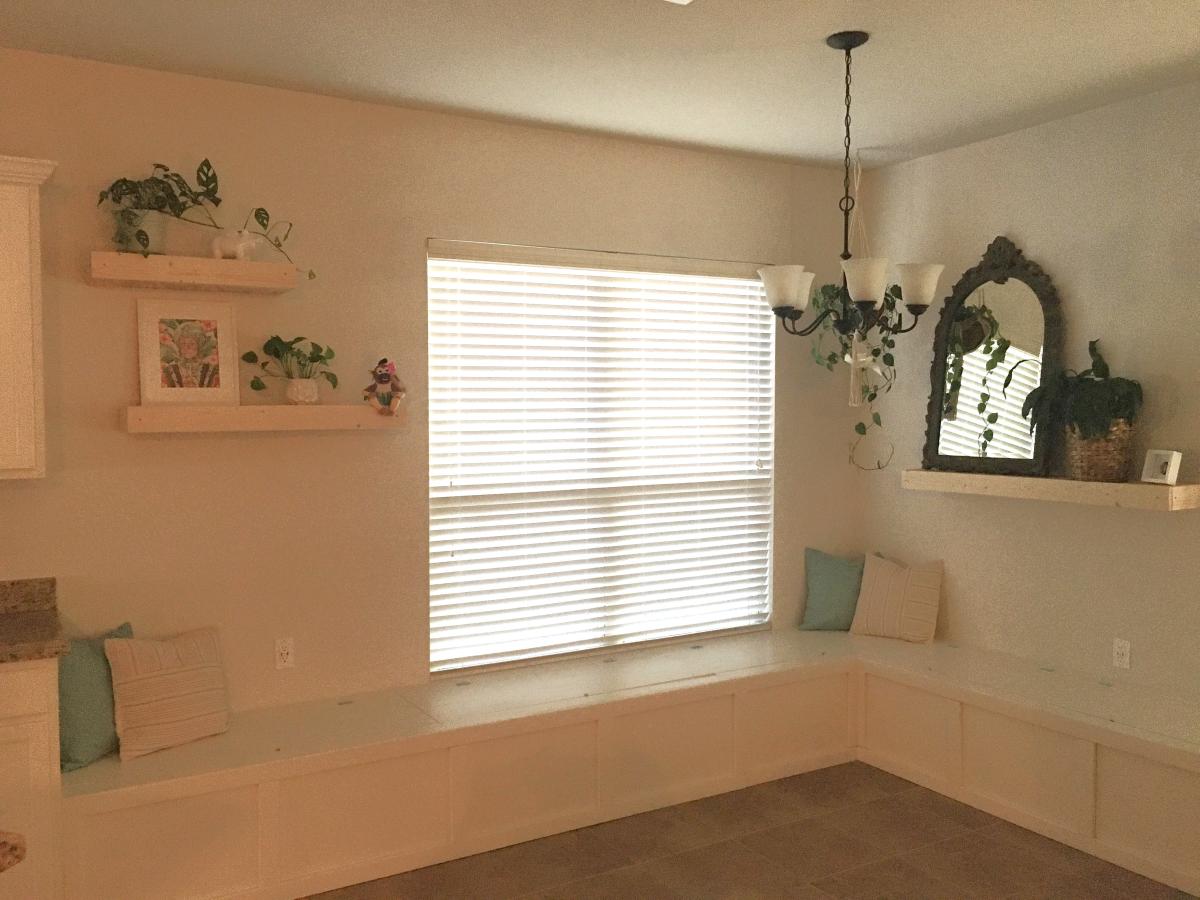
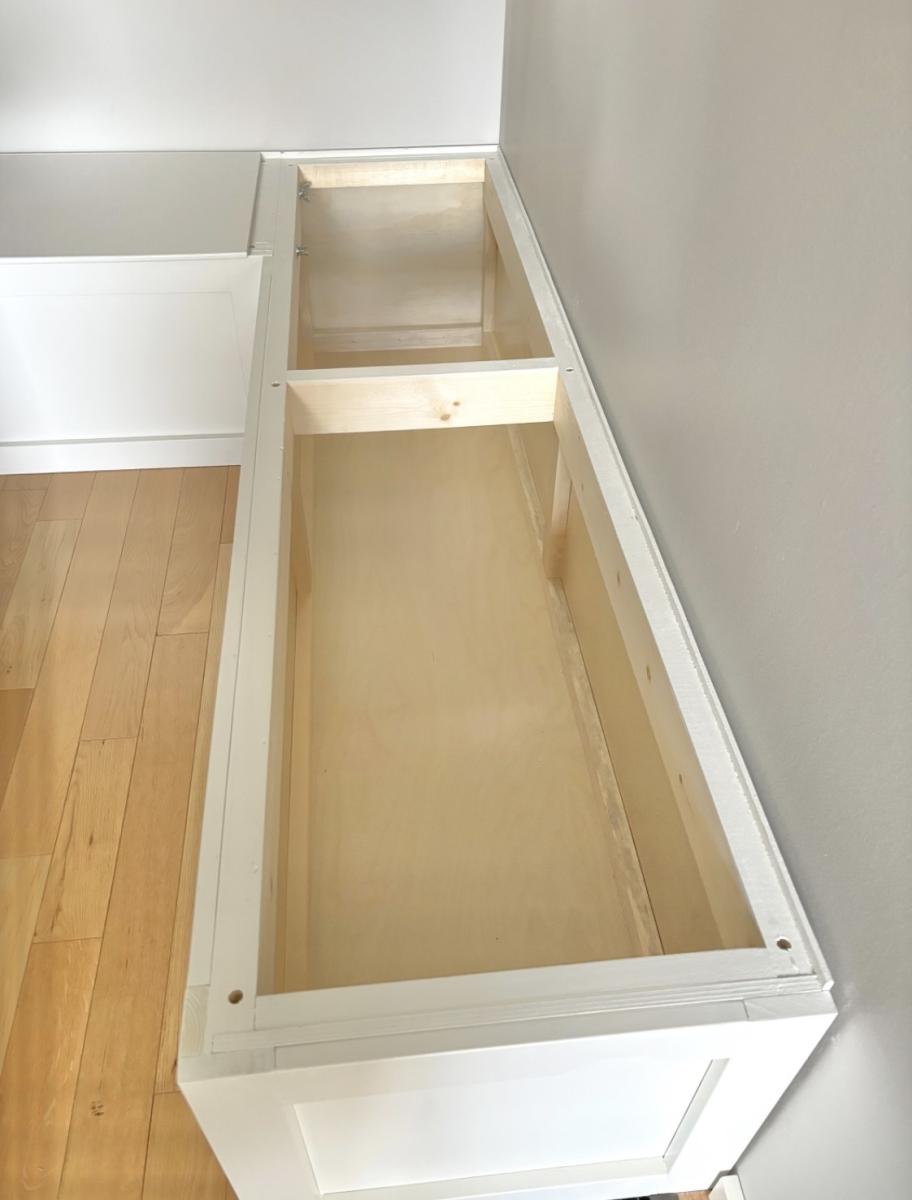
DIY Banquette Storage Bench
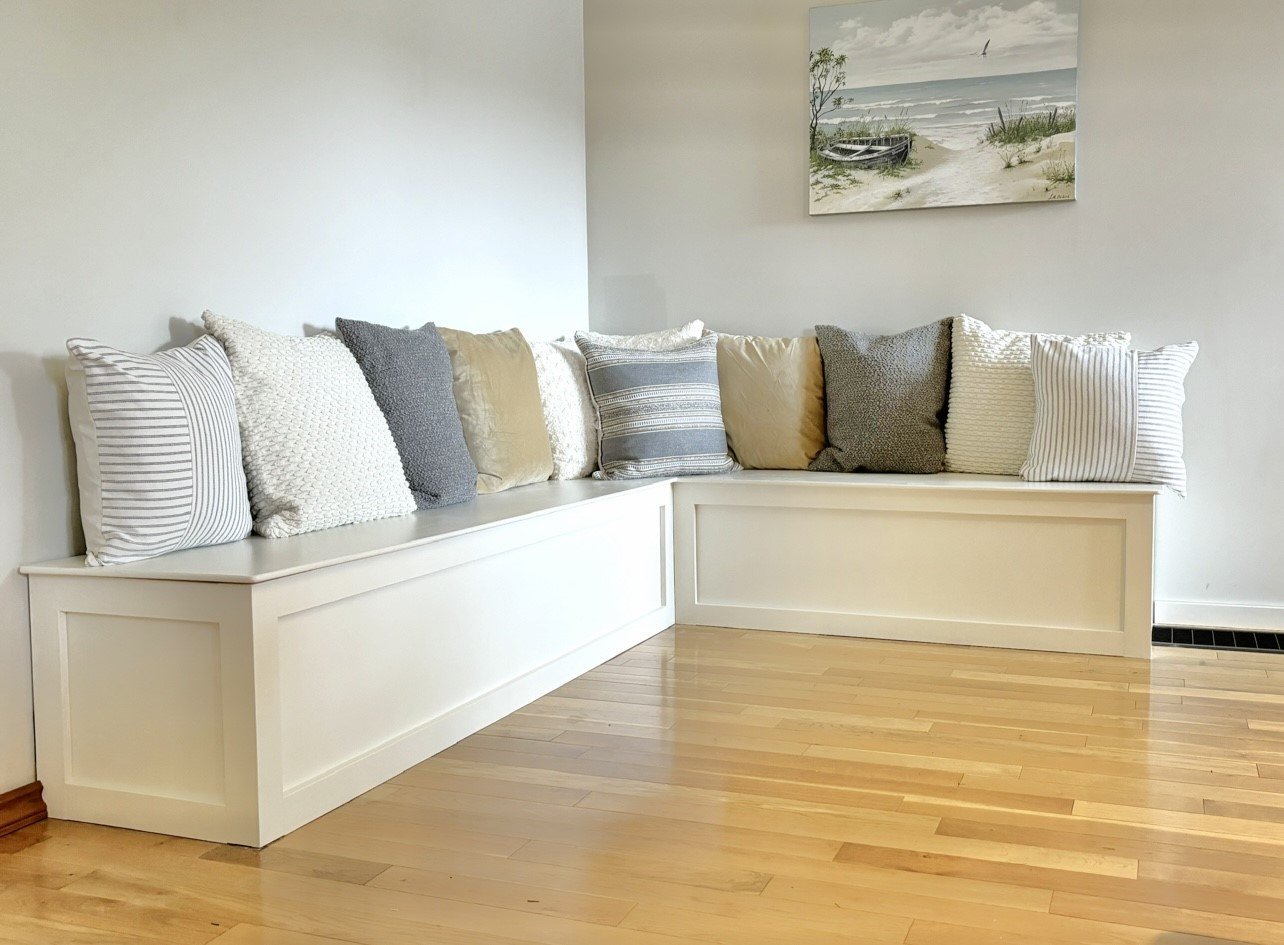
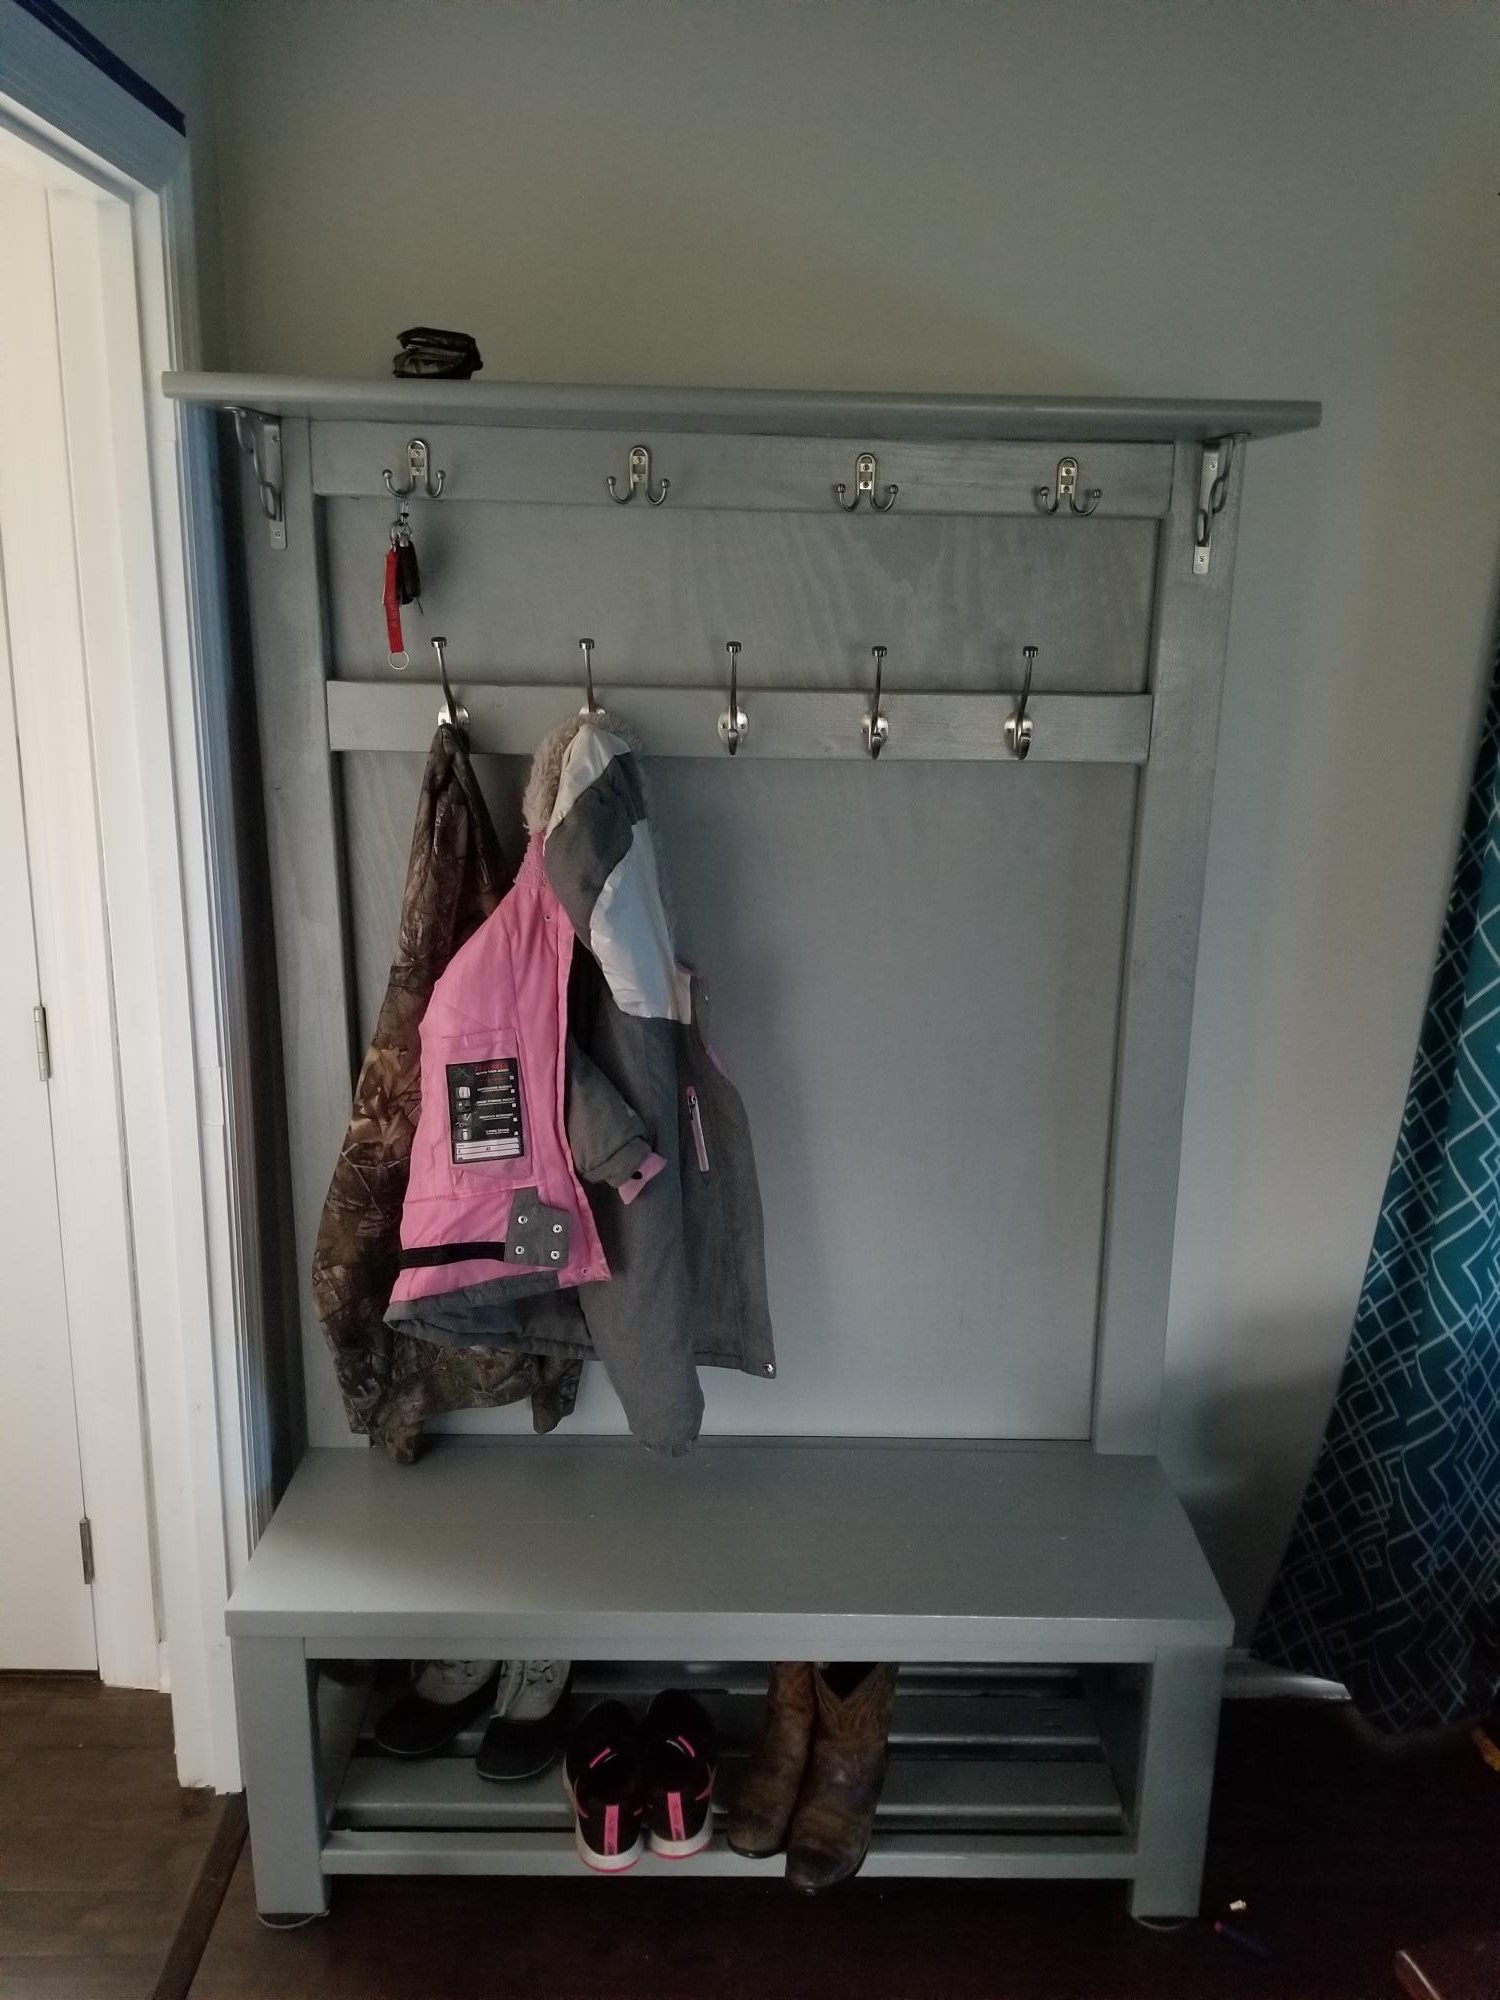
This is my banquette bench I made over the past few weeks after I saw your pictures and plans on your website. I absolutely love it. I am refinishing a table and chairs to use with it. Now I have room for lots of guest. Thank you for your great ideas.
Built from Plan(s)