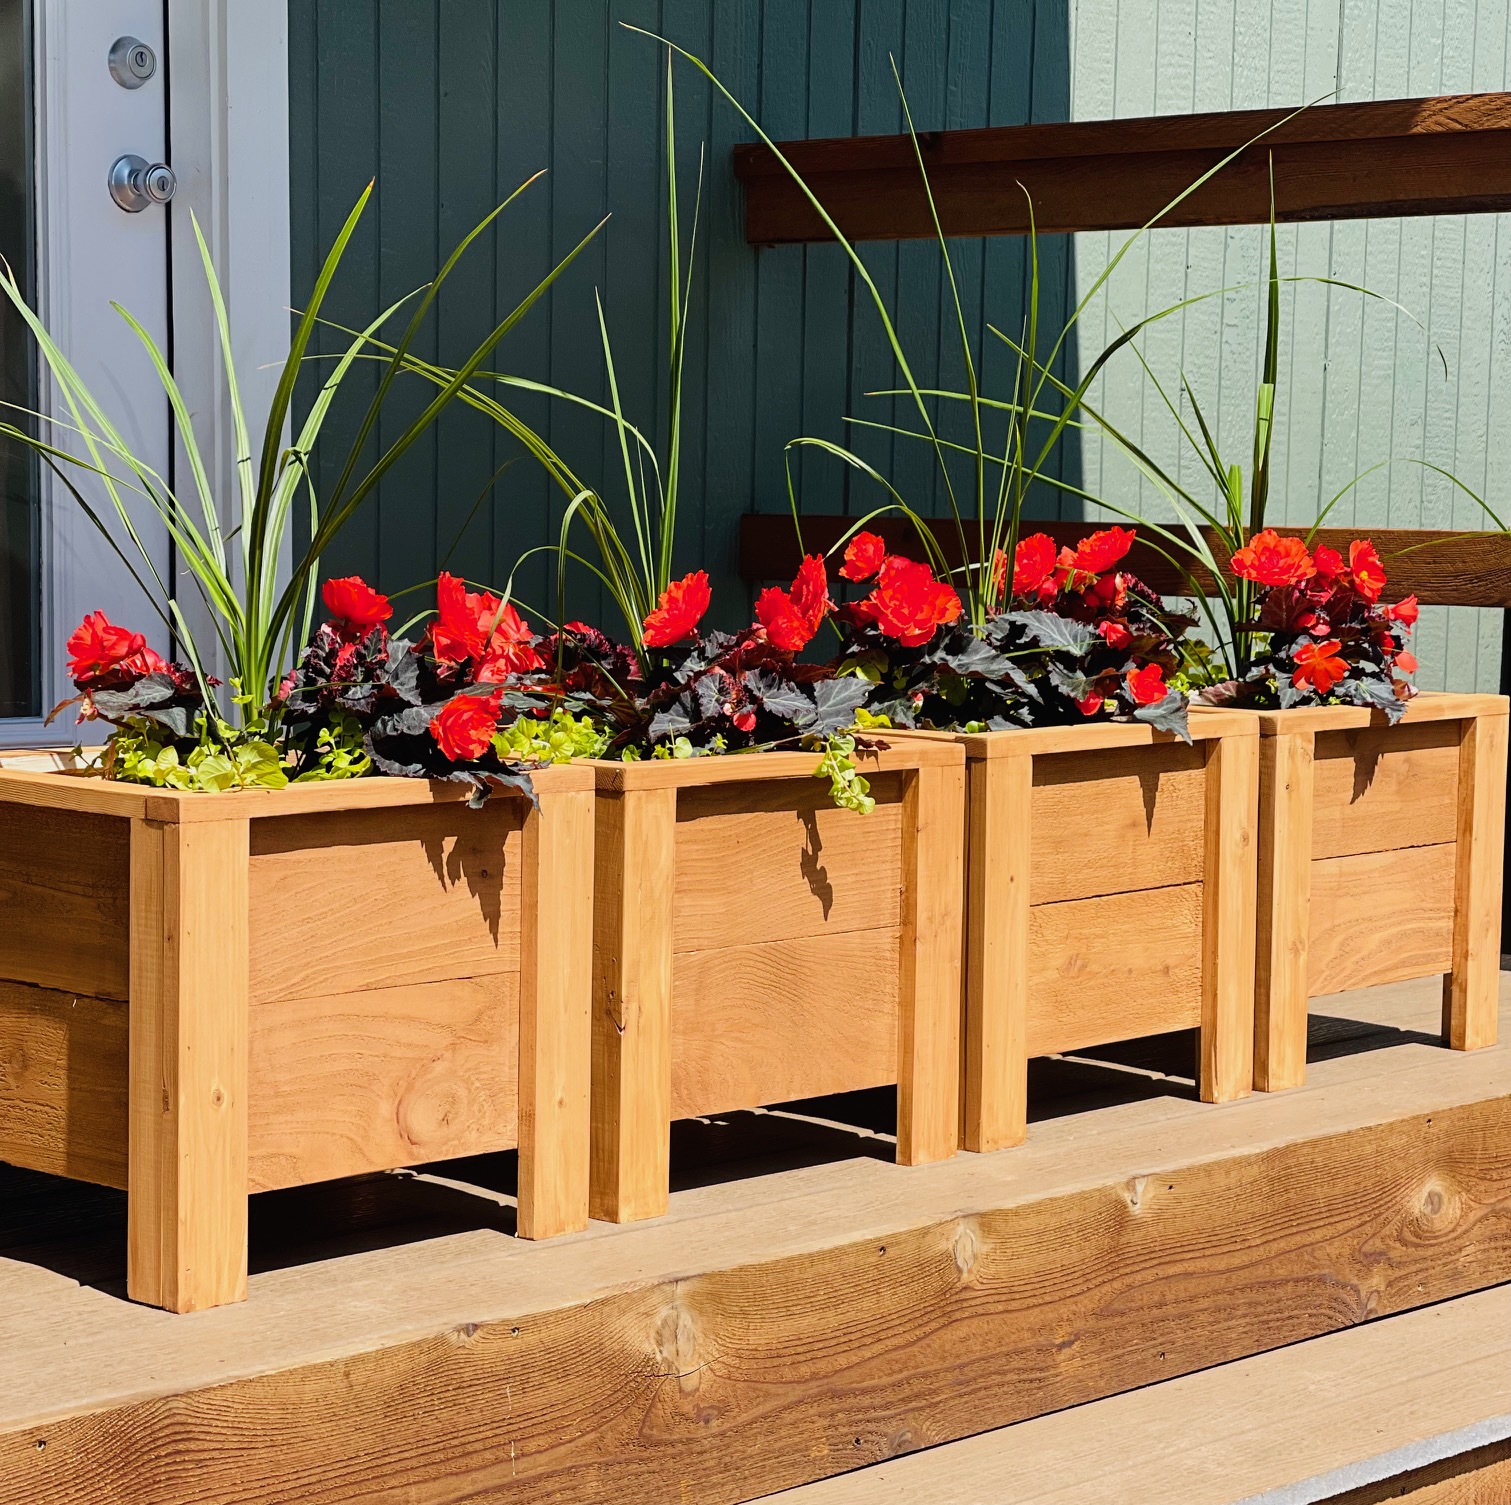
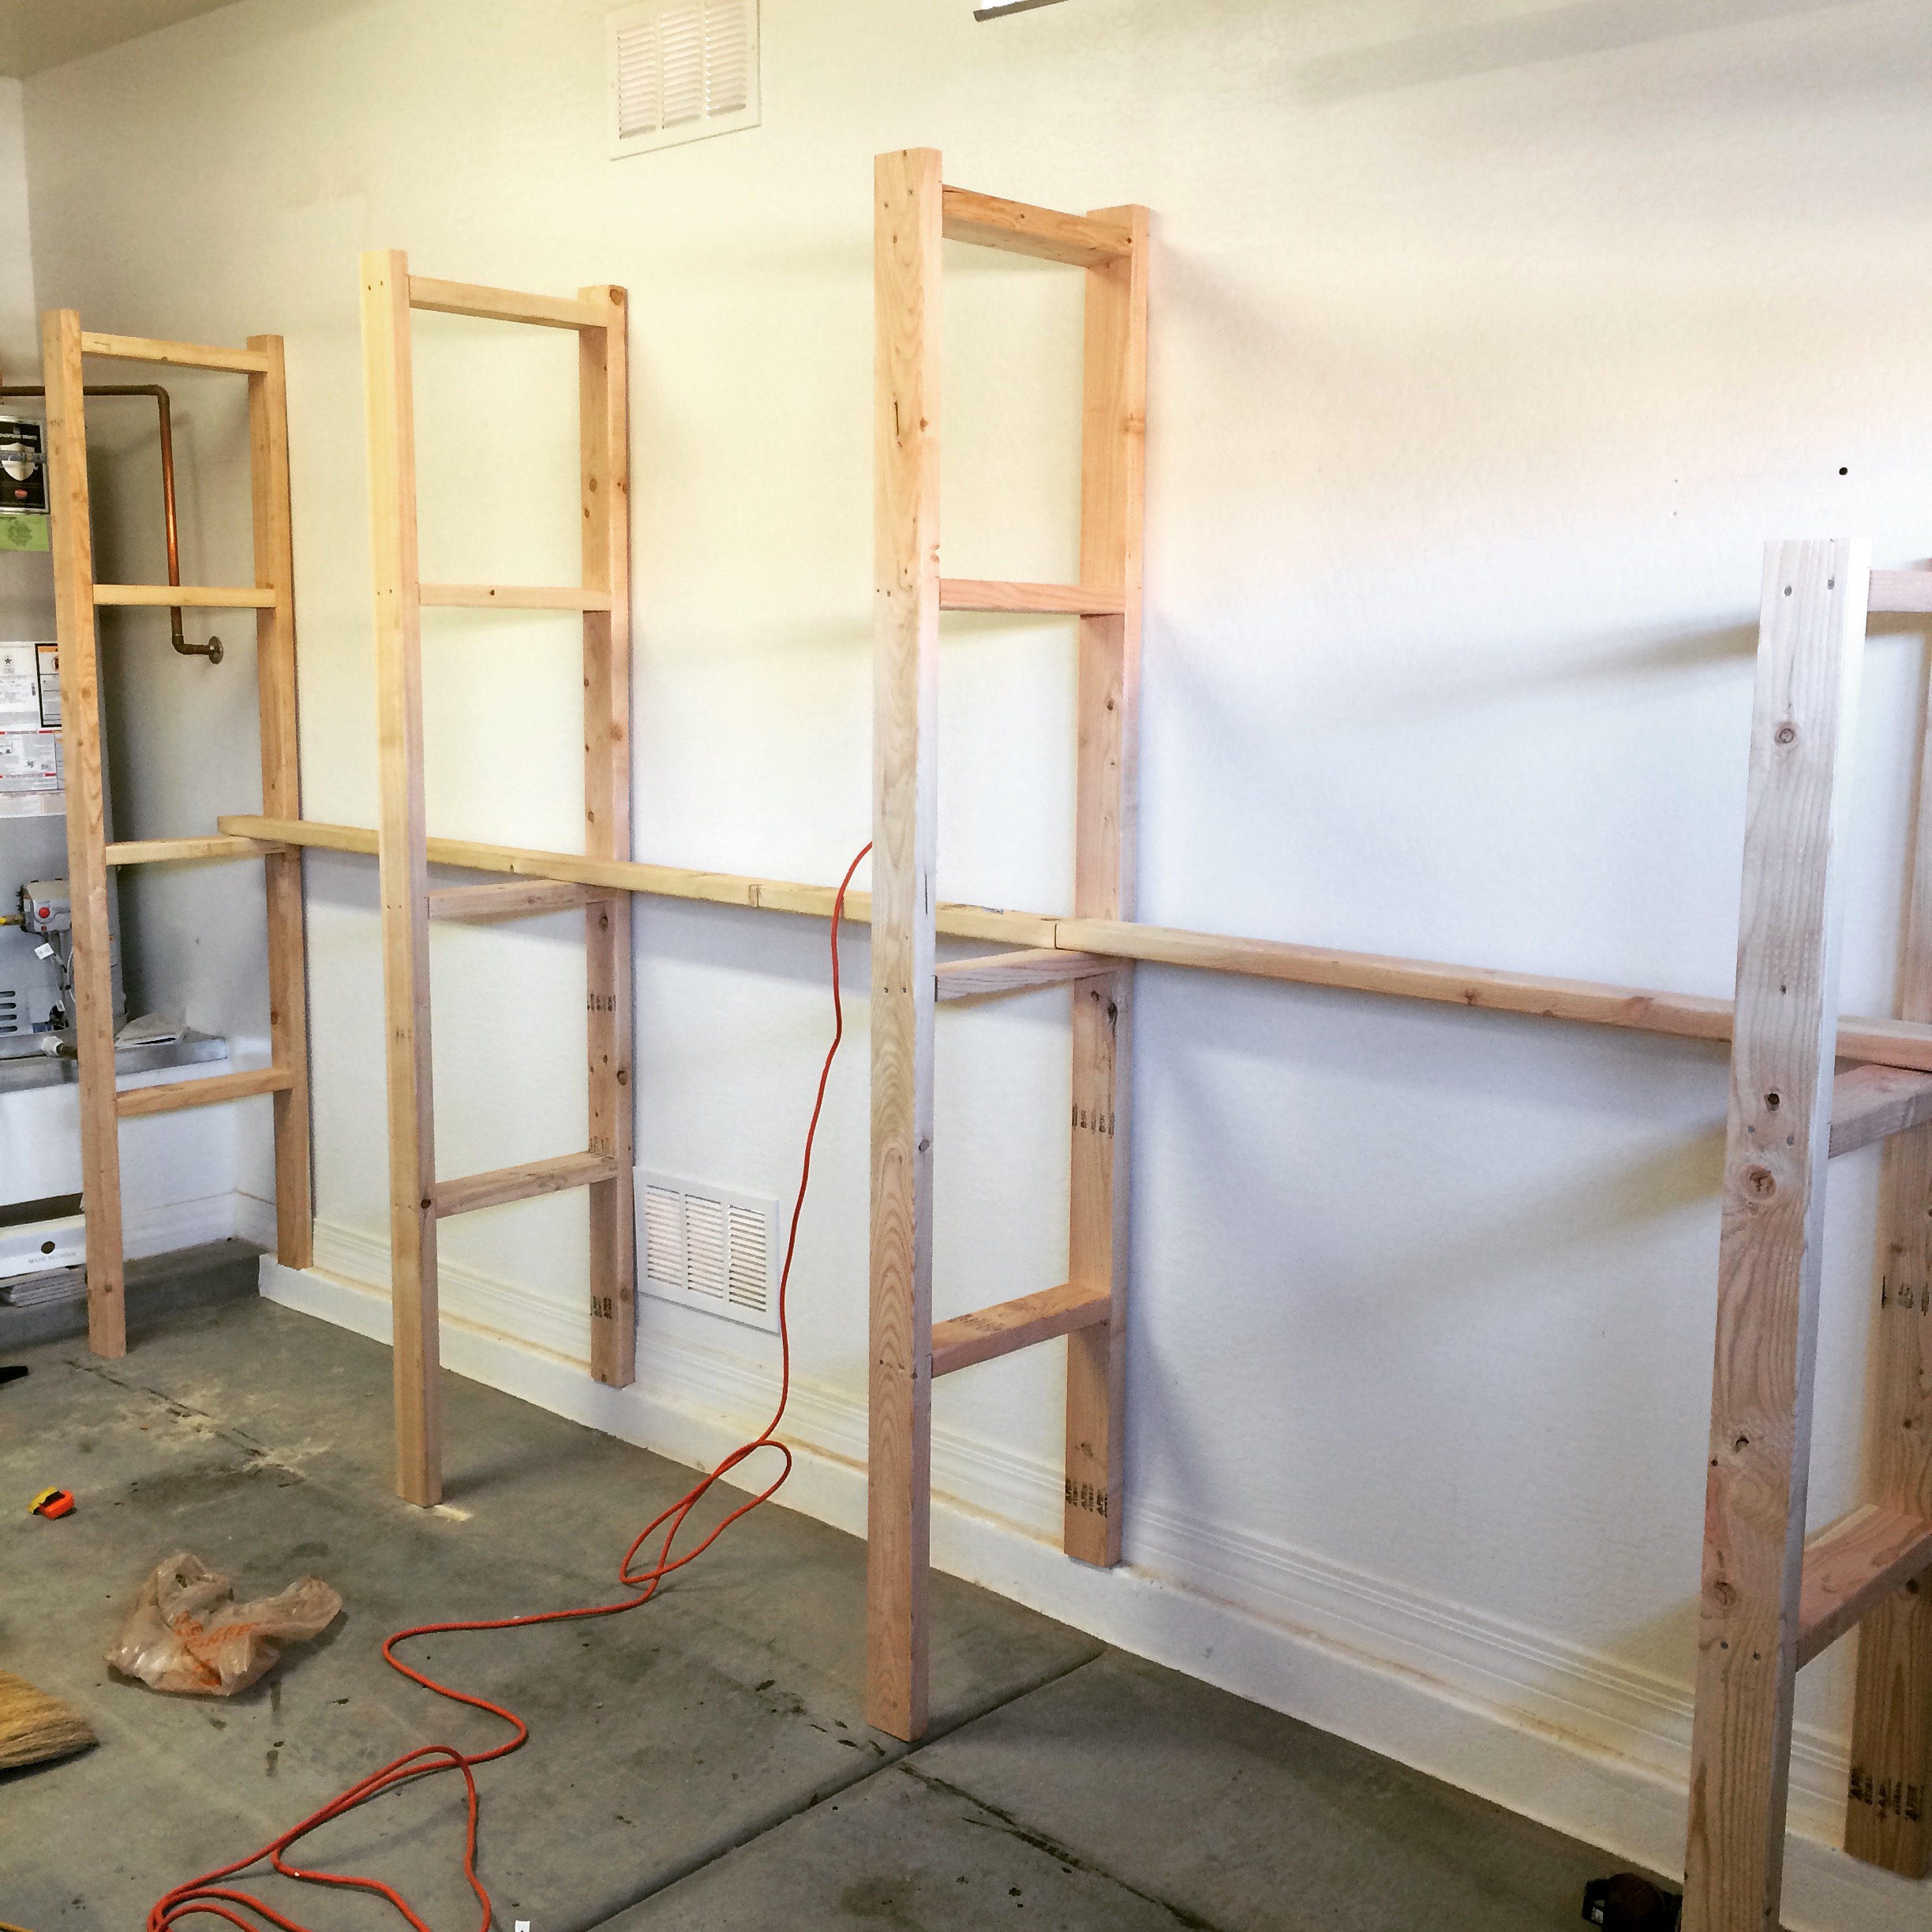
Planters!
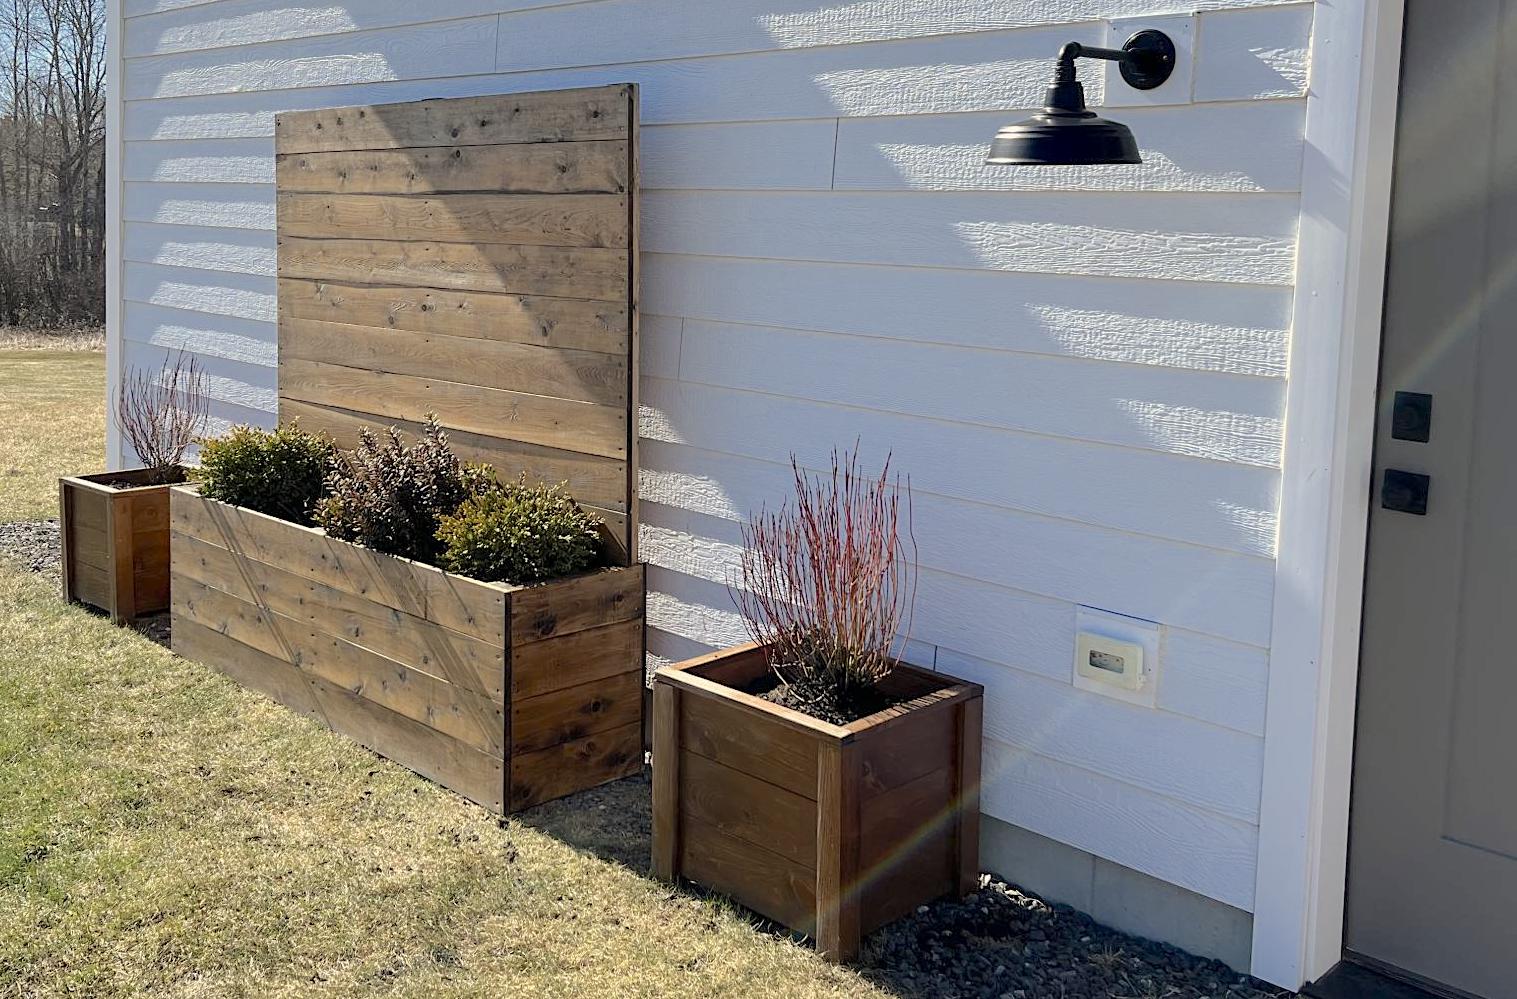
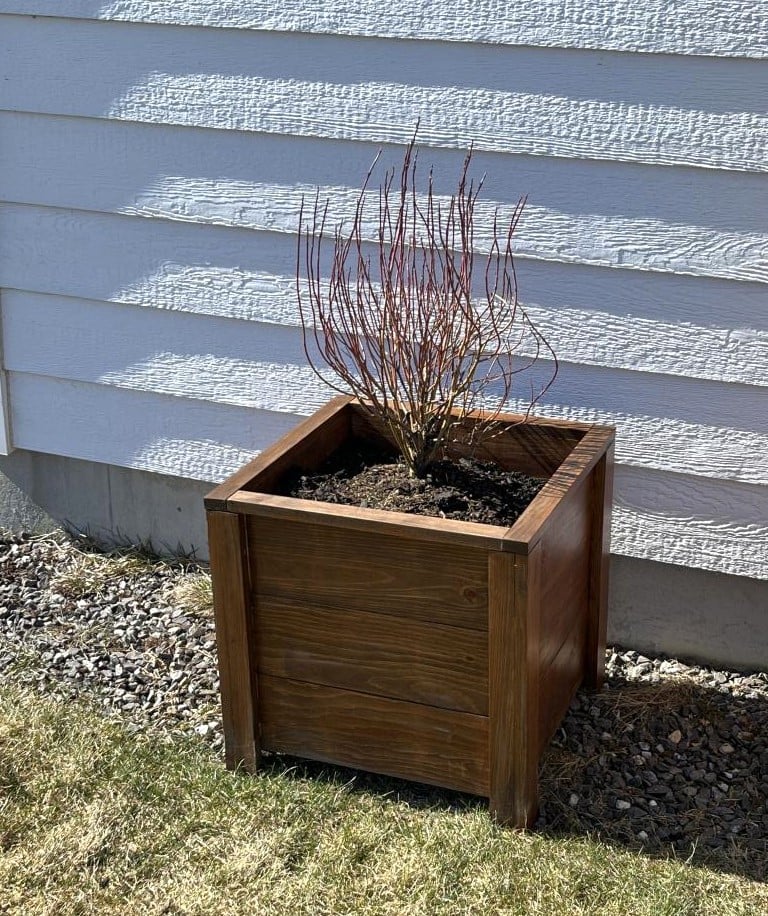
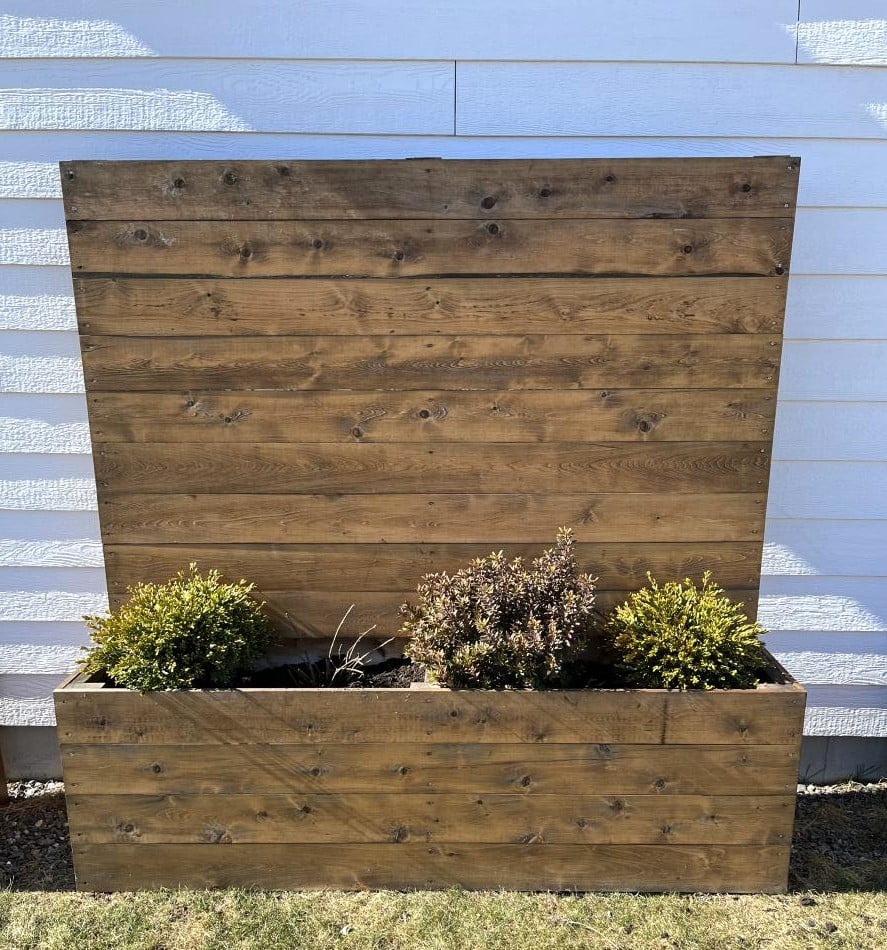
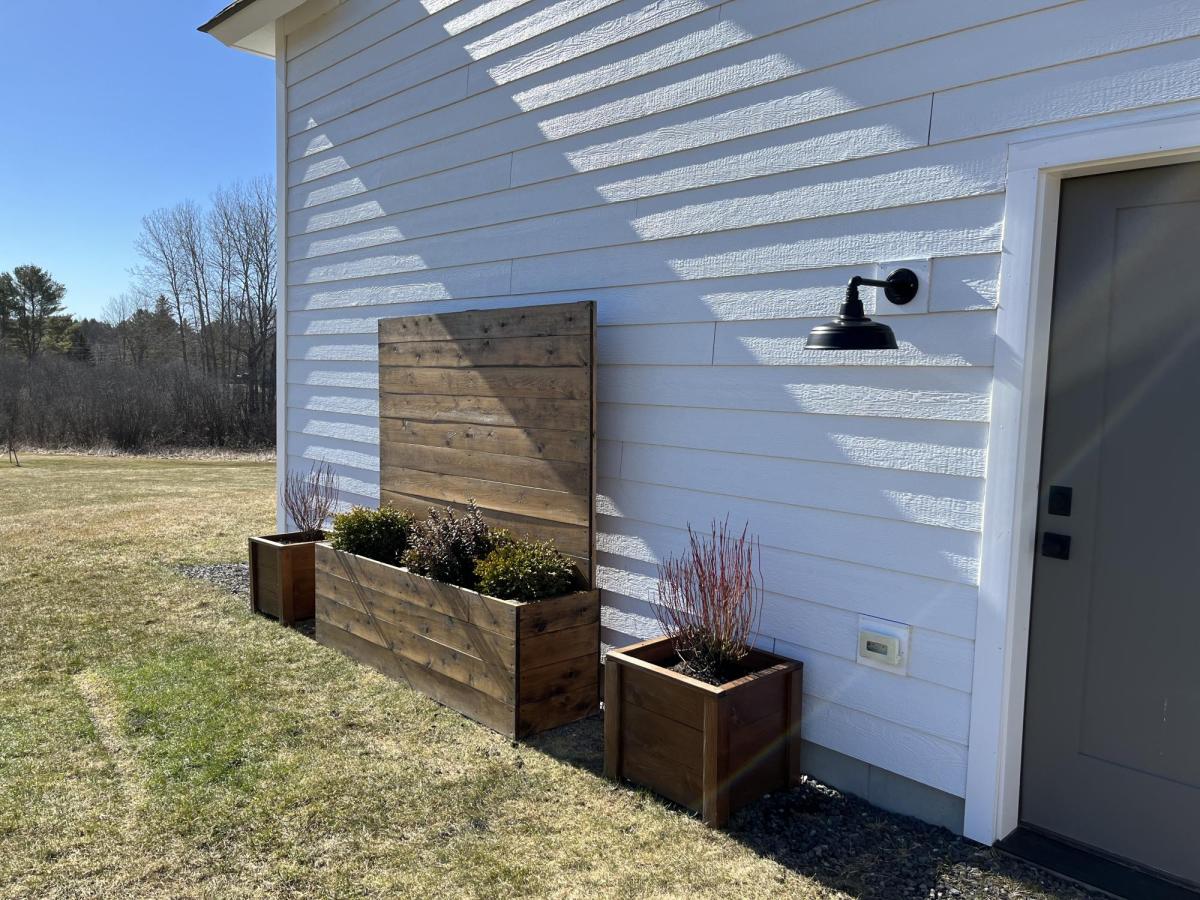
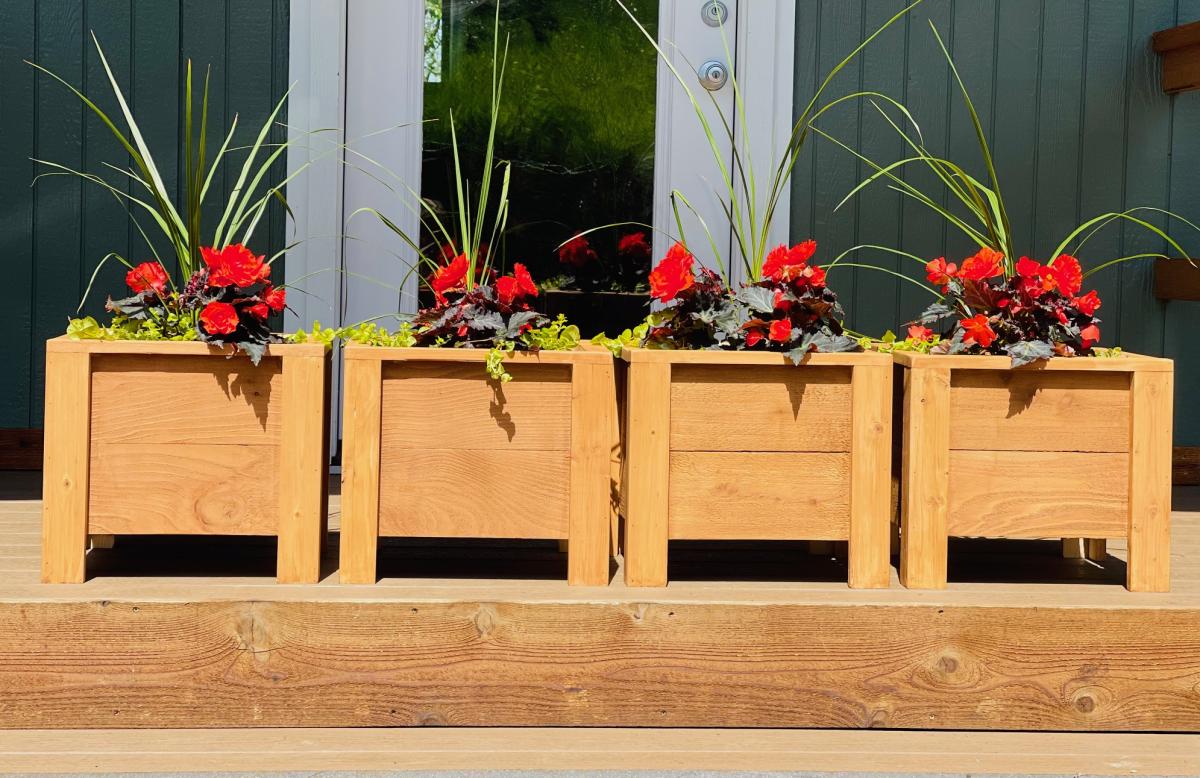
These planters are exactly what we needed to warm up this blank siding! The smaller planters are made from pine, the larger from cedar.
Built from Plan(s)
These planters are exactly what we needed to warm up this blank siding! The smaller planters are made from pine, the larger from cedar.
I've been wanting to build this plan for quite some time! Took me about 2 hours to build and 1 hour to finish. Giving these as gifts for Mother's Day! Total cost was about $15 per planter. I scaled down the design after I found the plants I wanted to put in them. Ana has the best and easiest plans!

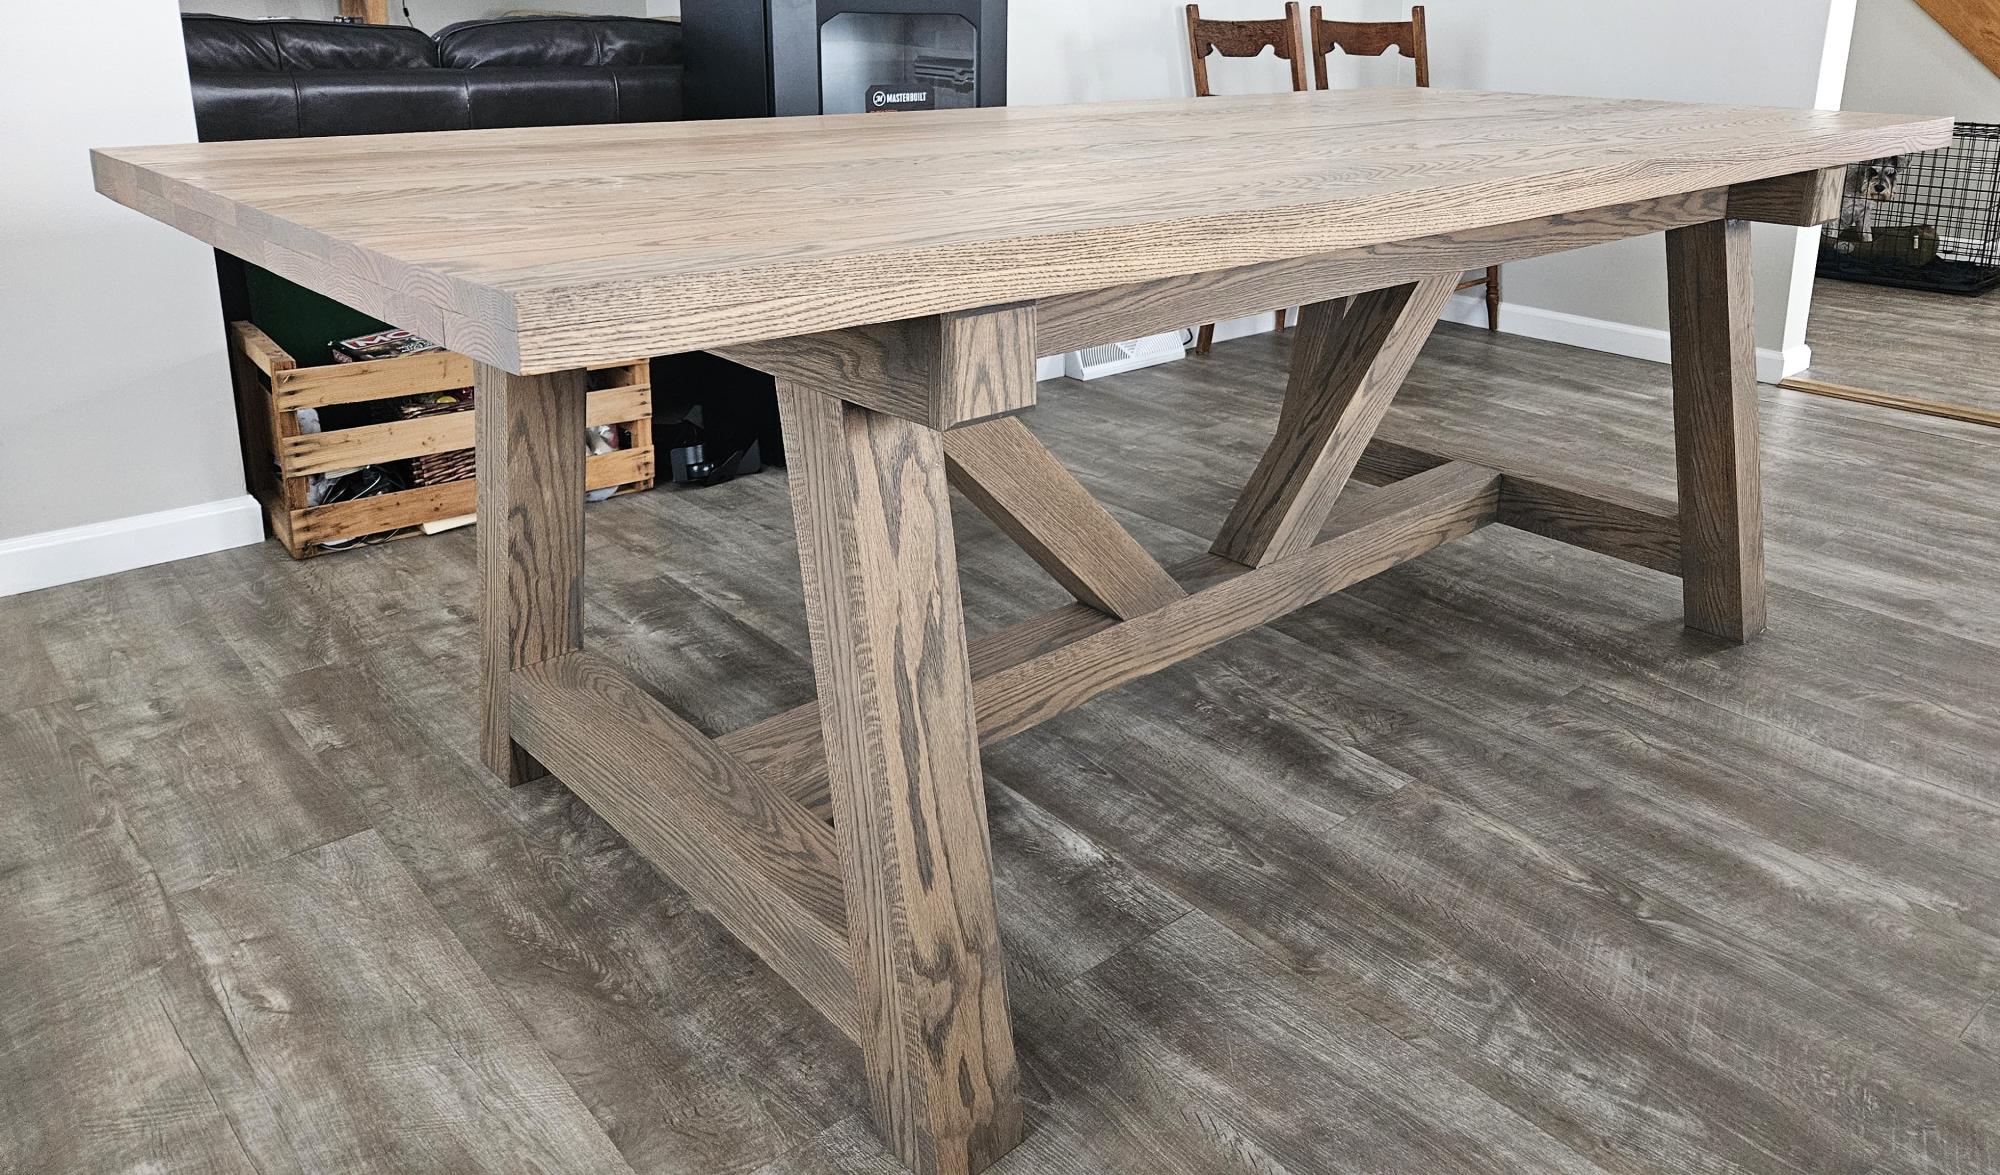
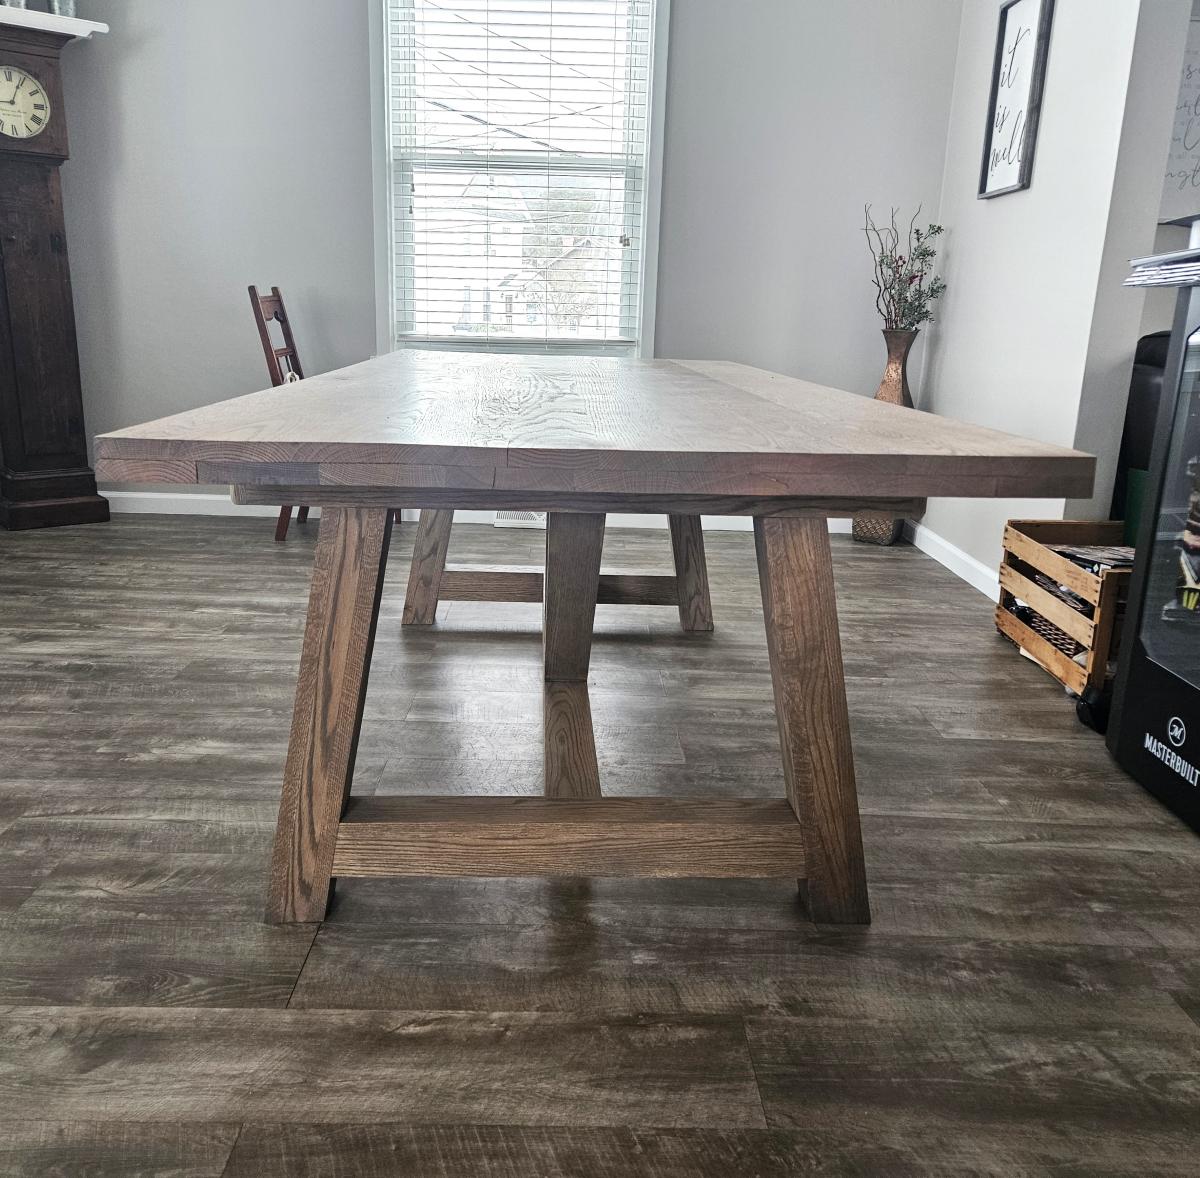
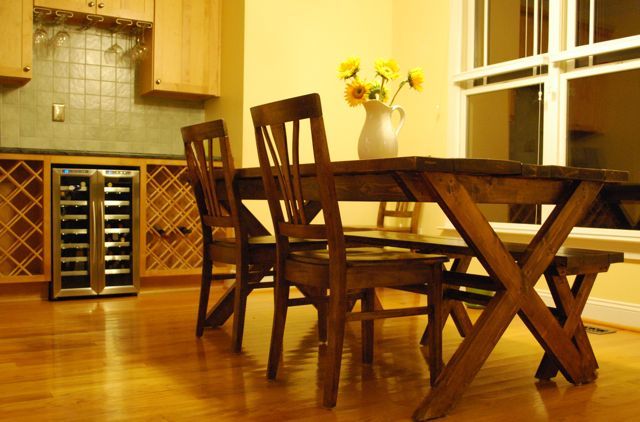
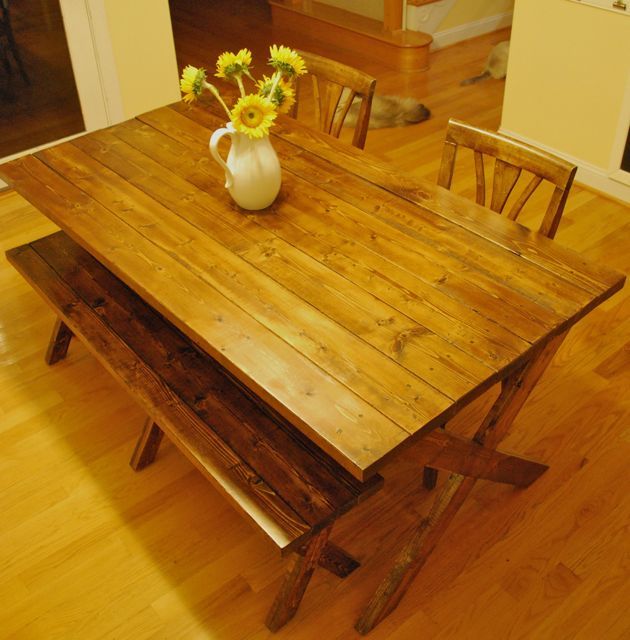
Used red oak lumber with ash grey rubio monocoat. The tabletop is 90"x40" and I made the base 64" long in order to place a chair at each end of the table.
Ashely Shook

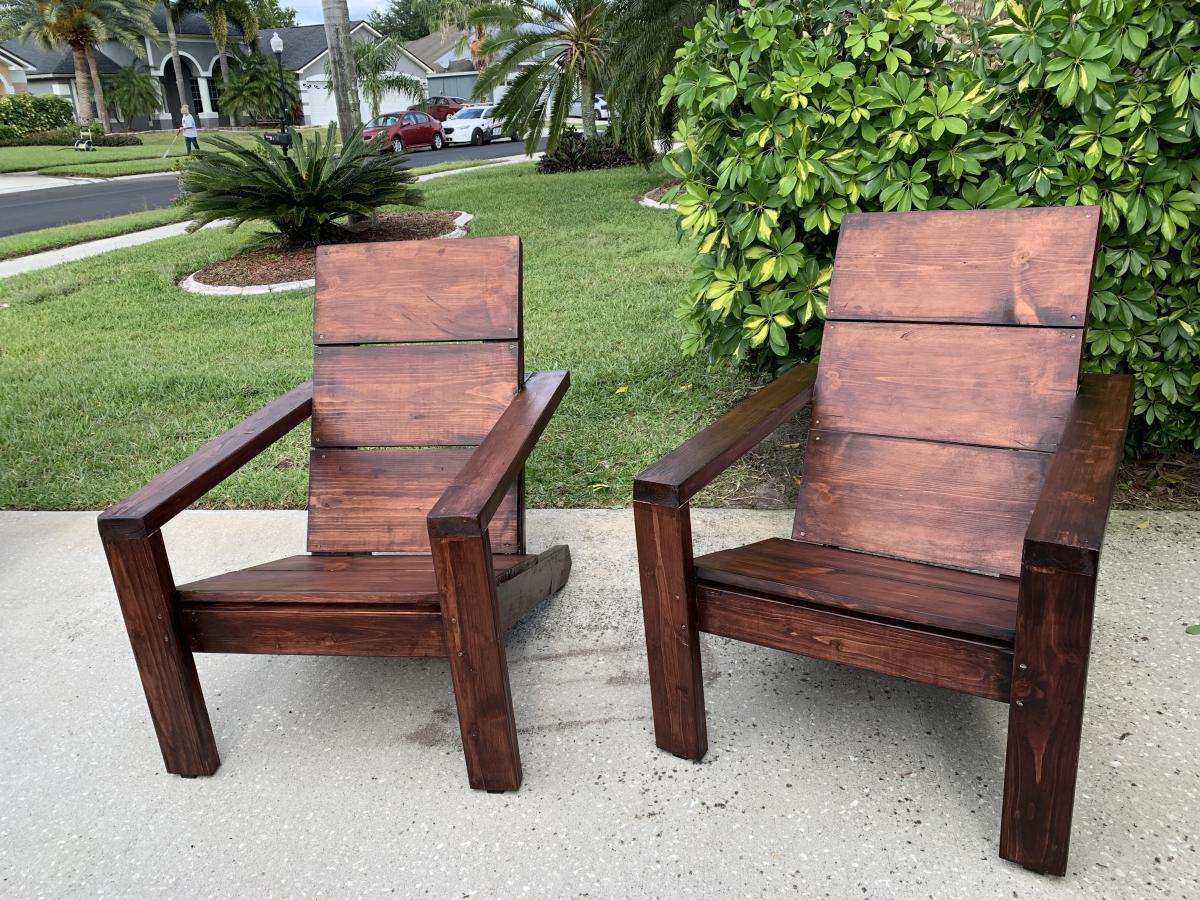
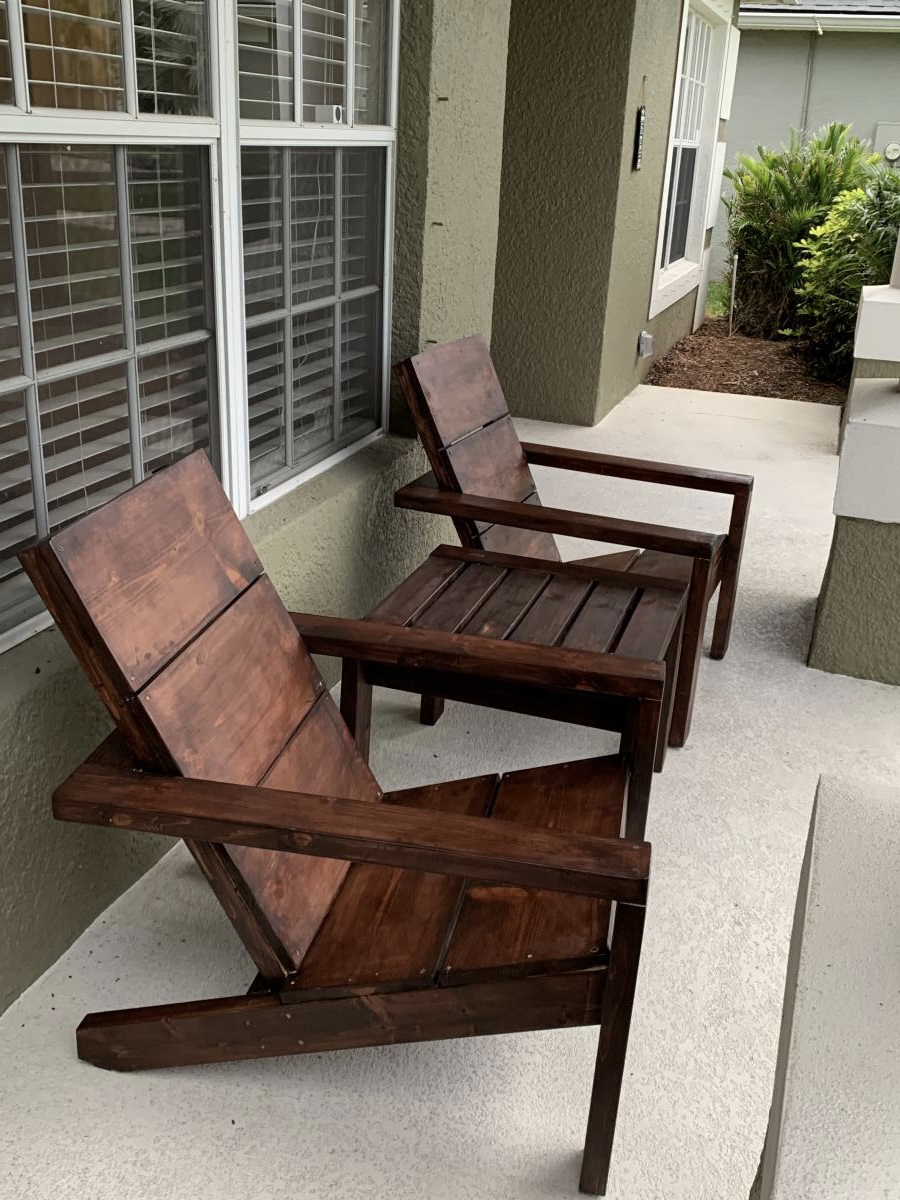
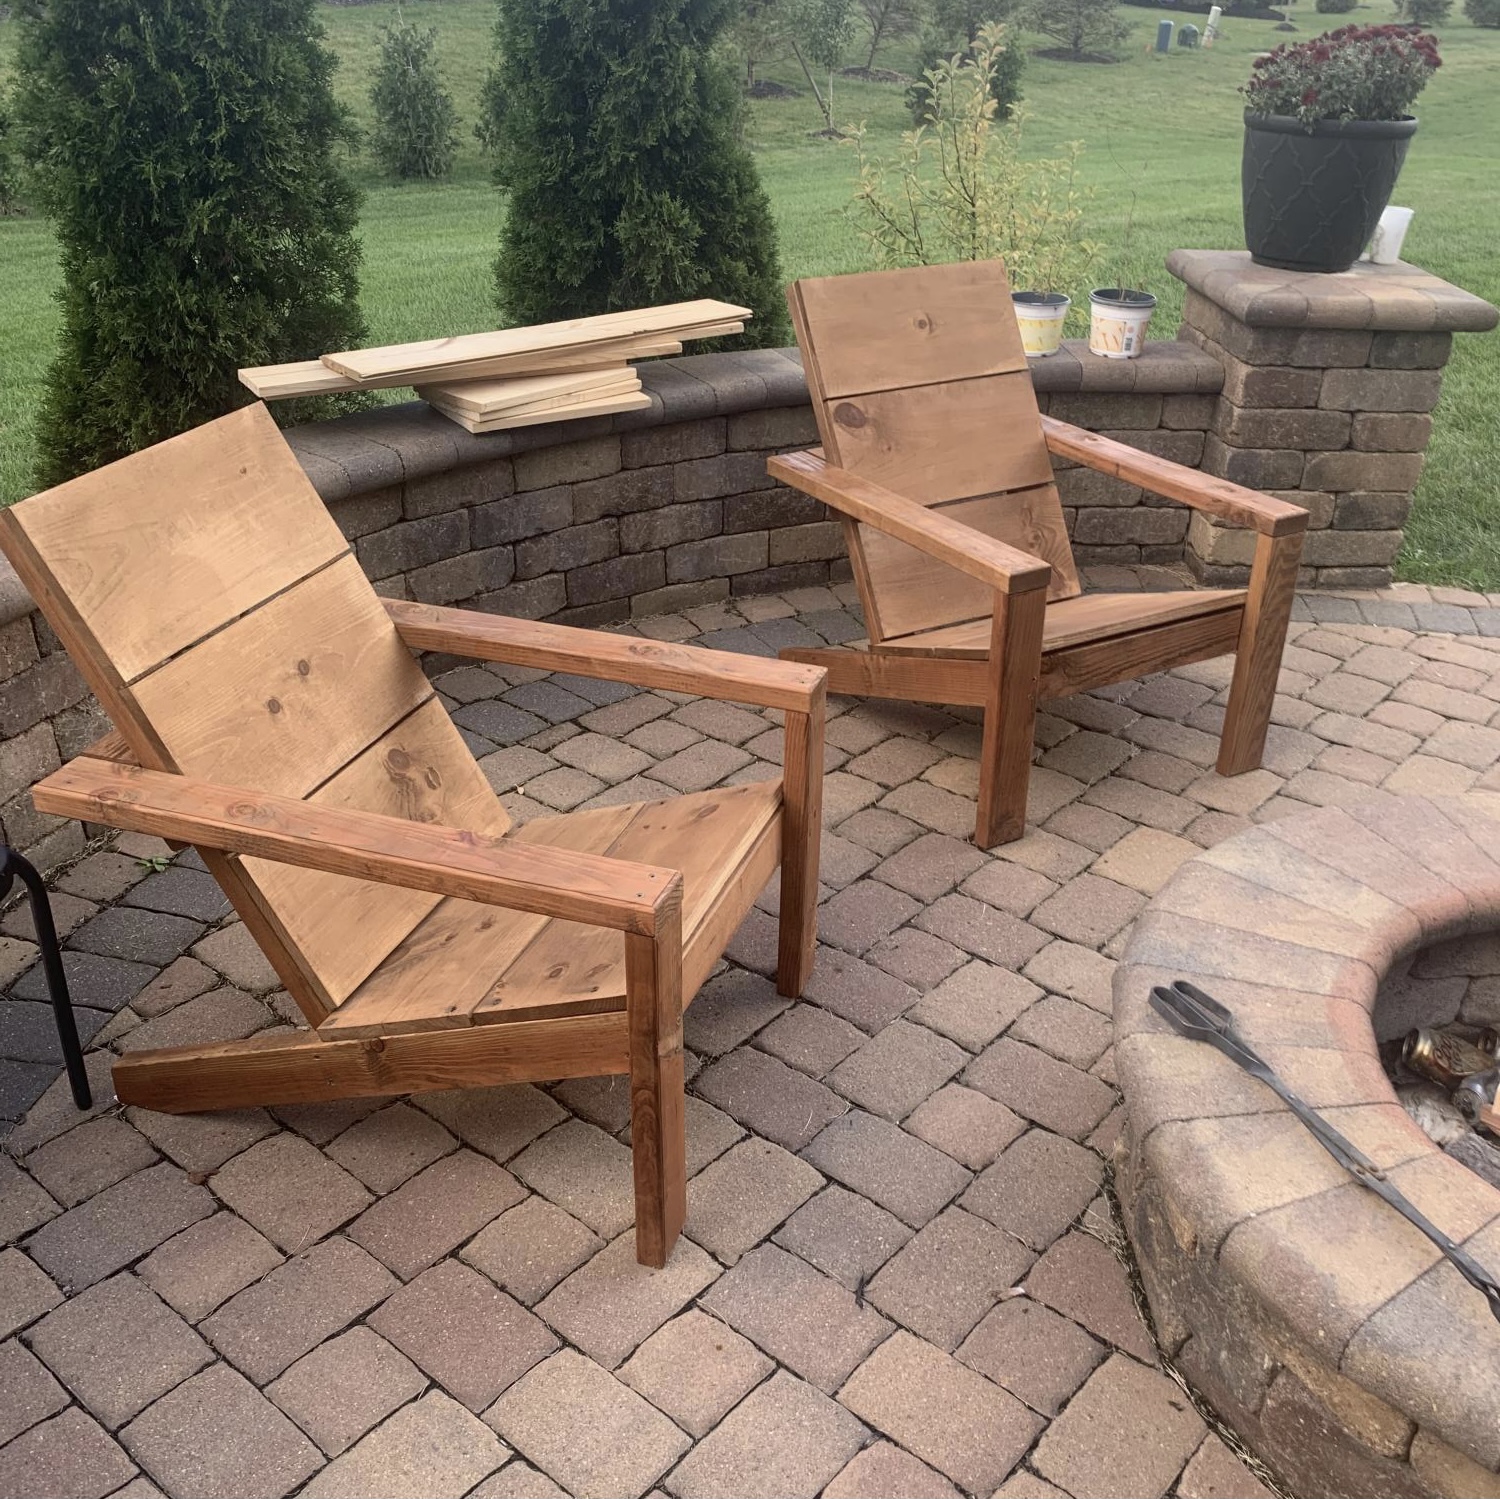
I made these modern Adirondack chairs for our business in Anchorage. GREAT and easy to build design by Ana - we upgraded the arms to tapered 2x6 and they're awesome!


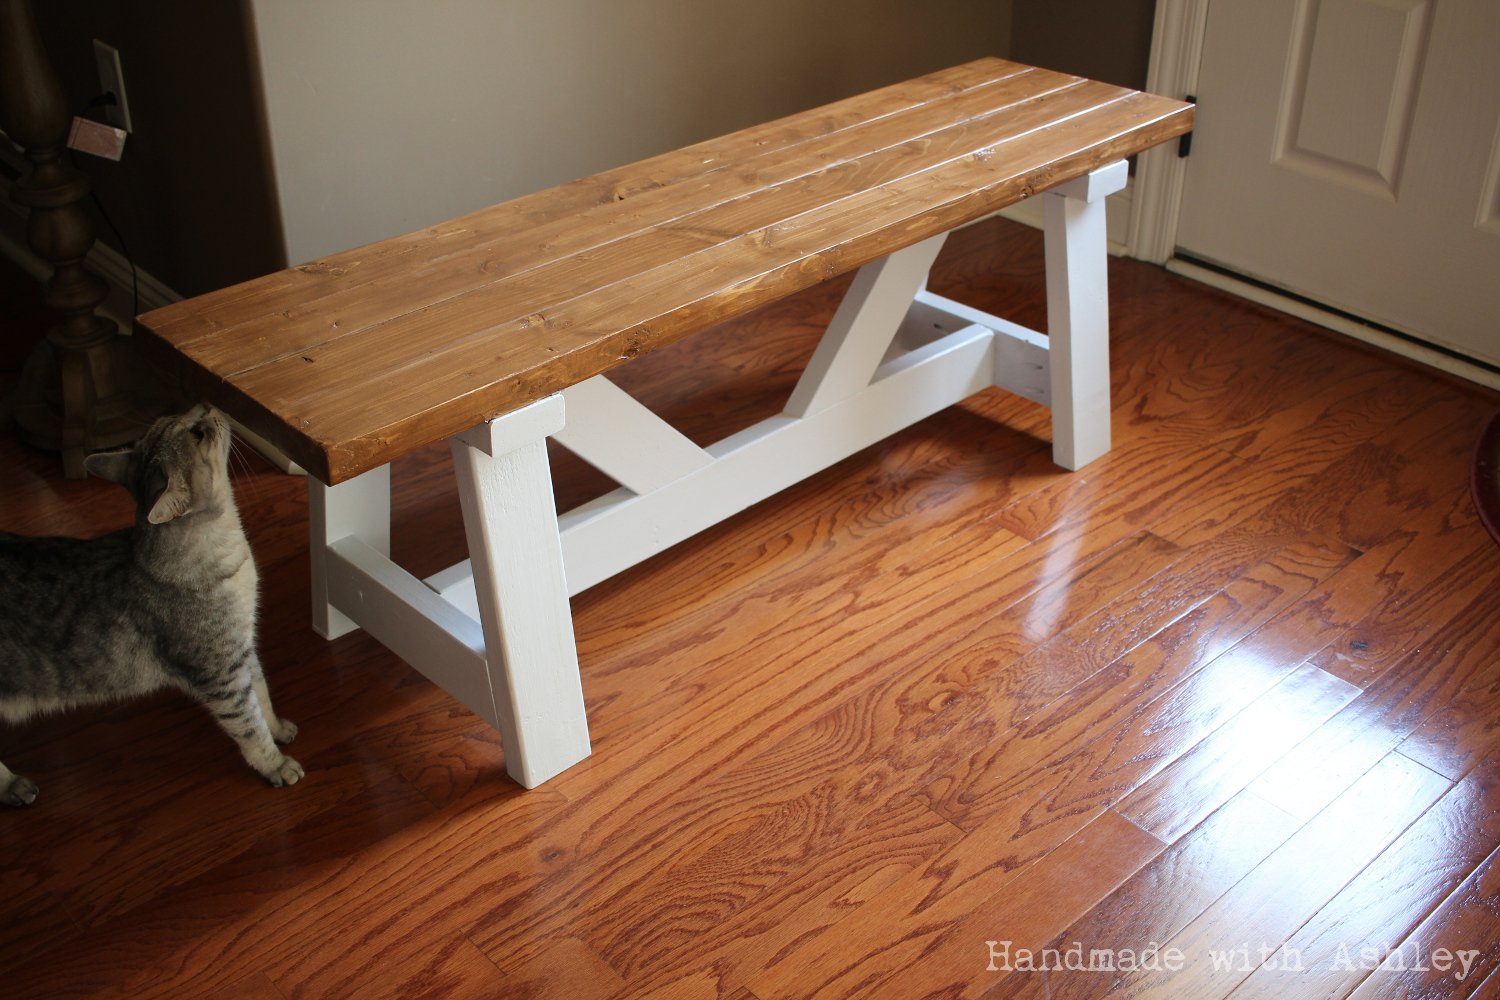
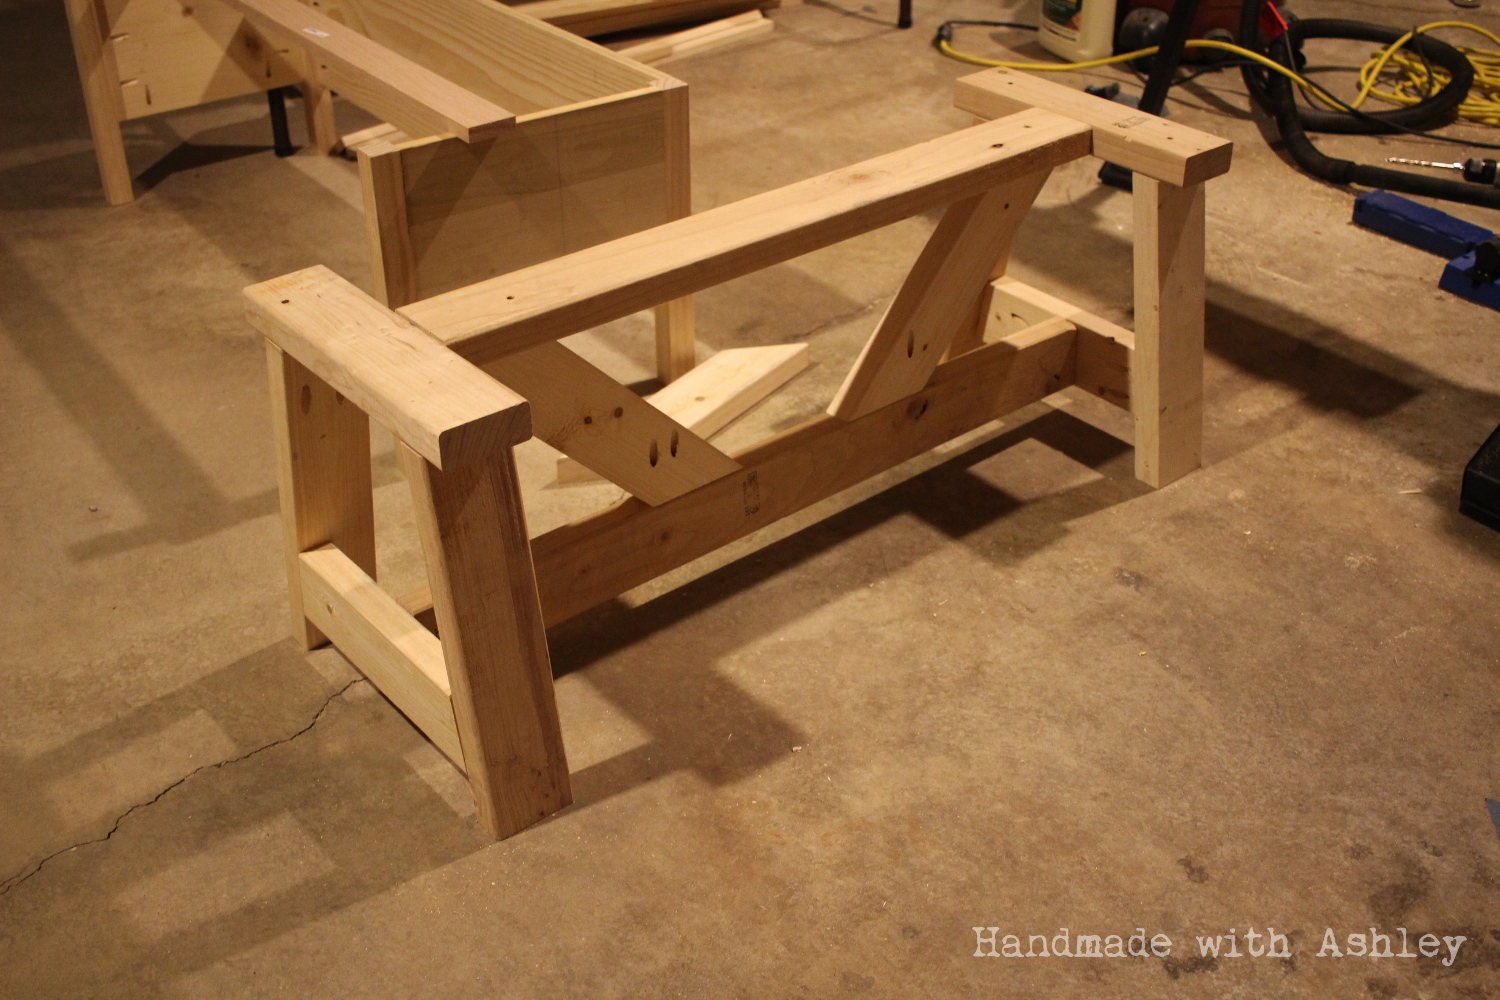
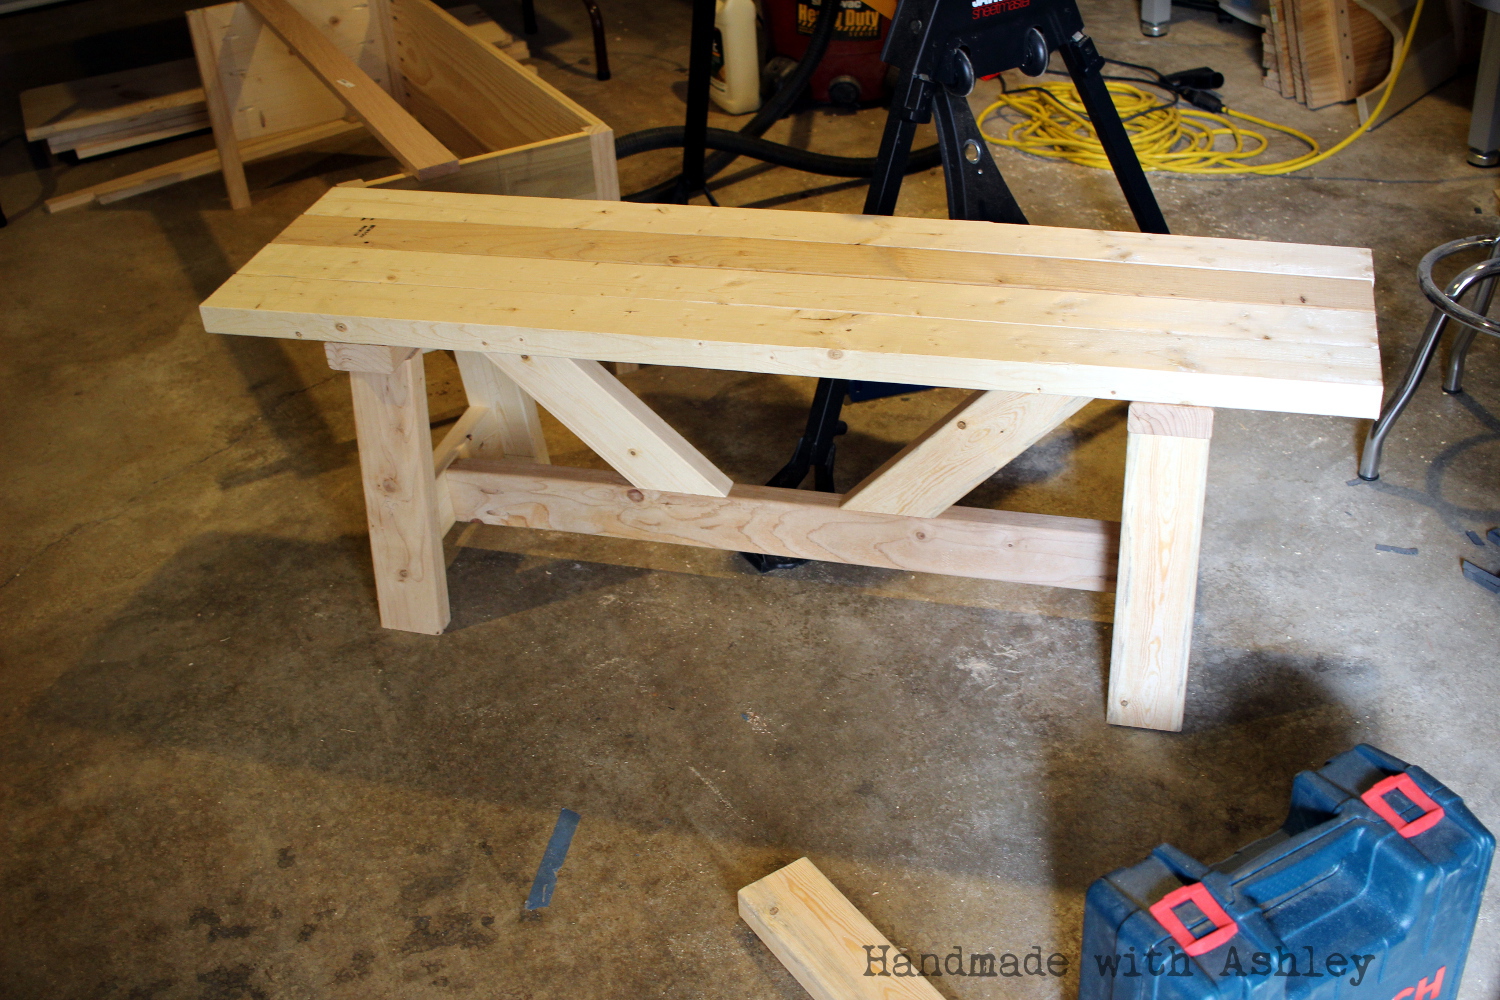
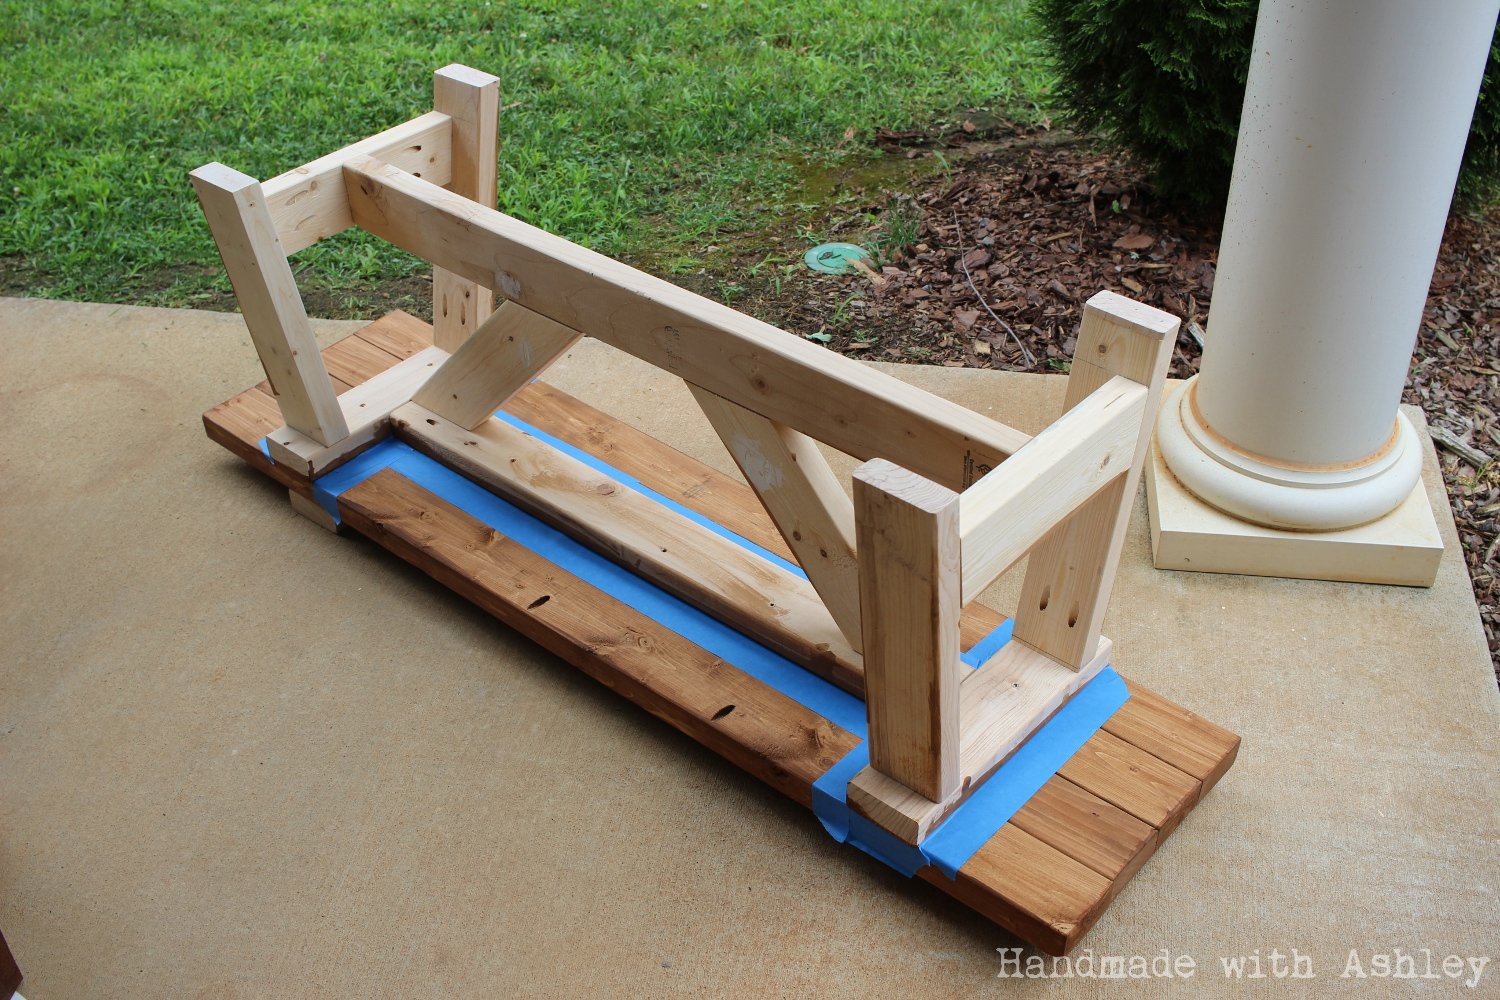
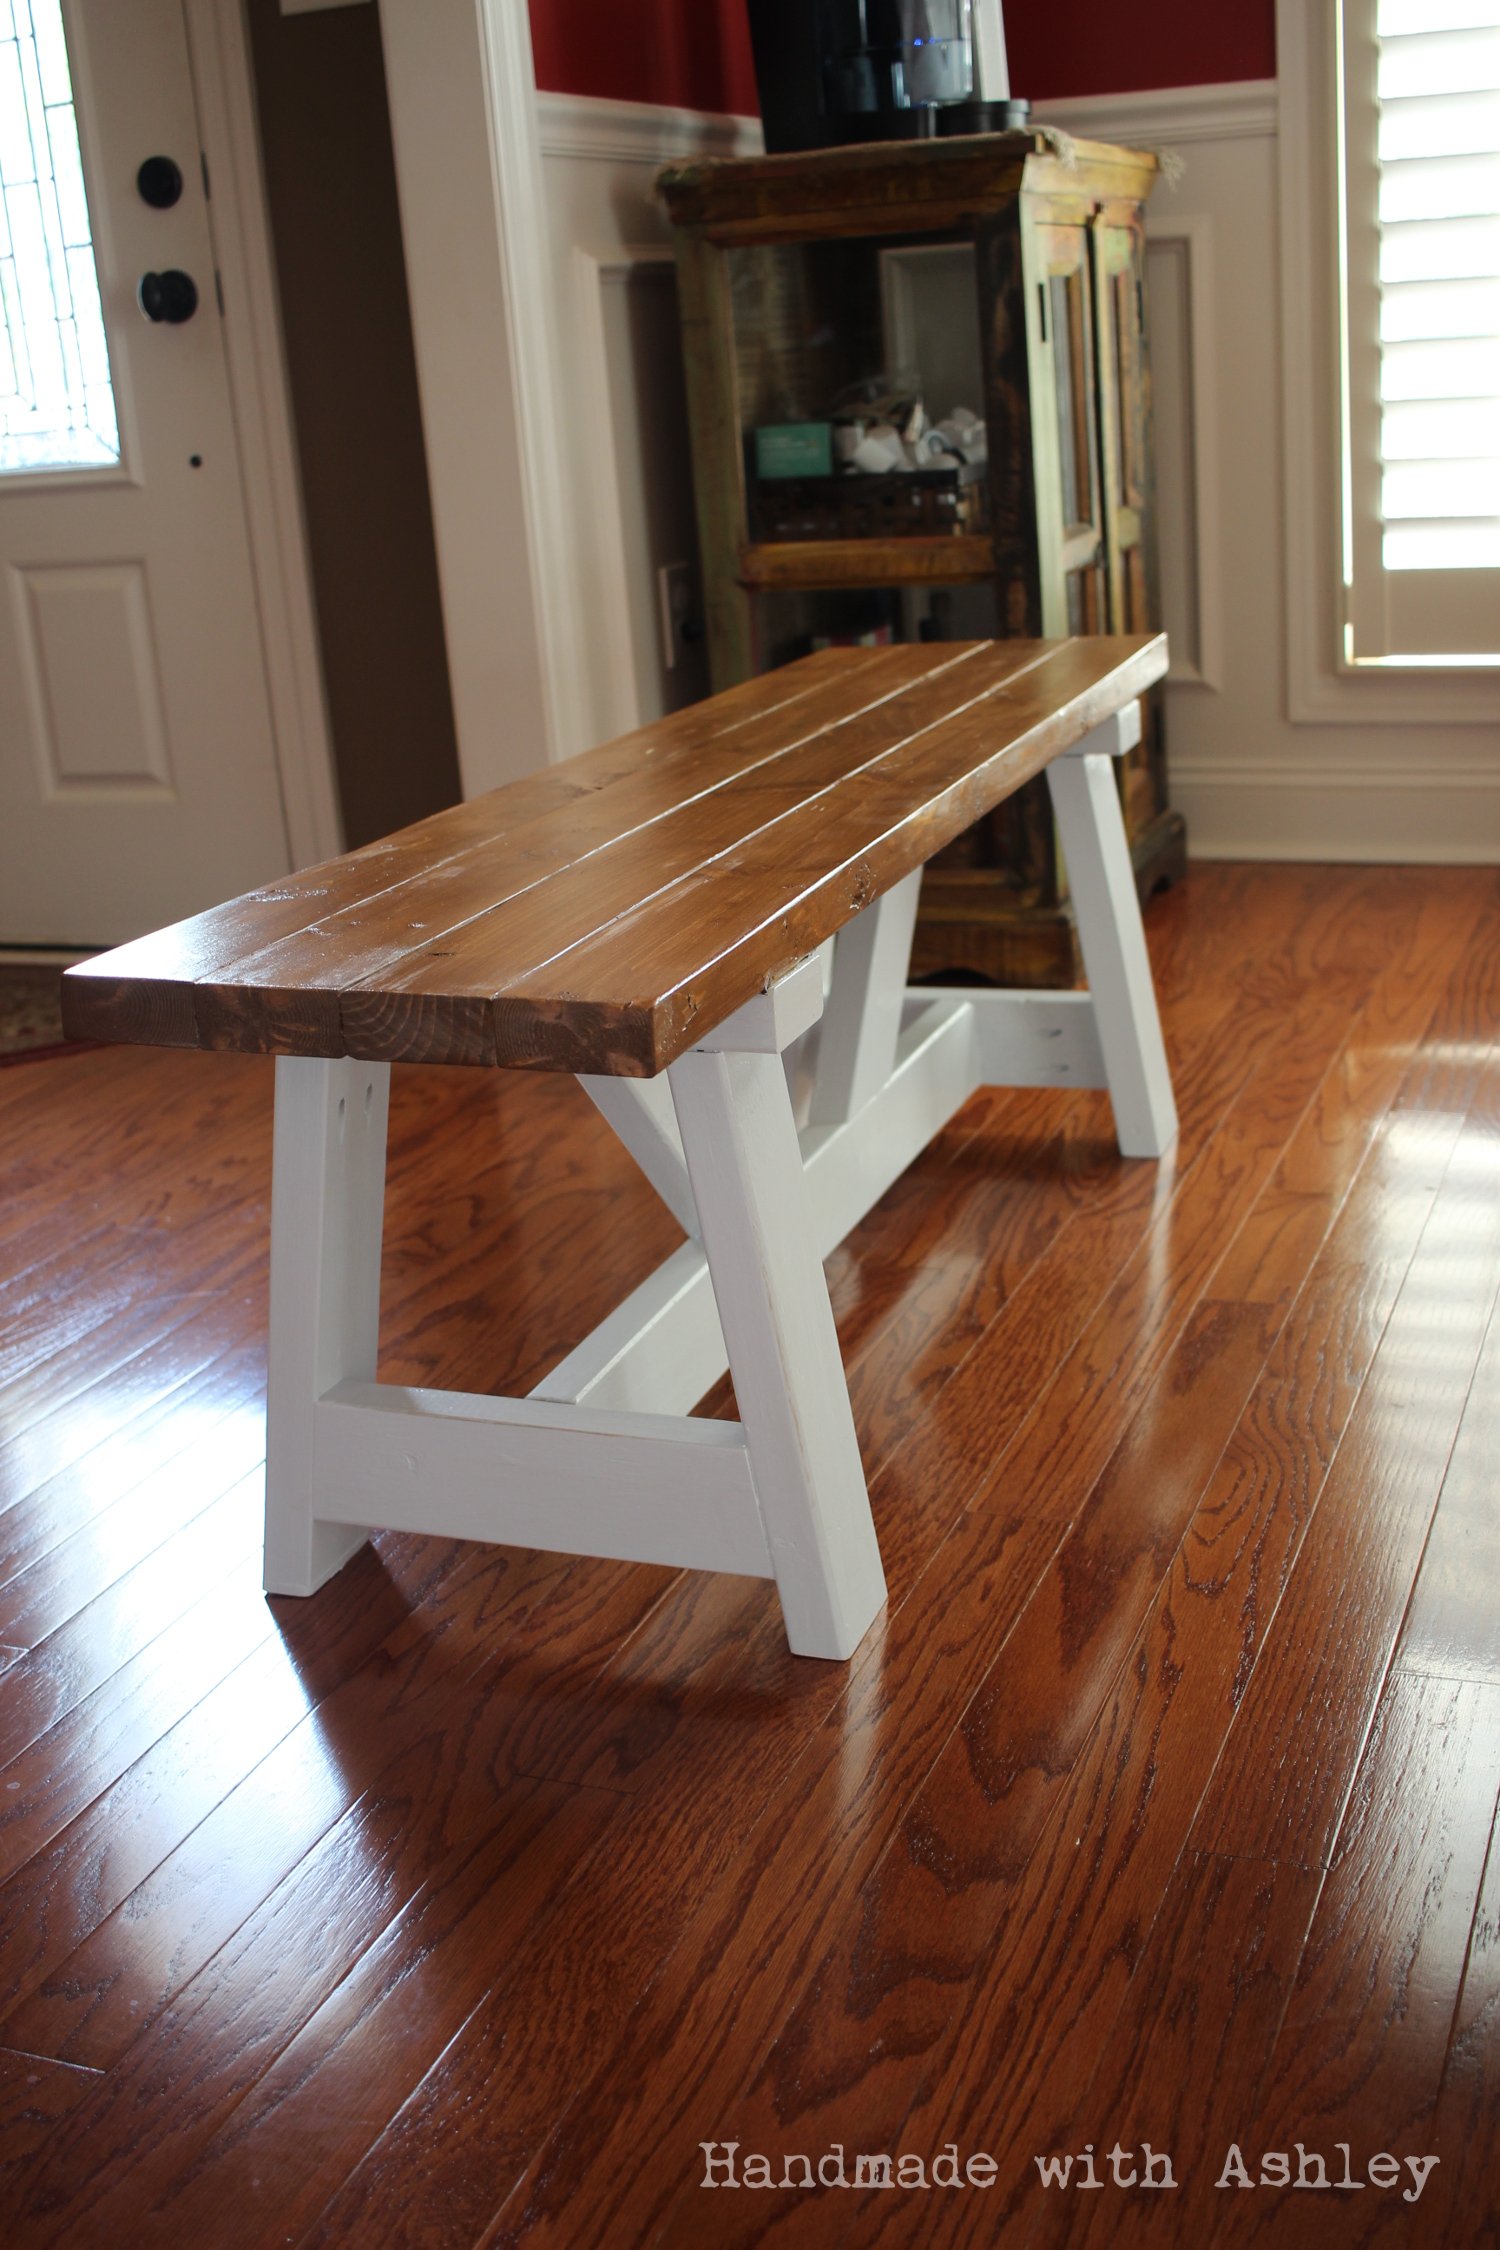
I built this for my wife for an anniversary present. She had wanted a garden bench for some time but the ones that she wanted were between $500-$700 which is ridiculous for this type of bench. So, I did a search on here for garden benches but there weren't really any plans for them and the few brag plans were not really the type of bench I was looking for. I printed off a few pictures of benches that I liked and got to work. The front and back legs a 2x6 and a 1x6 glued together and then cut to be straight. I wanted something thicker then just a plain old 2x6. If I had to do this again though, I would have just glued 3 1X6's together. The reason being, is that 1x6's usually do not have a rounded edge and a 2X6 does. So needless to say when you glue them together you have a nice little gap on either side. Without a table saw to take this off, its pretty difficult to get a straight cut. But I ended up getting it right after sweating for a few hours in the garage. The bench stands 36 inches high, 48inches wide and about 18 inches deep. The seat height is right at 18in also.
In the unfinished pictures I actually had the depth being 24 inches. After sitting on it though it was just way to deep. So I pulled it apart, made the adjustments and its now much more comfortable to sit in.
If anyone has any questions or wants more details feel free to drop me a line!
Thanks!


Fri, 06/19/2015 - 13:32
Yes I think thats what they came out to be. yes the cross pieces are 2x4 and the slats are 1x4's

In reply to back legs by smz1919
Fri, 06/19/2015 - 13:34
I glued a 2x6 and a 1x6 together to get the thickness. Now that i have a table saw and a jointer this entire process would have been much easier but after getting it to look like one solid piece i just outlined the slant i wanted and cut it using a jig saw.
Fri, 06/19/2015 - 20:17
So the back slats are just glued in place right? I wonder if it would be easier to use a biscuit joiner or not
Sun, 10/23/2016 - 17:46
Wed, 05/26/2021 - 08:32
Hi Nathan
Love the look of the bench. Would you have a list of material requirements. I intend to make a bench like this and would like to know the measurements of the top back spar (the shaped one).
Here in the Uk our timber yards do not always supply the same cuts as the US so I need to have some idea of the pieces I need
Many thanks
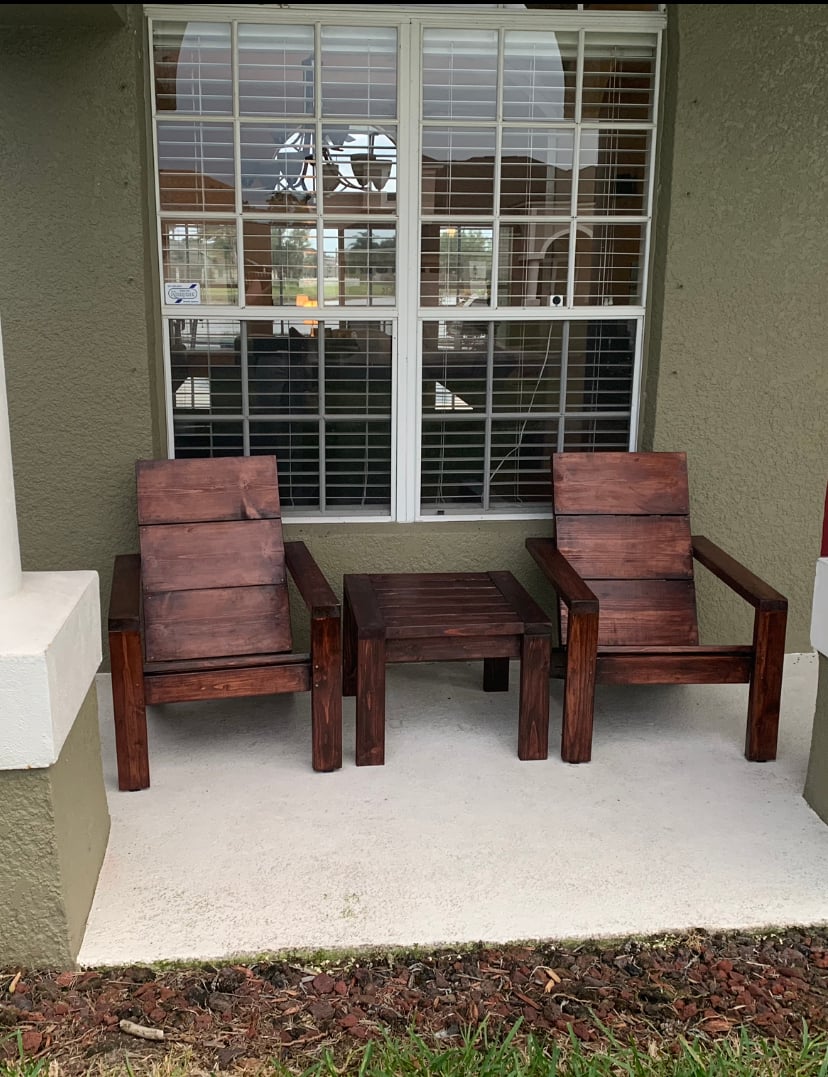
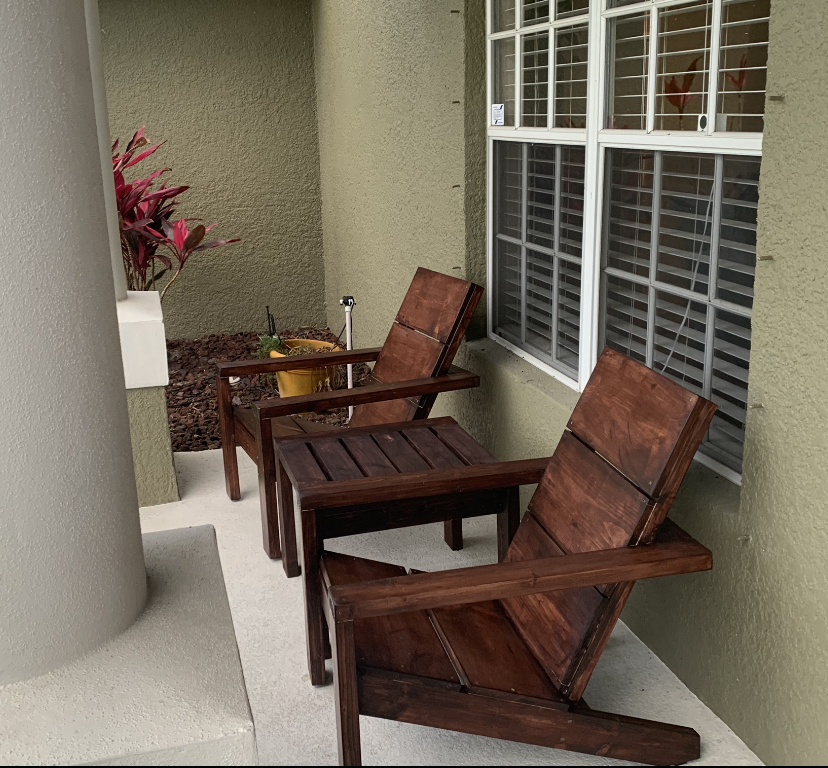
These modern Adirondack chairs were my first wood working project ever and they turned out awesome! I wanted to build a small table to complete the set and Ana’s new side table plans were exactly what I was looking for. I am truly amazed at how easy these projects were to make and how great they look on our front patio. Ana’s step-by-step plans make it so simple. My wife and I can’t wait to build some more of these projects for our backyard lanai and pool area.


Mon, 04/12/2021 - 10:21
Amazing job on your first build, I see more handmade pieces in your future!
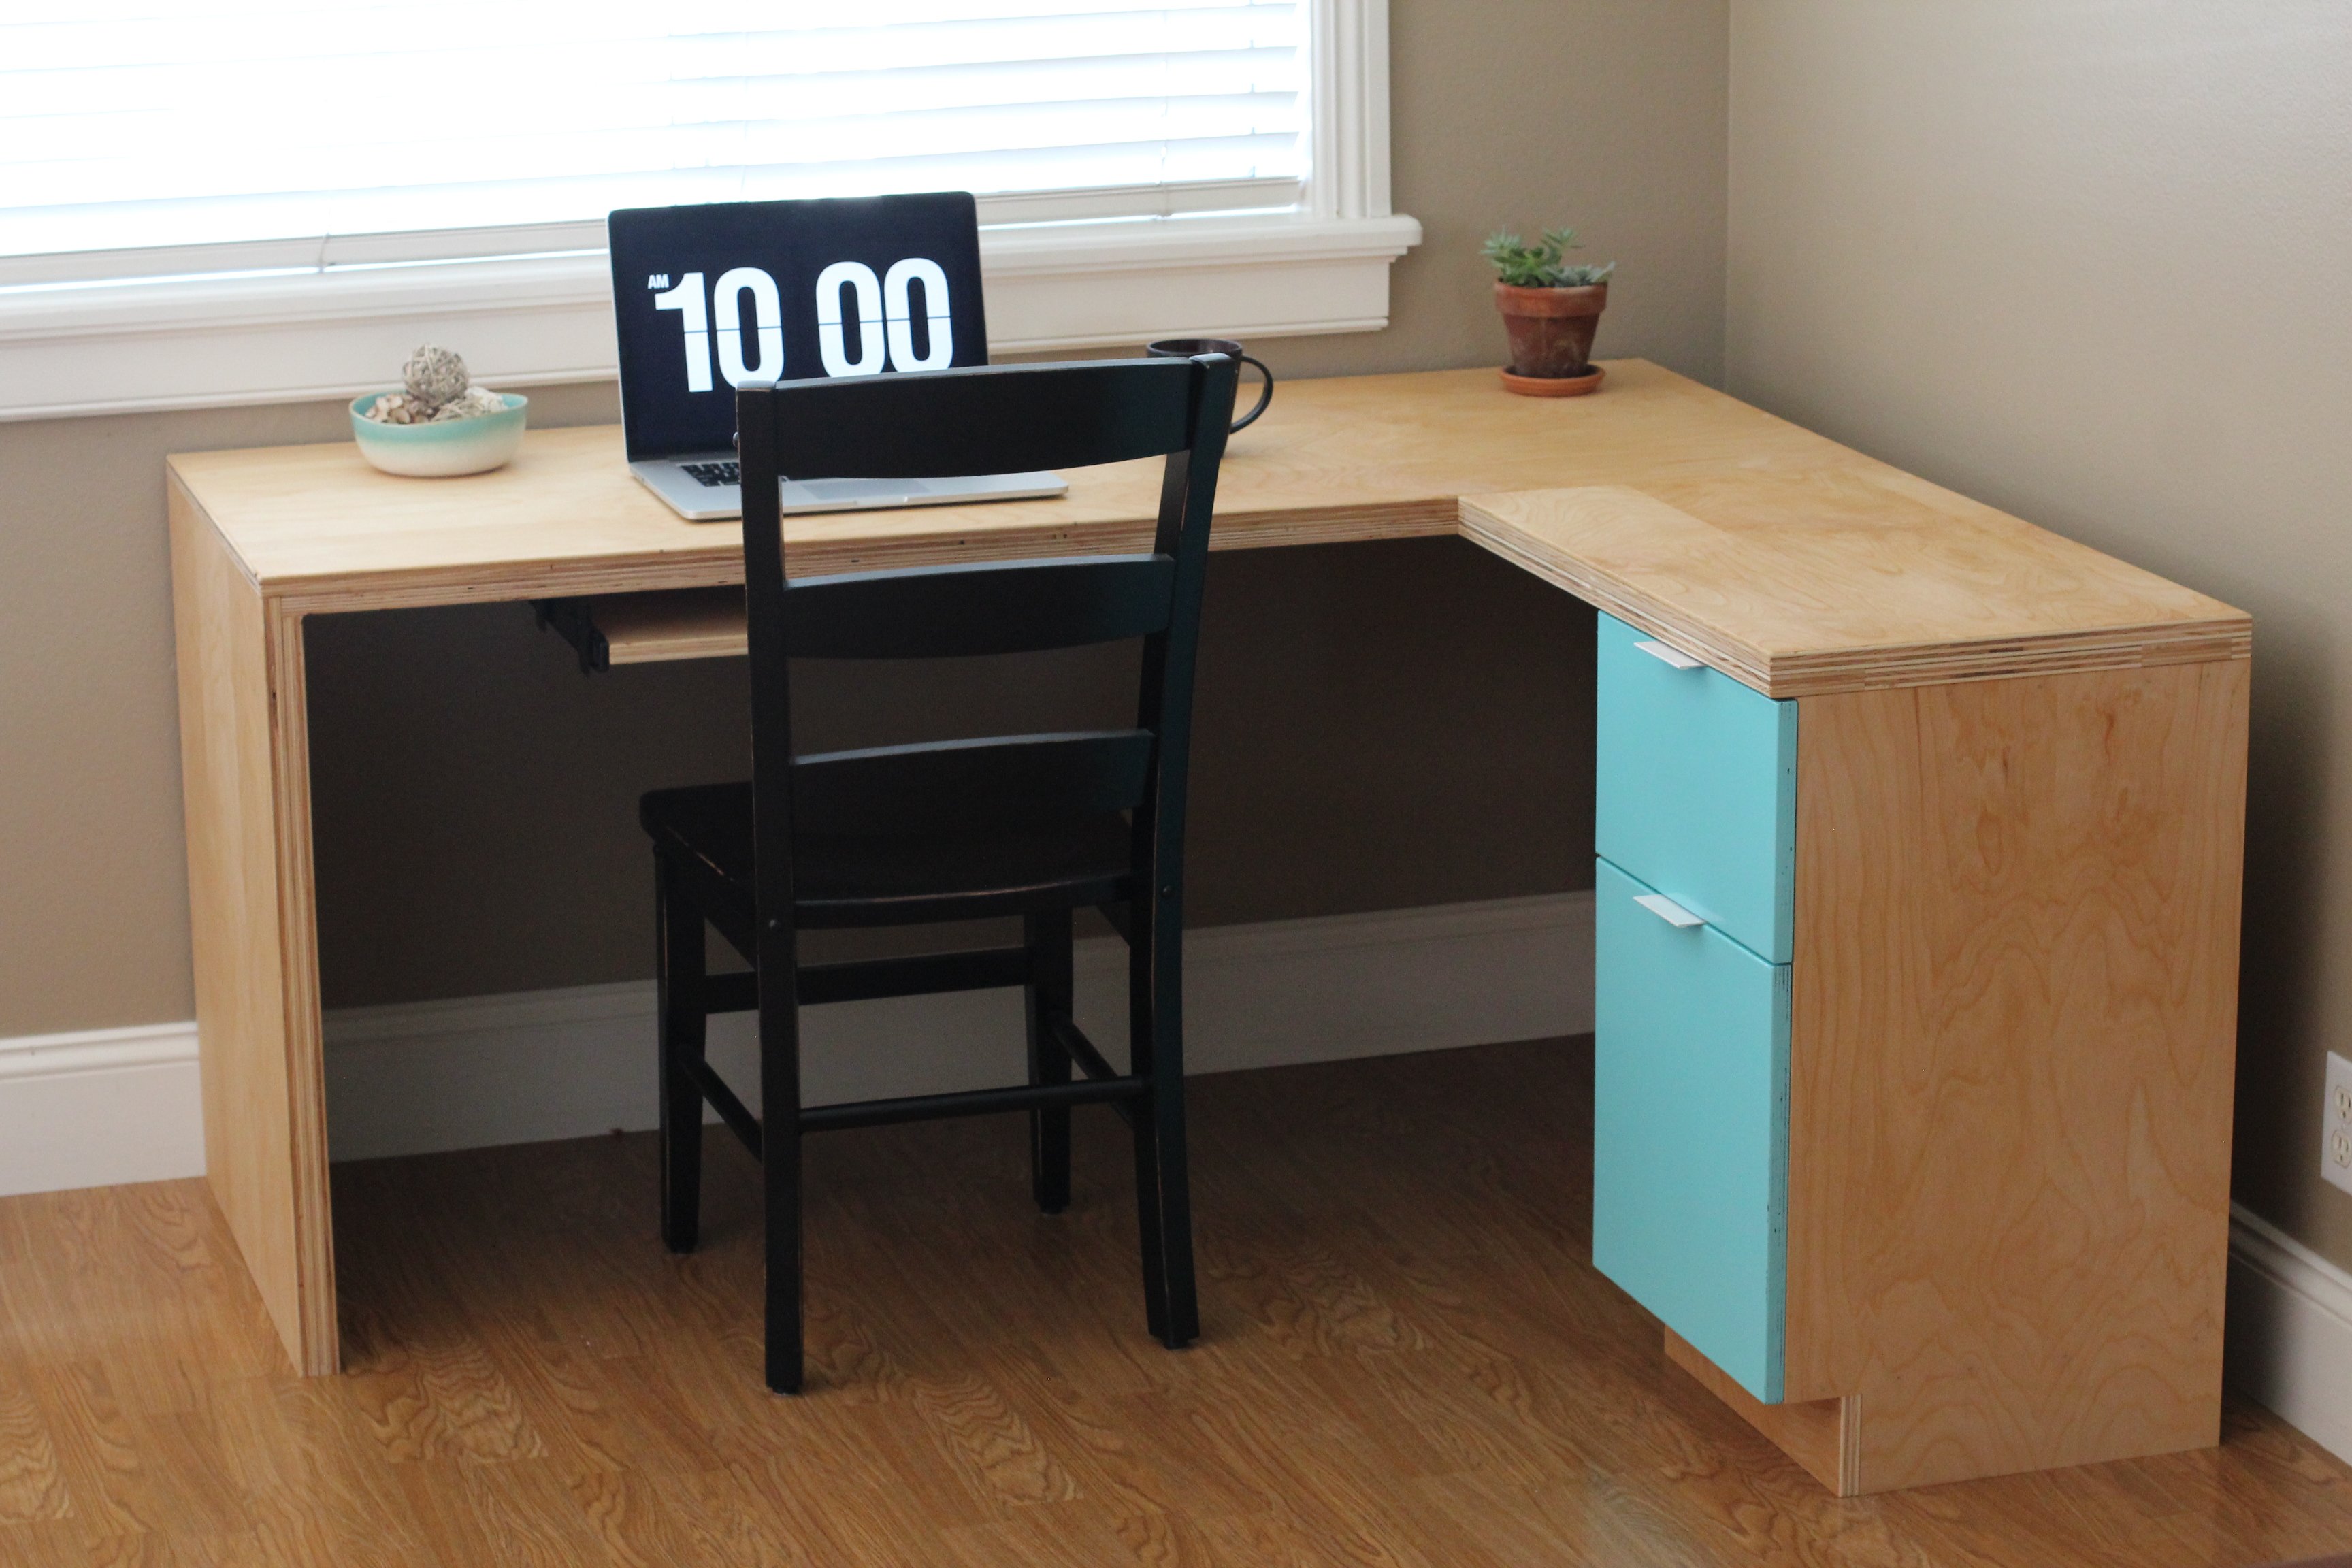
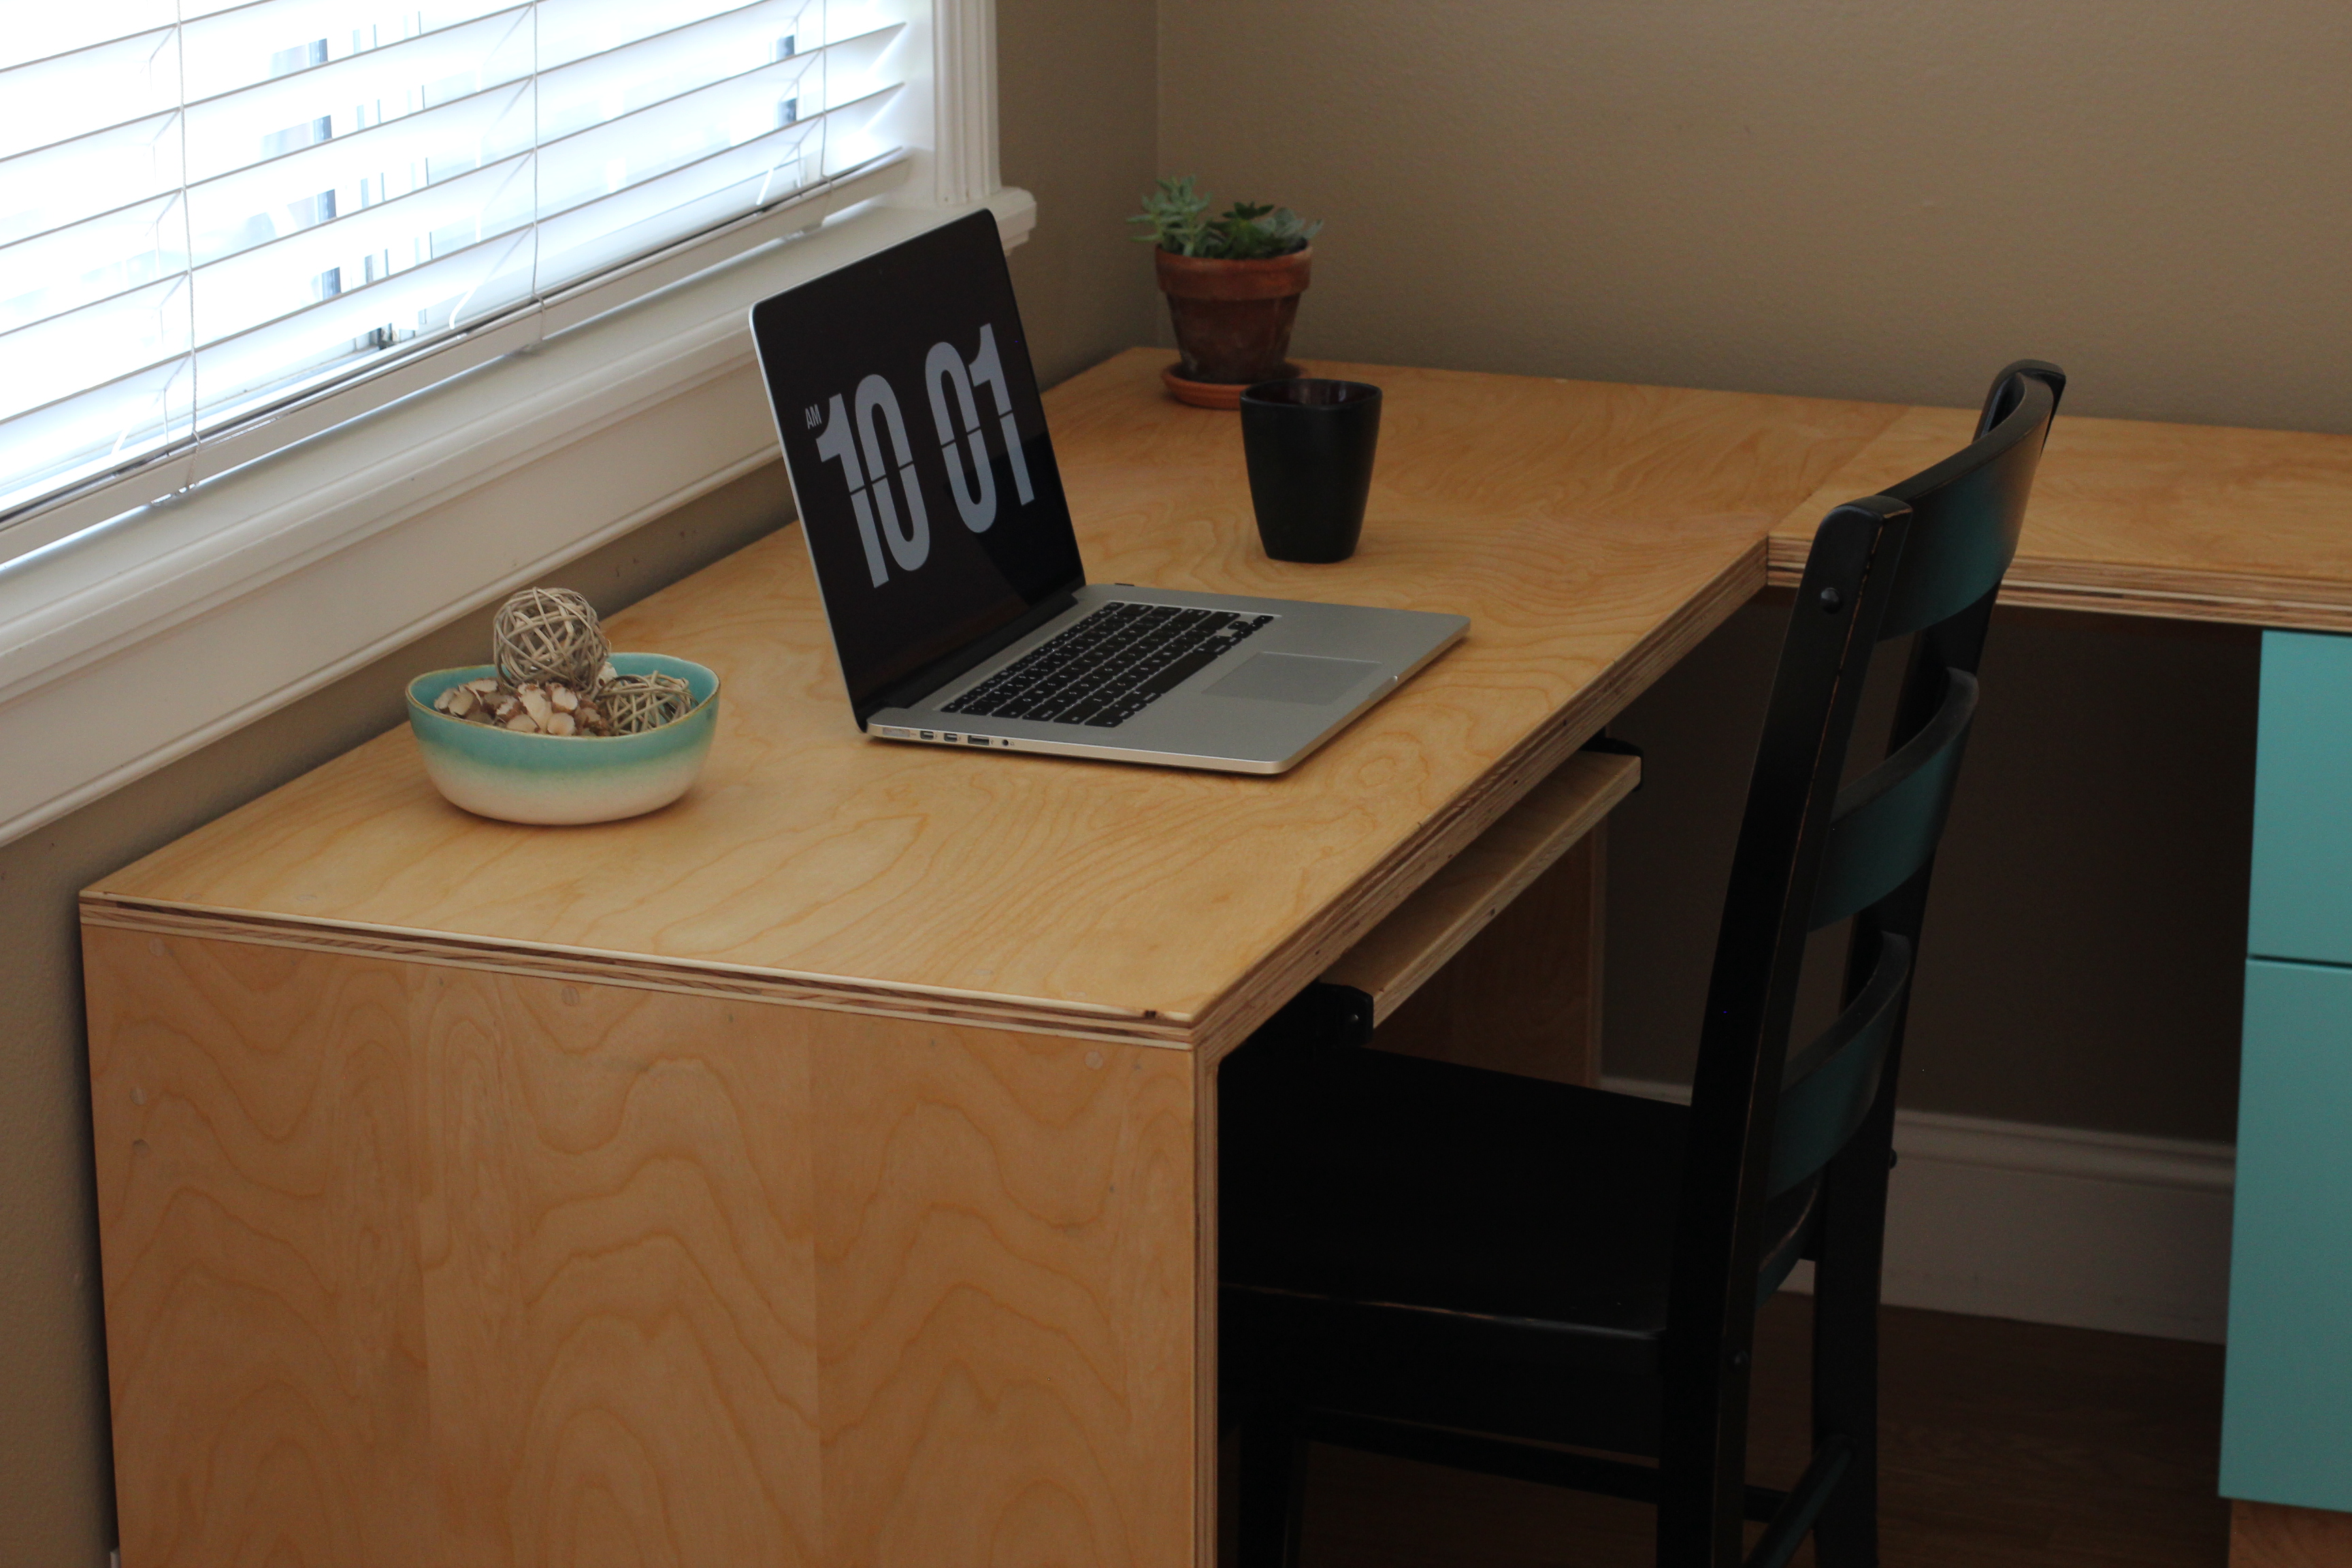
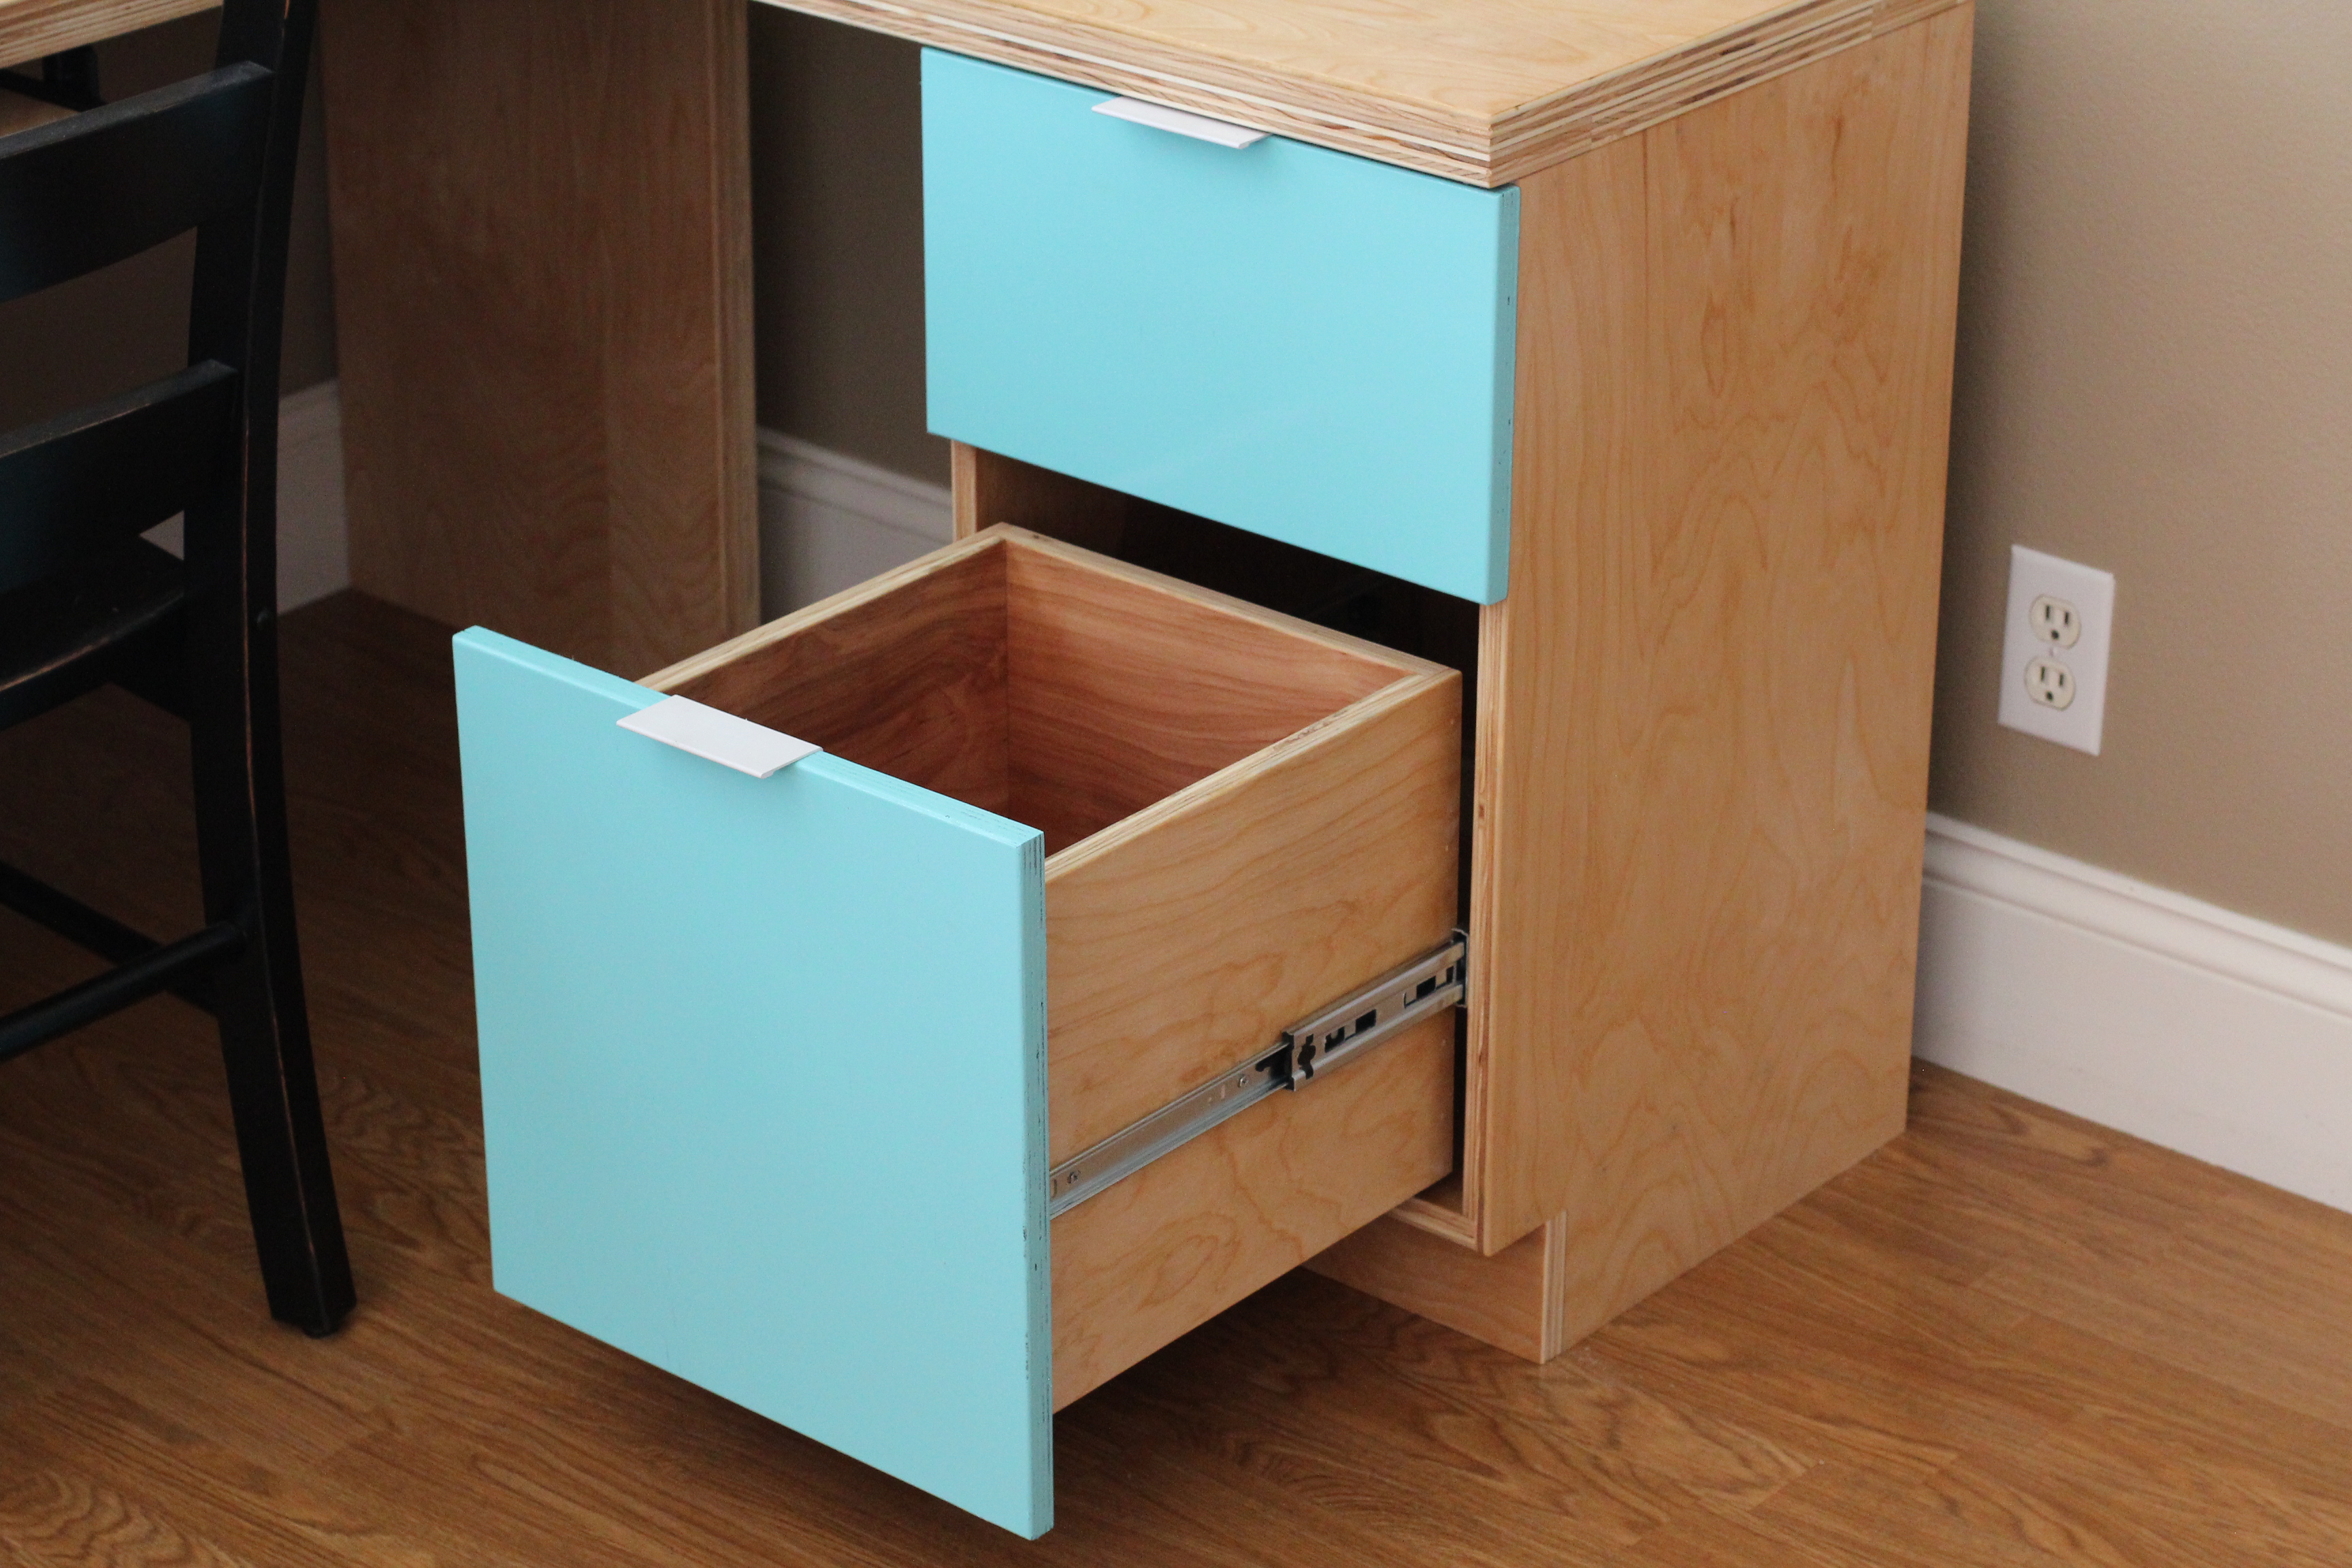
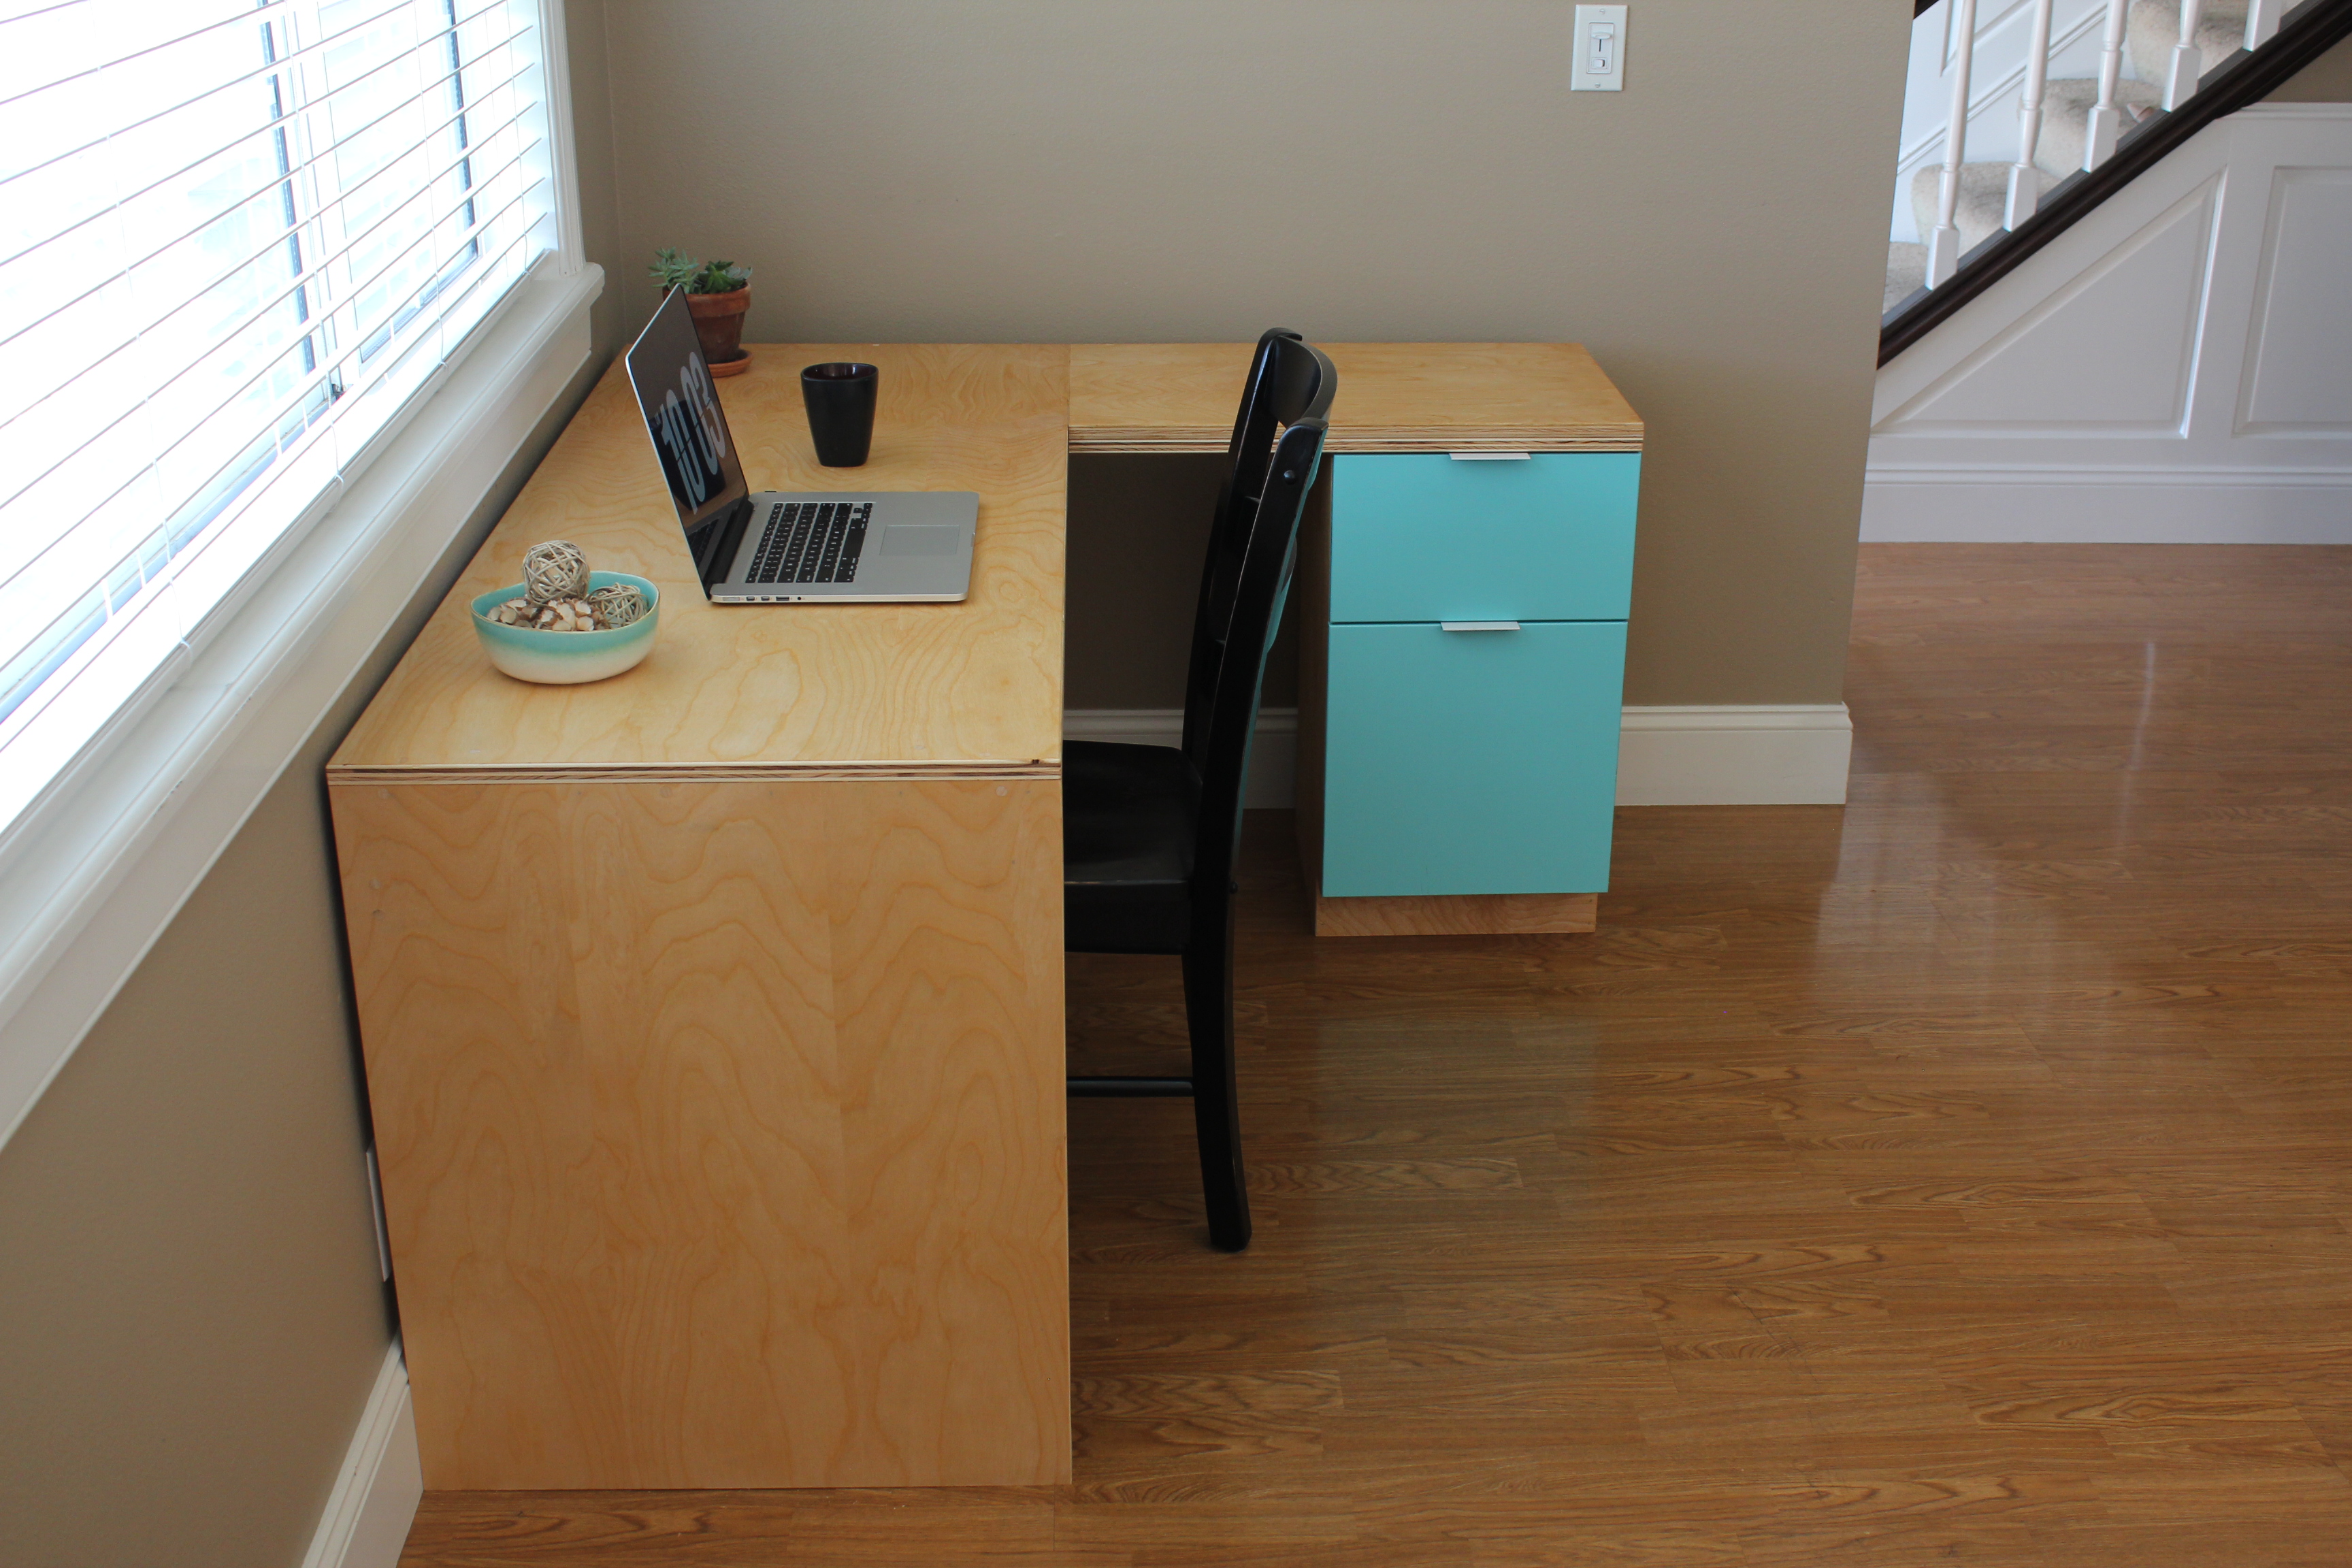
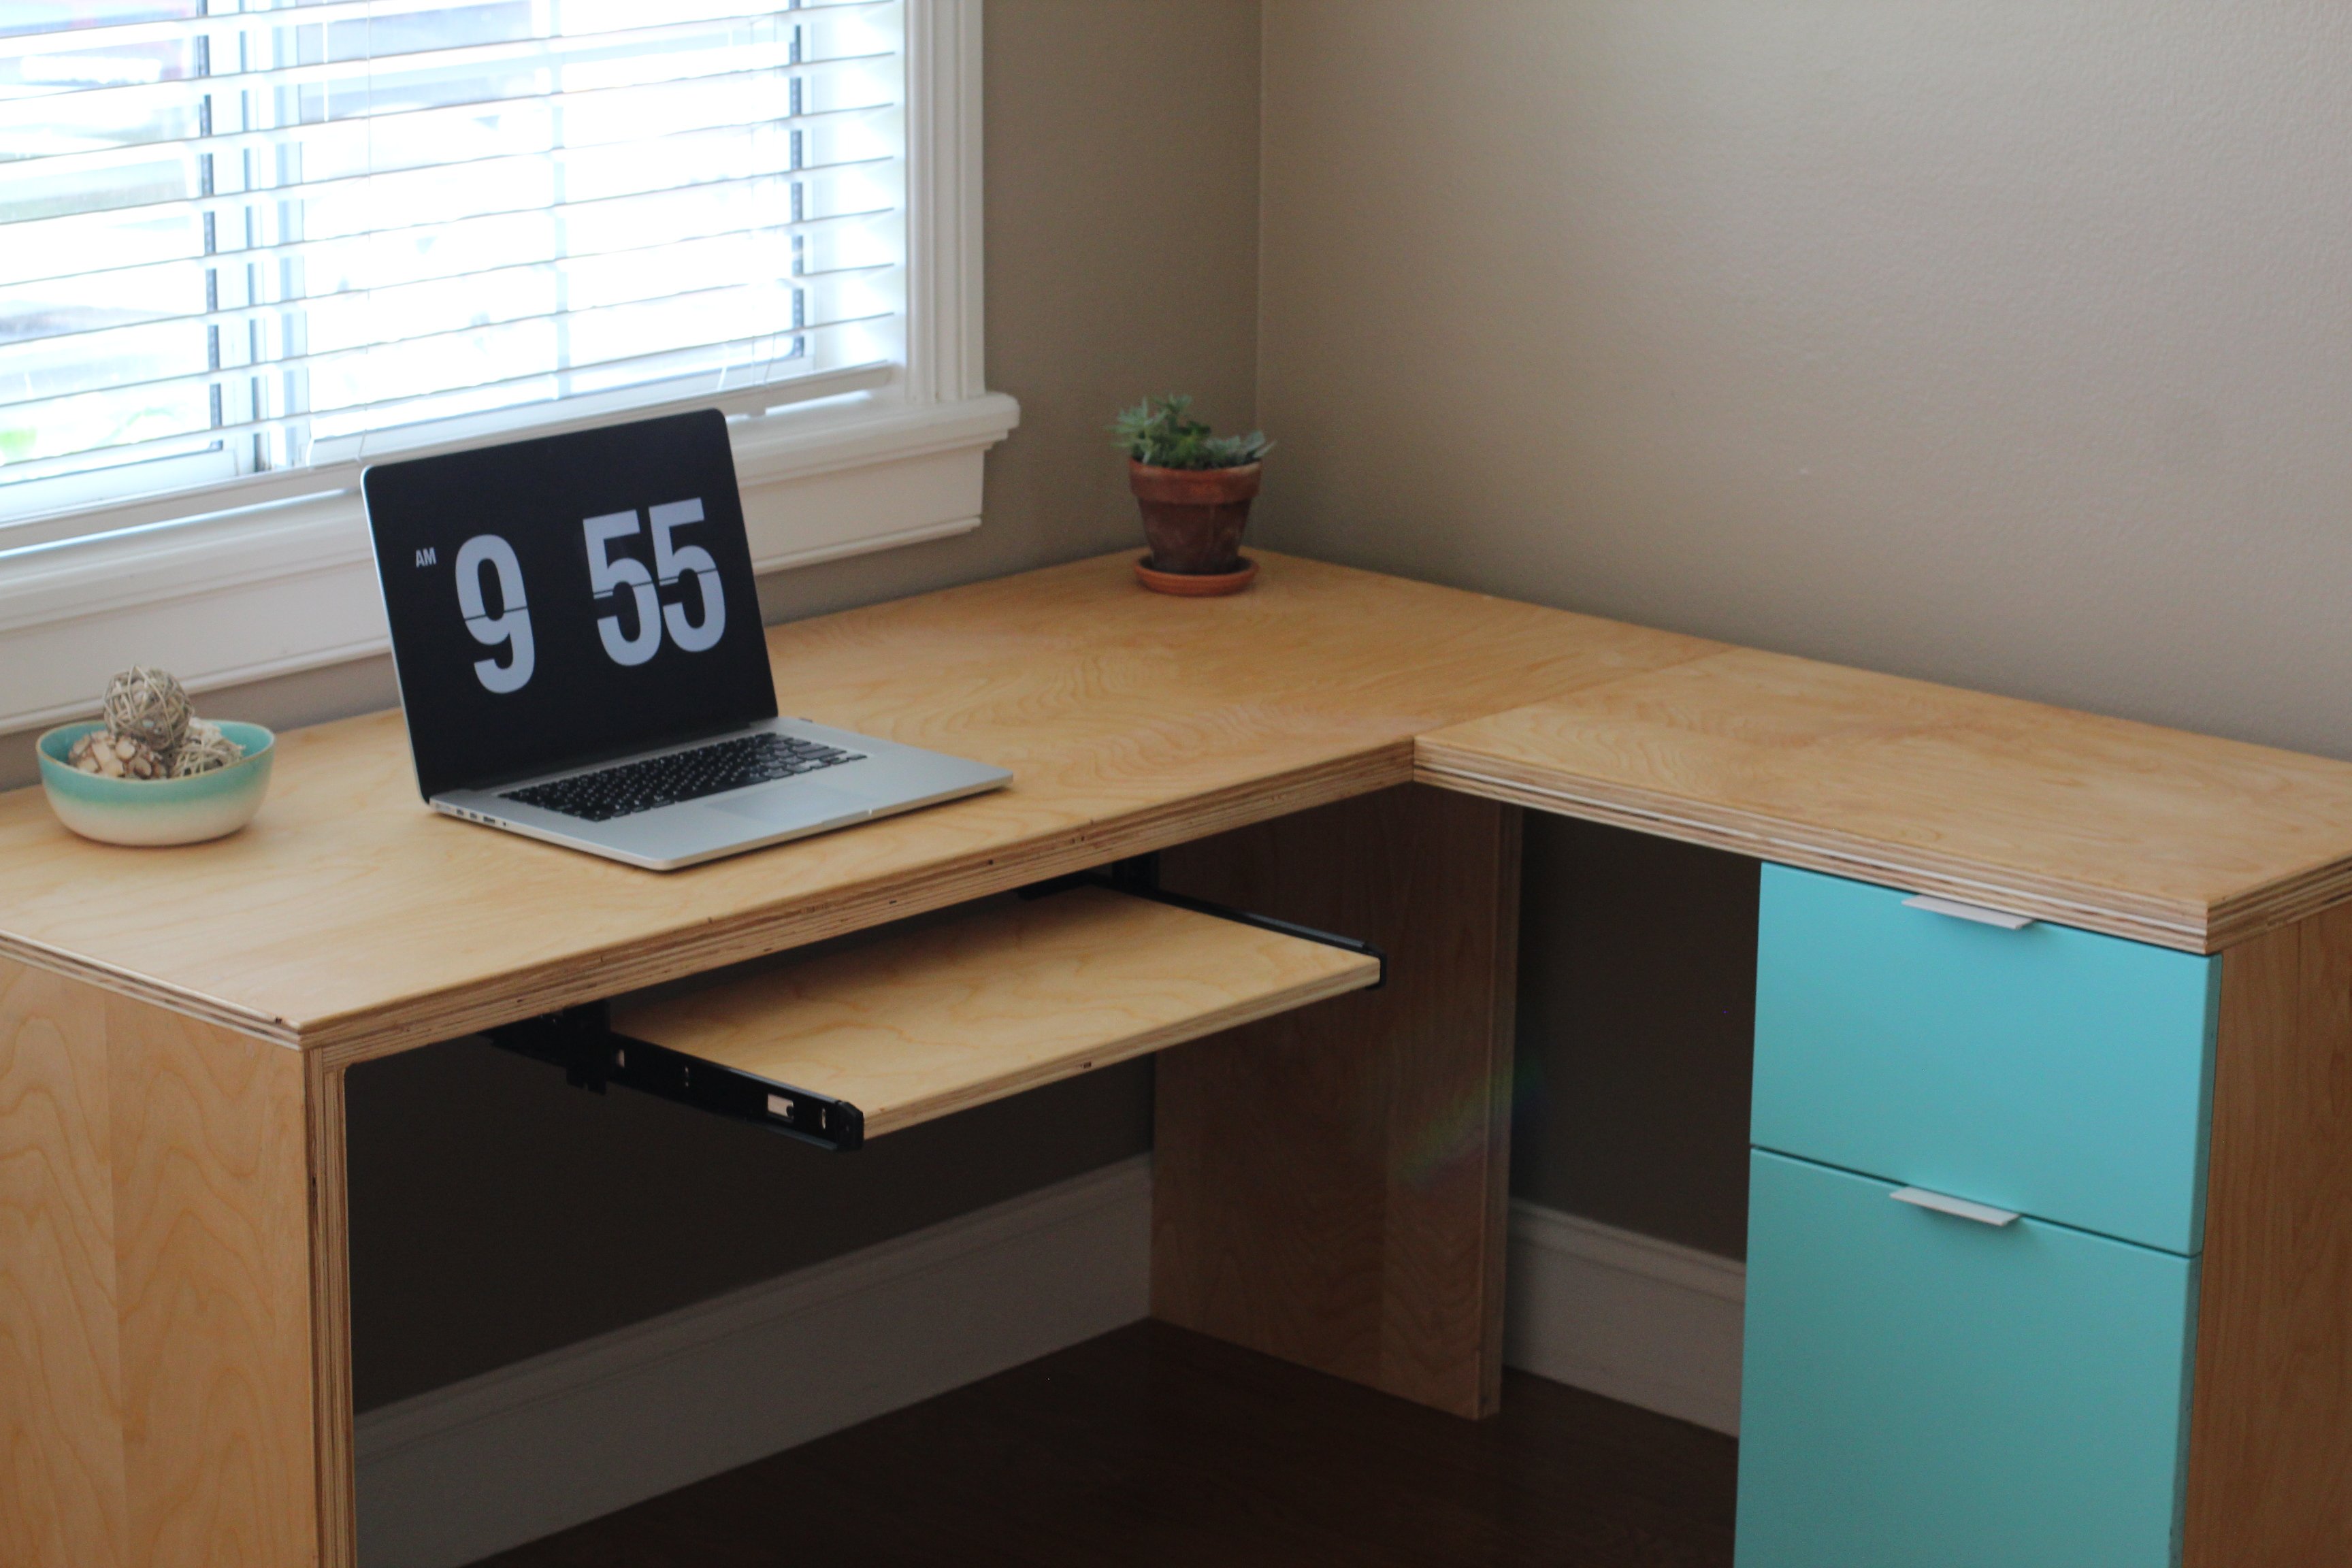
I constructed this desk all from birch plywood. It features a pull out keyboard tray, modern drawer finger pulls, and full extension drawer slides. The plywood was finished with a hand-rubbed danish oil for a natural wood appearance.
Hooray! I recently finished building a dining room bench. For this project, I used the Providence Bench plans by Ana White. I started this project in May, and two months later it is finally complete! I am really happy with how the bench turned out! It is pretty sturdy and makes for a nice addition to the dining room!
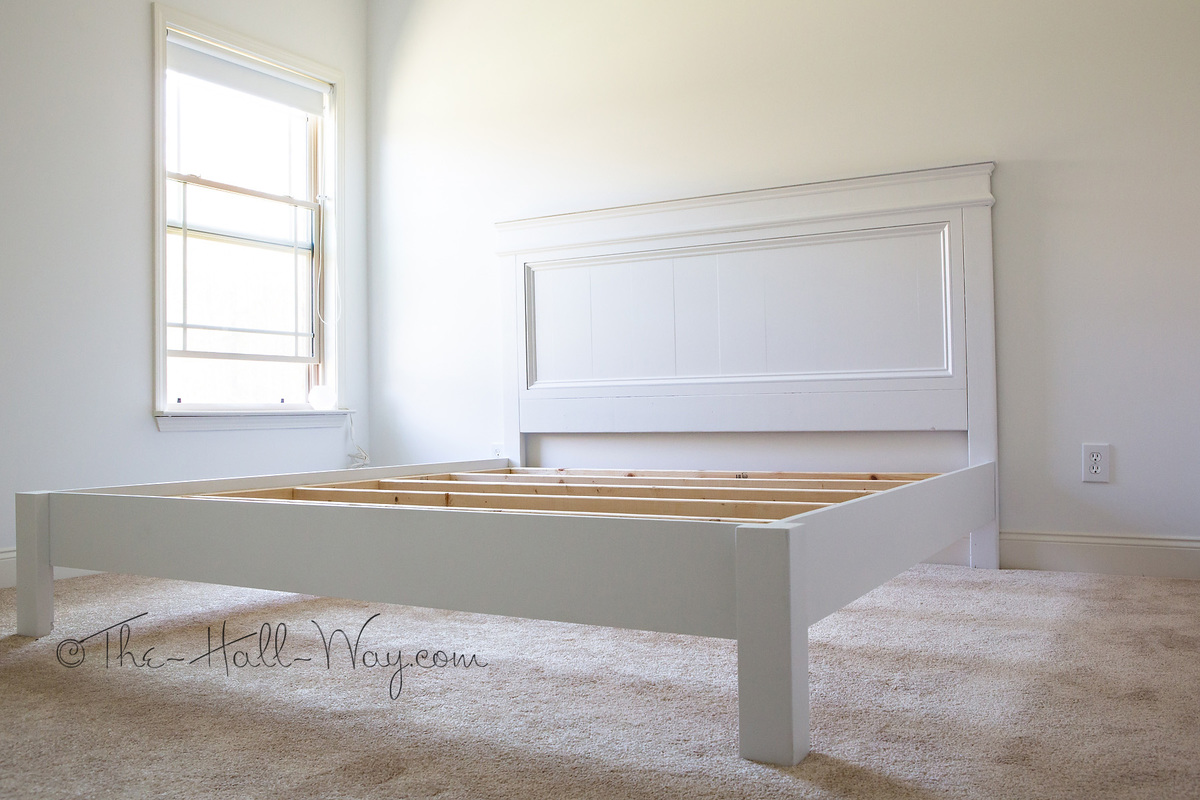
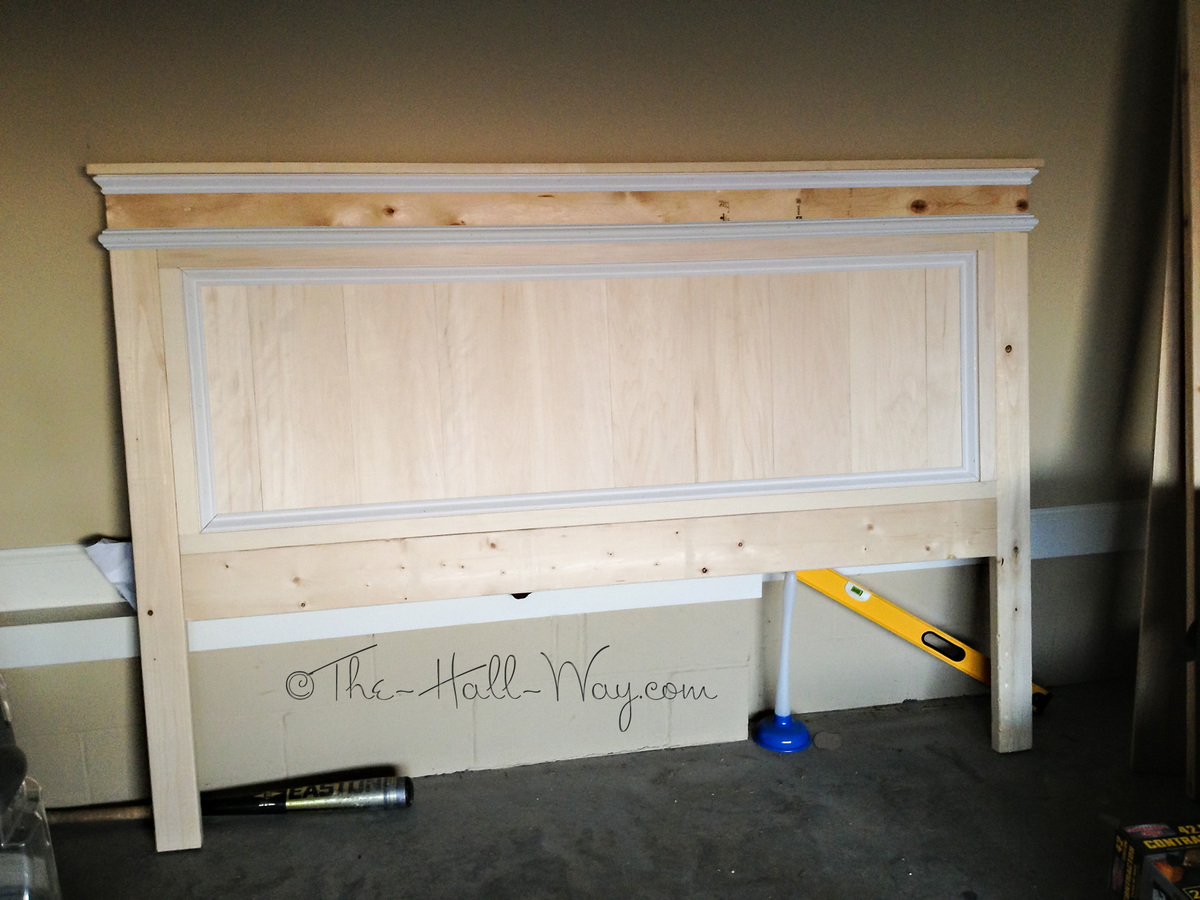
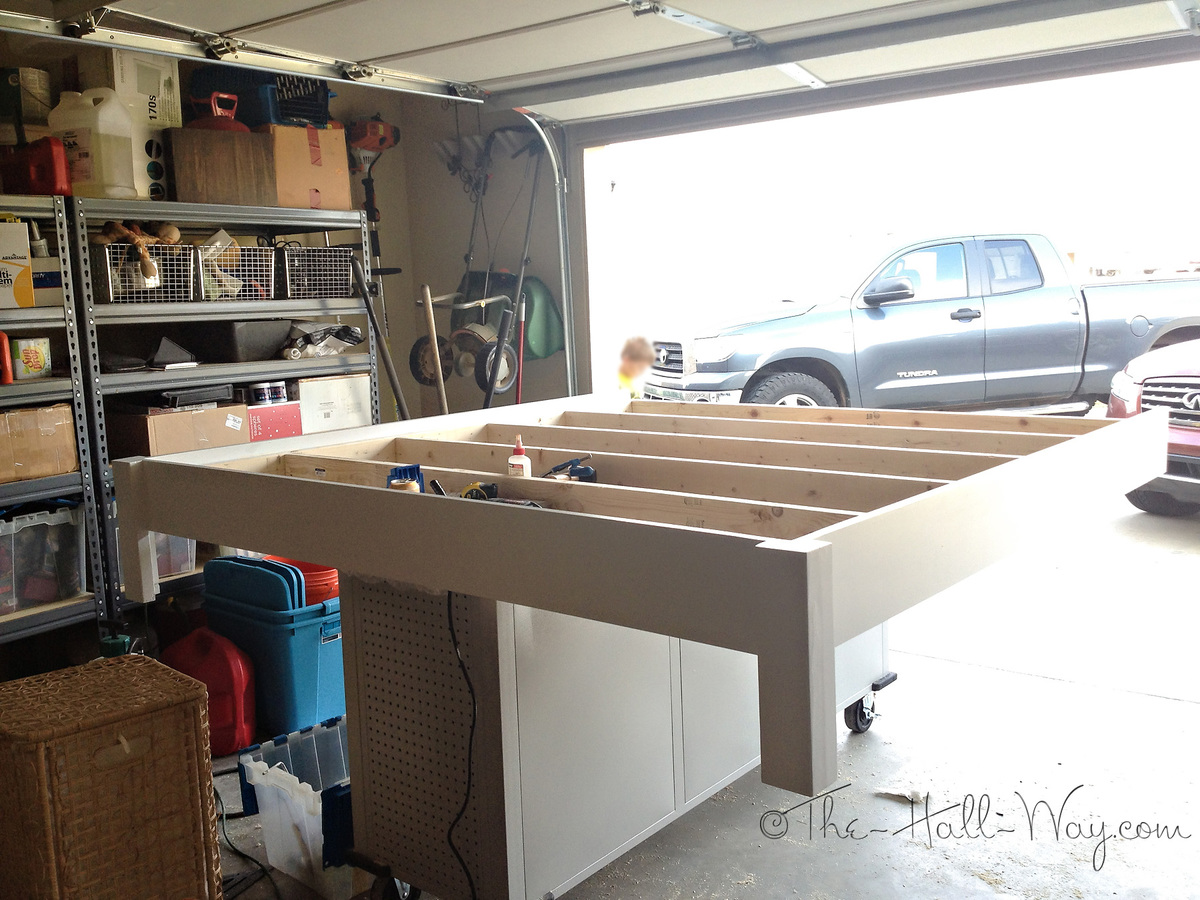
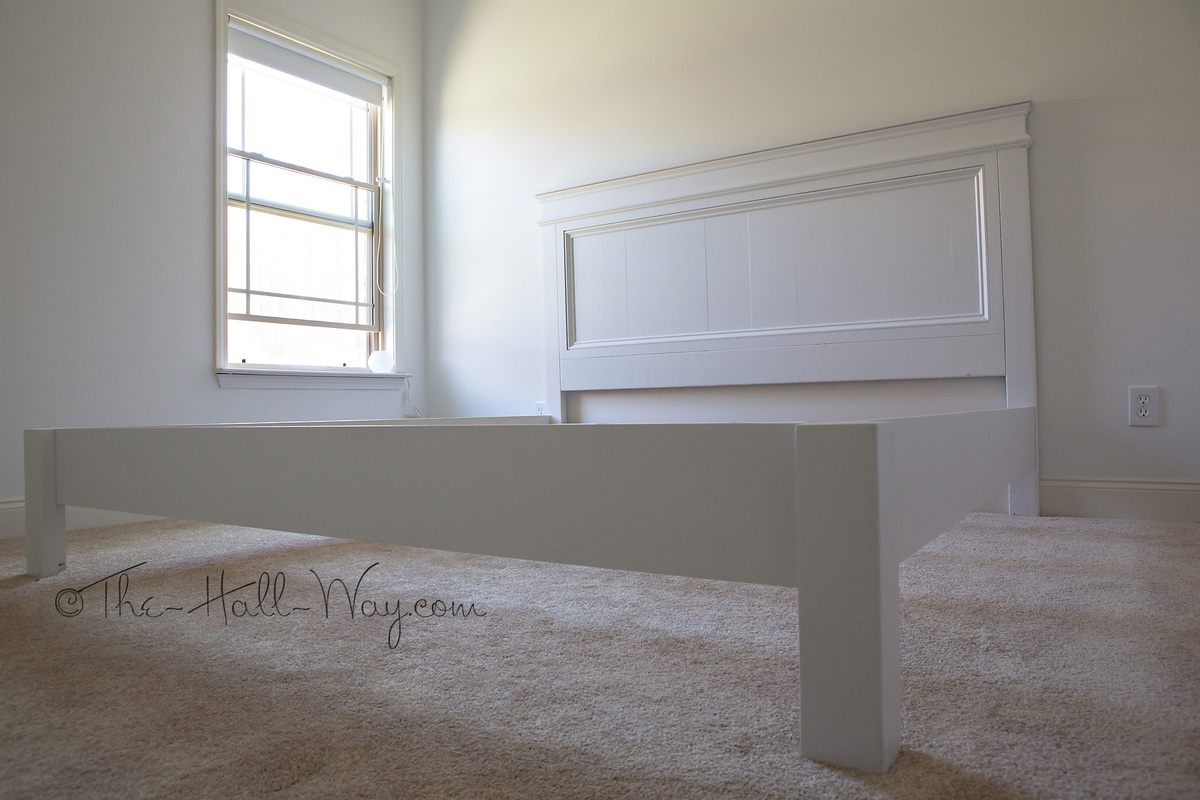
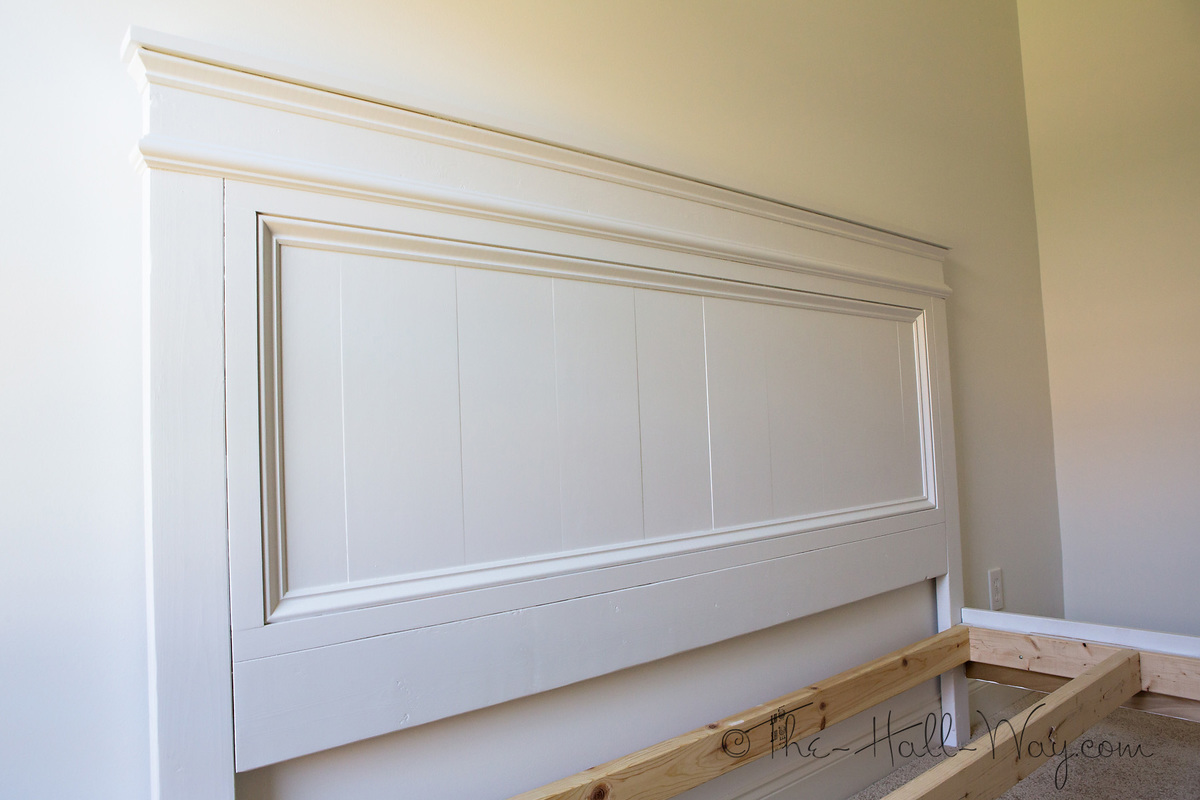
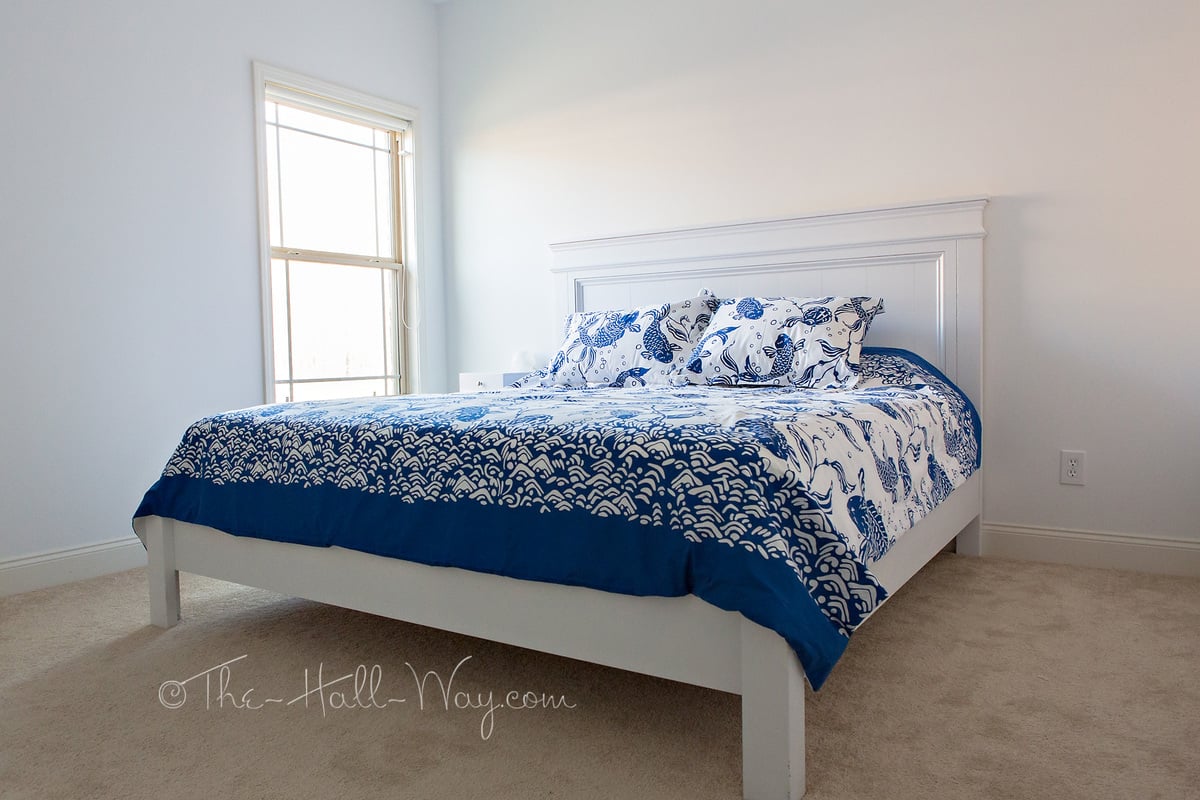
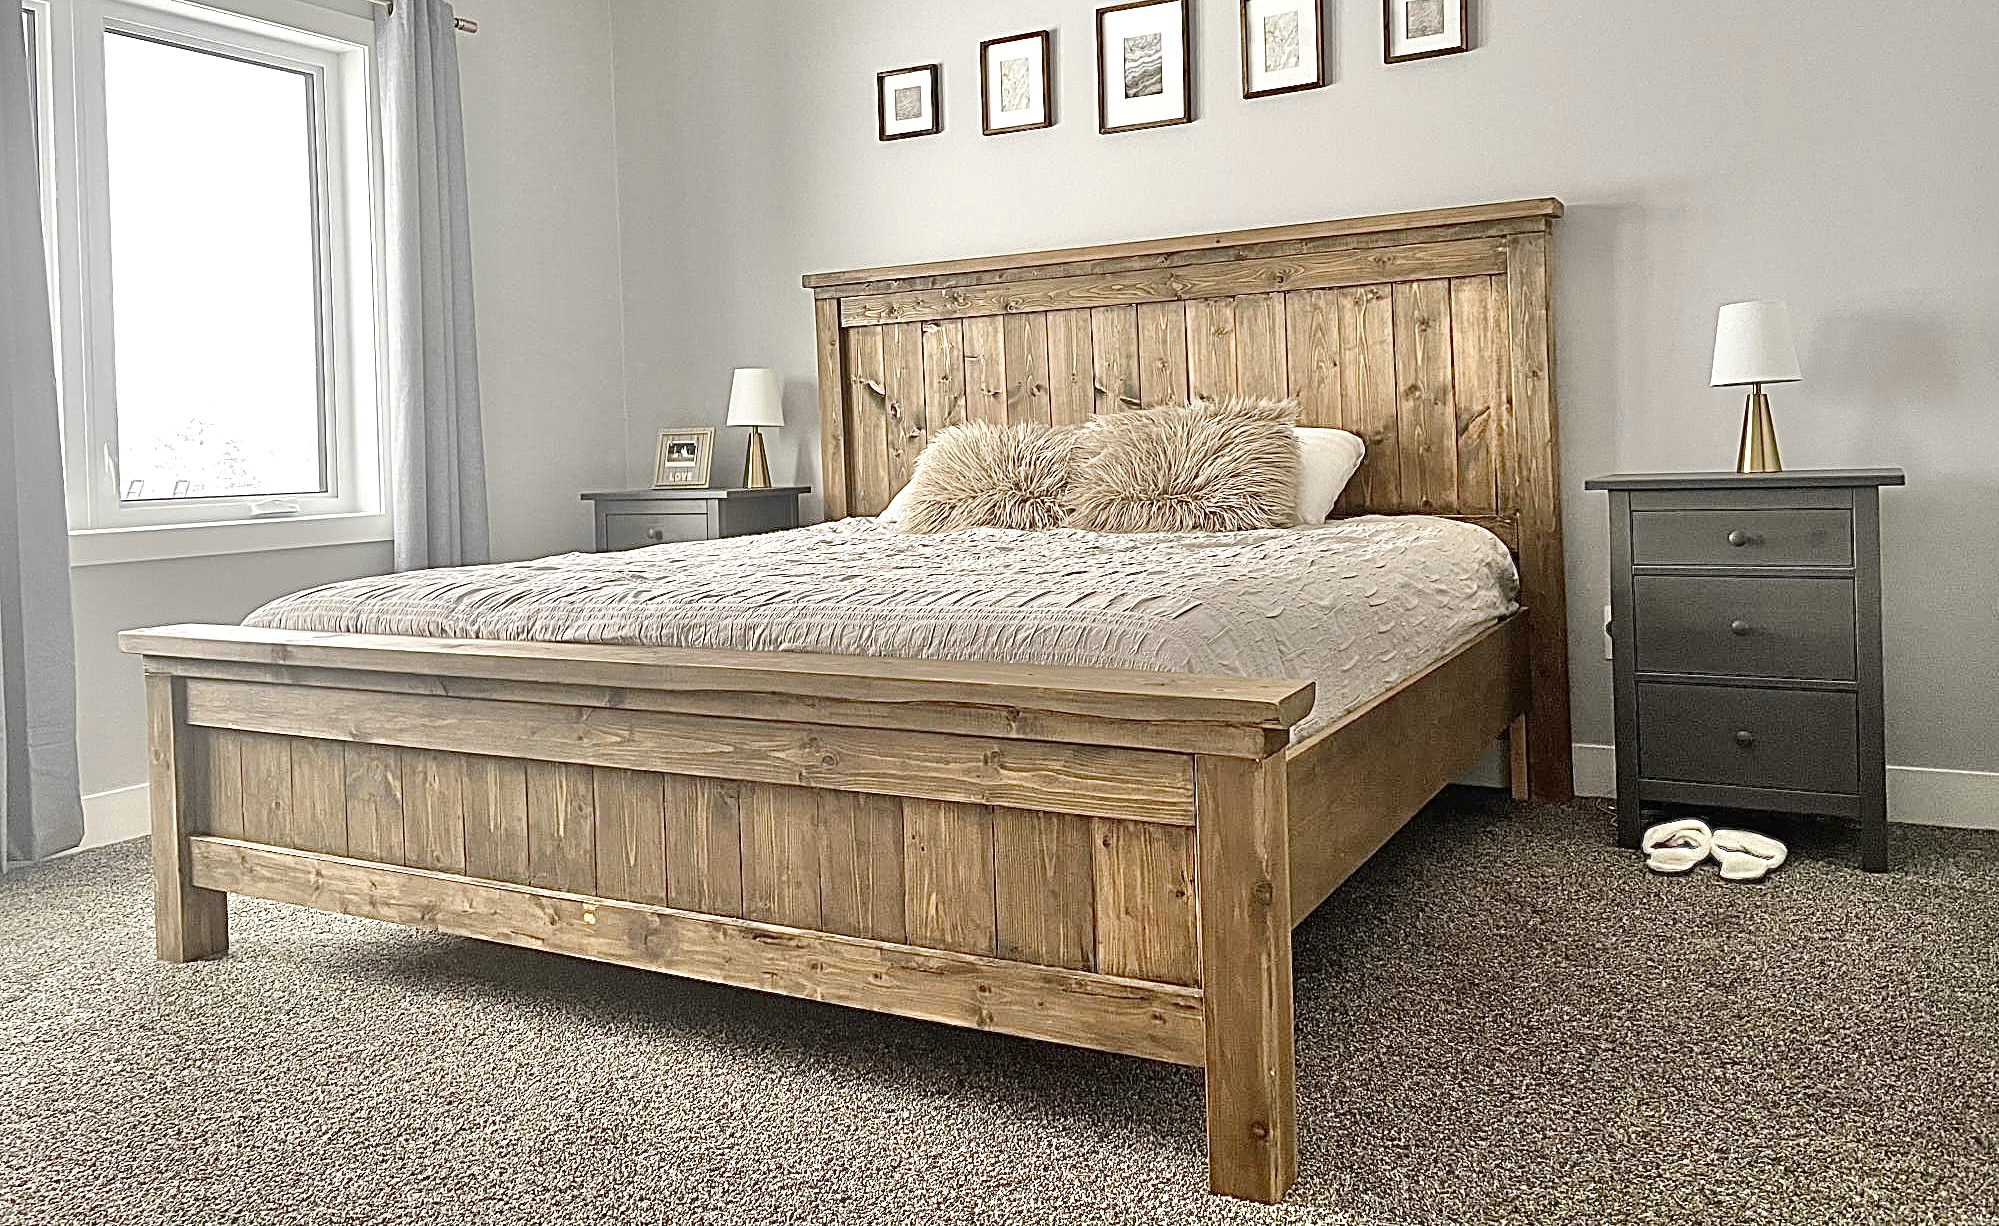
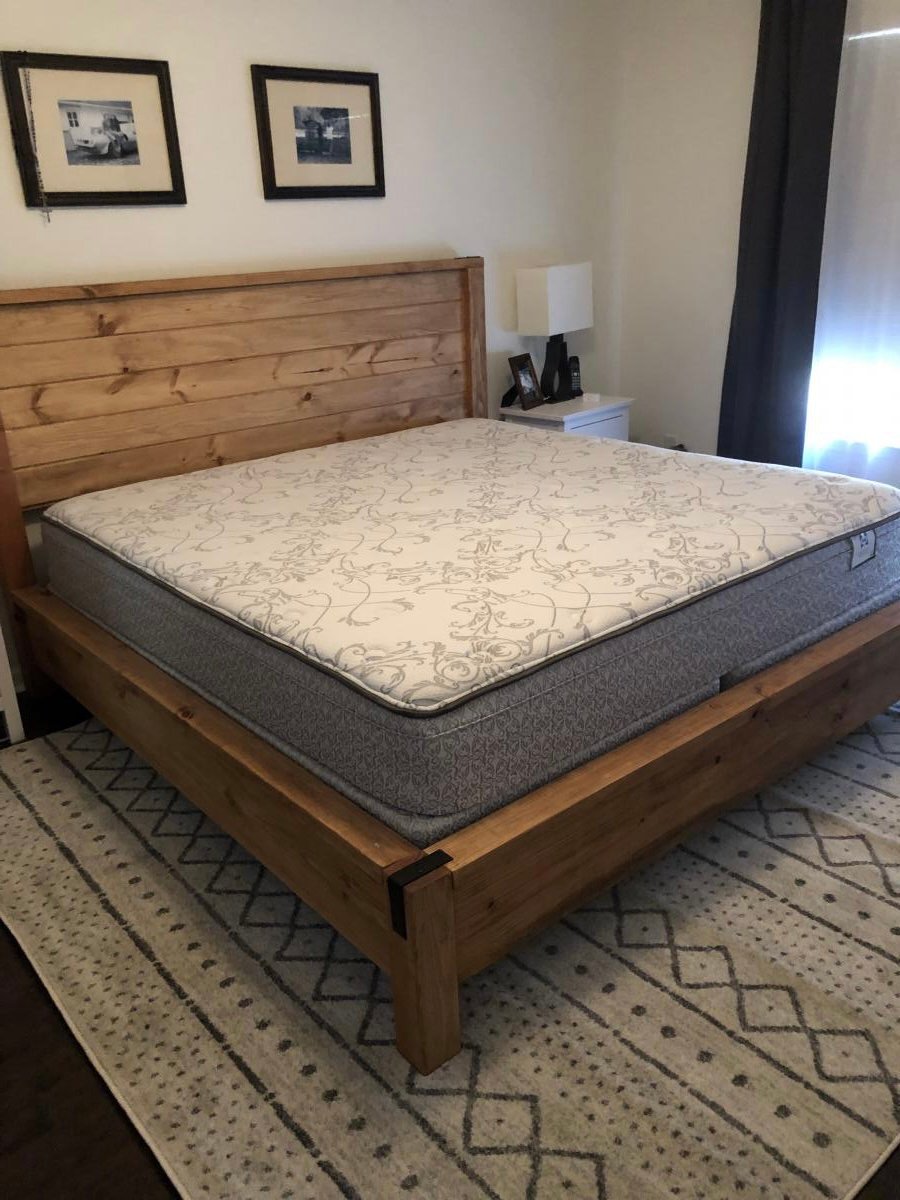
I built this bed for my parent's guest room at my sister's house. It is very similar to a bed mom had been wanting. They wanted a king size so I had to do some modifications to the original plan - primarily adding 16" to all width measurements. I also used 10 - 1x8s for the headboard panels. That made the panels slightly too wide, so I had to rip a little bit off the 2 end panels.
The hardest part of the project was getting it in her house! The legs made it about 1/4" too wide to fit it thru the door. We were about to remove the legs (which would have been a disaster since they were glued, screwed and painted on) when we finally figured out the right angle to squeeze it in. I had to touch up the paint in a few spots once we got it in position, but that was much better than having to remove legs and put them back on. We still need to get plywood for the mattress to sit on and I'm going to add a middle leg for extra support since it's a king. I will probably eventually build nightstands to go with it. Overall, I'm pretty happy with how it turned out since this is my largest and "fanciest" project so far.
Tue, 04/09/2013 - 12:41
I really love this bed, however, being military we move quite often. Is there a way that you would recommend I could alter it so that it can be broken down a little to make it easier for moving? Thank you much :D
In reply to How to alter for easy moving? by bran2511
Tue, 04/09/2013 - 14:29
For easy moving I can not recommend the highly enough. You attach them to the side rails and the head and foot of the bed and instead of screwing the whole bed together it just locks into place. They are THE BEST! http://www.rockler.com/m/product.cfm?page=11
Tue, 04/09/2013 - 15:59
Attach the sides to the headboard and footboard with bed rail brackets so you can knock the bed apart to move
http://woodworking.rockler.com/search#w=bed%20rail%20brackets&asug=&sli…
There is even a bracket for the center rail of a king-sized bed.
Tue, 04/09/2013 - 12:41
I really love this bed, however, being military we move quite often. Is there a way that you would recommend I could alter it so that it can be broken down a little to make it easier for moving? Thank you much :D
Sat, 08/24/2013 - 18:31
I just posted a brag post with this bed in black. I will see if I can upload a photo of how I built this bed for very easy break down. I looked at all the brackets etc.. with this being built out of pine I was not 100% confident in the Rockler / Wood craft brackets. I used a forstner bit and a 4.5" bolt with some washers.
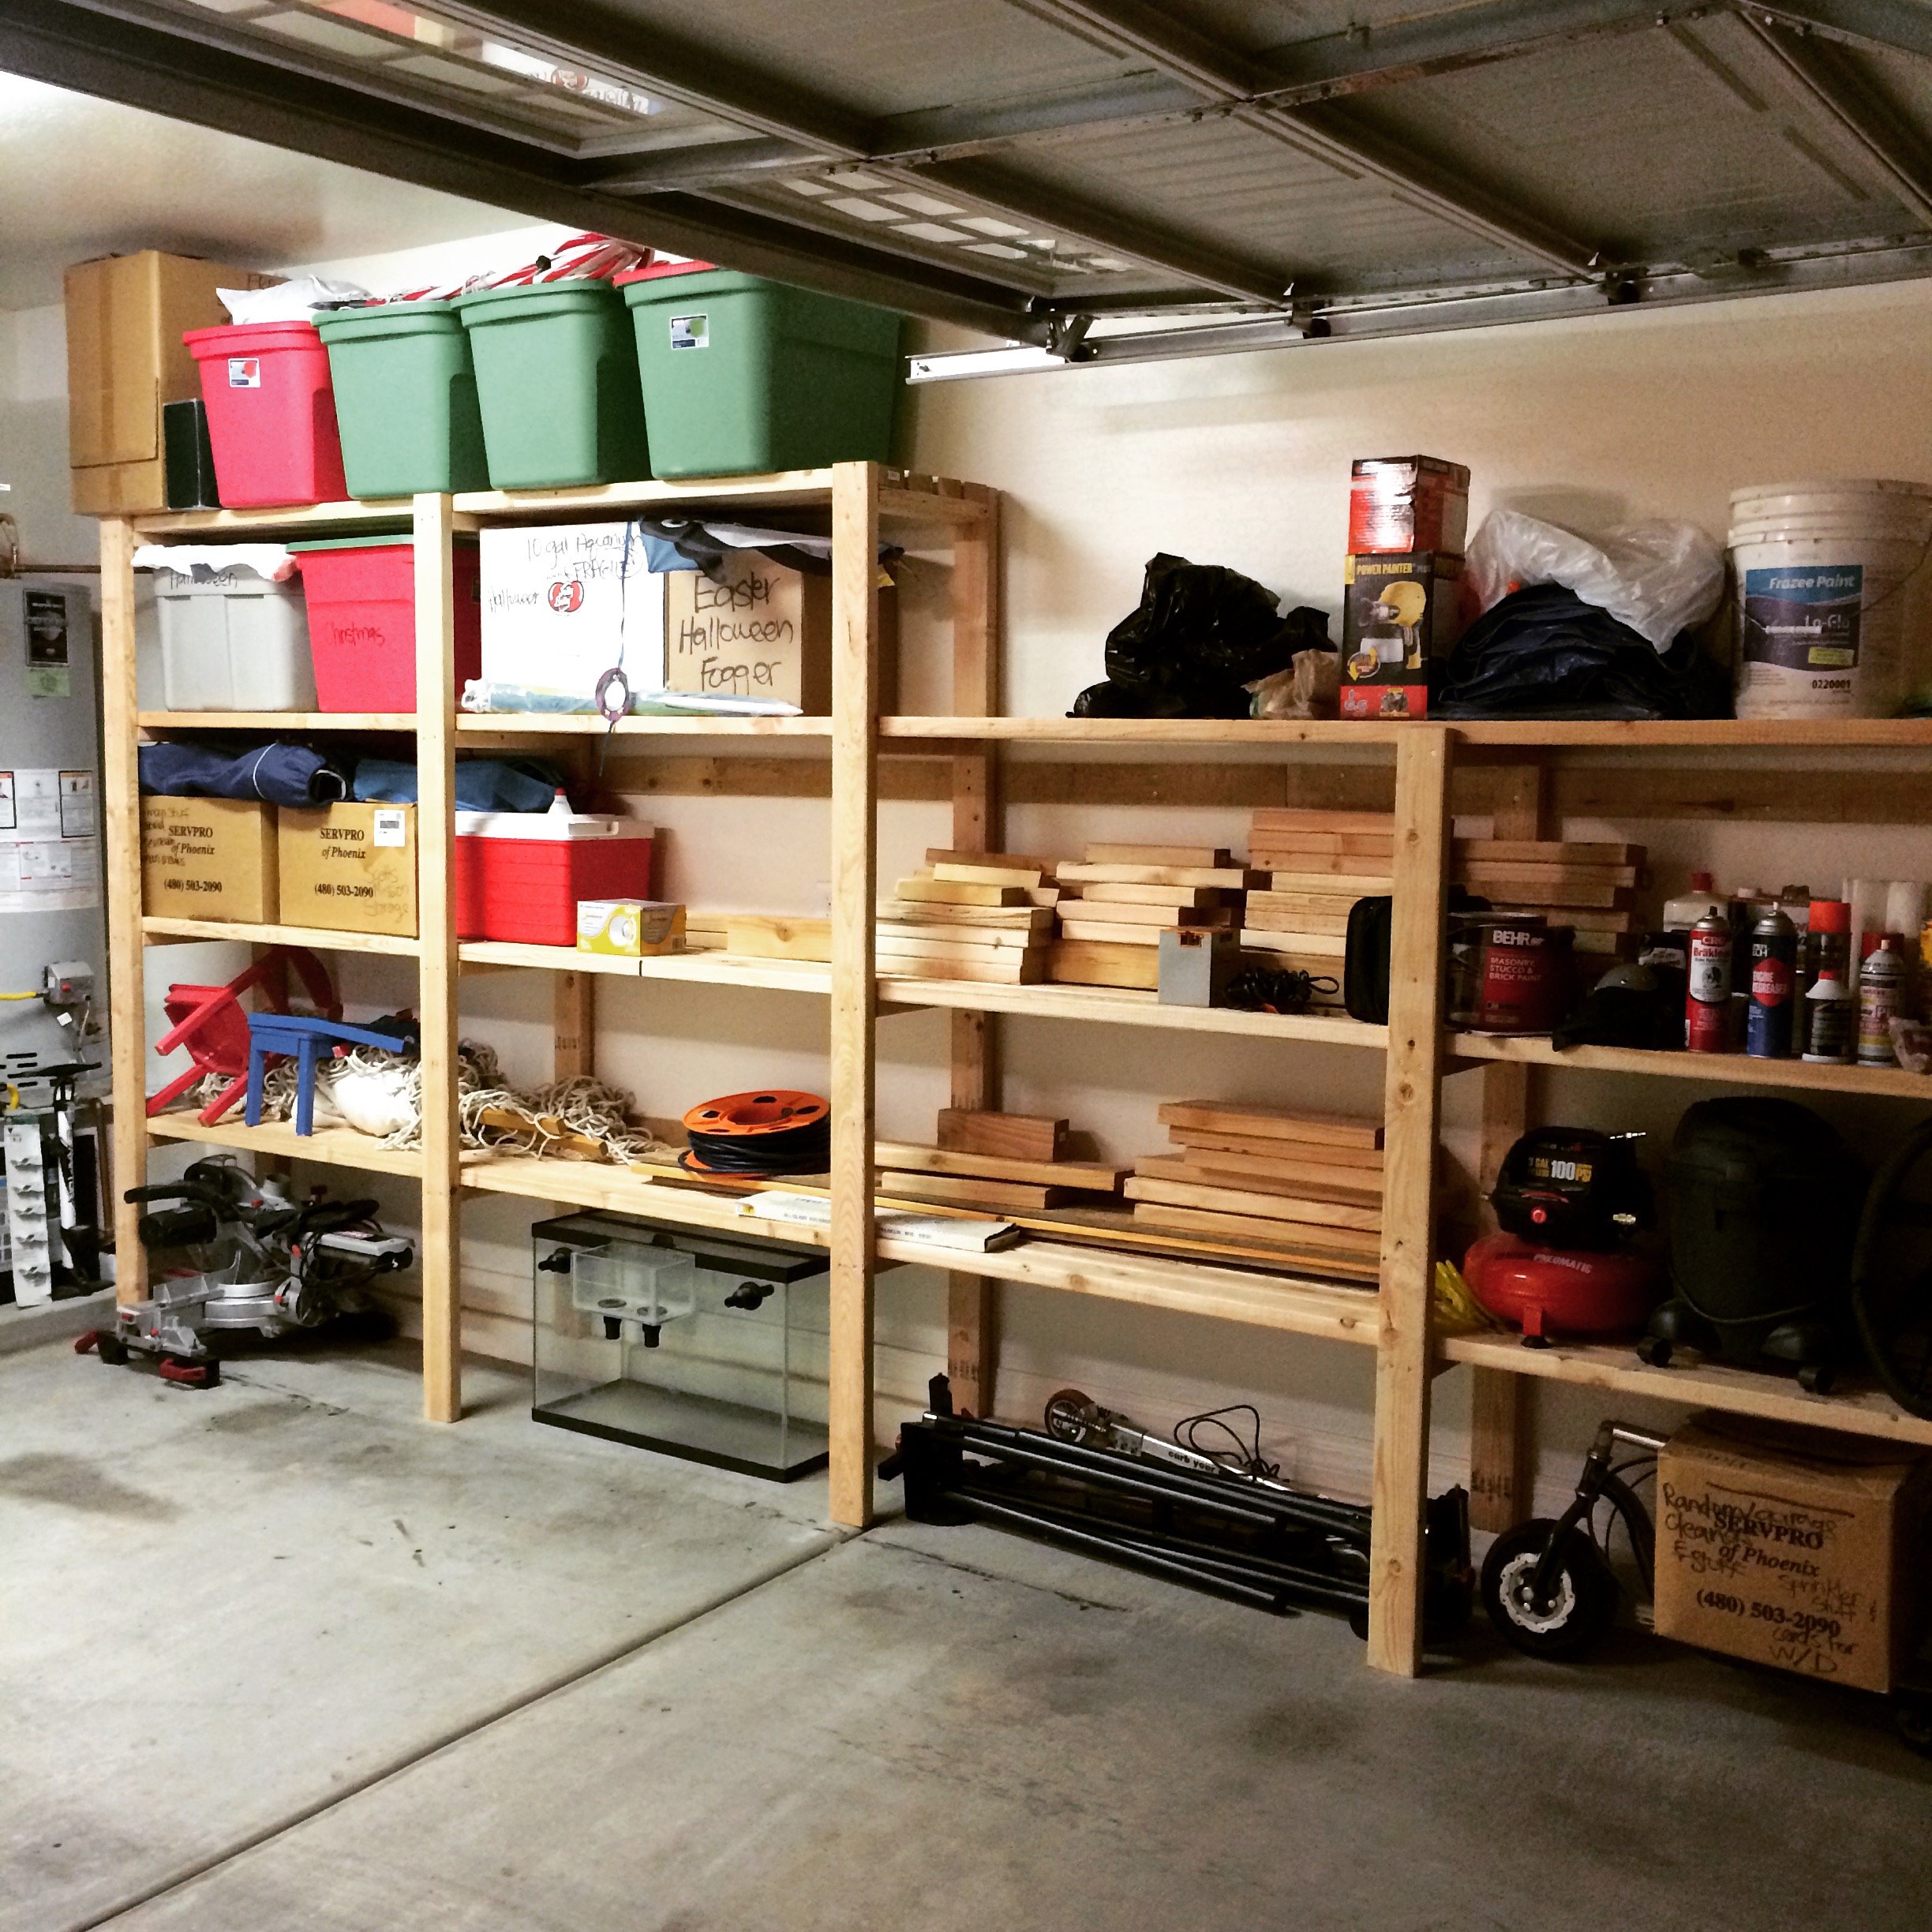
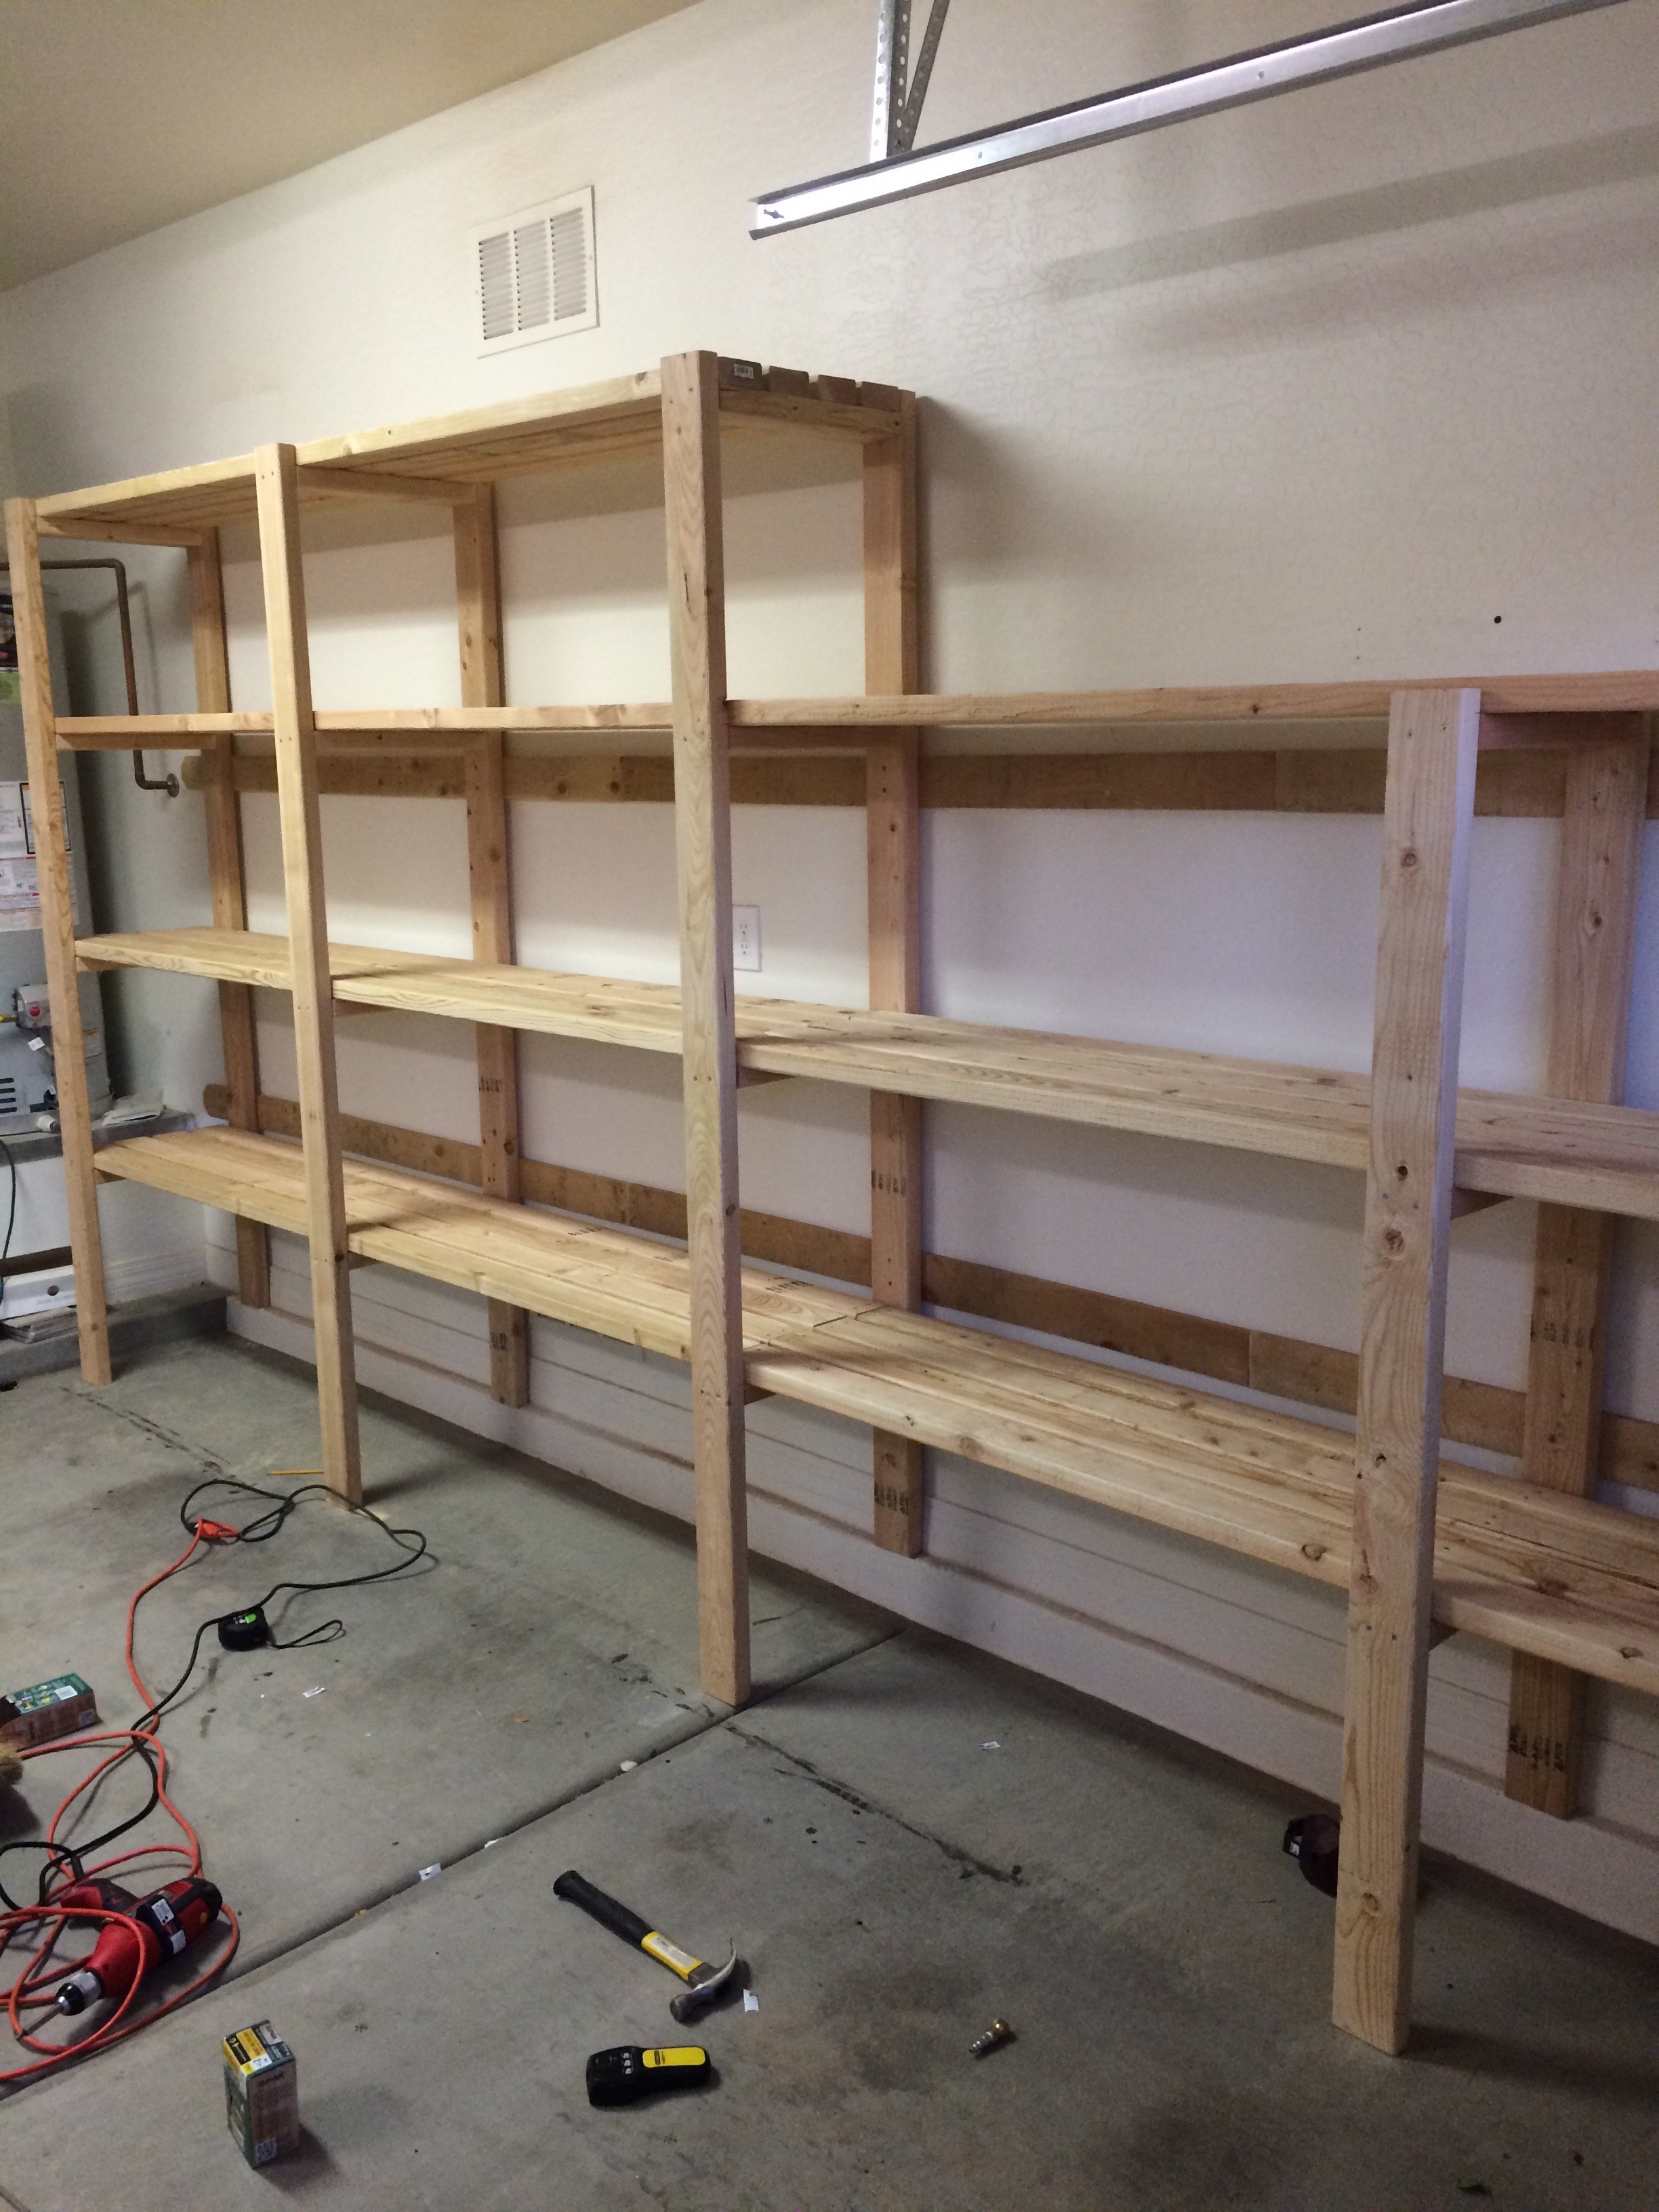
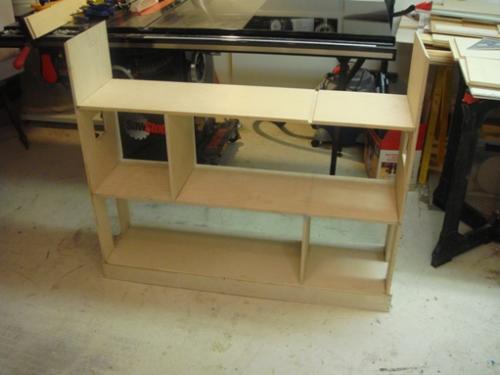
I changed the plans a little bit to add on the extra shelf on top as well as making the shelves an inch narrower than the plans. The project was actually pretty easy and really only took me about a days worth of work.
I made five of your 2 x 4 Adirondack chairs. Well I started with one and then my wife wanted four more after she saw how it turned out. We absolutely Iove them and they are easy to make! Thanks Ana!
David Knight
Tue, 10/05/2021 - 09:30
Those looks great, so happy to hear you're enjoying them!
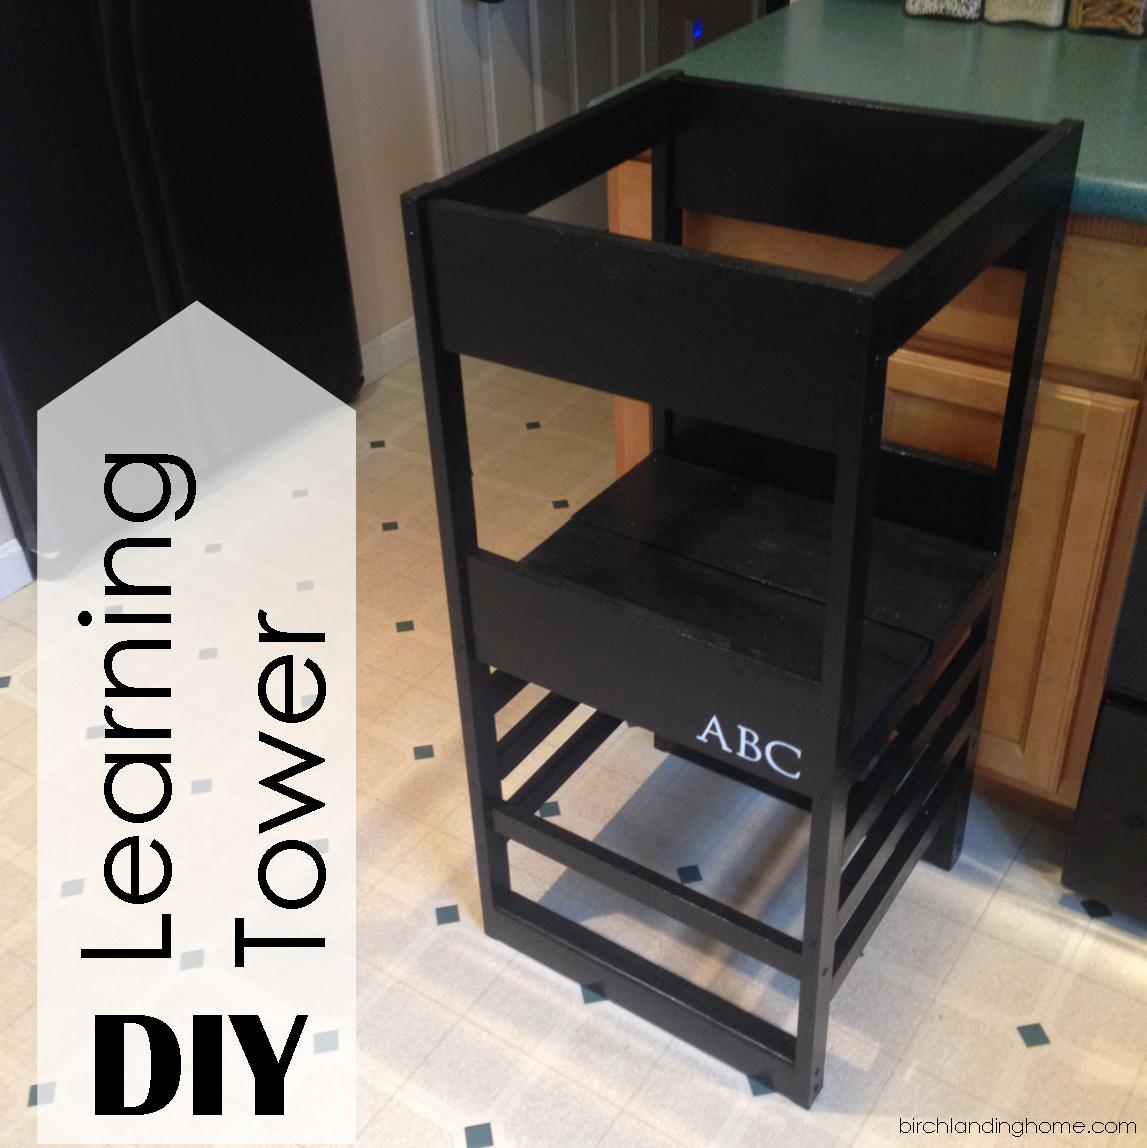
Our little one may be happily playing independently but the second I go to make dinner she demands to be held and refuses to be put down, making cooking impossible. To help keep her occupied but still involved I've been eyeing a learning tower / kitchen helper on Amazon for months now, but at $200 it just wasn't in our budget. My sister-in-law had made a learning tower from a plan by Ana White and suggested I try to make one too. I was unsure at first, I've never made anything more complicated than a birdhouse, but I decided to give it a go!
Please see my blog post for additional photos and lessons learned during this project.

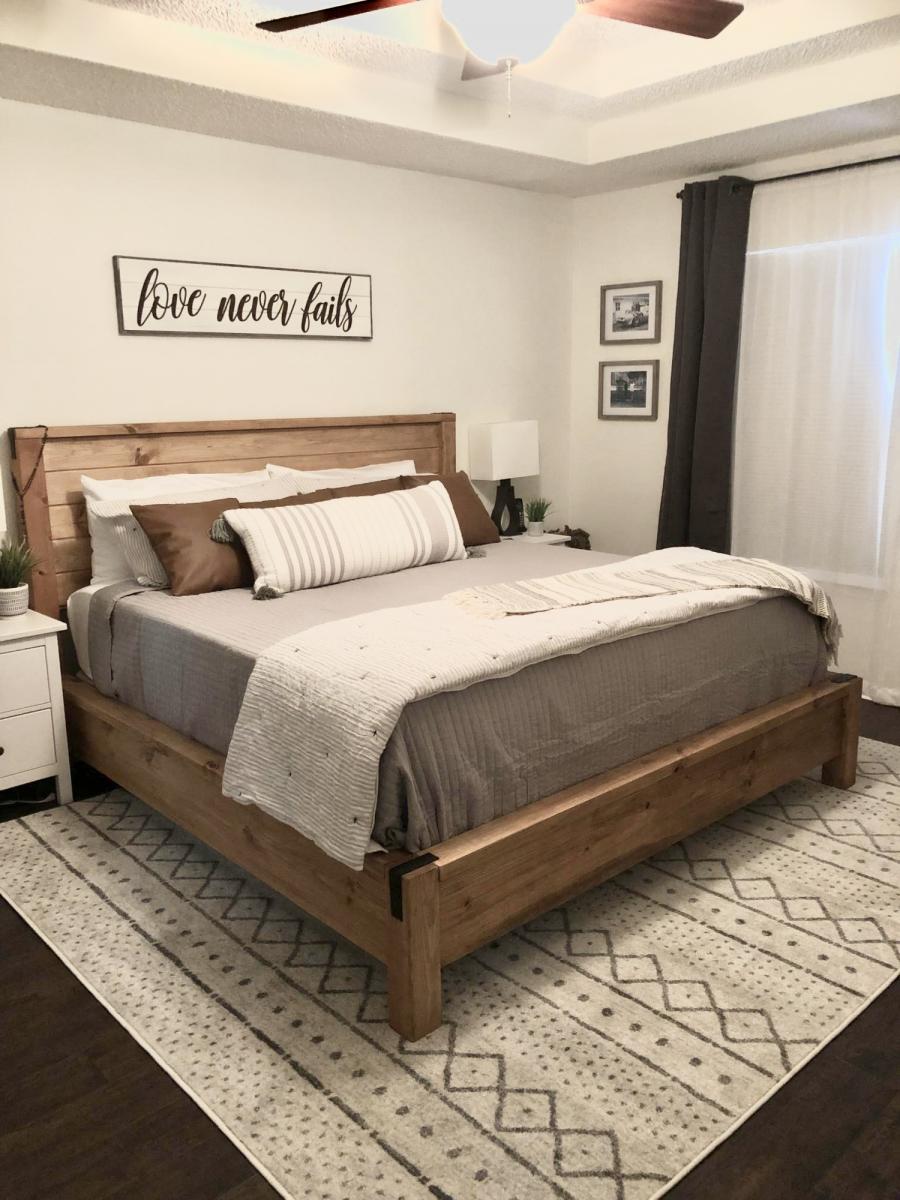
My husband and I had worked on this bed together, and we are so happy with it! We went with taller side tables that we purchased, and just stained the wood instead of painting it.
I was looking for plans to build a table like this and found Ana's site.
Wed, 02/15/2012 - 10:16
I love this project. Well done! You have inspired me to do something similar for our breakfast room.
Fri, 02/17/2012 - 19:26
I would make the bench first if I could do it again--good practice. You can't fit a lot of people around it but it is good for a small space.
Mon, 04/30/2012 - 04:55
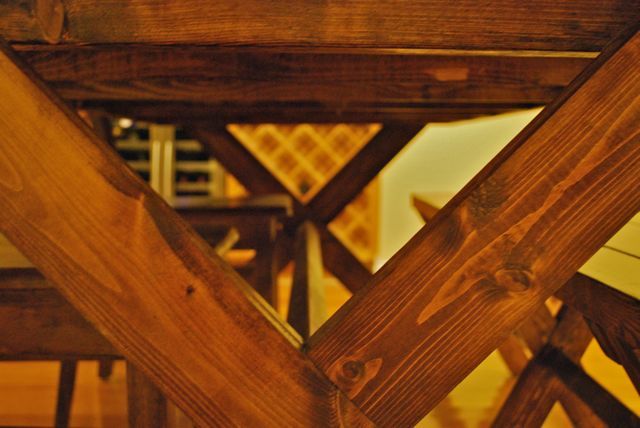
How did you fasten the tabletop to the base? Did you screw it from under and attach along every cross beam? Or screw from the top and fill the holes with putty? All the way across or just on the ends...this step in the directions is very vague...
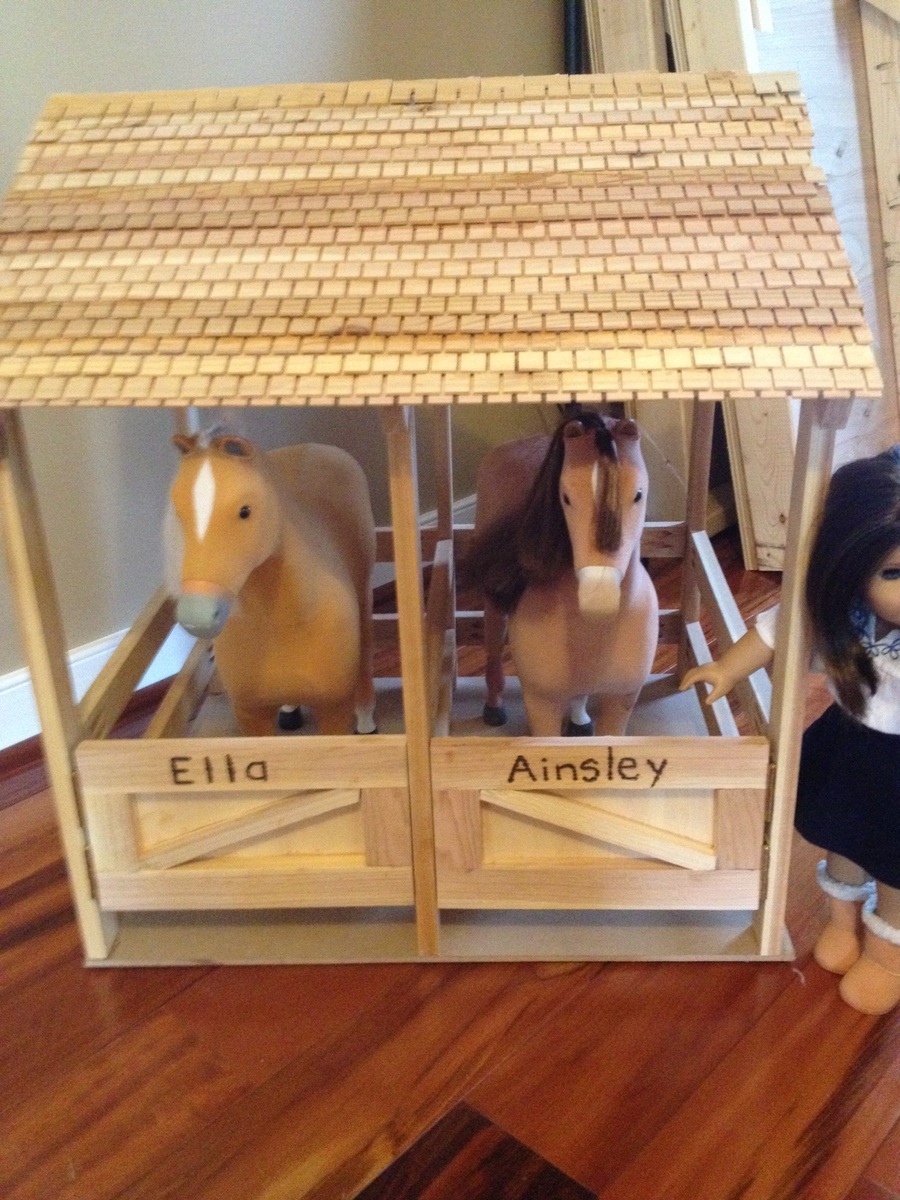
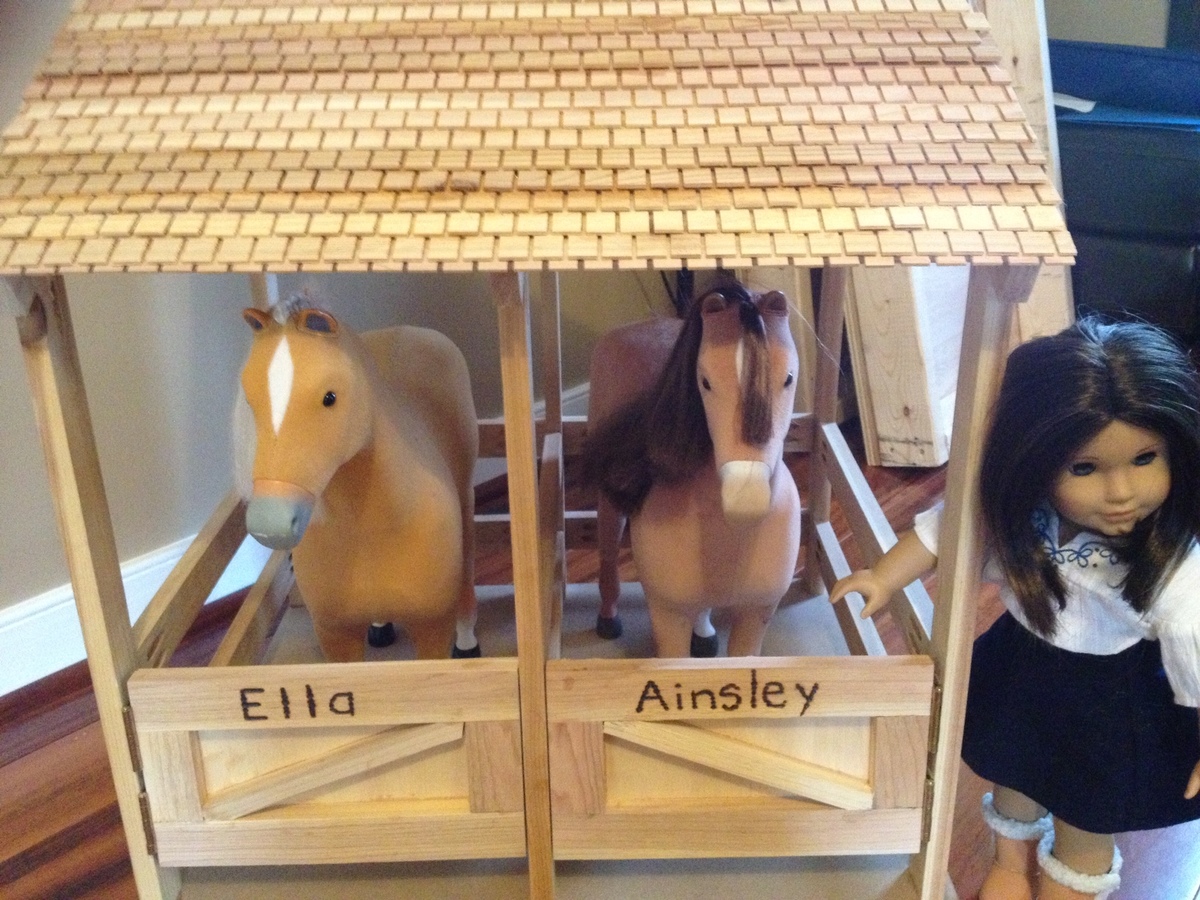
My two dauirlghters wanted a stable to protect their beloved American Girl Doll Horses.

Sun, 10/18/2015 - 19:55
Hello Scott,
The links provided for the AG horse stable does not work or exist. I probablly cannot create one like you did because I don't have wood working tools but if you have the pics available somewhere I may be able to do a rough version for my daughter. It pains me to buy a horse she wants knowing she won't use it much but it's on her xmas list! :)
Christina
Mon, 10/19/2015 - 08:38
Here's Ana's plans
http://ana-white.com/2012/12/plans/horse-stables-american-girl-or-18quo…

We did some conversions to the smokehouse plans to make a locker for all of my horse tack! :)

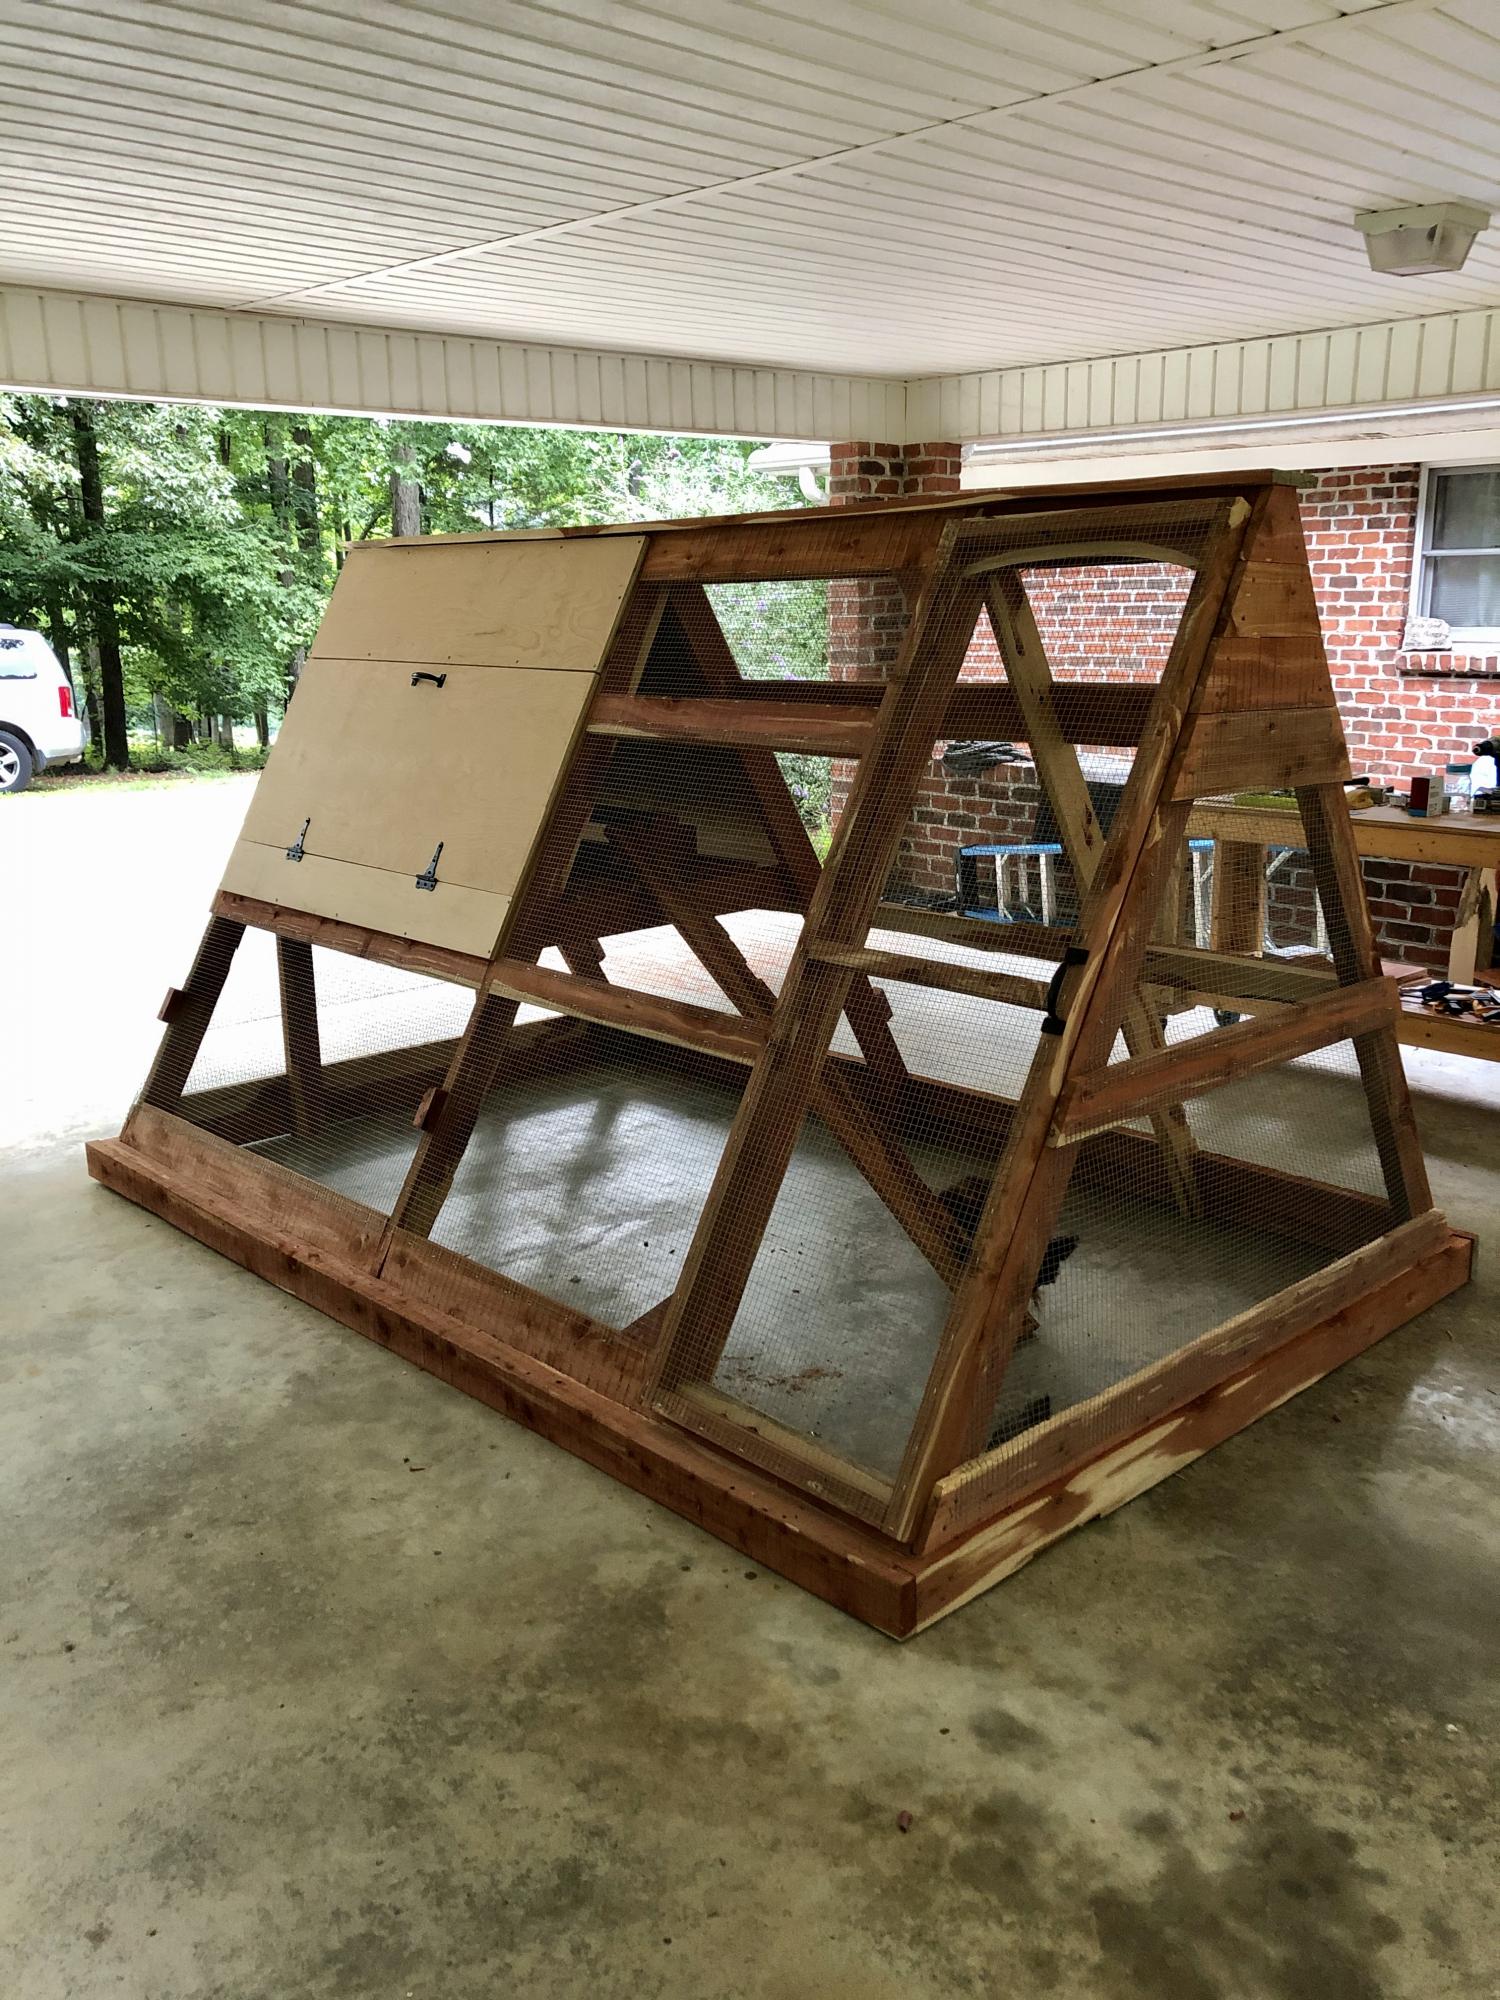
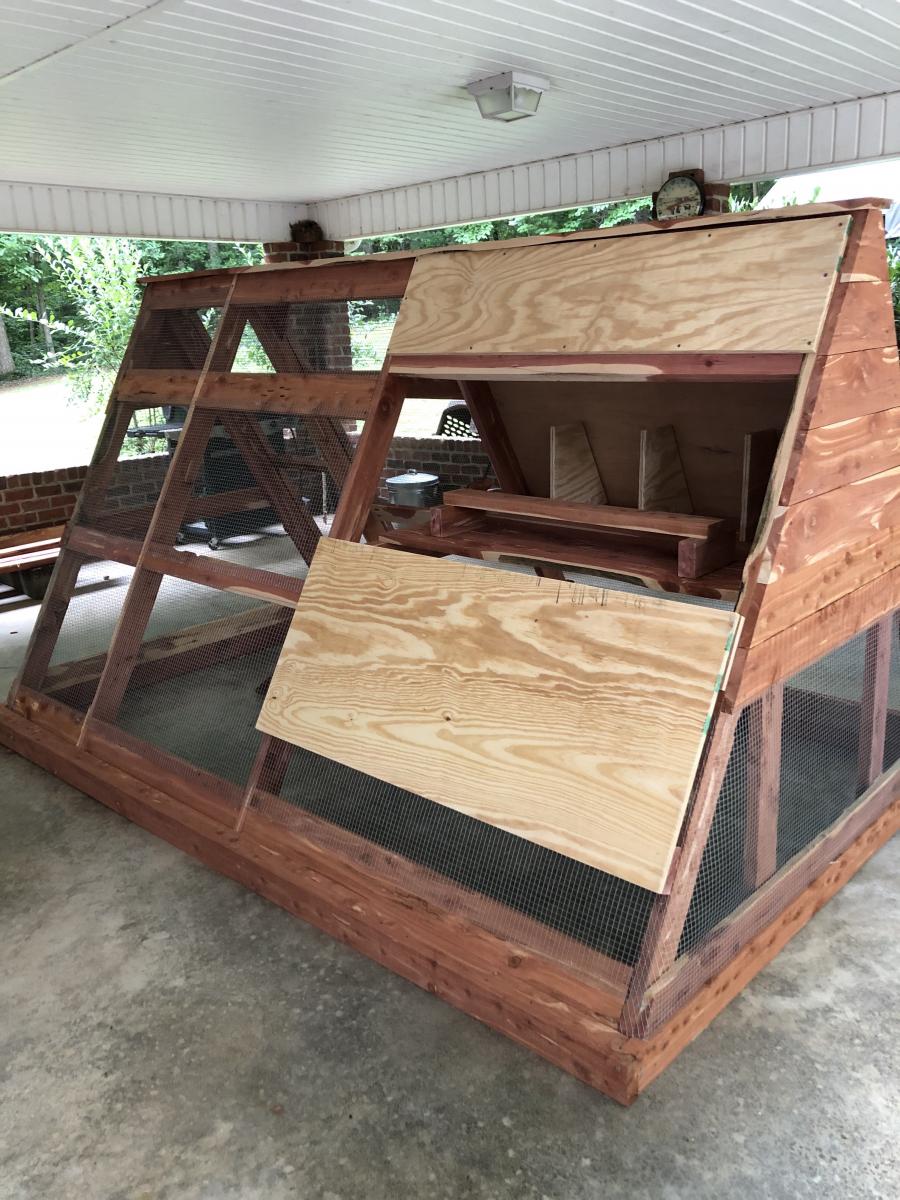
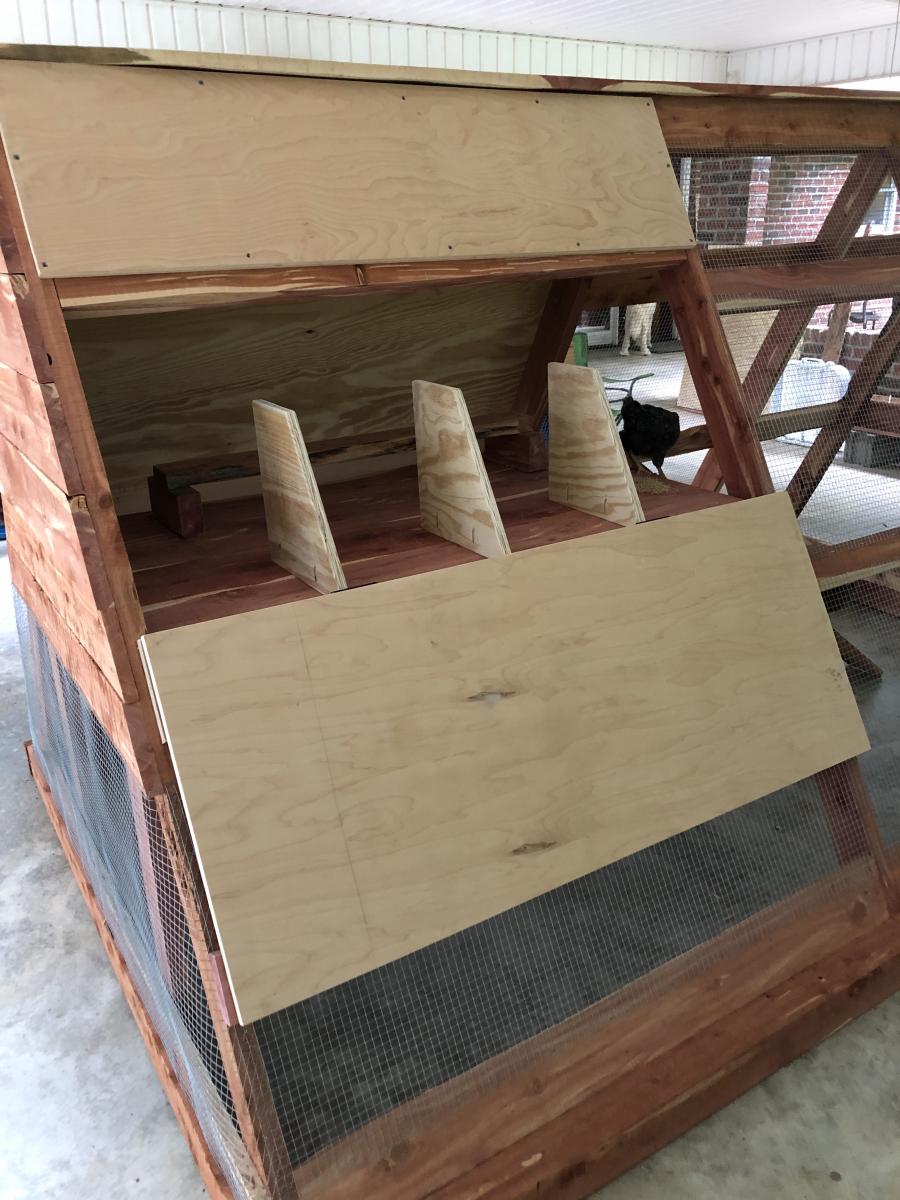
This was my biggest build yet and these plans along with being able to see a few brag posts with modicifactions made this project less intimidating. I extended the coop in order to add a walk in door. The drop down doors on both sides will give plenty of access and help with cleaning. I've added door latches to all the doors since putting it in place. My dad provided the cedar so that greatly reduced my costs. This project took about six days to complete. The fun part was getting it out of my carport : ) This was built for my daughter's chickens and she is thrilled with it. So am I! Thanks for the plans Ana!
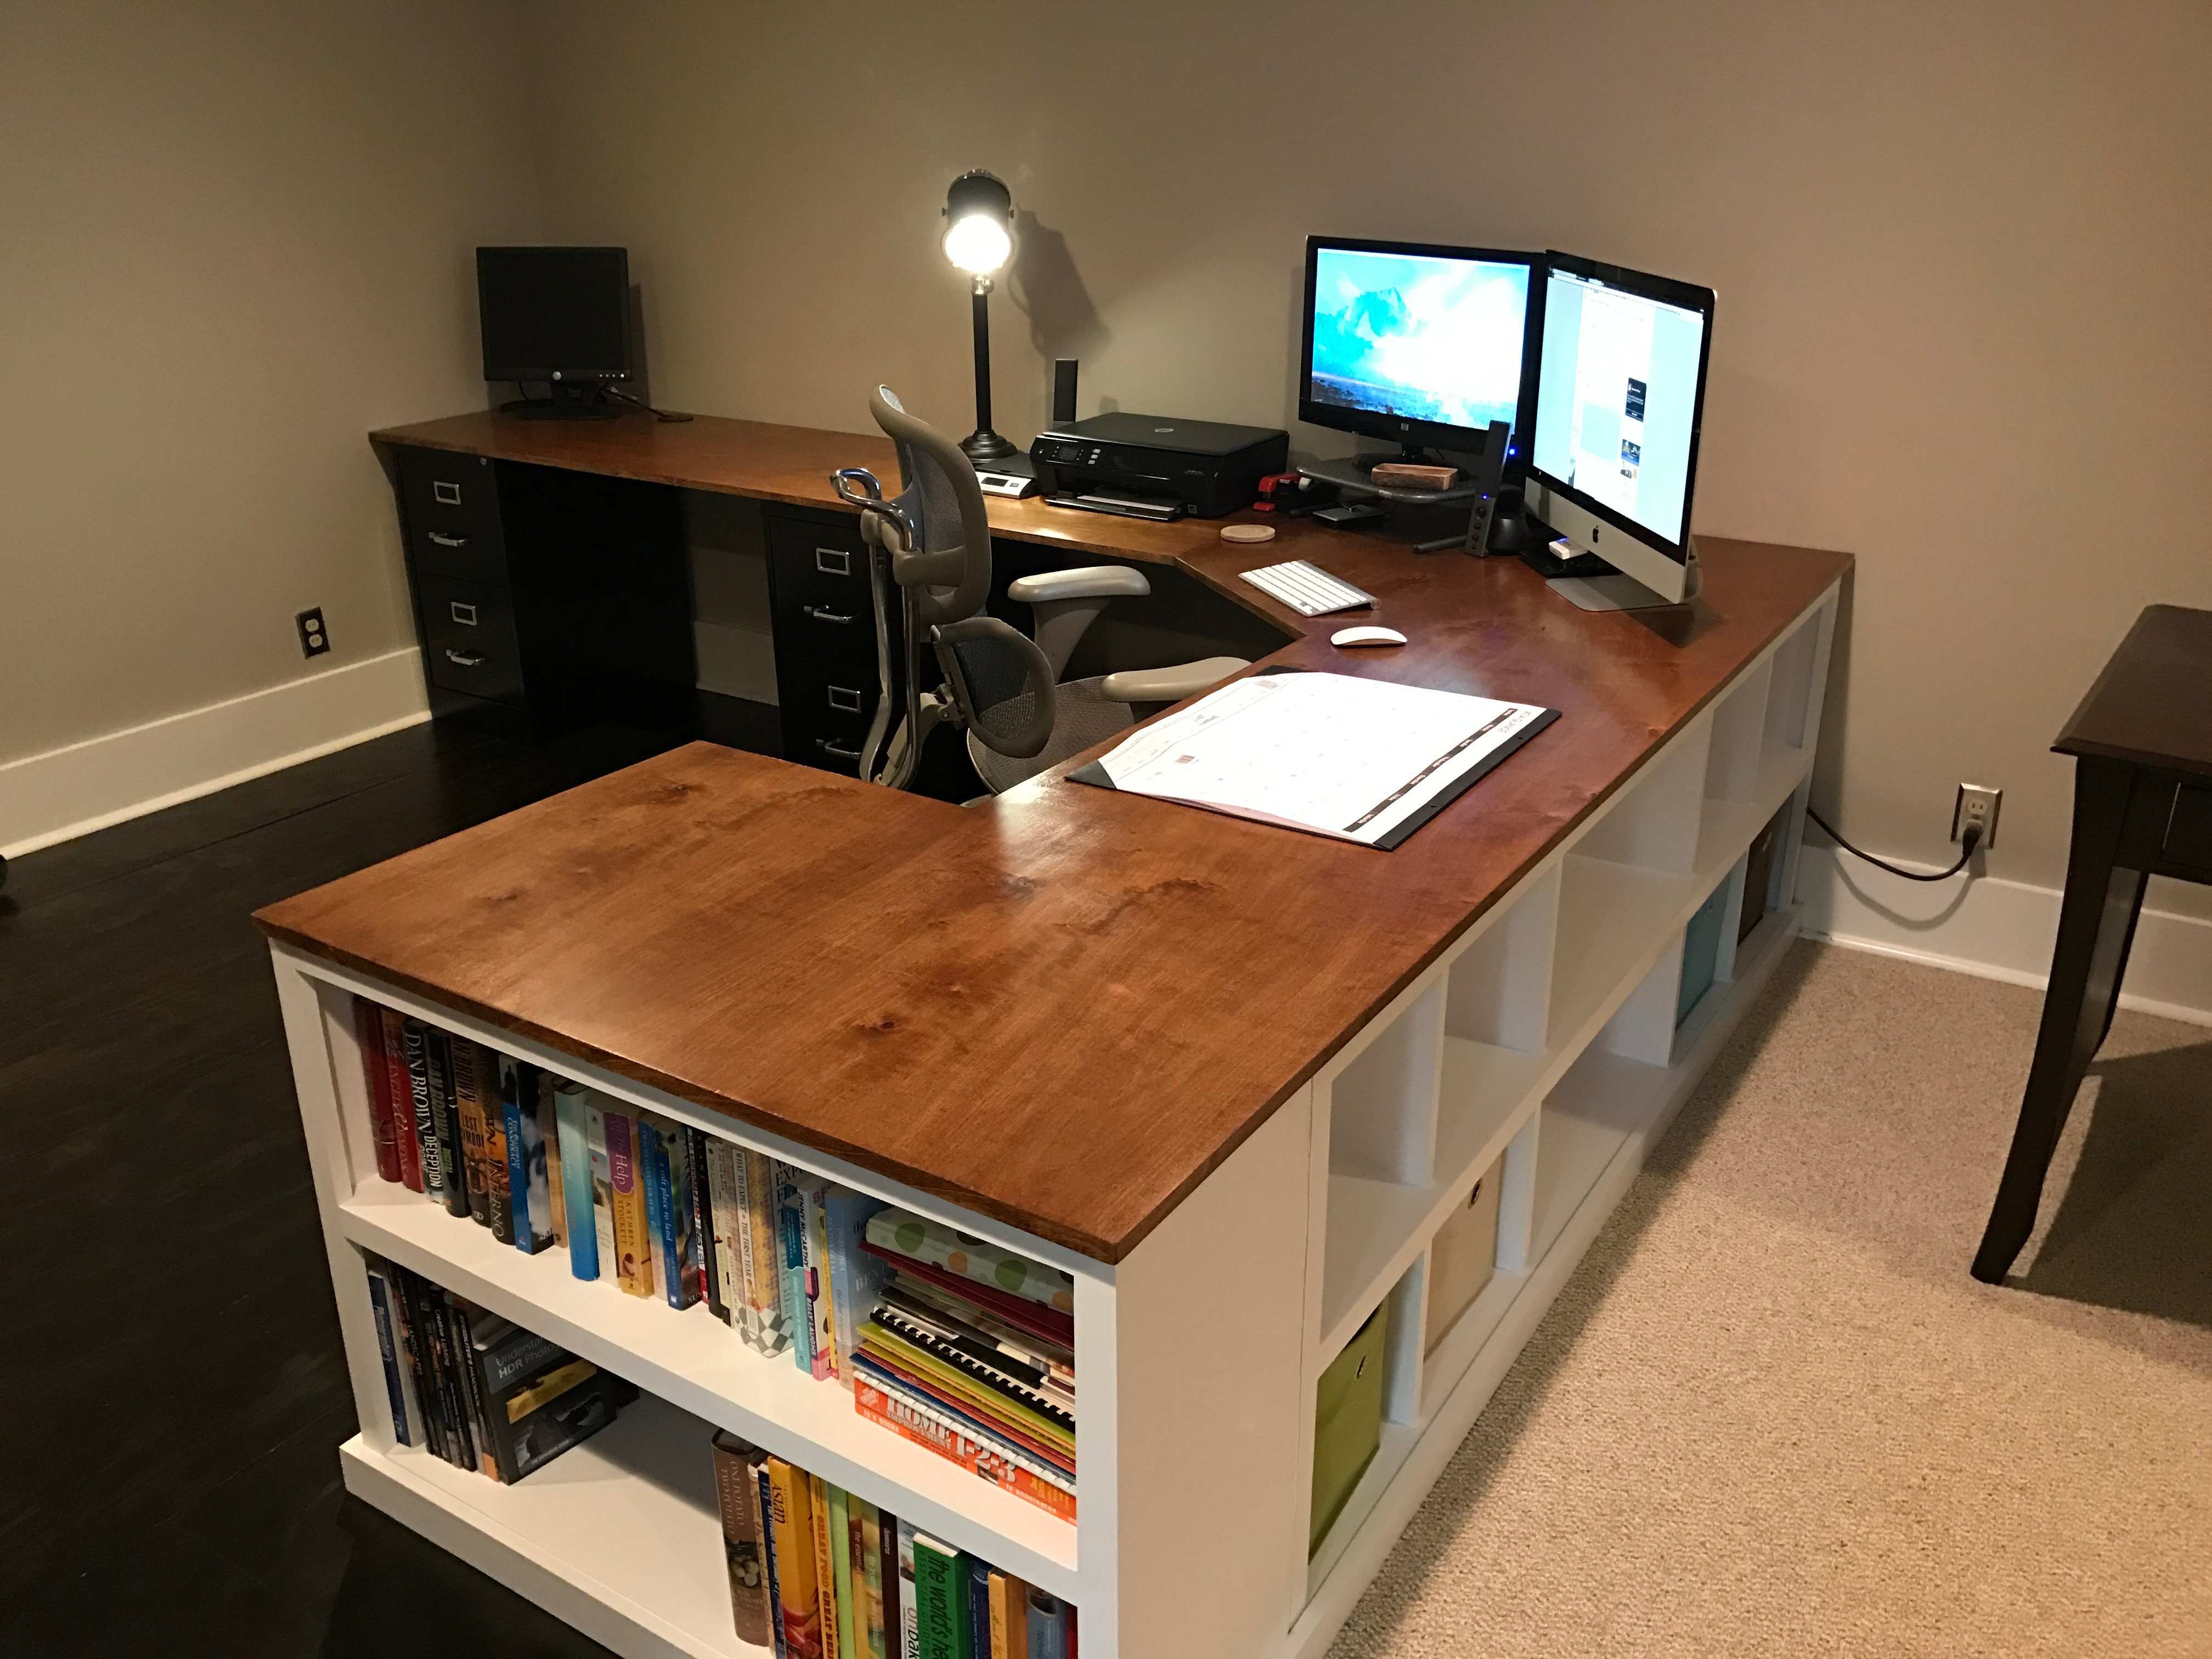
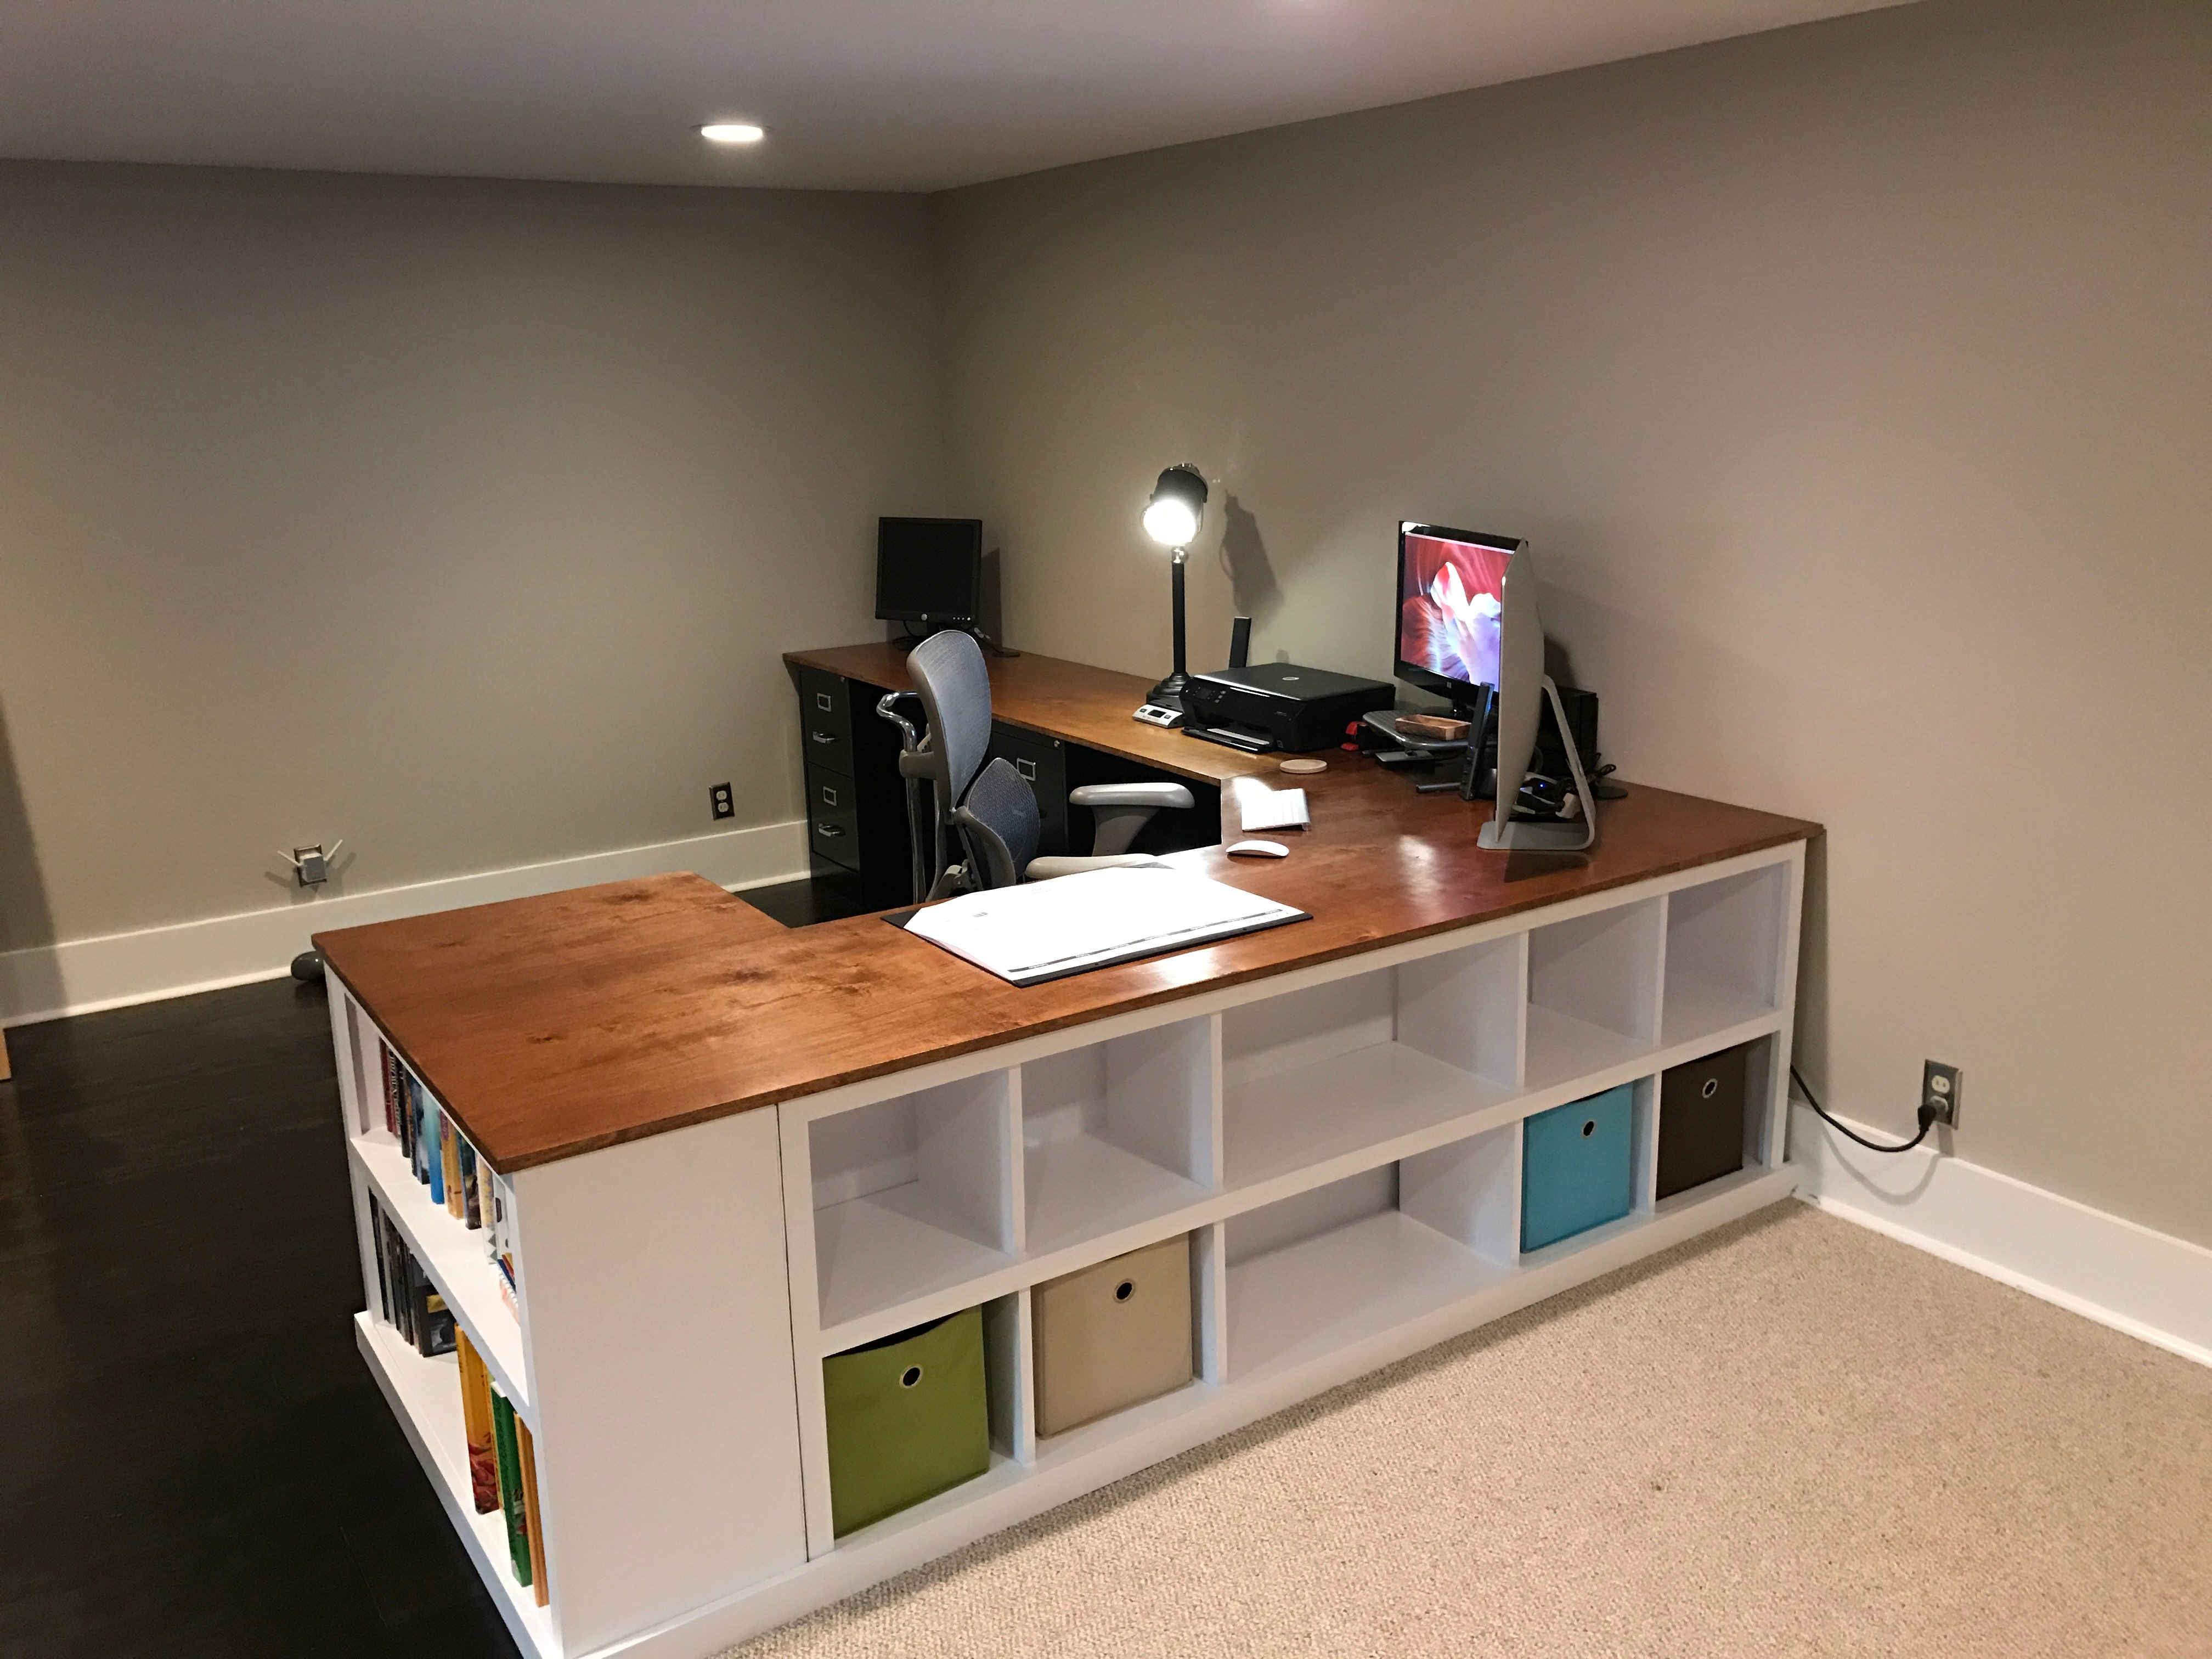
This is a mashup of several plans, combined into one big, bad ass, office desk. I've had a little experience years ago in high school woodworking classes, but haven't really built much since. This reminded me how much I enjoy working with wood. So rewarding to be typing this message at my new office desk!
Wed, 08/19/2020 - 06:25
This is amazing! So amazing could I ask you to share with me what prices from the collection of plans you used and how? I’m looking at your pic trying to figure out how to incorporate the plans you used. I want to build one for myself lol fantastic job!!!!
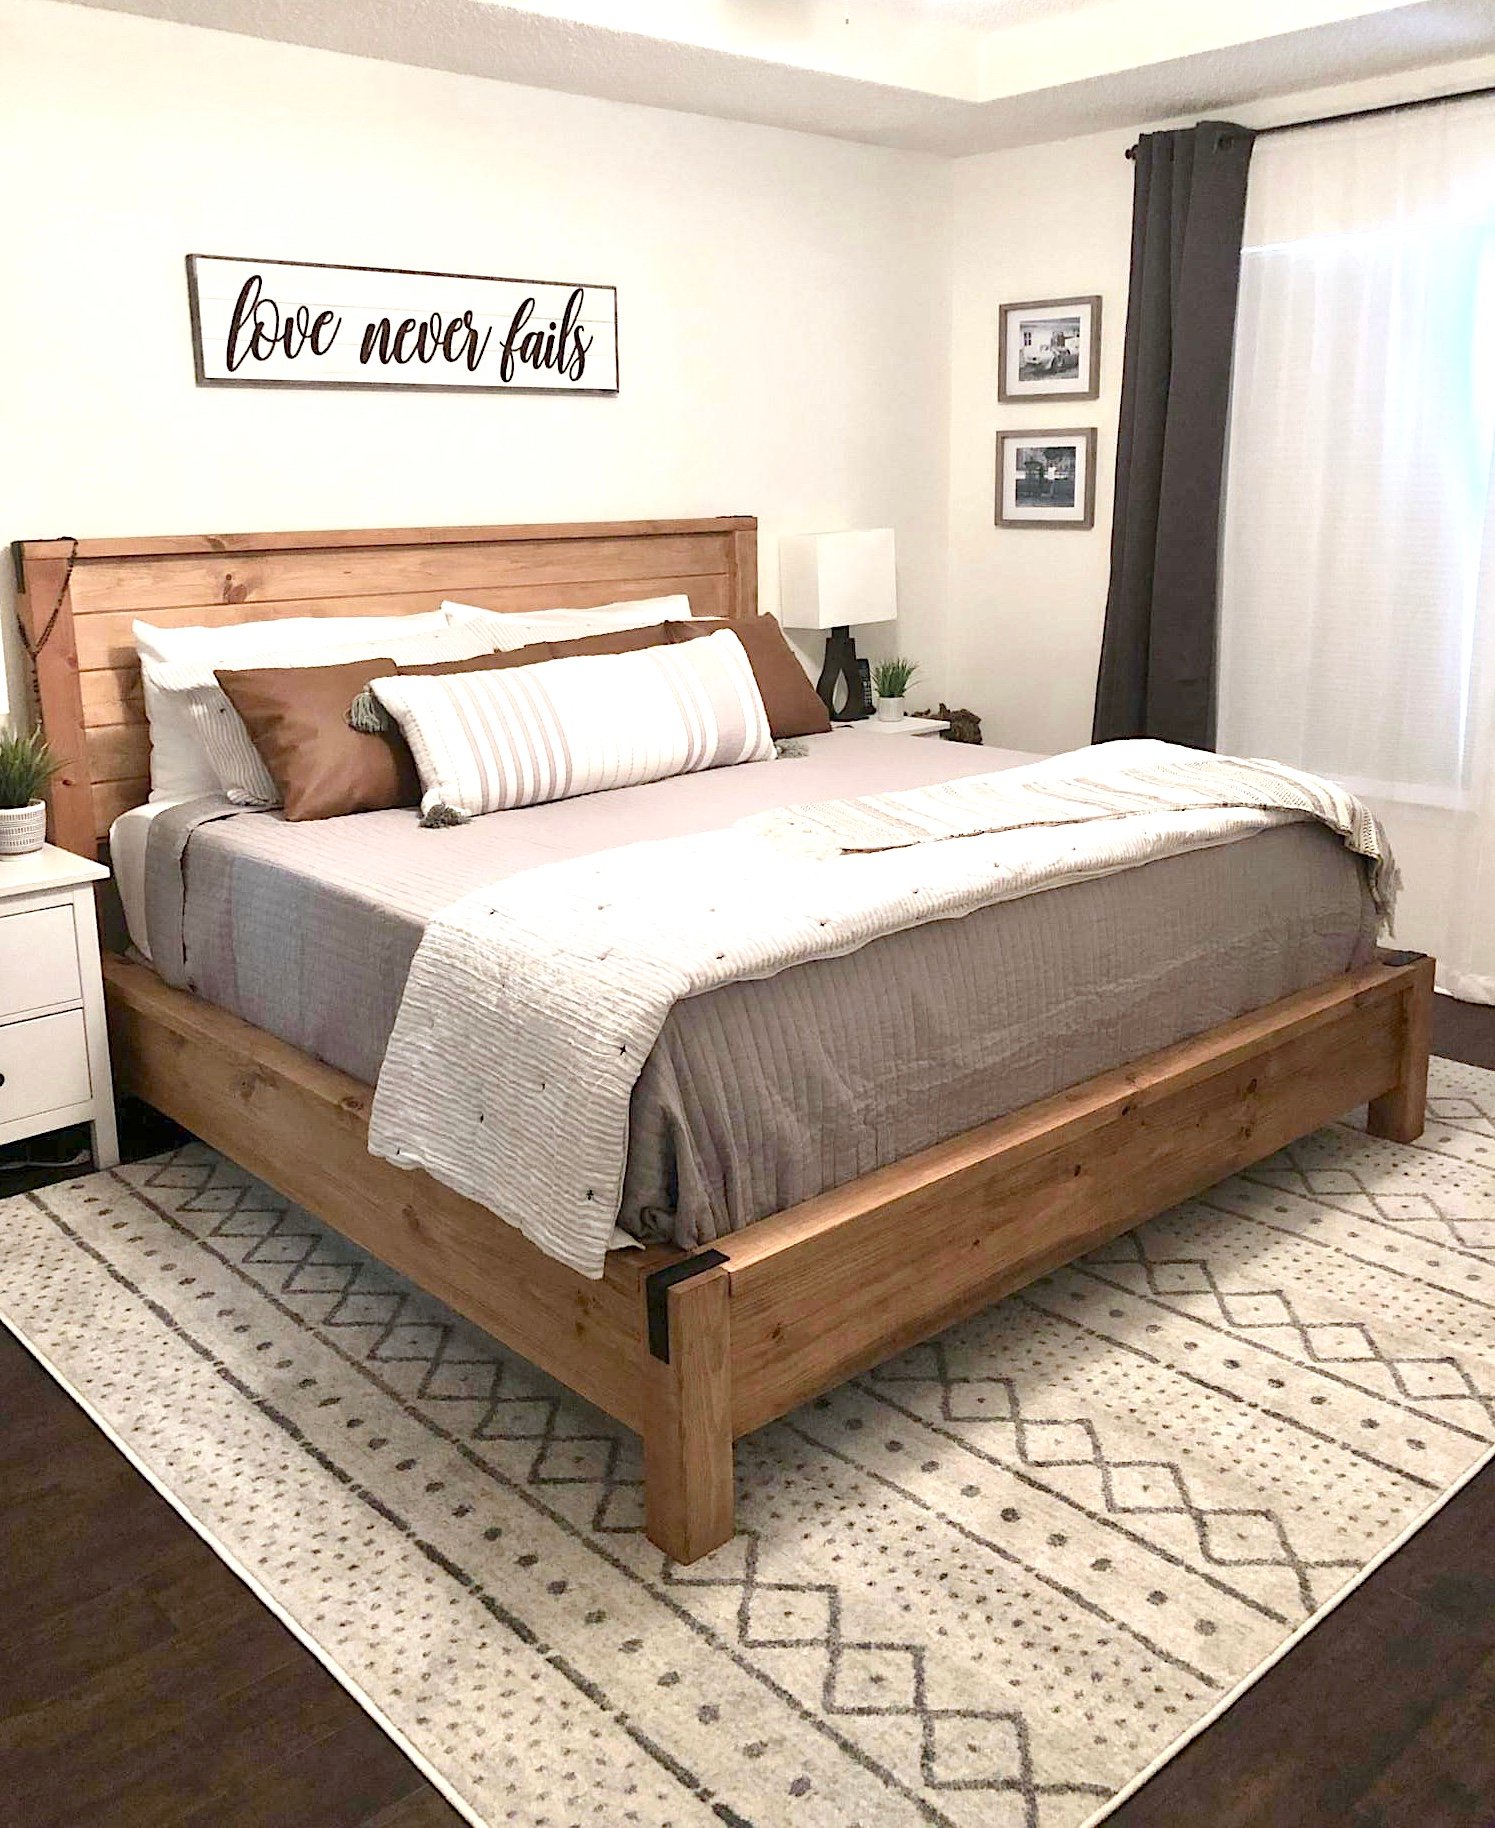
Made this bed from Ana's plans. Modified it with rail so I can add my box spring. Cost was approximately $160 for lumber, screws and stain. Absolutely loved the plans and easy to follow or modify if needed.
Tue, 02/23/2021 - 20:12
This is gorgeous! Is there anyway you could post your modifications? Very nice work!!!
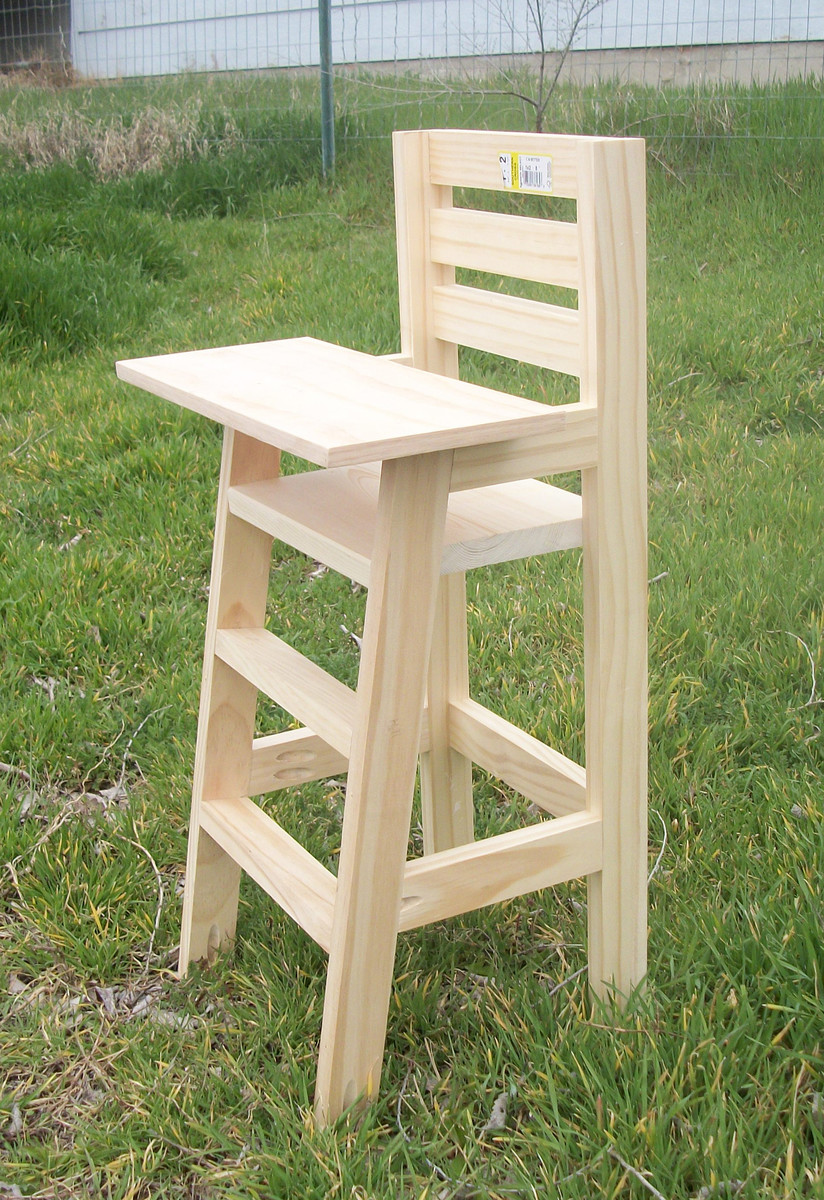
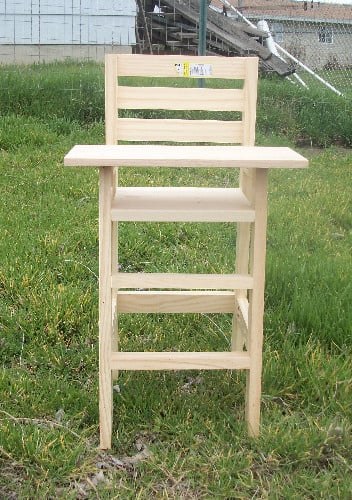
My neighbors grand-daughter is about to turn 3 and I thought this would make a great present for her.. plus, when she saw it online while visiting me (I was checking the website as usual), she said "Oh, I NEED one of those!". I laughed and then that night went out and checked my scrap pile to see if I had everything I needed to build it.
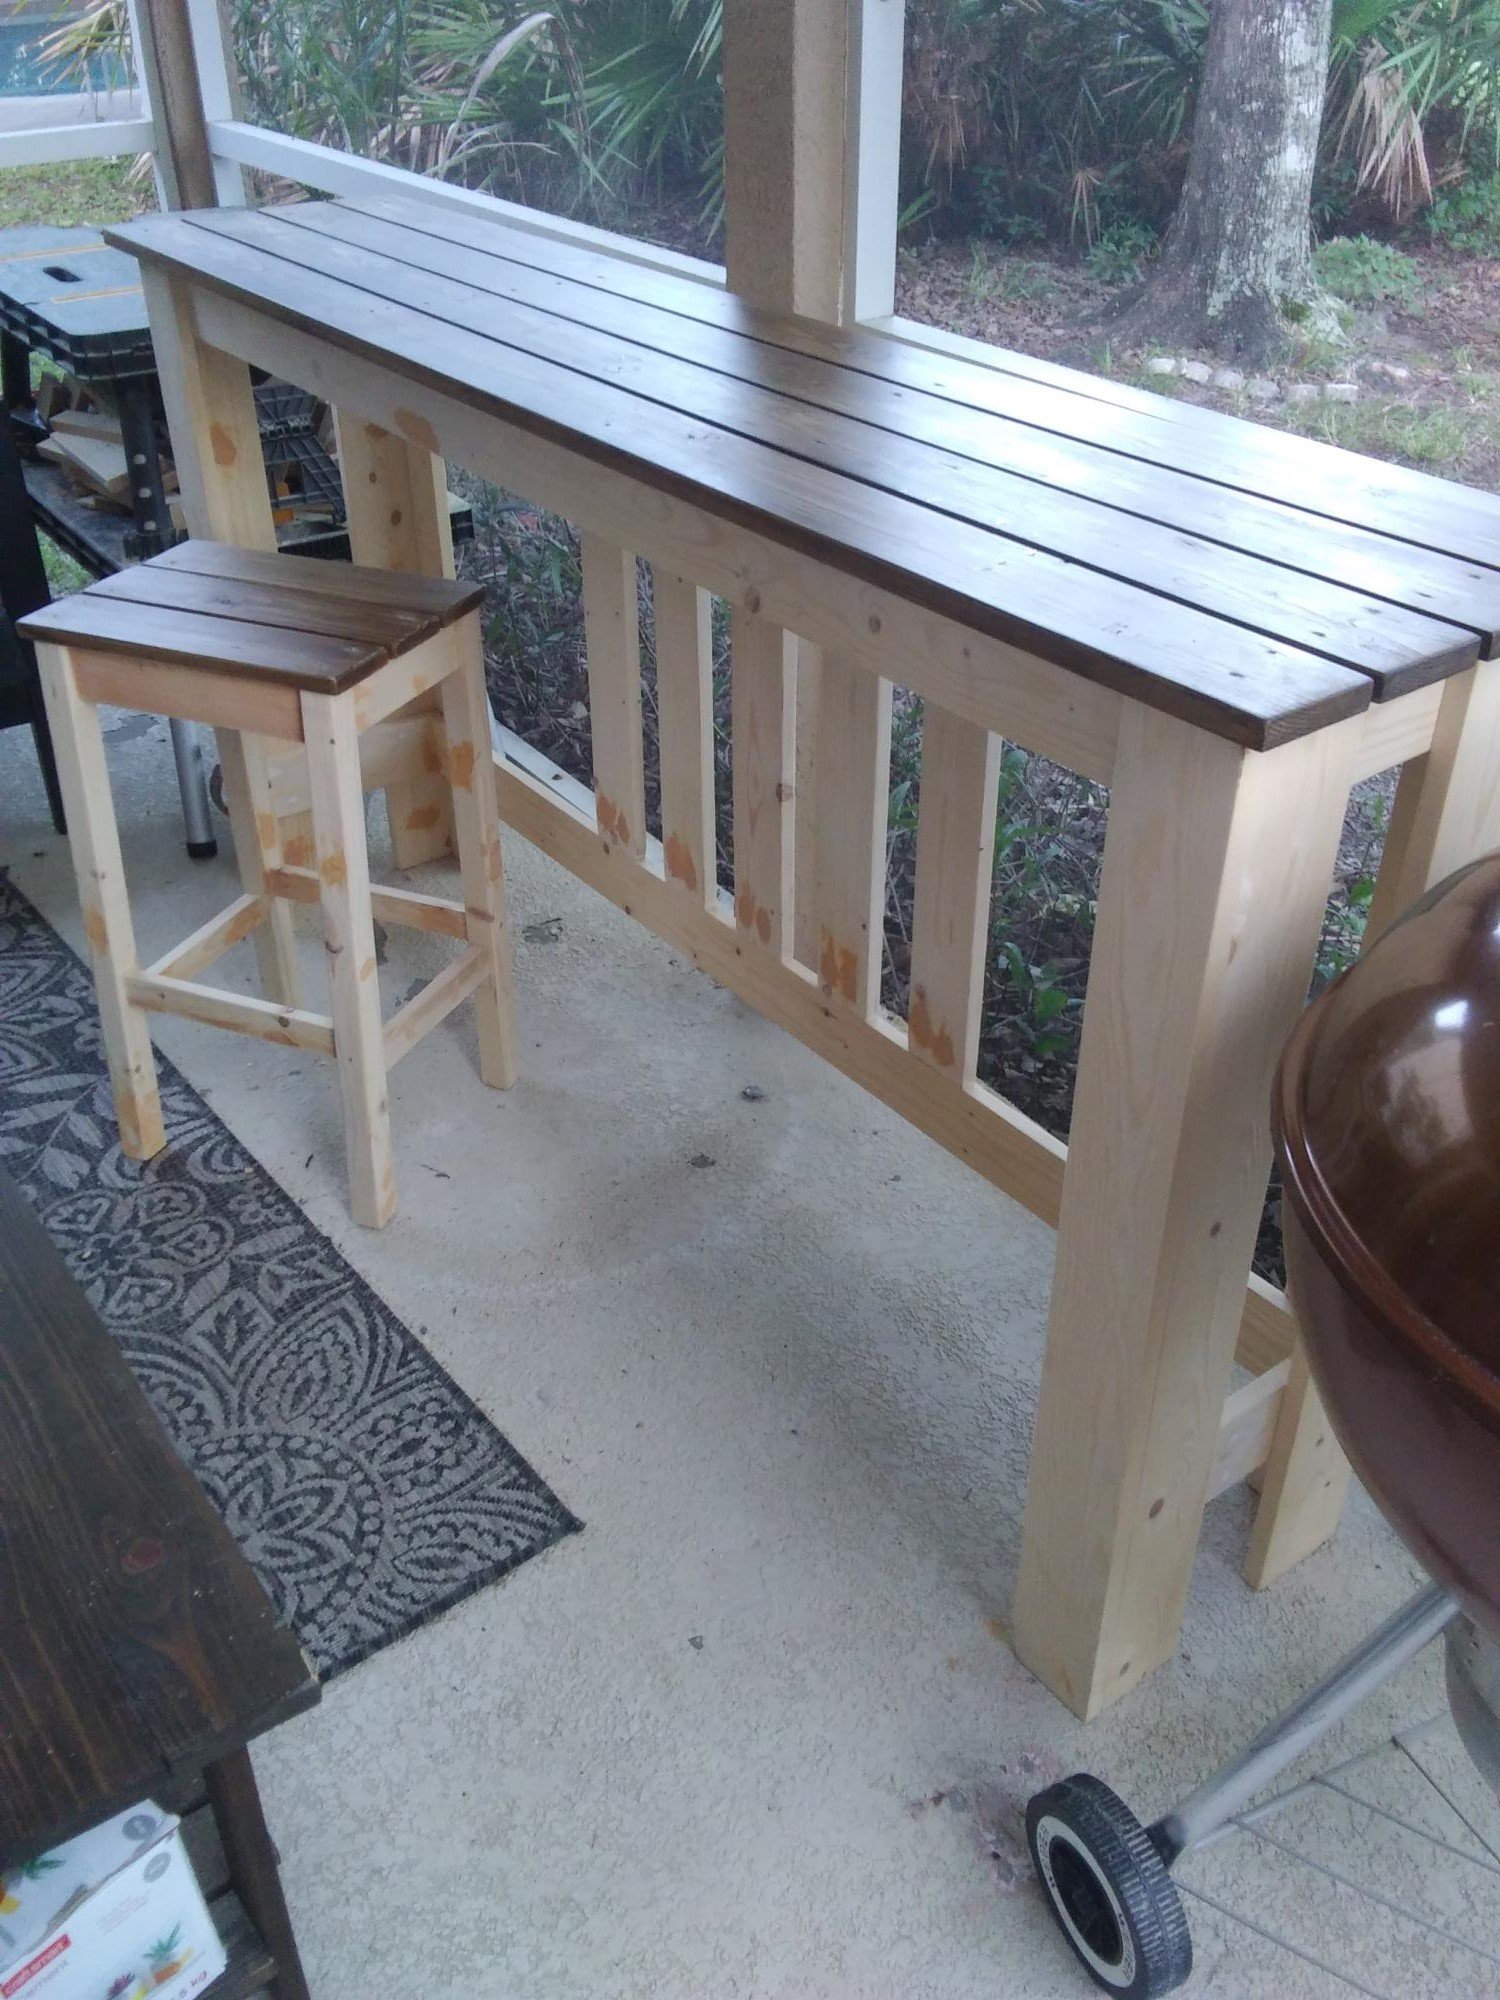
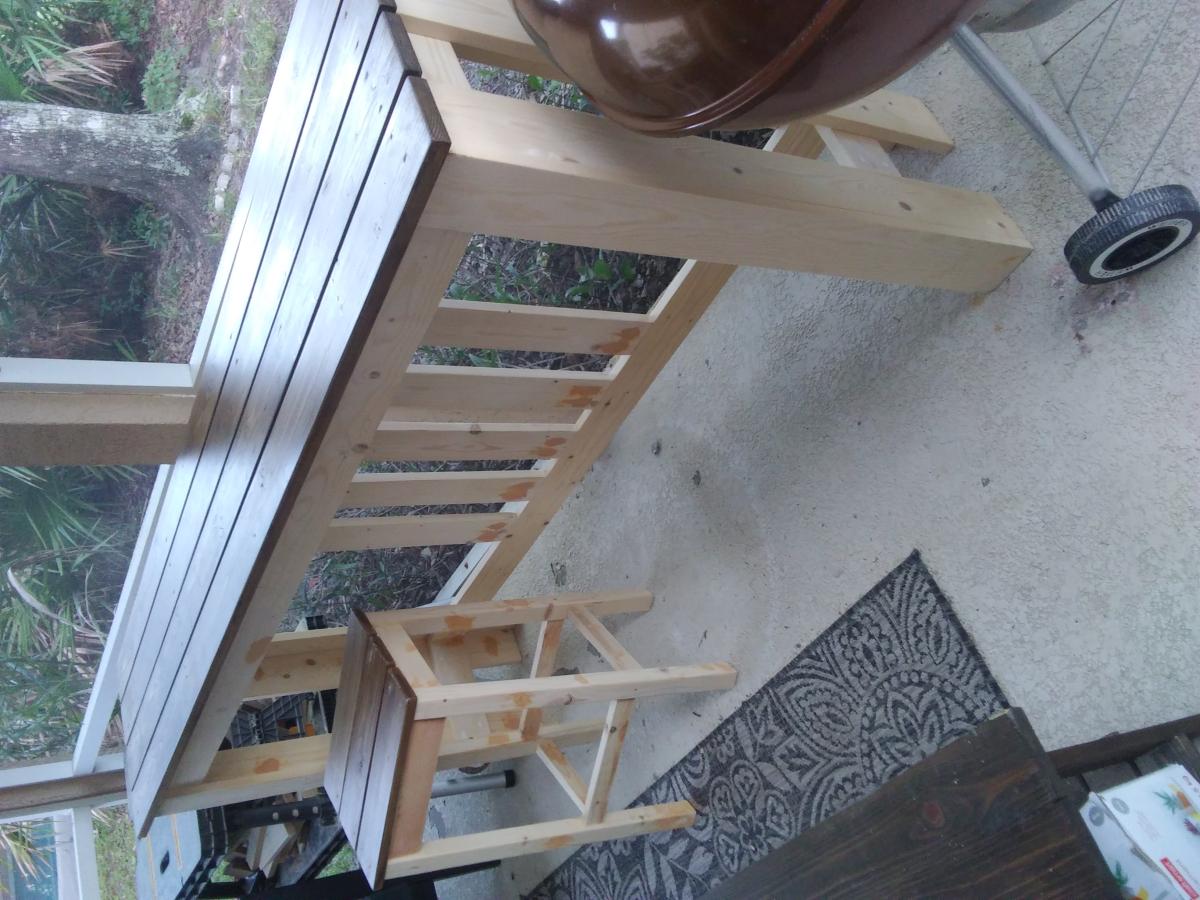
I love this bar table! I needed something long and narrow for our small patio - just deep enough to fit a plate and a drink, or a laptop, and long enough to fit three stools, so I modified Ana's dimensions. Also, living in Florida, we occasionally need to bring our furniture inside for hurricanes, so I made it a lighter by using 1x3s and 1x4s instead of 2x or 4x4s. I still need to paint the bottoms a cream color and build two more stools, but I already use it a lot. Thanks Ana! (The photo was upright on my computer, but I didn't see how to rotate it once it was uploaded)

Comments
Ana White Admin
Fri, 04/14/2023 - 13:16
Fabulous plant wall!
Thank you for sharing, it looks awesome!