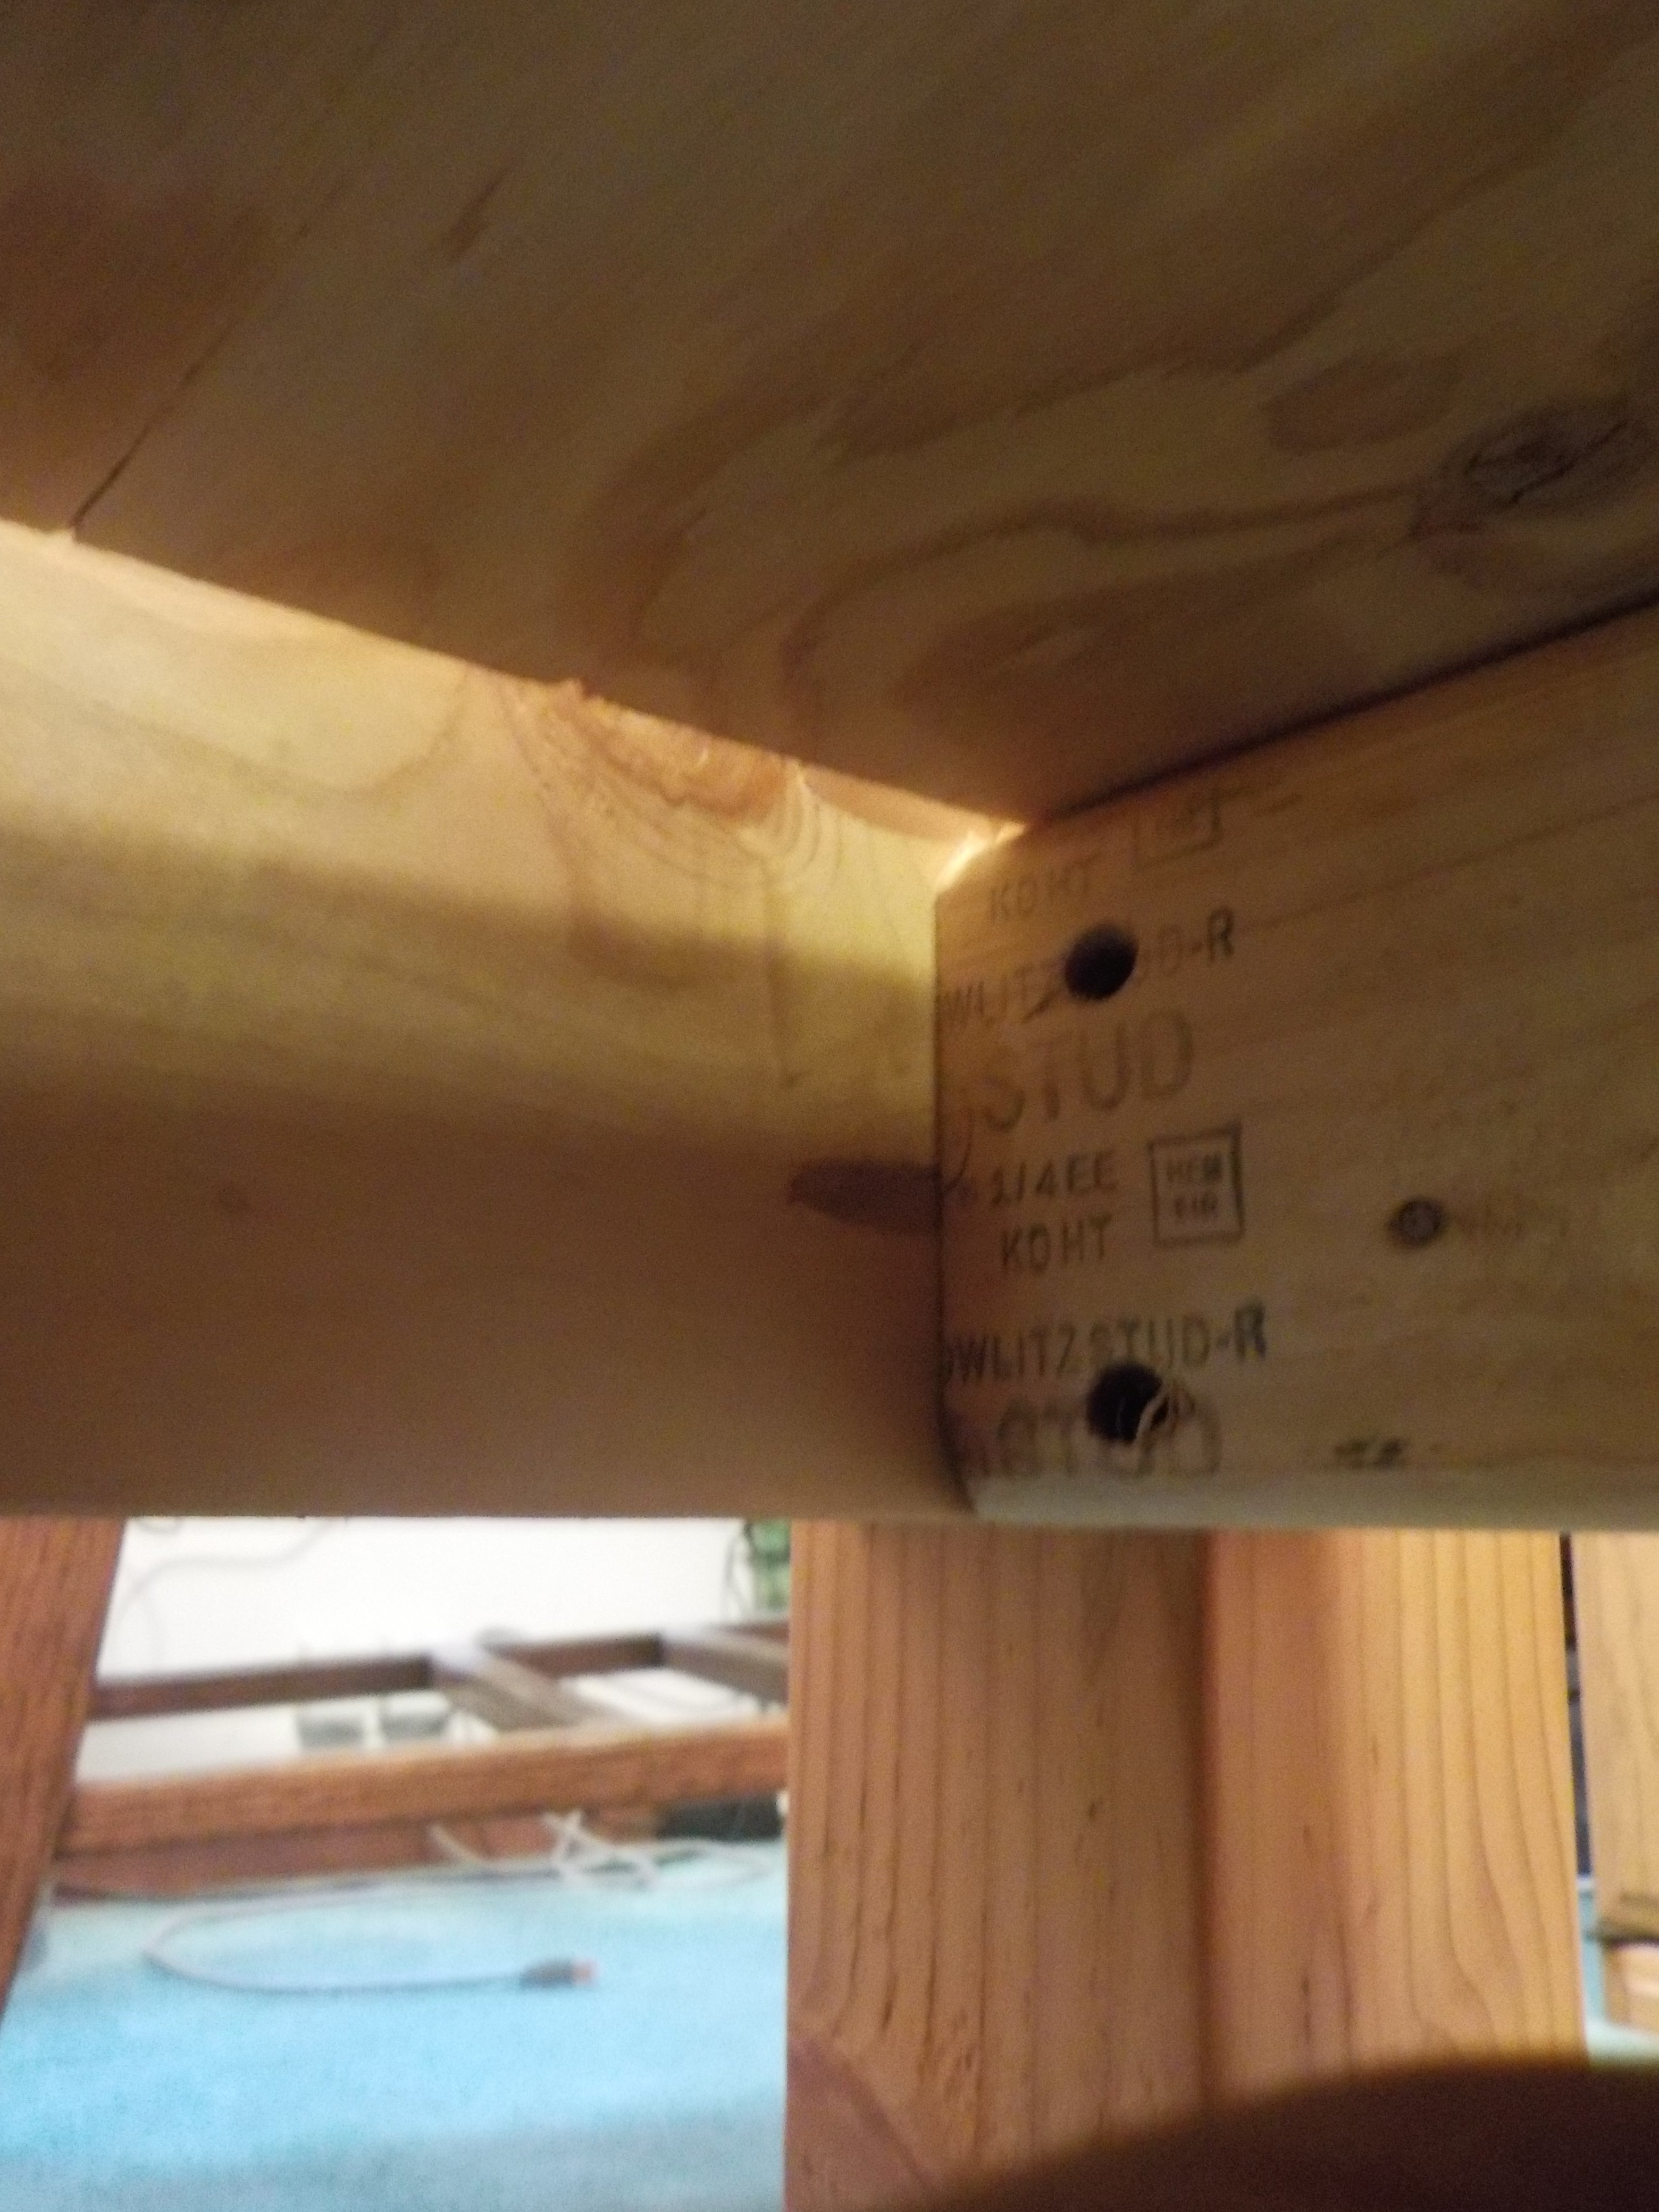
Farmhouse Table
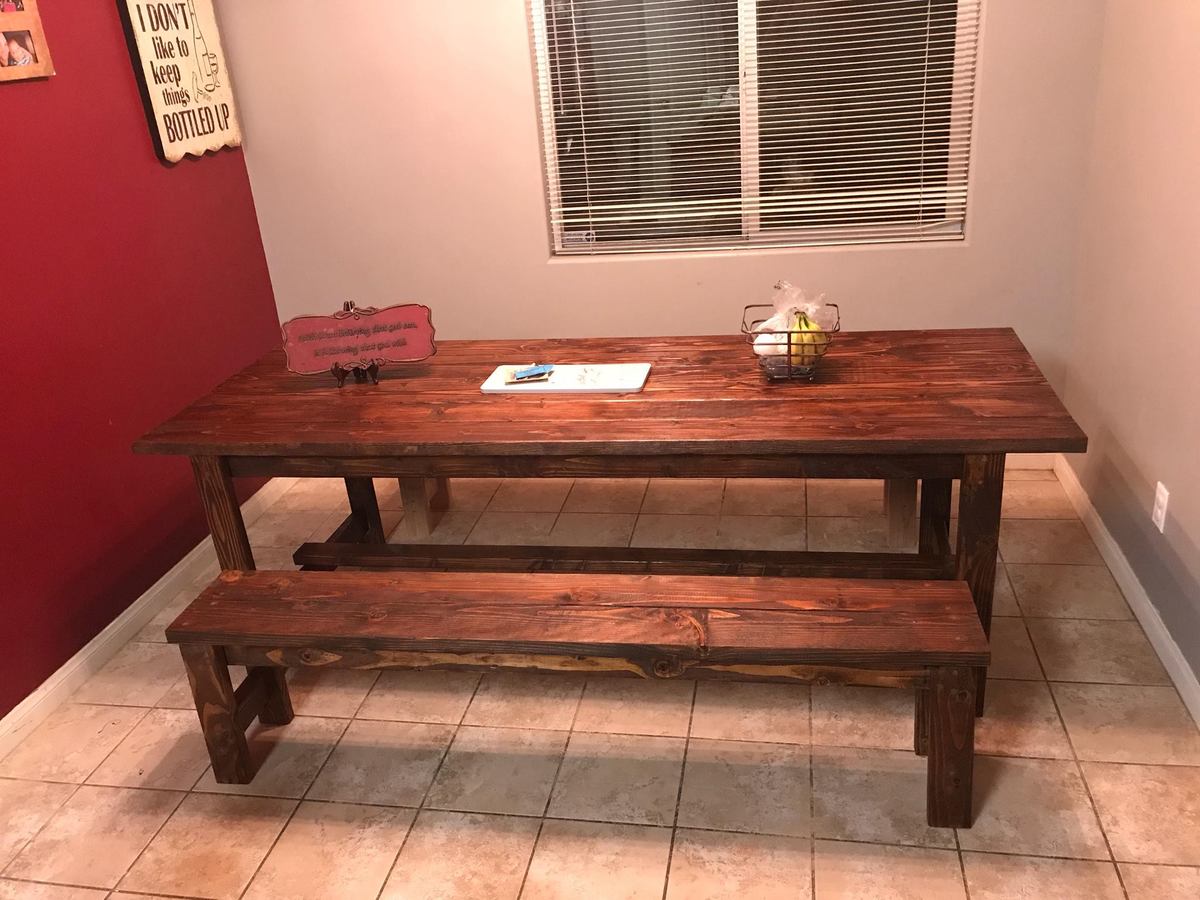
I love this table and bench set! Very easy to build and didn't take too much time. We made it a family build. My kids helped put together the benches and table. My wife and kids did all the staining.
I built this bed as a modified farmhouse bed. I chose to have a solid wood headboard instead of having a slotted look as it fit better in the decor of our home. I purchased a bed rail kit from Rockler so that I could remove the rails without removing any screws. (http://www.rockler.com/product.cfm?page=5783) It was a relatively easy project considering my skill set was very low when starting! http://www.lifewithfingerprints.com/2010/09/labor-of-love.html
Wed, 08/17/2011 - 14:03
Very beautiful! I dream to build the farmhouse bed. The finish is awesome in black.
Same Beautiful Hall Tree - Different Seasons by Iron and Lace Design
easy to follow steps. Good weekend project for a beginner. I just got tools for Christmas and I tackled this without prior building experience. Excited for more projects
We modified the farmhouse table and bench to make a table for our daughters apartment. We made the table 54” long which turned out to be the perfect size for the apartments dining room space. You may also notice we built a dog bowl table to match the farmhouse table style. Love the design!
I have been looking at your blog and always been interested in making my own furniture. However, I was scared to try. Your diagrams and measurements were awesome. Thank you! Gave me the encouragement to try!
So I followed the plan except I tried to use more pocket hole screws. I managed to use them for all parts except the seat and back. Looking at them I see how I can use them for those areas too ( just a little pre planning next time)
I’m using Behr Wedgwood waterproofing stain and sealer to complete the project.
I love all your plans and can’t wait for my next project.
Sat, 05/06/2023 - 07:39
The chairs loolk really great, love the finish! Thanks for sharing.
Initially I was simply going to replace the old medicine cabinet with a mirror but my husband insisted that he needed a medicine cabinet. So I built the cabinet. Then I built the mirror. I wanted the mirror to stand upright but the width of the hole left behind by the old cabinet was too wide. I then tried to have the right side of the cabinet remain open but then realized that the door would not open because of the height of the faucet. In the end I had no choice but to make the door horizontal.
Though it's not what I wanted and it is not centered like I would I liked it to be I think it still turned out fine. And the mirror looks fantastic! Better than the pics show.
Most of the wood used were scraps from other projects. Including the trim. The one thing I bought for the project was a mirror that turned out to be the wrong size. It was too large and I did not want to cut it so I used the mirror from the old medicine cabinet. It did have hole where the door handle was which I tried to fill. Now I just try not to look at it. lol
Used Chalkboard paint for the doors.
I modified the tapered planter plans to create a decorative open-bottom well cover. I used cedar picket planks and a 2x4 and 2x2 frame.
Paul Tautges
We had a small deck with many rotted boards. The contractor who demoed it, knowing my interest in diy projects, sorted out any usable boards. I loved the idea of an outdoor sofa, so altered your beautiful pattern to accommodate decking boards - I literally only had to purchase 2 boards for the entire project! I’m so thrilled with how it turned out! Thank you!!
Camey Brown
We built our greenhouse a couple years ago and I absolutely love it! We just recently ran electricity to it so I can use heat mats and get an earlier start on my seeds!
Kristin Golden @goldenacresgirl
Total cost was under $200. The wood was a combination of select pine, Douglas fir. I used Minwax clear finish. Instead of slats I used plywood. This is going into the spare bedroom. We are quite pleased.
Mon, 05/28/2012 - 19:51
We chose to go with a 1 x 6 instead of a 2 x 4 for the top of the head and foot boards.
Tue, 05/29/2012 - 16:29
Can you take the bed apart in case you move? You did a great job.
Fri, 06/01/2012 - 20:45
Yes it comes apart. A total of four pieces. Headboard, footboard, and the two sides. Also a fith piece if you count the plywood base for the mattress. The sides are screwed in at each of the corners of the head and footboards.
Mon, 05/12/2014 - 19:01
Thinking of building this for my son as we move from crib to bed. Just curious how sturdy and strong the bed is? From the pictures it doesn't look like there's much wood where the rails attach to the head and footboard. Did you use pocket holes and screws? Any comments on how it's held up, what you might do differently? Also any idea if it'll hold a kid and parent for nightly story time?
Thanks...nice work!
Wed, 05/14/2014 - 15:22
It is in our guest room and does not get much use. However, it is screwed in at the corners not with pocket screws because the rails were too close to the edges. I chose to screw them in starting farther back and at a 45 degree angle to send the screw deeper towards the center of the four posts. It is very strong. Another suggestion would to purchase bed hardware. Hardware can be found online or in a hardware stores for attaching rails to bed posts. I've used such hardware for fixing commercial beds I've purchased.
Hope this helps.
Tue, 01/20/2015 - 15:25
Sorry it took so long to answer. Where I put the screws depended on how the bed was going to be placed in the room. In our case, the headboard was going to up against a wall. Therefore the screws were on the wall side of the headboard. The footboard of the bed had the screws on the mattress side. Kreg sells pocket hole plugs that work very well. Glue them in after you screw the head and foot boards together and sand them before finishing.
The sides of the bed that are attached to the head and foot boards and screwed in too. I had to screw them in at a sharper angle to get enough sideboard material but deep enough into the head and foot boards in. Use the longest screws possible for strength without going all the way through the four corner posts.
Tue, 01/20/2015 - 15:50
Either way described above will work. See added photos of plugged finished pocket holes and underside attachment to foot-board.
"I still can’t believe my mom and I built this beautiful fireplace.” - Megan Shaffer on Instagram
Built this dresser for my daughter’s room and added a modern base!
Kristen Kobeszko
This was my first furniture piece that I have made. I made two night stands, one for each side of the bed in our master bedroom. I chose to modify the plan so I could have ball bearing drawer slides.
We used the plans from the Simple Outhouse to make a space to hold our porta potty. The door is a repurposed barn door and I think it looks amazing! These plans were perfect for us as we were able to build it in panels and reassemble on our property by the lake. Some screened windows to allow for ventilation and light were the finishing touches. Thanks Anna for the simple to follow plans!
Sofa table
easy
Increased width of box to 46" by using 8 fence boards instead of 3. put base at 12" down, lined box with landscaping fabric to hold dirt. Created trellis with 1x2 boards with 10" long corner braces, spaced screws 6" apart around edges and weaved cotton thread to create the trellis. Used 12" scraps of 2x2 to create a "slot" inside the center of the planter to support the trellis. Added container mix and green pole beans started in egg cartons earlier in the spring.
This measures 70in wide. I added a second shelf as well. I used plexiglass in the doors. I really love how this turned out!