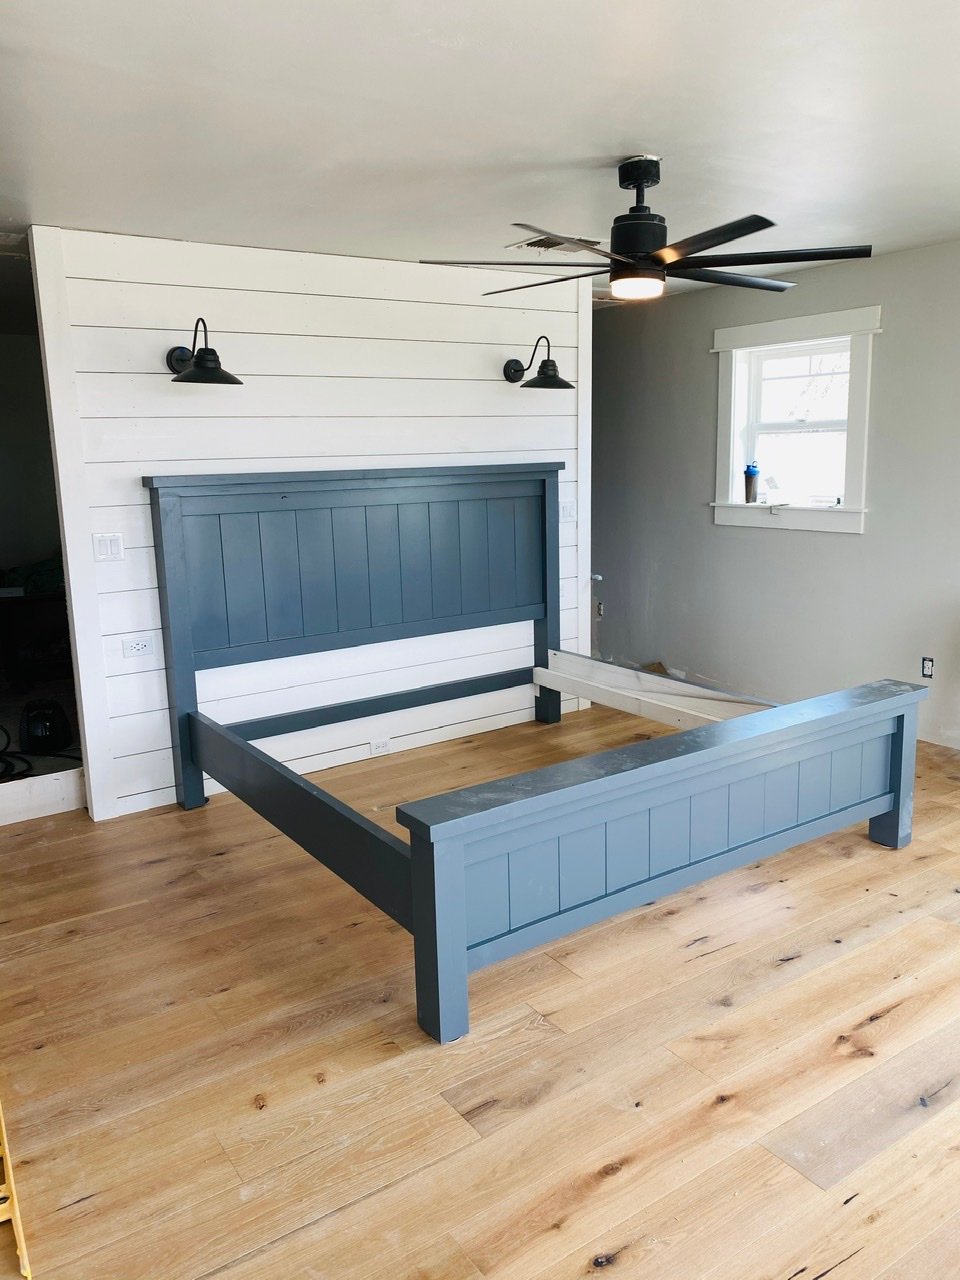
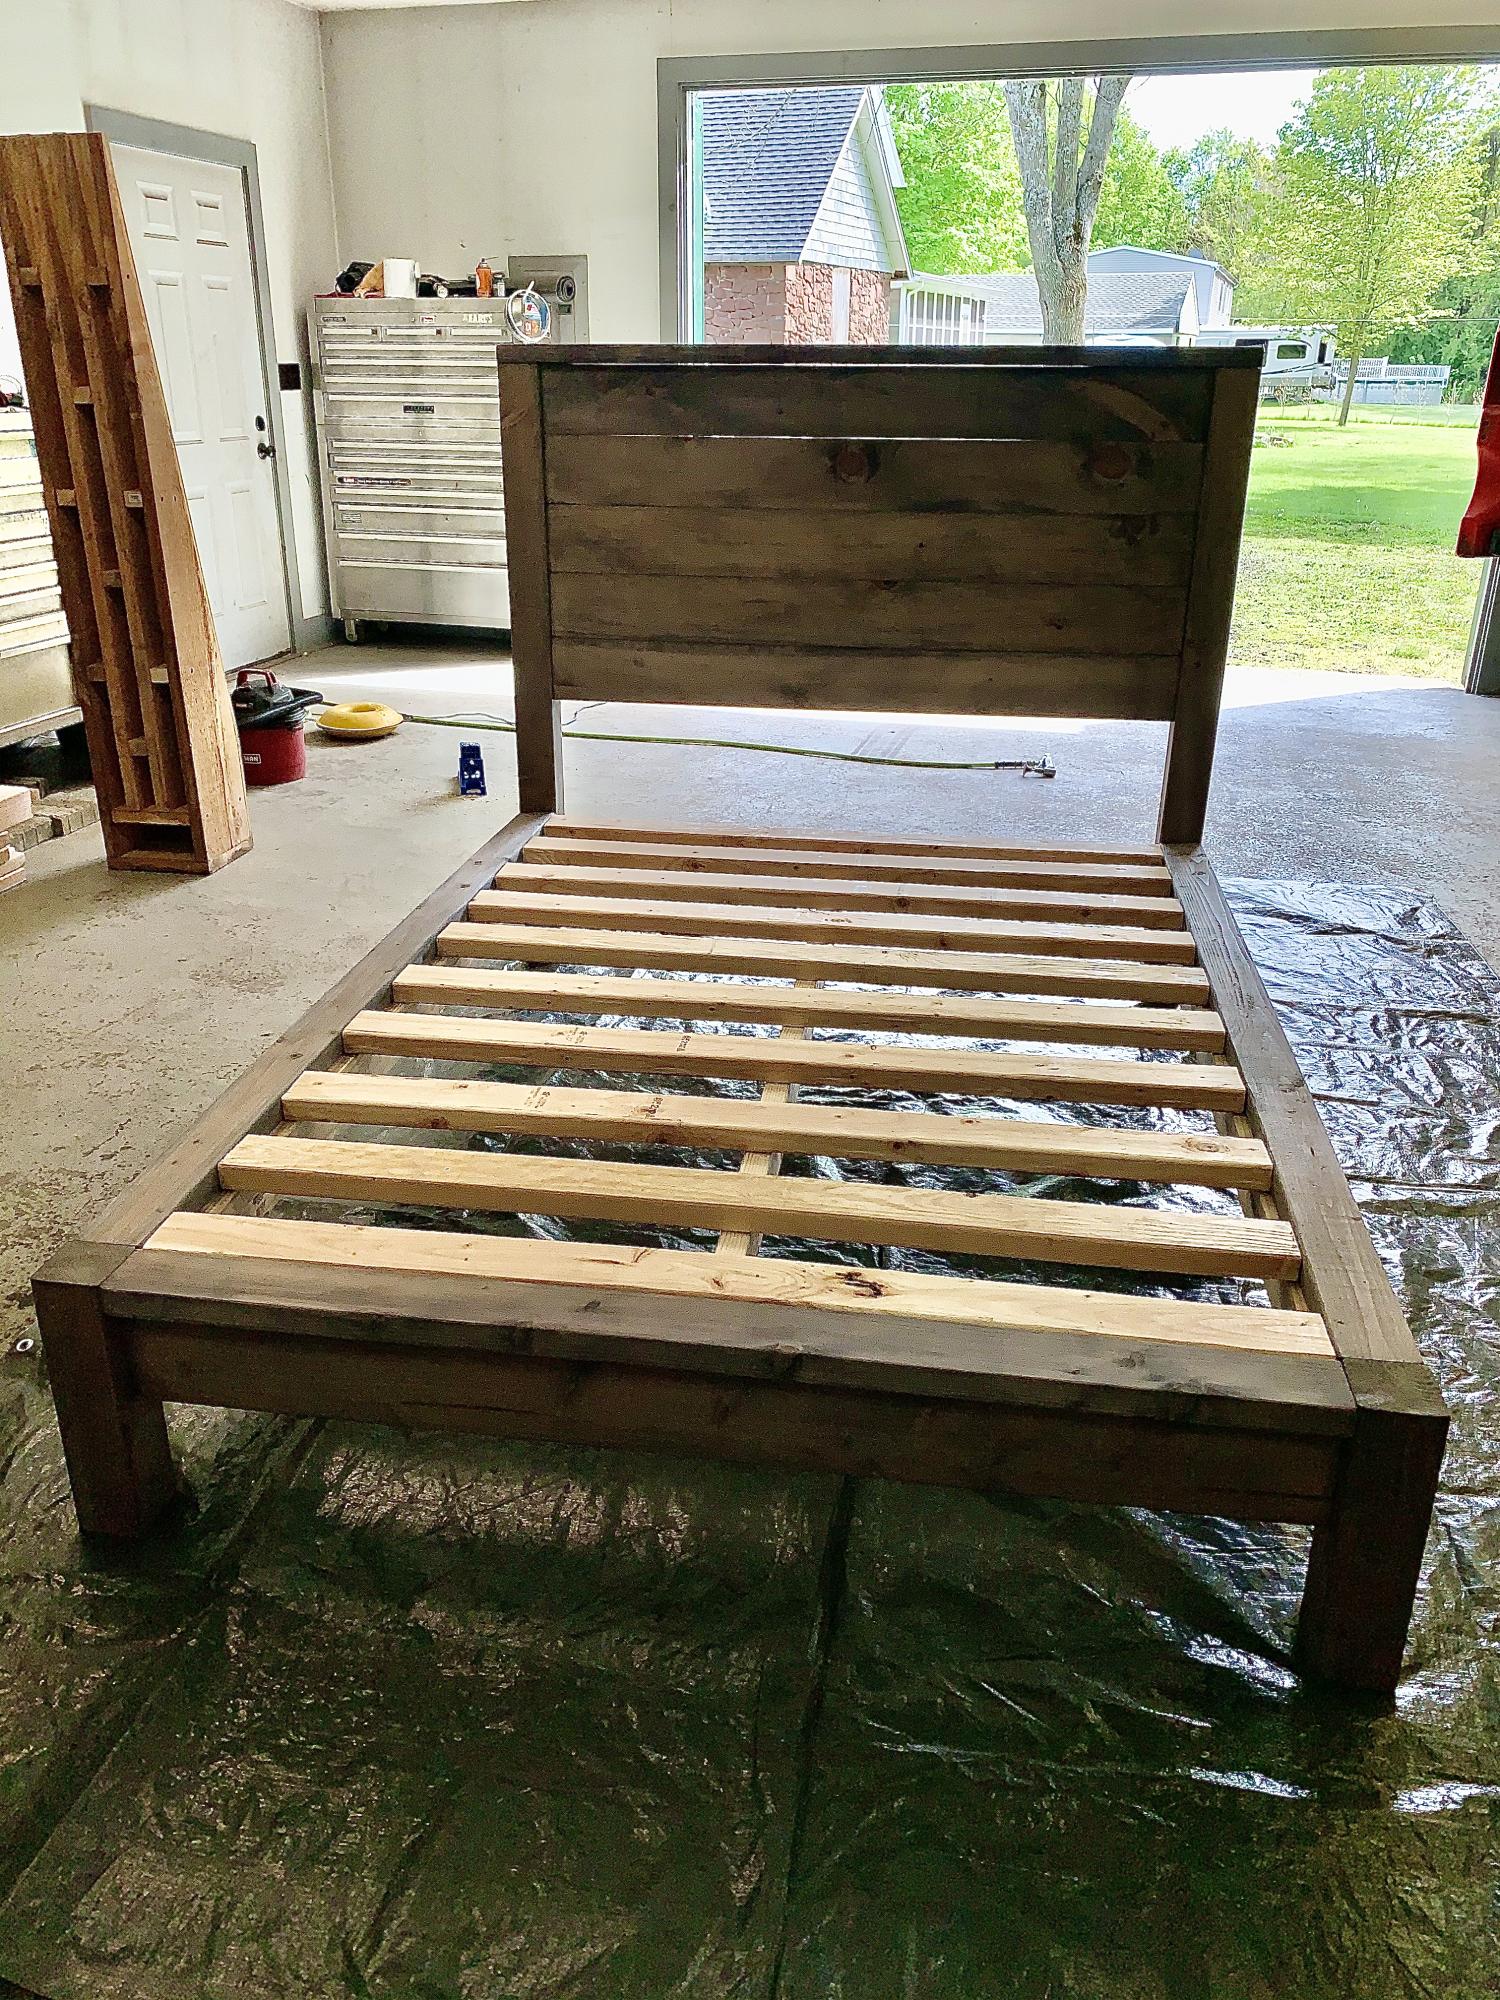
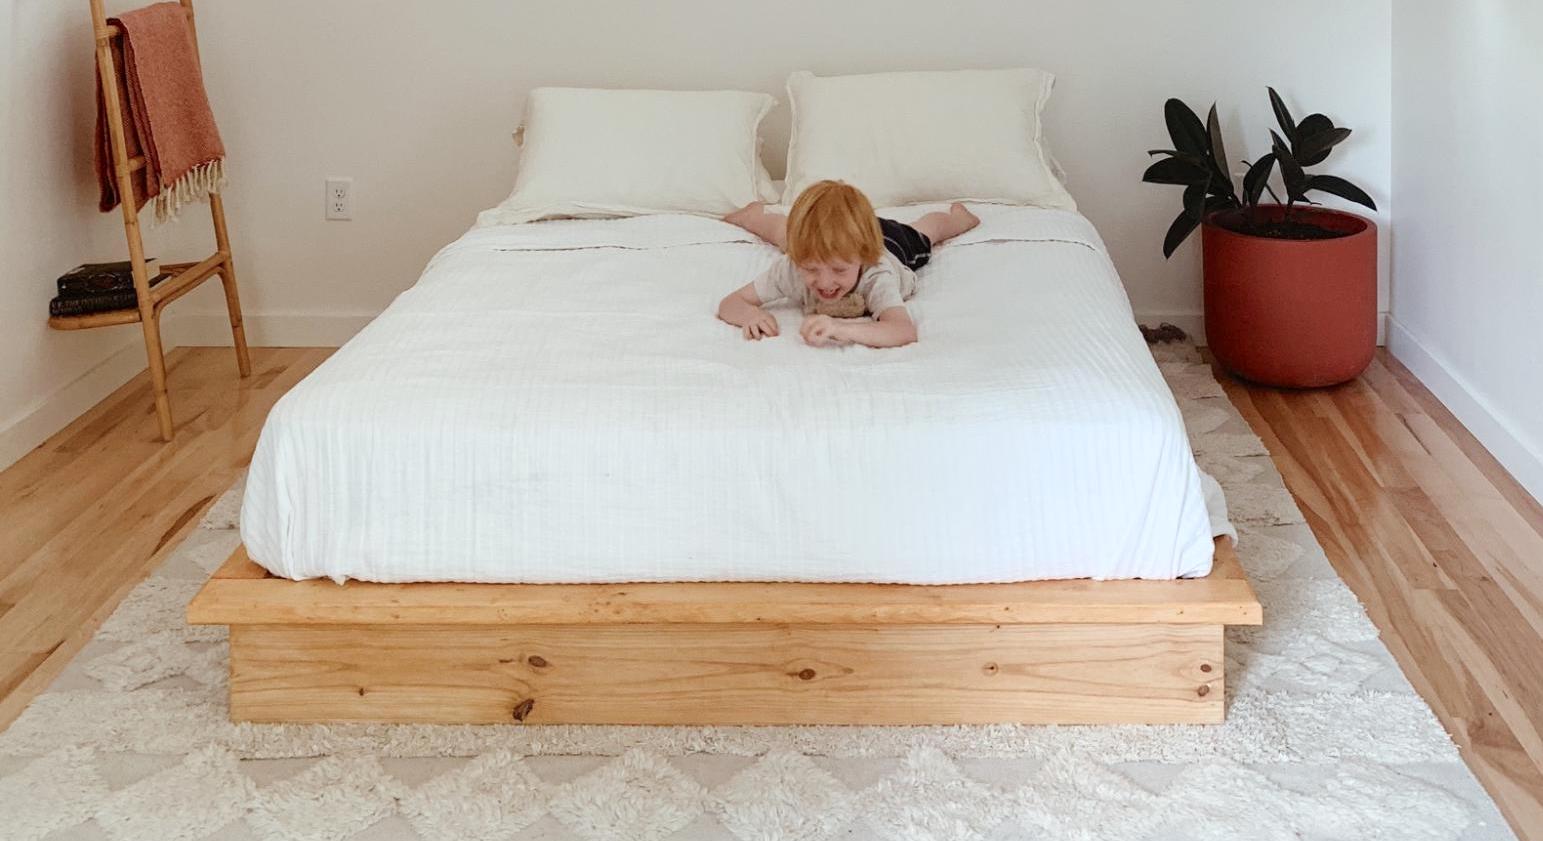
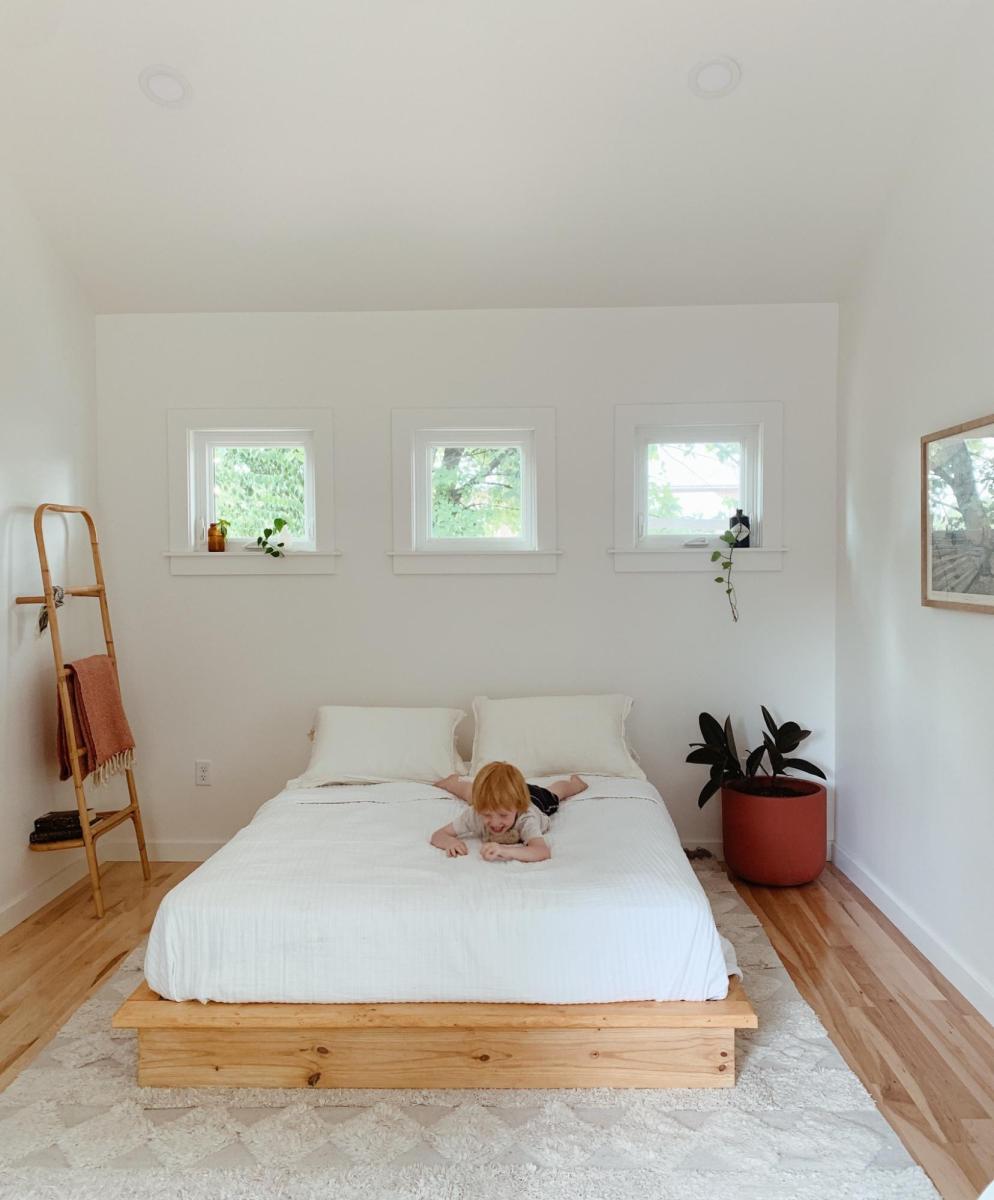
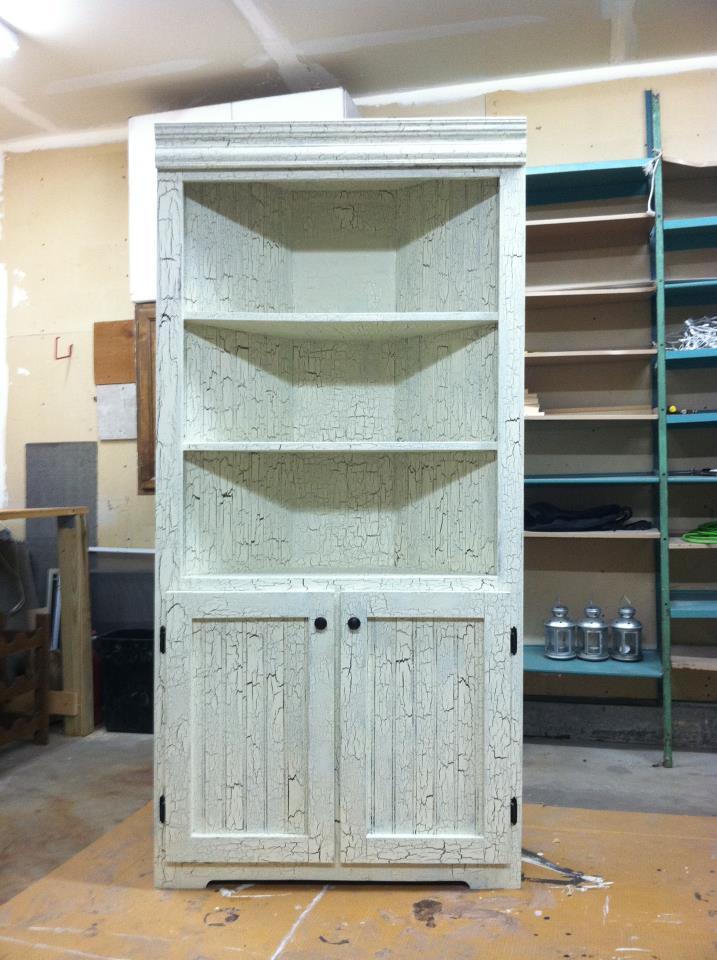
Modified Farmhouse Storage Bed (California King, headboard with bookshelves)
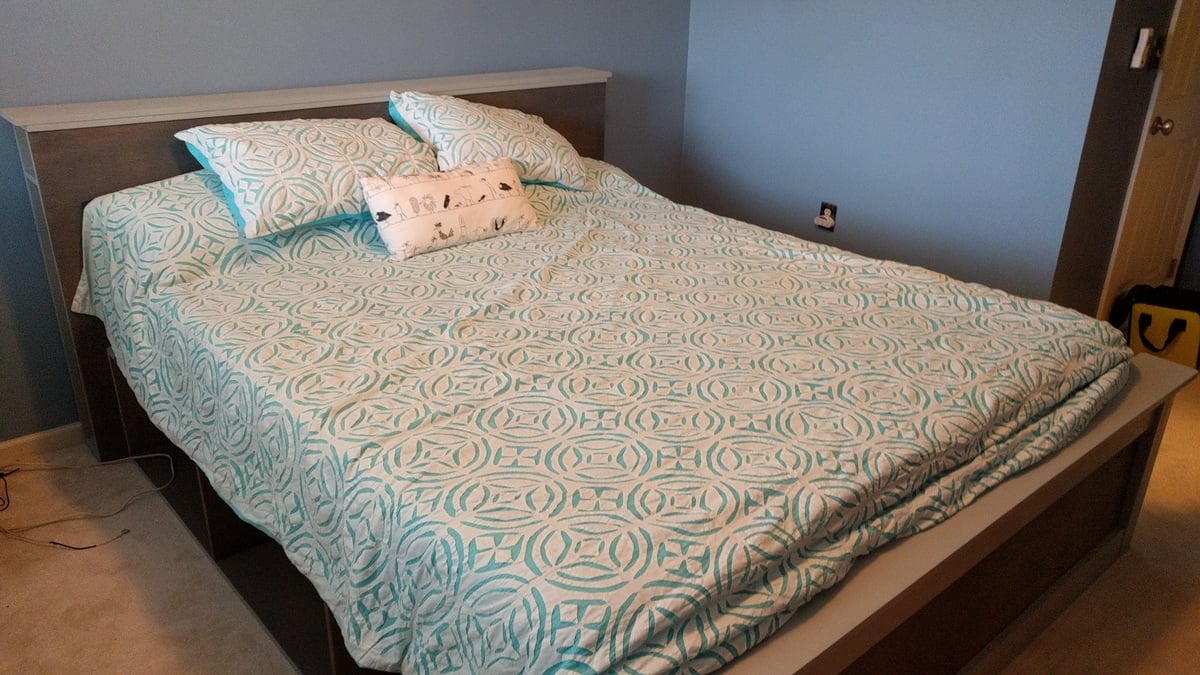
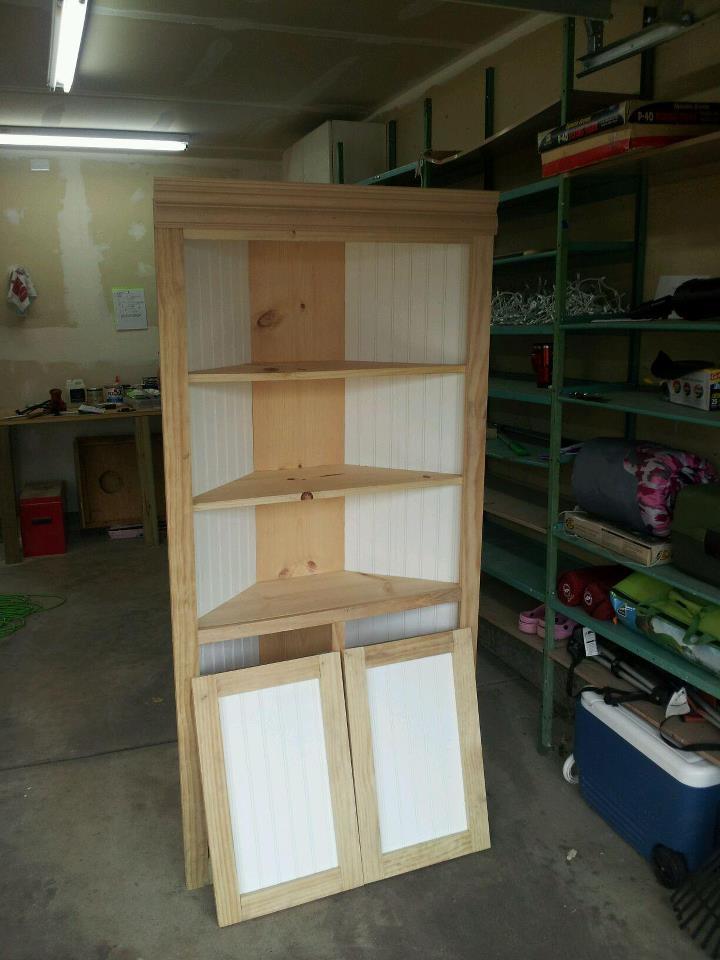
Modified the Farmhouse Storage Bed with Storage Drawers. Changed the design to california king and added booshelves to the headboard. Will eventually turn a shelf into a nightstand for water/light. I LOVE IT!! Thanks for the Design, Ana!
Built from Plan(s)
Estimated Cost
$400
Estimated Time Investment
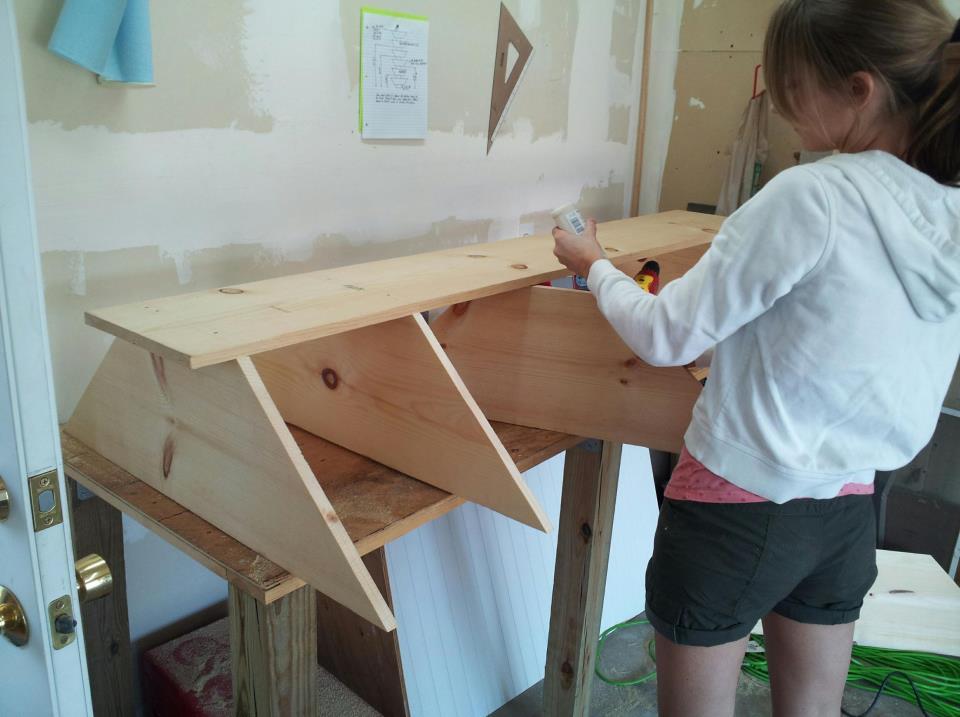
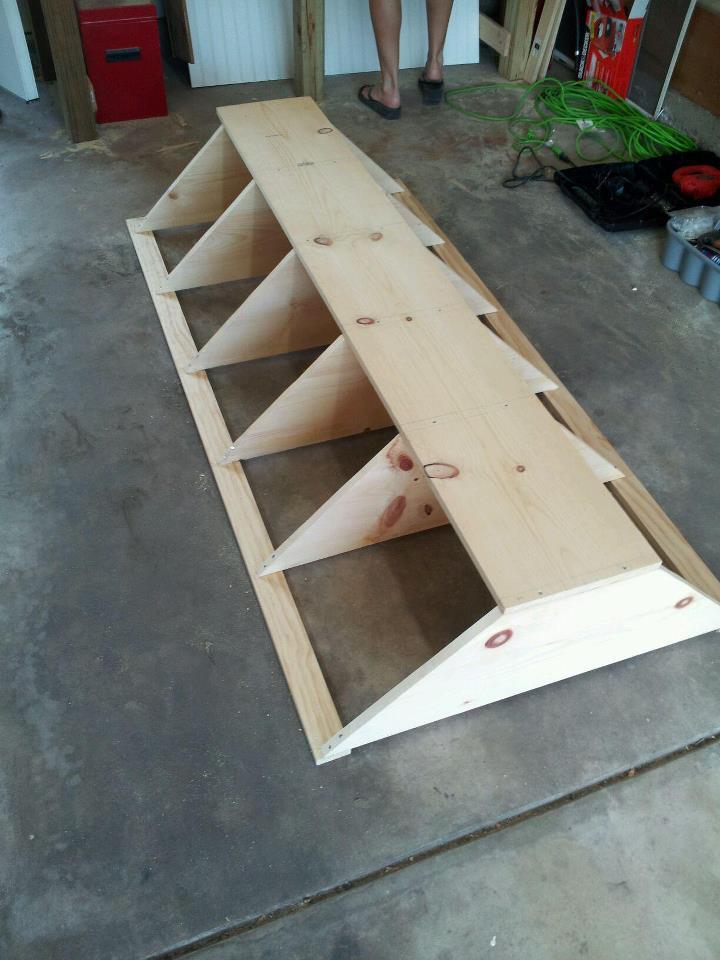
Week Long Project (20 Hours or More)
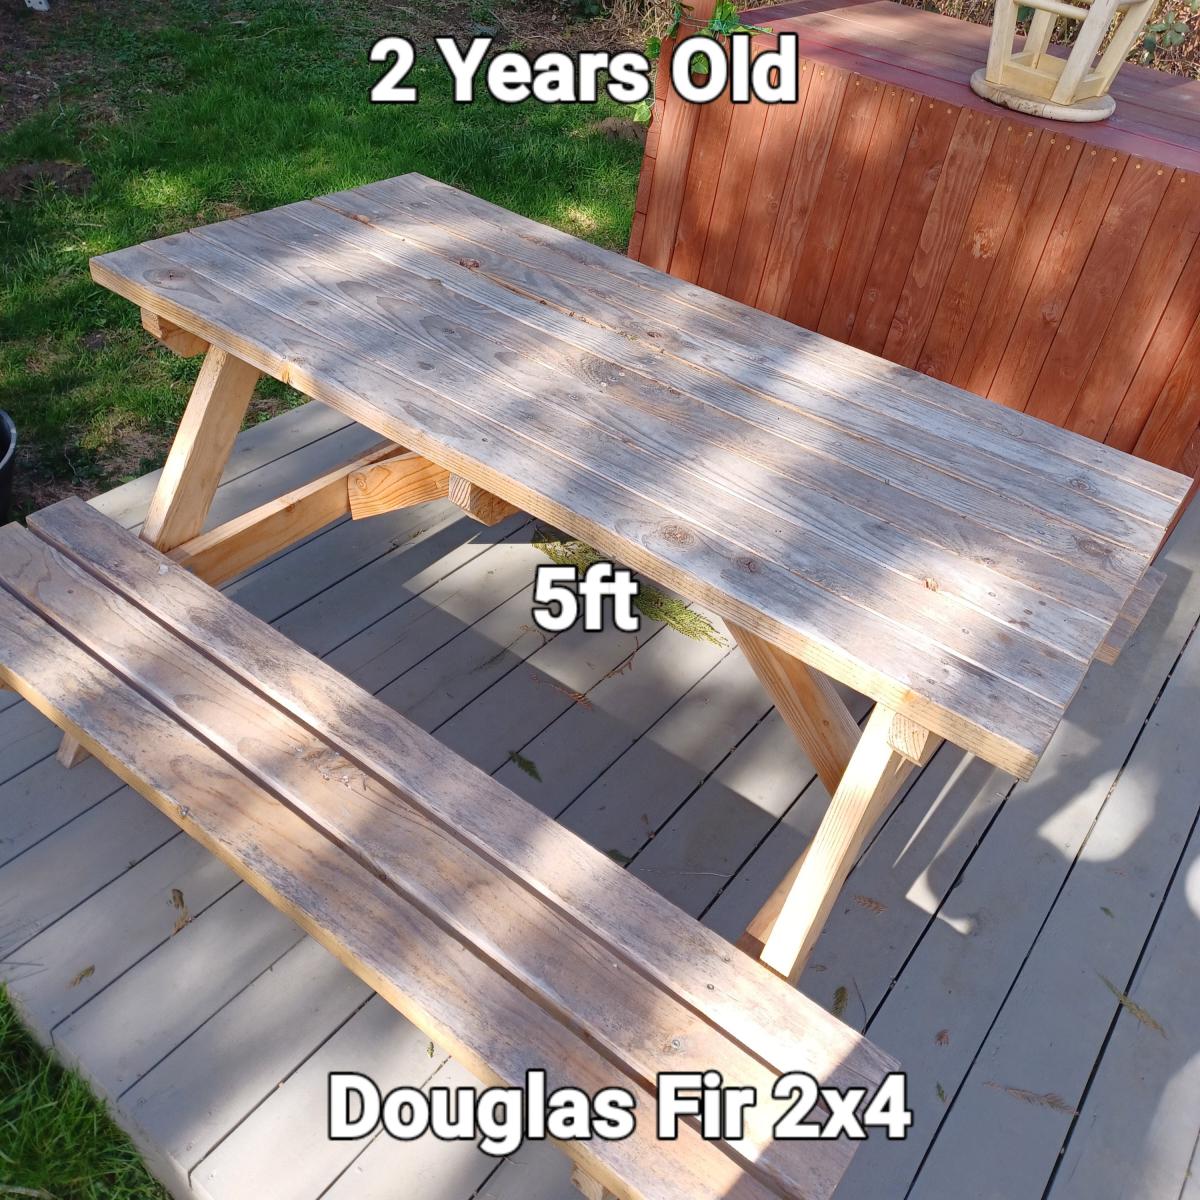
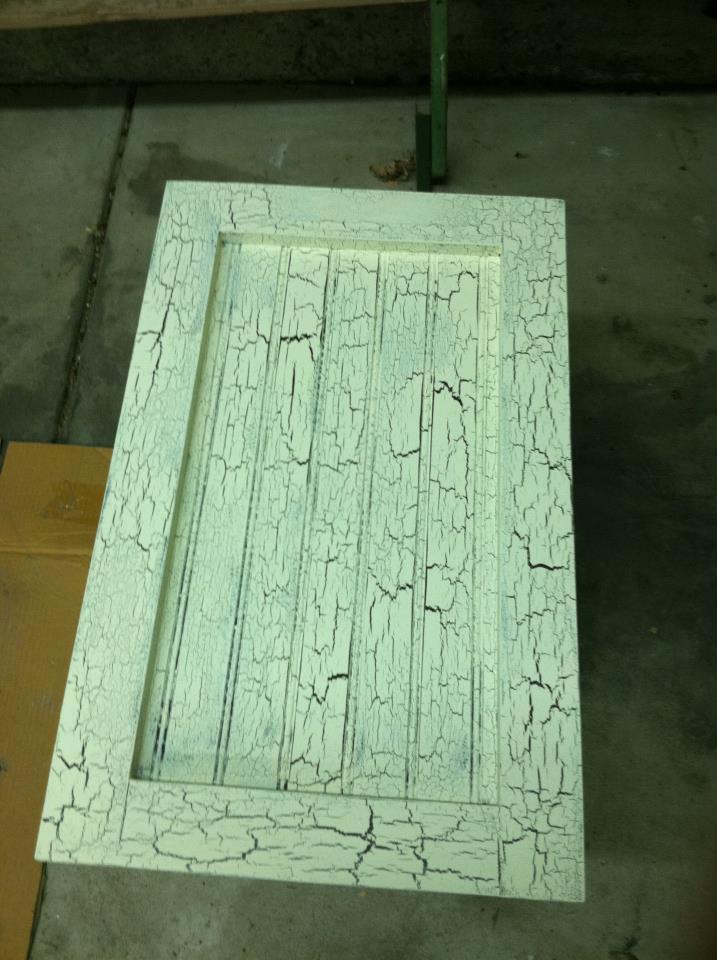
Finish Used
minwax grey stain and light grey paint (I can't remember the color, but it's valspar prairie something)
Recommended Skill Level
Advanced