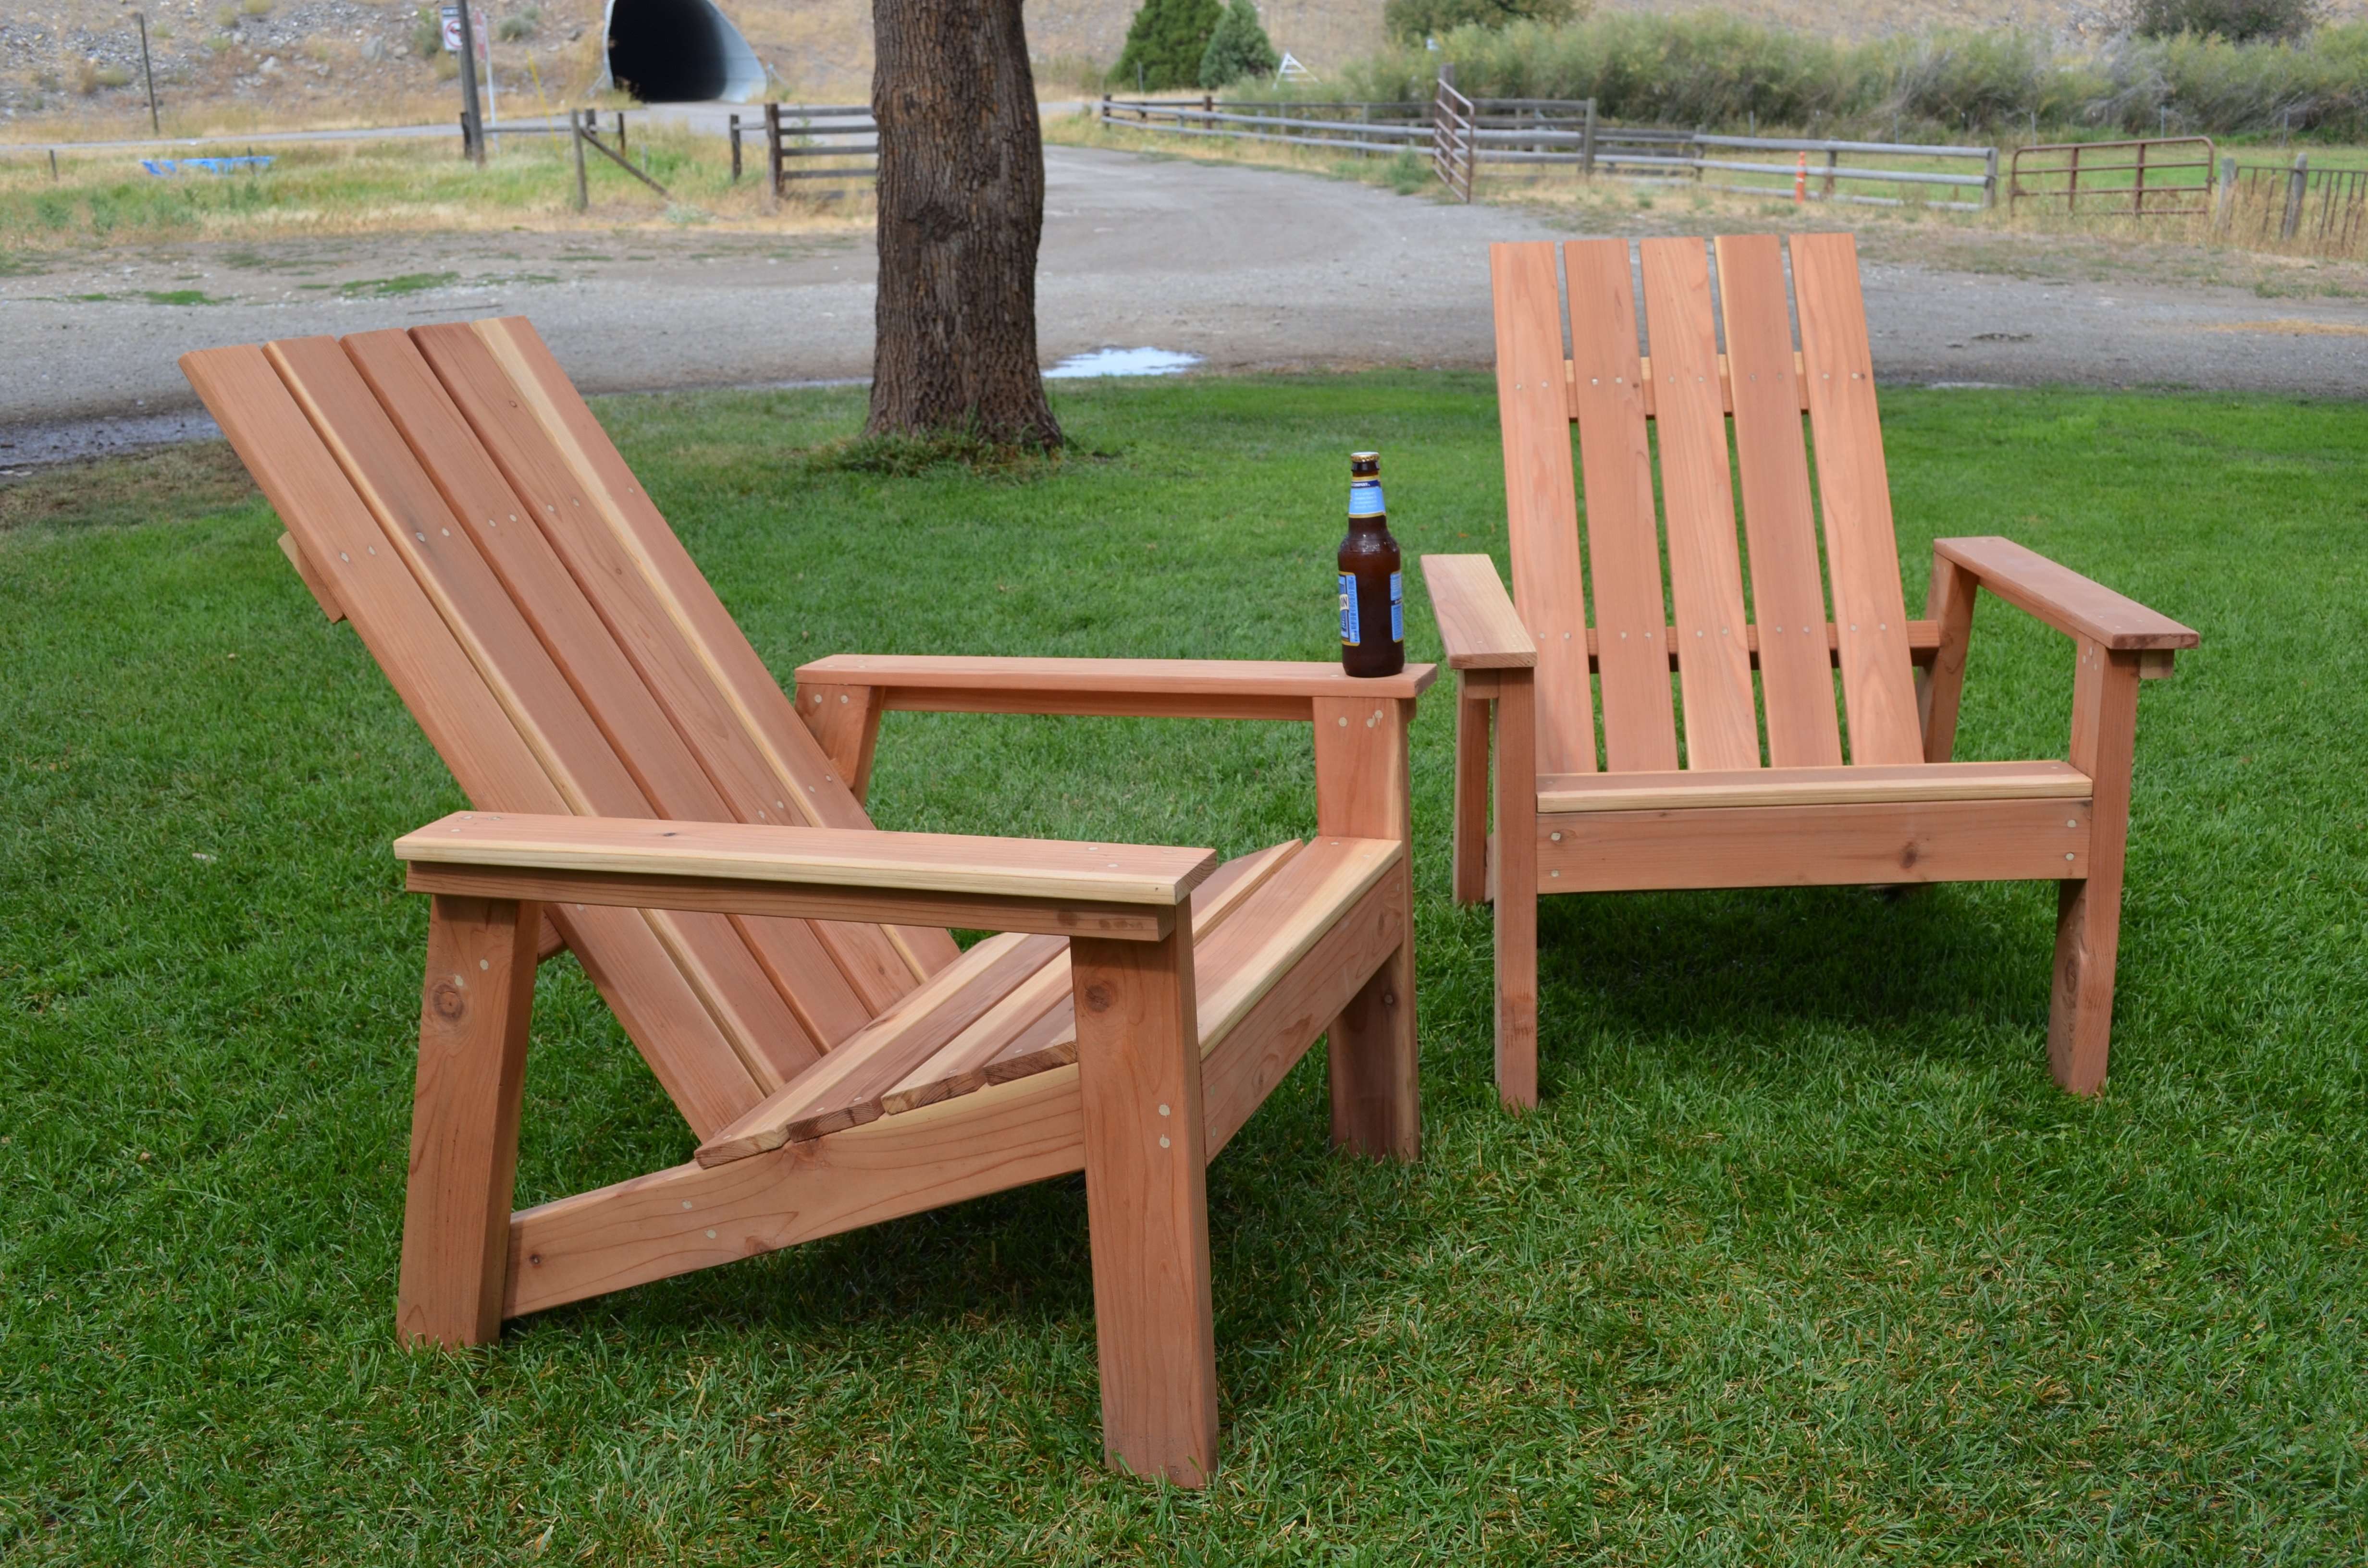
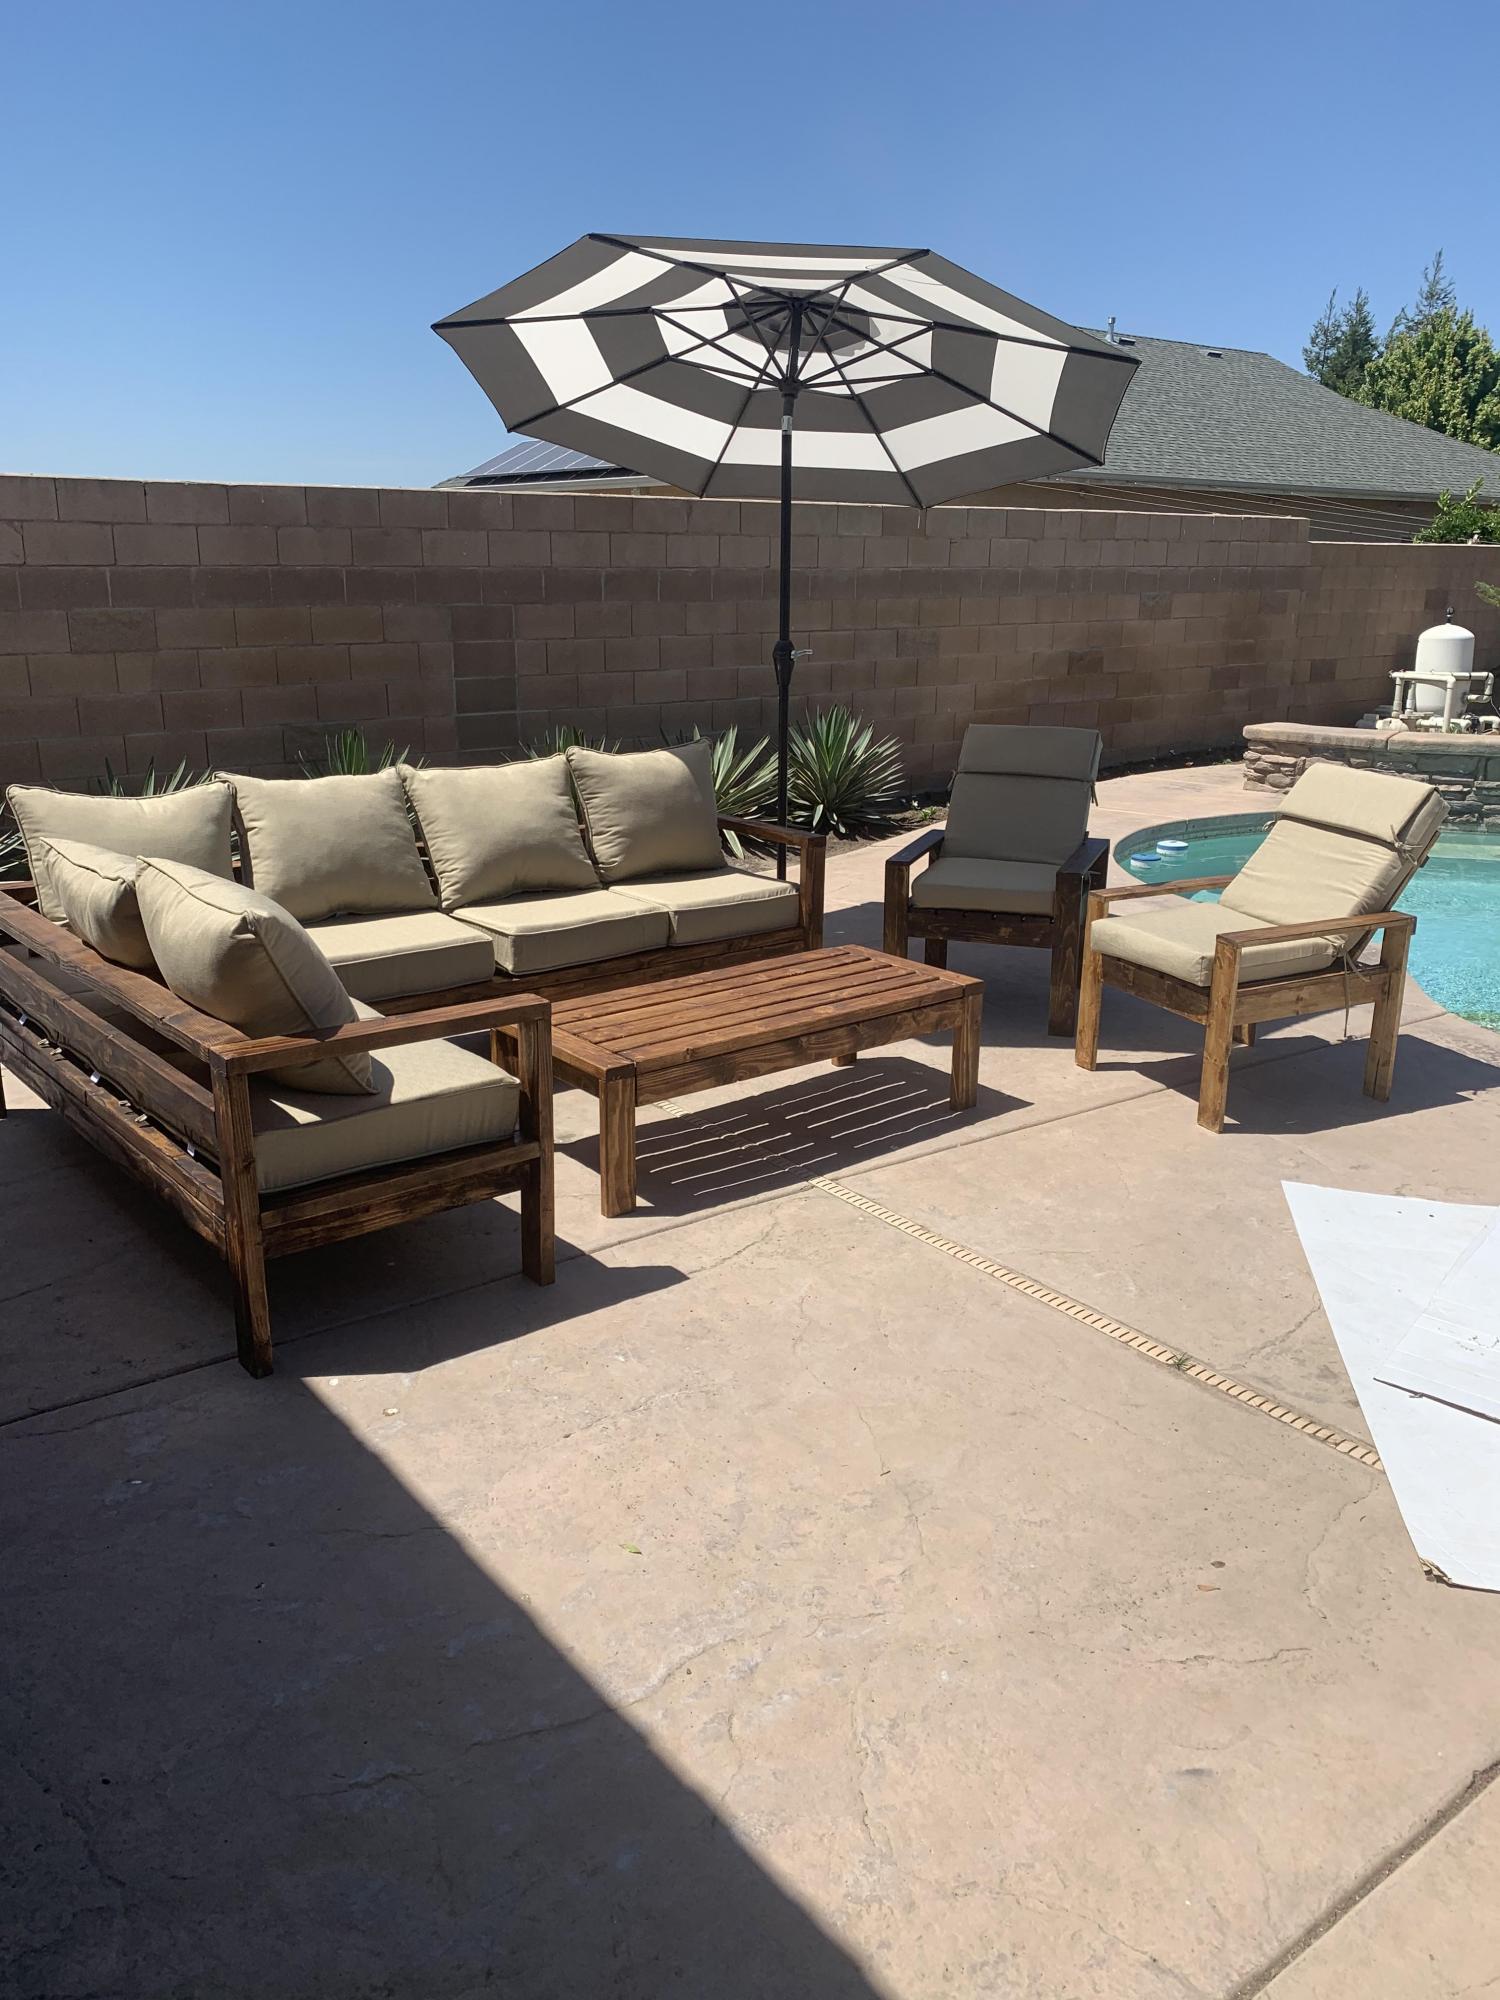
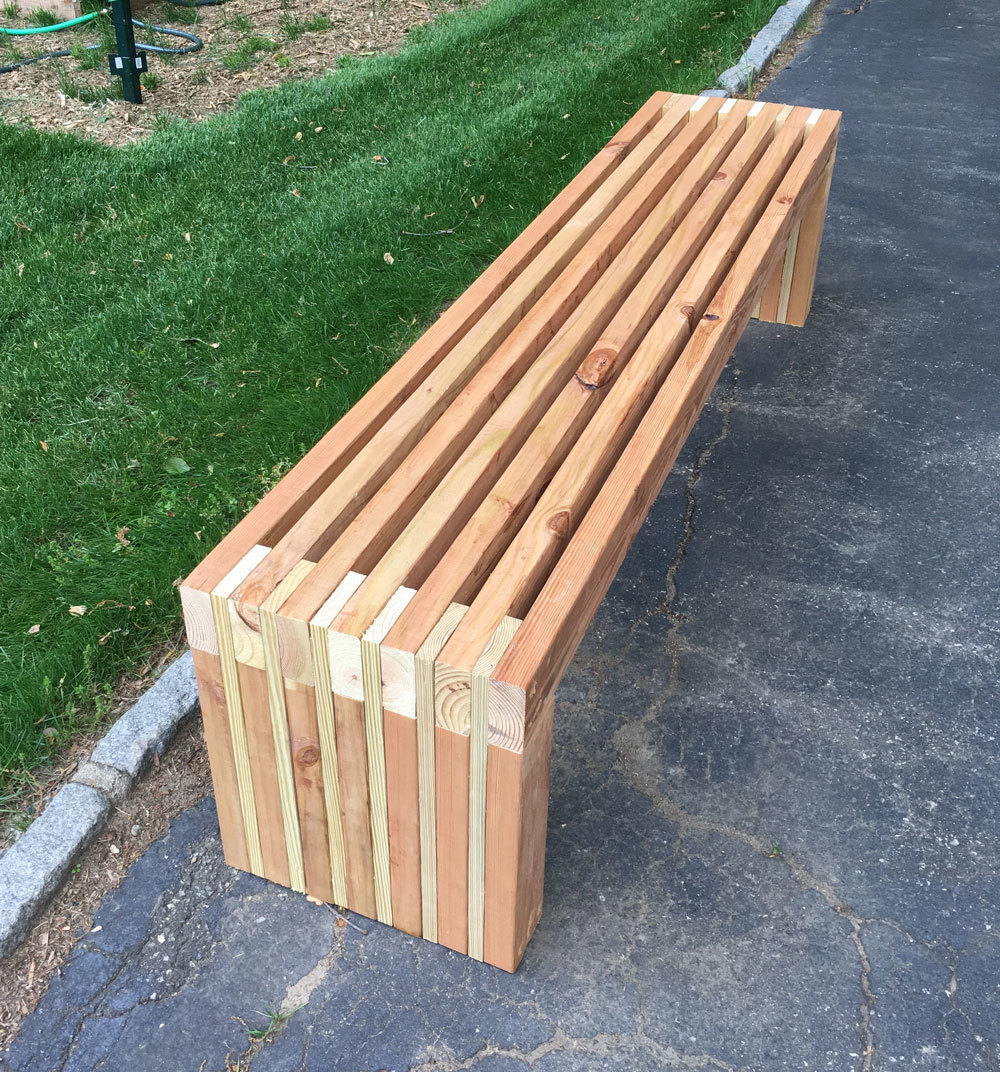
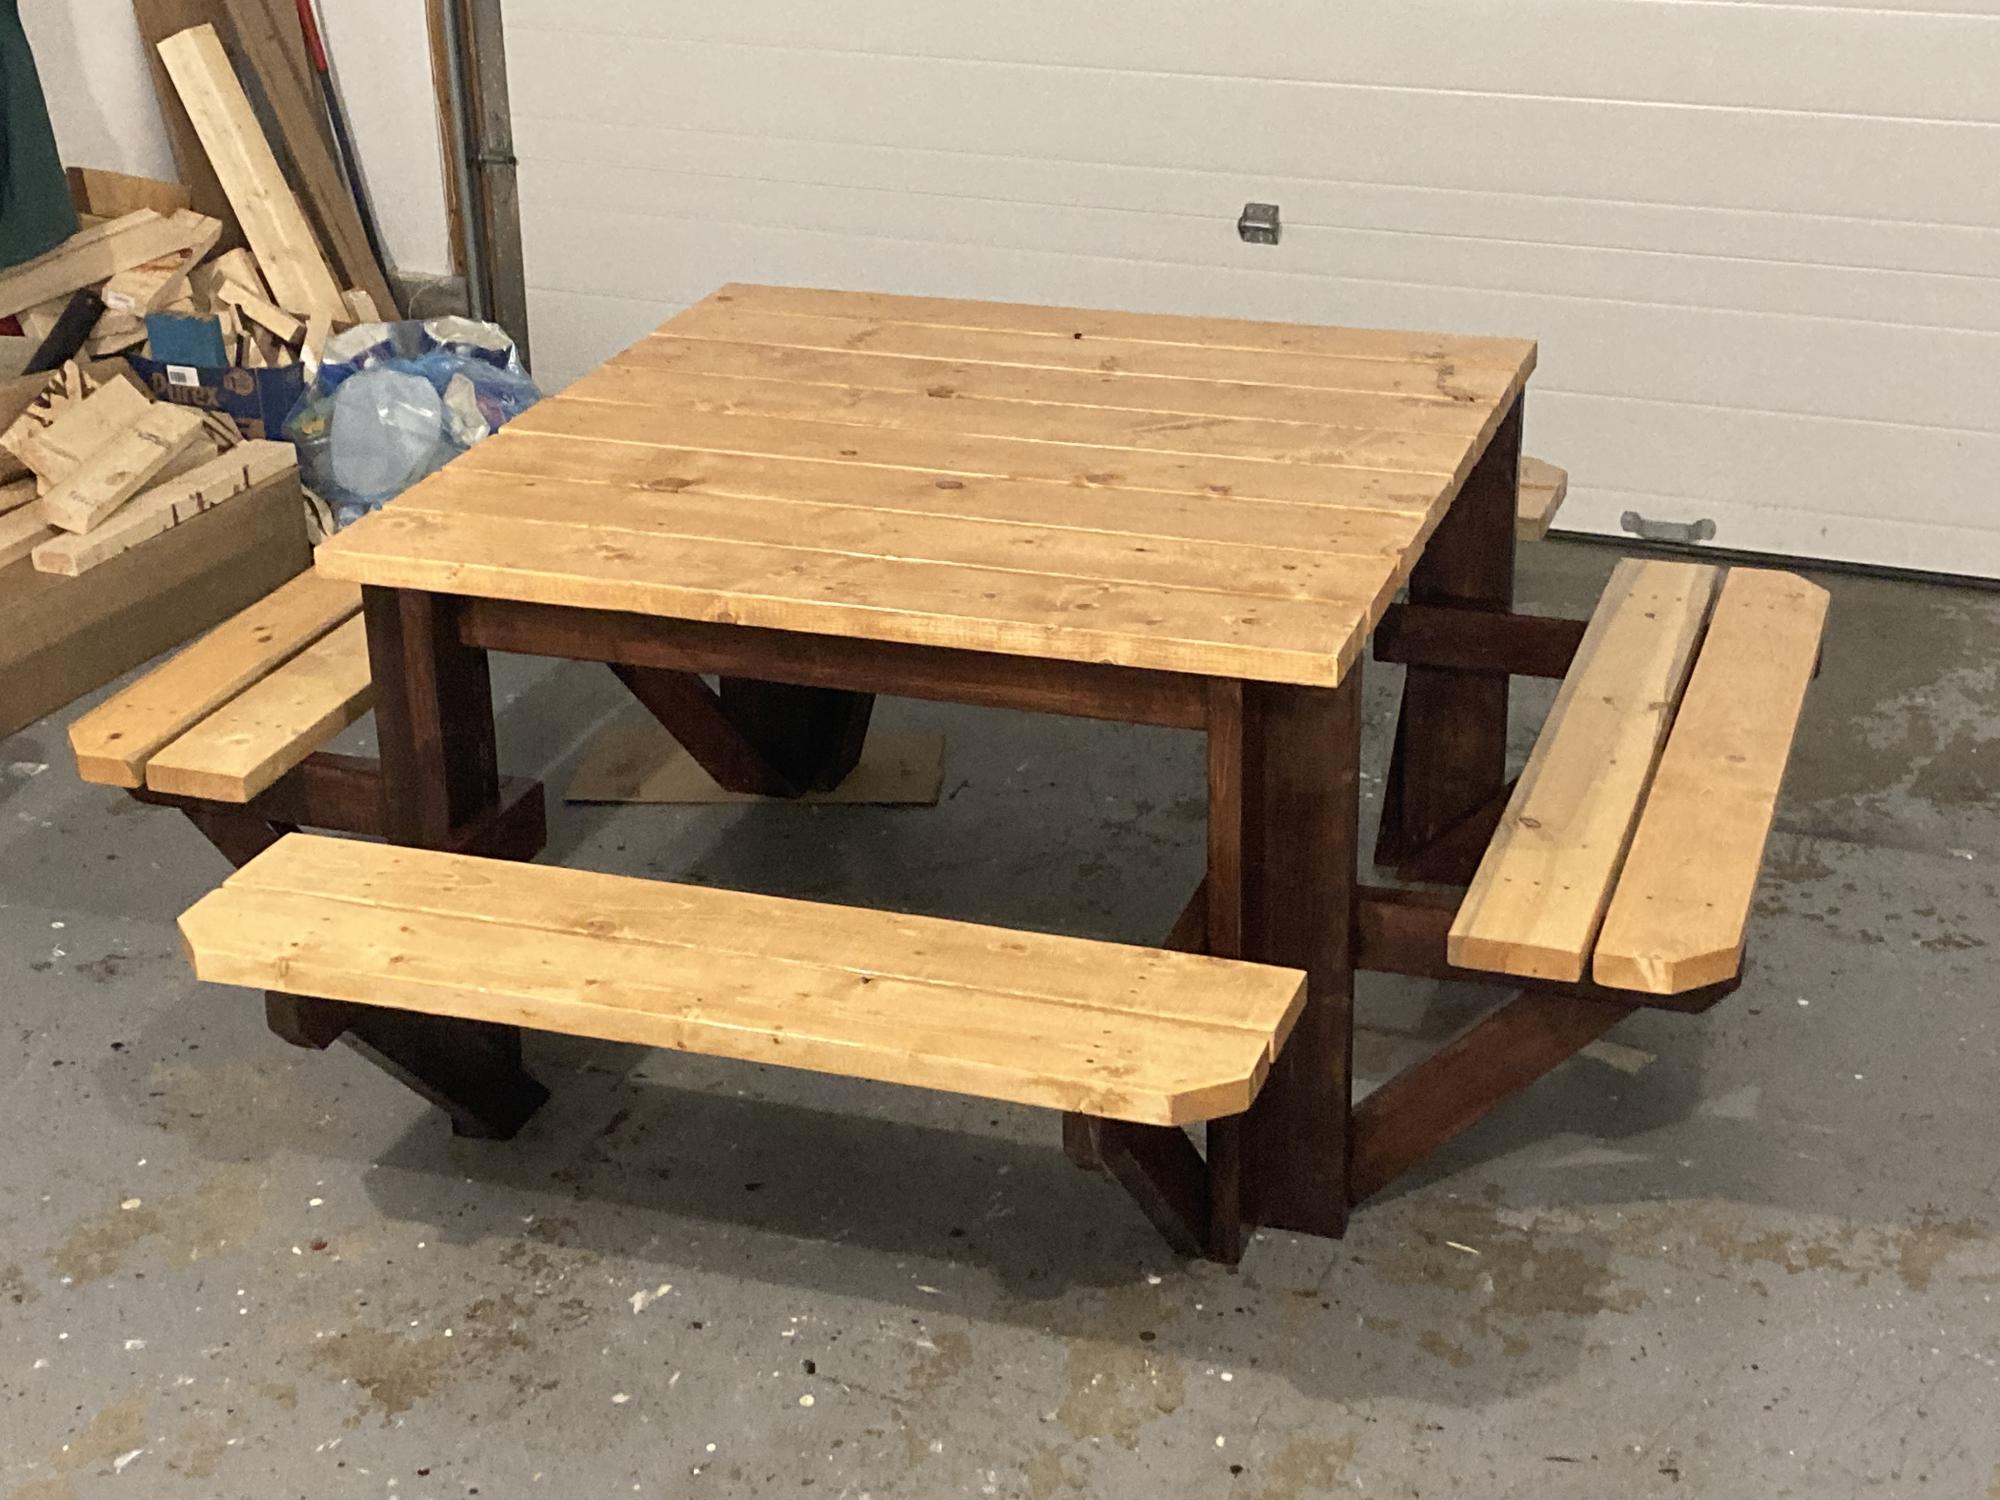
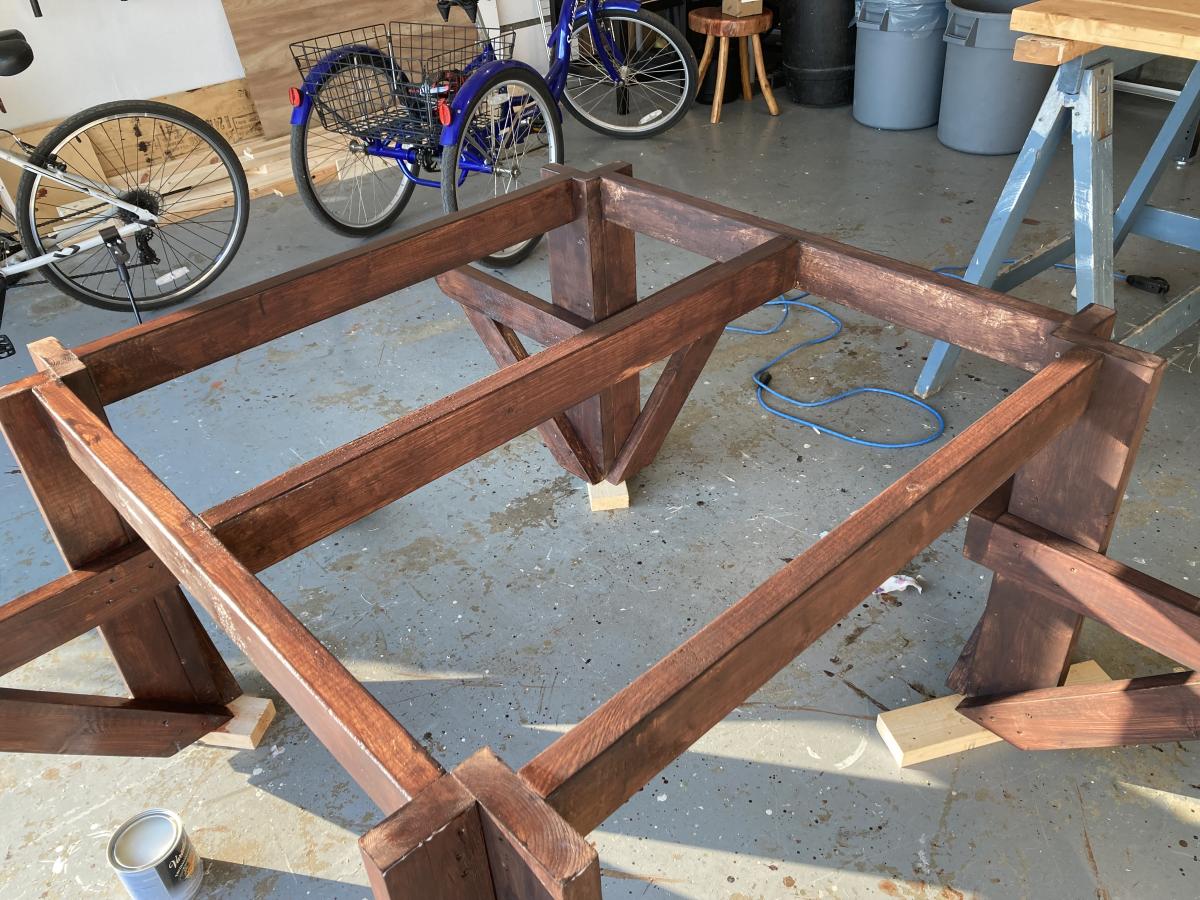
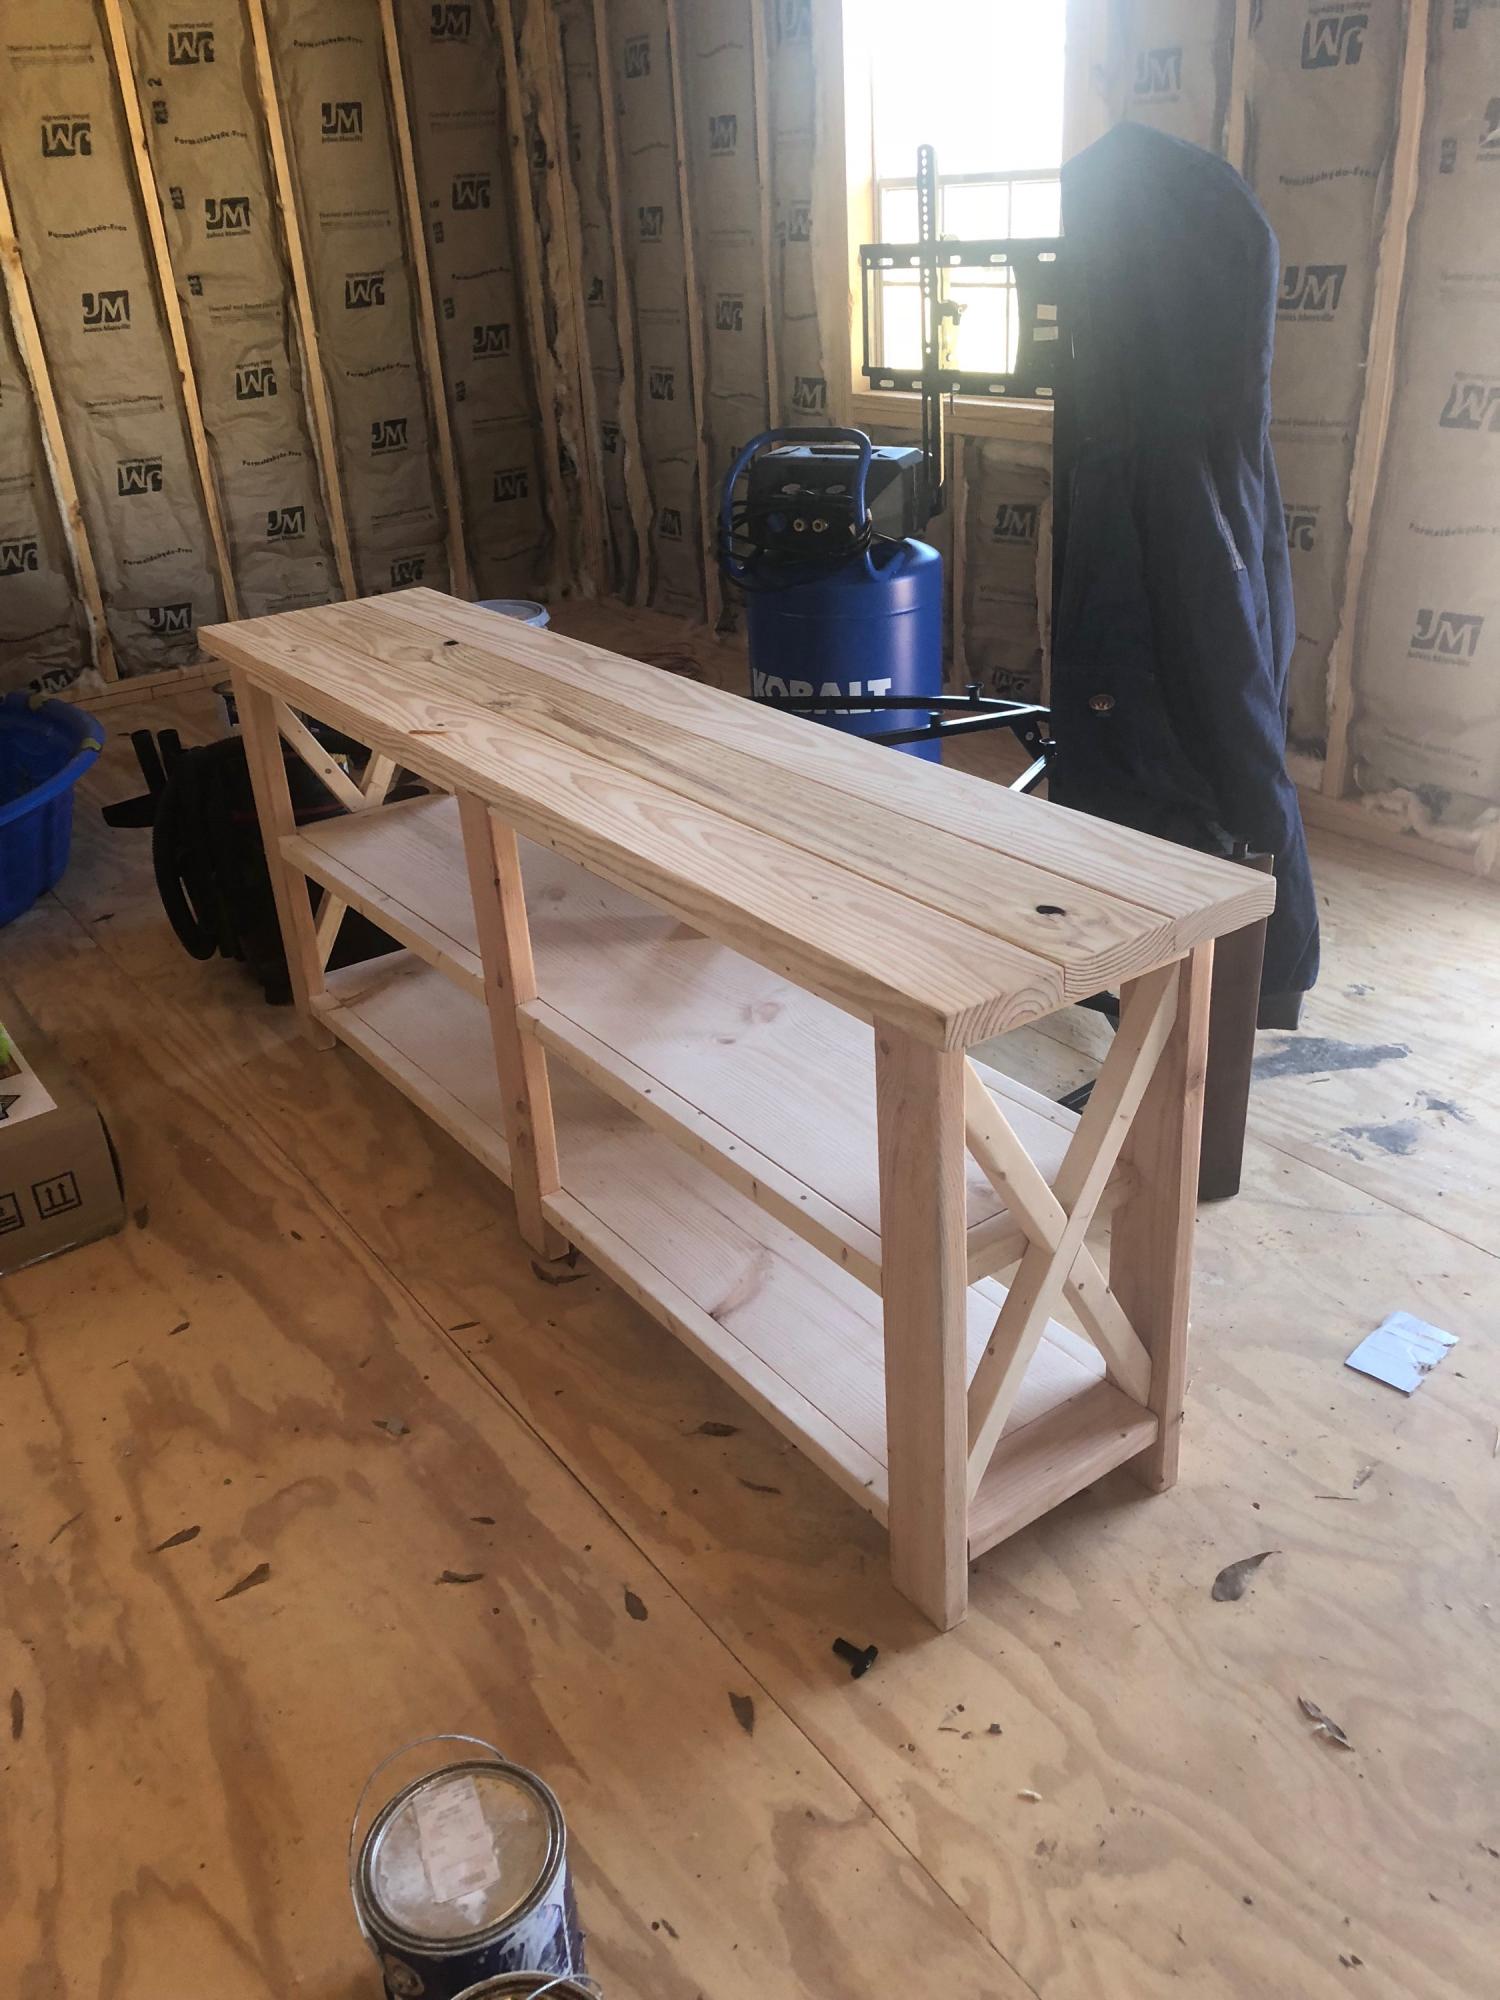
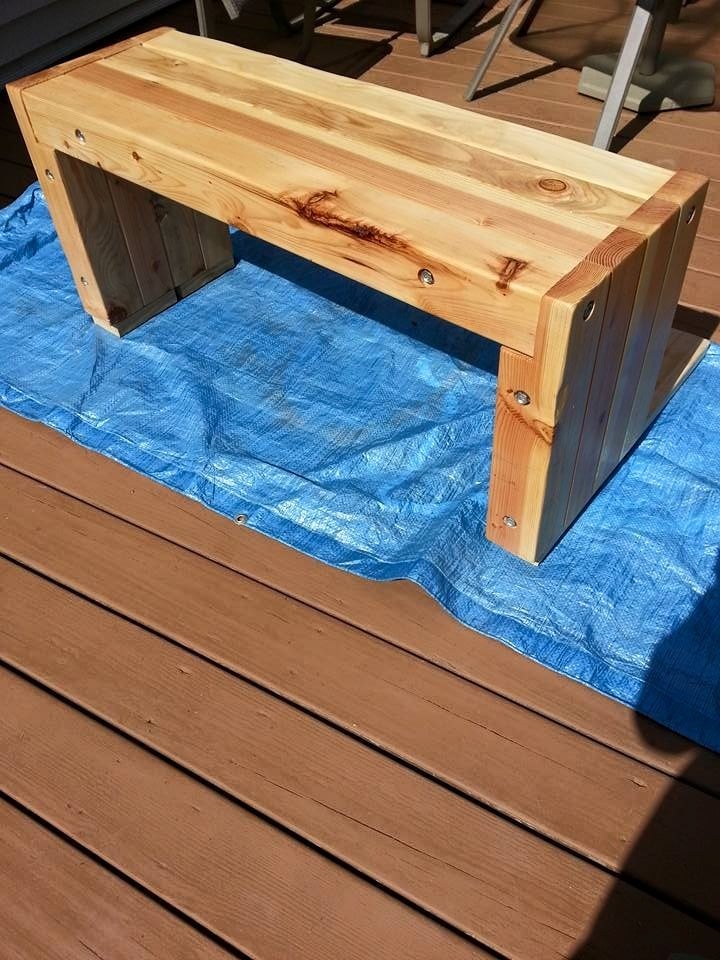
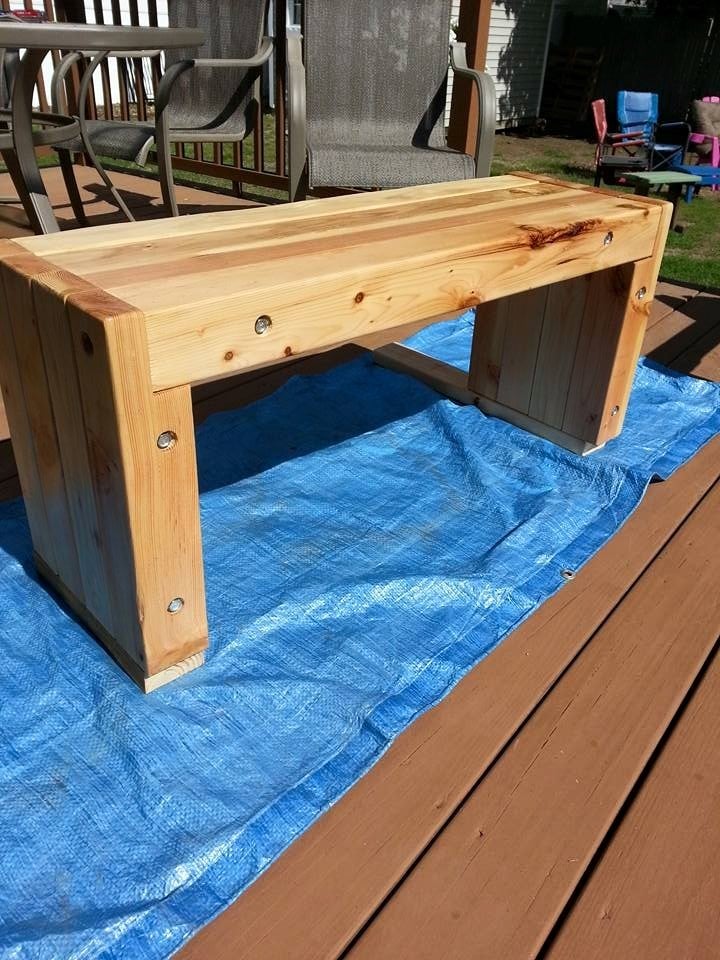
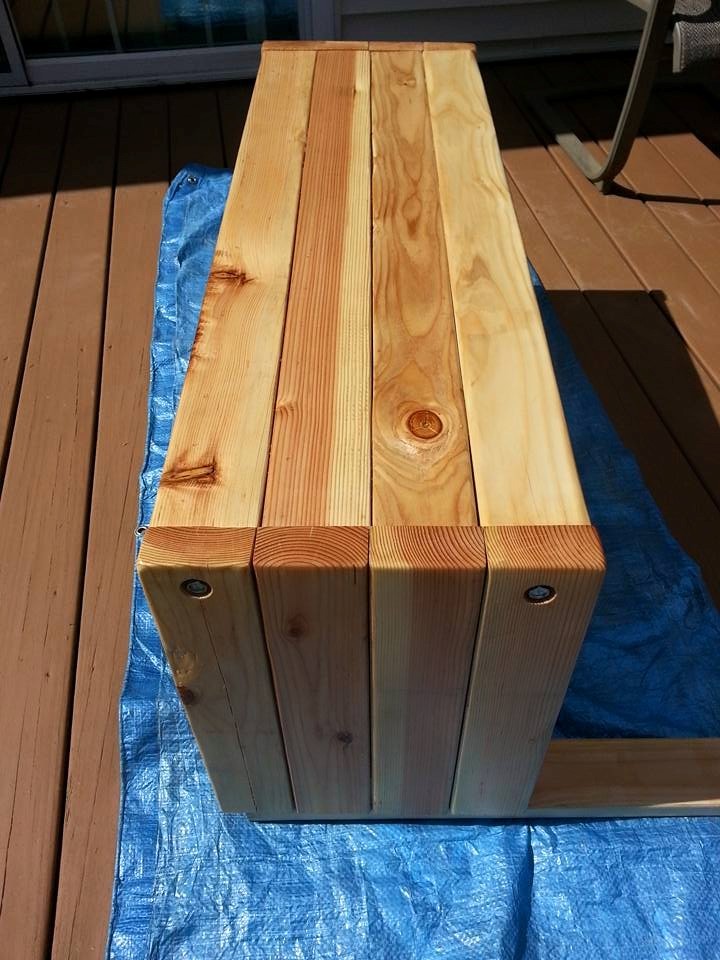
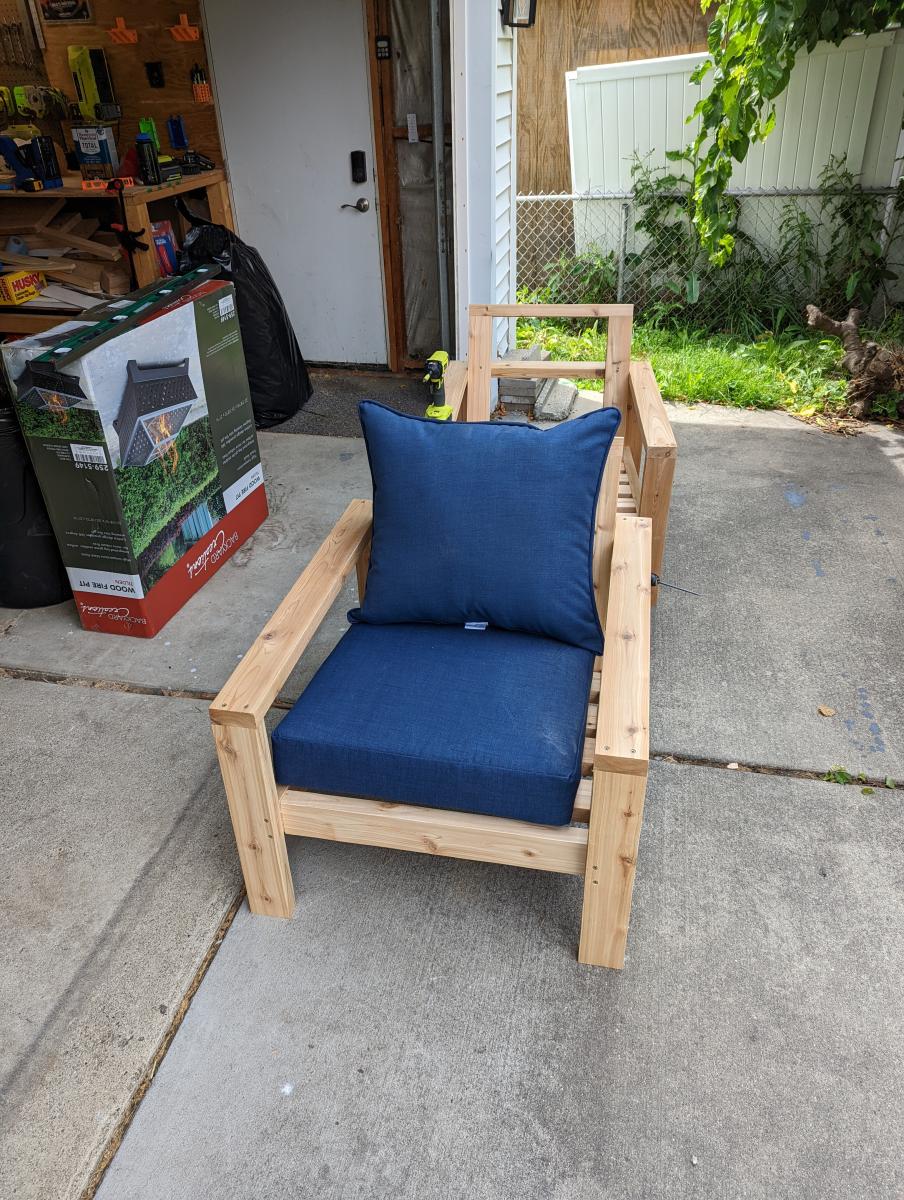
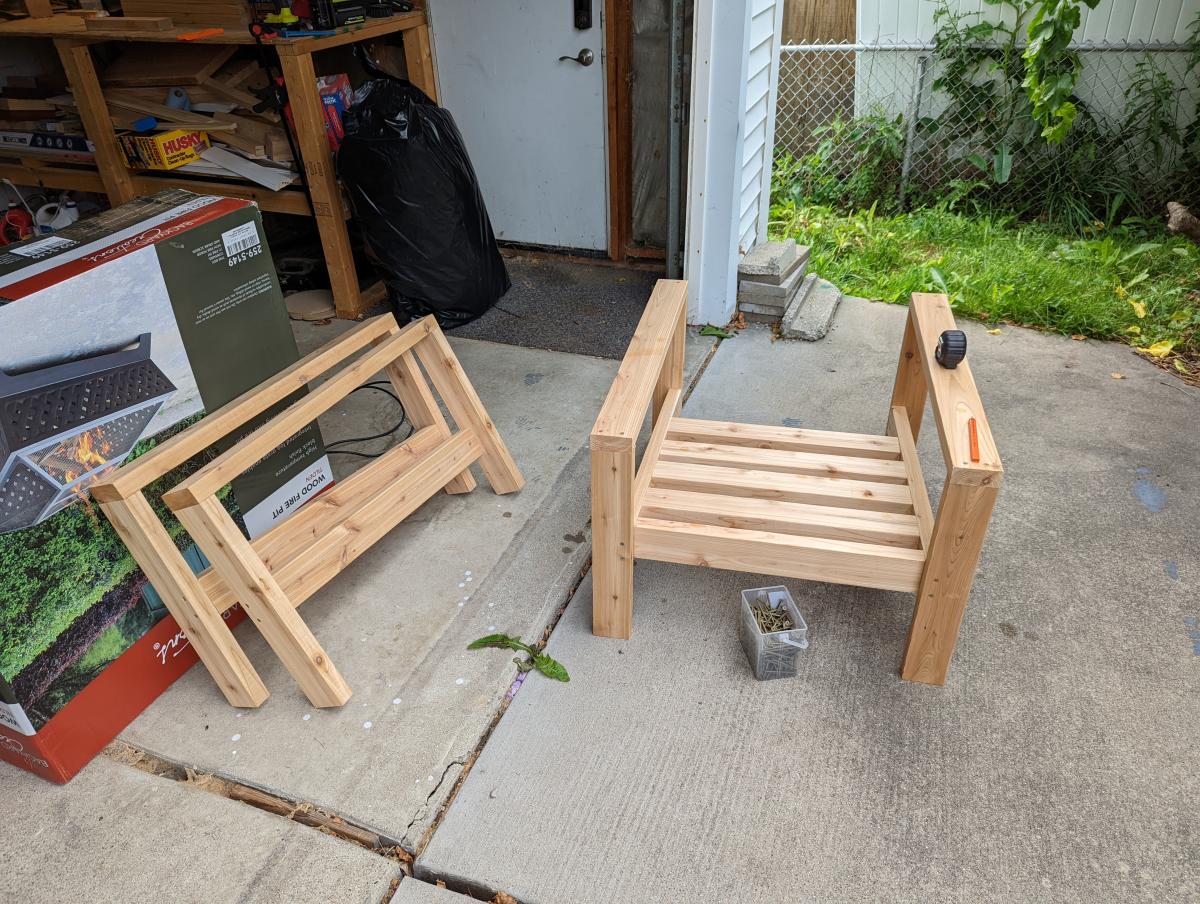
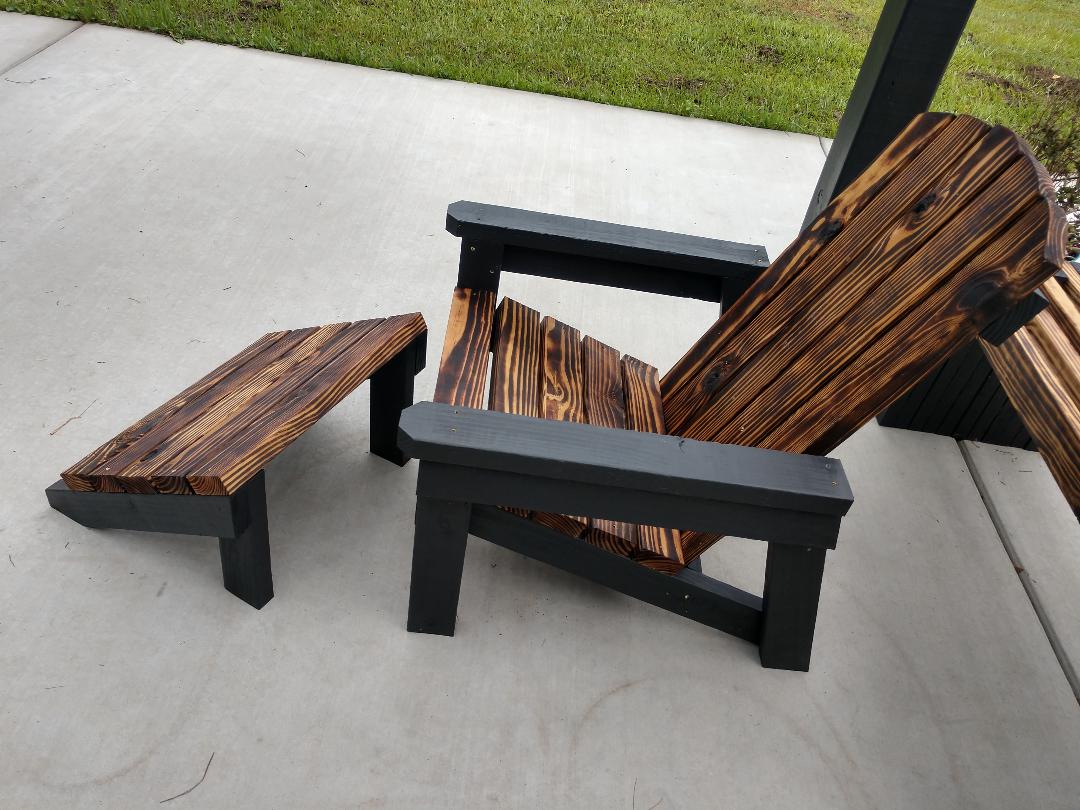
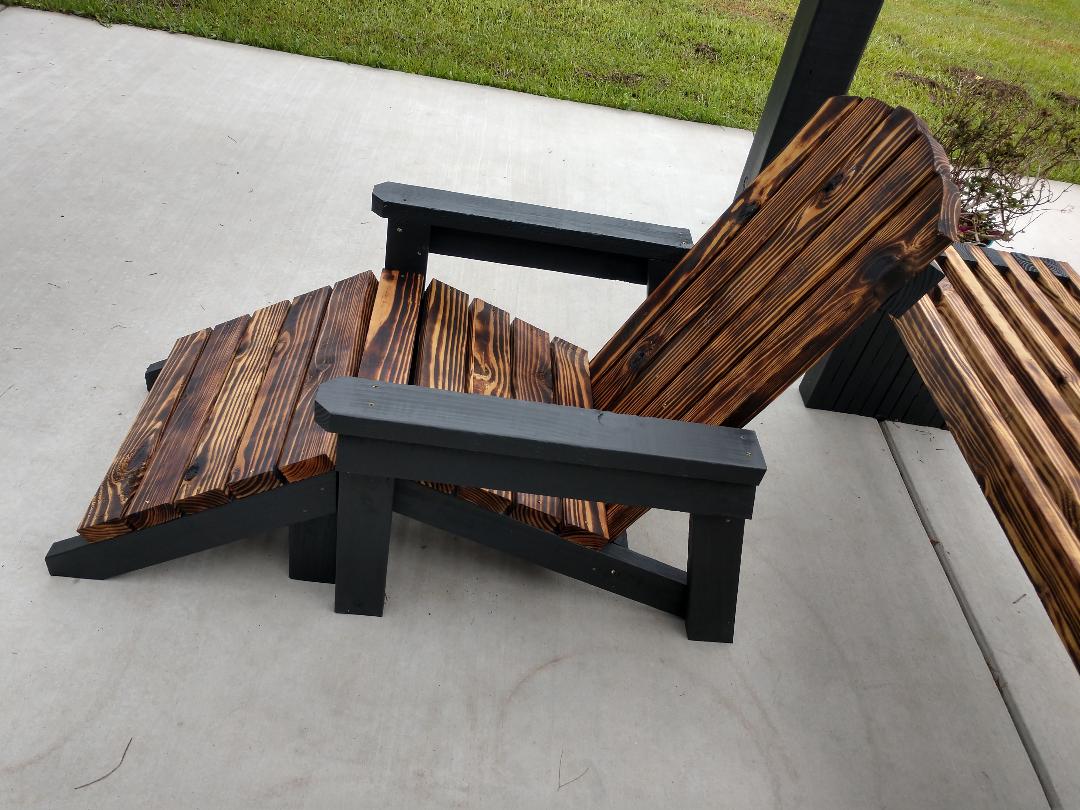
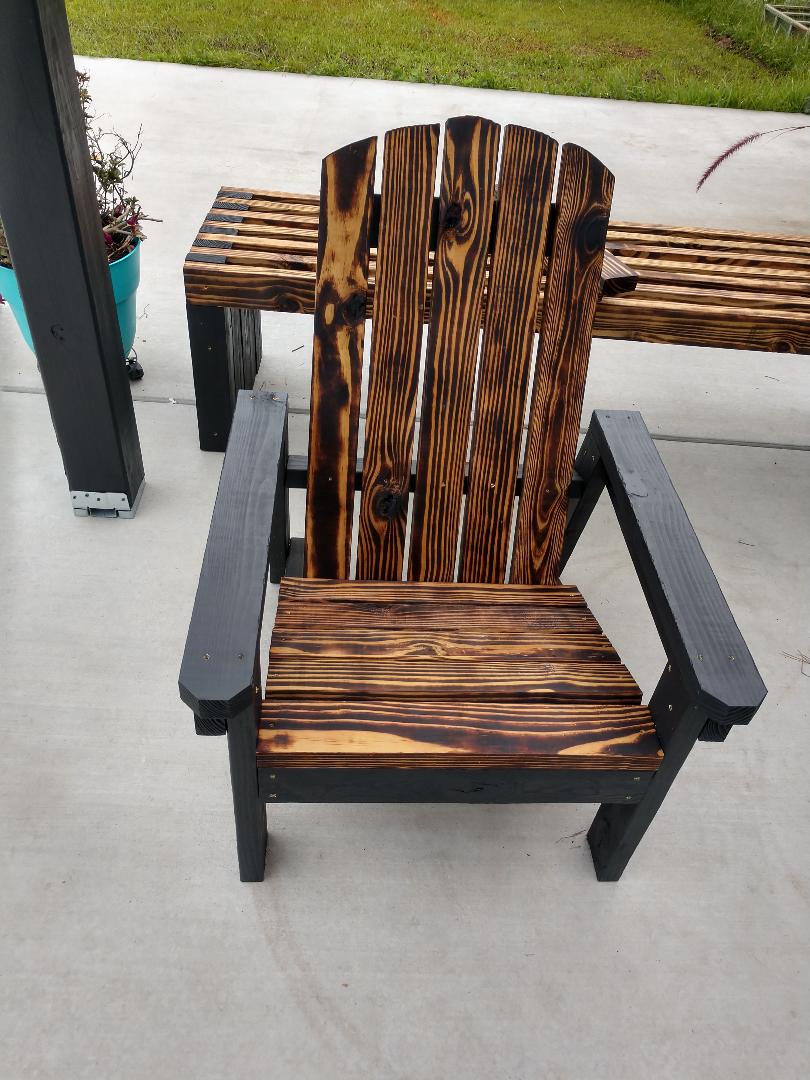
2x4 Adirondack Chair
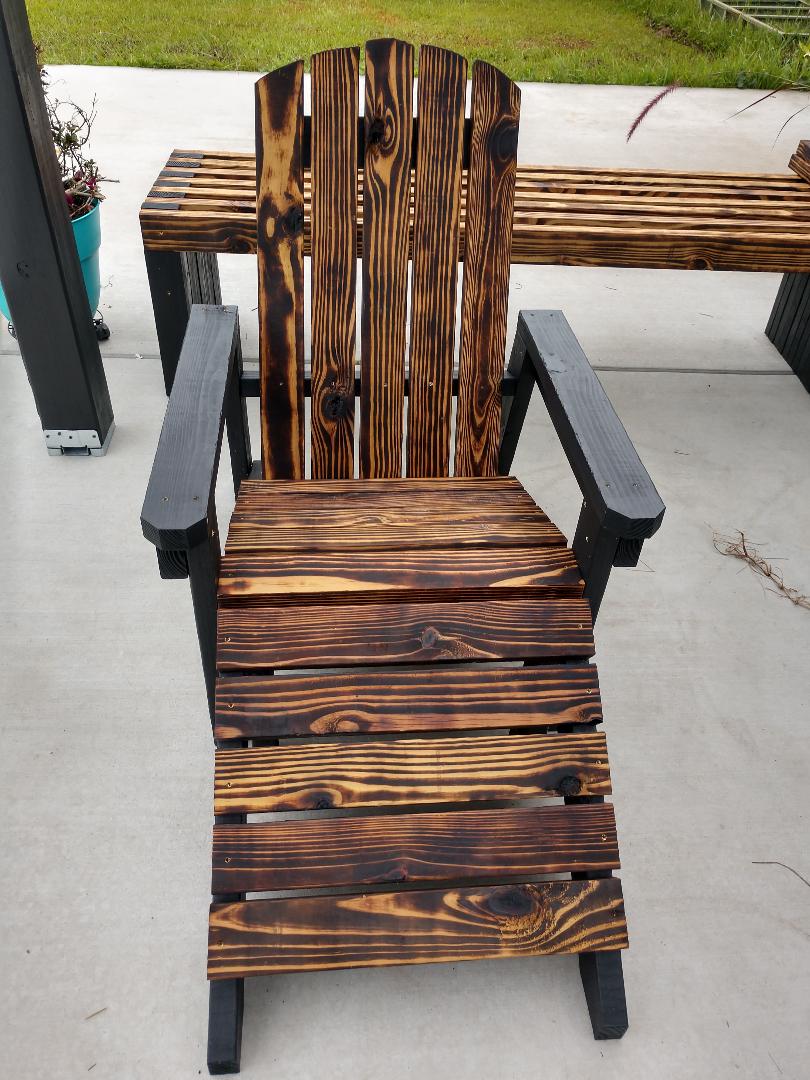
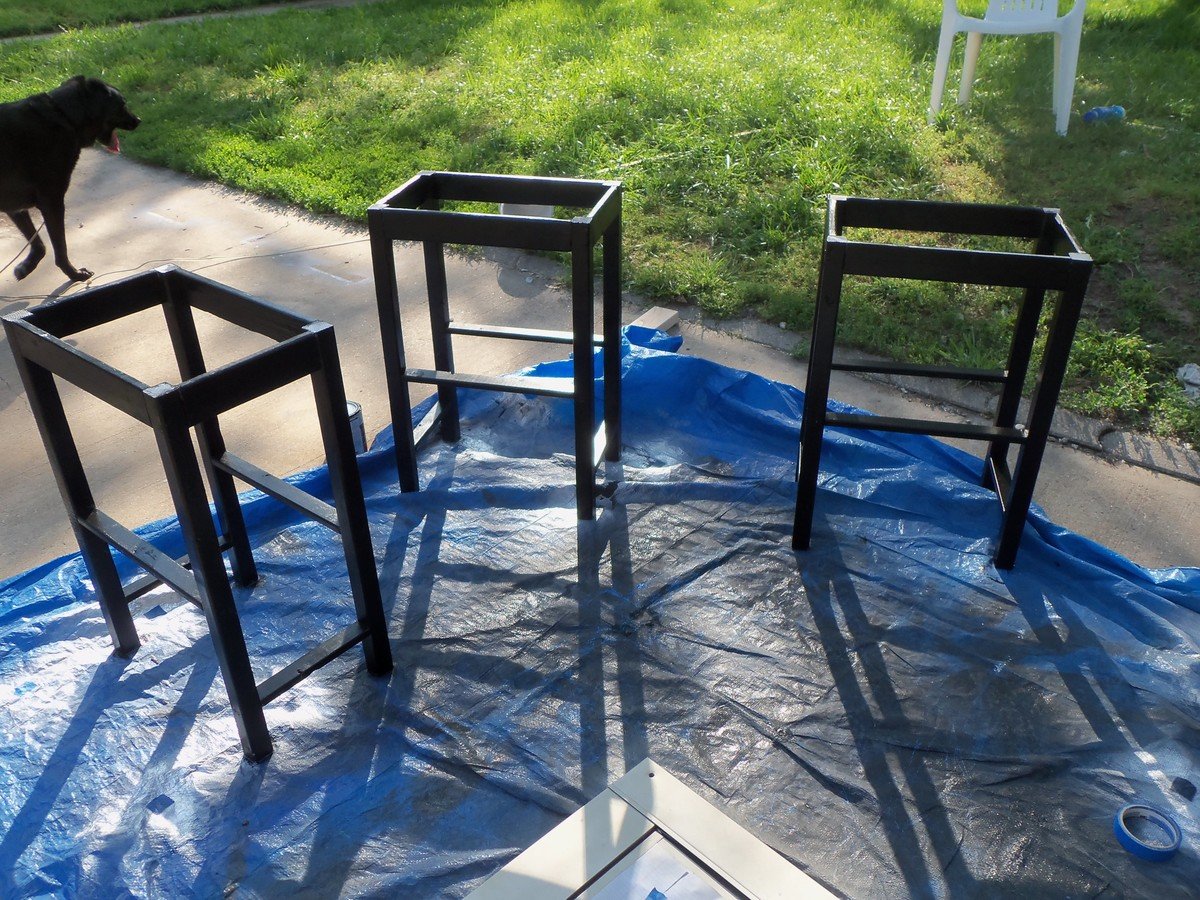
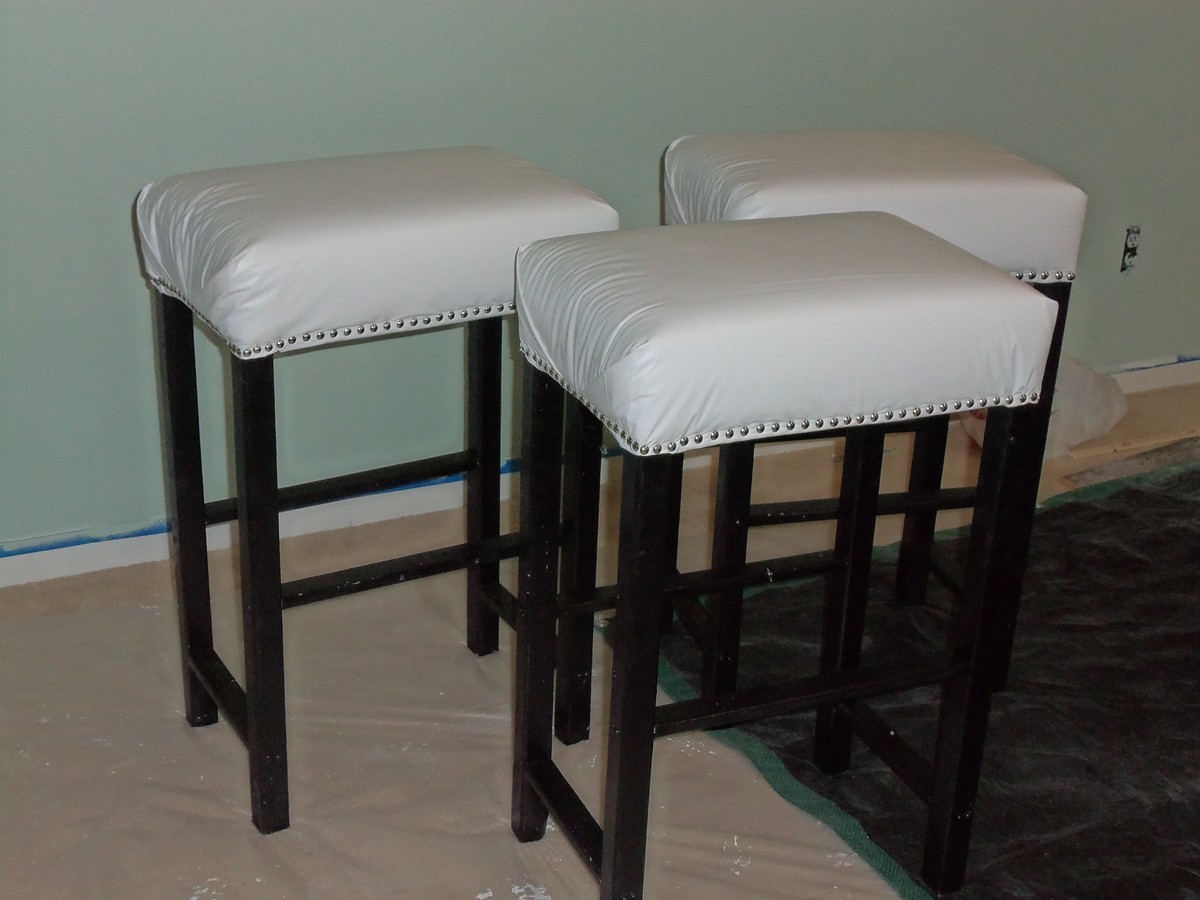
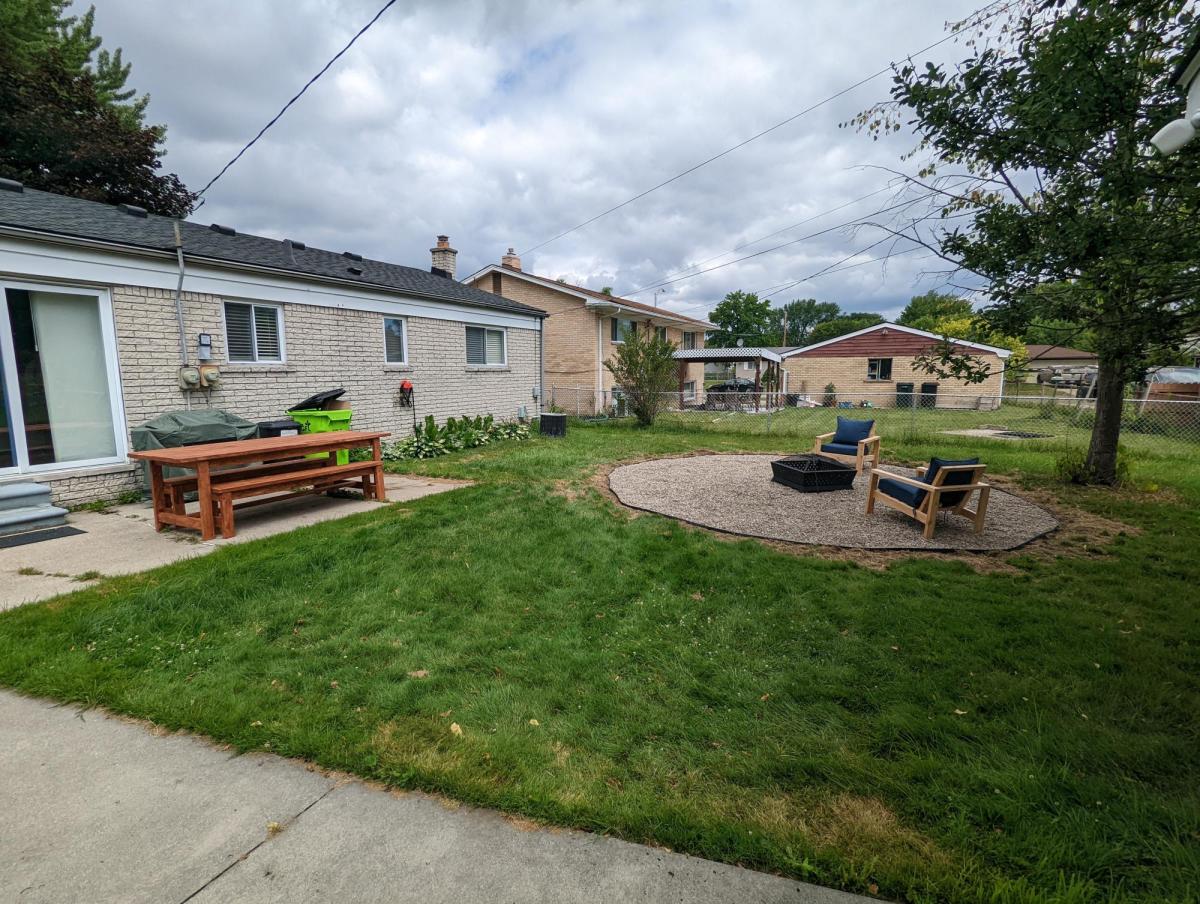
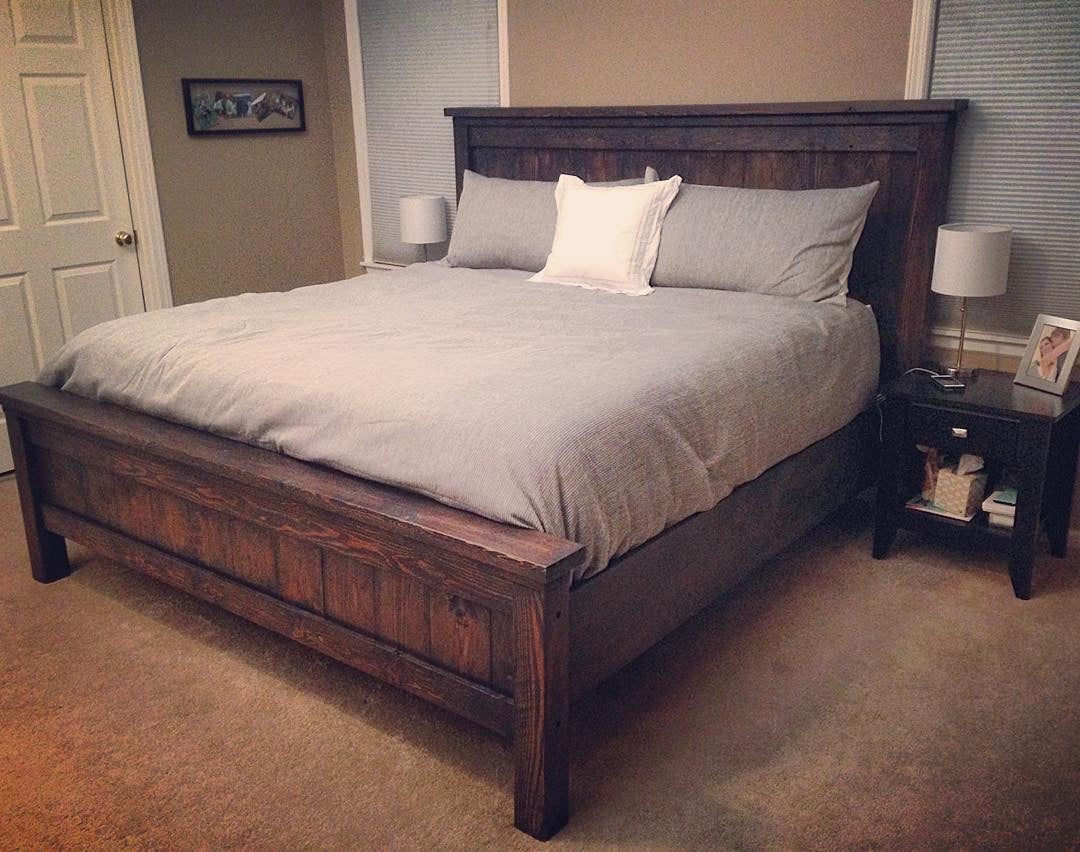
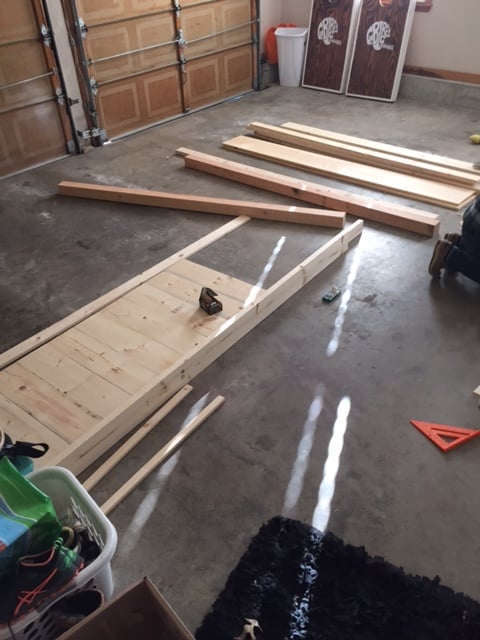
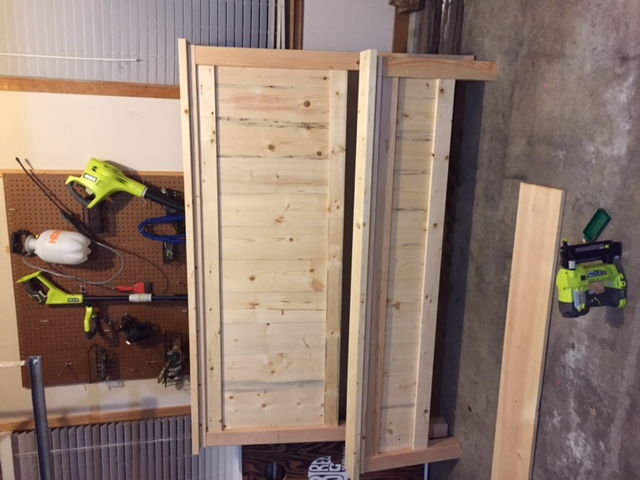
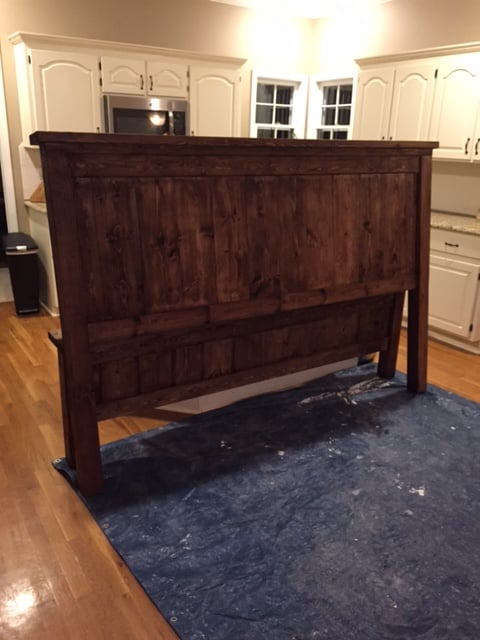
Very easy instructions. I love the way they turned out. I used all 2x4's that I had left over from another project. I burned the top pieces and painted all other pieces. Love your easy instructions. My first time making furniture.
Thanks
Yvette

Built from Plan(s)
Recommended Skill Level
Beginner