DIY Rustic Sideboard
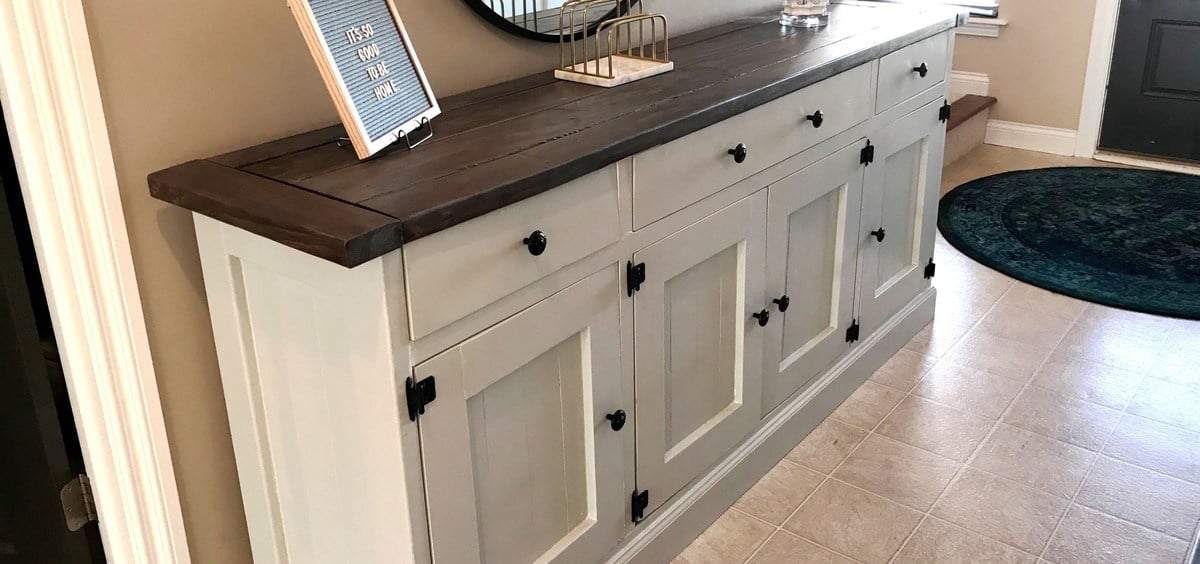
I worked on this project over the course of a few months, and I absolutely love the result! I posted all the info at my blog: http://www.designatedspacedesign.com/2017/10/01/a-rustic-sideboard/
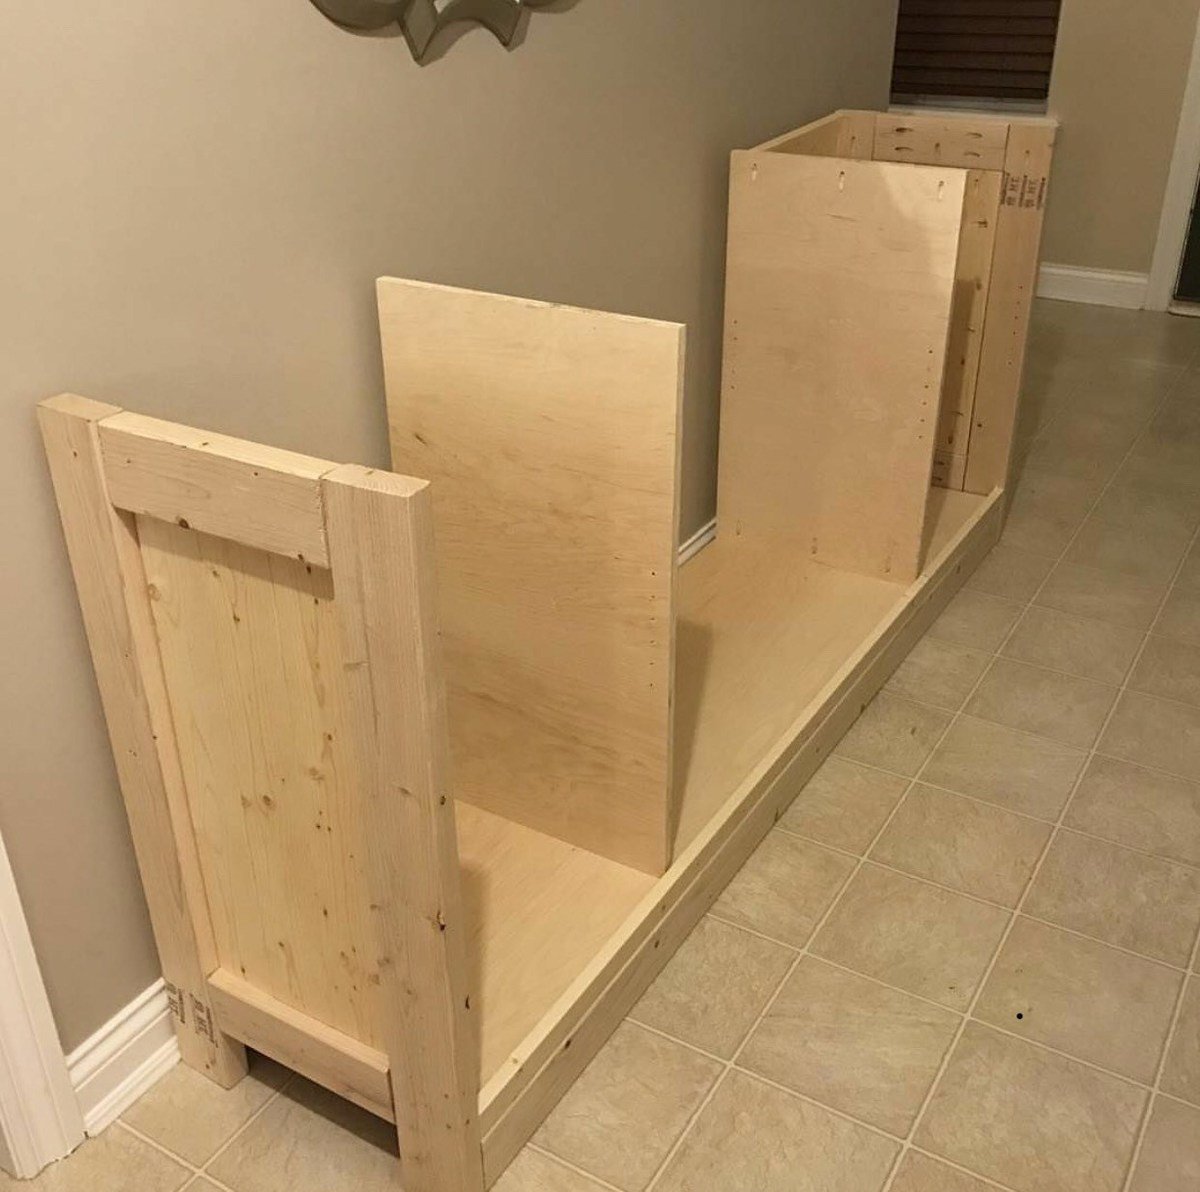
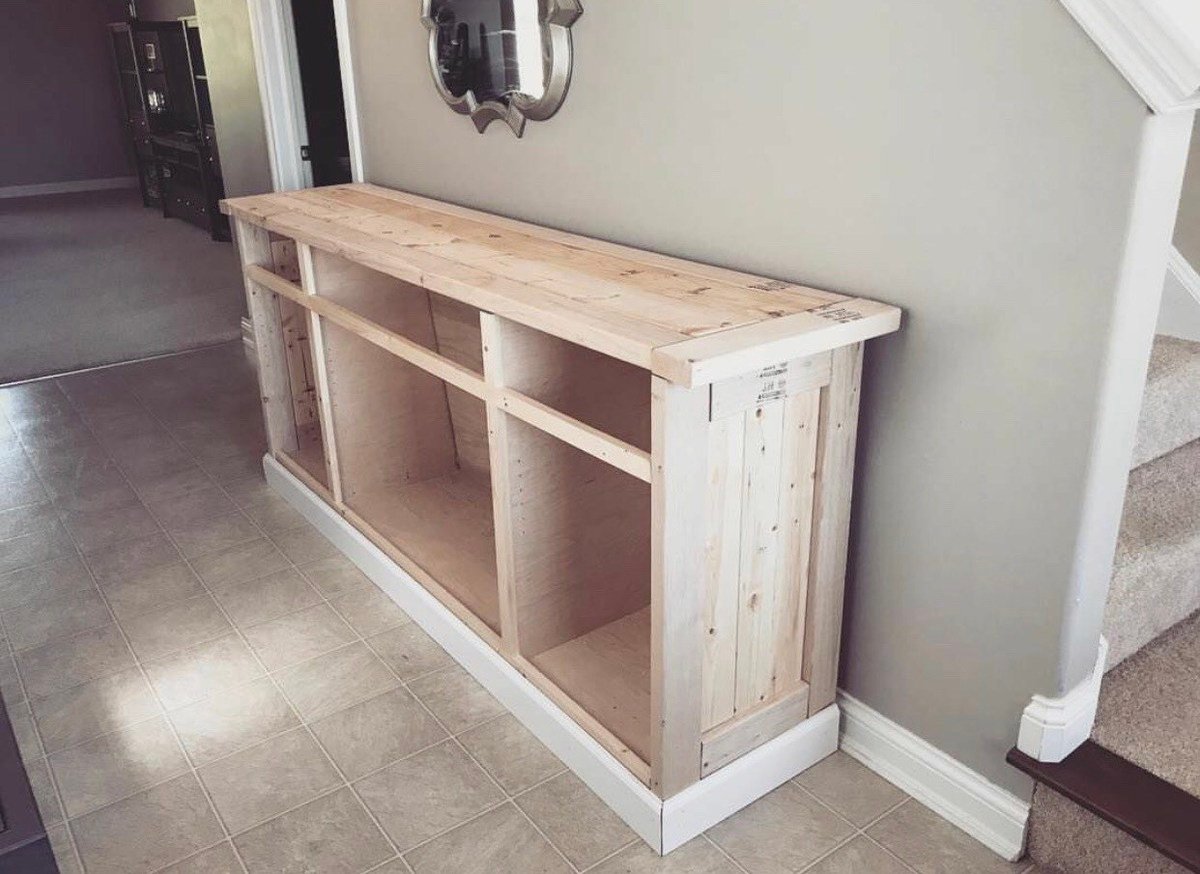
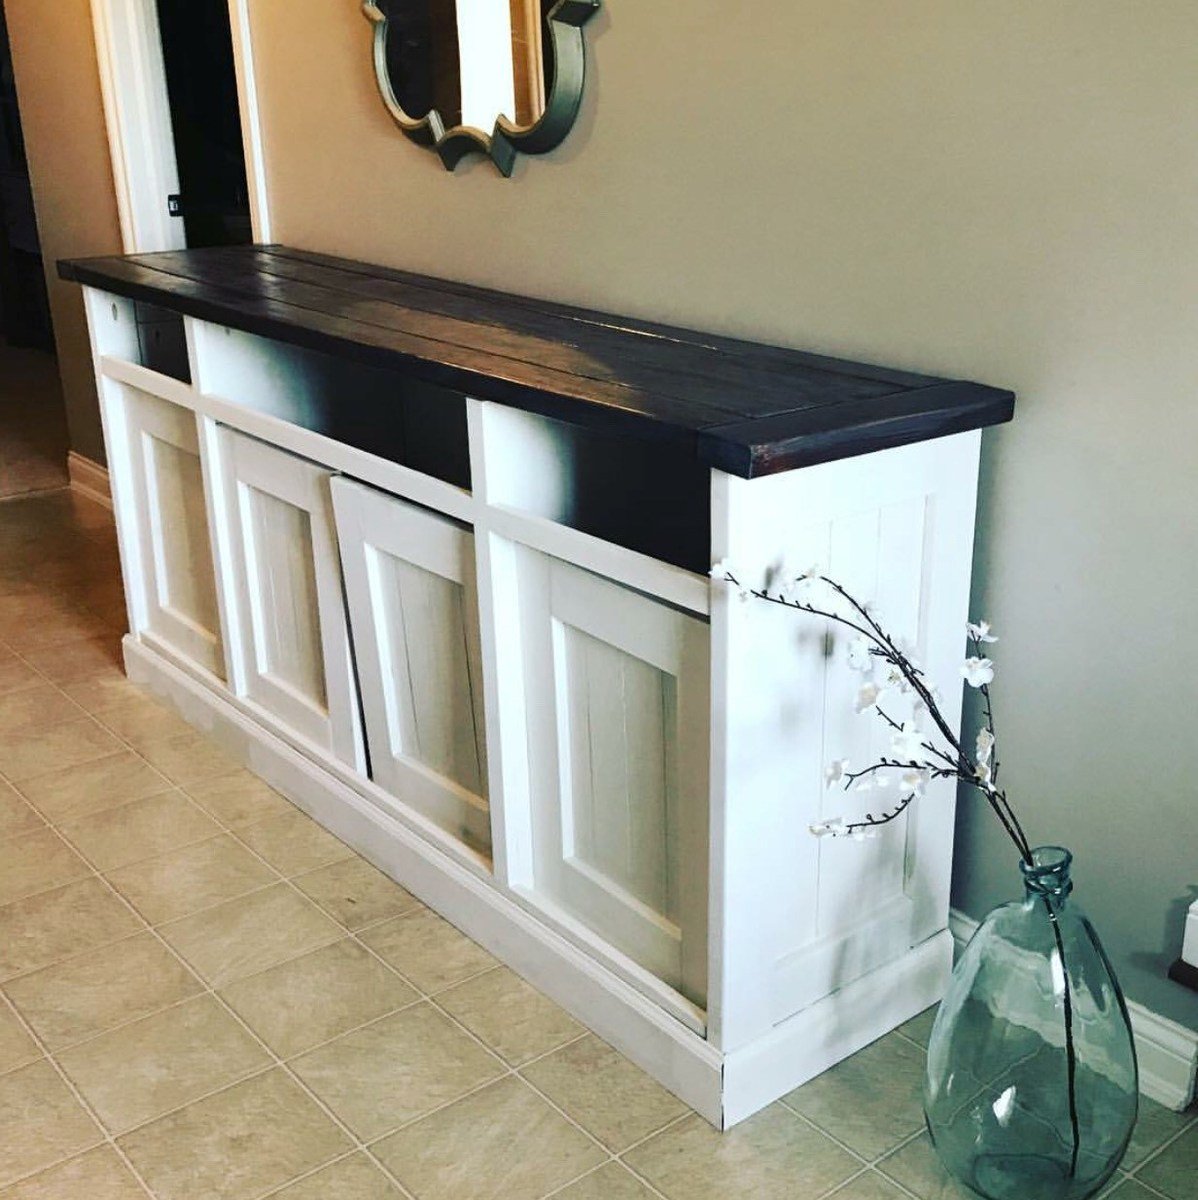
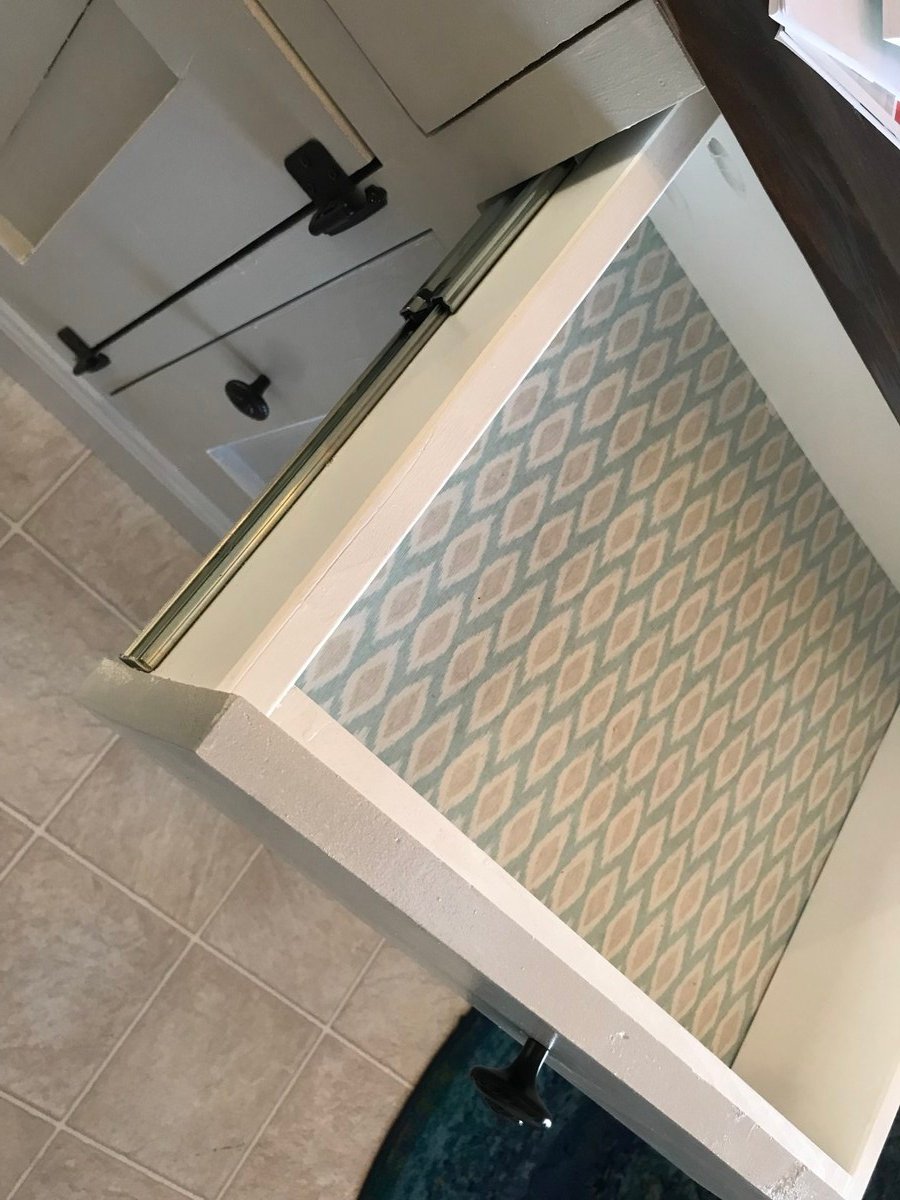
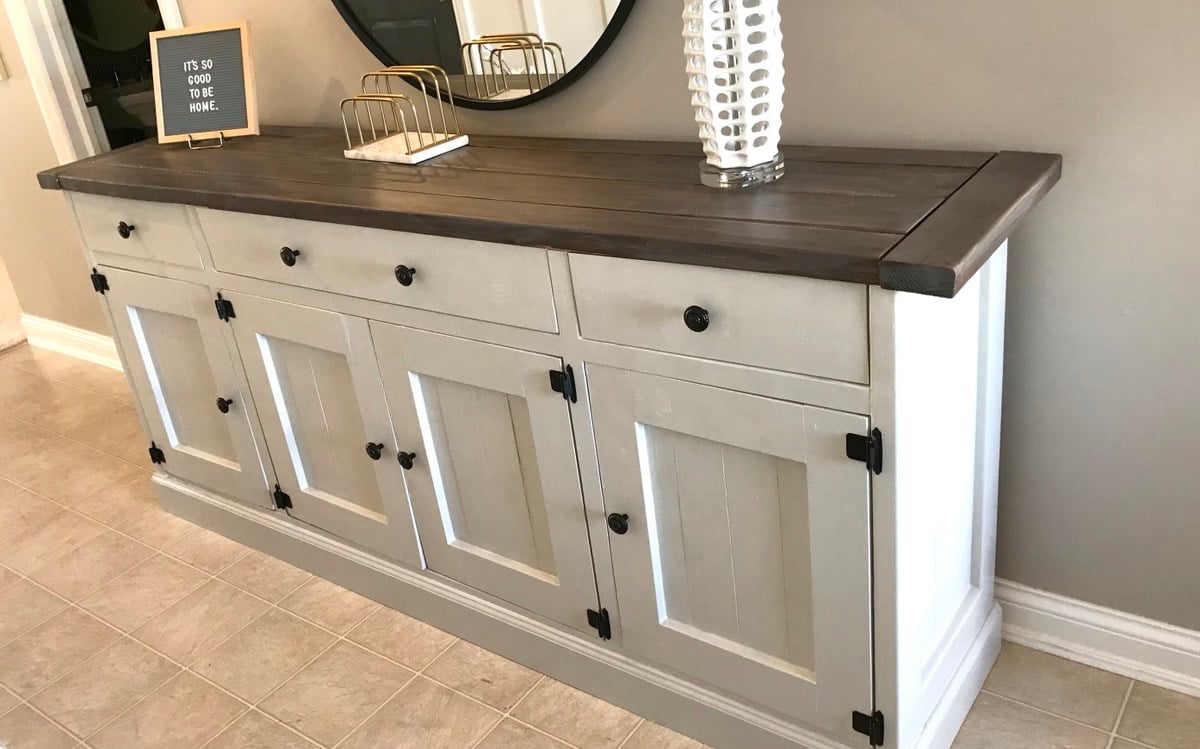

I worked on this project over the course of a few months, and I absolutely love the result! I posted all the info at my blog: http://www.designatedspacedesign.com/2017/10/01/a-rustic-sideboard/


I didn't build this shoe dresser because I particularly needed one, but it looked so lovely that I couldn't resist.
- I modified the plans by building 3 bins instead of 2 so it could hold more shoes.
- I decided against the dowel stick and opted for hinges instead, which were surprisingly not too difficult to assemble. I found that I didn't even need the magnets after installing the hinges as the doors stay closed.
- I used 7" chains on both sides of each bin instead of a belt to make it extra sturdy.
- I added two back legs.
Et voila! This is the end result. I'm very pleased.
PS. Those flopping bins are a pain when you're trying to build!! An extra pair of hands is definitely recommended.


Fri, 07/05/2013 - 22:49
Pretty :) Good Job. Now if I only had the space for one thats 10 rows high :P I like the stain color too. Shanty 2 Chic always uses Rust-o-leum. I think its called dark walnut. Dont quote me though. I love the stain and spray paint combo colors they use.
~Melody
In reply to Nice Job by SoCaliforniaMel
Sat, 07/06/2013 - 20:00
Rust-o-leum, that's the one!
Yes, if only every woman could own a 10-row cabinet for all her shoes! :)
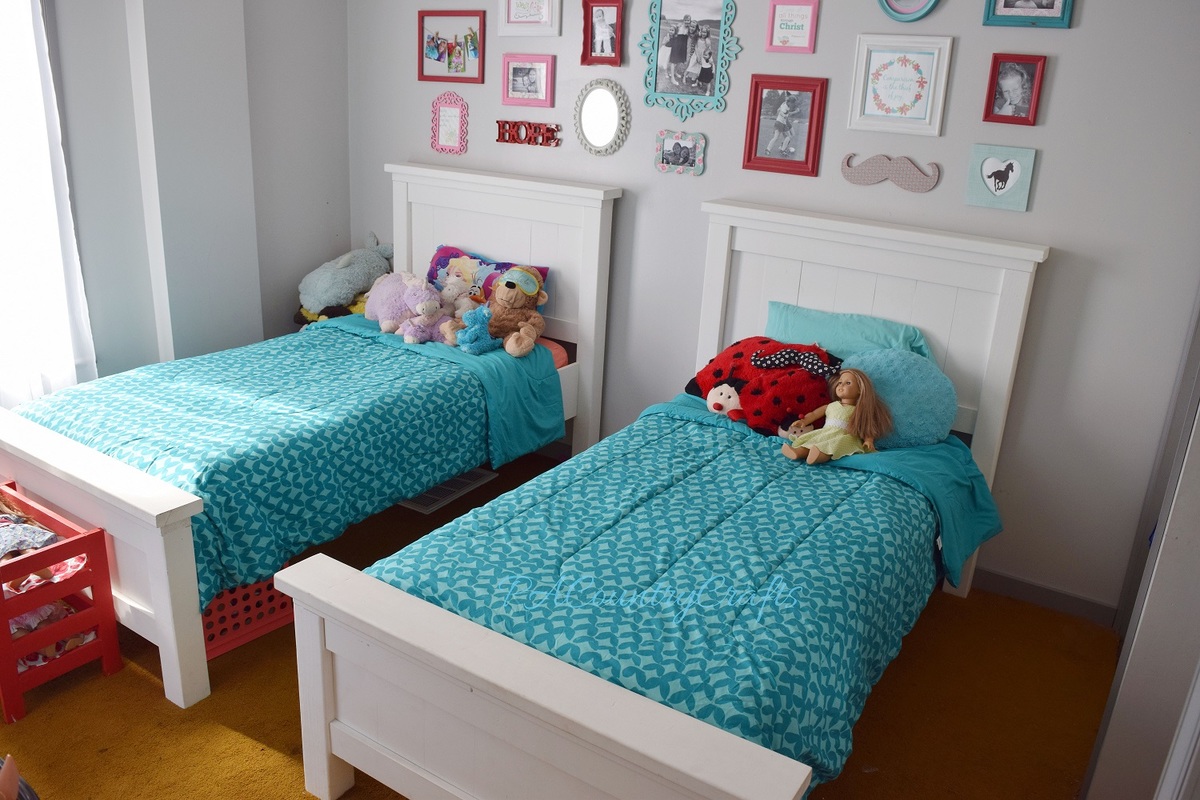
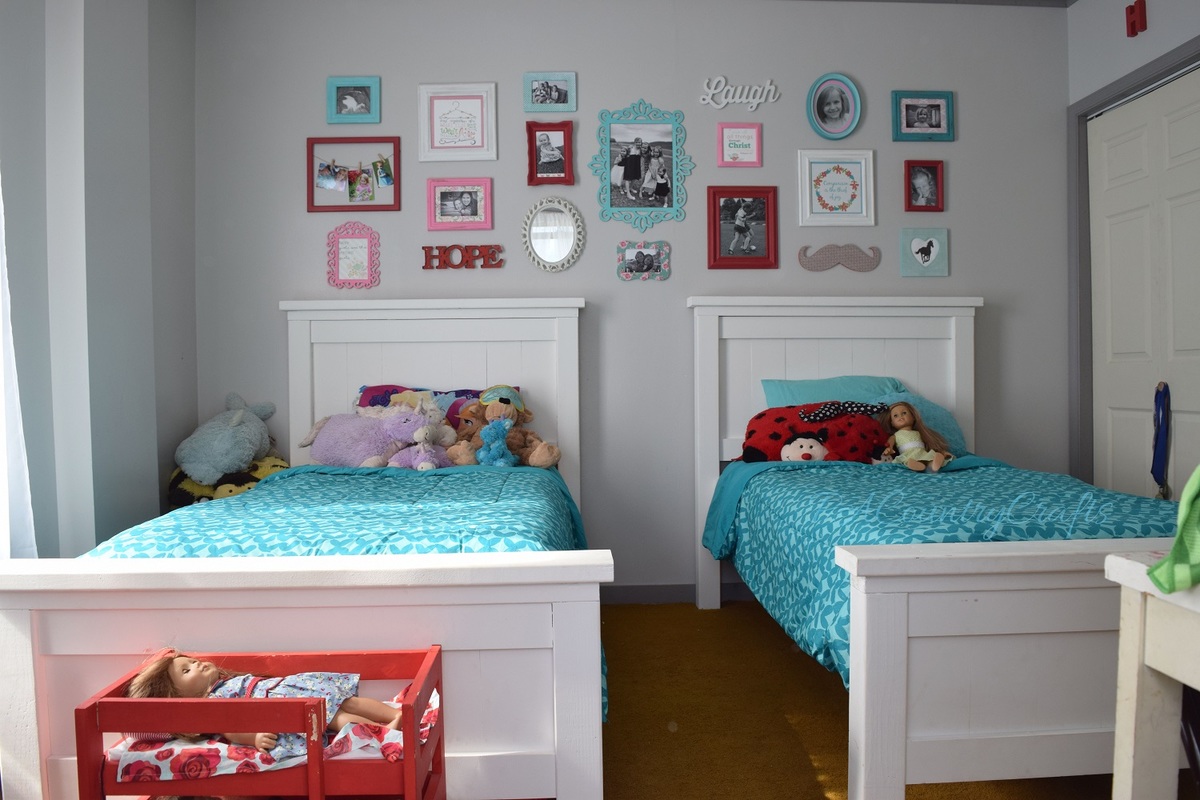
We made the headboards 7" shorter because the collage wall was already on the wall. Also, we used plywood instead of slats for support for the mattresses. Oh, and we had to trim the side rails to 75". Overall, it was a quick and simple project!
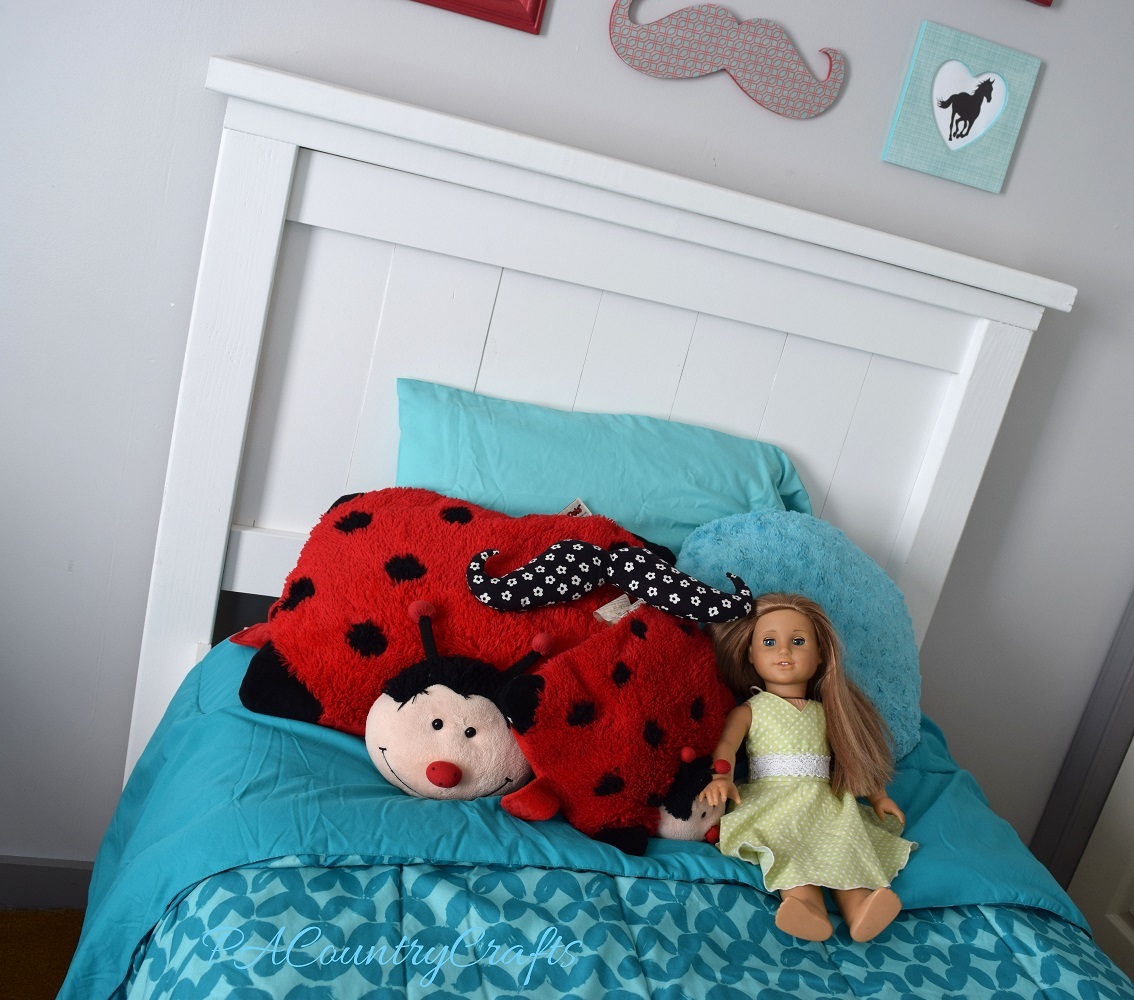
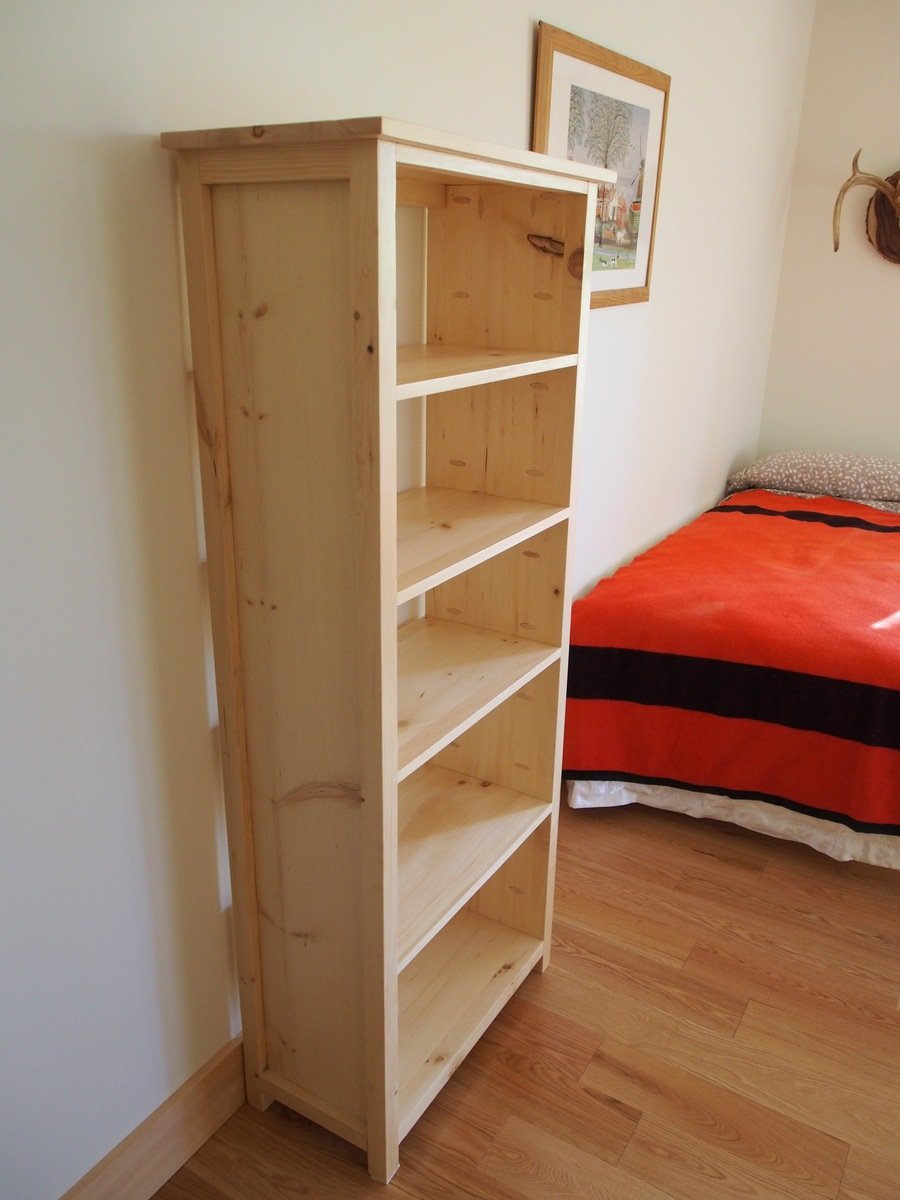
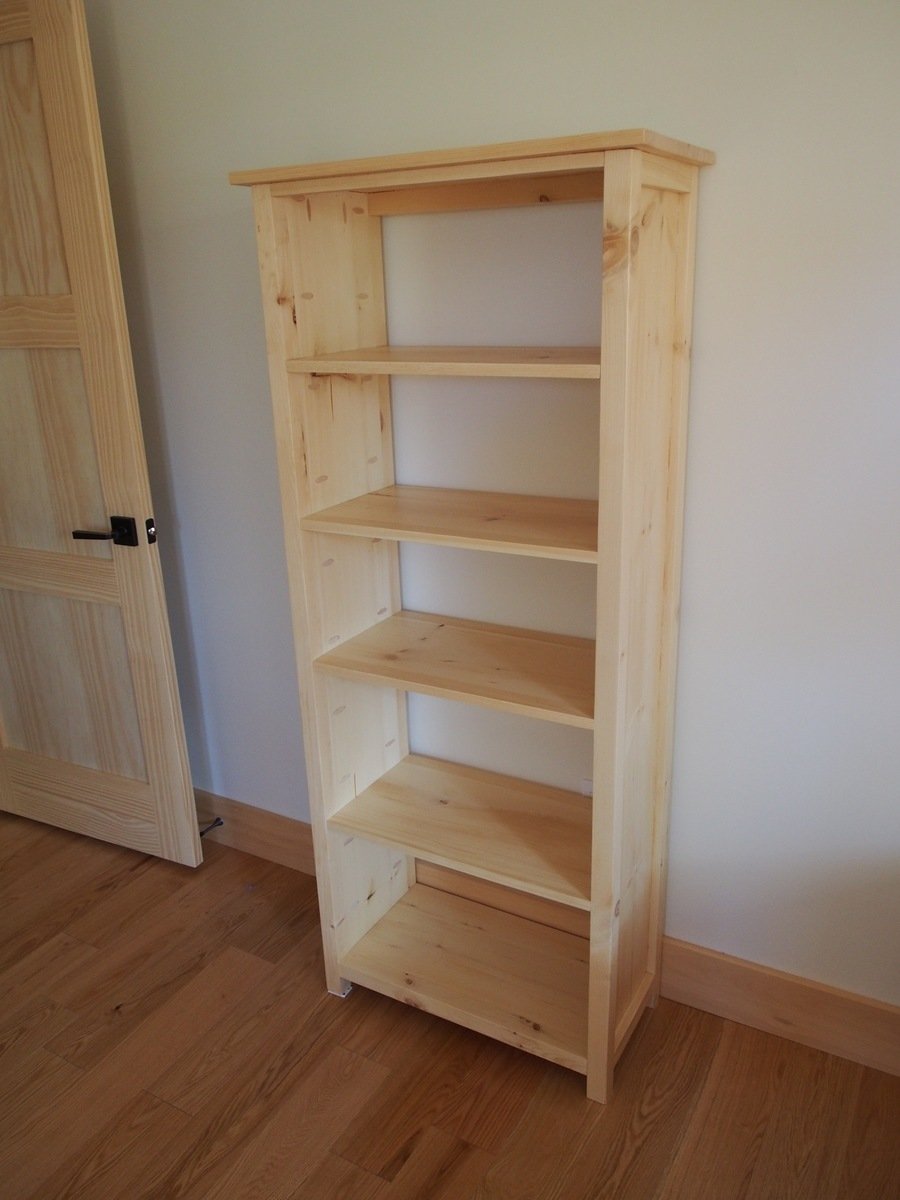
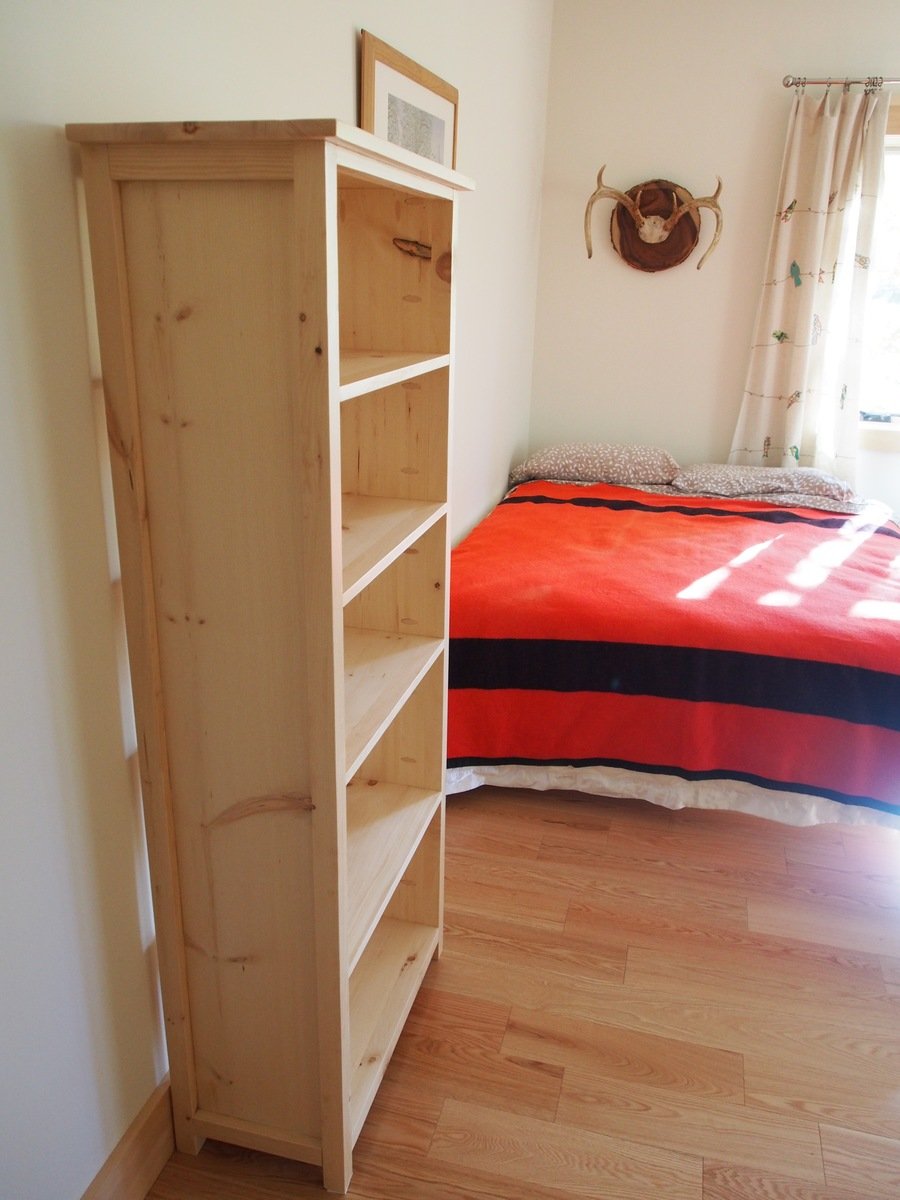
I used 1 x 10s to make the bookcase a little shallower, and left the back open. Thanks for the great plan.
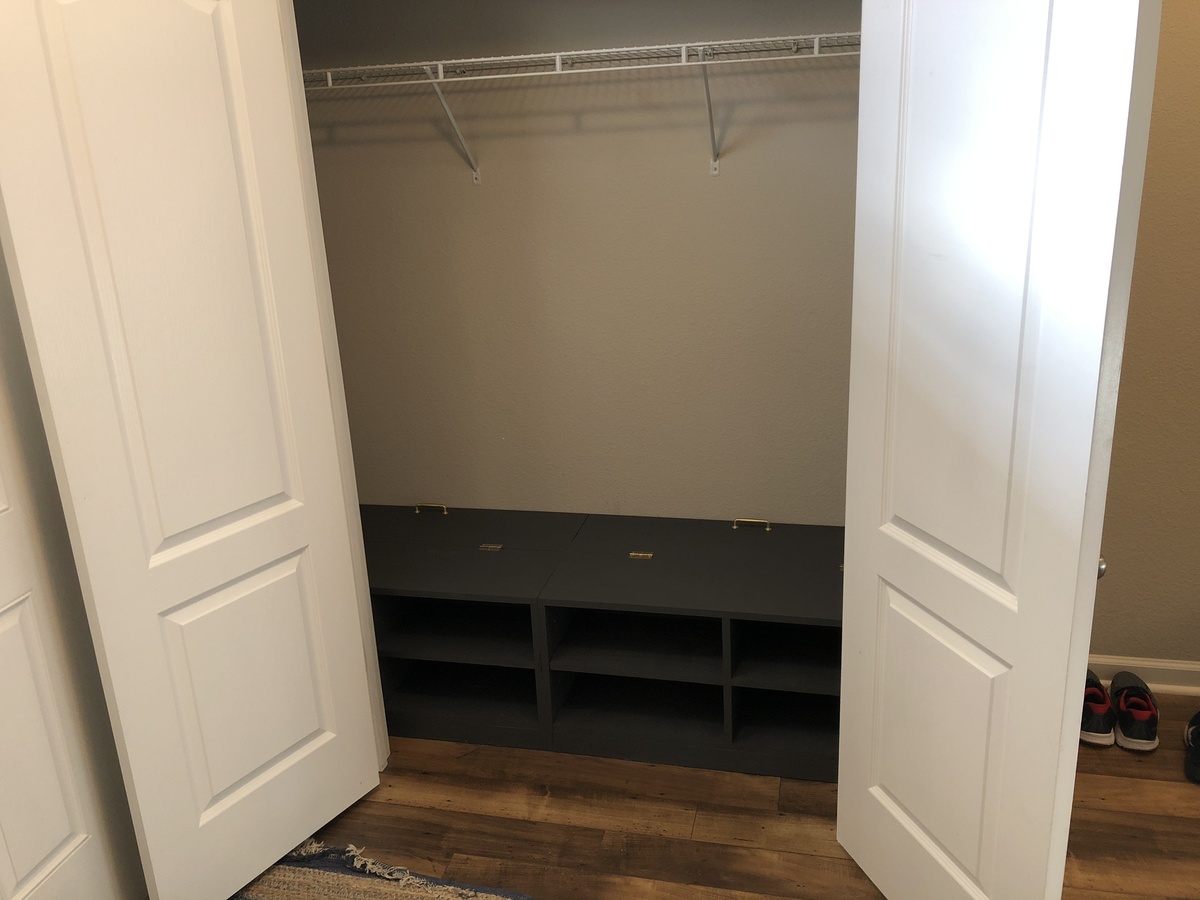
I just wanted better organization and shoe racks up close to the front of the closet instead of in the back but I also didn’t want them too deep. These plans fixed that.
Wed, 01/02/2019 - 12:14
This is awesome!!!! I'm so excited to see the closet built and to read that it is working well for you! Share some more pics sometime!
I had very little clearance on the long side of the shed, so I opted to put the door on the short side. Thanks for the plan, it was a great starting point for my project.
Tue, 09/10/2013 - 10:15
Thanks for posting! I plan to make this shed. Yours turned out beautiful!
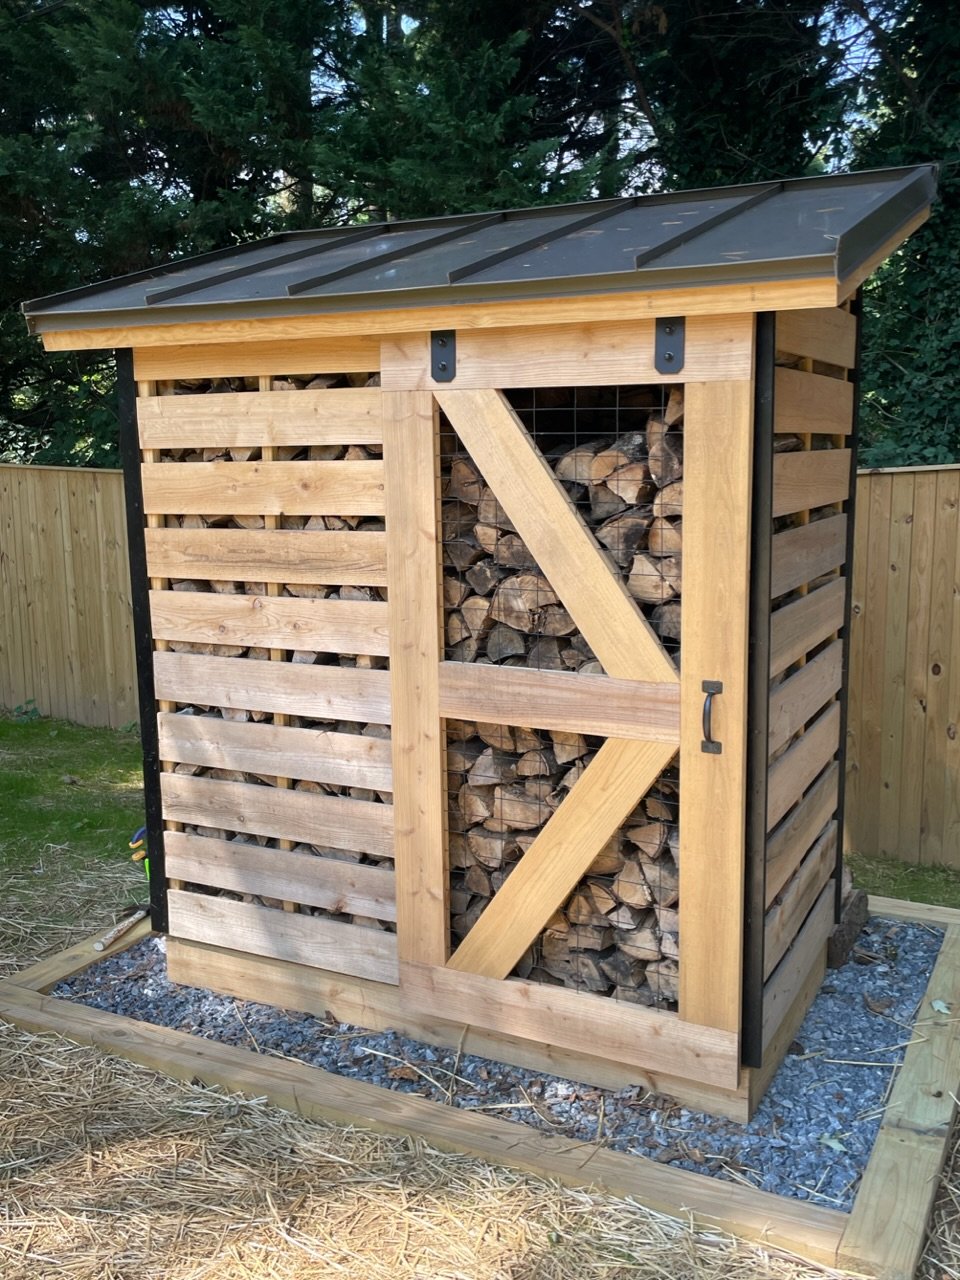
Spaced out the boards to allow airflow; did a sliding barn door and metal roof. Thanks for the plans!
Wed, 10/19/2022 - 08:23
This is totally awesome, way to think outside the box! Thanks for sharing.
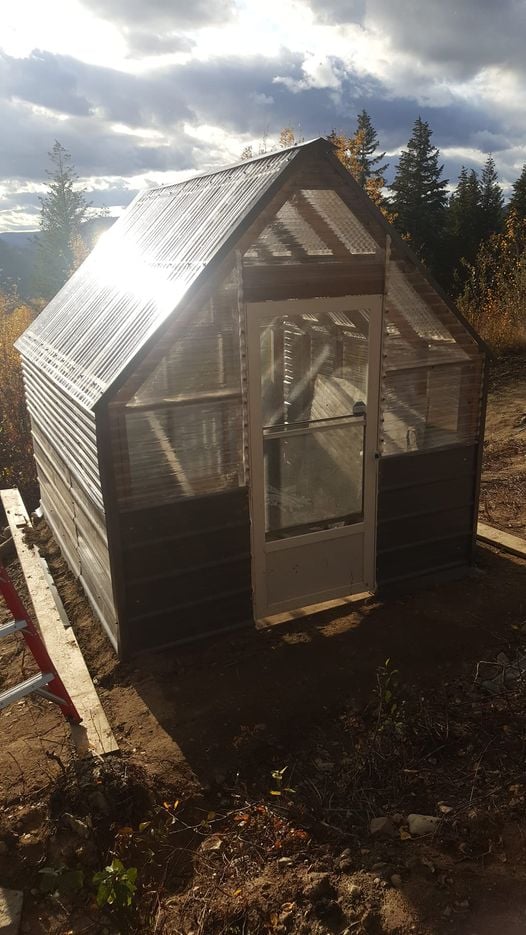
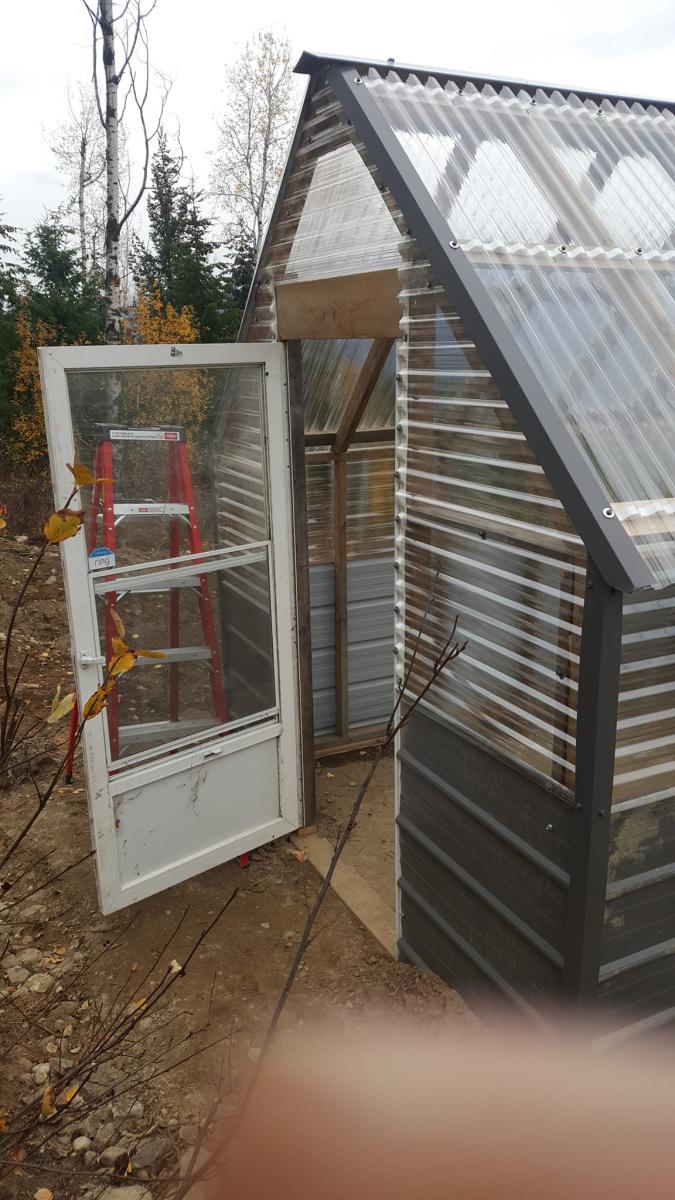
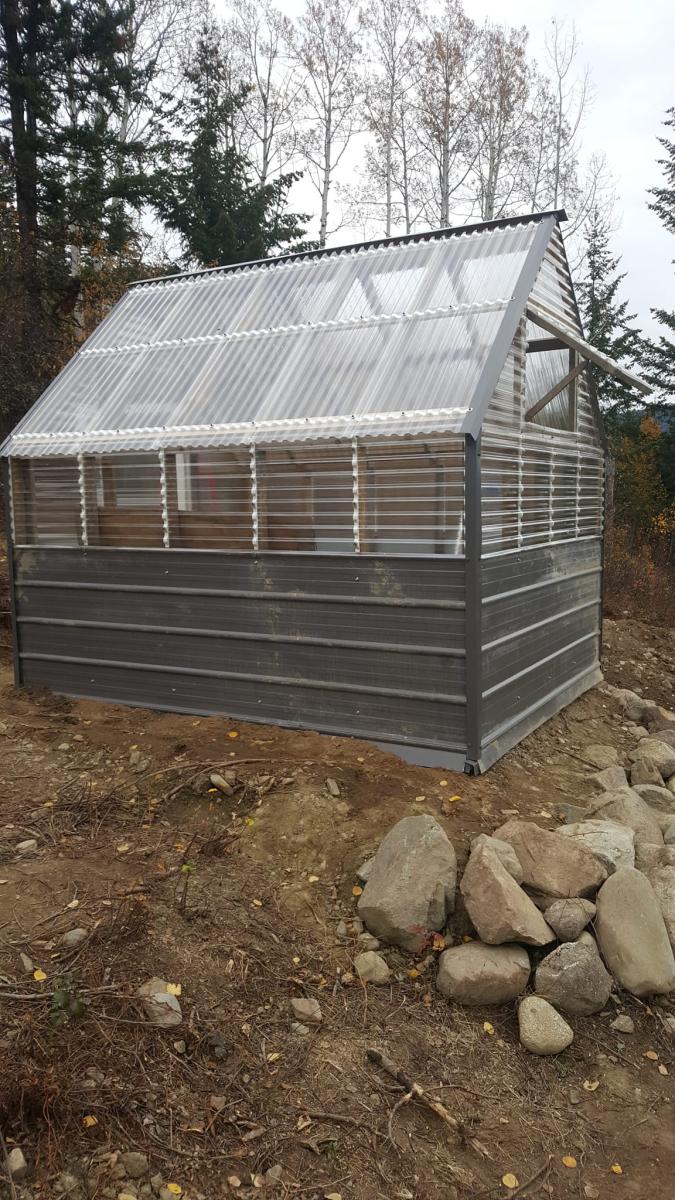
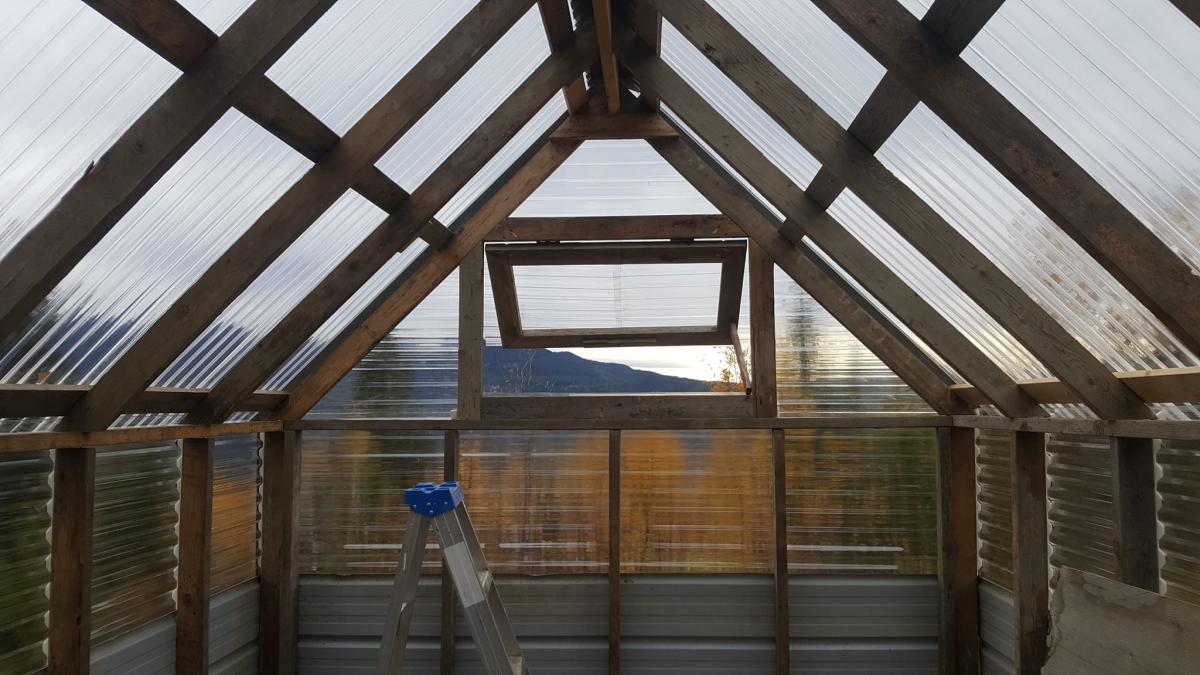
Ana's plans are so easy to work with. This greenhouse was build with all recycled materials from our home build, except for the corrugated plastic (total cost approx. CAN $1,000). I did have to make it a little bit smaller as the area that was leveled was a bit smaller than planned. I'm planning to add raised beds inside, add a solar panel so that I can have light in the evening and a fan during the day. I'm planning to attach some gutters and a rain barrel.
This is my second project, based on Ana's plans (first one: https://www.ana-white.com/community-projects/indoor-firwood-console). Next, I'm planning to make the fancy X farmhouse table and bench with storage. Stay tuned.
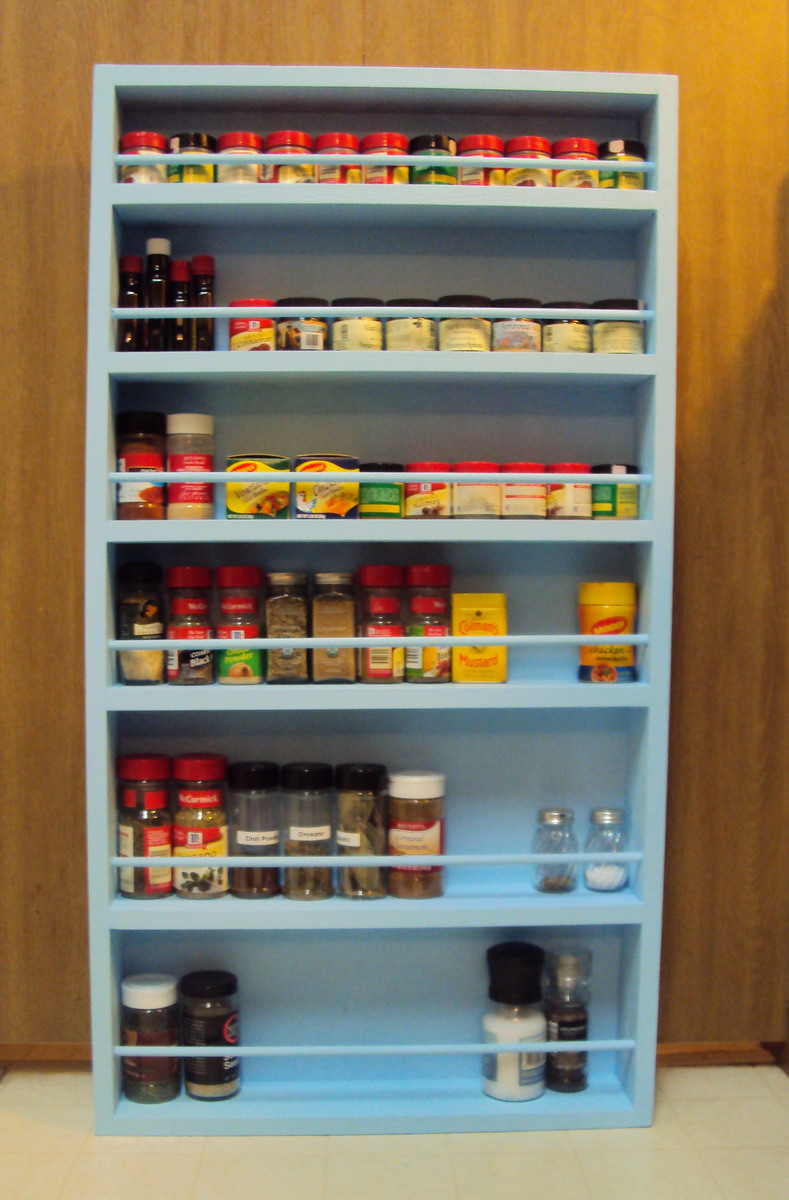
My husband and I worked together to build this spice rack with the plan from ana-white.com. The instructions were very clear and easy to follow.
As you can see from the photo, we haven't hung it on the wall just yet. We have a narrow galley kitchen in an apartment, and I won't be able to get a good photo of it once it's hung.
Thank you, Ana, for inspiring us! We have picked out several more plans to build.
Sarah Hughes
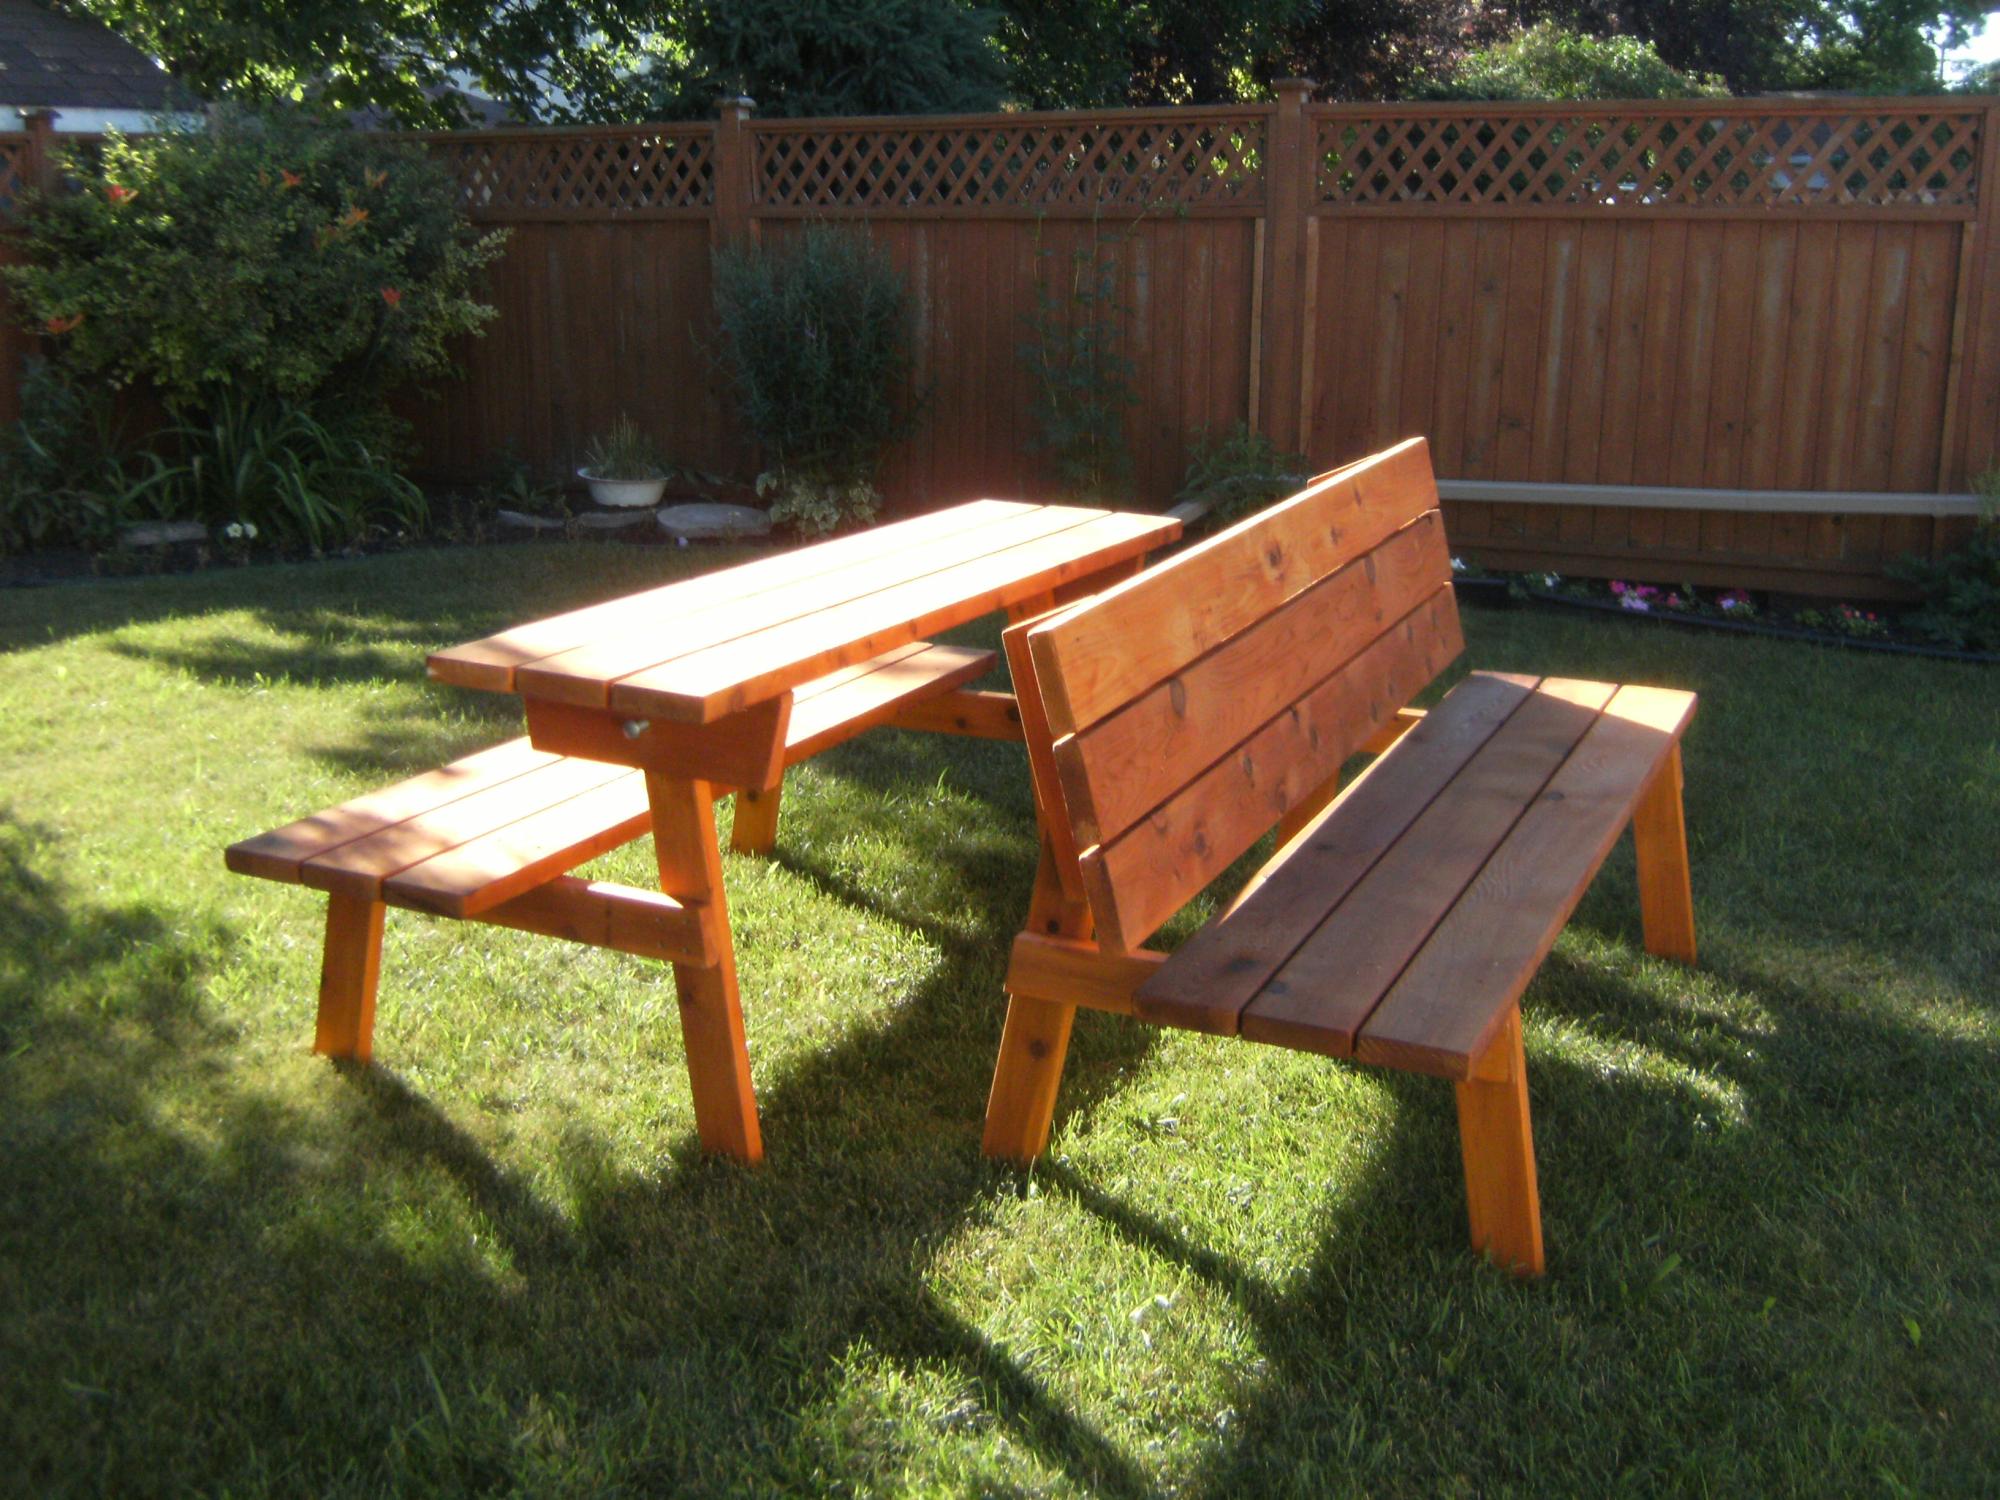
Simple benches that convert to picnic tables
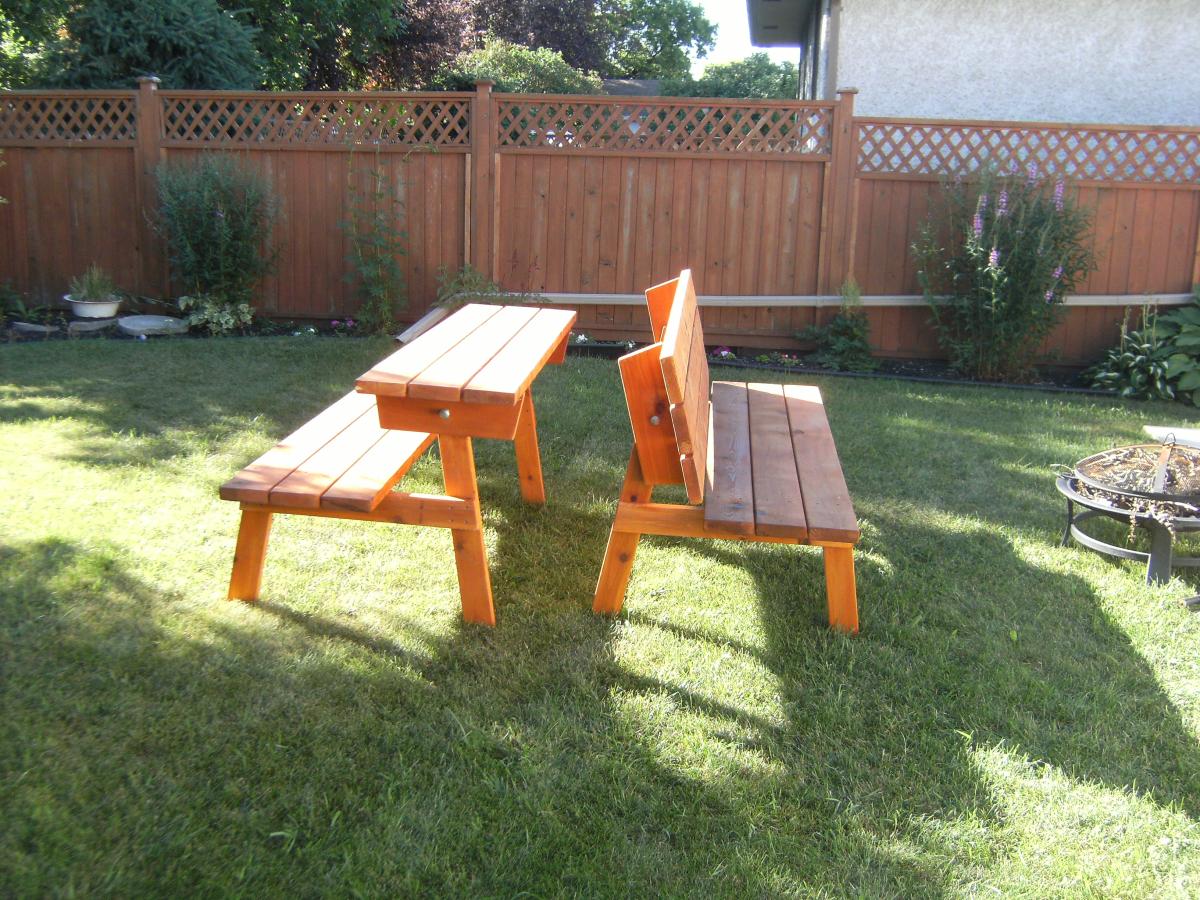
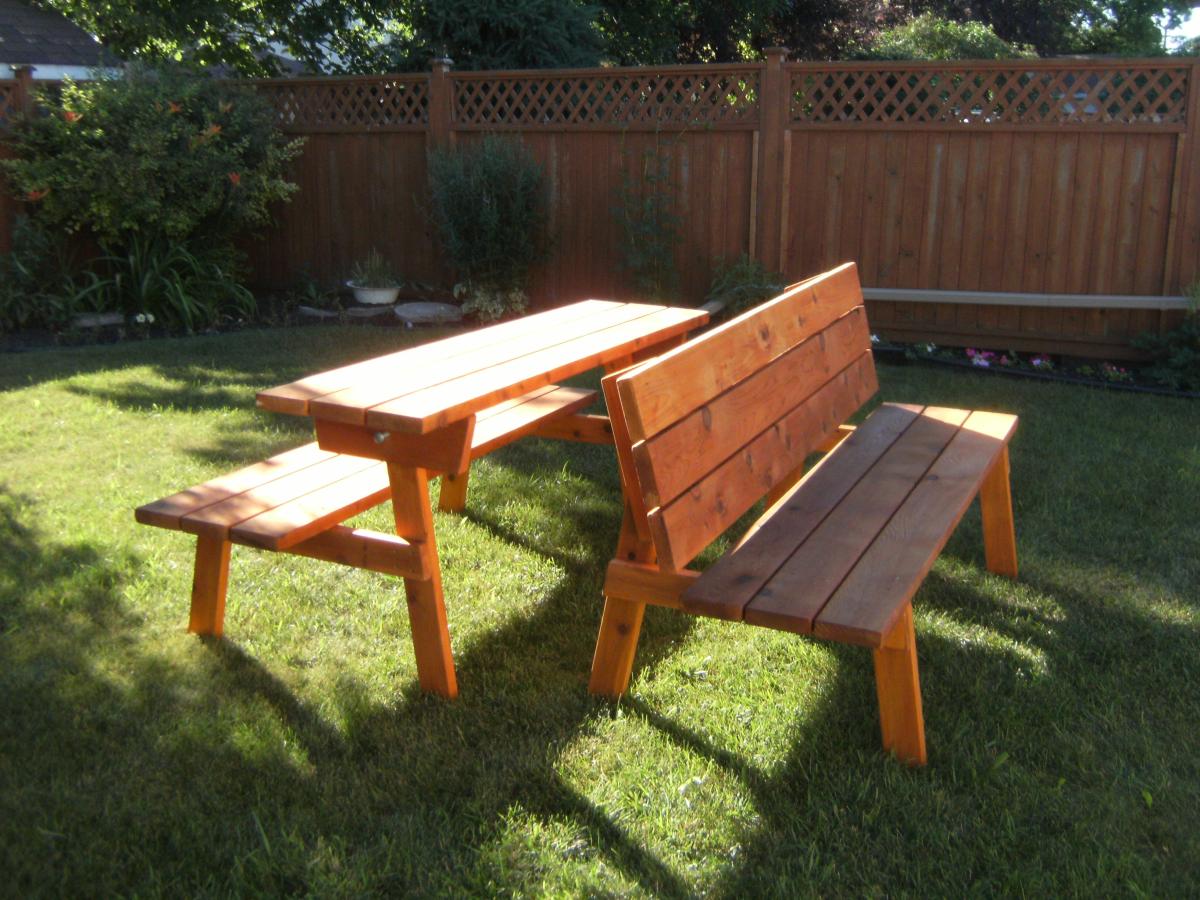
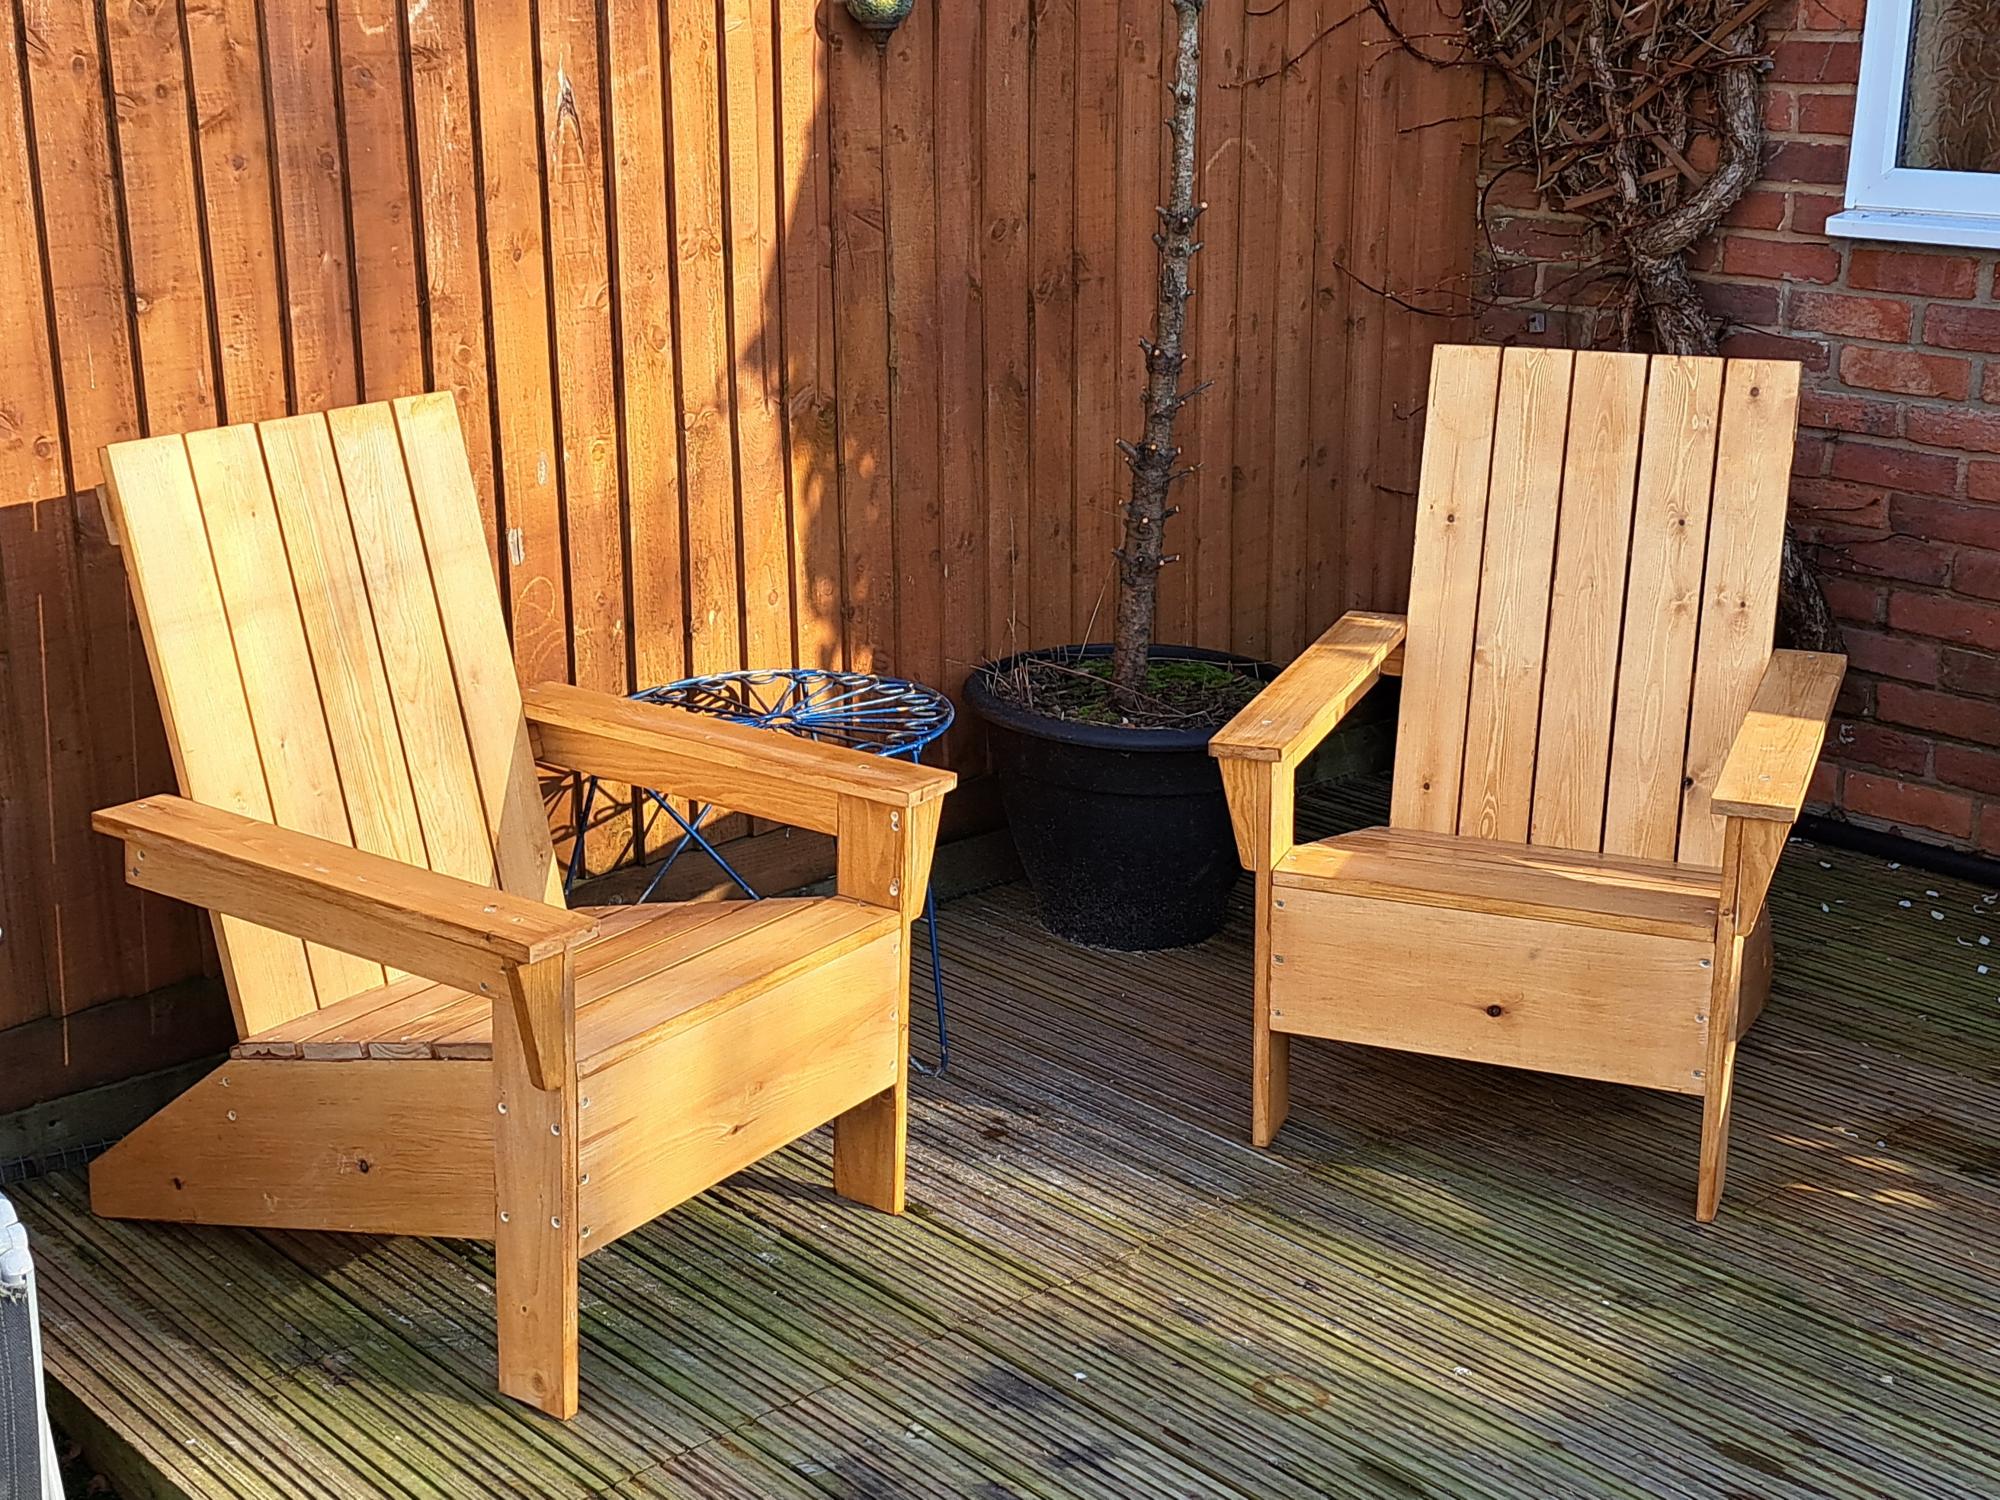
Used your original plans for these. I'm very pleased with the result. Carpentry is not really my thing, but I'm inspired to do more now.
Sat, 02/25/2023 - 11:59
These look fabulous, thank you for sharing! Can't wait to see your next project.
"Here's a pic of the planter I made! I modified it to fit a 36" planter. I LOVE it. Thanks!!"
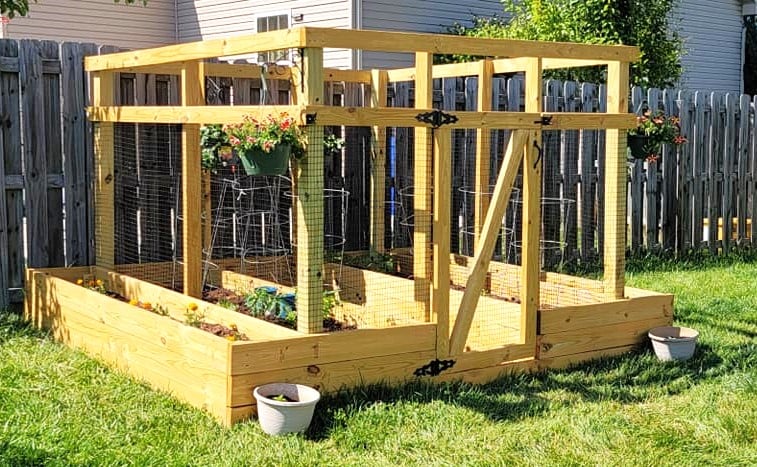
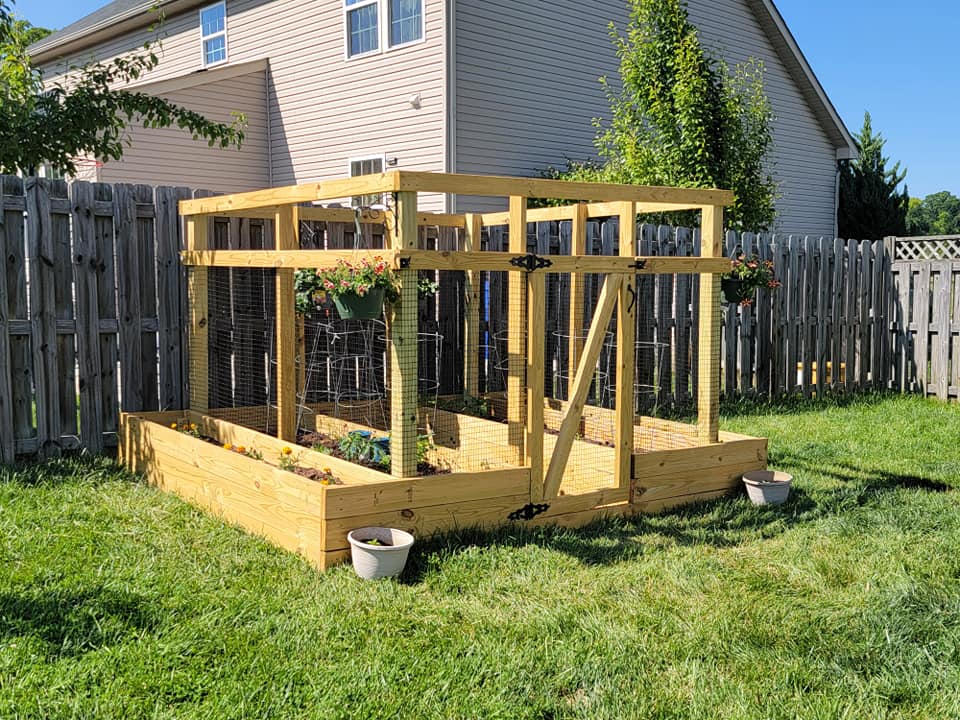
My husband and boys made a beautiful enclosed raised bed using your plans. It was modified to include exterior raised beds for flowers.

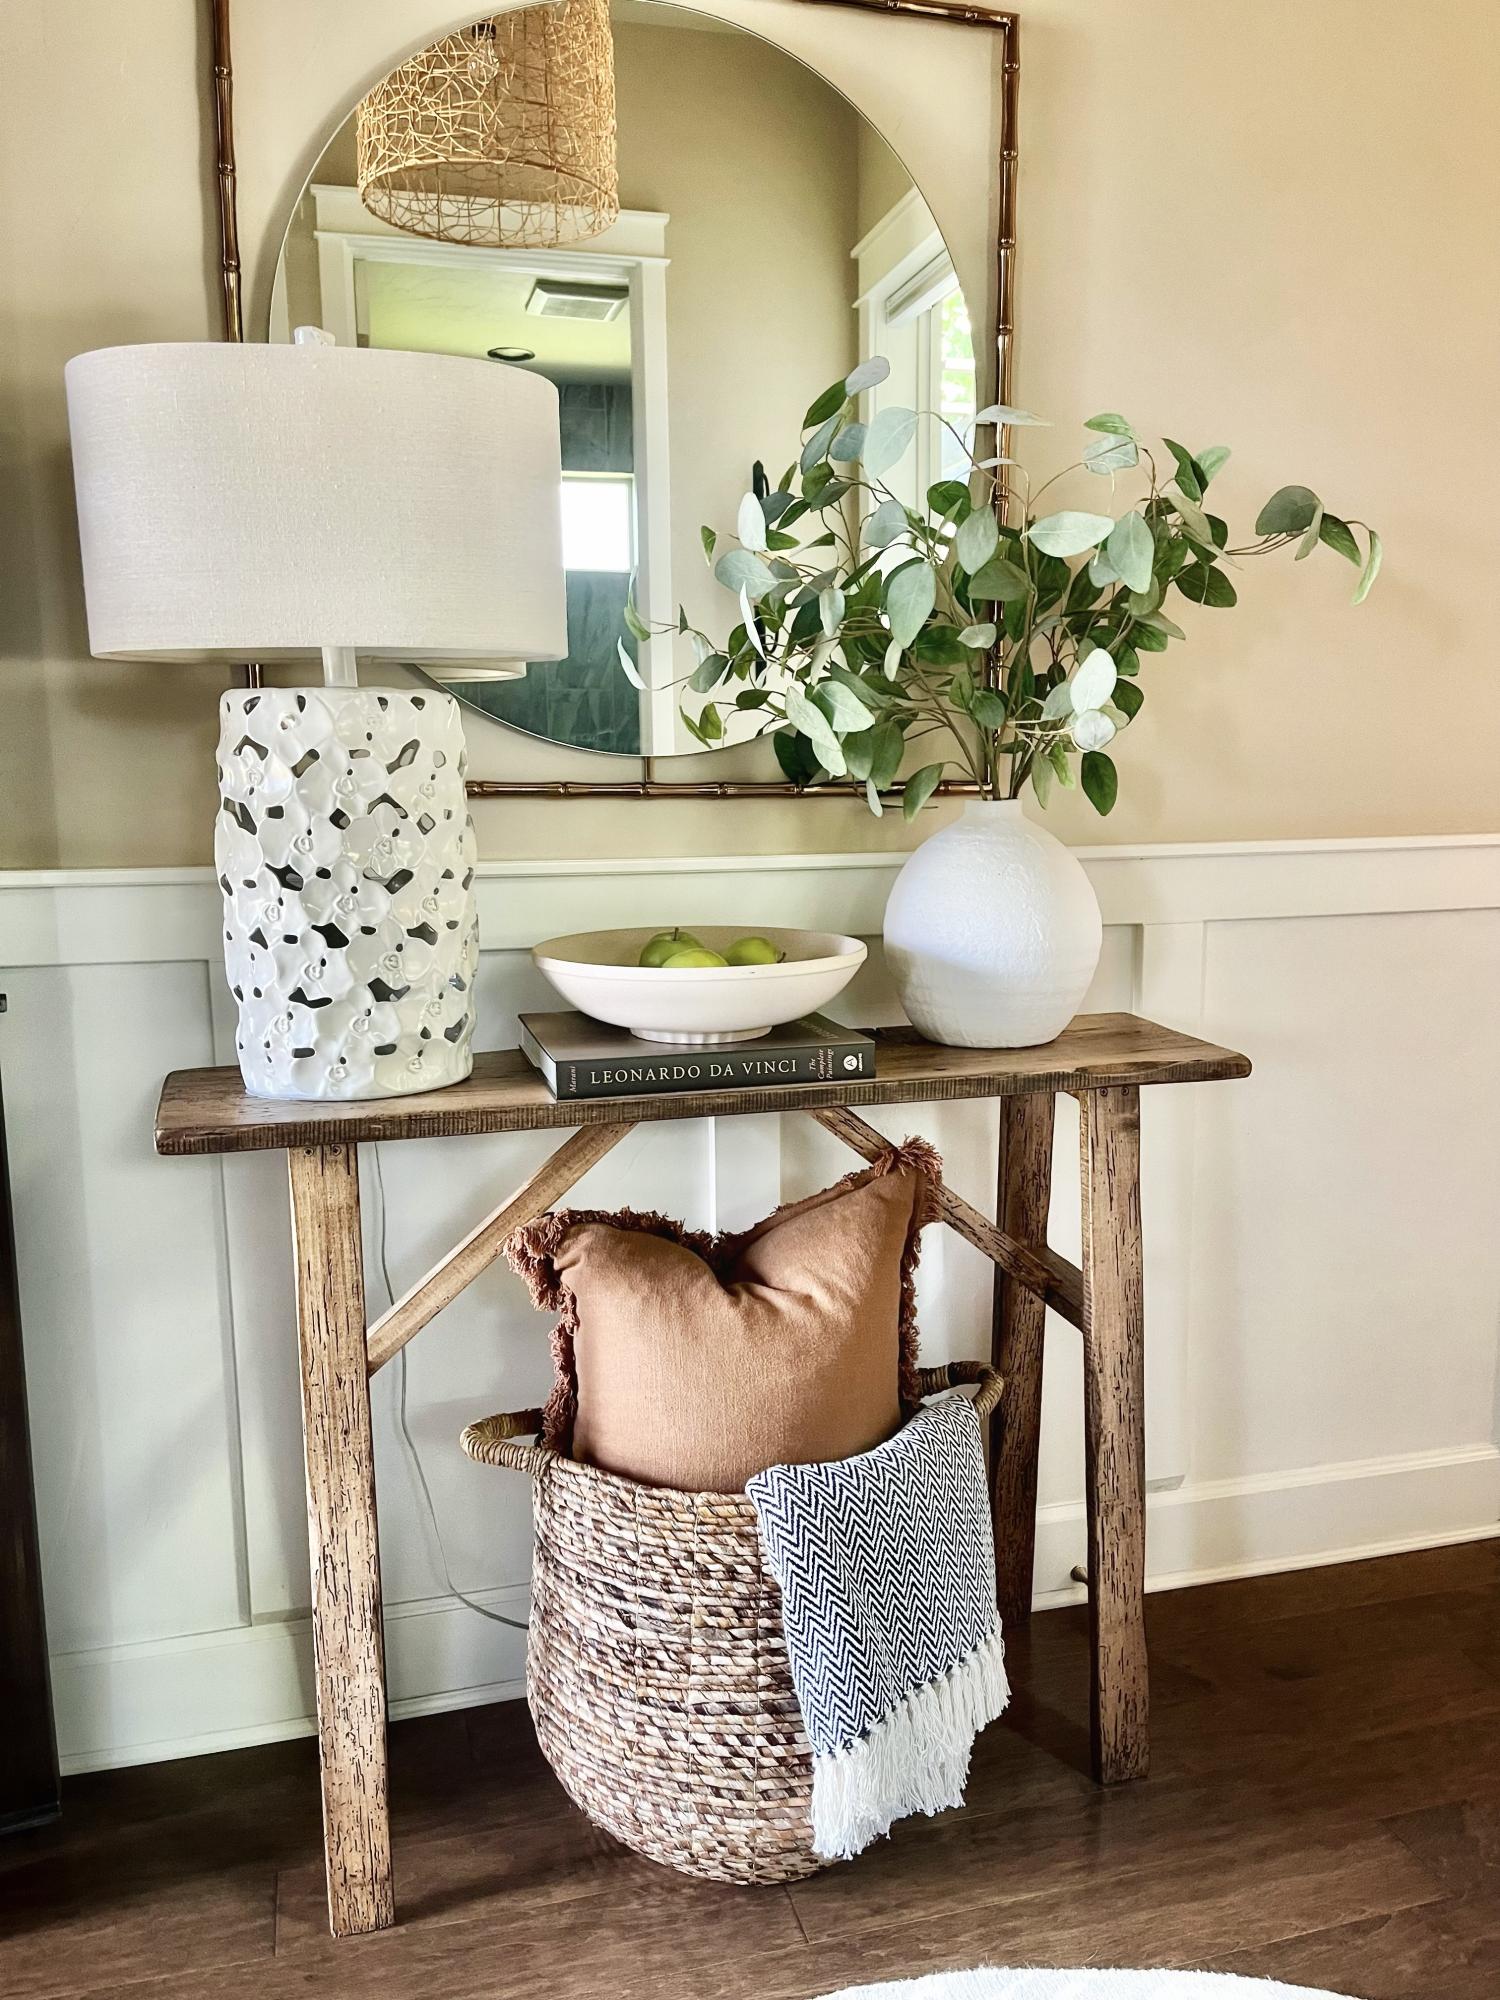
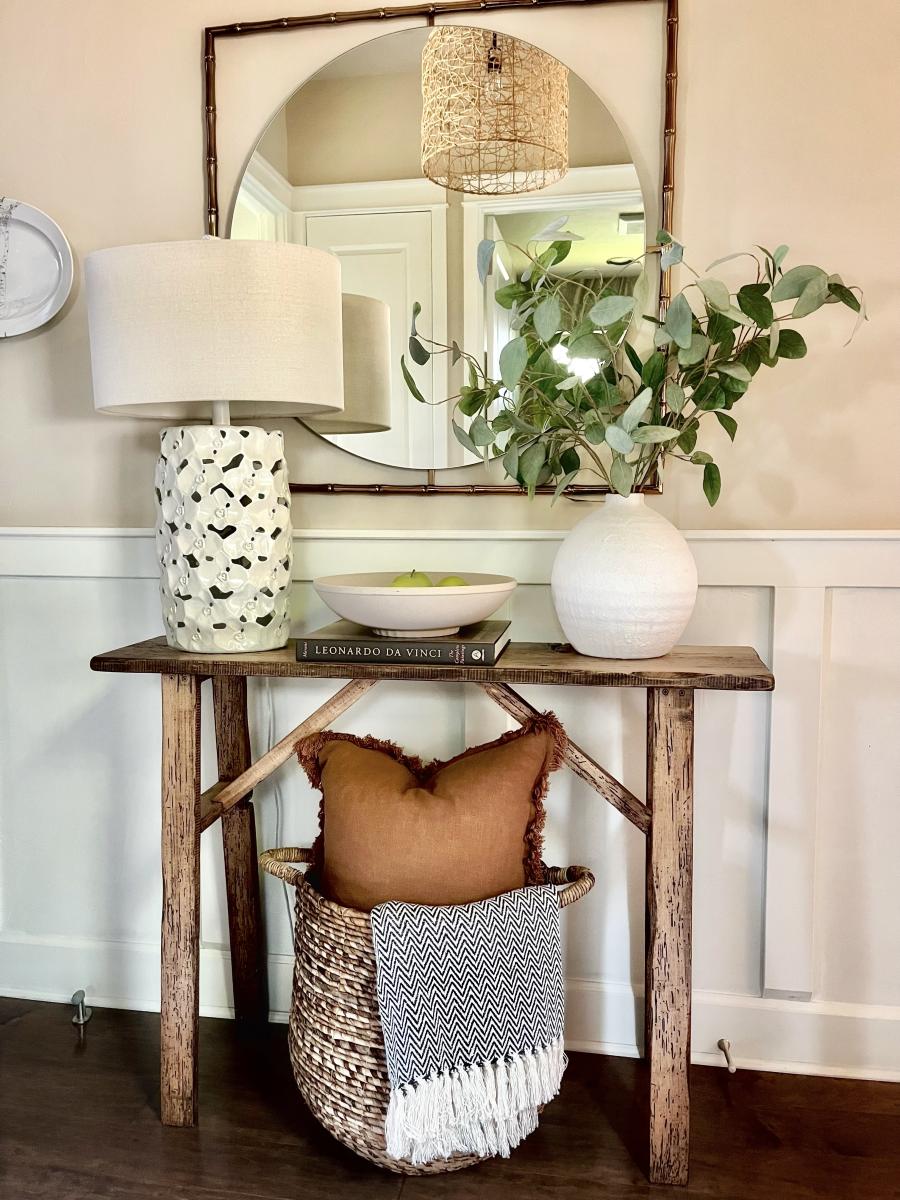
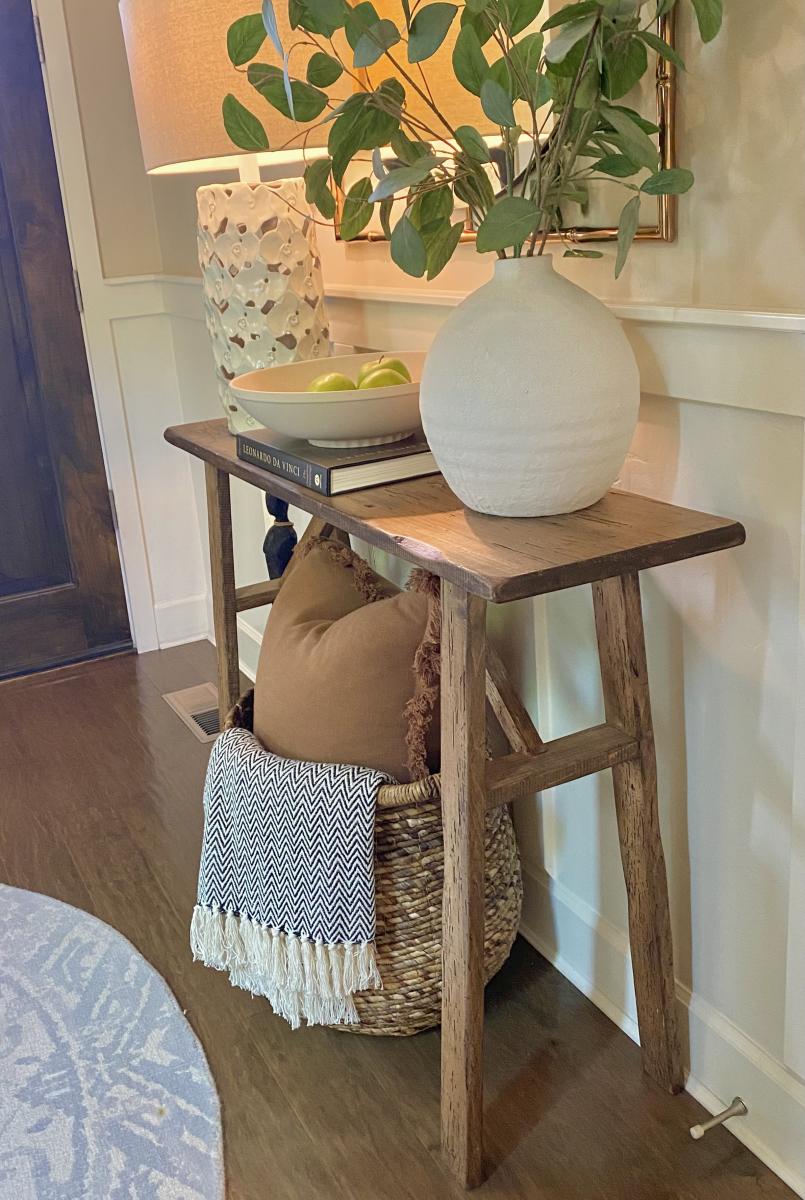
This entry table I made from wood I got from a recycle center of wood products. It’s been in our entry now for several years. I have only basic tools-no planers and jointers, etc. I do have a fold up table saw that I use once in awhile. I enjoy working with natural /live edge and or construction grade materials. Always impressed with the items Ana has built. Good job Ana😁👍
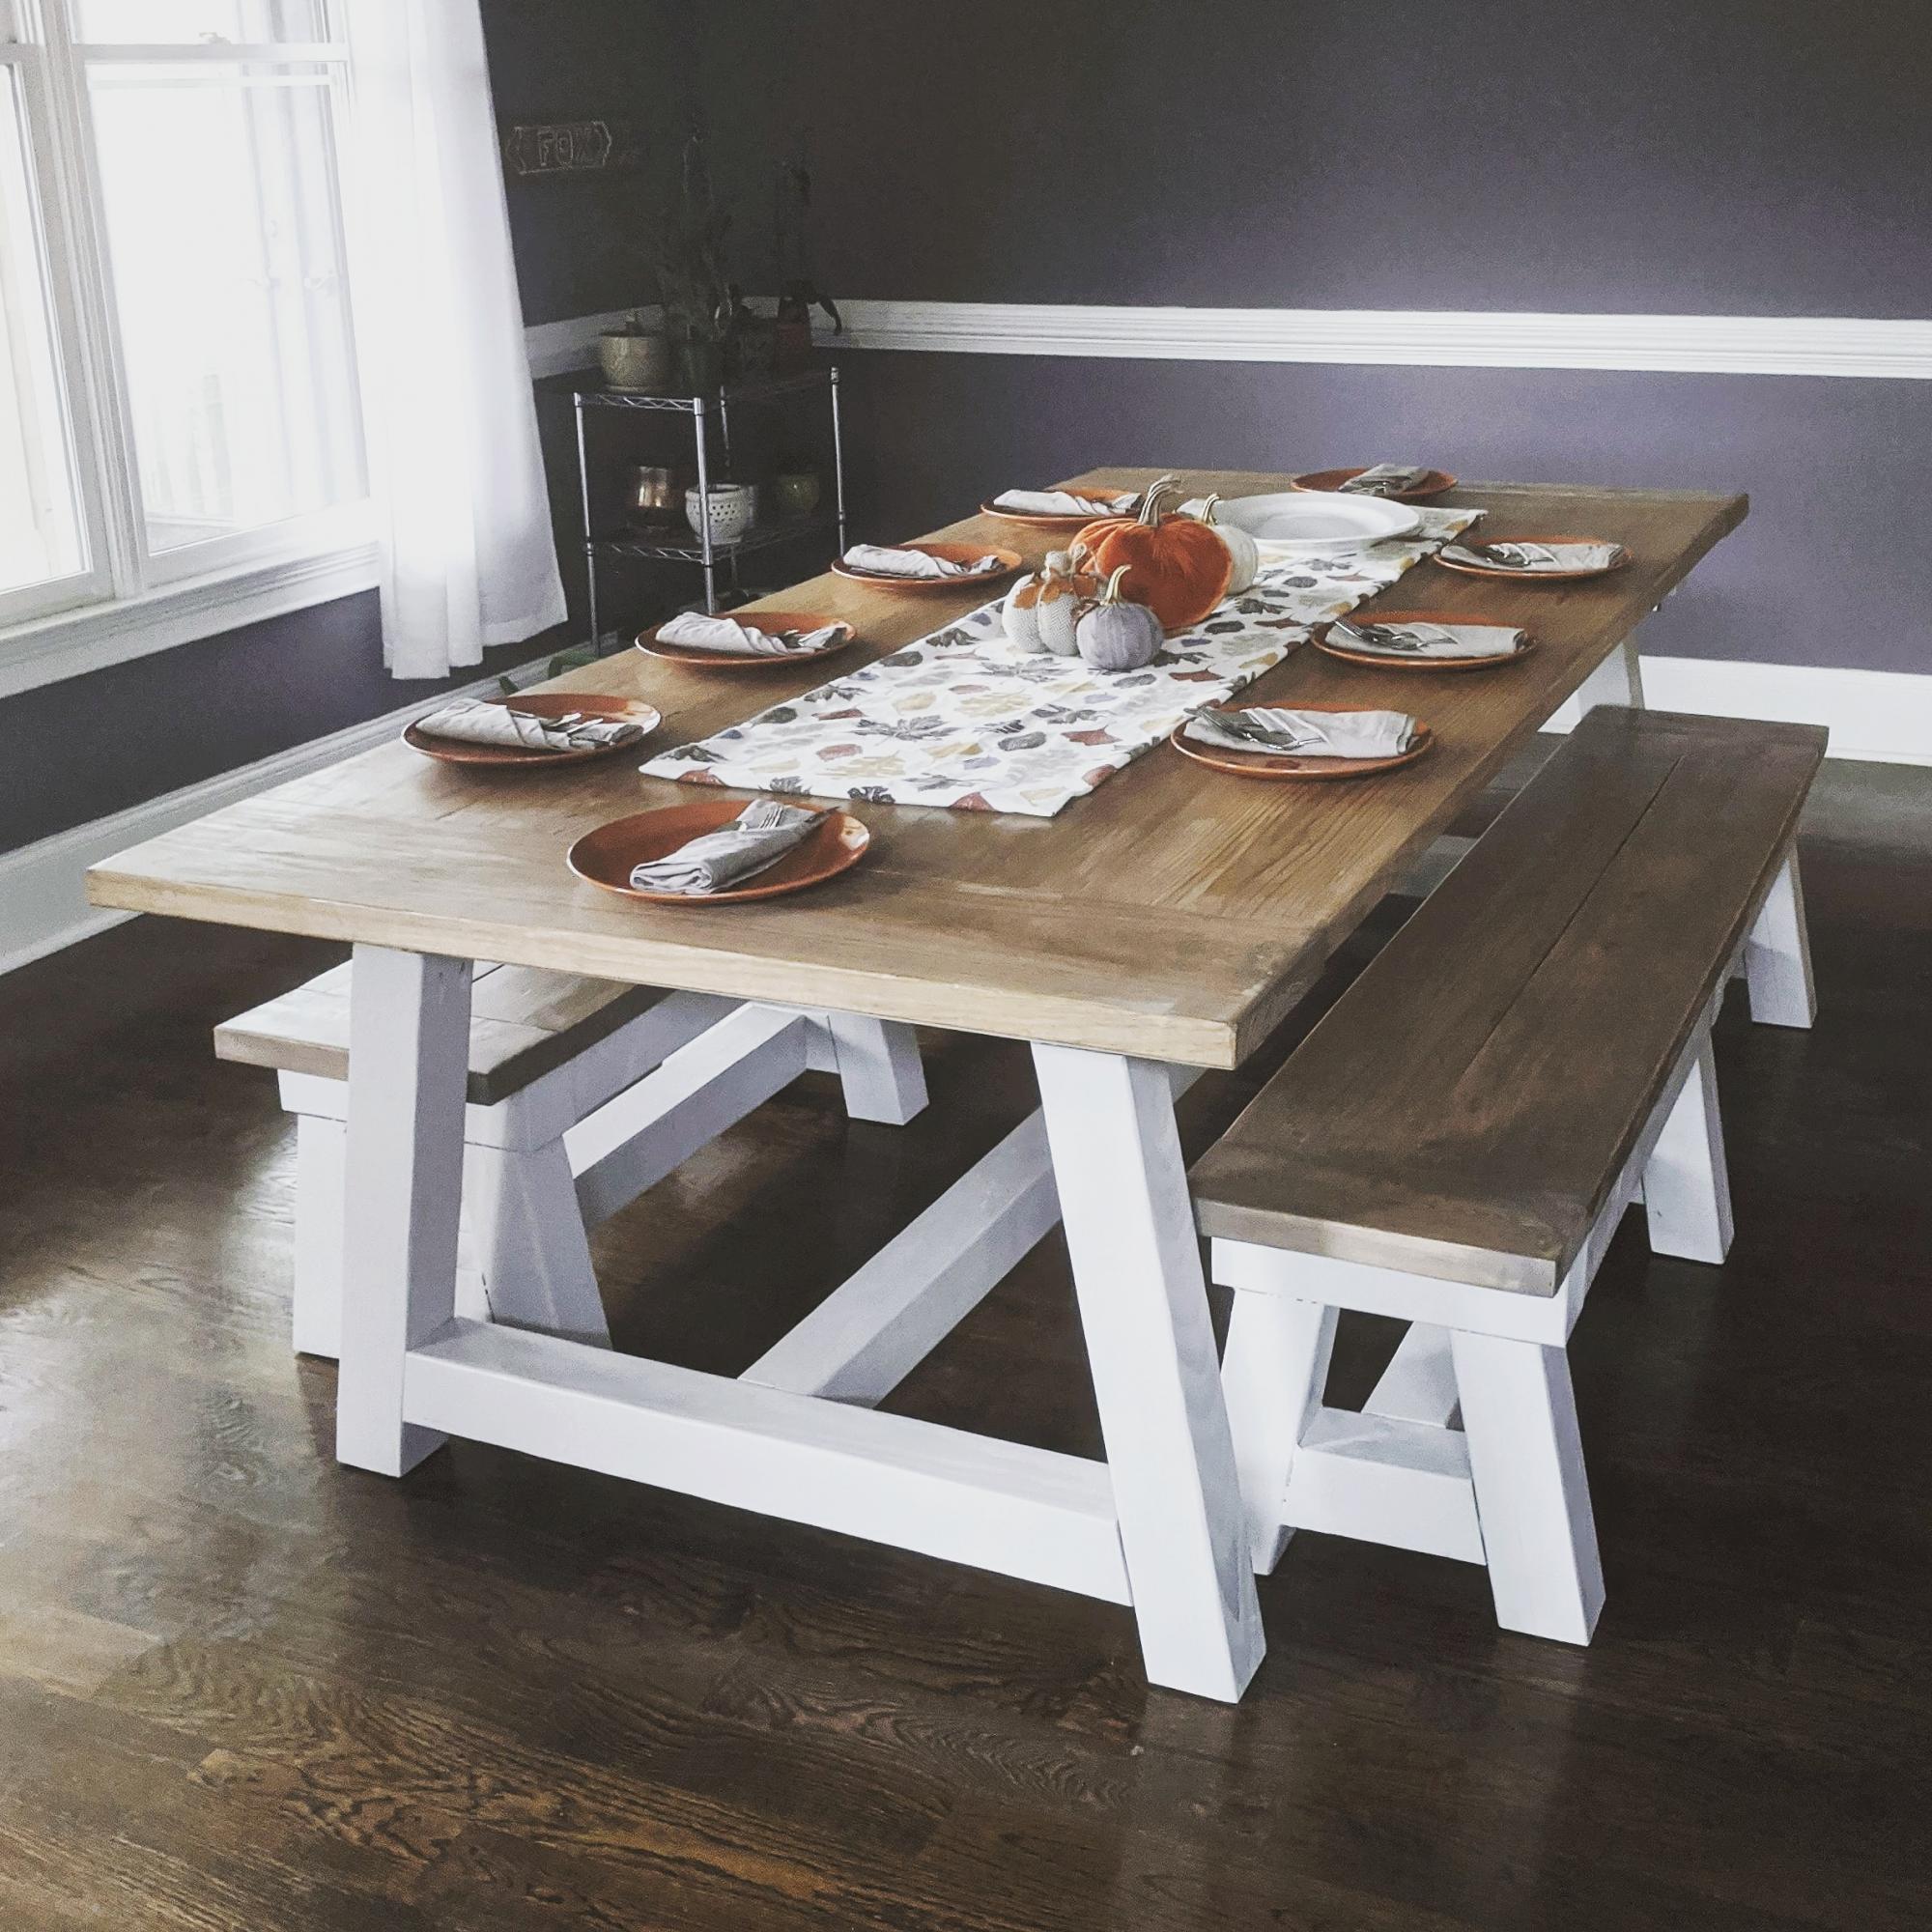
Modified so that it could fit 12 people comfortably.

We built Two children's table and 8 stackable chairs for one of our daycare's. It took a lot of work but once we figured out the first chair it was a breeze for the other 7.
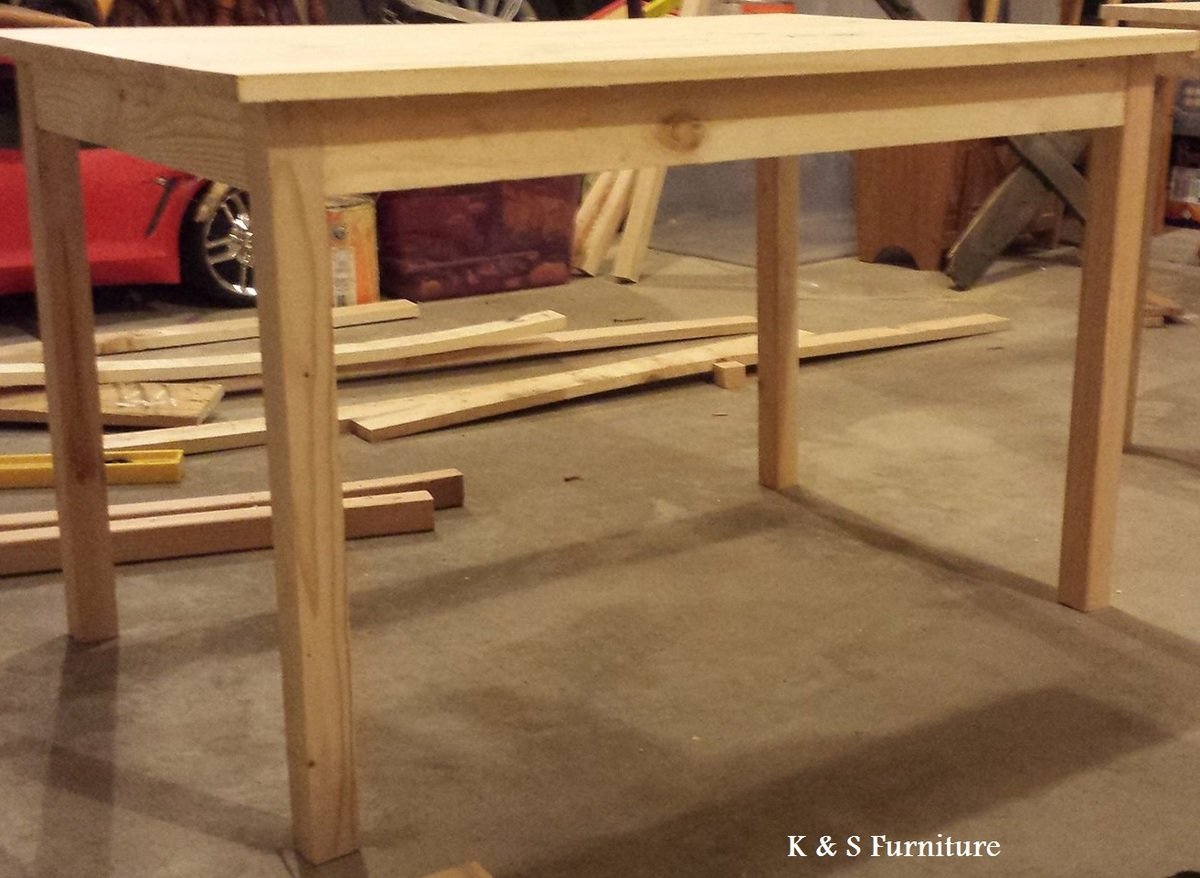
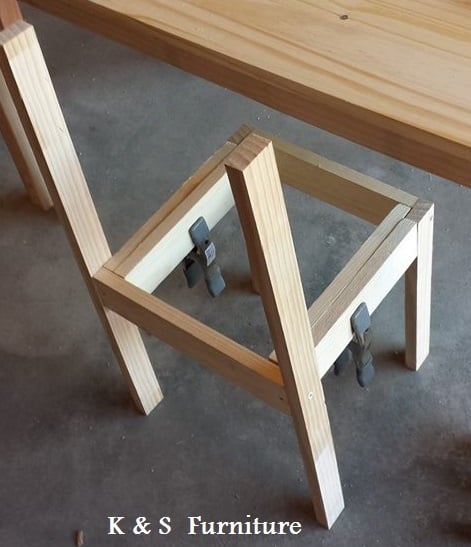


Sat, 02/08/2014 - 15:54
Awesome! I built one for our homeschool and it works great. Yours look very nice.
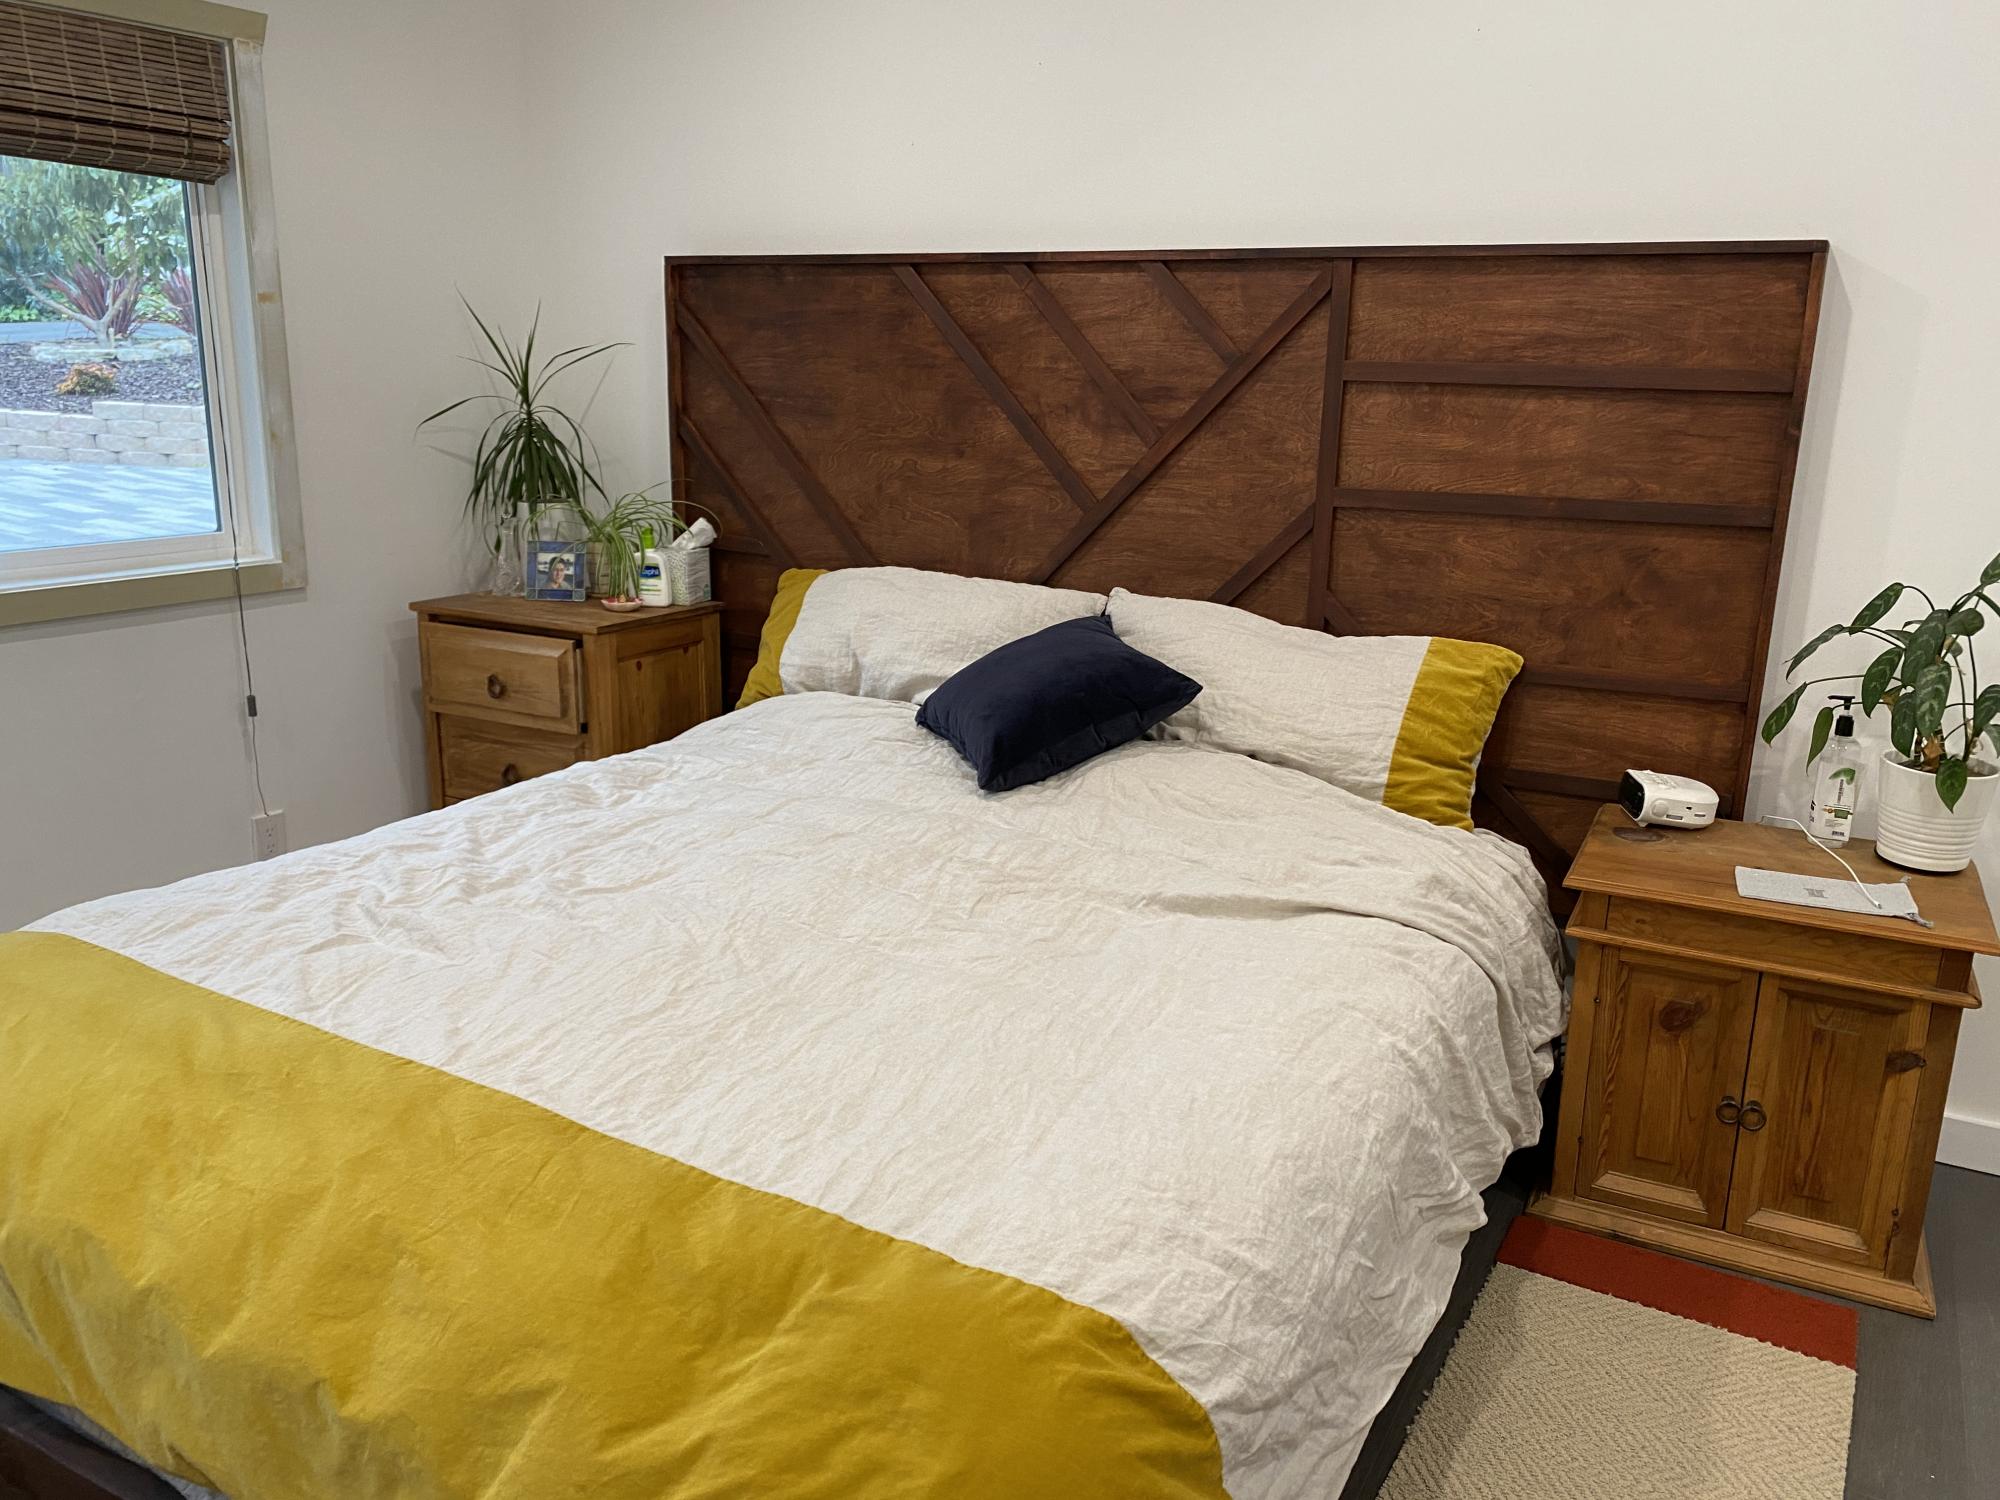
The plans were simple to follow and made an awesome headboard! Just what we wanted! All pieces were finished prior to assembly. Built a simple box frame for the mattress to match. Love the result! Thank you Ana!
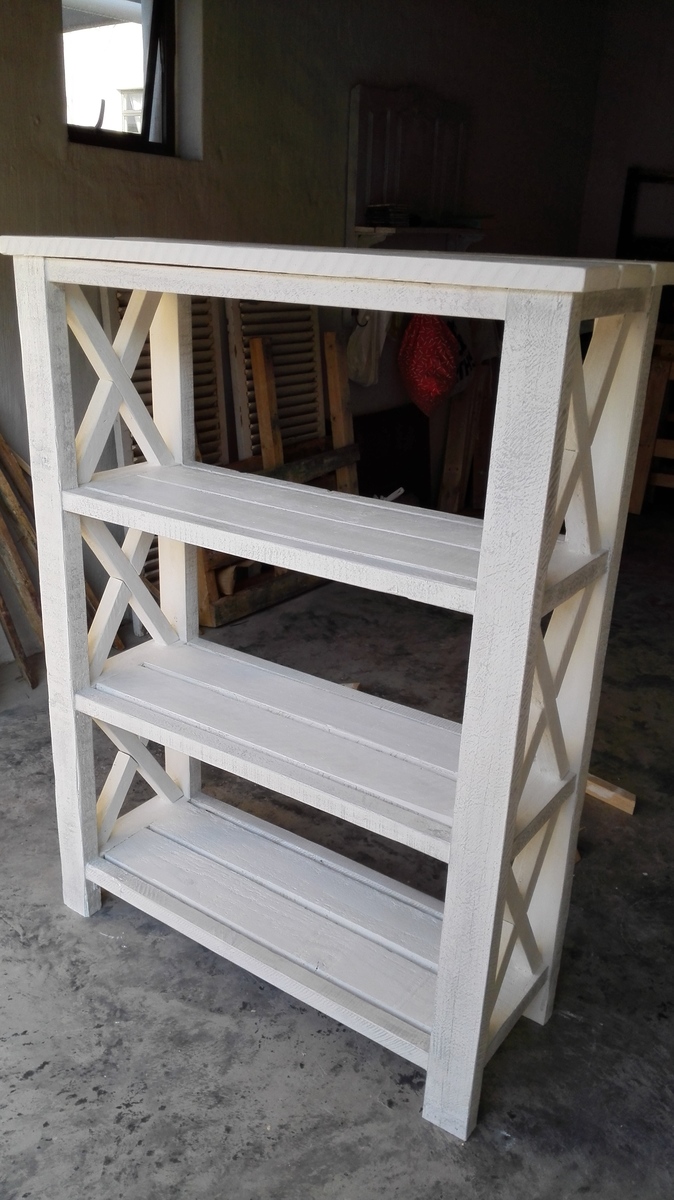
I love the look of this bookshelf, thank you so much for the idea.
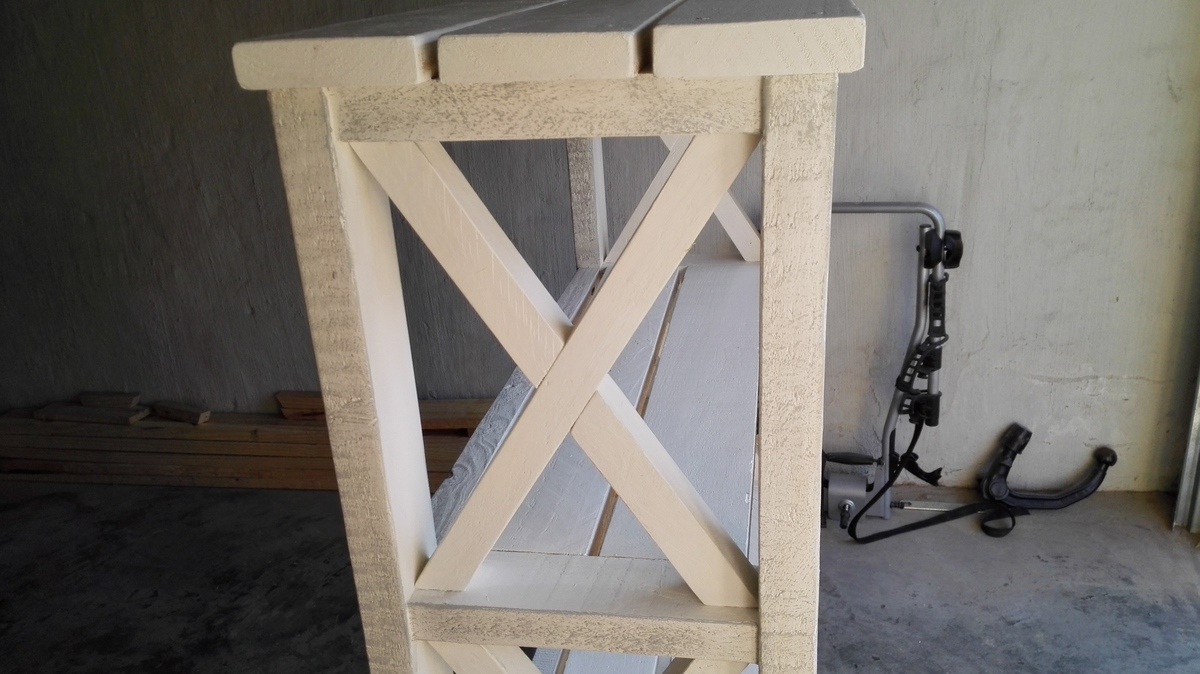
I definitely recommend to cut the crossing boards each at a time as they differ even if in milimiters.
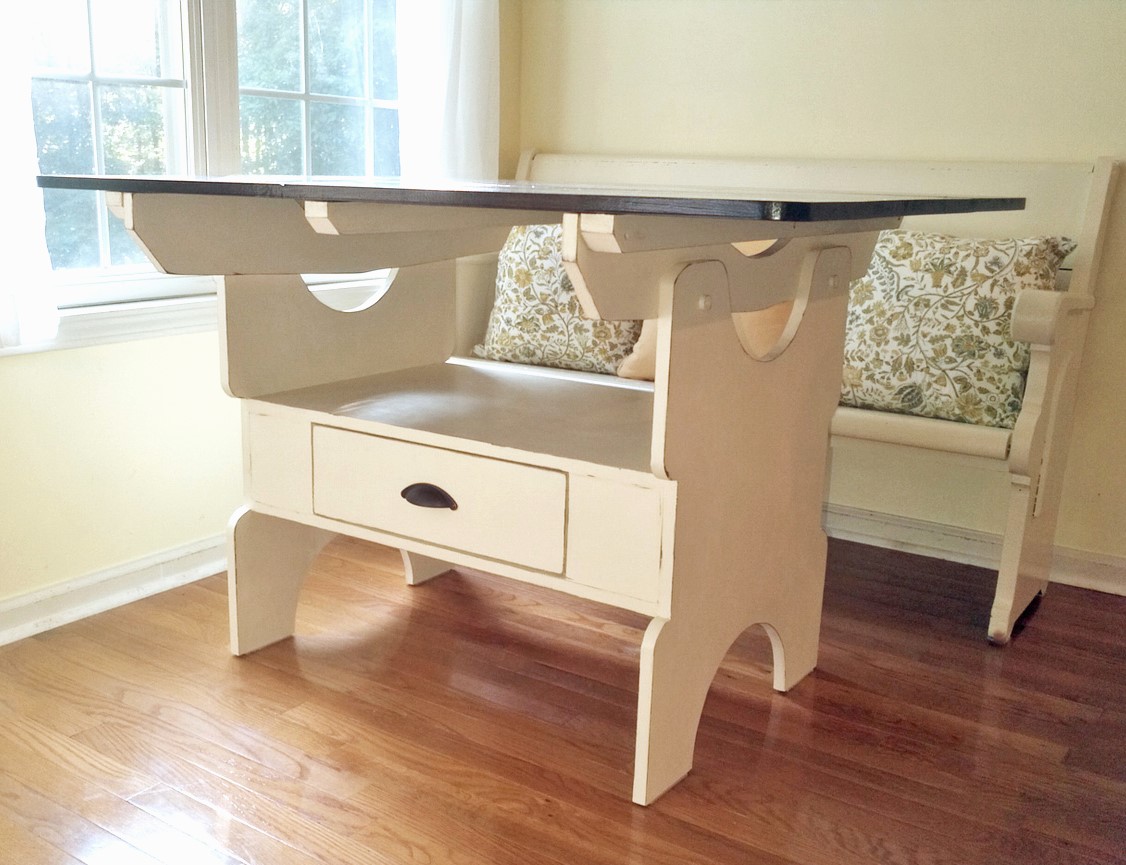
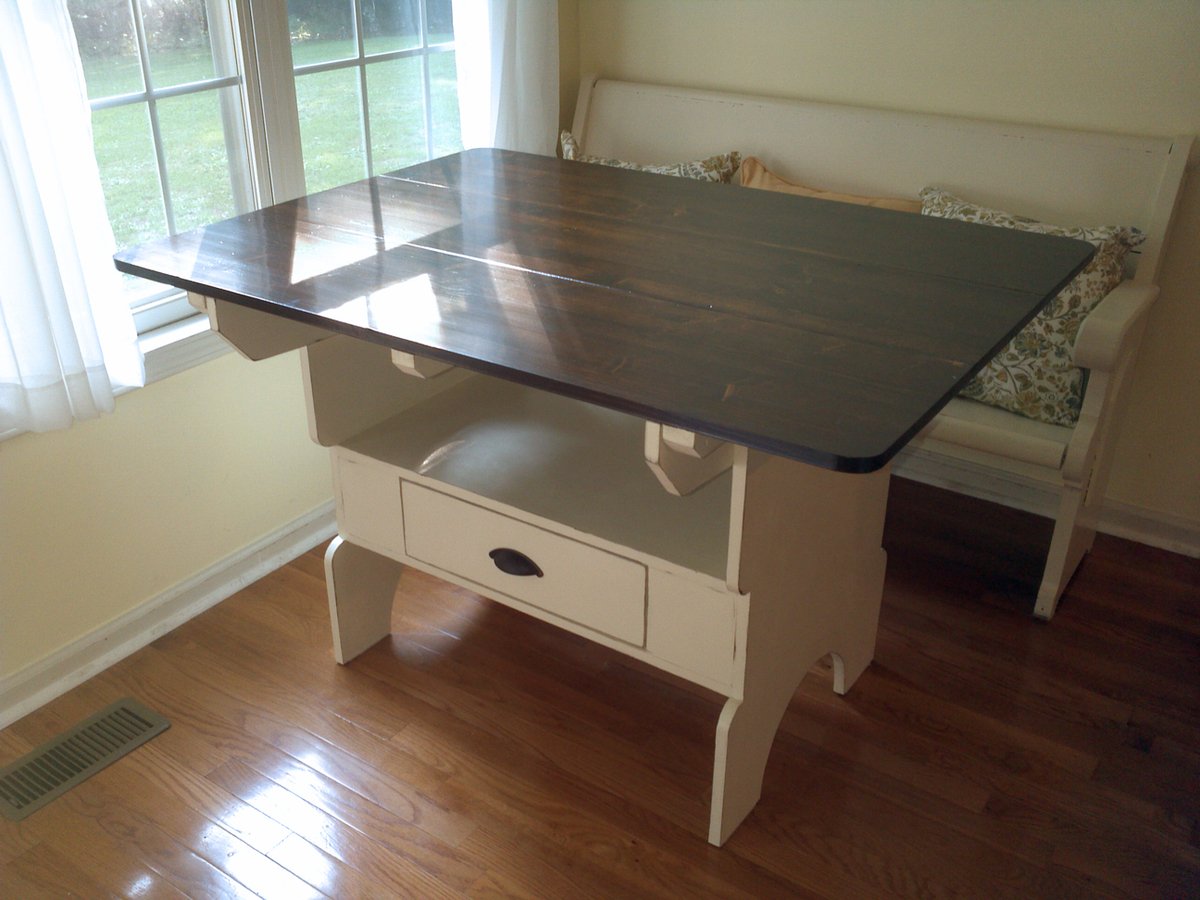
This wasn't my first DIY project but it was my build from this side and first real woodworking project and it's been the most satisfying to date. I made this table for Mother's Day for my mom who has been dreaming of the PB Cameron fixed trestle dining table but couldn't take the hefty price tag. Things I changed: - I added the "pegs" on the table ends to make it look more like the PB version. They are just 1/2" round wood plugs glued to the trestles. - I was going to add two more tabletop braces underneath (again to make it more like the PB version) but I cut one of them incorrectly so I just added on more in the middle. I'm turning the boo-boo lumber into a yarn swift; waste not. Things I learned: - If the wood is going to be stained and varnished, shell out for the *good* stuff. I had to put on way to many coats of polyurethane to make the cheapo pine boards smooth enough even after I had dampened it to raise the grain and sanded it. - Don't believe the stated length of the boards you buy. 36-inch boards are actually 36 inches and a bit. I ended up having to disassemble and re-cut my tabletop supports. - Practice with your jigsaw if you haven't made curved cuts before to see how tightly you can turn. Luckily I had extra ply to make another couple trestles after I botched the first two...
Sun, 05/20/2012 - 21:33
I've had to learn some of those things myself since I started building a year and a half ago. Sometimes it's frustrating and even costly, but when you learn it, you learn it and you never have to again. haha Unless you're really a gluten for punishment. ;-) Good job and thanks for sharing with us some of those lessons learned.
Mon, 05/21/2012 - 06:46
Thank you!
...and now I'm picturing someone with gluten intolerance being force-fed cupcakes as a form of punishment, haha.
In reply to Thank you! ...and now I'm by meggrs
Tue, 05/22/2012 - 14:55
ROFL - That was great, thanks, now I'm imagining it too.. HAHAHAHA
A 30" tall bar stools inspired by the plan simplest stool.
Fri, 07/20/2012 - 05:32
I like your design. Finally made an account and will be making matching ones. Thanks for the inspiration. If the better half doesn't like the first one I will have a new stool for my workbench
Tue, 09/04/2012 - 15:20
by adjusting circular saw depth and using chisel and hammer and lots of sanding :)
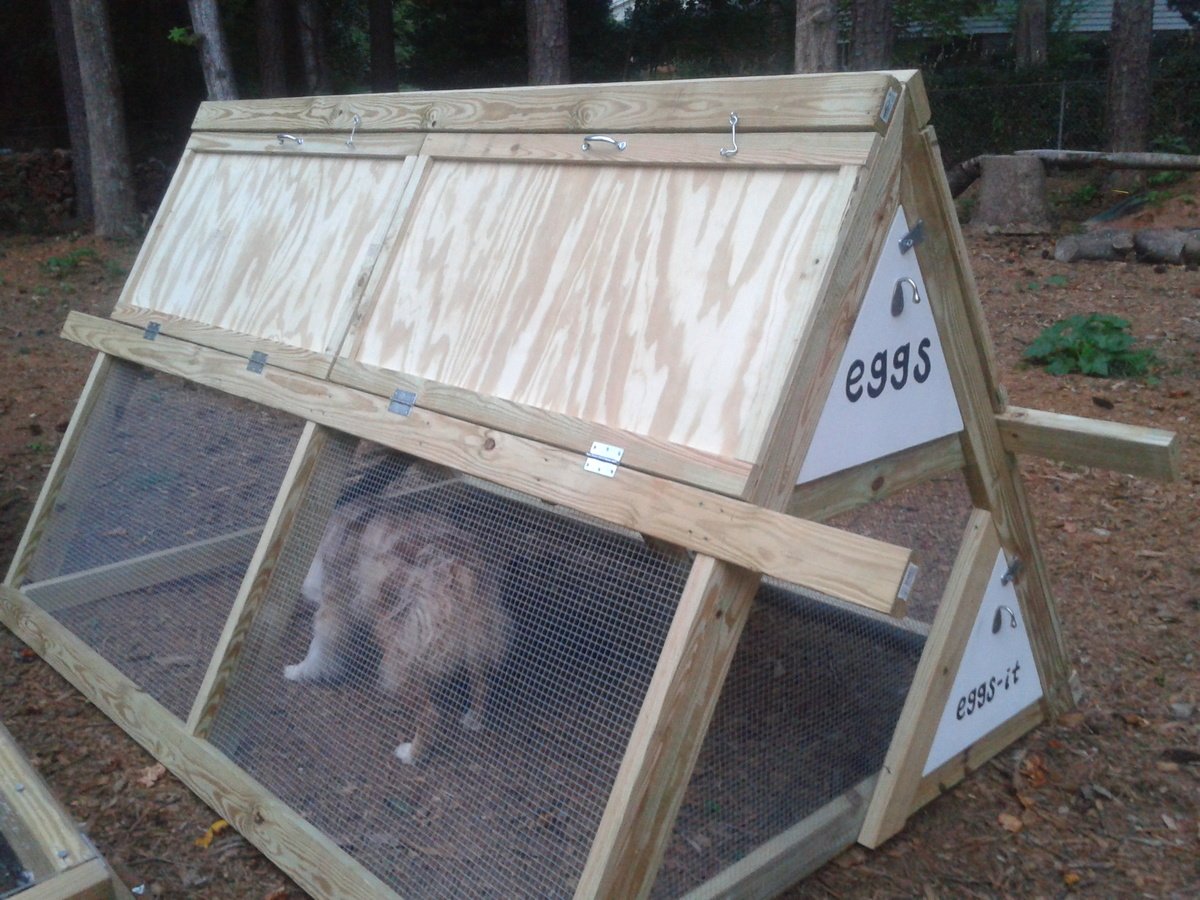
We followed the plans for the A-frame chicken coop very closely, and then modified it a bit at the end.
1. Trim was added to two doors on each side, as suggested. They are secured with latches at the top, more to keep them from falling open than to keep critters from getting in. We used 2x4x10's instead of 2x4x8's on the middle horizontal rail, giving us foot-long handles on each side. My husband and I are able to move the coop about 15 feet at a time, which is pretty good considering it is STURDY!
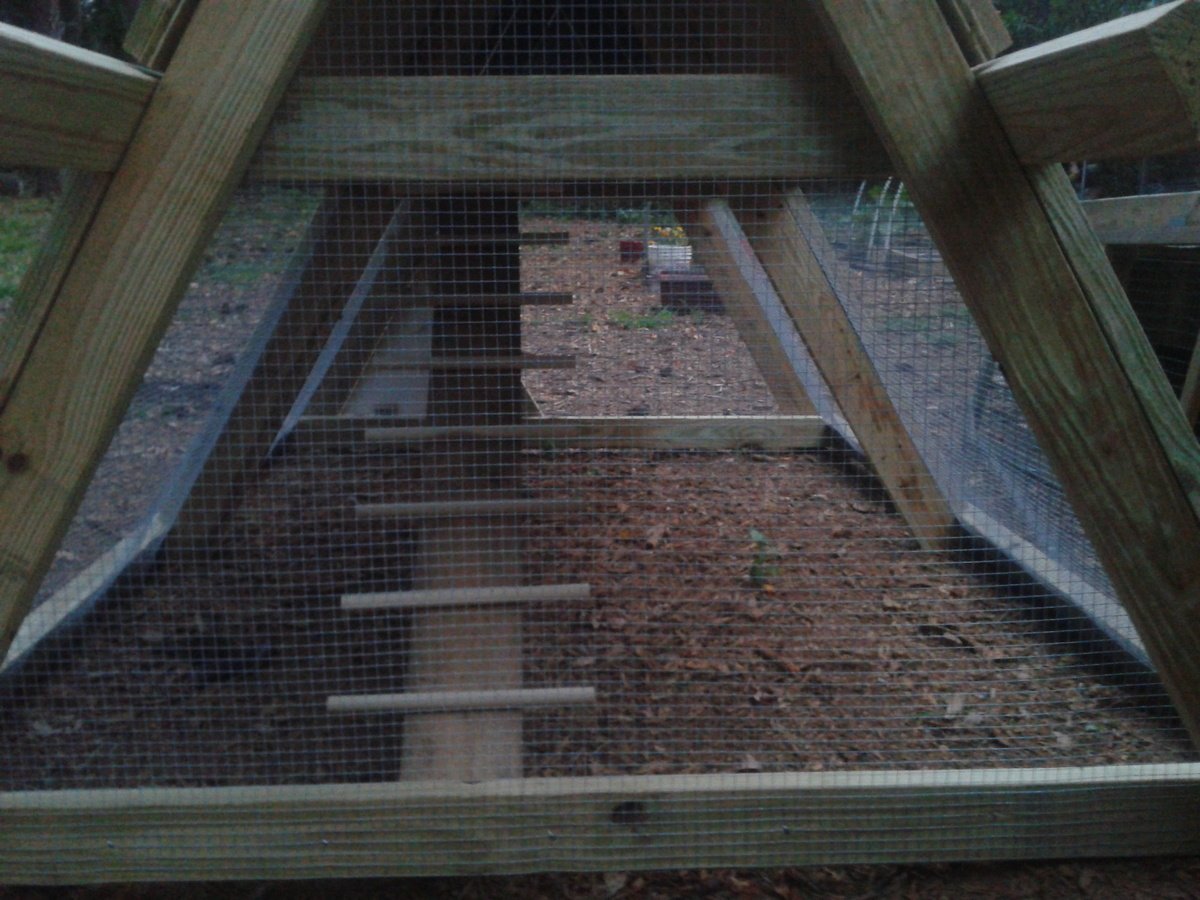
2. We used 1/2" galvanized hardware cloth instead of chicken wire, as suggested by one commenter (and lots of others in blogland).
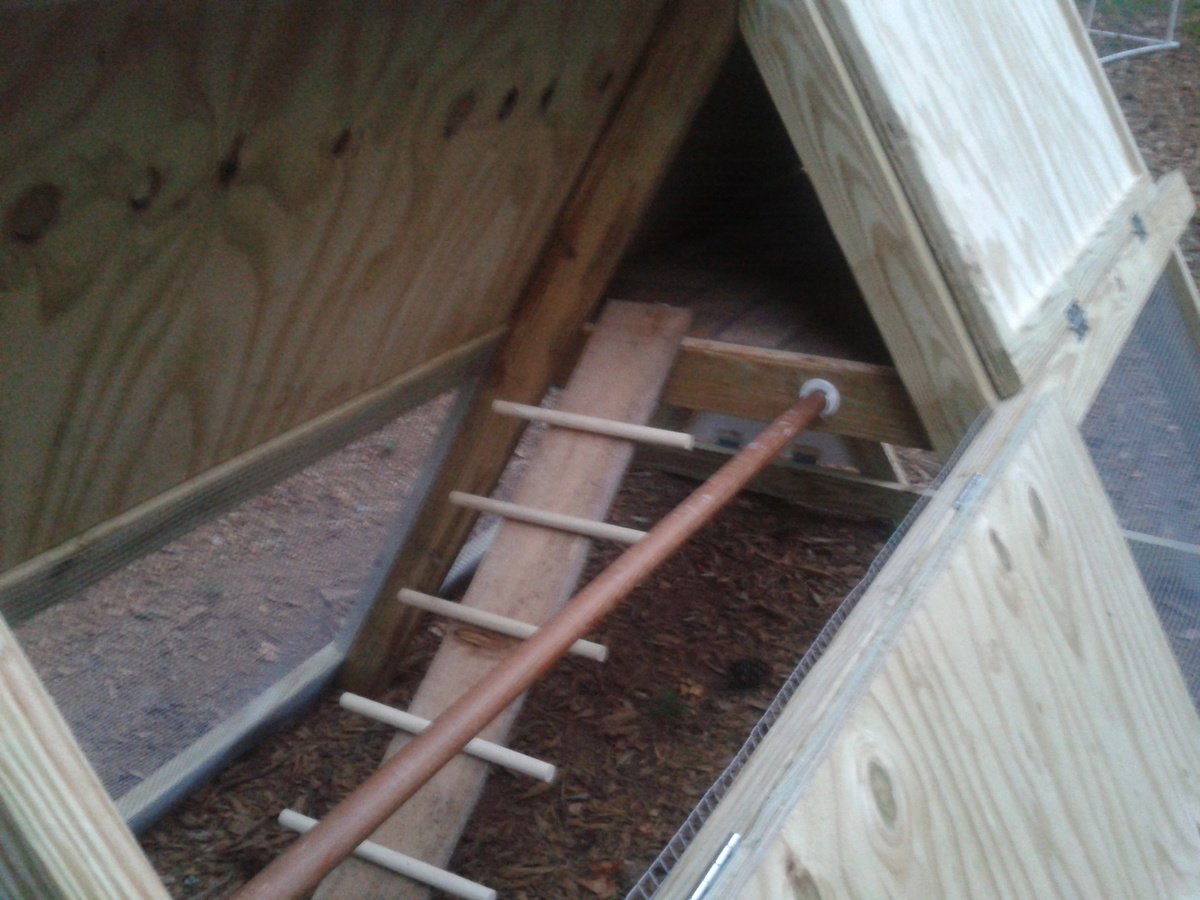
3. I cut 1/4" plywood to fit the loft space and coated it with vinyl stick-on tile. This should make it easier to clean. We didn't screw down the plywood, so if we have to, we can remove it to hose it off/scrub it.
4. I cut a triangle of plywood to make an egg door at the end of the roost. It hinges at the bottom (with a 2x4 ripped into a 1x4 to cover the hardware cloth and provide a mounting spot for hinges) and latches at the top. I plan to use cotter pins or something to secure the latch. There is also a piece of untreated 1x4 held in place with tabs at the egg door to prevent bedding from falling out once it's converted to the nesting box (I'm planning to get pullets, not ready to lay yet, so they won't even have a tempting nest box)
5. There was no bottom door in the plans (to allow free-ranging), so I cut a piece of 2x4 to make a triangle against the bottom (same size as the egg door). It folds out (just like the egg door) and will allow the chickens easy access to the yard. We do have hawks in our neighborhood so free time will always be supervised. We also have a dog (who I coaxed into the coop for the main picture, haha!) who will need supervising. She's been around chickens before but you never know what will make her turn on them!
6. There was also no roost in the plans (although if you look at Ana's coop, there is a 2x4 across the middle of the side walls). I had a leftover closet rod, so I mounted that in the covered section parallel to the ladder. The ladder was shifted to the side. For the ladder, I just used a piece of cedar fencing and cut 2 48" dowels into 4 pieces each, and secured those with screws from the underside. I hope my chickens will be able to get up the ladder!
7. I also made a tube feeder from PVC and a dog bowl, and am working on a nipple waterer. Will update post when those are finished!
Now I just have to get some hens! I've been searching craigslist and can't wait!
Thu, 09/20/2012 - 19:31
I really like the addition of the roosting bar and how you made the ladder. Your little chickens will be so happy! Good luck!