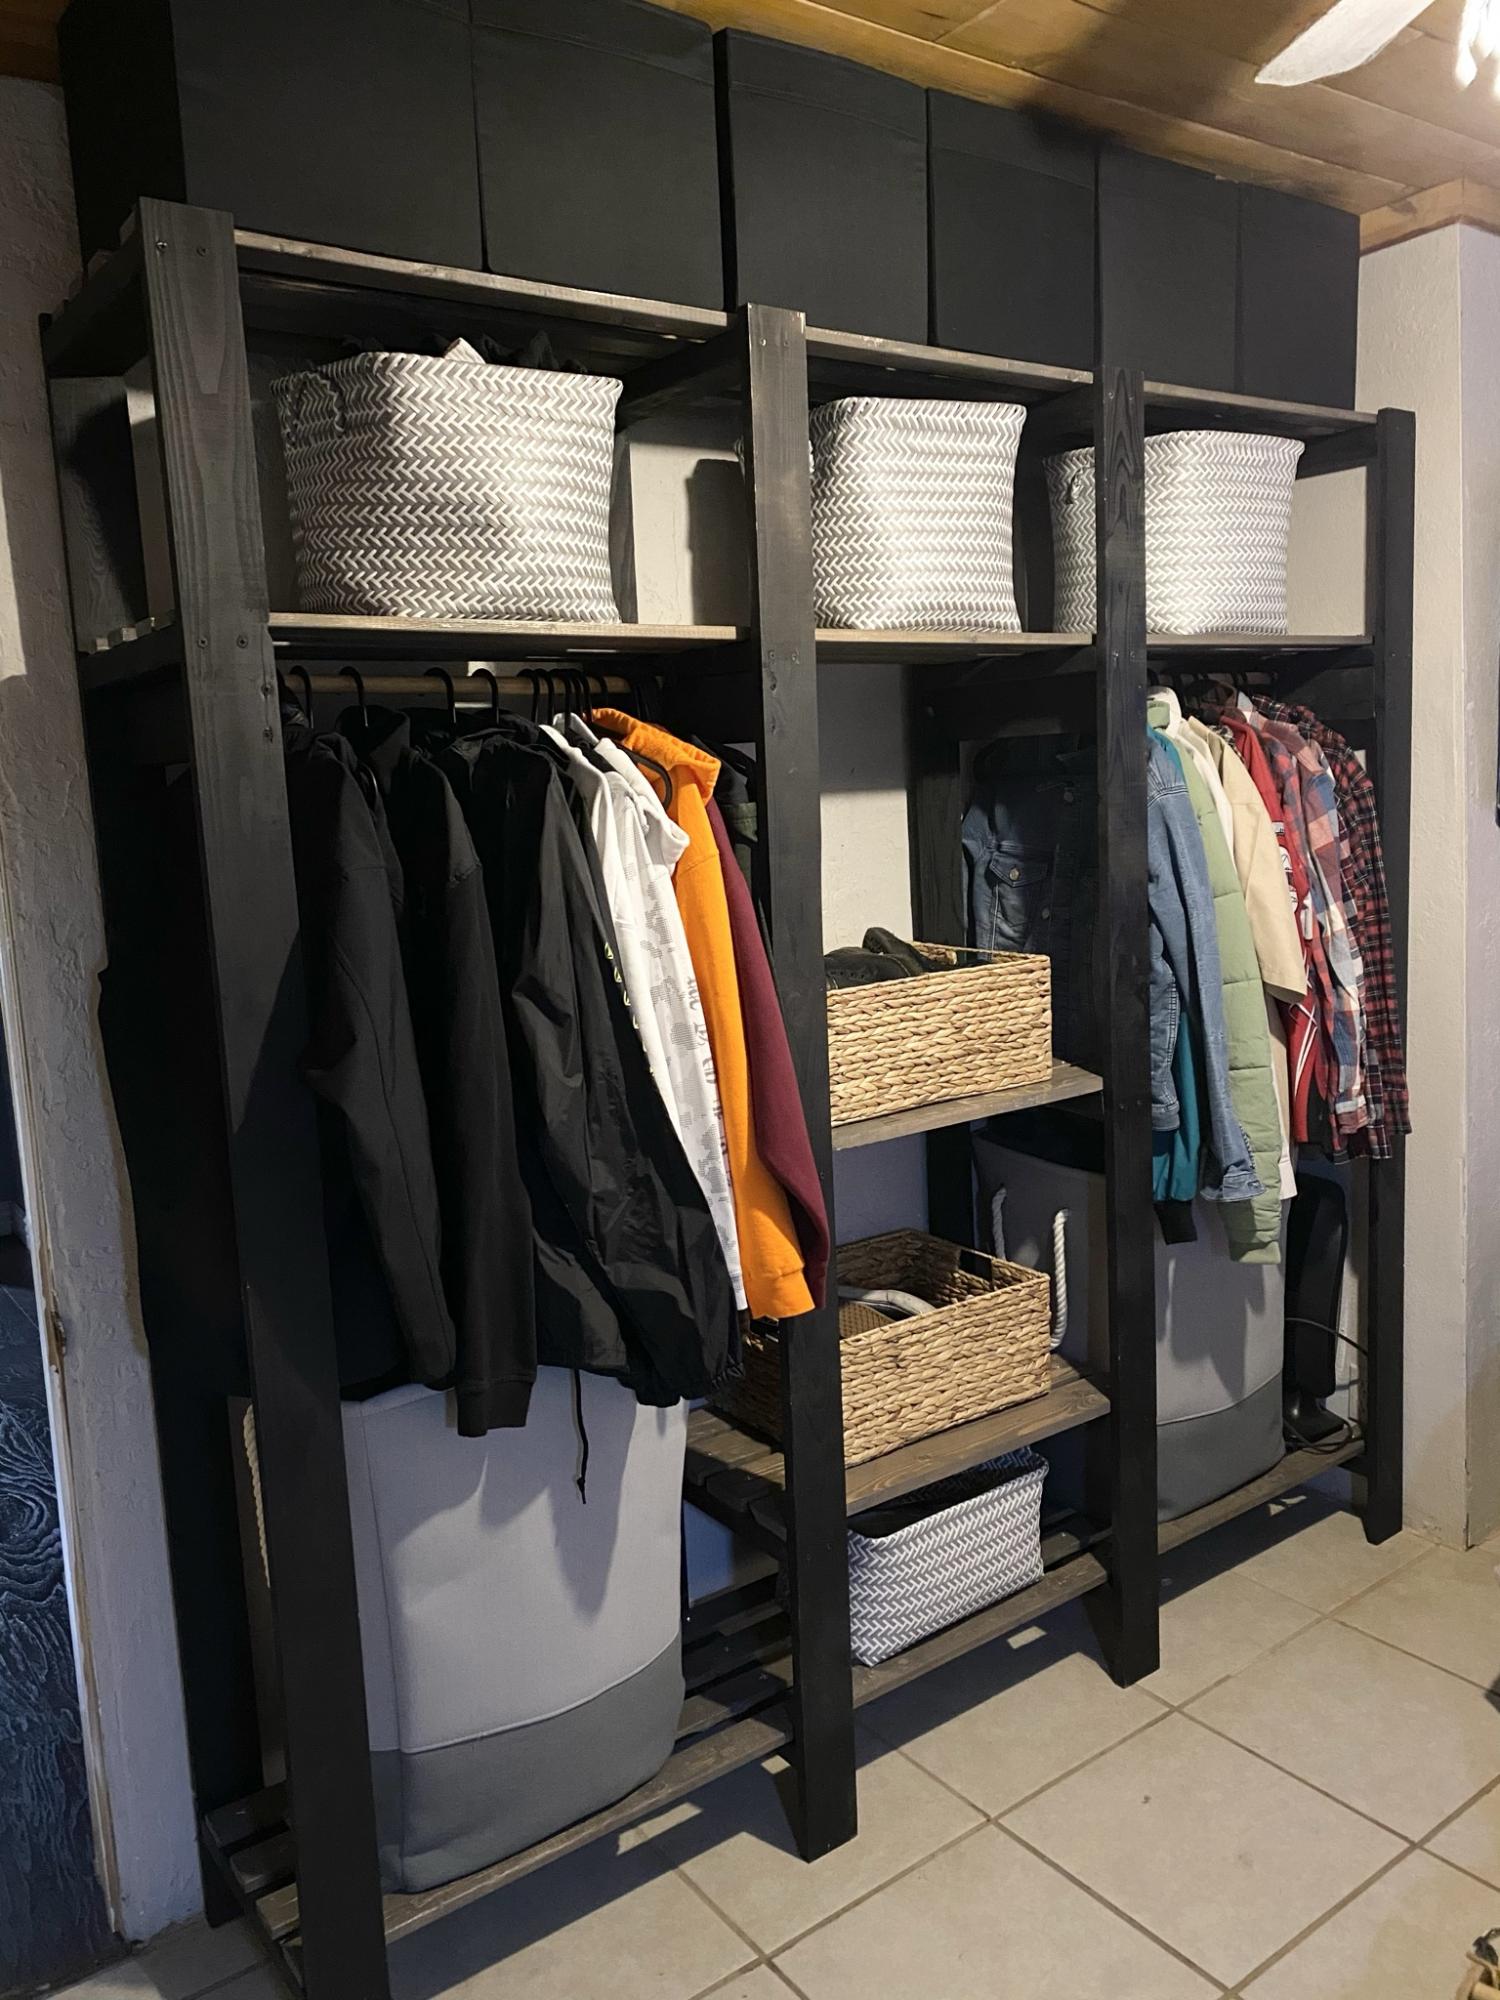
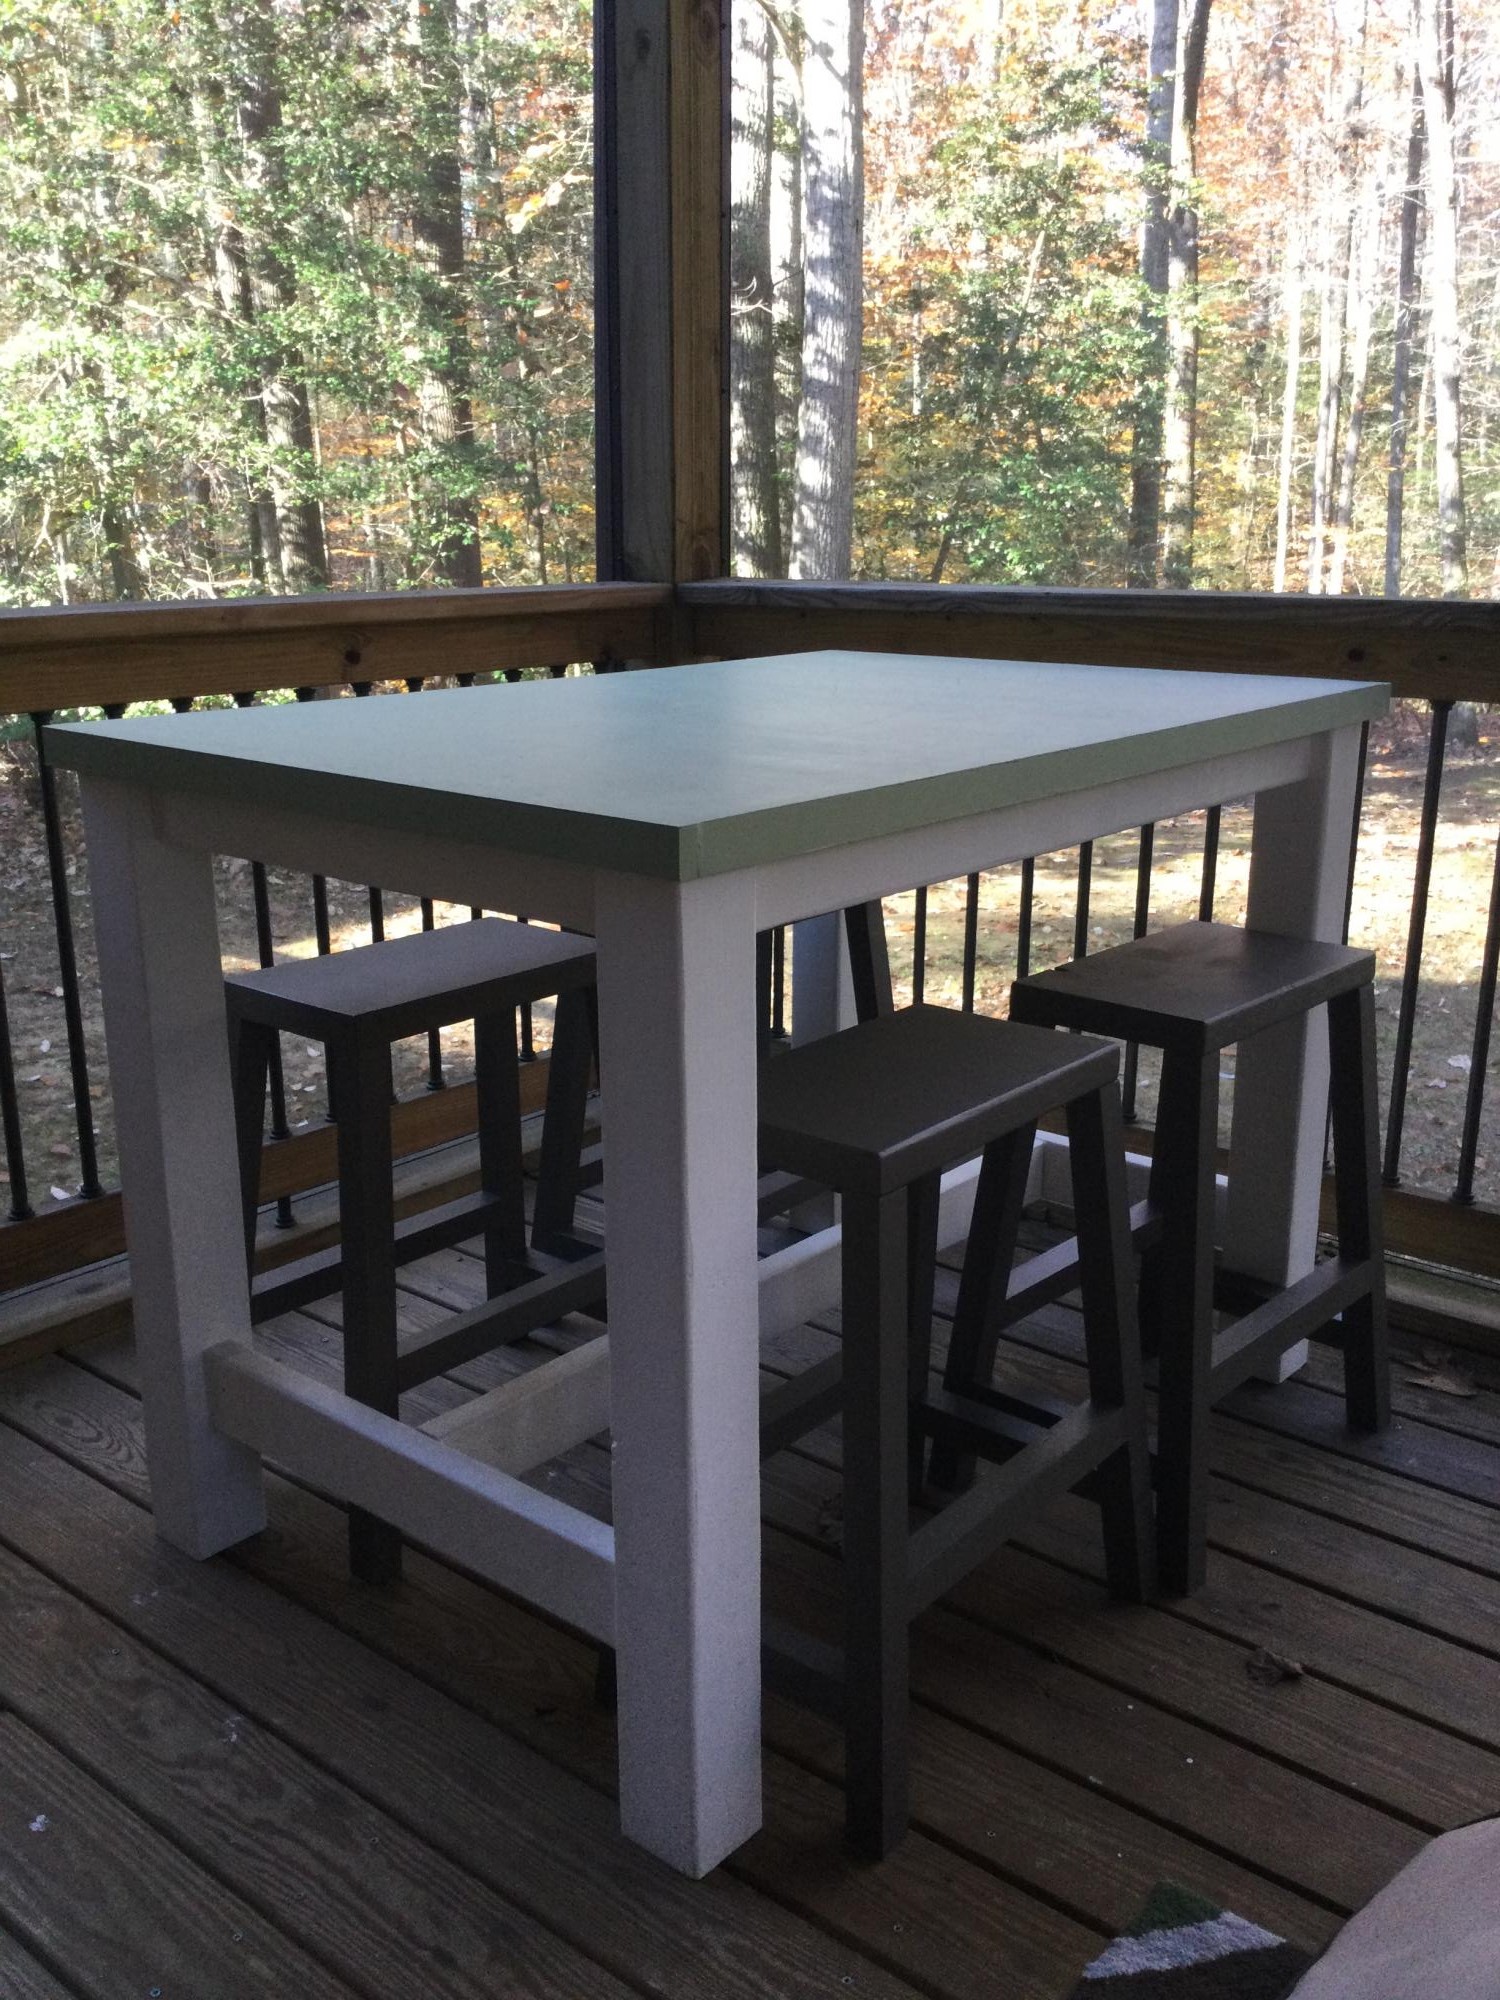
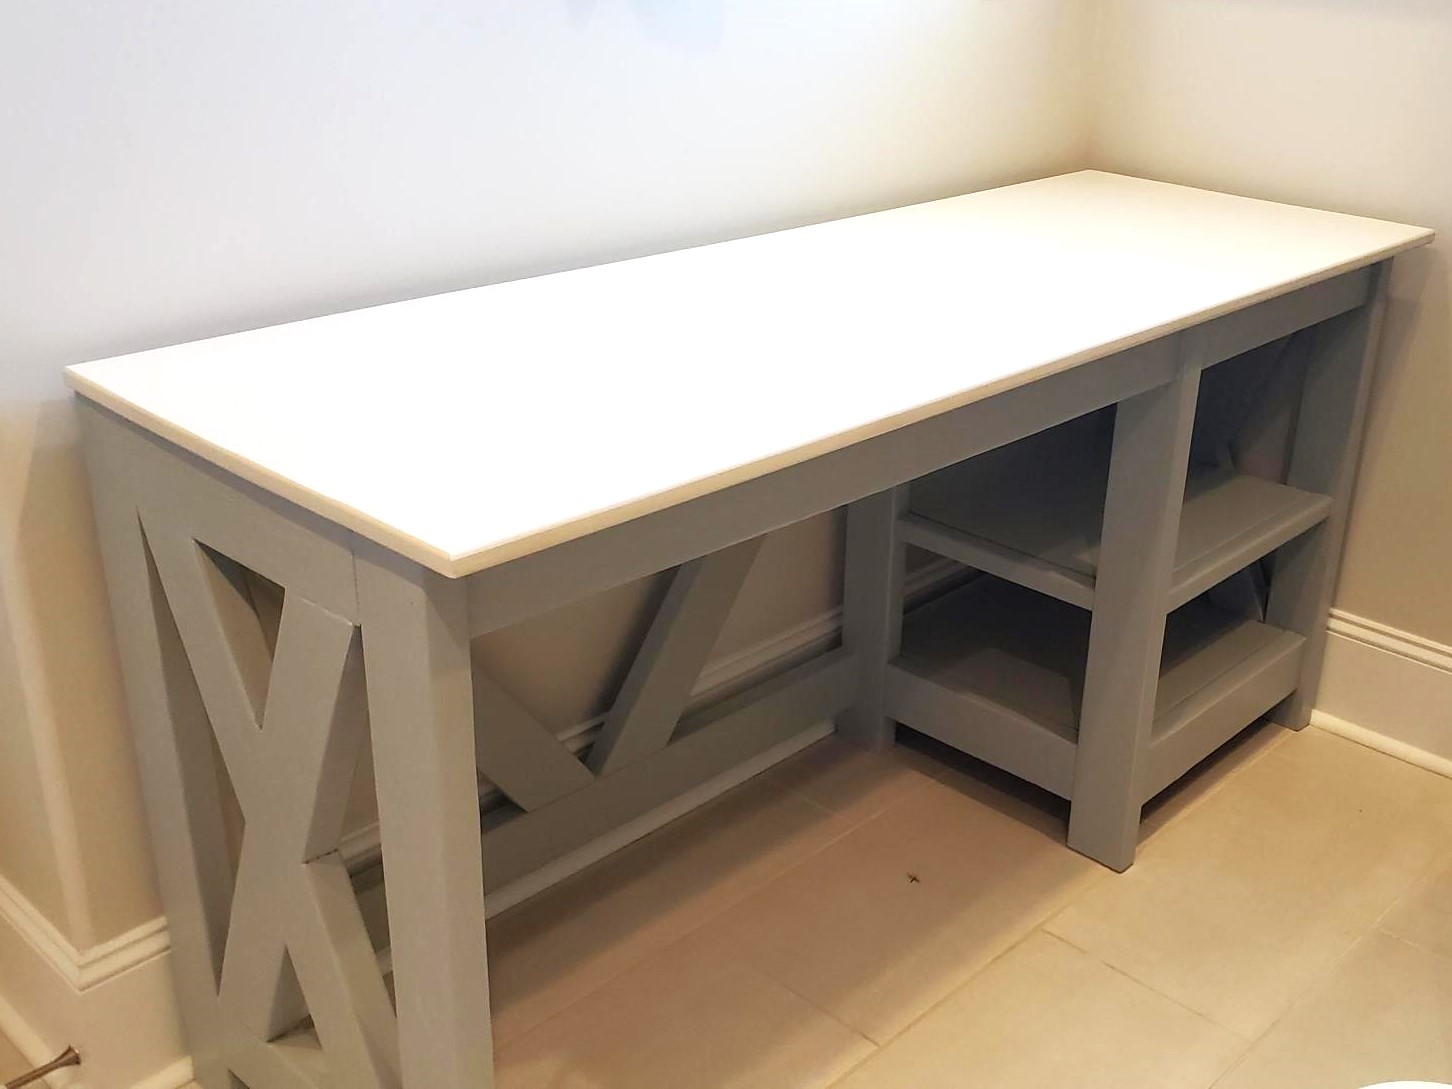
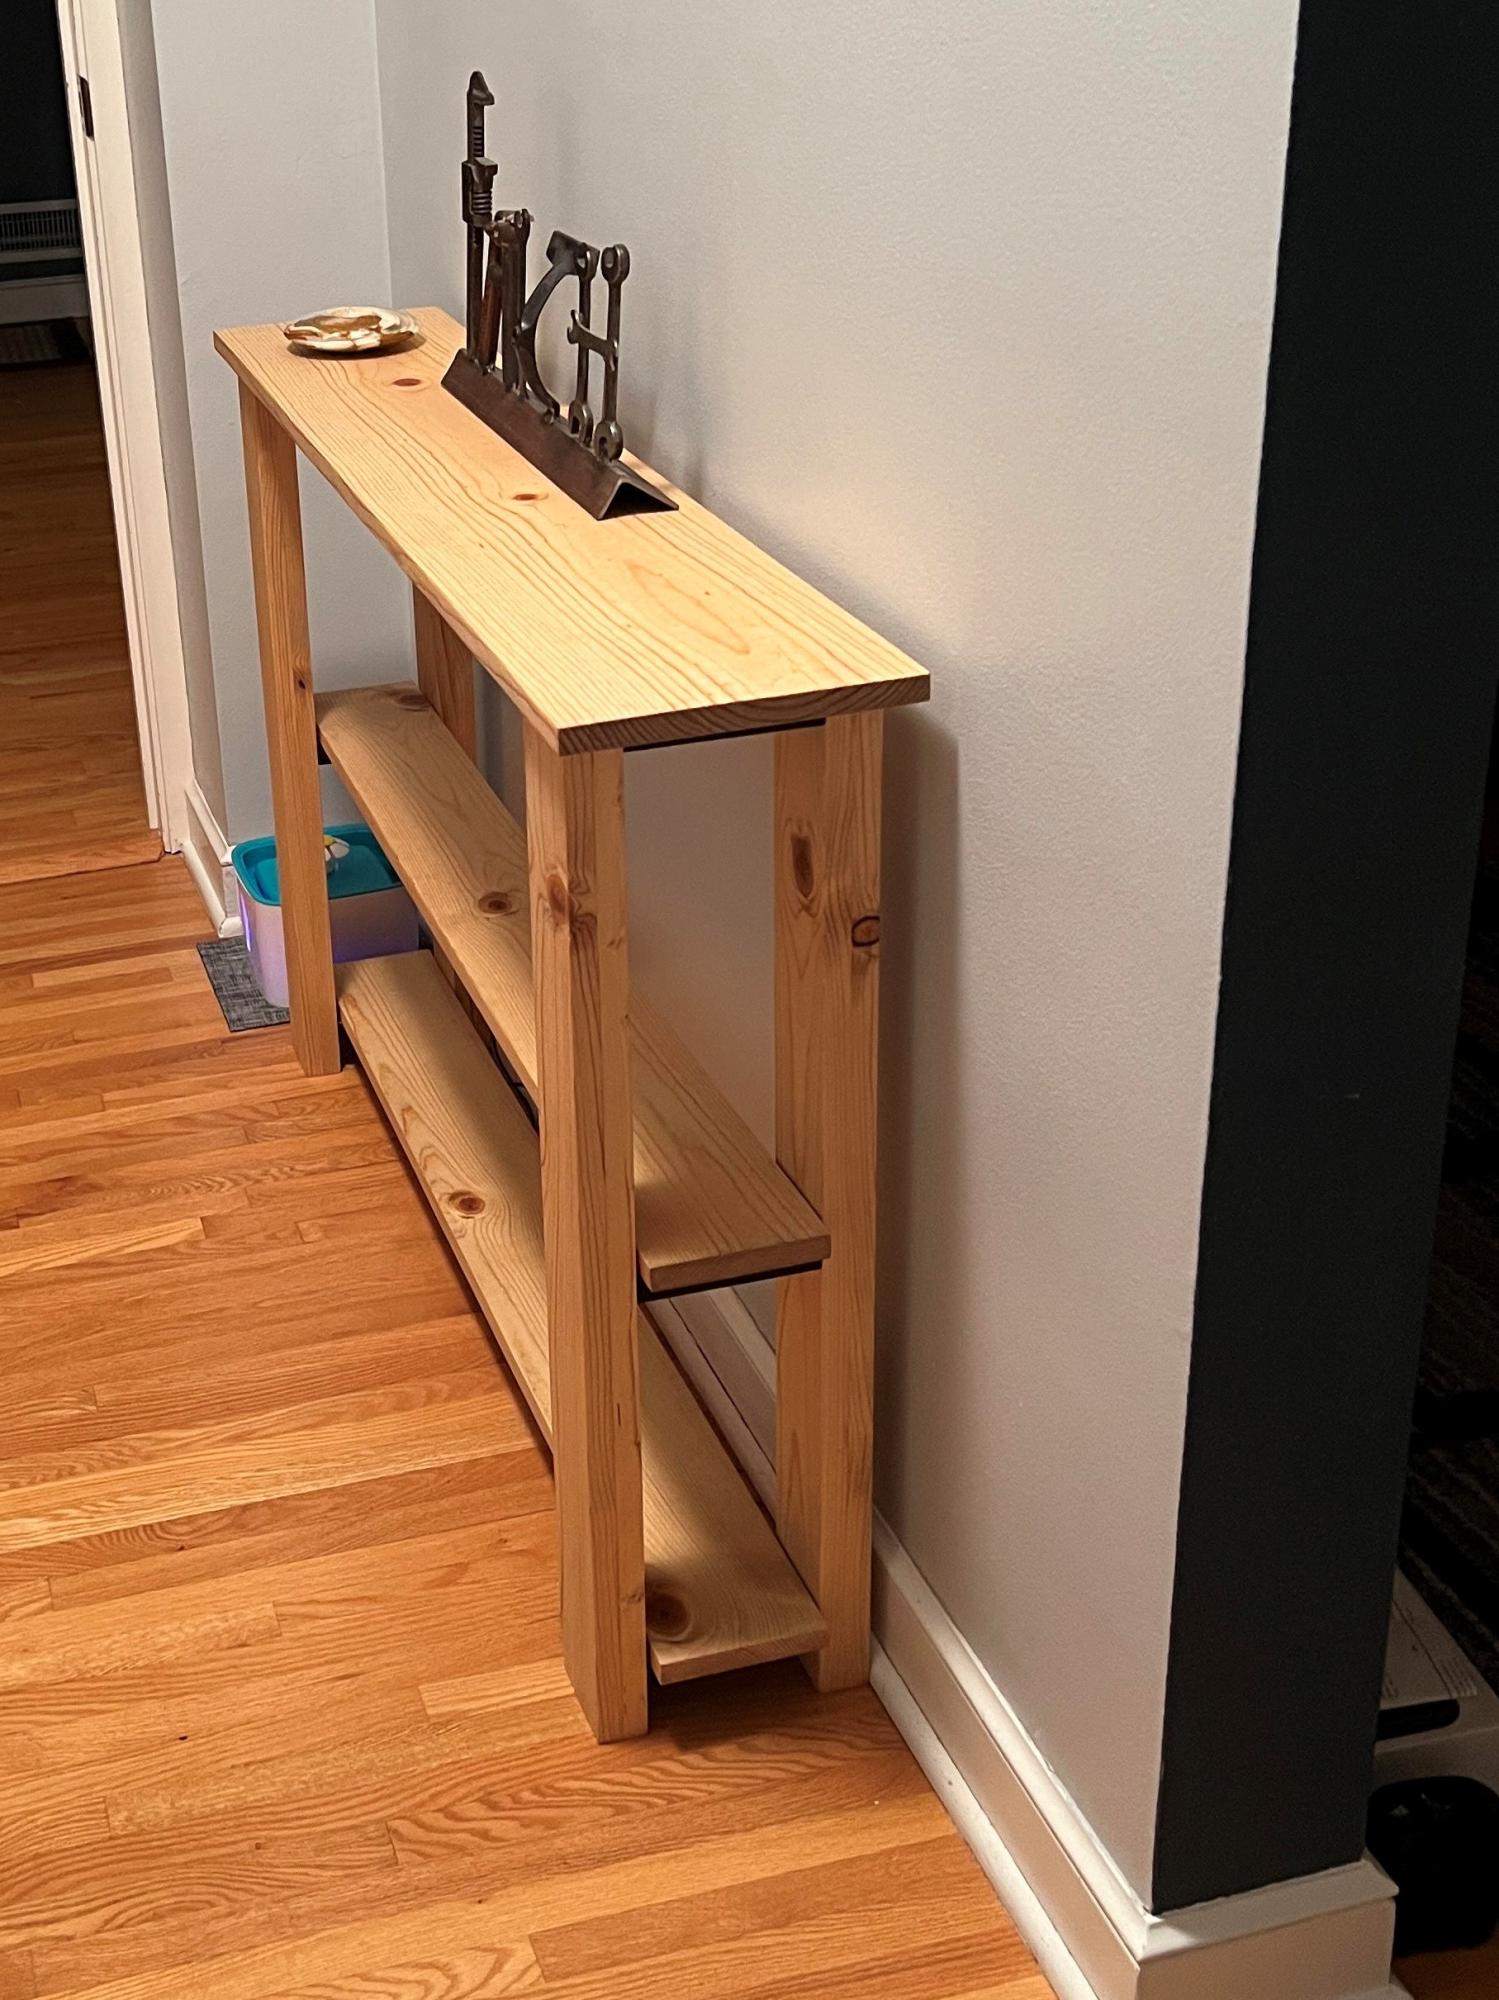
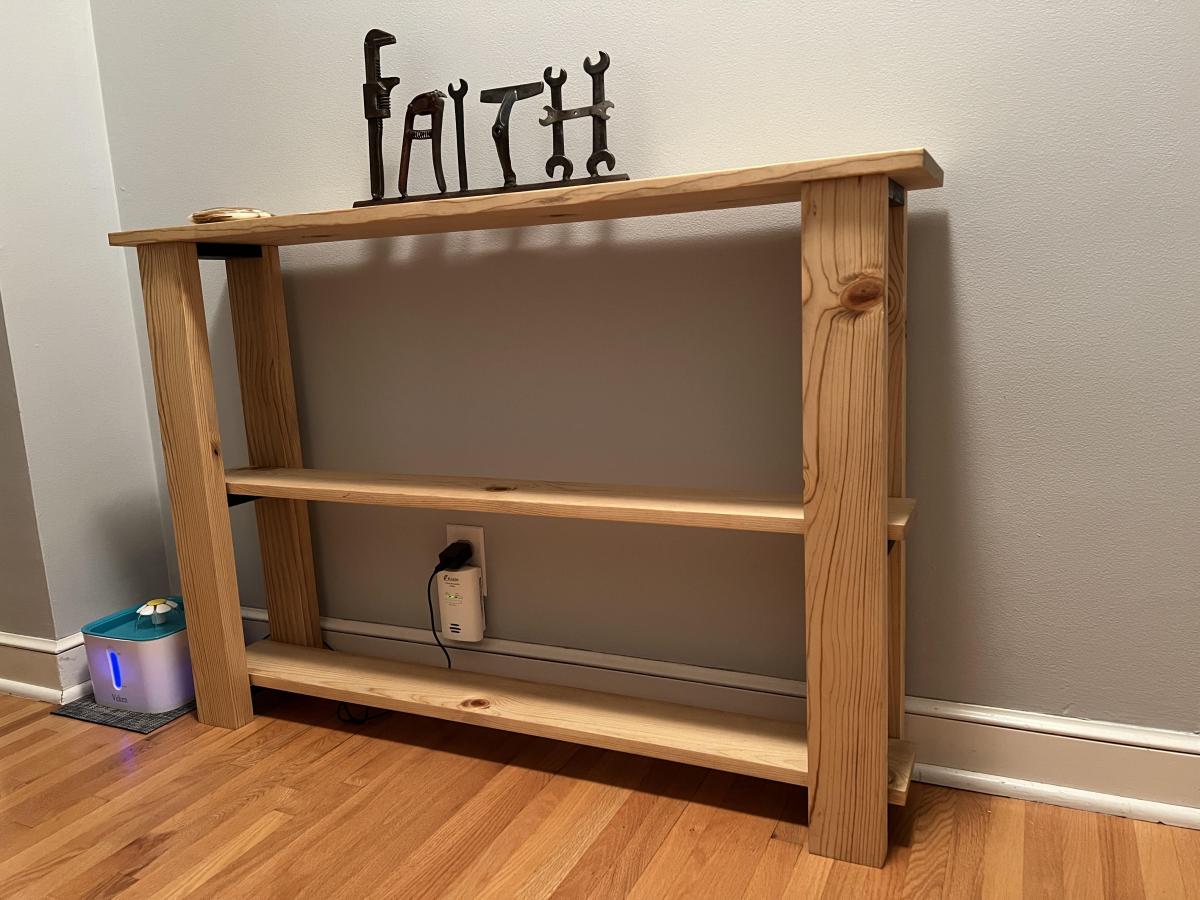
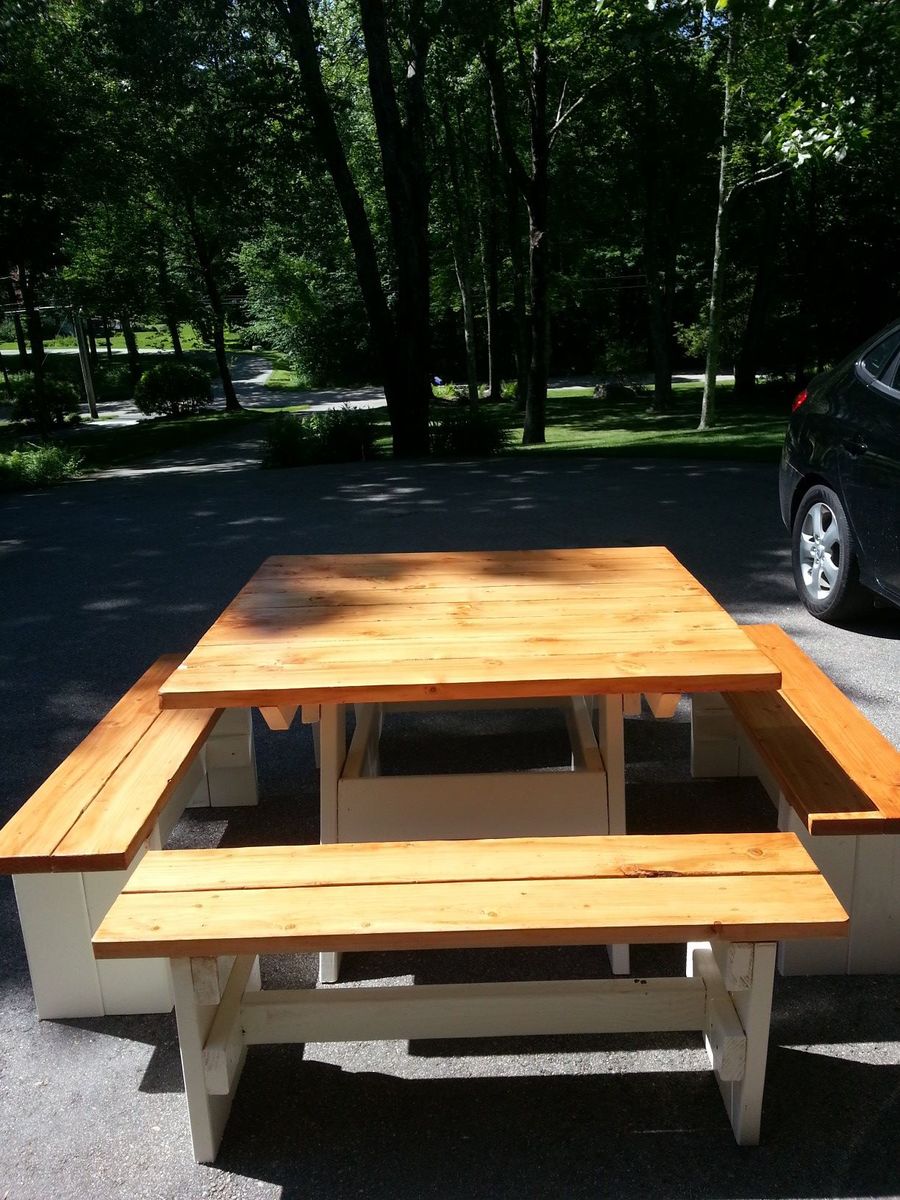
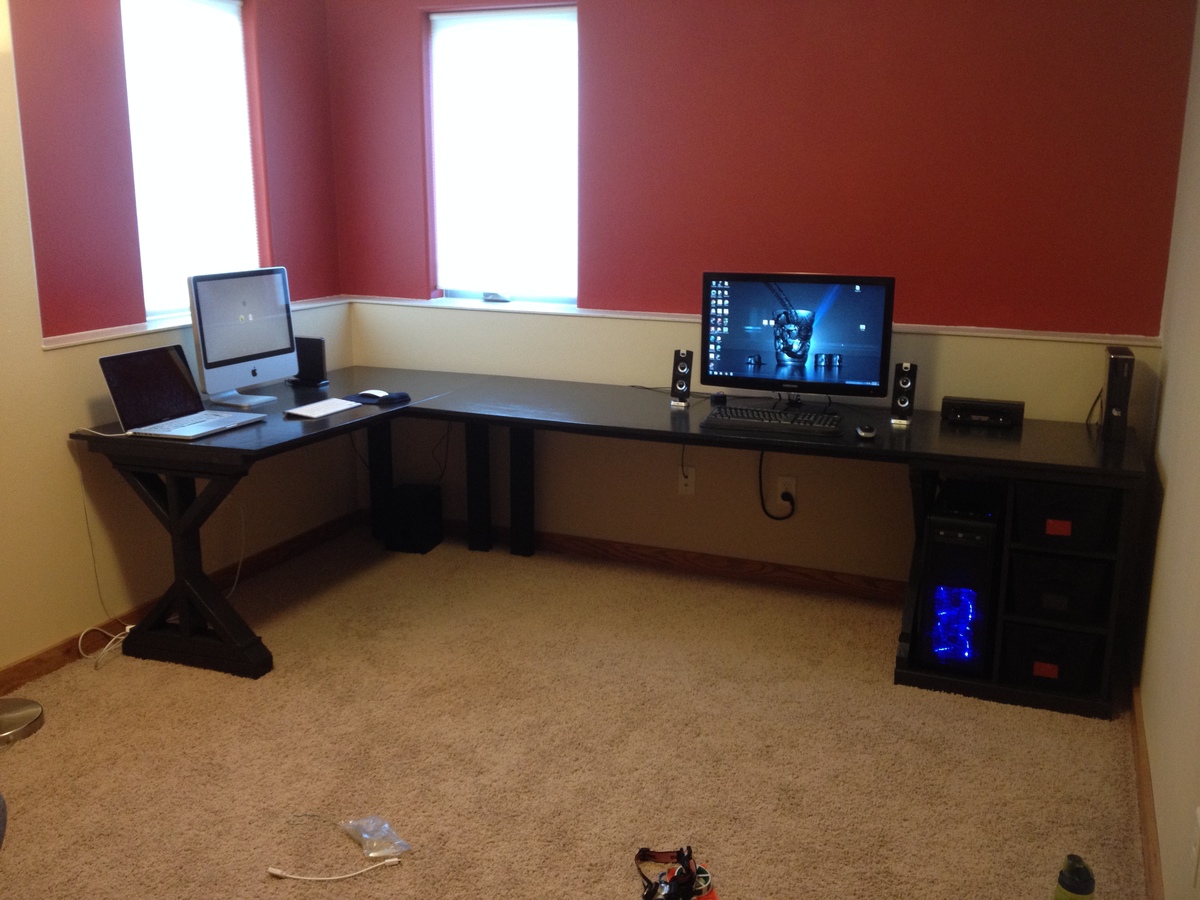
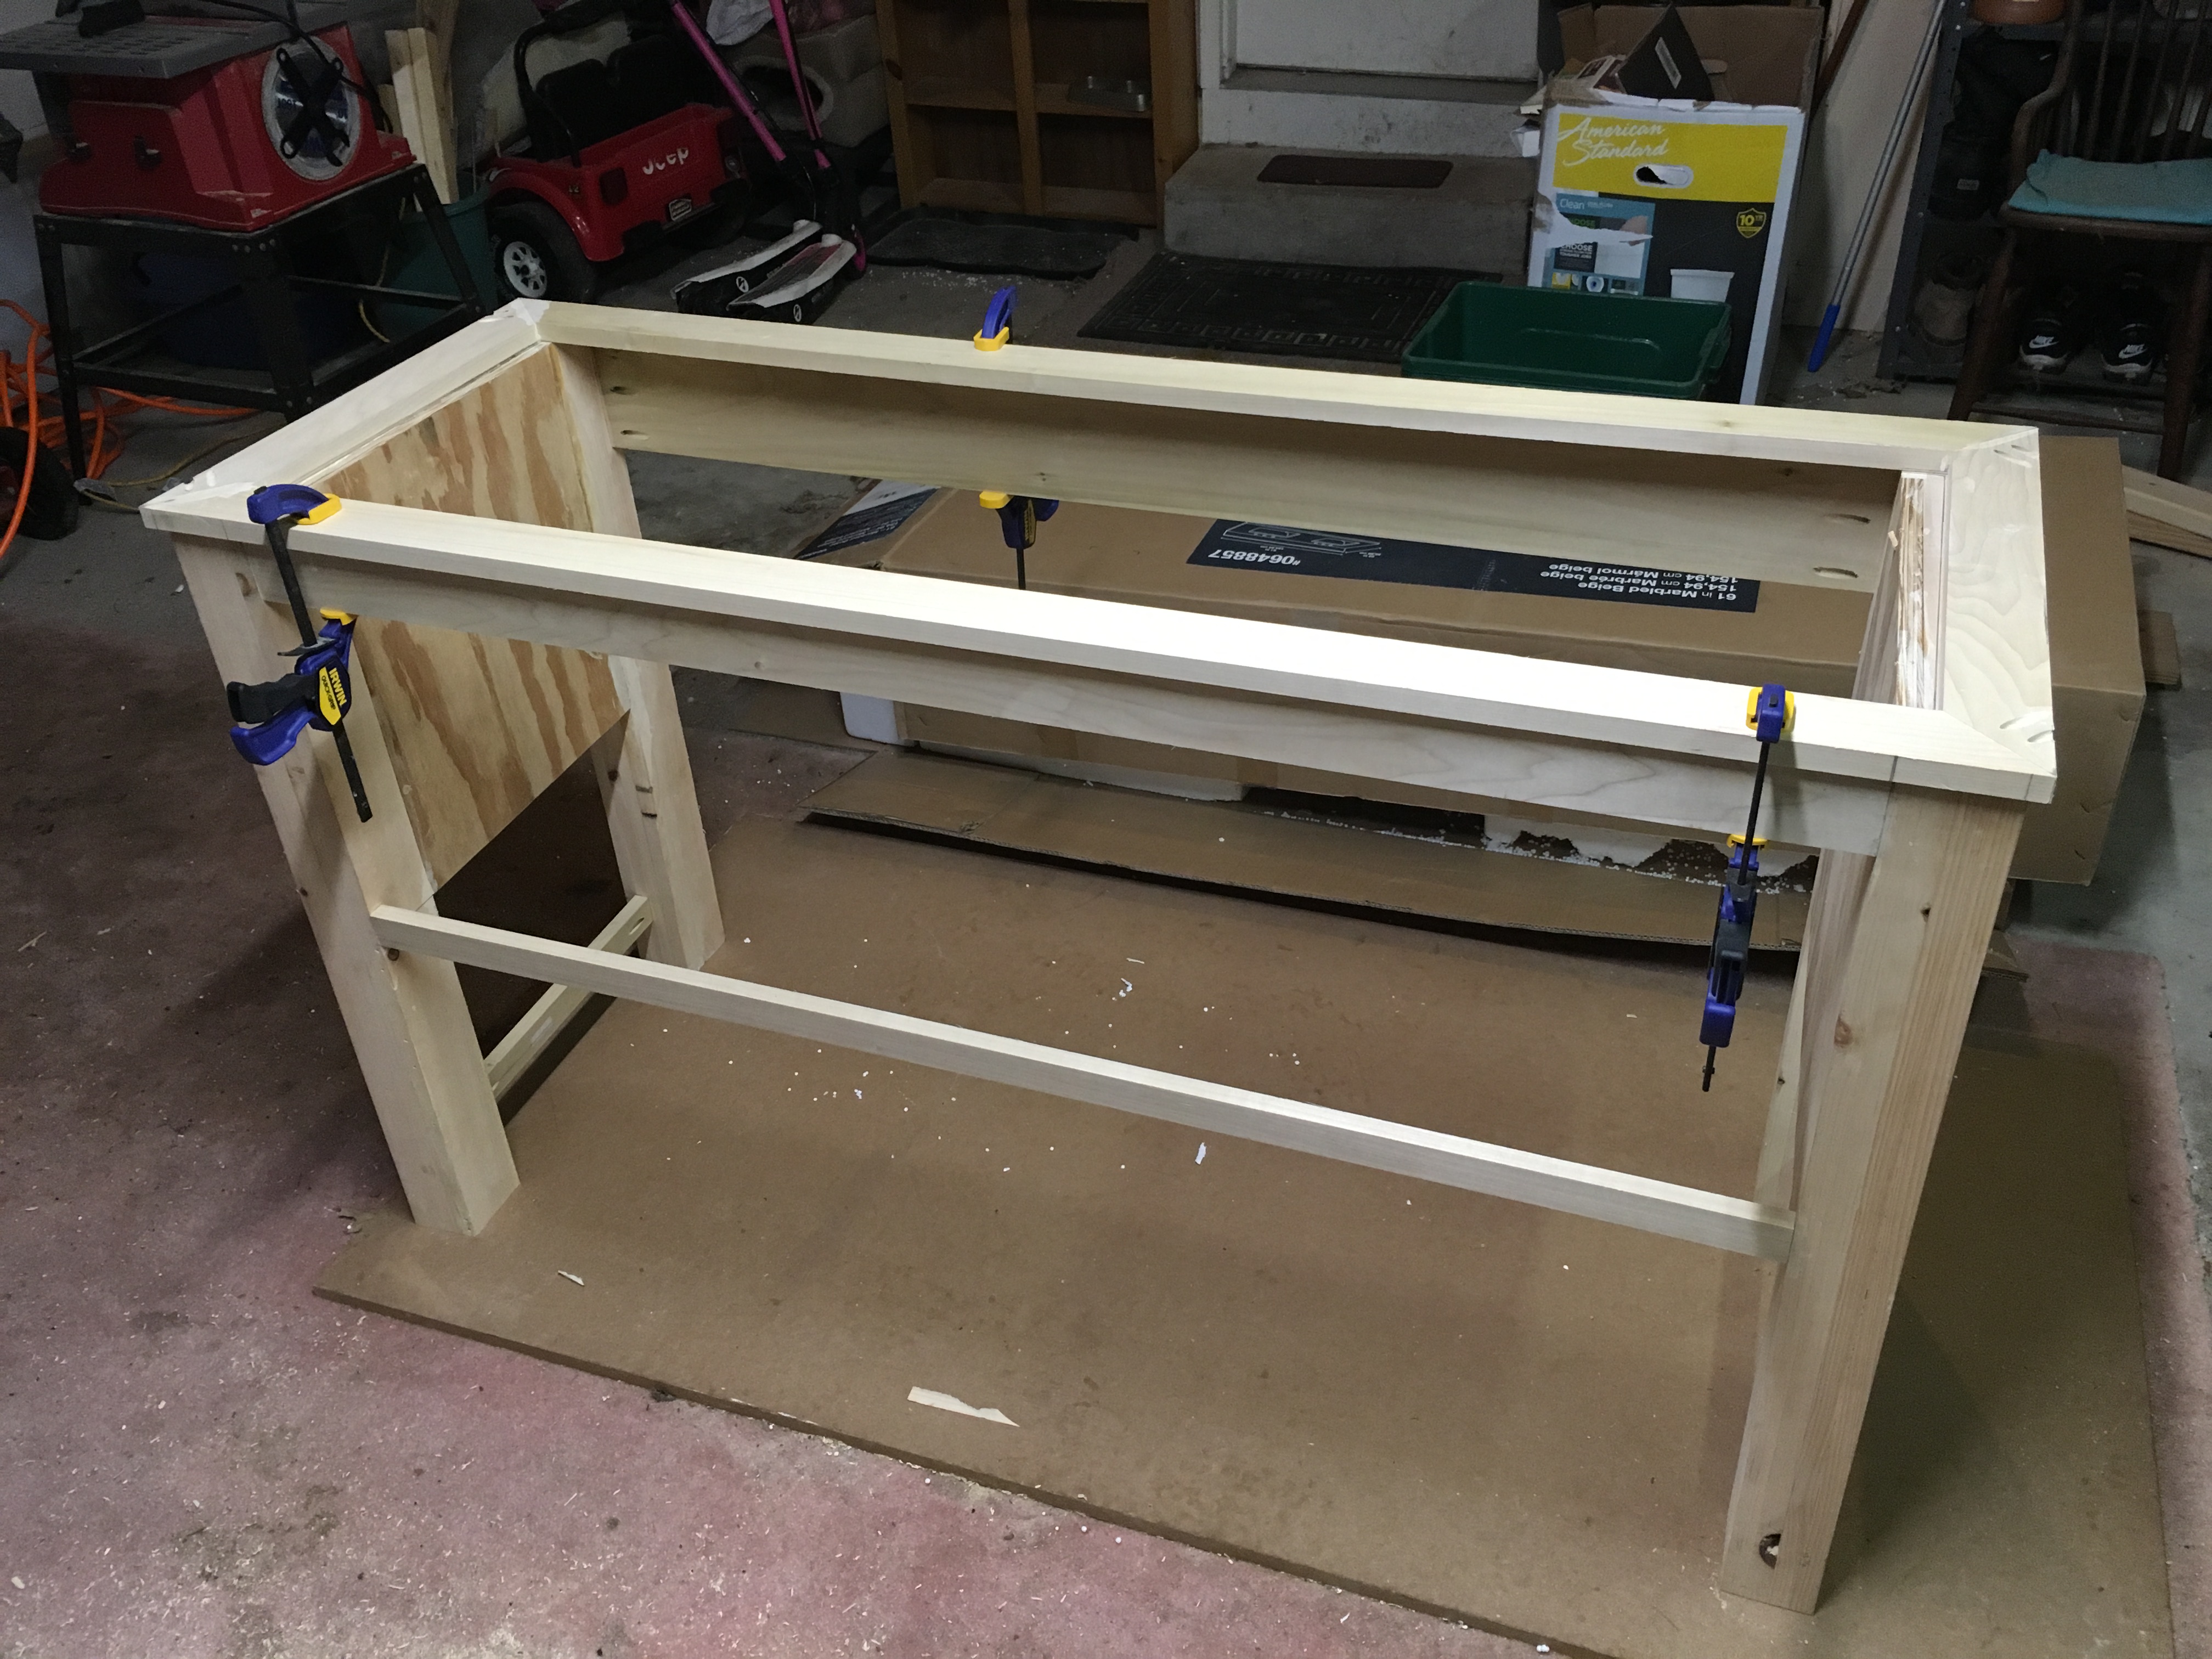
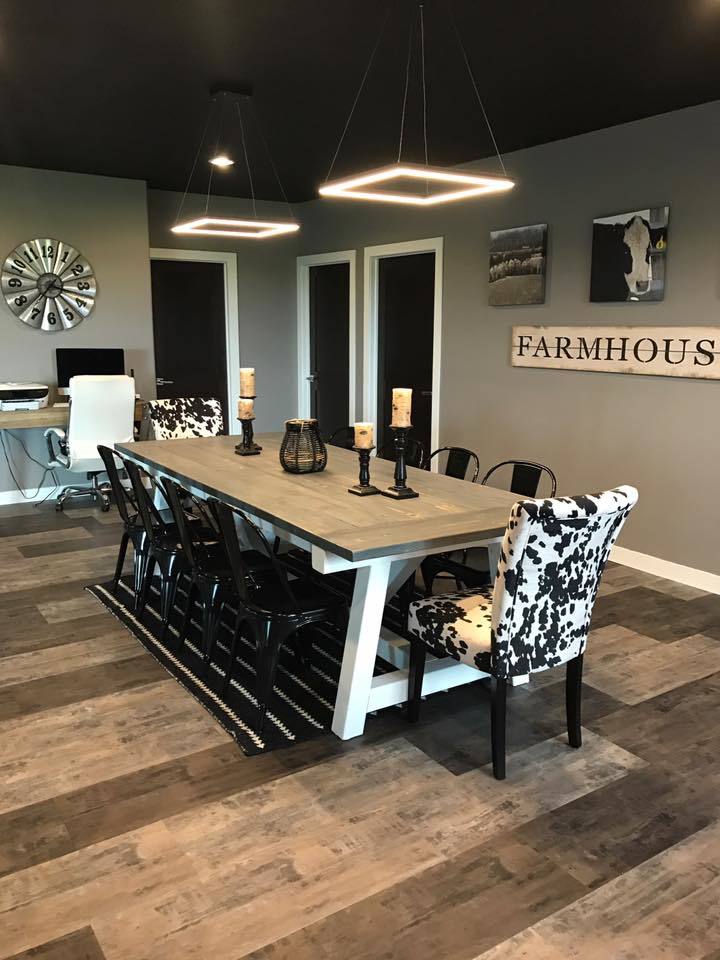
4 X 4 Truss Beam Table
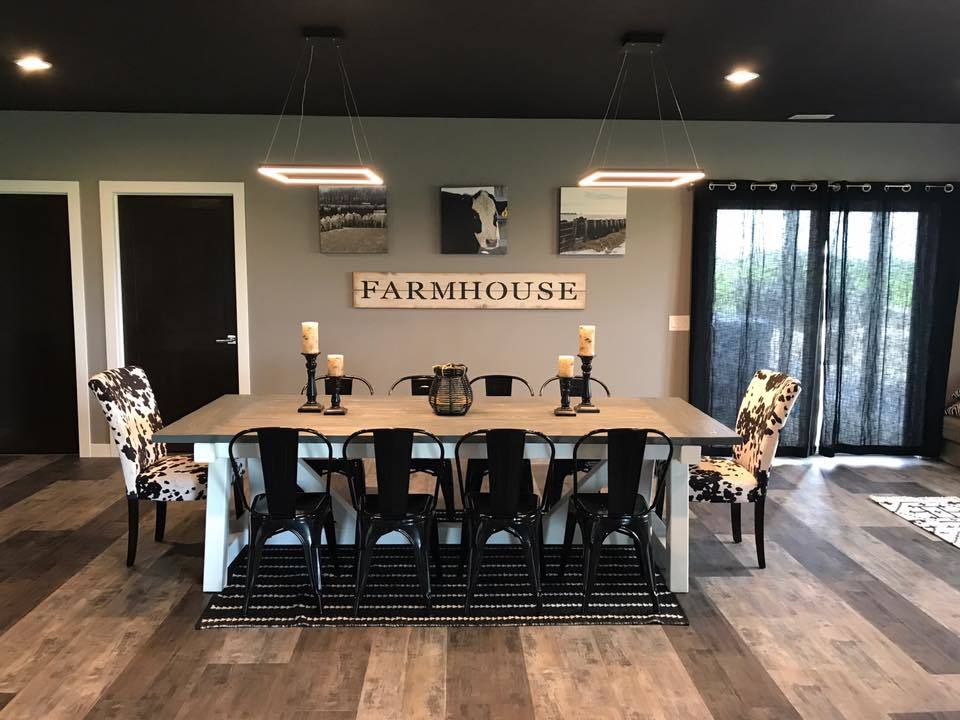
This was the first table that I built and turned out great.
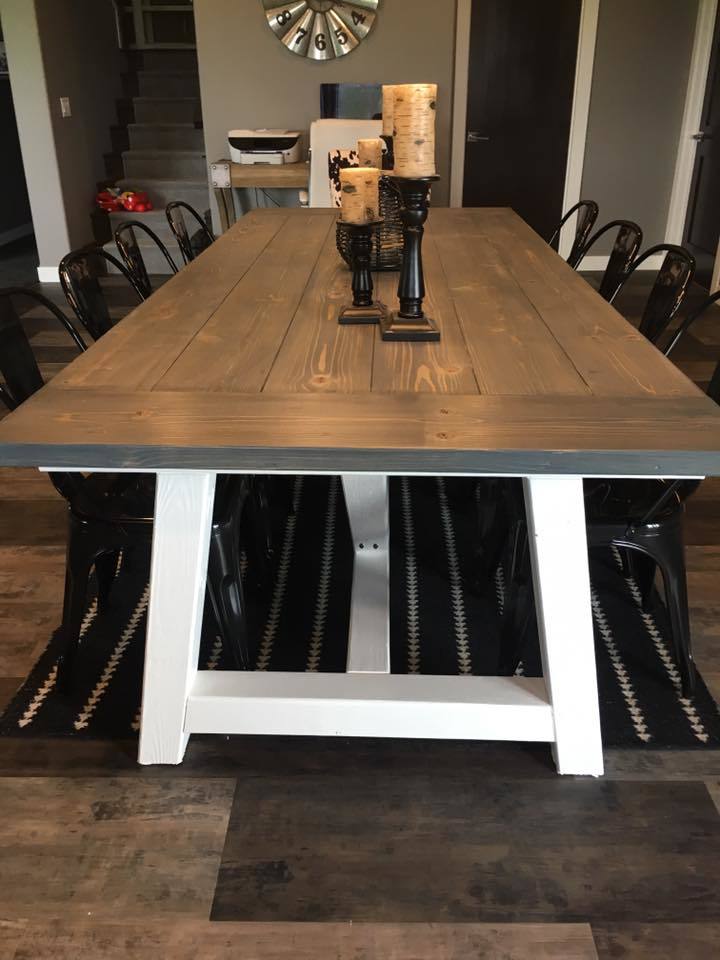
Built from Plan(s)
Estimated Cost
$125
Estimated Time Investment
Weekend Project (10-20 Hours)
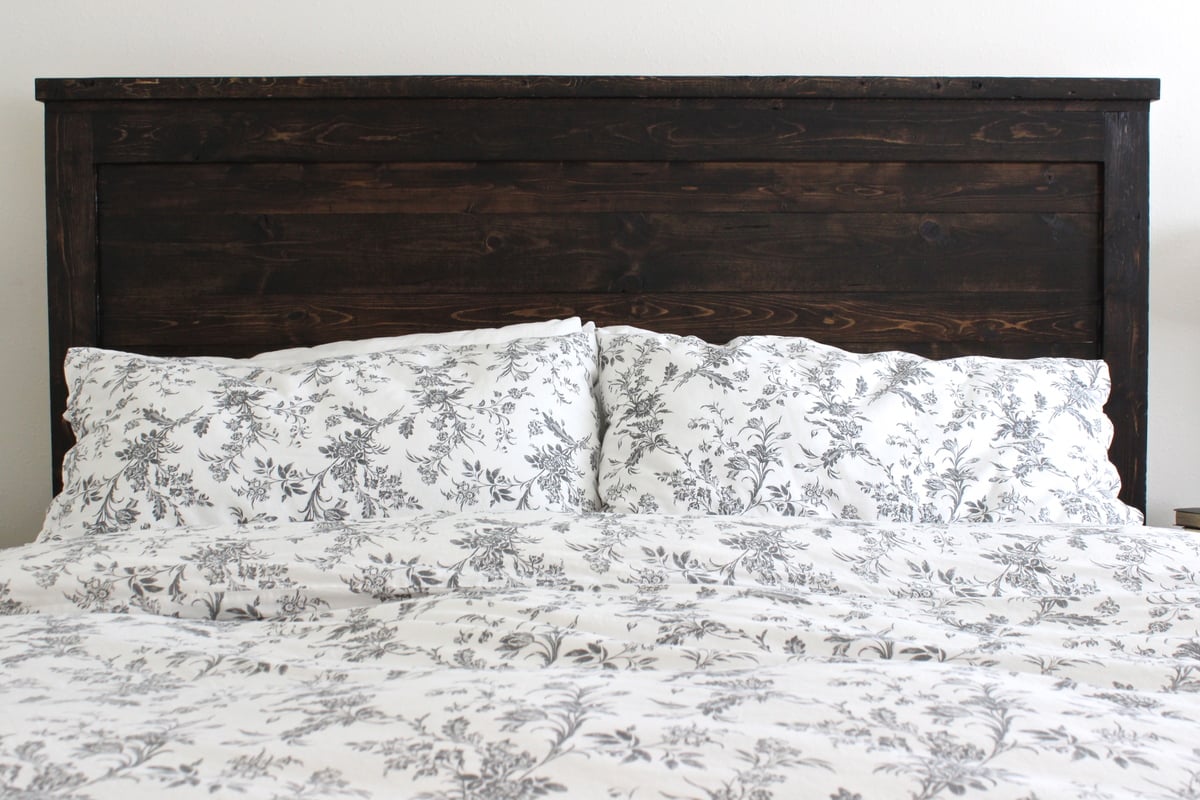
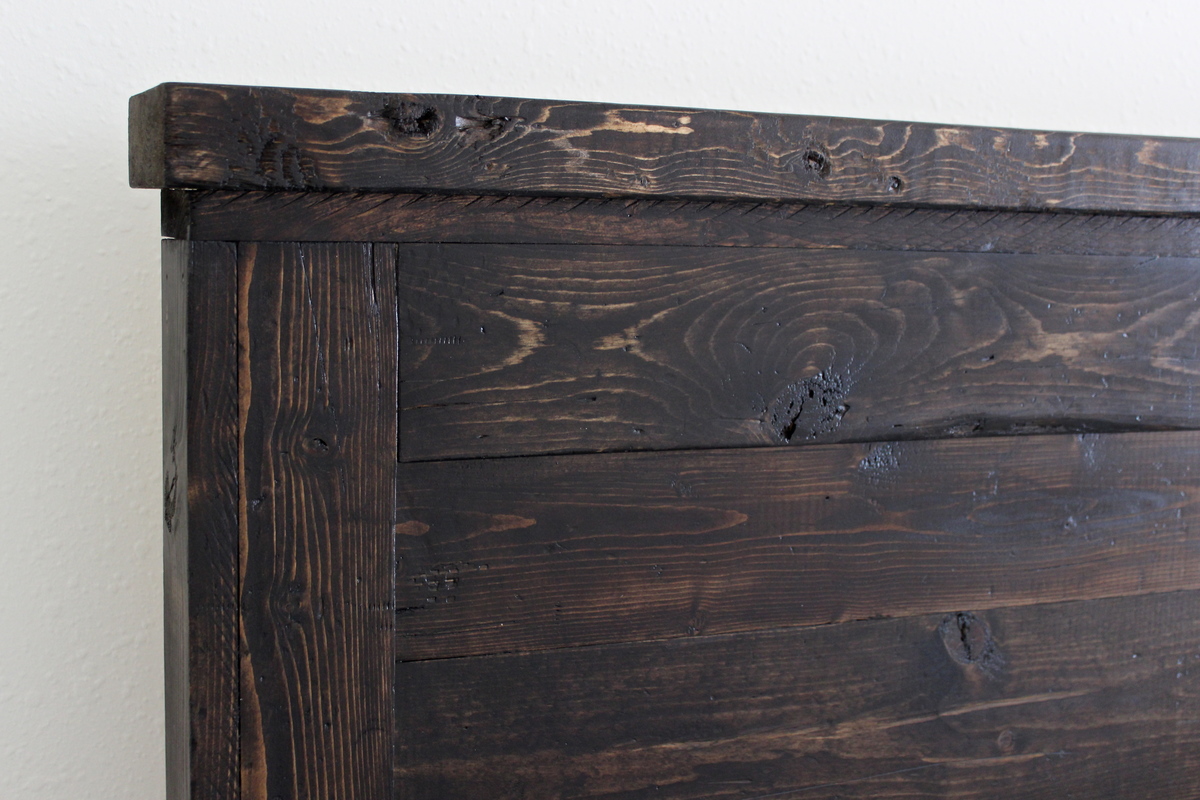
Finish Used
Charcoal Grey with a matte finish
Recommended Skill Level
Intermediate