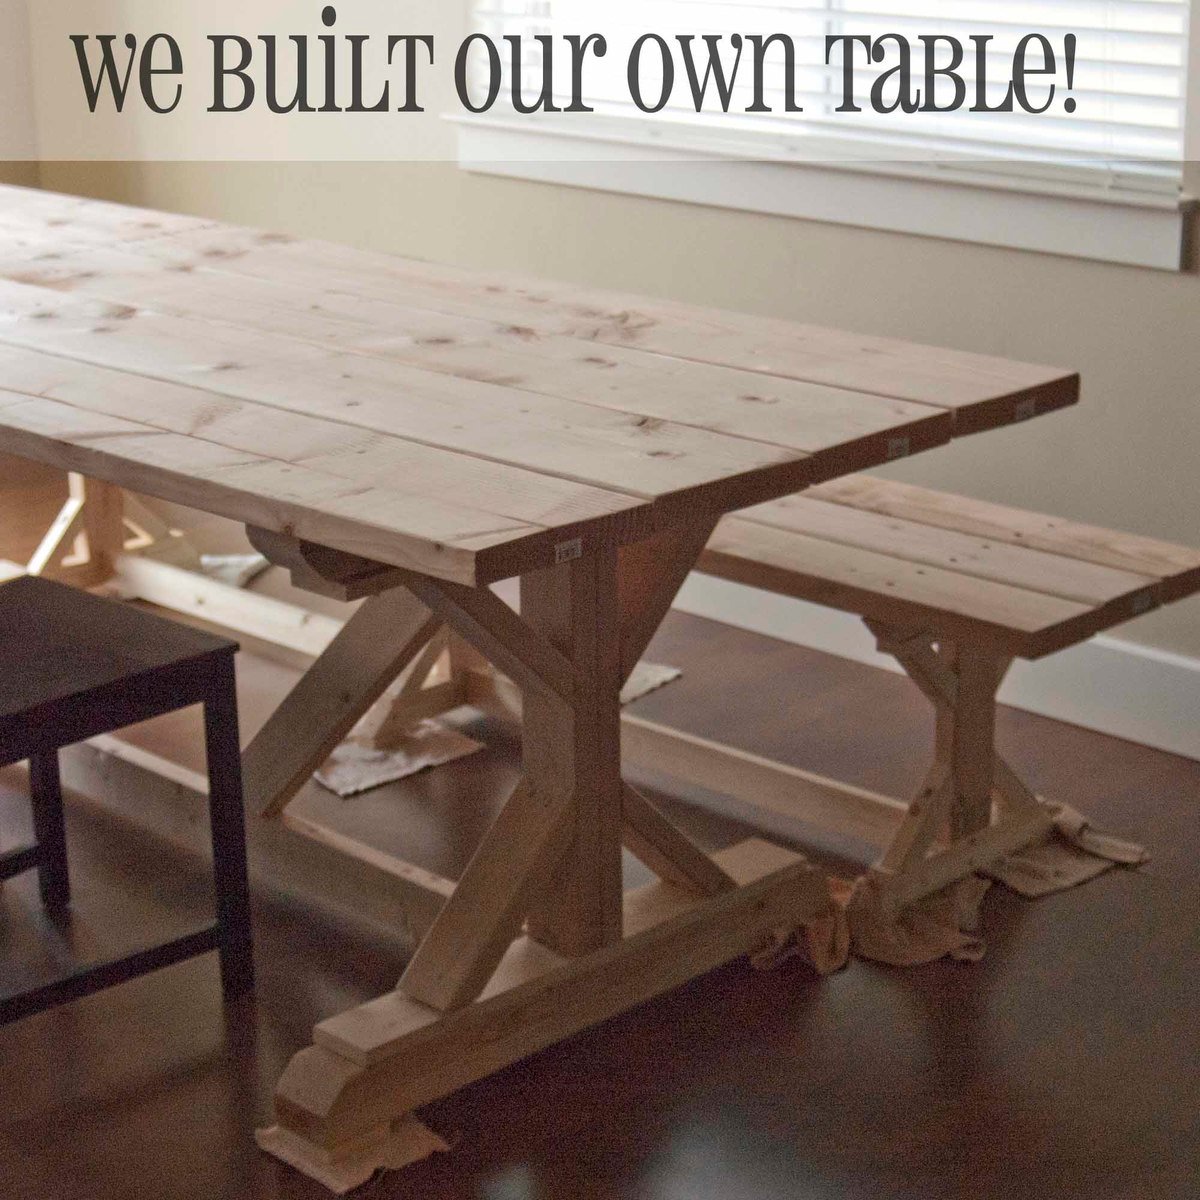
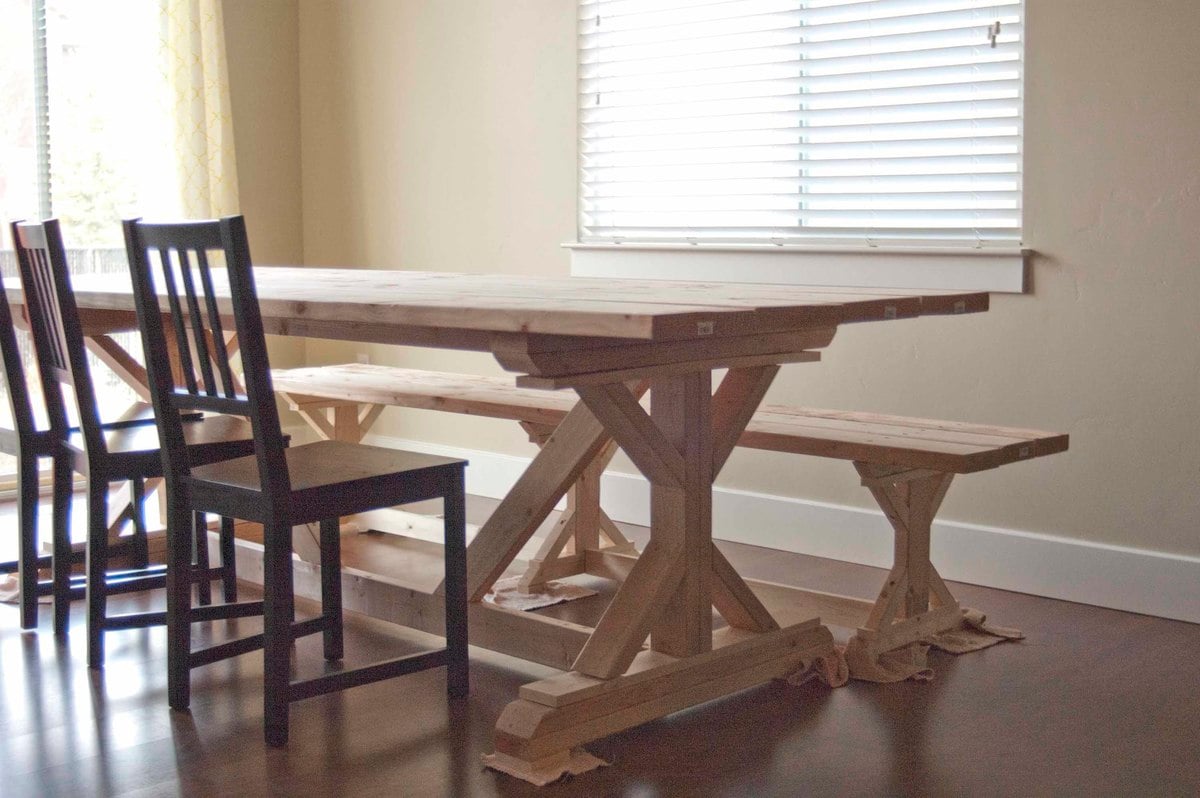
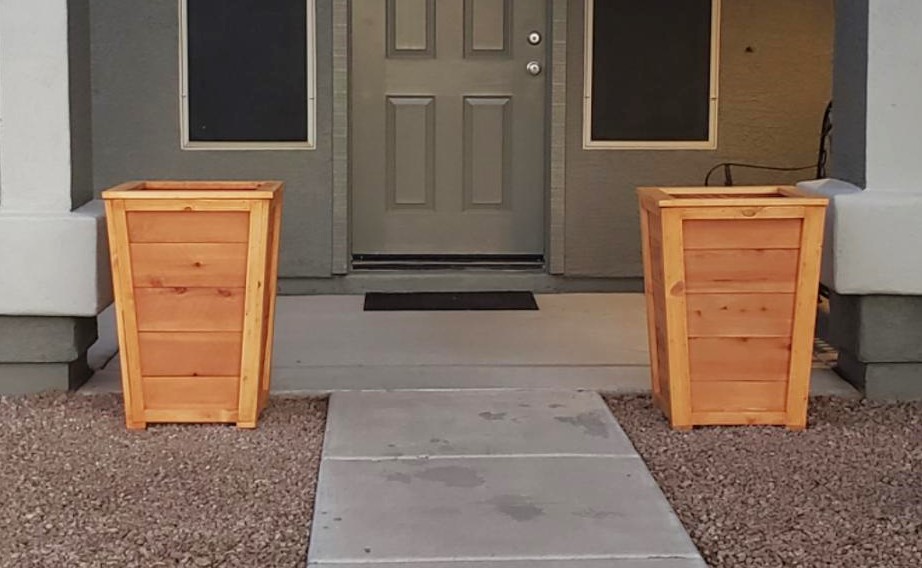
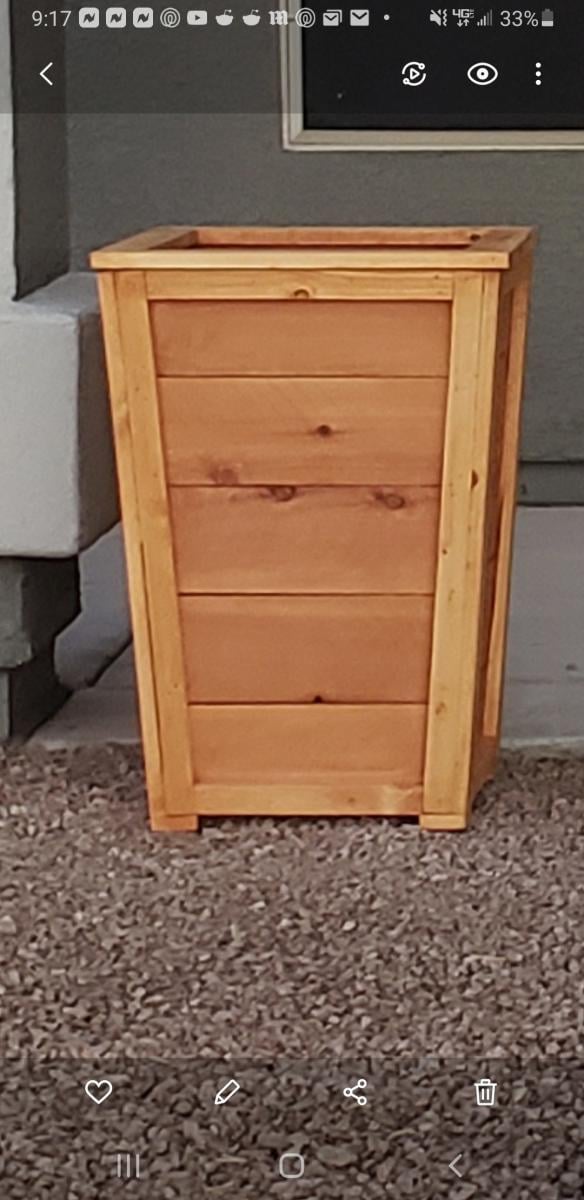
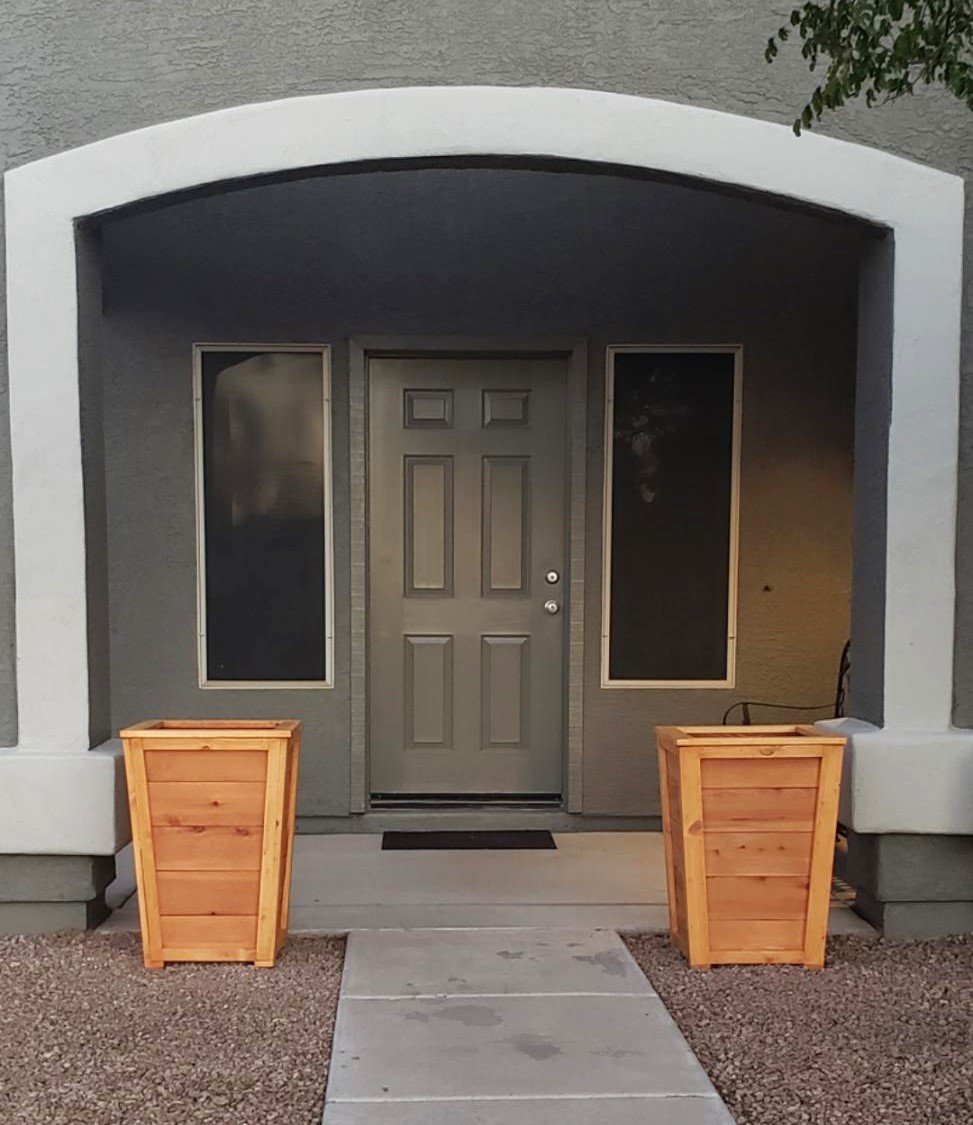
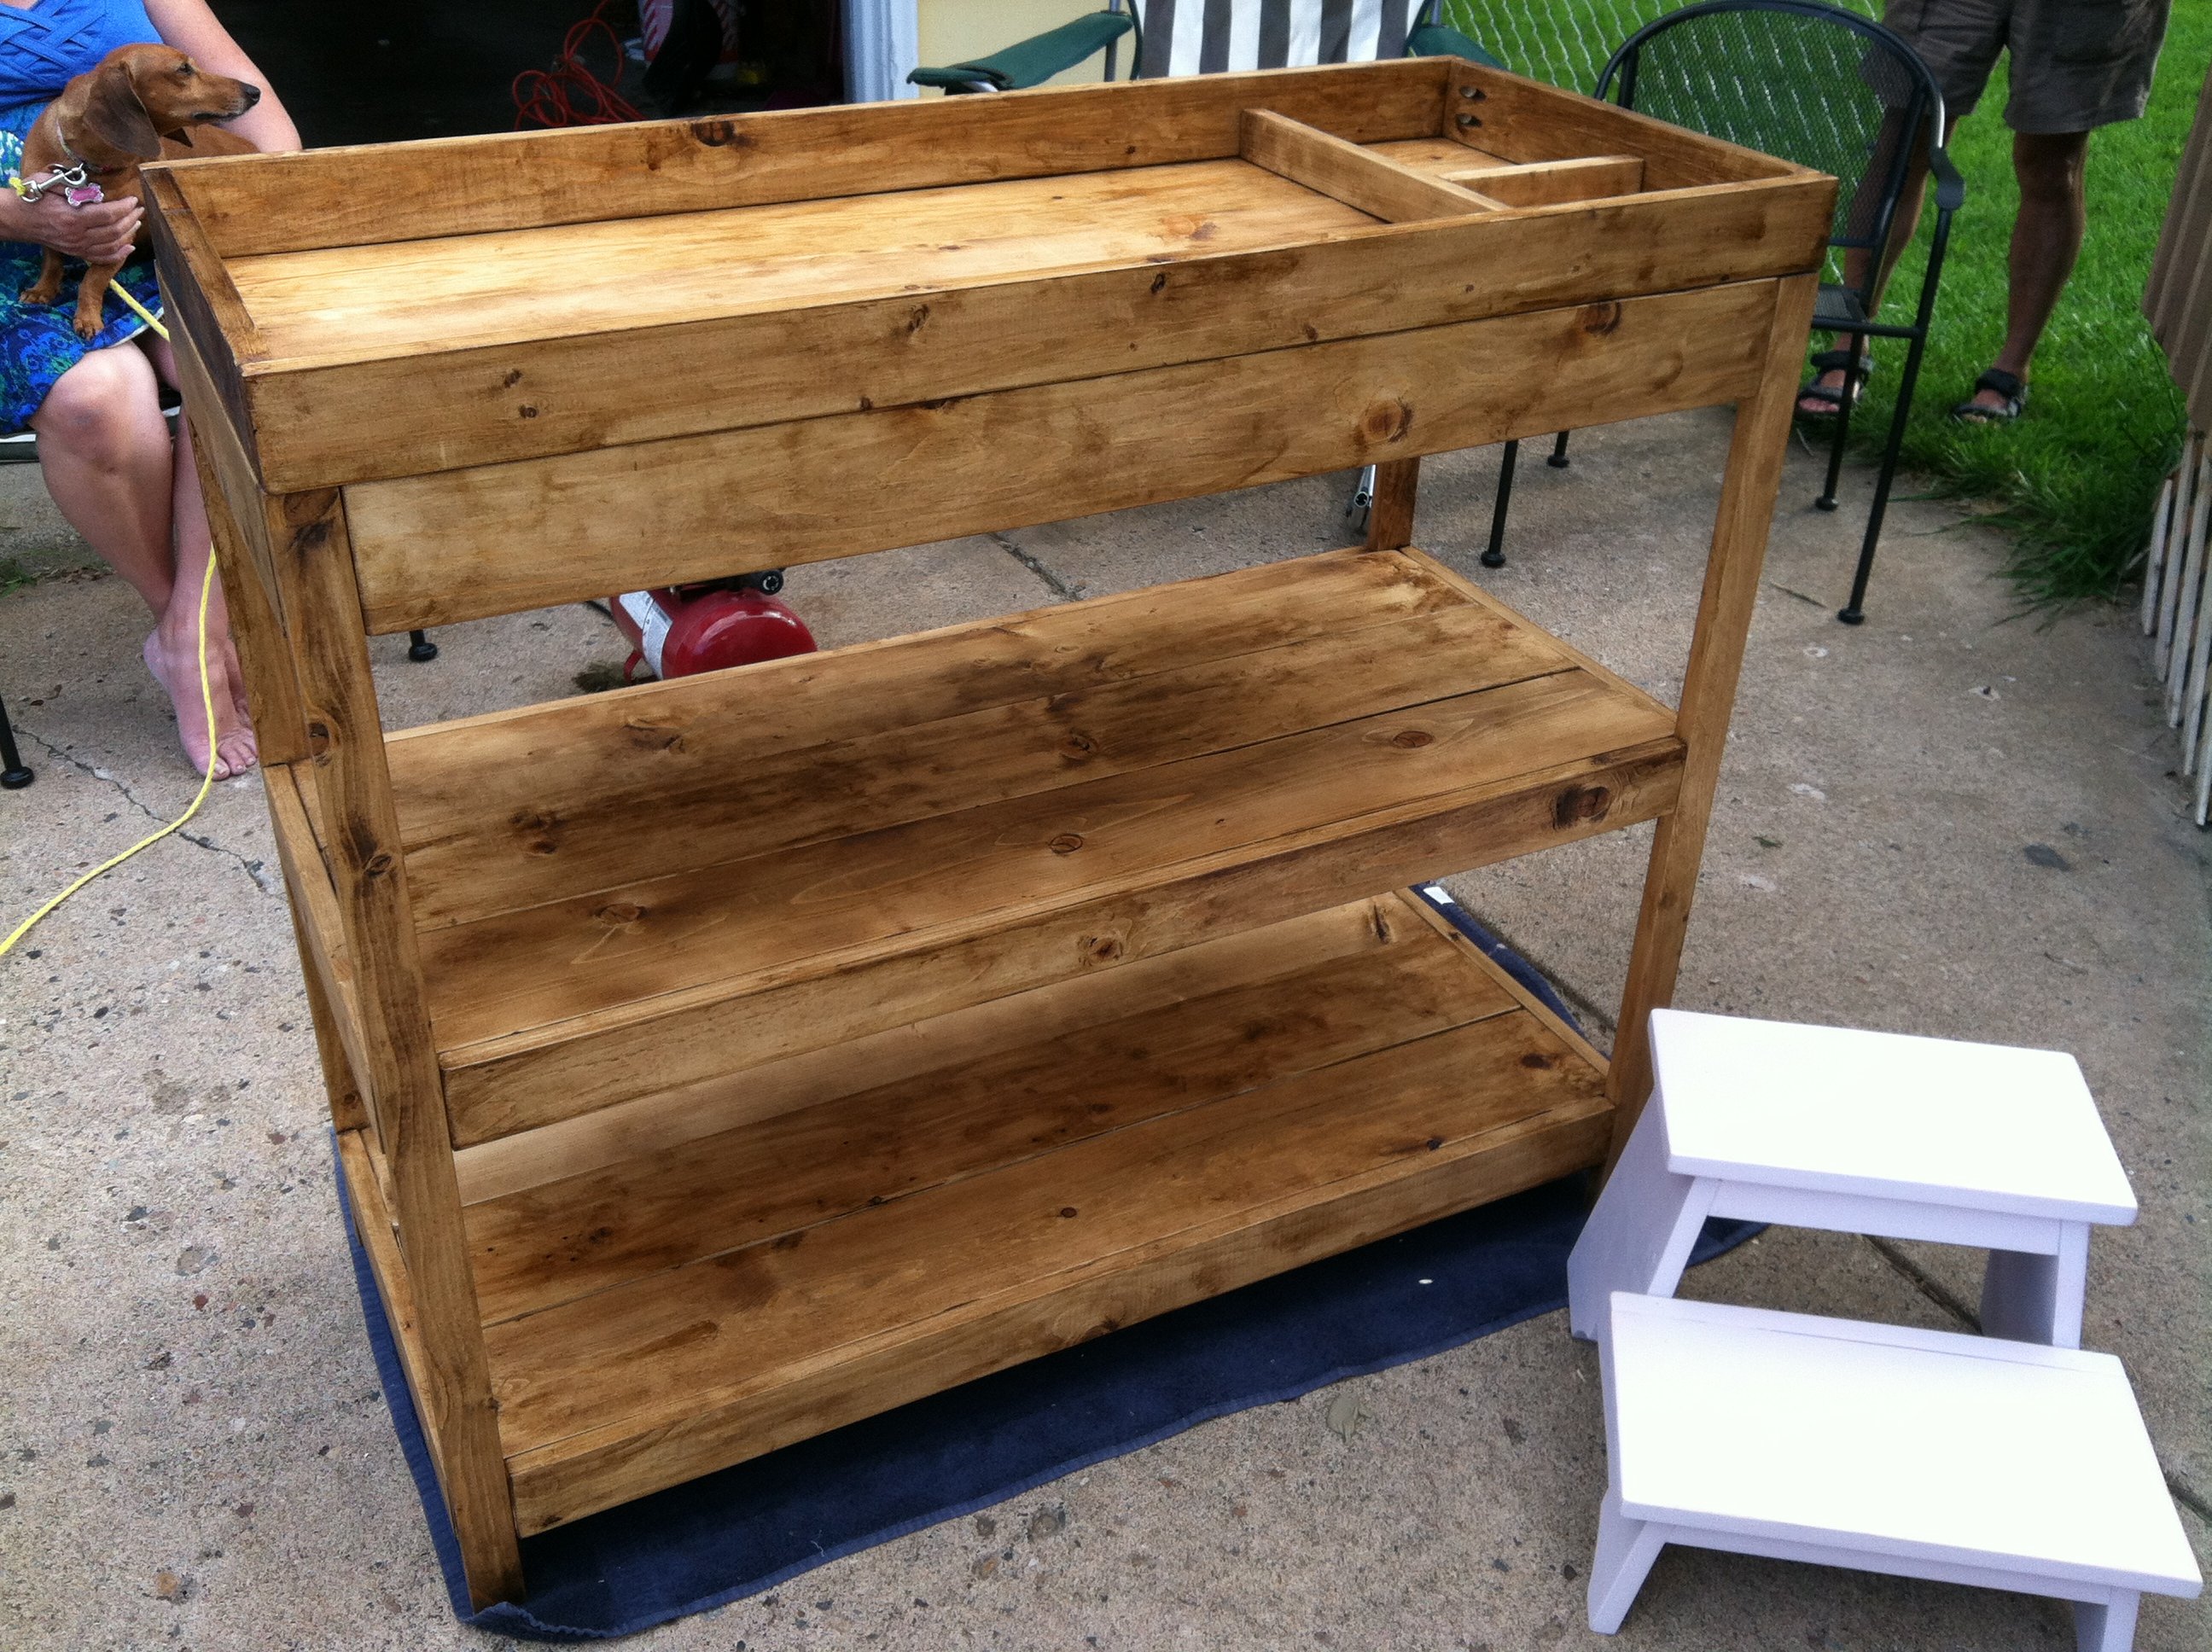
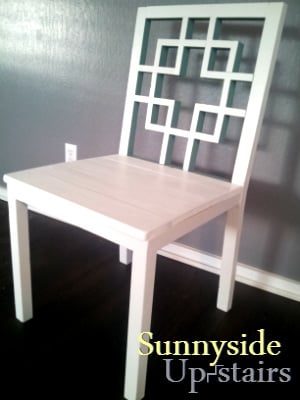
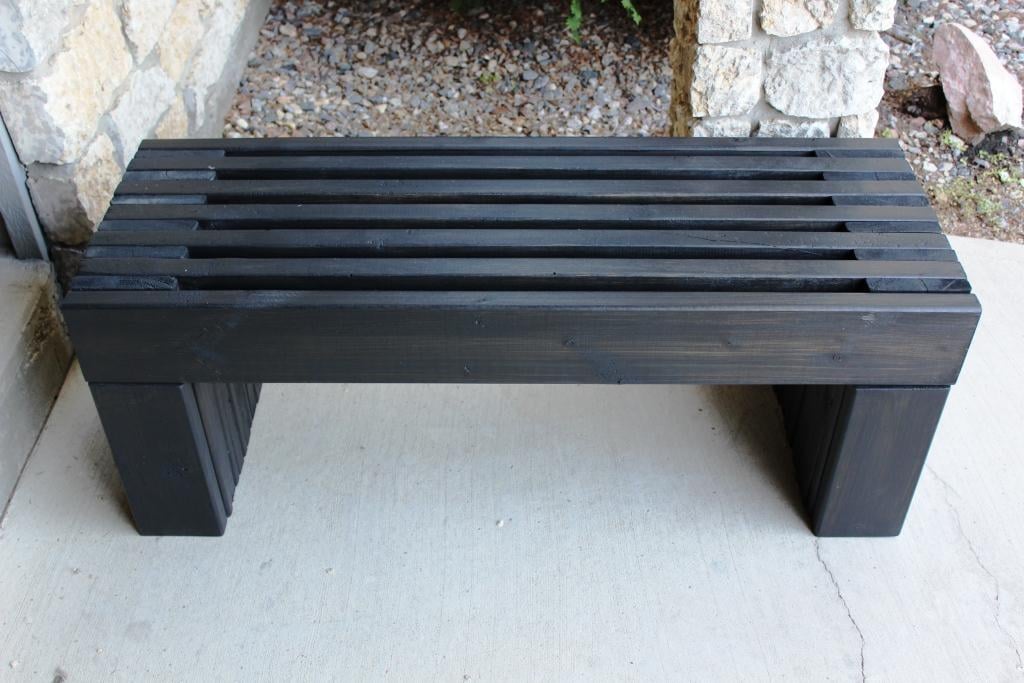
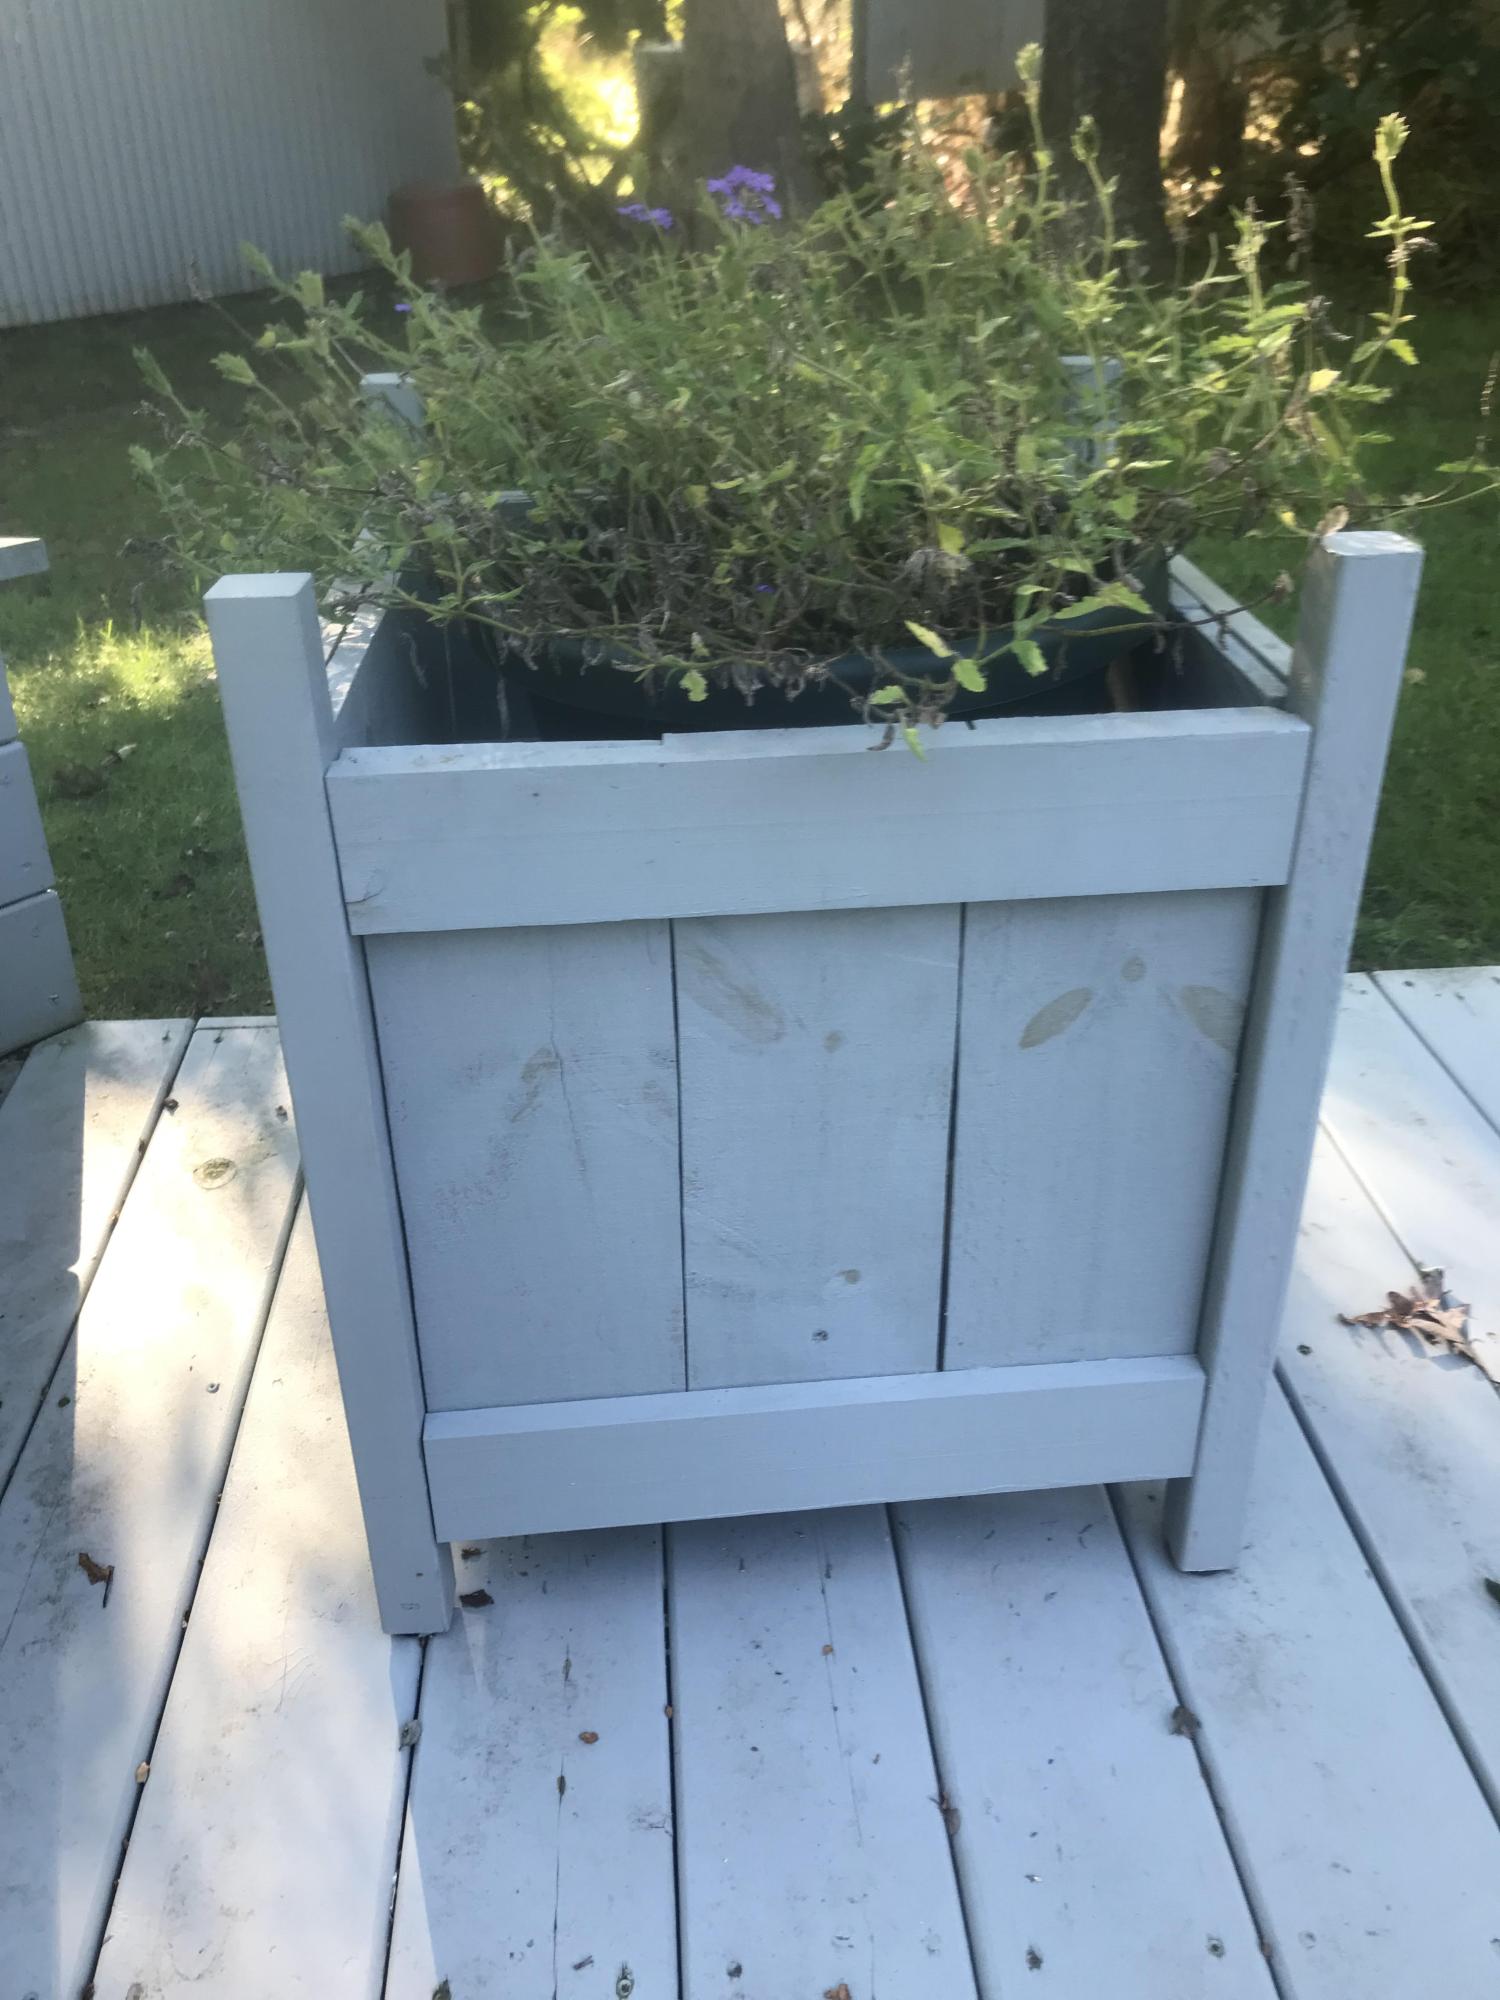
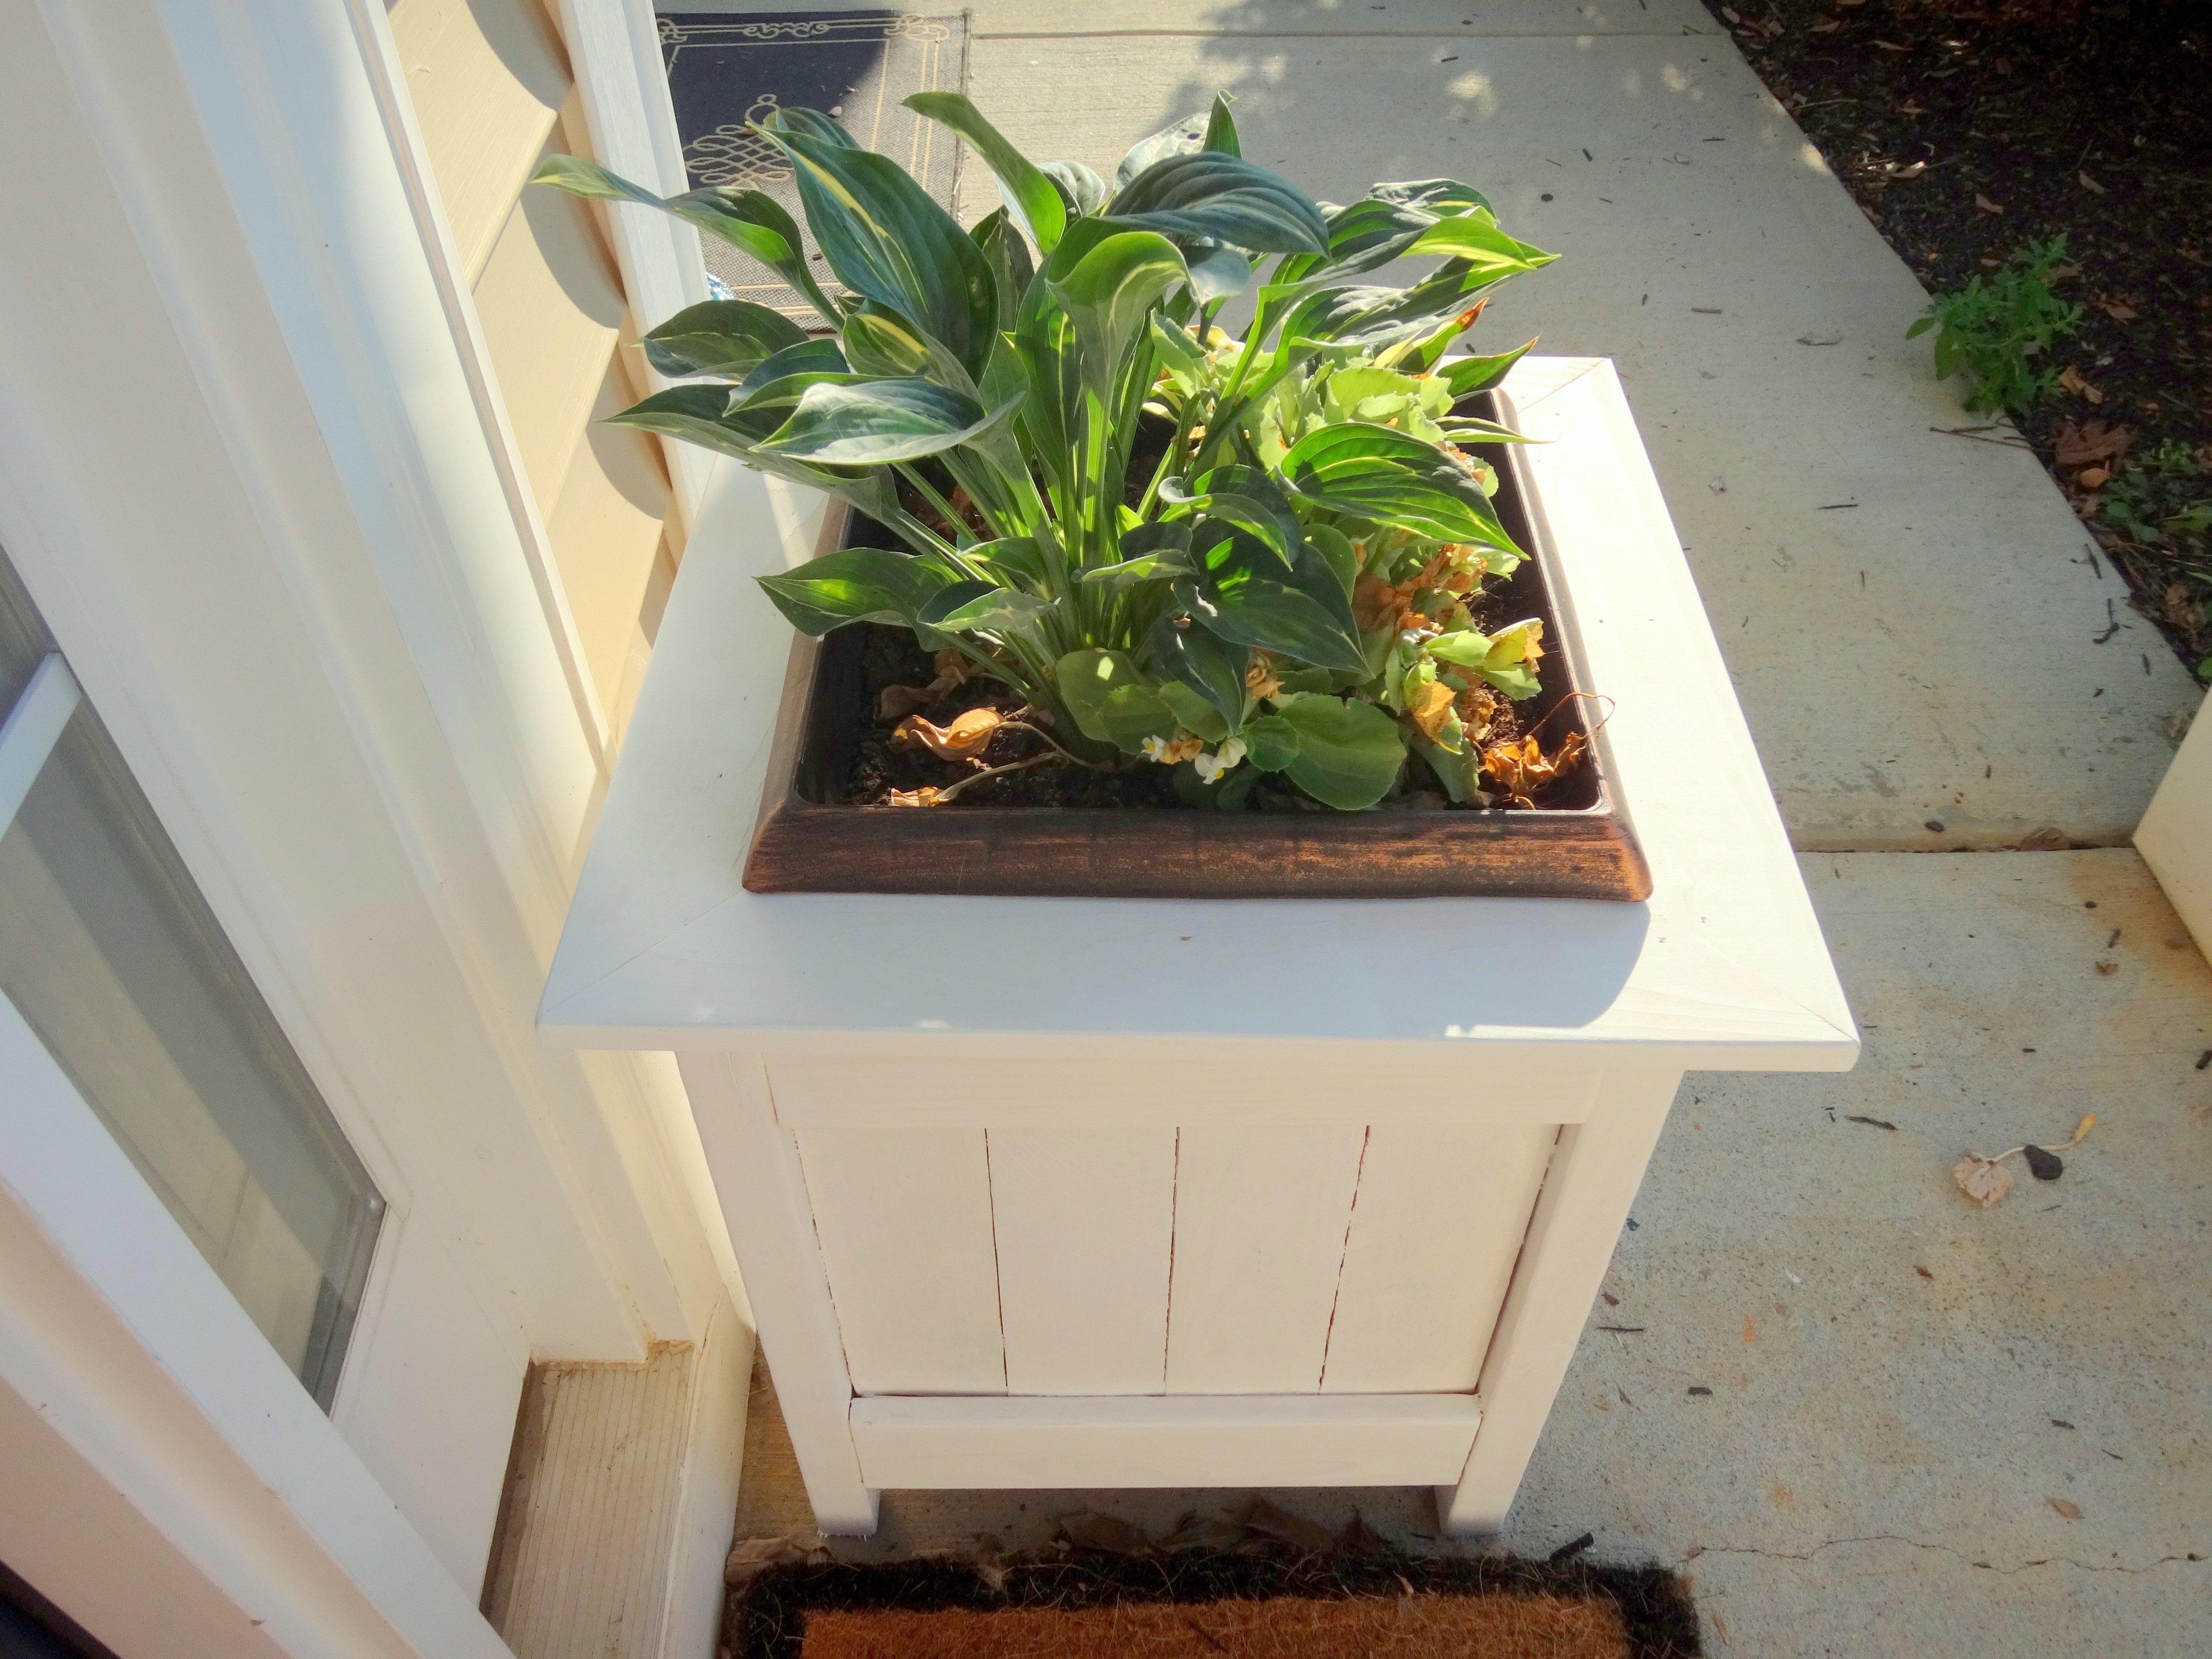
Living Wall
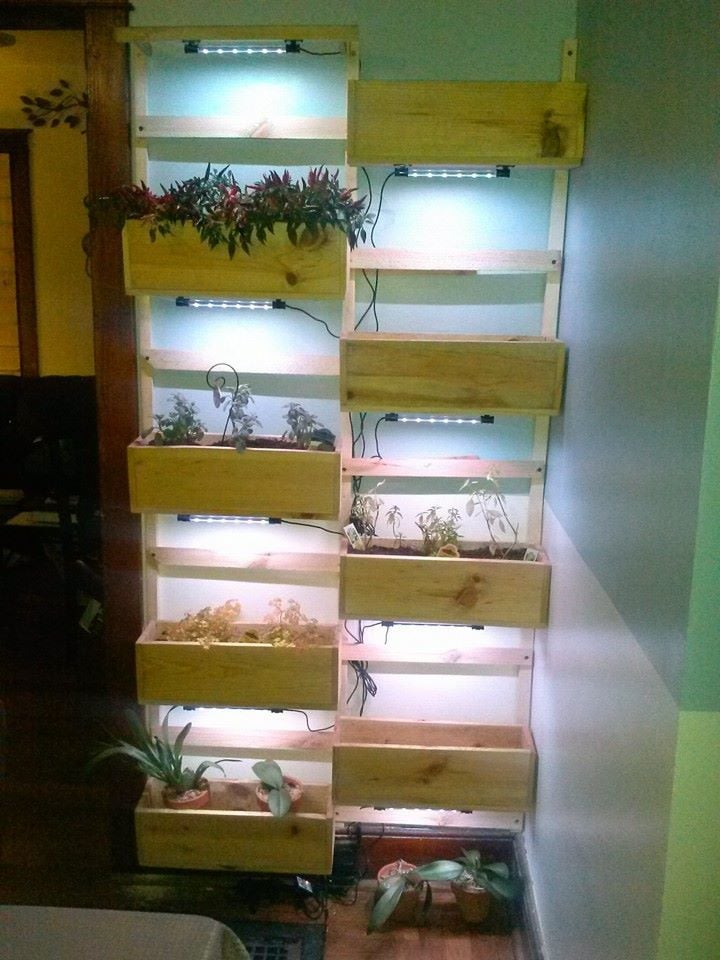
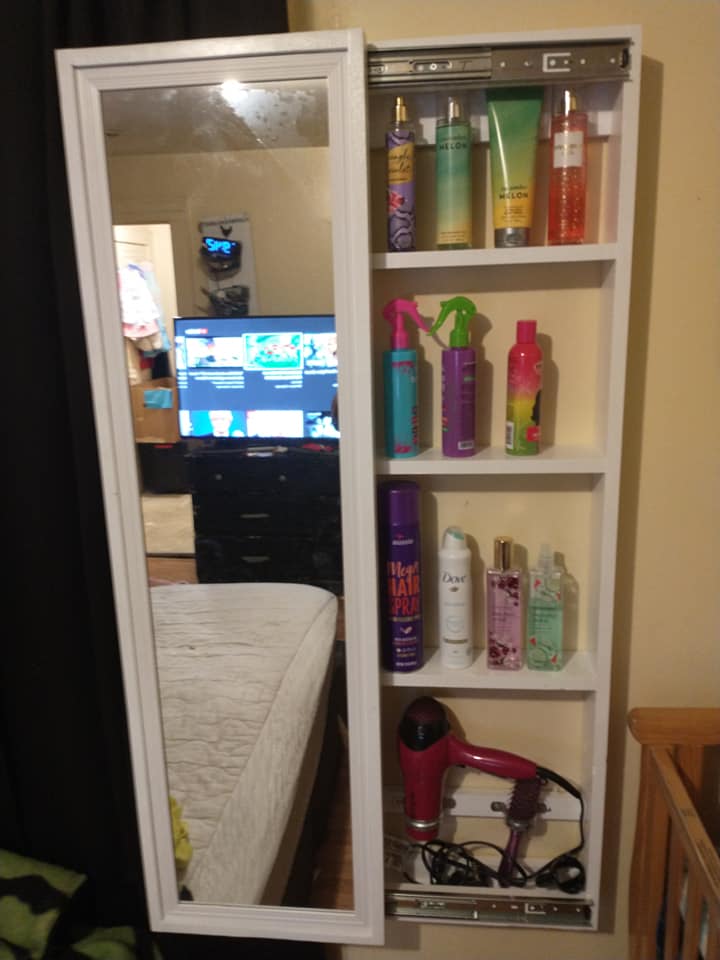
Found the plans for the little 3 tiered planter really interesting. I built a few of the boxes when my wife says "You know...." She has wanted a "living wall" for years, so I modified some of the sizes to make the boxes 18 inches long to accommodate my 37" inch wall. I added a french cleat to the back of each box, cut down a couple furring strips that I anchored to the wall and added the other half of the french cleat to the frame. Woot! Together in moments. The individual planters can be easily removed and rearranged. I added LED's to the bottoms of the planters for additional lighting and it's really a cool affect.
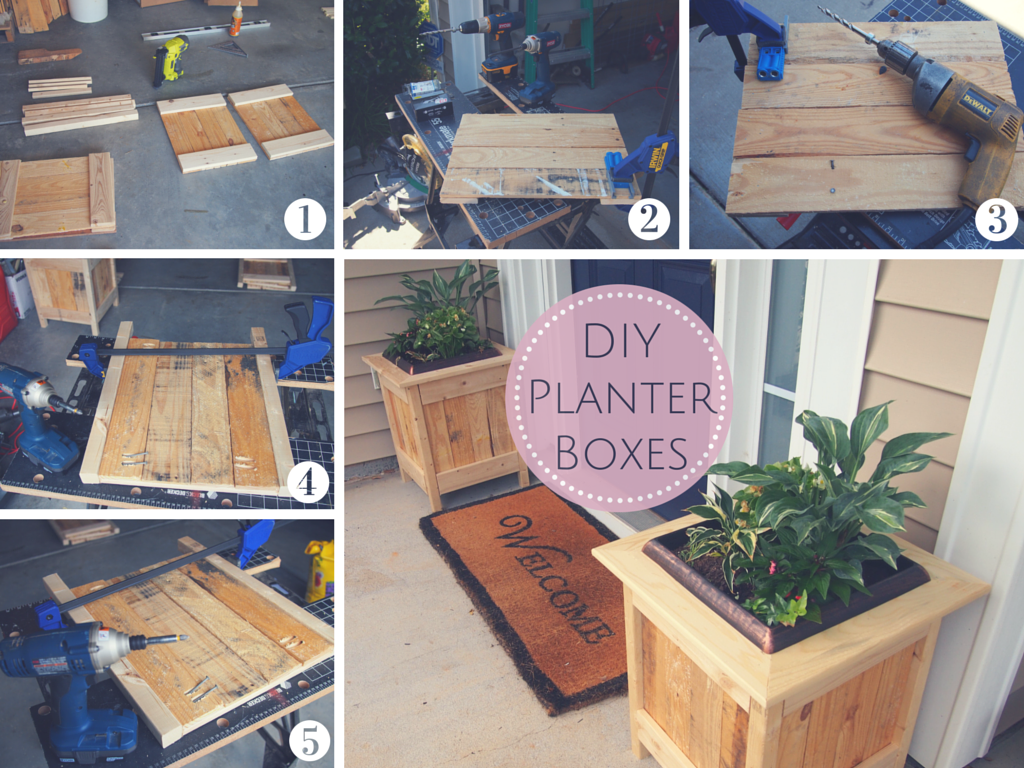
Built from Plan(s)
Estimated Cost
$25 using cedar pickets
Estimated Time Investment
Afternoon Project (3-6 Hours)
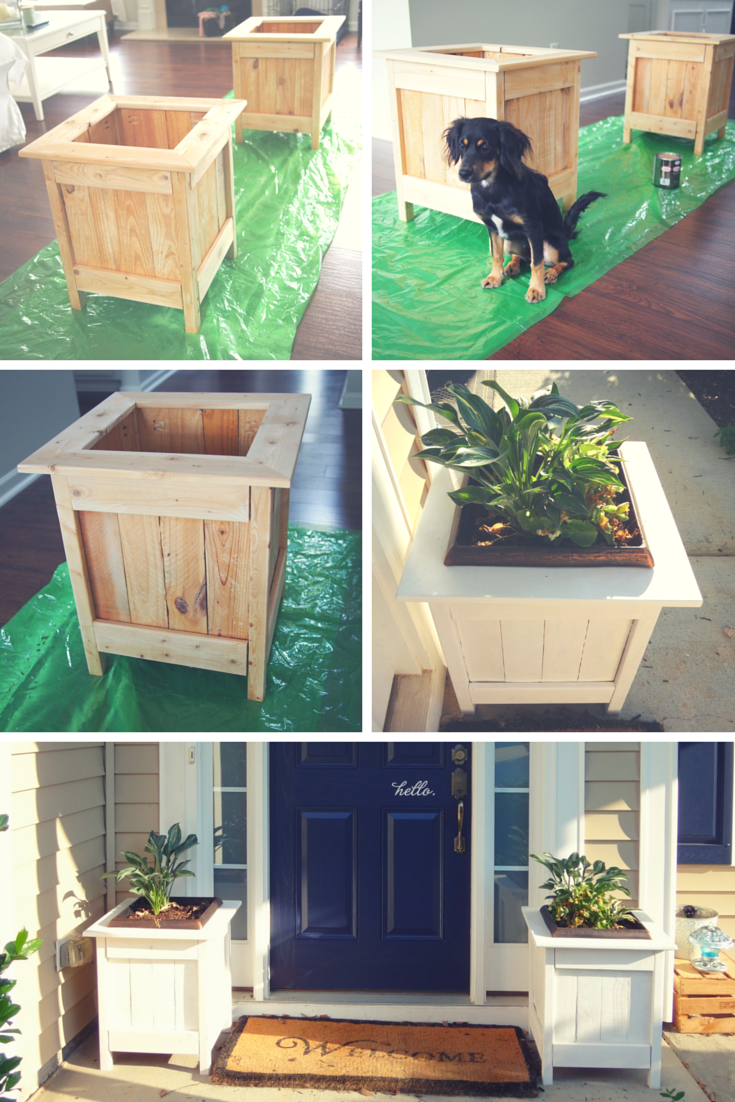
Finish Used
sanded smooth and treated with linseed oil
Recommended Skill Level
Beginner


Comments
laurieg2002
Mon, 04/20/2020 - 15:30
This is so cool! I love that…
This is so cool! I love that you put lights on it. I will have to ask my brother if he could make me one, he's the one with the talent and the tools!