Community Brag Posts

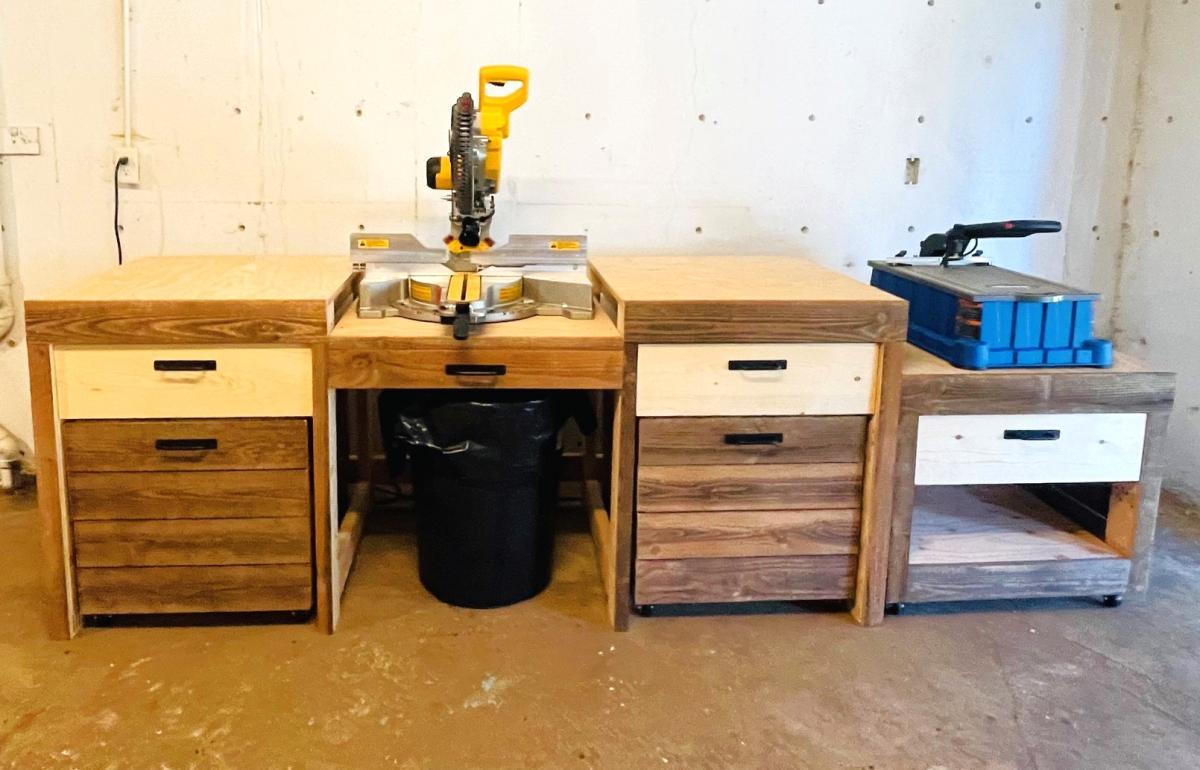
Workbench with Drawers and Carts on Casters

Submitted by vendo on Tue, 03/19/2024 - 07:38

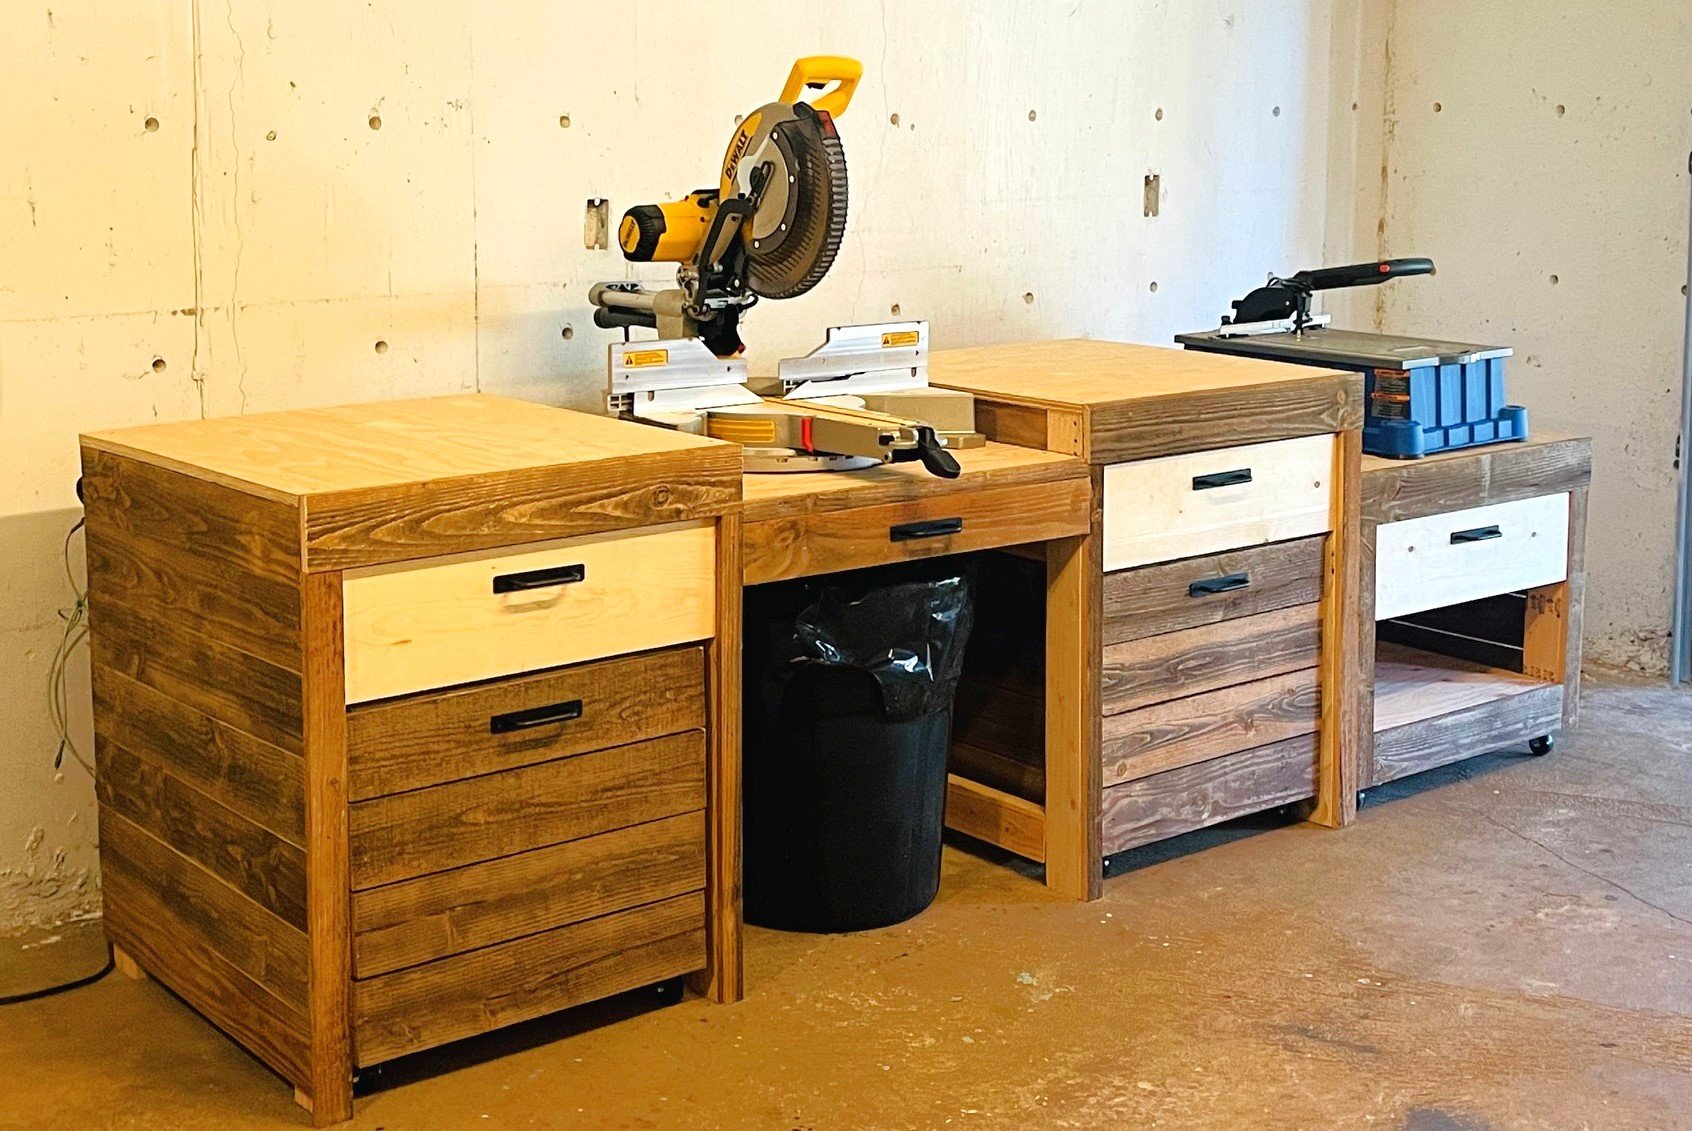
Using Ana's Ultimate Workbench Plan and her easy drawer method I built this. I decided to do storage carts that roll in and out for small scrap lumber storage. The Kreg Foreman got it's own cart, I made it so the deck of the machine was at the same height as the work surface. I added a drawer so all of my kreg bits and screws can be in one place. I had batteries and chargers laying all over my small shop, so I incorporated a battery charging drawer. I'm excited for the projects to come using my new set up!

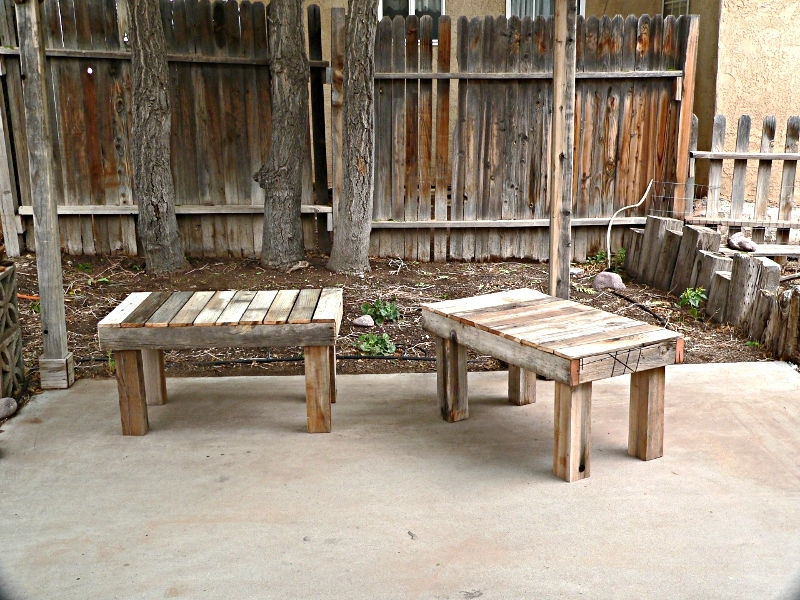
Reclaimed Fence = Free Benches

These are made from the 4x4 posts, 2x4 rails, and slats from an old wooden fence that weren't good enough to re-use when we repaired the fence.

It's close to the Simple outdoor bench, but I simplified the plan even more to take advantage of the pile of free lumber. Or maybe it's the Simple Outdoor Dining Table ... but a lot shorter.

CAUTION: Be careful to remove ALL nails, screws and bolts from the lumber you are reusing. If you can't get the metal out, mark that area and figure out a cut that won't hit it.

TIPS FOR RECLAIMED LUMBER:
* Trim the ends of the lumber square before you measure.
* Don't try to salvage split or rotted wood. Trim it off and see what you can do with the good bits.
* Plan your cuts so you have the least waste.

TOOLS:
10" Miter saw
Wood glue
Nail gun, with 2 1/2 and 1 1/4 inch 16gauge nails for gun (You could use deck screws if you have them)
Surform Pocket plane (wood rasp from Stanley tools)

CUT LIST:
For one bench, 21x36

NOTE: To cut a 4x4 cleanly with the 10" miter saw, put a thin shim behind each side of the 4x4

4 4x4 post scraps, 18 inches long (legs)
2 2x4 18 inches long (sides)
2 2x4 36 inches long (front and back rail)
10 fence slat pieces, 21 inches long (cut to fit the top after it is assembled)

ASSEMBLY:
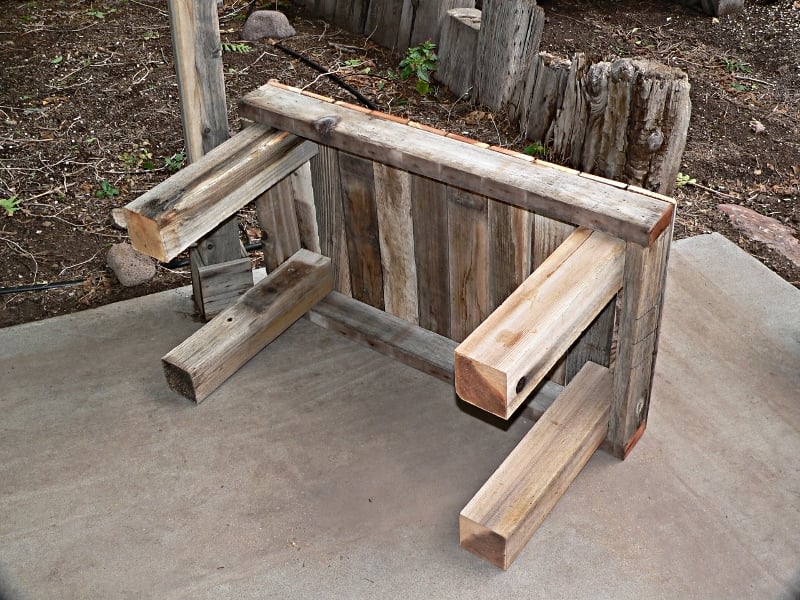
See the picture of the underside of the bench:
1 - Square up the legs with the end pieces, glue and nail.
2 - Square the sides with the legs, so the legs are inside the 2x4 apron, glue and nail.
3 - Align the 2 end slats with the edges of the bench and nail through them into the 2x4 apron
4 - Space the rest of the slats on the top, leaving 1/8 inch or so etween the boards for drainage. Nail them to the 2x4 apron.

FINISH: Use the wood rasp to round the cut ends of the slats and 2x4s. Rasp with the grain to avoid raising splinters. Lightly rasp the tops of the slats to smooth any really rough spots.

A table or maybe a buffet is planned, with the same construction method, but a bit taller. Tables are 26-29 inches, most buffets are 36". It depends on what will make best use of the remaining bits.
Estimated Cost
$0
Estimated Time Investment
Afternoon Project (3-6 Hours)
Finish Used
none
Recommended Skill Level
Beginner

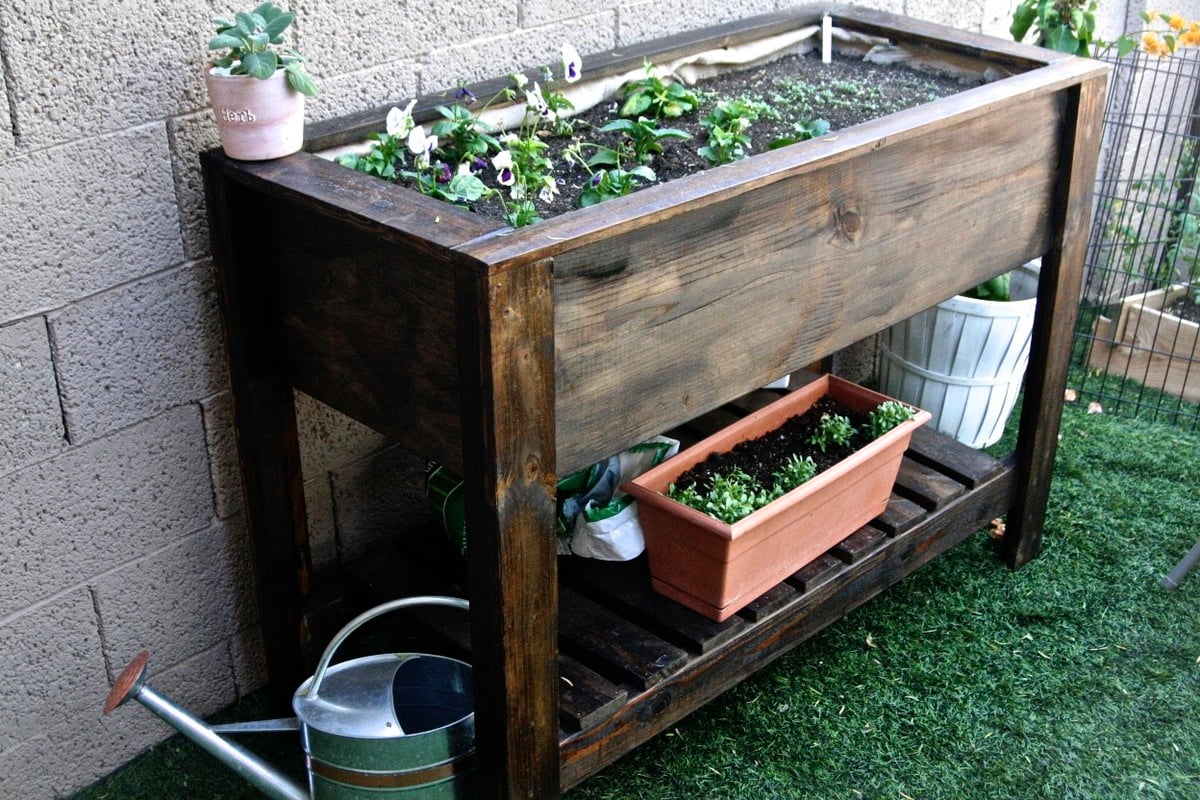
Raised Planter Box

Submitted by ang312 on Fri, 01/25/2013 - 12:24

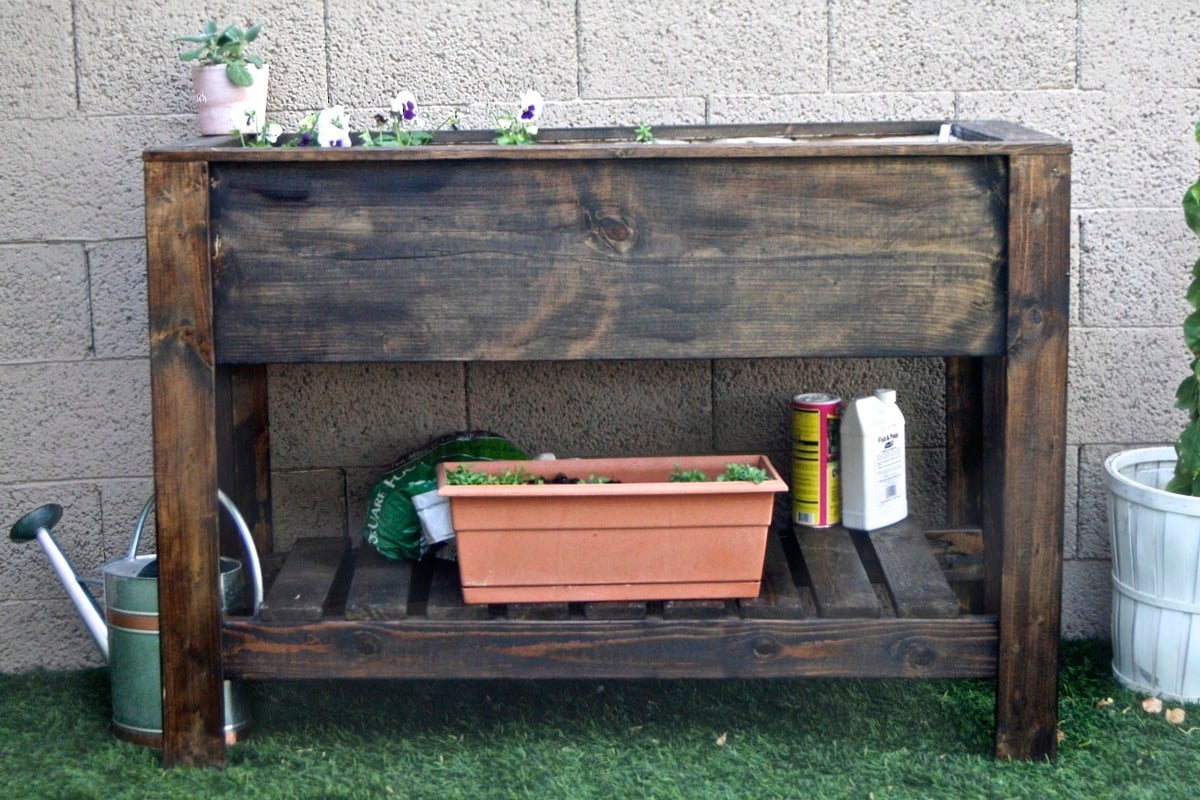
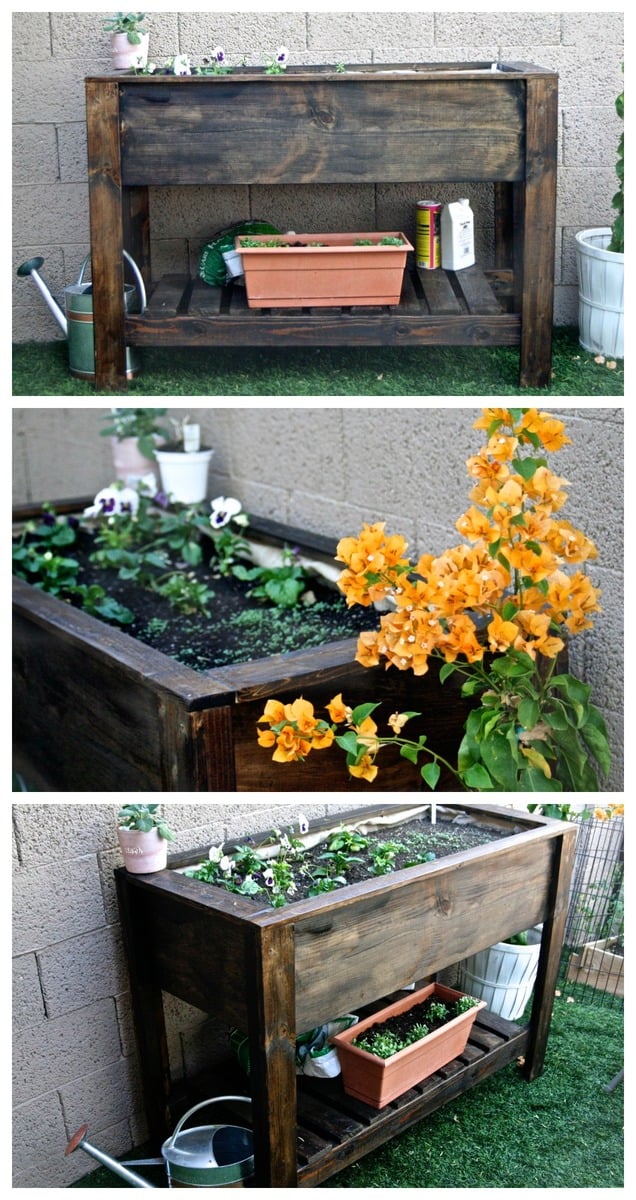
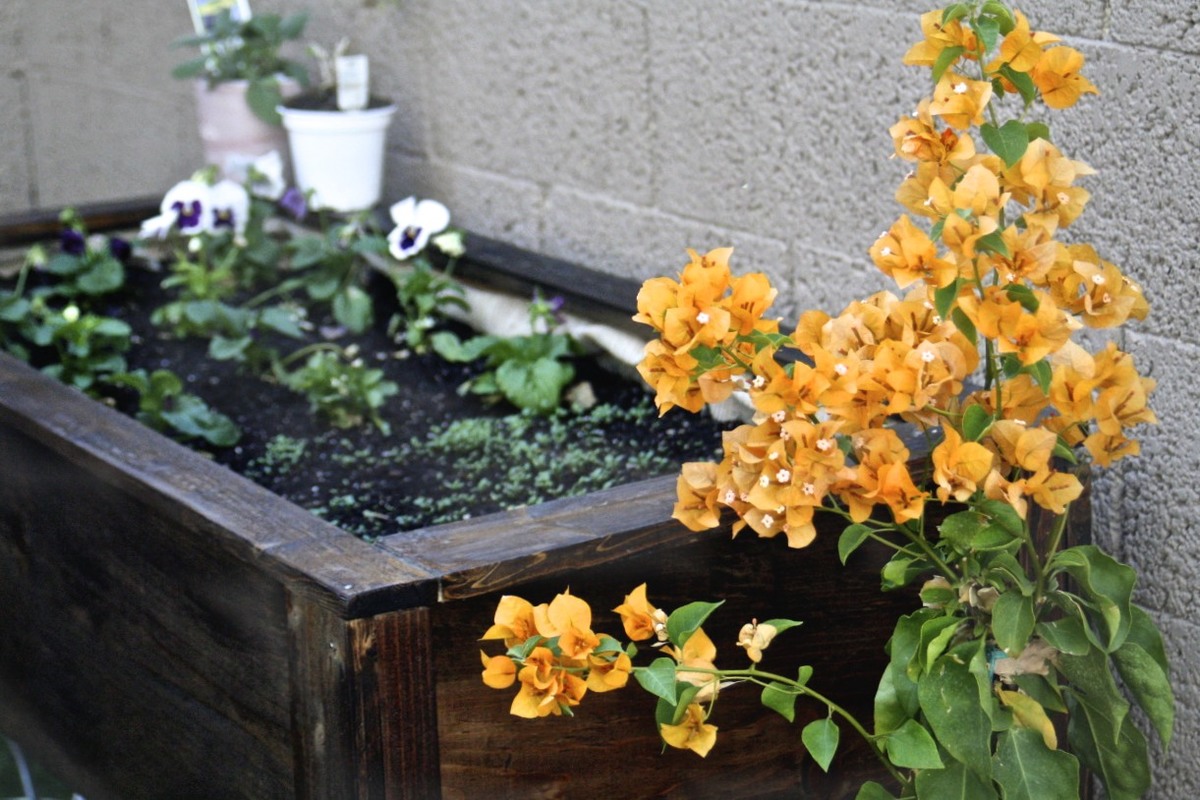
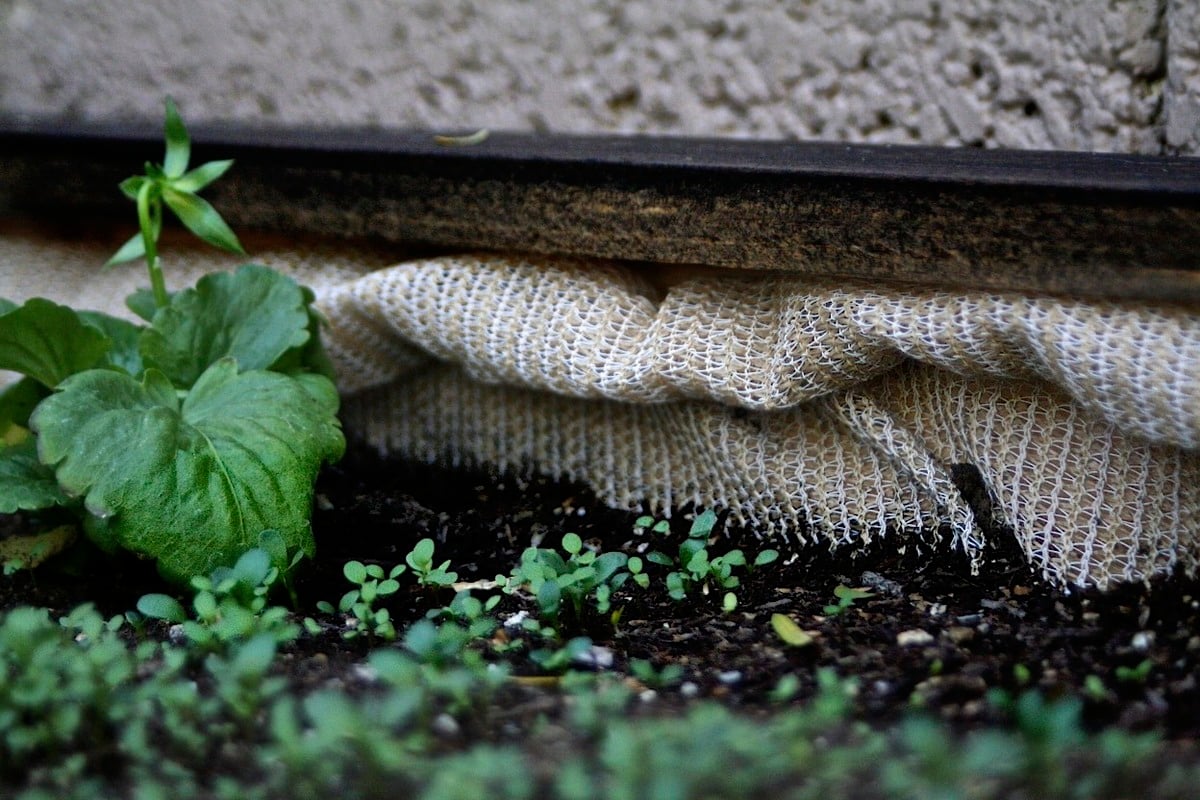
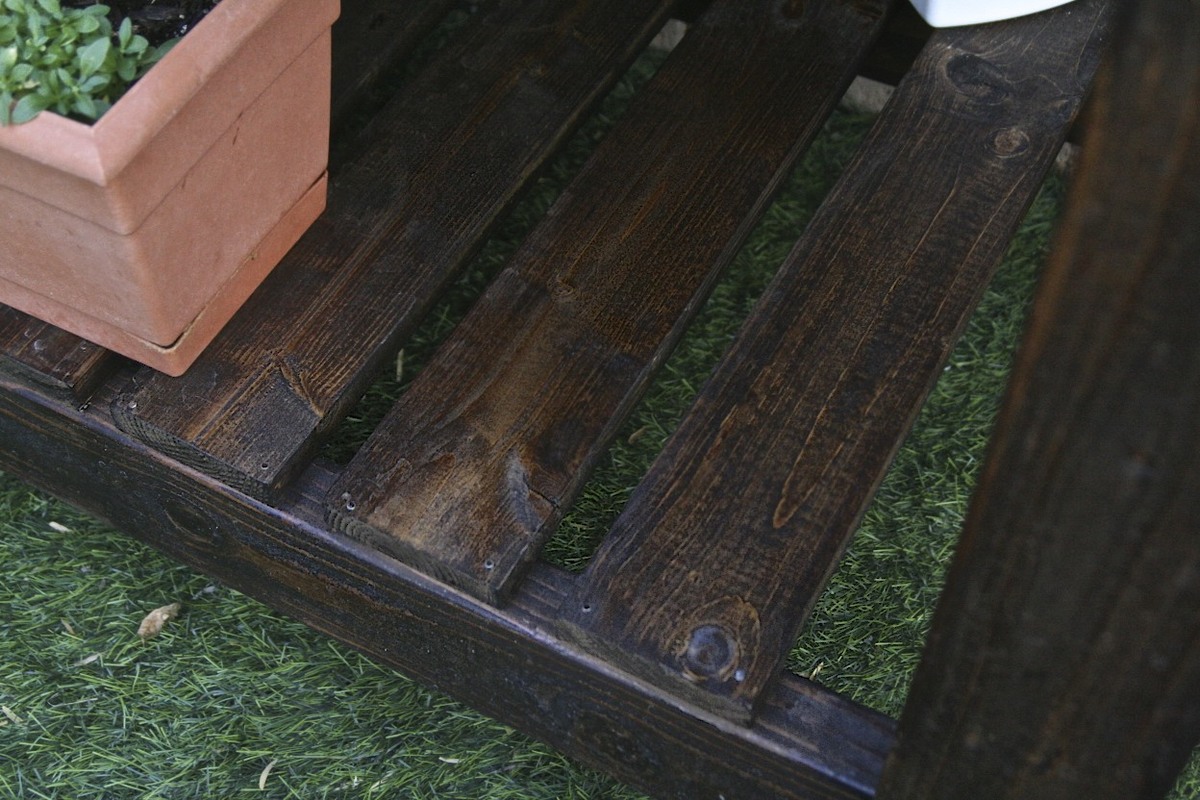
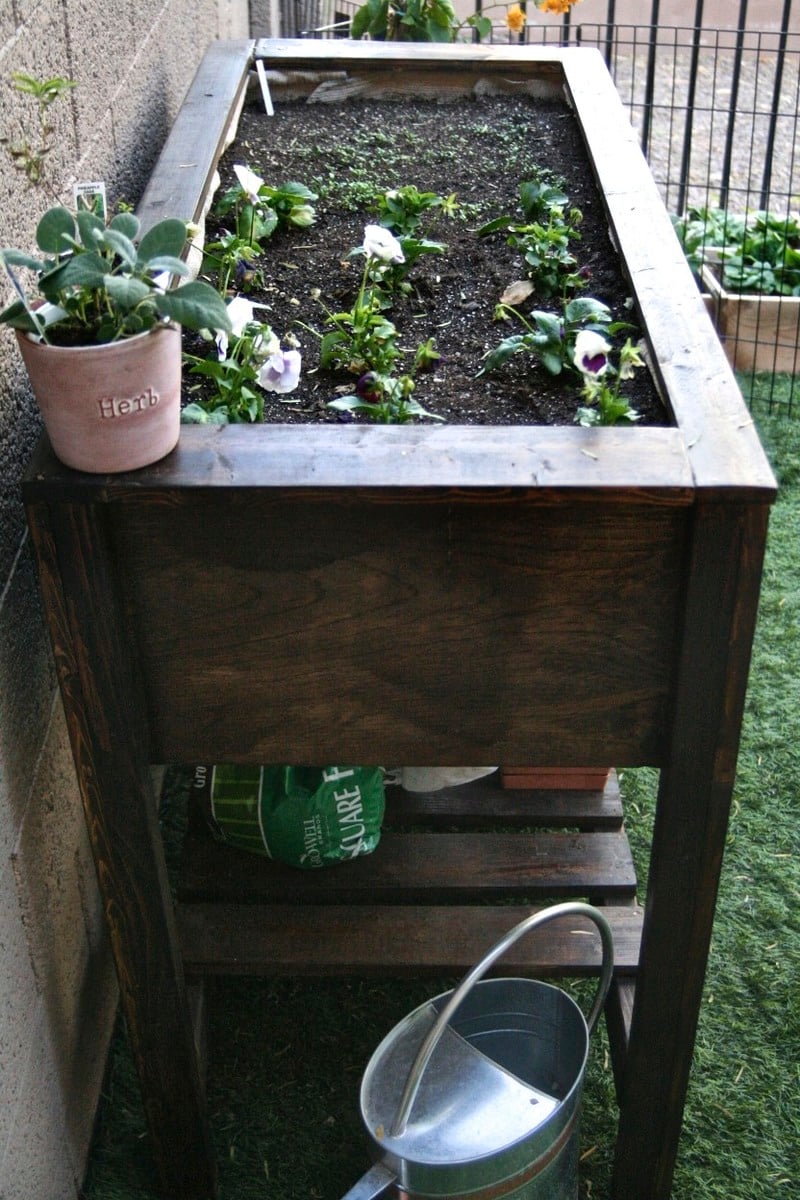
Living in Tempe, Arizona, I am always in need of creative planter boxes so that I can garden with more ease. I loved this tutorial and recommend it to anyone, even beginners! A full tutorial can be seen here: http://www.barerootgirl.com/homemade/2012/11/5/homemade-diy-raised-gard…


Estimated Cost
$30
Estimated Time Investment
Weekend Project (10-20 Hours)
Finish Used
Minwax Stain in Provincial
Recommended Skill Level
Beginner
Seasonal And Holiday

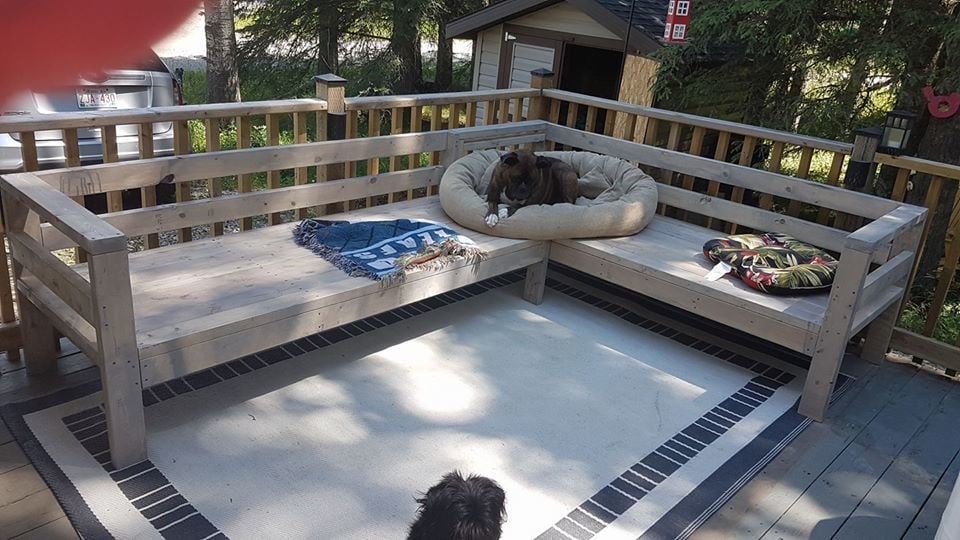
Outdoor Sofa and Sectional

Submitted by Anonymous (not verified) on Fri, 07/14/2017 - 00:22

I haven't really done anything like this, came out quite well. I modified the back for what I think is better comfort, added side supports to hold throw pillows in place and added 2 extra 2x4's to seating surfaces. The sofa I built in an afternoon with an extra pair of hands to line things up and hold them in place. The sectional took a little longer to complete as my helper was off building his own couch (after he saw how simple it was to do). I also didn't use a pocket jig (couldn't find one in rural hardware store) but a countersink drill bit for all screw holes. 

Estimated Cost
in Canadian, for the sofa and sectional about 220 with stain.
Estimated Time Investment
Weekend Project (10-20 Hours)
Finish Used
latex semi transparent stain
Recommended Skill Level
Beginner

Comments

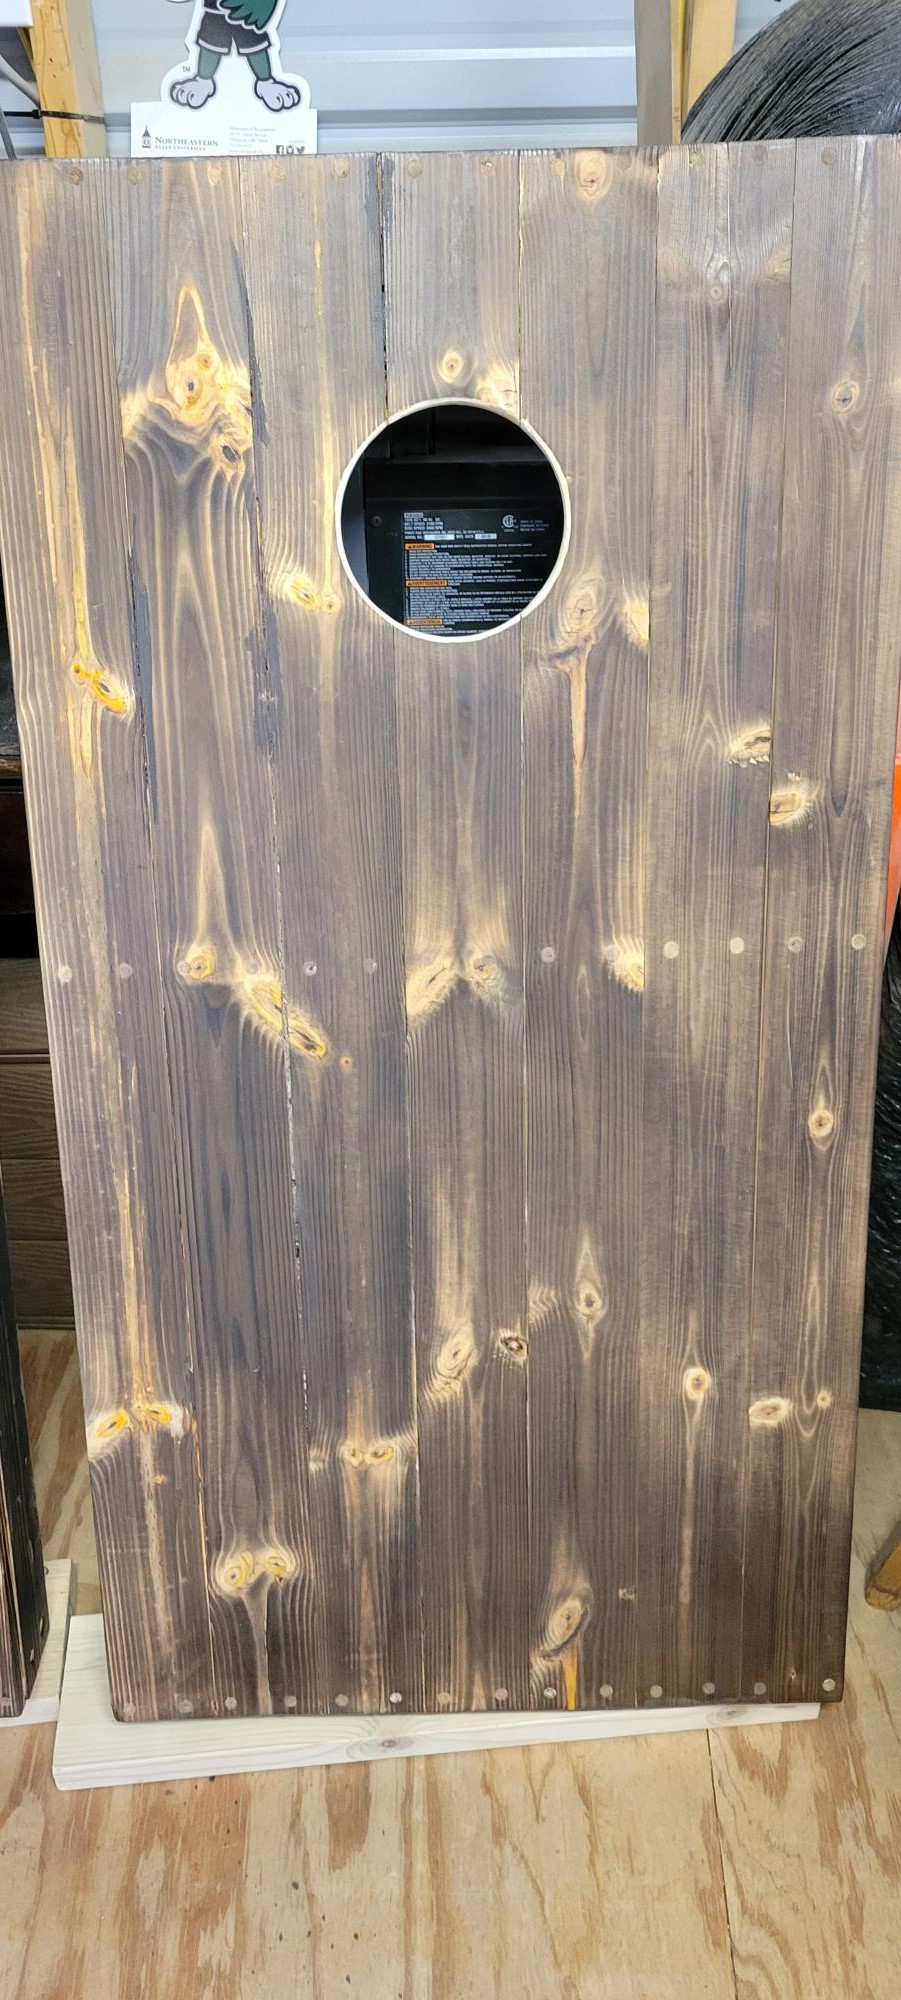
Shou Sugi Ban (Yakisugi) Cornhole Boards

Submitted by Anonymous (not verified) on Sun, 12/26/2021 - 14:48

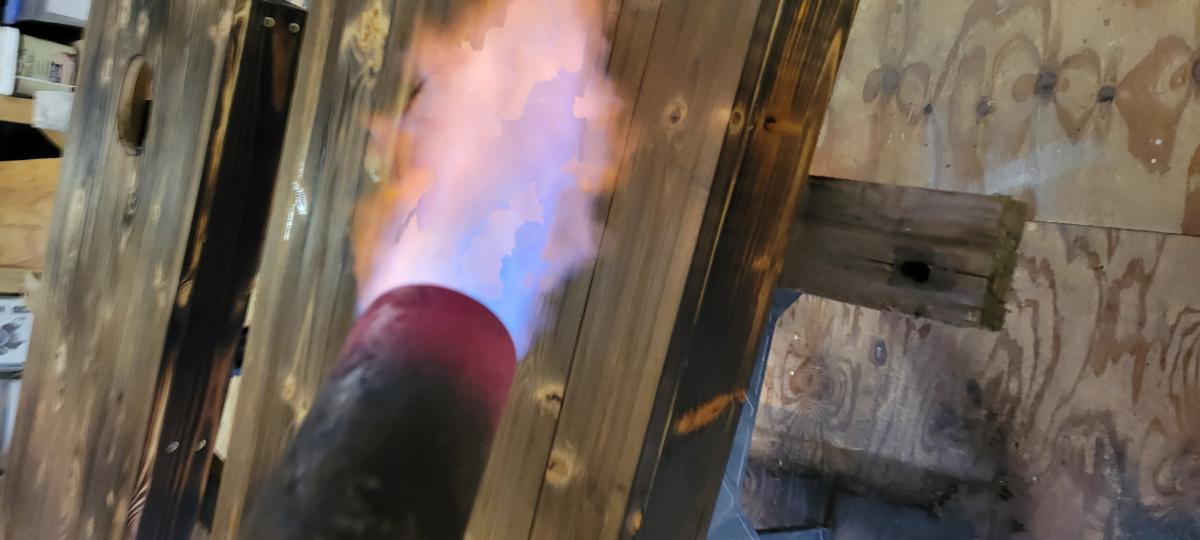
I'm James Farquhar, designer, and fabricator. This is the second set of cornhole boards I built this year. This set is the regulation size of 48" x 24" according to the American Cornhole Association. It is made from fir 2 x 4 s and pine 1 x 4 s (6 per board). Each board is glued with Titebond II and countersunk Torx top screws (#8 1-1/2 inches). It is coated with Minwax polyacrylic (8 layers sprayed on) and Howard's bee's wax (3 layers). The boards are secured with 3-inch toggle latches in pairs. Kayak carrying handles with four screw ports; I used the same Torx Screws I used to put the boards together, extra for strength. The total weight of the boards is 60 pounds. I used a Texas Flame Thrower to Shou Sugi Ban (Yakisugi), as a finish.

Comments

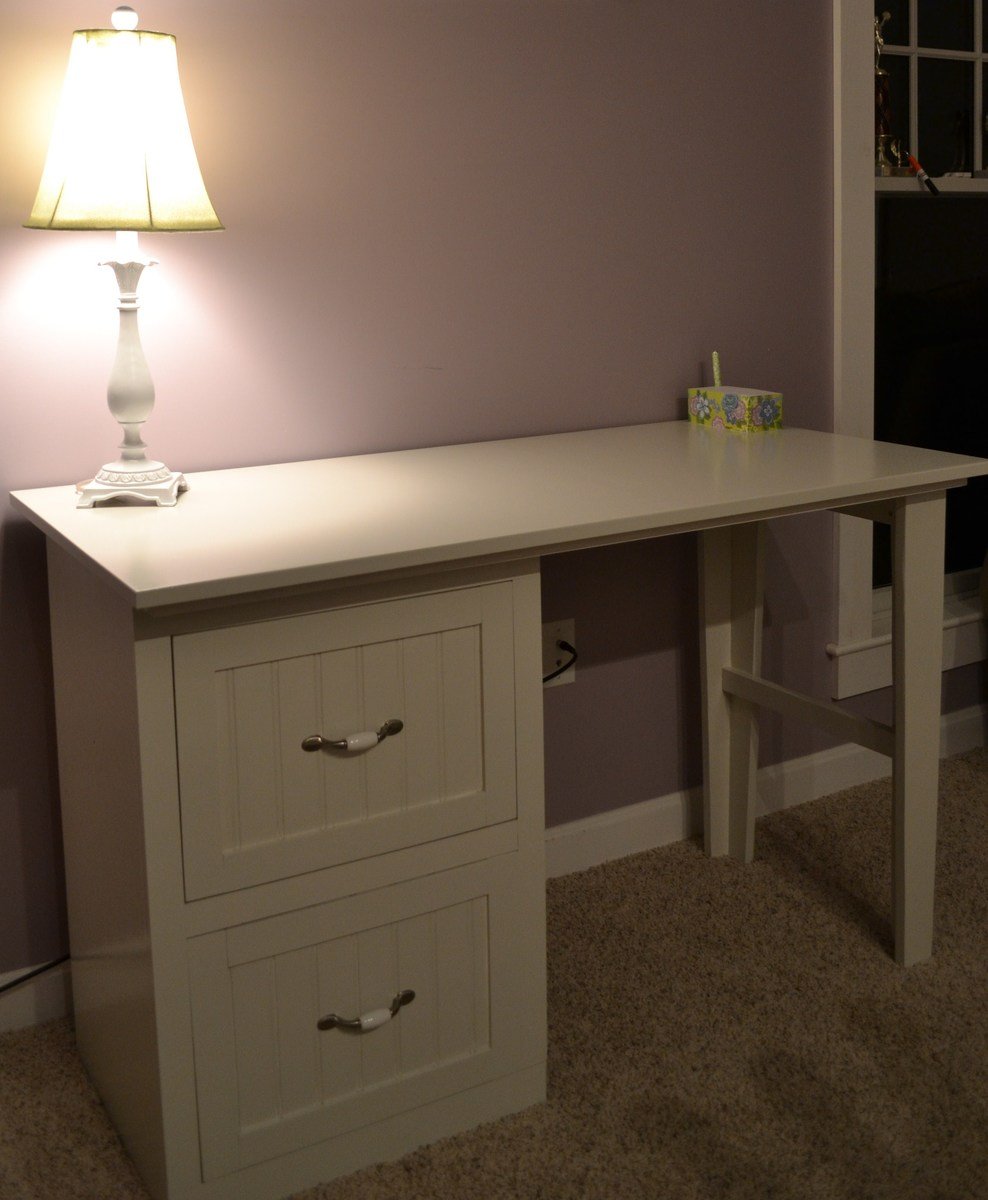
Modular office small desktop/Narrow file drawer base unit

Submitted by gmamurphy on Sun, 06/12/2011 - 14:00

Combined the modular office small desktop with the Narrow file drawer base unit to suit my needs/space requirements. Used the legs from the narrow farmhouse table because I just loved them! Added beadboard for the drawer faces because it matches the rest of our house.

Estimated Time Investment
Week Long Project (20 Hours or More)
Finish Used
painters touch and minwax polycrylic
Recommended Skill Level
Intermediate

Comments

bundaboy

Mon, 04/28/2014 - 22:18

I am about to start on a very similar 4 draw version of this, do you have any more information? In particular I was wondering how the drawer slides were fitted - are the side or bottom fitting? Cheers and well done!

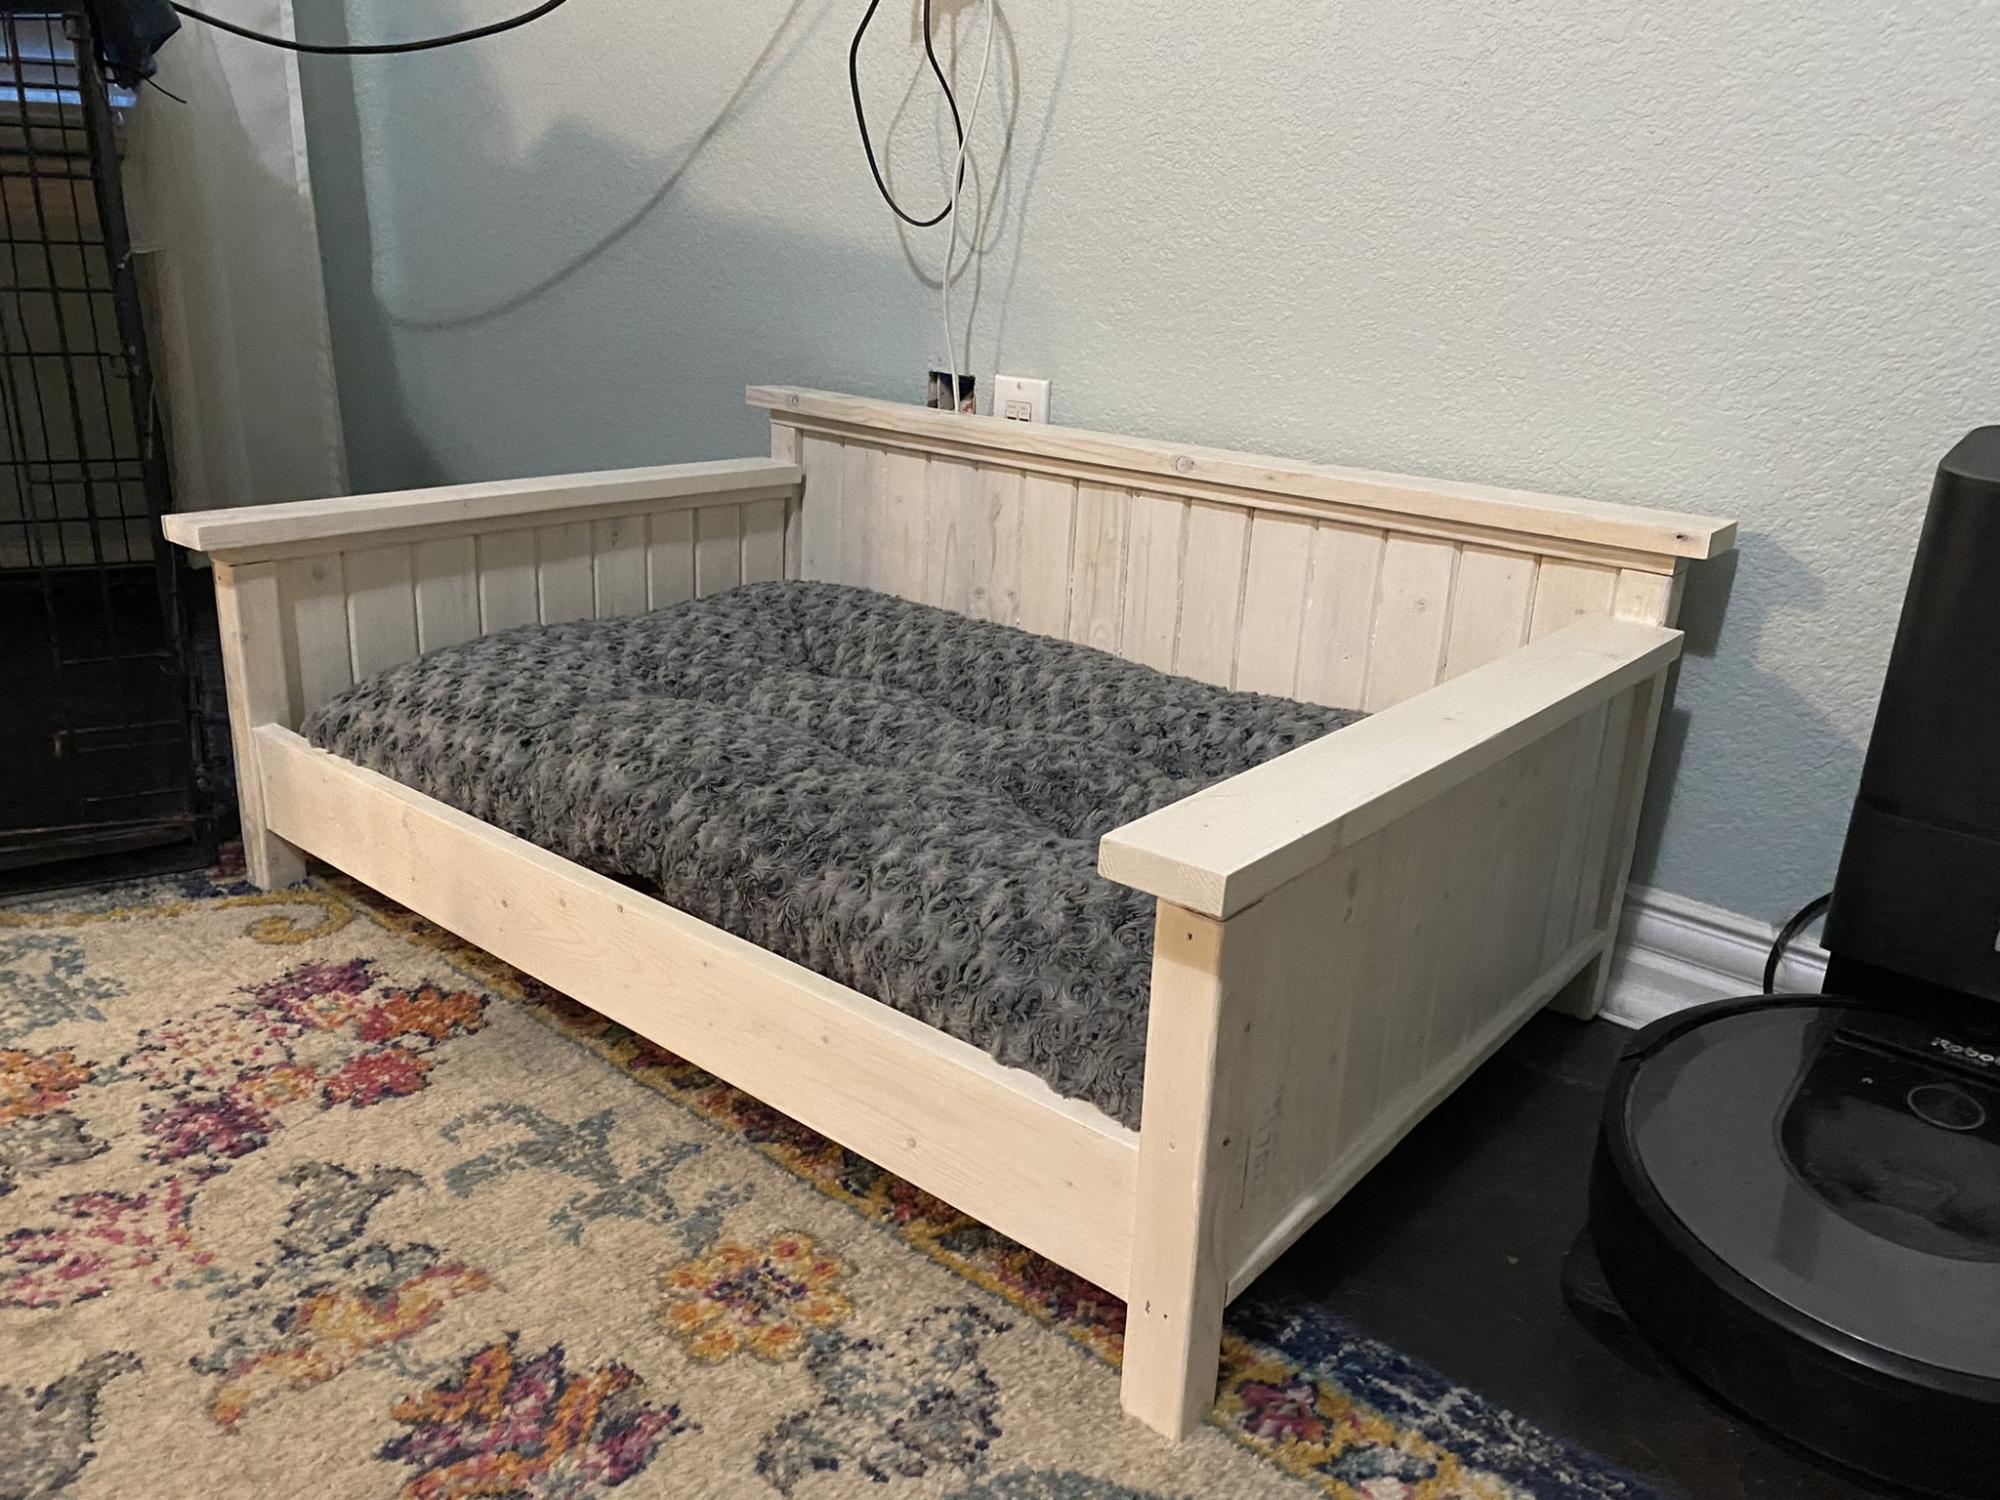
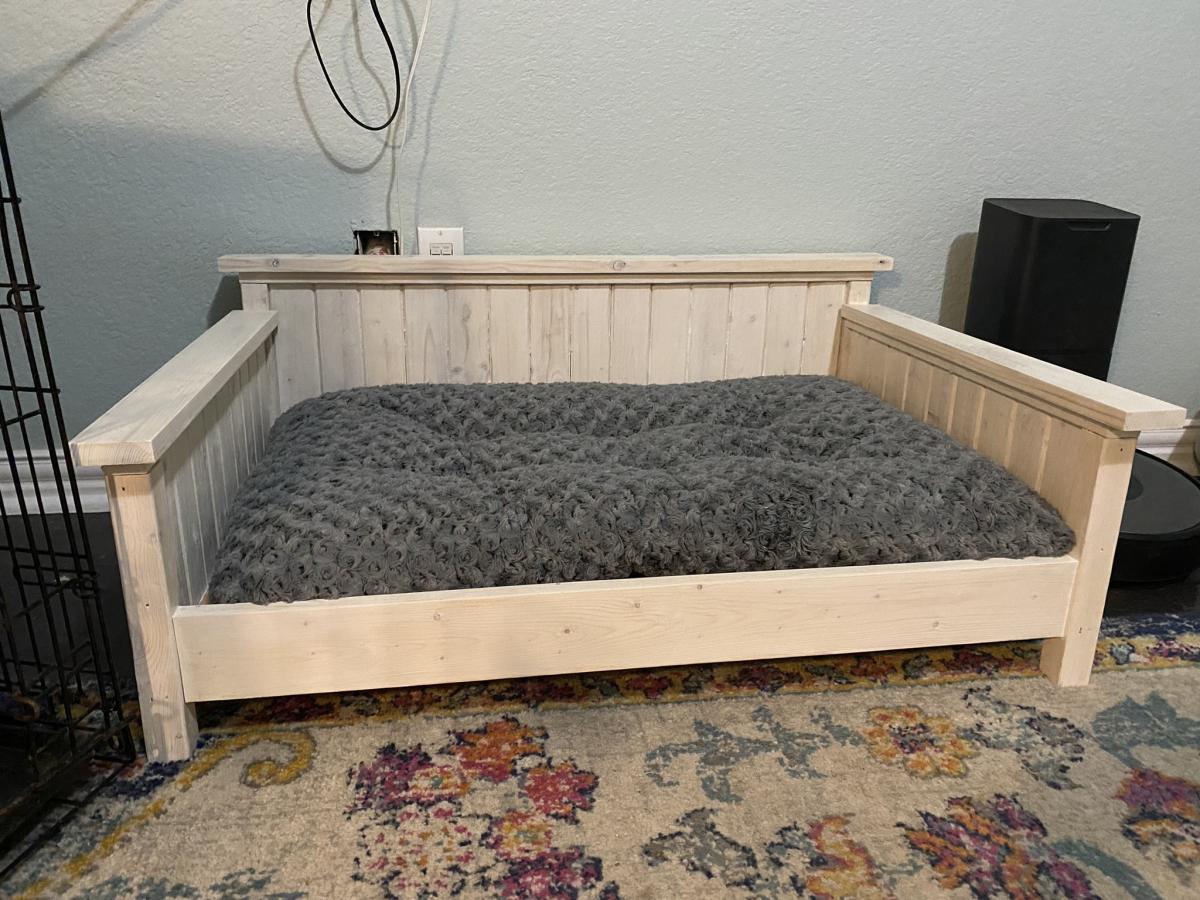
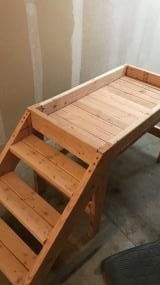
Farmhouse Doggie Daybed

Submitted by jkjackson on Sun, 04/24/2022 - 18:42

This was adapted from the Farmhouse bed plans to match our king size farmhouse bed.

Comments

L shaped triple x desk

Submitted by Anonymous (not verified) on Sun, 01/01/2023 - 13:24

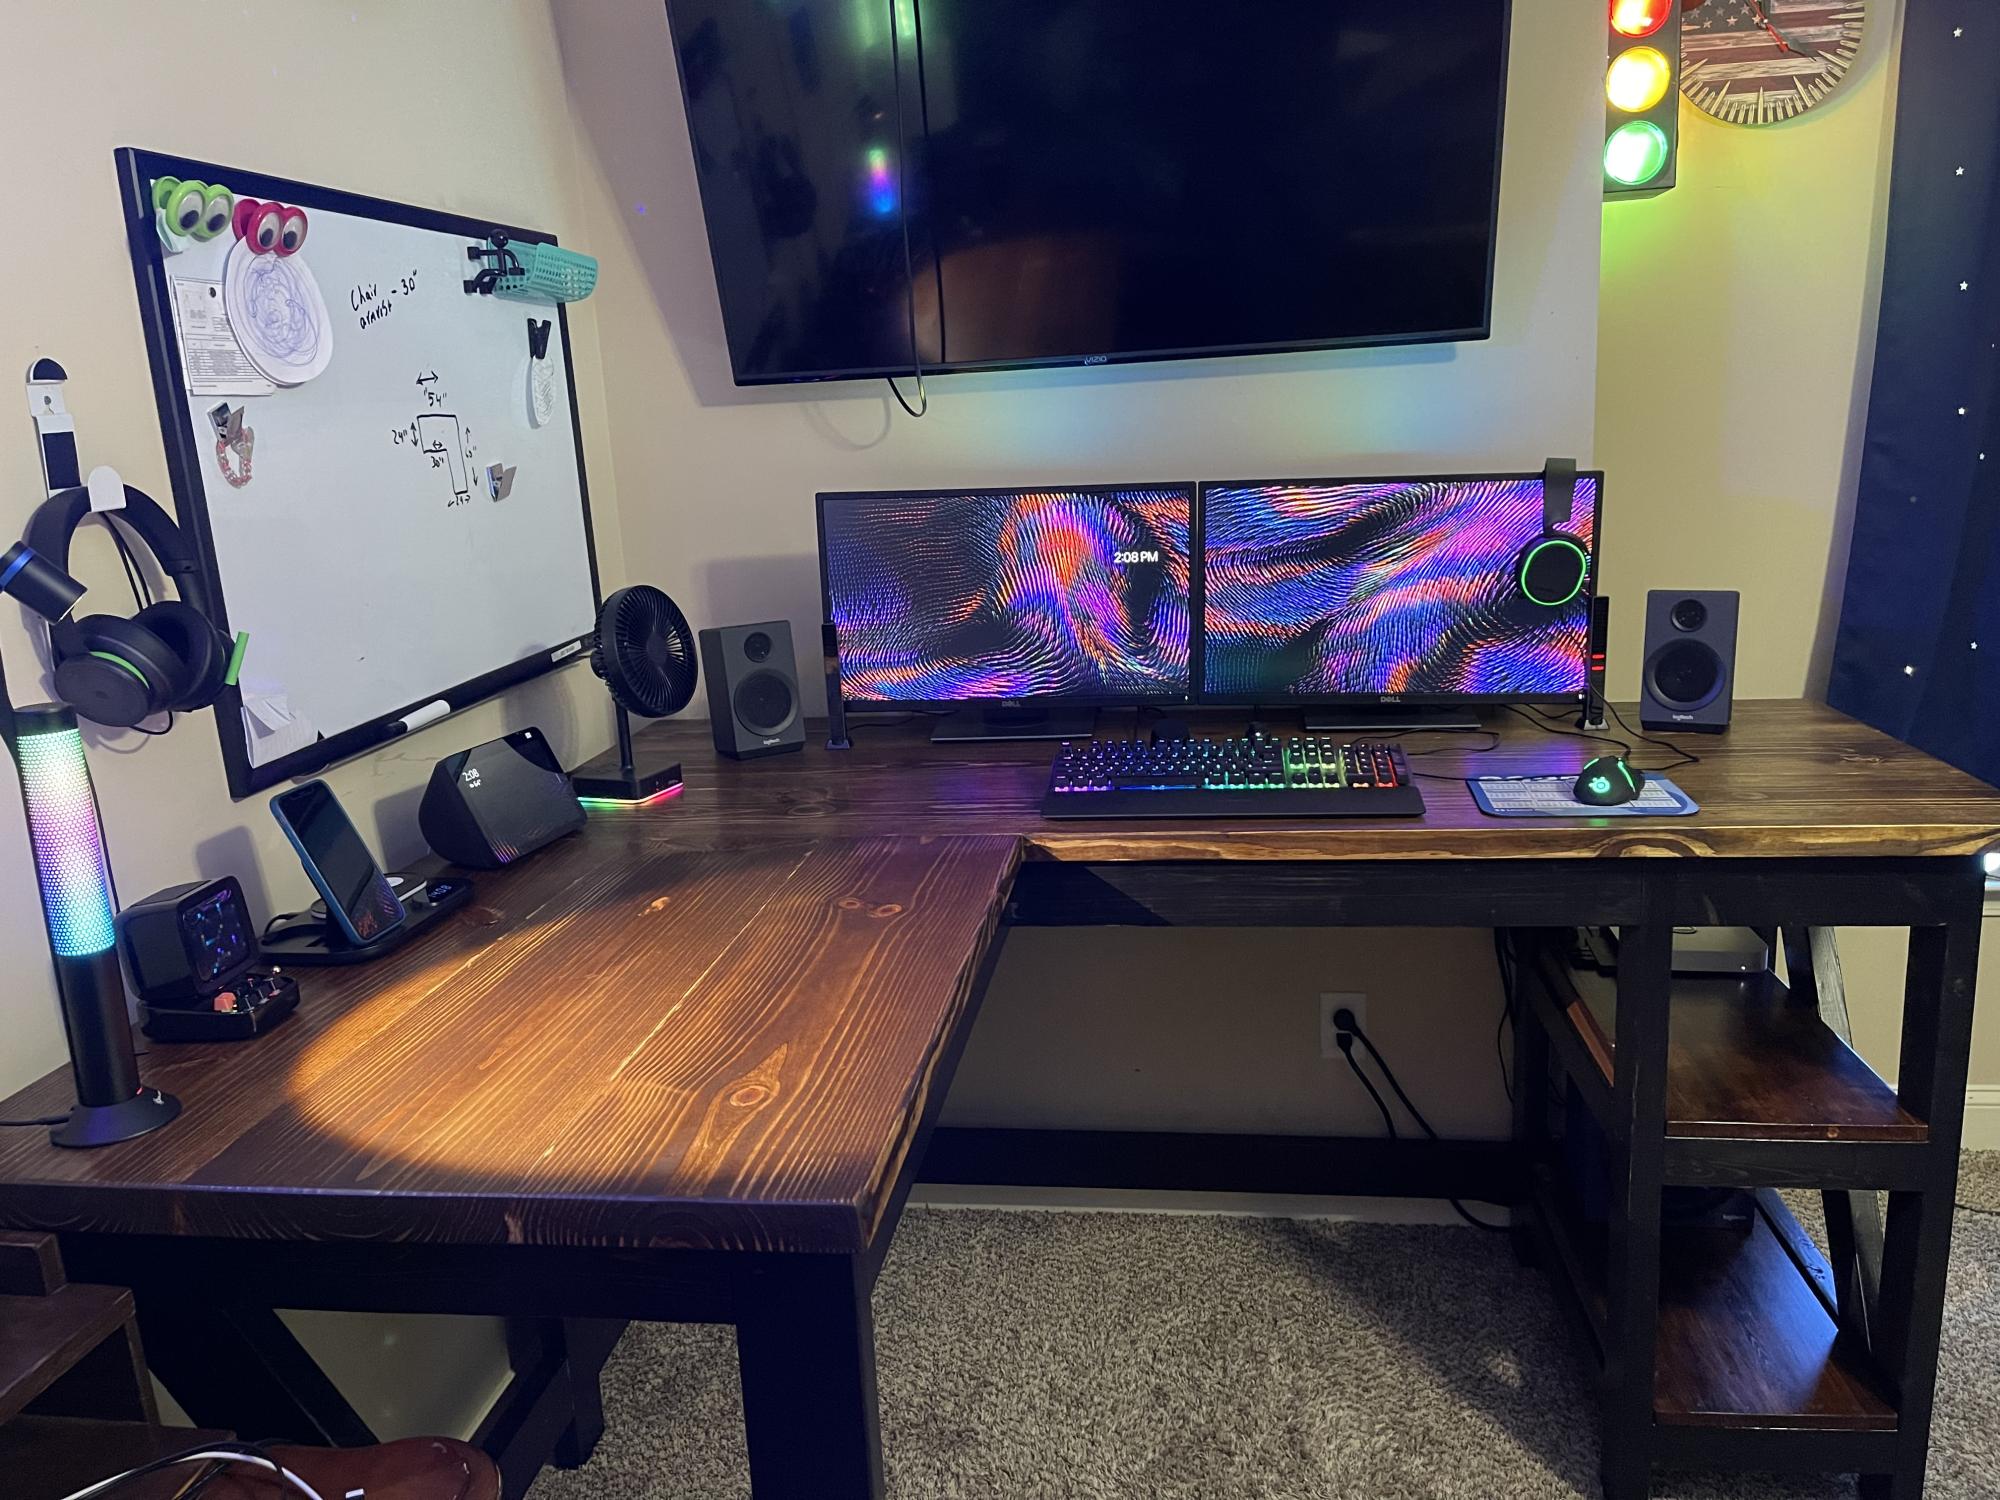
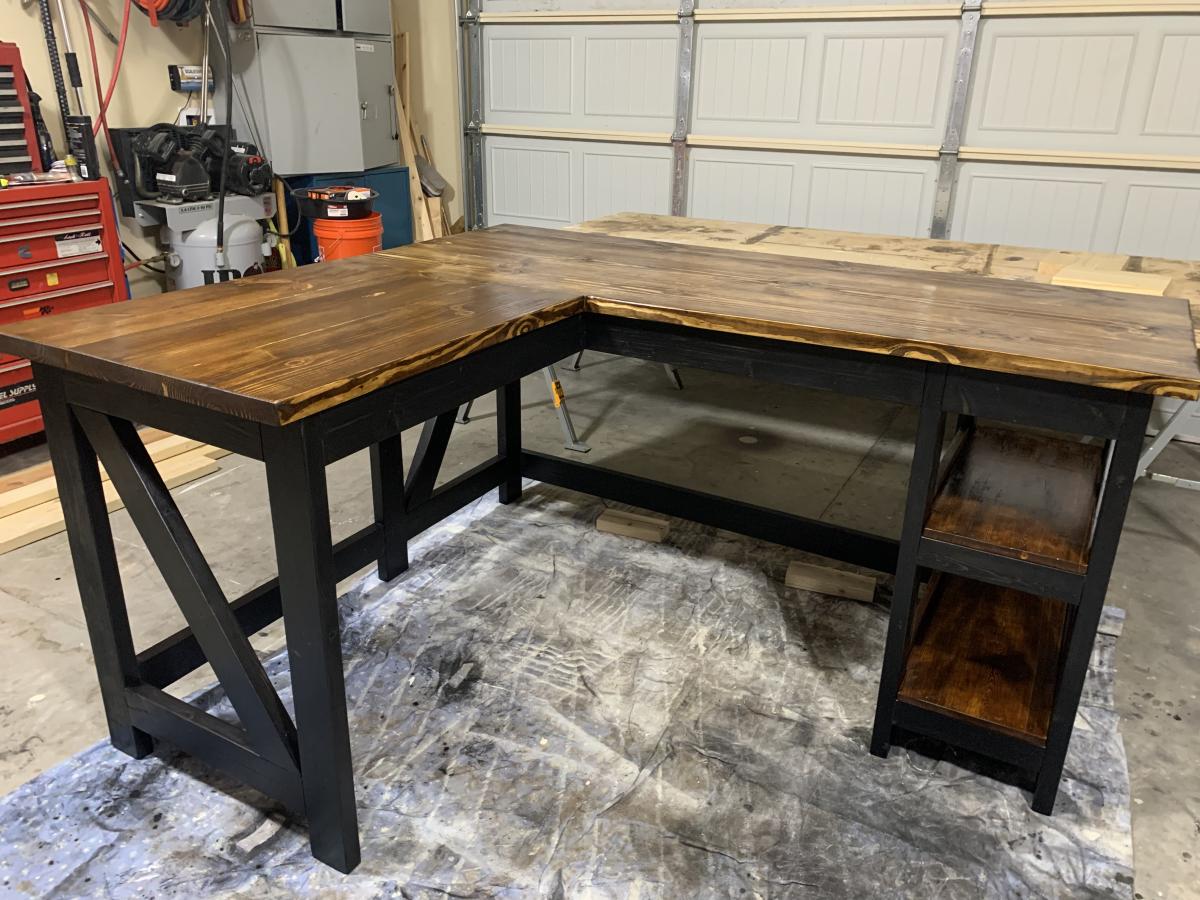
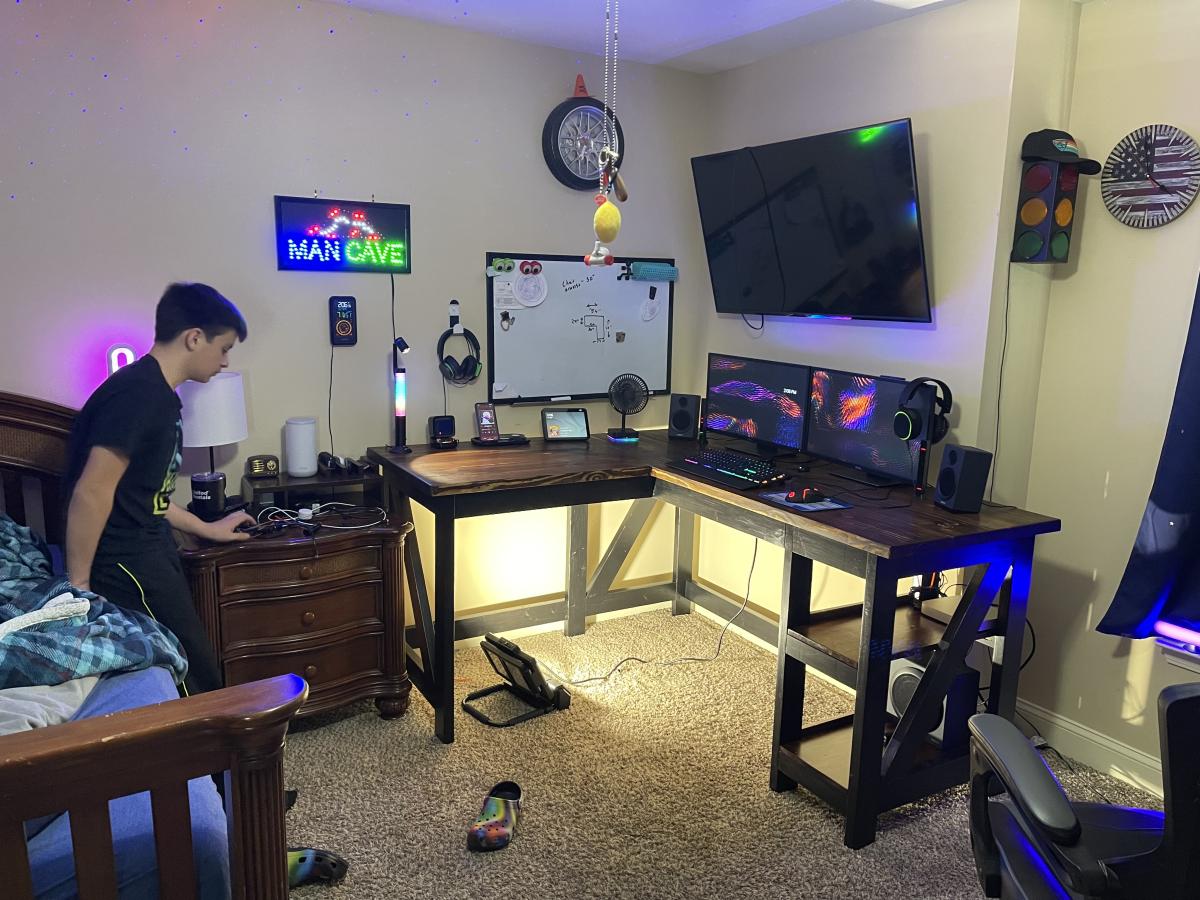
We built this desk over Christmas break with my son for his bedroom.
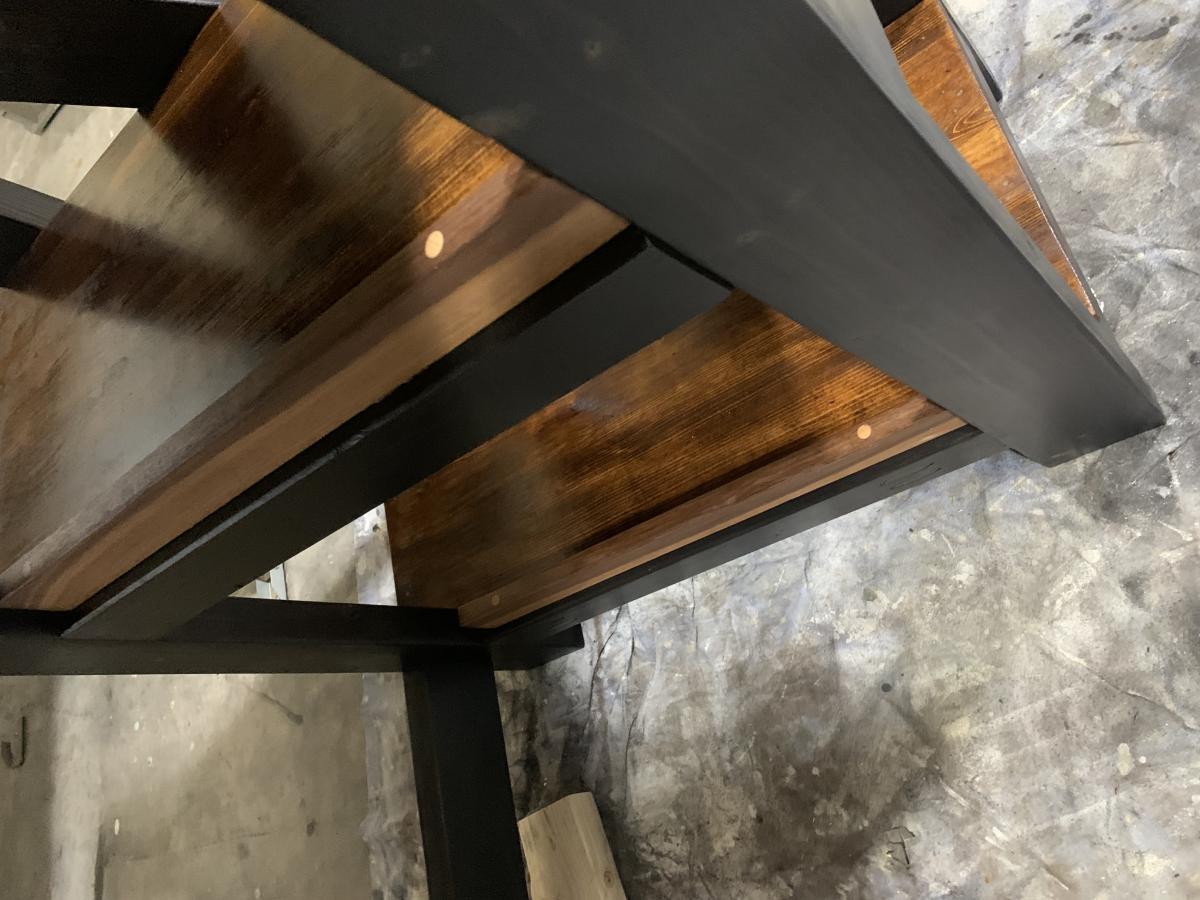
Ran all wood through a planer and used pocket hole screws and Tite bond 3 glue. Black stain and satin polyurethane (3 coats) for the frame and my own stain concoction for the shelves and top treated with 2 coats of Odies oil.
He was very pleased and we enjoyed our time working on this project

Comments

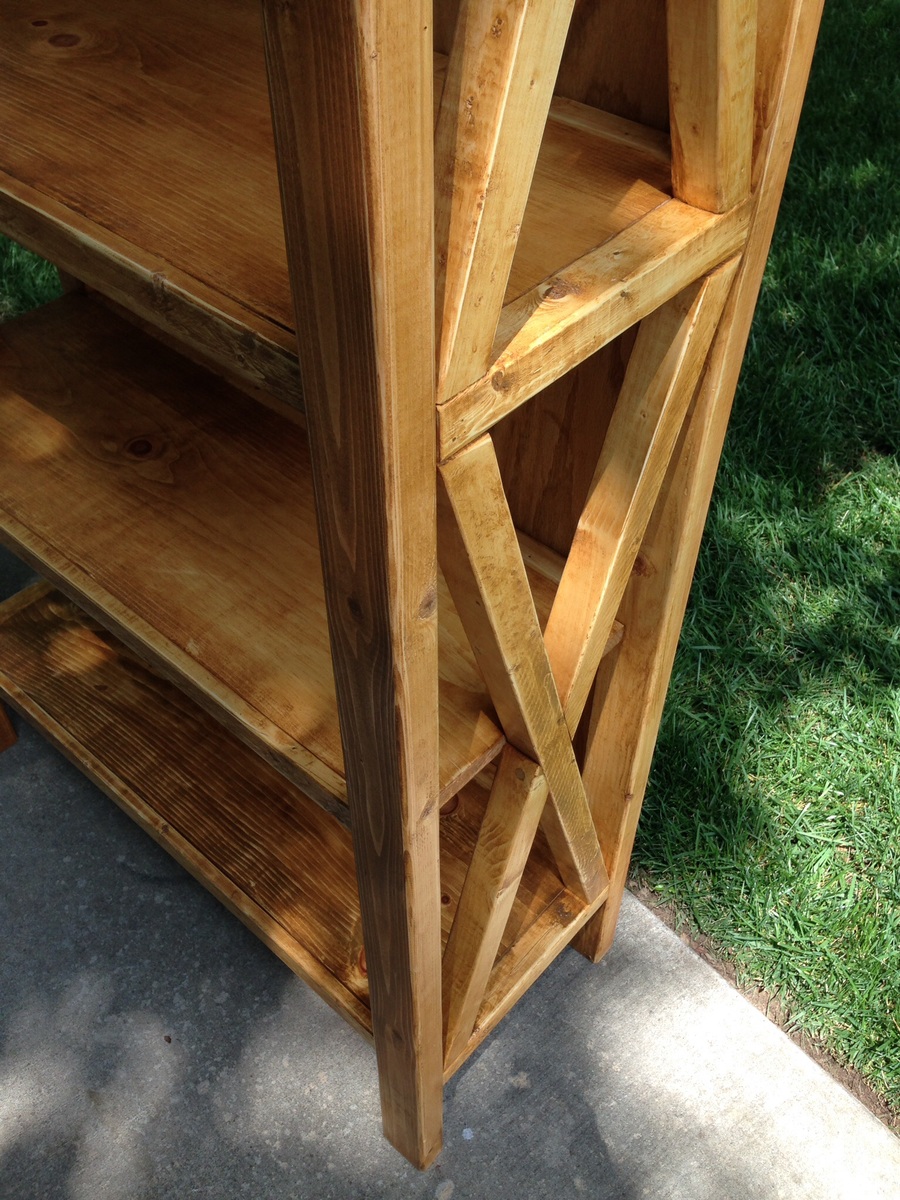
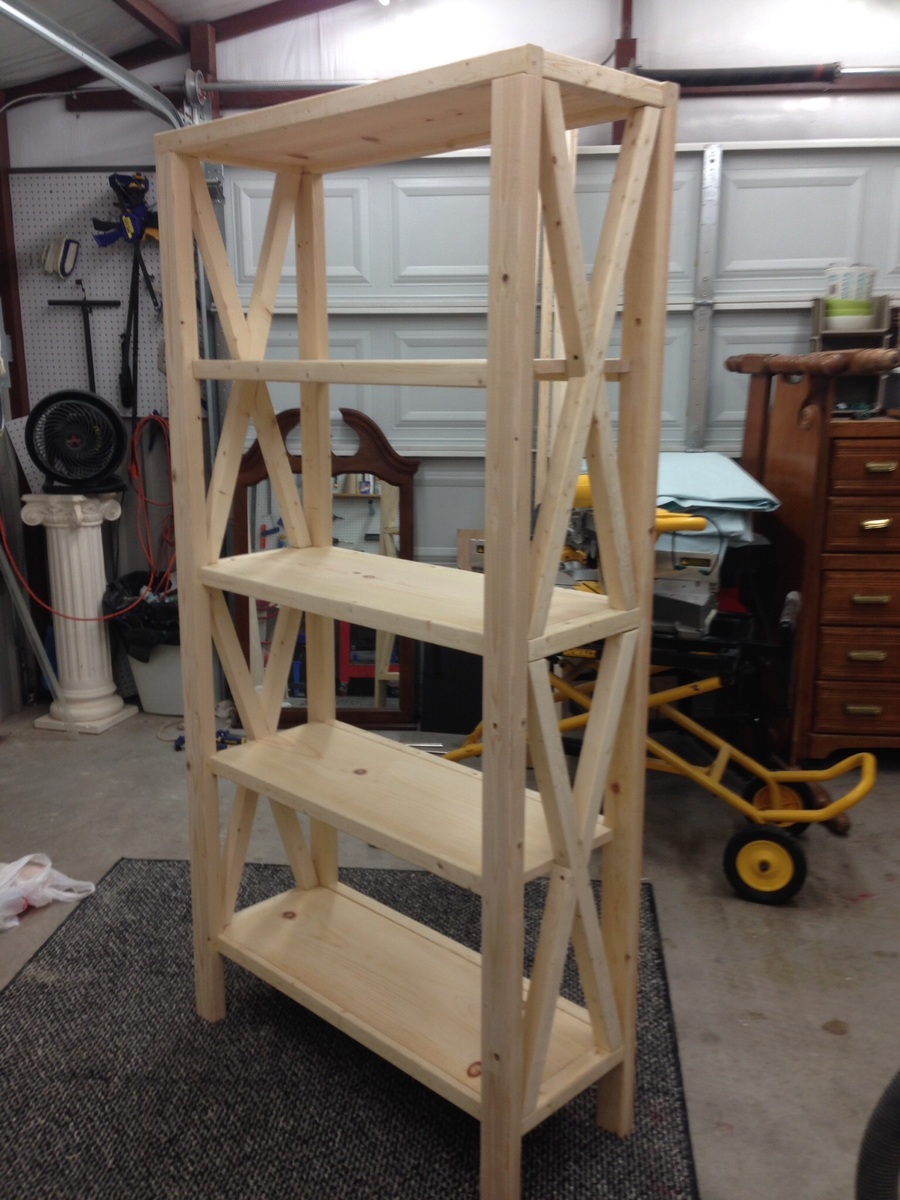
Henry Bookshelf

Submitted by ctay on Wed, 10/22/2014 - 19:36

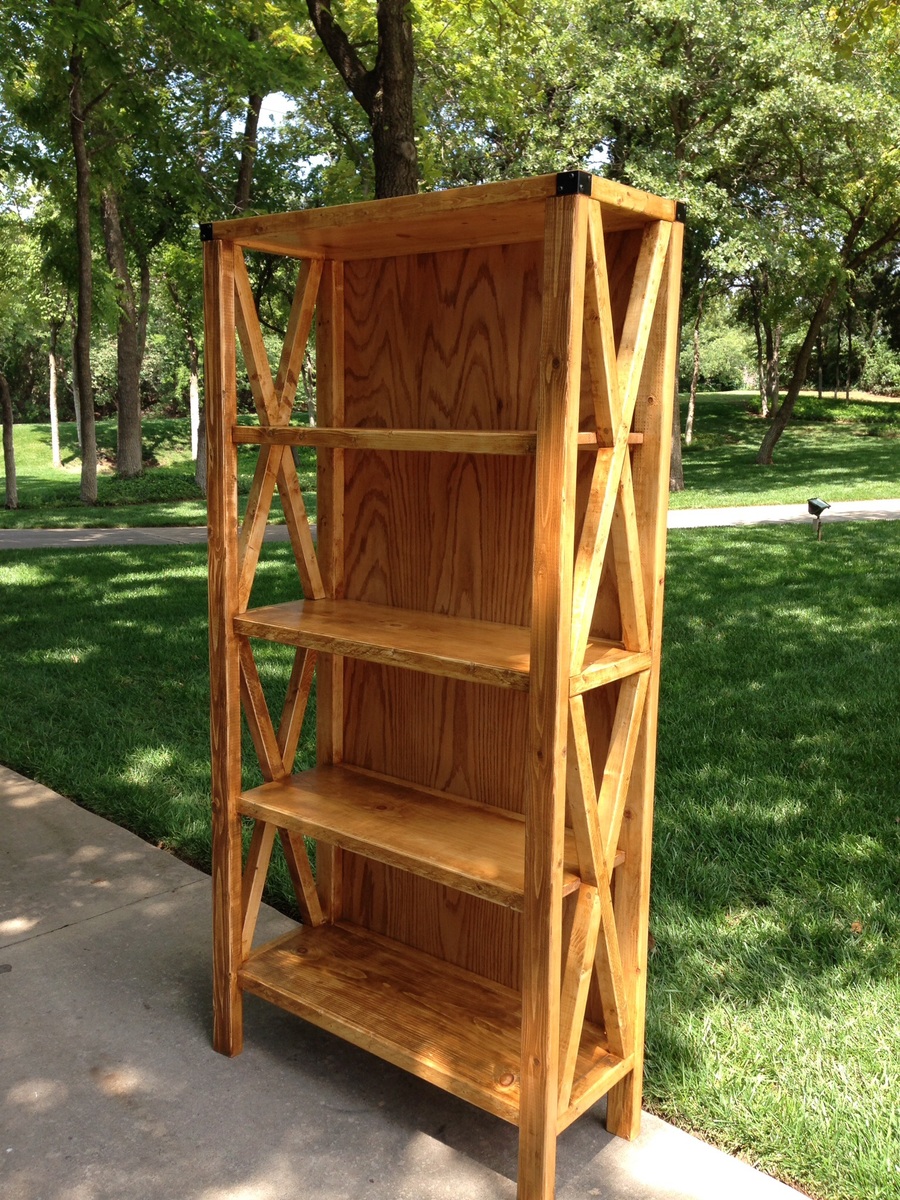
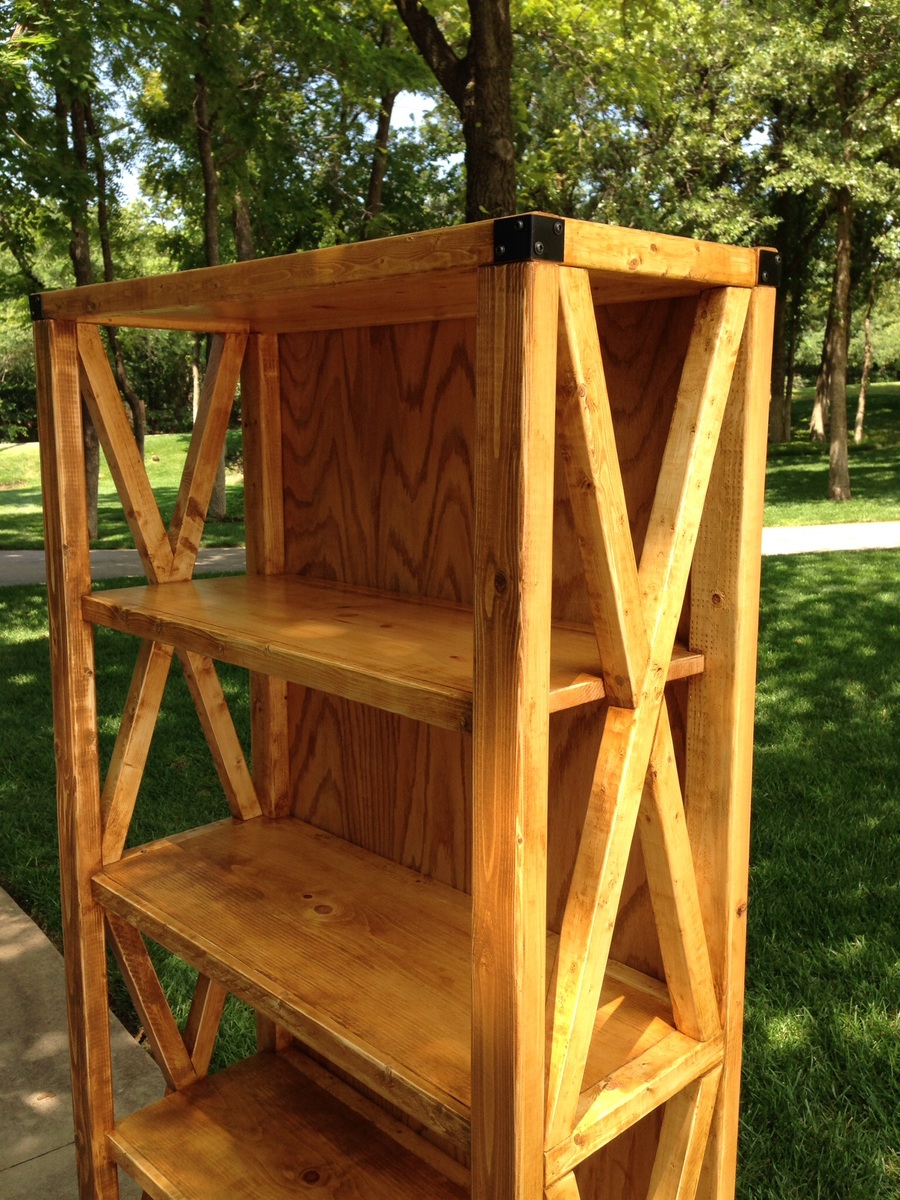
Built this bookcase for my daughter, only modification was to add the X's on the side. She needed to be able to store all of her books on it.  Love it!  I now have another family member that wants one just like it!

Built from Plan(s)
Estimated Cost
Under 100.00
Estimated Time Investment
Week Long Project (20 Hours or More)
Finish Used
Rustoleum Wheat color with general finishes poly clear coat in semi gloss.
Recommended Skill Level
Intermediate

mega coop

Submitted by Anonymous (not verified) on Sun, 03/26/2017 - 13:42

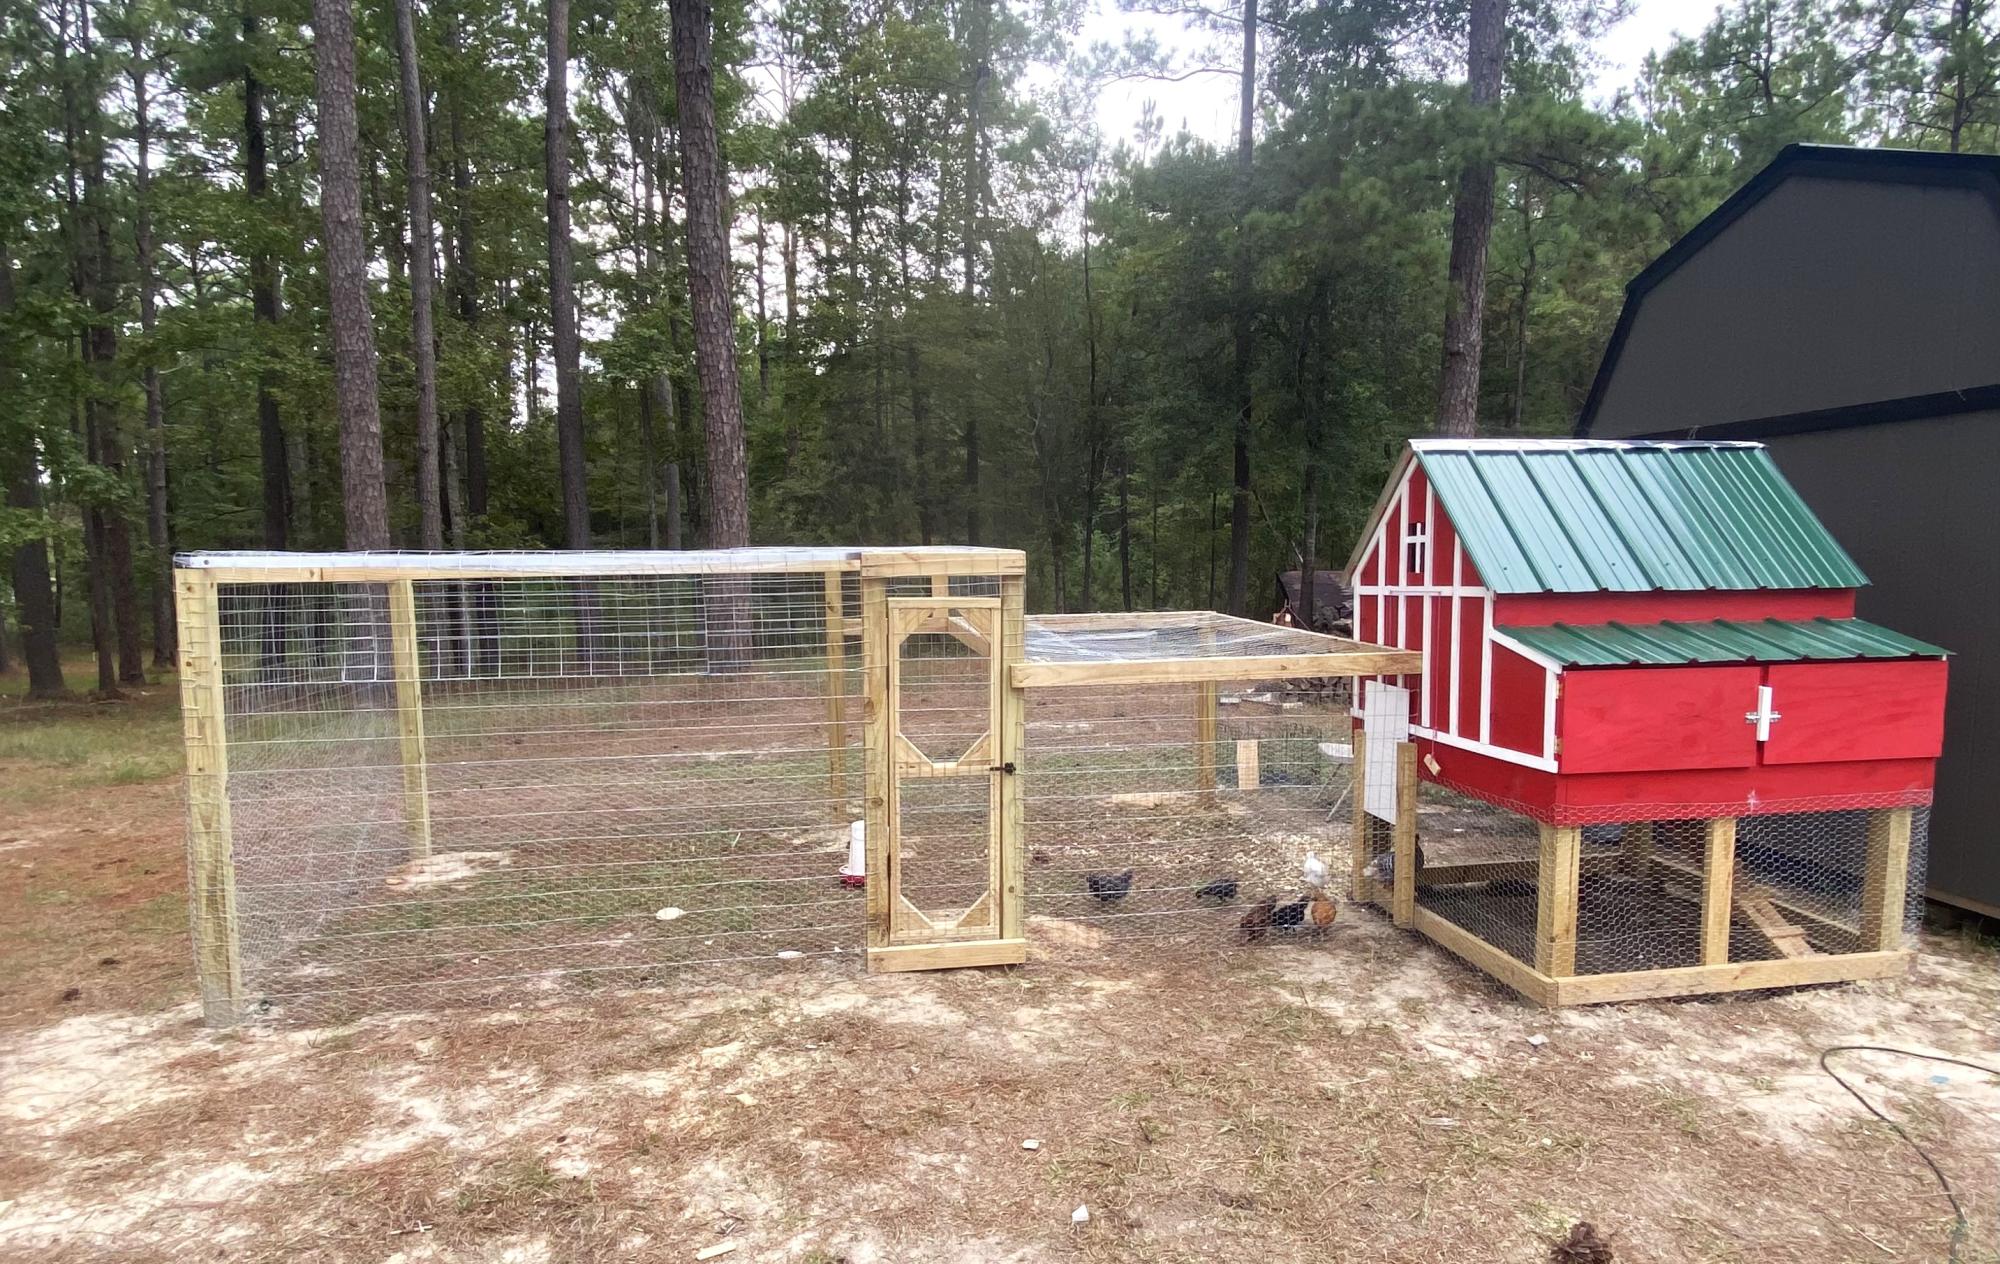
milled a bunch of cedar with the intention of building adirondack chairs, but we got chickens instead :)

Estimated Cost
$50 in hardware milled all the wood
Estimated Time Investment
Day Project (6-9 Hours)
Finish Used
just going to let it weather naturally
Recommended Skill Level
Intermediate

Frosty Garden Greenhouse

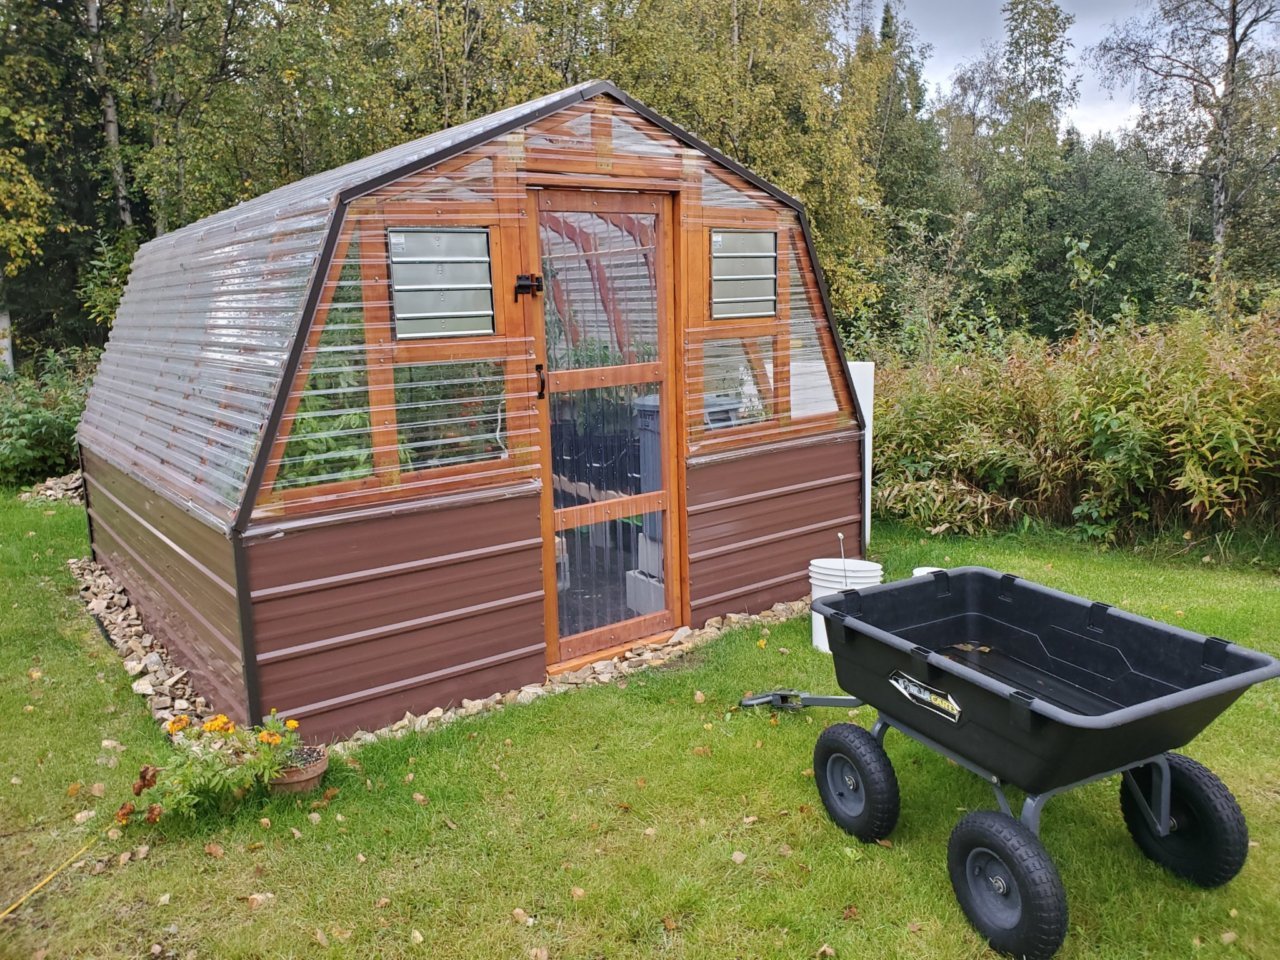
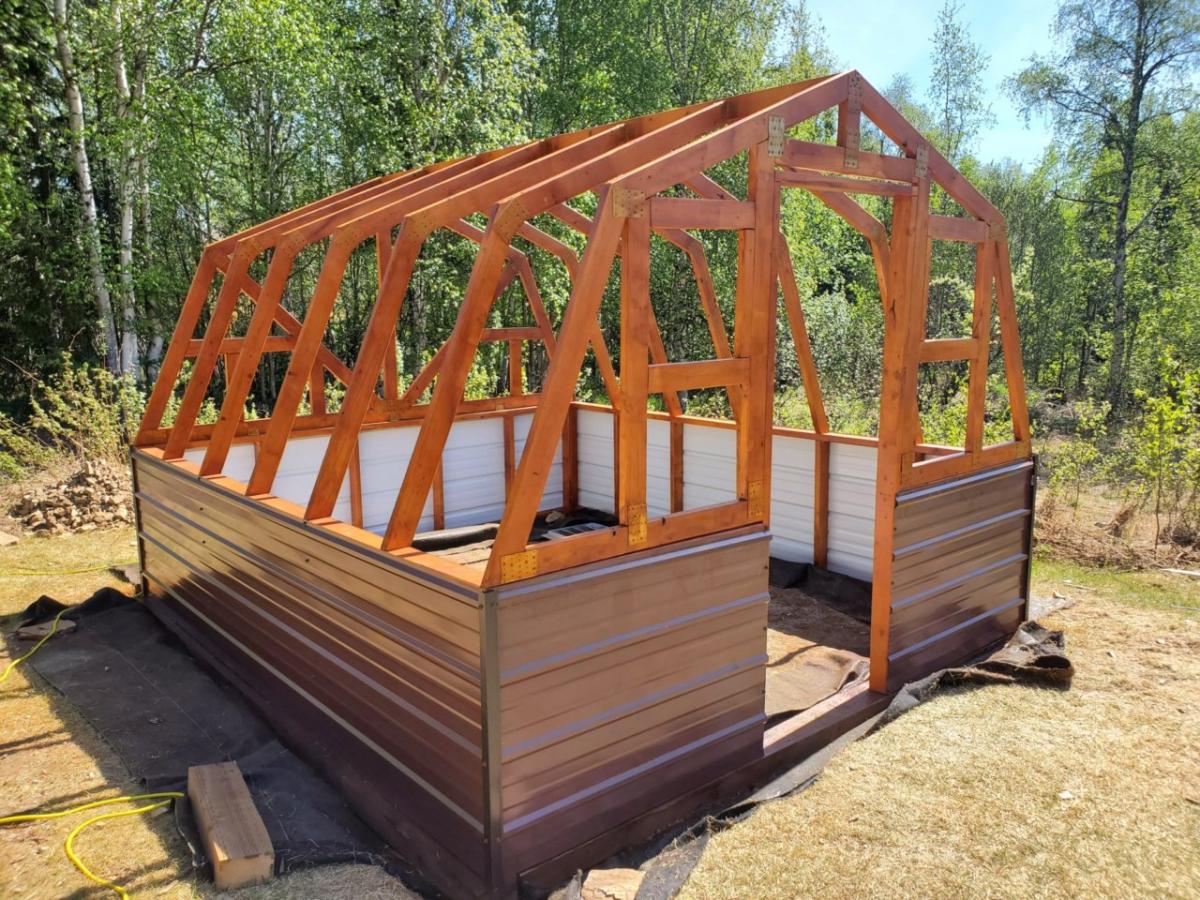
It was truly great for us to find a greenhouse design from a fellow Interior Alaskan blogger. We kept coming back to this design, enough times to where we decided to actually build it.
We would be the first to admit that tackling a gambrel style building was slightly intimidating and not what we had in mind for our very first self-built building! But, we faithfully followed the cut lists and directions. It turned out beautifully! If you're in the same boat, have confidence that you can build this too!

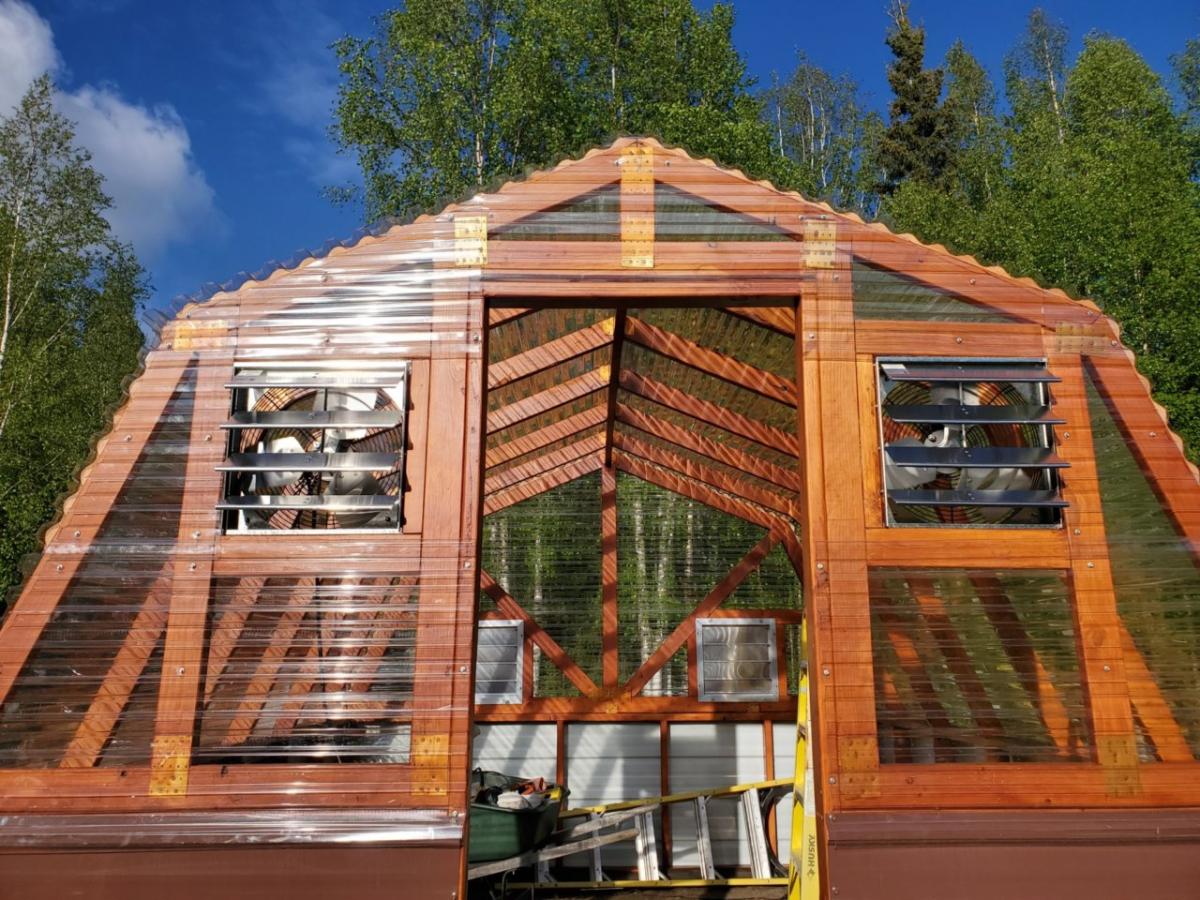
We love the options available for making it your own. We decided to stain the greenhouse lumber of ours to match our cedar sided home. We also built a semi frost-resistant foundation, since we're a little north of Ana at 65 degrees and sometimes experience frost heaving. We also added full climate controls to ours, adding both fans and louvers that keep our greenhouse at perfect temperatures.

The performance has been great! Building this greenhouse has been the single greatest thing we have done in our years of subarctic gardening. We might even consider building a second greenhouse down the road. No matter how big your greenhouse is, it's never quite enough!

Thanks for the great plans, Ana! We appreciate your work!

Built from Plan(s)
Estimated Cost
$2400
Estimated Time Investment
Week Long Project (20 Hours or More)
Finish Used
Transparent cedar stain
Recommended Skill Level
Intermediate

Comments

Outdoor Sofa

Submitted by Anonymous (not verified) on Sun, 04/23/2017 - 15:02

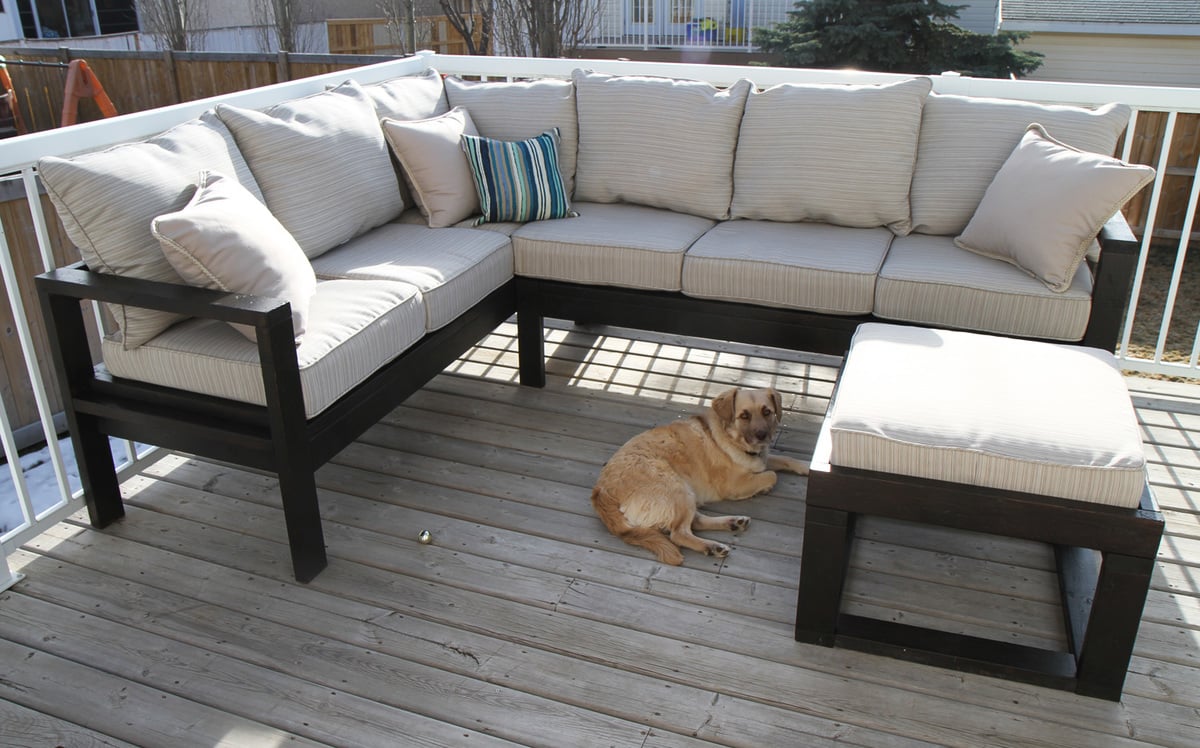
Modifed slightly to make a sectional.  Used extra cushion for an Ottoman.  Added an additional board behind/beside cushions to hold them firmly in place. (2x2)
Purchased 9' boards instead from our lumberyard.  Cushions from Lowe's, throw pillows from WalMart/Canadian Tire. 
 

Estimated Cost
Approx. $700

Cushions from Lowes (7 sets at $80)
Estimated Time Investment
Weekend Project (10-20 Hours)
Finish Used
Minwax Dark Walnut / Old Master's Dark Walnut Gel Stain
Recommended Skill Level
Beginner

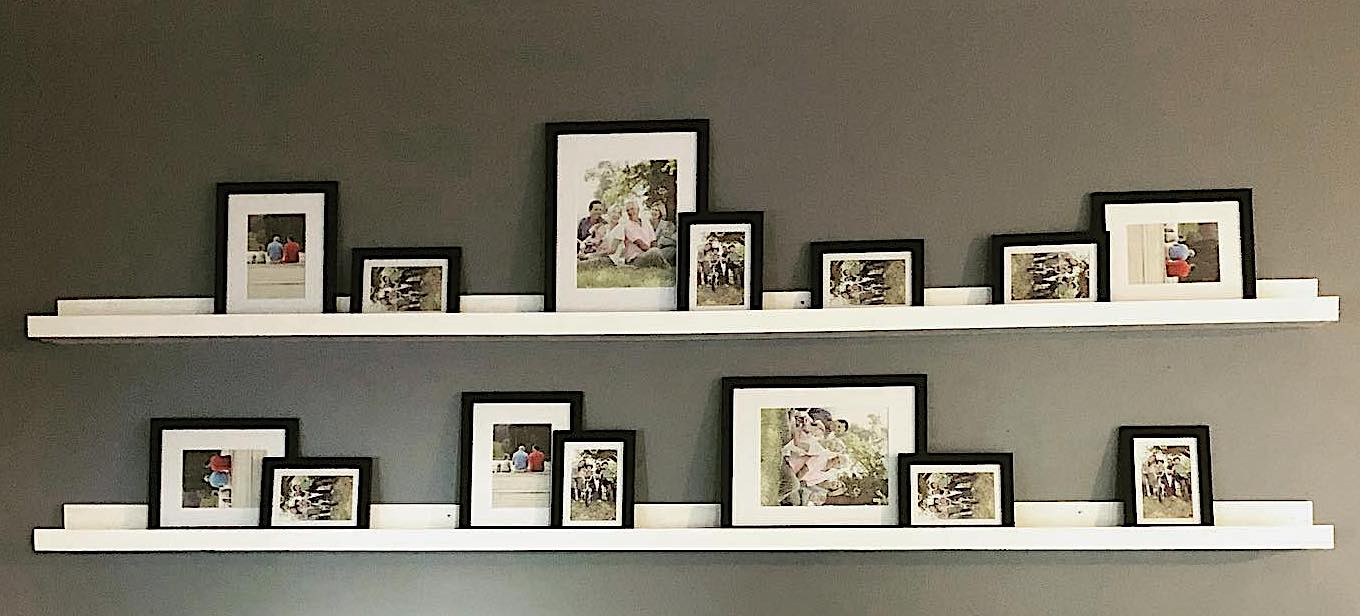
Easy 8 ft shelves

Submitted by jeff.meyer on Wed, 06/16/2021 - 20:18

Easy picture frame shelves.

Built from Plan(s)
Estimated Cost
24.00
Estimated Time Investment
An Hour or Two (0-2 Hours)
Finish Used
white paint
Recommended Skill Level
Starter Project

Comments

Doggy loft bed!

Submitted by Anonymous (not verified) on Sat, 06/03/2017 - 17:31

My dog loves to people watch all day while I'm at work and she needed a new bed so I took the plans for the lower platform and modified them so it would stand alone. Took the platform and put it on the bottom so that her bed would sit inside instead of on top where she could more easily fall off.

I tried building without PH screws at first and all I ended up with was a lot of cracked and wasted lumber. Got the PH jig and finished the whole build myself in 2 hours. Sanding, staining, and sealing tomorrow but I'm just so excited about it I had to post now!

Estimated Cost
With the two sets of lumber, having to buy the jig, hardware, stain, and electric sander it cost me about $130
Estimated Time Investment
Afternoon Project (3-6 Hours)
Recommended Skill Level
Beginner

Comments

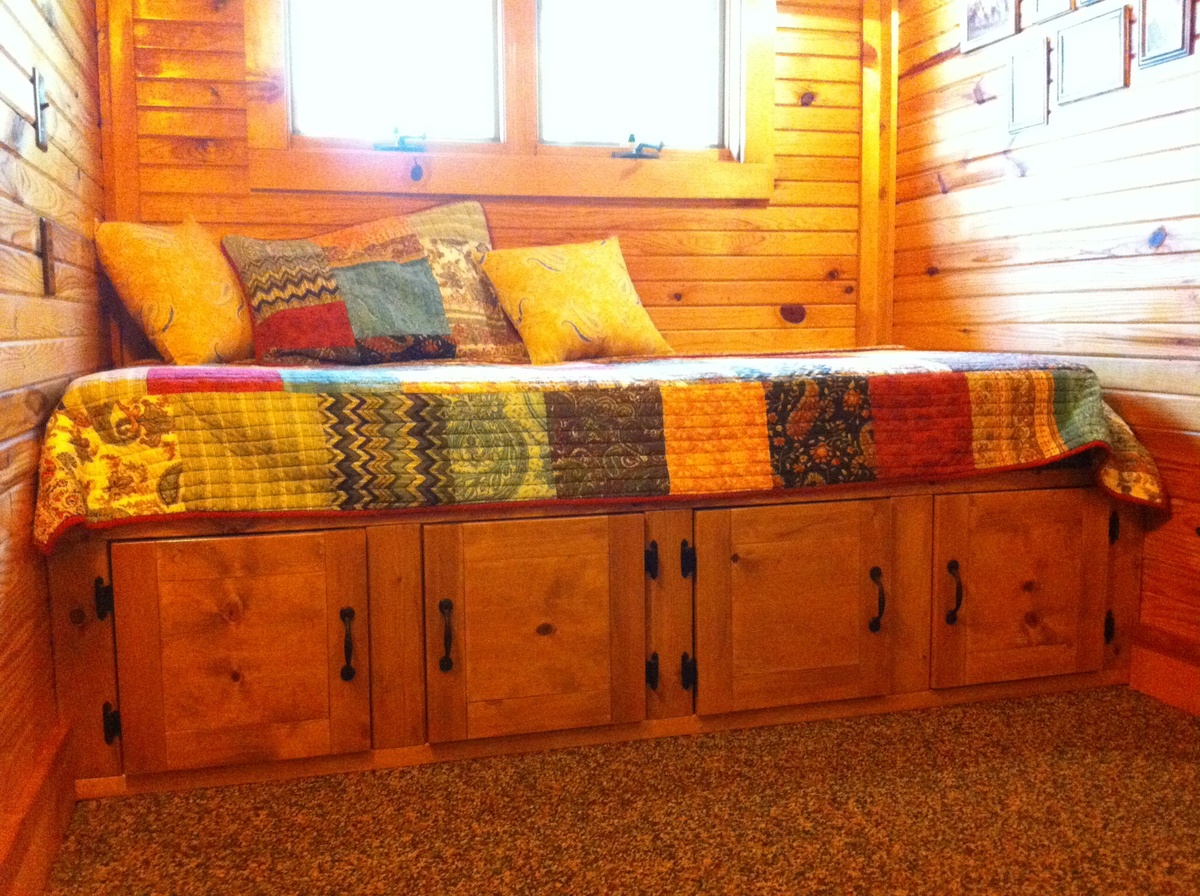
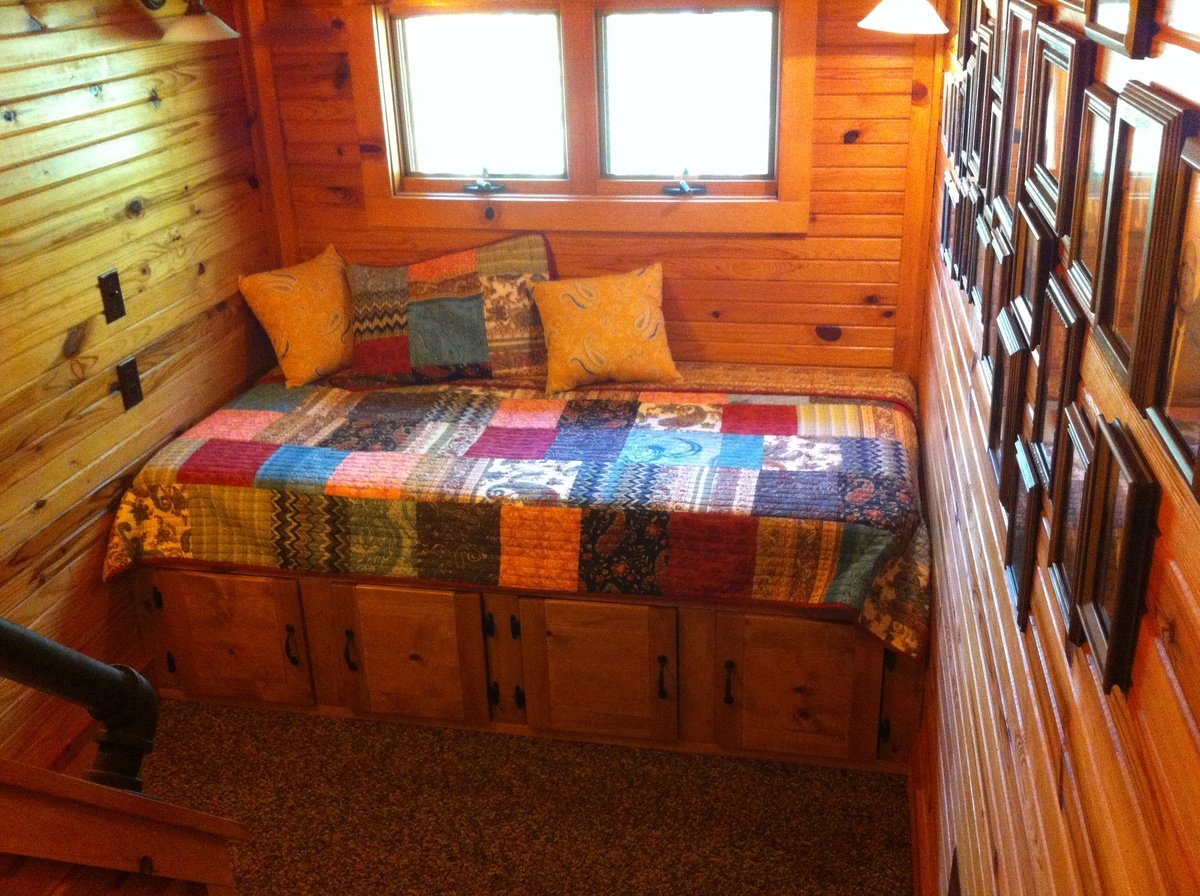
Rustic storage daybed

We wanted to build a reading nook in our cabin landing that would also function as extra sleeping space.  This plan was modified to raise the height. We then built the frame and one side panel, since the bed length of the plan was EXACTLY the width of the landing space... It was meant to be!  We love it!

Built from Plan(s)
Estimated Cost
$120
Estimated Time Investment
Weekend Project (10-20 Hours)
Finish Used
Minwax cherry stain, minwax polycryllic semi-gloss in three coats with light sanding between coats
Recommended Skill Level
Intermediate

DIY Oversized Pegboard Shelves

Hi Friends!

Jen Woodhouse from The House of Wood here. 

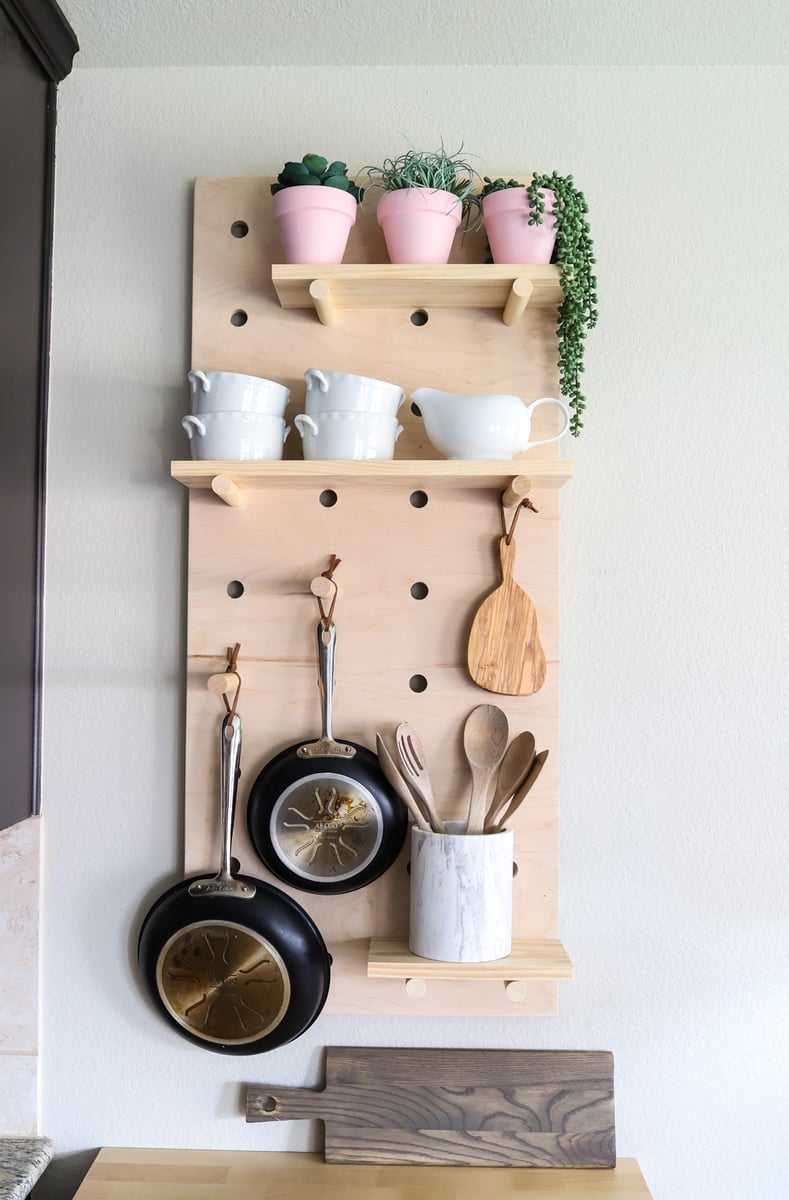
I'm going to share with you how to create these Oversized Pegboard Shelves.  If you’re short on cabinet or drawer space in your kitchen, this wall-mounted oversized pegboard shelf is a clever and stylish solution. It’s renter-friendly too! What more could you need?

Be sure to tag me @jenwoodhouse if you share photos of your build on social media. I'd love to see it!

You can get all the details for this build on my website jenwoodhouse.com 

Estimated Time Investment
Afternoon Project (3-6 Hours)
Recommended Skill Level
Beginner

Camp Loft bed - modified

Submitted by Milhouse on Tue, 09/24/2013 - 12:04

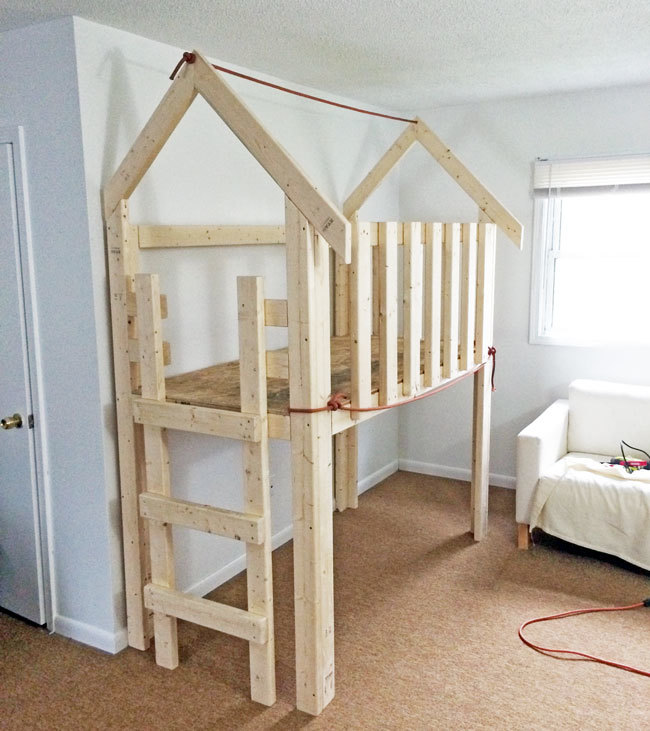
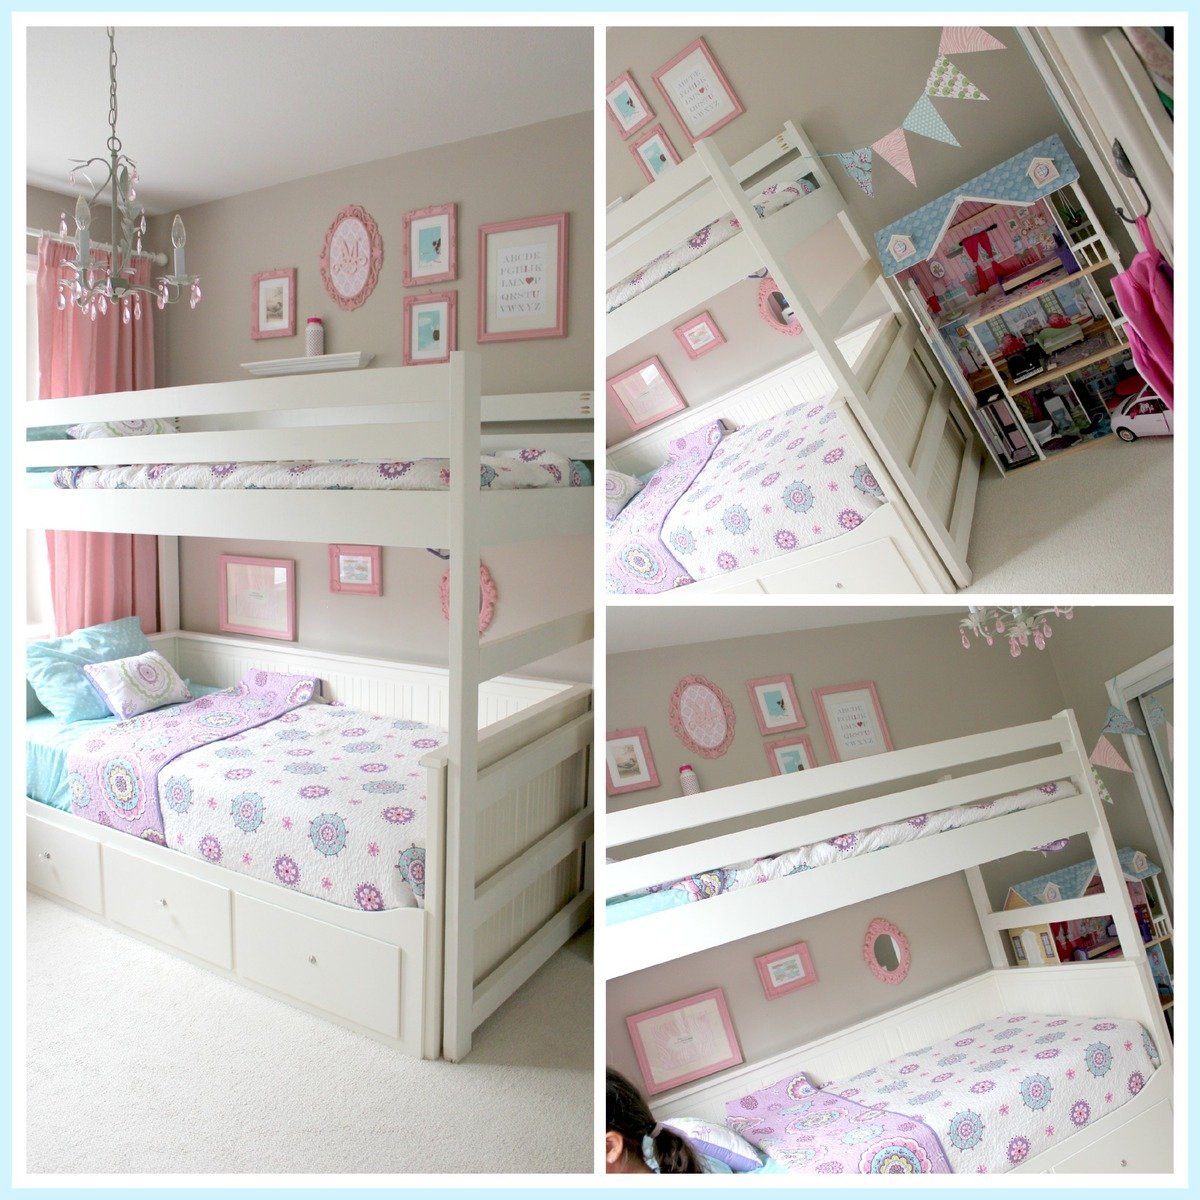
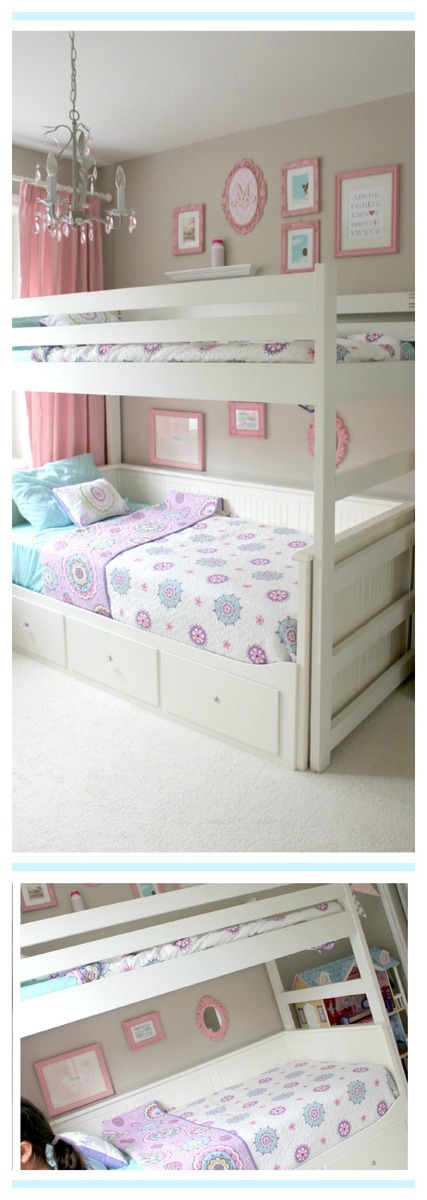
I liked the simple design of the camp loft bed, so I took the plan and modified it to fit over top of our existing Ikea daybed. I adjusted the width of the loft bed and made it a little taller, so that I could sit on the bottom bed and read to the kids with out hitting my head on the loft bed all the time.


I built the ladder into the side of the loft bed so that it wouldn't interfere with the drawers on the front of the daybed. This worked out well, as it also gives the girls more room to play!

This build is super easy, but I have to say that I don't like working with 2x4s. They are so rough....I spent a lot of time sanding and filling, and it's still not perfect. But I'm ok with it ;) I may add another cross support because it is a bit wobbly (probably b/c I made it taller).


The finish is a color matched 'All surface enamel' from Sherwin Williams.


Estimated Time Investment
Weekend Project (10-20 Hours)
Recommended Skill Level
Intermediate

Comments

roxanne89

Wed, 08/04/2021 - 06:38

Hello Millhouse. I love the loft bed you created. I have the exact hemnes daybed for my daughter and I beg to build the same loft bed. Do you have the exact modified plan you used with the measurements that fit the bottom bed? This would be super helpful!! Thanks in advance!

Back