Potting Bench Project
Fun project indeed! Just make sure its all square every step of the way.
Thanks, I look forward to perusing some more projects!!
Fun project indeed! Just make sure its all square every step of the way.
Thanks, I look forward to perusing some more projects!!
I made these for my 81 year-old Grandma, and I will be making some for my own front yard soon. I followed the plans and ripped the fence boards instead of buying the optional 1x2s. My awesome dad showed me how to use the table saw, but the rest I did all by myself! We decided to leave them unfinished for a natural look. It took me about 7 hours total broken up to make all three, but this is my first project and I was slow. Thanks Ana, for inspiring this working Mom to pick up a hammer and get stuff done!
Built a set of six. First chair wasn't perfect, but with each build it got easier.
Keep in mind I am a novice at best and this took me a total of 12 hours over 2 days to construct and stain and line. Filling will be a separate project all together!
I opted to remove the top row of lumber all around to have something to attach bird netting to to keep the critters out and make it easier to reach in, also a cost consideration. The posts are still the recommended 3 ft I also changed to 12ft X1in boards instead of 12ft x2in also in the interest of cost.
Tue, 03/17/2015 - 18:33
Gorgeous! You're going to have some very happy plants!
I'm a beginner DIYer and I knew one day I was going to have to make a workbench. I made mine 24x48 so I wanted a little more support to hold up the drop down leaf. I searched your site and found another plan with these gatelegs and knew this is what I wanted. I love the way it came out. What do you think?
Oldest is moving out into their own apartment so thought I would help them save some money and built a Tryed/Tryde Coffee & End Table, although both are slightly modified:
- Coffee table I added the lower section
- End Table I did with pocket holes vs how the plans had it laid out.
For the end table , which I started after the coffee table, I "jointed" the table top pieces on the table saw - very slightly as I wanted to keep the more rustic looking individual boards. This worked really well and I wish I had done it on the coffee table too.
For the finish, which to me always starts with lots and lots of sanding (started at 60 grit down to 400 grit), I used a mix of Varithane Red Mahogany (4 parts) and Dark Walnut (1 Part), then several coats of Clear Satin Polyurethane. For some reason the end table was VERY glossy so had to use some 0000 steel wool to reduce the gloss.
So hooked on the pocket holes now going to upgrade my Kreg jig to the 720 :)
I created this from rough cut cedar I glued everything together and finished it off with brad nails and brass hinges. Then I added a poly gloss on the outside.
After getting sick of barely being able to seat 4 at our teeny-tiny table from college, we decided we wanted a bigger, more solid table for our dining room.
We actually combined two sets of plans to create the finished project as well as adjusted the measurements to fit our room size (and vertically gifted resident). As beginners, we weren't entirely certain what to expect as the outcome of this project (especially since the plans are slated as intermediate/advance skill level) but we found it actually, surprisingly easy to build!
We substituted 2x6s rather than 1x6s for a more 'sturdy' table top, but it makes the table quite heavy.
Now that the weather is getting nice we can drag the table outside for finishing touches (we finished it in November!)
Interested in the complete build? Go here
This is a set of bunk beds that I made for my daughter Alicia for their getaway home at Canadian Lakes, MI. Now their children can invite their friends and have a fun place to sleep.
Fri, 07/19/2013 - 02:37
Wow! This looks absolutely amazing! I like the light and shelf in each bunk too. Spectacular!
Fri, 07/19/2013 - 04:45
Newfey, these are awesome! I've seen pics of this type of bunk over the years, but never anybody attempting them as a DIY from a non-professional, unless you are one? Either way, they certainly look professionally done. Love, love, love!
Fri, 07/19/2013 - 07:56
I am not a professional by any means and have a limited tool supply. My daughter sent me a picture and asked if I could make them for her. It was a big project as their getaway home is 165 miles from where I live. It took quite a few weekends to complete.
Fri, 07/19/2013 - 09:24
That was one of the problems, I had no plans, only the picture as a reference. It was a design as I went along and needless to say I gave a sigh of relief once that I saw the mattresses fit into their places.
Fri, 08/30/2013 - 06:48
I've been viewing pictures of these style bunkbeds for a while. I'm almost certain I could come up with something but most definitely lose my sanity along the way. This would be great in my girls room and you did an awesome job!
Sat, 07/25/2015 - 20:25
Ana I am looking to see if you have actual plans for a quad bunk bed? Also what about a quad corner bunk bed? We are trying to put our 4 girls in one large room and this would really help make it work!
Mon, 07/27/2015 - 21:11
I have been looking for plans for corner (L shaped) bunks. And haven't had much luck. I haven't purchased the following plans so I can't vouch for them but I am considering them:
http://stonebreakerbuilders.com/product/built-in-bunk-bed-plans-4-bed-c…
Been a while since I had time to actually build anything worth posting about! My wife wanted some items for her Kindergarten classroom this year, so built several items, most inspired by the Farmhouse family.
Sat, 06/29/2019 - 05:47
I love this! Can you give me the plans and list of materials for constructing it?
Sun, 06/30/2019 - 12:33
I am also a teacher and would love to build this desk for my reading class. Do you have plans?
Mon, 07/01/2019 - 18:05
I love this table for my classroom. Can you share the plans or the dimensions?
-Stephanie
Sun, 07/07/2019 - 09:46
I would love plans/dimensions for this! I was thinking I could also paint the top with wipe off board paint.
Sun, 07/07/2019 - 14:59
I would love to make one for my classroom. Can you share the plans and materials list for this table?? Thanks!!
Mon, 07/08/2019 - 19:11
I am looking to make this for my fourth grade classroom - can you provide the dimensions you used? Thank you so much.
Wed, 07/10/2019 - 11:59
Love this!
I would love this for my classroom! Can you share the plans and materials.
Thank You!
Mon, 07/22/2019 - 18:25
Anyone have any luck with figuring out the dimensions??
Thu, 07/25/2019 - 17:20
Has anyone gotten the plans for this table? I have contacted Ana White and tried other ways also. I would love for someone to share.
Thank you
Teri
Mon, 08/19/2019 - 12:09
I am guessing the corner posts are 2 x 4s, the top is 2 x 10s. It looks like the width is 6’ (looking at the floor carpet tiles being 24” square). So 2 - 2 x 10s side by side for the main part of the desk top and 2 - 2 x10s perpendicular on each side of the chair. I guess the height is subject to choice and the length of each side would also be subject to choice or to the length of the 2 x 10s to be economical.
an educated guess would be 4 - 8’ 2x10s for the top and 6 - 6’ 2 x 4s for the legs?
Anyone else have any input here? Open to suggestions.....
built straight from ana's plan. Used cedar 2x4s. super easy to make really happy how they came out. Cushions were like $52 per set at home depot.
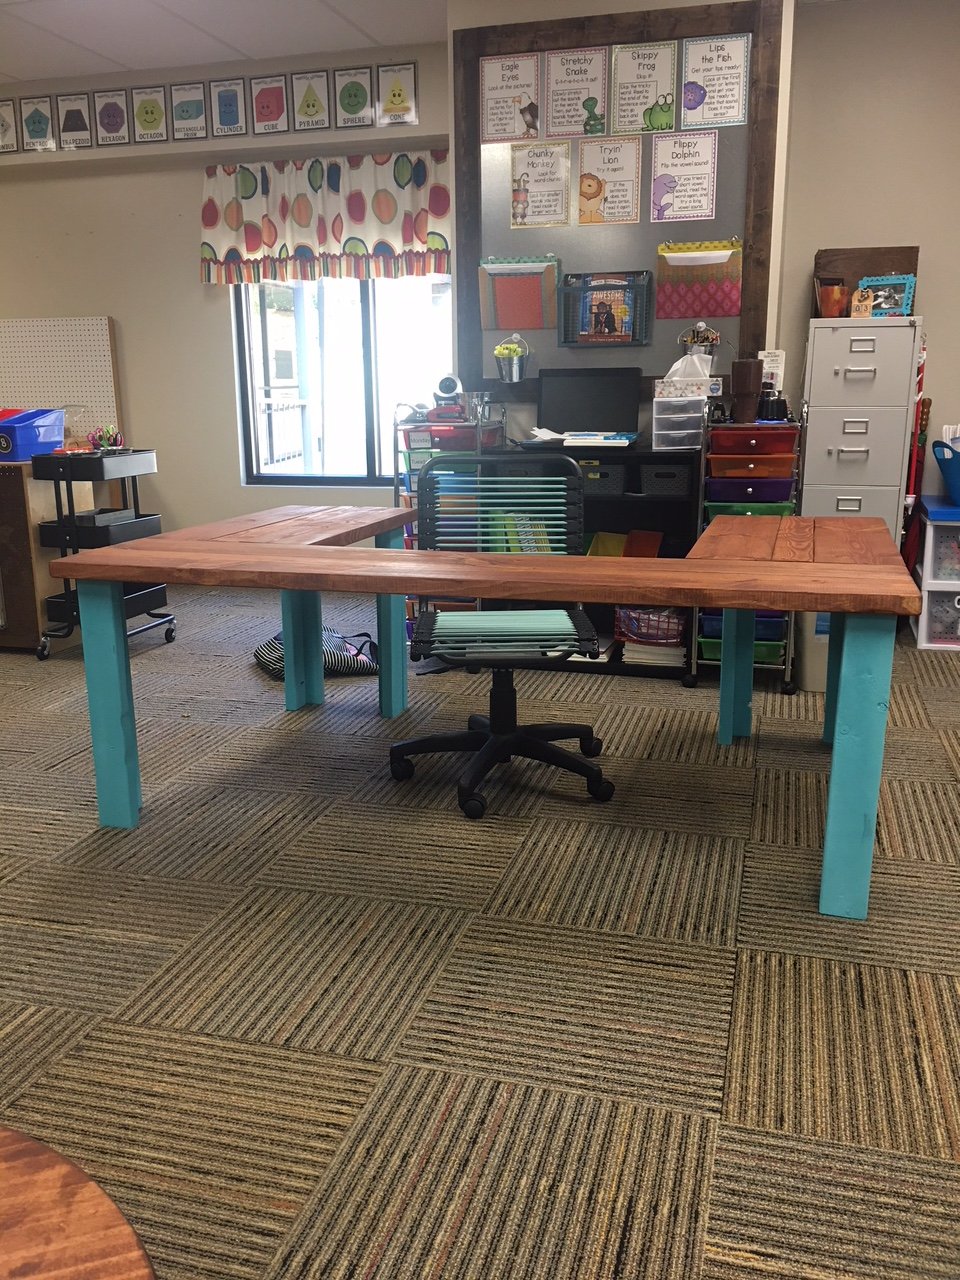
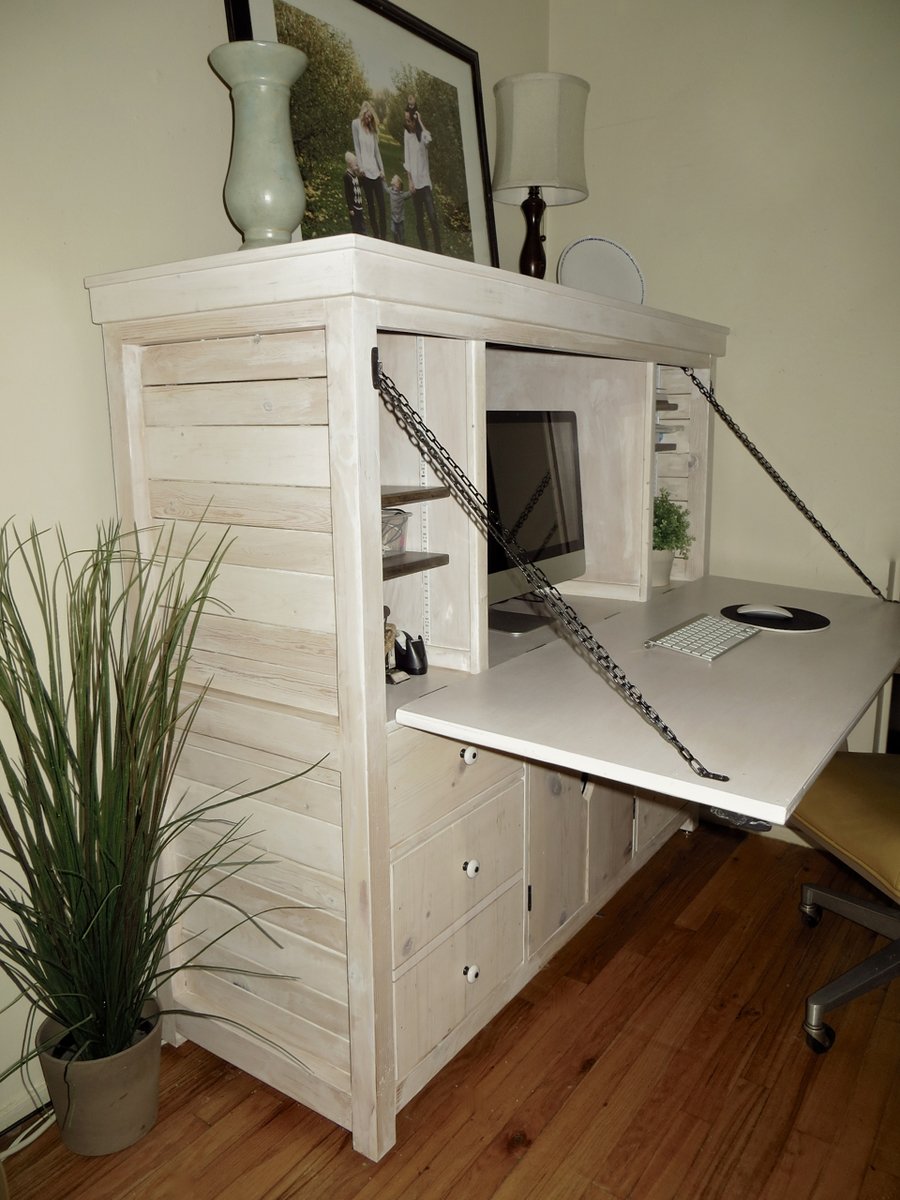
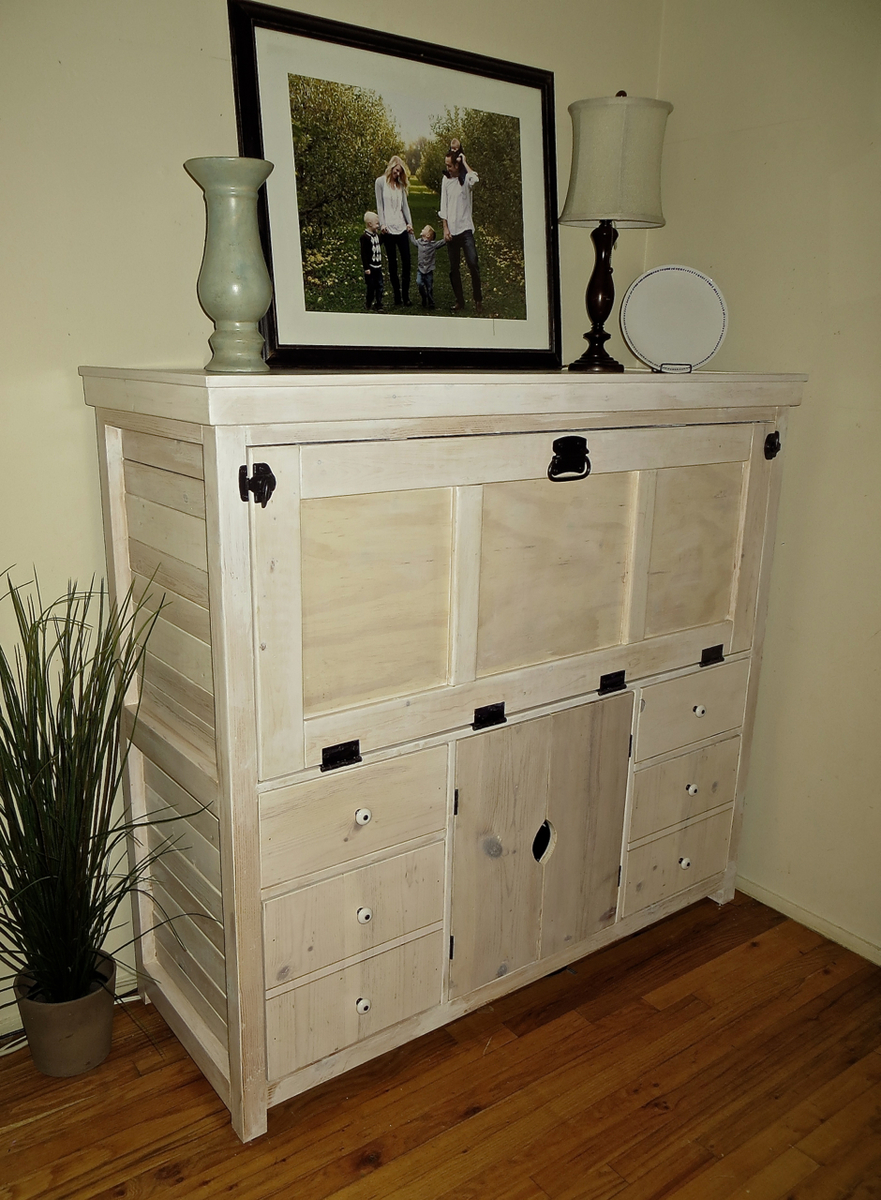
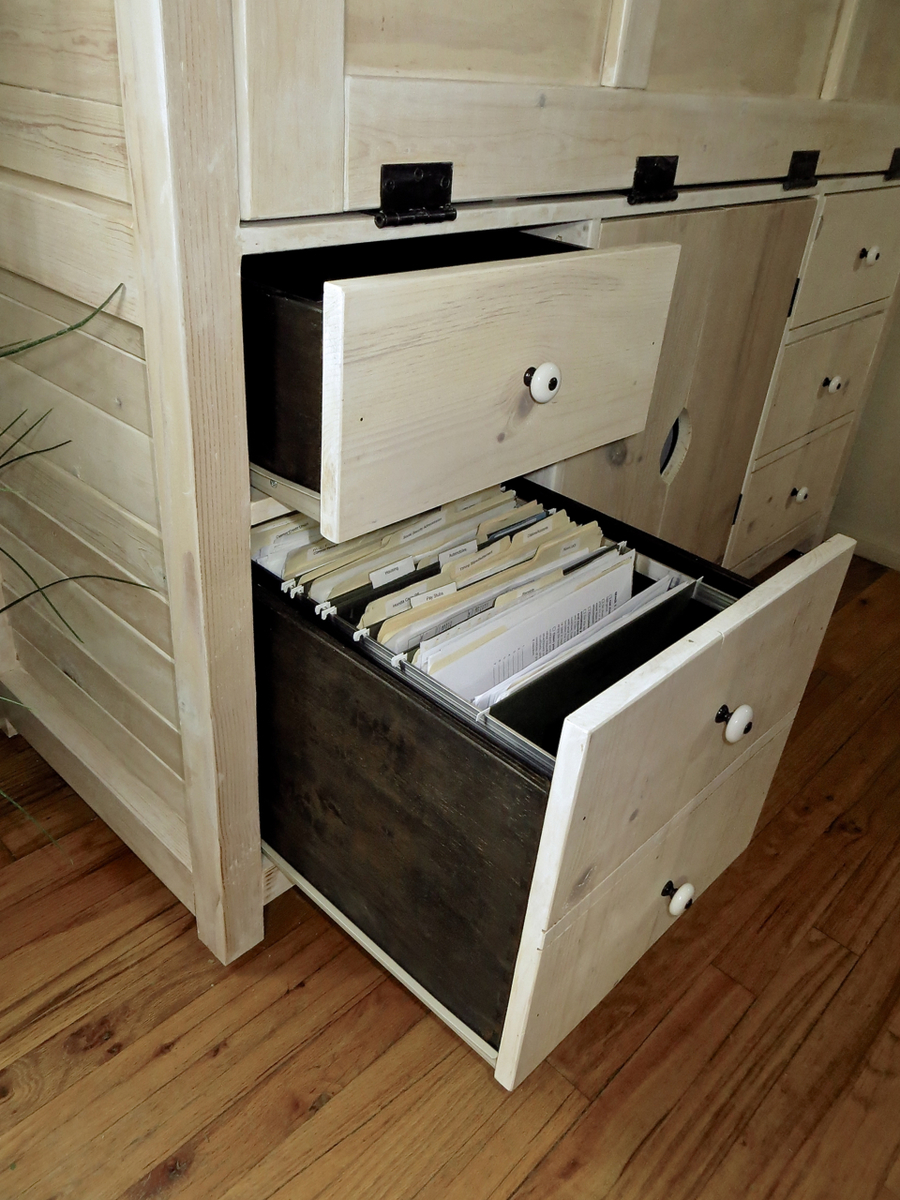
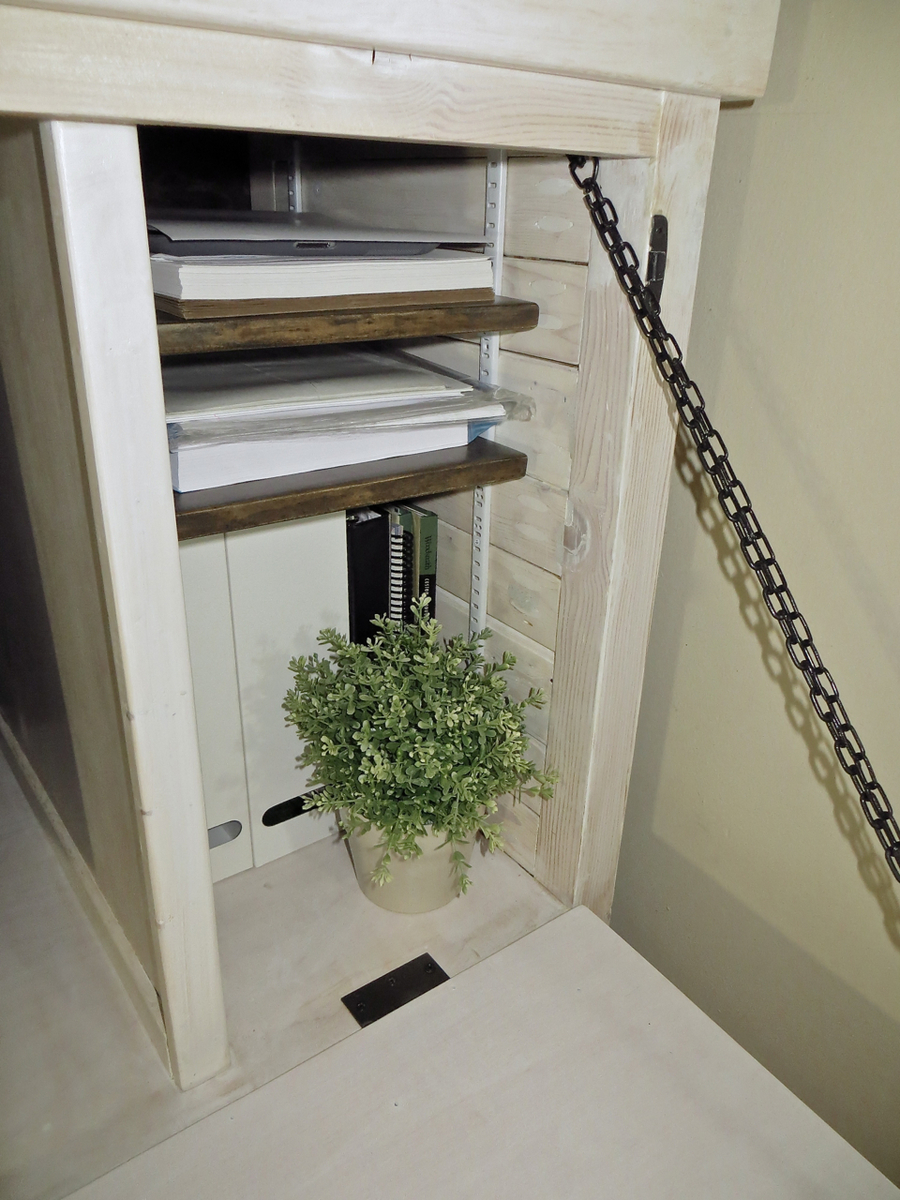
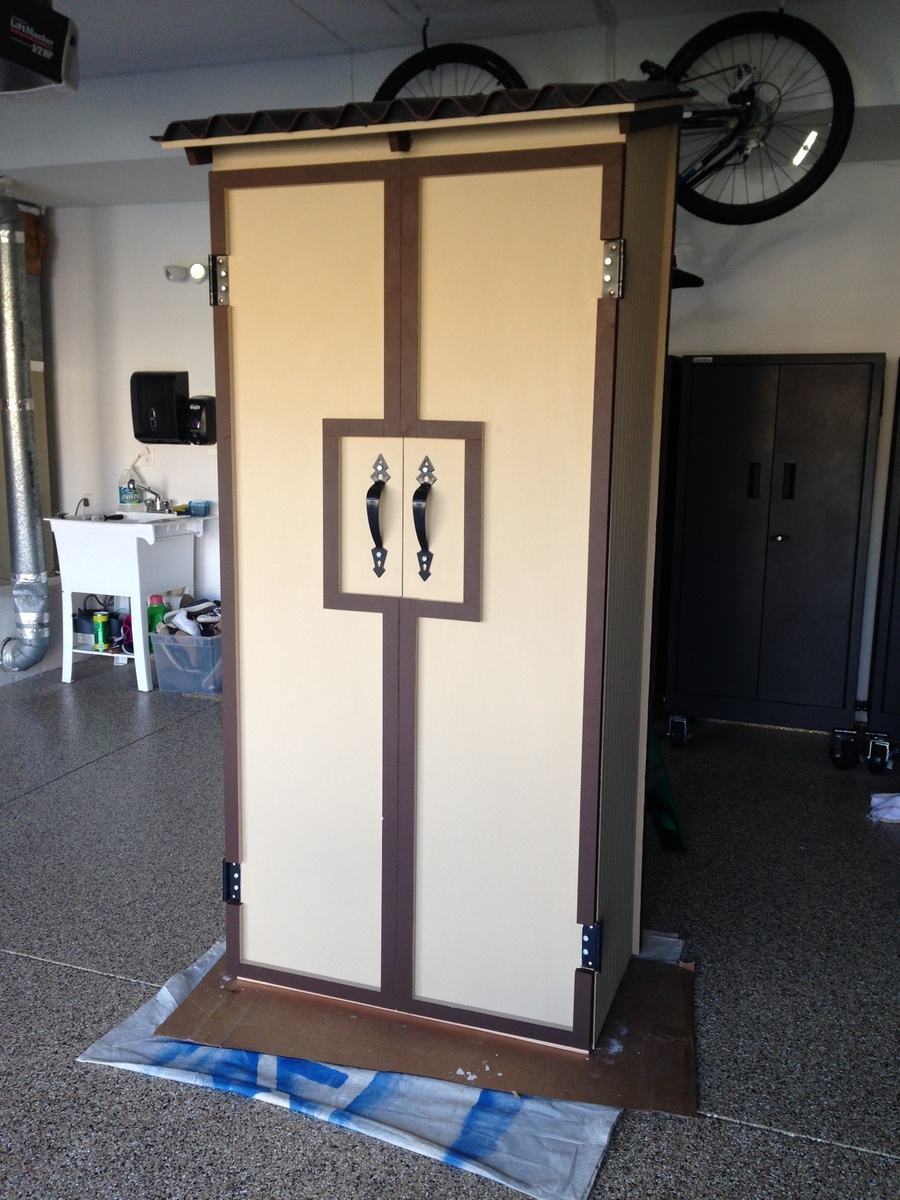
I designed this desk and created a building plan using Google Sketchup. It has 2 file drawers, 2 smaller drawers, 2 large adjustable shelves and a pullout shelf in the bottom, 4 small adjustable shelves on the top and a large space for a computer monitor. The large door drops open for a large work space. When you're done, put the door up and you have a beautiful piece of furniture!
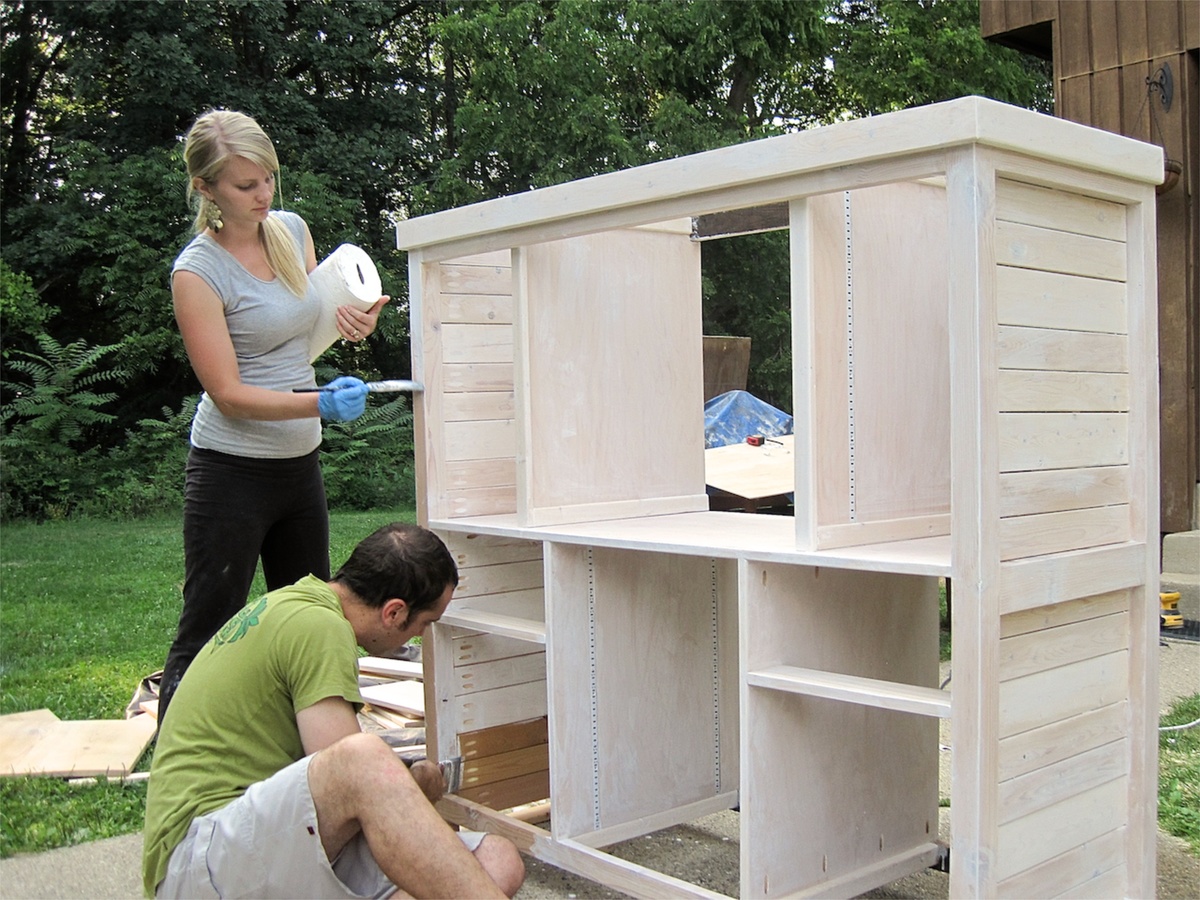
I consider myself an advanced-beginner when it comes to building. I have just enough knowledge to get me by. If you have time, patience and the right tools you can build this too! It took me 10 days to build, working as much as my kids would allow.
It took me countless hours to perfect the building plan - probably just as much work to design it as it was to build it :)
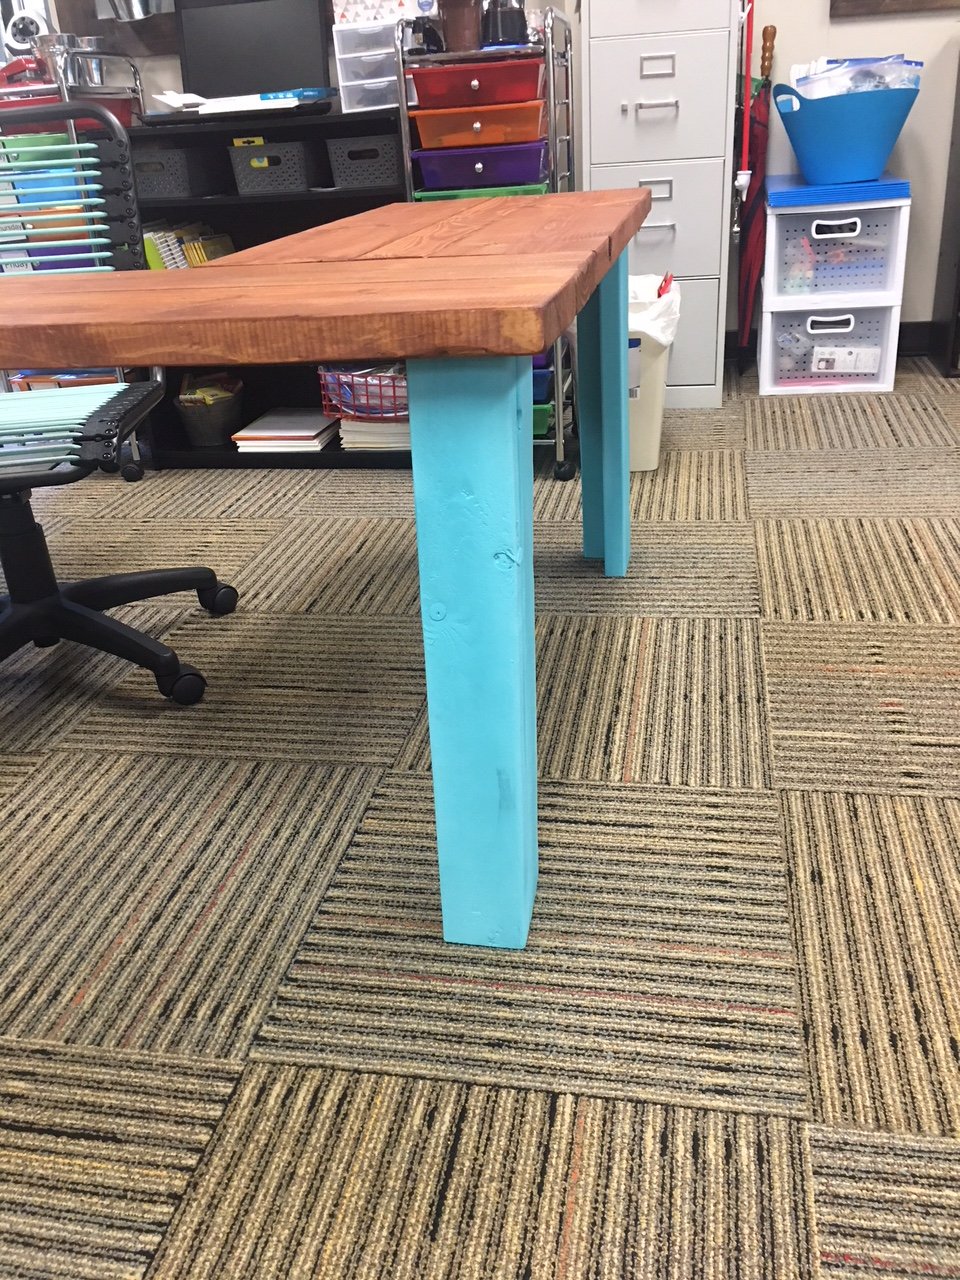
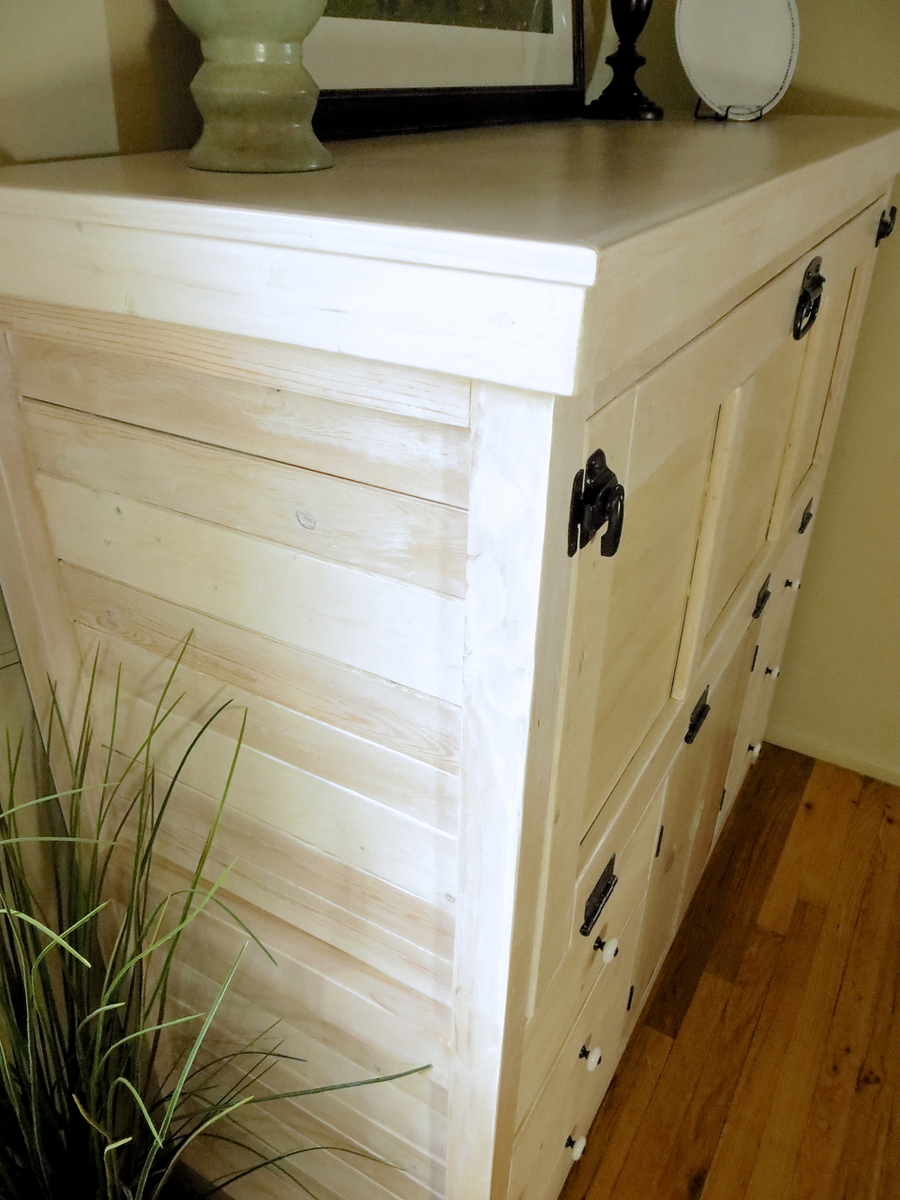
I really scrounged around to build this desk. I used a large beam my friend cut up into 2x2's for the main posts/legs, pine furring strips for the side boards and around the top for moulding (lots of scraps I already had), 3/4" plywood for the inside dividers/panels & desktop, 1/2" plywood for the drawer boxes, drop-down door & top, 1/4" plywood for drawer bottoms & backing-board. I used 3/4" pine boards for the drawer faces and small doors on the bottom. I used drawer slides from an old dresser I found by our dumpster and vintage knobs I bought online. The other black hardware (hinges, pull handle, and clasps for door) I bought from a big box store and is categorized as gate hardware.
Sun, 09/01/2013 - 15:52
Wow! Nice job, this is beautiful. I love the whitewashed finish. Cool hardware too!
Hello everyone, today I’m sharing details on something I built recently: a Bailey Chair for dogs suffering from Megaesophagus.
Dogs with megaesophagus have an enlarged esophagus. This makes swallowing food difficult. Eating while in an upright position helps and the task of keeping the dog vertical is easier when the dog is sitting in a Bailey chair.
This blog post is less of a detailed how to and more of showing in progress photos. Adam, over at Lazy Guy DIY, has put together a great tutorial on how to build the Bailey Dog Chair. I followed his instructions with very few modifications.
This Pergola cost around 200 to build for lumber, concrete (poured around posts) and an additional 50-60 for fabric used to create shade.
It went up in about 8 hours from start to finish with the help of a novice friend.
I omitted some of the column details to save time and money.
Sat, 01/23/2016 - 12:42
I love those star shaped windows! Nice job, so excited to see this project! Glad you built it.
Our son was moving into his first college apartment. The dining area is small and he thought a breakfast bar would be perfect in this spot. We built the base using Ana’s Counter Height Farmhouse Table for Four plans. We modified the plans to to fit the table top - which was originally the top of a desk. We purchased the desk at our local Habitat Restore. We planed to use the base of the desk for another project- so using the top for this breakfast bar was perfect! The breakfast bar was a perfect fit!
This is a small storage shed project I did to replace an old dilapidated plastic one that was falling apart and leaking. It was a fun on and off week long project.
Total cost of wood and material was around $200.00. All cuts can be done using a circular saw however I used a table and miter saw for simplicity and speed. The basic joinery for the frame is glued hardwood dowels (1/4" and 3/8") however you can use pocket screws or simply glue joints (screws for the 1x2 trim as they will move). All of the trim was hand cut using my pull saw because, well, it's just so much easier cutting 1X2's by hand than running back and forth to the miter saw each time.
A good rule of thumb, be prepared to use a weatherproof sealant on all cracks and openings that might let water in prior to finishing. For a finish I am just using two coats of outdoor primer and 2 coats of outdoor paint. I may end up brushing on a coat of water sealant (Thompson's) along the bottom half to prevent the skirt from soaking up any water.
Overall dimensions are approx. 7' tall X 3' wide X 22" deep with a total of four shelves and a small attic you can use for whatever you like.
The whole build is documented by pictures and text upon request, just send me an email if interested. Enjoy :)
This table was created using a variety of plans. It can seat up to 20 people comfortably. The table top was built with 5 pieces of 2x12. The legs were a combination of 4x4 posts and 2x6s. 2 coats of Minwax Weathered Gray was the stain and then 3 coats of varathane semi-gloss finish. We sanded between each coat of poly.
Built this for my garage shop in a day. Added a cutout for my Kreg Pocket Hole Jig, a power strip and casters for ease of movement.
Started off with the original design but enlarged it to fit an oversize single mattress. The mattress cost me $35 from a local faith farm, while the materials came in around $200. I decided to hang under my backyard pergola. Fun and easy project.
Tue, 01/28/2014 - 21:10
Wow this looks so inviting I might just have to make one too! Nice work-- it looks great!
Mon, 04/07/2014 - 22:49
Really lovely! Great job! This will be one of your favorites spots all summer long.
Mon, 07/27/2015 - 22:45
I want this! I just made a couple of plant stands for my front porch. My husband asked me what my next project was, why, a swing bed. (This was only my second project!) I want to put cup holders in those big ole arms! We have a house at the beach in South Alabama, so, you gotta "hydrate." This is an awesome swing. I can't wait to do mine...pillows to rest on, one foot on the concrete pushing me in a slow swing. Cold beverage in my hand or in my cup holder. Yep, southern girl has a new project. Love it!
This is the Seesaw I made for our Granddaughters, plans were easy to follow and the girls love it.
sawhorseworkshop
Wed, 09/13/2023 - 09:31
You dd such a fantastic job! Thank you for sharing.
Comments
Ana White Admin
Thu, 04/15/2021 - 09:53
Looks fantastic!
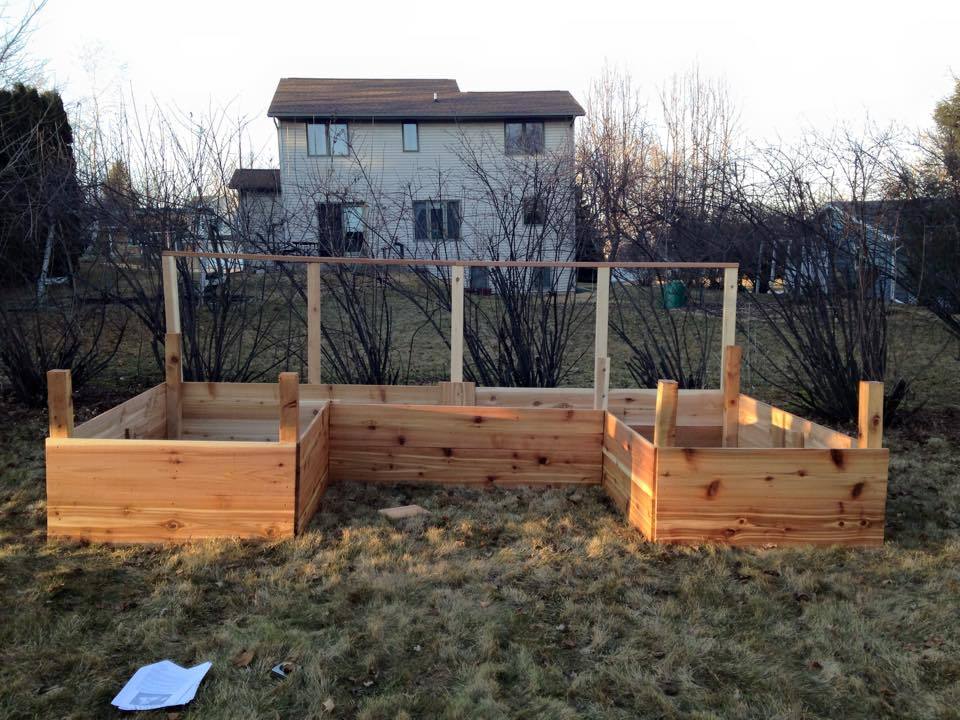
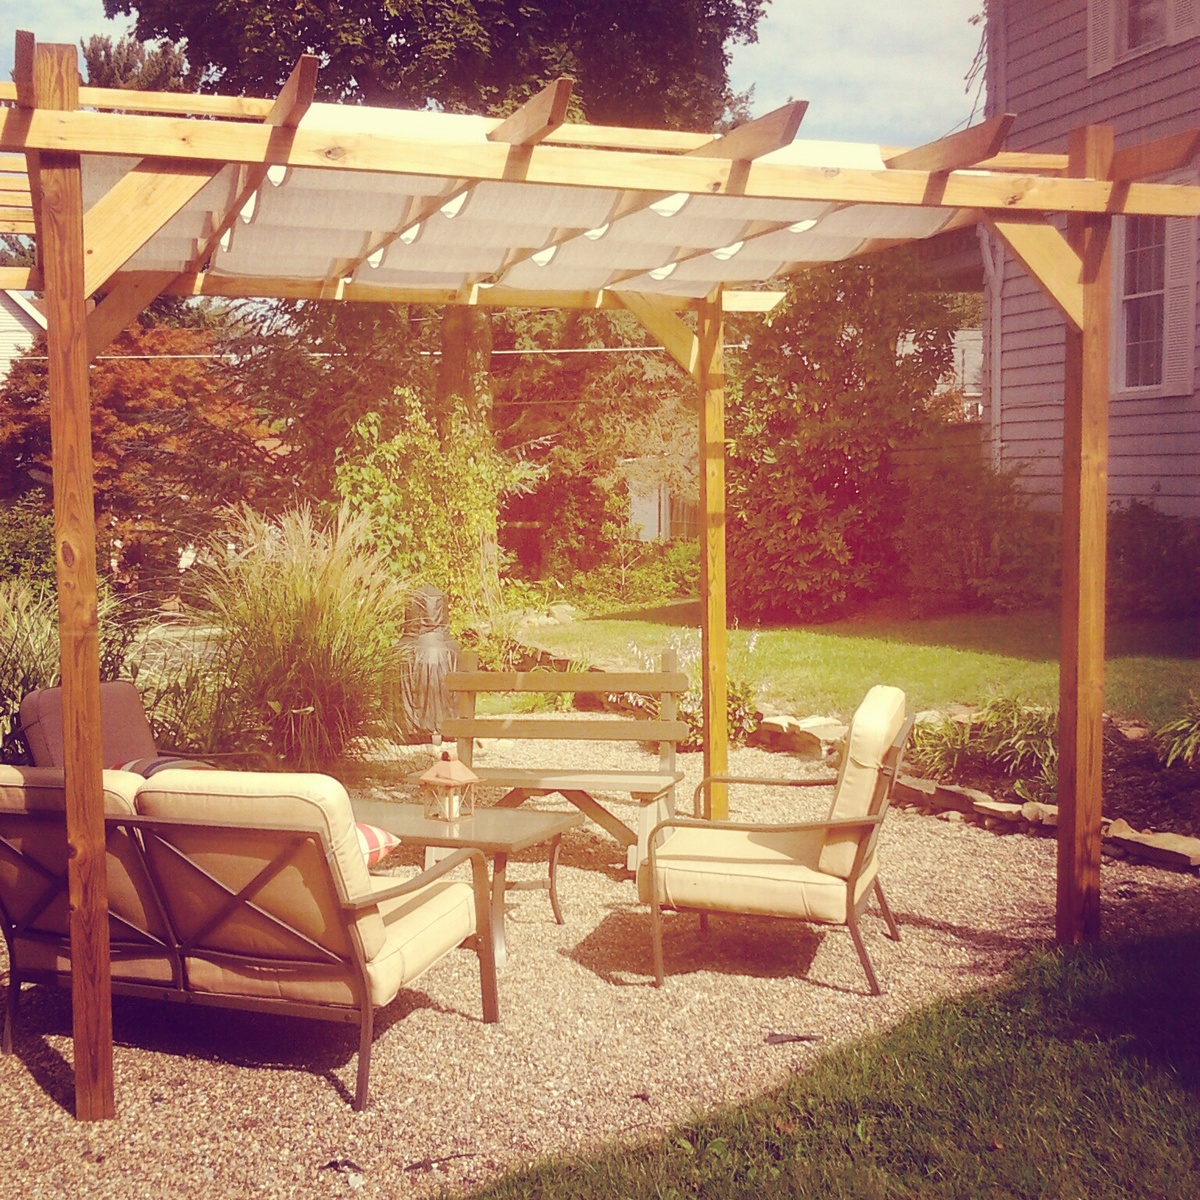
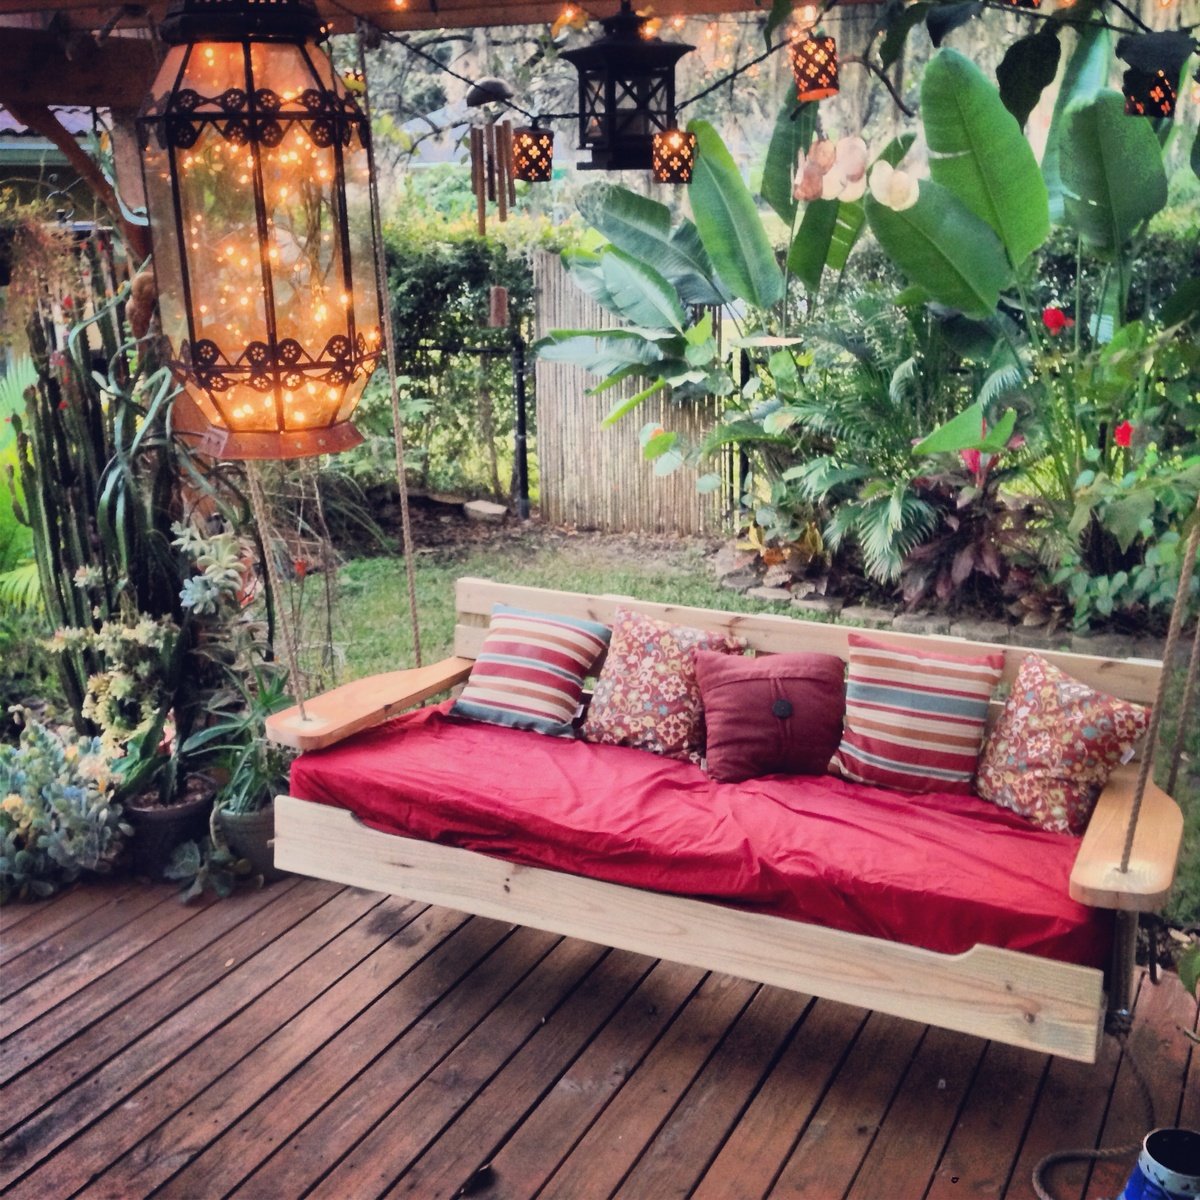
Time to get planting, awesome build!