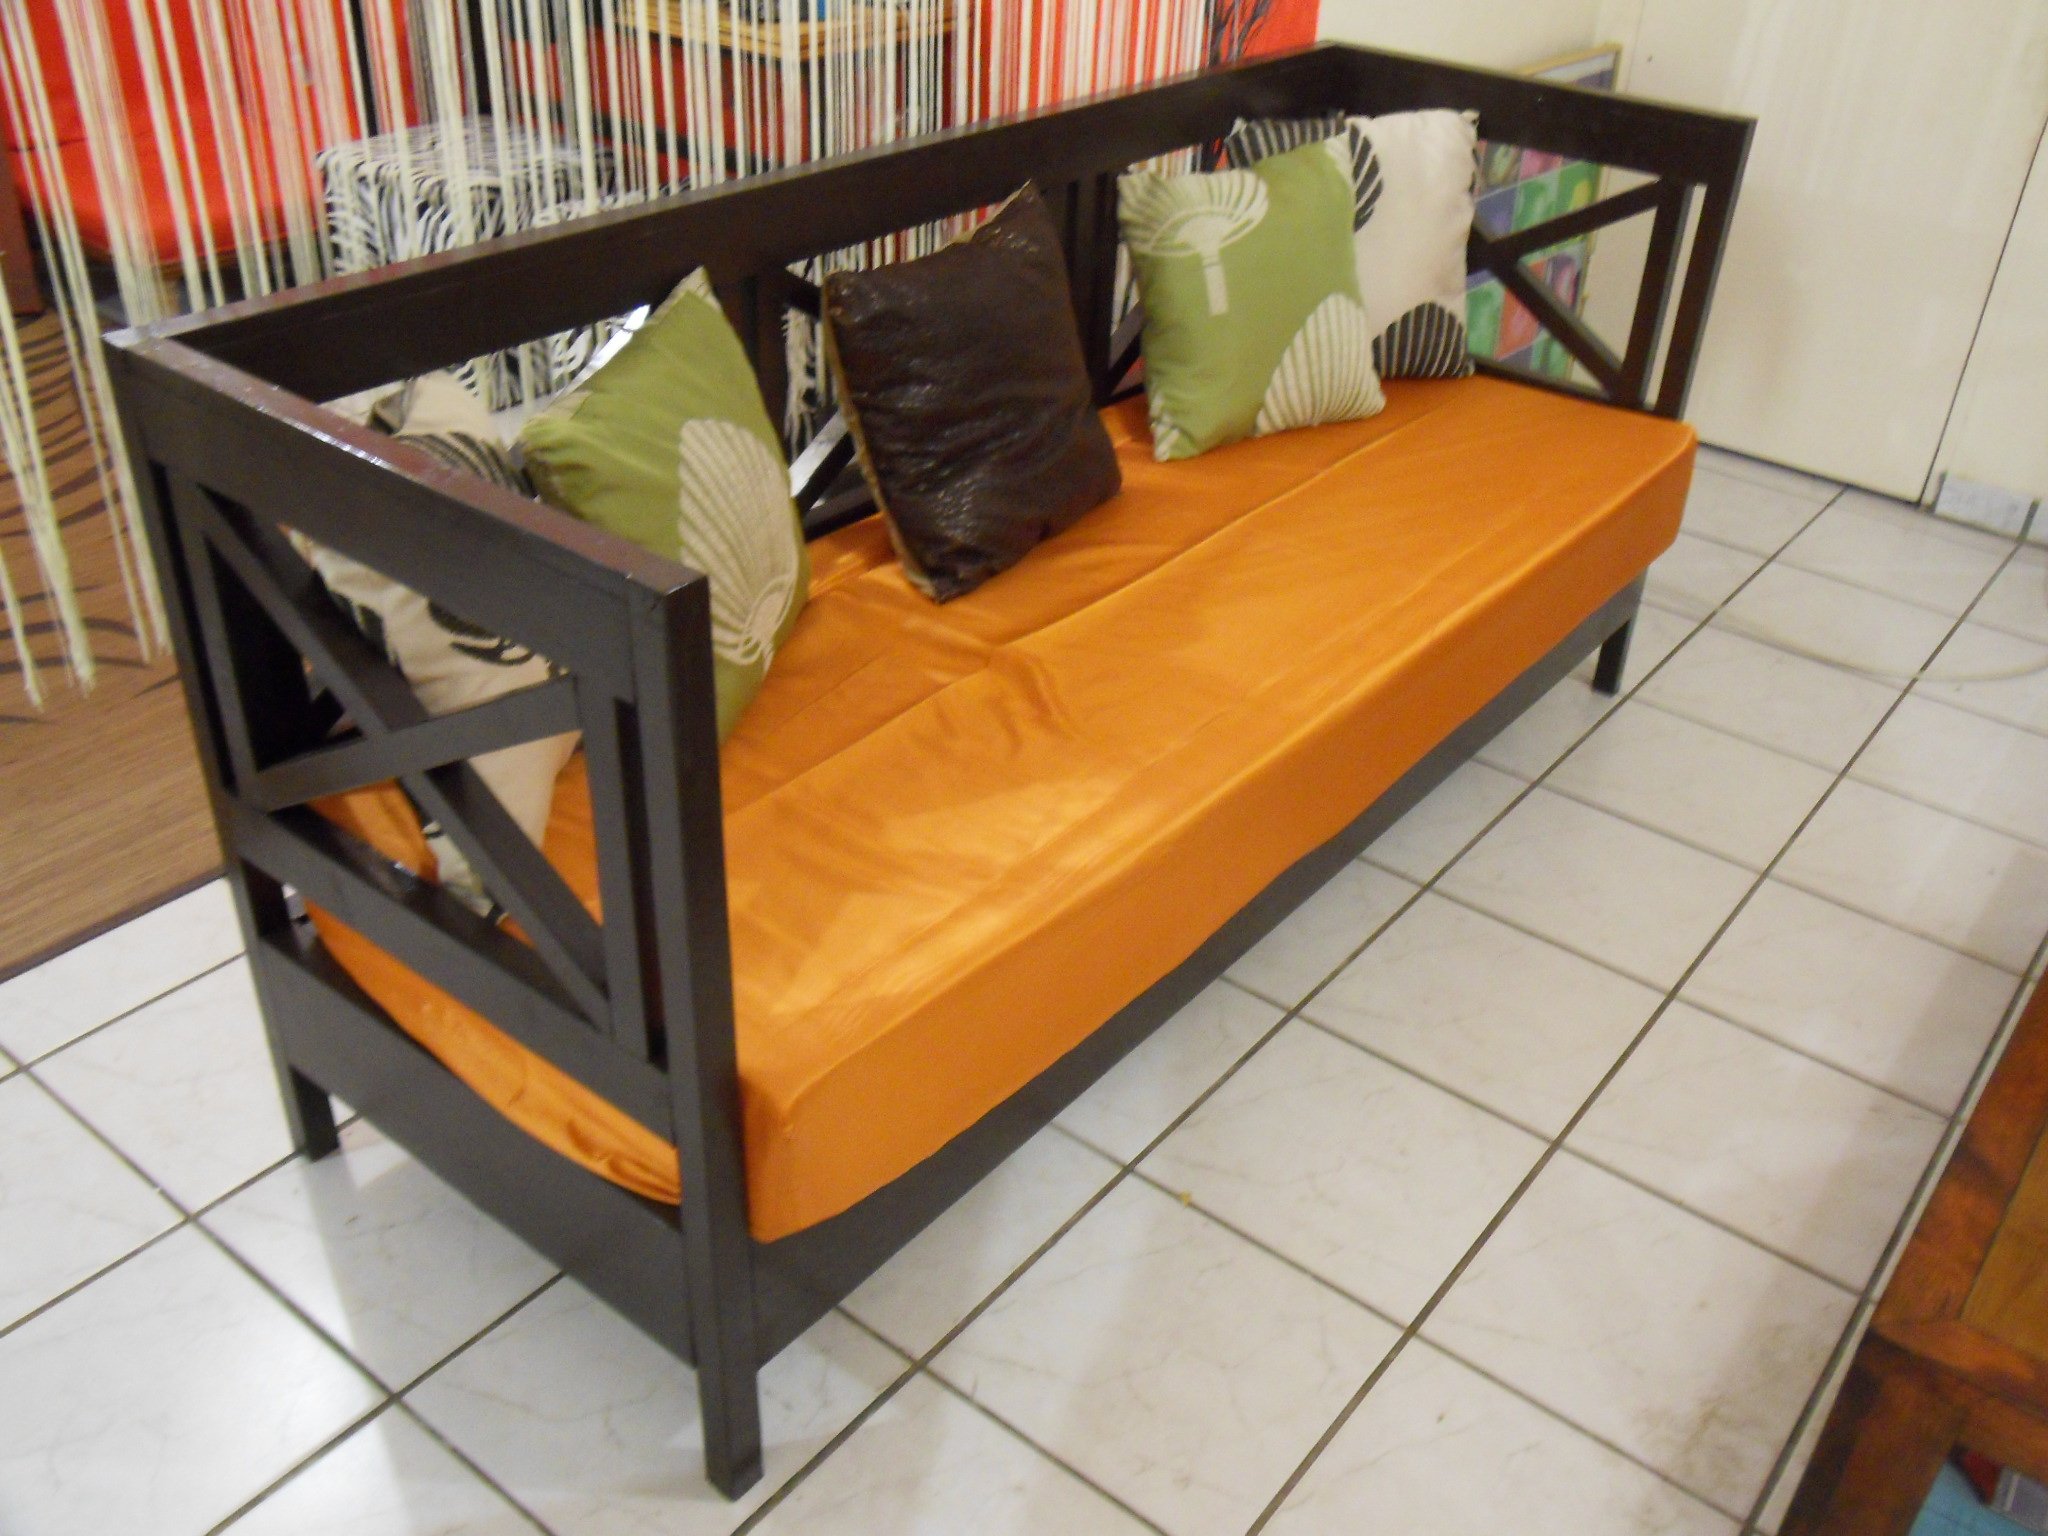
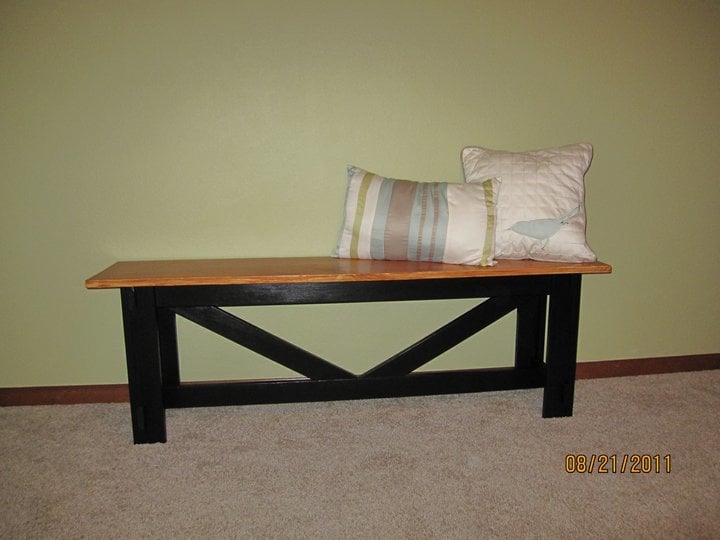
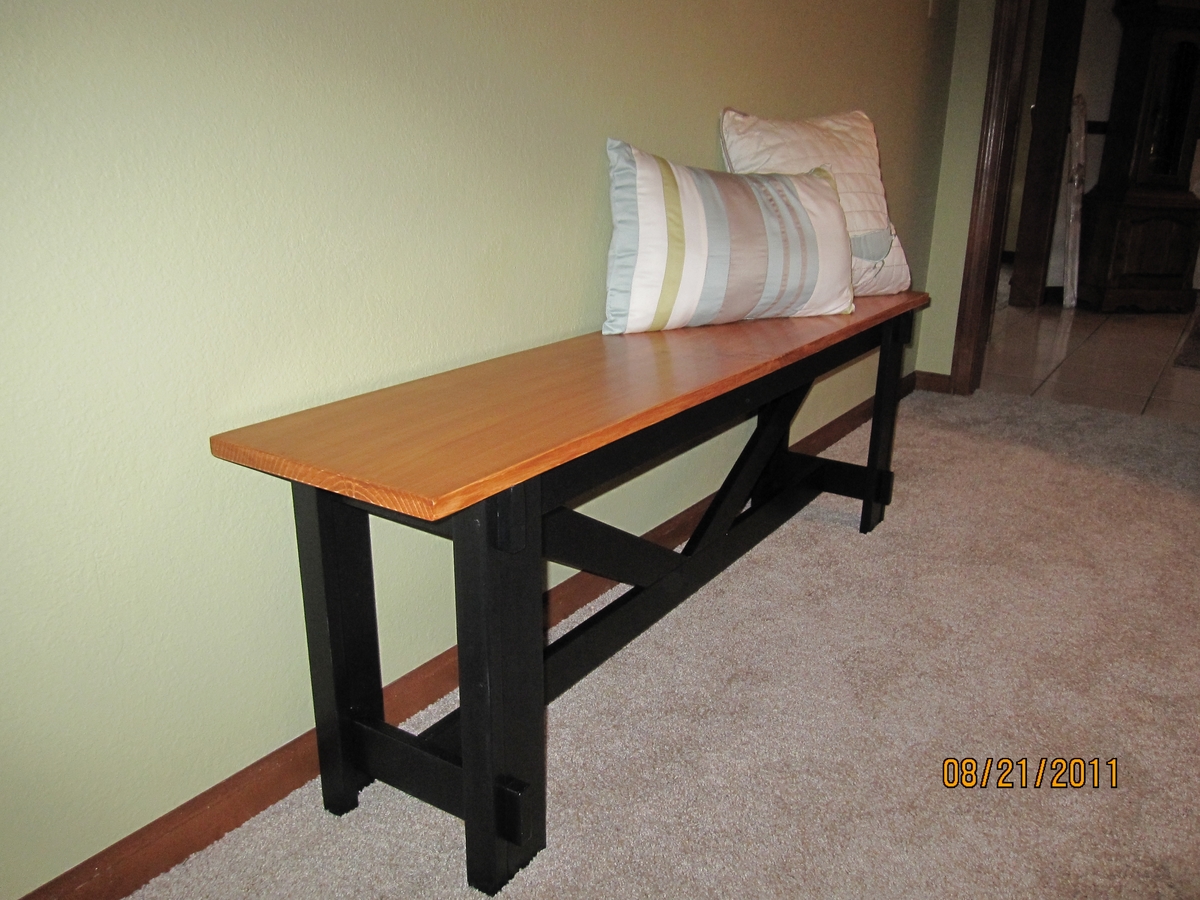
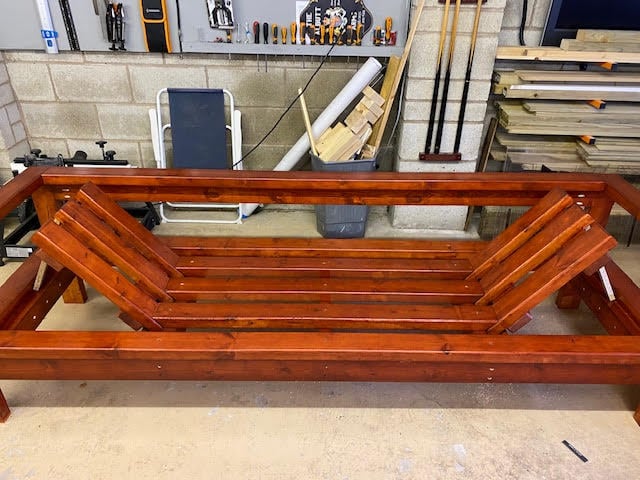
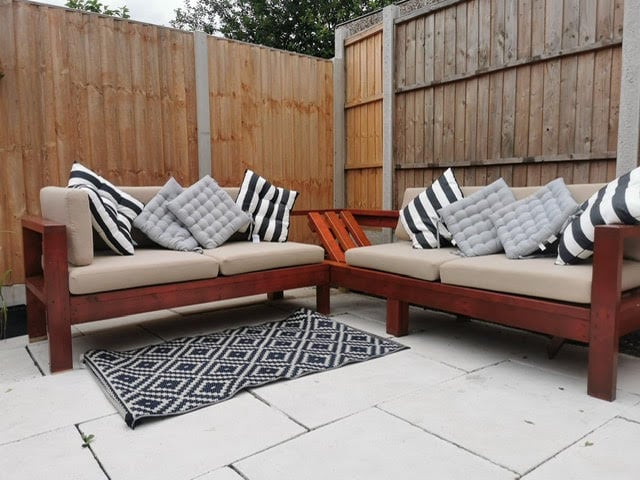
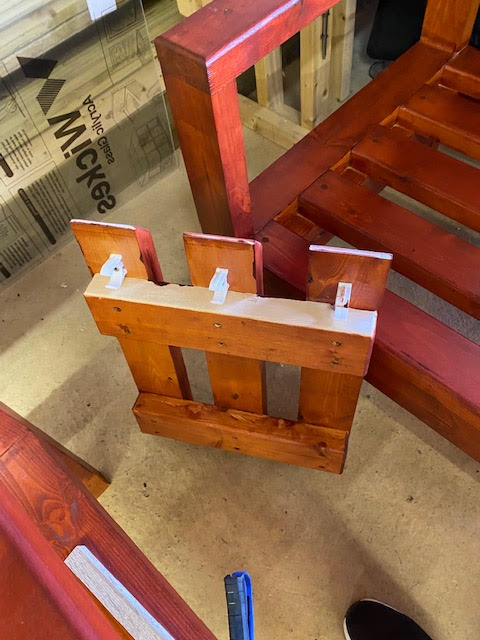
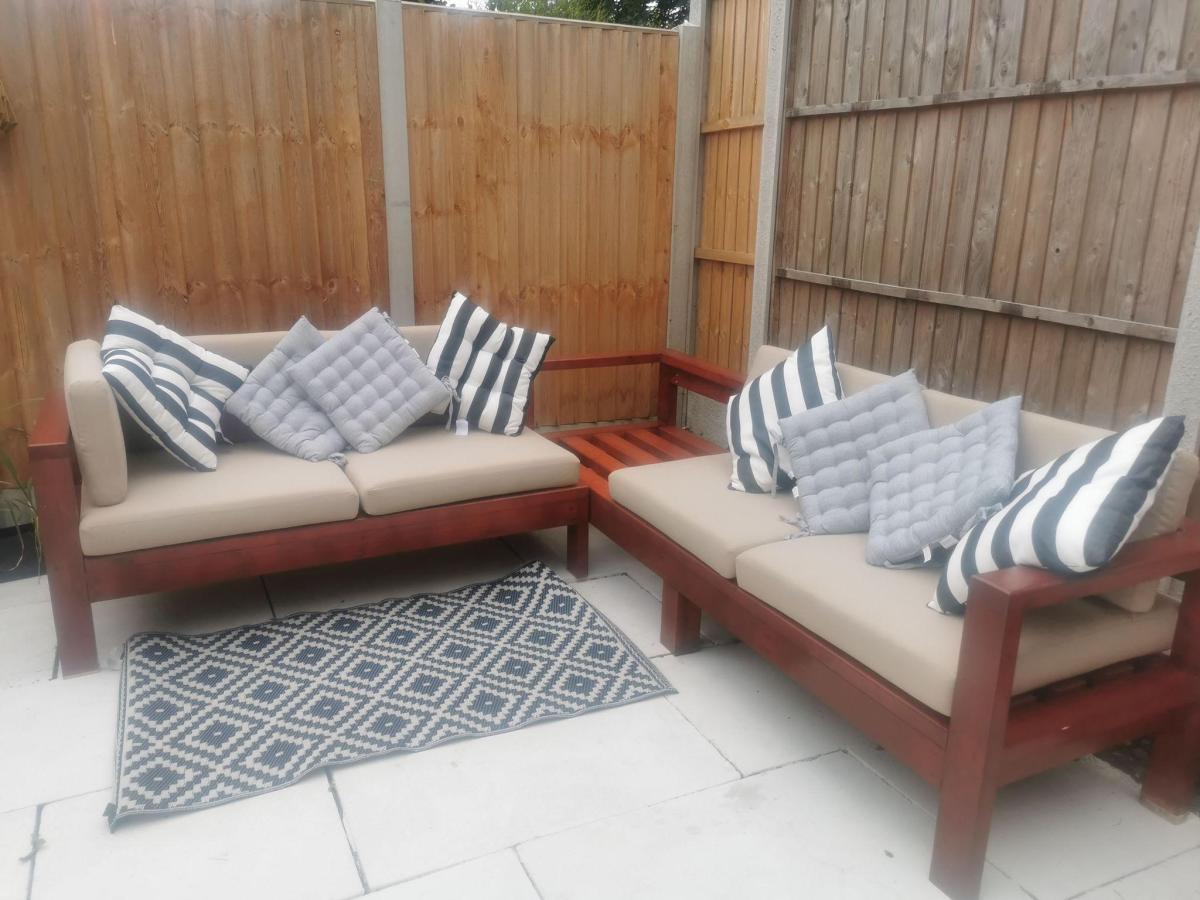
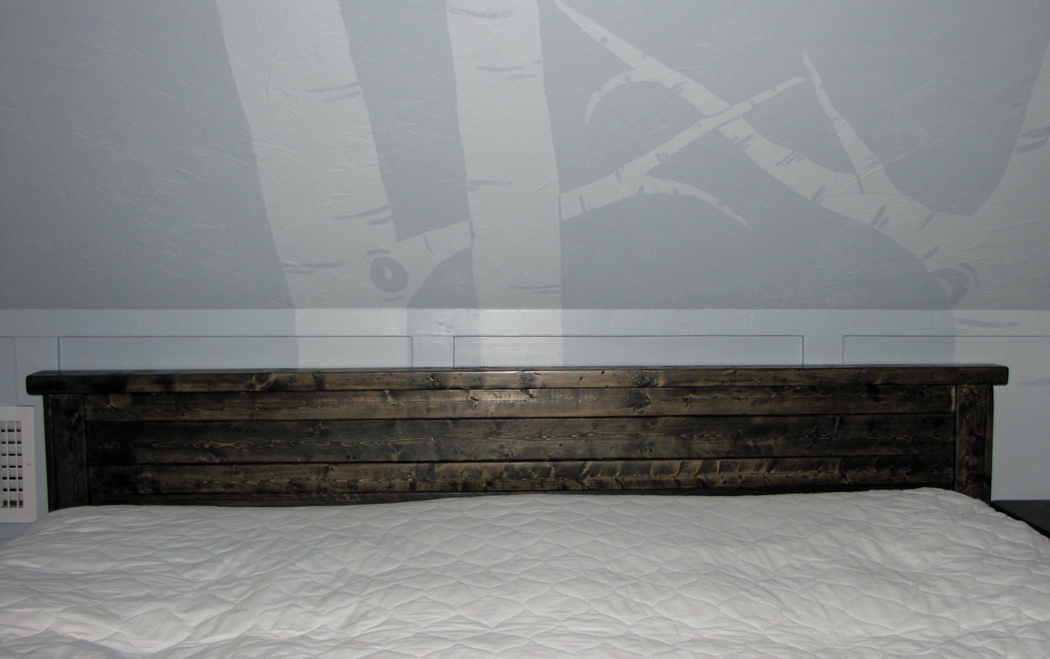
my new sofa
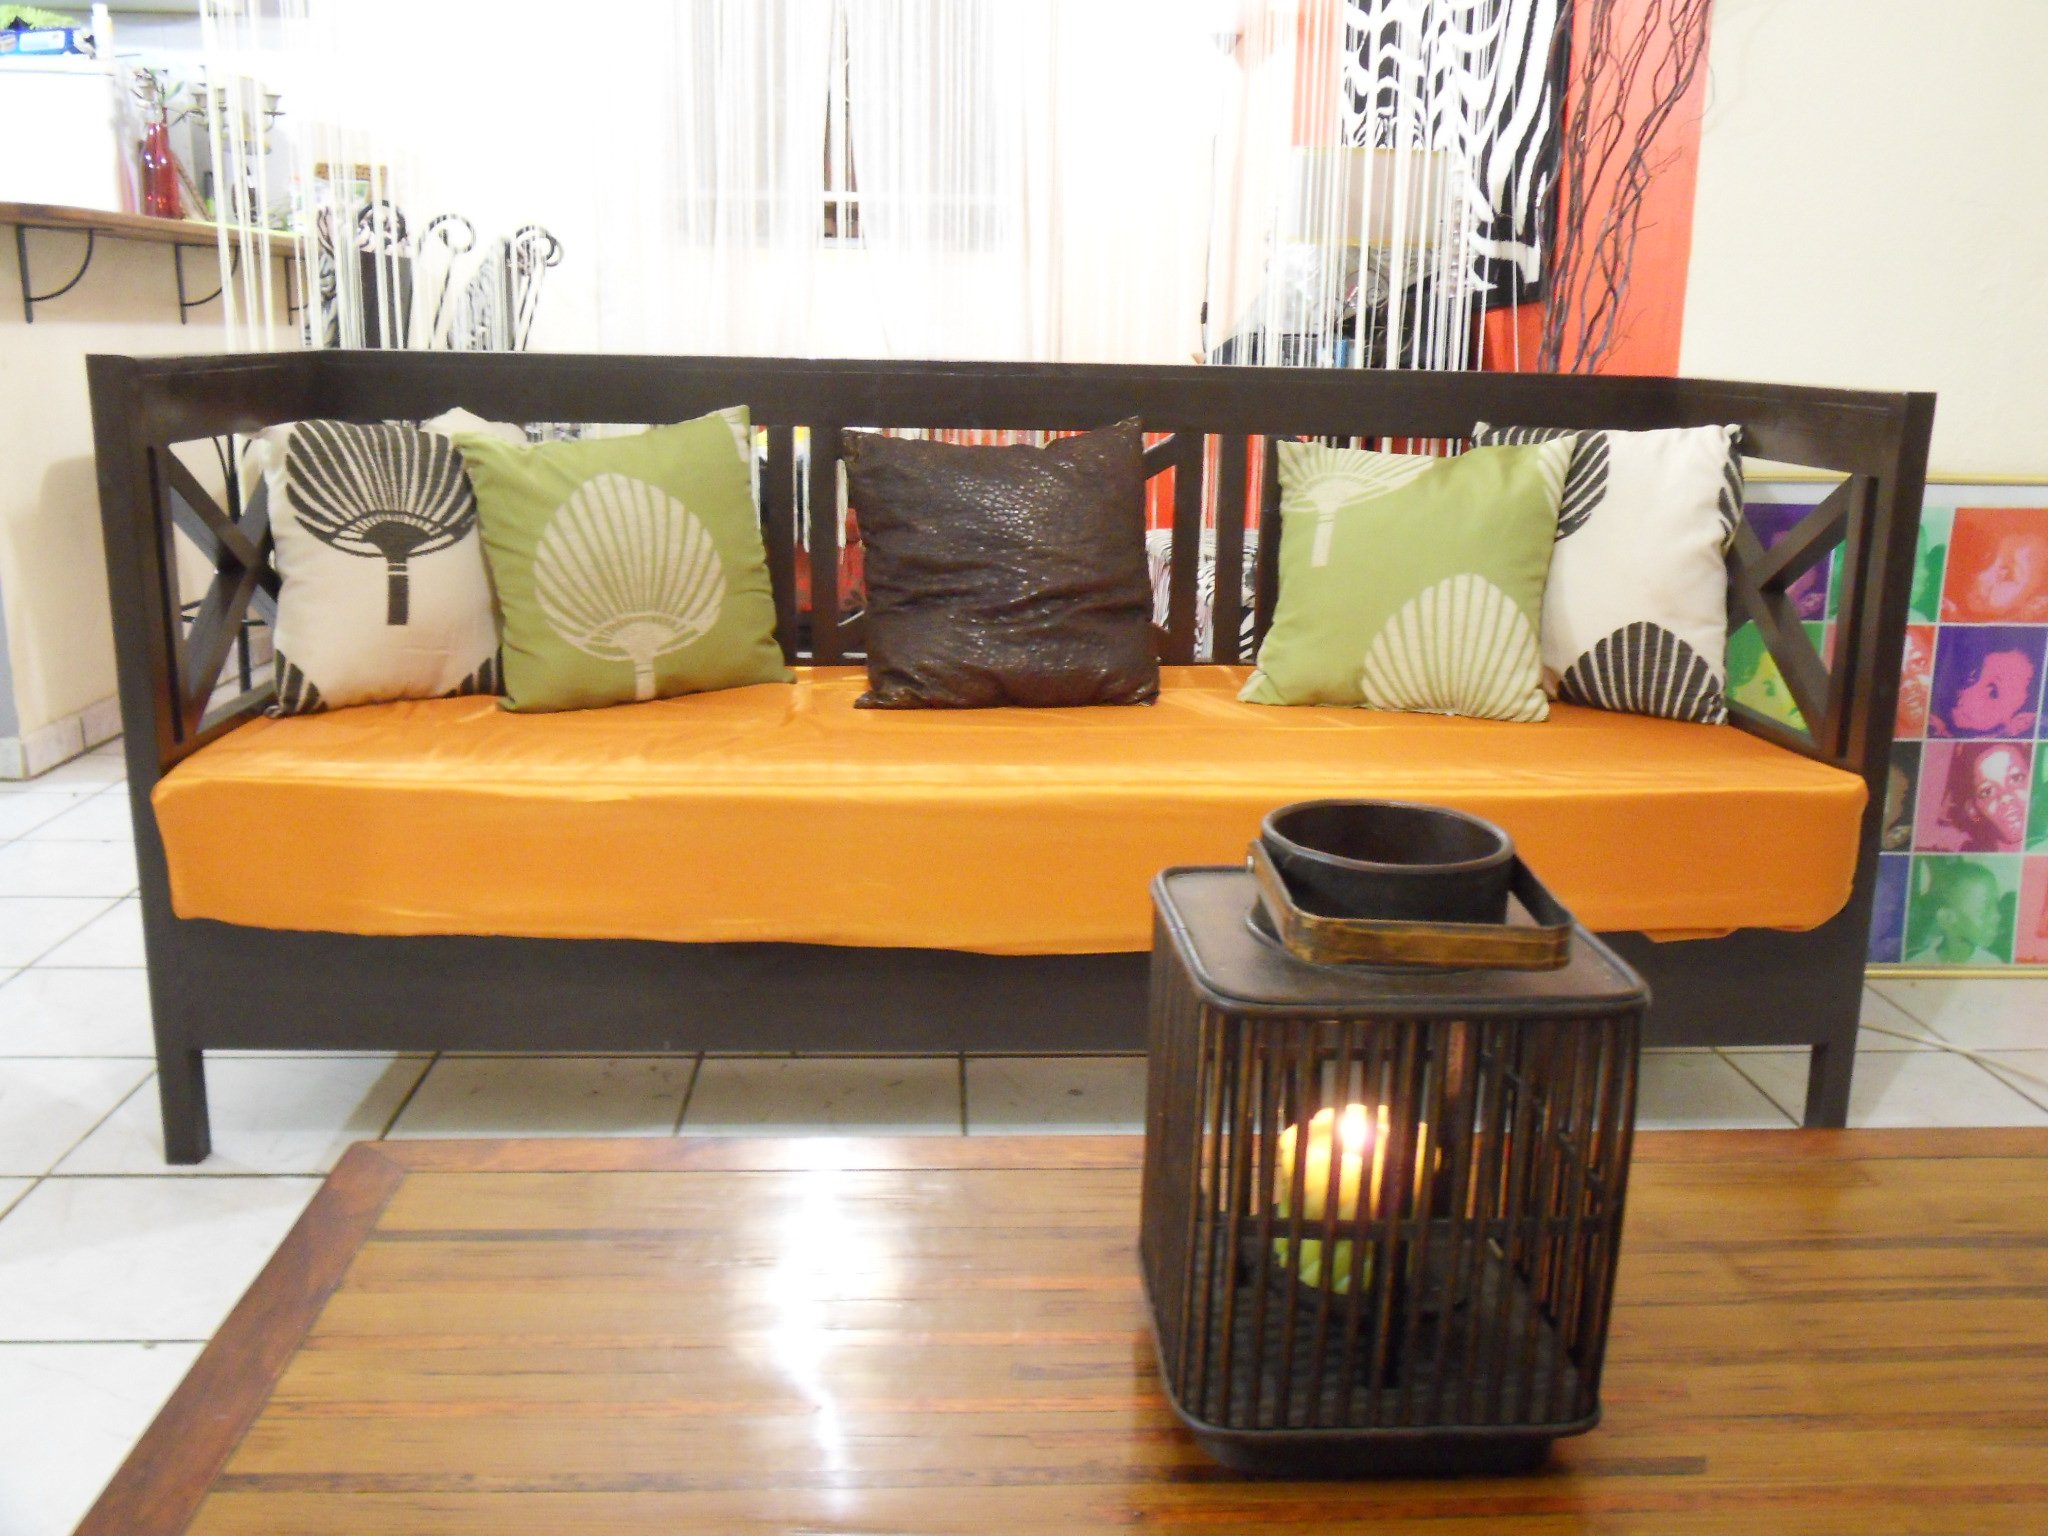
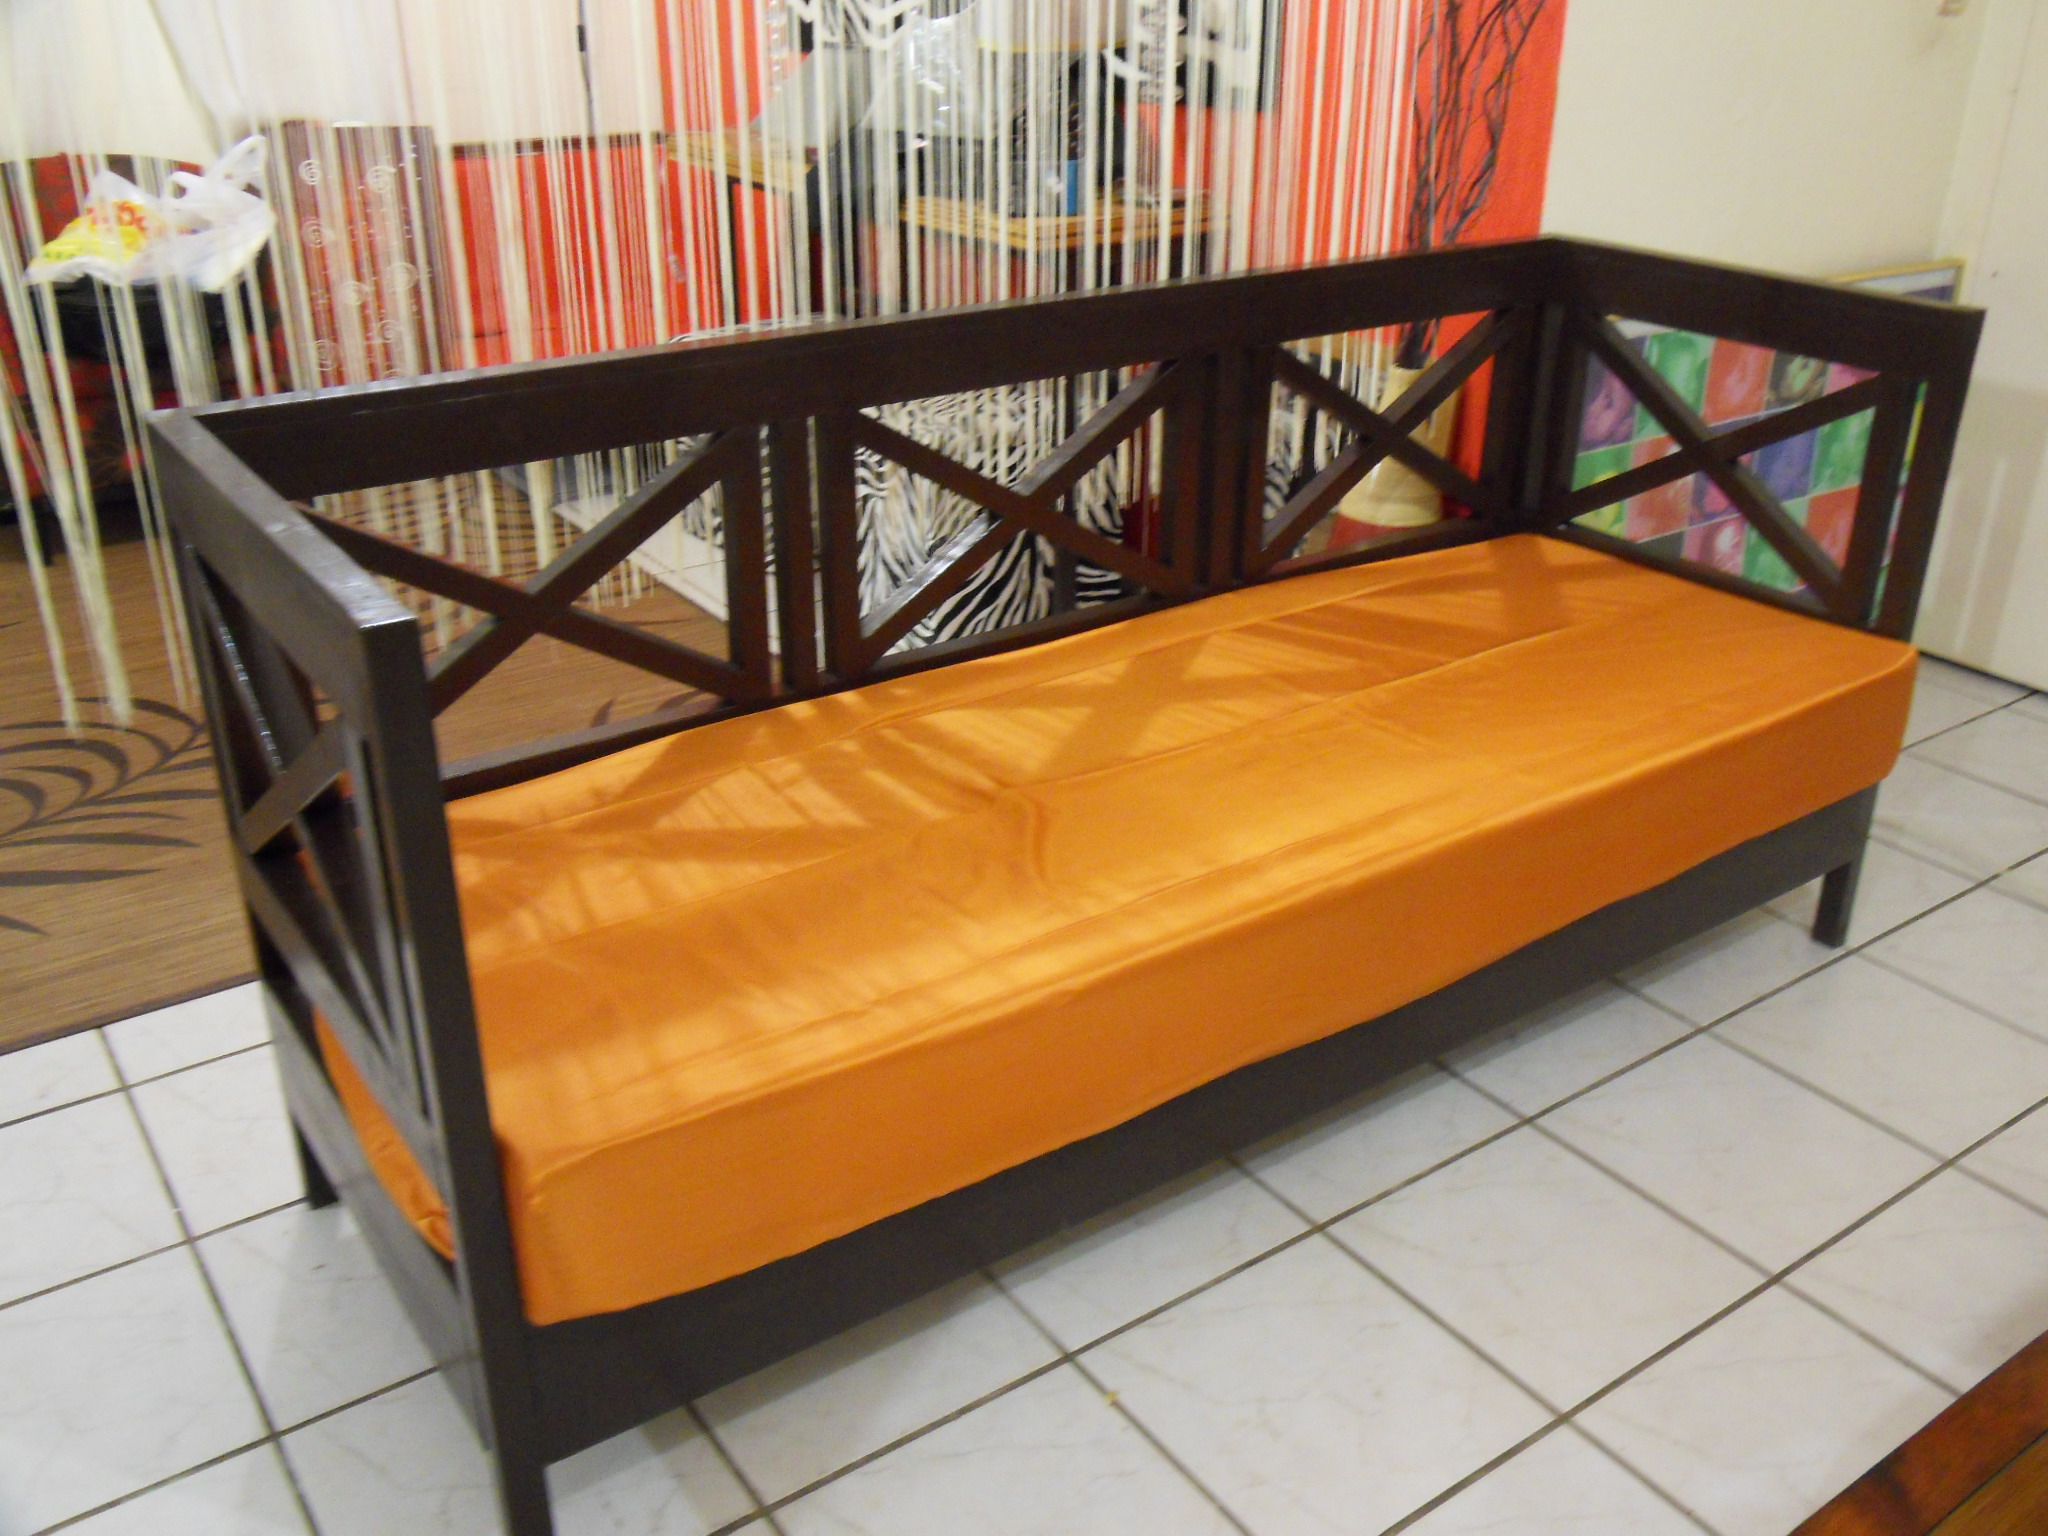
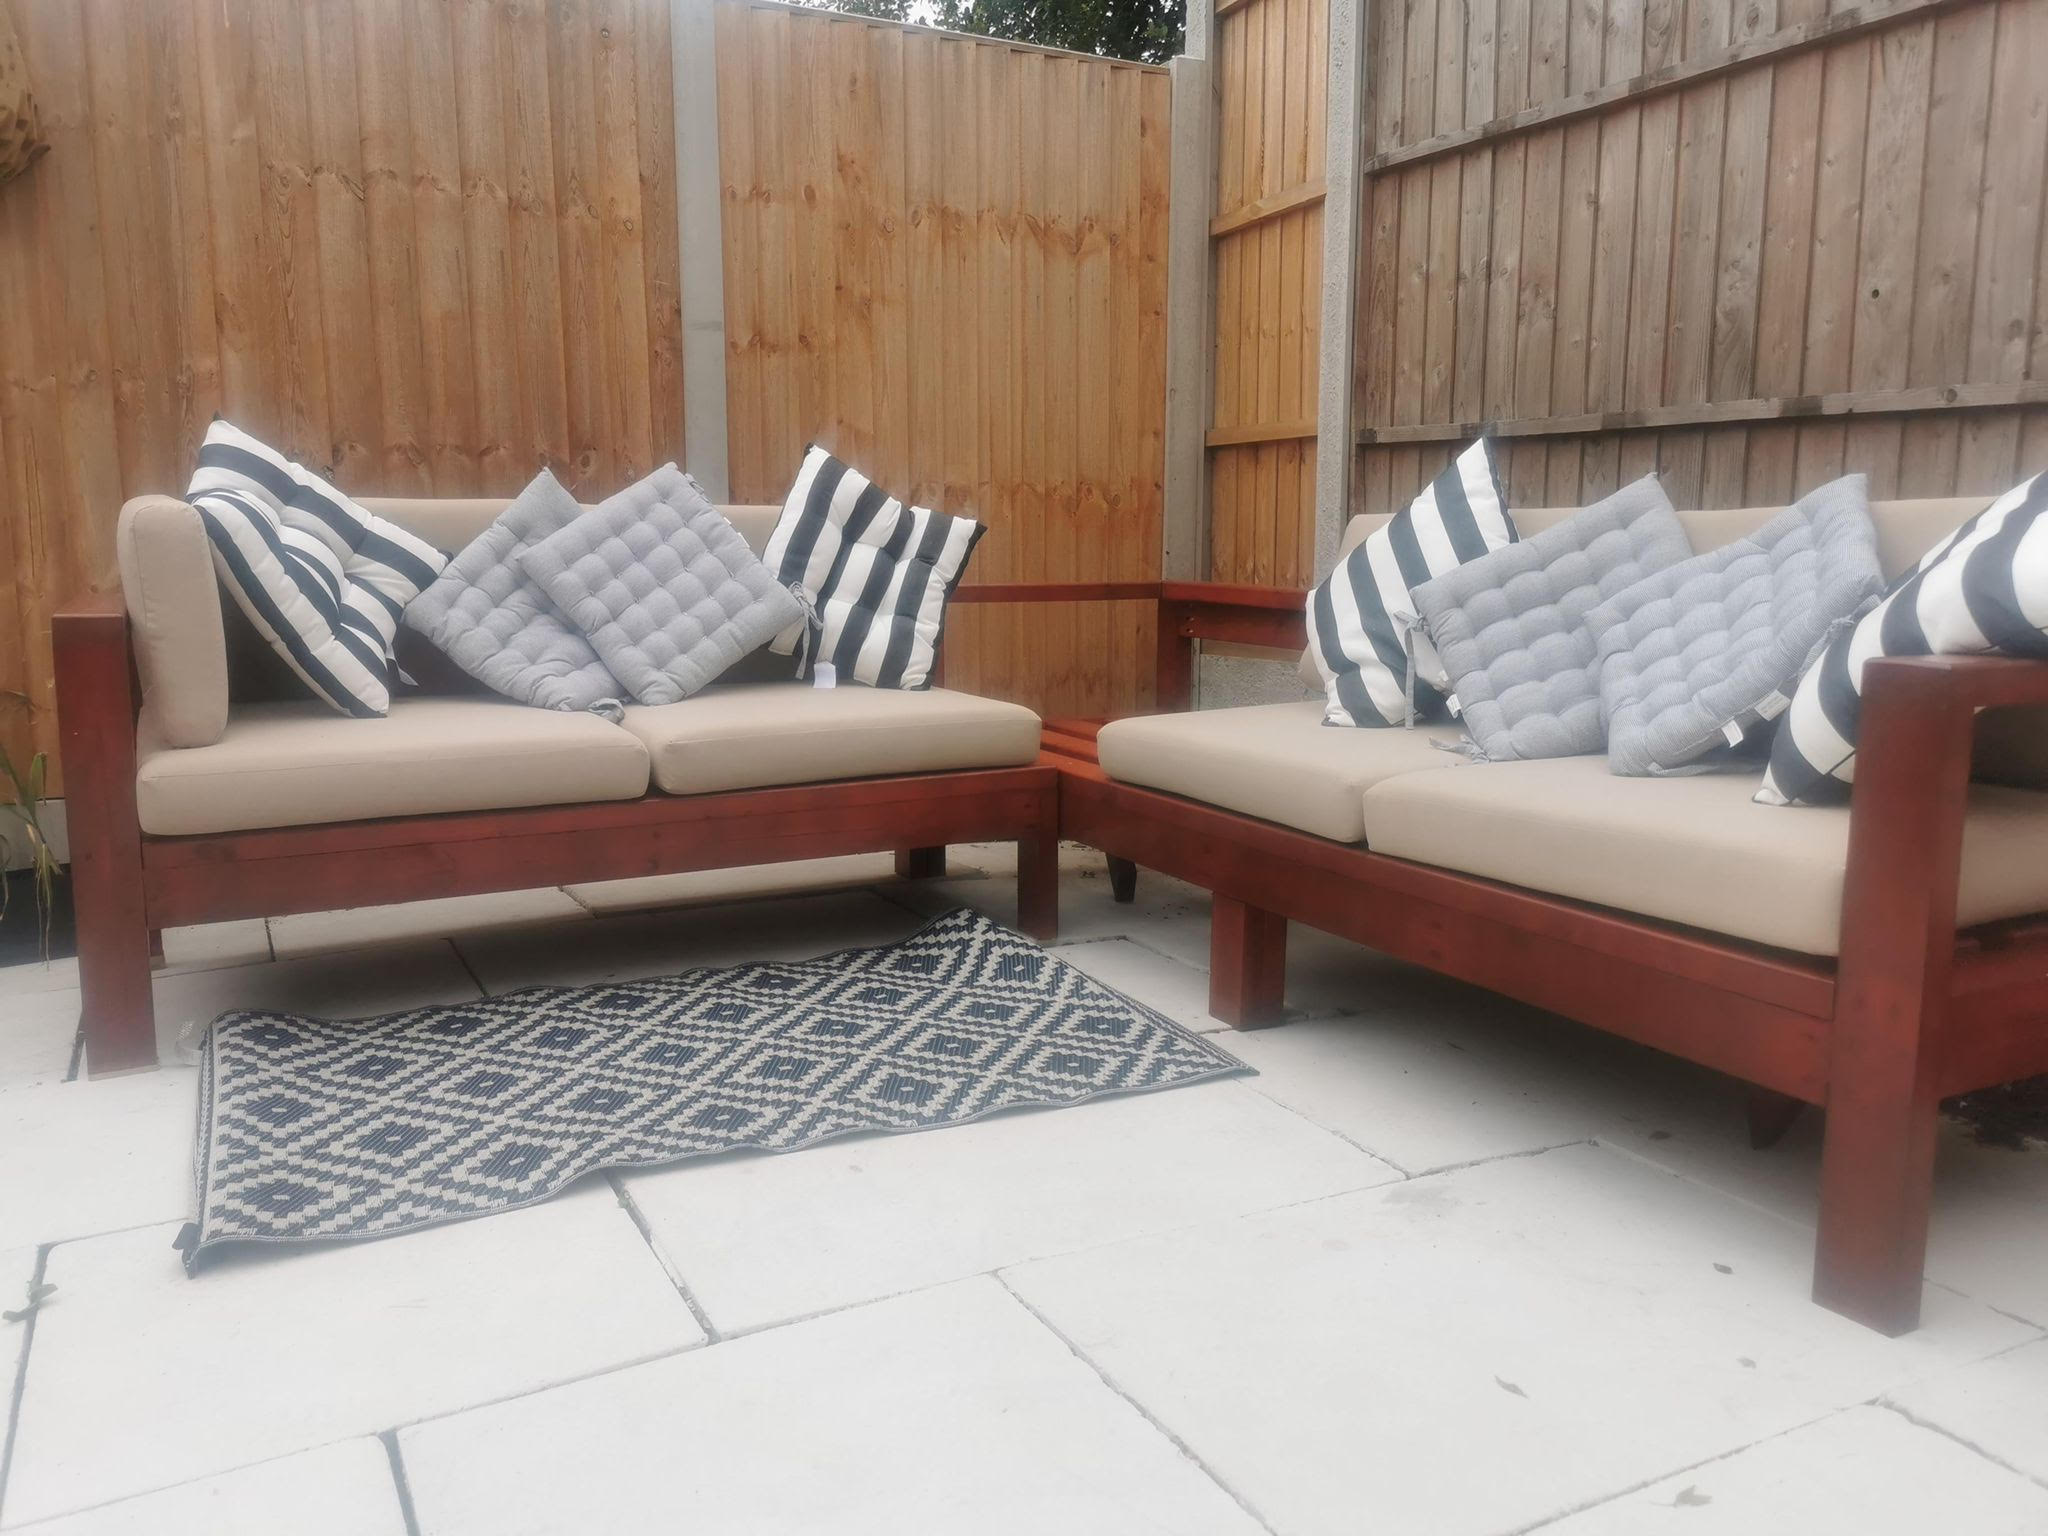
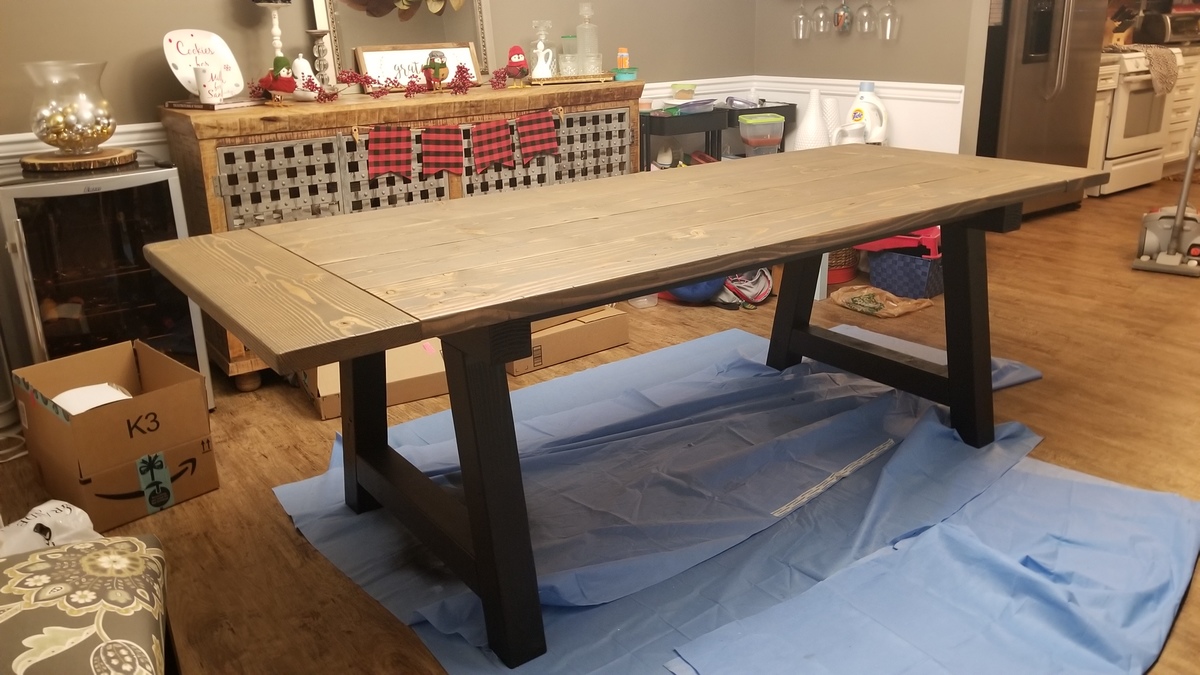
I built my new sofa!
I am so happy how it turned out. I had to translate all the instuctions in french, and modify the dimensions to adapt them to the lumbers I found in my country (France)
I had to change inches in centimeters too.
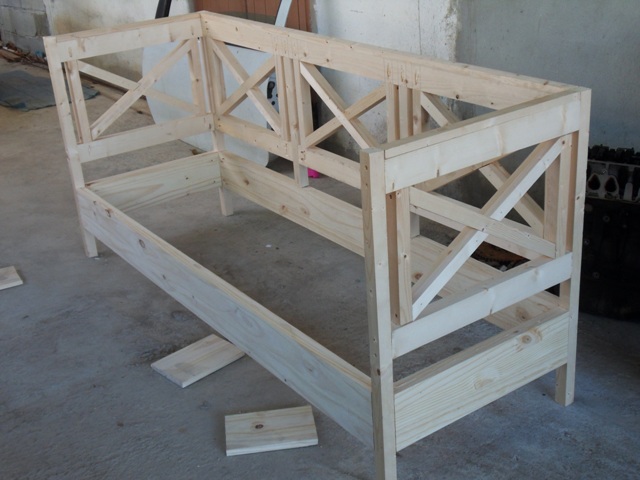
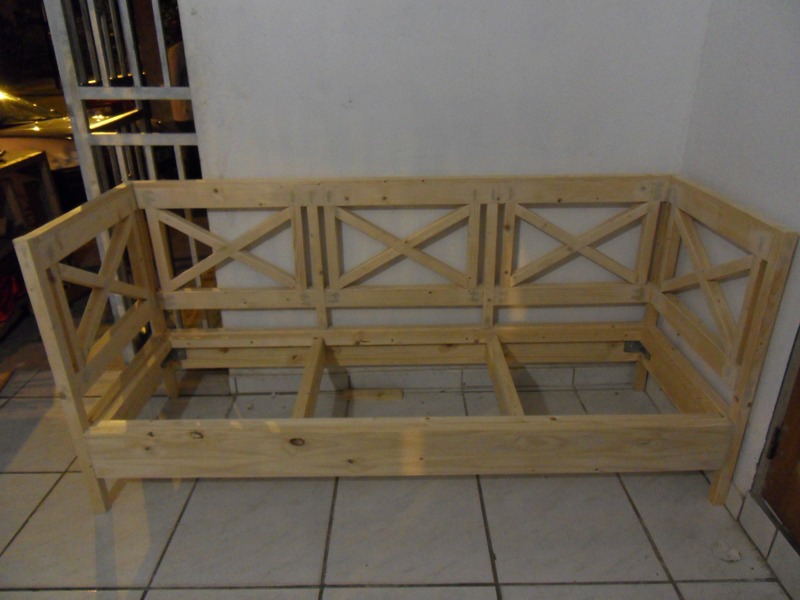
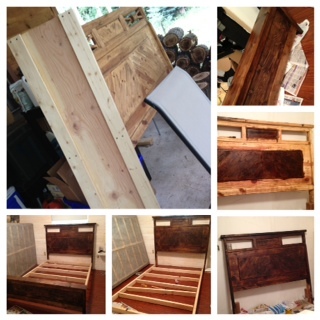
It was just a little difficult but I built it!!!
Thank you so much Ana, I am one of your fan.

Built from Plan(s)
Estimated Cost
150 euros
Estimated Time Investment
Weekend Project (10-20 Hours)
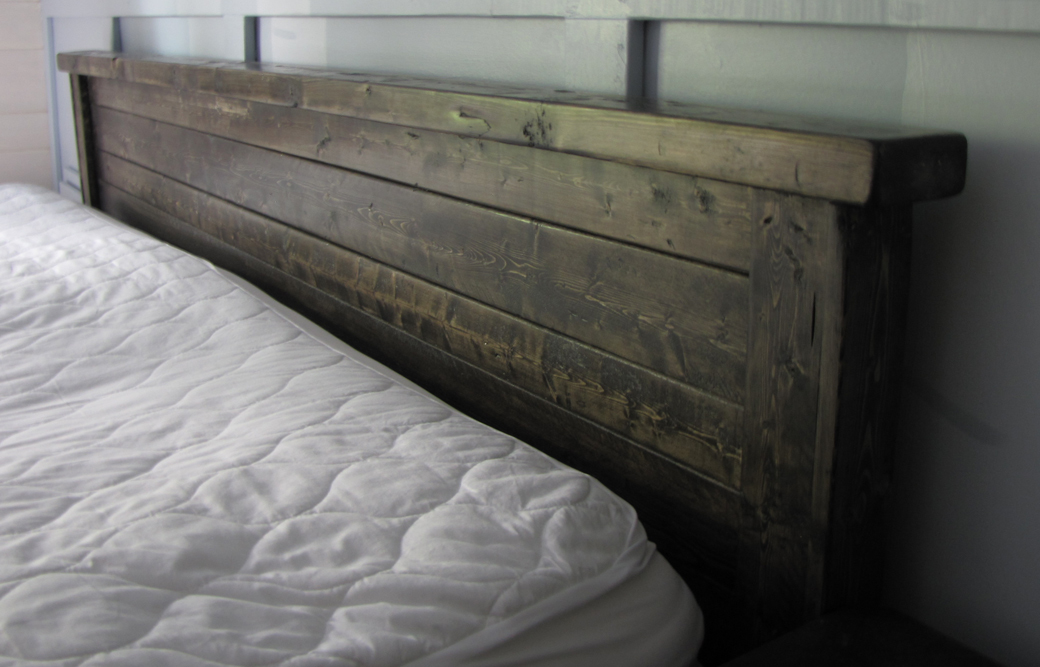
Finish Used
ebony gloss paint
Recommended Skill Level
Beginner


Comments
Pam the Goatherd
Wed, 08/17/2011 - 05:28
Lovely! Tres bon!
Lovely! Tres bon!
Guest (not verified)
Wed, 08/17/2011 - 07:07
Excellent work! Where did you
Excellent work! Where did you buy a Kreg Jig? Is it available in France?
alamanda973
Wed, 08/17/2011 - 08:35
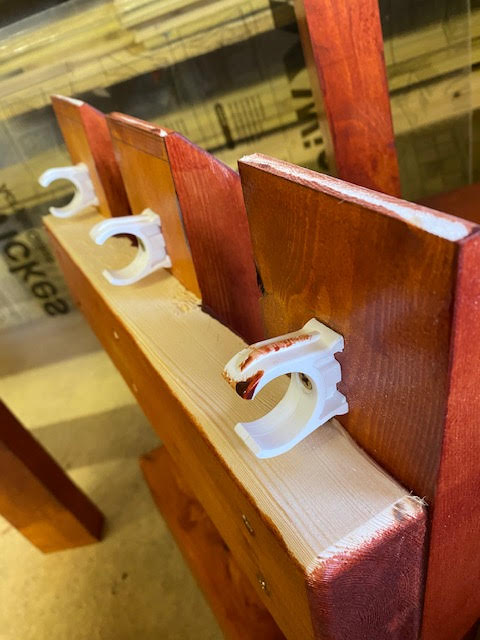
Kreg Jig
I did not find Kreg Jig, but I found another "mark" who proposes the same system.It is less good than Ana's Kreg Jig, but I had no choice. In any case, that works. Thank you for your comments and sorry for my bad English.
Ana White
Wed, 08/17/2011 - 11:18
Wow. This just turned out
Wow. This just turned out amazing! Love the finish on it!
Brigitte (not verified)
Mon, 08/29/2011 - 16:48
it's very nice. I'd like the
it's very nice. I'd like the same !
Alexandra (not verified)
Wed, 10/12/2011 - 20:33
Very nice! It reminds me of
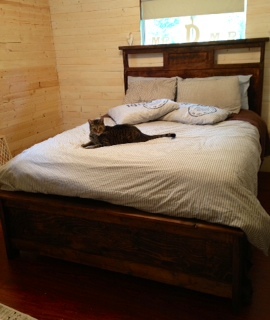
Very nice! It reminds me of an Indian divan.
Catherine Lake (not verified)
Fri, 07/27/2012 - 06:44
Twin Mattress
Did you use a mattress for your cushion? Did the plan fit that for you, or did you have to modify?
Catherine Lake (not verified)
Fri, 07/27/2012 - 06:45
Twin Mattress??
Did the plan fit the mattress exactly or did you have to modify it?
alamanda973
Fri, 07/27/2012 - 17:30
I don't know the size of a
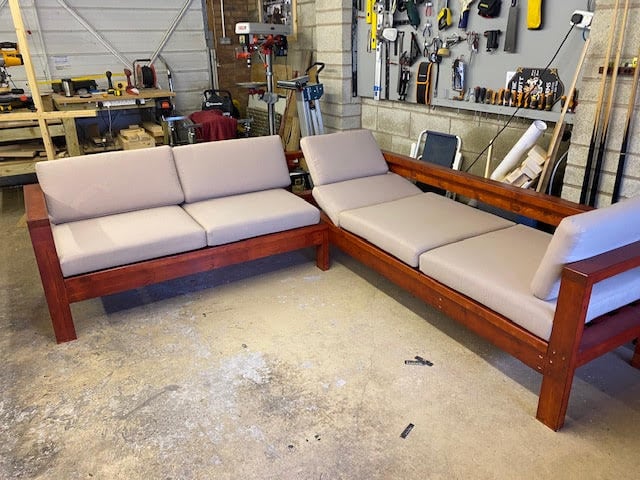
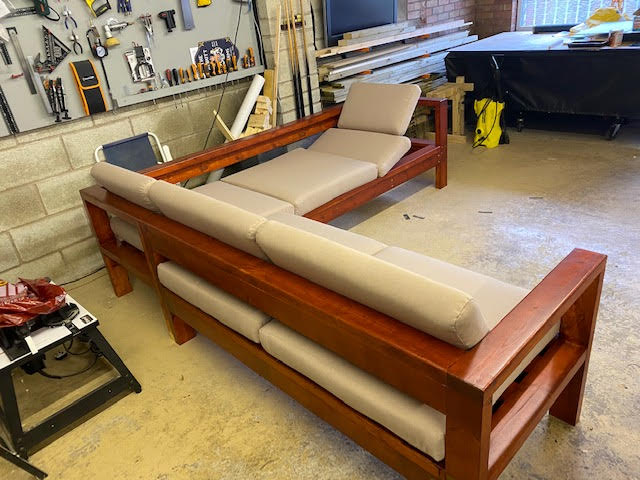
I don't know the size of a twin mattress but my pillow measures 180cm of length and 60 cm deep for a thickness of 14cm. I bought a foam mattress of 90cm of wide and of 190cm of length and I cut it. They are the size of a child bed in France.The size of wood are different here thus the sofa has no same dimensions as on Ana's plans. I adjusted according to the wood available here.
Stefanye Thurmond (not verified)
Fri, 10/19/2012 - 22:38
You're amazing!! Excellent
You're amazing!! Excellent job!