Community Brag Posts

Chunky leg bedframe

Submitted by Anonymous (not verified) on Tue, 02/12/2019 - 17:43

I got tired of sleeping on the floor like college kids, but I didn’t want to buy a junky particle board bedframe. My husband and I are novice woodworkers. Even still, we bought the lumber around noon and managed to finish the whole project in about 5-6 hours! We used a Kreg jig for the first time and it was pretty simple. I am really pleased with how this turned out, and I can’t wait to try more of Ana’s plans in the future.

Estimated Cost
$100 including the cost of pockethole screws and finishing nails.
Estimated Time Investment
Day Project (6-9 Hours)
Recommended Skill Level
Beginner

Got my confidence in building back!!!!

Submitted by Anonymous (not verified) on Fri, 05/05/2023 - 03:45

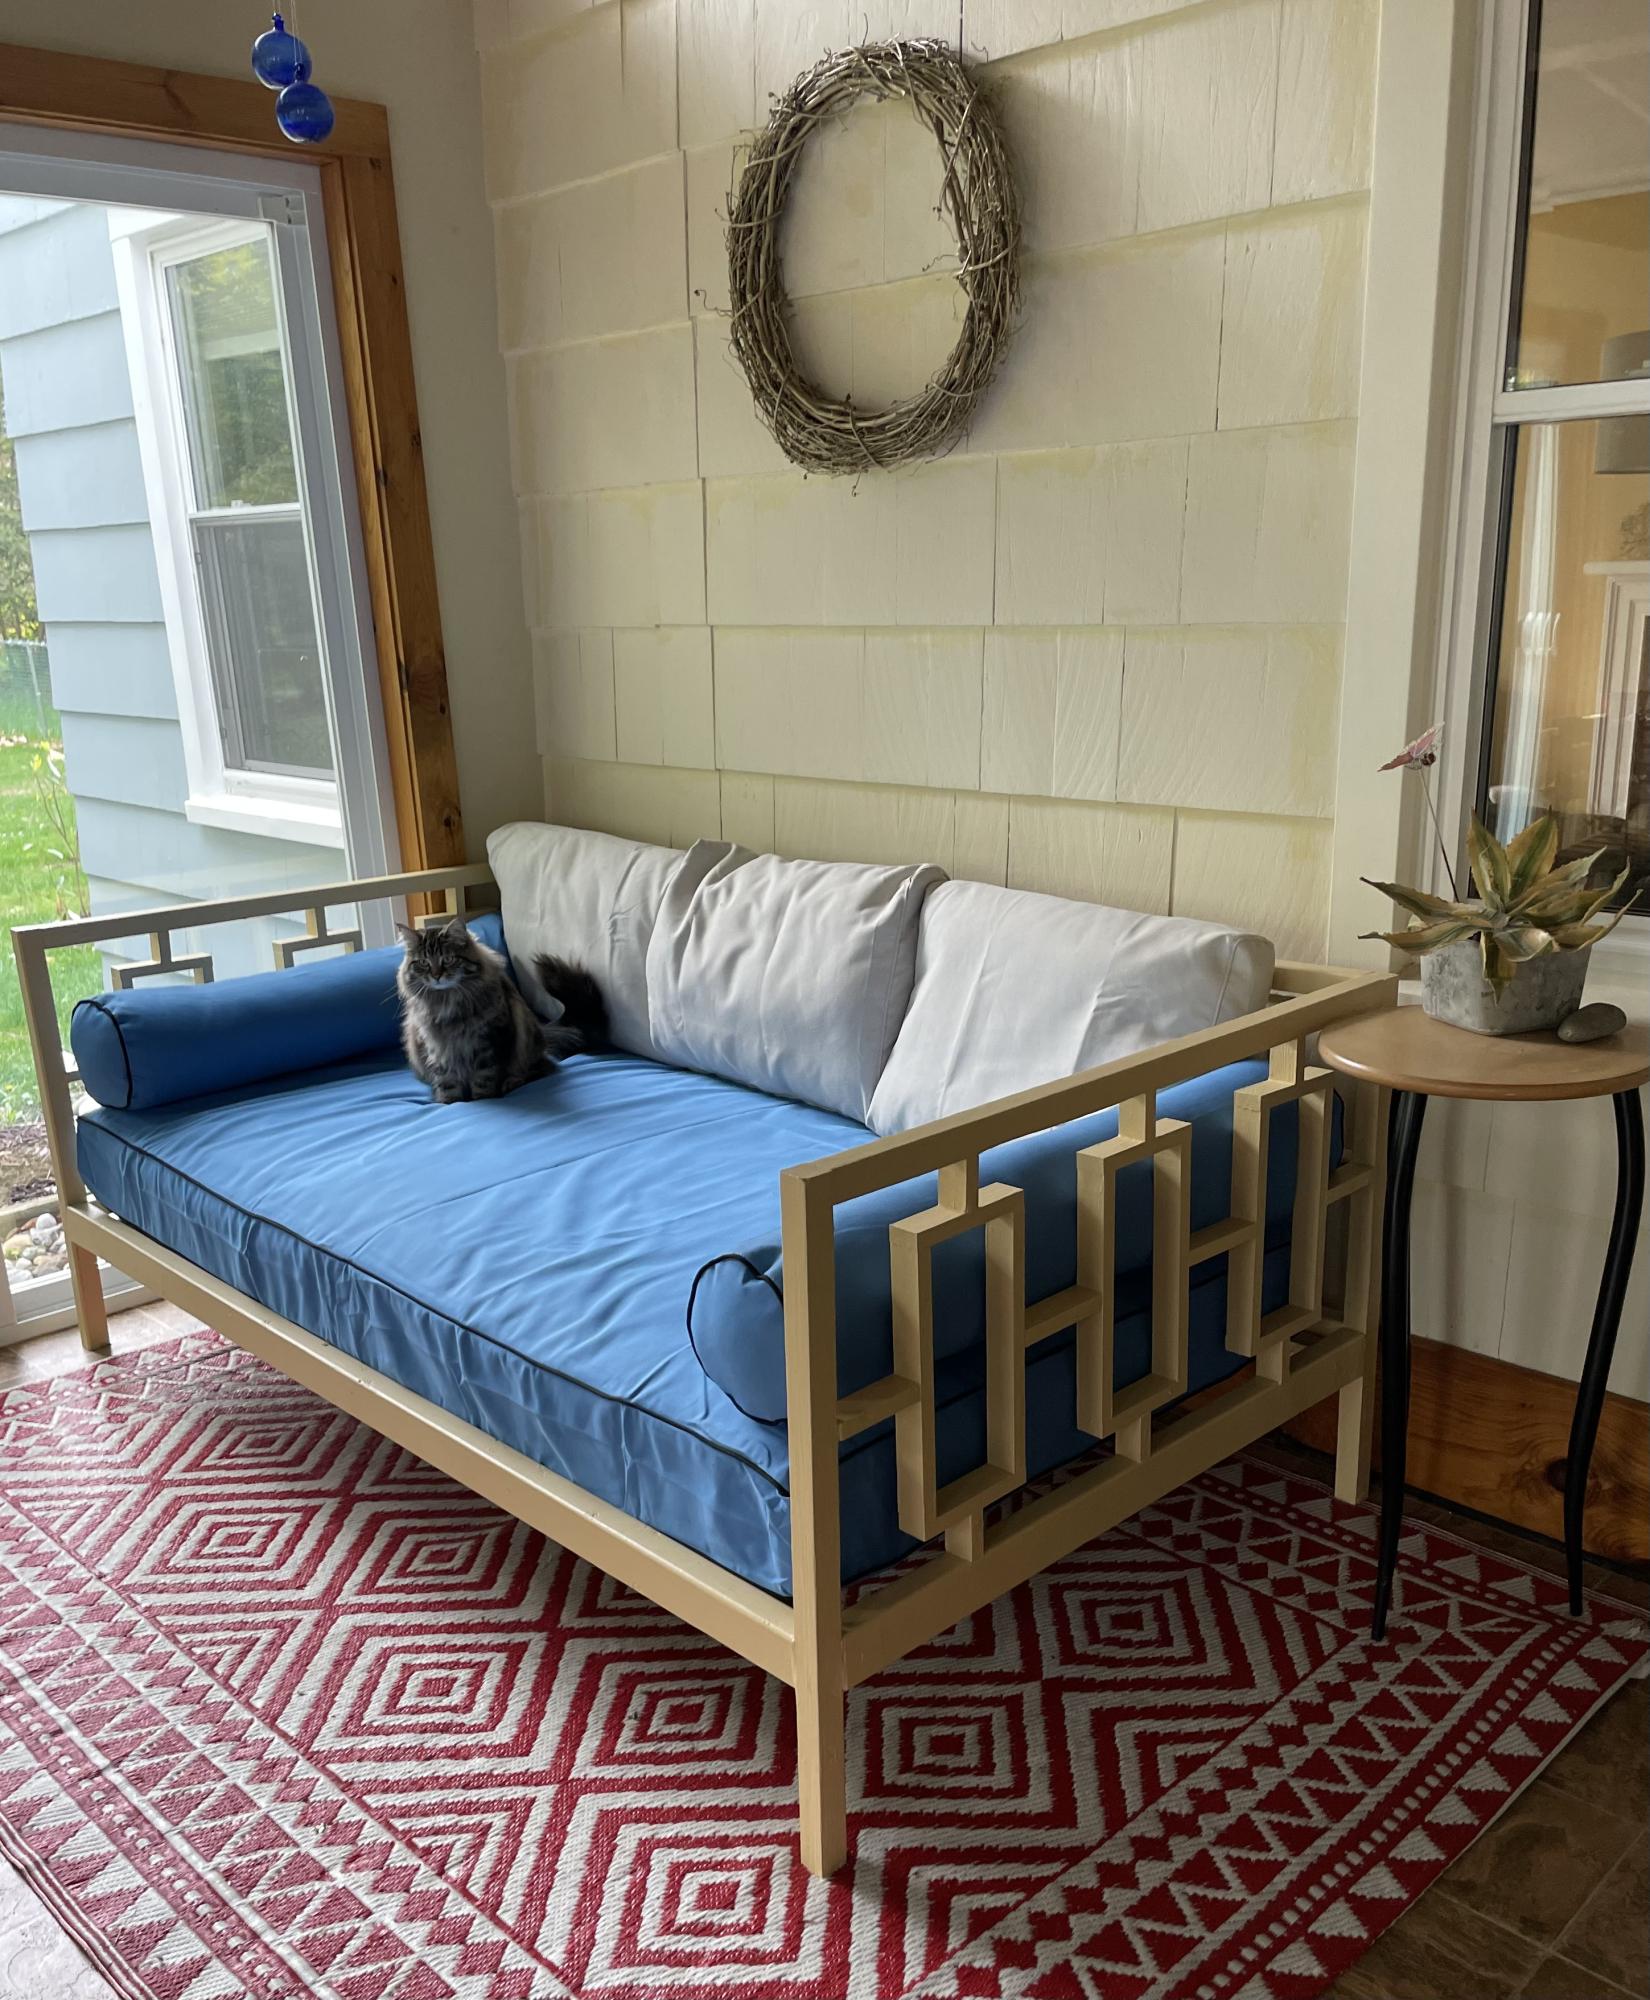
I woke up one morning and decided this space couldn’t go on without a day bed. One week later I am standing tall. This is my first intermediate build. Excited to jump into the next project!

Built from Plan(s)

Comments

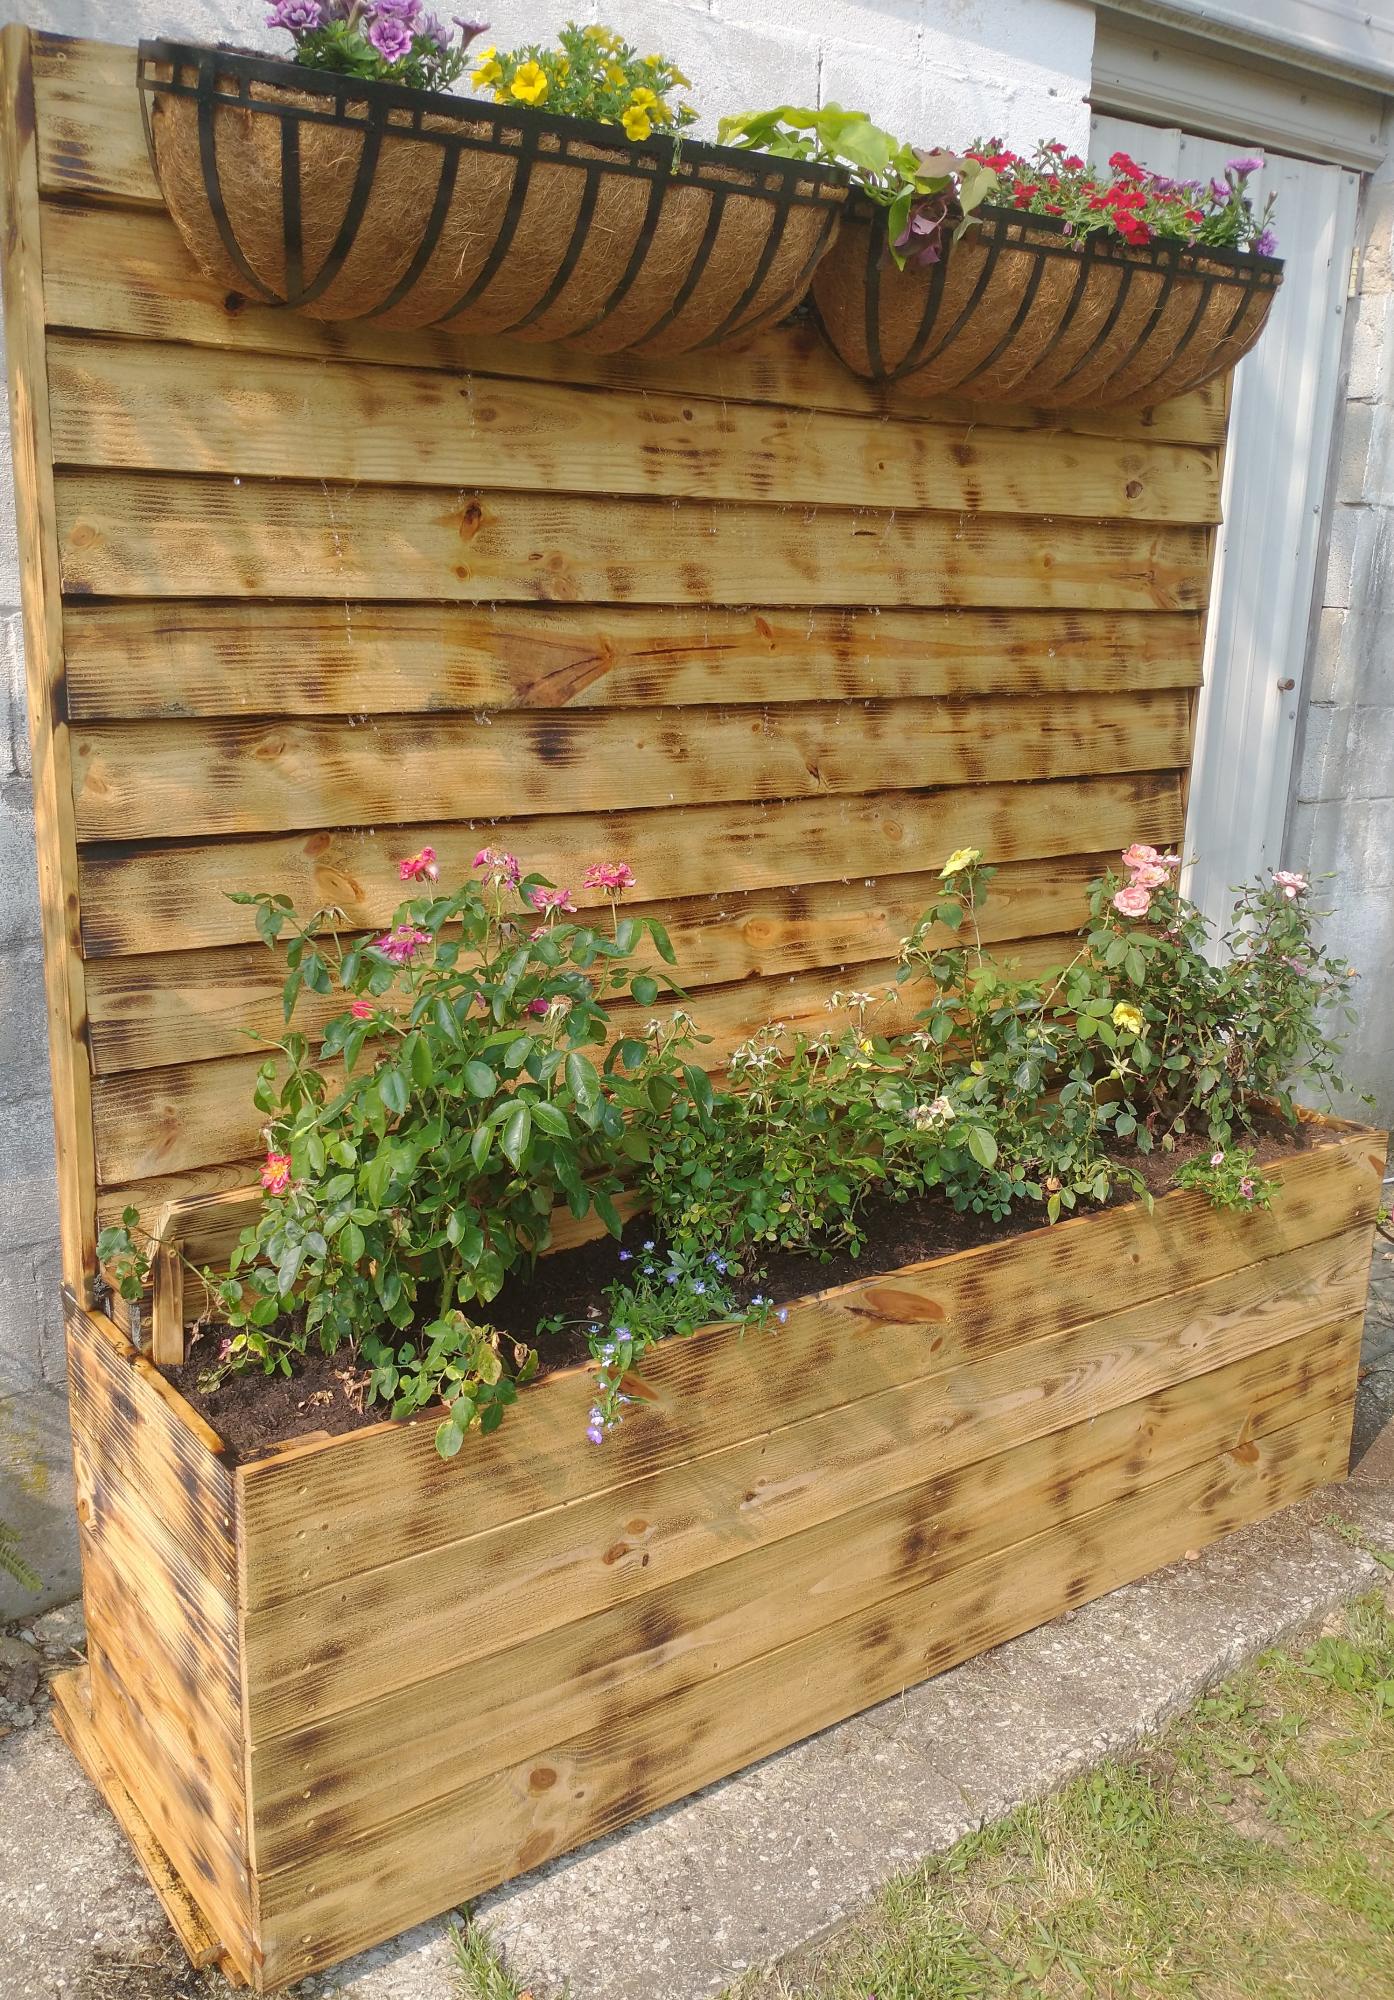
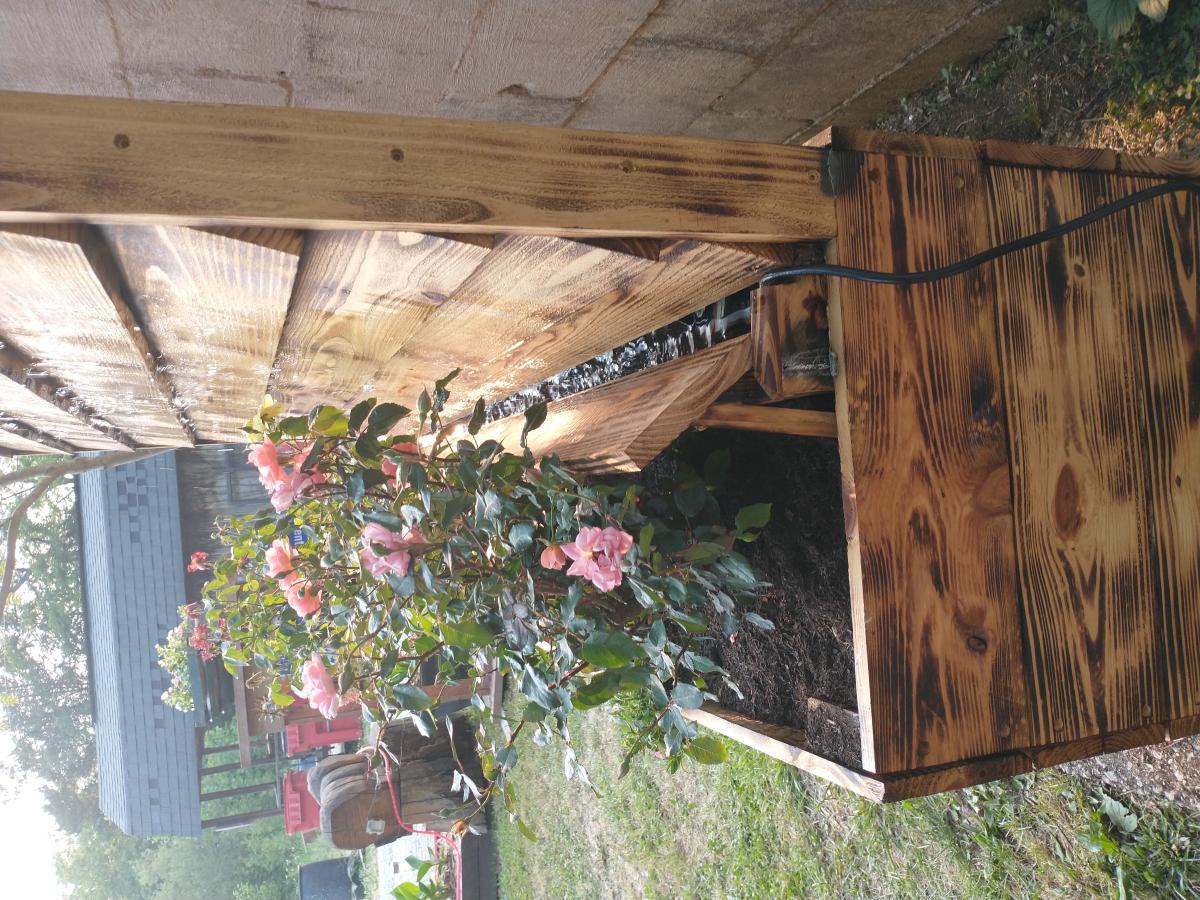
Privacy planter

Submitted by Anonymous (not verified) on Sun, 06/04/2023 - 16:11

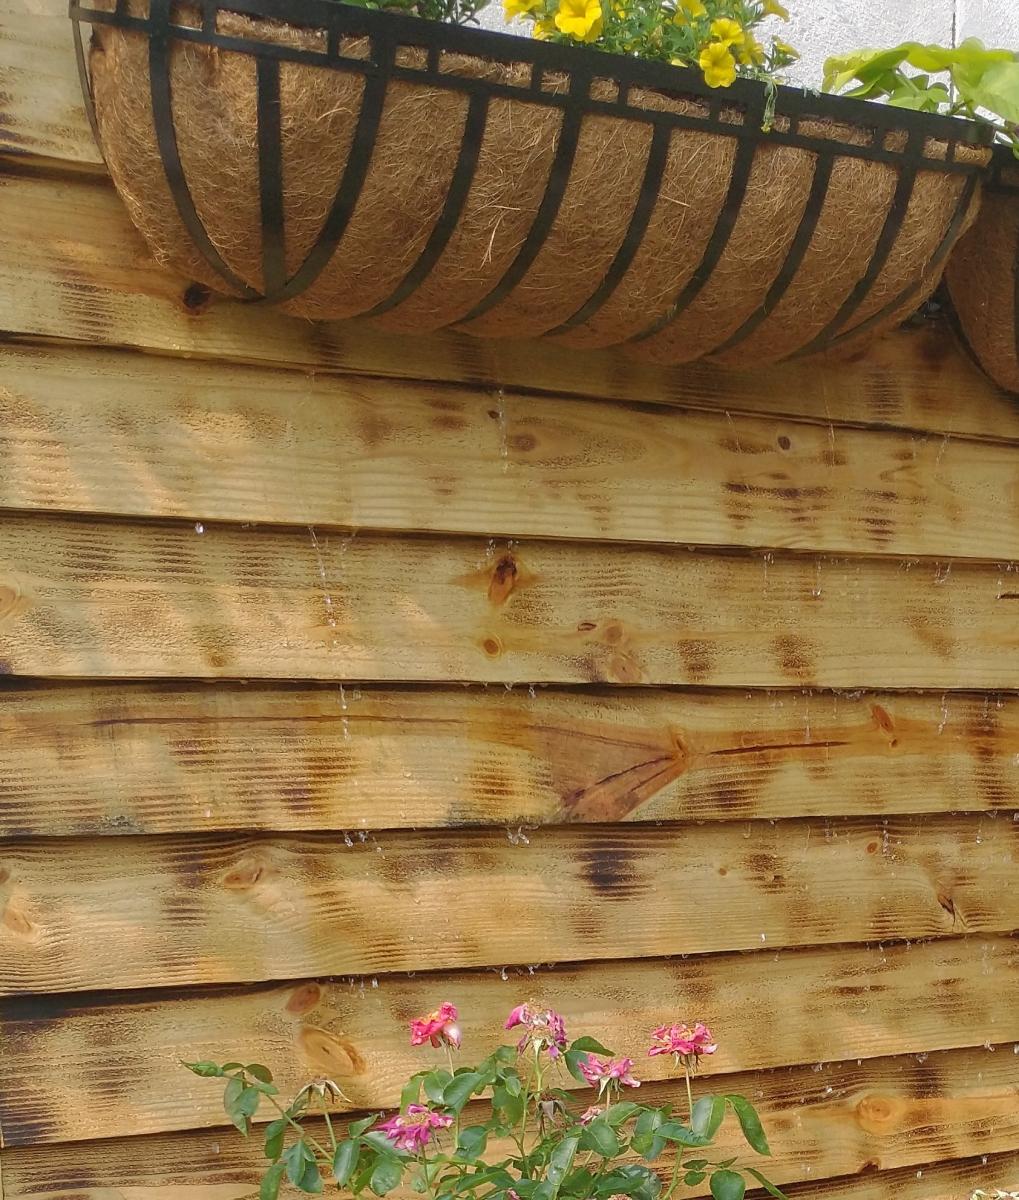
It's a take off of your privacy fence planter. But I added water to make it a water wall also.

Built from Plan(s)

Comments

Seasonal And Holiday

Propane Tank Storage Table

Submitted by Anonymous (not verified) on Fri, 07/07/2023 - 11:12

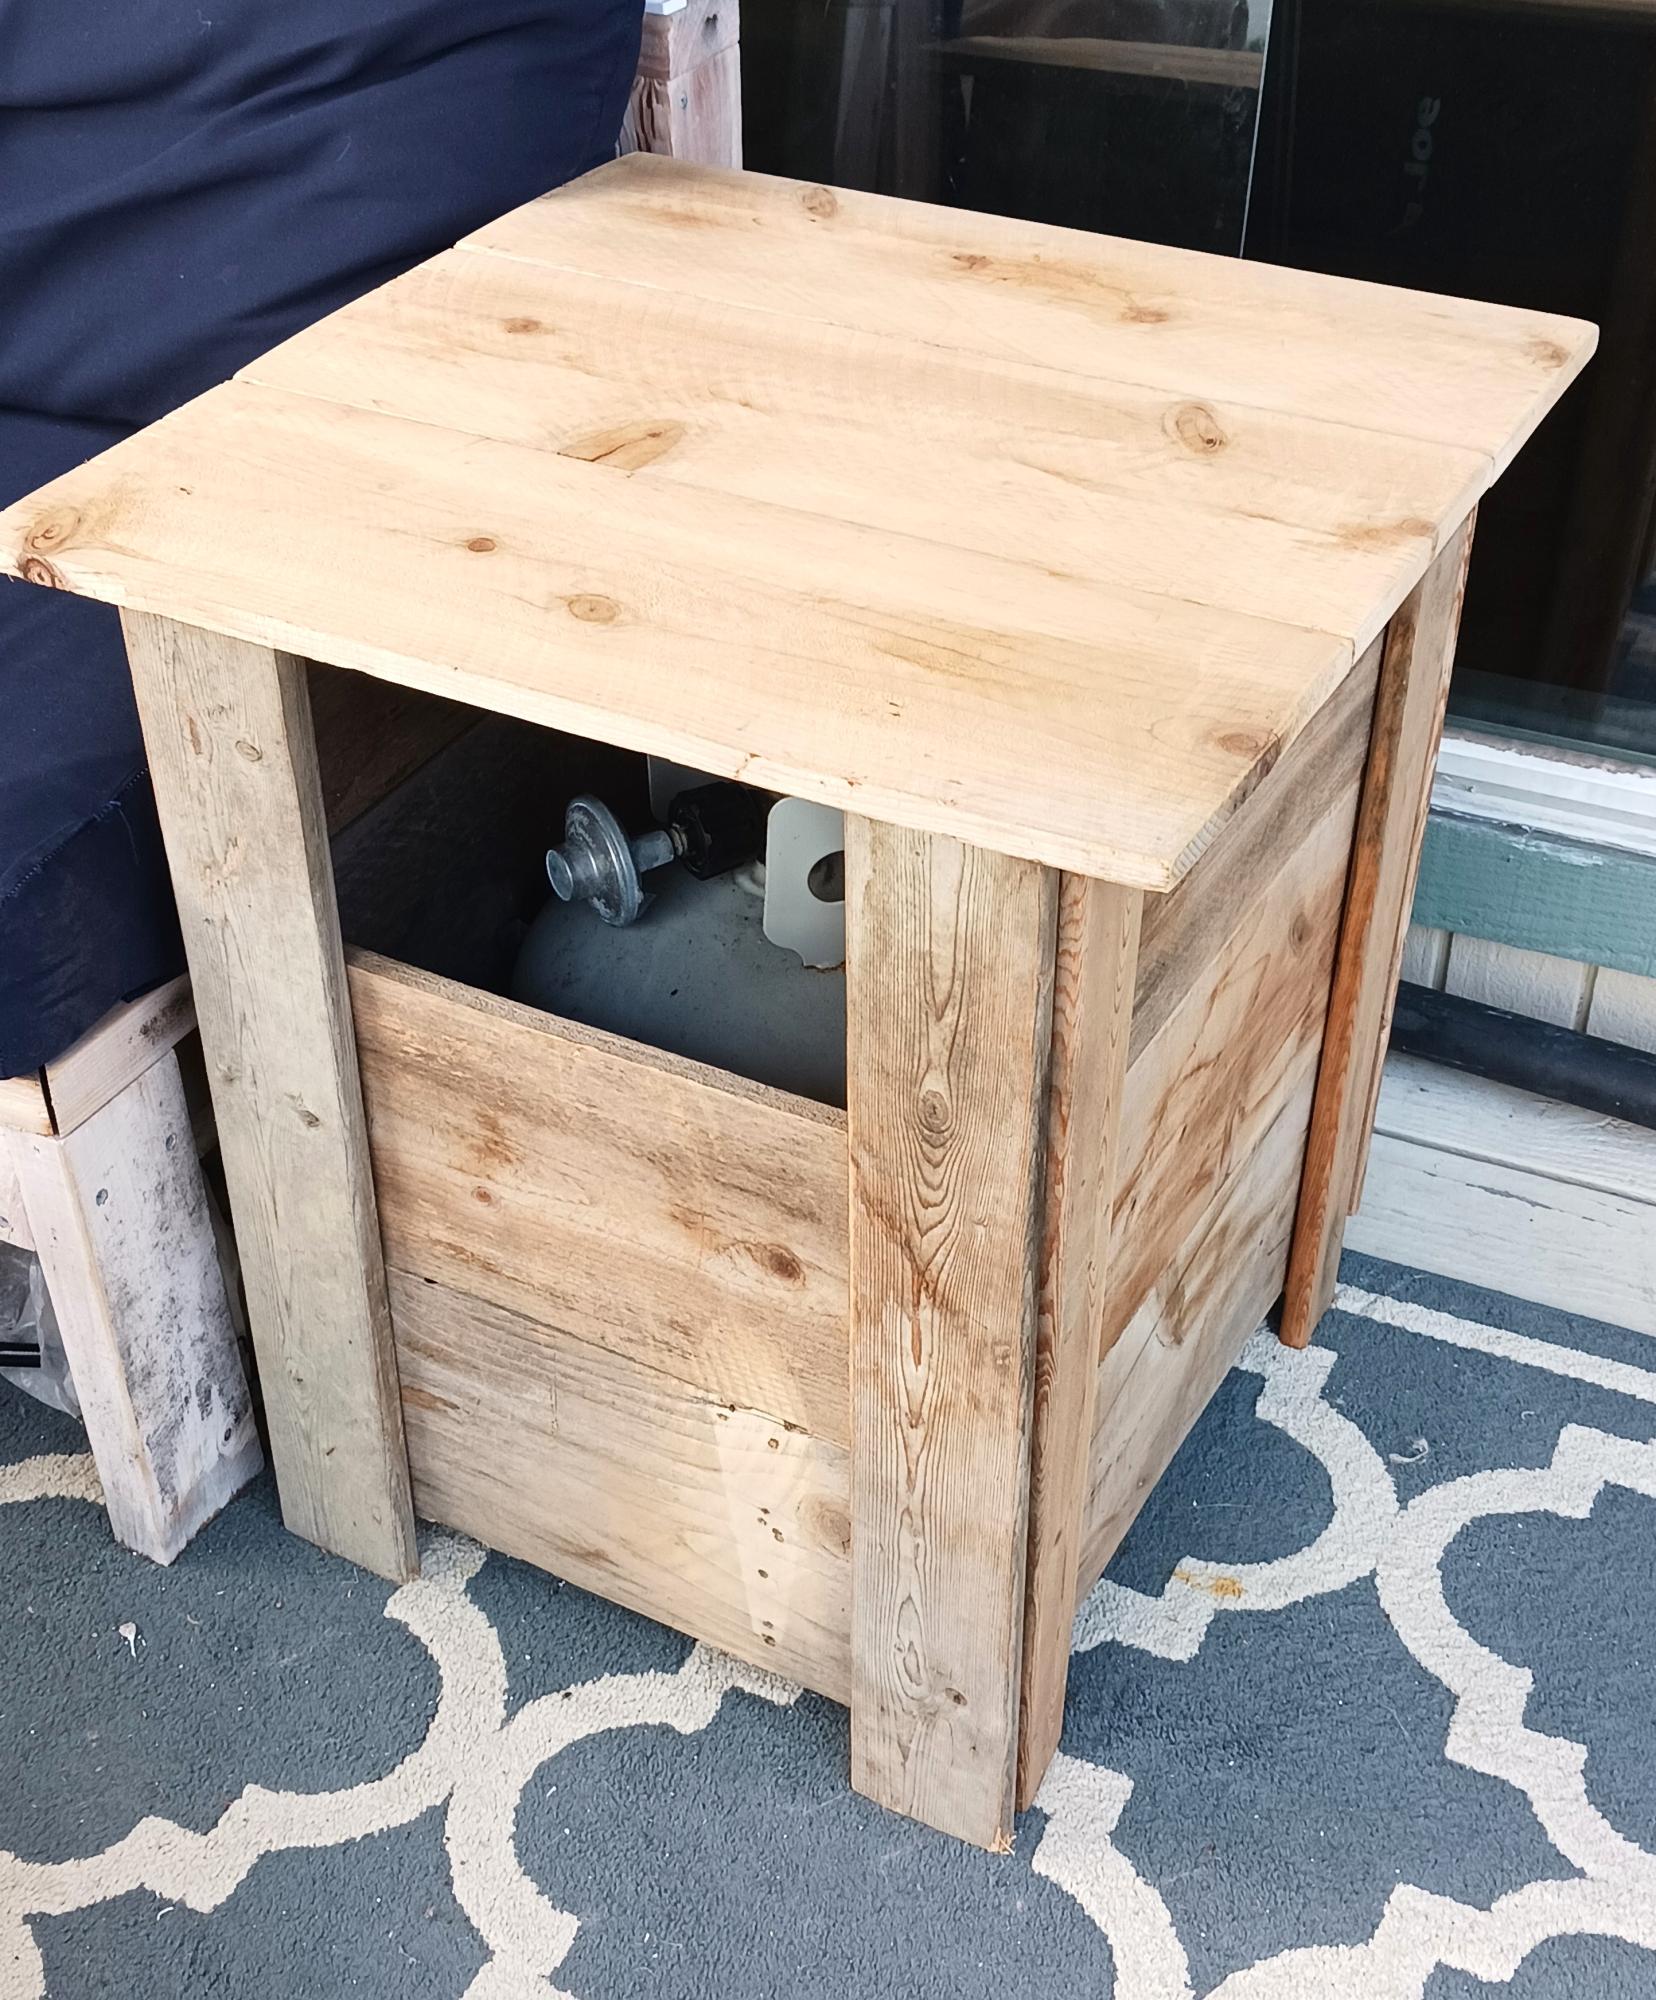
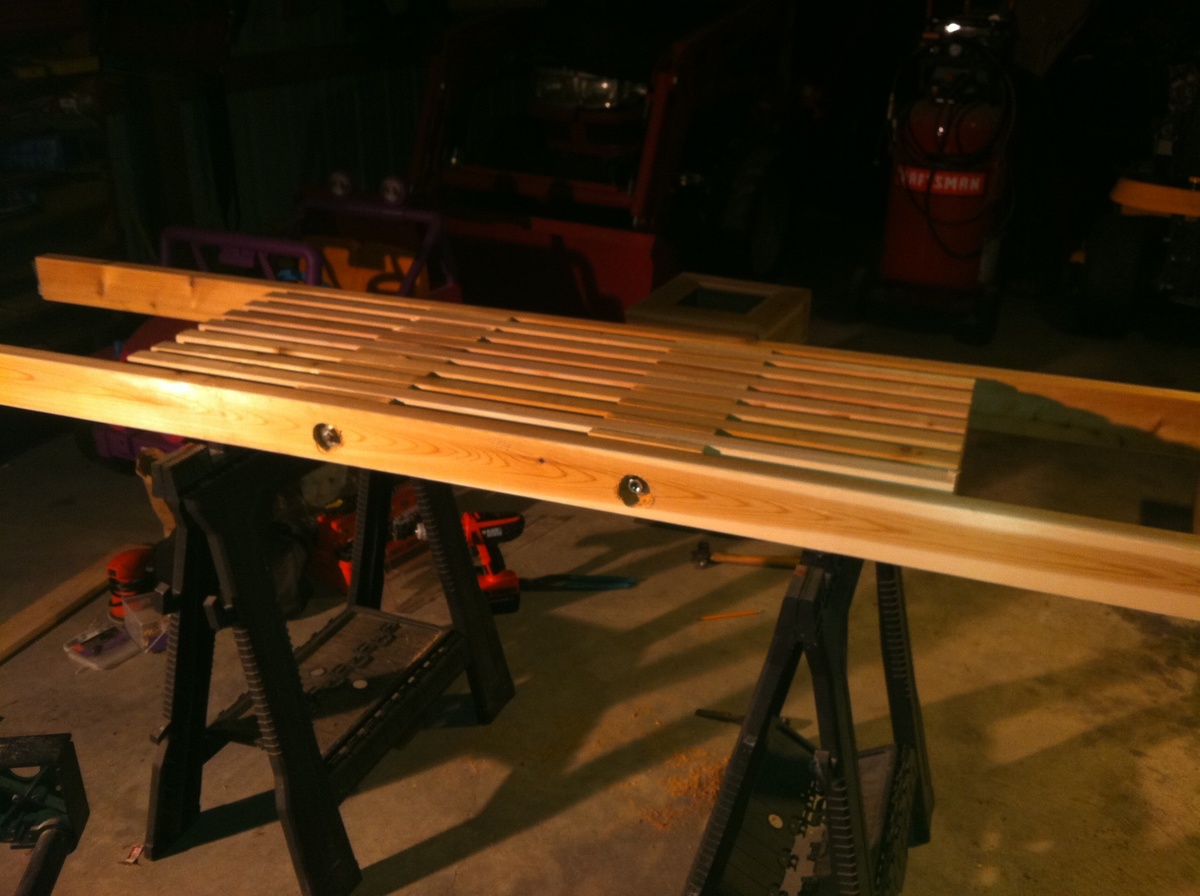
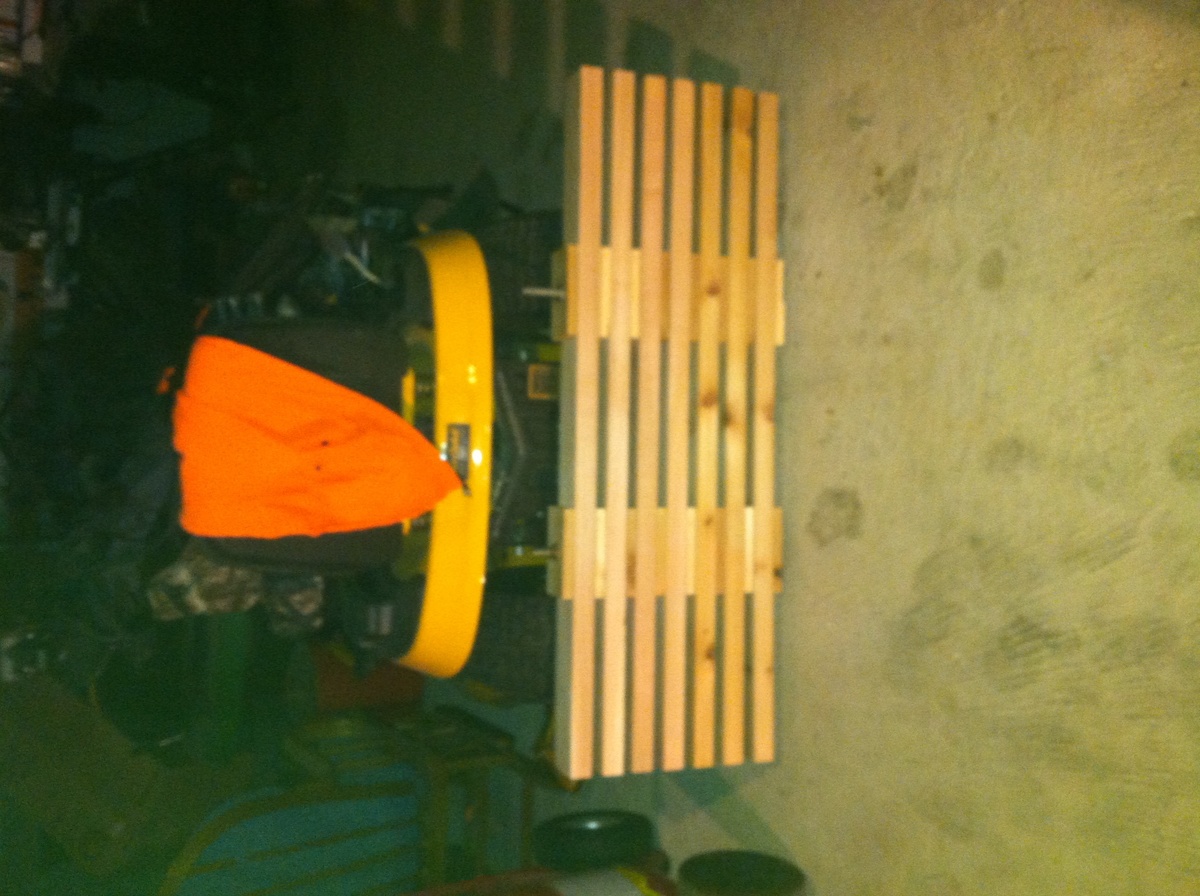
I had inquire on your Facebook about you making a new plan... i had wanted a side table to hide my propane tank. I used the planter plans as an inspiration for this table. It is regiment rough looking as I managed to build it using only scrap on hand. I did have one cedar board in my pile that was leftover from another project that I used for the top... pretty happy but know it would have been better with new wood that was the right size and not warped! The space at the top is on purpose to be able to teach in and turn the gas on and off.

Debbie Hertz

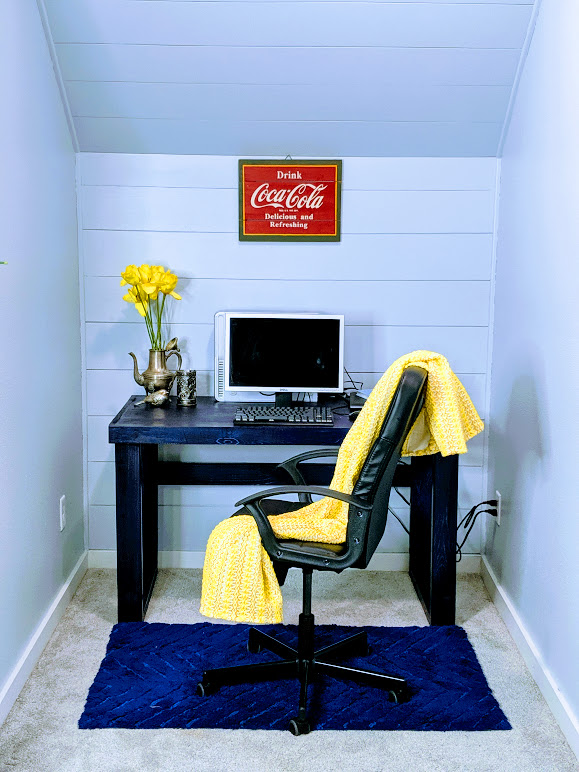
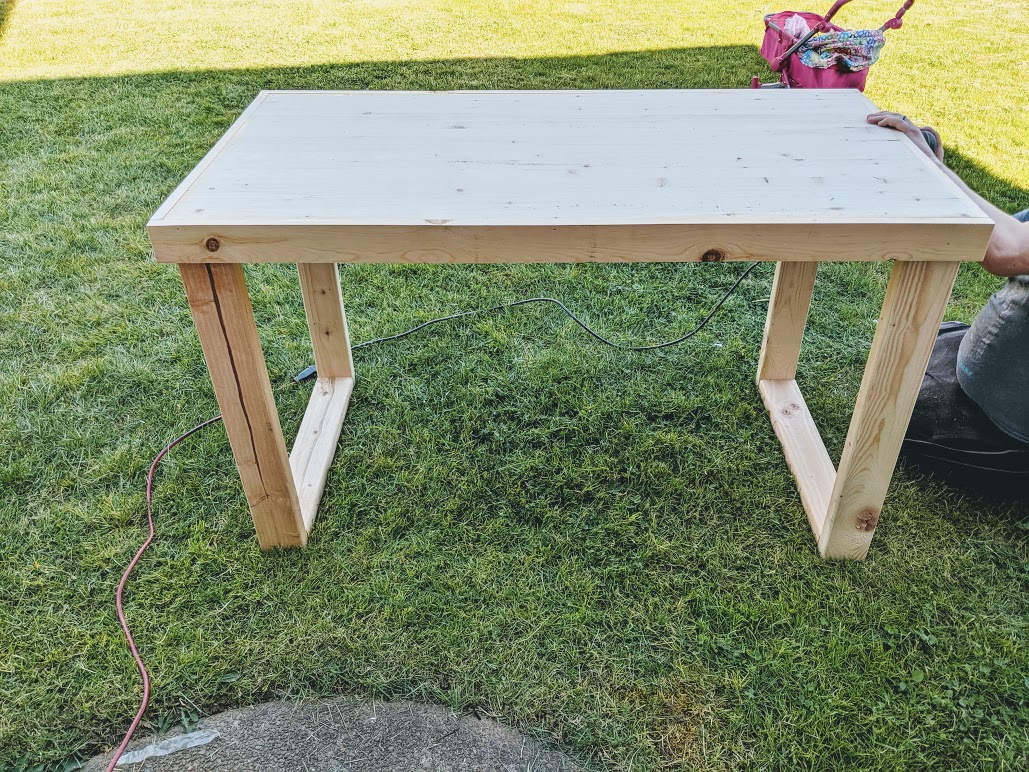
Beautiful DIY Computer Desk Under 50 Dollars

We were looking for a table with custom dimensions for our little office nook, but it was really hard to find. Most of them were very expensive, too. We decided to make our own table and share it with all of you as well. It's an easy project to do and minimum tools are required. You can also always use substitute tools as opposed to using the exact one we did in the project. 

Step-by-Step Tutorial

Step one: Cut the Wood

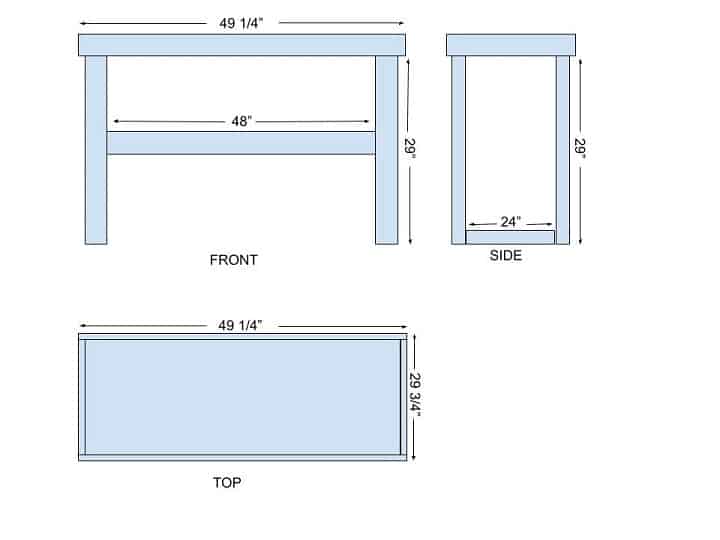
You need to cut 4 (2 x 4's) pieces for the legs using a miter saw, or you can have The Home Depot or Lowes cut it for you. You can adjust your own measurements according to the plan above. The plan is according to our space. We drew it in Google Drawings, and you can get that idea and draw your own.  

Step Two: Pocket Holes

Drill pocket holes in the legs using a Kreg Jig but if you don't have that tool it's okay too. Tou can use regular nails as well. I am in love with the Kreg Jig though, and I highly recommend the product to everyone as it makes your joints stronger. 

Step 3: Put The Leg Together

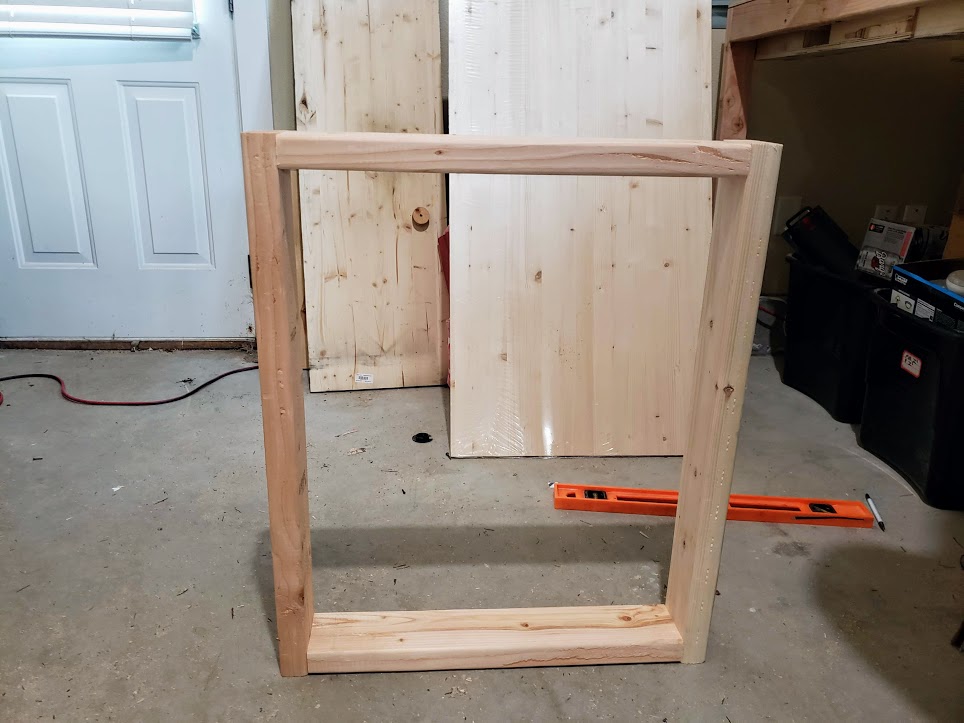
Once you are done with making the joints, it's time to screw the legs together to make it like a frame. See the picture. It should look like a rectangular box. We also placed scrap wood in the middle just to give extra support to the table, so it will not go wobbly. 

Step 4: Attach The Top 

Now, since your legs are ready, it's time to attach the top onto the legs, which is also an easy process. You can attach them using a brad nailer or regular nails. We just happened to have those tools but you don't have to buy everything. 

Step 5: Cut the lips 

In the end, we placed lips or edges around the table to make it both more sturdy and prettier. 

Step 6: Sand It 

Now, since your table is ready, you need to sand it to paint or stain it. Sanding is a very important part. Otherwise, your paint won't adhere to the wood unless you are chalk painting. We used an electric sander but you can use any 120 grit sanding block from your local store. Just use your elbow grease to sand it nicely. 

Step 7: Paint or Stain It

Paint it with whatever paint you would like We wanted to stain it so we used color stain to match with other furniture in the room. We are pretty happy with the project turned out. It saved us tons of money and looks nice in the room as well. 

Hope you liked it and I would love to see your project using my plan. You can read the whole blog post in-depth on my blog. Let me know if you have any questions or concerns.  

Happy DIY'ing! Love,

Bushra

Estimated Cost
$50
Estimated Time Investment
Afternoon Project (3-6 Hours)
Finish Used
Blue Stain a bit shiny look.
Recommended Skill Level
Beginner

Comments

Simple Beds

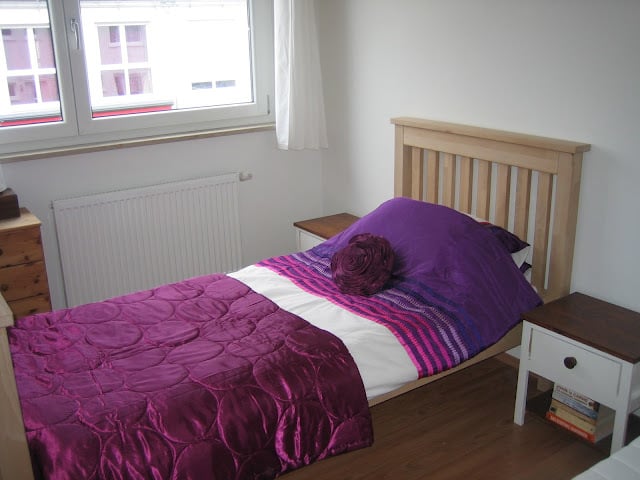
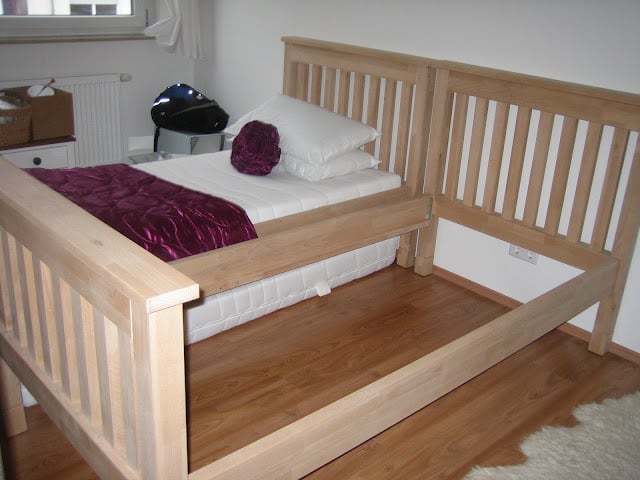
Submitted by sophie on Sun, 04/08/2012 - 09:32

I used the basic design for this bed but altered it quite a lot to make the joins stronger, the edges smoother and the whole thing generally easier to take apart and put back together.
I used beech wood and completed the project at a woodworking club, so it's quite hard to estimate the time taken, as I only did it one evening a week and spent most of the time bringing the wood out, putting it away and clearing up each time I was there!
I am still undecided whether to give it an oil finish or to paint it white with chestnut wood stain on the headboard and footboard tops.

Built from Plan(s)
Finish Used
Possibly oil or maybe white and chestnut wood stain - haven't decided yet!
Recommended Skill Level
Intermediate

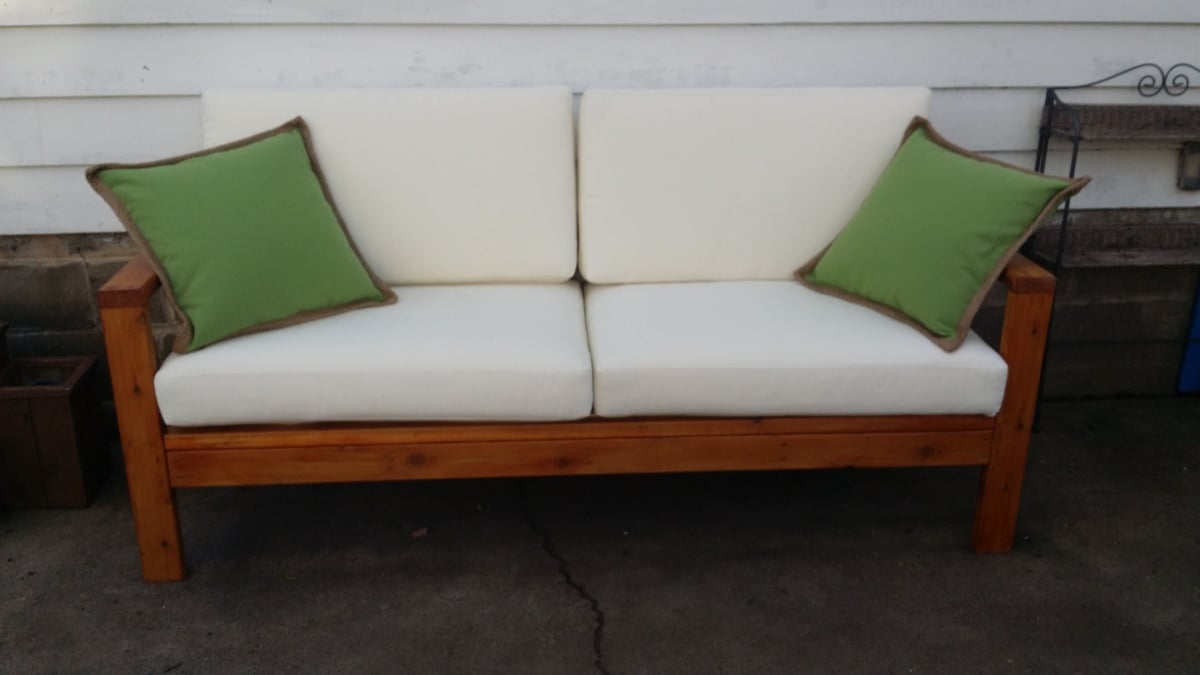
sofa pottery barn cushions

Easy to build 2-3 hours. Weather proofed because did not want grey cedar in a few years. Liked the color of weather proofing but color continued to leak off. Polyed and sanding eventually stopped the leaking if colors. Scored pottery barn cushions 50% in the winter + 15% new email customer. Still $150... bought some pillows from pottery barn on sale for another $60. All in all looks awesome! VERY easy build. The rest ($$) is what hurts... Test any weatherproof in you use first before using.

Estimated Cost
$145
Estimated Time Investment
Afternoon Project (3-6 Hours)
Finish Used
Behrman weather proof, 3 coats poly
Recommended Skill Level
Starter Project

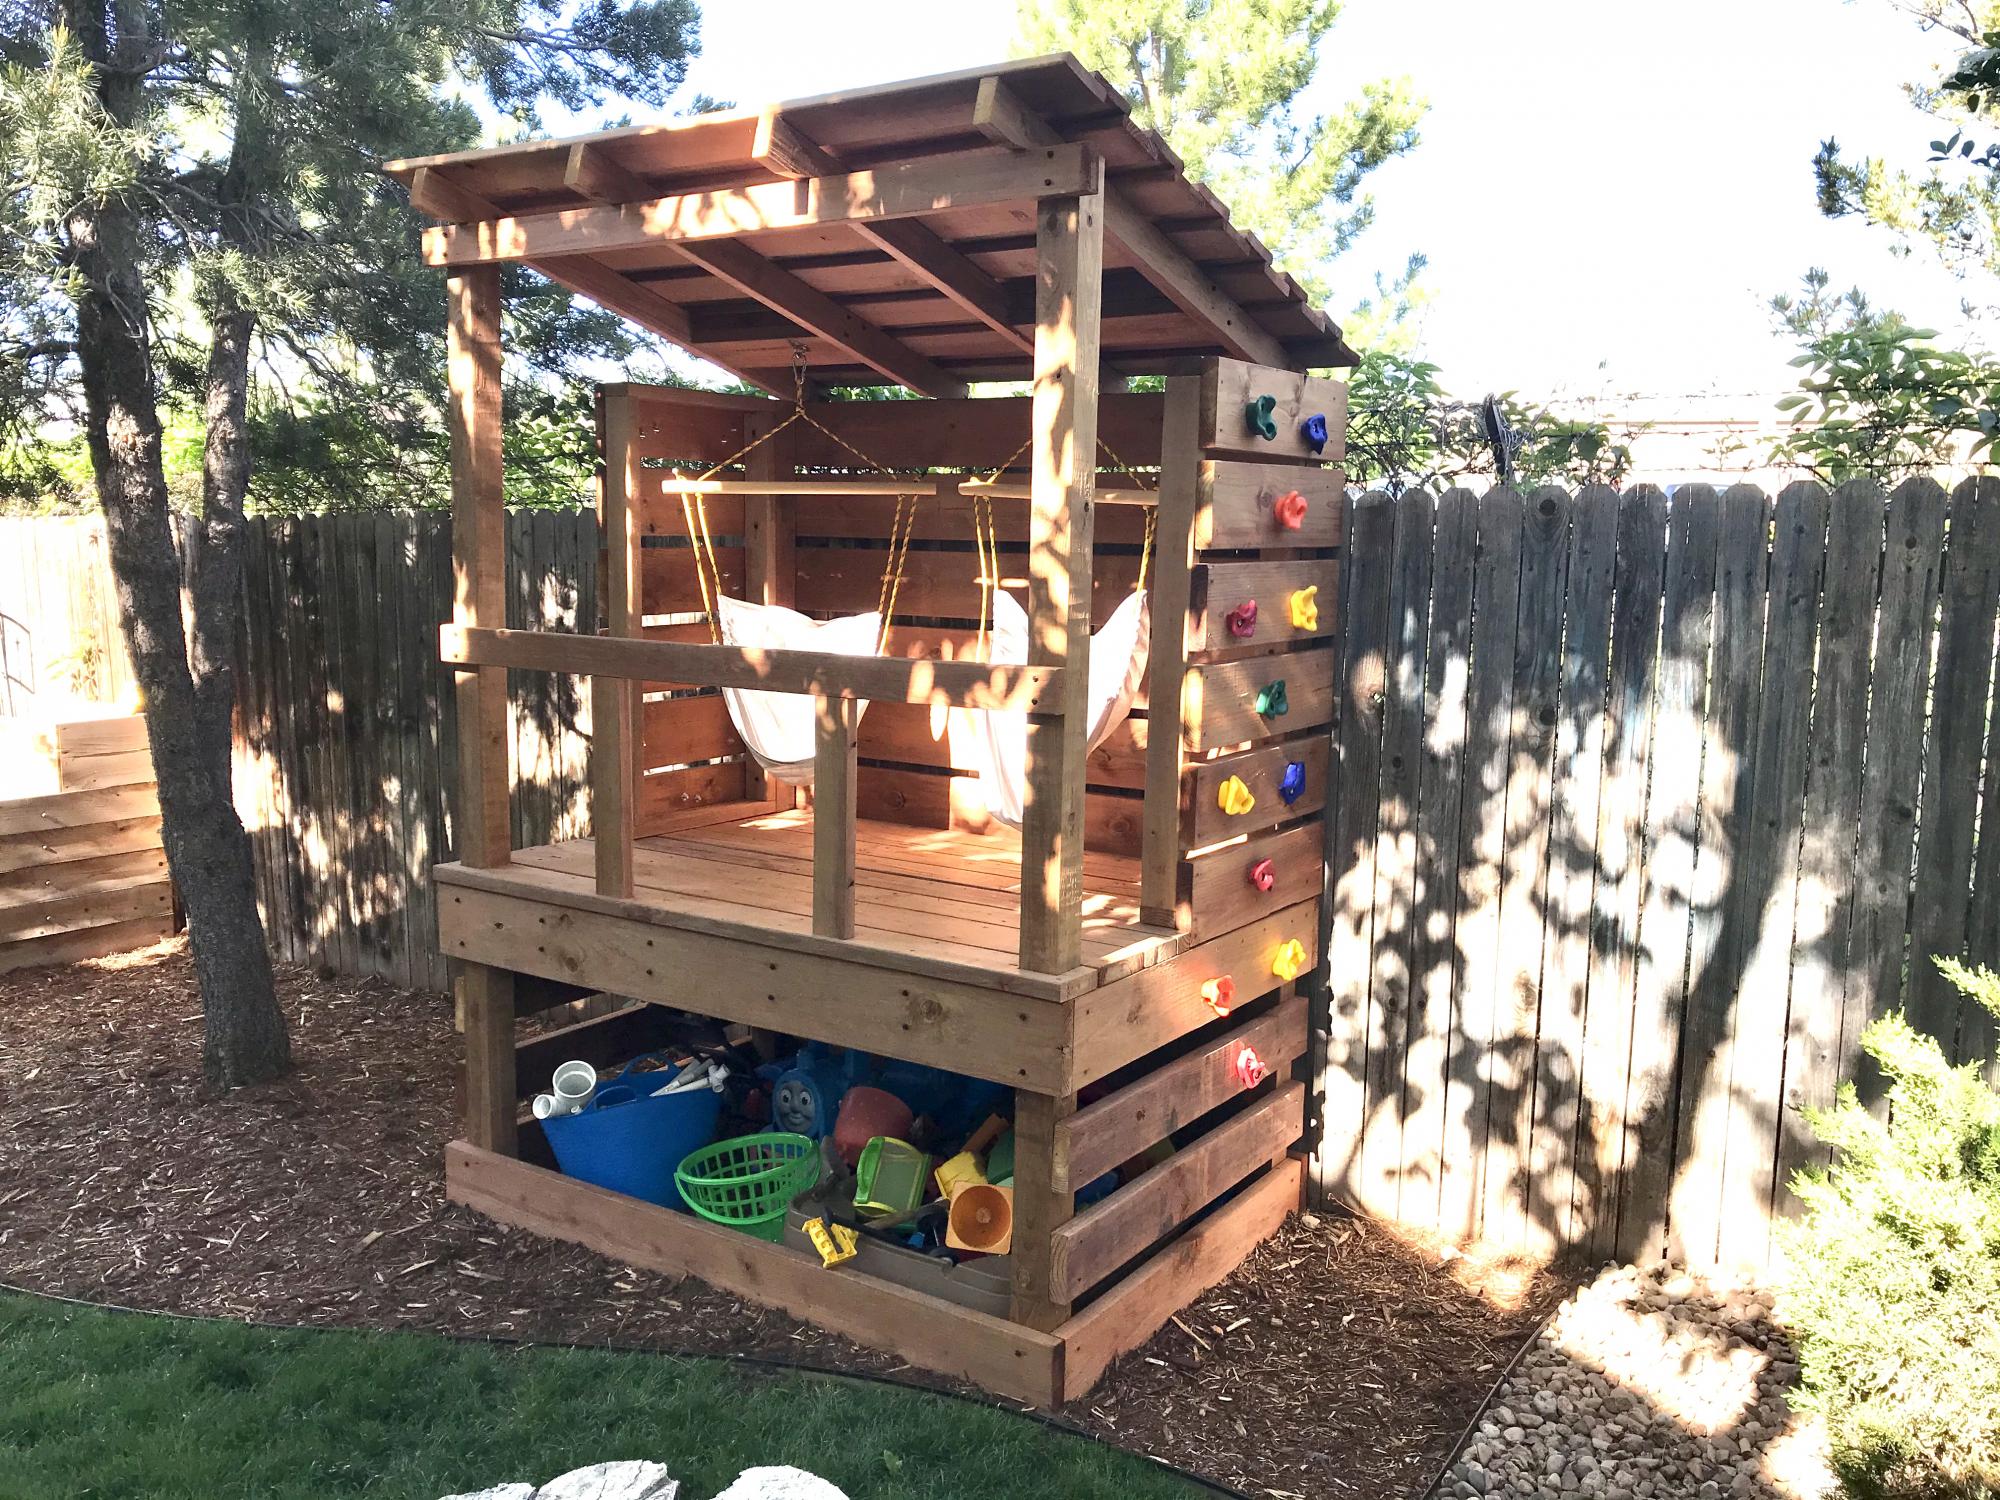
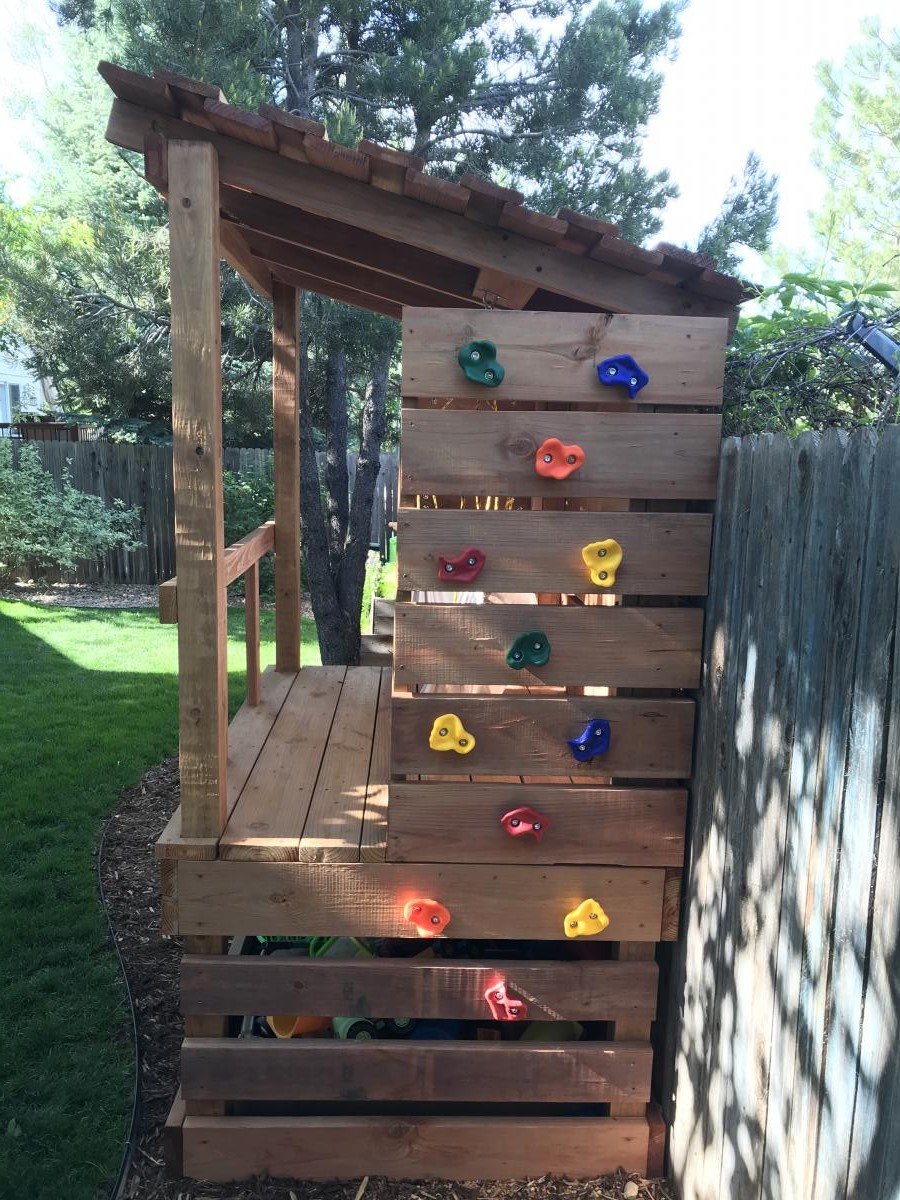
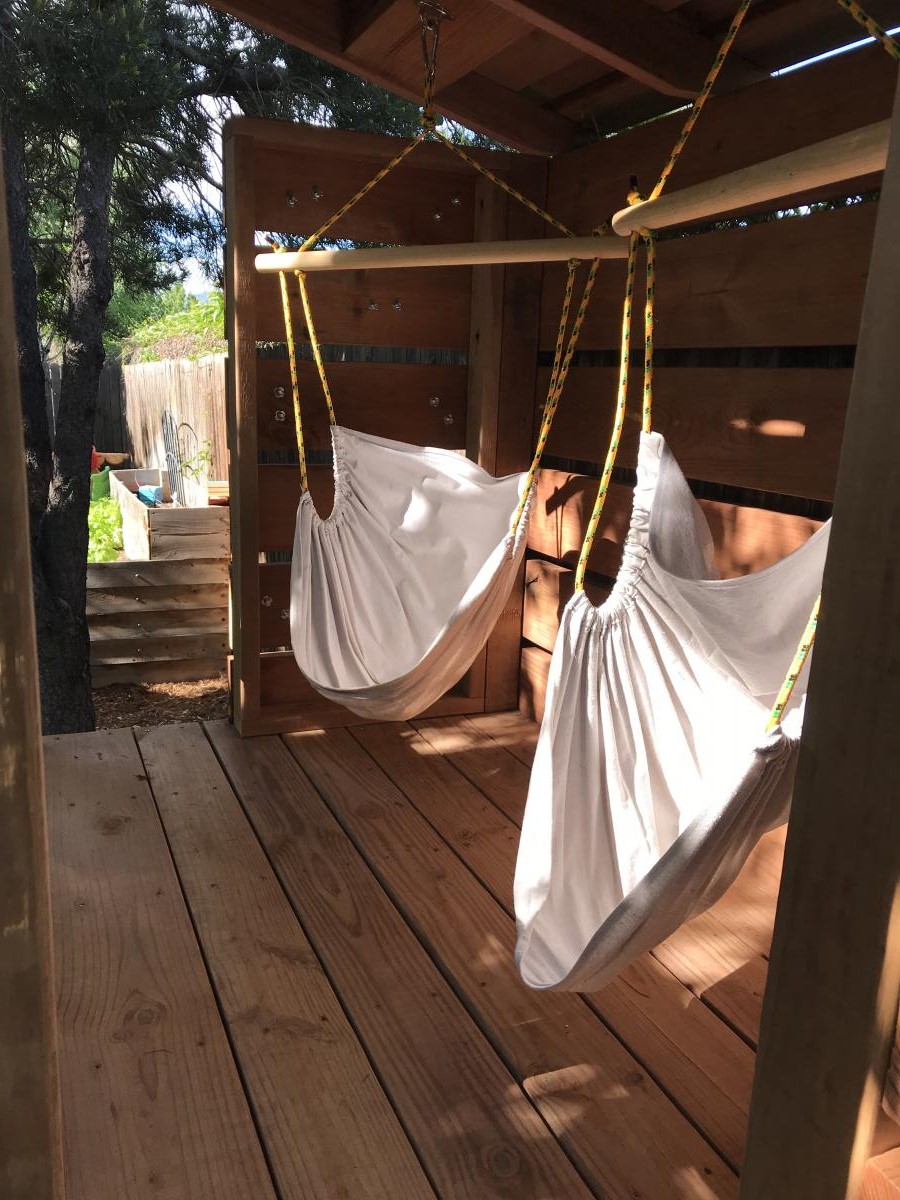
Kids Tree Fort

Submitted by Anonymous (not verified) on Sun, 05/31/2020 - 09:27

Built a fort for the boys with two climbing walls, a spot for their toys, and added some hammock swings

Estimated Cost
~$600
Estimated Time Investment
Week Long Project (20 Hours or More)
Finish Used
No stain, left natural
Recommended Skill Level
Advanced

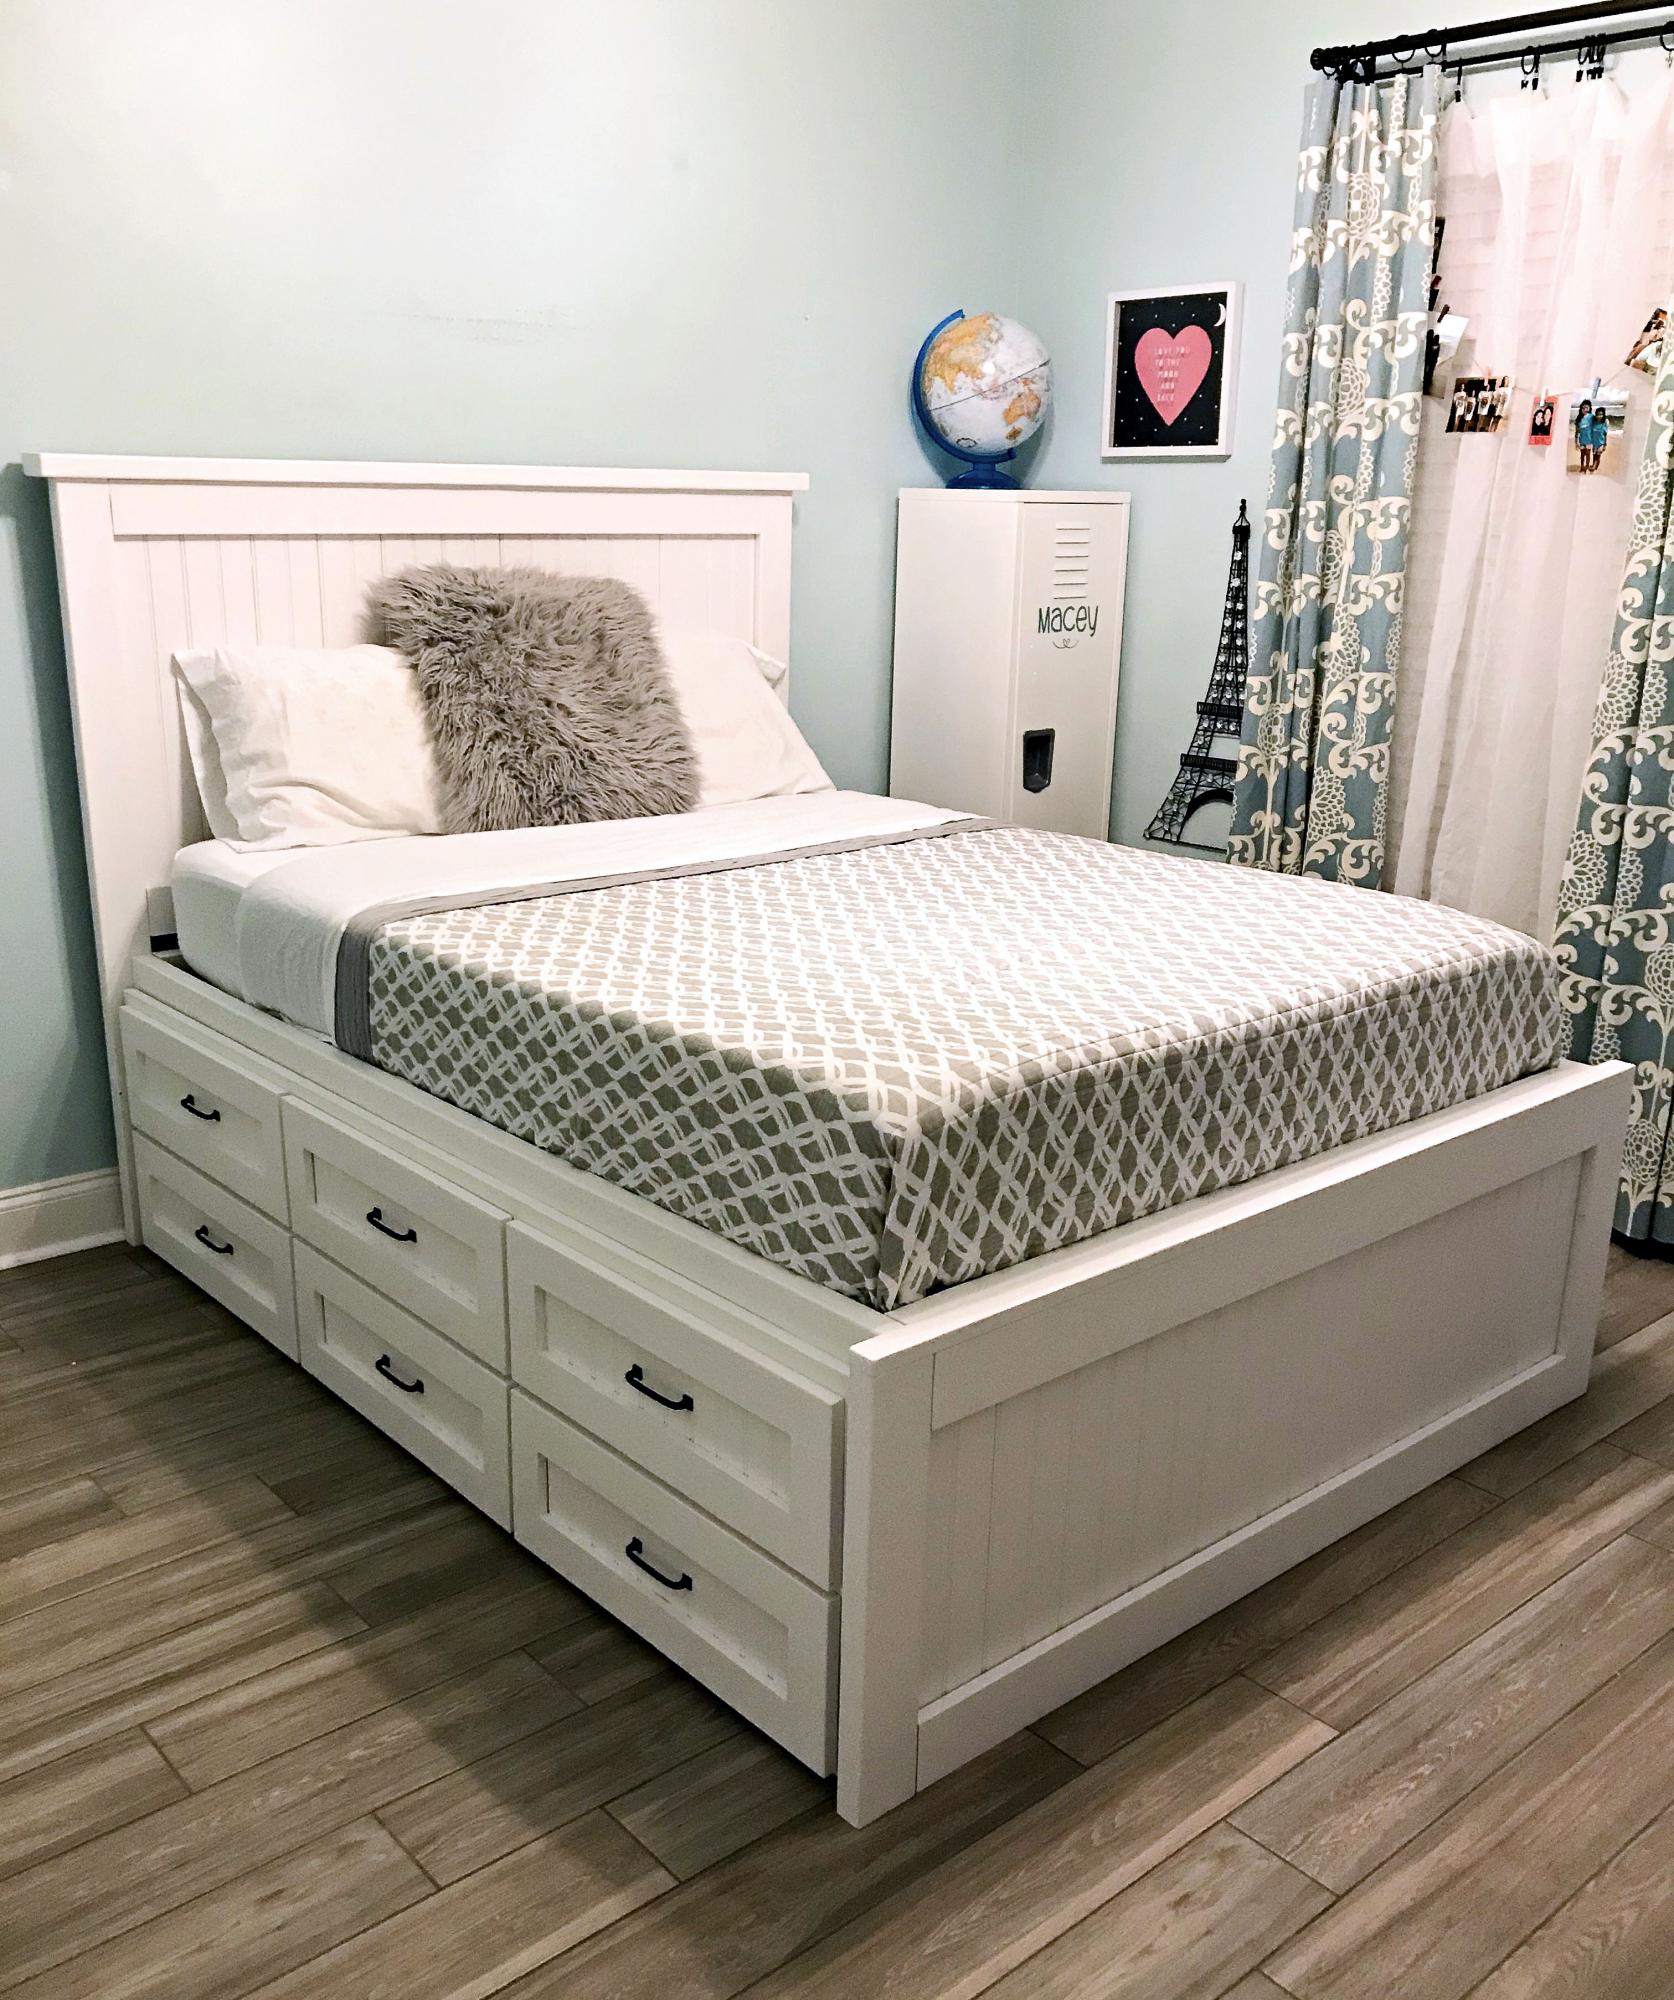
Full size storage bed with trundle

Submitted by ellehcim88 on Fri, 08/14/2020 - 15:14

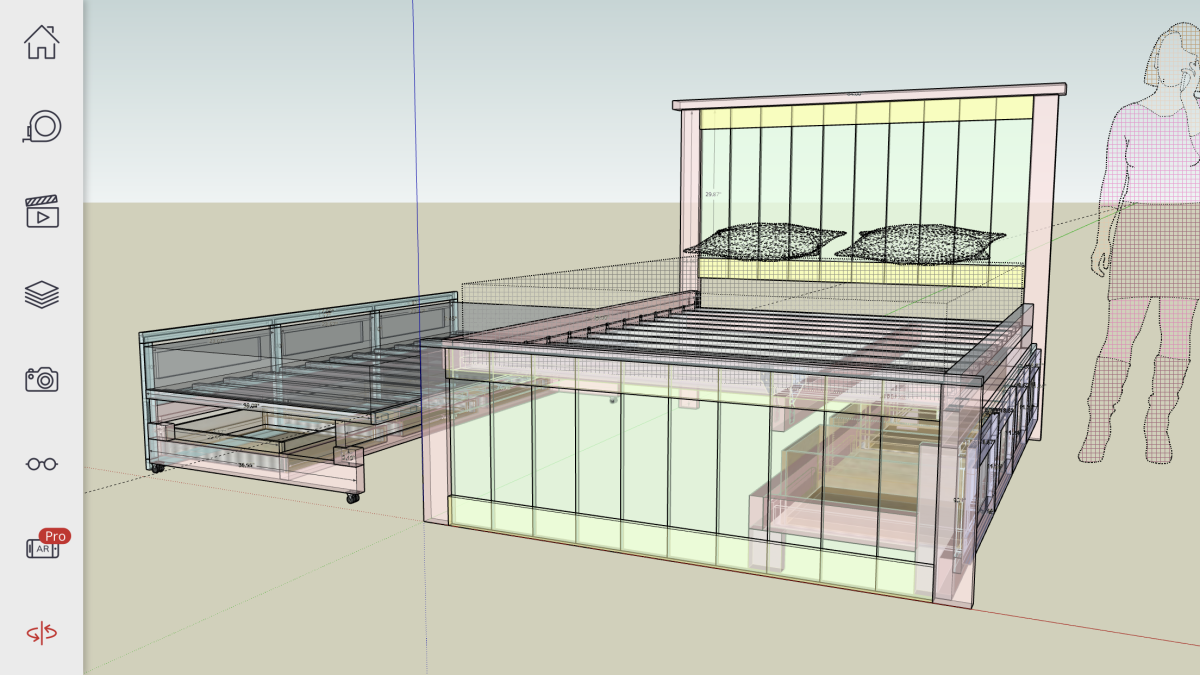
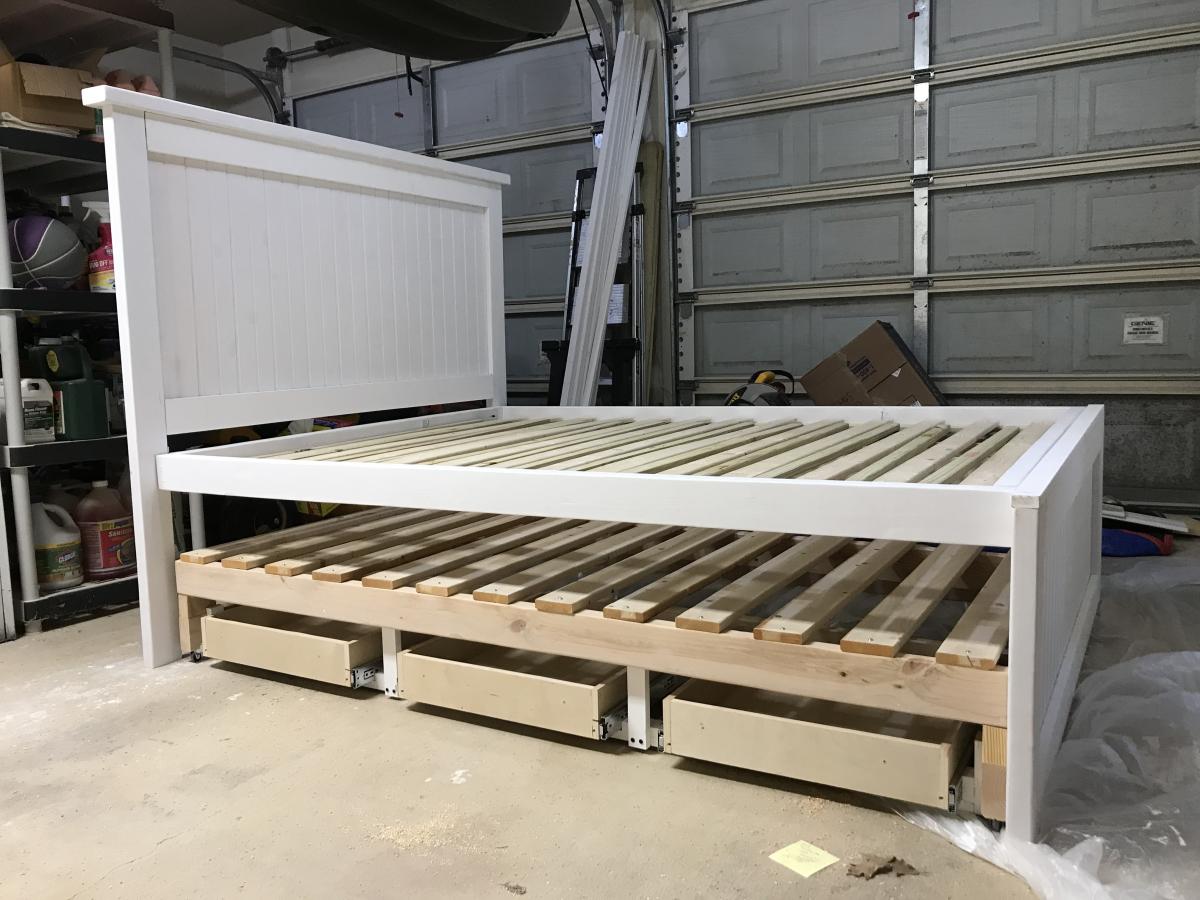
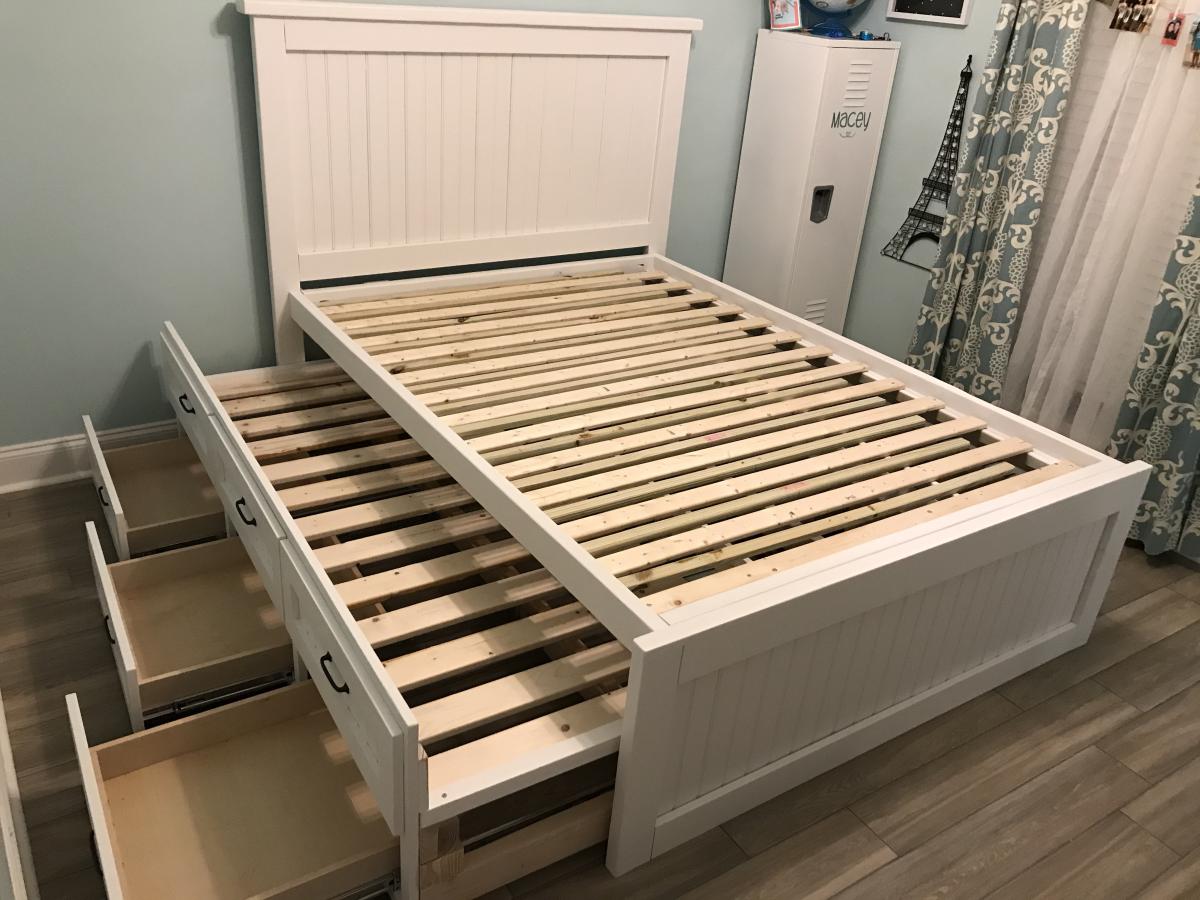
Full size storage bed with trundle. Three drawers and a trundle on one side and four drawers on the other. I started with the farmhouse design (headboard and footboard) and modified it to make it not so heavy and I designed the rest using SketchUp. See more photos in blog link.

Built from Plan(s)
Estimated Cost
$1000
Estimated Time Investment
Week Long Project (20 Hours or More)
Finish Used
White satin finish latex paint
Recommended Skill Level
Intermediate

Desk/Craft Space Table

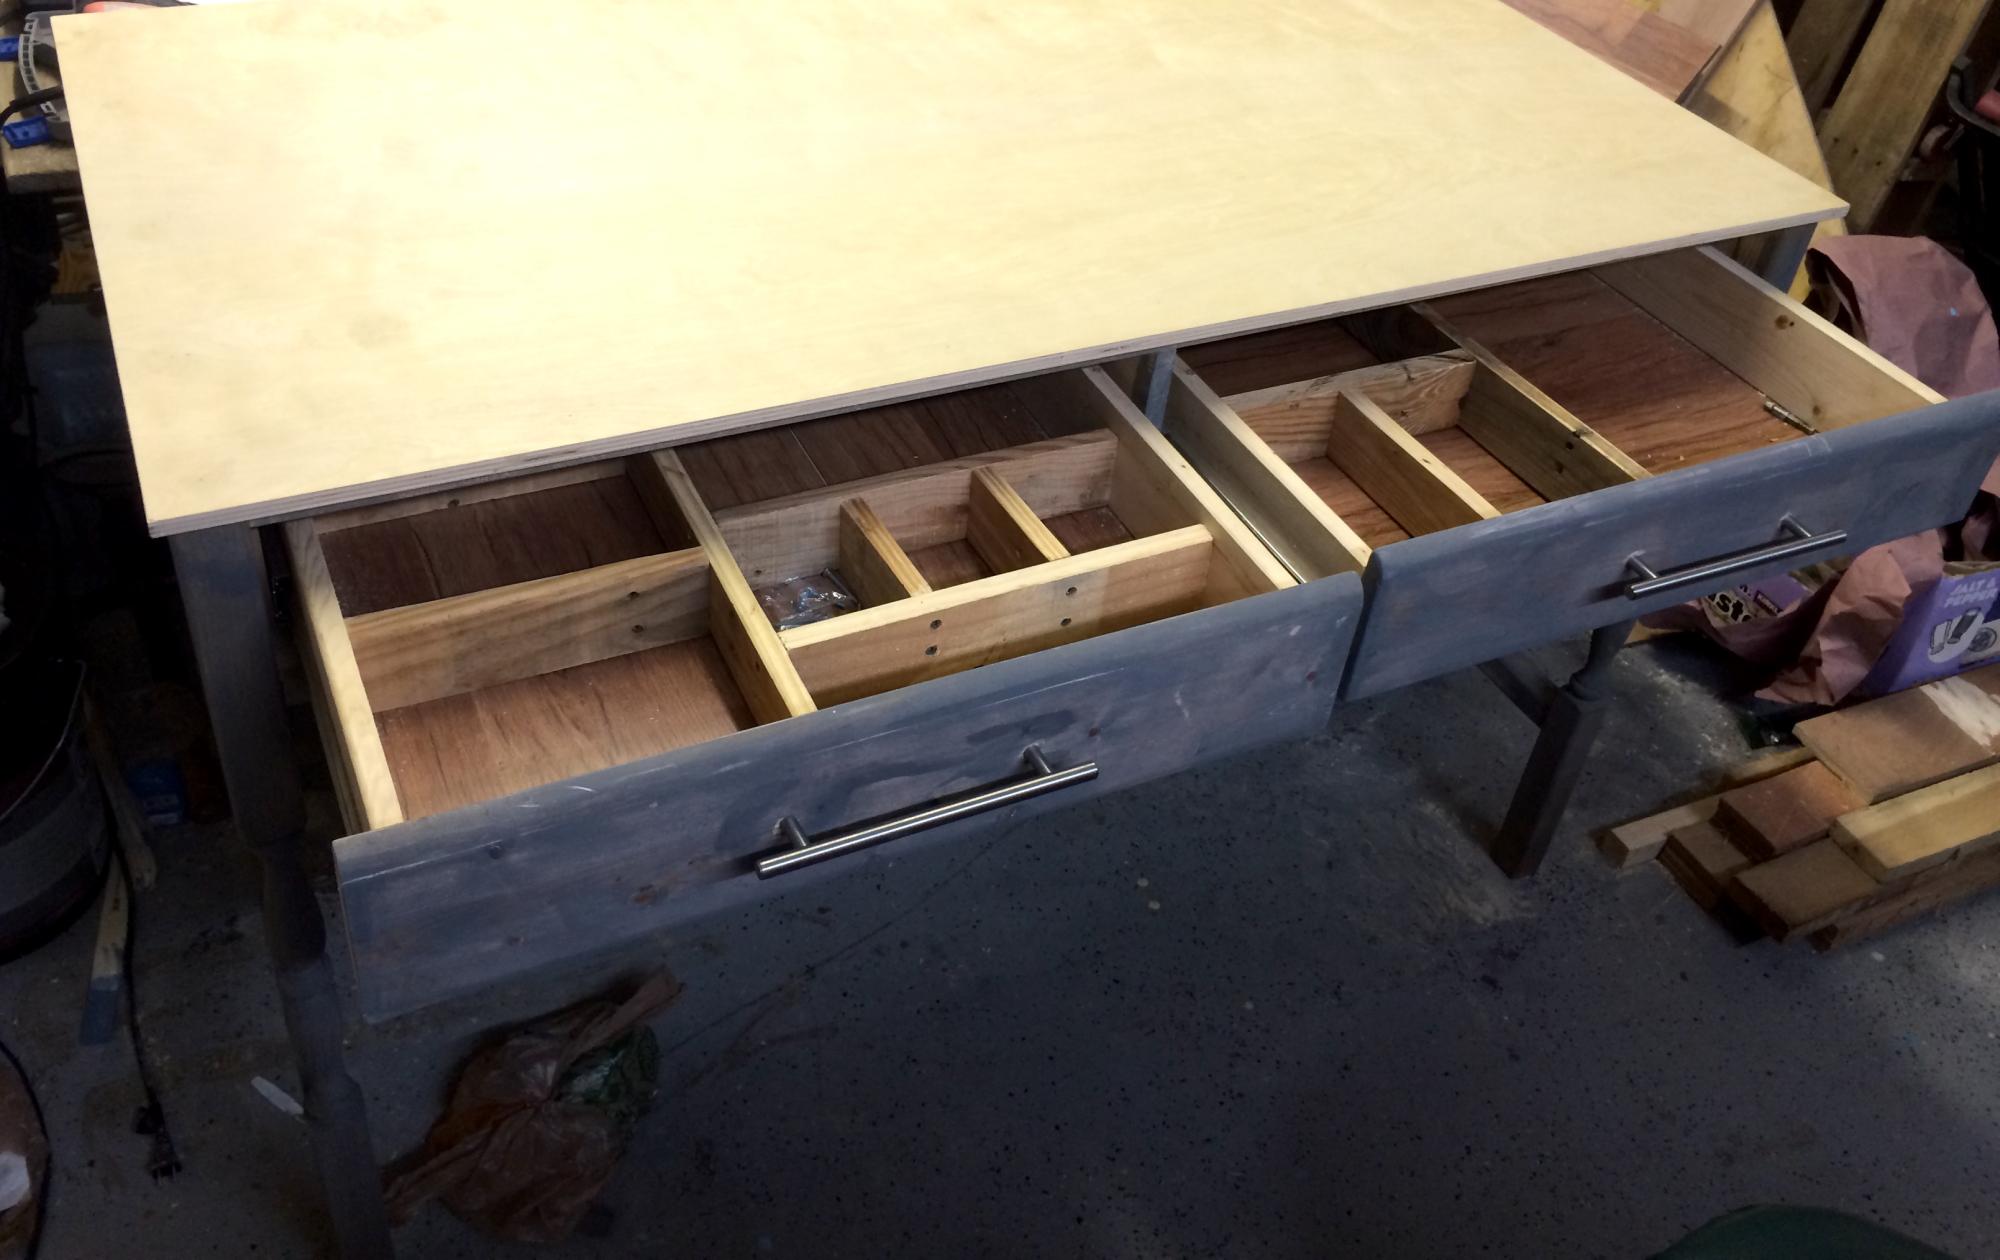
I just started wood-working and found this to be a really nice build. I did, however, adjust the height of the desk legs from 31 inches to 36 inches, because I am 6'6" and felt I needed the leg room. I used 4 Severe Weather 2 1/4in x 2 1/4in x 36in Colonial Treated Deck Spindles from Lowes at $2.88 each for the legs. I also, added the drawer dividers to help organize the storage space. Otherwise, I stuck to the plans. 

Severe Weather 2-1/4-in x 2-1/4-in x 36-in Colonial Treated Deck Spindle http://www.lowes.com/pd_7954-432S2236T15N_4294610196__productId=3185415&Ns=p_product_qty_sales_dollar|1&pl=1&currentURL=%3FNs%3Dp_product_qty_sales_dollar%7C1&facetInfo=

Stainless Steel Drawer Pulls http://www.homedepot.com/p/Liberty-8-5-6-in-Steel-Bar-Cabinet-Hardware-Appliance-Pull-117060-0/202023671?MERCH=REC-_-NavPLPHorizontal1-4-_-NA-_-202023671-_-N


Estimated Time Investment
Day Project (6-9 Hours)
Finish Used
Smokey blue chalk paint (1 cup of paint, 1 teaspoon of plaster of paris, & 1 teaspoon of water)
Minwax classic gray stain (used to give distressed spots more dimension)
Minwax dark walnut stain for desk top
Johnson paste wax
Recommended Skill Level
Intermediate

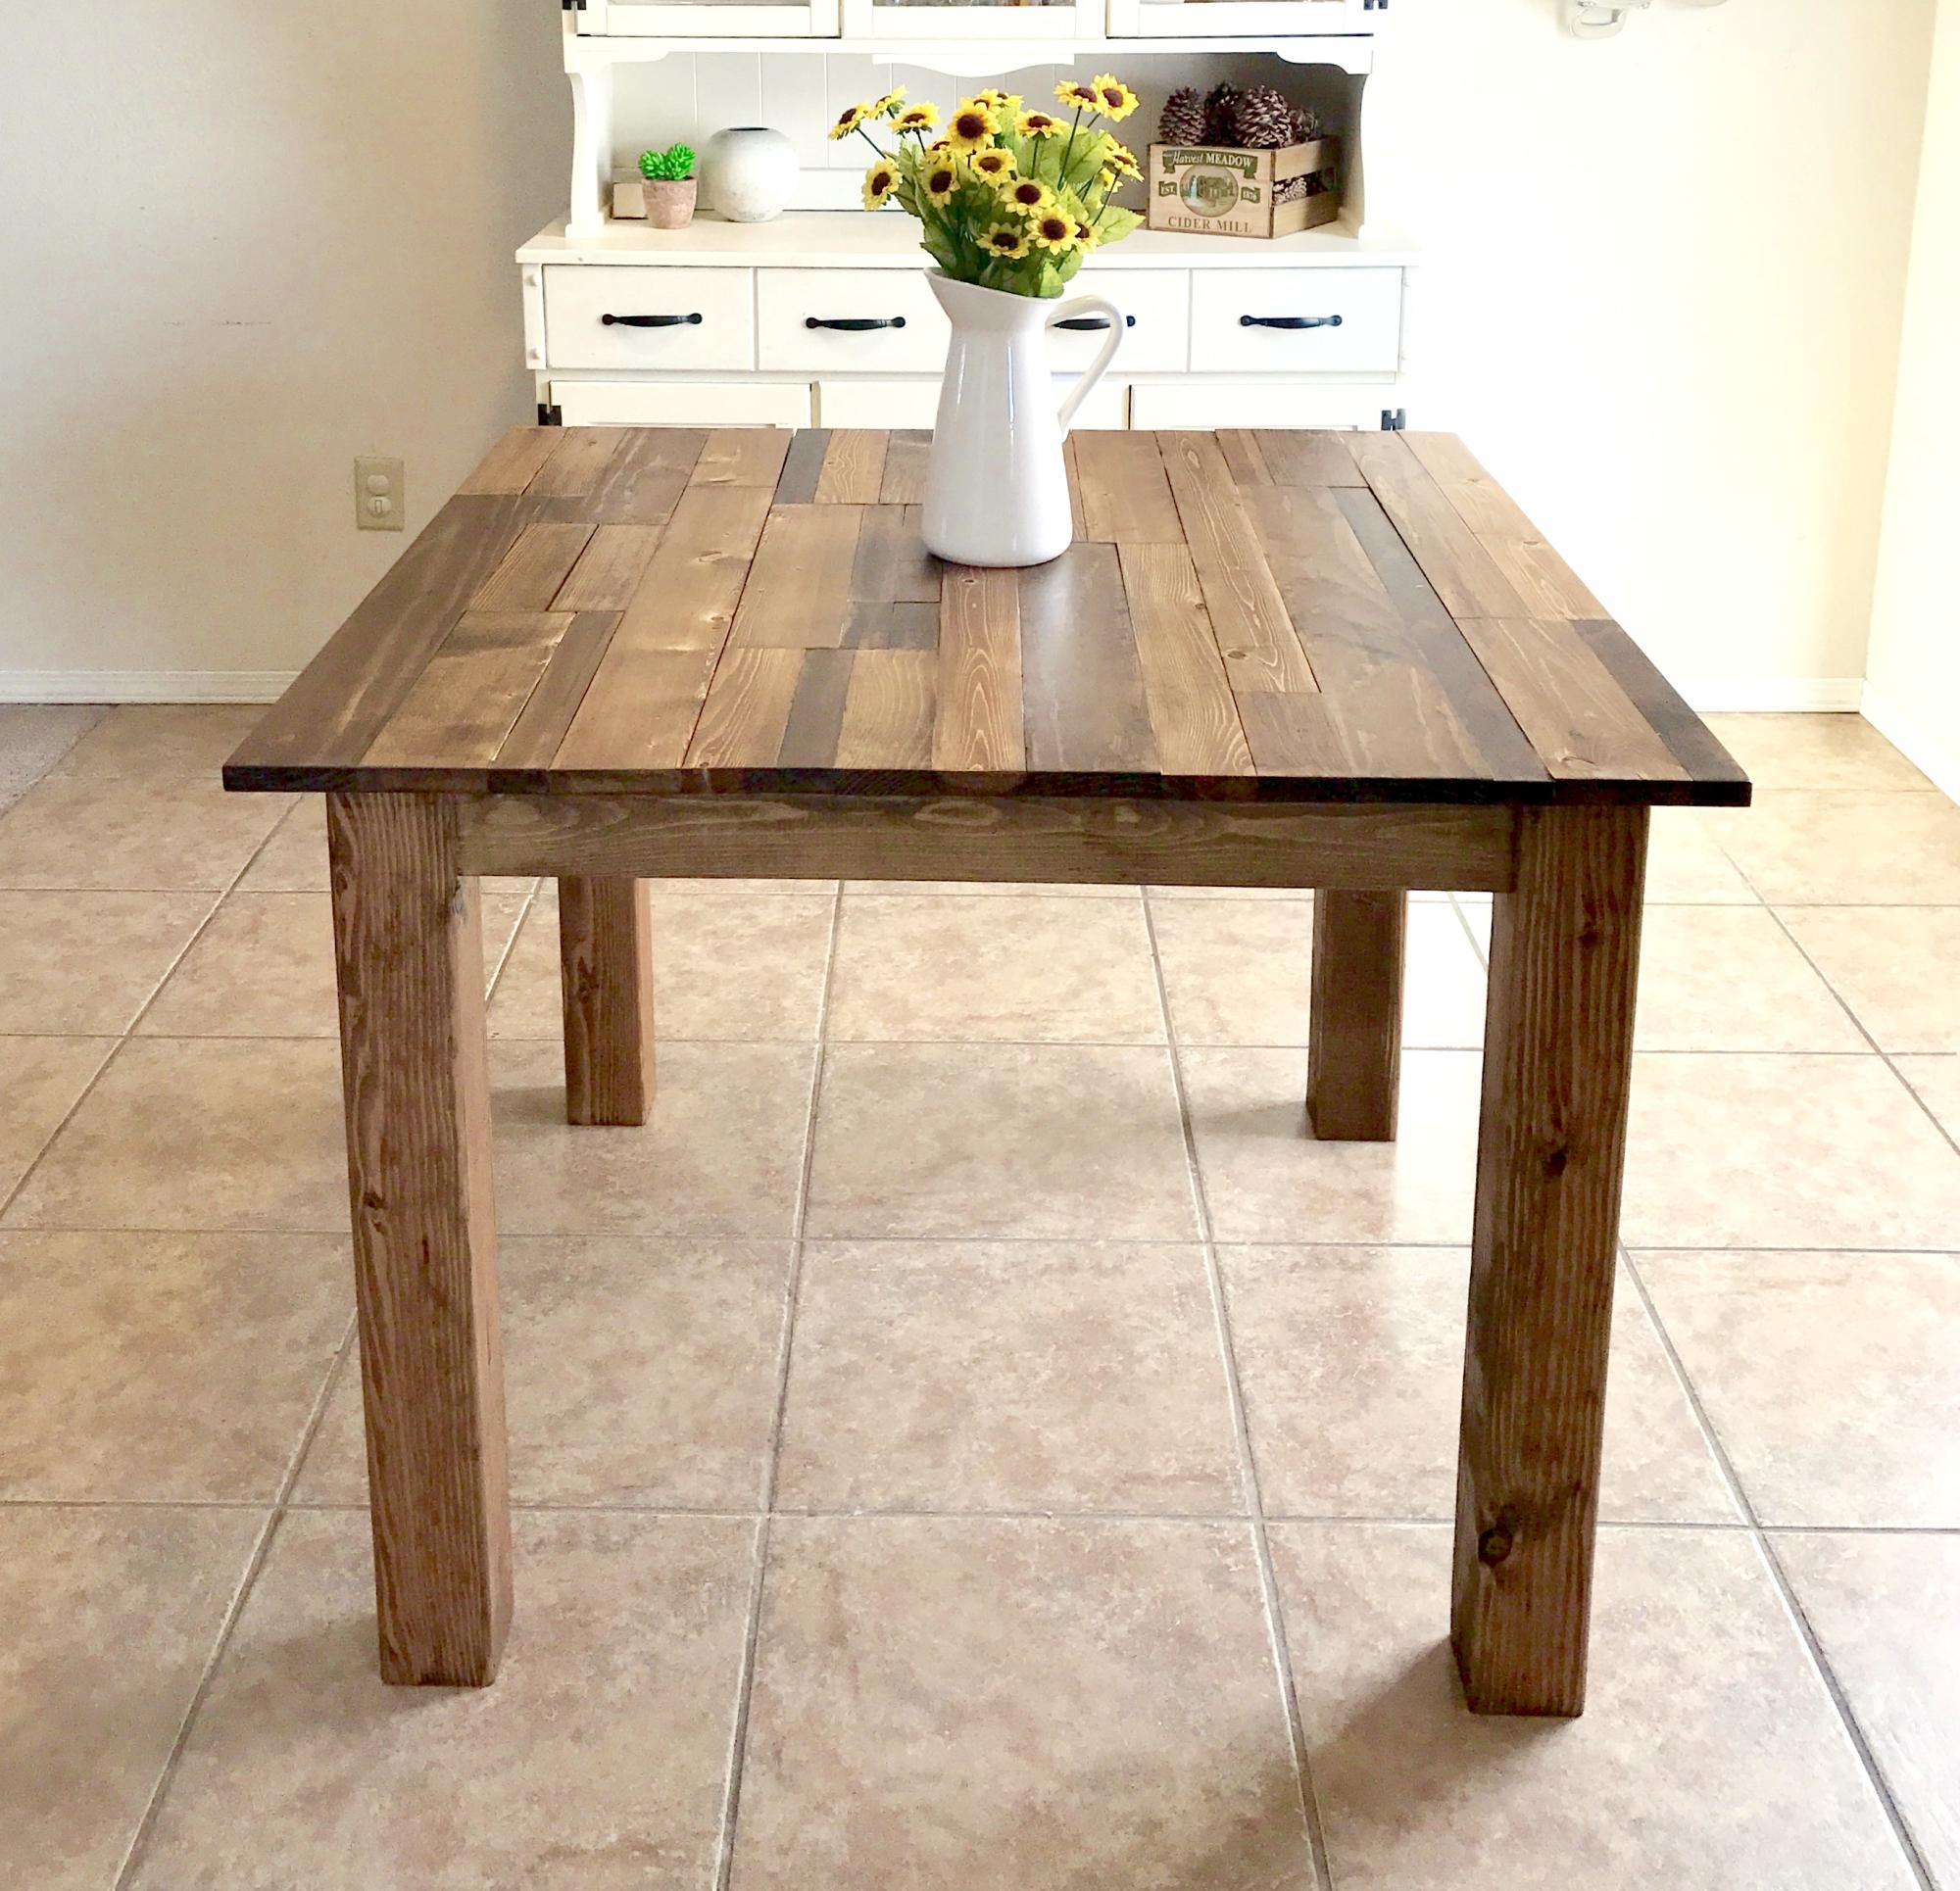
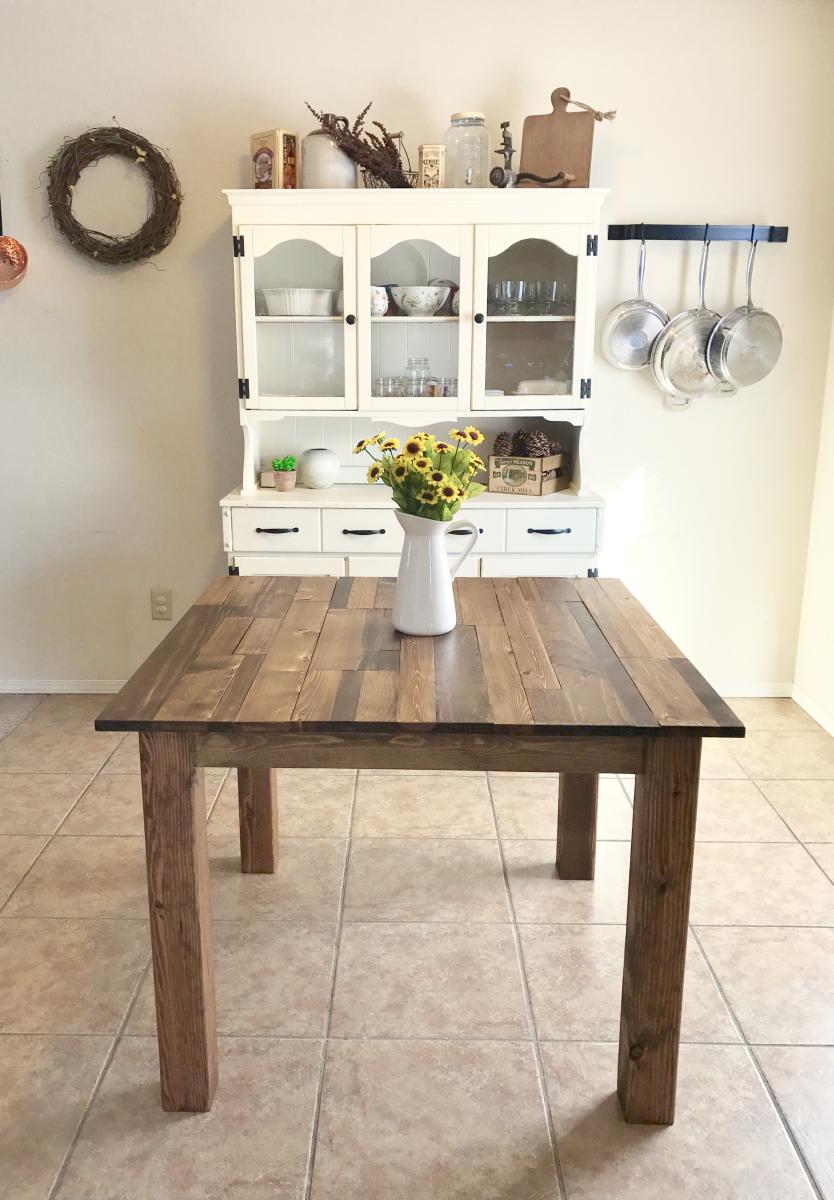
Square Farmhouse Table

Submitted by eddingsr on Sun, 01/08/2017 - 13:17

I built this table for a friend who wanted a rustic, plank-top kitchen table. She wanted a square table with 4x4 legs. Since I don't have clamps, I used pocket holes and wood glue for the table top. Also, I only have a 7&1/4" miter saw, which means the 4x4s were too thick to cut. So I made one cut in the legs, then flipped them and made another. It worked! :) I sanded down the sides of the table top with 80 grit. They needed to be evened up since some of the planks were a little longer than others. I back braced underneathe the top with (3) 1x3s. Then, I sanded all over with 120, vacuumed, then wiped it down with a damp towel. Fun build!! 

Estimated Cost
~$100 for lumber, screws, wood glue, sandpaper, and finishing products.
Estimated Time Investment
Week Long Project (20 Hours or More)
Finish Used
For the finish I used Minwax wood conditioner, then a coat of Minwax stain in Provincial. I went back and put a second coat of stain on a few of the premium pine pieces, because they soaked up the first coat really well, and I wanted some darker pieces on top. I let those soak for about 15 minutes. Afterwards I did 2 coats of Polycrylic all over, then a third coat for the top only. I dry sanded between coats with 600 grit sandpaper.
Recommended Skill Level
Intermediate

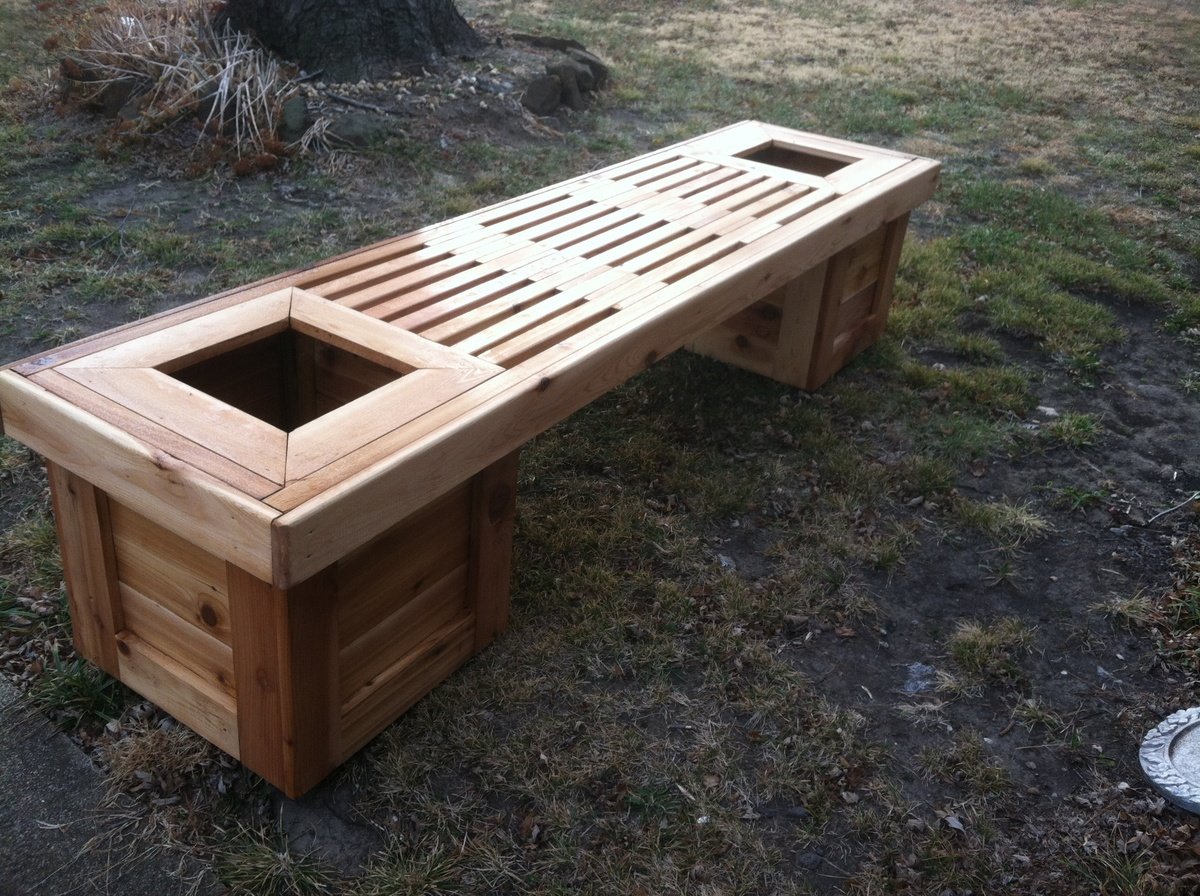
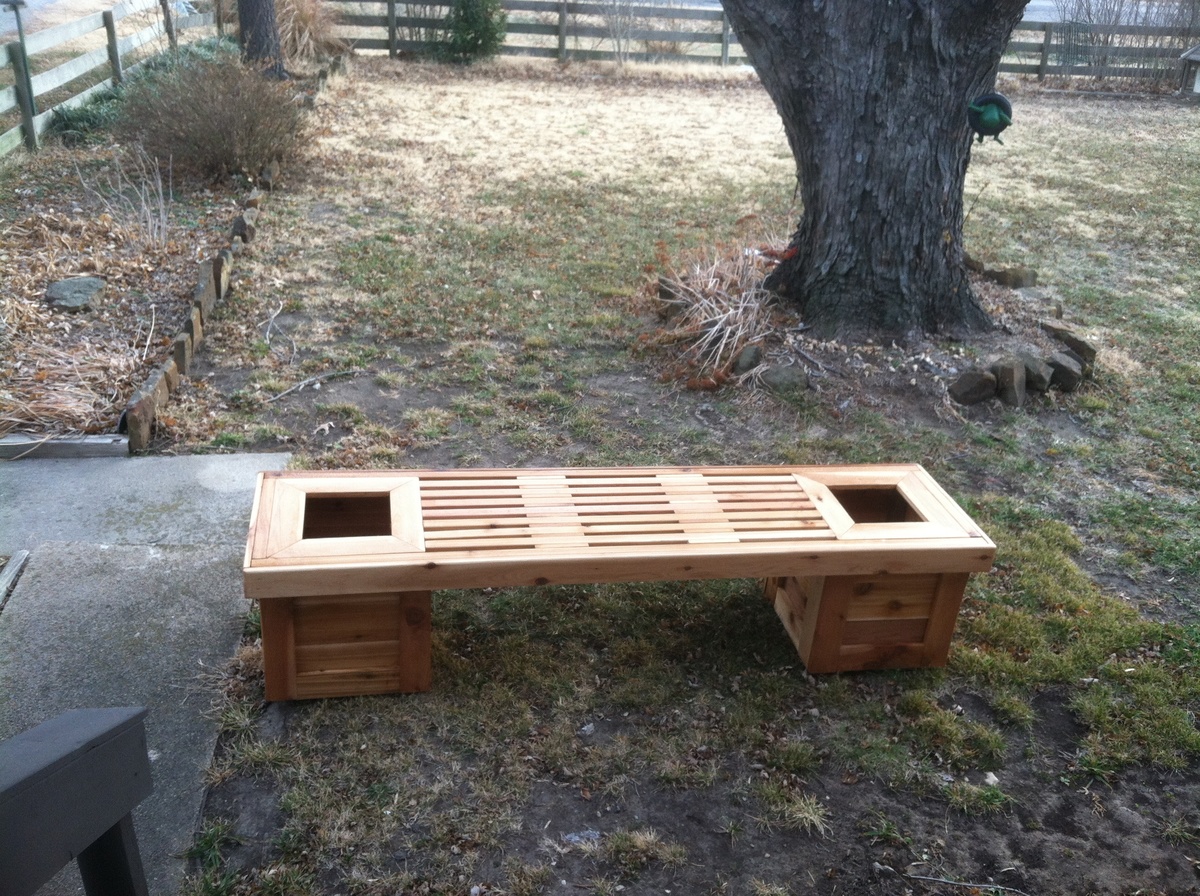
Planter bench

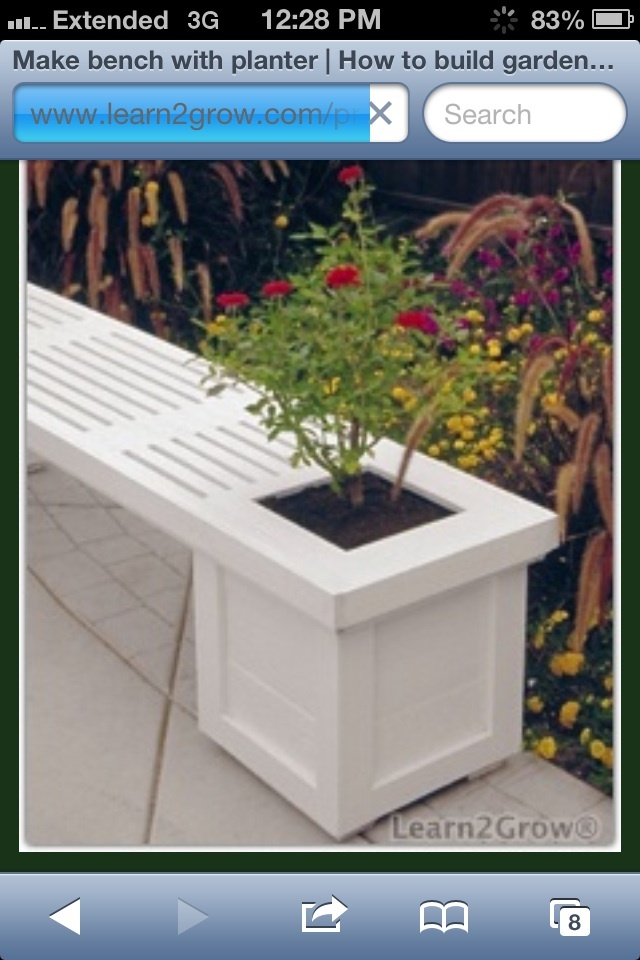
I built this bench for a Christmas present. She loves to work in her garden and I thought this would be the perfect touch. The plans were easy to follow. I made a few minor adjustments to fit the lumber I had on hand. The center bench is only 4 foot wide so I could conserve on the amount of 2x4 I had to buy. I thought the bench turned out great!

Estimated Cost
$130
Estimated Time Investment
Weekend Project (10-20 Hours)
Finish Used
Golden oak stain
Recommended Skill Level
Beginner

Comments

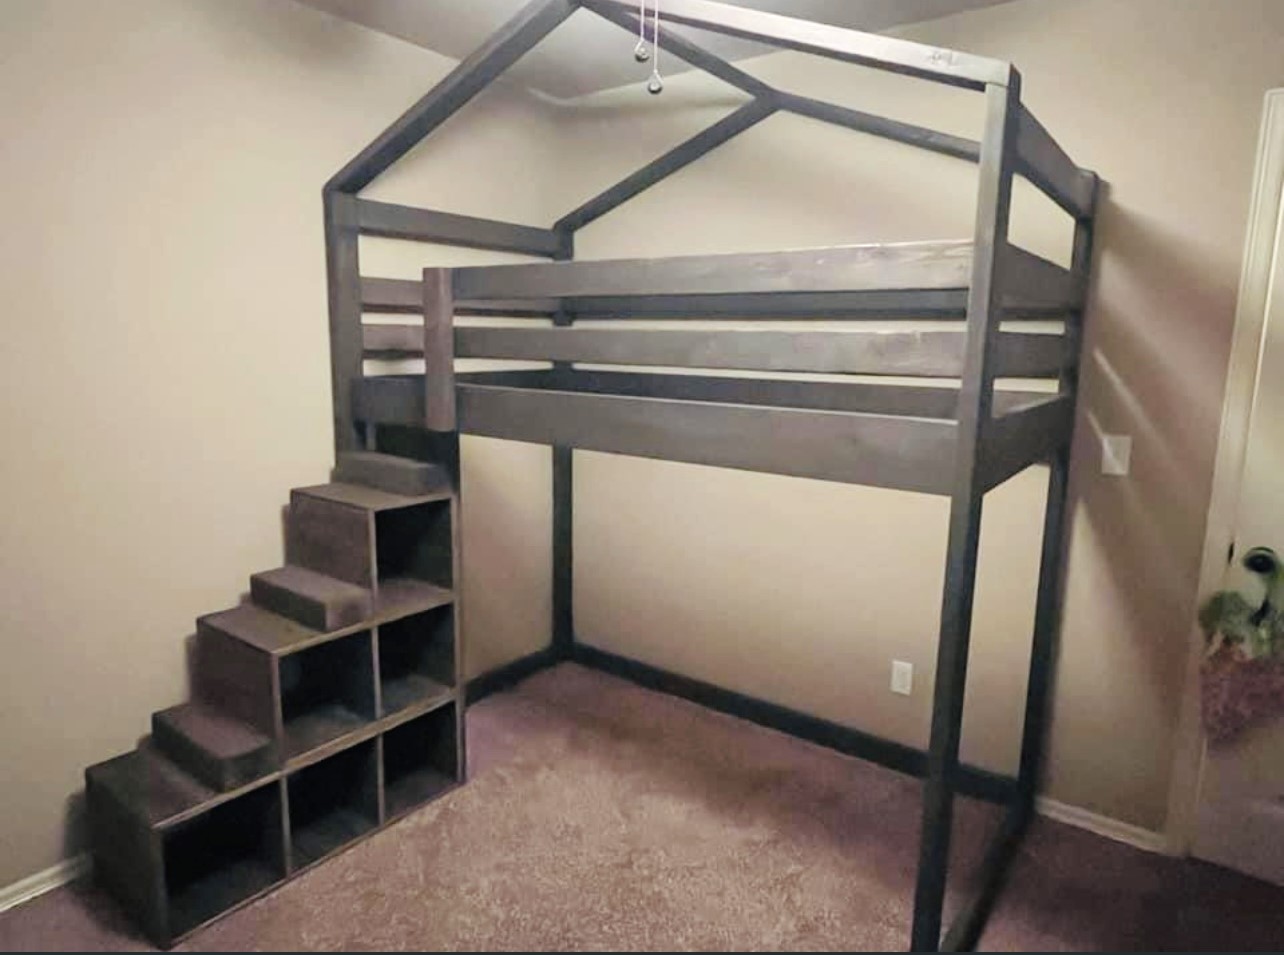
Tween Loft Bed

Submitted by Anonymous (not verified) on Sun, 02/19/2017 - 06:35

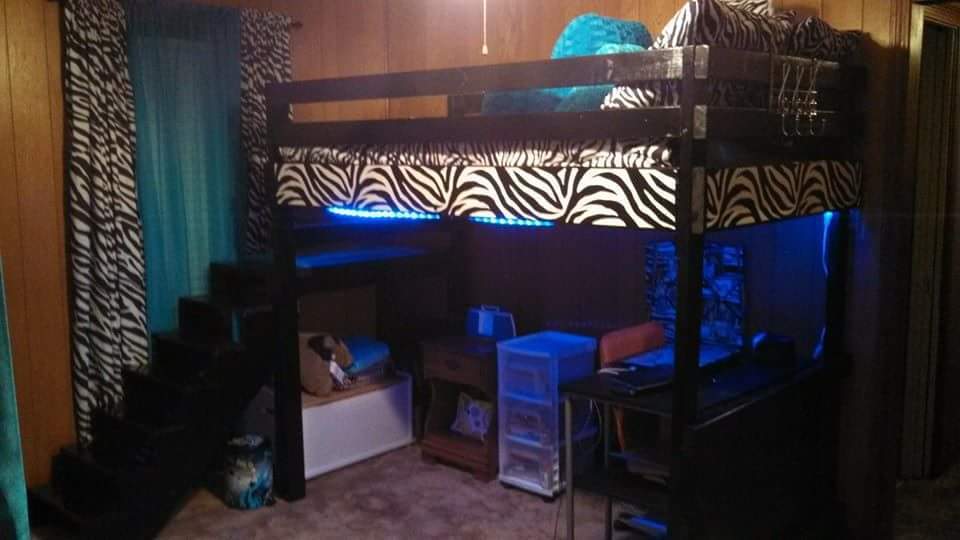
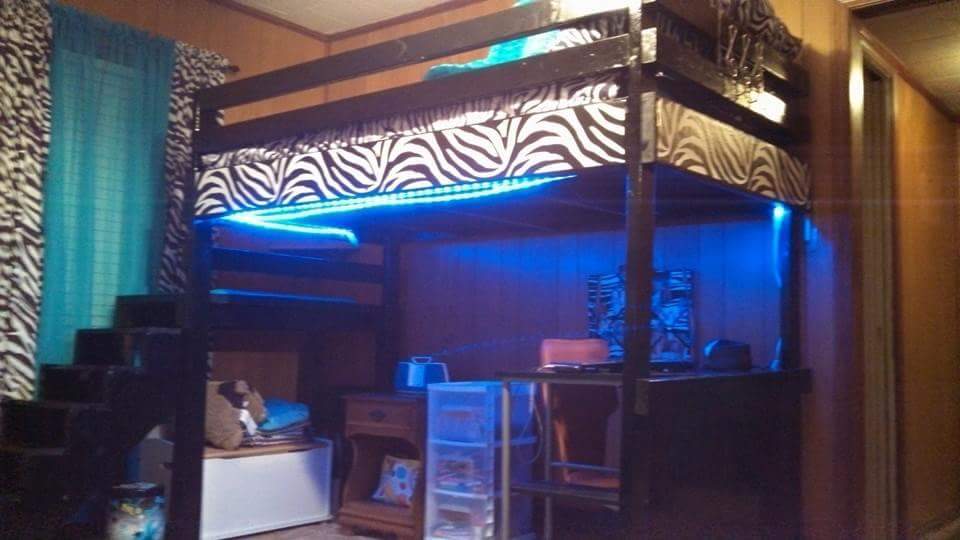
I built this bed for my 12 year old daughter. We moved to a smaller house & we needed a way to maximize the use of space in her room. She's also visually impaired, which made the ladder option more dangerous. She could get up a ladder fine, but coming down was an issue. I was thrilled to find a plan with stairs, and I added a handrail for her to help guide her down the stairs. I also put a peel & stick zebra print border around it to tie it in with her bedding & curtains. The rope lights underneath added a cool touch & helped make that dark area more functional. 
Recommended Skill Level
Intermediate

Planked Headboard / Waterbed Build

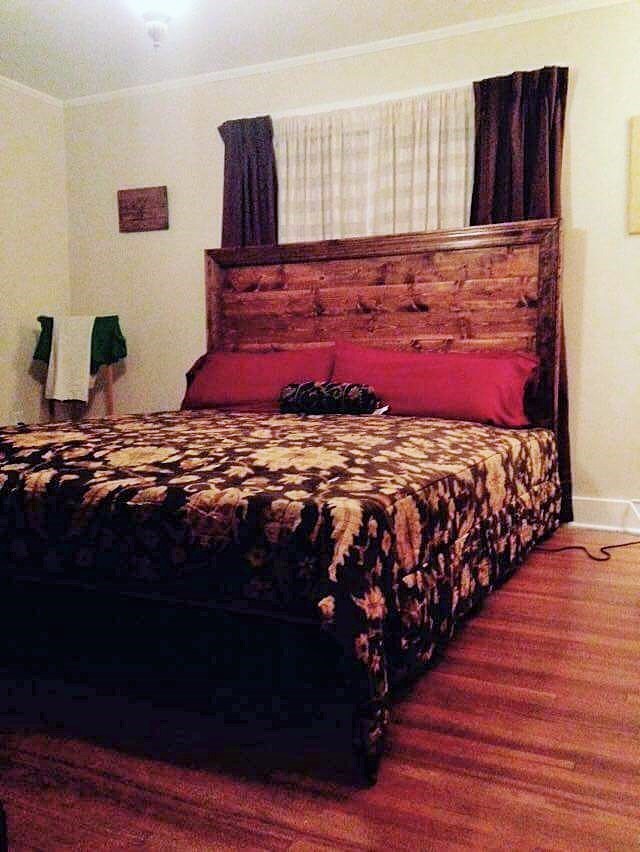
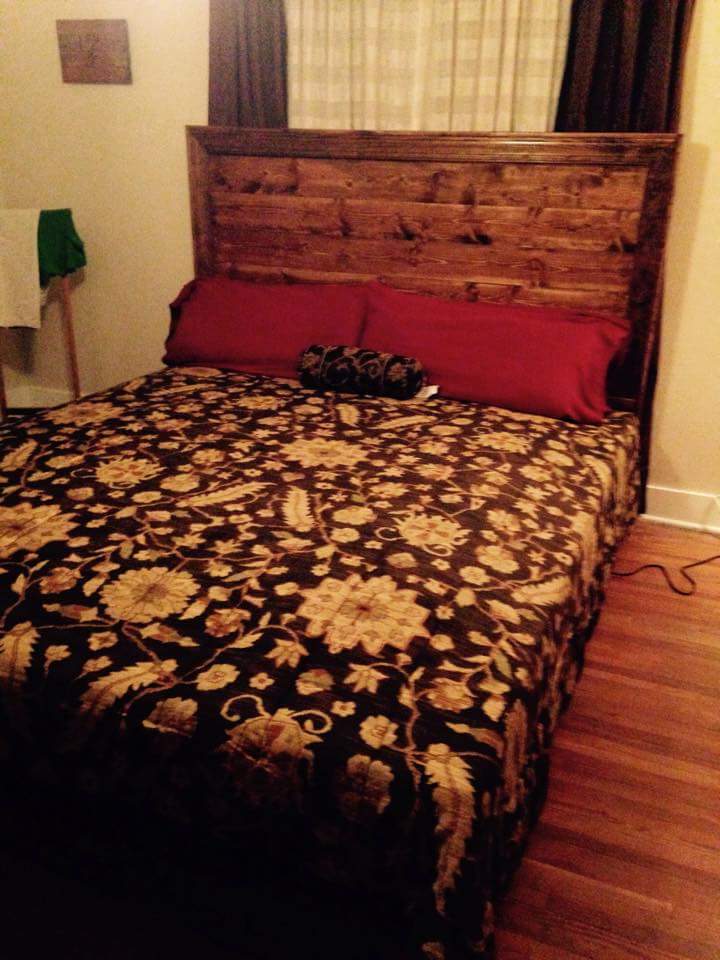
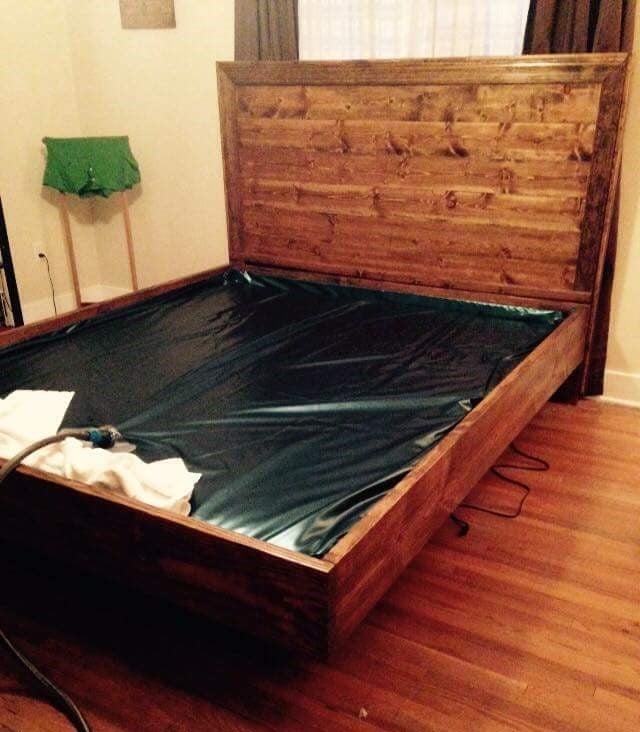
I don't have photos of the build but I did acquire some pictures of the assembly.
 
What we added to the shopping list for a king was 3 1x6x8's (he bought 6 total instead of 1x6x10's) and 1 1x4x8. To build it in a king or California king just take a measurement of the top or bottom of the bed frame to find the length to all of the horizontal boards. This takes care of the headboard. For the frame we simply built it to fit out of four 2x10x10's. 
 
I also used my Kreg Jig to attach all of the center horizontal boards together with pocket holes instead of adding supports to the back.
Built from Plan(s)
Estimated Cost
$150.00 for the entire bed.
Estimated Time Investment
Weekend Project (10-20 Hours)
Finish Used
Rust-Oleum English Chestnut
Recommended Skill Level
Beginner

Octagonal Picnic Table

Submitted by frmoody on Fri, 05/28/2021 - 15:08

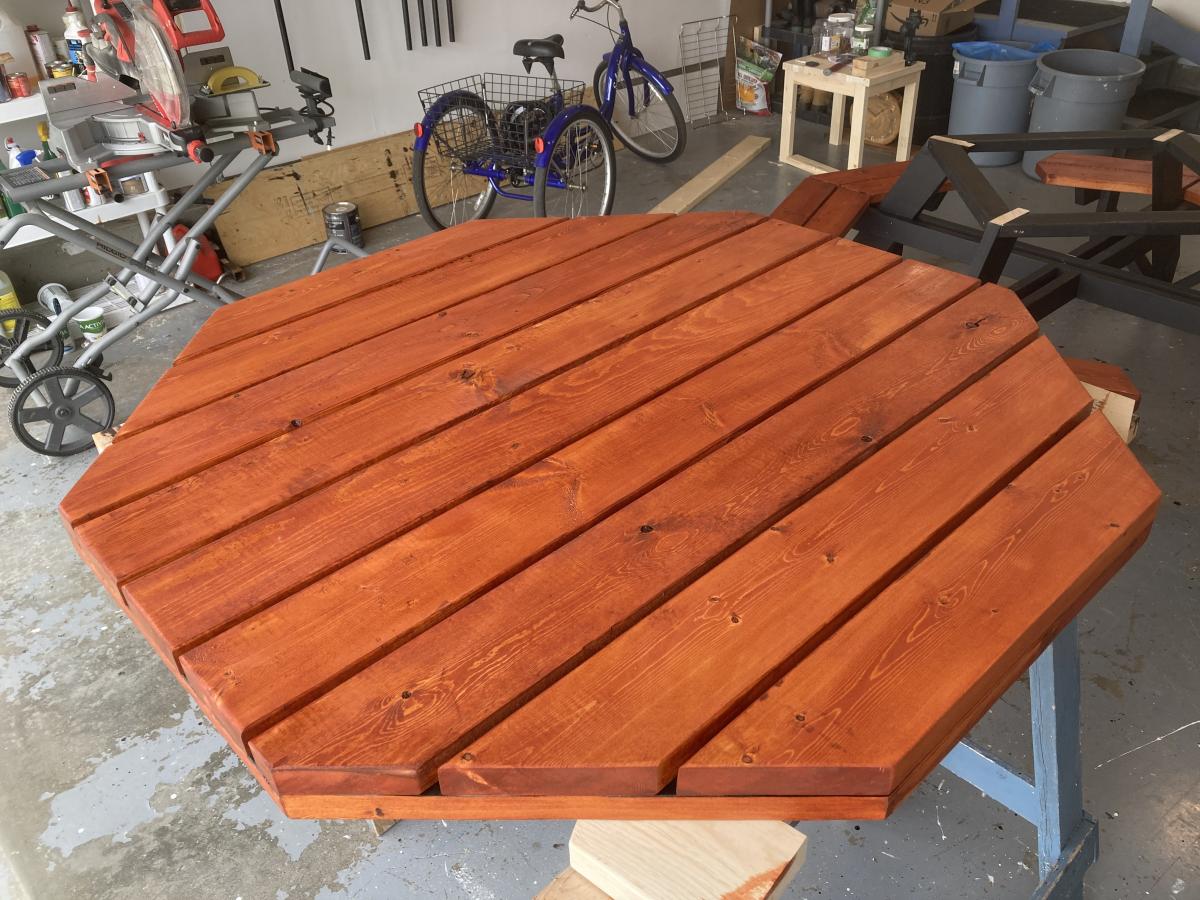
To say this was a complicated build is an understatement. Lots of pieces, lots of different angles and lots of screwing it together. It was really tough to keep everything perfectly square but in the end it turned out well. It is a very heavy table. I want to get it outside on a sunny day for some photos.

Estimated Cost
The price of lumber is ridiculous right now. Last summer this would have cost me about $200 in materials but I spent about $450 on wood, finish and screws. 2 x 4 x 8's right now are about $10.40 CAD$ and 2 x 4 x 6's are about $15.00
Estimated Time Investment
Weekend Project (10-20 Hours)
Finish Used
I first painted all black parts with Wood Shield Oil Deck & Siding solid stain. I used two coats. I painted most of the boards prior to cutting to save time. The top and seats were stained with MinWax Gunstock Stain. Once everything was together I put on two coats of Helmsman outdoor polyurethane.
Recommended Skill Level
Advanced

Comments

pipe/wood bookcase

Submitted by ltodd on Thu, 04/11/2013 - 18:26

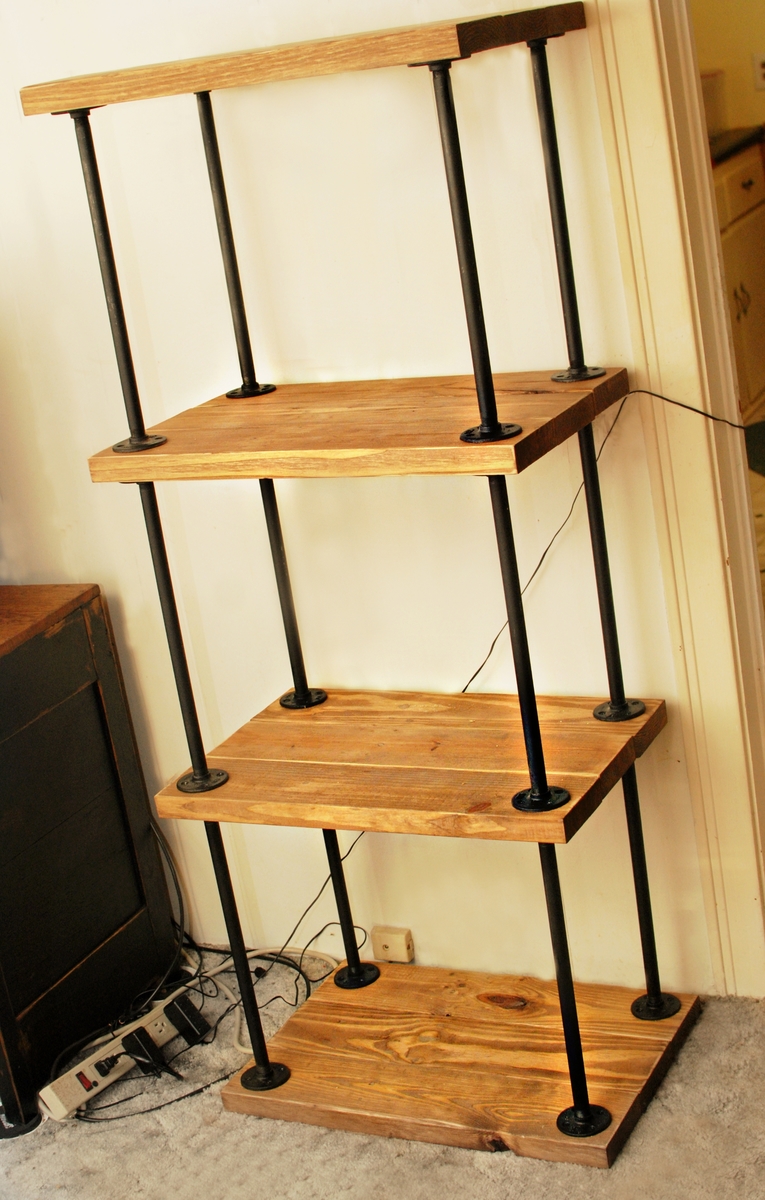
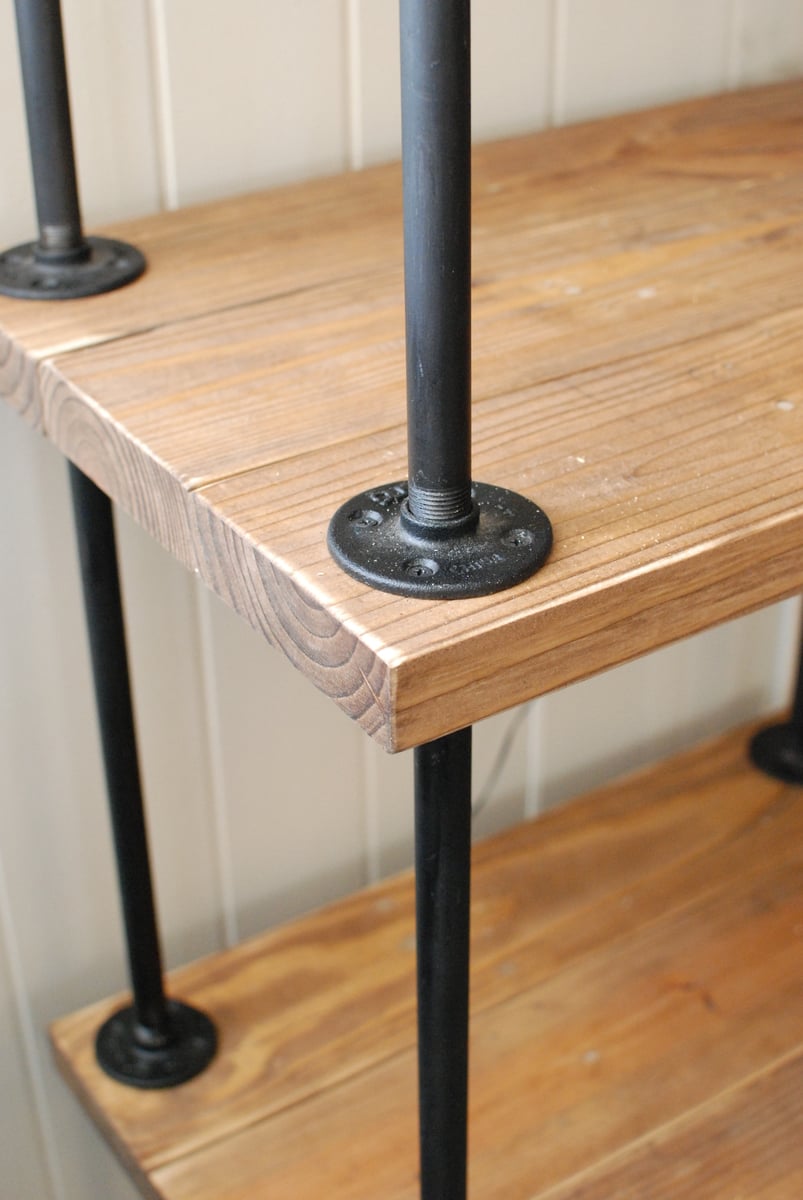
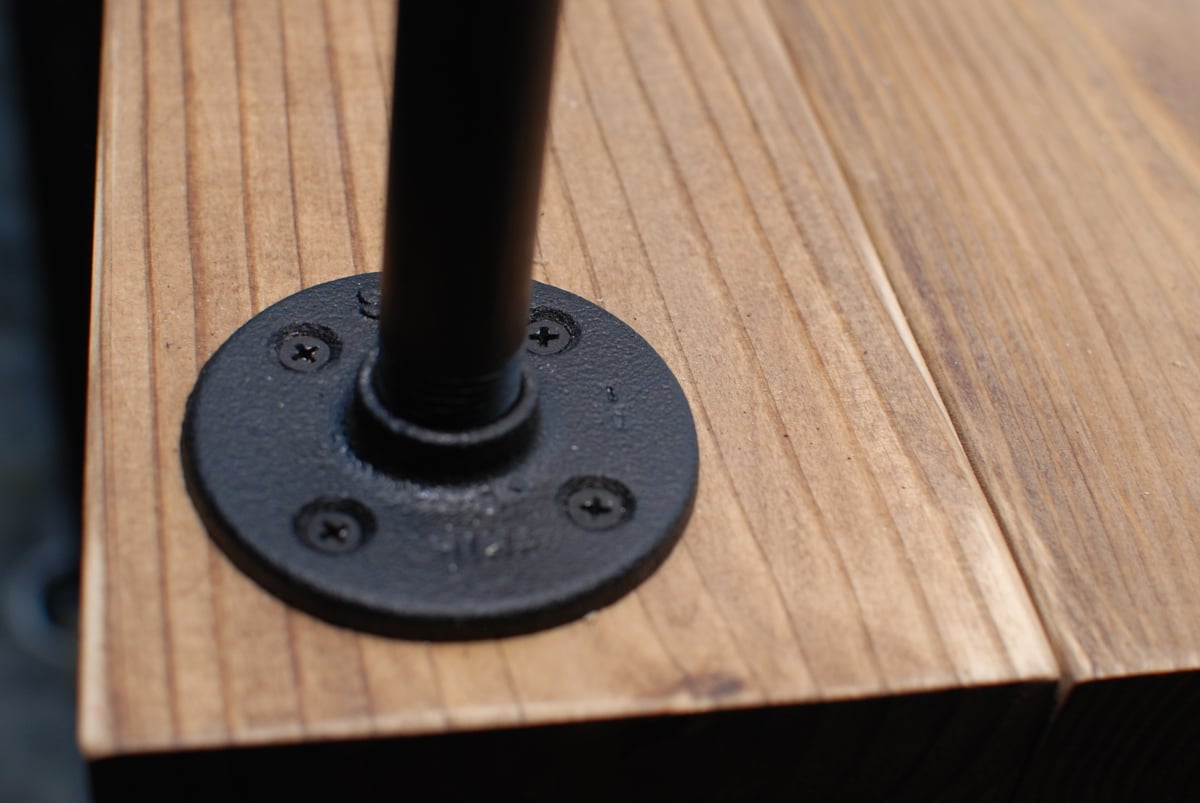
1/2 ' x 18" black pipe was used along with 1/2 ' flanges. The wood was re-purposed 2x6' pine lumber that had been used for pallets, that would have been thrown away. The boards were joined with a Kreg Jig, It will house my stereo components.

Estimated Cost
$150 pipe/flange costs
Estimated Time Investment
Weekend Project (10-20 Hours)
Recommended Skill Level
Beginner
Back