Community Brag Posts

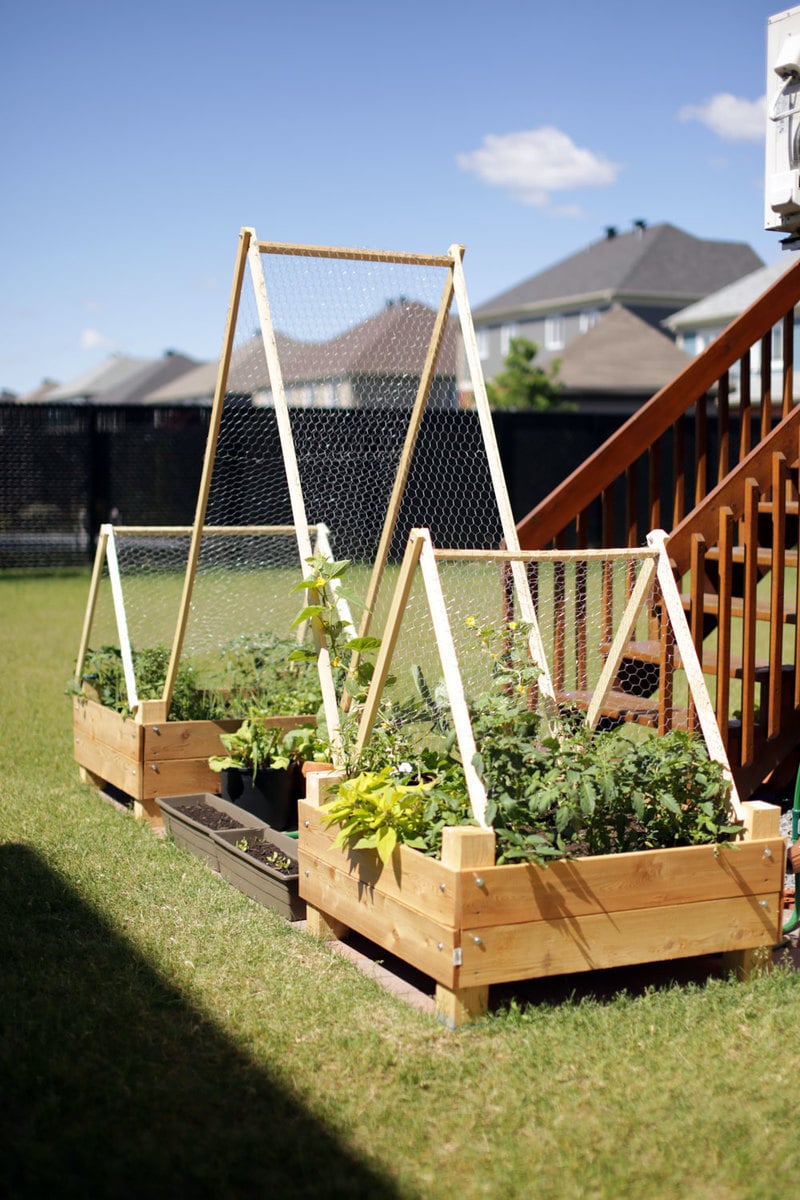
DIY Garden Box with Trellis

Submitted by JenFarrell on Mon, 06/30/2014 - 07:13

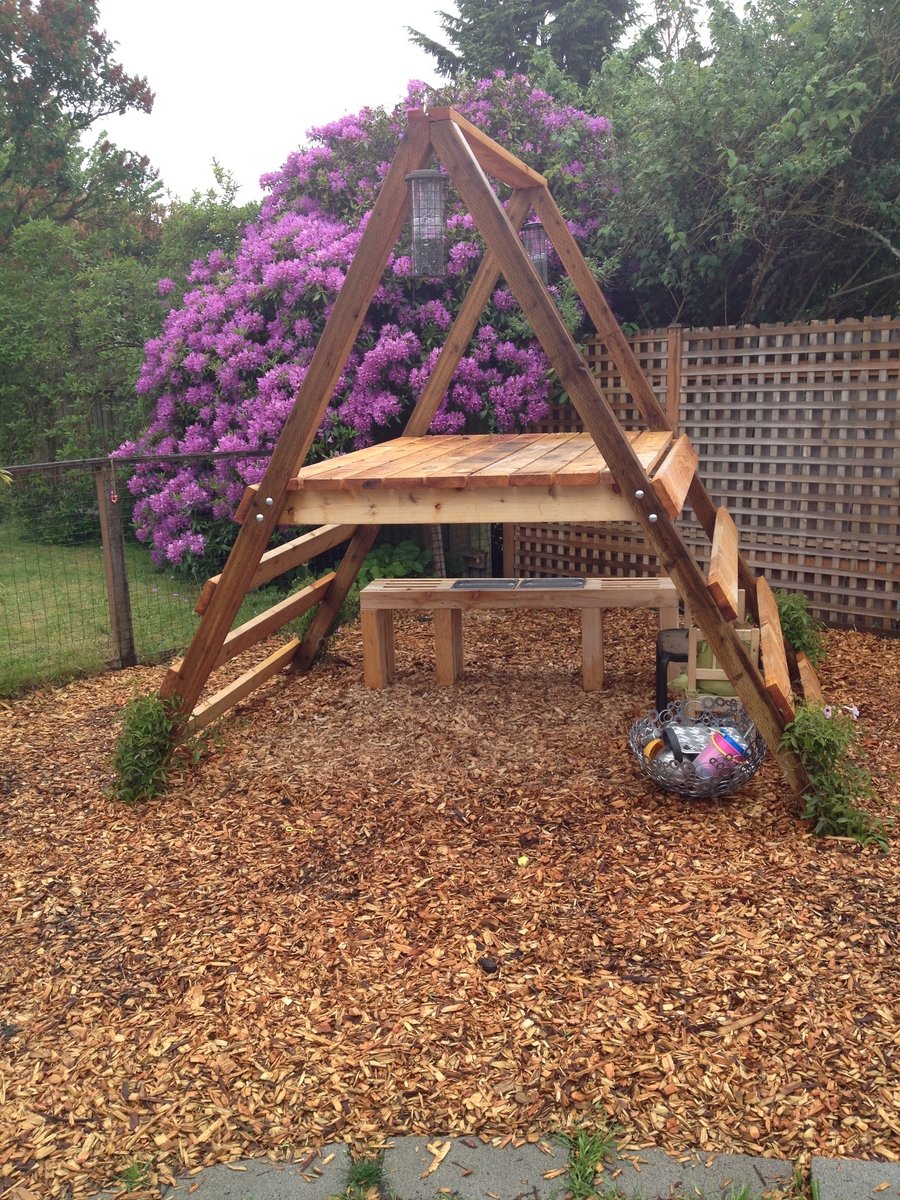
We wanted a small garden to fit on the back patio stones and this plan fit well. We reduced the height because we have 3 small children to "help" water the plants. The trellis was hoping that we could extend the amount of produce we could grow. They're very heavy, sturdy and straightforward to build. Thanks very much!!

Estimated Cost
$120
Estimated Time Investment
Weekend Project (10-20 Hours)
Recommended Skill Level
Beginner

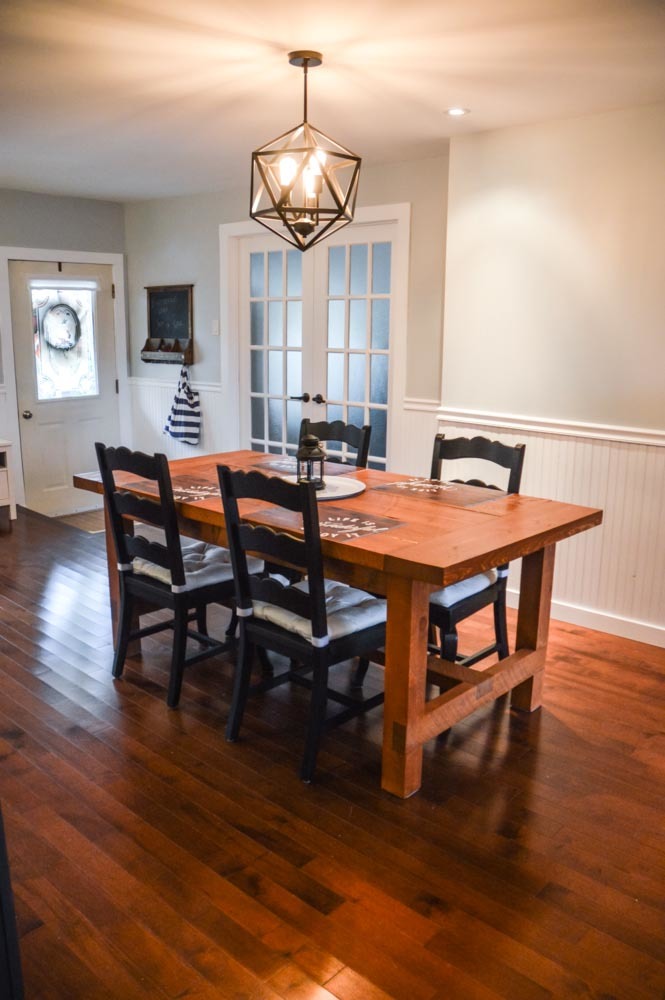
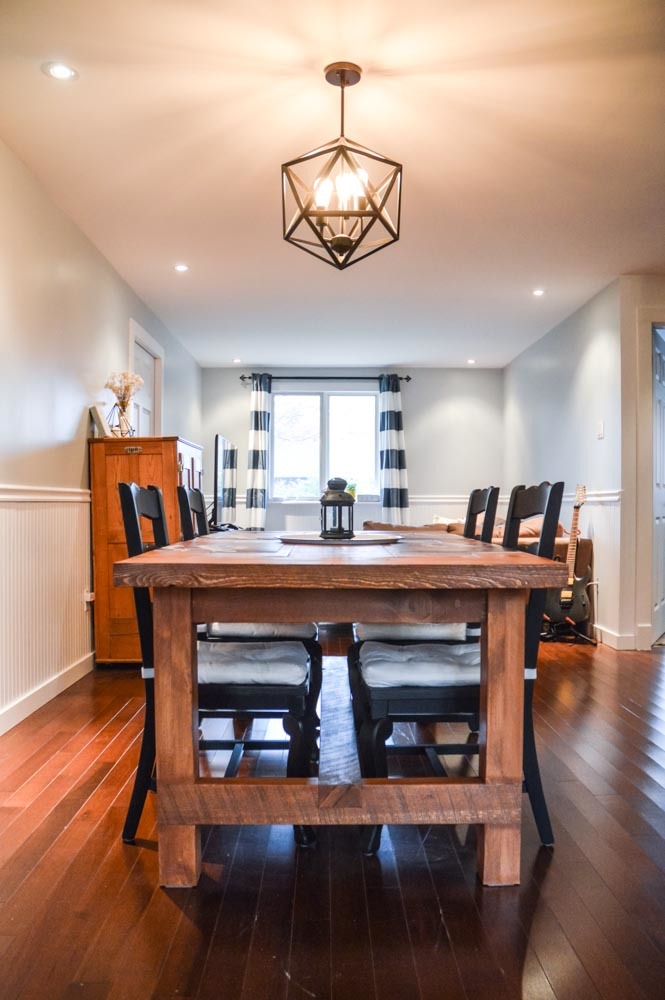
Rustic Dining Table - In love with my table!

Submitted by Anonymous (not verified) on Sun, 10/23/2016 - 05:46

I had shown this plan earlier on to my bf, telling it I really like it and it would be so much cheaper to make our future rustic dining table on our own instead of buying it. He seemed reluctant.... And then, 2 months later, I come back from my parent's house in the evening to find that he has built me my rustic dining table just as I had wished! 

Estimated Time Investment
Week Long Project (20 Hours or More)
Finish Used
Saman Cognac and Sesame + Saman hybrid varnish in Satin
Recommended Skill Level
Intermediate

Comments

Mudroom

Submitted by Taa-daa on Tue, 11/01/2016 - 13:22

My front closet was transformed into a mudroom. Hidden storage is a genious idea. Thank you Ana!!! It wasn't easy though.

Estimated Cost
a bit less than 150$
Estimated Time Investment
Week Long Project (20 Hours or More)
Finish Used
Dark walnut
Recommended Skill Level
Intermediate

Modern Adirondack Chair, Super Sized

Submitted by Anonymous (not verified) on Fri, 08/21/2020 - 10:39

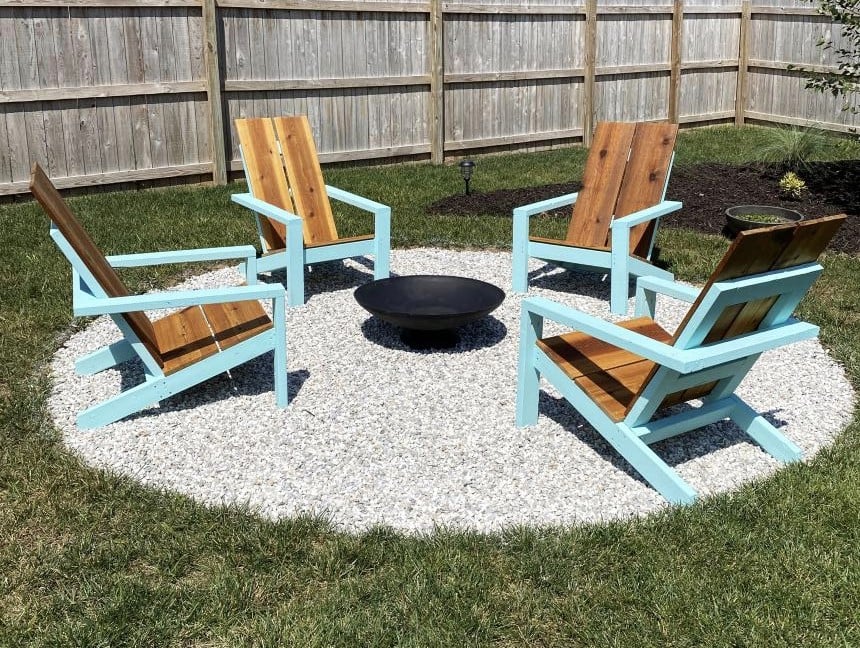
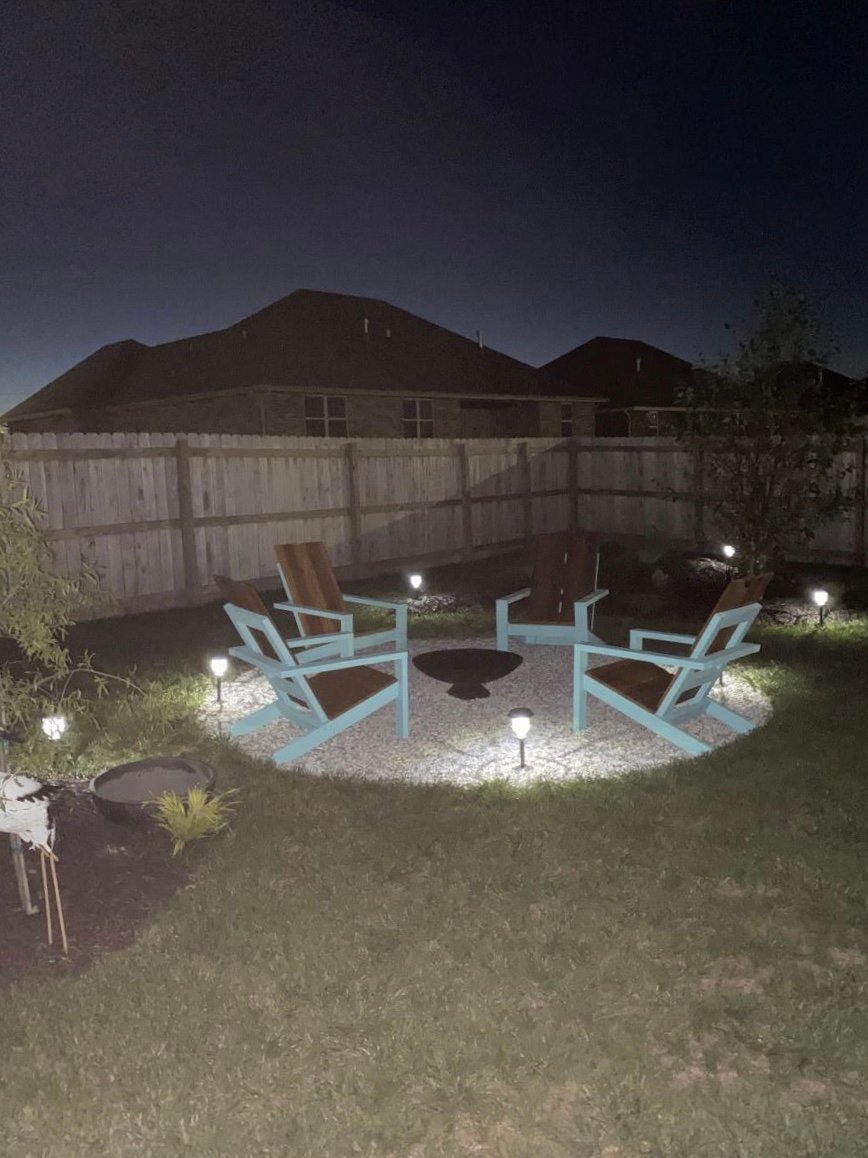
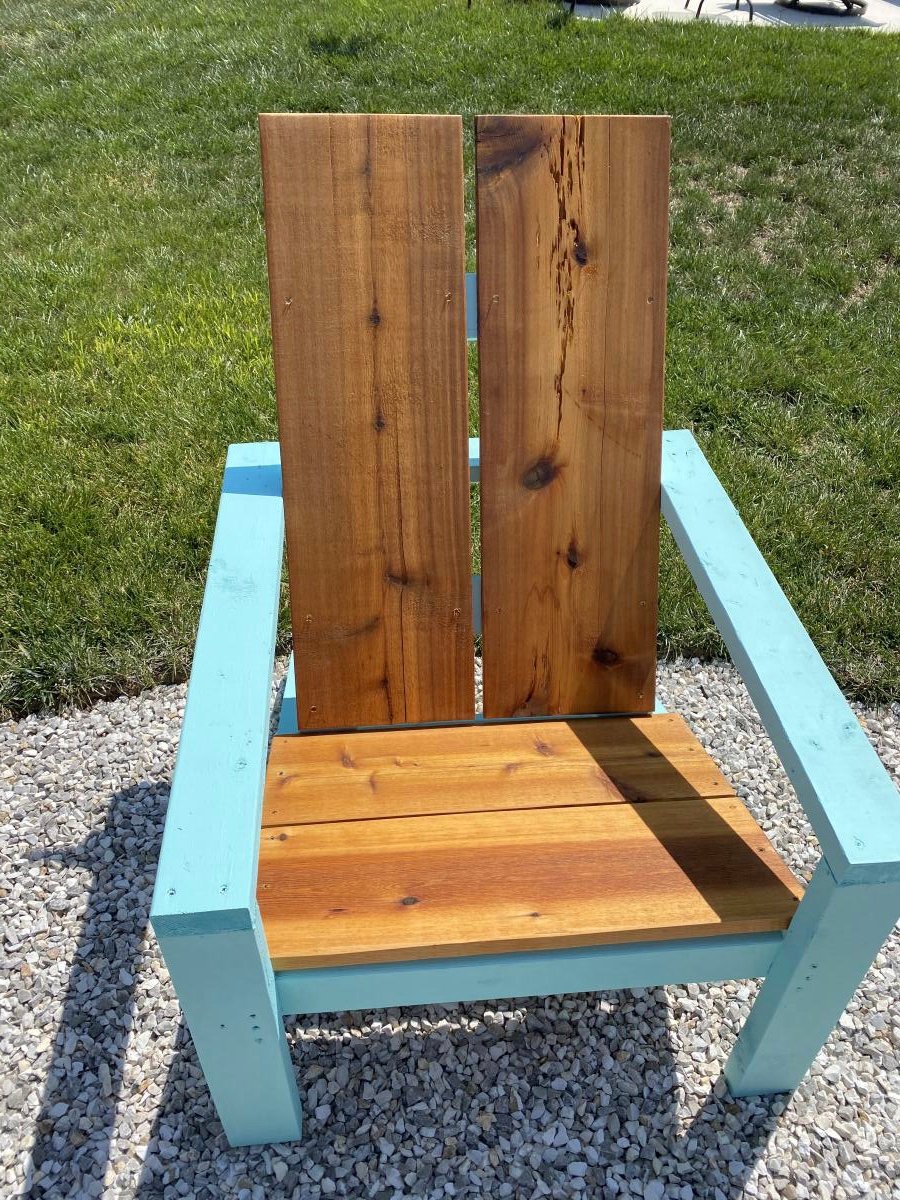
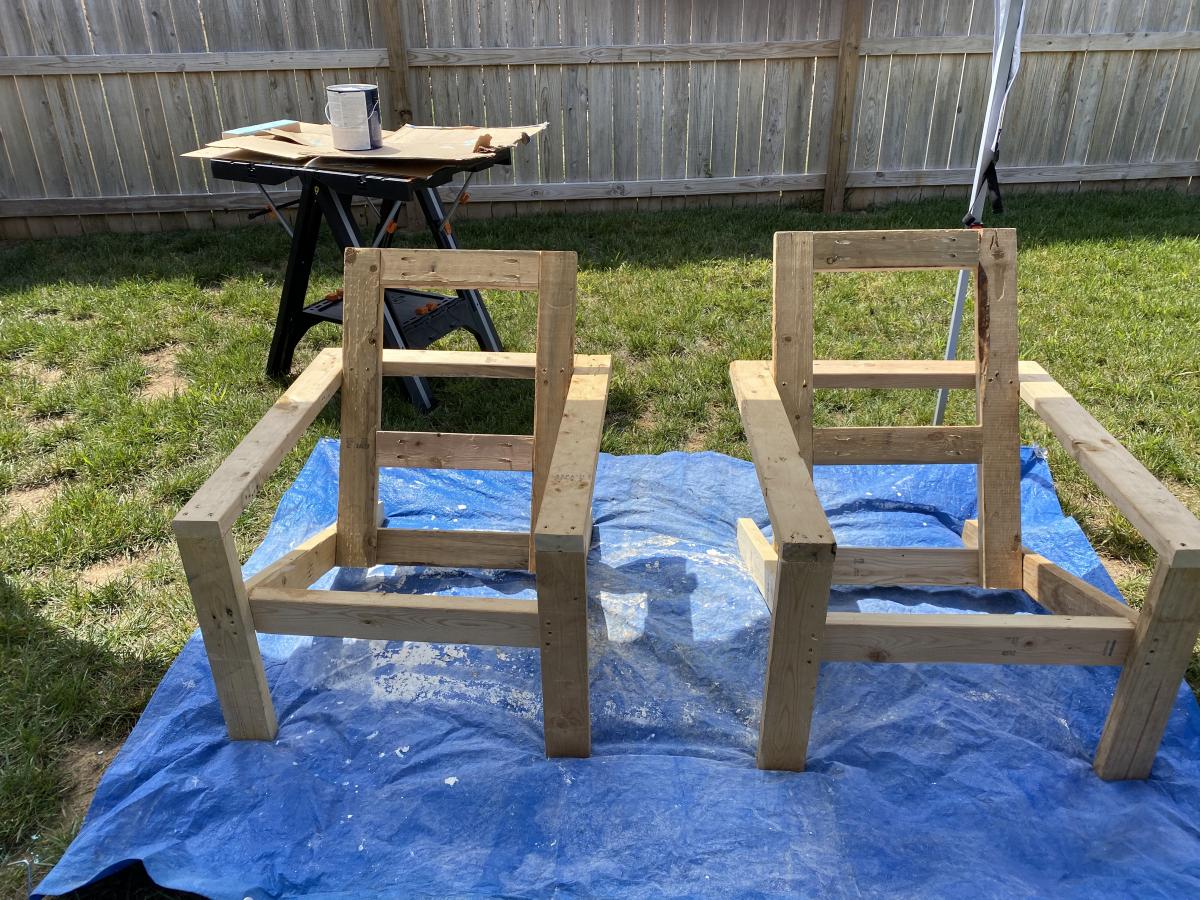
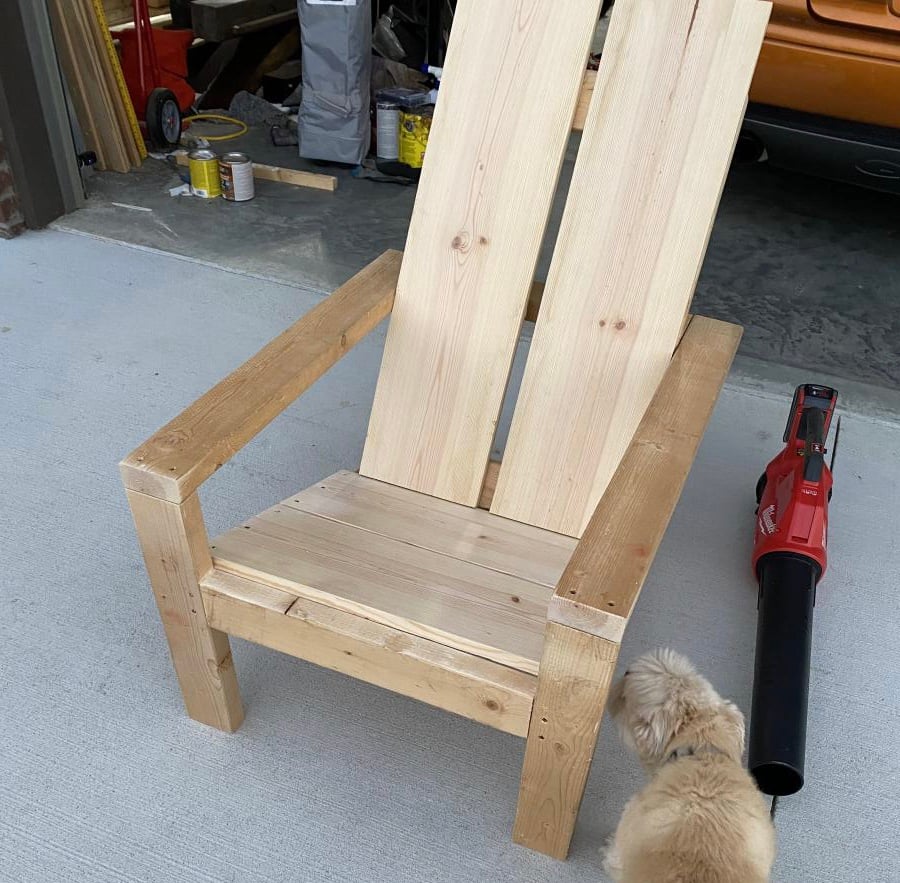
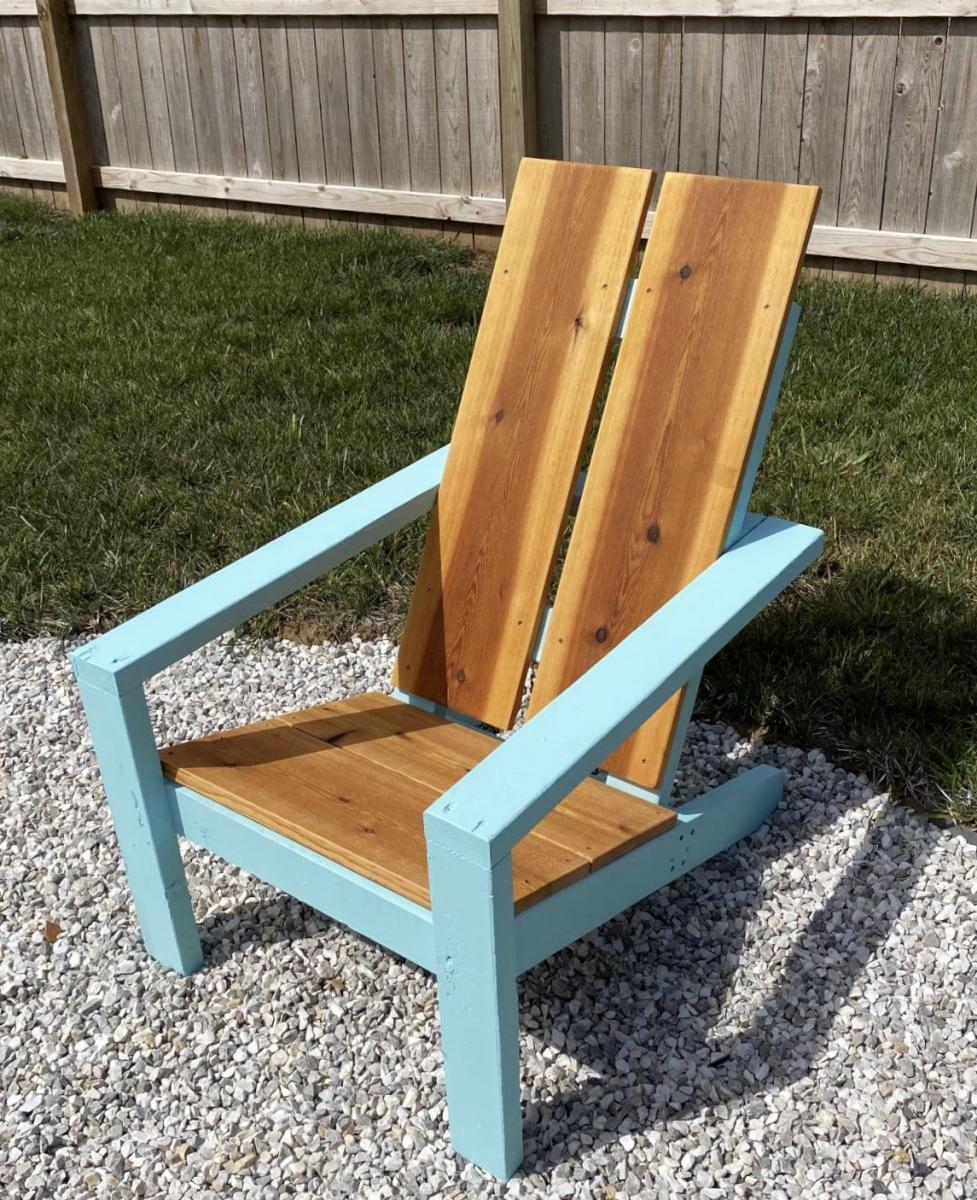
Am a big fan of Ana's work, and have used several of her plans in prior builds including the more traditional Adirondack chairs. Those stayed with my old house, and I wanted something different for my new house. Really liked her Modern Adirondack design with the floating arm rest. However, plans are like recipes to me--a guideline. I wanted the back boards to run up and down, and I am a bit more robust than the lovely and petite Ms. White, so they would need to be wider after I built the first one at 19 1/2" wide per plan. The next three I made 22" wide and that worked well without throwing off the geometry and angles of the other parts. Since I ran the backboards up and down, I needed some cross beams for stability and to give an attachment point for the middle of the boards. Cut some 2x4s at 15" wide, drilled pocket holes in both ends, and attached in between the back supports with the pockets facing up to be hidden by the back boards. All of the 2x4s were leftover cut-offs from the houses being built in my neighborhood. Since the frames were free, I splurged and went with cedar boards for the backs and bottoms. With the wider frames, I had to use 1x12s ripped down to 10 3/4" to get the right look (about a board's width in between). Needed some color, so I painted the frames Teal Seaglass from Menards. Cedar was stained with a natural deck stain from Sherwin Williams. I experimented with salt paint (mixing unsanded grout with the paint) to give a heavily textured and weathered finish but this was unecessary--the wood was distressed enough and I am a terrible painter. It also toned down the color so I skipped that step and just went with 2 coats of plain paint. It looks like outdoor furniture should up close. As always, am pleased with Ana's plans. Thank you for doing all the hard work!
Estimated Cost
about $200 for all 4 chairs due to cedar and paint
Estimated Time Investment
Weekend Project (10-20 Hours)
Finish Used
Paint - Pittsburgh matte exterior with Dutch Boy coloring Teal Seaglass
Stain - Sherwin Williams Superdeck stain, Natural finish
Recommended Skill Level
Starter Project

Comments

Seasonal And Holiday

New Computer Desk - From Seaten Console

Submitted by DIYER_MD on Sat, 09/06/2014 - 18:10

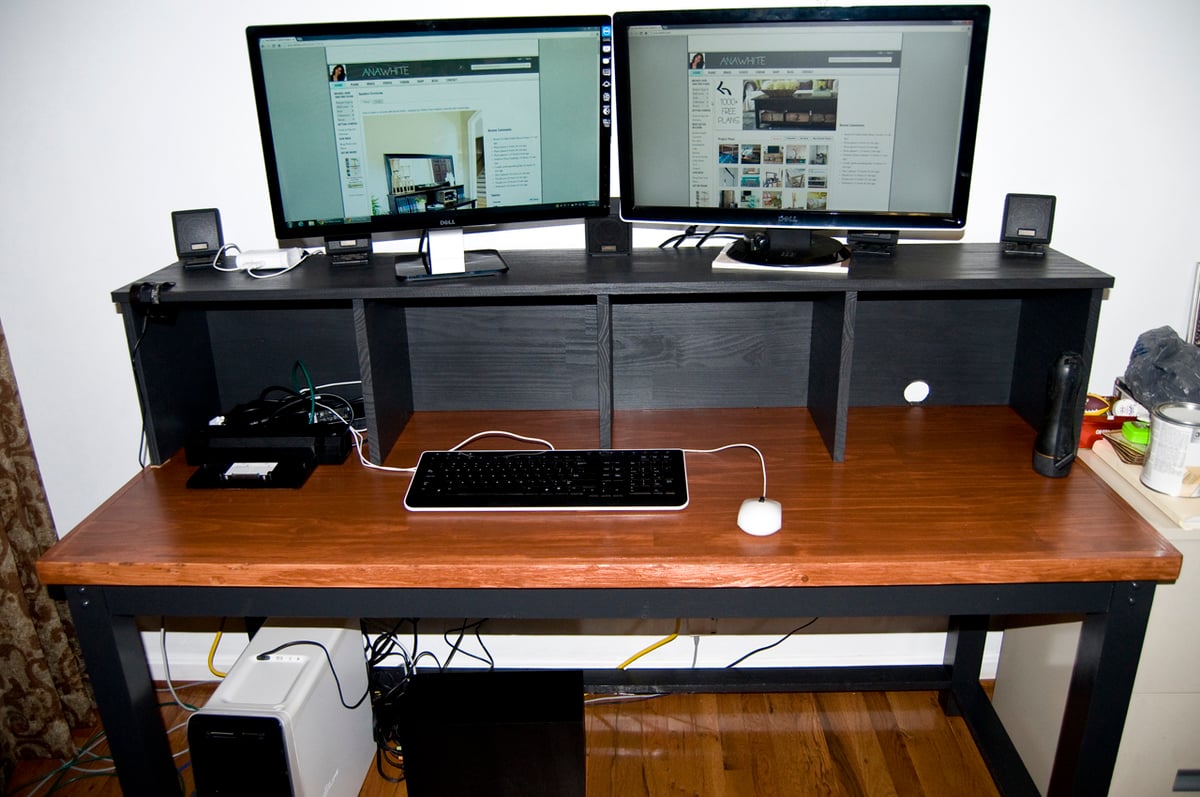
I used the Seaten Console Plan as the basis for this project.  I made the legs longer to raise the desk up to the height of a computer desk.  I also added extra sections to the top to proved extra storage areas for books, etc.

Built from Plan(s)
Estimated Cost
$150.00
Estimated Time Investment
Weekend Project (10-20 Hours)
Finish Used
Olympic One Black Paint with Stained Top (Rustoleum)
Recommended Skill Level
Intermediate

Comments

booksnotbombs

Sat, 09/06/2014 - 18:30

Did you build this to be the height of a standing desk? It looks great either way! I am looking for a good plan to modify. I like the staging of Ana's website on the monitors. :)

DIYER_MD

Sun, 09/07/2014 - 08:26

No, it is still a regular height desk.  The legs are actually 28 1/4 inches.  This makes the desk right at 29 inches.  I set the monitors up on the top because I like them a little higher and it frees up the desk space.  It makes them comfortable viewing for me.  I appreciate your nice comments.  If you want a nice but simple desk, this is the perfect plan.  I started building this one right after I saw it on the site.

Farmhouse Storage Bed

Submitted by Slayer311 on Tue, 09/16/2014 - 09:11

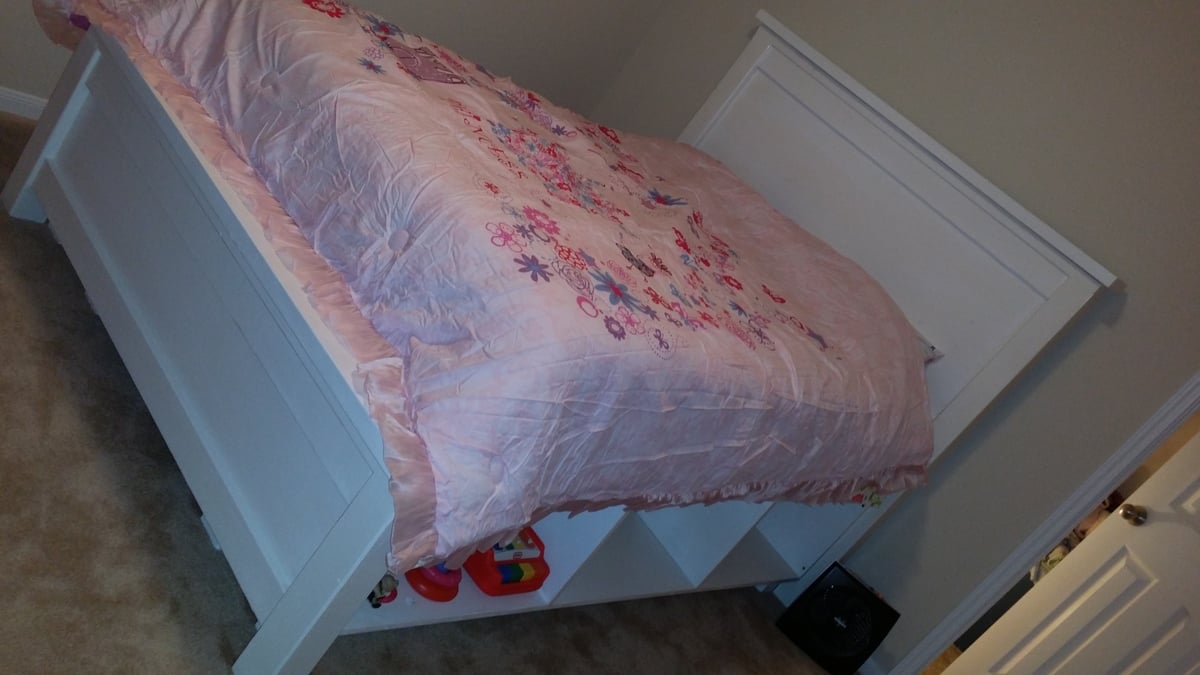
It was time for my daughter to get her very own big girl bed! I found the plans and my wife approved and construction began. 3 weeks later this is what we have created. Everyone at work is super jelious and have referred quite a few people to the website. Thank you Ana for having such a great resourse!

Estimated Cost
$300
Estimated Time Investment
Weekend Project (10-20 Hours)
Finish Used
Glidden premium interior semi gloss paint, white, GLN6400.
Recommended Skill Level
Beginner

Farmhouse Doll Bed

Submitted by TeamR-K on Tue, 12/11/2012 - 13:04

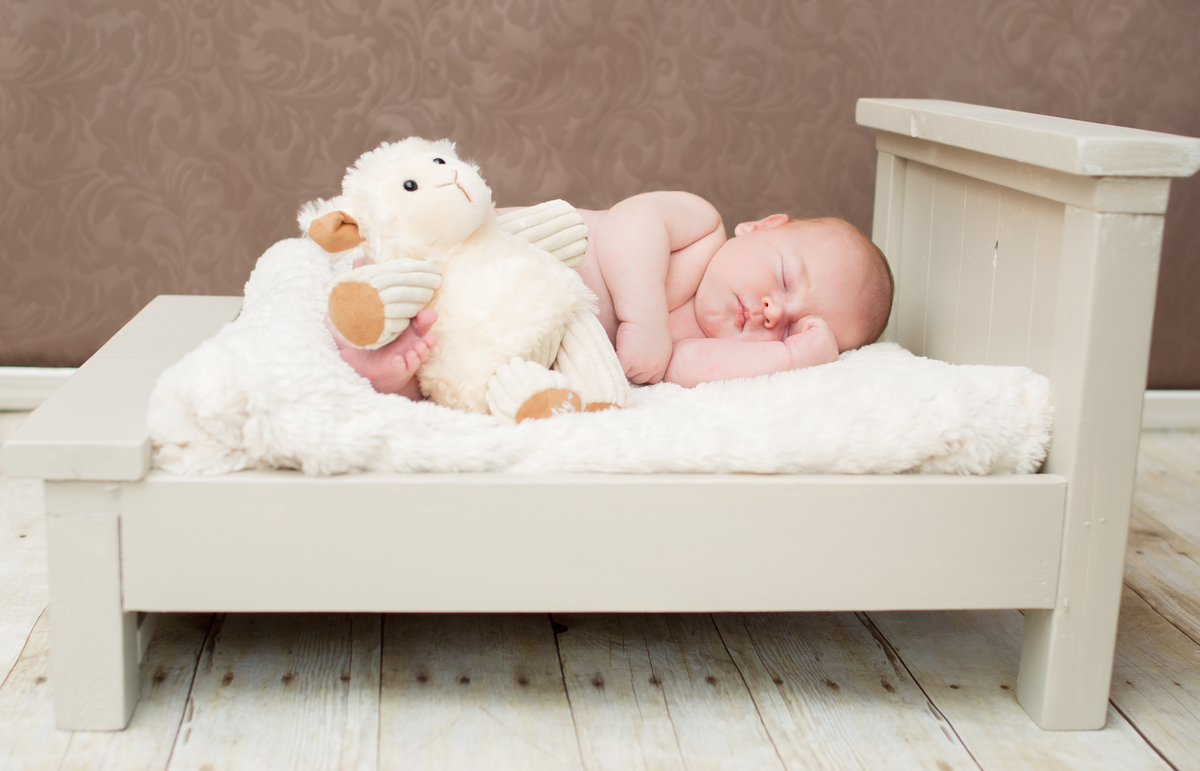
My handy husband whipped this little bed up from the leftover wood of the rustic "X" end table! I love it so much, a great toy / newborn prop!! I wanted to finish it with the steel wool/vinegar method, but it was too late, he already painted it. I love it just the way it is! Thank you for the awesome plan!!

Estimated Cost
$15 - or free if you use leftover pieces of wood
Estimated Time Investment
An Hour or Two (0-2 Hours)
Finish Used
Paint-Beautitone Satin Finish
Recommended Skill Level
Beginner

Comments

spiceylg

Wed, 12/12/2012 - 05:26

Nice build, but the baby steals the show. What an absolutely precious baby and picture! The stuffed lamb is adorable, too, lol!

5 tator tots (not verified)

Tue, 12/18/2012 - 11:37

Our baby is due in a few weeks...makes me want my husband to build this just for pictures! Adorable baby!

Truss 4x4 Farm Table

Submitted by iamjulz622 on Sun, 09/20/2020 - 19:07

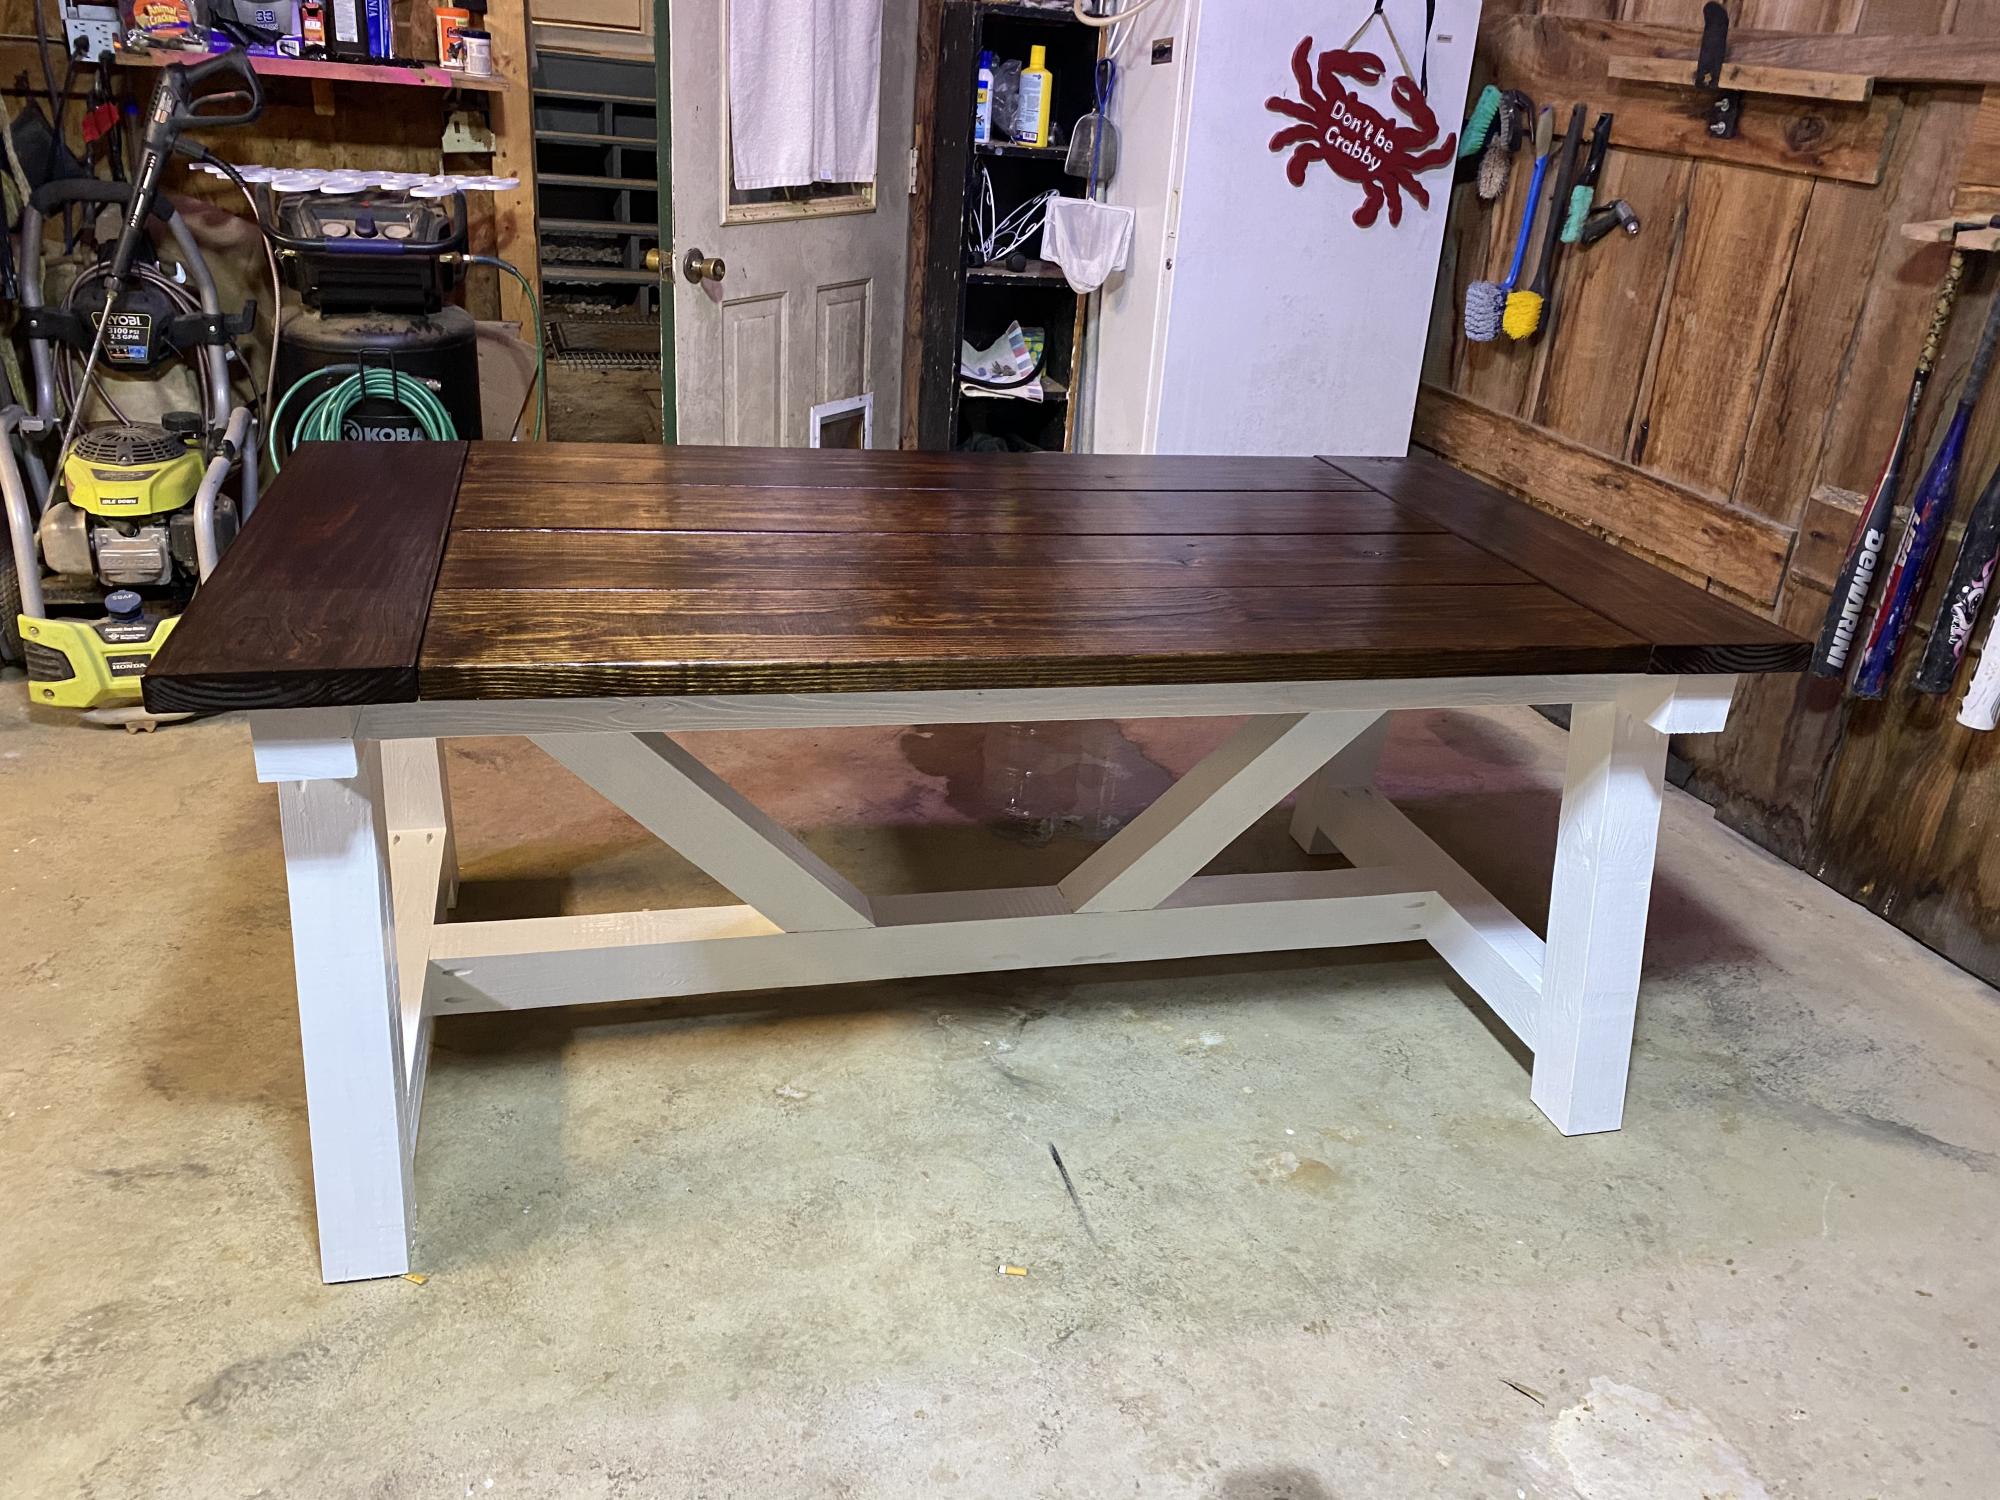
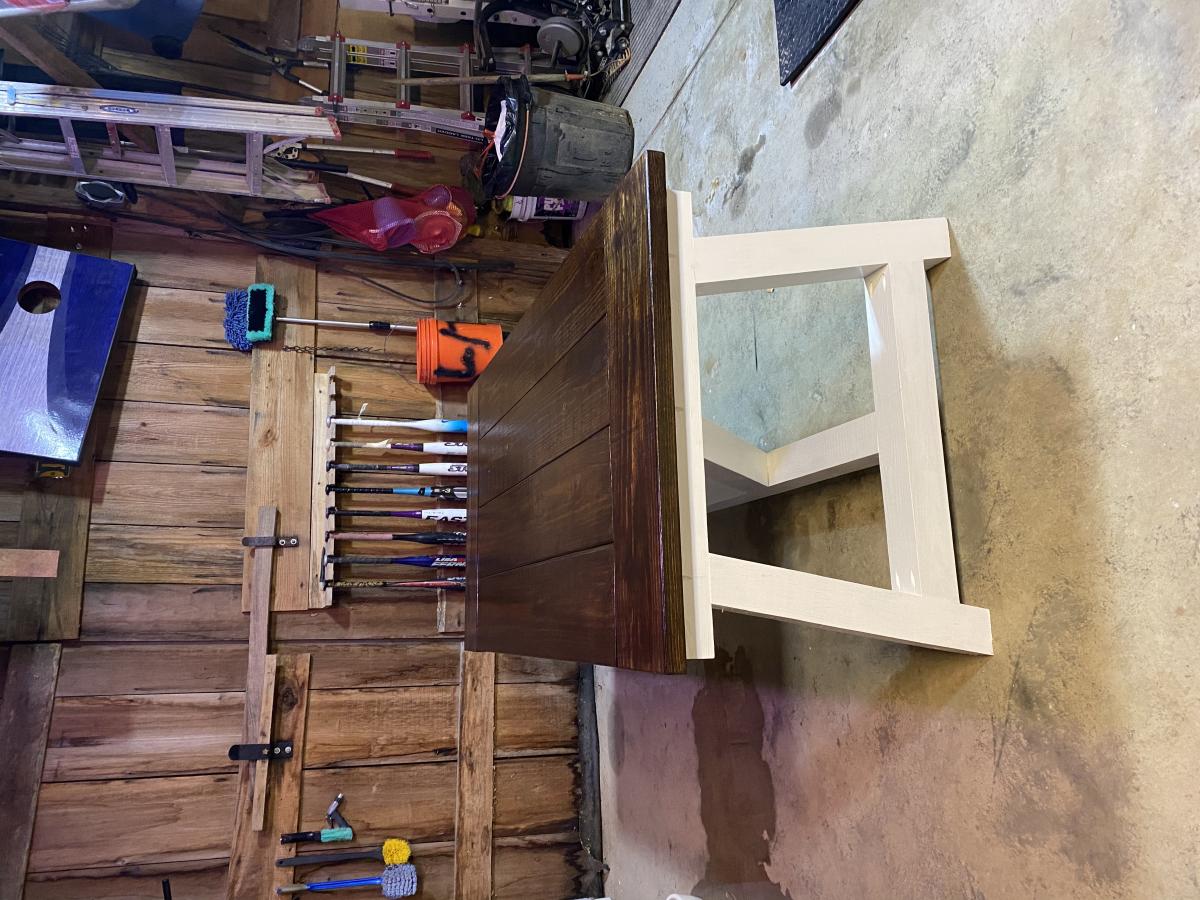
I love this site and the user friendly plans. I used the suggestion of turning the 2x4’s but I think it would have been better to have more to screw the top boards to if I hadn’t.

Estimated Time Investment
Week Long Project (20 Hours or More)
Finish Used
White paint, stain and sealant.
Recommended Skill Level
Intermediate

Comments

Painted buffet and hutch

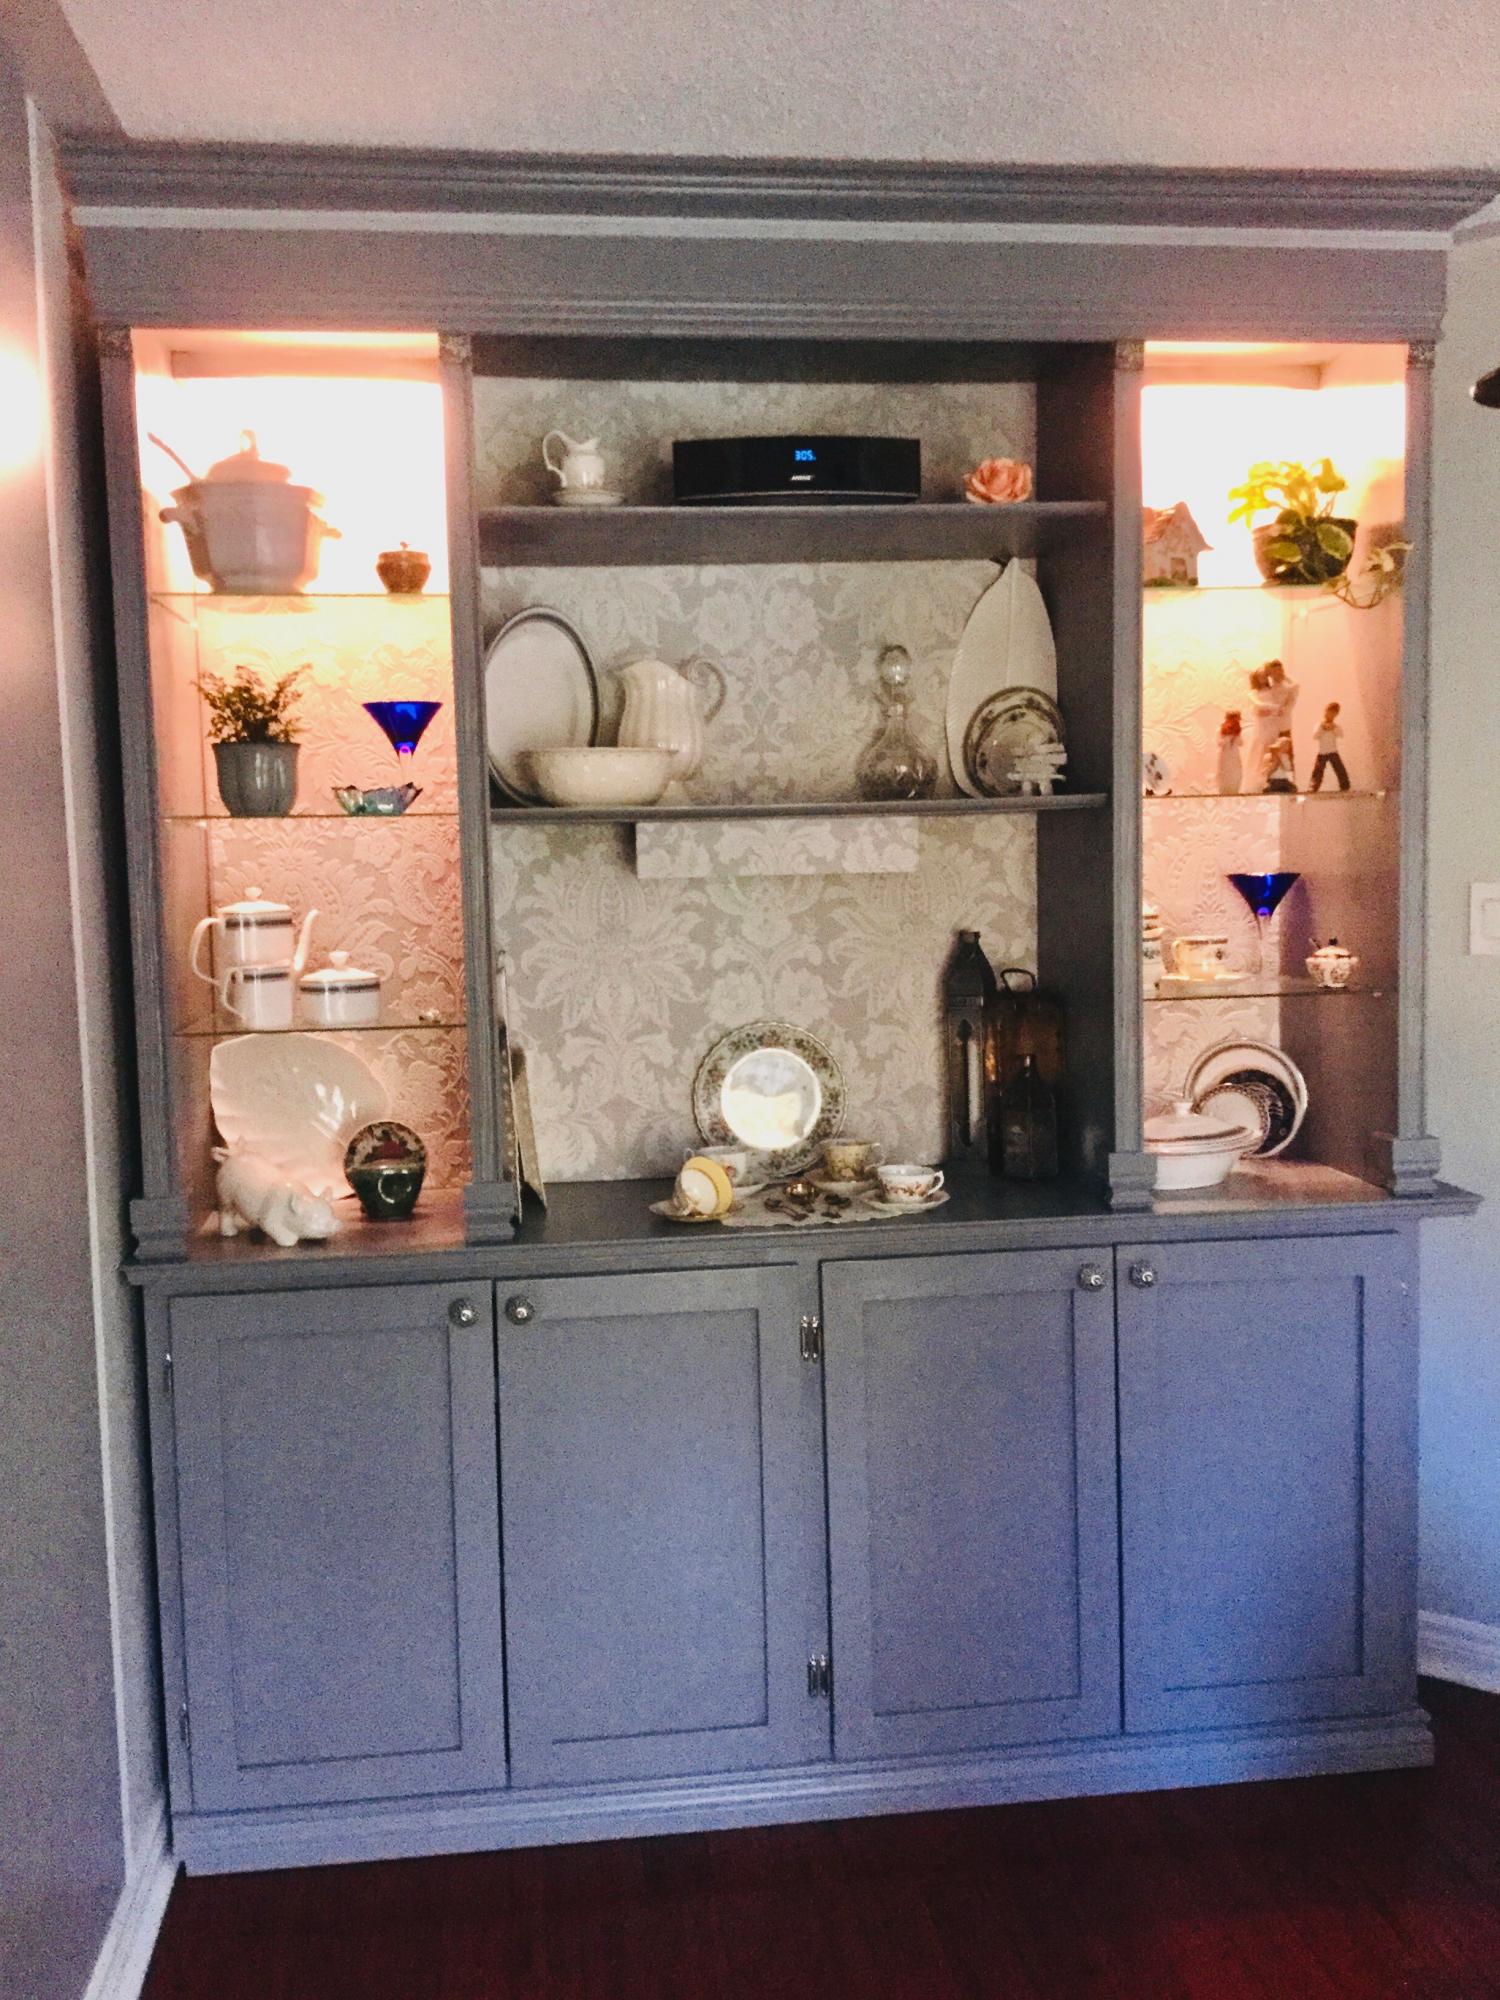
This is the largest piece I have built. I wanted a buffet and hutch to hold all my crockery. All the large pieces became the display pieces in the open shelves. Ana's plans makes it so easy to modify and build

Estimated Cost
$500
Estimated Time Investment
Week Long Project (20 Hours or More)
Finish Used
Paint
Recommended Skill Level
Advanced

Comments

Extra tall bar stool

Submitted by Jbonacci3 on Sat, 01/26/2013 - 12:18

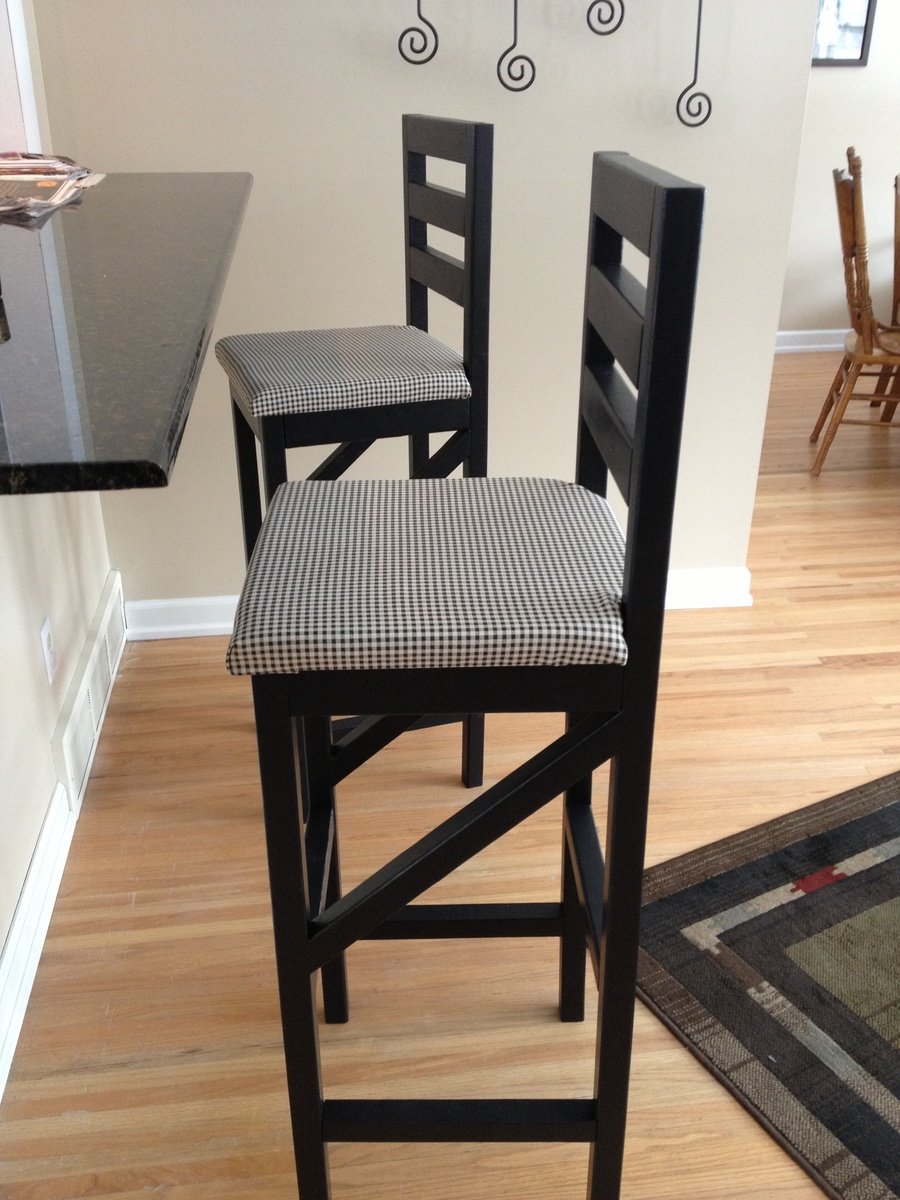
I built a breakfast bar into an existing wall shared between our kitchen and living room. I built it on the taller side of average since I wanted to have room to install new electrical outlets above the counter on the kitchen side. After the project was done we went to buy bar stools to use with the new bar and found that even the "tall" stools were too short to work. Research into extra tall stools showed that what we needed was going to $400-600 each! Luckily my wife found these stools on your site and we were able to make three of them for around $115. Also, they are much sturdier than anything we looked at to buy.

Built from Plan(s)
Estimated Cost
$115
Estimated Time Investment
Day Project (6-9 Hours)
Finish Used
Painted frames with Valspar paint + primer (black). Padded and covered seats with a canvas material.
Recommended Skill Level
Beginner

Comments

Breibee23

Mon, 11/11/2013 - 23:53

This is a saving grace... We didn't want to spend 600-1400 on extra tall bar stools that actually look good and this plan rocks as a stand in :)

Adirondack chair from Pallets

Submitted by Anonymous (not verified) on Fri, 03/24/2017 - 19:42

I decided to try and use the plans on Ana's site but with a twist. I wanted to limit myself to using only pallets. I think it turned out great! I can't upload all the photos because they exceed the maximum size limit. If I was able to you could see how each chair is slightly different and has a lot of character. I finished them with a waterproofing oil which I highly recommend over other finishes. 

Estimated Cost
$10 for screws.
Estimated Time Investment
Afternoon Project (3-6 Hours)
Finish Used
Cabot oil
Recommended Skill Level
Beginner

Comments

Brook Laundry Basket Dresser

Submitted by krochelle on Thu, 01/01/2015 - 15:42

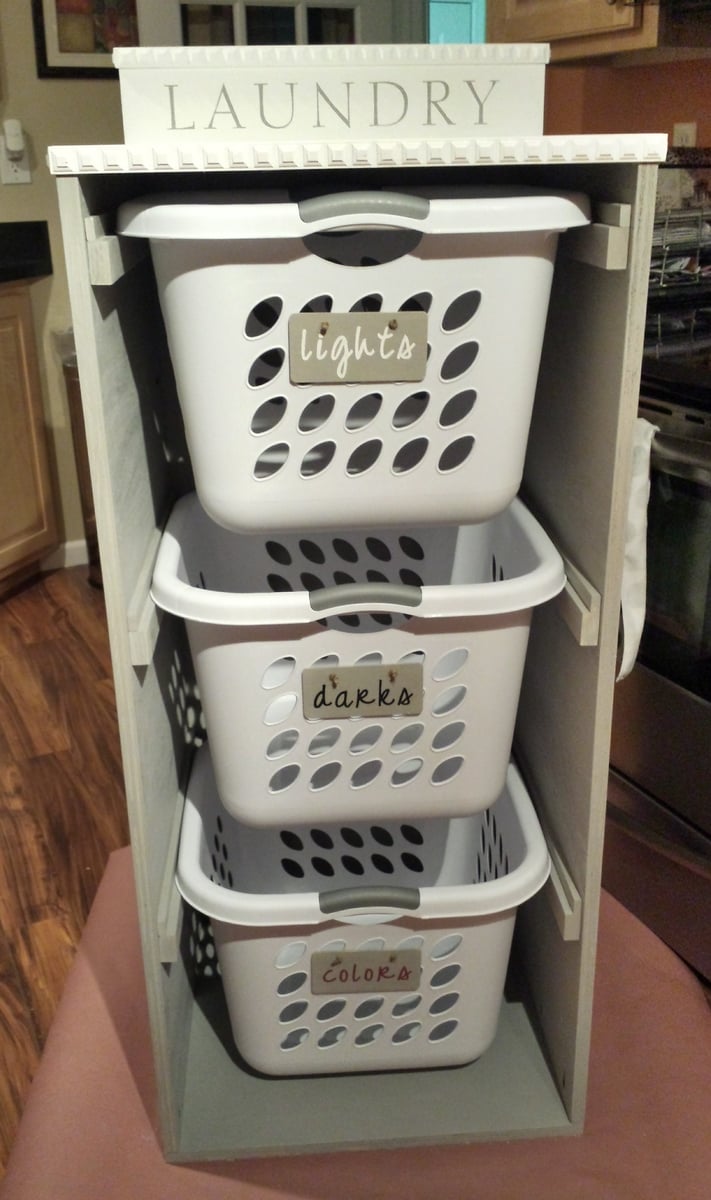
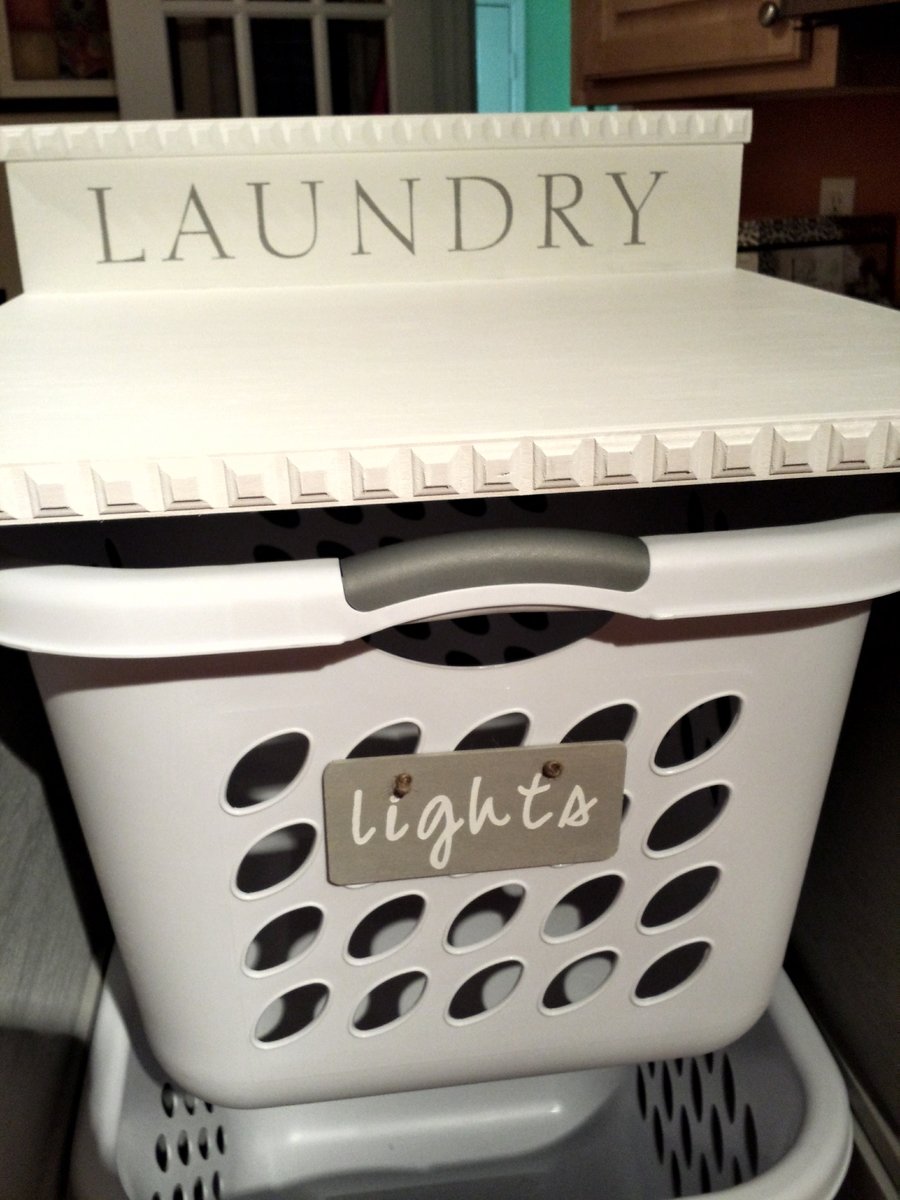
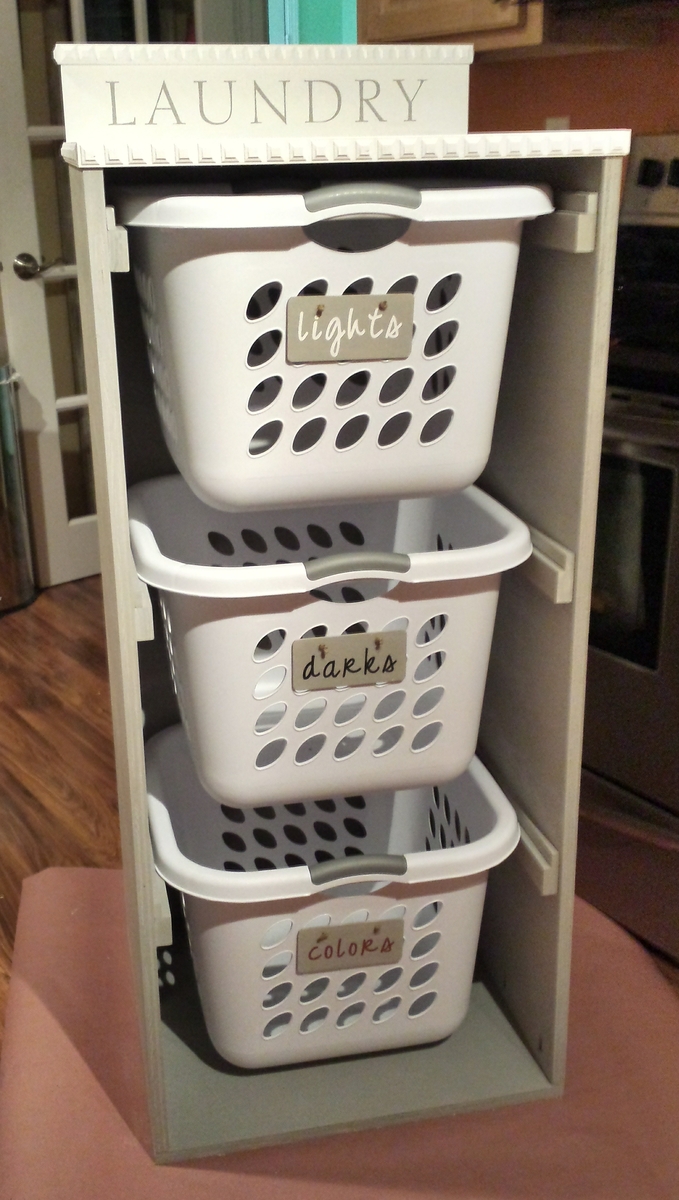
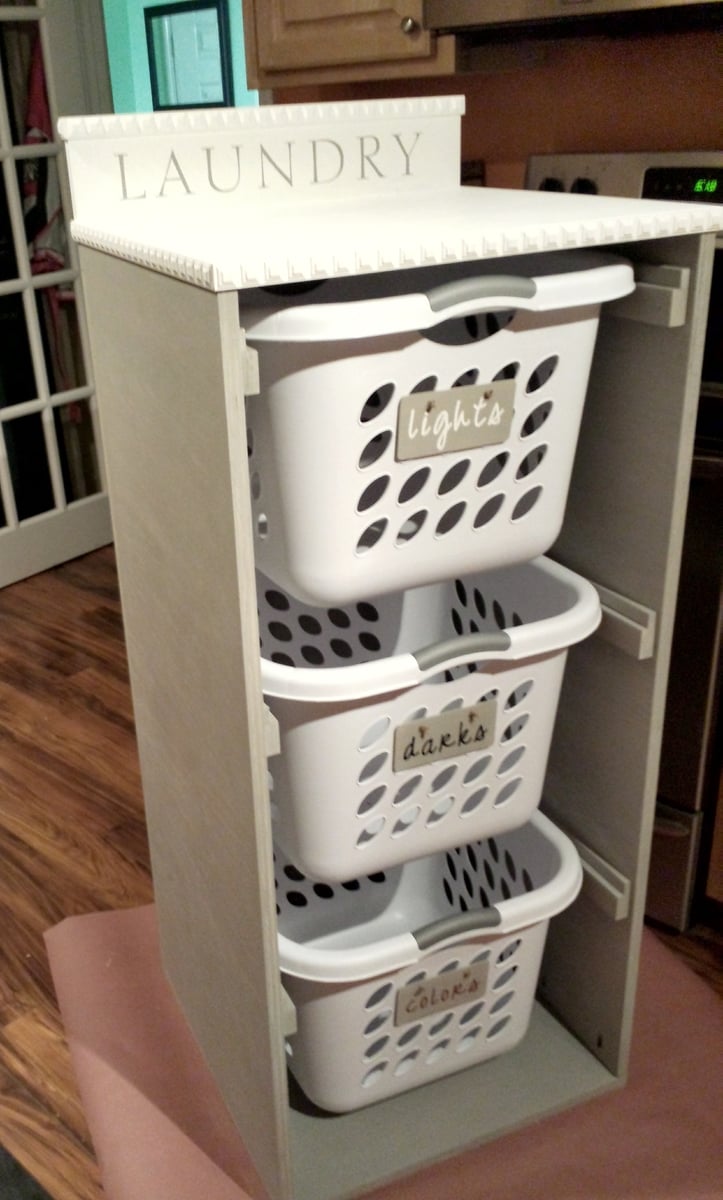
Used square laundry baskets instead of regular rectangular baskets. The square ones aren't as deep but are a bit taller so I had to modify the plans. I added a backsplash and some wooden tags to the baskets to designate them for certain colors. I also added some decorative trim and finished the bottom in a gray stain and used white chalk paint for the top.

Estimated Cost
$70
Estimated Time Investment
Day Project (6-9 Hours)
Finish Used
Weathered gray stain
White chalk paint
Recommended Skill Level
Beginner

Outdoor Entertaining Space

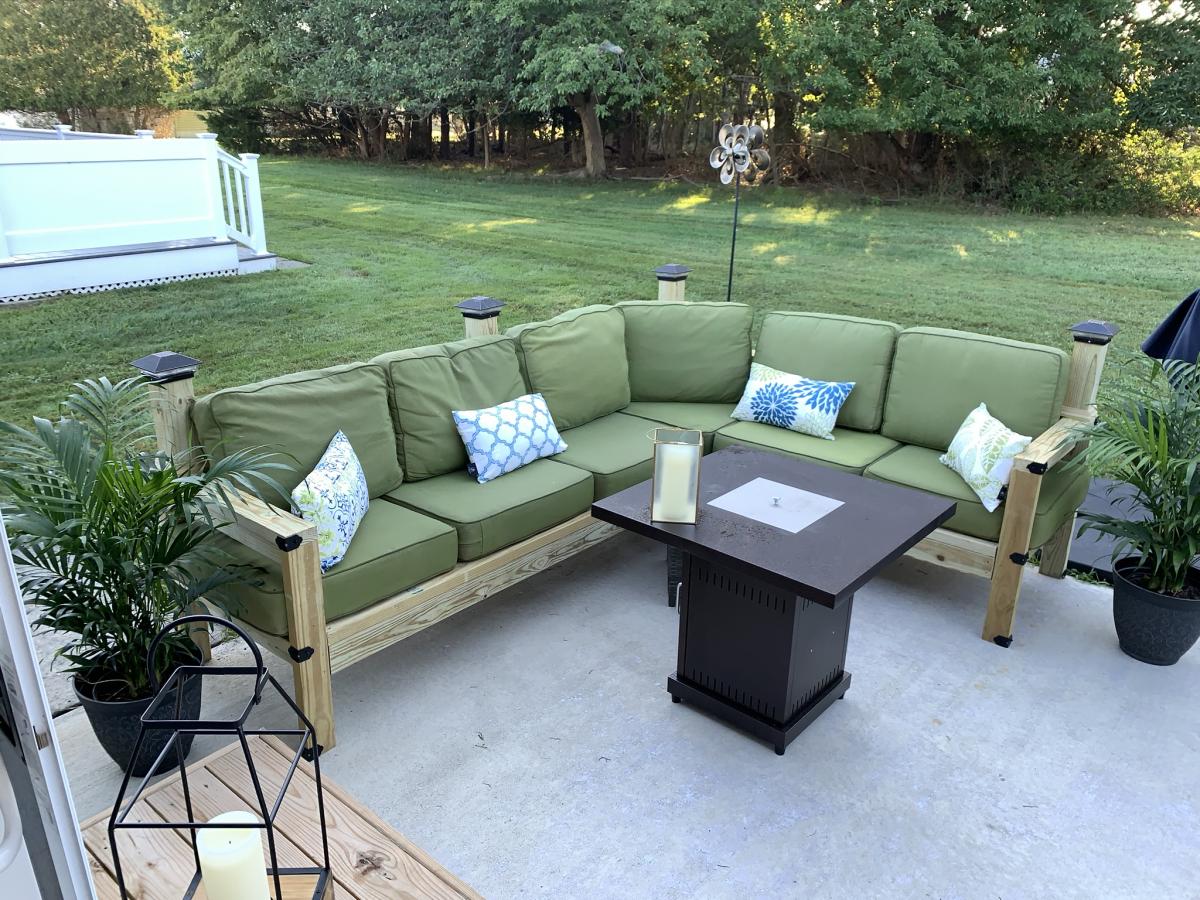
Submitted by ikeymedesu on Sun, 05/30/2021 - 06:09

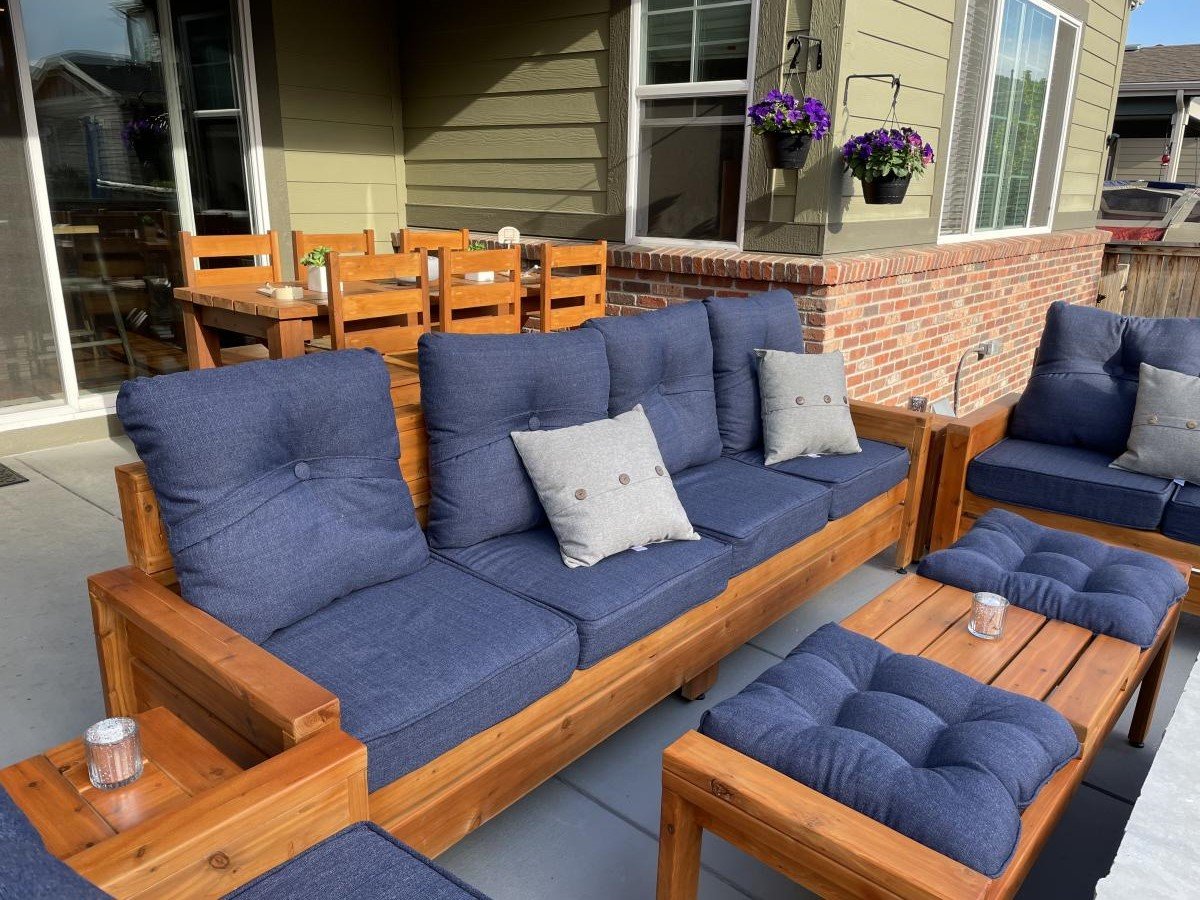
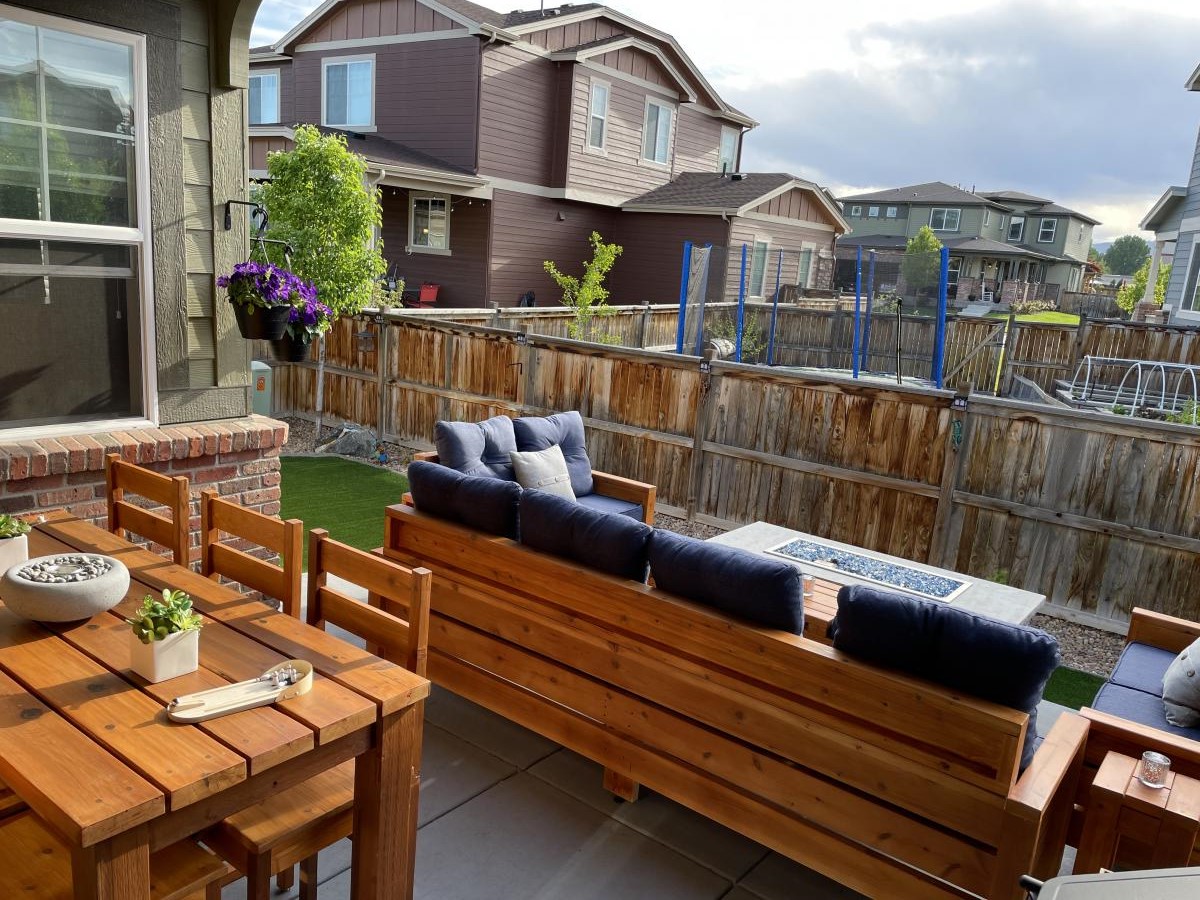
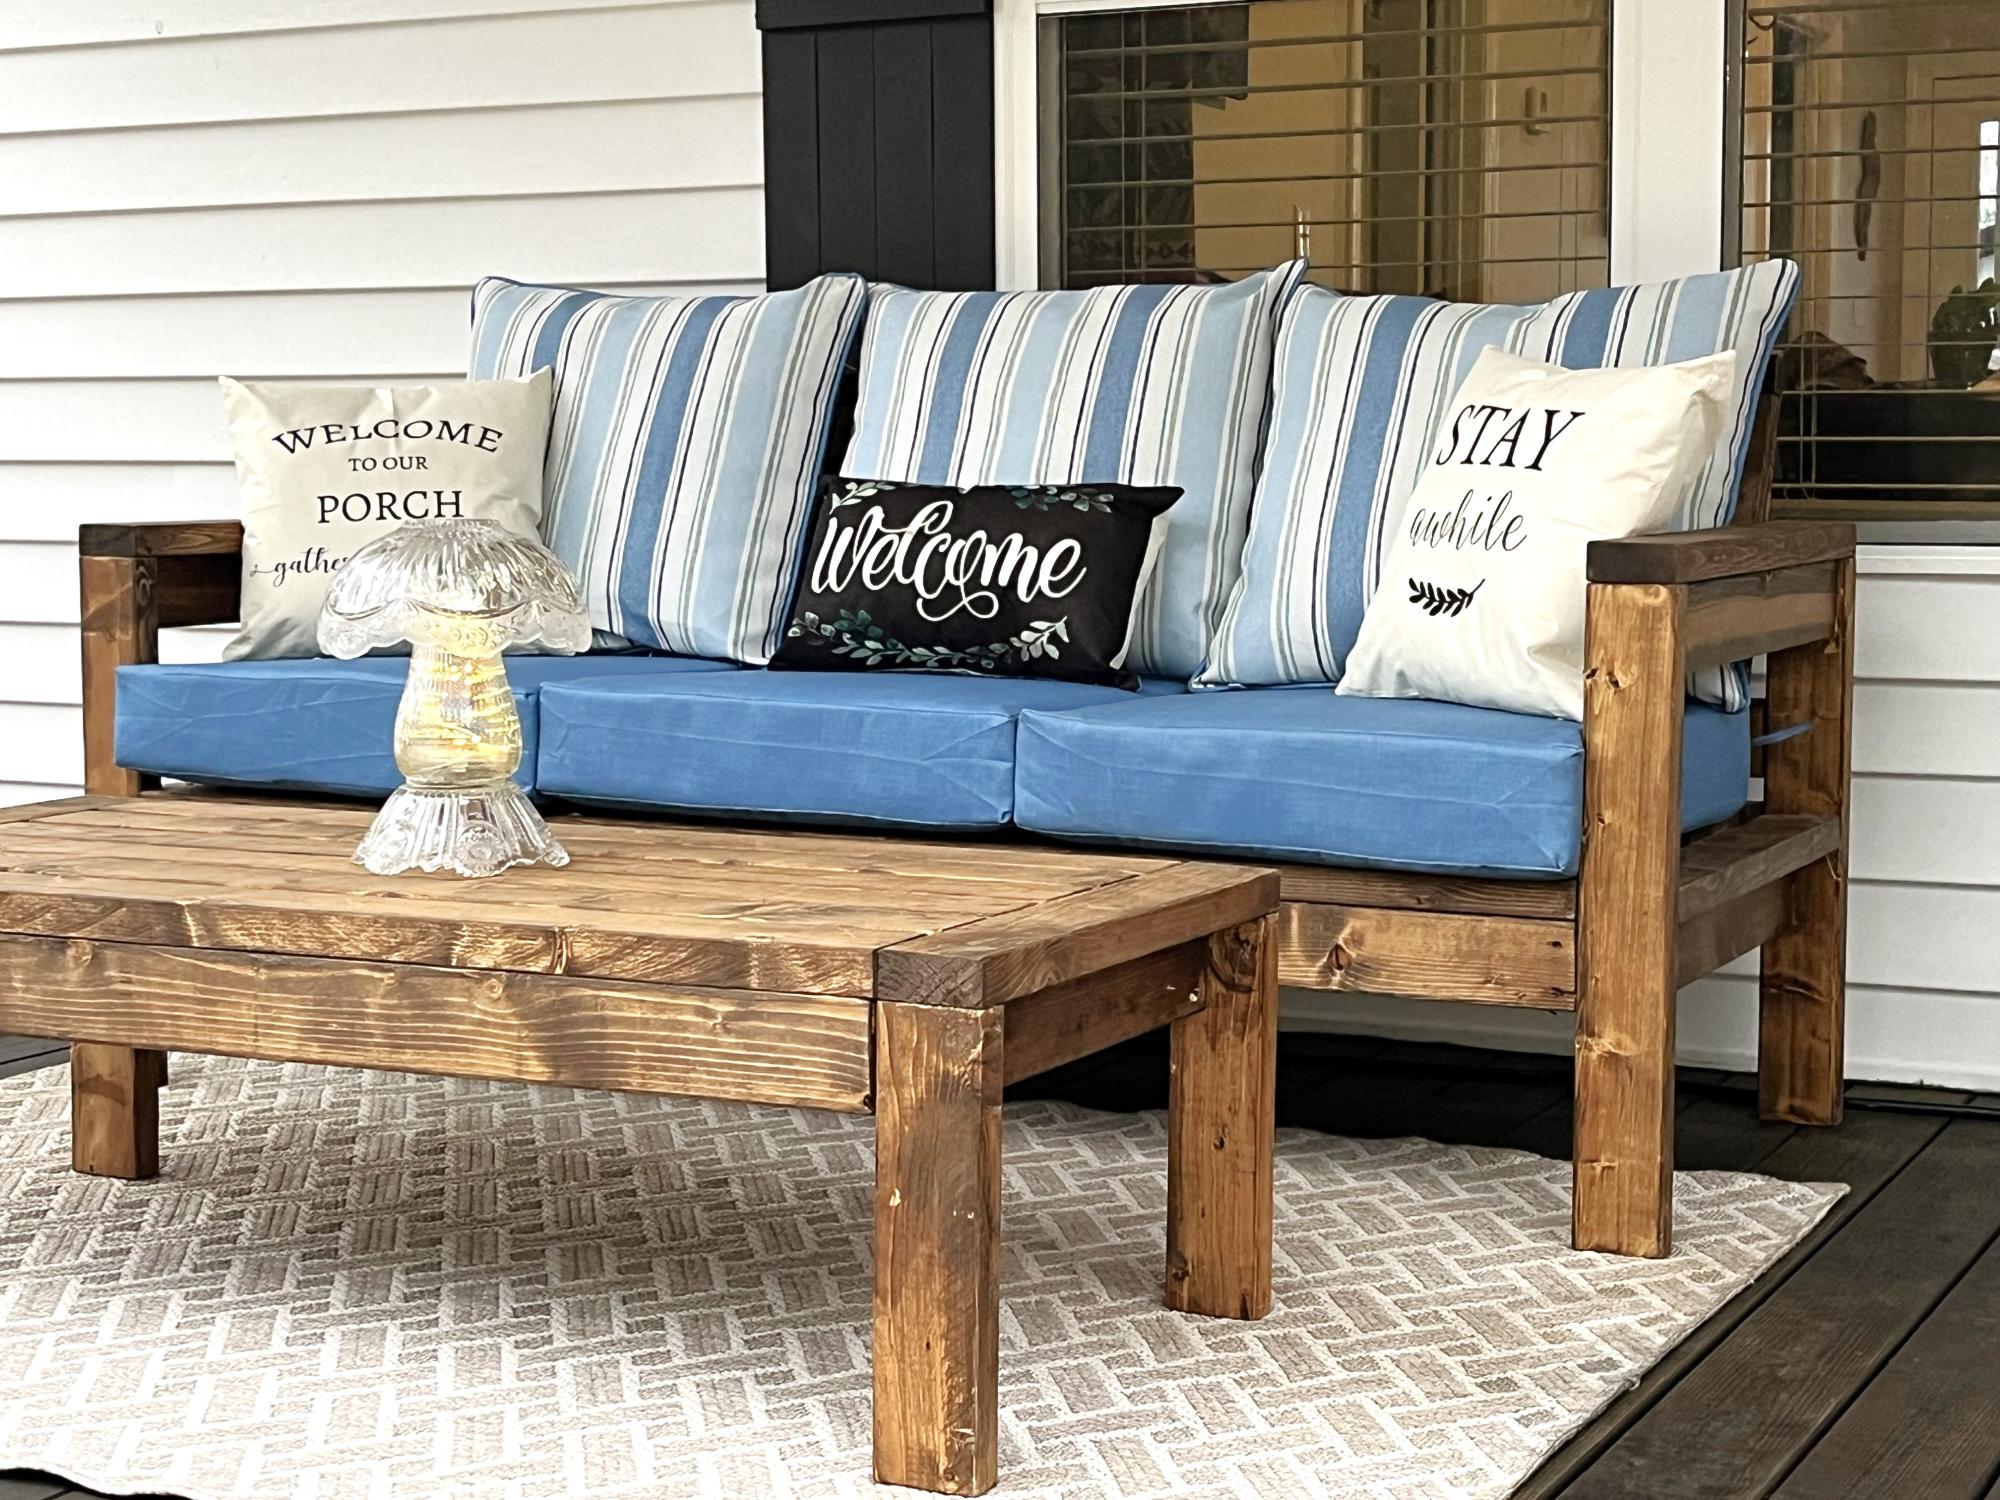
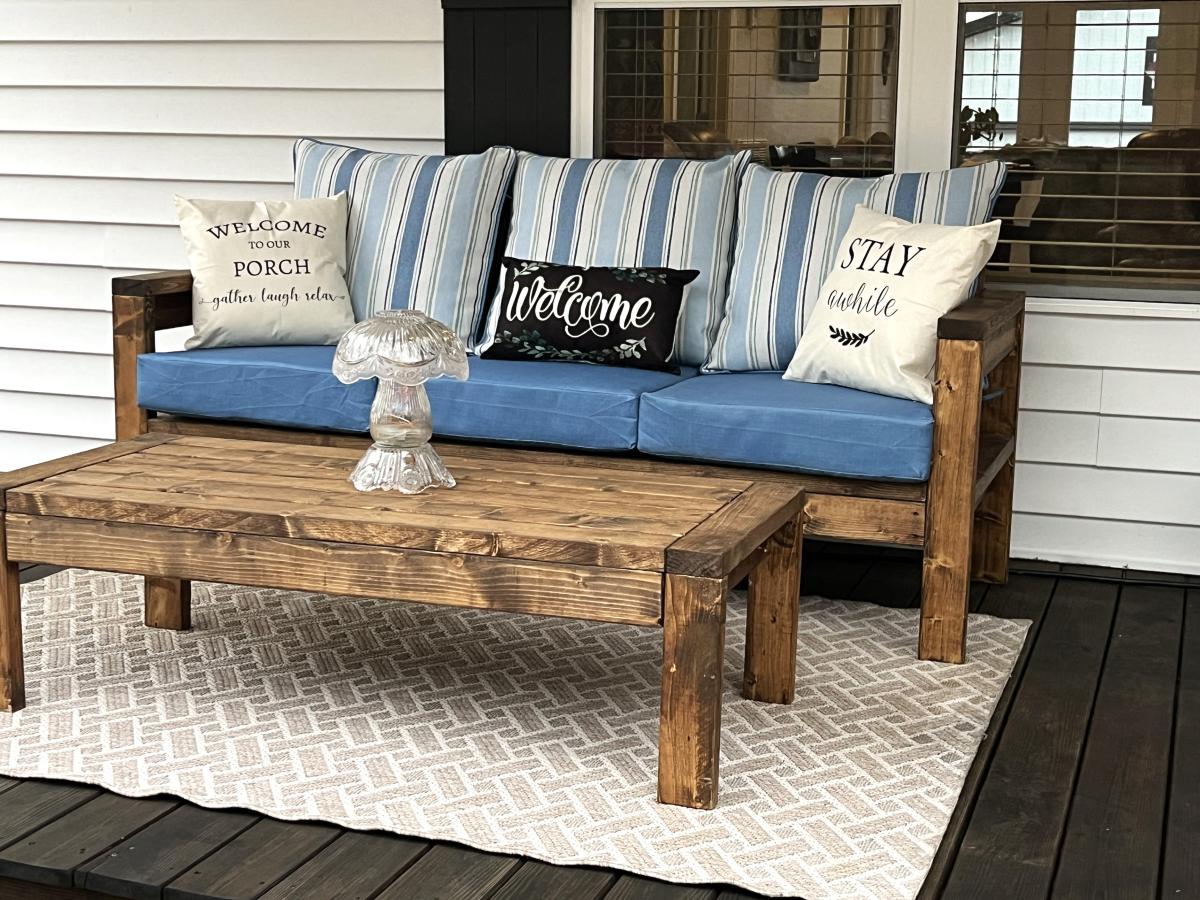
A 2-month long project to create an entertaining space in our small backyard. I started with a dining set for 6, then went on to seating around our firepit. I actually doubled the size of the Modern Outdoor Loveseat and built a 4-seat couch (added a center section for support. I also built 2 loveseats, 2 small side tables, and took some creative liberties to design a coffee table/foot rest combo. The major modification I made to the couch and loveseats was adding a back for some additional height. This really improved the comfort when leaning back. Had a great time completing this project! When lumber prices come down I'll continue the build. (2 pictures keep uploading and converting to an upside down image - no idea why, but sorry for the weird view)

Estimated Time Investment
Week Long Project (20 Hours or More)
Finish Used
Behr Premium Transparent Natural Cedartone Weatherproof
Recommended Skill Level
Intermediate

Comments

Ana White Admin

Sun, 05/30/2021 - 09:58

Love the coffee table foot rest, would love to see more of the outdoor table as well! It all looks amazing and came together perfectly! Thank you for sharing, check out our Facebook page, just shared!

Seasonal And Holiday

Jeep Bed

Submitted by papamike on Mon, 07/05/2021 - 17:15

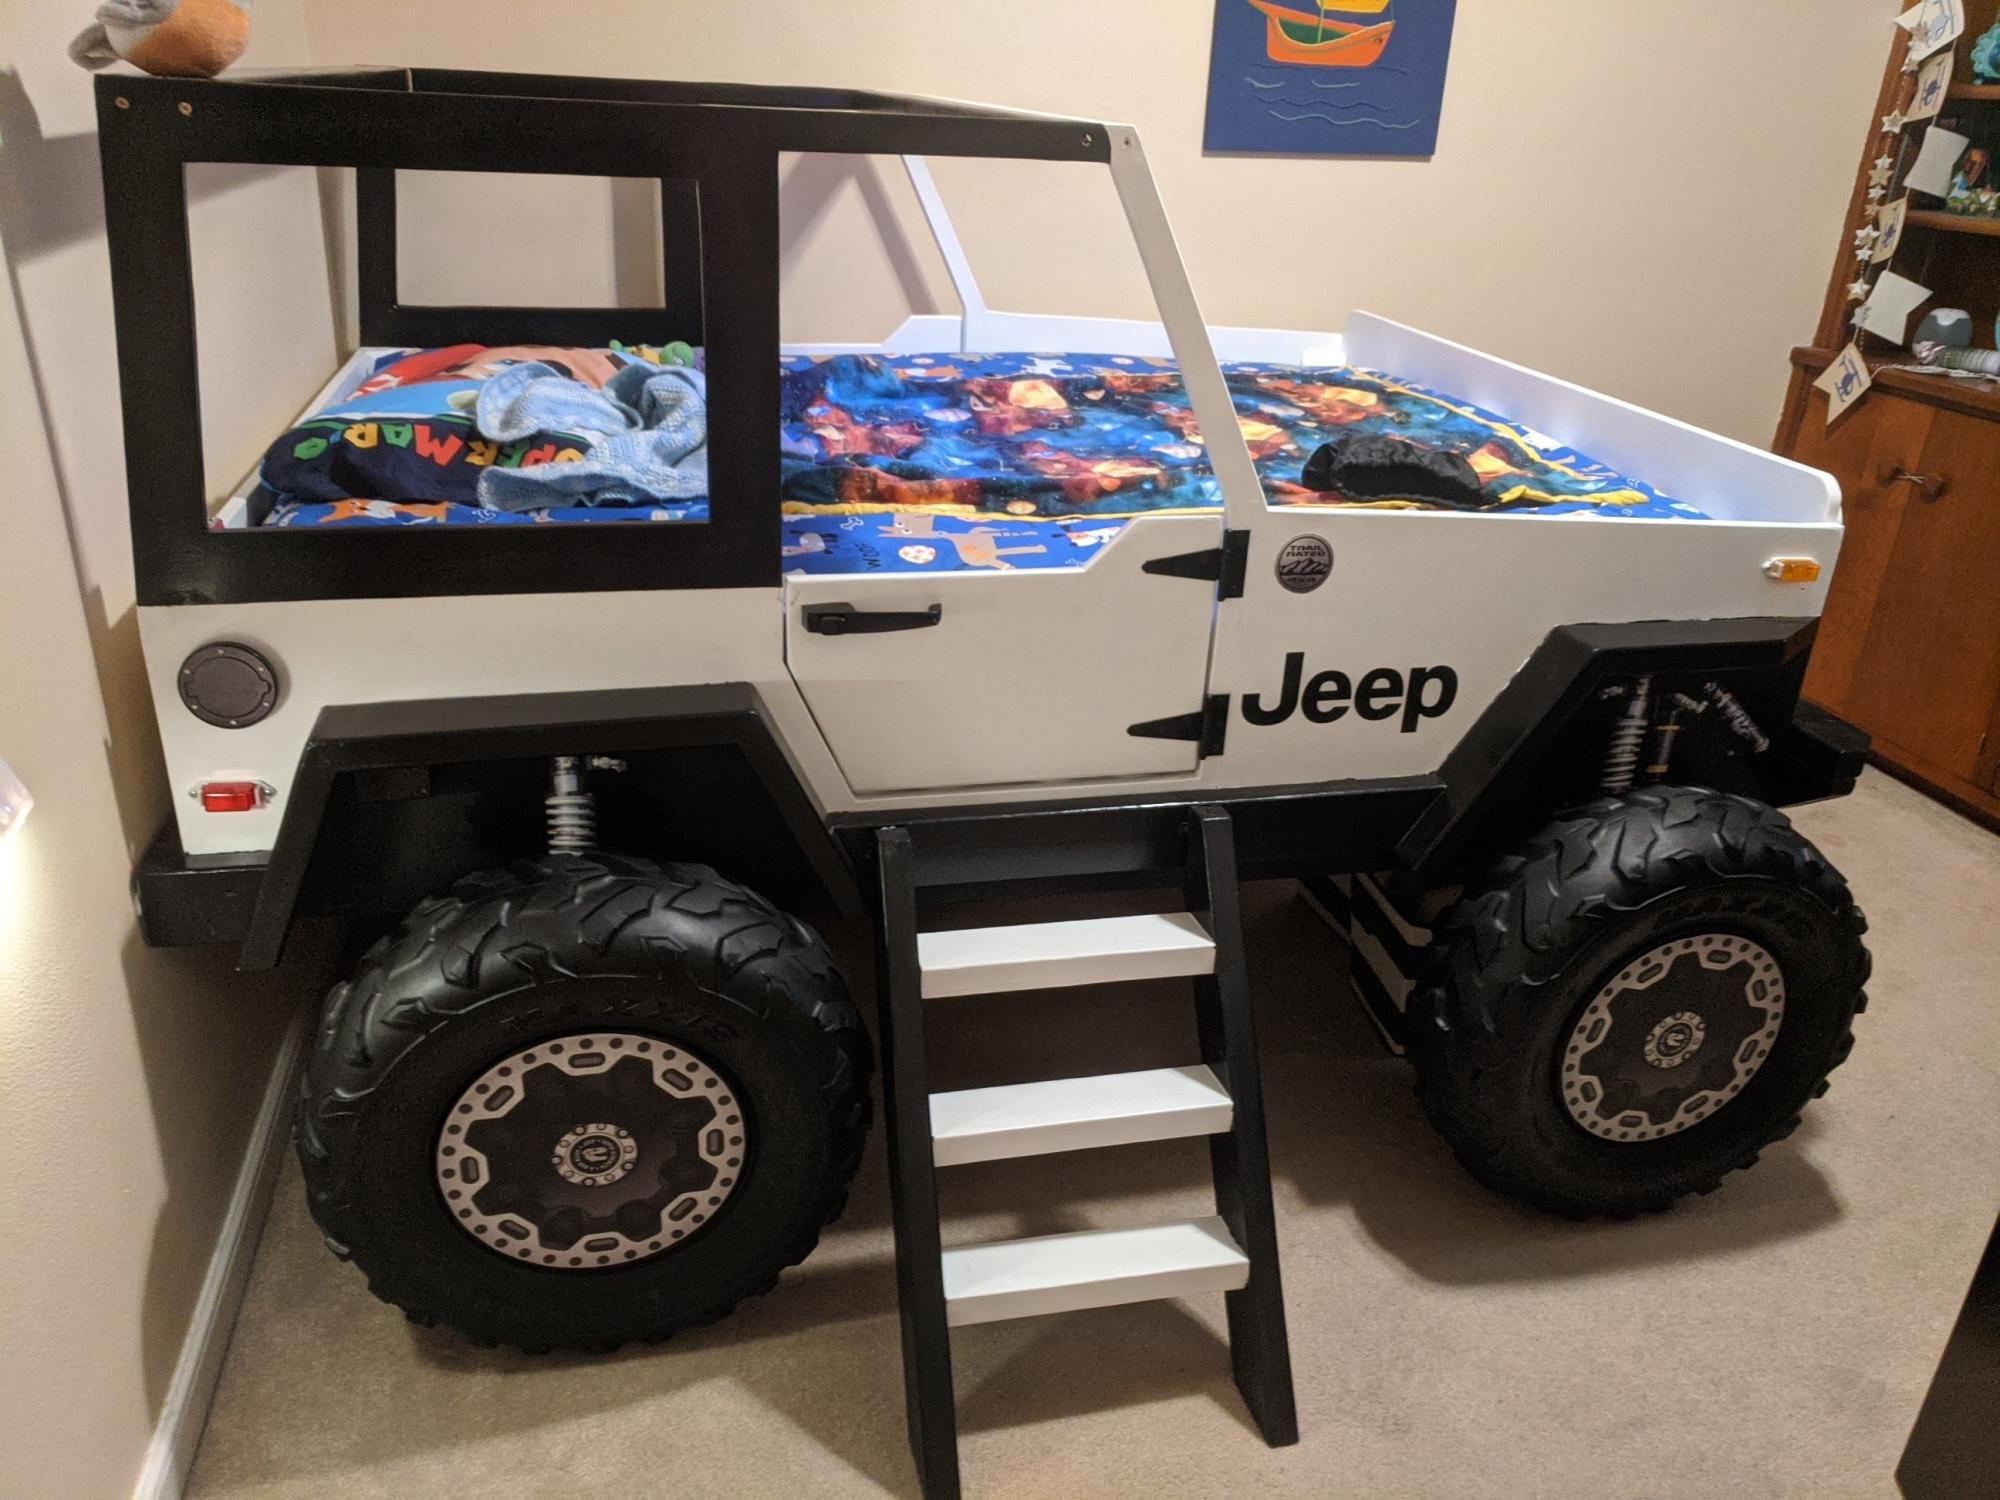
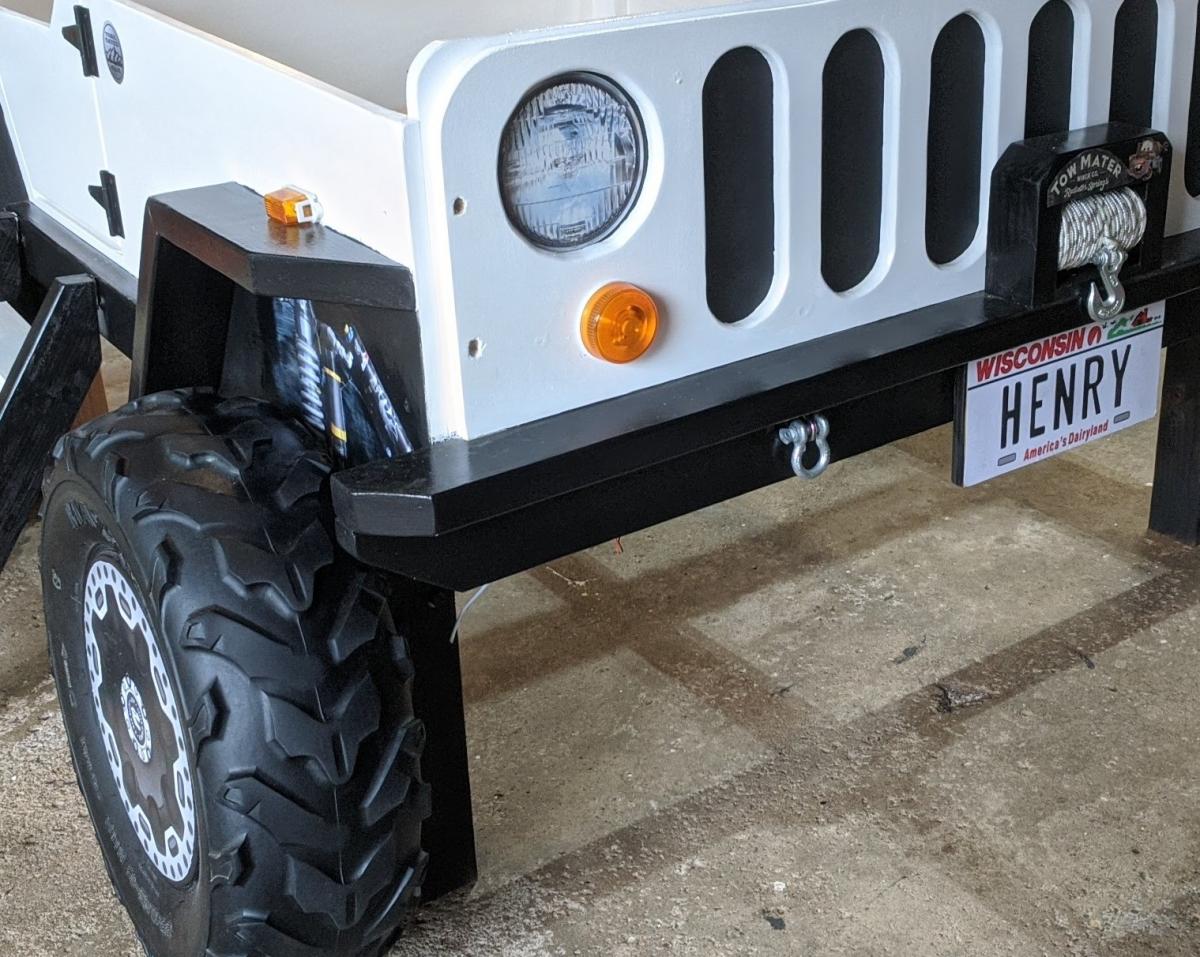
I hope this is OK to add here. It's not an Ana White plan, so moderator please delete if it is not allowed. I made this bed for my grandson. I bought a plan online and modified it from a twin to a full size bed. The dome light and running lights work as night lights. A motion sensor light activates if he crosses the door to illuminate the ladder. Front tire is made as a step so his parents can climb in and read to him. The whole thing is on EZ Sliders so they can move it away from the wall to make the bed.

Estimated Cost
$150.00
Estimated Time Investment
Weekend Project (10-20 Hours)
Finish Used
Latex paint.
Recommended Skill Level
Beginner

Comments

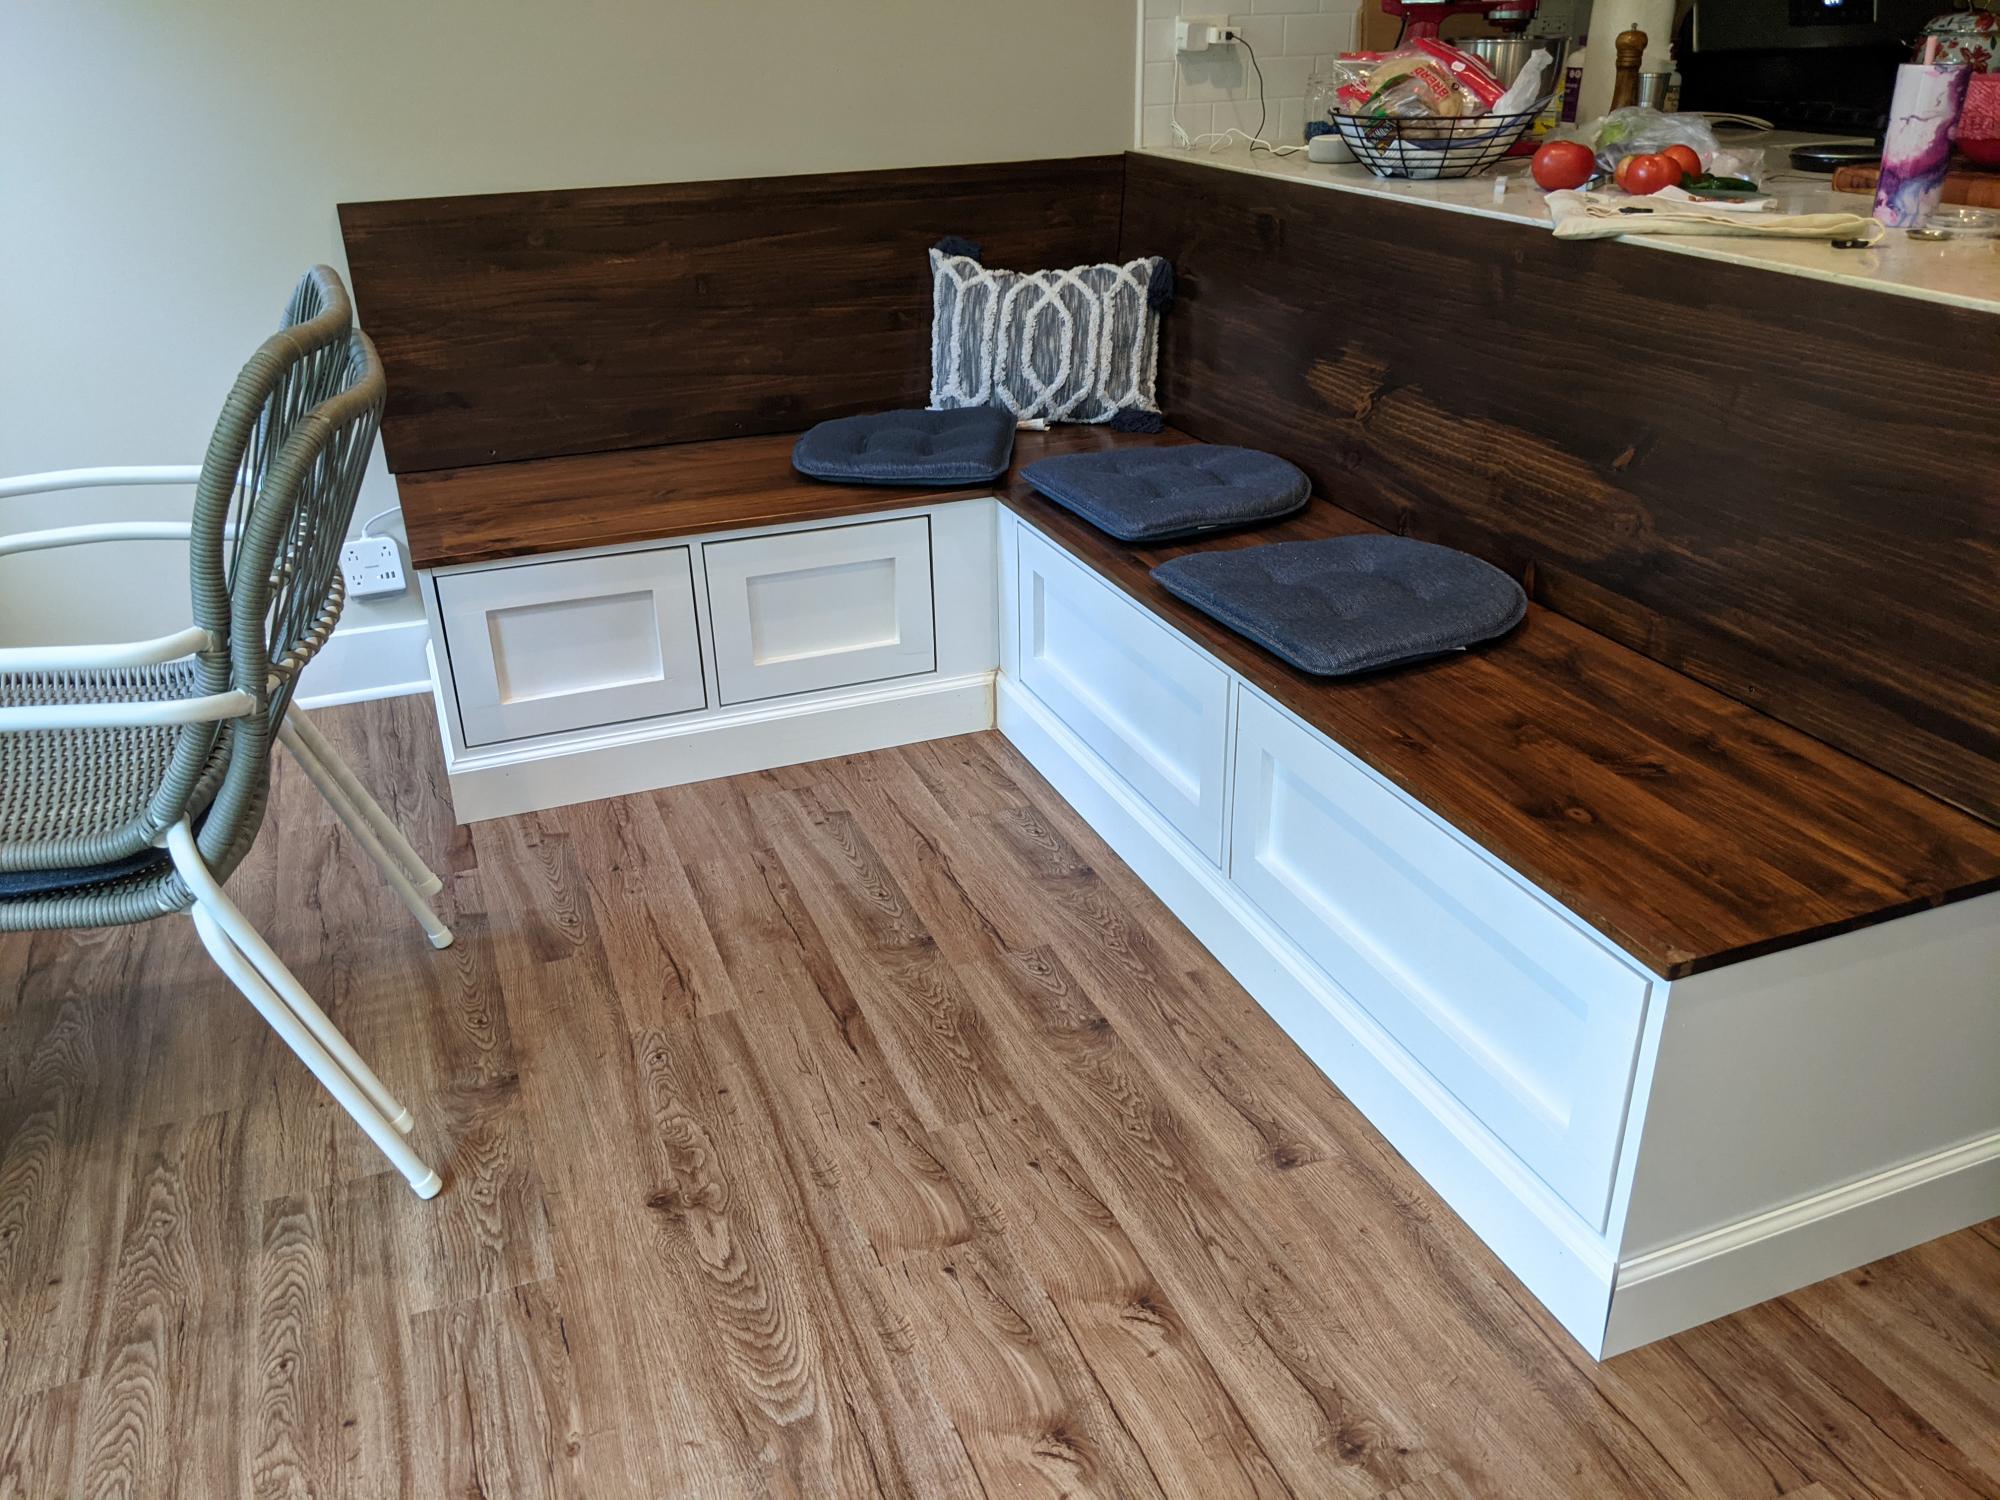
Corner bench with drawers

Submitted by Anonymous (not verified) on Mon, 10/04/2021 - 12:15

I built the above corner bench based off of the frameless drawer bench plans (they are on the shelf help site) which are very similar to the essential entryway bench plans, but the drawers are included. The long bench is 60", the shorter side 42".
For the carcass i did use the shelf help pre cut plywood.
When I started the project beginning of 2021, there was no tutorial for the corner part yet, so I was very glad to see I did the right way when the corner 'add on' came out, also found on the shelf help site).
The shaker fronts were shown in the barn door console plans, so I adopted that.
I get loads of compliments and obviously even more when people hear I built it myself.
The hardest part about this project were the drawer slides and getting them to line up and work as expected. The I broke the soft close on one of the big drawers during final assembly and still didn't bring myself to exchange the slide to a working one... 😊
But overall I'm really proud of it!

Comments

Kitchen set

Submitted by ShannonB on Wed, 03/09/2011 - 06:48

My husband I built this kitchen set for my daughter's 2nd birthday. She just loves it. For the sink I used the same plans as the stove and changed them a little. There is not enough room below but we used the Cute Play Pie Hutch plan too. The double door fridge we use as a pantry. I can't find the plans for the fridge but we used Ana's plans for that too.

Estimated Cost
Under 200.00
Estimated Time Investment
Week Long Project (20 Hours or More)
Finish Used
White semi gloss paint and Pink semi gloss paint. We primed it before we painted it.
Recommended Skill Level
Starter Project

Green House

Submitted by Anonymous (not verified) on Thu, 07/13/2017 - 08:31

I built this amazing green house following your plans!  My wife and I moved our family from the city to an amazing 5 acre homestead out in the country here in Wisconsin. We are super happy that we will be able to keep our new garden going longer!  Thanks so much for the plans!

Built from Plan(s)
Estimated Cost
We spent about $800 for the frame and plastic panels. Then we spent another $250 for the reclaimed barnwood siding. We found the door at a reclamation site for $25.
Estimated Time Investment
Week Long Project (20 Hours or More)
Finish Used
I followed Ana's plan pretty closely. This was the first building I ever built from scratch. It was a little difficult to get the foundation level. But I figured it out. I used pressure treated 6x6s on top of gravel. I was able to screw the actual walls down to the 6x6s.

I'm actually building a second building from these plans to use as a chicken coop. Once it's done I will post photos.
Recommended Skill Level
Intermediate

Comments

Seasonal And Holiday

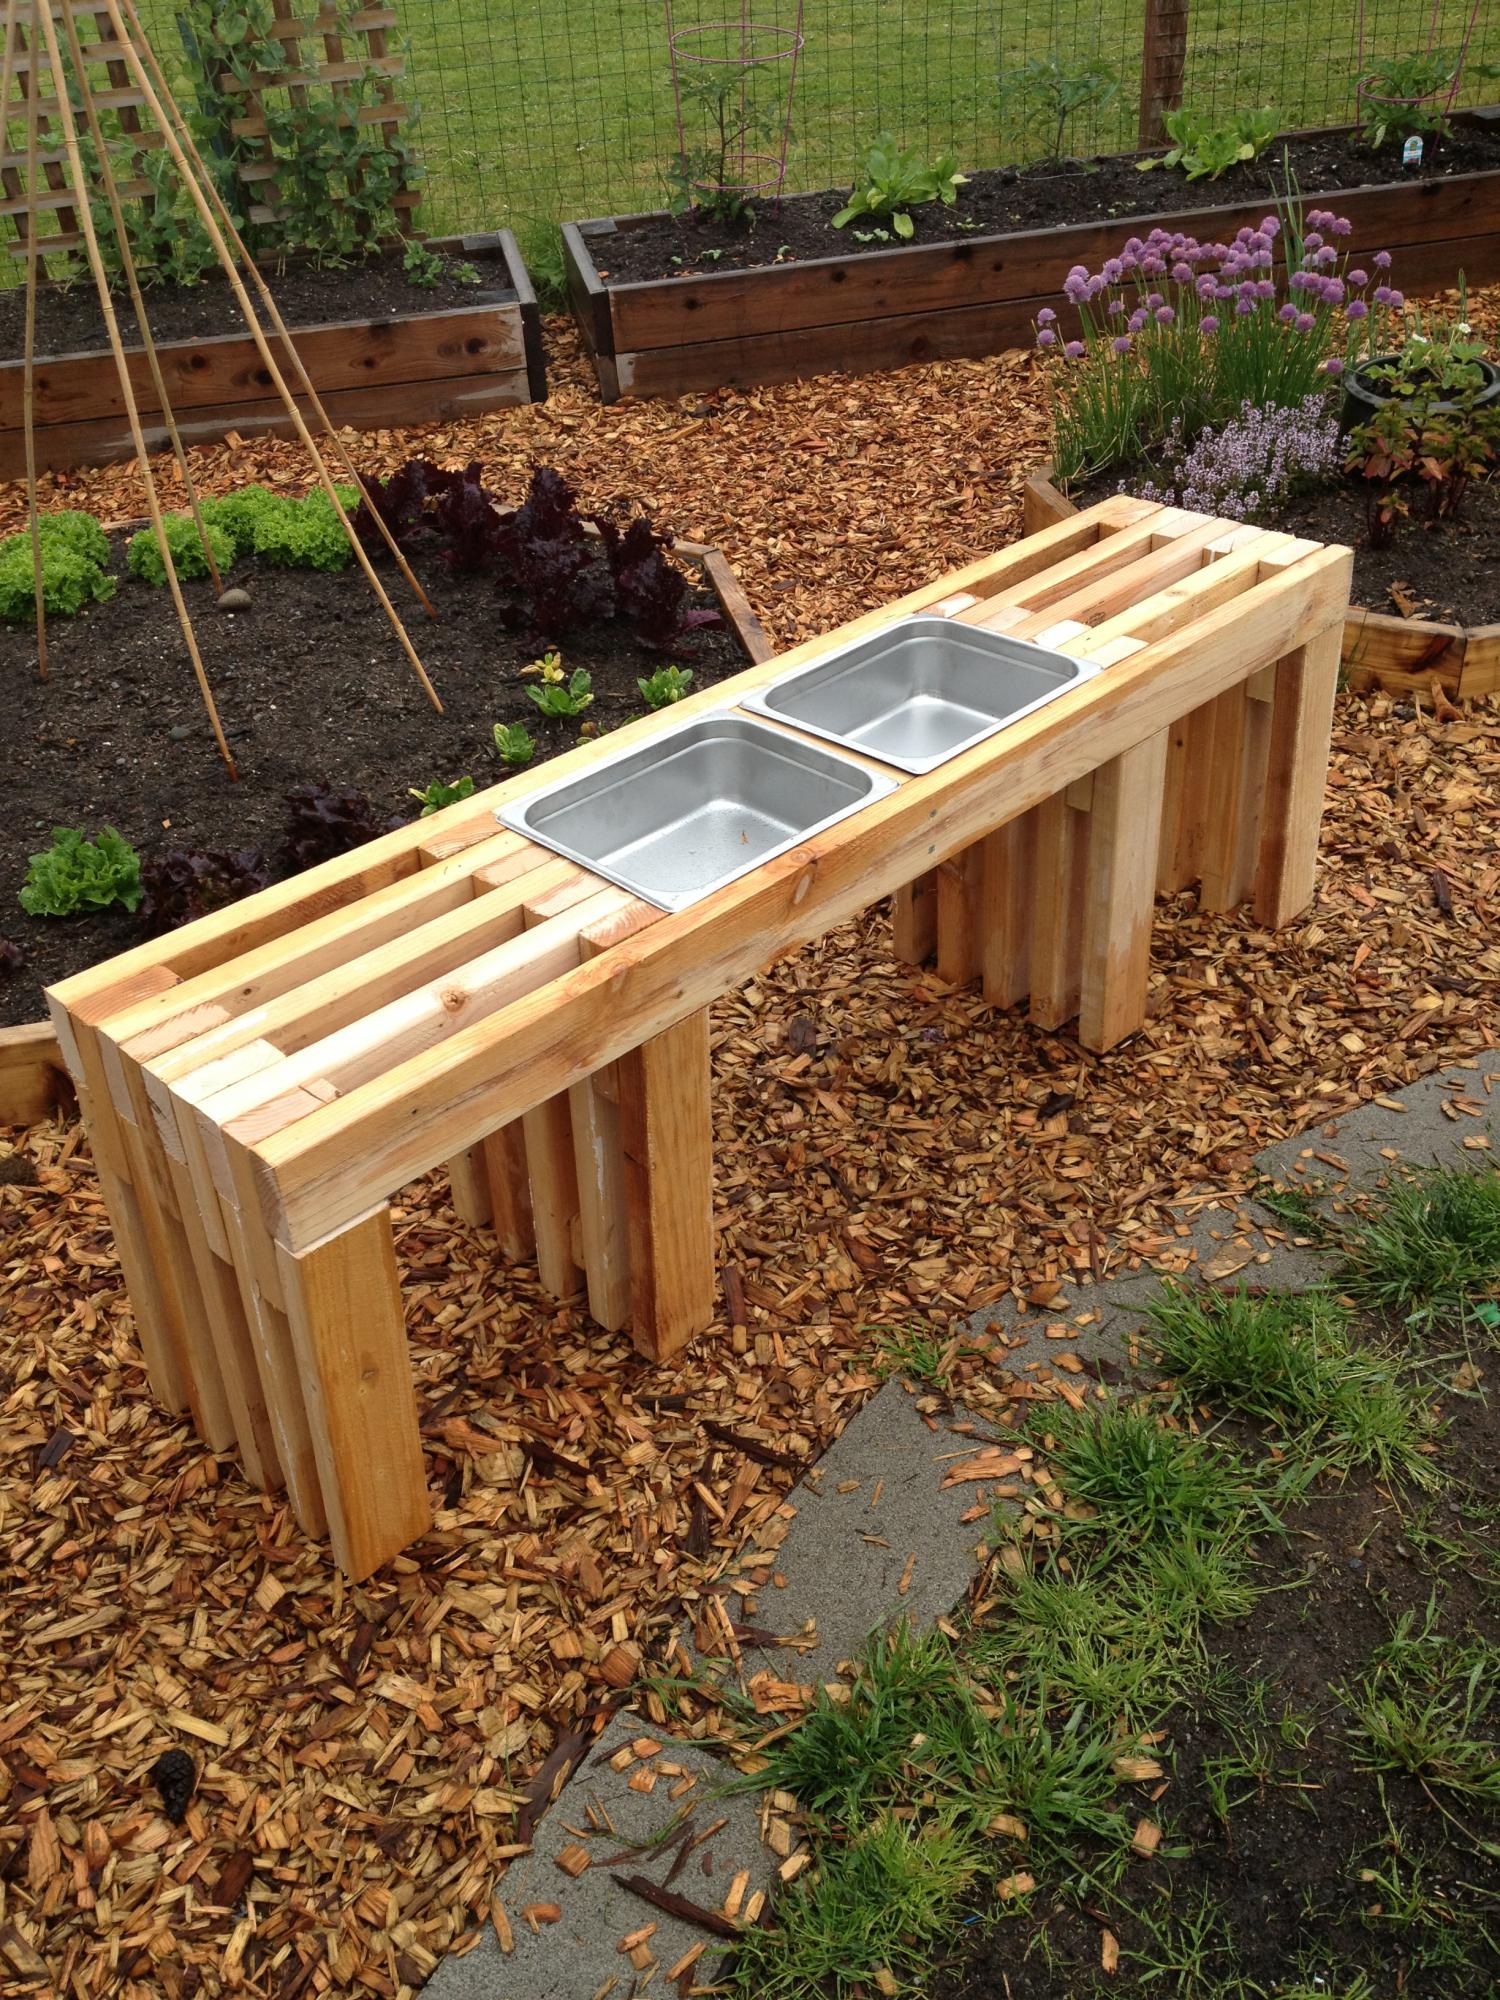
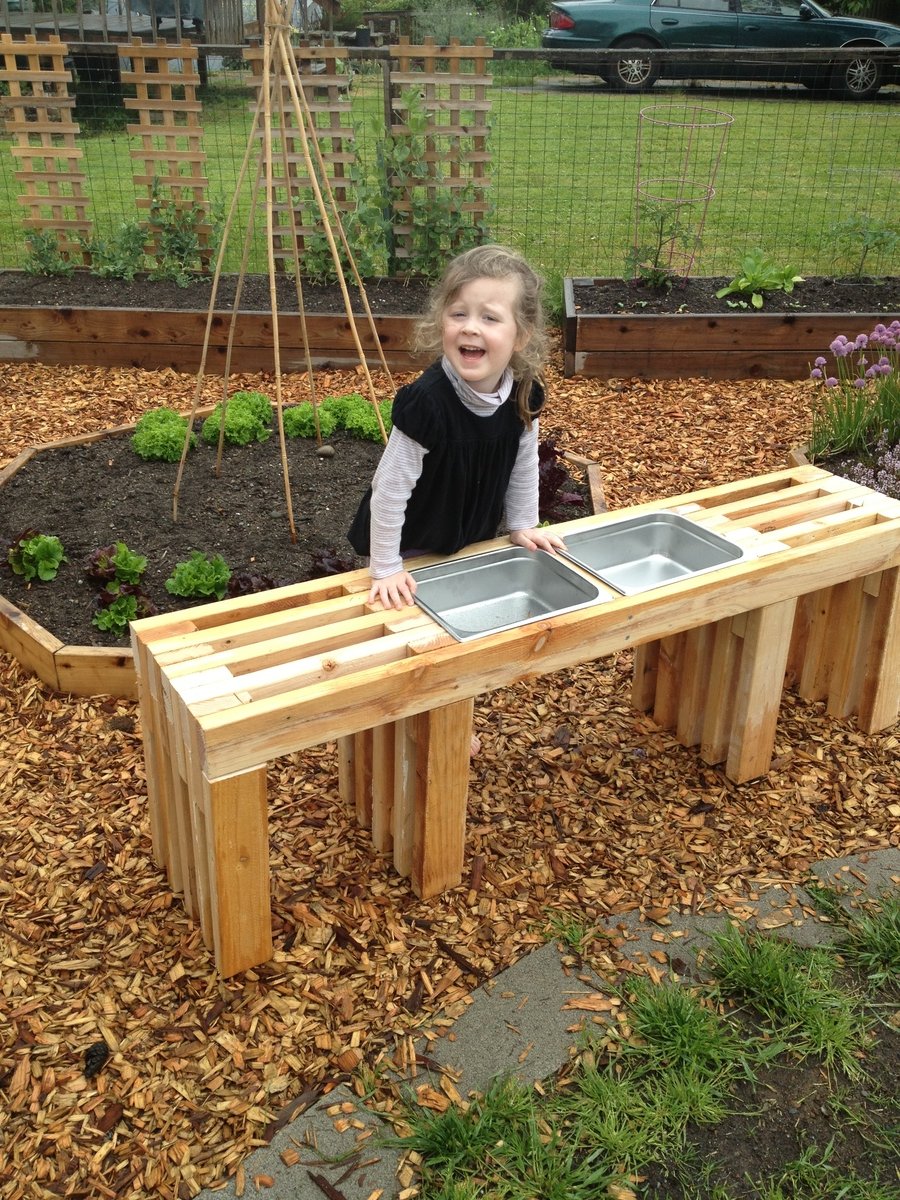
Playhouse kitchen from Modern Vertical Slat Top Console

Submitted by LauraLaura on Mon, 05/27/2013 - 17:21

I've been looking for a simple design for a consol table that I could easily modify to fit in my kids' club house. This one fit the bill perfectly! I also happen to have a pile of 2x4s left over from a closet demo, so I wanted to use those up. I basically built 2 of the consol tables, letting the 2 outer-most horizontal beams extend across and 25.5 inch space and connect the two consols. Then I put in a middle beam and that created the perfect space to set some catering pans in it. Also, I only had 2x4s so I used those for all the pieces, making the gaps a little wider than the original design. And lastly, because I didn't quite have enough wood, I shortened the vertical beams. If you look at the picture, all of this will make more sense! Thanks for the inspiration and direction! ps - I have no idea how to rotate the photos. Sorry!

Estimated Time Investment
Afternoon Project (3-6 Hours)
Finish Used
none yet, but I think I need to paint it or something so it doesn't rot outside.
Recommended Skill Level
Starter Project
Back