Community Brag Posts

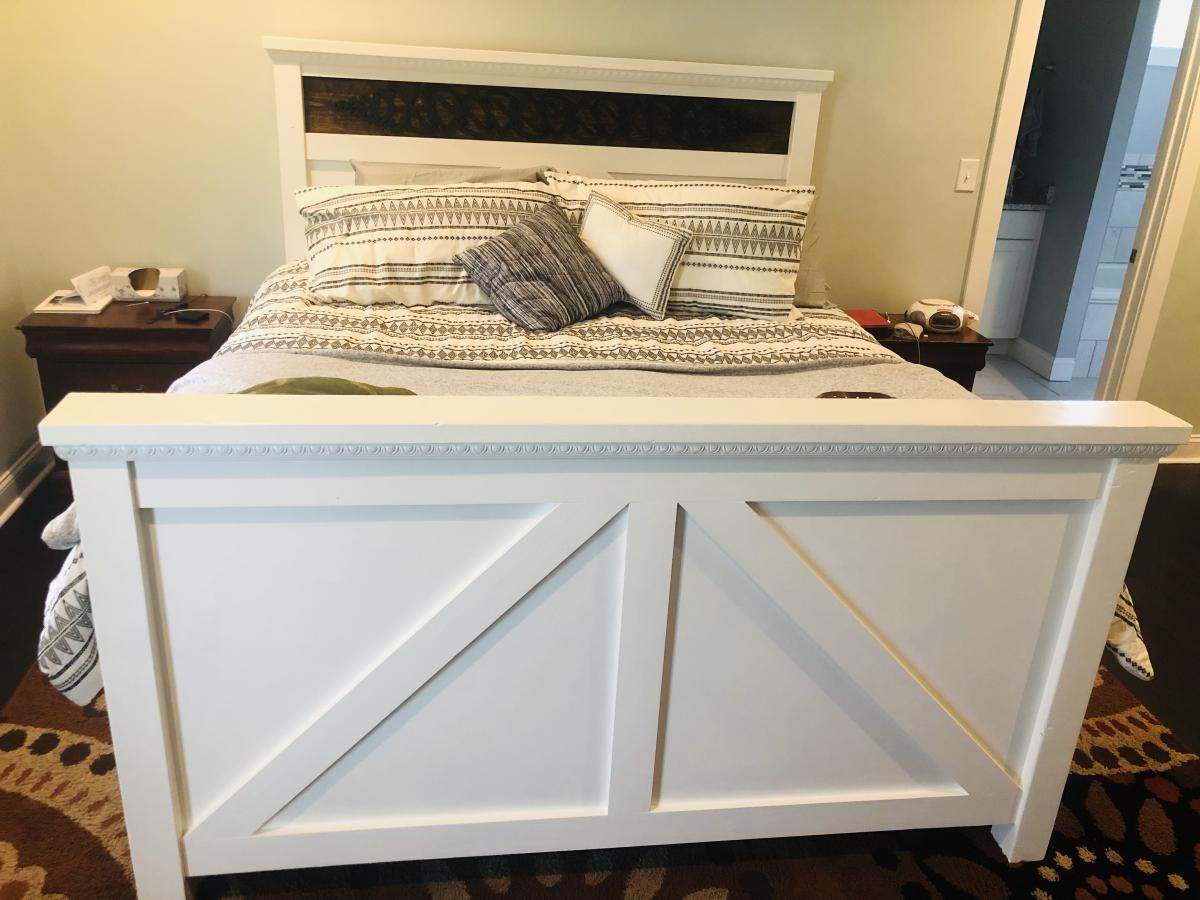
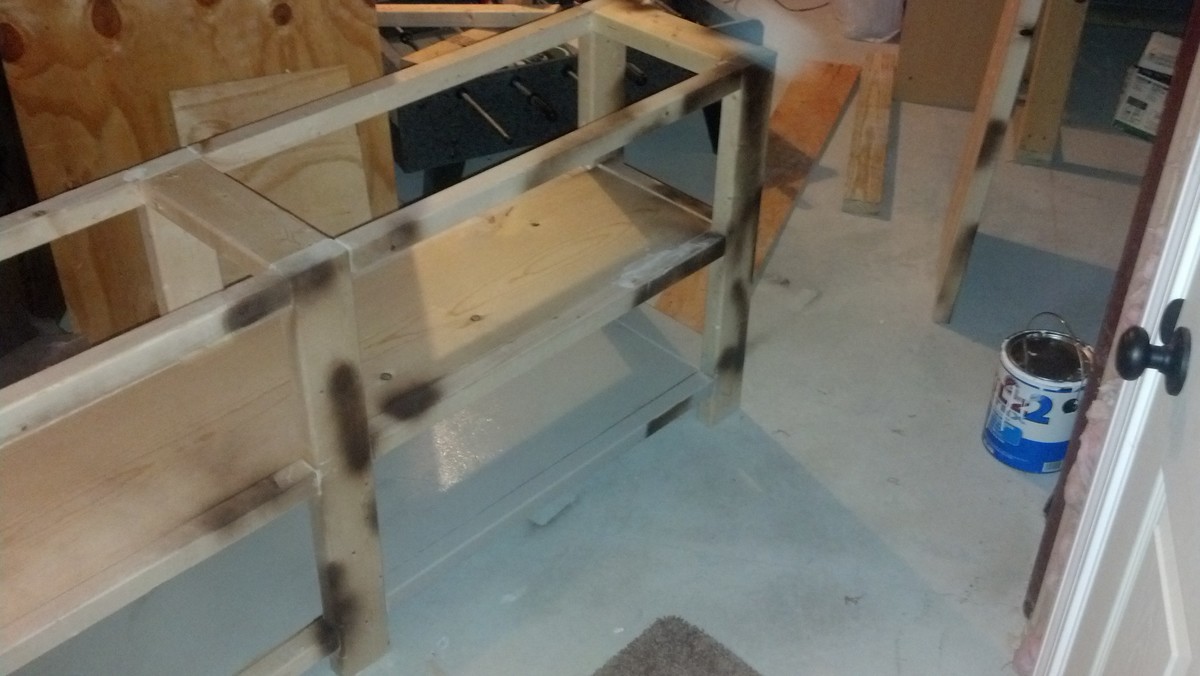
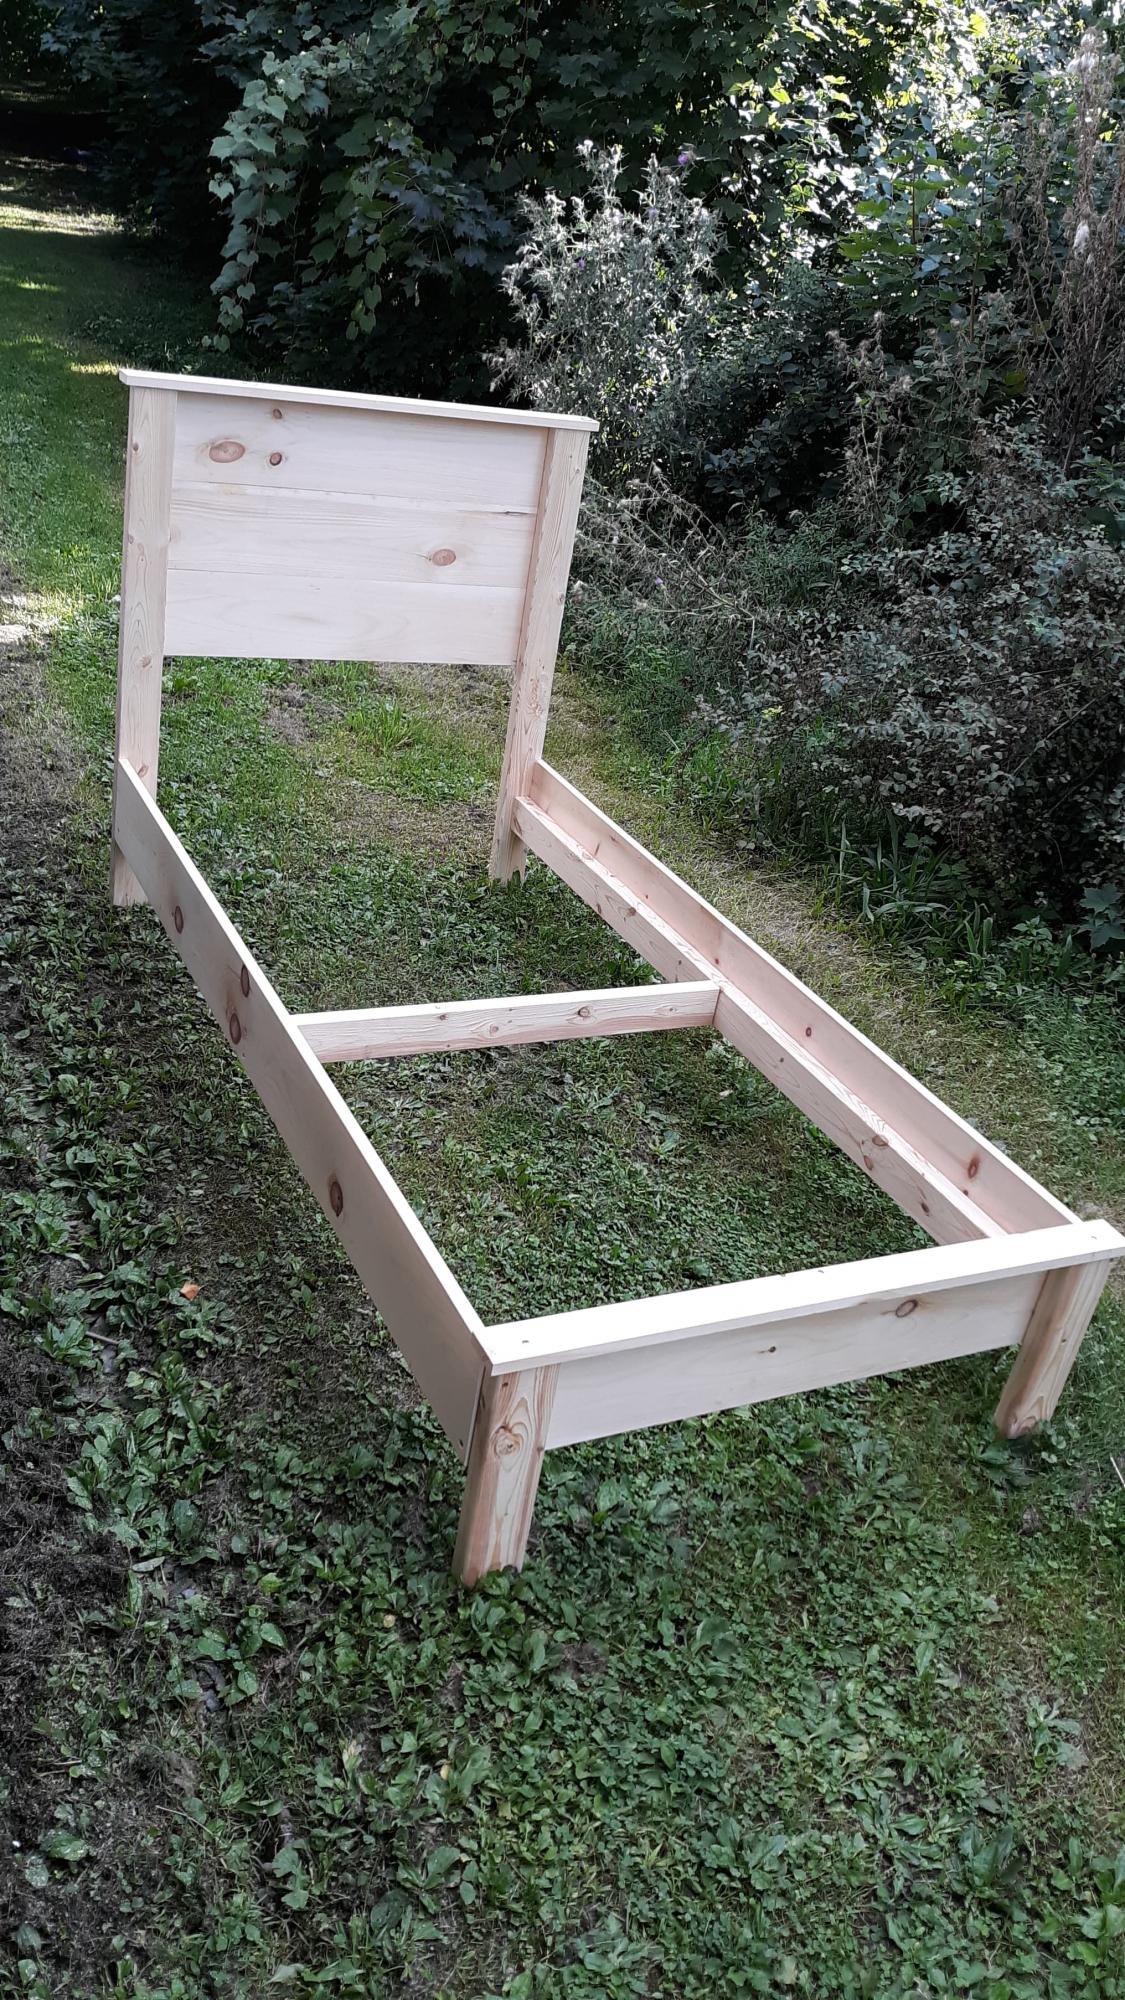
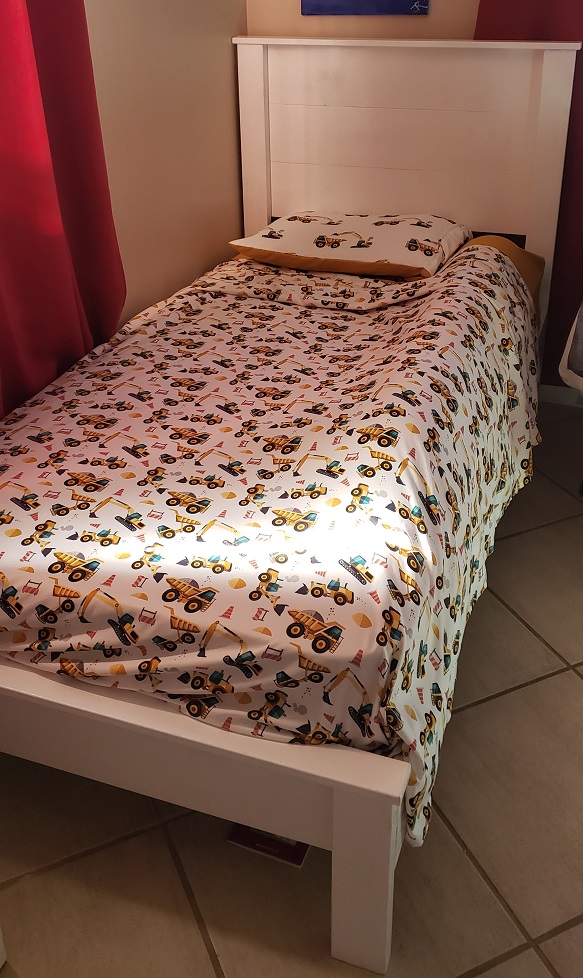
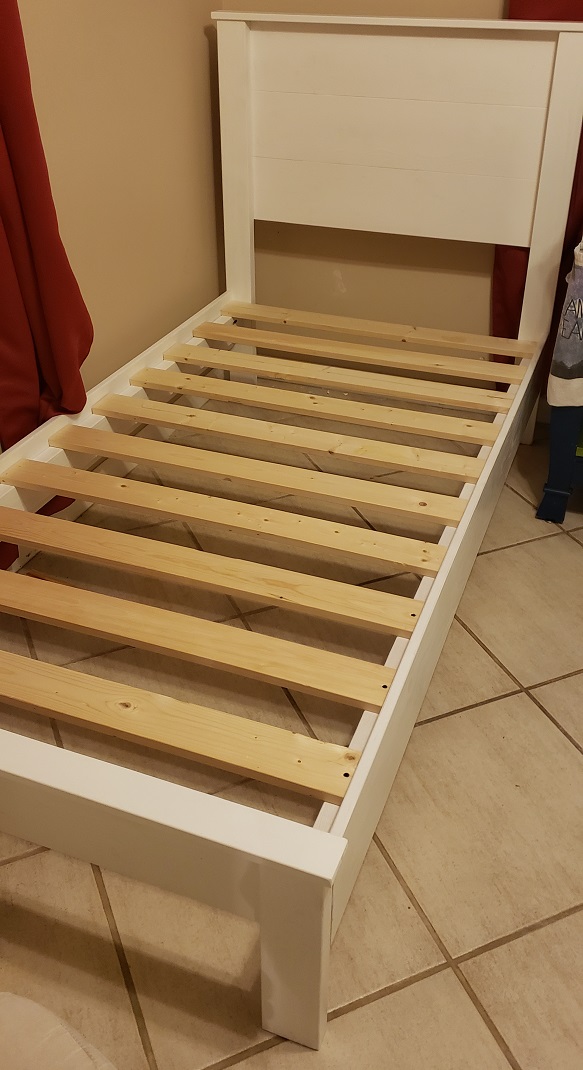
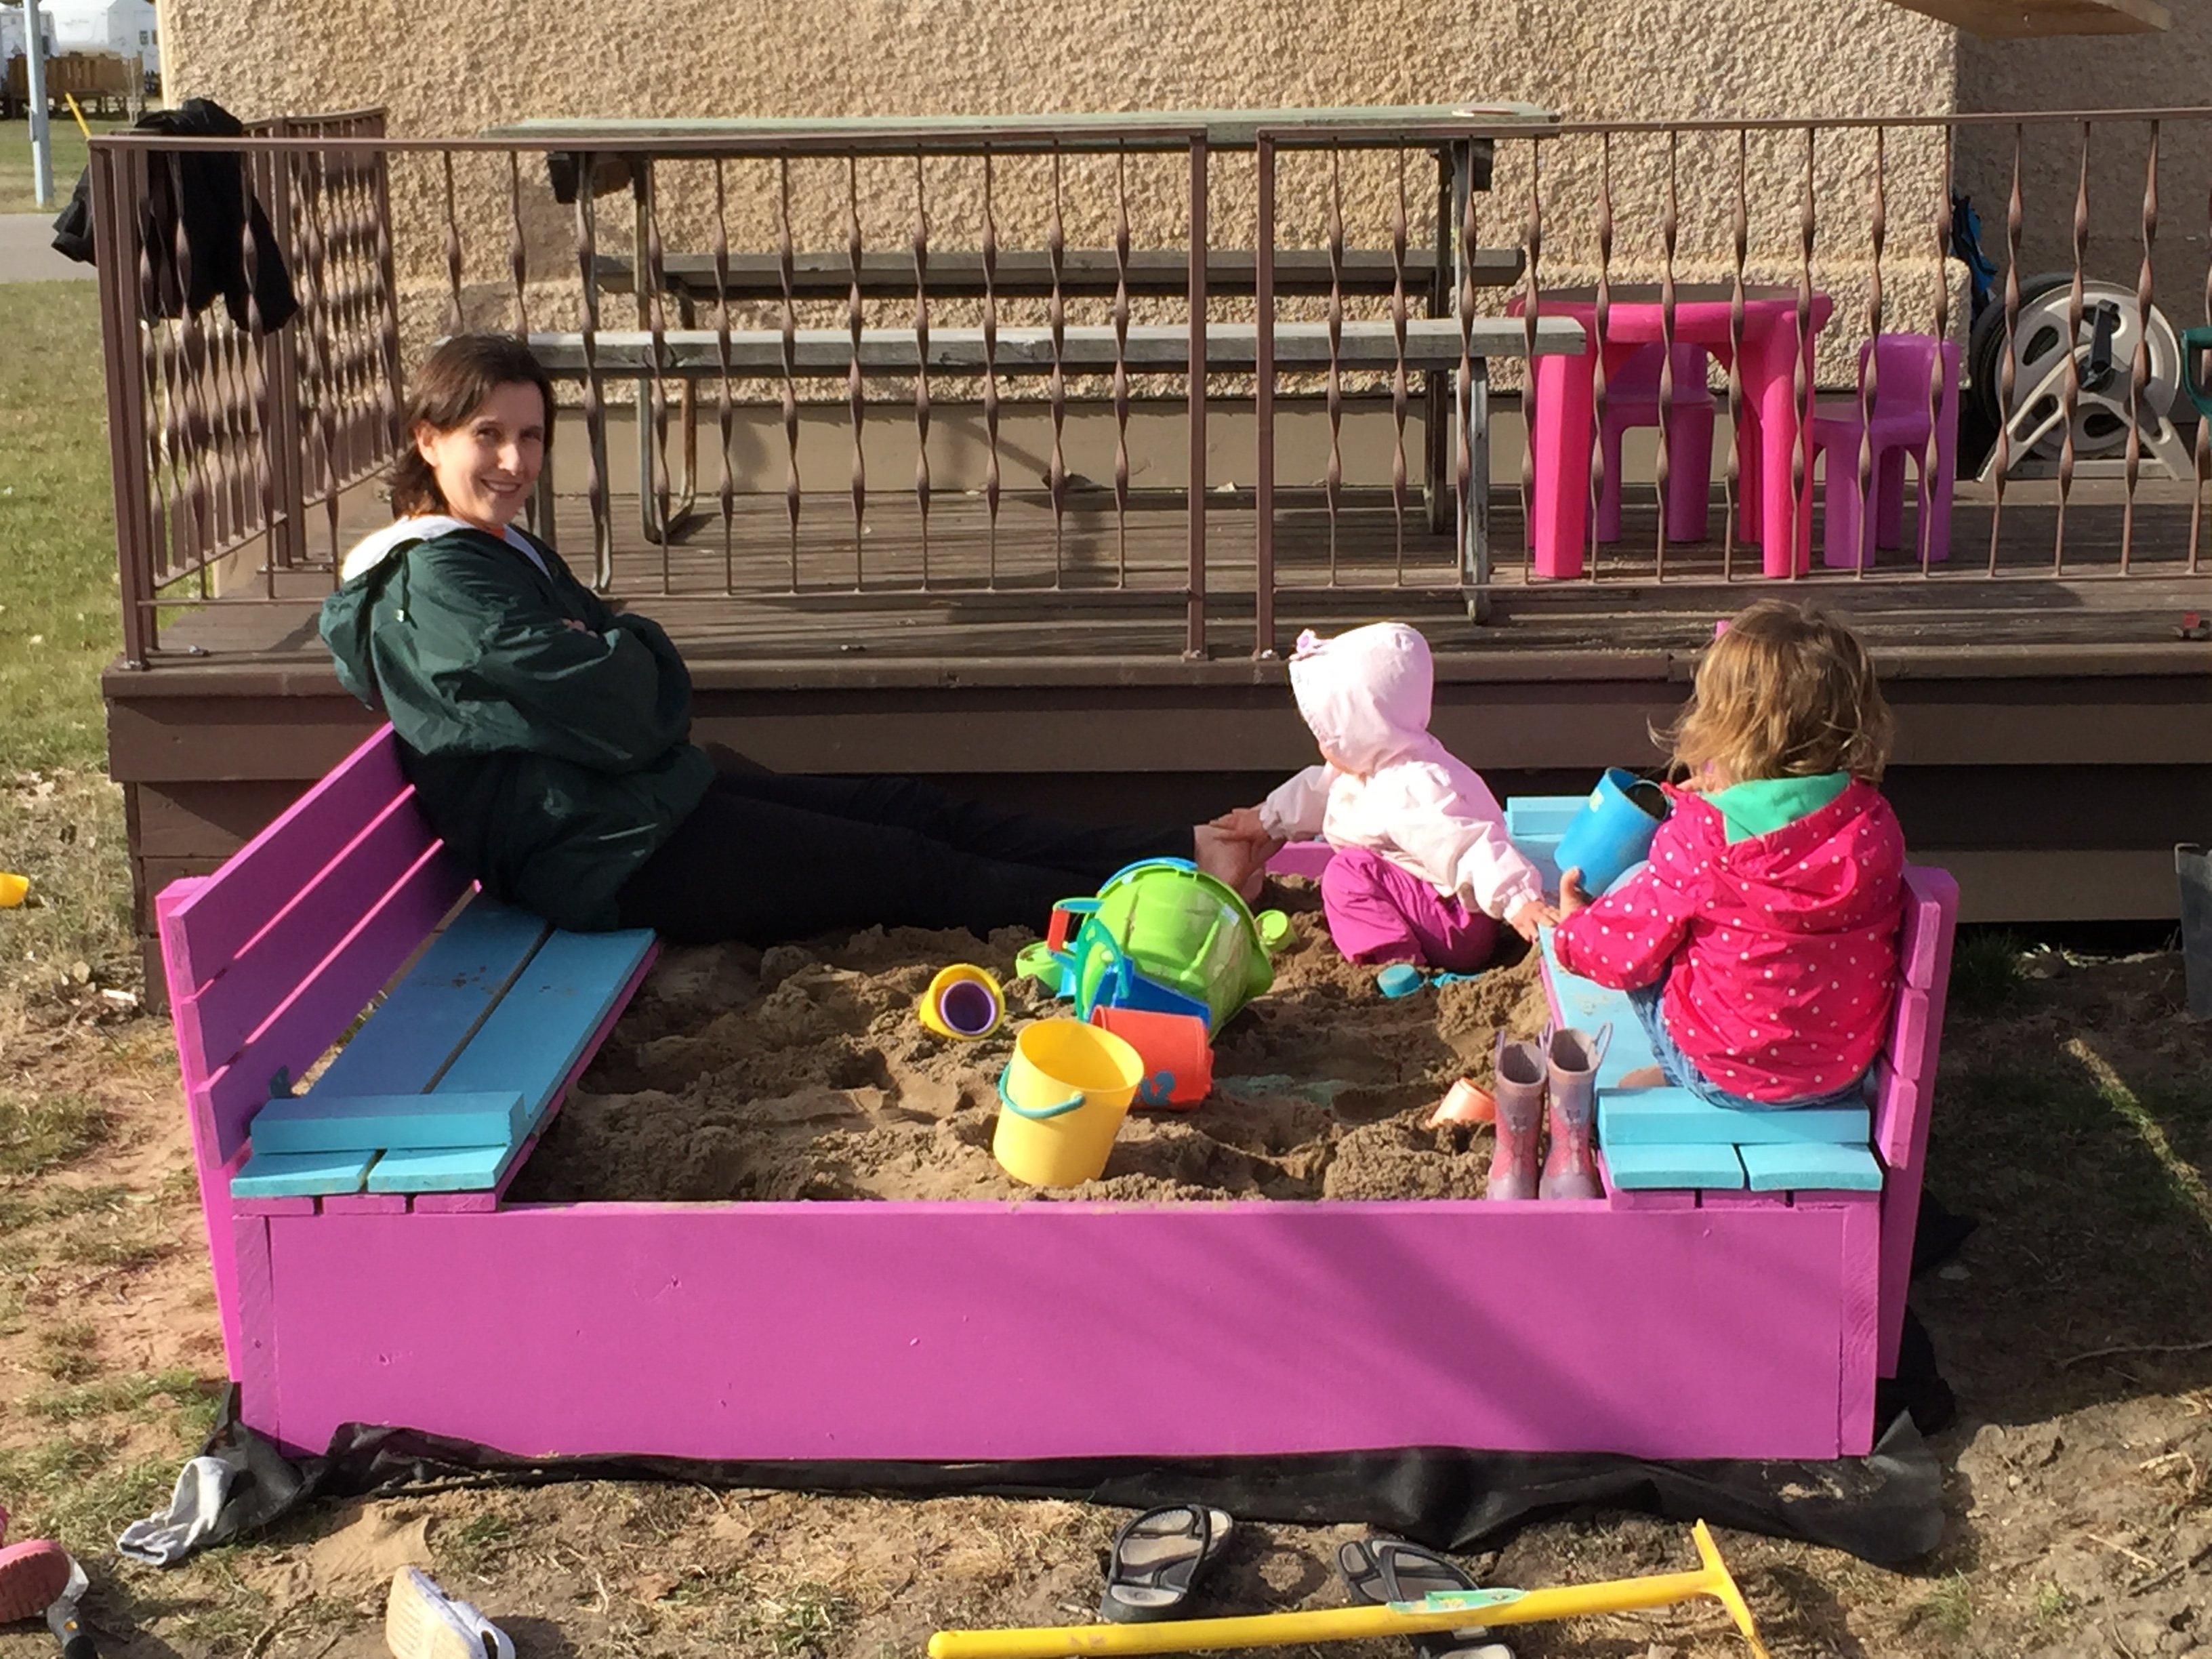
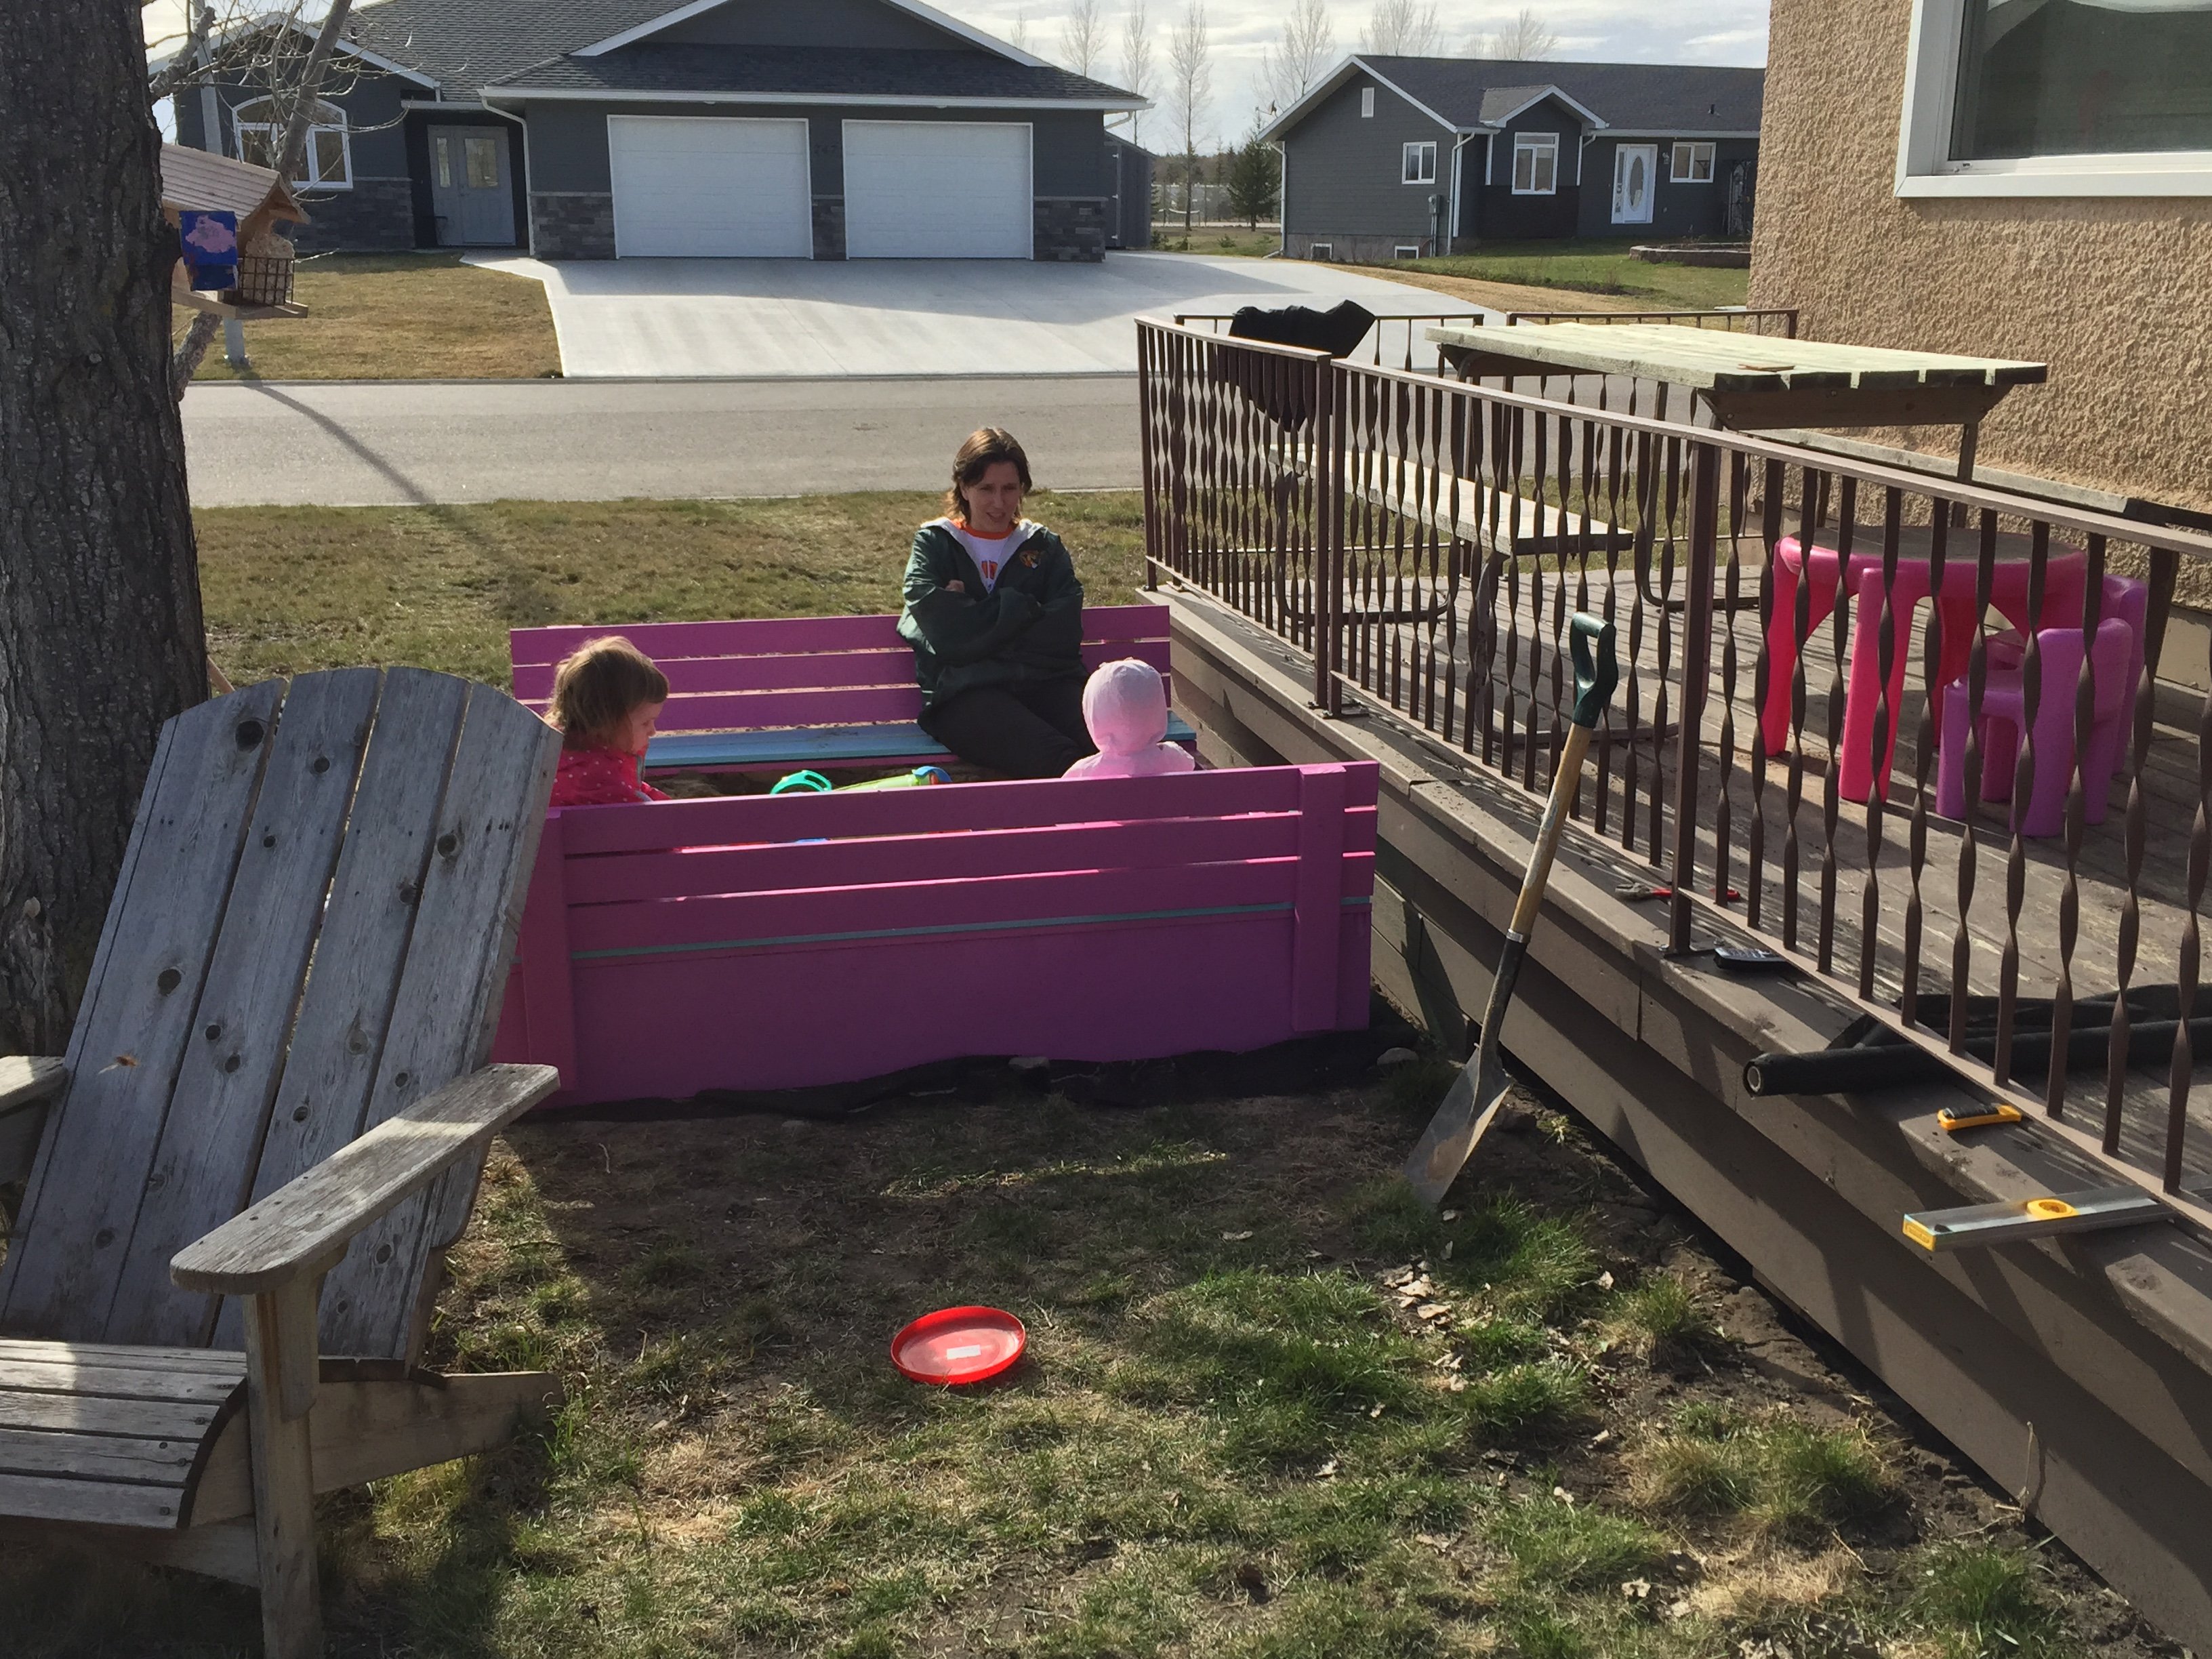
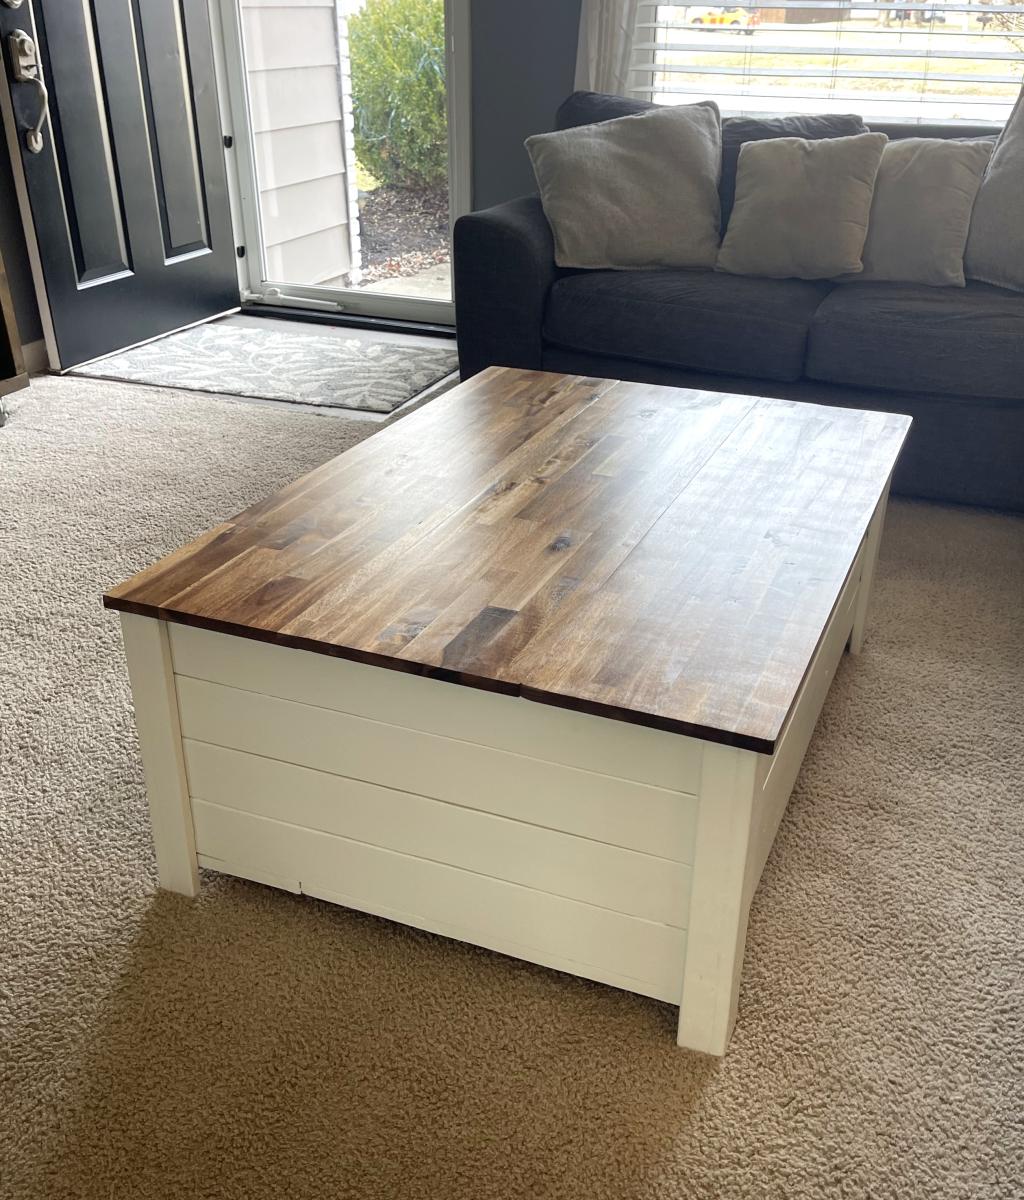
King Farmhouse Storage Bed

Submitted by Anonymous (not verified) on Sun, 08/18/2019 - 15:41

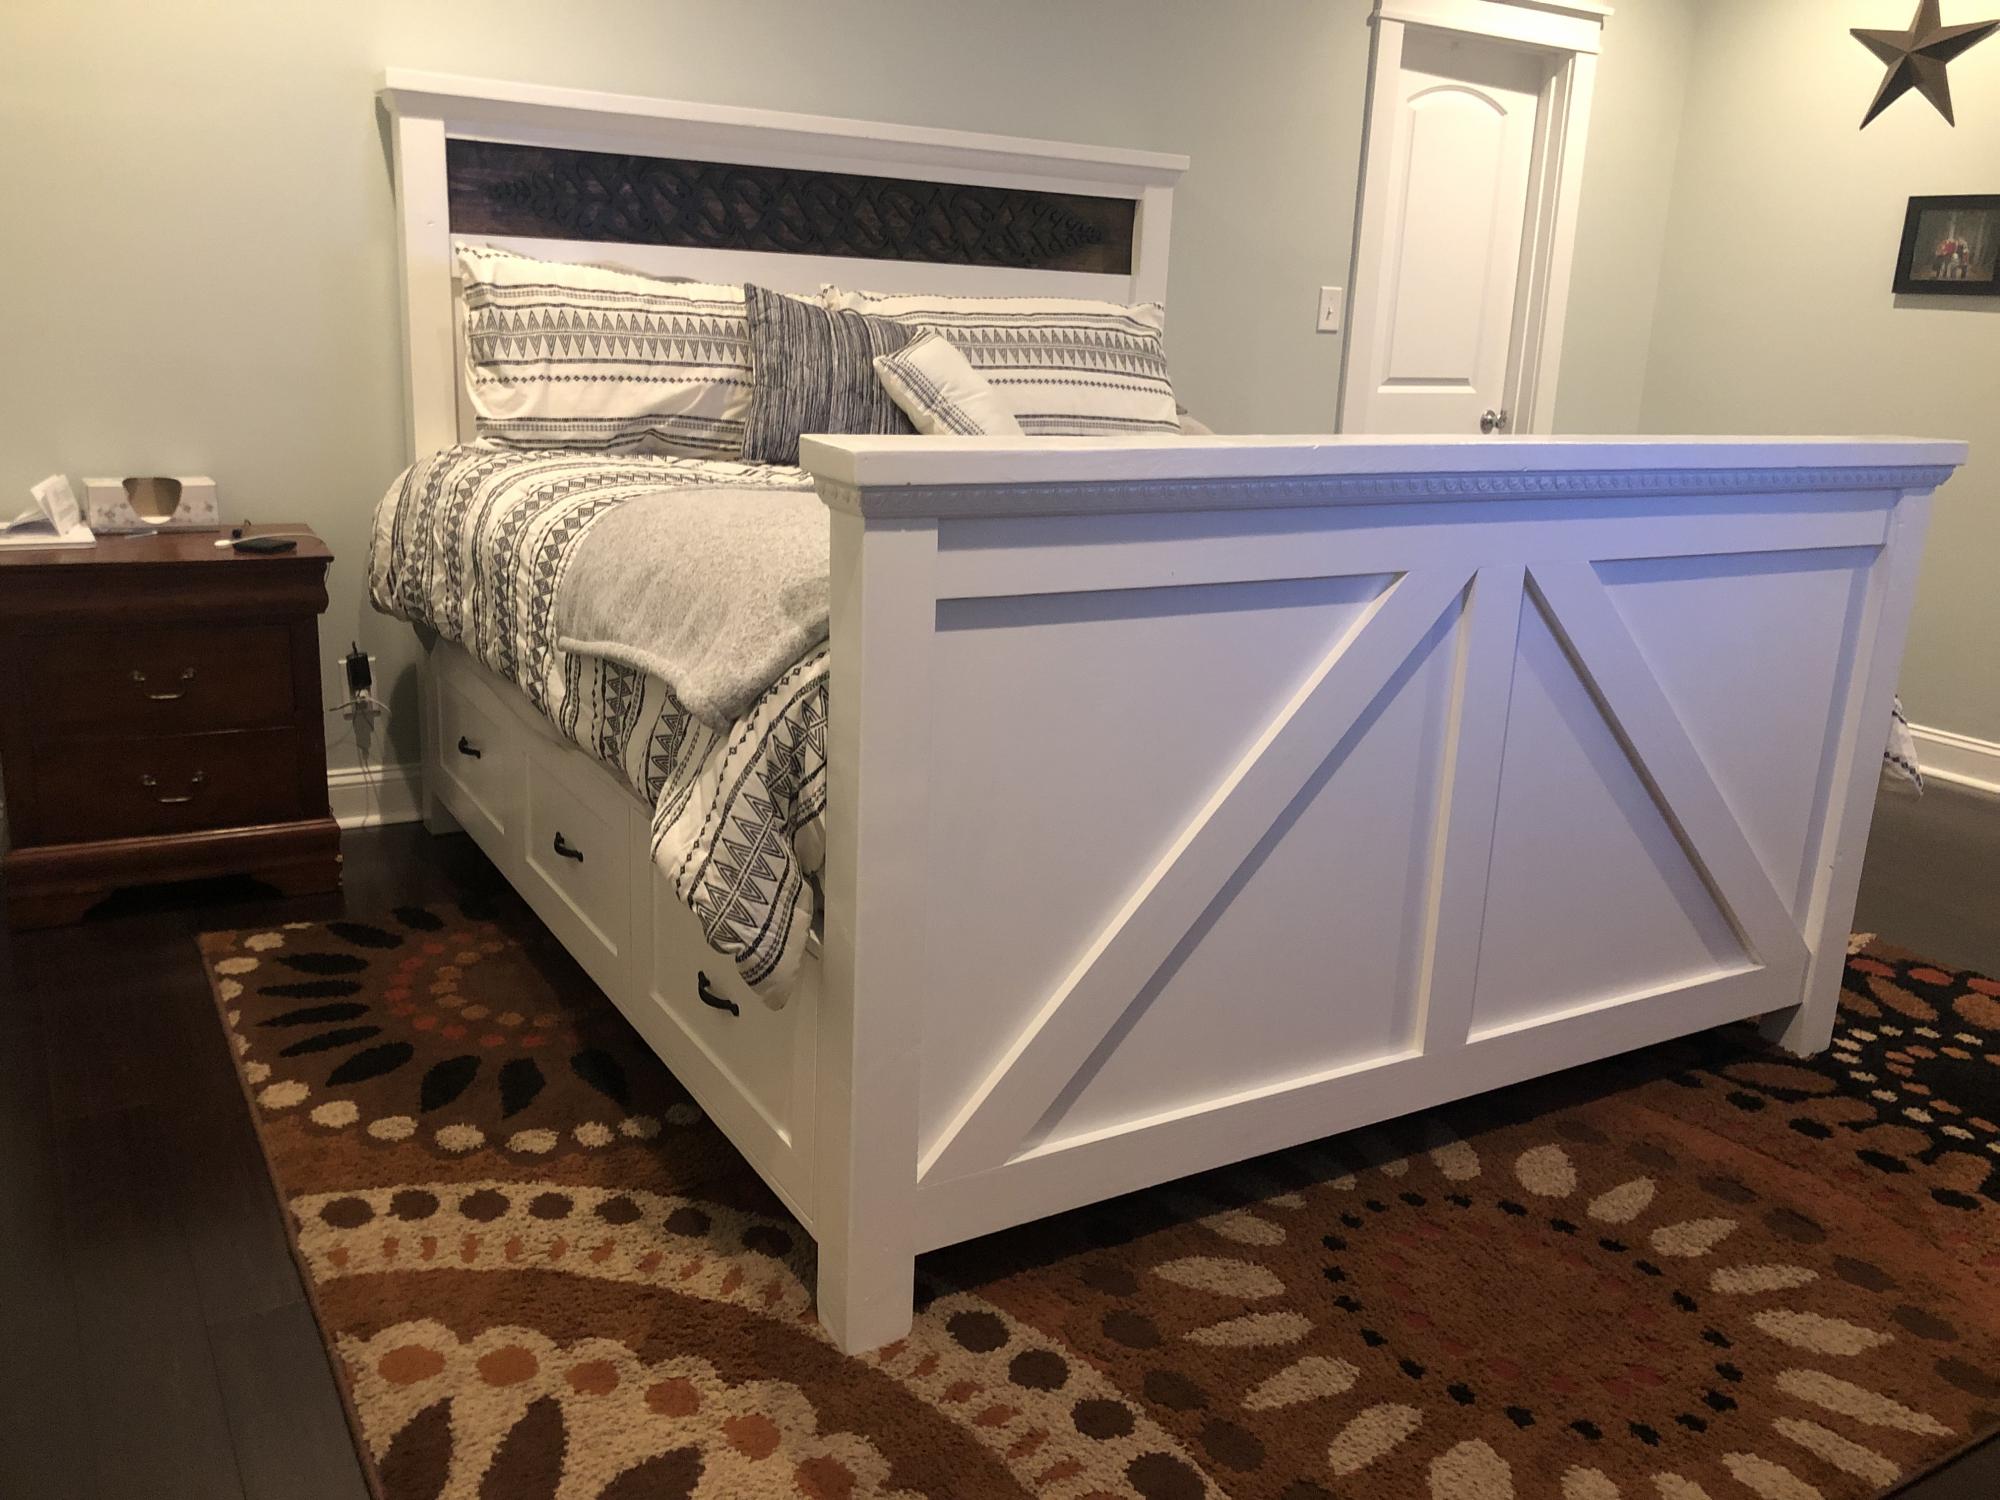
After a successful attempt at Ana’s farmhouse desk I decided to make a bed for my wife... needless to say I think she likes it! Thanks to Ana and Pretty Handy Girl’s plans! (This is my 3rd woodworking project)

Estimated Cost
700
Estimated Time Investment
Week Long Project (20 Hours or More)
Finish Used
Valspar Cabinet Enamel
Minwax Dark Walnut stain
minwax Polycrylic satin polyurethane

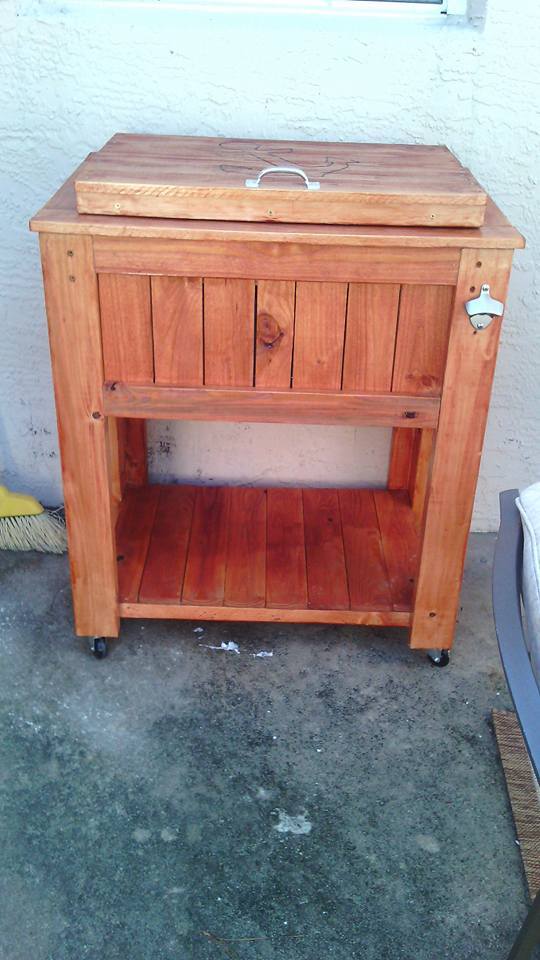
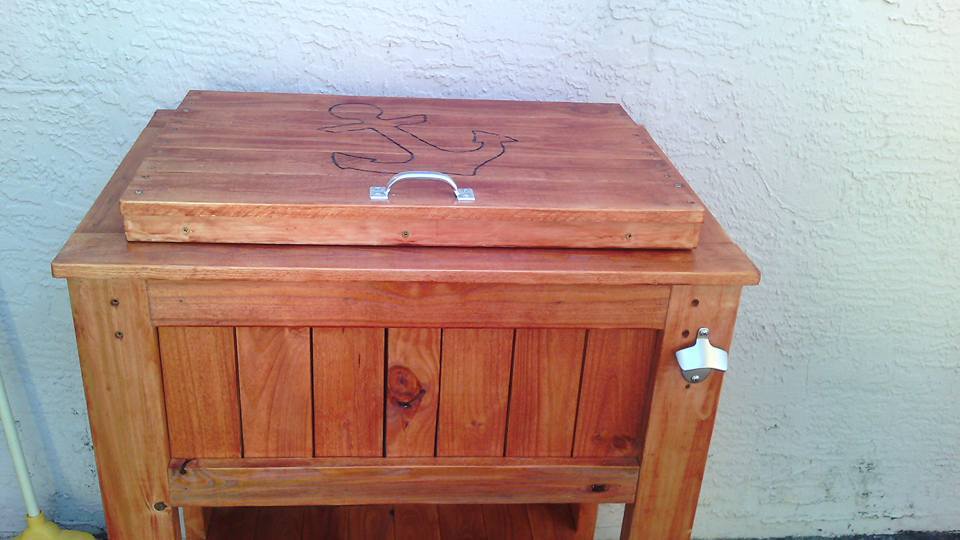
I used acetone to transfer the graphic I designed for my inlay. I carved out the inlay with a router. I stained the wood and then painted the surface black.
Recommended Skill Level
Beginner

Comments

My Adirondack build

This build was so simple and fun to make. Just like Ana stated in her video, it really only took me an hour to build. I plan to do many more projects that I find on Ana's website. This project still has a little bit more work to do like staining and sealing but will finish that on another day real soon.

Comments

DIY Famhouse Table

Submitted by Anonymous (not verified) on Wed, 07/05/2023 - 08:24

I used the farmhouse table plans, with a few modifications. I made two benches to go along with it. This was my first big wood project and I'm pretty proud of it. My daughter bought her first home and needed a table custom sized to her space so this was perfect. I love all of Ana's plans, so easy to follow.

TCossins1

Submitted by Anonymous (not verified) on Sat, 10/19/2019 - 07:52

I used the 4x4 X Base Pedestal Dining Table with Planked Wood Top plans for the base but I decided to go with a round tabletop because it fits better in our kitchen. The tabletop is 16 2x4’s attached together using pocket holes and wood glue.

Estimated Cost
$150.00
Estimated Time Investment
Weekend Project (10-20 Hours)
Finish Used
Varathane “sun bleached” brushed on with a cheap paintbrush and wiped off with a towel after about 1-2 minutes after application.
Recommended Skill Level
Intermediate

Small Space Sewing Table

I had so much fun building this and has already proven to be helpful.  Thanks for the wonderful plans! Can't wait to begin my next building project for this small space.

Built from Plan(s)
Estimated Cost
70.00
Estimated Time Investment
Weekend Project (10-20 Hours)
Finish Used
Using for storage of sewing machines and cutting materials and mats.
Recommended Skill Level
Beginner

Modern Console Table

Submitted by Anonymous (not verified) on Thu, 10/31/2019 - 13:11

Made my table 4 feet on accident (forgot to cut the 1x10 boards down to 36" before attaching everything) but I kinda like the extra length. I also ended up making the matching side table.

Estimated Cost
$40
Estimated Time Investment
Afternoon Project (3-6 Hours)
Finish Used
Briarsmoke
Recommended Skill Level
Beginner

Comments

Mrs.Green

Fri, 04/10/2020 - 21:07

If I wanted to make this taller like 3×6ft what size wood would do I need? I want to make this stand for my daughters urn area. She passed away last month and I'm trying to make this perfect. The sooner the better.. Thanks! Love all your work..

Wooden patio Cooler by DIY Pete

This was my very first project I did. Very proud of how this turned out. Now my sister has one and I am building another one with Mickey Mouse on it for my other sister. I build it in a day with lots of breaks due to 4 teenagers.

Built from Plan(s)
Estimated Time Investment
Day Project (6-9 Hours)
Recommended Skill Level
Beginner

DIY Brew Station

Submitted by Anonymous (not verified) on Sun, 07/30/2023 - 14:38

I used your workbench plan to build my Brew Bench. I changed the measurements to fit my space and used a butcher block for the countertop. Very sturdy and pretty easy project. Took one day to build.

Scott R

Comments

Simplest Armoire

Submitted by carongirls on Sat, 01/11/2014 - 16:20

We needed something to put clothes in. A dresser wouldn't of been big enough, so I decided on the armoire. I shortened the height so I'd only had to buy 2 1x12's. Everything else is the same. The 1x12's were so warped I had a heck of time with the doors.
I'm not digging the distressing. I tried the Vaseline thing. Never again it was a mess. I'll just stick to sanding it down from now on.

Built from Plan(s)
Estimated Cost
$100
Estimated Time Investment
Day Project (6-9 Hours)
Recommended Skill Level
Beginner

First project

Submitted by MadJack73 on Mon, 01/13/2014 - 12:34

Rustic X Console, minus the X. And I used the finishing techniques from another project. I also built a bar before I found this site and we painted the bar stools the same color as this console to tie in the two spaces in the finished basement. I would say the most stress was that I couldnt find straight boards.. so being square was a challenge. Also when you follow the plans, it says to make both sides ( figure 8s) then attach the shelves.. I put the 2x4s on the top to connect and then did the shelves. I figured if all the pieces were right lenght, then it was best way of assuring the project would be as square as possible. I know it would be on carpet, so I wasnt too worried, but when I brought in into basement to paint, all 6 legs sat very flush on the ground with the slightest of wobble. So, I would say rest one side on the ground.. line up the 2X4s that connect the two sides at the top and then go from there, then do the shelves.

Built from Plan(s)
Estimated Cost
$217 ( including Kreg Master JIg set )
Estimated Time Investment
Weekend Project (10-20 Hours)
Finish Used
Krylon brown spray paint over the bare wood when assembled. Mostly along the edges and knots. Then vaseline over parts of the spray painted area. Then painted over this with Behr Satin Natural Gray.when it was all dried in 12 hours. I wiped off vaseline exposing some of the brown and then sanded lightly to rough it up. We wanted Beachie feel, so we avoided the X on the end. But I can see how it would be stronger with the X. We are mostly using it for a few light components and subwoofer and baskets.
Recommended Skill Level
Intermediate

fancy x farmhouse table-first timer!

Submitted by Anonymous (not verified) on Sun, 04/10/2016 - 22:31

These wood plans were great! Easy to follow and an awesome first project for my hubby and I to build together. Only hitch for us was by choosing to make the longer bench we didn't check the placement of the feet before attaching it. When we were done we weren't able to push the benches under the table so we had to redo that step.

Estimated Cost
$120
Estimated Time Investment
Weekend Project (10-20 Hours)
Finish Used
We used two coats of minxwax red oak 215 stain and 3 coats of minwax semi gloss polyurethane.
Recommended Skill Level
Beginner

Bed made to order - Twin XL

Submitted by kjoslyn78 on Sun, 12/22/2019 - 10:40

My daughter has a twin XL bed, which we had been unable to find a frame for since getting it. After 2 years of her mattress and box springs on the floor, this plan came out and a plan was hatched to get it made. The biggest change we needed to do different from the twin plans was to make the side rails and the side rail cleats 5" longer to accommodate the XL length. We also added a middle support to keep the side from bowing out, and the cleats are at the bottom of the siderails, as we are using a boxpsring and mattress. 

Estimated Cost
$110
Estimated Time Investment
Weekend Project (10-20 Hours)
Finish Used
I dont remember what we finished with, but the kid spilled half the can in the grass :)Photo is after sanding, and before finish
Recommended Skill Level
Beginner

Comments

amymarie02

Mon, 03/28/2022 - 09:47

Hi do you have the measurements and what to buy for this bed frame? We also have a twin xl mattess and cannot find a frame anywhere

Book Rack

Submitted by Anonymous (not verified) on Fri, 04/22/2016 - 11:08

I built this book rack using scrap wood and modified plans from the Full Length Plate Rack. It was a really straightforward build, and functions very well as vertical storage that takes up little space. I predrilled, screwed and glued all of the joints, vs. stapling.

Built from Plan(s)
Estimated Time Investment
Afternoon Project (3-6 Hours)
Finish Used
2 coats of "Simplicity" country chic chalk paint.
Recommended Skill Level
Beginner

Comments

Kids Twin Bed

I built this for my second son who was tired of "being in jail", he's almost 3.  His older brother is now jealous!

Was a nice easy build - the hardest part was paint spraying for the first time!  I would cut the slats pieces about 1/4" smaller to give a bit more wiggle room when lining up the pieces, and make sure to keep the headboard and footboard square when lining up.

The cost was higher for me being in the Bahamas. I used fir for the frame and spruce for the planks, why, I thought it would save some money but didn't really.

I used pocket holes to attach the bed rails to the headboard and footboard.

Estimated Cost
$250
Estimated Time Investment
Day Project (6-9 Hours)
Finish Used
Wonder-Tones interior primer/paint
Recommended Skill Level
Beginner

Under Cabinet Spice Rack

Submitted by Anonymous (not verified) on Mon, 09/11/2023 - 13:06

I needed to clear out a shelf in my cabinet and add a spice rack so I could actually see everything. This came out perfect! Made of Oak and stained with classic oak. Very simple to build and hung with pocket screws

James Breadbox

Built from Plan(s)

Sandbox with built in seats/lid

6'x6' with 12'' Treated Sides, 1x4 and 1x6 SPF tops/seats and 2x4 Brace under Seats to accommodate the 6 foot span. Sanded and Painted.

Completed in 2 days, couple hours each day, sanded/painted all boards before assembly.

Built from Plan(s)
Estimated Time Investment
Day Project (6-9 Hours)
Finish Used
Exterior Grade Paint.
Recommended Skill Level
Beginner

Motorcycle Jacket and Helmet Rack

Submitted by Anonymous (not verified) on Thu, 05/19/2016 - 10:52

Built from left over Rough Cut Maple.  Jaket, Helmet and Key Rack

Estimated Cost
$50
Estimated Time Investment
Afternoon Project (3-6 Hours)
Finish Used
Minwax Stain and Polyurithane
Recommended Skill Level
Beginner

Comments

Cedar Planter Outdoor Speakers

Submitted by Hoosierdoc on Fri, 06/10/2016 - 10:53

We just put in a pool and I needed something to hide a pair of outdoor speakers. I used Klipsh AW-525 speakers.

Basically I raised the bottom of the planter enough to fit the speaker under and had to add a few framing pieces to secure the speaker mount to. The mount attaches to a vertical board and the weight rests on a horizontal board. The wiring comes up from below.

The front panel uses vinyl mesh from Sailrite.com to hide the speaker but allow sound out. Imm planning to hang it with magnets if it doesn't distort sound too much.

Built from Plan(s)
Estimated Time Investment
Afternoon Project (3-6 Hours)
Recommended Skill Level
Beginner

Comments

Back