Kids Picnic Table
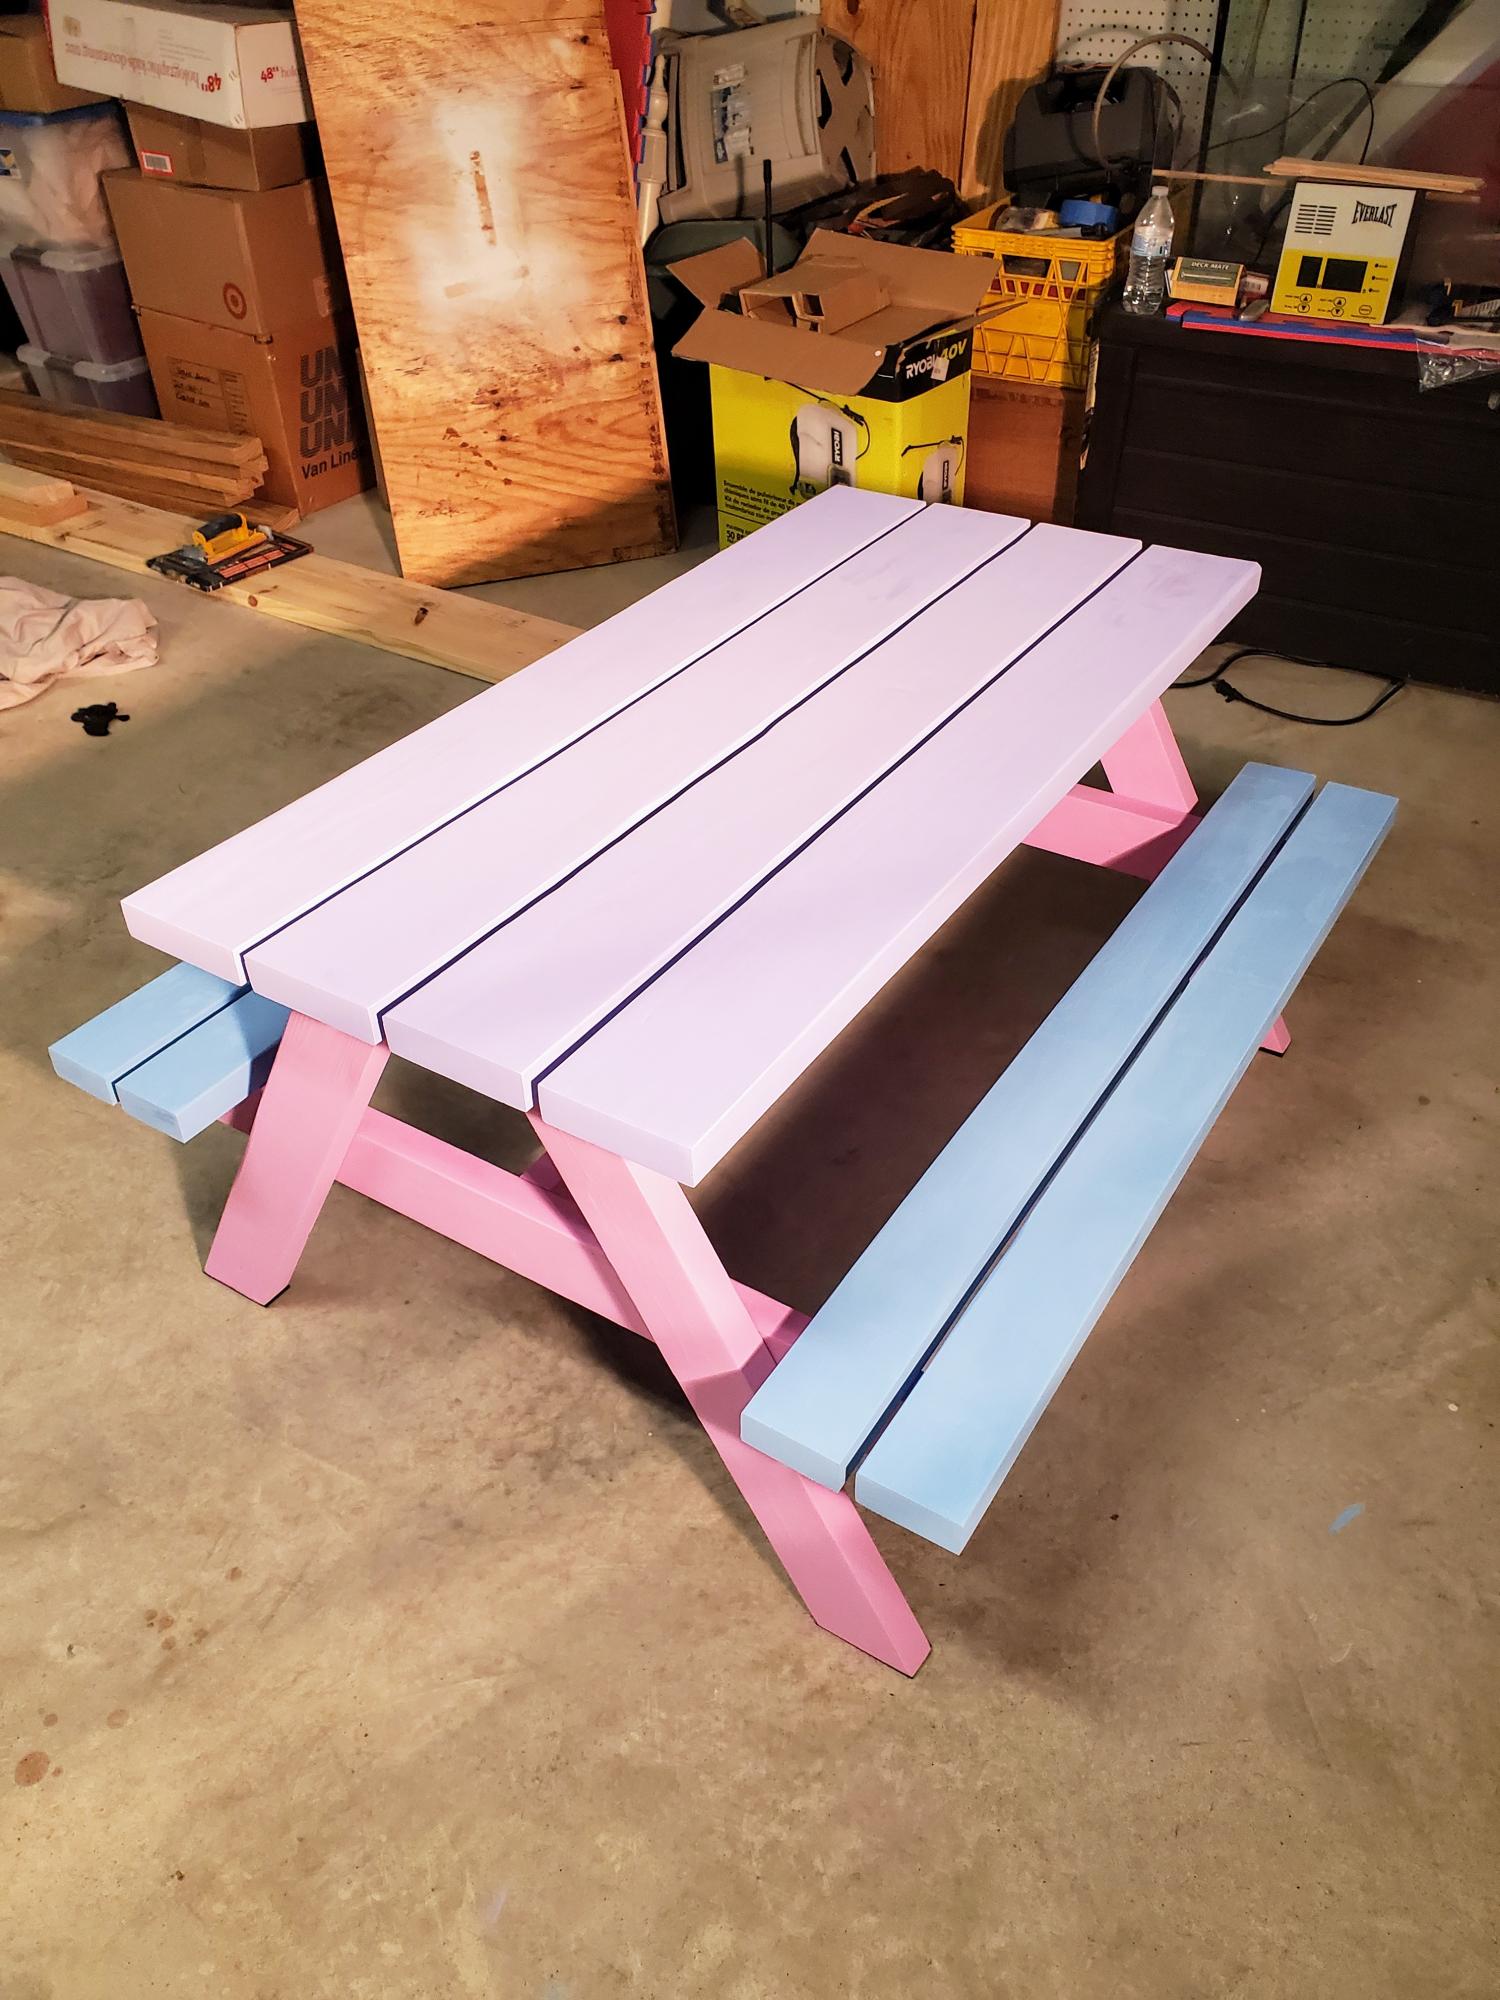
Fun and easy project!
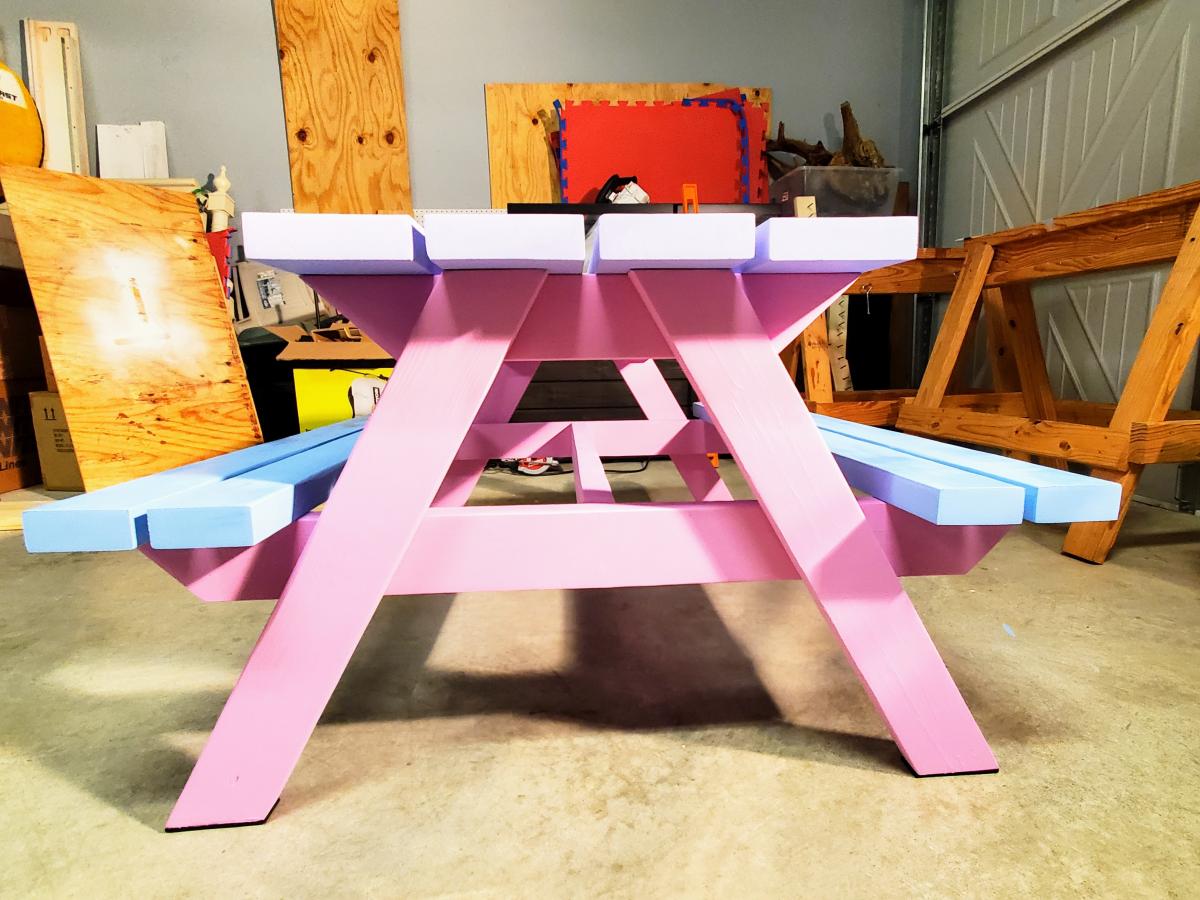
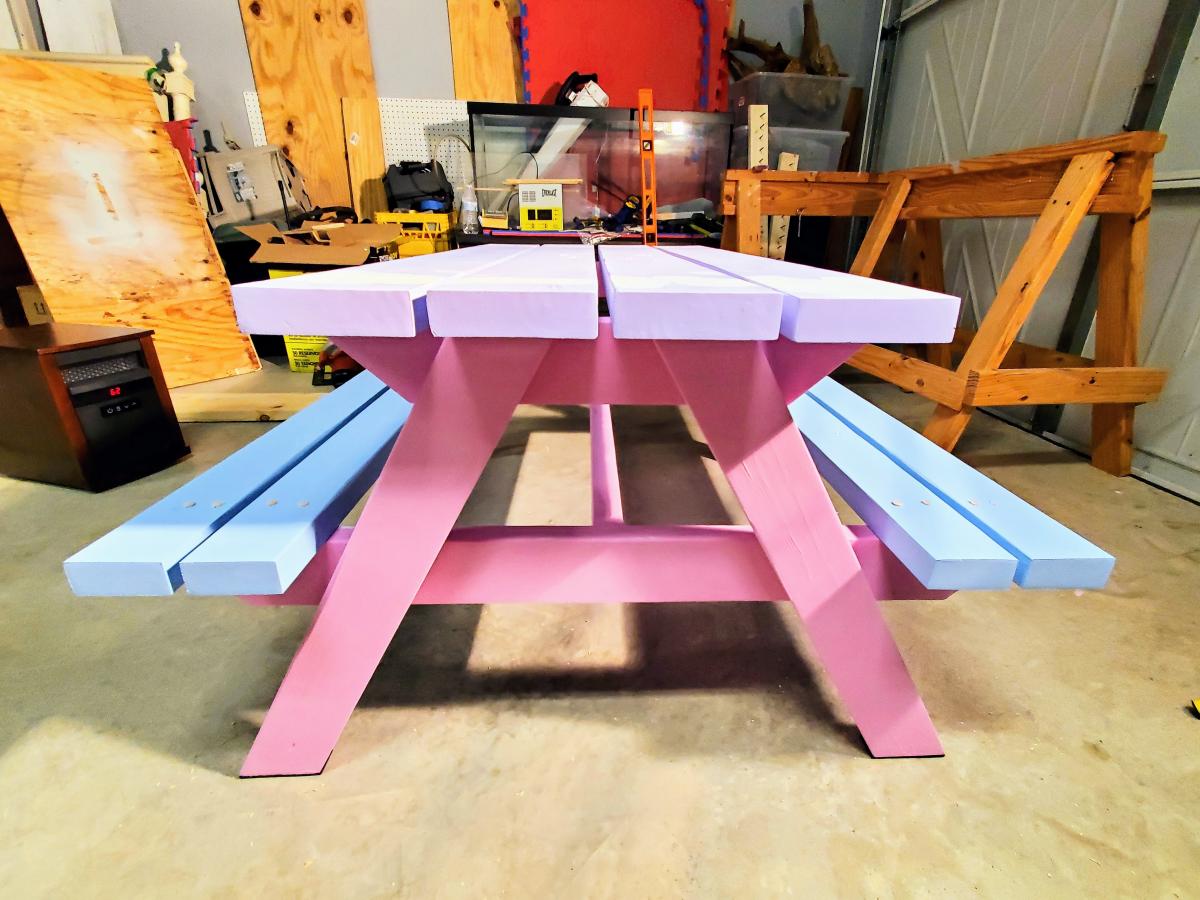
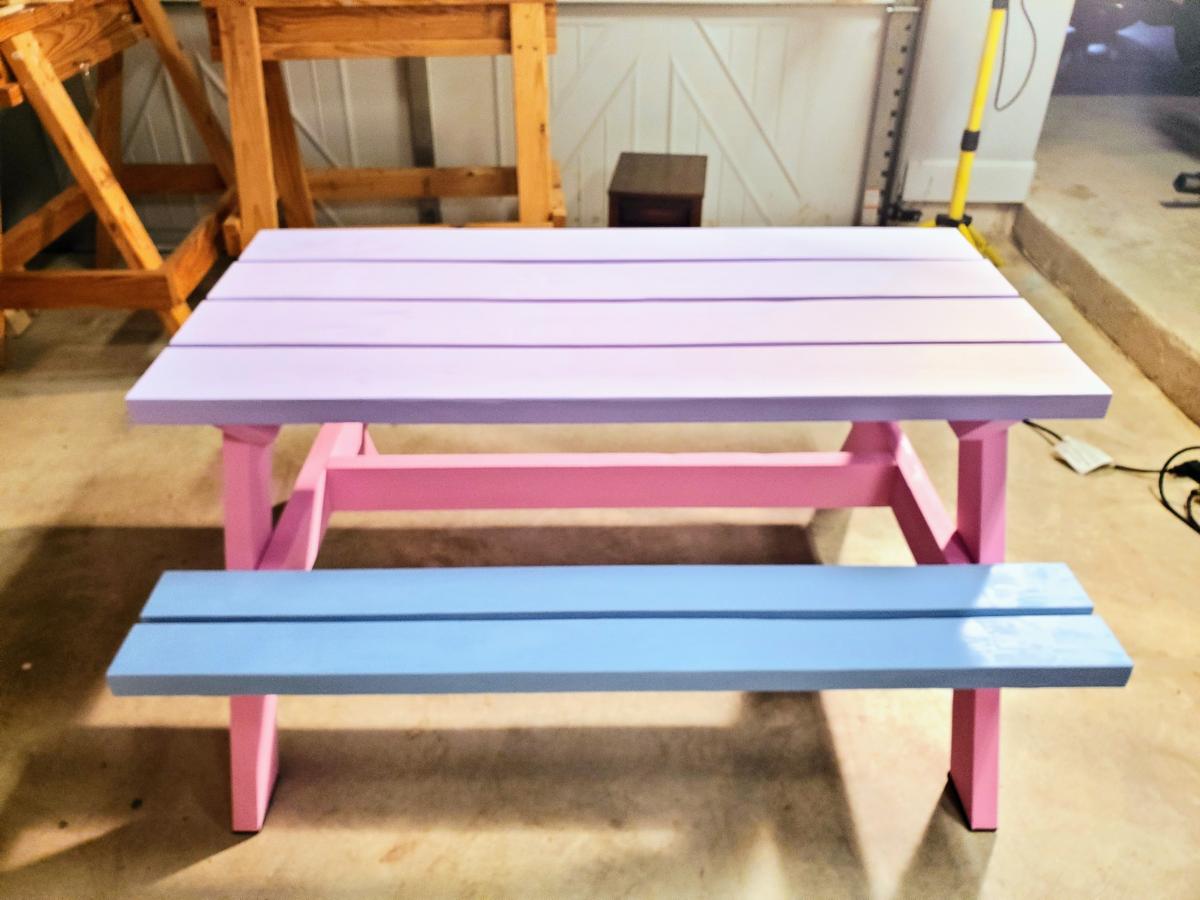

Fun and easy project!


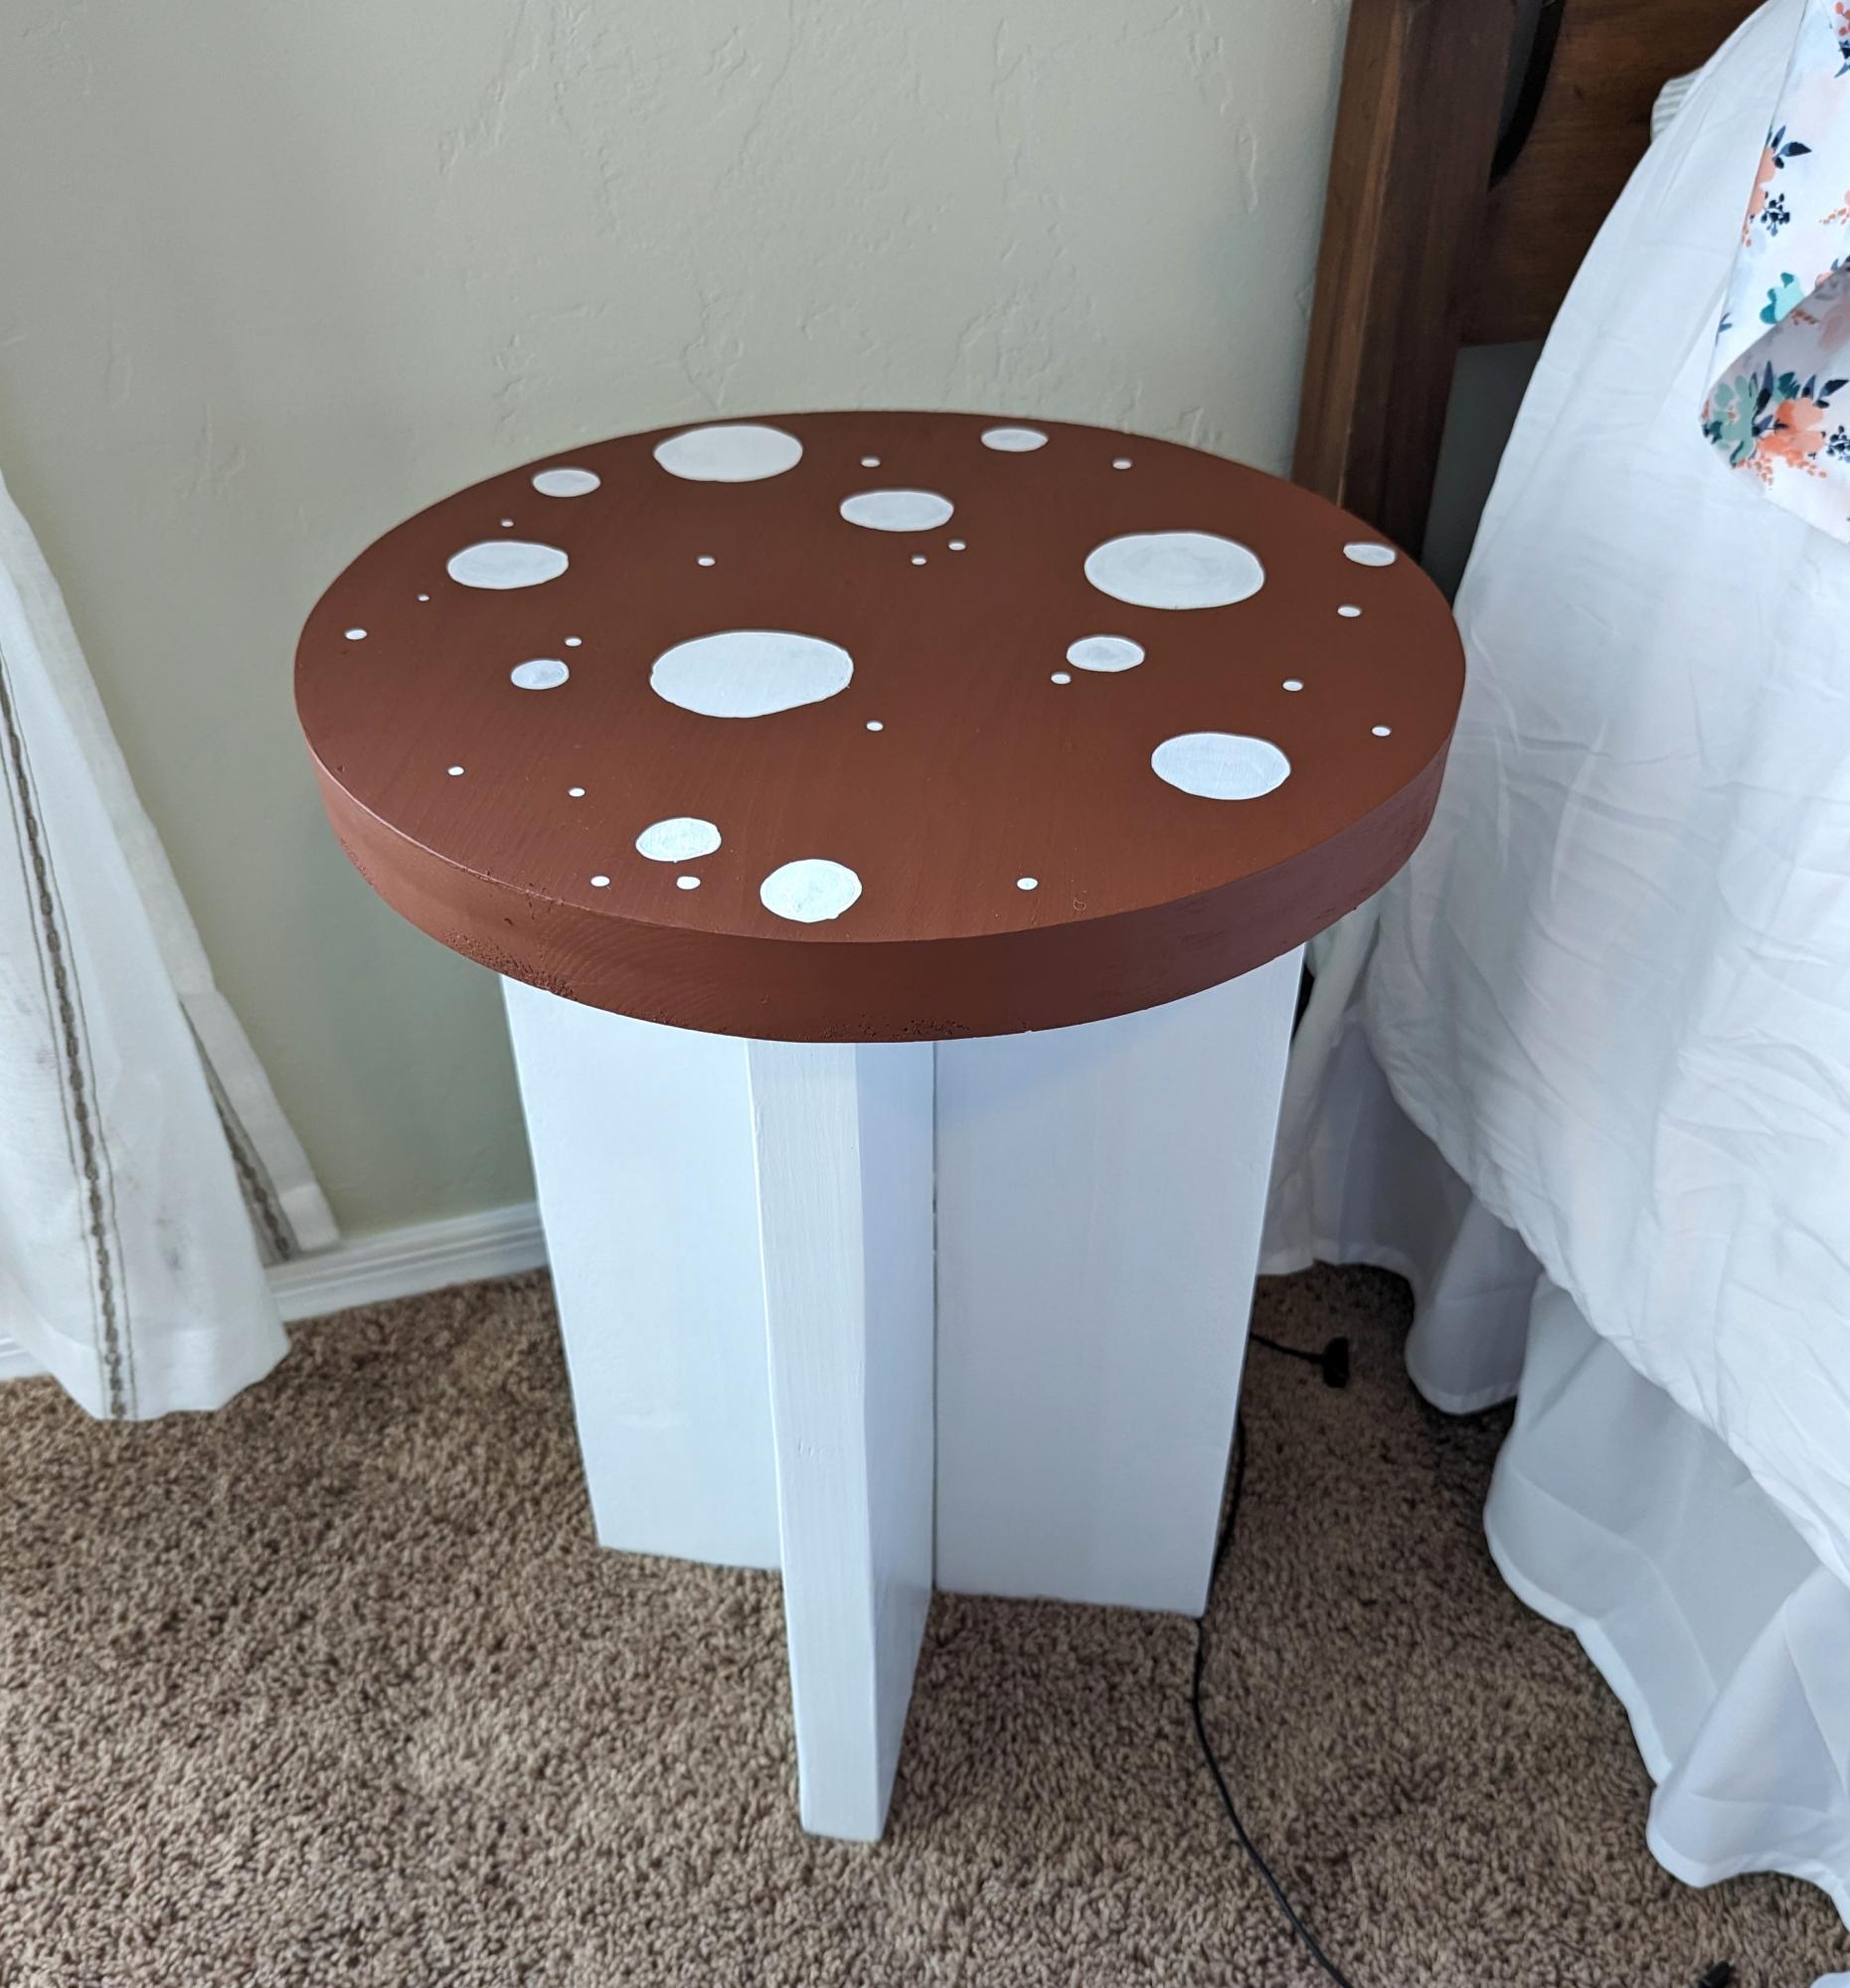
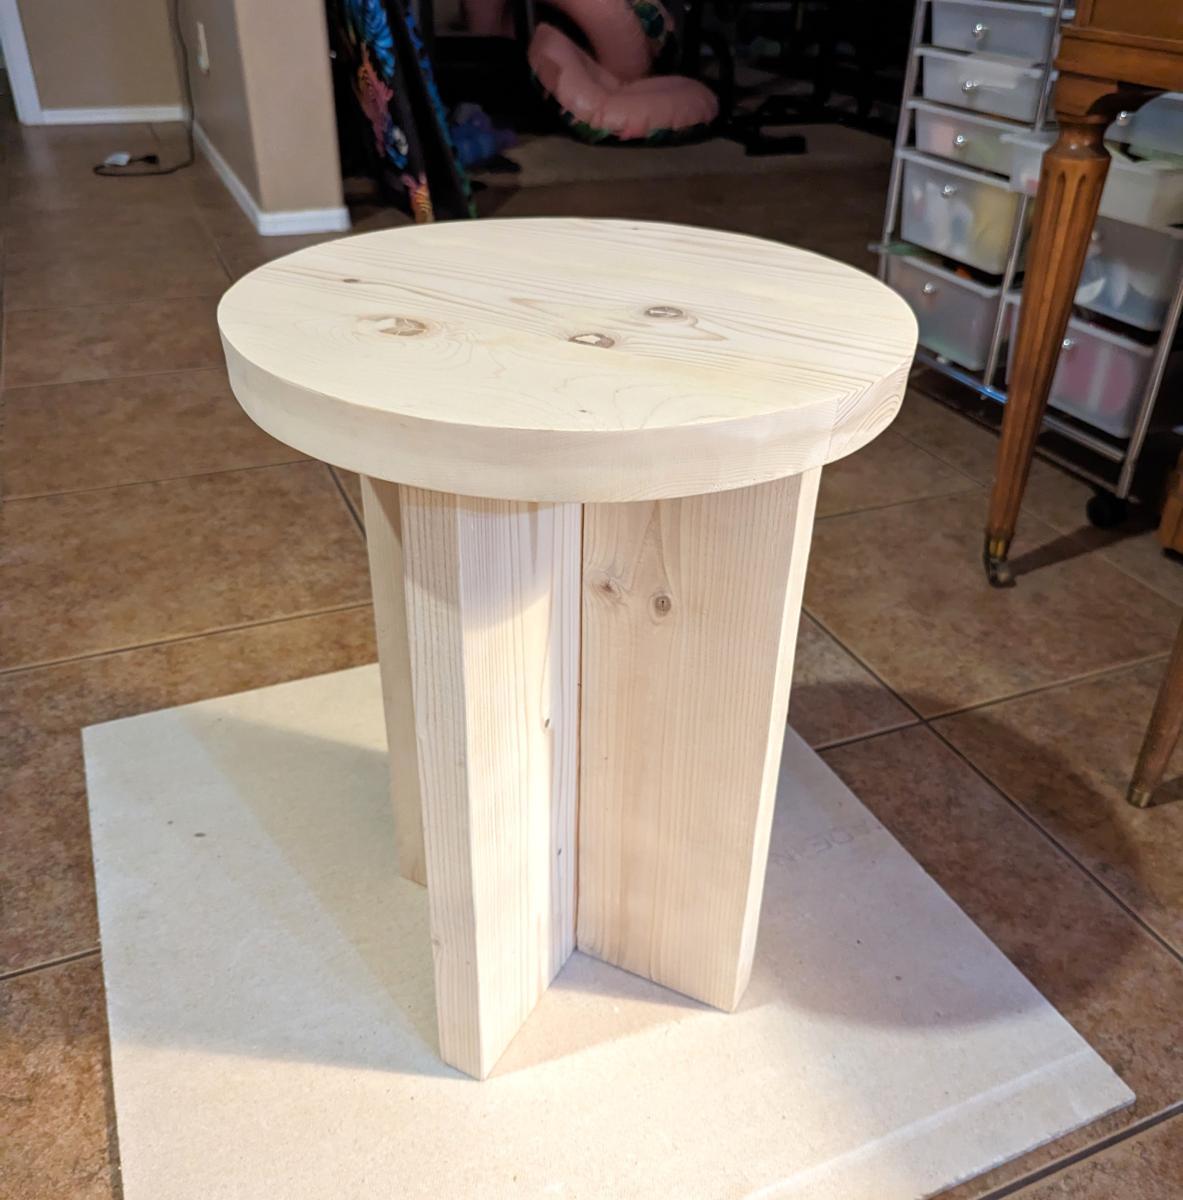
We made this for our daughter, and our other daughter wanted to paint it to look like a mushroom. We are very happy with how it turned out.
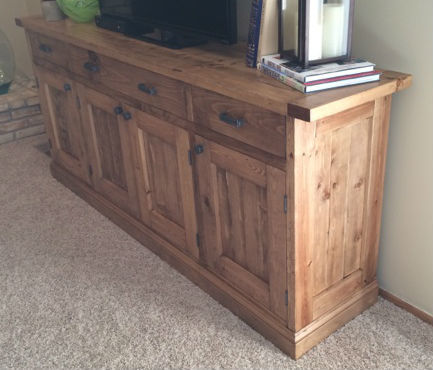
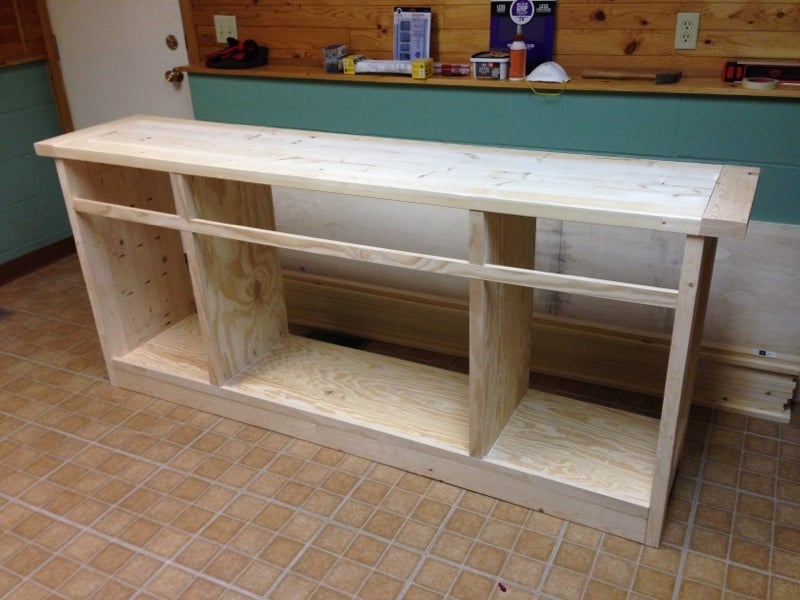
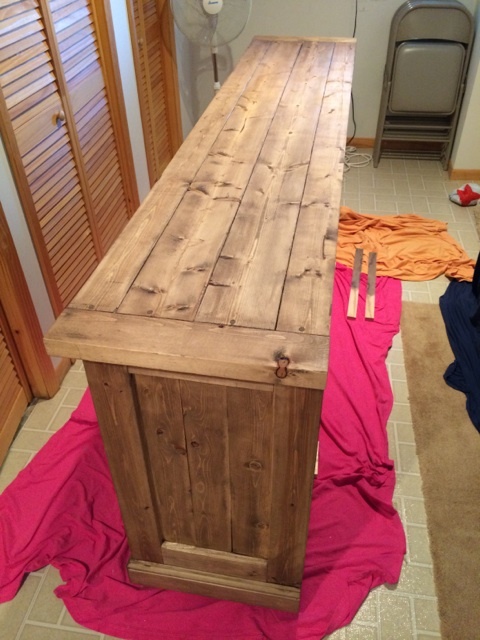
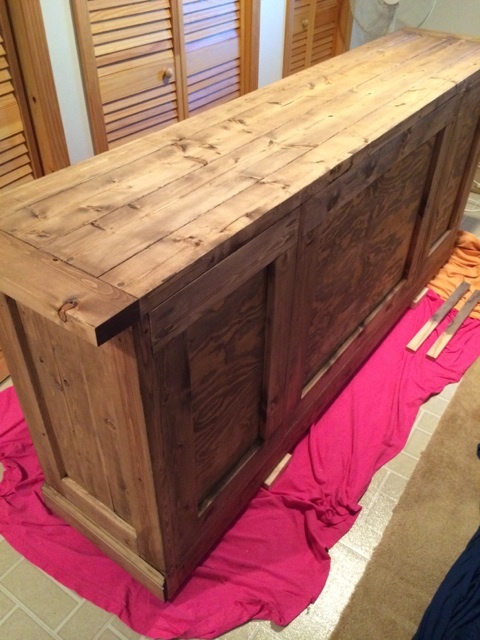
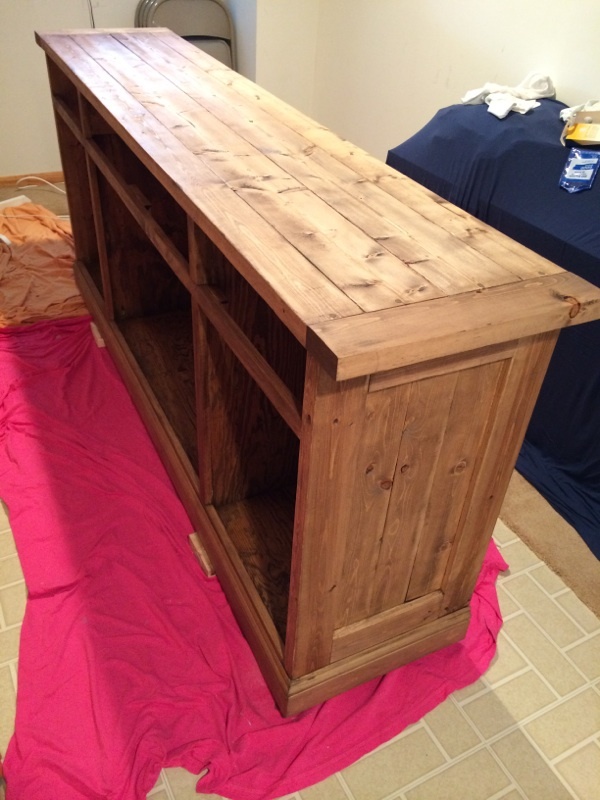
This was my first finished project using plans from Ana's site, and I am very pleased with the finished product. Every aspect of the finished sideboard is based on something from the site. I started with the plans for the Planked Wood Sideboard, and made no modifications as the dimensions were perfect for our basement family room. I decided to inset the back (http://www.friendly-home.net/2012/02/gigantic-rustic-sideboard.html) as Ana explained that Hillary had done, and love the final result. This will allow us to use this to potentially divide a room in an open concept space at some point in the future.
For the finishing process, I decided to follow the "Rustic Yet Refined" finish tutorial highlighted on both the Ana-White site (http://ana-white.com/2013/08/rustic-yet-refined-wood-finish) and Jen Woodhouse House of Wood (http://jenwoodhouse.com/blog/2013/06/07/diy-dining-table/). I fully intended to complete the 9 step process, but found that after we applied the Minwax pre-stain wood conditioner, followed by Minwax special walnut stain and wiped it off within 15-30 seconds, the finish mirrored the restoration hardware finish that we were going for. We decided not to proceed with layering on the weathered oak or applying the whitewash, and went straight to the spar urethane satin coats.
Overall, the project was a success, but was difficult to finish during the Minnesota winter as it was unbelievably cold and was forced to complete the finishing process in our basement/laundry room, which extended the length of the project. I am very excited to begin building other pieces from Ana's plans.

Mon, 03/03/2014 - 10:01
Absolutely beautiful! Thank you for all the details on how you did this!
In reply to Absolutely beautiful! Thank by moosmani
Thu, 03/13/2014 - 07:09
Thank you so much for your kind words. I am extremely impressed with your brag posts as well, and you may have been inspired to take on the picket storage shed project as soon as the snow melts.
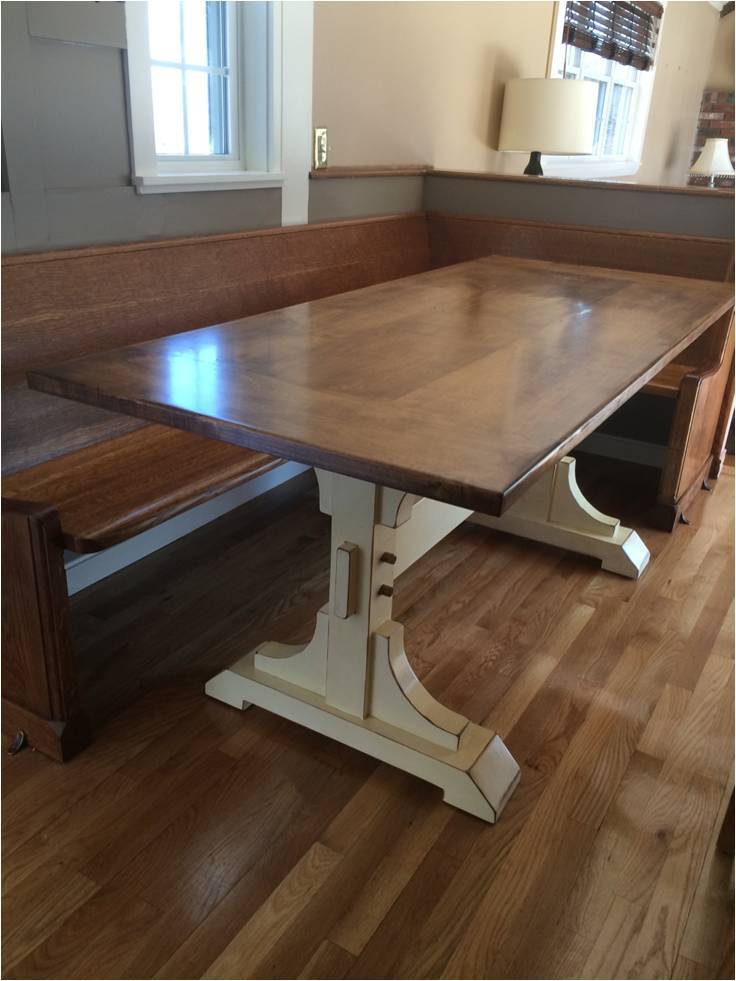
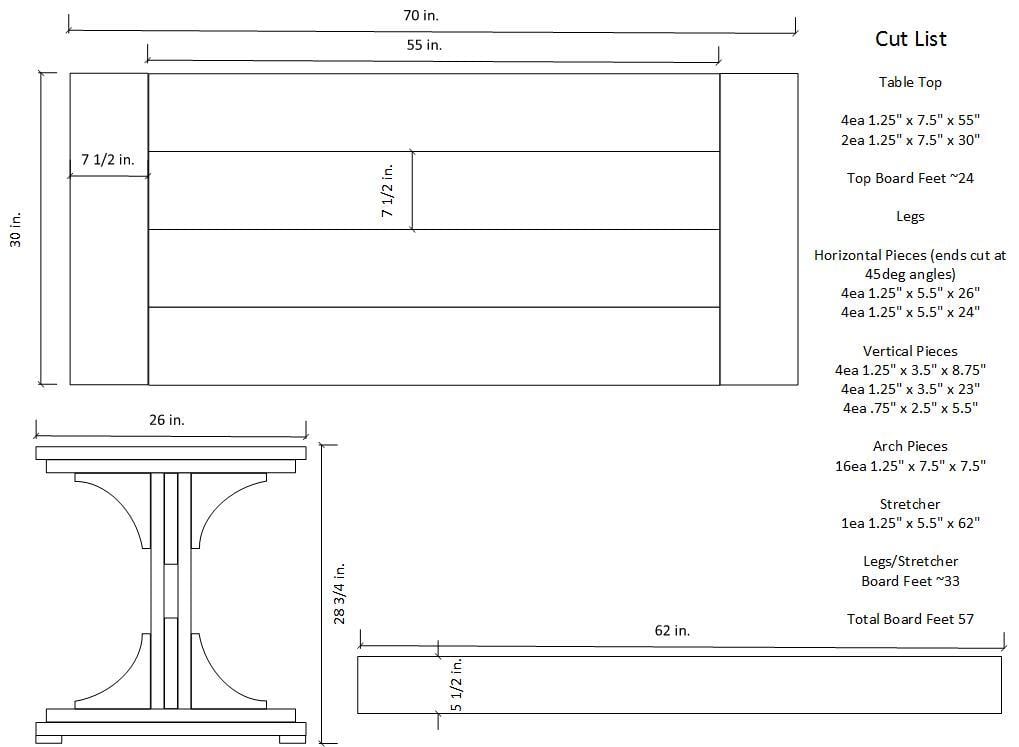
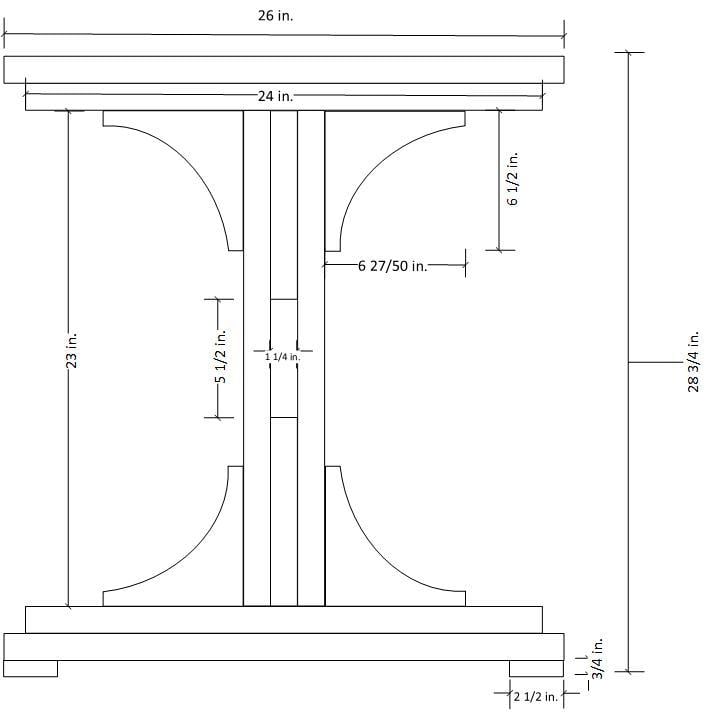
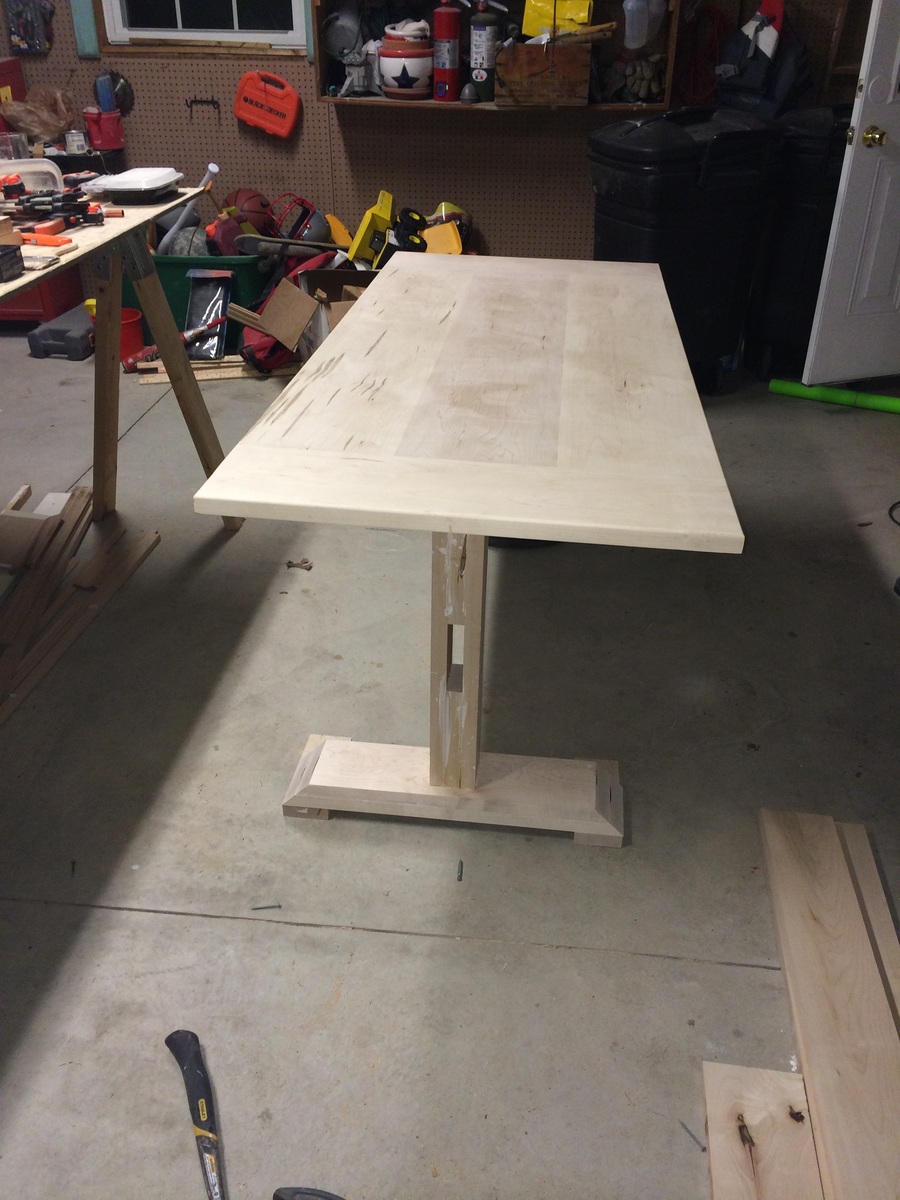
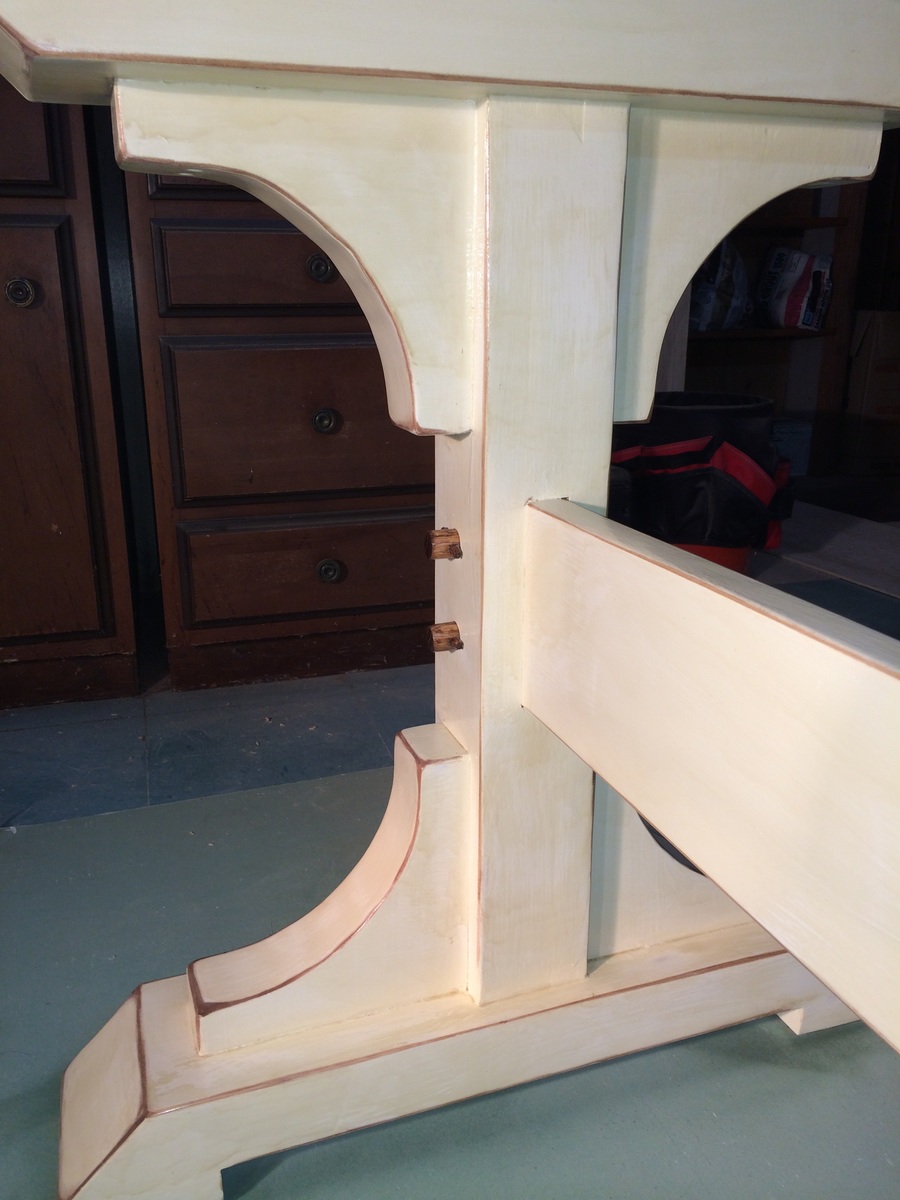
Farmhouse table made from distressed (worm hole) maple.
My neighbor was able to get me the 5/4 distressed maple for about $2/bd ft - I ended up buying 100 board feet and had plenty leftover. The finished board feet for this project was about 60 if I remember correctly. So the $200 was the bulk of the expense. The only other costs were sand paper, I bought a Kreg Jig, screws, Minwax Marker, paint, stain and urethane (much of which I already had).
It came out better than I anticipated. The antique white finish was not difficult at all.
Tip - When following the instructions for the finish here, I applied the first coat of urethane with a brush almost immediately after applying the Minwax marker to all of the sanded edges. I did this in haste, but ended up with some unexpected results that really added a nice touch. The stain from the marker incorporated a bit into the urethane as I brushed it giving it an antique, yellow hue. At first I thought I made a big mistake, but it turned out to add a really nice look.
Mon, 05/19/2014 - 07:29
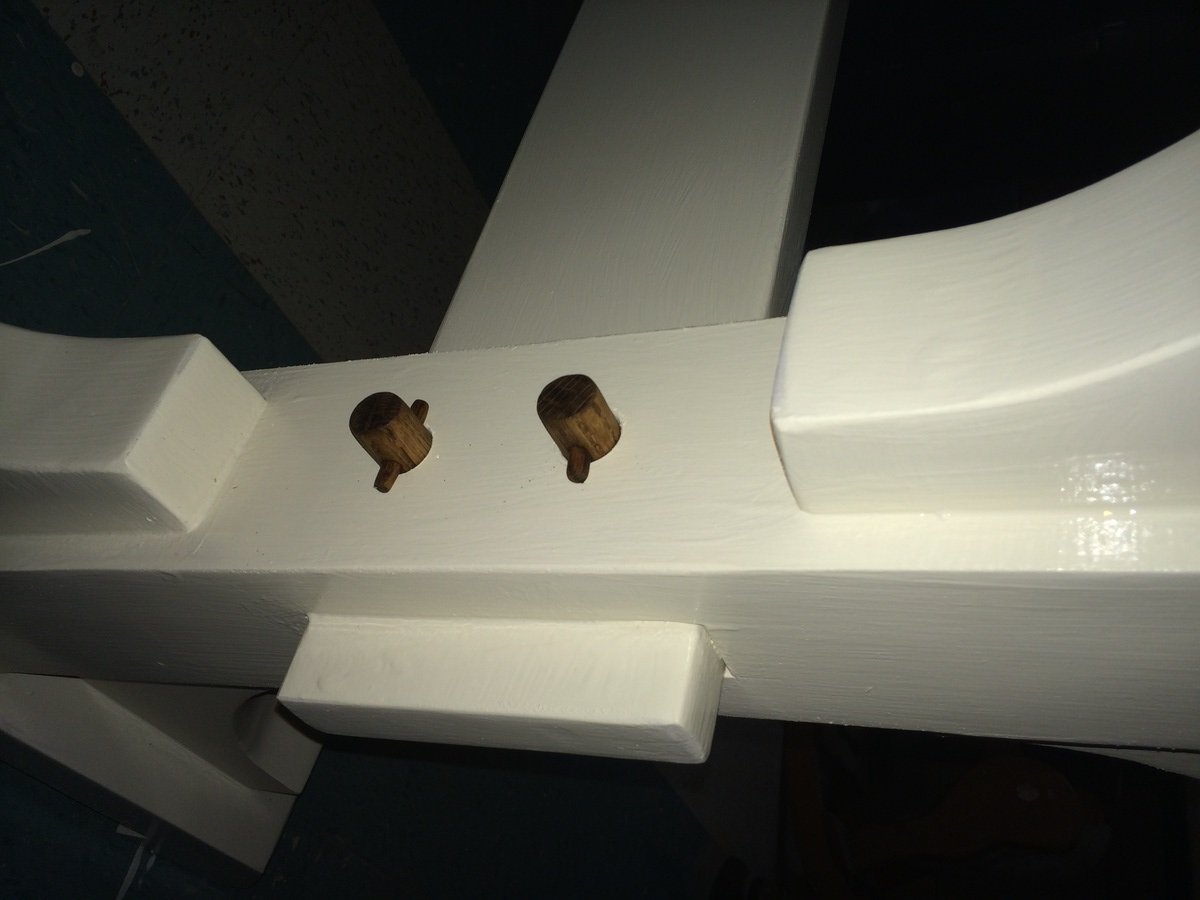
CSaintD - The top can be removed as I did not glue it. I set 3 dowels on top of each of the 2 legs so that the top would always lign up correctly if disassembled and reasembled. The stretcher could be removed, but would probably cause some damage to the finish as it was a tight fight when I finished it. The stretcher would be removed by removing the dowel pegs that I fabricated on each leg.
In reply to Disassembly by g82martin
Mon, 05/19/2014 - 08:21
Thanks. I really like the dowel pegs on the legs/stretcher. Very nice top finishing as well. Did you square the boards to get them to be so smooth when joined?
Mon, 05/19/2014 - 08:26
I cheated a bit on the top. My neighbor who got me the wood works in a furniture reupholsery shop. He planed and joined the boards for me, which saved me a good amount of time. I'm confident I could have done this at home with my table saw, miter saw and hand plane, but what he did in 2 hours probably would have taken me 10.
Fri, 08/05/2016 - 20:35
Love the dowels you added! Planning on building this exact table pretty close to your dimensions and have a very long church pew as well! Trying to decide between L-ing my pew and cutting to straigjy 6'. Do you mind sharing the dimensions of your pew? And how did you miter the pew?
Tue, 01/21/2020 - 09:40
Beautiful table. I love the pegs added to the legs and stretcher, they add a historic detail lost in a lot of today's building techniques
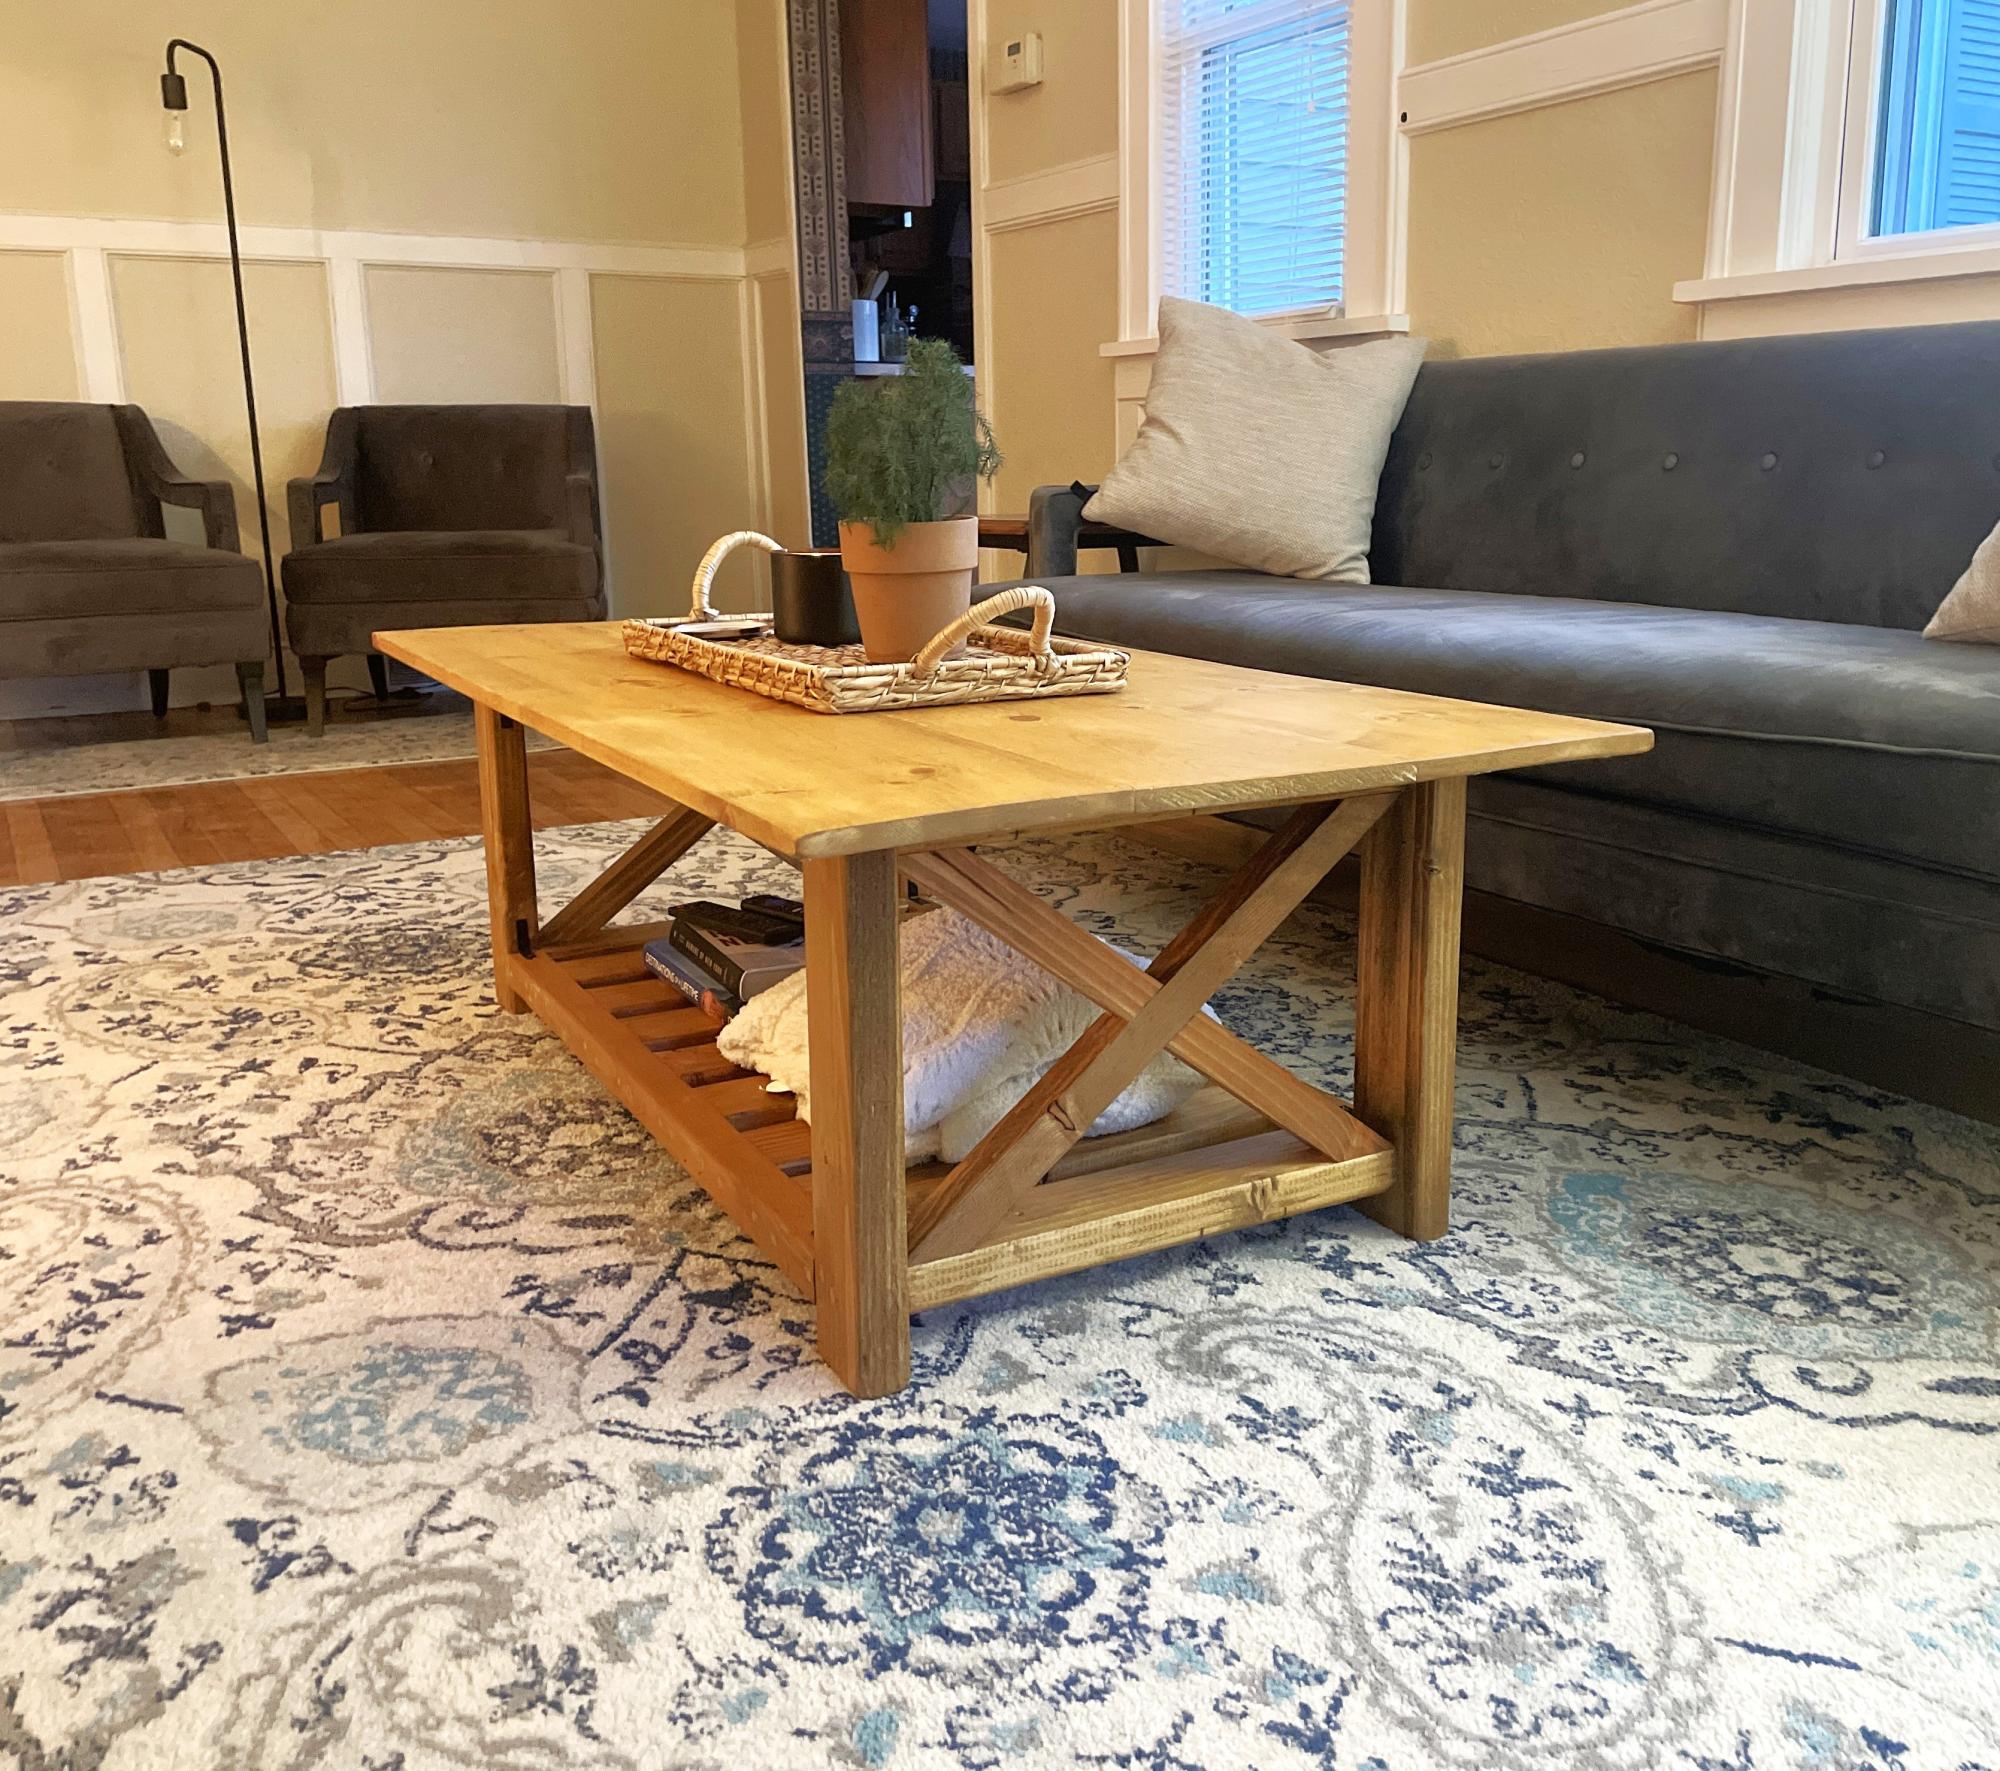
Coffee table! Golden oak stain on pine lumber.
Jack Hutchinson

Loved doing this project. Used the Ana White plans with a few mods. Made the back removal so that I could easily transport. This was for my daughter's apartment that had no entry closet for her shoes and coats.
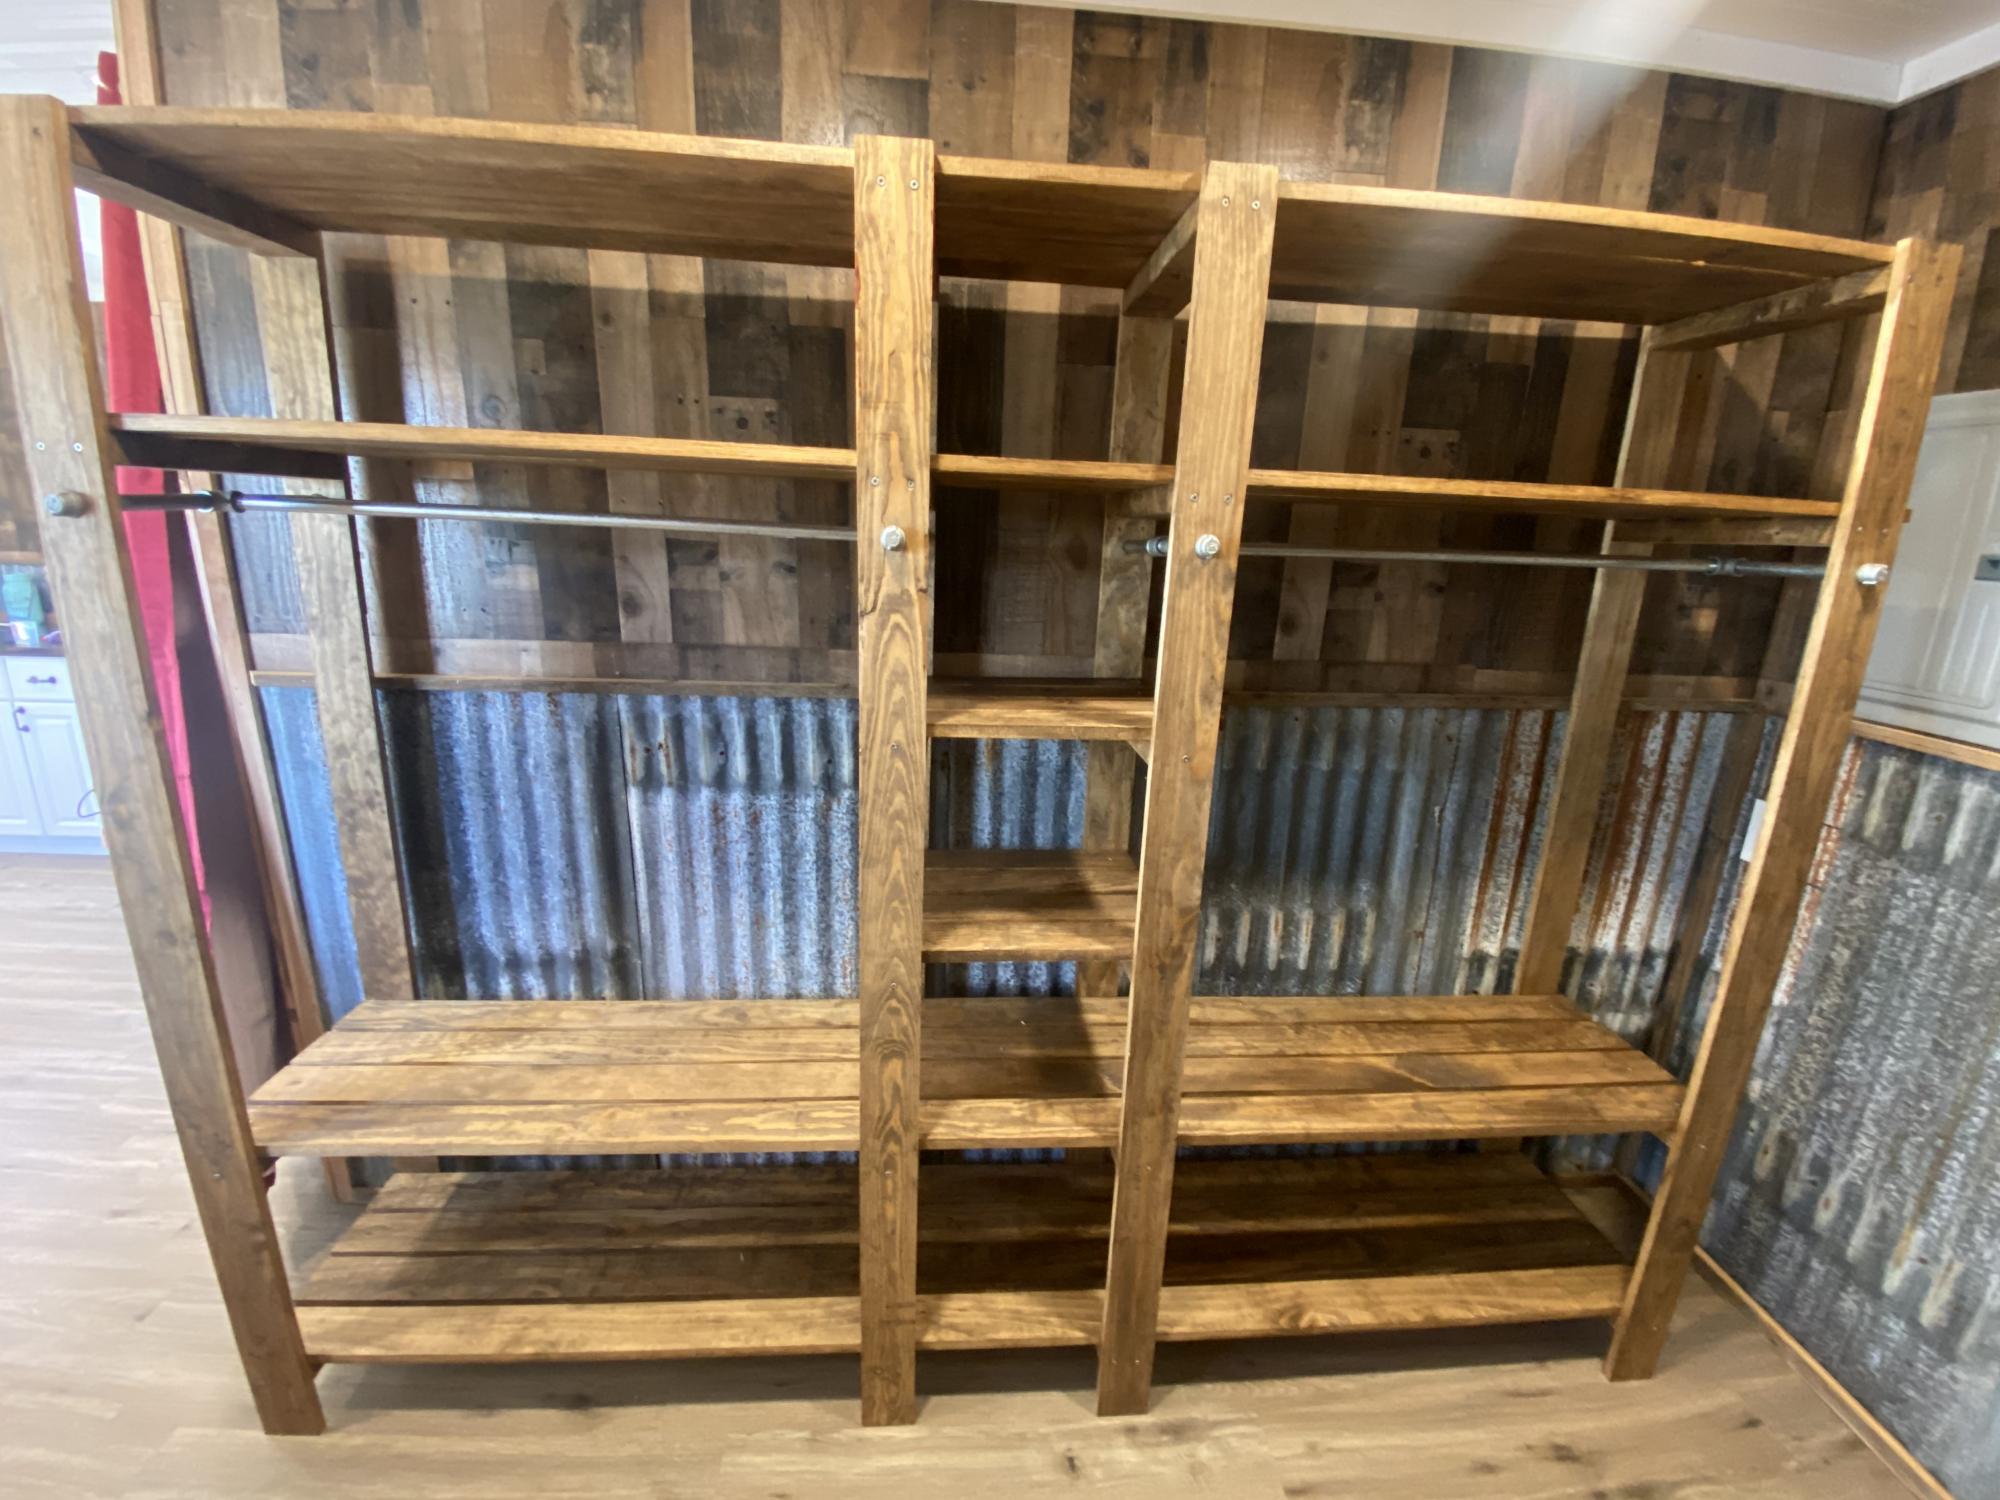
This plan turned out perfect!! Such a great idea, thank you for the inspiration!
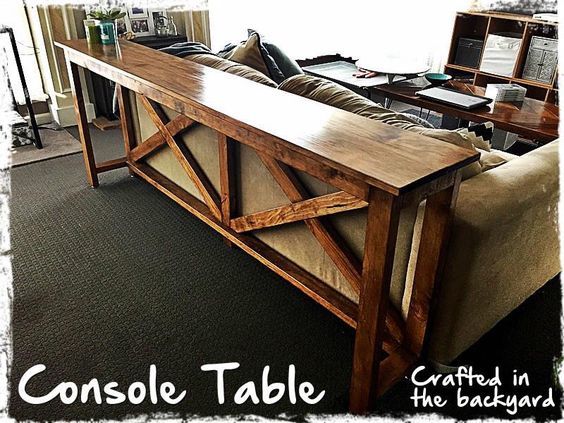
Made from the modified Ana White Rustic X-Console Table.
I made this console table to fit the length of my sons couch. It's about 6 foot long.
It was really easy to make. My only tip is to sand all your timber before assembling. Getting into the tight spots with a sander is quite difficult. I hae now made 4 of these tables and sanding first saves so much time and headaches. The other 3 I have made were painted white and had stained tops.
Wed, 09/09/2020 - 09:03
Plans
do you have the plans for this? i've been looking and looking for what i needed and this is it!!
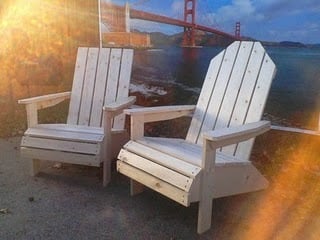
My husband, step father and I built these Thanksgiving weekend (2010) and my mom got us a half bushel of oysters to snack on and made awesome steamed mussels with bread for dinner. This was a very fun family weekend.
I modifyed the plans a little to make the arms angle in a bit instead of being straight boards and also created the curved front. Then after building the first chair, Pat decided to make the second chair's back rest taller and cut angles to match the arms.
I picked intermediate because of needing a miter saw for all the different angles needed for getting the front right.
Also, It took one day for each chair
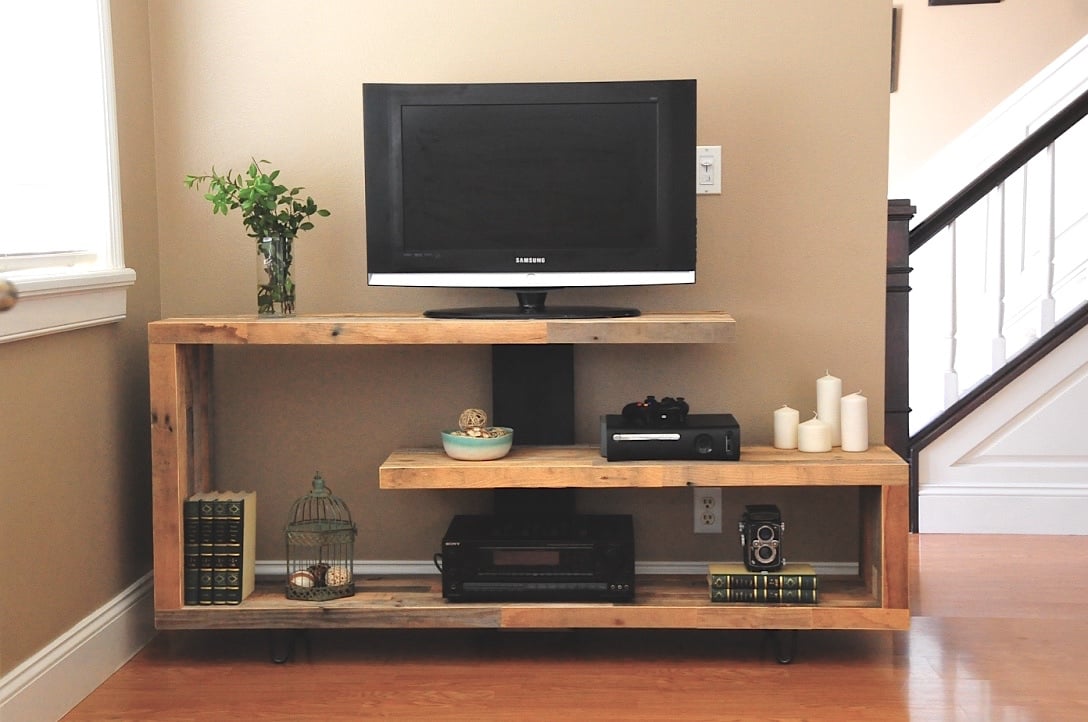
Just finished up this unique TV console. Built from reclaimed pallet wood.
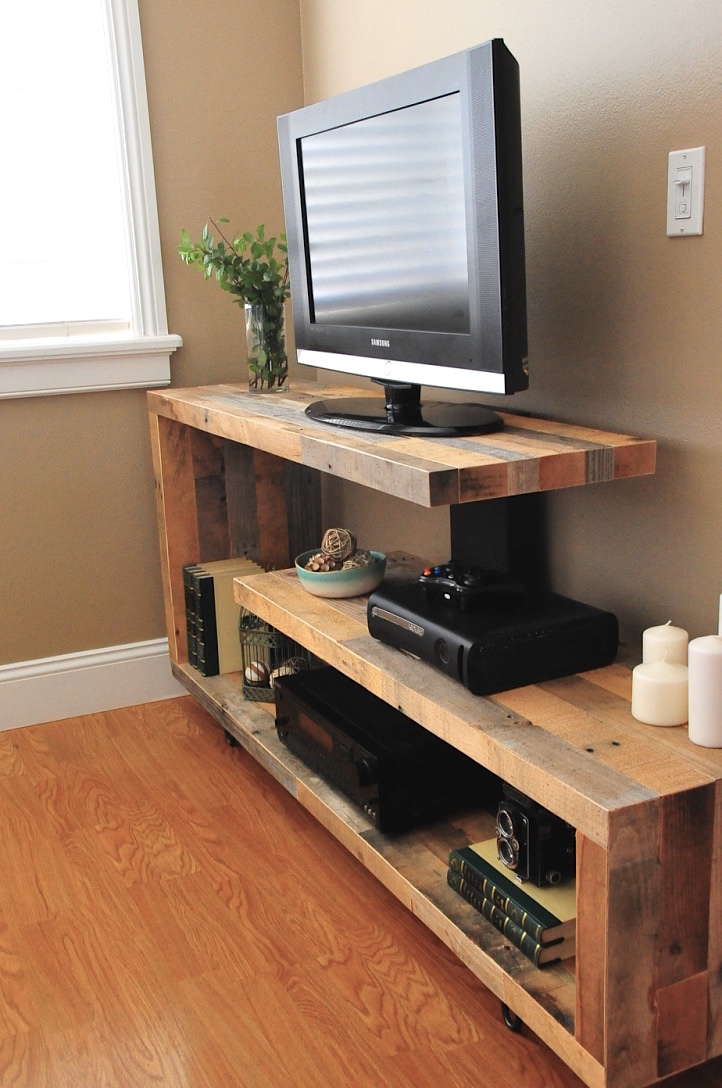
Mon, 12/02/2019 - 22:10
Hi there Im new to site and also have the issue of not seeing the plans for this Rustic Modern TV Console. Are they available and Im doing something wrong or??
Sat, 06/27/2020 - 05:03
I am logged in and I do not see the plans for the "Rustic Modern TV Console"
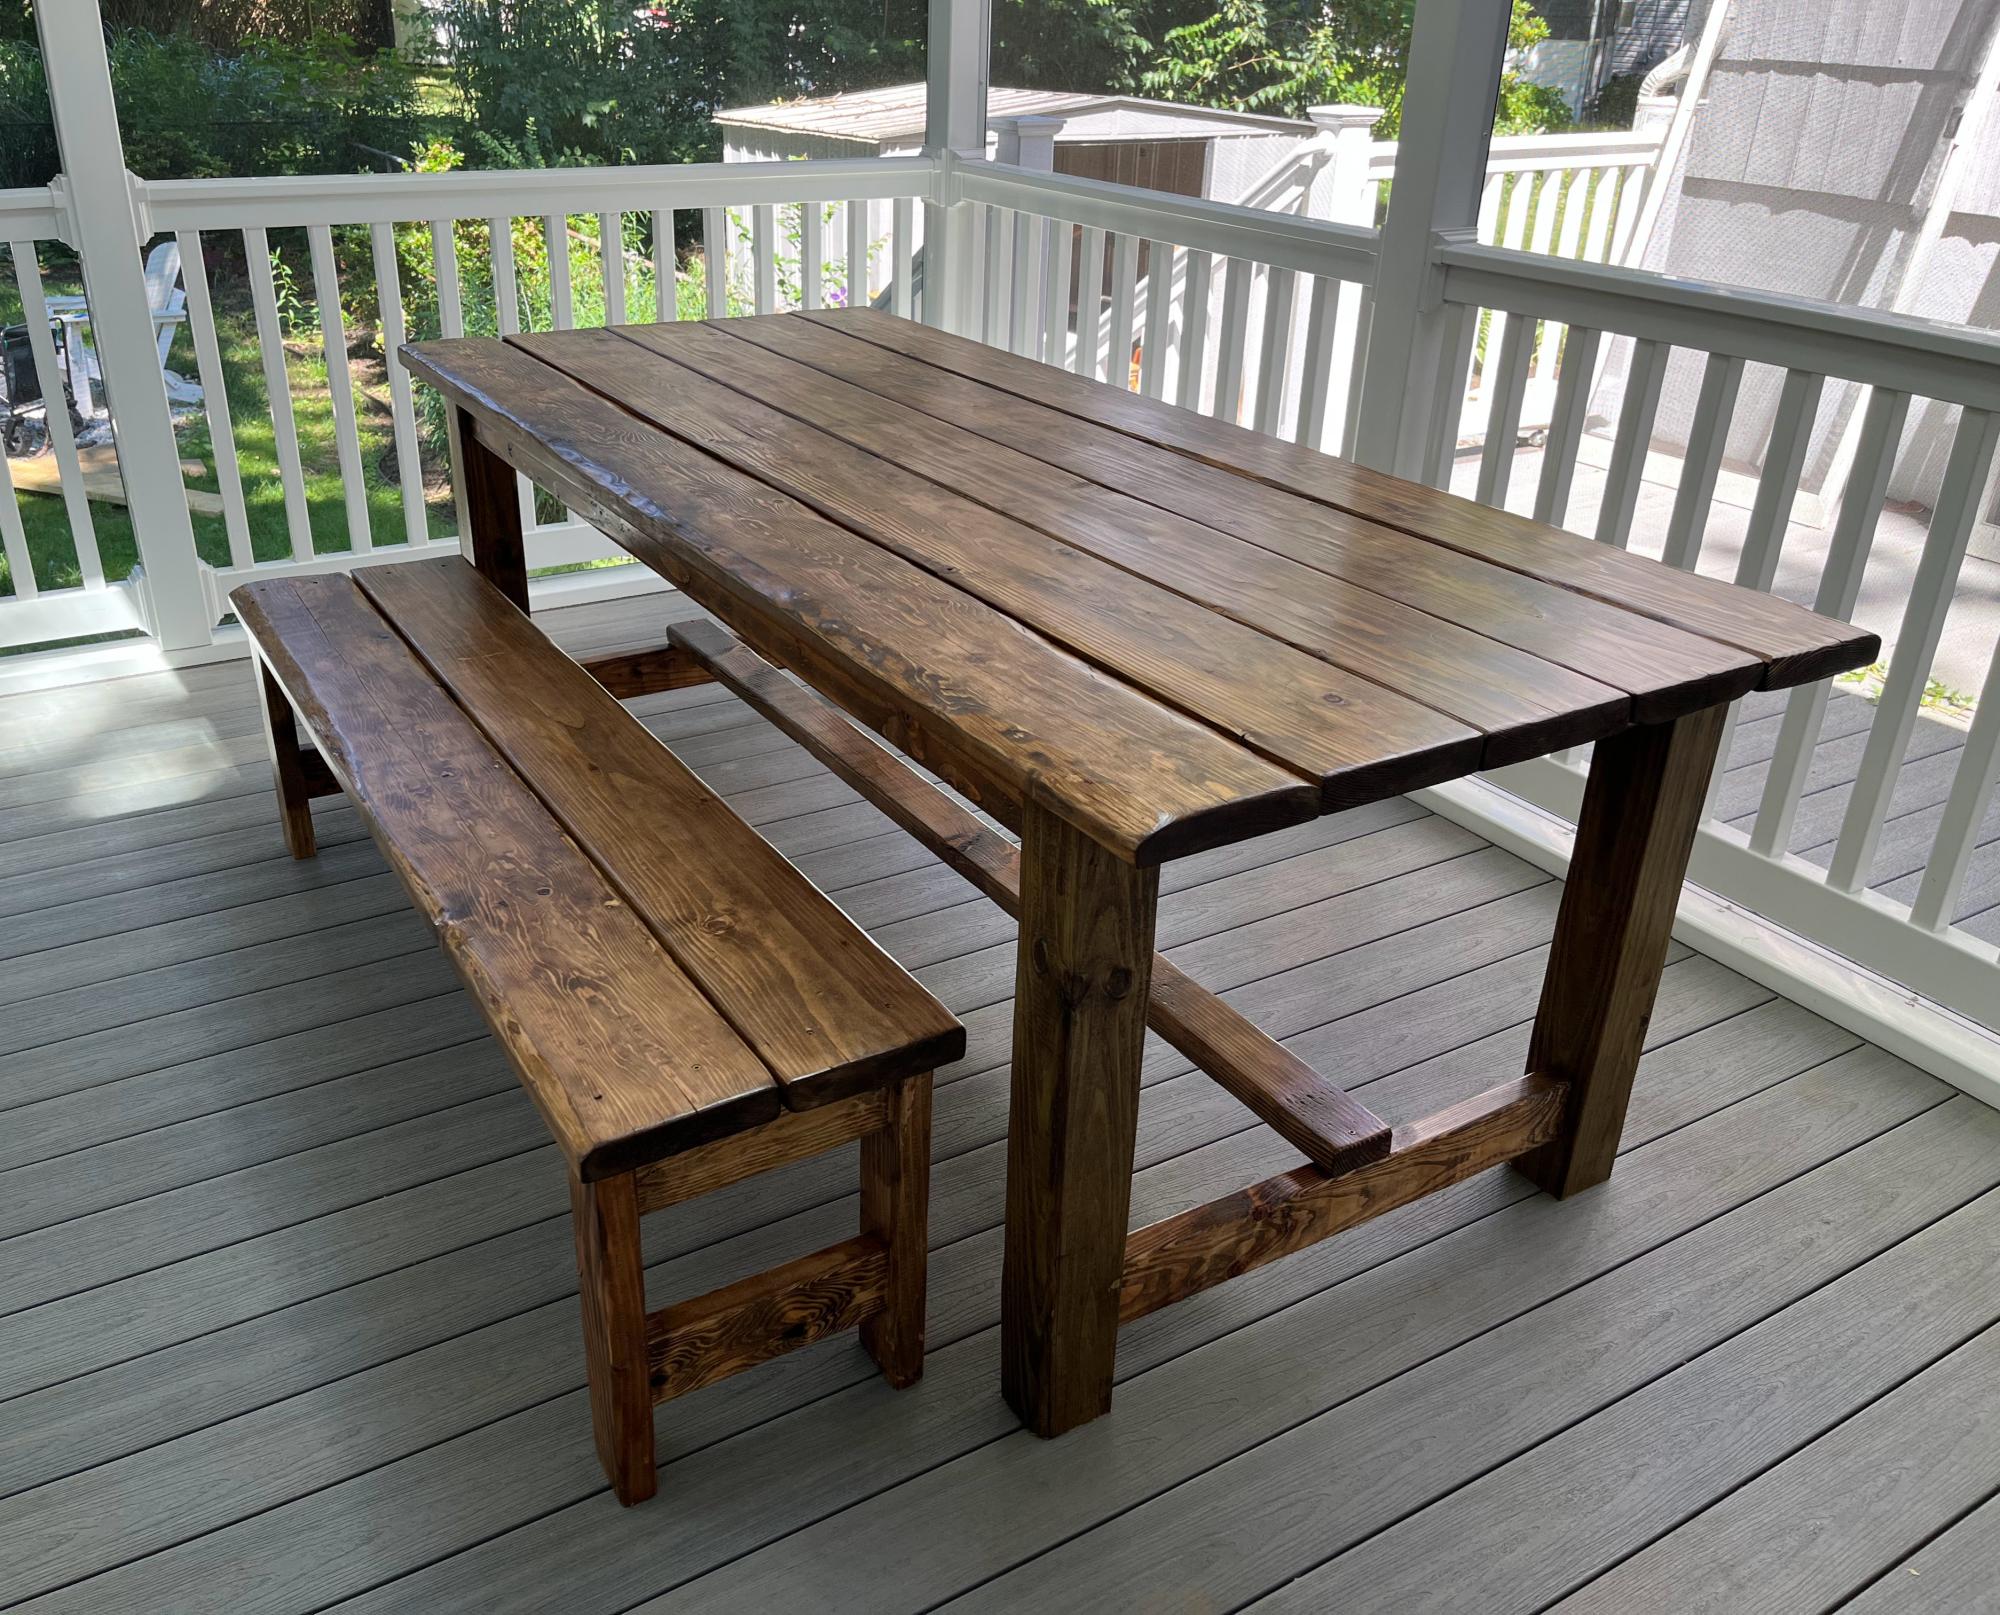
Altered the Beginner Farm Table plans to use 2x8s for the top and 4x4s for the legs. I used pocket holes for the table. I followed the bench plans almost exactly, adjusting slightly for the 2x8 tops. I am a beginner and I did it myself! The table and bench are beautiful and sturdy! Thanks Ana!
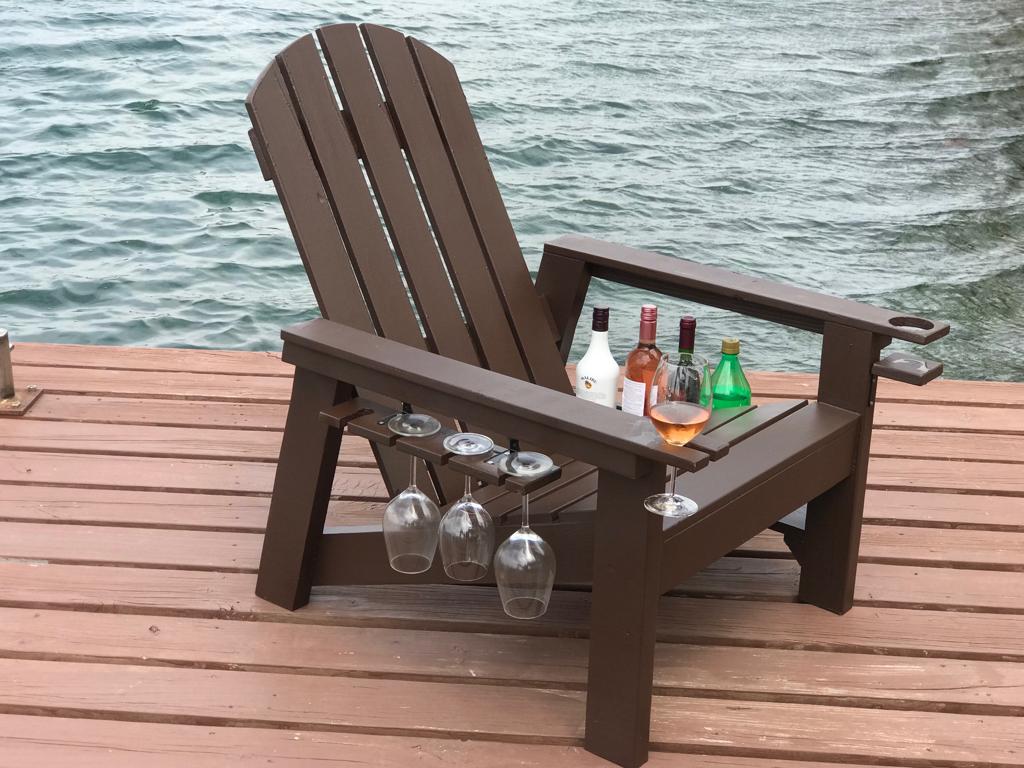
These are the adirondack chairs and I took the basic model and added a wine glass holder and also a bottle/snack bag holder.
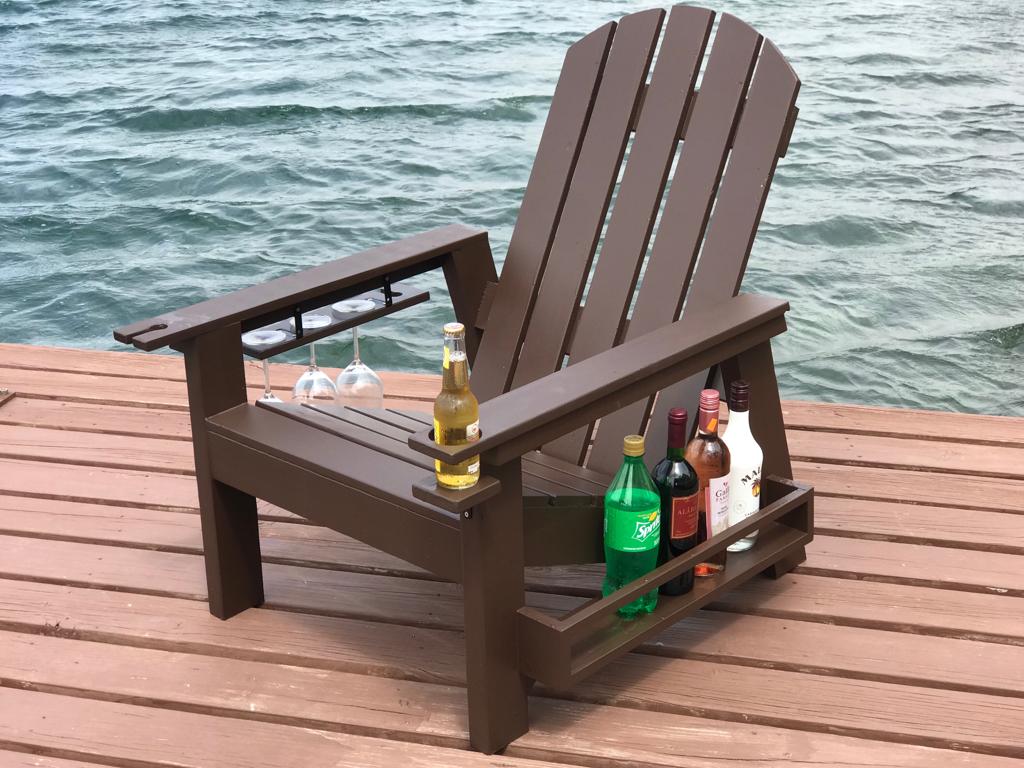
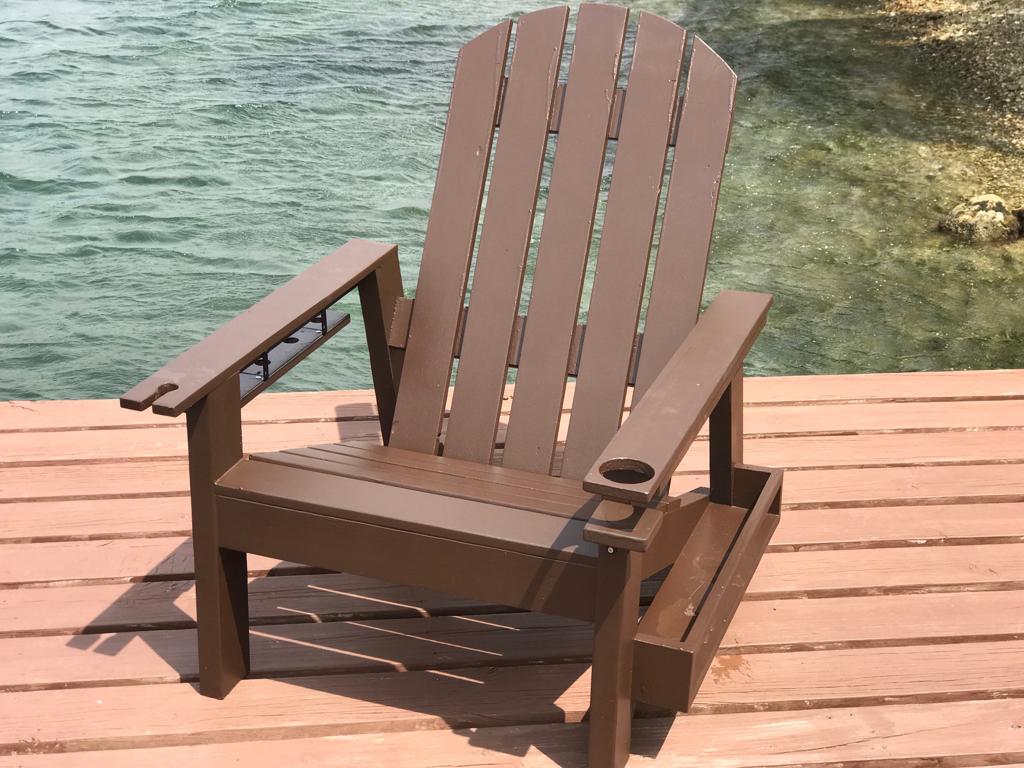
Fri, 08/21/2020 - 20:10
Any chance on sharing your plan for what you added on? I’d love to make this as a gift for my MIL!
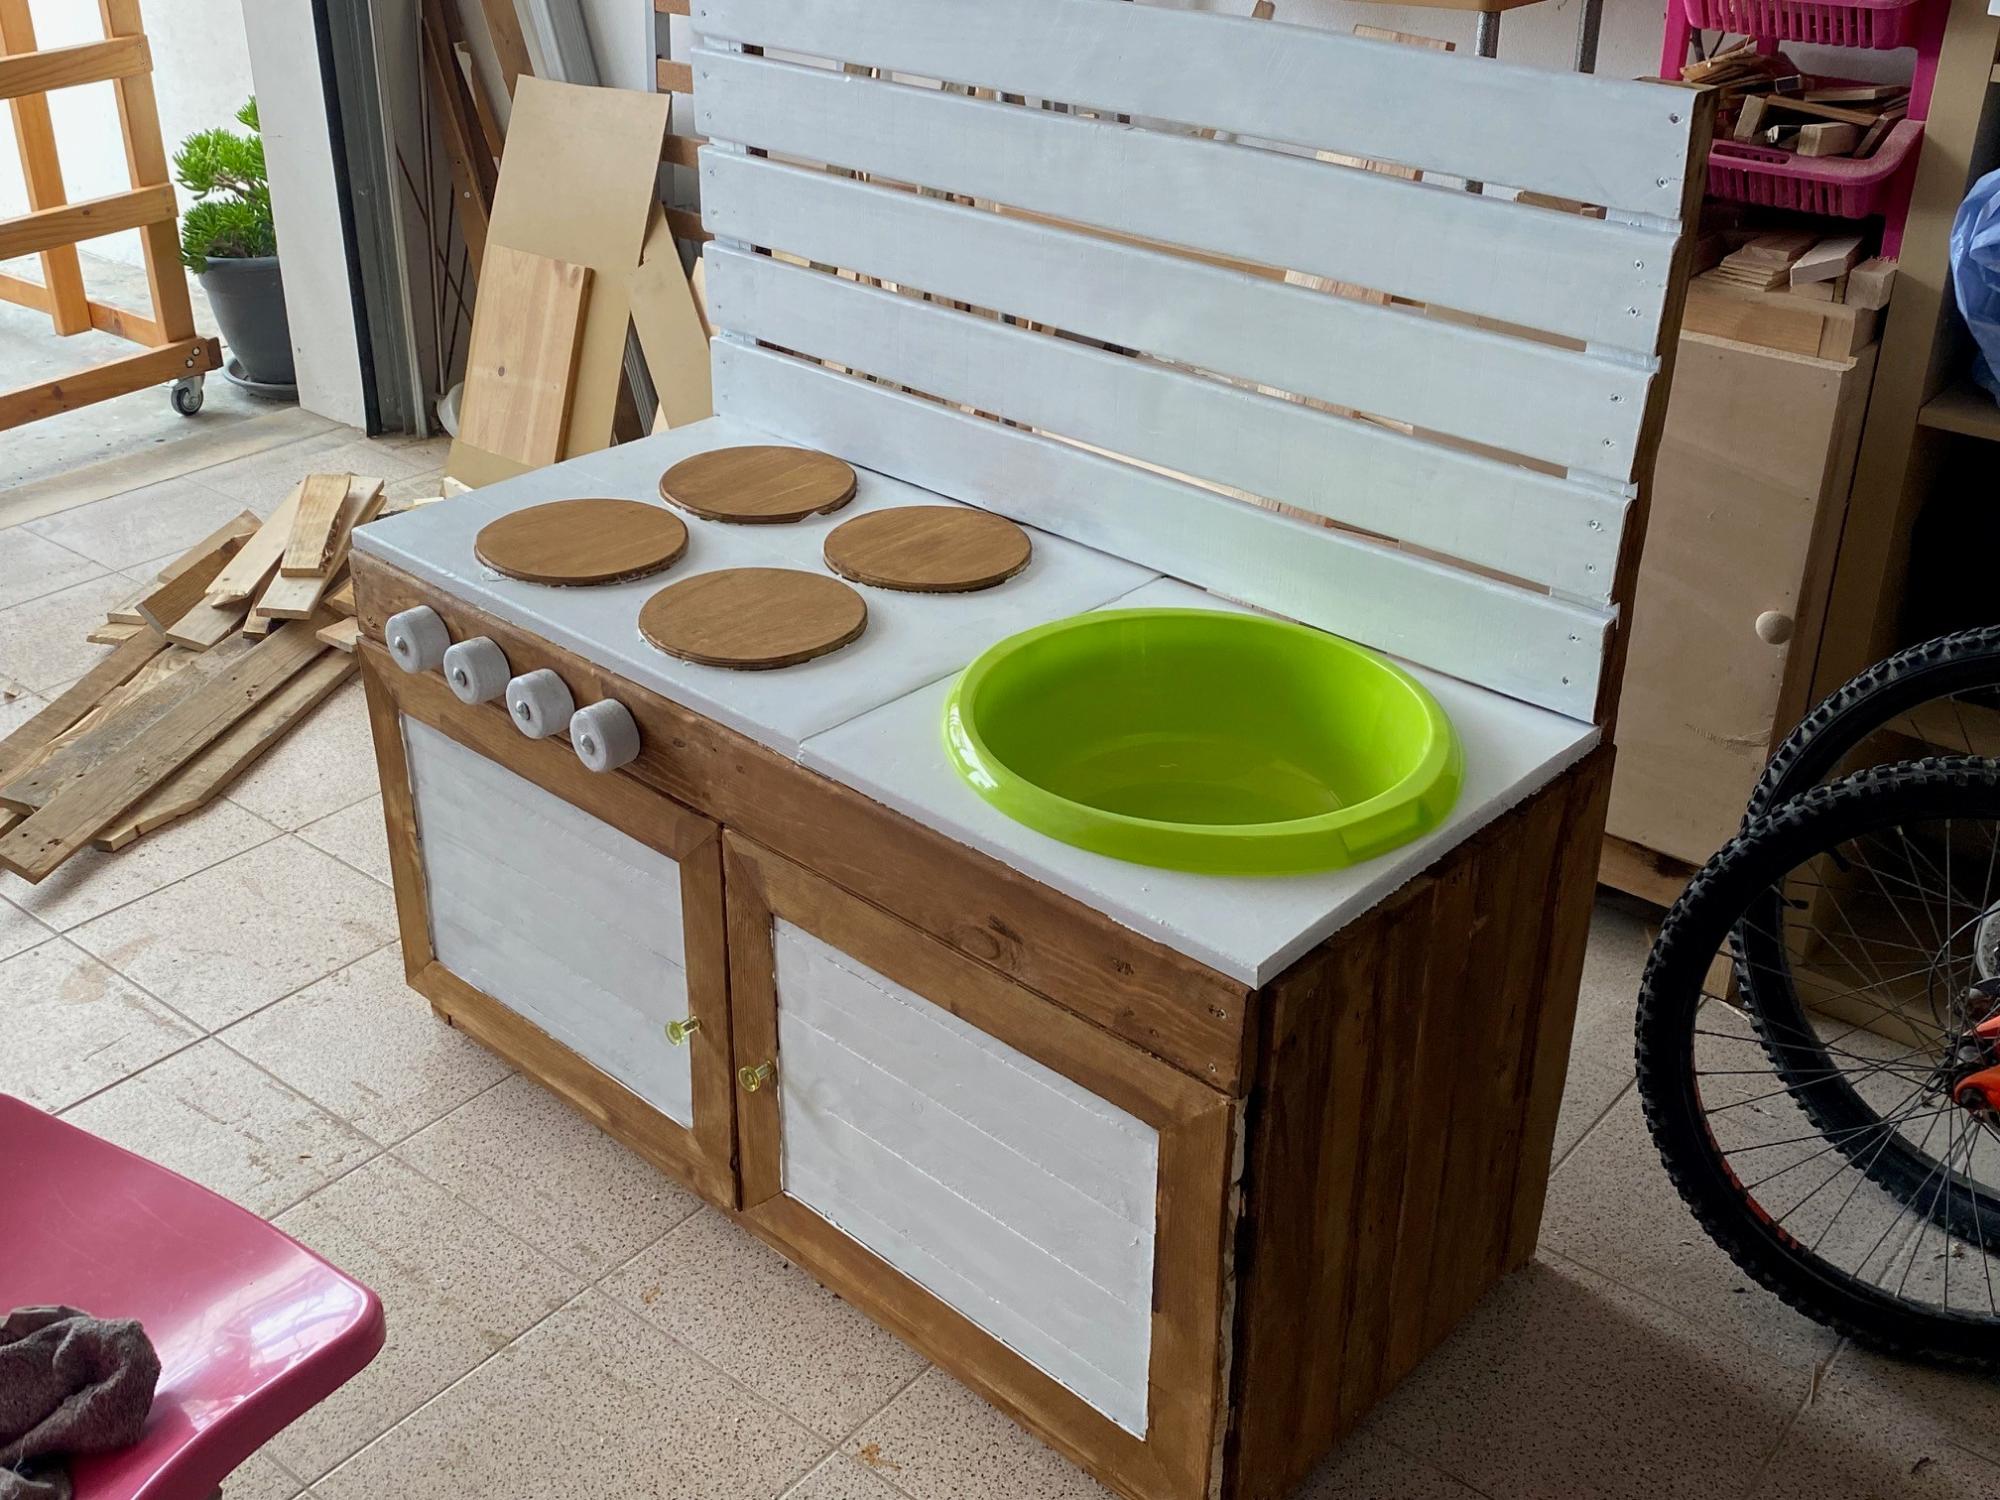
Here's the Mud Kitchen I made for my son's kindergarten. All made from palettes. Unfortunately your plans came out just too late
Fri, 05/05/2023 - 11:40
Thanks for sharing your version, it looks like a lot of fun!
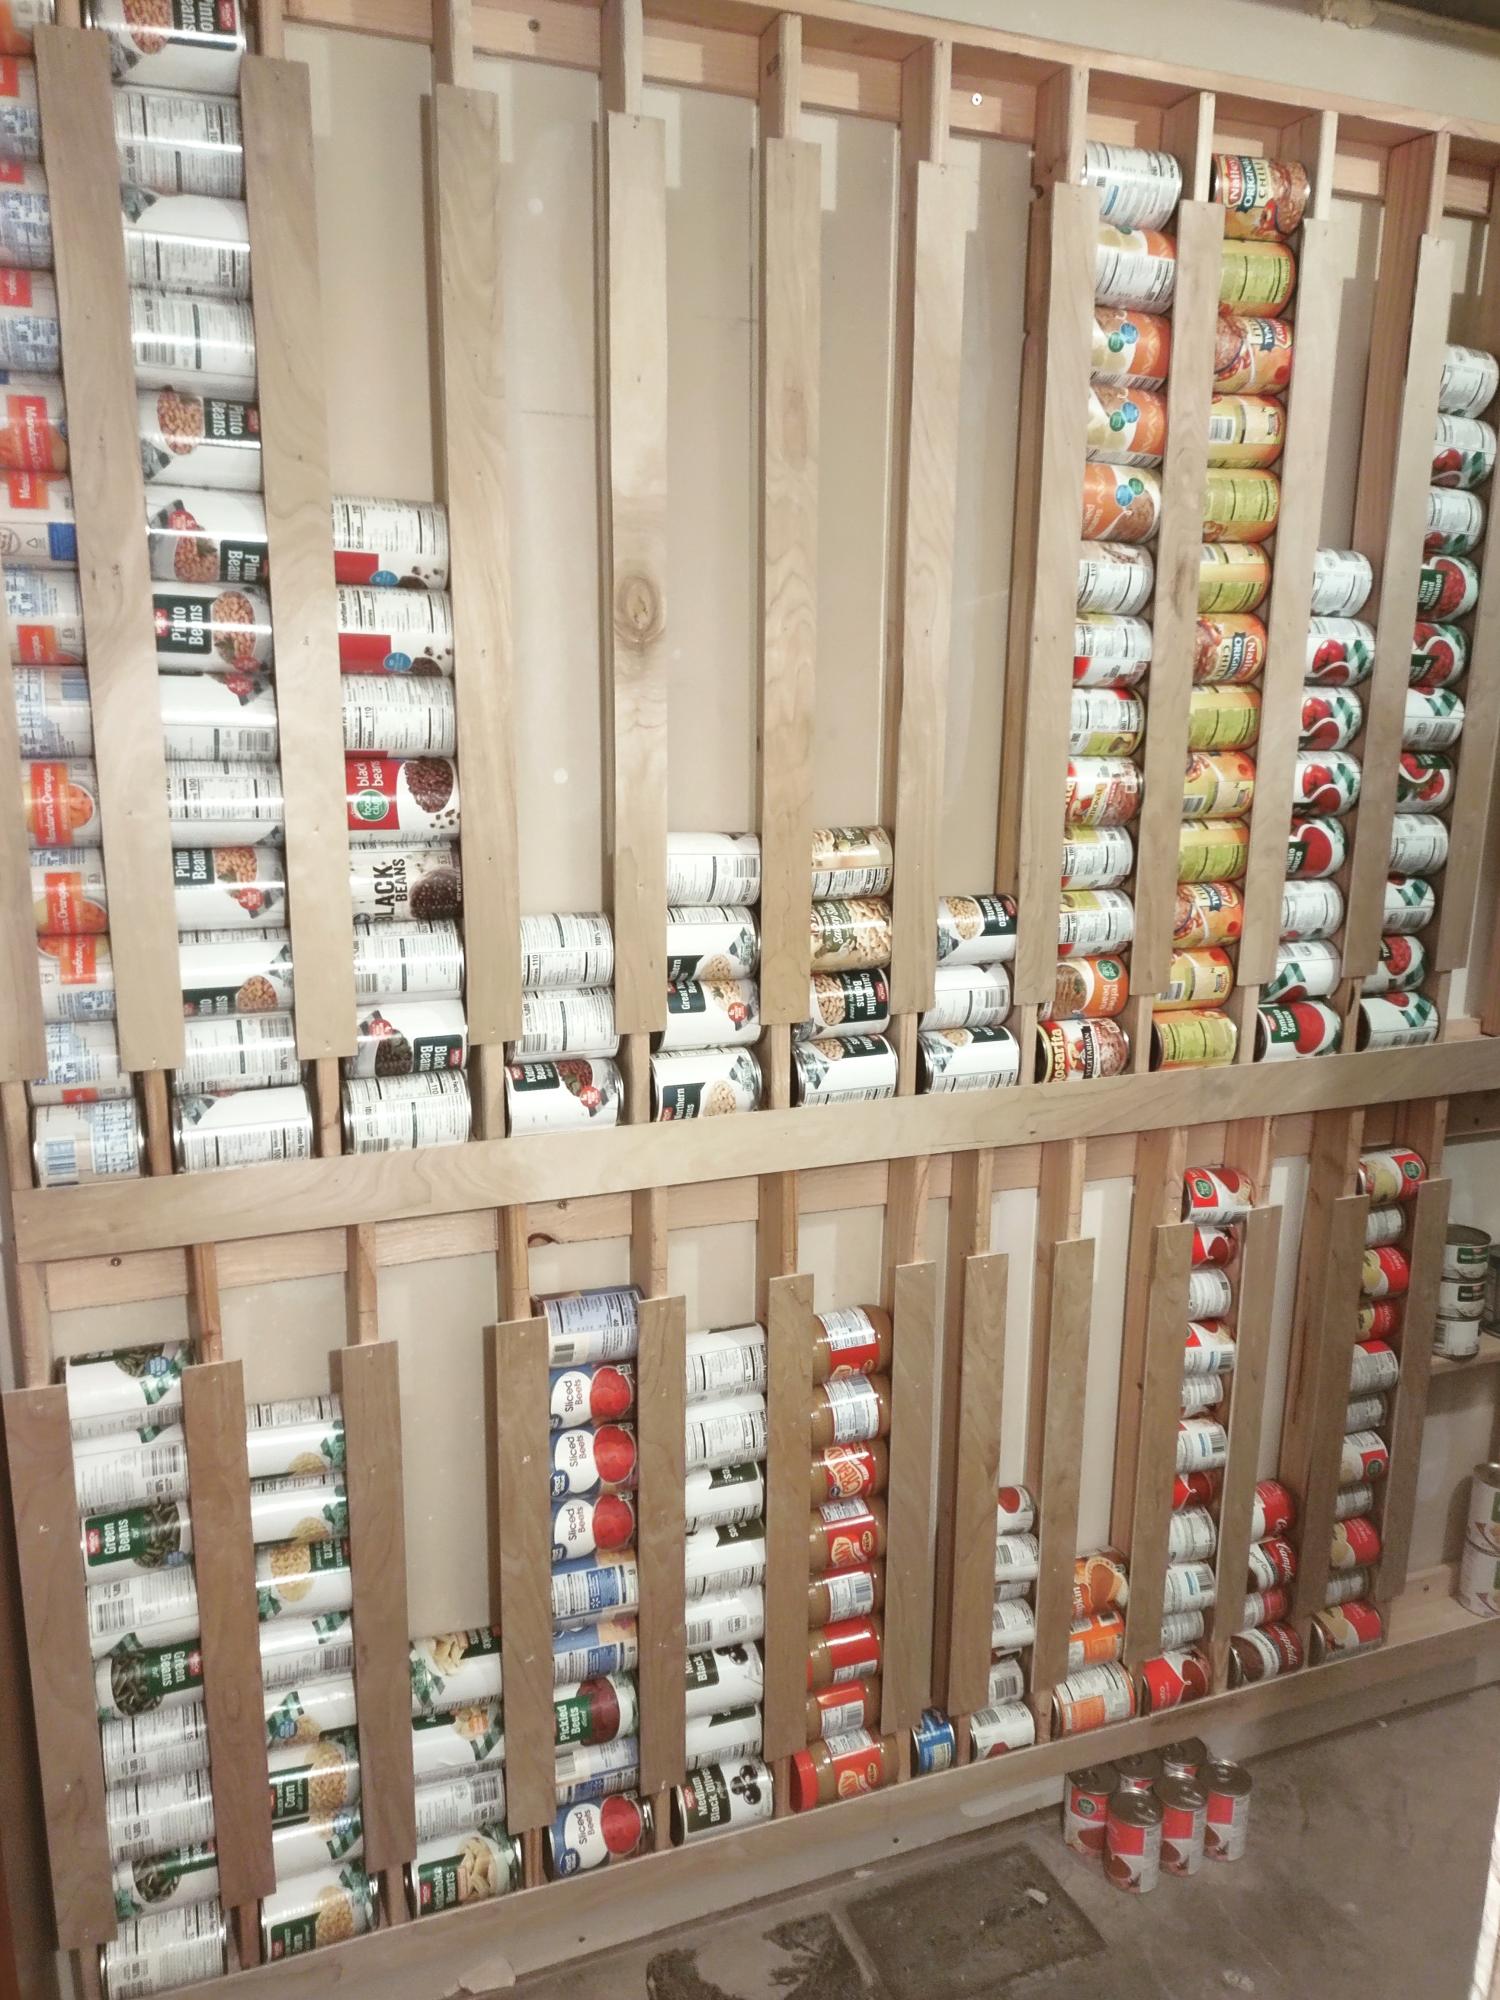
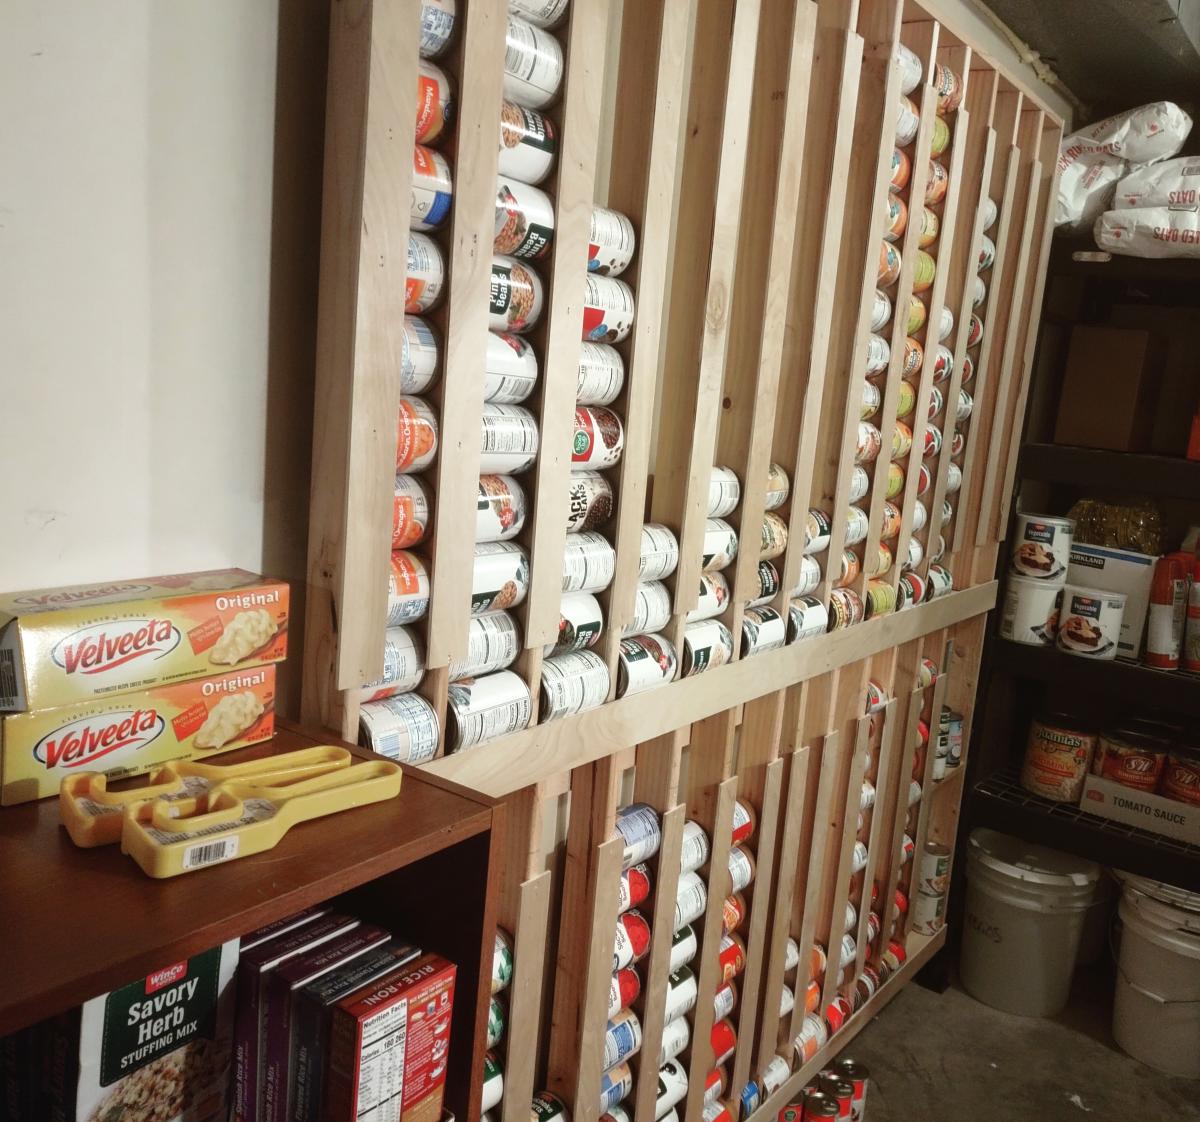
We love our new can storage!
Shayla Shumaker
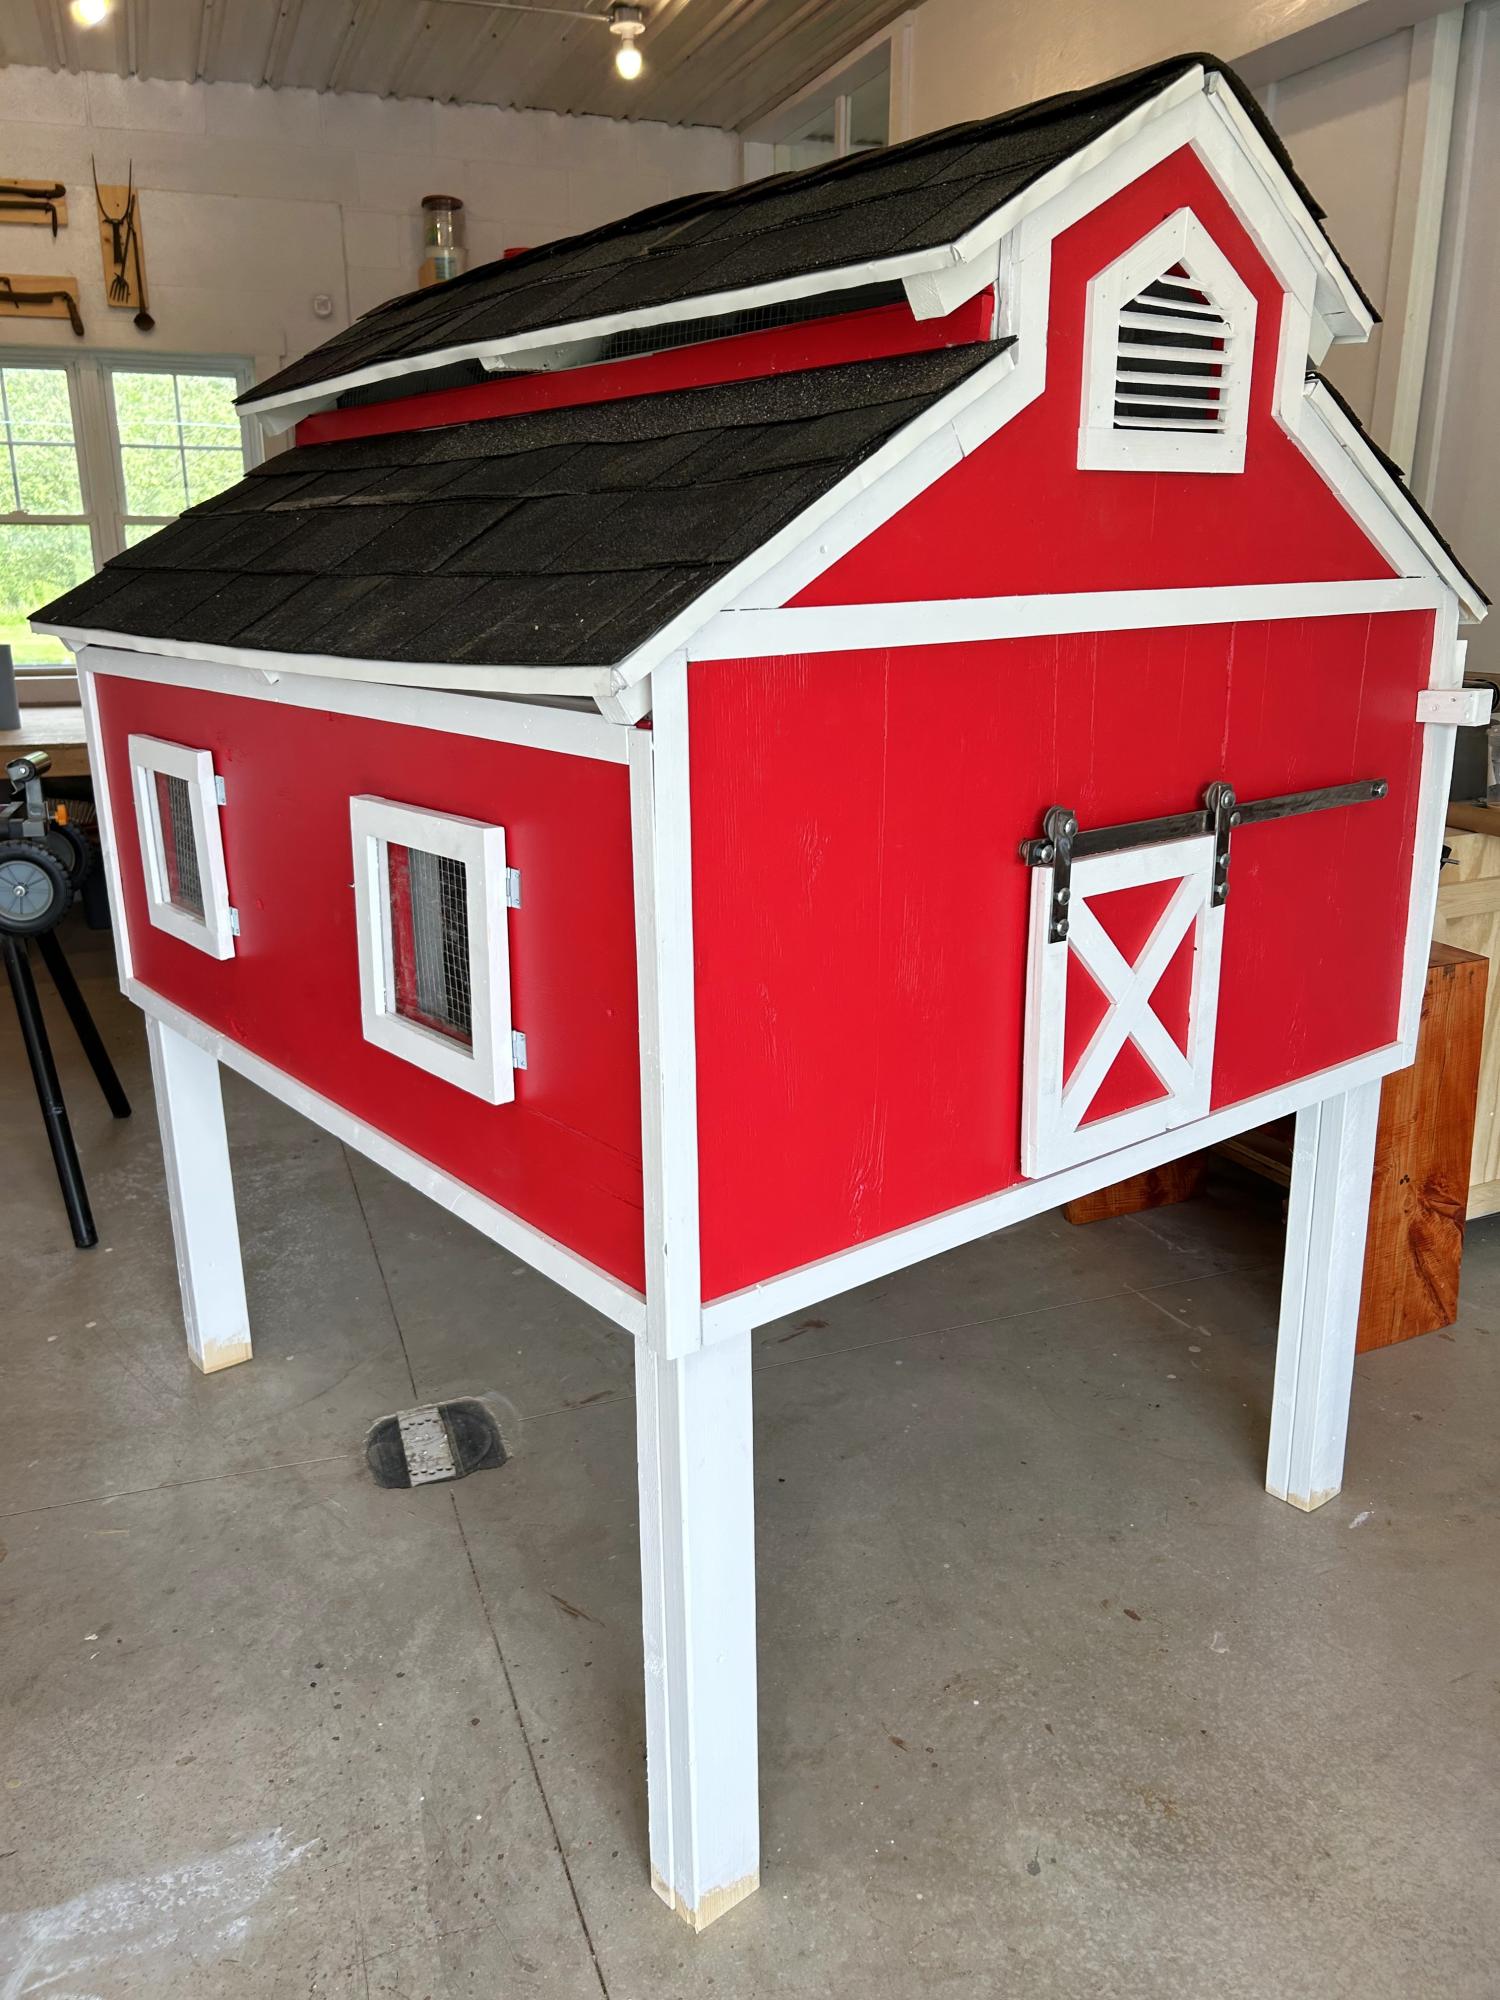
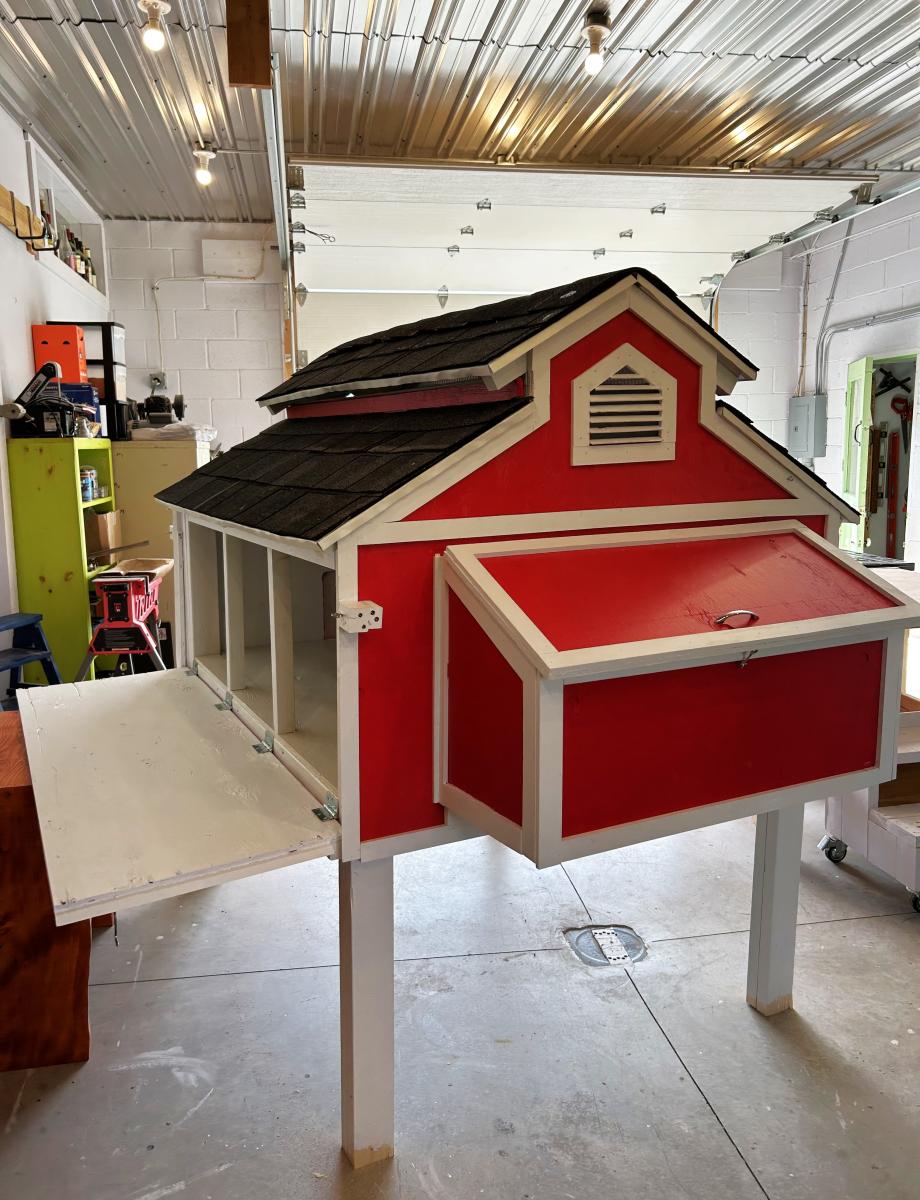
Chicken coop I made to look like a little red barn complete with a working barn door. We have seven girls and they love their lovely barn home.
Sue Laidacker
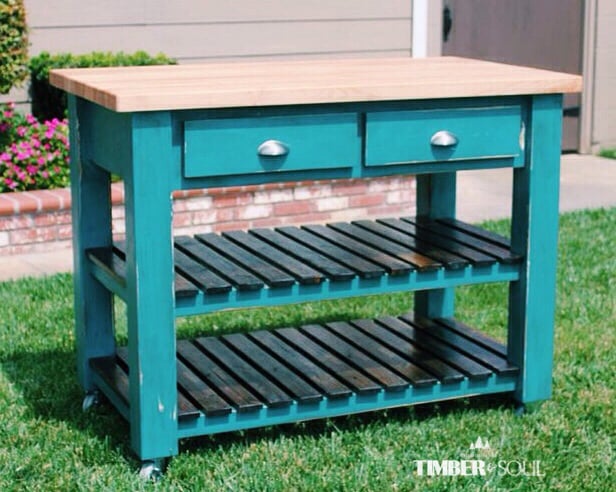
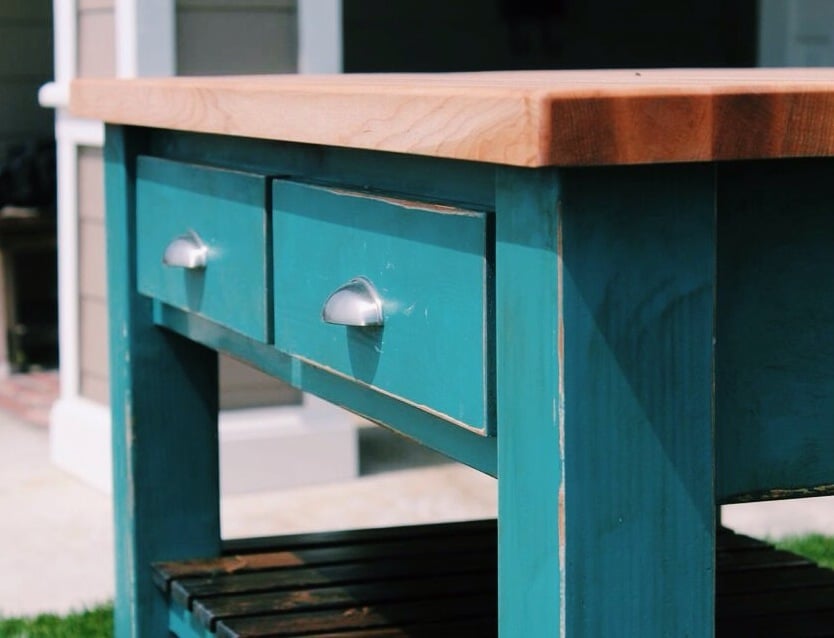
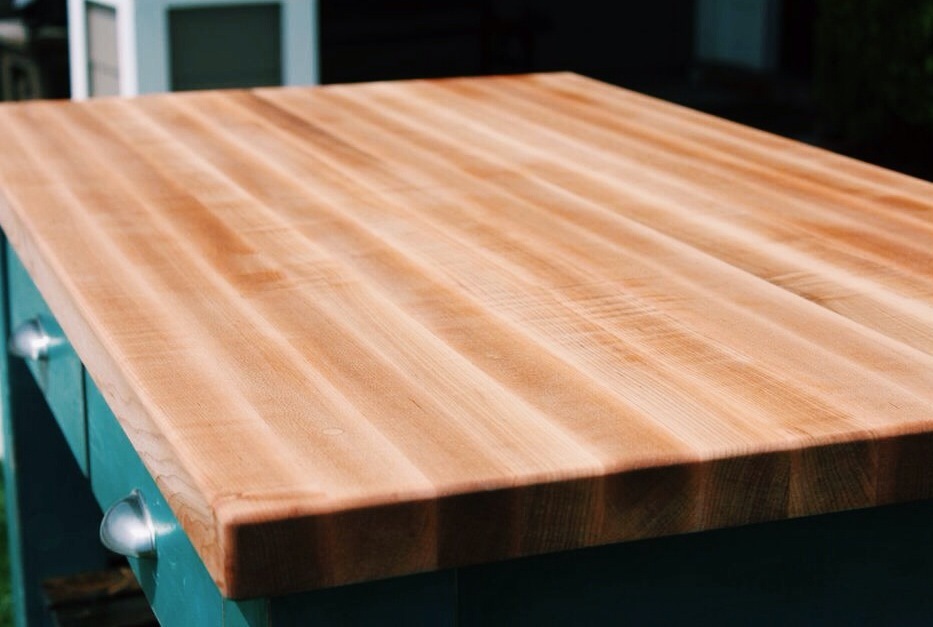
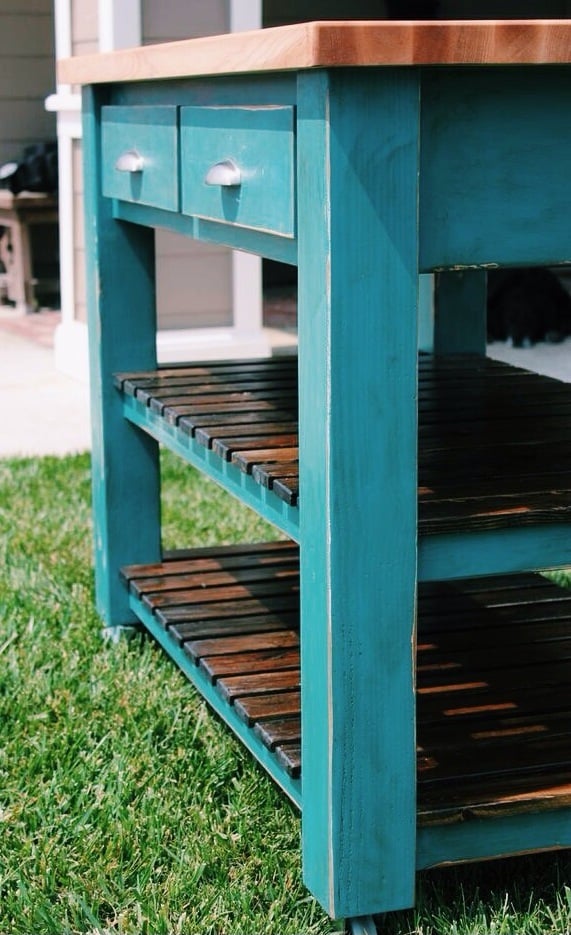
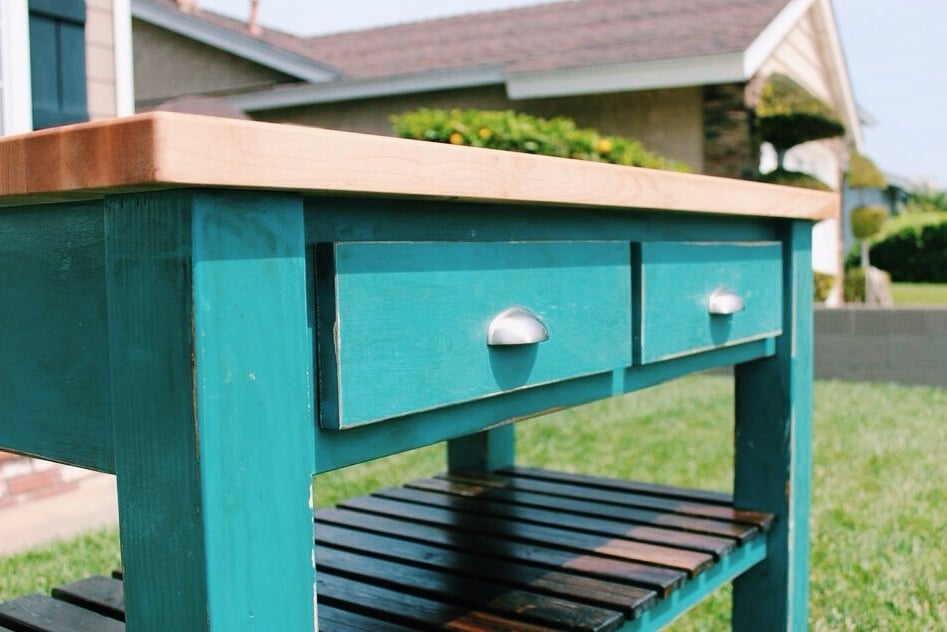
I built this from Ana's plans with some slight modifications. The top is built from hard maple and is an edge grain butcher block. I sealed the top with mineral oil and beeswax. The finish is distressed calypso blue. I also added 3" locking and swiveling casters.
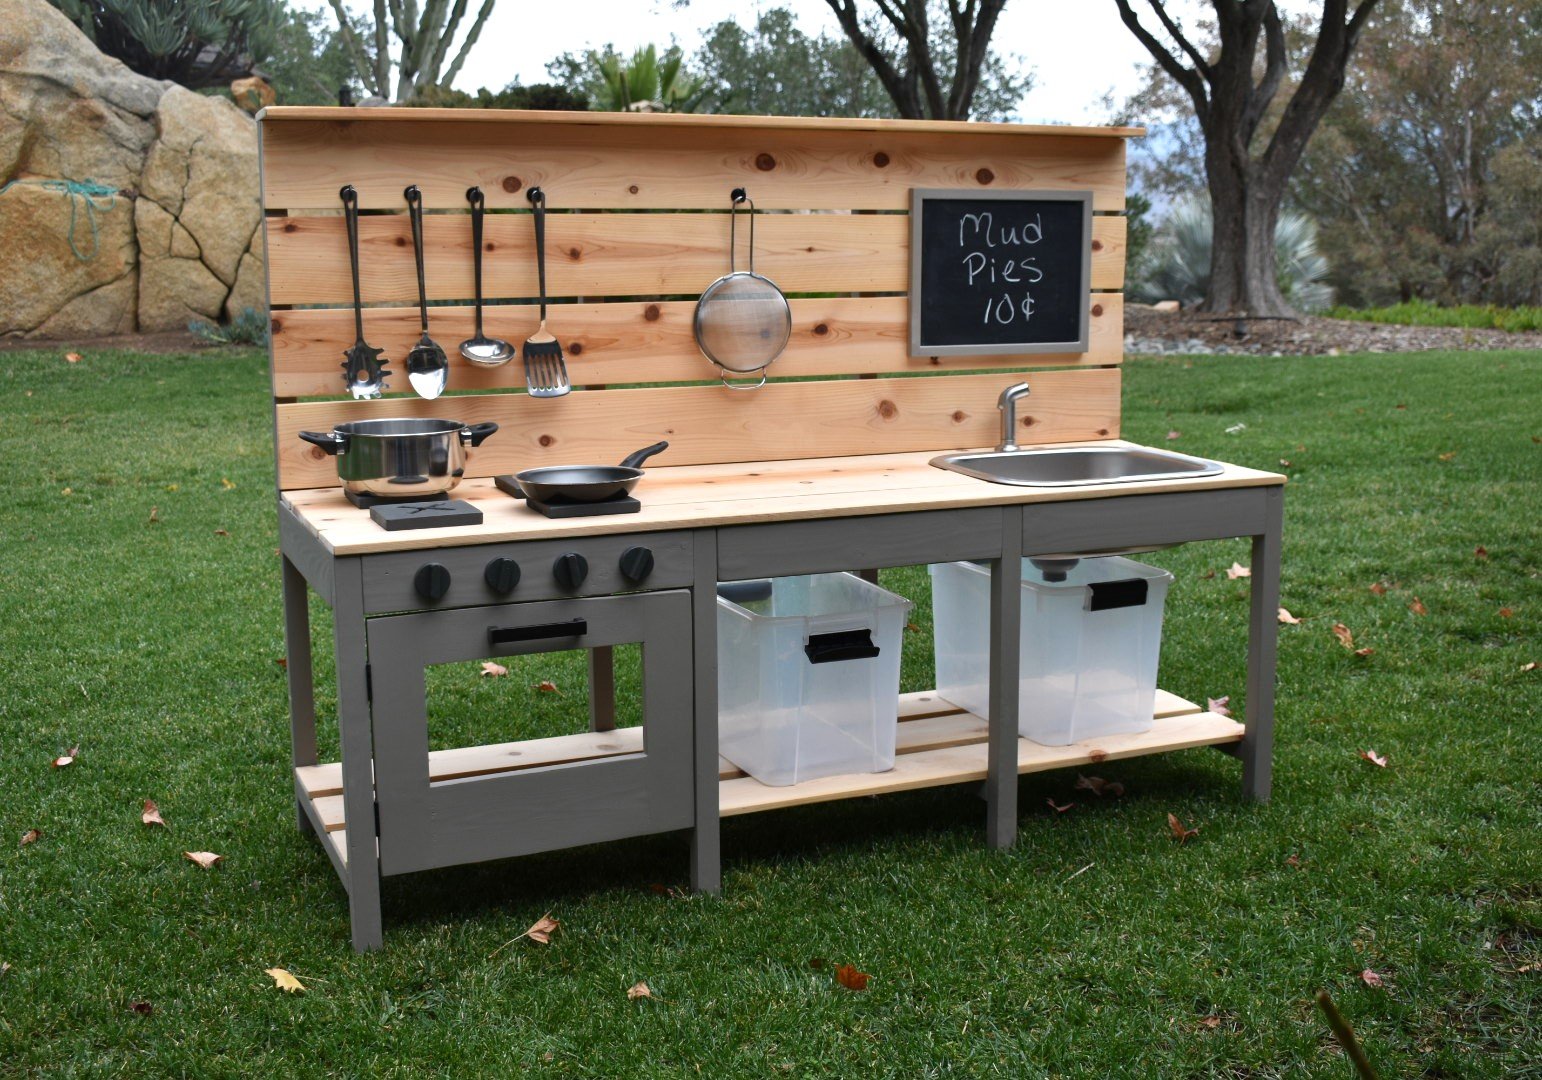
We modified Ana White’s excellent Mud Kitchen plans, adding a third section and scaling the whole thing slightly larger to be a better size for our 4 and 6 year old grand daughters. It was so much fun to make and accessorize!
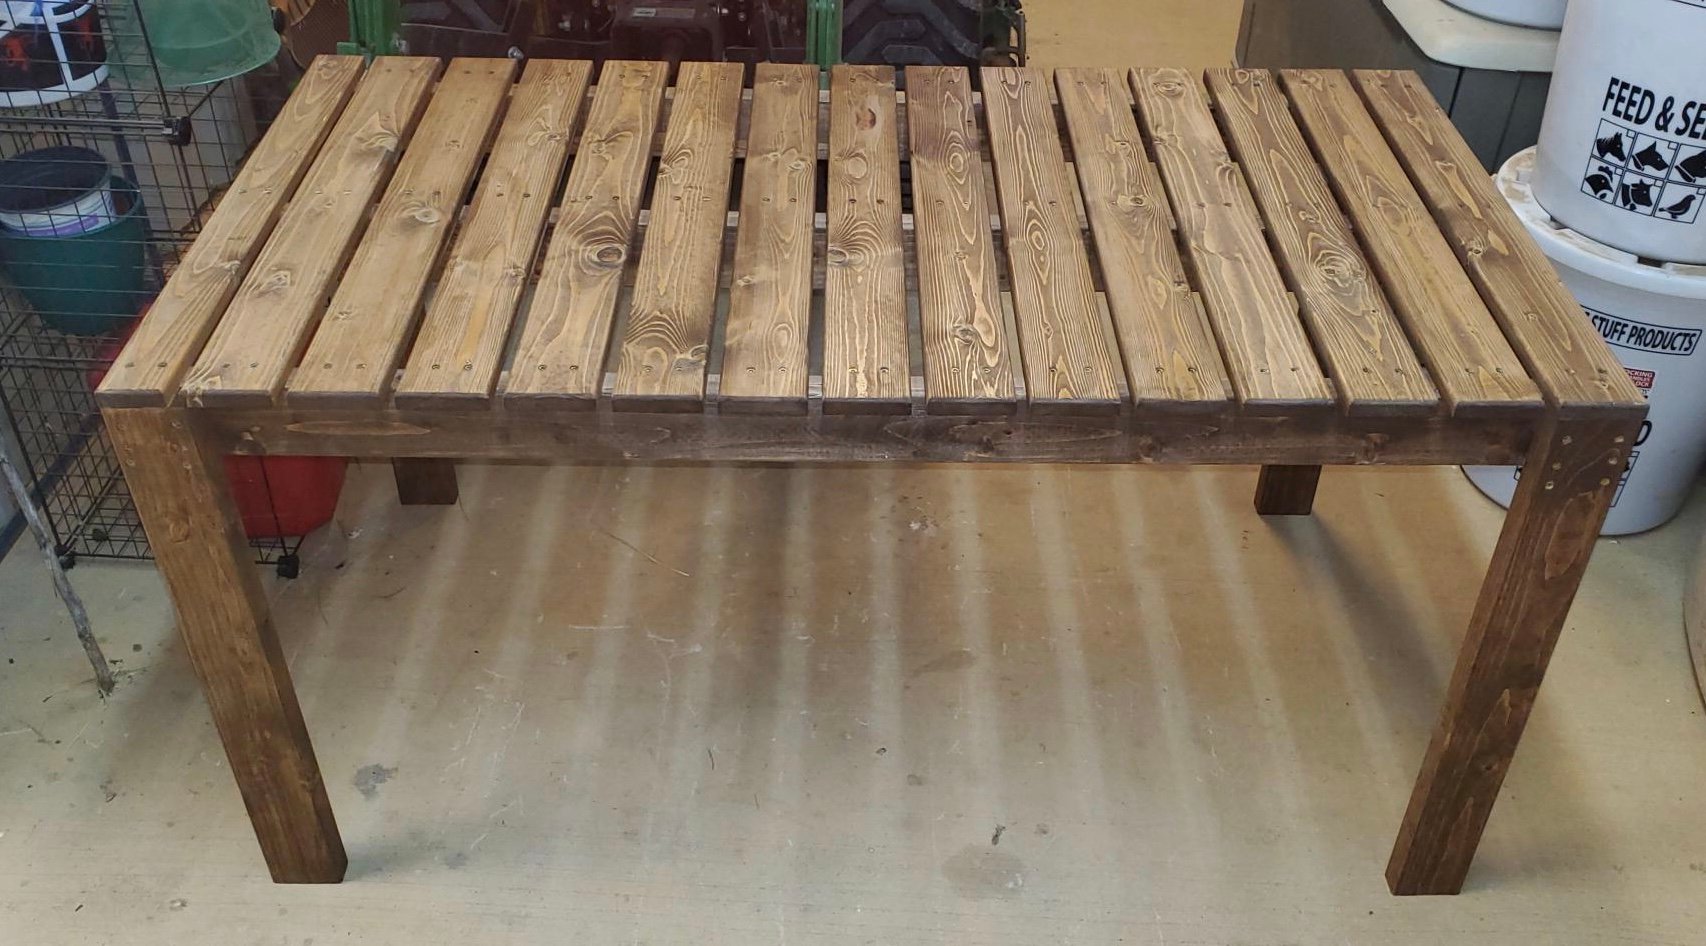
This table is very nice and so simple and inexpensive. Just choose your lumber selectively. I used prime 2x4's for higher quality.
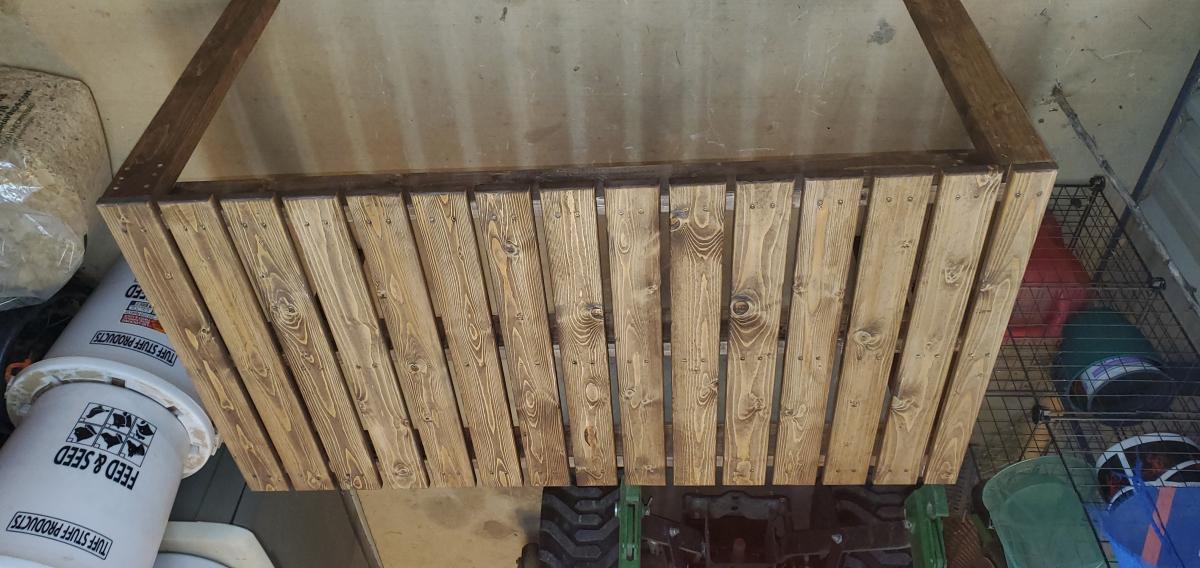
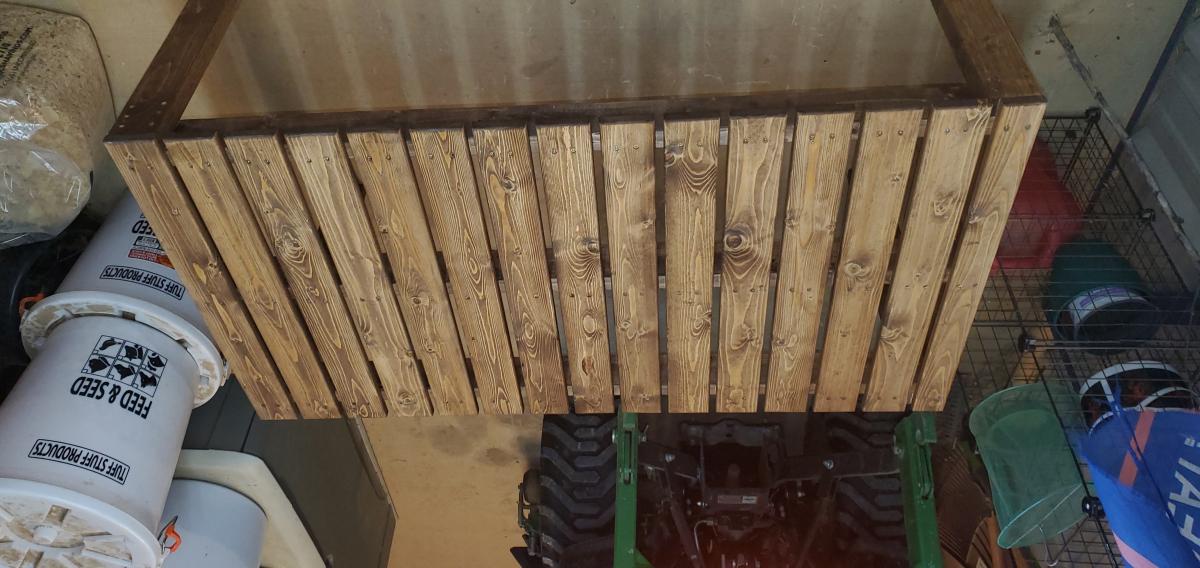
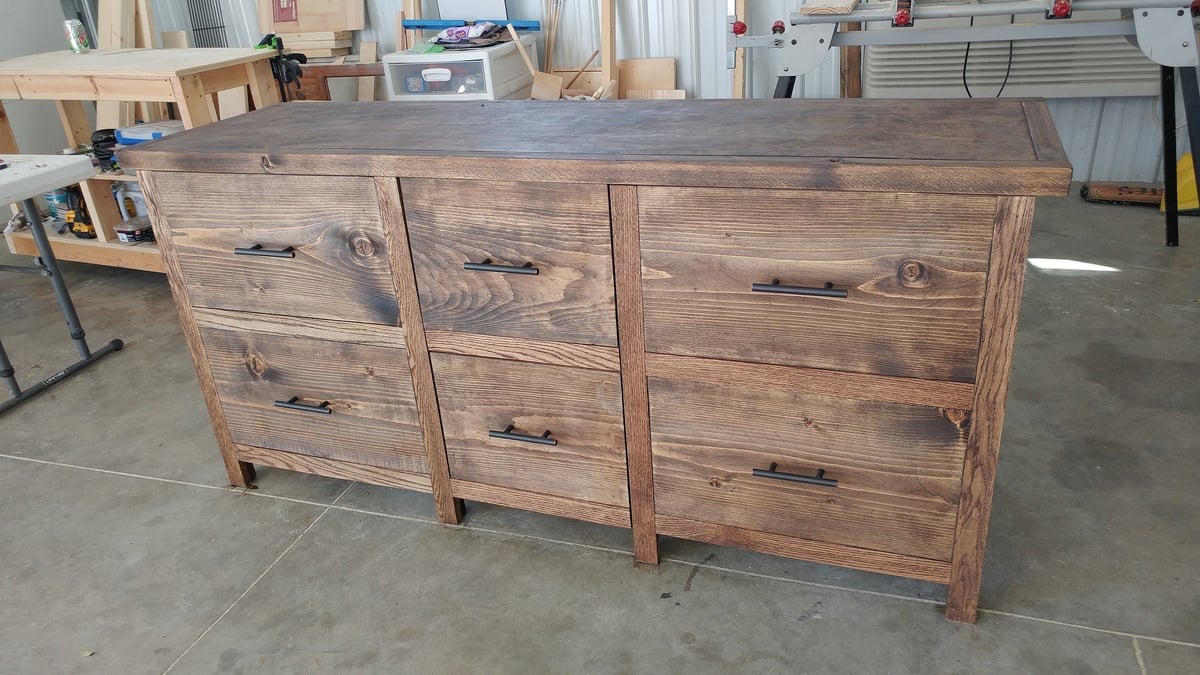
I shrunk the size and dumbed down the plans to fit my skill level.

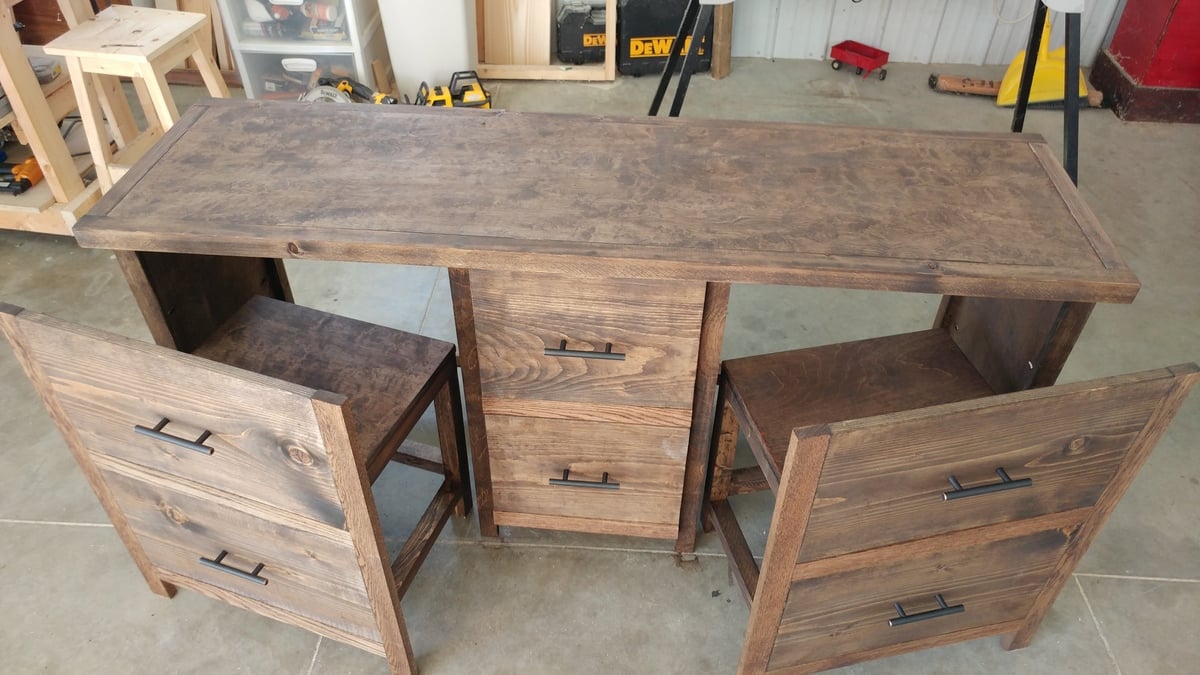
Mon, 10/10/2016 - 09:08
I love what you did! It looks so great! I prefer this style, which is more simplistic than the other. Great work!!
Mon, 10/10/2016 - 10:28
Love how this turned out - the simpler drawers is just as (if not more) beautiful!
Tue, 10/11/2016 - 14:56
Thanks! I wish I would of set up an account before I posted so I could get notifications. I honestly didn't think anyone would notice it :)
Tue, 10/11/2016 - 14:58
I am so excited that people noticed this :) Is there any way of putting this under my account? I didnt make an account until today and I would like to get notifications. I have my project on my facebook page and can prove that I made it with other pictures. Thanks!
Mon, 01/20/2020 - 07:44
I would love to see this in a farm-house (rather than rustic) aesthetic along with drawers under the seats for extra storage. Maybe on casters with a fold up extension on the other side? So many ideas running through my head with this!
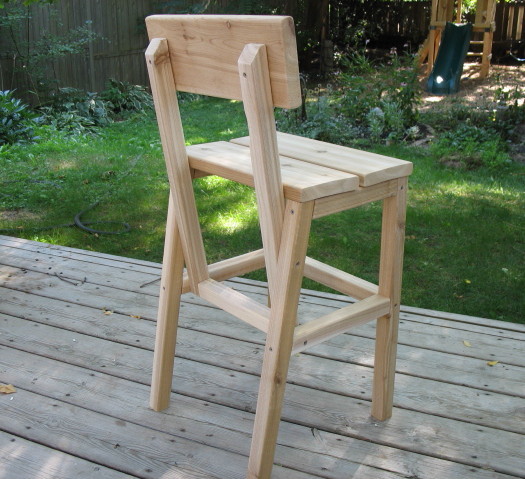
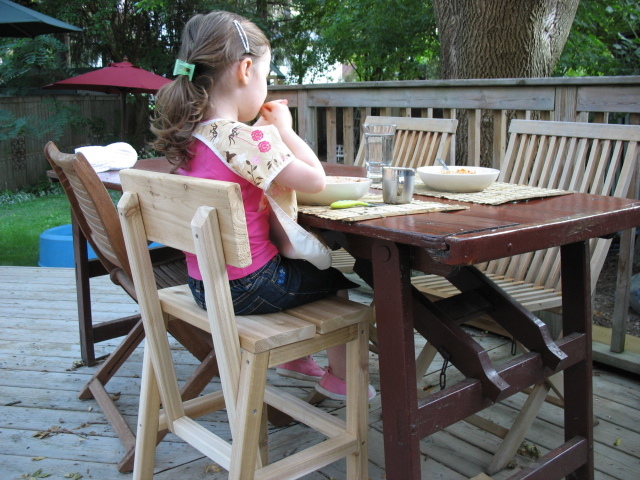
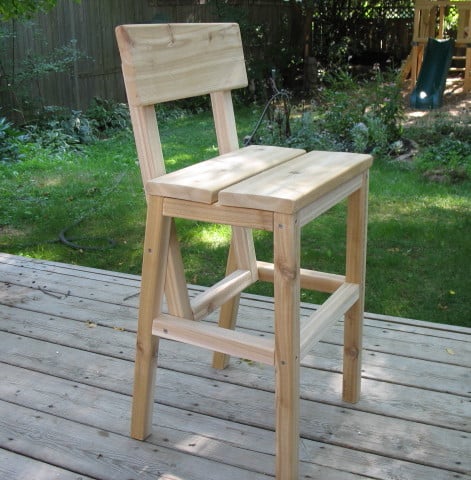
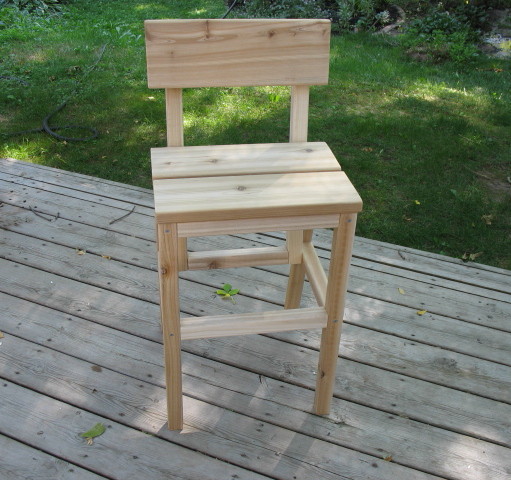
I used cedar deck boards and rails to make this chair - A little more costly, but definitely worth it!
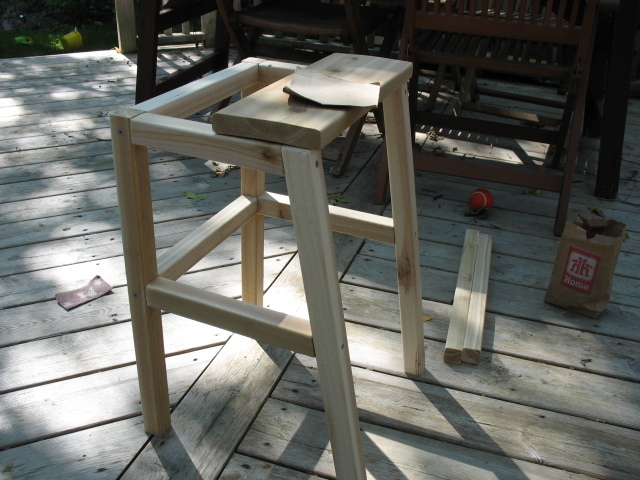
The seat and back rest were made using 5/4 x 6" boards. I cut them 1/2" to 3/4" longer so that they would overhang the supports - for a more finished look. The 2x2 rails came with an angled cut, so I decided to use that to my advantage on the back supports - I made them a bit longer so they would sit higher on the back rest, and I think the angled cut looks a little more "friendly". All screws were left exposed, since this is an outdoor cedar chair.
The table in the photo is an original picnic table from the 1920's, complete with the original paint. It folds flat for storage. I hope to measure it someday and make a plan to build a reproduction - If that ever happens, I will post it on Ana's site.
Thanks Ana for the great plans!
In reply to Just beautiful! by dananryan
Wed, 03/06/2013 - 11:48
Thanks So Much! :)
In reply to Thanks So Much! :) by Tea Granny
Wed, 03/06/2013 - 11:50
Thanks So Much! :)
Fri, 03/08/2013 - 19:43
The chair looks beautiful! You did a great job! I love the contrast of the outdoor table and this chair! Thanks for your post!
In reply to The chair looks beautiful! by Ana White
Sun, 03/10/2013 - 14:48
Oh My Goodness!! Thank you, Ana!! I'm sure you're very busy and I'm honoured by the fact that you took the time to comment on my chair! You've made my day!
Fri, 05/17/2013 - 00:48
Hey,Wow the chair structure is so cool .Really good work done .
unique wedding favors
In reply to Hey,Wow the chair structure by EdmonsonWilliam
Mon, 05/20/2013 - 10:06
Ana has the greatest plans, doesn't she?
Comments
Ana White Admin
Tue, 02/07/2023 - 07:25
Super cute!
Love the fun cheery colors! Thanks for sharing.