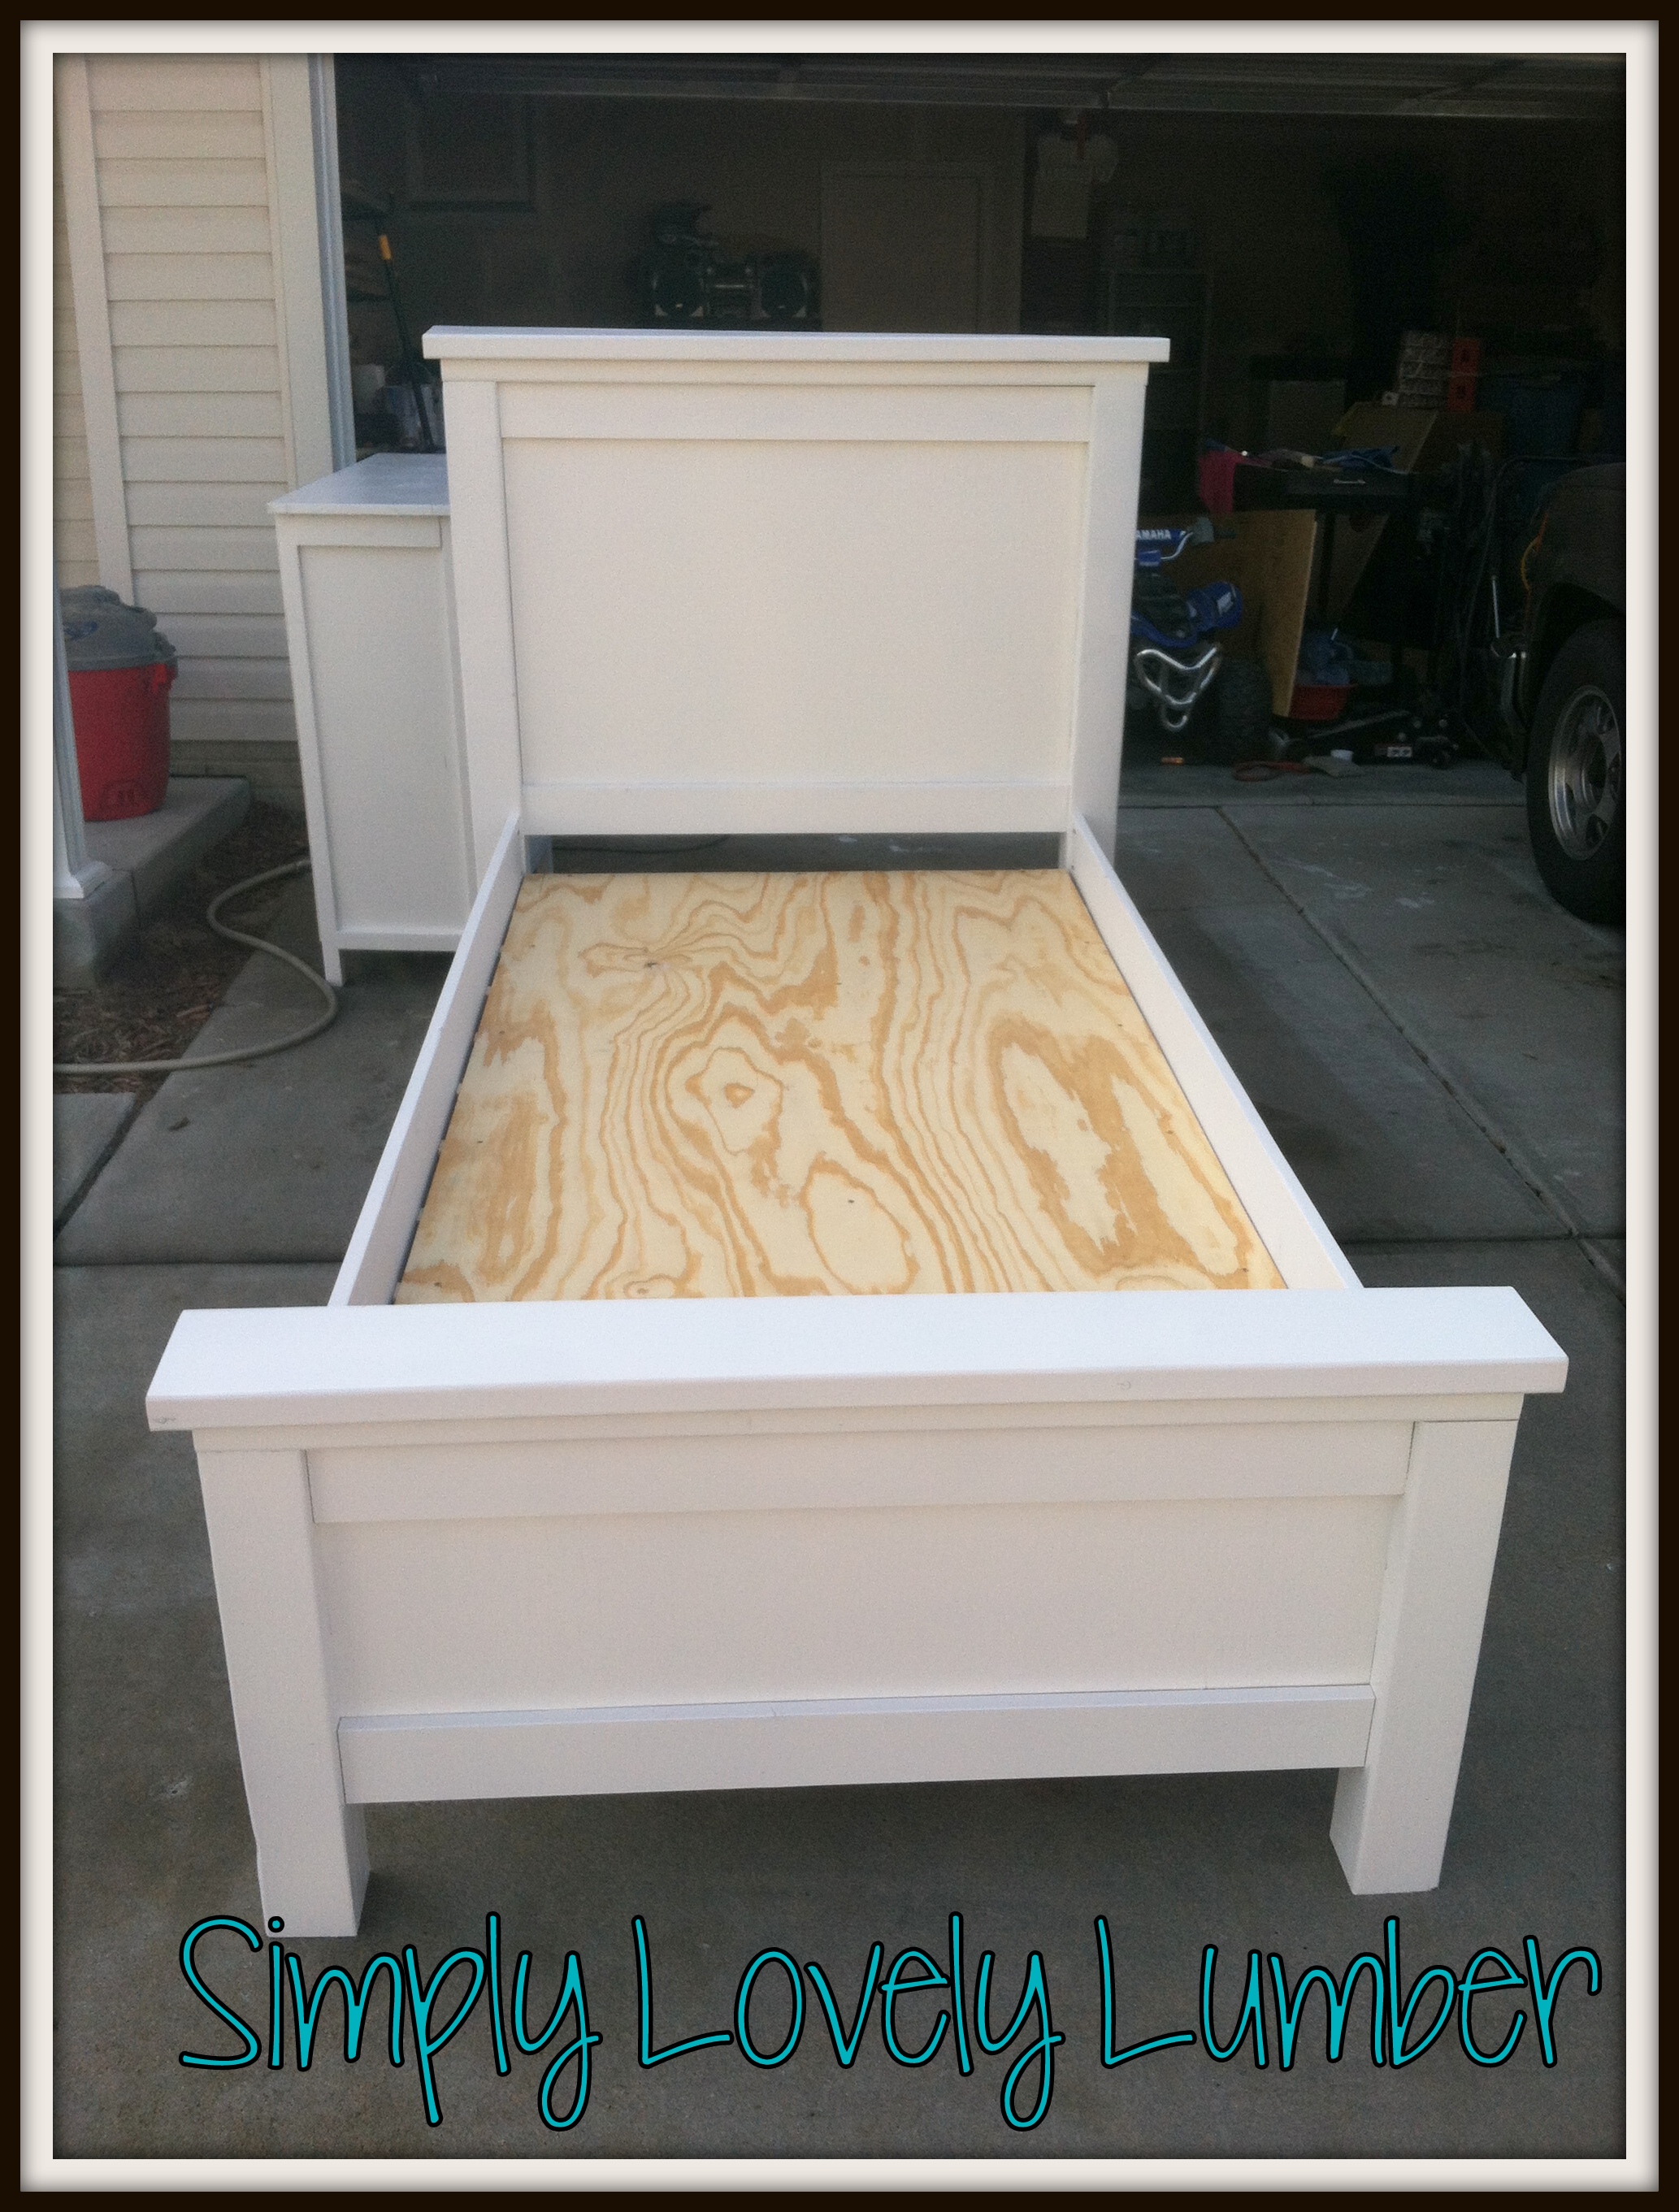
Camp loft bed with book shelves
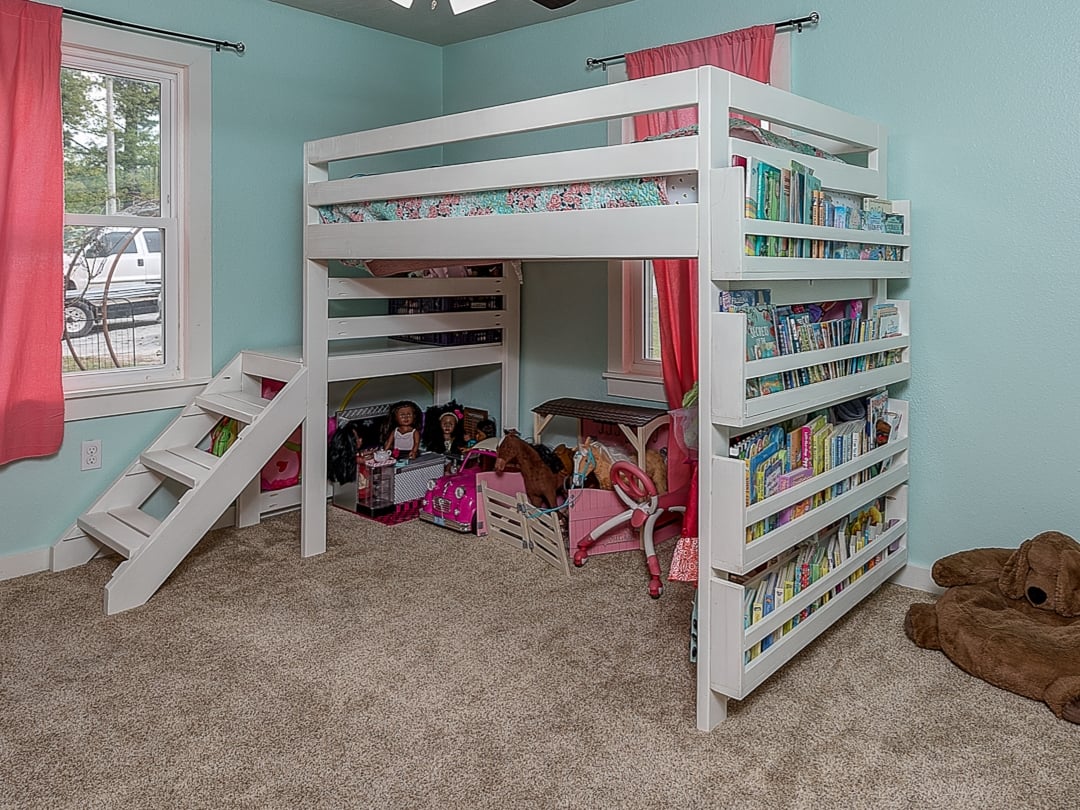
We love the loft bed! She always wanted a bed with stairs and this one was the perfect height for me to still help make the bed.
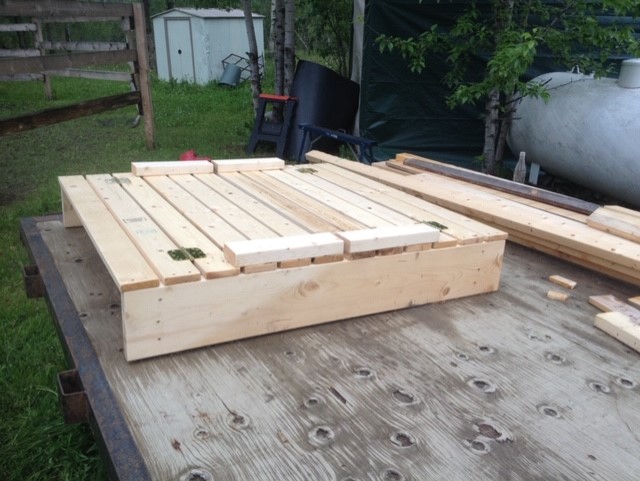
Built from Plan(s)
Estimated Cost
Less than $100
Estimated Time Investment
Weekend Project (10-20 Hours)
Finish Used
Painted with valspar dove white and finished with a clear wood wax