Community Brag Posts

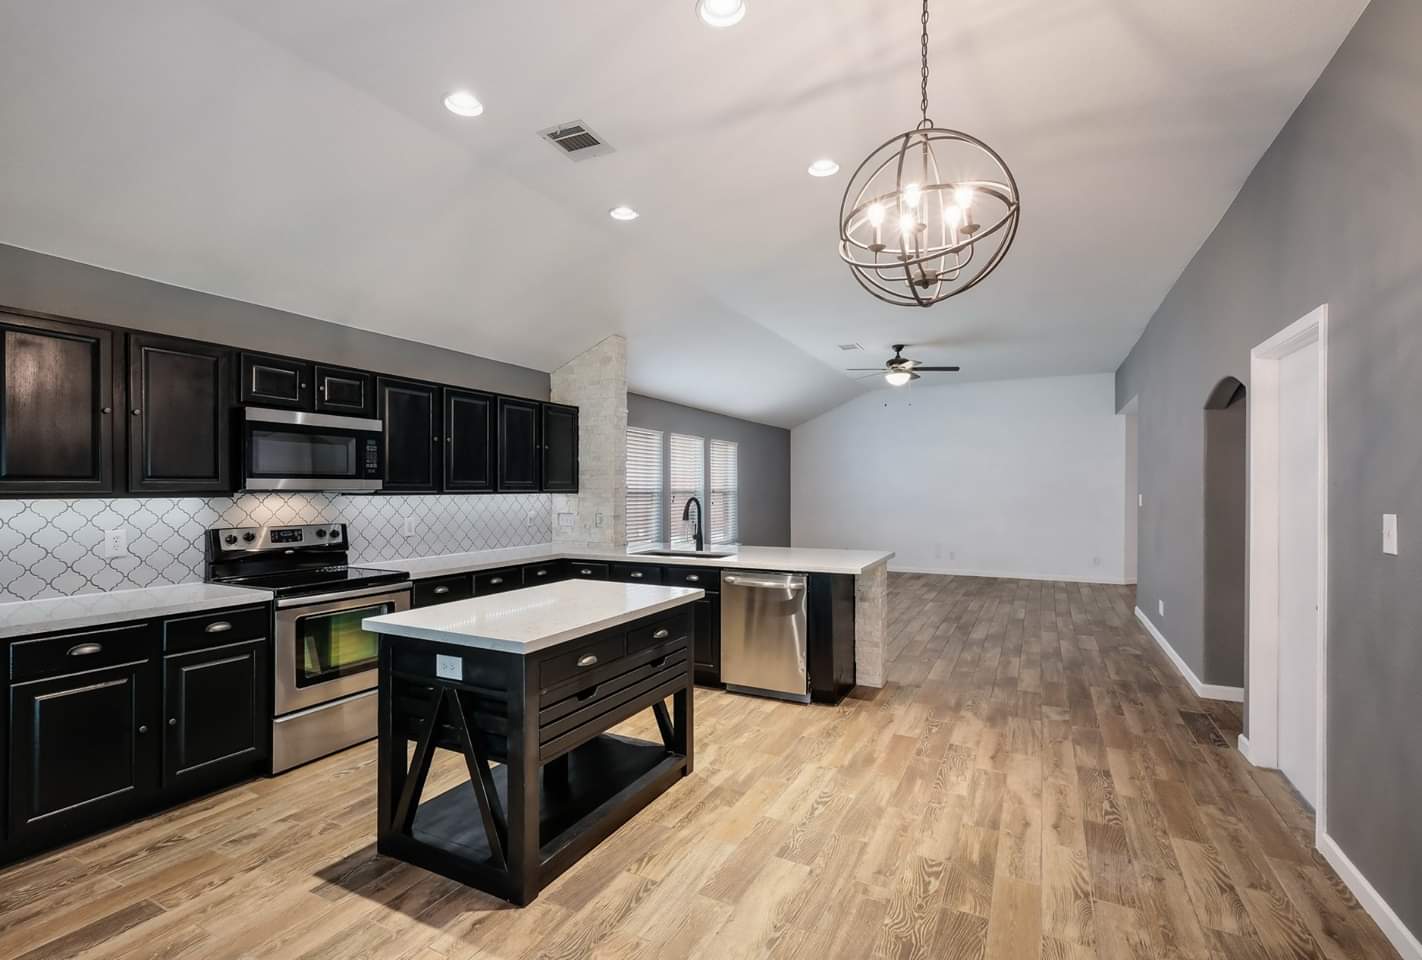
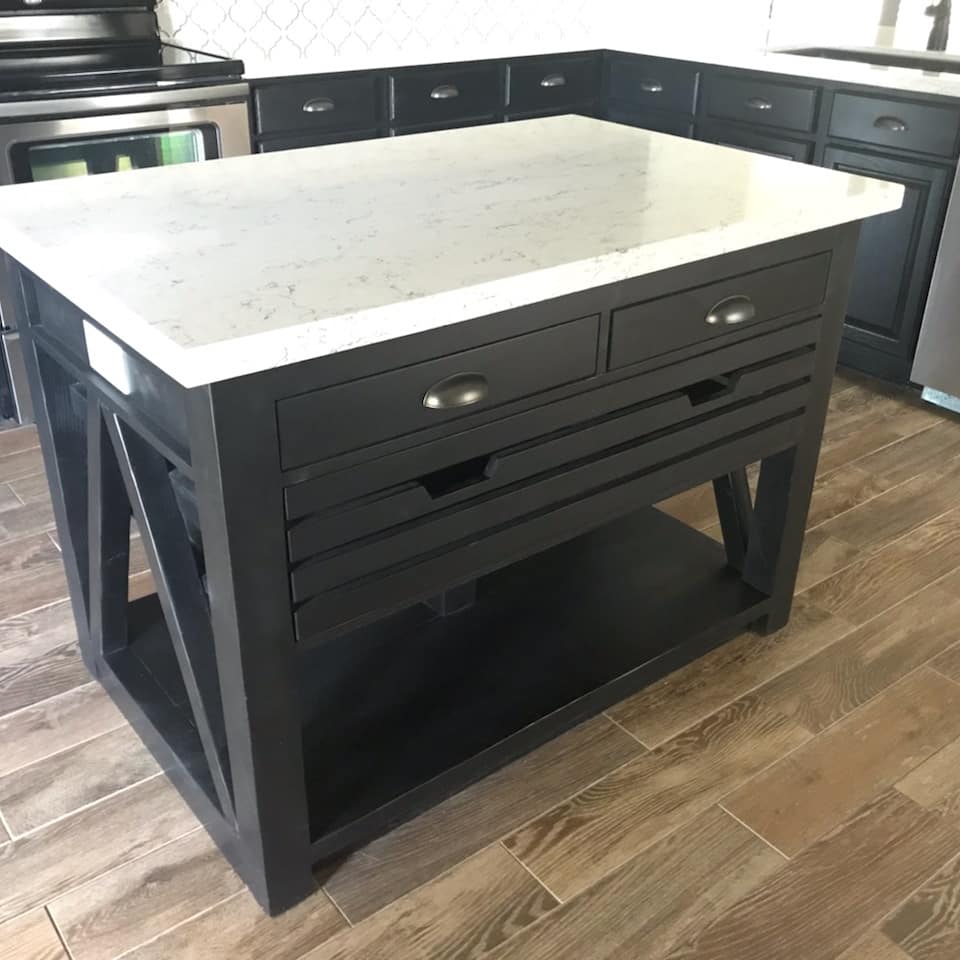
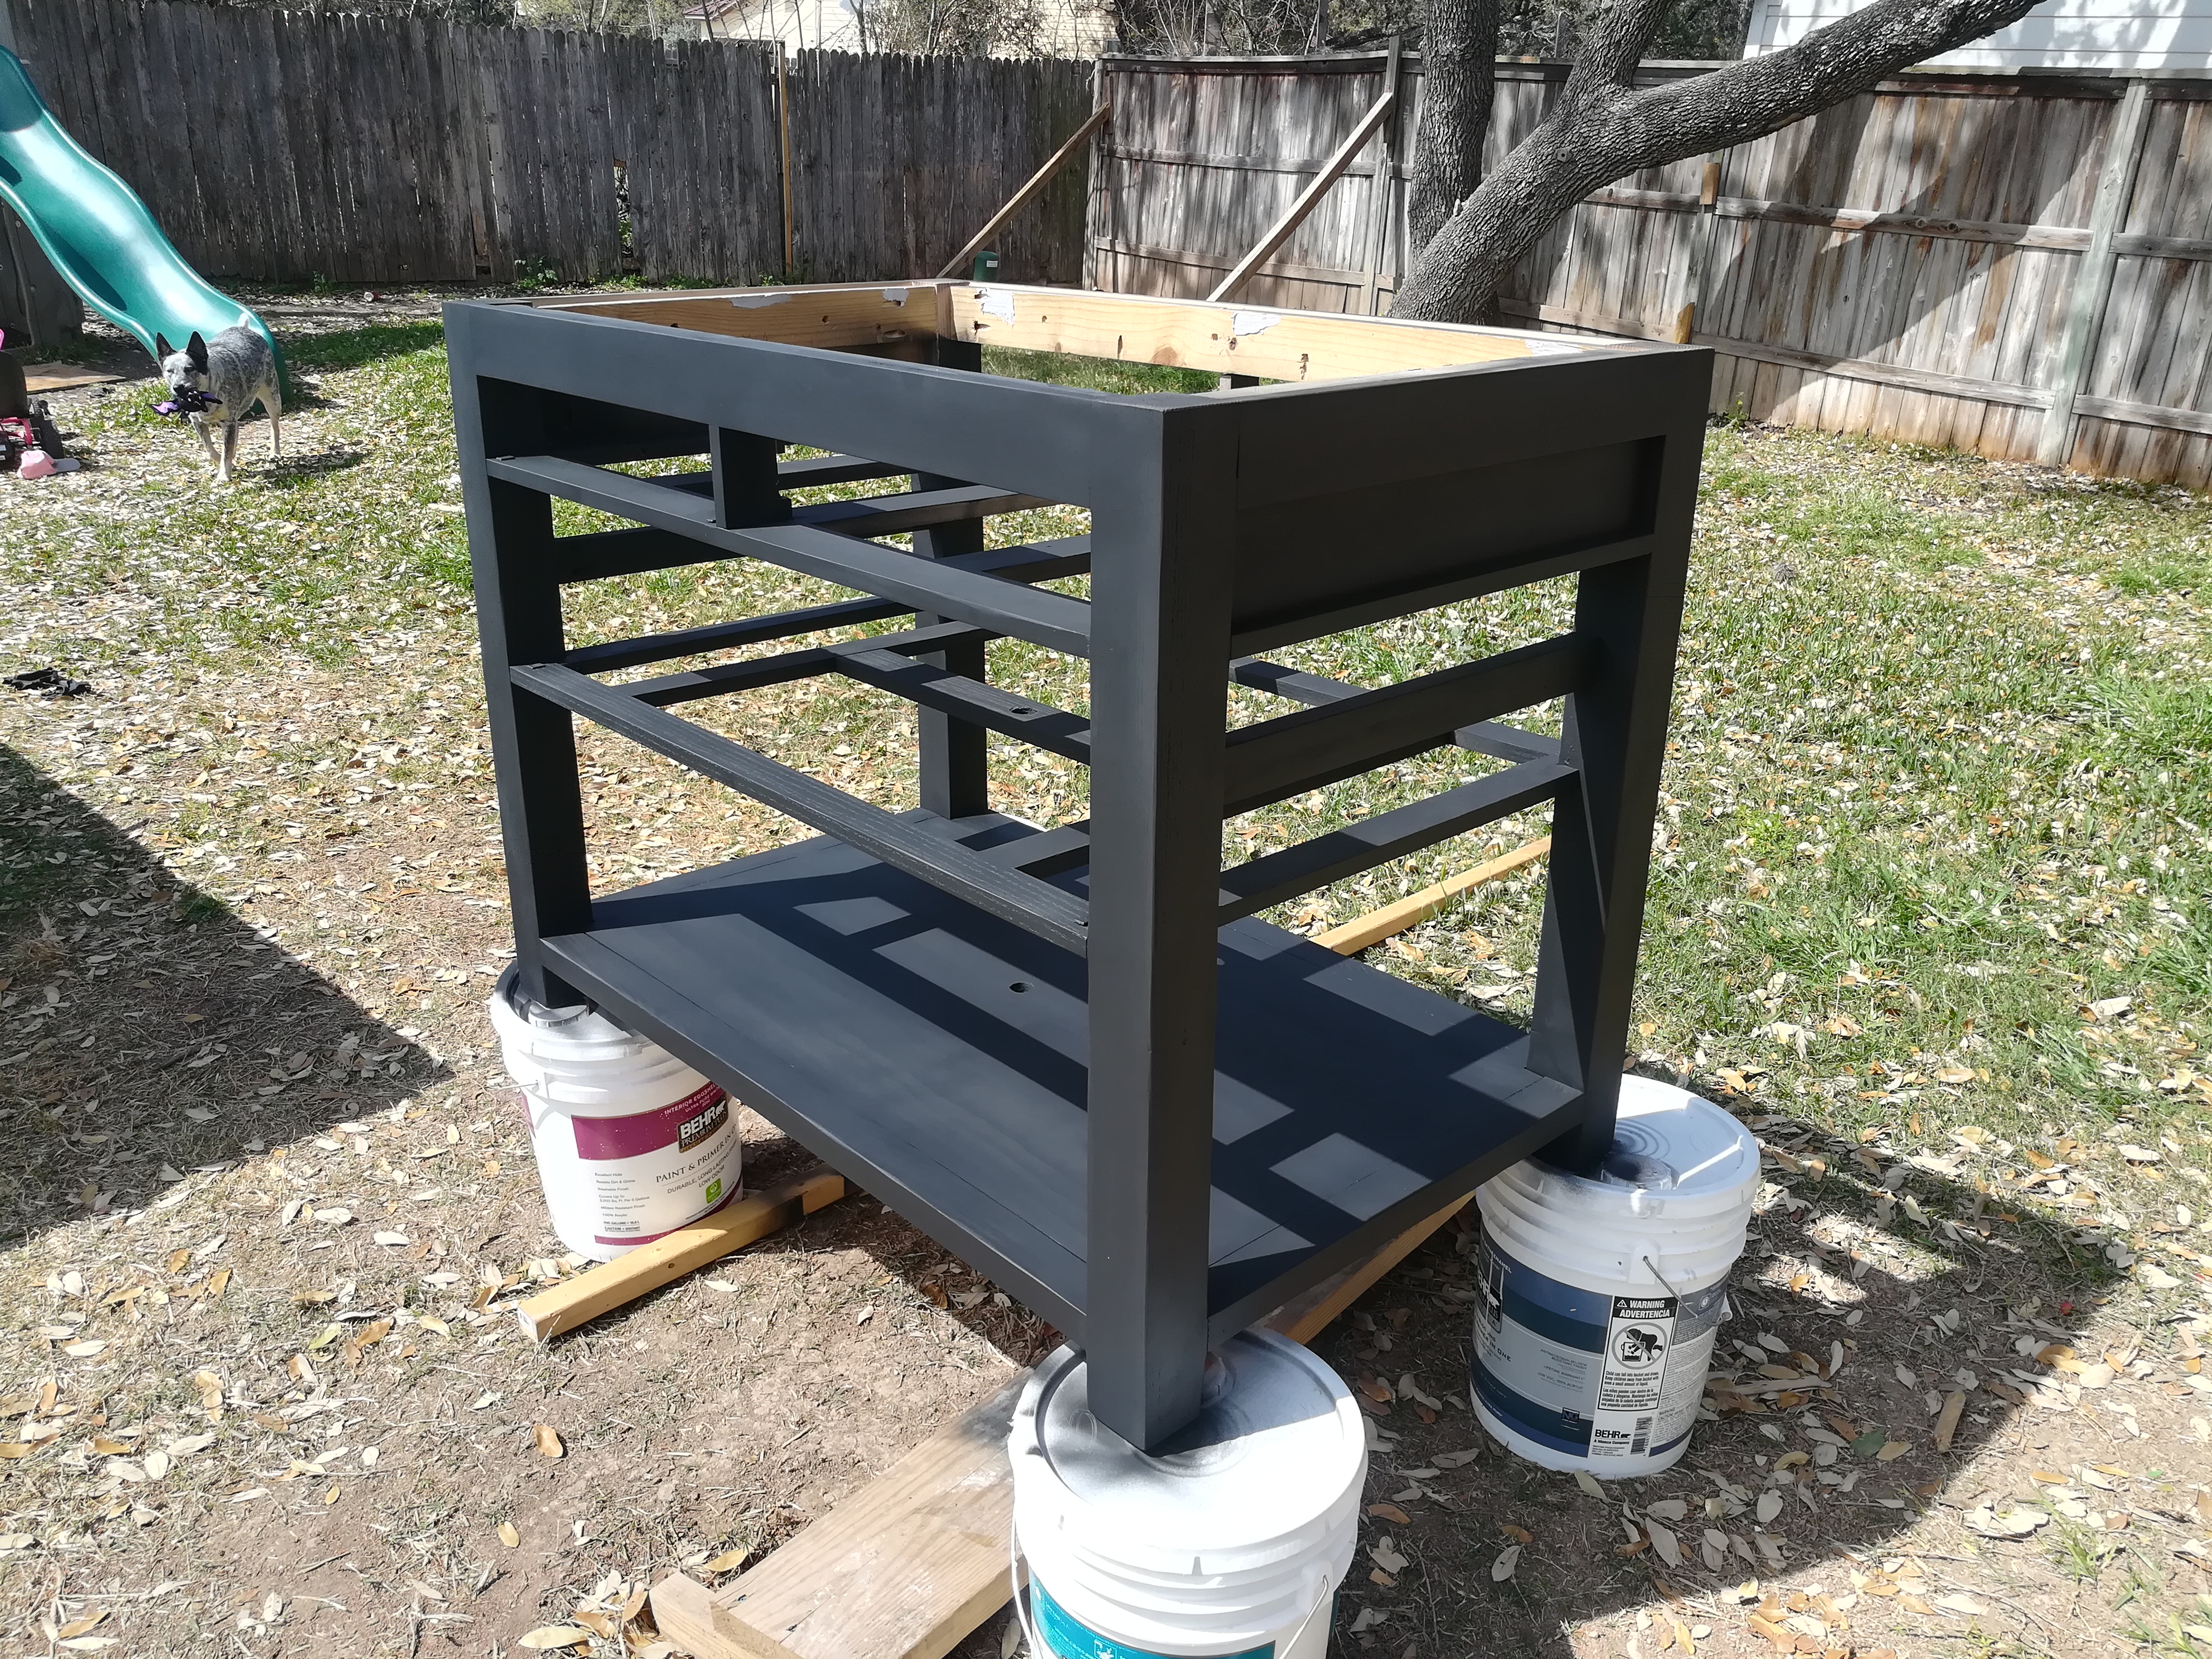
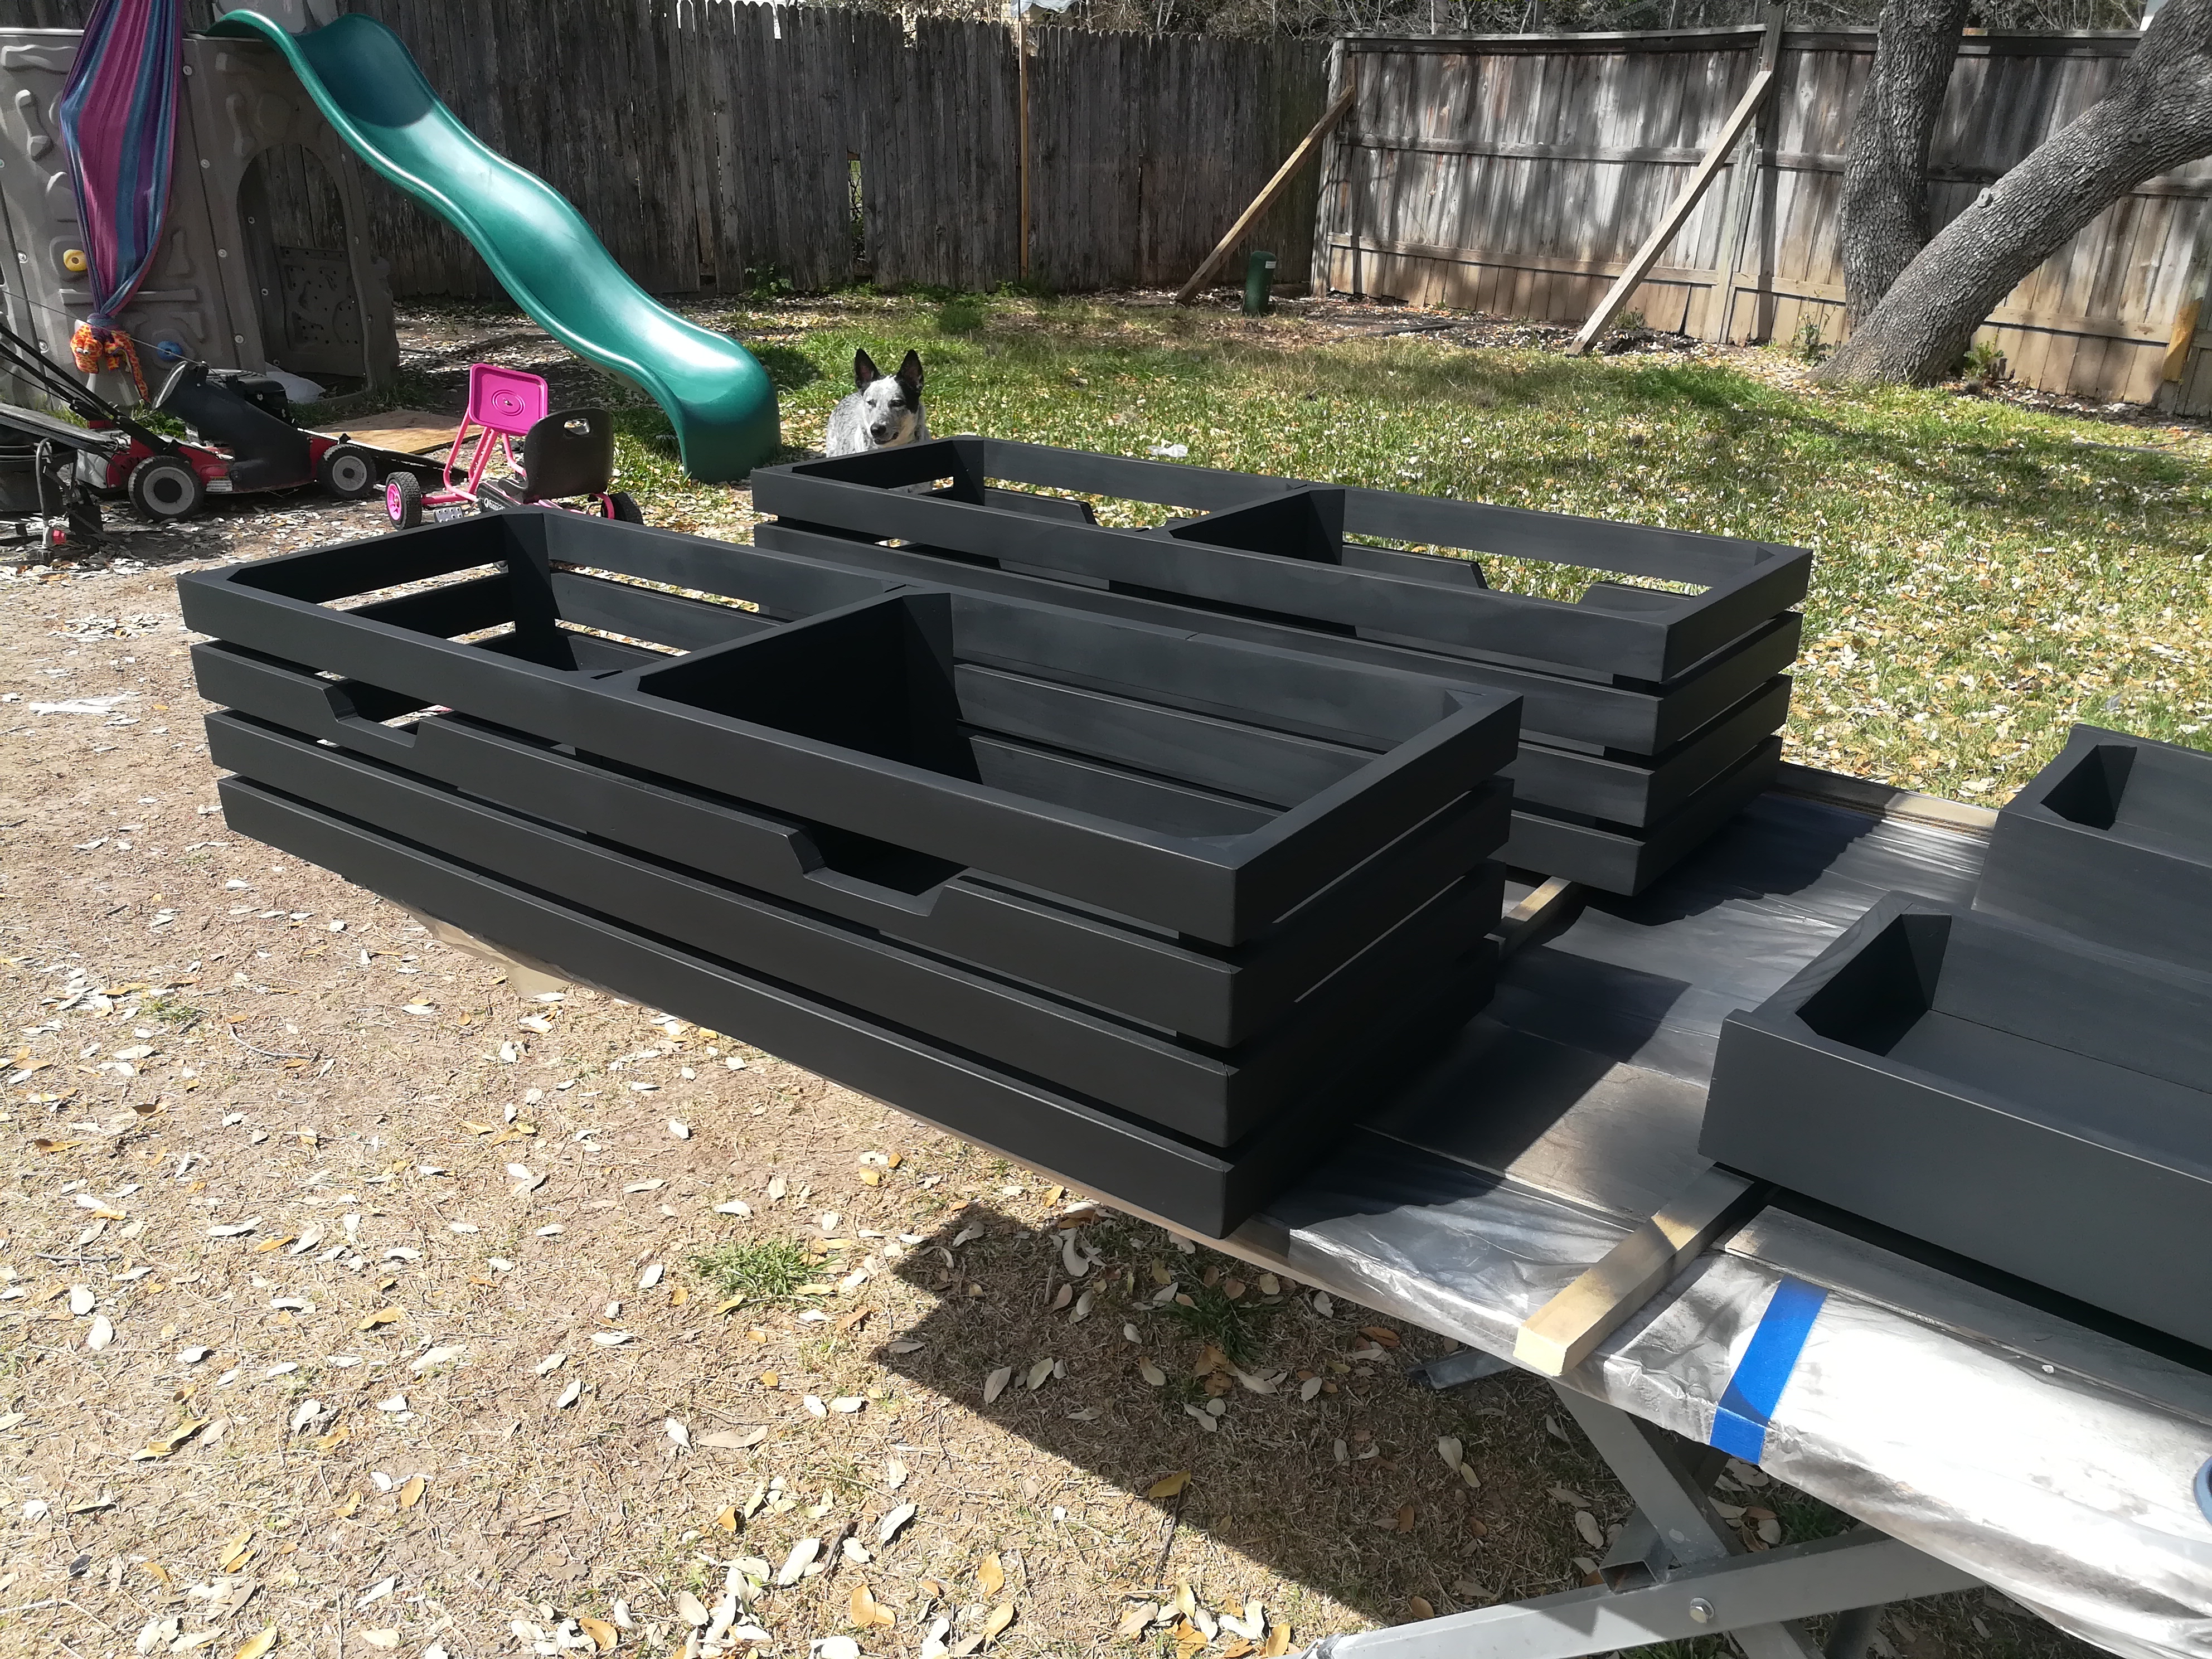
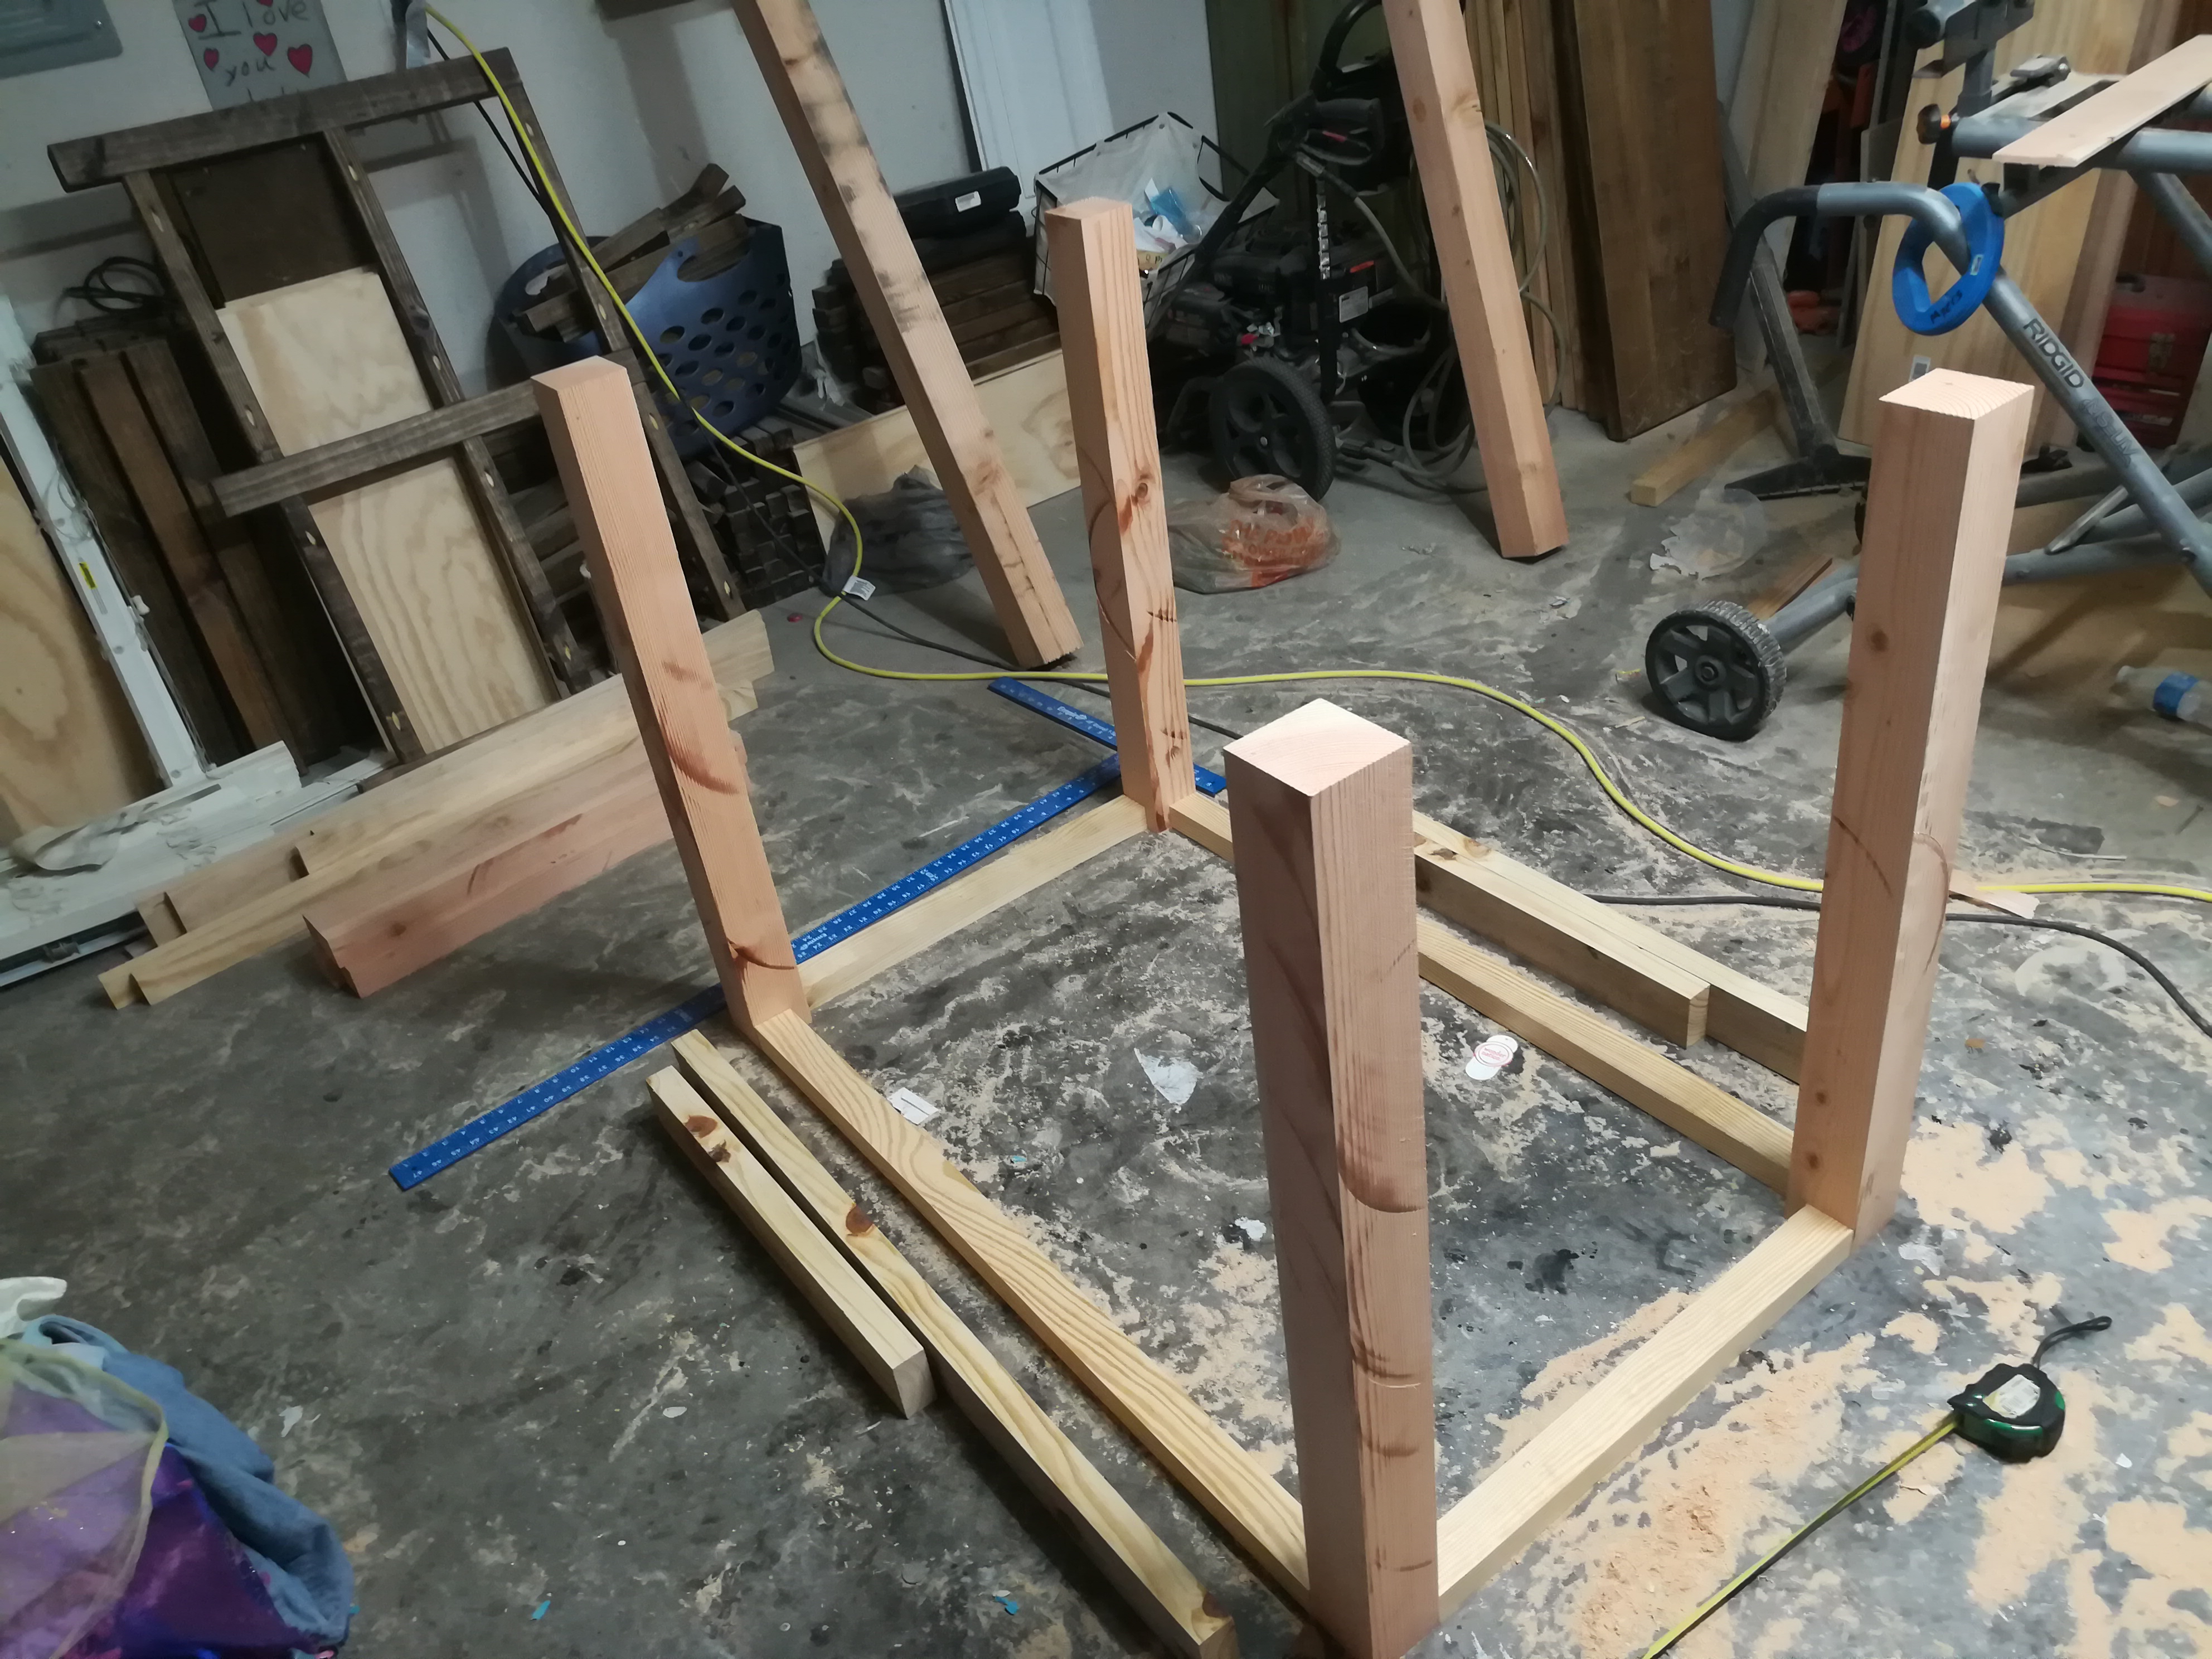
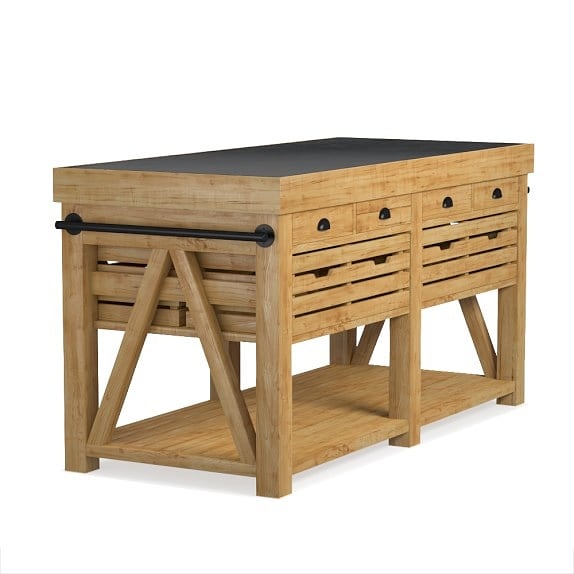
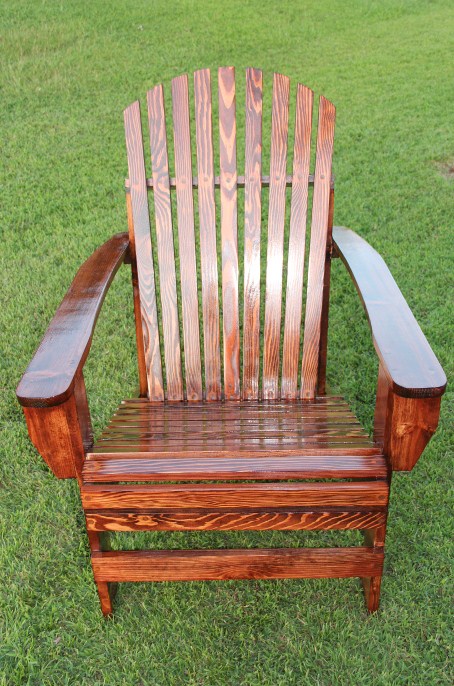
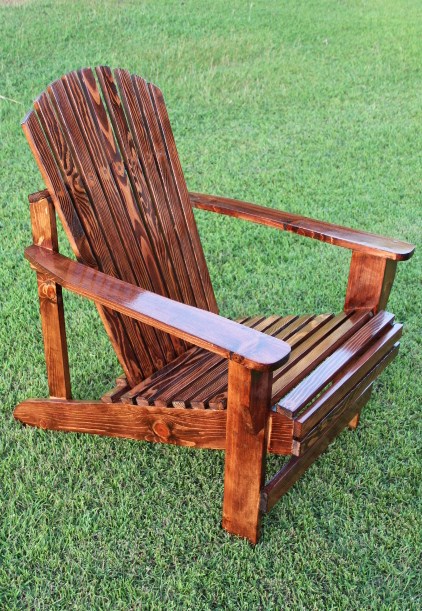
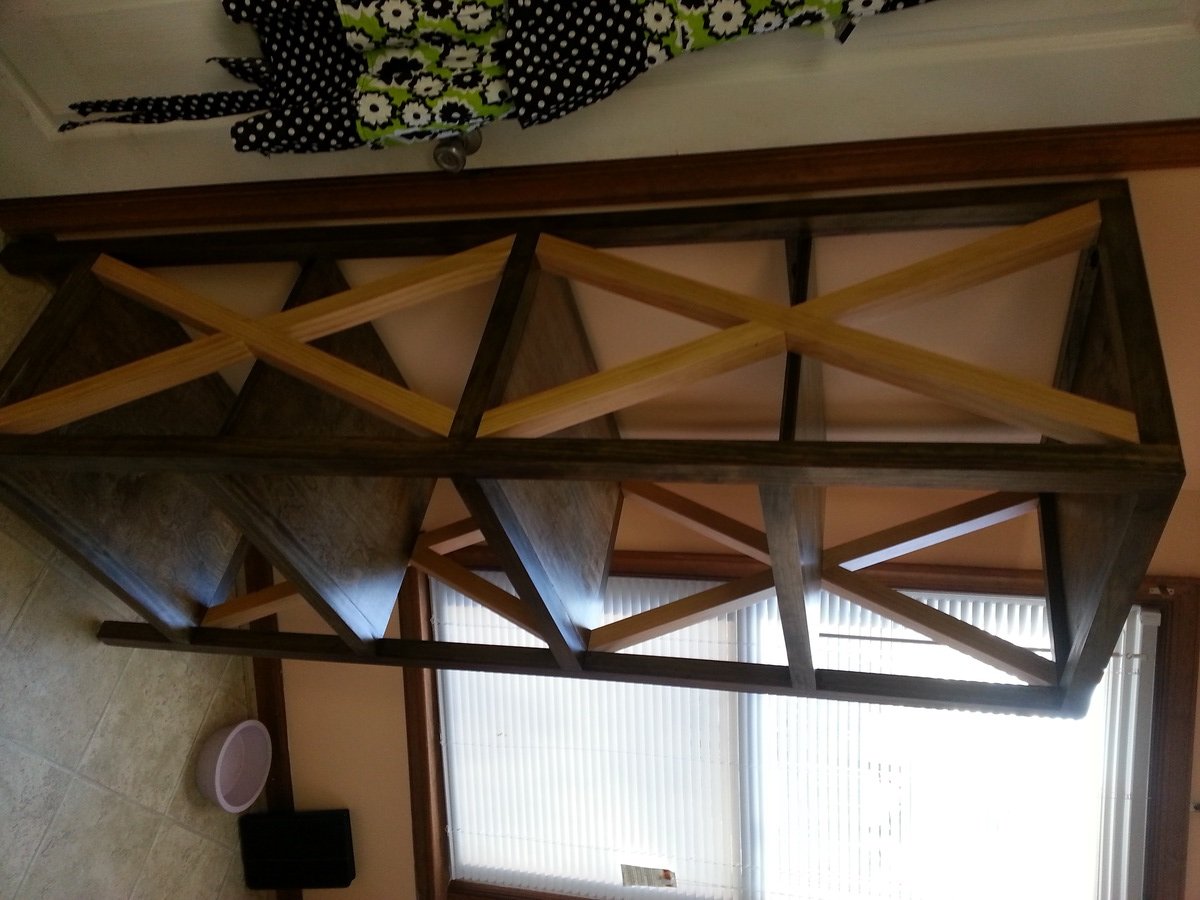
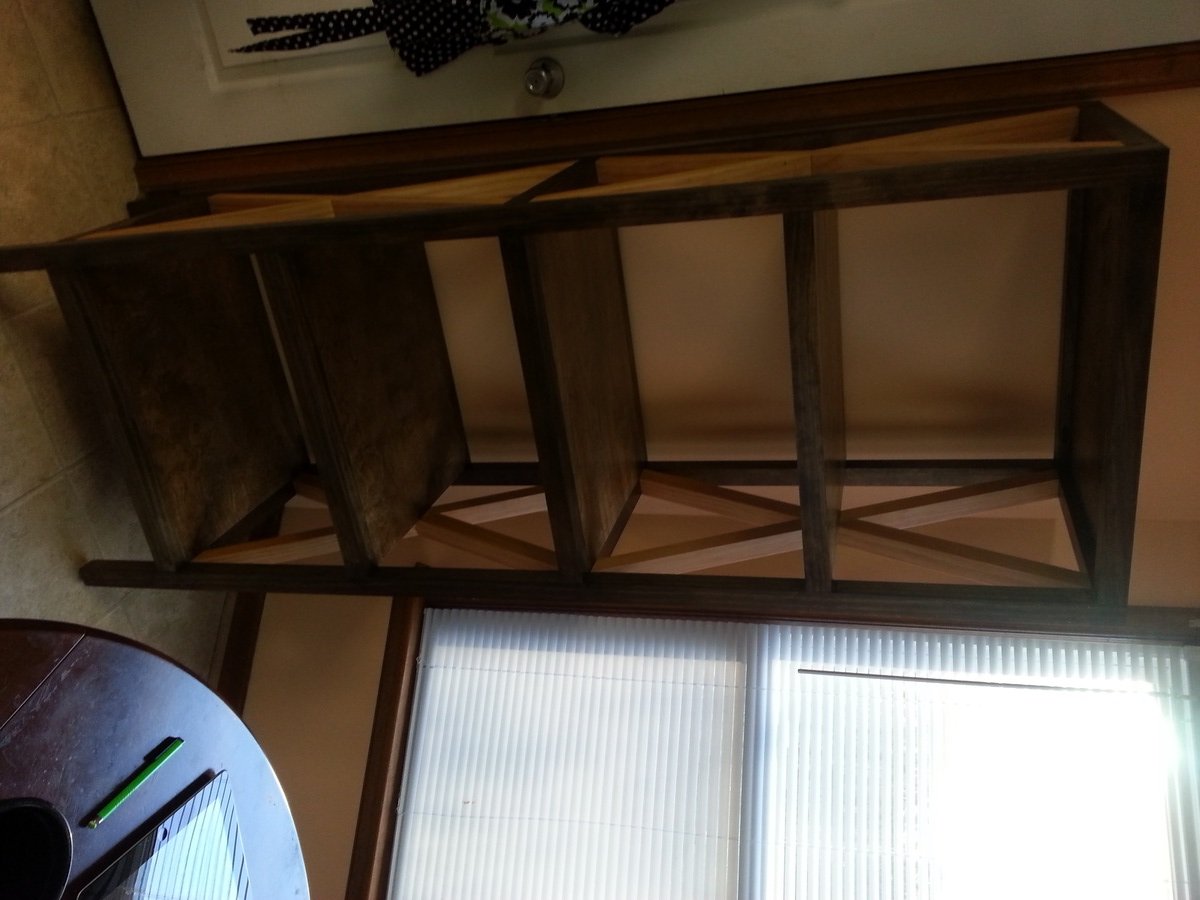
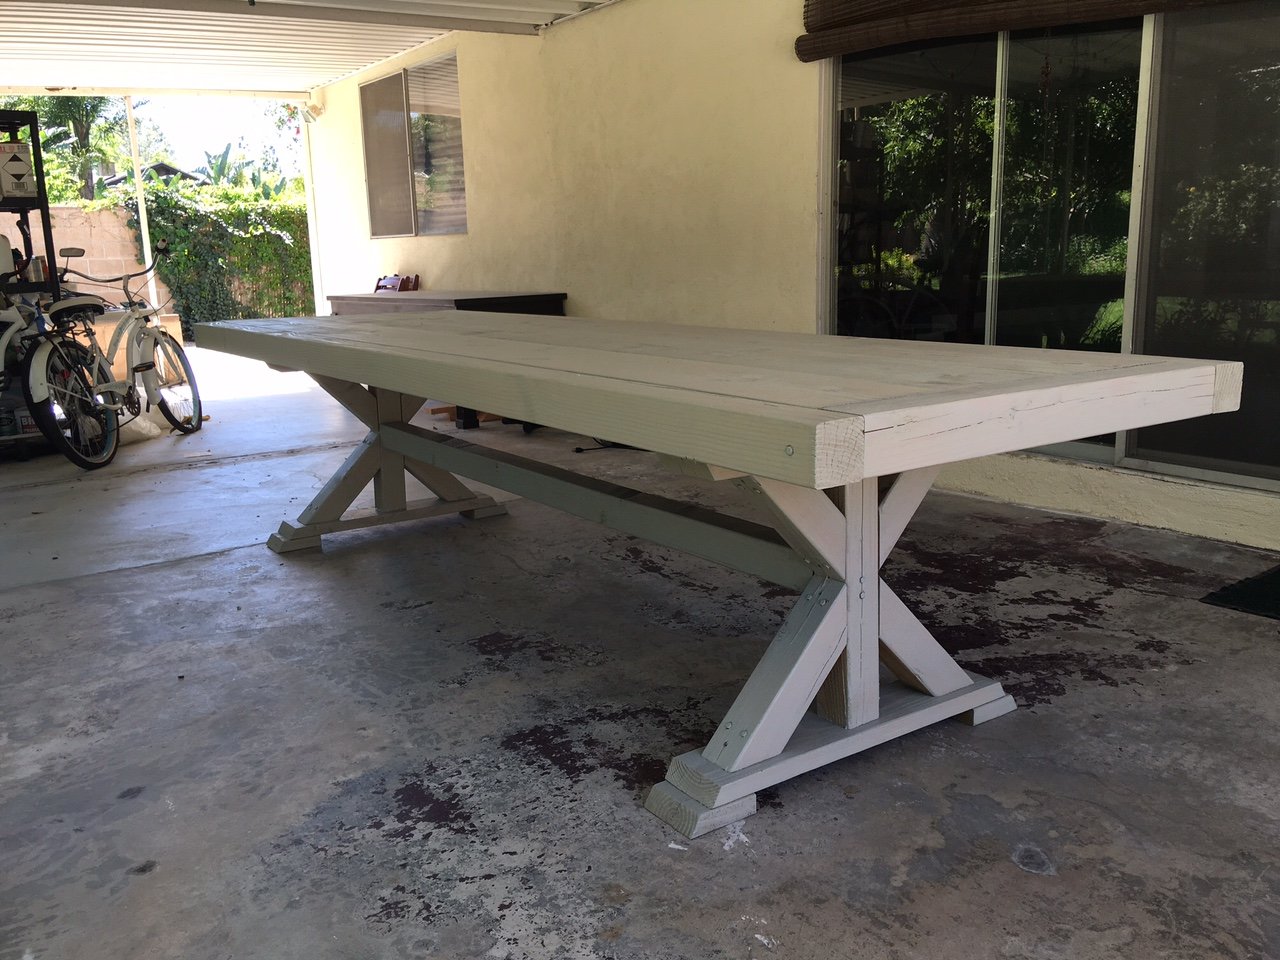
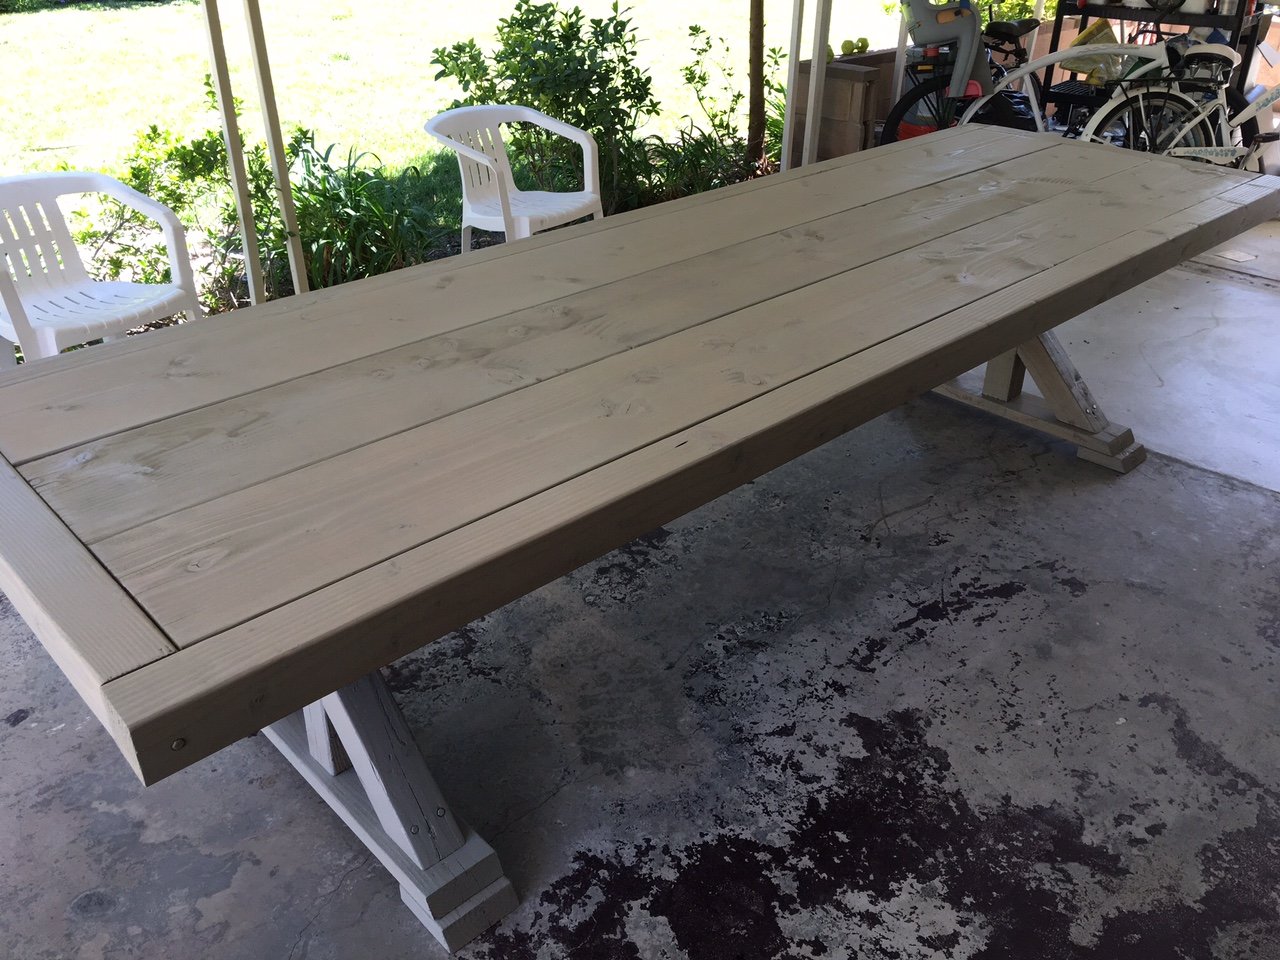
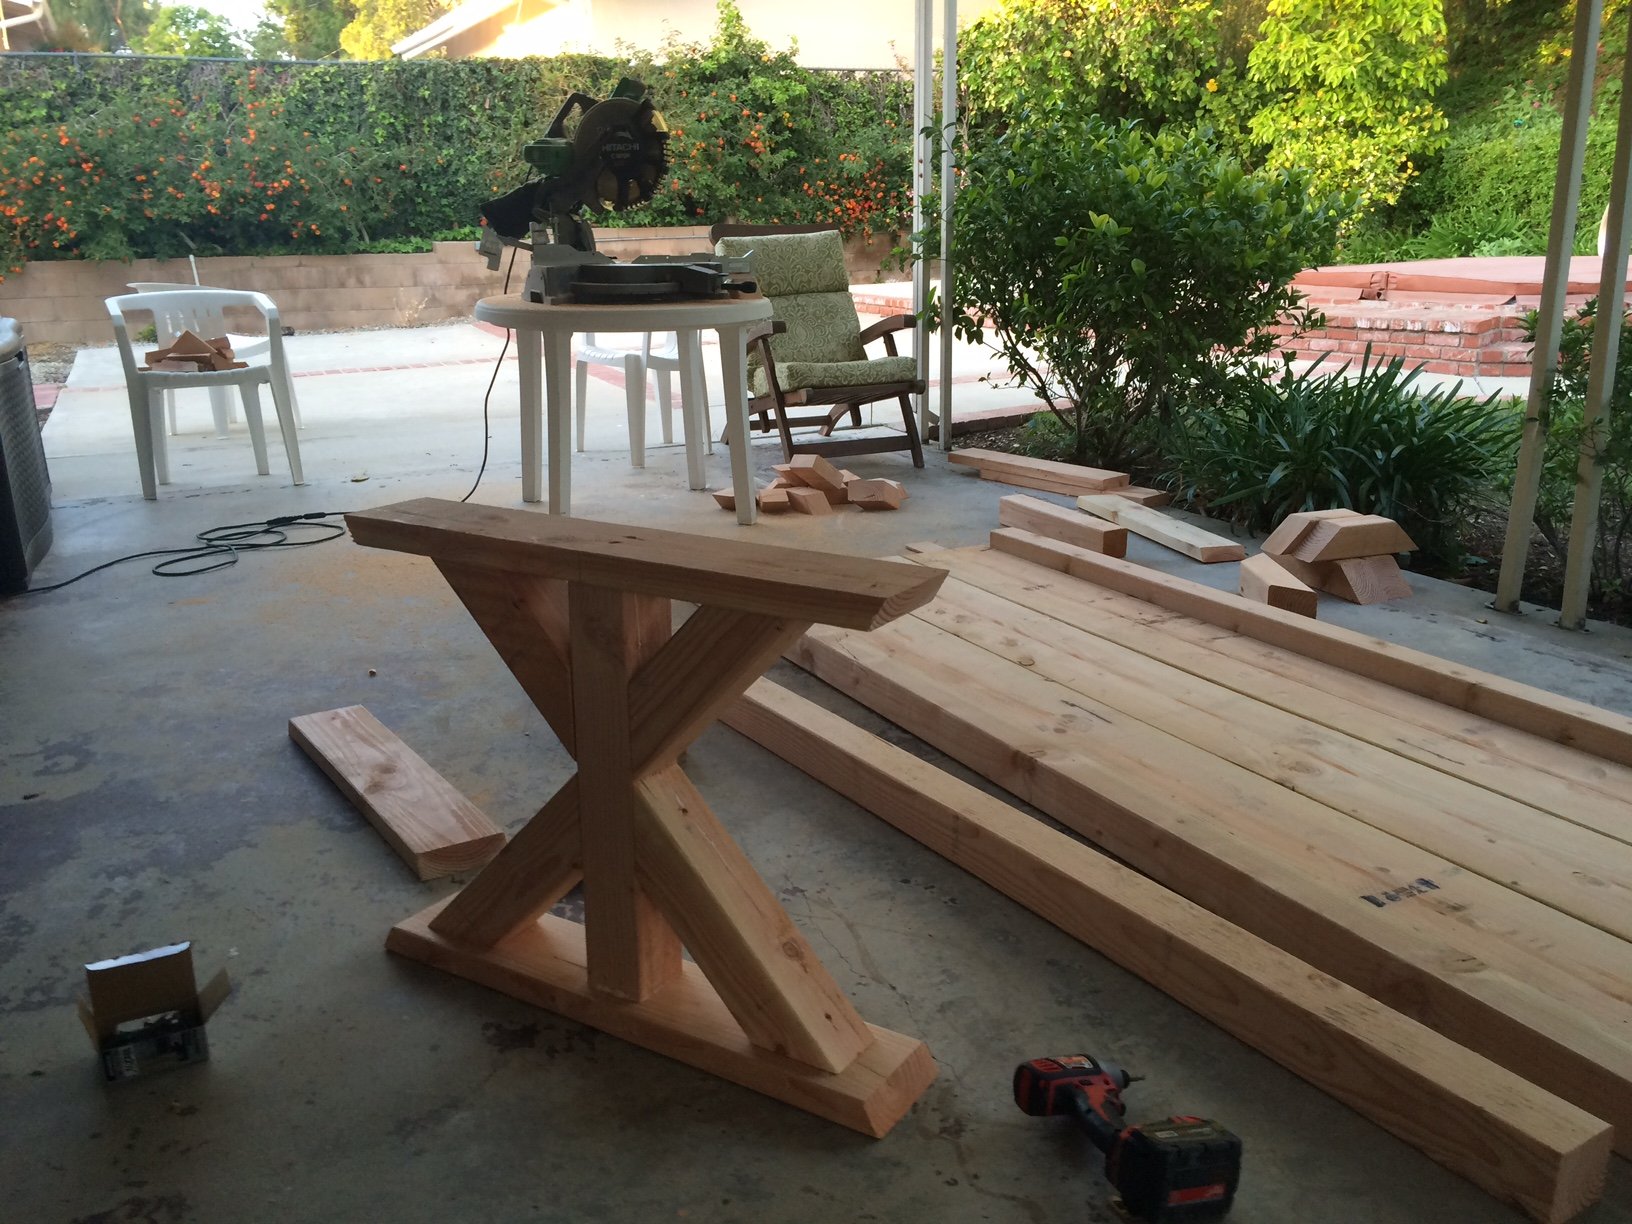
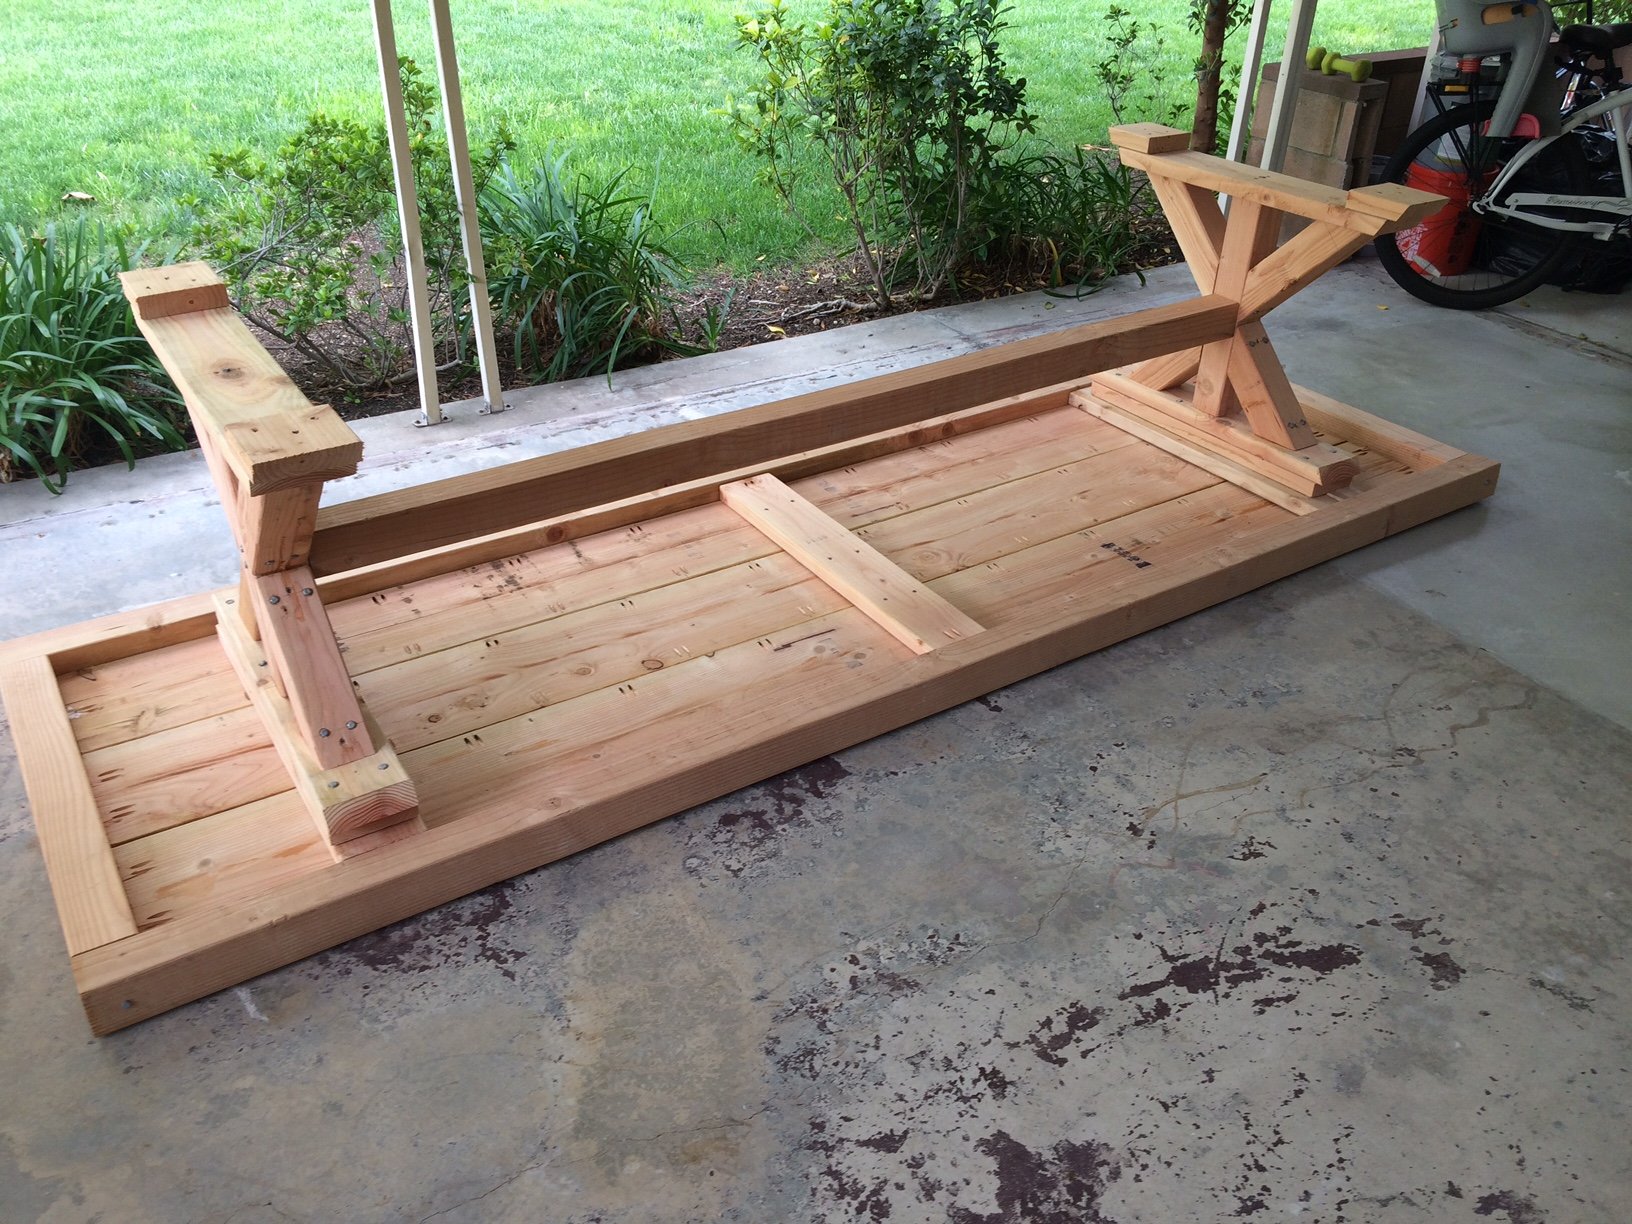
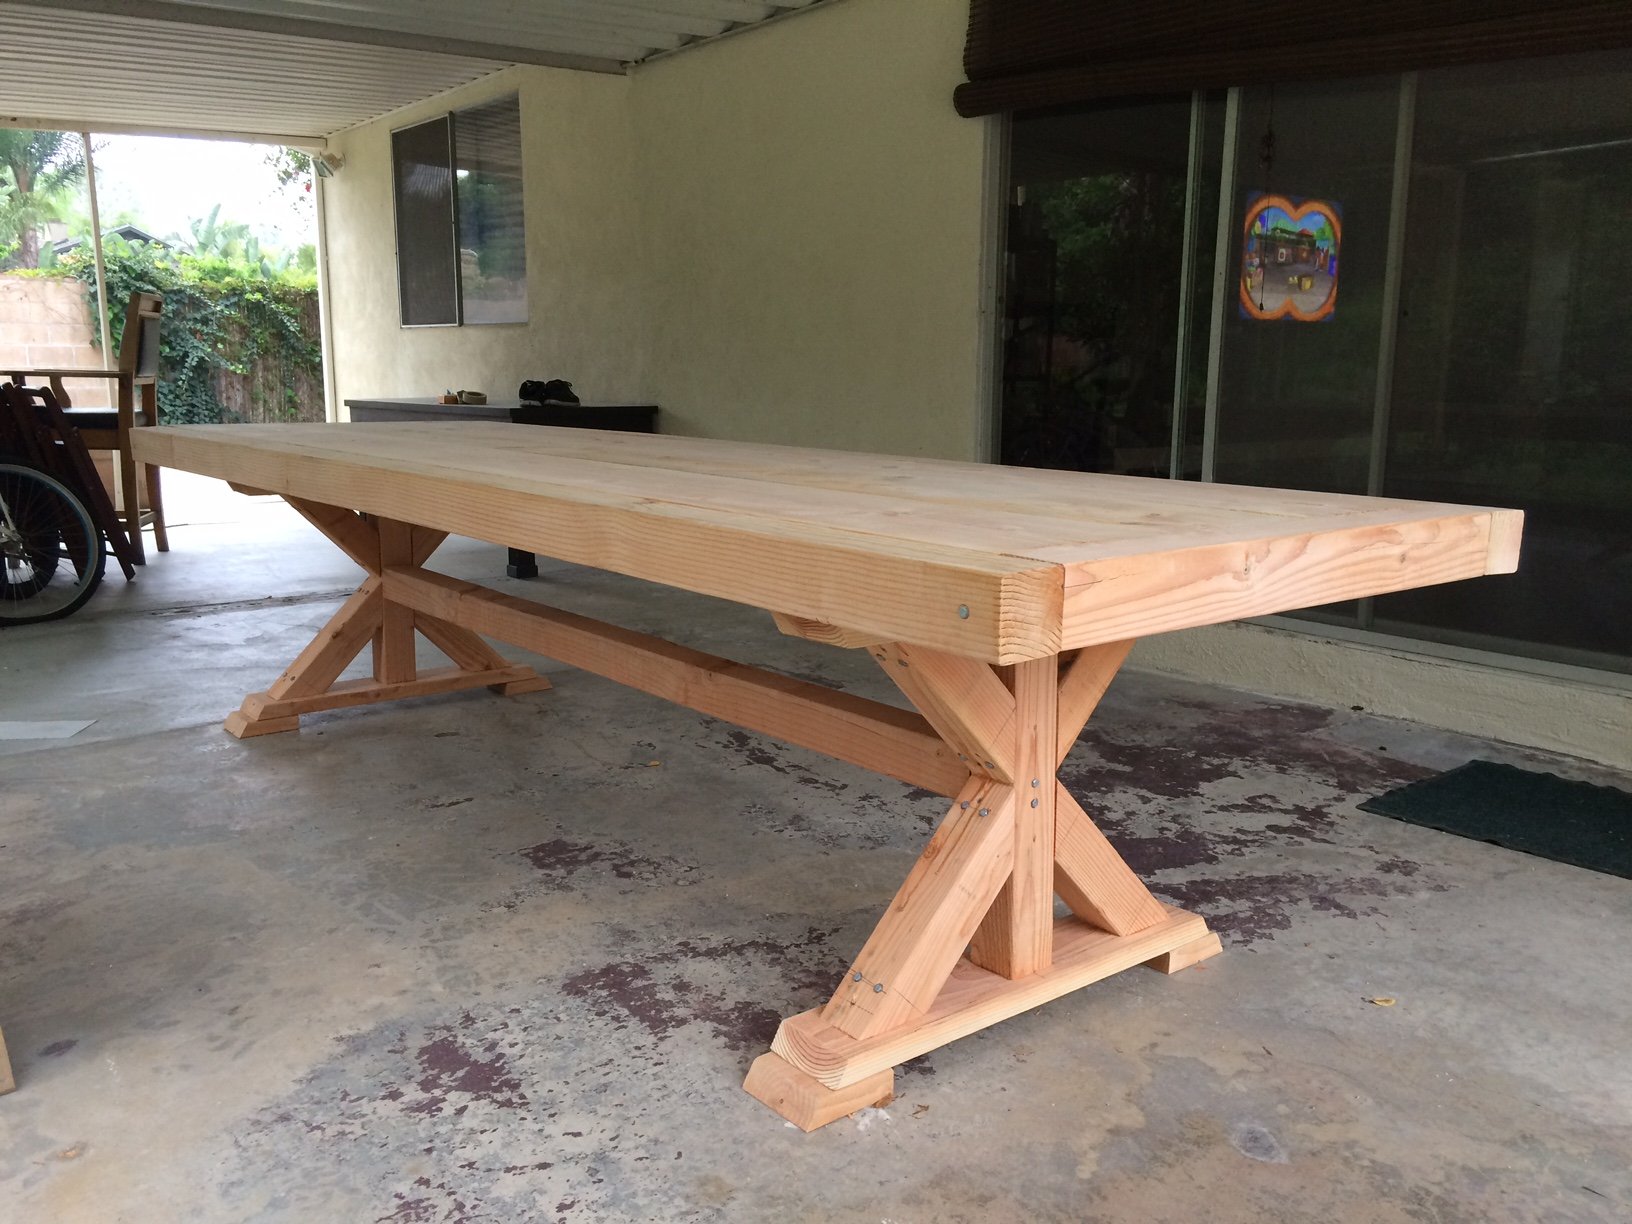
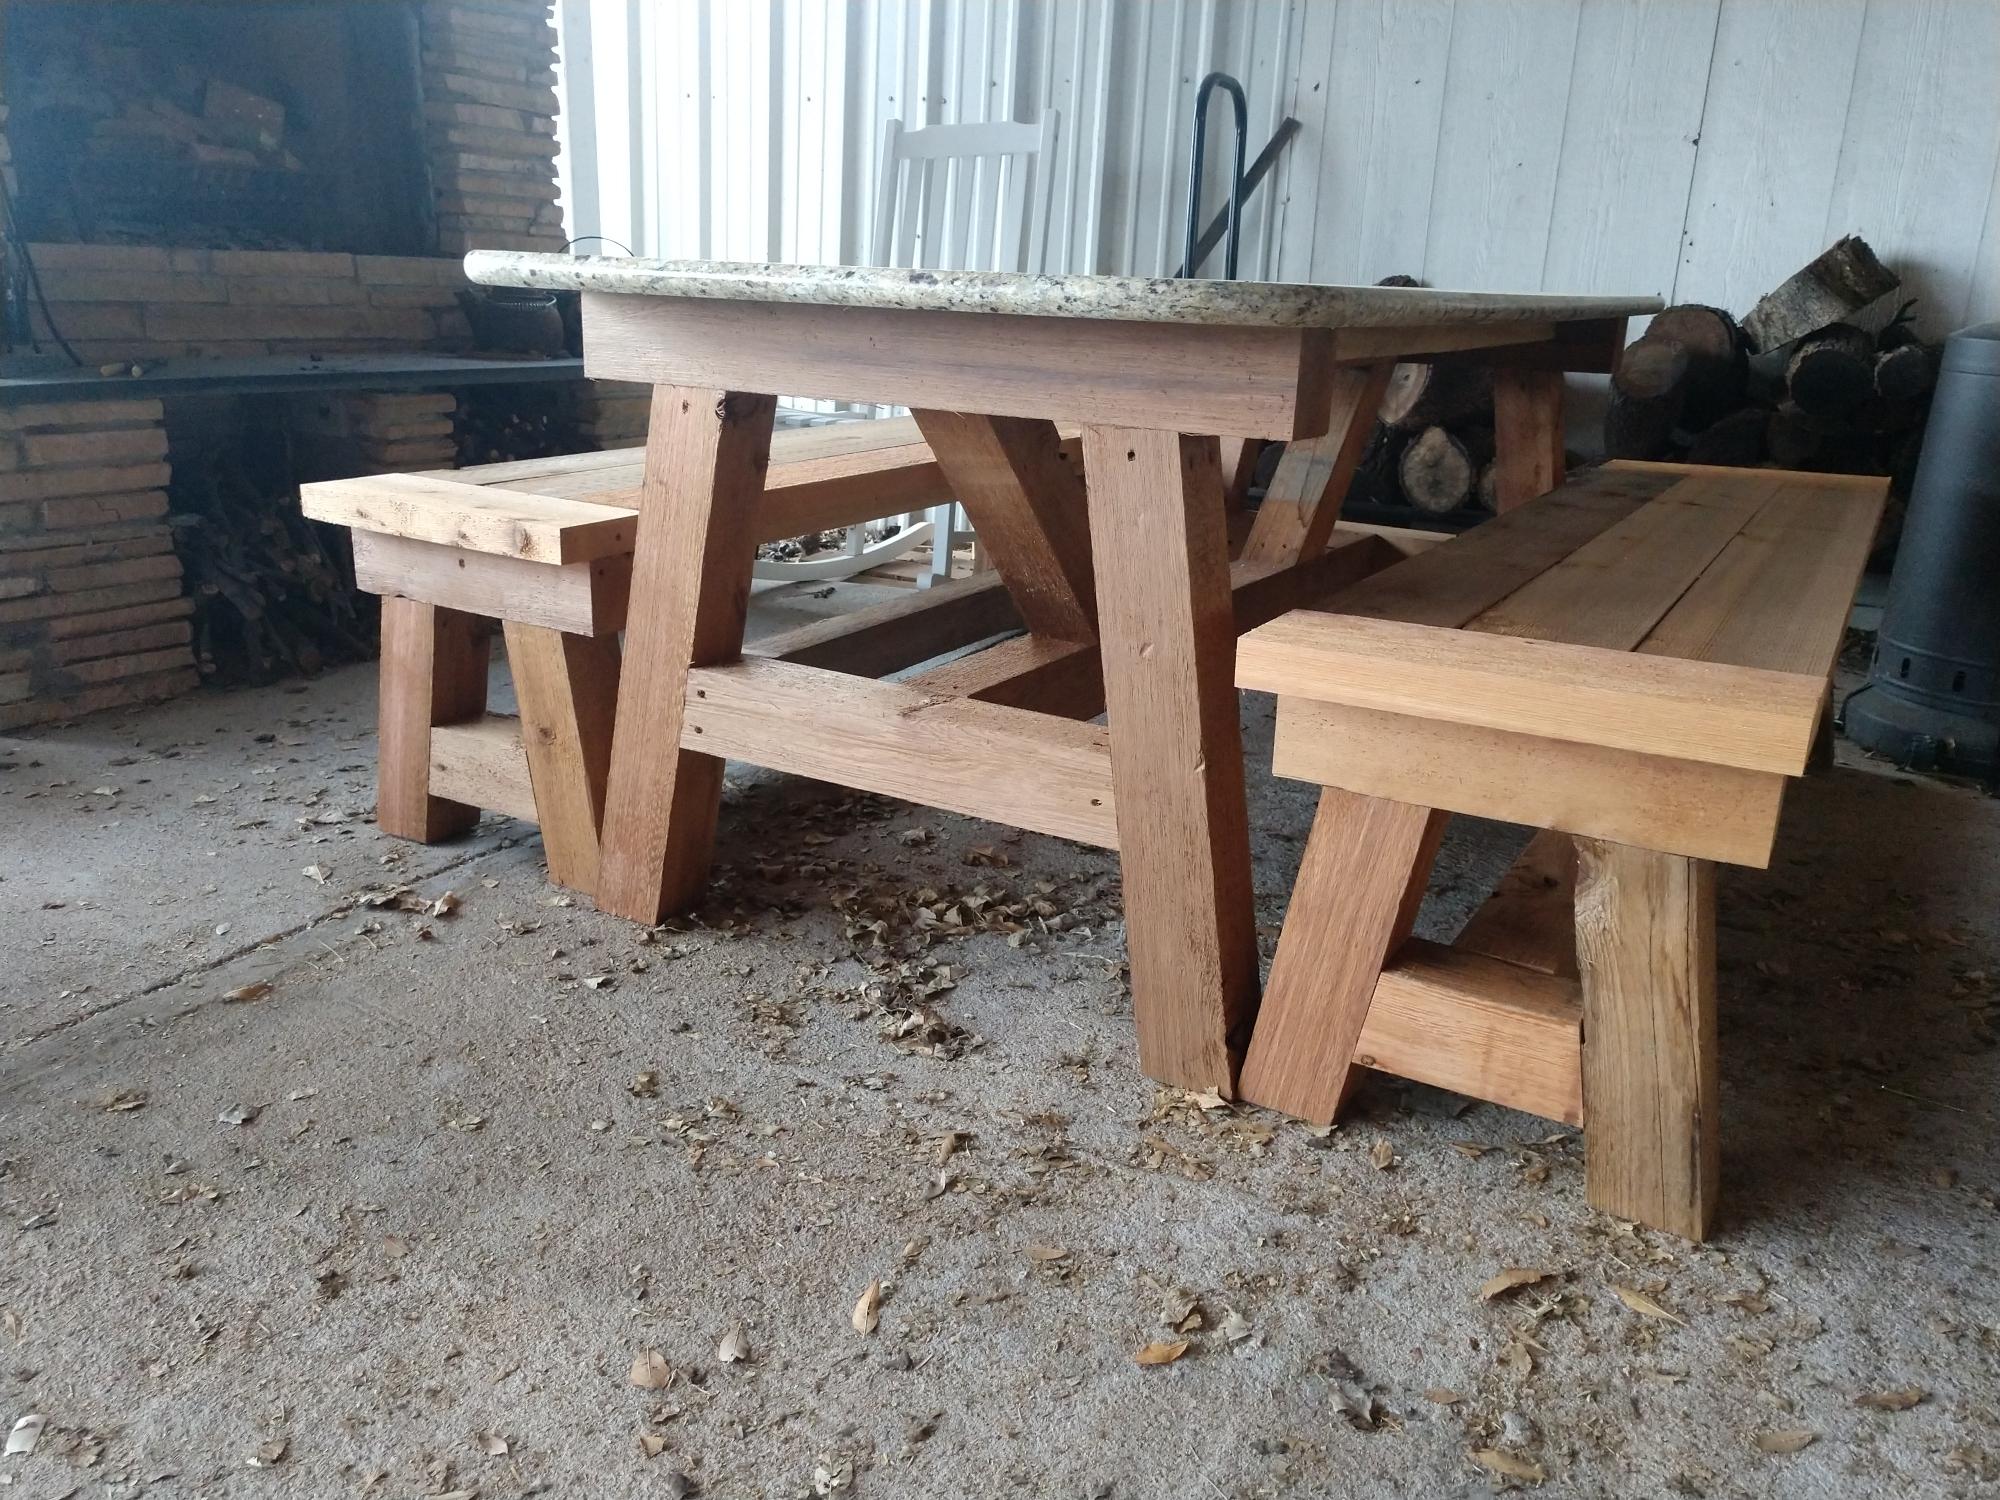
Homemade DIY Kitchen Island inspired by Williams-Sonoma "Cooper Double Kitchen Island"

Submitted by LN2014 on Mon, 04/29/2019 - 22:26

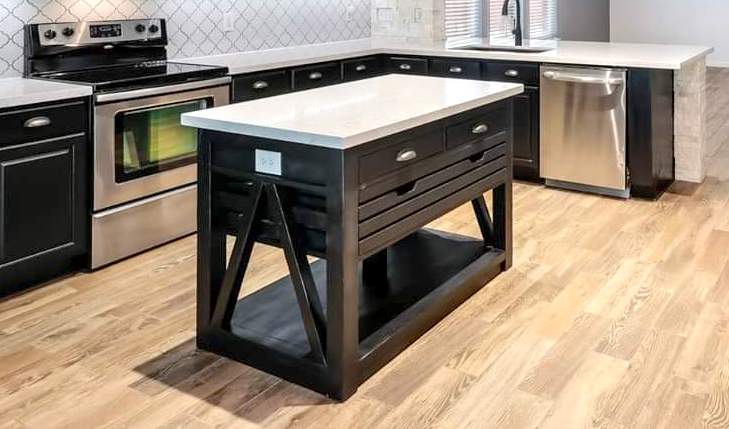
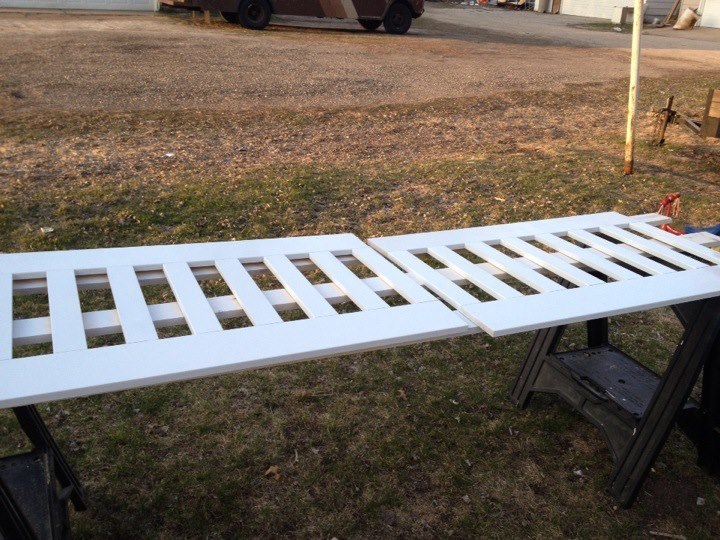
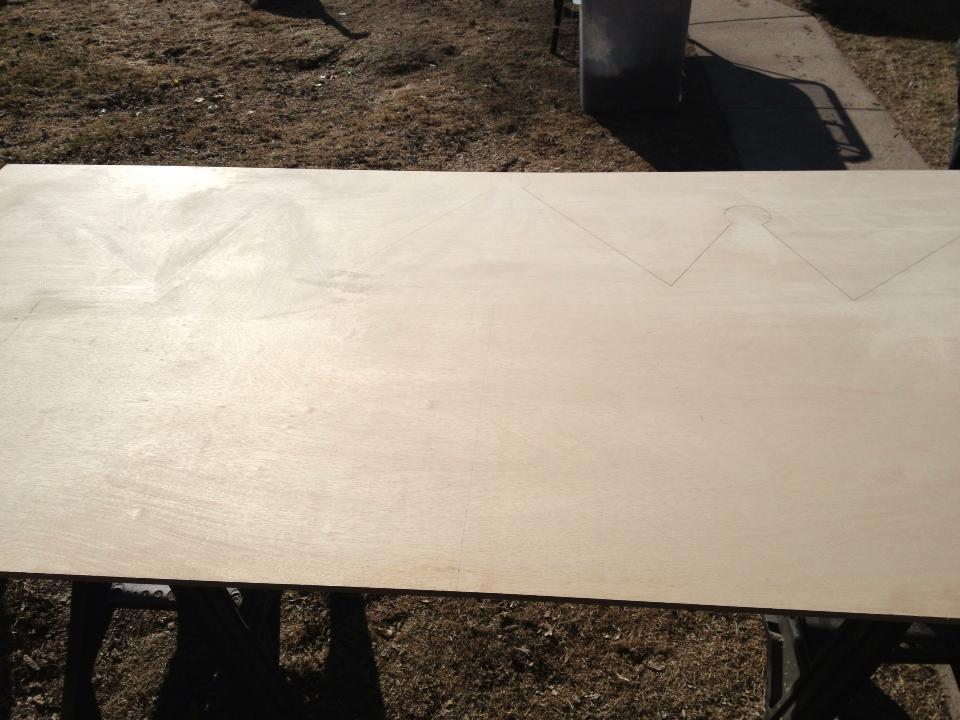
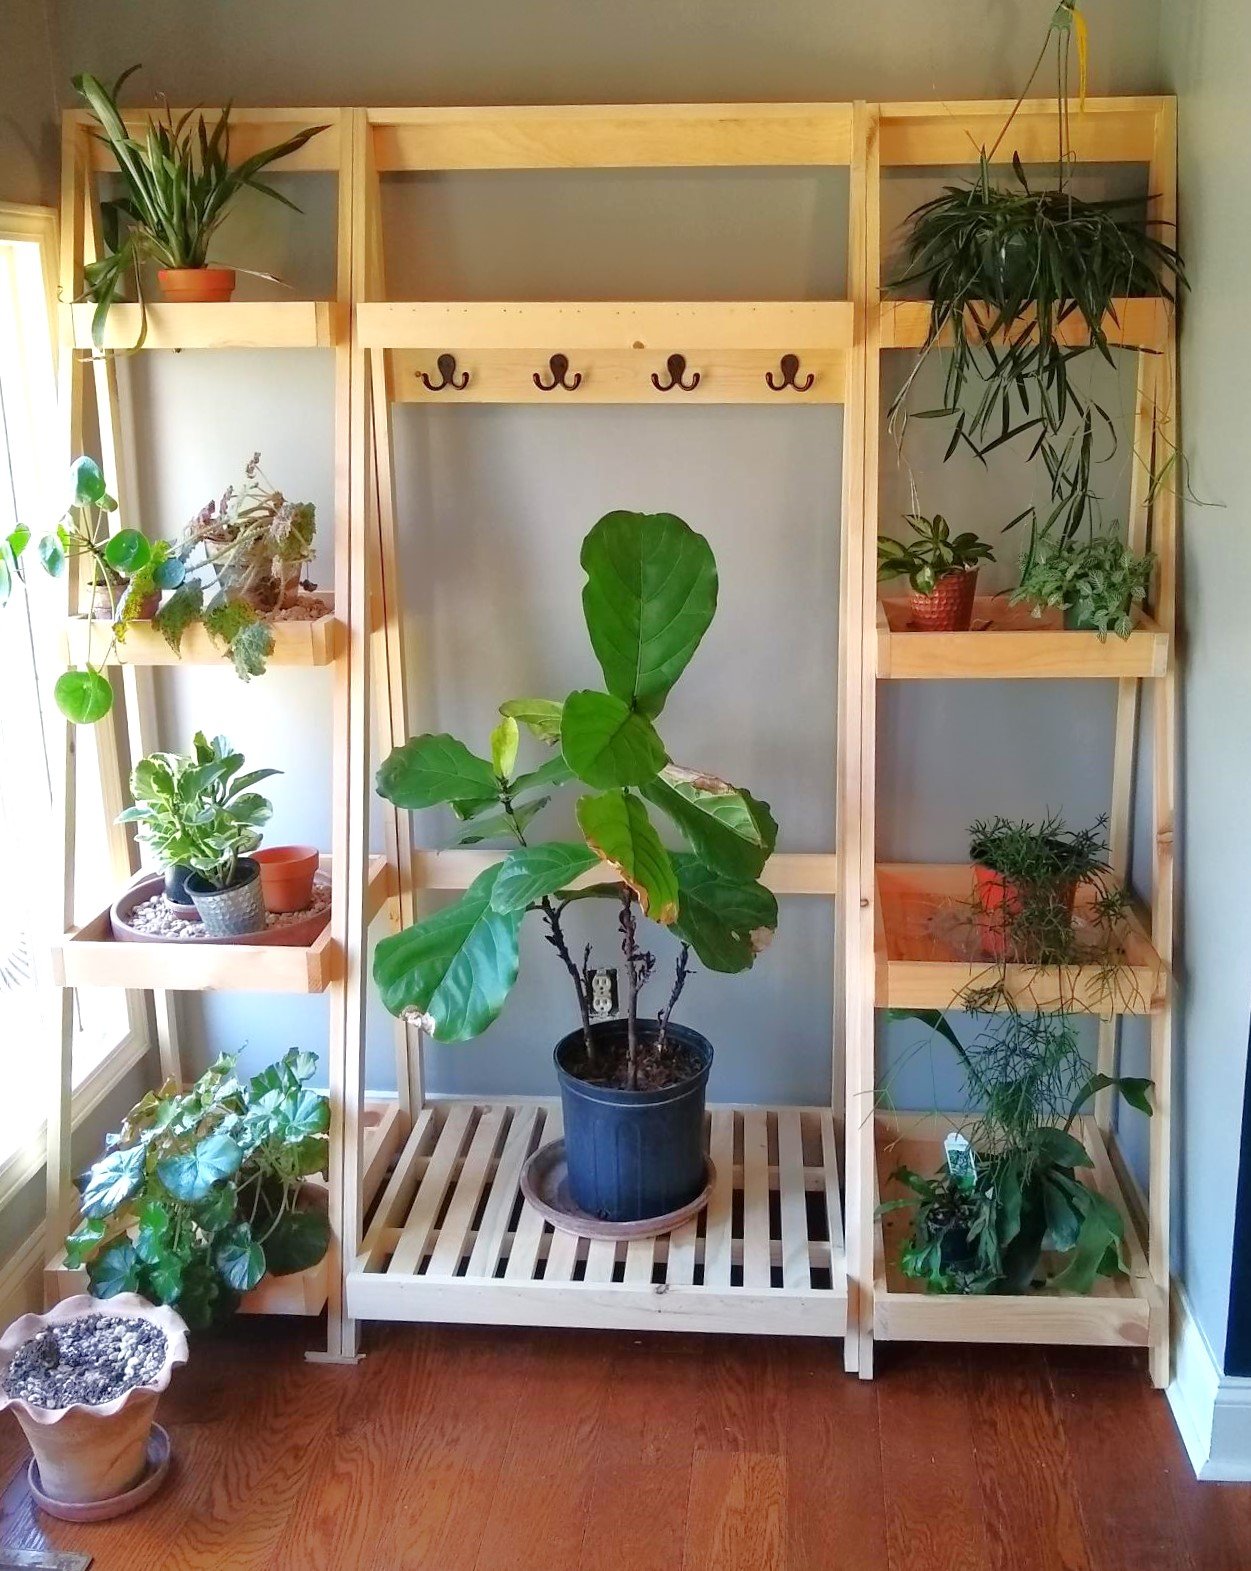
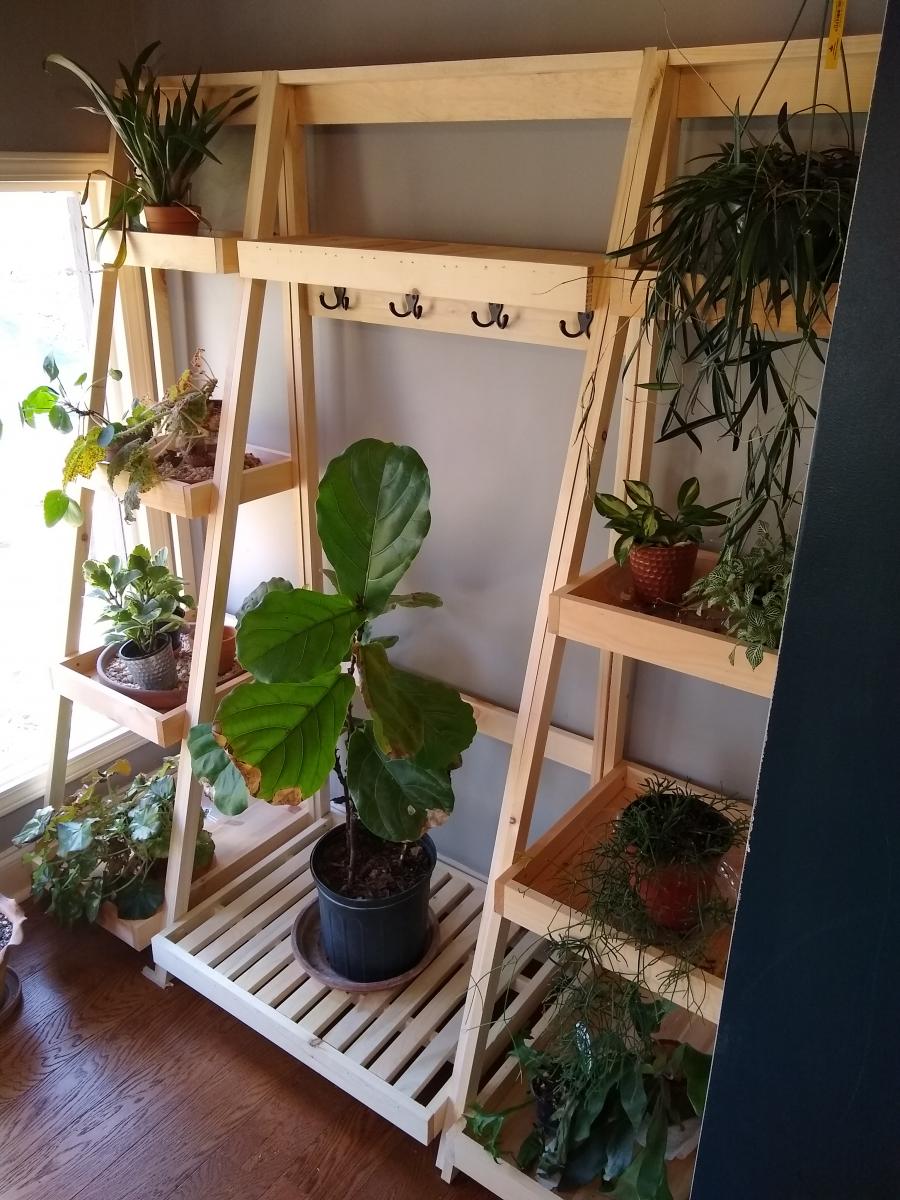
My latest furniture build, custom kitchen island inspired by Williams-Sonoma "Cooper Double Kitchen Island. The workers there weren't too happy when I was at their store taking measurements and me telling them, I'm going to build one myself. The most expensive part was the matching quartz top on it. Here is my start to finish pictures. It's a great addition to my complete home renovation project, which is now on the market for sale. If anyone wants specs and build info, to build it yourself let me know! Thank you Ana-White for inspiring in 2013 to start wood working and building, I have learned so much from your DIYs from the first x console table to now building anything my mind can imagine. https://www.zillow.com/homedetails/8707-Braun-Path-San-Antonio-TX-78254…

diy kitchen island

Built from Plan(s)
Estimated Cost
$600
Estimated Time Investment
Week Long Project (20 Hours or More)
Finish Used
Rust-Oleum Cabinet Transformations black
Recommended Skill Level
Advanced

Comments

Mothersday Planter

Thanks for these plans! I was able to complete this planter in one afternoon.

Estimated Cost
$50
Estimated Time Investment
Afternoon Project (3-6 Hours)
Recommended Skill Level
Beginner

Comments

Playhouse Loft Bed with Stairs

Submitted by Karajoy on Tue, 01/03/2012 - 18:12

When I showed my husband the plans for this playhouse loft bed on Ana's site, he decided that we needed to build it for our daughter for Christmas. We combined the two plans for the Playhouse & the stairs and modified it slightly to fit our space. We had left-over carpet which we used on the stairs. She absolutely LOVES it!! And secretly, I think her 3 older brothers do, too. Thanks SO much, Ana!!

Estimated Cost
350
Estimated Time Investment
Weekend Project (10-20 Hours)
Finish Used
Paint is BHG Pink Carnation.
Recommended Skill Level
Beginner

Comments

Phillip (not verified)

Wed, 01/04/2012 - 14:17

How can I get a copy of the plans?

Anonymous Coward (not verified)

Thu, 01/05/2012 - 07:16

Philip and Guest -
The plans are free, and click on the links in the post

From Plan: (plans are linked here)

Shameka (not verified)

Tue, 11/13/2012 - 18:29

Hey,
How do I get a copy of the plans for this bed? I would love to do this for my daughter for a birthday gift. I have gone to the section where it says plans but there is no link to click on. Thanks in advance.

Guest (not verified)

Tue, 01/17/2012 - 09:20

I would like to know how to get a copy of the plans for this bed. This is exactly what I want to do in my little girls room but I have not beed able to find plans. Thanks!

In reply to by Guest (not verified)

Karajoy

Fri, 01/27/2012 - 21:44

If you look in the section above, you'll see "From Plan:" There are two links (they're black and don't look like links. You'll need to hover over them). One for the basic bed and one for the stairs.

kelly.abbott (not verified)

Tue, 01/17/2012 - 18:38

I do not see the plans for the playhouse loft bed. Where is it located? Can you email it to me or post the link?

Guest (not verified)

Sun, 01/22/2012 - 11:57

Hi, I was wondering what age group this is best suited for? I can't tell from the size of the pictures, and my daughter is only 2.

In reply to by Guest (not verified)

Karajoy

Fri, 01/27/2012 - 21:38

I would say your 2 year old daughter is a little young for a bed this high. I think general guidelines would suggest waiting until age 6 for lofted and bunked beds, but I think that's being very cautious. Our daughter is just about to turn 4 and she does fine in it.

Cindy from Indiana (not verified)

Wed, 01/25/2012 - 11:29

You did a great job! That looks fantastic!

I'm going to be making this bed within the next month or two for my daughter. She's 4 (will be 5 in April). I know the overall design isn't *that* high off the floor, but my daugter has a tendency to roll out of bed...often. LOL

Do you find the guardrail/slats are high enough to prevent roll offs, or should I add some height to them when I build?

Yours turned out awesome! I can see why your daughter (and sons) love the bed!

Cindy

In reply to by Cindy from Indiana (not verified)

Karajoy

Fri, 01/27/2012 - 21:34

Hi Cindy.
Thanks for your kind words.
We had the same concerns about our daughter rolling or falling out. She is almost 4, but still had rails on her previous bed. We put the slats that the mattress sits on in the very lowest possible position and actually traded twin mattresses with her brother who had a thinner mattress. Her's had a pillow-top and even the extra 2 inches made quite a difference.
There are nearly 9 inches between the top of her mattress and the top of the rails which is plenty to prevent accidental roll-outs, but it certainly wouldn't hurt to add extra if it would make you more comfortable.
Now if we could just keep her from standing up there, I'd feel a whole lot better. lol
Good luck with yours.
Kara

Cindy from Indiana (not verified)

Sat, 01/28/2012 - 07:27

Hey Kara,

Thank you so much for replying! That does make me feel more comfortable that there will be around 9" between the mattress top and the rail top. Not sure yet if I'll add a bit more or not, but it's good to hear how it worked out for you guys. Now I'll be hoping to keep my little dare devil from trying to 'fly' off the top of it and we'll be good to go. LOL

Thanks, again! That was really helpful.

Cindy

Guest (not verified)

Thu, 01/26/2012 - 12:59

Hi! LOVE THIS!!! Am planing on making for my daughter. Any chance there are plans for this in a Full Size bed?

In reply to by Guest (not verified)

Karajoy

Fri, 01/27/2012 - 21:48

I've seen some posts on Ana's Brag Boards of these lofts with full sized mattresses on top. Ana's original plan is a twin bed, but others have modified it to suit their needs. You may just want to search and see if anyone has included their plans for a full. Sorry I can't be more help. Good luck!

Guest (not verified)

Mon, 01/30/2012 - 08:09

I will be making this for my boys. For the guard rail, I will be making it go all the way to the ceiling, since they like to jump off of things. They will get a kick out of it because it will be a "wild animal cage", lol.

In reply to by Guest (not verified)

Karajoy

Sat, 02/04/2012 - 16:14

Love it! It takes the safety issue out of the equation totally. Great idea. I know they'll LOVE it, too.

JessiW (not verified)

Tue, 01/31/2012 - 18:32

That is very nice if you dont mind me asking how long did you make that one... I am wanting to make one for my daughter but I dont have 103 inches that called for in the one plan...

In reply to by JessiW (not verified)

Karajoy

Sat, 02/04/2012 - 16:10

We made our bed to the exact specifications that Ana gave (103"), however, if you need to save space, you could leave the stairs off and opt for the ladder.

Kelly Kelley (not verified)

Tue, 02/07/2012 - 15:42

I tried to get the plans for this bed and I cant seem to locate. Could you help please? Thank you!! What a beautiful bed!!

In reply to by Kelly Kelley (not verified)

Karajoy

Wed, 02/15/2012 - 18:34

Hi Kelly,
There are links to the 2 plans in the "ABOUT THIS PROJECT" section above. Just hover your cursor over the "From Plans:" and the links will change color. They appear black and therefore, don't look like they're linked to anything. They're both there. Good luck!!

Guest (not verified)

Fri, 02/10/2012 - 14:23

I cannot find the plans to this bed. Could you email them to me ? Abby

Guest (not verified)

Fri, 02/24/2012 - 17:03

We were looking for plans to build a loft bed to save space in our 3.5 year old daughters room. My husband found this and we are sold on this idea. She is going to flip when she sees her new bed! Love it!

Amanda D. (not verified)

Mon, 03/05/2012 - 20:01

Hi there, I was wondering if you could tell me where you got the fabulous little washer and dryer combo that I see in the photo. I know the sweet owl painting is from target, but I love the little play space you seem to have created! :)

In reply to by Amanda D. (not verified)

Karajoy

Mon, 03/19/2012 - 19:42

The little set inside is from Playskool's Rose Petal Cottage collection. It's a little miniature set and worked perfectly in this space.

Kirstie (not verified)

Sat, 03/17/2012 - 22:52

I LOVE this so much! I love the color scheme as well, we decided to copy the scheme in my daughter's room. I was wondering where you got the curtain from? Did you buy it or make it yourself? It's almost exactly the color of the green paint we bought so I would love to know. Also, I love the washer and dryer too, also curious about that. Thanks!

In reply to by Kirstie (not verified)

Karajoy

Mon, 03/19/2012 - 19:40

Hi Kristie.
I made the little curtain and the little washer/stove/sink set are from the Playskool Rose Petal Cottage collection. Good luck building your playhouse. It's a little girl's dream!!

Guest (not verified)

Wed, 03/21/2012 - 20:27

Hi Kara,
I'm really interested in building two of these for my girls... they caught my attention because they've been asking for a bunk bed and I don't want to do a bunk bed because I hate the idea of struggling to change the bedsheets. Just wondering if it's a hassle with a bed this height.

Yours looks amazing, btw!

Thanks,
Sarah

gabey2329 (not verified)

Tue, 04/10/2012 - 11:18

oh my god i love this it would be awesome for my daughter also. were you able to stay in your budget???? do you think is a safe style for a 3 year old? she would go absolutely nuts!

Guest (not verified)

Fri, 04/13/2012 - 20:17

so beautiful! if i wanted to do this with a full mattress how would i tweak the measurements? i want to do this with a full with the stairs... just so she can be in the bed for a longer period and also the space underneath to be a bit bigger... also if i wanted to make the stairs have a drawer? i really would appreciate alll the feedback if possible because im so far from handy... :-/ and 1 more thing how did u get a light down there?

Veahava

Fri, 05/11/2012 - 18:27

I was wondering if once put together is it easy to take apart? My dad builds houses for a living and was going to make it for my daughter at his house then bring it to mine to set it up

Sharlean (not verified)

Sun, 06/10/2012 - 14:40

My husband and I just finished making this bed with stairs for our 3 year old and he loves it.

Rebeccaguest (not verified)

Tue, 06/12/2012 - 06:41

what age would you reccommend this for?? my son is 3 n a half and i woant to attempt to make this bed, but dont want to spend time and money if i will have to buy him a new bed in a couple of years. i would like it to last a good while. also, like veahava, i was wondering if this was easy to dismantle once put together as i am planning a move in the future, thankyou

winter_baby26

Thu, 06/28/2012 - 07:43

This looks amazing! I'm sure your daughter was thrilled. I can't believe it only cost $350 to build - I have no doubt you would pay significantly more than that if you bought something similar at a store.

Claire_UK (not verified)

Tue, 10/02/2012 - 02:14

This is absolutely divine - you are so talented! I have just found this website and can't imagine I'd ever be able to make something so beautiful. Putting up a shelf is beyond me. Your daughter must be so proud of her little nighttime palace!

Christine N (not verified)

Sun, 10/21/2012 - 20:01

I am trying to get the plans for this bed with the stairs but when I click on the link it doesn't give me the plans. Help, my granddaughter would love love love this. Thank you so much.

Nikki_DivaMomm… (not verified)

Thu, 12/06/2012 - 20:30

I LOVE this bed ! It's exactly what my husband & I are looking for !! With your measurements, is this suited for a toddler mattress or a twin??

Tara Payon (not verified)

Mon, 12/17/2012 - 20:42

Love love love this bed, what size mattress does it use?

cevans81

Wed, 09/11/2013 - 05:11

We made this bed for our daughter and now my son and daughter play with her kitchen and table underneath in the playhouse. Your instructions were so easy to follow and everything matched up perfectly. We did do the ladder due to space but the bed is beautiful. We get so may compliments when people come over and I always tell them about your website. You truly have awesome ideas! I can not wait for the next project and I am sure it will be off your site :-)

kullmann

Mon, 10/07/2013 - 17:26

I love your playhouse with loft bed! How tall is the underneath part? Would you be able to fit a desk underneath? Also, could the plans be adjusted to accommodate a double bed?

THANK YOU!!

Adirondack inspired chair

Submitted by sidman on Tue, 02/14/2012 - 02:31

I was inspired to build this adirondack chair after I built a couple from Ana's child adirondack chairs. I love everyone of her projects and have a LONG "honey do" list to complete.

Estimated Cost
25.00
Estimated Time Investment
Day Project (6-9 Hours)
Finish Used
Red Oak stain with a two coats poly coating.
Recommended Skill Level
Beginner

Comments

Cindy from Indiana (not verified)

Tue, 02/14/2012 - 12:52

This chair turned out great! For only $25? Can't beat that with a stick!

sidman

Wed, 02/15/2012 - 19:06

Thanks everyone for the nice comments. My plan is to build a double (side by side)Adirondack chair in the next few weeks. Right now i gotta finish my dining room table. Always something to do!

Guest (not verified)

Wed, 02/22/2012 - 08:41

Looks so comfortable and it would look great on my front porch. Thanks for posting.

Zenrunn (not verified)

Tue, 06/19/2012 - 16:52

Gorgeous chair! But when I try to click the link to the plan, it says "page not found."ncan anyone direct me to where I can find the plan for this chair?

Two Toned X Shelf

Submitted by bellpm75 on Sat, 12/28/2013 - 14:28

I made this piece a little different. I used 2x2's vise 2X4's for the frame. I also made the width 4 inches shorter. My friend found a 3/4 inch 4x8 birch plywood piece being thrown out, so I paid next to nothing for it from him and used it for the shelf. The framing was made using select pine which was a little expensive, but the boards were clean and straight as an arrow. Well worth it! Making the X was difficult! I had to go through a few cuts to fit them just right. I used one clamp in the center of the X to hold the X in place while the glue dried.

Built from Plan(s)
Estimated Cost
100
Estimated Time Investment
Weekend Project (10-20 Hours)
Finish Used
I used Miniwax Ipswich Pine for the "X" and Dark Walnut for the rest. I followed the finish with two coats of oil based poly. Sanded with 220 grit between coats.
Recommended Skill Level
Intermediate

Chunky X Base Table

Submitted by Anonymous (not verified) on Thu, 03/24/2016 - 20:56

So my sister in-law kept sending me tables on craigslist that were for sale. I didn't like anything I was seeing and to buy what I wanted I was looking at roughly $1000 so I found these plans and was like... YES! When I told the family I was doing this they were all pretty much like... "yeah sure, good luck"
I knew that I could do I just needed the plans which were here.

I pretty much stuck to the plans with a few exceptions. I made the table longer to accommodate the entire family on Friday Family Night...! It's a little over 10' long. Instead of 3 – 1x12x8 I went with 3 - 2x12x10. One because as I said earlier I wanted the table longer and two because I just felt that the 1x12 was too flimsy and I wanted something real solid. Because of that I ended up putting pocket holes on each side of all the 2x12 boards and I also put a 2x6 in the middle for additional support.

Everything was pretty much right on except for the base posts, for some reason they were about 2" too short which forced me to cut the upper parts of the X on the base a bit shorter as well. I ended up putting an additional 2 2x6 on top of the base to raise the table to the height I felt was necessary. If I did it over I would have just made my base post 2" higher and only used one additional 2x6 for the additional height.

I ended up staining it with a semi-transparent beige stain to give it a grayish look.

I gotta say everyone was like "holy crap...!" and thought it was beautiful. I gotta say it feels really good to build it yourself and especially when it comes out the way you want it.

thanks so much for the plans!!!

Estimated Cost
$200
Estimated Time Investment
Weekend Project (10-20 Hours)
Finish Used
2 coats of a semi-transparent beige stain from Olympic. Stain and Sealer in one
Recommended Skill Level
Beginner

Comments

SESchild

Thu, 06/04/2020 - 12:15

Hi Ana. I'm a new member here. My wife and I really enjoy your projects! Quick question about the Chunky X Base Table... we're about to build it and we're going to do it 10 ft long like you did. I'm curious how rigid the center span is? I'm guessing the span is roughly 6'. Is it bouncy? I was thinking about running 2 or 3 2x4 "joists" under thre table attached to the bases to provide more support. Thoughts? Suggestions? Thank you!

Cedar 4x4 Truss Beam Table

We had gotten a piece of granite for free, so my husband modified the plans to fit the slab. We made one in pressure treated lumber and loved the look so we decided to make a nicer one in cedar. The benches are a little wider because of the size boards available. We could have ripped them down, but we prefer the wider seat. I will sand the seats and seal the wood to keep it looking fresh longer. We look forward to many great memories at our new table by our outside fireplace. Thank you for the great plans!

Estimated Time Investment
Day Project (6-9 Hours)
Recommended Skill Level
Intermediate

Converted A ashley twin size bed into Twin size Crib

Submitted by Mamabear2 on Thu, 01/23/2014 - 09:53

I purchased a twin girls captins bed for my daughter to grow into but she wasn't quite big enough for it yet so I had my husband convert it into a twin size crib!!!! Im in love with how it turned out. My husband Free hand a crown on a sheet of ply wood and cut it out. I used quilt batting and covered it with pink material and did the tips of crown in purple.

Estimated Cost
80.00
Estimated Time Investment
Day Project (6-9 Hours)
Recommended Skill Level
Starter Project

Painter's ladder entry system

Submitted by misshunnie on Fri, 01/10/2020 - 05:40

I built the outside shelves first for my husband's plants.  The coat rack section was added last after a modification of the original plan.  I did not paint or finish the shelves as we are still deciding, but I do sort of like the scandi look of it as it against our gray walls & the greenery of the plants.  Feel free to offer any finishing recommendations if you comment.  Once all parts were cut to size for our space, assembly took very little time.  Shelving in the plant sections were made from reclaimed IKEA shelving boards.  Thanks for the plans, Ana, as this solved a problem for us because we do not have a coat closet at the front door and these windows provide the best light in the house for my husband's growing plant collection!

Estimated Cost
$40 +/- as reclaimed wood was used as well as newly purchased and new hardware (hooks & boot tray under bottom shelf of coat rack portion)
Estimated Time Investment
Afternoon Project (3-6 Hours)
Finish Used
TBD - recommendations welcomed!
Recommended Skill Level
Intermediate

Comments

Rustic X Hall Tree

Submitted by Anonymous (not verified) on Mon, 01/27/2020 - 14:22

I built this scaled down version of Ana's Hall Tree to fit into a 3 foot wide space in my daughter's living room.

Built from Plan(s)
Estimated Cost
$55
Estimated Time Investment
Afternoon Project (3-6 Hours)
Finish Used
Whitewash
Recommended Skill Level
Starter Project

24in Back Ana White design

Submitted by Anonymous (not verified) on Mon, 04/27/2020 - 06:05

As soon as I watch the video I knew I needed to try this one. I built it out of excess material from previous projects. I did not have the 1x10 so I used 5/4 x6 red cedar and decided that since we are of the wider sort that I needed to change the width for us. It worked out great. I kept all the other dimensions and did the math for the positions of the seat back positions from what Ana used. She is correct. Very comfortable chair with the angles and height.

Estimated Time Investment
An Hour or Two (0-2 Hours)
Finish Used
Will be sanded and finished in future. Unfinished right now.

Comments

Our Reading Couchette

My husband built our daybed and I upholstered it. I made 3 large pillows and the mattress was covered by sewing the fabric as if it were a fitted sheet. This way it can easily be removed for cleaning or swapped out for a regular sheet if our daughter needs to sleep here. We cut the legs off an old table for the front legs of the daybed. We love reading on it and we are so pleaded with how it came out.

Built from Plan(s)
Estimated Cost
$250
Estimated Time Investment
Weekend Project (10-20 Hours)
Finish Used
Black paint and upholstery fabric
Recommended Skill Level
Intermediate

Comments

Outdoor Play Kitchen

Submitted by Anonymous (not verified) on Mon, 04/15/2024 - 10:05

I built this using Ana's plans for her outdoor play kitchen. I live in North Carolina and took it to my grandchildren in Ohio. They love it! I used an inexpensive beverage dispenser installed into a trashcan and connected a small aquarium pump to recirculate the water from the sink to the water tank. I'm super pleased with how it turned out!

Nancye Butterworth

Built from Plan(s)

Shiplap Bathroom - DIY Vanity

Submitted by Anonymous (not verified) on Tue, 10/11/2016 - 13:52

It had come time to renovate our powder room bathroom. We were on a tight budget so we decided to build our own vanity & add a little twist to it! We splurged on the granite countertop, vessel sink  and faucet. Thanks to Ana White we built our vanity for less than $10! The plans were easy to follow . . . .we are so proud of our wood vanity!  link to our blog: http://www.houseofrumours.com/shiplap-powder-room-diy-vanity/


Estimated Cost
$10
Estimated Time Investment
Afternoon Project (3-6 Hours)
Finish Used
none. slightly sanded and used wood oil.
Recommended Skill Level
Beginner

Heavy Bench for New Greenhouse - Modified Farmhouse Table

Submitted by Tonya P on Wed, 09/12/2012 - 11:38

Before my new greenhouse was even delivered and built, I was searching for ideas on potting / greenhouse benches. The company wanted nearly as much $$ for the benches as they did for the greenhouse. By accident I came upon Ana's site. I saw the Farmhouse Table plans, then I saw Handy Andy's modification of the plan, and I was inspired to build them myself!
I found a big pallet of 2x pieces of wood at Menards for $25. They usually set out a pallet of odds and ends that are of "like" items. These were about 3.5' long pcs of 2x10's and 2x8's and such (I have enough of these to do the other benches I want to build... and then some!). I also used some 2x4's that came off a really nice sturdy pallet that we picked up for free, and the rest were just boards we had around the shed.
Hubby was willing to help me with this project, but I wanted to do it myself. He did help with the heavy lifting, and I do appreciate that :) Once I had the frame built, we had to move it into place in the greenhouse otherwise we would not have been able to get it in there. And now that it's complete... it's HEFTY!!! And believe me, it's not going to shift about! lol I also put 2x4's across the bottom of the legs so that it wouldn't sink down into the pea stone floor.
The benches basic construction is the Farmhouse Table, but I added a bottom shelf, a little like Handy Andy's. I must say, because this was not a fine piece of furniture, I was not as intimidated or nervous. It was great for my first ever big project :) It took me some time to complete it, over the course of 2 days, but then I also have to cook and clean and work and garden and a hundred other things in a day :) So, I was in no hurry, but it was a very fun project and I'm SO glad I took it on.
I will be building more of these benches to fill up my beautiful new 10x14 Cedar Built Greenhouse.
Thank you Ana, and Handy Andy!!! I couldn't have done it without your examples!
~ Tonya

Estimated Cost
$10 more or less
Estimated Time Investment
Day Project (6-9 Hours)
Finish Used
Cedar colored stain sealer.
Recommended Skill Level
Beginner

Hamilton Park Home DIY Adirondack Chairs

Submitted by Anonymous (not verified) on Wed, 07/15/2020 - 08:23

I am long overdue to share these Adirondack chairs that I made last fall. I followed the exact plans for Ana’s Adirondack Chair to make my own. These chairs have such a simple, clean, modern style that I love. Adirondack chairs, no matter what style, are just an all-around classic!

Built from Plan(s)
Finish Used
Stain
Recommended Skill Level
Beginner

Comments

Seasonal And Holiday

Wooden Sandbox with Convertible Bench / Cover

I make and sell kids picnic tables on craigslist and a buyer asked about making one of these. I took it on and found the plans on here very easy! I now list these on craigslist also and hope to sell more before the summer is over.

Built from Plan(s)
Estimated Cost
~$100
Estimated Time Investment
Afternoon Project (3-6 Hours)
Finish Used
none, until PT has dried
Recommended Skill Level
Beginner

Comments

Rustic Farmhouse Table

This is the very first thing I've ever built! I would never have thought it could be so easy! Thanks so much Ana - your my hero!!!

Estimated Cost
$125.00
Estimated Time Investment
Weekend Project (10-20 Hours)
Finish Used
Minwax - English Walnut
8 coat of Poly
Recommended Skill Level
Beginner

Comments

Outdoor Sectional

Submitted by Anonymous (not verified) on Mon, 07/27/2020 - 12:15

Modified the plans of the outdoor sofa and sectional piece to create this set, then added cushions from IKEA.

Finish Used
SuperDeck Cedar Tone Natural

Comments

Seasonal And Holiday
Back