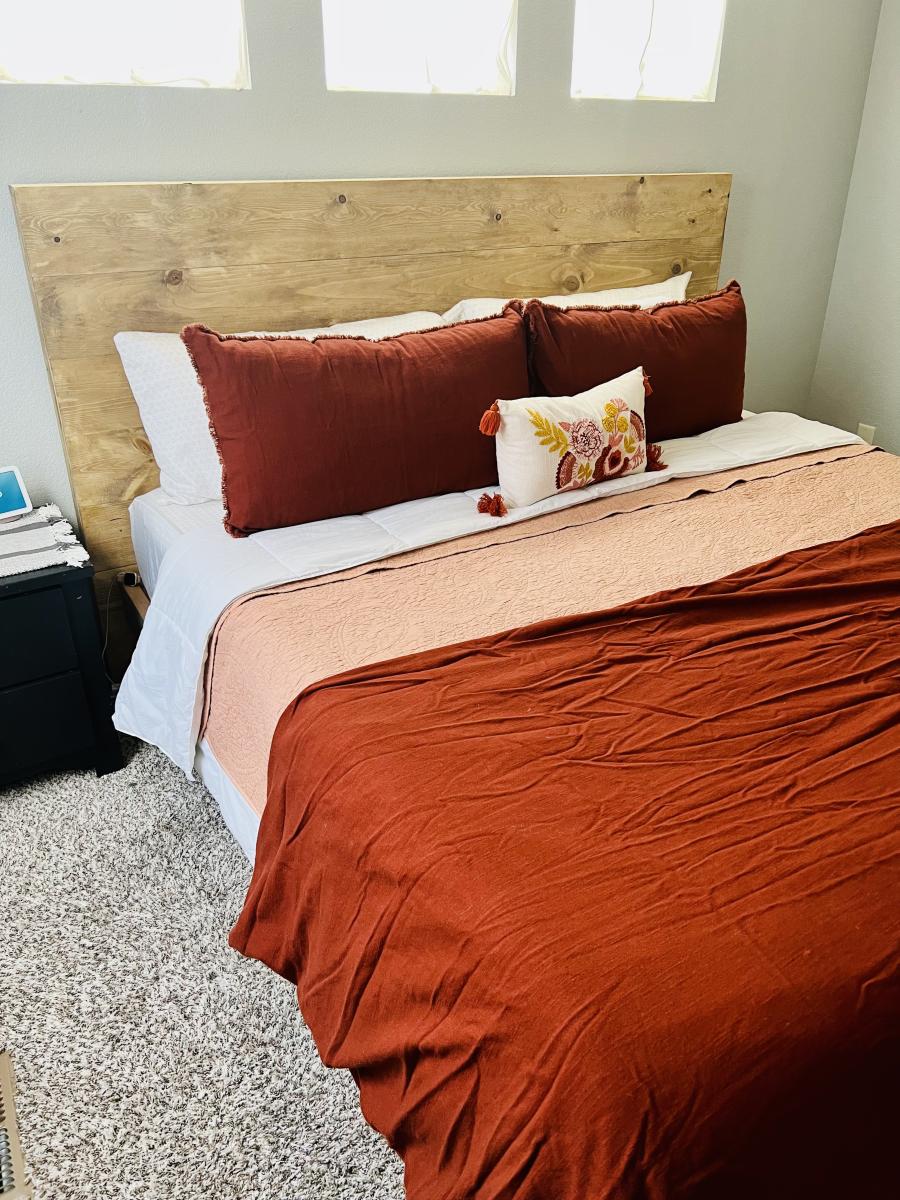
Farmhouse bed
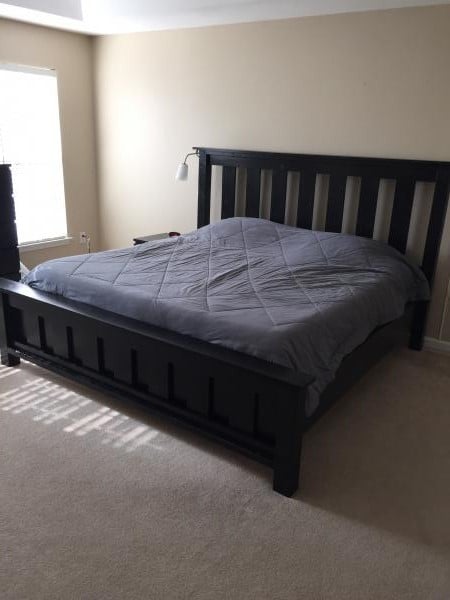
The project went relatively well. Had to readjust in order to fit our king. I used 2x4s and 2x4 joist hangers to support the mattres.
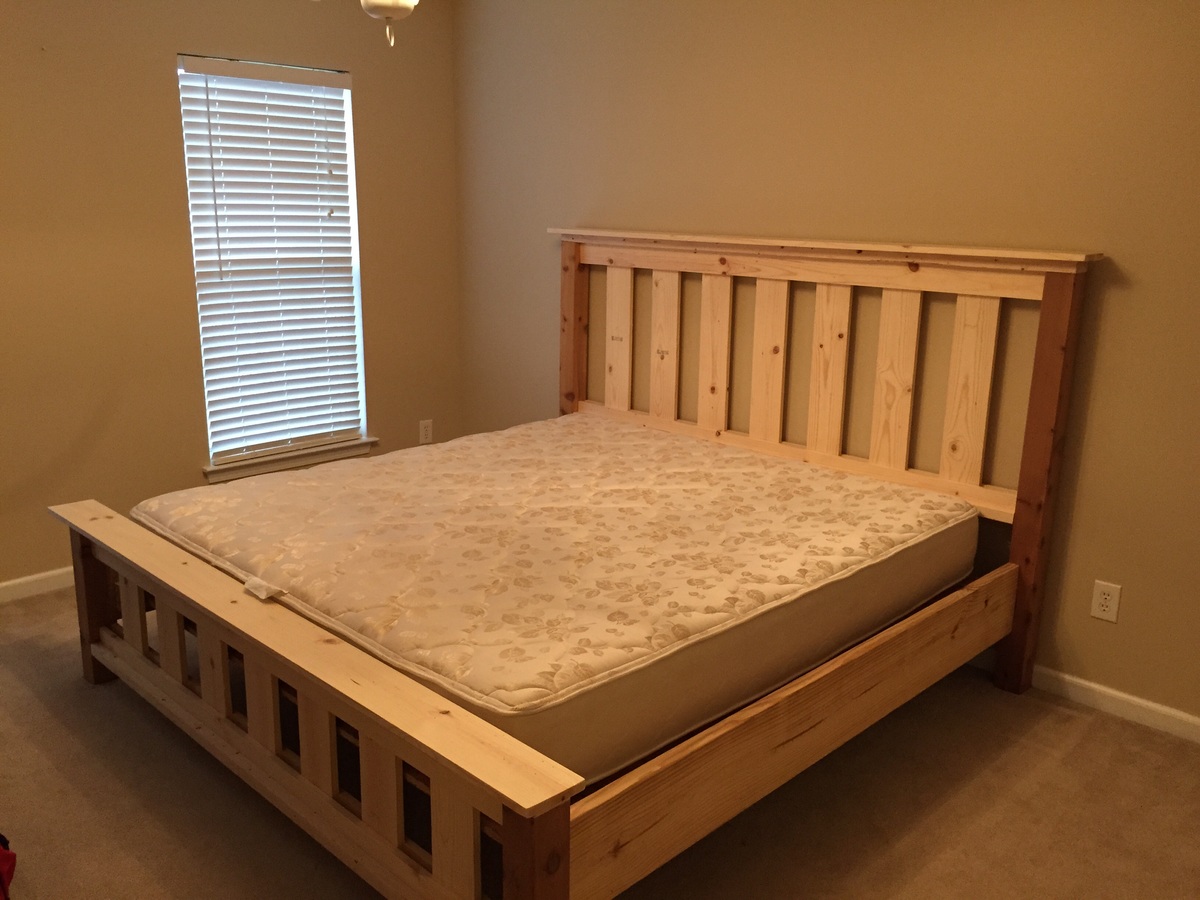
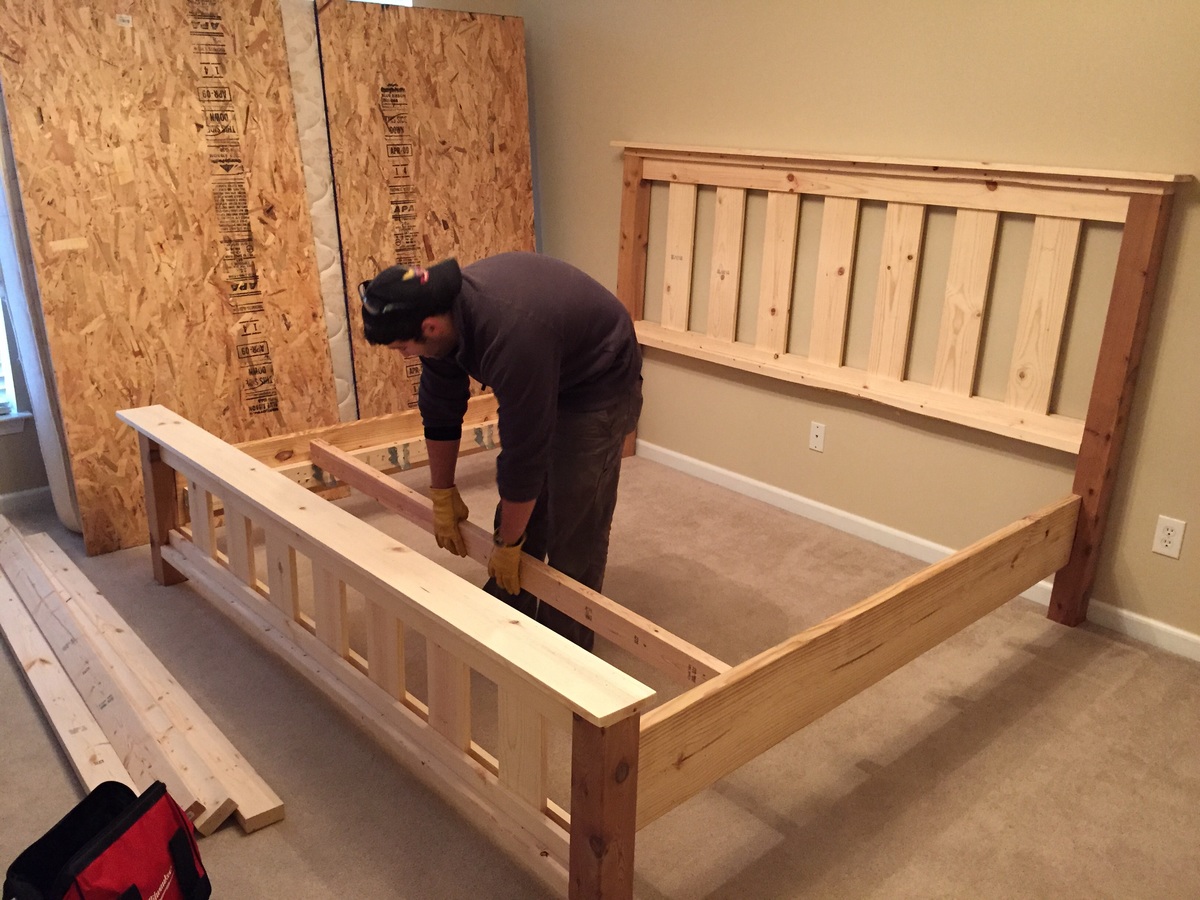

The project went relatively well. Had to readjust in order to fit our king. I used 2x4s and 2x4 joist hangers to support the mattres.


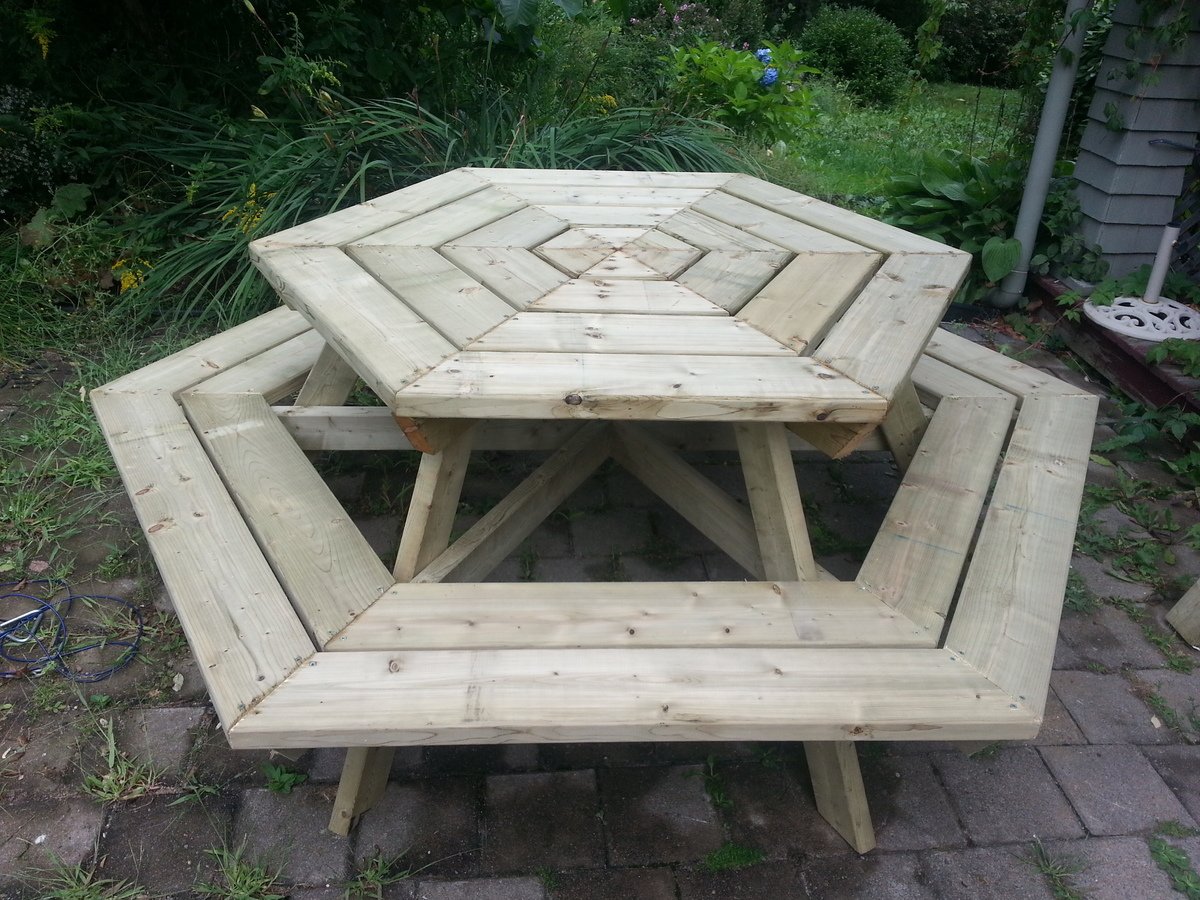
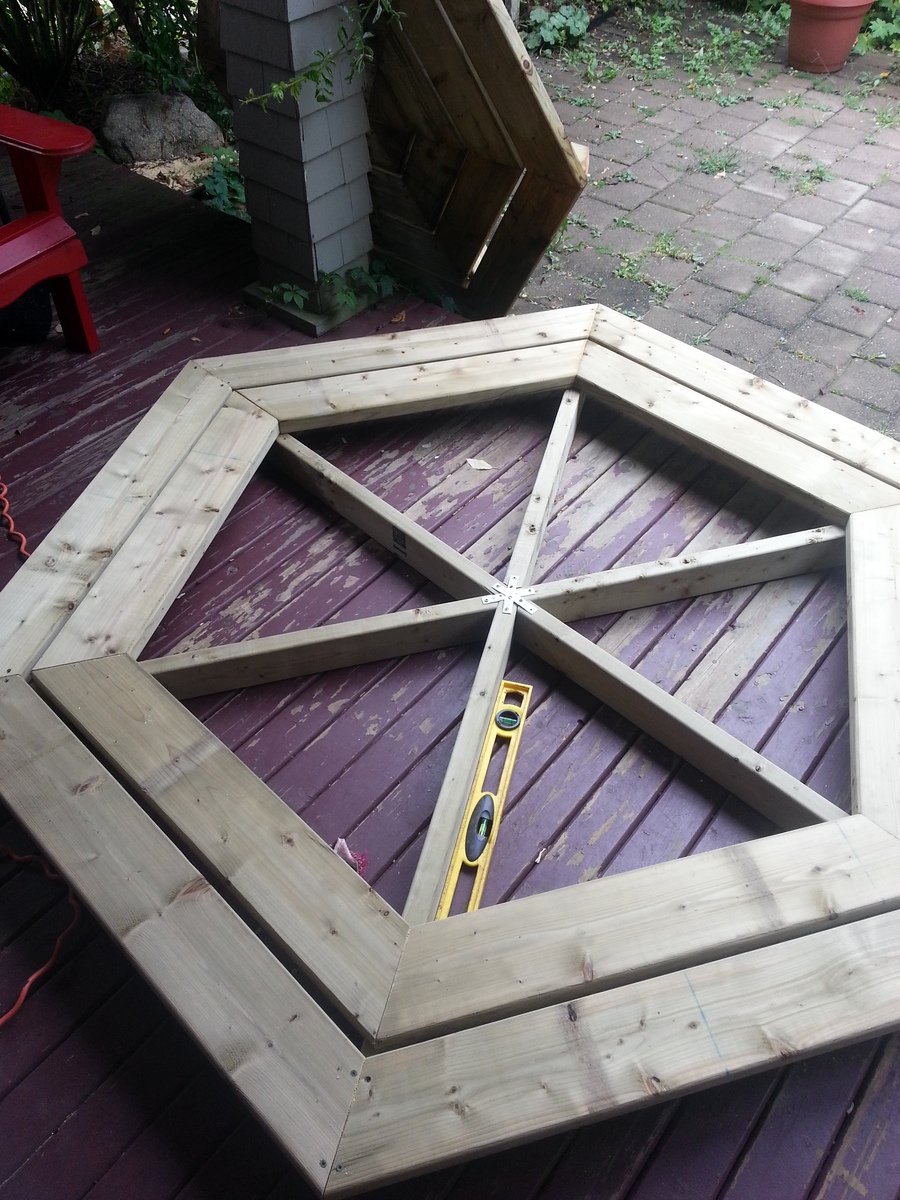
Very finicky to assemble, but love the finished product!
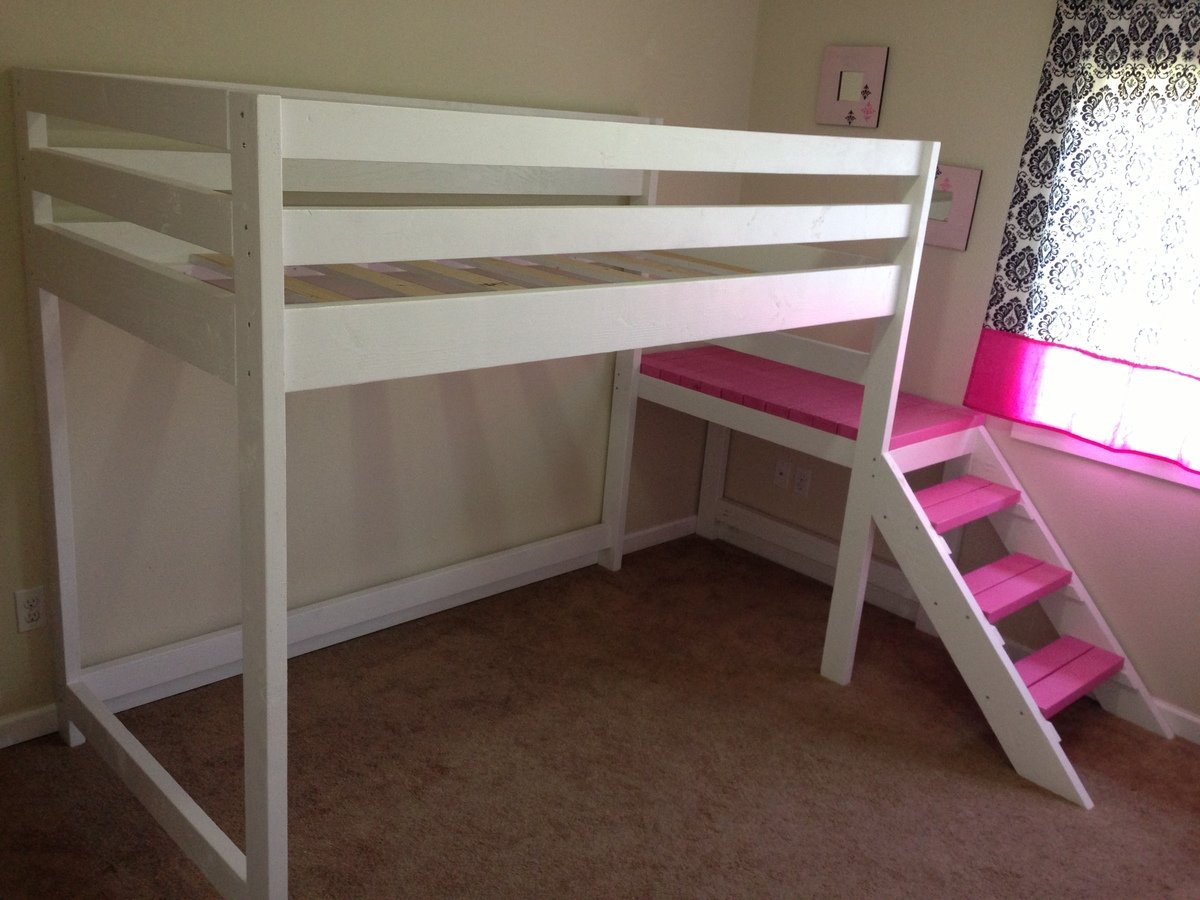
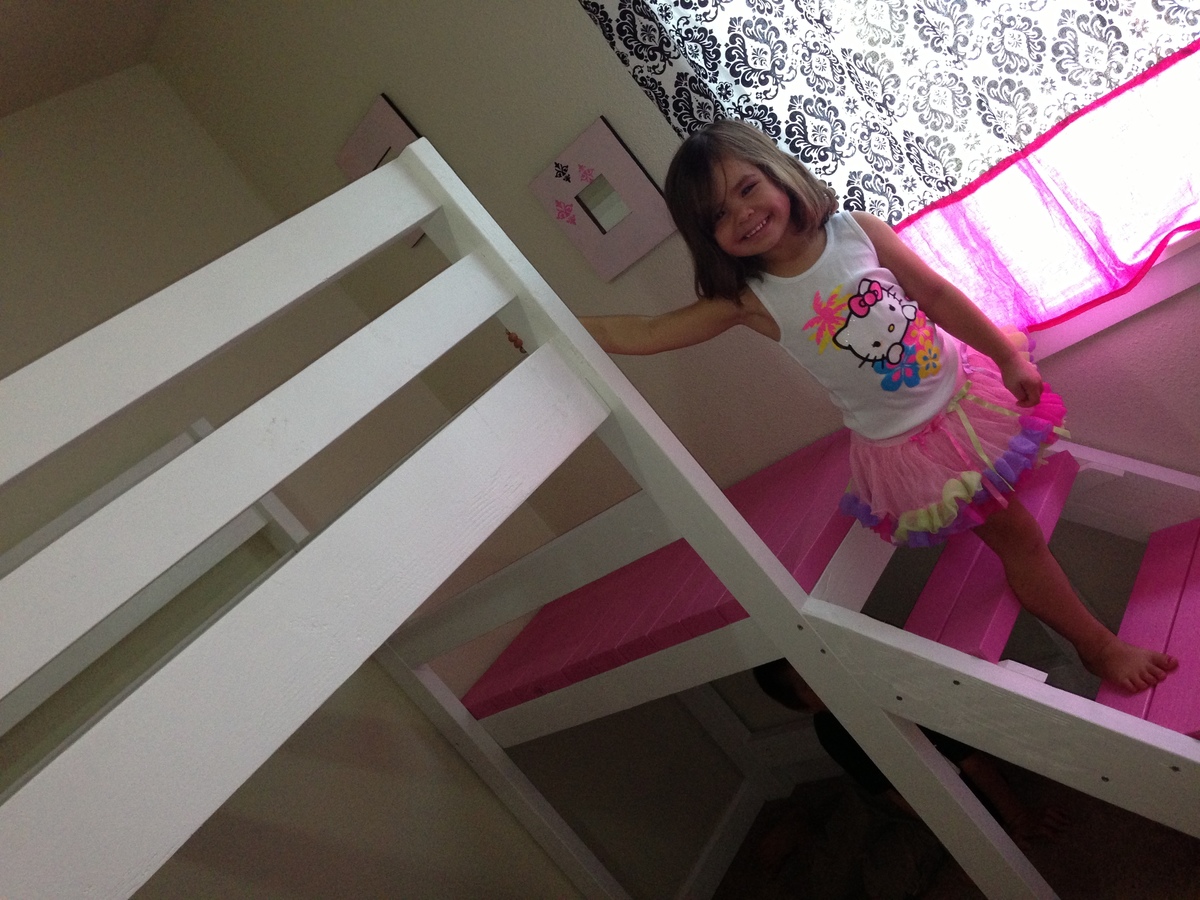
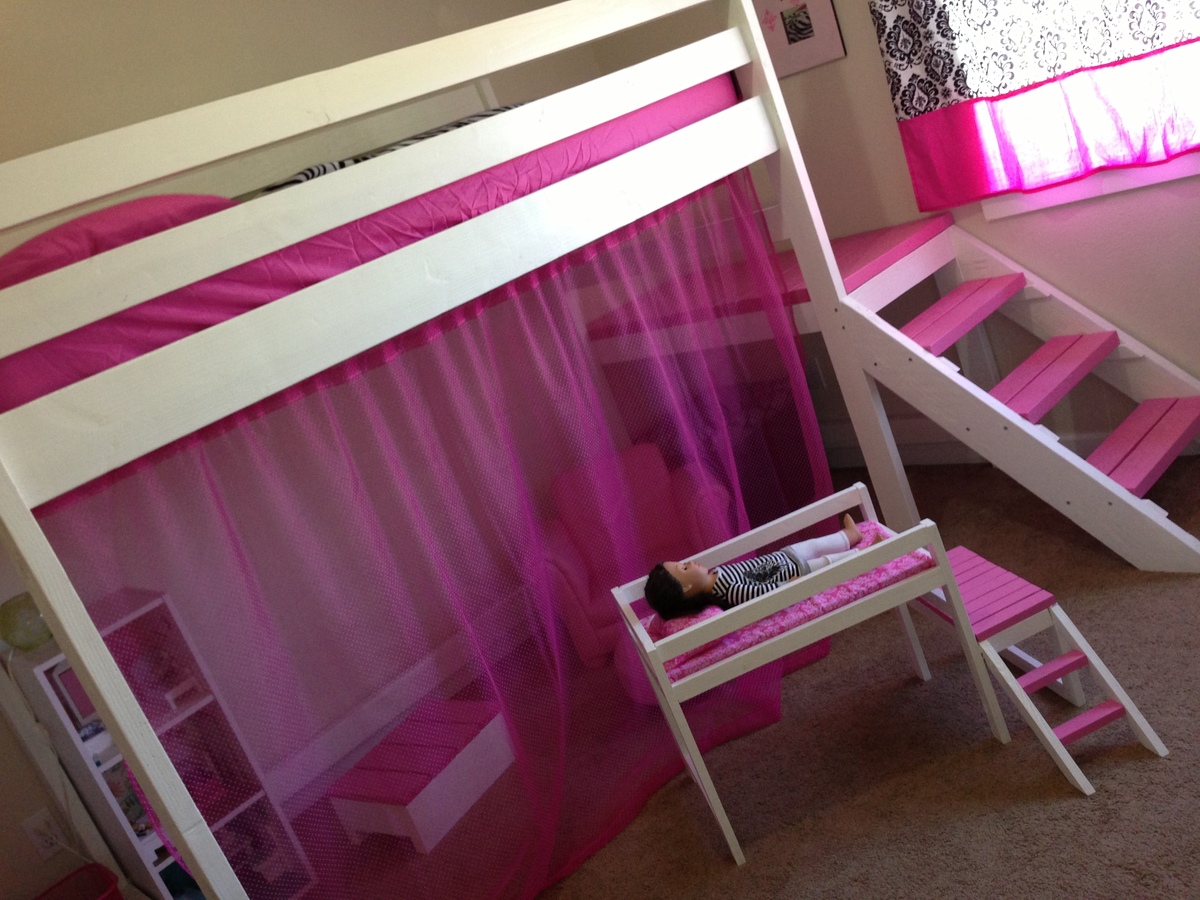
We made this loft bed for my daughter's 4th birthday. I did all of the cuts, sanding, and painting on my own, and had my husband help me with the assembly of the bed. It took us 2 full days to complete this build. The sanding and painting was the most tedious part of the project. I think it cost us about $150 for all of the lumber, paint, screws, etc.
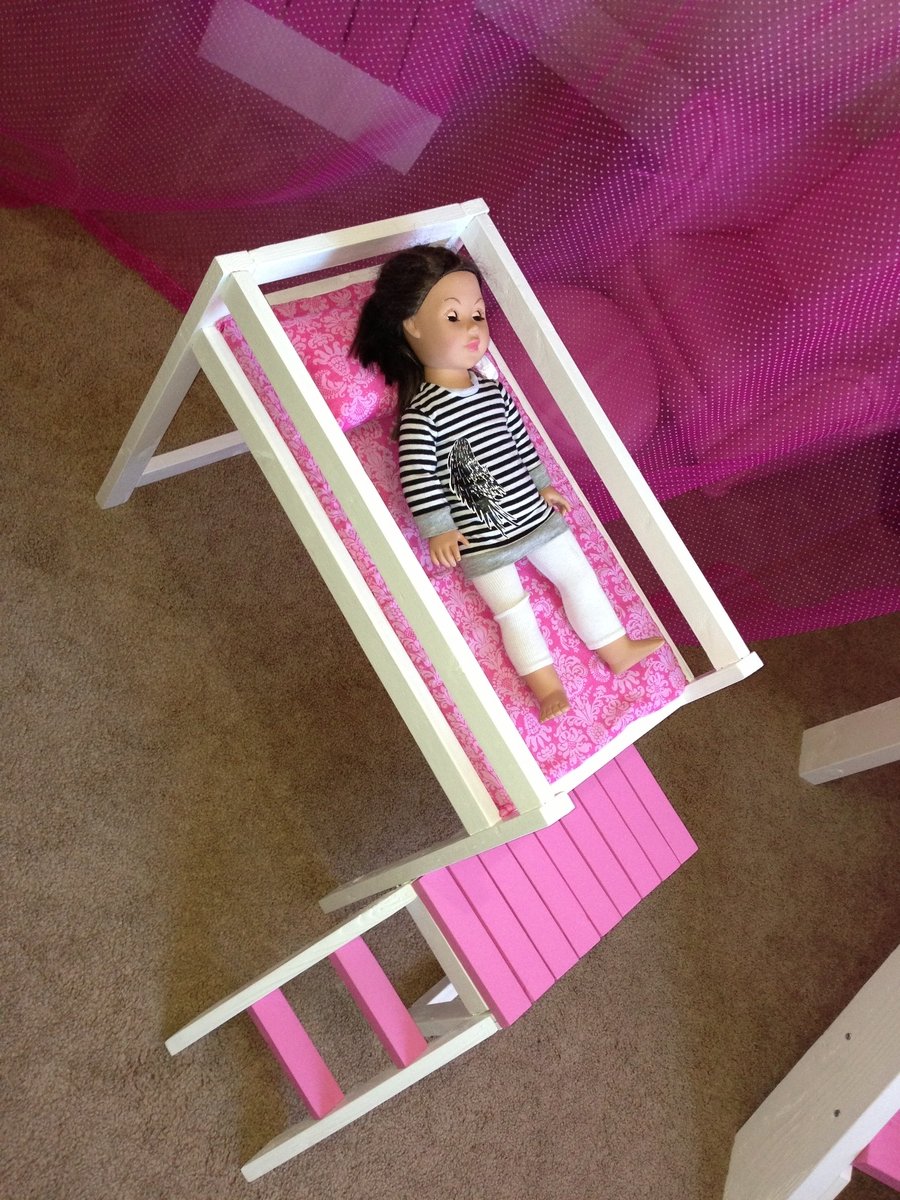
My daughter's really into playing with 18" dolls right now, so I decided to make a mini version of her loft bed for her dolls. I think it turned out really well and she absolutely loves it! The doll sized loft bed only cost about $15 to make (including wood, foam for the mattress and fabric). You can't beat that price for a wooden doll bed...and what little girl wouldn't love a matching bed for her dolls?!?!
I'm so happy with how both beds turned out!
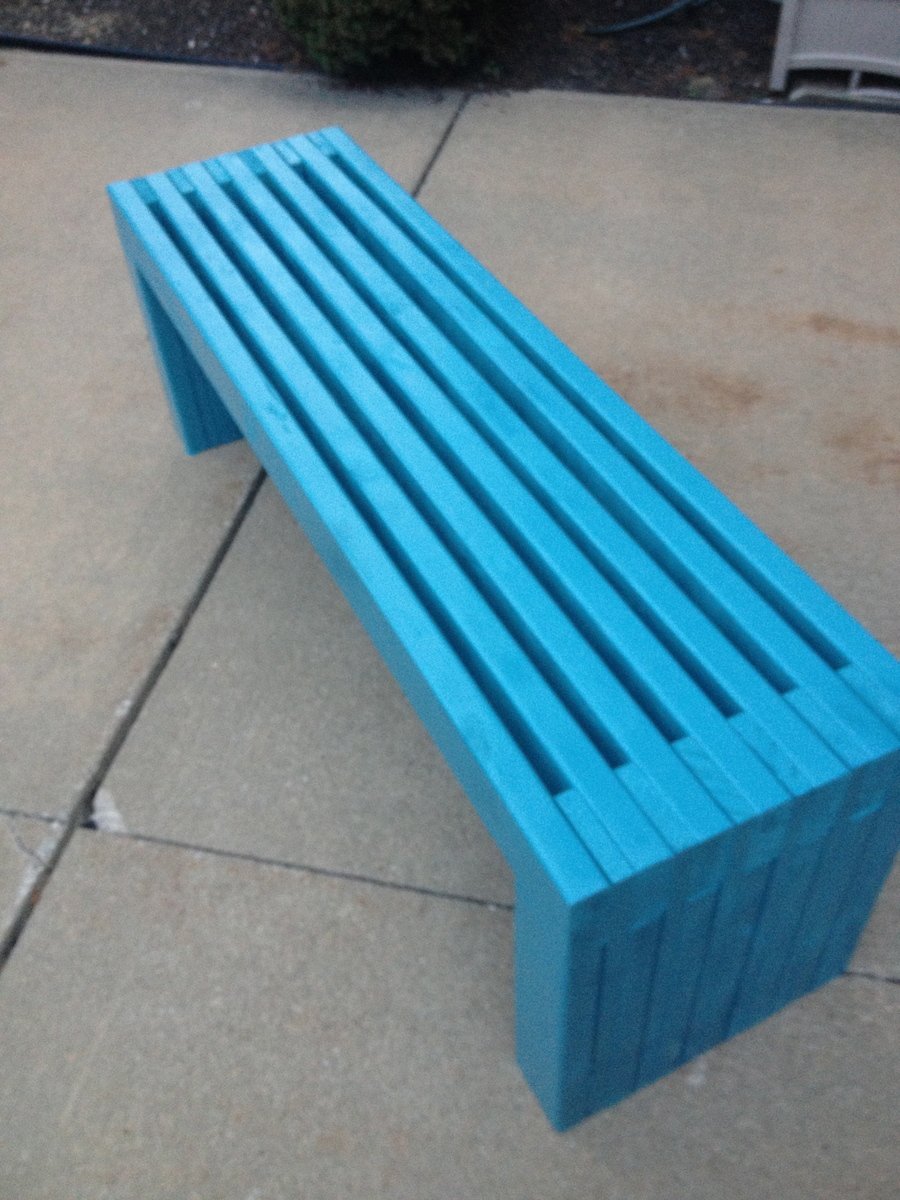
This was my first project. I am pretty excited how it turned out. If I did it again, I would recommend sanding and painting prior to building.
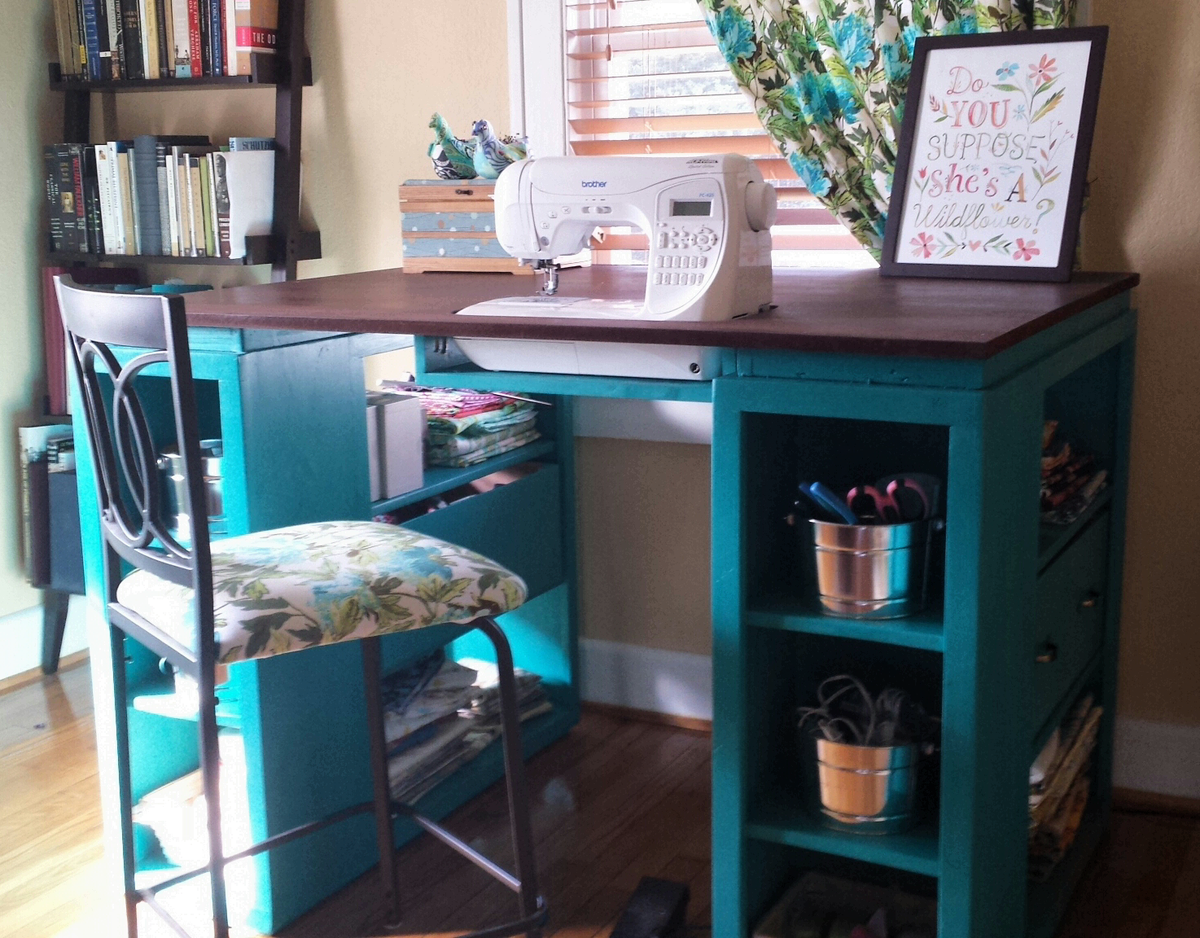
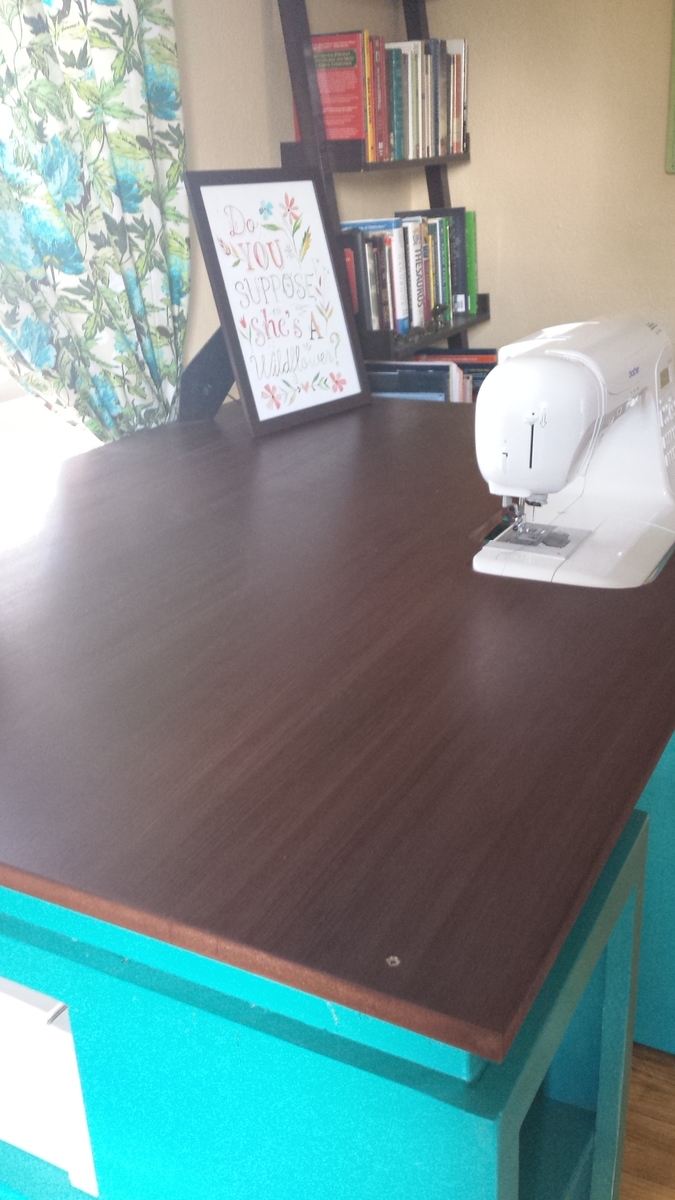
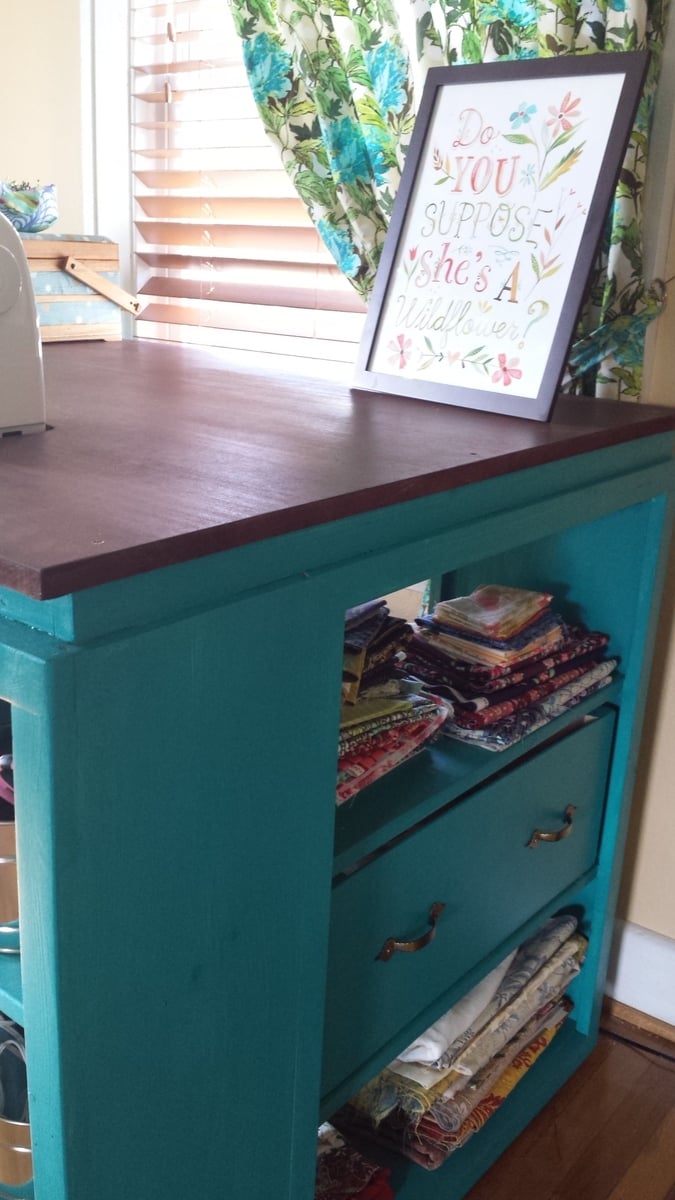
I have been looking at sewing furniture for years, but the prices always made my jaw drop. I have a small craft room, so I needed a table that could also triple as a cutting table and fabric storage. Thank you so much to Ana White for this plan! I built exactly to the plan in The Handbuilt Home, and it's the PERFECT size.
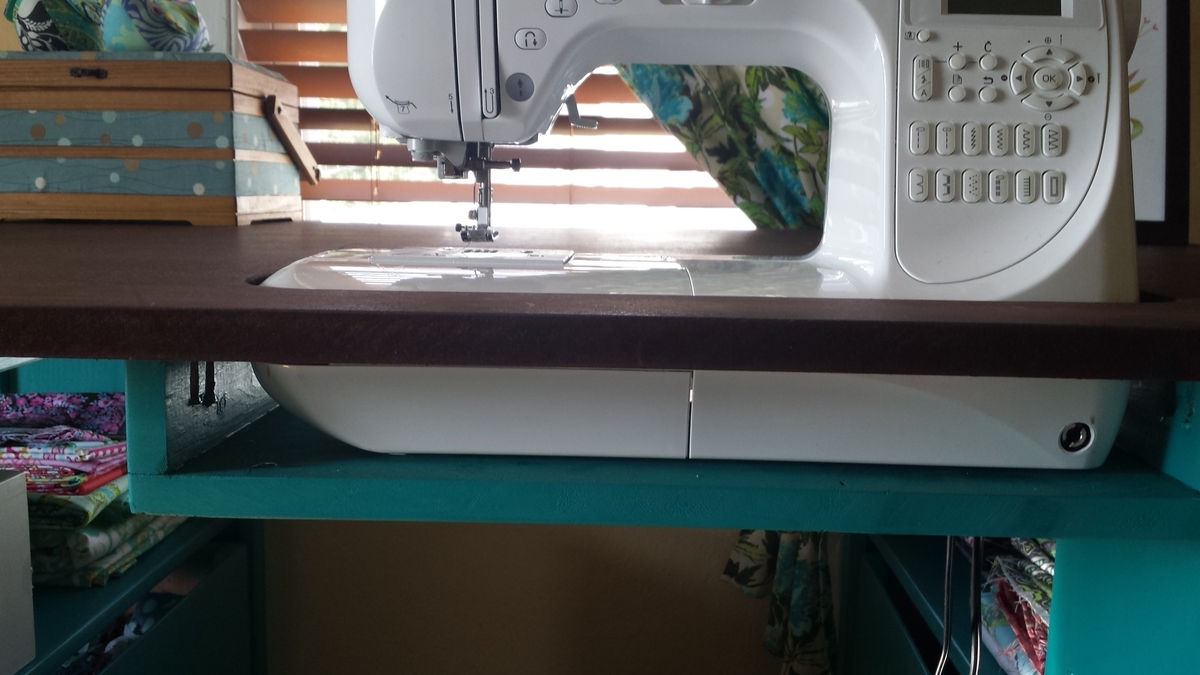
So the sewing machine can sit flush with the top, making working on big sewing projects way easier, I traced the outline of my machine on the MDF and cut it out with a jig saw. Then I built a small shelf using a 1x12 scrap and 2 1x3 scraps. Putting the 1x3s on top of the 1x12 made the shelf 3.75 inches deep, which is exactly the depth I needed. I attached it to the underside of the tabetop using a pockethole jig and screws.
I built 2 boxes using 1/4 inch plywood, and installed drawer pulls on them, giving the illusion that the table has 2 drawers built in. This is where I keep my ugly stuff--interfacing and fabric scraps.
I got the color scheme for the table from the entryway console plan in The Handbuilt Home. In order to make the MDF top look like it had a wood grain, I applied mahogany gel stain with an old washcloth in very thick strokes that spanned the length of the tabletop. It soaked in and lost the "grain" look in some places, but the majority still looks like wood. I did have to apply several coats of polyurathane over the stain; the MDF has a prickly texture that grabs fabric and makes it hard to feed through the sewing machine.
My only complaint is that I didn't quite think through the fact that seating is bar height and I'm 5'7". It's a little difficult to reach my sewing machine pedal. I may build a small stool for the pedal to sit on so I don't have to half sit/stand to sew.
This is the first woodworking project I've done alone from start to finish: from going to Lowe's and picking out the wood, to cutting the wood with a circular saw, assembly, and finishing. (My fiance did carry it up the stairs for me. :) )
I'm so in love with this table! And now to finish the quilt I started 6 months ago....
Mon, 09/23/2013 - 07:40
I really like your colors! And that drawer idea is so clever! Nice work!
Val
artsybuildinglady
Mon, 09/23/2013 - 15:22
I love this idea!! I too have wanted a sewing table for a long time but the prices of them take my breath away. I may have to make myself one! Thanks for the inspiration!!
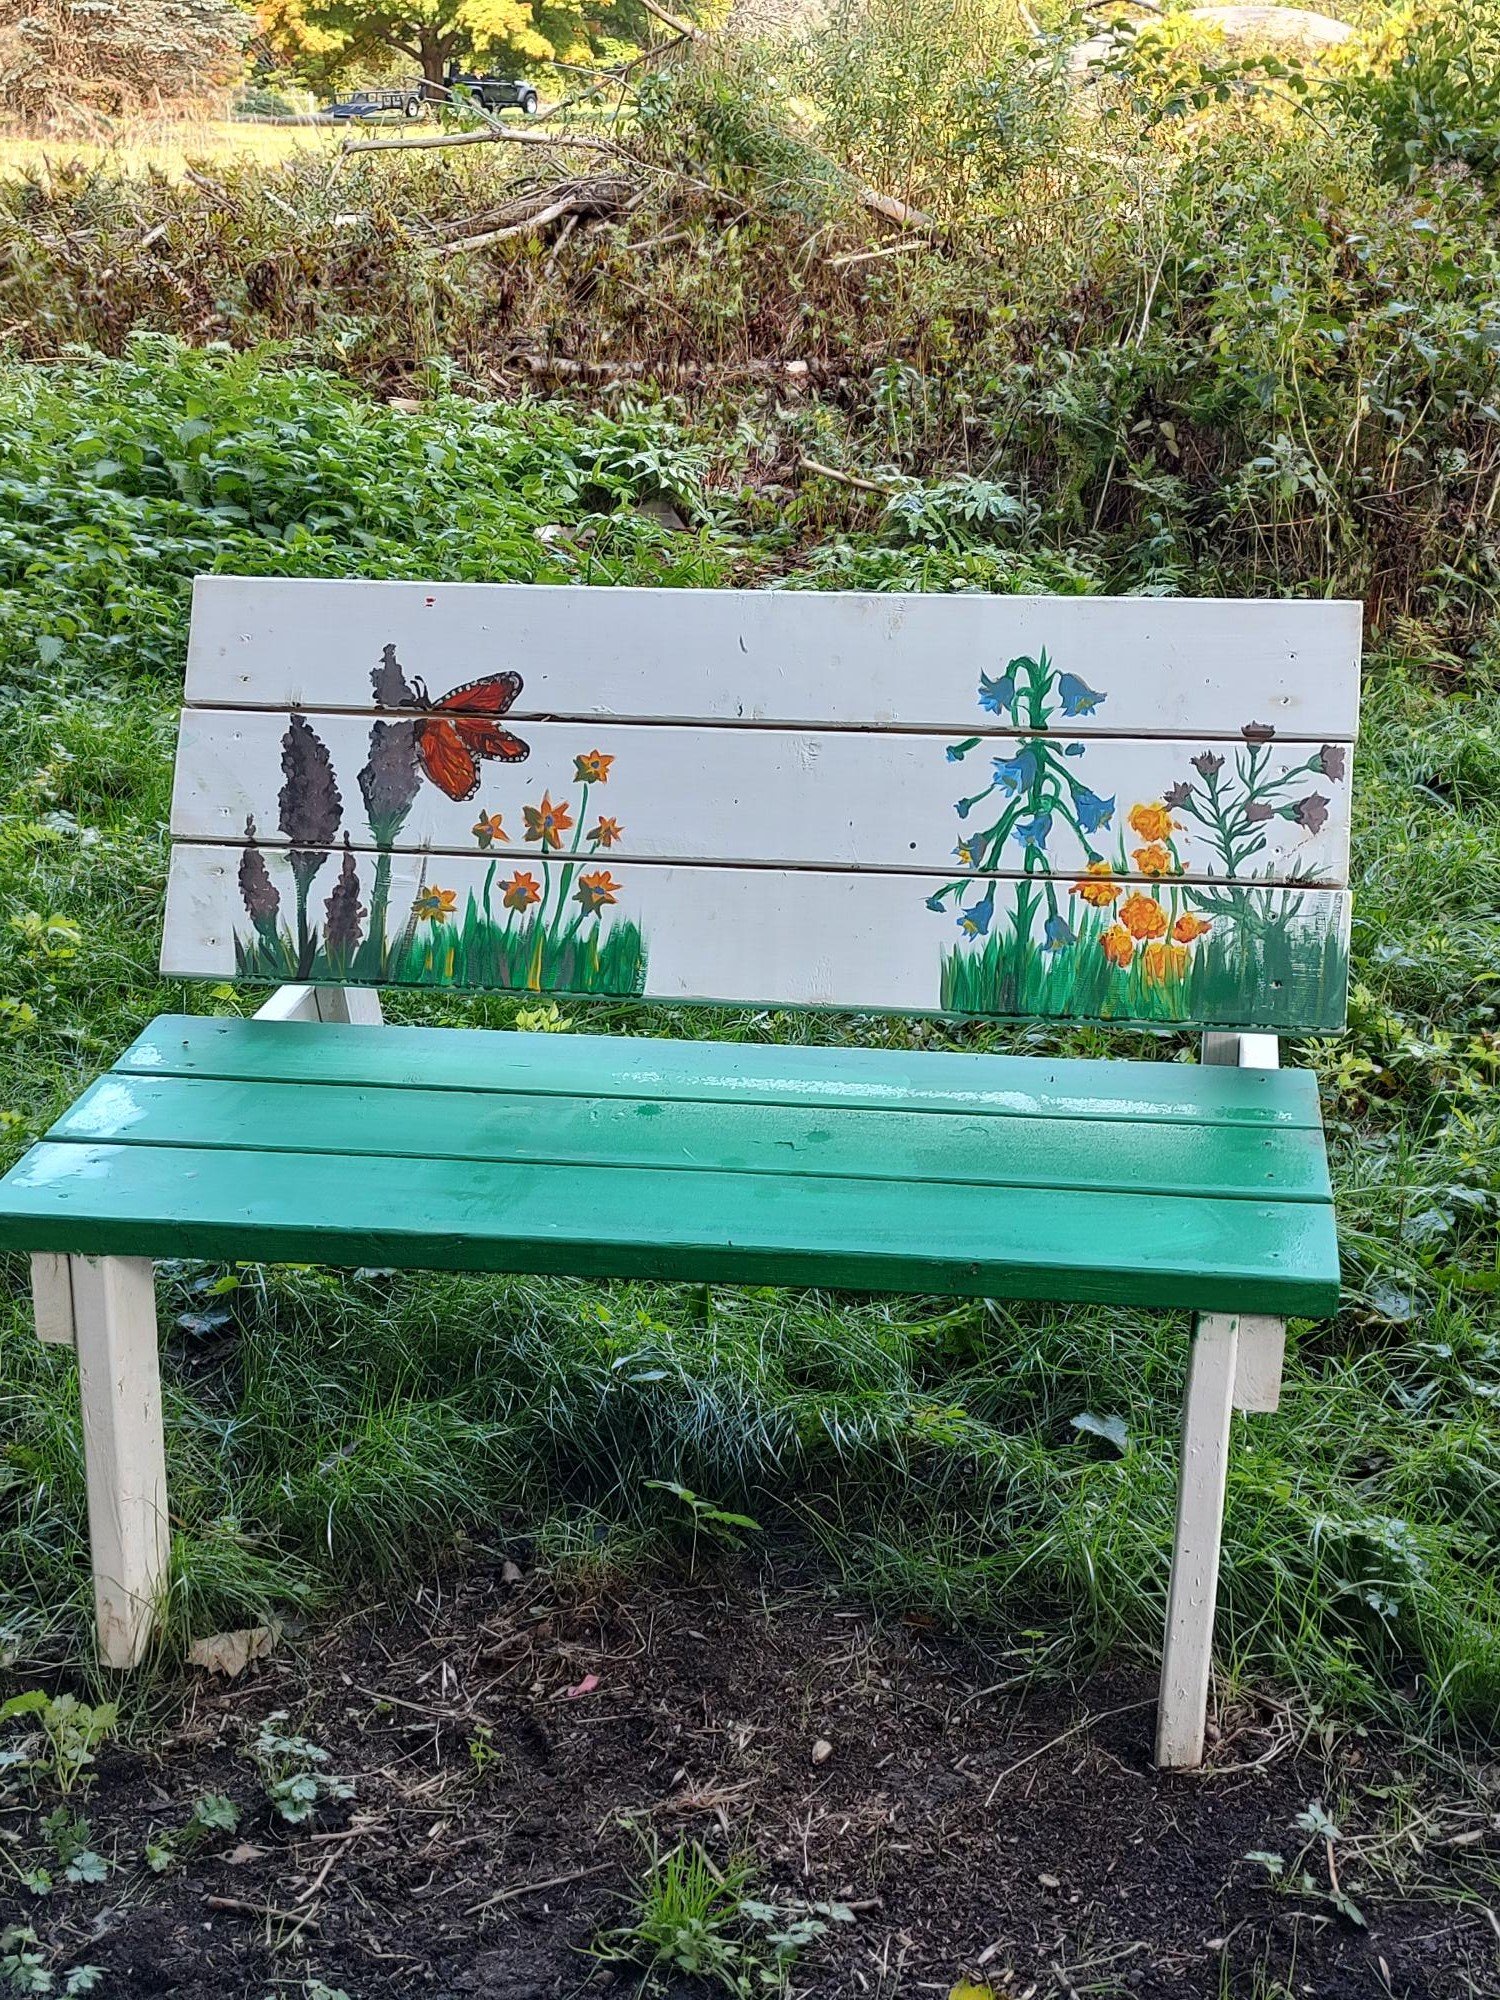
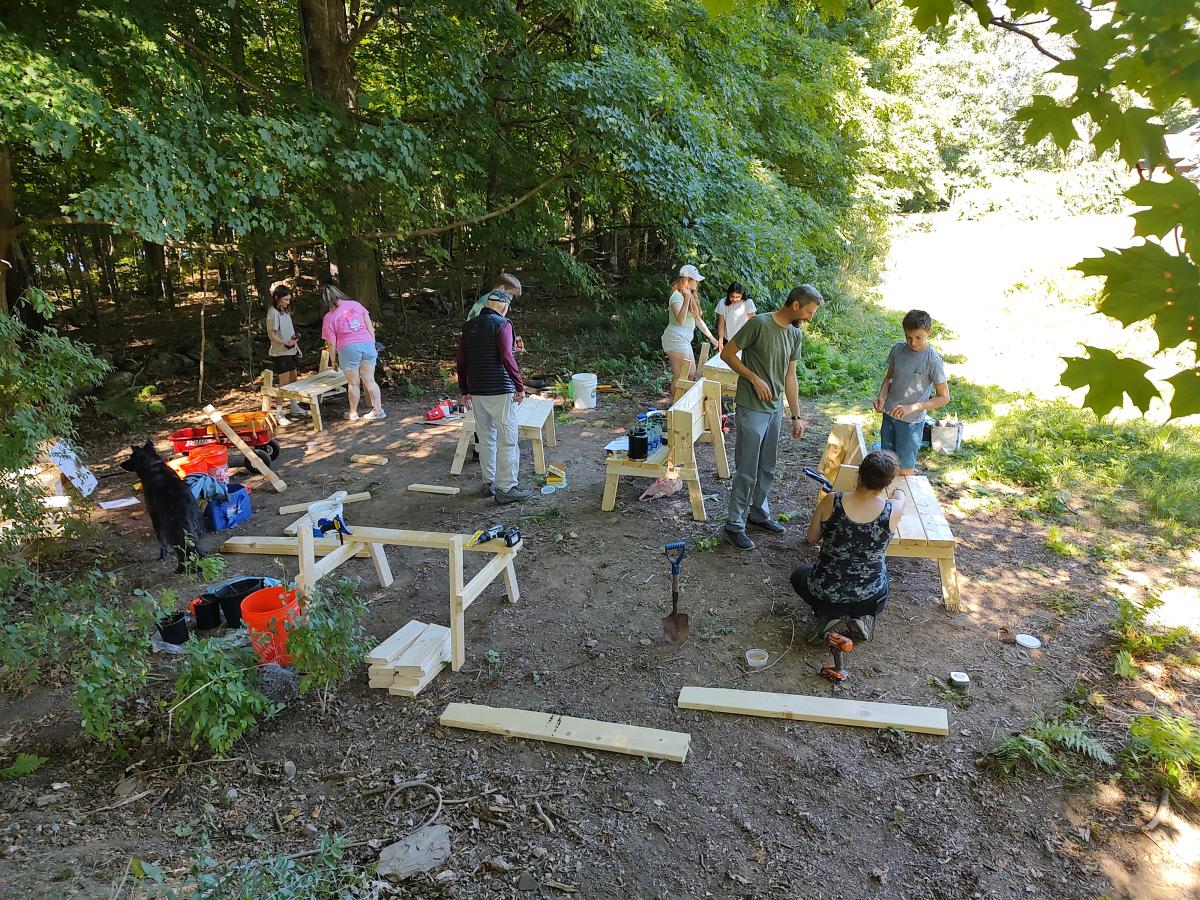
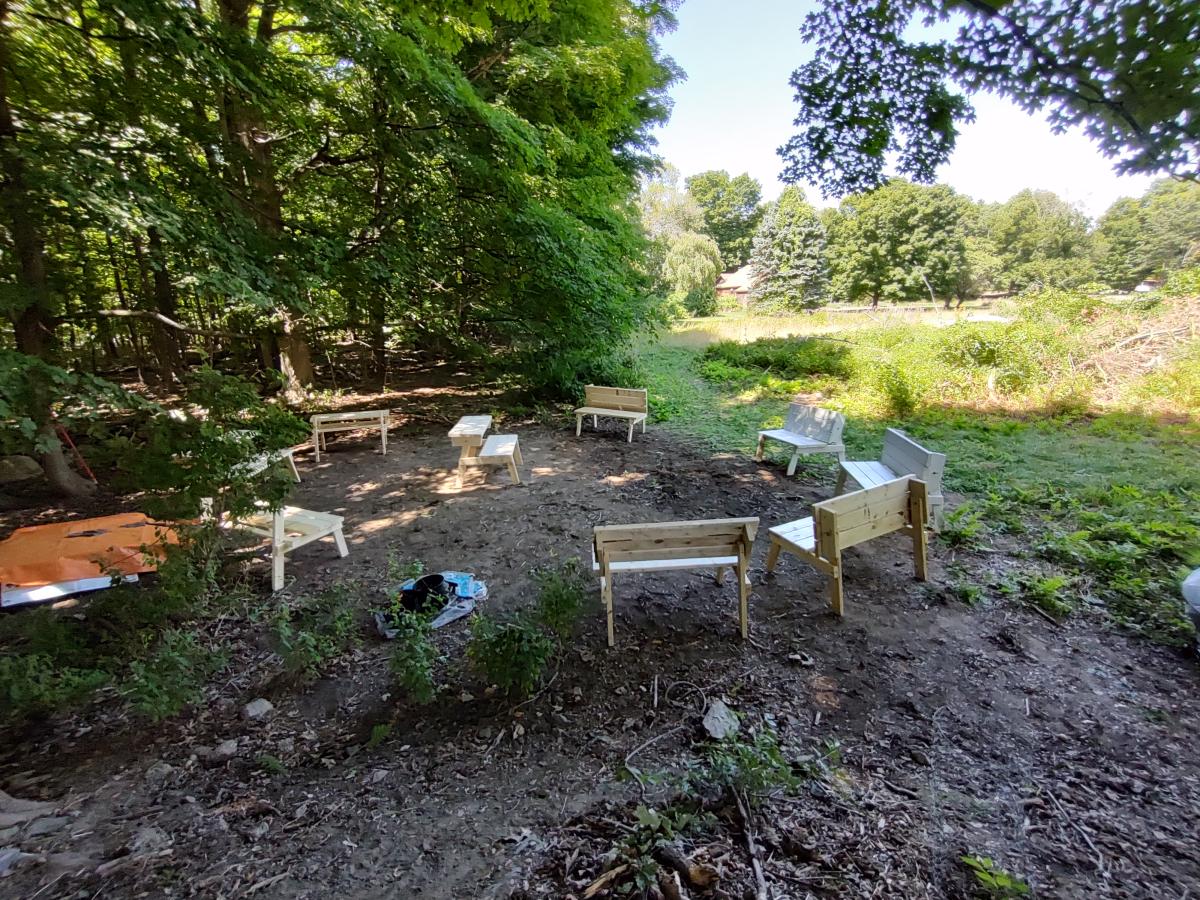
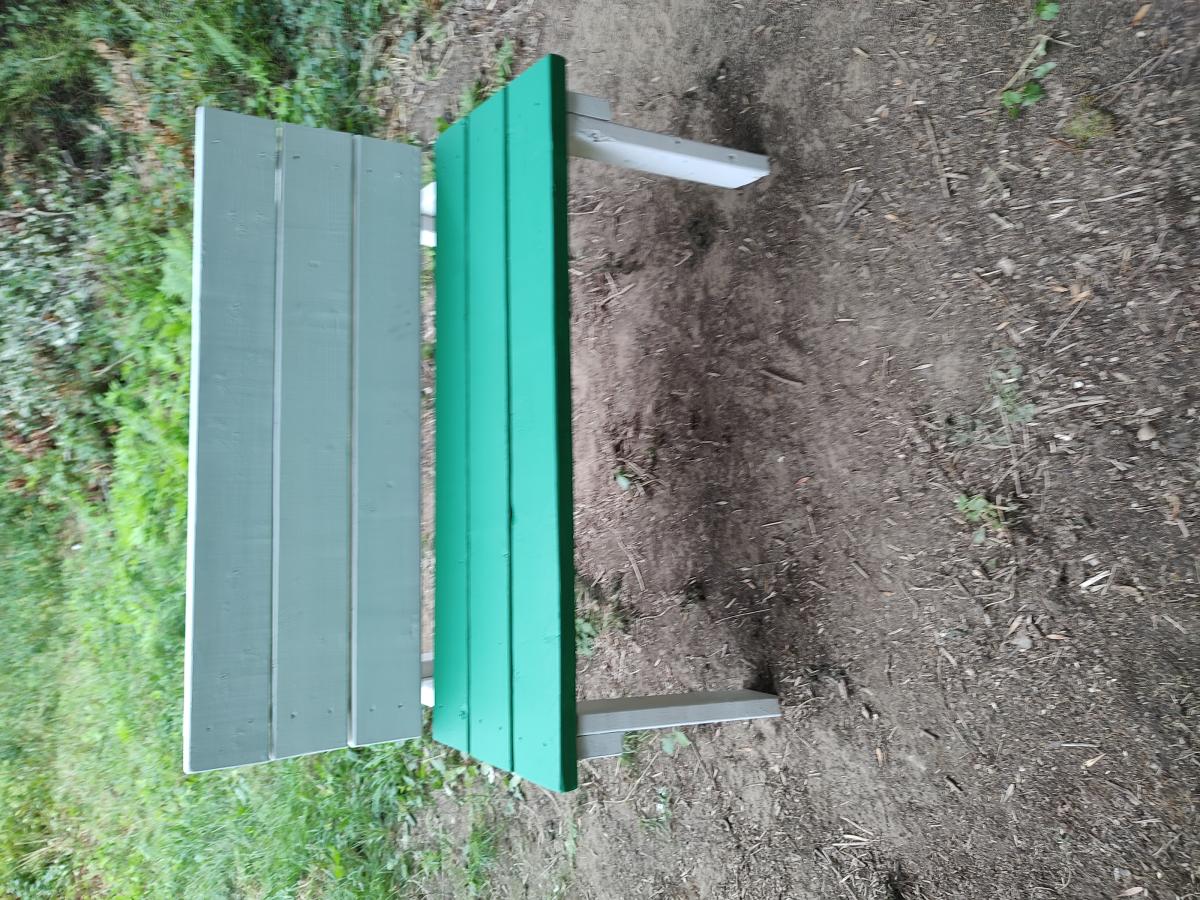
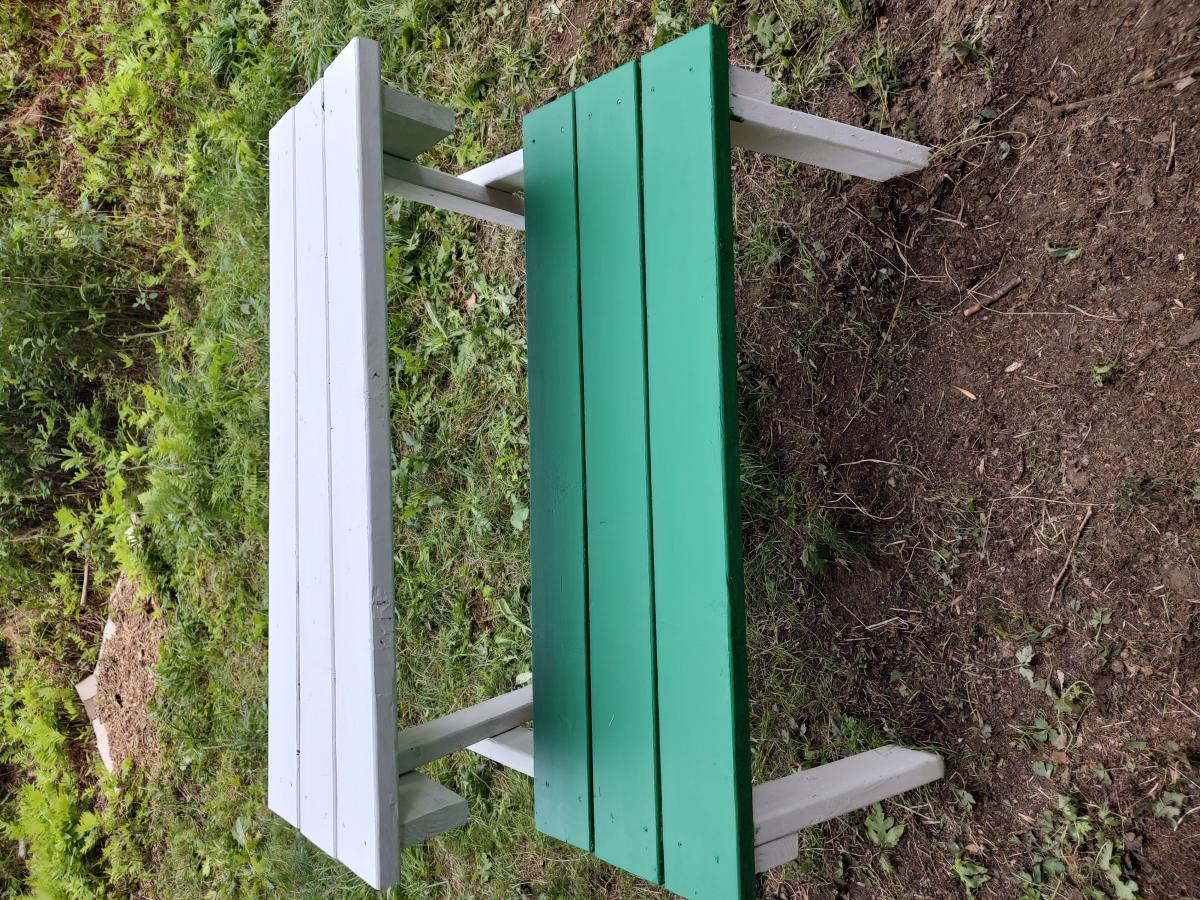
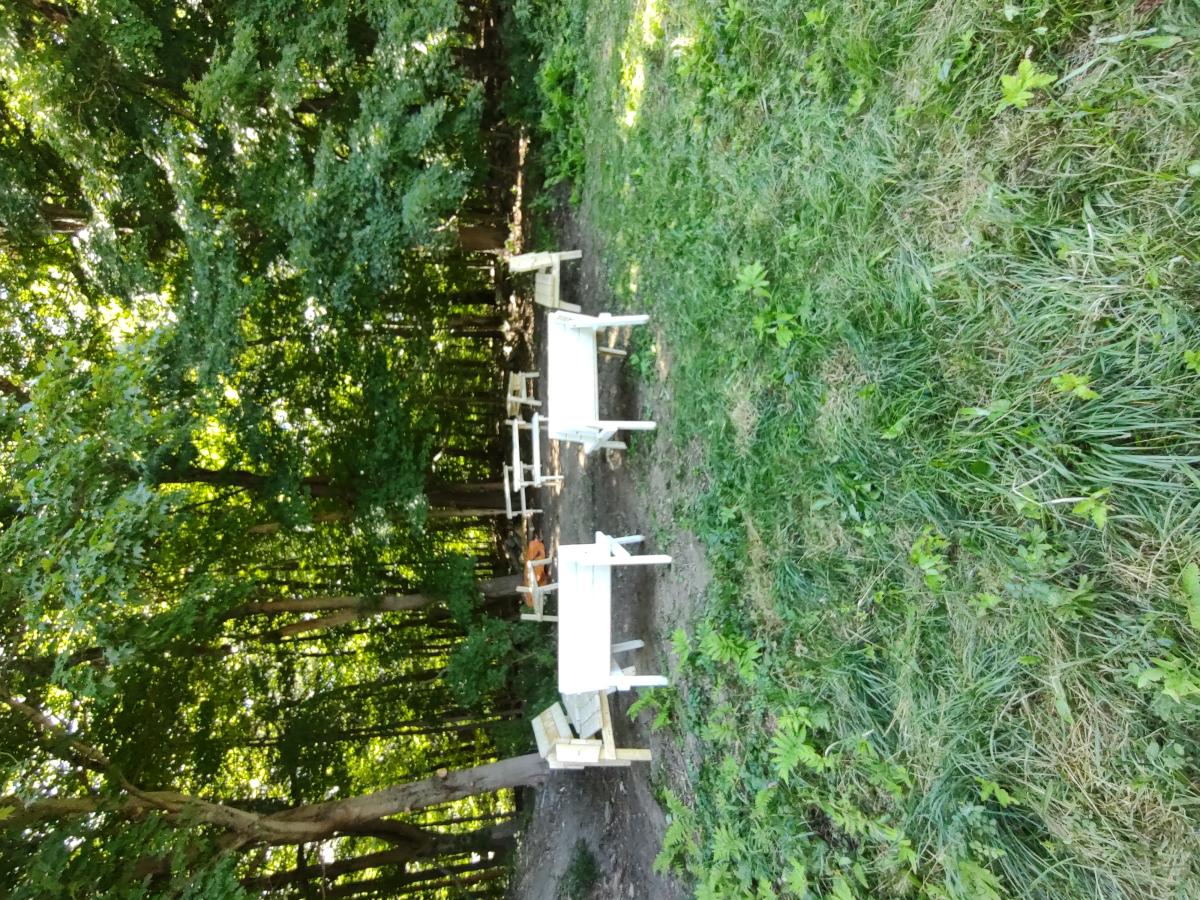
The high school environmental club built an outdoor learning space for classes. The plans were super easy to follow and the students were able to put them together with minimum direction. Imagine being able to take your lessons while out in a field beside the woods! Thank you Ana!
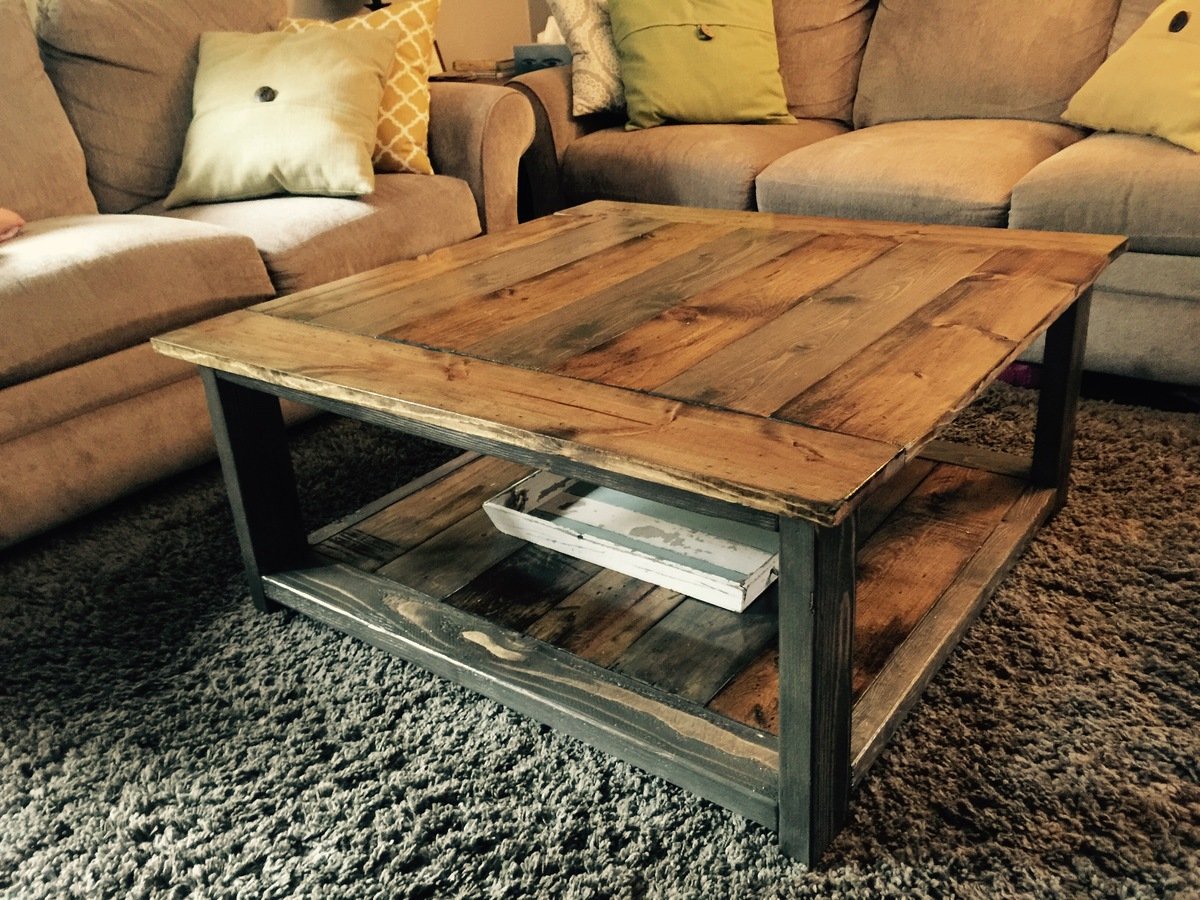
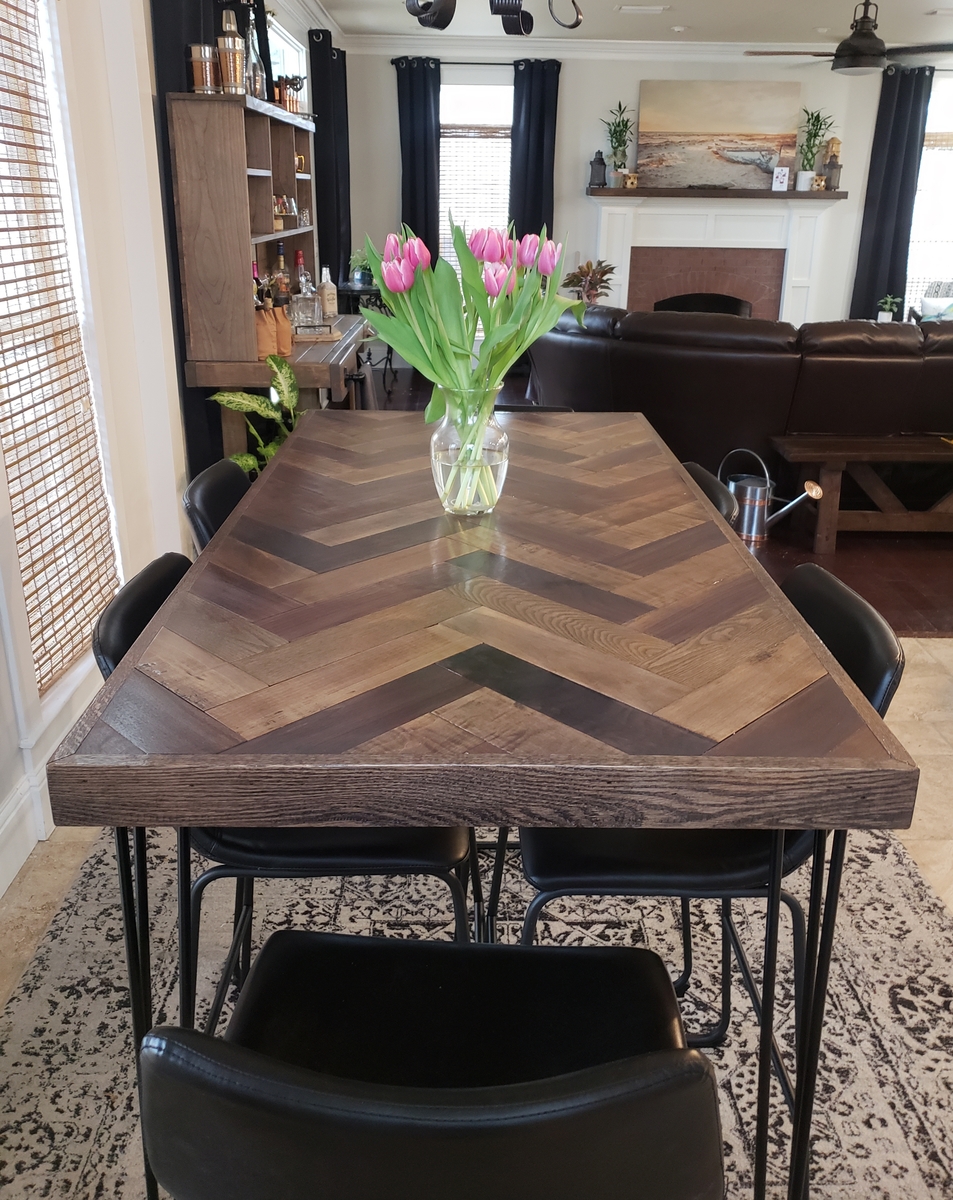
I used the Rustic X Coffee Table plans to create this table and changed the dimensions to make the table square for better accommodation in our living room since we have 2 full size sofas instead of the standard sofa/loveseat combo. I still need to add the actual X's and will add an updated picture when I finish those.
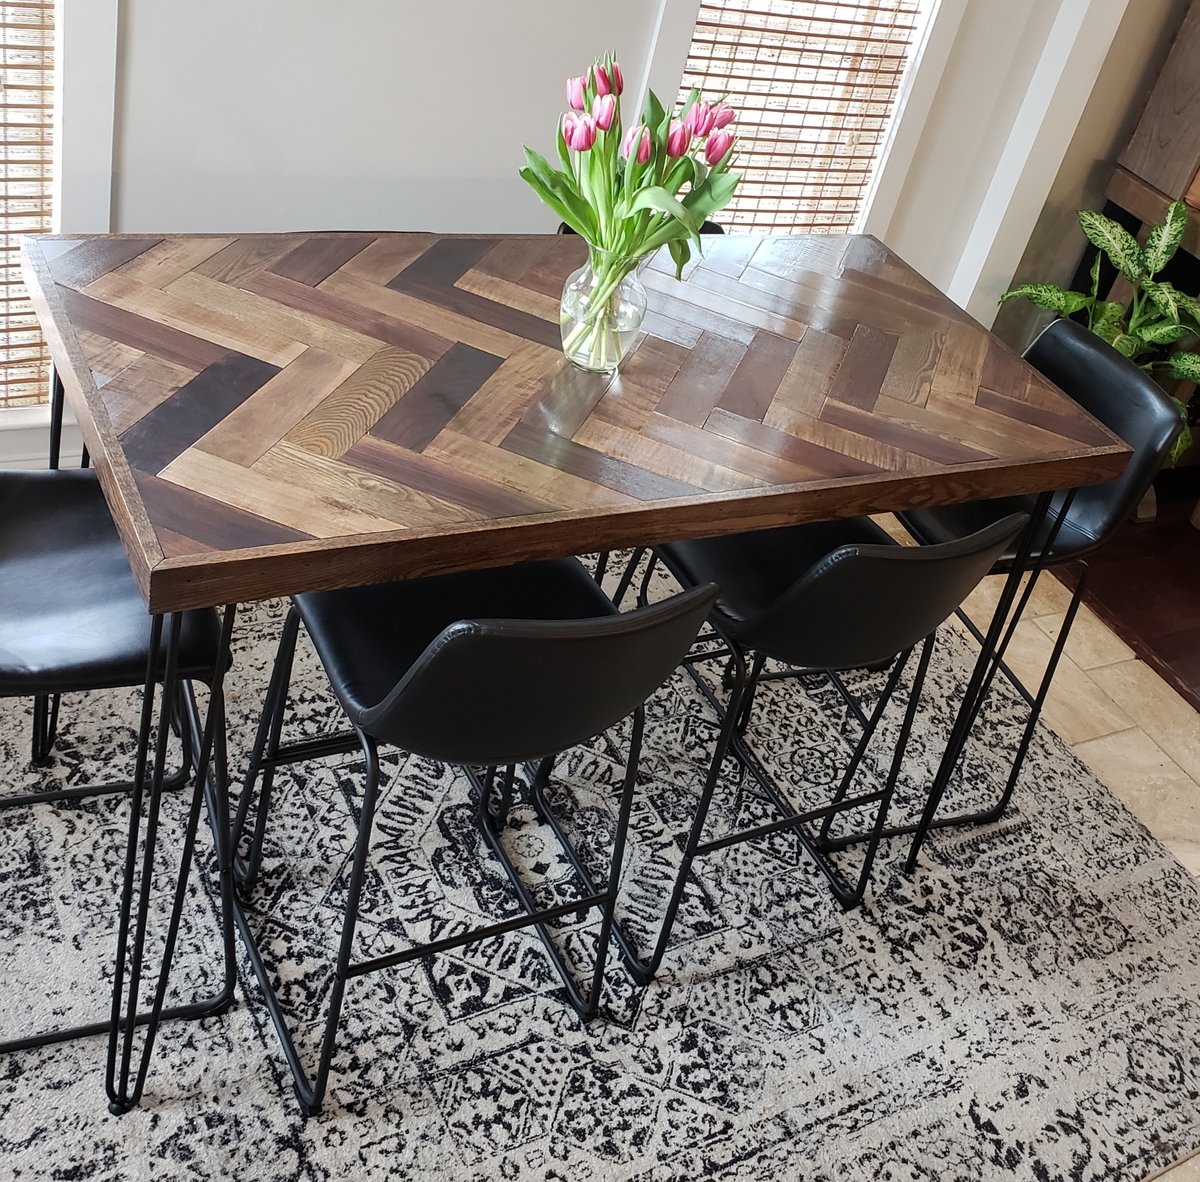
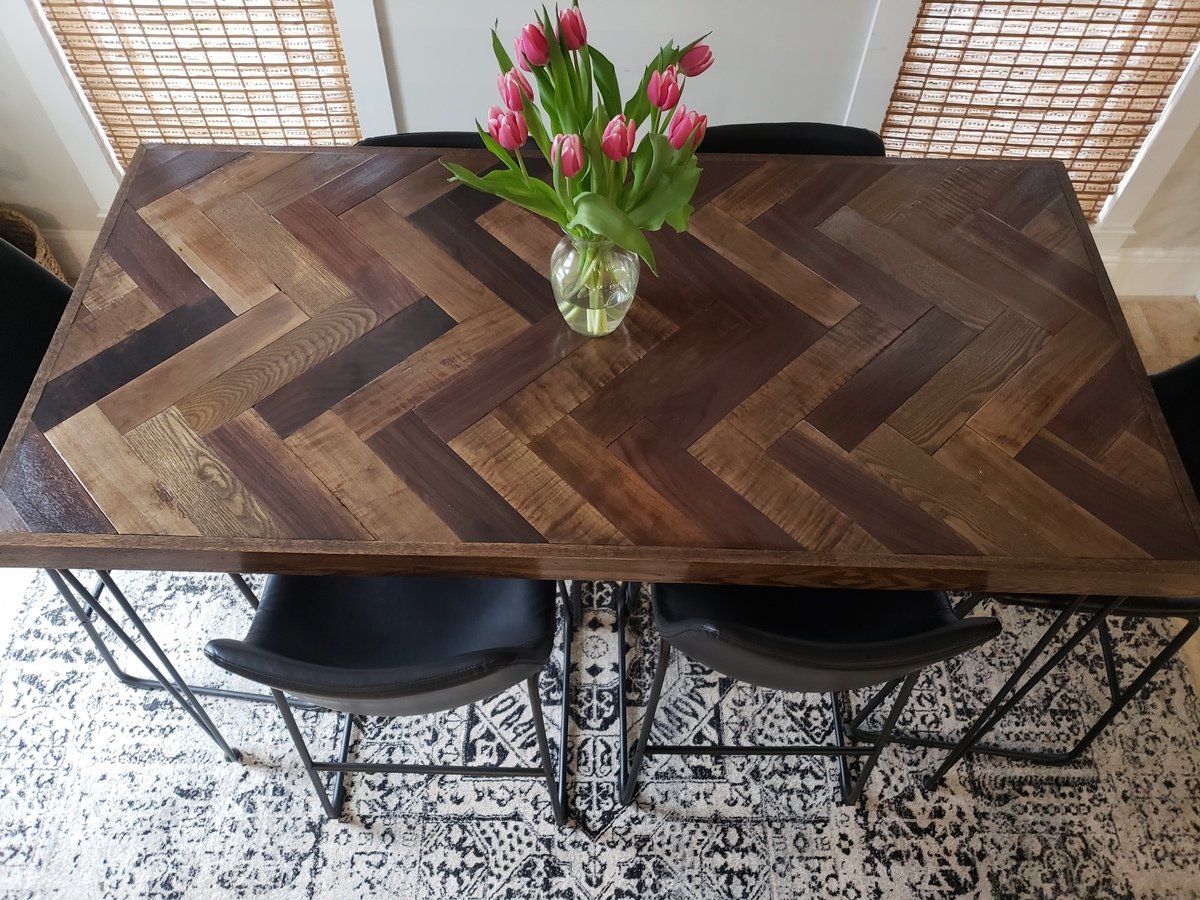
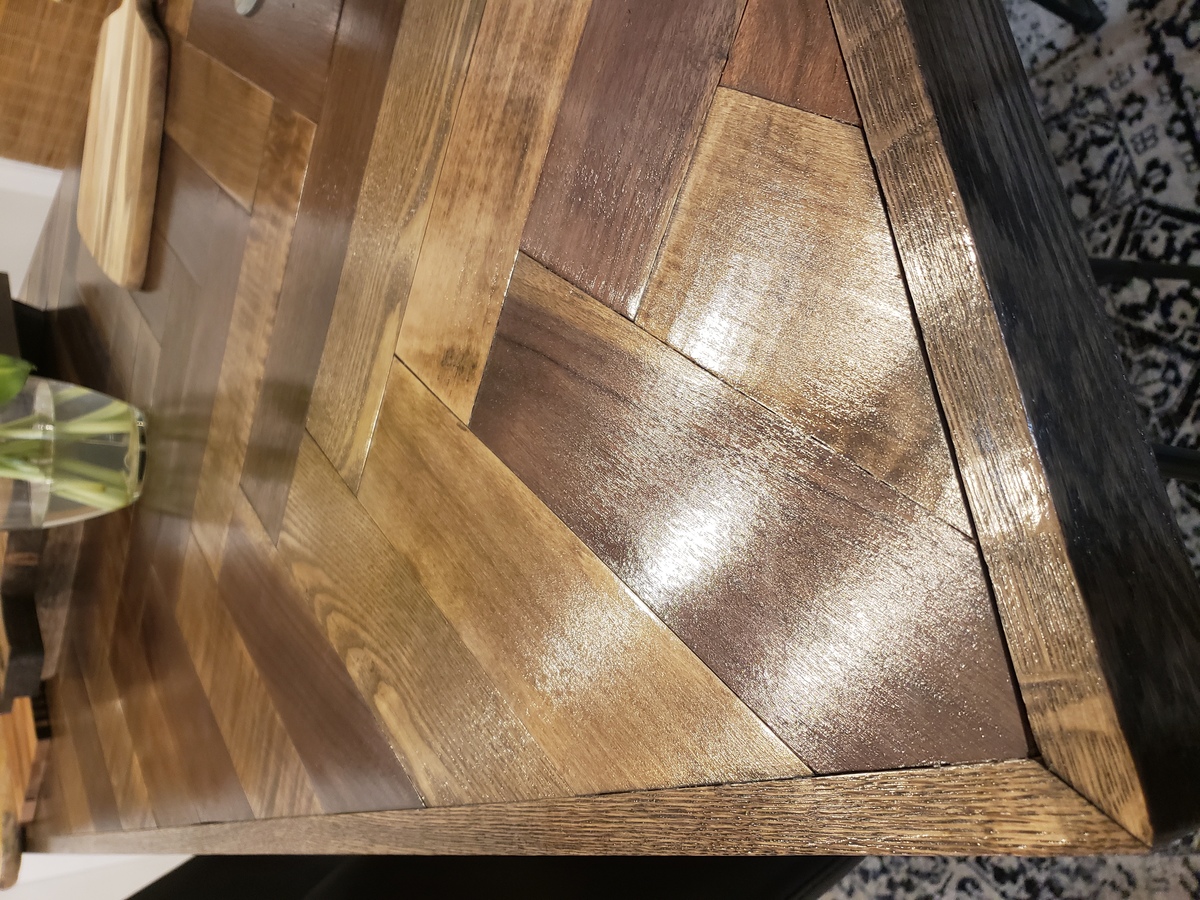
We used 3/4" birch plywood and glued 1/2" thick x 3" wide wood pieces in a herringbone pattern to make the top. We used 1 x 3 oak boards for the trim. The wood is a variety including walnut, maple, cherry, sassafras, etc. We ordered the metal hairpin legs.
We started with a base stain of Danish Oil in Dark Walnut. Once that dried, we went back over that with a very light coat of Minwax gray wash oil based stain. We used 4 coats Laquer for the top coat.
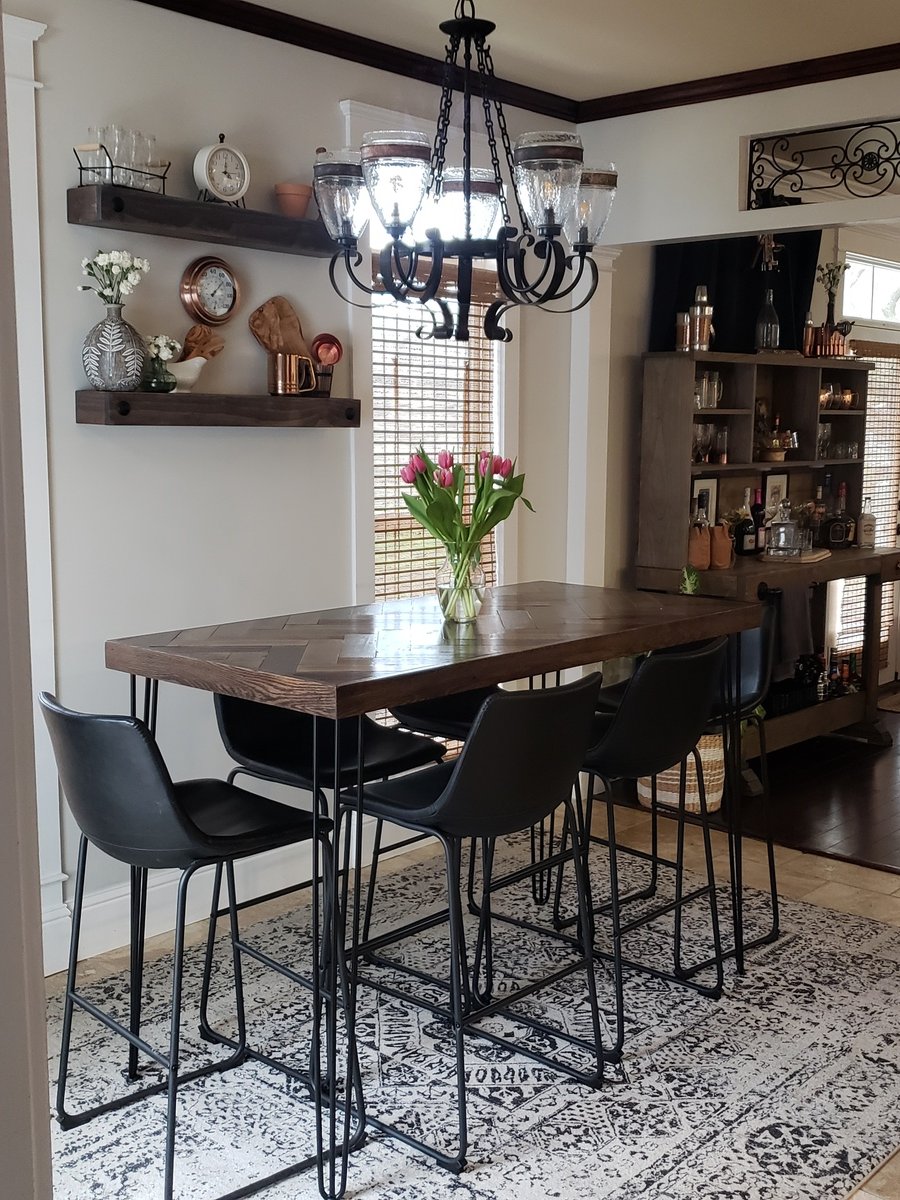
Easy build and we love how it turned out!
Tue, 04/21/2020 - 02:35
Hi. So sorry I just saw your comment. I ordered the craft boards from Ebay. They were 1/2 x 3" boards of various types.
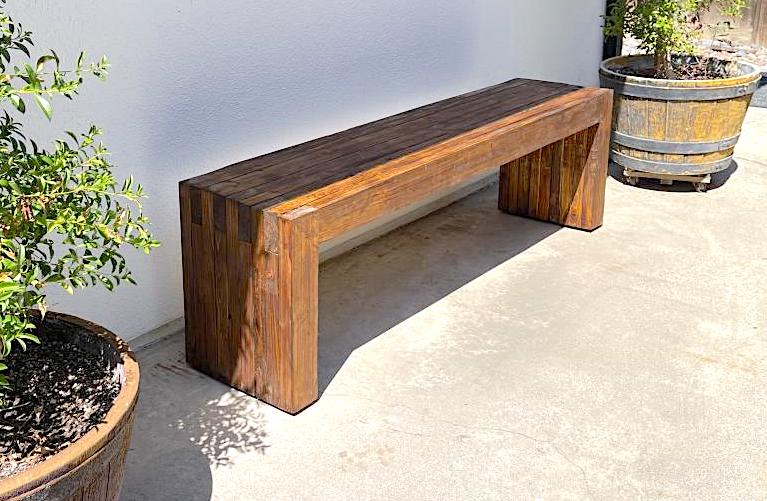
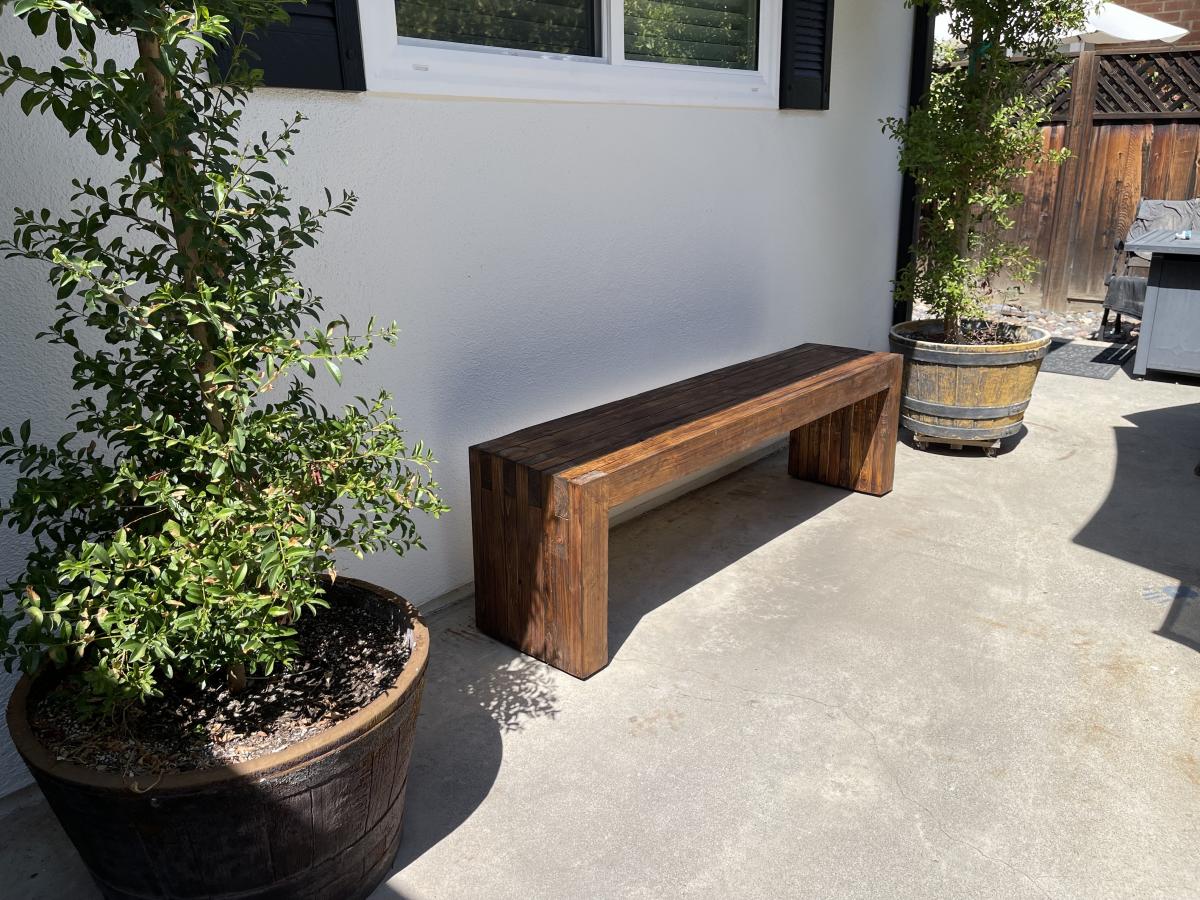
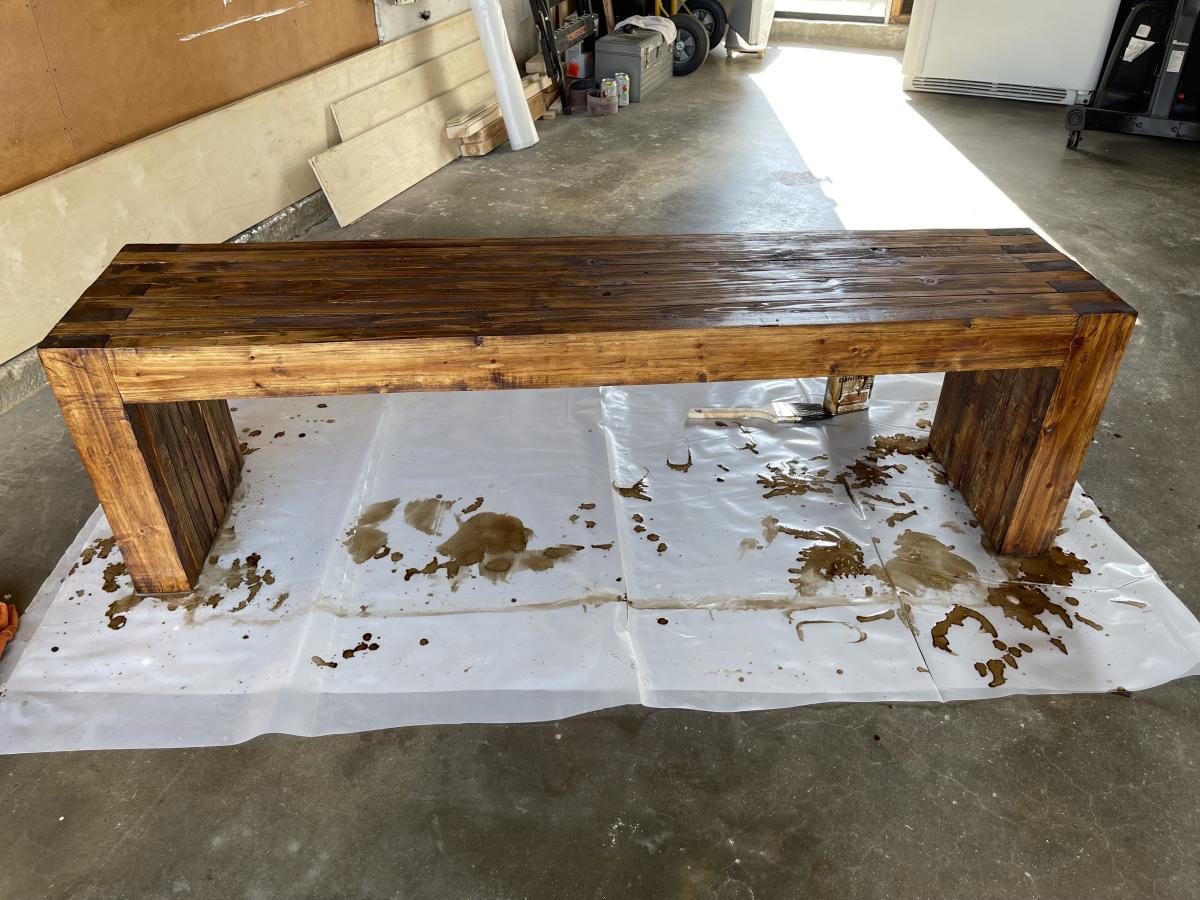
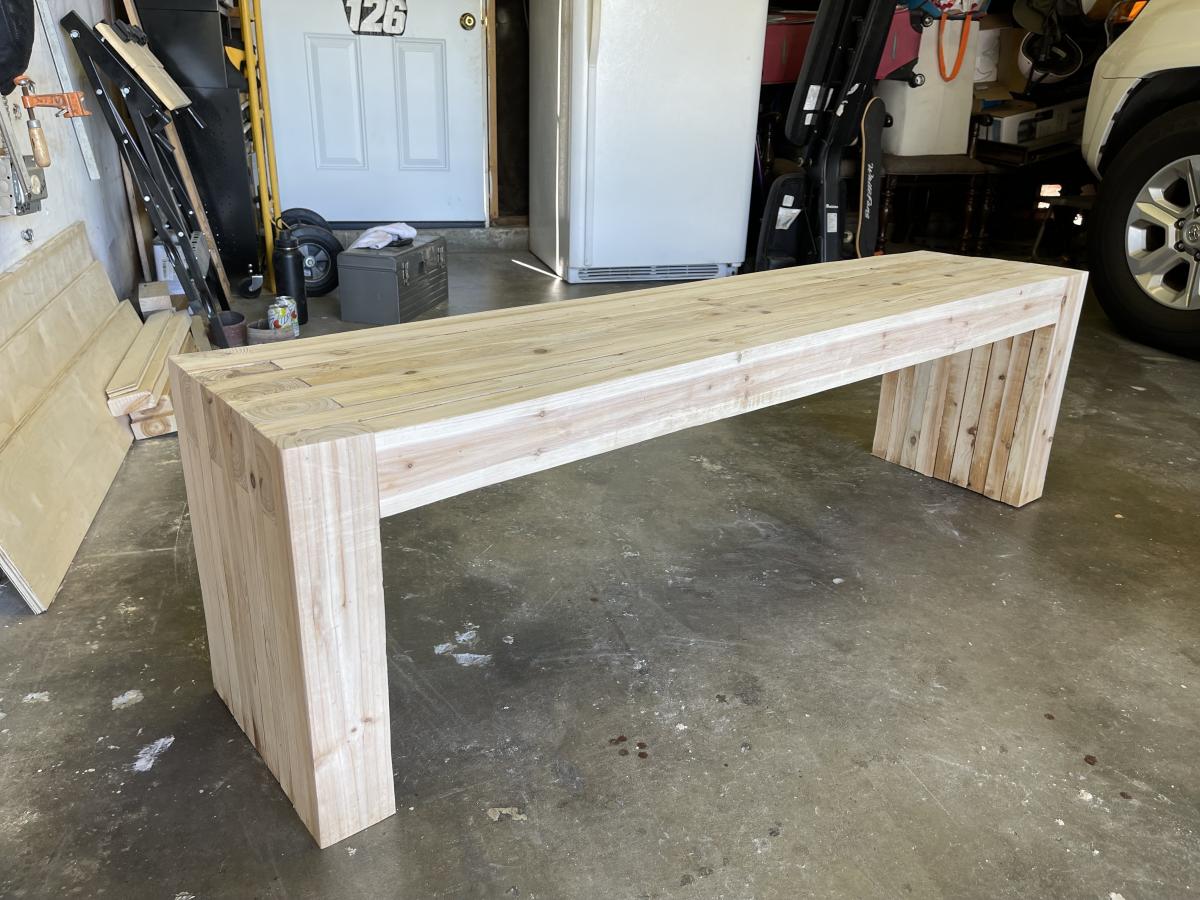
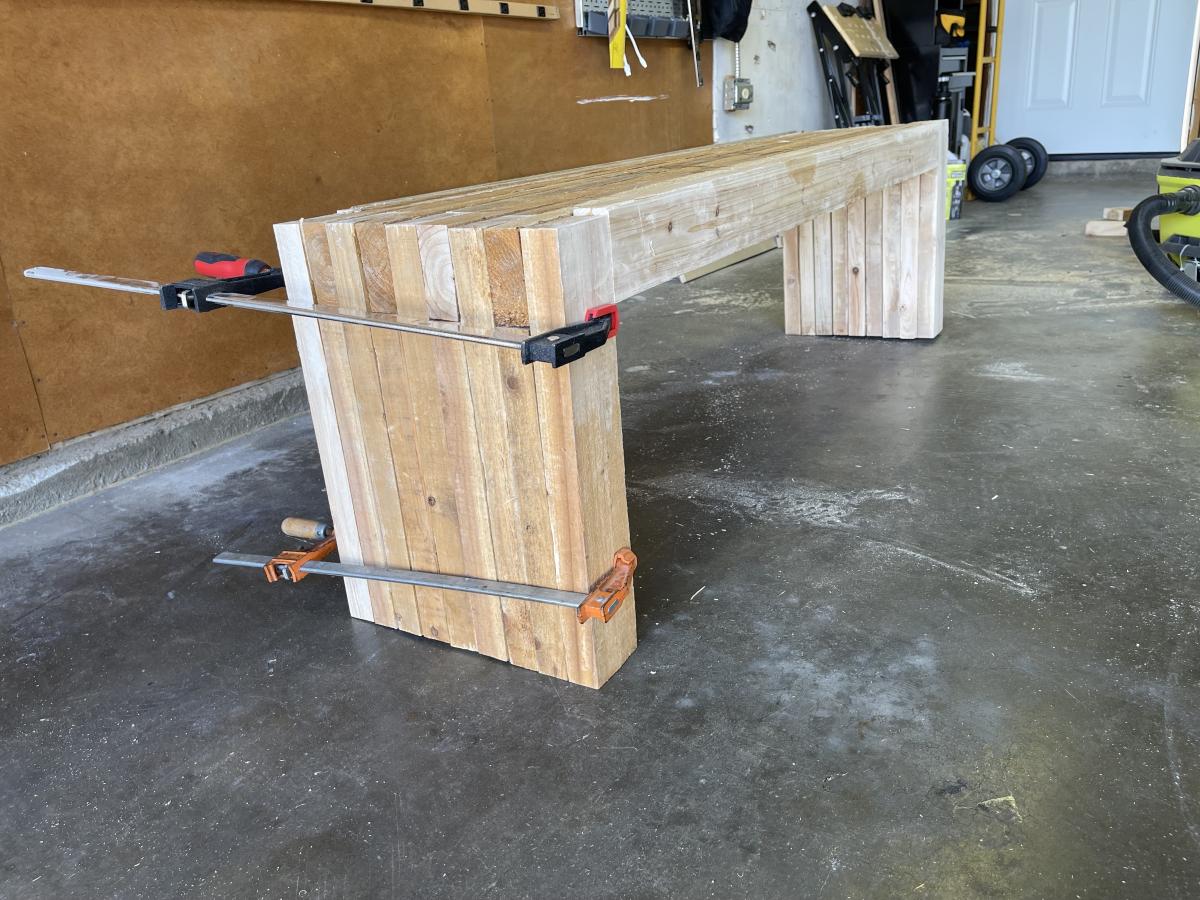
This was one first project and I am very proud of it. It was challenging but I think it turned out beautiful and everyone who visits loves it. I built it out of cedar wood for better durability and protection against rain and the elements.
In reply to Beautiful Bench! by Ana White Admin
Wed, 02/01/2023 - 10:39
OMG! Ana liked it. You made my day. Thank you for responding.
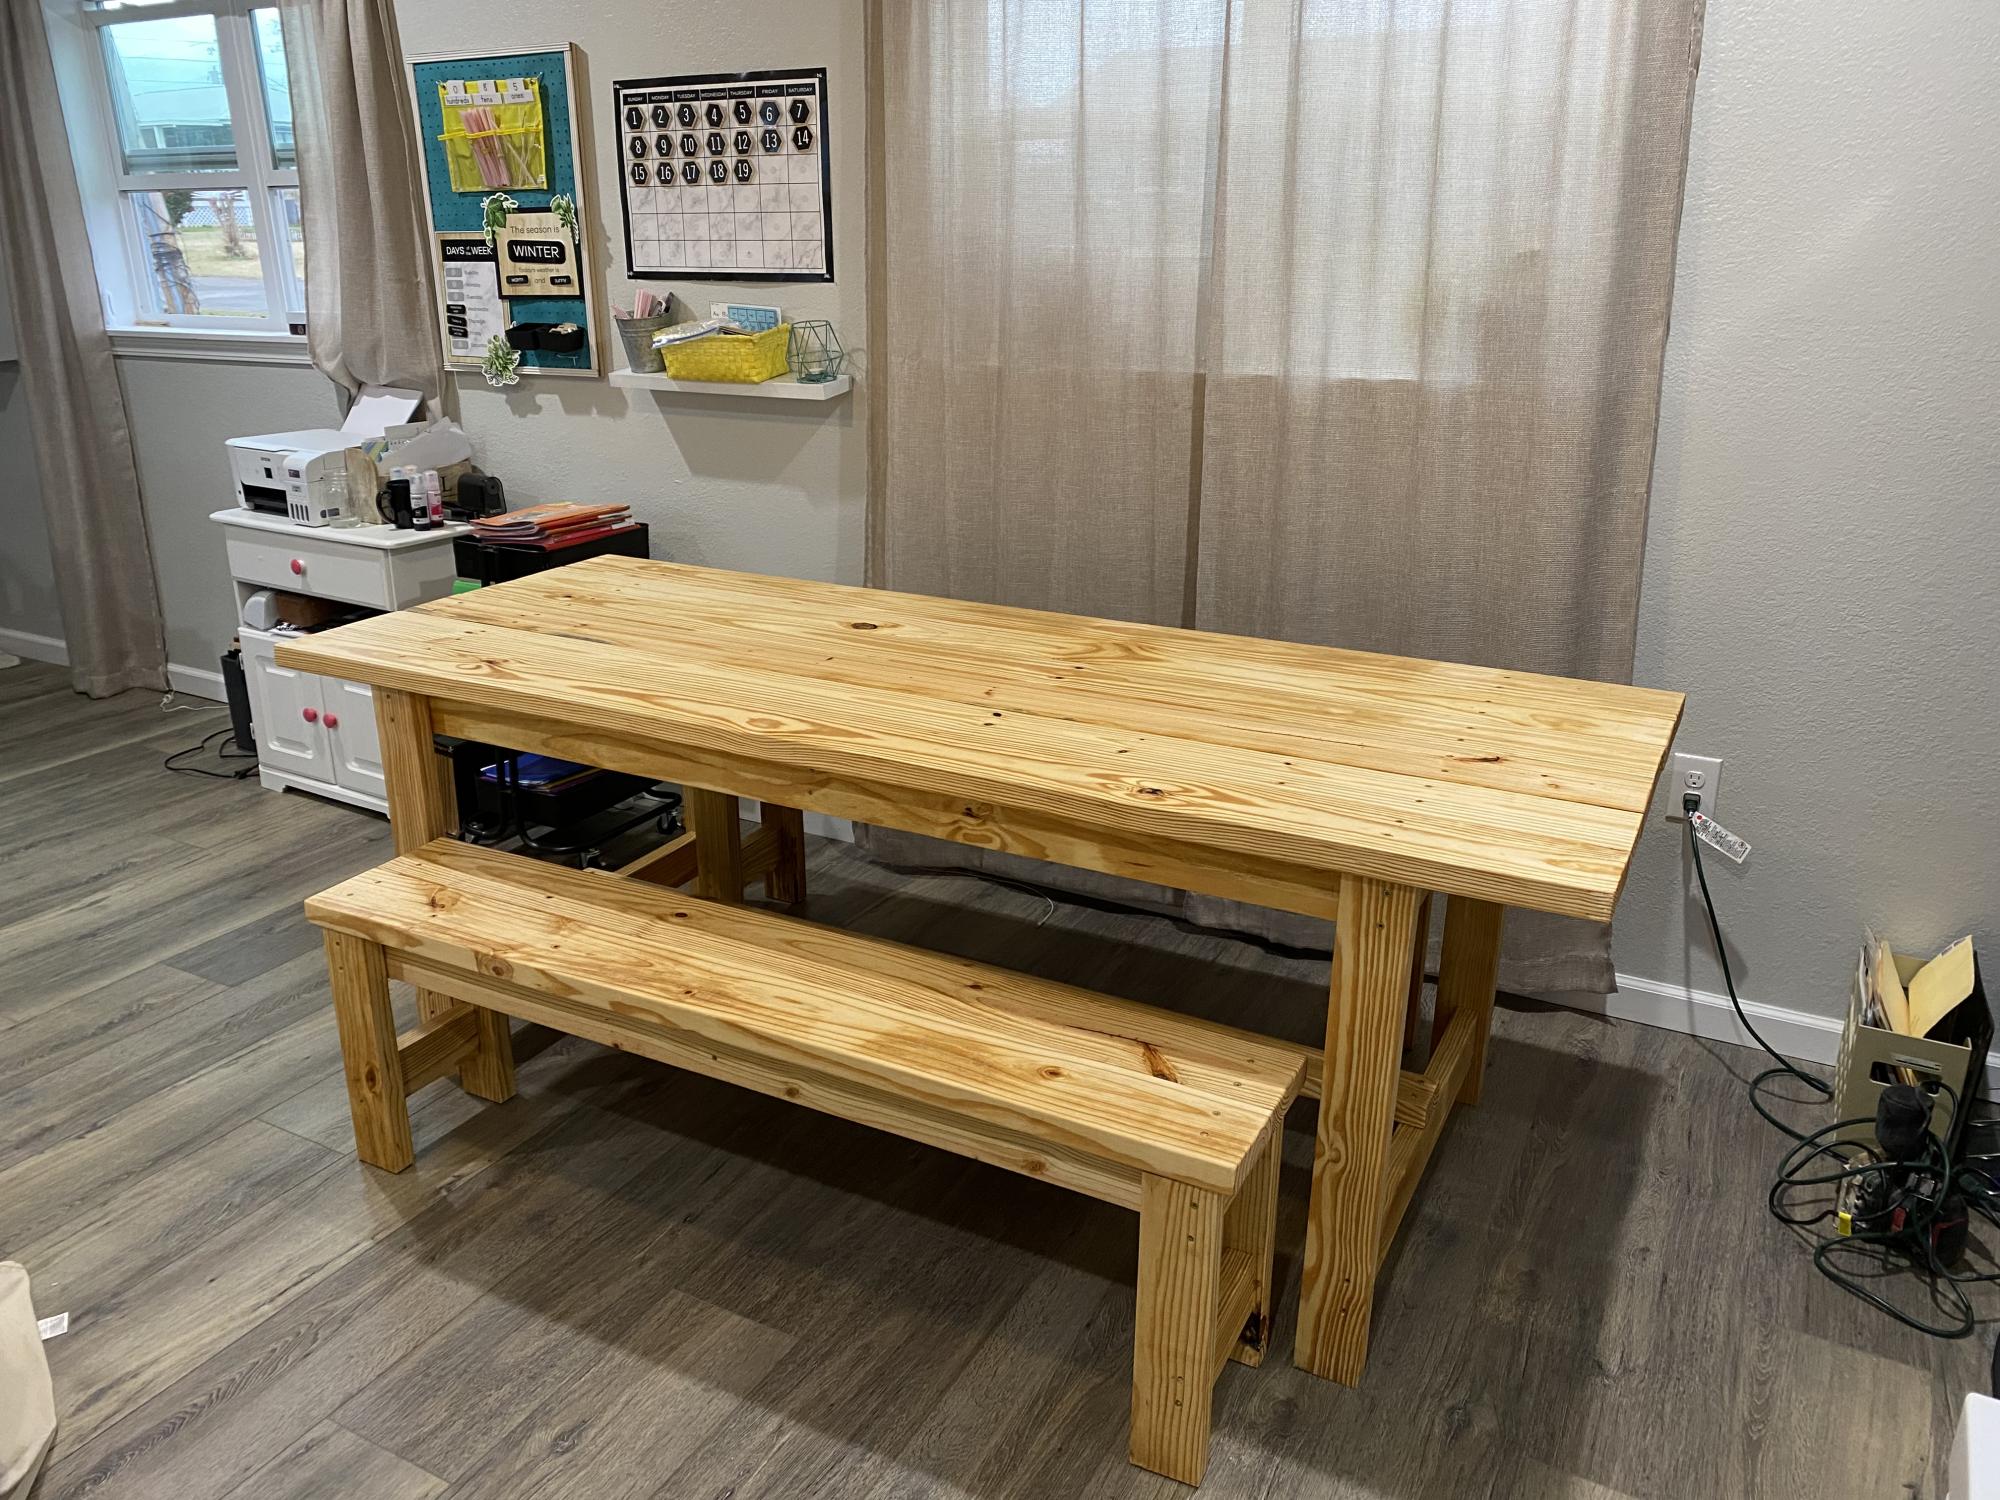
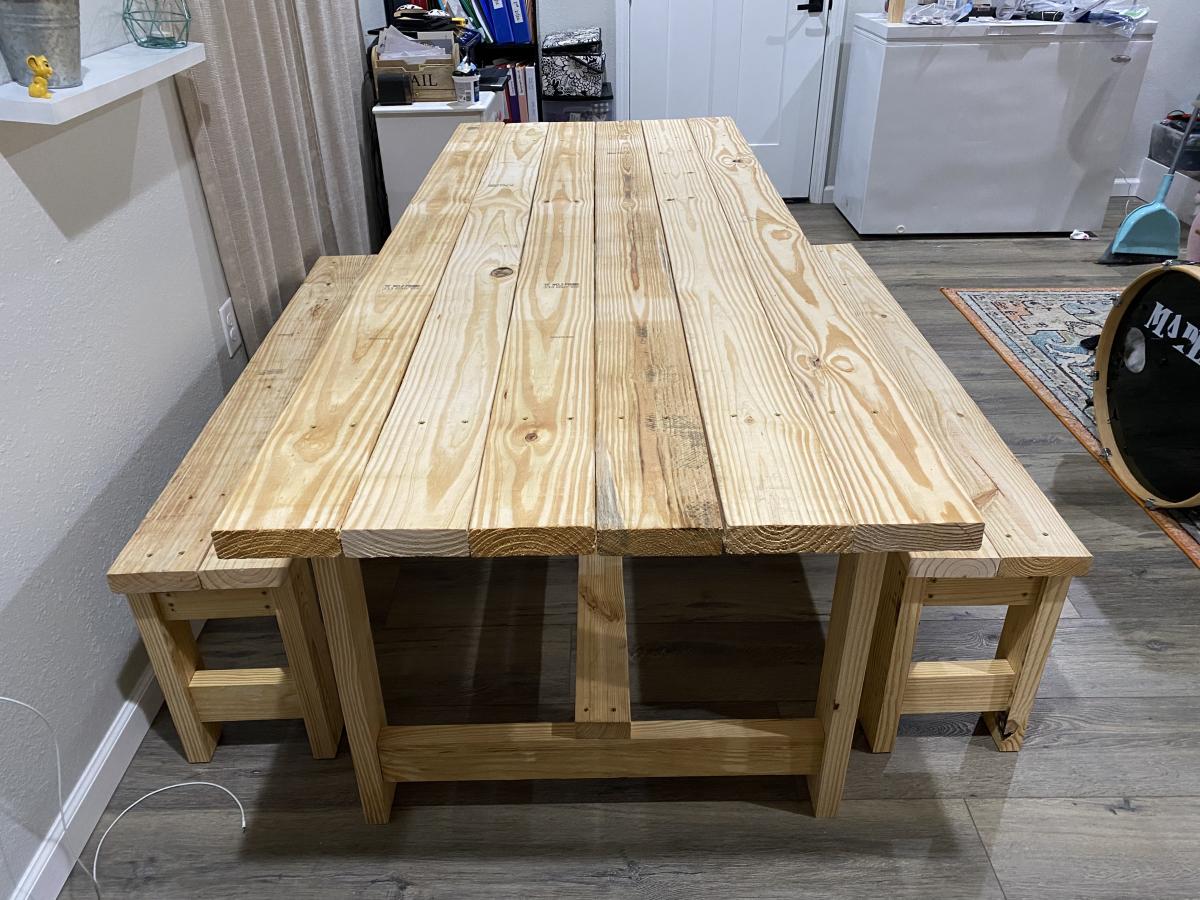
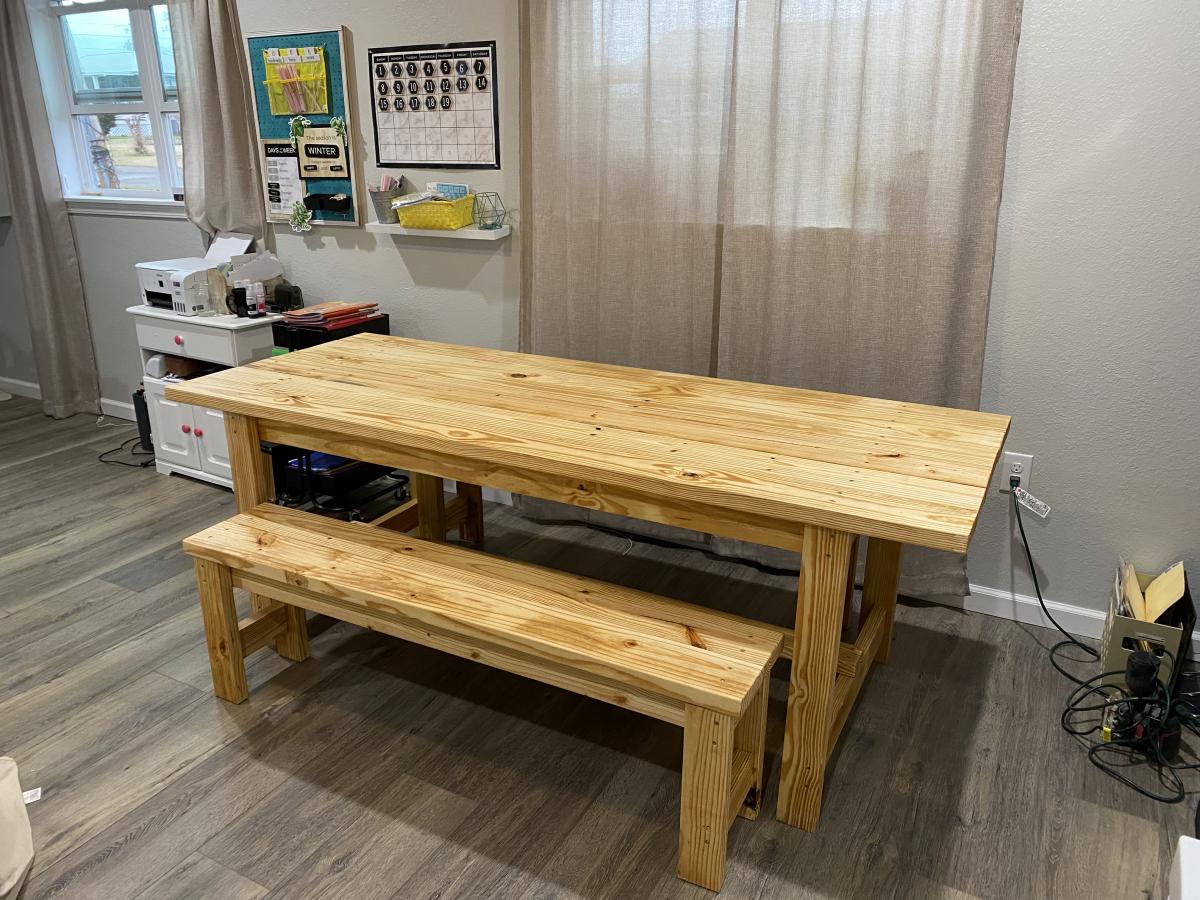
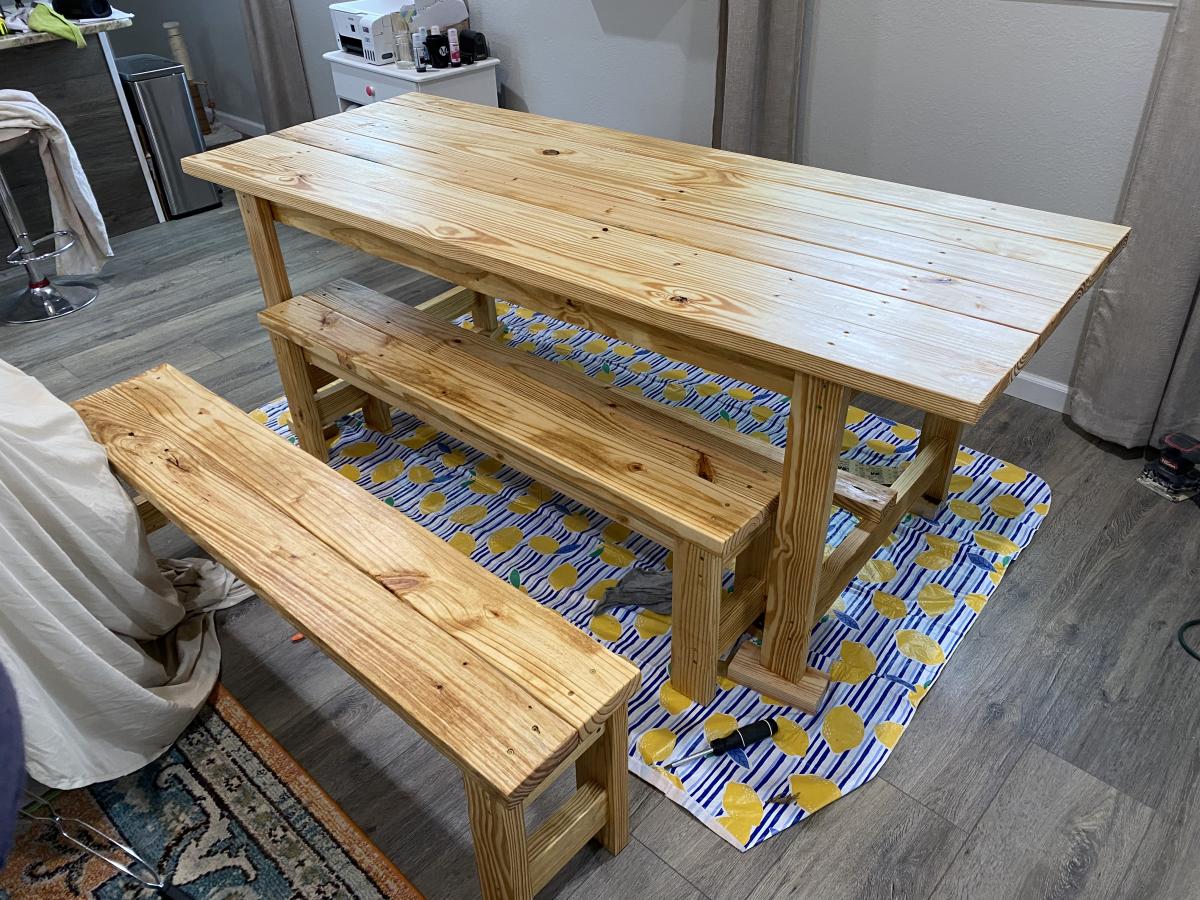
My mom and o completed this weekend project together! It was so fun to complete! The table is customized to 7ft and the benches made smaller than the original plans so they slide under the table when we’re not using it. We made it for our homeschool room. The kids are excited for this space already and we all have the room we need to get our work done! Under $200 start to finish! I used a prestain to prep the wood and then stained with watco danish oil in a natural finish.
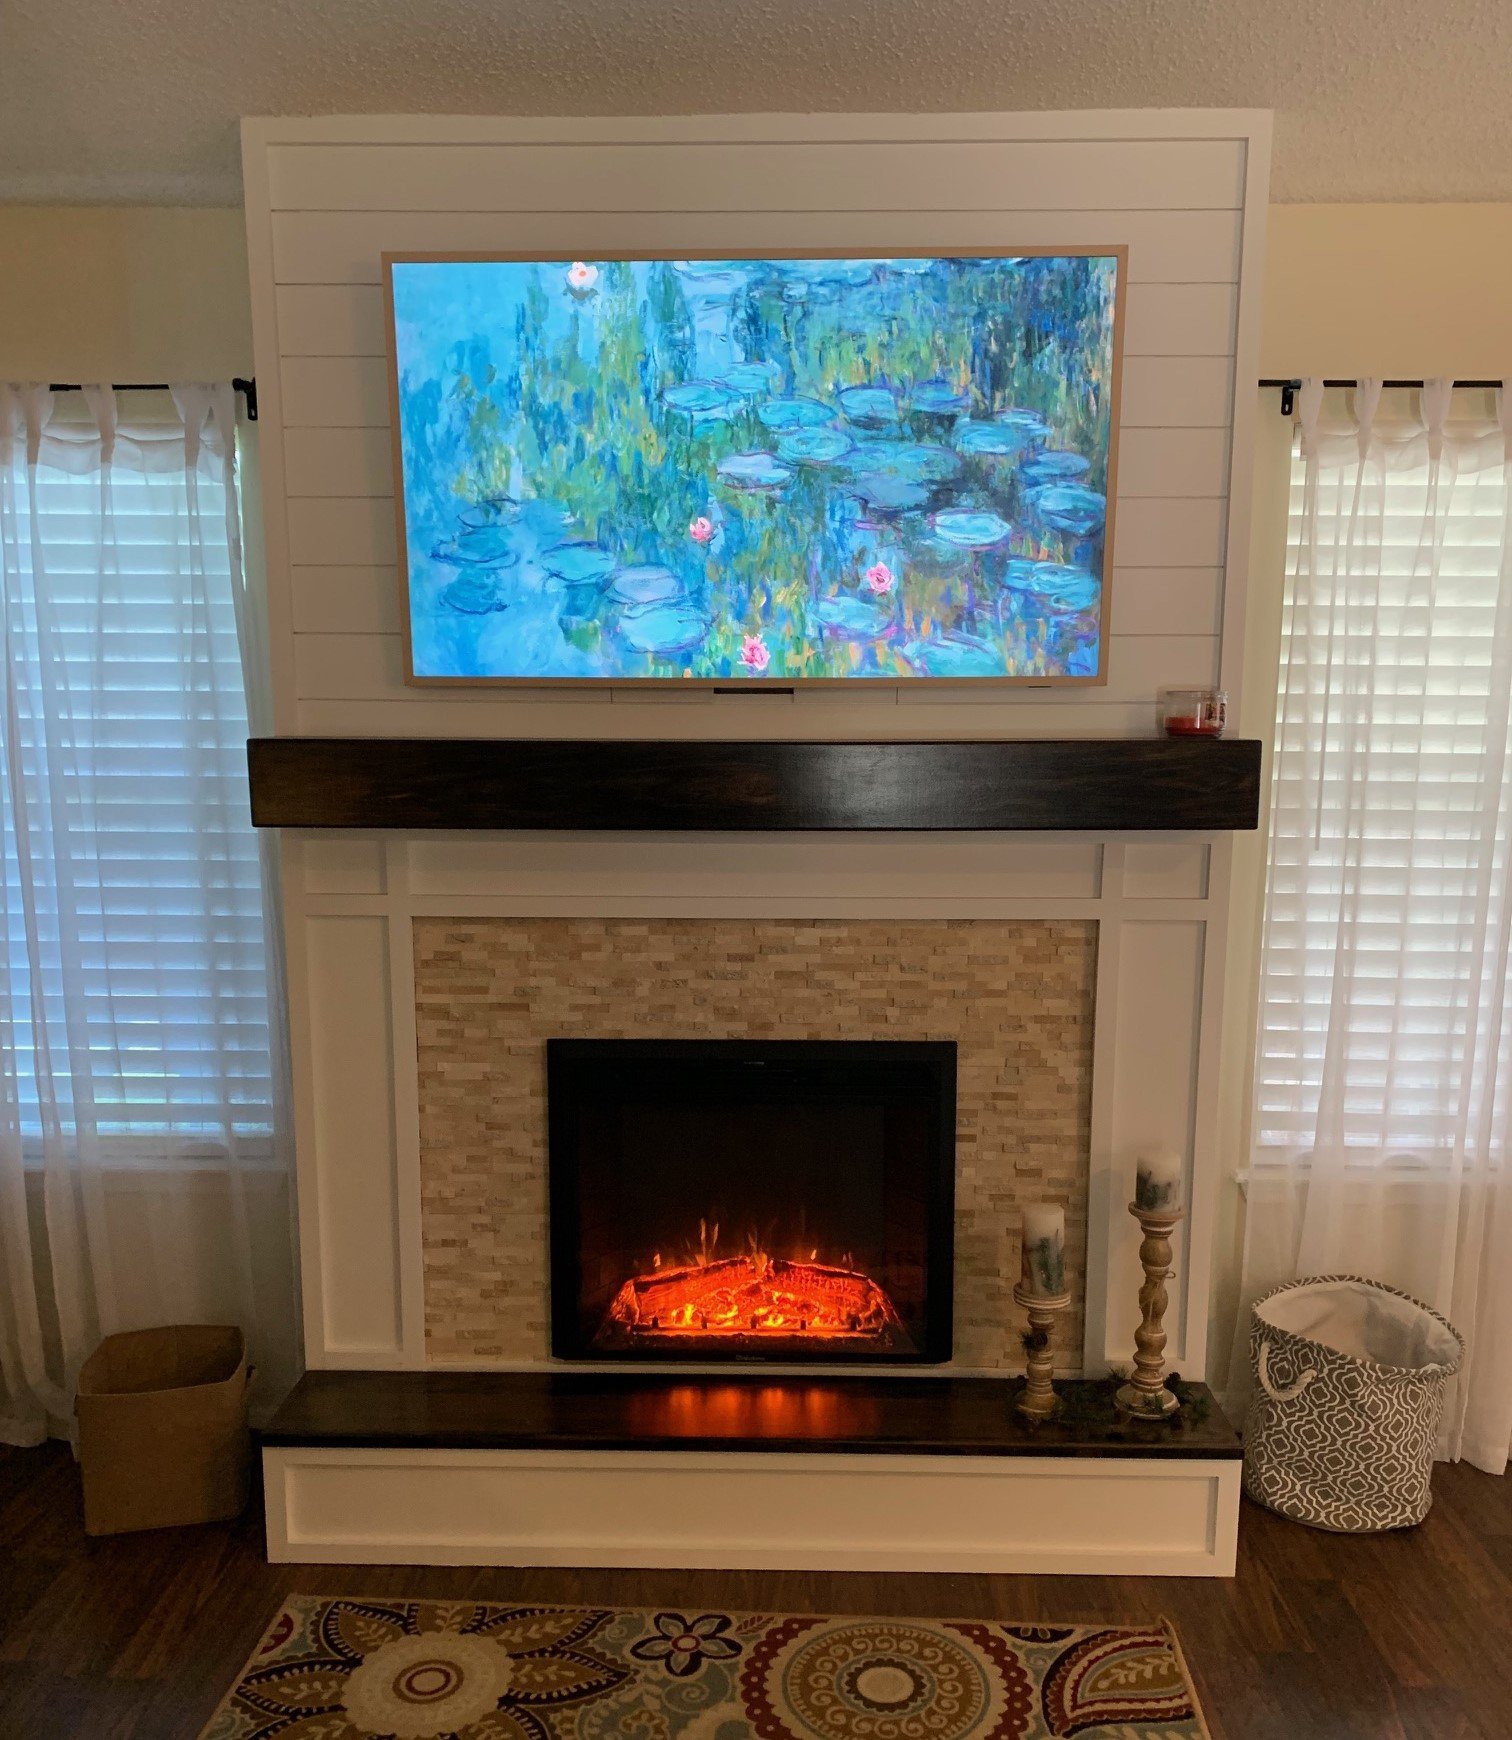
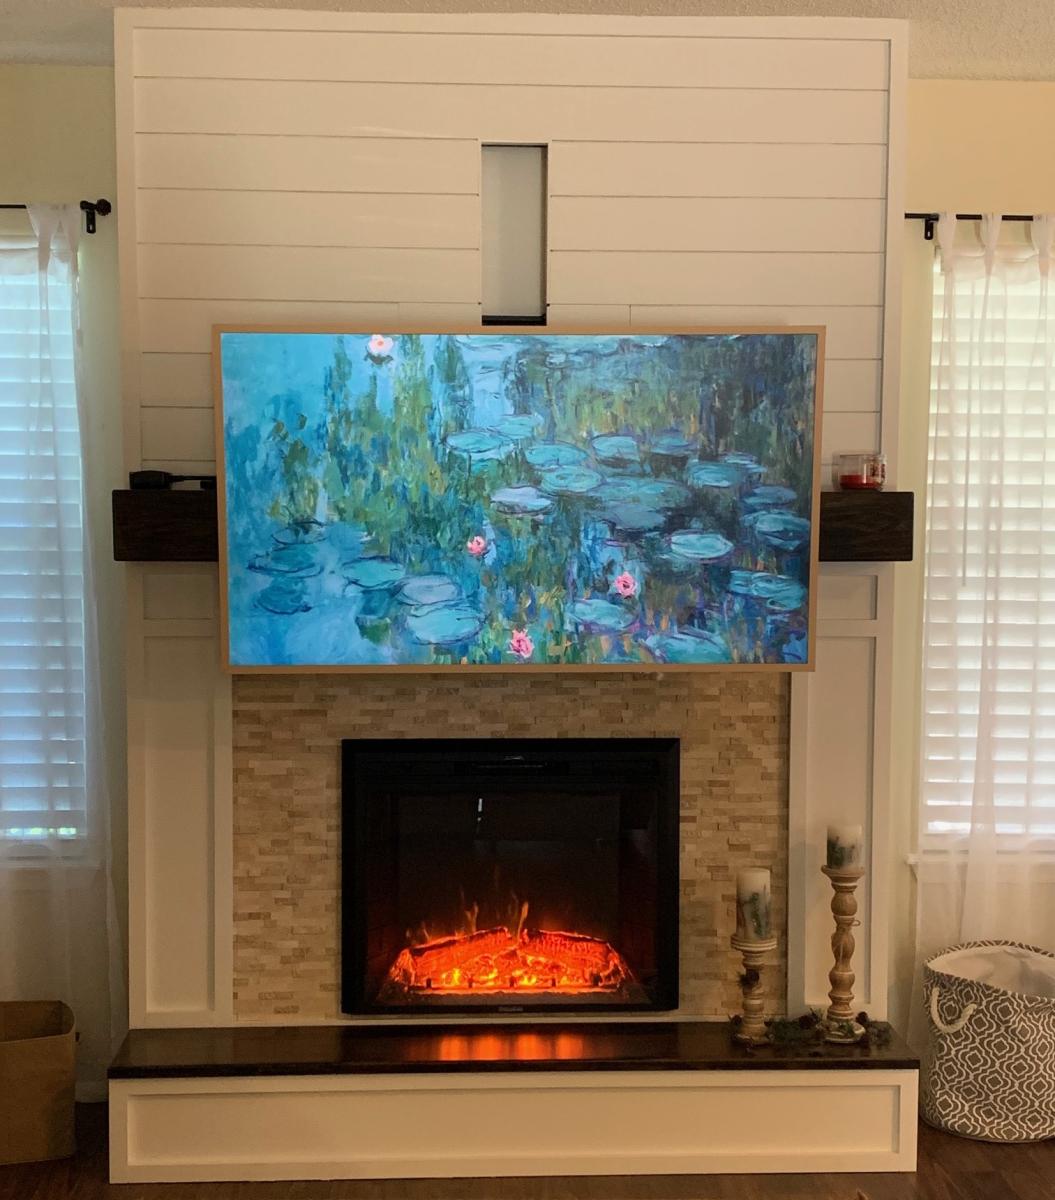
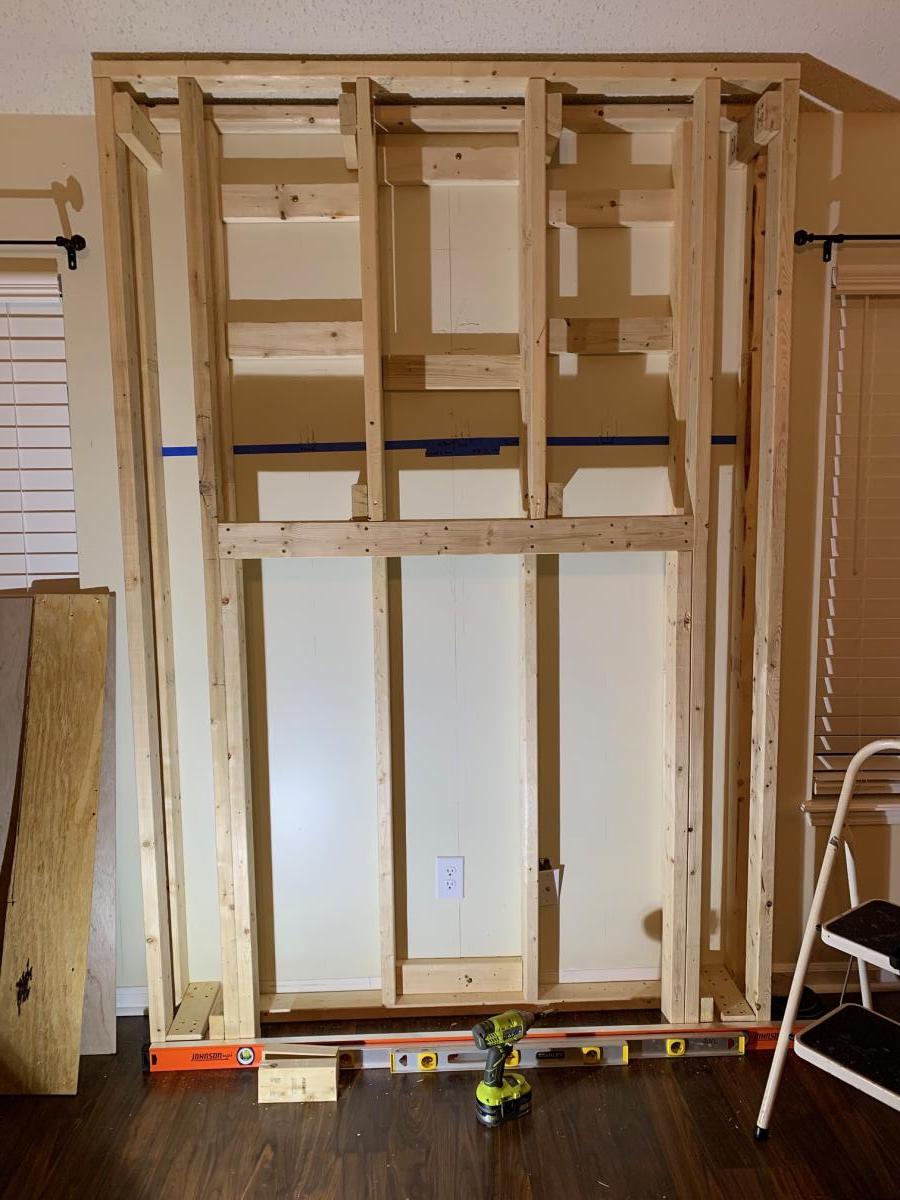
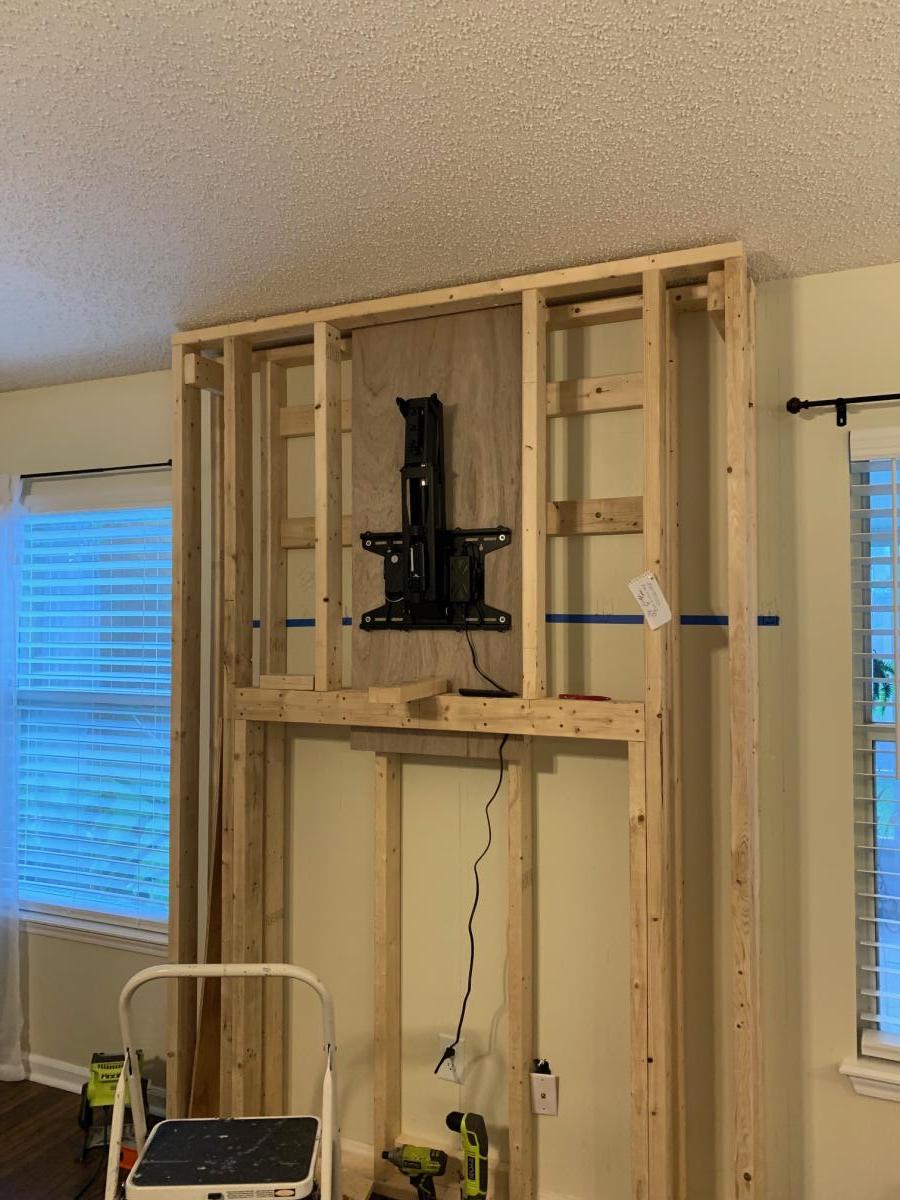
This is a very custom fireplace that I built for my wife as a 40th wedding anniversary gift. It is built around a Samsung 55” Frame TV and a Vivo motorized mount. The motorized mount allows the TV to be lowered to a better viewing height than the standard above mantle position which is usually too high for comfortable viewing.
In order to maintain the flush mount effect with the TV in art mode, I recessed the mount into the fireplace. That required building a “back” frame for the TV mount then the outer frame for the surround. I covered the outer frame with ½” OSB then ship lap. The mantle and hearth is made from Poplar with walnut stain and Polyurethane satin top coat. The hearth opens for storage.
This was sourced from several different plan sets with a lot of customization and input from the Technical Support Staff at Vizo-US.
Thu, 02/16/2023 - 09:46
Happy Anniversary!
This is a beautiful, well thought out project.
I was hoping someone would do the recessed mount, and you nailed it! It's so much better with the tv flush like yours.
Also love the motorized mount.
Thank you very much for sharing photos.
Ana
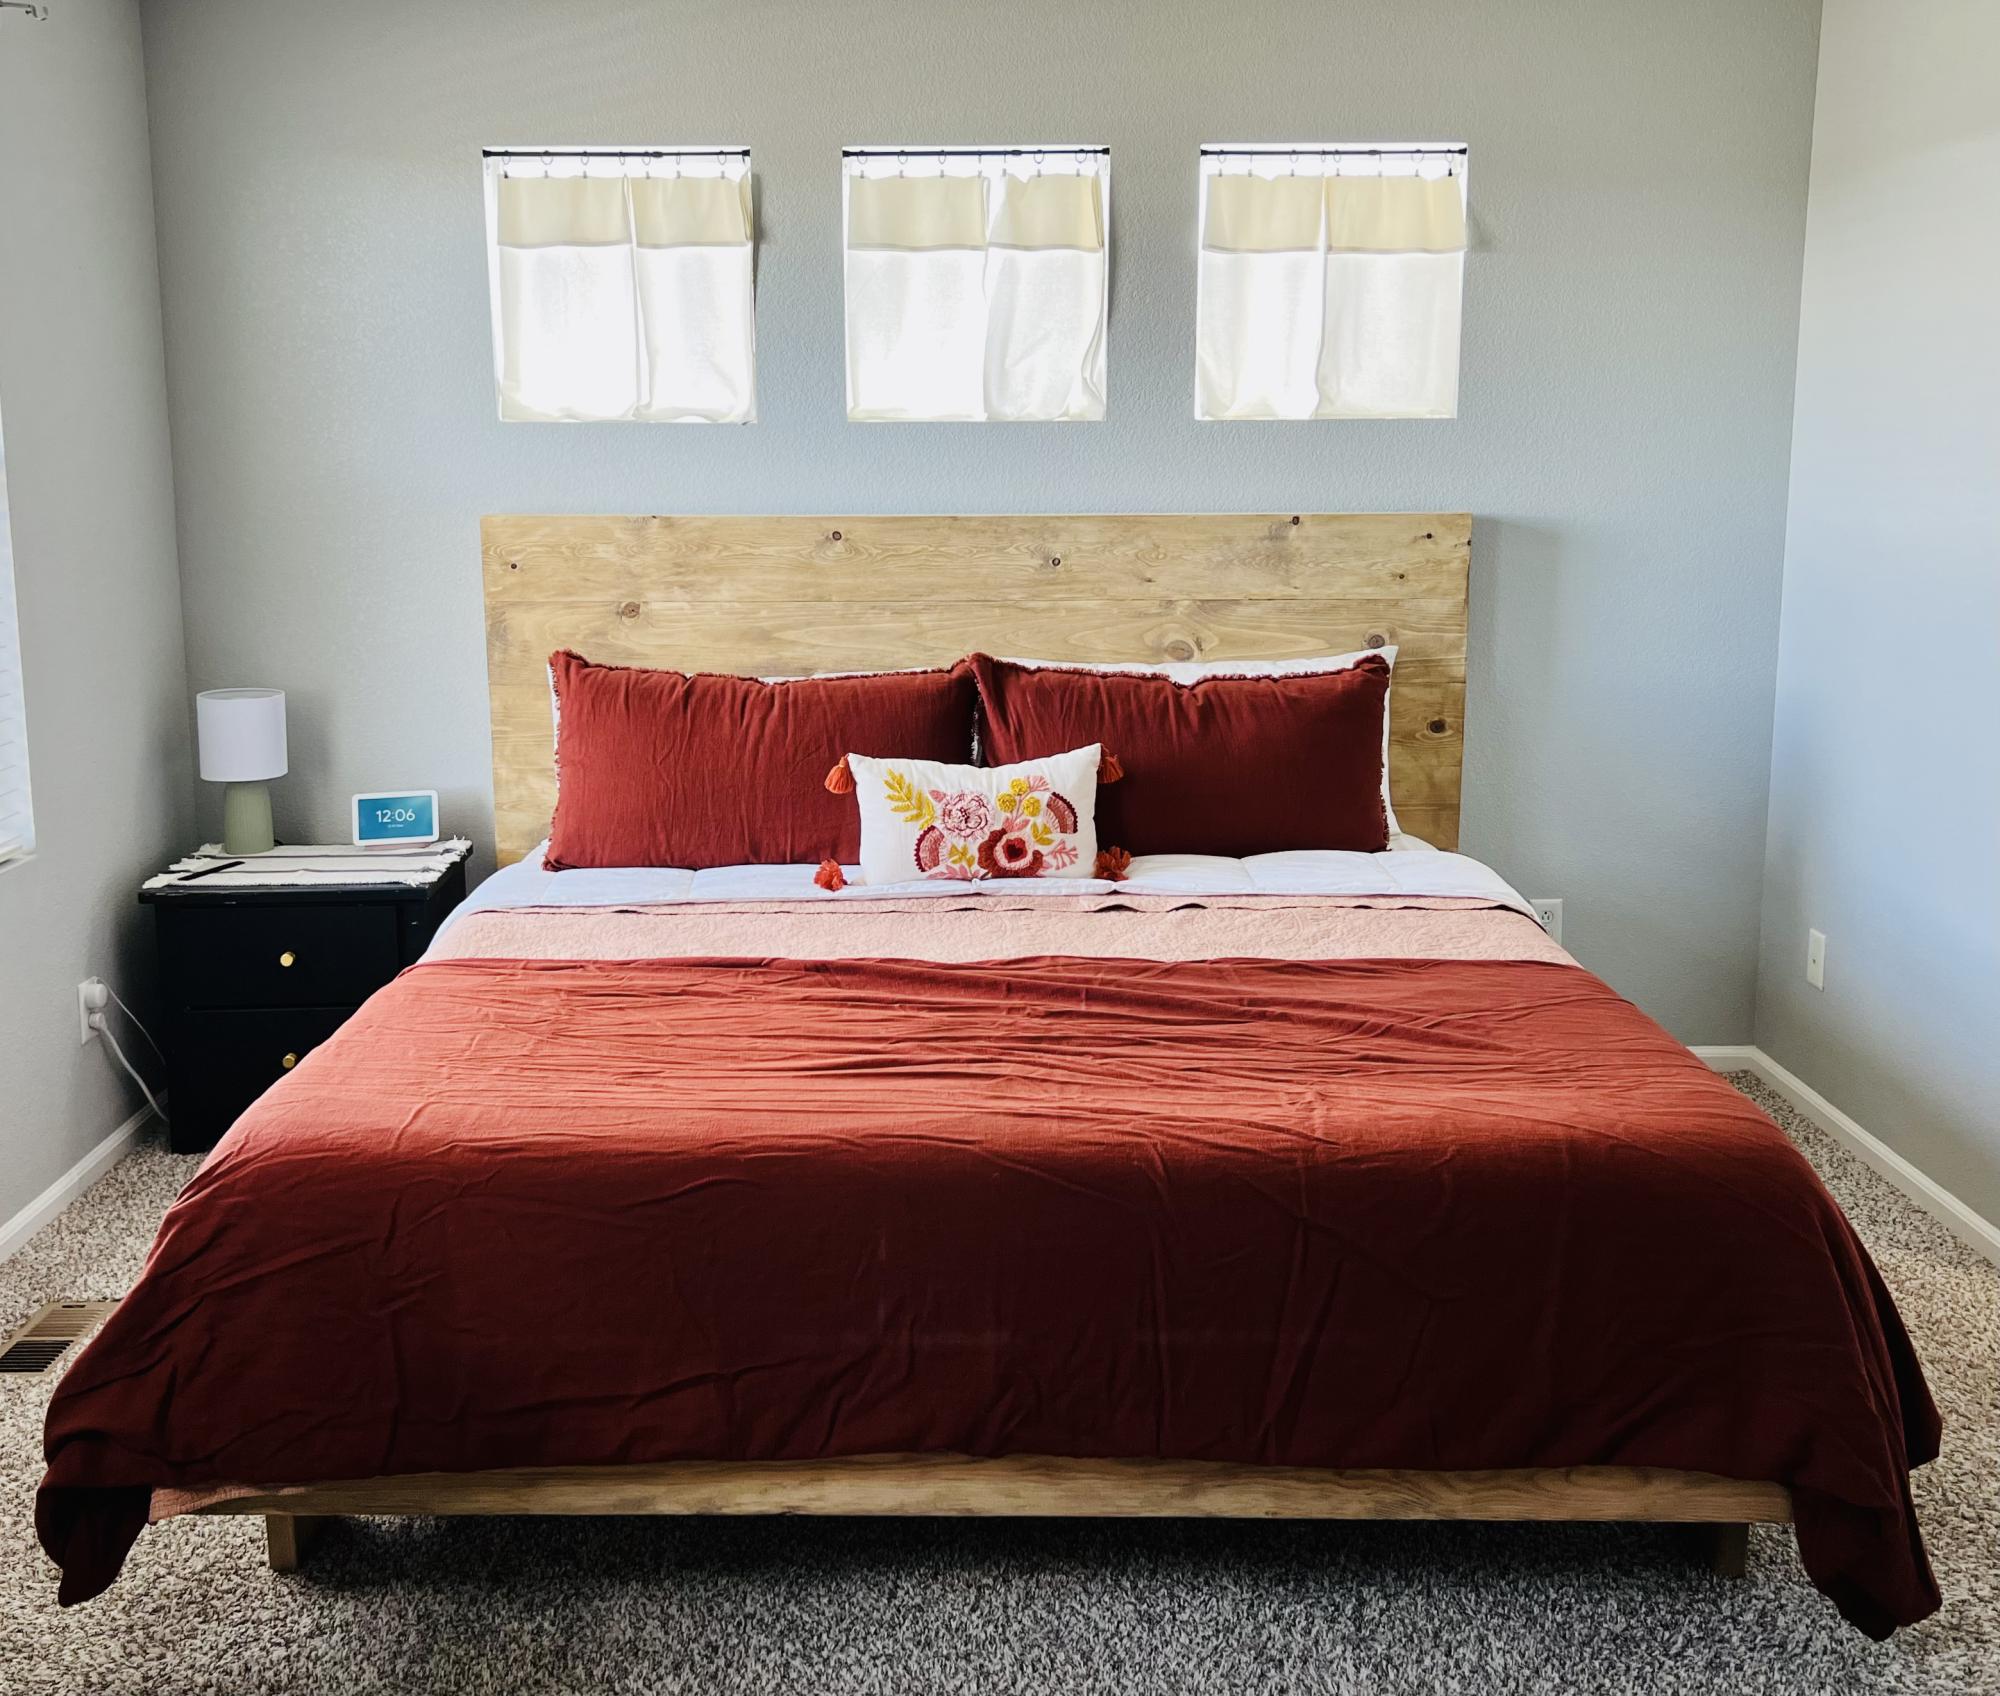
When we needed a new bed frame recently, I began my search online. They were all $1,000 plus, and nothing that really caught my eye. I found this plan from Ana White and immediately fell in love! While it wasn’t an “easy” project, it was fun to do and I’m absolutely in LOVE with the results! Thanks again Ana!
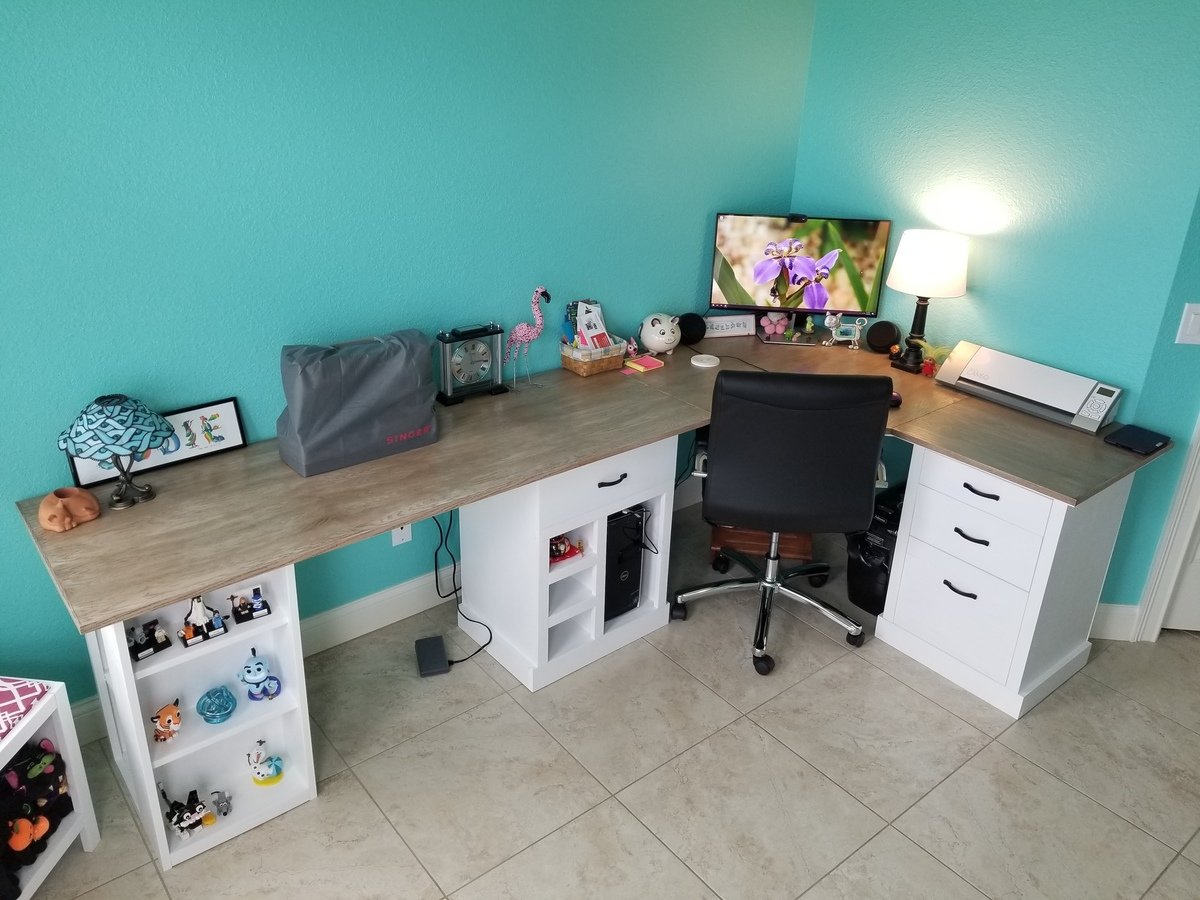
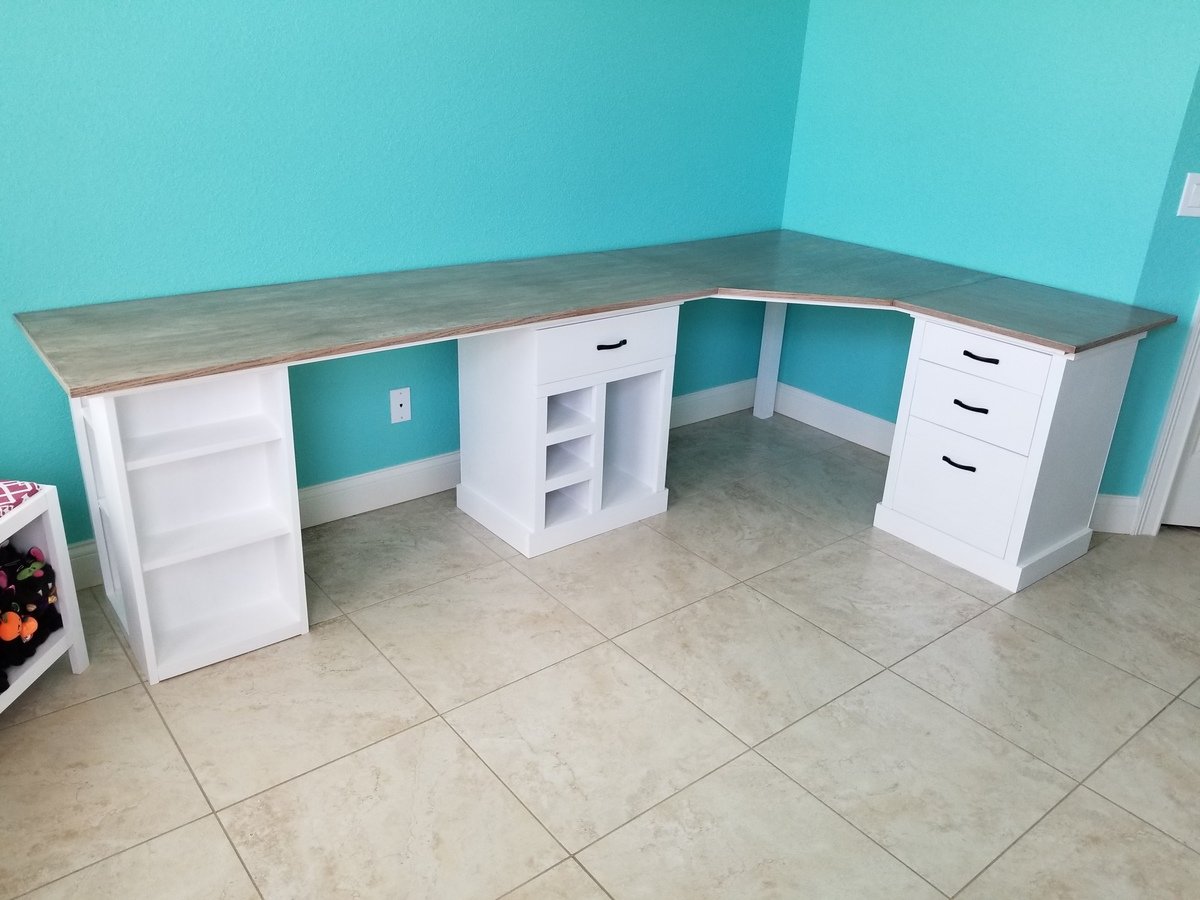
I started creating the furniture for my new craft room by making the Easy Three Cube Benches I found here. I modified them so that my cats could lay on top and look out the windows. The cube benches gave me the confidence to design a printer stand. Using Ana White's technique of "build the box" and then add the rest, I designed a custom printer stand I am so very proud of! After the printer stand, I moved on to the final piece that would complete my craft room, a modular desk with plenty of workspace to complete any craft I want. I modified each module a little to keep with the theme design of the room. I created three modules. The last one being a bookcase that is a modification of the Modern Craft Table bases. I used better quality Oak plywood for the desk top, and good pine and whiteboard plywood for the modules.
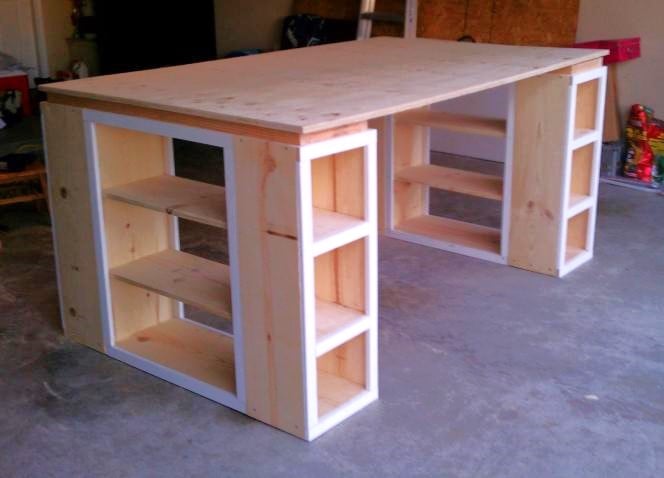
Completed Modern Craft Table! We tweaked the plans a bit because I was looking for a larger table top. The top now measures 48" x 76". We simply did this by adding an extra set of cubbies to the other side of the shelves. Absolutely LOVE how this turned out! All I need now is 4 counter height stools built and lots of shelves to complete my craft room! Will be sure to post those once they are completed!
Thu, 11/17/2011 - 01:10
Darn I was so excited to see you craft table! I apologize that your brag post did not show images. If you can send me images at knockoffwood(at)gmail.com I'd be happy to post. Thanks so much for submitting a brag post. Ana
Sun, 03/04/2012 - 07:31
I LOVE LOVE LOVE your craft table. I want one! Looks like my husband wil have to get busy! Thanks for sharing!
Kristina
Houston, TX
Tue, 05/29/2012 - 00:05
This is great!! I am planning something similar, but what is your idea or the plan you used for the middle support to keep it from sagging over time? My idea is to run another cubby in the middle from side to side. What do you think?
Mon, 01/21/2013 - 09:54
I love the modern craft table, just what I have been looking for, do you share instructions, dimensions, etc.? thanks, Laura
Thu, 05/12/2016 - 15:14
I'm loving this and would love to have FIL build it for me but the plans look like its for the regular modern craft table but not the tweaked? Also is there support for the middle? Can you send me a link for the tweaked supply list please, can't seem to find it. Love what you do!
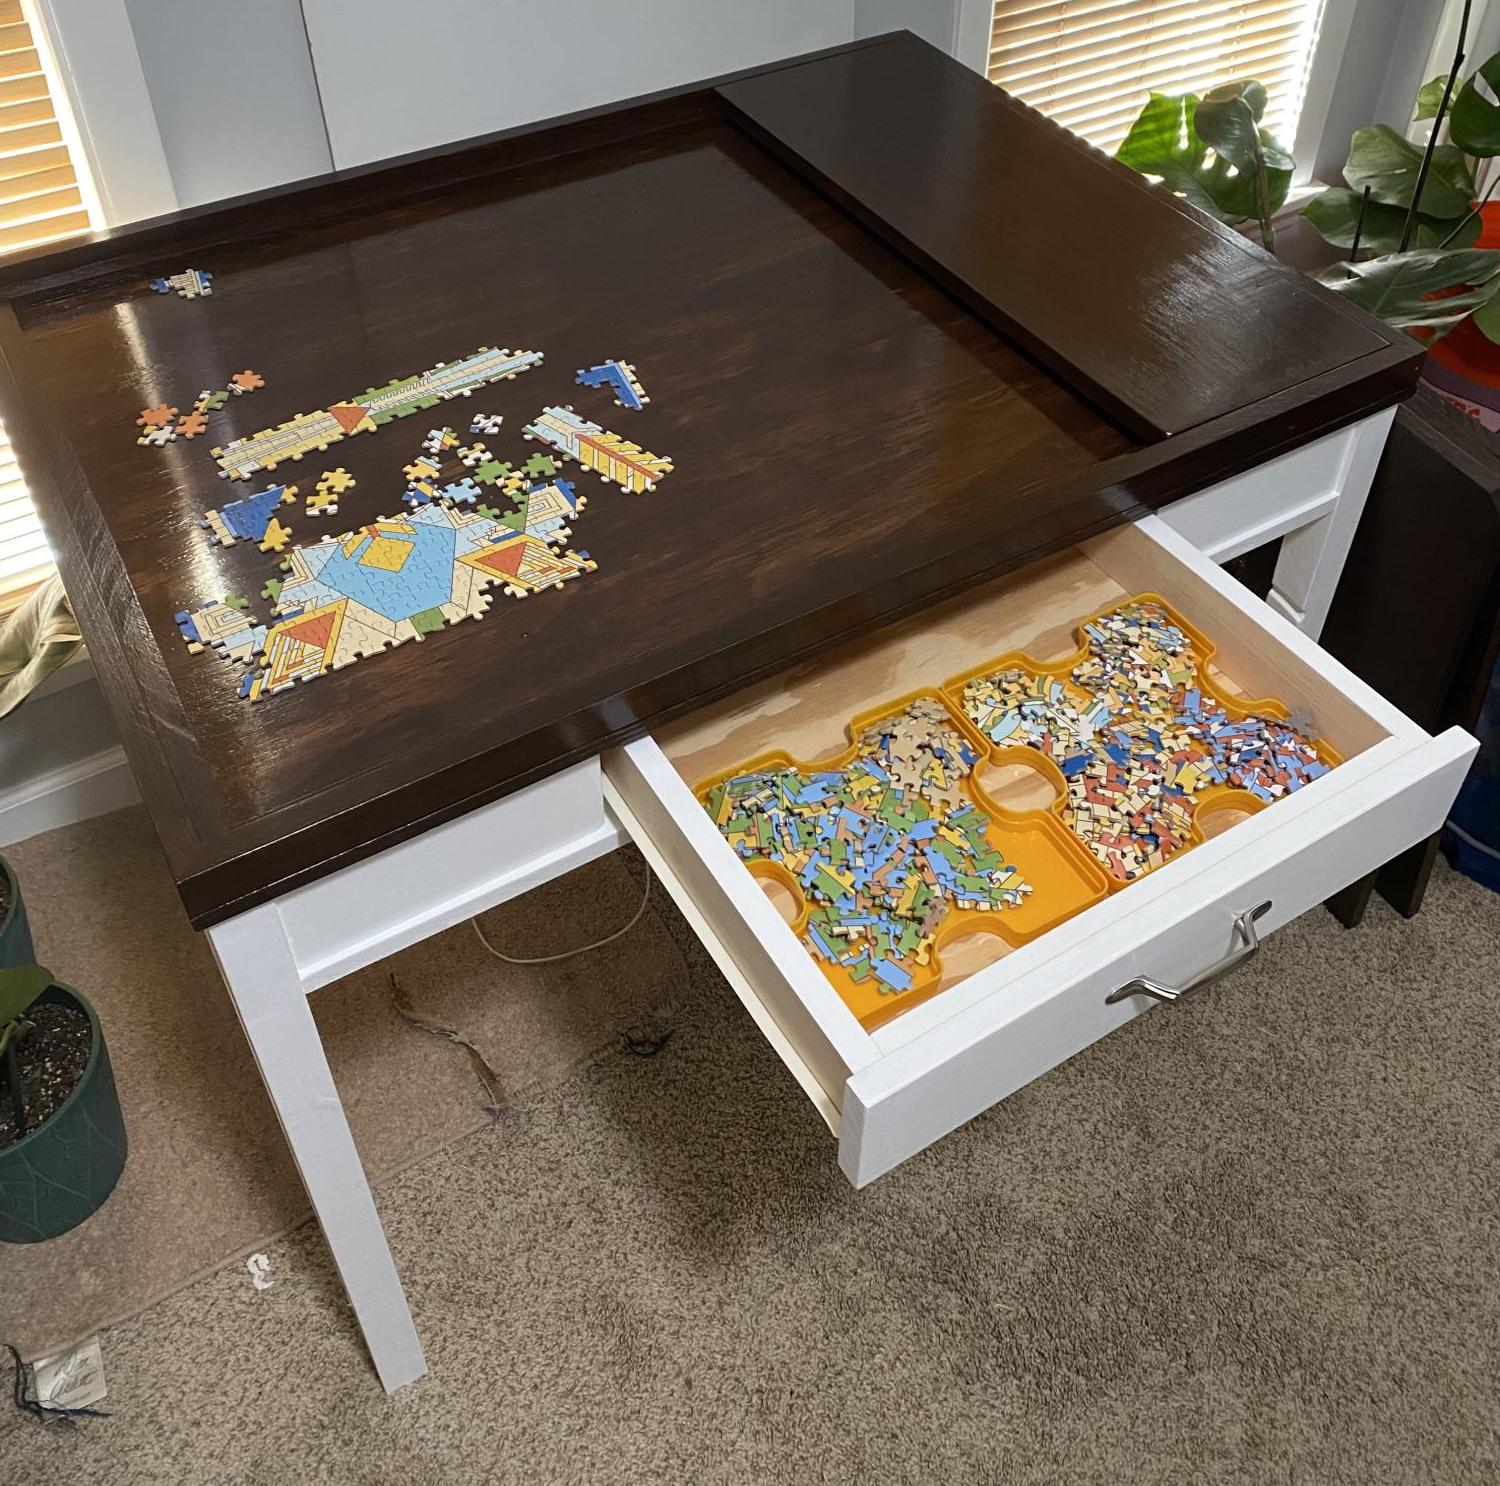
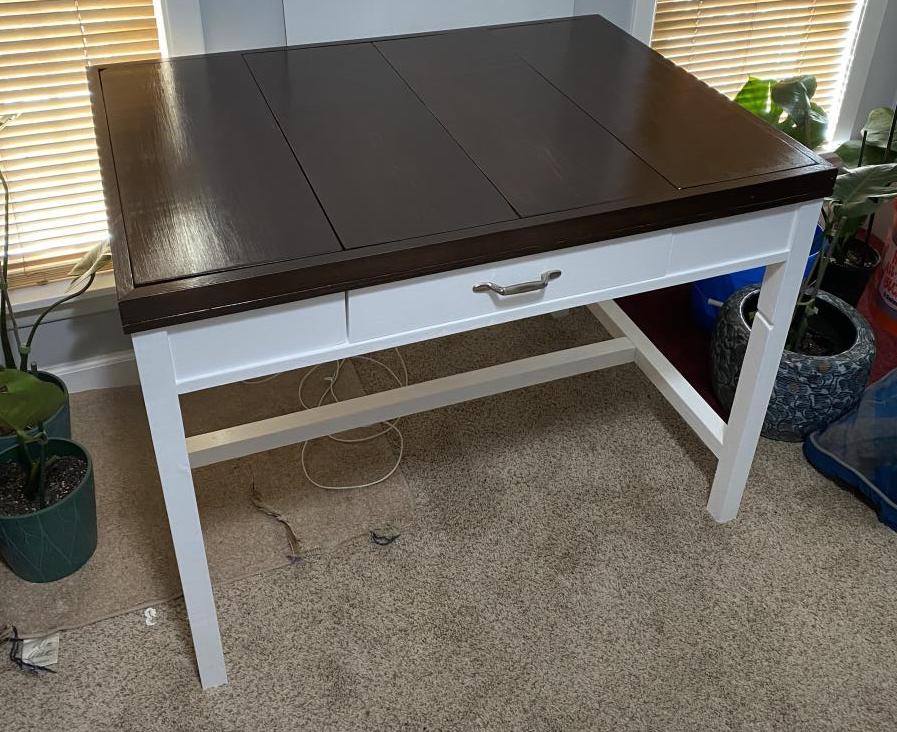
I wanted a table that would protect my puzzles from puzzle piece eating dogs, so I used this Ana White desk plan and built a frame on top to hold the cover panels. The drawer is perfect for holding puzzle pieces during a build.
Fri, 03/10/2023 - 13:28
This is so smart for puzzles, thank you so much for sharing!
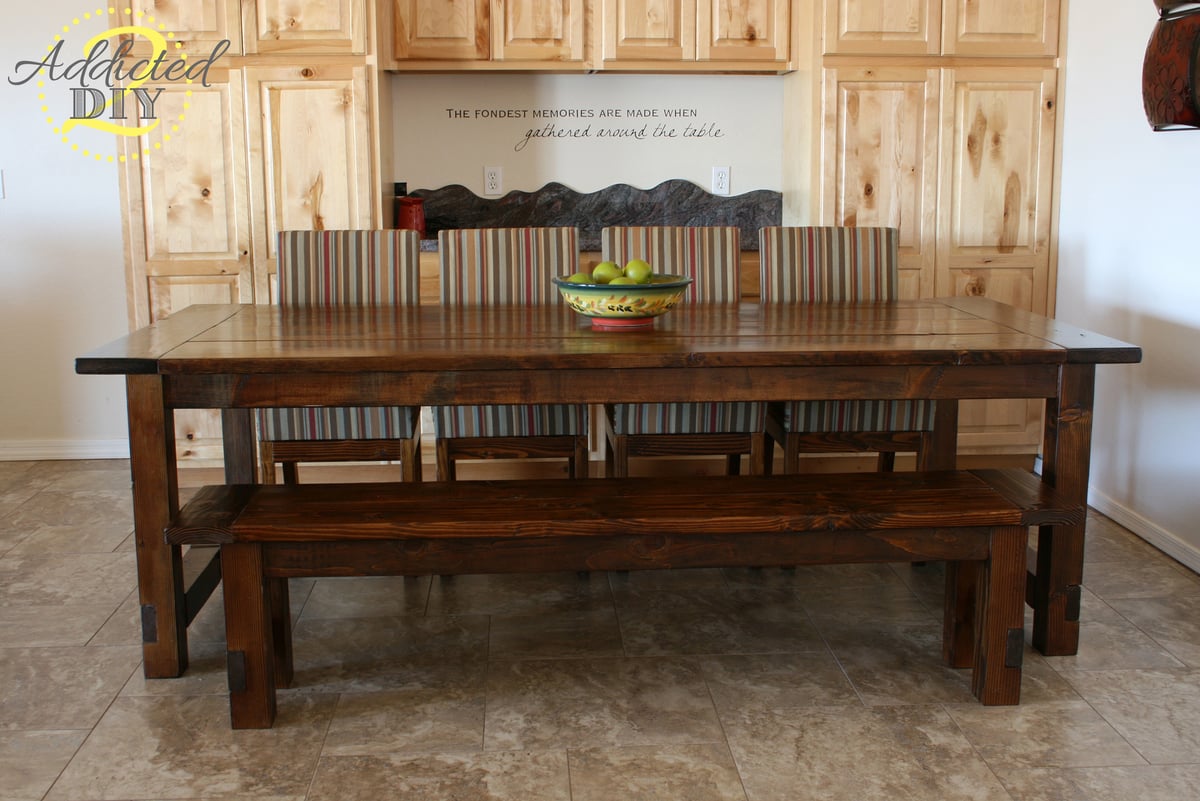
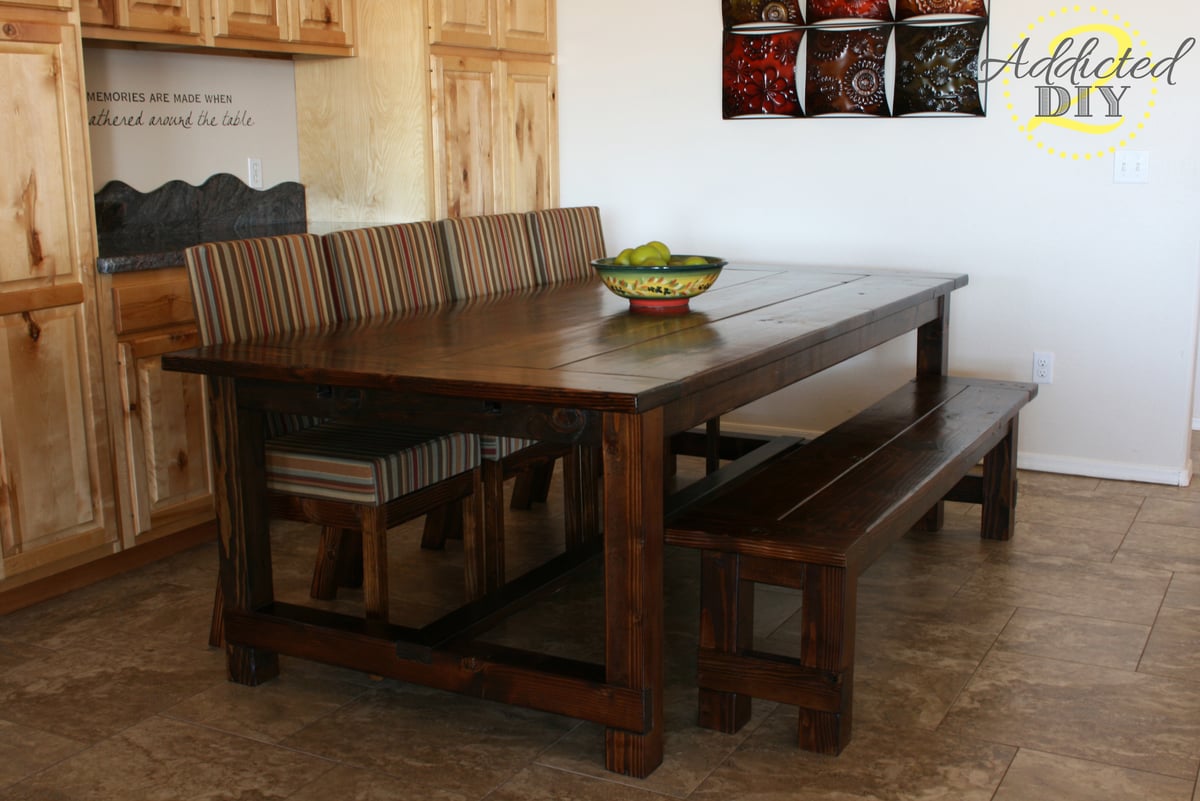
We built this farmhouse table a few months ago and absolutely love it. We modified the plans a bit based on another brag post and went with a replica of the Restoration Hardware table. I also built the chairs for the table based on the Parsons chair plans
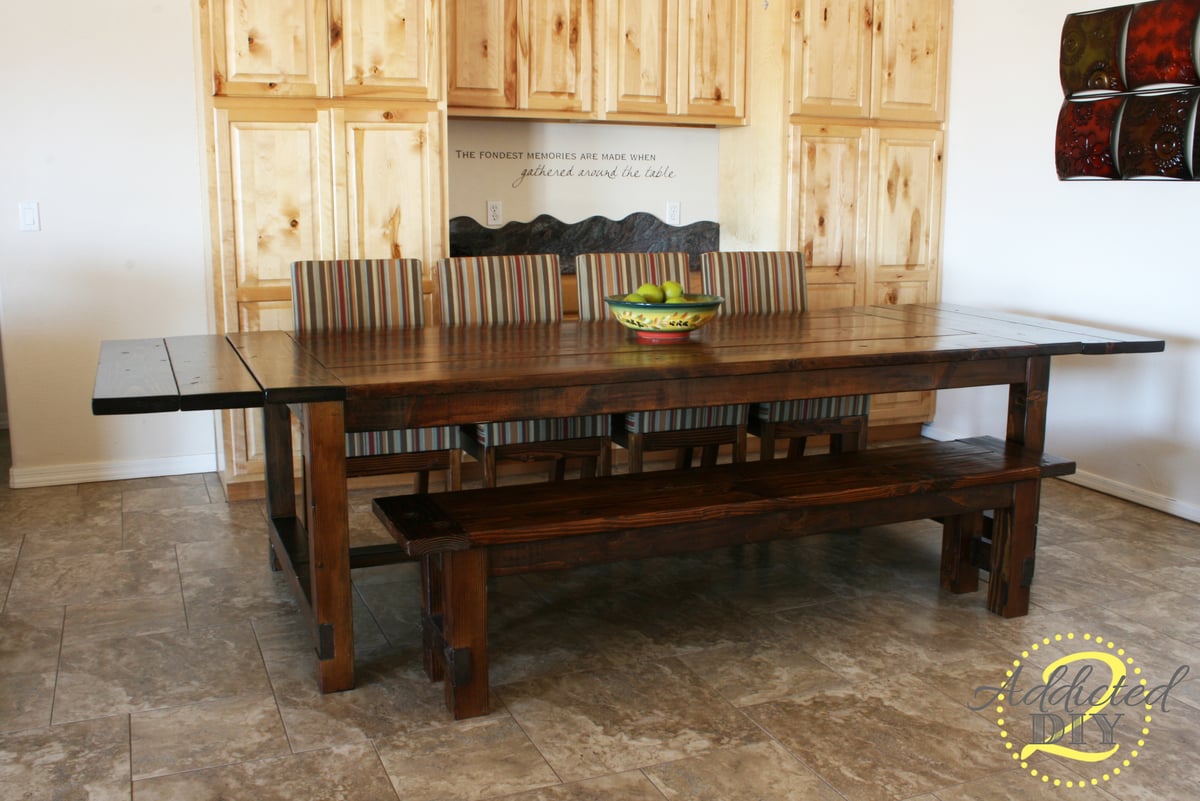
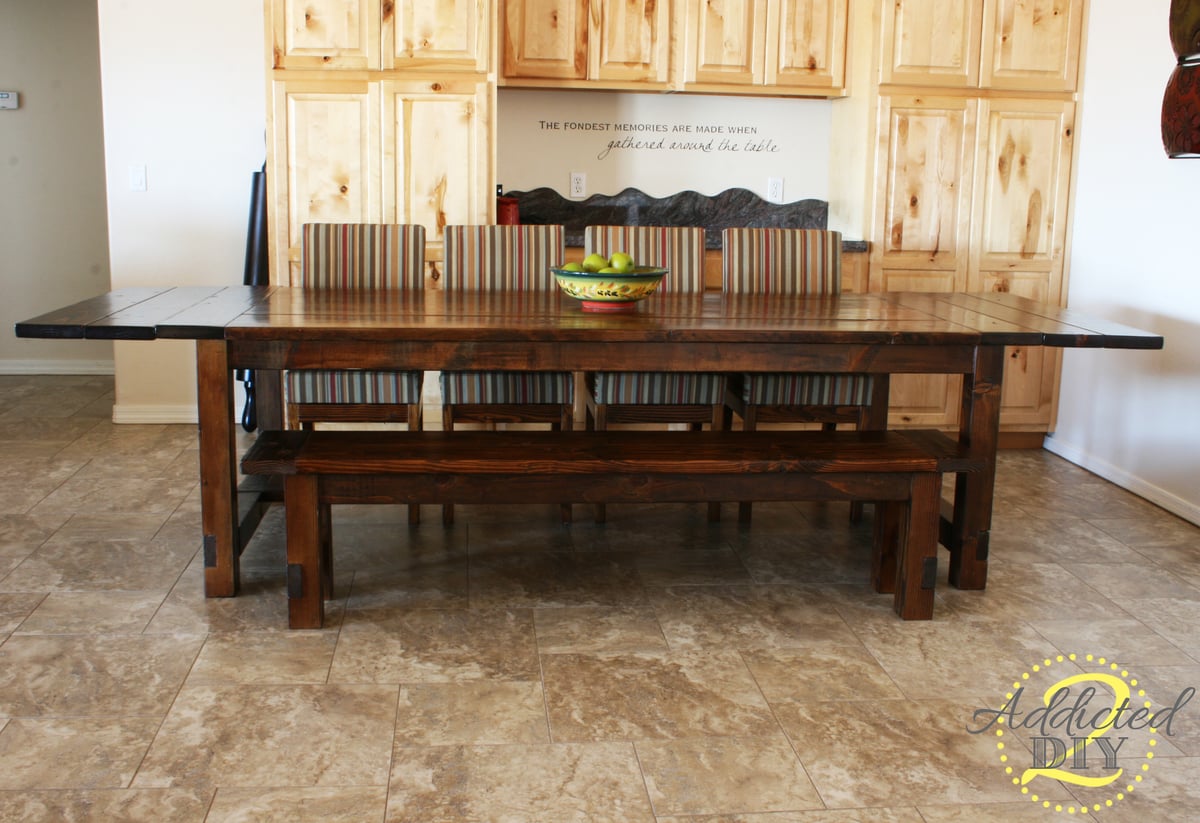
Tue, 11/05/2013 - 17:59
Really nice job! This was quite an accomplishment, especially given that you guys did additional chairs (that look fantastic). Also, great job documenting on your blog.
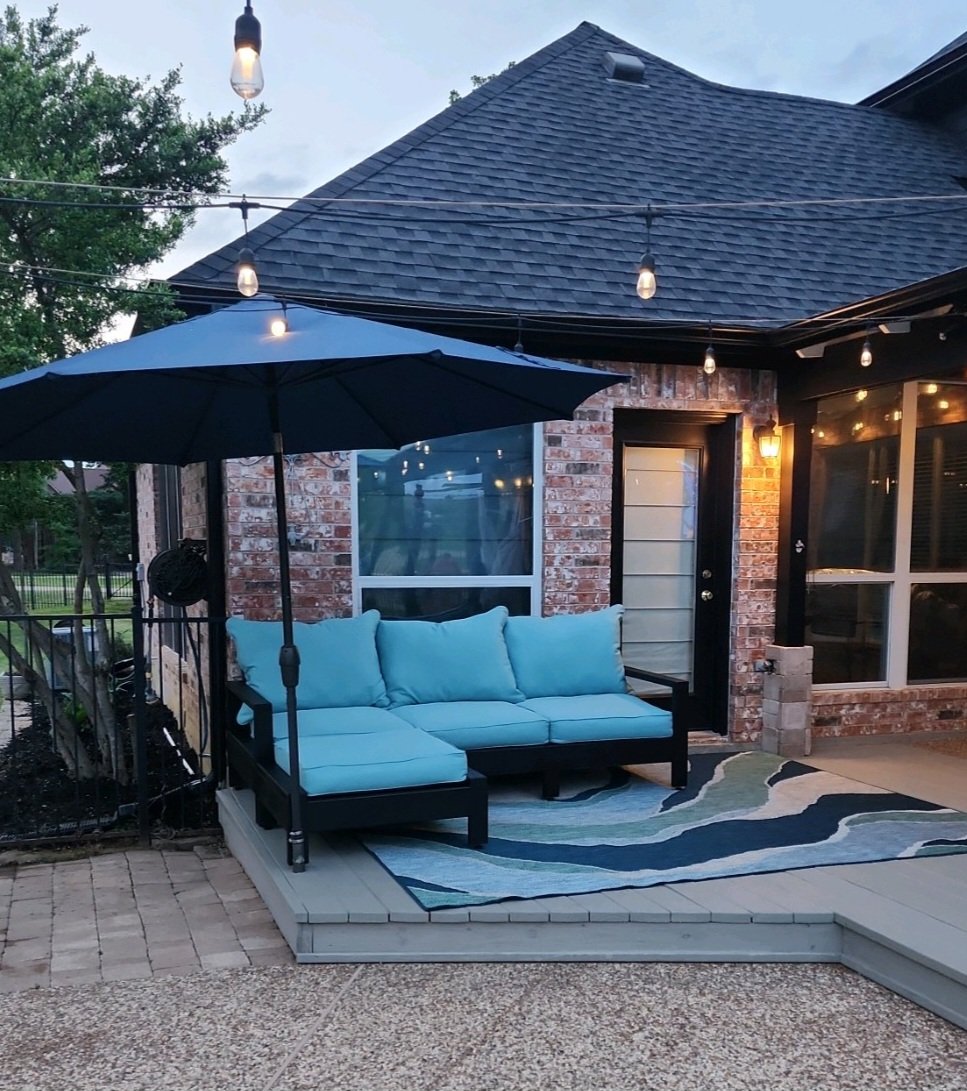
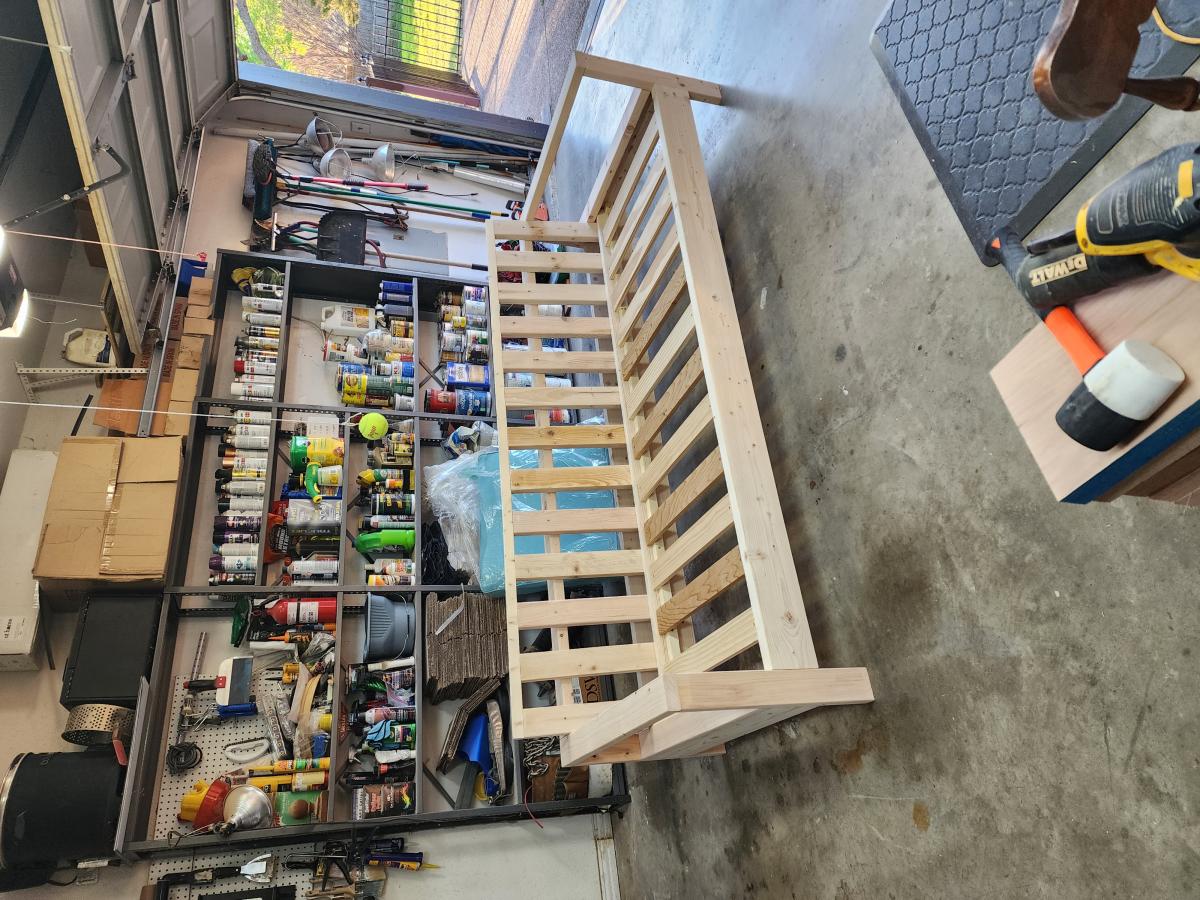
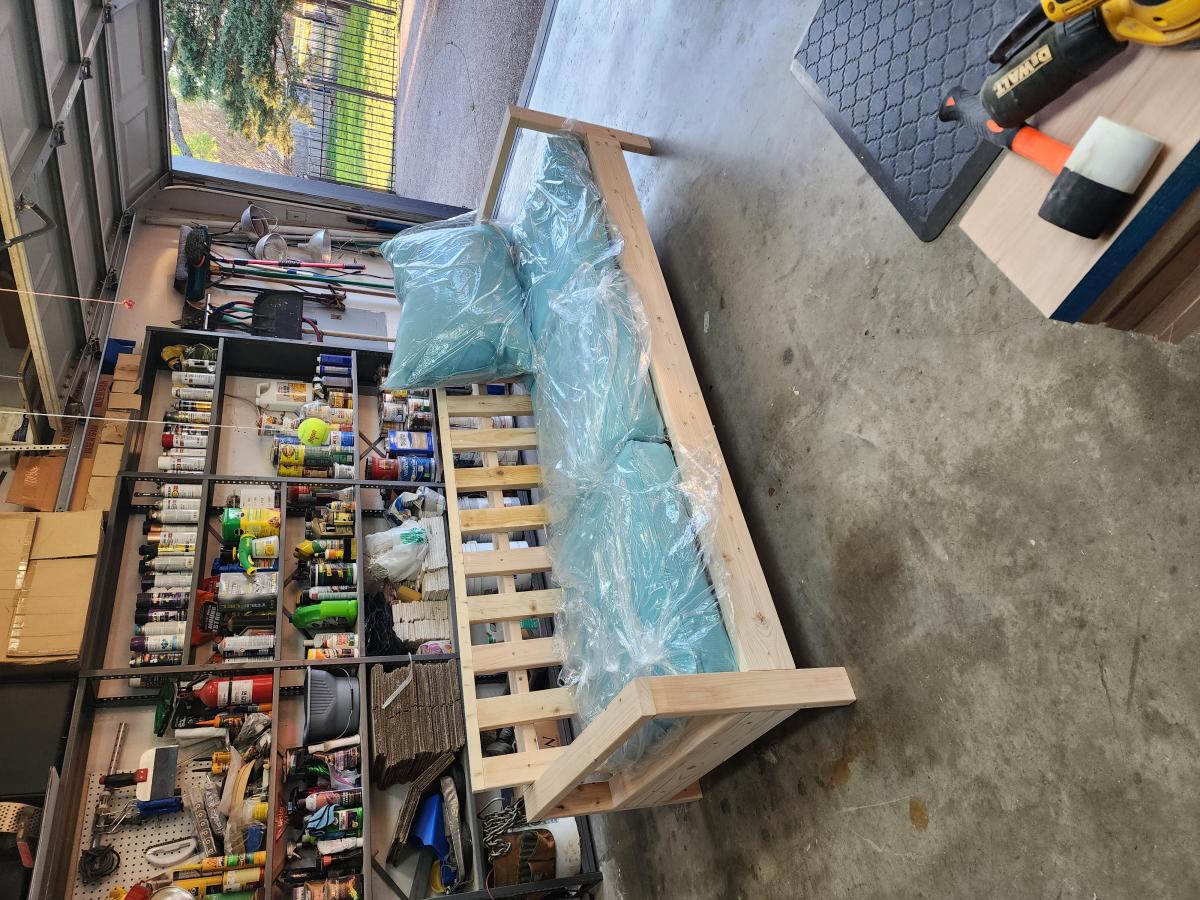
Inspired by outdoor sofa plan I saw on the Ana White website... wanted to customize by using larger cushions (29" wide) adjusted the plans for wider cushions and more relaxed sitting posture so pushed the back support angle further back by 4 inches. Added legs since we were wider. My wife is super pleased and build came out really nice. Thanks Ana for the inspiration!!
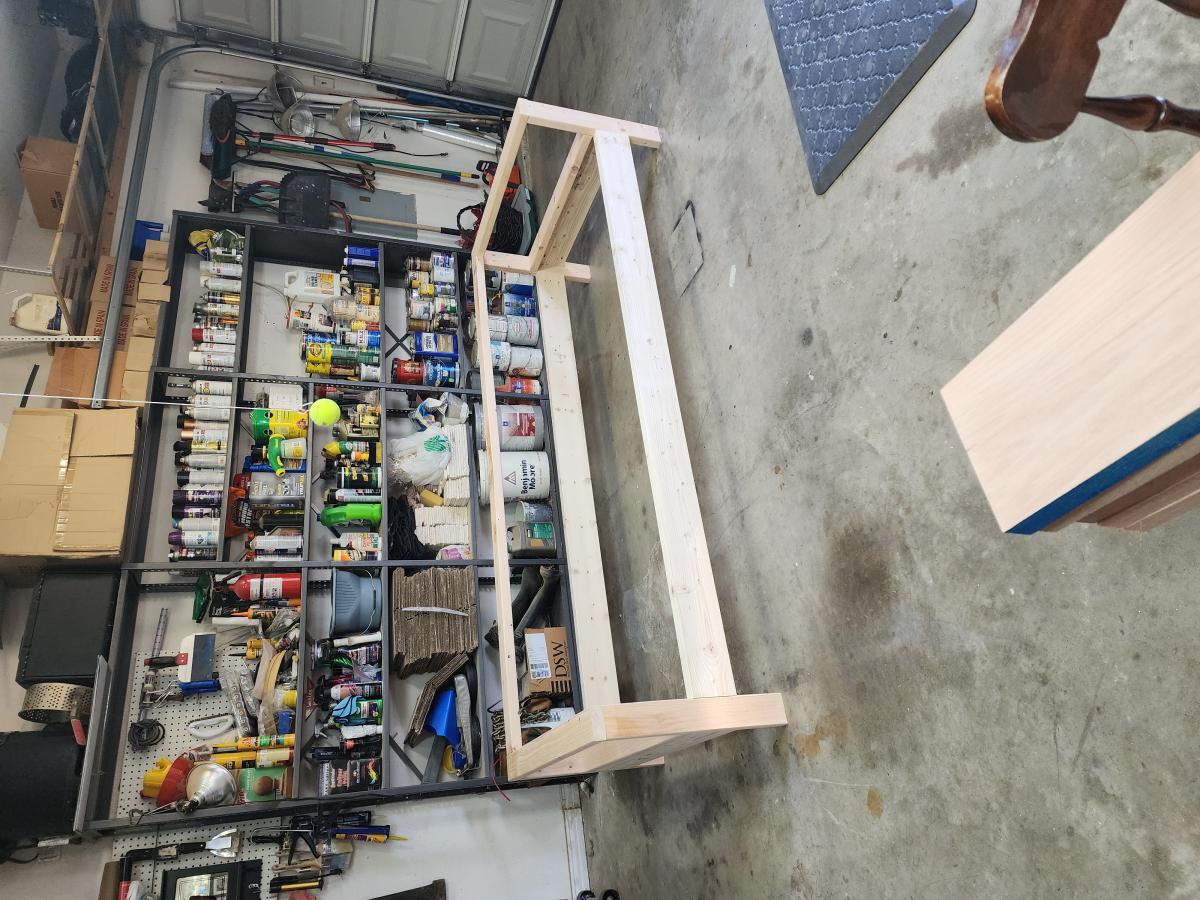
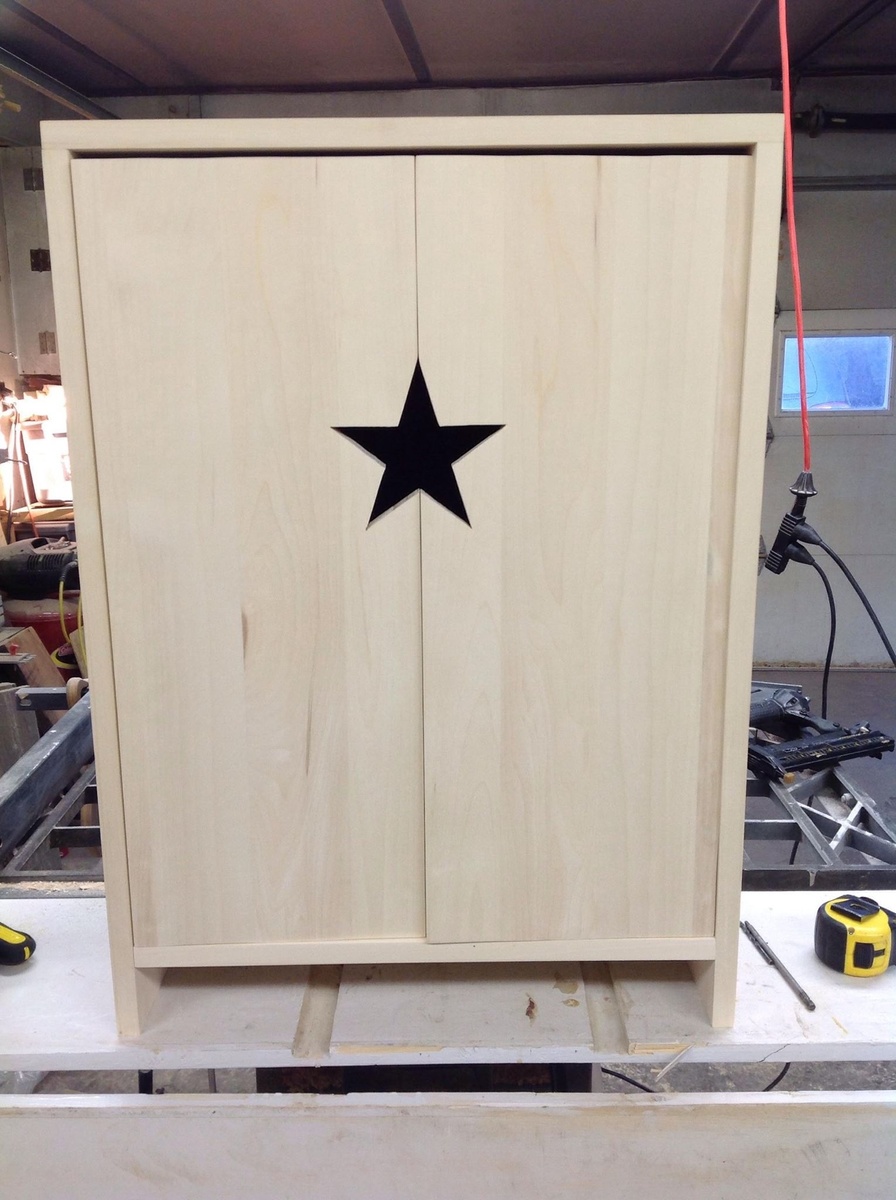
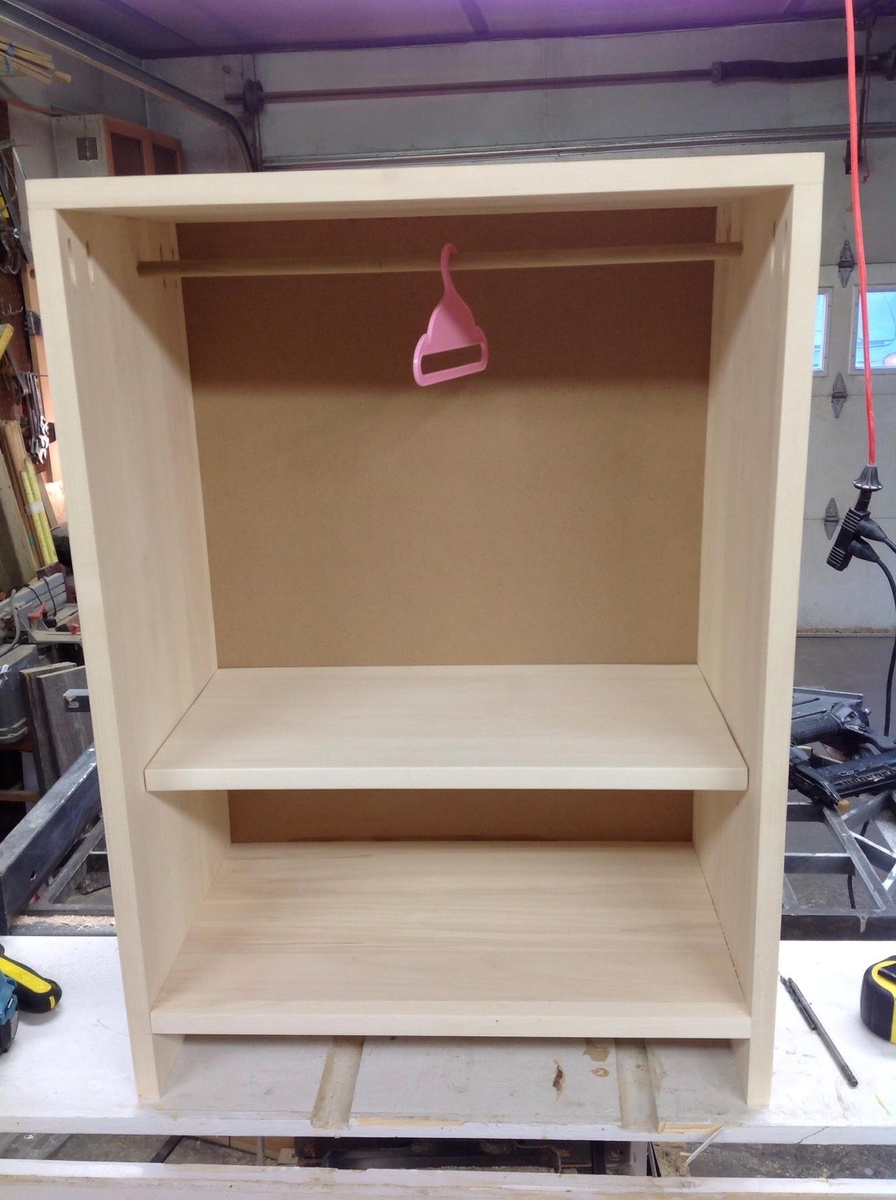
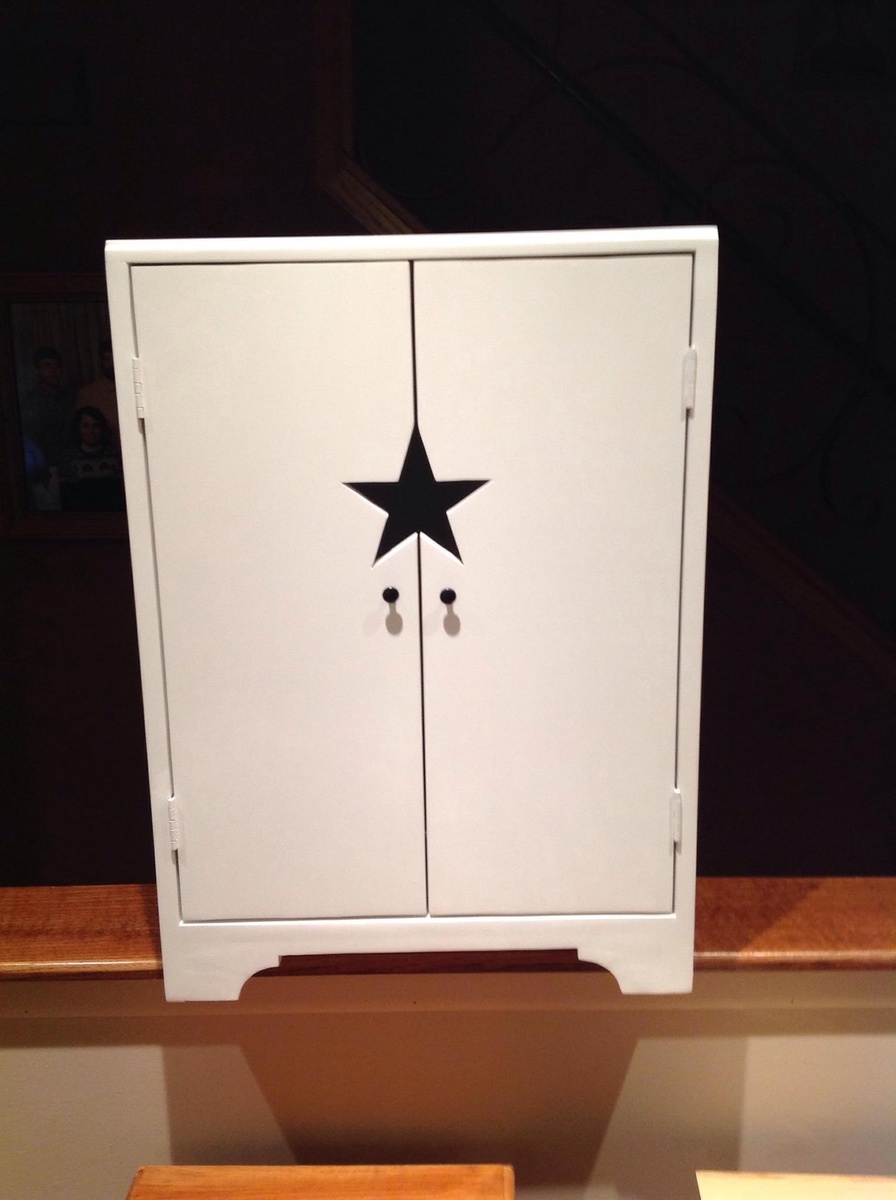
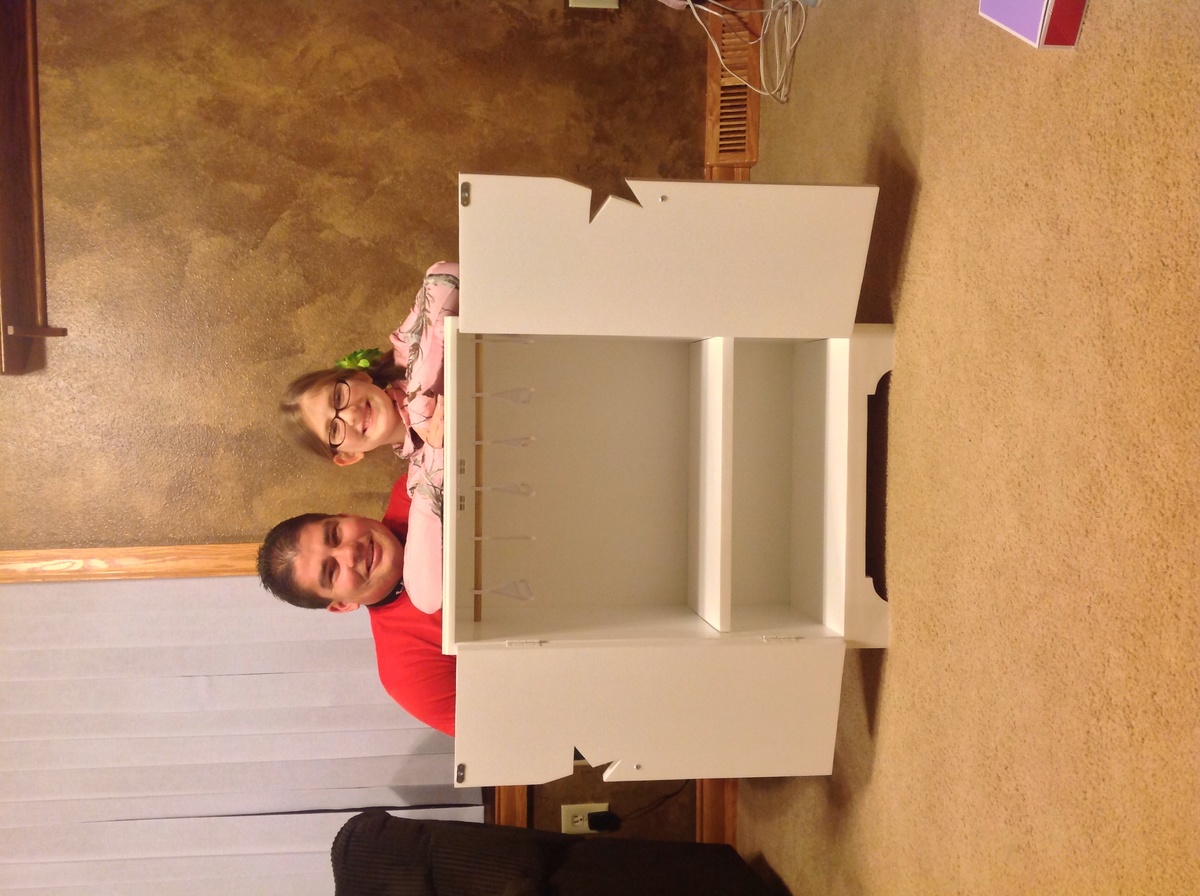
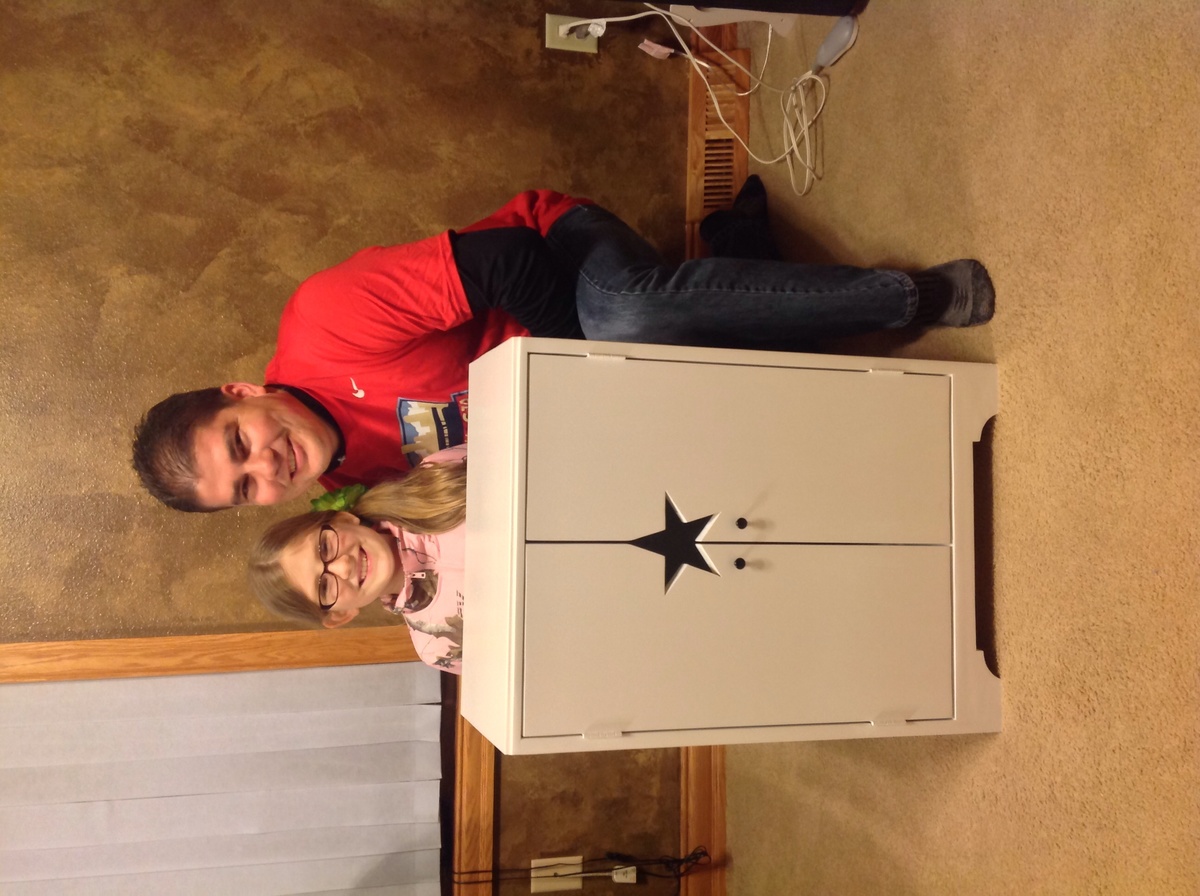
My 11 year old is a girlie girl and has been asking my wife and I for the American Girl Star Armoire cabinet for 2 years. I found a similar plan here on Ana-White's Plan page. I decide to use a little nice quality wood (Aspen) instead of just a clear pine wood. It turned out nicer than even I could have expected.
My daughter got this for her 11 Bday this past Sunday and has already filled the cabinet with all her special AG Dresses. I added my own twist by putting a 1/4" Chalkboard back on it so she can use it to play school with her AG Dolls.
I have a couple people interested in making one for them for Christmas. :)
My next project will be one of the bunk-beds featured on Ana's website.
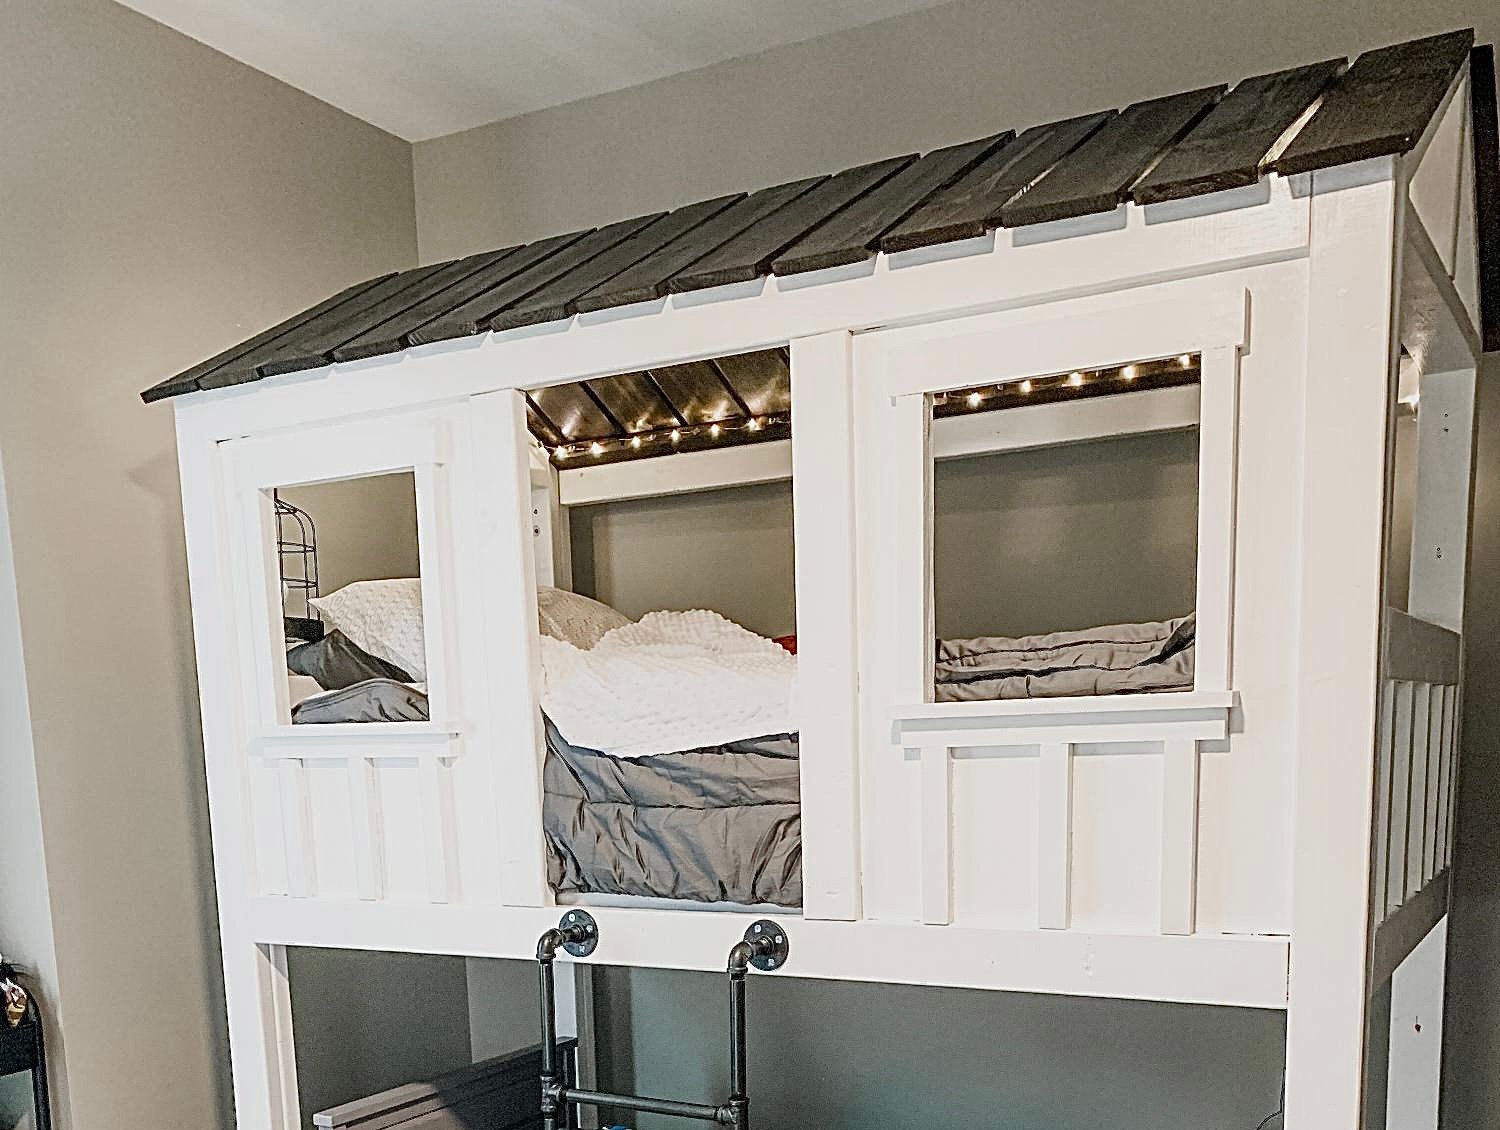
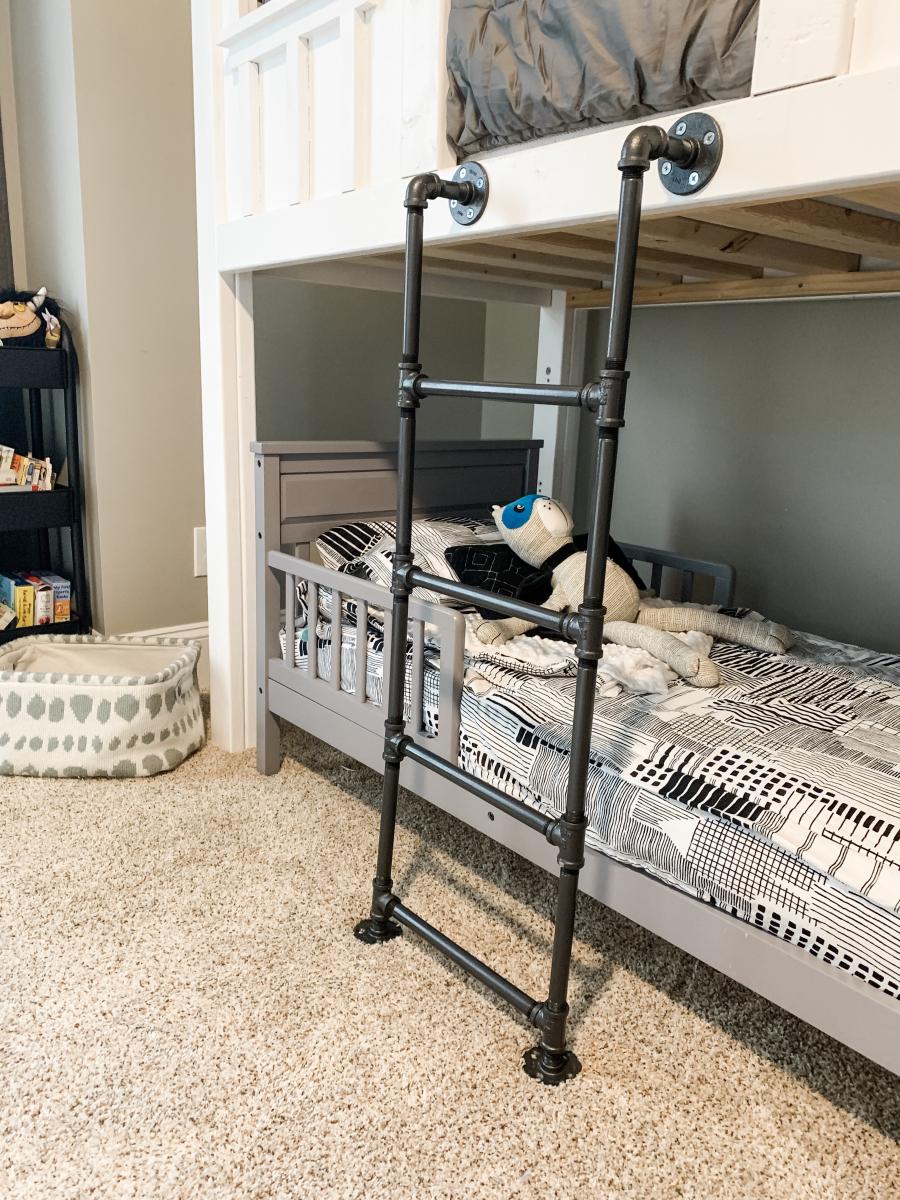
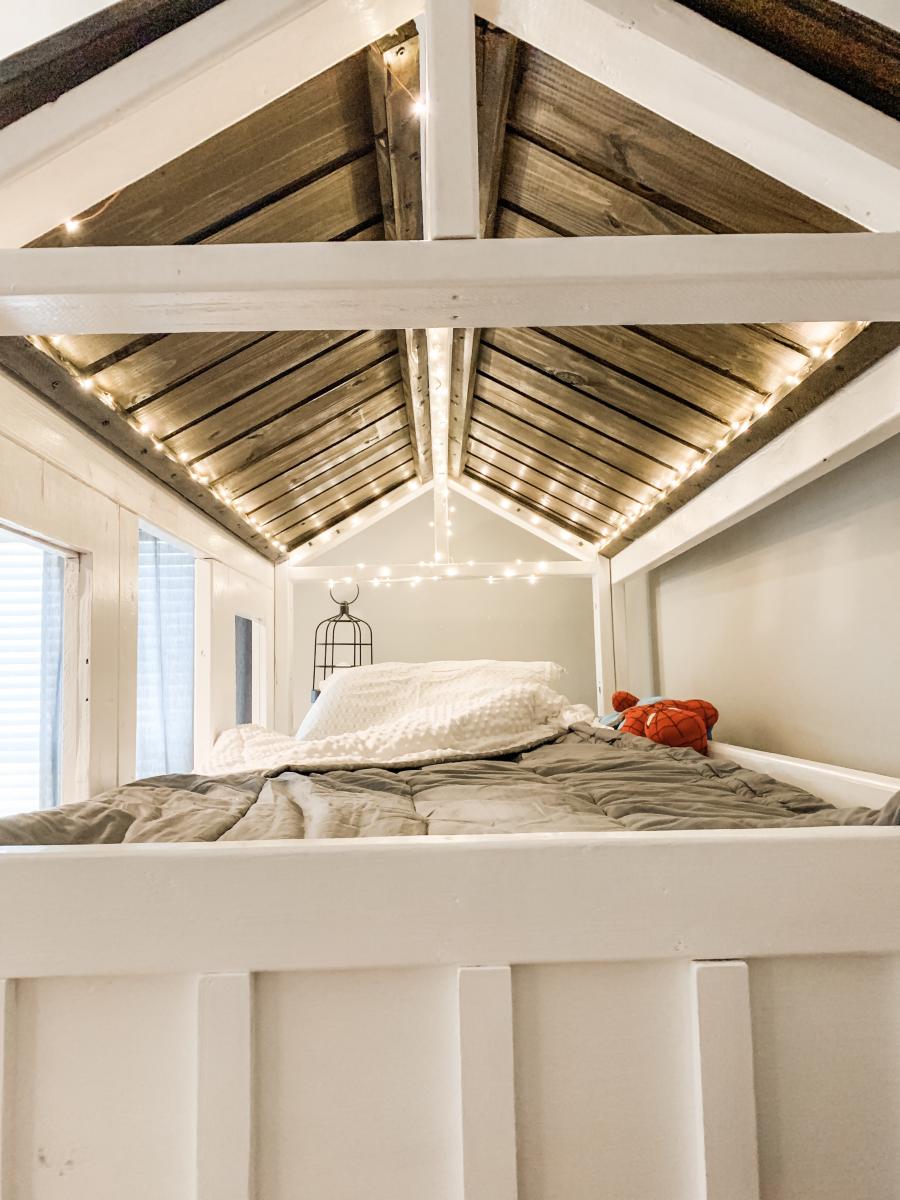
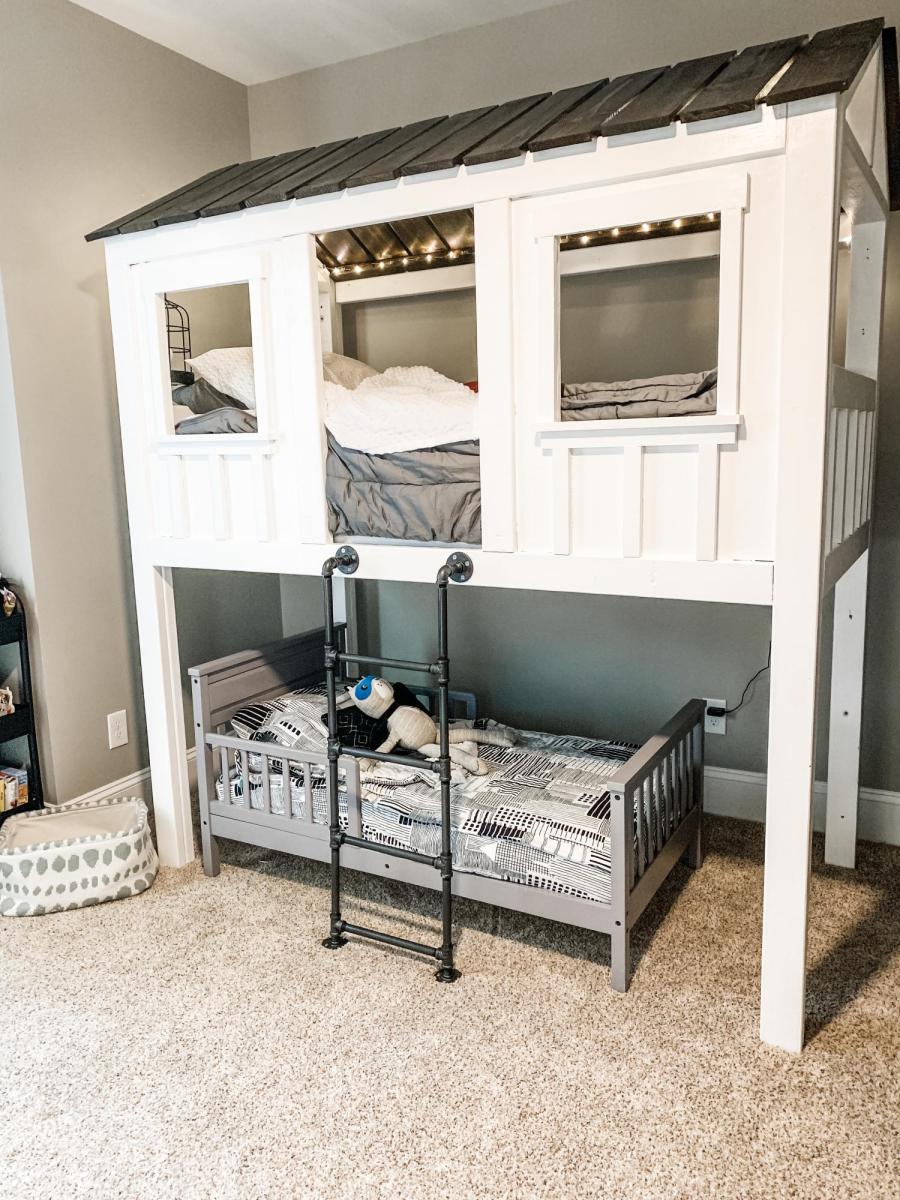
Elevated loft bed for my two boys! Easy build with the plans from Ana White! I modified this version and elevated it so I could fit my youngest underneath. It was my first time using a Kreg Jig and I’m obsessed now. I would recommend buying top quality wood and increasing all numbers by 2-3 inches to make getting the mattress in easier. I would also recommend a lower profile mattress than I used. Happy Building!
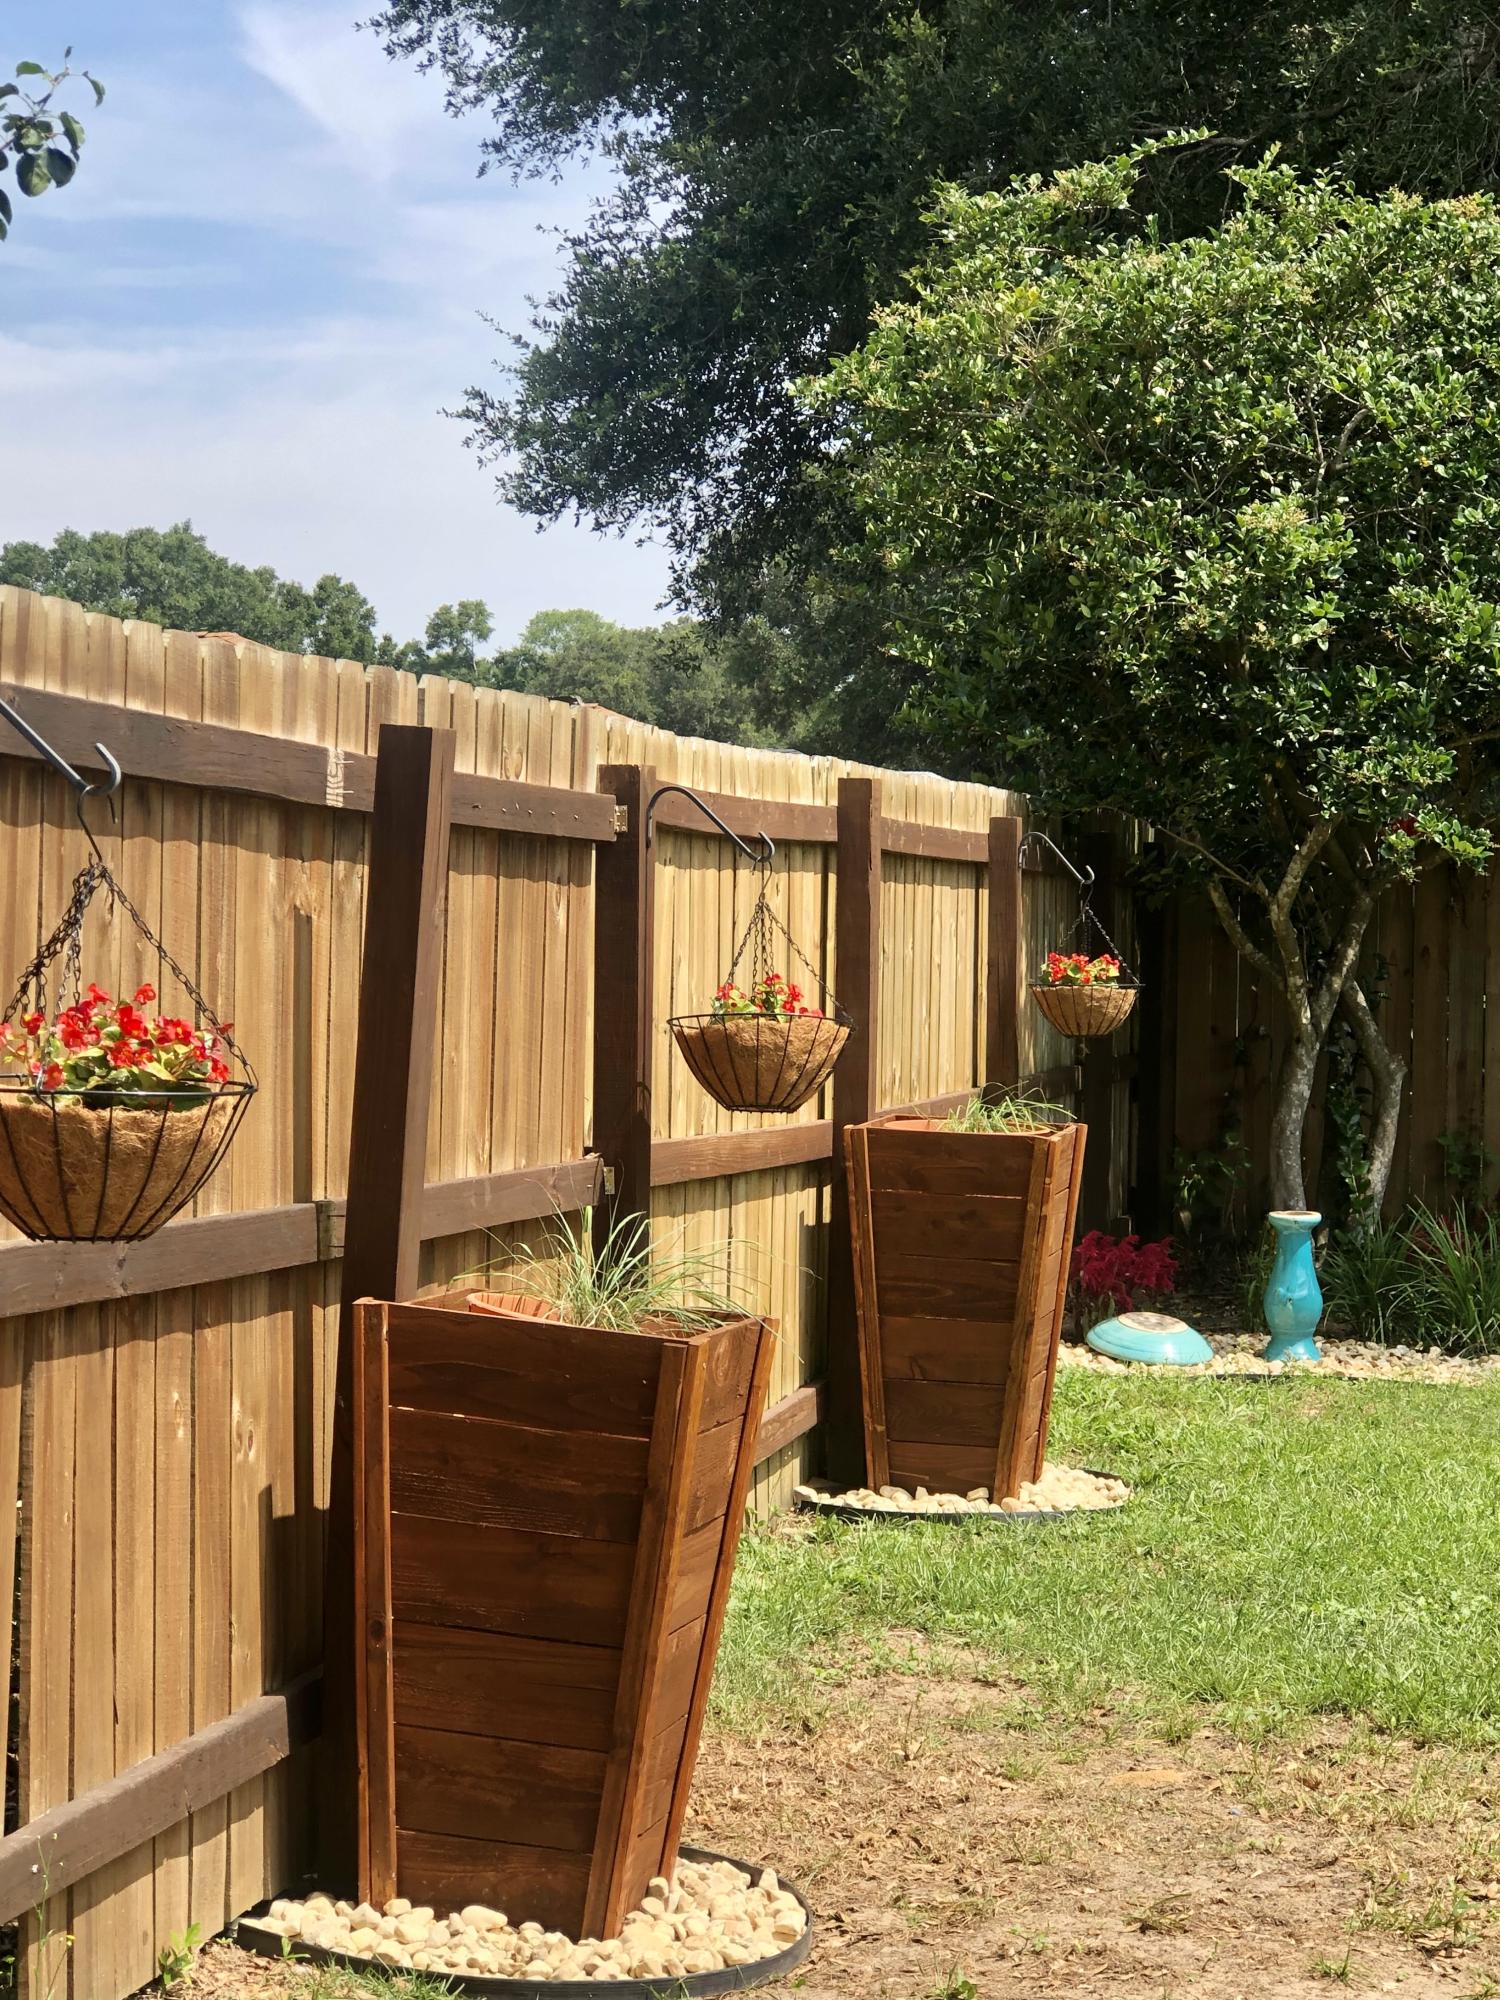
32” wood planters with false bottom
Jenna
