Community Brag Posts

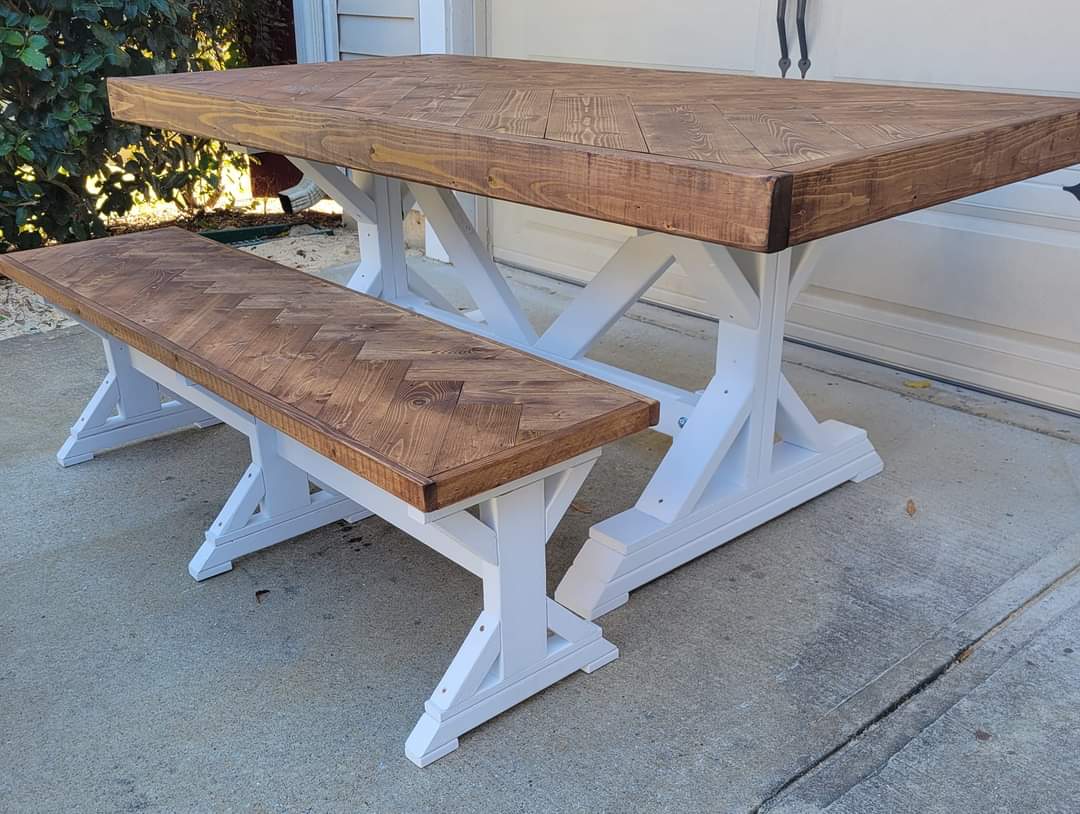
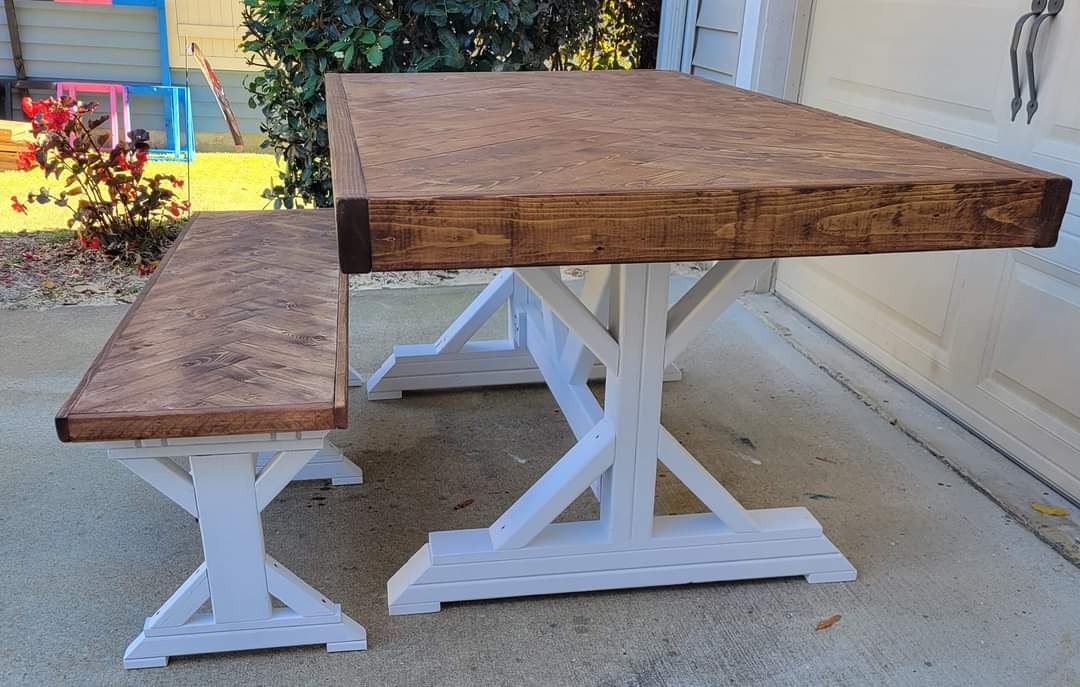
Farmhouse Dining Table & Bench
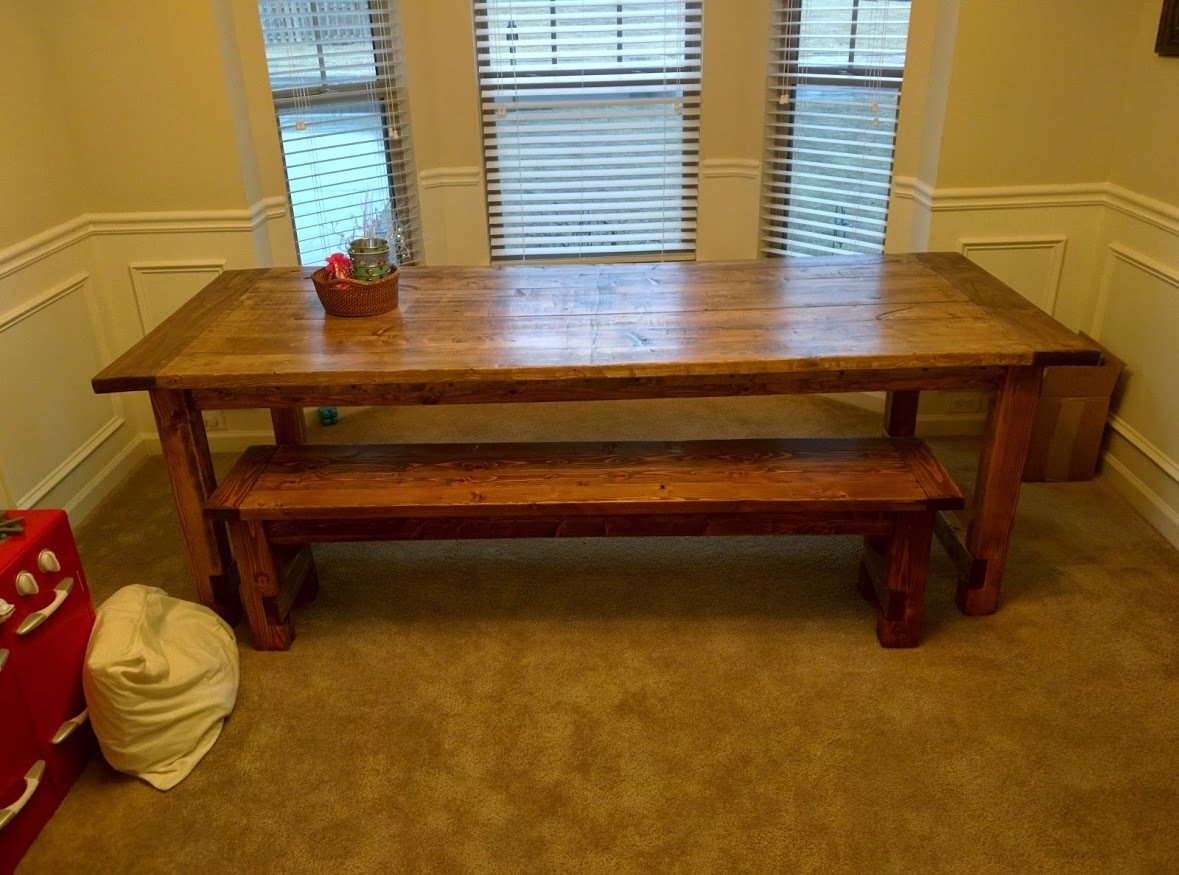
On a rainy morning in early January 2015, my wife and I were sipping our coffees and starting to get ready to take on the day. It was a Saturday morning, so we didn't have to go to work. We had moved into our house about a year ago so a few of our rooms were still a little bare and simply acted as play rooms for our daughter.

I walked out of my office, and looked over to the empty dining room which was immediately adjacent. Coming from a large Italian family, most of my childhood took place around a large dining room table at my grandmother's house outside of Philadelphia, PA. This empty room just didn't seem right. I decided to do something about it.

I remembered walking around Restoration Hardware seeing this amazing farmhouse table that was around $2000. Way out of our price range for a simple dinind room table. It also didn't come with any benches or chairs. It would have cost me around $2600 when all was said and it just gave me some severe heartburn.

I stumbled upon Ana's site here and decided to look around a little. Low and behold almost the exact same table was featured here. After getting over a short panic attack about building a piece of furniture that we would be using quite often I headed to Home Depot, got the materials, some new tools and got to work.

Not only do I think it turned out awesome, it was an amazing stress relief. Two weeks later and bought the Kreg Jig and built a matching bench. These pieces are so solid I could drive my car onto them. Thanks, Ana for the confidence to get this done the right way and save me about $2000.

Onto my next project, a jewelry armoire for my wife's valentine's present.
Estimated Time Investment
Week Long Project (20 Hours or More)
Finish Used
Minwax Special Walnut. 5 coats Satin urethane finish.
Recommended Skill Level
Beginner

My Mother's day gift (Chicken Coop)

Submitted by Bondgirl8 on Wed, 06/02/2021 - 19:44

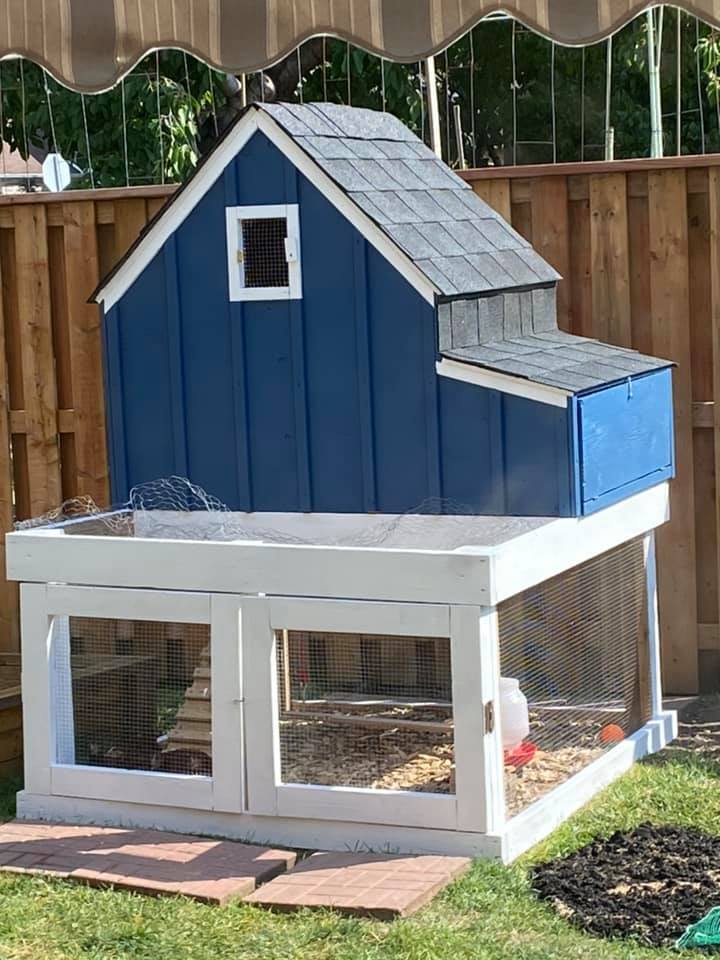
I printed off your instructions and I had all the wood in the garage already. My husband and son finished this in a day and a half. I love it! I painted it. Still not sure what I want to do instead of the planters. I like that idea but I like to have access if I need to clean it. I love all the ideas on this site.

Estimated Time Investment
Weekend Project (10-20 Hours)
Recommended Skill Level
Advanced

Comments

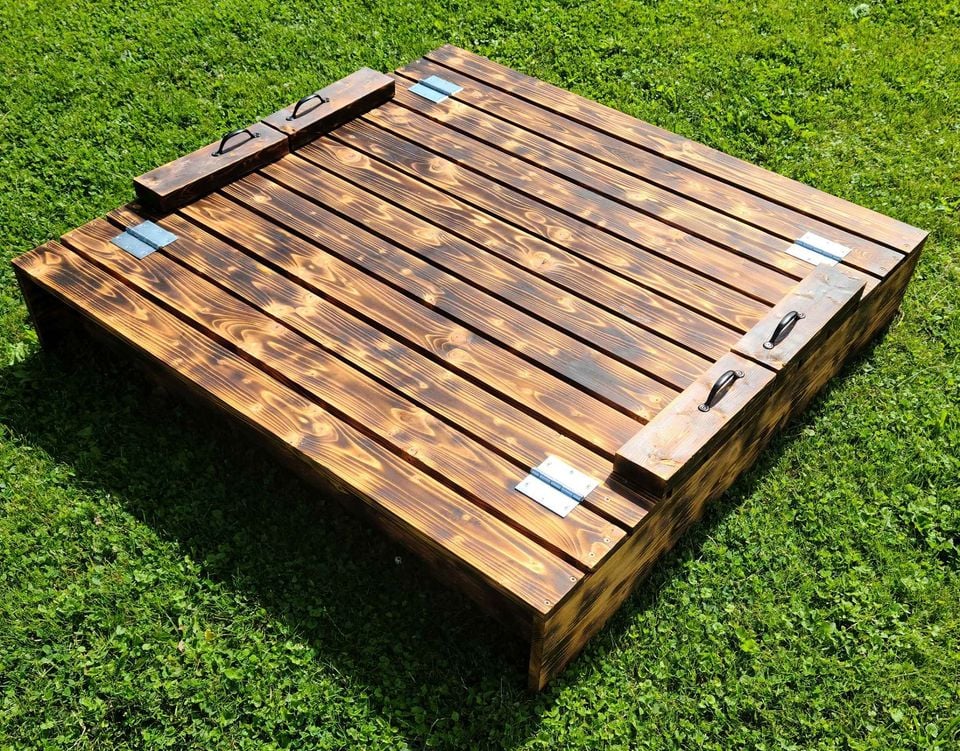
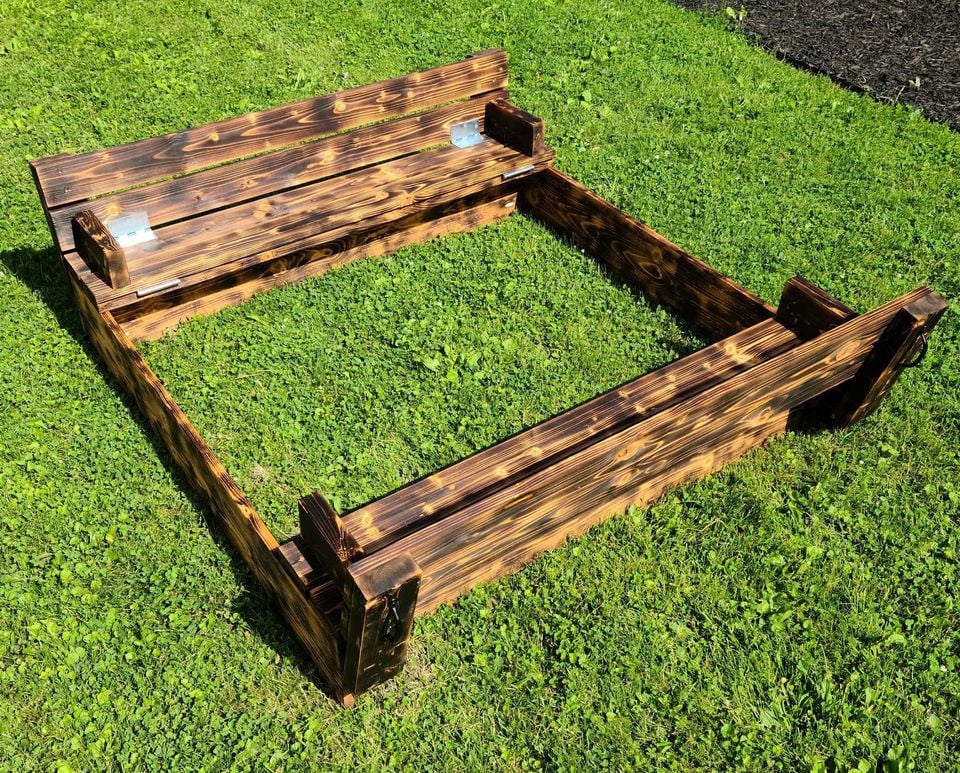
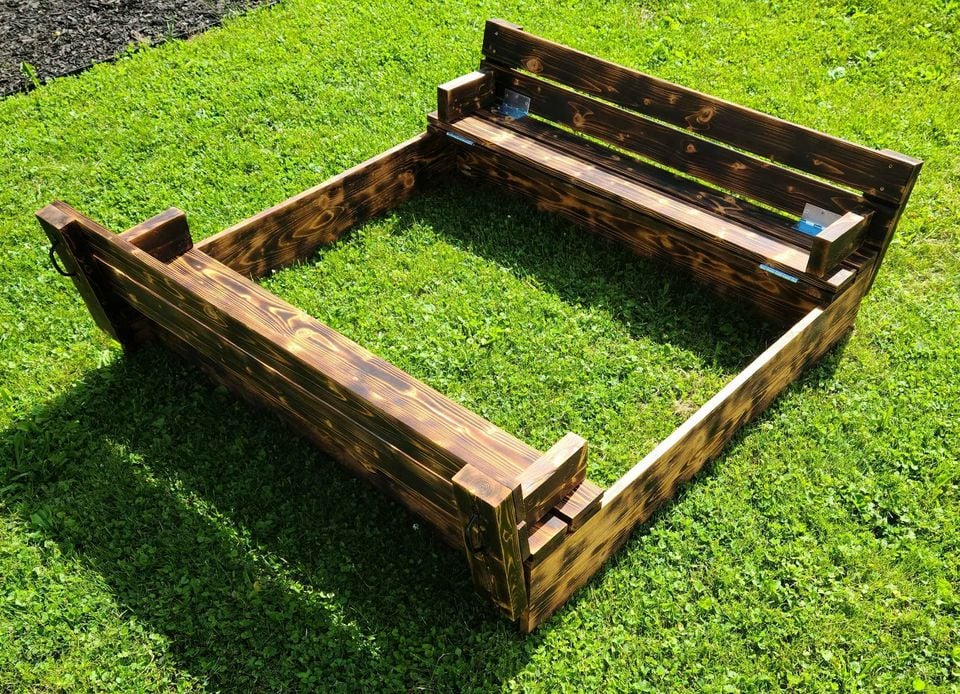
Sandbox with Benches

Burnt and stained with a semi transparent mahogany water sealer

Built from Plan(s)
Estimated Cost
$120
Estimated Time Investment
Afternoon Project (3-6 Hours)
Recommended Skill Level
Beginner

Comments

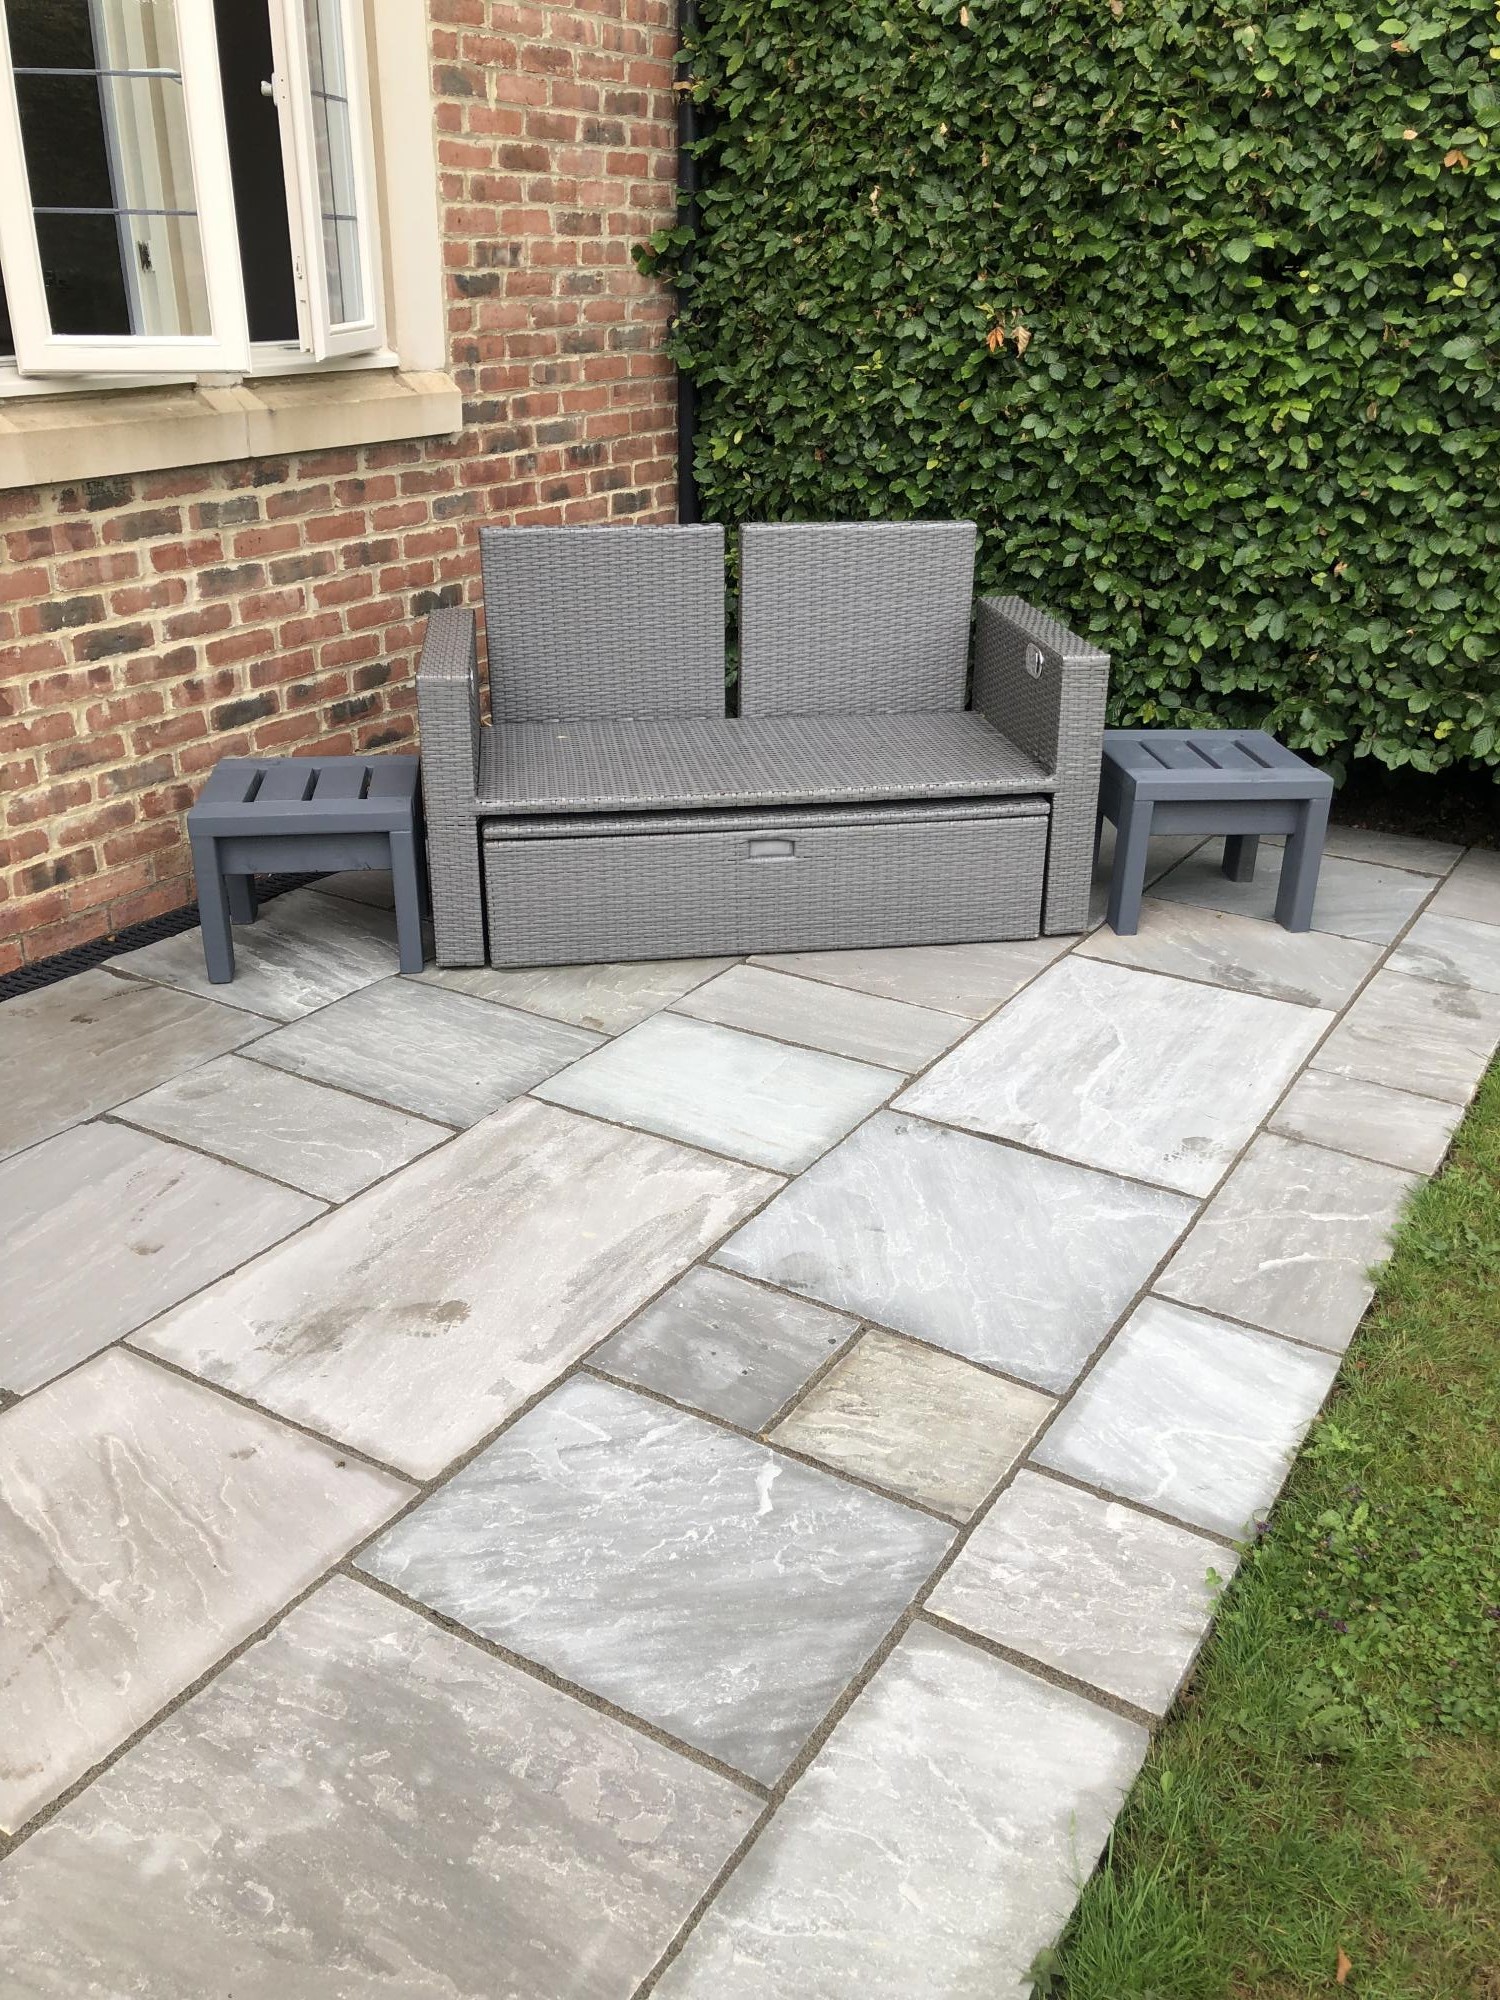
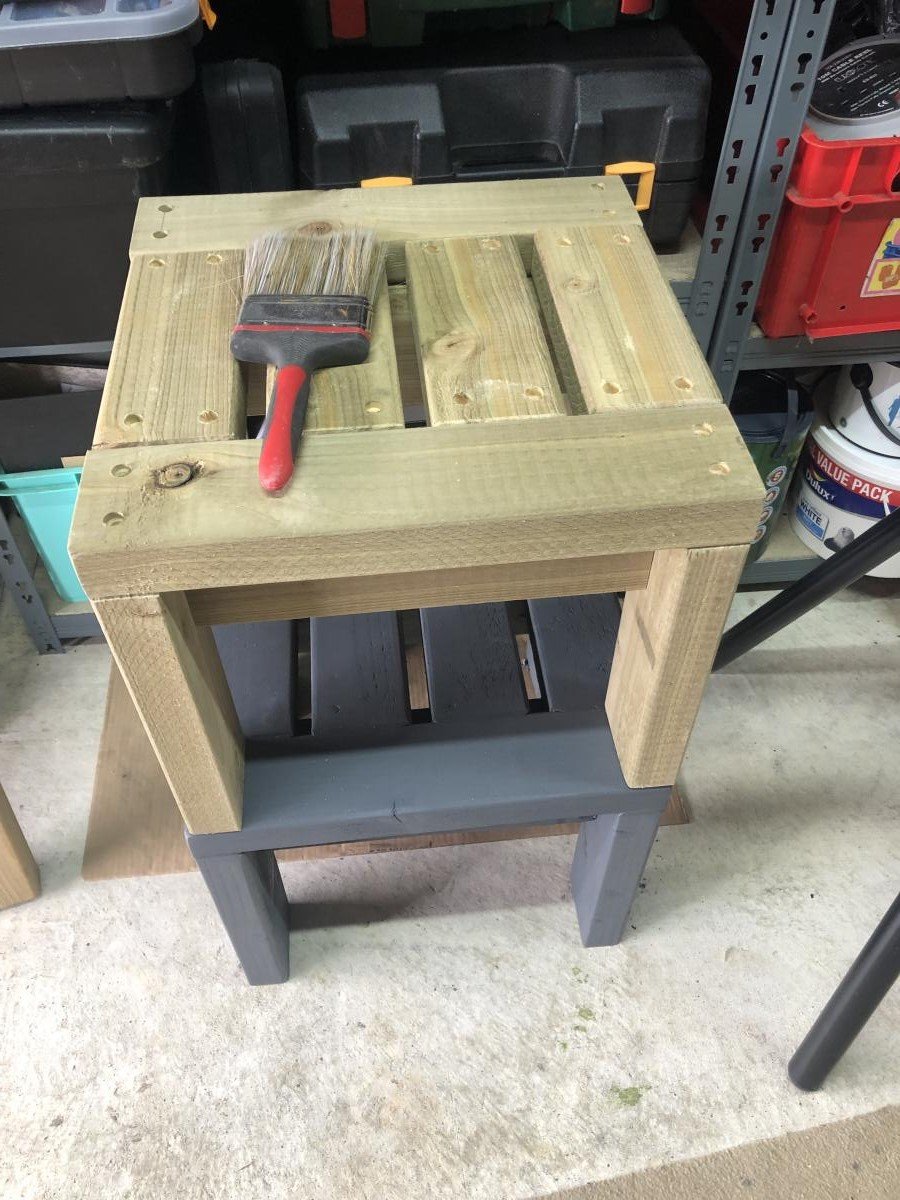
17” square, 2x4 side tables / stools

Submitted by Anonymous (not verified) on Mon, 10/04/2021 - 12:33

Well my wife bought 2 x 17” square seat cushions the problem was we didn’t have any stools to put them on so decided to enhance our front seating patio area with 2 solid 2x4 side tables that would double up as stools.
I based the design on Ana’s table design but decided to counter sink all the screws & cut plugs to suit so no screw heads could be seen, they turned out perfect & very robust, perfect for the U.K. weather, my wife finished them in grey outdoor paint to match the furniture, all in all they took only around 6hrs to make & paint.
Built from Plan(s)

Comments

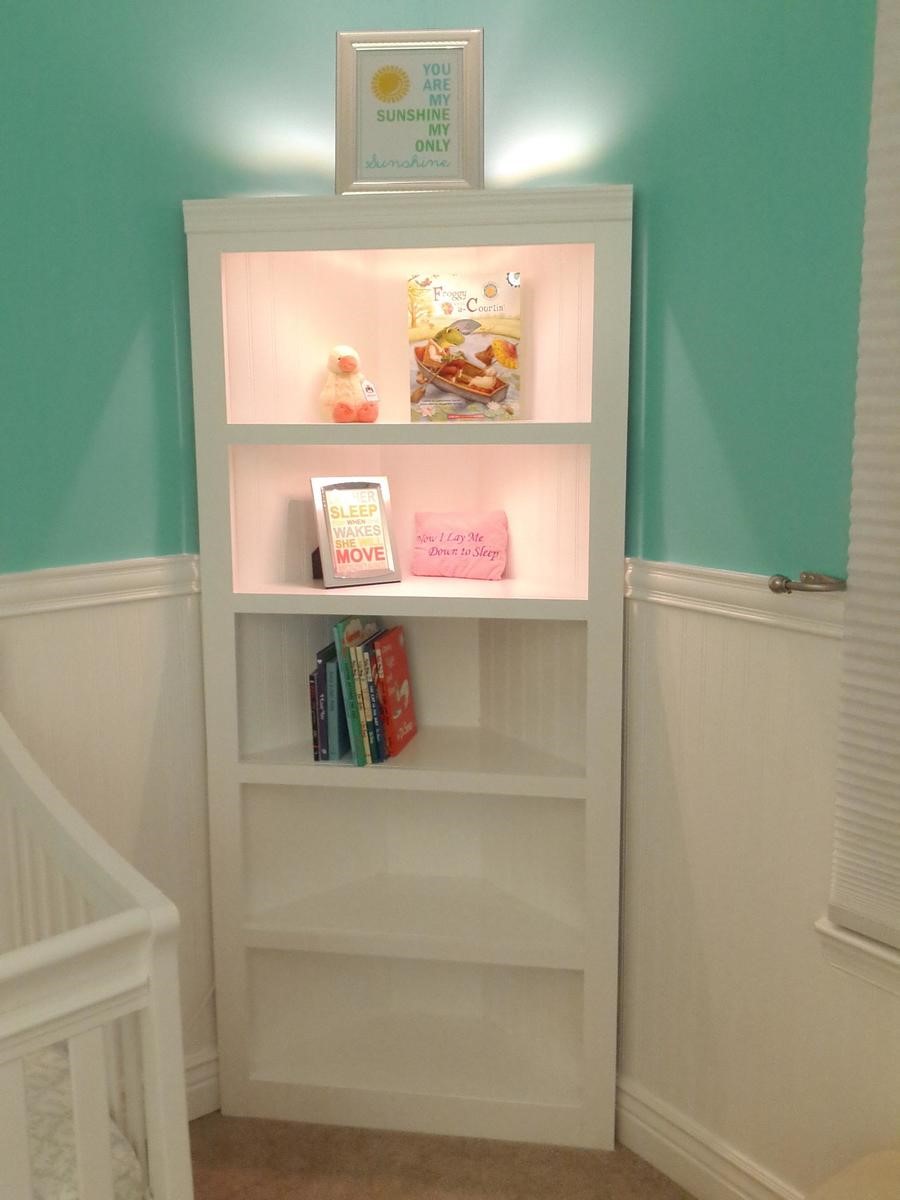
Corner Shelf for Nursery

Submitted by wojo1 on Thu, 05/16/2013 - 07:21

Super Easy.. I like it better without the doors. Recommend getting a KREG Jig. I have the Jr and it was perfect for this project.
Built from Plan(s)
Estimated Cost
$130
Estimated Time Investment
Afternoon Project (3-6 Hours)
Recommended Skill Level
Beginner

Comments

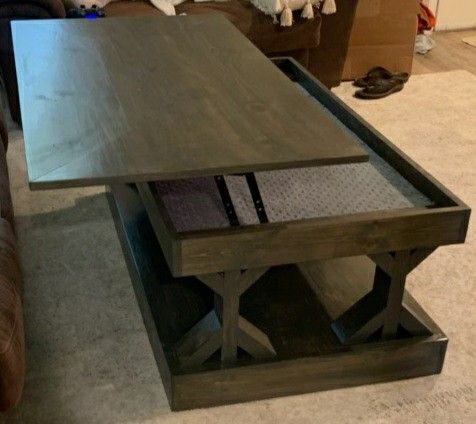
Modified Ann White Table

Submitted by Anonymous (not verified) on Tue, 10/05/2021 - 17:07

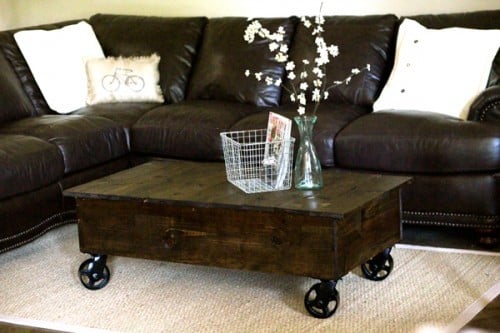
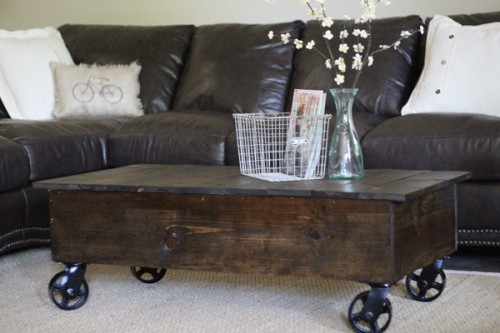
This is a modified version of your Farmhouse Coffee Table.
Comments

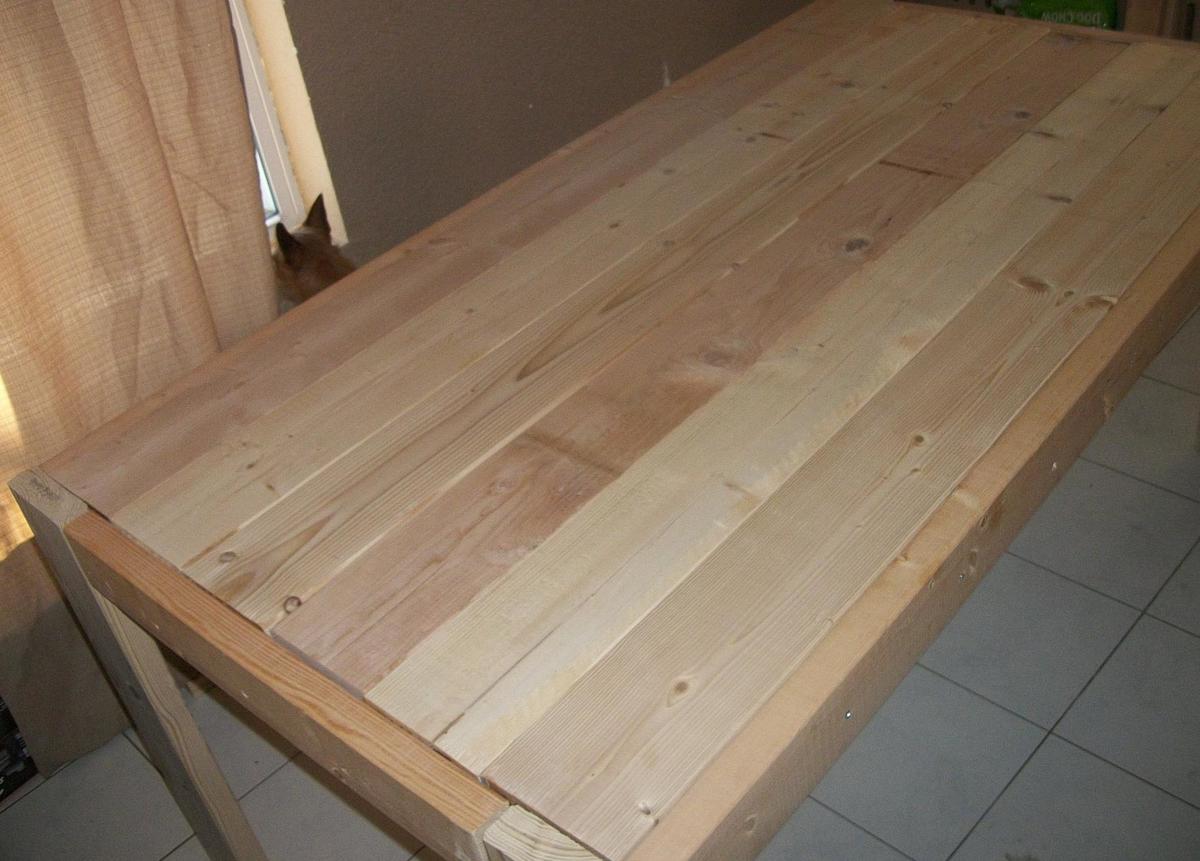
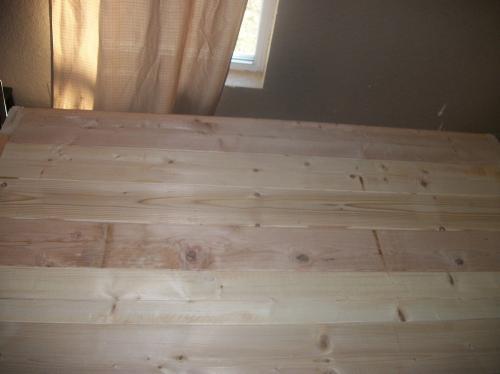
Our New Table...the table of my dreams!!

I have added hundreds of plans on my to do list, and some of them may have been a little easier, but I really wanted this table. Badly.

So, my husband and I, decided one weekend to build the Modern Farmhouse Table. Even though we have a saw, we decided since this was our first project, we would have Lowes cut our wood. Big mistake.

When we got home, we organized the wood as to what is what, and measured. It was while we were measuring, when we noticed that a lot of the wood was cut wrong :(

So let that be a lesson...ALWAYS CUT YOUR OWN WOOD!

We went ahead and put the table together, and even though there are some gaps, which I'm planning on filling, I am proud with it.

It's been 3 weeks since we've built the table, and I still have A LOT of sanding to do, and I still need to finish it, but I am proud of what my hubby and I built together so I have to brag!

Next on our list is to build the benches...

Built from Plan(s)
Estimated Time Investment
Week Long Project (20 Hours or More)
Recommended Skill Level
Starter Project

Industrial coffee table

Here is an industrial style coffee table I recently built.  I used reclaimed pallet wood for the top and shelves and I built the shelves to be removable if needed.  For the finish I used oil based poly in a satin.   

@timberandsoul 

www.facebook.com/timberandsoul

Estimated Cost
$140.00
Estimated Time Investment
Afternoon Project (3-6 Hours)
Finish Used
oil based poly
Recommended Skill Level
Beginner

Comments

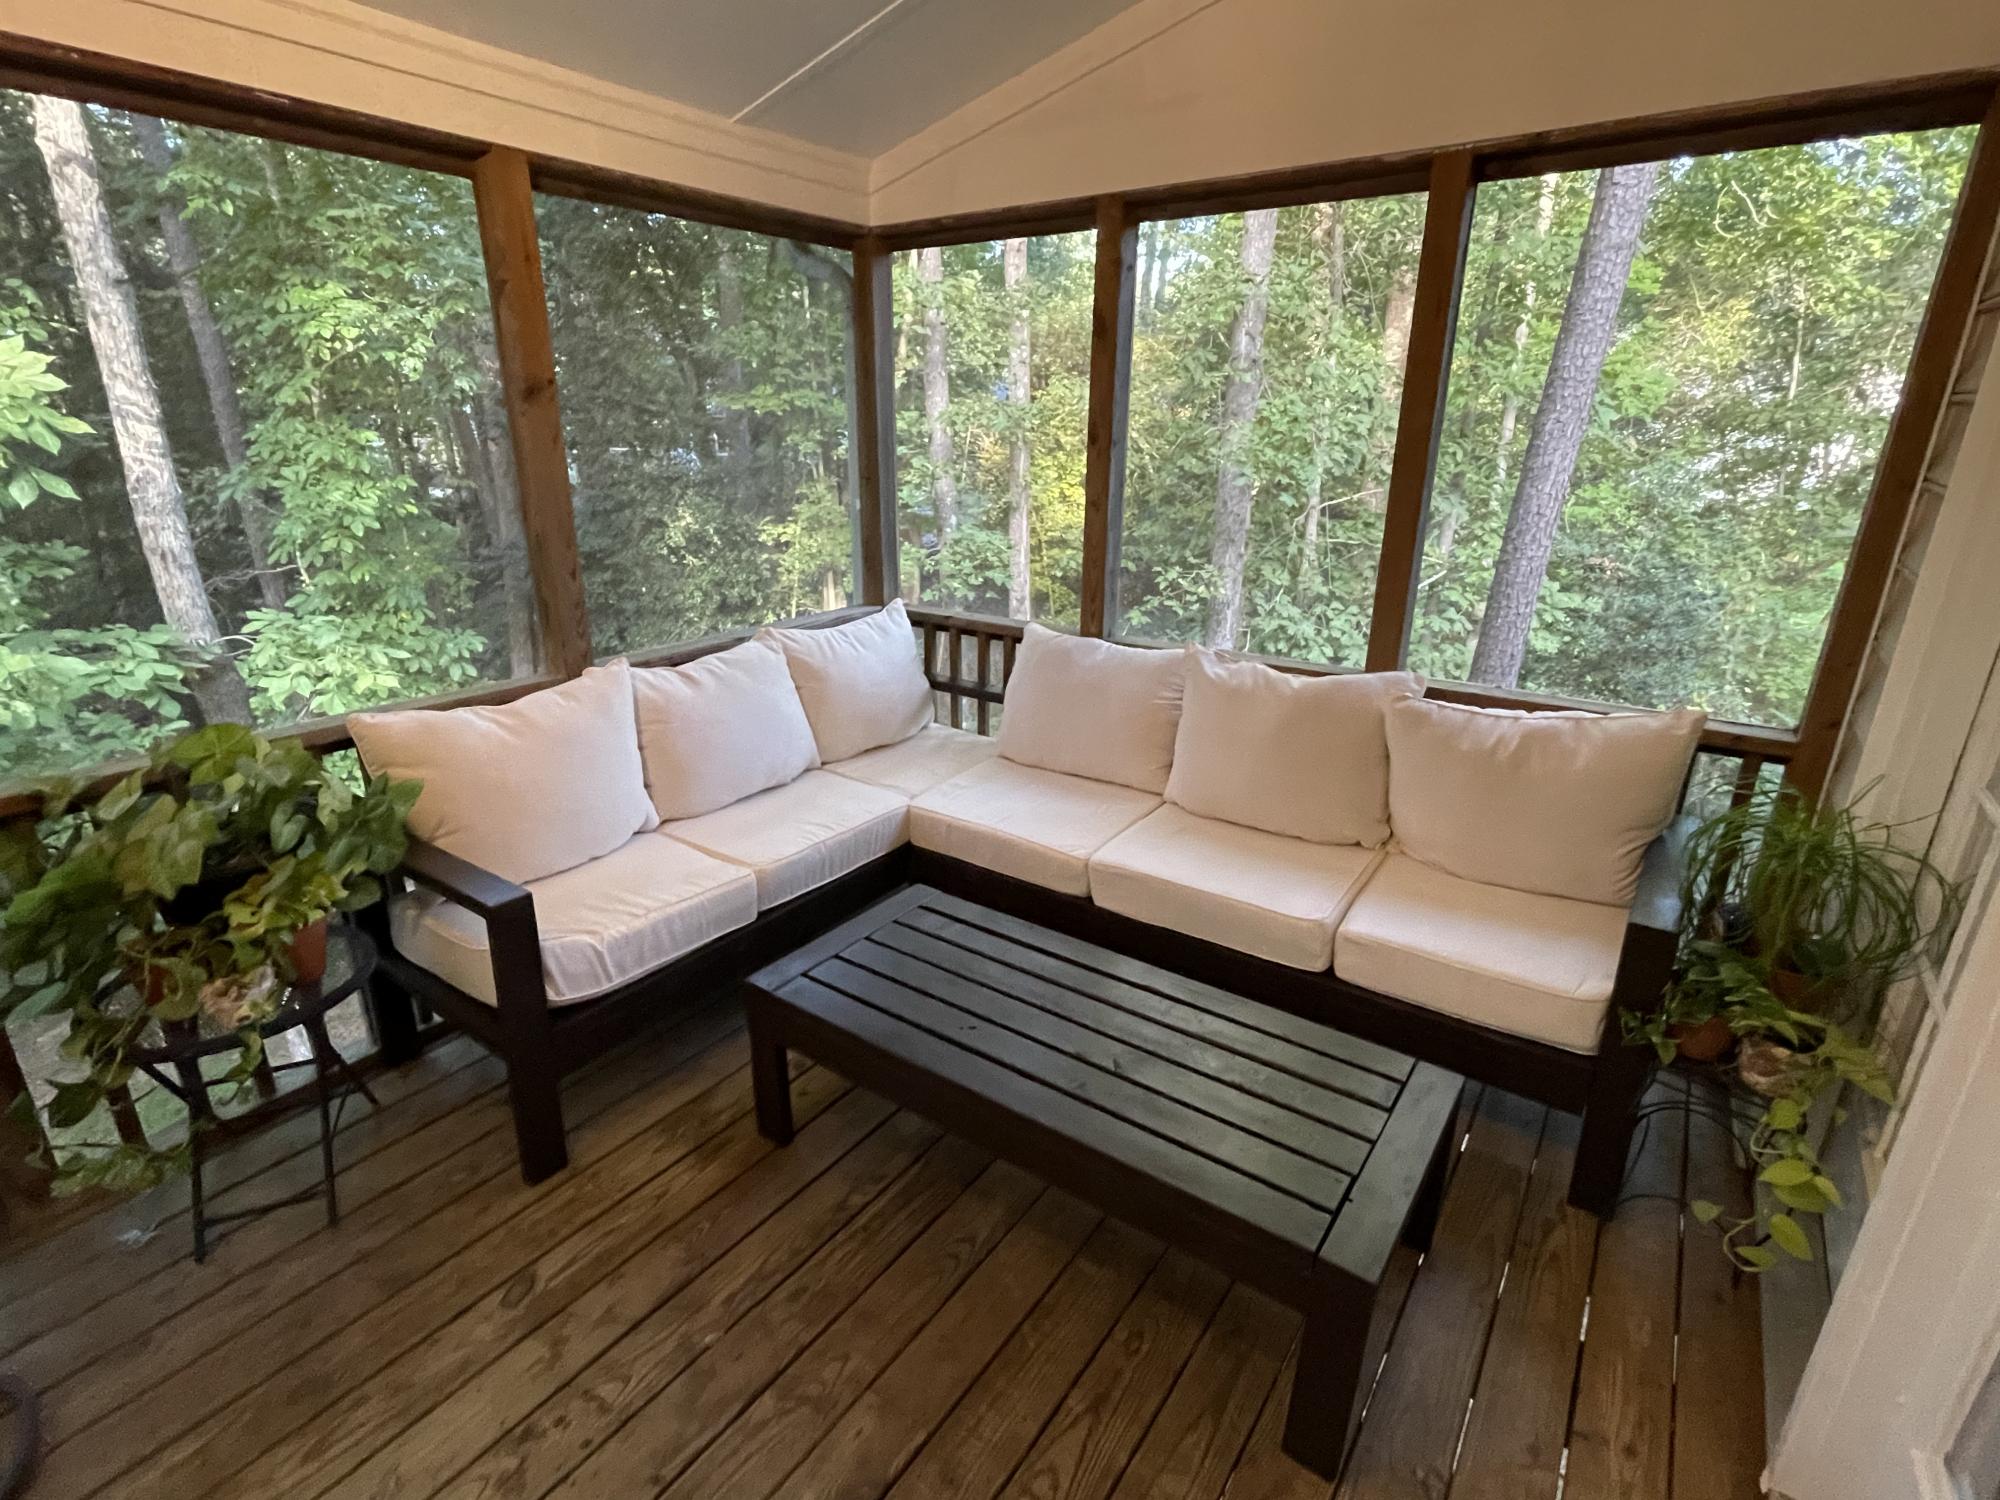
Outdoor sectional and table

Submitted by sarah252 on Fri, 10/15/2021 - 14:25

First time building anything. I think it came out pretty good! Thanks Ana white for the plans!!

Comments

Hutch

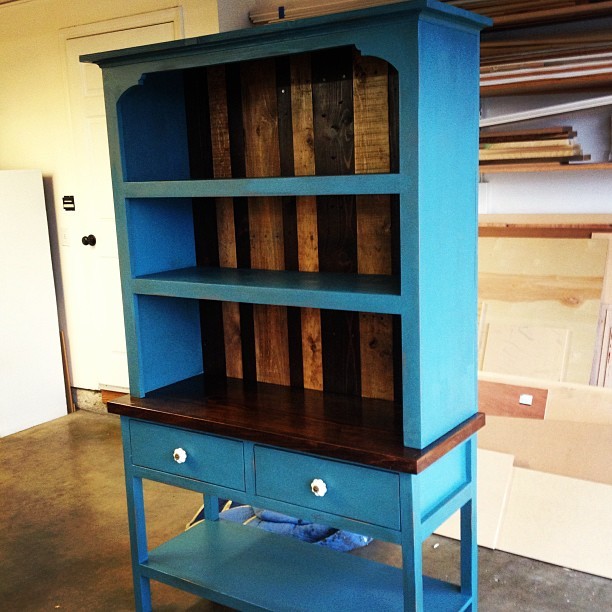
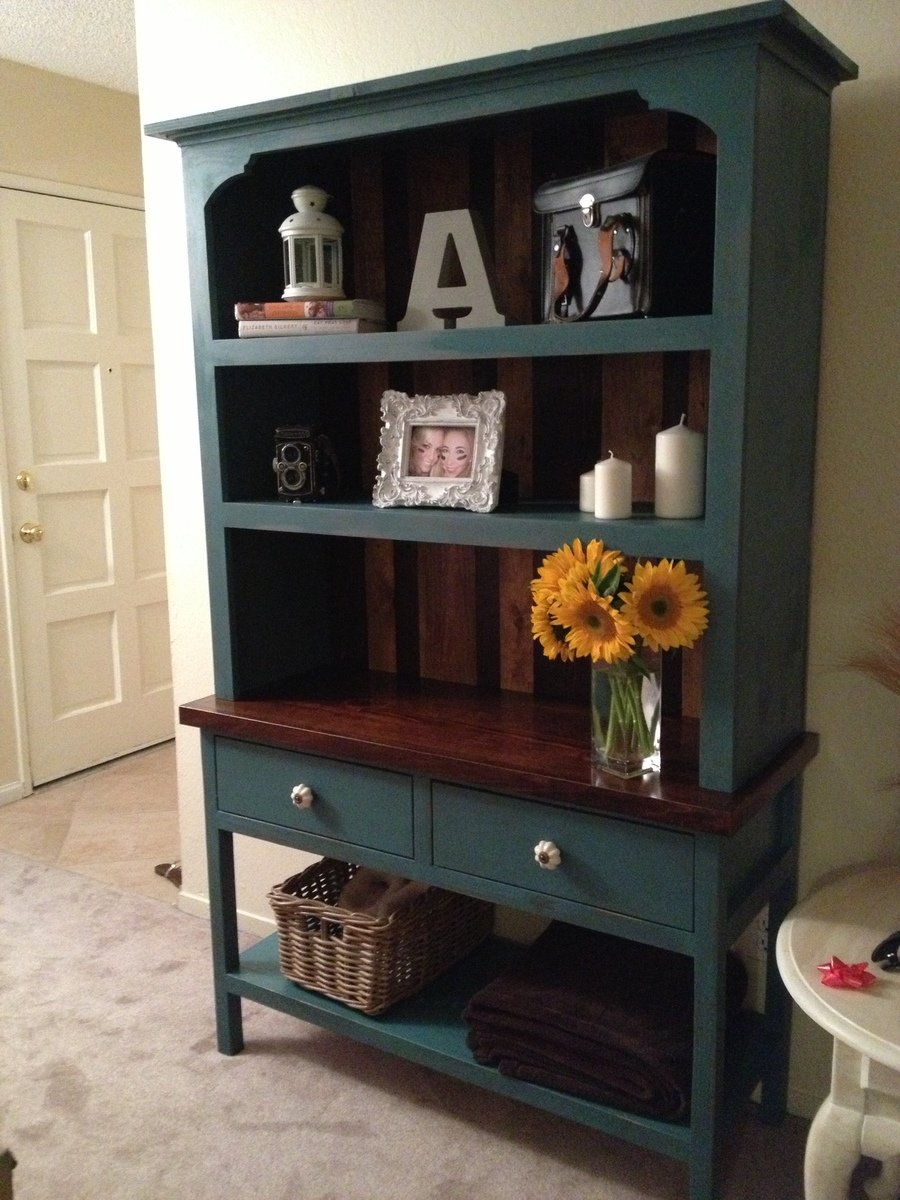
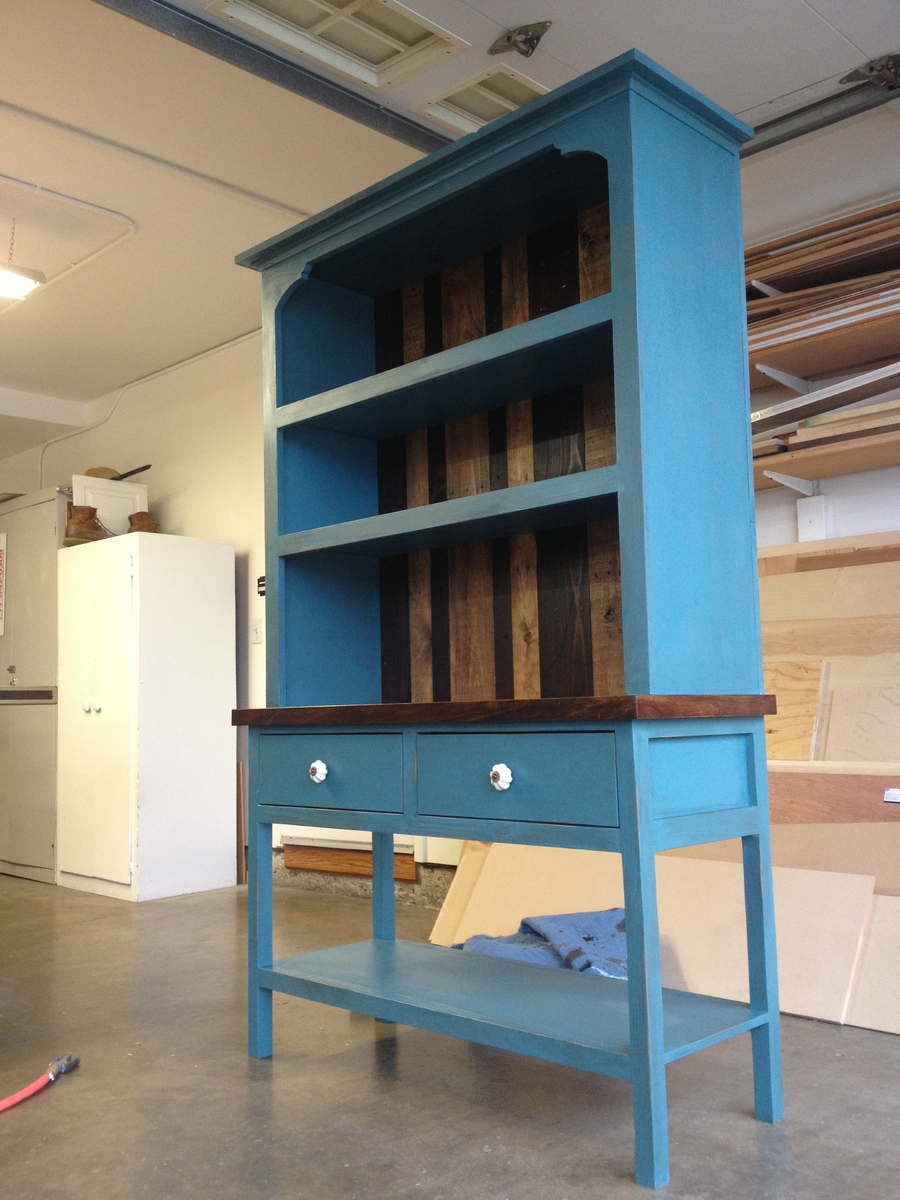
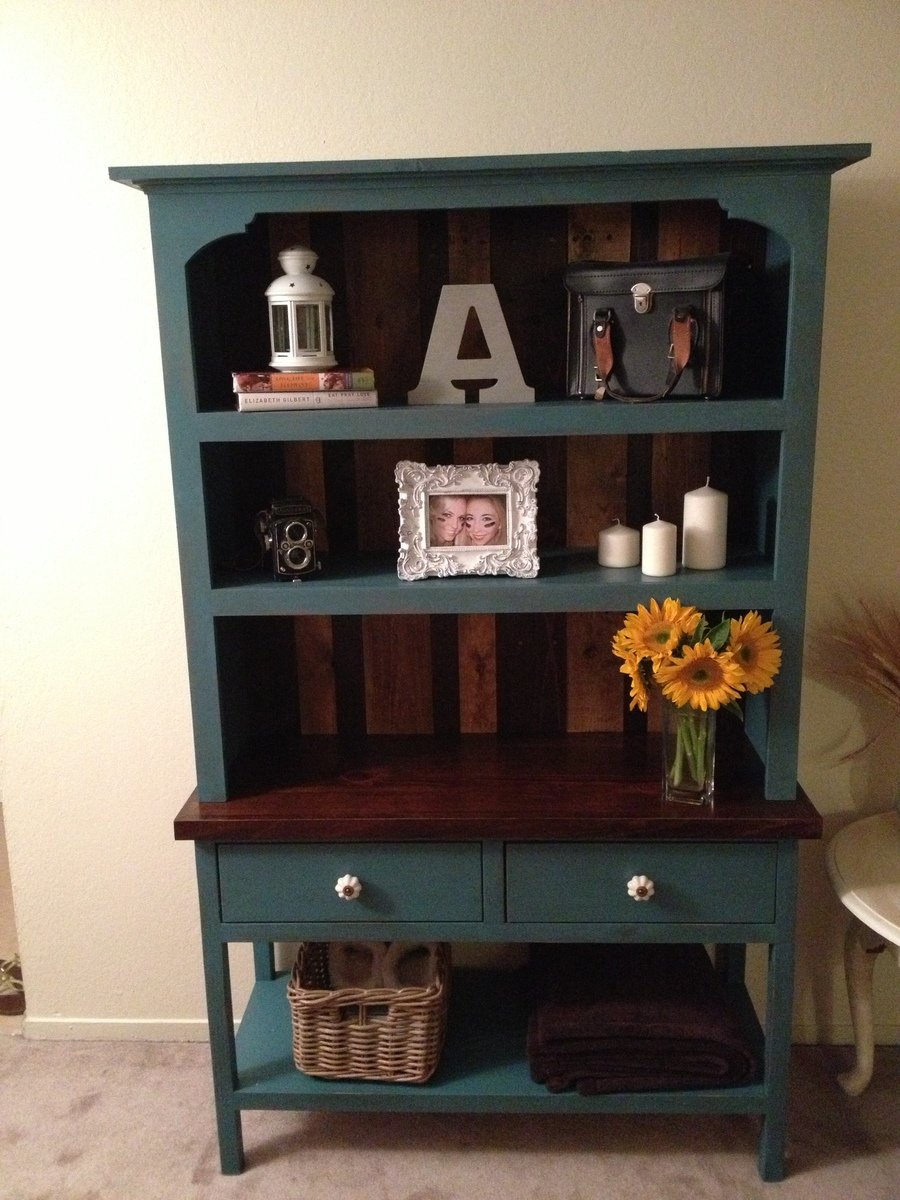
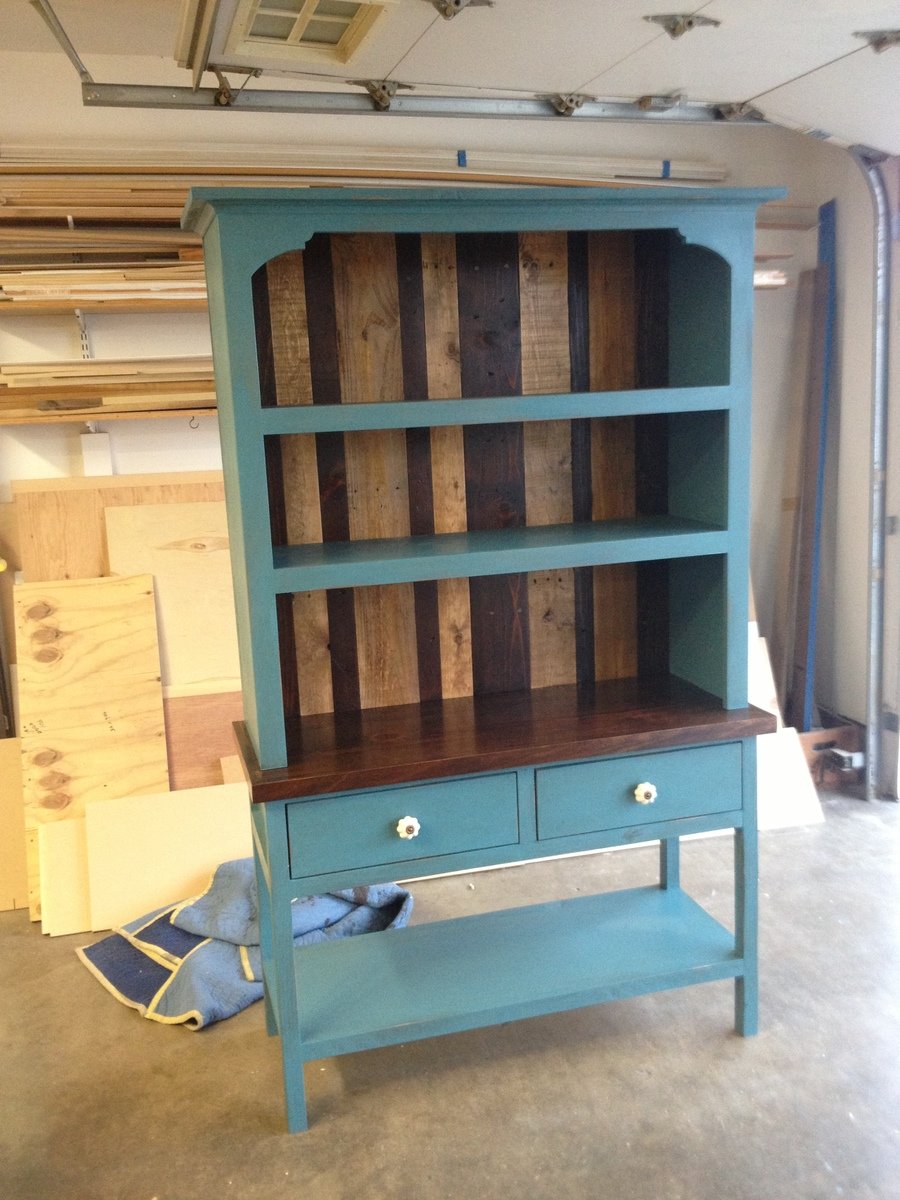
I built this hutch from Ana's book. I made a few modifications to the plans. The stained top and stained back planks are from reclaimed wood. If you build this hutch be sure to choose white knobs. I my opinion, its what makes those hutch pop. If anyone has any questions I would be happy to answer them. - Brad

Estimated Time Investment
Week Long Project (20 Hours or More)
Recommended Skill Level
Intermediate

Comments

mrsjones23

Tue, 10/28/2014 - 07:25

Hello! I am currently building this console table and hutch. At the moment, I am stuck on attaching the console legs to the side aprons. The legs are not sitting flush with the side aprons. Did you have this issue with your 2x2's when attaching them to the side aprons? If so, how did you fix this issue? The directions say to attach flush to the aprons but mine won't be flush on both sides, only one.

jwoelk

Sat, 07/25/2015 - 07:59

Where are the plans for this hutch? My wife wants this exact hutch for her birthday.

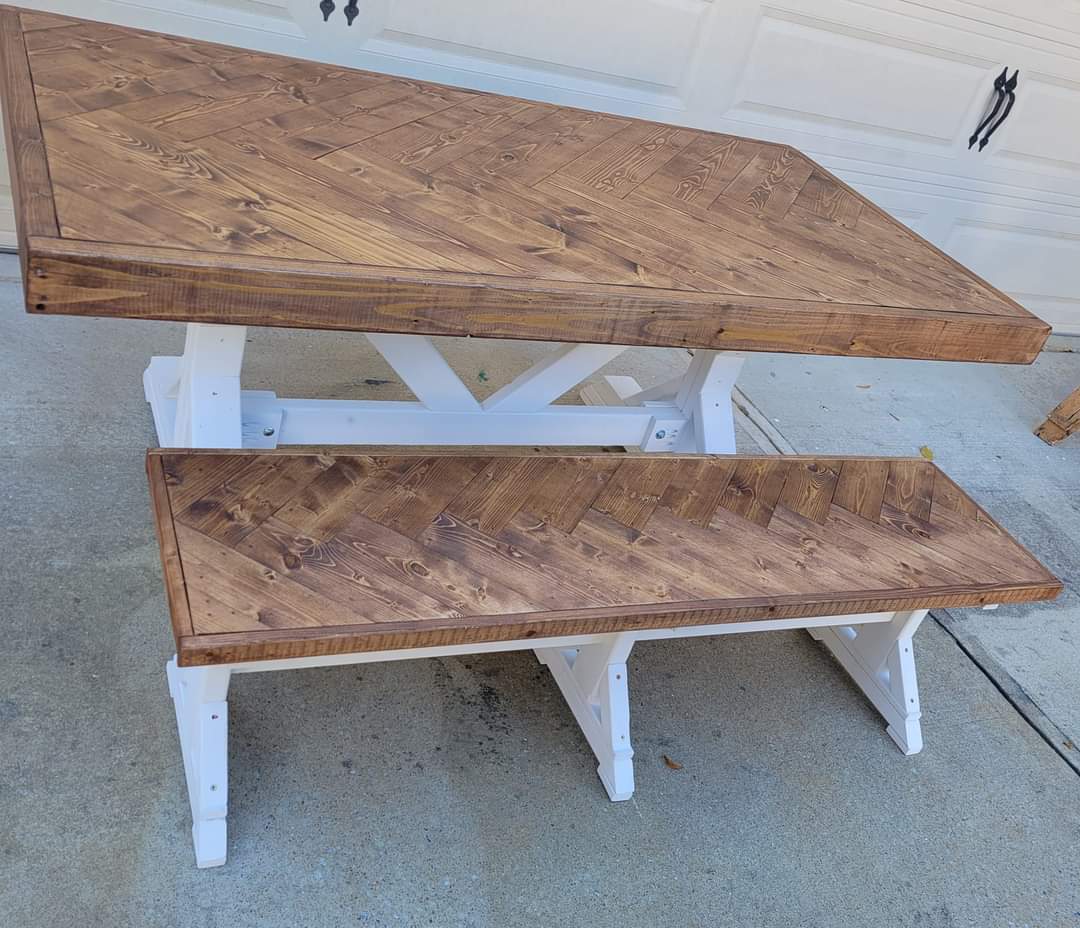
Fancy X table and bench

Submitted by Lukilla on Tue, 11/16/2021 - 16:44

Put a fancy twist in this tabletop and bench top. We like the 45 degree angles that the top and legs both have to compliment each other. The top is stained with minwax special walnut.

Comments

My version of the Simple Outdoor Dining Table

Submitted by cchalifour on Wed, 11/24/2021 - 19:48

My version of the Simple Outdoor Dining Table
- All Cedar

Built from Plan(s)

Comments

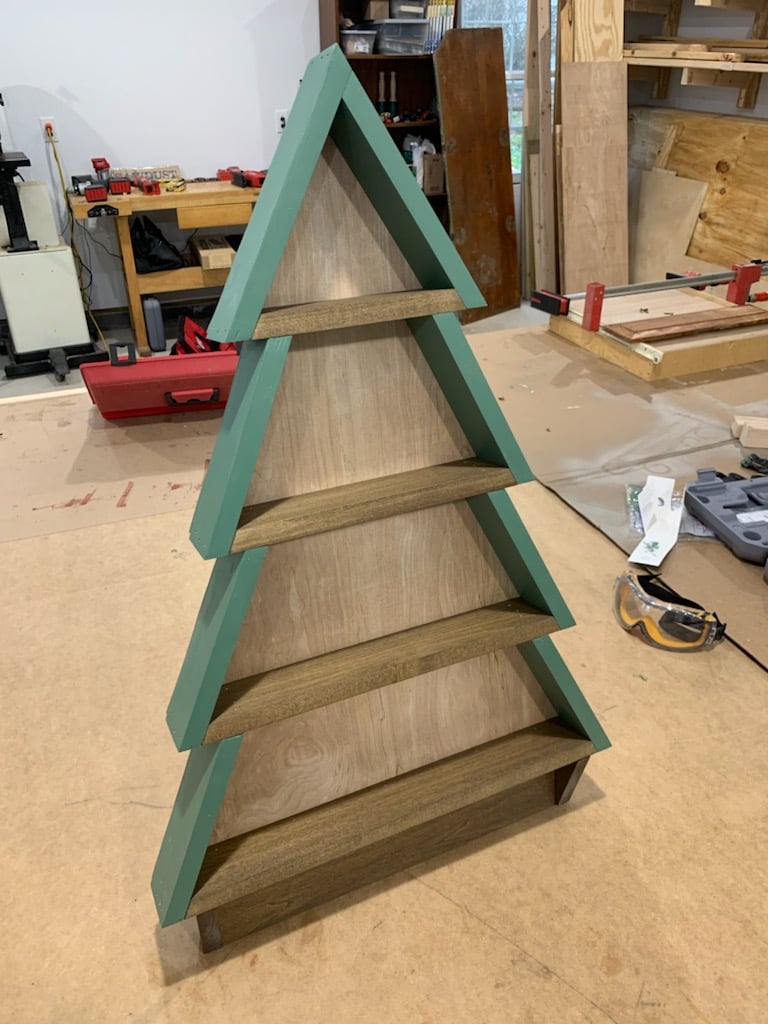
Christmas Tree Shelf

I painted the outside with Benjamin Moore Balsam color paint (as another poster on here did) and stained the interior pine with walnut stain. I tried making it resemble a pine tree. I wanted to make it as sturdy as possible, so I used 1/4 inch plywood backing for the entire back, and secured it with 1 inch brad nails. I painted the edges of the plywood green and left the middle unfinished because I liked the look.

Built from Plan(s)

Comments

Simple Cedar Outdoor Dining Table

Submitted by pericles49 on Mon, 05/09/2011 - 05:57

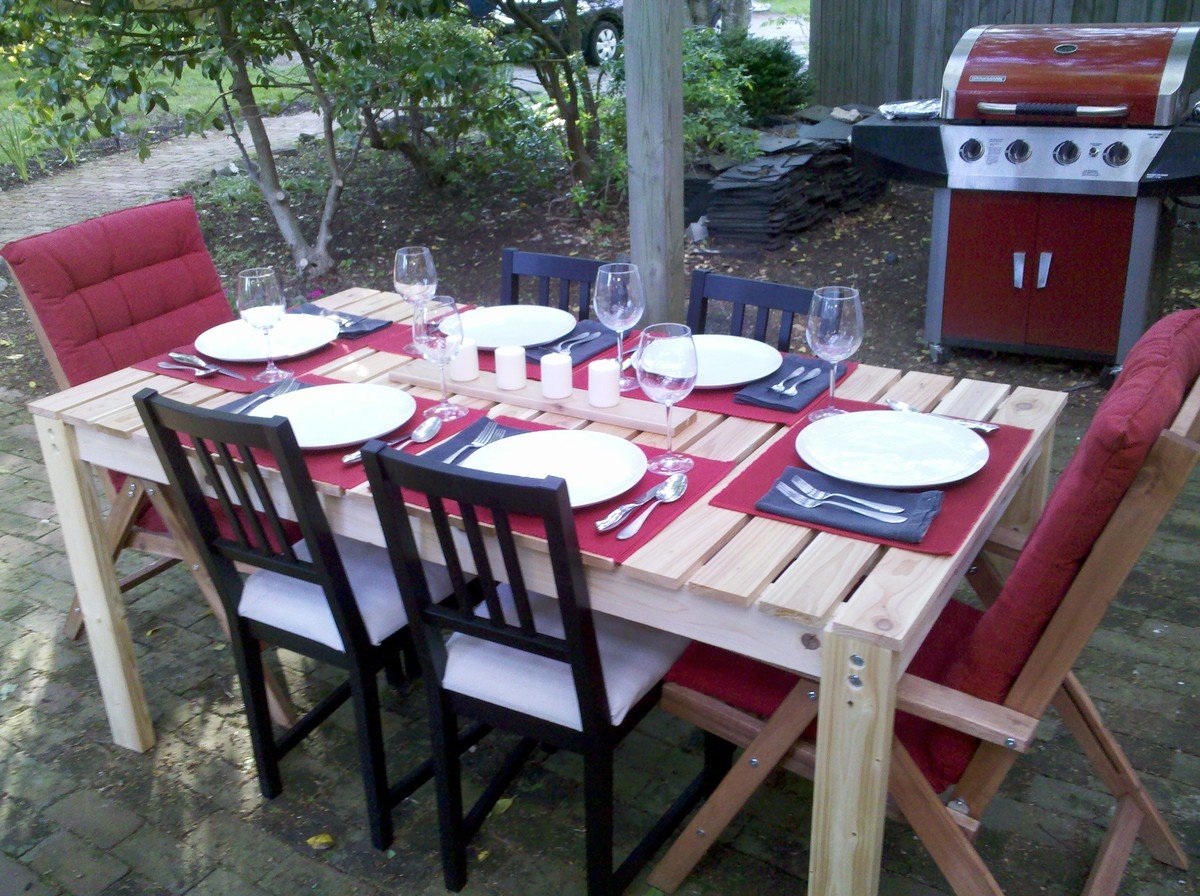
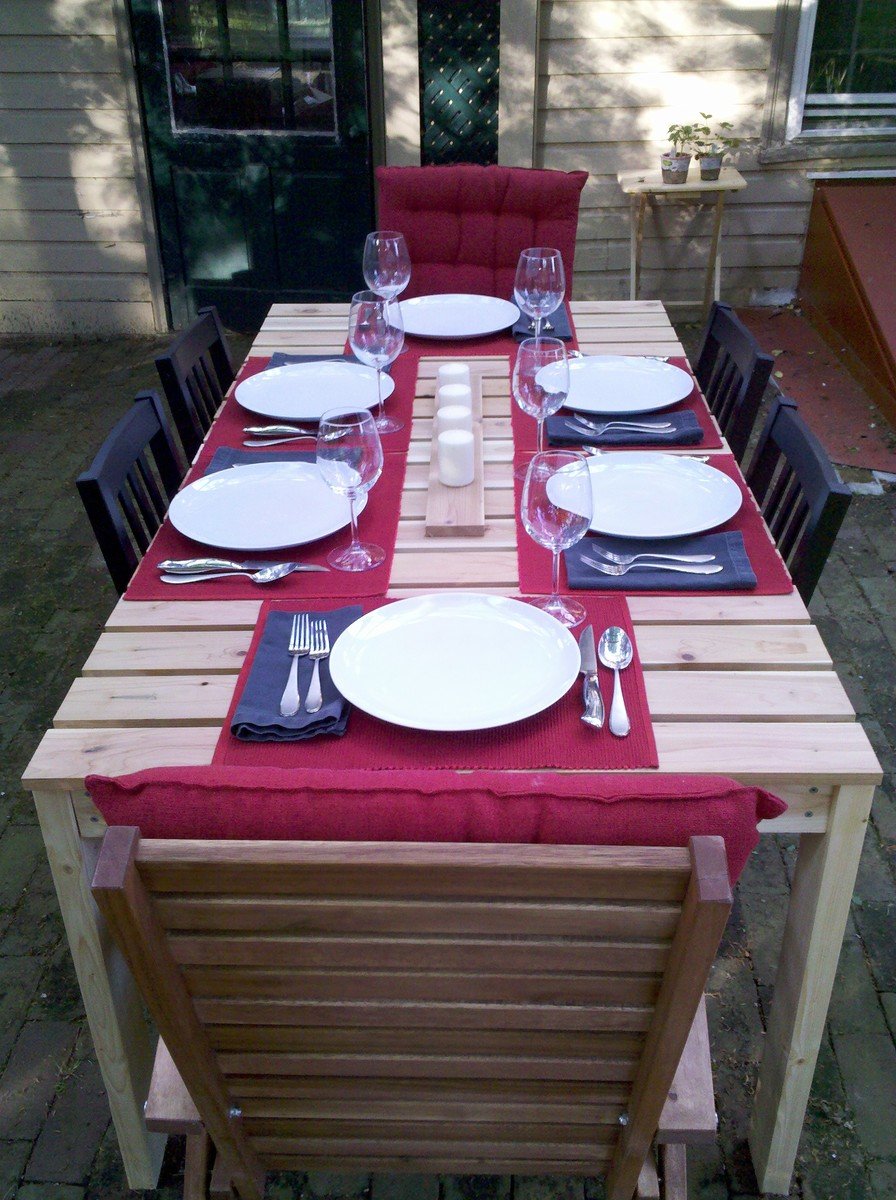
We needed an outdoor table for our patio, and this one fit the bill!

I loved the photos that others have put out of their own tables, but I was concerned about eating off of a table that was stained and varnished with petrochemicals. In order to avoid the toxic finish, I built the top and stretchers out of cedar wood, which I sanded down to 220 grit, and gave a light coat of tung oil finish. The legs are untreated 2x4s that I sanded down and gave a heavy coat of tung (e.g. seven applications.)

To ensure the legs remain in good condition, I intend to foot them with sheet metal casings when I remove them at the end of the season.

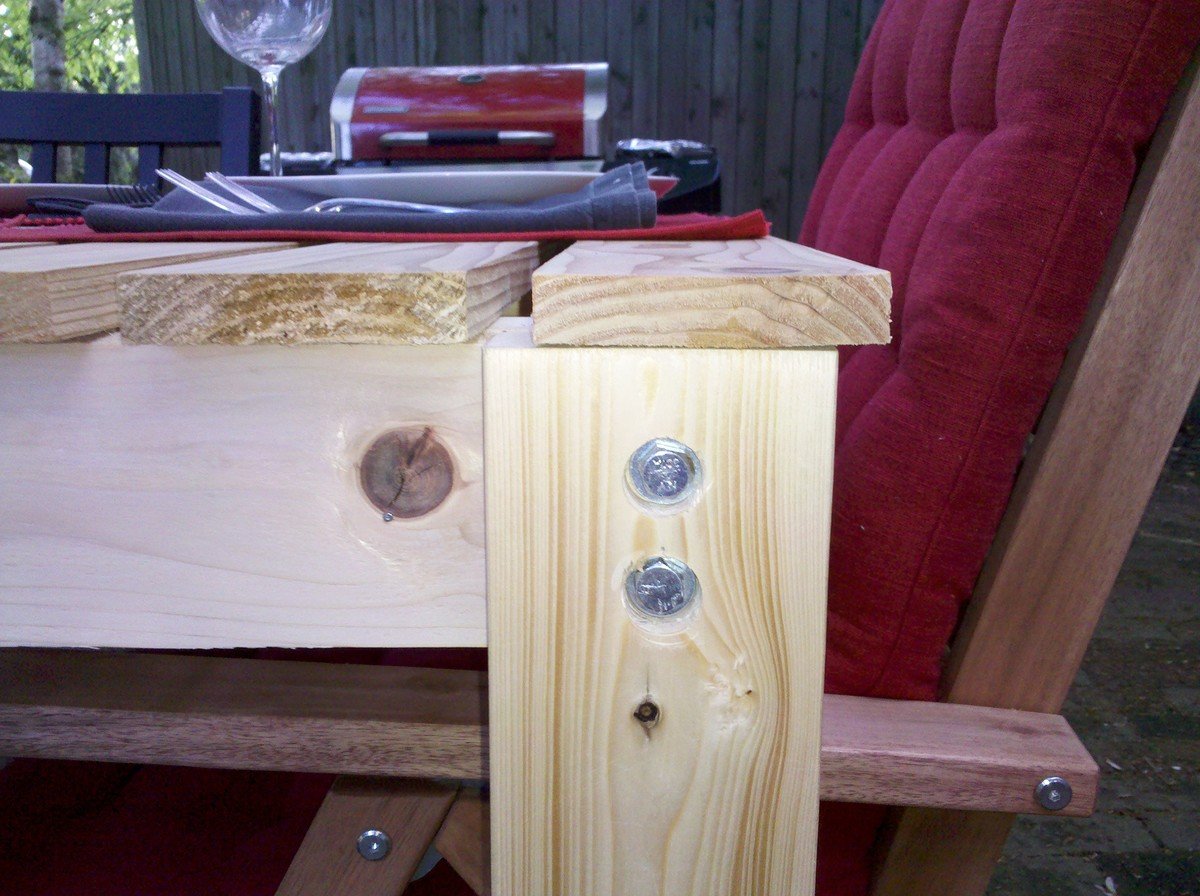
I also took Ana's advice, and attached the legs using bolts, so that I can disassemble the table and throw it in the garage over the winter. There's a close-up of how I inset the bolt-heads with a spade-bit below.

Built from Plan(s)
Estimated Cost
$85
Estimated Time Investment
Week Long Project (20 Hours or More)
Finish Used
Tung oil
Recommended Skill Level
Starter Project

Comments

Harriet Outdoor Table & Chairs

Submitted by LinzFritz on Sun, 06/05/2011 - 20:02

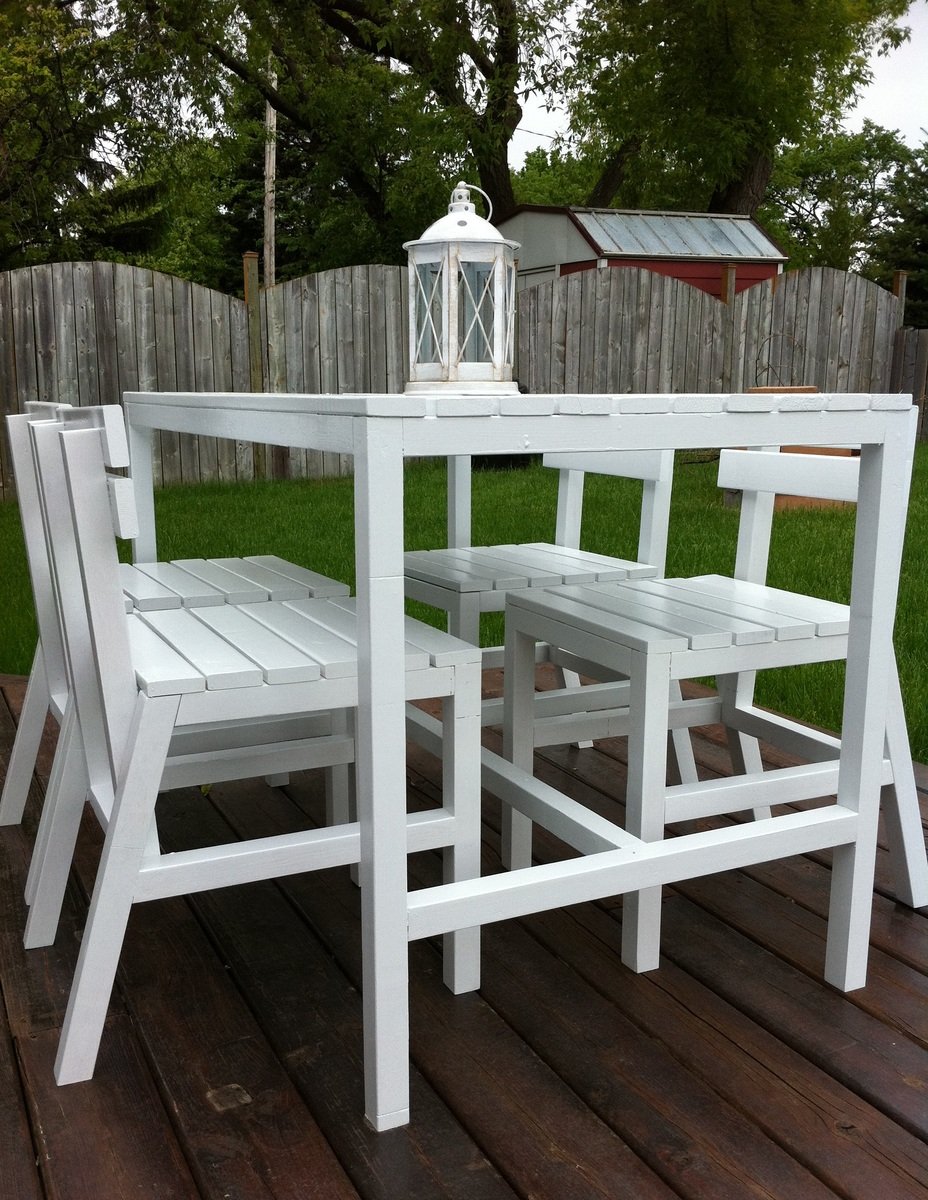
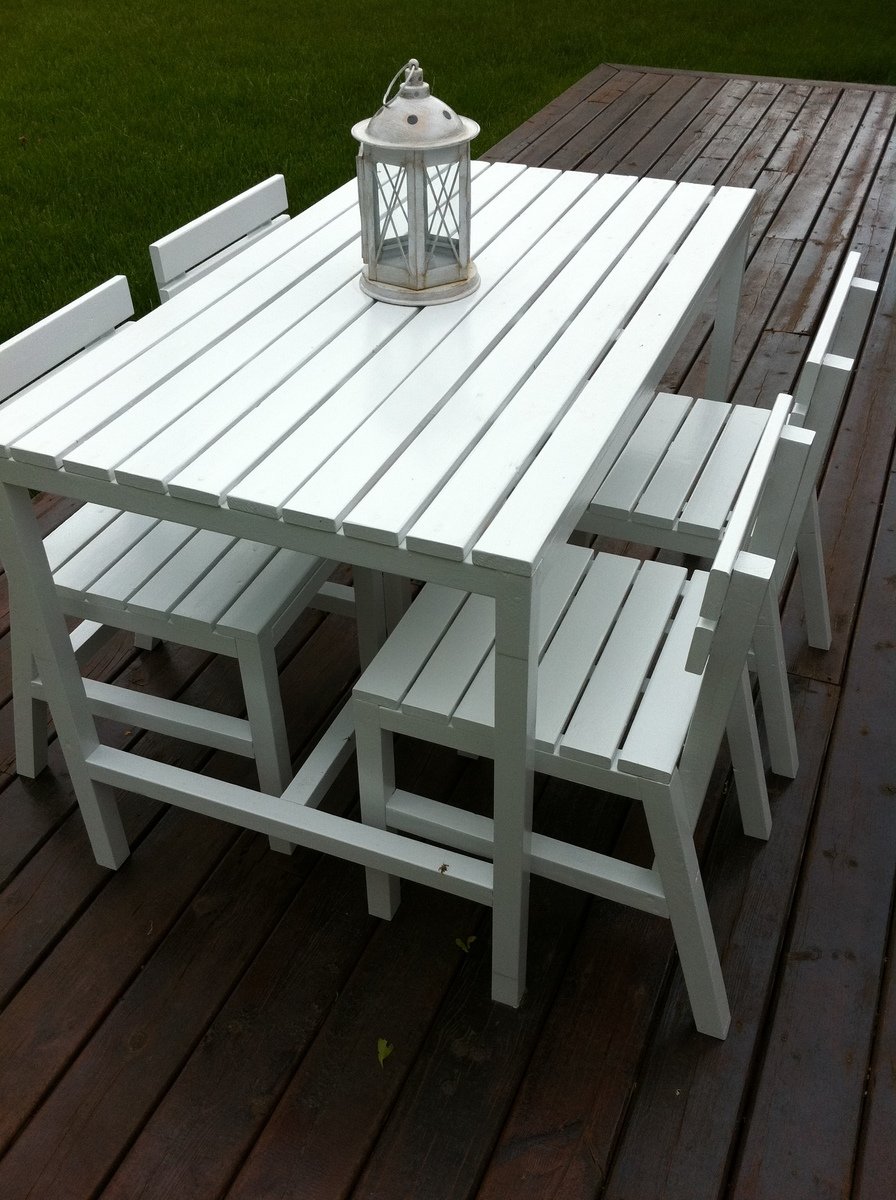
When I saw these plans I couldn't wait to build them for my deck. I'm so happy to finally have some outdoor furniture, especially solid wood pieces that I built myself. Thanks Ana!

Estimated Cost
$80
Estimated Time Investment
Week Long Project (20 Hours or More)
Finish Used
Rust-Oleum High Gloss White Outdoor Paint
Recommended Skill Level
Beginner

Comments

brookifer86

Mon, 06/06/2011 - 13:46

Everything looks so sharp and chic, love the white color. Only $80 for a full table and chairs too, can't beat that!

Custom King Bed Frame

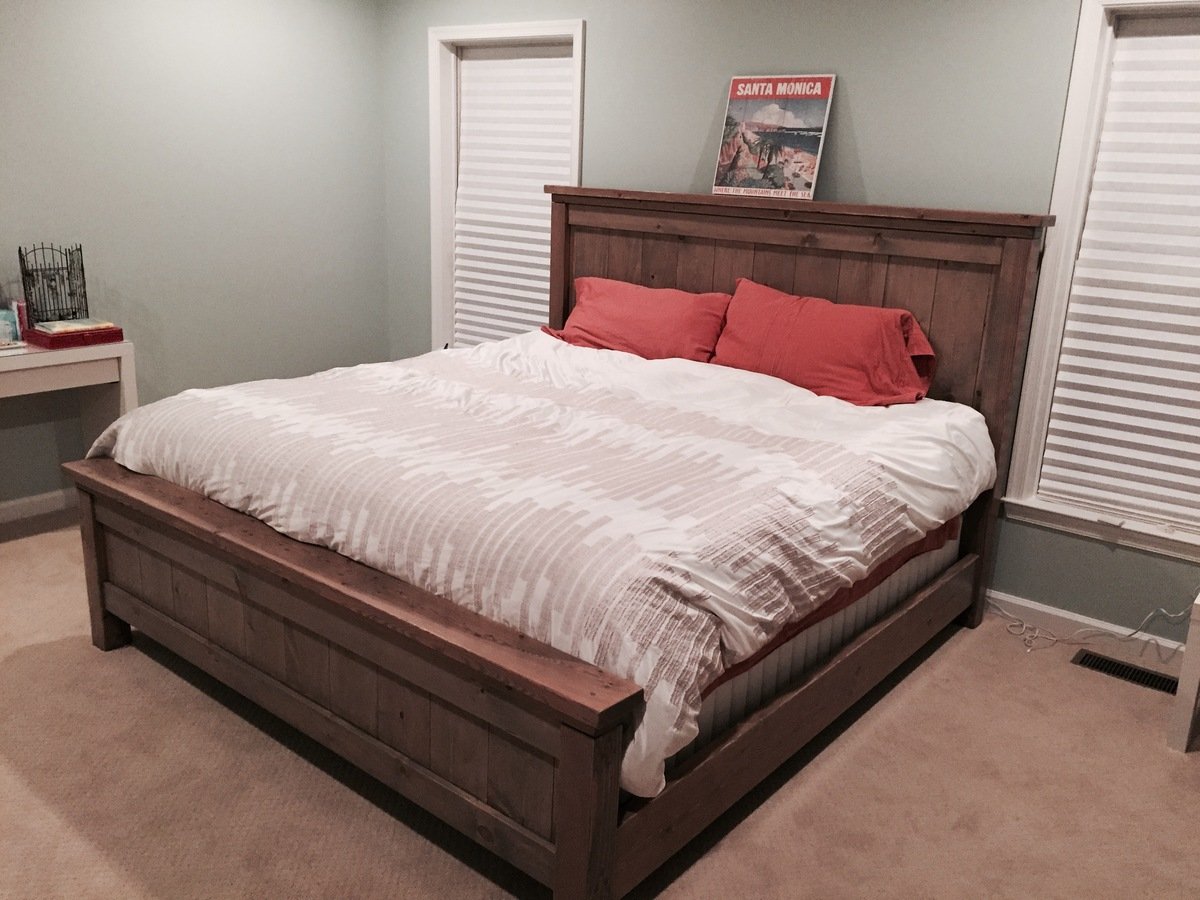
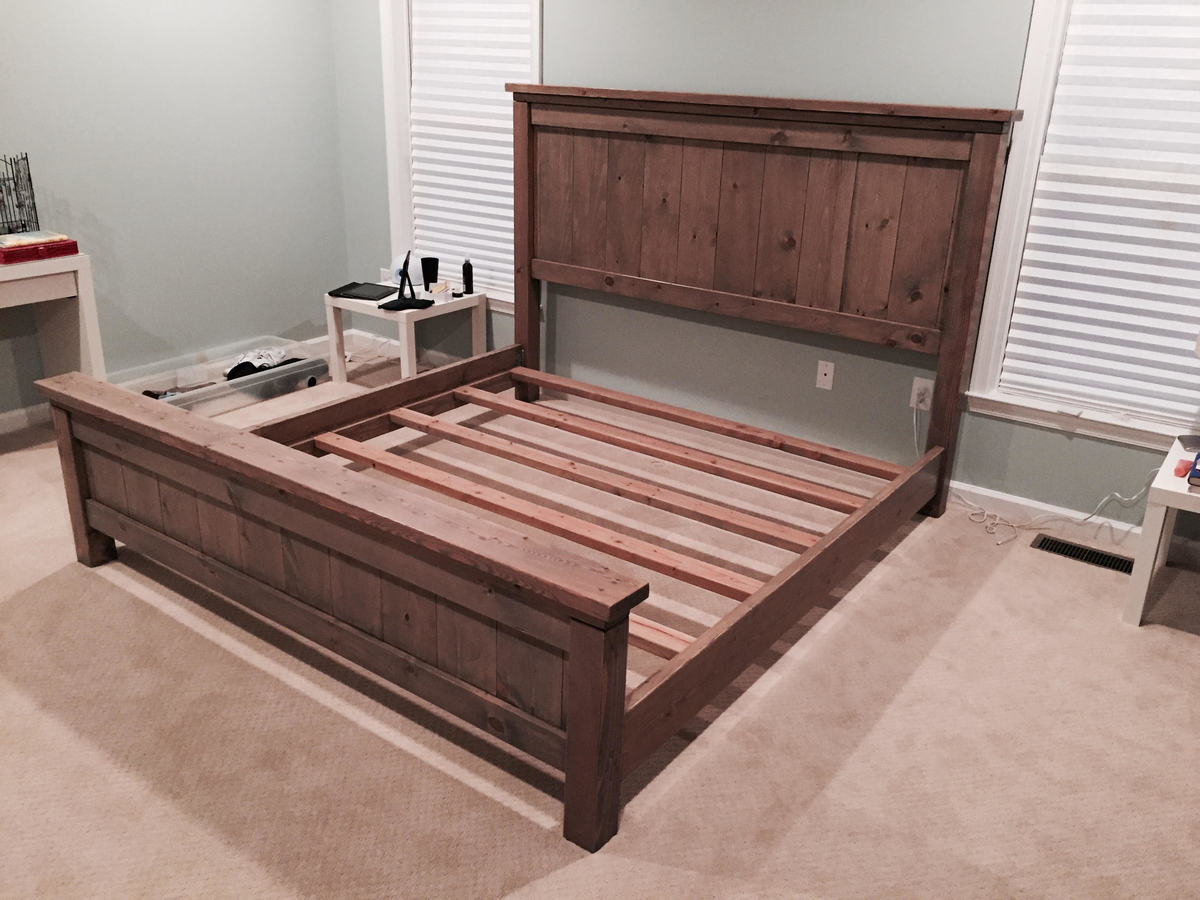
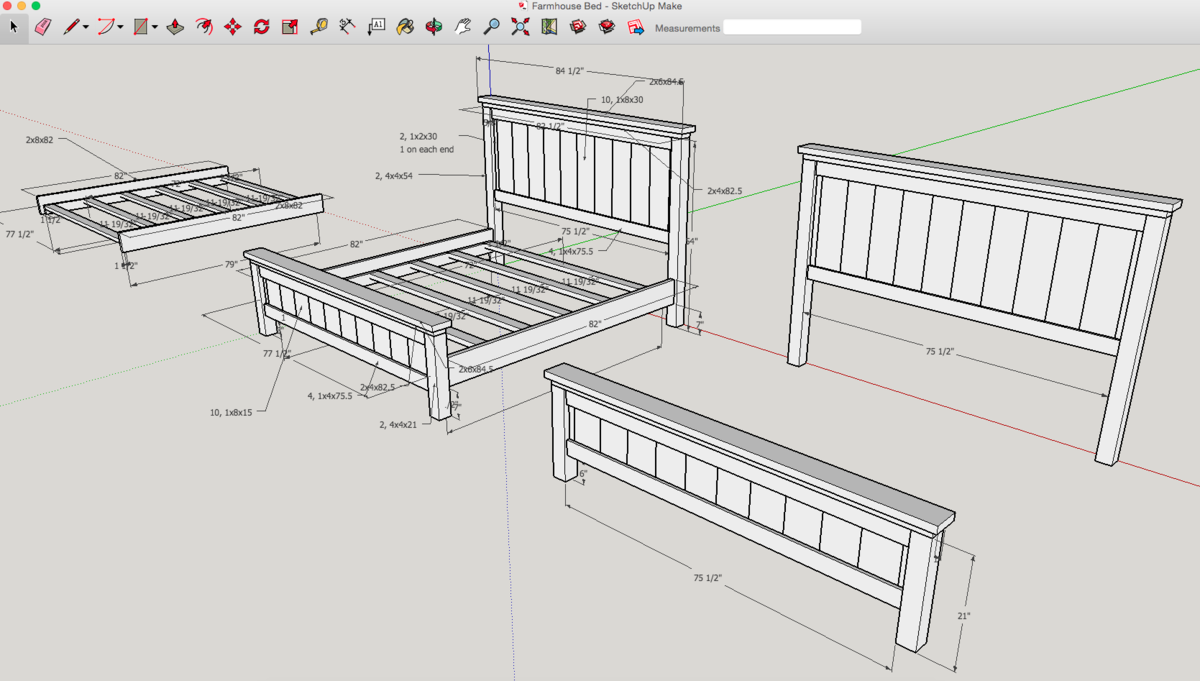
This was my 2nd woodworking project. My wife had been asking for a farmhouse bed for some time, so I figured I'd go for it. The end result was even better than I was hoping. It came together really well and the bed is just perfect. Thank you Ana for the plans!


I used the Ana White Queen Bed and King Bed plans as guides, as well as another blog called A Lesson Learned. I modified the dimensions to fit our specific bed, then I drew up the plans using Sketchup and got to work. All the wood is pine from Home Depot. The total project took a couple months because I could only work on it on weekends and didn't have full days to commit to it. In the end though, totally worth it and we love the bed!

Estimated Cost
~$250 (not completely sure of that as I didn't track it, but with the lumber & everything, it was probably $200-$300)
Estimated Time Investment
Week Long Project (20 Hours or More)
Finish Used
Minwax Pre Stain
Minwax Weathered Oak Stain
Minwax Clear Satin Polyurethane
Recommended Skill Level
Beginner

Corner cabinet

My mom had been wanting a corner cabinet in her dining room forever but every one we found was mad expensive. So I built her one as a gift. She loves it! I used left over paint from her dining room walls so the colors match exactly.

Built from Plan(s)
Estimated Cost
$100. Paint was free as it was left over.
Estimated Time Investment
Day Project (6-9 Hours)
Finish Used
Interior wall paint
Recommended Skill Level
Intermediate

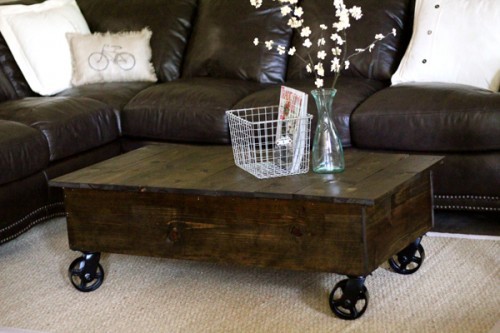
Factory Cart Coffee Table

I used Ana's plans for her factory cart coffee table to create my new coffee table. It was super easy and cheap! I used 1x10's for the sides to make it a bit taller. I found my casters at Northern Tool for $12 a piece. That was the main cost of the table. I used Gorilla Glue and 2" nails to hold everything together. I had it done in a couple hours and I love it! You can see more details at http://www.shanty-2-chic.com/2011/06/crate-coffee-table-reveal.html !

Built from Plan(s)
Estimated Cost
$85
Estimated Time Investment
Afternoon Project (3-6 Hours)
Finish Used
Minwax Dark Walnut stain and 1 coat of Polycrylic Semi-Gloss
Recommended Skill Level
Beginner

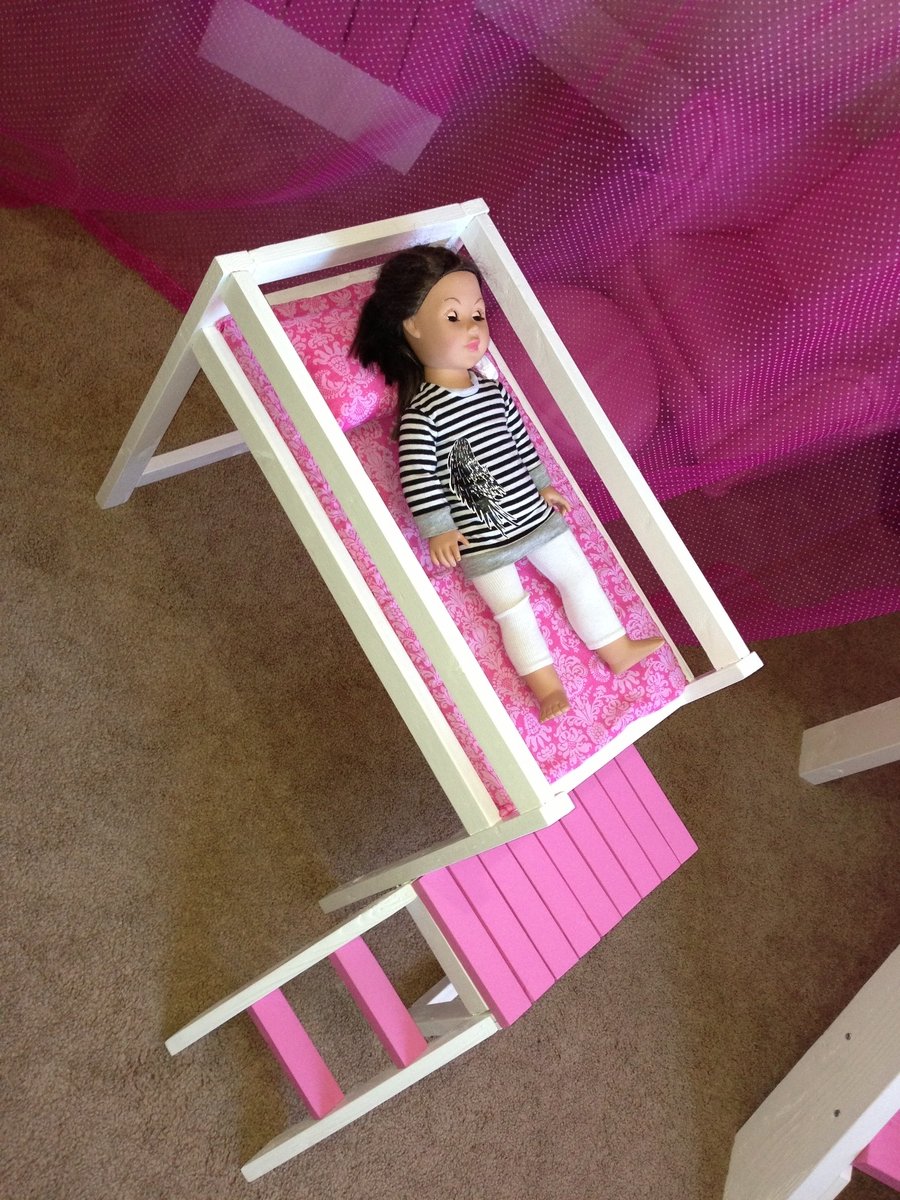
Camp Loft Bed with Matching Doll Sized Loft Bed

Submitted by lisatw on Tue, 08/20/2013 - 17:20

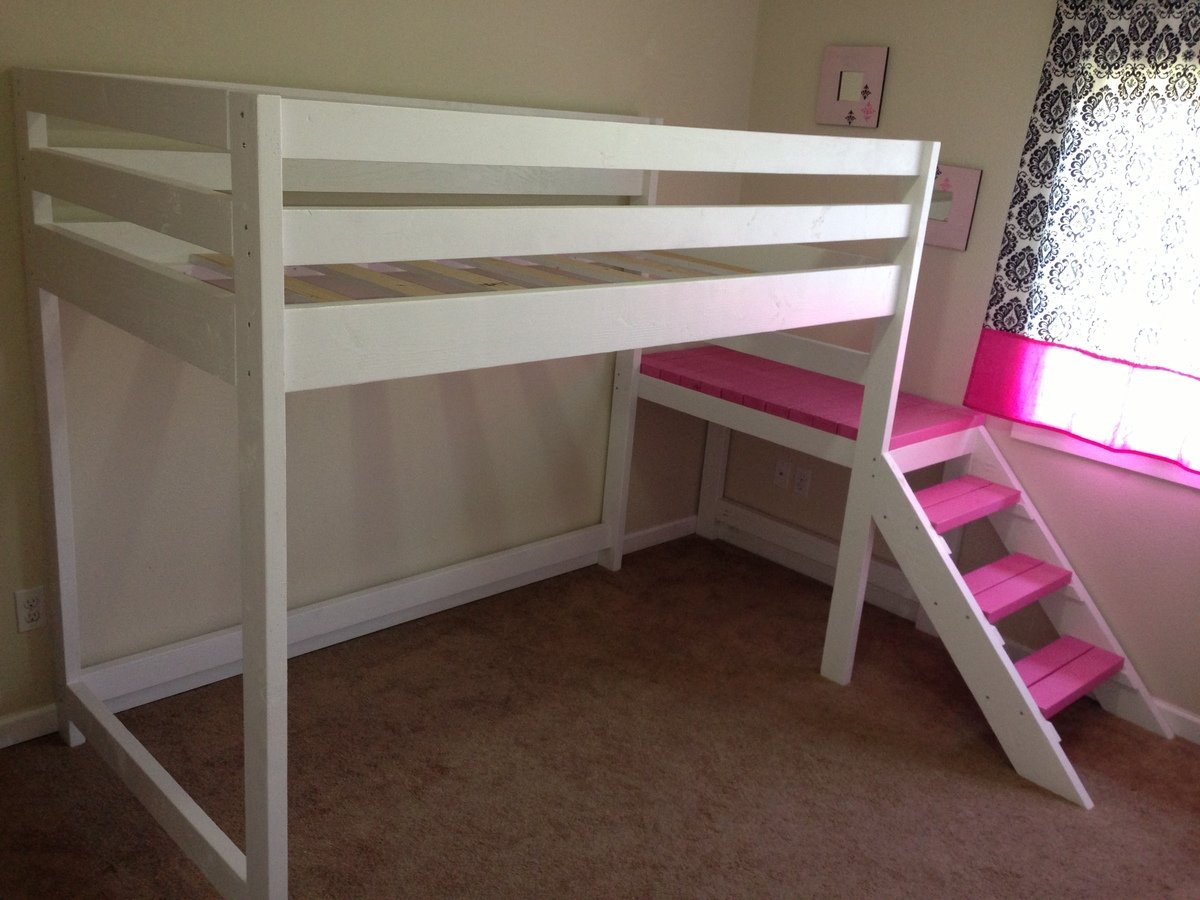
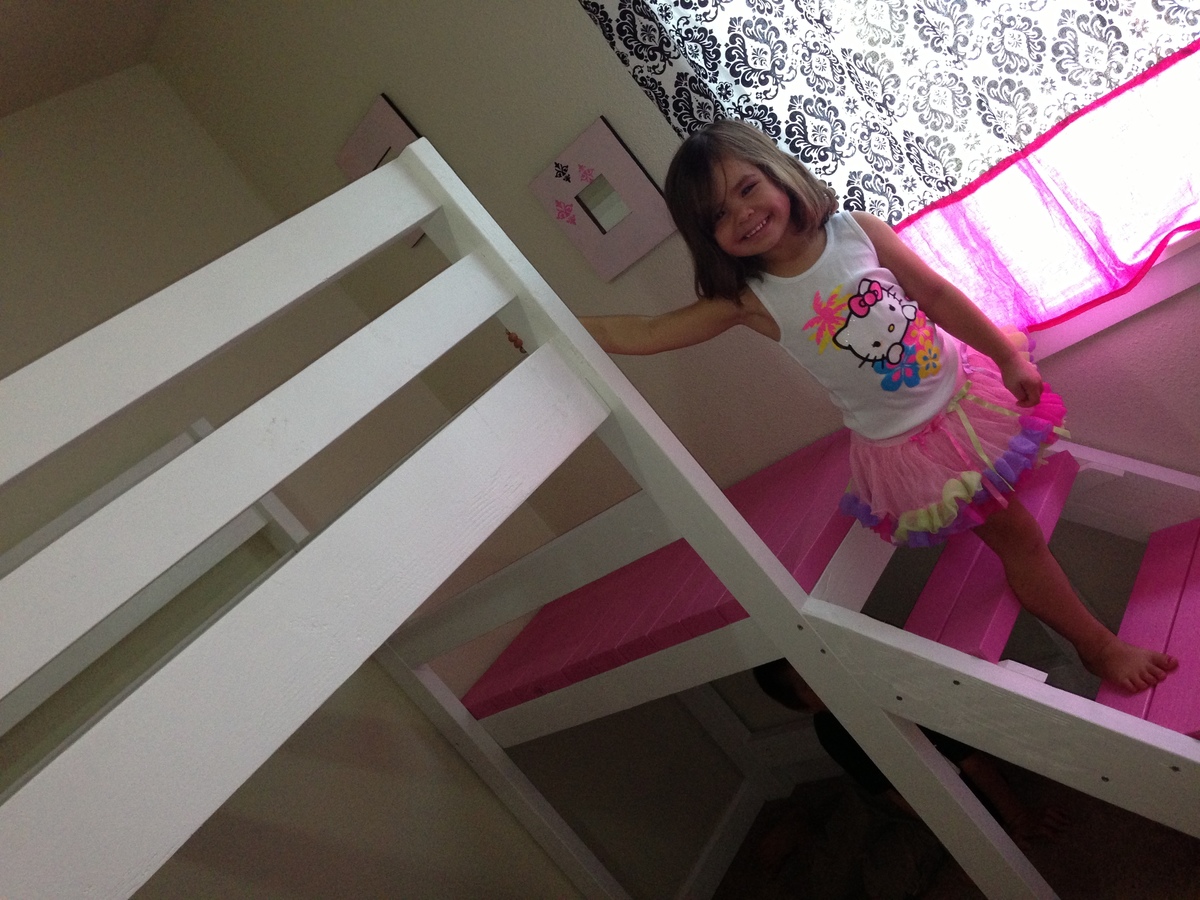
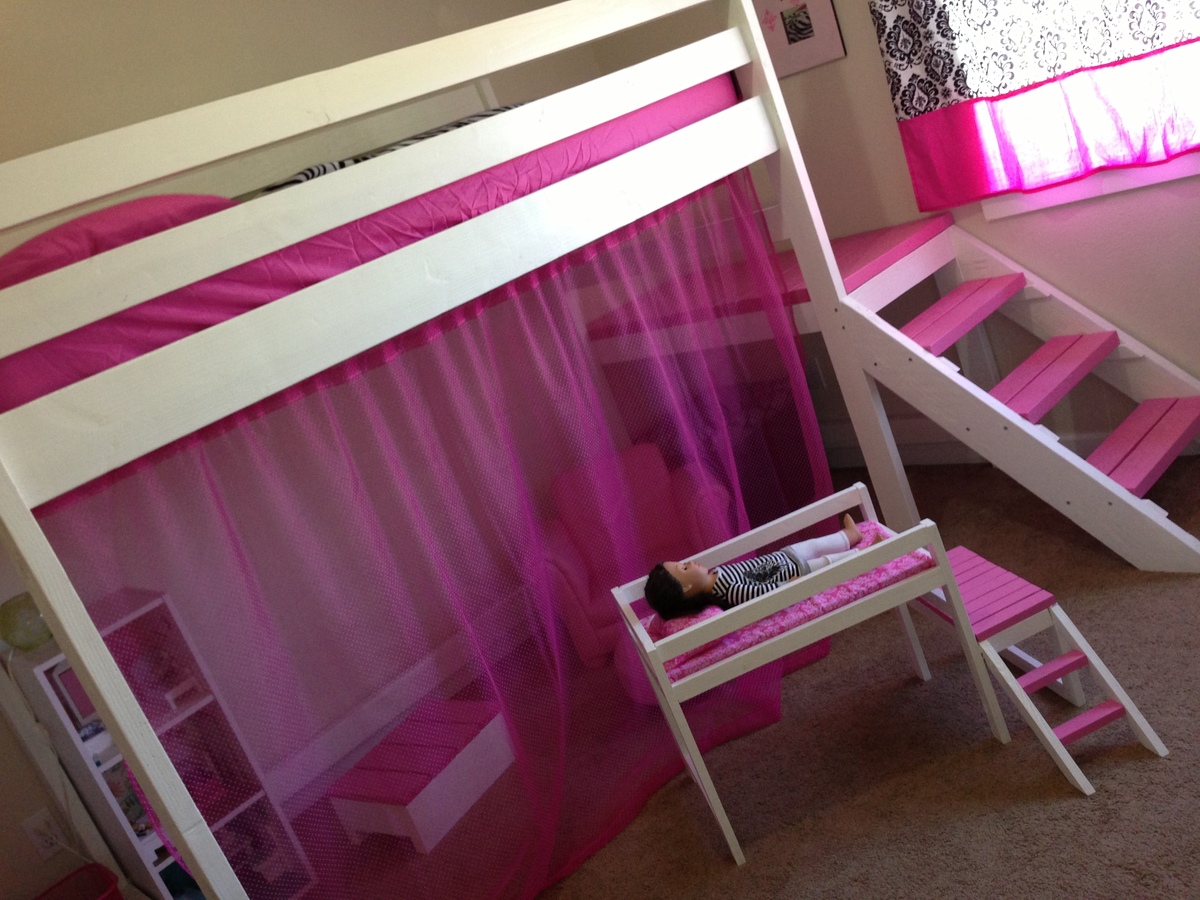
We made this loft bed for my daughter's 4th birthday. I did all of the cuts, sanding, and painting on my own, and had my husband help me with the assembly of the bed. It took us 2 full days to complete this build. The sanding and painting was the most tedious part of the project. I think it cost us about $150 for all of the lumber, paint, screws, etc.

My daughter's really into playing with 18" dolls right now, so I decided to make a mini version of her loft bed for her dolls. I think it turned out really well and she absolutely loves it! The doll sized loft bed only cost about $15 to make (including wood, foam for the mattress and fabric). You can't beat that price for a wooden doll bed...and what little girl wouldn't love a matching bed for her dolls?!?!

I'm so happy with how both beds turned out!

Estimated Cost
$150
Estimated Time Investment
Weekend Project (10-20 Hours)
Finish Used
Semi-gloss paint
Recommended Skill Level
Beginner

Comments

JoanneS

Tue, 08/20/2013 - 18:32

This looks awesome! Love the pink on the steps. And the matching doll bed, how cute is that?! :) Great job!

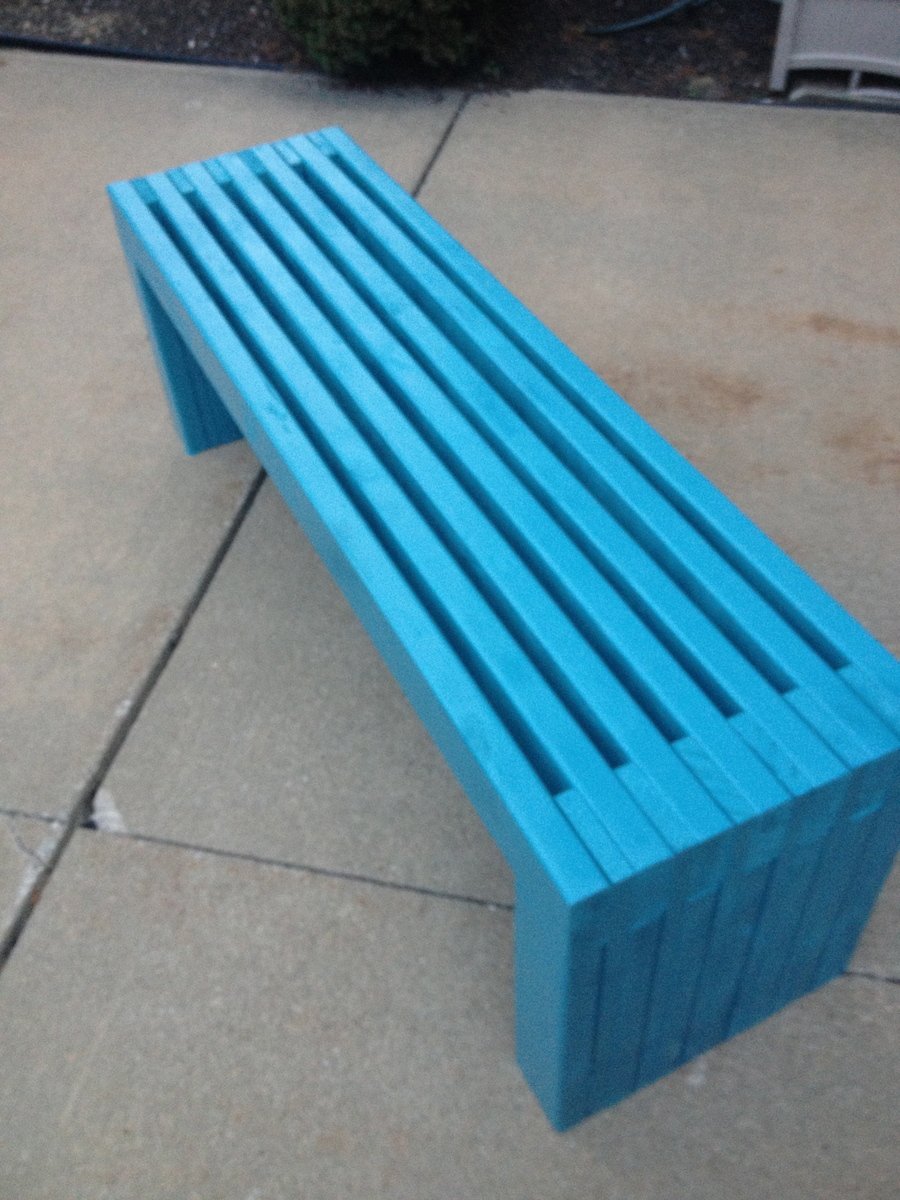
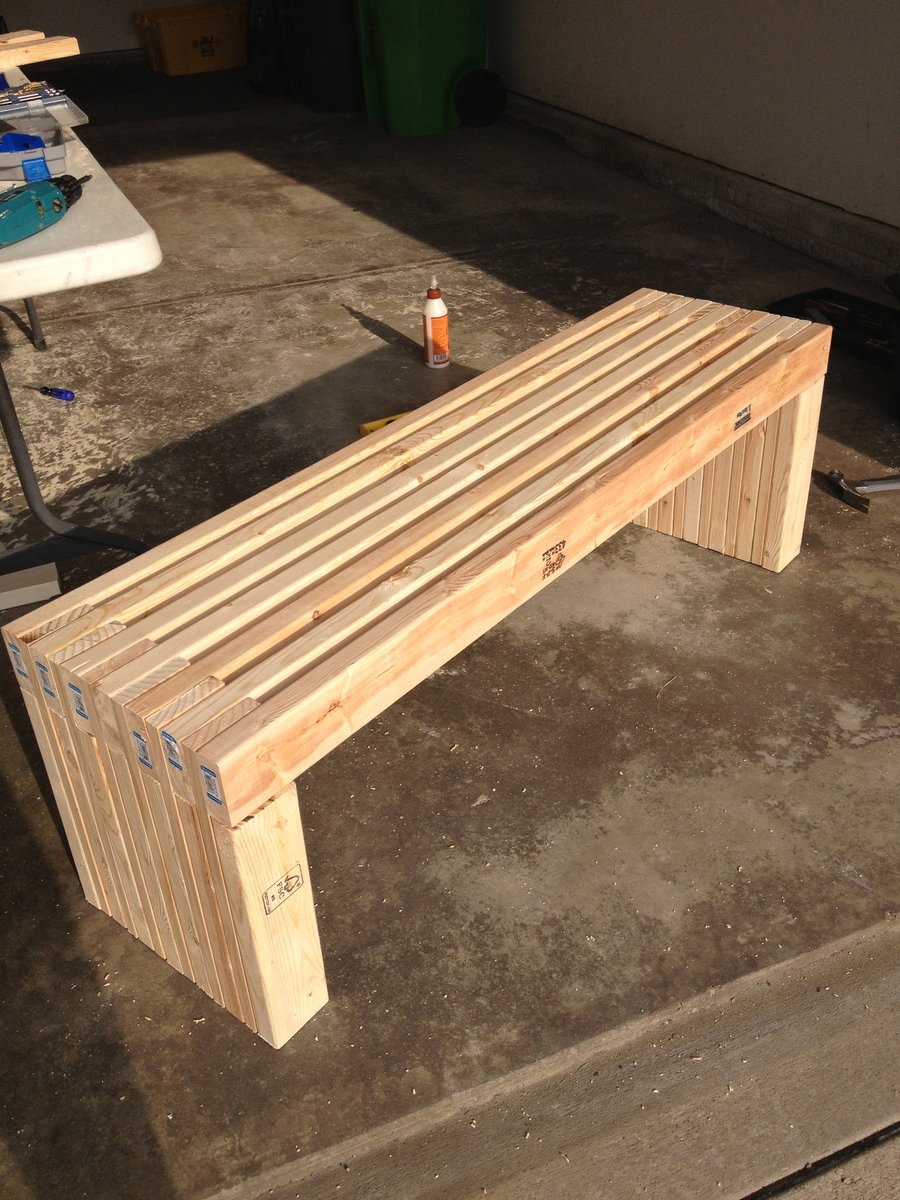
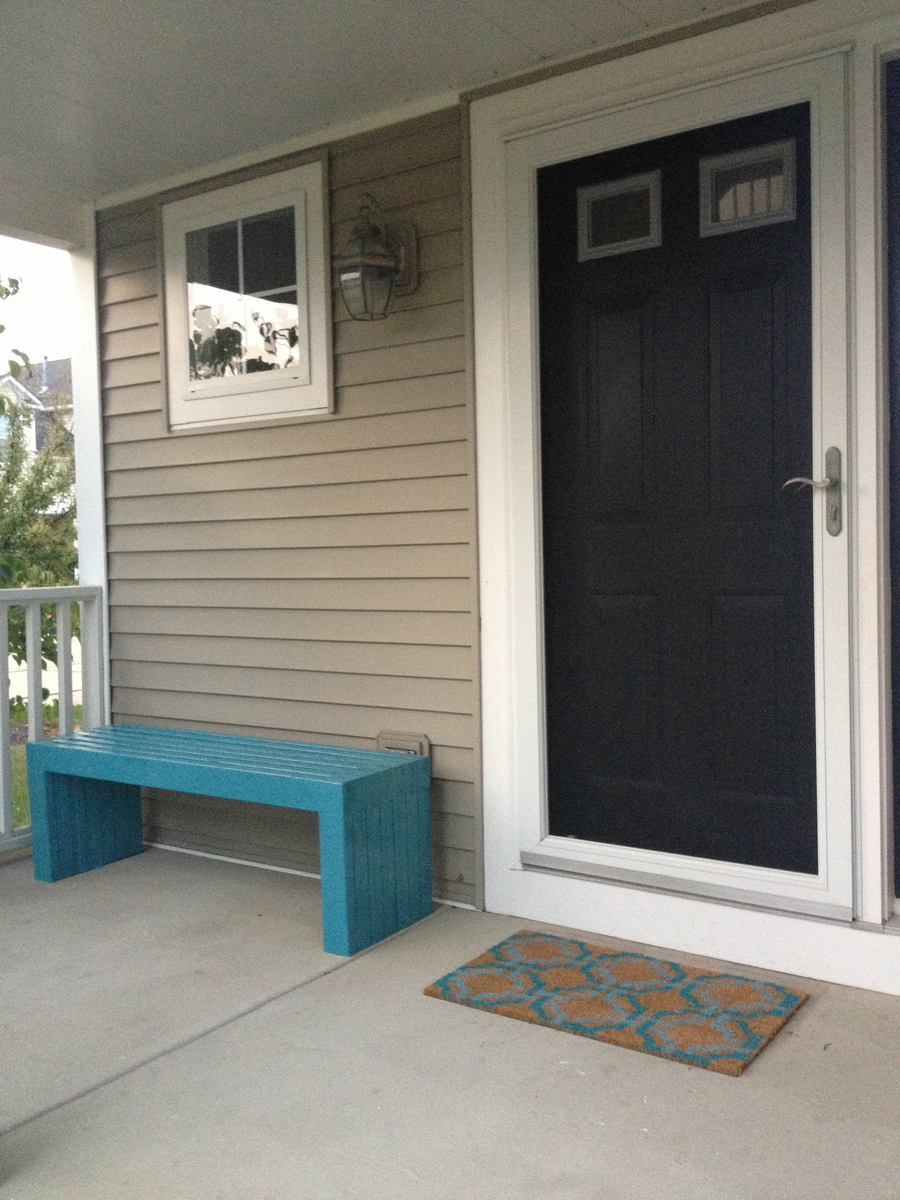
MODERN SLAT TOP OUTDOOR WOOD BENCH

This was my first project. I am pretty excited how it turned out. If I did it again, I would recommend sanding and painting prior to building.

Estimated Cost
$60
Estimated Time Investment
Afternoon Project (3-6 Hours)
Finish Used
Valspar Spray Paint - Oasis
Recommended Skill Level
Beginner

Comments

Adirondack chairs for the family

Submitted by ddaavviidd on Sun, 08/14/2011 - 11:34

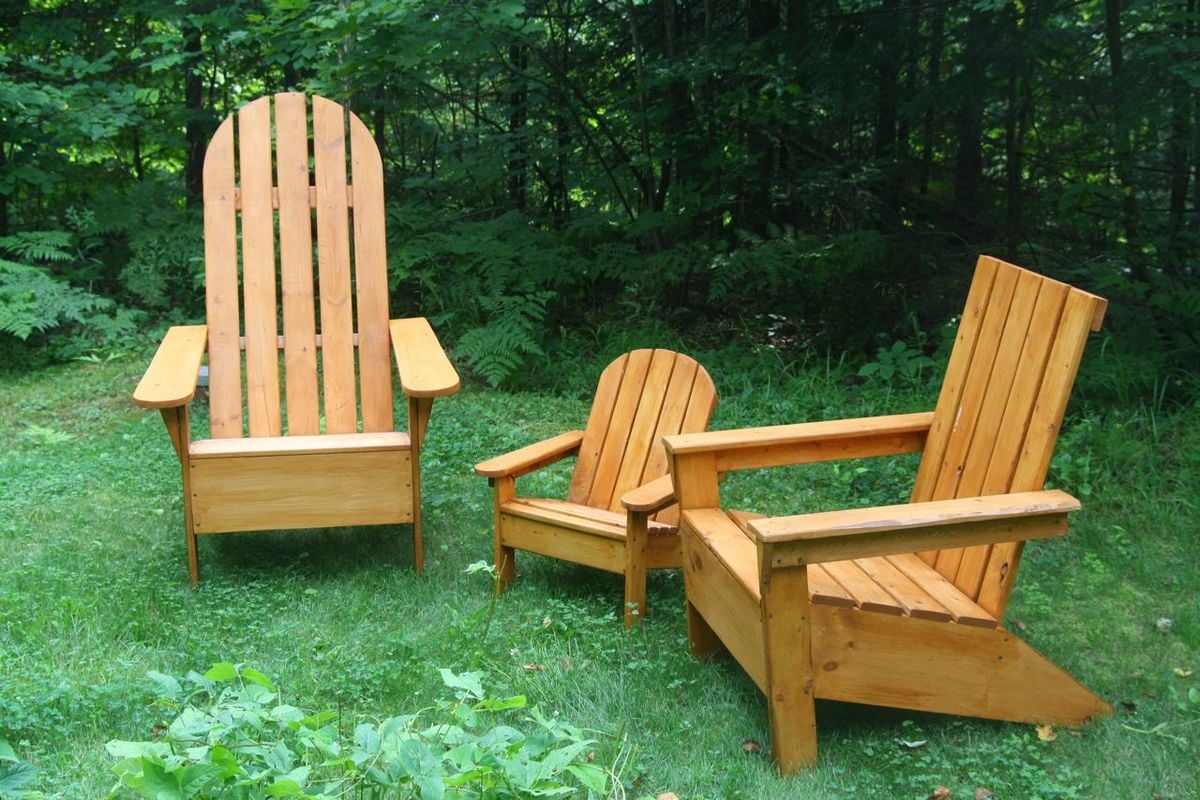
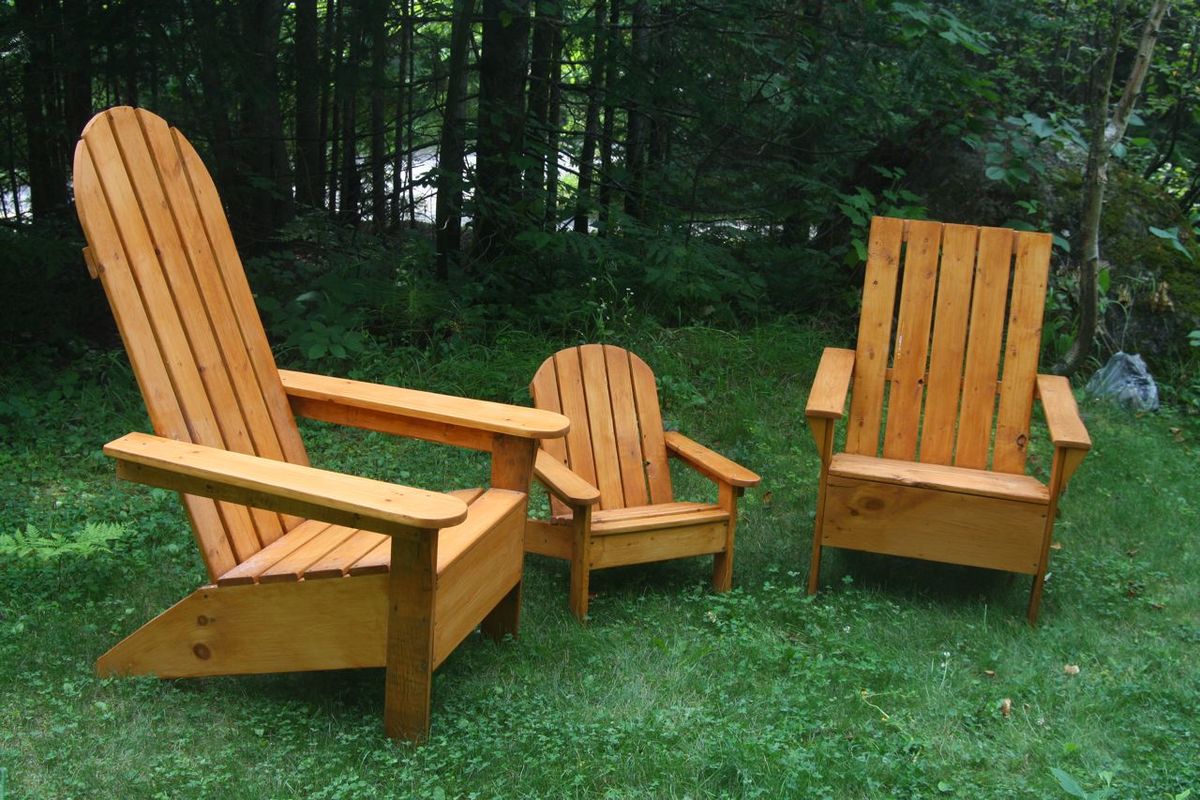
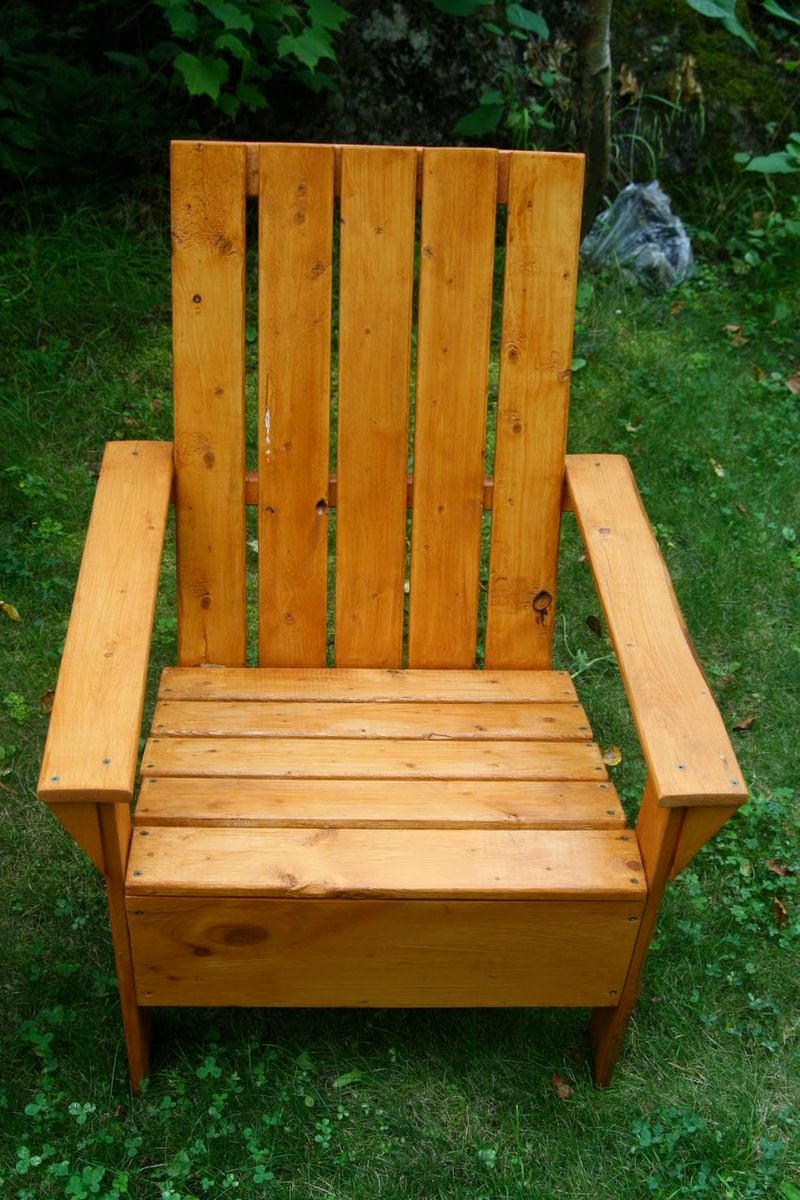
I've always wanted Adirondack chairs but found them way too expensive to buy. I found Ana's plan a while ago and promised myself I'd make one this summer. Well I enjoyed it so much I did three of them!

Built from Plan(s)
Estimated Cost
CAD$50
Estimated Time Investment
Weekend Project (10-20 Hours)
Finish Used
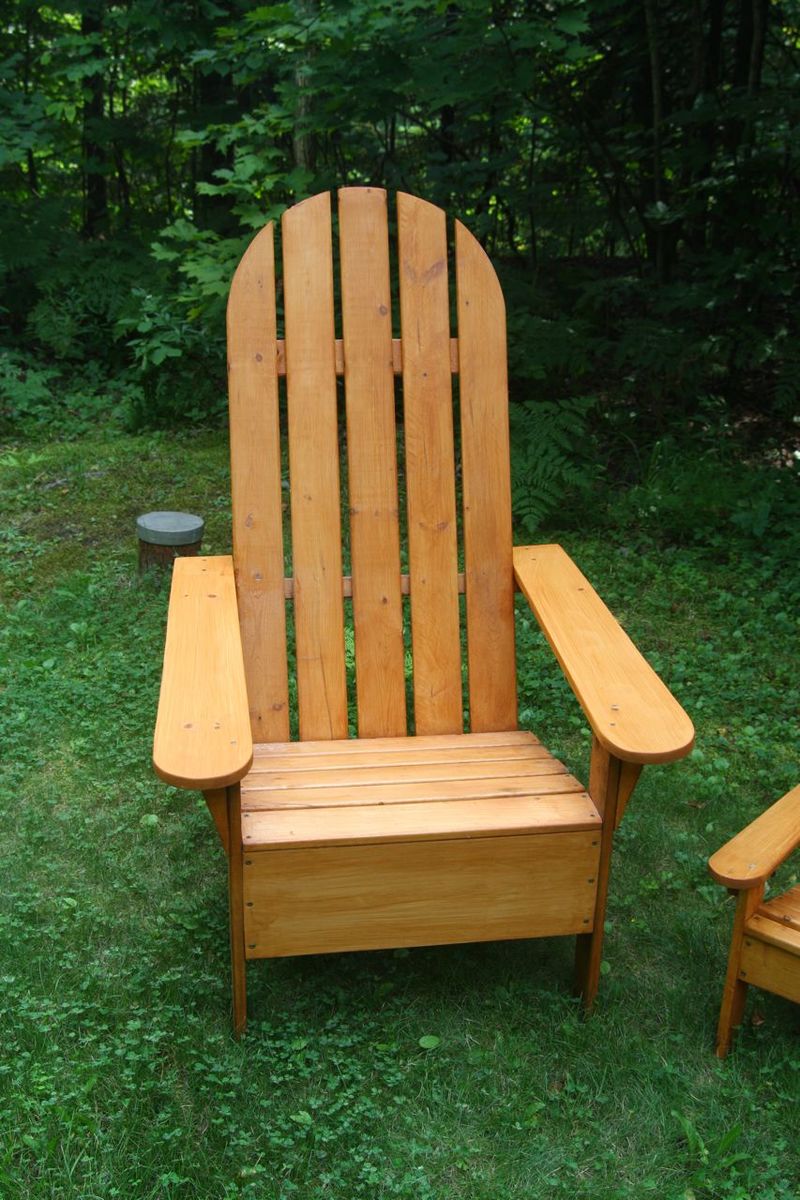
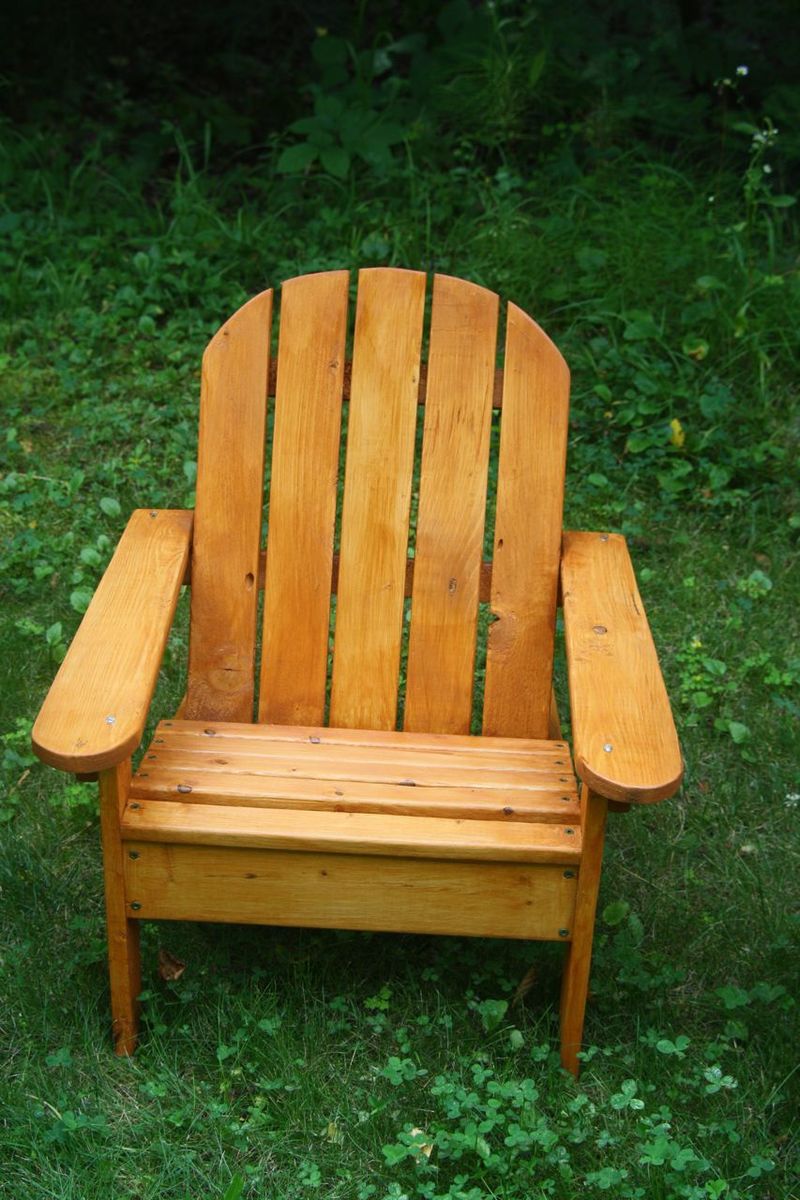
Since I used mostly spruce (which was much cheaper) I needed to sand all parts that made contact when you sit (seat, back, armrests for the kid's chair). The first chair (to the right in the featured picture) is exactly like the one in Ana's plan. I sanded and painted it after it was built. The other big one was slightly modified: I made the arms and the back longer so that it is more inclined and I cut the top portion in a round shape with a jigsaw. I also made the armrests larger (6") and longer and also gave them a rounded end. I used cedar-colored protective stain, two layers. The kid's chair's armrests are also larger (4") and longer and have the same rounded end. I plan on getting cushions for them during the Fall promotions. All I have left to do is a small table and a second kid's chair for the new baby that's arriving soon!
Recommended Skill Level
Beginner

Comments

Miasmom (not verified)

Mon, 08/15/2011 - 08:31

Those are awesome! All you need to make now is a doll adirondak chair and you've got a complete set of Ana White Adirondack chairs! ;)