Modified Simple Outdoor Dining Table
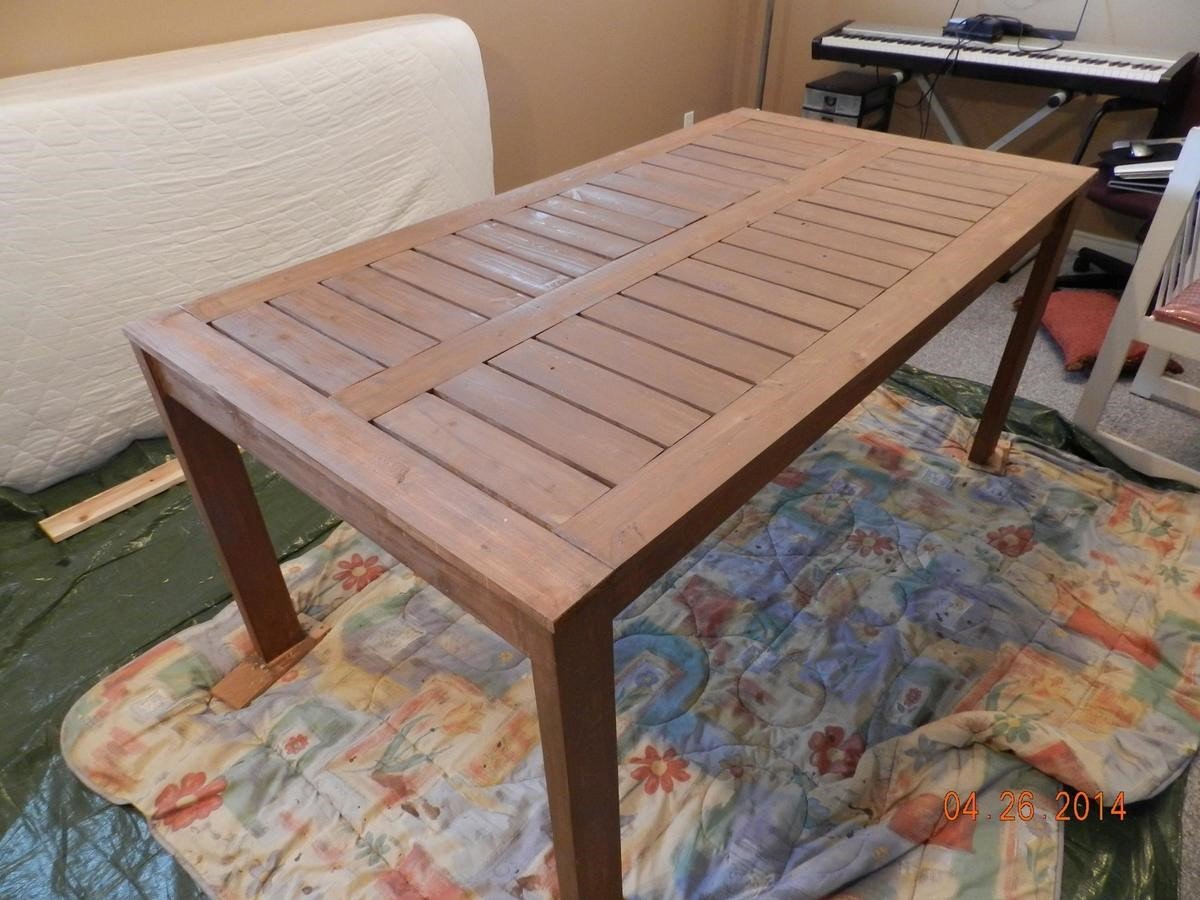
I didn't make any changes , his orginal design was great. Hope these pictures help others. I tried to link to the modified-simple-outdoor-dining-table but wasn't able too.
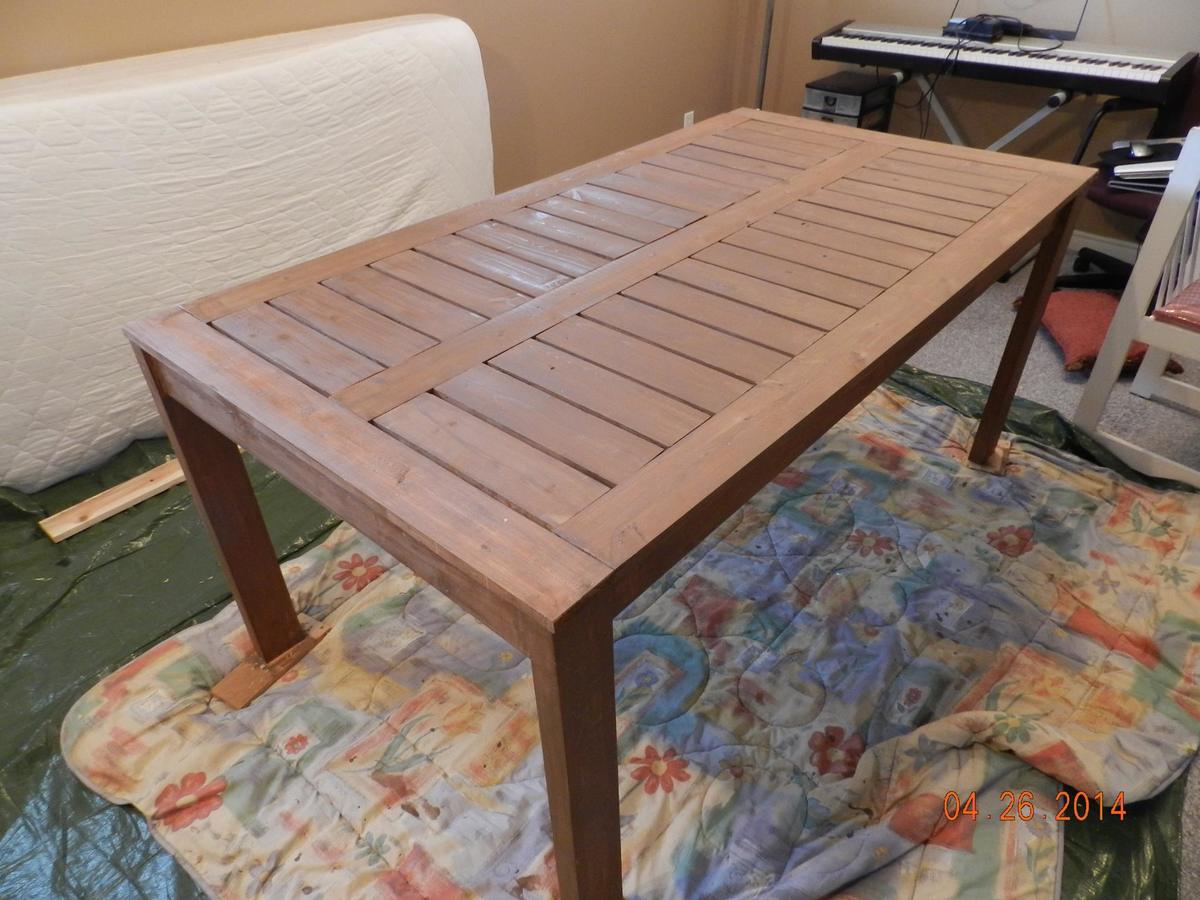
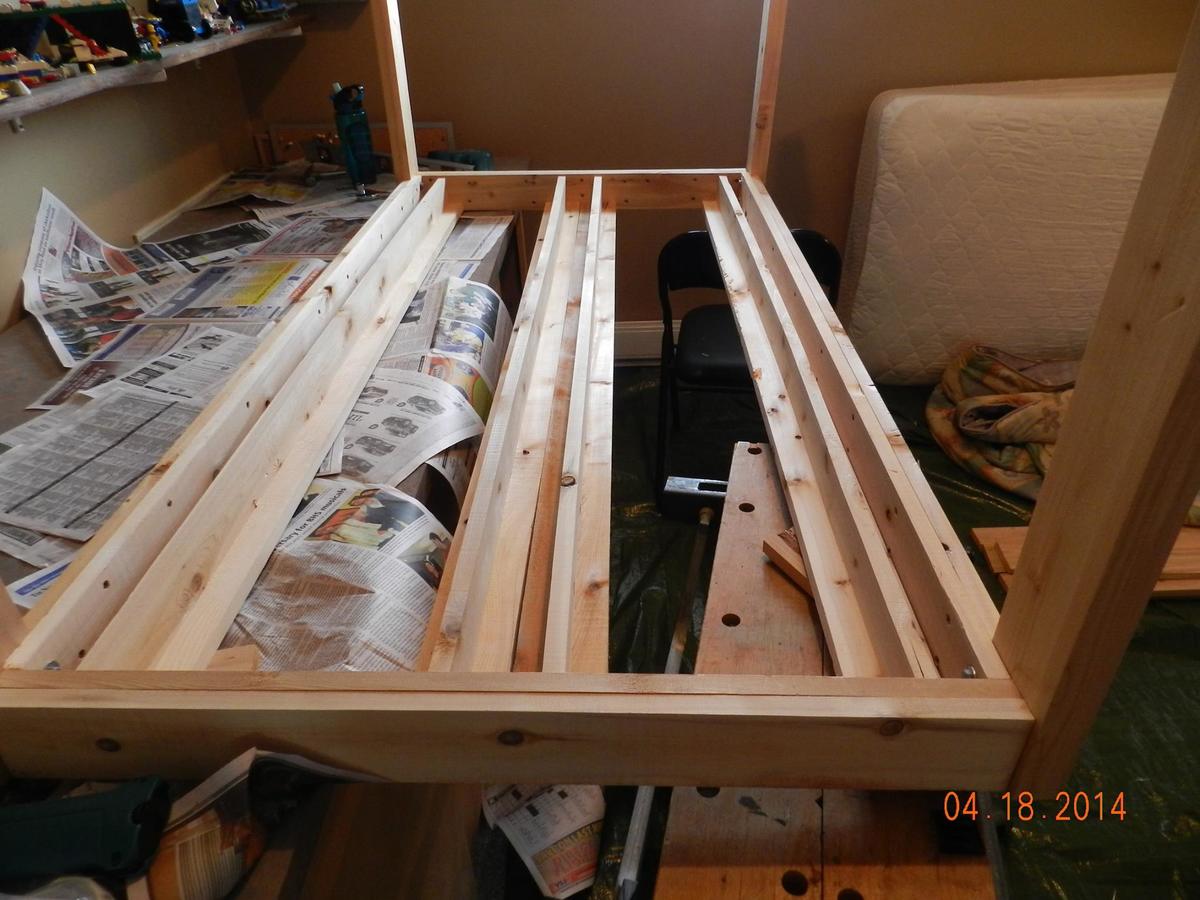
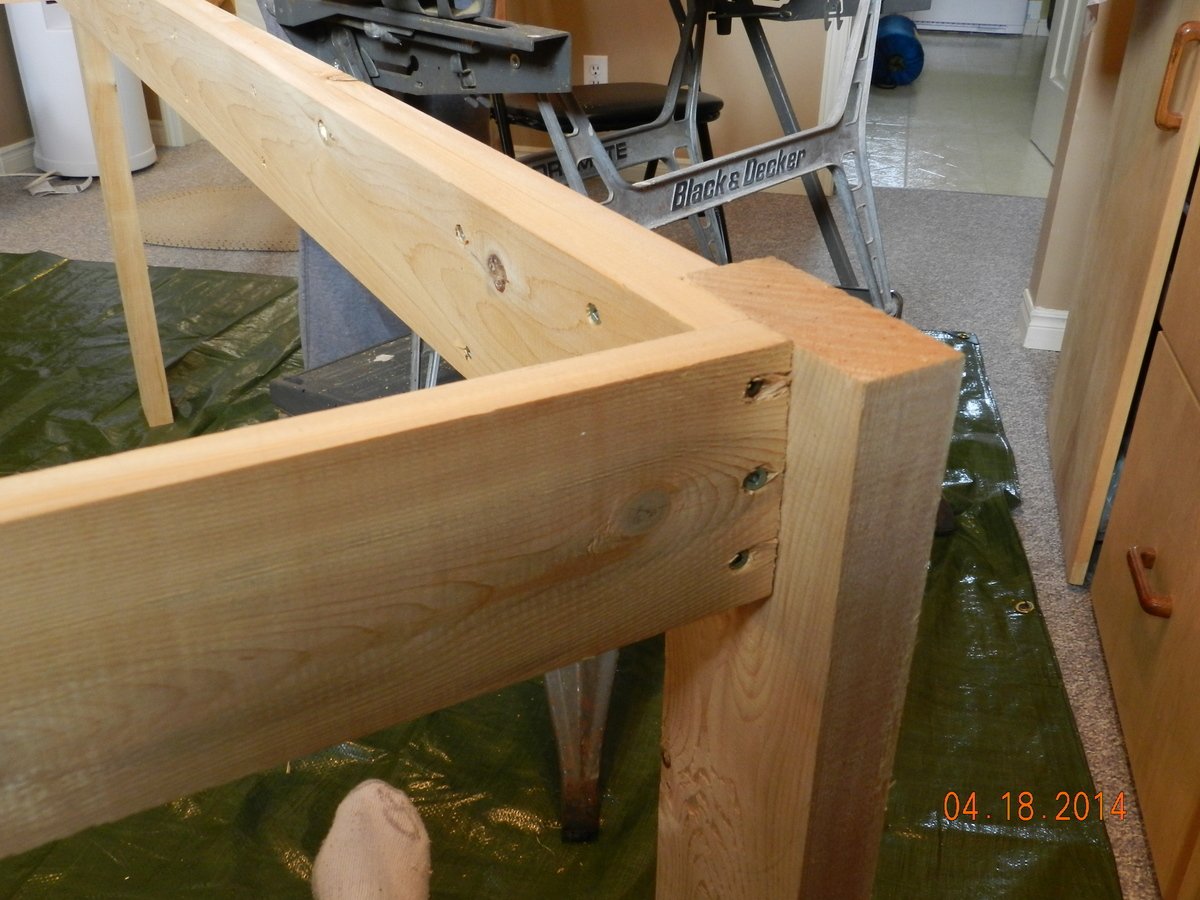
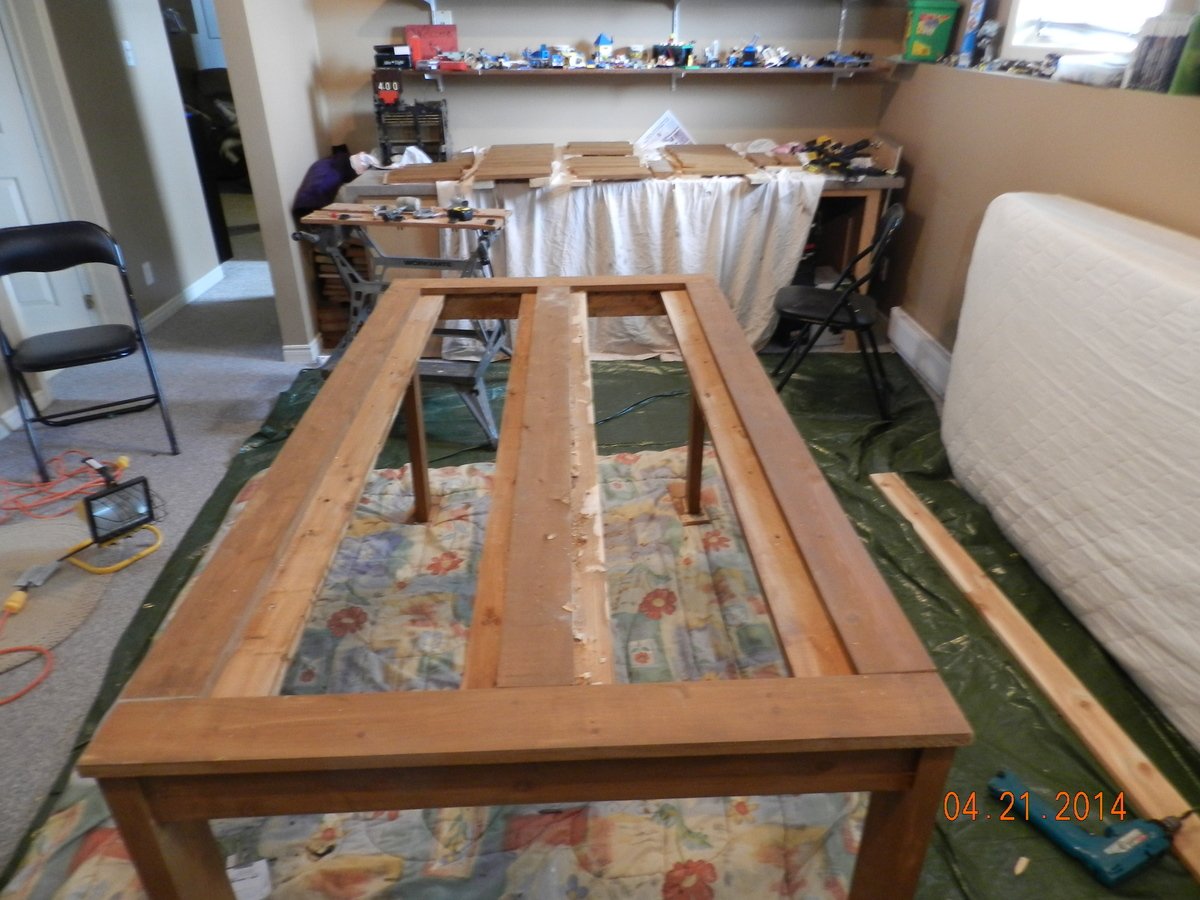
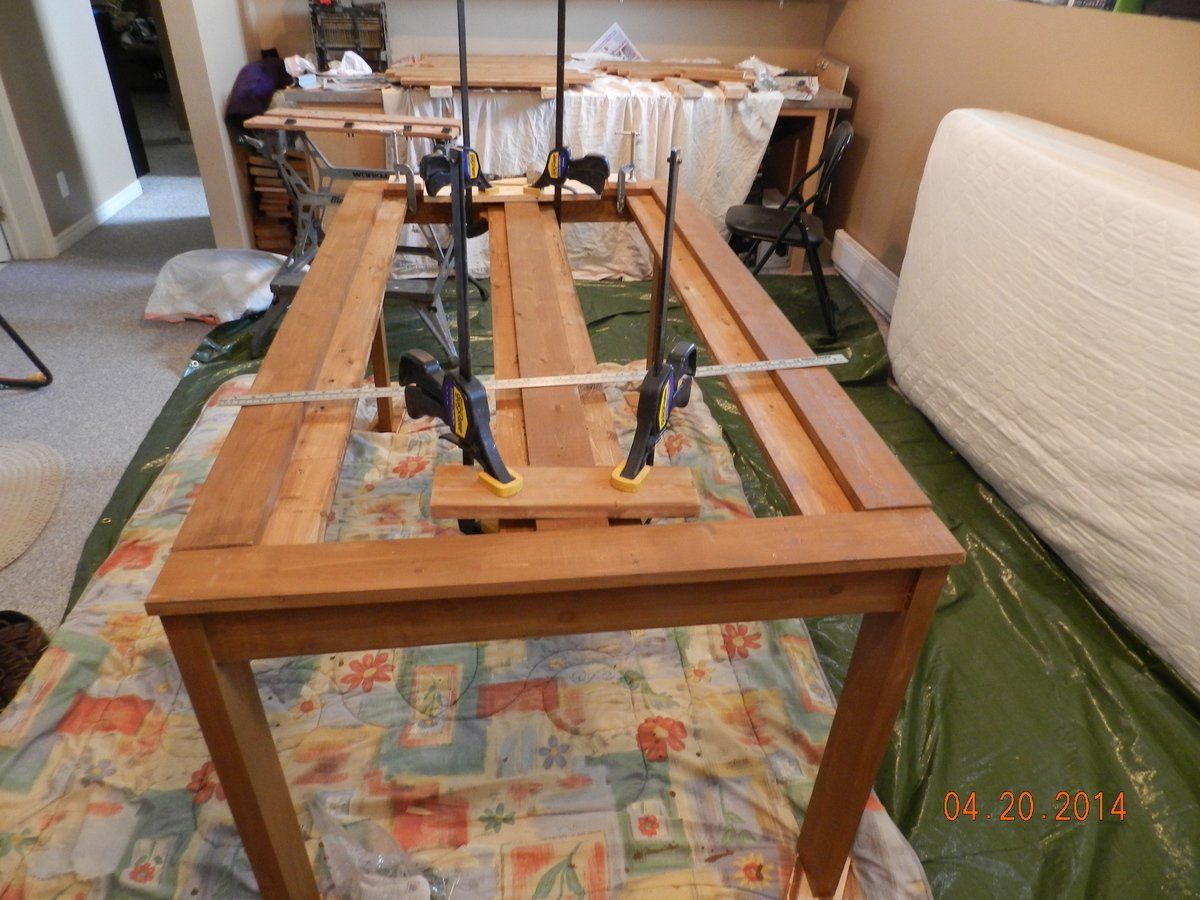

I didn't make any changes , his orginal design was great. Hope these pictures help others. I tried to link to the modified-simple-outdoor-dining-table but wasn't able too.


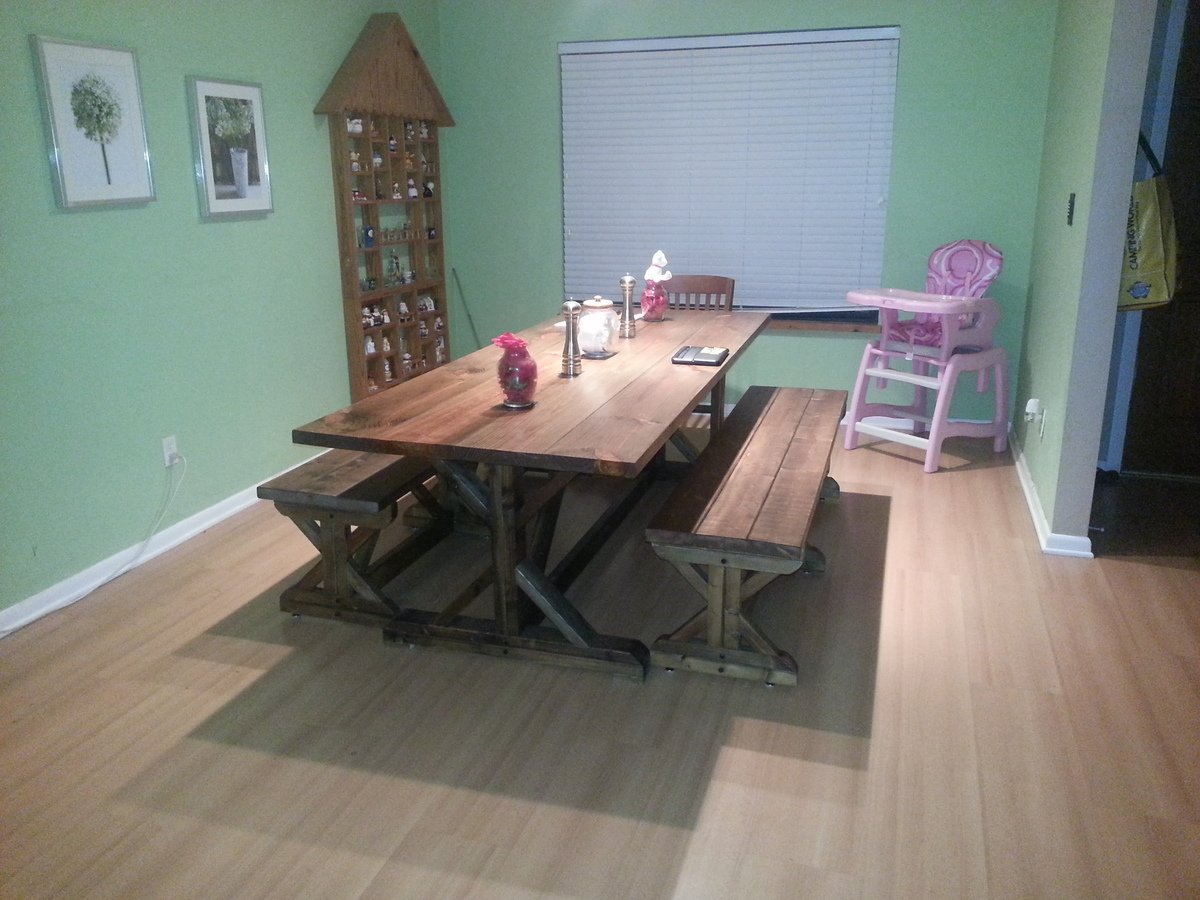
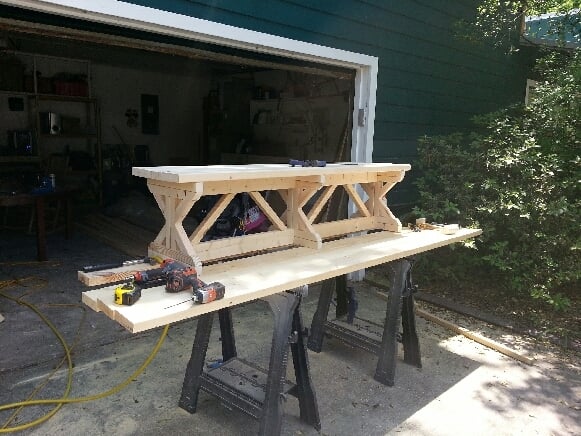
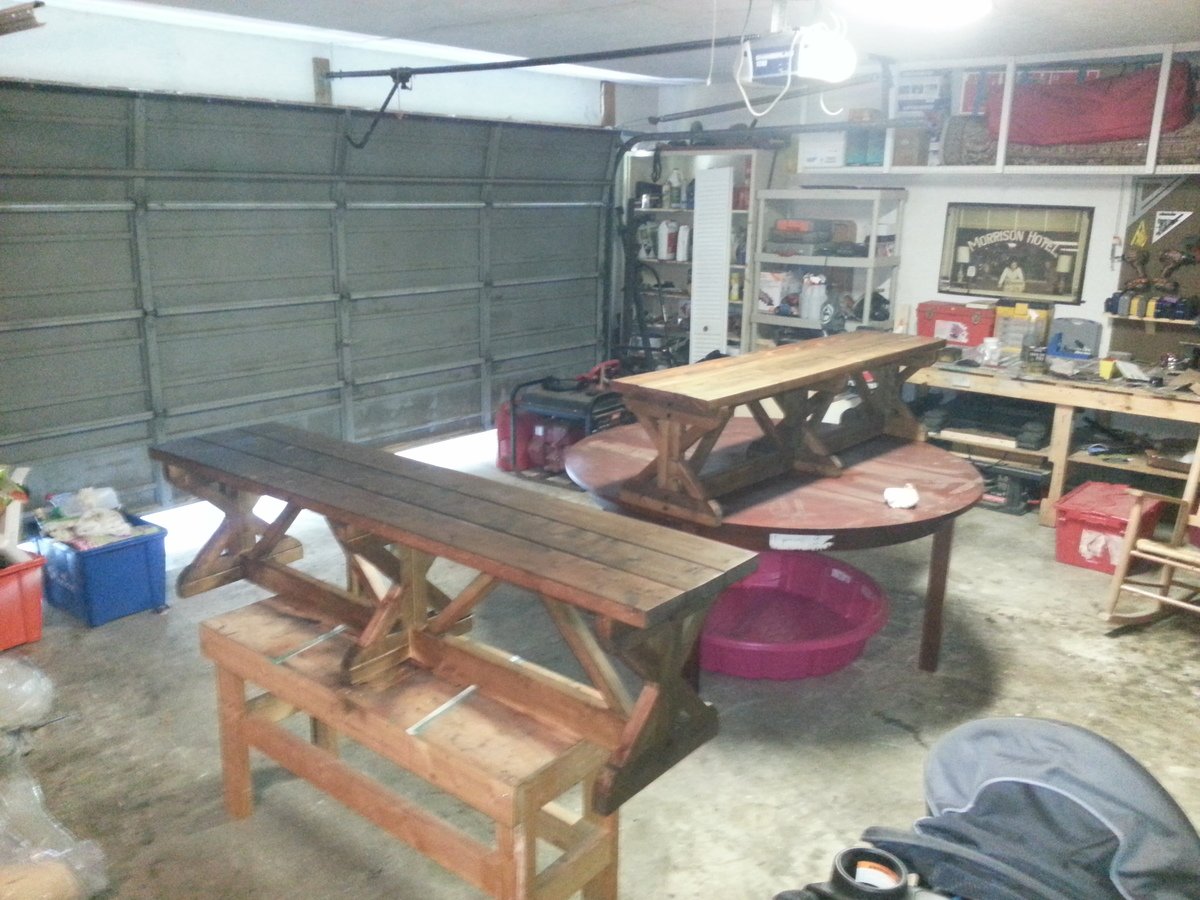
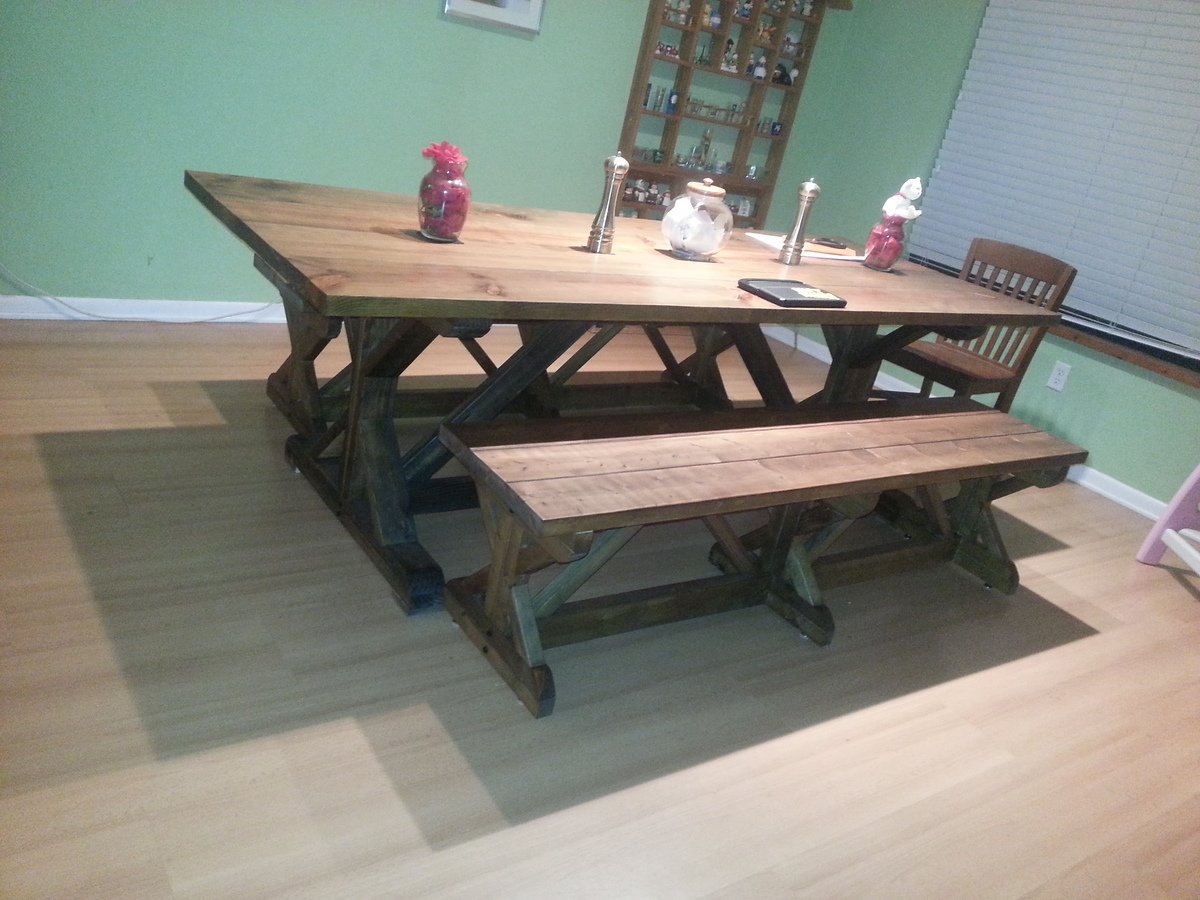
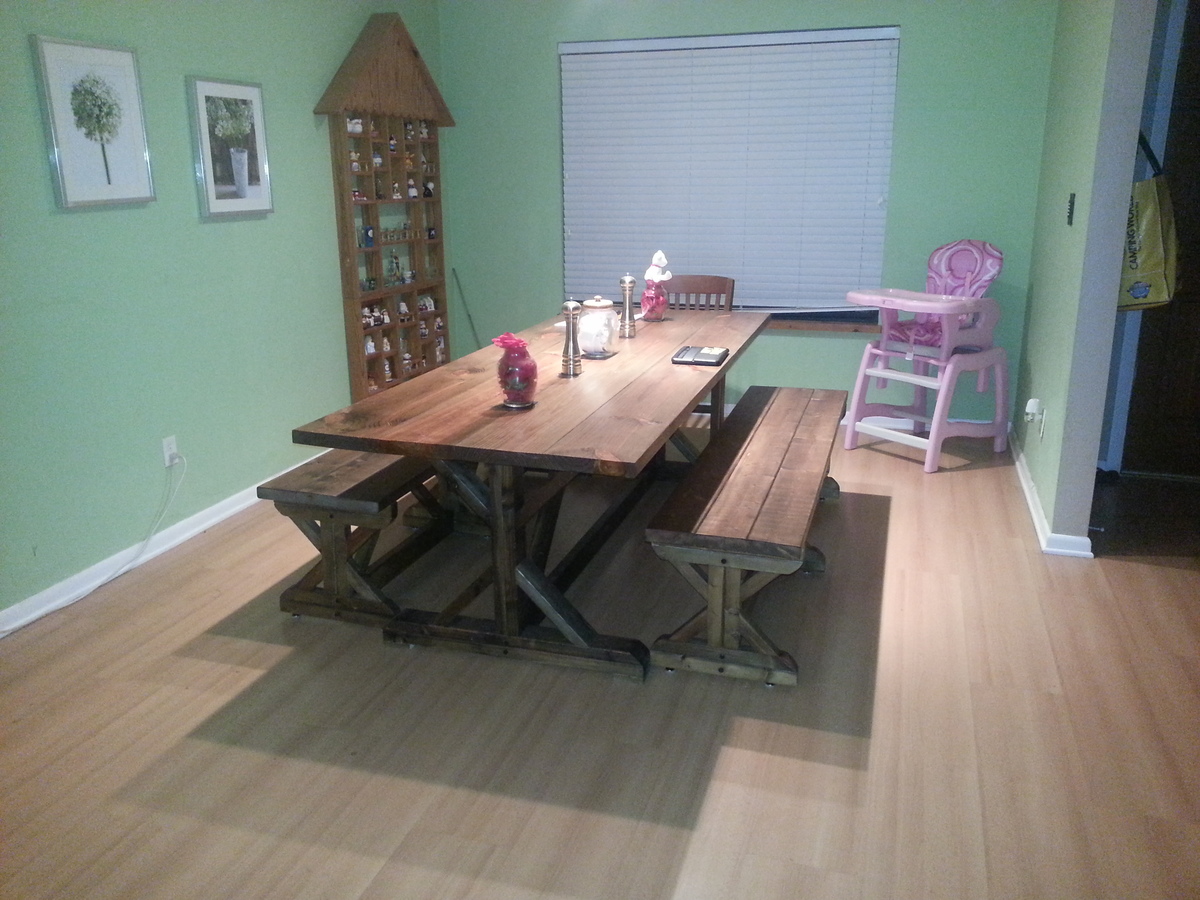
I built the table some months ago and my wife loved it so we decided to build a set of benches to go with it. I gotta say though i will never build these suckers again. Man there were so many cuts!!! The stain was steel wool, vinegar and tea bags and i used a rub on polly. The funny thing is I built both of these benches for a total of 30 bucks! I found all the wood laying around. I hope you all enjoy. Sorry about the horrible pictures I guess if I am going to be uploading pictures on here a better camera other than my smartphone is in order.
We perviously had a larger garden farther back in the yard, it was on the ground which is very hard and rocky. It was tough to till and maintain, so it was taken down a few years ago.
My wife and teenage daughter have green thumbs and have planted herbs and tomatoes in pots over the past few years, but this year they wanted something more substantial. After an online search we found this plan.
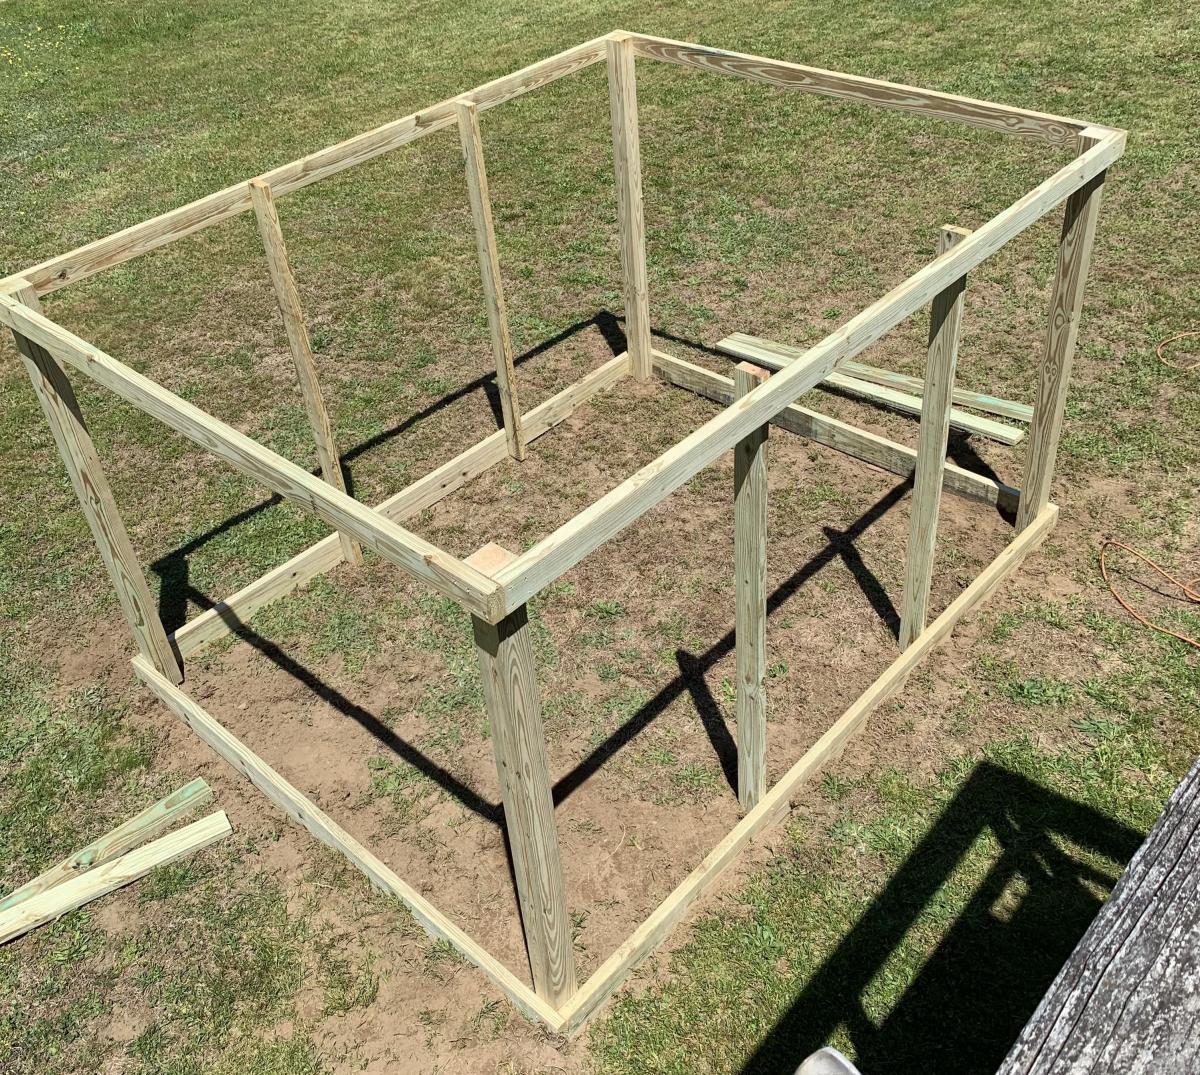
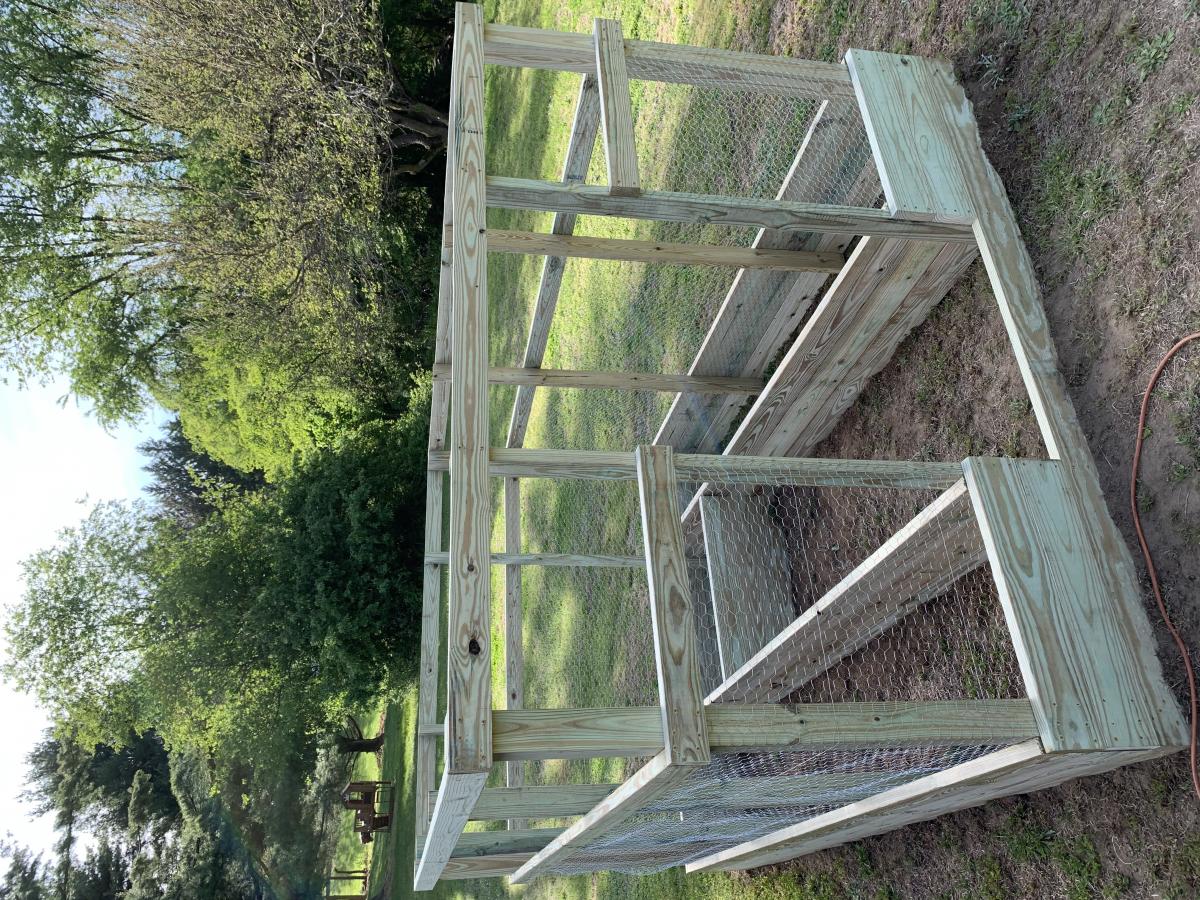
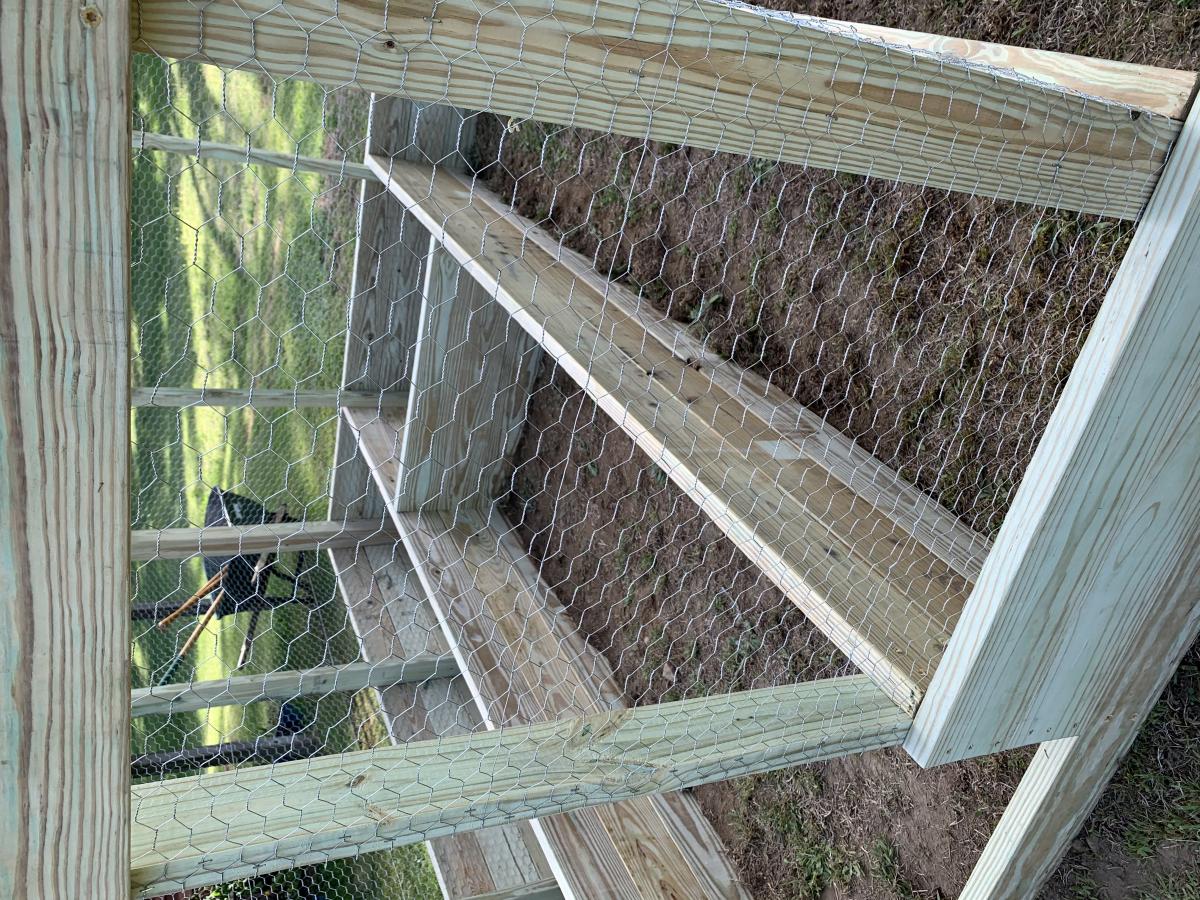
It was a bit small for what the girls had planned, so with a little bit of tweaking, we changed the depth of the enclosure to 10'. It was pretty easy to do. Also the girls wanted the beds to be a bit deeper, so we made them three 2x6's deep instead of two
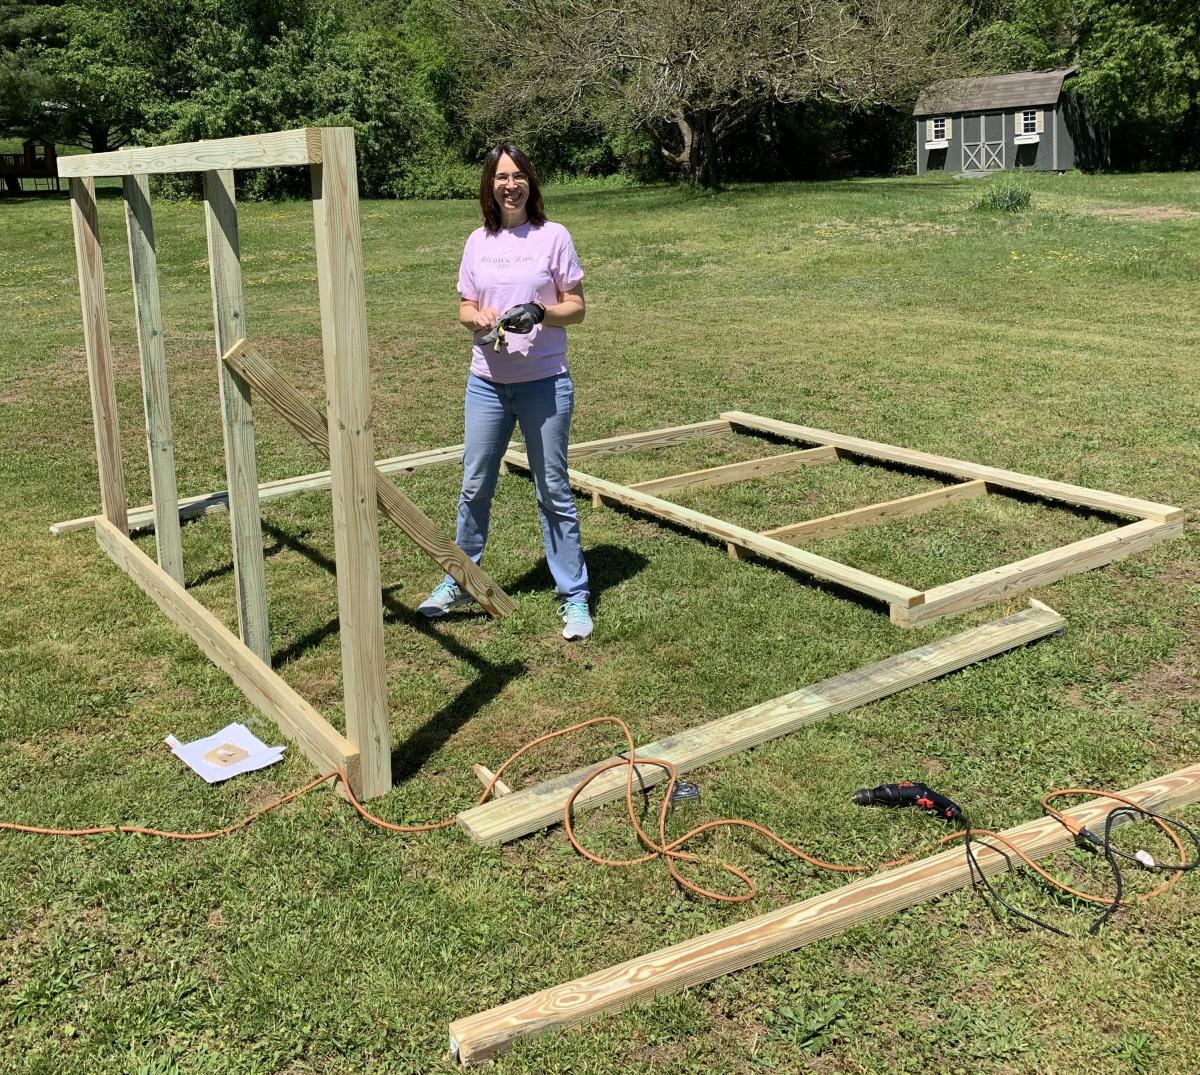
It was built by my wife and I in one weekend, well actually the truth is we built the entire enclosure, minus the door on Saturday about 10am and finish up about 5:30pm. I built the door the next day and we hung it together.
Just an FYI, I have quite a bit of woodworking experience and have a workshop with table saw, band saw and much, much more. I did use the table saw for most of the cuts, with the exception of the gate support which I cut using the band saw.
One caveat, if you have the lumber yard cut any pieces for you, make sure all the lumber is the same length. It's kind os a nit picky thing, but none of the lumber was exactly the length shown on the labels. If you want all the joints to be "perfect" I suggest measuring and cutting all the pieces to the correct length to match the plans.
We also used an industrial hand held staple gun to fasten the chicken wire.
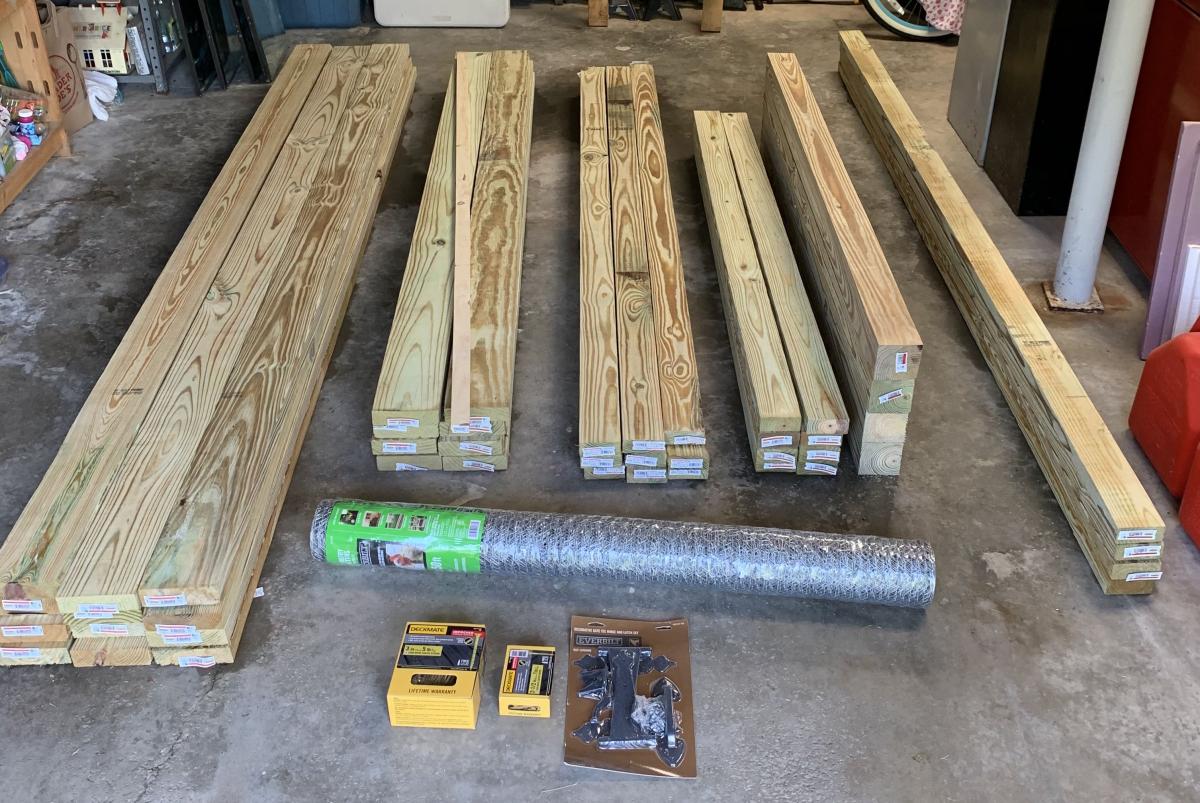
The cost of all the materials, including two sets of work gloves came out to $447.92 from Home Depot in 2020.
We are now waiting for a delivery of the top soil to fill the beds. Since we used weatherguard lumber, we are going to gat plastic sheeting and line the beds.
It was a fun project and my girls are looking forward to planting all their seedlings.
For fun we made a time lapse video, which I have uploaded to Youtube. If you watch closely, you will see that we started the build in one area of the yard and moved it because the ground sloped much more than we originally thought.
https://www.youtube.com/watch?v=h7vvBLy034U&list=WL&index=112&t=0s
I hope that our experience may help others in some small way.
Thank you Ana for making these plans available!!
Sat, 05/30/2020 - 18:27
Love the added length! Thanks so much for sharing photos of your build!

I made a couple changes to the plans to better suit my needs, but Ana's plans were my inspiration! And my veggies that were outgrowing their jiffy pots are happy to have a new home!!!

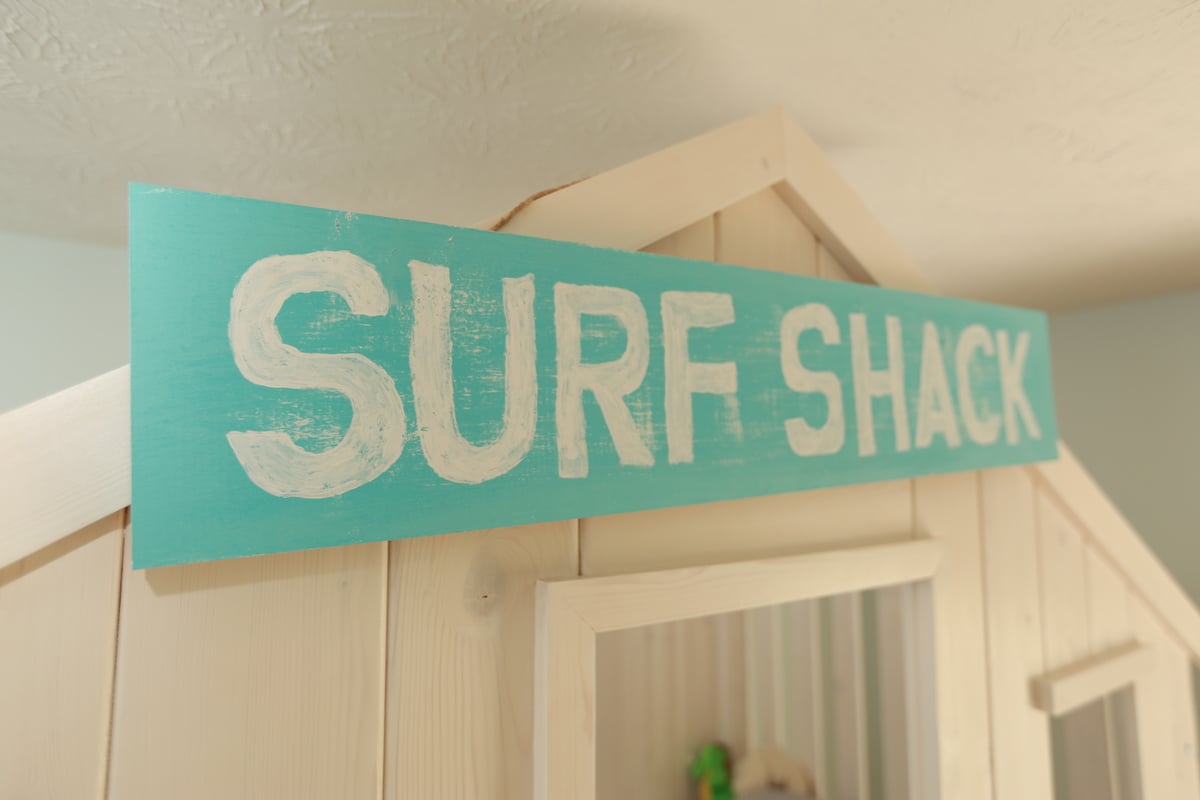
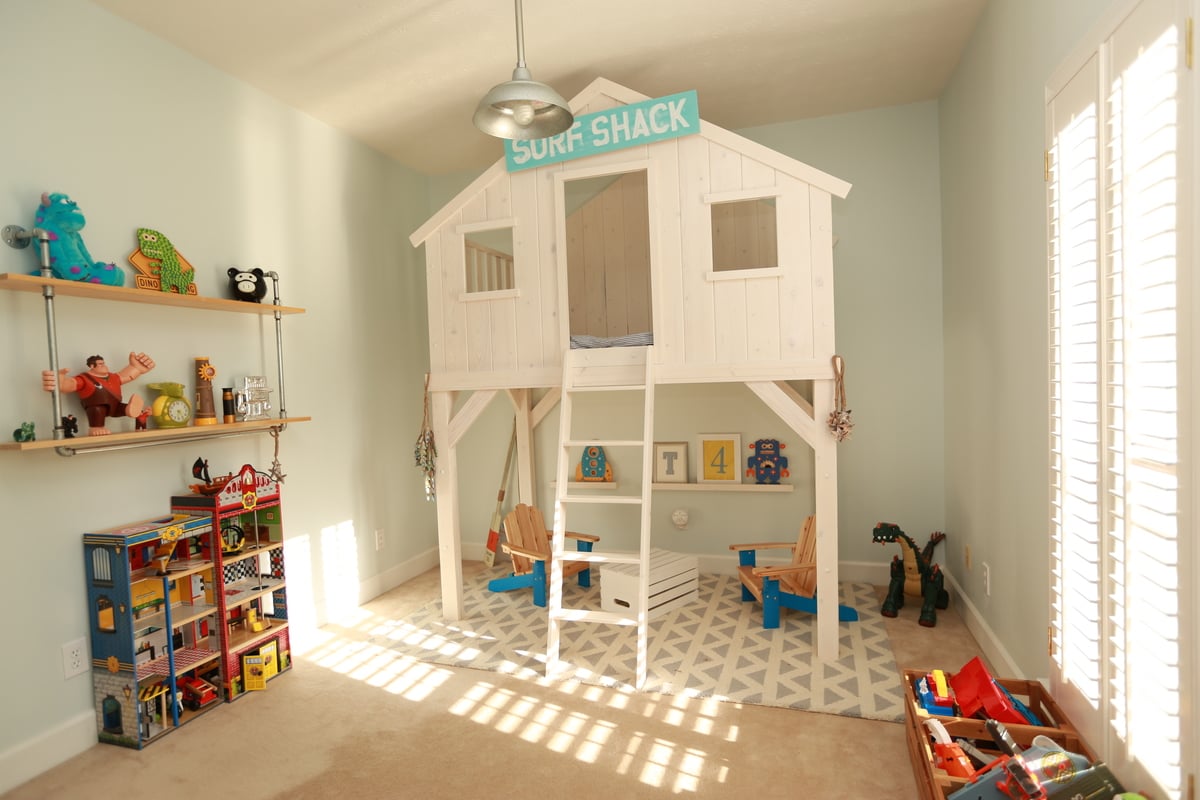
Customized version of the clubhouse bed that is so popular! We went the extra mile on the finishing touches to ensure an awesome bed for our little guy! We made the bed taller for more space underneath and polished up the finished product to create a higher end look. Care was taken to precisely sand all areas of the bed for a smooth finish and polished look. All pocket-holes are filled with plugs and sanded smooth on the inside of the bed for an overall finished product. No shortcuts taken! We went the extra mile and painted the carriage bolts so they would blend in with the whitewash finish and also recessed the nut on the back of the legs for safety and added a cap so they are not visible. Top of the bed, above the door, is filled in and a custom ladder finishes off the look. We went with smaller lumber to build the ladder and it is perfect!! We are over the moon with this project and will be building more items as fast as we can. Also, the sign, under-bed shelves, and industrial shelves were built by my husband. He did an epic job creating this room!! We used better grade wood and spent a lot of time sanding to ensure a great bed in the end. We also went with a Benjamin Moore stain that was a little more expensive and took the time to finish the slats under the bed.
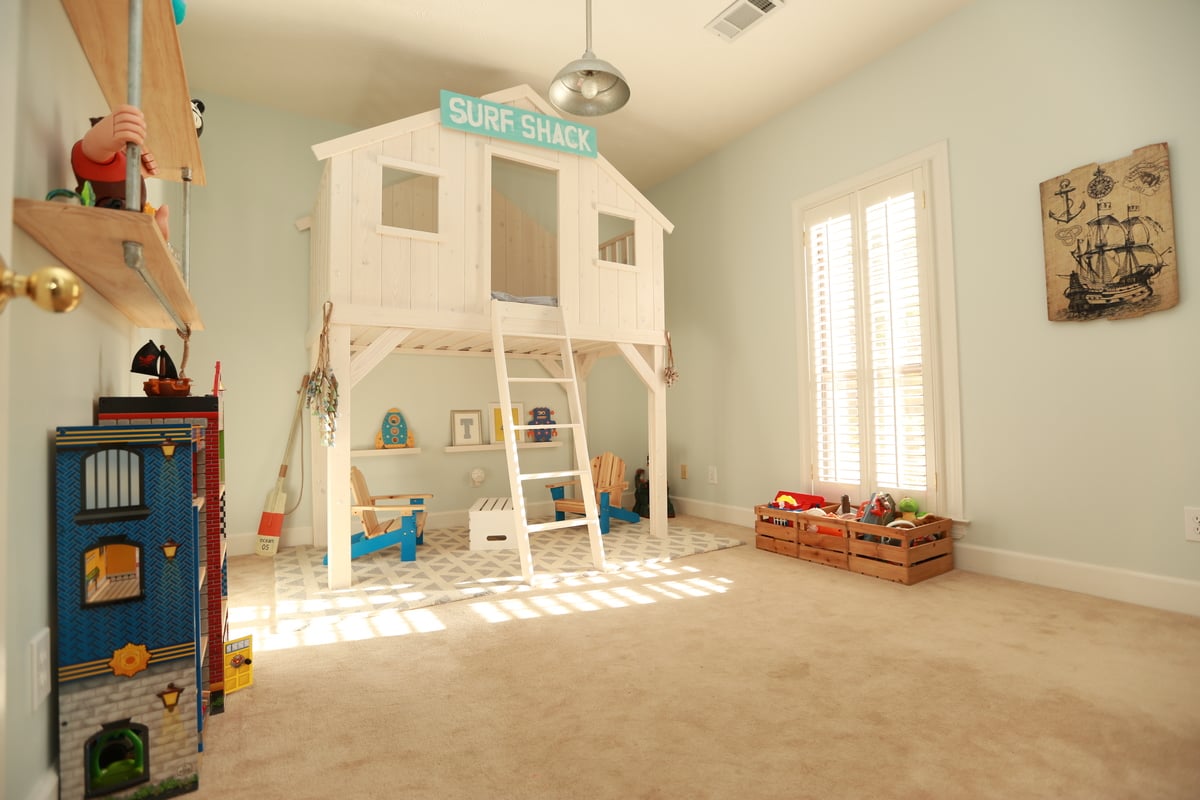
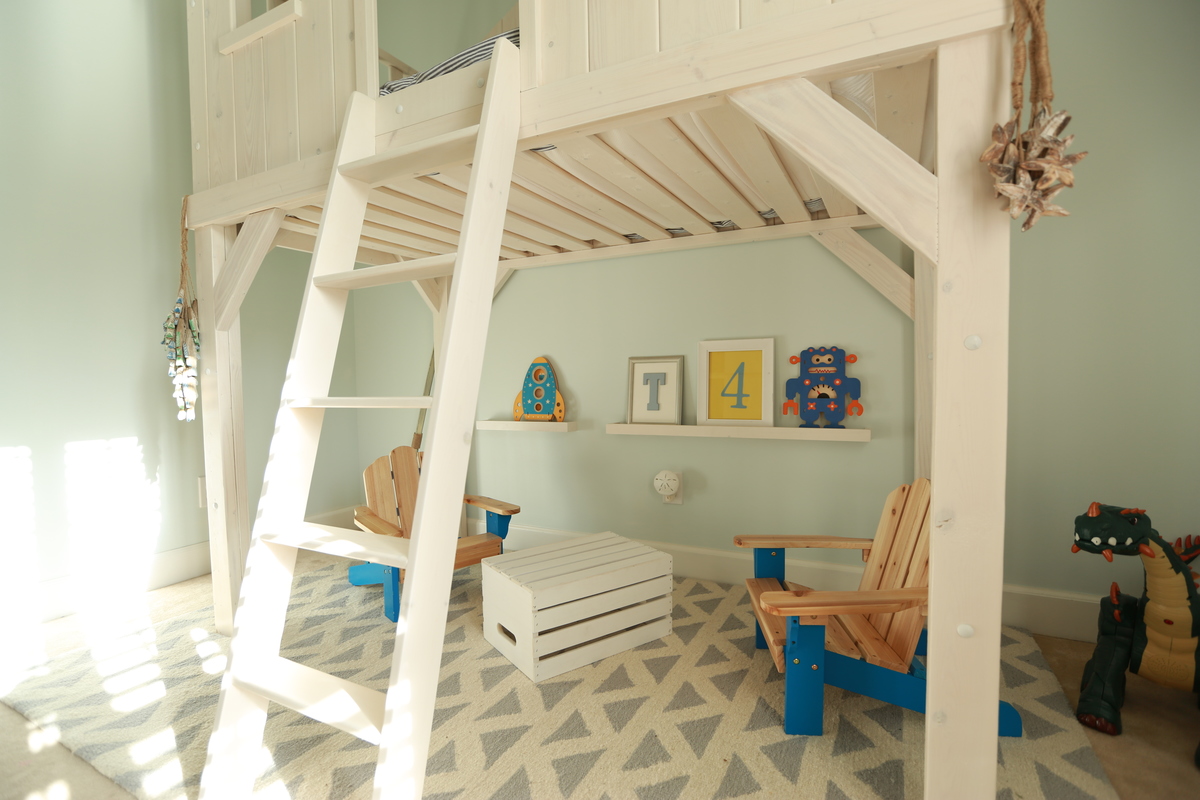
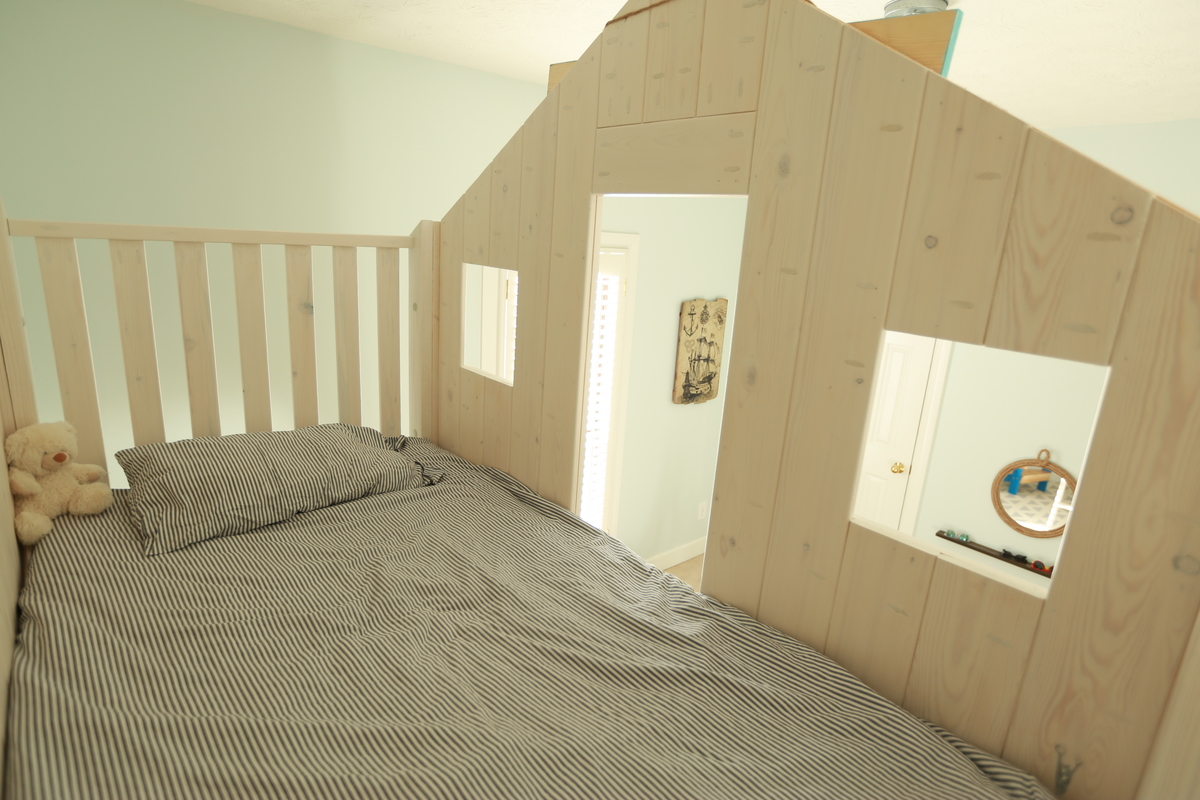
Mon, 02/22/2016 - 07:38
I love this bed! I was looking at the BM site and was wondering what exact stain did you use? there are 5 different opacities & I want to make sure I get the right one. Thanks!!
In reply to what benjamin moore stain? by jeawels
Fri, 08/19/2016 - 05:58
Did you ever figure out what stain was used on this particular bed? I love it.
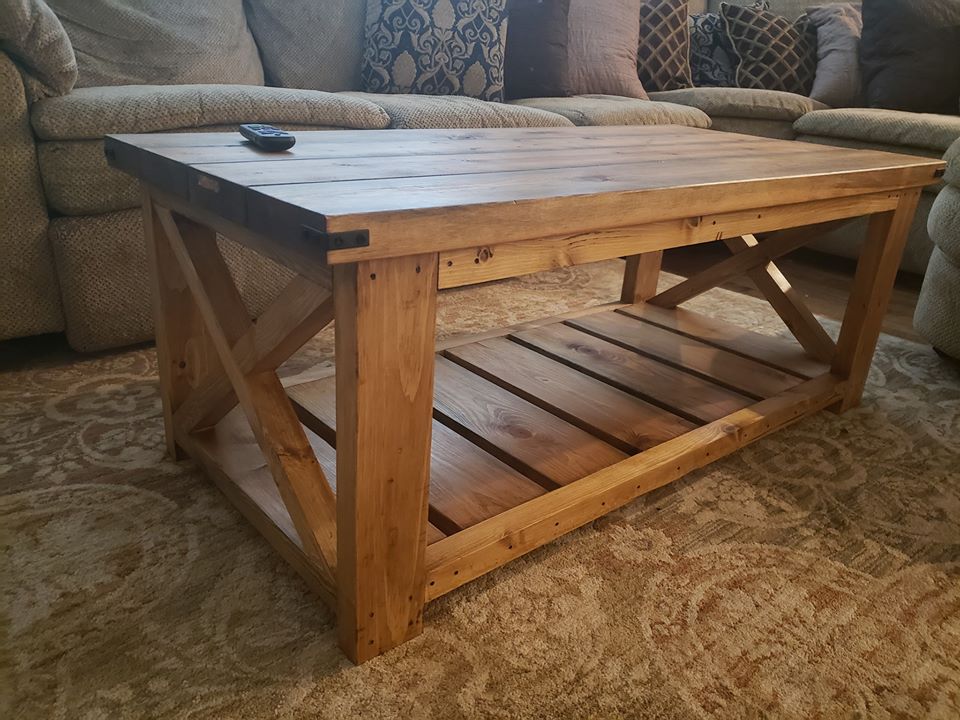
This was a fun project to build! It took about 1.5 hours to build start to finish, with another couple of hours to stain and then seal.
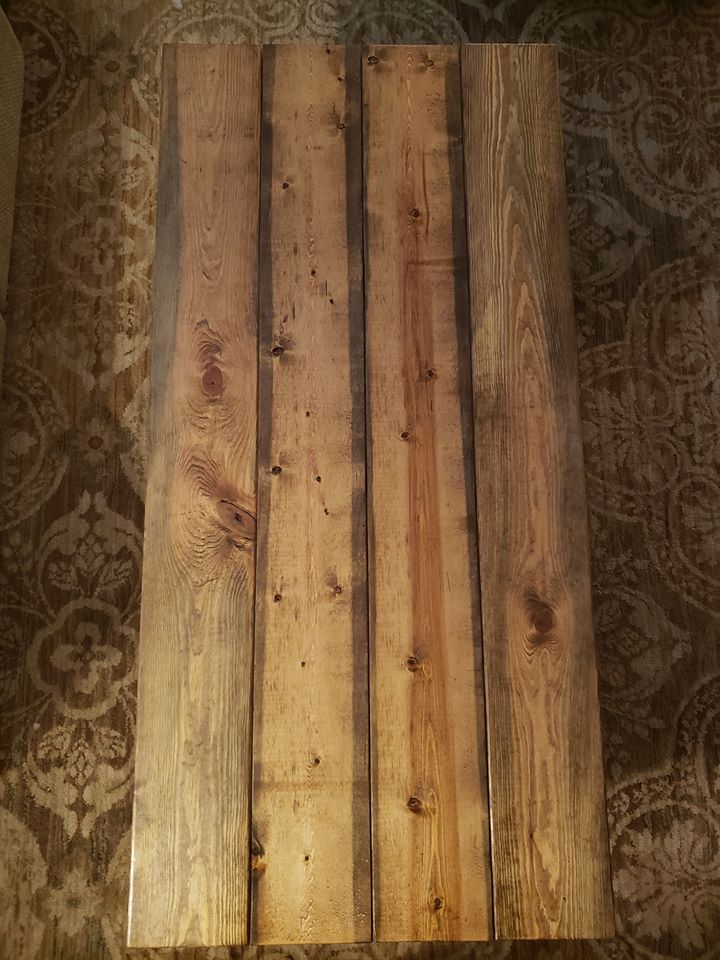
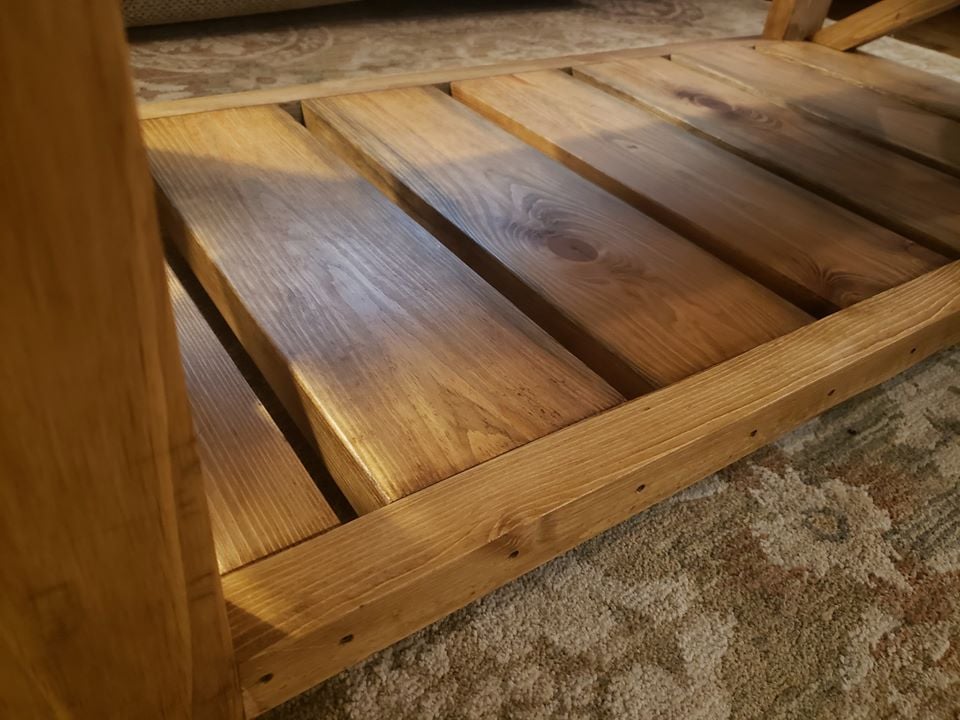
Took the advice from another and made the width 16 1/4. Fits the changing pad perfectly. Thank you!! Made from oak with Espresso stain and 2 coats finishing wax.
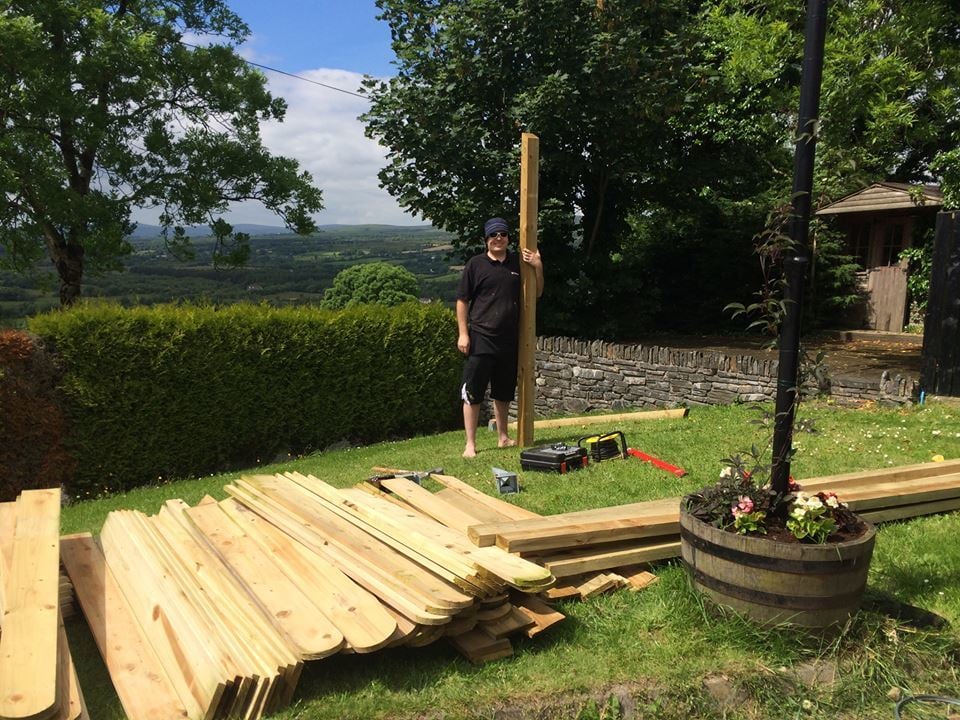
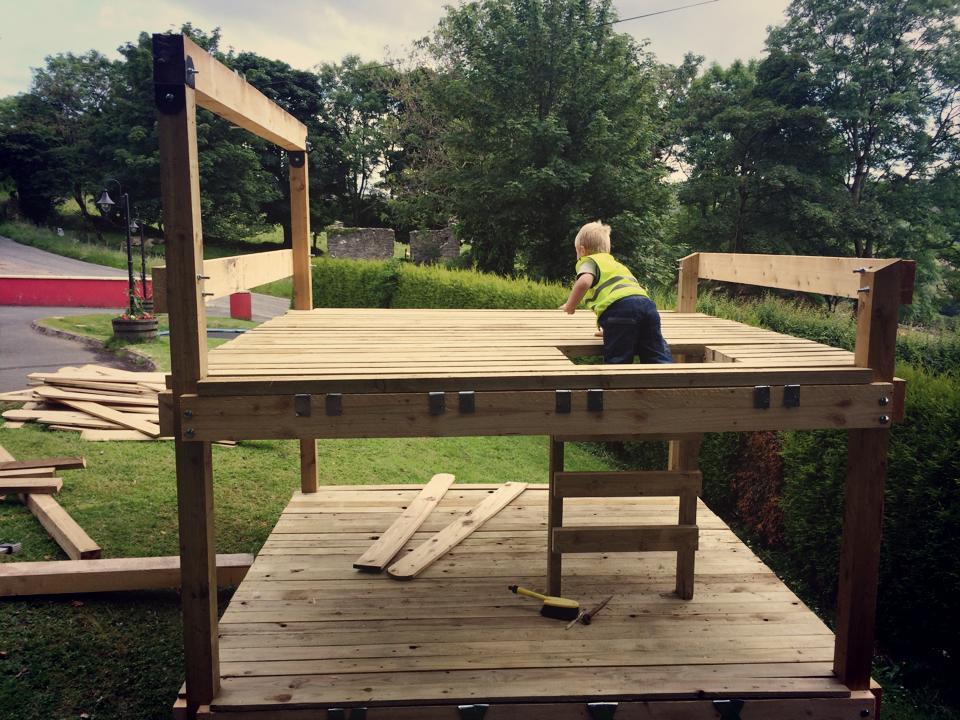
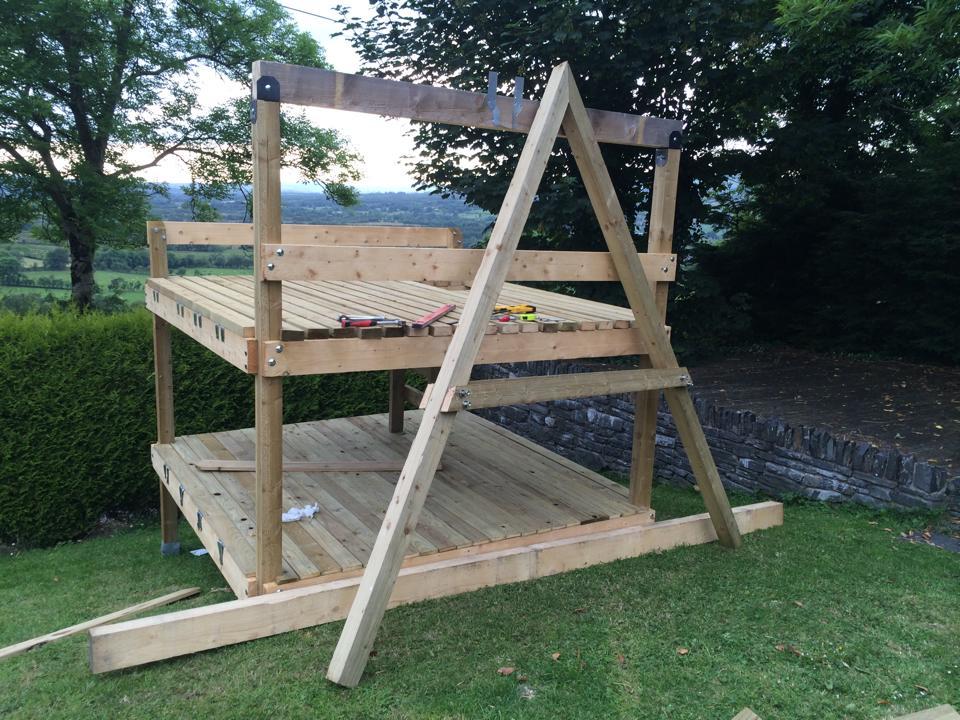
Play Deck and Swing
Wed, 09/03/2014 - 07:35
You have a BEAUTIFUL view from your yard! Just curious, where do you live? I assumed somewhere in Europe due to the currency. The play area looks fantastic. What lucky kiddos!
Wed, 09/03/2014 - 08:21
Thanks. Lovely part of the country outside Omagh, Northern Ireland
So I bought this print, sized 16" x 20", from an independent photographer. My husband said I could get it only if I built the frame, so I was on the hook.
I used pine boards and glued and clamped the outside part since I don't have a nail gun. I sanded the really rought parts, but probably could've sanded more. Finished with Valspar's black spray paint and used mirror clips and 1" wood screws. Blue had glass pieces in 16" x 20" for less than $6. Hung with D rings and picture hanging wire.
Time estimate includes time for paint to dry and rigging up all the hanging hardware.
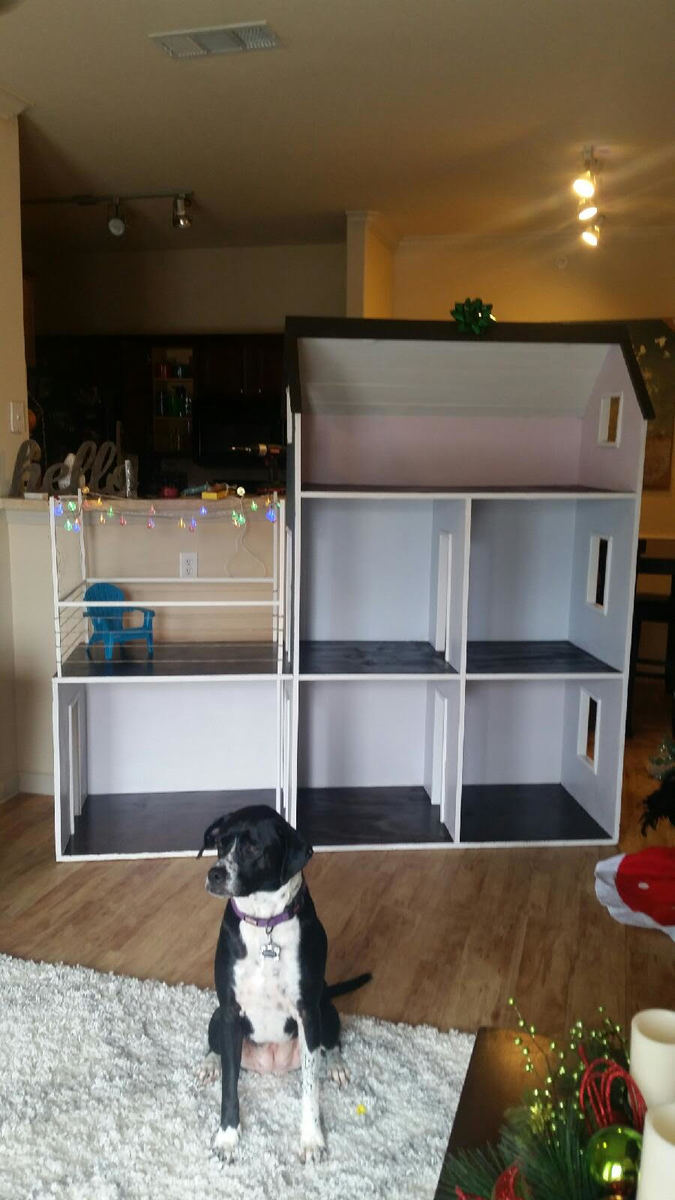
Thank you for the plans! It came out great.
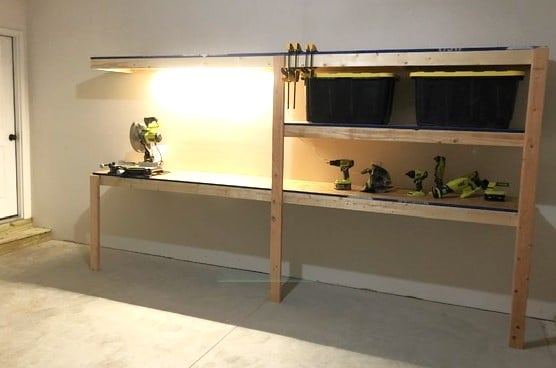
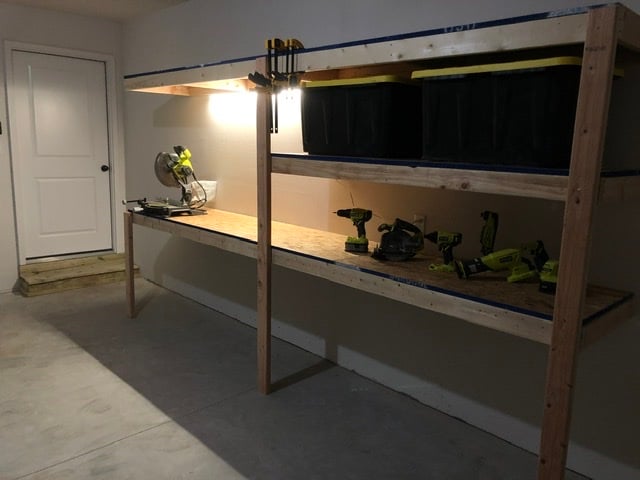
I used Ana’s plans for the garage shelves, but modified them to include a work bench. A lot of you tubers have done this, built a combination work bench and shelving, but I built nearly everything according to Ana’s plans. 12 feet long, 24 inches deep. I got some LED lights (two 1600 lumen strip lights) from menards that really brighten up my entire garage and make the work bench more useful. The one thing I really wanted was to not have a supporting pillar on the work bench to keep it open, and I loved how it turned out. I went for 3/4 plywood, mostly to have a stronger work surface, and I’m glad I did. I have since added a supporting 2x6 off of the study to support the top shelf above the bench and its strong enough to do pull-ups off of, and I have reinforced the support leg under the bench with a cross bar. Thanks for the great plans!!
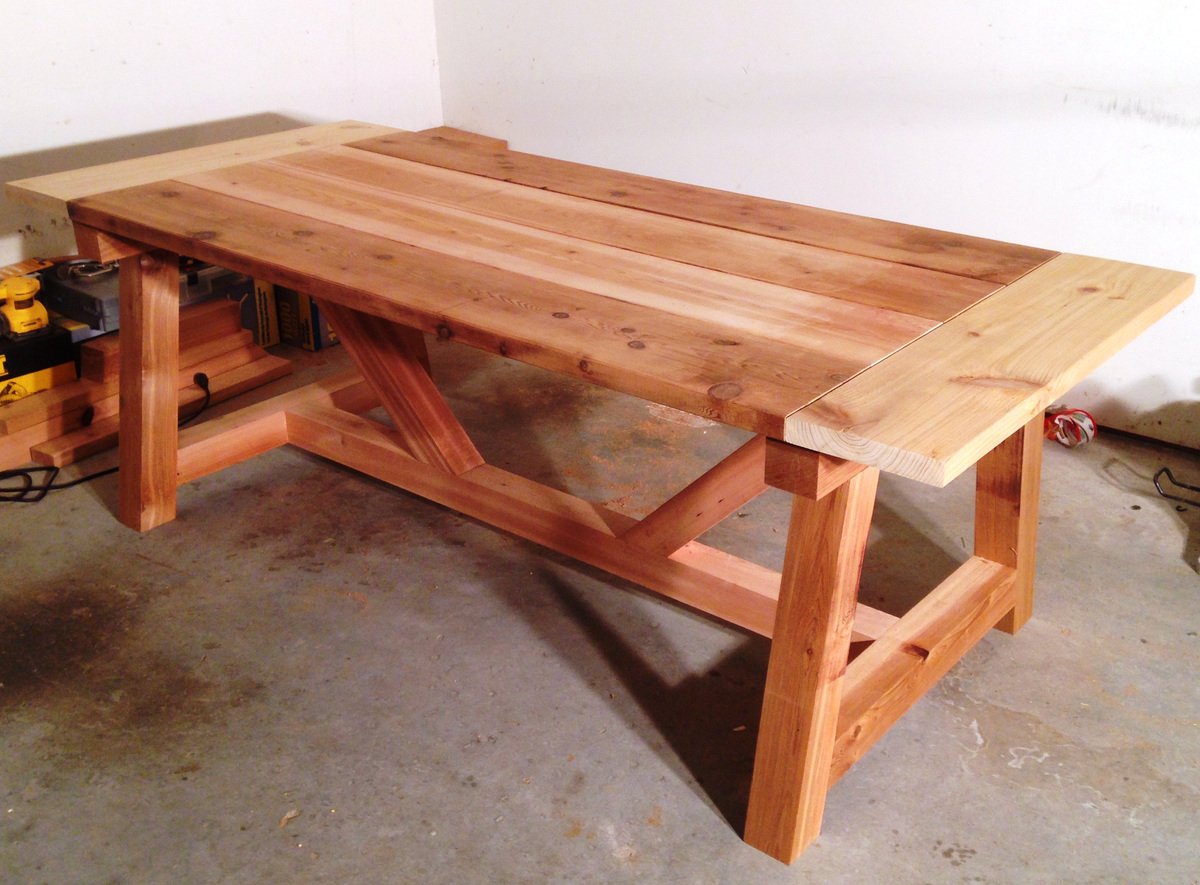
This was my first ever Ana White woodworking project. It was also my first time using a Kreg Jig. I had a ton of fun and can't beleive how great it turned out! I learned a lot while building it so I'm sure I will have even more success with my next project. I highly recommend this project for first time beginners looking for a huge feeling of accomplishment and personal satisfaction.
Thanks Ana!
Anthony
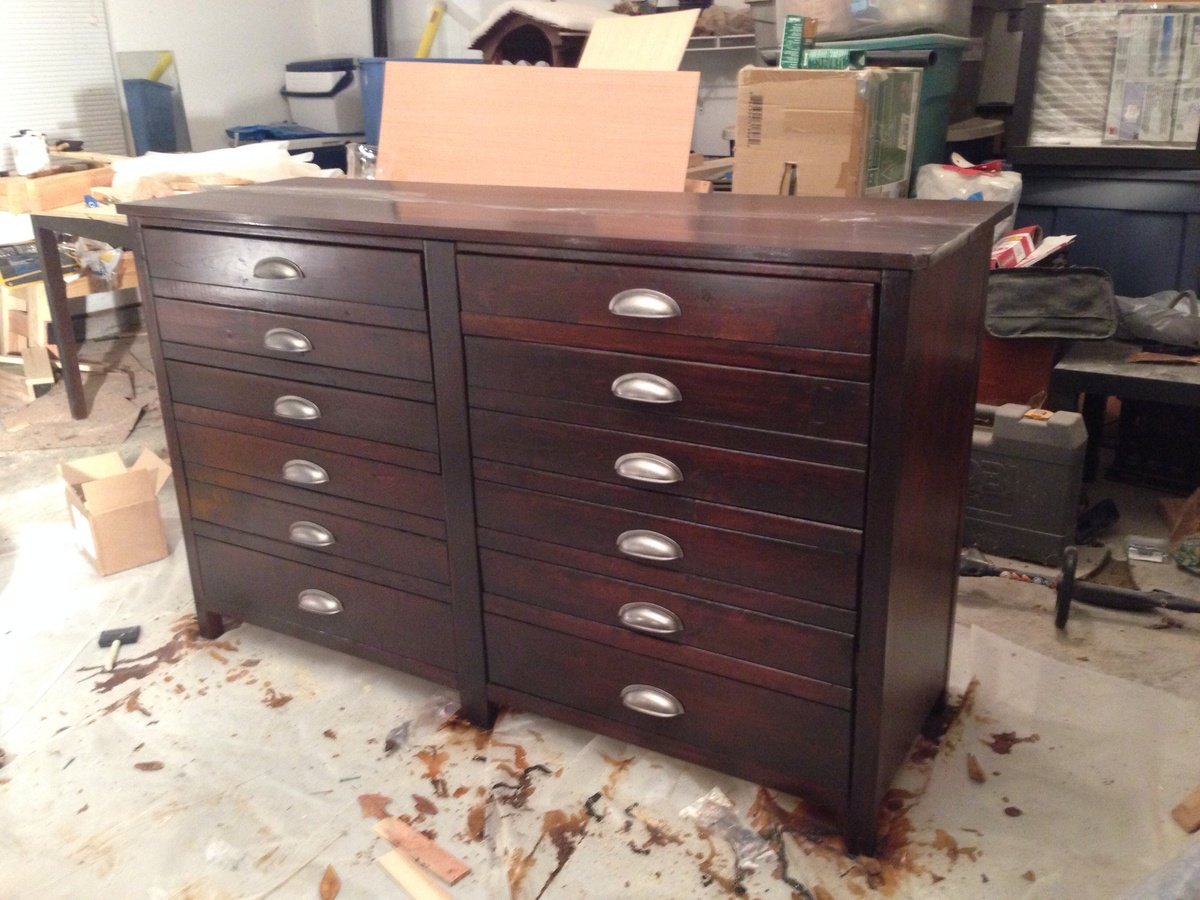
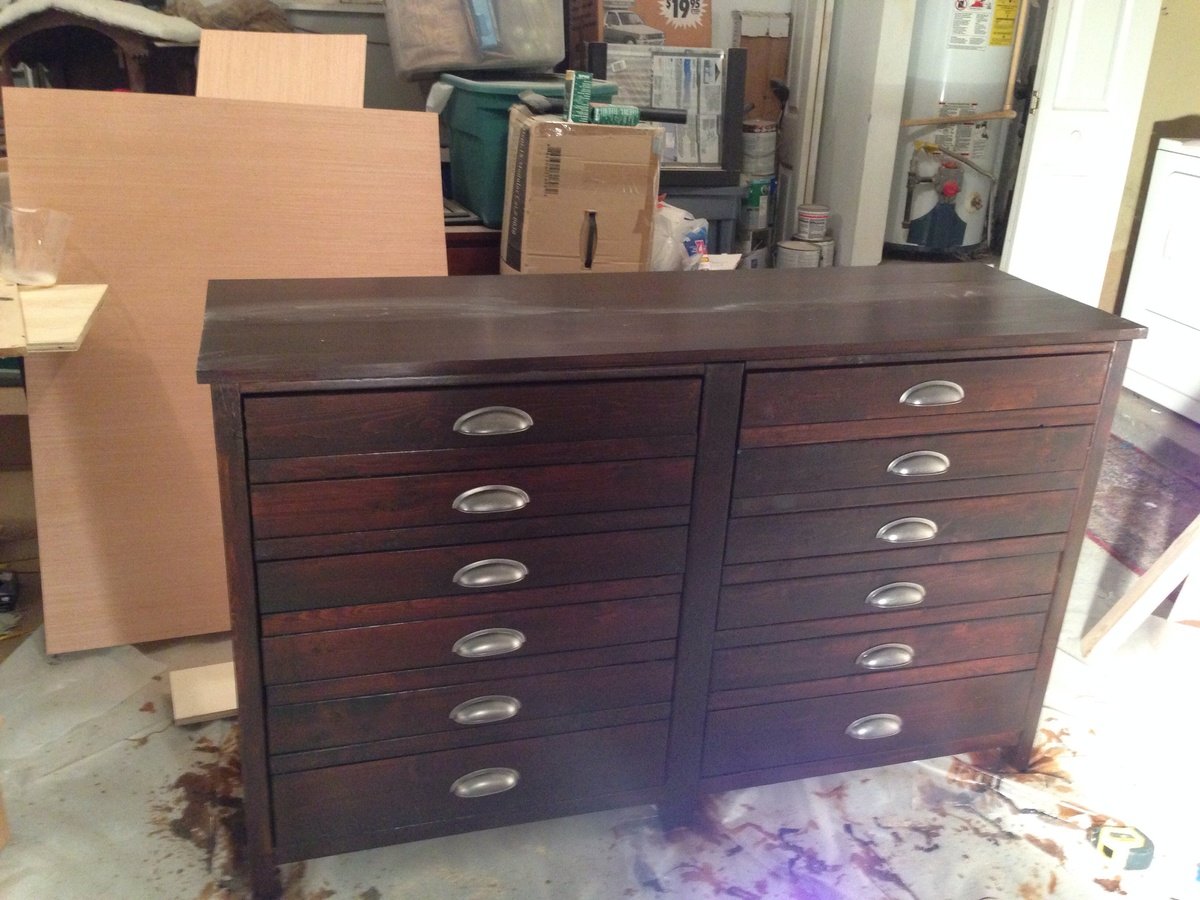
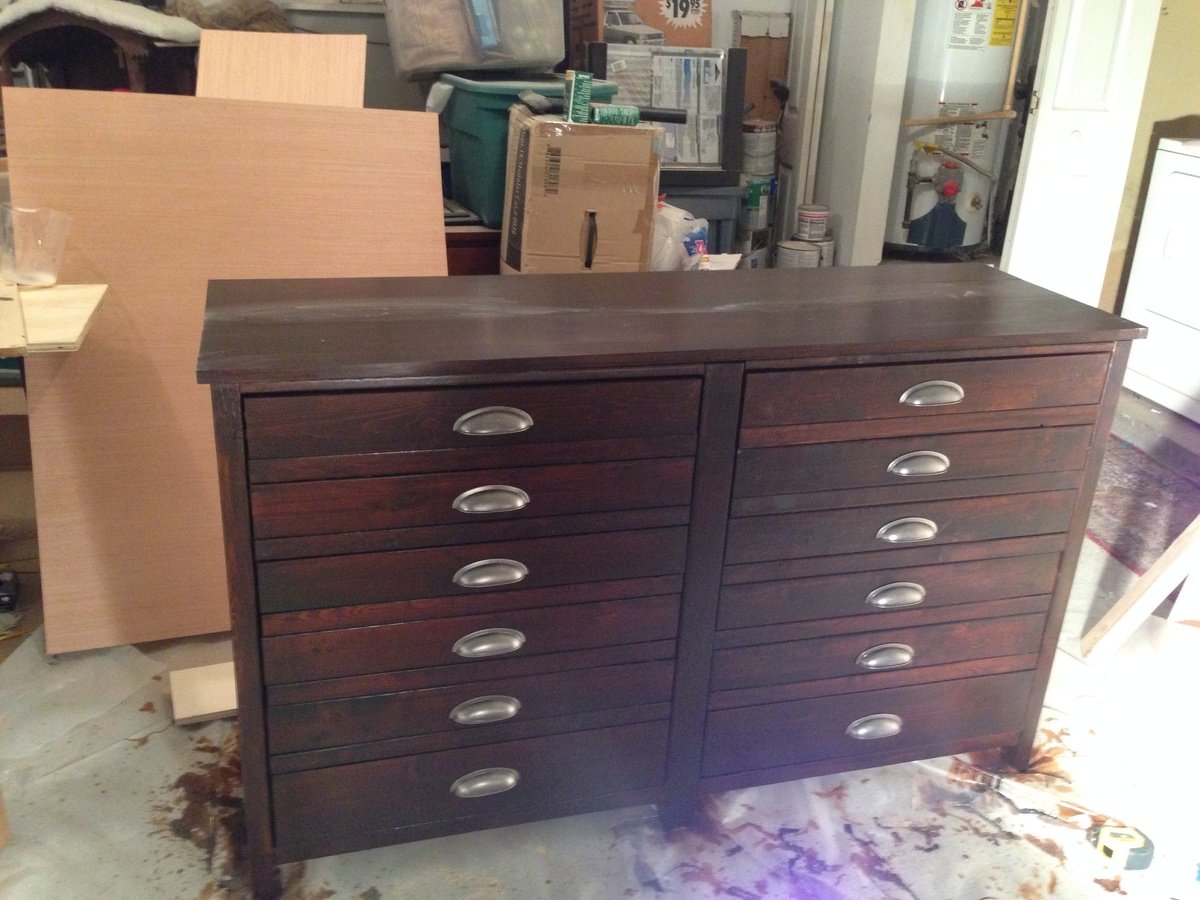
Printers console
Fri, 11/21/2014 - 09:23
Only for $85 that is awesome! This is great work!
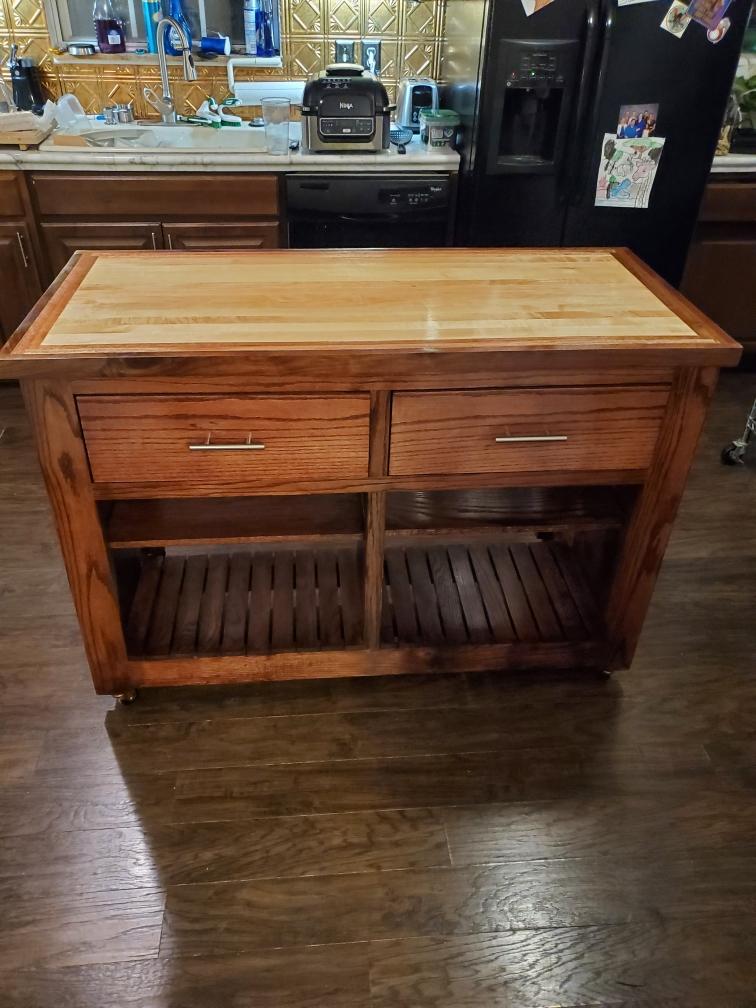
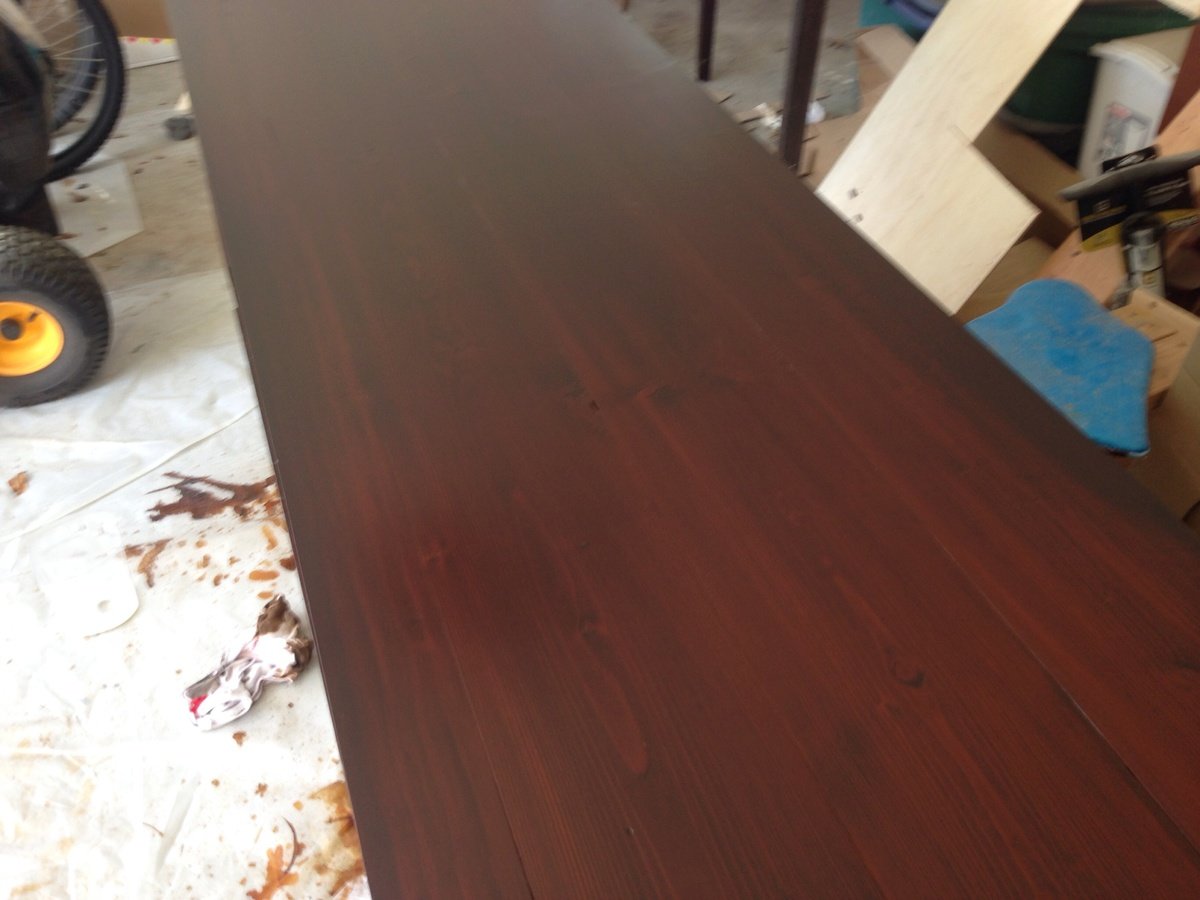
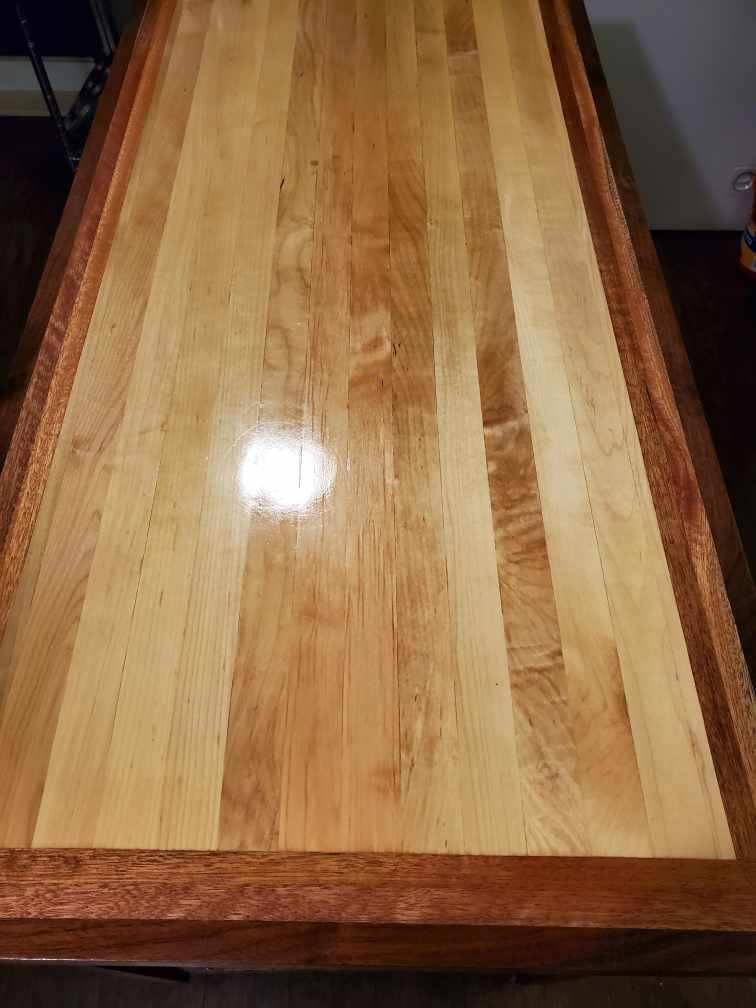
Built with Red oak had to glue to get 2 by 4, then minwax stain with red mahogany, top is maple center with mahogany and walnut strips around.
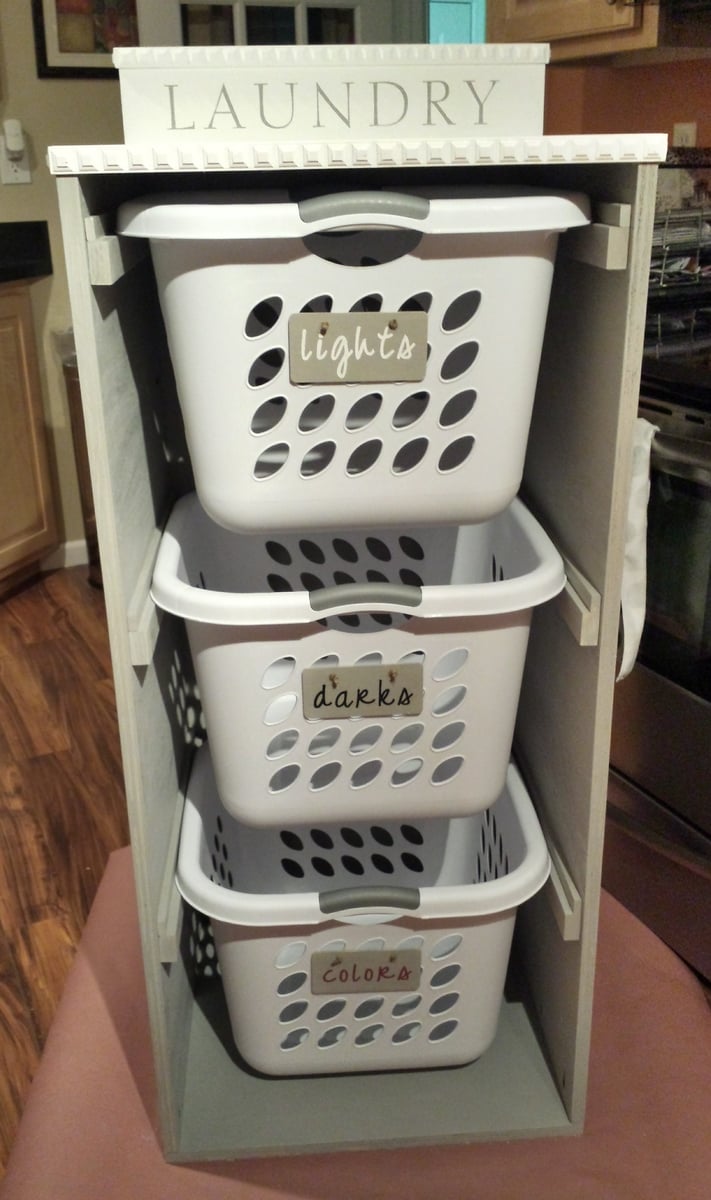
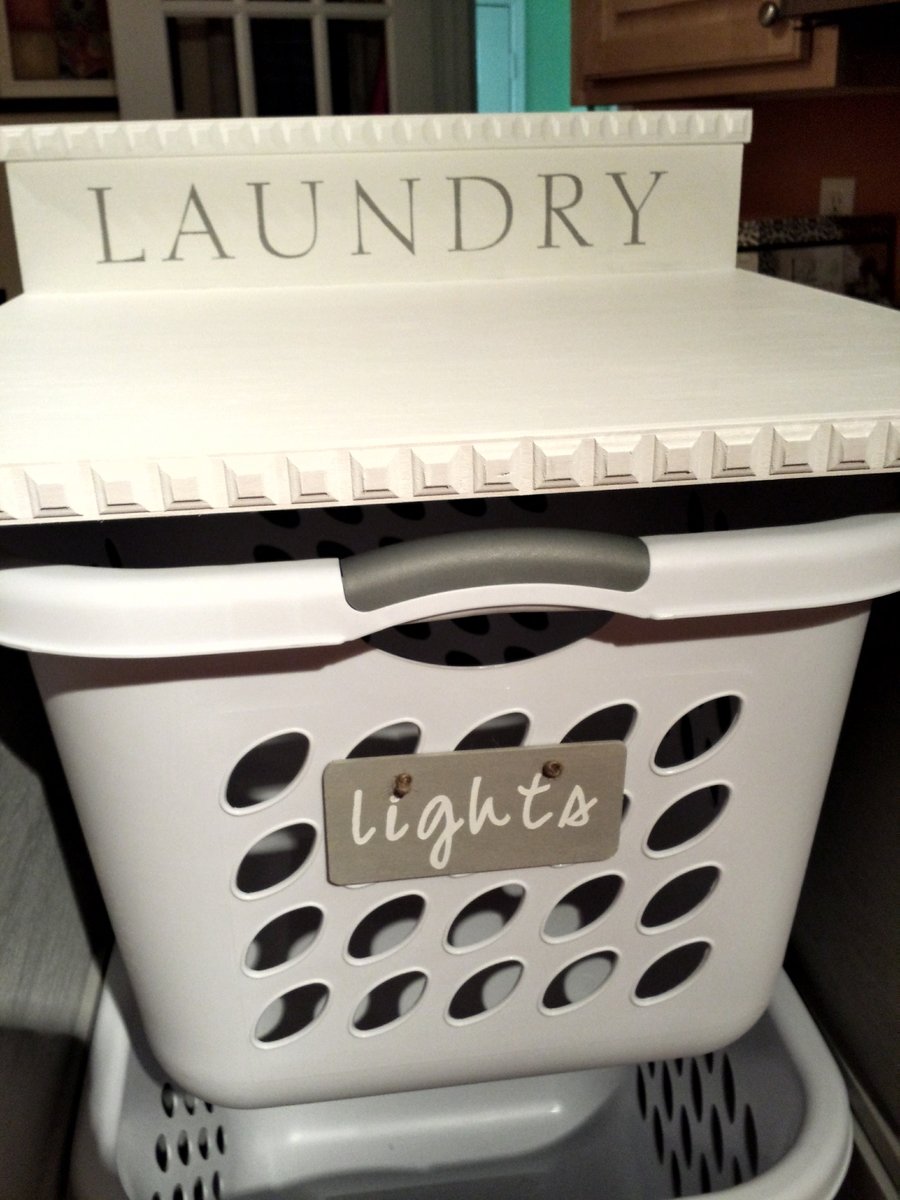
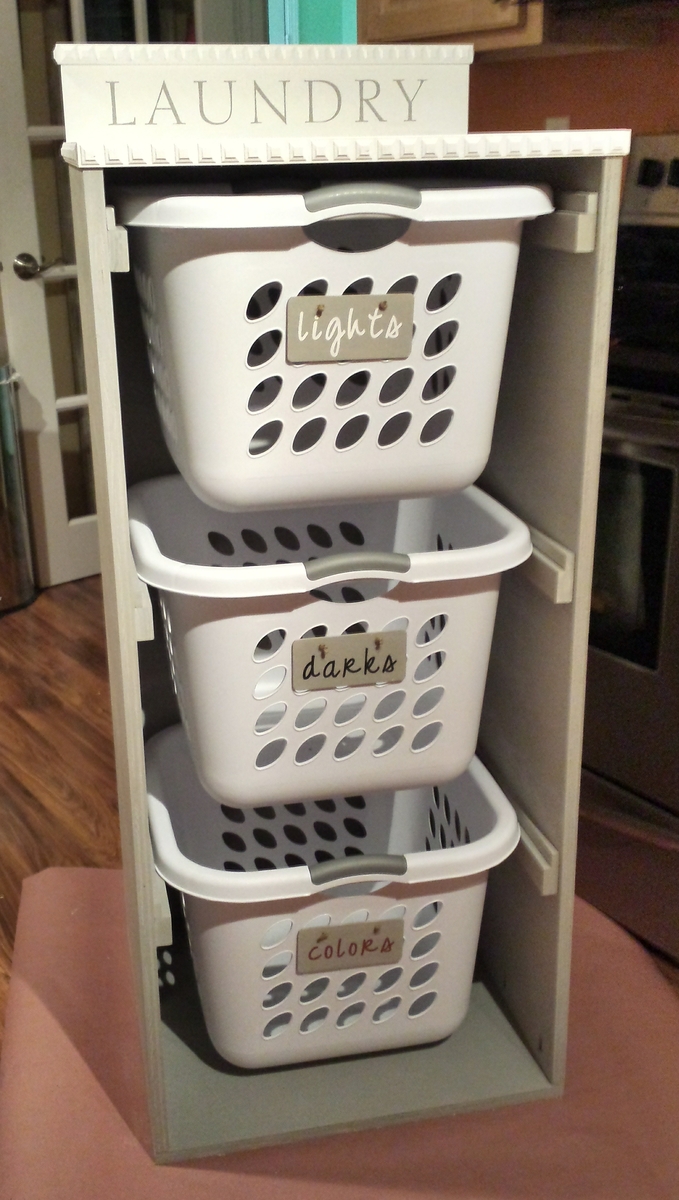
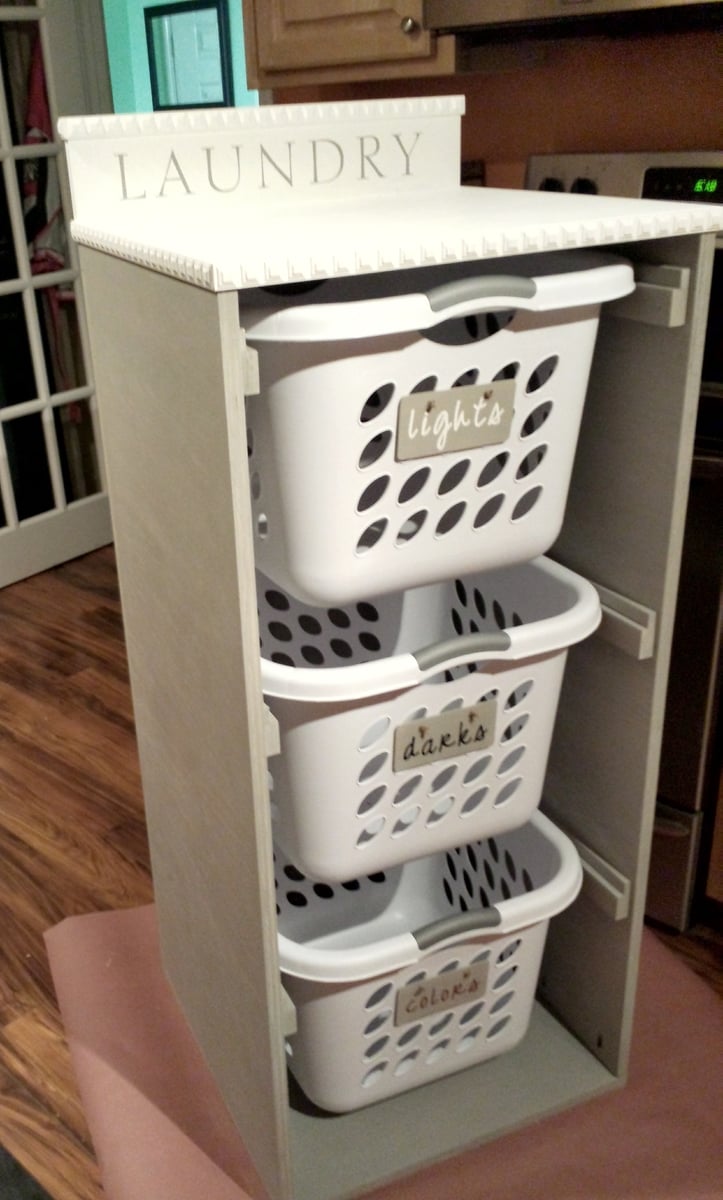
Used square laundry baskets instead of regular rectangular baskets. The square ones aren't as deep but are a bit taller so I had to modify the plans. I added a backsplash and some wooden tags to the baskets to designate them for certain colors. I also added some decorative trim and finished the bottom in a gray stain and used white chalk paint for the top.
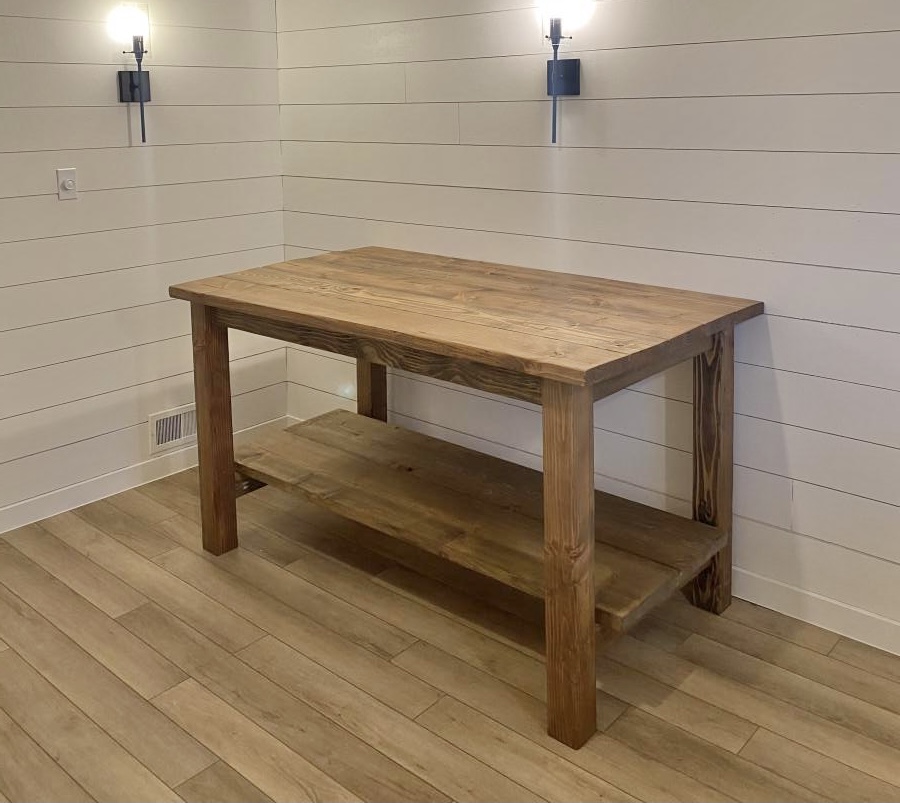
The counter height farmhouse table plans were so helpful! Thank you Ana White! I replaced plywood on top with 2x8s and added a shelf underneath the table for some kitchen storage! I am in love thanks again😍 Follow me on Instagram @abbbclark_homeee for more home renovations, decor and DIY!
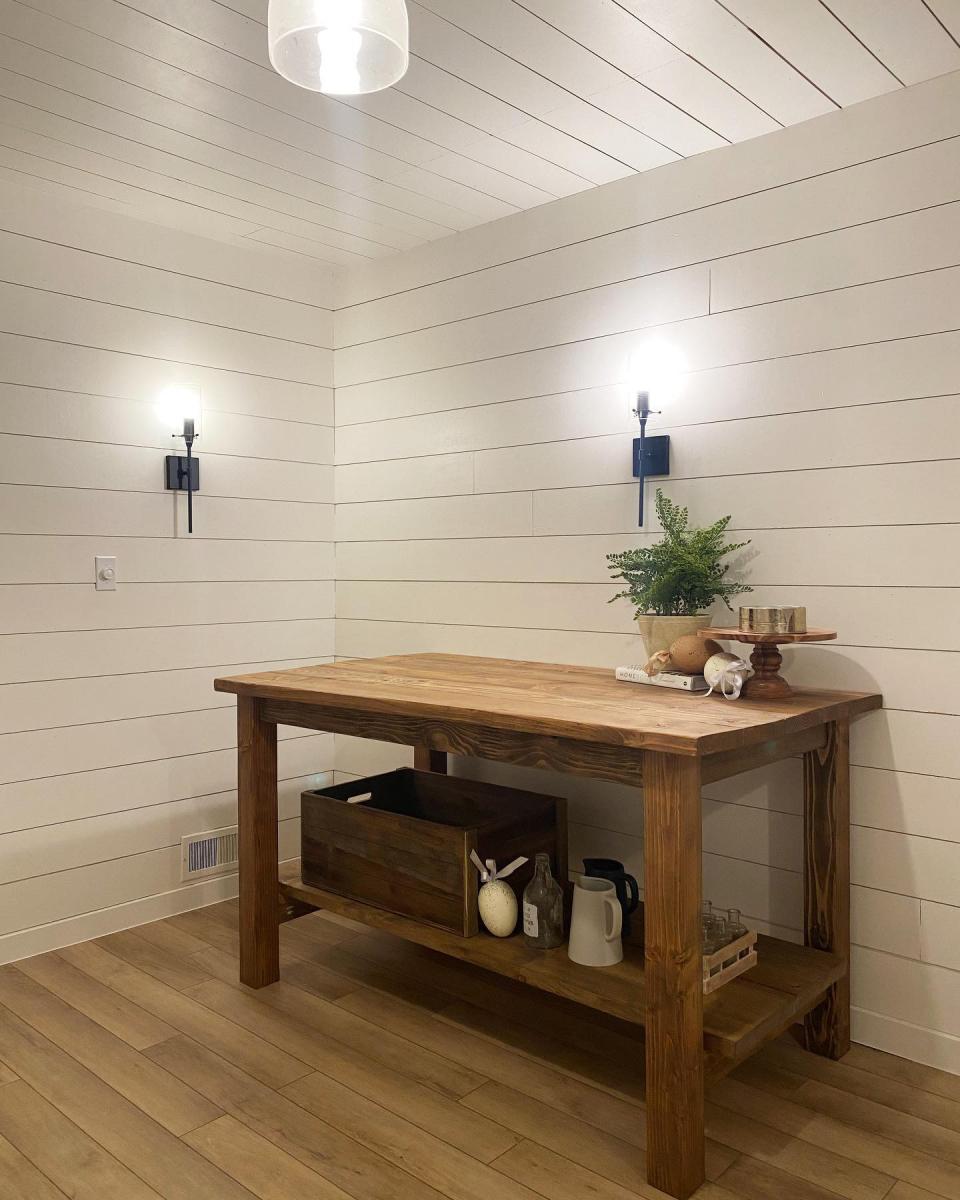
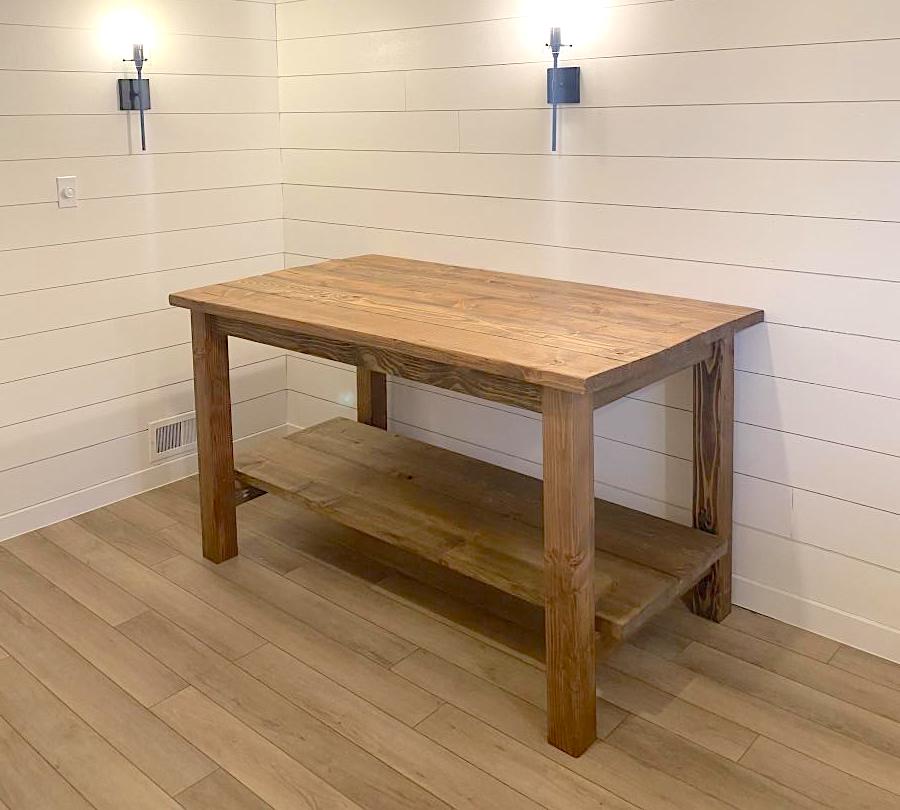
Easy weekend project.

A 2-month long project to create an entertaining space in our small backyard. I started with a dining set for 6, then went on to seating around our firepit. I actually doubled the size of the Modern Outdoor Loveseat and built a 4-seat couch (added a center section for support. I also built 2 loveseats, 2 small side tables, and took some creative liberties to design a coffee table/foot rest combo. The major modification I made to the couch and loveseats was adding a back for some additional height. This really improved the comfort when leaning back. Had a great time completing this project! When lumber prices come down I'll continue the build. (2 pictures keep uploading and converting to an upside down image - no idea why, but sorry for the weird view)
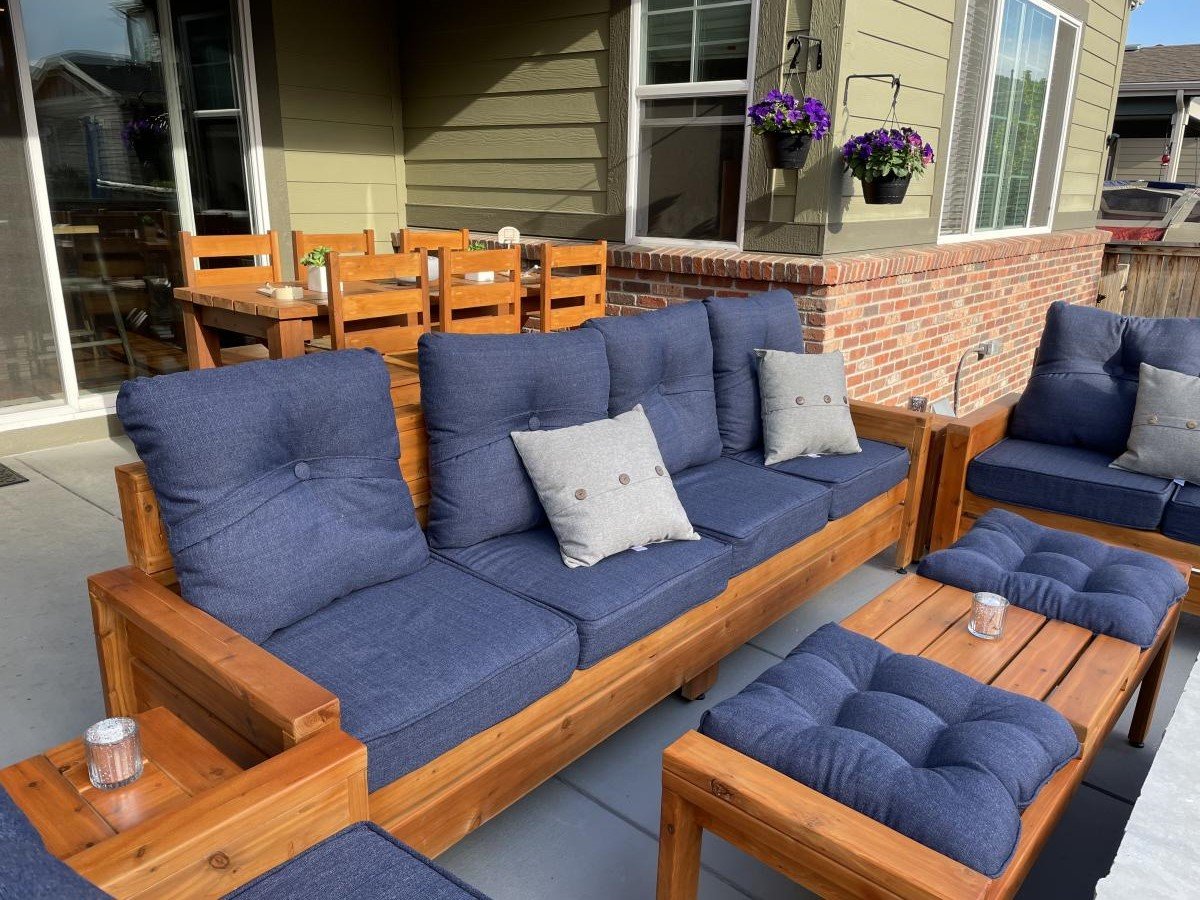
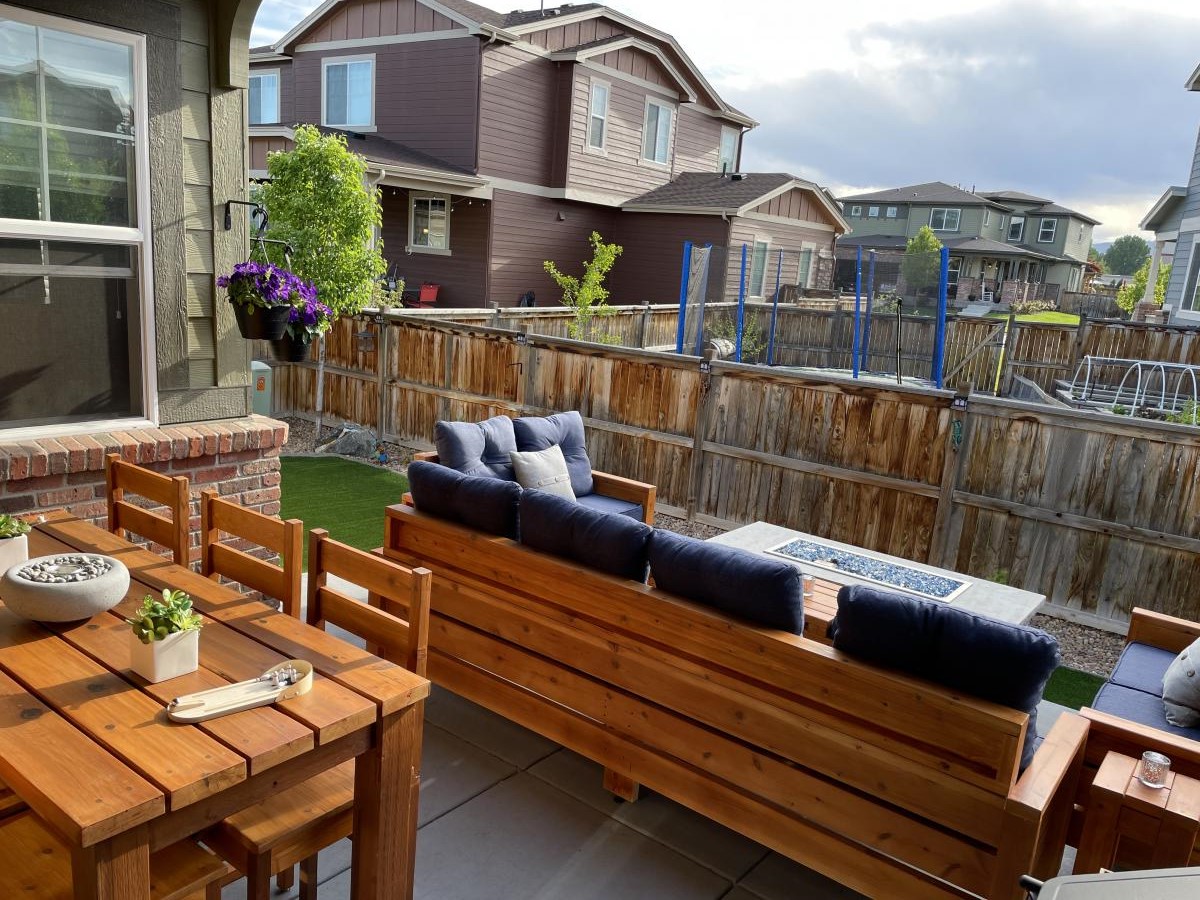
Sun, 05/30/2021 - 09:58
Love the coffee table foot rest, would love to see more of the outdoor table as well! It all looks amazing and came together perfectly! Thank you for sharing, check out our Facebook page, just shared!
This massive 10 foot sofa table had to be built in 2 sections for transport, then re-attached in place. Power strip is in a hidden cubby in the center of the table with a cover that pops off when in use. Boards cover the end of the table to prevent the kitties from hiding behind the couch.
Used a combination of several plans to create my own design!
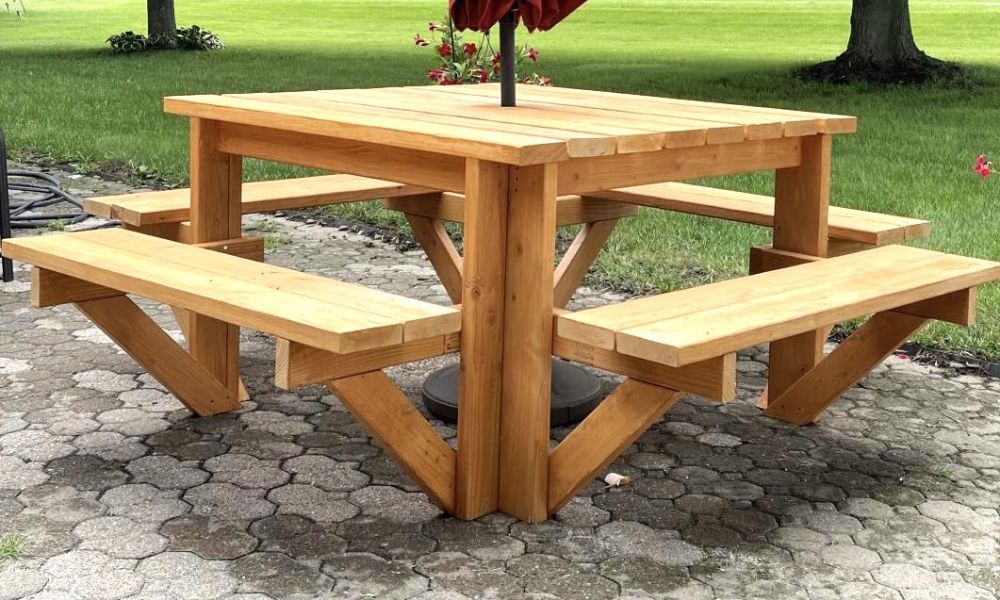
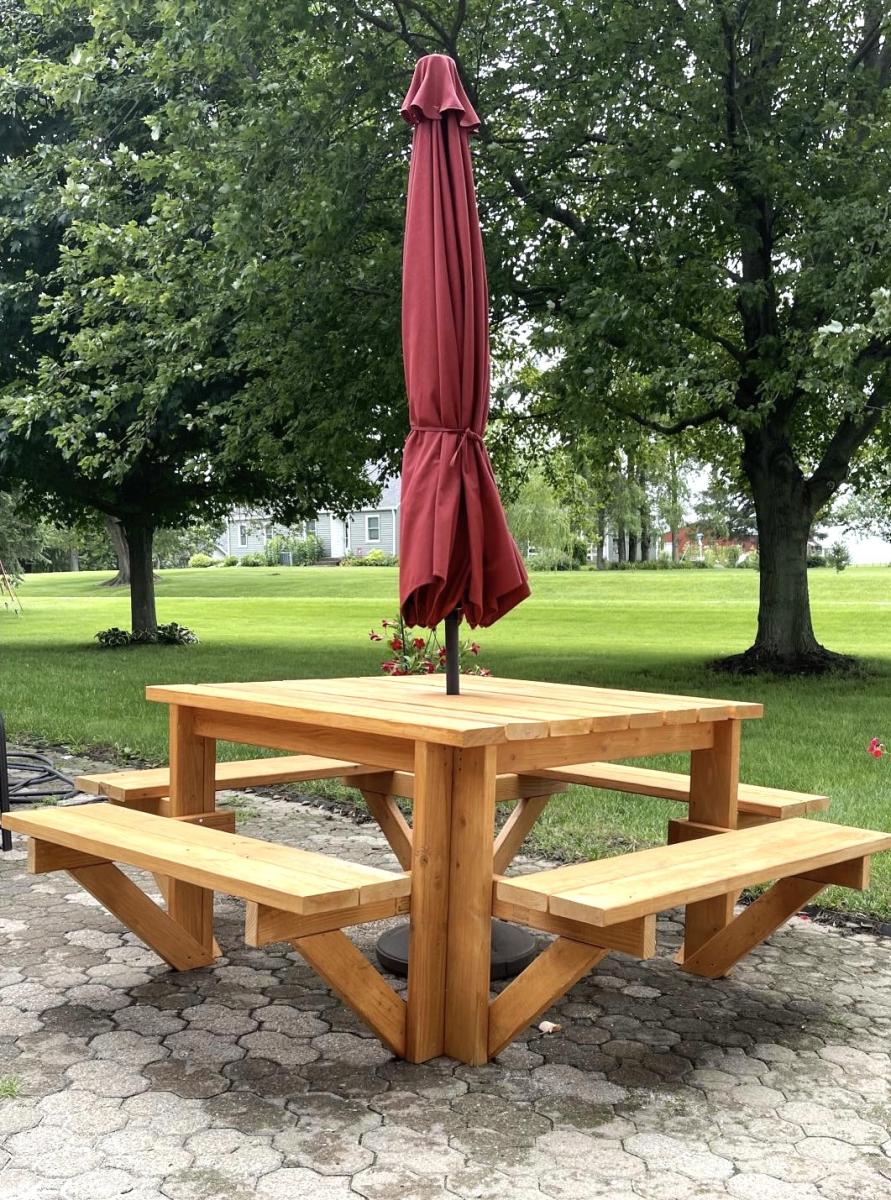
This was a great summer project. The table looks great and it was any easy build. Doesn’t get any better than this. I added a hole in the center of the table for my umbrella and used the longer screws for more frame stability.
Comments
DD5.1
Sun, 04/27/2014 - 14:06
Found the plans
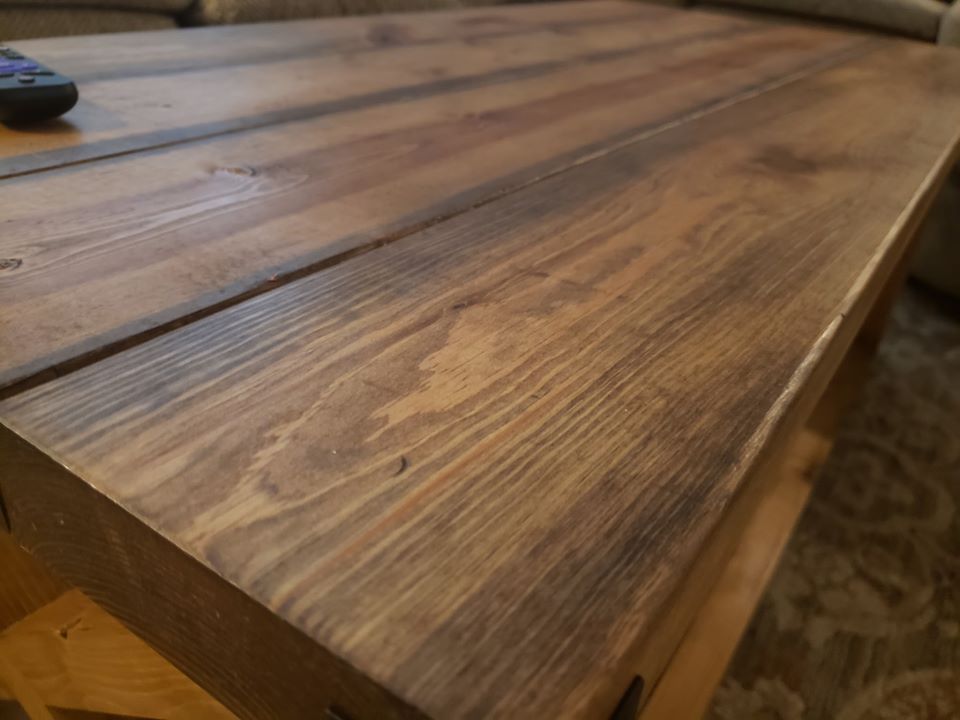
Found the plans "modified-simple-outdoor-dining-table" and I built it. Very nice table, I posted more pcitures to help others
DD5.1
Sun, 04/27/2014 - 14:06
Found the plans
Found the plans "modified-simple-outdoor-dining-table" and I built it. Very nice table, I posted more pcitures to help others