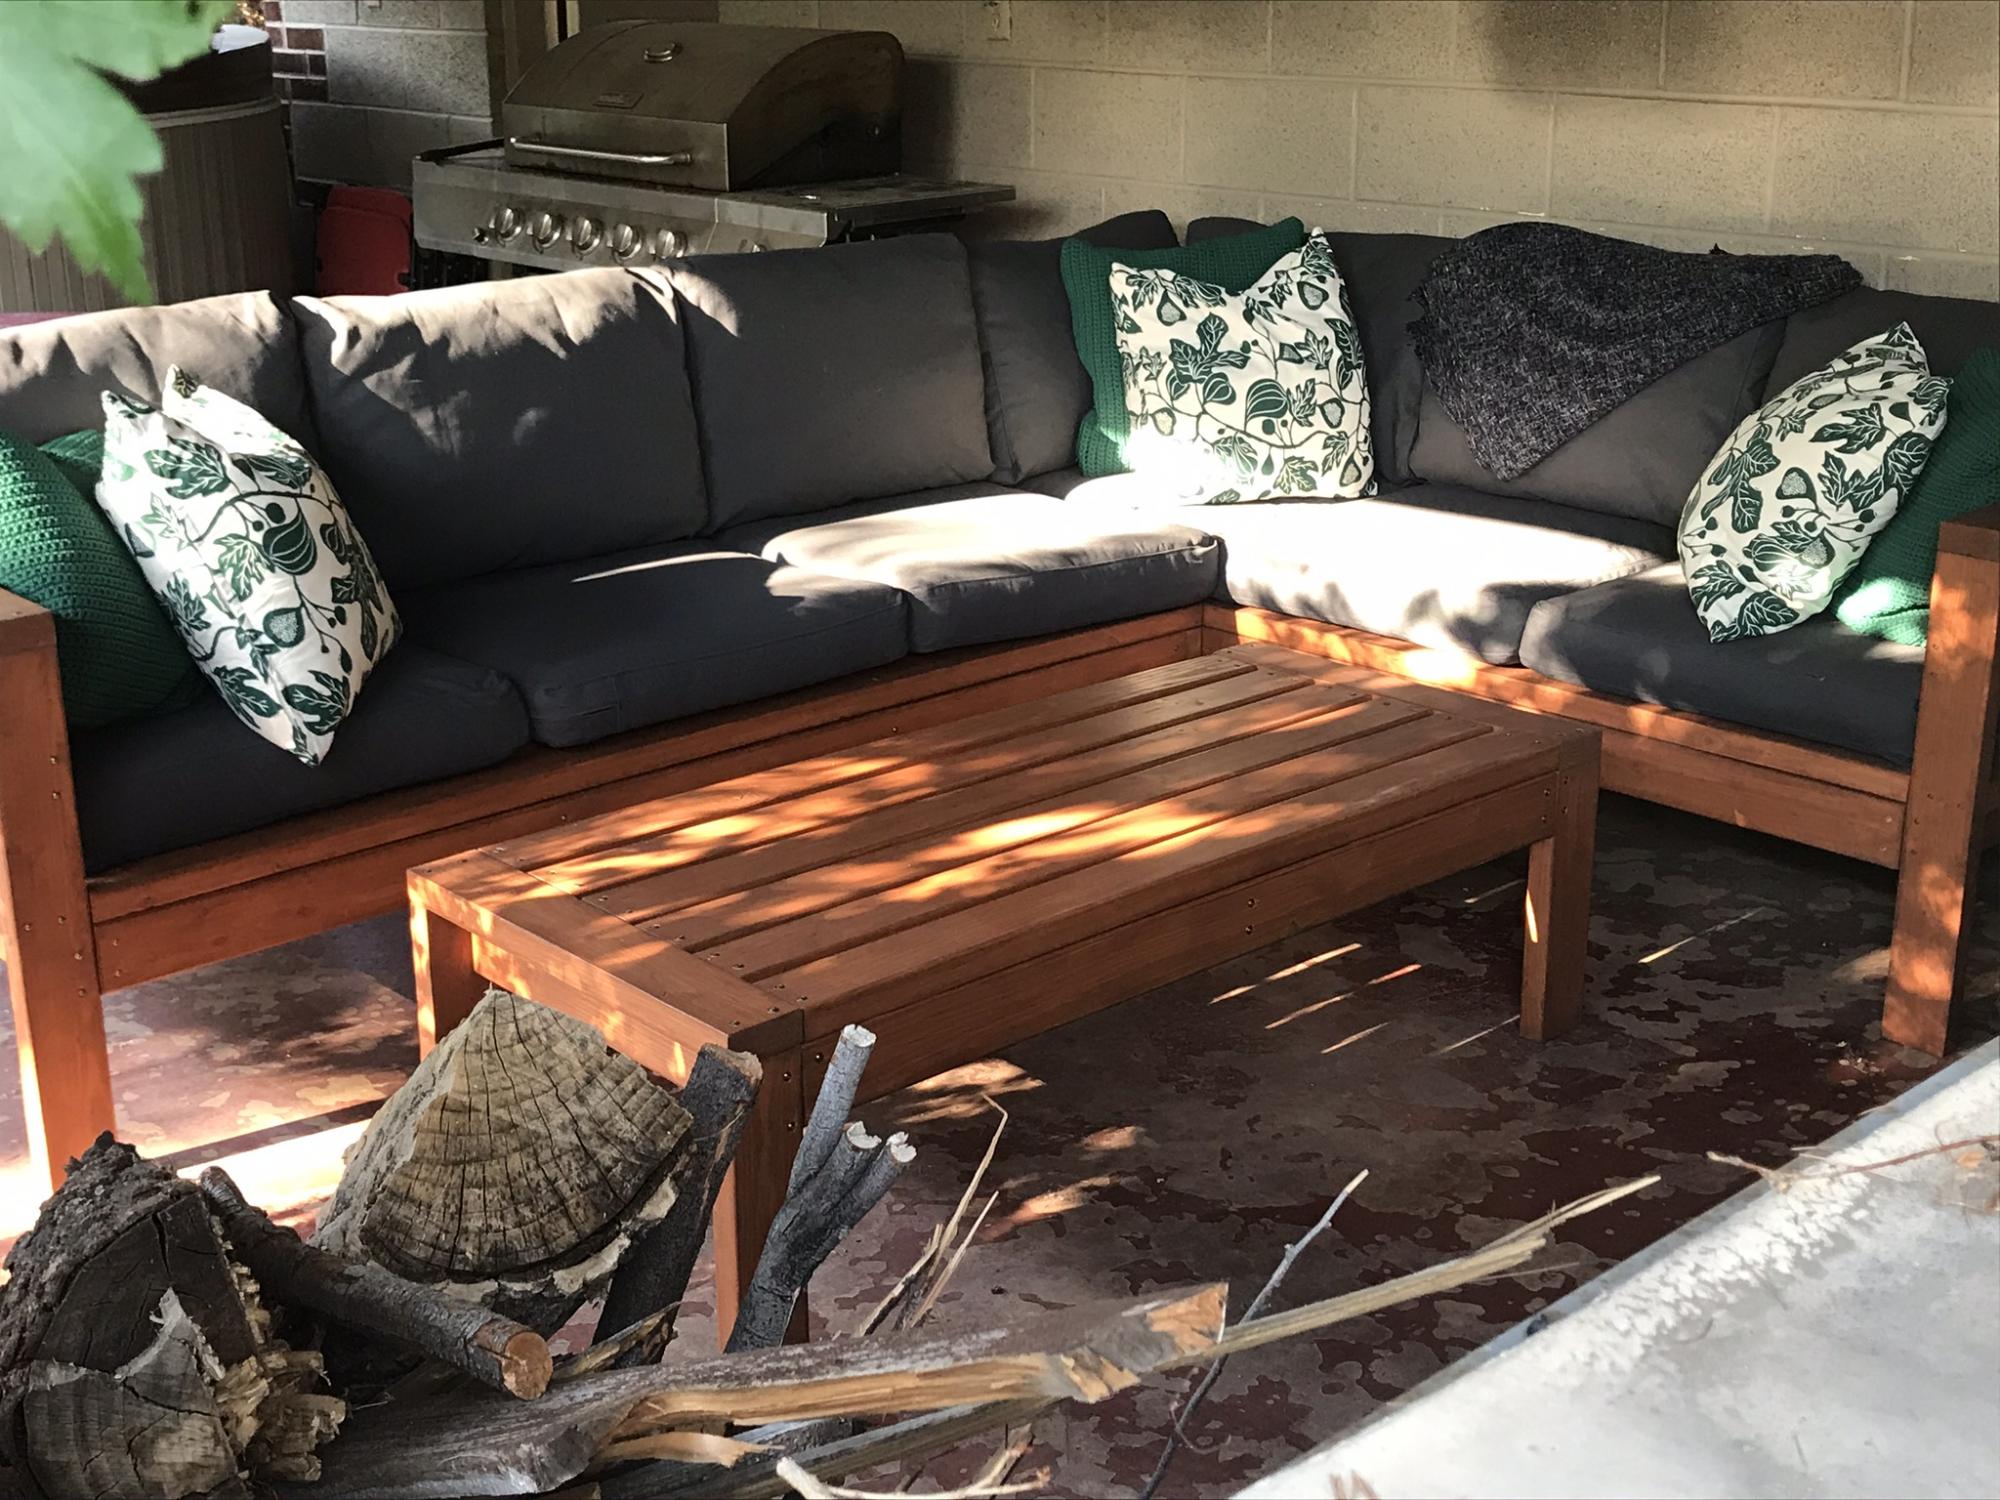
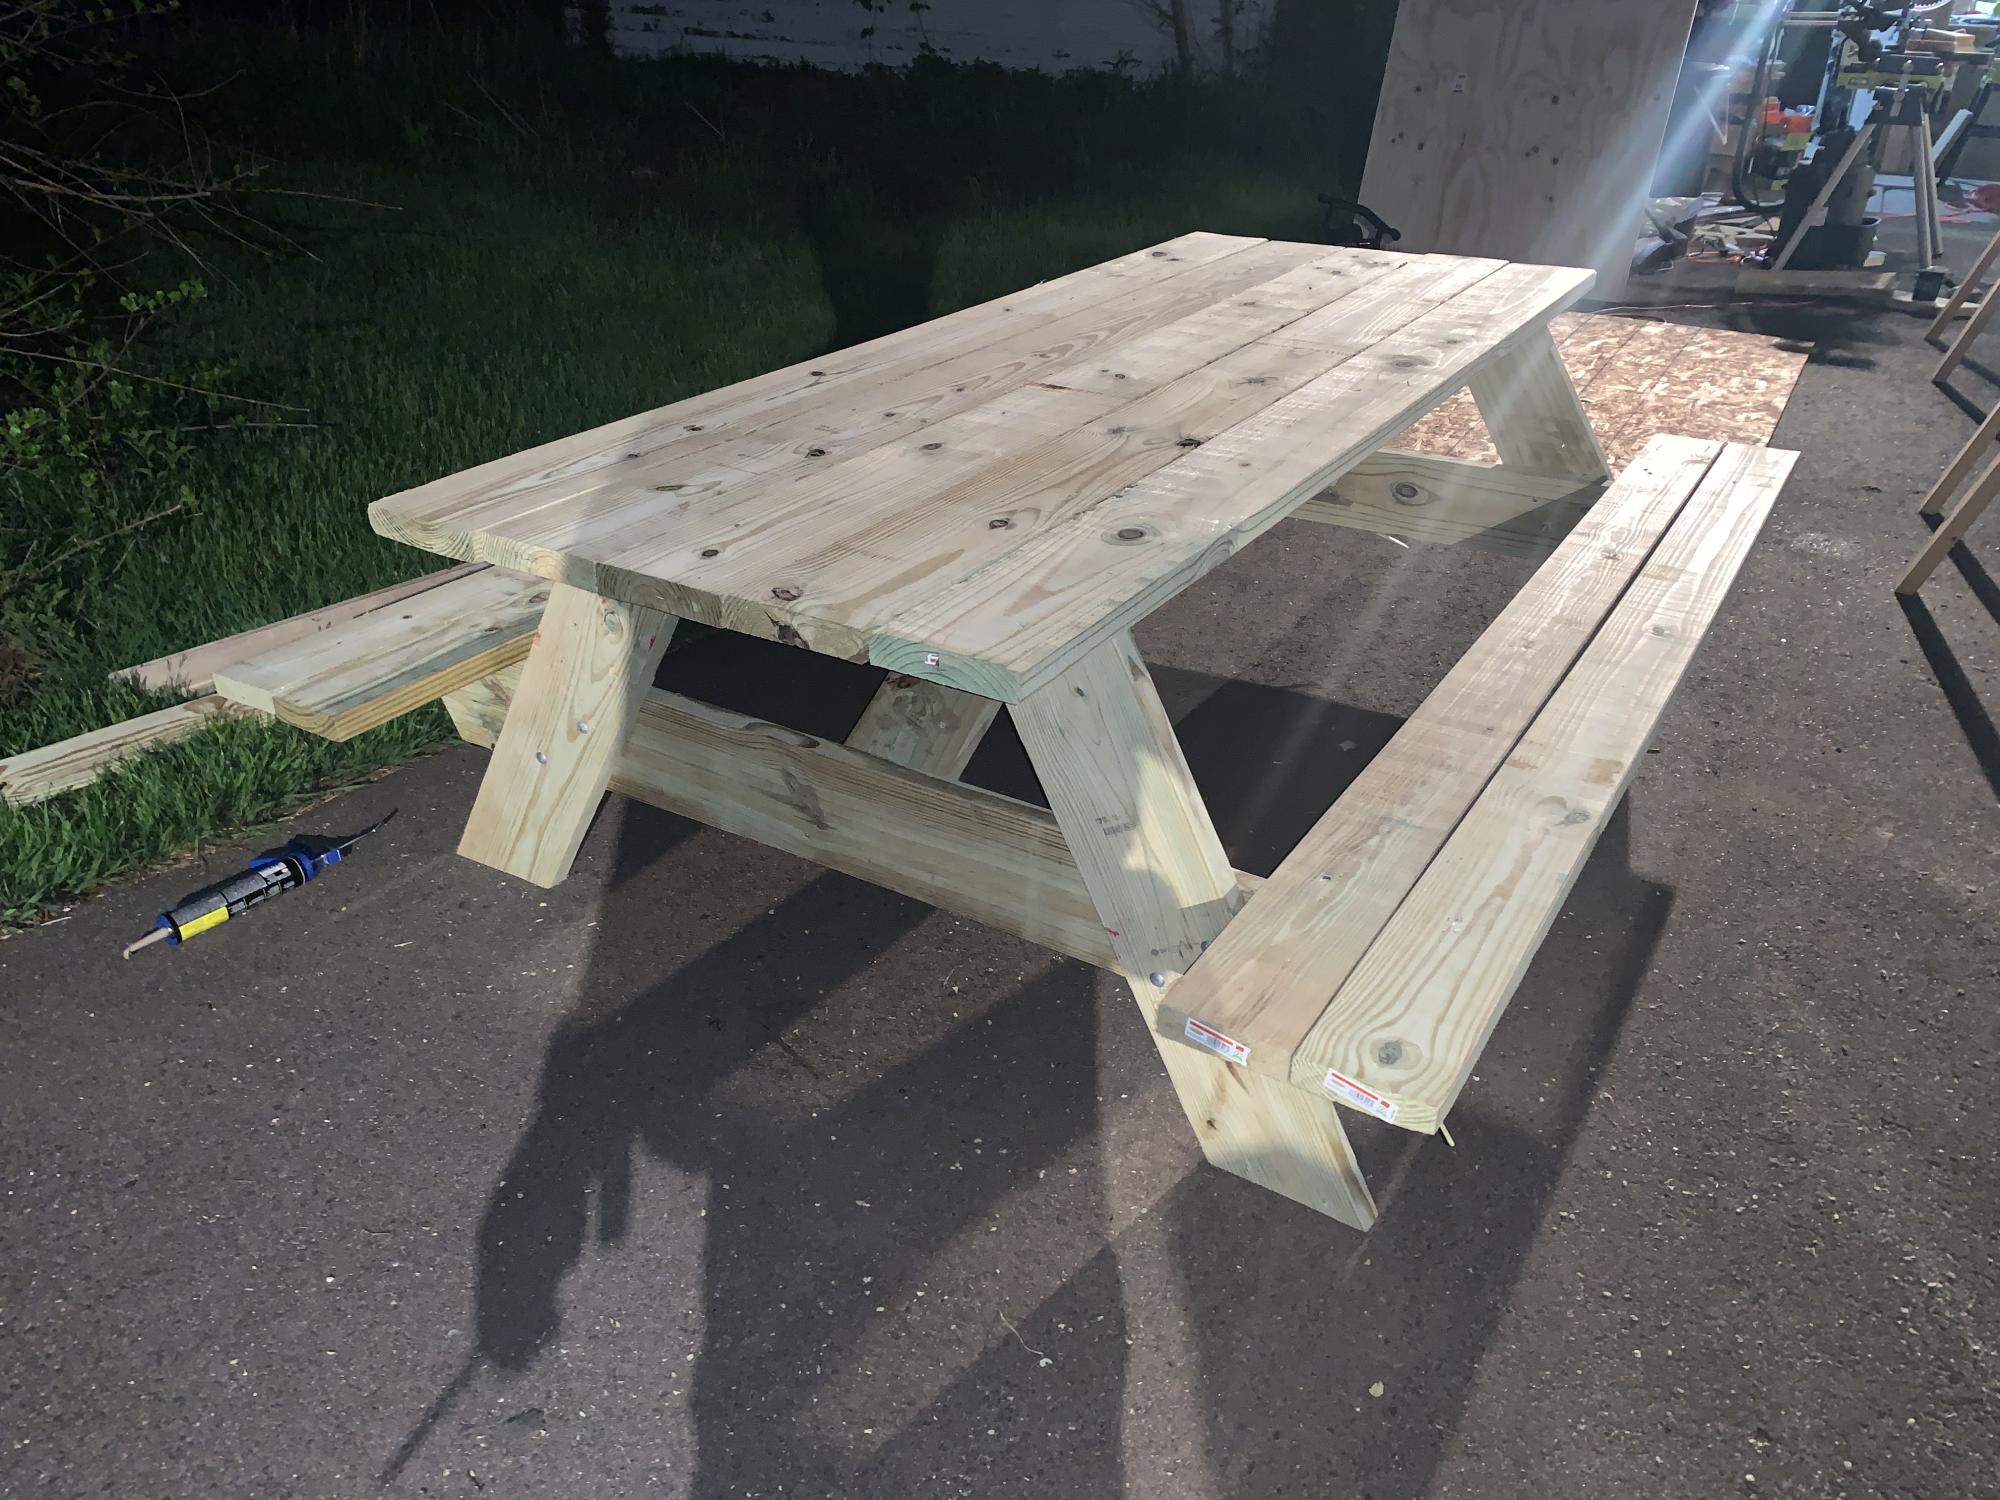
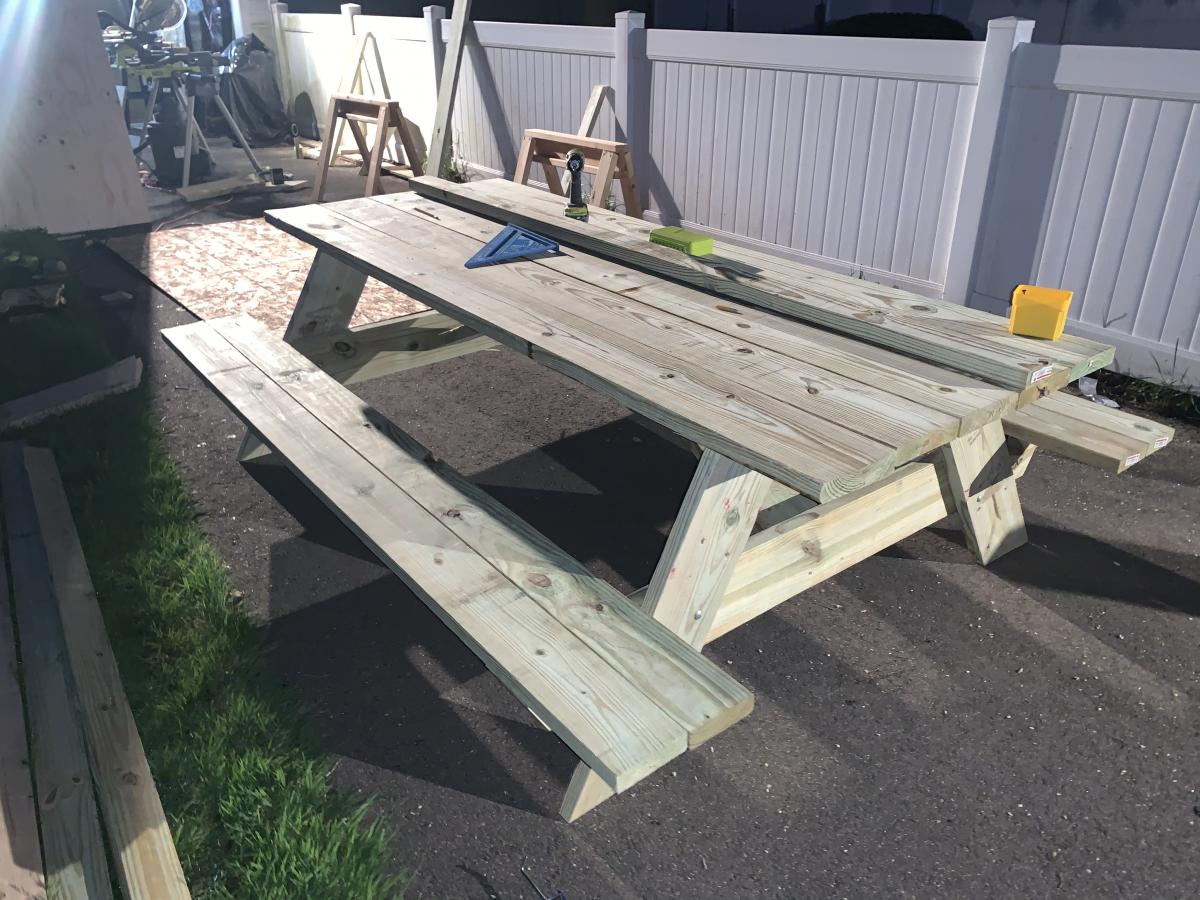
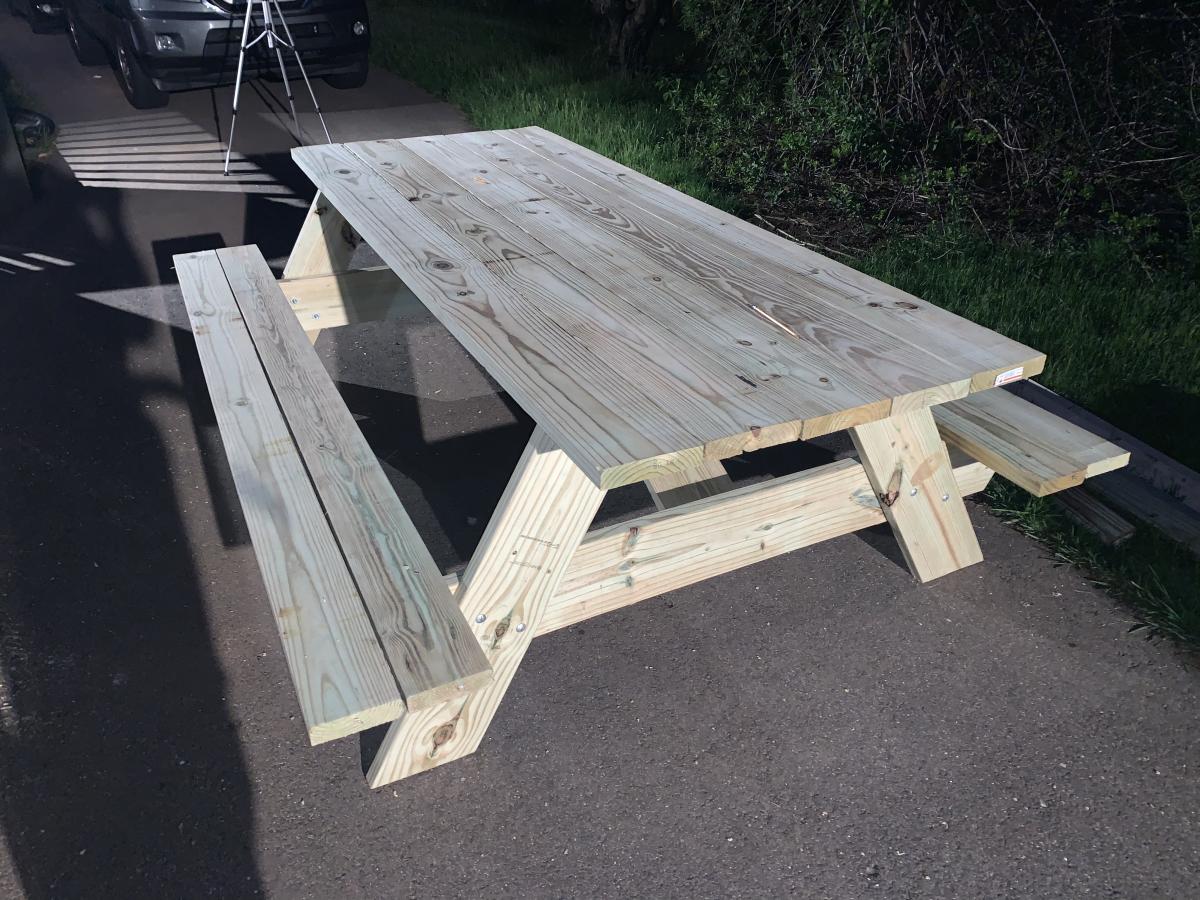
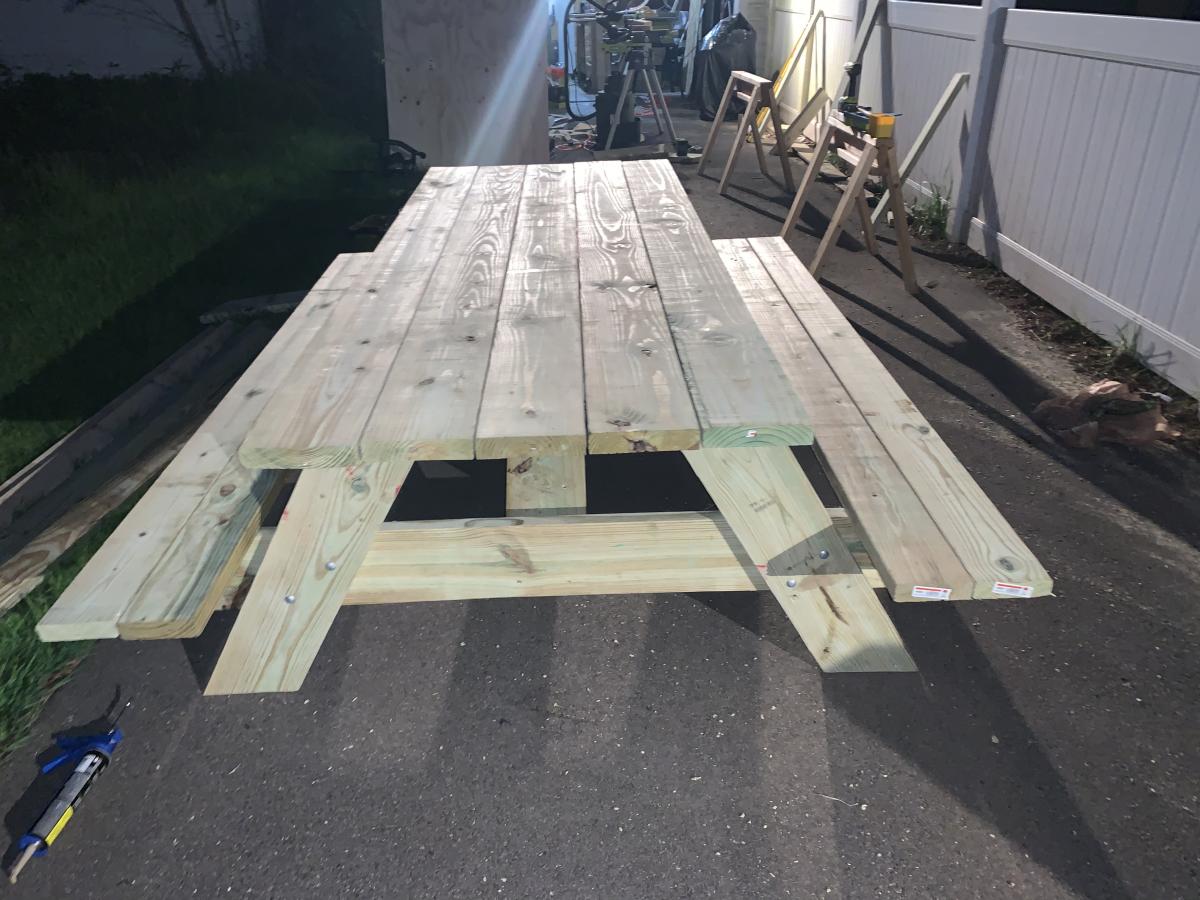
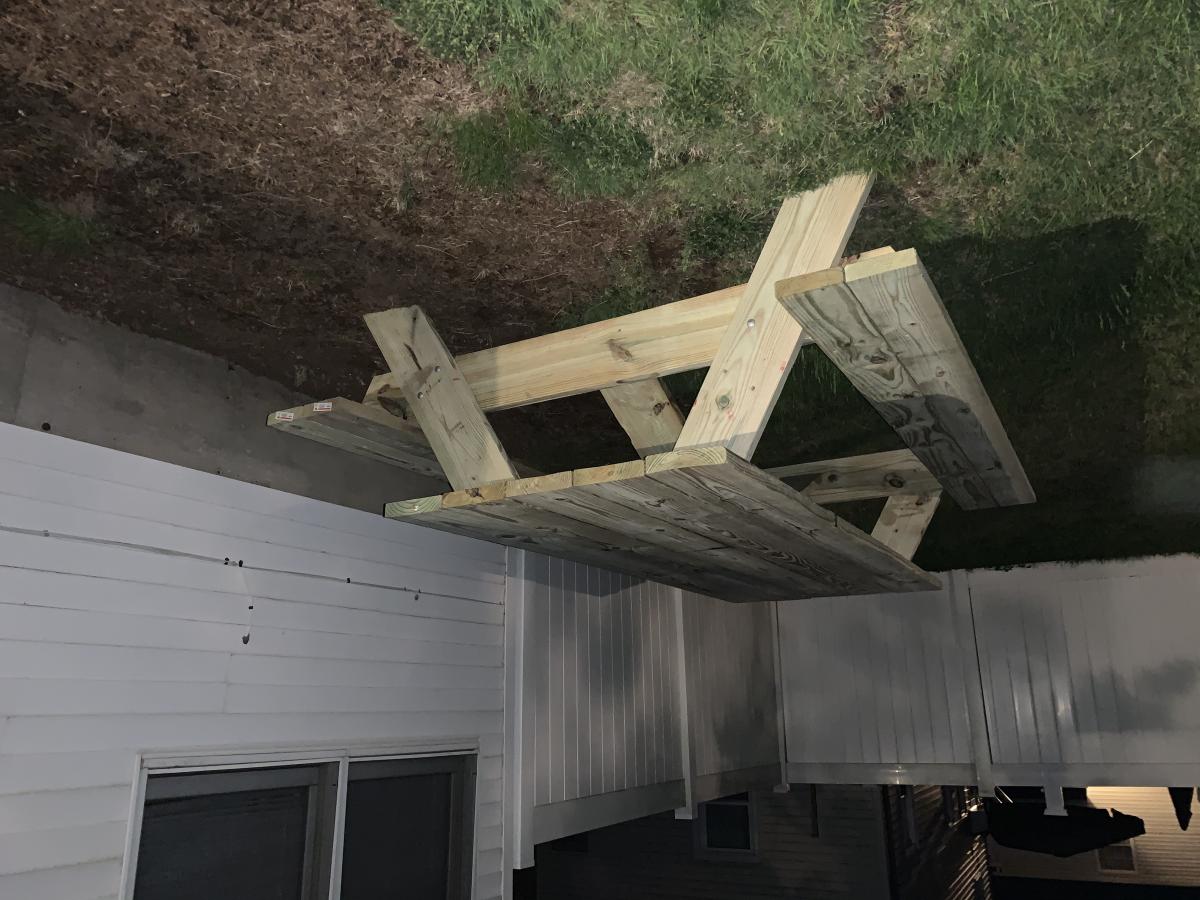
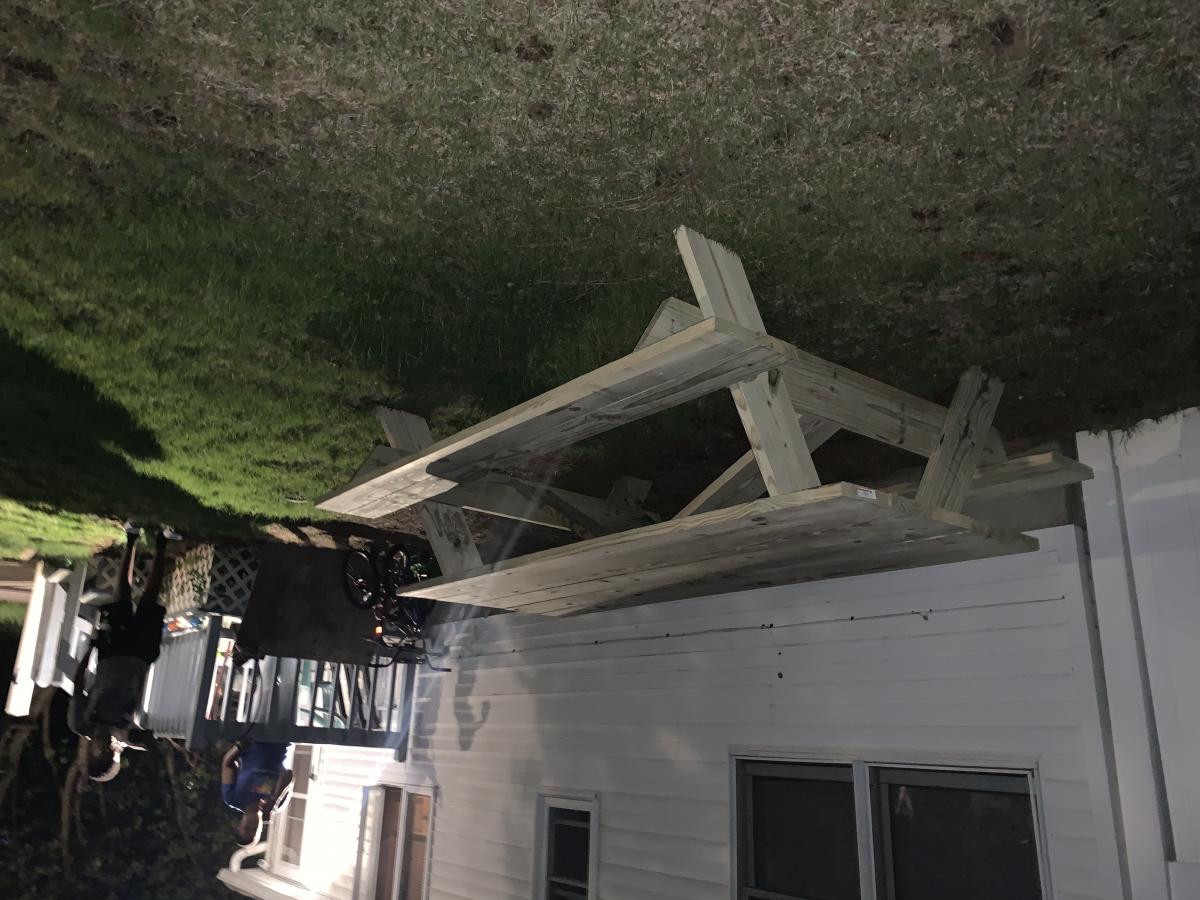
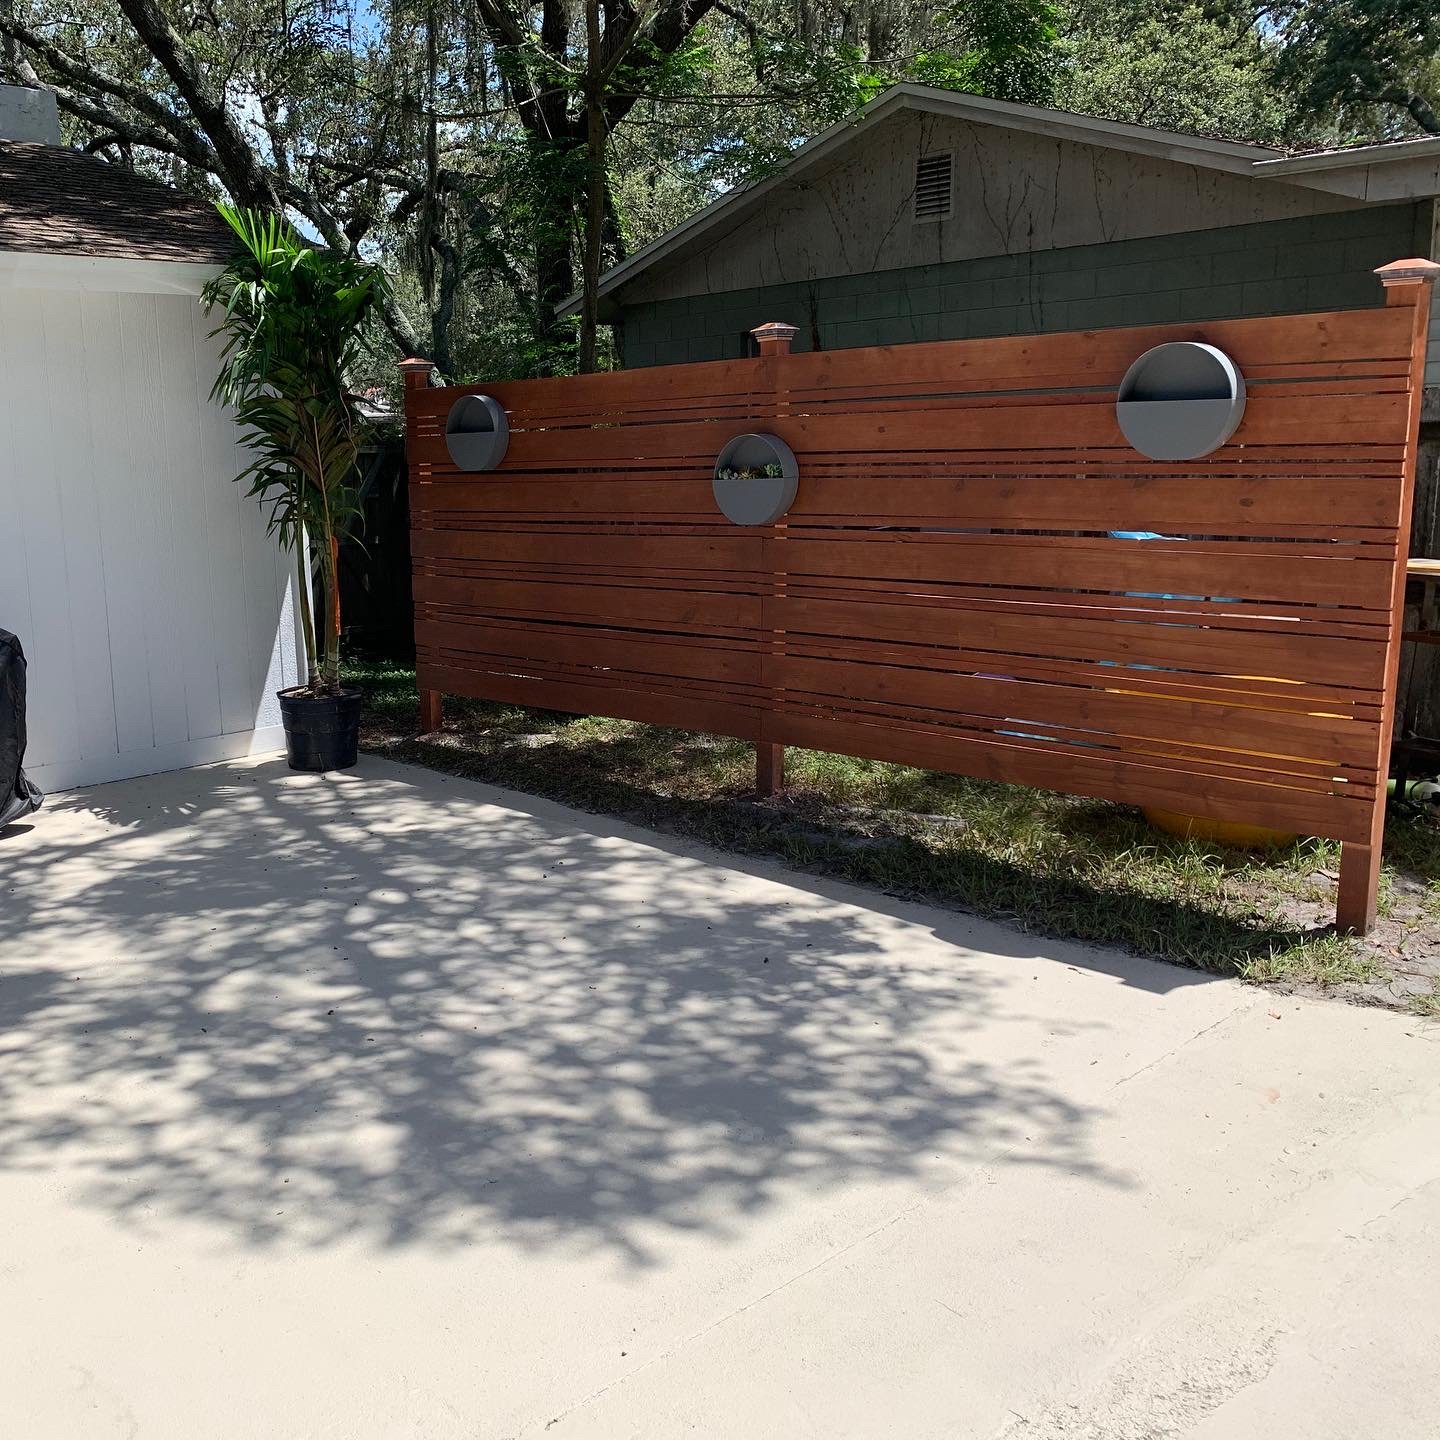
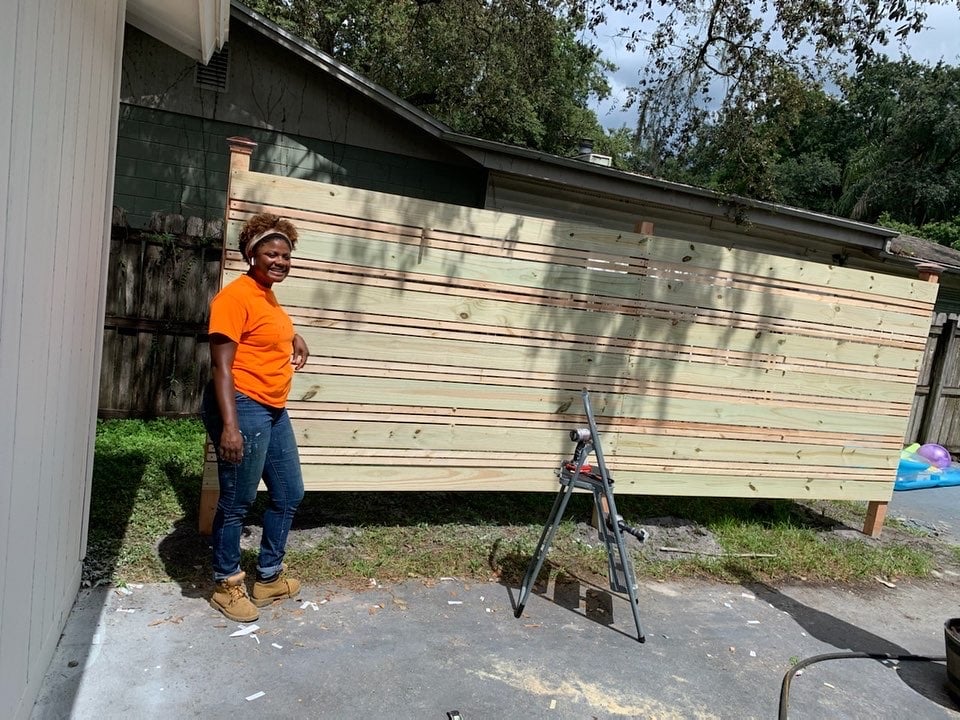
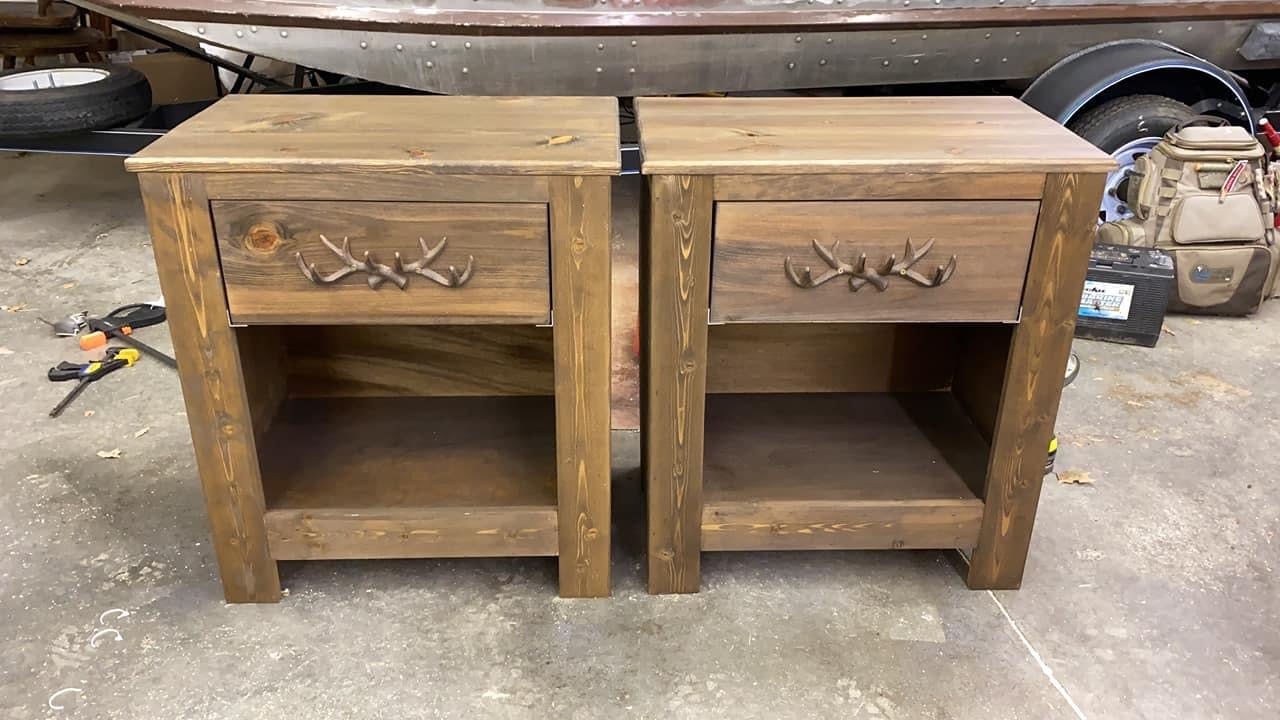
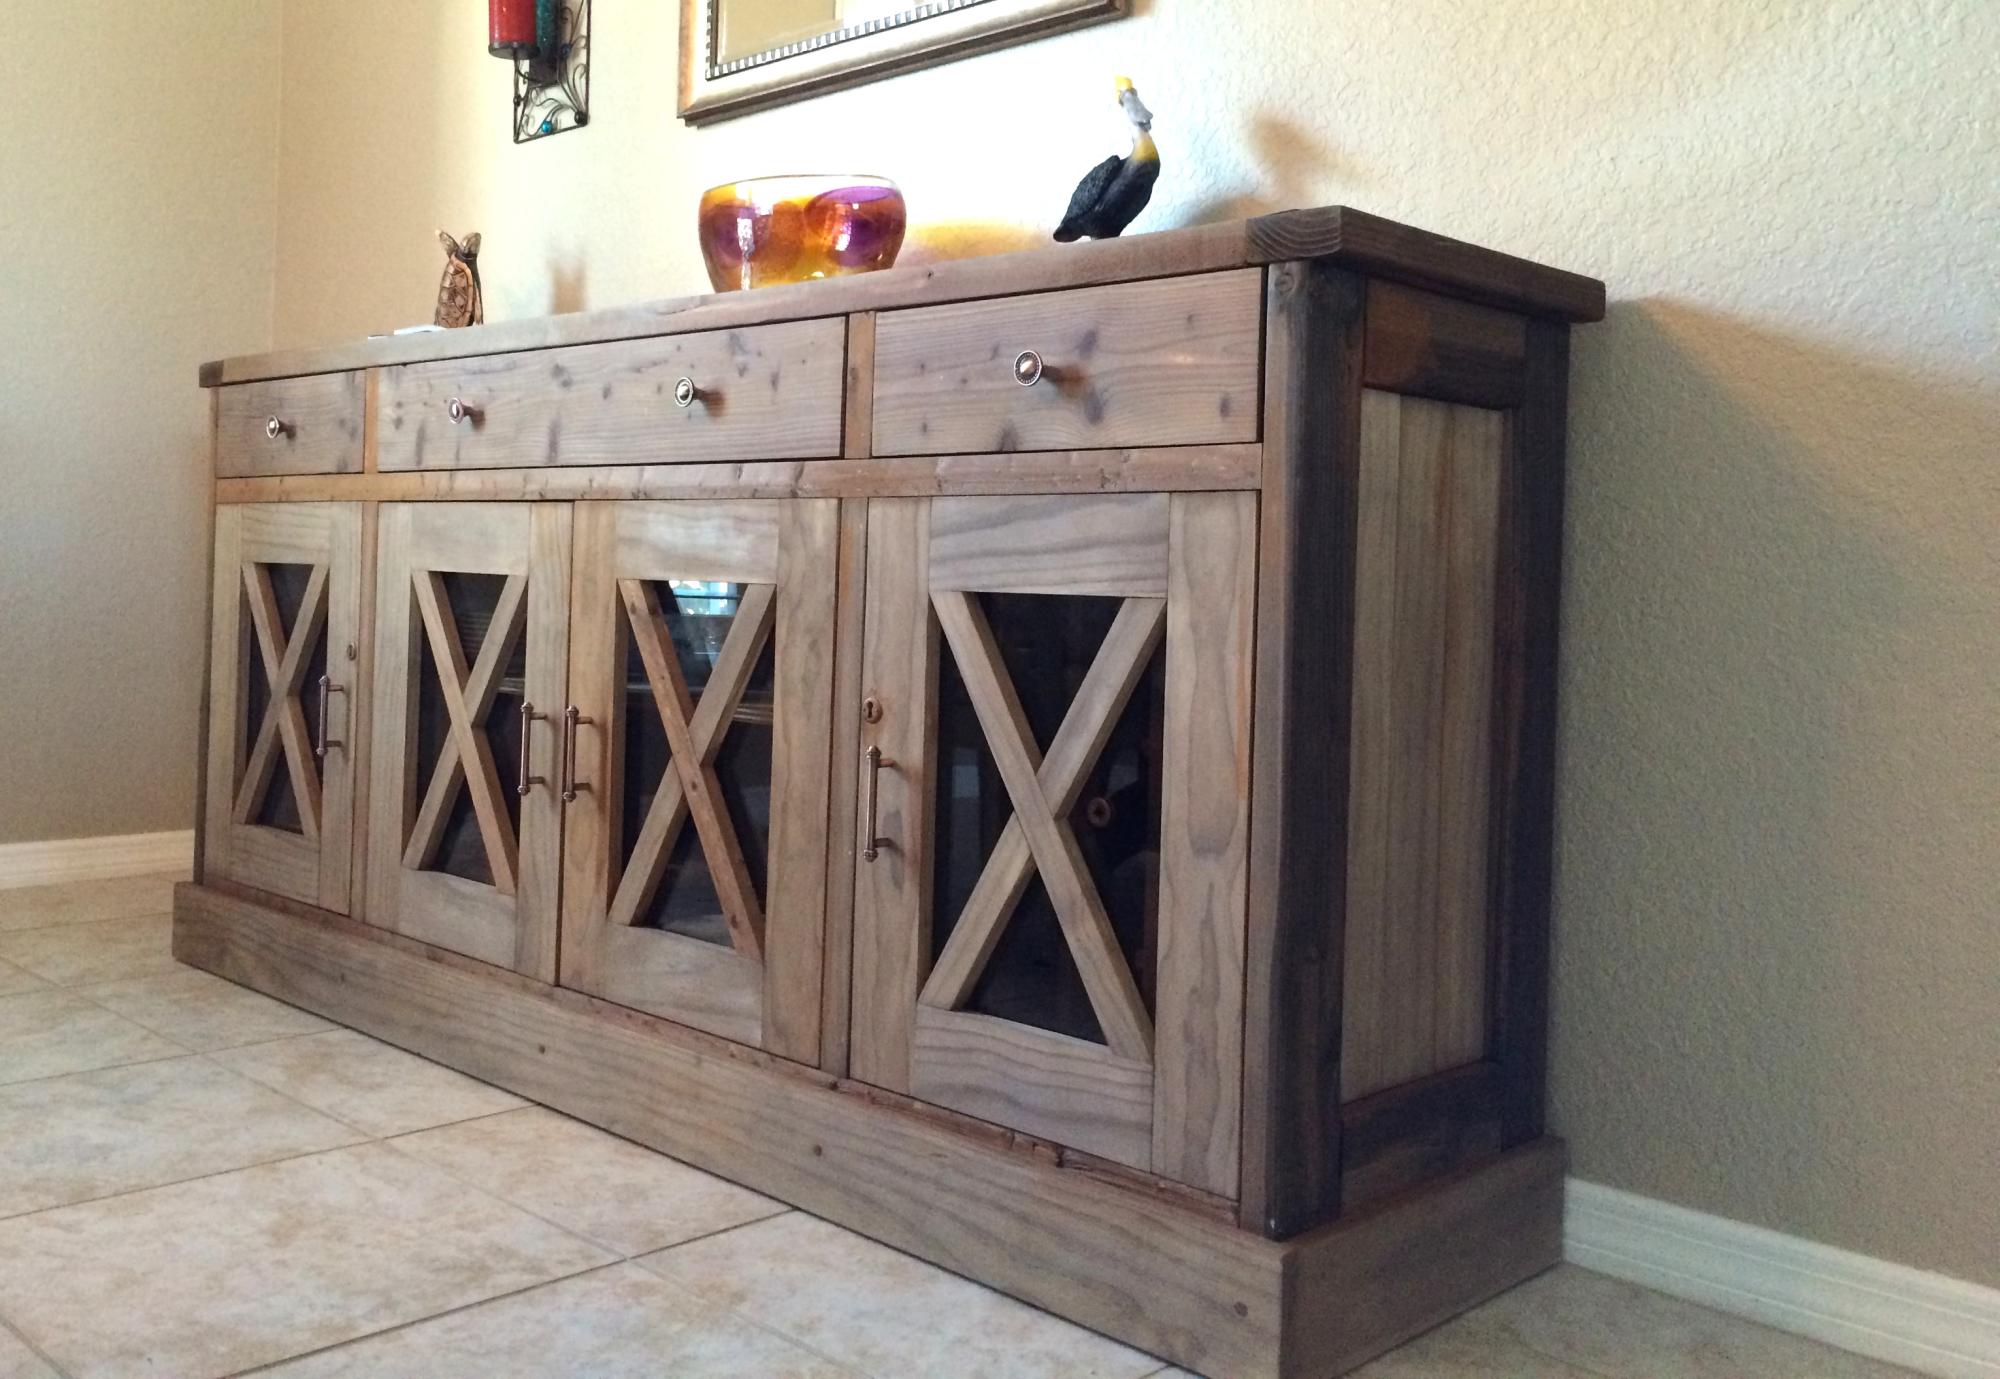
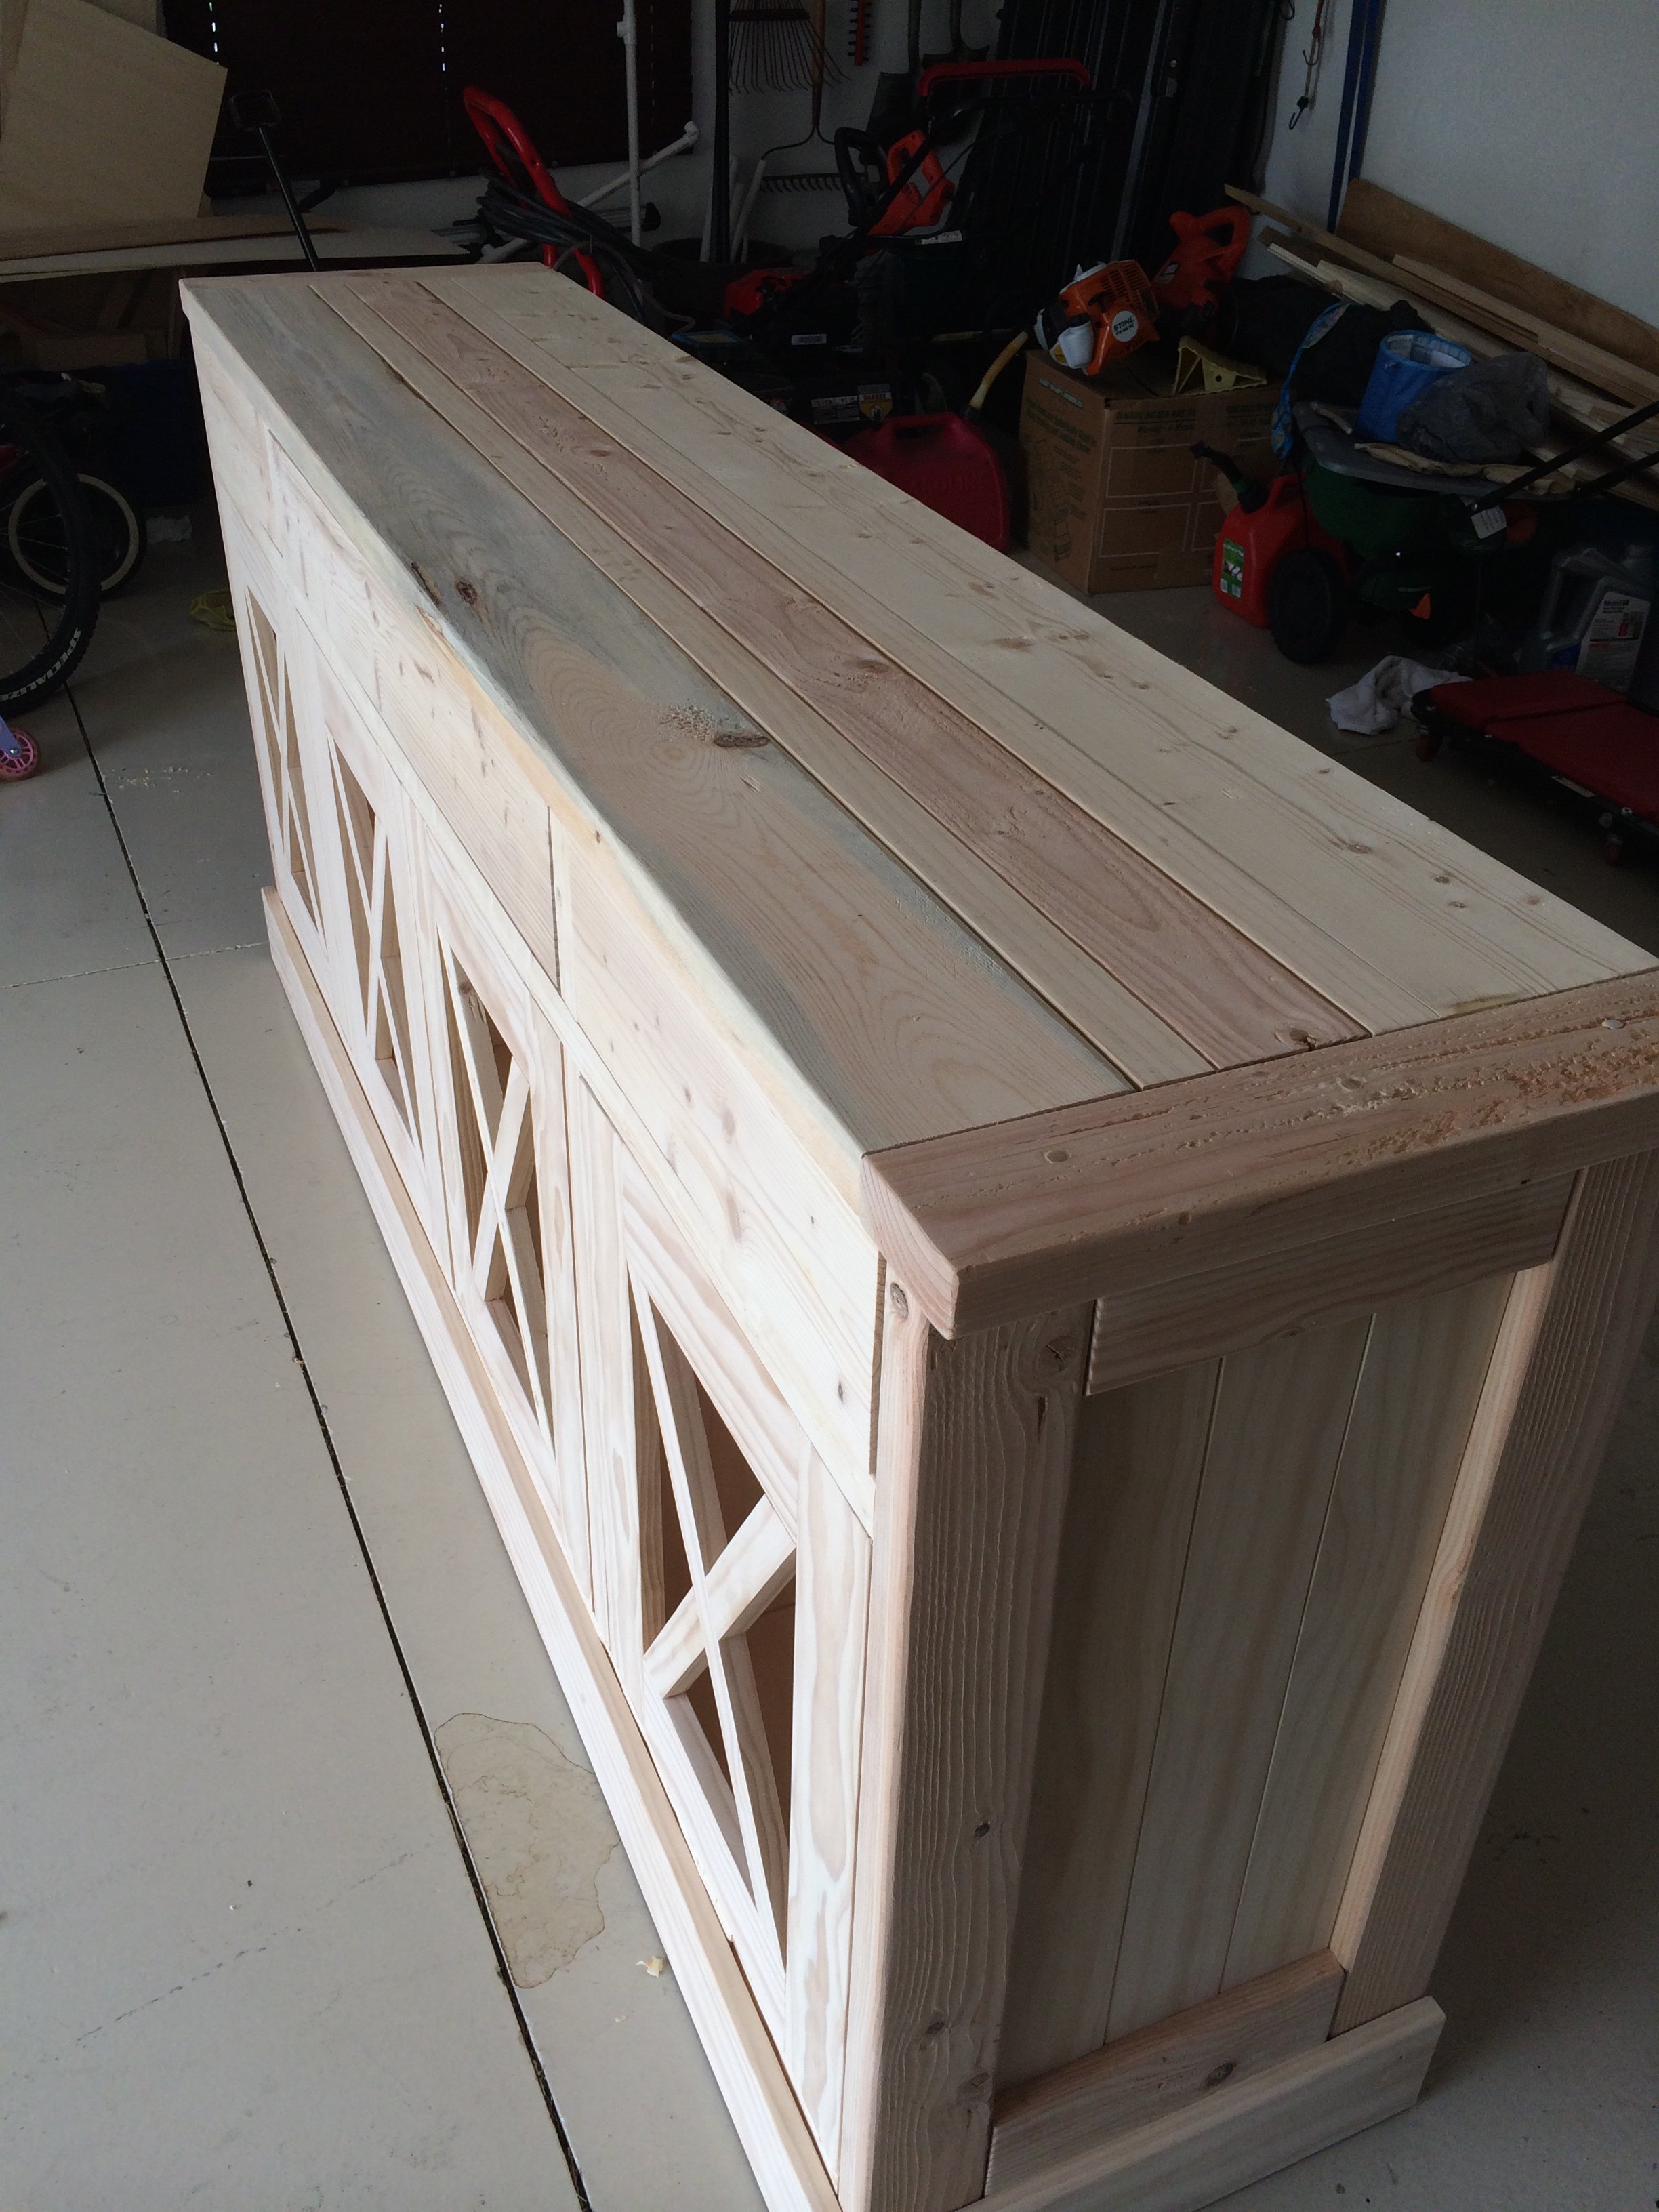
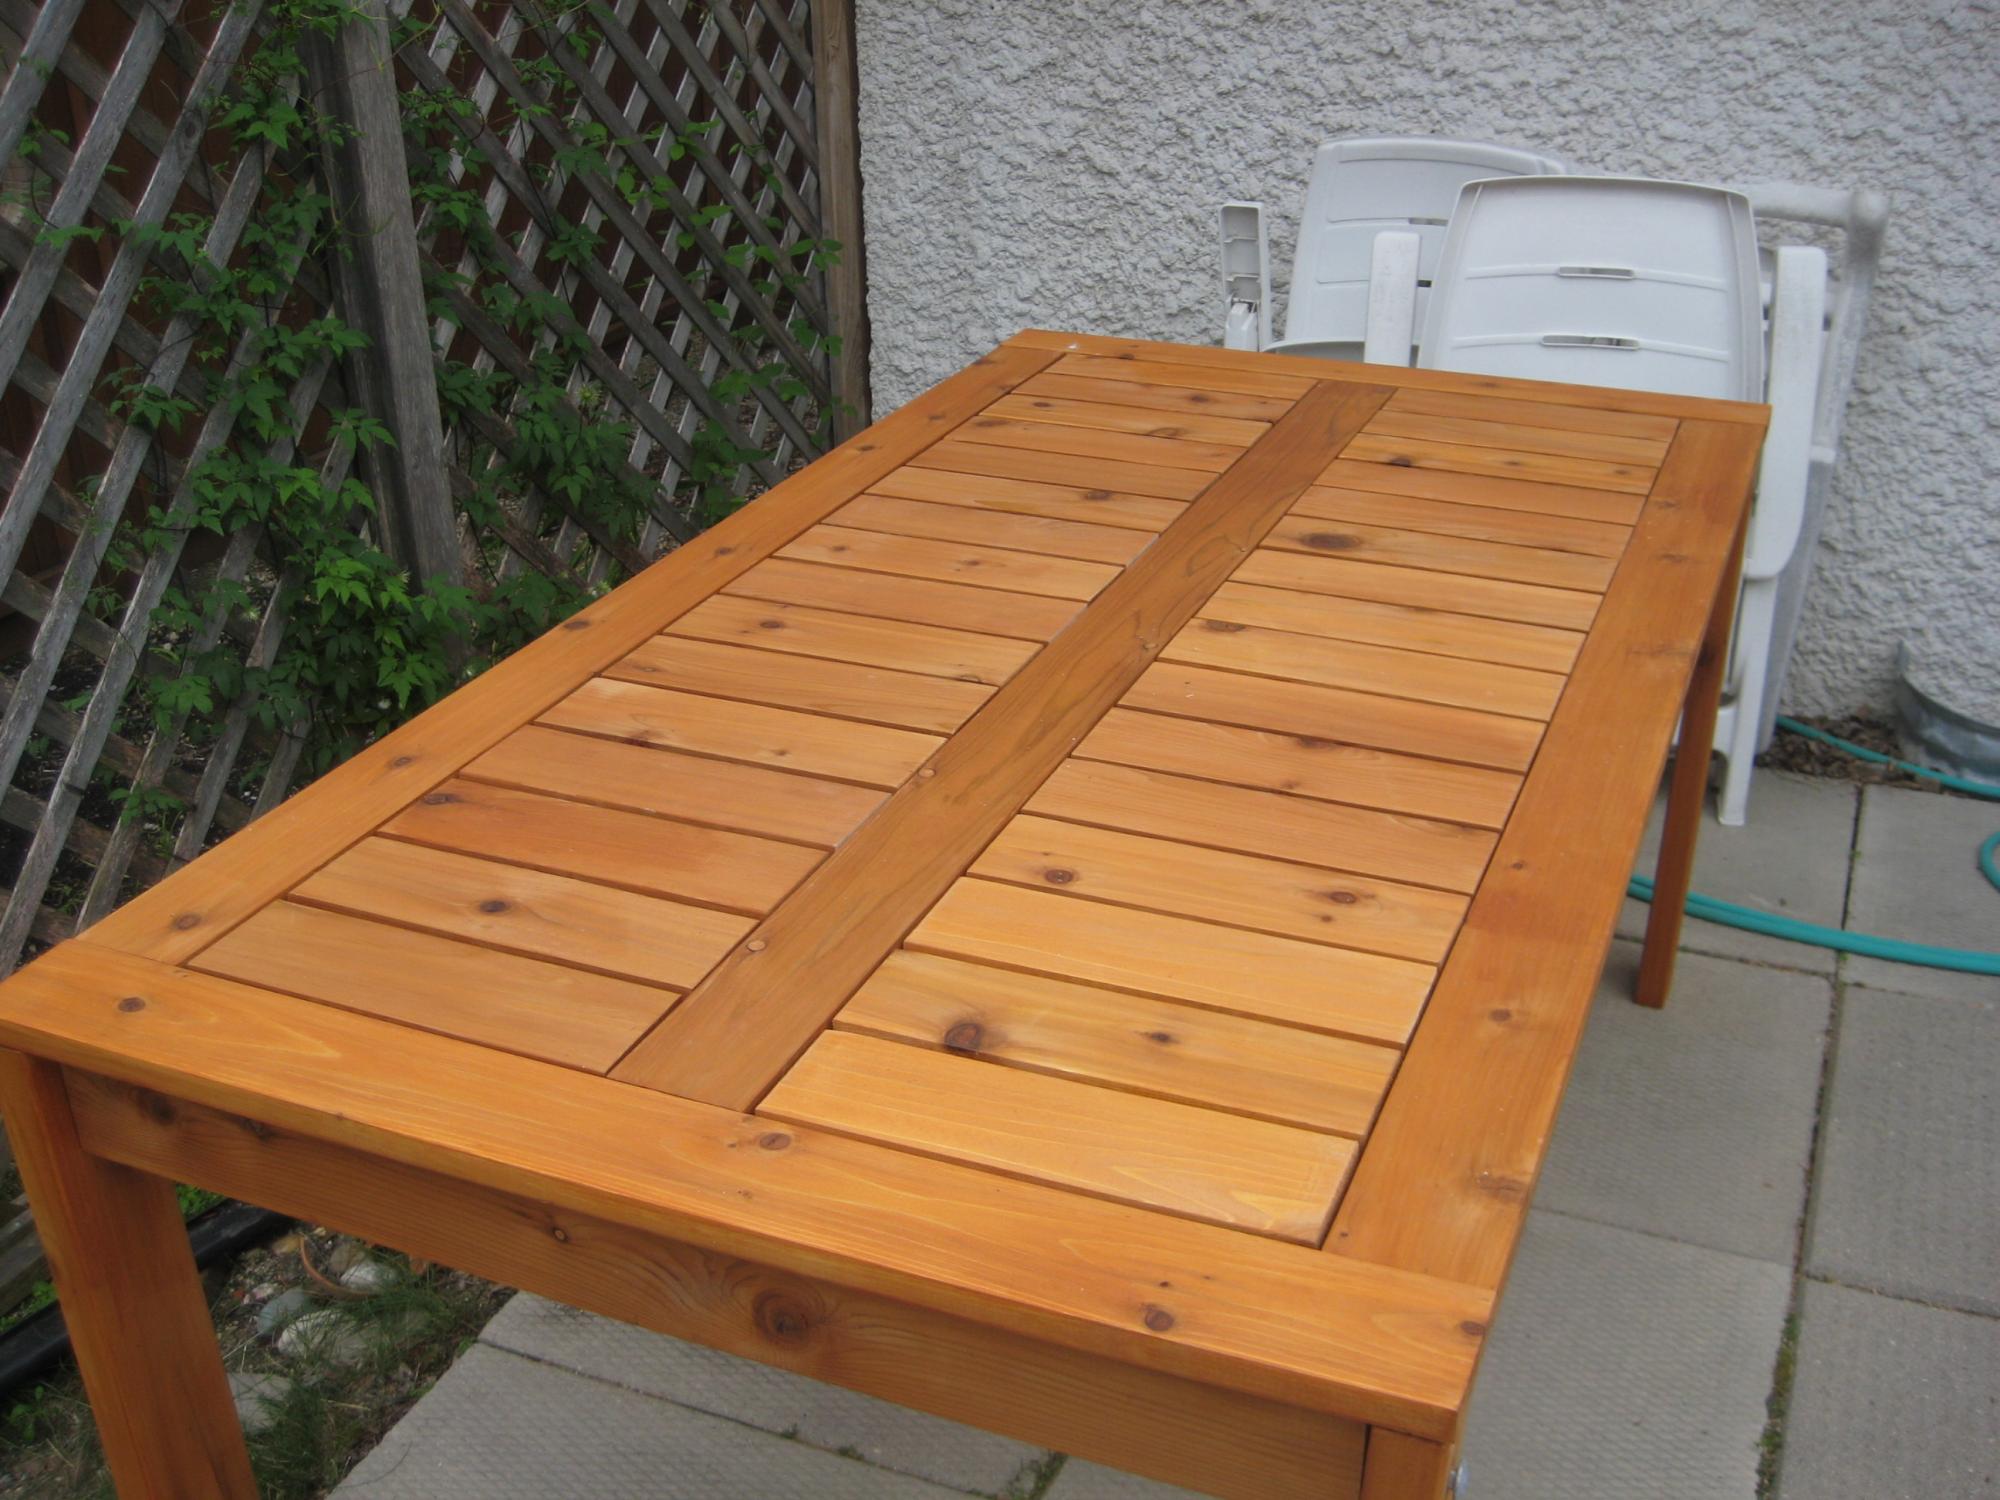
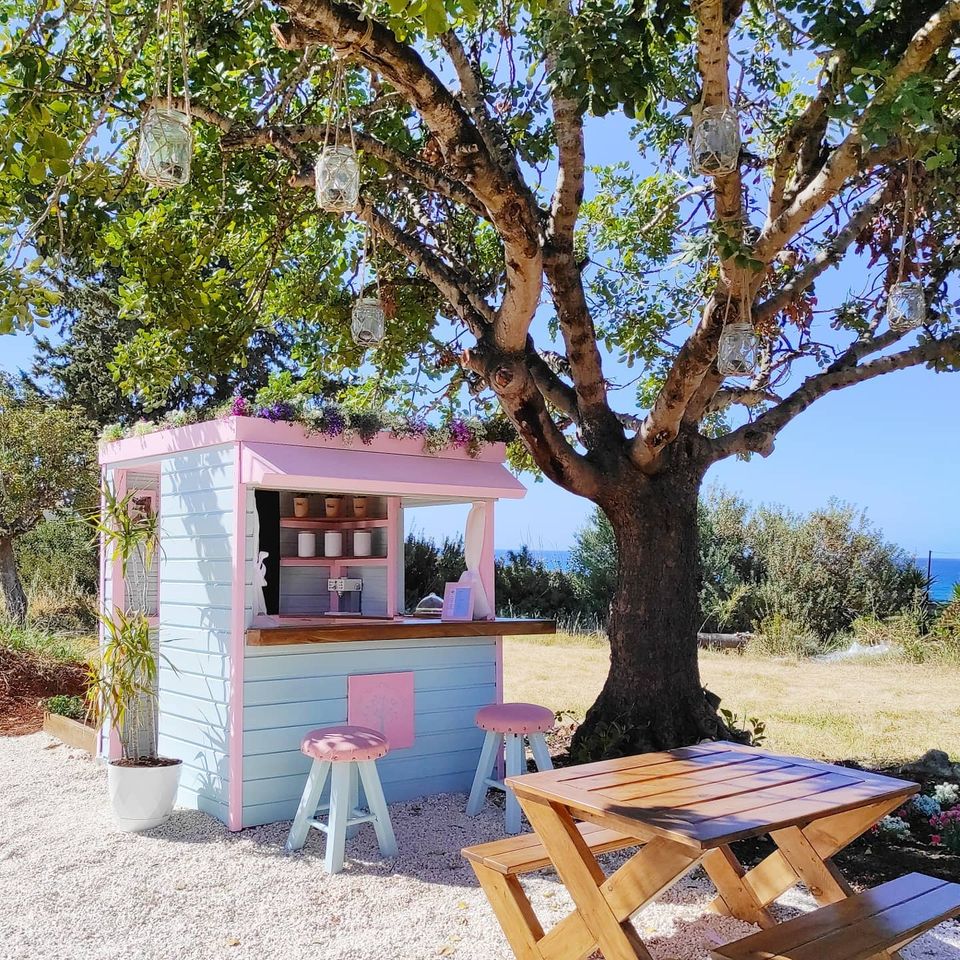
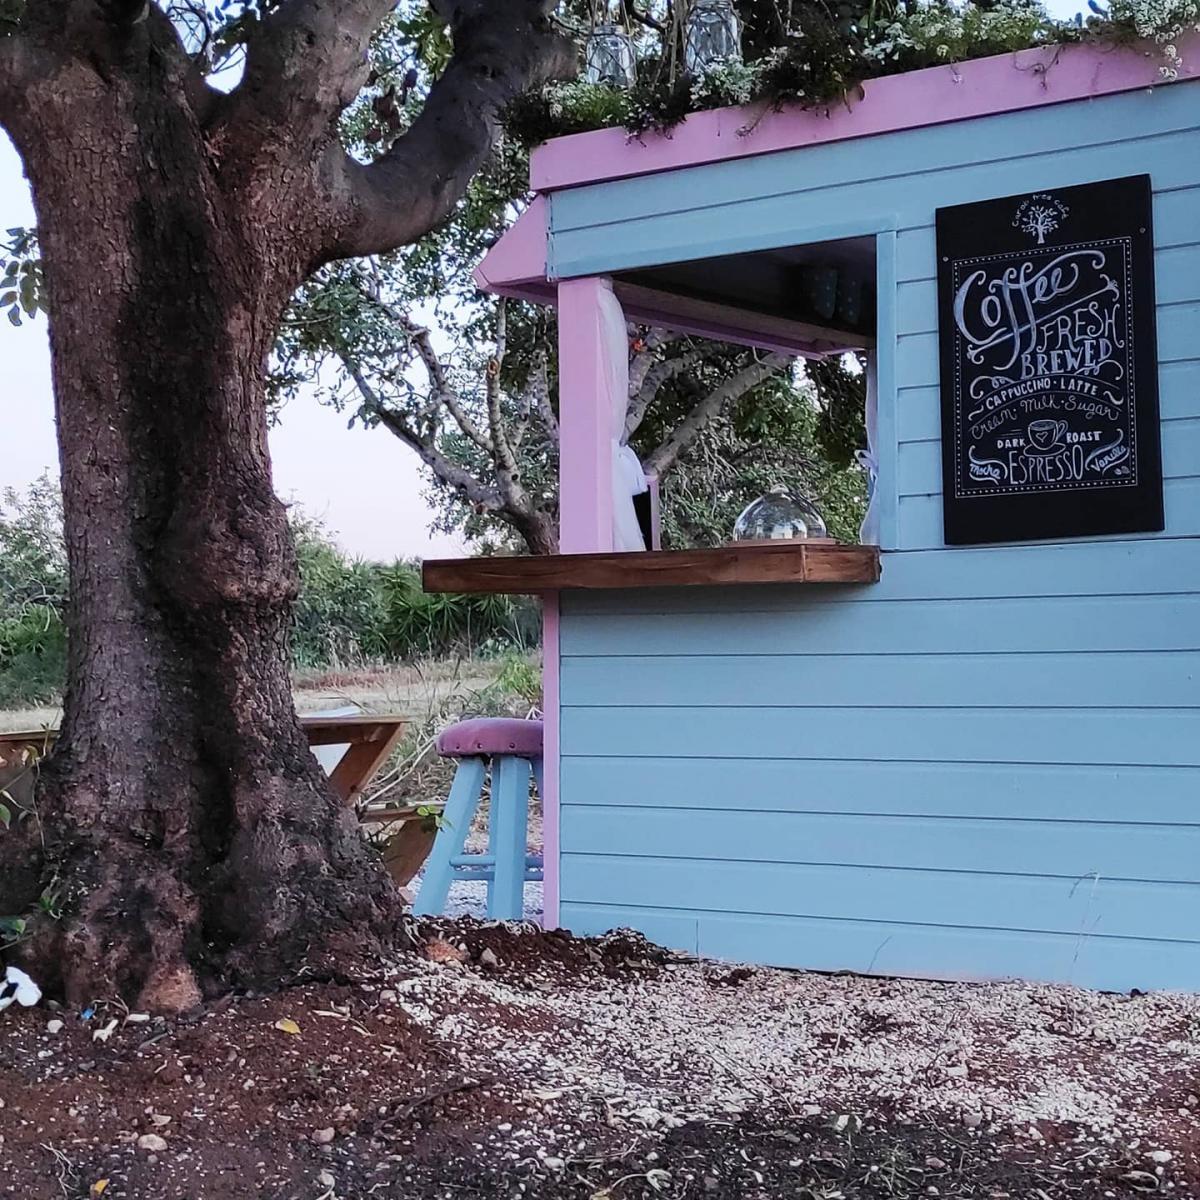
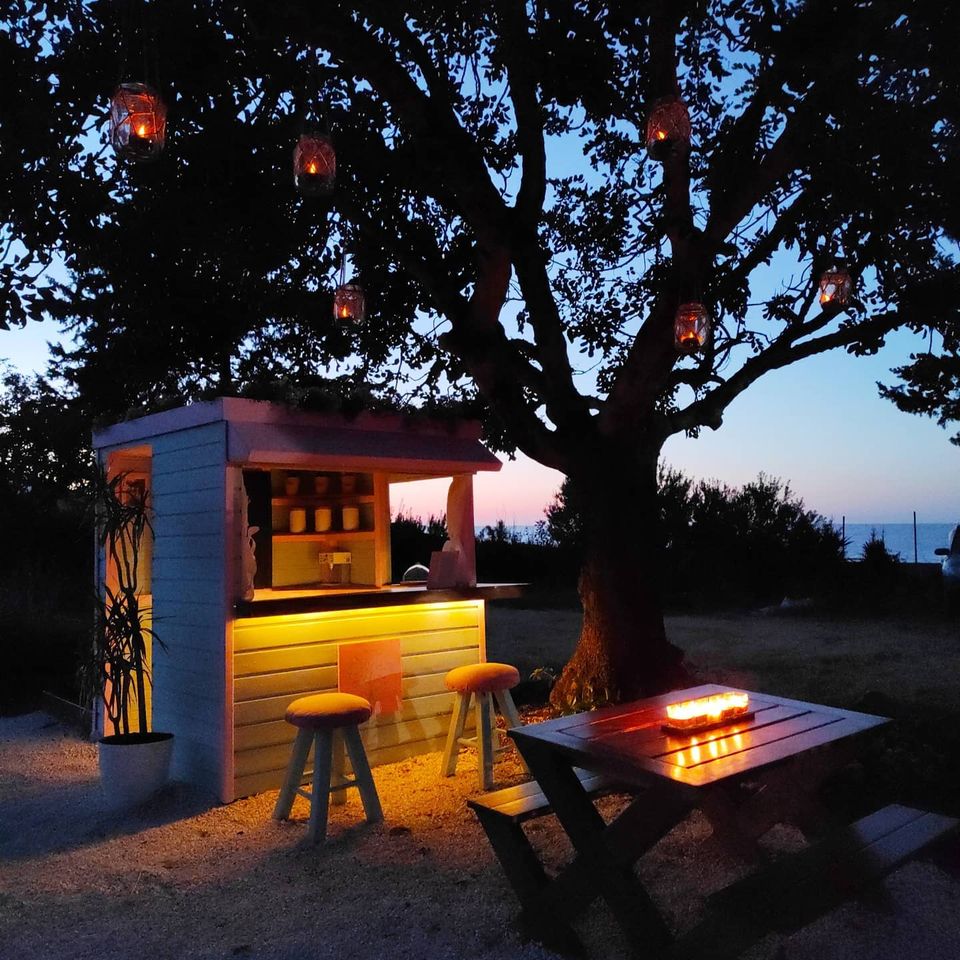
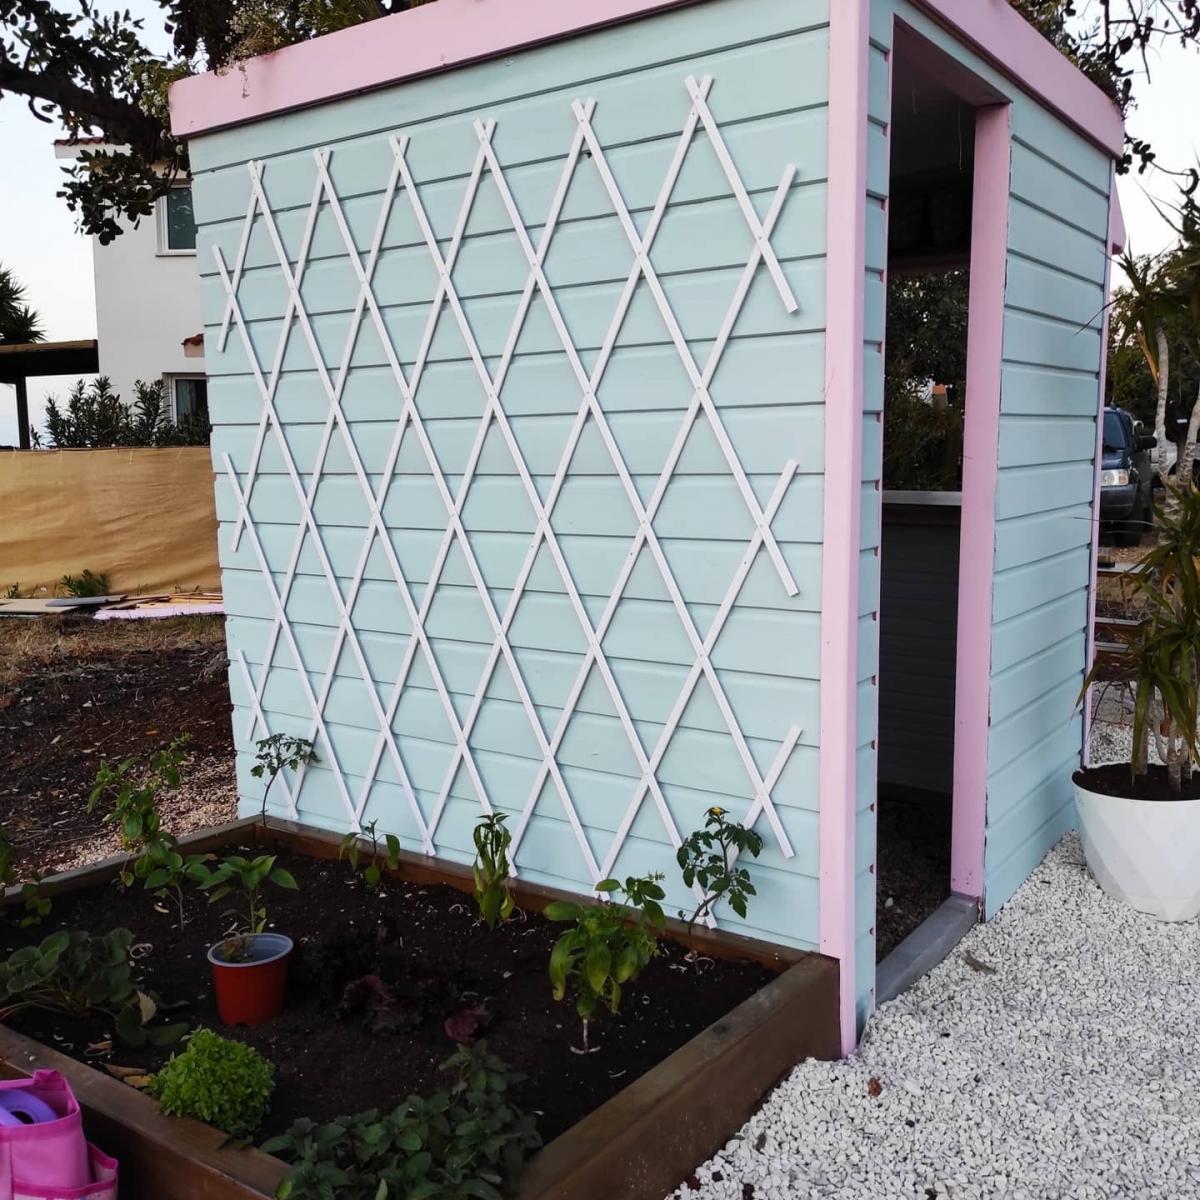
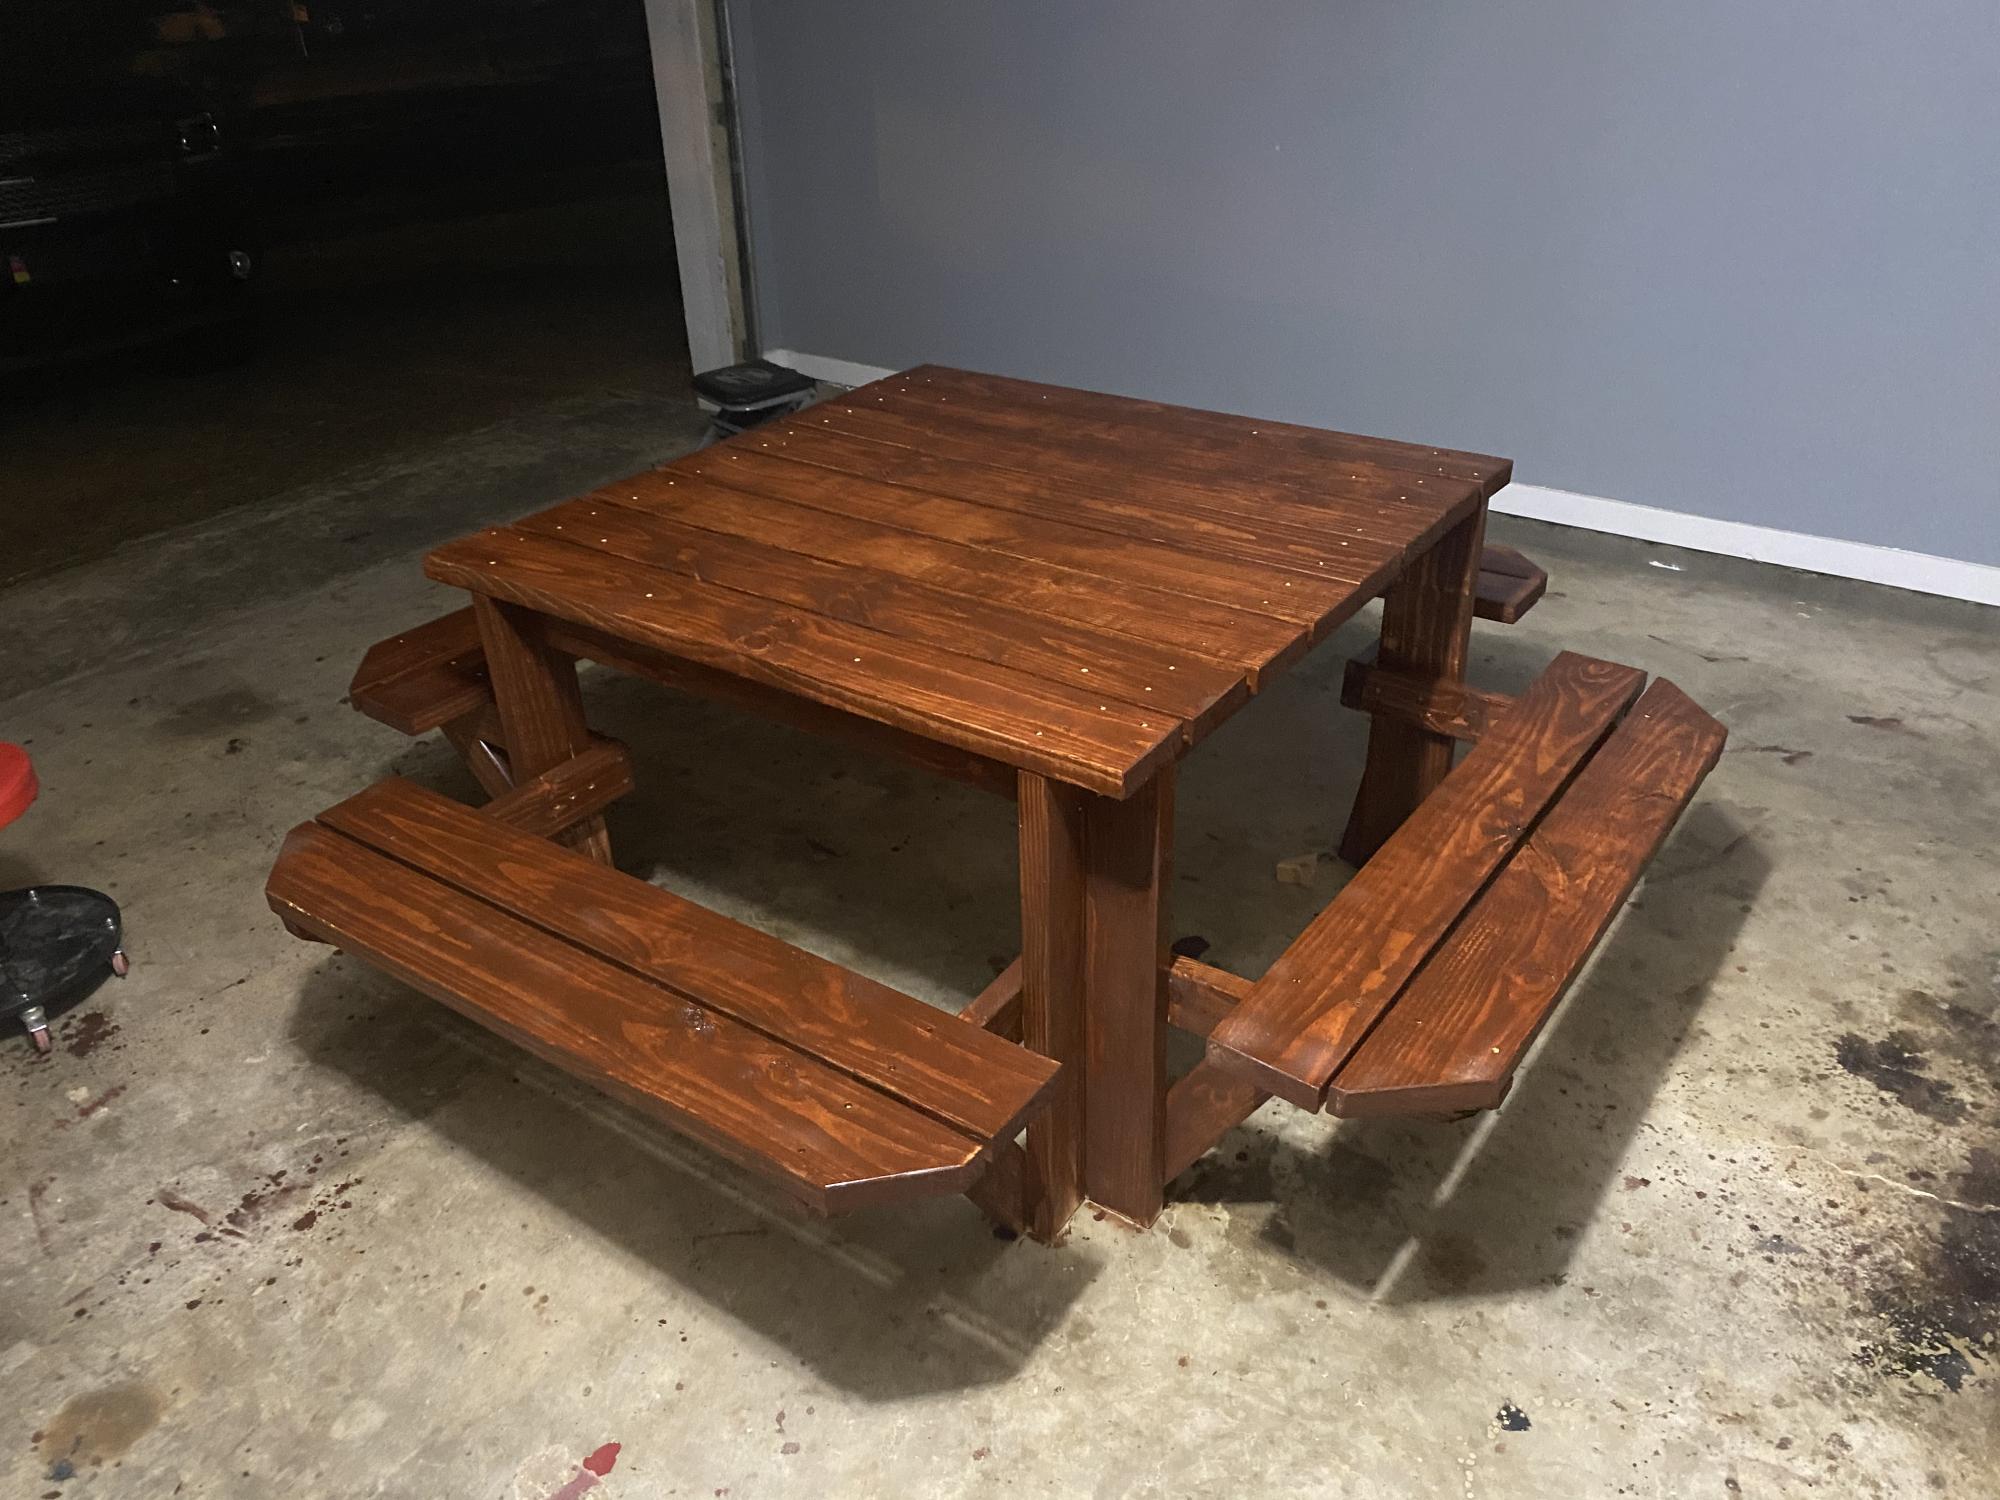
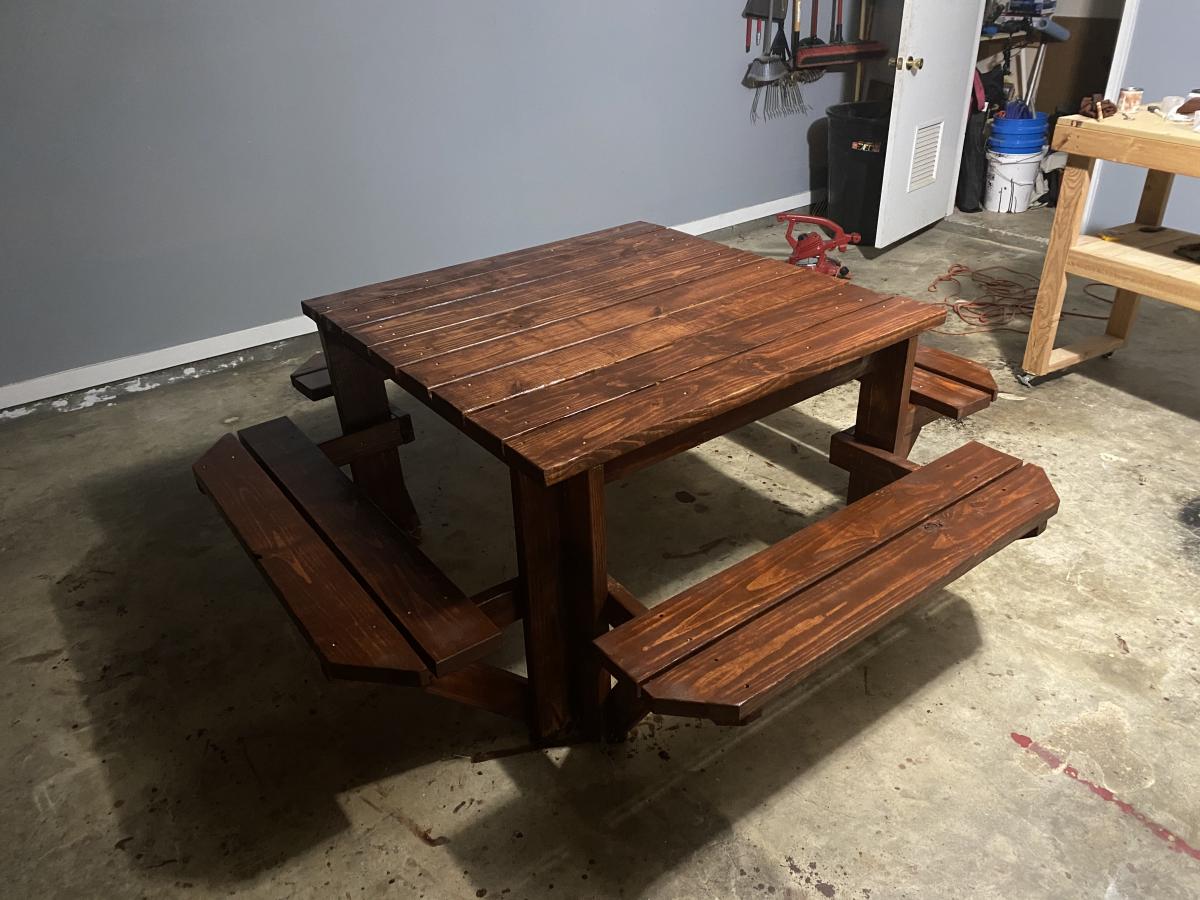
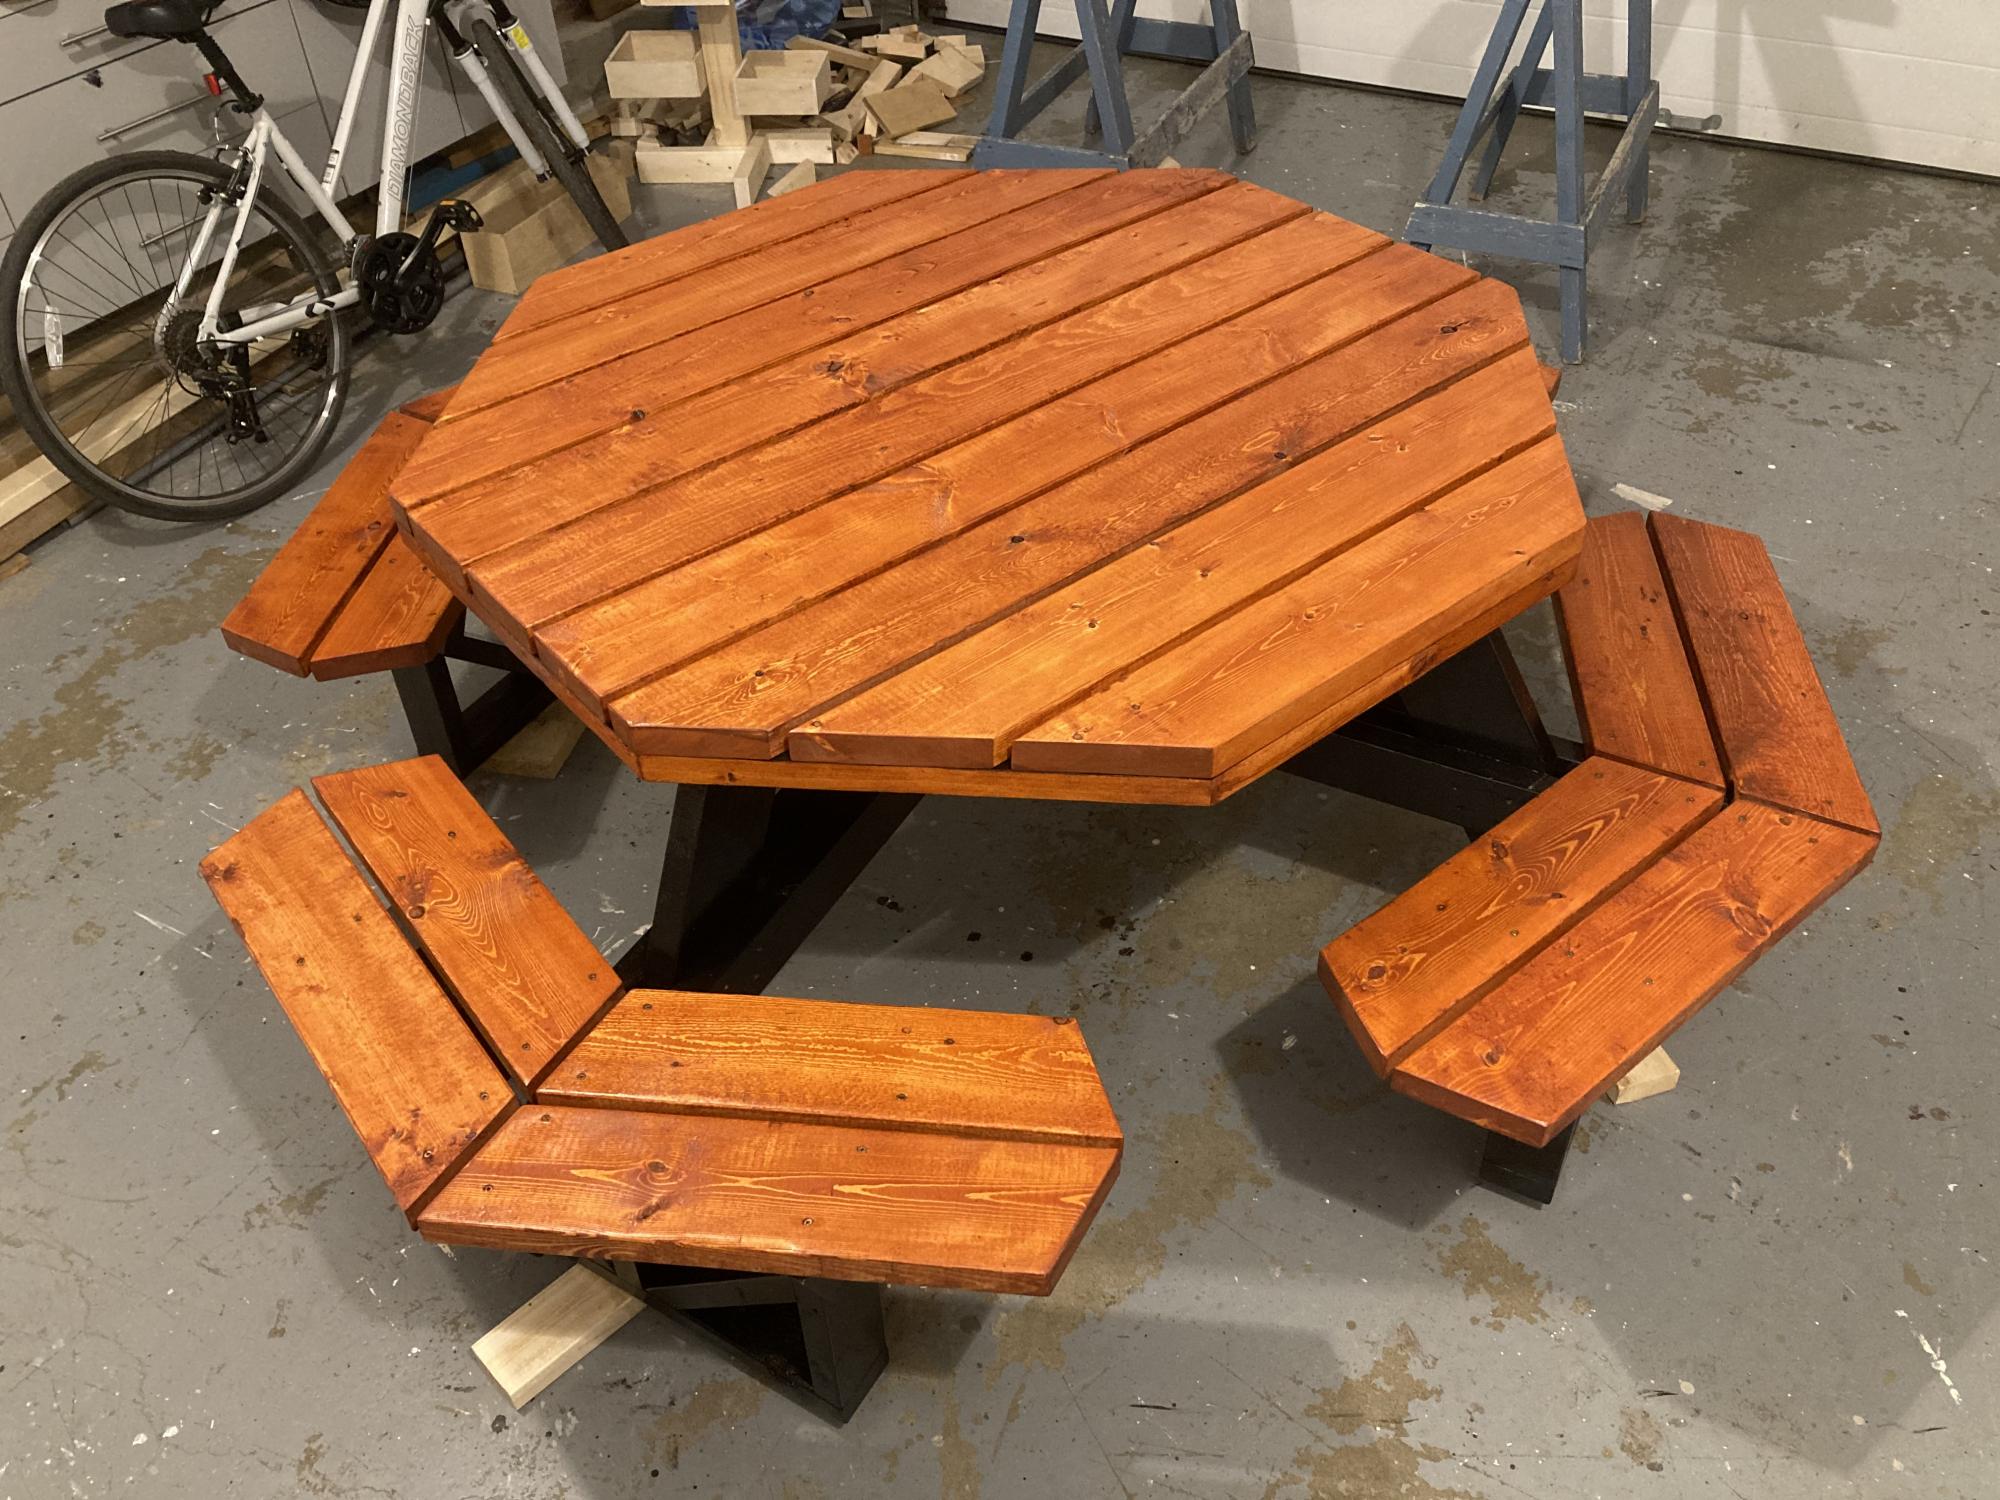
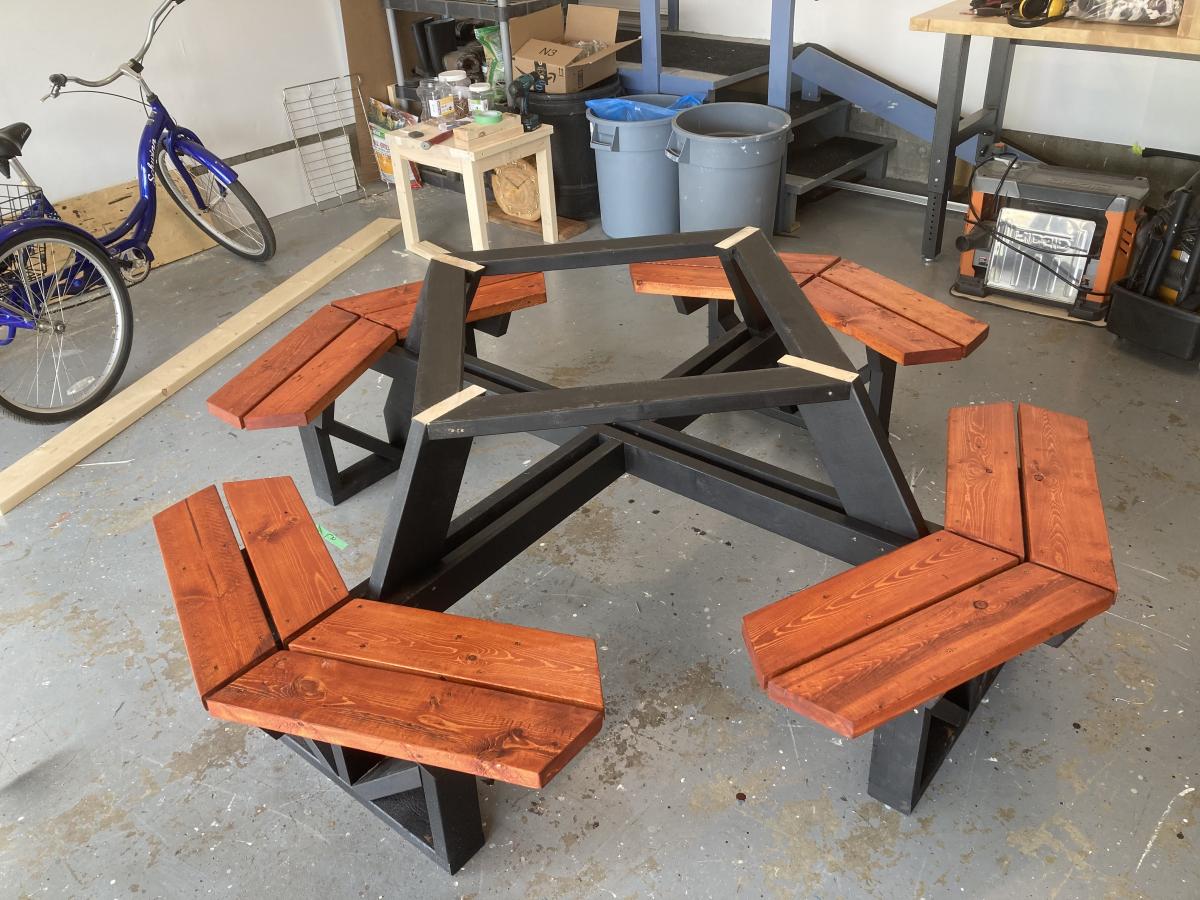
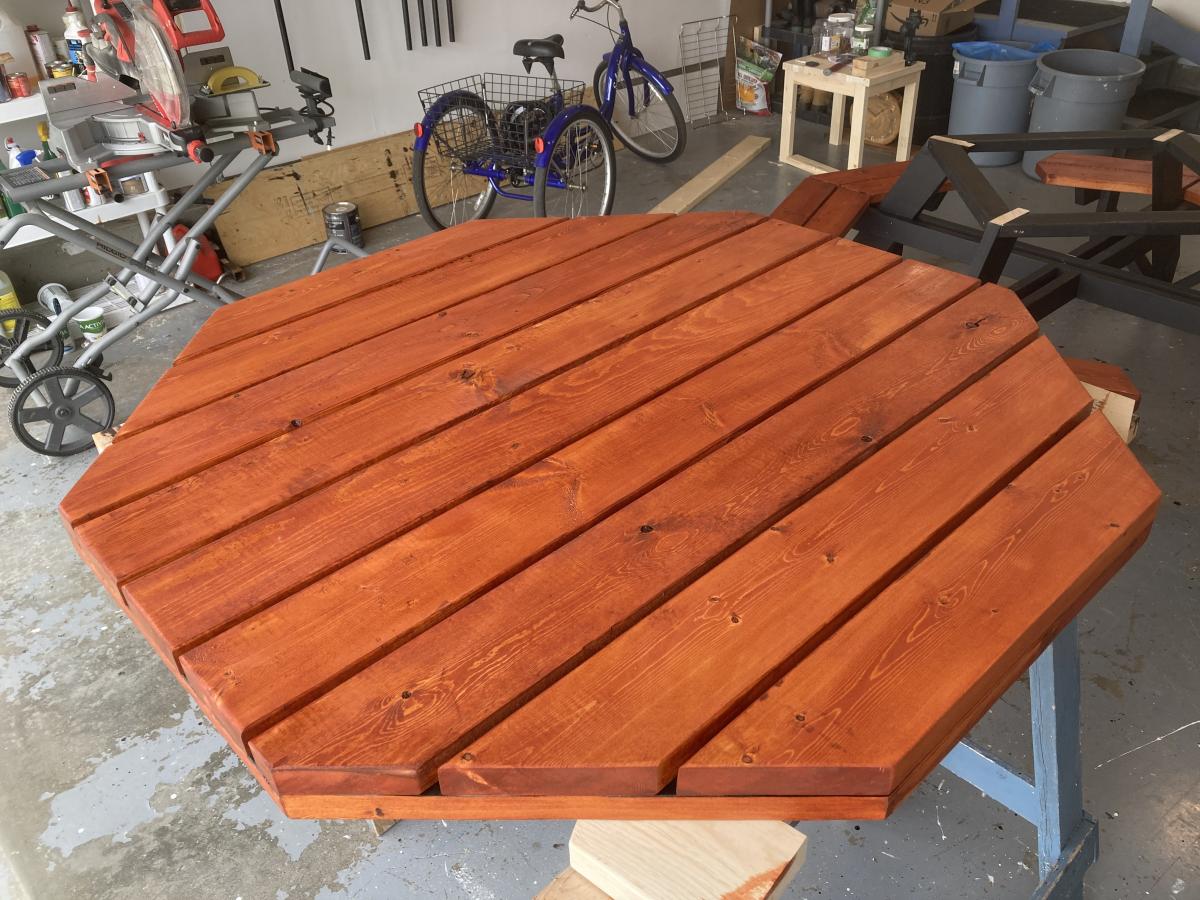
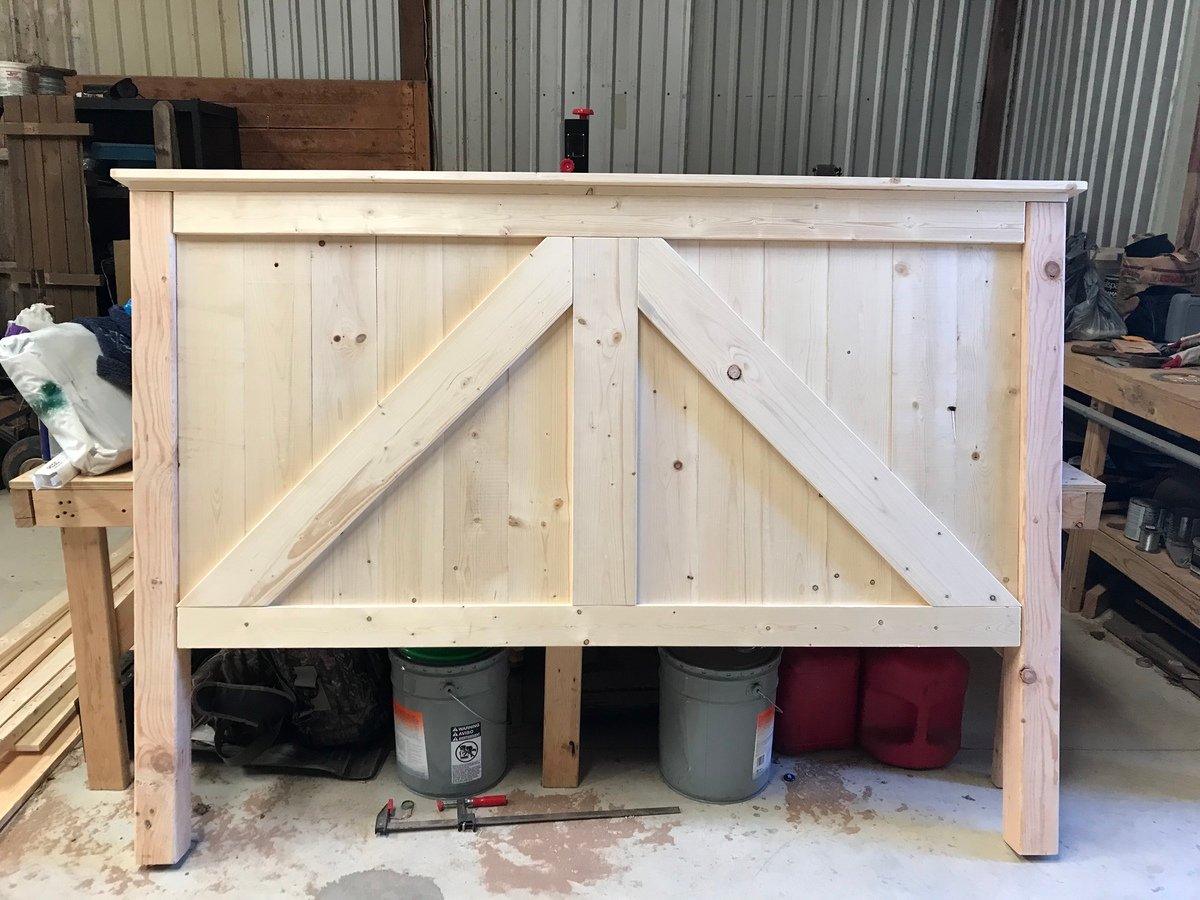
Community Brag Posts

Outdoor bar table

Submitted by hueybp on Tue, 07/21/2020 - 20:06

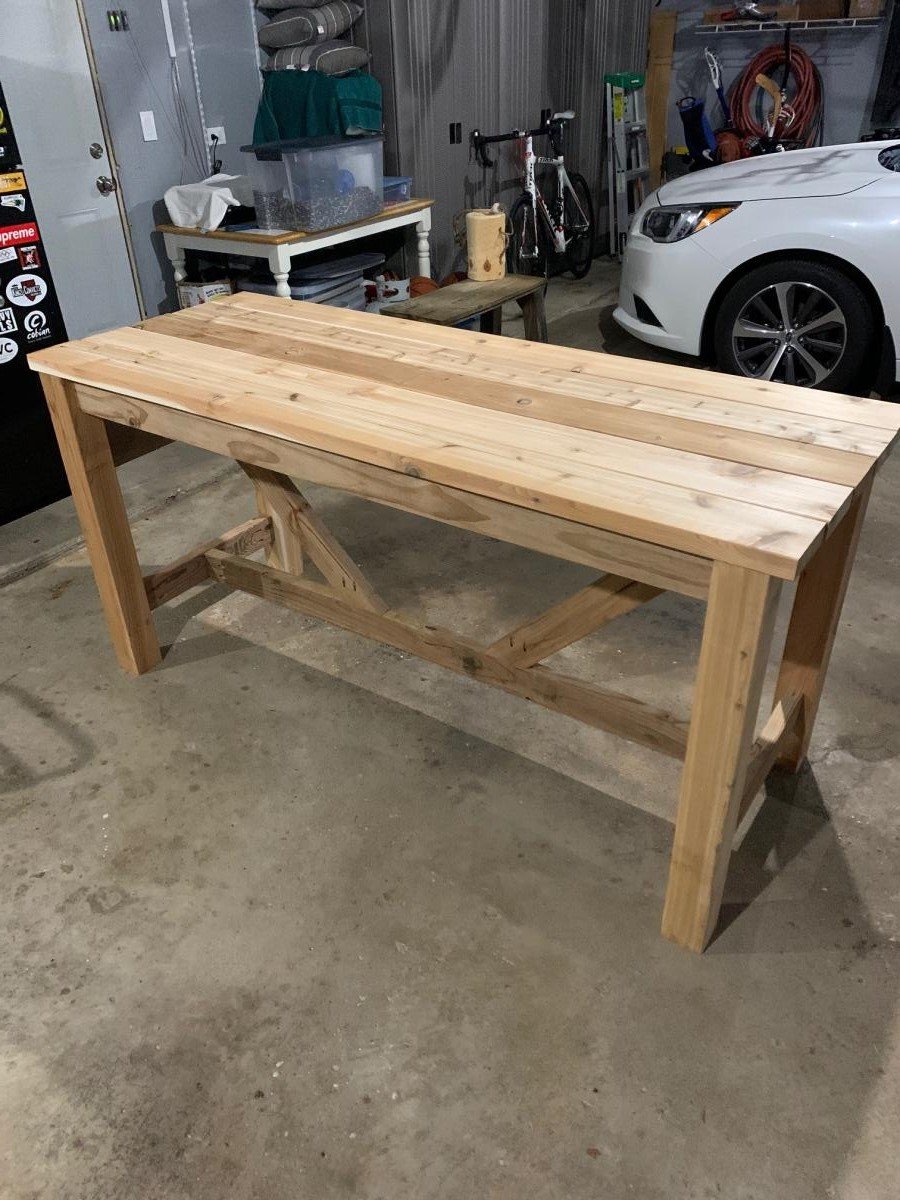
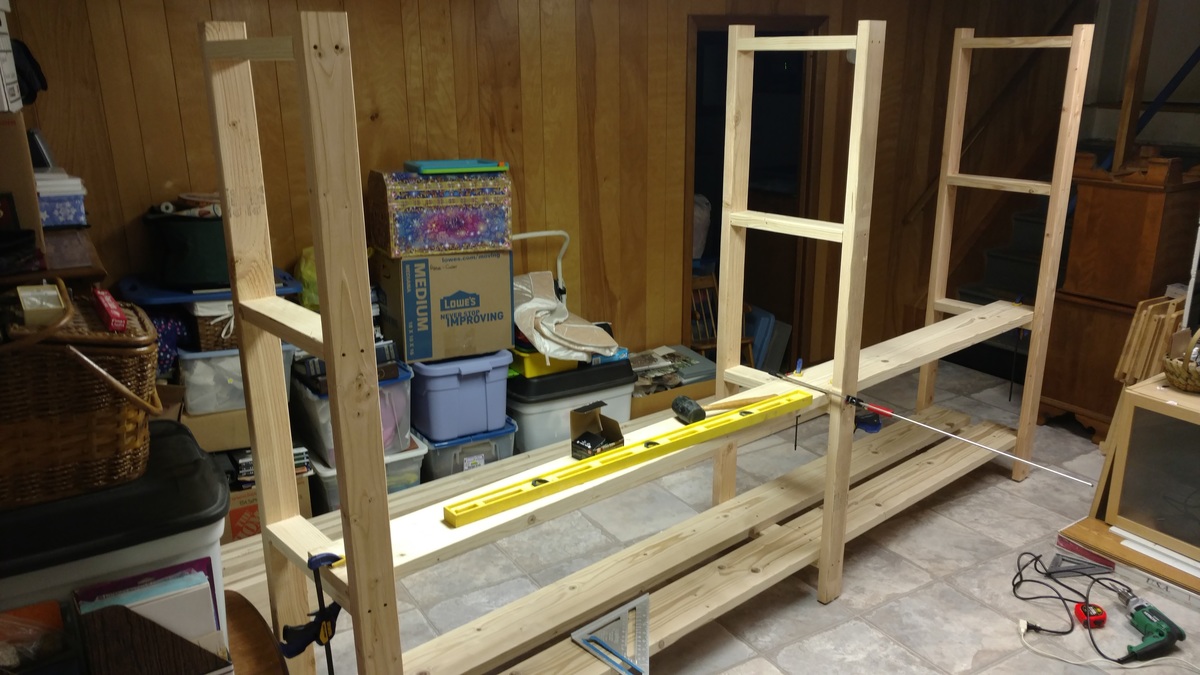
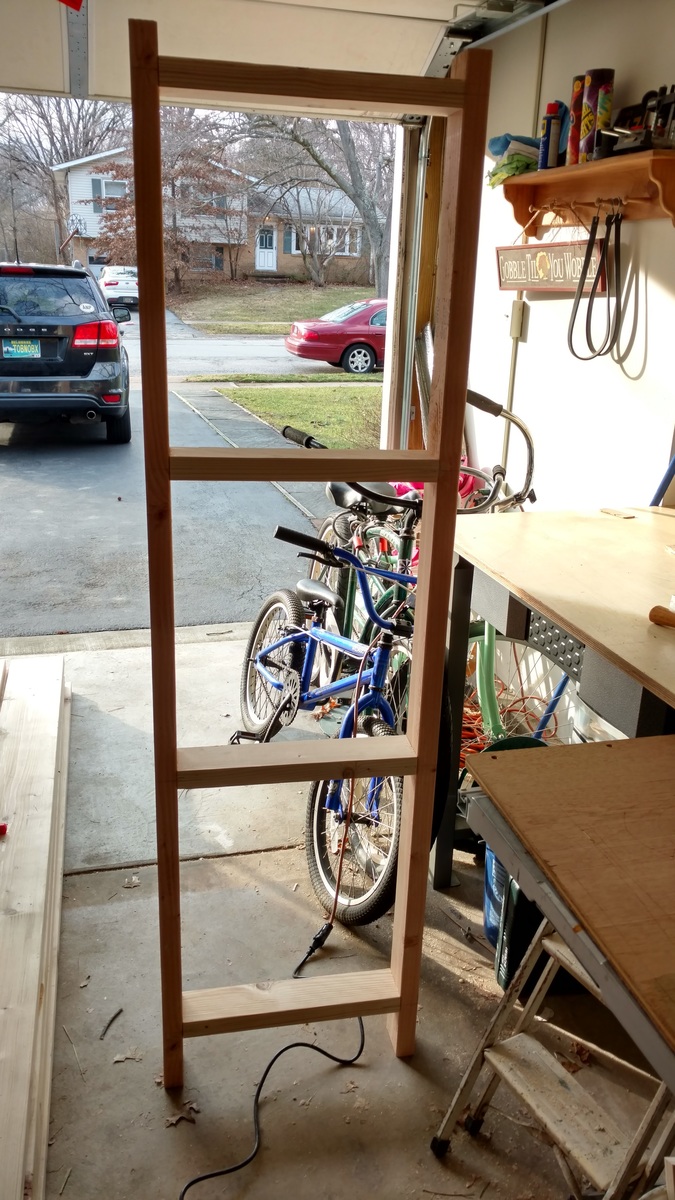
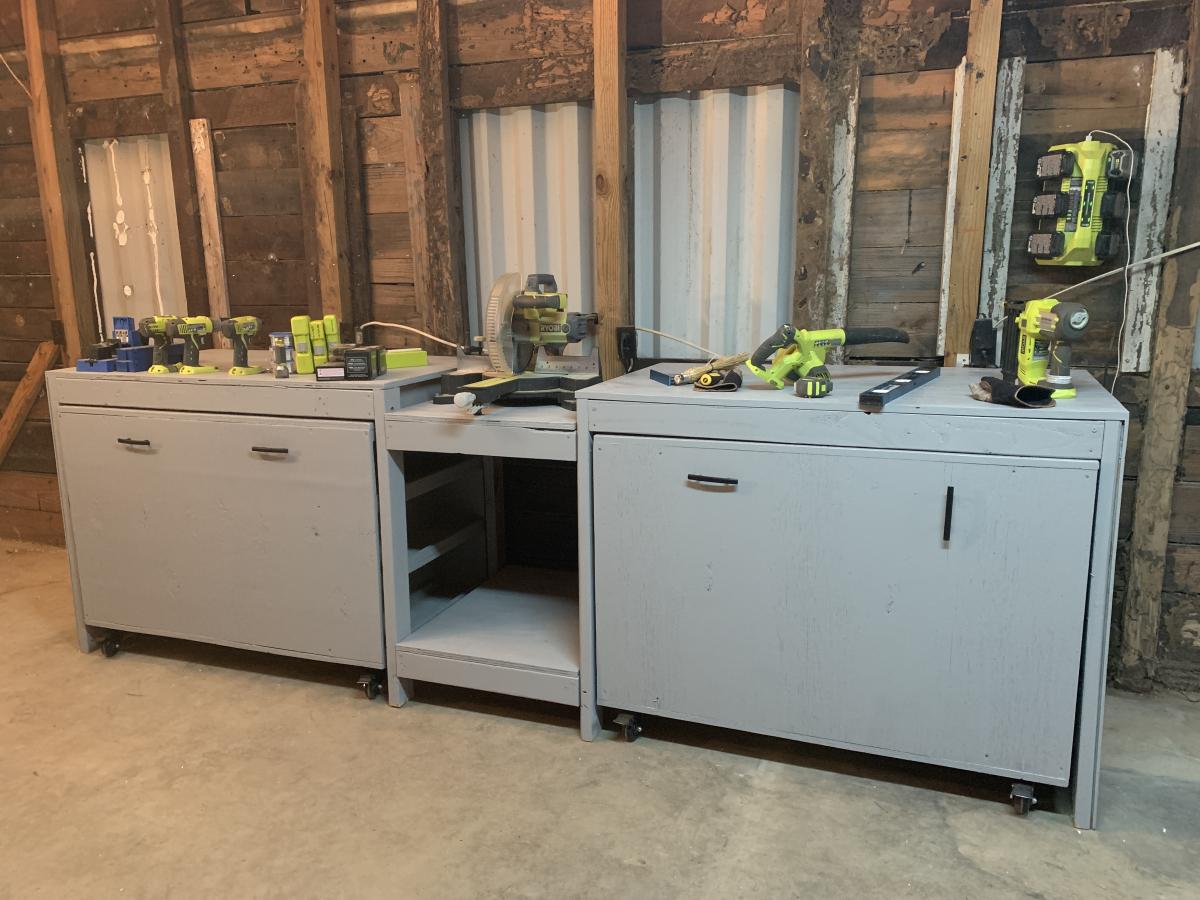
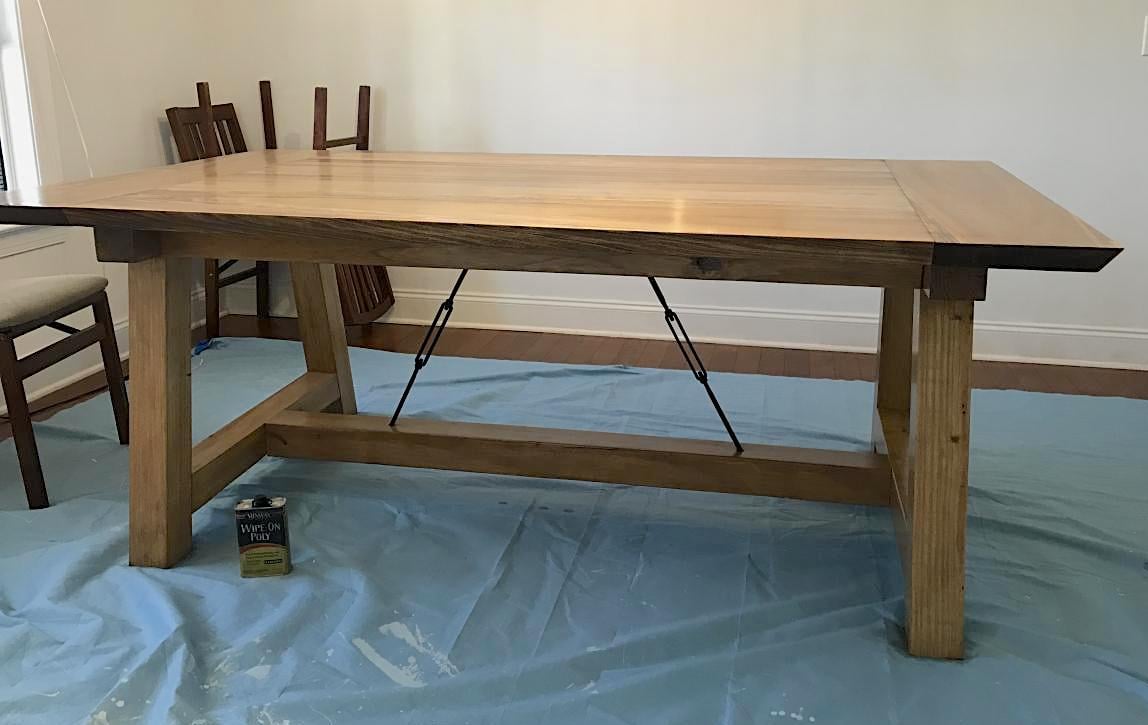
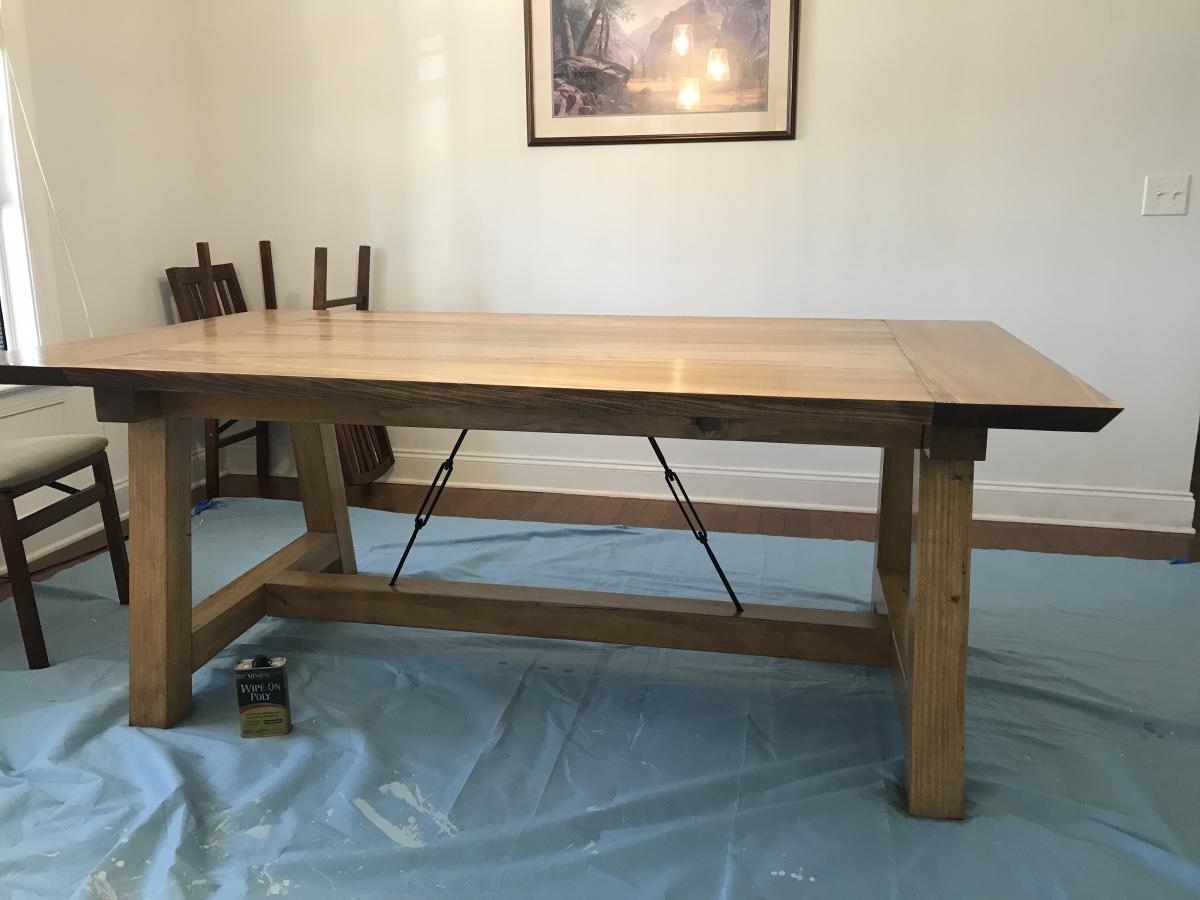
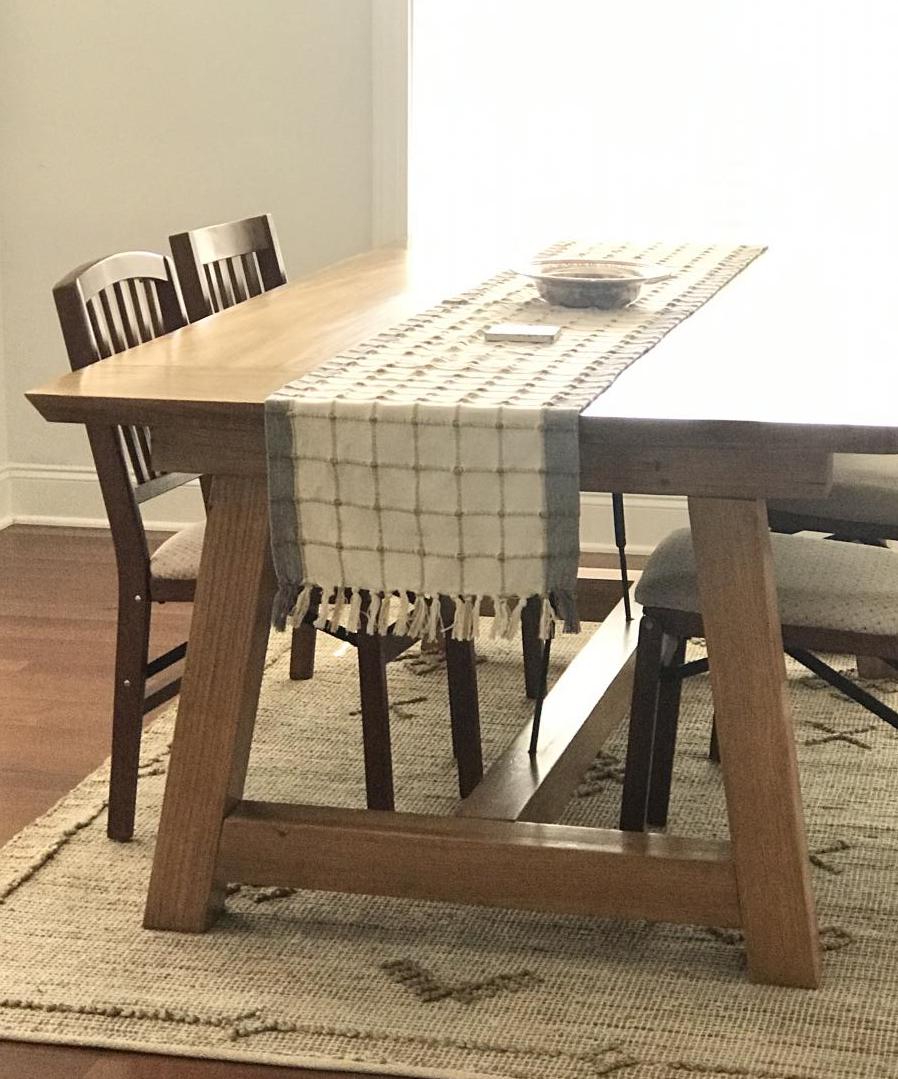
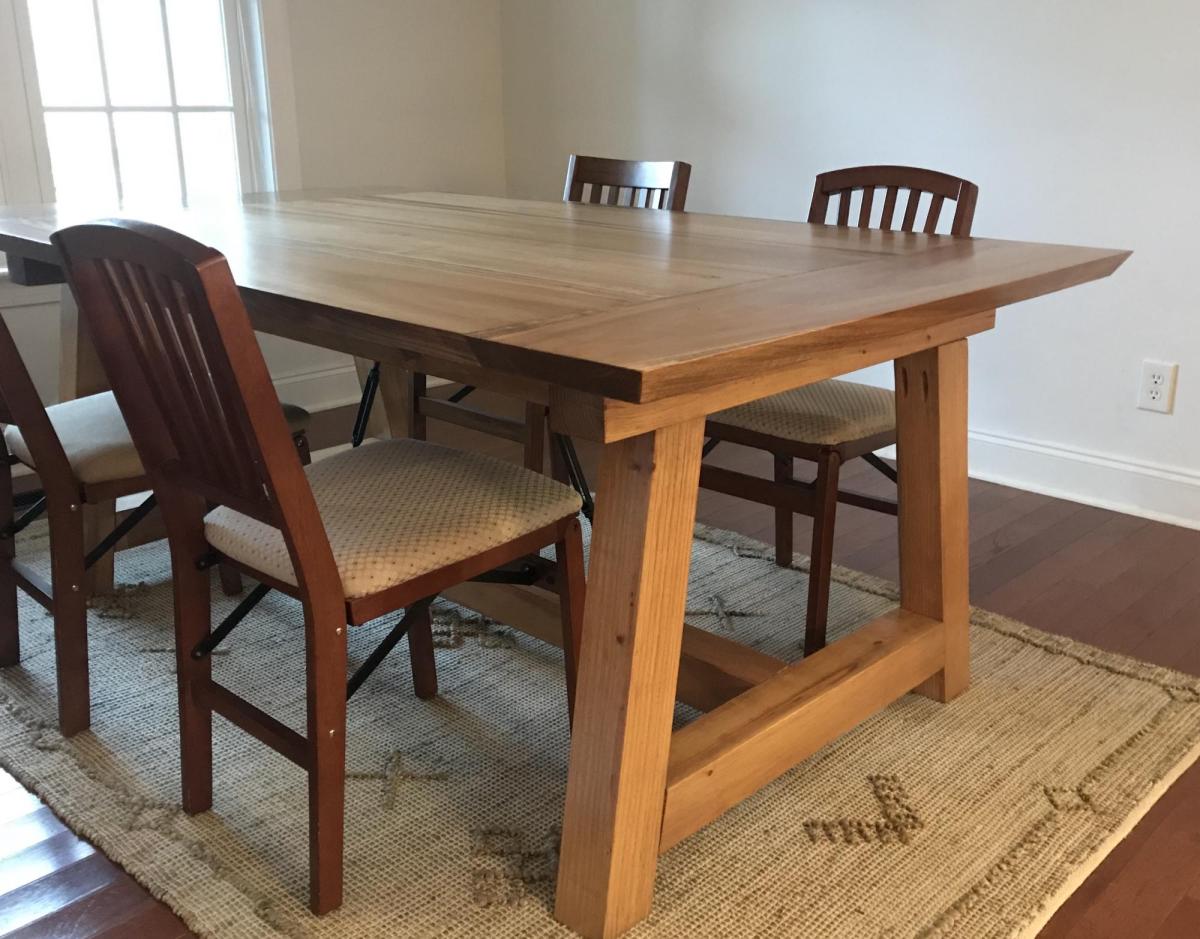
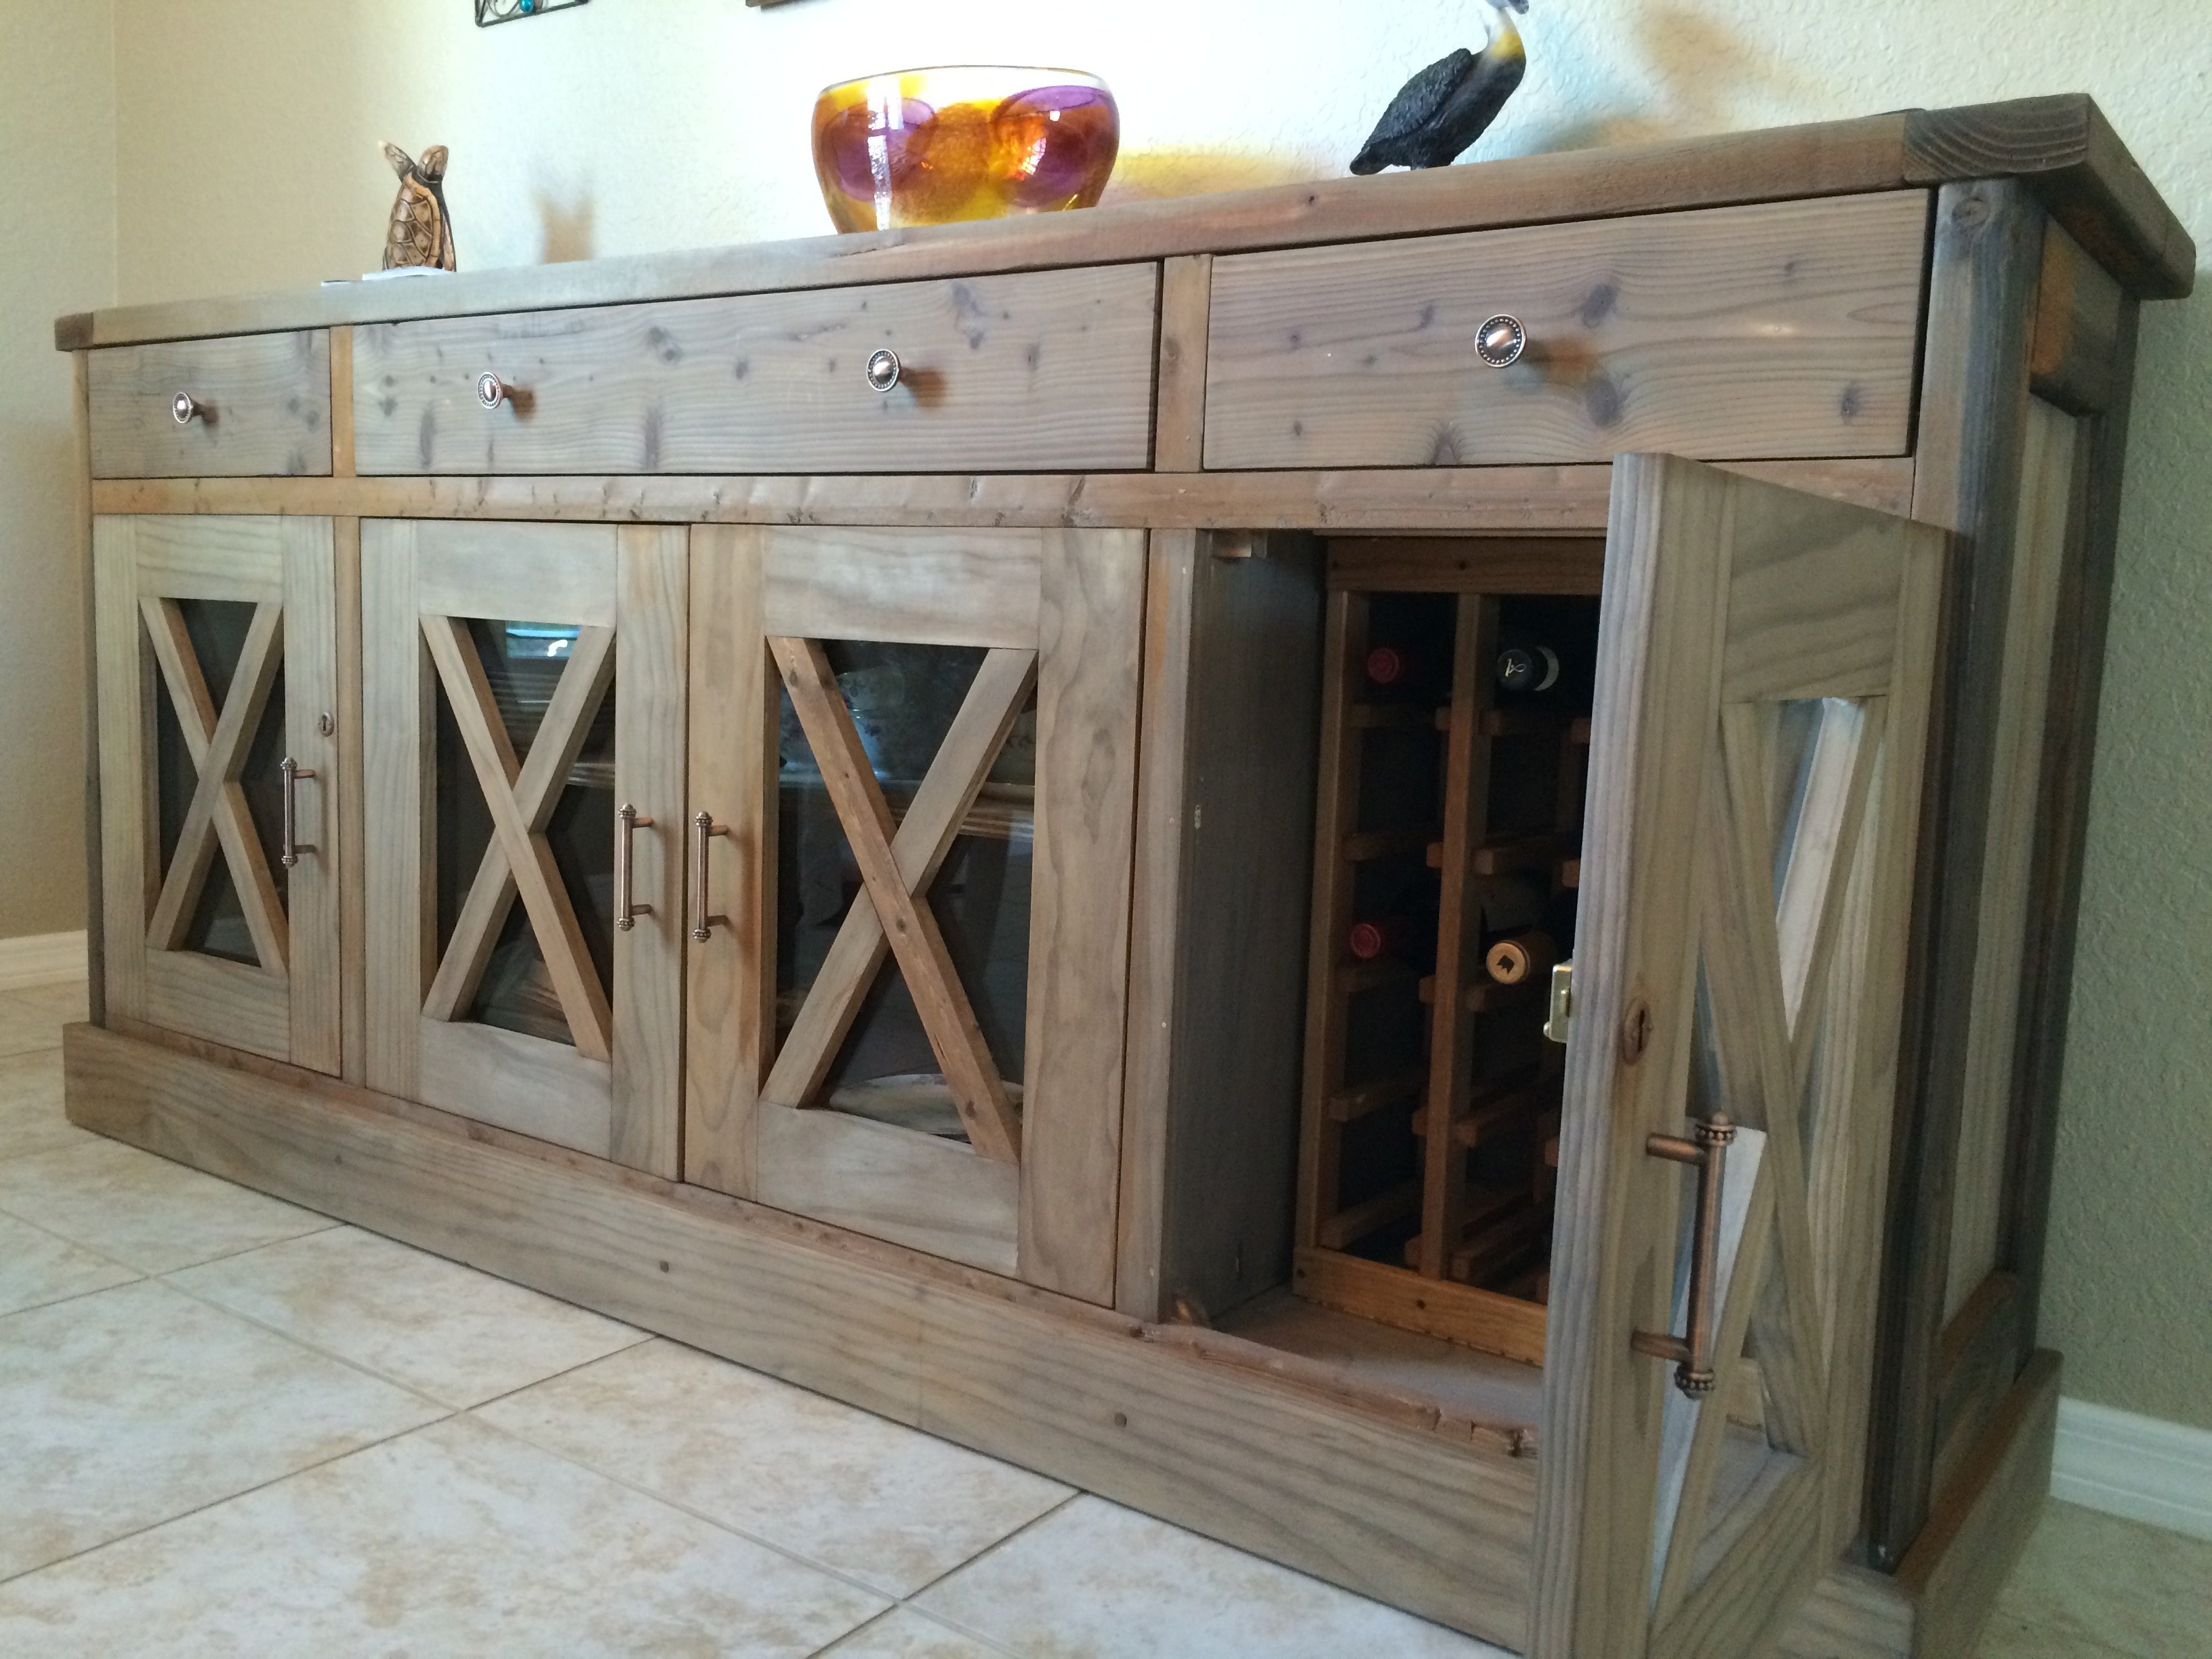
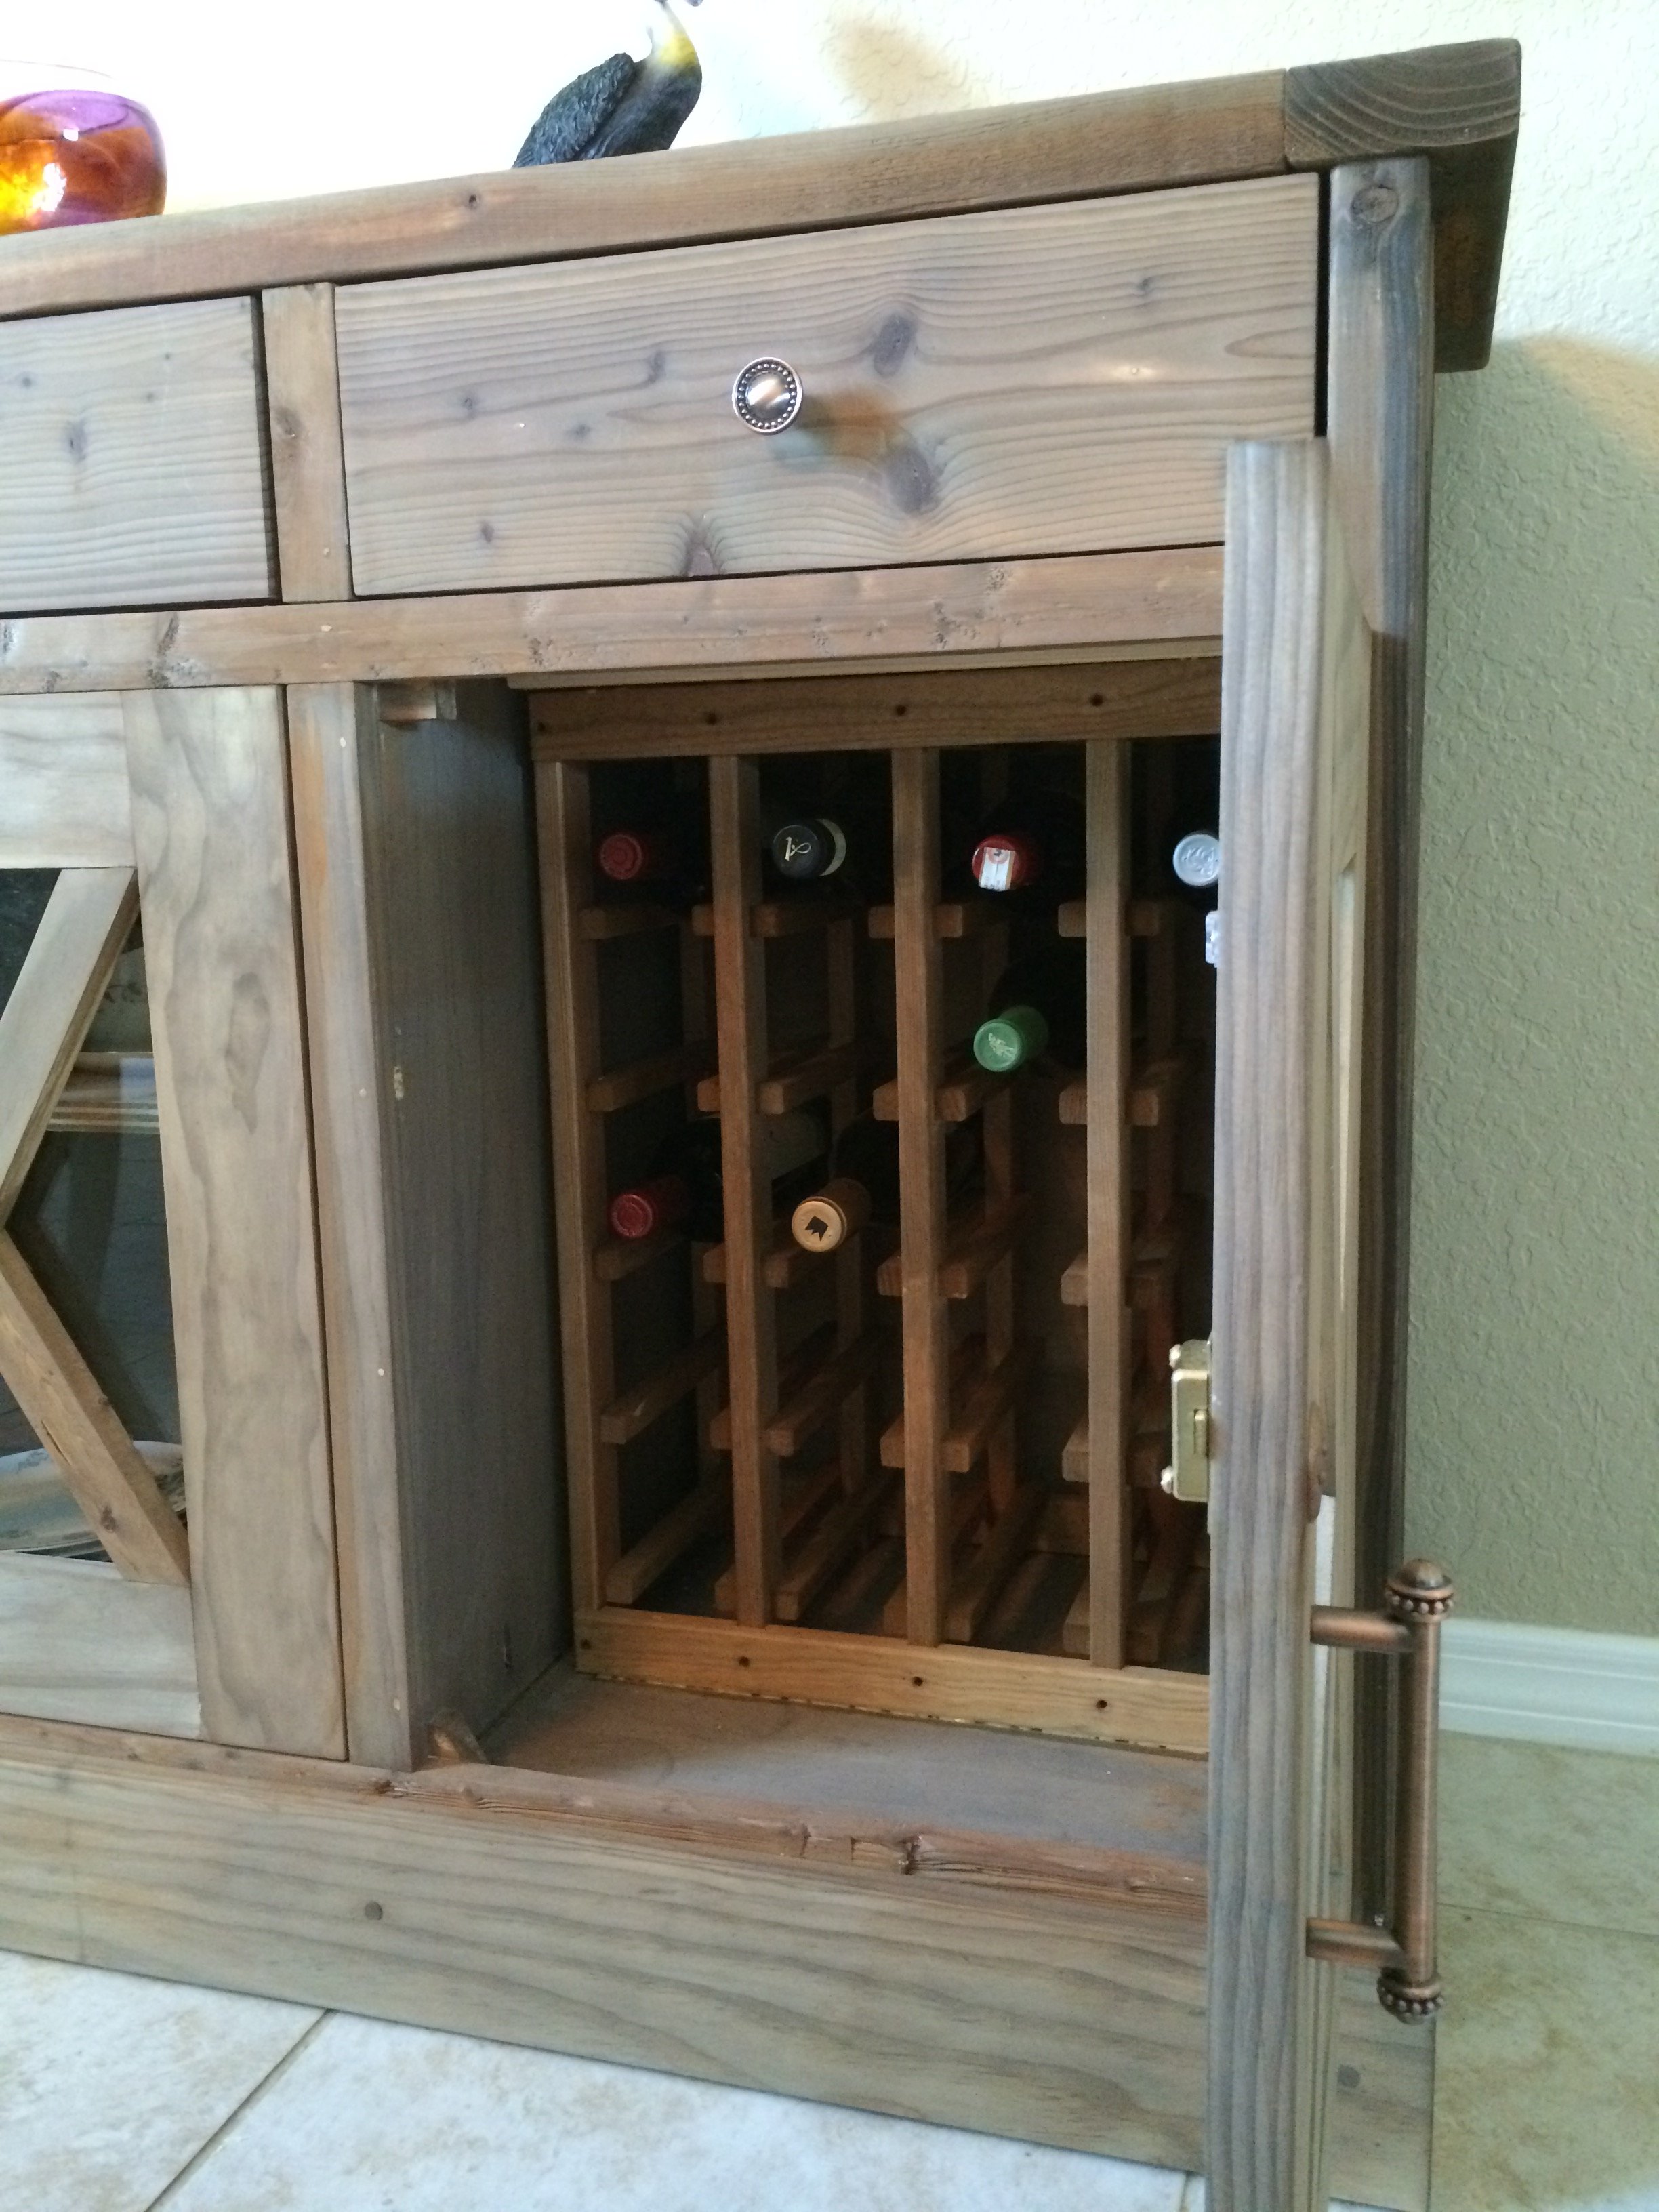
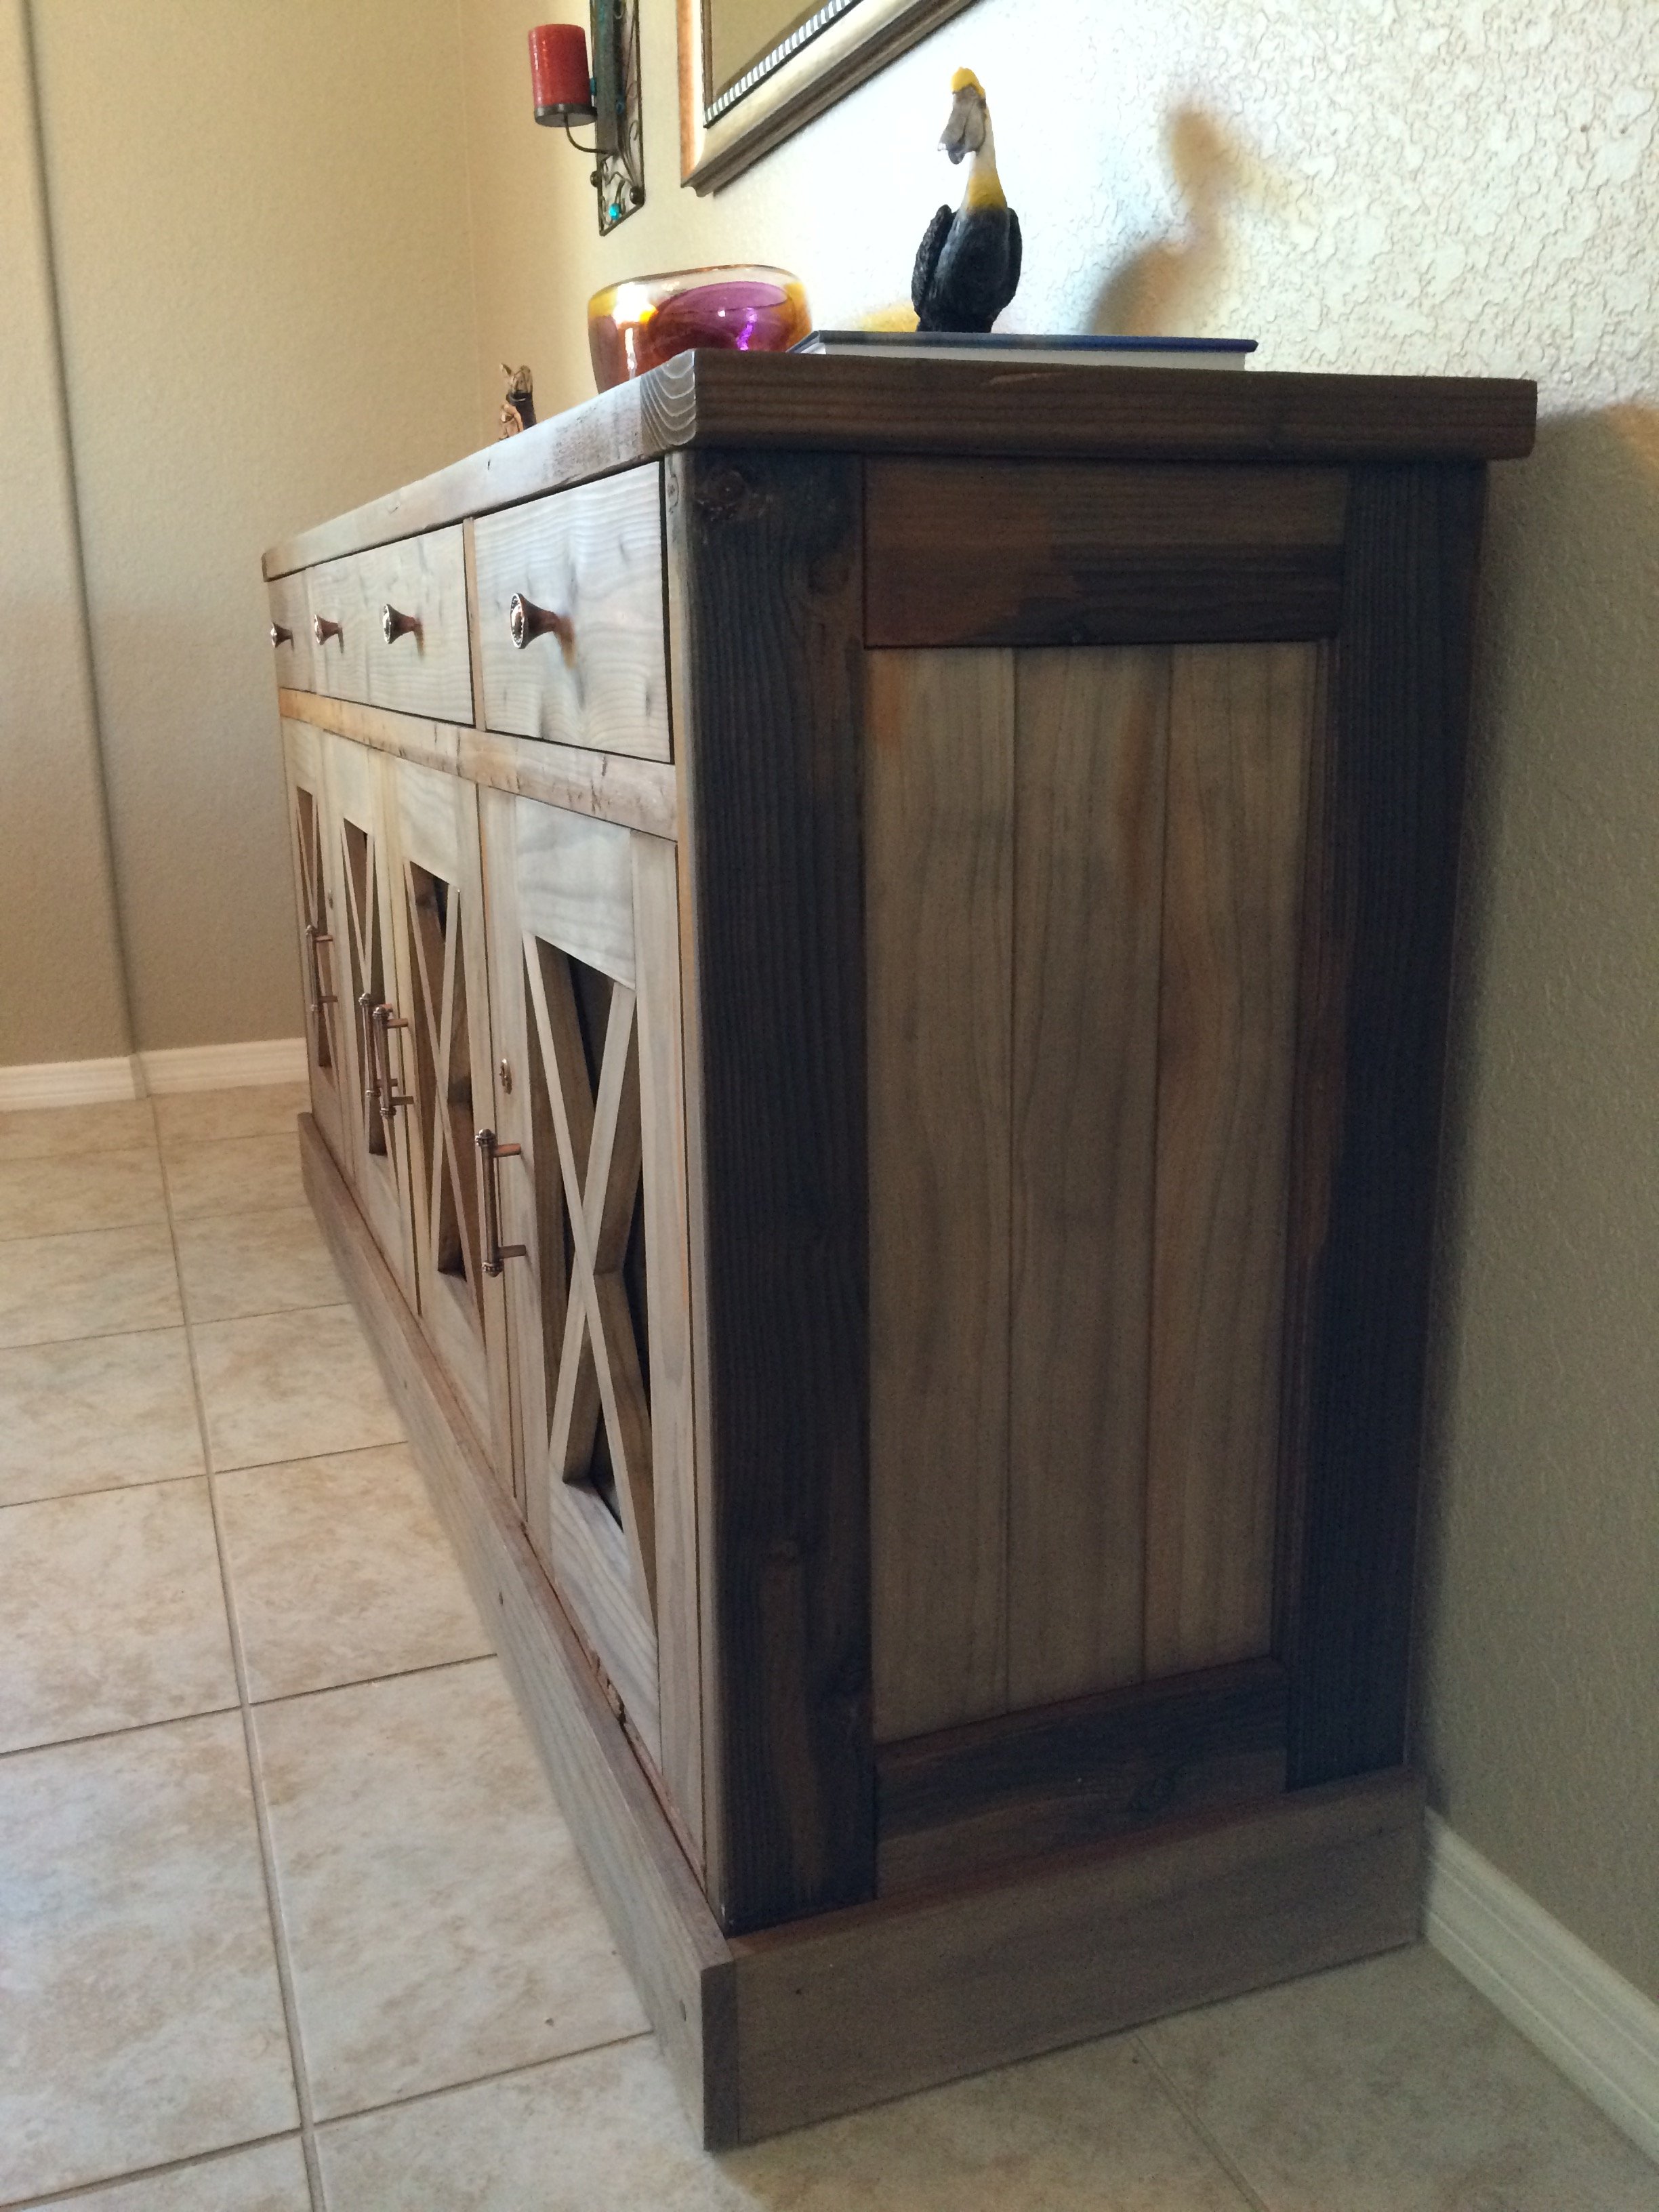
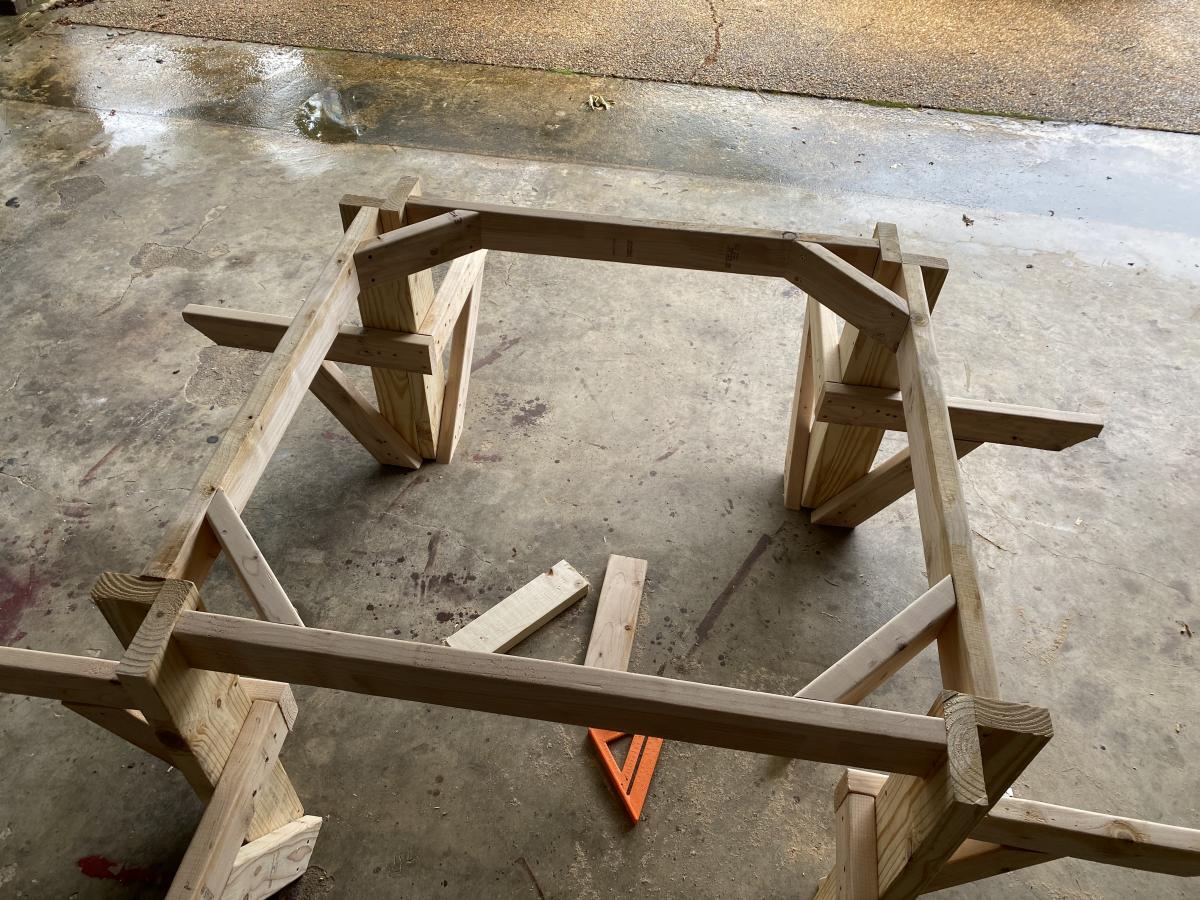
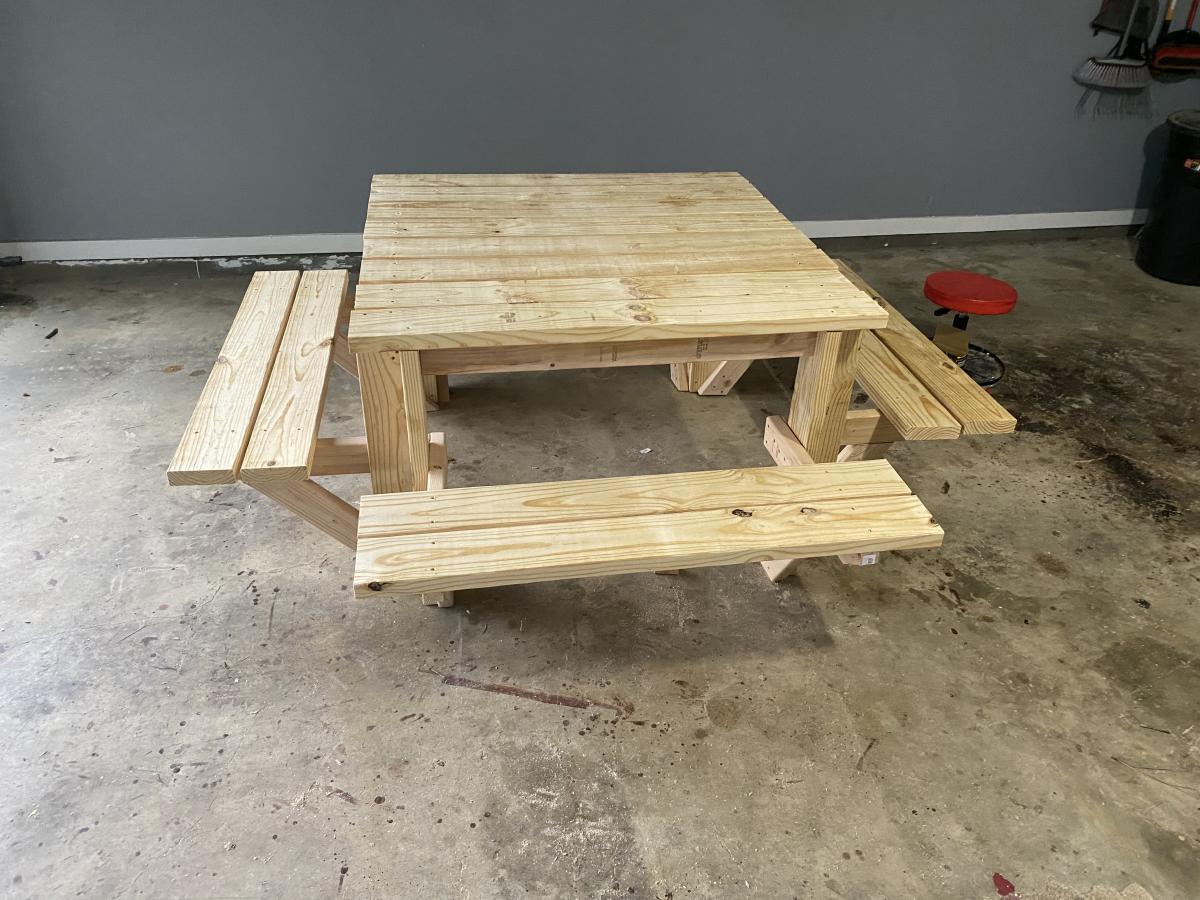
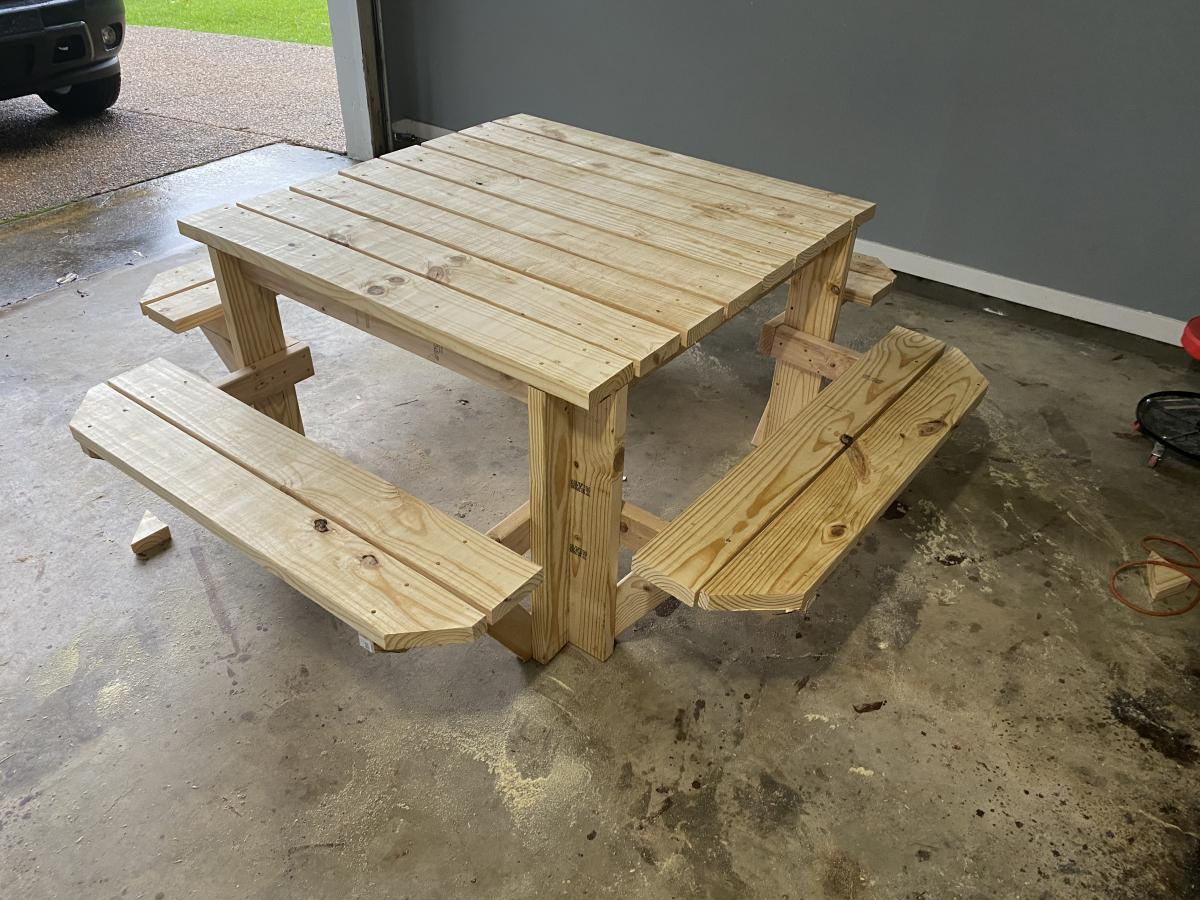
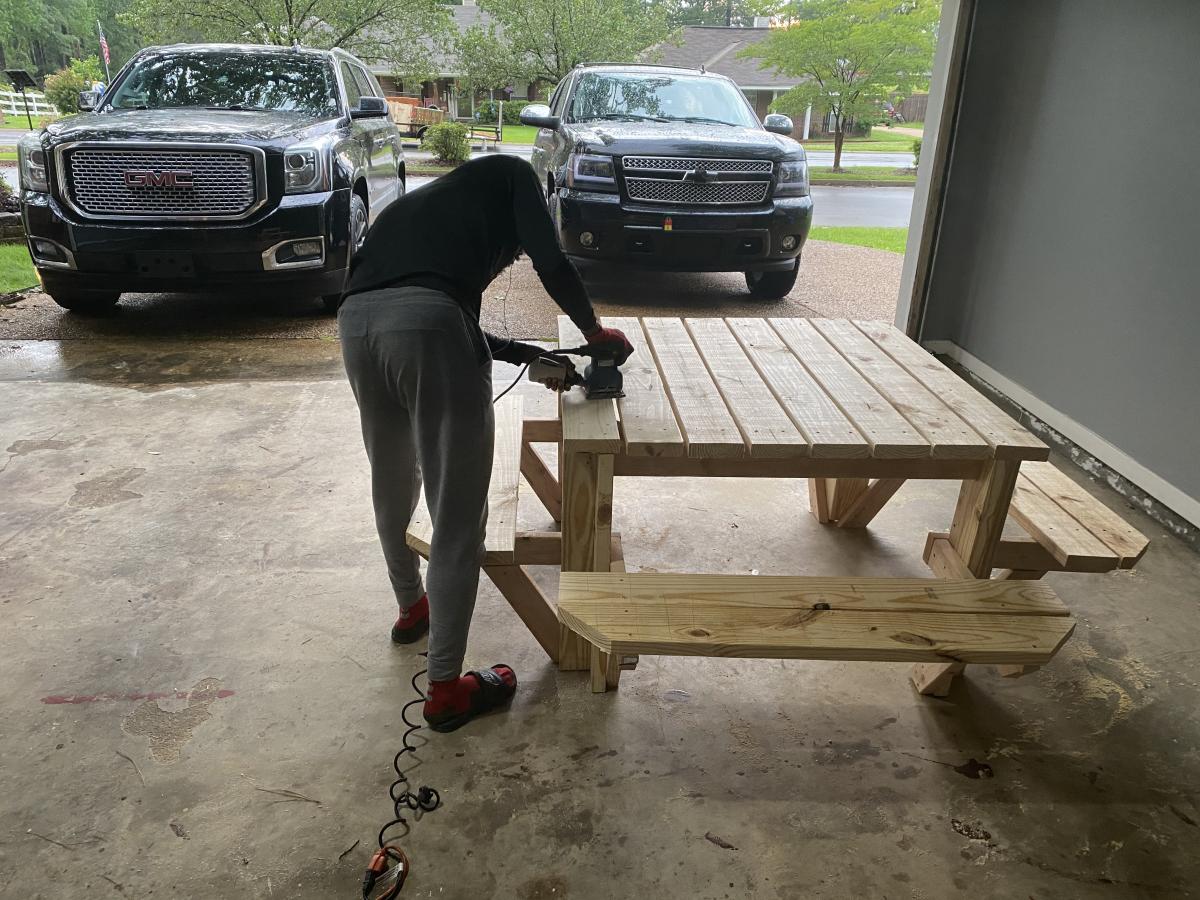
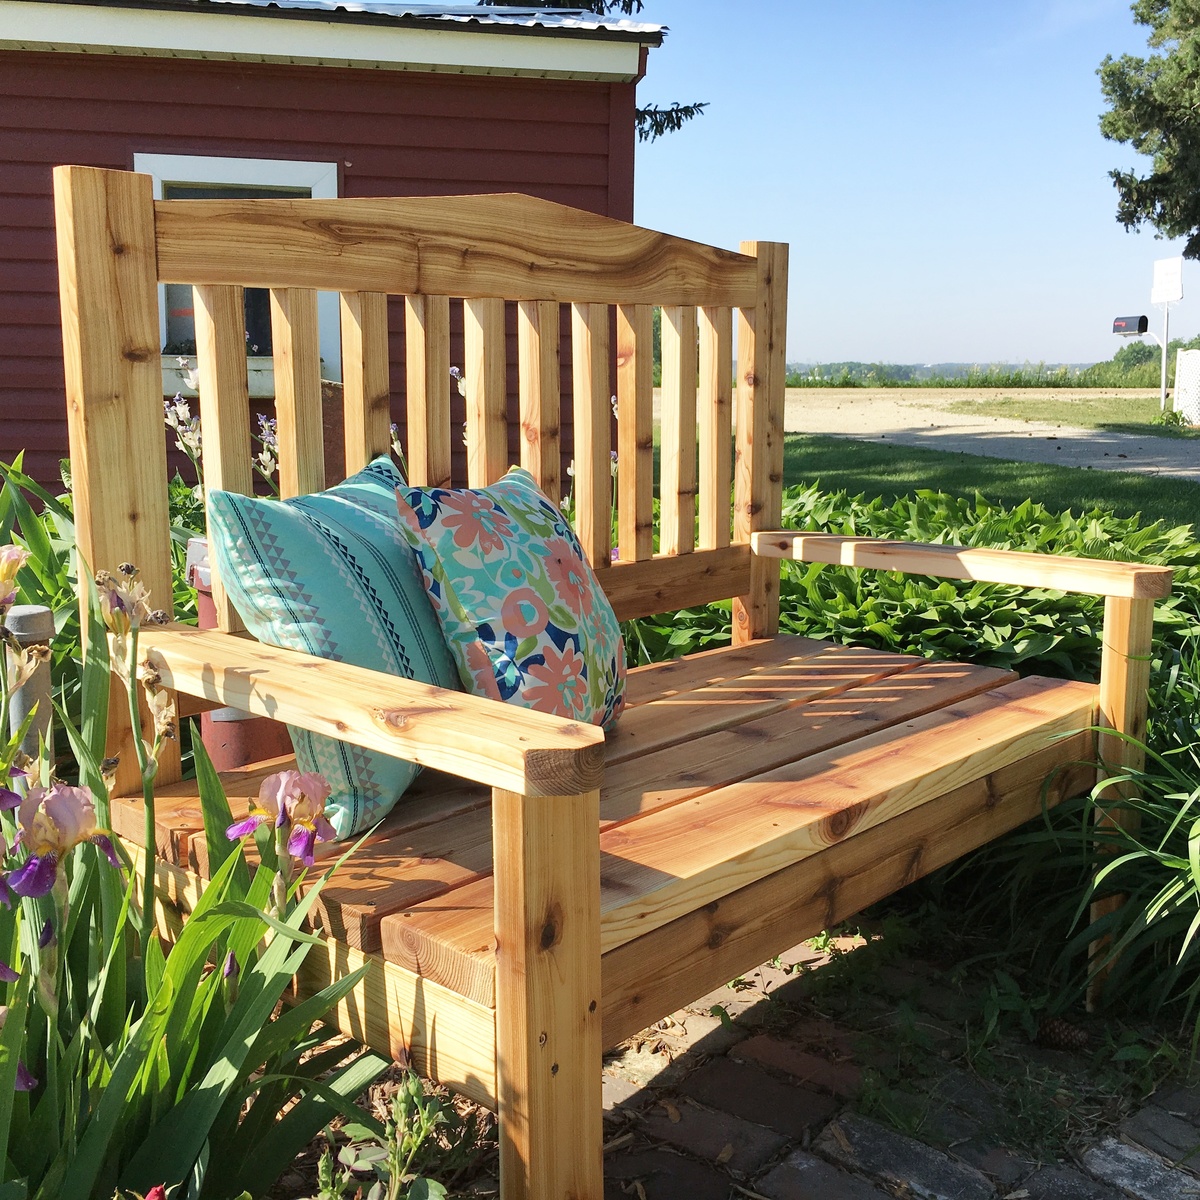
Not quite finished but love the table already. Trying to decide how to stain/paint it. The Kreg jig was a must for this project. It was my first of hopefully many! I used cedar for the 4x4s and 2x6 top pieces. The 2x4s are treated lumber (only because there were no more cedar ones....apparently lumber is getting hard to get lately!!!). Anyway....thanks for the great plans and motivation for this project.

Built from Plan(s)
Estimated Cost
Lumber was about $150 bucks (I bought mitre saw and kreg jig, too)
Estimated Time Investment
Afternoon Project (3-6 Hours)
Finish Used
Will probably use semi transparent stain
Recommended Skill Level
Beginner

Outdoor Sofa & Coffee Table

Submitted by Ulrike on Fri, 07/31/2020 - 09:38

This project took a while. Stained everything before assembly which made it easier. Plans are easy to follow. Thank you for making them available. Our property is starting to look a lot like your website.

Estimated Cost
180
Estimated Time Investment
Weekend Project (10-20 Hours)
Recommended Skill Level
Beginner

Comments

jwood4

Mon, 08/02/2021 - 08:35

Looks amazing! What method did you use (pocket holes, dowels, deck screws, etc) to join the visible portions like the arms?

Twin Storage Beds

Submitted by anne_c on Thu, 08/07/2014 - 07:36

This was really my first build and it stemmed from not being able to find the kind of beds I wanted for my girls. My brother helped me cut the wood and assemble the first one and my husband and I did the second together. It was so rewarding to make them and I love how they turned out! You can store so much and they are sturdy pieces. My girls love them too. (bedding is from Pottery Barn) I would stay this is a beginner's project. You don't need any specialized tools. it was a lot of fun and now I'm it itching to buy a Kreg Jig so I can complete many more projects!

Estimated Cost
$150-$175 per bed
Estimated Time Investment
Weekend Project (10-20 Hours)
Finish Used
After they were built, I sanded them and primed. The paint I chose was Polar Bear, which is a pretty true white, Behr brand from Home Depot. I used 2 coats of water based polyeurethane (Verathane brand), which has really protected it from knicks and scratches
Recommended Skill Level
Beginner

Outdoor Privacy Wall

I built this wall to give us a little privacy when our family wants to lay out and go swimming. Also, to hide our neighbor’s ugly fence! The length for all pieces are 8’ long for no cutting and the widths are 1x2, 1x6, 4x4 with 3/4” spacing and about 100 or so deck screws. I modified the pattern from a photo of a fence I seen on HomeDepots YouTube.

Estimated Cost
140
Estimated Time Investment
Afternoon Project (3-6 Hours)
Finish Used
Thompson Waterseal - Semi Transparent - Autumn Brown
Recommended Skill Level
Beginner

Basement Shelving....

Time to get organized in 2017....and what better way than with some custom shelving. This was not too bad of a project to complete. It only took about 6-8 hours to cut, frame, and assemble everything together (thanks to an interruption or two). 'Twas nice to have a project for once that I didn't have to care about finishing the project with wood filler, sanding, painting. I am sure my wife thanks me more as I would have been another week getting things just right​​​​​! 

A few changes that I made from the original plans:

- used 2x8 for the shelving runs as I only was dealing with a 10ft run and was a few bucks cheaper to buy 8 boards vs 16 boards. Plus less cuts!!! 

-installed adjustable furniture feet in the supports to deal with sloping basement floor. Unexpected side effect was it was easier to slide the unit around in the basement as I assembled it. 

Outside of those changes I remained faithful to the original design. I didn't bother filling the screw holes as we will be hiding the shelving unit with a curtain once  we turn the room into a TV/Office area. 

Also as it wasn't 100% clear from the original plans, but the height measurements for the shelf supports are to center... not sure why it didn't register with me right away... but just in case anyone else didn't realize that as well. 

Estimated Cost
$150 for wood, screws, wood glue, and adjustable furniture feet
Estimated Time Investment
Day Project (6-9 Hours)
Finish Used
None
Recommended Skill Level
Beginner

In love with my new miter saw stand and work benches

Submitted by seahawklvr on Fri, 11/27/2020 - 05:58

We purchased a fixer up house that requires a complete gut but the property came with a detached shop! I quickly realized I needed to get the shop cleaned up and organized so it would be easier and more efficient to work on projects for the house. I am a beginner as far as I am concerned and even though this was rated as an intermediate level build, as long as you take your time, it’s definitely doable for a beginner. The plans called for staples but since I just had a Brad nailer, I just used that and it worked fine. I did have one fail, and that was that I had a 1x2 to hang my clamps on but I placed it too far near the outside of the mobile work bench and when I went to store the work bench under the miter stand, the clamps prevented it from sliding in so I had to reposition it. Other than that, it was perfect and as soon as I save up for my Ryobi table saw then I will position it on one of the work benches. Because of the raise in the cost of lumber dut to COVID, the cost was probably twice as much as it should’ve been but I still feel I couldn’t have purchased a huge miter saw station and two mobile work stations for less than I spent on building this. Besides, I can be proud that I built this myself!

Estimated Cost
$325
Estimated Time Investment
Weekend Project (10-20 Hours)
Finish Used
Behr Marquee #MQ6-22 Gateway gray in satin enamel
I found it more cost effective to purchase a 6 pack of handles vs purchasing 4 individual handles. Now I have two spares for a project down the road.
The Caster Wheels were Moogiitools 3” locking from Amazon and were @$50 for 8 wheels. Very smooth and heavy duty
Recommended Skill Level
Beginner

Comments

Cabinet style farmhouse nightstands

Submitted by Anonymous (not verified) on Tue, 12/22/2020 - 10:13

Beautiful plans, thank you Anna! I can’t wait to build the king bed to match!

Estimated Cost
100
Estimated Time Investment
Weekend Project (10-20 Hours)
Finish Used
Varathane weathered wood accelerator first coat then the rustic accelerator for the second coat. Apply with a foam brush. Then sprayed on 4 coats of semi gloss clear and it’s done!
Recommended Skill Level
Intermediate

My Laundry Station

Submitted by Anonymous (not verified) on Mon, 03/06/2017 - 18:09

I love Ana's original design and it was a great inspiration. I needed to add more baskets so I adjusted it a little. I had some drawer slides sitting around so I added a pull out shelf to fold on as well.

Built from Plan(s)
Estimated Time Investment
Afternoon Project (3-6 Hours)
Finish Used
Primer and paint
Recommended Skill Level
Beginner

Madison Dresser with a new look :)

Submitted by lubsies on Wed, 03/15/2017 - 08:52

Hope you like it! We used Duck Egg Chalk Paint and a dark walnut stain for the top and legs. We also put in drawer slides instead of doing it the normal way the plans said. (That was harder than we expected but the pay off is well worth it.) Knobs are from Hobby Lobby and we wrapped them in twine to brighten them up!

Built from Plan(s)
Estimated Cost
$350-400 total
Estimated Time Investment
Week Long Project (20 Hours or More)
Finish Used
Duck Egg Chalk paint and clear wax

The top is Dark walnut stain and satin poly
Recommended Skill Level
Intermediate

Comments

Farmhouse Table with Industrial Hardware

Submitted by Anonymous (not verified) on Sun, 01/17/2021 - 11:26

My hubby and I used the tressle table plans to make this awesome table. We changed it up, adding the turnbuckles like a Pottery Barn table that we wanted. I think this turned out way better!

We used yellow pine for the lower portion and poplar for the top.

Built from Plan(s)
Estimated Cost
200
Estimated Time Investment
Week Long Project (20 Hours or More)

Comments

Dining room sideboard

Submitted by dougw on Fri, 12/19/2014 - 09:12

I made a few modifications from the original plans as I wanted to have some visibility into the cabinets. I used natural pine and finished with a tea, vinegar/steel wool solution to give it the reclaimed wood look.

Built from Plan(s)
Estimated Cost
$400
Estimated Time Investment
Week Long Project (20 Hours or More)
Finish Used
Tea then Vinegar/Steel Wool. Protected with wax.
Recommended Skill Level
Intermediate

Comments

Jessica b

Wed, 08/17/2016 - 23:42

Would you have plans available for the modifications that you made? This is beautiful!!

Children's play cafe

Submitted by Markb25 on Fri, 04/23/2021 - 23:15

With another total lockdown happening here in Cyrpus, right at the same time as my Daughter will be on Easter holidays, I'm trying to knock up as much outdoor play kit as I can to keep her entertained and off the iPad.

The design of this was very simple, a 2x2 frame clad with T&G; the countertop, shelves, and roof are from marine grade baltic birch (the roof also has additional levels of water prof membranes, root barriers, etc to support the living roof).

Finish-wise, for the pinks and blues, I've used wood aqua by Kraft paints, and for the counter, shelves, and picnic bench, high protection wood stain in walnut by V33.

Estimated Cost
500
Estimated Time Investment
Weekend Project (10-20 Hours)
Finish Used
wood aqua by Kraft paints and high protection wood stain by V33.
Recommended Skill Level
Beginner

Comments

Ana White Admin

Sat, 04/24/2021 - 06:54

It's all in the details, looks like you're making a little girls dream come true! Thank you for sharing!

Flip Down Desk

Submitted by vala41 on Fri, 02/08/2019 - 14:21

This was just what I needed! My daughter started homeschooling and we needed a place to neatlly contain her school stuff. I had her working at the kitchen table next to me, but it still felt like it lacked the school atomosphere. I removed the area for the paper holder and instead added a few support scraps to hold her folders and books upright. 

It did take me awhile to get the support hinges placed correctly (I almost gave up and went with a rope or chain) but I finally got them placed correctly after placing a pencil mark on where they could lie correctly open and closed - seriously this took me awhile because just when I thought I had it, the brackets when closed would be to deep for the desk or when I placed it it correctly inside when open it wasn't 90 degrees. 

The only thing I wish was that I had made it slightly shorter, because when it is open it is a little hard for her to reach the top shelf, but its not to bad and that is the height my scrap bead board was and I was to lazy to cut it =) 

I had a magnetic clasp left over from another project and that has worked well to keep it closed nice and tight, I also used some foam board I had lying around for the back so that her things were not tapped/pinned on my wall. I choose the bead board on the front because A: it is what I had lying around and B: it is in my dining room so I wanted it looking a little nicer.

I had everything on hand excpet for the support brackets which cost me 2 something each at Lowes. YAY for projects under $10 bucks! Thank you so much Ana!

Built from Plan(s)
Estimated Cost
Had scrap wood, hinges, magnetic clasp and paint on hand. Only paid around 6 bucks for the support hinges.
Estimated Time Investment
Day Project (6-9 Hours)
Recommended Skill Level
Starter Project

Comments

Square Picnic Table

Submitted by Bmorey67 on Mon, 05/10/2021 - 18:57

I built this picnic table for my mom’s Mother’s Day/Birthday gift. With the price of lumber being as high as it is I figured this table would be her gift this year. Fairly simple design. Ana was right about pre-sanding and staining. Would’ve made it a lot easier. I applied to coats of external poly for durability. Keep plans coming Ana!

Built from Plan(s)
Estimated Cost
$200
Estimated Time Investment
Weekend Project (10-20 Hours)
Finish Used
Cognac stain
Recommended Skill Level
Intermediate

Octagonal Picnic Table

Submitted by frmoody on Fri, 05/28/2021 - 15:08

To say this was a complicated build is an understatement. Lots of pieces, lots of different angles and lots of screwing it together. It was really tough to keep everything perfectly square but in the end it turned out well. It is a very heavy table. I want to get it outside on a sunny day for some photos.

Estimated Cost
The price of lumber is ridiculous right now. Last summer this would have cost me about $200 in materials but I spent about $450 on wood, finish and screws. 2 x 4 x 8's right now are about $10.40 CAD$ and 2 x 4 x 6's are about $15.00
Estimated Time Investment
Weekend Project (10-20 Hours)
Finish Used
I first painted all black parts with Wood Shield Oil Deck & Siding solid stain. I used two coats. I painted most of the boards prior to cutting to save time. The top and seats were stained with MinWax Gunstock Stain. Once everything was together I put on two coats of Helmsman outdoor polyurethane.
Recommended Skill Level
Advanced

Comments

Trash / Recycling Cabinet

Submitted by Anonymous (not verified) on Tue, 07/27/2021 - 11:21

This was a build I was able to check off my Honey-do List. We use it as a Trash / Recycling Cabinet. Basic cabinet build with tray drawers for the trash cans.

Estimated Time Investment
Weekend Project (10-20 Hours)
Recommended Skill Level
Intermediate

Comments

Outdoor bench

Submitted by Anonymous (not verified) on Tue, 06/13/2017 - 06:11

I used the x-back bench plans to build this bench, but trimmed the length down to 4 feet to fit the space.  It's constructed with cedar and is so beefy and sturdy. It has stood it's own against several storms already and I couldn't be happier with how it turned out. Thanks Ana for all the free plans and tutorials! 

Estimated Cost
$150
Estimated Time Investment
Day Project (6-9 Hours)
Finish Used
Thompson water seal in clear
Recommended Skill Level
Beginner

Farmhouse King Headboard/Barn Door

I found a barn door headboard in a rustic furniture store years ago. They wanted $2700 for a Queen size....no thank you! I followed the plans for the Farmhouse King Bed and added cross pieces for barn door look using instructions from the Brookstone Headboard. I cut the legs at 56” to add some height and I set the bottom of the back panel at 18” above the floor to make sure no gap is seen with our thinner, memory foam mattress. I couldn’t be happier with our headboard and the total cost, including screws & stain, was about $150! Boom! Thank you Ana White for sharing plans! I’m working on the Mini Farmhouse Bedside Table now & feel like I can build anything! I would highly recommend Power Pro Premium Interior screws (no splitting or stripped heads, no pre-drilling & they counter-sink great in soft wood). For the 4x4 posts I used GRK UberGrade R4 multi-purpose 4” screws, which had the same quality, all from Lowe’s.

Estimated Cost
$150
Estimated Time Investment
Weekend Project (10-20 Hours)
Finish Used
I used wood conditioner, as recommended. Then 2 coats of Minwax Special Walnut with light sanding in between. I chose 2 coats of clear satin polyurethane, lightly sanding in between for a great rustic finish that’s not too glossy. I did beat up the wood and sanded off all square edges prior to applying any finish.
Recommended Skill Level
Beginner