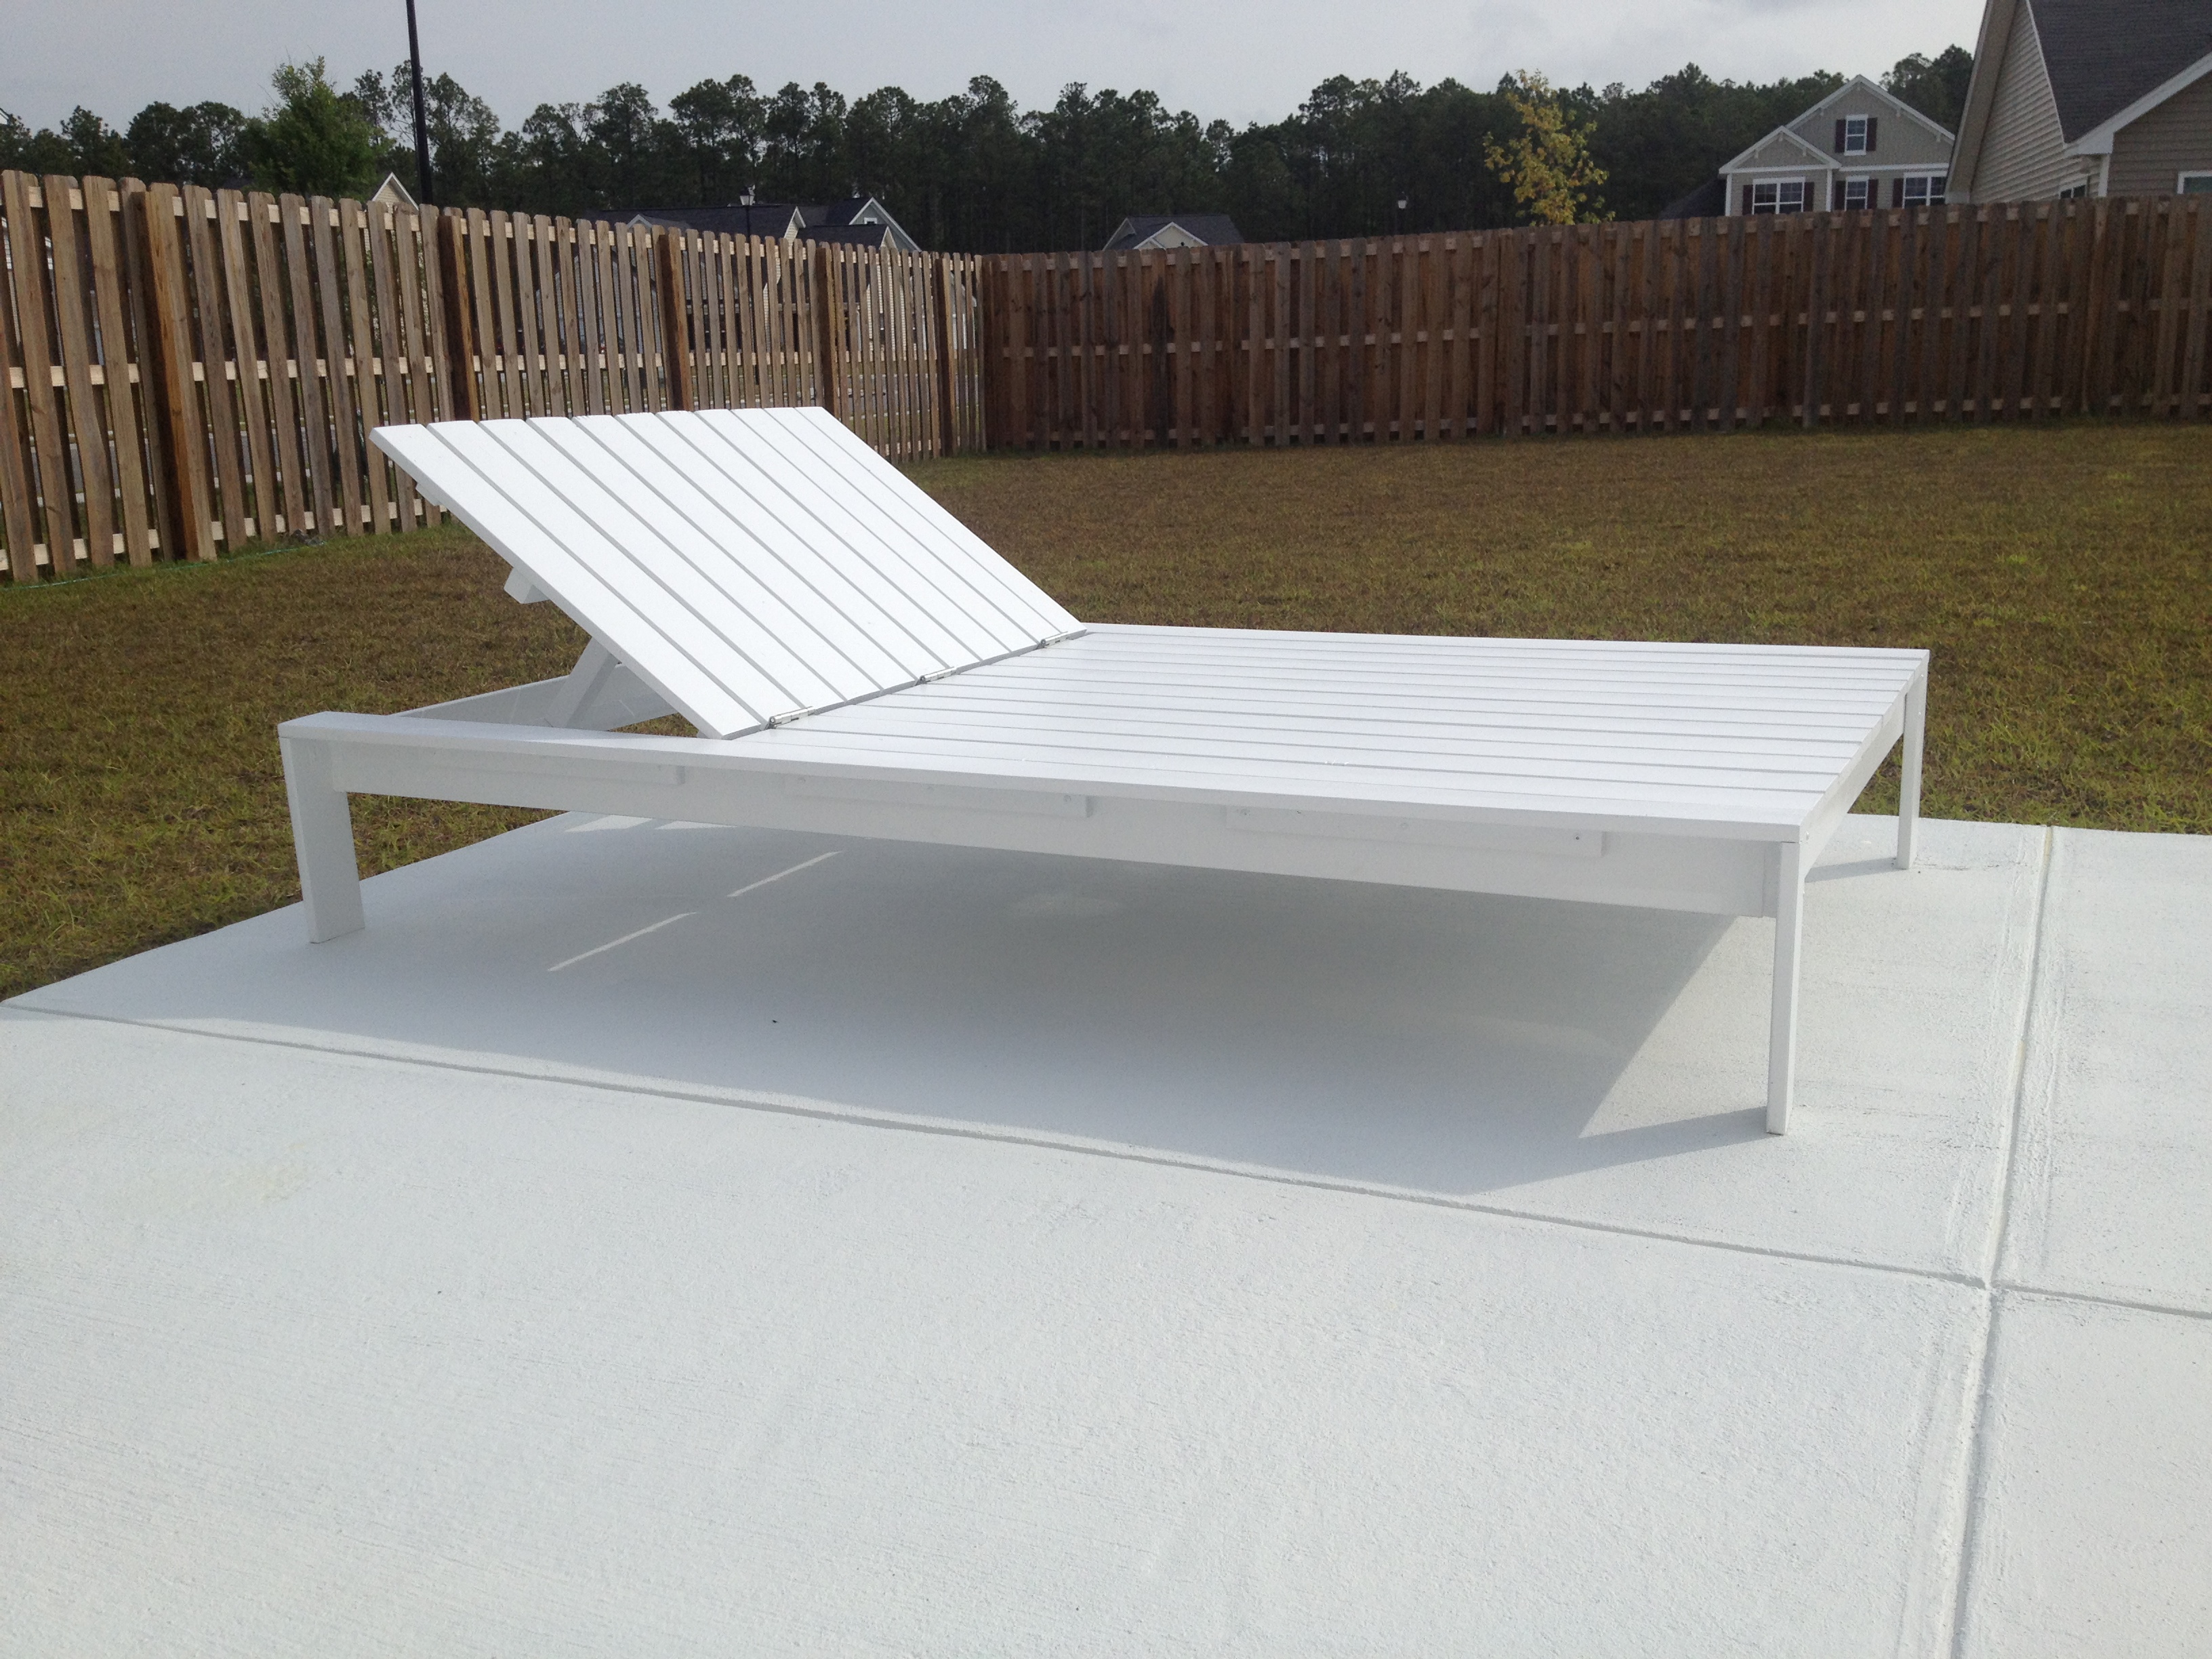
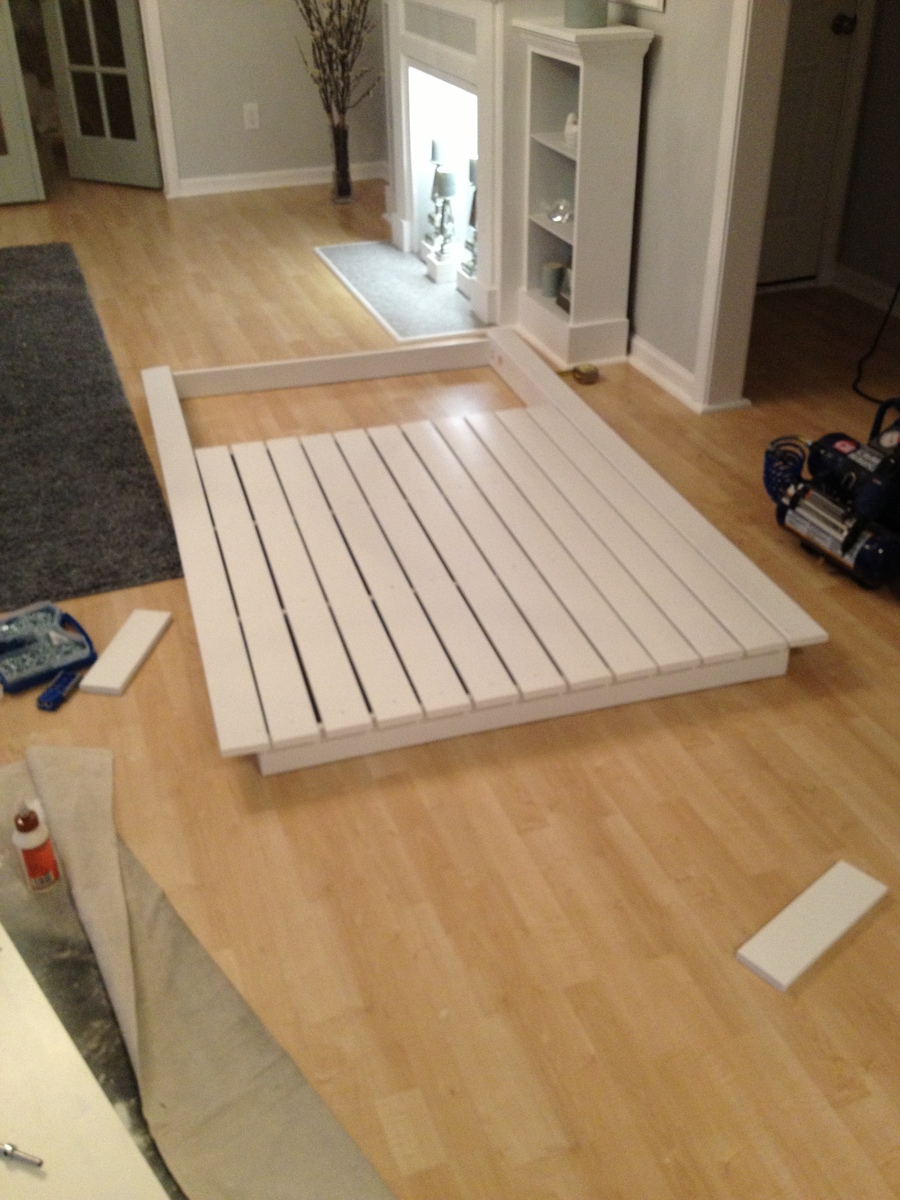
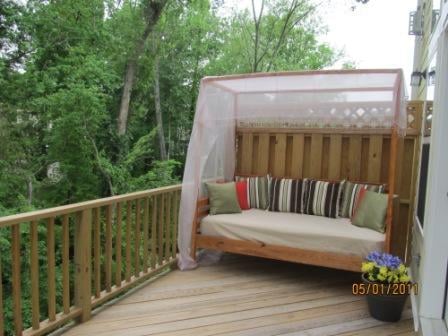
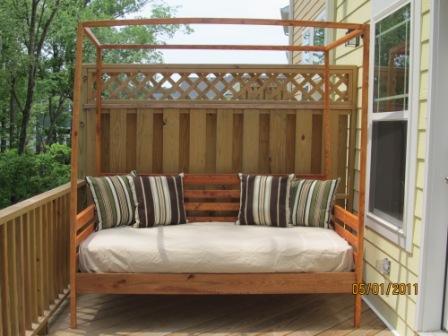
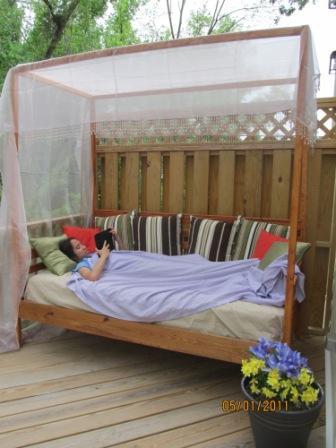
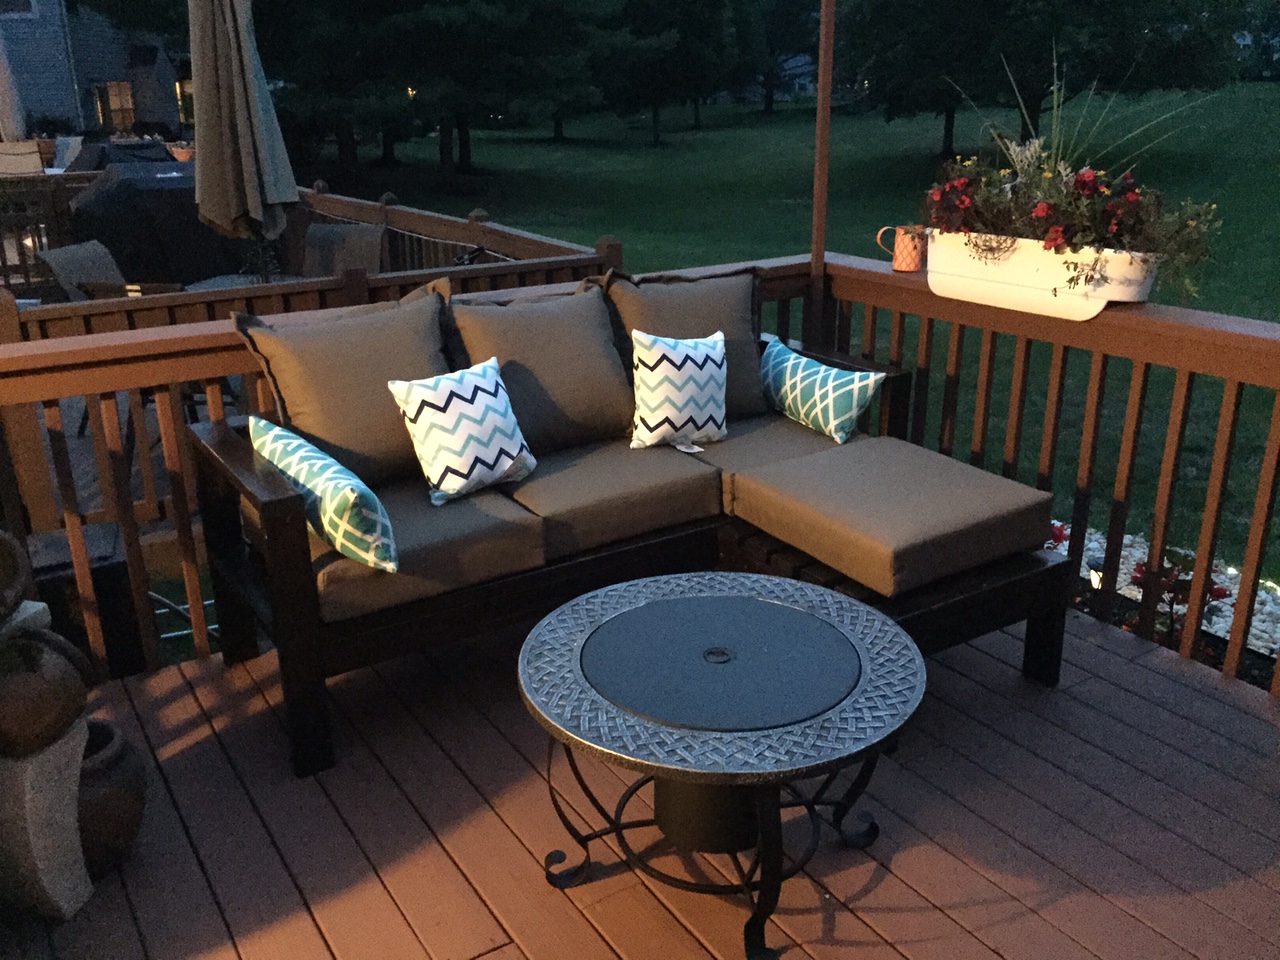
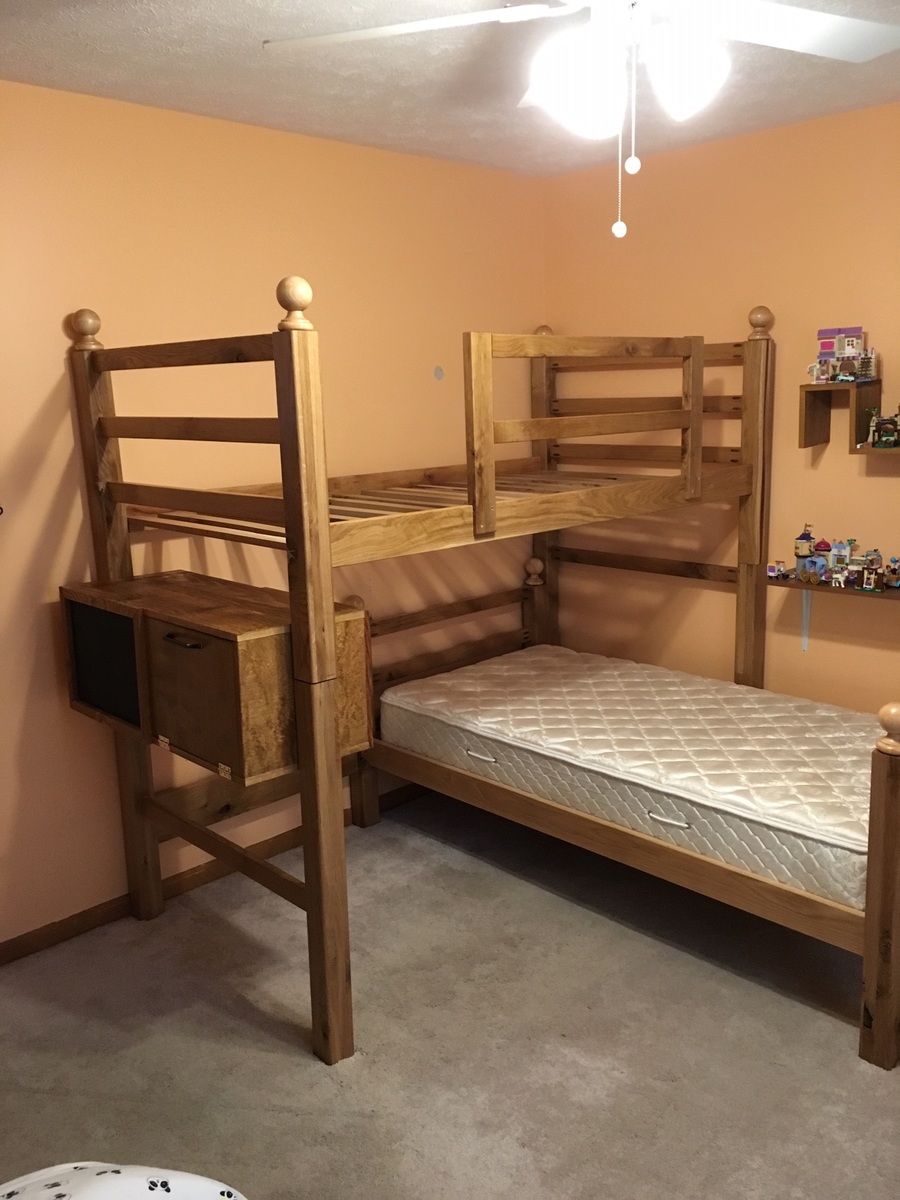
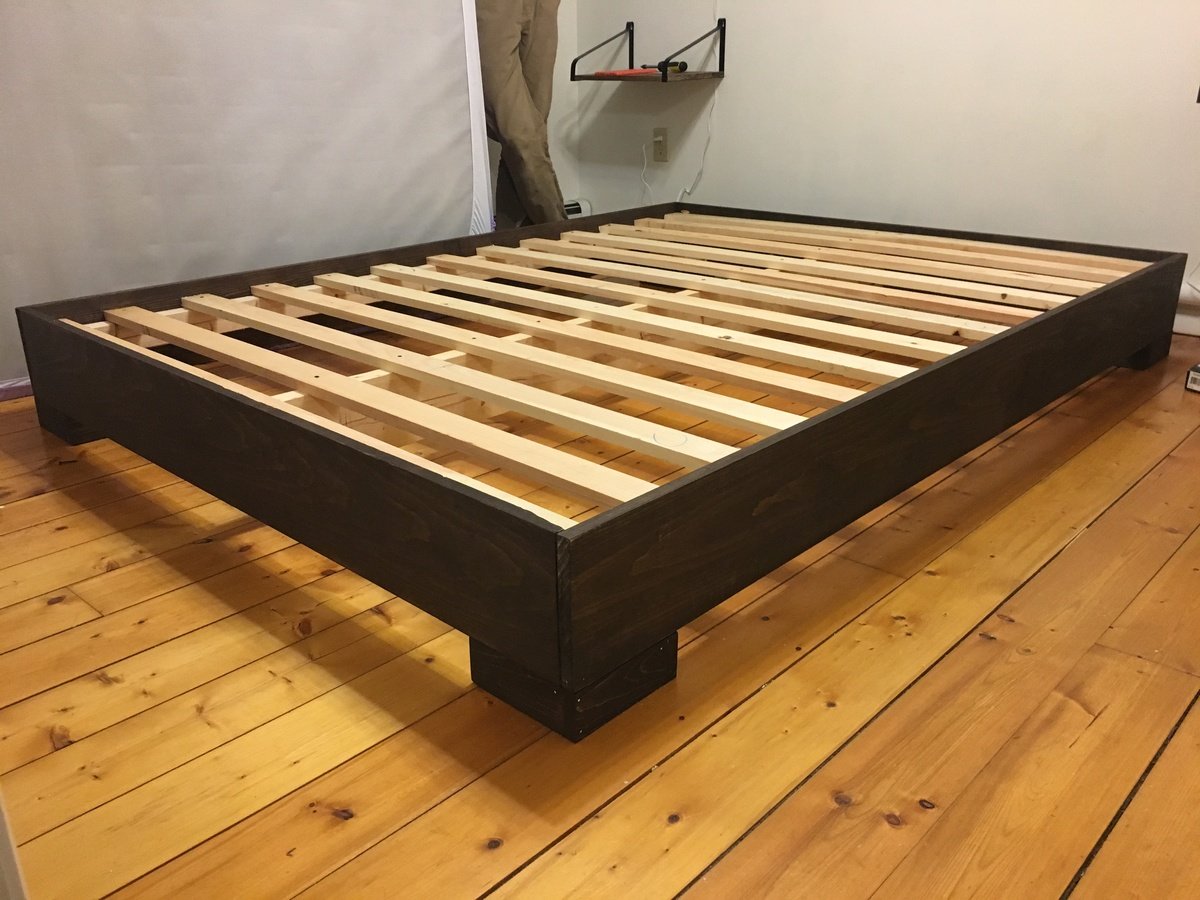
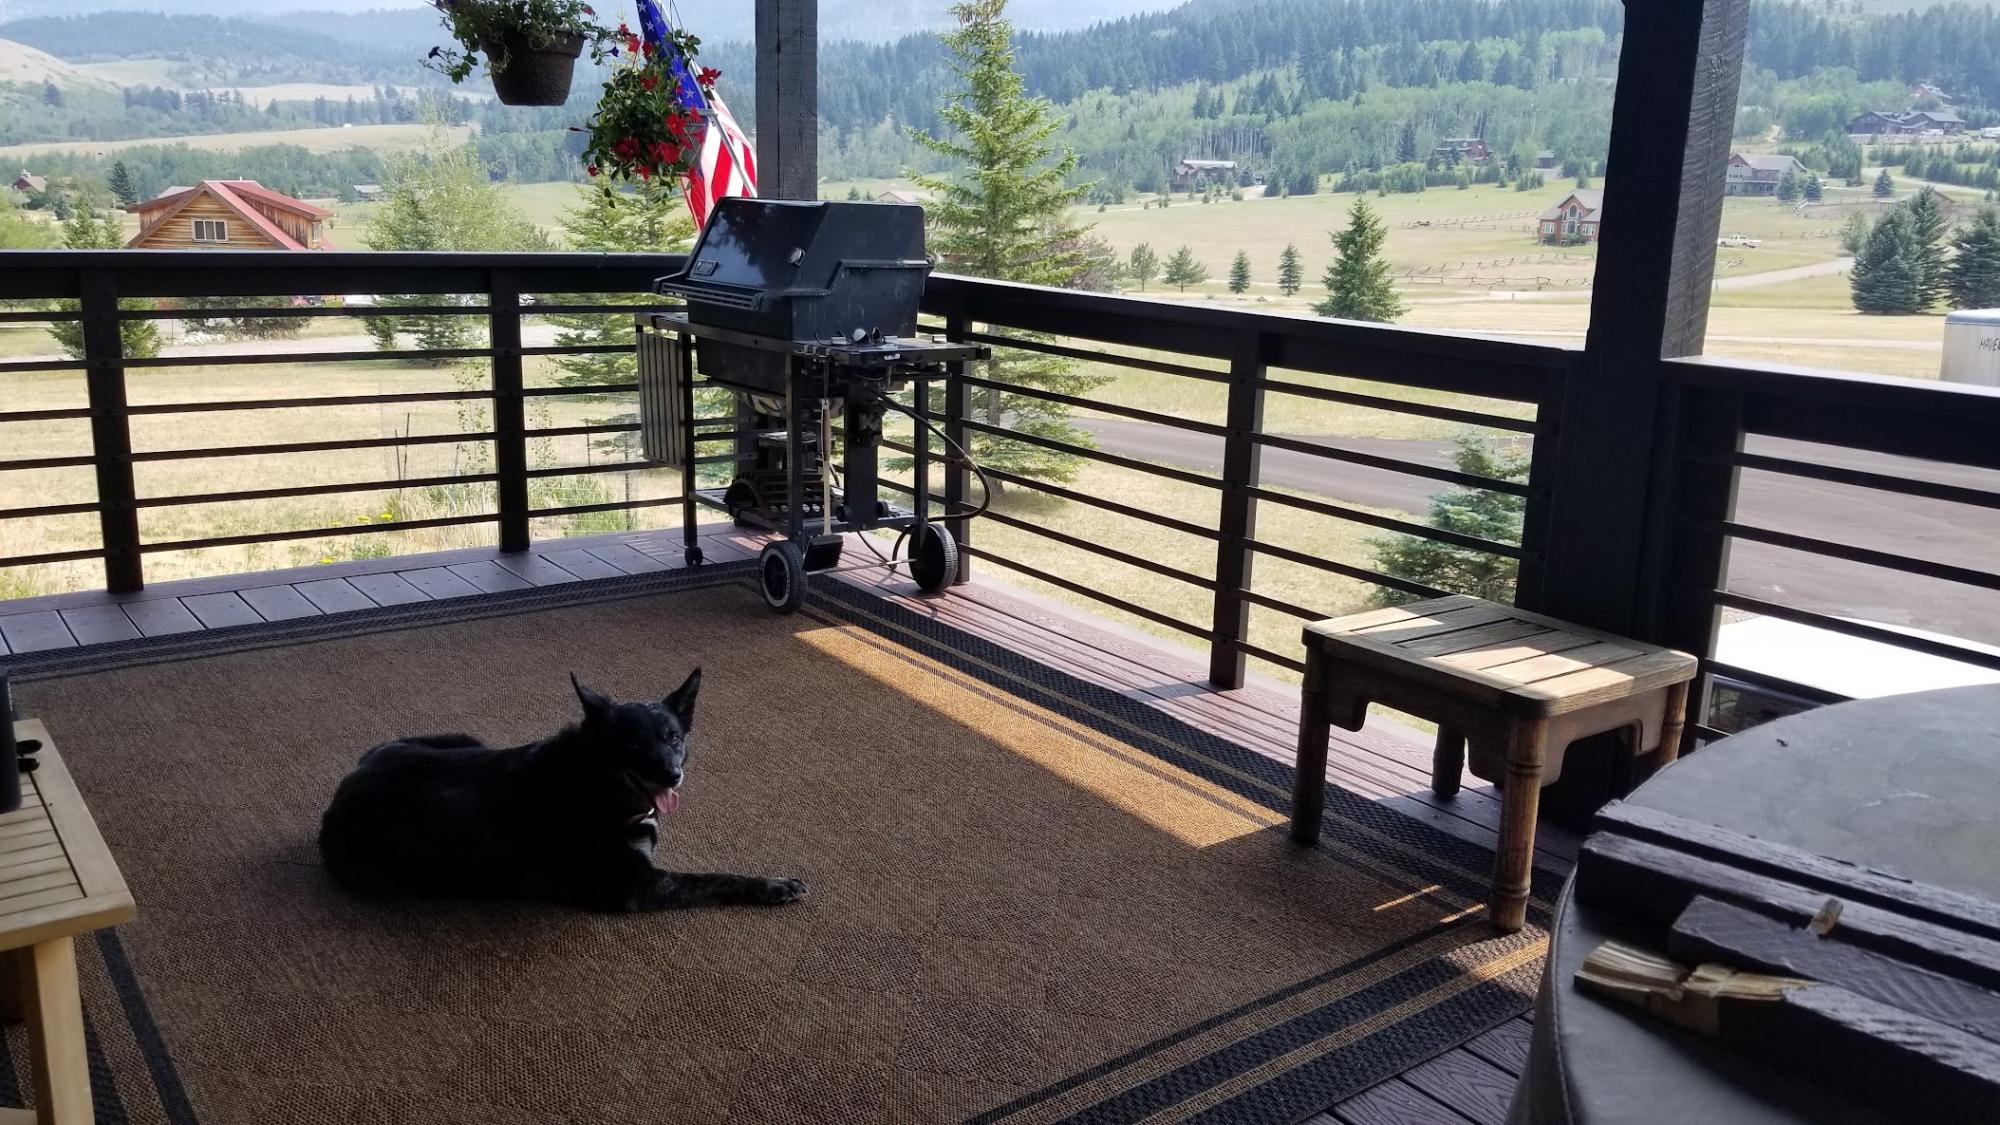
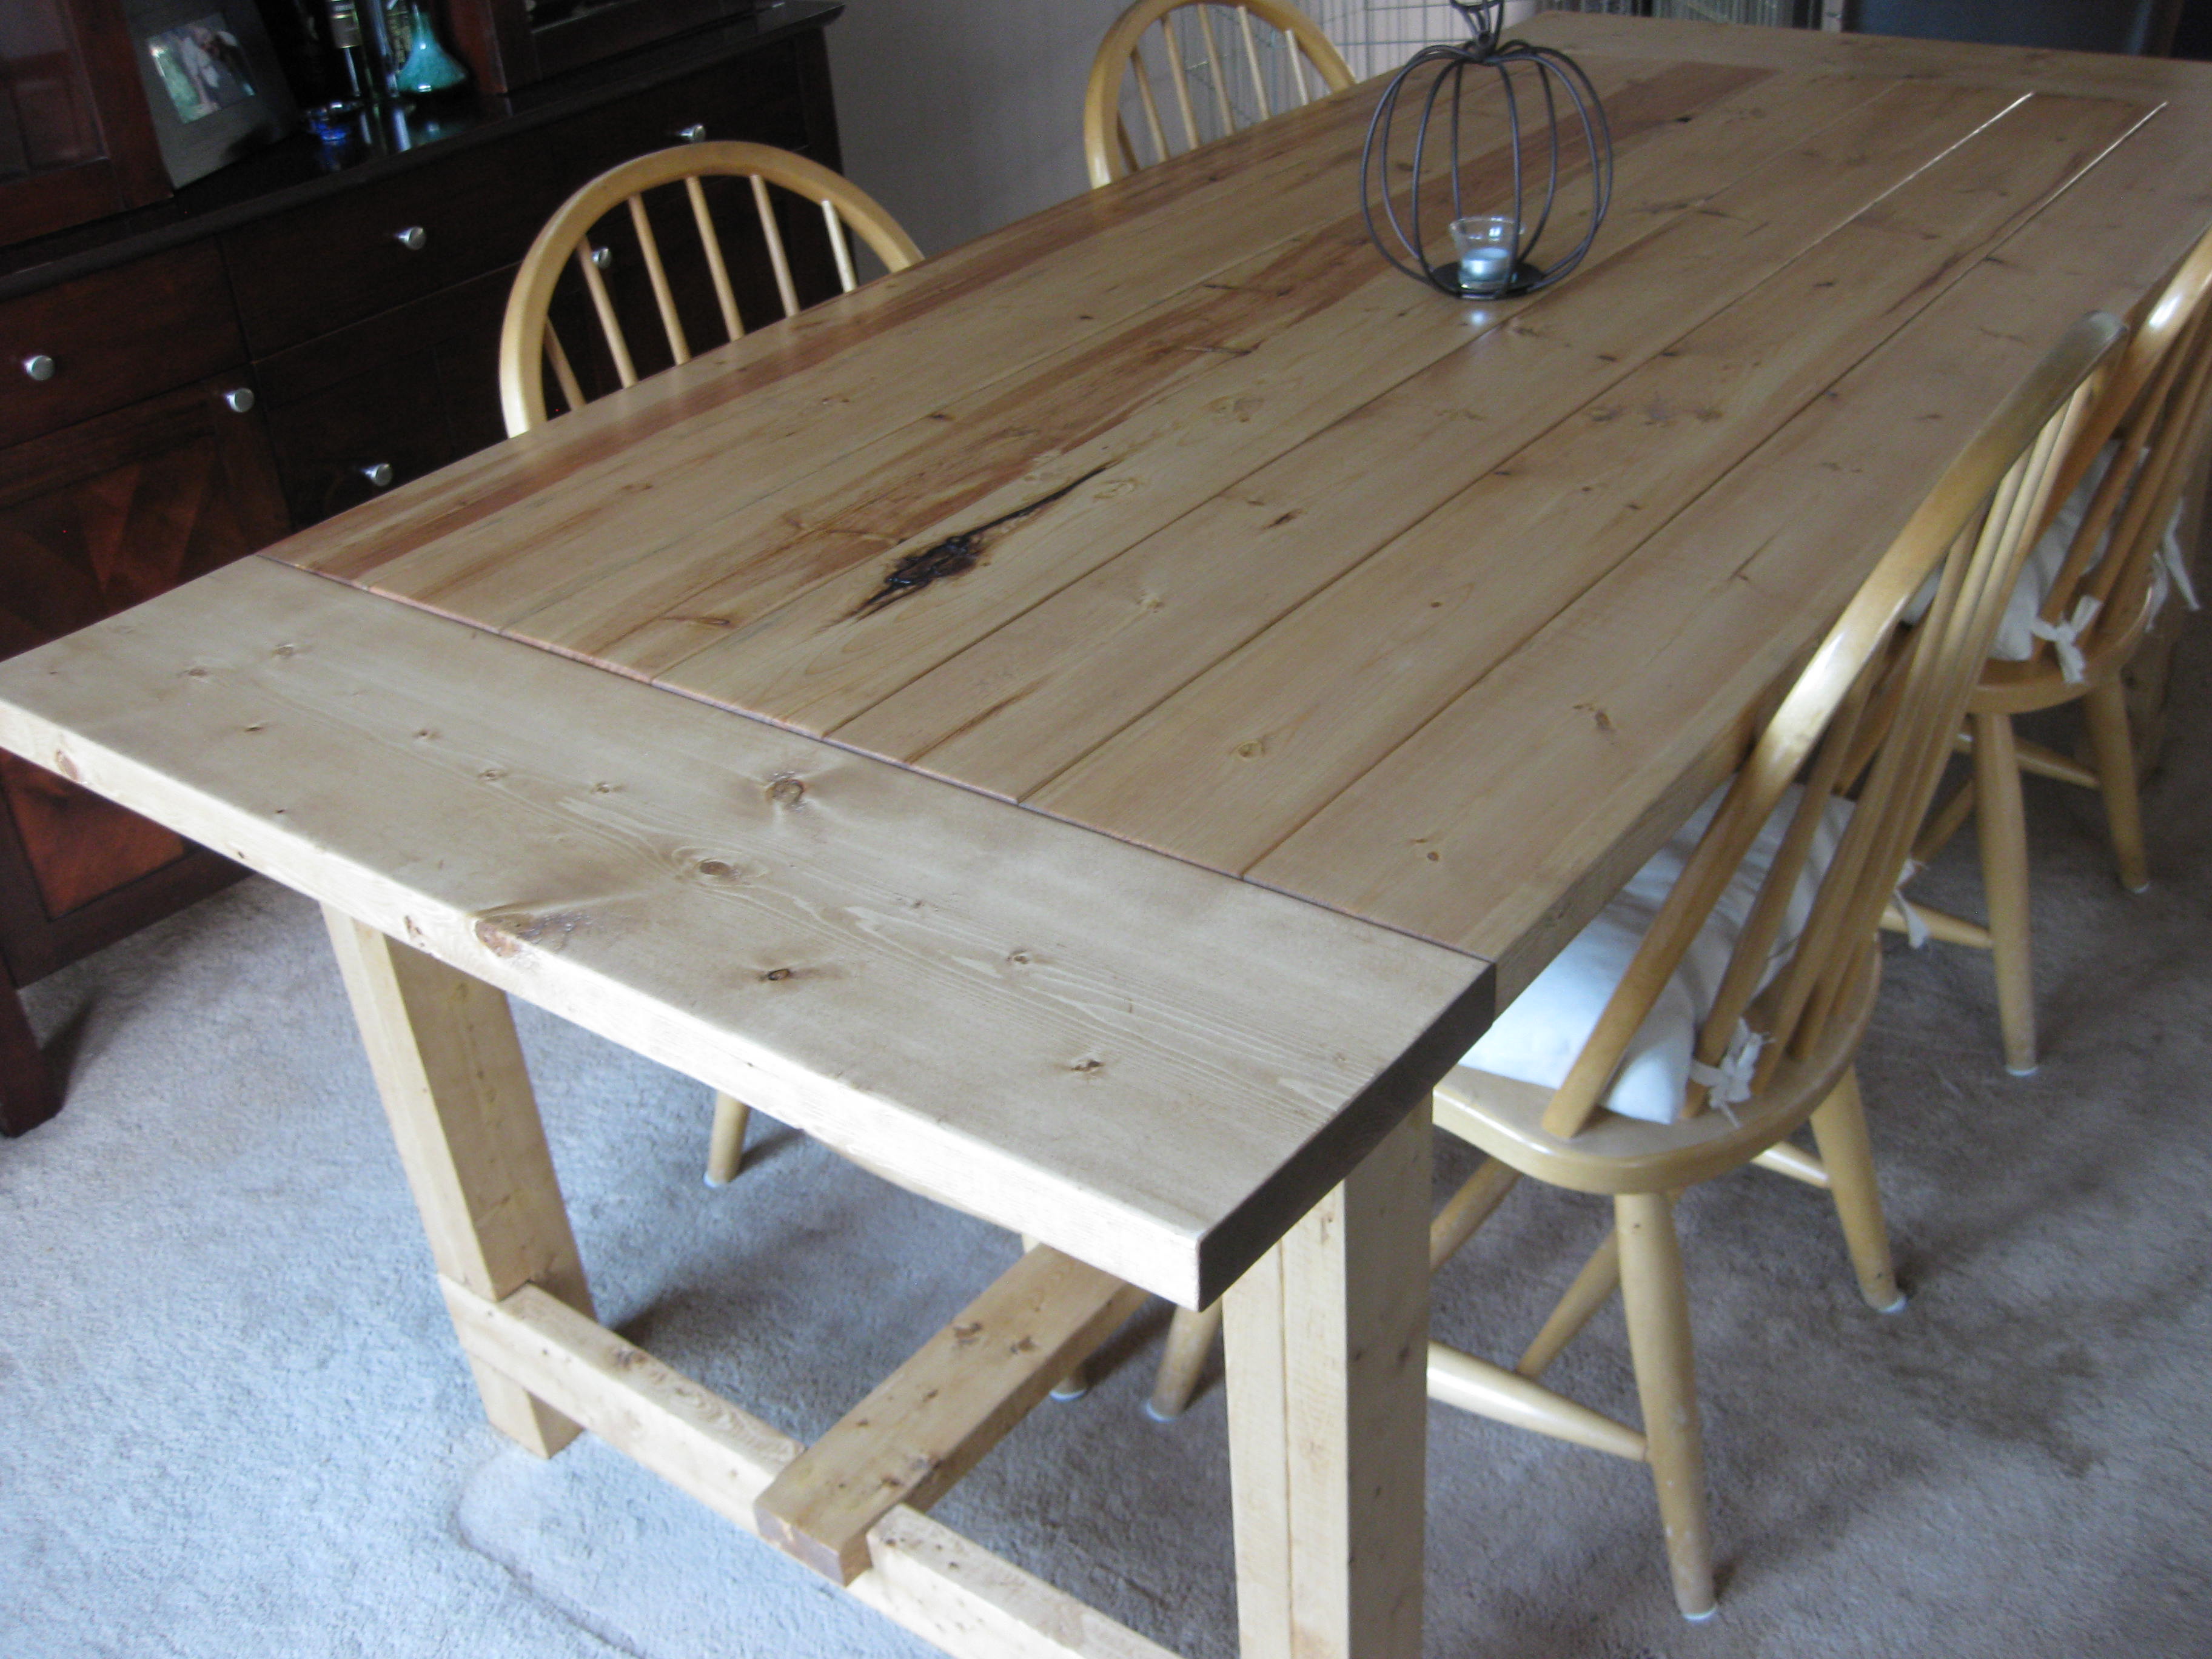
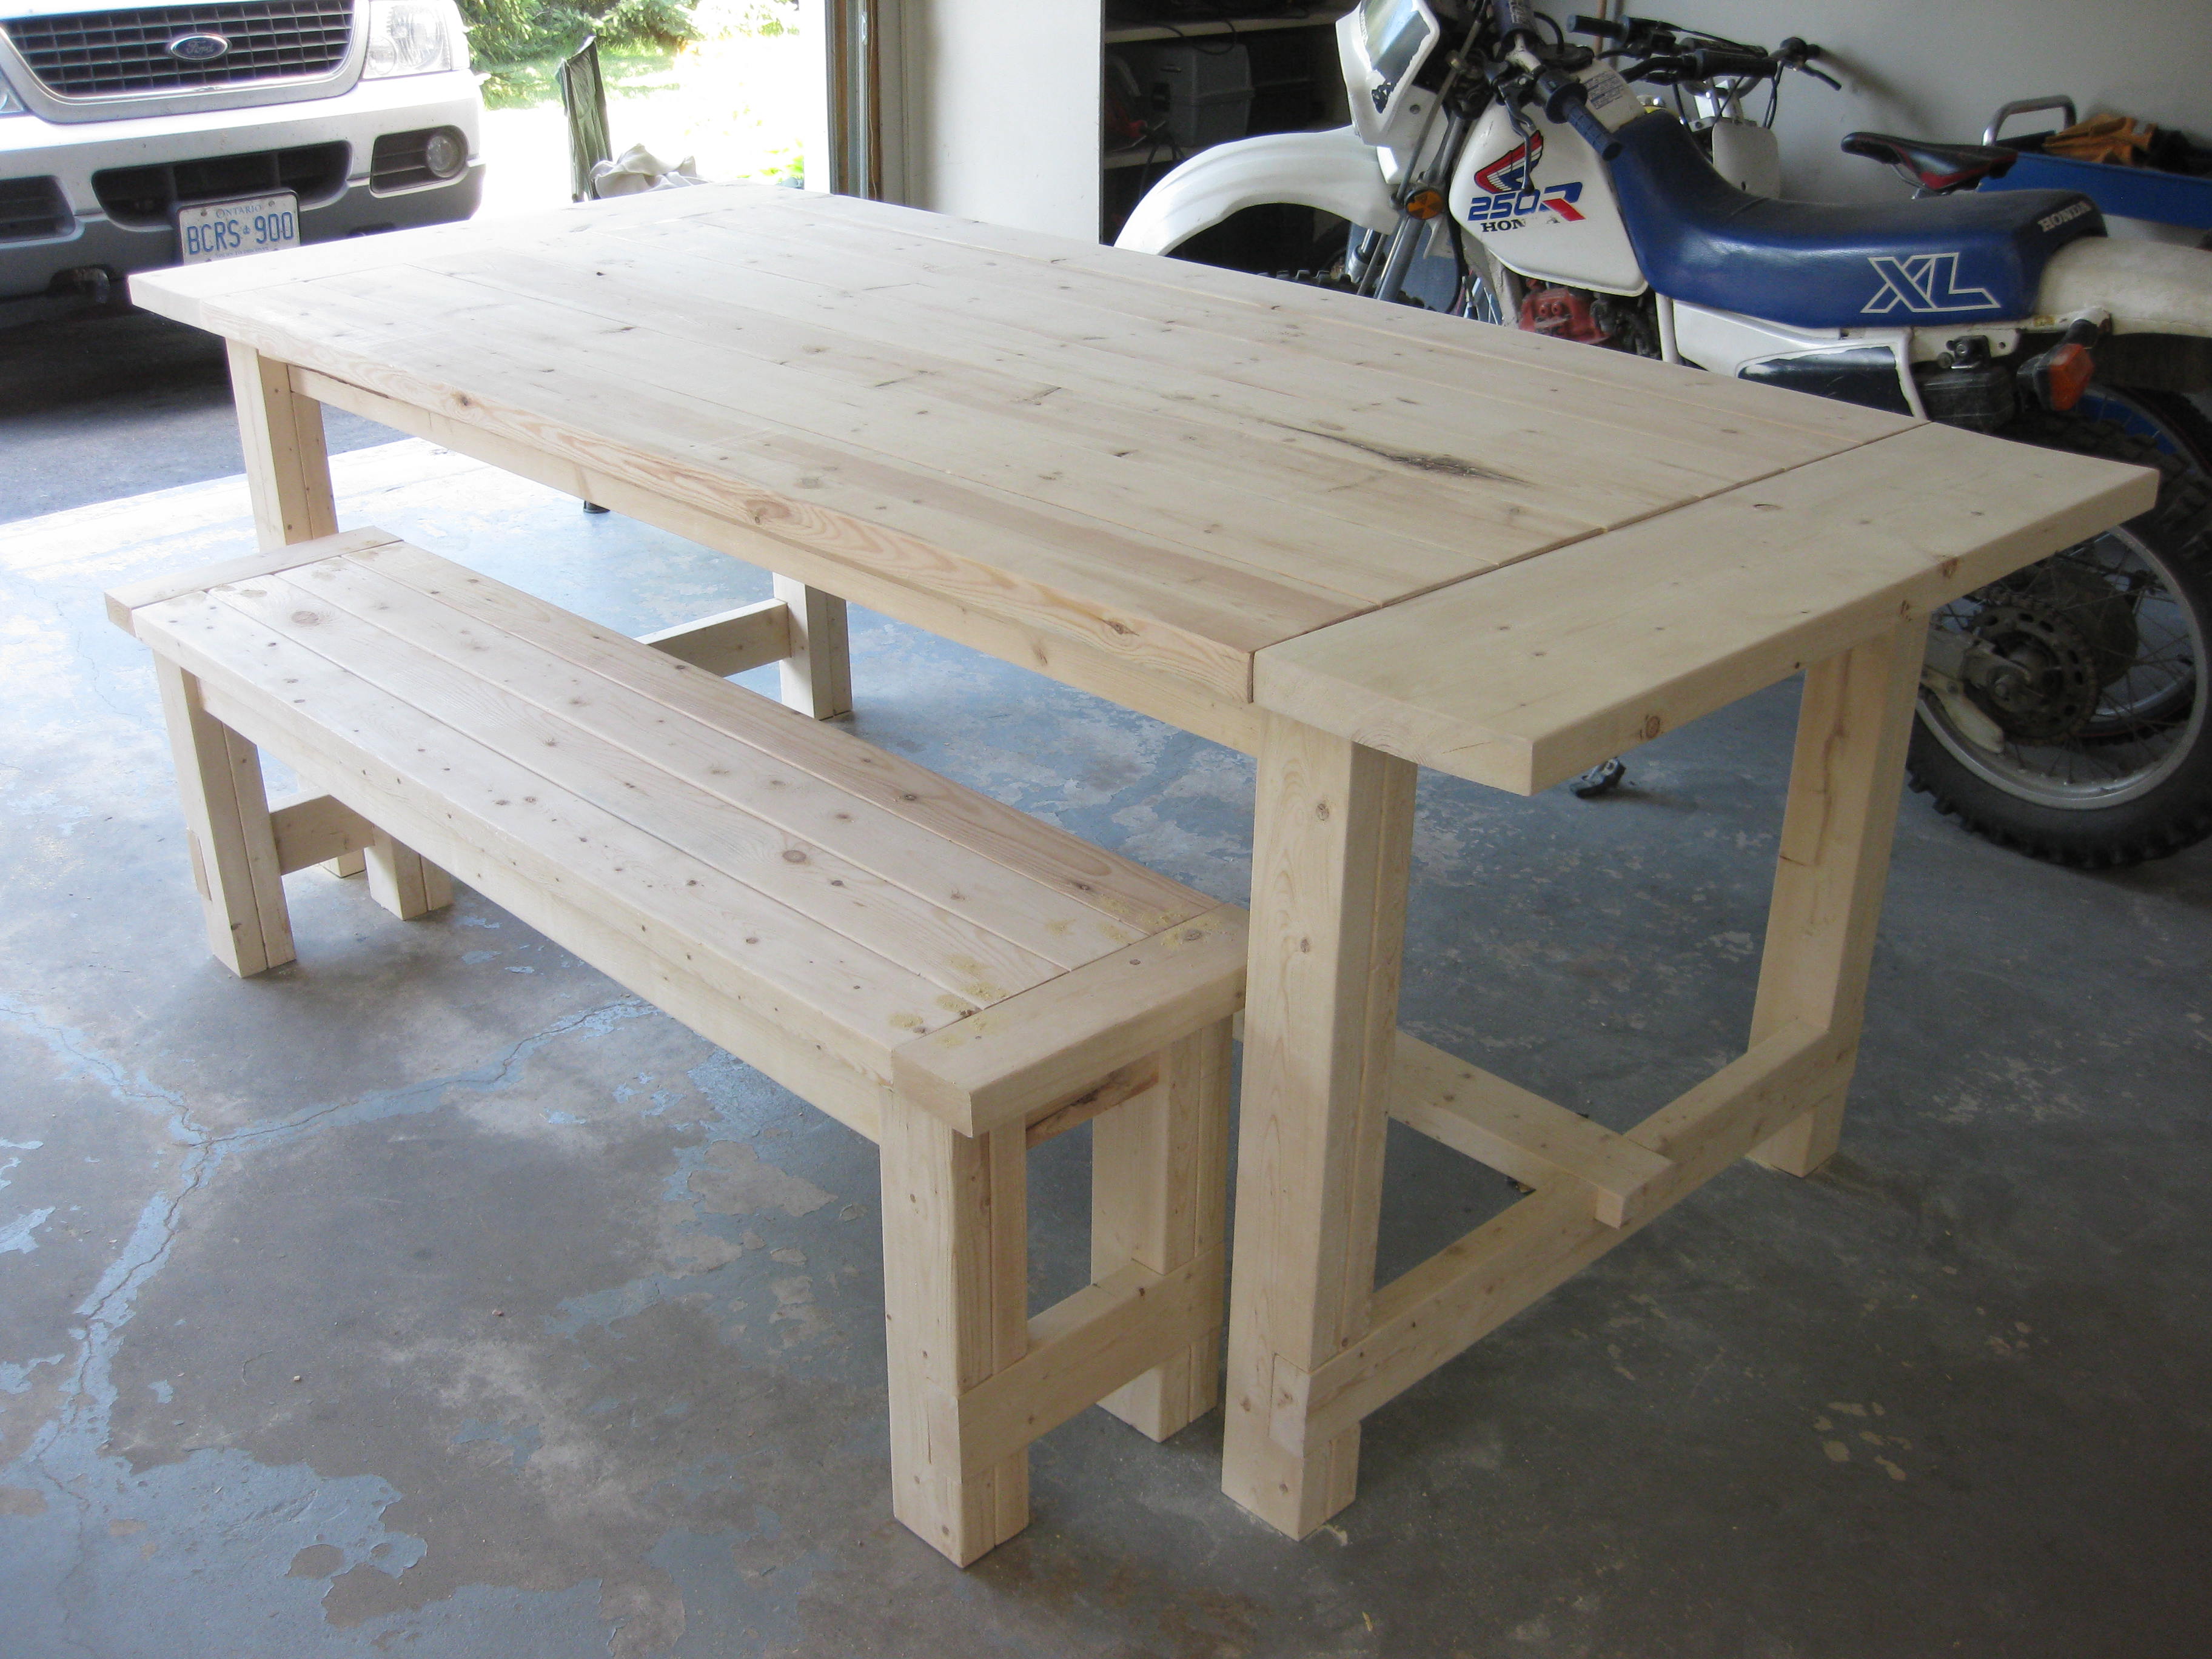
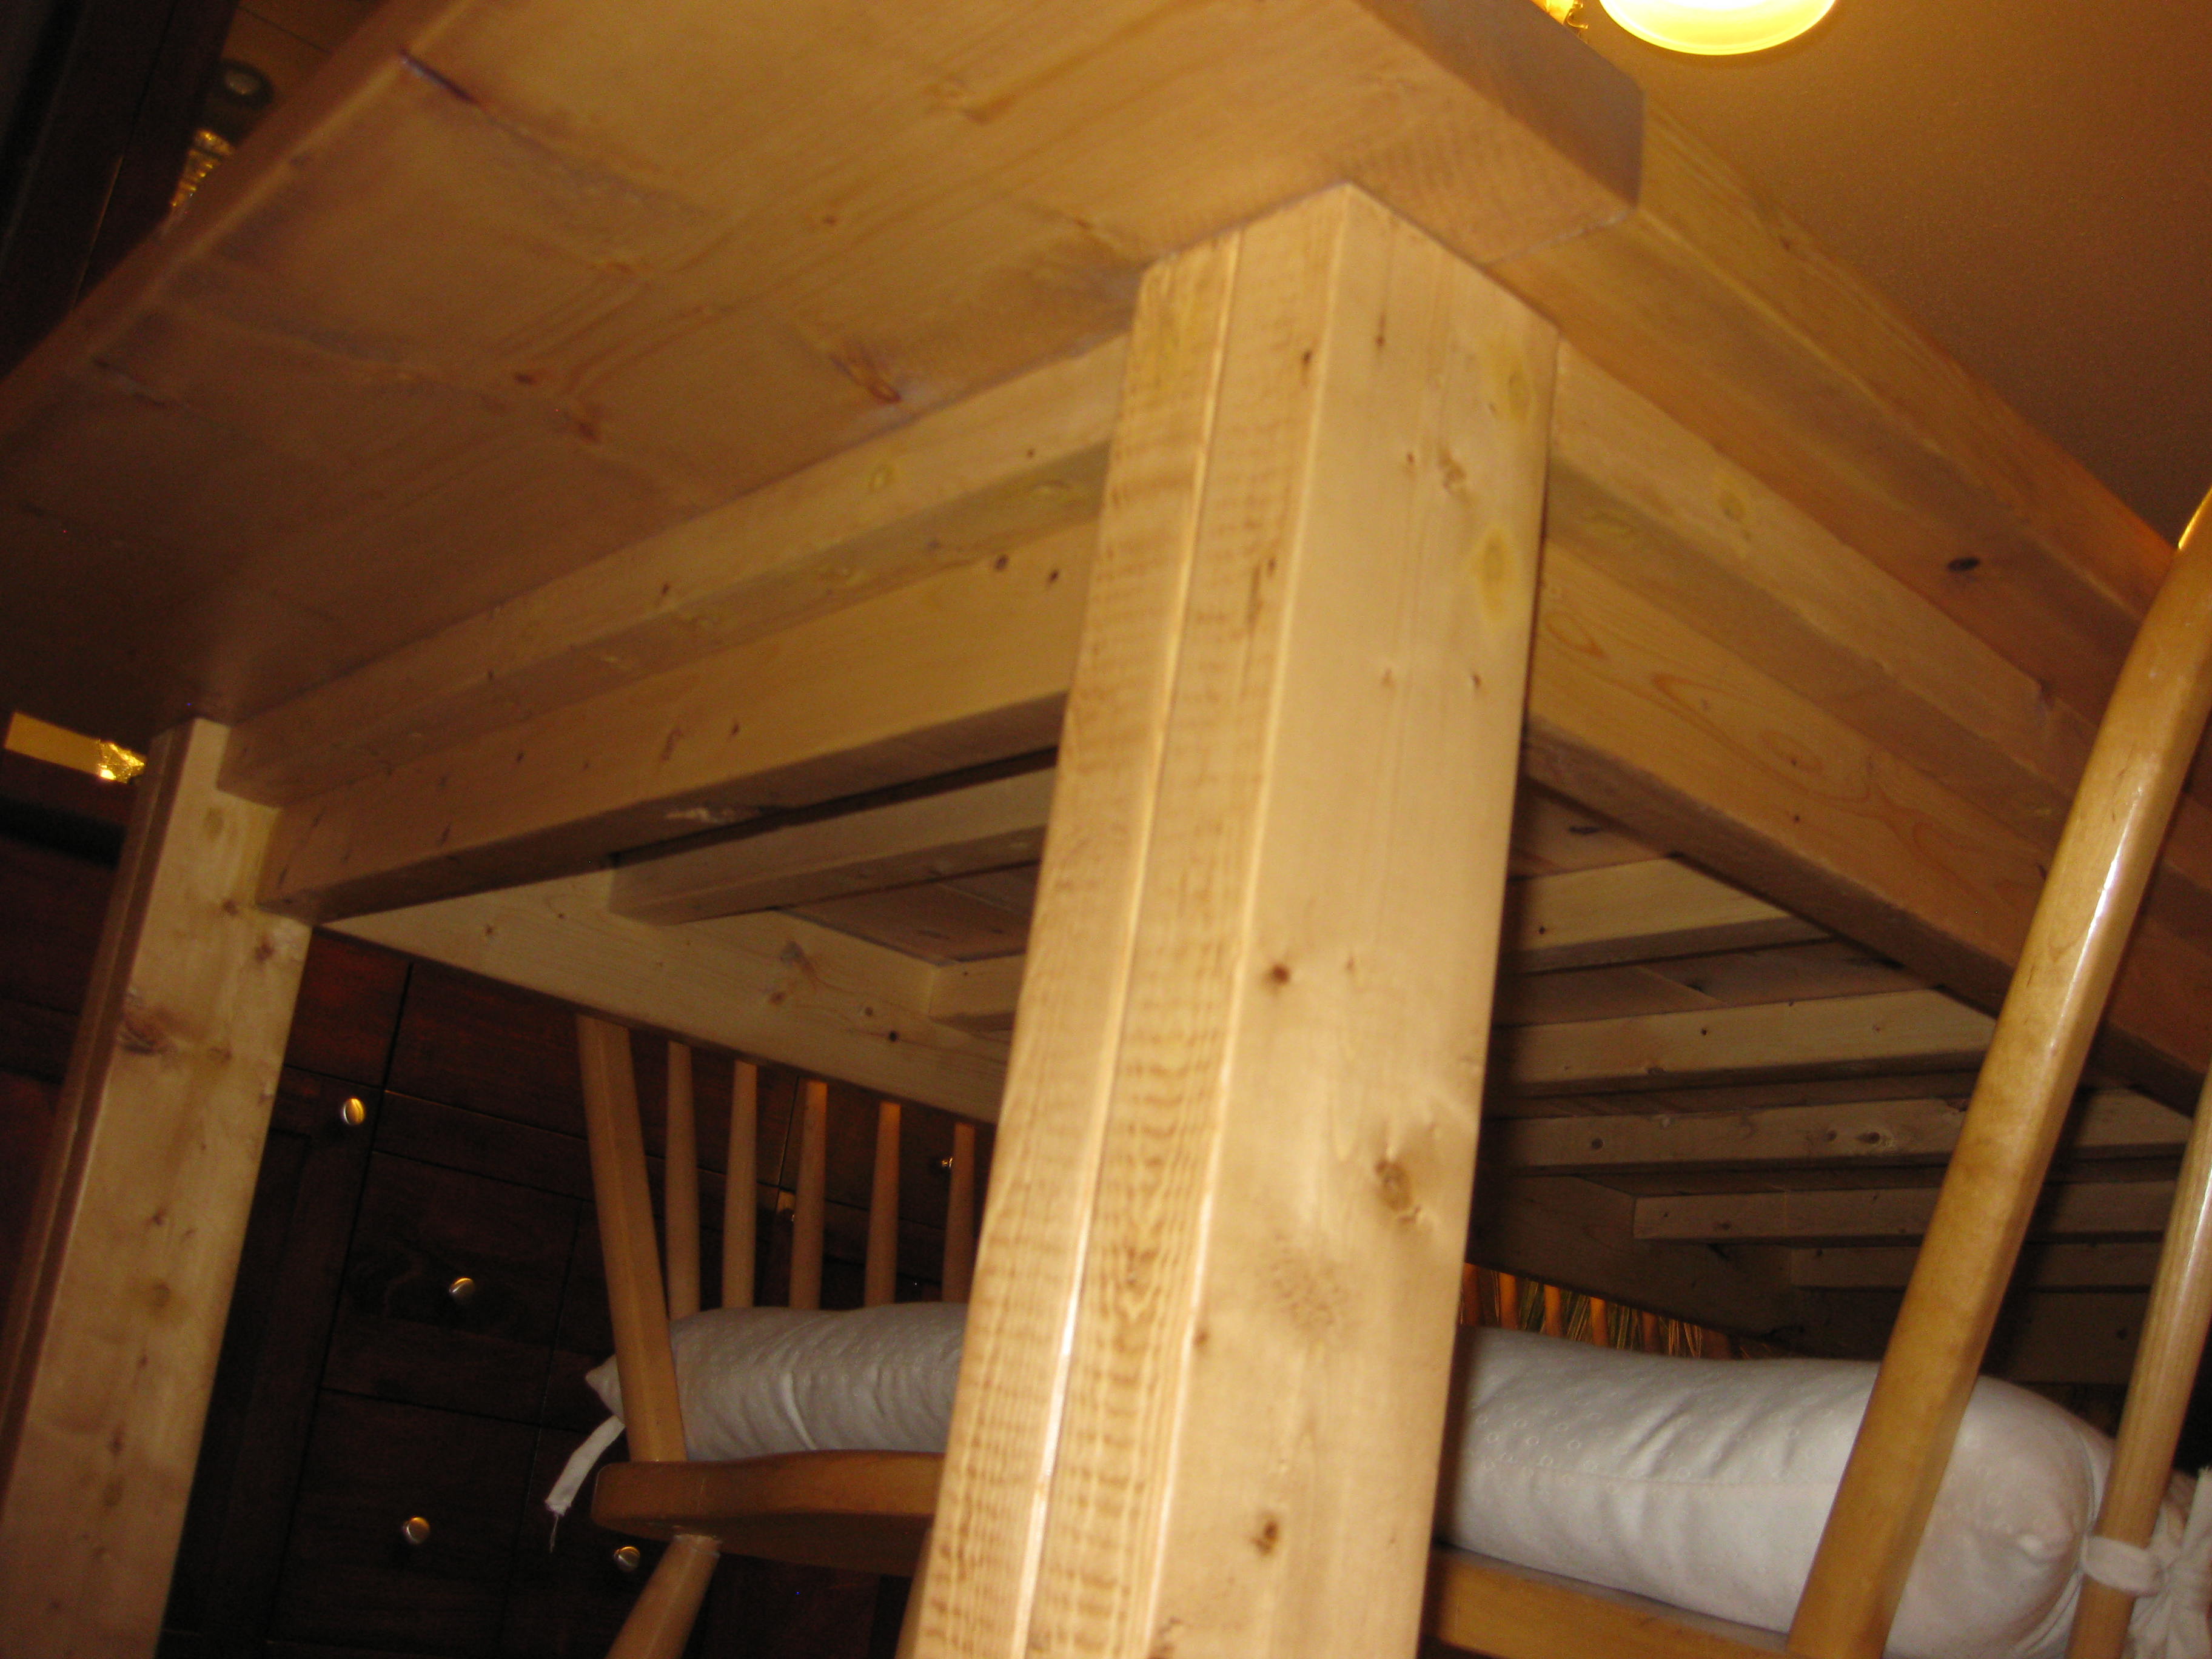
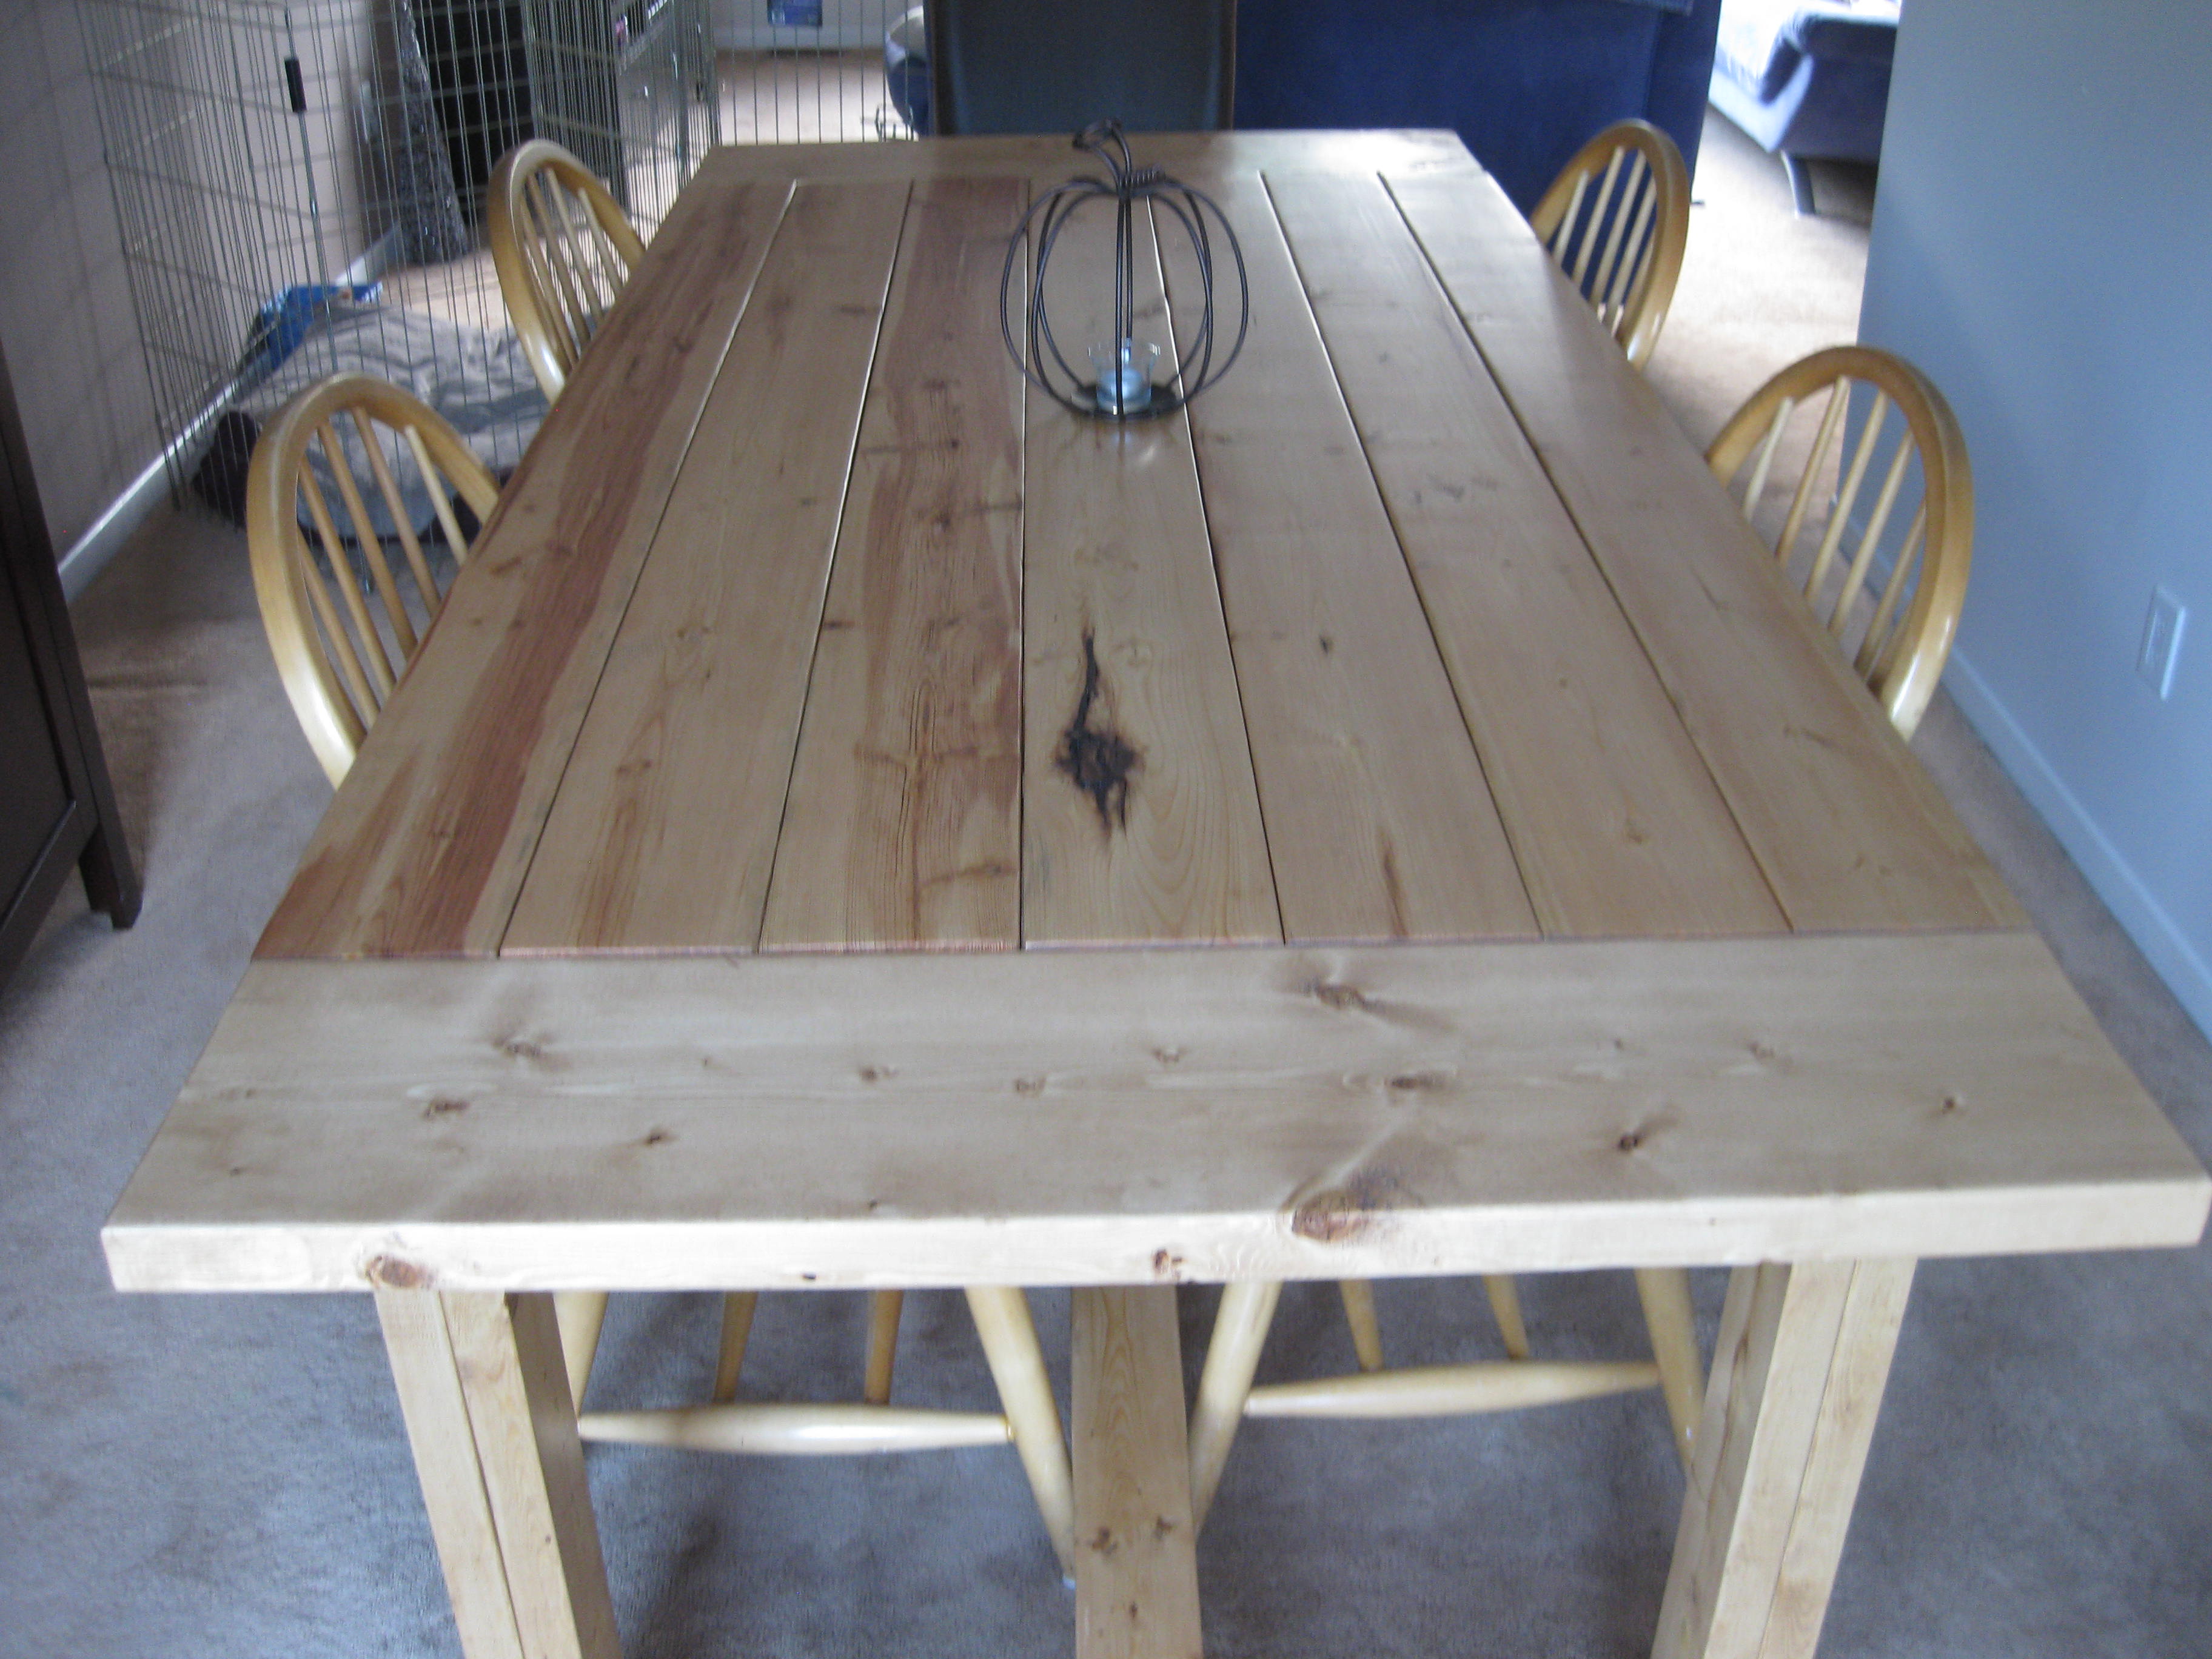
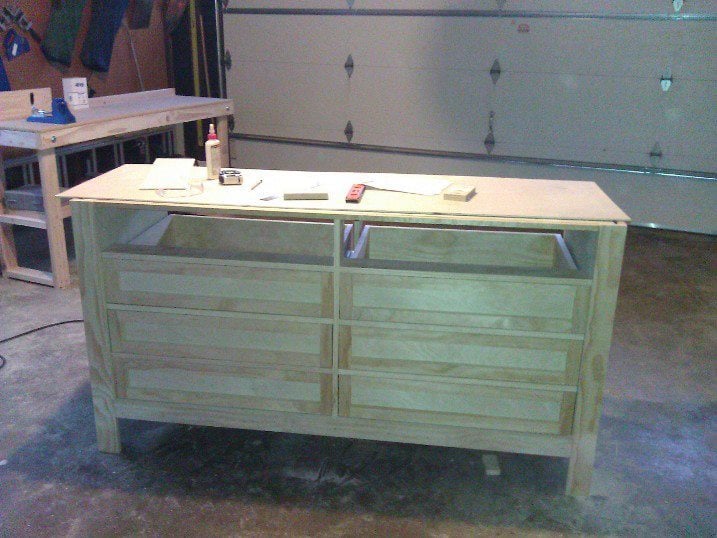
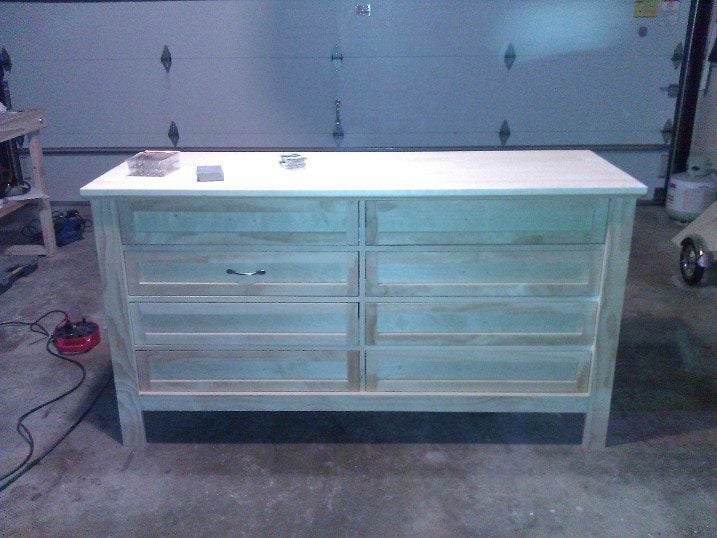
This is my first venture into woodworking/carpentry. Since I did not want to shell out too much money for lumber, I used untreated pine (worst wood they say to use) for the daybed and used an exterior wood stain (with uv protection) to seal the wood. I also did not invest in power tools and used a hammer and wood saw to cut and nail everything together. As I cannot sew, I waterproofed the mattress by sandwiching it between two plastic mattress covers (dollar store) and duct taping the seams. It's not elegant but no one is going to see it. I used a cotton fitted twin sheet (old one) for the cover and found some outdoor pillows for $16 a pair ($8 per pillow and made with solarium fabric). Also as this is placed outside (deck), I'm looking into getting a mosquito net to use over the daybed instead of the bed tent I have on right now.
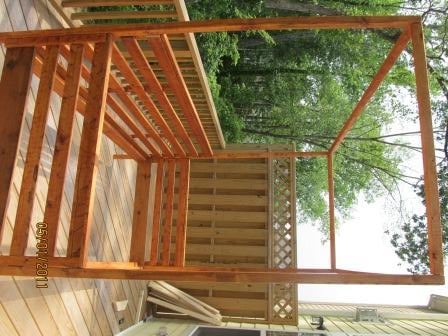
In hindsight, I should have used pressure treated wood for the posts and canopy beams to prevent bending/twisting (I had to re-do 2 posts). If I get 3 years of use for this furniture. I'm a happy camper. Ana, thank you so much for the plan. Kathy thanks for the advice on painting the lumber first.
You guys can do this!
Estimated Cost
$70 for the lumber, $ 40 for stain, sand paper, nails, wood glue, $4 for mattress cover, duct tape
Estimated Time Investment
Week Long Project (20 Hours or More)
Finish Used
Olympic exterior wood stain with UV protection (oil based).
Recommended Skill Level
Intermediate


Comments
spiceylg
Tue, 05/21/2013 - 04:41
Nice
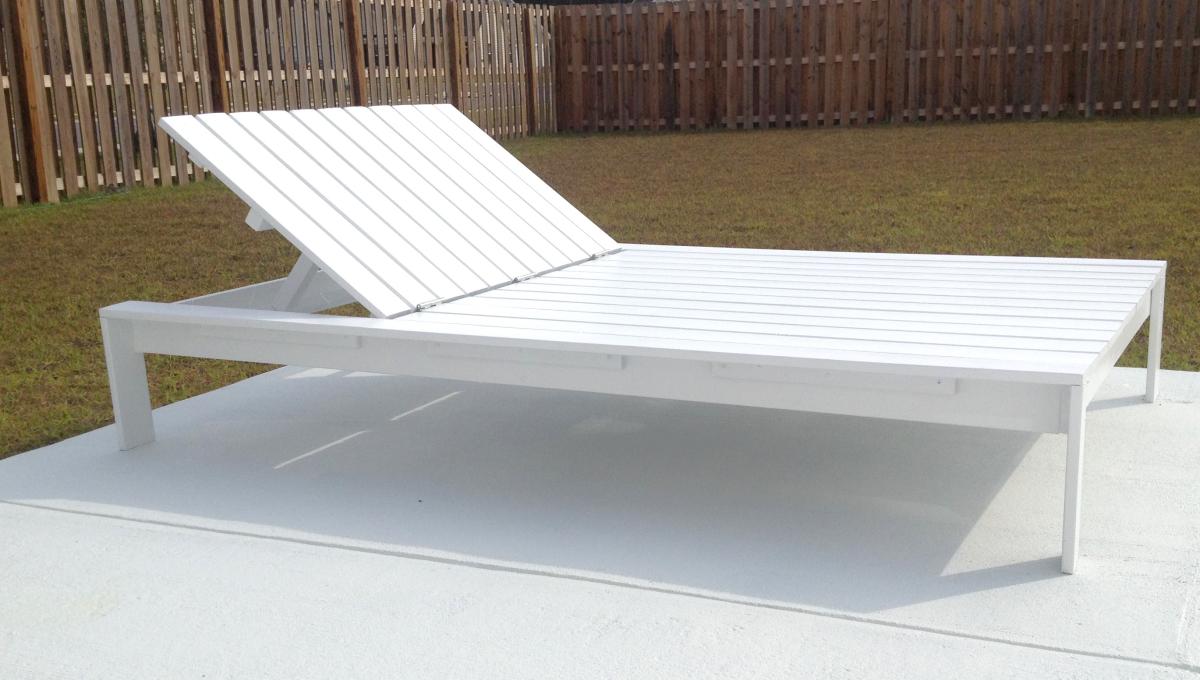
Want to build one of these for sure. Question, especially since it's double width.........will those 1" width legs hold all of that weight? They look so thin.
In reply to Nice by spiceylg
Celeste808
Tue, 05/21/2013 - 16:19
I thought so too! But its
I thought so too! But its really solid. Looking at the West Elm version it has the same size legs. I might beef them up though just to give me more piece of mind! But so far so good.
spiceylg
Wed, 05/22/2013 - 03:17
Thank you
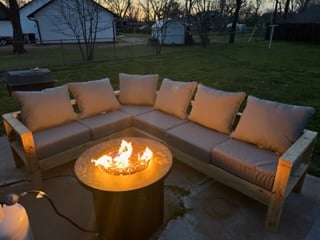
Cool, but then I thought the West Elm version's looked so thin, too, lol! When we built the outdoor sectional, we used 2x4s because several people we know, well let's just say extra support was needed! Be sure to post the pics of it with the cushion. Will you be making it?
In reply to Thank you by spiceylg
Celeste808
Wed, 05/22/2013 - 17:49
Yeah
Ill be making the cushion here soon, I found its really not hard at all and then you can get exactly what you want. I plan on using the same fabric will all of my DIY outdoor furniture. Will post once its done ;)