Community Brag Posts

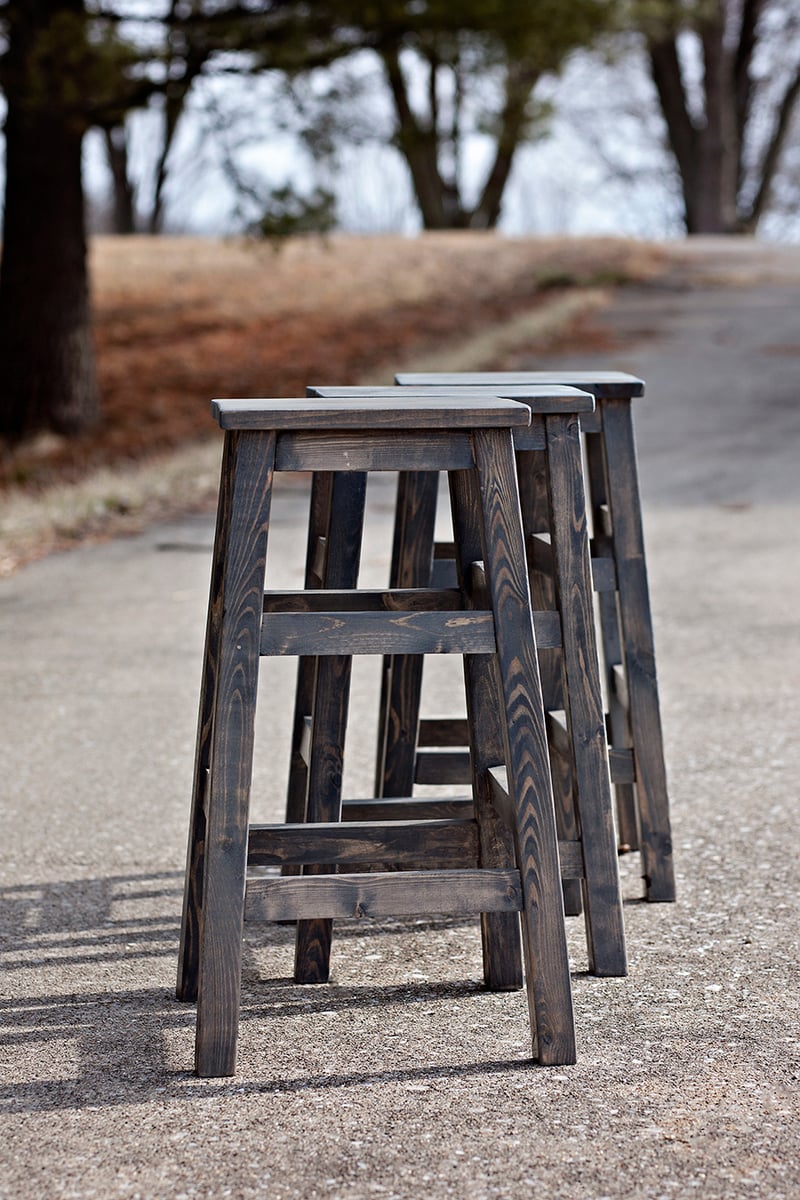
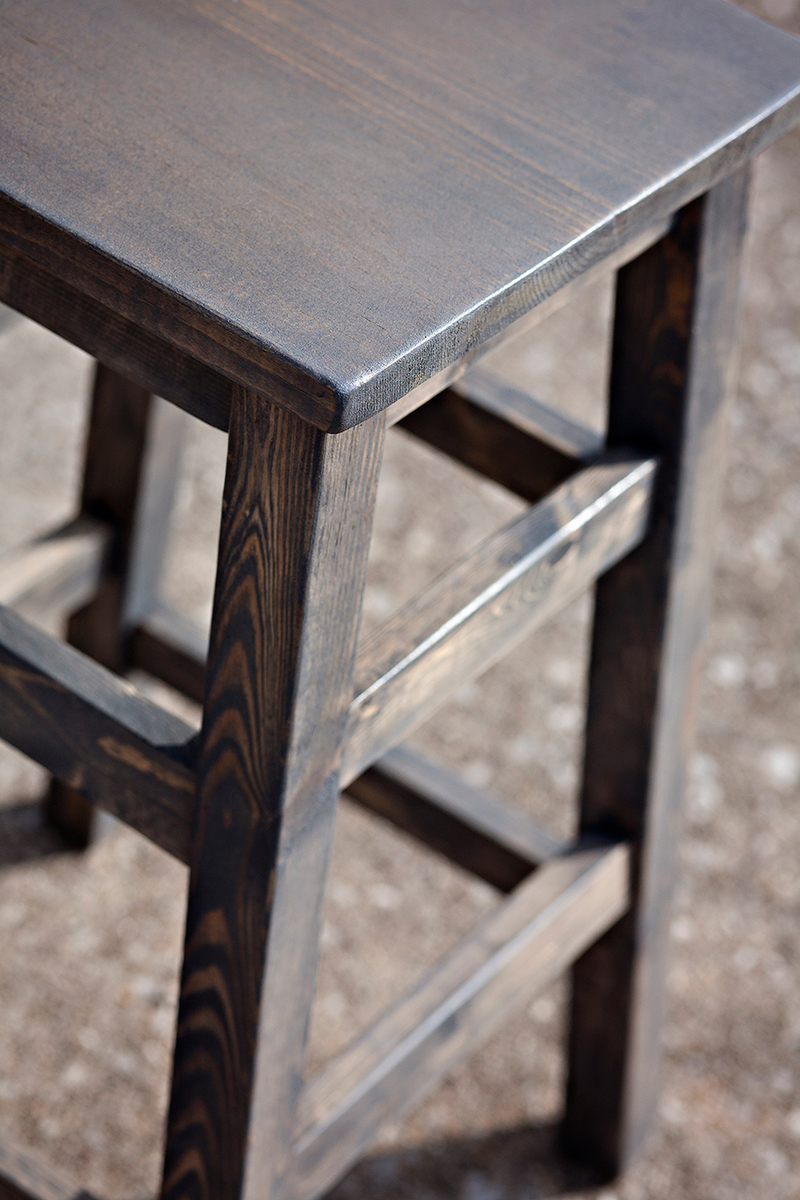
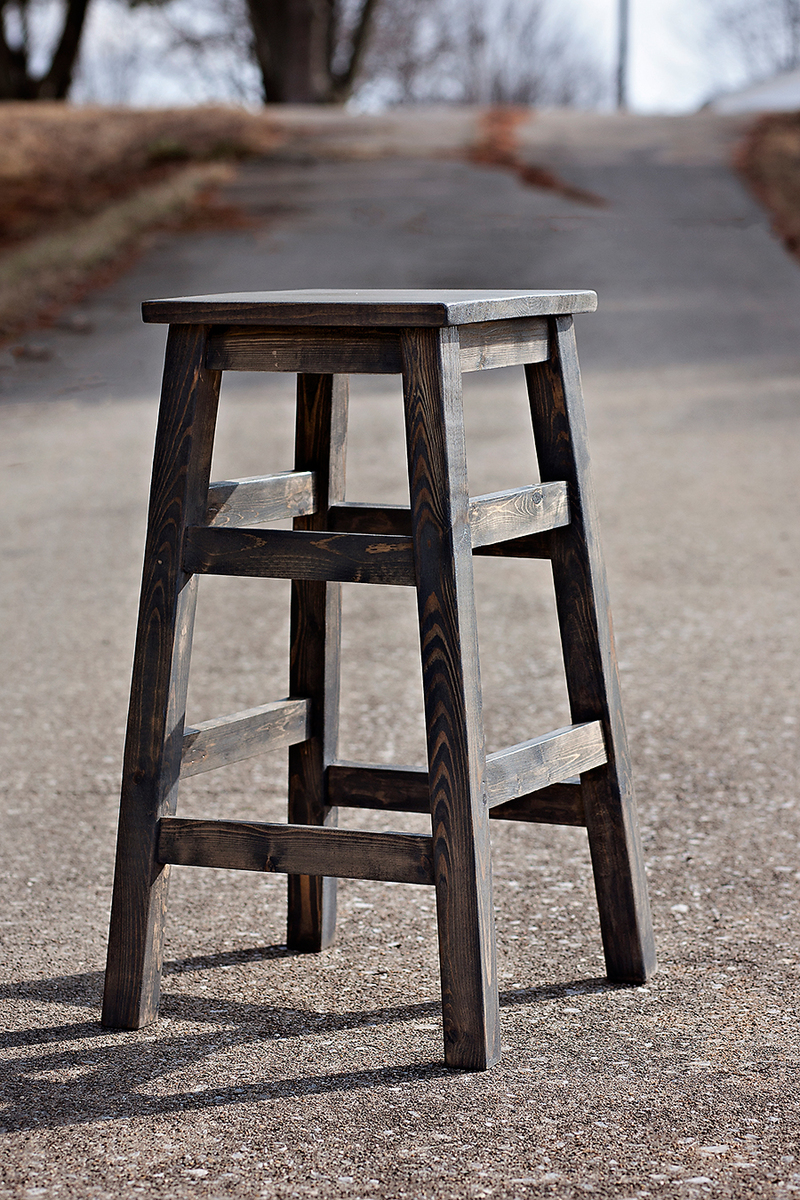
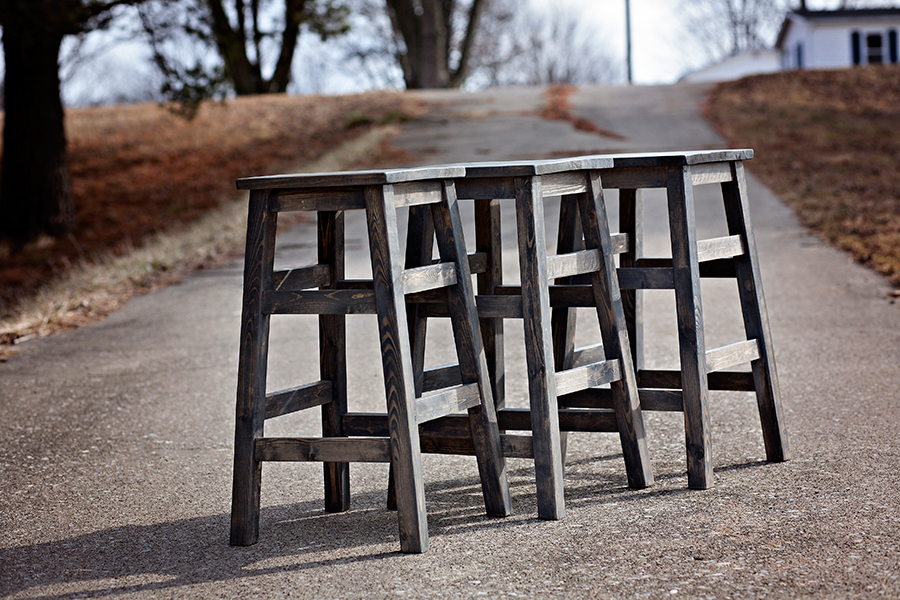
Simplest Stool

Submitted by heksa on Thu, 02/26/2015 - 14:43

This was not my first woodworking project, but first where I had to figure out angles and bevels. So I'm pretty excited that all the pieces turned into stable stools.

Cutting wood and putting stools together took about an hour or two each .... filling kreg jigs holes and staining took a few weekends though. 


Built from Plan(s)
Estimated Cost
$10 per stool
Estimated Time Investment
An Hour or Two (0-2 Hours)
Finish Used
Minwax Classic Gray stain
Recommended Skill Level
Beginner

Comments

Custom Dog Bath

Submitted by dananicb on Thu, 07/22/2021 - 07:21

Tego needed a raised dog bath. No, I needed a raised dog bath. Specifically, my knees needed a raised dog bath for Tego. So, after looking at Pinterest and Ana's plans, I decided what I really wanted to do was customize something to fit my needs (and knees) and build it myself. Overly ambitious for a first-time woodworking project, but hey, raise the bar.

I started by reading and rereading Ana's beginner's woodworking guide (very informative). I also learned so many other things along the way. There's a reason, besides looks, you need flat boards (they need to screw together tightly). Unfinished basement floors are so not level (especially near the walls). Screw lengths matter (need shorter ones for thinner boards). The big-box store doesn't make precise cuts (but they can make a lot). Planning for the finishes will save you time (know your basket sizes). Just to name a few.

It's going in an unfinished basement, so I wasn't going to tile and add glass doors. I wanted to keep it relatively simple, basic.

The stairs were the hardest to measure and build (math matters) - and I might re-do. I made the steps smaller, dog-sized, but she finds them awkward. I'd stick with typical riser heights, but it depends on the size of your dog.

Plumbing to link the tub drain to the utility sink drain was the most expensive. Probably I could have done it myself, but I decided not to learn both plumbing and woodworking for one project.

Overall, I'm pleased with the result - and Tego is learning to love it.
Estimated Cost
$250 in supplies (plus plumbing)
Estimated Time Investment
Week Long Project (20 Hours or More)
Finish Used
Exterior paint in semi gloss
Recommended Skill Level
Beginner

Comments

Patio cooler/Grill cart!

Submitted by Anonymous (not verified) on Thu, 06/22/2017 - 14:06

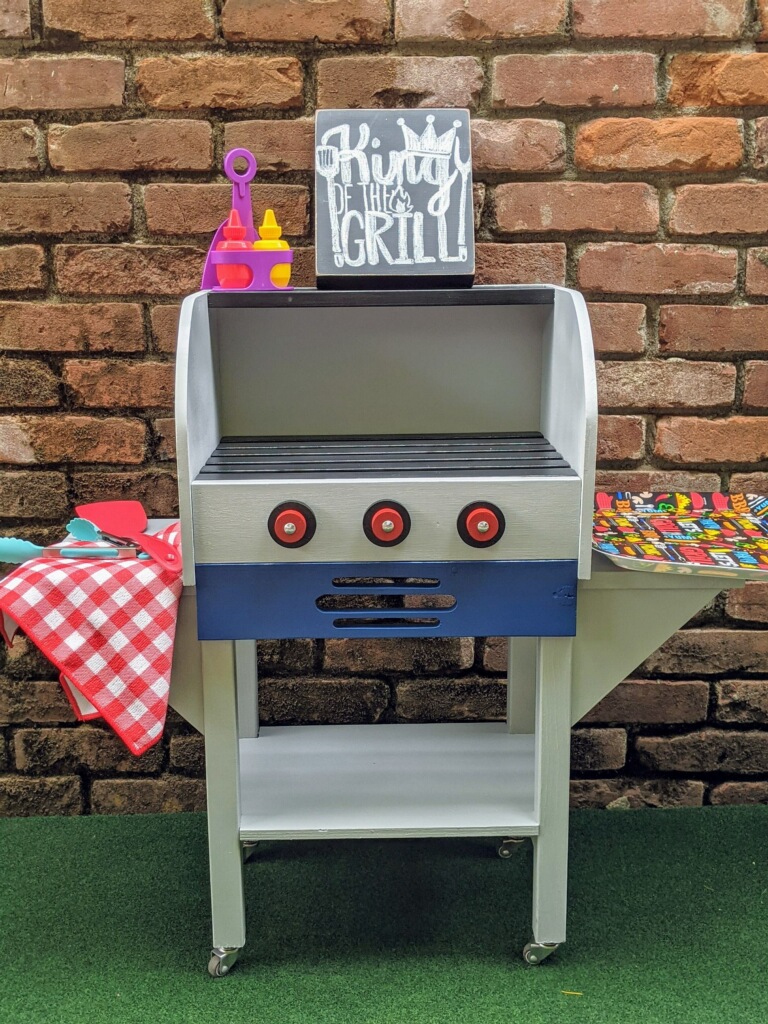
Great project! I'm new to wood working and have been looking for simple but challenging builds. Needless to say this fit the bill... This grill cart was a great starter build and ultimately became a Father's Day gift!  My Pops loved it! 

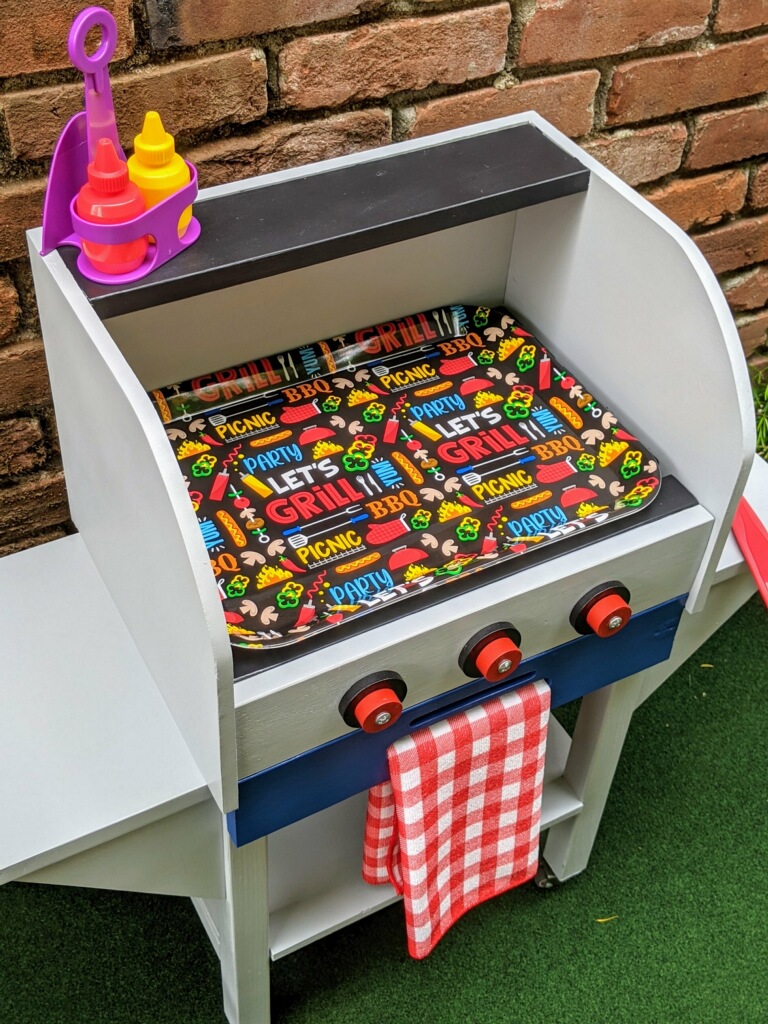
I did add a couple of custom pieces: a foldable table top extension and towel bar... things Dad will undoubtedly need as he's an outdoorsman who loves to BBQ!

Thanks for the idea/design plans! 

Estimated Cost
$150
Estimated Time Investment
Weekend Project (10-20 Hours)
Finish Used
Semi-gloss spar urethane (3 coats)
Recommended Skill Level
Beginner

Comments

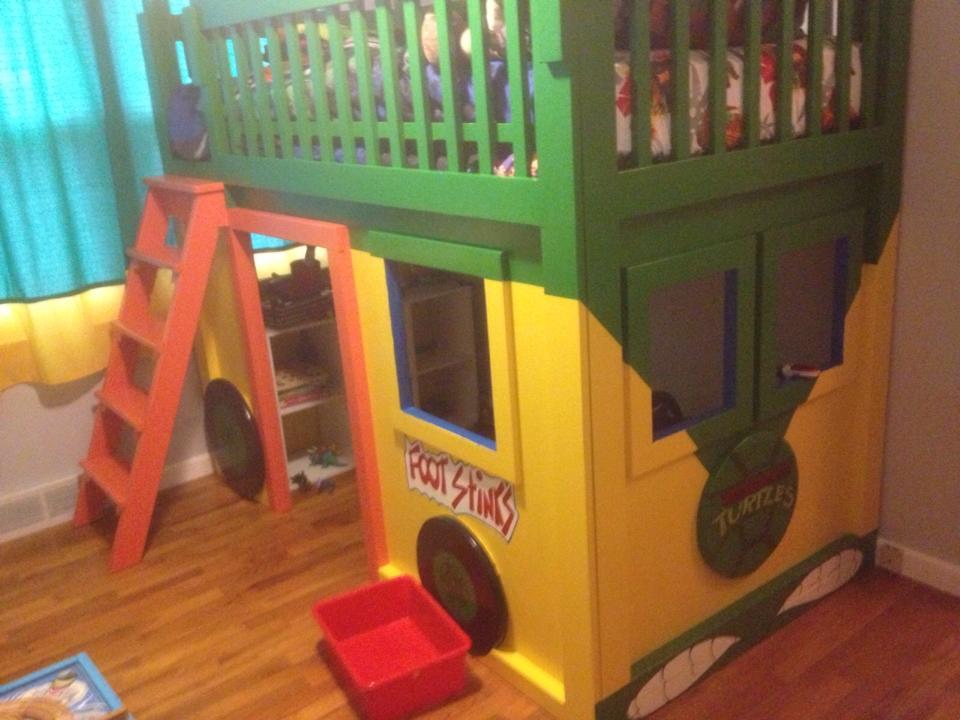
Teenage Mutant Ninja Turtle Bed

Submitted by KarahM318 on Sun, 05/05/2013 - 20:21

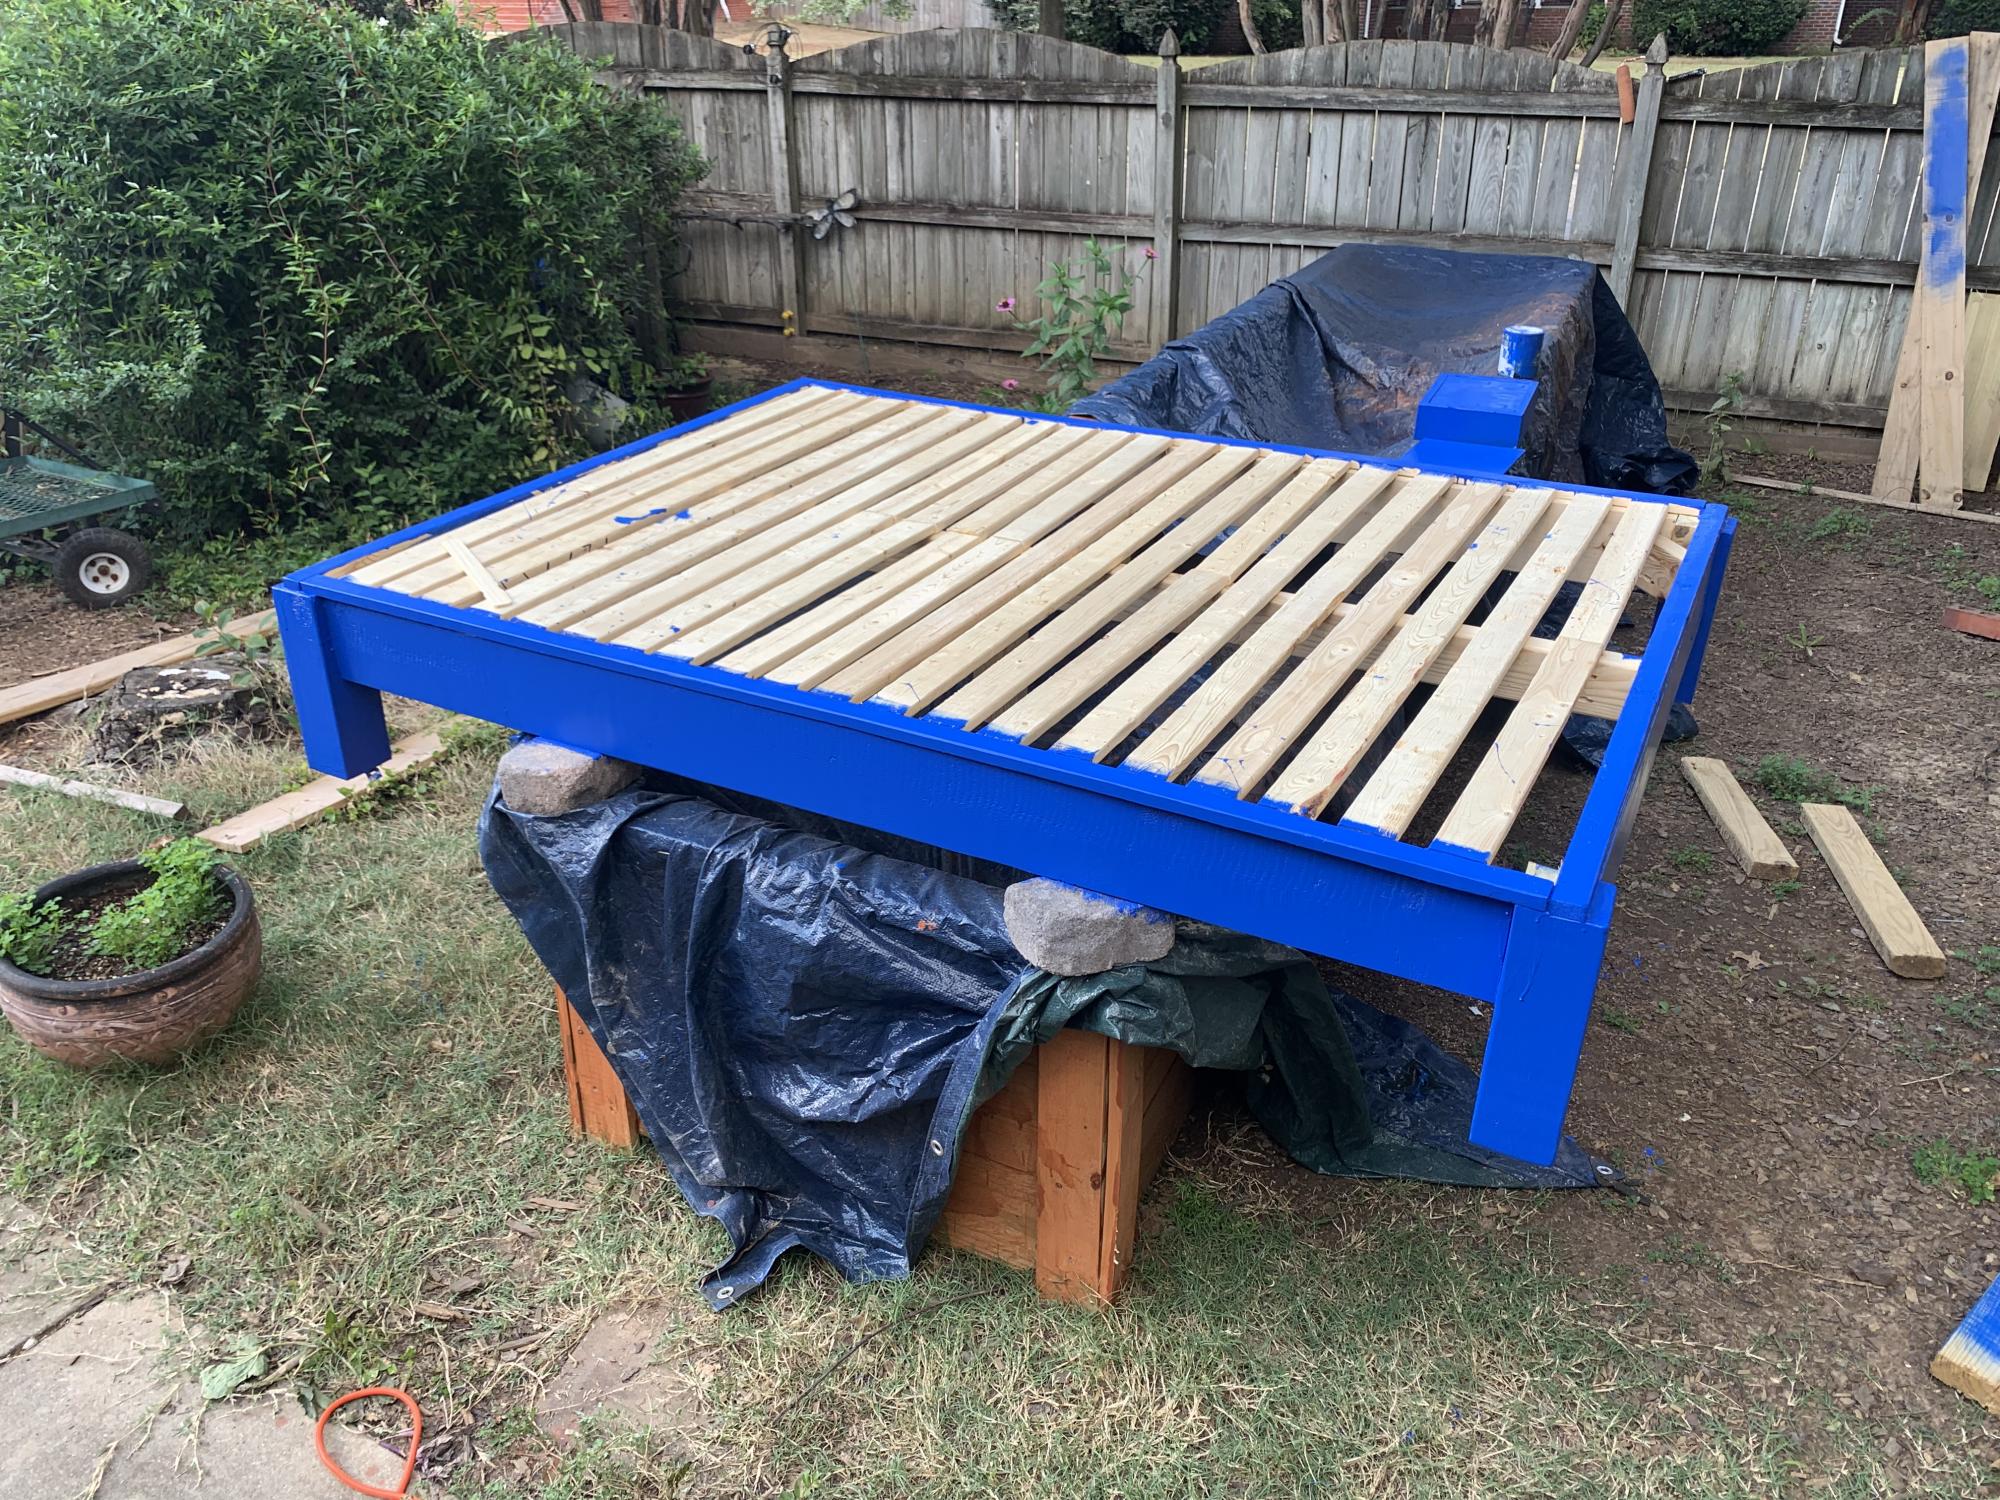
For this project, we followed the plans for the Firetruck Bed and also modified them a bit to fit our needs in the room. From start to finish, this project took two weeks to complete and cost us roughly $200 to build and $100 to paint. We were lucky though in that nearly everything we needed to purchase was on special or sale.

Built from Plan(s)
Estimated Cost
$300
Estimated Time Investment
Week Long Project (20 Hours or More)
Finish Used
Clark & Kensington latex paint & Minwax polycrylic clear coat (semi-gloss)
Recommended Skill Level
Intermediate

Comments

kim20904

Wed, 01/15/2014 - 07:33

can you tell me how you modified the plans to make this bed? I don't know much about building anything but I would like to build this for my son. Thank you Kim

5-Tier Wood Planter

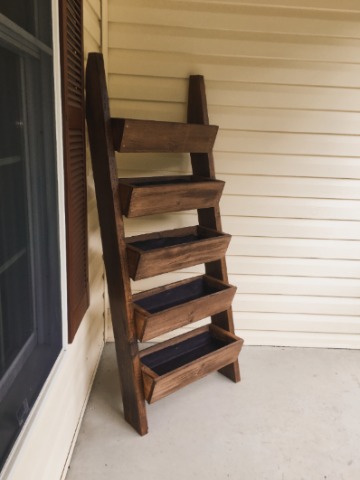
This plan was easy to follow, accurate and came together in just a few hours. I used some reclaimed barn wood for the 2x6s and dog-ear pickets for the remainder.

I made it harder for myself than it had to be. I didn't follow the directions closely enough and cut the box ends at 5 1/2" instead of 5 1/4". That meant that the bottoms had nothing to press-fit against. So, I had to do a little workaround to fix that. I made a 1" shelf at each end of each box so that the bottom could sit on these little shelves. The upside to this mistake is that there was now a drainage slot all along the front and all along the back of each planter box. 

I stained and sealed it. Finally, I lined each planter box with weed matting that I'd cut to size and cut drain slits in. The matting doubles as a way to keep the planting mix from falling out of the long drainage slots while allowing water to drain through the little slits I poked in the fabric. (I poked drain slits only along the front edge so that water would drain into the planter box below instead of onto the ground.)

I'm happy with the plan and the finished planter!

Estimated Cost
$35
Estimated Time Investment
Afternoon Project (3-6 Hours)
Finish Used
One coat of Cabots Premium Stain and Sealer in Gingersnap. One coat of Minwax Helmsman Spar Urethane.
Recommended Skill Level
Beginner

Full size bed size

Submitted by Anonymous (not verified) on Mon, 10/04/2021 - 13:47

Loved your plans for building a bed frame- easy to follow.

Comments

Chalkboard Crate Planters

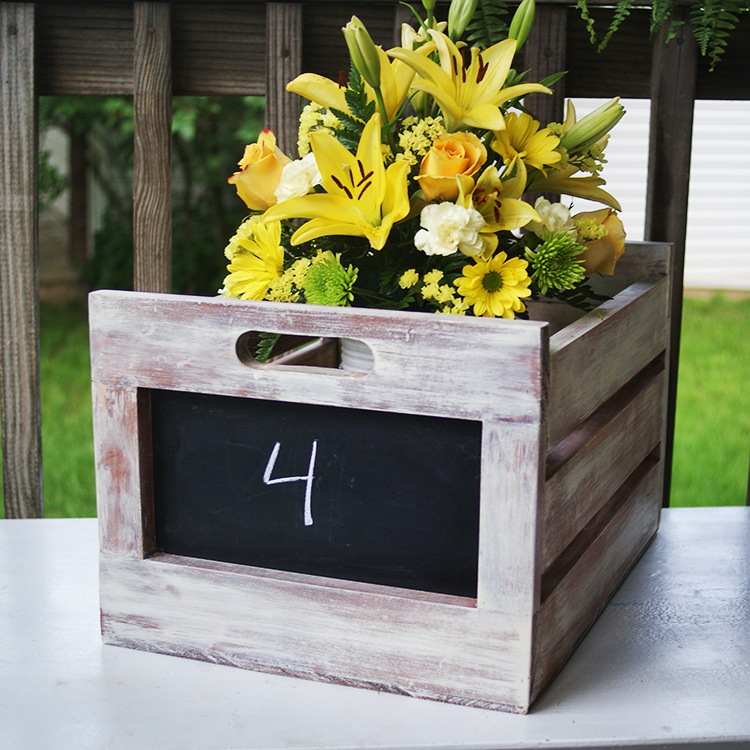
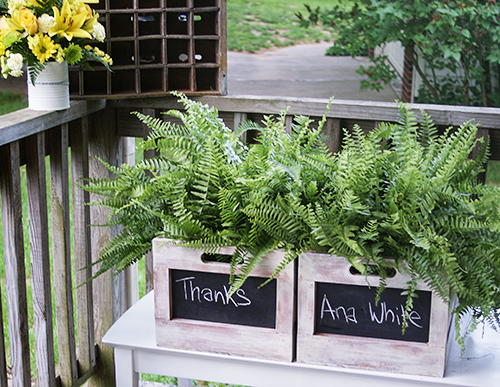
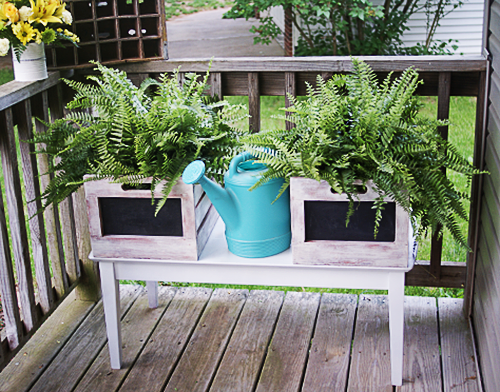
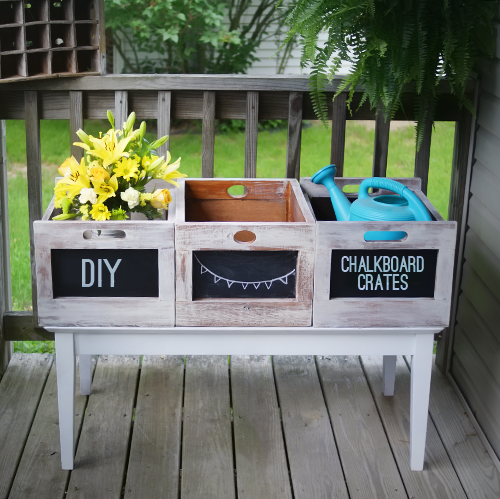
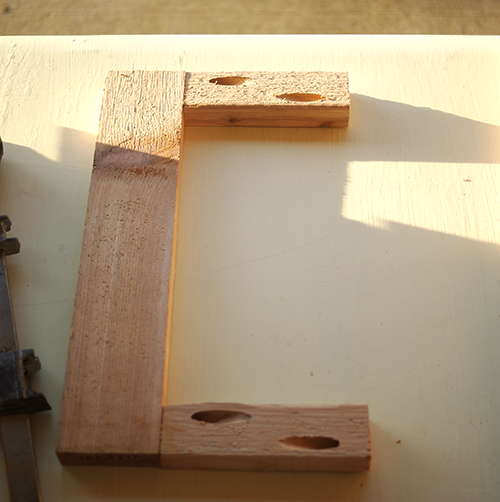
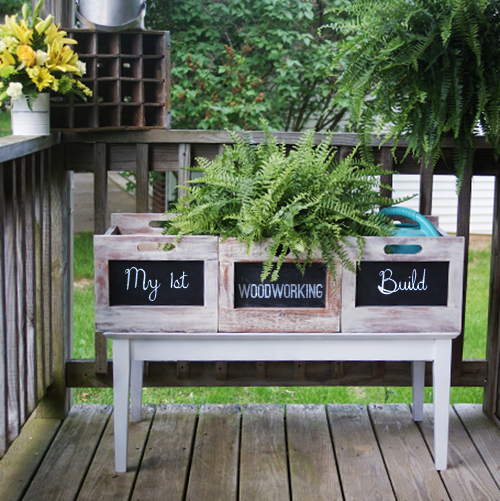
I made 3 crates using Ana Whites Chalkboard Produce Crate plan. It was my first woodworking project, was totally doable, and has created a monster. The middle crate in the photos was the first one, and I added extra 1x3s on the sides because I thought I didn't want the gaps between the side boards. Changed my mind for the second 2. I wanted a chippy finish so I stained with glaze and burnt umber by Golden, followed by a topcoat of dry brushed Titan Buff. I sealed with CeCe Caldwell Aging Wax.

Built from Plan(s)
Estimated Time Investment
Afternoon Project (3-6 Hours)
Finish Used
Stained with acrylic glaze and burnt umber by Golden, followed by a topcoat of dry brushed Titan Buff
Recommended Skill Level
Starter Project

Comments

Potting Bench

Submitted by bluejazz on Thu, 03/24/2011 - 12:09

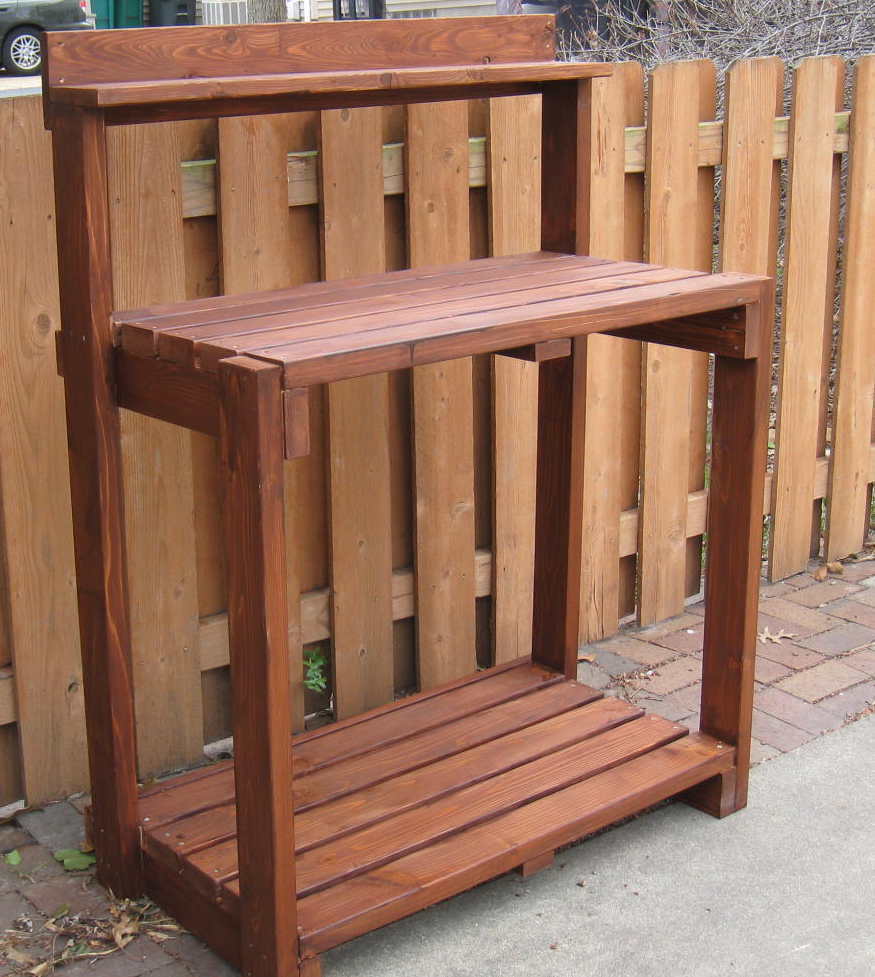
The plans are great.  This went together really fast.  I am cheating a little here, it is not quite complete; I need to add the side blocks on top and my wife would like a another panel added to the front at work height level, just for looks.  But the overall look won't be changed.  I struggled some with finishing (I usually do).  A couple spots  have runs I didn't see.  One will be covered by the front panel I'll add,but another needs sanding.

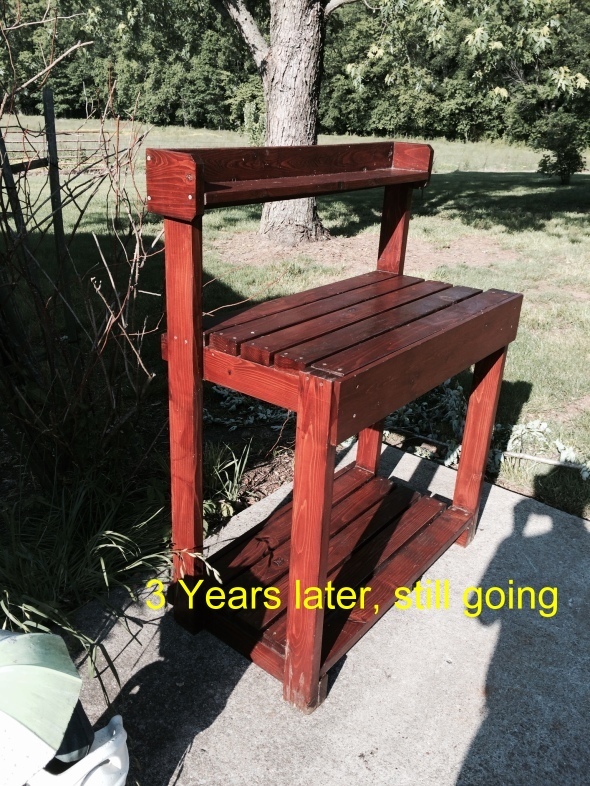
Just for fun I added a picture of the bench 3 years later. Its held up well to a lot of use and a lot of sitting out in the elements.

Built from Plan(s)
Estimated Cost
$100
Estimated Time Investment
Weekend Project (10-20 Hours)
Finish Used
General Finishes Cedar Exterior 450 Water based stain. I was going to add a spar varnish to extend the life. I decided against that because while it likely would extend the life, I would have to strip it to re-stain. After a couple years, I can simply re-stain without stripping if I don't varnish.
Recommended Skill Level
Beginner

BBQ for the Grands

Submitted by Anonymous (not verified) on Sun, 12/26/2021 - 15:17

My husband and I actually made four of these little bbq’s for our grandchildren and also for our own backyard. They were super fun to do. Pattern was easy to follow. Thank you Anna!

Built from Plan(s)

Comments

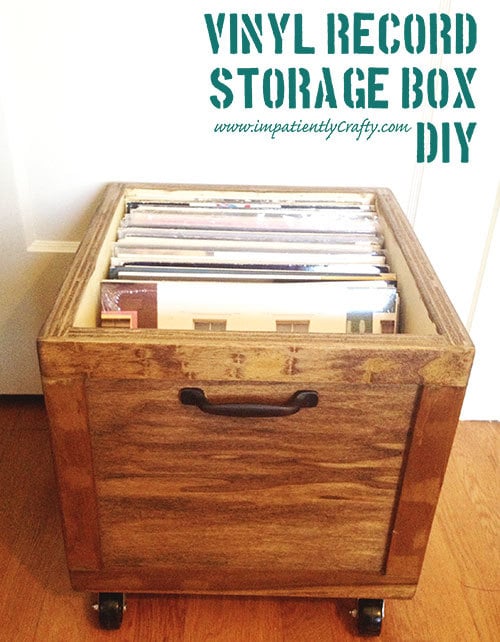
DIY LP Vinyl Record Storage Box with Wheels

I have to say, there is something about listening to music on vinyl that just gives me the warm fuzzies! A little bit of crackle, fuzz and hum.. physically having to flip over the record to get to the next side, & listening to an album start to finish just has a nostalgic feel to me and I love it.

We’ve started quite the collection of LP’s and quickly found we needed some good storage for them. Since vinyl isn’t exactly the most popular form for listening to music, I just had to make my own.

I knew it had to have 3 things.. size to fit, wheels and easy of searching through records.

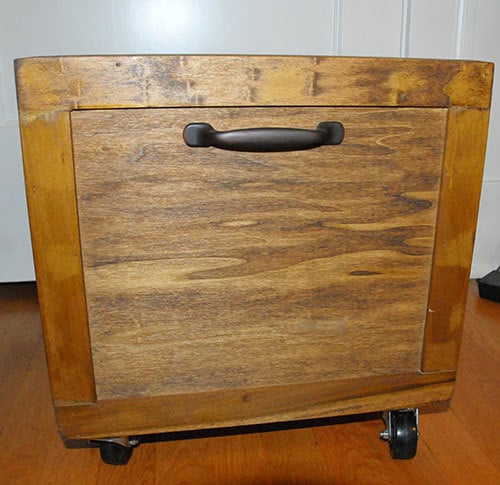
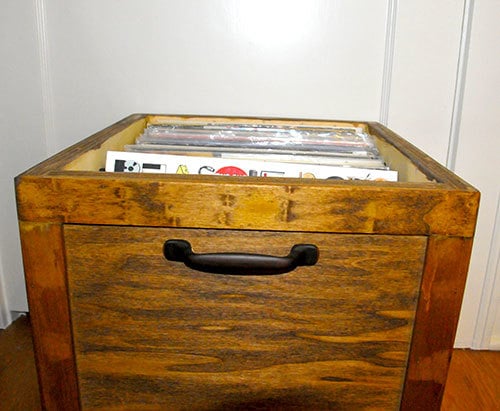
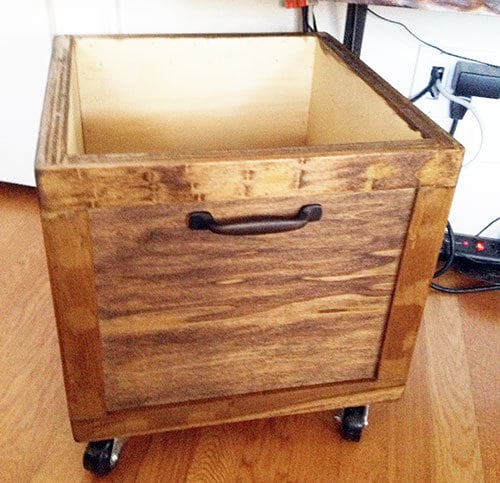
I had some scrap poplar plywood lying around, and just had to purchase some casters and furring strips to frame out the box. I even had an extra cabinet handle laying around to use.

I made it 12 inches wide by 16 inches deep, framed it out shaker style with furring strips and then stained it.. added casters and a handle ;)

Estimated Cost
$18
Estimated Time Investment
Afternoon Project (3-6 Hours)
Finish Used
minwax dark walnut stain and 2 coats of matte finish polycrylic
Recommended Skill Level
Intermediate

Comments

yurra-bazain

Tue, 07/09/2013 - 10:59

I love how you appreciate vinyls and gives things you have on hand new purpose. This storage box is nicely done.

I looked at your blog and went straight to the Upcycle tab, since that's where my interest lies too. I love seeing a "pile of useless" restored to use. =D

Simple Modern Outdoor Sectional and Ottomans

Submitted by dwcampb on Fri, 07/22/2011 - 12:04

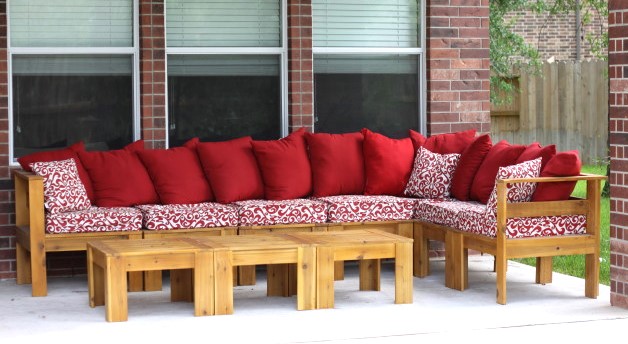
This was my second project and is the simple outdoor sectional. Took me about 8 hours to build all the sections and another 8 hours to stain everything. We ended up buying the cushions and pillows from Garden Ridge in Texas. Total cost for the cushions was about $500. Wood and materials was about $300. I used 1 x 4 cedar to insure it was rot and insect resistant. Then I stained it with Behr Premium Outdoor Natural #500. Looks great out on our covered patio. I will be building more as we are in the process of installing a pool of which I need lots of furniture to go around the decking!

Estimated Cost
$850 with cushions
Estimated Time Investment
Weekend Project (10-20 Hours)
Finish Used
Behr Premium Outdoor Natual #500. I sprayed all stain with a cup gun and gently spread the stain with a pad applicator. I did 2 coats on all sides.
Recommended Skill Level
Beginner

Comments

Guest (not verified)

Fri, 07/22/2011 - 13:55

This is gorgeous and it goes really nicely with your brick house too! I'd love to see more pics if you have. Great job :)

spiceylg

Mon, 07/25/2011 - 08:09

I want to build this so bad but have to be patient and wait because of the cost of the cushions - it's crazy! You did an amazing job!

Guest (not verified)

Sun, 02/26/2012 - 12:41

Cushions are expensive because you want to buy a mold/mildew resistant foam on the inside. Secondly, you want the fabric to be an outdoor fabric that has resistance to fading from the sun, but again that will resist mold/mildew and withstand rain, etc...with that said it makes them expensive.

Seasonal And Holiday

First Build - Redwood Adirondack Chairs

Love the results of my first building project.....a pair of redwood adirondack chairs. Angled cuts were a great way for a beginner to learn to use the miter saw.

Estimated Cost
$75 for redwood per chair
Estimated Time Investment
Weekend Project (10-20 Hours)
Finish Used
Discovered a non-toxic, non-flammable, water-based, environmentally friendly product called Seal-Once. Quick and easy two coat application in natural clear to protect wood outdoors for up to 10 years. Soaked right into redwood without leaving a shiny finish or residue.
Recommended Skill Level
Beginner

Comments

JoanneS

Sat, 09/07/2013 - 19:59

Love these gorgeous redwood chairs! The color and grain on that wood is awesome, and the clear coat is perfect for it. You did a great job on this build! I popped over to your blog and I enjoyed your post on this build very much. Well done!
Seasonal And Holiday

Floating Bunk Beds and Desk

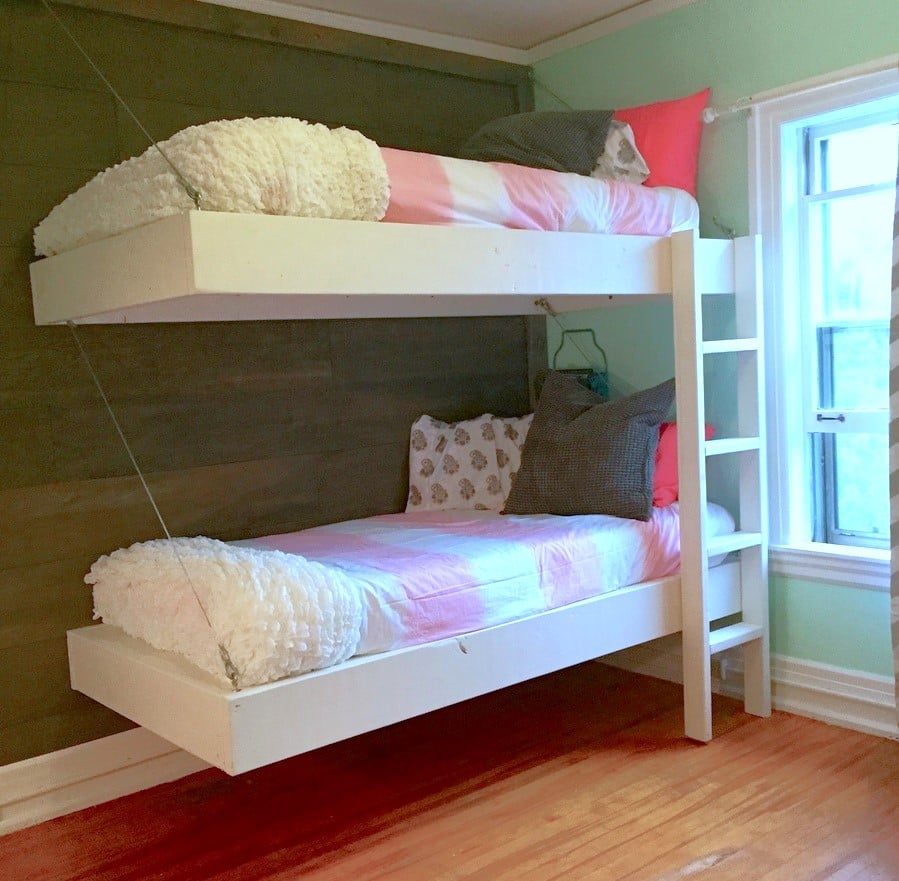
This little girls room needed a little happy birthday!  I planked the wall with birch veneer, made simple box frames for the beds and desk, and attached them to walls with heavy duty cable.  Then my friend added her designer touch, and made it cozy and  girl CHIC!

Built from Plan(s)
Estimated Cost
$500
Estimated Time Investment
Week Long Project (20 Hours or More)
Finish Used
white paint
Recommended Skill Level
Intermediate

Smart Simple Workbench

Submitted by Anonymous (not verified) on Thu, 12/29/2022 - 04:31

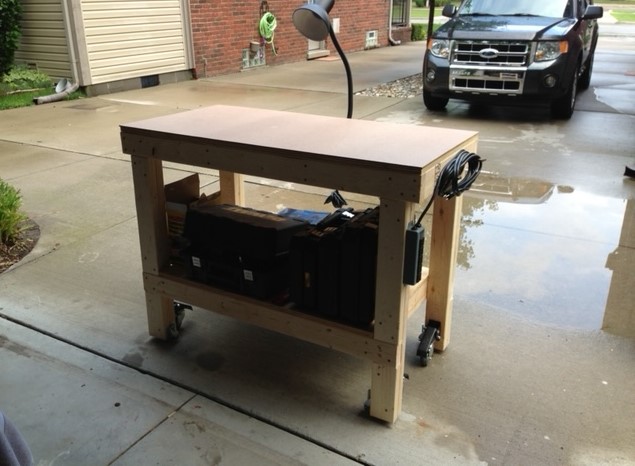
Built this workbench and added some casters from Rockler Woodworking. Also added a power strip for convenience and a handle made from black pipe parts that I had in the garage. I also added a sheet of masonite to the top that I can replace if needed.

Comments

Trofast Toy Storage Solution

Submitted by CassieD on Fri, 09/30/2011 - 17:27

I had been asked a few times for these plans, but as someone else posted a similar one, I'll just stick to a blog post for now and describe my differences. I made this shelving unit January 2010, just after I found out of I was pregnant with my third child, and it's been a lifesaver since then. I desperately needed a toy storage solution (and purging), as shown in the 'eek' kids closet below. I didn't like the shape of triangular Ikea ones, as they spanned more floor space than I cared to give up. Plus, I wanted a place to put *almost* all of my kids toys, so I wanted it to be tall. I'm so glad we did, since we've moved twice (also, 'eek') since than, and it's made packing and unpacking the kids toys super (SUPER) easy. At first, I was afraid that the kids would go crazy and just tear down every bin at once, but it hasn't happened yet. Unlike the other plan that was posted, I used white sliders that ikea sold. I'm not sure if they still sell, as I don't see them online. It cost an additional $24 (they were $1/2), but seemed worth the extra money. I didn't have a router and wasn't particularly confident with our table saw skills. Plus the Ikea version had some really thin areas that made me nervous that it would break easily. I tried to keep it easy and just had to line up and screw the sliders in. Now that I'm a little more confident with a table saw, I'd give the router style a-go. I used two sheets of cabinet grade plywood, each costing about $30. I ripped down some pine boards to cover the front edges, which made the unit look loads nicer. However, I wish I would have used maple, instead of pine as they got dented almost immediately. Not a big deal though. The three shelves were sort of an afterthought, but turned out to be great for puzzles and other type toys. I didn't use backing or cross supports initially, but put some in after we moved. You can see them in the last picture below. The heater in our temporary house caused the slightly-bent sides to become very bent sides. That caused the drawers would spontaneously fall out, which was always quite the shock and disappointment. I put in some supports in the back, which I wish I did initially as it would have made manufacturing easier. Also, If I were to go back, I would put one cross support in the front-middle, as the boards are so tall, it needs something to help maintain the shape in the front. I've found that even in a perfect fitting slider, really heavy buckets would bend just enough to flex out of them to crash... so don't plan on filling one of the large buckets with matchbox cars and sticking it on the top. Regardless, we've learned our lessons, made it work better, and has been a huge success in our house for a while now.

Estimated Time Investment
Weekend Project (10-20 Hours)
Recommended Skill Level
Intermediate

Comments

Supermom77 (not verified)

Sat, 10/01/2011 - 14:22

Great work. Love the colors. Do you have directions on training the kids to put the toys back?

In reply to by Supermom77 (not verified)

CassieD

Tue, 10/04/2011 - 19:42

Haha, I guess a little. Picking up when they aren't motivated is an ongoing battle. However, I did find having a specific place to put items with labels helped a lot, albeit with screaming. Actually the labels would probably be the best motivation of all of it.
The ideal is to have the kids only play with one bin at the time, but with more than one kid, that theory very quickly gets muddled... One child wants to play with one toy and one wants play with another, then "lego houses can't be broken down" and "polly pocket is using those blocks for the house" and so on. So it's more of a end-of-the-day(week/month/year haha) pick-up routine.

However, there seems to be a light at the end of the tunnel. My oldest (almost 6) seems to have caught on that the faster she picks up, the sooner she can move onto other activities besides playing (coloring, playdough, etc.), and is starting to pick up as soon as she's done without us even asking. I think getting an allowance has also helped with that.
That was way more than I thought I was going to comment, but I guess it goes to show you should never ask a Mom her opinion on something, unless your ready for a lecture :)

birdsandsoap

Thu, 10/13/2011 - 21:44

I love that your labels have pictures on them! I thought I should have done that way back when since my children are too young to read. Easy to find and easy to put away. Good job, Mom!
chicken boxes that work!

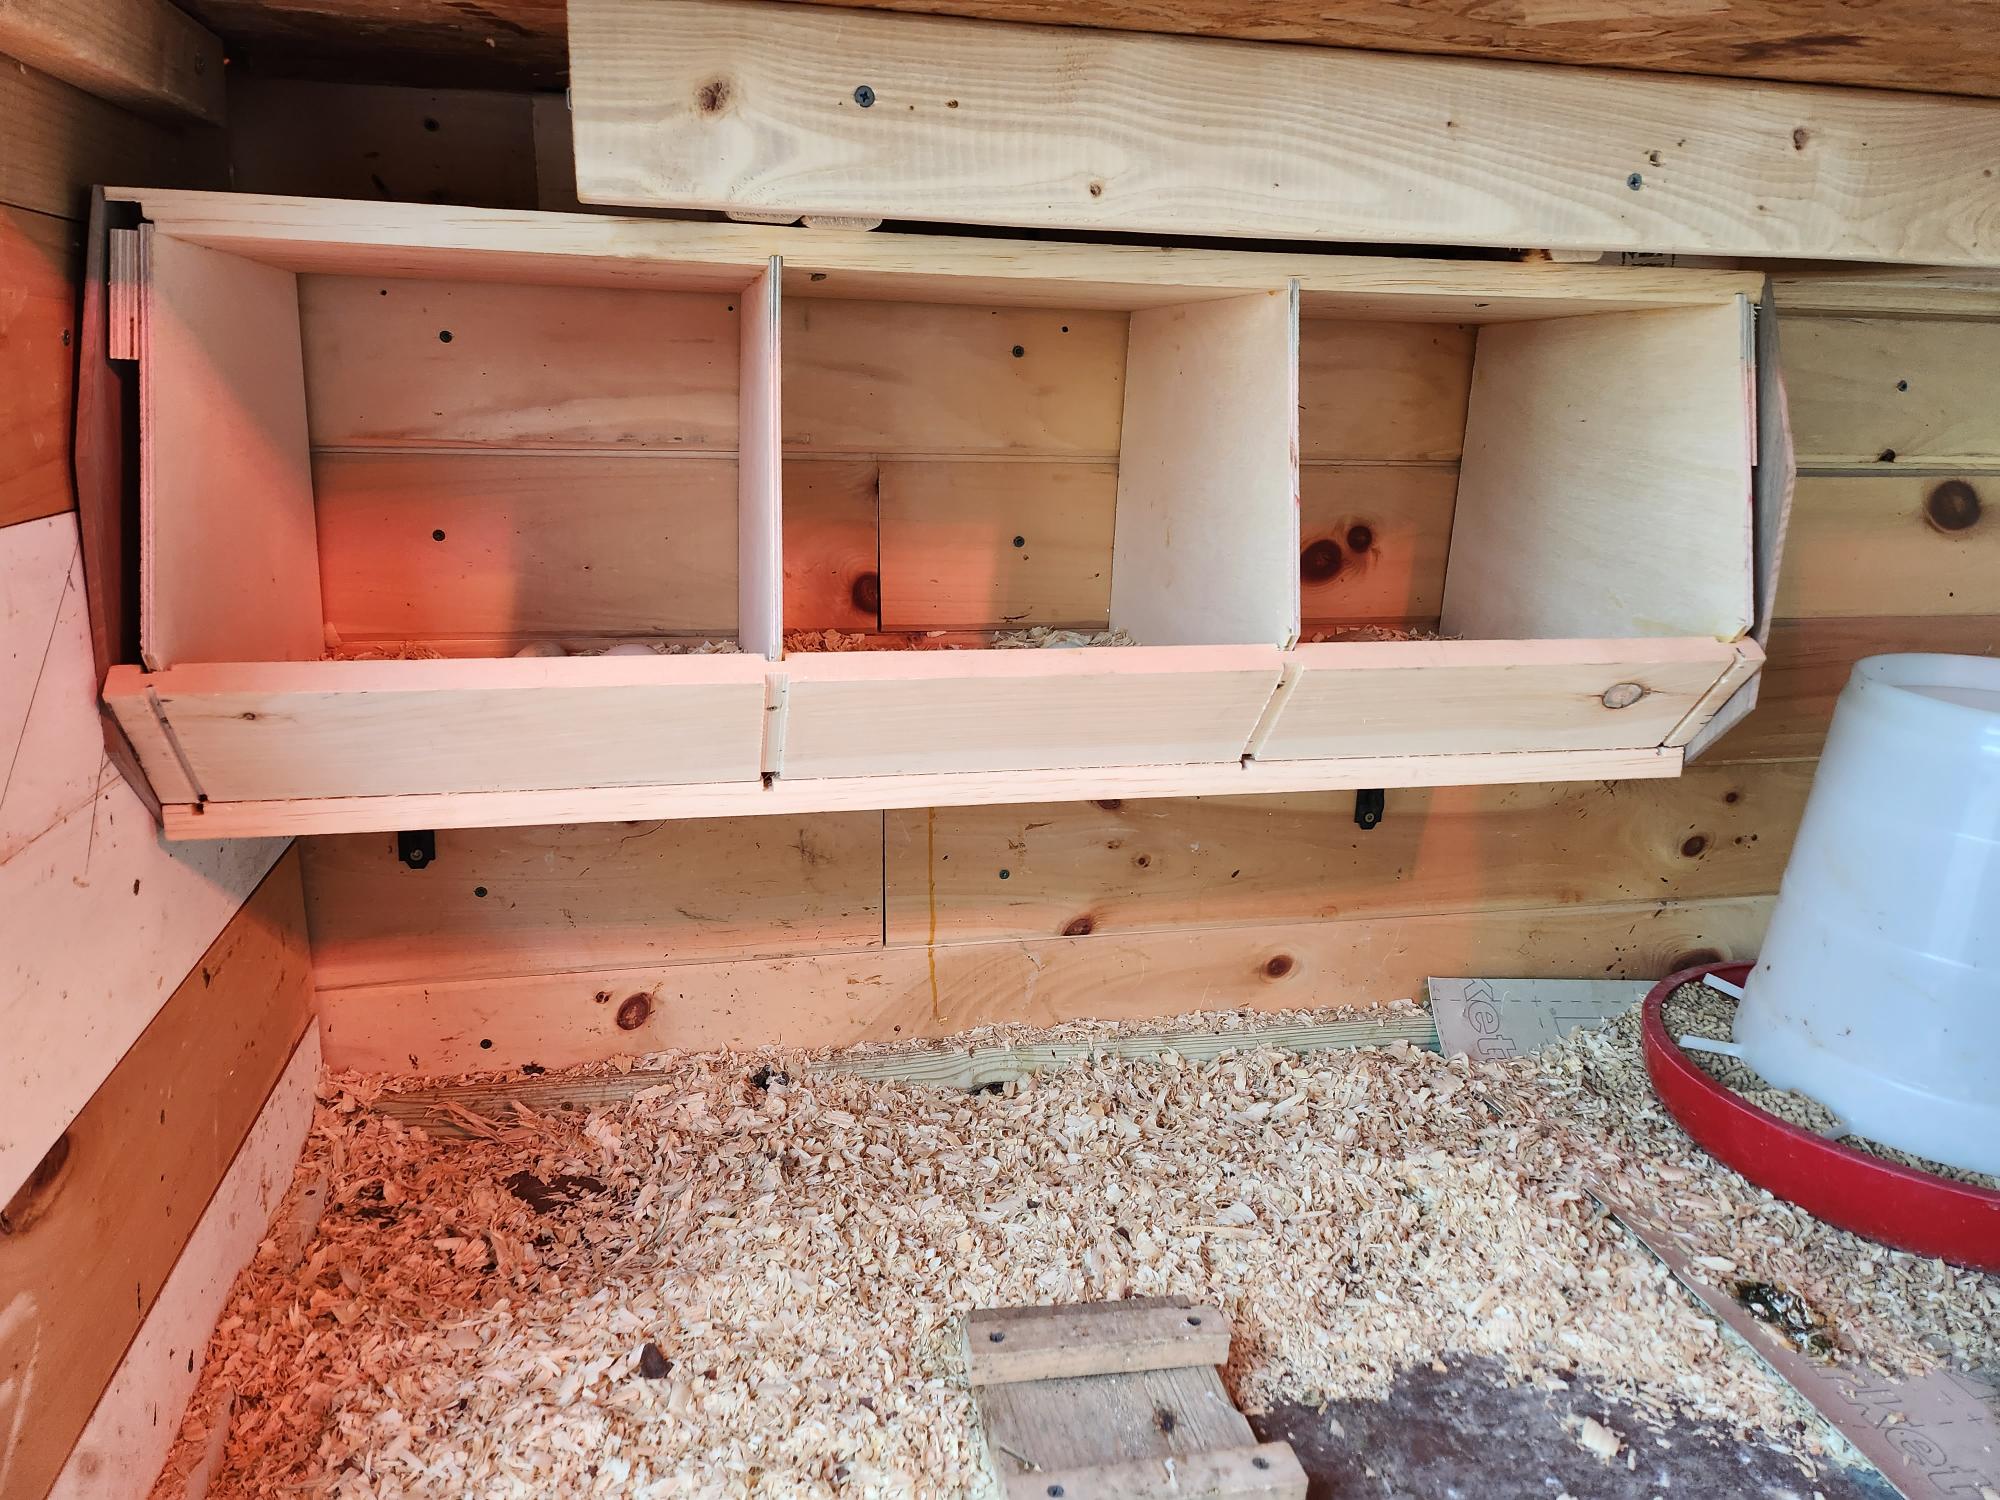
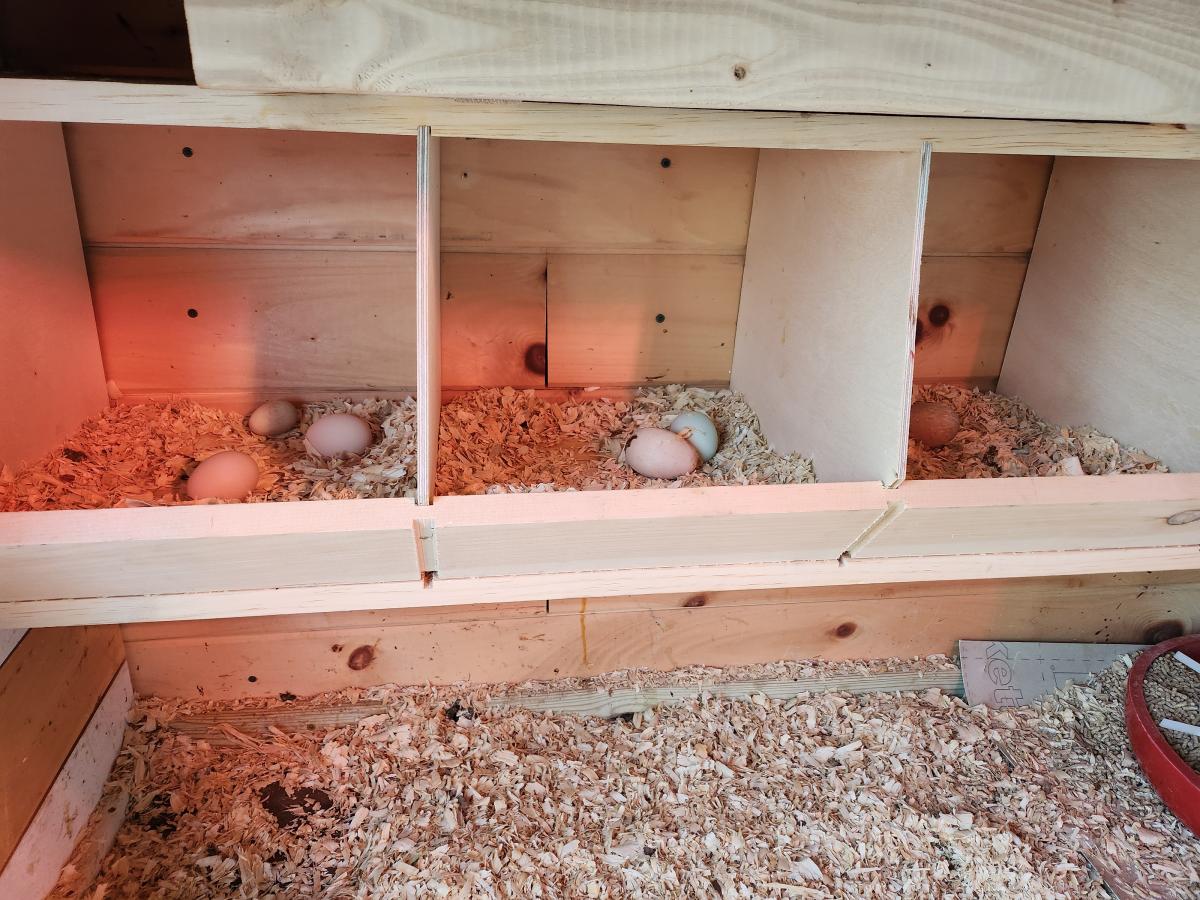
I have tried all sorts of nest boxes. No one ever used them. I decided to make the one from Anna White's site. I used joinery to attach the various pieces. The best thing of all: I find girls sitting in the boxes and take eggs from them. It really is awesome. I got a photo with real eggs and you can also see the wooden eggs to entice them to try it out. Thank you so much! I will build another one for the other side of the the wall.

Built from Plan(s)

Comments

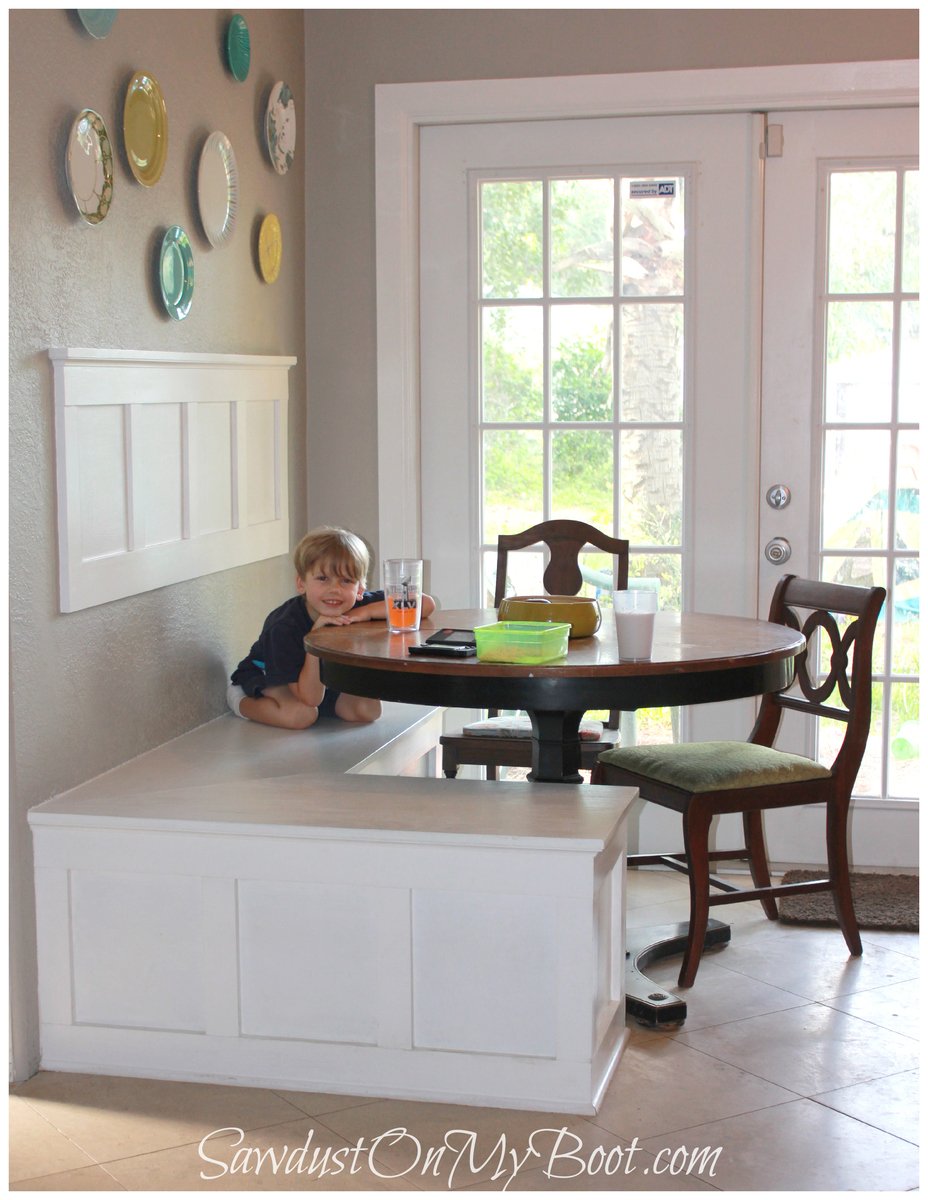
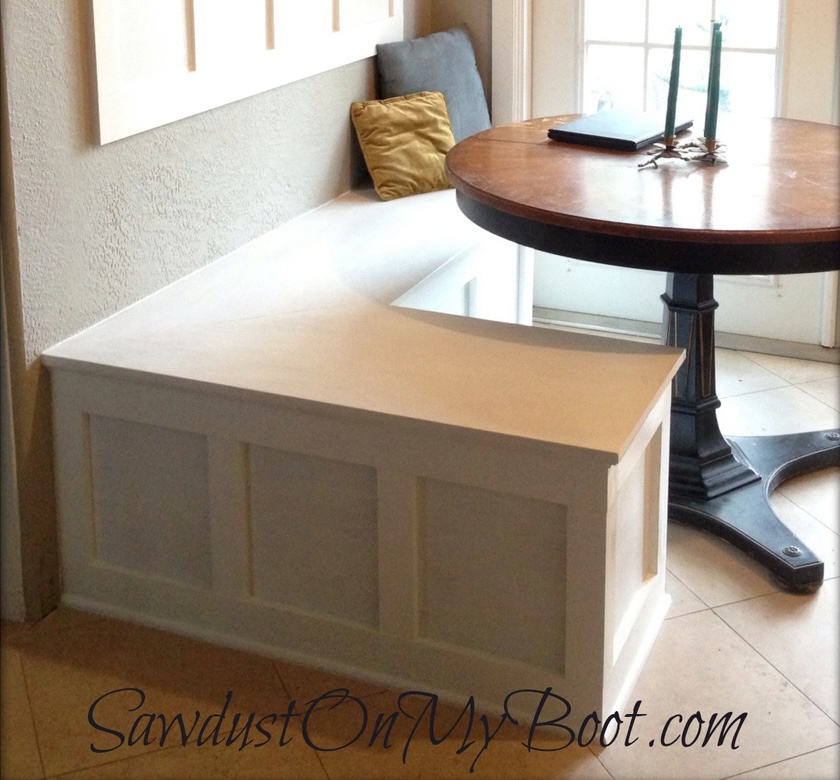
Board & Batten Banquette

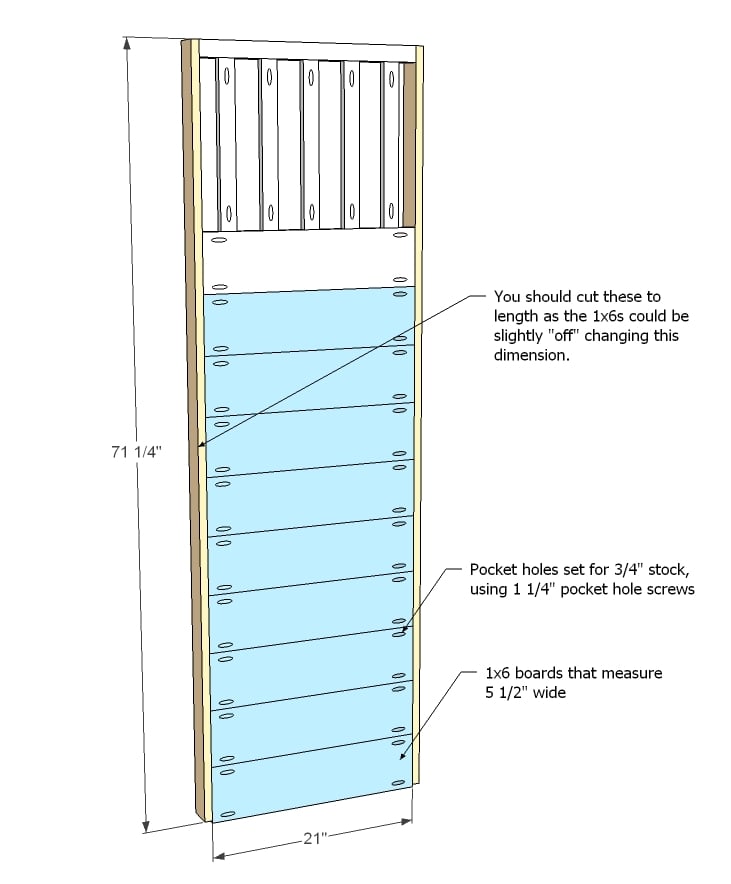
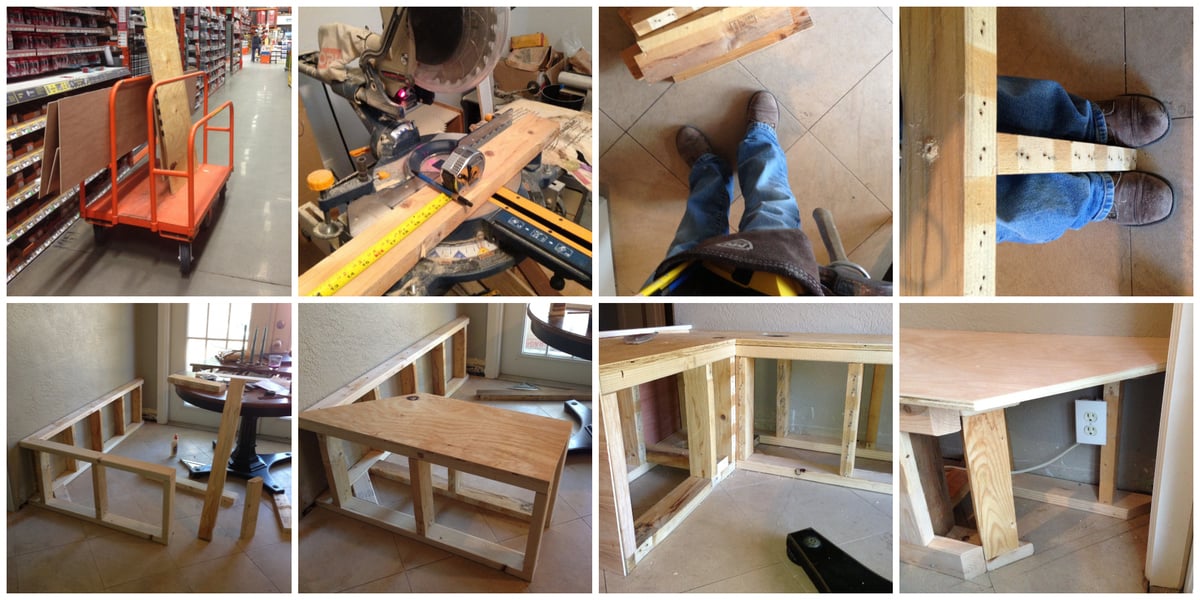
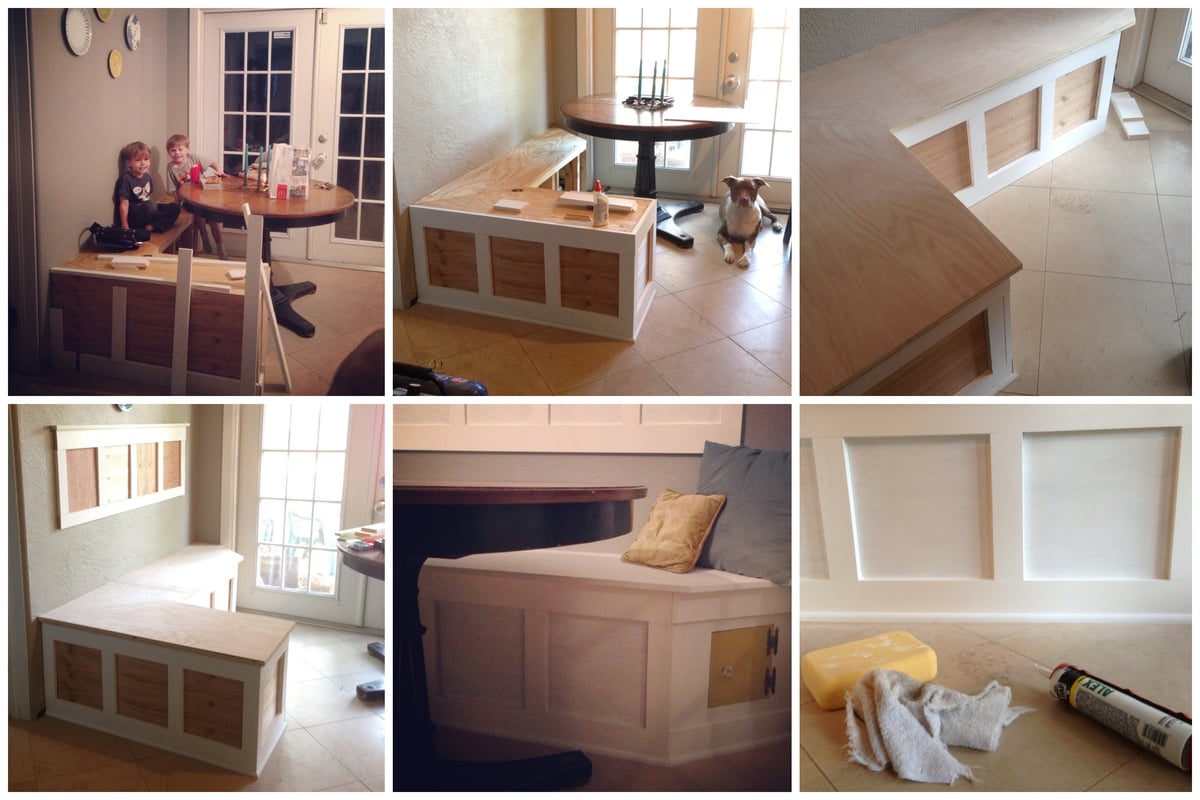
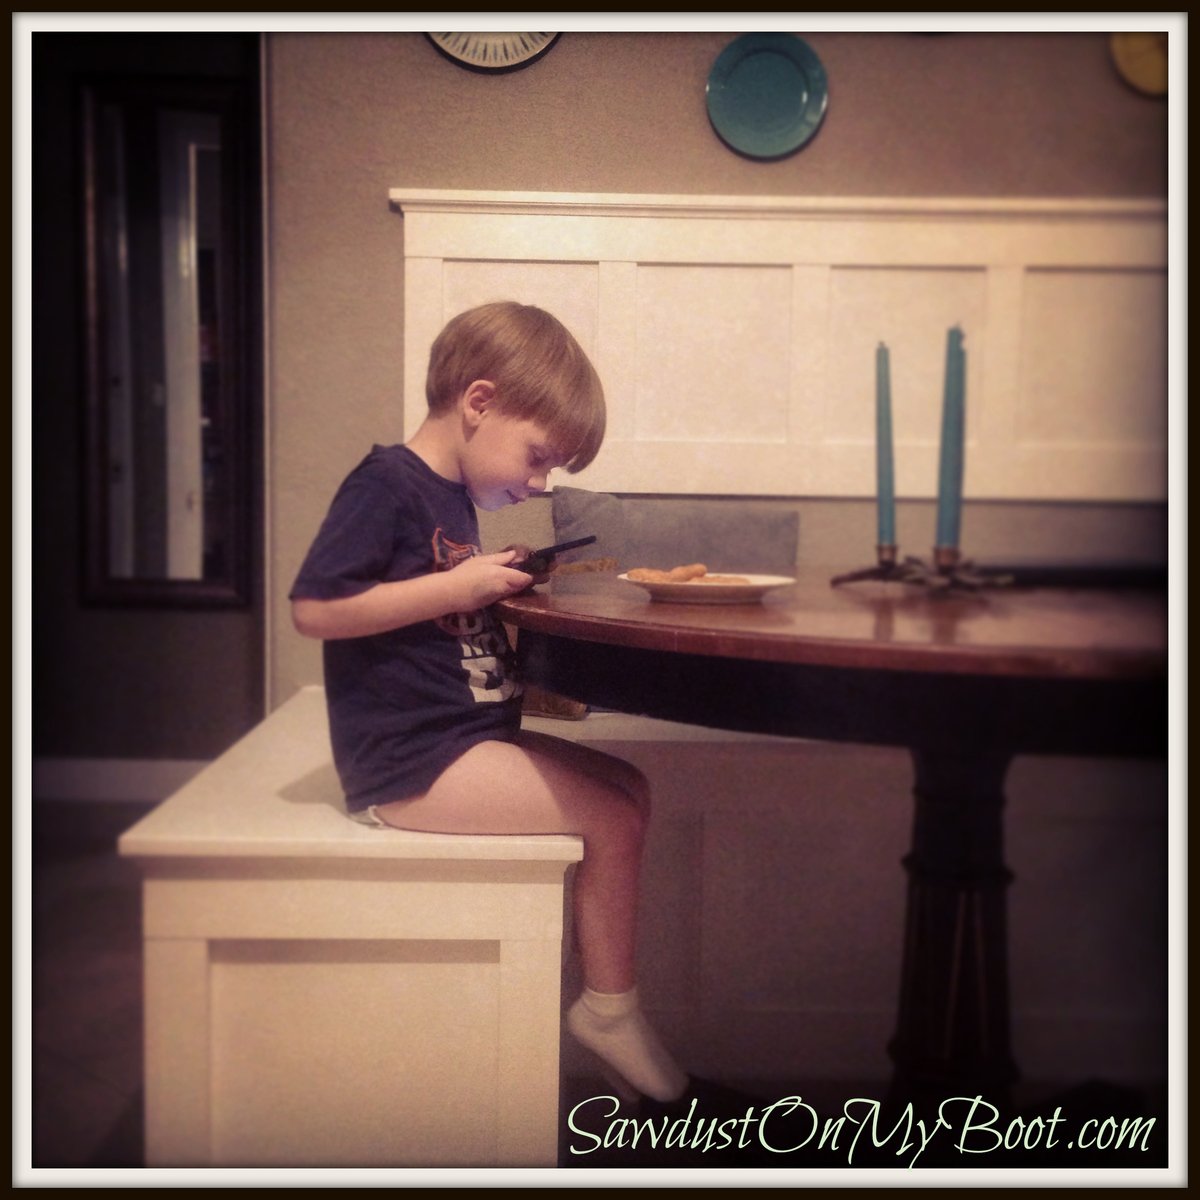
My family needed a seating area for our tiny kitchen and a built-in banquette solved our spatial design problem perfectly! I basically built it like a short and wide freestanding wall with a board & batten design and plywood top for seating. More details on my website post...

Estimated Time Investment
Weekend Project (10-20 Hours)
Finish Used
board & batten with latex paint
Recommended Skill Level
Intermediate

Comments

Patio Furniture in Progress

Submitted by lbrown on Thu, 01/05/2012 - 13:08

I built six armless and two corner sections of the outdoor sectional but now I need to paint it and make cushions. For more details: http://www.homeandawaywithlisa.com/blog/2012/1/5/patio-furniture-in-pro…

Estimated Time Investment
Weekend Project (10-20 Hours)
Recommended Skill Level
Intermediate

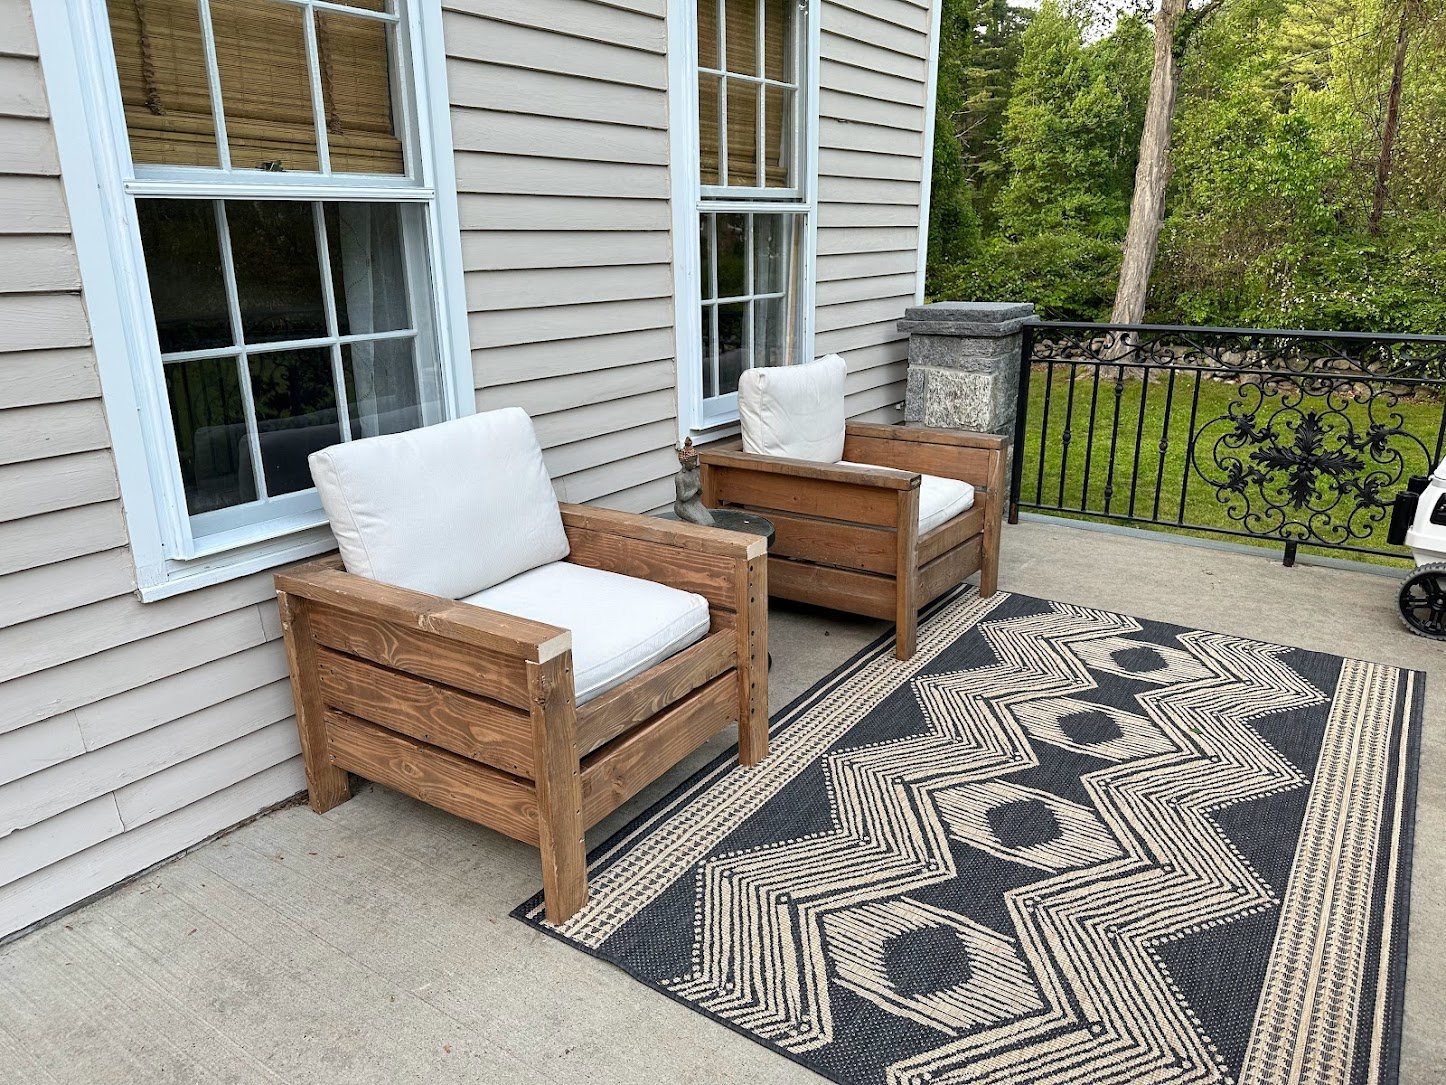
Modern Outdoor Chair from 2x4s and 2x6s

After a whole year I finally made a second chair! The first one was made a year ago and now my wife can sit outside with me too 😊. Next for the couch!

Comments

Playhouse Loft Bed

Submitted by dryton1 on Mon, 12/30/2013 - 09:46

We built this kids playhouse for our 4 year old daughter for Christmas. We modified it from the playhouse loft bed with stairs, only we made it bigger and instead of stairs we installed a slide. Also rather than a ladder we put in a rock wall.

Built from Plan(s)
Estimated Cost
$400
Estimated Time Investment
Week Long Project (20 Hours or More)
Recommended Skill Level
Beginner