Community Brag Posts

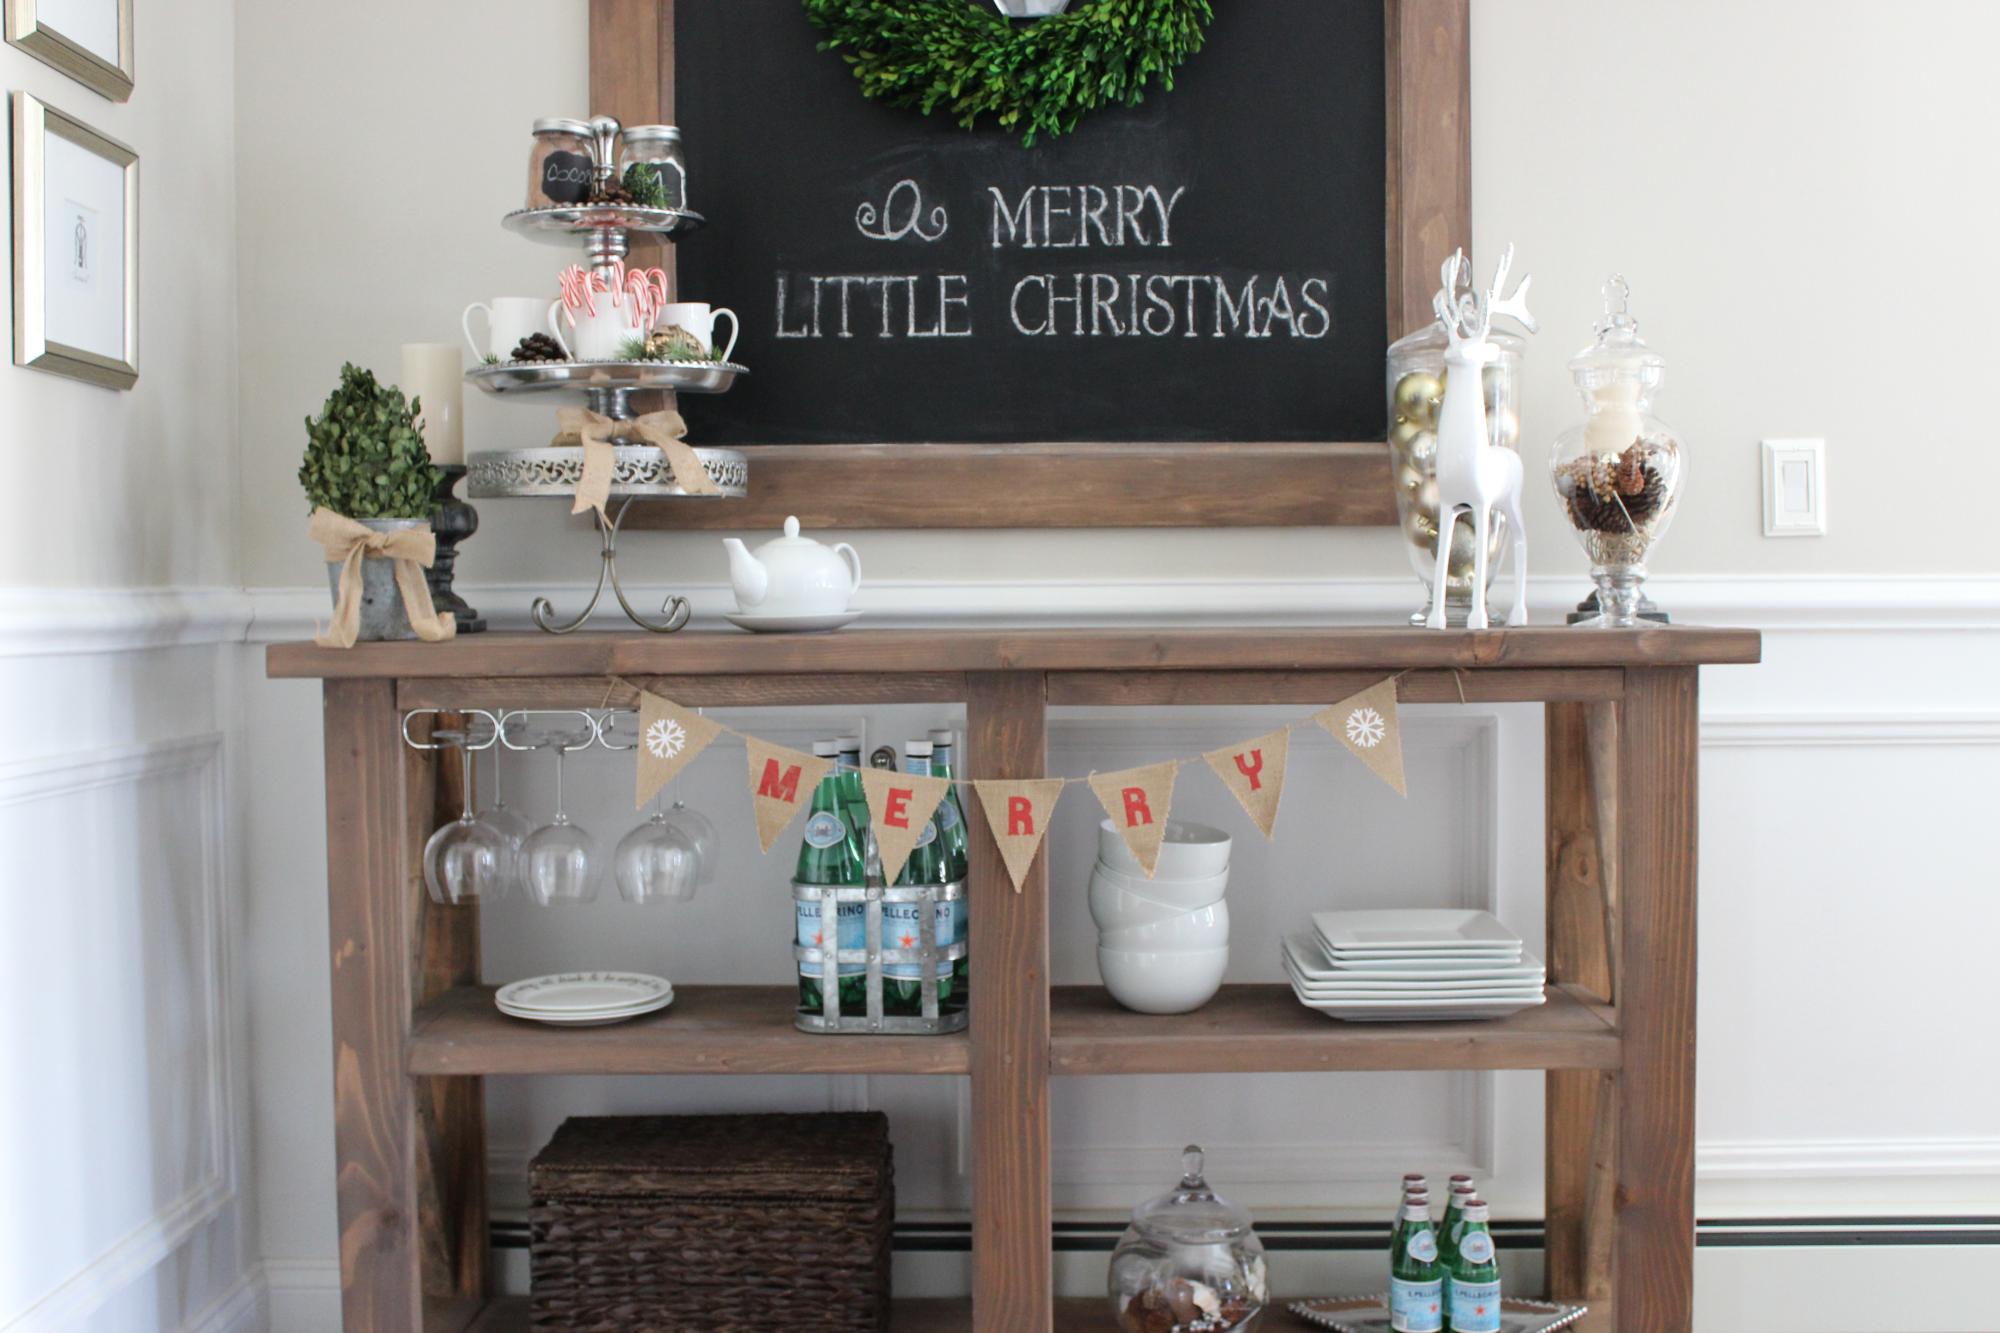
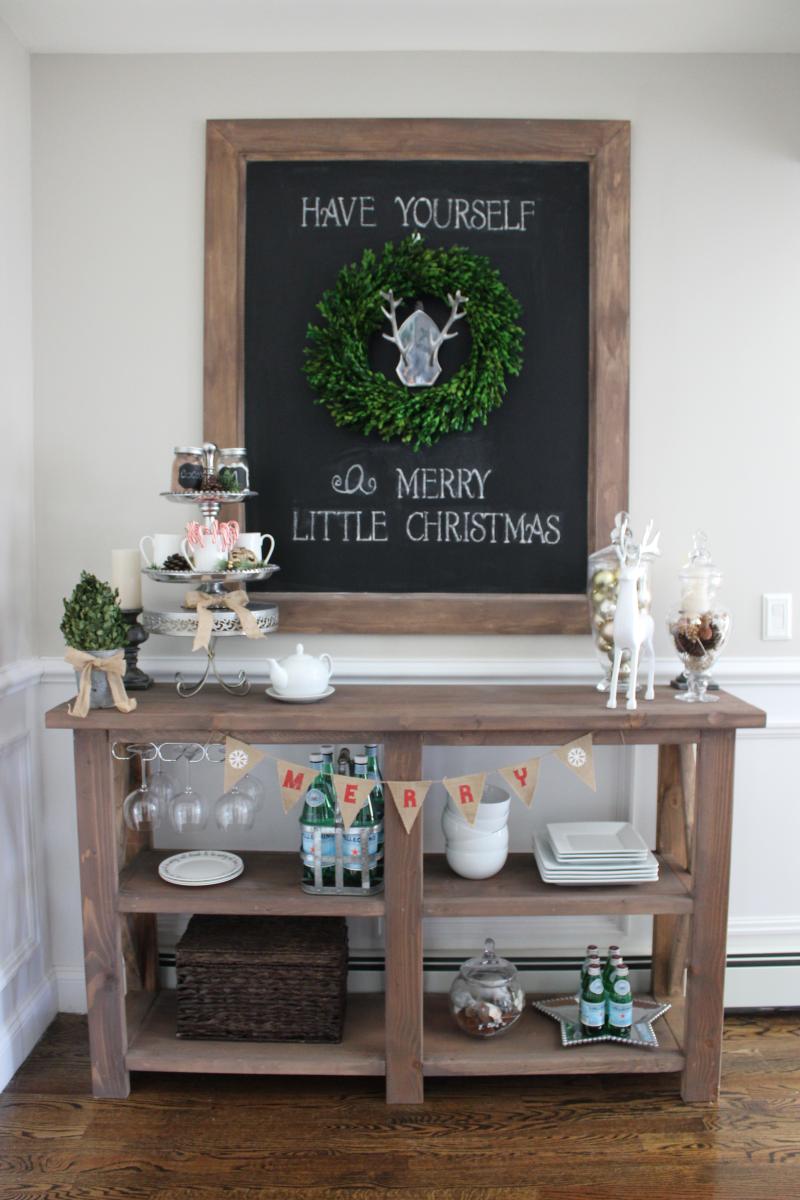
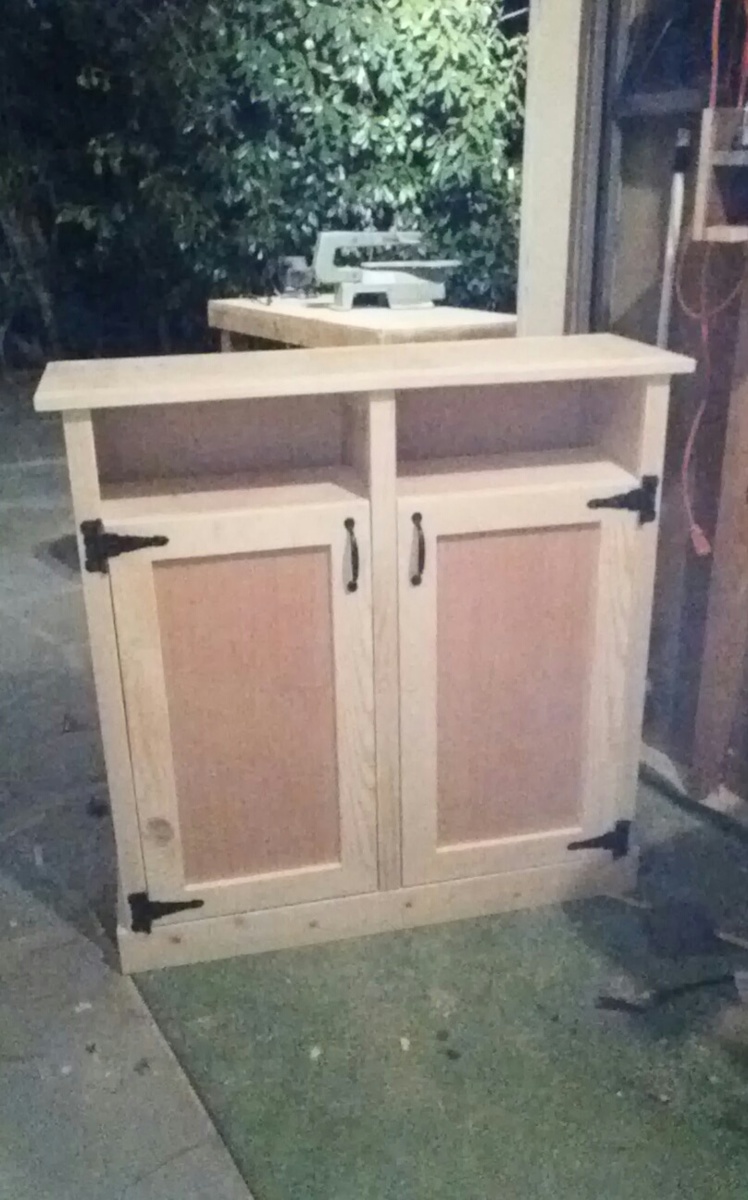
Rustic X Console Table

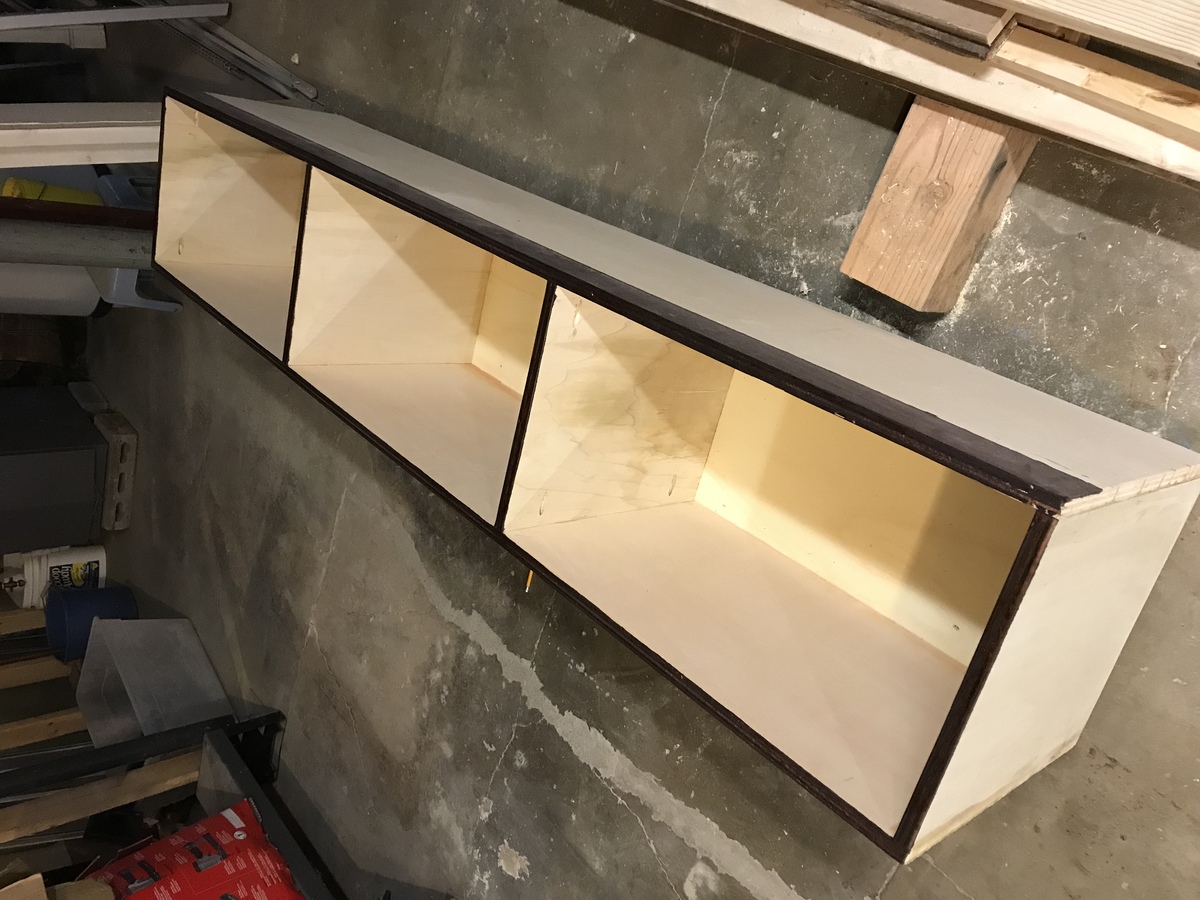
This console table was exactly what I wanted! We changed the measurements and made it a little smaller to fit in the corner of the room. My brother built this table for me and he was able to build it in 2 hours. The directions were easy and informative. Thank you so much Ana! I love your furniture!!!

Built from Plan(s)
Estimated Cost
The total cost including lumber and stain was $160.00.
Estimated Time Investment
Afternoon Project (3-6 Hours)
Finish Used
I used Milk Paint in the color "Curo" but watered it down to use as a stain.
Recommended Skill Level
Beginner
Seasonal And Holiday

Toddler Sized Cabin Bed (Crib Mattress)

Submitted by Anonymous (not verified) on Sun, 03/26/2017 - 19:35

Loved the twin sized cabin bed but my grandson is a few years away from needing a big boy bed.  Husband scaled down the plans and this  is what we came up with. 

Built from Plan(s)
Estimated Cost
$150
Estimated Time Investment
Weekend Project (10-20 Hours)
Recommended Skill Level
Intermediate

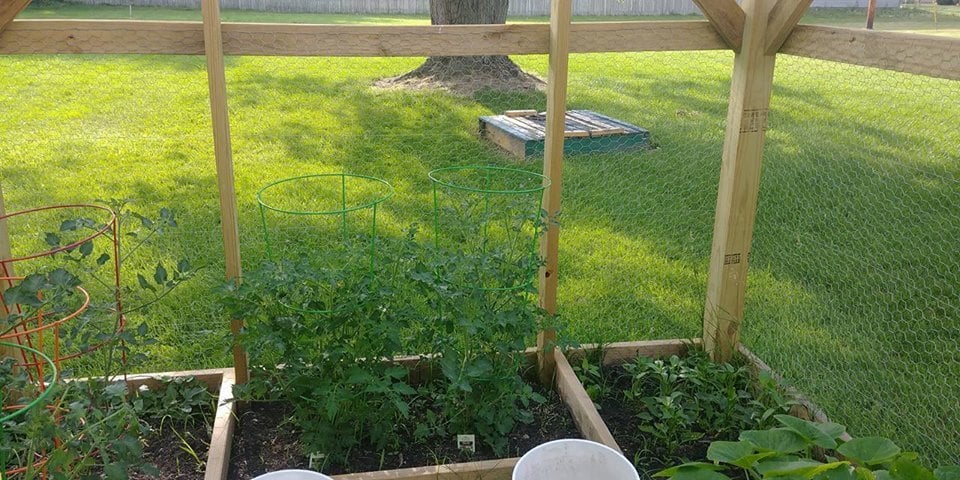
Counter height 4'x4' square footage gardening planter boxes

Submitted by Anonymous (not verified) on Tue, 04/18/2017 - 07:01

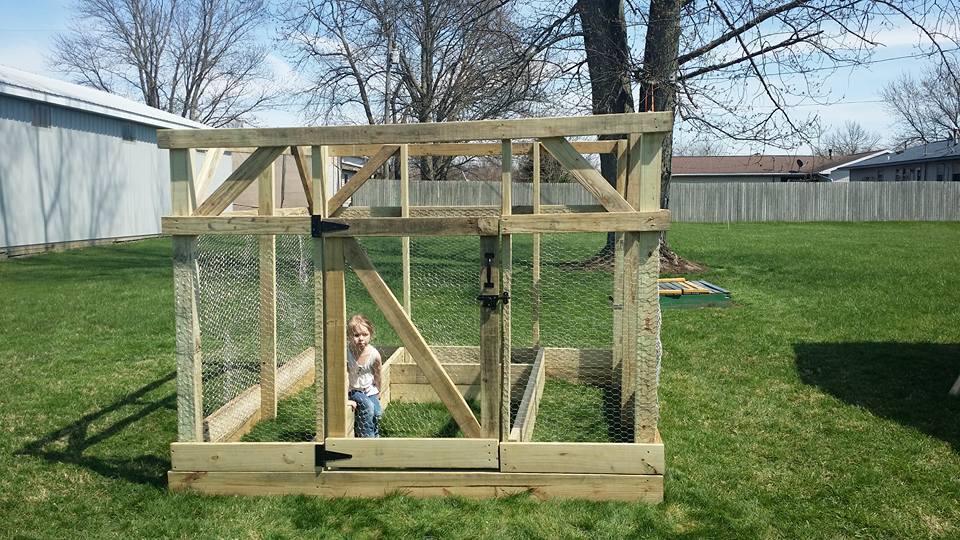
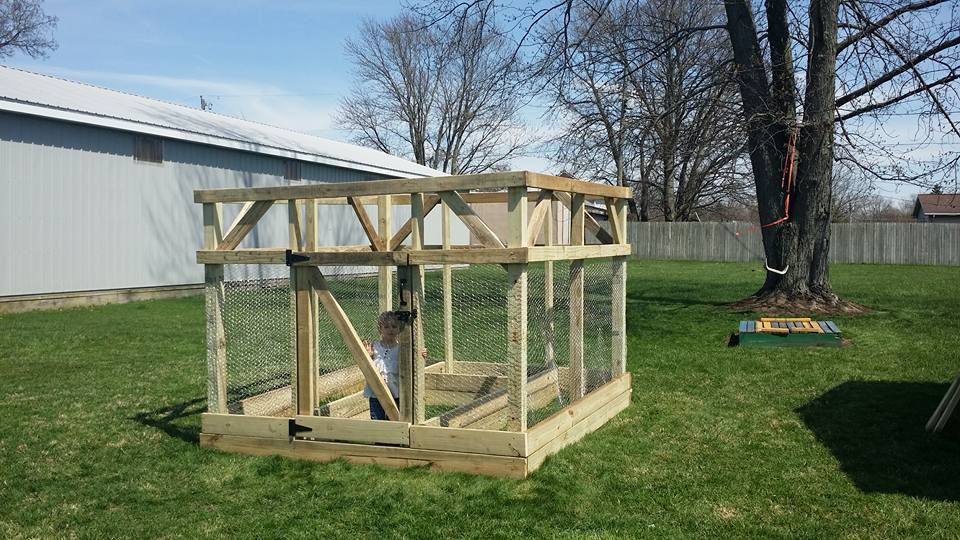
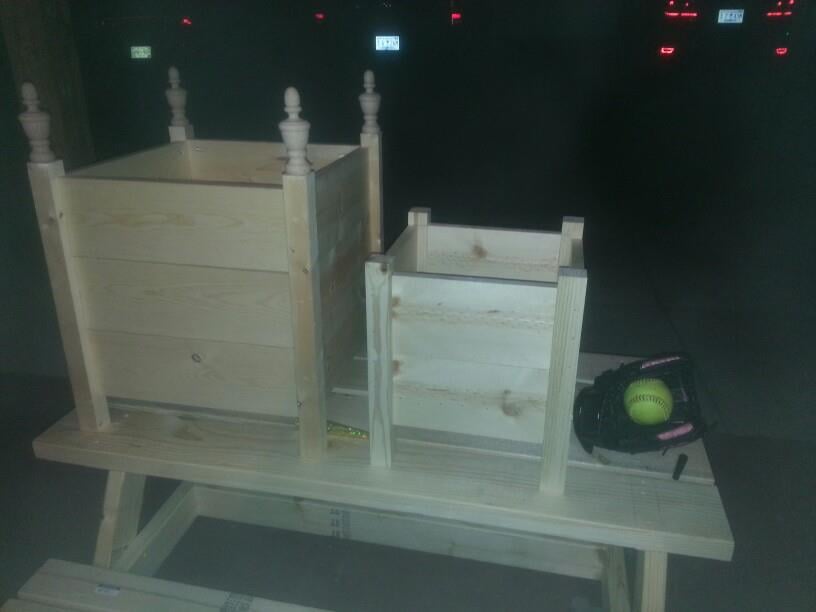
4' x 4' x 32" planter boxes perfect for square footage gardening. Added pre-made trellis to back for tomatoes and melons/cucumbers. Had to use pressure- treated 4x4 for legs but wrapped them in plastic so not near the soil. 4" lag screws holding just fine with 5 horizontal strapping bars on bottom and 1 vertical 2x4. 

Estimated Cost
$150 for 2
Estimated Time Investment
Afternoon Project (3-6 Hours)
Recommended Skill Level
Beginner

Hybrid Farmhouse / Trestle Table, bench, chairs

I spent a lot of time looking at photos that my wife tagged on pinterest, most from builders who frequent Ana's site.  I learned a lot just from looking.

I stole particular ideas from Ana, Tommie and Ellie, and another site that I can't find right now, but they really did the trestle / farmhouse hybrid idea first and I just modified their idea a bit.  If anyone has seen their site, please remind me so I can give credit where it is due!

I didn't really use a plan other than having a general idea of what I wanted the size of the table to be.  I believe it came out to about 102" x 44"

I built 6 chairs and the bench.

All is built out of construction grade lumber, and gets lots of compliments.


The table came together in a solid weekend, the bench took a couple of evenings, and the chairs...those chairs took forever to cut out, shape, assemble, and finish.

Estimated Cost
About $400, including purchasing a couple of jigs, but I had a lot of stuff "laying around"
Estimated Time Investment
Week Long Project (20 Hours or More)
Finish Used
Minwax English Chestnut and about 8 coats of satin lacquer. Steel wool between coats and finished with carnuba wax and buffed out.
Recommended Skill Level
Intermediate

Comments

JoanneS

Mon, 02/02/2015 - 18:15

Wow these are so great! Beautifully built, and your finish looks flawless! You have a dining room that will last for generations! Love it!

kkmerrett

Tue, 03/07/2023 - 12:47

Truly an inspiration for when we are to the point of building our table. Thank you for sharing.

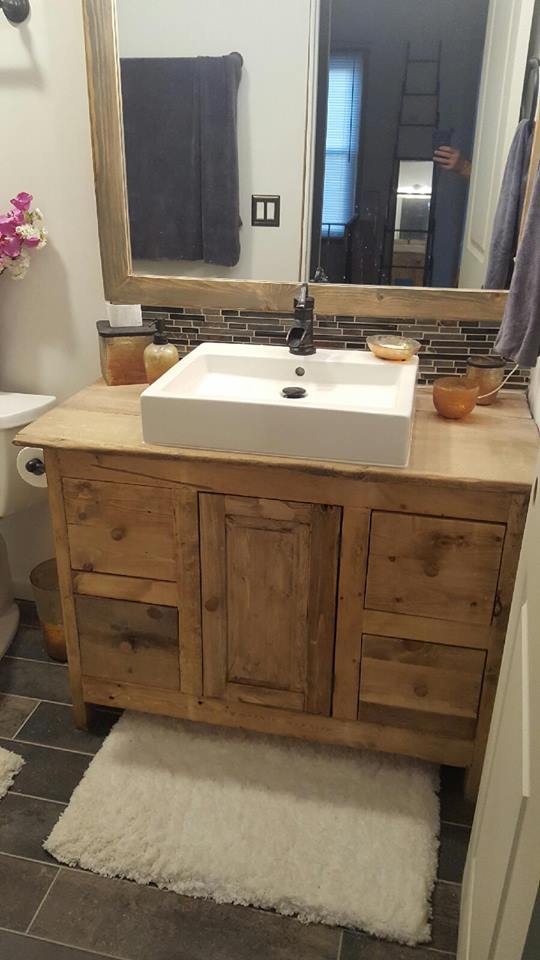
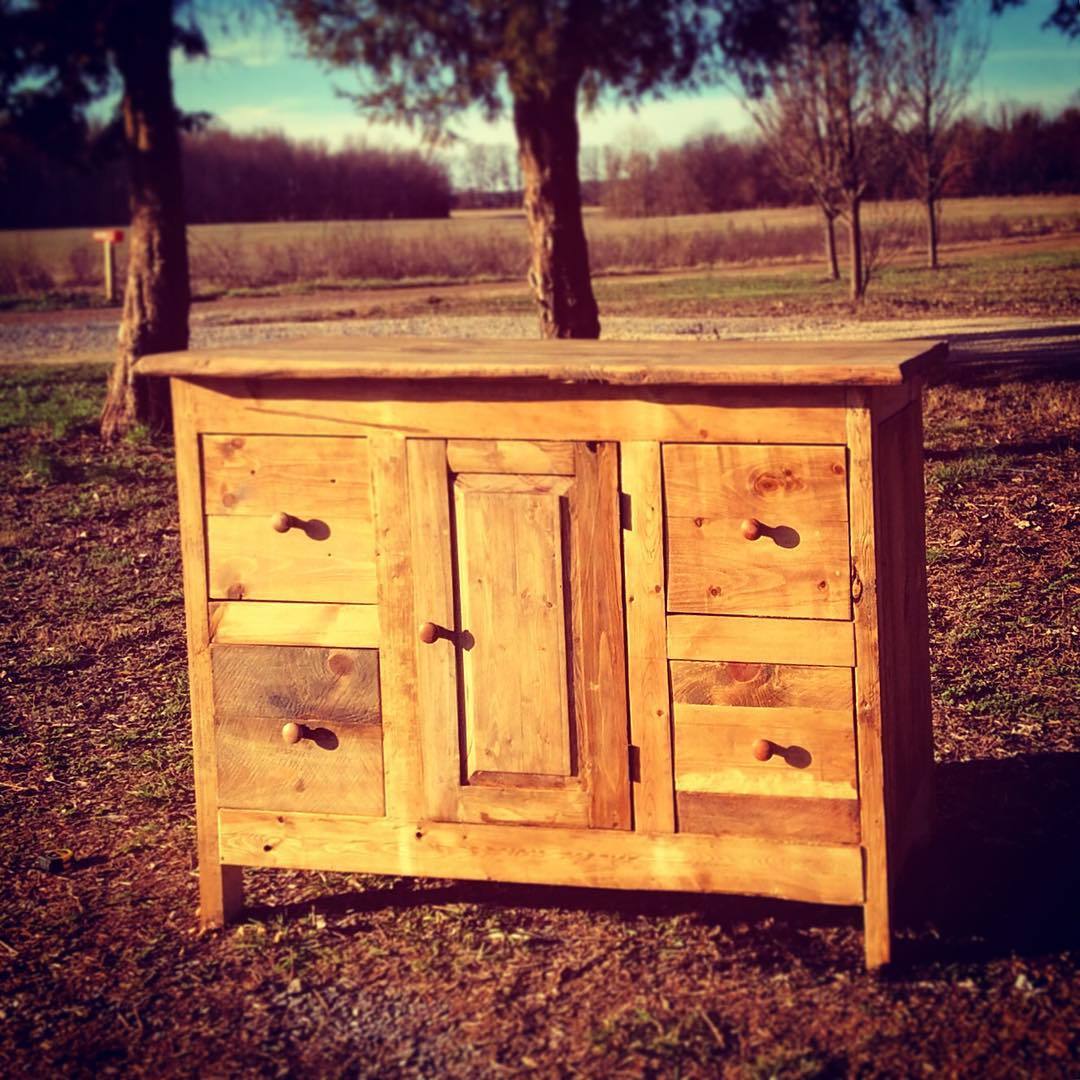
rustic vanity and mirror

Submitted by abbpim on Sat, 04/29/2017 - 11:00

I built this vanity and mirror out of pine and finished it in a variety of stains to get a reclaimed look.

Recommended Skill Level
Intermediate

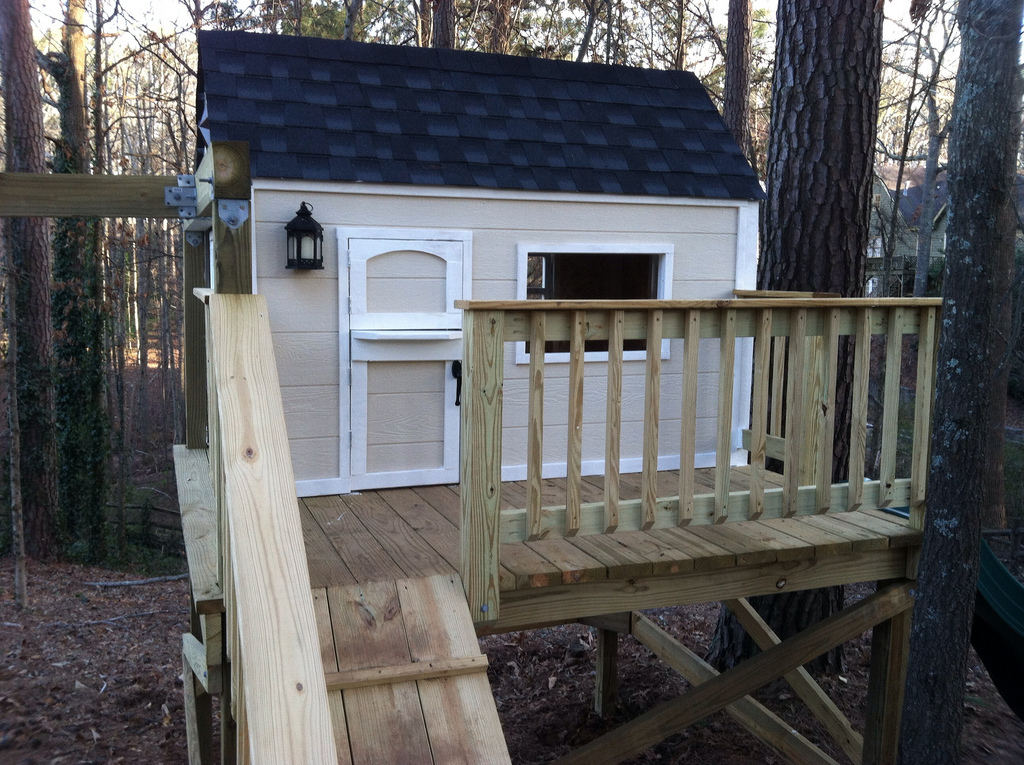
Our Daughter's Playhouse

Submitted by jhedlund on Fri, 03/22/2013 - 06:17

We built this in early 2013. We ended up turning the house 90 degrees on the deck, because the slide worked best off the backside of the deck due to the various heights around the deck. The sloped back yard caused some challenges, but in the end it's a very sturdy deck with the cross beams attached. Thanks for posting these plans online for us, our 3 daughters are loving the playhouse and swingset! Here are some more pics of the project: http://www.flickr.com/photos/11031534@N00/sets/72157633009259873/

Estimated Time Investment
Week Long Project (20 Hours or More)
Recommended Skill Level
Intermediate

Comments

sgilly

Fri, 03/22/2013 - 15:07

Of course your girls love it - it's fantastic! Great job.

Robinwood

Fri, 03/22/2013 - 16:39

Love this - my grandson's back yard is too small to build something like this; which is why we had to settle for his loft bed airport/clubhouse.

slug

Thu, 06/27/2013 - 05:24

I'm planning on building two A-Frames and no playhouse, so my questions are focused there.

Did you do any modifications to swing portion of the plans?
Is it sturdy enough for an adult to swing on as well?
It looks like you put the posts in the ground, did you cement them in too?
How high off the ground is the bottom of the support beam for the swing?
Is there any issue side-to-side swaying?

Seasonal And Holiday

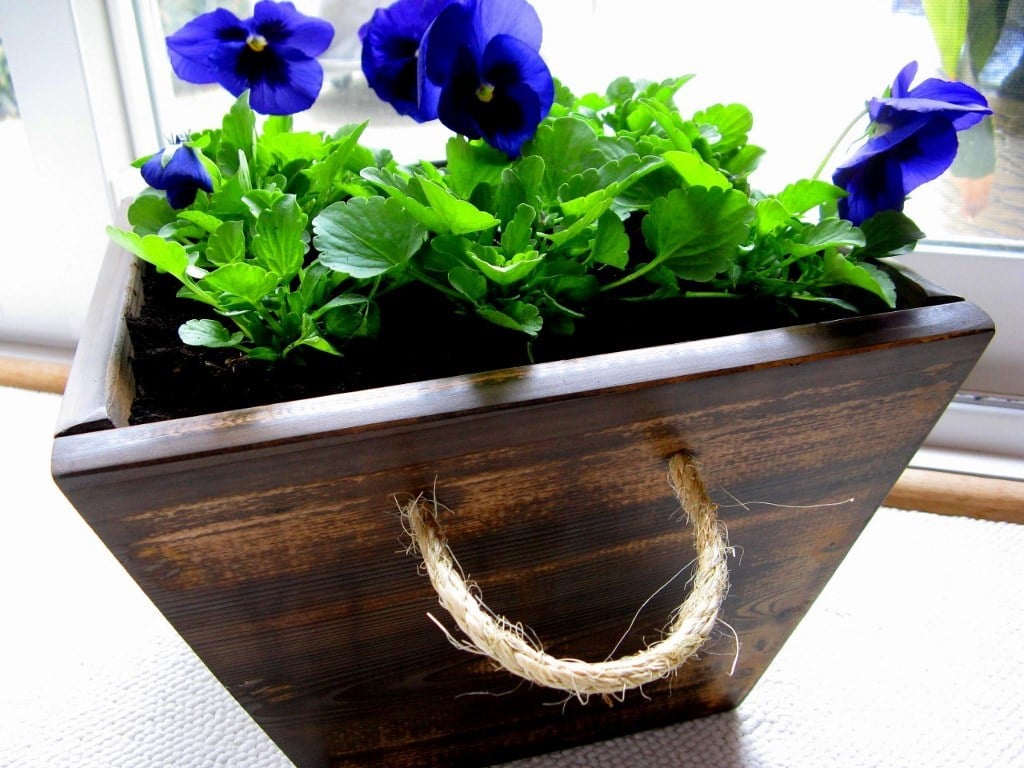
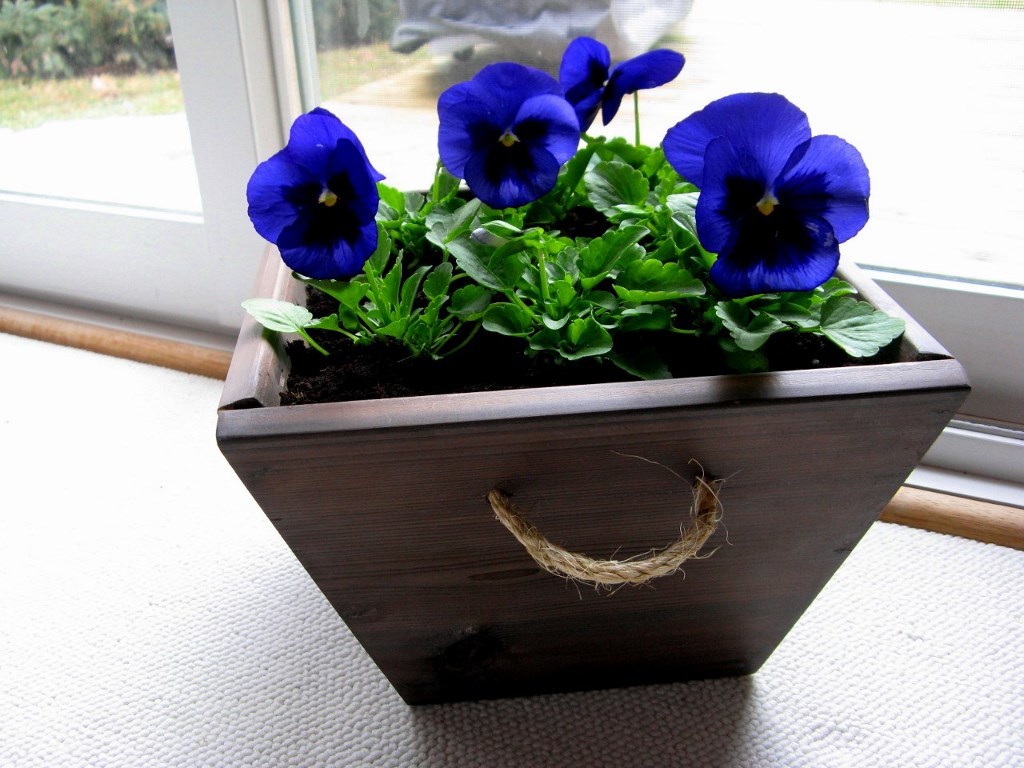
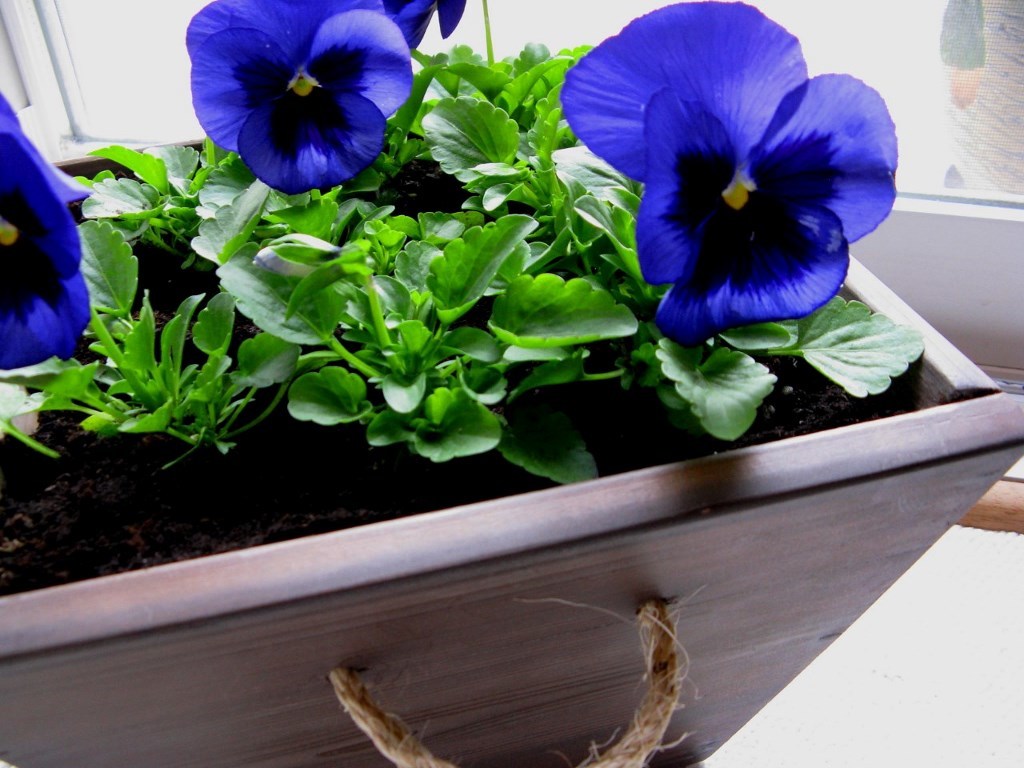
Cedar planters

Submitted by mdesroc on Sun, 04/07/2013 - 15:30

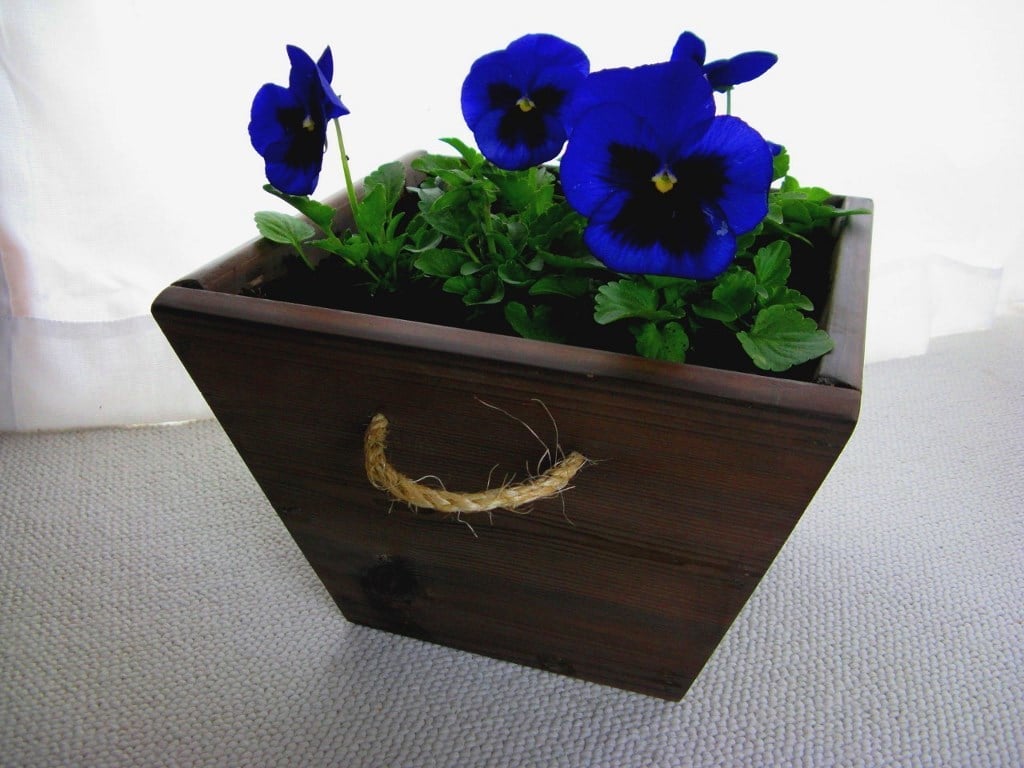
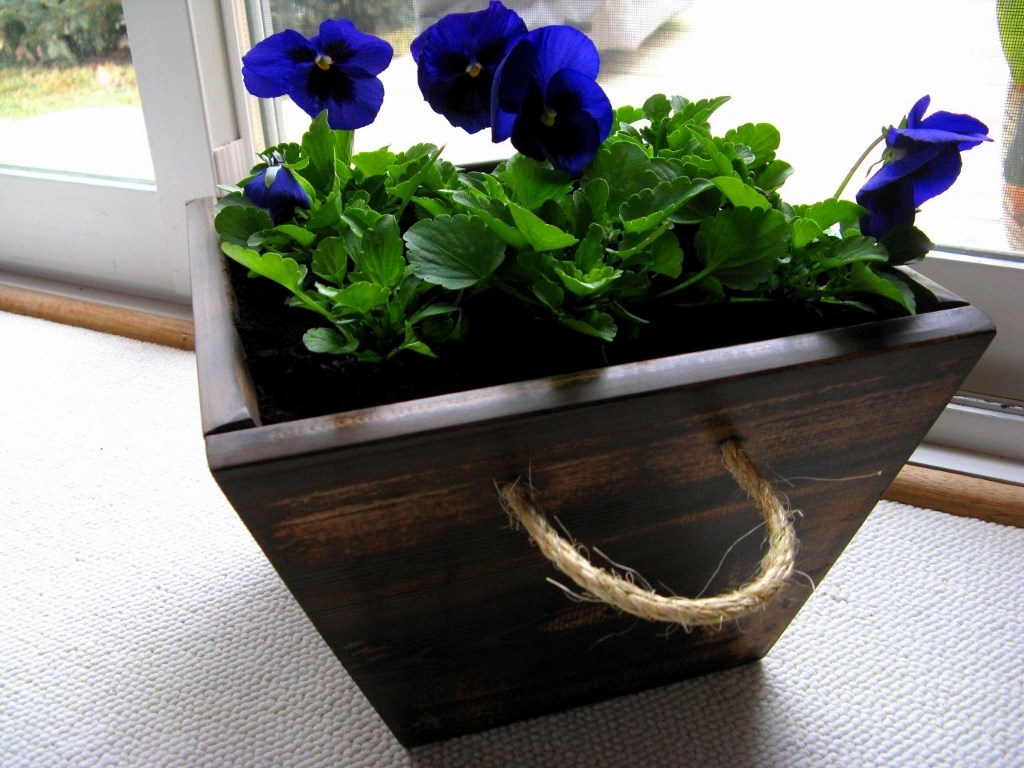
The cedar planters are ready and waiting for spring to arrive. I made three of these planters and absolutely love them. Thanks Ana for inspiring me to build. I love the third one but have to admit that it was a mistake. I made it for my father-in-law's 76th birthday. He loves gardening and shiny wood. So I used a polyurathane on it but it didn't look nice (my nail holes were very visible). So I sanded it with 220 grit sand paper and then used the steel wool/vinegar solution that I used on the first two. It turned out so different so I sanded again, then tried the solution again. I love it! It looks so old. I will be keeping that one and giving him one of the other two.

Estimated Cost
$8.00 each for the wood
Estimated Time Investment
An Hour or Two (0-2 Hours)
Finish Used
Tea and steel wool/vinegar solution followed by Minwax finishing wax. I love the feel of the wax but I don't think it will stand up to the rain and our Canadian summer.
Recommended Skill Level
Starter Project

Comments

Kitchen Hutch

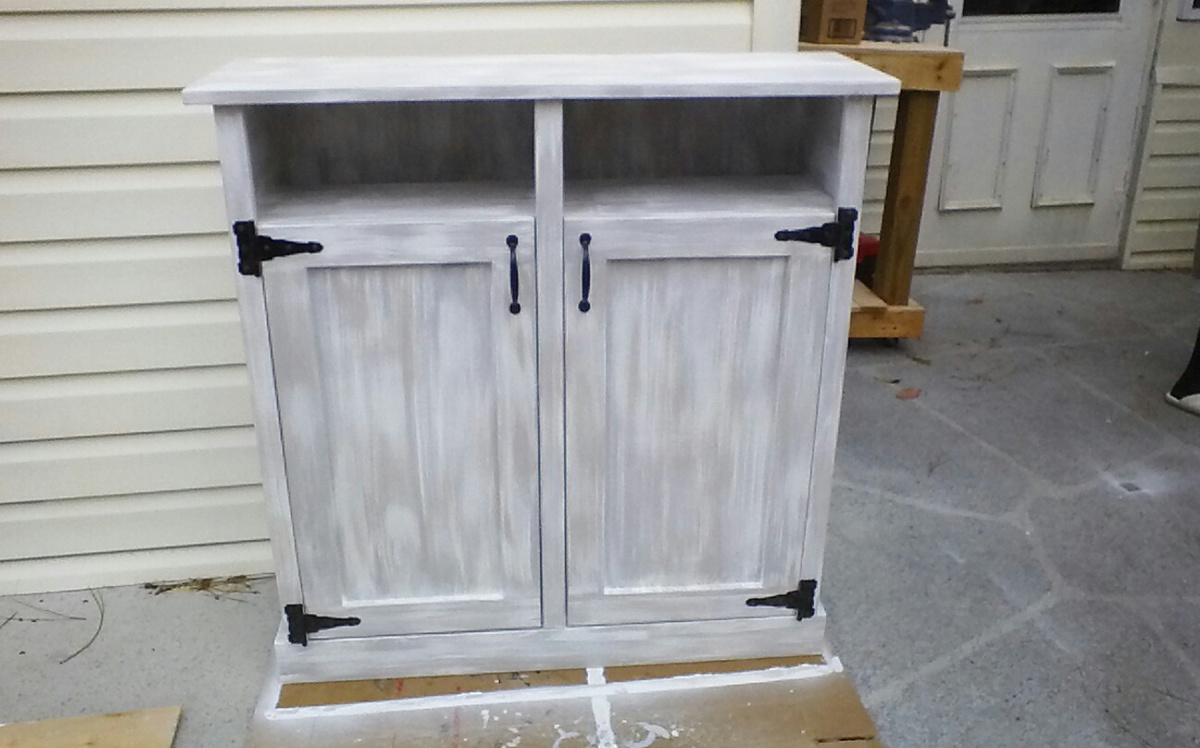
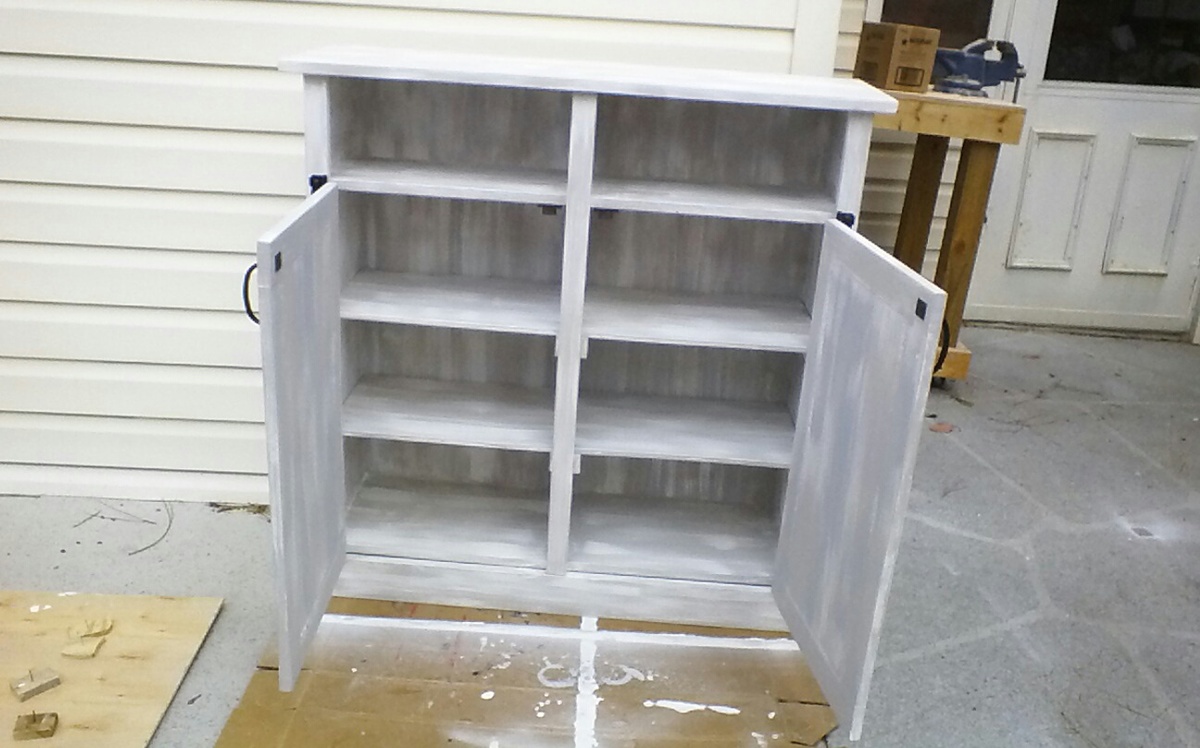
I've built a lot of things...mainly corn hole boards for friends and family but this is my first furniture build. My wife's Valentine present! Now I'm thinking my new big screen tv sure could use a nice Apothecary media cabinet.

Built from Plan(s)
Estimated Cost
I used expensive 3/4 in birch plywood so around $130
Estimated Time Investment
Weekend Project (10-20 Hours)
Finish Used
CHALK Paint with a chalk varnish for a protective finish
Recommended Skill Level
Beginner

Comments

Modern Dorm Mini Refrigerator Microwave Cabinet

Submitted by rachelcb on Sat, 07/31/2021 - 12:35

I changed plan to make deeper. I also modified the bottom trim and top. I put a ball bearing soft door drawer guide on modern door so it can slide back and forth. I feel we need more modern plans on here but with a bit of creativity and using plans you can make anything. I have never built anything before. I love General Finishes Milk Paint in Snow White and I brushed rolled it on (sanded between 3 coats). It’s basically self leveling and leaves a nice matte finish. Used door glide in picture bought from homedepot in the 24 inch and that’s how wide door was and it was 36” tall. Door glide I only used one on top of the door not on bottom as well. Door piece of fiberboard with just strips glued on and quarters spacing them correct.

Estimated Cost
$200
Estimated Time Investment
Weekend Project (10-20 Hours)
Finish Used
Dorm mini refrigerator microwave cabinet
Recommended Skill Level
Starter Project

Comments

Fancy X

Submitted by Anonymous (not verified) on Tue, 06/13/2017 - 21:10

Second time building this table. Made it smaller, cutting support pieces to 45 rather than 60. Also tried 1X10 for the top.

Built from Plan(s)
Estimated Cost
$70
Estimated Time Investment
Day Project (6-9 Hours)
Finish Used
Swiss coffee white on base, lightly distressed. Top is Mix Wax Weathered Oak then watered down layer of Briarsmoke.
Recommended Skill Level
Beginner

Small Dresser

Submitted by Smokeydog on Wed, 03/18/2015 - 16:31

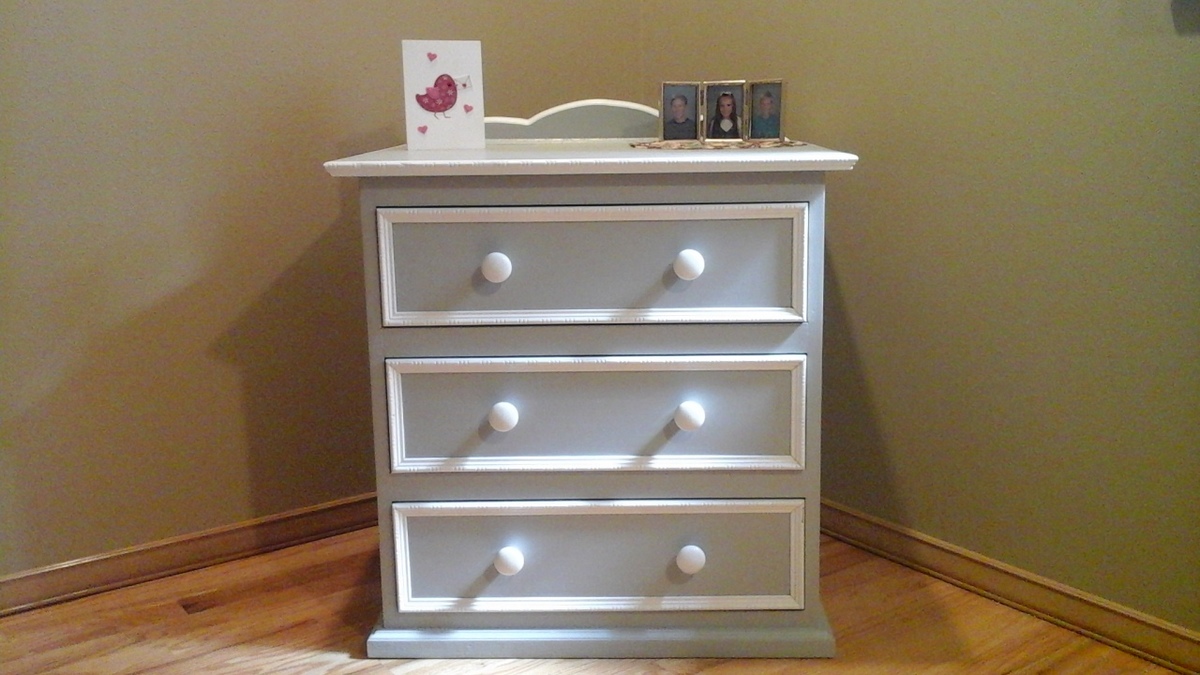
I made this dresser for a young lady who has never had any furniture unless it came from IKEA. Time to mix it up a little.  She was very delighted. The bulk of the dresser is poplar plywood with decorative birch trim.  I had trouble matching the paint color she wanted so I experimented by buying paint as close as I could find to the shade of grey she wanted and then mixed it with paint I had in the shop until I got the desired result.  I'm  no master at mixing paints.  I simply got lucky.  I traced out the decorative top using my wife's China serving platter and then routered the edge. Turned out OK and my wife was none the wiser.


Built from Plan(s)
Estimated Cost
130.00
Estimated Time Investment
Weekend Project (10-20 Hours)
Finish Used
Satin Paint
Recommended Skill Level
Intermediate

Comments

pde00311

Thu, 03/19/2015 - 13:00

The finish turned out amazing. How did you get the two toned effect on the drawers? Did you paint the grey face and the white molding separately? Also, is the molding flush with dresser frame?

Smokeydog

Thu, 03/19/2015 - 14:04

Thank you for your nice comment. The drawer face and trim were painted separately. The drawers are flush with the frame but the trim is not. The trim is attached to the drawer face and protrudes out from the frame. I liked the shadow effect that this created. I also decided to put white quarter round on the base of the dresser. This additional trim really makes it pop! I'll update the photo when this is completed.

Thanks again!

Evie's Garden

Submitted by Anonymous (not verified) on Tue, 06/20/2017 - 21:20

   This was a great weekend project with help from my two nephews. My 4 year old daughter had been asking to grow a garden and has really enjoyed watering and watching everything grow!! She makes sure to check on everything daily!! Fun project!!

Built from Plan(s)
Estimated Time Investment
Weekend Project (10-20 Hours)
Finish Used
None
Recommended Skill Level
Beginner

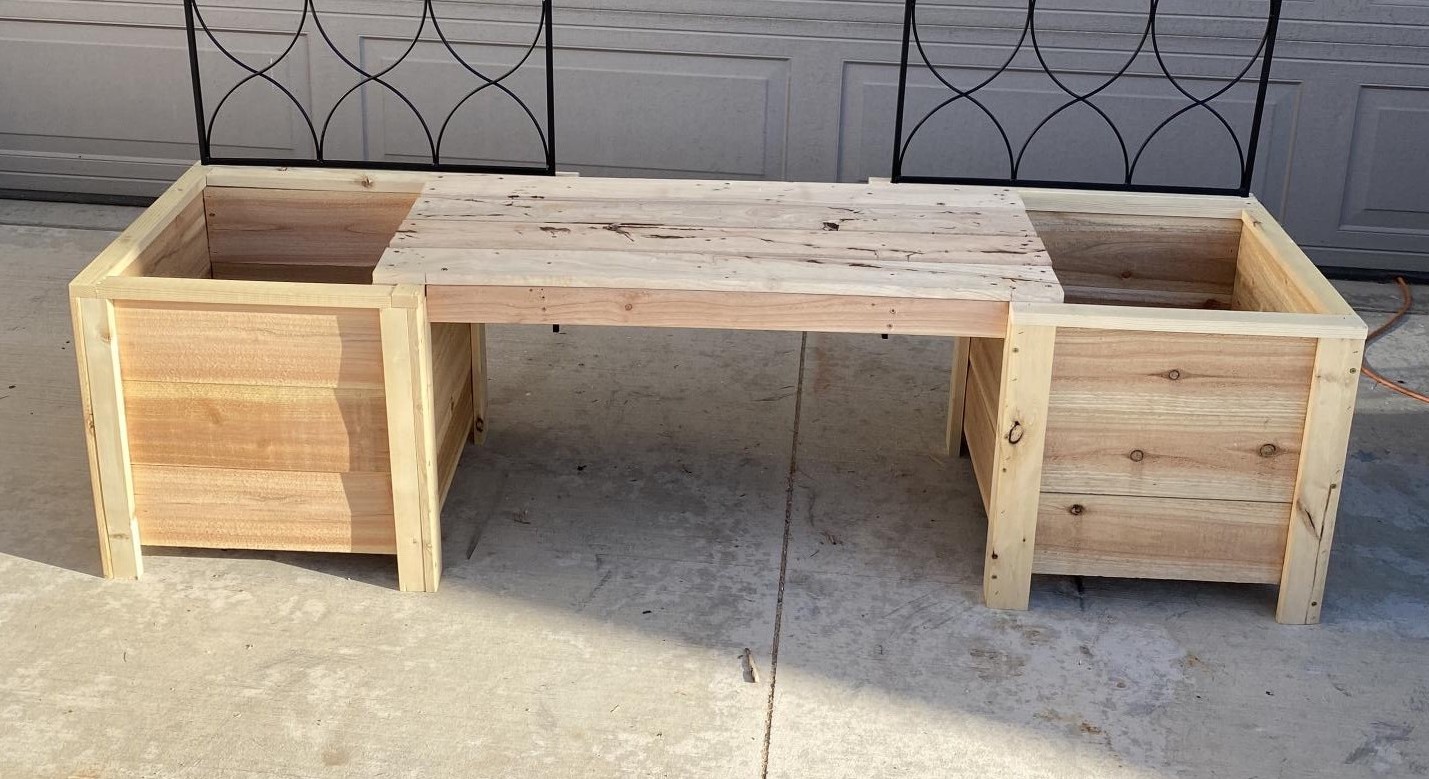
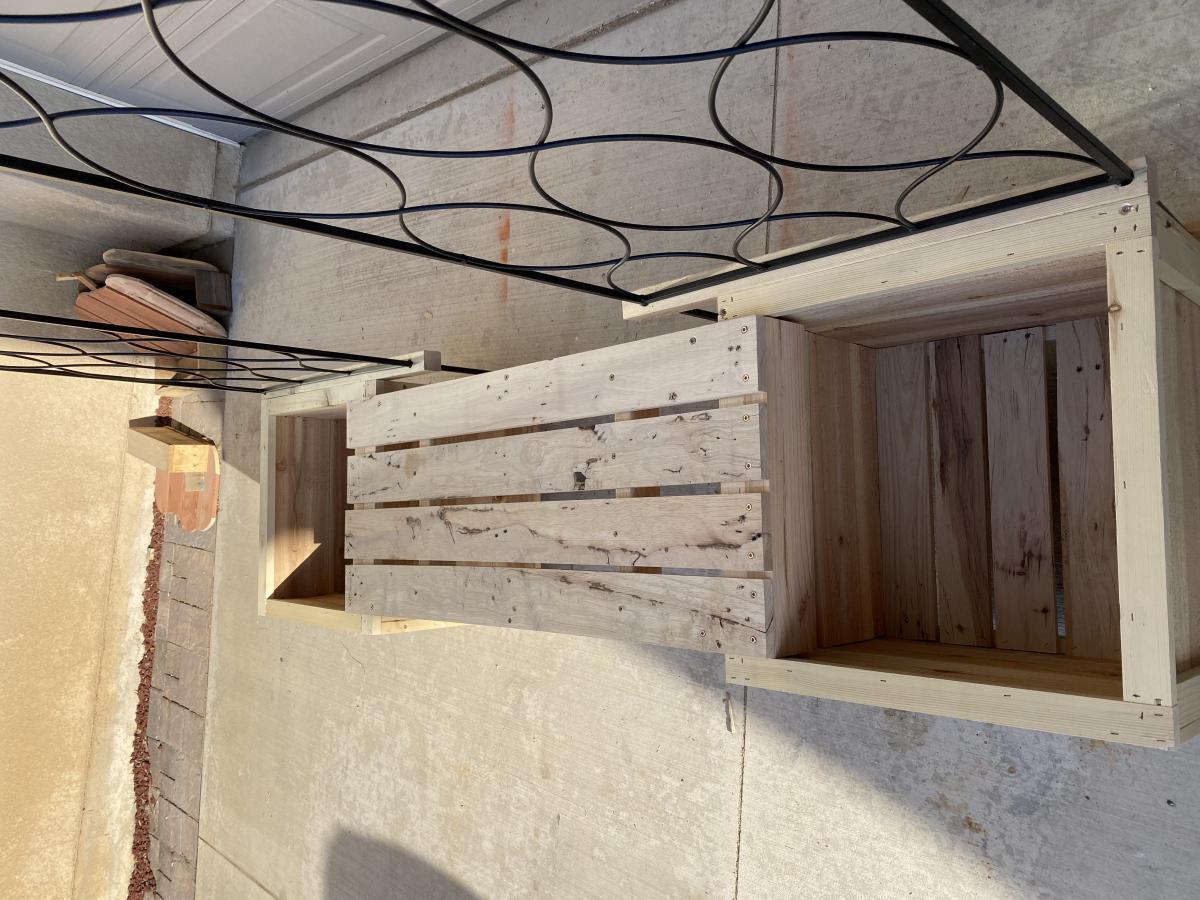
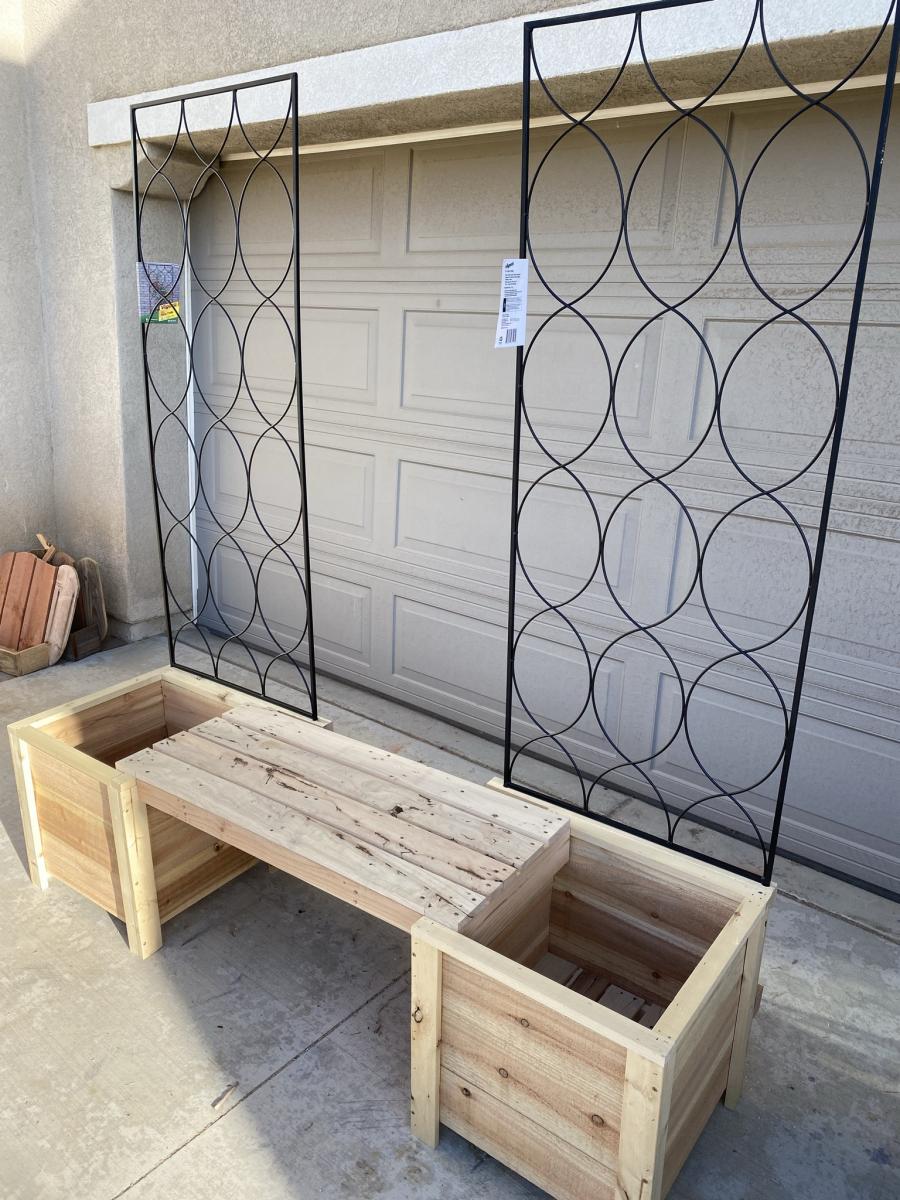
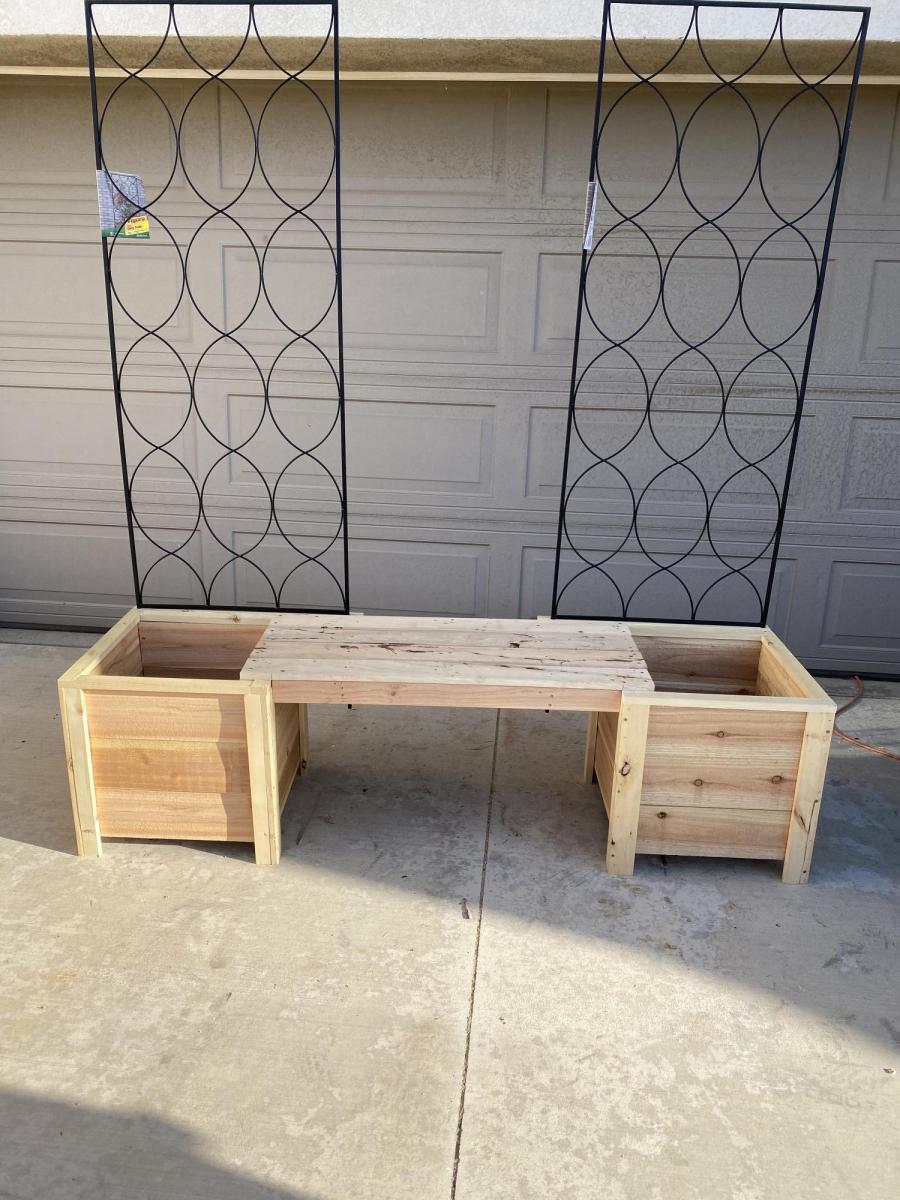
Planter Boxes

Submitted by Anonymous (not verified) on Mon, 10/04/2021 - 12:53

I made the boxes from plans, but added bench and trellis from my own design.

Built from Plan(s)

Comments

Seasonal And Holiday

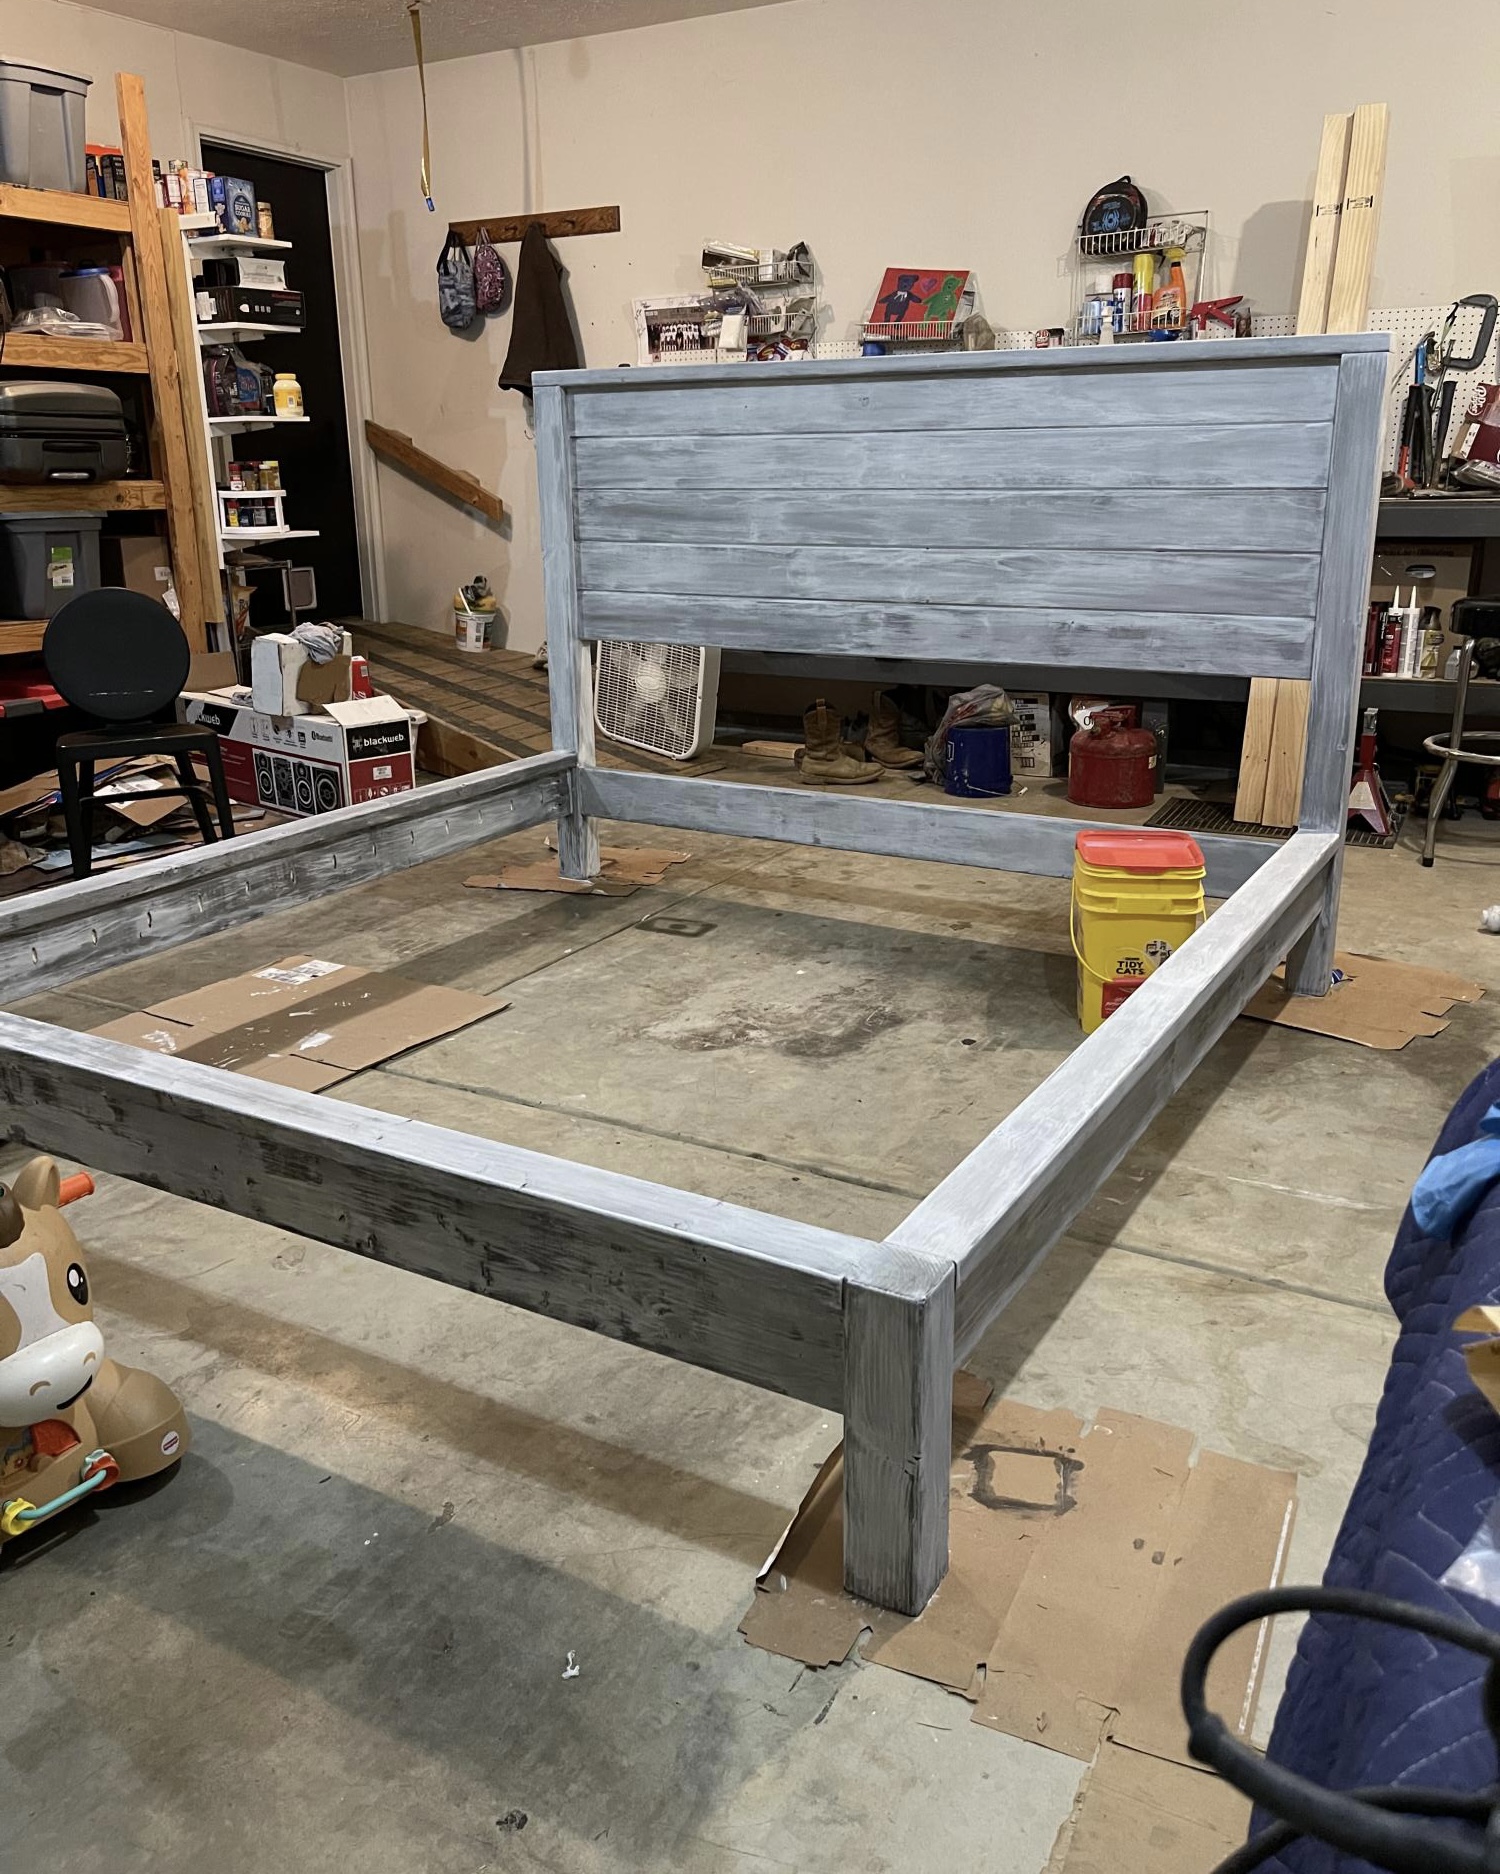
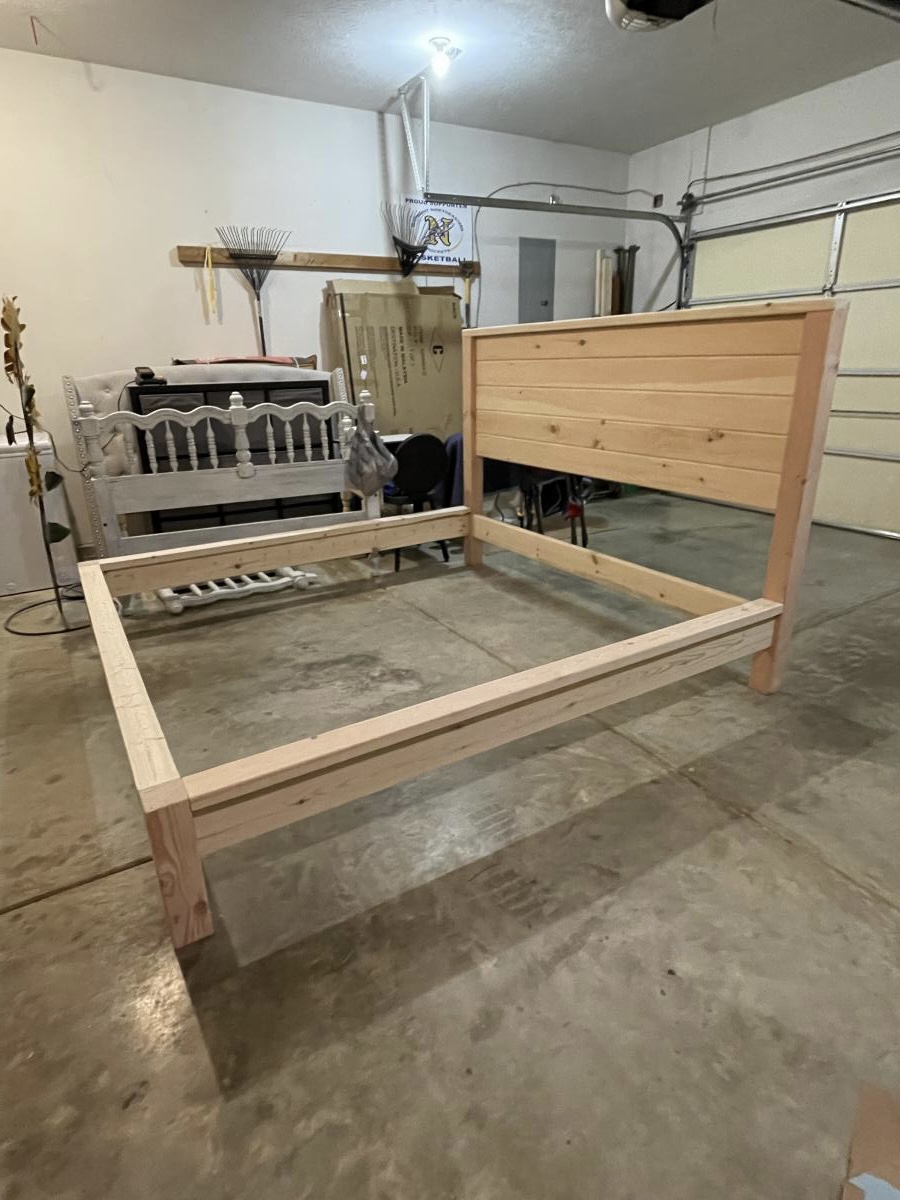
Modern Farmhouse Bed

Submitted by Anonymous (not verified) on Mon, 10/04/2021 - 19:17

My husband and I made this for our son and daughter-in-law. They absolutely love it!
The project took about two days to build, and about three days for the finish (stained and weathered). The photos do not show the slats that support the mattress.

Built from Plan(s)

Comments

nyyankeegrl38

Sun, 10/10/2021 - 21:43

*Edit to original post*
The only thing I wish we had done differently with this bed, was to count how many “tongue & groove”panels to attach to the headboard. We used 5 as stated in list, but 6 would have been preferred.
Solid bed for certain.

Ladder shelf

Submitted by Anonymous (not verified) on Tue, 10/05/2021 - 08:53

I've made a ladder bookshelf with some leftover mdf board and 2x4's. The plans were very helpful and really happy with how it turned out.

Comments

Sweet Pea Cottage

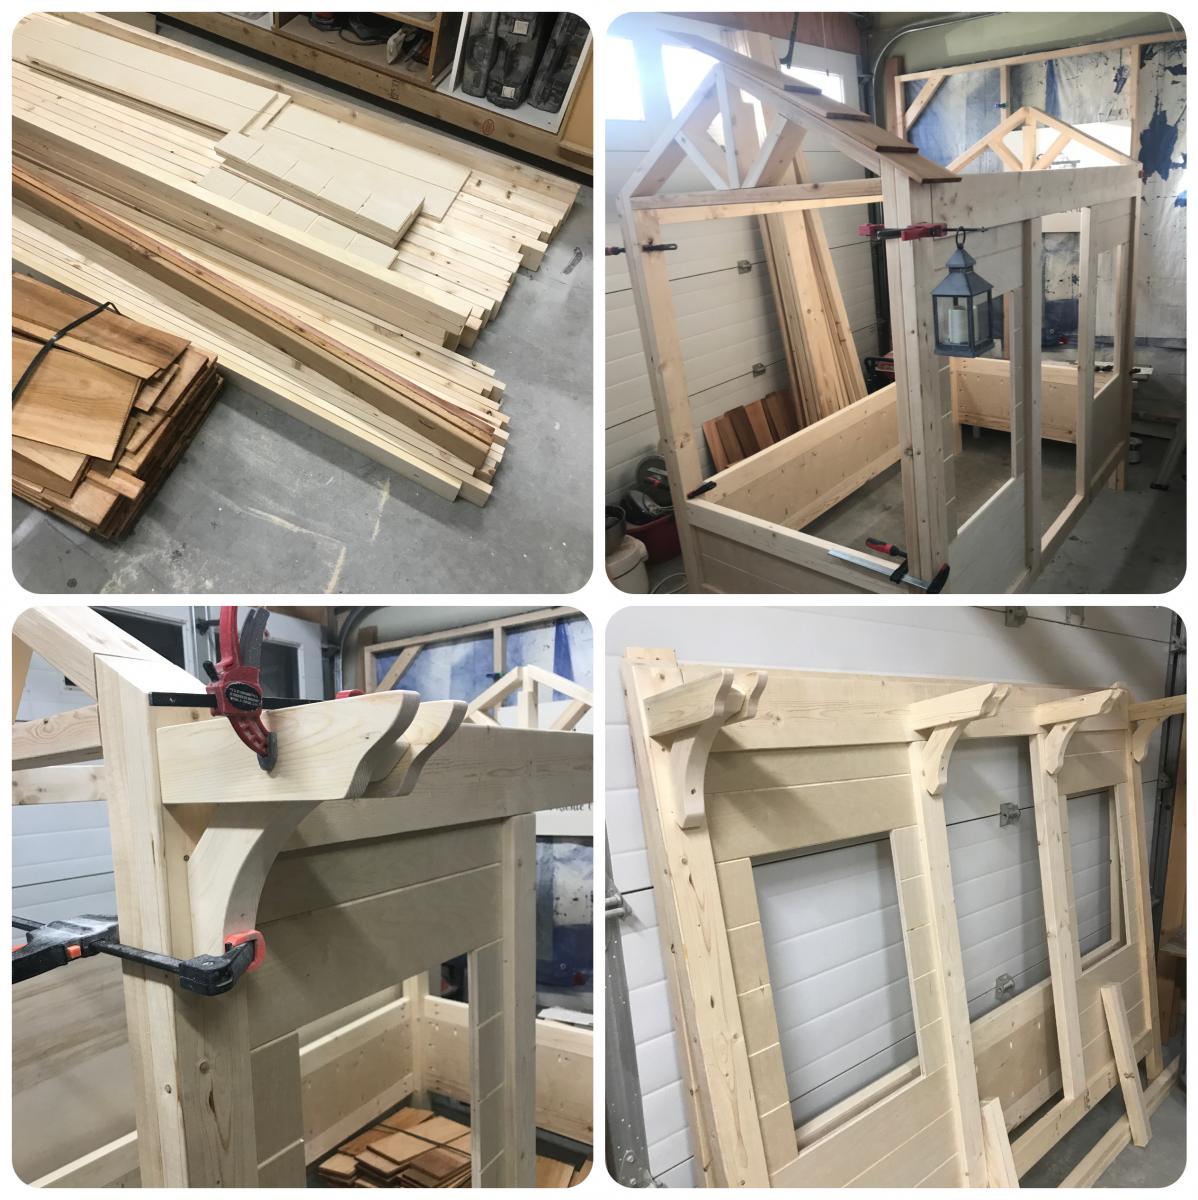
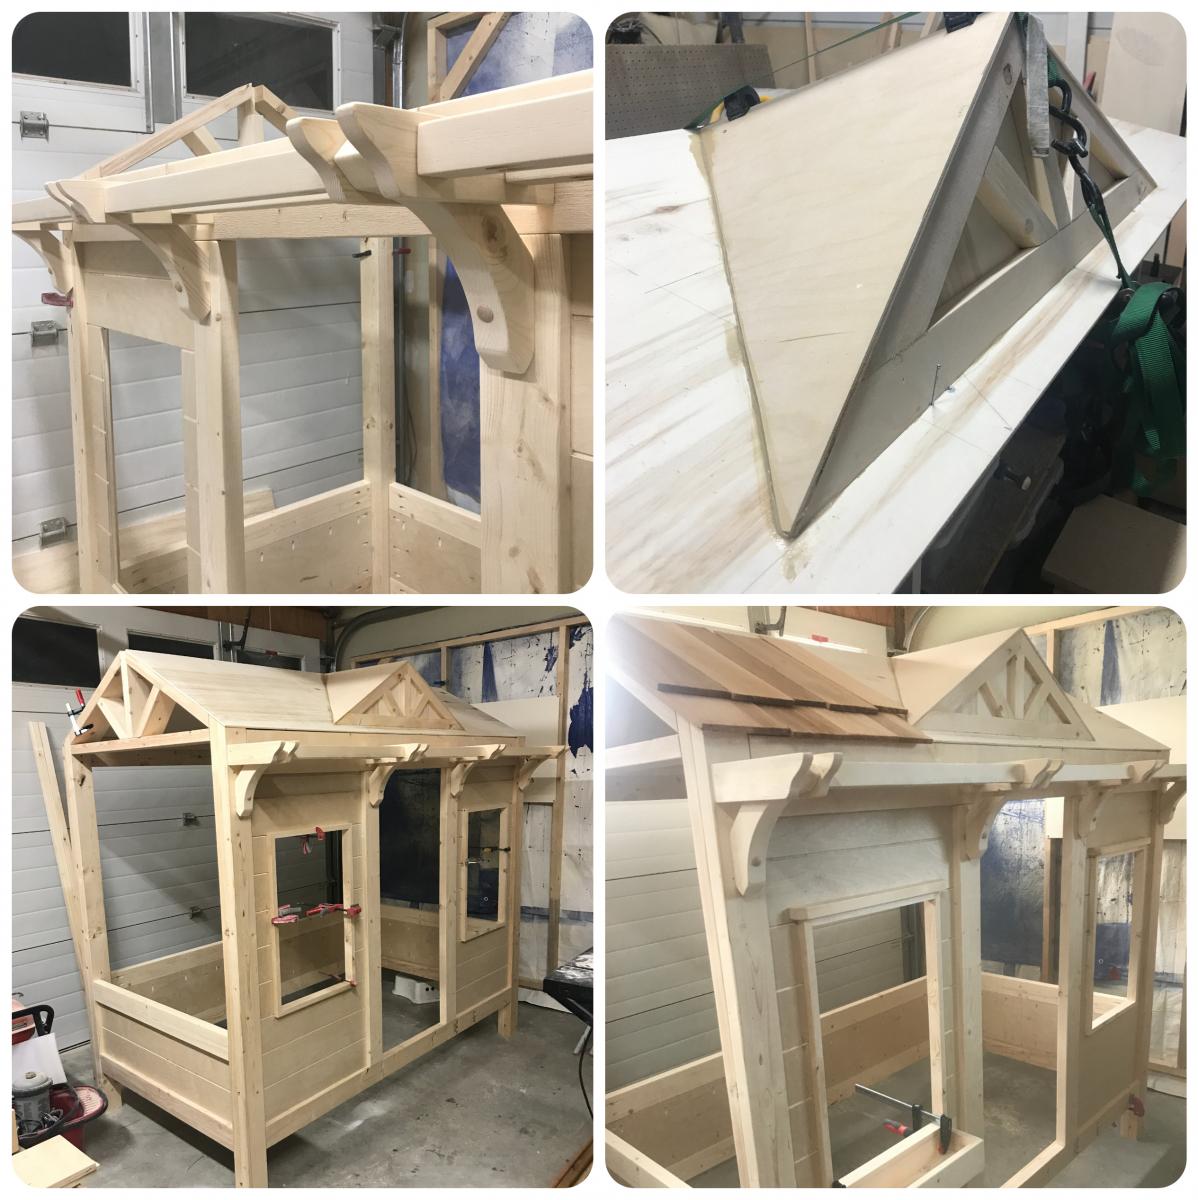
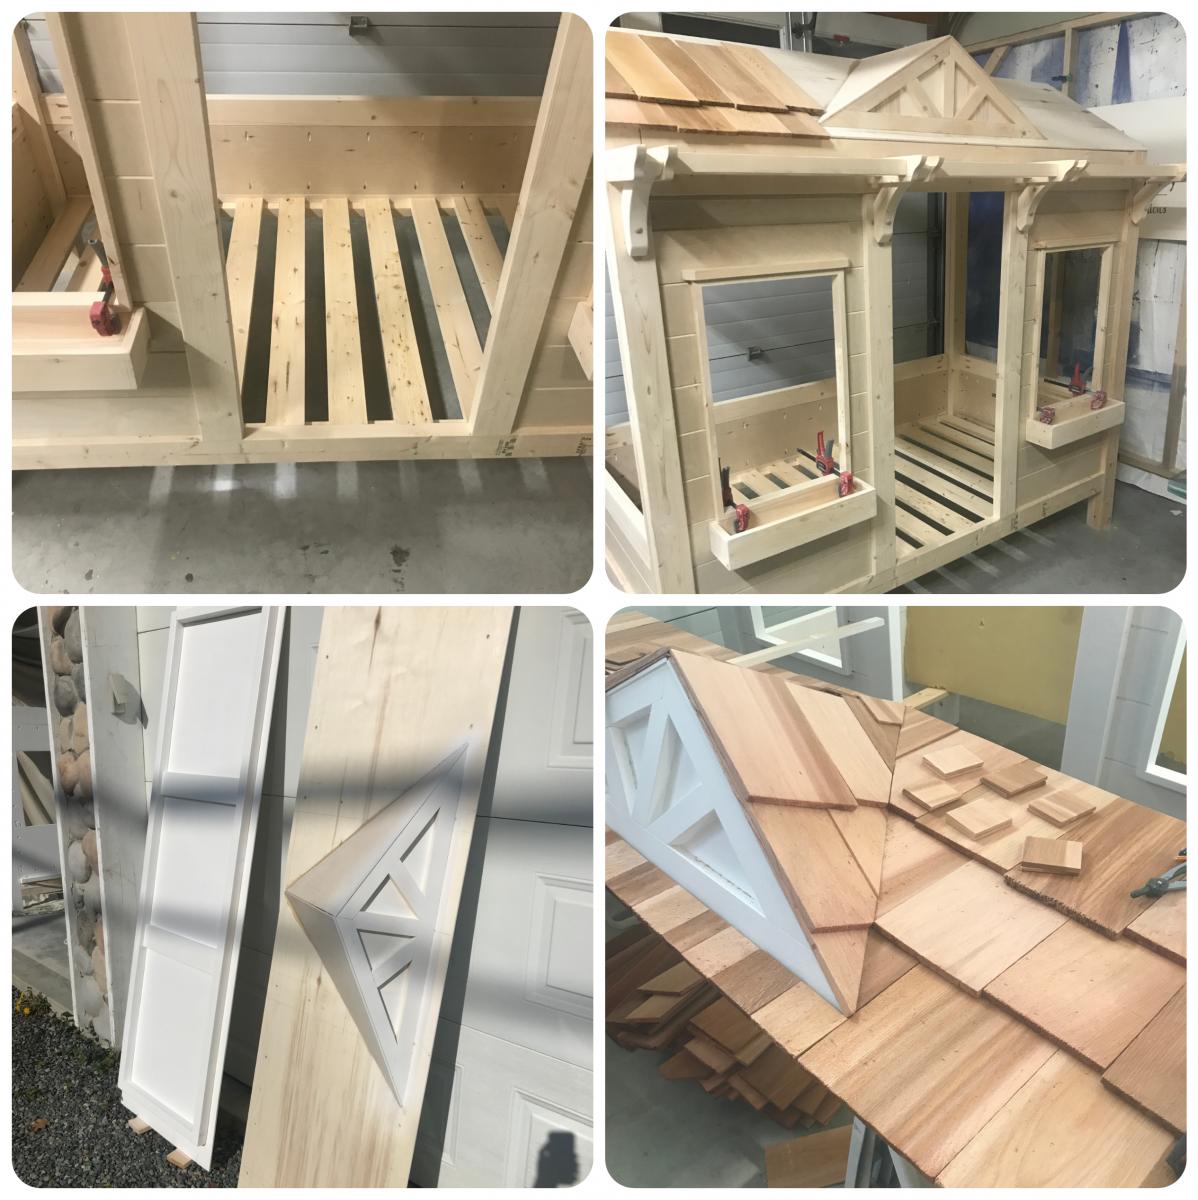
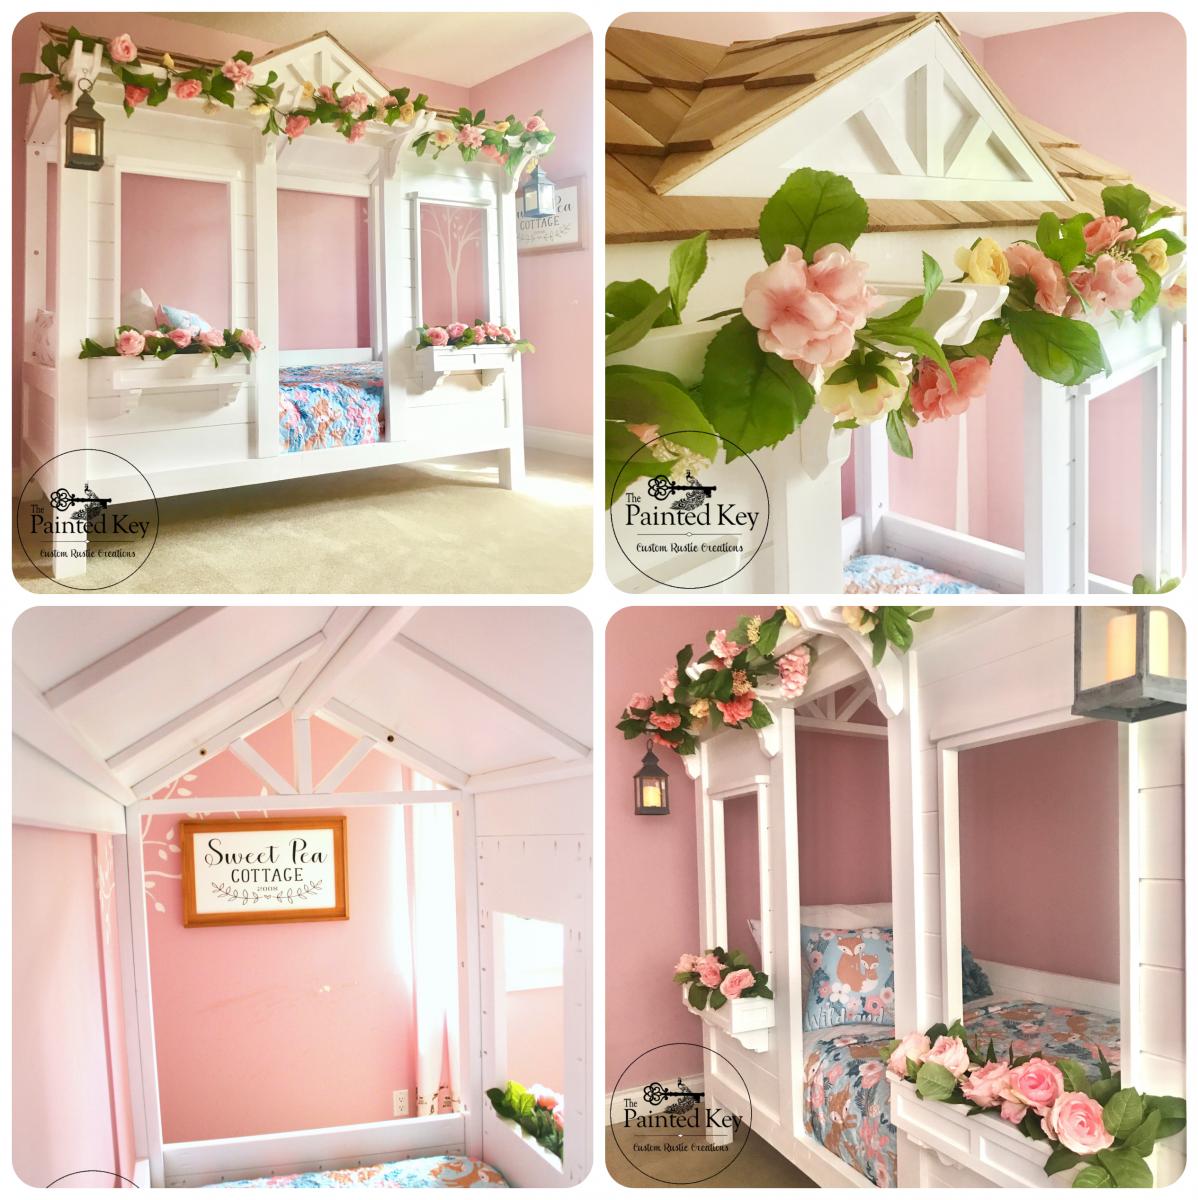
What's a mom to do when she can't choose between the cabin bed, the little cottage loft bed and the sweet pea garden bed? Head over to google sketchup and sketch up a set of plans incorporating favourite aspects of all three beds! This one had been in the planning stages for over a year and I’ve called it “Sweet Pea Cottage”. It took me about 3 months to build in my spare time and I couldn't be happier with how it turned out. Of course our daughter loves it as well! Who wouldn't want to sleep in their own little house bed! :) I used spruce and 3/4" purebond plywood for the main build. To give the plywood panels a planked look, I cut the front into various size rectangles so I could run them through my table saw using a 1/4" dado blade before assembling the pieces together with pocket holes. The roof panels and dormer are 1/4" plywood glued and screwed to a frame and then I used construction adhesive to adhere the dormer to the front roof panel as well as adhere the cedar shakes. Painted with Behr Pure Ultra White and topped with a satin polyacrylic. I left the cedar shakes raw but if I built it again, I think I would top them with some sort of flat or matt sealer as the rough texture makes dusting them a bit difficult. One of the first questions I get is "how difficult is it to make the bed?". Surprisingly it's not that hard. Because the bed is so open on each end and we have it set up in her room with access on three sides, it's easy to manoeuvre the mattress a bit to change the bedding.

Comments

April1360

Thu, 02/17/2022 - 08:15

I love this bed. I would like to make one for my Grand-daughter. Do you have plans for this cute bed? I just signed up today so I wasn't able to see the comment section. I'm sorry if this has already been asked.

The Coffee Table of Fun

Submitted by QueenMahin on Mon, 03/21/2011 - 03:59

Hello Fellow Ana White Fans!

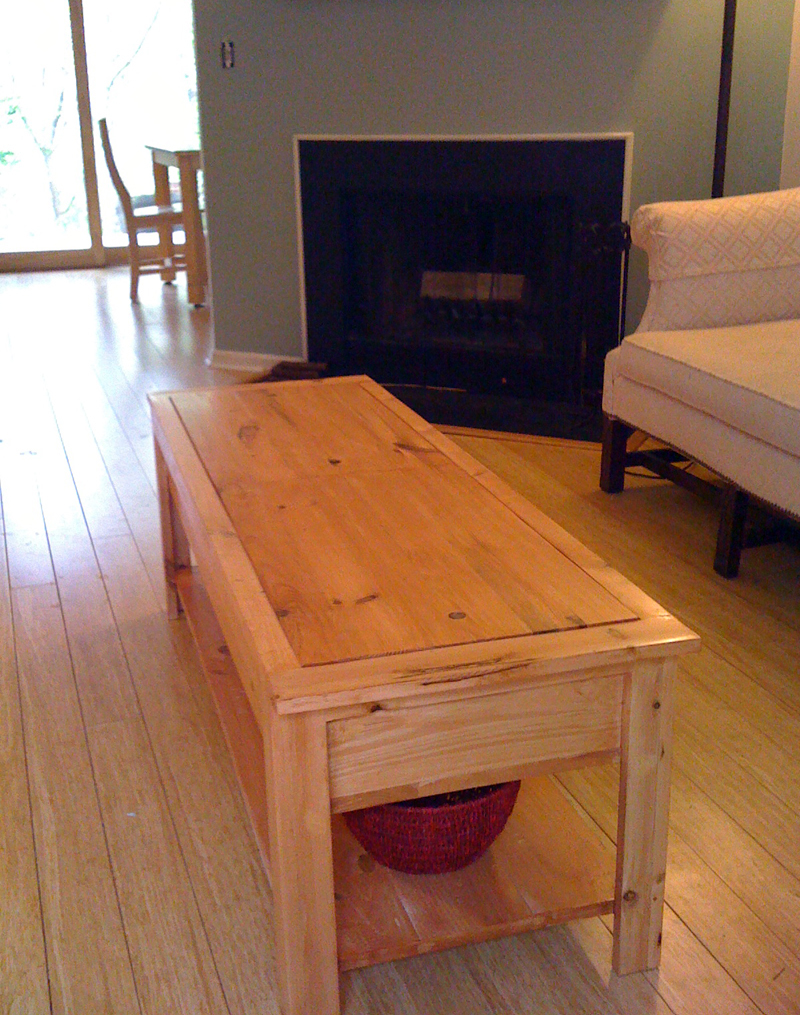
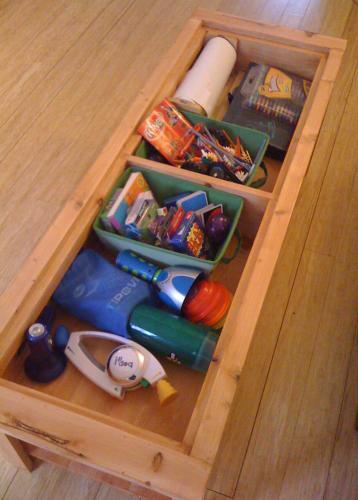
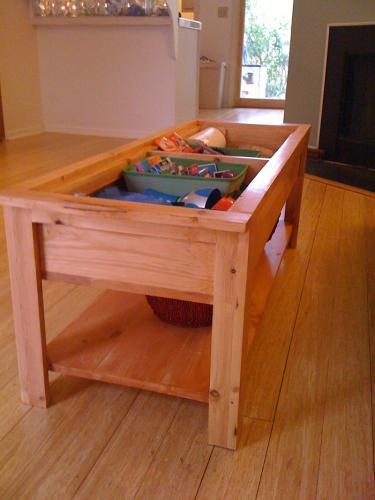
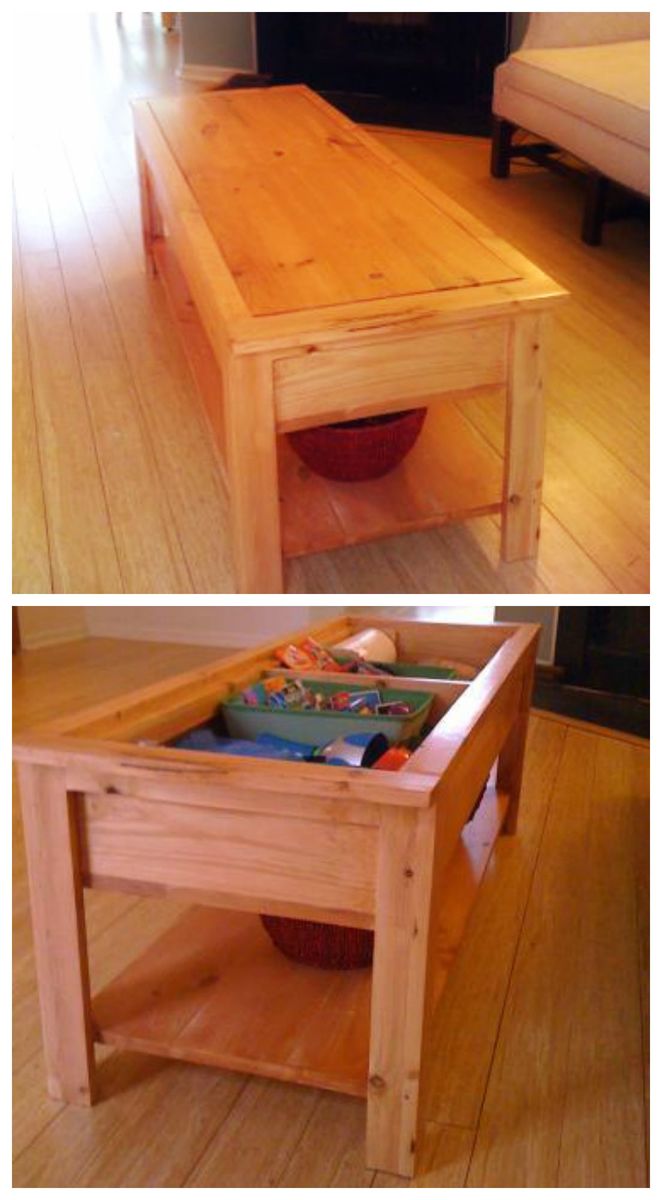
This is from Ana White's lego coffee table plan, but my daughter is not a huge fan of legos, so we’re just calling this project the Coffee Table of Fun!  Indeed it was a fun build.  This project gave me the excuse I was looking for to buy a kreg jig.  Certainly a kreg jig was not required, as the plan calls for a plywood top and bottom, but Ana revealed in the comments that she made her table by planking 1x6 boards with the kreg jig.  I was nervous at first with the kreg jig (it comes with a whopping big bit), but now I see a world of new possibilities in building with this awesome tool.

This table came together very quickly.  In fact, perhaps it was too quick, because I made a substantial mistake during the build.  In step 8 of the plan, adding the top sides, I missed the fact that the top side was supposed to be flush with the top support, not with the box itself, so that there would be a ledge for the top to rest on.  I didn’t realize my mistake until I added the top ends (correctly), and then measured for the top piece.  Then I scratched my head after realizing that the 3 planked 1x6 boards were not going to fit at all.  Oops!

I was disheartened at first, because I didn’t know what to do.  By the way, Ana has included a “How-To’s” section on this new site for fellow builders to submit tips.  I’d love it if someone could give some pointers about fixing mistakes.  Is there any recourse once a board is glued and screwed?  Anyway, I took some quiet time to think about the project and had an “Aha!” moment.  I ended up attaching 1x2 pieces around the inner edges of the two compartments to create the ledge for the top to rest on.  Then, instead of the three planked 1x6 boards that I’d planned on, I used 6 1x3’s planked together to make the top.  Yes, there was an unexpected detour from the plan, but it all worked out just fine.   I’d rather not make mistakes, but at my current level of experience, I think that mistakes are inevitable, and the mistakes actually give the piece a story and a little extra personality.

Looking forward to the next project!

Cheers!
Estimated Cost
$50
Estimated Time Investment
Weekend Project (10-20 Hours)
Finish Used
Stain with Minwax poly shades - pecan satin
Recommended Skill Level
Beginner

Floating Shelves

Submitted by mharrison on Wed, 06/12/2013 - 19:35

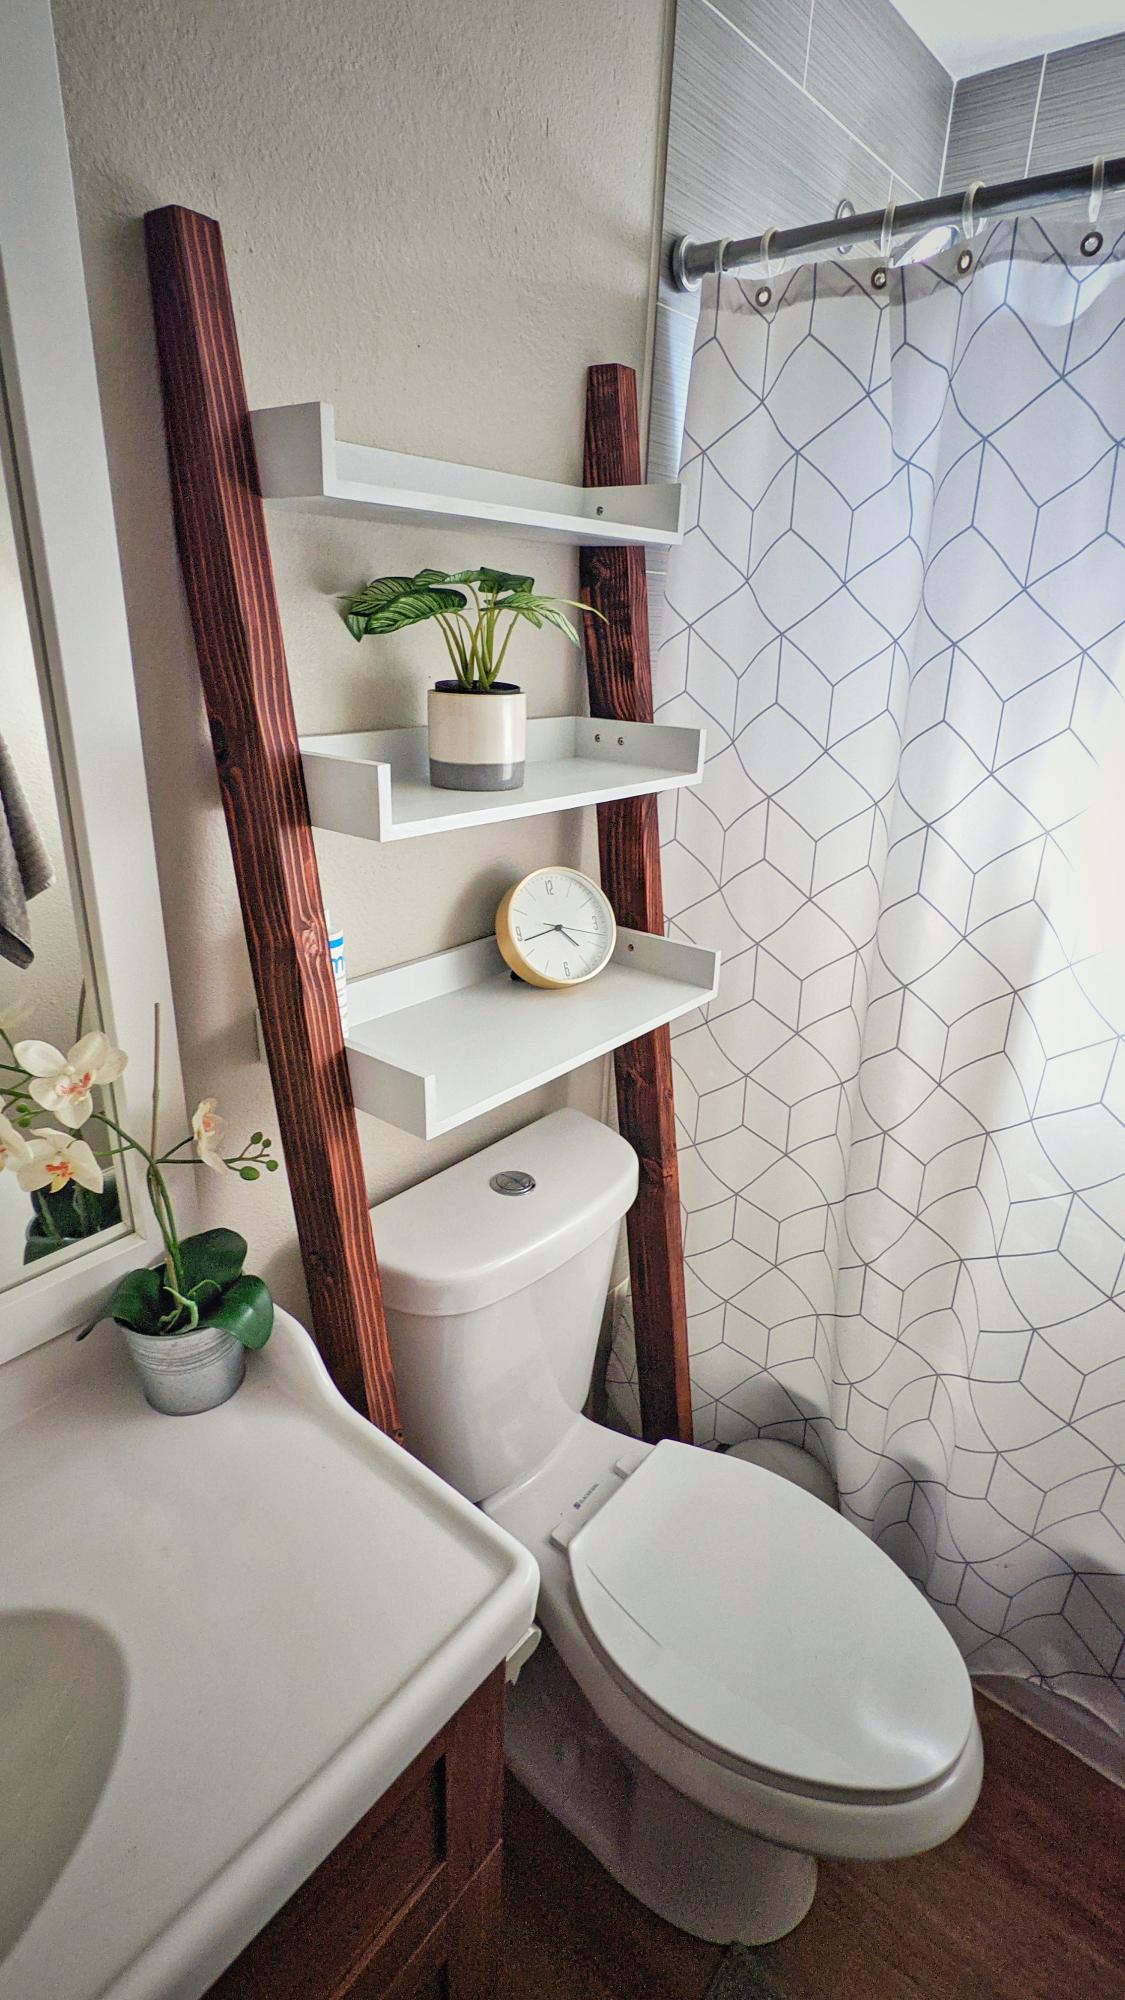
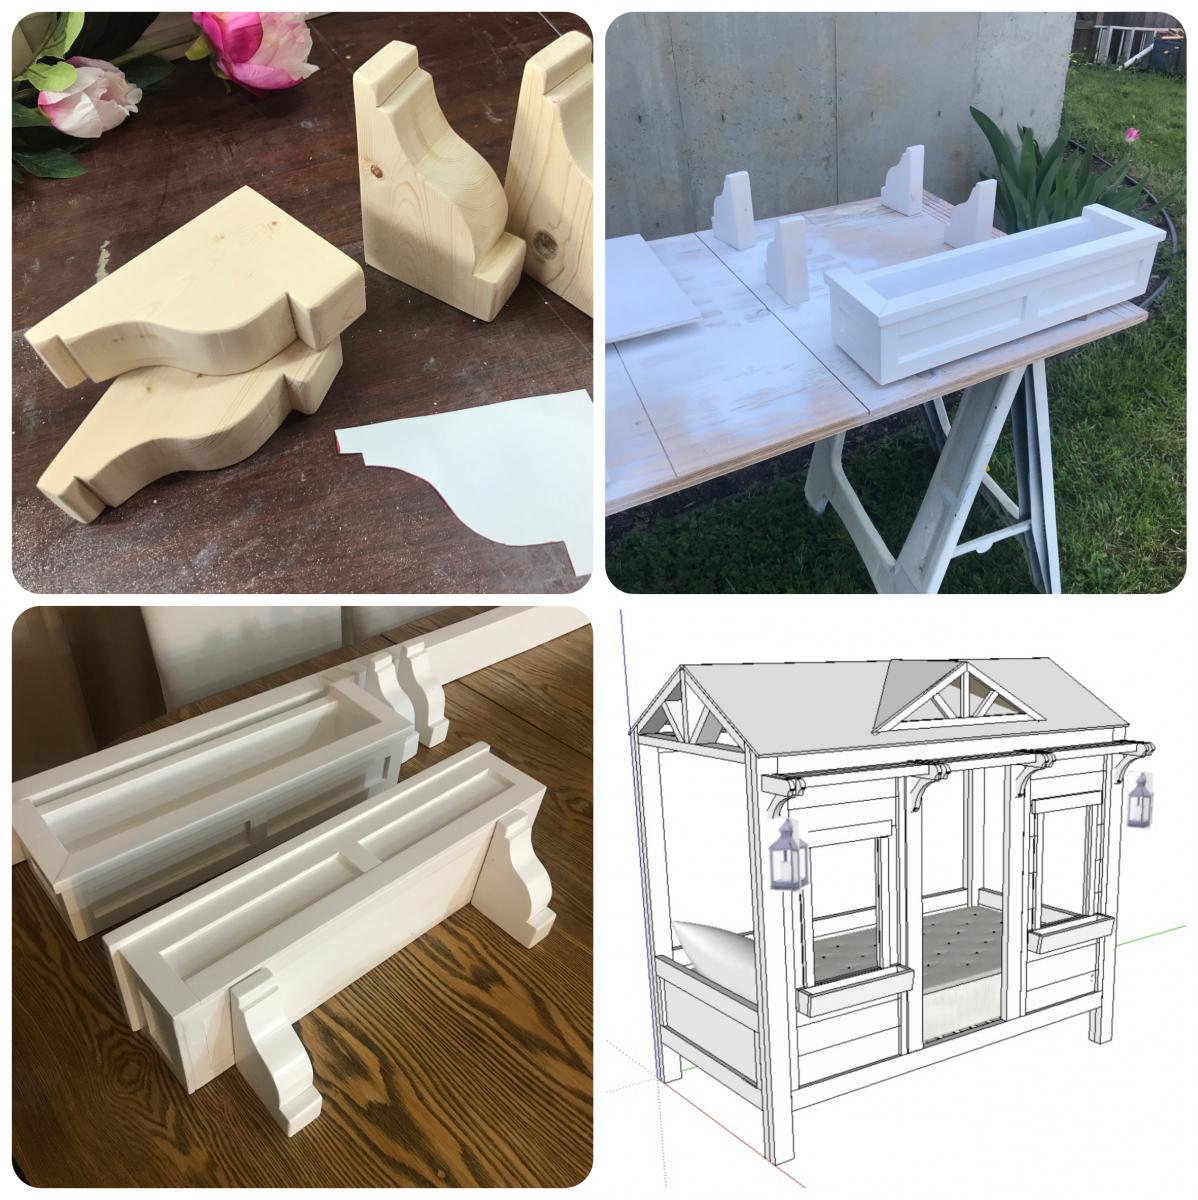
I needed some extra space for towels & misc items for my bathroom. So I replaced our over the toilet vanity for these floating shelves, and it was perfect for extra towels and what not. Ana you're the best!!
Built from Plan(s)
Estimated Cost
$40
Estimated Time Investment
Day Project (6-9 Hours)
Finish Used
Valspar Brown Velvet Satin
Recommended Skill Level
Beginner

Comments

Leslie Is Ready

Sat, 03/21/2015 - 18:39

Great job! I saw floating shelves used in a water closet on another site, and thought it was a great idea. I definitely plan to do this in my Master Bath!

Full Farmhouse Bed with mods

Submitted by Kingsamui on Thu, 12/14/2017 - 16:29

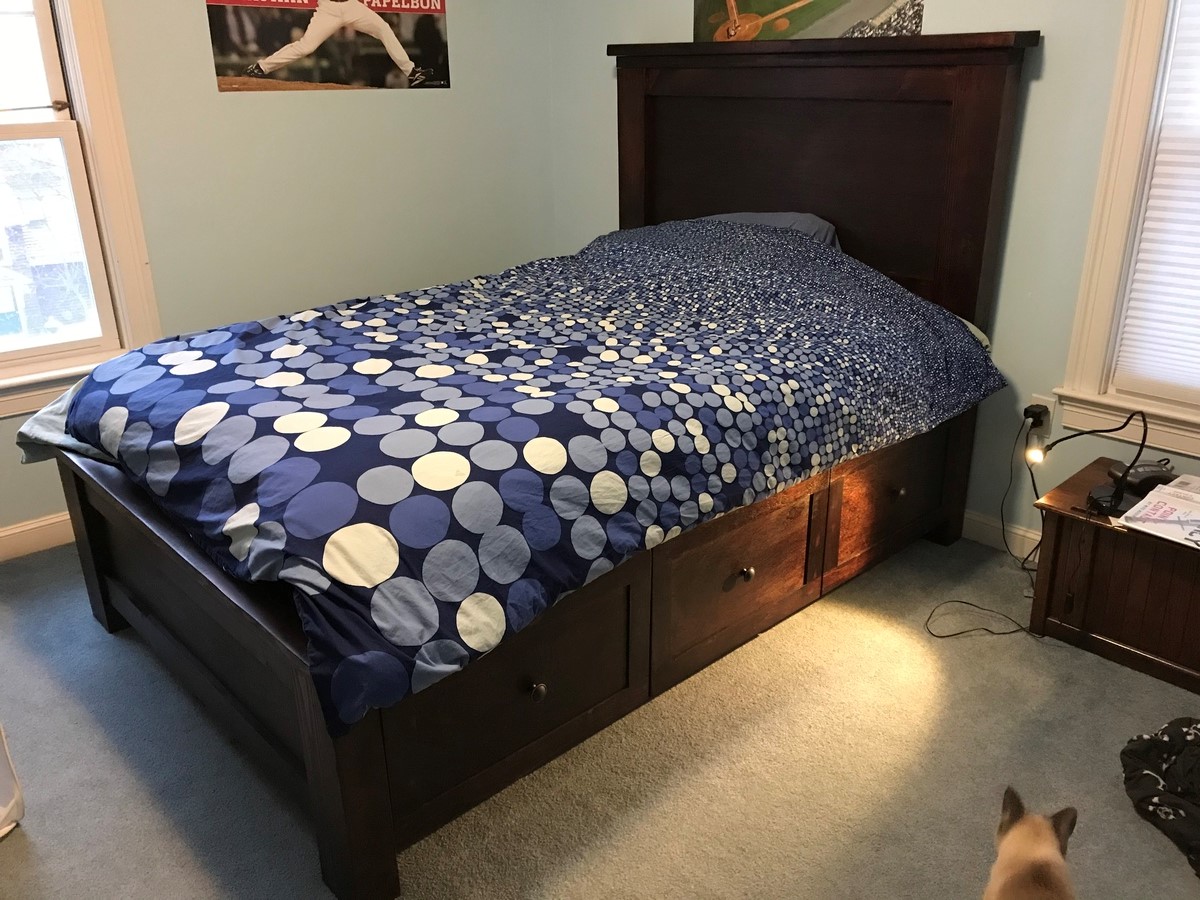
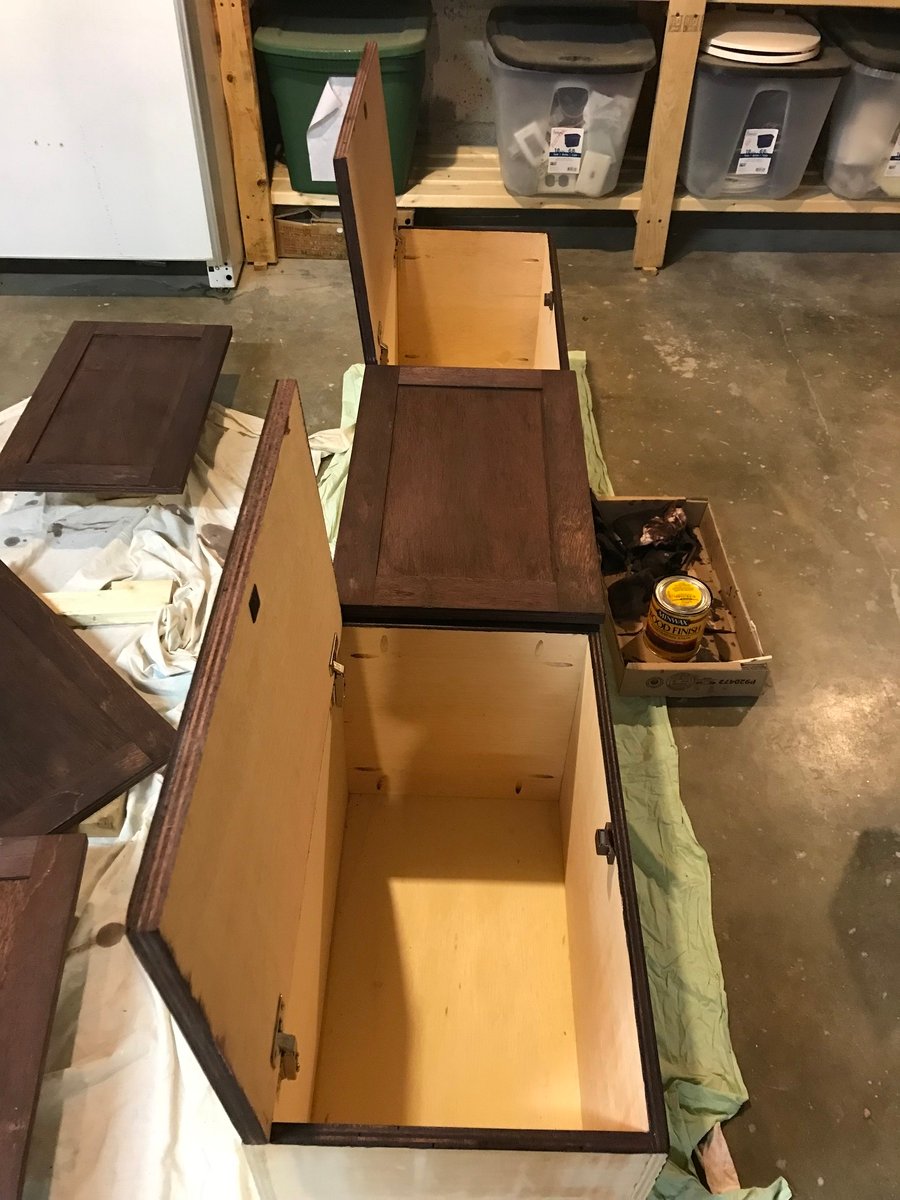
Made the standard full farmhouse bed with storage, but did a couple modifications. 1) Didn’t use drawers, but wanted closed, not open cubbies. I made the drawer fronts and then attached with full overlay hinges and magnetic catches do they open from top down like a horizontal cabinet. 2) built the slats as two, one piece slat frames which sit on the cleat so that they can easily be removed for the extra long term storage between the cubby boxes. Just lift mattress and the two pieces of slats and lots more space. 

Estimated Time Investment
Week Long Project (20 Hours or More)
Finish Used
Red Mahogany Stain and semi-gloss polyurethane
Recommended Skill Level
Intermediate