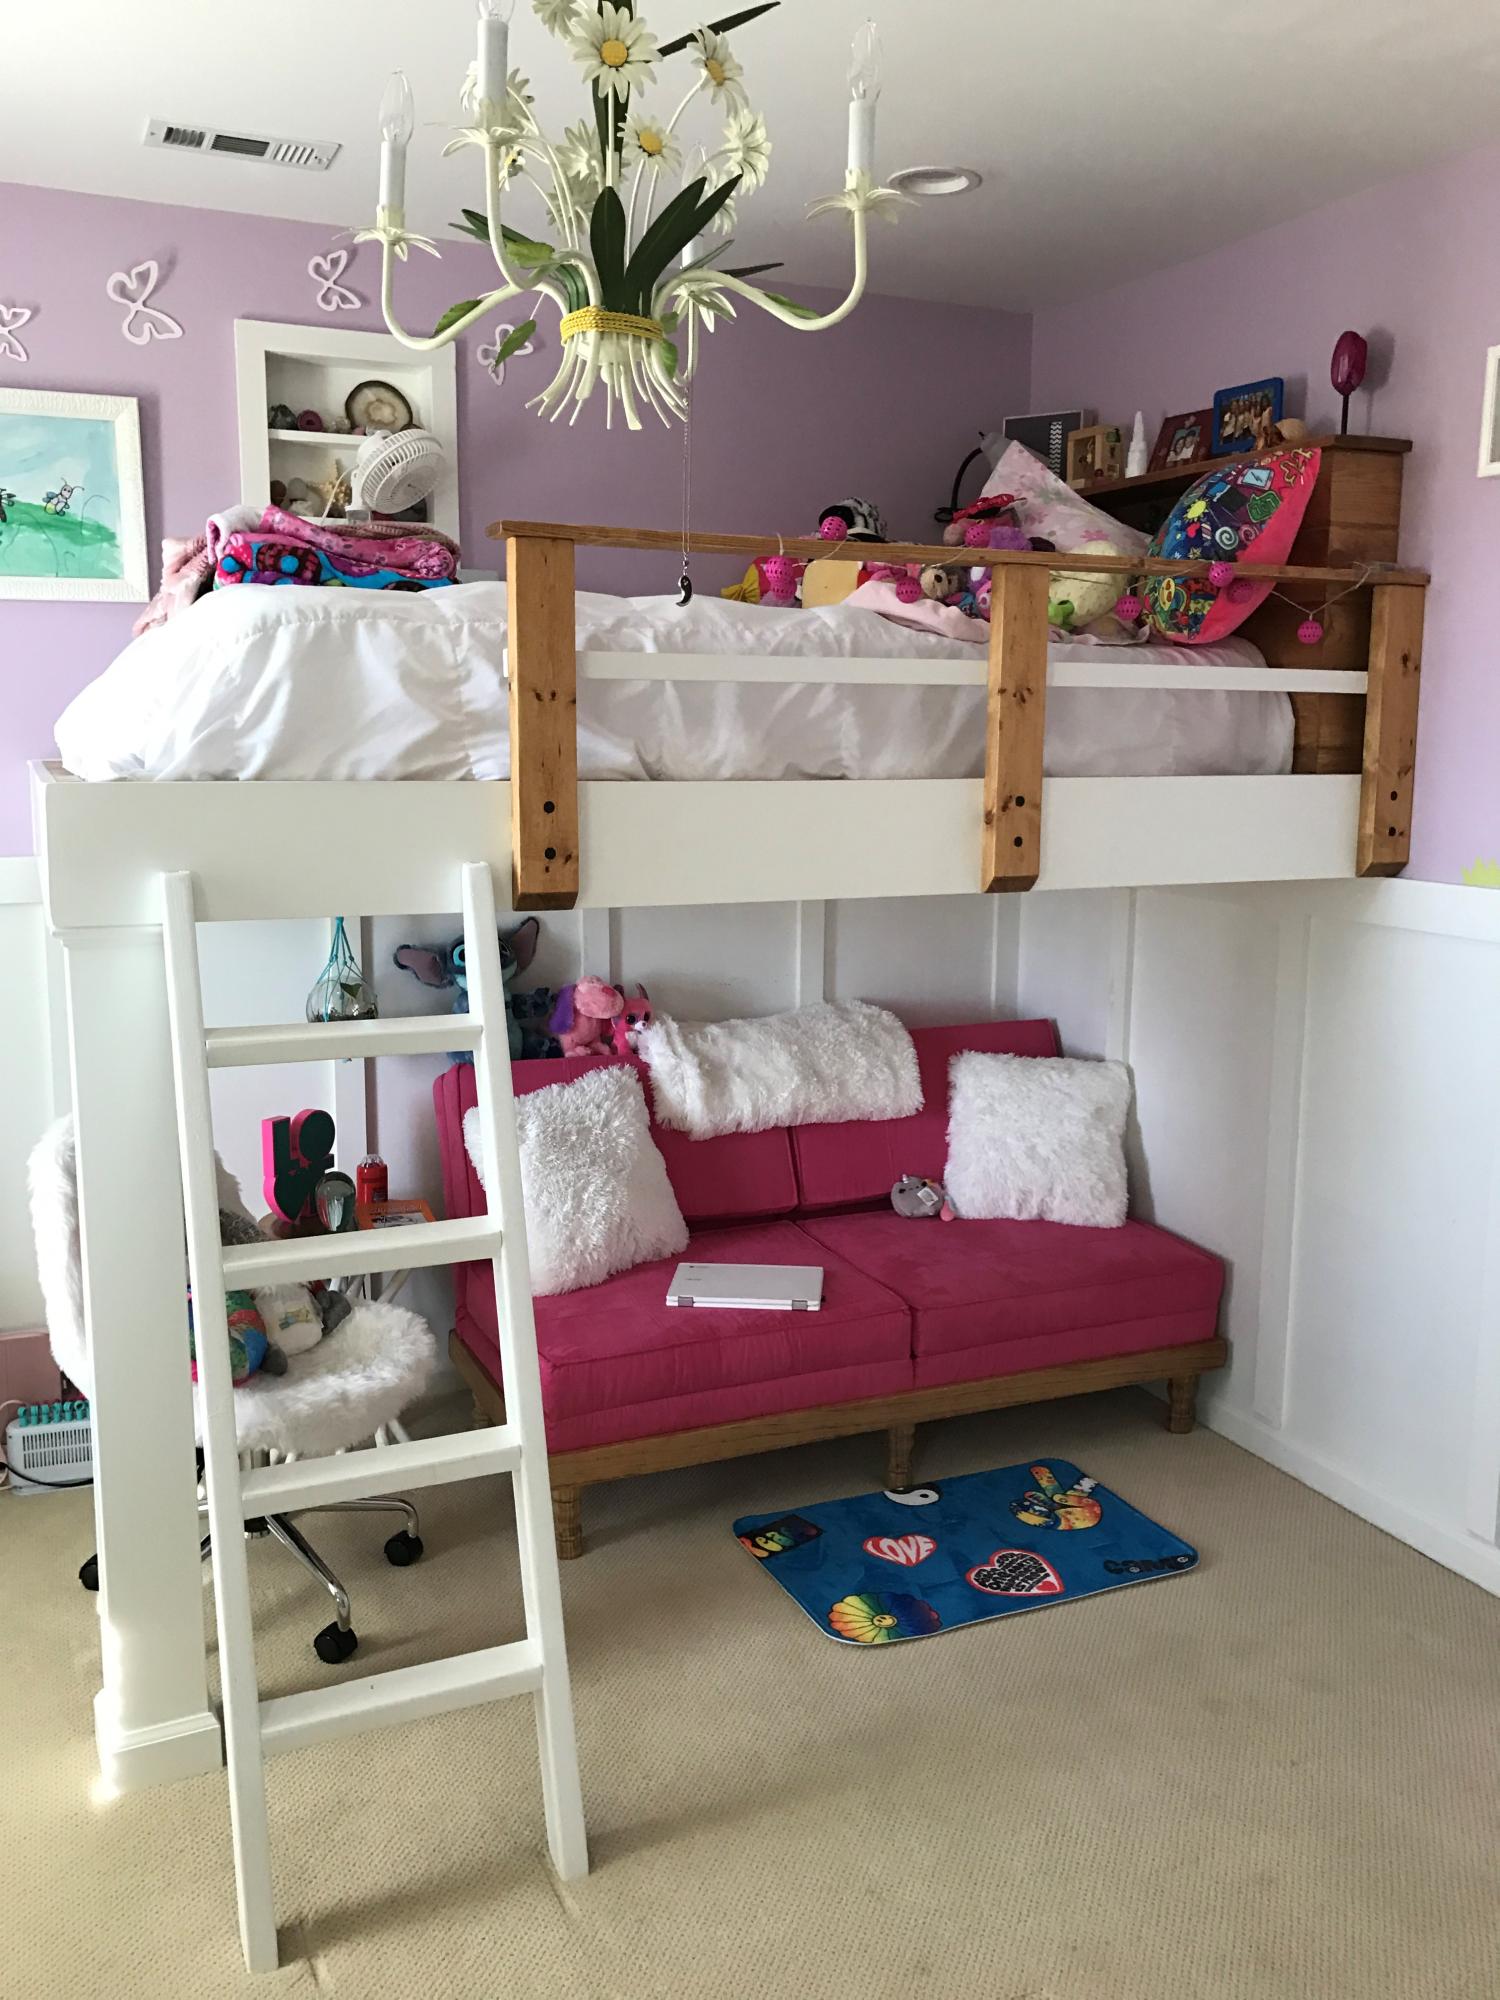
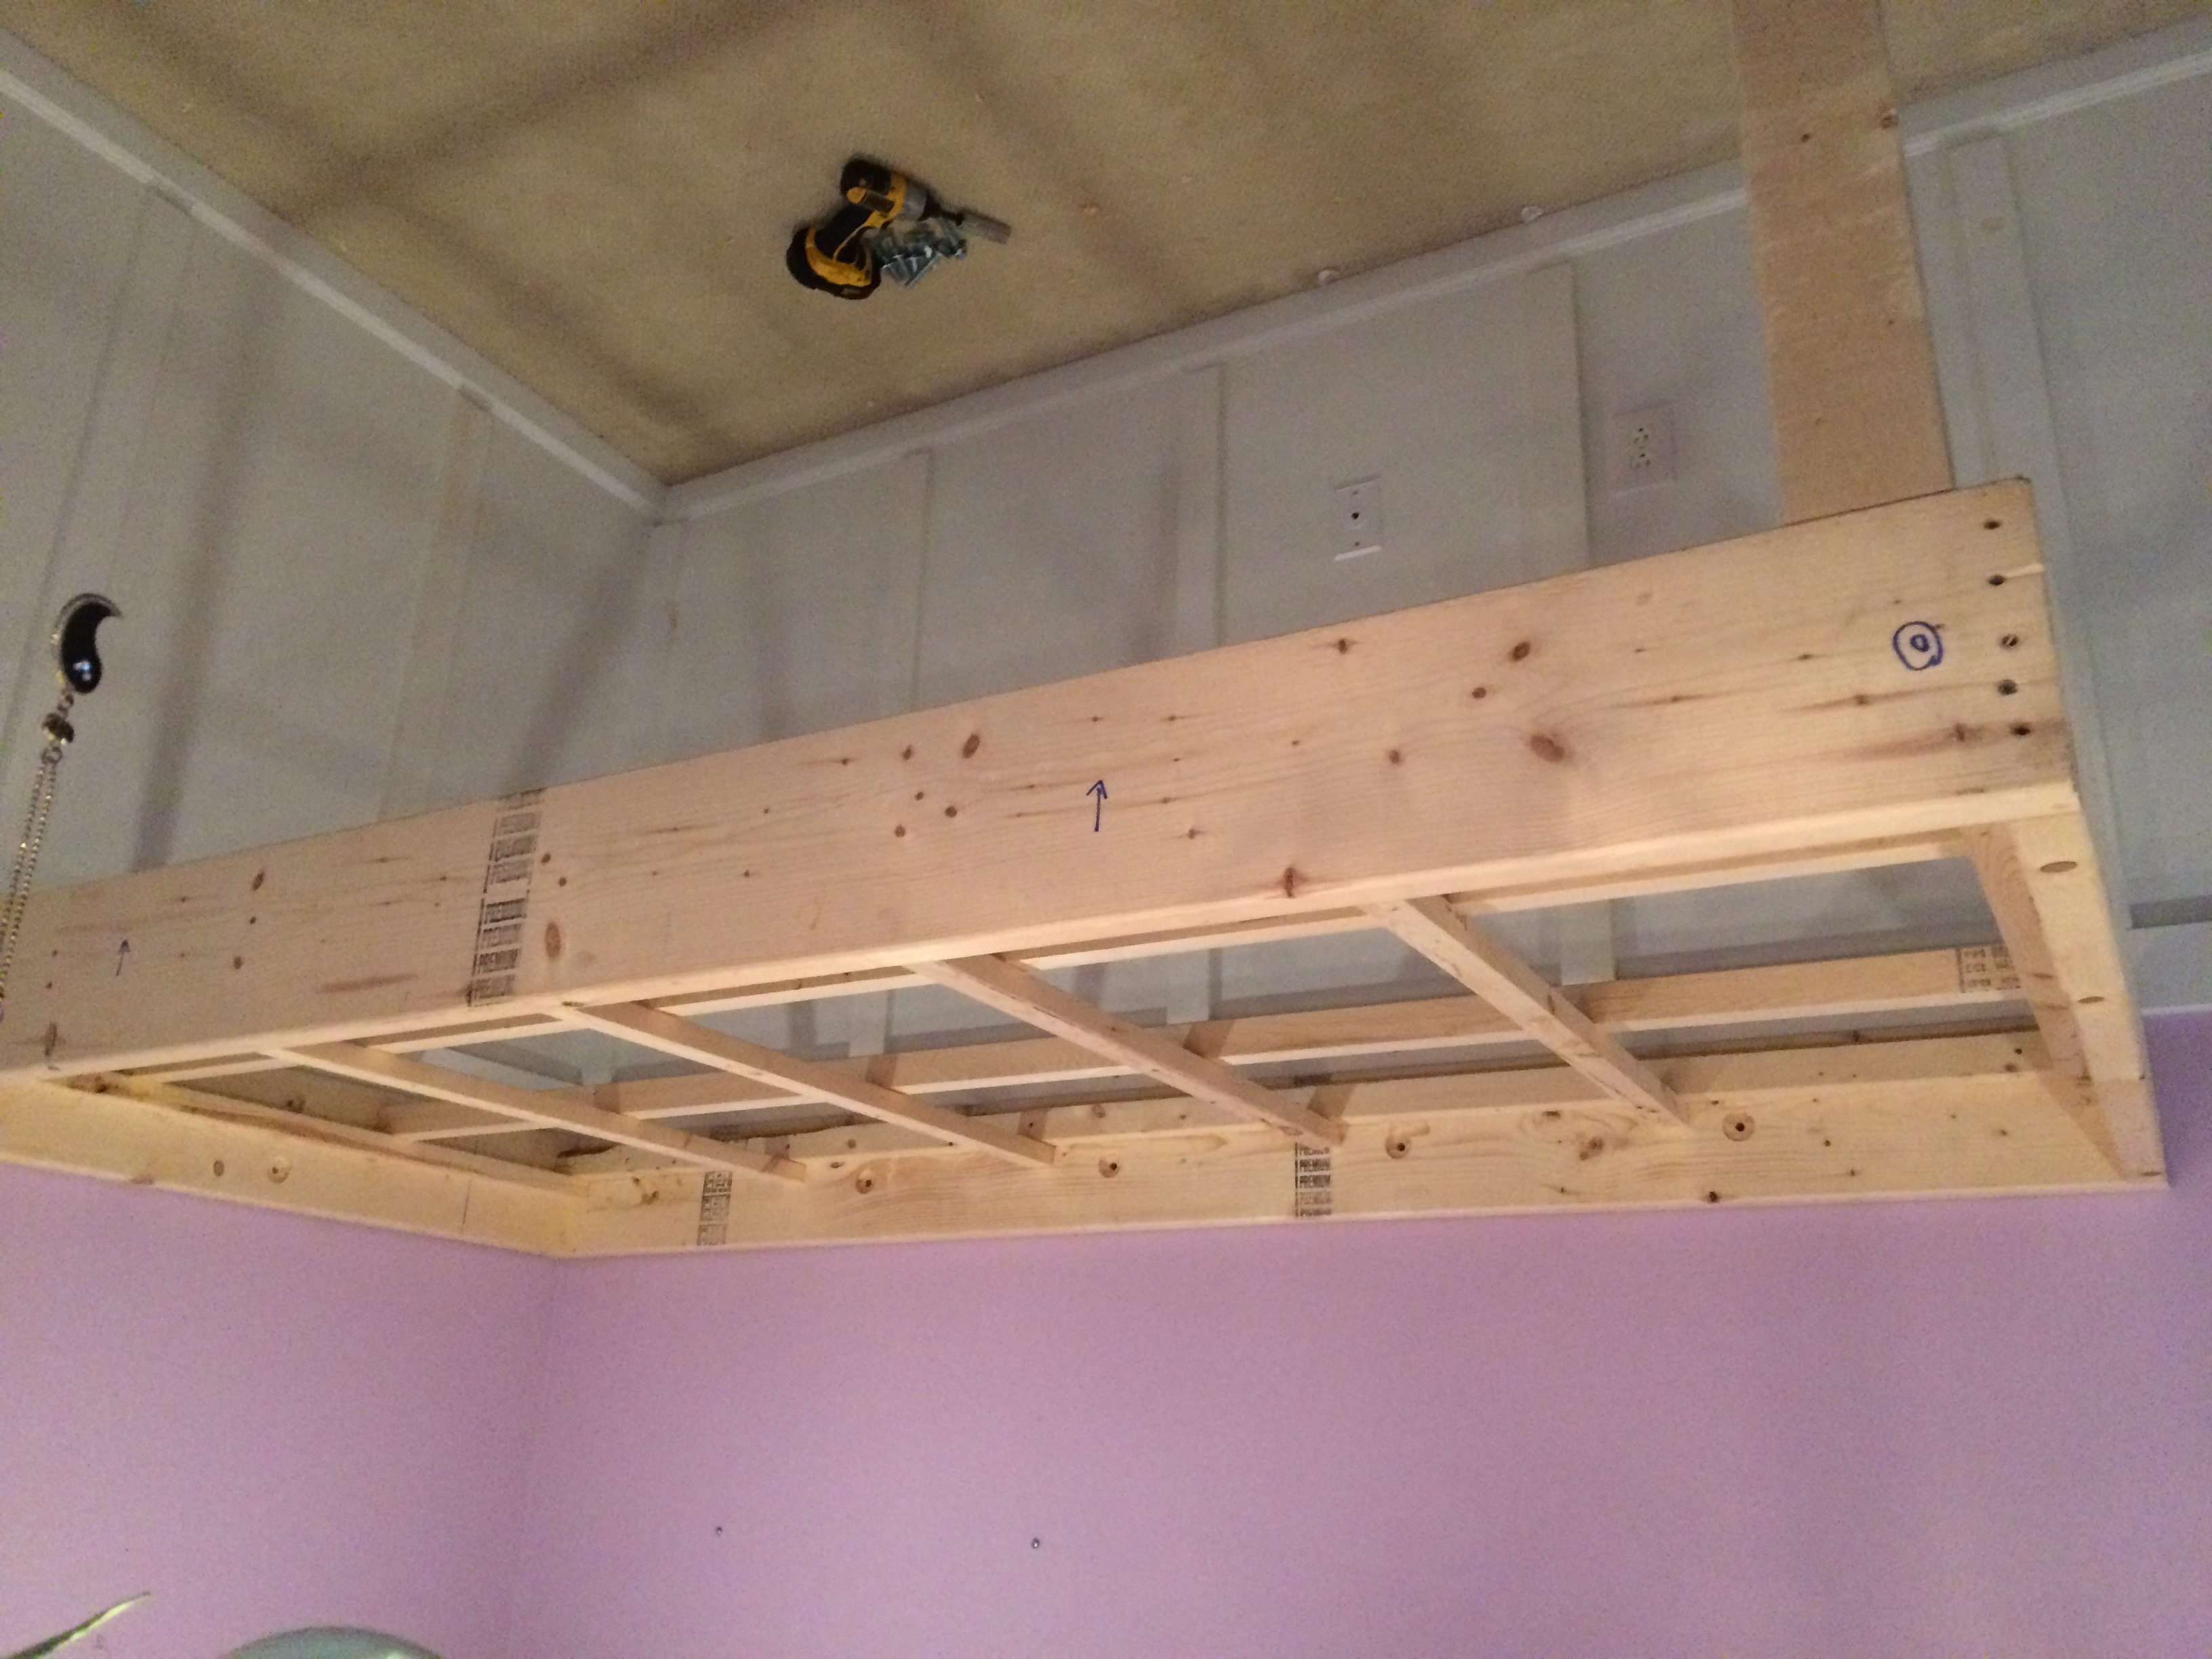
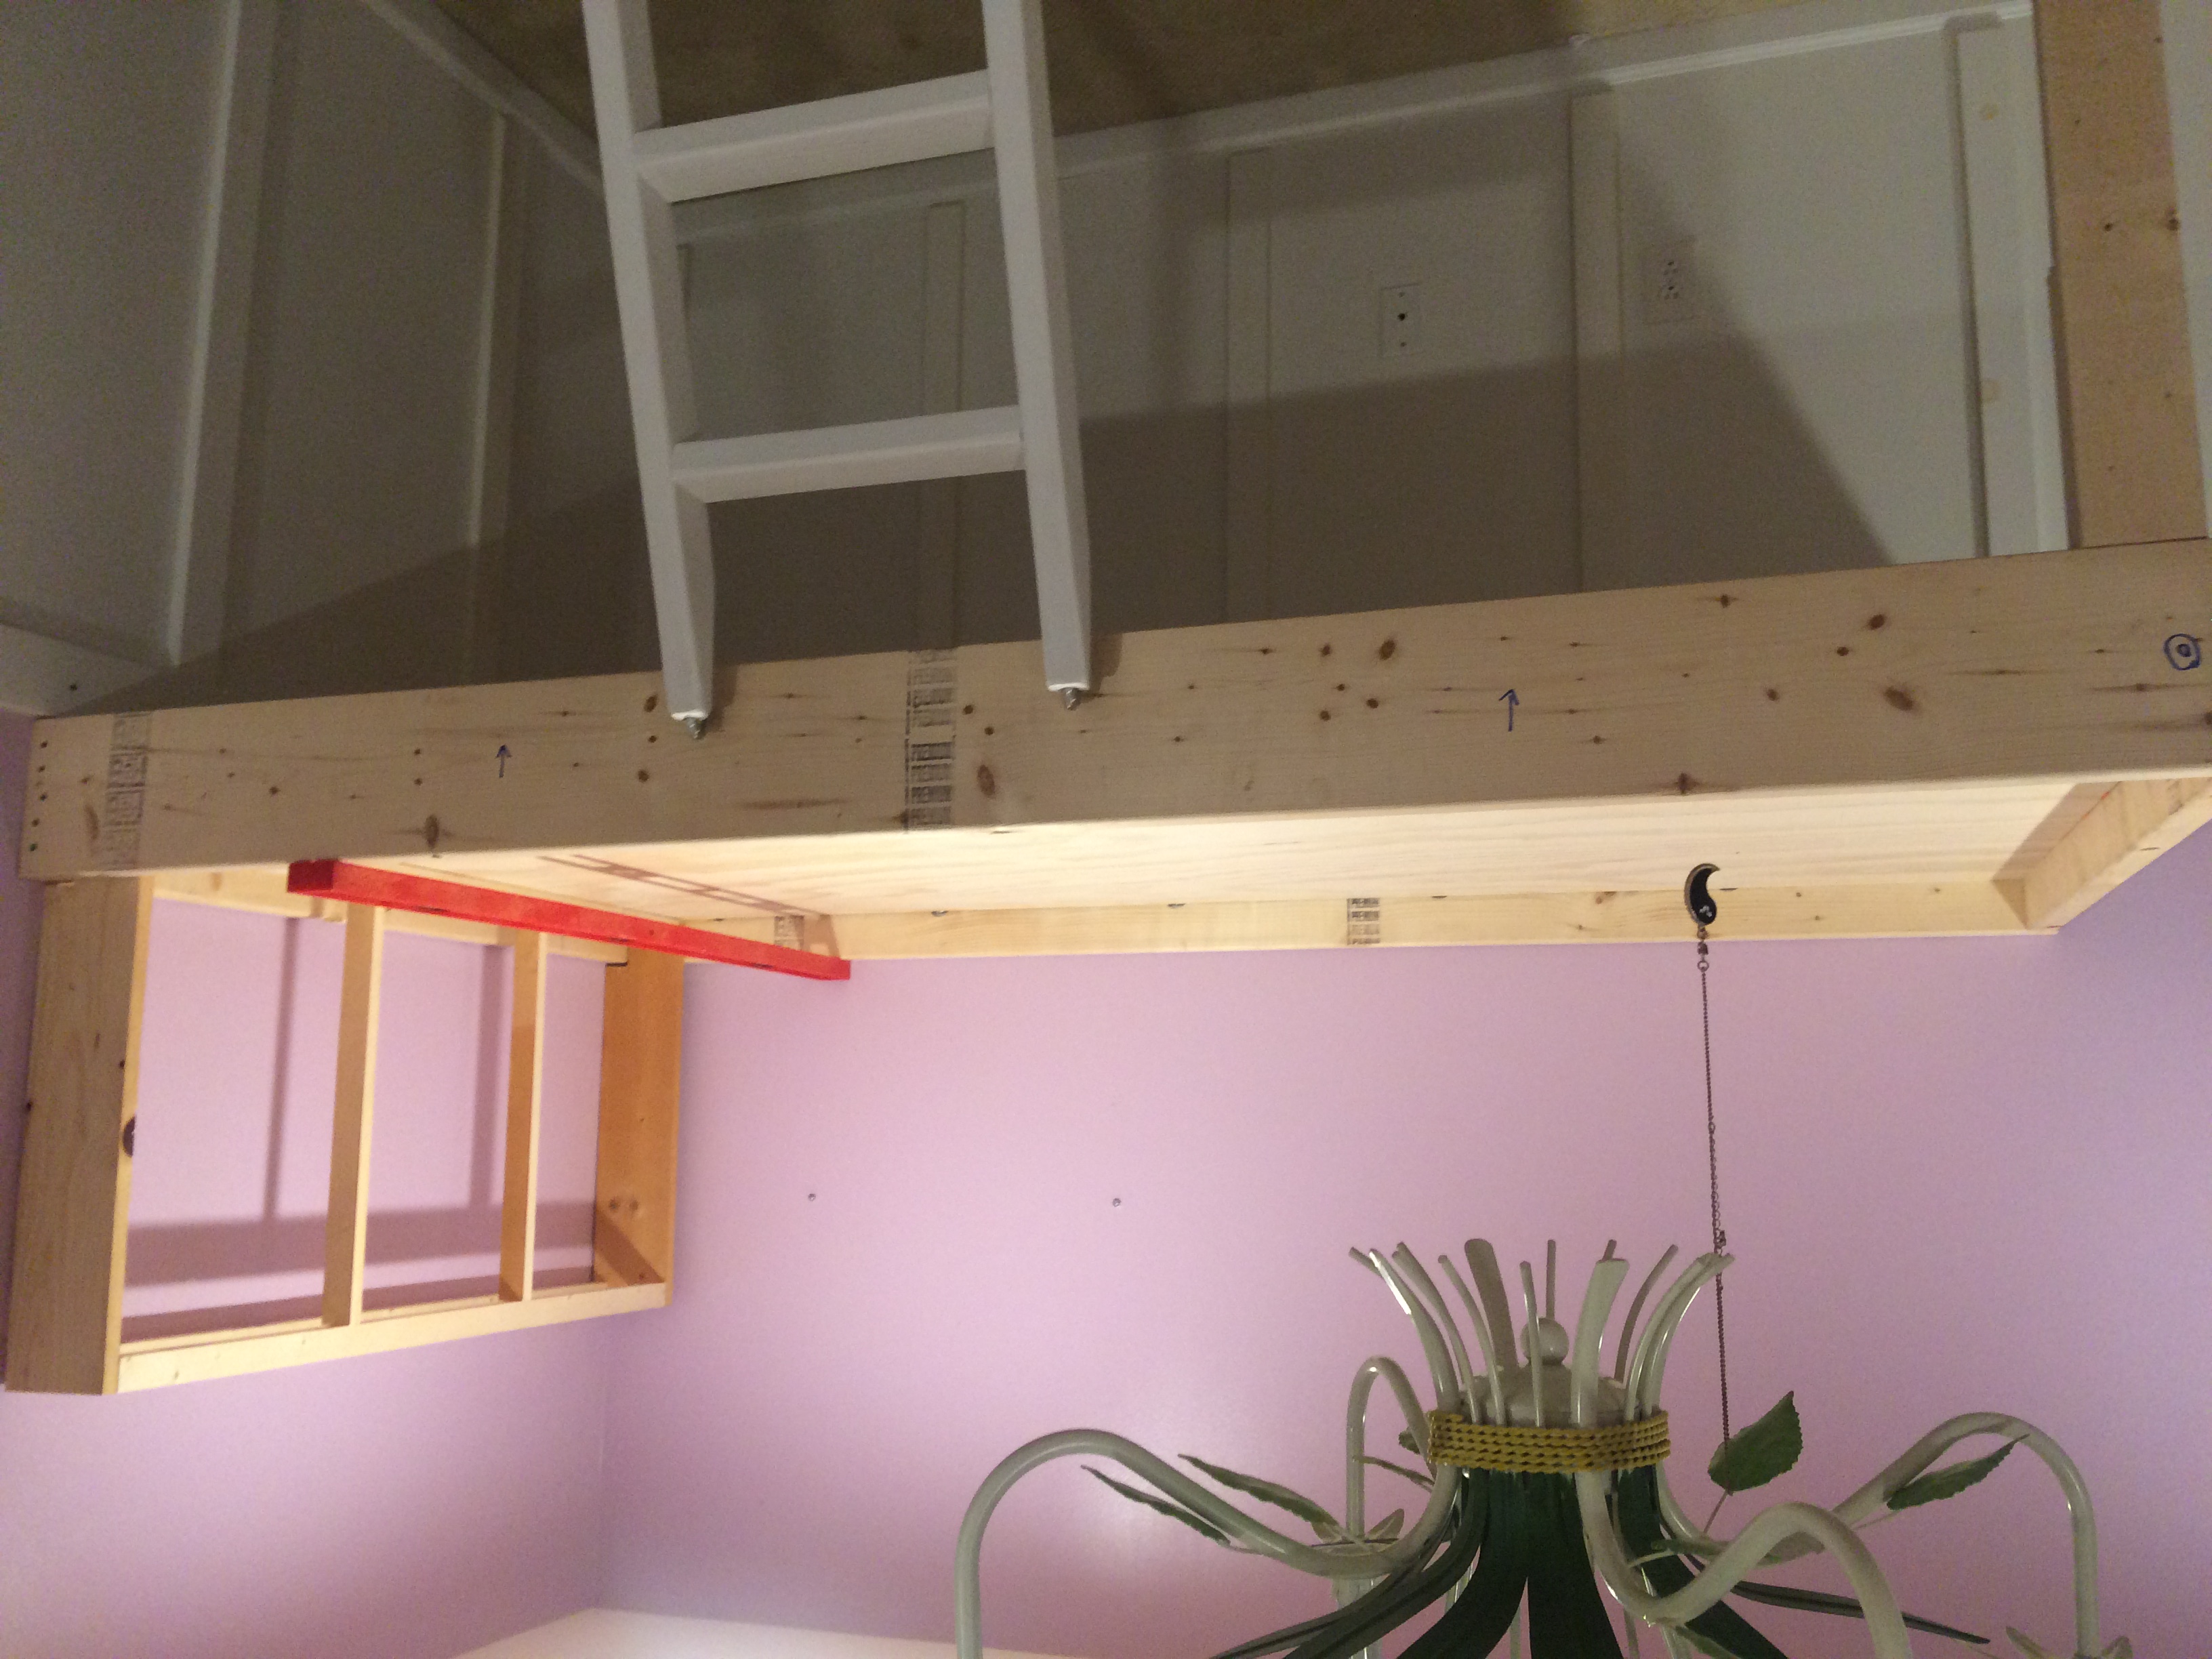
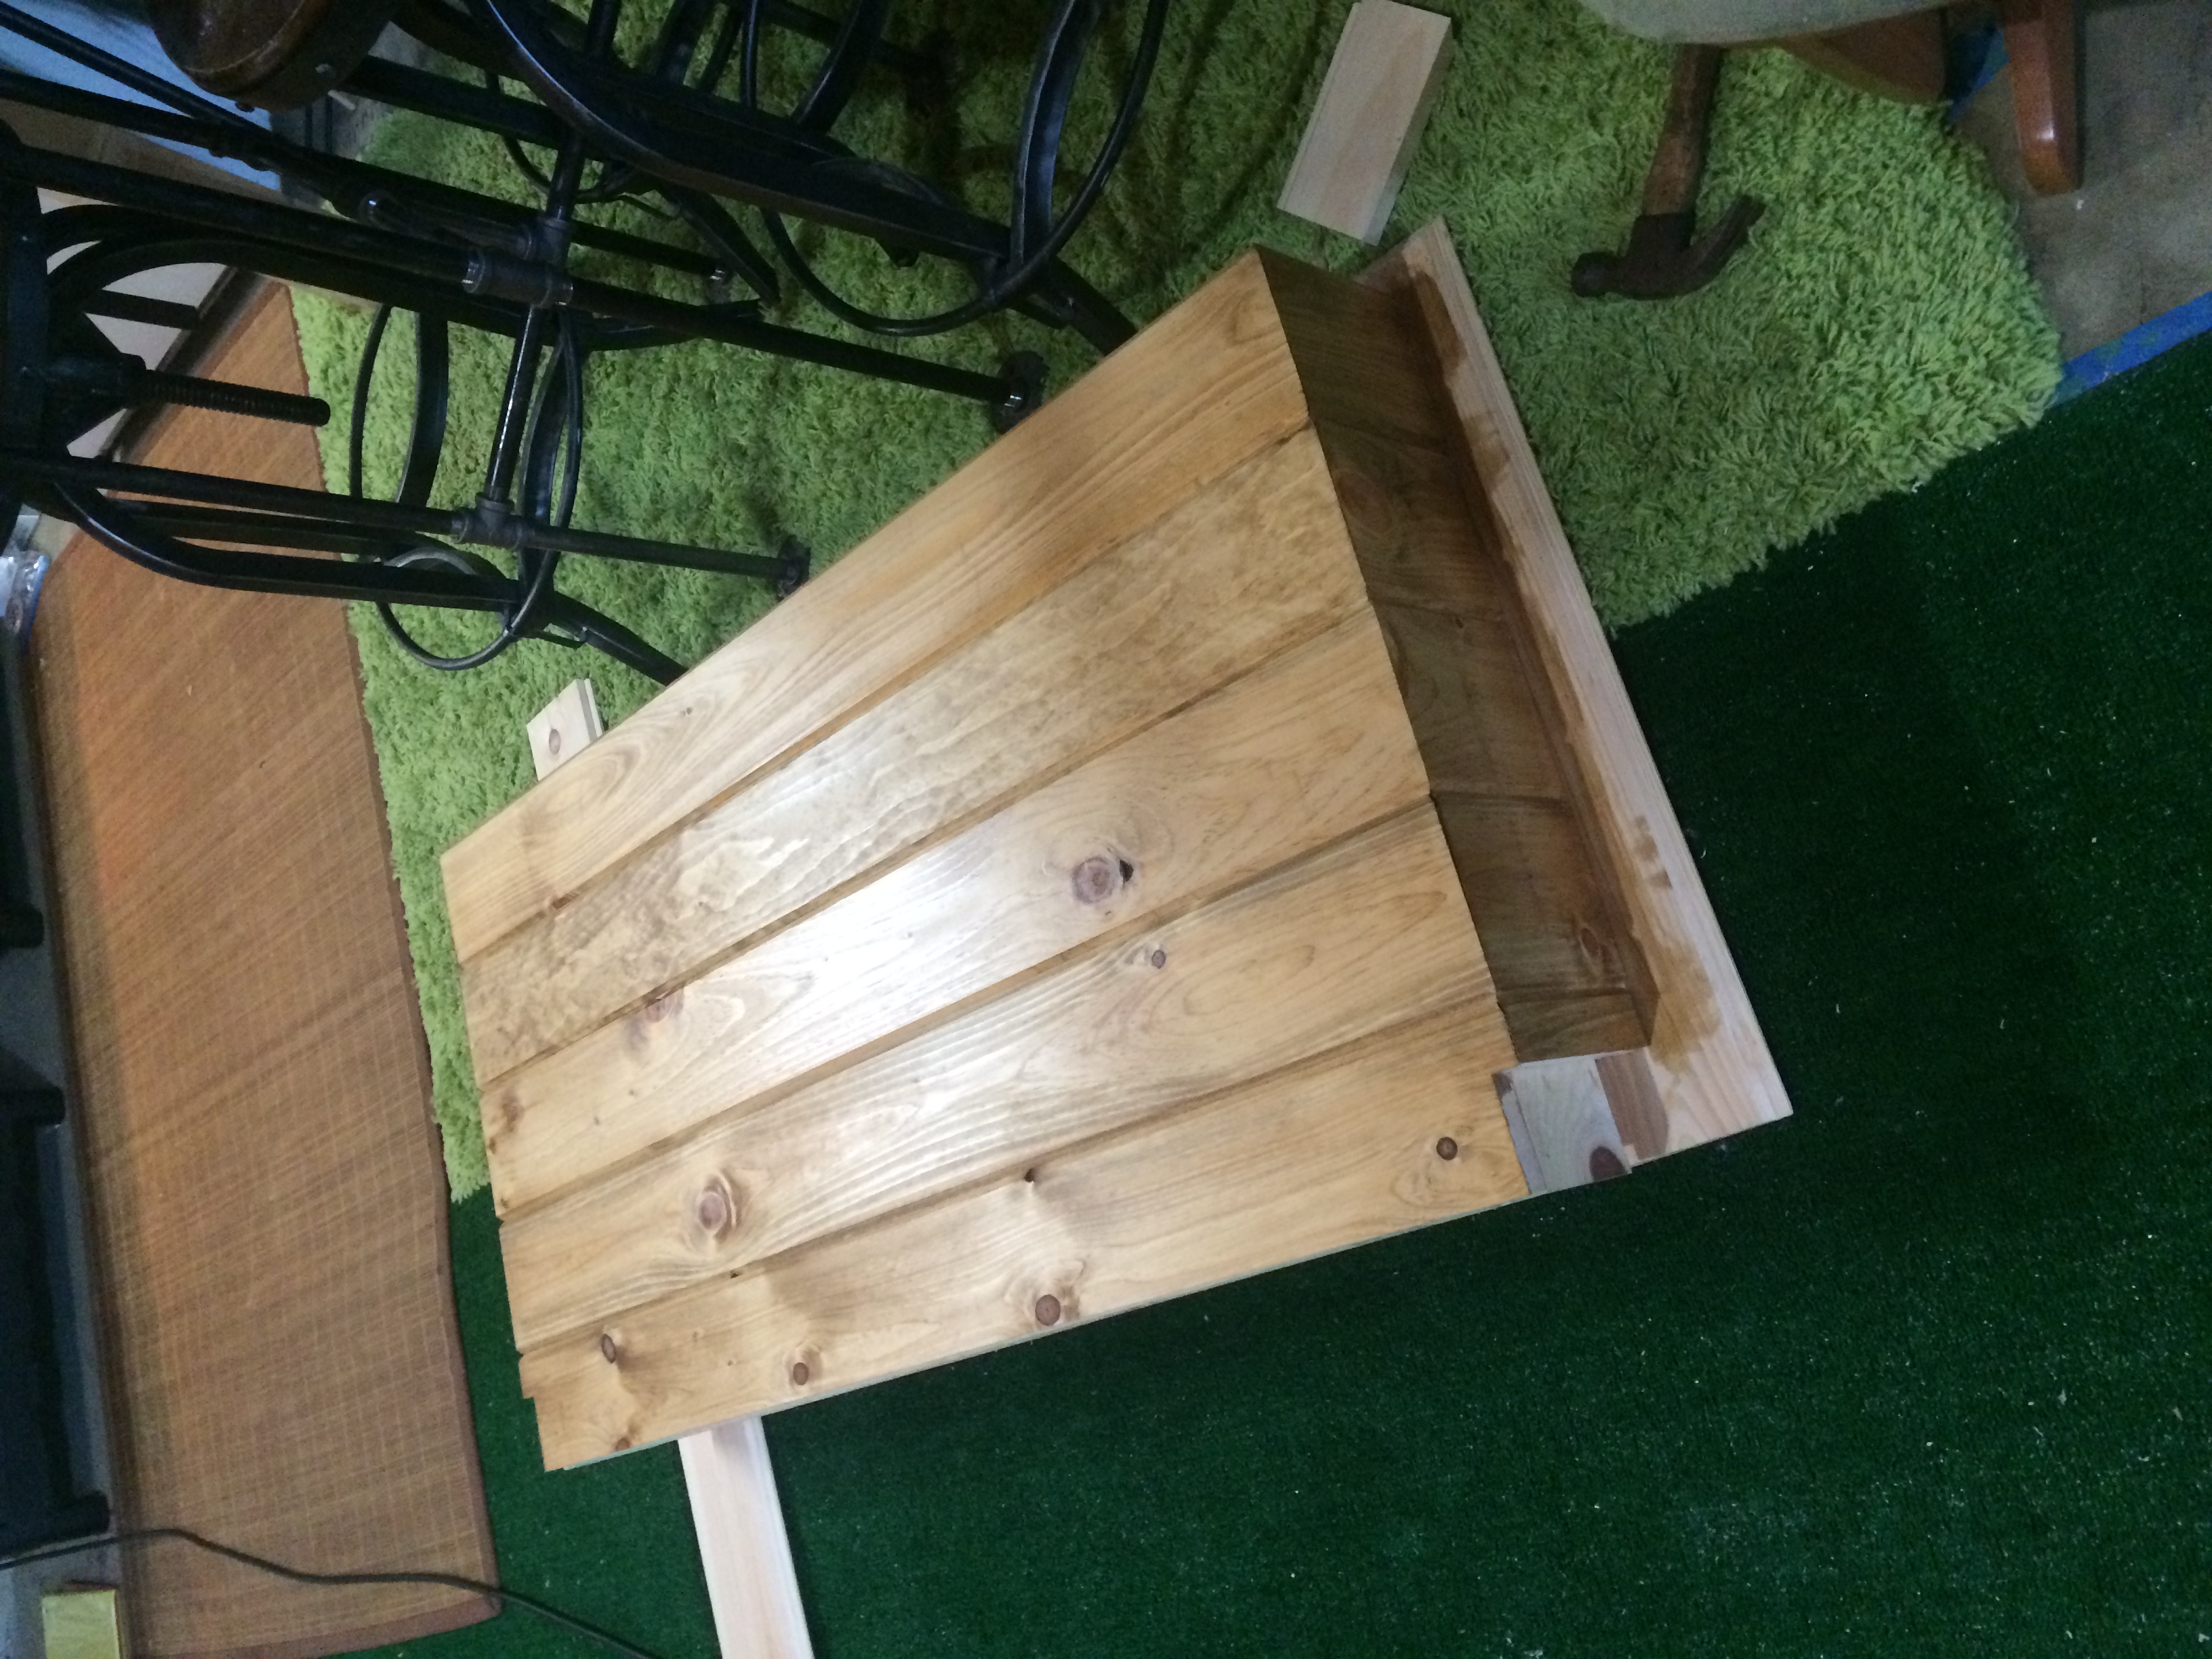
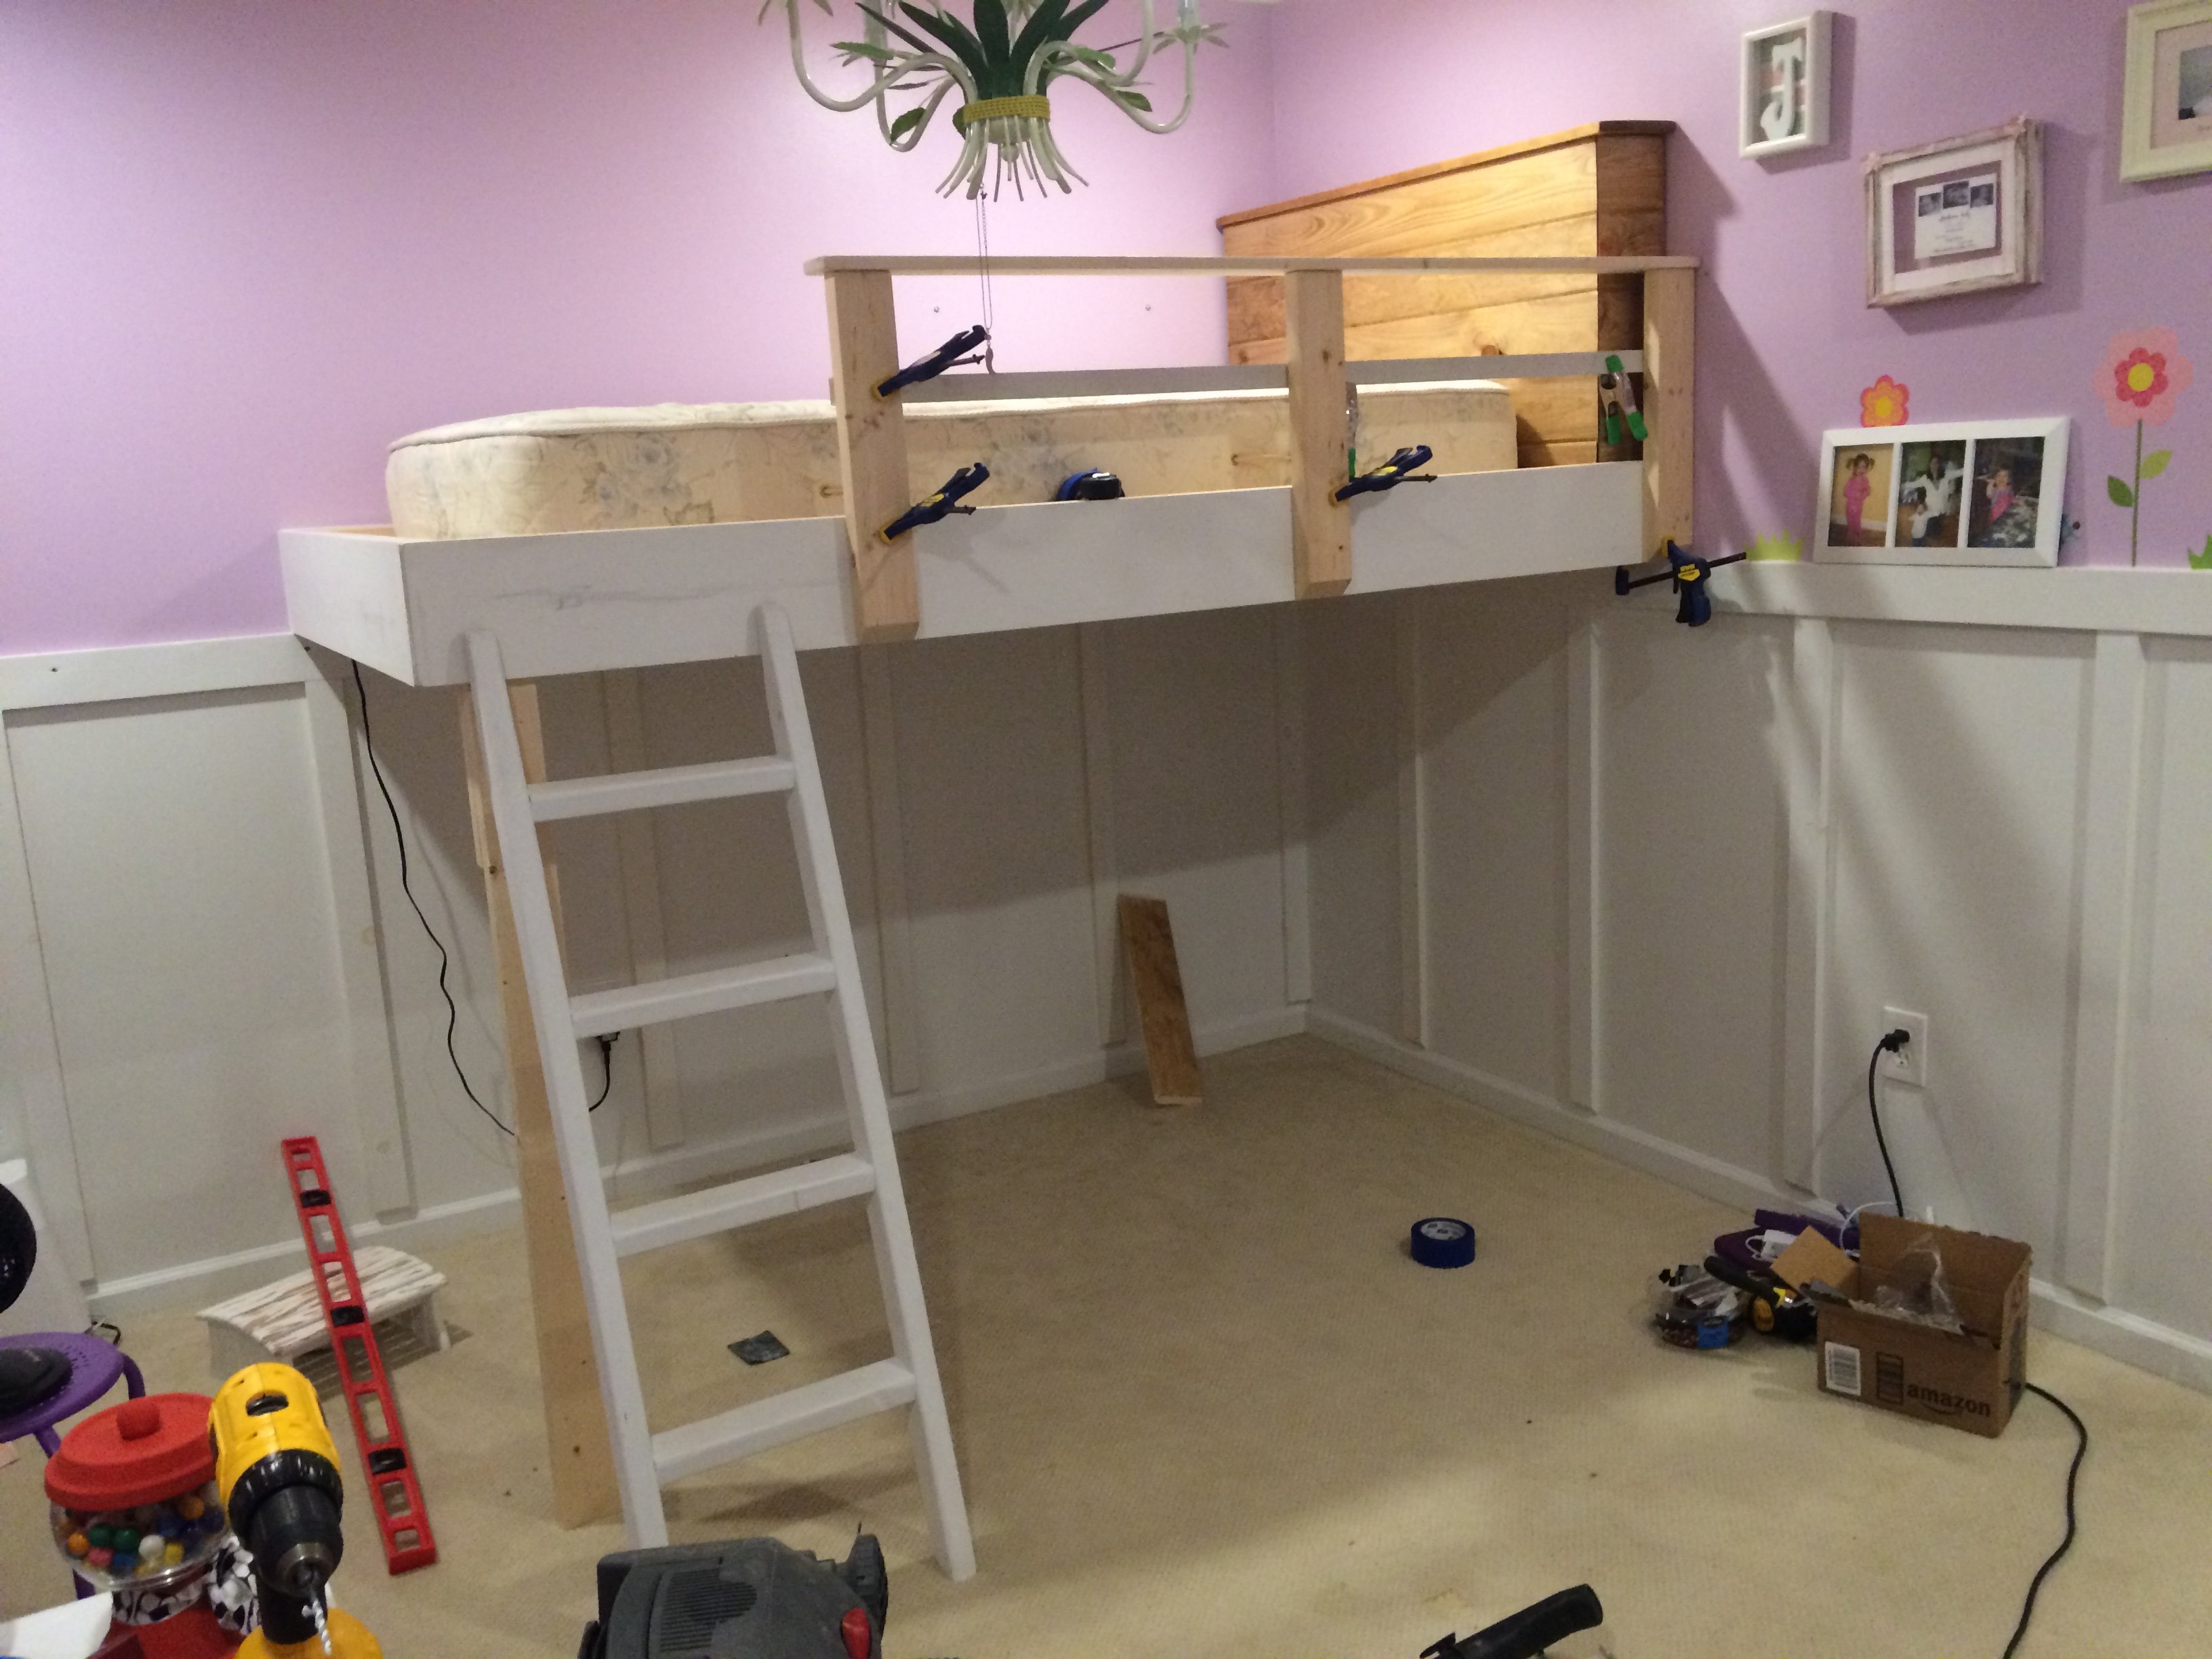
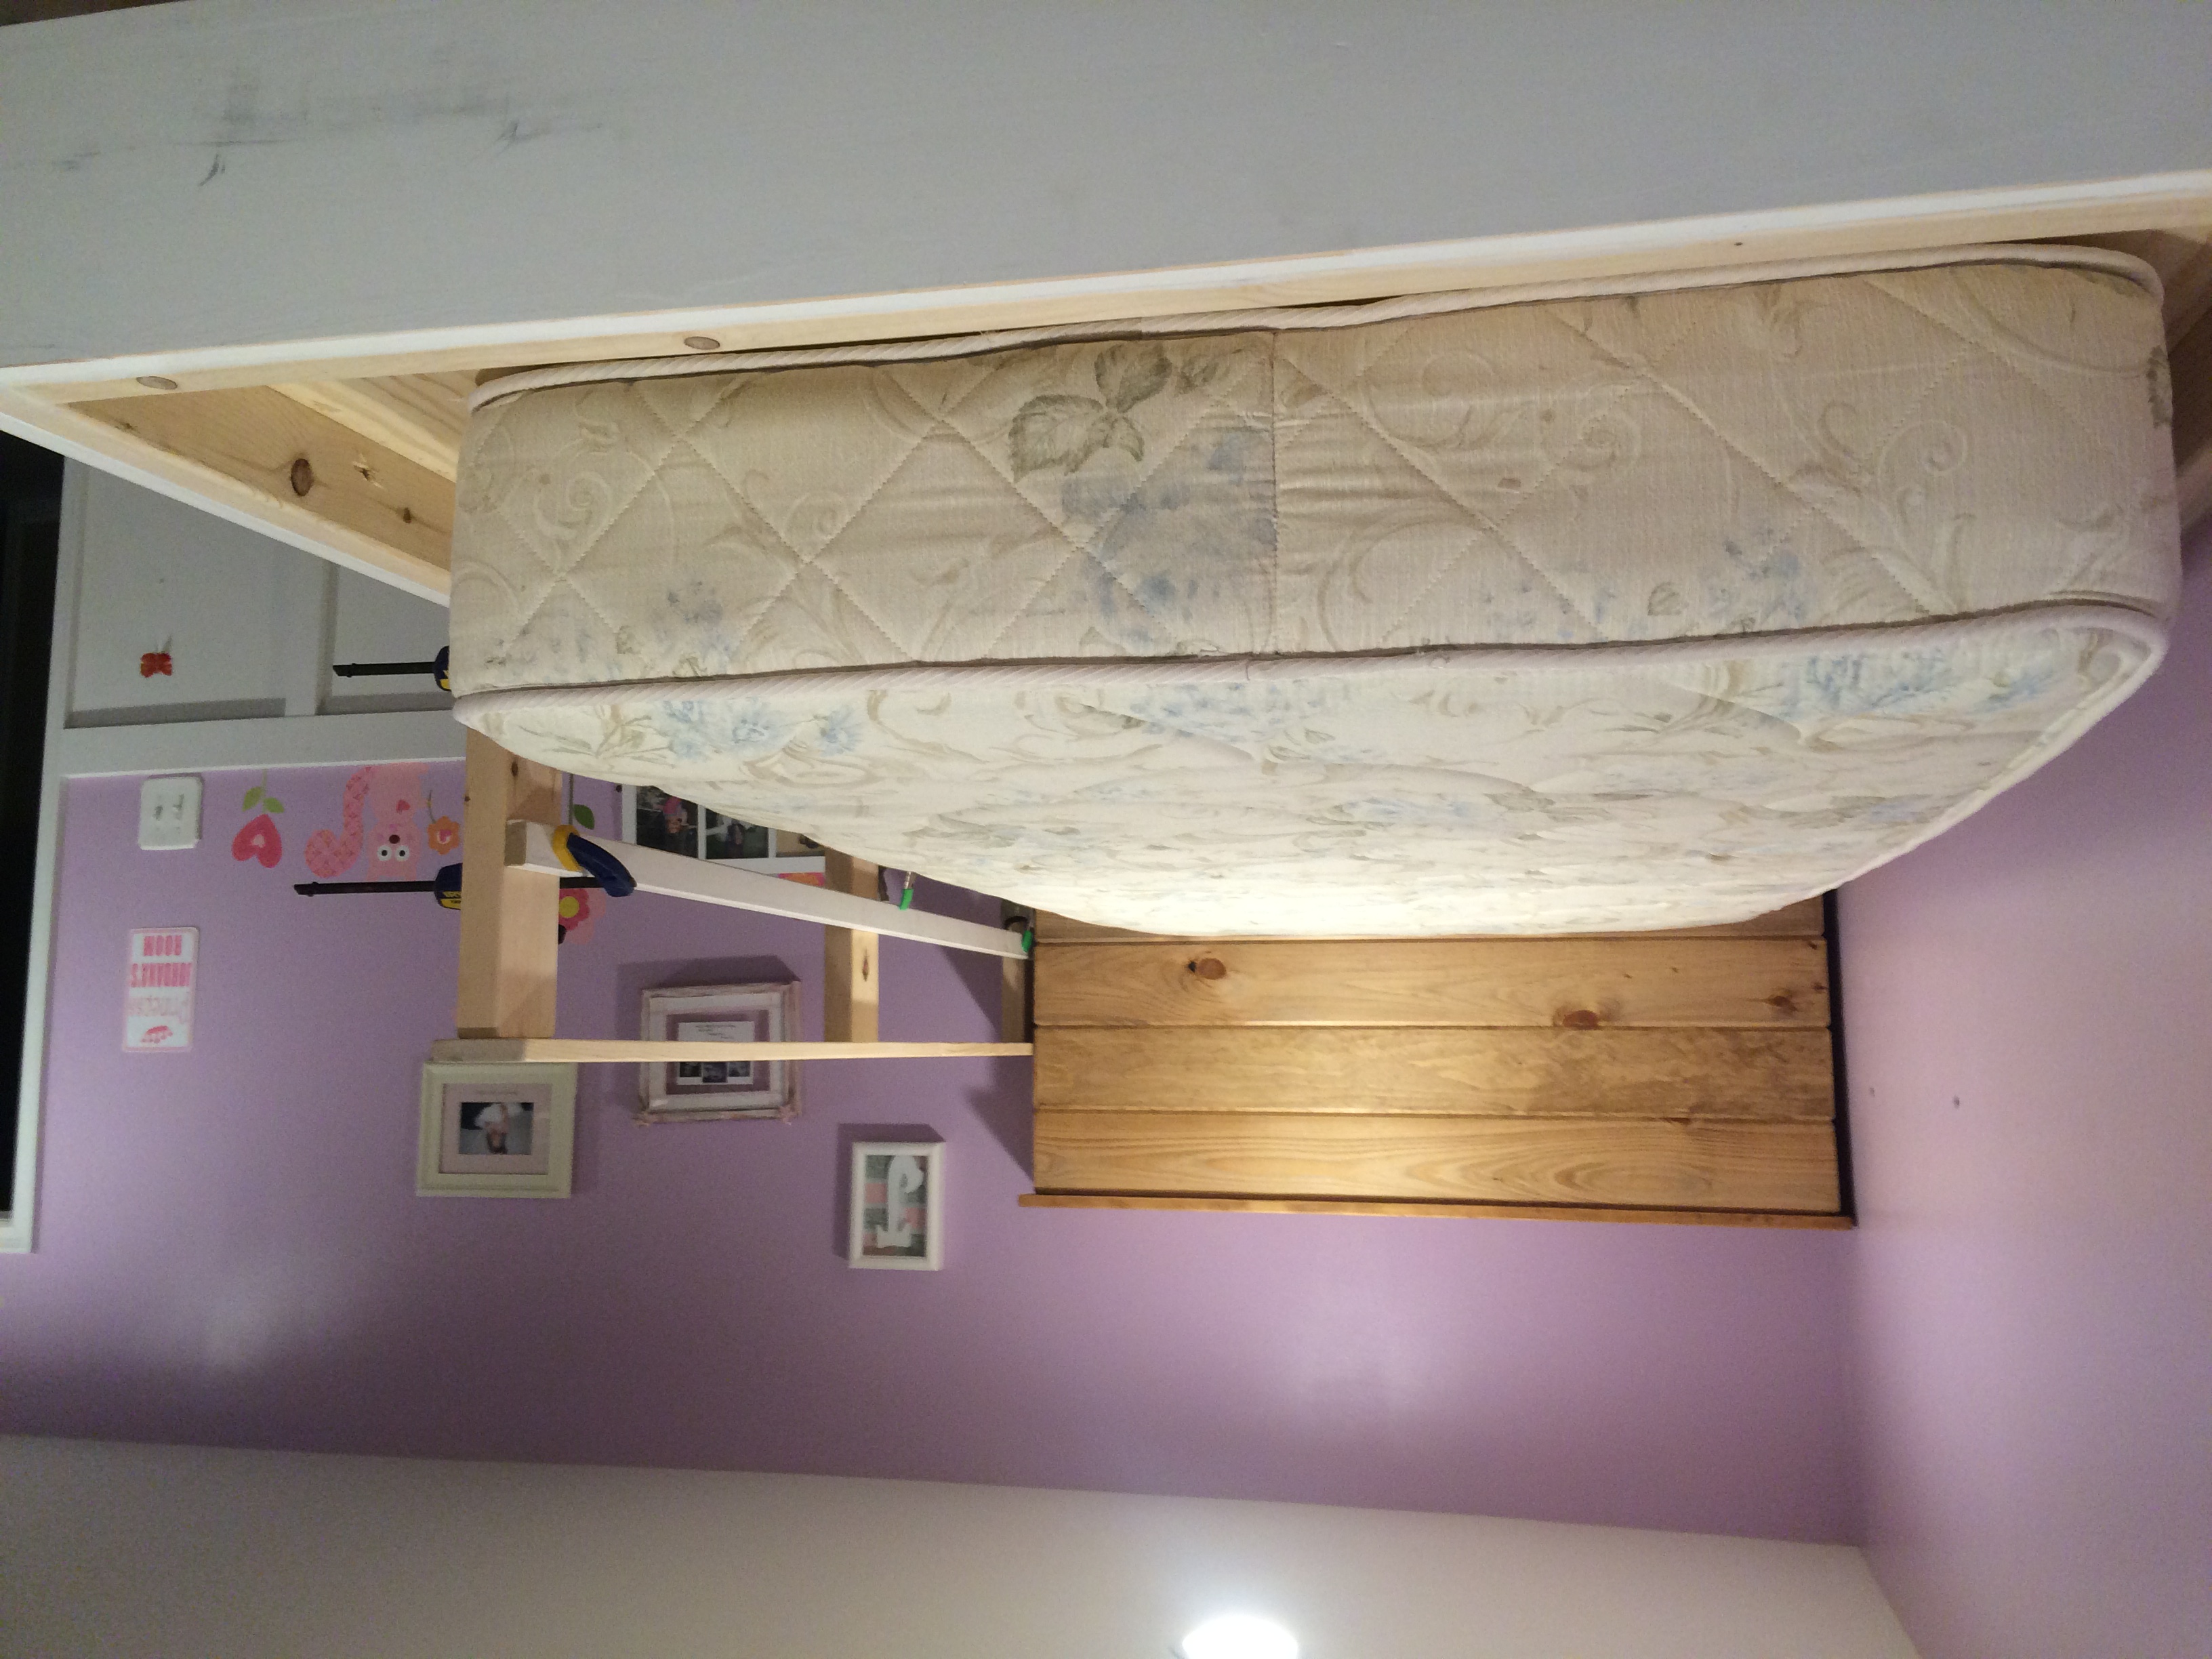
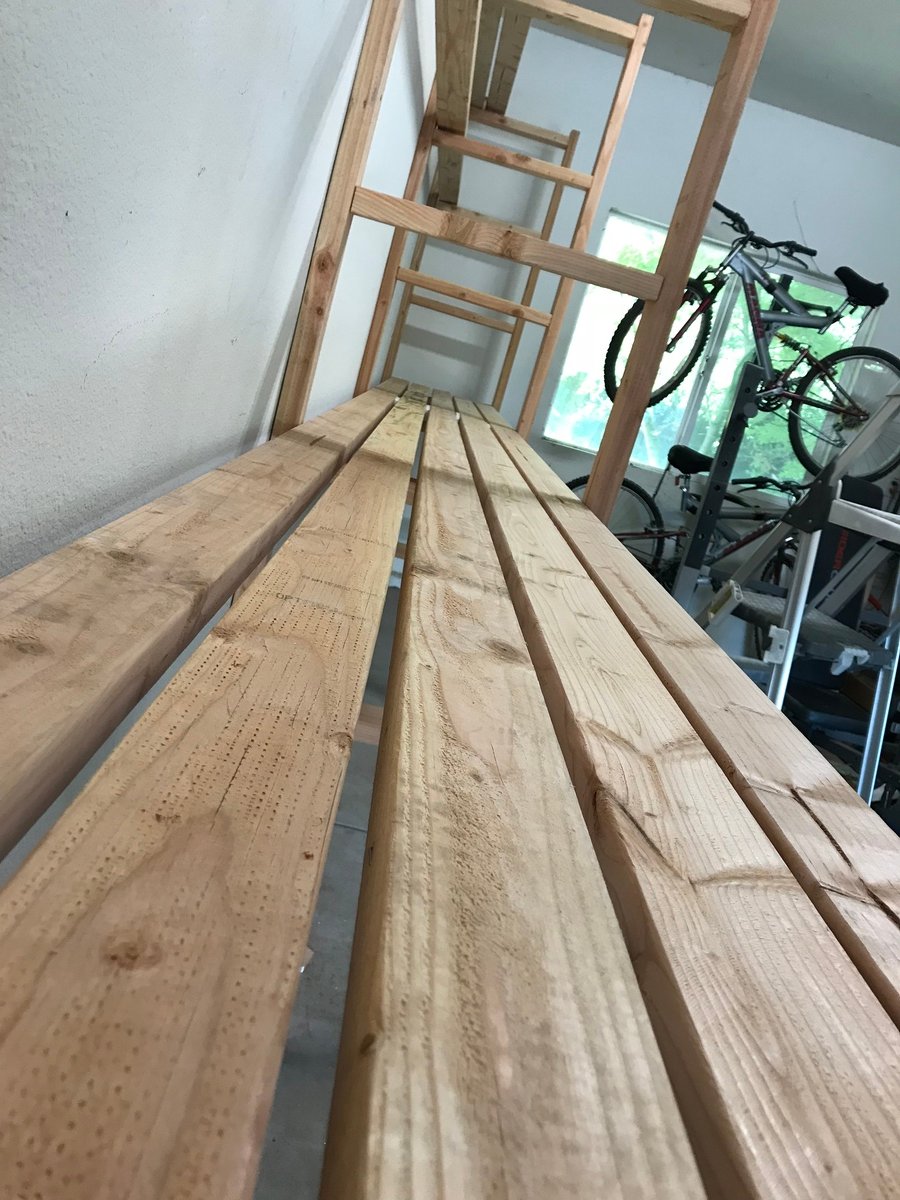
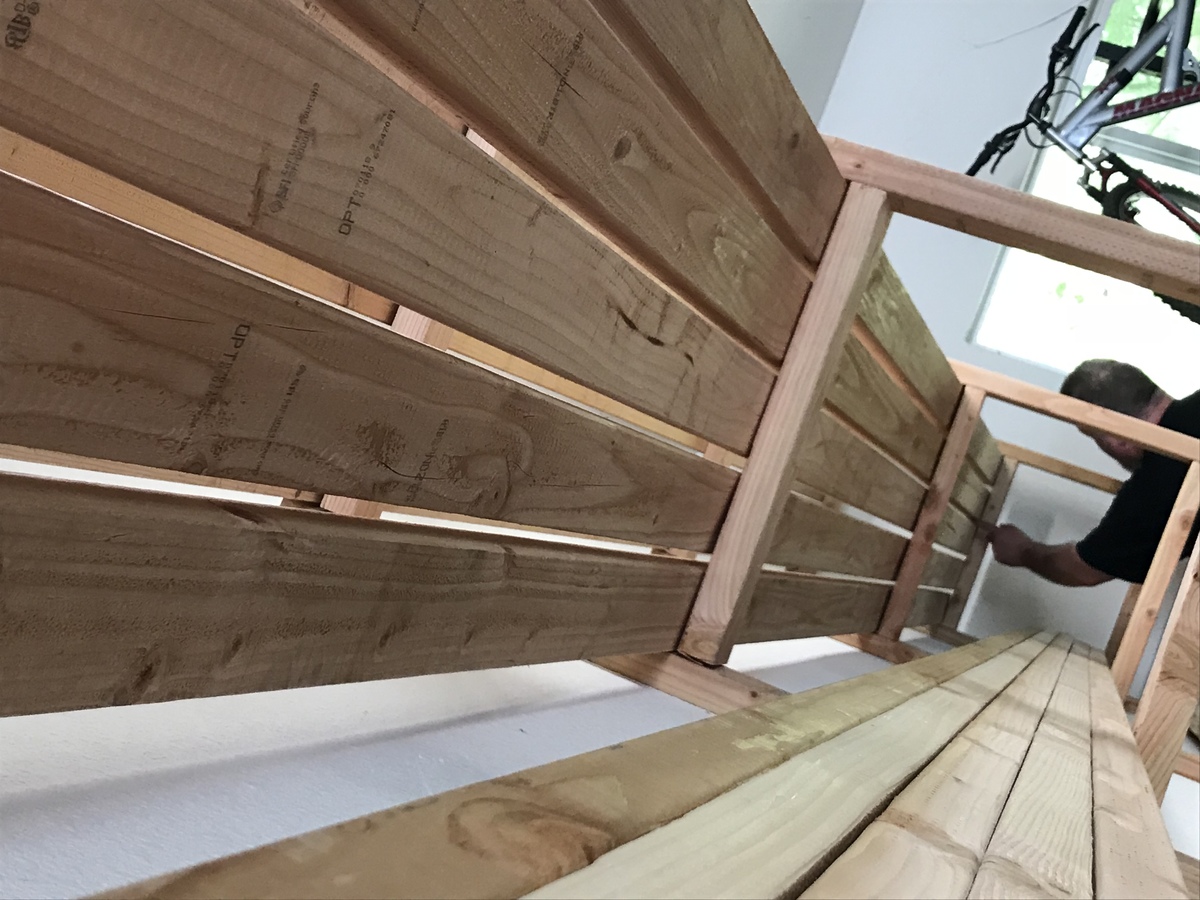
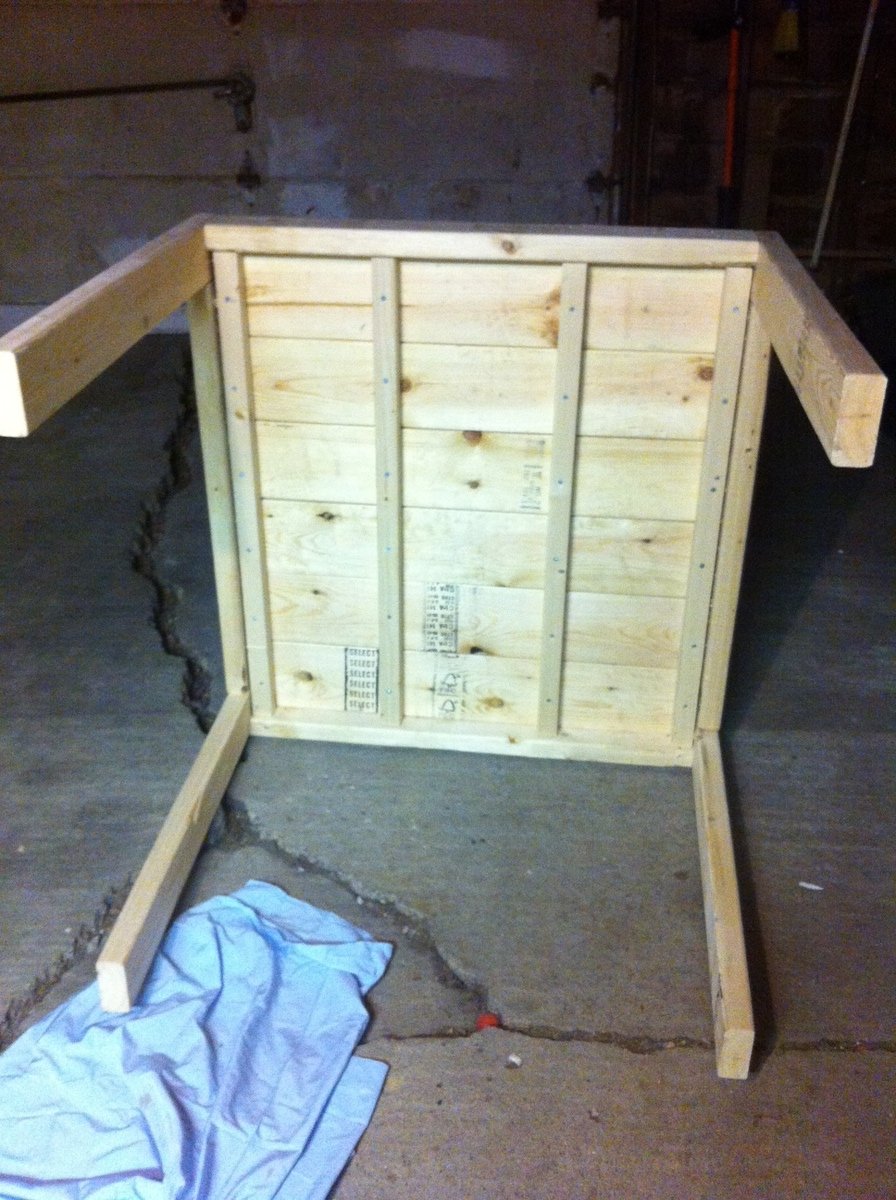
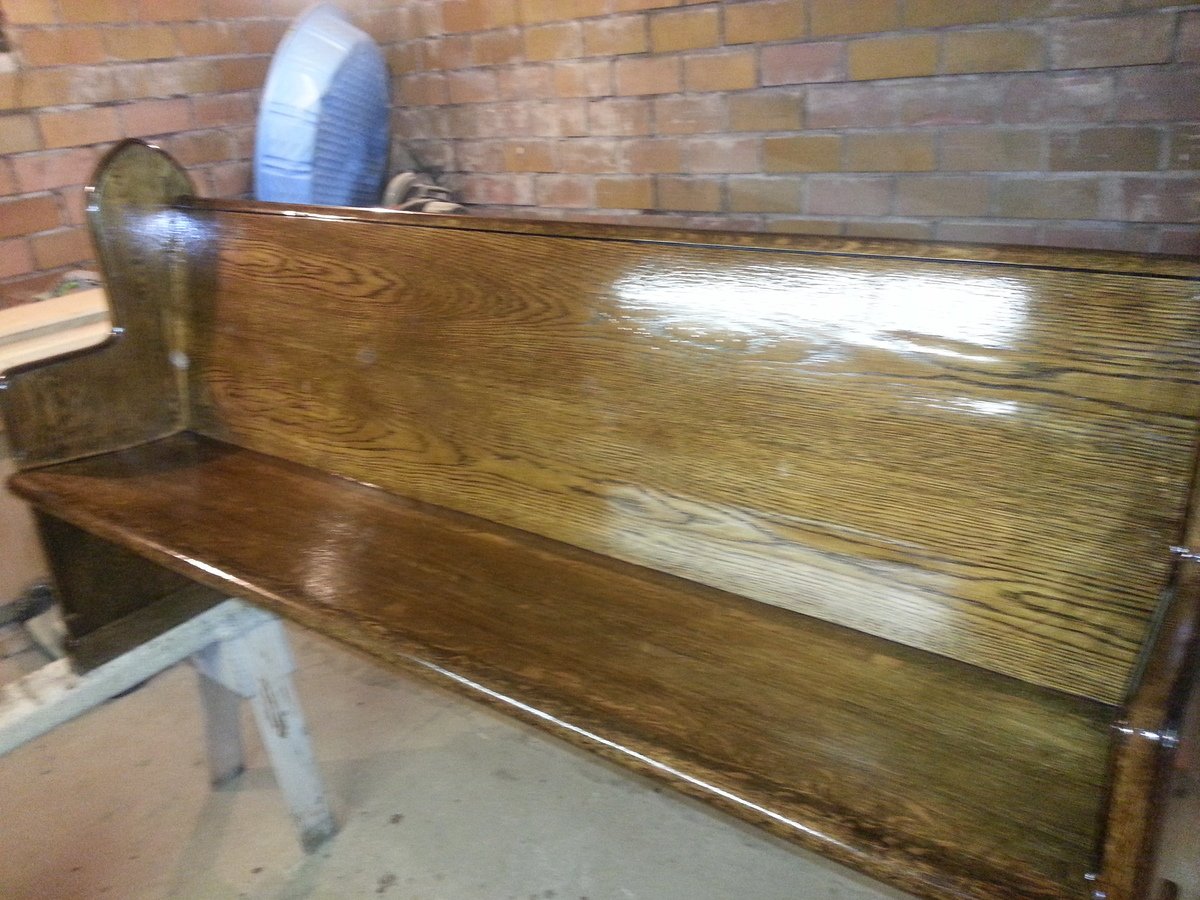
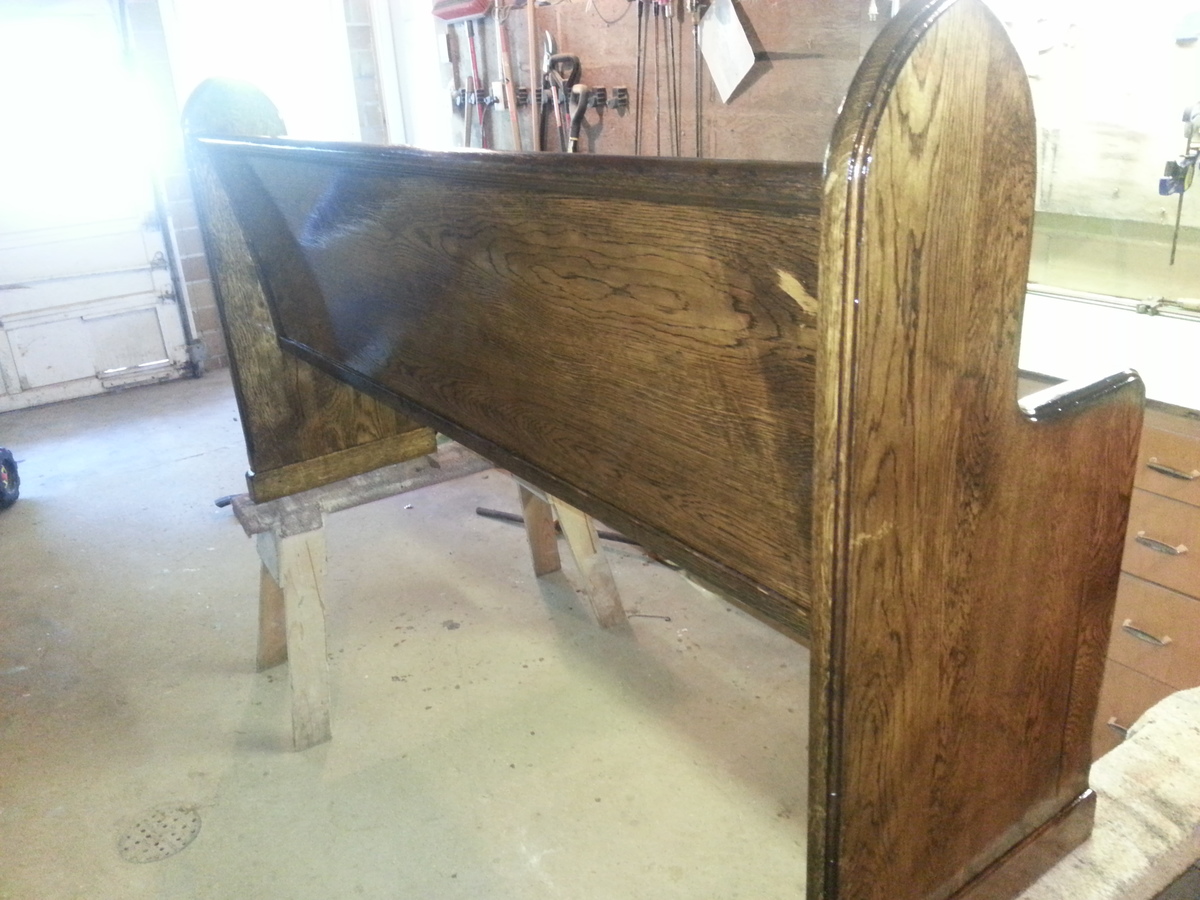
Built this loft bed for my tween girl who needed/wanted a hangout area and has always dreamed of having a loft. It may look daunting but it's actually quite simple. 2x8"s built to size in the shape of the bed, screwed into the studs in the wall with lag bolts. A 4x4" holds the frame up where it is not supported by the wall. I considered a pole or chain or other suspension method from the ceiling but decided that a nicely trimmed 4x4" would look nicer and it really doesn't get in the way since the ladder is there anyways. I built the bed frame bigger than I needed for the twin mattress to accommodate free space for clutter, e.g. books, pillows, etc. Once the frame is up I added supports for the mattress, with 2x2"s spanning length and width, then plywood. 2x4"s are screwed in vertically and then topped with a flat 1x3" and spanned with a 1x2" to protect her from falling. Since she's older I didn't feel that I needed to add as much support around both open sides. It has not been an issue at all and I am fully comfortable with it. I installed small LED color changing lights in the underside of the bed. The headboard was made from standard 5" t&g boards and has a small shelf to hold "stuff." A custom in-wall shelf holds more of her "stuff." The wood color is just a dark walnut Danish oil that I love working with.
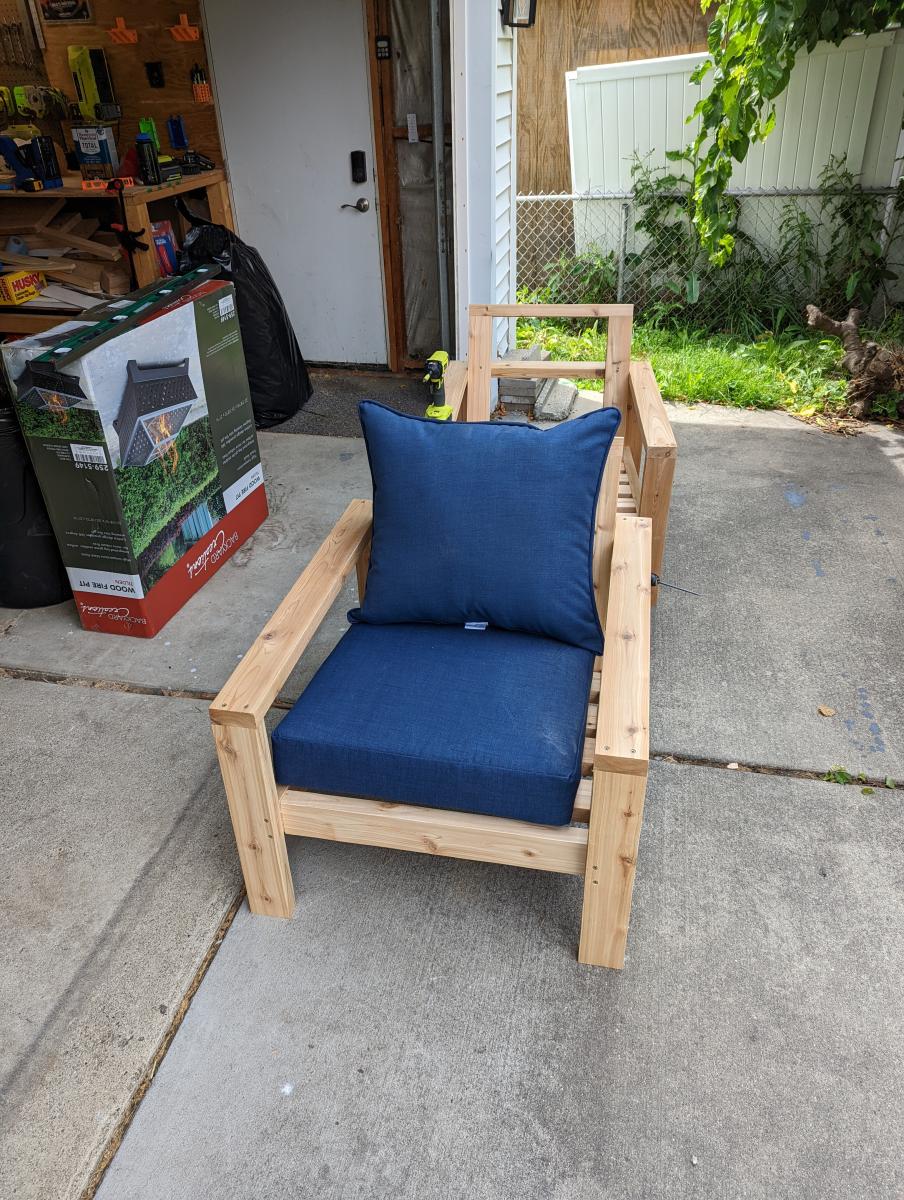
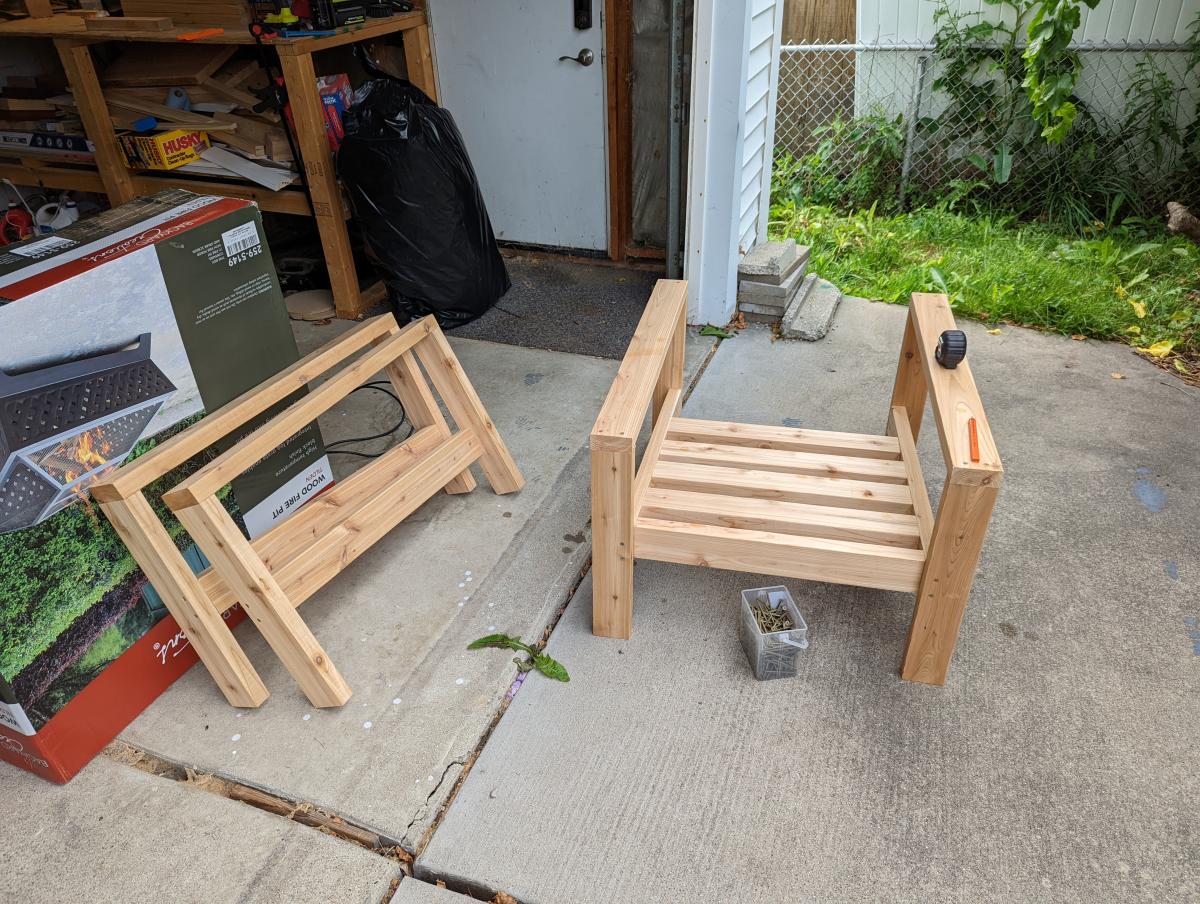
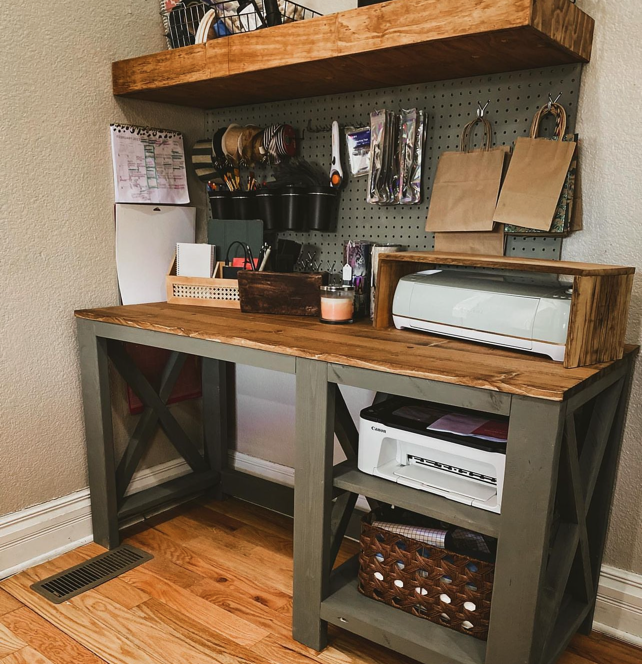
Finally, I built the base for the couch with 1x3". The couch itself is two separate futon style chairs that open up into single beds, perfect for sleepovers! They are meant to just lay on the floor but I wanted to make it look more like a couch. We bought those from Walmart. I recommend! Hope you like. Let me know if you have any questions. I don't have formal plans but can try an answer all questions best I can! Cheers!


Comments
amandabc123
Thu, 01/30/2020 - 09:19
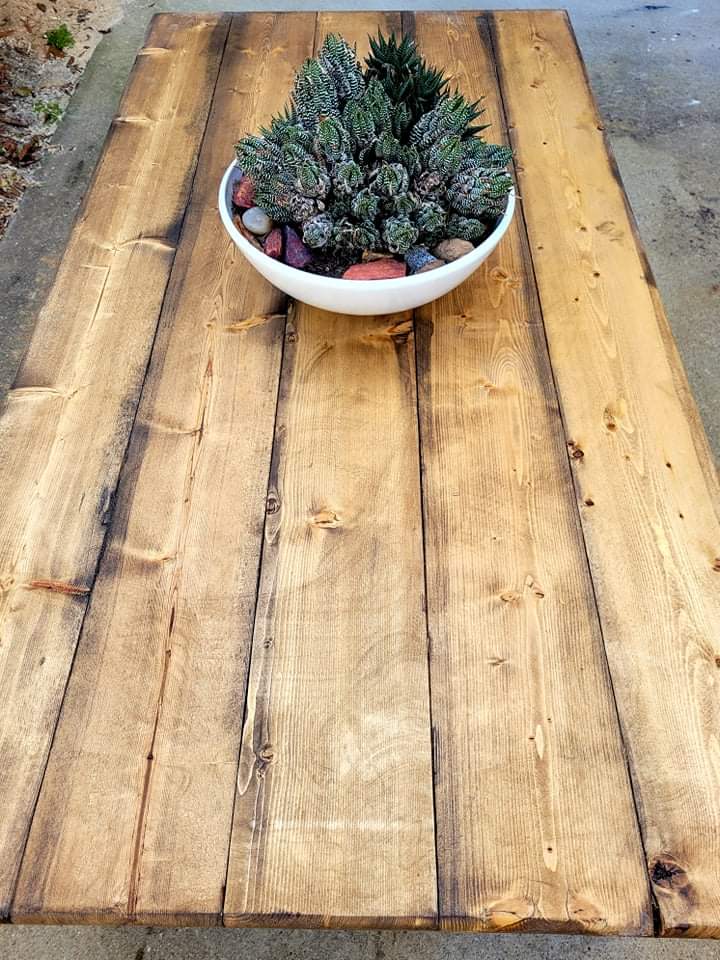
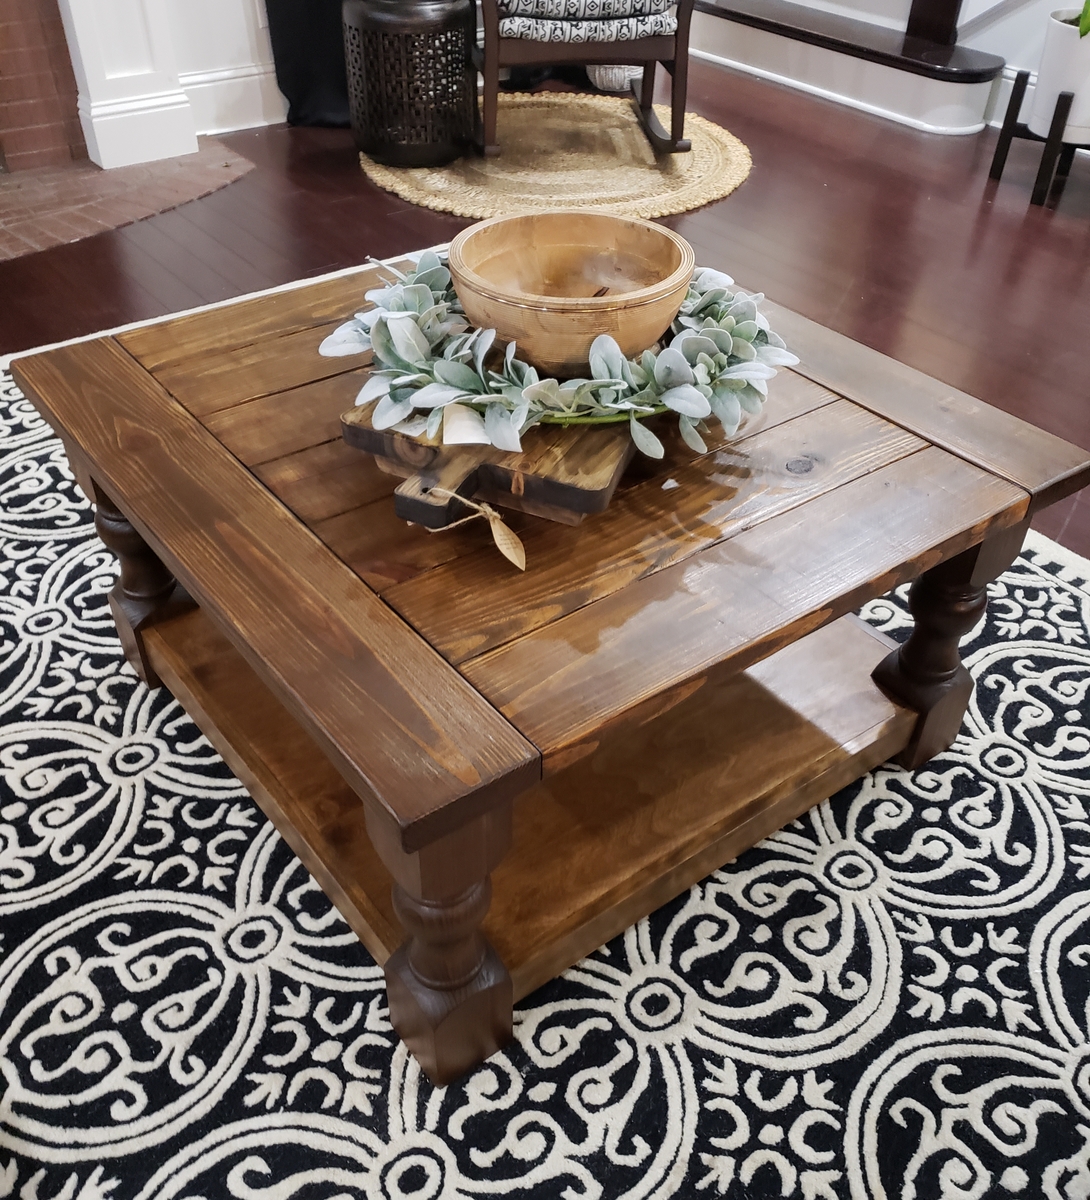
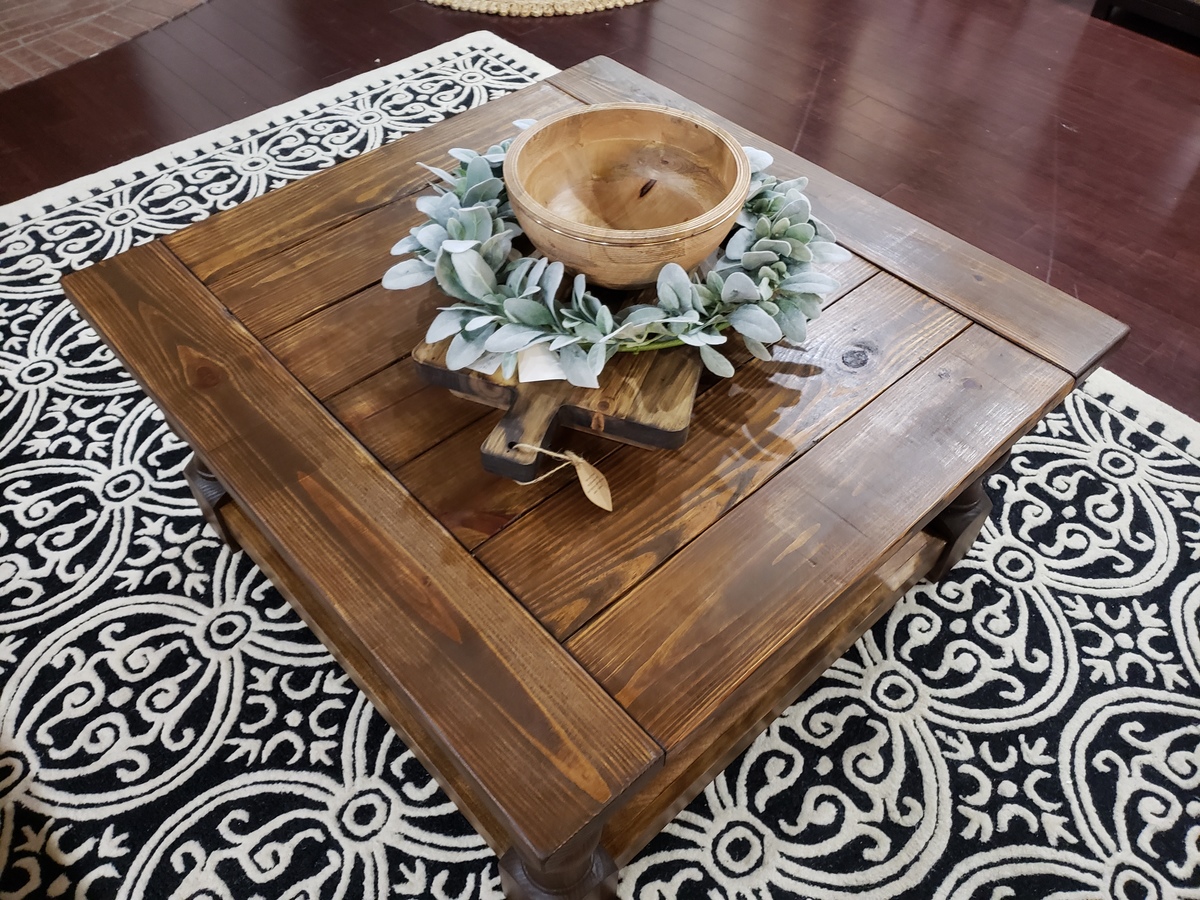
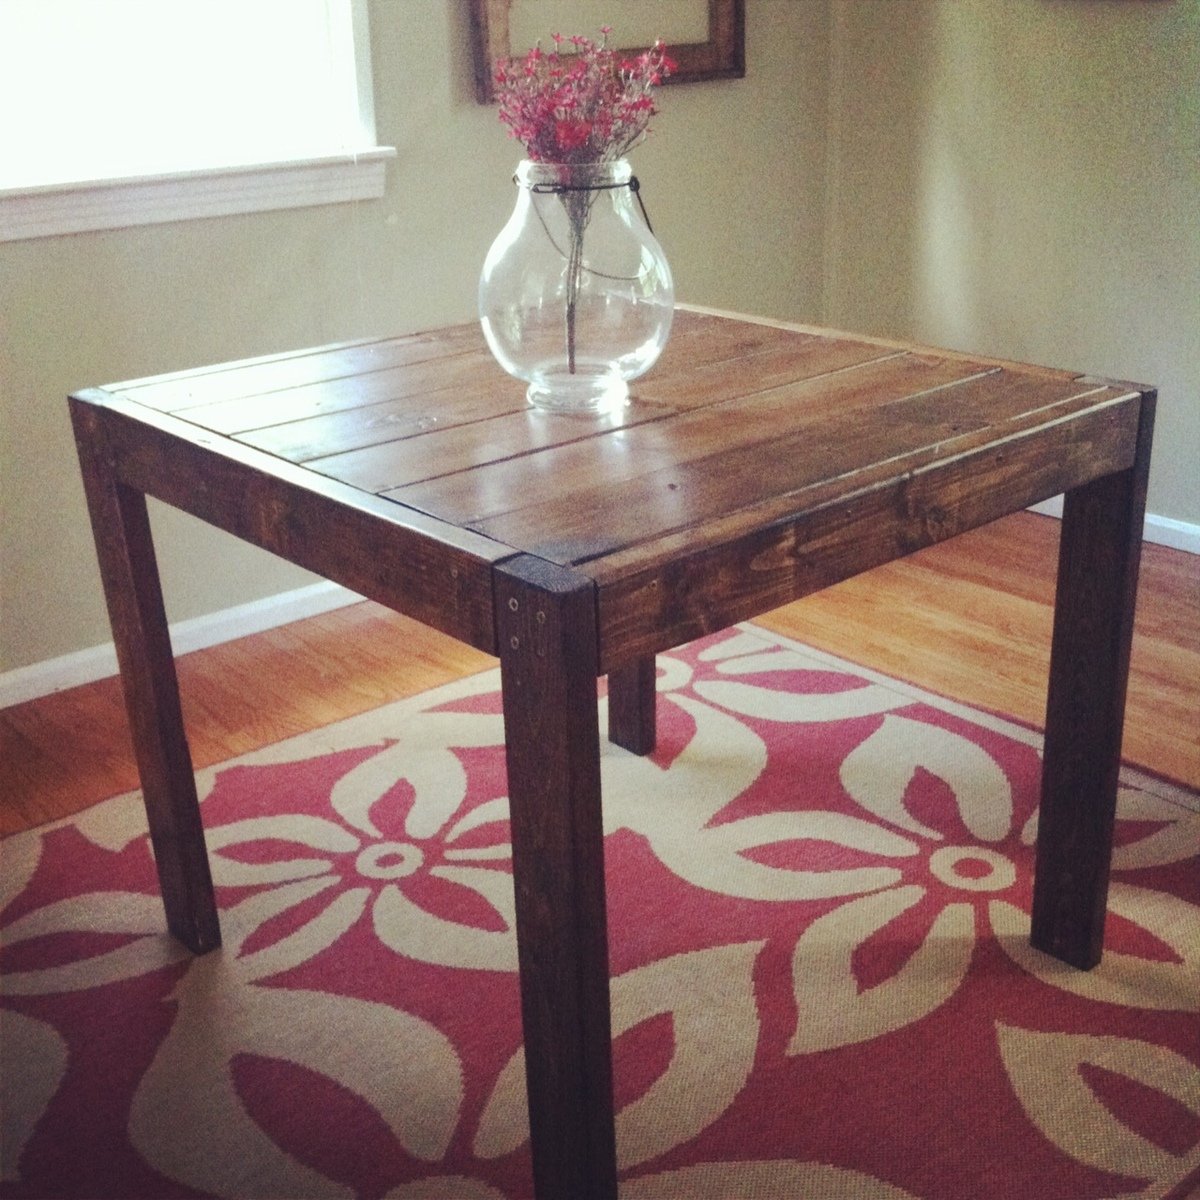
Question about the top panel
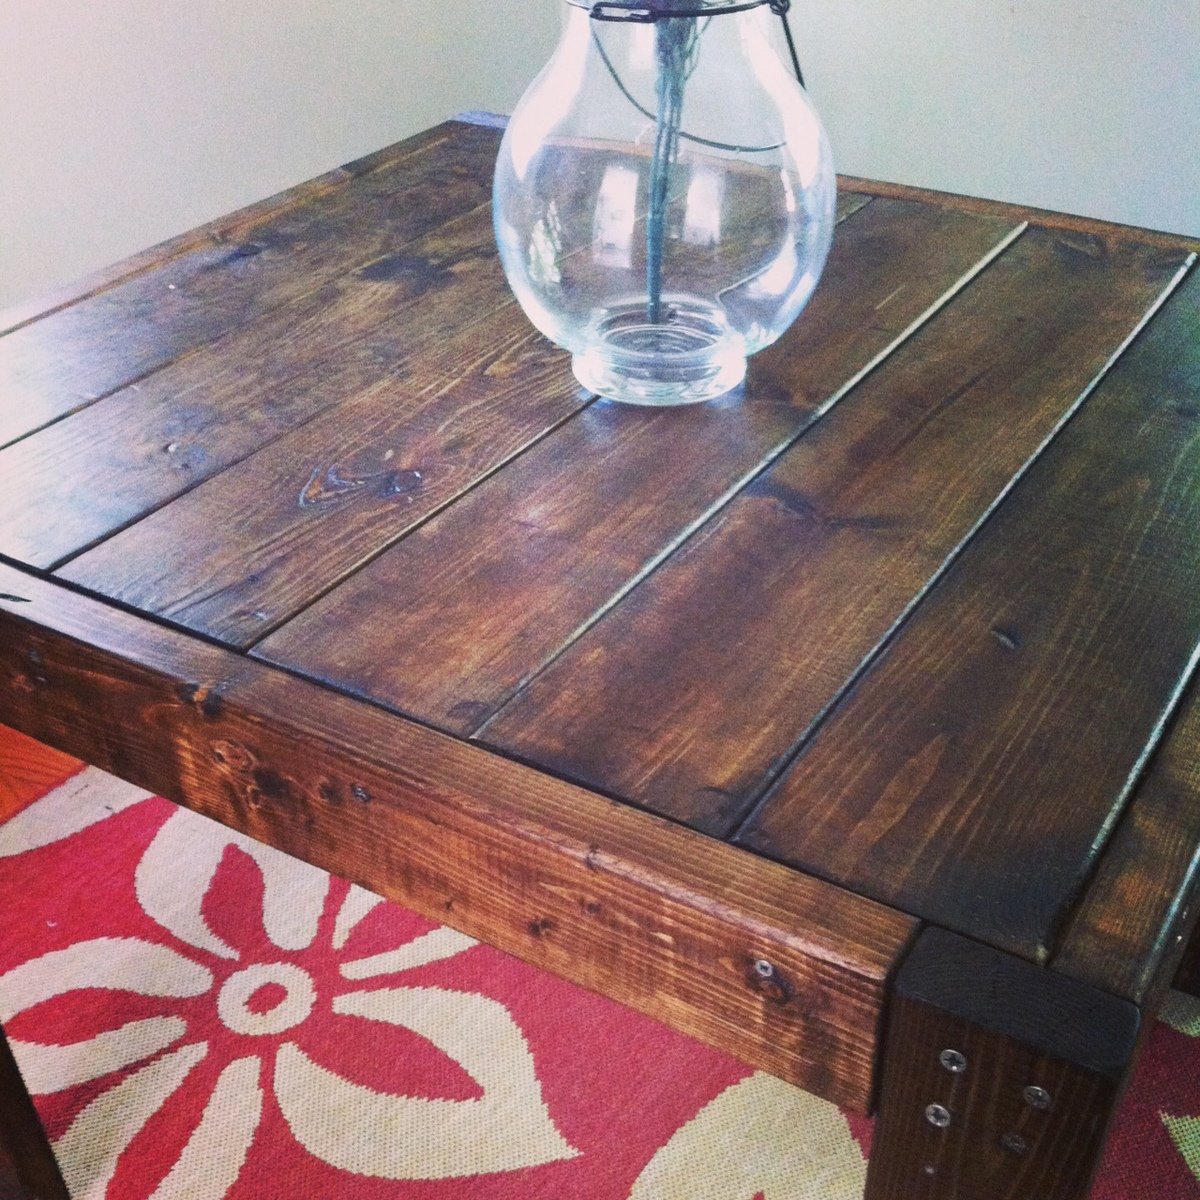
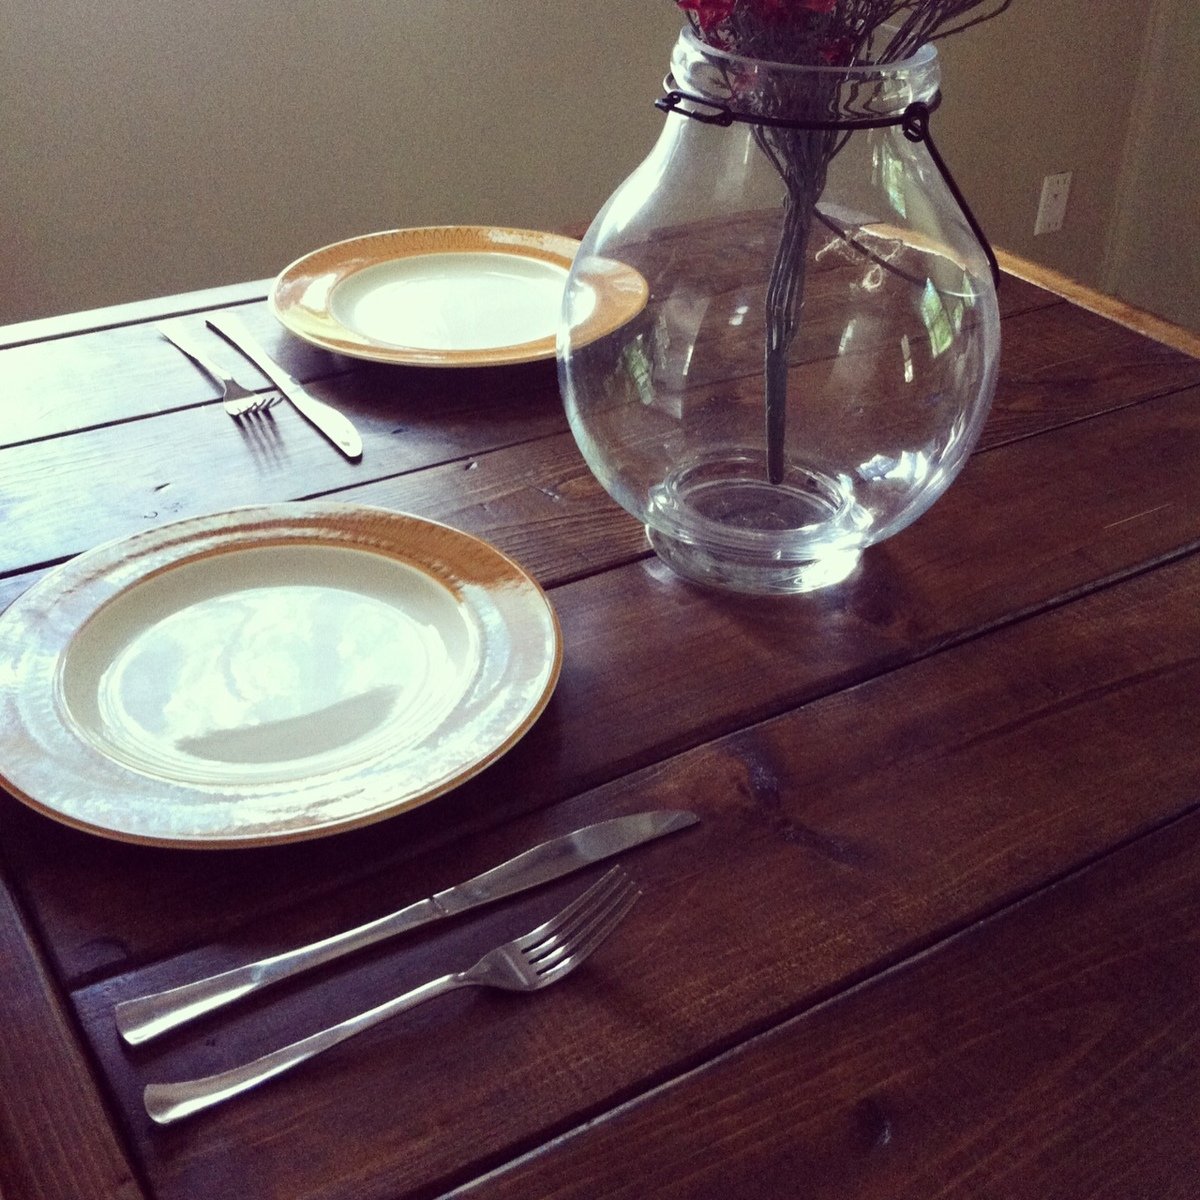
I love this! Do you have more information on how you did the top? It looks like one solid piece, and I'm just curious where you purchased the panels and how you built the top to look so nice.