Community Brag Posts

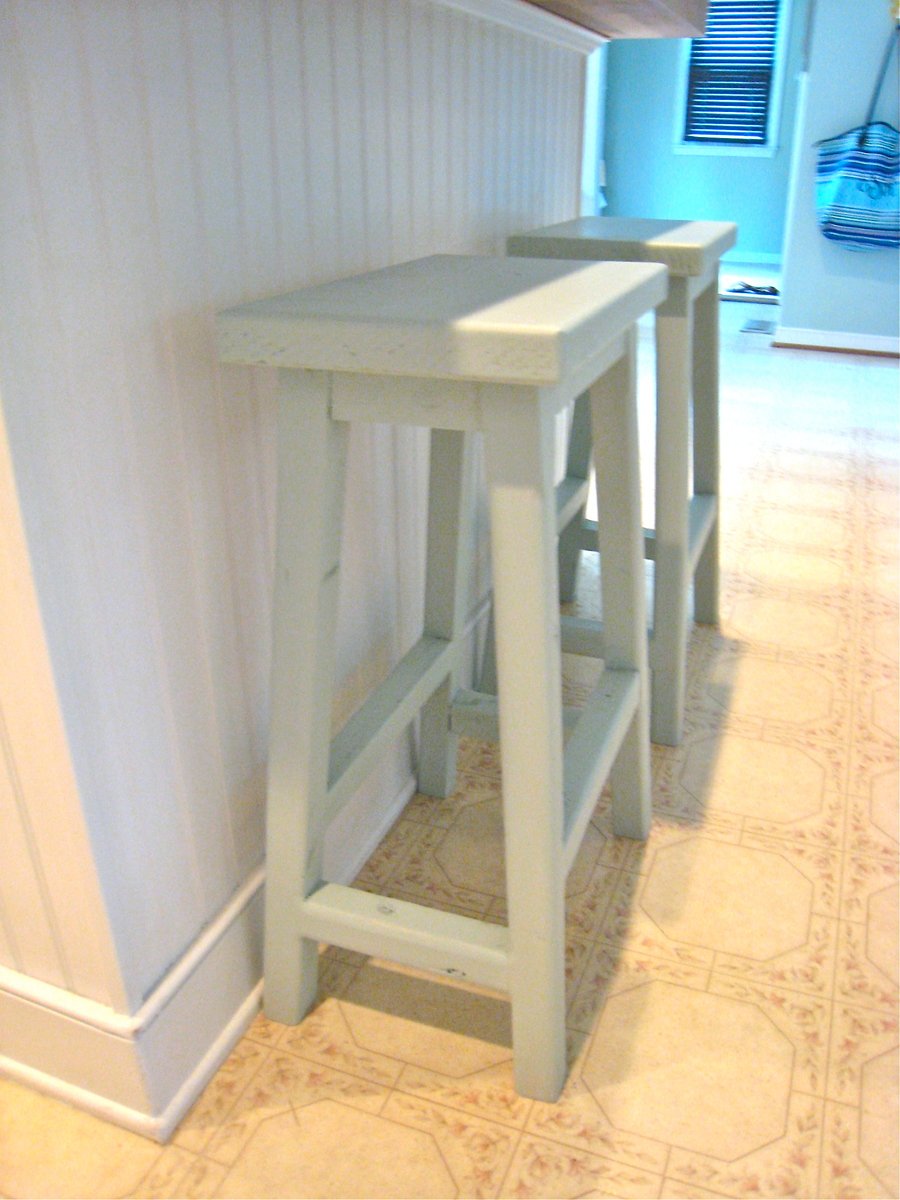
Simplest Stool : Saddle Back Style

Submitted by tsibiga on Mon, 06/20/2011 - 09:52

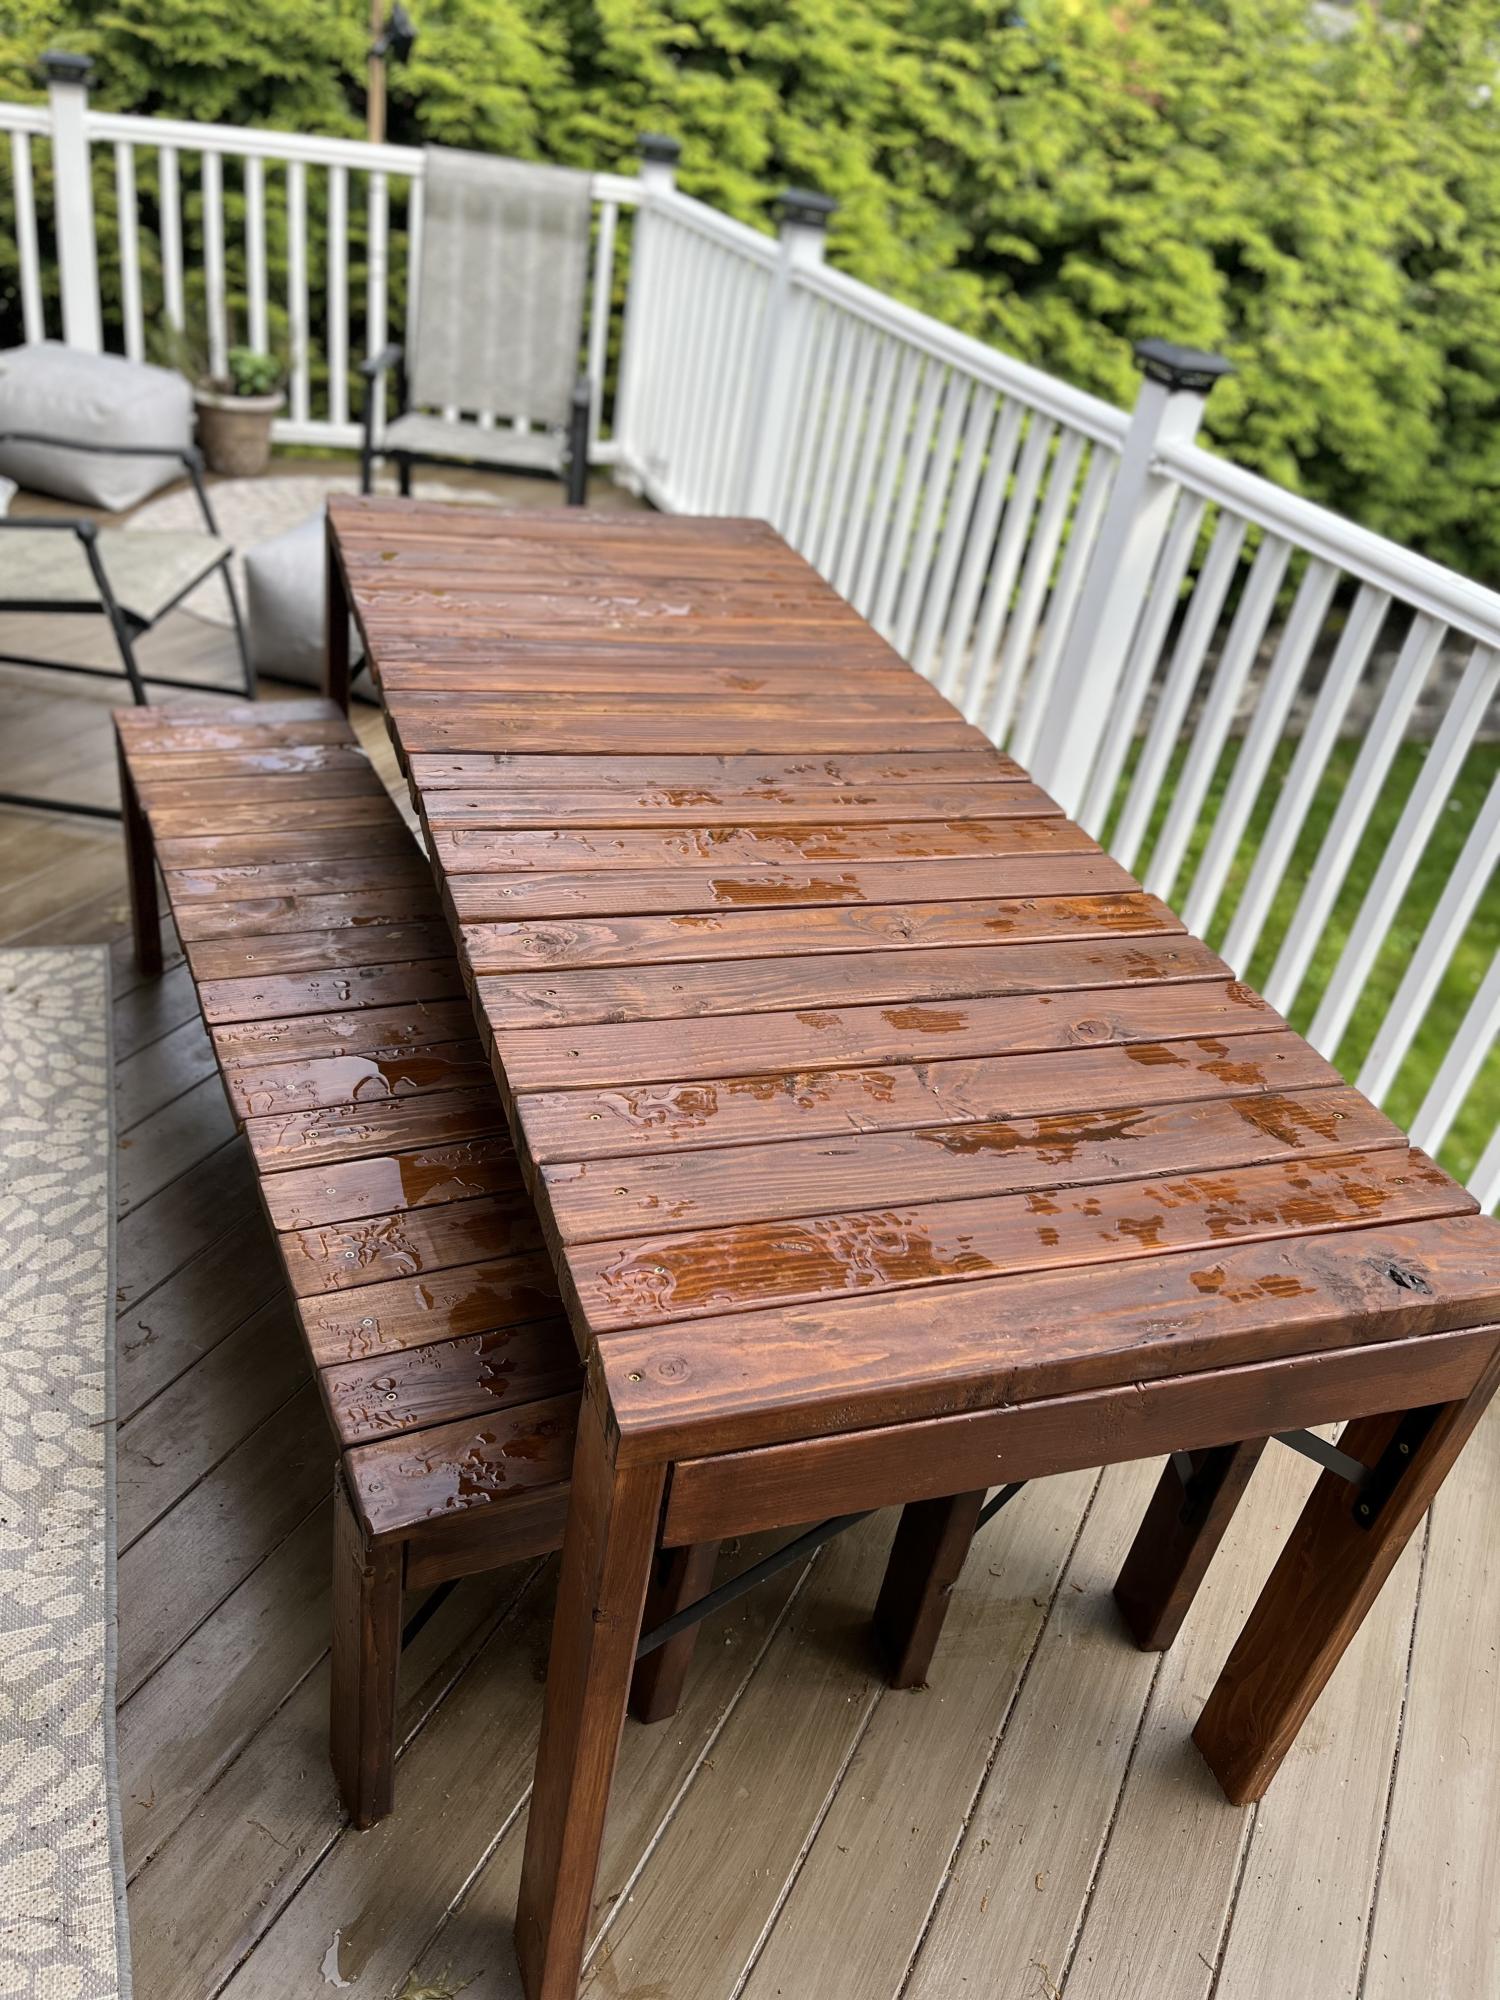
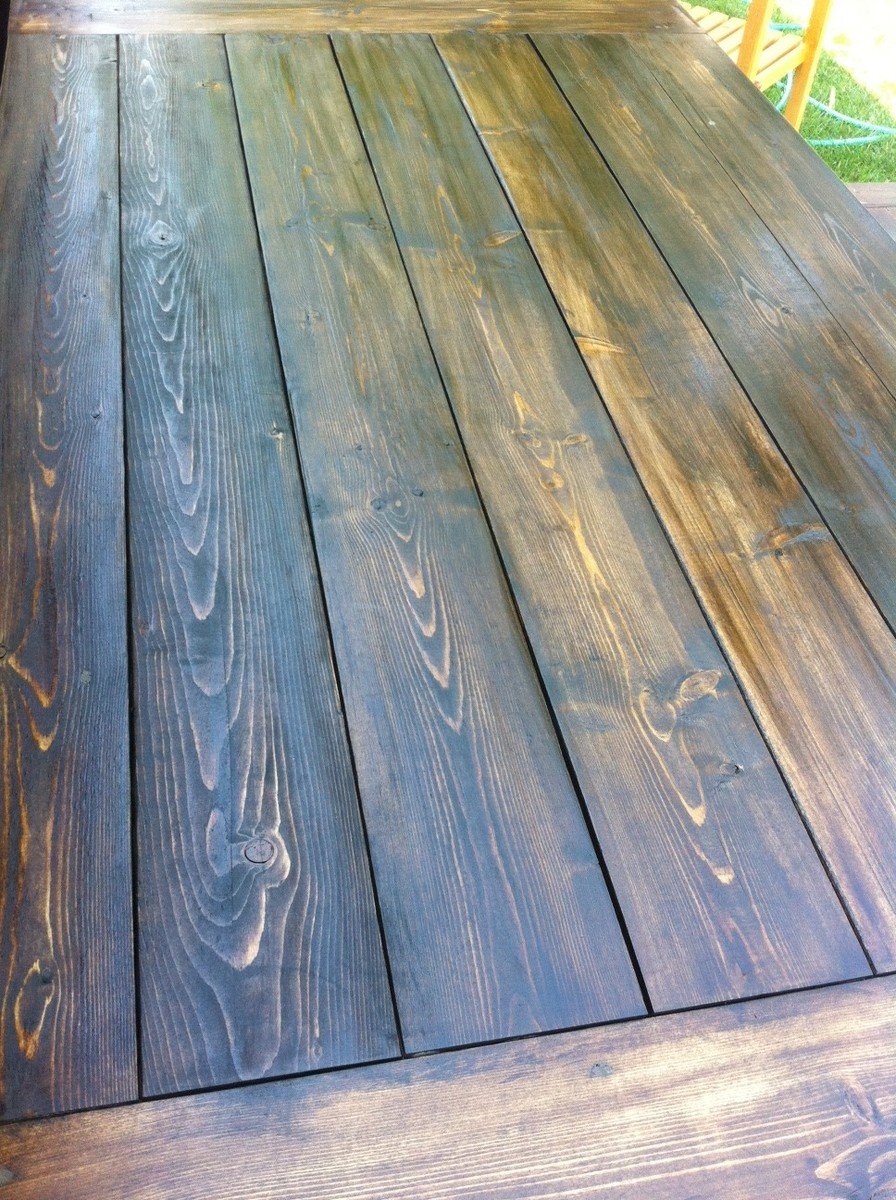
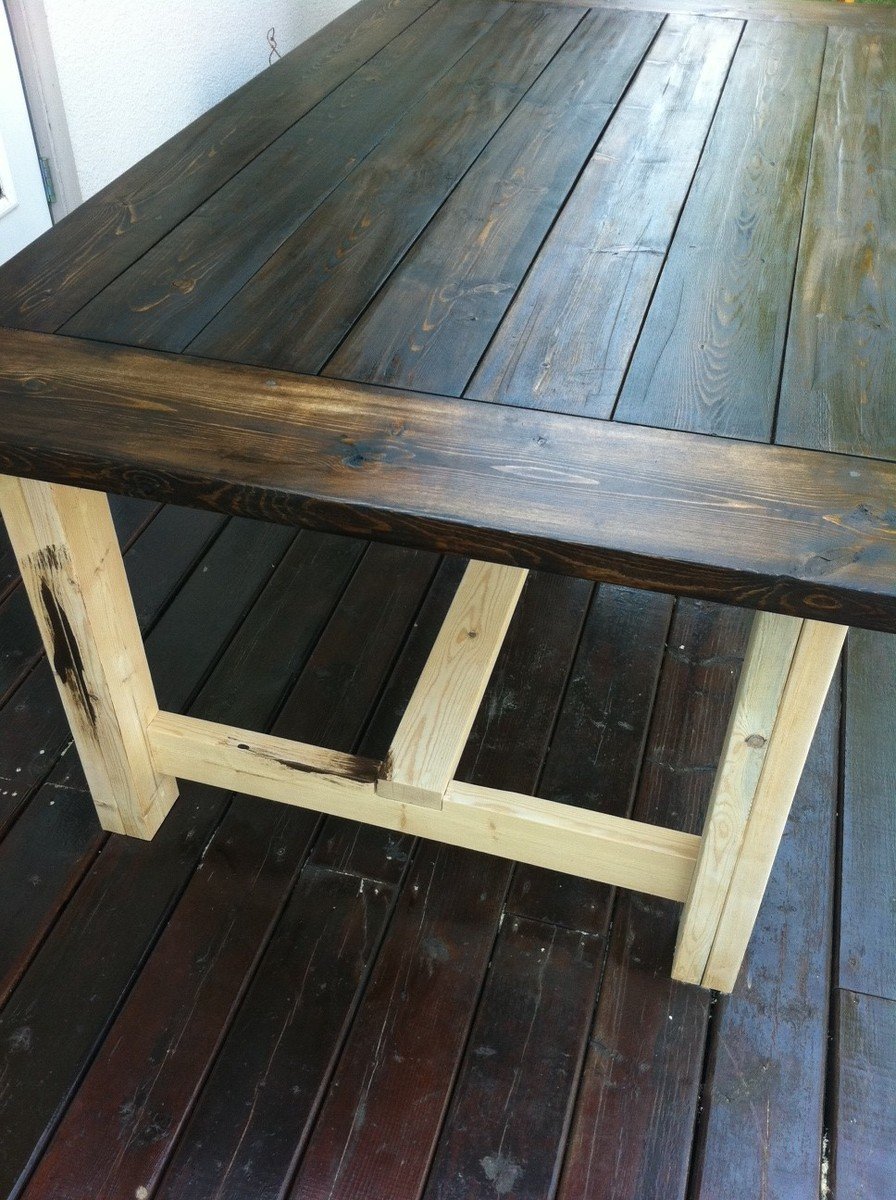
We've been looking for some saddle back stools for quite a while that would fit snug under our kitchen island. I couldn't find any, so I checked Ana-White and found the perfect building plan. I used scraps to build two matching stools and so I altered the plans to fit what I had. Other then the dimensions being different, I also used a 2x12" piece of wood cut down to 9x15" for the stool top.

I've documented the process as best as I could at; http://www.tommyandellie.com/Site/Home/Entries/2011/6/13_More_Seating_f…

Built from Plan(s)
Estimated Cost
$0 I used all scrap wood from a previous project
Estimated Time Investment
An Hour or Two (0-2 Hours)
Finish Used
"Rainwater" Martha Stewart Paint
Recommended Skill Level
Beginner

Comments

tsibiga

Thu, 06/30/2011 - 04:50

I skipped a step that I might redo. I'd recommend taking some wood filler and spreading over the knots and imperfections before painting it. Sand it down, smooth it out, and it'll be Looking flawless.

Stef (not verified)

Thu, 07/07/2011 - 15:02

I've been looking for some stools like this, so I followed your lead and just finished making some. Thanks so much for sharing!

tsibiga

Fri, 07/08/2011 - 17:53

Awesome! I'm so glad you made some. Thanks for sharing. We love our stools and hope you enjoy them as well.

Reclaimed Cedar Board 10x 10 Barn Greenhouse

Submitted by bailie on Sun, 04/24/2022 - 13:02

Thank you for sharing your plan!

10×10 greenhouse made with re-claimed cedar boards from old barn on Menlo, WA

Built from Plan(s)

Comments

rick1956

Wed, 06/08/2022 - 05:52

Beautiful! I like the fact that you bucked the trend and turned your clear panels for Washington rainwater runoff. There are good and bad with both directions, vertical makes the most sense. I can see myself re-doing ours at some point to change the panel direction. At least they're pointing the right direction on my skylights.
Great design, and of course, I love the 'live edge' details you added throughout!

Modern Outdoor Table & Benches

Submitted by Anonymous (not verified) on Thu, 05/19/2022 - 13:59

I made the table 6’ long and 30” wide to fit my narrow deck. I used some heavy duty shelf brackets under the legs to reinforce the table, mostly because I don't trust my beginner abilities. Took me about a week to cut, sand, stain and put it together (and then i stained and sealed again). Actually assembling it took only a few hours. I see a combo of pocket holes and regular exterior wood screws. Loved building this, love Ana’s plans. Thanks Ana!

Comments

first time builder

Submitted by Anonymous (not verified) on Thu, 10/18/2018 - 06:15

Thank you for these plans - they were great for a first time build. Definitley learned a lot building this...and now on to the next project!

Estimated Cost
I also built one bench - total cost with stain and some other materials about $100
Estimated Time Investment
Day Project (6-9 Hours)
Finish Used
Varathane Golden Oak (One Coat/One Hour dry)
Recommended Skill Level
Beginner

Love love love my new bedroom!!!!

Submitted by DogDoc25 on Tue, 08/27/2013 - 18:49

I've posted pictures of these separately, but I'm so excited about how these things came together in my room! This is the reclaimed wood headboard (queen) and the mini farmhouse bedside tables (only 1 pictured but the other is identical). Thanks so much Ana (and friends) for these awesome plans which have given me a fun thing to do in my free time and also inexpensively furnish my house!

Finish Used
Minwax Jacobean (looks slightly lighter in the picture than it is in real life)
Recommended Skill Level
Beginner

Sweet pea full over full bunk bed

Submitted by Anonymous (not verified) on Wed, 07/27/2022 - 17:24

Modified the original plans to make the bed a full over full. Planning on adding a trundle underneath later in the summer. Thank you so much for the plans! It was a lot of work, I can’t imagine having to design it too.

Comments

Changing Table

Submitted by dritcheson on Sat, 11/10/2018 - 19:05

Changing table built for my first grandchild!

Built from Plan(s)
Estimated Time Investment
Weekend Project (10-20 Hours)
Finish Used
Valspar Oil Based Paint
Recommended Skill Level
Beginner

Coat closet

Submitted by Anonymous (not verified) on Mon, 12/31/2018 - 06:57

I just wanted better organization and shoe racks up close to the front of the closet instead of in the back but I also didn’t want them too deep. These plans fixed that.

Estimated Cost
$150
Estimated Time Investment
Weekend Project (10-20 Hours)
Finish Used
Paint
Recommended Skill Level
Beginner

Comments

Modified Shed - Door on short side

Submitted by aalim on Tue, 09/10/2013 - 07:00

I had very little clearance on the long side of the shed, so I opted to put the door on the short side. Thanks for the plan, it was a great starting point for my project.

Built from Plan(s)
Estimated Time Investment
Week Long Project (20 Hours or More)
Recommended Skill Level
Beginner

Comments

Husband made this table for us ( part of my Christmas gift)

Submitted by Anonymous (not verified) on Sat, 01/05/2019 - 18:40

We just got the table up into the kitchen area today! (1/5/19) So glad he finished this! Next will be a bench or maybe two. Thank you Ana for the plans to make this! It came out very nice and everyone who I’ve sent the pics to have given my husband praise! (I also included the photos and the link to this site in my blog! Whoo! Positive vibes!)

The project took him a little bit since he works FT

Built from Plan(s)
Estimated Cost
77.01
Estimated Time Investment
Weekend Project (10-20 Hours)
Finish Used
Off white paint with primer for legs, stain and sealant (unsure of the shade used)
Recommended Skill Level
Intermediate

Comments

Full farmhouse storage bed

Submitted by Lukilla on Fri, 10/07/2022 - 19:22

We built our little guy a twin bed when he was 1. 4 years later, he's outgrown it, and Ana White to the rescue! Not only were we able to upgrade the size to a full mattress, but the storage cubbies are a huge plus as well. Very easy to follow plans, took us about 3 days to knock it out.

Minwax Jacobean finish.

Comments

Small Gable Roof Greenhouse

Submitted by Anonymous (not verified) on Sun, 10/30/2022 - 08:45

Ana's plans are so easy to work with. This greenhouse was build with all recycled materials from our home build, except for the corrugated plastic (total cost approx. CAN $1,000). I did have to make it a little bit smaller as the area that was leveled was a bit smaller than planned. I'm planning to add raised beds inside, add a solar panel so that I can have light in the evening and a fan during the day. I'm planning to attach some gutters and a rain barrel.
This is my second project, based on Ana's plans (first one: https://www.ana-white.com/community-projects/indoor-firwood-console). Next, I'm planning to make the fancy X farmhouse table and bench with storage. Stay tuned.

Built from Plan(s)

Our "Stop Breaking Our Back" washer and dryer pedestals

The husband kept complaining that the washer and dryer were too low without pedestals. Well, no problem! I've got plans from Ana's site.

I measured to fit our machines and followed the plans. But somewhere along the way I screwed up. I think it might have been how I attached the legs with the "L" brackets. My legs were sitting away from the base, not flush with it. Anyhow, the way to correct my mistake was to attach the moulding along the sides, front and back of the base, not around the legs. But I don't mind the way it looks. Just an FYI: there was a lot of waste with the sheets of MDF, but that's not a problem because I'm using it in another project as I write. :)

First, I put on two coats of primer. Then I decided I wanted a splash of turquoise in the basement, so I mixed a blue and yellow paint until I got the color I desired. After a few coats of paint, I distressed and then decided to tone down the color a bit with a Valspar glaze. I put on two coats of poly, hoping that would be enough to withstand the inevitable water on the pedestal. I thought the piece was screaming for a quote, so I painted "The most memorable days usually end with the dirtiest clothes."

And you think with the new height he'd help me with laundry a bit more? Yeah, I think not.

Estimated Cost
$70
Estimated Time Investment
Afternoon Project (3-6 Hours)
Finish Used
Mixed a blue and yellow paint to get the turquoise. Put two coats of paint on over the primer. For the first time I thought I would try distressing with candle wax. I rubbed the candle down the edges of the wood and gently brushed away any wax crumbs. Then I painted over it. When it was time for distressing, I gently rubbed the sandpaper over the edges and the paint easily came off. Definitely looks different than distressing with just sanding. Finished up with a little glaze then 2 coats of polyurethane.
Recommended Skill Level
Beginner

Comments

VeronicaGentry (not verified)

Tue, 08/30/2011 - 18:58

I love the color! I'm usually not a fan of quotes on furniture but this is really cute and it fits perfectly! Great job!

BethG (not verified)

Sat, 09/10/2011 - 17:44

What a great idea, and I love the color choice! We have front loaders and bought the drawers for the bottom. While they are decent storage, they tend to travel open at times. This has so much more personality and adds a real built in look to the laundry area. I'm sure you saved quite a bit doing it this way over drawers. How is it holding up to the moisture and vibration of a the washers? Keep those great ideas coming.

In reply to by BethG (not verified)

debandtom25

Tue, 09/20/2011 - 18:38

I've been waiting for my machines to "walk off", but the pedestal is holding up well. I made sure to add poly to help protect it from the moisture. So far, so good.

My Farmhouse Dining Table

Submitted by LinzFritz on Wed, 09/14/2011 - 19:28

I love my new table! My wood was a little bit warped for the tabletop, so that's where I ran into the most problems, but I used a hand planer to smooth it down and it turned out perfectly!

Estimated Cost
$150
Estimated Time Investment
Weekend Project (10-20 Hours)
Finish Used
Minwax Dark Walnut, Semi-Gloss Polyurethane, and Sherwin Williams Aesthetic White
Recommended Skill Level
Beginner

Comments

Adam (not verified)

Fri, 12/09/2011 - 06:33

Thats quite nice. I'll bet you spent more than half of the time on the finish. Great color choice.

Farmhouse Storage bed

Submitted by 1bwalls on Sun, 12/27/2015 - 12:37

I built this in a full size.  Took some time to adjust all the measurements.  I used cheap lumber since I was painting it and it cost a little over $350.  Then I spent another $75 because I screwed up measurements.  :). This was only the 3rd thing I ever built, so I think I did alright.  The plans were great!  Watched several videos on YouTube about squaring drawers and that helped.

Estimated Cost
$425
Estimated Time Investment
Weekend Project (10-20 Hours)
Recommended Skill Level
Intermediate

Made for DUCKS!

Submitted by Anonymous (not verified) on Sun, 03/17/2019 - 08:12

Built in 2017 for our ducks! They use the ramp just fine! I am now working on editing this coop plan to make a coop for 4 chickens we just brought home. I'm going to leave out the planting area, since it's going inside their open run. 

Estimated Cost
$600 with materials for run fence as well
Estimated Time Investment
Day Project (6-9 Hours)
Recommended Skill Level
Intermediate

Rustic shelves

Submitted by ogie287 on Fri, 03/29/2019 - 18:06

I love the look of these shelves. I needed something for the wall space to either side of the kitchen window and sink. The ceiling slopes down at least a foot on that wall so there's less space for cabinets and putting up cabinets that fit the space wasn't working. Shelves were the answer. The pictures show only the left side of the window/sink, but I did put up a matching shelf on the right side. I used a 1x8 for the shelf and 1x6 for the back.

Built from Plan(s)
Estimated Time Investment
Afternoon Project (3-6 Hours)
Finish Used
1 coat weathered gray stain, 1 coat antique white stain, 2 coats matte polyurethane
Recommended Skill Level
Beginner

Roller Vertical Pantry

Submitted by MikeW on Mon, 05/06/2019 - 08:49

Made my wife happy!

Estimated Time Investment
Day Project (6-9 Hours)
Finish Used
Paint
Recommended Skill Level
Intermediate

Comments

Fancy Baby Doll Crib and Hi Chair Set

Submitted by Linda7 on Thu, 01/21/2016 - 15:07

This was a Christmas gift for my youngest grandniece. The doll crib is made from the Fancy Doll Crib plans, slightly modified to be taller and longer. The high chair is made according to plan, except I substituted a 1" x 6" board for the back.

Estimated Cost
Purchased a 1" x 12" x 48" project board for the bottom and sides for about $10.00; the remainder of the wood was scrap, and I had the paint on hand. To make the set similar to the others I built for my grandnieces and granddaughter, I ordered a water-slide decal from Etsy - $13.00 including shipping, but there are several more decals on the sheet for future projects. The finials are from Hobby Lobby; need two pks at $1.99 each . I marked this as a weekend project just because I needed time to sand and dry time for the paint.
Estimated Time Investment
Weekend Project (10-20 Hours)
Finish Used
Valspar "Ultra White" interior paint; spray a clear finish over paint.
Recommended Skill Level
Beginner

Outdoor Loveseat

Still need to stain but this was my very first project and it turned out well!  The directions are very easy to follow and I am very happy with it!

Estimated Cost
$25
Estimated Time Investment
Afternoon Project (3-6 Hours)
Finish Used
Will be using Minwax oil-based stain over a wood conitioner, and a clear flat oil-based top-coat.
Recommended Skill Level
Beginner

Sand and water table

I love this table!  On cool winter mornings we fill it with warm water.  The built in umbrella stand will be essential once the Texas sun comes out.  

Hopefully it buys me some free time to finish some projects!  laugh 

I already have lots of requests to build more of these for friends and family.  I have some edits in mind to make it a little faster and easier next time.

Many thanks to Ana and all the contributers for all the inspiration and tips!

Estimated Time Investment
Day Project (6-9 Hours)
Recommended Skill Level
Intermediate