Community Brag Posts

Outdoor Living Space - Inspired by Ana's Plans

Submitted by Anonymous (not verified) on Thu, 05/07/2020 - 10:25

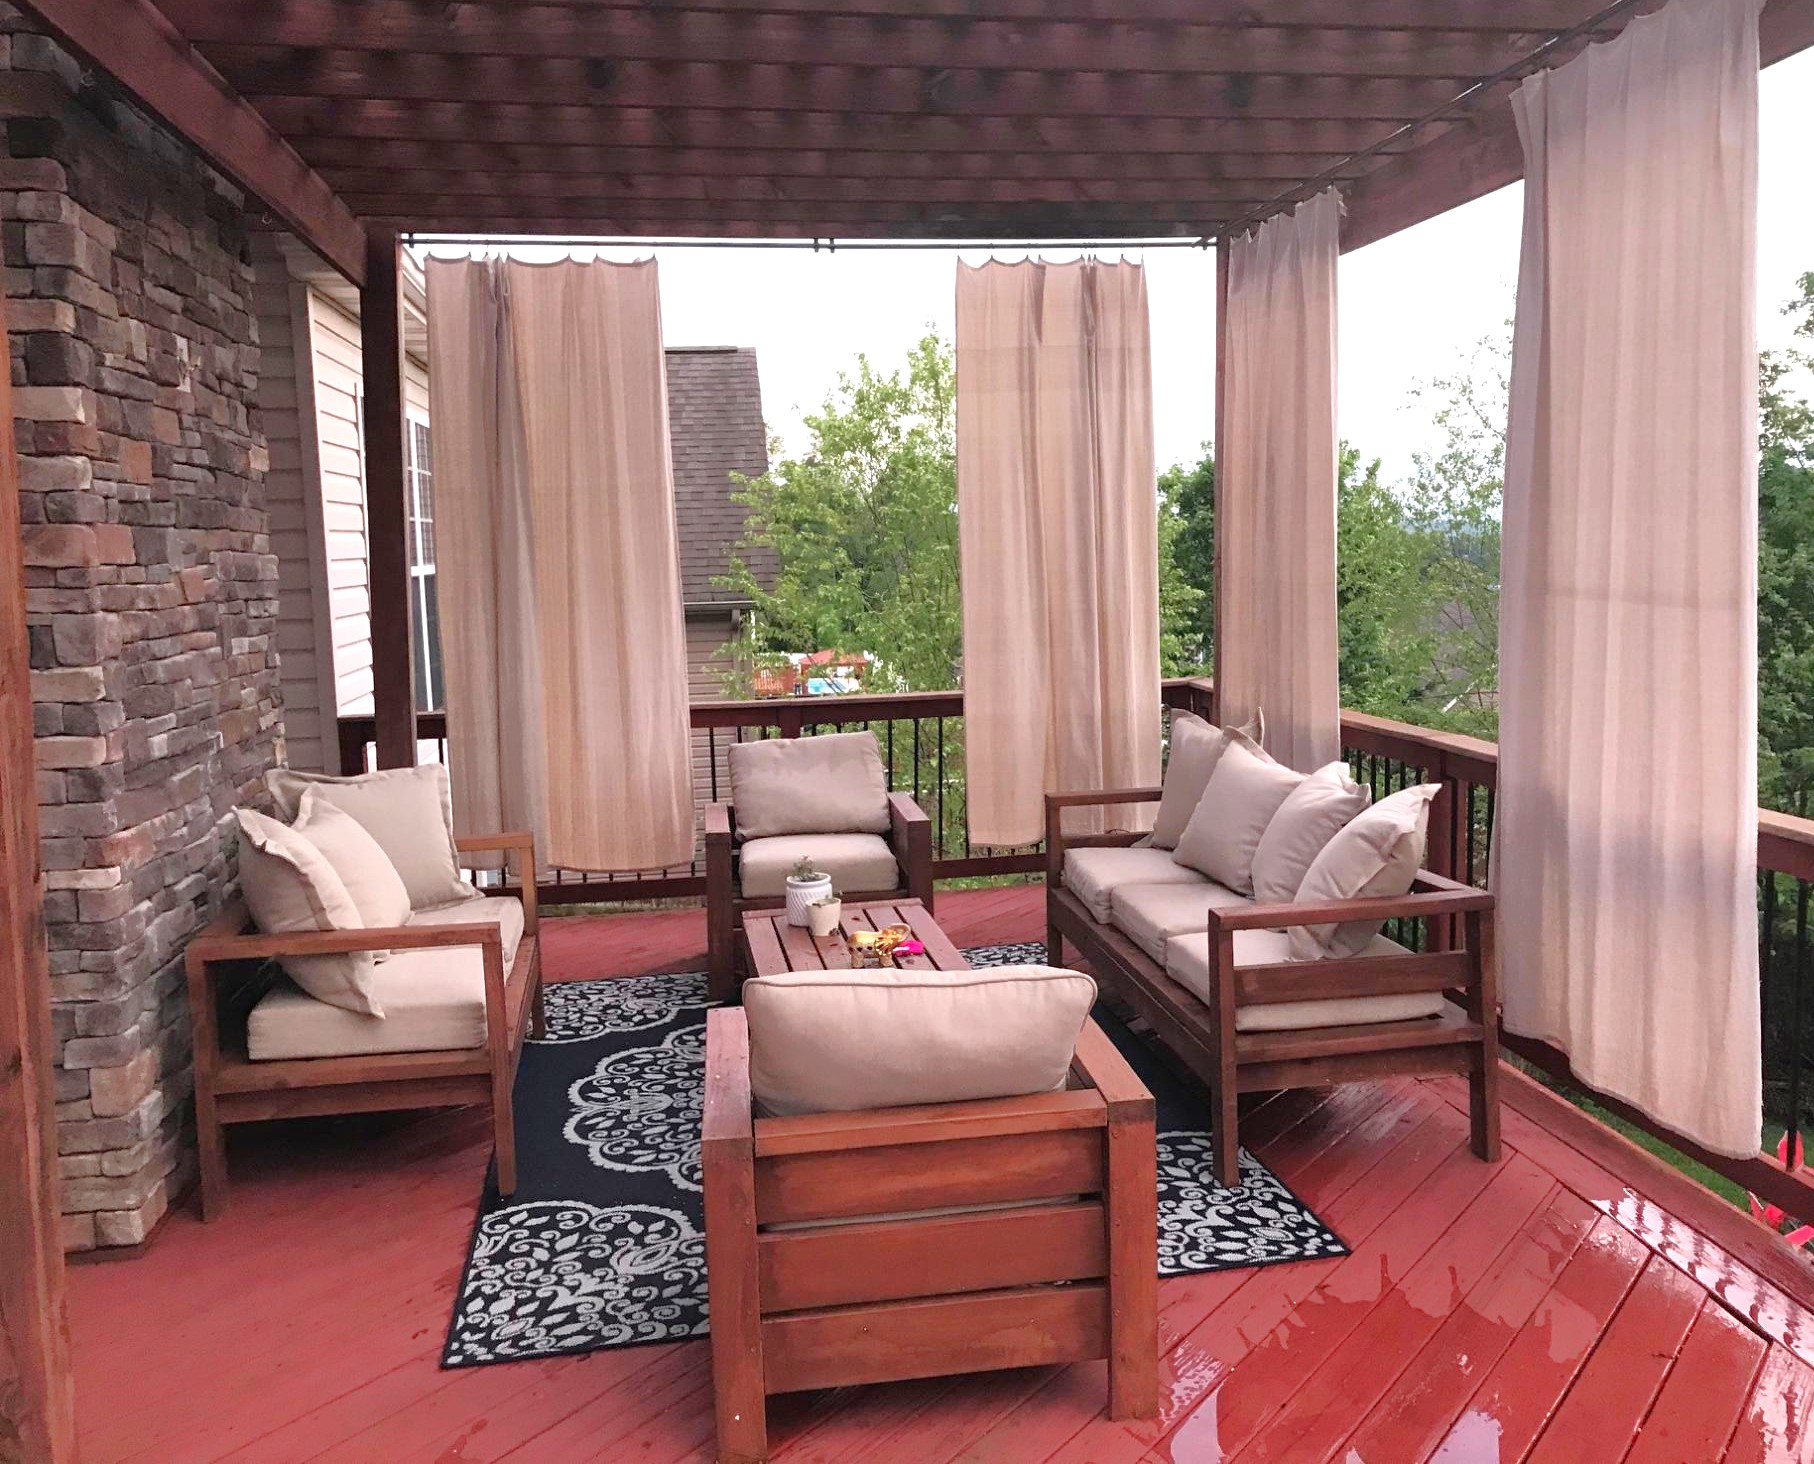
My wife and I were looking for a way to make our deck more enjoyable. I came across Ana's plans a year or so ago, and after building the couch and chairs, I decided to make a loveseat, add a rug and outdoor curtains. Hopefully one day I'll add some lights and an outdoor fan to complete the look.

Estimated Time Investment
Weekend Project (10-20 Hours)
Recommended Skill Level
Beginner

Comments

Seasonal And Holiday

Playhouse big build

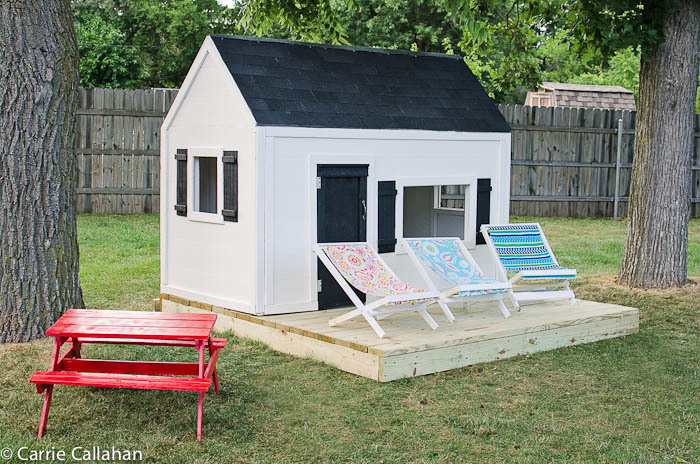
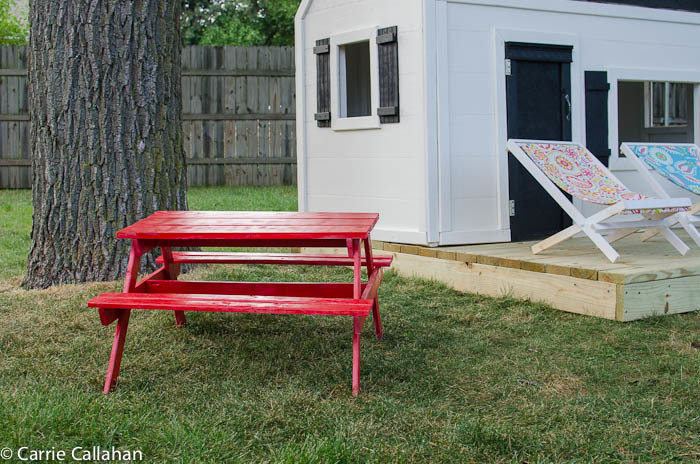
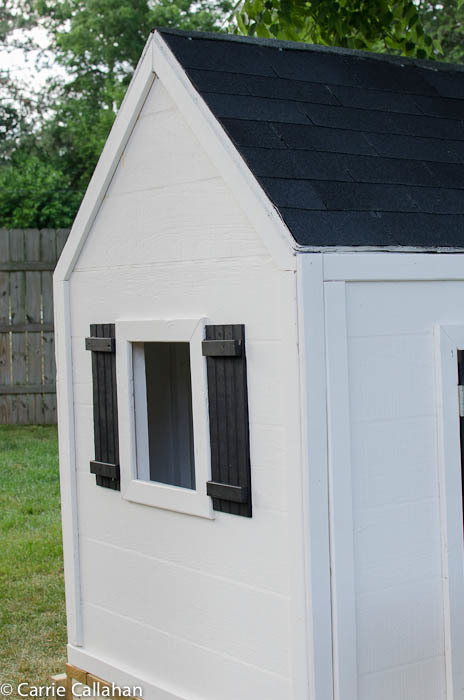
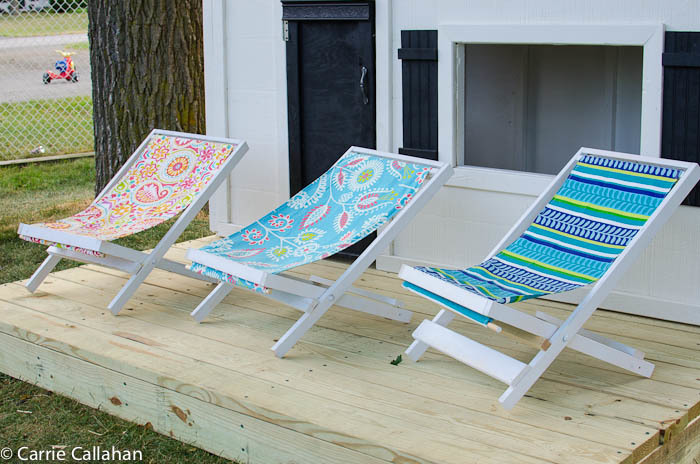
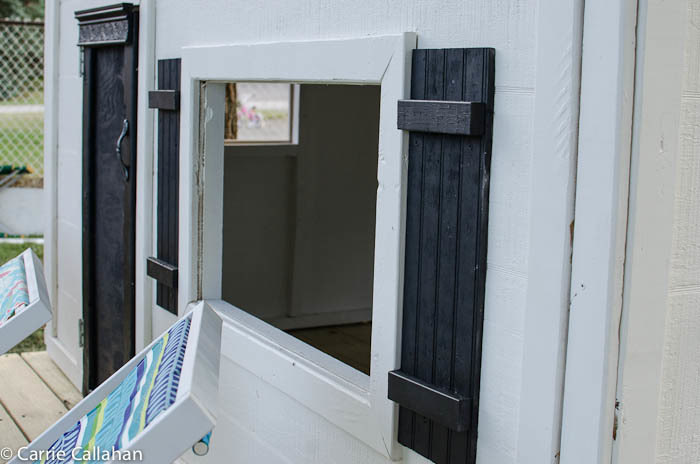
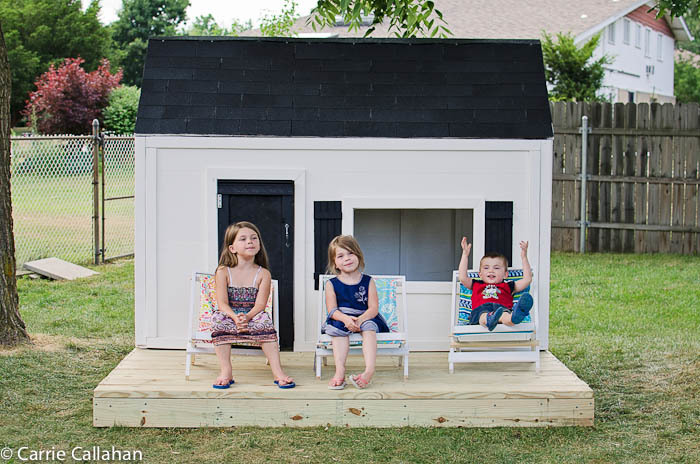
I went a little out of control on the week of the 4th of July - I set out to build a picnic table, 4 sling chairs, a deck and a playhouse - and I did!!!! I owe Ana a great debt of gratitude for these amazing plans and empowering me to do it! I built the picnic table and the sling chairs as I was waiting for primer and paint to dry on the frame, inside and outside of the house. For the shutters - I scrounged around the garage and found some leftover wainscoting, and put a leftover 1x2 on them. The door frame wasn't straight - so I added a piece of leftover trim from my daughters bed I built. My only next step is curtains for the windows. I even moved the full kitchen set I built the kids a few christmas's ago into their. They have only been playing with it for 2 days and I can't drag them out of it!!!

Estimated Cost
$500-$550
Estimated Time Investment
Week Long Project (20 Hours or More)
Finish Used
Primer and paint
Recommended Skill Level
Intermediate
Seasonal And Holiday

Double Chaise Lounge

Submitted by Anonymous (not verified) on Tue, 02/13/2024 - 12:58

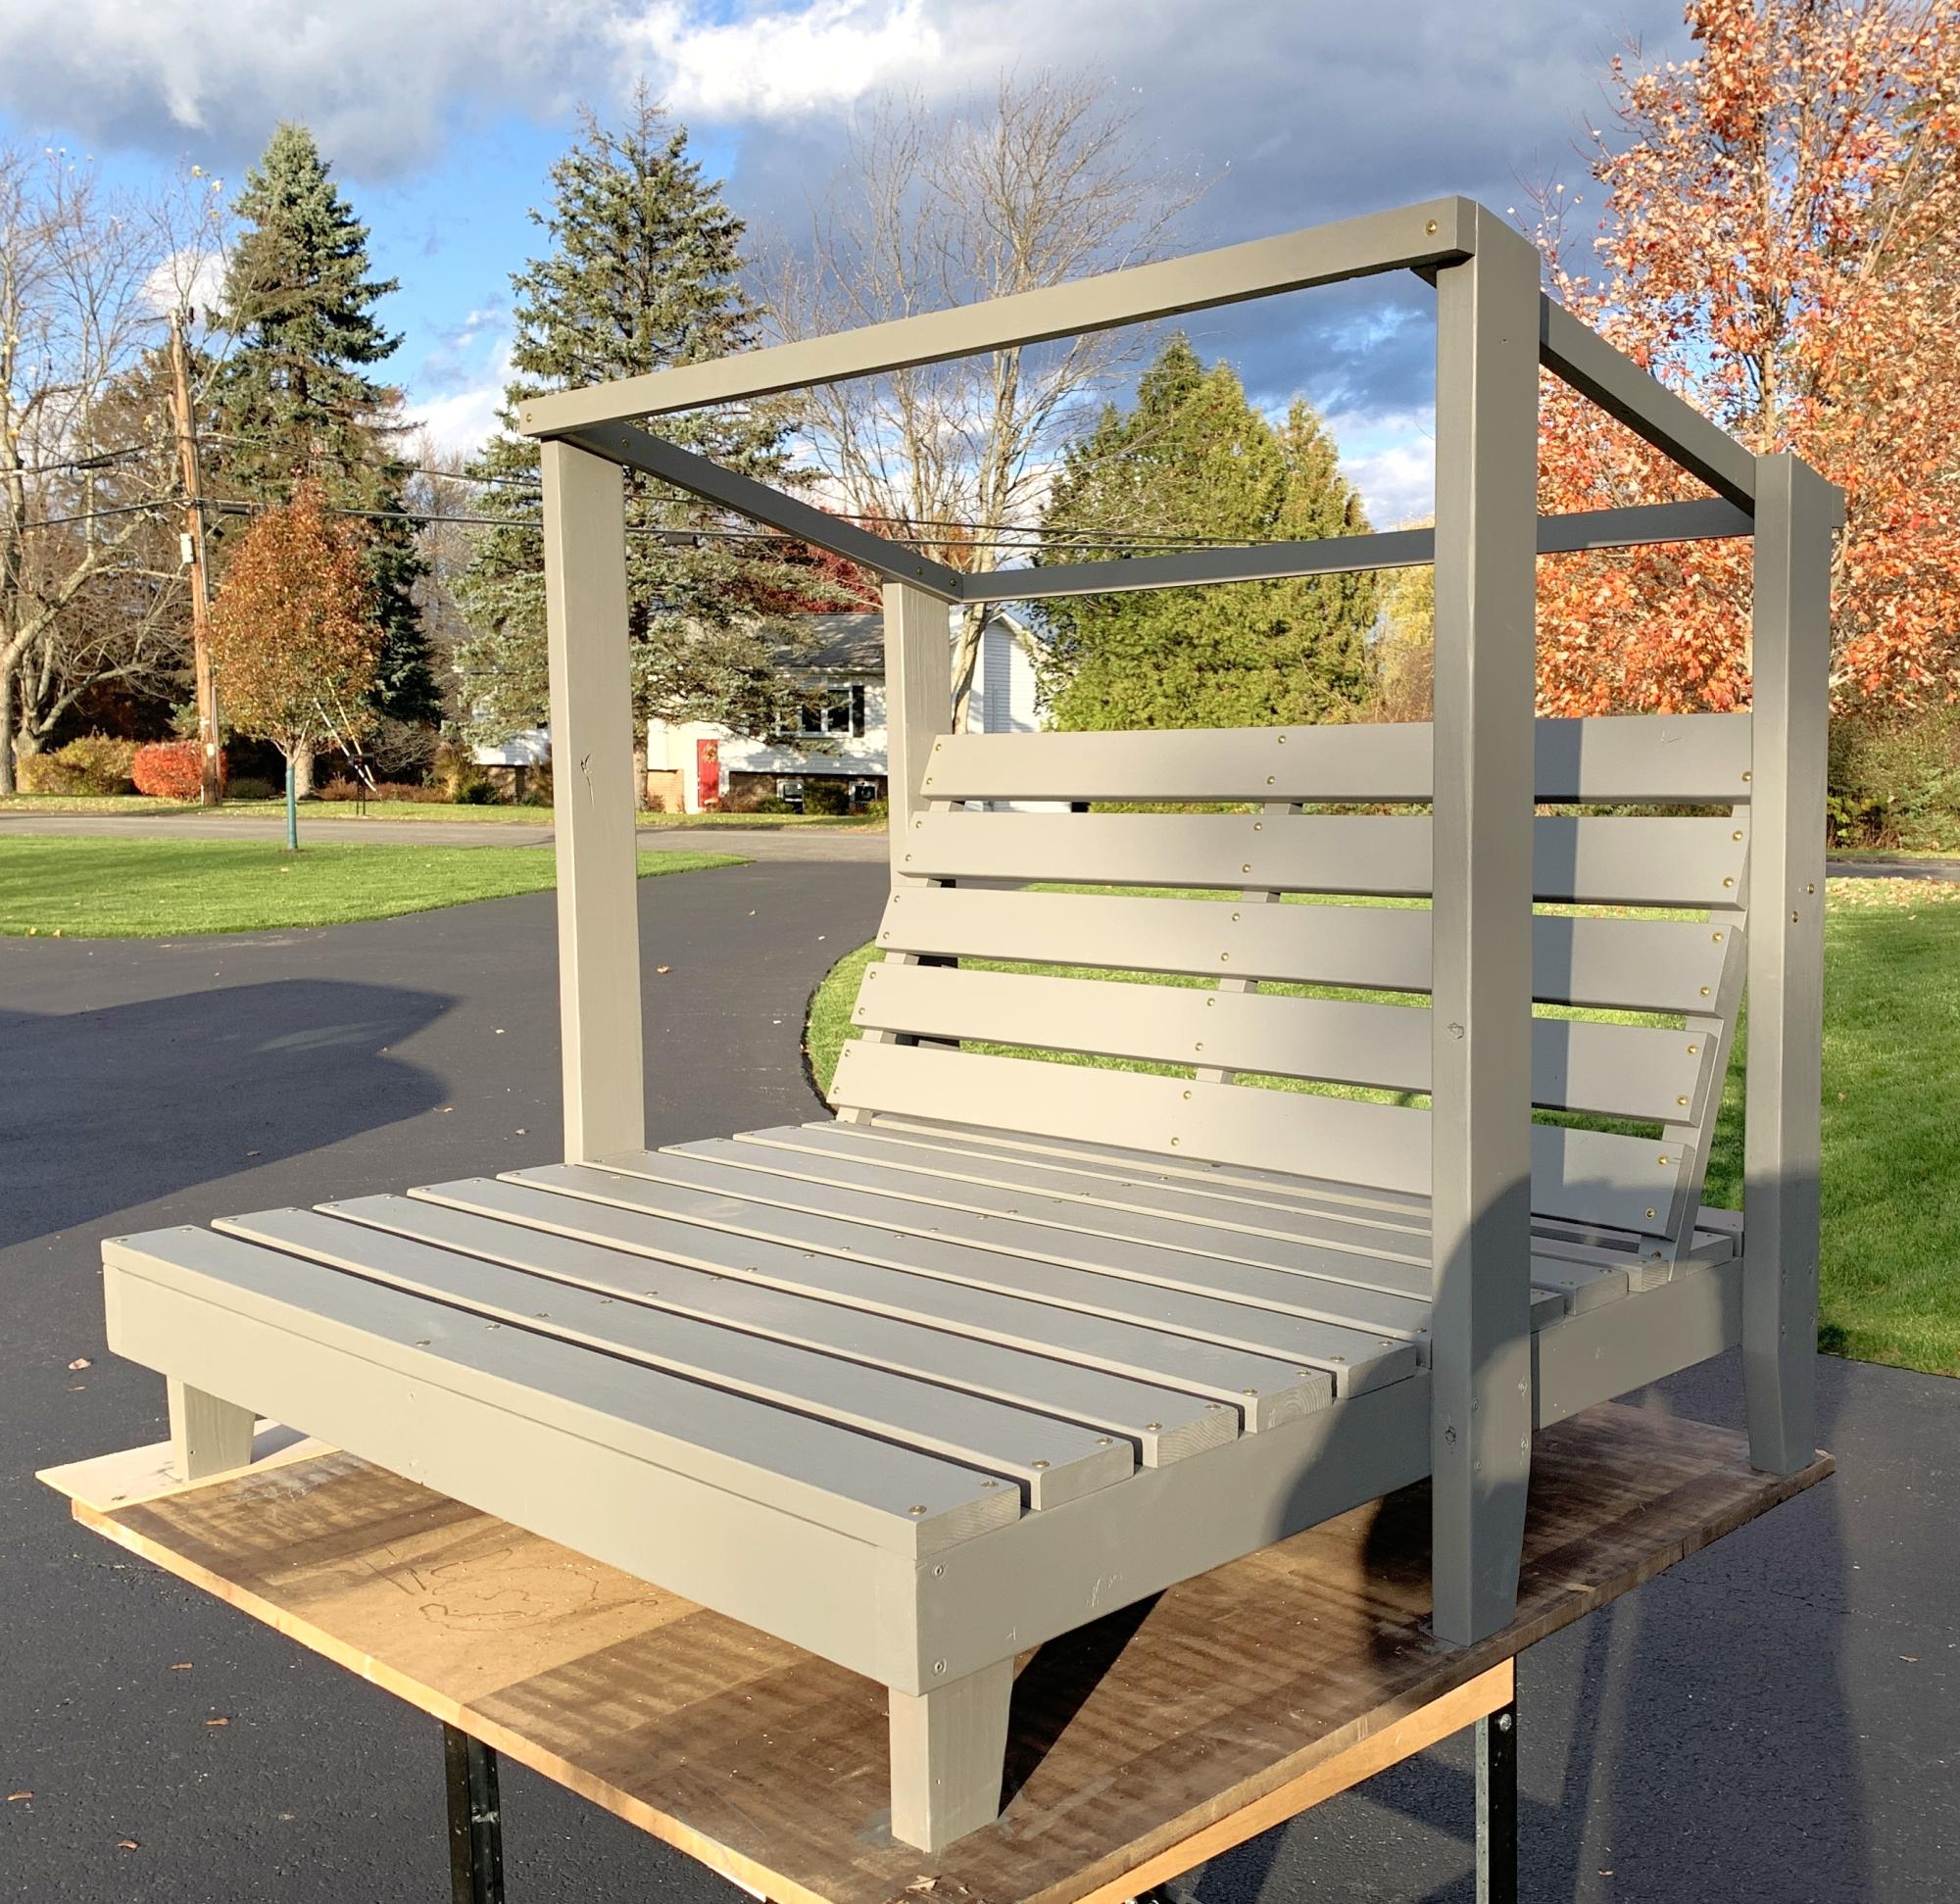
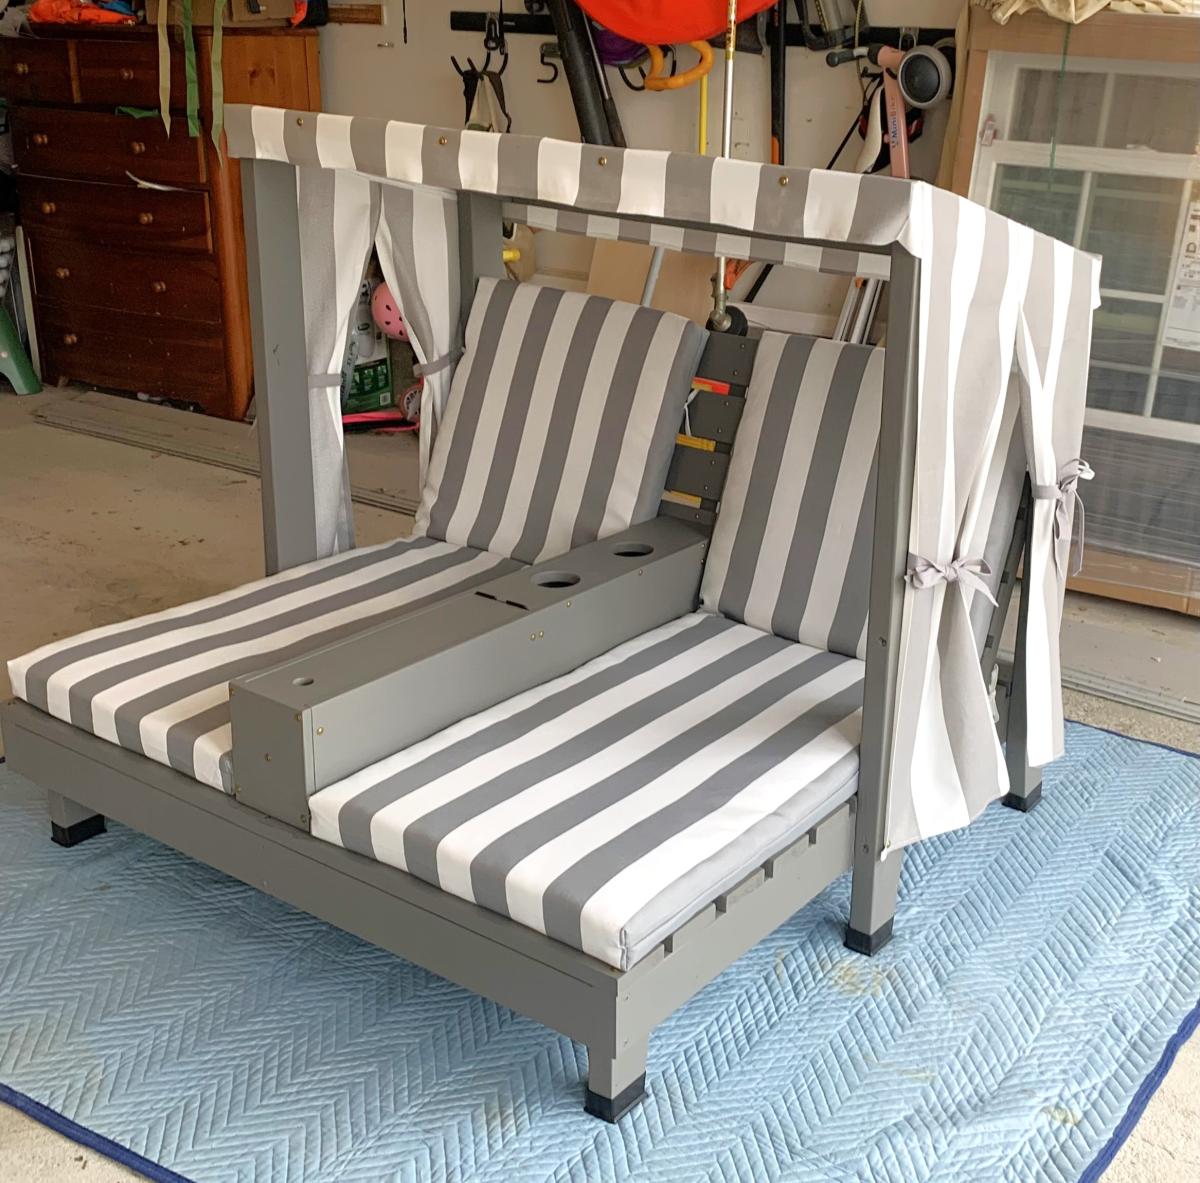
What a fun project. Followed your plans but made some size modifications to allow my granddaughters to enjoy it for several years before outgrowing it.

Tim Tyrrell

Seasonal And Holiday

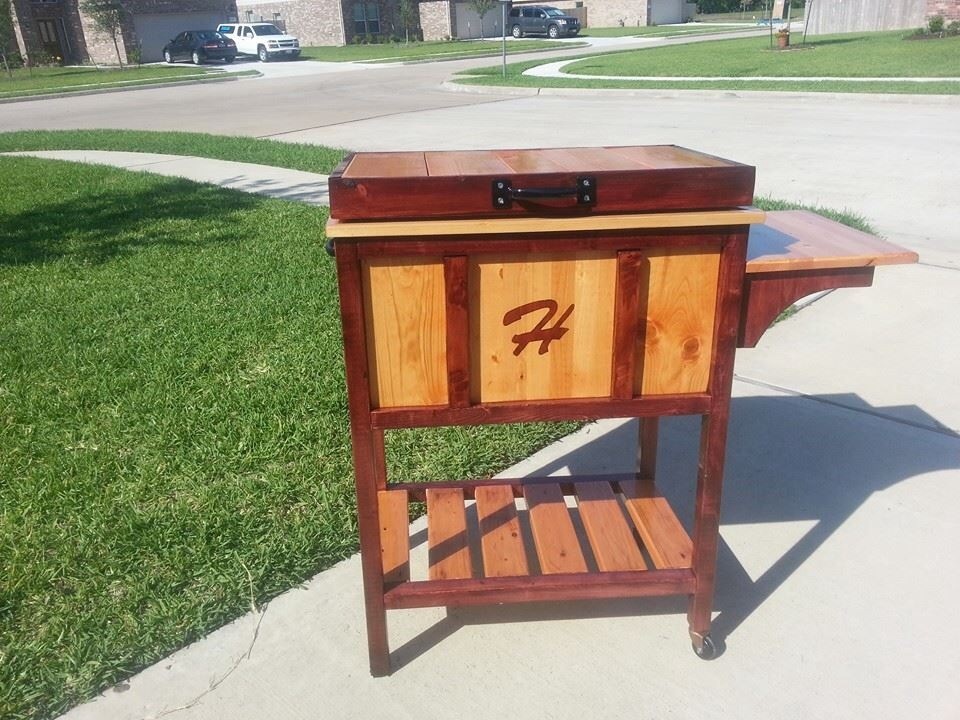
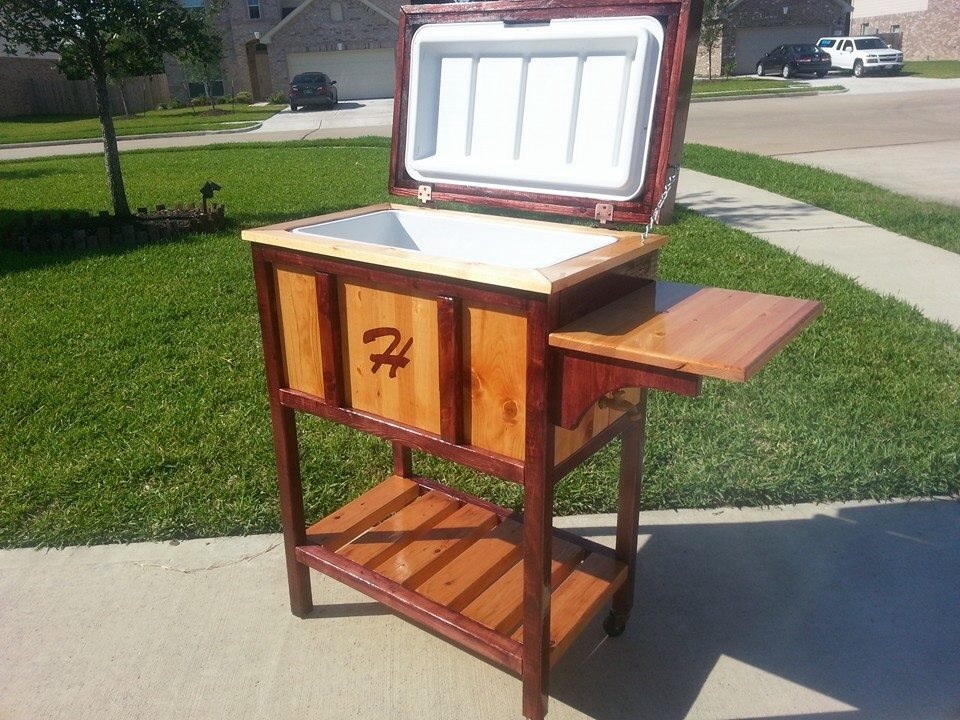
Cool cooler box!

Thanks so much for the plans for this project. It was a lot of fun, and it turned out great!

Built from Plan(s)
Estimated Cost
75.00
Finish Used
Red Oak gel stain and Golden Pecan stain. Clear coated by spraying high impact clearcoat
Recommended Skill Level
Beginner

Comments

Linda7

Tue, 09/30/2014 - 13:32

Very nice color scheme. Your initial in the middle panel gave me the idea to use my son's brand. We used it on a bench I made last year, so this will blend in great. Thanks for sharing your awesome build.


Octagonal Picnic Table

Submitted by Tbear on Fri, 07/25/2014 - 11:54

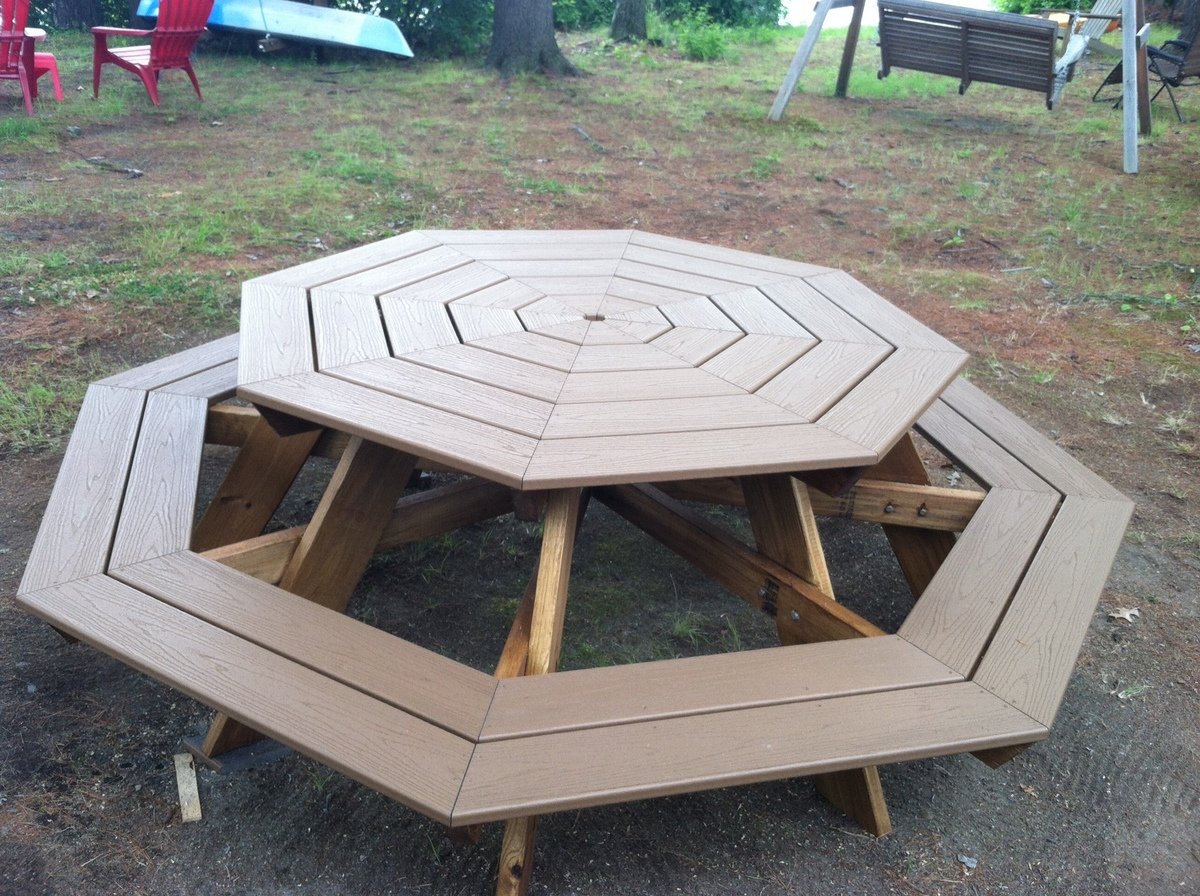
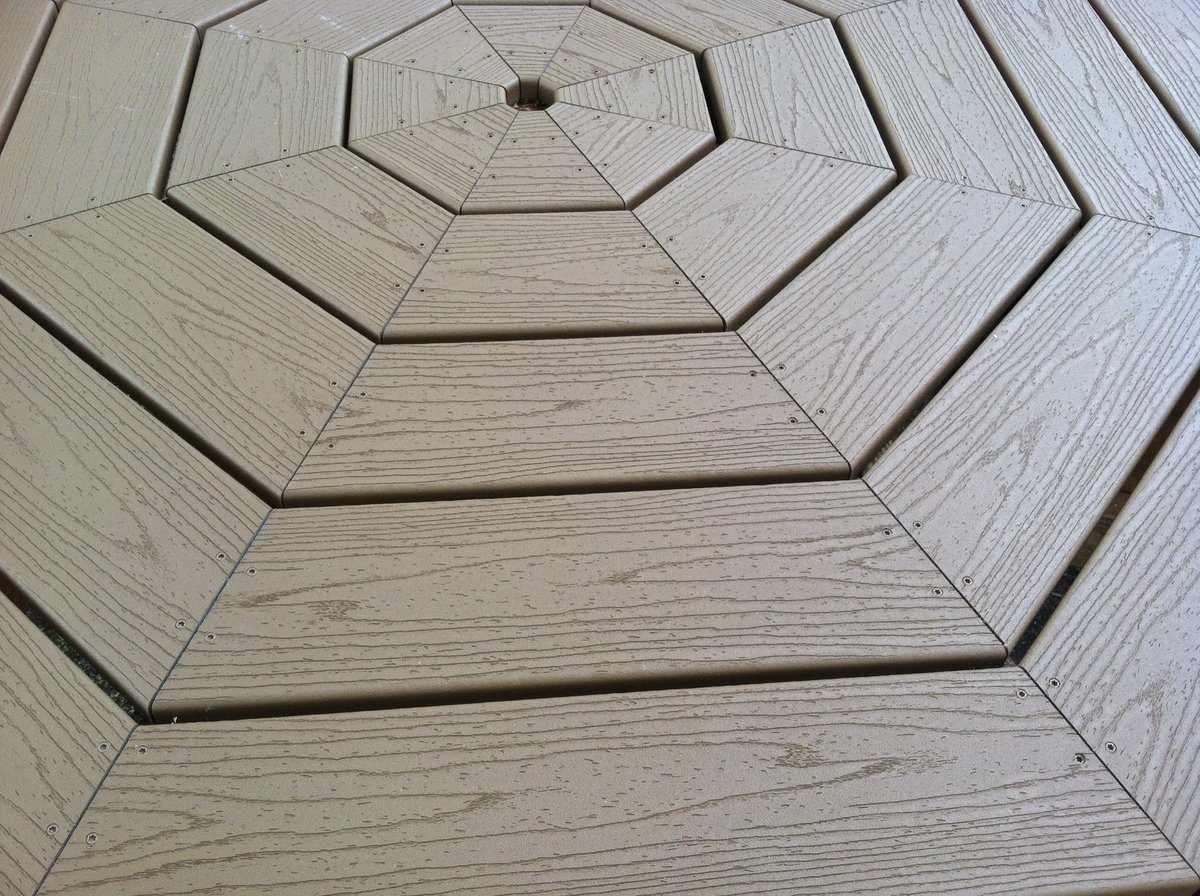
Living in a cottage on a lake during the summers, I needed a picnic table that would take care of a big family so I built the Octagonal picnic table on Ana's site, however with a twist.

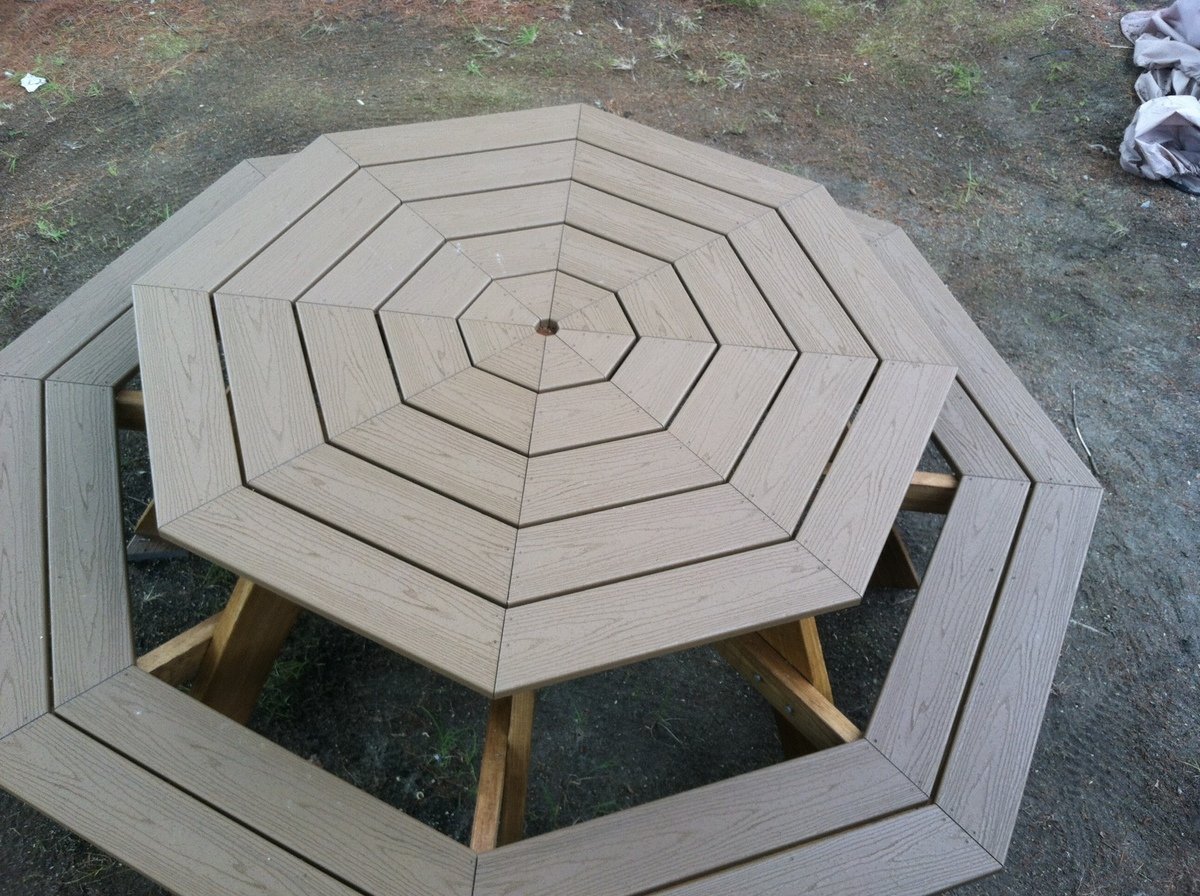
Since we are under a bunch of trees, I wanted to be able to scrub the table easily and not have to do any maintenance on it over the long term. So I built the top and the benches using Trex. Yes, it was more expensive but the result (if I do say so myself) was incredible.

Since Trex isn't as structural as 2 x 6's, I reinforced the seats using 2x4s laid horizontally underneath the seam of each of the two bench pieces. I also drove a few extra screws through the Trex benches along the 2 x 4's to further strengthen seating area.

Aesthetically, I didn't care for the 1/2 inch spacing for the table top and benches so I reduced it to 1/4 inch and cut the length of the Trex accordingly. I used decking screws that exactly matched the color of the Trex.

I did take the advice of one of the former builder's of this table and staggered the legs to make it easier to get in and out. That was a worth while suggestion.

The only 'warning' I was given about using Trex was that it could get 'hot' if in the sun for long periods during the day during the summer. This table is in the shade almost all the time, but having said that I have read that the Trex as decking gets no hotter than treated lumber stained the same color.

This is a great design at it was lots of fun to build.

Built from Plan(s)
Estimated Cost
$500
Estimated Time Investment
Weekend Project (10-20 Hours)
Finish Used
Olympic Maximum Stain and Sealer
Recommended Skill Level
Intermediate

Rustic Hall Tree - just the right size!

Submitted by laurawelsh on Tue, 10/06/2020 - 15:53

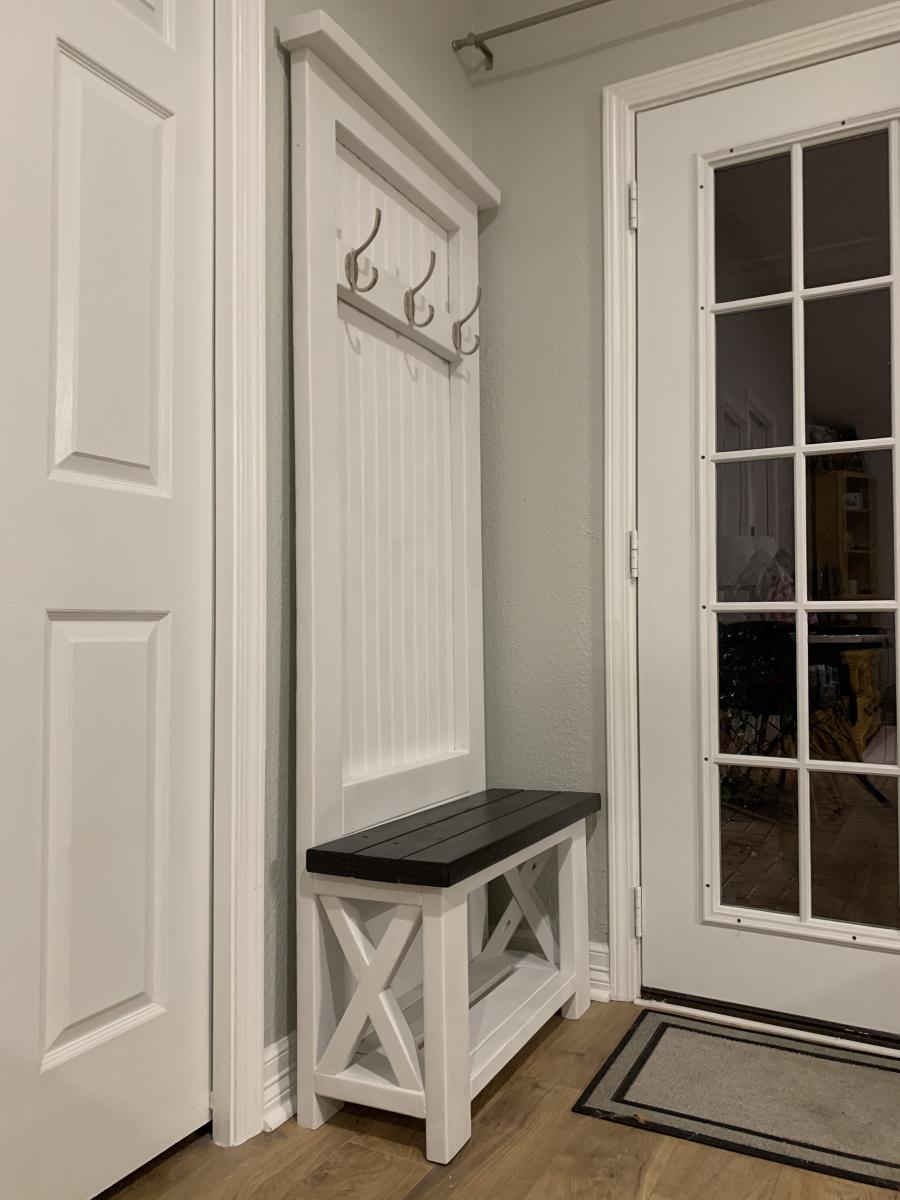
Using Ana's Rustic X Hall tree - I modified the size to fit this small space in the cottage in my backyard. It was impossible to find something to fit this space -- and this is one of my first indoor projects; I am a beginner. It was so much fun building! I used pine from a big box store mostly but opted for Bead board for the backing to achieve a farmhouse type look. My daughter lives in the cottage and loves it!! Thanks Ana for the sweet plans!!

Built from Plan(s)
Estimated Cost
150
Estimated Time Investment
Weekend Project (10-20 Hours)
Finish Used
White Chalk Paint; Espresso Stain for the seat.
Recommended Skill Level
Beginner

Modern Outdoor Sectional & Table

Submitted by khood11 on Wed, 11/12/2014 - 12:10

This was my very first project, and it was so easy thanks to Ana's plans.  I bought a few tools that I didn't have already - Kreg jig and miter saw - and things went super fast from there.  I found cushions at Ikea that fit perfectly, and were cheaper than making them myself.  I just hope they last!  I used cedar for the sectional and storage table, and stained them a dark brown.  I used deck stain as suggested by a Home Depot employee, so that the stain and waterproofing was all in one step.  I have received tons of compliments on this set, and people still can't believe we build this ourselves!  Thanks, Ana! 

...onto the next project...

Estimated Cost
$275 (not including cushions/pillows)
Estimated Time Investment
Week Long Project (20 Hours or More)
Finish Used
deck stain - dark brown
Recommended Skill Level
Beginner

Comments

Seasonal And Holiday

Garage Storage

Submitted by jlrd13 on Sun, 11/16/2014 - 11:00

I improvised on this a bit.  I envisioned being able to put small items on the shelves at some point so I made it with solid shelves instead of all 2x4's.  Except the stuff I bought for the shelves was so flimsy I had to add the support pieces. Ahh, well.  I'm learning.  And with the three support pieces (2x4's cut to size) running widthwise, it turned out to be a solid shelf.  LOVE this site!!  Thank you again, Ana!  Next project is a bathroom vanity.


Estimated Time Investment
Afternoon Project (3-6 Hours)
Recommended Skill Level
Starter Project

Comments

Christmas 3-tier cookie stand

Submitted by calcowoods on Thu, 12/31/2020 - 12:51

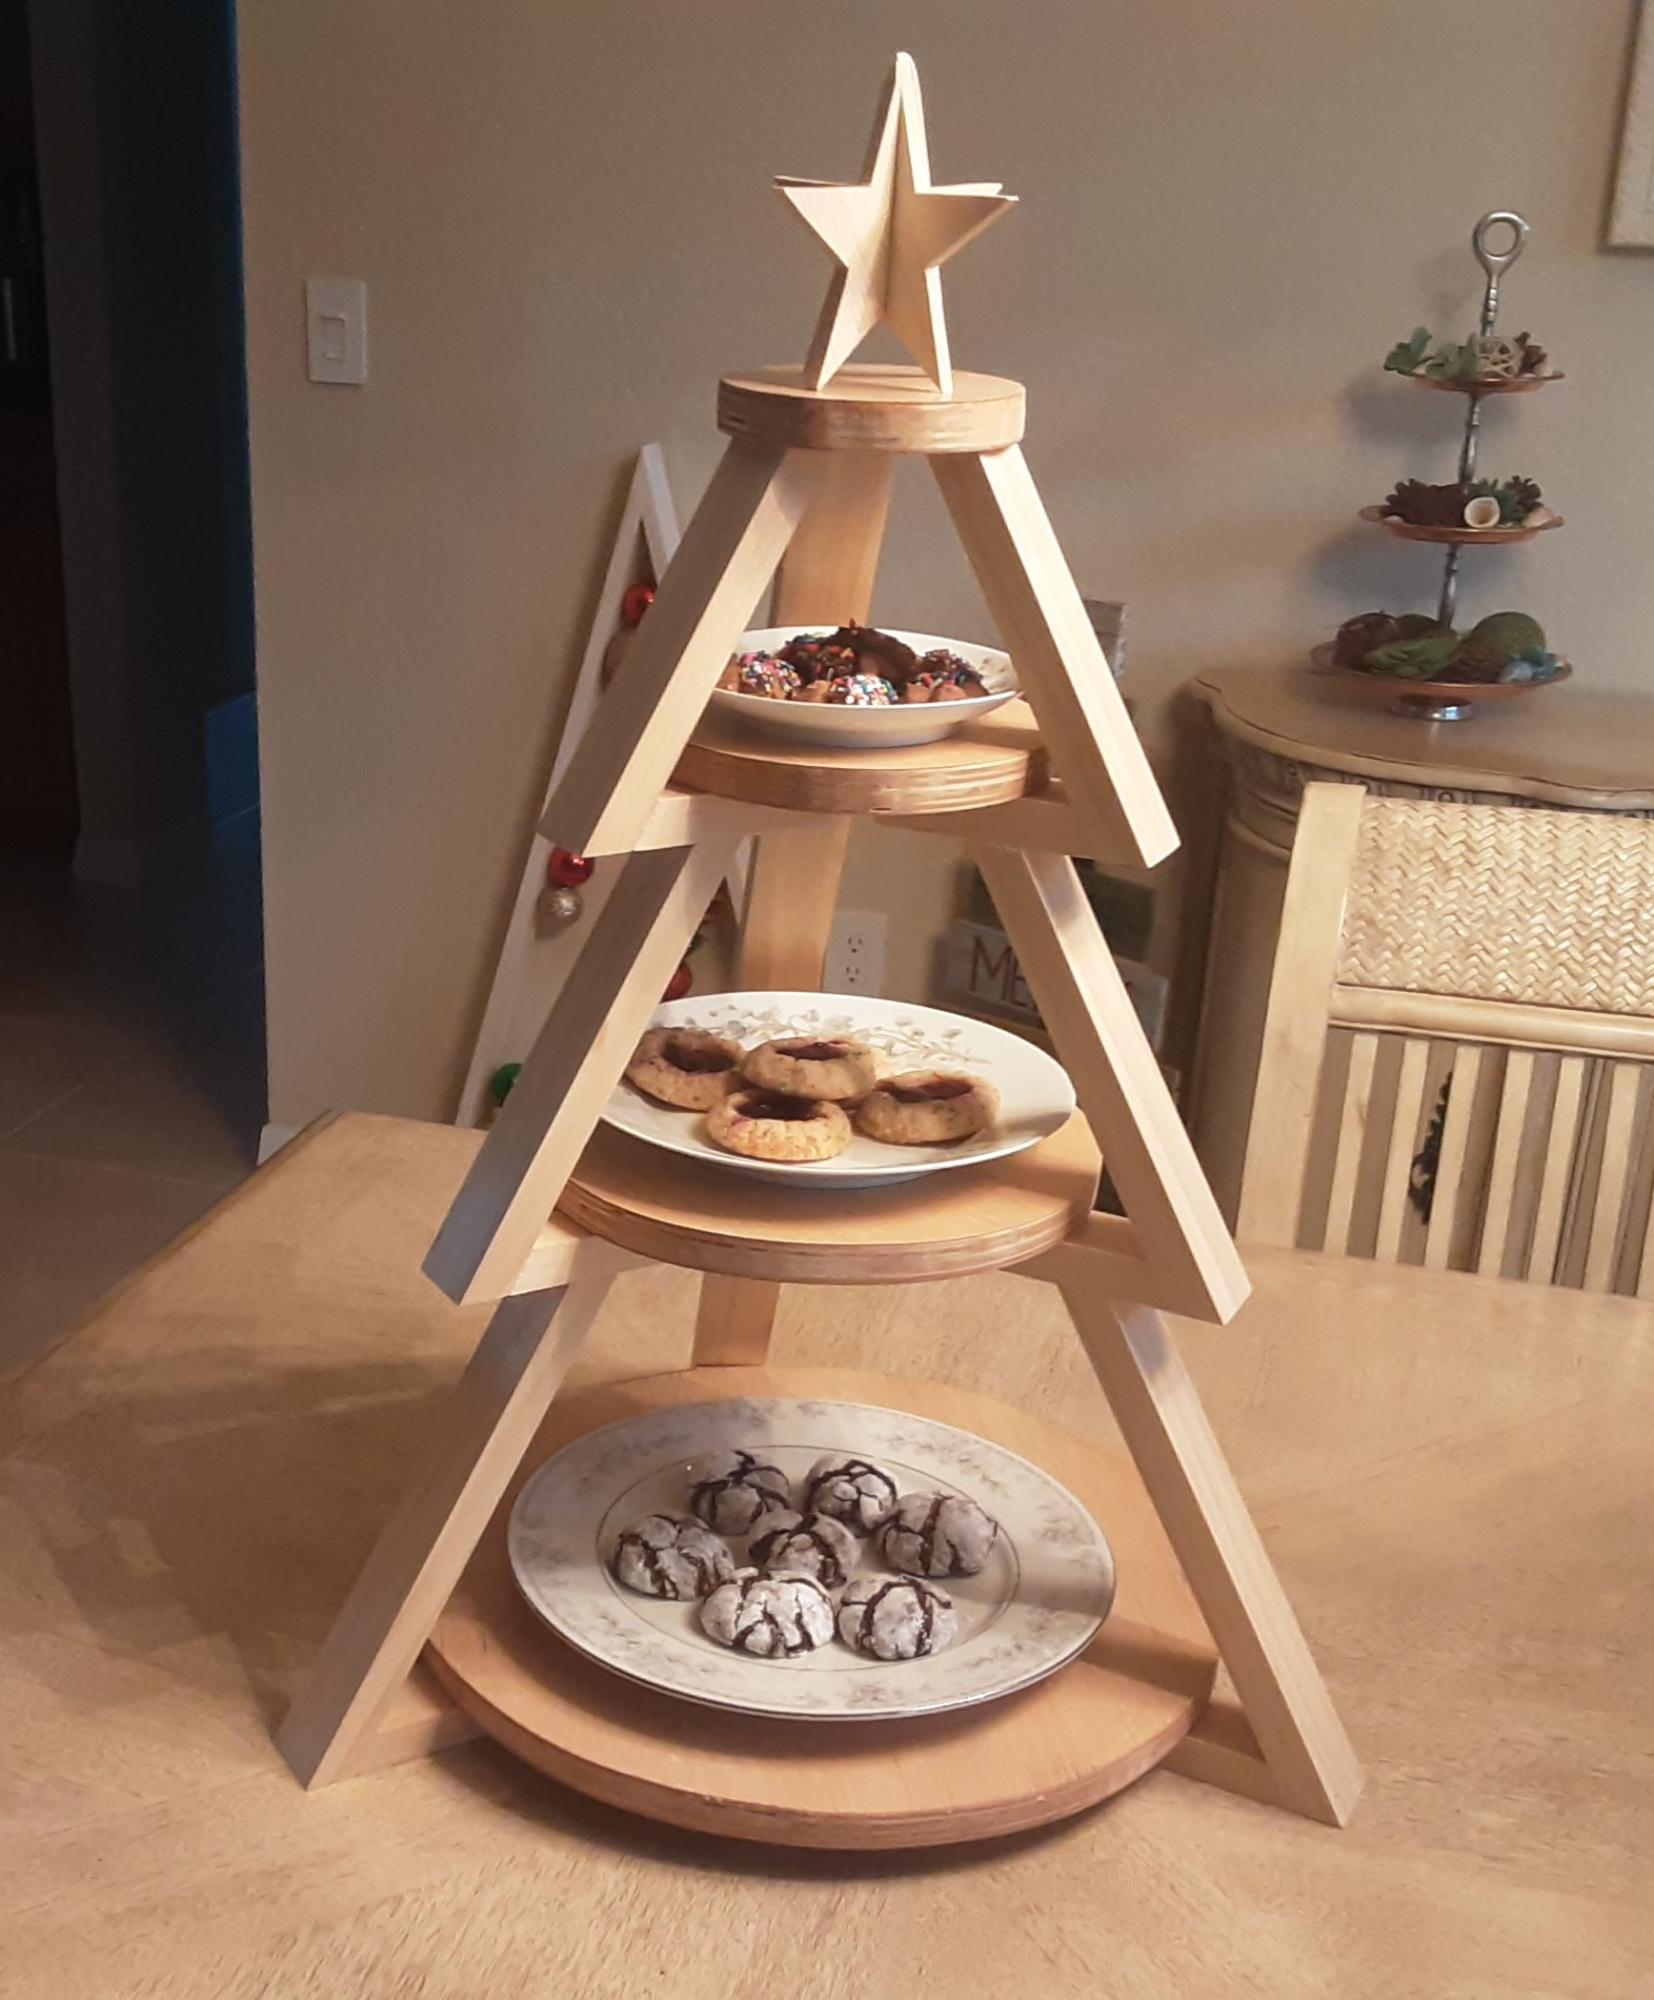
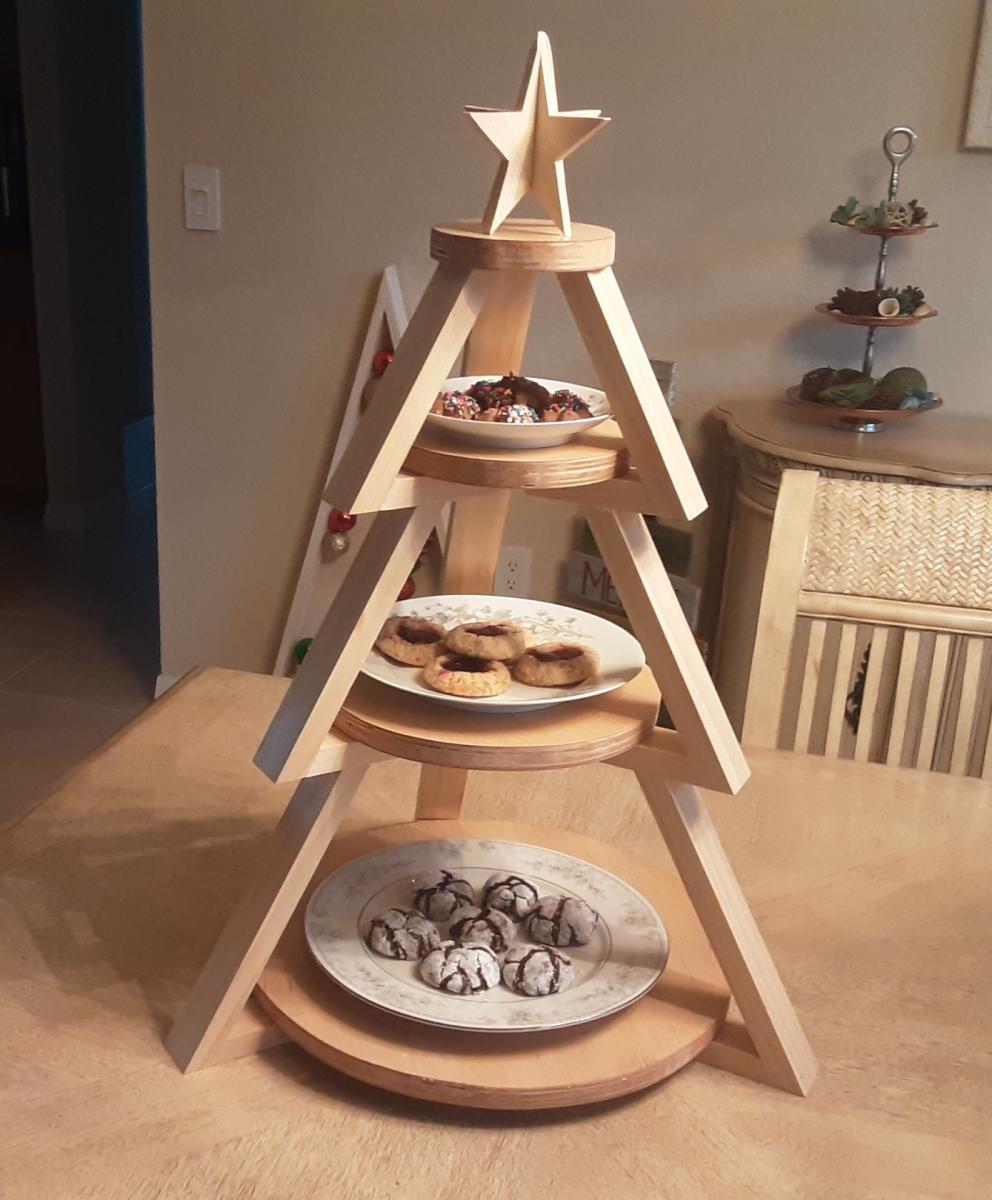
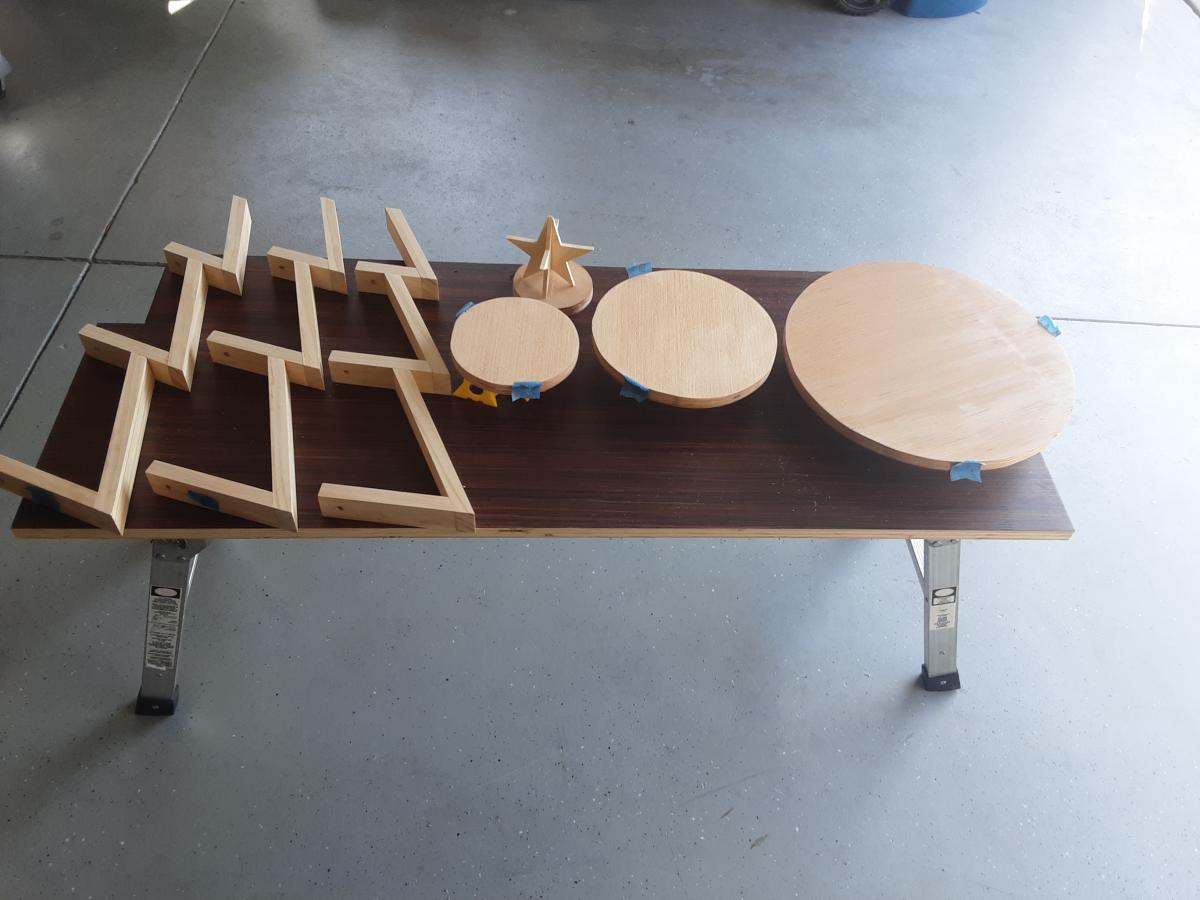
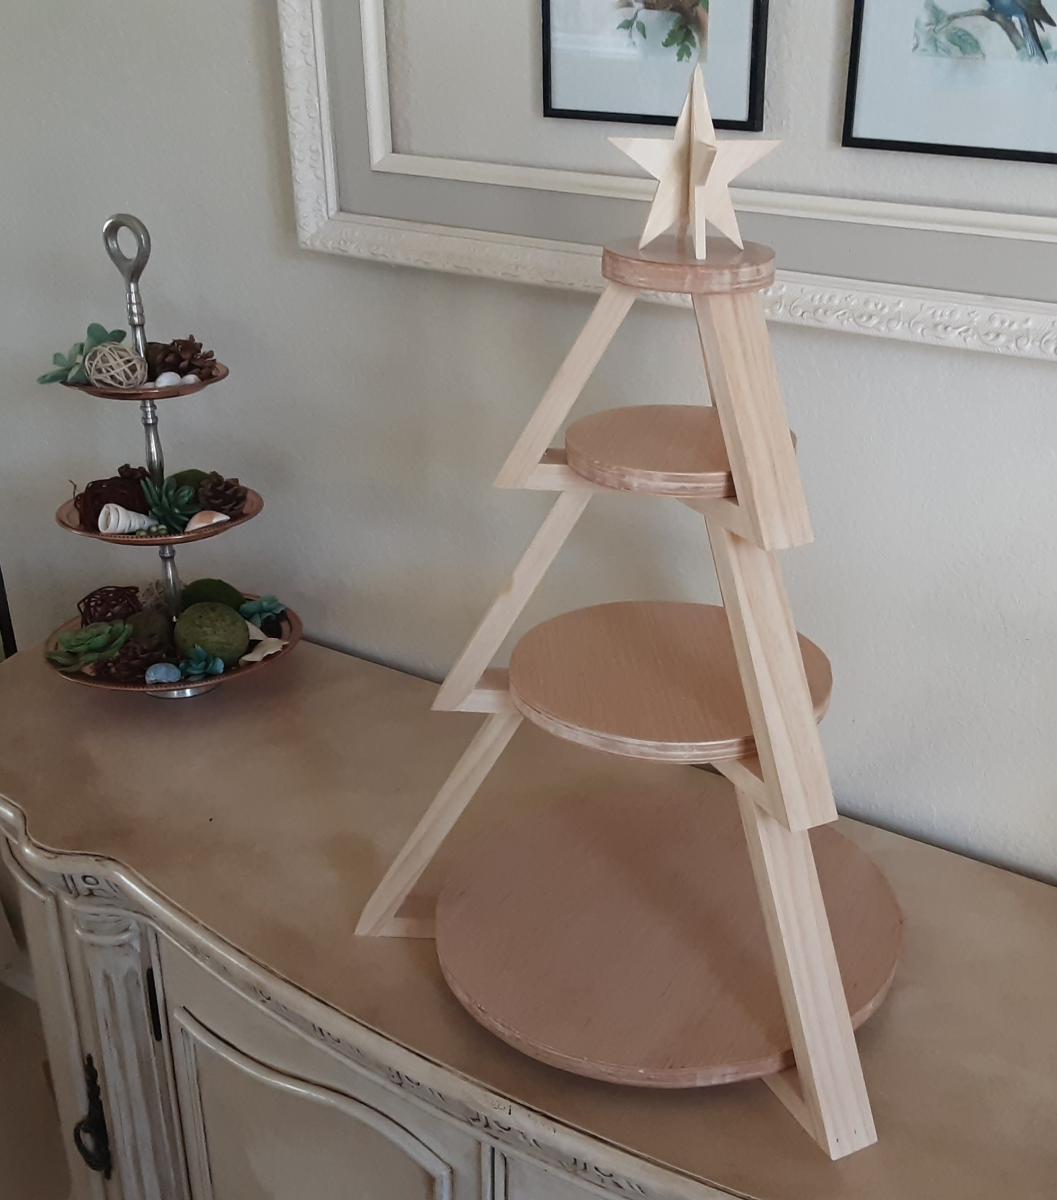
Inspired by Shara of Woodshop Diaries, created this 3 tier tray for displaying cookies for Santa. Added a 3 dimensional star as the topper and simply followed the excellent photos and schematics on Shara's website.

Estimated Cost
$5
Estimated Time Investment
Afternoon Project (3-6 Hours)
Finish Used
Minwax paste wax
Recommended Skill Level
Beginner

Comments

Custom Industrial Style Closet

Submitted by slug on Tue, 12/09/2014 - 09:03

We remodeled our house and now had a new 9x6 master closet to fill. During construction I saw this design on ana-white.com and liked the style, but wanted to customize the layout. I found an online closet designer and played around until I found something my wife and I liked. We ended up with a 9 foot long his/hers double hanging on the ends and a long hanging section in the middle. And on the other side 8 feet of shelving (leaving about a foot for other storage).

I bought the pipe as a 10 foot pipe to be cut and threaded (for free by the store). I did have to change the design a little because the store cannot thread pipe less than 14 inches. So I ended up replacing the short pipes and T's with 2x4s. That made it a little cheaper and I still like the end result.

We stained all the wood using Minwax "Early American". This probably accounts for most of the build time.

Then I put together the supports and brought them into the closet to add all the pipes and slats. I started with the wall for hanging. And later did the shelving.


Here's another forum with more pictures of this project:

http://woodworking.formeremortals.net/me-mo-community/#/discussion/866/…

Built from Plan(s)
Estimated Cost
<$400 for whole closet.
Estimated Time Investment
Weekend Project (10-20 Hours)
Finish Used
Minwax "Early American"
Recommended Skill Level
Beginner

Comments

Loft bed

Submitted by scooper812 on Fri, 01/08/2021 - 23:52

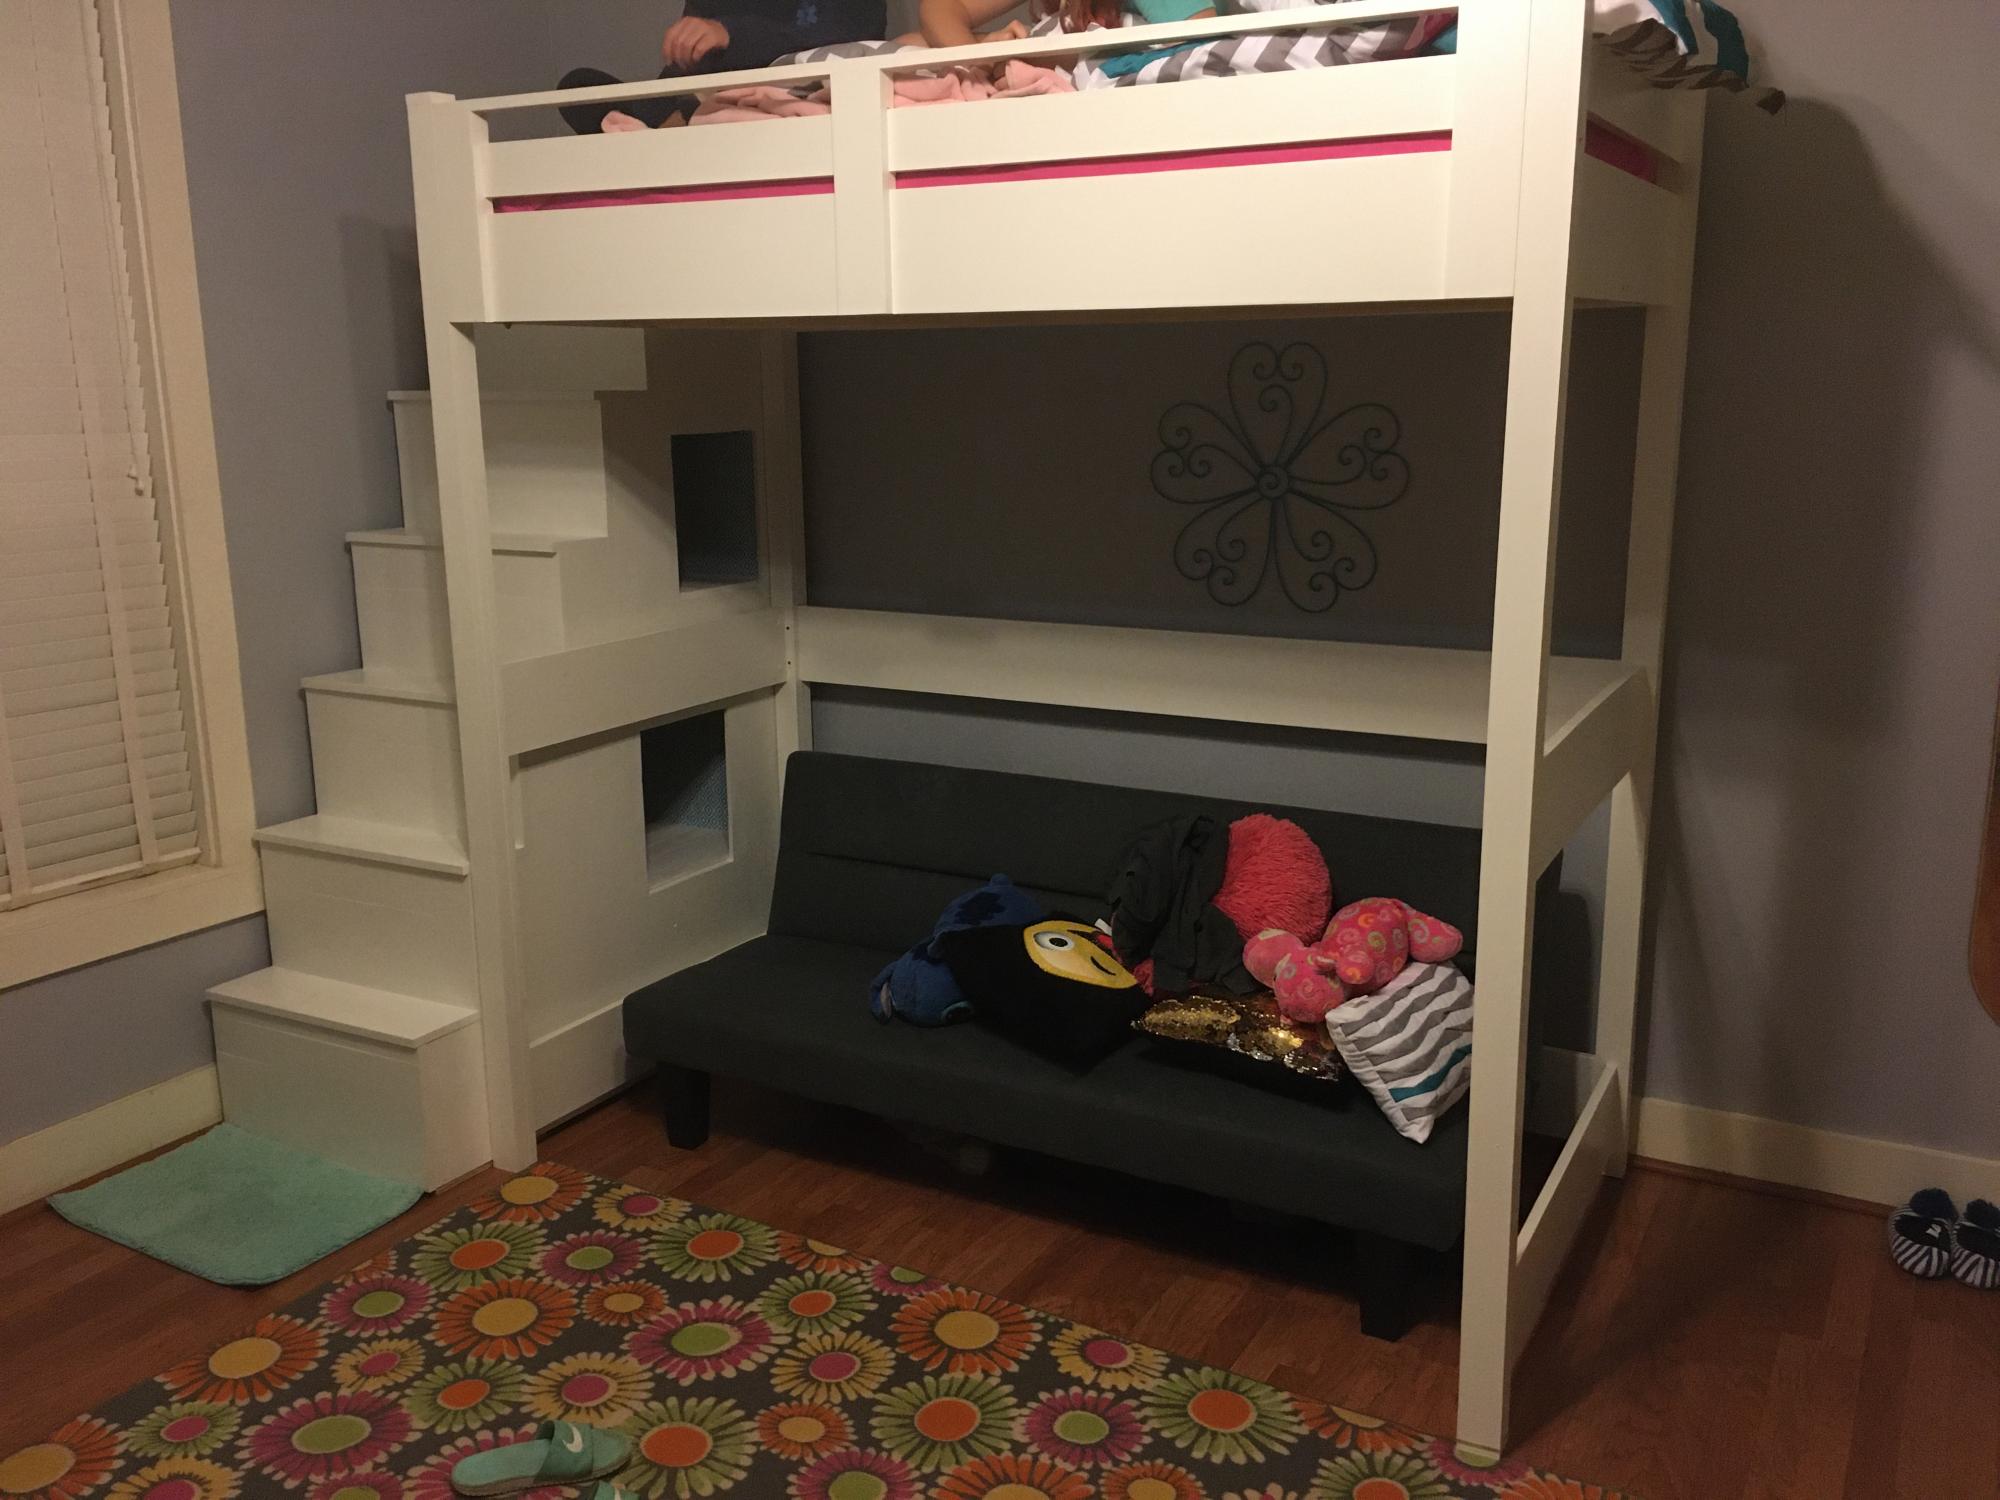
My daughter had been asking for a loft bed that she could place a futon under. This plan was exactly what I needed! I made the bed taller so she would be able to stand under it (we have 10’ ceilings - old house). And, I replaced the ladder with a staircase with built-in cubbies.

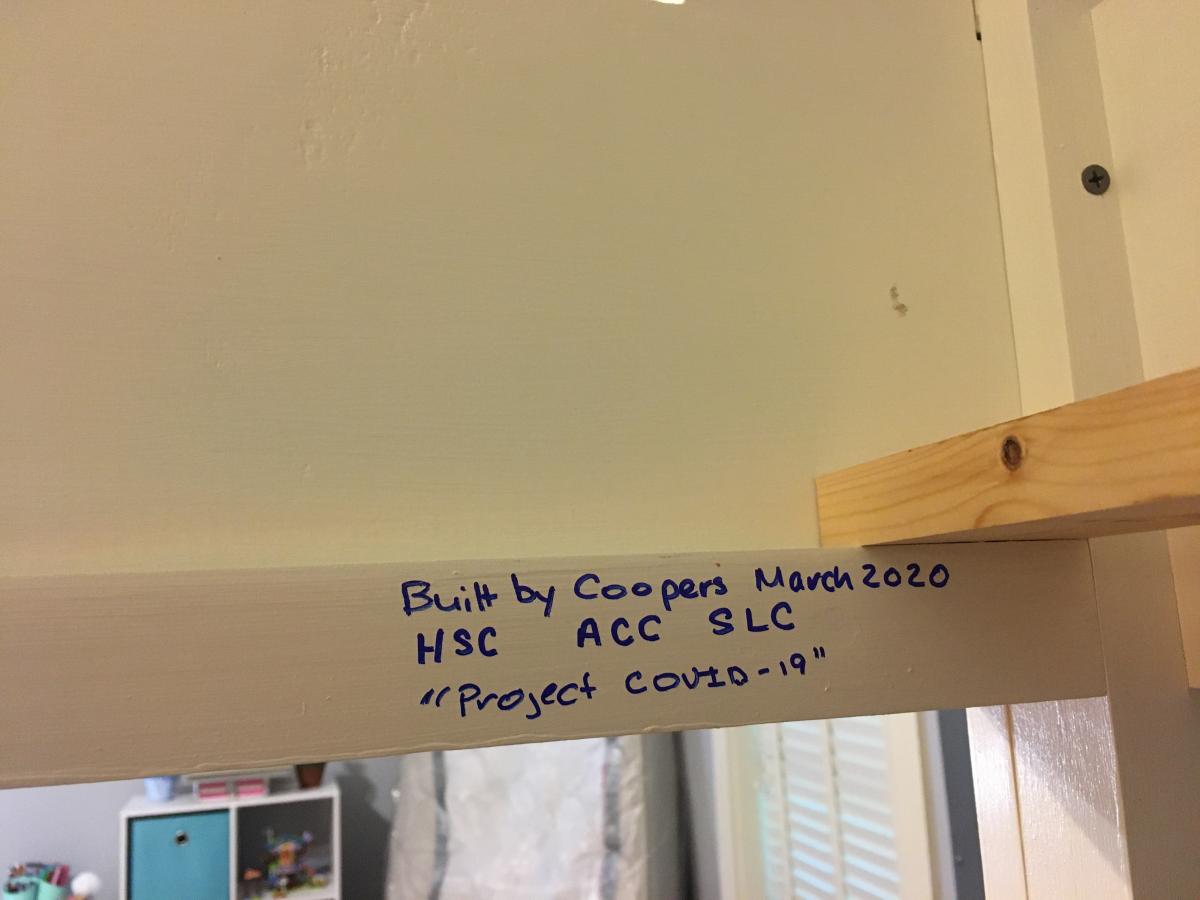
This was our first project of 2020 and we started it during the first part of the quarantine, so it got named “Project COVID-19.”

Built from Plan(s)
Estimated Cost
$200
Estimated Time Investment
Week Long Project (20 Hours or More)
Finish Used
White latex paint
Recommended Skill Level
Intermediate

Comments

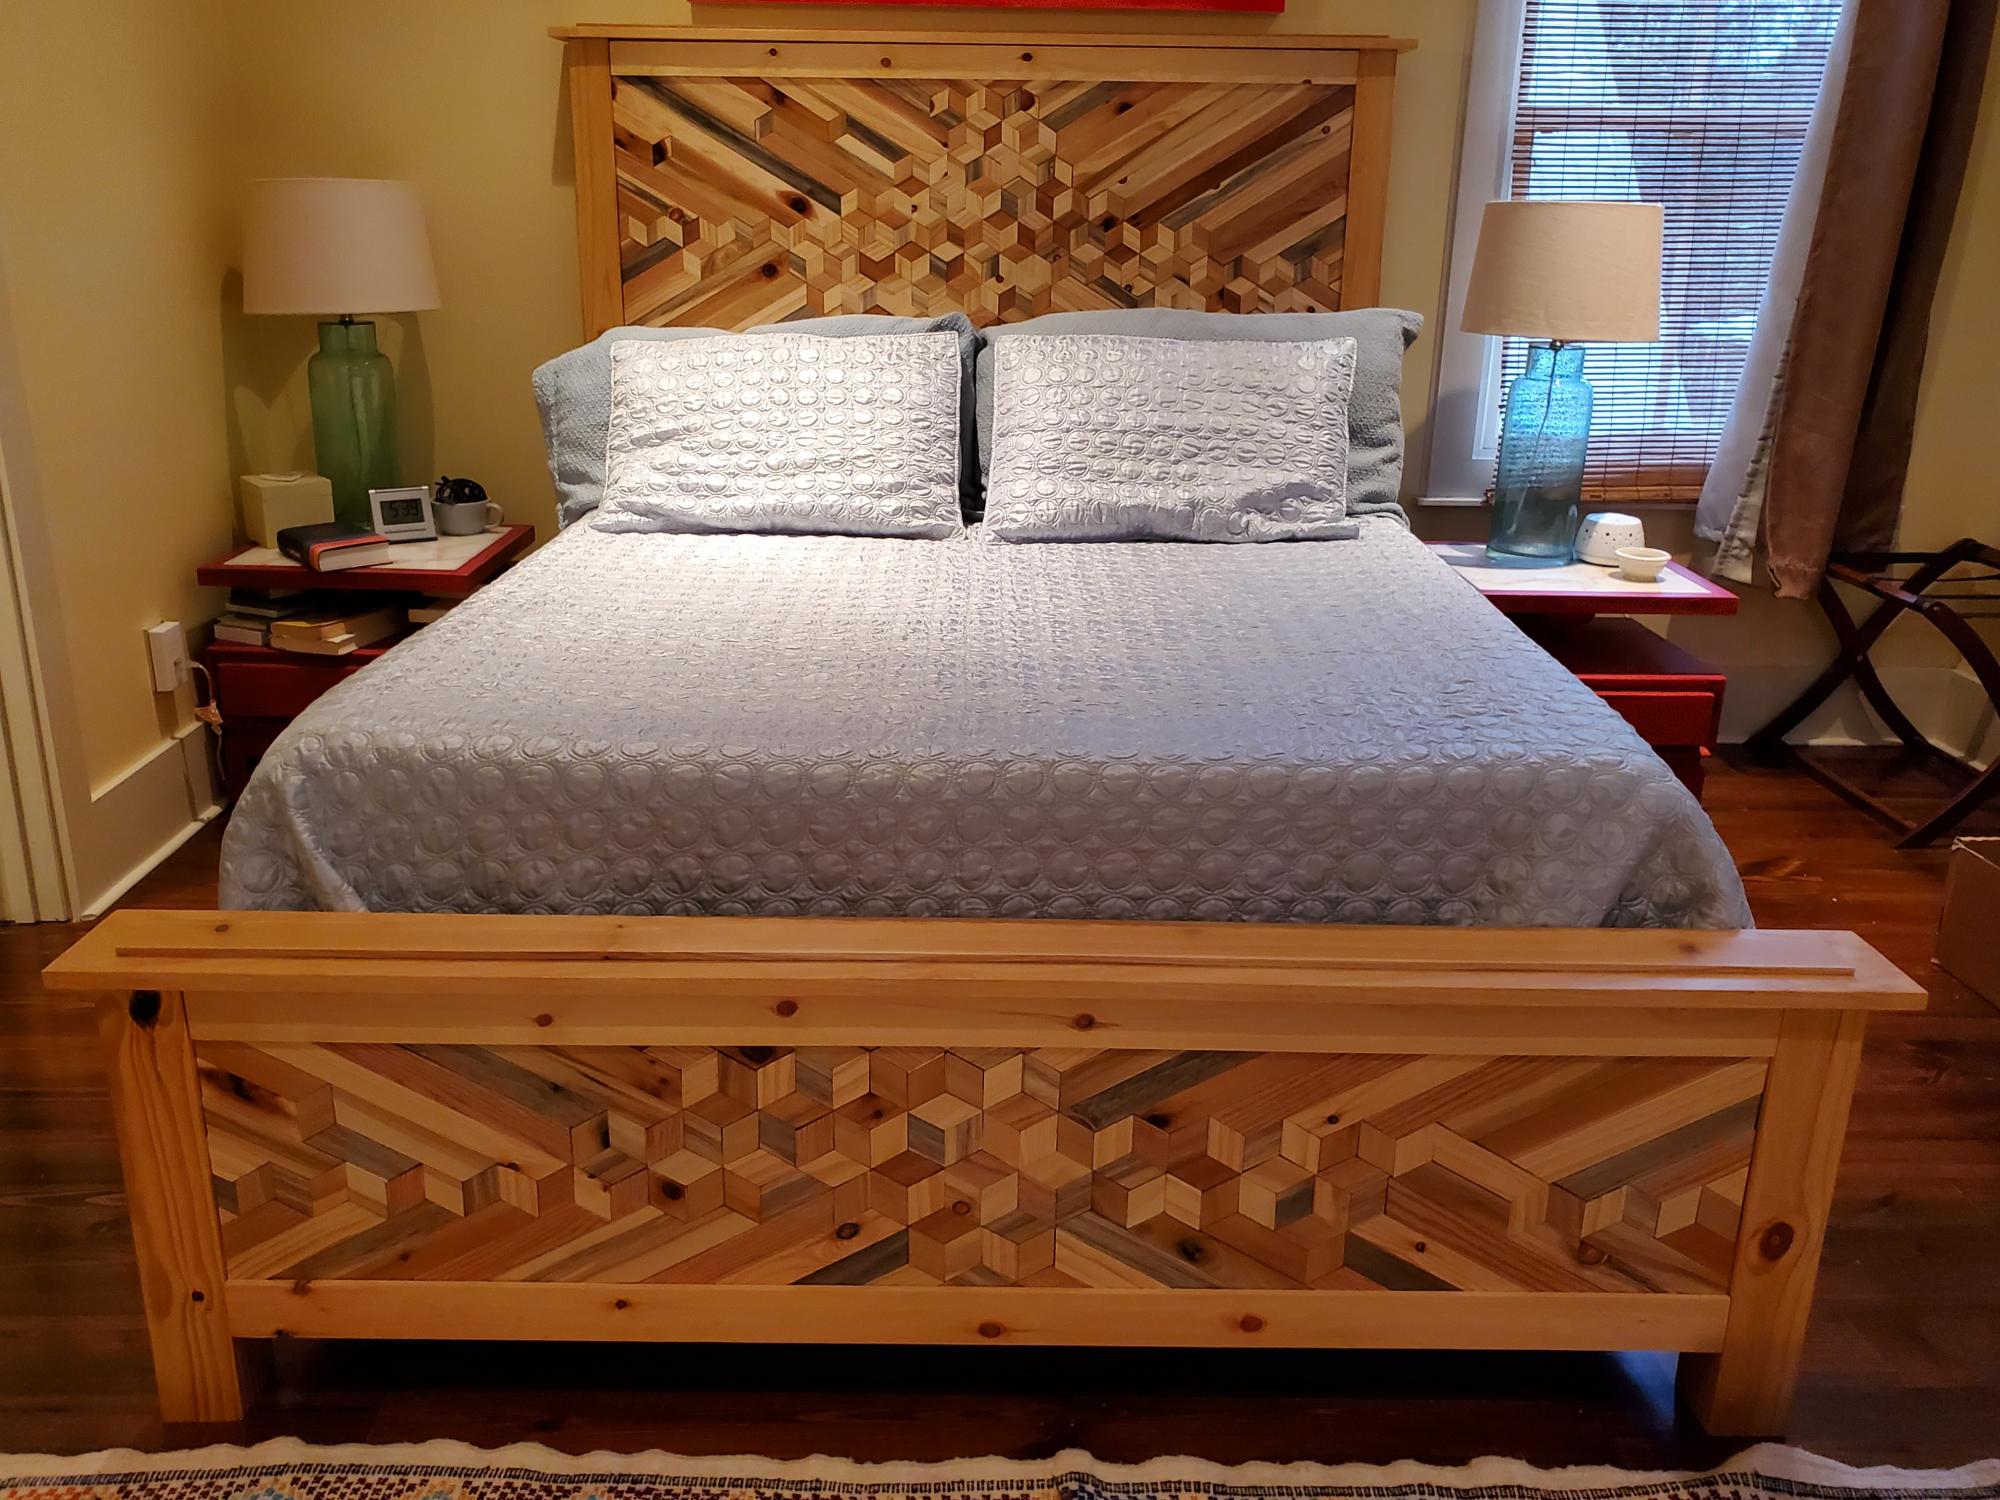
Tumbling blocks Cassidy Queen bed

Submitted by Kimiark on Fri, 04/02/2021 - 17:01

This required lots of tiny parallelograms. It was great fun to make!

Built from Plan(s)
Estimated Time Investment
Week Long Project (20 Hours or More)
Finish Used
The finish is Natural and a bit of Golden Oak mixed.

Comments

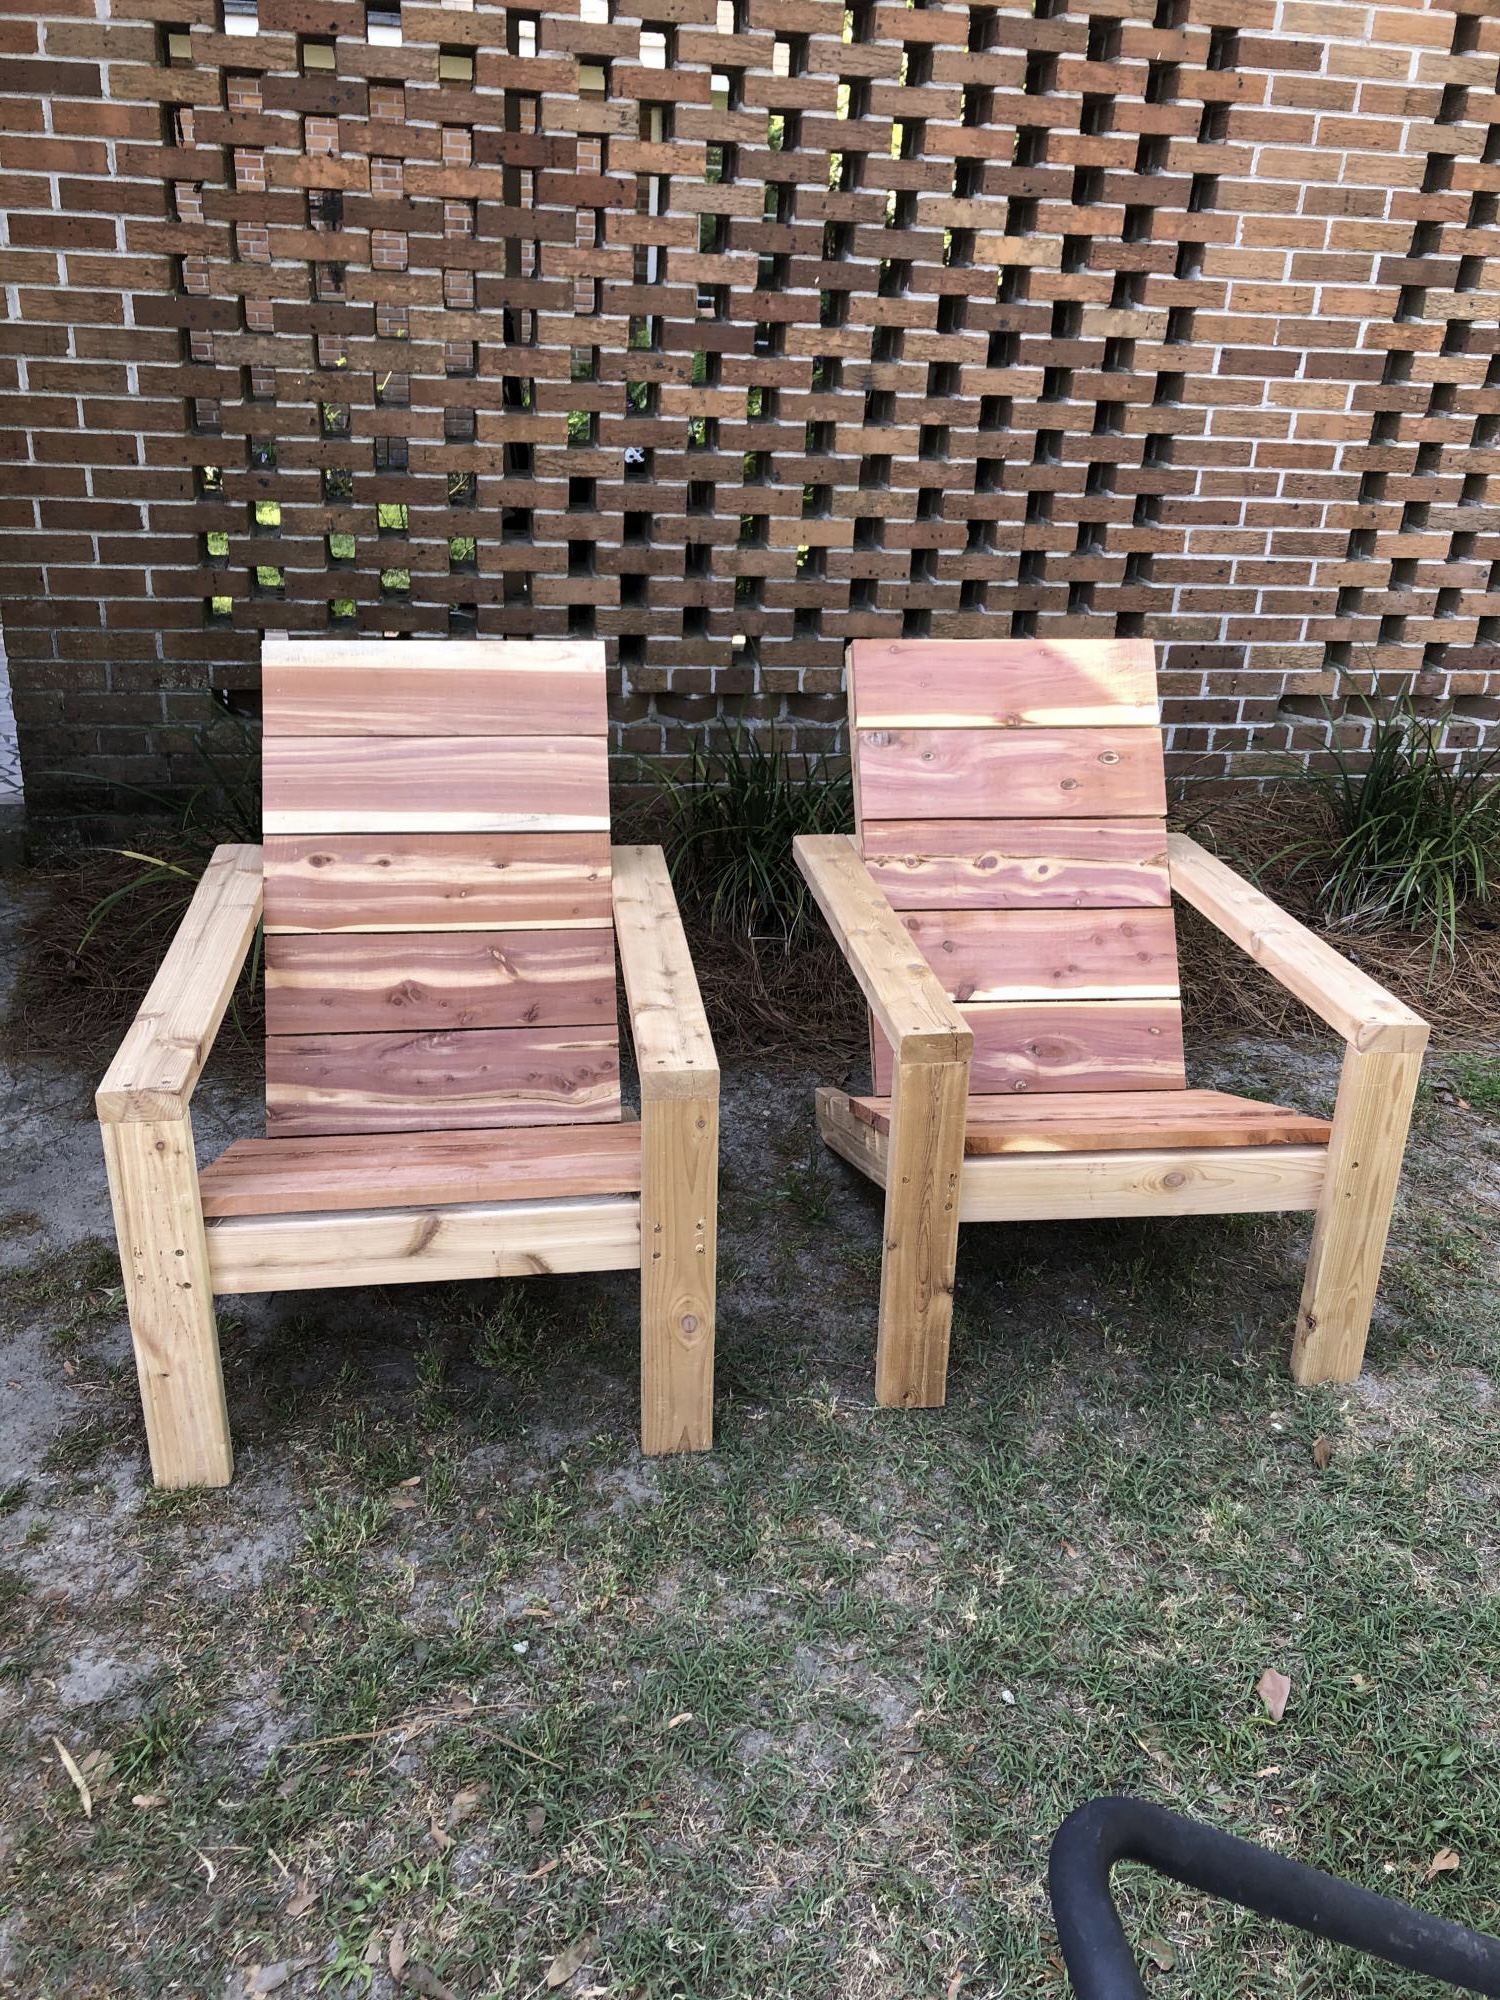
modern Adirondack chairs

Submitted by SmokeyT on Wed, 04/14/2021 - 04:09

After a cabin remodel I had some left over 1X6 red cedar that I wanted to use and these chairs looked like a great project. After buying some white cedar 2X4's , here's my first 2. Thanks for the plans.

Estimated Cost
about $50 a chair
Estimated Time Investment
An Hour or Two (0-2 Hours)

Comments

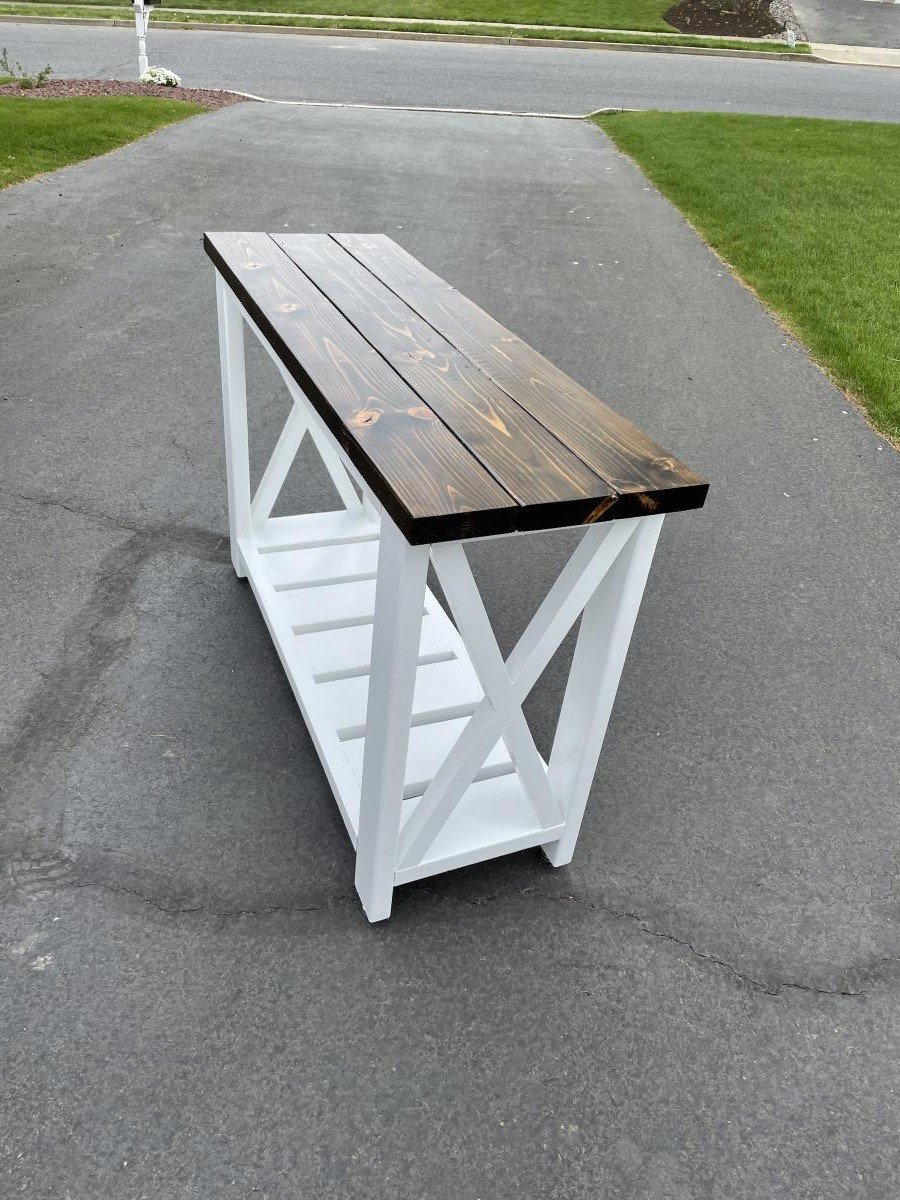
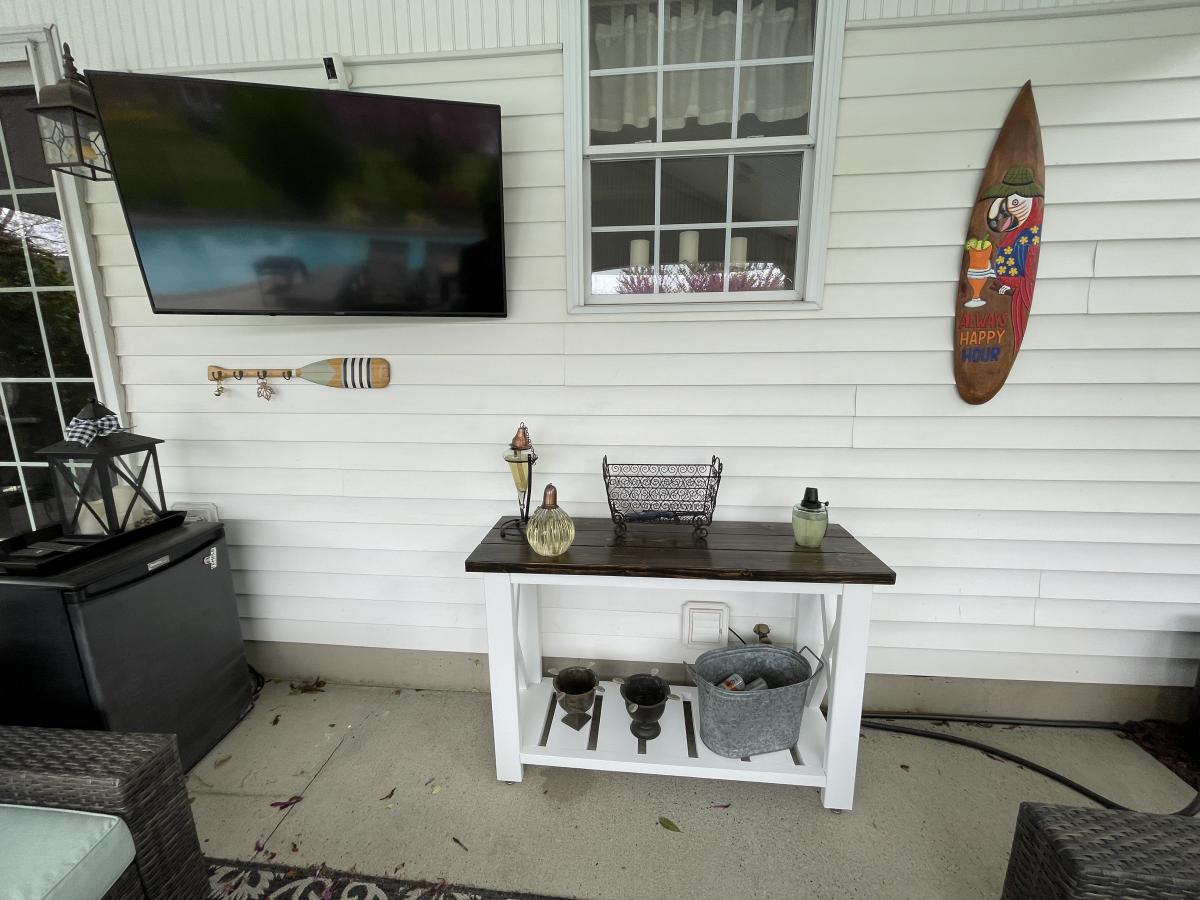
Farmhouse Table 1

Used the plans here to make the table. Modified the dimensions slightly to fit my space by re-drawing the plans in AutoCAD 3D. Added stainless steel adjustable feet to the legs for leveling. Wanted to keep the wood up off the ground since this table sits on my back patio. Amazon link for feet: https://www.amazon.com/gp/product/B08VRPCDNL/ref=ppx_yo_dt_b_asin_title…

Built from Plan(s)
Estimated Cost
$220.00
Estimated Time Investment
Weekend Project (10-20 Hours)
Finish Used
Minwax Espresso Stain on top
Minwax Satin Polyurethane on top
Sherwin Williams Exterior Latex Paint - White on base
Recommended Skill Level
Beginner

Comments

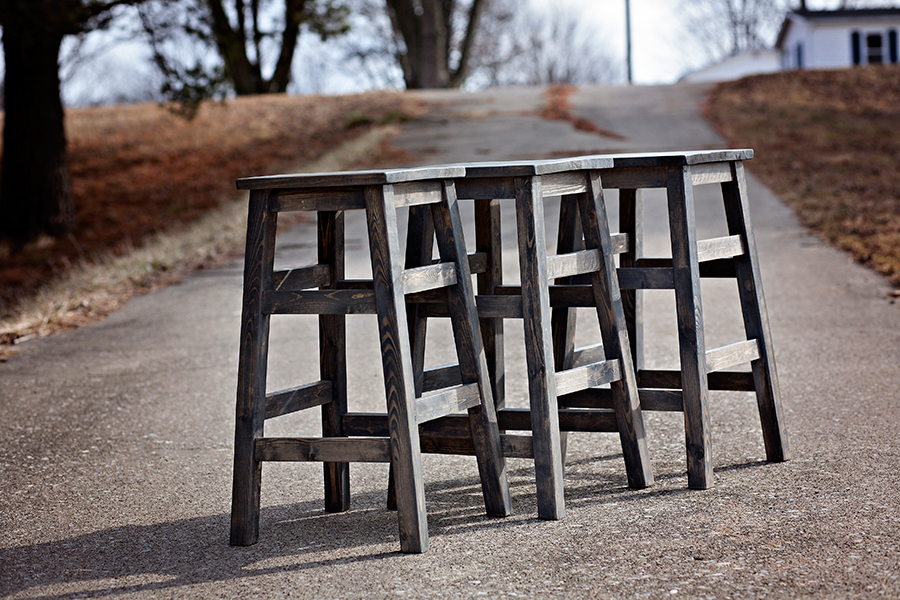
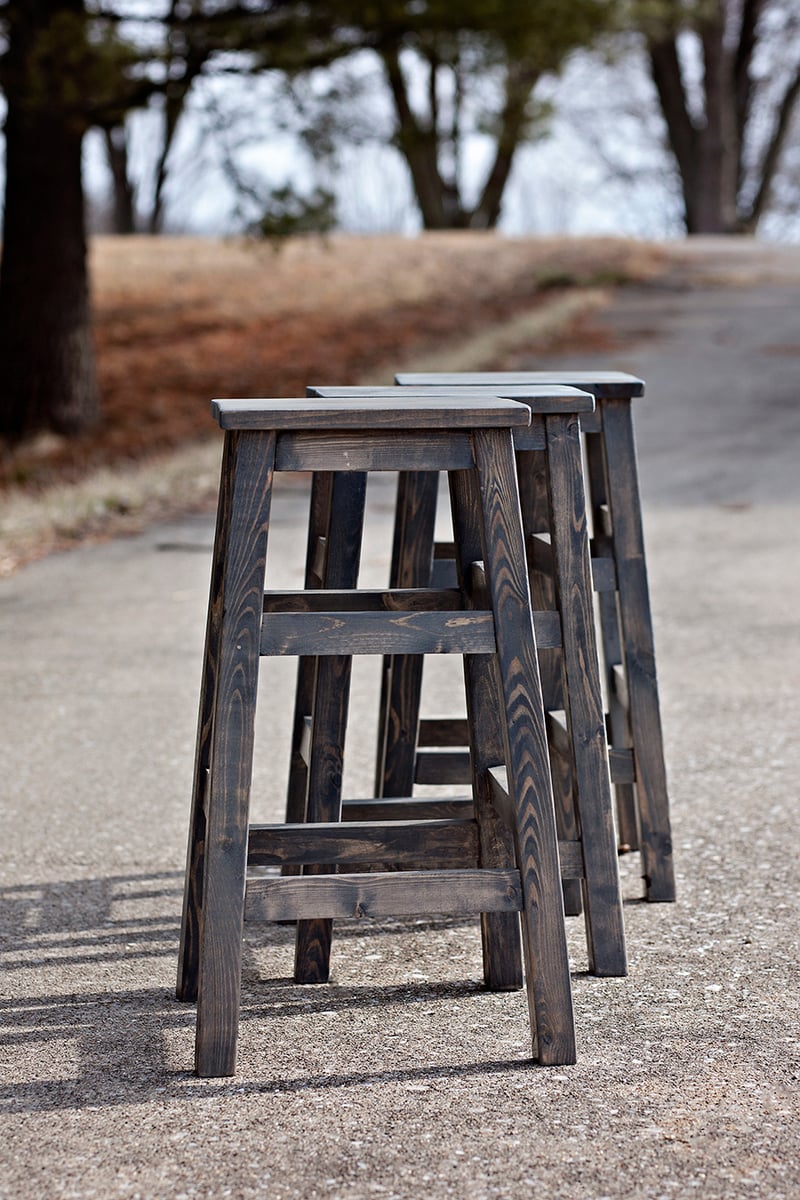
Simplest Stool

Submitted by heksa on Thu, 02/26/2015 - 14:43

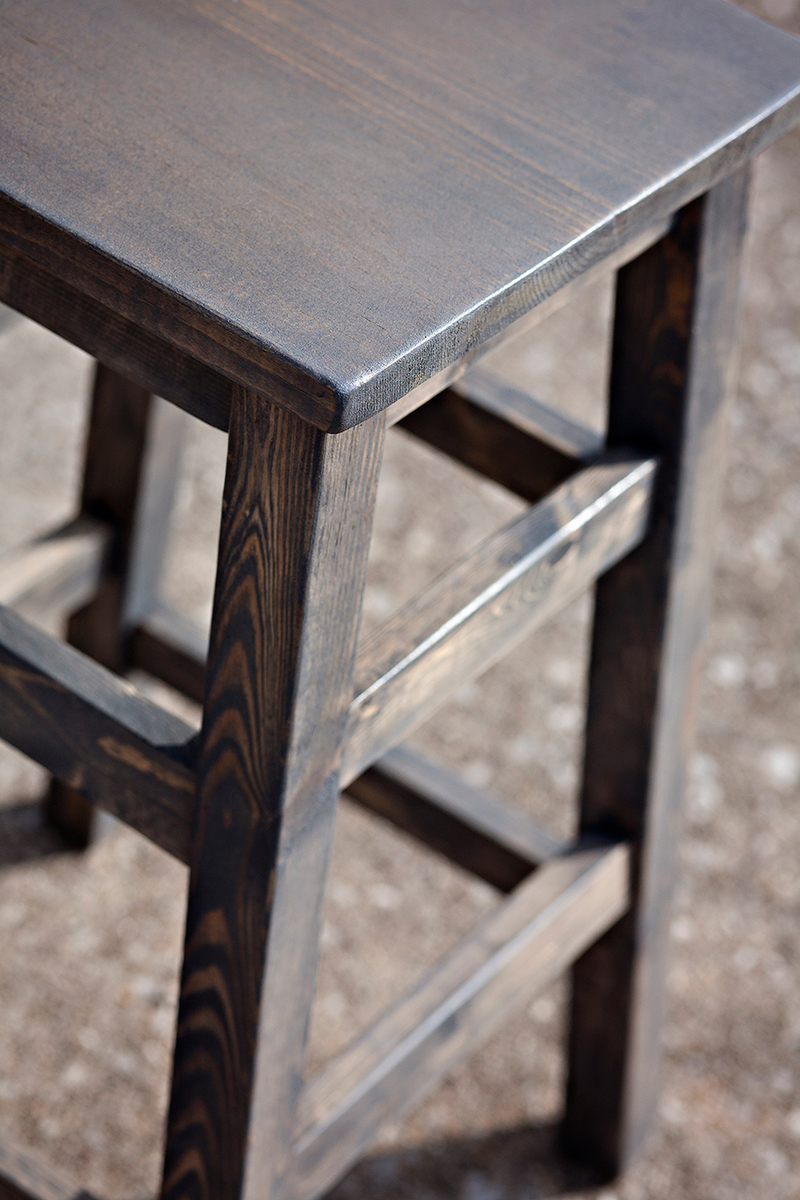
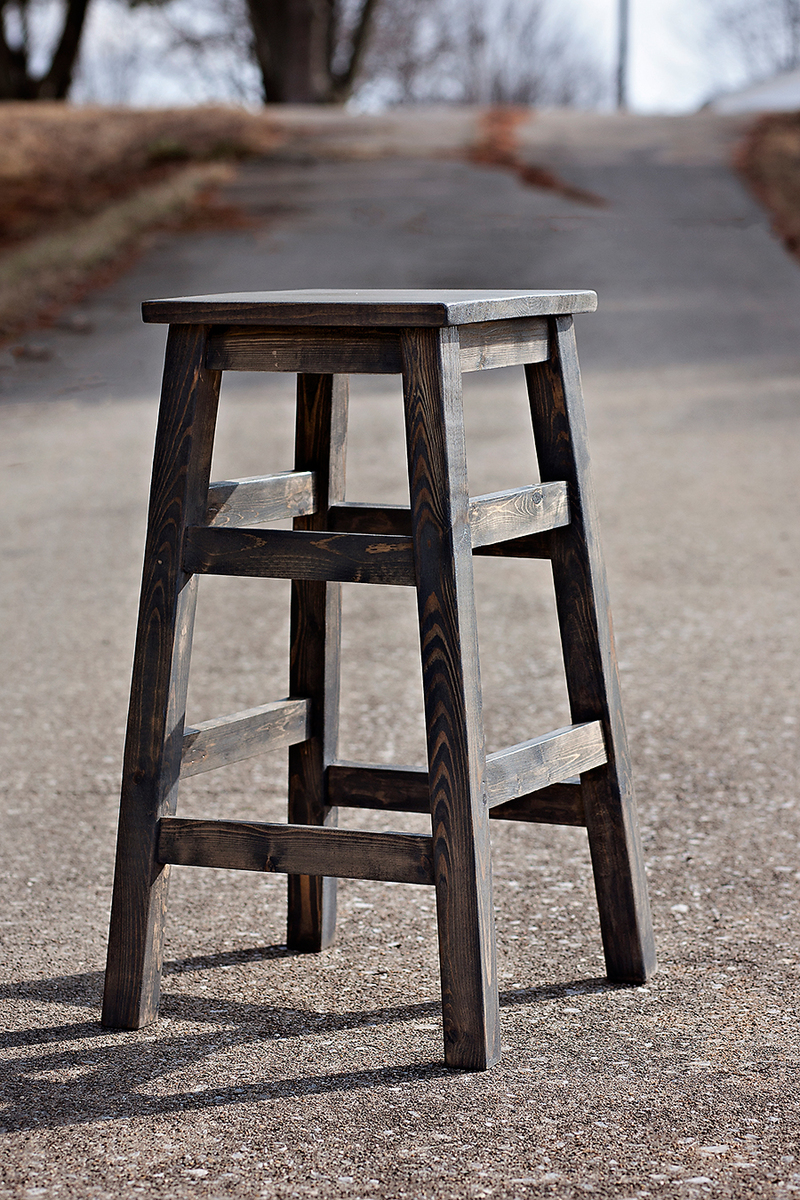
This was not my first woodworking project, but first where I had to figure out angles and bevels. So I'm pretty excited that all the pieces turned into stable stools.

Cutting wood and putting stools together took about an hour or two each .... filling kreg jigs holes and staining took a few weekends though. 


Built from Plan(s)
Estimated Cost
$10 per stool
Estimated Time Investment
An Hour or Two (0-2 Hours)
Finish Used
Minwax Classic Gray stain
Recommended Skill Level
Beginner

Comments

Custom Dog Bath

Submitted by dananicb on Thu, 07/22/2021 - 07:21

Tego needed a raised dog bath. No, I needed a raised dog bath. Specifically, my knees needed a raised dog bath for Tego. So, after looking at Pinterest and Ana's plans, I decided what I really wanted to do was customize something to fit my needs (and knees) and build it myself. Overly ambitious for a first-time woodworking project, but hey, raise the bar.

I started by reading and rereading Ana's beginner's woodworking guide (very informative). I also learned so many other things along the way. There's a reason, besides looks, you need flat boards (they need to screw together tightly). Unfinished basement floors are so not level (especially near the walls). Screw lengths matter (need shorter ones for thinner boards). The big-box store doesn't make precise cuts (but they can make a lot). Planning for the finishes will save you time (know your basket sizes). Just to name a few.

It's going in an unfinished basement, so I wasn't going to tile and add glass doors. I wanted to keep it relatively simple, basic.

The stairs were the hardest to measure and build (math matters) - and I might re-do. I made the steps smaller, dog-sized, but she finds them awkward. I'd stick with typical riser heights, but it depends on the size of your dog.

Plumbing to link the tub drain to the utility sink drain was the most expensive. Probably I could have done it myself, but I decided not to learn both plumbing and woodworking for one project.

Overall, I'm pleased with the result - and Tego is learning to love it.
Estimated Cost
$250 in supplies (plus plumbing)
Estimated Time Investment
Week Long Project (20 Hours or More)
Finish Used
Exterior paint in semi gloss
Recommended Skill Level
Beginner

Comments

Patio cooler/Grill cart!

Submitted by Anonymous (not verified) on Thu, 06/22/2017 - 14:06

Great project! I'm new to wood working and have been looking for simple but challenging builds. Needless to say this fit the bill... This grill cart was a great starter build and ultimately became a Father's Day gift!  My Pops loved it! 

I did add a couple of custom pieces: a foldable table top extension and towel bar... things Dad will undoubtedly need as he's an outdoorsman who loves to BBQ!

Thanks for the idea/design plans! 

Estimated Cost
$150
Estimated Time Investment
Weekend Project (10-20 Hours)
Finish Used
Semi-gloss spar urethane (3 coats)
Recommended Skill Level
Beginner

Comments

Teenage Mutant Ninja Turtle Bed

Submitted by KarahM318 on Sun, 05/05/2013 - 20:21

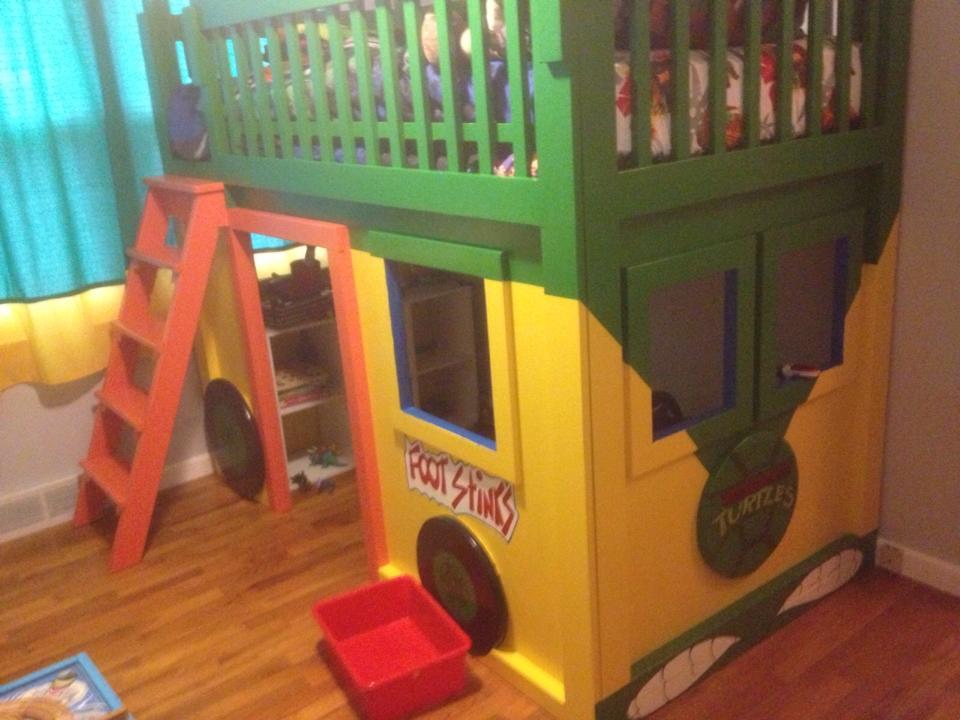
For this project, we followed the plans for the Firetruck Bed and also modified them a bit to fit our needs in the room. From start to finish, this project took two weeks to complete and cost us roughly $200 to build and $100 to paint. We were lucky though in that nearly everything we needed to purchase was on special or sale.

Built from Plan(s)
Estimated Cost
$300
Estimated Time Investment
Week Long Project (20 Hours or More)
Finish Used
Clark & Kensington latex paint & Minwax polycrylic clear coat (semi-gloss)
Recommended Skill Level
Intermediate

Comments

kim20904

Wed, 01/15/2014 - 07:33

can you tell me how you modified the plans to make this bed? I don't know much about building anything but I would like to build this for my son. Thank you Kim

5-Tier Wood Planter

This plan was easy to follow, accurate and came together in just a few hours. I used some reclaimed barn wood for the 2x6s and dog-ear pickets for the remainder.

I made it harder for myself than it had to be. I didn't follow the directions closely enough and cut the box ends at 5 1/2" instead of 5 1/4". That meant that the bottoms had nothing to press-fit against. So, I had to do a little workaround to fix that. I made a 1" shelf at each end of each box so that the bottom could sit on these little shelves. The upside to this mistake is that there was now a drainage slot all along the front and all along the back of each planter box. 

I stained and sealed it. Finally, I lined each planter box with weed matting that I'd cut to size and cut drain slits in. The matting doubles as a way to keep the planting mix from falling out of the long drainage slots while allowing water to drain through the little slits I poked in the fabric. (I poked drain slits only along the front edge so that water would drain into the planter box below instead of onto the ground.)
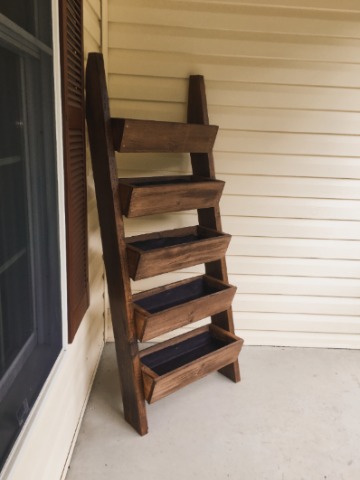
I'm happy with the plan and the finished planter!

Estimated Cost
$35
Estimated Time Investment
Afternoon Project (3-6 Hours)
Finish Used
One coat of Cabots Premium Stain and Sealer in Gingersnap. One coat of Minwax Helmsman Spar Urethane.
Recommended Skill Level
Beginner

Full size bed size

Submitted by Anonymous (not verified) on Mon, 10/04/2021 - 13:47

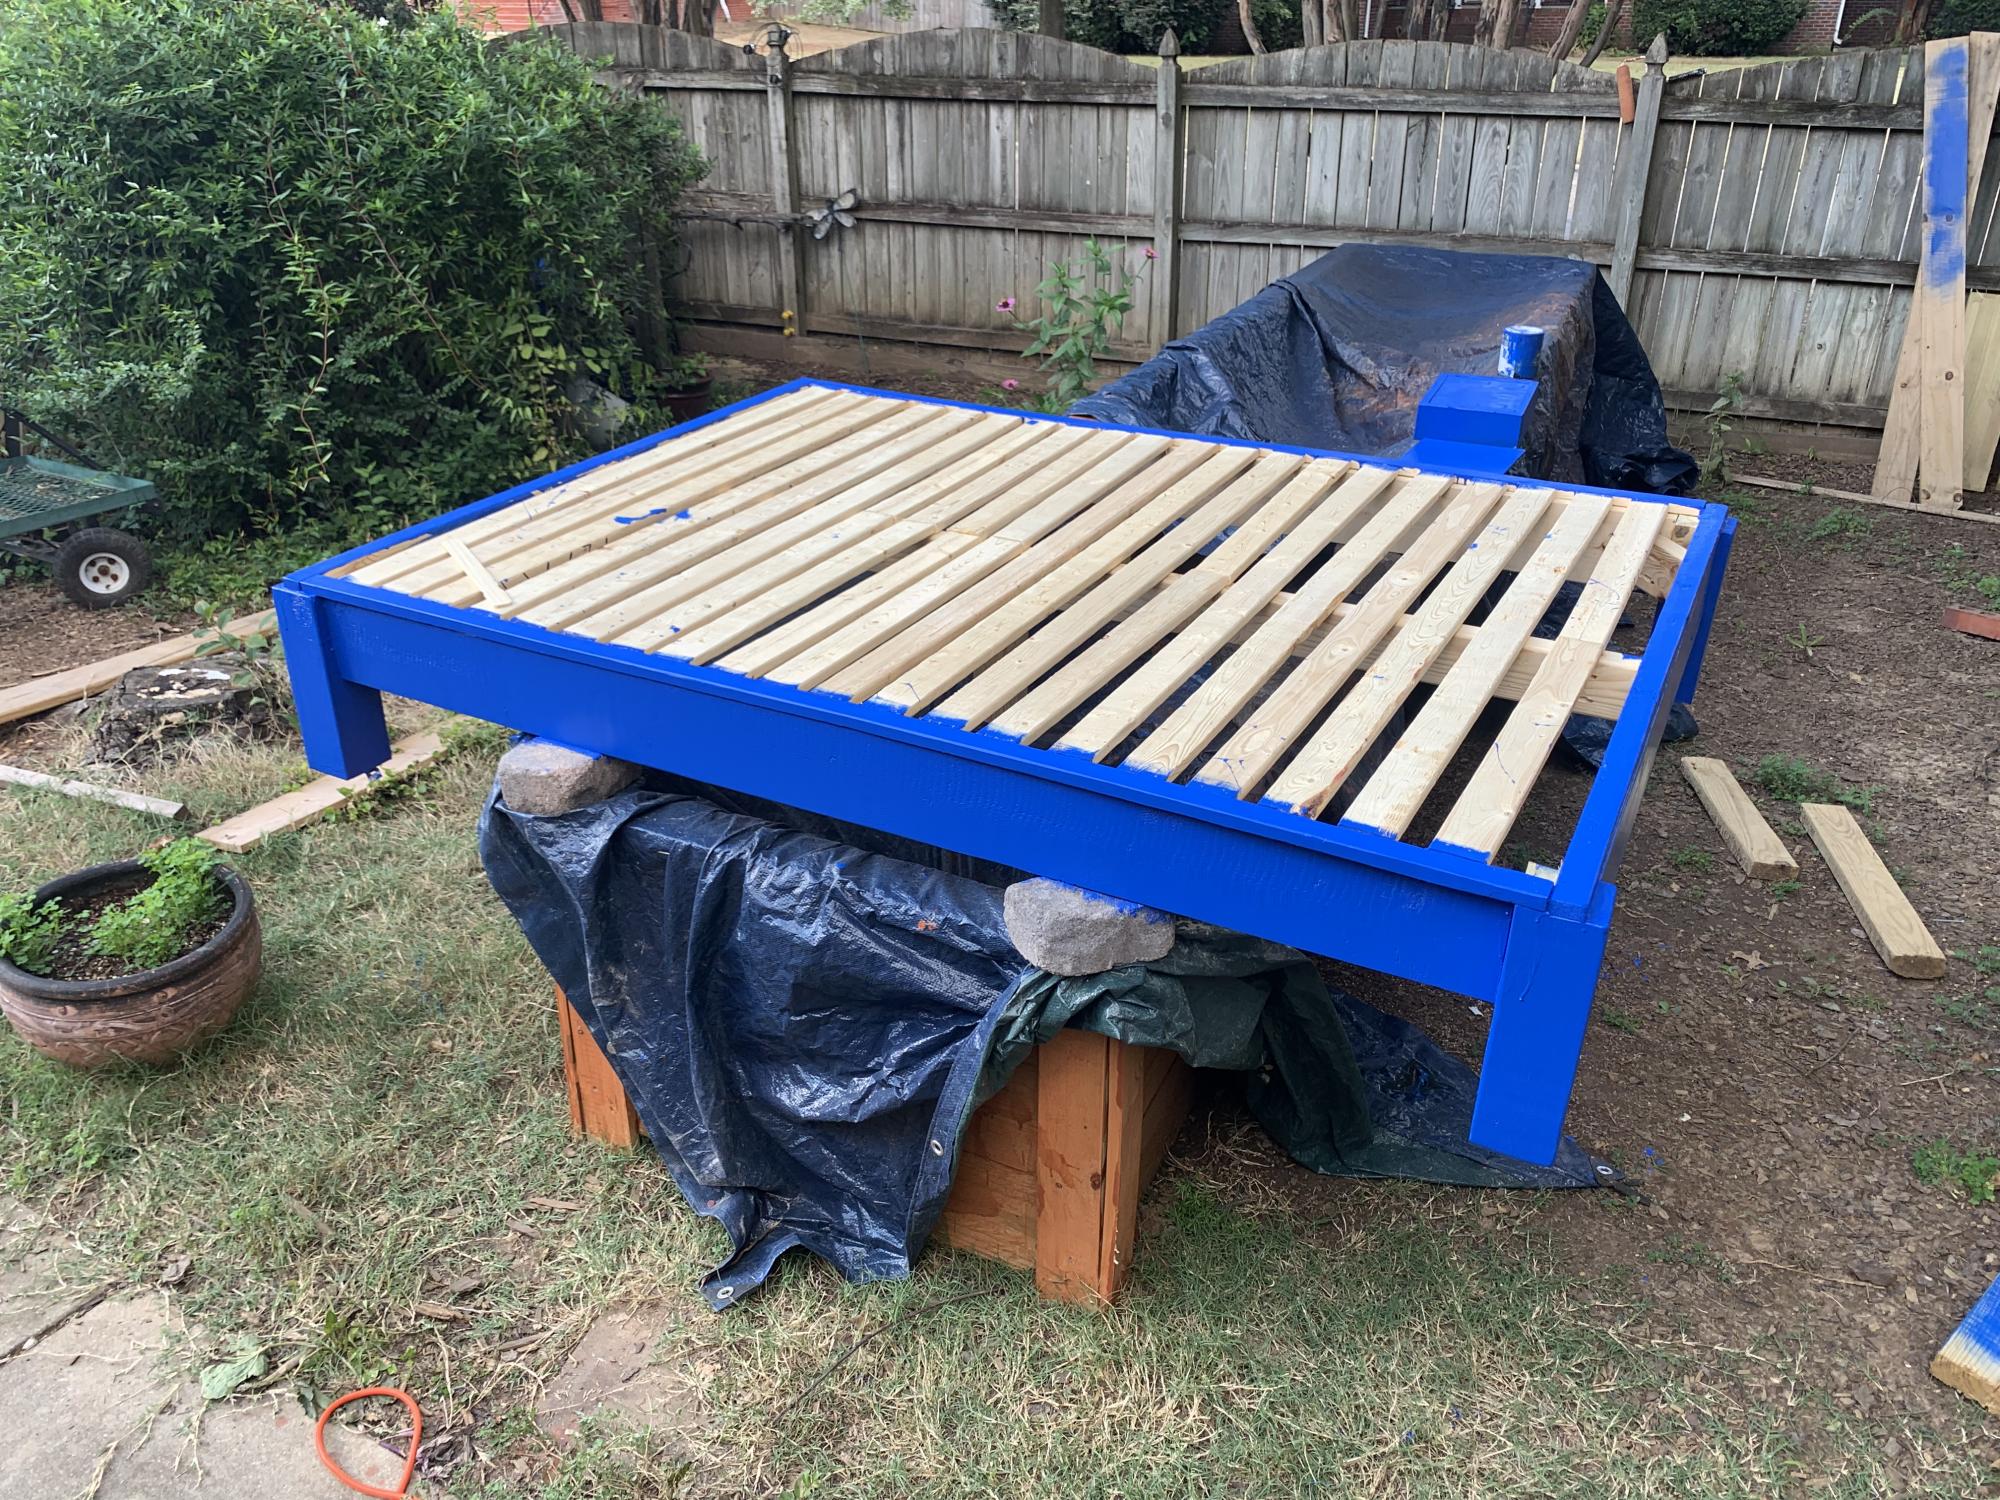
Loved your plans for building a bed frame- easy to follow.

Comments

Chalkboard Crate Planters

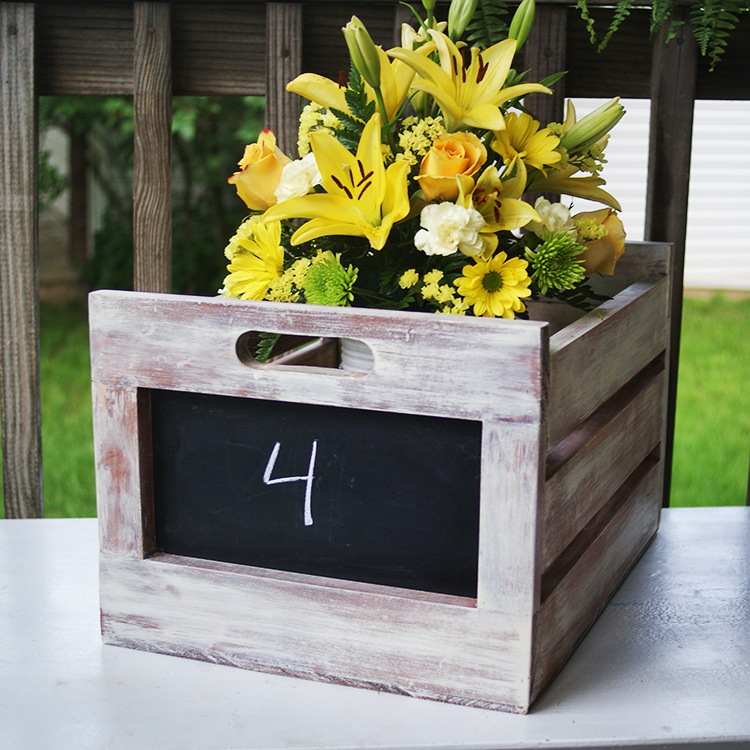
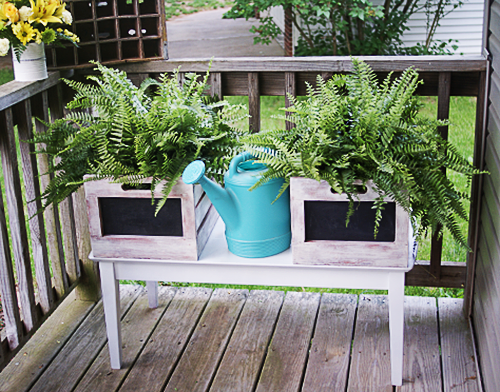
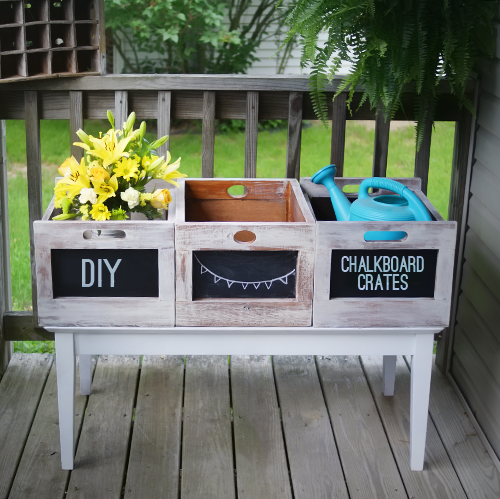
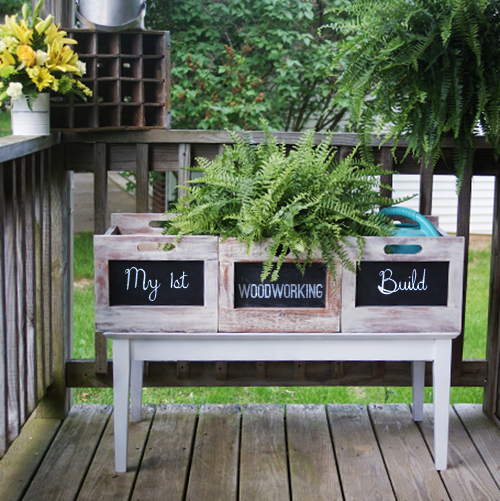
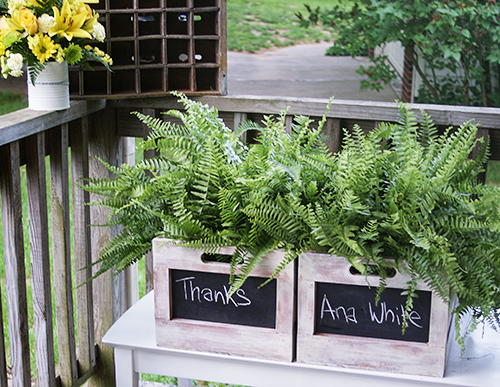
I made 3 crates using Ana Whites Chalkboard Produce Crate plan. It was my first woodworking project, was totally doable, and has created a monster. The middle crate in the photos was the first one, and I added extra 1x3s on the sides because I thought I didn't want the gaps between the side boards. Changed my mind for the second 2. I wanted a chippy finish so I stained with glaze and burnt umber by Golden, followed by a topcoat of dry brushed Titan Buff. I sealed with CeCe Caldwell Aging Wax.

Built from Plan(s)
Estimated Time Investment
Afternoon Project (3-6 Hours)
Finish Used
Stained with acrylic glaze and burnt umber by Golden, followed by a topcoat of dry brushed Titan Buff
Recommended Skill Level
Starter Project

Comments

Back